


User management is an indispensable component of any modern application. A complete user management solution allows users to log in to an application or register a new account, provides administrative capabilities to admins, and acts as a central location for all user information. Because this is so vital, almost every application implements its own user management system.
This can quickly turn into a problematic situation if you have multiple inter-related applications, each with its own user management system.
A typical example is an organization having multiple internal tools that require employees to log in to use them. If each application has a separate user management system, employees might have to remember different credentials for different applications or reuse passwords across applications. On top of that, duplicating the same user information across multiple applications results in redundant data, increased cost, and is generally difficult to manage. Implementing an efficient and secure user management system is a complex task and requires significant time and experience, and for most companies, the hassle isn’t worth it.
Single sign-on, commonly known as SSO, solves this issue with a centralized user management system that can communicate with multiple applications and provide a seamless authentication experience.
In an SSO system, you have an identity provider like FusionAuth, which is the central hub for user information. When a user wants to log in to an application (a service provider), the application engages with the identity provider through strict and secure protocols like SAML and OAuth. The identity provider authenticates the user and sends the data back to the application, logging the user in. The result is a safe and secure authentication that eliminates the need of having multiple credentials while also being extremely easy to integrate with any application.
This tutorial demonstrates how to integrate SSO to a Drupal site using FusionAuth with the help of an OpenID Connect app.
What is FusionAuth?#
FusionAuth is a complete auth platform that saves your team time and resources by handling everything to do with authentication and identity access management. It allows you to quickly implement complex standards like OAuth, OpenID Connect, and SAML and build out additional login features to meet compliance requirements.
FusionAuth is built by devs, for devs. With an API-first architecture, great documentation, and fantastic support, it takes auth off your plate so you can get back to building something awesome.
Prerequisites#
To follow along with this tutorial, you will need:
- An account with admin privileges in a Drupal (version 9 or later) site. If you don't have one already, you can sign up for a free account through hosting providers. It's also incredibly straightforward to self-host.
- An account in a FusionAuth instance. FusionAuth is an identity provider with a robust set of APIs, a massive collection of client libraries, and is capable of storing custom data. You can either sign up for FusionAuth cloud or run your own FusionAuth instance for free. If you wish to self-host FusionAuth, make sure it is publicly accessible through the internet.
Setting up SSO with Drupal and FusionAuth#
Setting up SSO between Drupal and FusionAuth is straightforward. You’ll use this open-source module, which uses OpenID Connect (OIDC) to communicate with FusionAuth.
Installing the module#
Visit the module page, scroll to the Downloads section, and grab the link to the latest stable version (.tar.gz or .zip).
Log in to your Drupal admin dashboard, click the Extend menu, click Add new module , and paste the link.
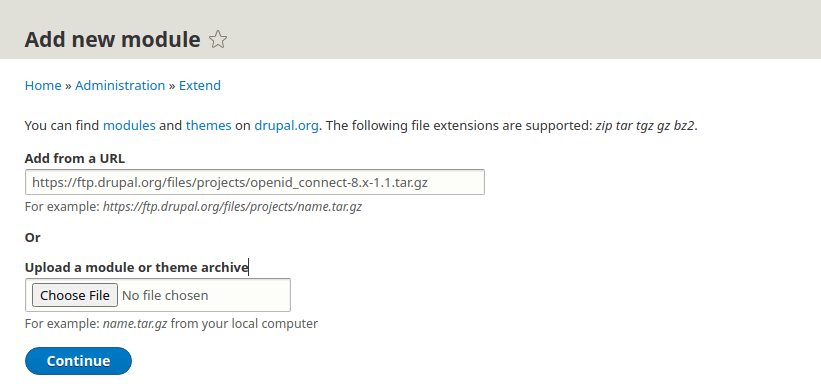
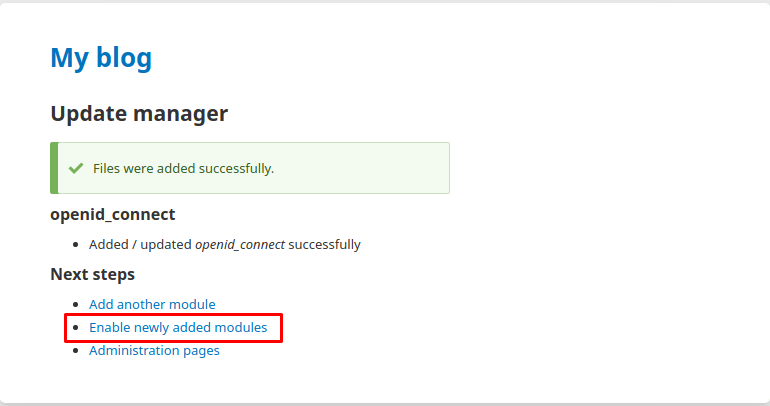
Click Continue . It will take some time to fetch and add the module. Once the installation is complete, click Enable newly added modules .
Scroll down to the Security section, check the checkbox next to "OpenID Connect".

Then click Install .
Configuring FusionAuth#
Next, it's time to configure FusionAuth. If this is your first time logging in to your FusionAuth instance, you need to register an account. Just enter your name, email, password, and click Submit . There's also a tutorial about setting up an instance the first time.
You can also use this sample kickstart file to set up everything if you don't want to do these steps manually. Make sure to review the kickstart file and update the authorized redirect URLs, at a minimum. Learn more about Kickstart here.
Once you are at the FusionAuth dashboard, navigate to Applications and then click the green plus button to add a new application.
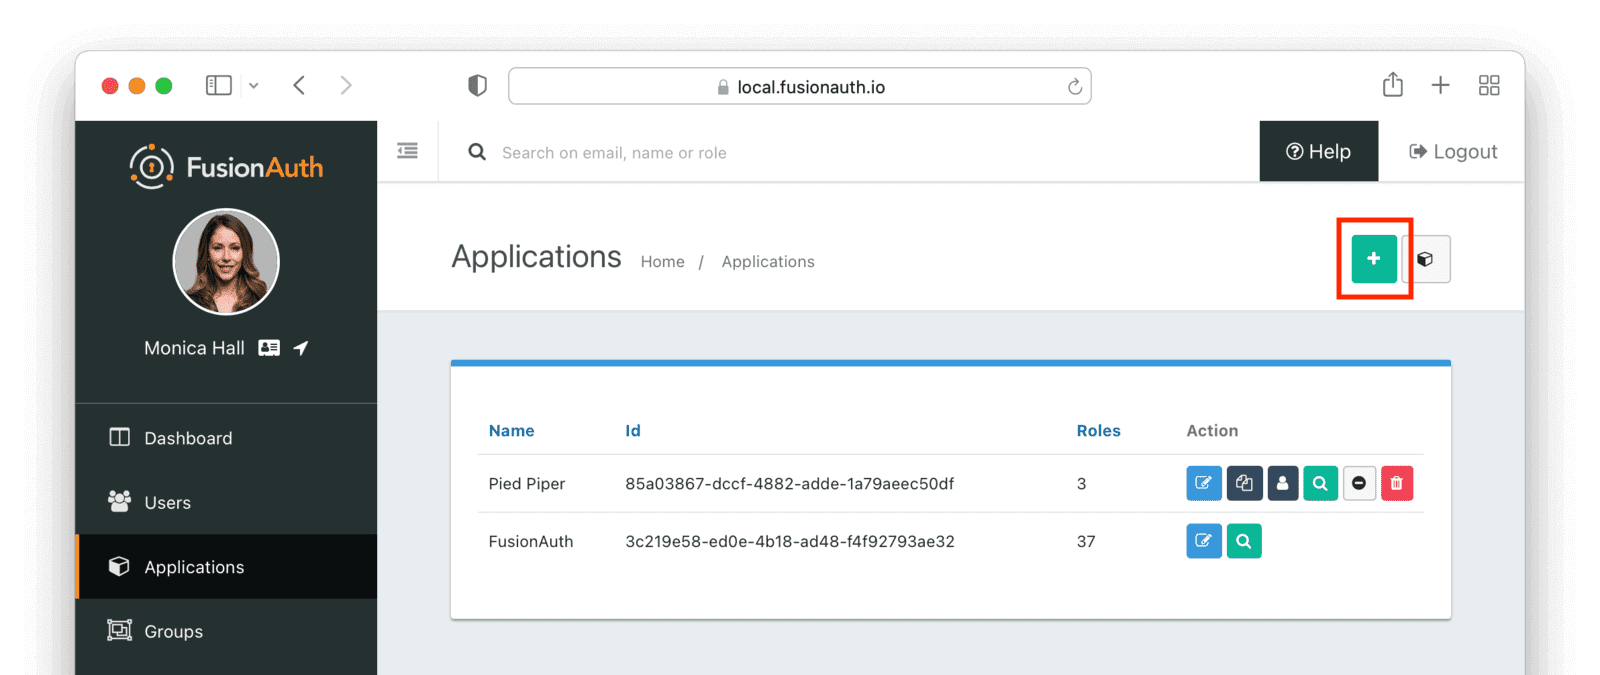
In the application creation page, change the app's name to something recognizable, for example, "Drupal". This name is displayed in the application list in the FusionAuth dashboard.
In the OAuth tab, enter <YOUR_DRUPAL_SITE_BASE_URL>/openid-connect/generic in the Authorized redirect URL field. Replace <YOUR_DRUPAL_SITE_BASE_URL> with the URL of your Drupal site. Below it is http://35.227.12.233 but that's specific to my setup.

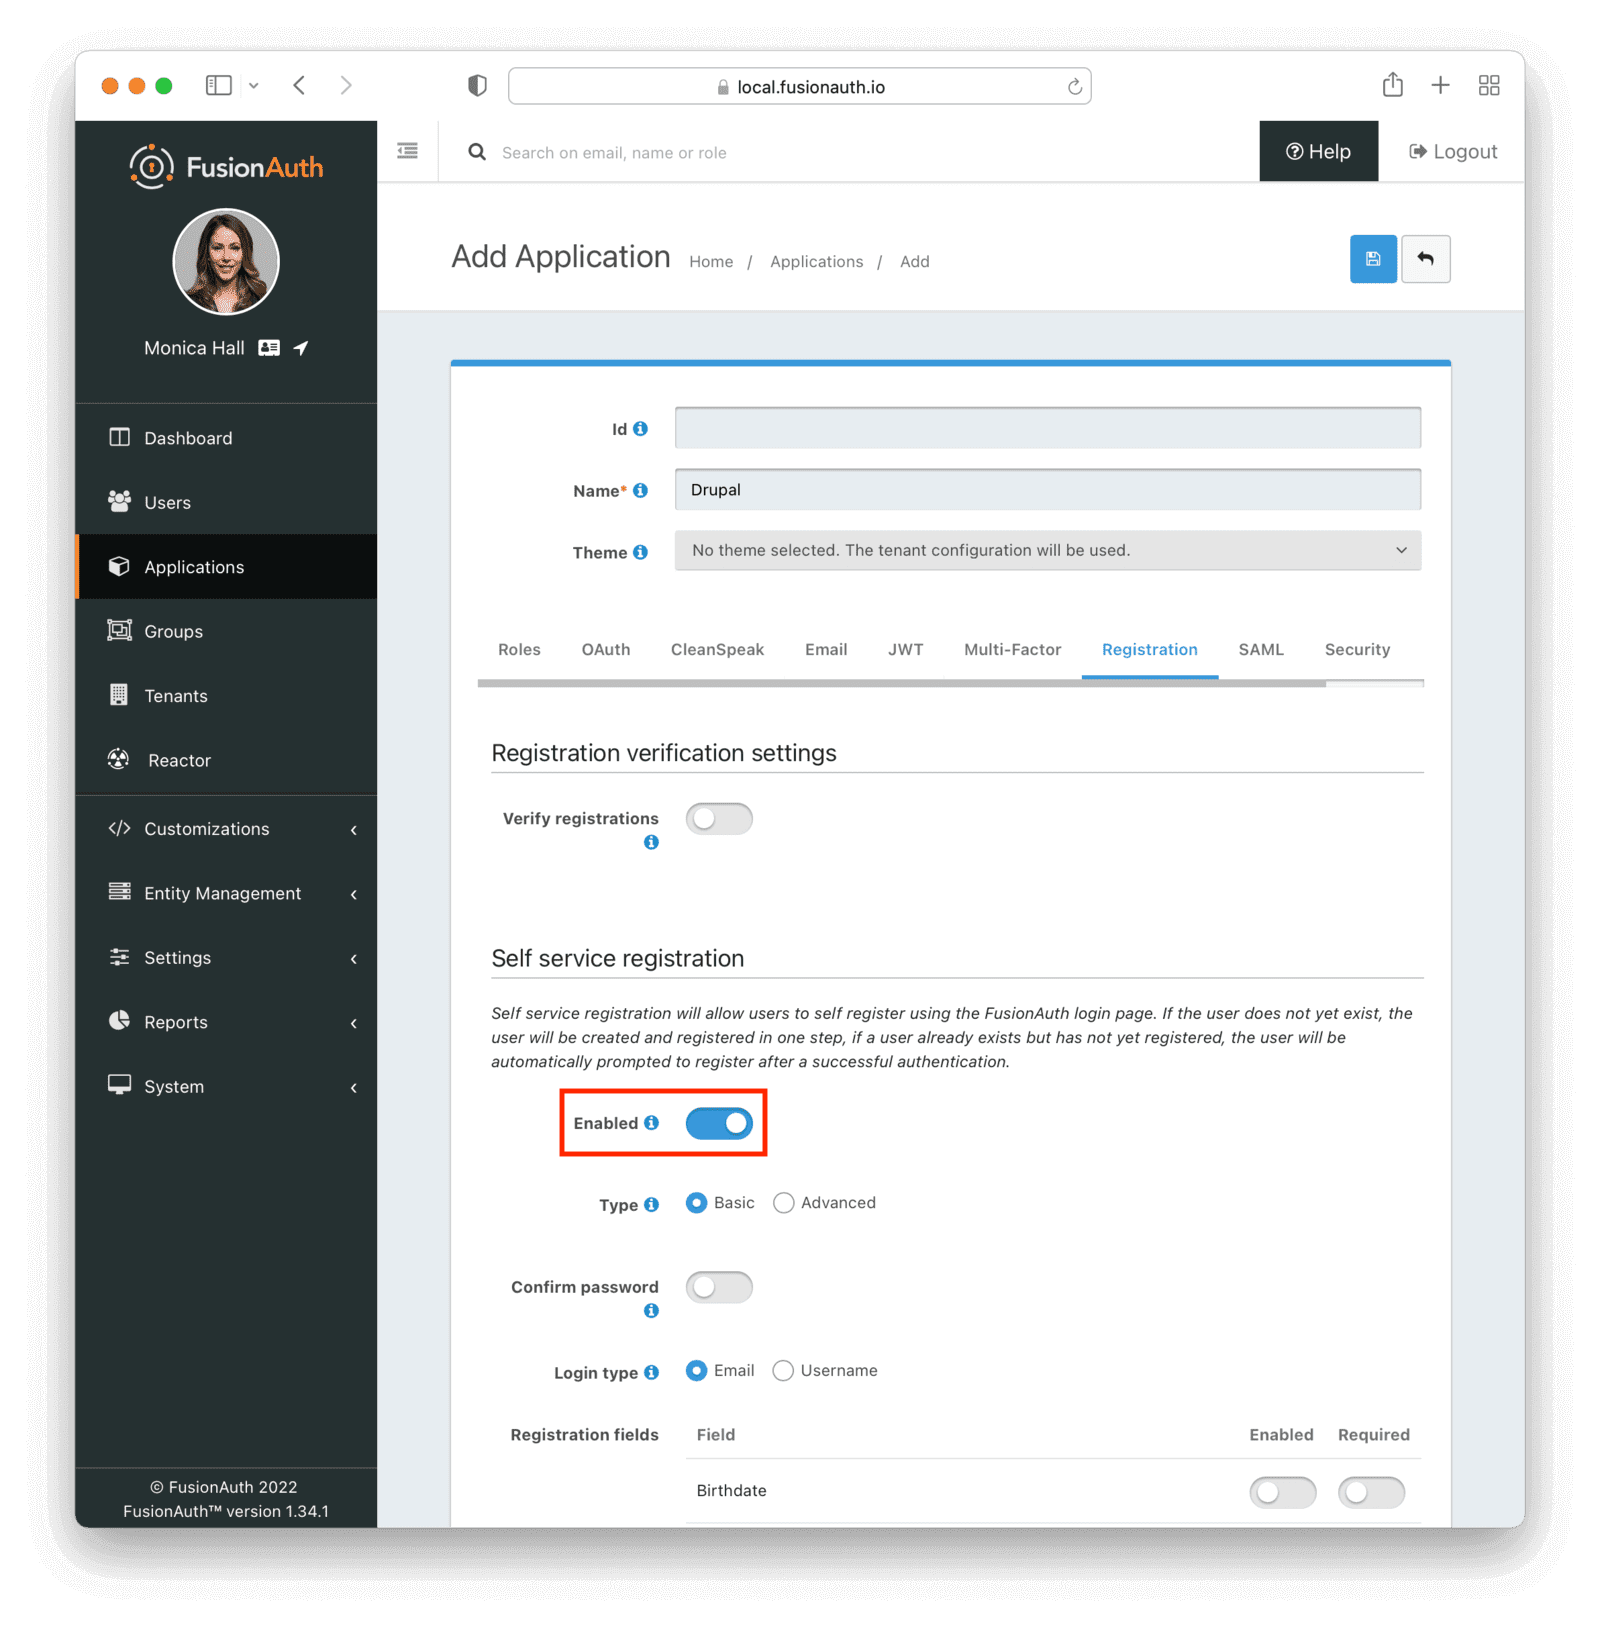
By default, FusionAuth doesn't allow users to register a new account. This is useful when you have an internal tool where admins manually create the accounts. But if you want the users to be able to register an account, you need to turn on self-service registration in the Registration tab. You can also customize which fields are required by turning them on.
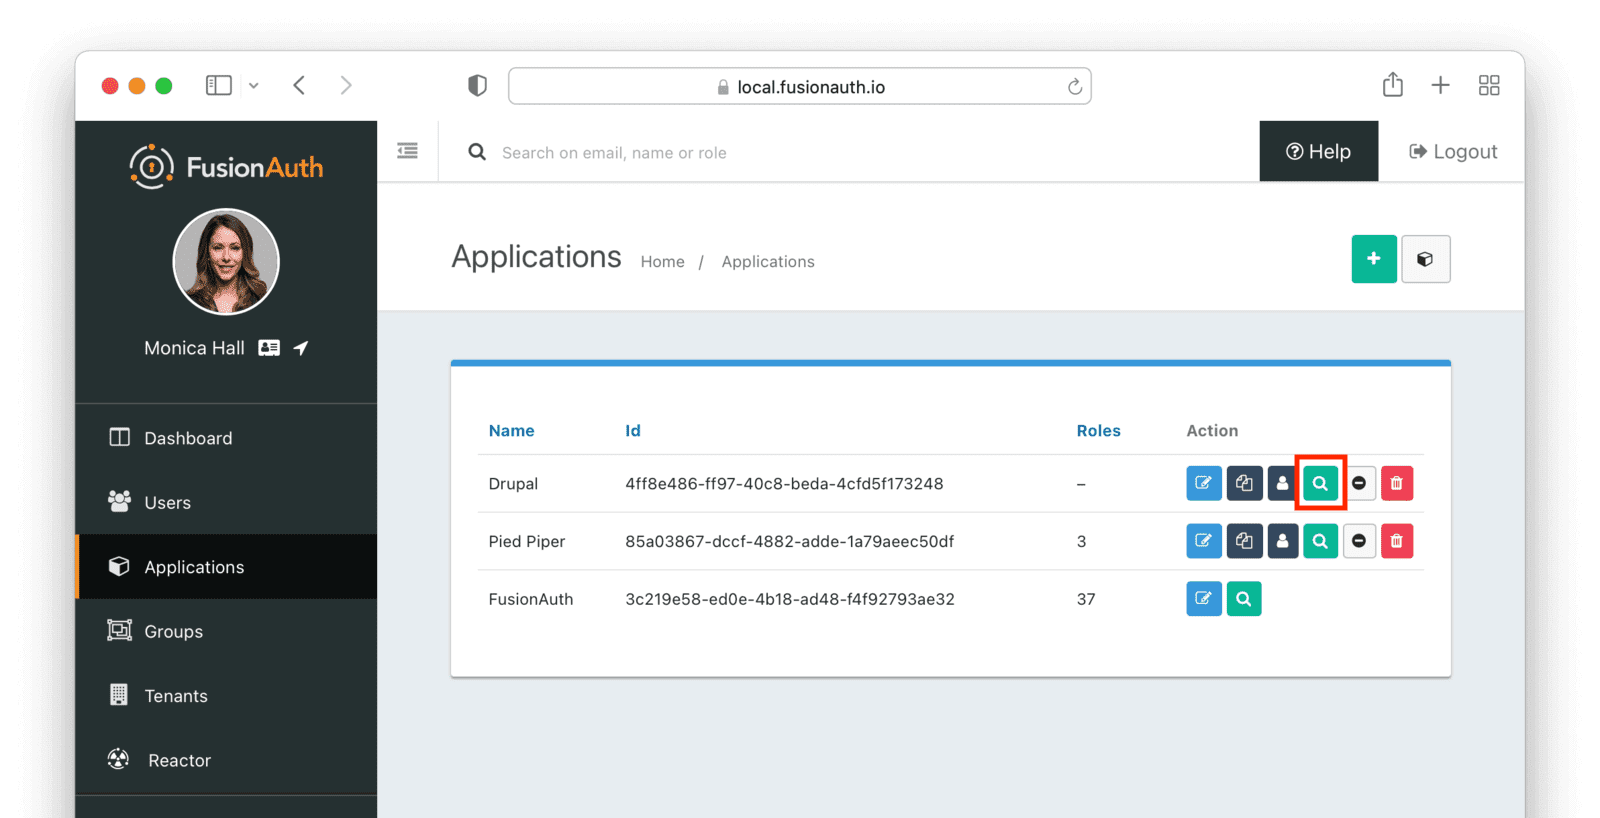
Save the application by clicking the blue Save button in the top right corner of the page. This redirects you back to the applications list, where you can click the tiny view button next to the newly created application.
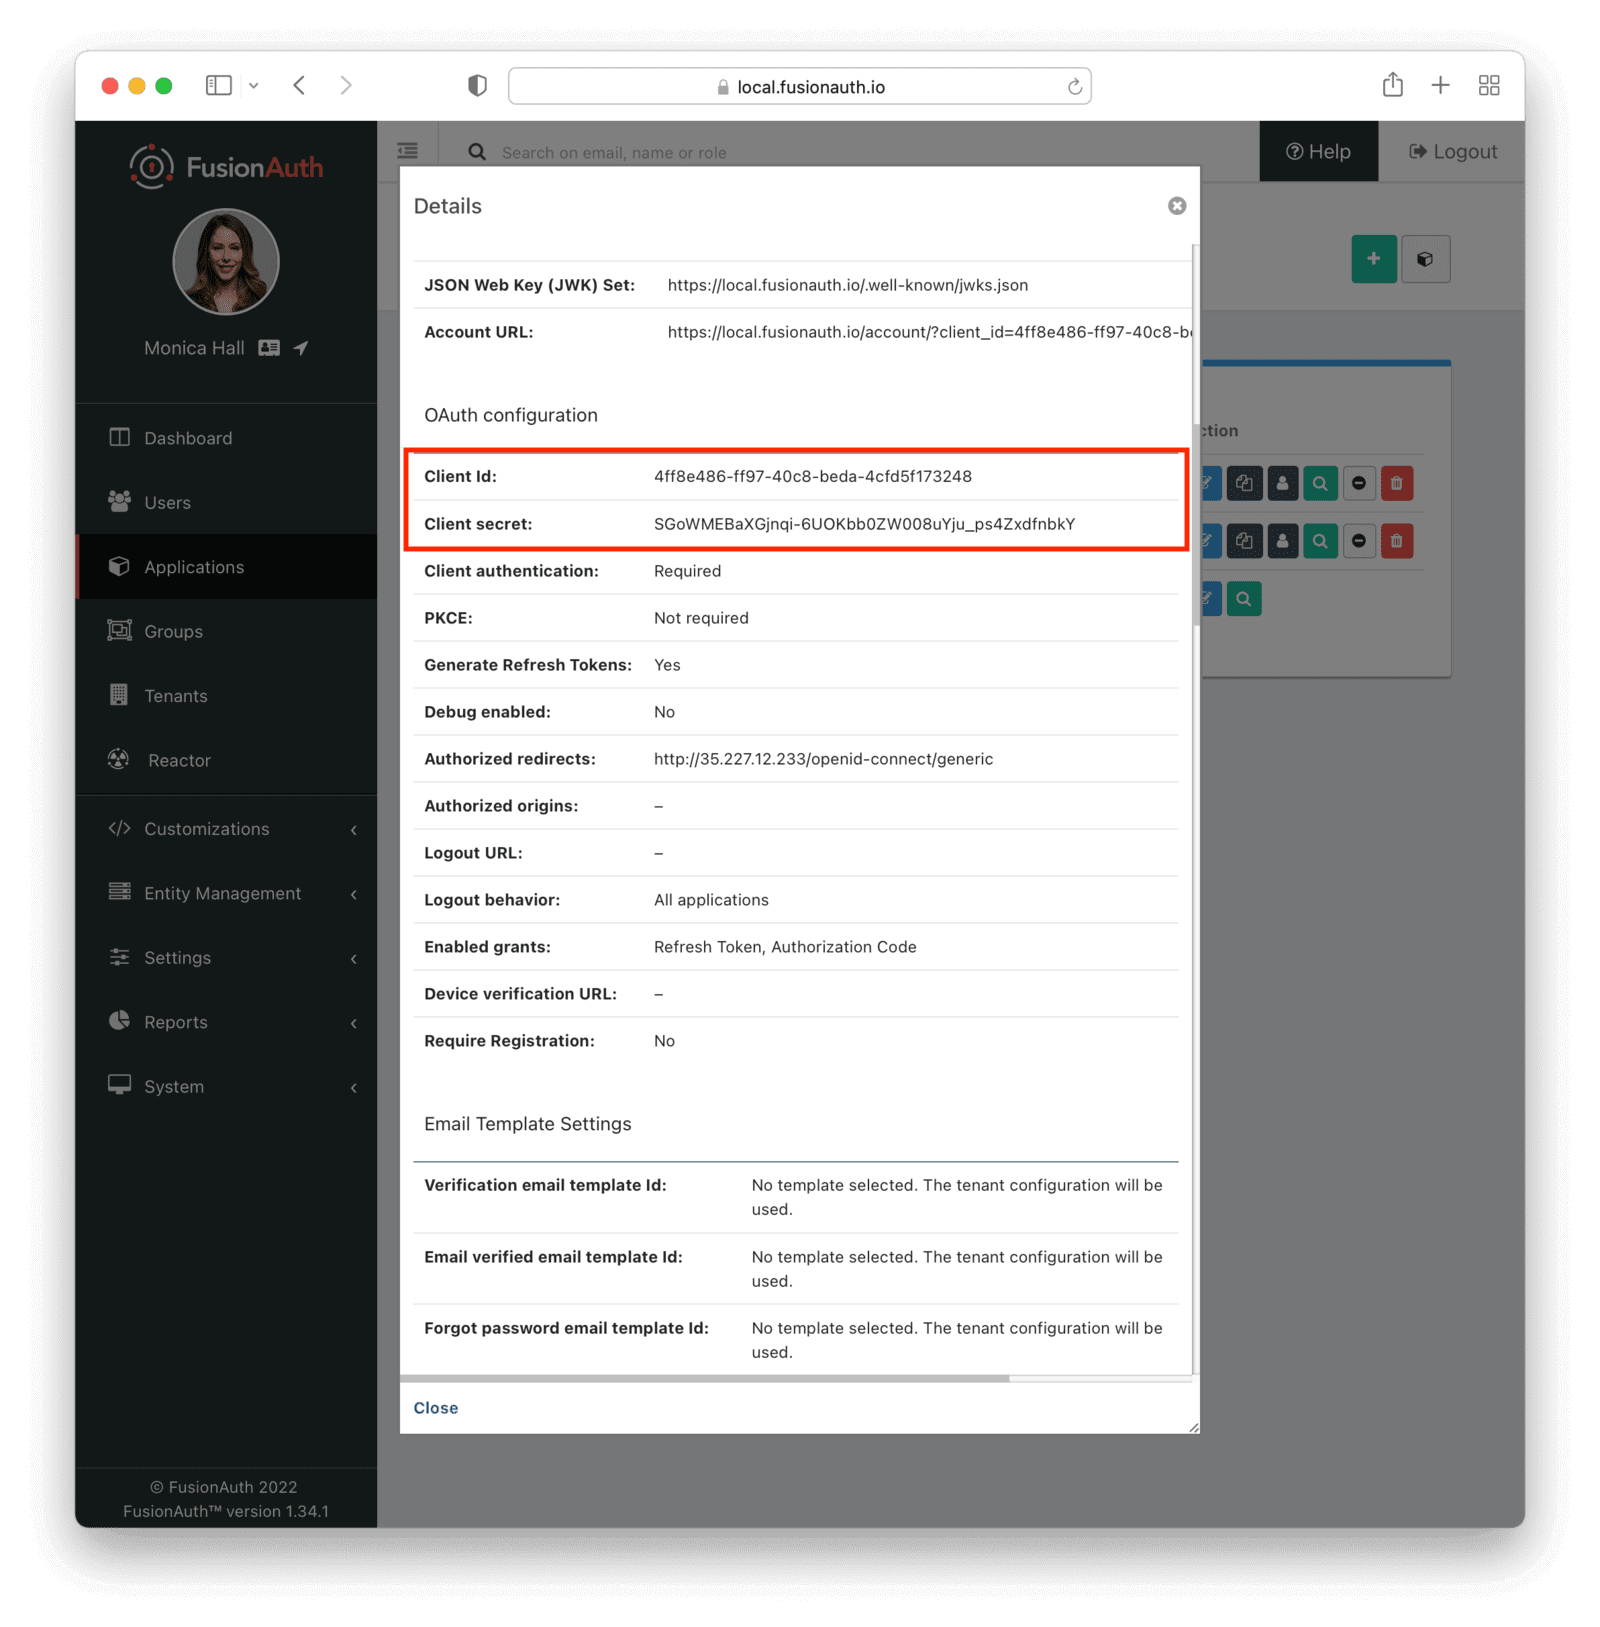
The popup window will show you a list of information about the application. Copy the "Client Id" and "Client Secret" under the OAuth configuration section. You'll need these when configuring Drupal.
Finishing the setup in Drupal#
Back in Drupal, navigate to Configuration -> OpenID Connect .
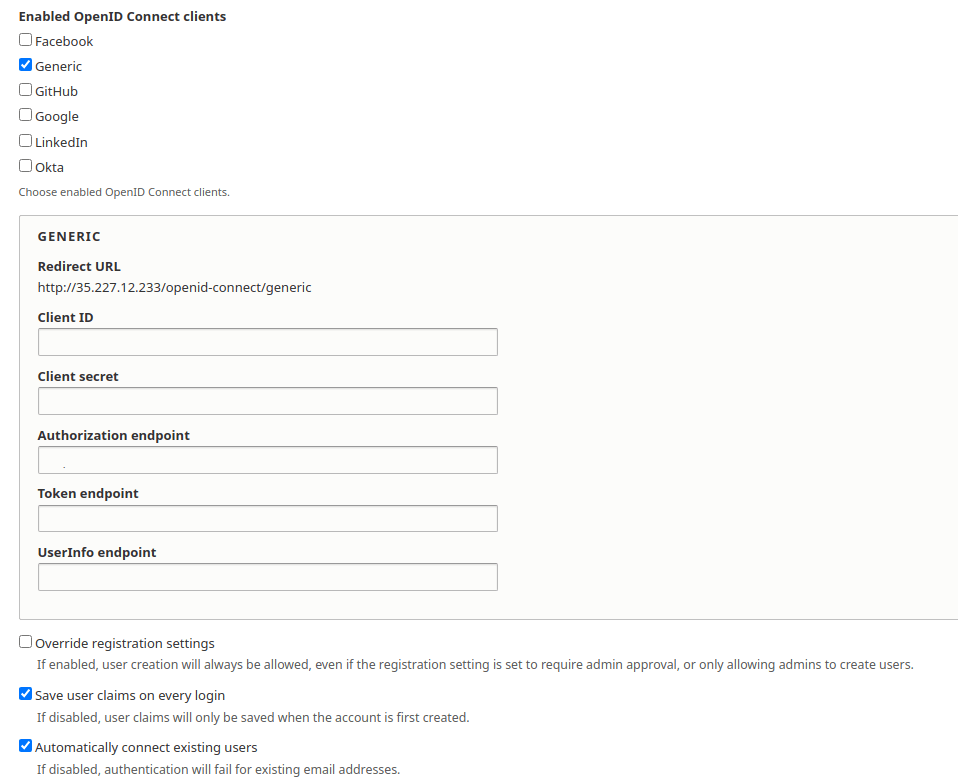
Enable the Generic option under Enabled OpenID Connect clients.
Enter the Client Id and the Client Secret you found in the FusionAuth "OAuth Configuration" above in the appropriate fields.
Put the following values for the rest of the fields:
<YOUR_FUSIONAUTH_URL>/oauth2/authorizein Authorization endpoint.<YOUR_FUSIONAUTH_URL>/oauth2/tokenin Token endpoint.<YOUR_FUSIONAUTH_URL>/oauth2/userinfoin Userinfo endpoint.
Make sure to replace <YOUR_FUSIONAUTH_URL> with the URL of your FusionAuth instance.
Also, enable the Automatically connect existing users setting. This allows existing Drupal users (as determined by email) to sign in with FusionAuth.
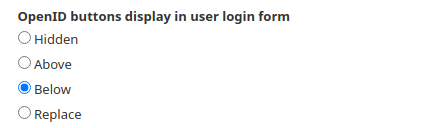
By default the OpenID login buttons are not visible. You can enable them in the OpenID buttons display in user login form section. Select "Above" or "Below" to show the OpenID buttons along with the default Drupal login form.
Click on Save configuration at the bottom of the page.
Navigate to Configuration -> People . Under Who can register accounts, select "Visitors". This ensures new users can register accounts.

Testing the integration#
Visit your Drupal site and click Log in . If the setup was successful, you should see a Log in with Generic button.
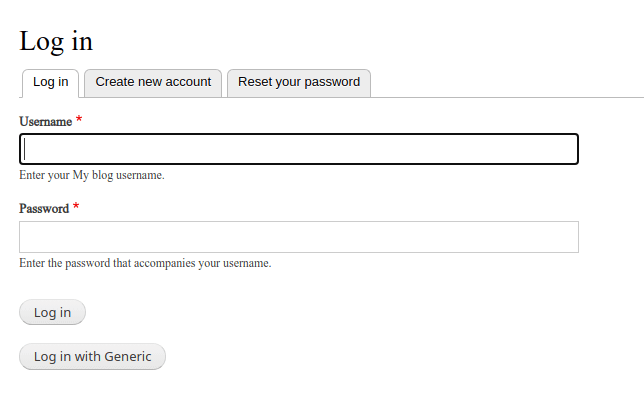
Click it to go to the FusionAuth login screen, where you can enter your email and password to log in.

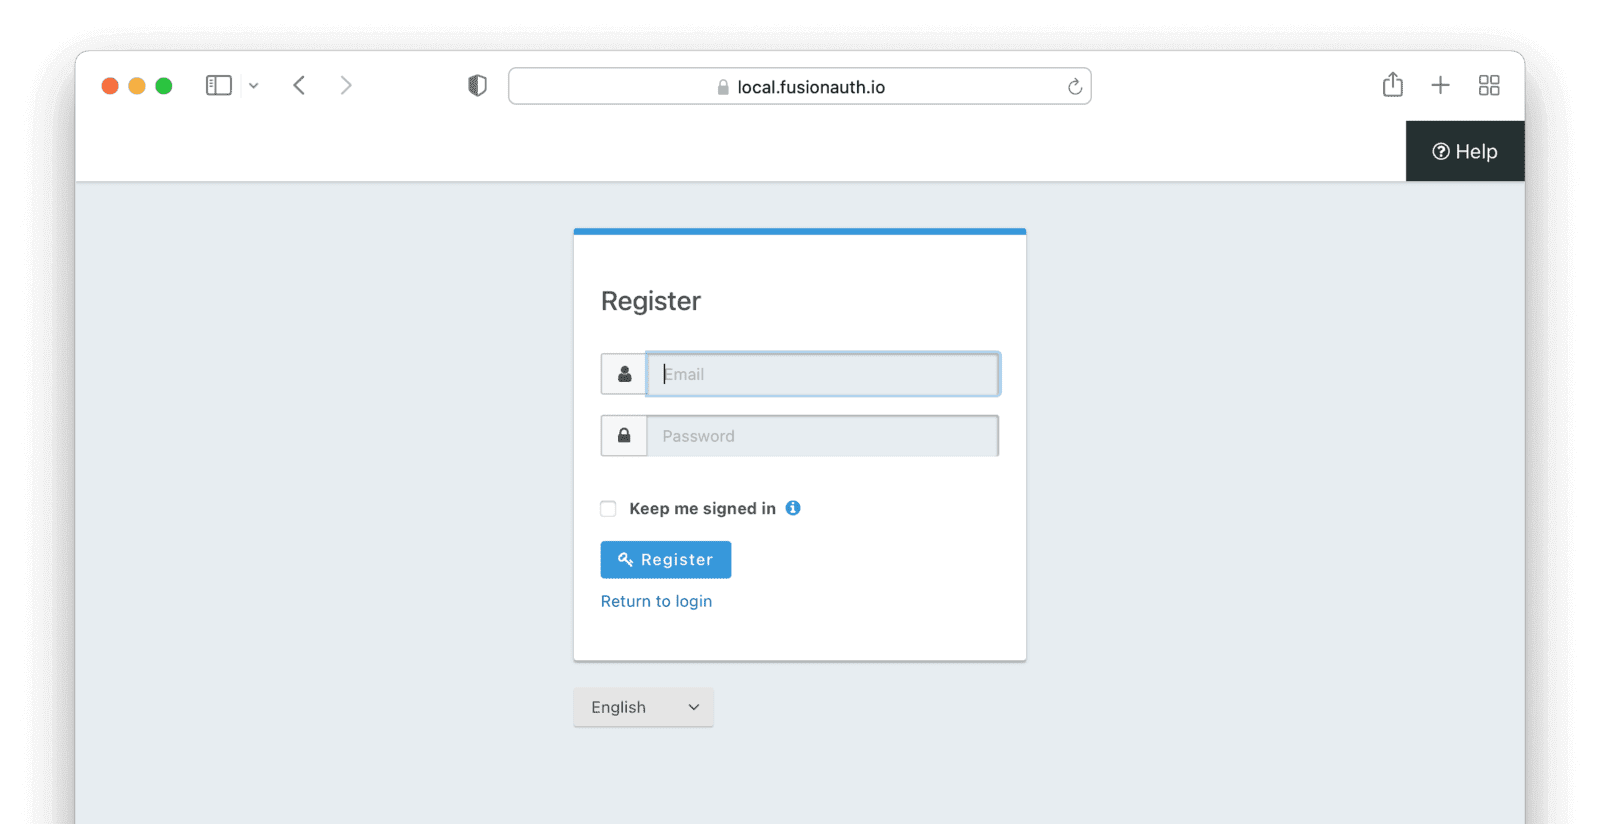
Since you enabled self-service registration, you will also have an option to create a new account. Registering a new account will automatically sign you in.
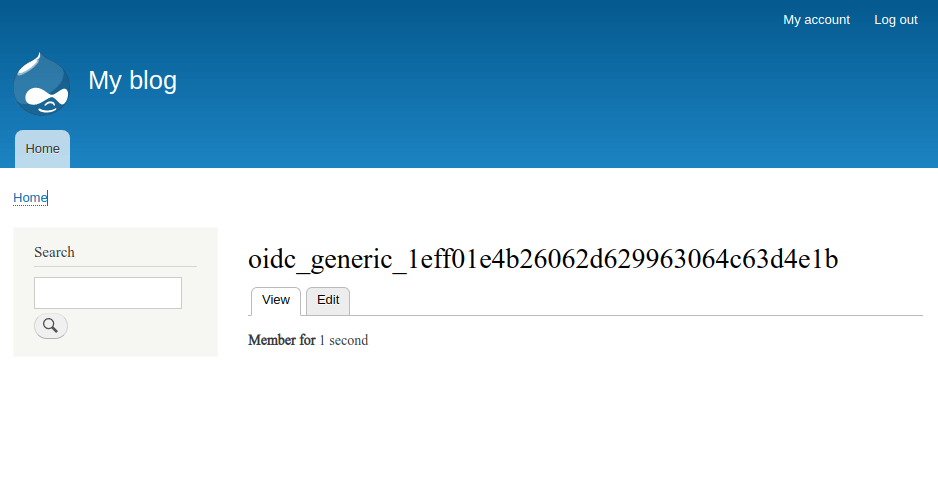
After registering a new account or logging in with an existing account, you will be redirected to Drupal, where you can verify that the login was successful. A username will automatically be generated for you.
Congratulations, you have successfully added SSO to your Drupal site using FusionAuth.
Next steps#
While this post walked you through setting up SSO for Drupal, there are a few pieces of polish you should take care of before doing this in production:
- Update the button text to say "Login with SSO".
- Map more of the user claims, including timezone.
- Replace the traditional login fields with the SSO button, so that all users are using single sign-on.
- Test logging out, which will involve setting the "Logout URL" on the FusionAuth application configuration.
Simplify your Drupal login experience with FusionAuth SSO. Schedule a demo.
Conclusion#
Using an identity provider like FusionAuth in your Drupal site can provide you with a seamless SSO experience minus the hassle of implementing user management. If you went through this article, you are now prepared to integrate FusionAuth with one or more Drupal sites, using OIDC to authenticate your users.


