


With the rise in the number of internet users, companies feel the need to retain their customers as well as gather information about them. A user management system has thus become a vital part of modern application development. However, without the right tools, it quickly becomes difficult to manage users, especially when you have multiple interrelated services; for example, an application might have an accompanying forum system.
The trouble with multiple related services like this is that users who sign up for more than one service need to remember different sets of credentials or reuse the same credentials. The first situation creates a poor user experience, and the second situation is a security risk. Furthermore, having different user management systems for different services also means that the same user needs to be duplicated across services, resulting in high infrastructure costs and a management nightmare. This is where SSO comes in.
Single sign-on, commonly known as SSO, is an authentication mechanism that lets users use a single set of credentials to log in to multiple different applications. SSO has two components—a service provider, which is just the application the user is trying to log in to, and an identity provider, like FusionAuth, which handles the authentication and stores the user data. The service provider communicates with the identity provider to retrieve user data.
In this article, you'll learn how to use FusionAuth with your Shopify store.
What is FusionAuth?#
FusionAuth is a complete auth platform that saves your team time and resources by handling everything to do with authentication and identity access management. It allows you to quickly implement complex standards like OAuth, OpenID Connect, and SAML and build out additional login features to meet compliance requirements.
FusionAuth is built by devs, for devs. With an API-first architecture, great documentation, and fantastic support, it takes auth off your plate so you can get back to building something awesome.
Why FusionAuth?#
The identity provider is the most critical component of an SSO system. Since you'll be trusting the identity provider with your customer information, it is important that it is secure. Furthermore, it needs to be able to integrate with the services you're using. FusionAuth checks all those boxes with its extensive set of features. It can be self-hosted for free, or you can use their managed hosting, which is competitively priced. You can connect as many applications as you want to FusionAuth. FusionAuth goes through regular penetration tests and security audits to ensure your data is safe in their hands. It's also compliant with GDPR, HIPAA, COPPA, and other data protection laws, and is highly customizable; password constraints, themes, email templates, localization—everything can be fine-tuned to match your preferences.
Learn how to use FusionAuth to integrate single sign-on (SSO) with a Shopify store using an OpenID Connect app. Using SSO lets your customers use one login across all your business' apps. For example, they can login to your Shopify store and ask for help using Zendesk without two separate logins.
Managing multiple user systems for Shopify and related apps? See how FusionAuth streamlines SSO in a live demo.
Prerequisites#
To follow along with this tutorial, you will need the following:
-
A Shopify account with admin access. If you don't have one, you can follow this tutorial to sign up for a fourteen-day free trial. You do not need to add a product or set a theme; the account is all that is required. Note your store URL, which should be in the format
https://your-store-name.myshopify.com. You'll also need to disable the password protection on your store. -
An account in a FusionAuth instance. You can either sign up for FusionAuth cloud or run your own FusionAuth instance. If you wish to self-host FusionAuth, make sure it is publicly accessible through the internet. I used this community supported GitHub repo to deploy an instance to Heroku, but you can use whatever solution you prefer.
Setting Up SSO with Shopify and FusionAuth#
Once you have a Shopify and FusionAuth account ready, you can start integrating them.
Installing the Shopify App#
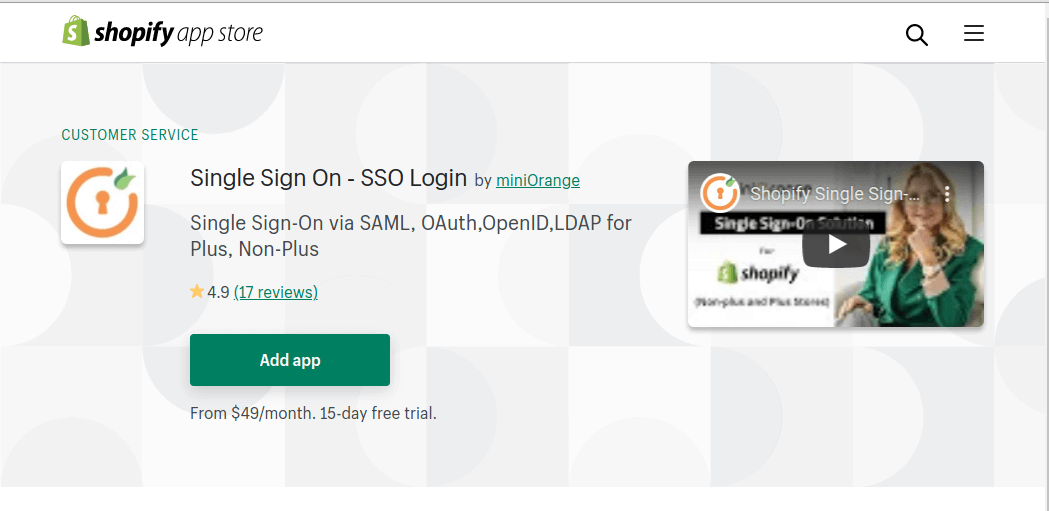
I'll be using the Single Sign On - SSO Login app to integrate FusionAuth with Shopify. This app costs money, but has a free trial period.
To install the app, open up the app store page and click on "Add app".
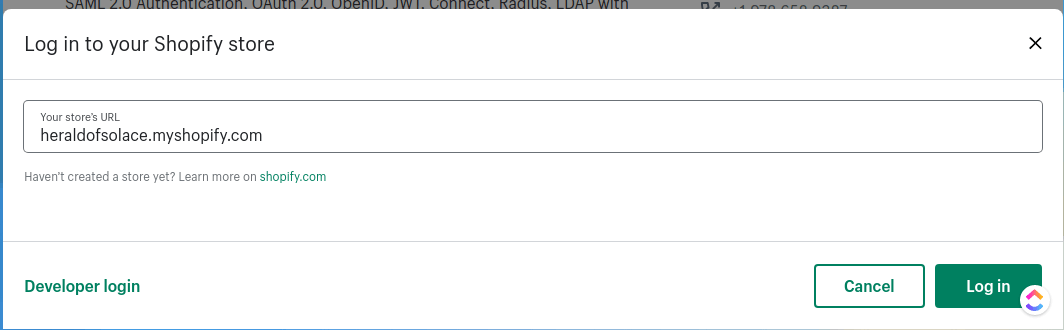
You will be asked to provide the URL of your Shopify app; after which, you will be able to log in to Shopify.
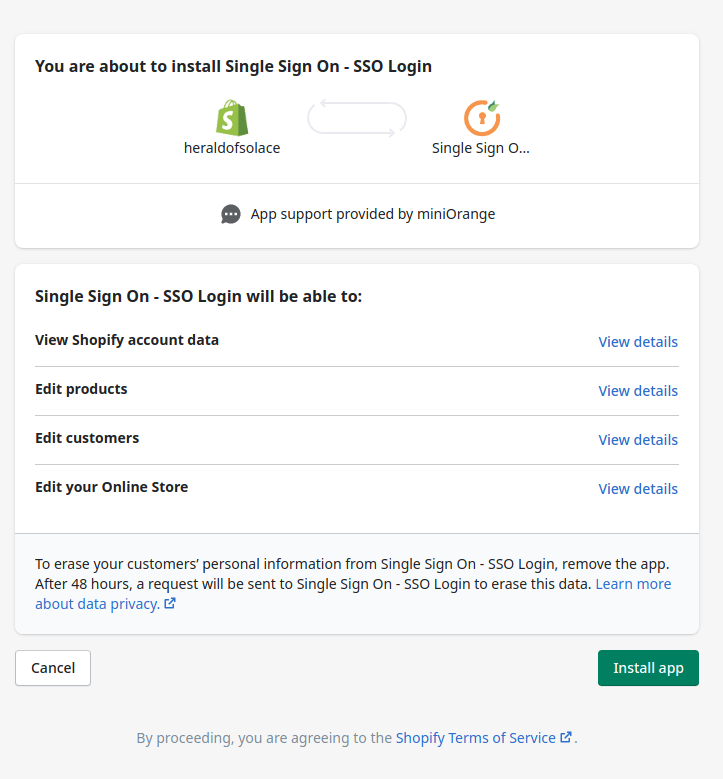
On the next page, click on "Install app", and it will be installed to your Shopify store.
Then you'll be taken to your billing page, where you must accept the recurring charge imposed by the app. You'll get a free trial for fifteen days. There are, unfortunately, no free solutions for adding single sign-on to your Shopify store.
Configuring the App#
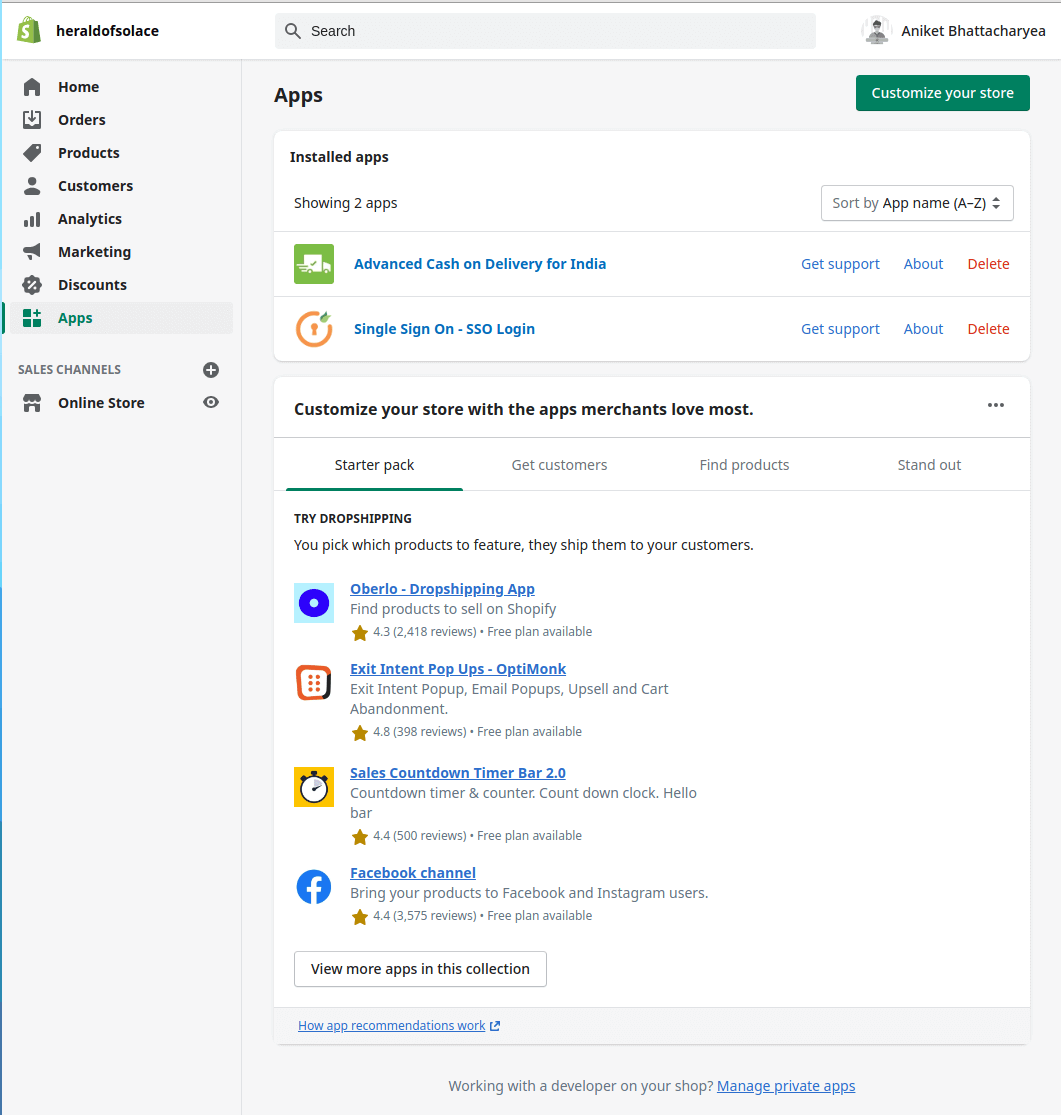
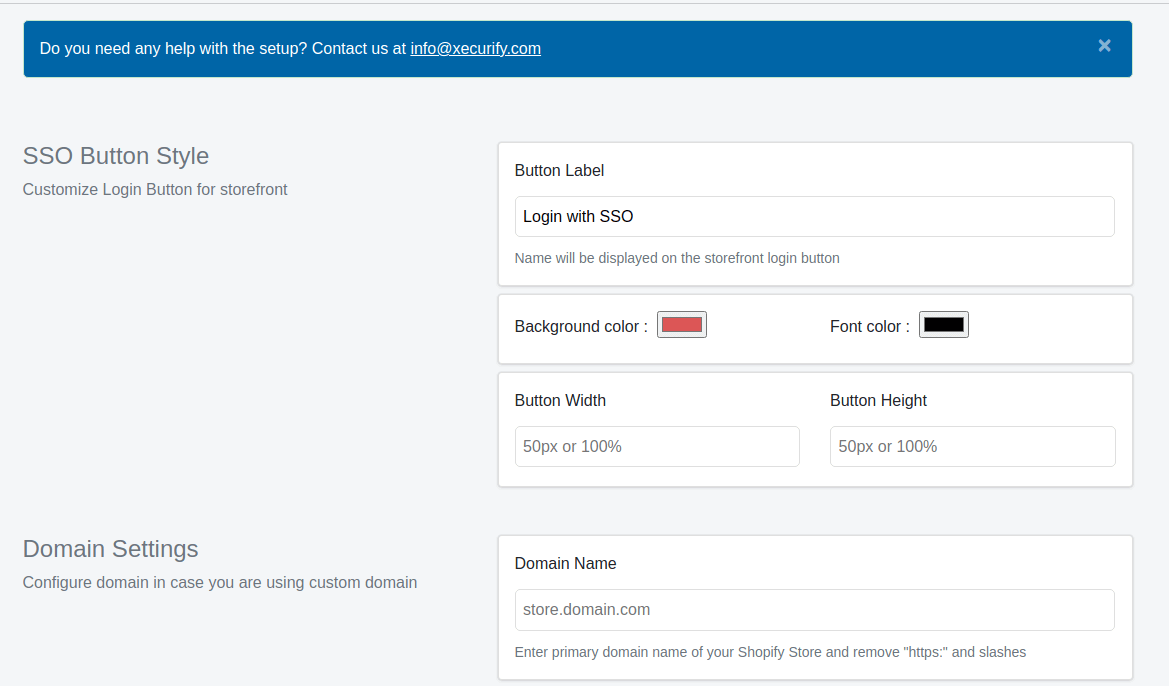
After the app has been installed, click on "Apps" on the sidebar of your Shopify admin dashboard, and then select "Single Sign On - SSO Login". You'll be taken to the configuration page for the app.
Here, you can change the appearance of the login widget that will be displayed on your store page. You can change the colors, text, and dimensions. If you're using a custom domain for Shopify, you will need to enter the domain name in the Domain Name field.
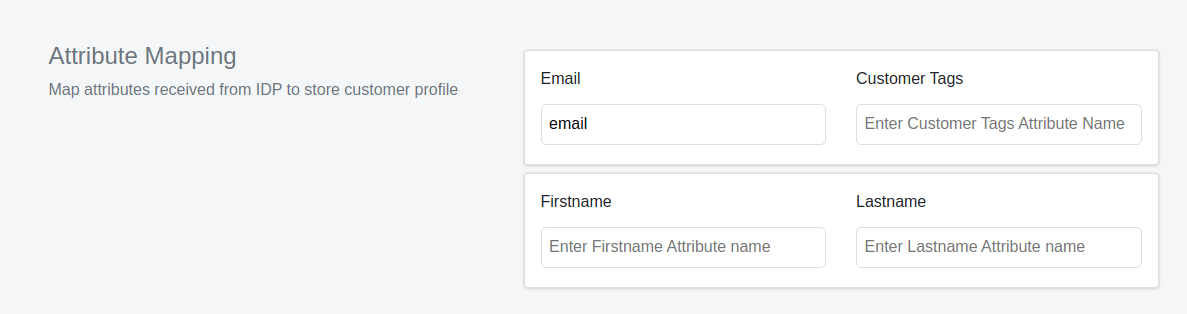
Scroll down a bit, and in the Attribute Mapping section, enter “email” in the Email field. This tells the app that the Email field present in the FusionAuth response needs to be mapped to the Email field of the user.
Click Save once you are done. Then click on the Setup IdP button at the top of the page.

You'll be redirected to the IdP setup page of the app. Note that this is a separate website, which will gather information from Shopify to automatically log you in. So you need to disable any browser extensions that might block tracking or third-party cookies only for your Shopify URL. I am using the Brave browser, and I had to turn off shields for it to work.
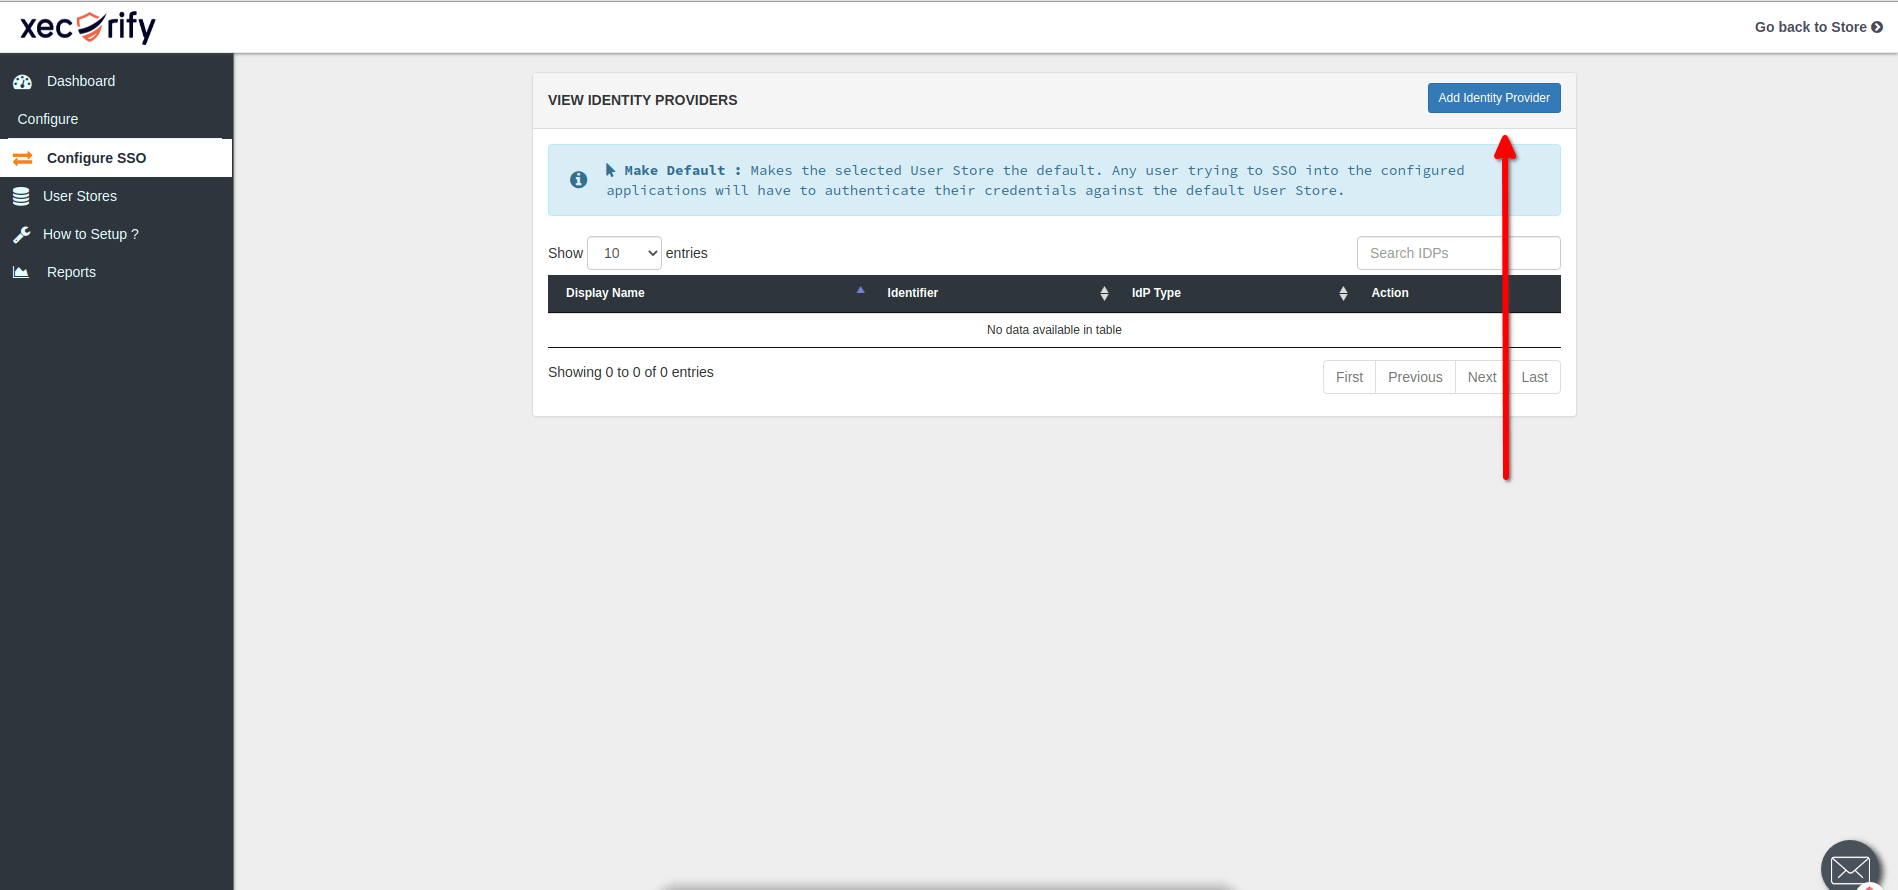
In the dashboard, click on the Add Identity Provider button.
Click on the OAuth 2.0 tab. Choose Custom provider from the App Name dropdown, and enter an App Display Name, which will be displayed in the dashboard for you to easily identify the application. Then copy the OAuth Callback URL value. Though your value will be different, it will look something like https://store.xecurity.com/moas/broker/login/oauth/callback/20956. You'll need this in the next step.
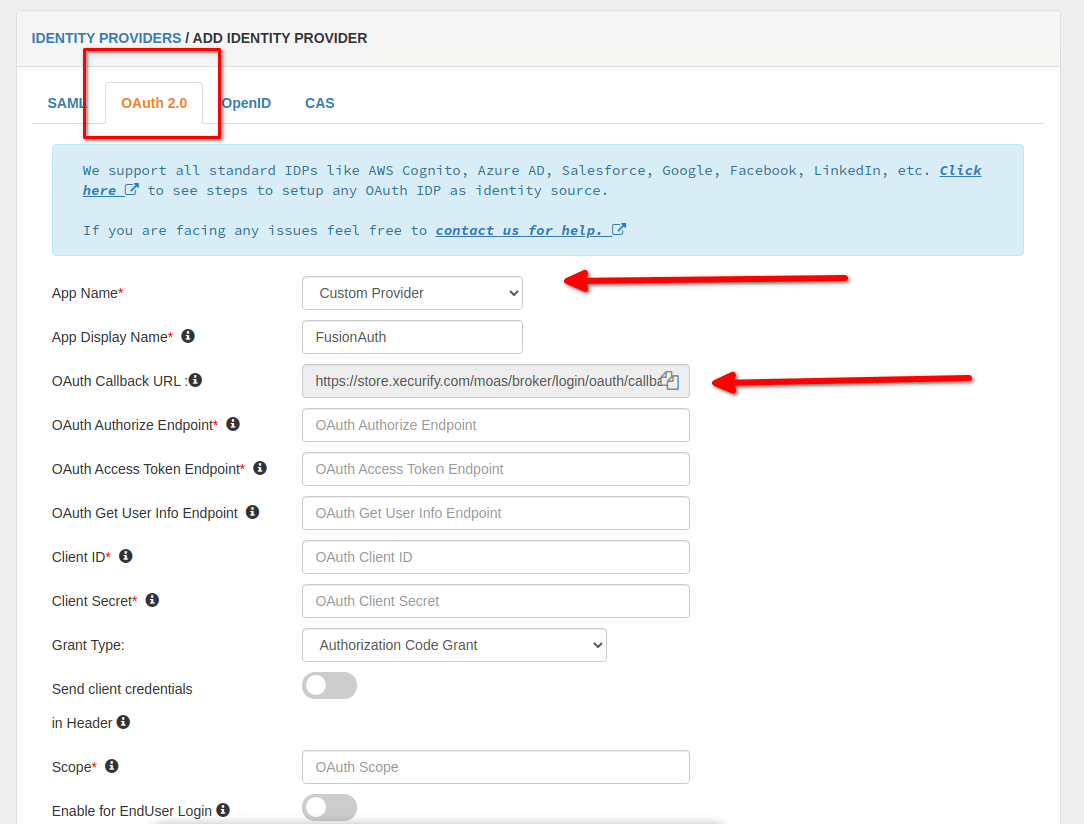
Keep this window open as you'll be coming back to it.
Configuring FusionAuth#
Next, it's time to configure FusionAuth. If this is your first time logging in to your FusionAuth instance, you need to register an account. Just enter your name, email, password, and click Submit . There's also a tutorial about setting up an instance the first time.
You can also use this sample kickstart file to set up everything if you don't want to do these steps manually. Make sure to review the kickstart file and update the authorized redirect URLs, at a minimum. Learn more about Kickstart here.
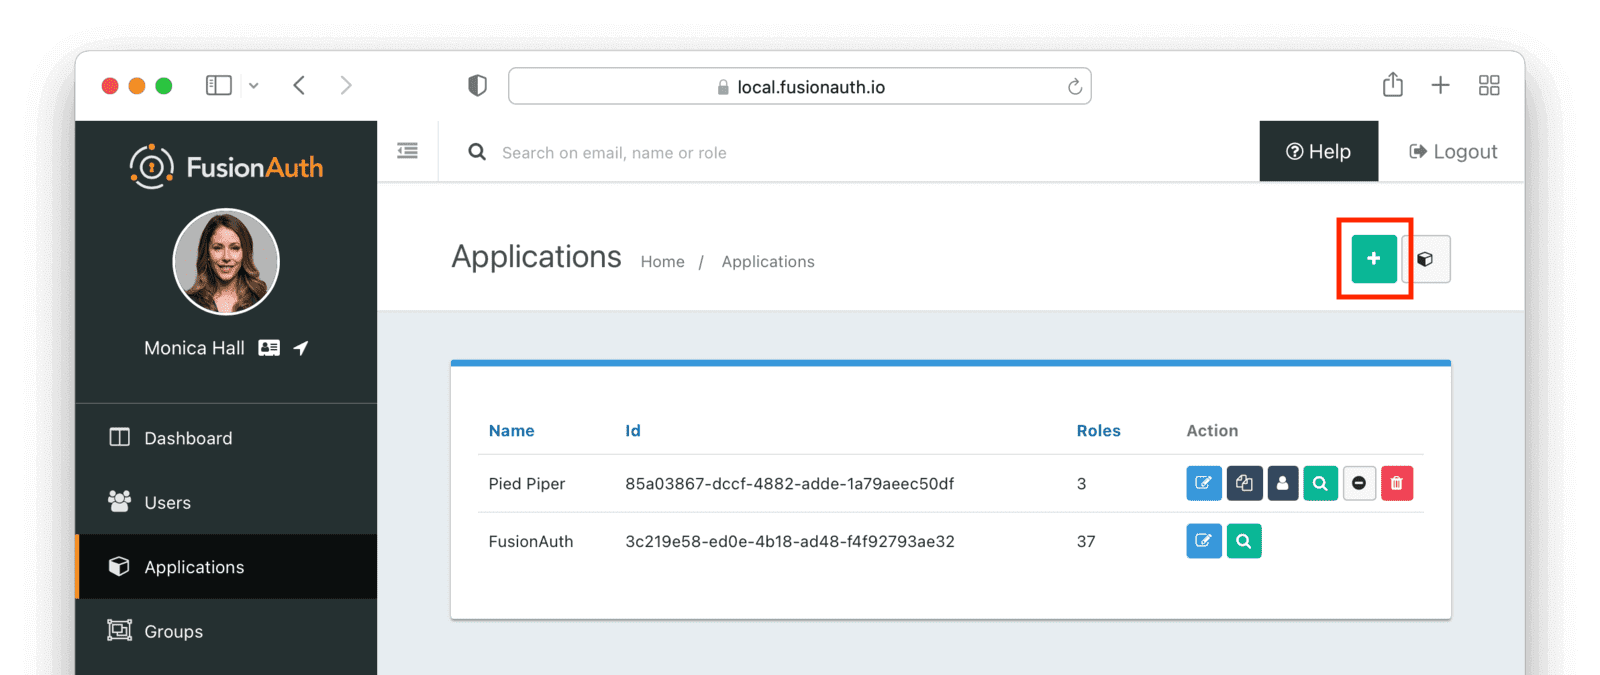
Once you are at the FusionAuth dashboard, navigate to Applications and then click the green plus button to add a new application.
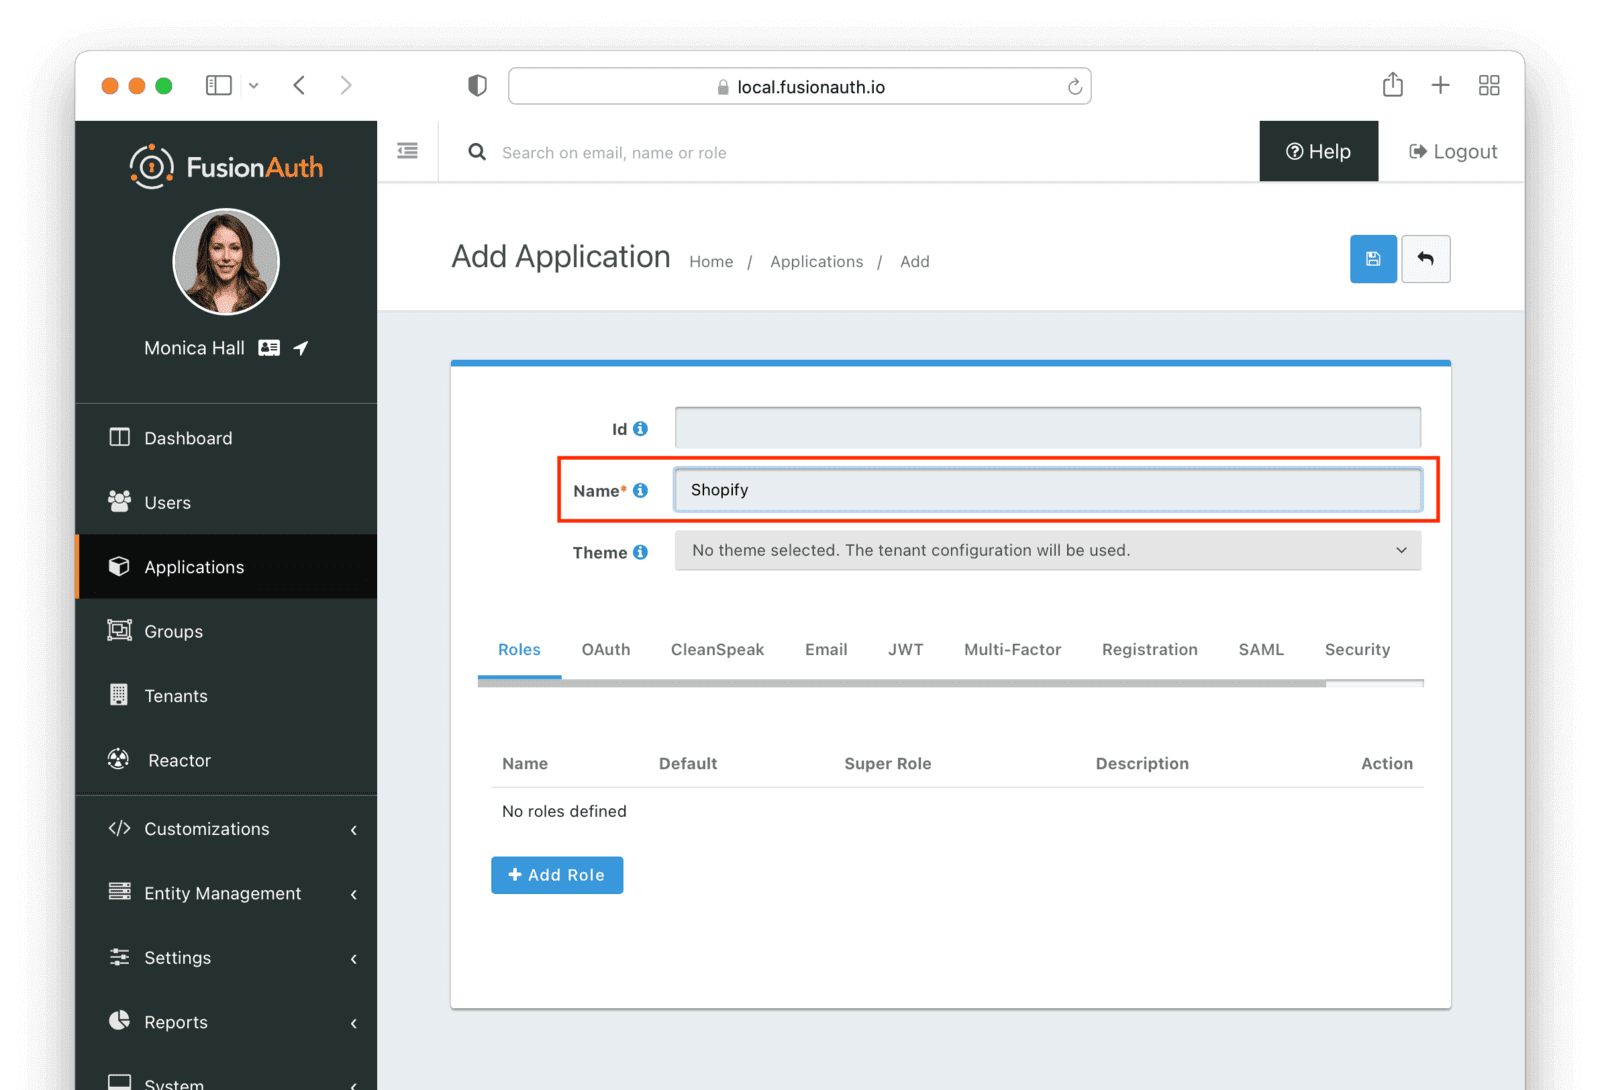
On the application creation page, you will need to provide a name for your application. This is so that you can distinguish your application in the dashboard. Go ahead and enter Shopify.
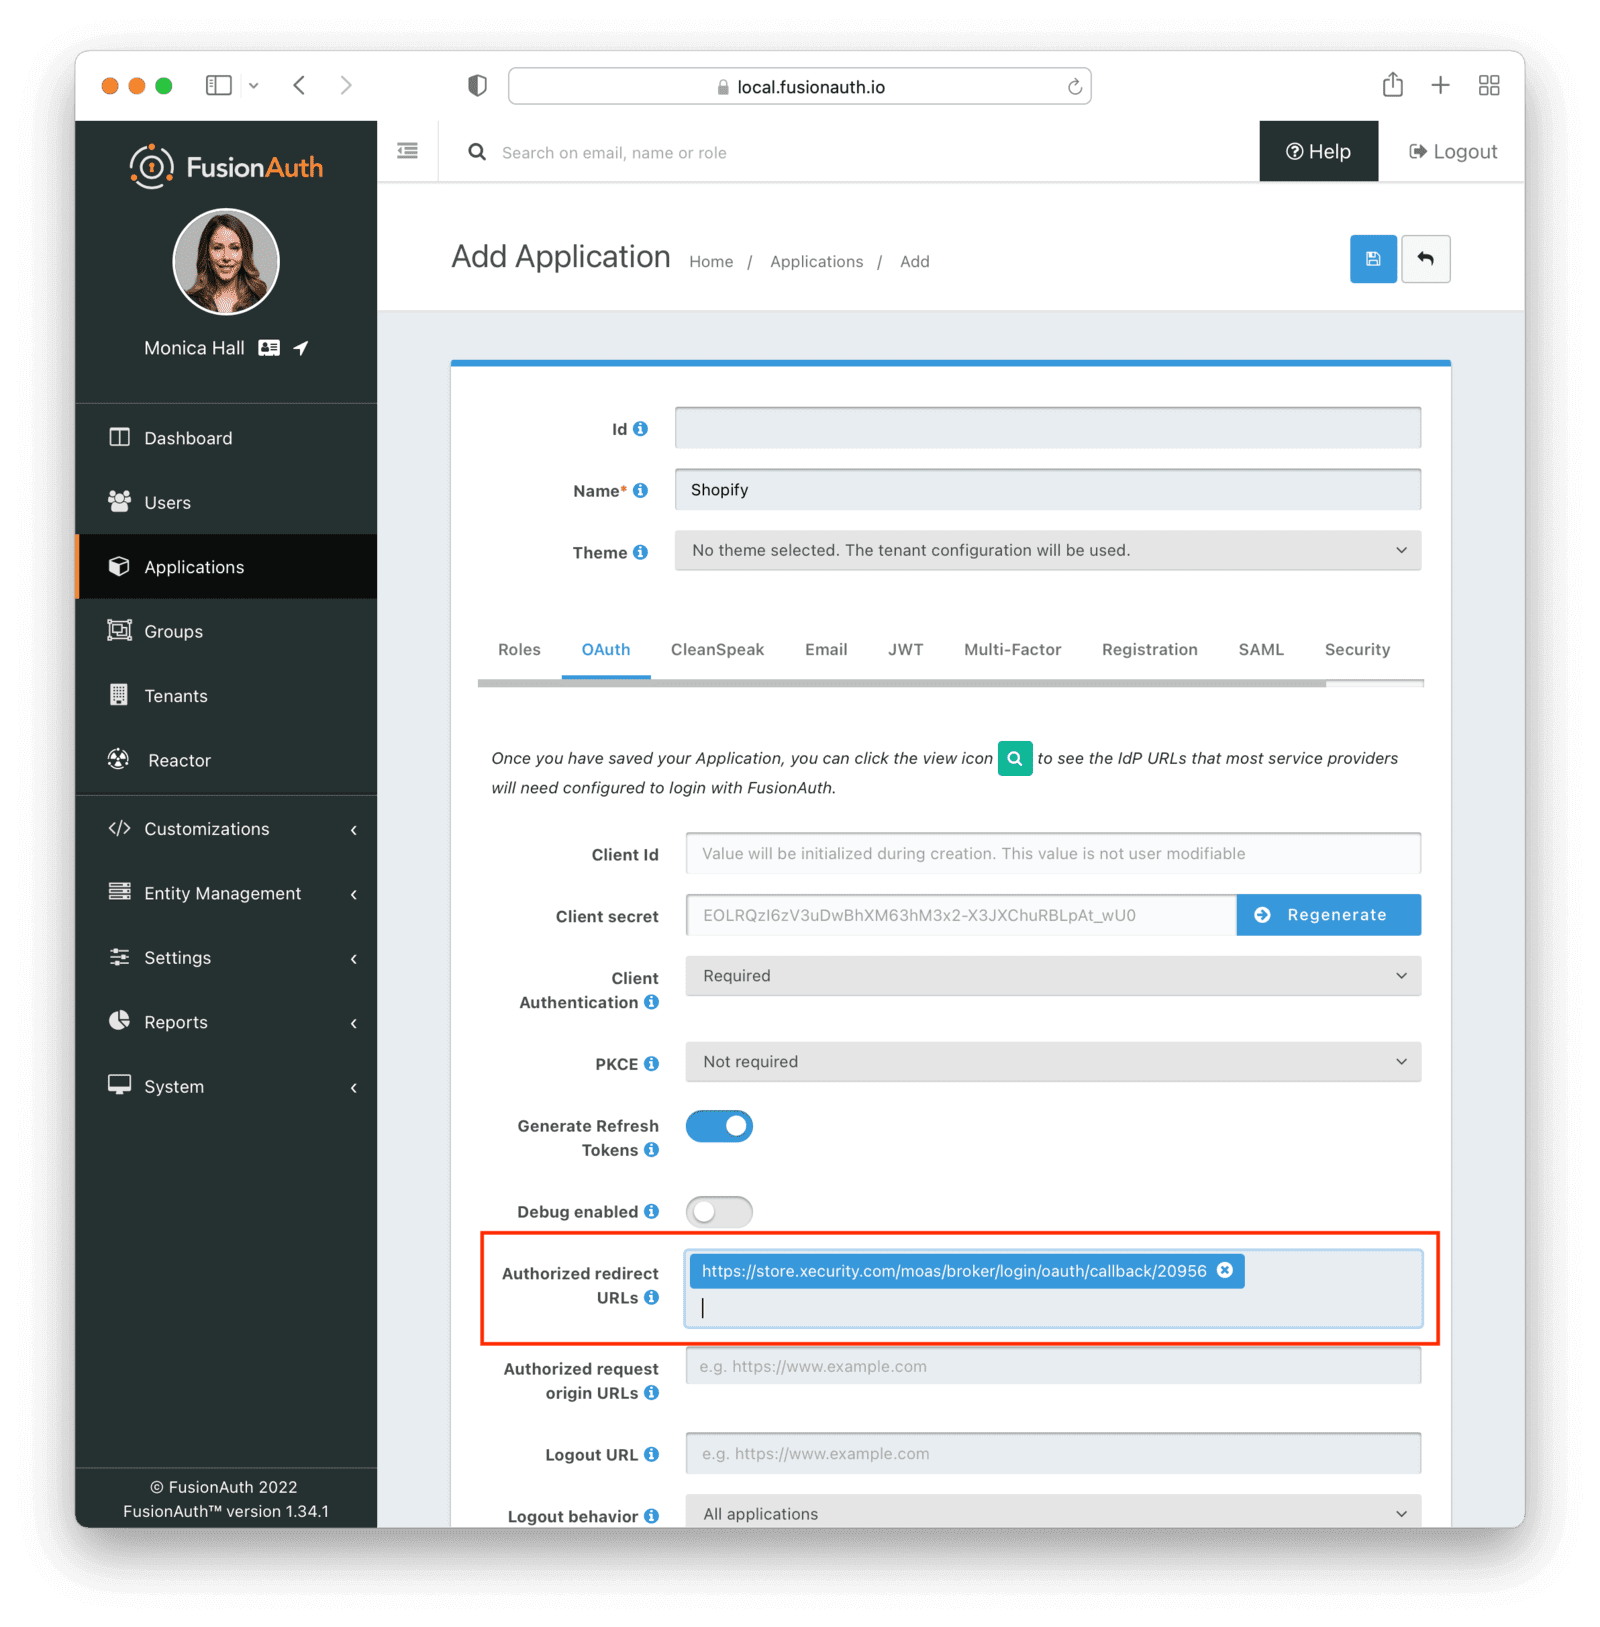
Now, click on the OAuth tab. The default settings should be sufficient; the only thing you need to change is the Authorized redirect URLs field. Here, you need to put one or more URLs where the users will be redirected once they are logged in. Paste the "OAuth Callback URL" you copied in the previous step here. https://store.xecurity.com/moas/broker/login/oauth/callback/20956 is the value for me, but yours will be different.
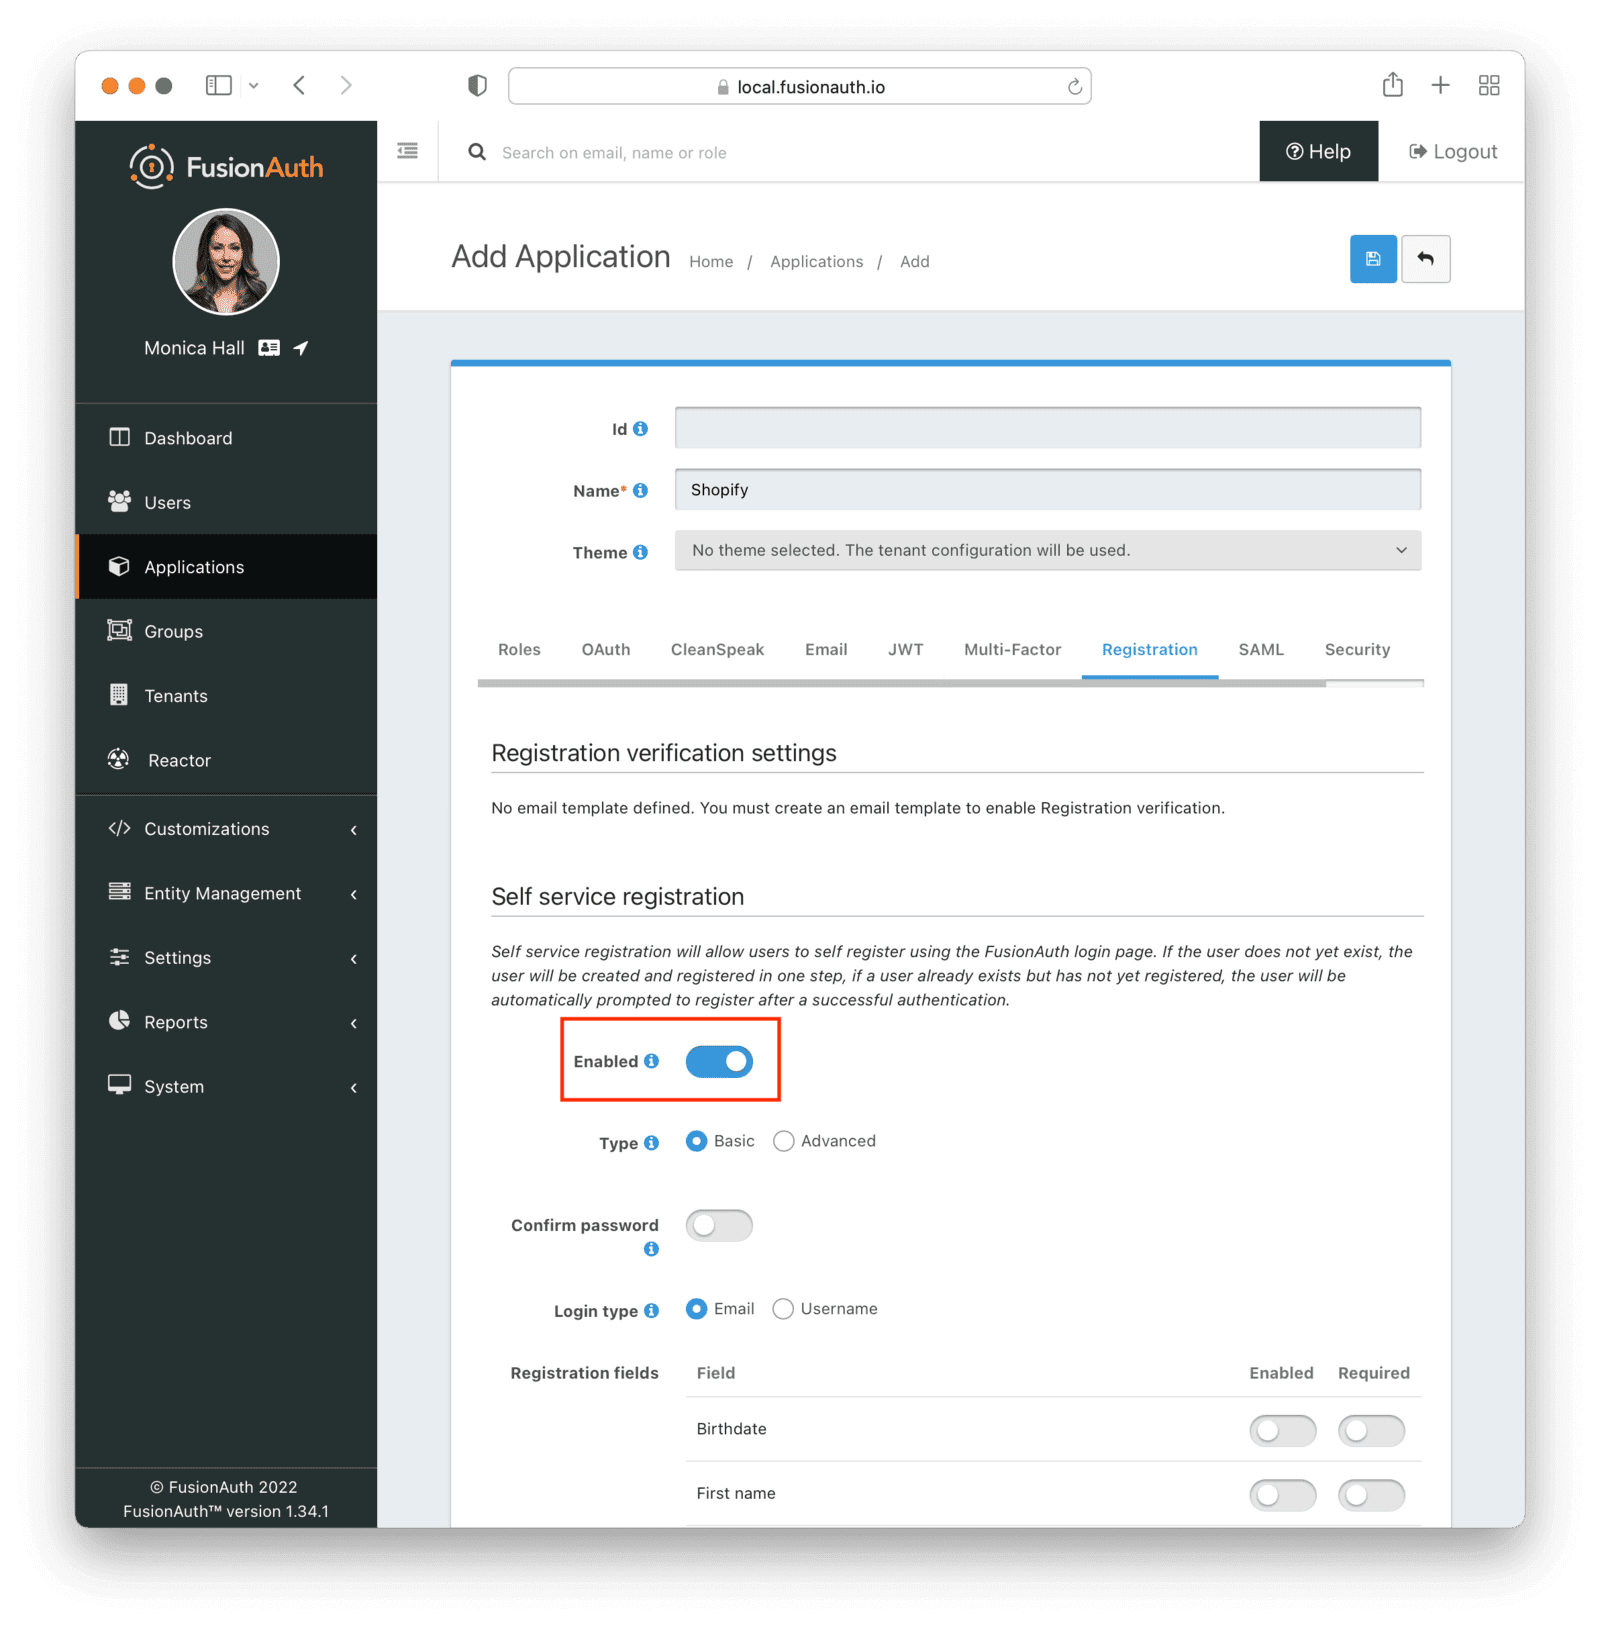
Note that by default, FusionAuth will only provide login functionality, and you will have to manually create new users through the admin panel. This is useful if you're building an internal site where you do not want users to register themselves. However, if you're building a shop, you most likely want users to be able to create an account, so let's enable that. Click on the Registration tab and enable the self-service registration. The default settings should suffice.
When you're done, click on the blue Save button at the top-right corner of the page.
You'll now be presented with a list of your applications. Click on the green looking glass icon next to the application that you just created.
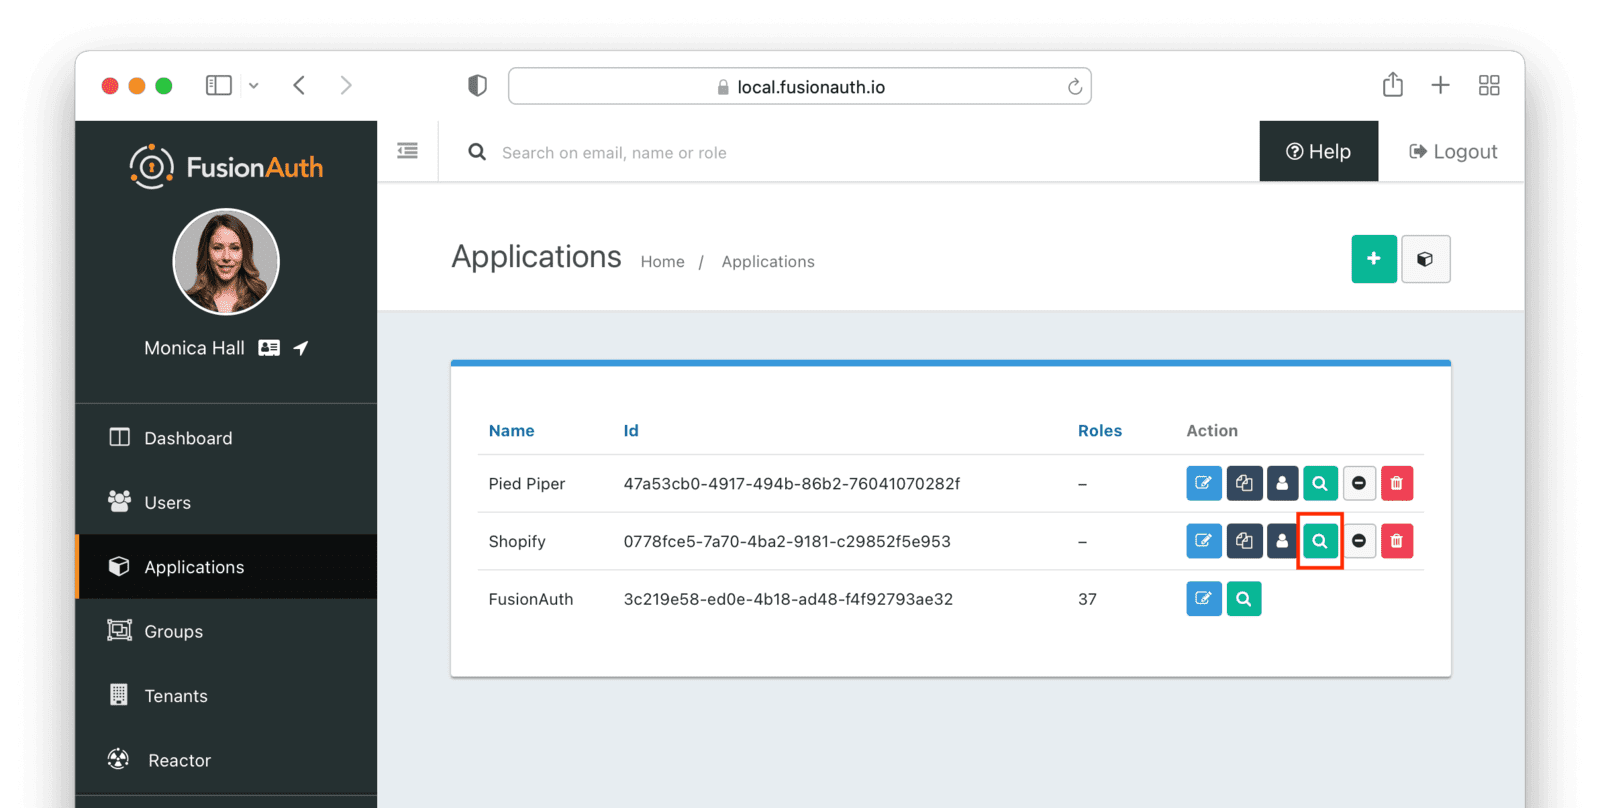
From the "Details" window, copy the "Client Id" and "Client secret".
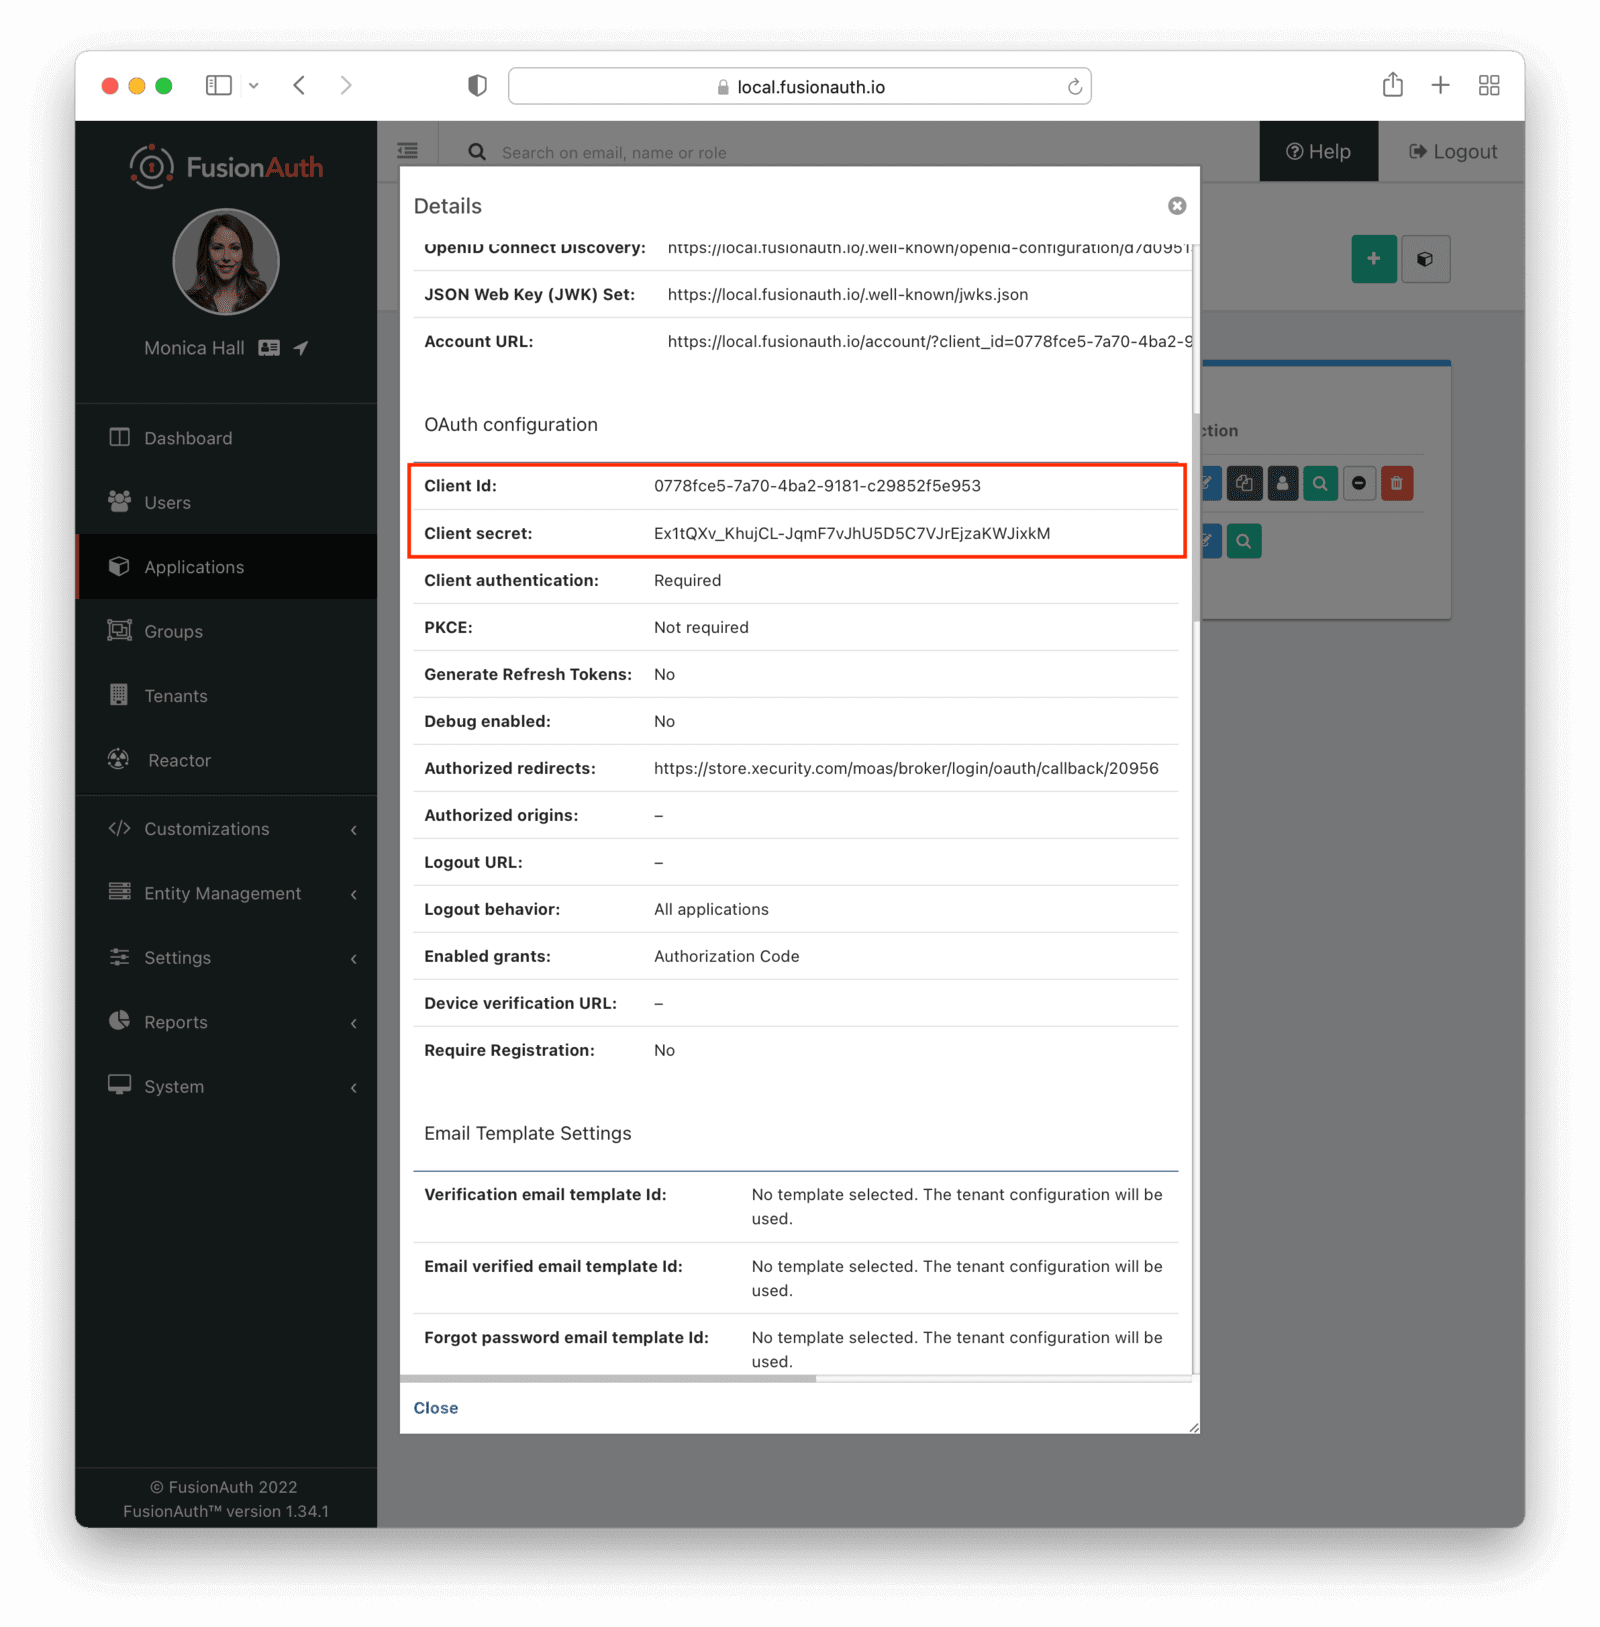
Next, navigate back to the Shopify IdP setup window from the previous section.
Paste the Client Id and Client Secret in the appropriate fields.
Then, fill the following fields. Make sure you change <your-fusionauth-instance-url> to the value of your FusionAuth instance URL:
- "OAuth Authorize Endpoint":
https://<your-fusionauth-instance-url>/oauth2/authorize - "OAuth Access Token Endpoint":
https://<your-fusionauth-instance-url>/oauth2/token - "OAuth Get User Info Endpoint":
https://<your-fusionauth-instance-url>/oauth2/userinfo - "Scope":
openid
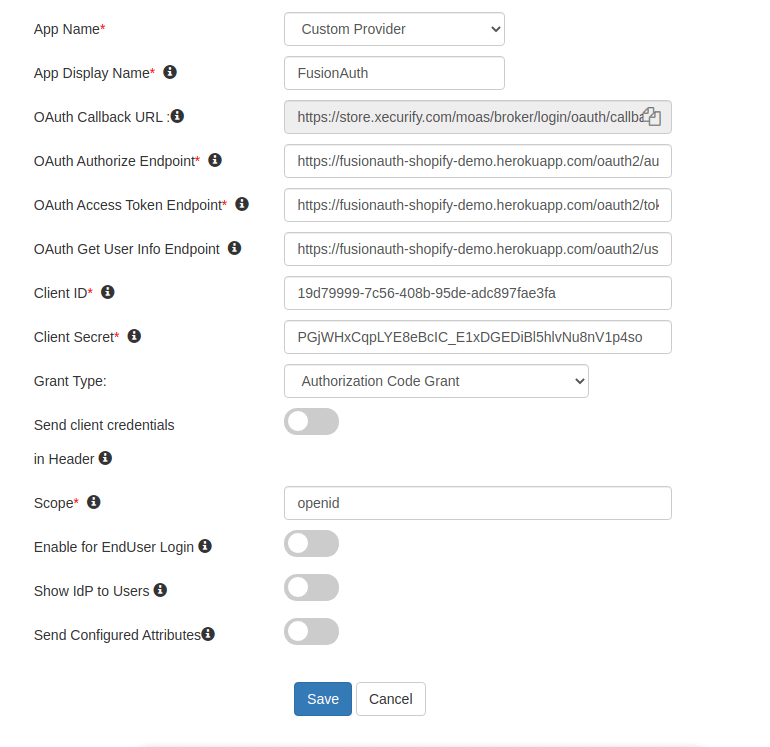
Lastly, click on "Save", and the configuration will be complete.
Testing the Setup#
Finally, let's test the entire setup to make sure everything is working. Visit your Shopify login page.
You should see the login button per your customization earlier. Once you click on it, you'll be redirected to the FusionAuth sign-in page.
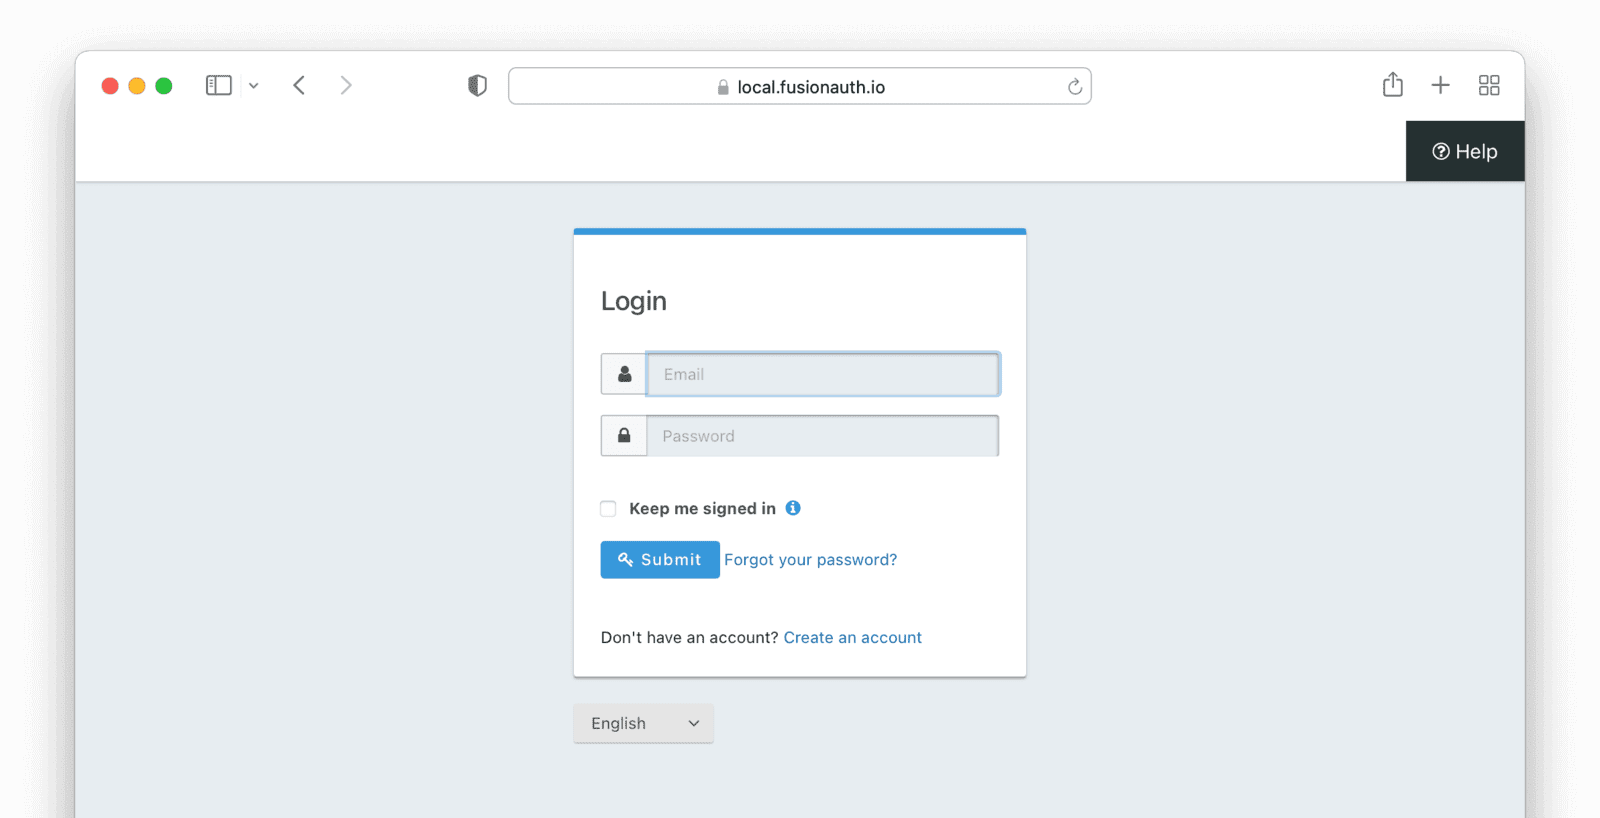
Here, you can sign in with an existing account or register a new account. To create a new account, just click on "Create an account", and you'll be presented with the registration form.

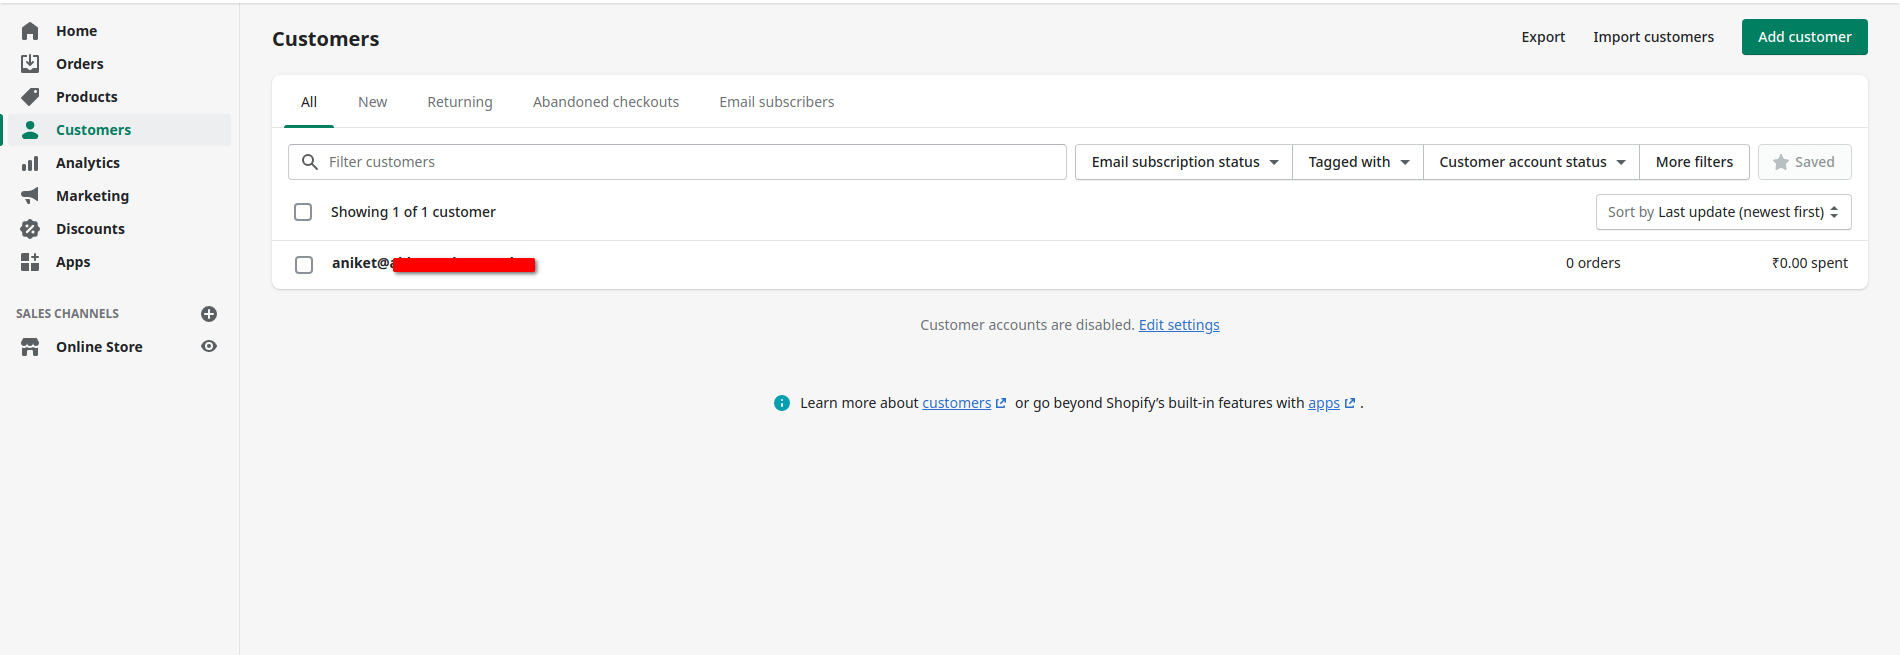
Enter your email and password, and click on "Register". After registering a new account, you can check the Customers page in your Shopify admin dashboard and verify that the new user has indeed been registered.
Congratulations, FusionAuth has been successfully integrated with your Shopify store.
Next steps#
While this post walked you through setting up SSO for your Shopify store, there is still more to explore.
- Enable this for end users to allow them to log in with FusionAuth.
- Modify the look and feel of FusionAuth using themes so it looks like your Shopify store.
- Test logging out.
- Change the look and feel of the login button on your Shopify site to look like your store.
Conclusion#
This tutorial demonstrated that using SSO can vastly improve the user experience as well as take the hassle out of user management.
You learned how to use FusionAuth as an identity provider and implement SSO with Shopify.


