


You've made changes to your web app, tested those changes, and merged the changes into your main GitHub branch. But that's usually just the start. Now you need to build and deploy to production.
That's where Vercel can help. It's a cloud platform that enables you to deploy and host websites and web applications, with a particular focus on frontend frameworks, such as Next.js. You can manually deploy your app from Vercel, or better still use your source-code-control system to make the deploy request for you.
The Vercel app is known for:
- Instant deployment: With a little configuration, Vercel builds and deploys your site each time you commit changes in GitHub, GitLab, or Bitbucket.
- Serverless architecture: You don't need to manage servers as Vercel does it for you.
- Global Content Delivery Network (CDN): Your site loads quickly because copies are distributed around the world.
Vercel is especially popular among React and Next.js developers, but it also supports other frameworks like Vue, Svelte, and plain HTML/CSS/JS.
Setup#
To follow this tutorial you need:
- A Vercel account
- A Github, GitLab or Bitbucket account (this tutorial uses GitHub)
- A registered domain name and the ability to modify DNS settings
- A fork of the example GitHub repository (explained later)
- A working instance of FusionAuth
Fork The Example Repository#
To focus on configuring Vercel, you'll fork a GitHub repository that contains the code for the example used in this blog. The repository contains:
- Code for the Vue.js application configured to use FusionAuth
- A GitHub action that works with Vercel to deploy the application on committed changes
You must fork the repository instead of cloning so that you can make changes to the repository and run the Github actions. Also, detach the fork to prevent accidentally committing changes back to the repository for this blog.
To fork and detach the repository:
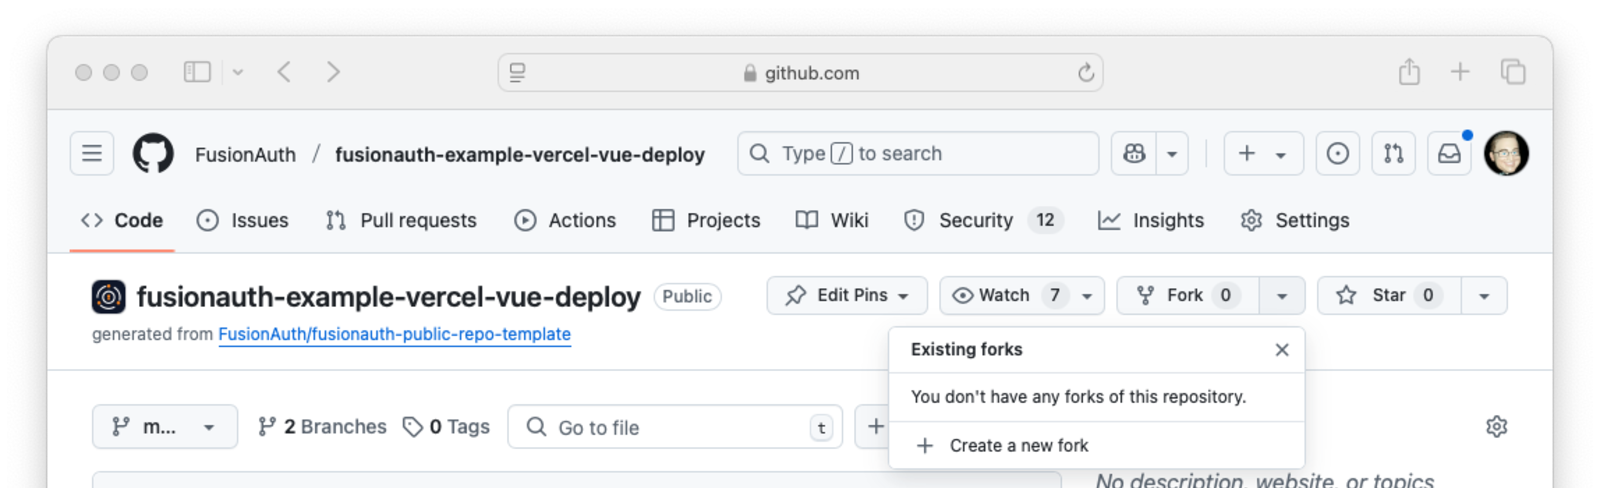
- Log in to your GitHub account and navigate to the FusionAuth/fusionauth-example-vercel-vue-deploy.
- Click on Fork and then click Create Fork on the page that opens. GitHub creates and then opens your new repository with the fork.
- Open the Settings tab for the forked repository.
- Scroll down to the section titled Danger Zone and click Leave fork network . A popover window appears.
- Click I have read and understand these effects . A confirmation window appears.
- Enter the name of the repository that's shown in the confirmation popover and then click Leave fork network .
Use this forked and detached repository for the rest of the blog.
The example in this tutorial uses the domain codegremlins.net. When you see that name, replace it with your domain. For example, your domain is myowndomain.com and the step shows auth.codegremlins.net, replace it with auth.myowndomain.com.
Create a Vercel Project#
In this section you create a Vercel project and connect it to your GitHub repository. The following steps include connecting Vercel to your GitHub account and repository. If Vercel is already installed in your GitHub instance, you can skip steps 3 - 6 below.
- Log in to your Vercel account and navigate to the Overview tab if it's not already open.
- Click Add New and choose Project .
- In the section titled Import Git Repository click Continue with GitHub .
- Vercel requests permission to verify your GitHub identity. Select Authorize Vercel .
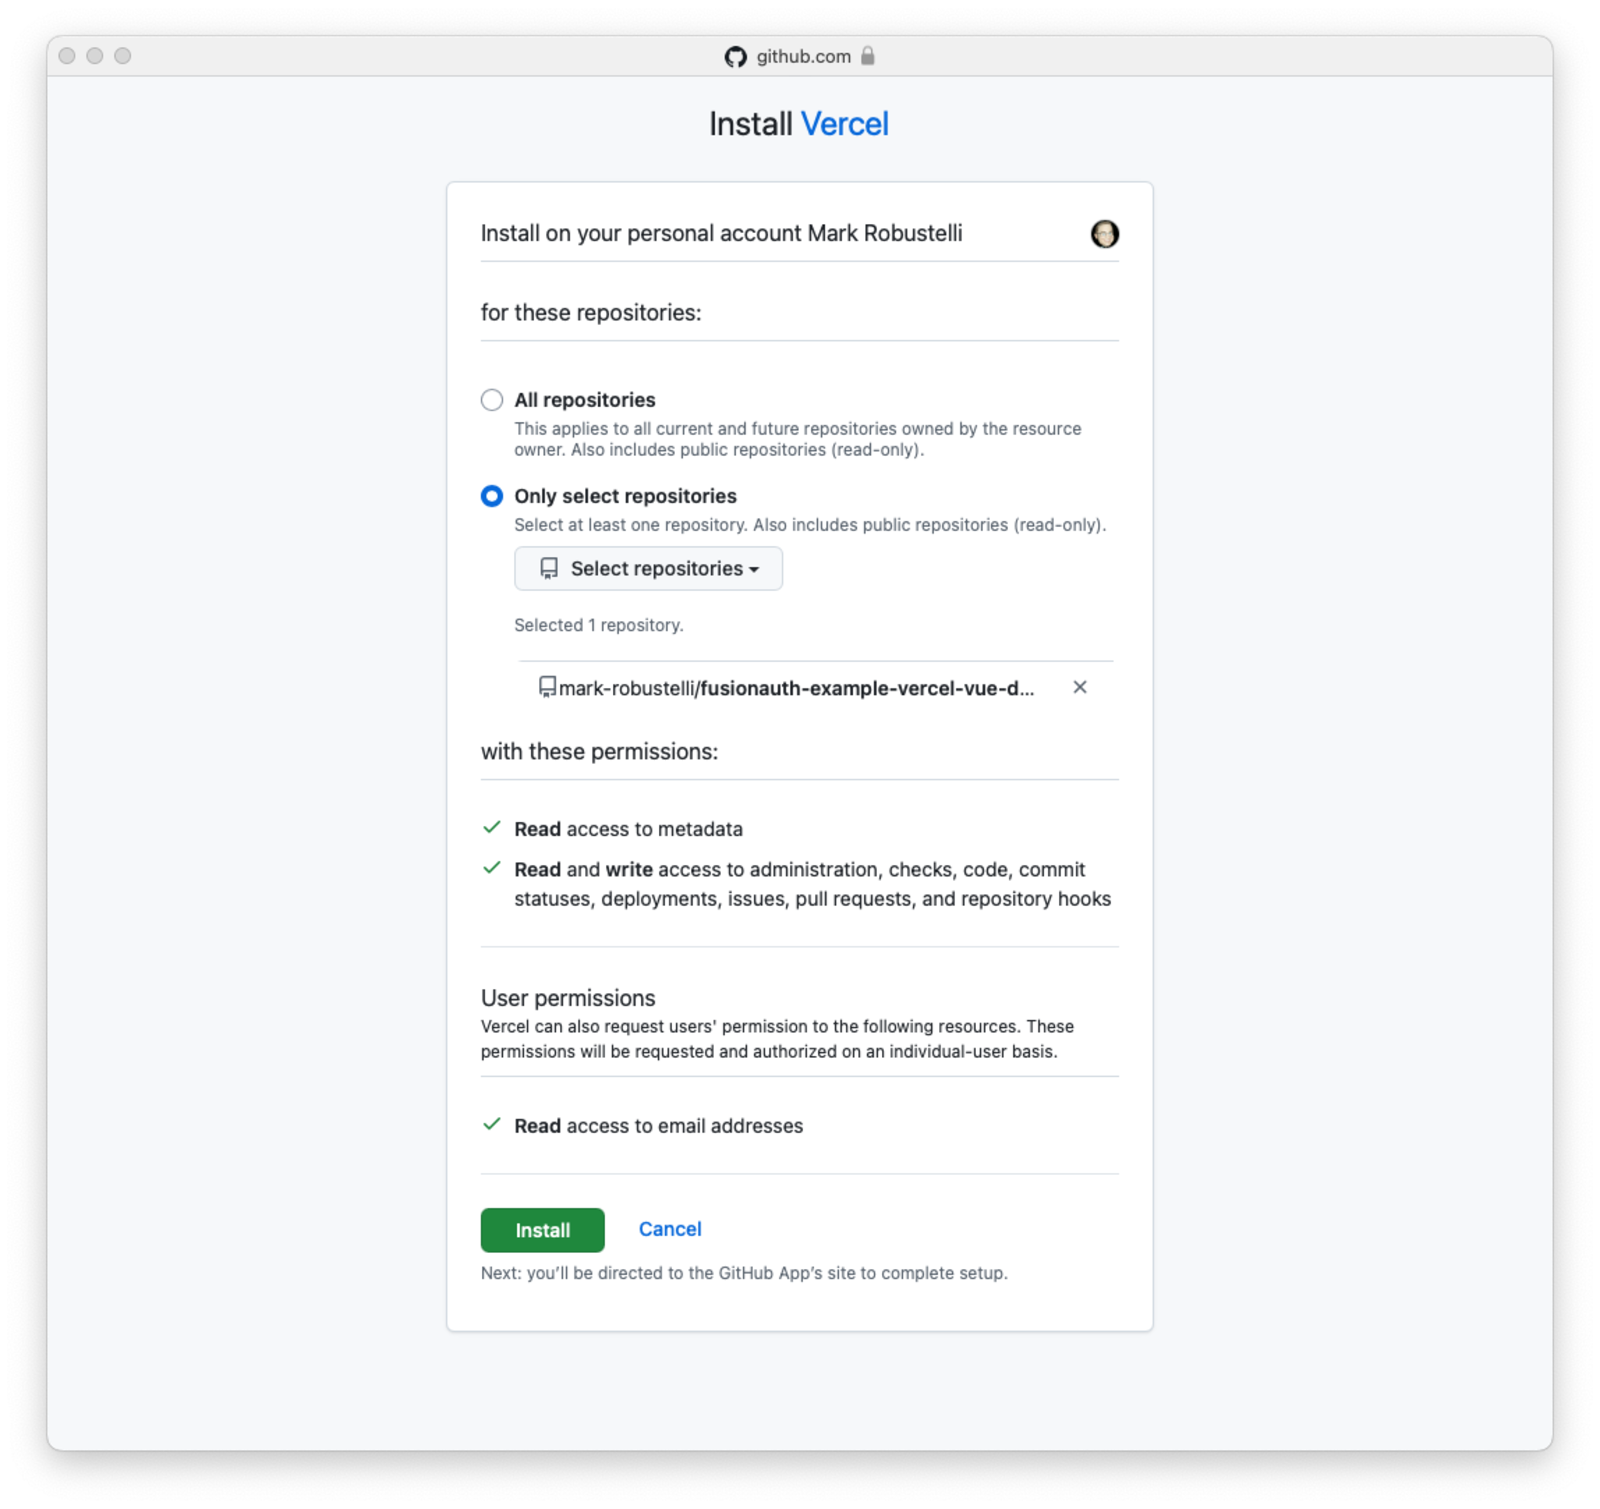
- Vercel requests that you install it into your GitHub account. Select Install . In the popover that appears select Only select repositories and choose the repository you forked in Fork The Example Repository.
- Click Install .
- Click Import for your forked repository.
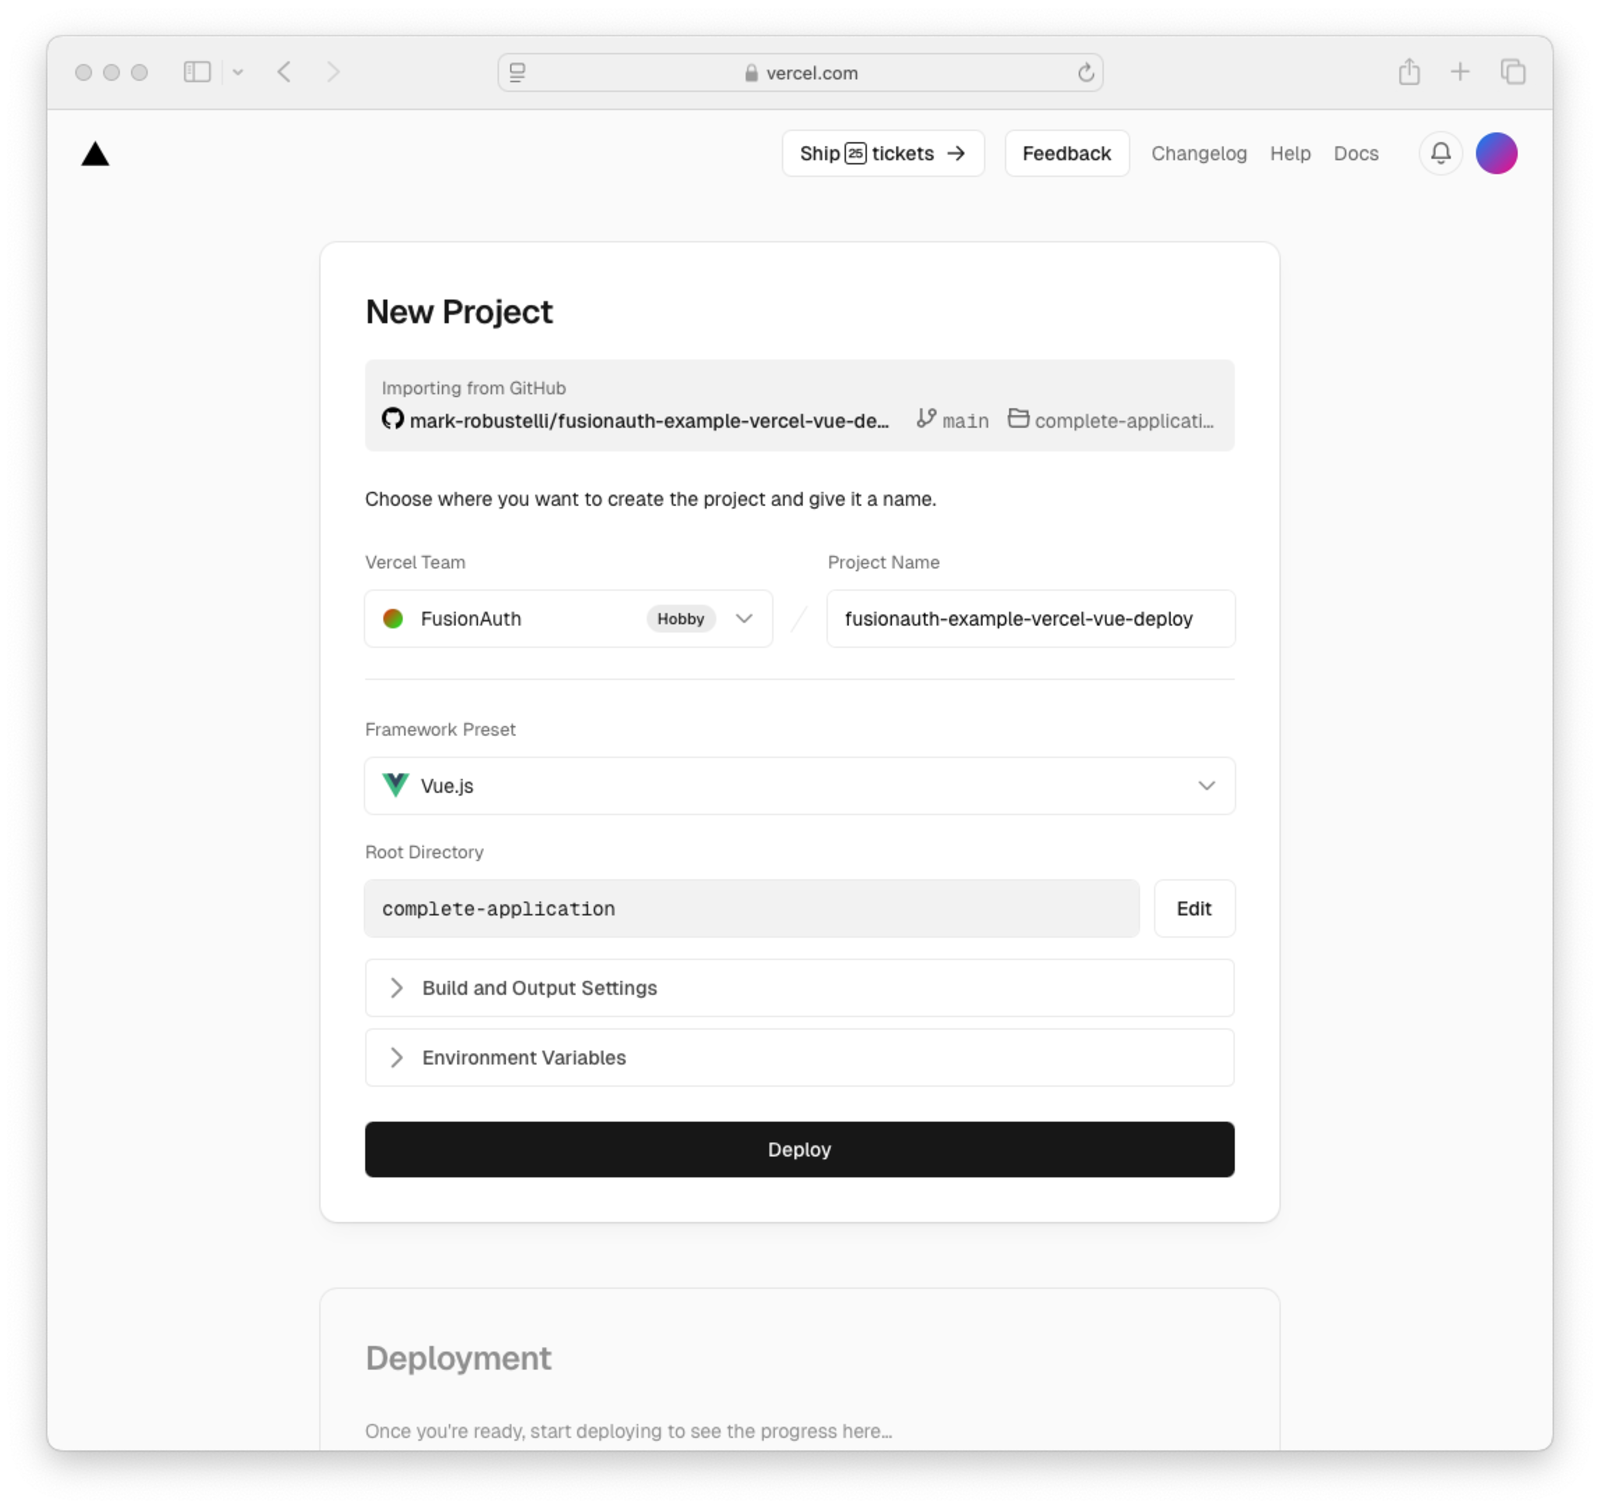
Vercel needs two more pieces of information before it can deploy your app:
- Select
Vue.json the Framework Preset menu. - Click the Edit button next to the Root Directory field, enter
complete-application, and click Save .
You can now deploy your application manually: click Deploy .
The text in the Deploy button changes to an animated wait cursor. Once it's deployed, you'll see a Congratulations message and a screenshot of your application.
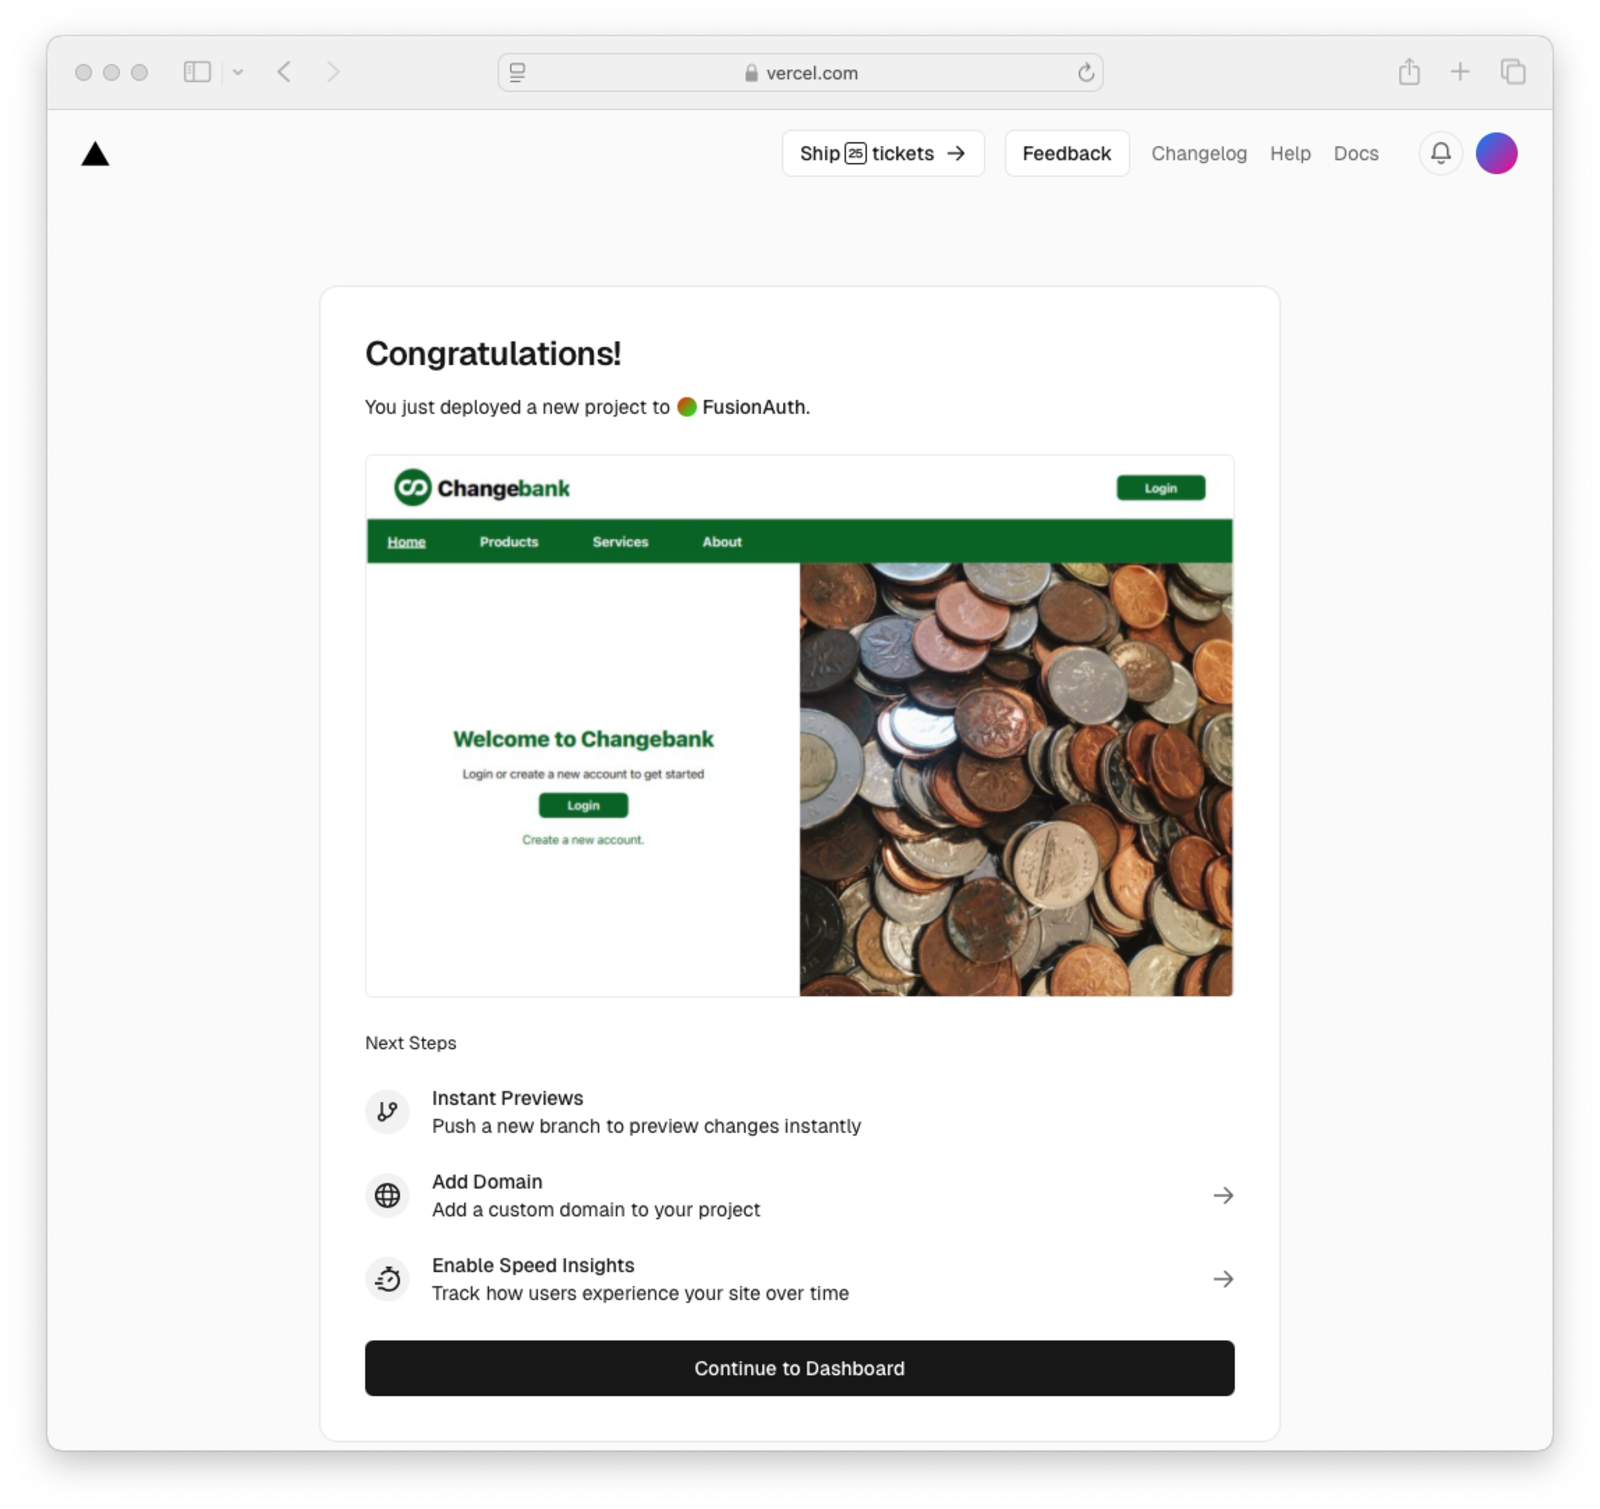
Return to the dashboard by clicking Continue to Dashboard .
Create A Friendlier URL For Your Deployed Application#
The URL for your deployed app is generated by Vercel using their domain. You'd prefer a URL that uses your domain and an appropriate app name. To do that, first specify the URl for your app in Vercel:
- Click Domains on the Vercel dashboard for your project. The domain settings page opens.
- Click Add Domain . A popover window appears.
- Enter the desired domain name in the domain name text box of the Add Domain section. This tutorial uses
changebank.codegremlins.net, you'll enterchangebank.{your-domain}. Accept the value ofProductionfor the Connect to an environment field. - Click Save .
- Leave the DNS settings request screen open during the next part.
The new domain name is assigned to your app but entering the URL into a browser results in a page not found error. This is because the your domain name service (DNS) provider doesn't know that the changebank domain is hosted by Vercel. To fix that add a CNAME record to your domain that knows to use Vercel for the ChangeBank app.
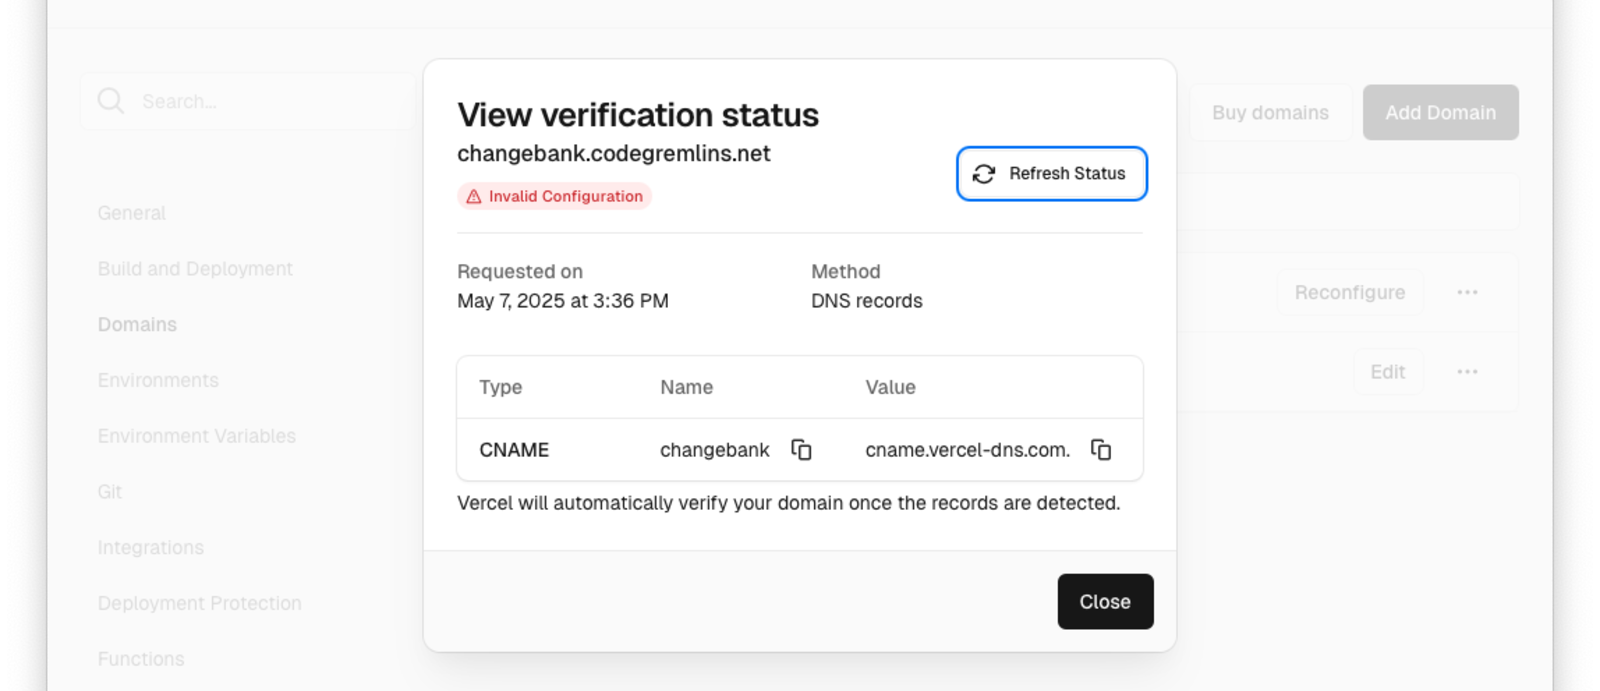
The specific directions for adding a CNAME record depend on your provider. Once you've added the record, return to the DNS Settings request screen in Vercel. Refresh the status as needed until Vercel shows that the configuration is working. This may take some time as the change from your provider must propagate across other providers.
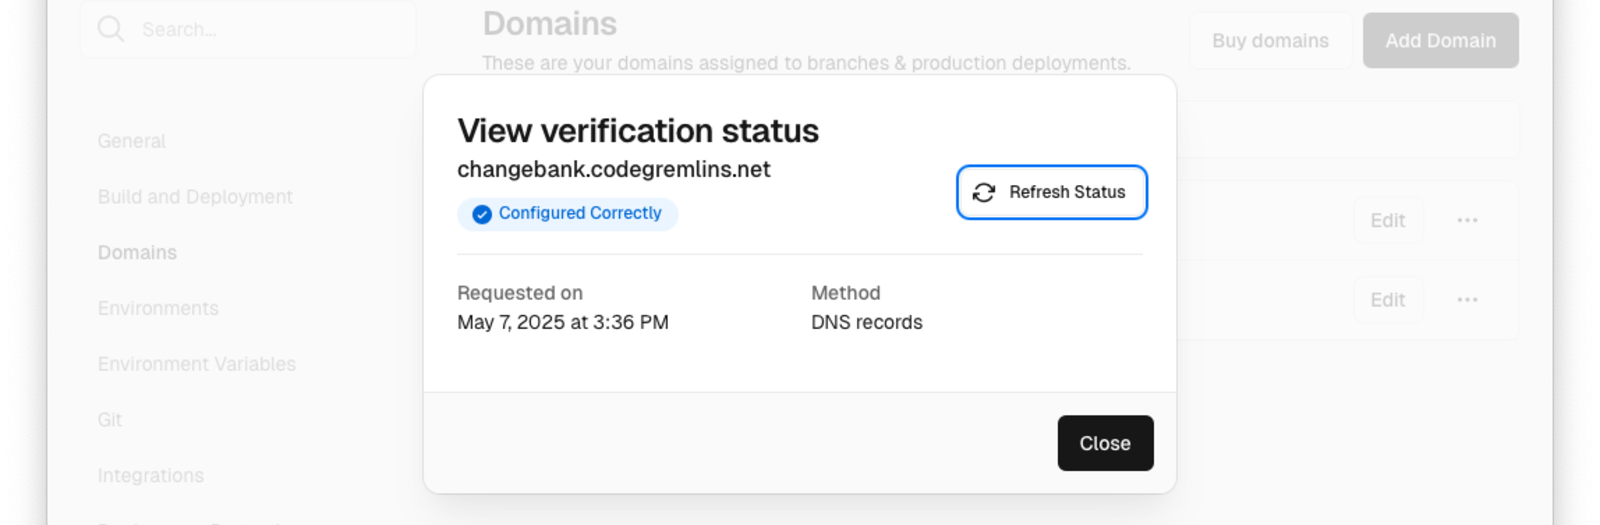
Verify that everything is working correctly by visiting your app at the changebank URL you specified.
Setup Automatic Deployment#
Currently you deploy your app manually. The next step is to configure GitHub to automatically request deployment when you commit changes to the main branch. The repository already contains the code for a GitHub action to do this: .github/workflows/deploy-to-vercel.yml. What's missing are the values for the script:
- Project ID (
VERCEL_PROJECT_ID) - Organization (
VERCEL_ORG_ID) - Credentials to connect to Vercel (
VERCEL_TOKEN)
Find Your Project ID#
Click on the Vercel logo in the top-left corner of the page and then select your project. Open the settings for your project and make a note of your Project ID.
Find Your Org ID#
Open your account settings by clicking on your user icon in the top-right corner of the Vercel page and click Account Settings . Select General on the left of the settings page, and then scroll down until the User ID is visible. Make note of the ID and keep it somewhere safe.
Generate A Connection Token#
Open your Vercel account settings by clicking on your user icon in the top-right corner of the Vercel page. Once on the settings page:
- Select Tokens on the left-hand side.
- In the Create Token area configure fields as follows:
- Enter “Changebank App” into the Token Name.
- Select your account for the Scope.
- Set the Expiration Date to sometime in the future. Normally the value you use is based on your security requirements.
- Click Create to create the token.
- Copy the information for the token as you'll enter that later. Keep the information safe and secure.
- Click Done .
Add The Secrets To GitHub#
Next you'll add three GitHub repository secrets, one for each value from Vercel. First, open the GitHub area for entering repository secrets for Actions:
- Log in to your GitHub account.
- Select the repository for your version of this app.
- Click Settings and then click Secrets and variables .
- Click Actions .
Use the following steps for each secret to add them to GitHub (VERCEL_PROJECT_ID, VERCEL_ORG_ID, and VERCEL_TOKEN):
- Click New repository secret .
- Enter the name of the secret in the Name.
- Enter the value for the secret in the Secret.
- Click Add secret .
Enable Repository Actions#
The last step to enable automatic deployment is to turn on the GitHub actions for the repository. This enables execution of the deploy script in the .github/workflows directory.
- Open the Settings pane for your GitHub repository.
- Click Actions in Code and Automation to expand the menu item and then click General .
- Enable actions for the repository and then select Allow all actions and reusable workflows in the Actions permissions section.
Configure FusionAuth For Your Application#
Your app still doesn't connect to your instance of FusionAuth. Update the configuration and commit the changes to verify that automatic deployment is working:
- Open the
main.tsfile located in thecomplete-application/srcfolder in your code editor. - For each of the four keys:
clientId,serverUrl,redirectUri, andpostLogoutRedirectUriupdate the values for your FusionAuth instance. The default settings for these values in the forked repository are:clientId: Replace the current value ofec526002-35cc-4e6e-8f5b-0e4fba2b08c8with the application ID of your FusionAuth instance.serverUrl: Replace the current value ofhttps://auth.codegremlins.netwith the URL for your FusionAuth instance.redirectUri: Replace the current value ofhttps://changebank.codegremlins.netwith the URL for your Changebank application.postLogoutRedirectUri: Replace the current value ofhttps://changebank.codegremlins.netwith the URL of the page to open after a user logs out. In this case, it is the same as the application itself.
- Commit the changes to GitHub.
You can now click on the Actions tab in your repository. Here you view the status of the action created by your commit. If everything is configured correctly an action starts and then completes successfully. If you run into errors, double check your values.
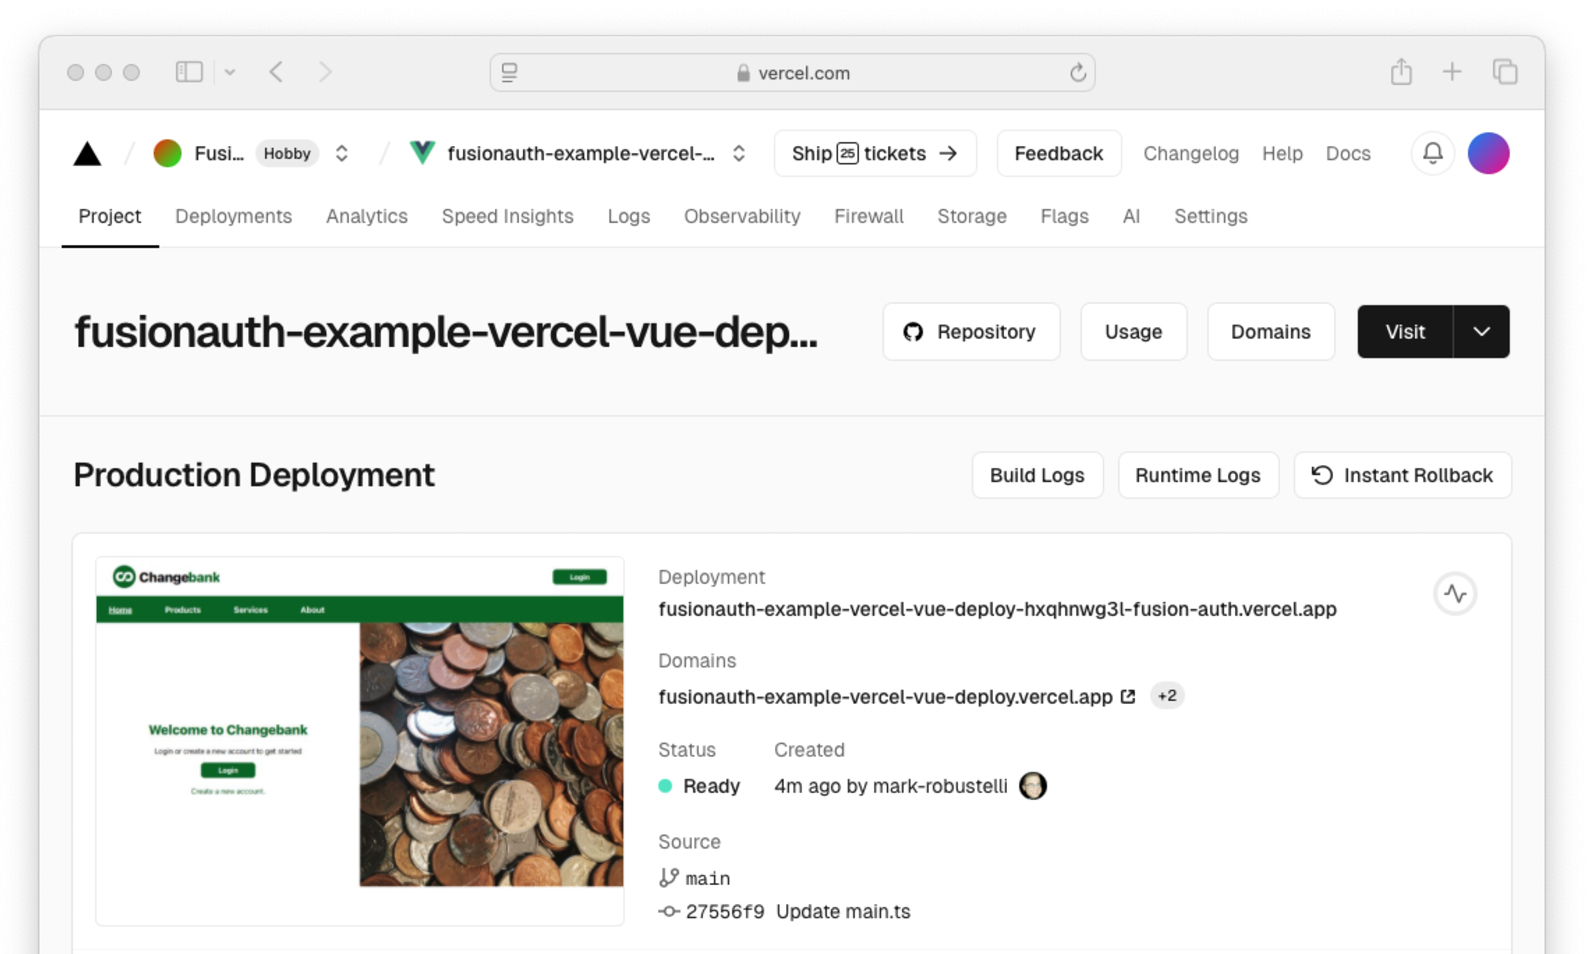
Verify Application Deployment#
Log into Vercel and view the main page for the project. Check that the Created date and is within the last few minutes. Click on the URL to see your updated application.
Next Steps#
And just like that, with a push to GitHub, your humble little app is live on Vercel, complete with authentication and dangerously close to being mistaken for a production app.
This is a basic tutorial on how to deploy an application to Vercel using FusionAuth as the authentication provider. However, before you start sending out press releases and quitting your day job, a word of caution: deploying straight to production is like skydiving without a backup parachute—it's exhilarating until it isn't. If you're planning on adding new features (or “breaking things” as we call it in tech), you might want to set up custom environments in Vercel. That way, you can deploy to development or preview environments first, make sure everything still works.
Custom environments enable configuring GitHub actions for each environment. For example, you can deploy to a test environment before you deploy to production. You can also set a different Vercel environment for each branch.
In the end, deploying a FusionAuth-secured app to Vercel is as easy as git push, however staying sane in production? Well, that's another story. Happy coding, and may your auth tokens never expire at the worst possible moment!


