


Self-service registration lets your users sign up for an account, providing credentials and other required profile attributes, and immediately gain access to the application.
Users enjoy the easy sign up process, but attackers can register too. In this post you'll learn how to verify the identity of a registering user with a third party API.
Self-Service Registration Overview#
FusionAuth supports both basic and advanced self-service registration to provision users (that's fancy for 'add them into your user datastore').
- Basic registration offers a single-page themeable registration flow with a limited number of fields, such as first name and last name.
- Advanced registration supports multi-step themeable registration with unlimited user provided fields.
Both basic and advanced registration let you mark registration fields as required. Advanced registration offers custom validation options, including matching fields against regular expressions.
Advanced registration also lets you run custom JavaScript logic during the registration lifecycle. FusionAuth calls these custom snippets of logic lambdas. Lambdas can be configured to run at other points in the user lifecyle as well, such as when the user logs in using a social provider or when a token is created.
Both registration options trust the end user to provide accurate information and are well suited to consumer-facing applications. But advanced registration lets you configure a validation lambda which can improve registration conversion and security.
Registration Security#
By opening up your application so that anyone can sign up, you increase ease of use but also expose an attack vector. Common vulnerabilities or issues in registration flows include:
- fake emails which are undeliverable
- bot registrations for accounts not tied to a real human being
- identity fraud when an attacker uses a real email address that they do not control
The business impact of allowing unverified users into your application include:
- waste of resources
- incorrect reporting
- possible security impacts
- unreachable users, including for critical flows like "forgot password"
- mistaken registration of legitimate users, if they enter an email address with a typo
- abuse of the system by malicious actors, such as sending offensive messages to other users
You can mitigate some issues by using email verification. Email verification sends a code or link to the email address provided during registration. This proves the provided email address is real and the user has access to the email account. You can gate account access until such verification occurs. You can delete accounts that haven't been verified after a certain period of time as well, keeping your user database tidy.
However, this might not be enough. After all, spammers can get valid email addresses. You may need more assurance that the provided identity is real. You can look beyond the email address, and consider other provided profile data such as a first name and mailing address. Even with the email, you can look at the age of the domain, whether the address has been seen elsewhere, and how long it has existed. Accumulating this data and the logic to verify an identity isn't something you have to build on your own, though.
With FusionAuth, you can use a lambda and an external service to gain more insight into the validity of a provided identifier such as an email address or phone number.
Self-Service Registration Validation#
In contrast to email verification, which gates access after the account is created, self-service registration validation prevents creation of suspicious or questionable accounts.
With advanced registration, a self-service validation lambda allows you to write business logic to determine whether a registration is valid. You can even make API calls to further validate an account.
Such a lambda offers real time validation, letting you give instant feedback to users who have a typo in their email address. It also lets you block malicious users who have a fake email address or other profile data. You can also combine this custom validation with email verification for extra assurance.
When performing validation, the error is a localizable message which can be displayed to the end user.
Let's look at an example of a realtime validation.
Building An Identity Verification Integration#
To build a more sophisticated identity verification solution, you will use the following FusionAuth features:
- advanced self-service registration
- a self-service registration validation lambda
- Lambda HTTP Connect, to make an API call
You'll also use the Fideo Identity Verification API.
The prerequisites:
- NodeJS 22.x or newer
- an Essentials or Enterprise license key, which you can purchase here; after purchase, you will find the key in your Account Portal
- an API key from Fideo, which you can get by contacting them or starting a free trial
The approach used here works with any identity verification system with a REST API, but you're going to use Fideo for this tutorial.
Let's take a look at how the Fideo identity verification API works.
The Fideo Identity Verification API#
With this API, you provide as much or as little information about the user as you have. You must have either an email address or a phone number, but you can also add the user's address or name as well.
Here's an example API call using curl.
curl -X POST \
  https://api.fideo.ai/verify \
  -H 'Authorization: Bearer APIKEY' \
  -H "Content-Type: application/json" \
  -d '{
  "emails": [ "test@example.com" ]
}'
The API returns JSON similar to this:
{
  "risk": 0.04188683684800404,
  "checks": [
    {
      "id": "BREACHED_IDENTITY_COMPROMISED",
      "state": "LOW",
      "name": "Identity Compromised 30 days or more ago",
      "description": "The identity has been compromised 30 days or more ago, which could indicate a low potential fraud attempt.",
      "risk": "LOW",
      "checkPackage": "Breached"
    },
     ...  many more checks
  ],
  "referenceId": "0197ecce-9332-7e4d-9f49-a648b3ca807f"
}
Consult the Fideo docs for details about these fields. Contact them directly to discuss what makes sense for your use case. A Know Your Client (KYC) flow for a bank would use different checks and logic than an online gaming company trying to keep bots out.
For the purpose of this tutorial, the logic will rely heavily on the top level risk value. The risk is a number between 0 and 1, with 0 being safe and 1 being as risky as it gets.
Let's head back to set up the FusionAuth system to integrate with this API using an example application.
Set Up FusionAuth#
First, you need to get FusionAuth running and configured.
The simplest way to run FusionAuth is to install it on your development machine (which is probably the laptop you are reading this on). Pick your preferred method of installation below.
Use the following Docker Compose commands to get up and running quickly with FusionAuth, PostgreSQL, and Opensearch:
-
Install the prerequisites:
- On macOS and Windows, one of the following container management tools:
- Docker desktop
- OrbStack (to use Orbstack for
docker composecommands after install, rundocker context use orbstack) - Podman (in the commands below, replace
dockerwithpodman)
- On Linux, Docker 23 or later
- On macOS and Windows, one of the following container management tools:
-
Download the
docker-compose.ymland.envfiles: -
Start the FusionAuth container:
$ docker compose up -d -
Visit http://localhost:9011/admin to access the Admin UI.
-
Congratulations, you have a working instance of FusionAuth! To set up login for an application, see our First Time Setup guide.
Don't forget to configure the following environment variables:
LICENSE_KEY: the FusionAuth license keyFIDEO_API_KEY: your Fideo API Key
Kickstart will set up FusionAuth with the correct configuration for this use case. This includes:
- a sample application with a custom look and feel
- an admin user with an email of "admin@example.com" and a password of "password"
- an advanced registration form which asks for email address, password and first name
- a self-service registration lambda which calls the Fideo API
- a custom error message
You can learn more about Kickstart and what it offers or view the Kickstart JSON file.
You can log in and review this setup by accessing the admin UI. You should log out of the admin UI so you can easily register a user for the example application below.
Start The Example Application#
In order to register a new user and test out the configured functionality, you need to start a sample application. Get the example application code:
git clone https://github.com/fusionauth/fusionauth-example-identity-verification
Then go into the directory and install the needed packages:
cd fusionauth-example-identity-verification && npm install
Next, start the local server:
npm run dev
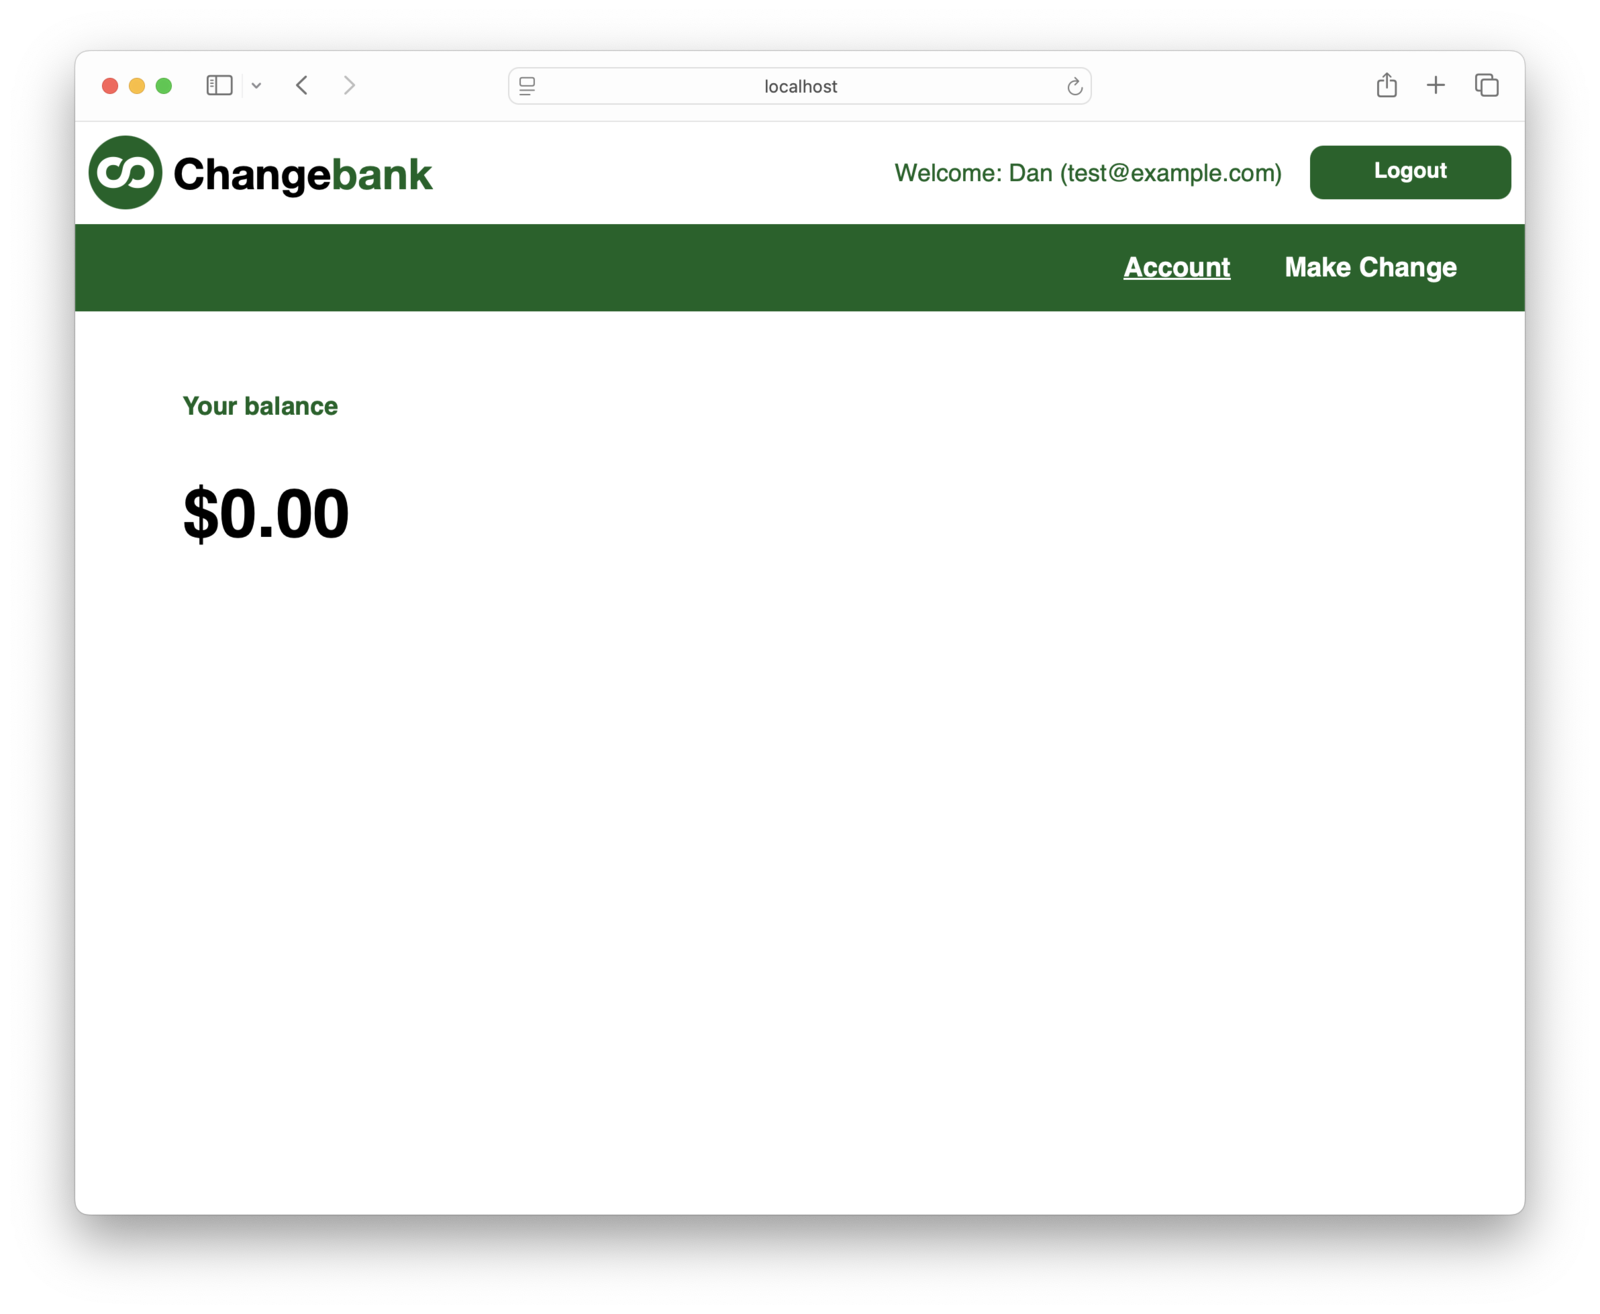
This starts up the sample application on your laptop. Visit http://localhost:8080 to make sure it is running.

Test The Registration Flow#
Next up, let's register a new user. Click the "To get started, create a new account." link.
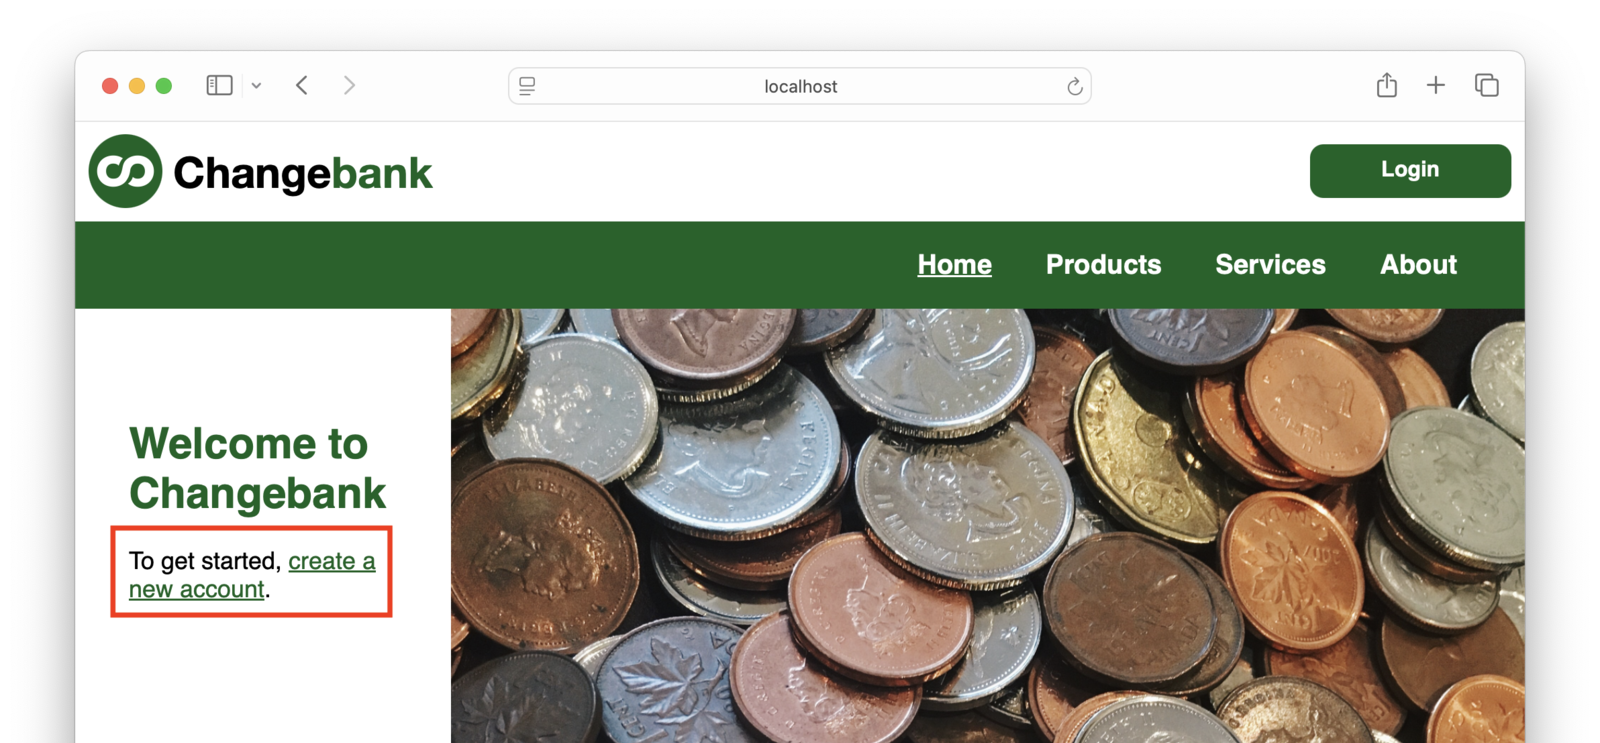
You are going to register two times, once with a fake email address and then once with a real one.
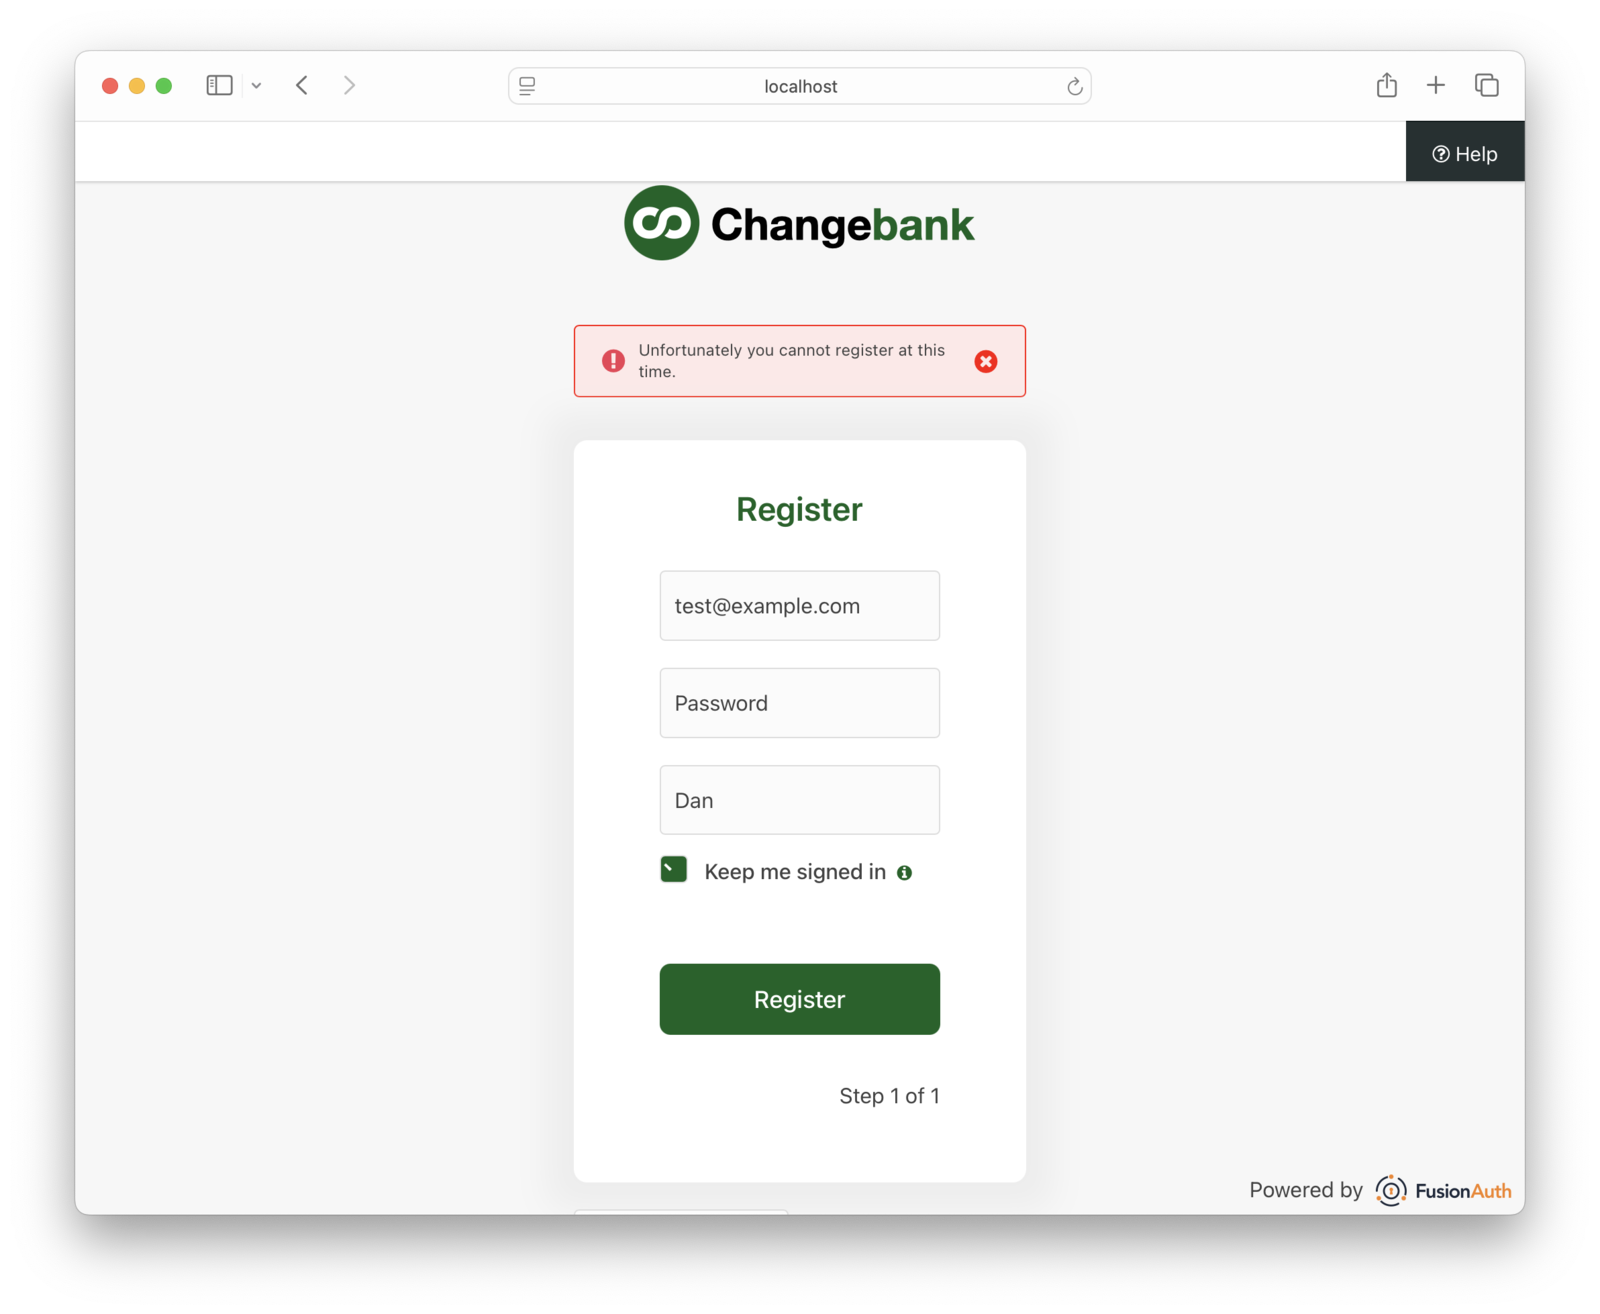
Provide a first name, email address, and password. First, try a fake address, like test@example.com. Such an address has a high risk value. The registration will be blocked.
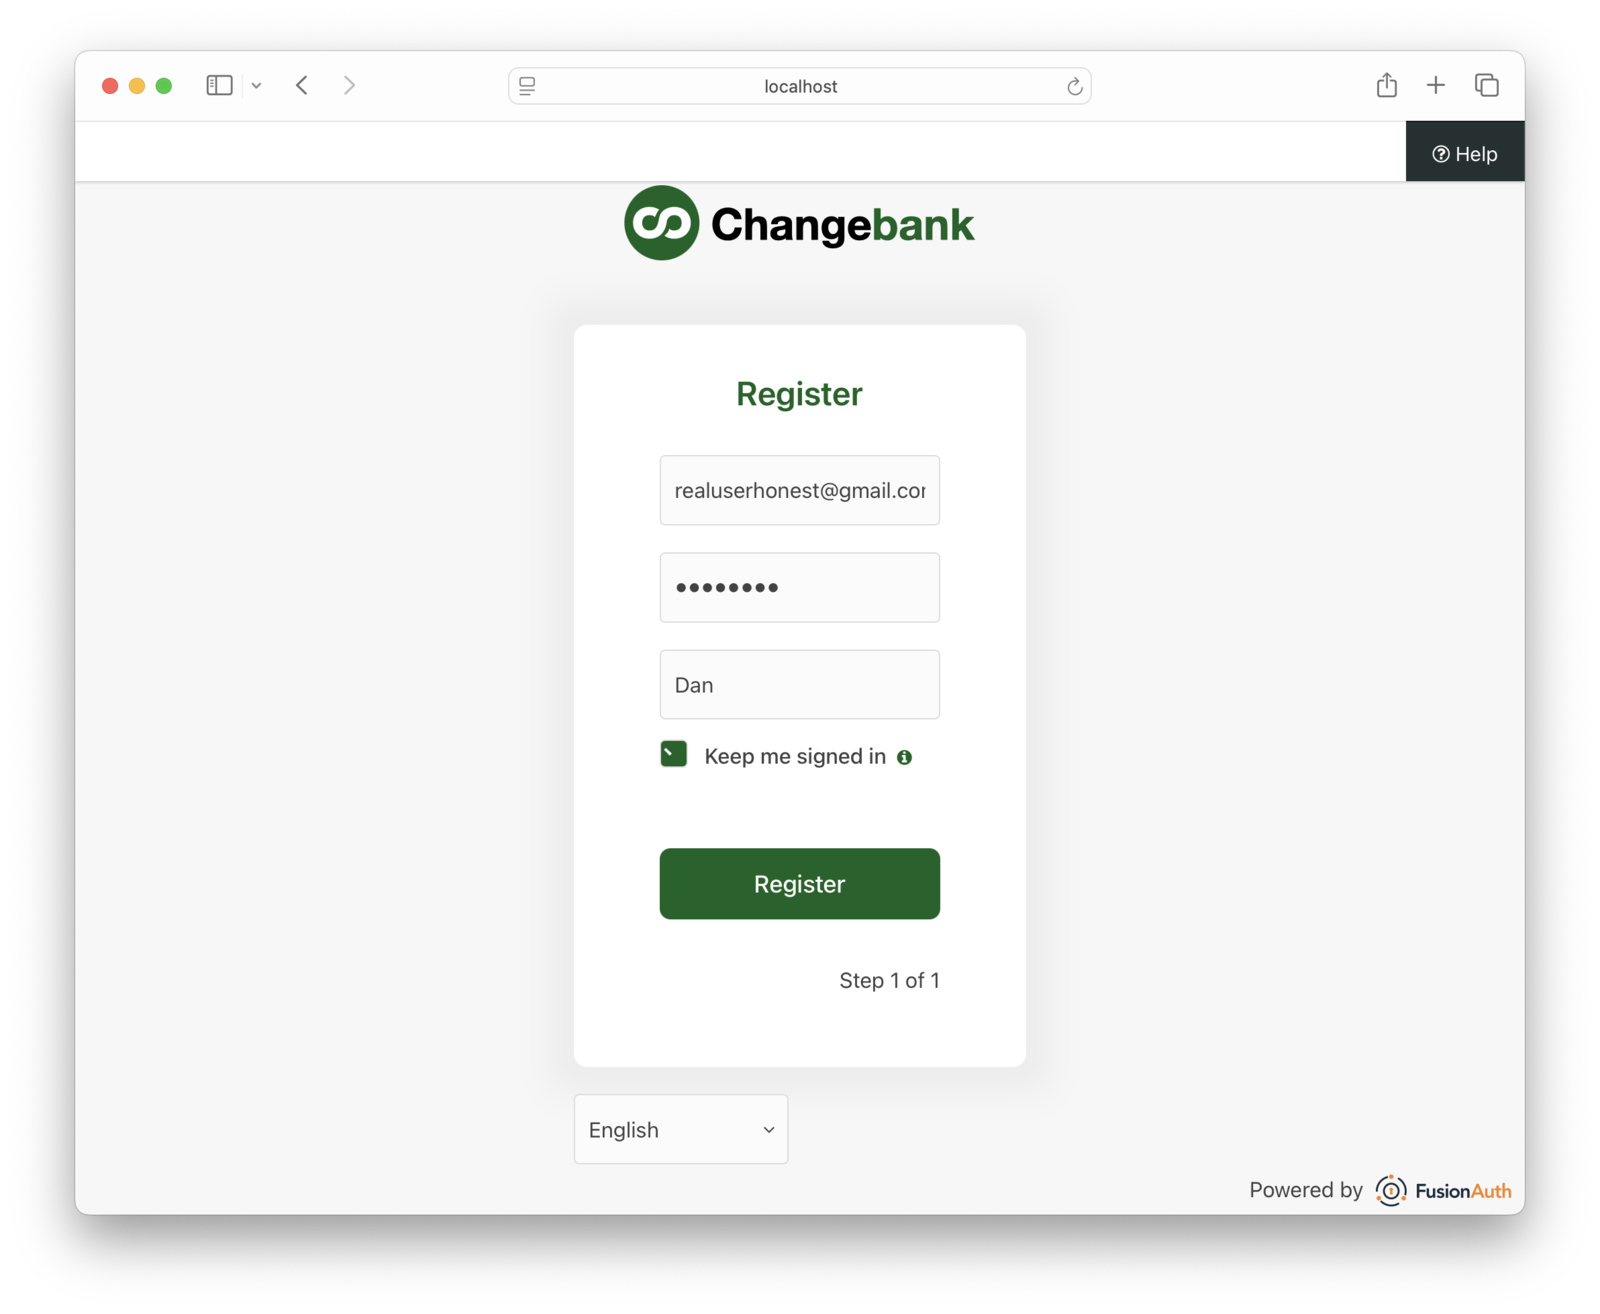
Then try to register with a real email address of yours, such as a gmail.com address. Since this is a real email address, it has a low risk value. The registration will succeed and you will be logged in.
Click Logout to log out from this account.
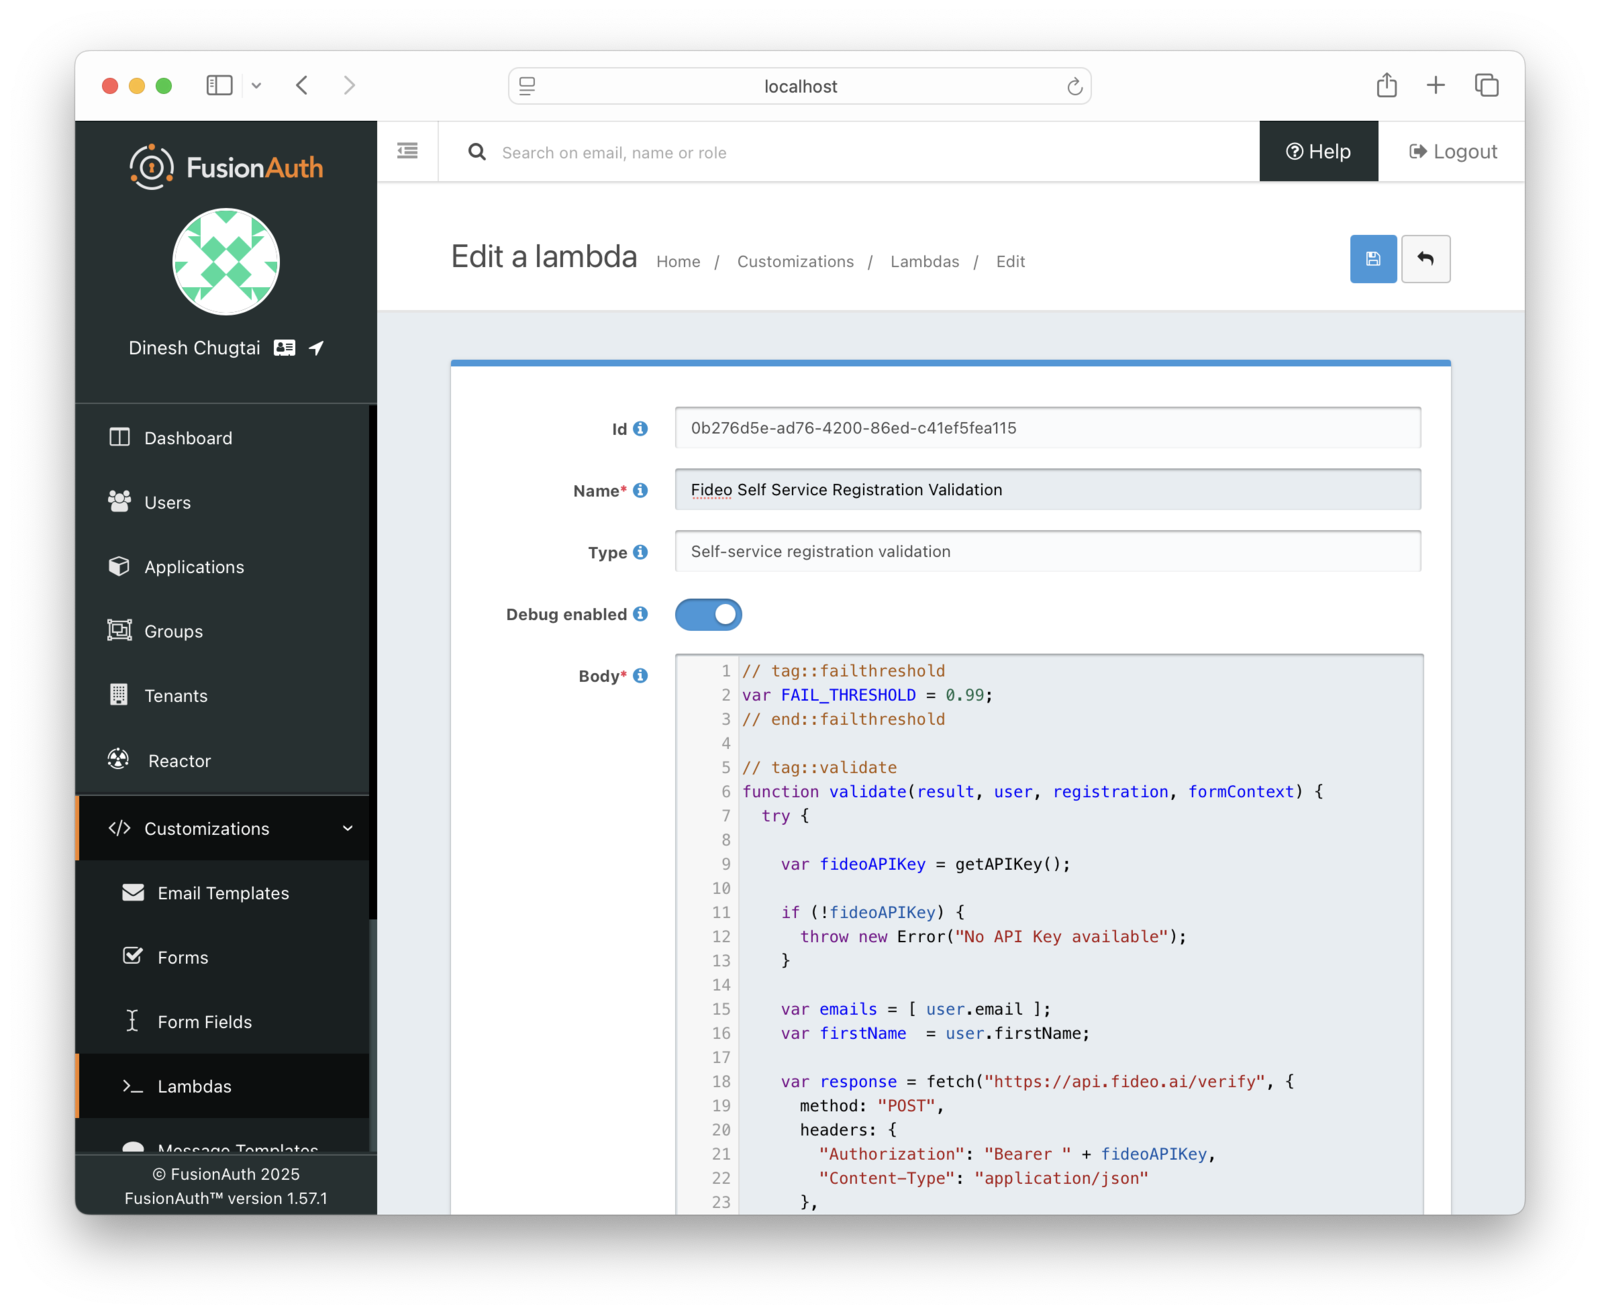
A Closer Look At The Validation Logic#
Let's take a look at the JavaScript code for the self-service registration lambda (full code here).
Here's the validation function that Kickstart installed for you:
function validate(result, user, registration, formContext) {
  try {

    var fideoAPIKey = getAPIKey();

    if (!fideoAPIKey) {
      throw new Error("No API Key available");
    }

    var emails = [ user.email ];
    var firstName  = user.firstName;

    var response = fetch("https://api.fideo.ai/verify", {
      method: "POST",
      headers: {
        "Authorization": "Bearer " + fideoAPIKey,
        "Content-Type": "application/json"
      },
      body: JSON.stringify({
        emails: emails,
        name: { given : firstName }
      })
    });

    var registrationSucceed = false;

    if (response.status == 200) {
      try {
        var responseData = JSON.parse(response.body);
        var risk = responseData.risk;
        if (risk && risk < FAIL_THRESHOLD) {
          registrationSucceed = true;
        }
      } catch (e) {
        console.log(e);
      }
    }

    if (!registrationSucceed) {
      result.errors.generalErrors = [{
        // with the "invalid" error code that we have defined in the theme
        code: '[invalid]user.identityverification.fail'
      }];
    }
  } catch (error) {
    // default to accepting registrations if Fideo is down
    console.log("General error:", error);
  }
}
This code does the following:
- retrieves our Fideo API key from the application's
datafield (where the Kickstart put it) - extracts profile data from the user, which they provided during registration
- makes a request to the Fideo API
- examines the API response and compares the calculated risk to a configured threshold
If the value is above the threshold, the code adds an error. If it is below the threshold, the registration succeeds.
The threshold value is defined in the lambda function:
var FAIL_THRESHOLD = 0.6;Storing the Fideo API key on the application object makes the key easier to rotate without modifying the lambda code. But the value is not secret; it is still available to API keys and users with sufficient access. There's an open GitHub issue to add lambda secrets management.
The error the user sees is stored in the messages.properties file. This file contains all of the messages displayed to end users. It can be customized and localized as well.
If the API is not available or the request times out, this code fails open. In other words, it defaults to allowing registrations. Whether this is correct behavior depends on your domain. A KYC flow for a bank has different risk tolerance than an online gaming company trying to keep bots out.
Modify The Lambda#
Next up, let's change the lambda code and see how that affects the registration process. While you could add any logic, let's change our risk threshold.
Open up the admin UI. Use an incognito window or a different browser than you used to test the registration process. Log in as the admin user, with an email of "admin@example.com" and a password of "password".
Navigate to Customizations -> Lambdas . Find and edit the Fideo Self Service Registration Validation lambda. Change the FAIL_THRESHOLD value at the top of the edit screen to 0.99. This threshold lets almost any identity successfully register.
Save the new lambda code by clicking the Save button at the top right.
To test this change:
- Open up the browser you used previously to register and visit localhost:8080.
- Click the "To get started, create a new account." link.
- Register with the
test@example.comuser.
The same registration was denied last time, but a user with that email can register now because of the relaxed threshold.
Measuring Success and Iteration#
You should measure the success and failure of your registration rates. The success rate can be tracked by capturing the User Registration Create webhook. Tracking the failures is a bit trickier. You have two options, explored below.
Either way, keep an eye on the failure rate and tweak your business logic to balance between letting users register and preventing fake registrations. The exact ratio depends on how costly each of these are.
If the user is flagged, you can offer alternate registration mechanisms. You could let them register using a chatbot or customer support ticket. Tracking these lets you know if the identity verification logic needs to be changed.
Tracking Failures With Fetches#
You can make a fetch call for every failed registration.
Here's a sample implementation which captures the failed email address. This is called when the risk threshold is reached.
function trackRegistrationFailedFetch(email) {
  var response = fetch("http://example.com/trackregistrationfail", {
    method: "POST",
    headers: {
      "Authorization": "APIKEY",
      "Content-Type": "application/json"
    },
    body: JSON.stringify({
      email: email
    })
  });

  if (response.status !== 200) {
    console.log("error tracking registration: " + response.status);
  }
}
This requires you to set up a remote API.
Tracking Failures With Logging#
You can also create an event log entry. In this case, you make a console.log function call when the risk threshold is reached. This creates an Event Log entry.
function trackRegistrationFailedEventLog(email) {
  var LOG_PREFIX = 'fideo-registration-failed ';
  console.log(LOG_PREFIX + email);
}
You can be notified of this via the Event Log webhook](/docs/extend/events-and-webhooks/events/event-log-create). You can also poll the event logs for the fideo-registration-failed prefix.
Event log entries are only written if debugging is enabled for this lambda.
Next Steps#
Congrats on finishing the tutorial! But since you already have it up and running, you can explore more.
Other areas you might want to explore using this sample app include:
- change the registration to collect registration data over more than one page
- update the form to collect more on registration, such as last name, phone number, or zip code, and pass the additional information to the Fideo API for more precise scoring
- examine other aspects of the data returned by the API call to improve the validation logic
- store the risk value on the user's data field and add a JWT populate lambda to add it to the access token so downstream services can limit functionality based on the value
Enjoy your verified user identities!


