


In this video, you will be guided through the intricacies of the Authorization Code Grant flow using FusionAuth's sandbox environment. This simple example aims to be accessible to everyone, so follow along and let's dive into the details.
What Is The Authorization Code Grant?#
The Authorization Code Grant is a widely used method in OAuth 2.0 for enabling users to securely authenticate with third-party applications. For the tech nerds in the house that is RFC6749. This method involves redirecting the user to an authorization server, obtaining an authorization code, and then exchanging that code for an access token. Let's break this process down step-by-step.
Starting Point: The Initial URL#
Our journey begins by navigating to the admin application for FusionAuth. Initially, the URL https://sandbox.fusionauth.io/admin points to FusionAuth's admin UI, which then delegates authentication to FusionAuth itself. This delegation redirects us to the hosted login page that is both themed and customizable.
FusionAuth allows deep customization, so the look and feel can differ based on the client's branding.
Customized Login Page#
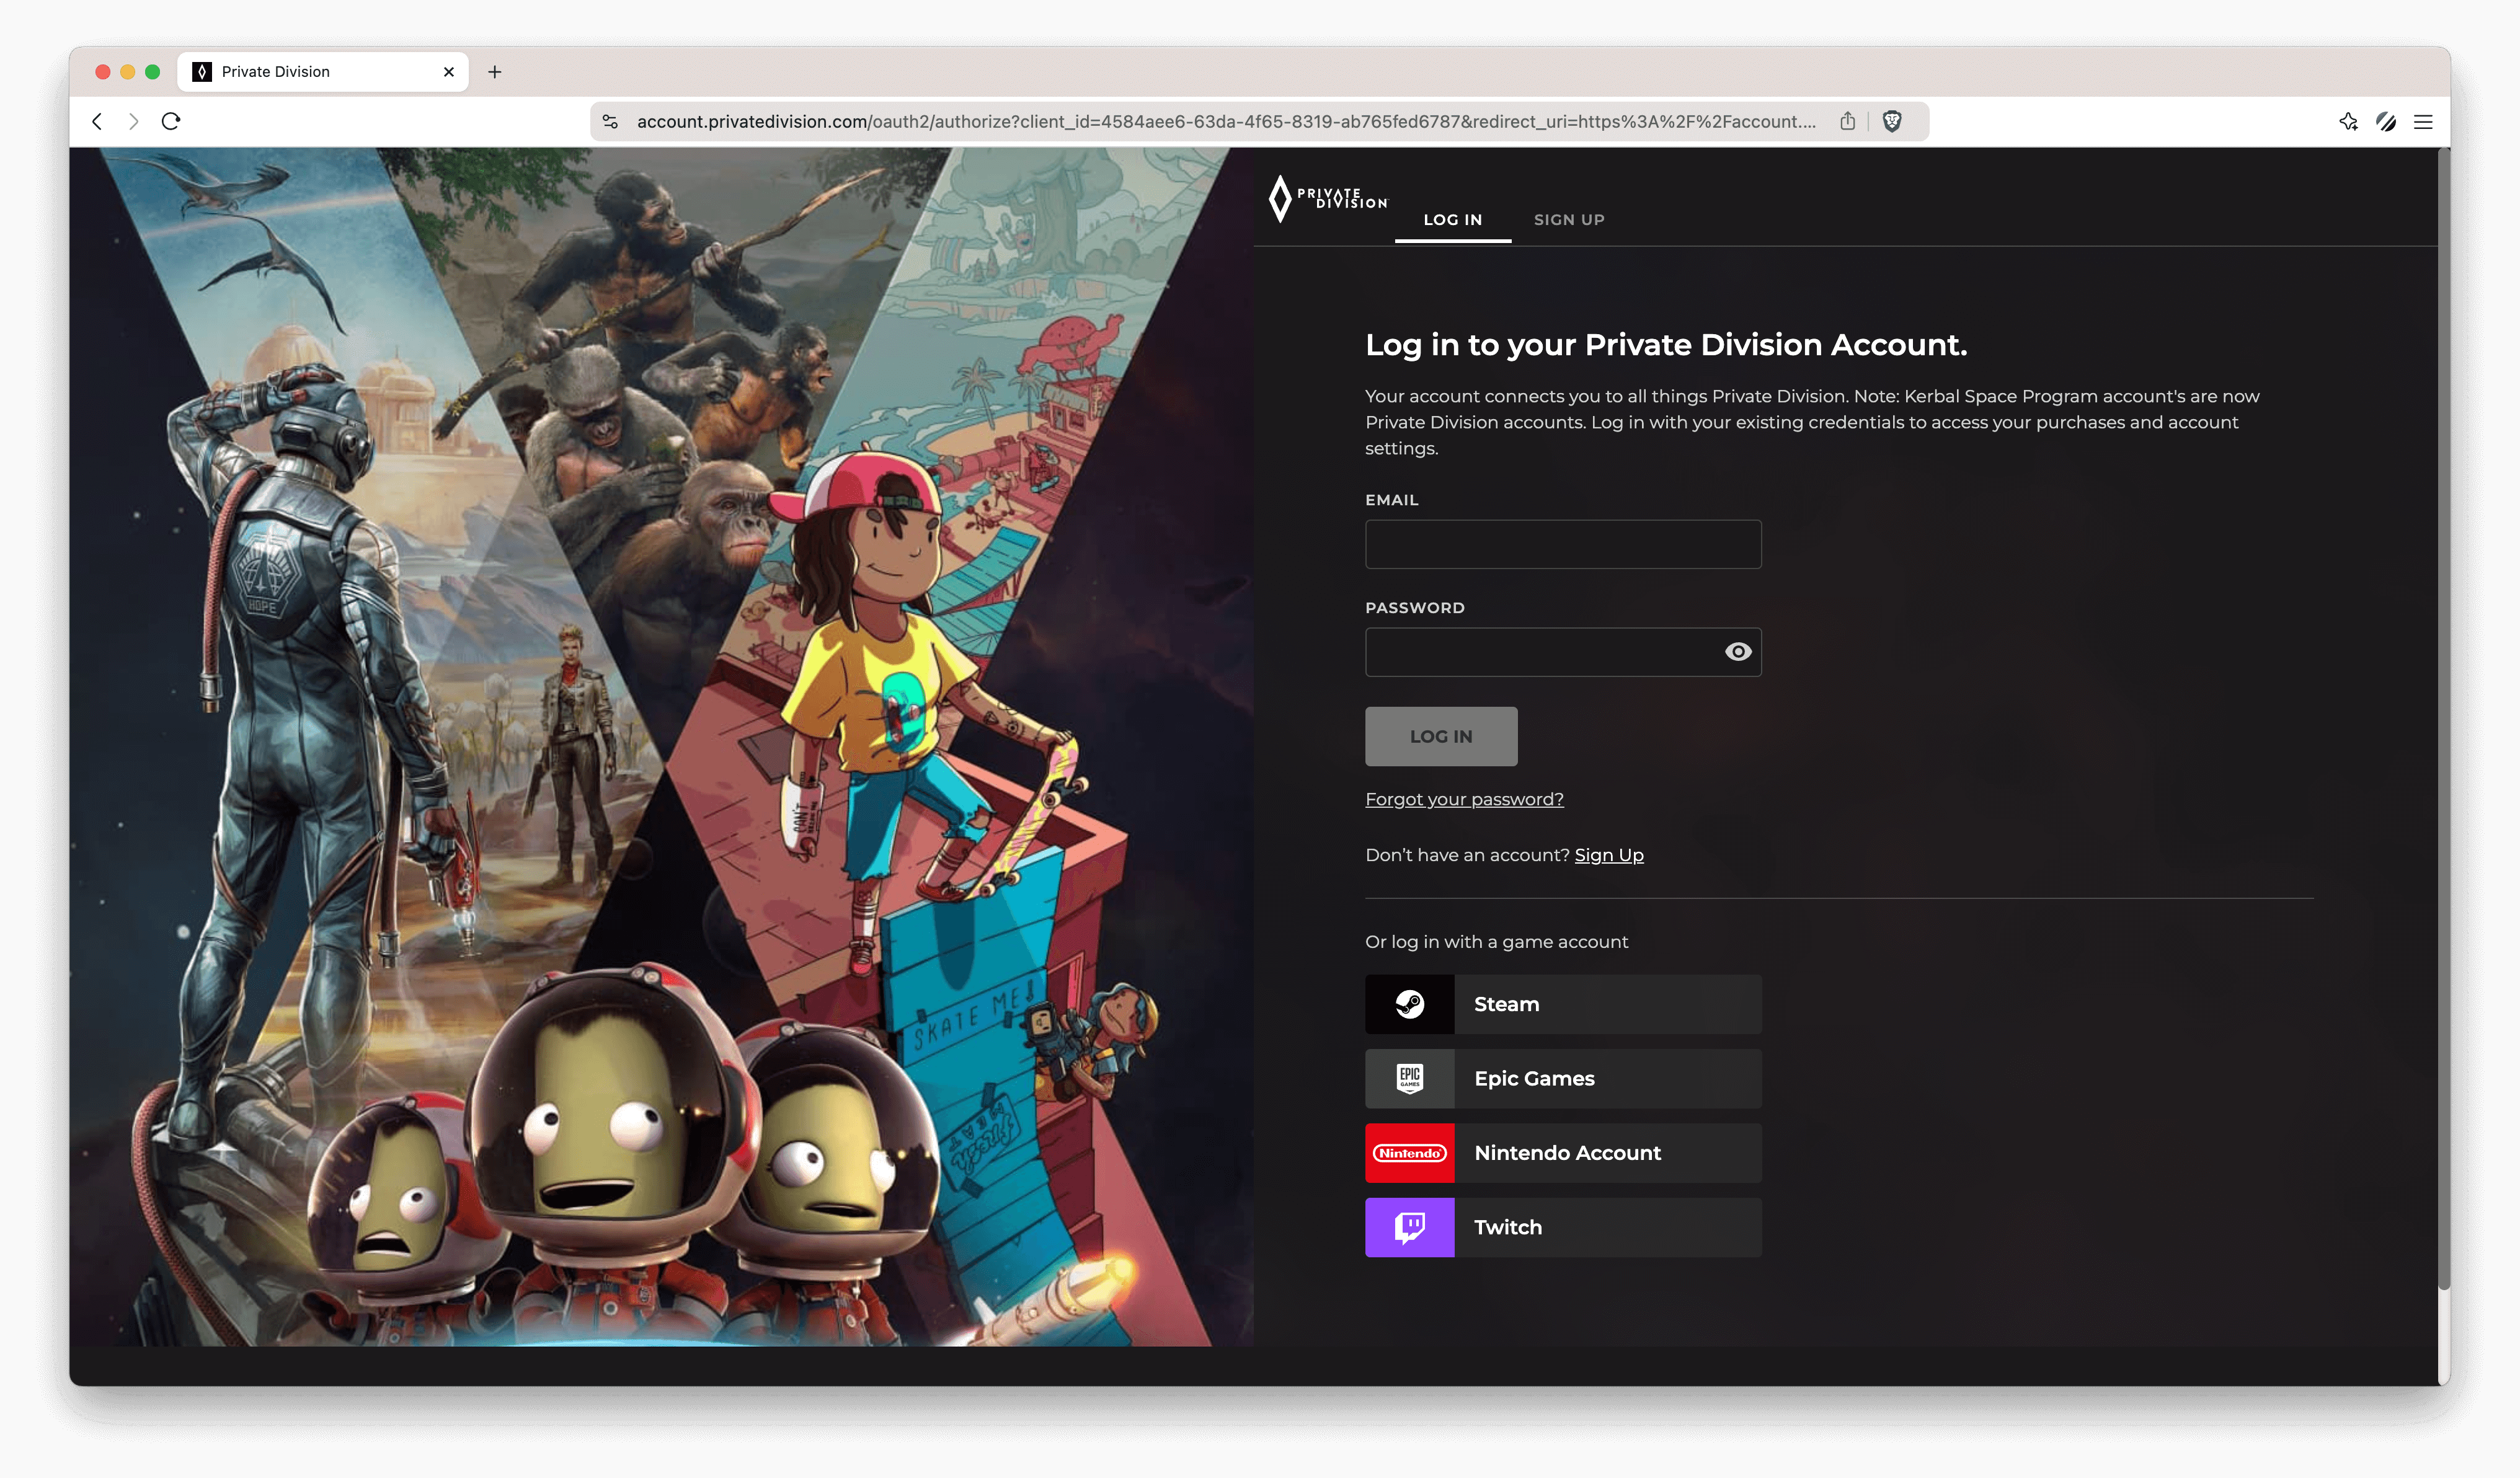
In the below example, you'll use a customized login page from one of our clients as an example. You will notice familiar elements such as email and password fields, but there's a distinct branding as intended by Private Division. Once logged in, we proceed through the authentication flow and get redirected to the Admin UI.
Why the Redirect is Crucial#
The redirect serves two main purposes: security and features.
-
Security:
- By redirecting users to FusionAuth's hosted login pages, we make sure that applications delegating authentication to FusionAuth don't need to handle sensitive information like credentials.
- This minimizes the risk of sensitive data being spread across multiple applications.
The application simply sends the user to FusionAuth. FusionAuth performs the checks and then returns the necessary information to the application.
-
Features:
- Delegating authentication to FusionAuth enables us to offer new features without burdening your application.
- Features like profile management, Multi-Factor Authentication (MFA), session management, etc., can be added through FusionAuth or its APIs with minimal complexity.
New features can be added via FusionAuth or its APIs, keeping the application blissfully unaware of the complexities involved.
Implementing the Authorization Code Grant with FusionAuth#
To implement this, we'll follow easily configured steps, making sure the application is well-integrated with FusionAuth.
Step 1: Setting Up the Authorization Request#
Start by building the authorization code grant request. This URL will redirect the user to FusionAuth's login page.
GET /oauth2/authorize?client_id={client_id}&redirect_uri={redirect_uri}&response_type=code&tenantId={tenantId}&scope={scope}Replace the placeholders:
client_id: Your Application's Client Id.redirect_uri: The URI where the user will be redirected after logging in.scope: The permissions your application needs, likeopenidandoffline_access.response_type: Alwayscodein this case.tenantId: The unique Tenant Id used for applying the proper theme.
Make sure to URL encode the query parameters.
Step 2: Handling the Redirect#
When the user logs in successfully, FusionAuth will redirect them back to your redirect_uri with an authorization code and state. Your application needs to handle the callback and extract these parameters.
GET /callback?code=AUTHORIZATION_CODE&state=YOUR_STATEStep 3: Exchanging the Authorization Code for an Access Token#
Next, your application sends a POST request to FusionAuth's token endpoint to exchange the authorization code for an access token.
POST /oauth2/token HTTP/1.1
Host: sandbox.fusionauth.io
Content-Type: application/x-www-form-urlencoded
Accept: */*
Content-Length: 436
client_id=3c219e58-ed0e-4b18-ad48-f4f92793ae32&code=+WYT3XemV4f81ghHi4V+RyNwvATDaD4FIj0BpfFC4Wzg&grant_type=authorization_code&redirect_uri=https%3A%2F%2F.sandbox.fusionauth.io
Step 4: Using the Access Token#
Once you receive the access token, you can use it to authenticate API requests.
GET /your-api-endpoint
Authorization: Bearer ACCESS_TOKEN
One of the most common ways to verify the access token is by requesting the JSON Web Key Set (JWKS) public keys generated by FusionAuth. This will allow your system to cryptographically verify JWTs using the JWKS format. To find out more information you can read through our JWT API docs.
Enhancing User Experience with Passkeys#
Delegating authentication to FusionAuth has significant advantages. For instance, users might be prompted to set up a passkey for easier future authentication if they use a WebAuthn capable browser. This functionality is already built into FusionAuth and once again is a feature that doesn't require you to write any code. You can even add passkeys to the FusionAuth Community plan as of release 1.52.0, just by adding a community license to your platform.
Conclusion#
By integrating FusionAuth using the Authorization Code Grant flow, you significantly enhance the security and scalability of your application. The redirect ensures sensitive data is handled securely while also enabling you to leverage powerful features without additional complexity.
For more details and advanced topics on OAuth 2.0, visit the authenticate users portion of our docs site. I hope this simple guide helps you understand the power of having a dedicated system for authentication that will add both security and features to all of your web and mobile applications. If you ever want to know what happens to the tokens after an OAuth Authorization Code Grant give this post a read.