> For the complete documentation index, see [llms.txt](https://fusionauth.io/docs/llms.txt)
# User registration and sign-in with Laravel and FusionAuth
We'll build a Laravel application that delegates user management, registration, and login to FusionAuth.
Laravel is one of the most popular PHP application frameworks in the marketplace today. While it includes a simple authentication model, most large-scale applications will outgrow it pretty quickly. [FusionAuth](https://fusionauth.io/) pairs well with Laravel because it can handle more complex user authentication models, roles, single sign-on, and more.
This blog post has been [superseded by a newer Laravel tutorial](https://fusionauth.io/blog/single-sign-on-laravel-fusionauth.md)
In this tutorial, we'll set up a new Laravel application that uses FusionAuth to register and login users. All the code used here is [available on GitHub](https://github.com/FusionAuth/fusionauth-example-laravel). This application will show just a tiny sample of what you can do with FusionAuth, so be sure to check out the [PHP Client Library](https://fusionauth.io/docs/sdks/php.md) and [documentation](https://fusionauth.io/docs.md) for much more.
## What we'll cover
1. Installing and setting up a local FusionAuth instance
2. Setting up a new Laravel Application
3. Installing and configuring the FusionAuth PHP package
4. Registering a new user
5. Logging a user in
6. Showing the current user's profile
7. Logging out
8. Conclusion and next steps
## What you'll need
* [FusionAuth](https://fusionauth.io/download.md)
* [PHP](https://www.php.net/) (7+ preferred)
* [Composer](https://getcomposer.org/) package manager
* PHP development environment
* Web browser
Please note this example application was tested using:
* PHP 7.2
* Laravel 7.30.4
## Installing and setting up FusionAuth
Before we write any PHP code, FusionAuth must be downloaded and running on your local machine or server. FusionAuth is available [for all major operating systems](https://fusionauth.io/download.md) or it can be [run in Docker](https://fusionauth.io/docs/get-started/download-and-install/docker.md).
Once you have FusionAuth running, you should log into the admin panel and create a new API Key and Application. This process [is outlined here](https://fusionauth.io/docs/get-started/start-here/step-1.md), but you can skip the OAuth settings for this tutorial.
## Setting up a new Laravel Application
Assuming you have PHP and Composer installed on your machine, you can create a new Laravel application with the following command:
```shell
composer create-project --prefer-dist laravel/laravel fusionauth-laravel
```
There are several other options for [installing](https://laravel.com/docs/7.x#installation) and [configuring](https://laravel.com/docs/7.x#configuration) Laravel, so be sure to check out the documentation. Once you've installed Laravel, you can use [Homestead](https://laravel.com/docs/7.x/homestead), [Valet](https://laravel.com/docs/7.x/valet), [Docker](https://www.digitalocean.com/community/tutorials/how-to-set-up-laravel-nginx-and-mysql-with-docker-compose), or [PHP's built-in webserver](https://scotch.io/tutorials/prototype-quickly-in-laravel-with-phps-built-in-server-and-sqlite) to run it locally.
One simple option to run your site locally is the command `php artisan serve`
## Installing and configuring the FusionAuth PHP package
After you create the new Laravel application, you can use Composer to install the [FusionAuth PHP Client](https://fusionauth.io/docs/sdks/php.md). This will allow you to connect to the FusionAuth instance:
```shell
composer require fusionauth/fusionauth-client
```
To access your FusionAuth instance without putting sensitive information into version control, you should use [Laravel's environment file](https://laravel.com/docs/7.x/configuration#environment-configuration). Open your application's `.env` file and add your FusionAuth Application ID, API Key, and URL:
```ini
FUSIONAUTH_APP_ID=...
FUSIONAUTH_API_KEY=...
FUSIONAUTH_BASE_URL=http://localhost:9011
```
Finally, you can take advantage of [Laravel's dependency injection system](https://laravel.com/docs/7.x/providers) by registering the `FusionAuthClient` in the `boot()` method of your `app/Providers/AppServiceProvider.php` file:
```php
//...
use FusionAuth\FusionAuthClient;
//...
class AppServiceProvider extends ServiceProvider
{
//...
public function boot()
{
$this->app->bind(FusionAuthClient::class, function ($app) {
return new FusionAuthClient(env('FUSIONAUTH_API_KEY'), env('FUSIONAUTH_BASE_URL'));
});
}
//...
}
```
Including the `FusionAuthClient` in Laravel's service provider will allow you to access it from any class in your application by passing it to the `__construct` method.
At this point, your Laravel application is ready to connect to your FusionAuth instance. Next, you will create the Views and Controllers that will handle the display and business logic.
## Registering a new user
We are going to create a form and layout to register users. You will need to create a [view file](https://laravel.com/docs/7.x/views) to display the registration form. Create a new view called `register.blade.php` in the `resources/views/` directory of your Laravel app:
```html
@extends('layout')
@section('content')
@endsection
```
You'll notice that this file requires a [Layout file as well](https://laravel.com/docs/7.x/blade#defining-a-layout). Create a new file called `layout.blade.php` in the same folder and add the following:
```html
FusionAuth Laravel Demo
@yield('content')
```
This layout file brings in a stylesheet that includes [Pure CSS](https://purecss.io/) - a minimal web styling library - and a container for our app's primary content. These styles are purely cosmetic, so feel free to use your own stylesheets instead.
Next, create a new register user controller using the [Artisan command line tool](https://laravel.com/docs/7.x/artisan):
```shell
php artisan make:controller RegisterUser --invokable
```
Errors in this section? Remember to run `php artisan make:controller --invokable` *BEFORE* creating the corresponding route in `web.php` (see additional info below)
In this [single action controller](https://laravel.com/docs/7.x/controllers#single-action-controllers), you should:
* Import the FusionAuth PHP Client
* Send the email and password input to the FusionAuth API via the PHP Client
* Handle any errors
* Redirect users to the home page (where they can log in) if registration is successful
Open up the `app/Http/Controllers/RegisterUser.php` file created by the `Artisan` command above and add the following:
```php
//..
use FusionAuth\FusionAuthClient;
//..
//..
class RegisterUser extends Controller
{
private $authClient;
public function __construct(FusionAuthClient $authClient)
{
$this->authClient = $authClient;
}
public function __invoke(Request $request)
{
$clientRequest = [
'registration' => ['applicationId' => env('FUSIONAUTH_APP_ID')],
'sendSetPasswordEmail' => false,
'user' => [
'password' => $request->get('password'),
'email' => $request->get('email'),
'passwordChangeRequired' => false,
'twoFactorEnabled' => false,
],
];
$clientResponse = $this->authClient->register(null, $clientRequest);
if (!$clientResponse->wasSuccessful()) {
return redirect()->back();
}
return redirect('/');
}
}
//..
```
Finally, you'll need to create two routes to register new users: one to display the registration form and another to process the data and interact with the FusionAuth client. Add the following lines to your `routes/web.php` file (remove the welcome route):
```php
Route::view('/register', 'register');
Route::post('/register', 'RegisterUser');
```
FusionAuth supports different features when a user registers, including verification emails, required fields and custom roles. Be sure to [check out the documentation](https://fusionauth.io/docs/apis/registrations.md) to make sure you include all the appropriate options.
At this point, you should be able to access the `/register` route in your Laravel application and successfully register a new user in FusionAuth.
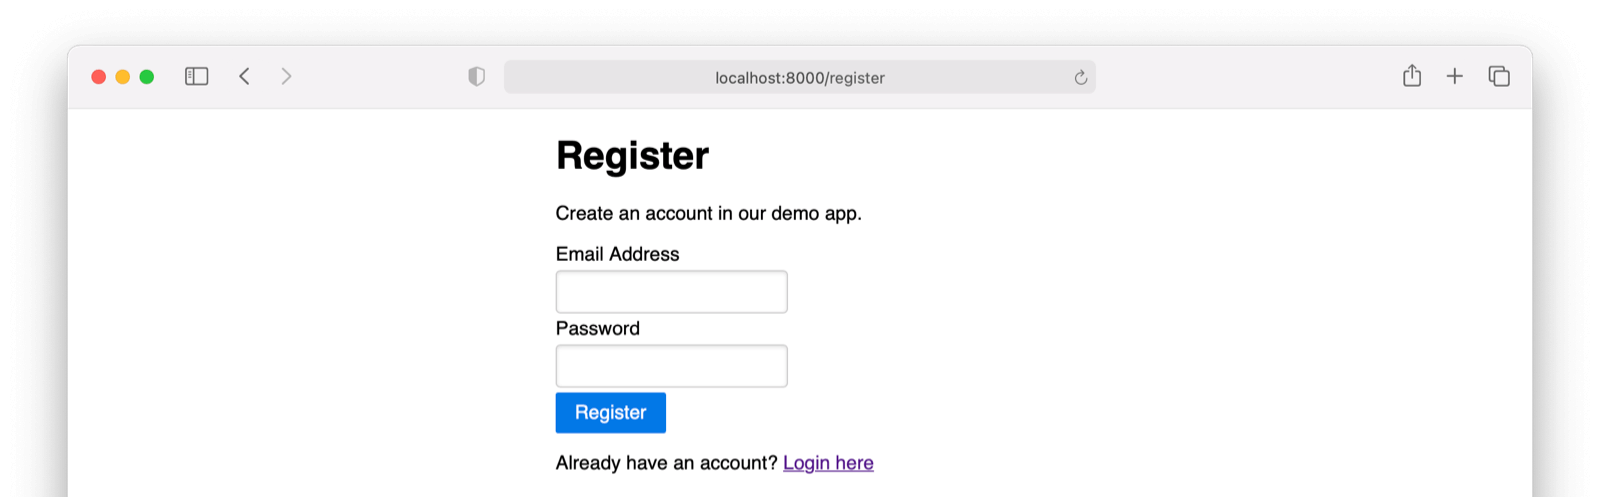
Getting errors at this point? One common mistake is forgetting to import the FusionAuth client into your controller - `use FusionAuth\FusionAuthClient;`
## Let's take a look at our progress
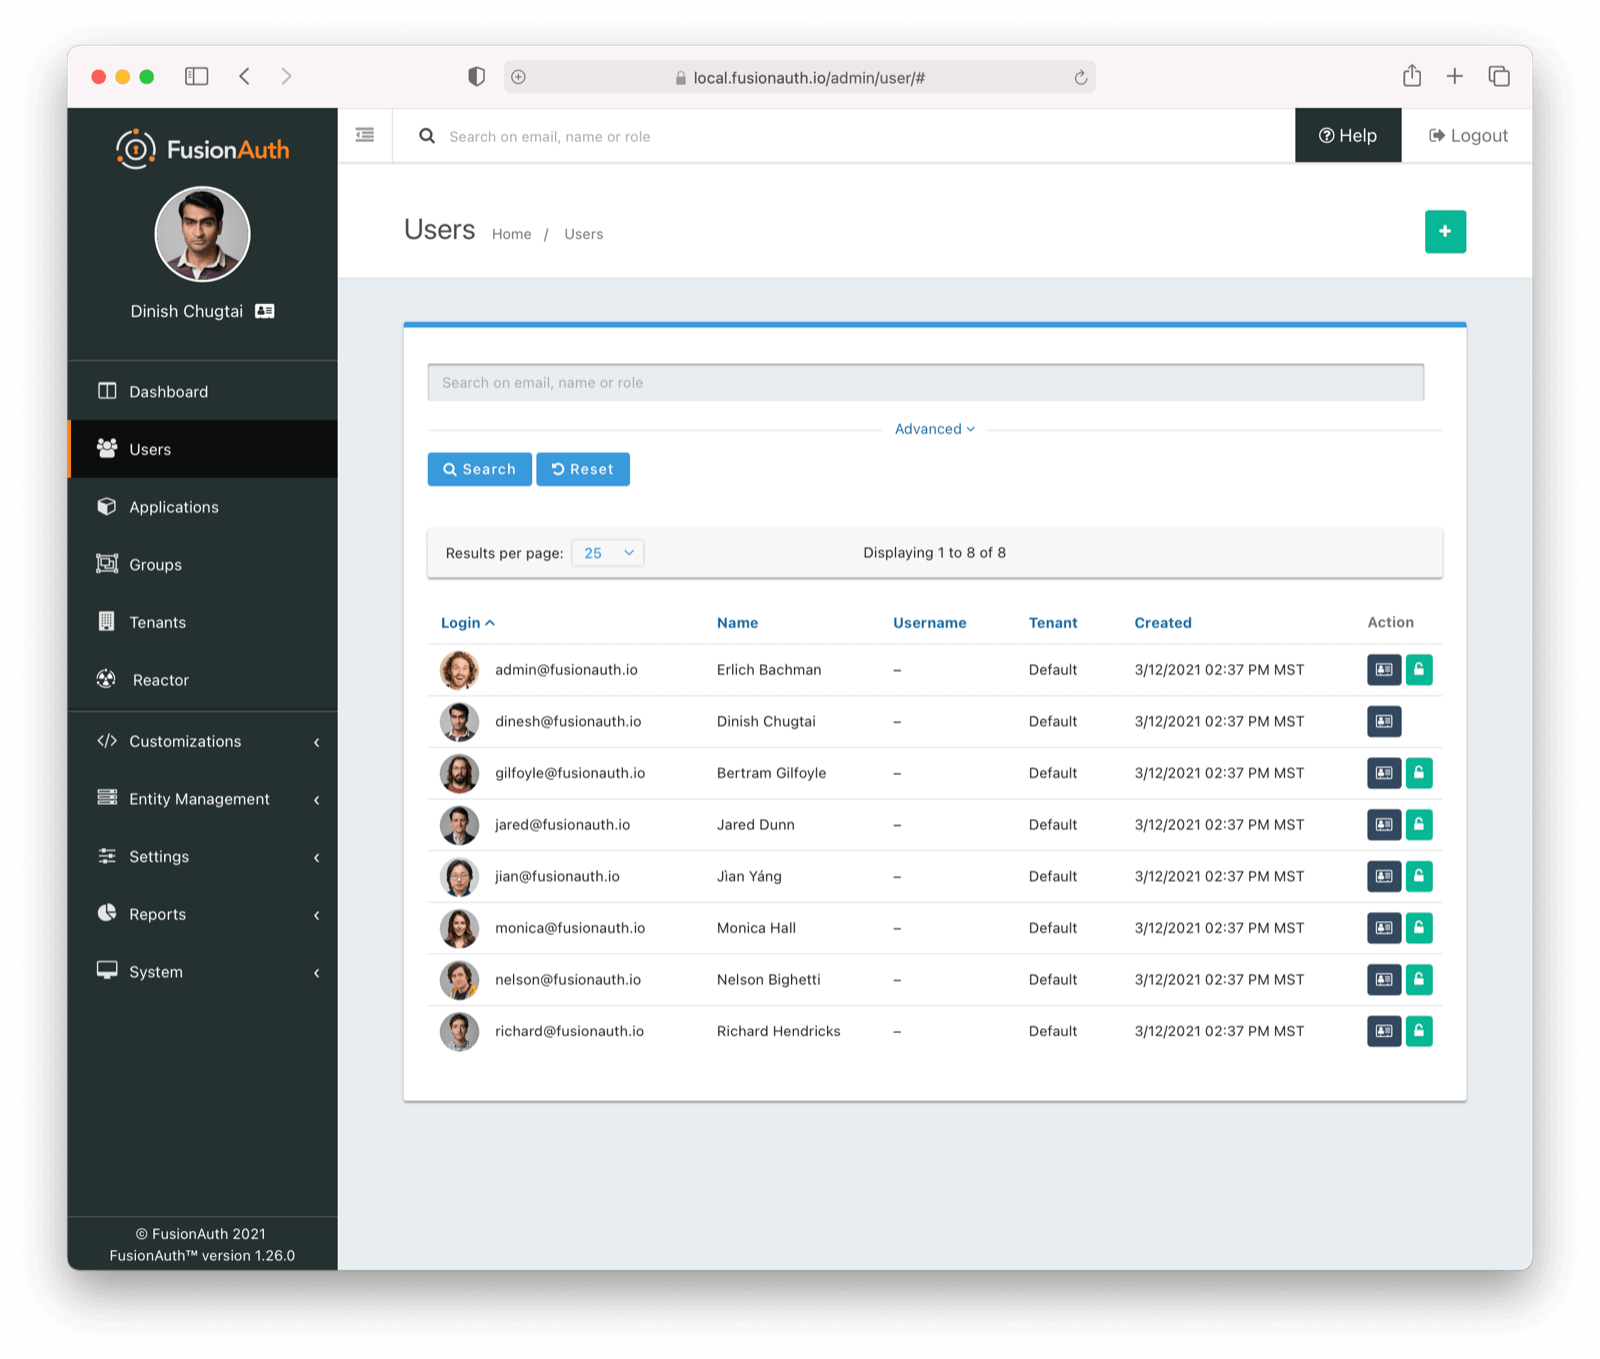
Before we built out and called the registration functionality above, no new users had been added or registered.
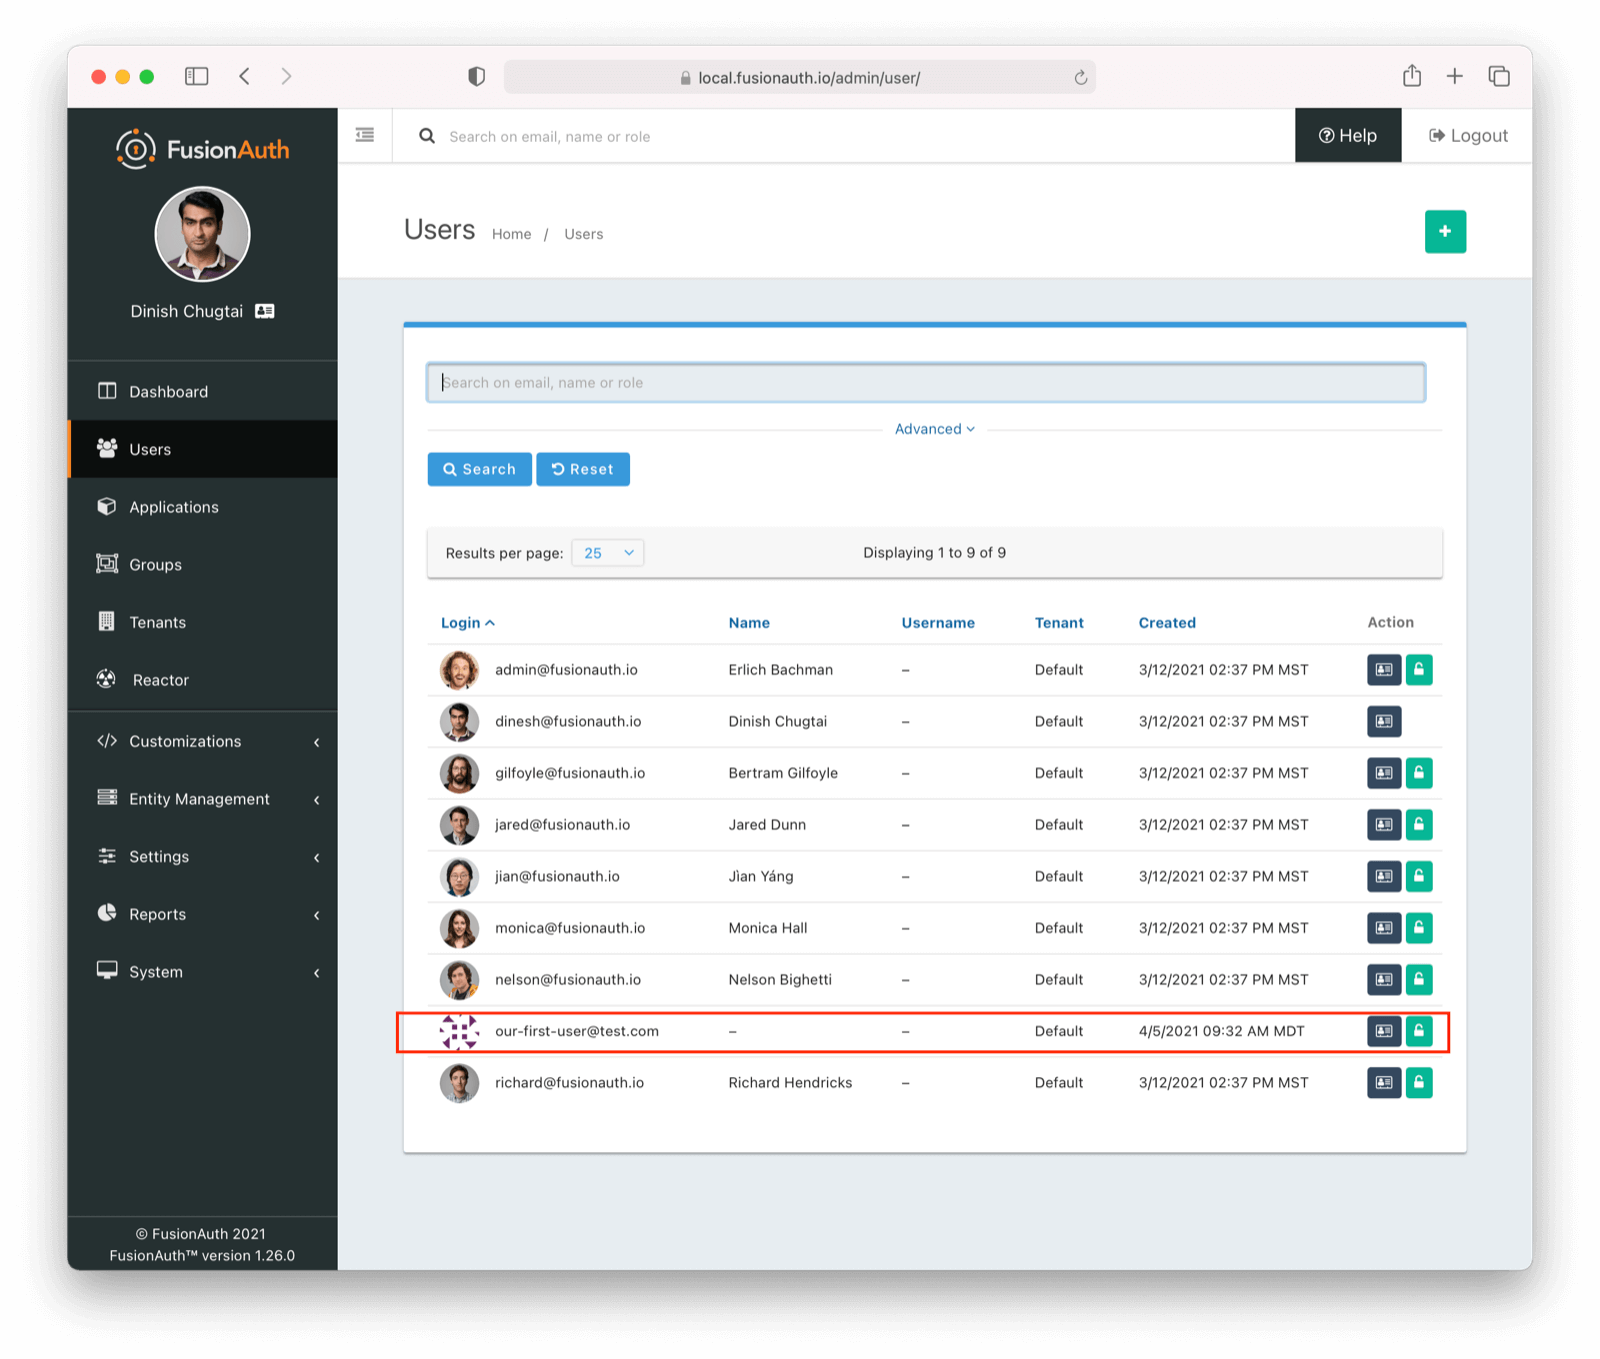
Behold our newly registered user! Take a moment to reflect on your newfound powers and coding prowess!
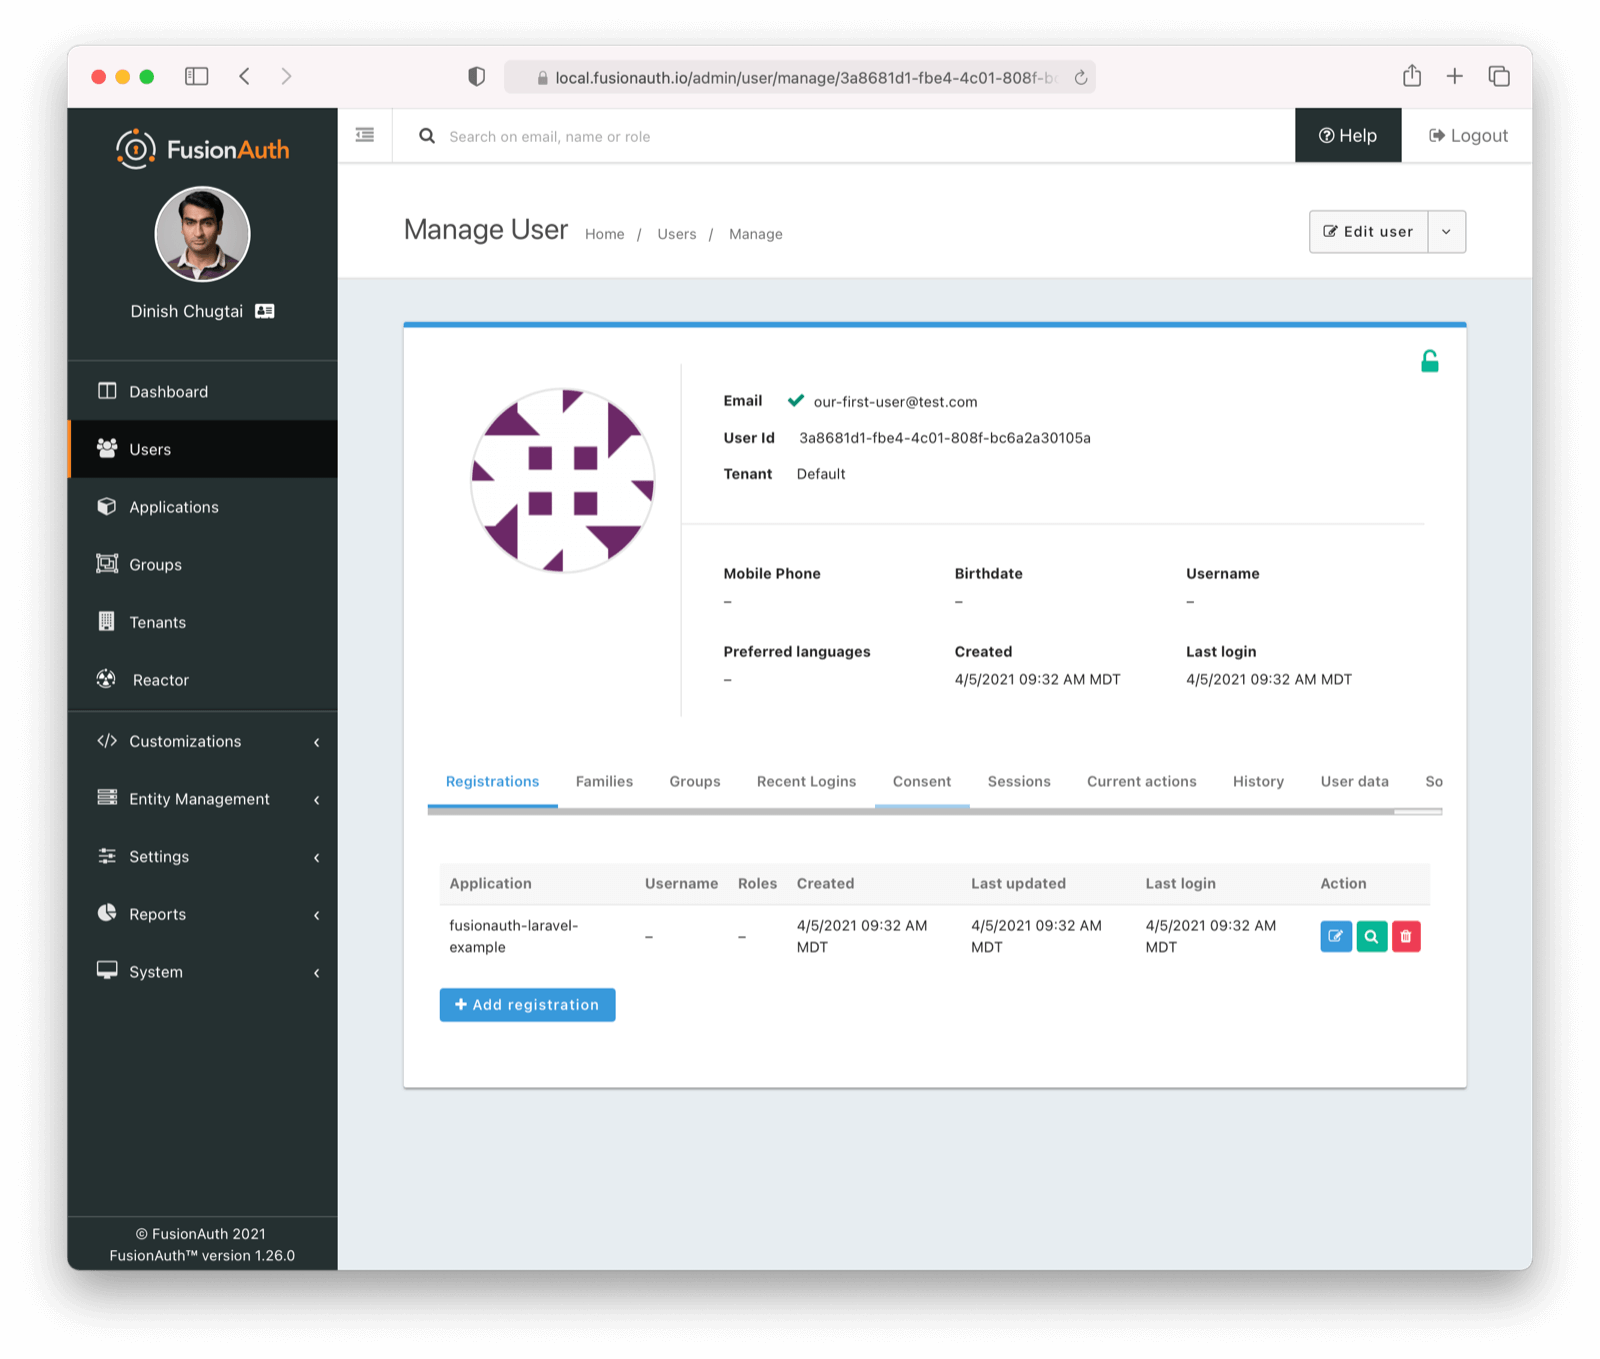
Our user even has a cool default avatar!
## Logging a user in
Now that users can register a new account, you'll need to allow them to login using the email and password they created during registration.
The login form is very similar to the registration form created in the previous step, but it will submit entries to the `/login` route instead of `/register`. Create a new file at `resources/views/login.blade.php` and add the HTML below:
```html
@extends('layout')
@section('content')
@endsection
```
To process user logins, you'll need to create another single action controller. First, run the `Artisan` command:
```shell
php artisan make:controller LoginUser --invokable
```
This time, your controller will use the `login()` method of the FusionAuth PHP Client to validate the user's login credentials and get their user data from the database. The `LoginUser` controller will also save the user data to a session variable. This allows you to maintain the user's profile data in your application's state without accessing the FusionAuth API on every page load.
Open the `app/Http/Controllers/LoginUser.php` file and add the following:
```php
//..
use FusionAuth\FusionAuthClient;
//..
//..
class LoginUser extends Controller
{
private $authClient;
public function __construct(FusionAuthClient $authClient)
{
$this->authClient = $authClient;
}
public function __invoke(Request $request)
{
$clientRequest = [
'applicationId' => env('FUSIONAUTH_APP_ID'),
'ipAddress' => $request->ip(),
'loginId' => $request->get('email'),
'password' => $request->get('password'),
];
$clientResponse = $this->authClient->login($clientRequest);
if (!$clientResponse->wasSuccessful()) {
return redirect()->back();
}
session(['user' => (array) $clientResponse->successResponse->user]);
return redirect('profile');
}
}
//..
```
Finally, this will require two new routes, so open your `routes/web.php` file again and add the following lines:
```php
Route::view('/', 'login');
Route::post('/login', 'LoginUser');
```
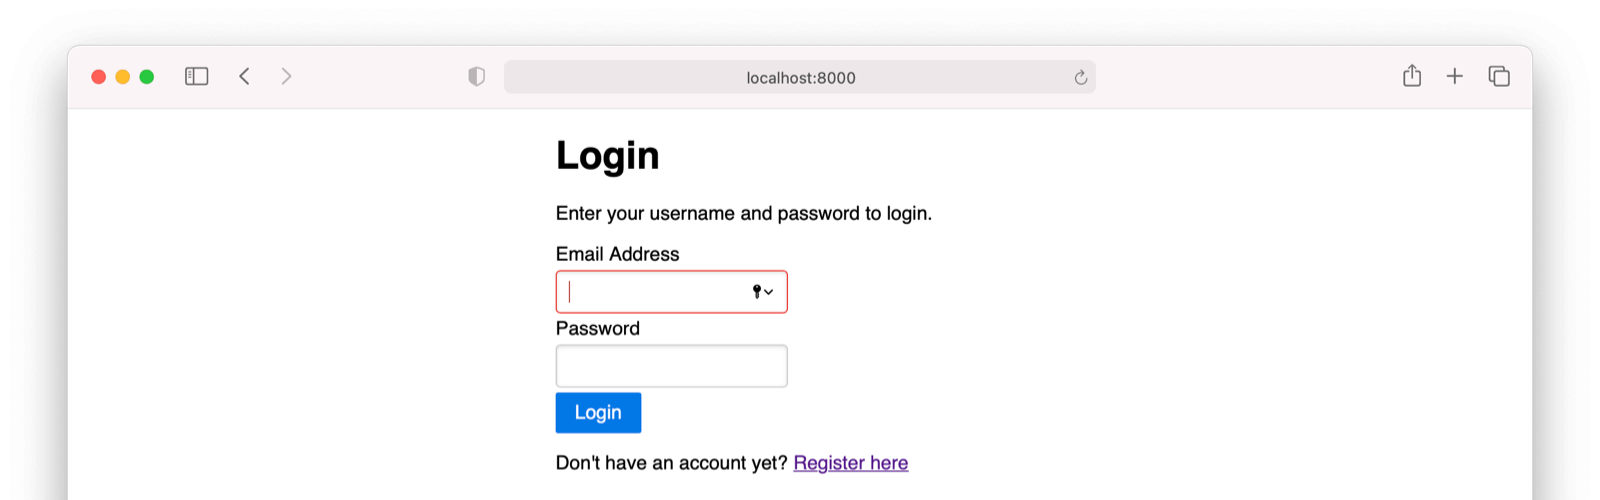
The first route will display a new view file that includes an email and password input field. The second route will use a new action controller to log a user in via FusionAuth. Your login page should look like this:
When users are logged in, FusionAuth also returns a JWT token. If you're building a single page application or want to perform client-side requests, [check out the documentation](https://fusionauth.io/docs/apis/jwt.md) for details.
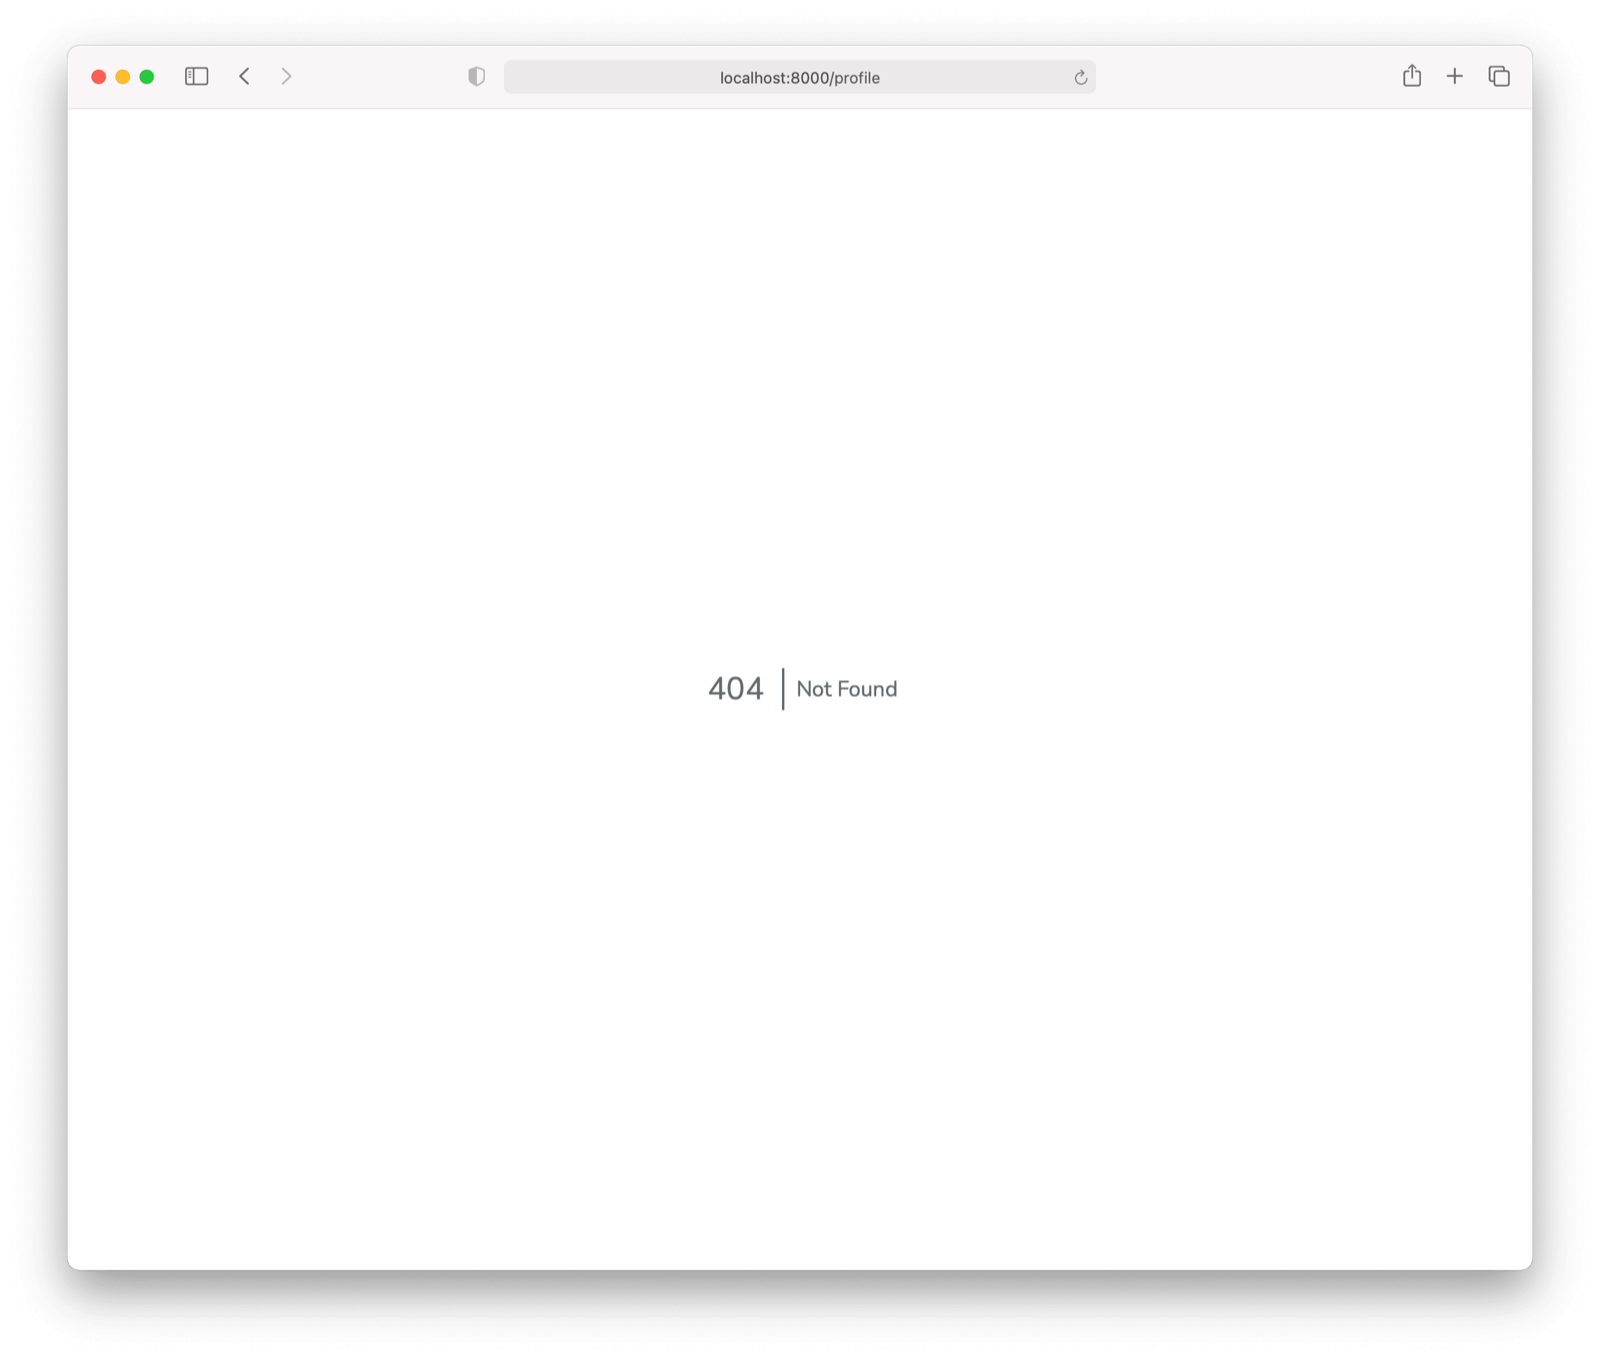
Now when you log in using the new form, you'll be redirected to `/profile`, but that page doesn't exist yet (hence, the 404 error).
## Showing the current user's profile
Users shouldn't be able to access the `/profile` route until they've logged in, and your application has stored their user data into session storage. Laravel uses the concept of [Middleware](https://laravel.com/docs/7.x/middleware) to protect specific routes from unauthorized access.
Before you create the profile page, open up the `app/Http/Middleware/Authenticate.php` file that came with Laravel. Since you're using FusionAuth instead of the default Laravel user authentication, you can completely replace the file's contents with the following:
```php
get('user');
if (!$user) {
throw new AuthenticationException('You must login to access this page.', [], '/');
}
return $next($request);
}
}
```
To use this middleware to prevent users who aren't logged in from accessing the `/profile` page, you can add it to the routes file. Open up the `routes/web.php` file again and add the following line:
```php
Route::view('/profile', 'profile')->middleware('auth');
```
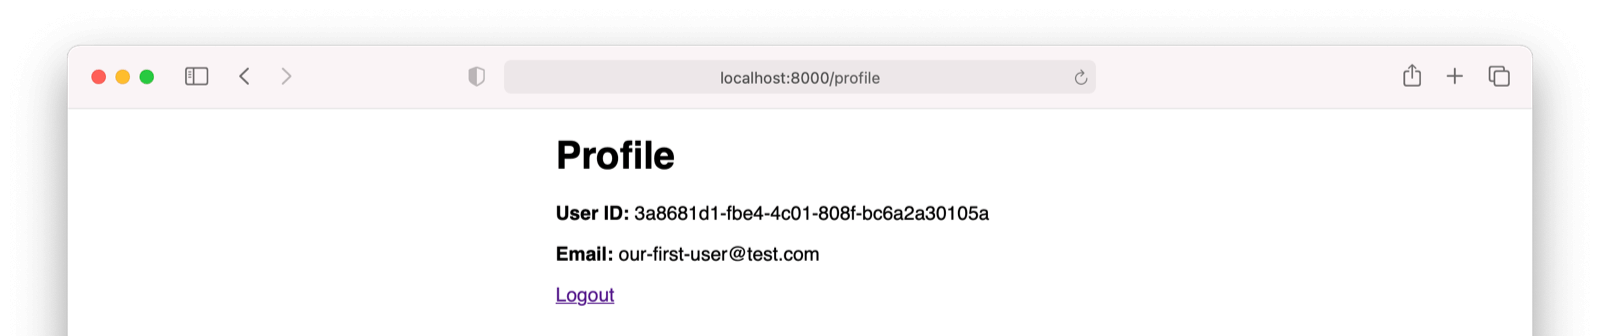
Now you can create a `profile.blade.php` file in your `resources/views/` directory that shows the user's FusionAuth ID and email address:
```html
@extends('layout')
@section('content')
Profile
User ID: {{ session()->get('user')['id'] }}
Email: {{ session()->get('user')['email'] }}
Logout
@endsection
```
Any other user data you choose to store in FusionAuth will be available in the `session()->get('user')` array if you'd like to show it to logged-in users.
When you log in, you should see a profile page that looks something like this:
## Logging out
Finally, you can create a controller and route that will flush a user's session data and call the `FusionAuthClient::logout()` method, logging them out of the application.
Use the following `Artisan` command to create a new controller:
```shell
php artisan make:controller LogoutUser --invokable
```
Now open the `app/Http/Controllers/LogoutUser.php` file and add the following:
```php
//...
use FusionAuth\FusionAuthClient;
//...
class LogoutUser extends Controller
{
private $authClient;
public function __construct(FusionAuthClient $authClient)
{
$this->authClient = $authClient;
}
public function __invoke()
{
$this->authClient->logout(false);
session()->flush();
return redirect('/');
}
}
```
Finally, open up your `routes/web.php` file and add a new `logout` route:
```php
Route::get('/logout', 'LogoutUser');
```
Now when a logged-in user viewing their profile clicks the `Logout` link, Laravel will delete their session data and send them back to the home page to login.
## Conclusion and next steps
I hope this minimal working example gives you a good starting point for integrating FusionAuth into your Laravel application. There are many other things you should consider if you're building authentication into a production application. For example, I've added [flash messages](https://laravel.com/docs/7.x/session#flash-data) for errors and successes to the [code repository on GitHub](https://github.com/FusionAuth/fusionauth-example-laravel). You will probably also want to create other workflows like deleting users, updating emails and passwords, setting user roles and permissions, and forgot password workflows. All of these things are possible using FusionAuth and Laravel.
> *Level up your Laravel apps with FusionAuth's full CIAM platform. [Schedule a demo](https://fusionauth.io/contact.md).*