This is a protected application.
``` Then, start a python web server. Start the web server ``` python3 -m http.server ``` You should be able to visit `http://localhost:8080` and see something like this. 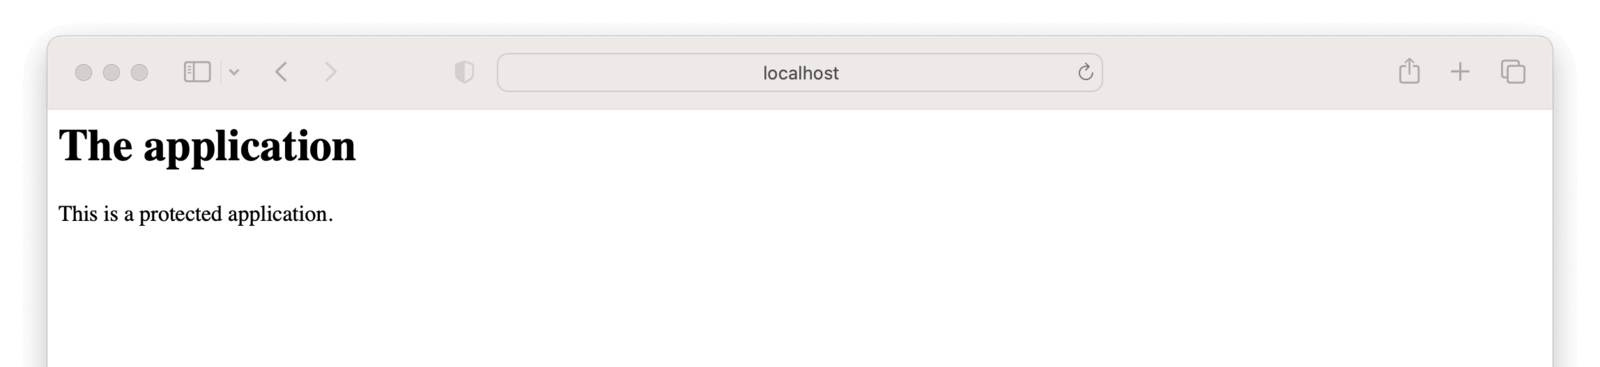 ## Set Up FusionAuth[#](#set-up-fusionauth) Navigate to your FusionAuth instance. First, you need to make sure the issuer setting is correct. Navigate to Tenants -> Your Tenant and change the issuer to the URL of your FusionAuth instance. For example, `https://local.fusionauth.io`. Next, you need to configure an application which will correspond to the ngrok Cloud Edge instance. Navigate to Applications and then create a new Application. Fill out the **Name** field, then click the OAuth tab. Make sure that the **Enabled grants** checkboxes have the `Authorization Code` and `Refresh Token` grants enabled. Your application should look like this. 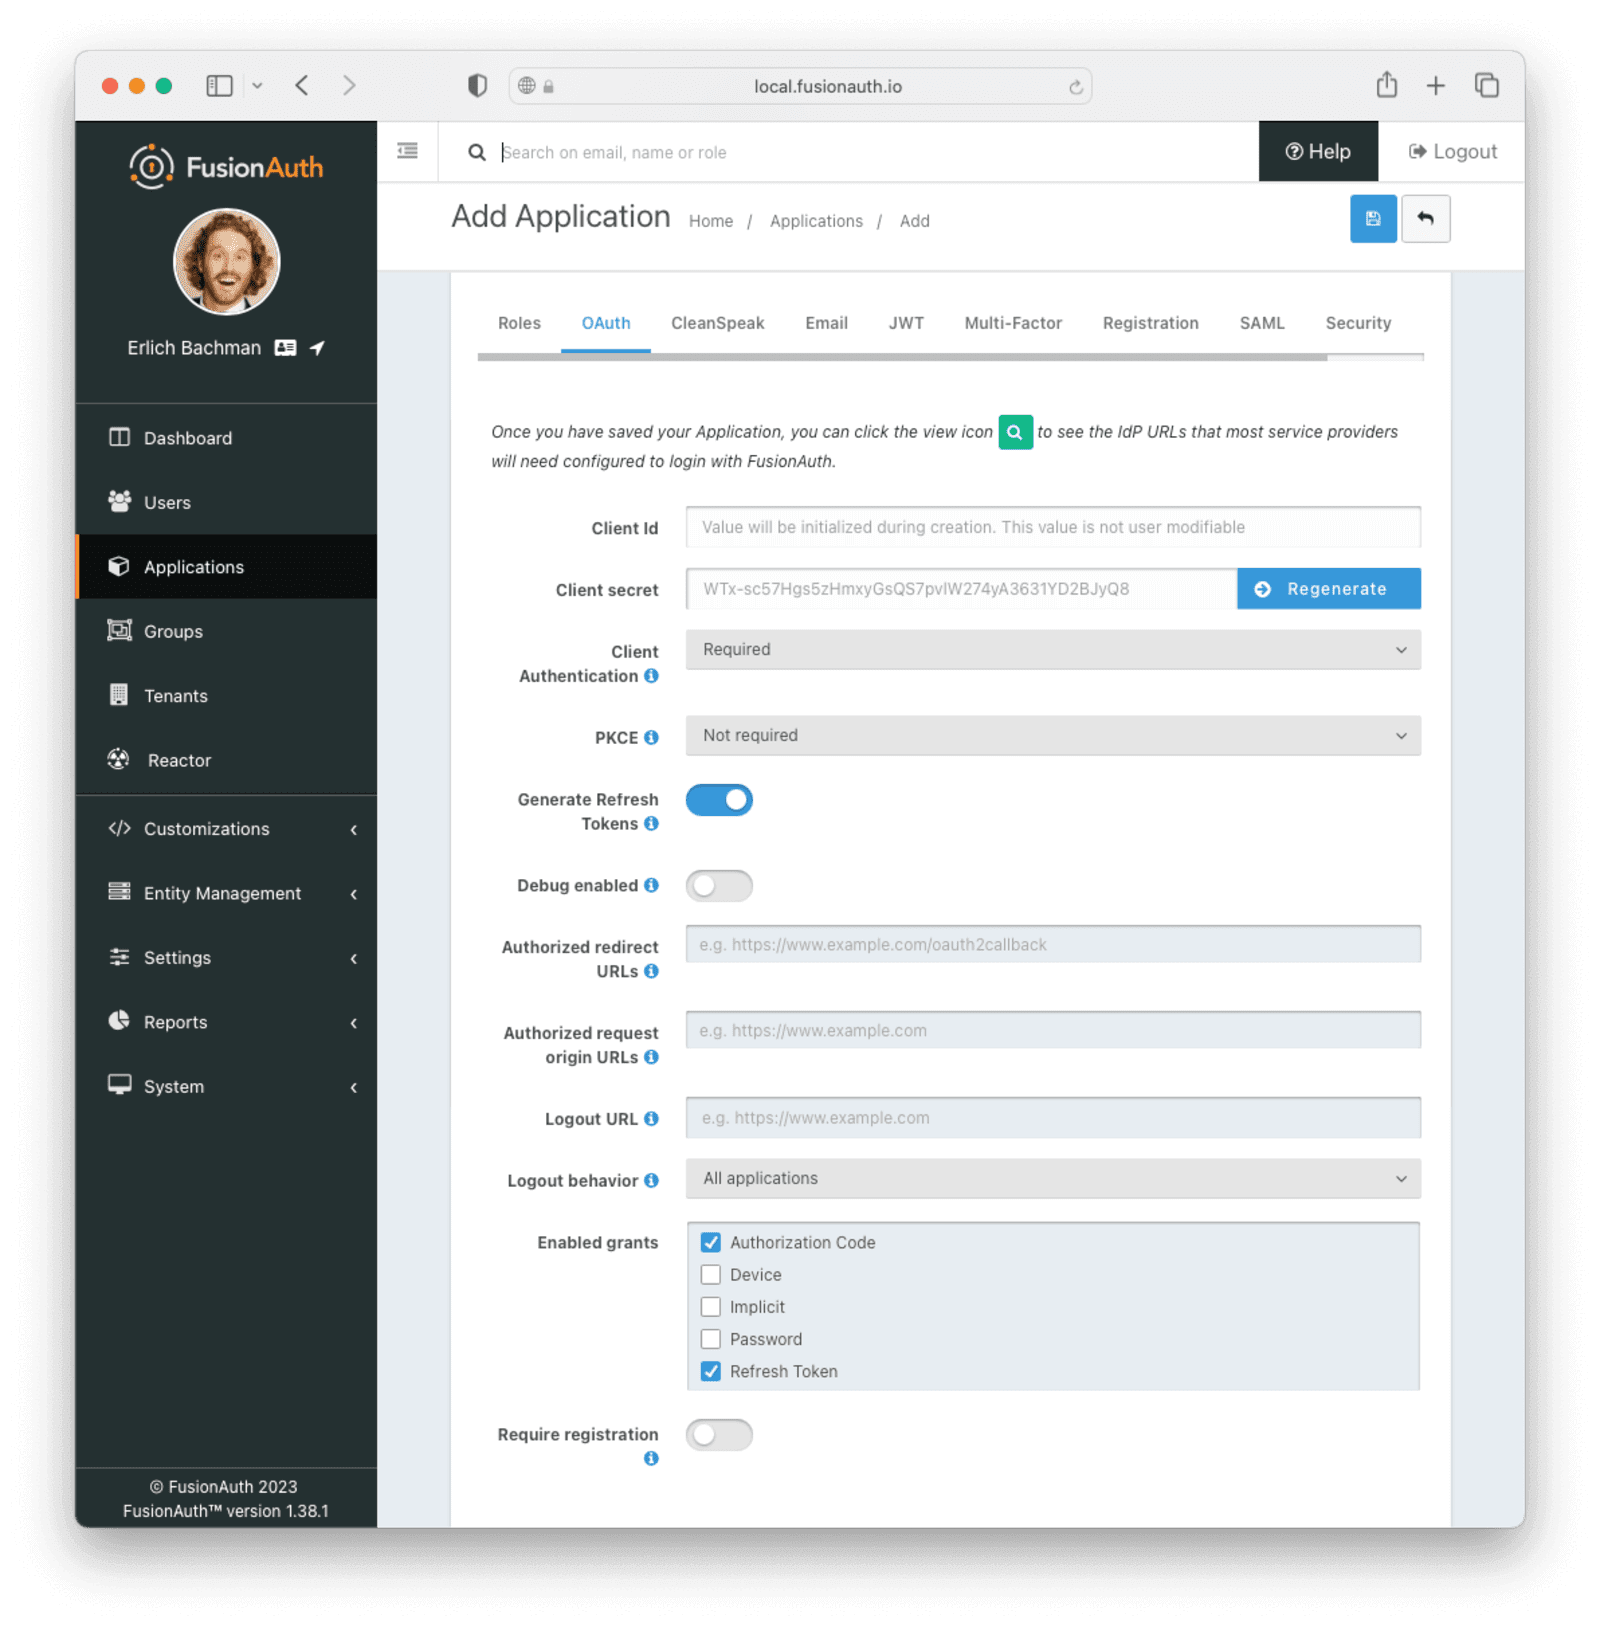 Click the Save button. Edit the new application. You should see values in the **Client Id** and **Client secret** fields. Copy them and put them in a text file. You'll use them in the [Set Up ngrok Cloud Edge](#set-up-ngrok-cloud-edge) step. 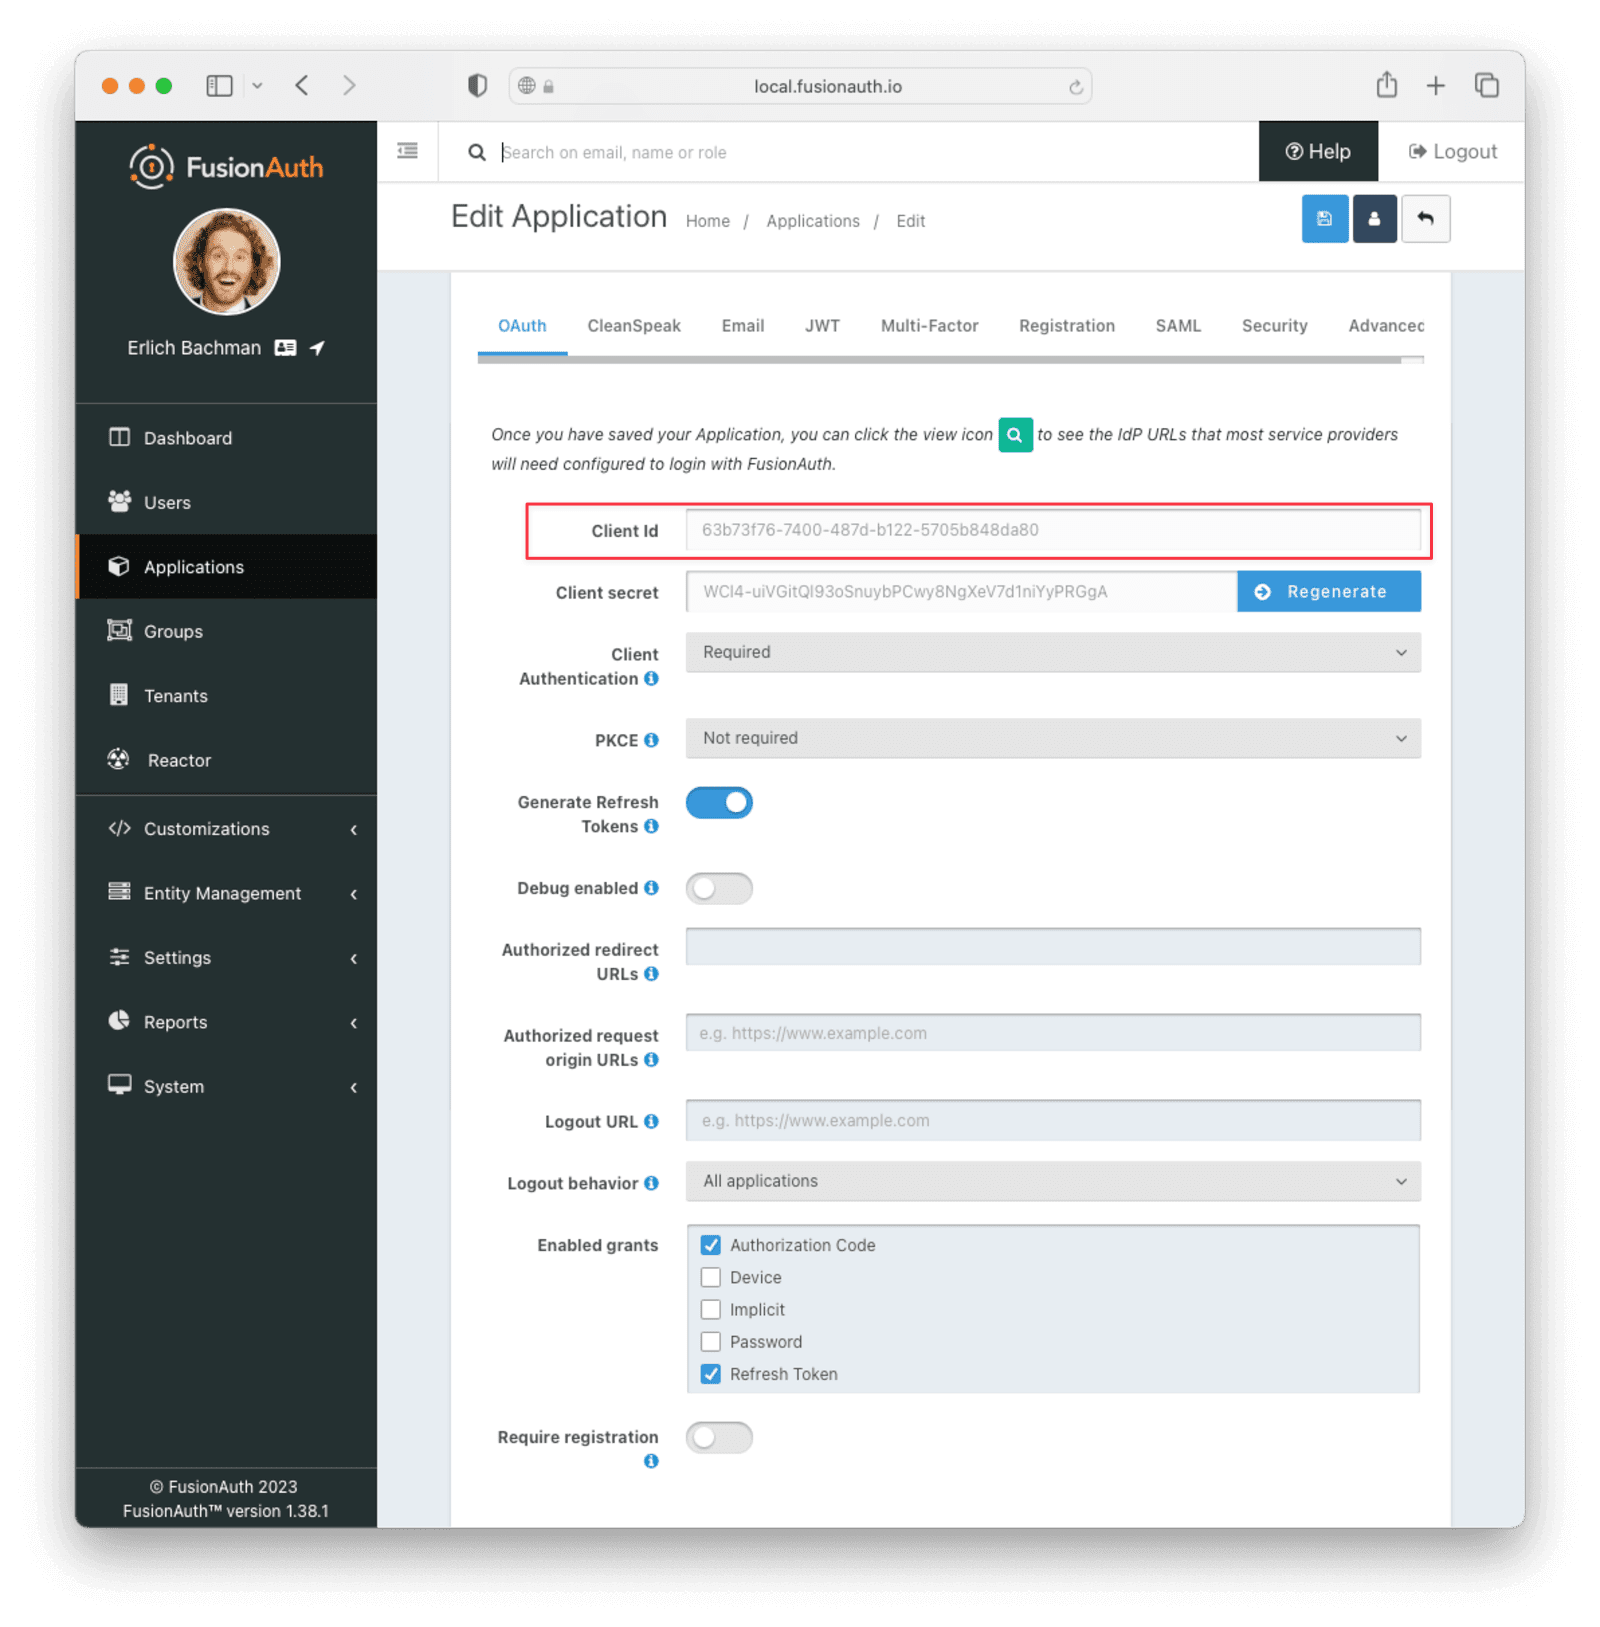 Now, open up a new tab. Next, you are going to set up ngrok Cloud Edge. ## Set Up ngrok Cloud Edge[#](#set-up-ngrok-cloud-edge) Log into an account with ngrok Cloud Edge enabled. Navigate to [the ngrok dashboard](https://dashboard.ngrok.com/cloud-edge/edges) and then to Cloud Edge -> Edges . 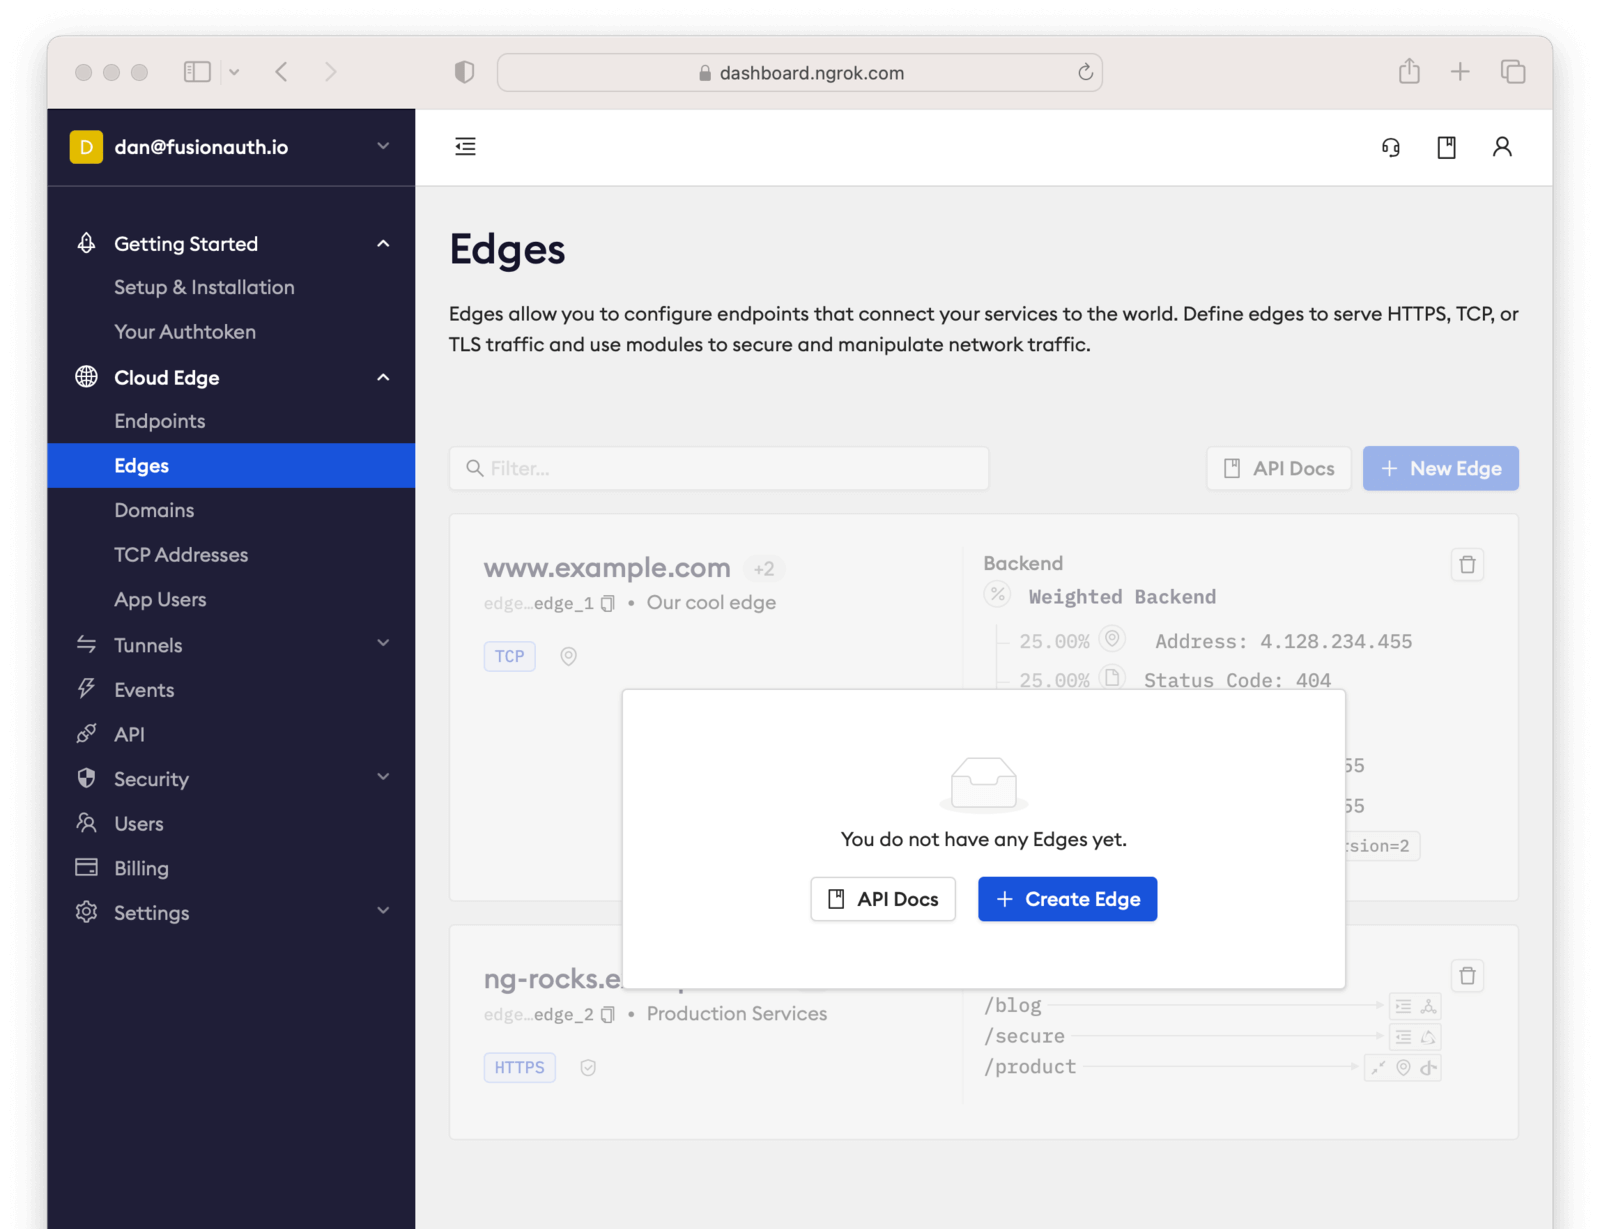 Click Create Edge and select an `HTTPS Edge`. Click Create HTTPS Edge . Copy the endpoint, which might look like `https://pe07g5cn.ngrok.io` and paste it into the text file. You'll use that in the [Test It Out](#test-it-out) step. Click on Start a Tunnel . This will give you an `ngrok` command to run. 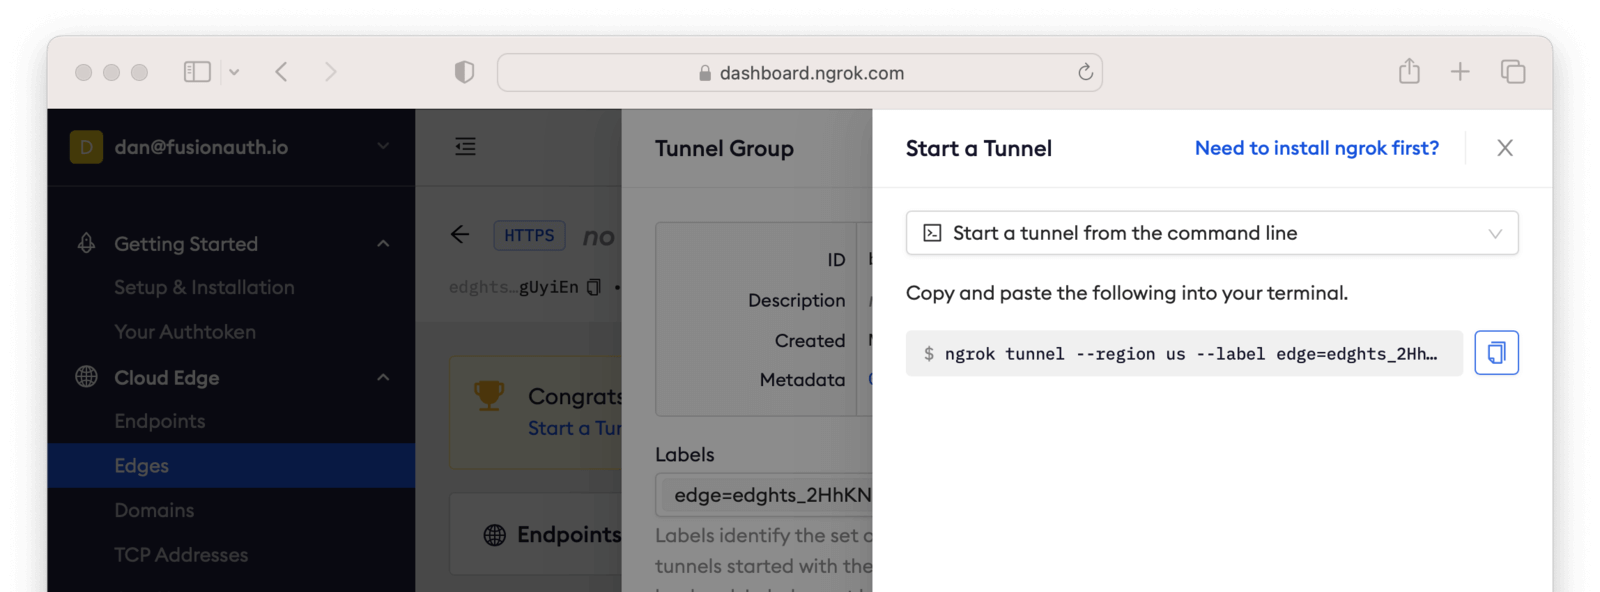 It'll look something like this. Command to start the ngrok tunnel ``` ngrok tunnel --region us --label edge=edghts_2HhKN3ozOCbPO6eDYlXnUgUyiEn http://localhost:80 ``` Copy and paste it, and then modify that to point to your web server. If you are following this document, you need to point it to port 8000. Command to start the ngrok tunnel to the python protected app ``` ngrok tunnel --region us --label edge=edghts_2HhKN3ozOCbPO6eDYlXnUgUyiEn http://localhost:8000 ``` Then paste the command into the same text file. Next, navigate to the OIDC tab. 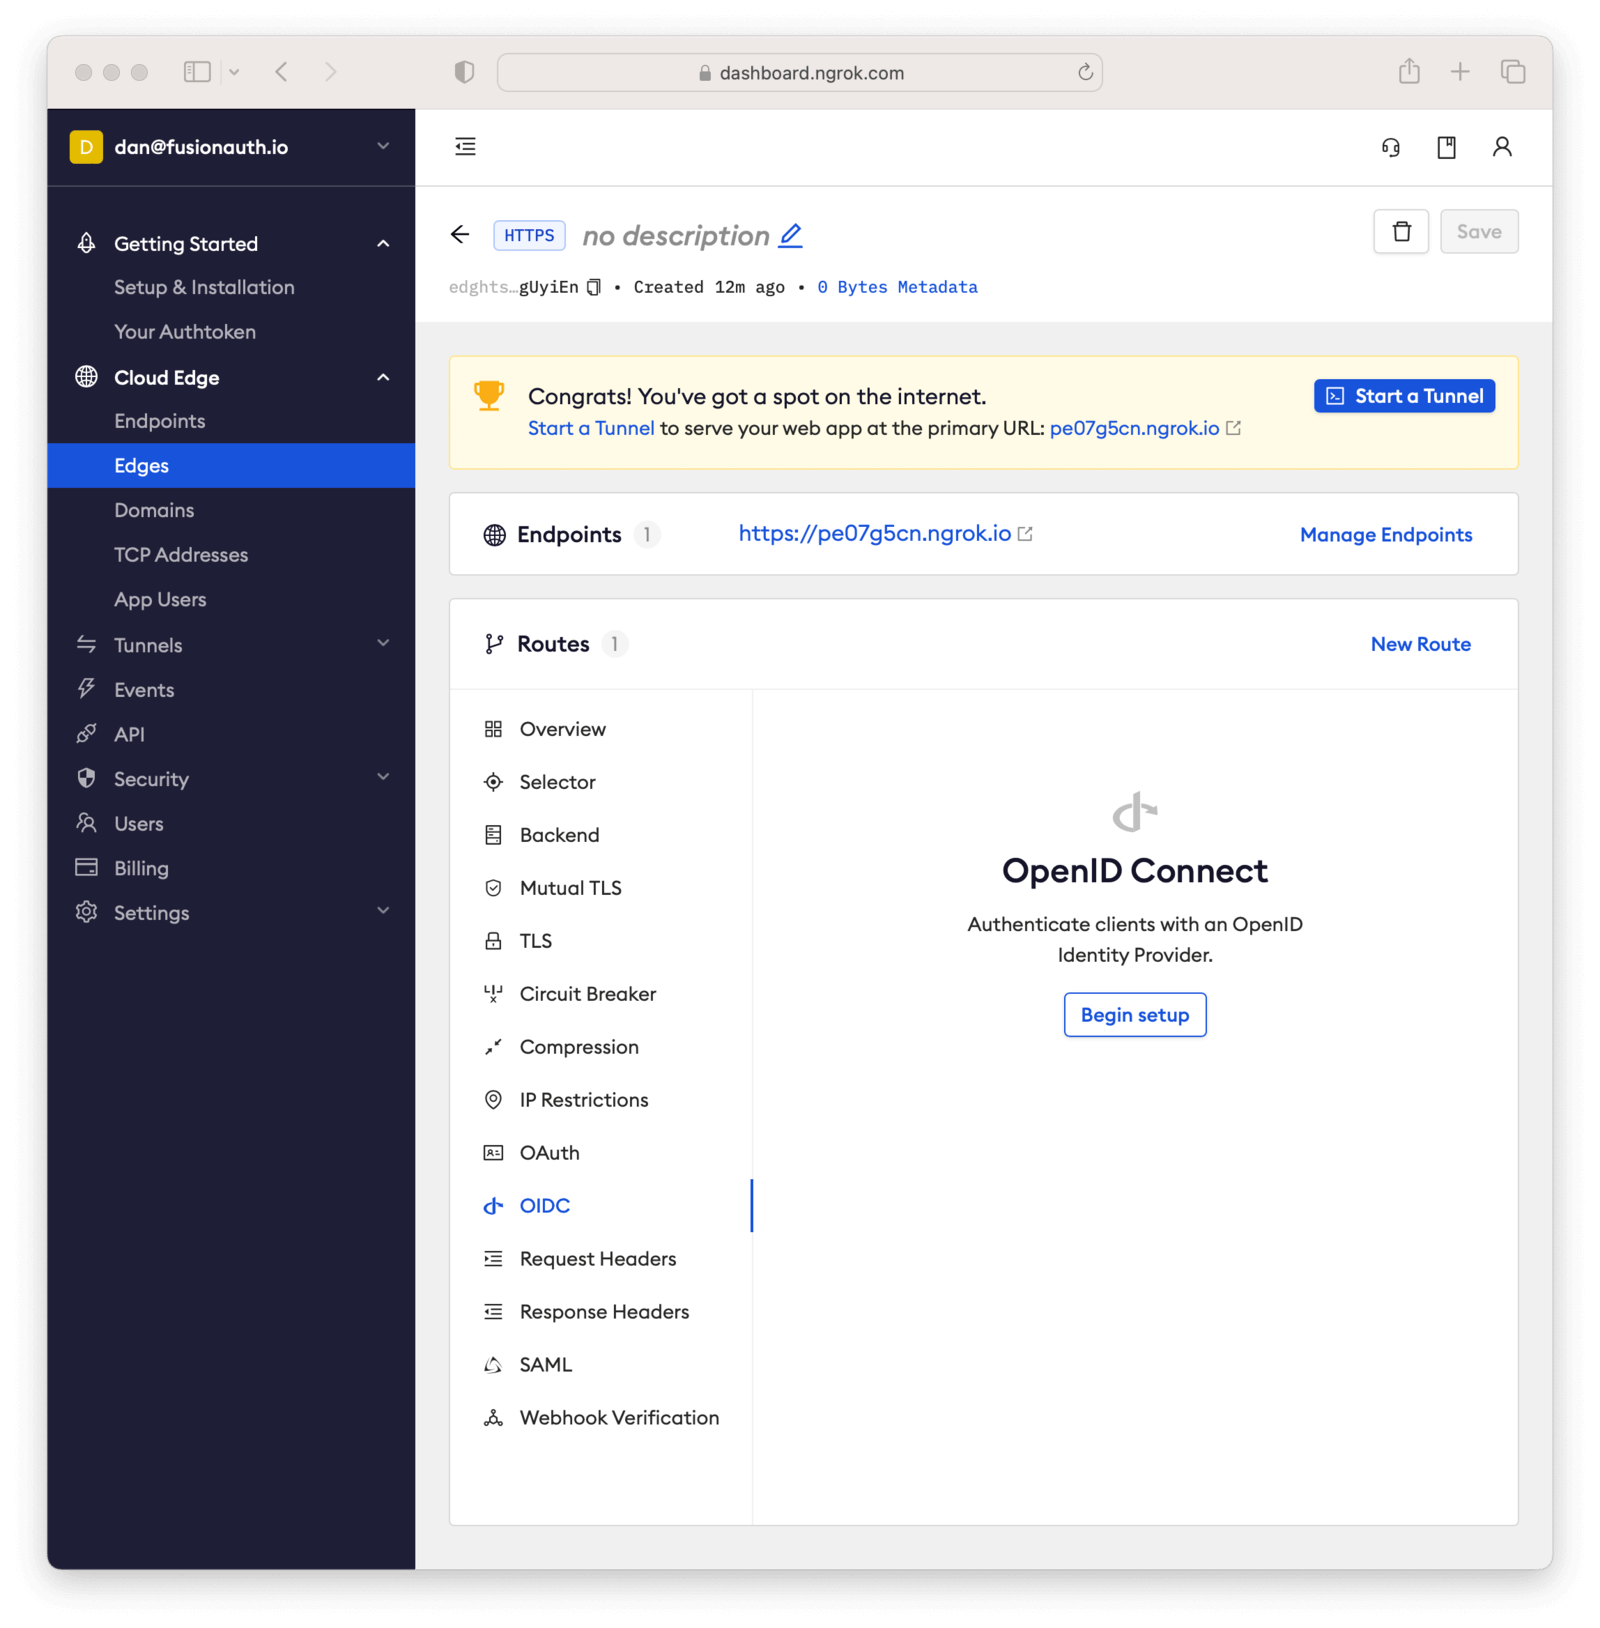 Click on Begin setup . Configure it by taking the following steps. * Add the URL of the FusionAuth server into the **Issuer URL (Open ID Provider)** field. * Put the Client Id you copied in the [Set Up FusionAuth](#set-up-fusionauth) step into the **Client ID** field. * Put the Client secret you copied in the [Set Up FusionAuth](#set-up-fusionauth) step into the **Client Secret** field. Here's how the configuration will look after you are done. 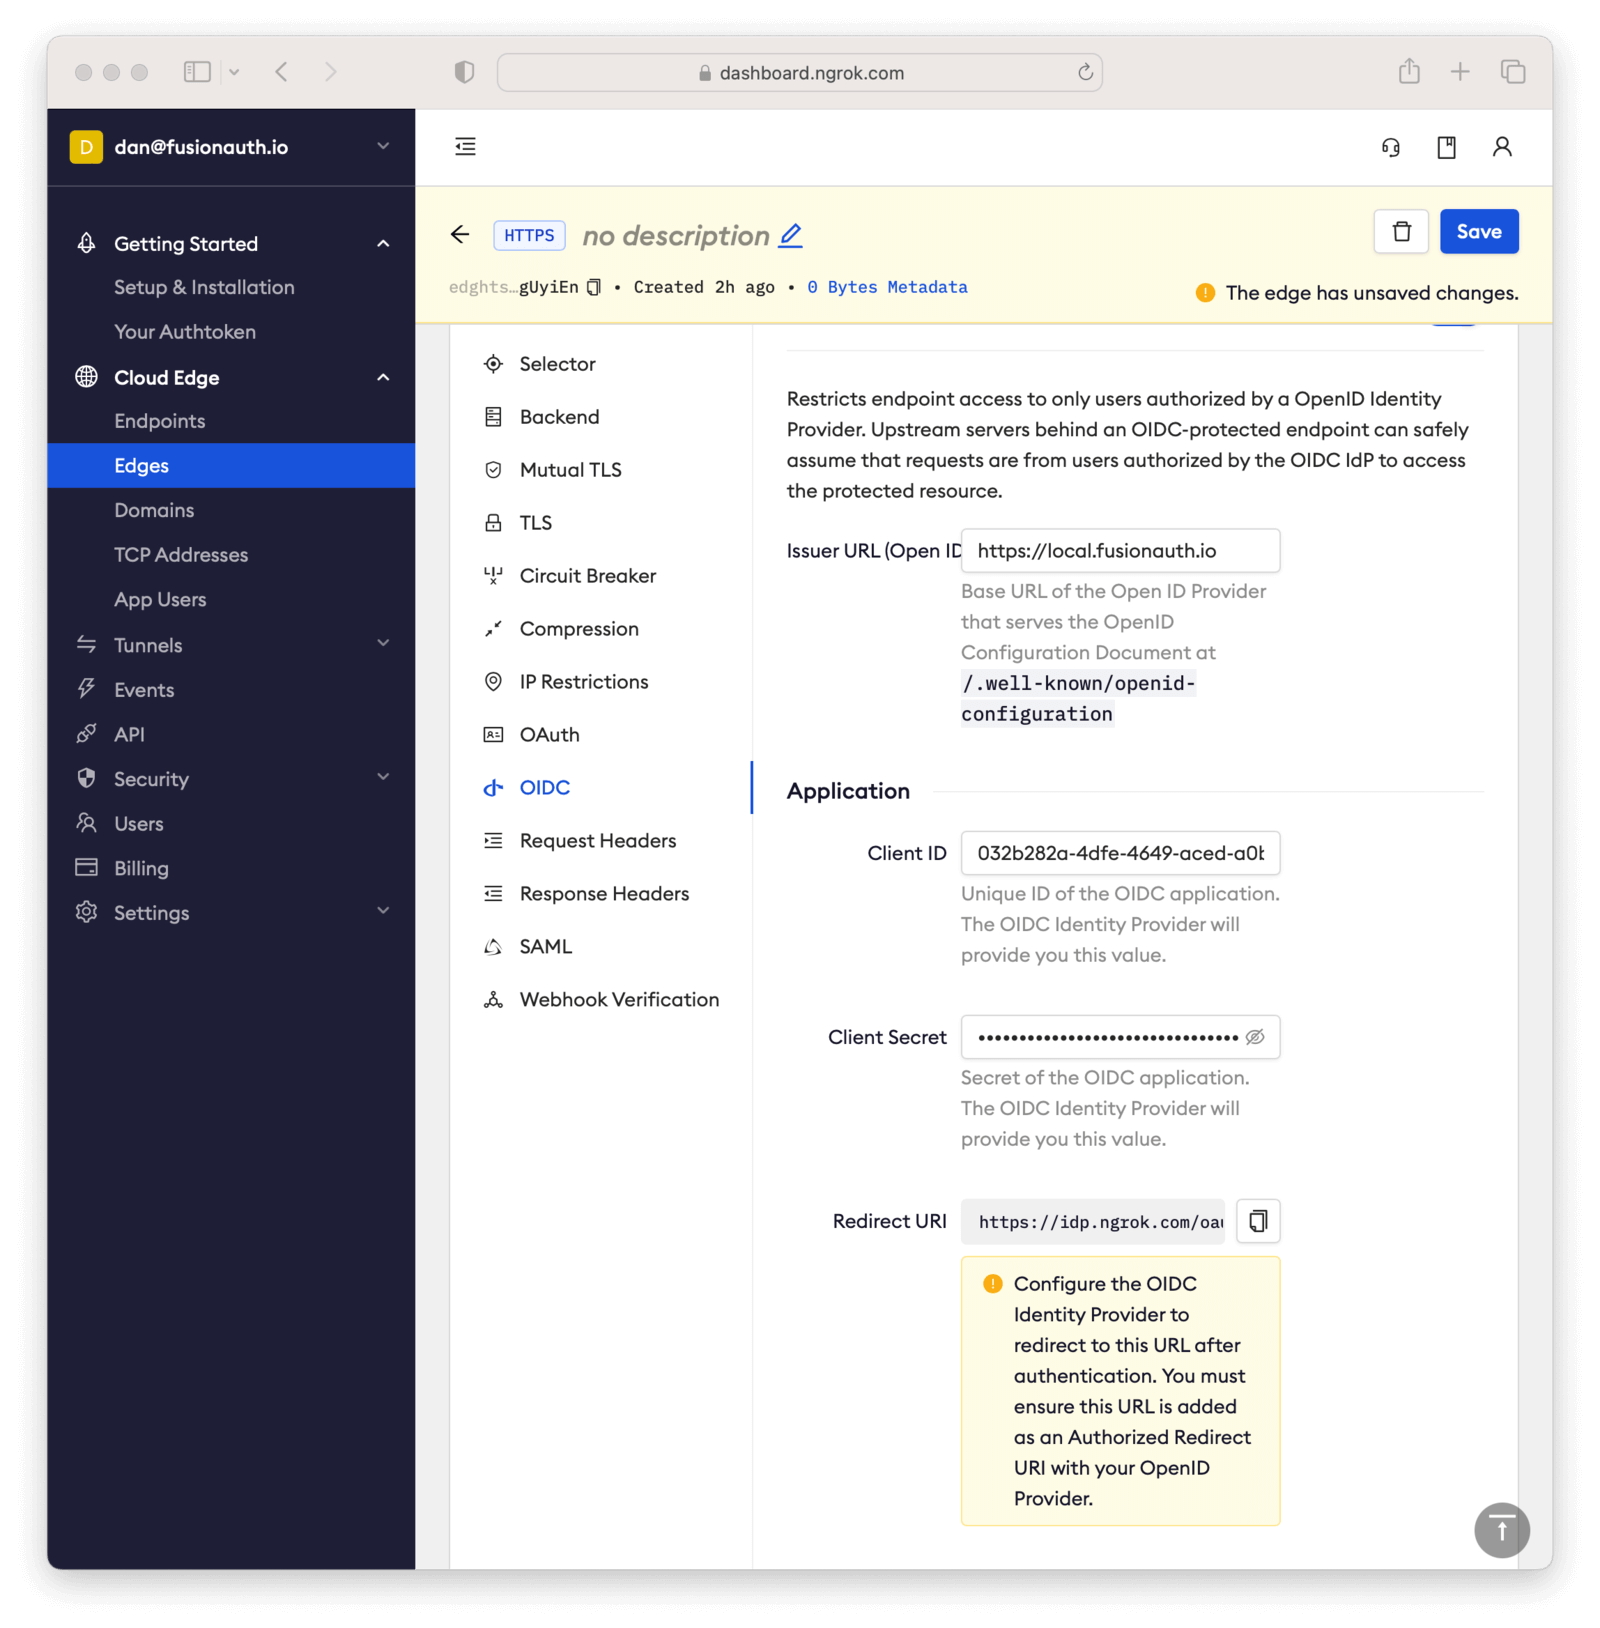 Next, copy the value in the **Redirect URI** read-only field. This should be something like `https://idp.ngrok.com/oauth2/callback`. Save the configuration. ## Finishing Up With FusionAuth[#](#finishing-up-with-fusionauth) Switch back to the FusionAuth admin screen. Edit the FusionAuth application config, if you previously navigated away. Add the value from the ngrok Cloud Edge **Redirect URI** read-only field to the FusionAuth **Authorized redirect URLs** field. 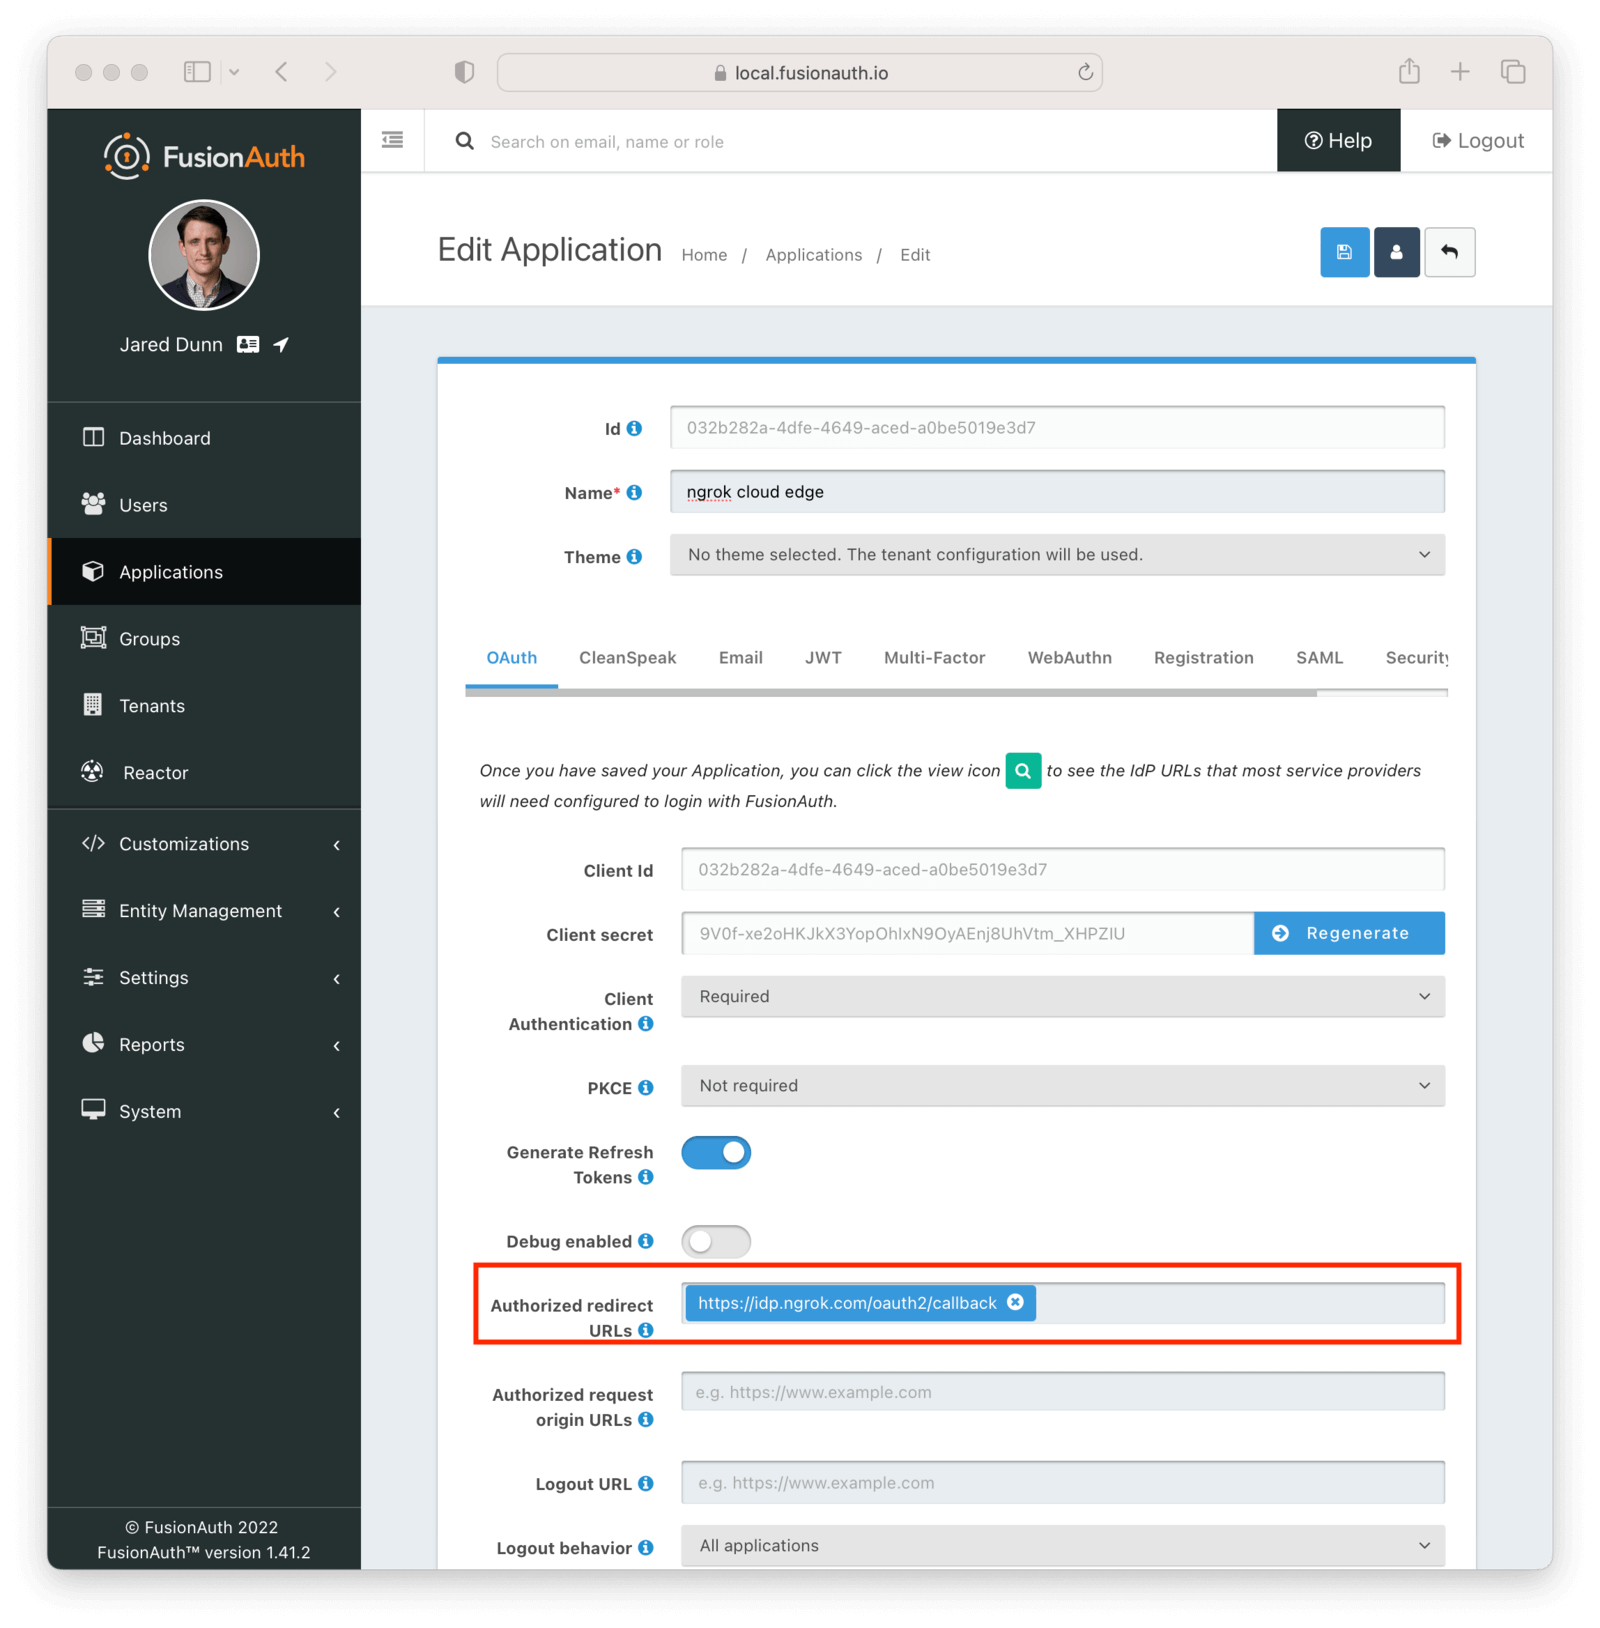 Save the updated configuration. ## Test It Out[#](#test-it-out) Now it is time to test the integration. Open up another terminal and start up the ngrok tunnel. Start the ngrok tunnel to the protected app ``` ngrok tunnel --region us --label edge=edghts_2HhKN3ozOCbPO6eDYlXnUgUyiEn http://localhost:8000 ``` Open an incognito browser window to ensure that you aren't logged into FusionAuth. Visit the endpoint you copied above: `https://pe07g5cn.ngrok.io`. You will be prompted to log into FusionAuth. 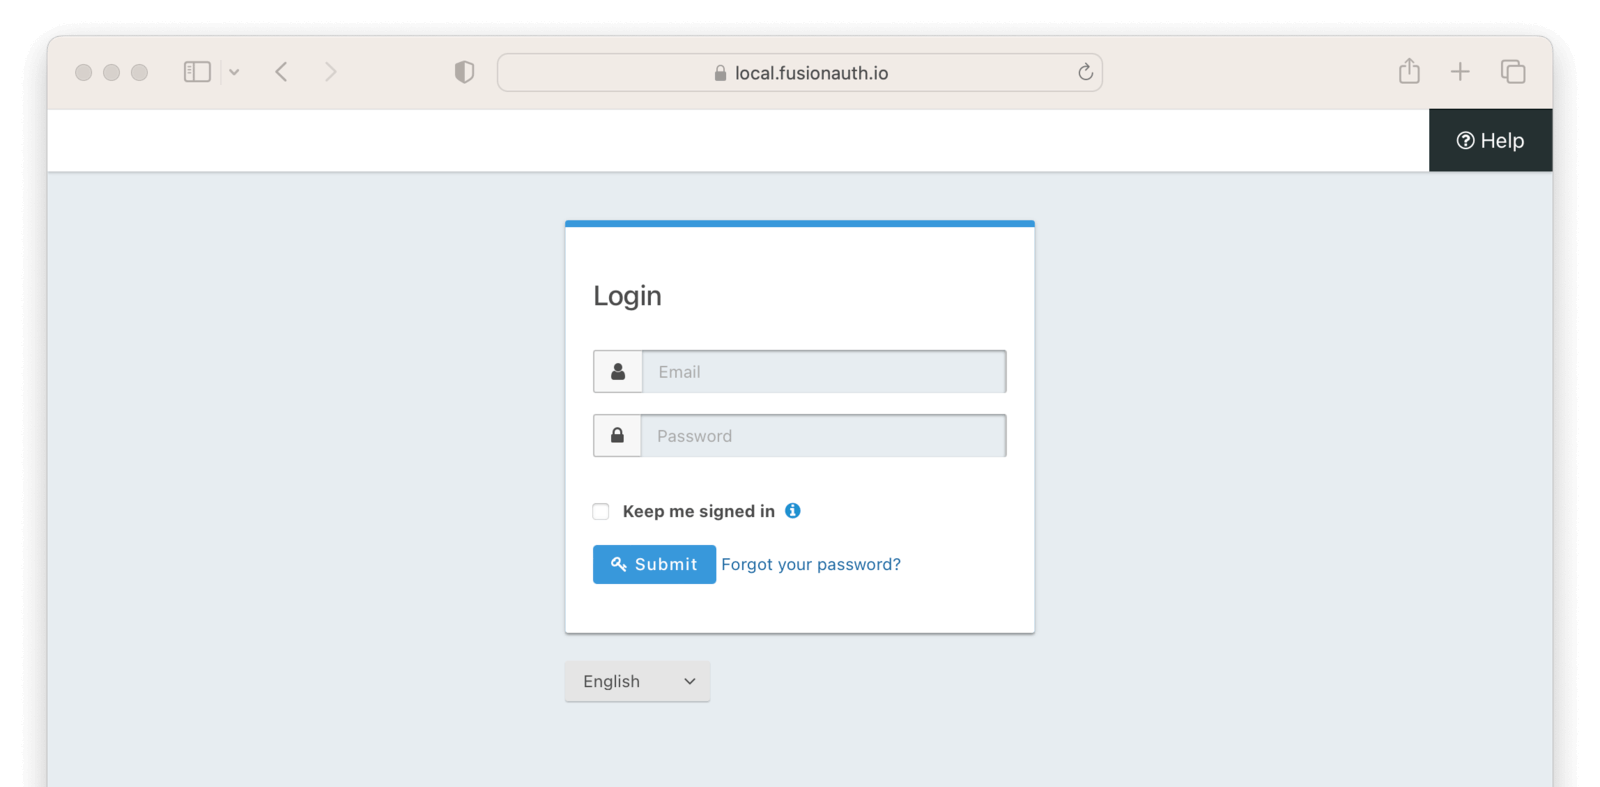 If you login, you'll see the protected application. You won't be able to access it without doing so. ## Next Steps[#](#next-steps) There's a lot more you can do with ngrok Cloud Edge. You can configure the ngrok Cloud Edge OIDC module to force users to reauthenticate, expire after a certain amount of inactivity and more. You can also combine the OIDC module with other security limitations, such as IP restrictions. You can also configure ngrok to proxy different paths to different applications and add or remove headers. Finally, you can tweak your FusionAuth settings to ensure that the user is registered for the ngrok Cloud Edge application or fire off webhooks when the user logs in.