> For the complete documentation index, see [llms.txt](https://fusionauth.io/docs/llms.txt)
# FusionAuth Quickstart for React | FusionAuth Docs
Quickstart a React Web App with FusionAuth.
# FusionAuth Quickstart for React
[Edit on GitHub](https://github.com/FusionAuth/fusionauth-site/blob/main/astro/src/content/docs/get-started/quickstarts/spa/react.mdx)
[View Markdown](https://fusionauth.io/docs/get-started/quickstarts/spa/react.md)
This quickstart adds login and a protected page to a React web app using a preconfigured, local version of FusionAuth in the following steps:
1. Create a new React app.
2. Customize the app with home and account pages.
3. Add login to protect the account page.
4. Add a button to the account page to fetch the user's information.
## Prerequisites[#](#prerequisites)
This Quickstart requires:
* [Node.js](https://nodejs.org/en/download) 22 or later
* [Docker](https://docs.docker.com/get-started/get-docker/) 23 or later
* On macOS and Windows, one of the following container management tools:
* [Docker desktop](https://www.docker.com/products/docker-desktop/)
* [OrbStack](https://docs.orbstack.dev/quick-start) (to use Orbstack for `docker compose` commands after install, run `docker context use orbstack`)
* [Podman](https://podman.io/docs/installation) (in the commands below, replace `docker` with `podman`)
Be sure to open your container management tool to configure and install any dependencies needed by that tool, including Rosetta and Developer Tools on macOS.
## Install and Run FusionAuth[#](#install-and-run-fusionauth)
To begin, clone the [GitHub repository for this Quickstart](https://github.com/FusionAuth/fusionauth-quickstart-react) to your local machine:
```bash
git clone git@github.com:FusionAuth/fusionauth-quickstart-react.git
```
The repository contains:
* `fusionauth-backend`, a preconfigured version of FusionAuth
* `react-frontend-steps`, a runnable version of each development step of the React application
Navigate to `fusionauth-quickstart-react/fusionauth-backend`:
```bash
cd fusionauth-quickstart-react/fusionauth-backend
```
Open OrbStack or Docker Compose to start the docker daemon.
To start a local instance of FusionAuth, run the following command:
```bash
docker compose up -d
```
If you see an error that reads "Is the docker daemon running?", make sure your container management tool is accepting commands. Depending on your tool:
* to use Docker Compose, Docker Compose must be open
* to use Orbstack, enable OrbStack to run as the docker daemon with `docker context use orbstack`, then open the Orbstack app
* to use Podman, replace `docker` in the above command with `podman`
During the Docker compose process, the included `kickstart/kickstart.json` file uses the FusionAuth API to:
* Generate an API key
* Configure CORS (Settings -> System -> CORS )
* Create your app ("Quick Start App") with appropriate settings and redirect URIs (Applications -> Edit Application )
* Create an admin user ([admin@example.com](mailto:admin@example.com)) and register the user with your app (Users )
* Create a user ([richard@example.com](mailto:richard@example.com)) and register the user with your app
* Create a custom theme ("Quick Start Theme") using `fusionauth-quickstart-react/kickstart/css/styles.css` and apply it to your default tenant (Customizations -> Themes )
Once Docker compose completes, open a browser window and navigate to the admin UI of your FusionAuth instance at [http://localhost:9011/admin](http://localhost:9011/admin). Use the following admin account credentials to log in:
* Username: `admin@example.com`
* Password: `password`
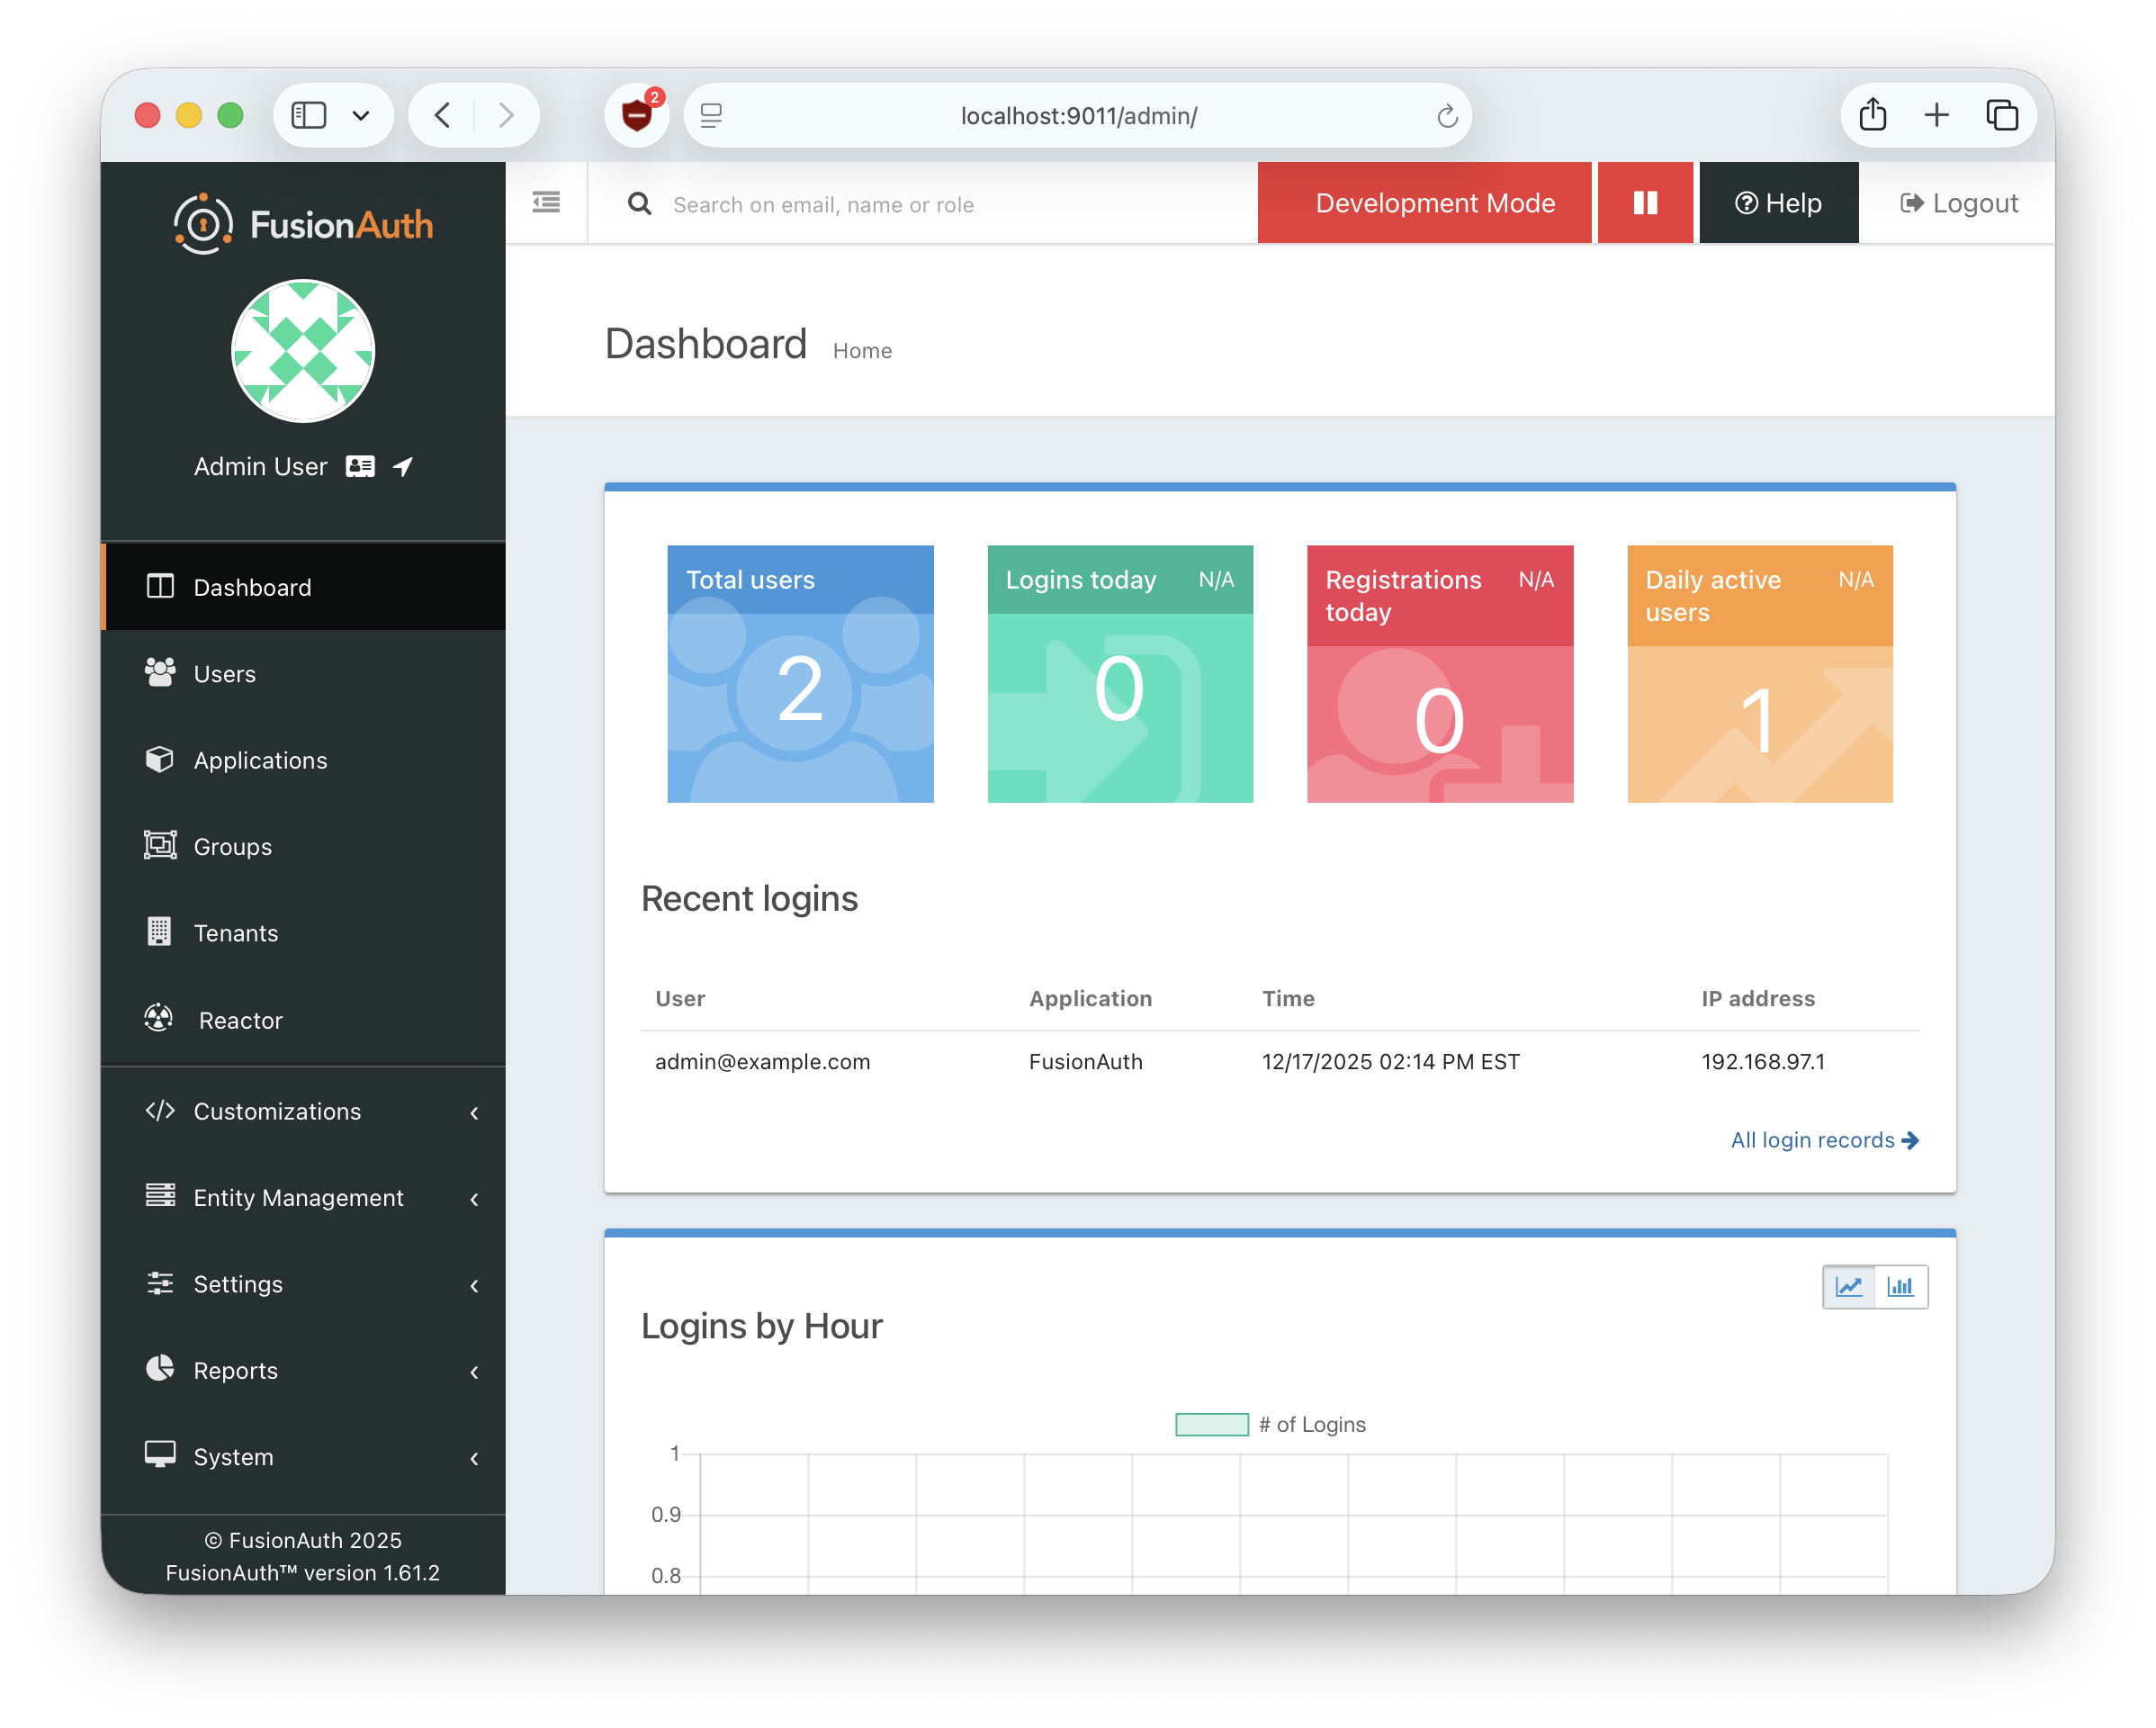
After authenticating, you should see the FusionAuth admin UI, which shows information about active users, logins, registrations, and more:
## Create the React app[#](#create-the-react-app)
First, create a new TypeScript React app with Vite:
1. To generate a new React app in a folder called `app-quickstart-react`, open a terminal and run the following commands:
If your terminal is still in the `fusionauth-backend` directory, run `cd ..` to navigate back up to `fusionauth-quickstart-react`.
```bash
npm create vite@latest app-quickstart-react -- --template react-ts
```
Select `Yes` to install necessary Vite packages if prompted. Then select `No` for the following options:
* Use rolldown-vite (Experimental)? `No`
* Install with npm and start now? `No`
2. Navigate into the app folder and install the project dependencies with the following commands:
```bash
cd app-quickstart-react
```
```bash
npm install
```
```bash
npm install react-router-dom
```
3. Delete the file `app-quickstart-react/src/App.tsx` as you'll add routing to display the app pages:
```bash
rm -rf src/App.tsx
```
## Customize the React app[#](#customize-the-react-app)
### Update the main app component[#](#update-the-main-app-component)
Replace the contents of `src/main.tsx` with the following code:
```tsx
import { StrictMode } from 'react';
import ReactDOM from 'react-dom/client';
import { BrowserRouter, Navigate, Route, Routes } from 'react-router-dom';
import Home from './home';
import Account from './account';
function App() {
return (
} />
} />
} />
);
}
ReactDOM.createRoot(document.getElementById('root')!).render(
);
```
This is the main app component for your React app. The last code block inserts the app into the root DOM element.
### Create the homepage[#](#create-the-homepage)
Create the file `src/home.tsx` for the public homepage and add the following code:
```tsx
import { useNavigate } from 'react-router-dom';
export default function Home() {
const navigate = useNavigate();
return (
Log in to request your information
);
};
```
The click handler function for the login button redirects the user to the account page. You'll replace this function when you add authentication.
### Create the account page[#](#create-the-account-page)
Create the file `src/account.tsx` for the account page and add the following code:
```tsx
import { useNavigate } from 'react-router-dom';
export default function Account() {
const navigate = useNavigate();
return (
User info will display here
);
}
```
The click handler function for the logout button redirects to the home page. You'll replace this function when you add authentication.
### Update the stylesheet[#](#update-the-stylesheet)
Replace the contents of the `src/App.css` stylesheet with the following CSS:
```css
* {
color: #1e293b;
font-family: Inter, Arial, Helvetica, sans-serif;
font-size: 14px;
margin: 0;
padding: 0;
}
.white { color: white}
.centerContainer {
display: flex;
flex-direction: column;
justify-content: center;
align-items: center;
}
.titlebar {
background-color: #1e293b;
margin: 0 0 36px 0;
min-height: 100px;
color: #f8fafc;
display: flex;
justify-content: flex-end;
align-items: center;
}
.button {
cursor: pointer;
font-family: inherit;
border-radius: 4px;
padding: 10px 16px;
margin: 16px;
height: 40px;
background-color: #f58320;
border: none;
color: white;
transition: background .2s ease-in-out;
}
.button:hover {
background-color: #ea580c;
color: white;
transition: background .2s ease-in-out;
}
.button:disabled {
background-color: #1e293b;
color: #64748b;
}
.userInfoGrid {
display: grid;
grid-template-columns: repeat(2, auto);
gap: 10px;
}
```
### Update index.html[#](#update-indexhtml)
*In the root directory* (not `src`), replace the contents of `index.html` with the following code:
```html
FusionAuth Quick Start React App
```
This page loads the CSS in the head component. The body loads `main.tsx`, the main React container.
### Run the React app[#](#run-the-react-app)
Run your app on port `3000`:
1. In `package.json`, update the `dev` script to use port `3000`. Replace:
```json
"scripts": {
"dev": "vite",
```
with:
```json
"scripts": {
"dev": "vite --port 3000",
```
2. From the React app directory, run the following command to start the web server:
```bash
npm run dev
```
3. To view your app, open a web browser and navigate to [http://localhost:3000](http://localhost:3000).
## Add FusionAuth for authentication[#](#add-fusionauth-for-authentication)
In this section, you protect the account page with a login.
### Configure and enable FusionAuth[#](#configure-and-enable-fusionauth)
1. From the React app directory (`app-quickstart-react`), run the following command to install the FusionAuth React SDK:
```bash
npm install @fusionauth/react-sdk@~2.5.1
```
2. Open `src/main.tsx` and replace the file contents with the following code to:
* import functions and types from the FusionAuth React SDK
* configure and add the FusionAuth provider
```tsx
import { StrictMode } from 'react';
import ReactDOM from 'react-dom/client';
import { BrowserRouter, Navigate, Route, Routes } from 'react-router-dom';
import Home from './home';
import Account from './account';
import { FusionAuthProvider } from '@fusionauth/react-sdk';
import type { FusionAuthProviderConfig } from '@fusionauth/react-sdk';
const fusionAuthProviderConfig: FusionAuthProviderConfig = {
redirectUri: 'http://localhost:3000',
postLogoutRedirectUri: 'http://localhost:3000',
shouldAutoRefresh: true,
shouldAutoFetchUserInfo: true,
scope: 'openid email profile offline_access',
clientId: 'e9fdb985-9173-4e01-9d73-ac2d60d1dc8e',
serverUrl: 'http://localhost:9011',
onRedirect: () => { console.log('Login successful'); }
};
function App() {
return (
} />
} />
} />
);
}
ReactDOM.createRoot(document.getElementById('root')!).render(
);
```
This FusionAuth configuration specifies the following values:
* `redirectUri`: URI to open after a successful login.
* `postLogoutRedirectUri`: URI to open after logout.
* `shouldAutoRefresh`: Set to automatically renew the access token.
* `shouldAutoFetchUserInfo`: Return data for the user as part of a successful login.
* `scope`: OAuth 2.0 permissions for the access token.
* `clientId`: ID of the application in the FusionAuth instance.
* `serverUrl`: Base URL for the FusionAuth authorization server.
* `onRedirect`: Callback that executes when a redirect occurs.
### Add login and logout to homepage[#](#add-login-and-logout-to-homepage)
Open `src/home.tsx` and replace the file contents with the following code to:
* import functions and types from the FusionAuth React SDK
* update `Home()` to route an authenticated user to the account page after they authenticate
* update the login button handler to save `justLoggedIn` until the login redirect is complete, then call `startLogin()`
* add logic to the title bar to show a authenticated user's email and a logout button, otherwise a login button
```tsx
import { useNavigate } from 'react-router-dom';
import { useFusionAuth } from '@fusionauth/react-sdk';
import { useEffect } from 'react';
export default function Home() {
const navigate = useNavigate();
const { isLoggedIn, startLogin, startLogout, userInfo } = useFusionAuth();
useEffect(() => {
// Post-authentication redirect to account page
if (isLoggedIn && sessionStorage.getItem('justLoggedIn') === 'true') {
sessionStorage.removeItem('justLoggedIn');
navigate("/account");
}
}, [isLoggedIn, navigate]);
return (
// show logout button for authenticated users, login button for all others
{isLoggedIn ? (
<>
{userInfo?.email}
) : (
)}
Log in to request your information
);
};
```
### Add logout to account page[#](#add-logout-to-account-page)
Open `src/account.tsx` and replace the file contents with the following code to:
* import functions and types from the FusionAuth React SDK
* update `Account()` to show the account page only to a logged-in user
* update the account page to display the user's email in the title bar
* update the logout button click handler to start the logout process using the FusionAuth React SDK `startLogout()` method
```tsx
import { useNavigate } from 'react-router-dom';
import { useFusionAuth } from '@fusionauth/react-sdk';
import { useEffect } from 'react';
export default function Account() {
const navigate = useNavigate();
// use fusionauth SDK methods to handle authentication and logout
const { isLoggedIn, isFetchingUserInfo, startLogout, userInfo } = useFusionAuth();
// if user is not authenticated, redirect them back to the login page
useEffect(() => { if (!isLoggedIn) navigate("/"); }, [isLoggedIn, navigate]);
if (!isLoggedIn || isFetchingUserInfo) return null;
return (
{userInfo?.email}
User info will display here
);
}
```
### Test authentication[#](#test-authentication)
1. Start the web server:
```bash
npm run dev
```
2. Open a *private browser window* so you don't retain your login status from previous sections.
3. Navigate to the React app at [http://localhost:3000](http://localhost:3000).
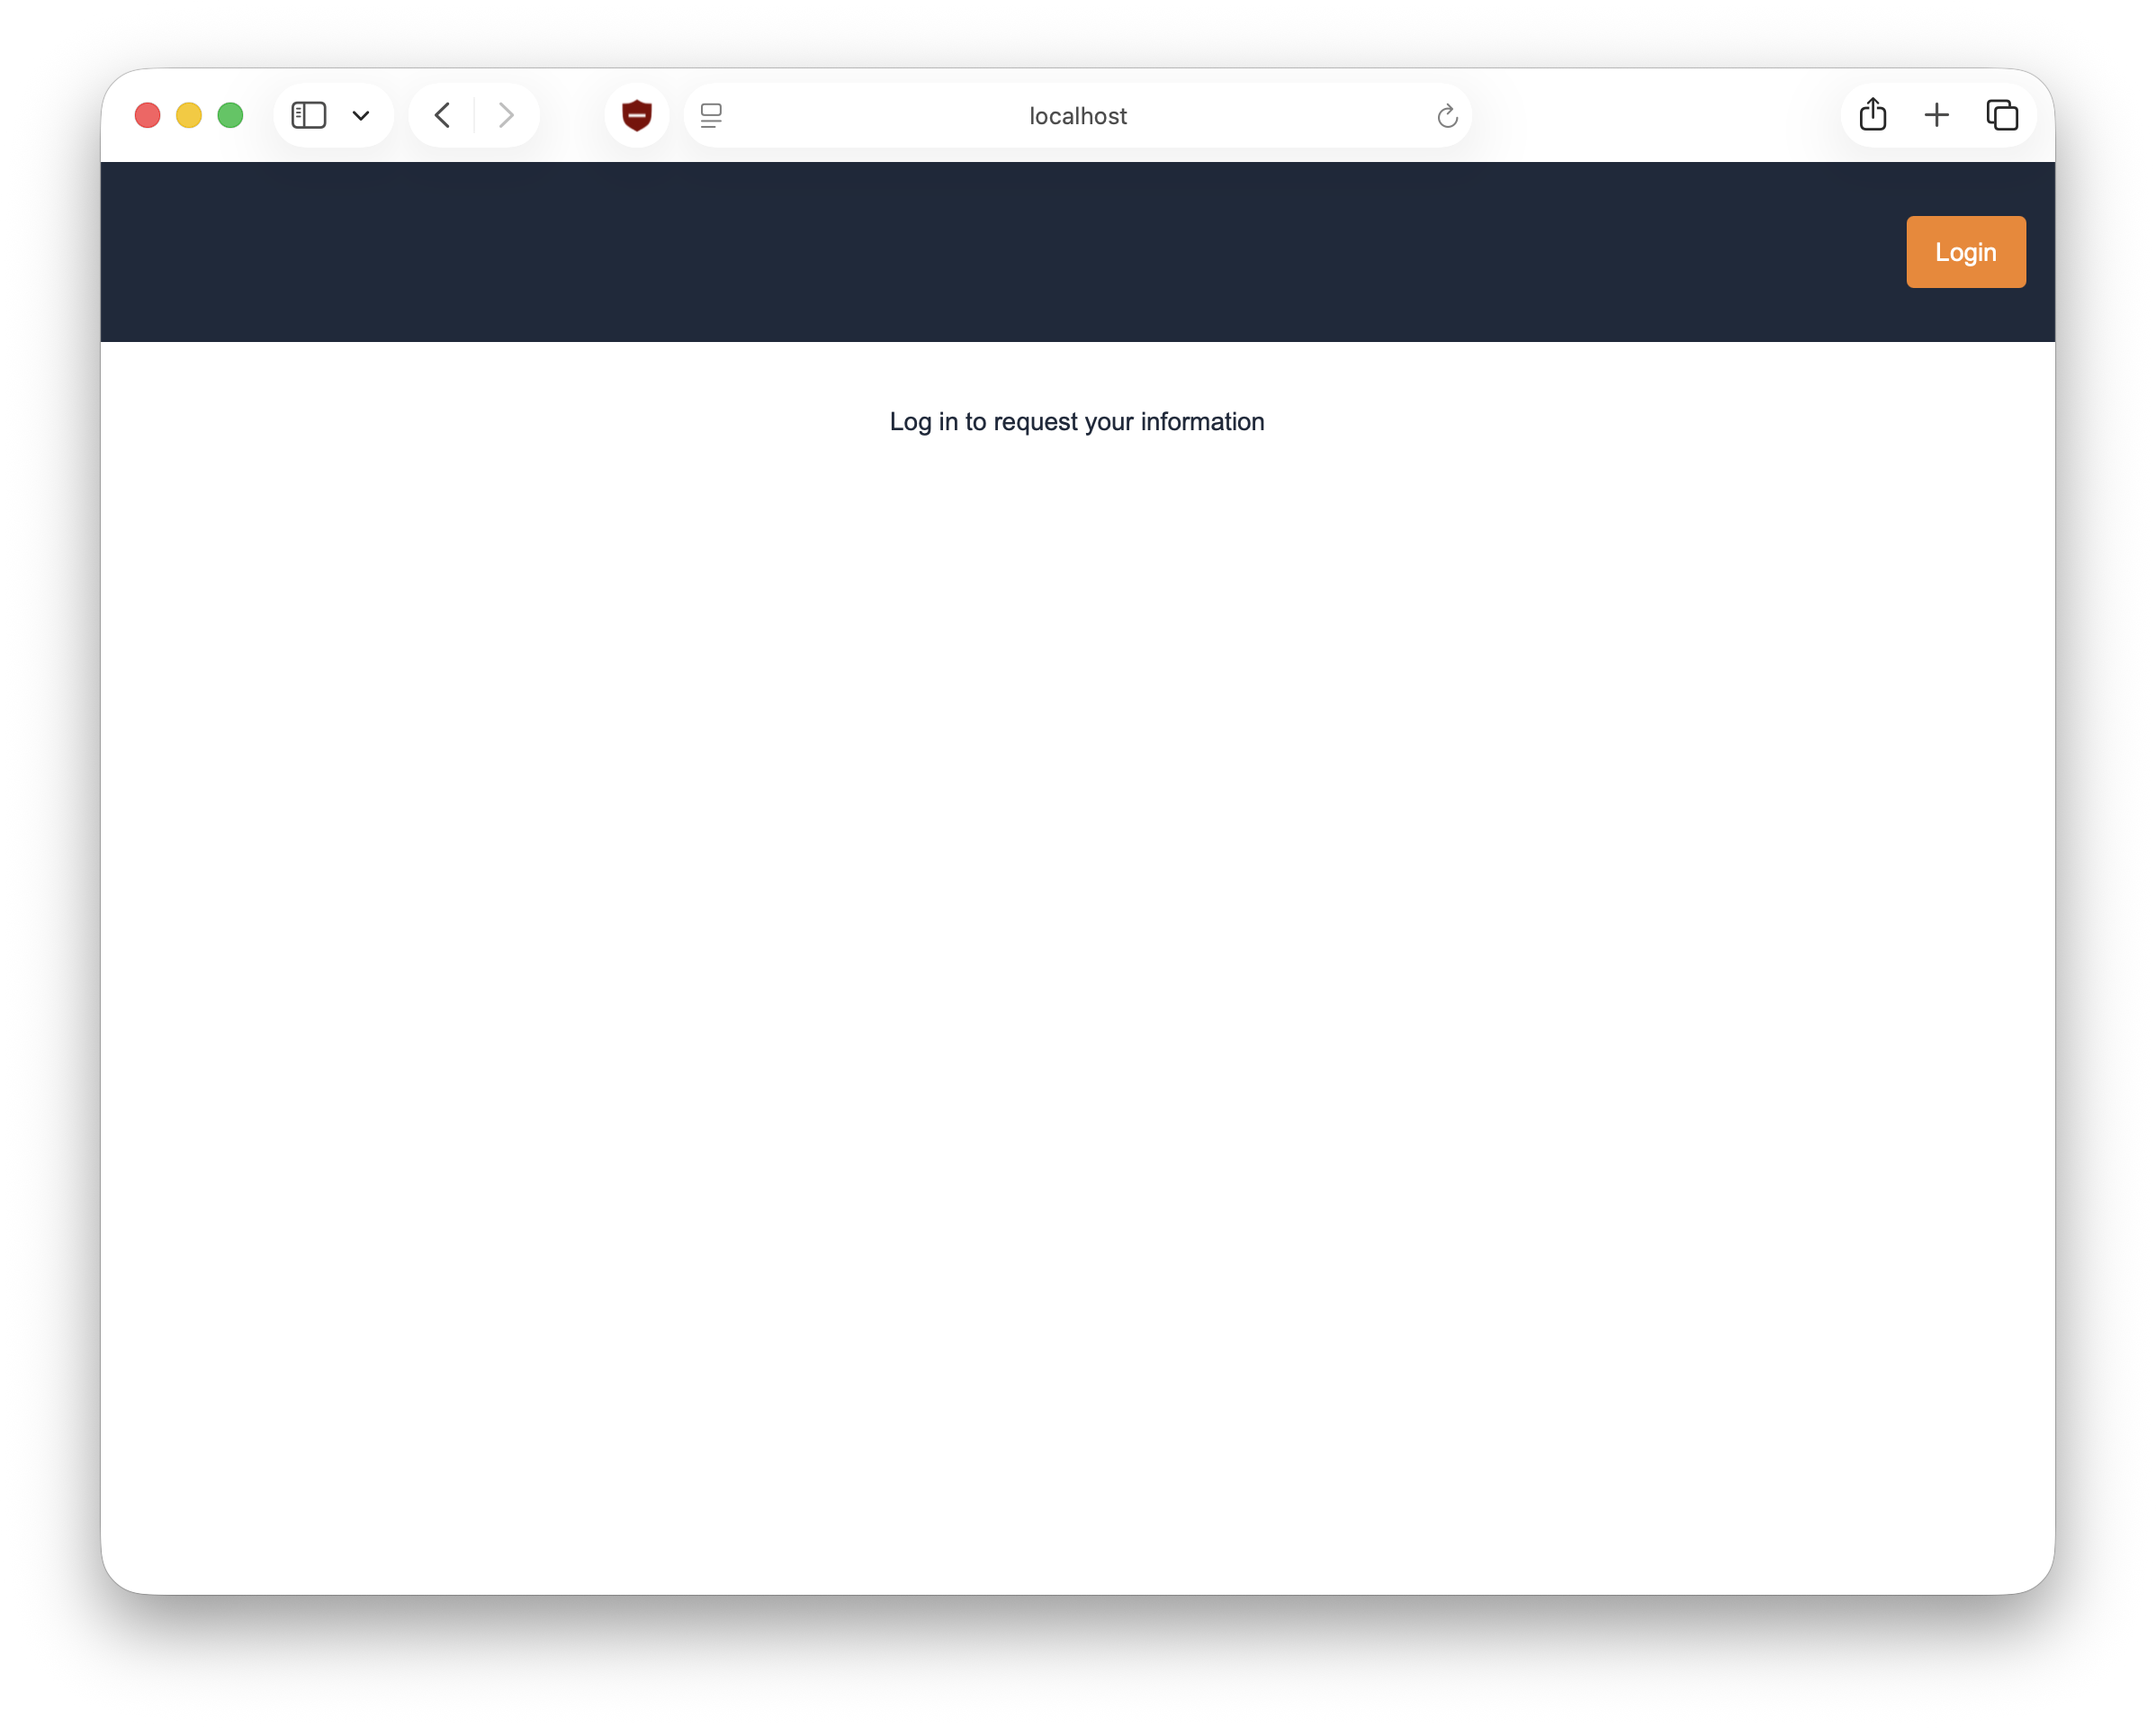
4. Click the login button. Your browser should redirect to FusionAuth at `http://localhost:9011`.
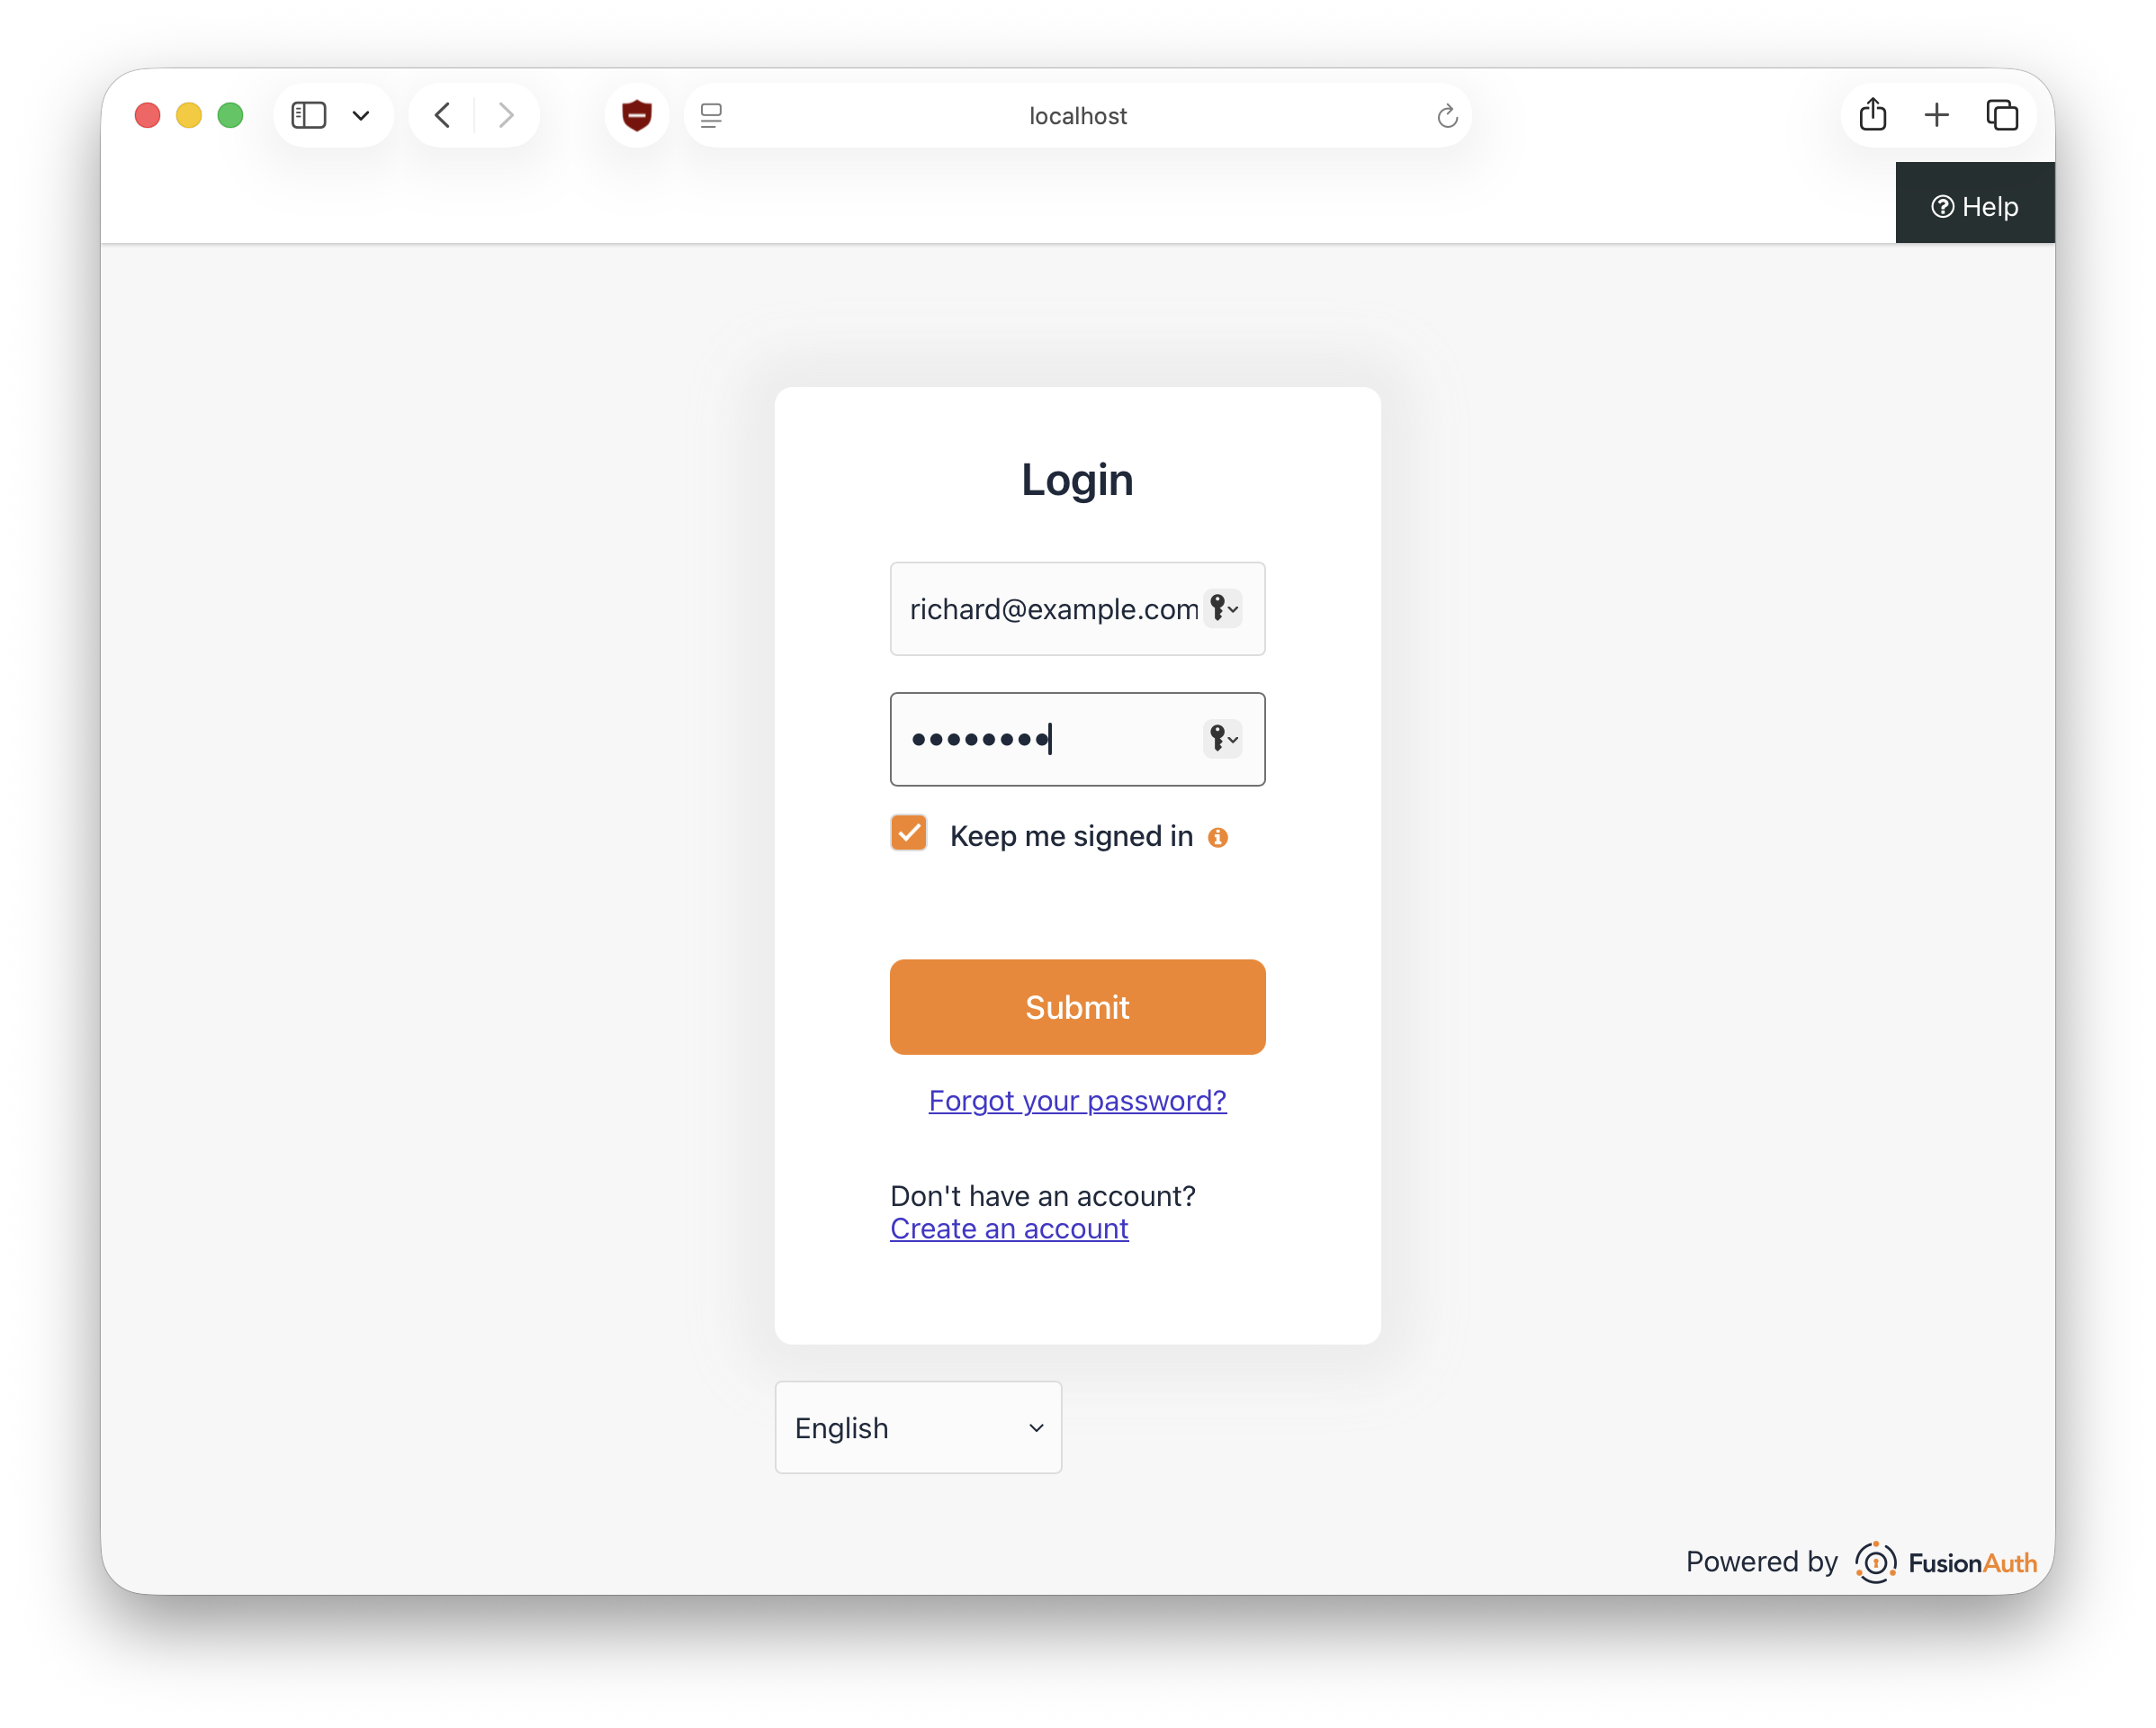
5. Authenticate with the credentials for the user created in the `fusionauth-quickstart-react/kickstart/kickstart.json` file:
* Username: `richard@example.com`
* Password: `password`
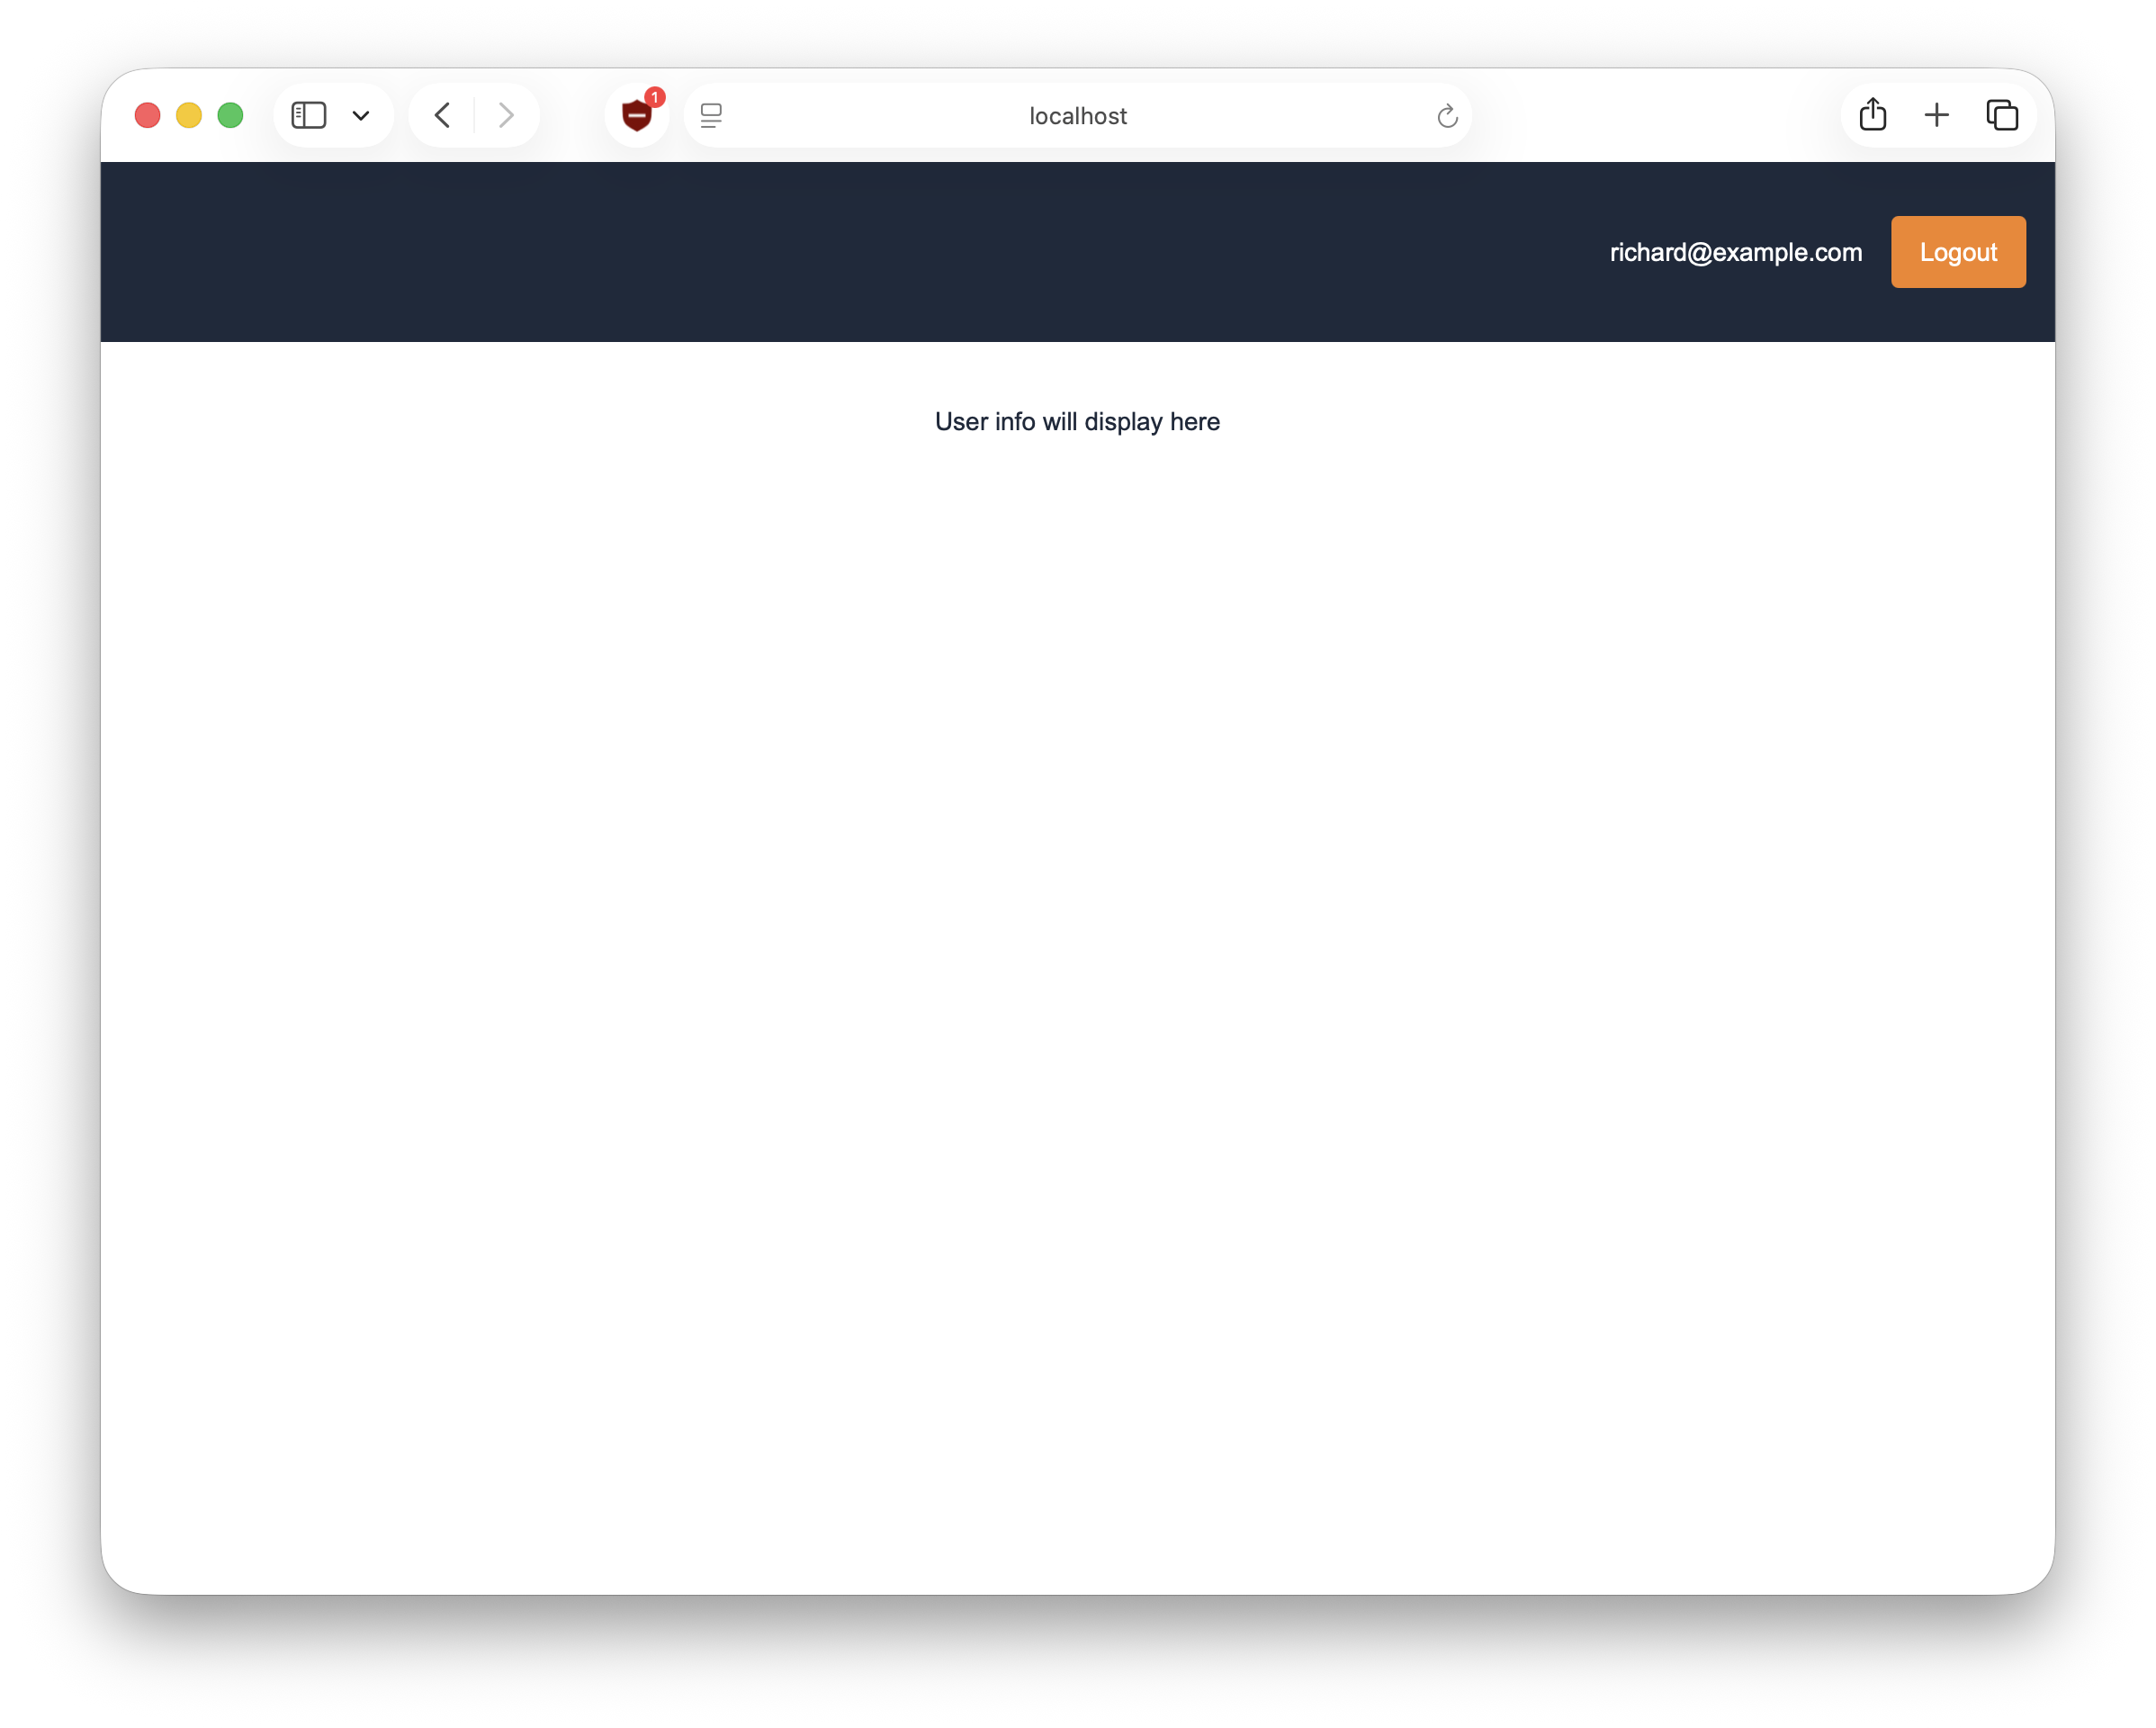
FusionAuth validates the credentials, then redirects back to the `redirectUri` set in `src/main.tsx`. The home page checks whether the user is logged in. If they are, the app navigates to the account page.
Right now, you should see a user home page containing nothing but the stub text `User info will display here`:
Let's use the FusionAuth React SDK to fetch and display that user data instead of stub text.
## Fetch user data[#](#fetch-user-data)
In this section you use the [FusionAuth API](https://fusionauth.io/docs/apis/hosted-backend.md#me) to refresh and display detailed user data.
### Call the FusionAuth API[#](#call-the-fusionauth-api)
1. Open `src/account.tsx` and replace the file contents with the following code to:
* add `useState` to the React import
* update the `Account()` function to get user data from FusionAuth and save it in `newUserInfo`
* update `centerContainer` to display current user data from `newUserInfo`
* update the button to fetch user data from `getUserInfo()`
```tsx
import { useNavigate } from 'react-router-dom';
import { useFusionAuth } from '@fusionauth/react-sdk';
import { useEffect, useState } from 'react';
export default function Account() {
const navigate = useNavigate();
// use fusionauth SDK methods to handle authentication, logout, and user data fetching
const { isLoggedIn, isFetchingUserInfo, startLogout, userInfo } = useFusionAuth();
const [newUserInfo, setNewUserInfo] = useState({'given_name': '', 'family_name': '', 'birthdate': ''});
// if user is not authenticated, redirect them back to the login page
useEffect(() => { if (!isLoggedIn) navigate("/"); }, [isLoggedIn, navigate]);
async function getUserInfo() {
const response = await fetch('http://localhost:9011/app/me', {
'method': 'GET',
'credentials': 'include',
'headers': { 'Accept': 'application/json' }
});
const info = await response.json();
setNewUserInfo(info);
}
if (!isLoggedIn || isFetchingUserInfo) return null;
return (
);
}
```
`getUserInfo()` sets `newUserInfo` to the result of an asynchronous call to the [/me endpoint](https://fusionauth.io/docs/apis/hosted-backend.md#me). The API call uses `credentials: include` to authorize the API call with a cookie set by FusionAuth during login.
### Test user data functionality[#](#test-user-data-functionality)
1. Browse to the account page at [http://localhost:3000](http://localhost:3000).
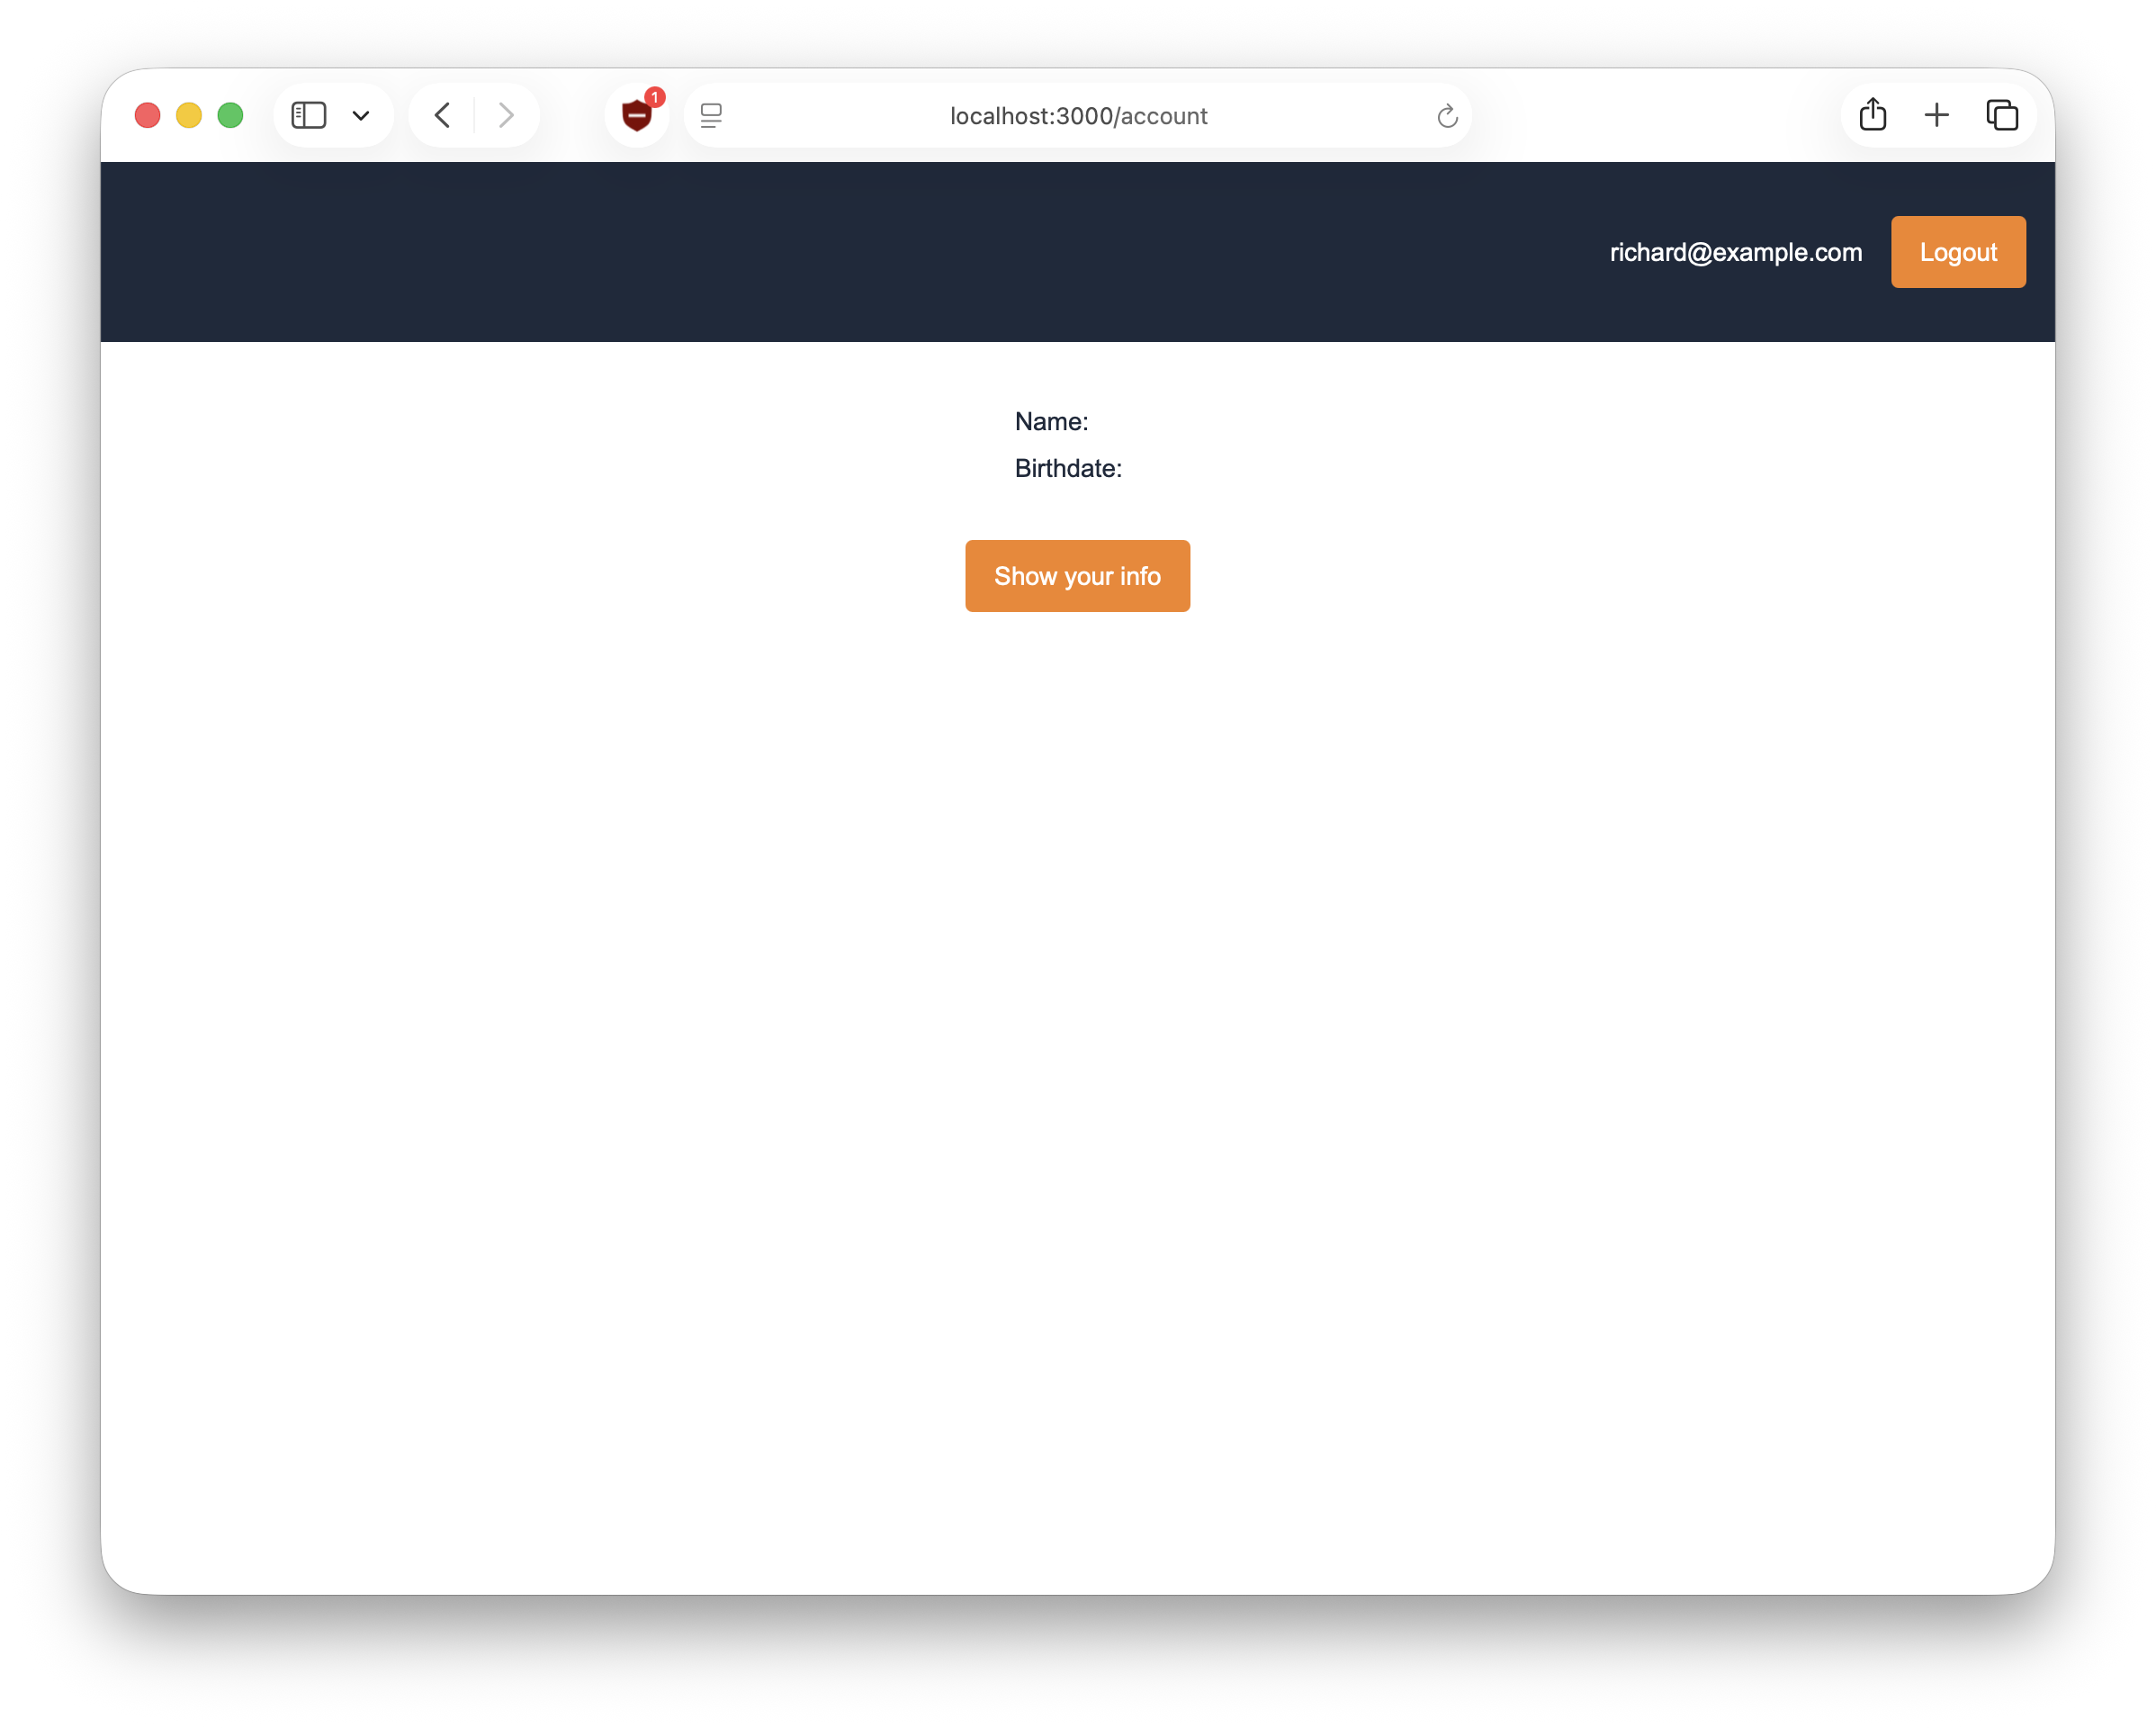
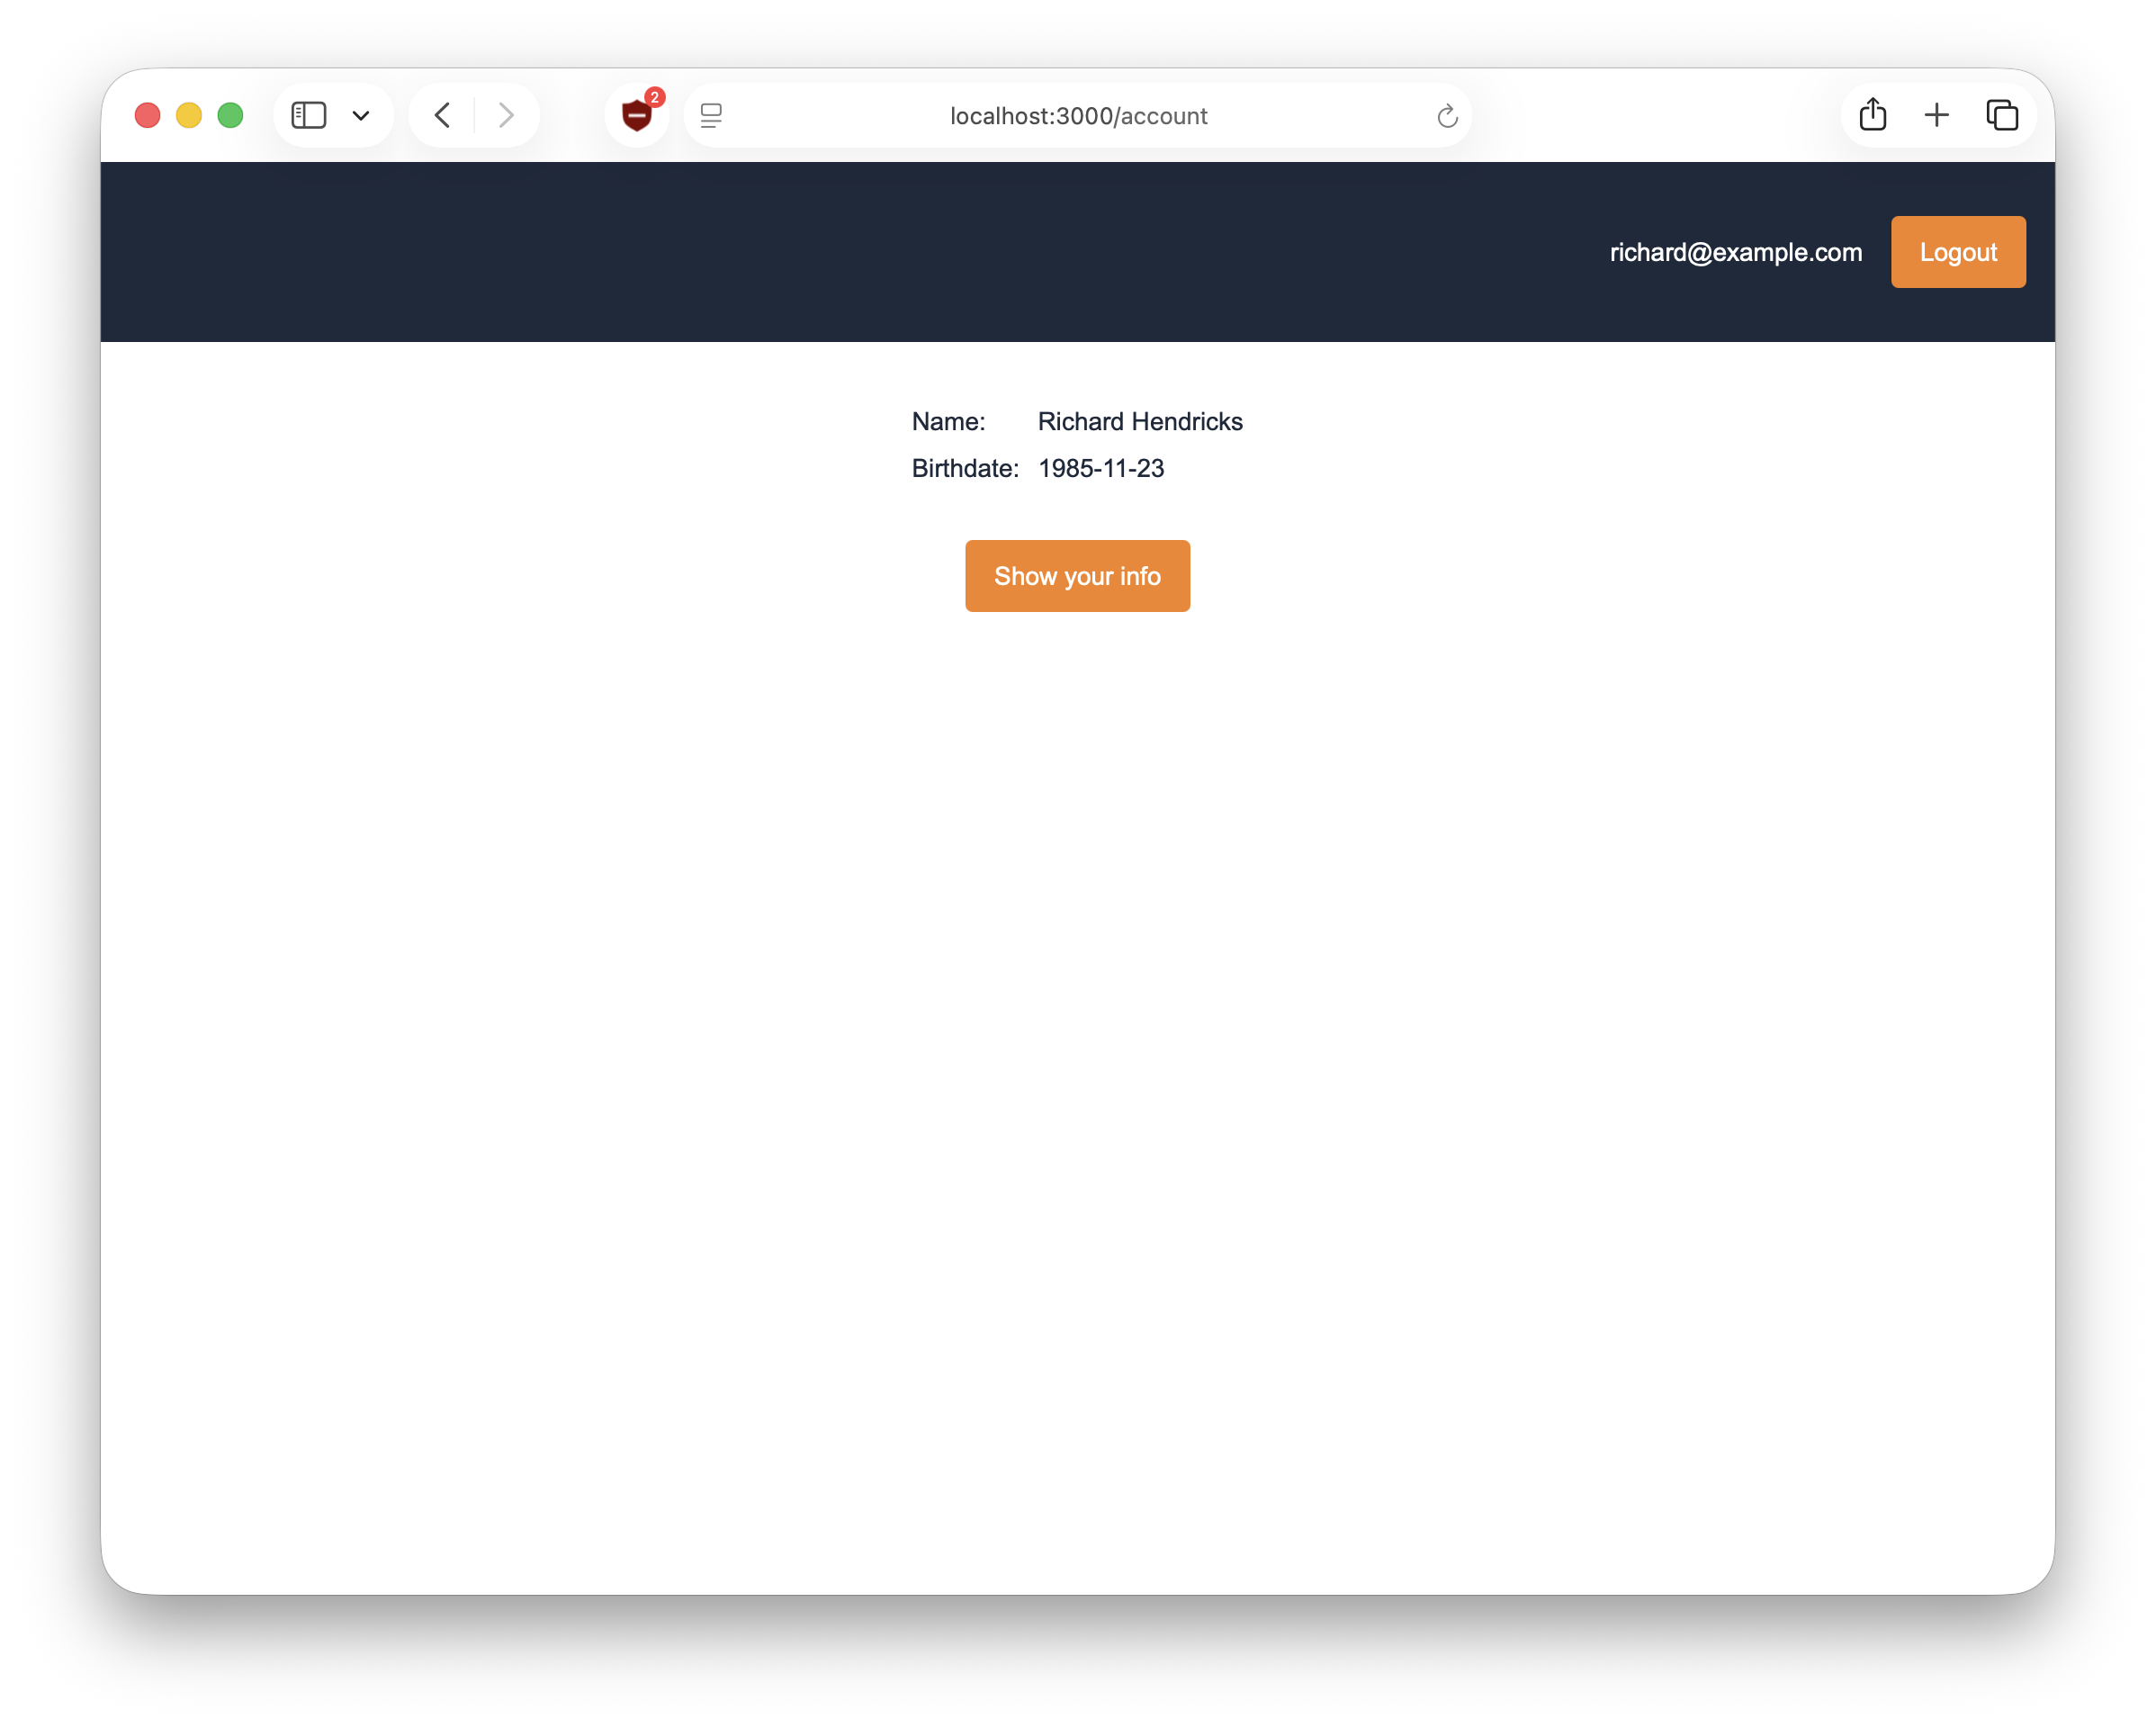
2. Click the Show your info button to fetch and display the latest user data.
## Next steps[#](#next-steps)
This is a quick introduction to using FusionAuth for user authentication. To learn more about integrating FusionAuth with your product, see [Get Started](http:///docs/get-started).
FusionAuth has many features (including [Social Login](https://fusionauth.io/docs/lifecycle/authenticate-users/identity-providers.md#social-identity-providers), [Single Sign-On](https://fusionauth.io/docs/lifecycle/authenticate-users/single-sign-on.md), [Passwordless](https://fusionauth.io/docs/lifecycle/authenticate-users/passwordless/webauthn-passkeys.md), [Multi-factor Authentication](https://fusionauth.io/docs/lifecycle/authenticate-users/multi-factor-authentication.md)), most of which are free. Some require additional licensing. For details, see the [pricing page](https://fusionauth.io/pricing.md).
For information on the React SDK, see [the GitHub documentation](https://github.com/FusionAuth/fusionauth-javascript-sdk/tree/main/packages/sdk-react/docs).
You can ask general questions in [the FusionAuth forum](https://fusionauth.io/community/forum.md).