> For the complete documentation index, see [llms.txt](/docs/llms.txt)
# Add a Sony PlayStation Network IdP | FusionAuth Docs
Learn more about user login with Sony PlayStation using the Sony PlayStation Identity Provider.
# Add a Sony PlayStation Network IdP
[Edit on GitHub](https://github.com/FusionAuth/fusionauth-site/blob/main/astro/src/content/docs/lifecycle/authenticate-users/identity-providers/gaming/sony.mdx)
[View Markdown](/docs/lifecycle/authenticate-users/identity-providers/gaming/sony.md)
This feature is only available in paid plans. To learn more, see [our pricing page](/pricing).
Available since version `1.28.0`
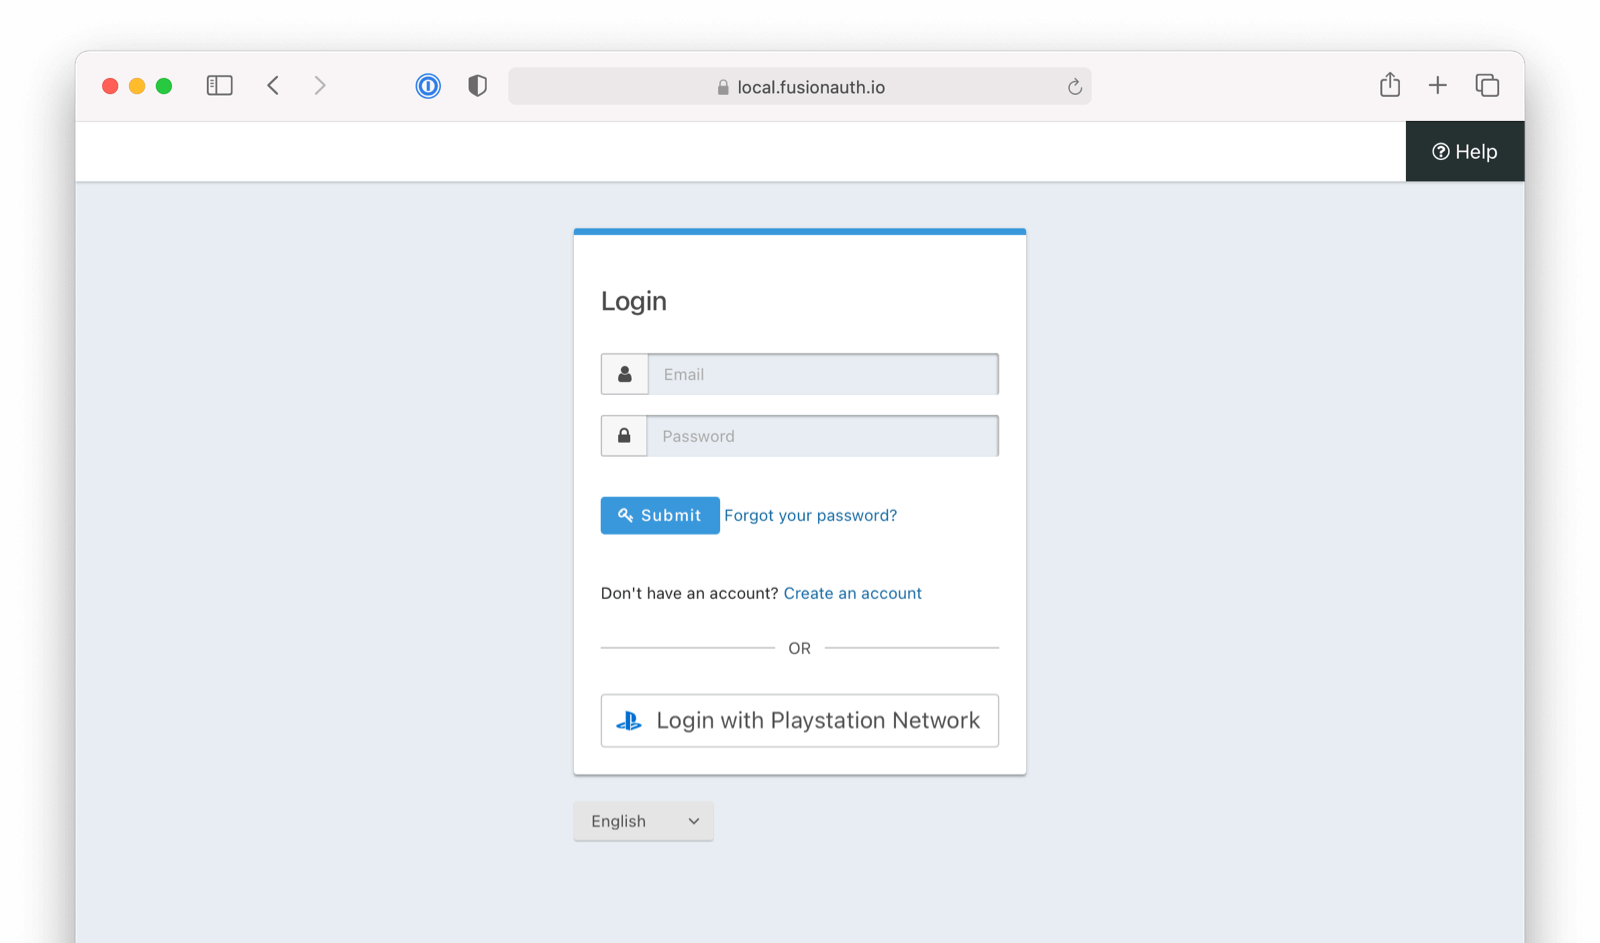
This section explains how to add a Login with Sony PlayStation Network button to FusionAuth. Below is an example login page with the Sony PlayStation Network Identity Provider enabled.
Once you have completed this configuration you will be able to enable the Sony PlayStation Network login button for one or more FusionAuth Applications. Below is an example login page with the Sony PlayStation Network Identity Provider enabled.
Here's a diagram of the login flow between:
* the user
* your application
* FusionAuth and
* a remote identity provider
```mermaid
sequenceDiagram
participant User as User/Browser
participant App
participant FusionAuth
participant IdentityProvider as Provider
User ->> App : View Initial Page
Click Login
App ->> User : Displays Login Page
Including Link To 'Login With Provider'
User ->> App : Clicks On 'Login With Provider'
App ->> User : Redirect To Provider Authorization URL
User ->> IdentityProvider : Enters Credentials
IdentityProvider ->> IdentityProvider : Validate Credentials
IdentityProvider ->> User : Redirect to App With Authorization Code
User ->> App : Requests Page, Has Authorization Code
App ->> FusionAuth : Calls Complete Login
With Code And Redirect URI
FusionAuth ->> IdentityProvider : Exchanges Code And
Redirect URI For Provider Token
IdentityProvider ->> FusionAuth : Returns Provider Token
FusionAuth ->> FusionAuth : Stores Provivider Token, Calls Lambda, Creates User And Registrations (If Needed), Generates FusionAuth Tokens
FusionAuth ->> App : Return FusionAuth Tokens
App ->> App : Create Session Or
Otherwise Log User In
Note over User, IdentityProvider: User Is Logged In And App Can Proceed
Delivering Data And Functionality
```
Although this looks complex, the user only sees a few screens, such as the FusionAuth login screen, the provider login screen, and your application.
## Create a Sony PlayStation Network Account[#](#create-a-sony-playstation-network-account)
Follow instructions for obtaining a `Client id` and `Client secret` from the [Sony PlayStation Network documentation](https://partners.playstation.net/).
## Create a Sony PlayStation Network Identity Provider[#](#create-a-sony-playstation-network-identity-provider)
To enable Sony PlayStation Network for an Application:
1. Navigate to Settings -> Identity Providers .
2. Click the Add provider dropdown and select Sony PlayStation Network . This will take you to the Add Sony PlayStation Network screen.
3. Fill out the required fields; your identity provider can provide most of these values. For a detailed description of each field, see the [documentation for Sony PlayStation Network](/docs/lifecycle/authenticate-users/identity-providers/gaming/sony#form-fields).
4. In the Applications configuration section at the bottom of this panel, find your application name.
5. To dynamically create FusionAuth user accounts (with default roles) for all users who successfully authenticate using this provider, select Create registration . If you disable this option, only an administrator with registration permissions can create new users for this application with access via Sign in with Sony PlayStation Network.
6. You should now see the Sign in with Sony PlayStation Network button on the login page for the Pied Piper application.
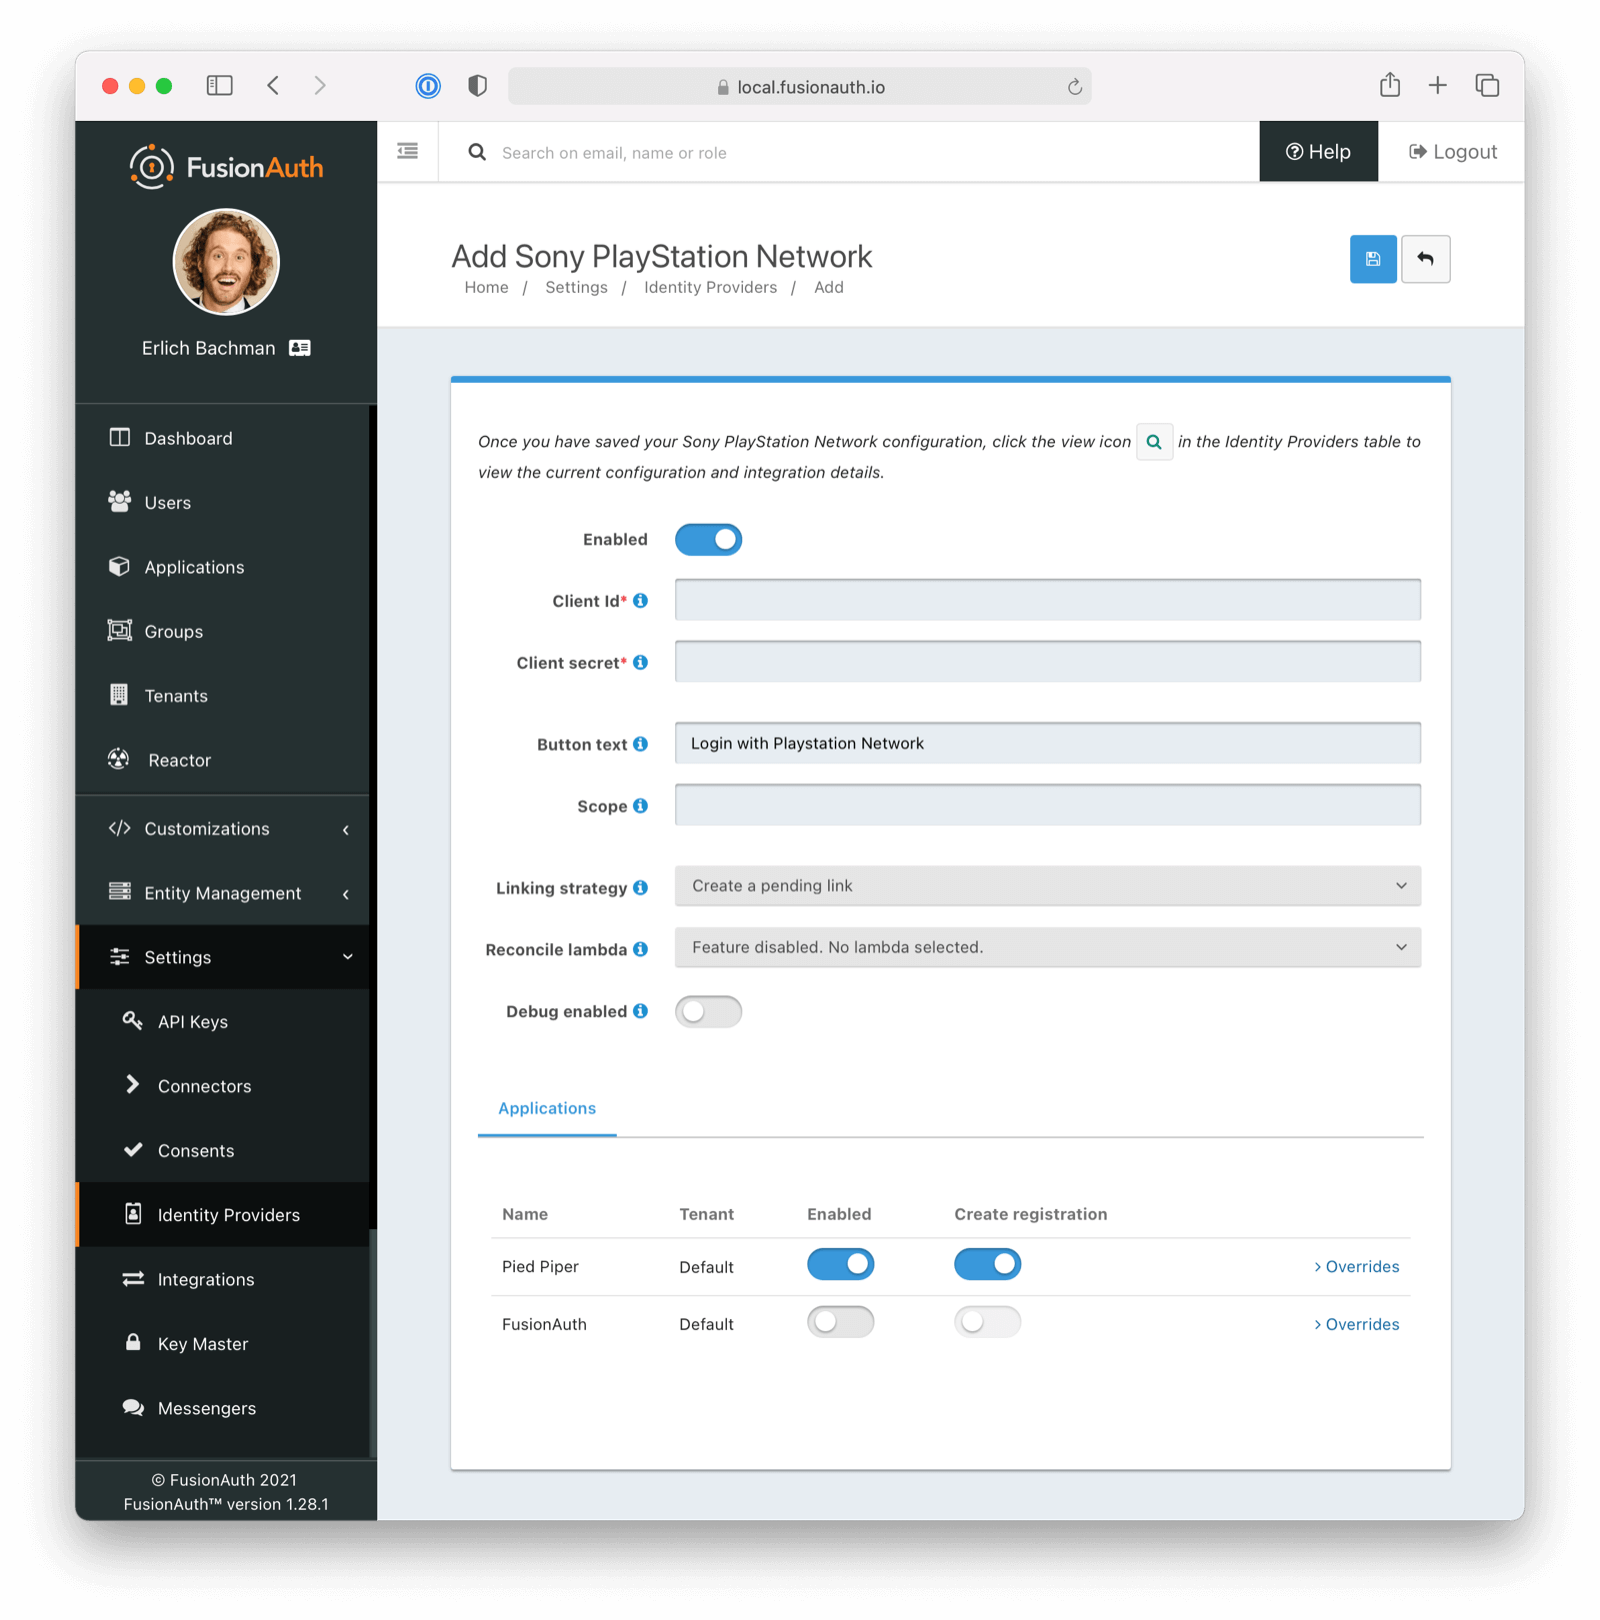
### Form Fields
`Id`optionalAvailable since 1.61.0
An optional UUID. When this value is omitted a unique Id will be generated automatically.
`Tenant`optionalAvailable since 1.62.0
The tenant to which this identity provider belongs. This field only displays when the user selects a specific tenant on the previous page. When `Global identity provider` is selected on the previous page, this field does not display.
`Name`requiredAvailable since 1.61.0
A unique name to identify the identity provider. This name is for display purposes only and it can be modified later if desired.
`Client Id`required
The unique client identifier obtained from Sony PlayStation Network. See [Sony PlayStation Network - Getting Started](https://partners.playstation.net/).
`Client secret`required
The client secret obtained from Sony PlayStation Network and used to authenticate the request. See [Sony PlayStation Network - Getting Started](https://partners.playstation.net/).
`Button text`optional
The text to be displayed in the button on the login form. This value is defaulted to `Login with Sony PlayStation Network` but it may be modified to your preference.
`Linking strategy`optionalDefaults to Create a pending link
The linking strategy for the Sony PlayStation Network provider. [See Linking Strategies for more](/docs/lifecycle/authenticate-users/identity-providers/#linking-strategies).
`Reconcile lambda`optional
A lambda maps custom claims returned from Sony PlayStation Network to the FusionAuth User or Registration. To create or configure a lambda, navigate to Customizations -> Lambdas . [See the lambda documentation for more](/docs/extend/code/lambdas/).
`Enable debug logging`optionalDefaults to false
Enable debug to create event log entries during the user login process. This will assist you in debugging integration issues.
## Building Your Own Integration[#](#building-your-own-integration)
If you are building your own login experience, you'll want to start the identity provider flow yourself and then complete the login.
You might do this if you are using the [Login API](/docs/apis/login) rather than using the hosted FusionAuth login pages. Here's a diagram illustrating this login flow:
```mermaid
sequenceDiagram
participant User as User/Browser
participant App
participant FusionAuth
participant IdentityProvider as Provider
User ->> App : View Initial Page
Click Login
App ->> User : Displays Login Page
Including Link To 'Login With Provider'
User ->> App : Clicks On 'Login With Provider'
App ->> User : Redirect To Provider Authorization URL
User ->> IdentityProvider : Enters Credentials
IdentityProvider ->> IdentityProvider : Validate Credentials
IdentityProvider ->> User : Redirect to App With Authorization Code
User ->> App : Requests Page, Has Authorization Code
App ->> FusionAuth : Calls Complete Login
With Code And Redirect URI
FusionAuth ->> IdentityProvider : Exchanges Code And
Redirect URI For Provider Token
IdentityProvider ->> FusionAuth : Returns Provider Token
FusionAuth ->> FusionAuth : Stores Provider Token, Calls Lambda, Creates User And Registrations (If Needed), Generates FusionAuth Tokens
FusionAuth ->> App : Return FusionAuth Tokens
App ->> App : Create Session Or
Otherwise Log User In
Note over User, IdentityProvider: User Is Logged In And App Can Proceed
Delivering Data And Functionality
```
If you require a refresh token after completing the login, ensure **Enable JWT Refresh** is `true` in the application configuration. This is found in the administrative user interface by navigating to Applications -> Your Application -> Security -> Login API settings .