` in the macro named `alternativeLogins` in `helpers` and add `id="login-button-container"` and `data-federated-csrf="${federatedCSRFToken}"` attributes.
```html
[#-- Updated div in alternativeLogins macro. Line breaks added for readability. --]
```
### Fixed
* Ensure a signed AuthN request always has the `Signature` element as the next sibling after the `Issuer` element. This bug may cause some SAML v2 services provides to reject the signature of an AuthN request sent from FusionAuth.
* Resolves [GitHub Issue #2348](https://github.com/FusionAuth/fusionauth-issues/issues/2348)
* Upgrade our phone number validation to include the Kosovo country code of `+383`. This upgrade will add support for various other country codes as well. See linked GitHub issue for more detail.
* Resolves [GitHub Issue #2355](https://github.com/FusionAuth/fusionauth-issues/issues/2355)
* Defend against corporate link "checkers" such as Outlook Safe Links and Google Workspace during the Change Password email workflow. This fix resolves a specific symptom that may occur when a link sent to a user during a change password workflow and the user has multi-factor authentication enabled. The symptom the end user may encounter is that multiple codes may be sent to the user during this workflow. When the two-factor method is email, multiple emails may be received, and when two-factor method is SMS, multiple SMS messages may be received. The cause of this symptom is that the link is being inspected by an intermediate party prior to the user's browser loading the link which functionally means the request is made more than once.
* Resolves [GitHub Issue #2360](https://github.com/FusionAuth/fusionauth-issues/issues/2360)
* Improve locale validation, and restrict the number of preferred languages per user to 20. This should not have any practical impact on users of FusionAuth, but it will better protect FusionAuth from storing erroneous values for the user's preferred languages. If you have users that speak more than 20 languages, you will need to ask them to pick their top 20 favorites. 😎
* Resolves [GitHub Issue #2363](https://github.com/FusionAuth/fusionauth-issues/issues/2363)
* Improve username validation. This length limitation was already enforced by the schema, but the error message was not developer friendly. This change will add a proper validation error in the API response.
* Resolves [GitHub Issue #2368](https://github.com/FusionAuth/fusionauth-issues/issues/2368)
* Update the Tenant view dialog in the admin UI to reflect the changes made to the `/.well-known/openid-configuration` endpoint in version `1.46.0`. This is a cosmetic change only, and does not include any functional fixes.
* Resolves [GitHub Issue #2333](https://github.com/FusionAuth/fusionauth-issues/issues/2333)
* Fix Tenant select control on Group index page in the admin UI when only a single tenant is configured. This is just a cosmetic fix to how the form was being rendered.
* Resolves [GitHub Issue #2338](https://github.com/FusionAuth/fusionauth-issues/issues/2338)
* Reduce Kafka logging. So noisy.
* Resolves [GitHub Issue #2359](https://github.com/FusionAuth/fusionauth-issues/issues/2359)
* Protect the Kafka event sender from sending events related to it's own failure. This protects us from overloading the Kafka topic.
* Resolves [GitHub Issue #2362](https://github.com/FusionAuth/fusionauth-issues/issues/2362)
* Fix the `user.registration.update.complete` event to include the updates roles if applicable.
* Resolves [GitHub Issue #1898](https://github.com/FusionAuth/fusionauth-issues/issues/1898), thanks to [@sjswami](https://github.com/sjswami) for reporting the issue!
* Better defense against a truncated `oauth_context` request parameter. This parameter is passed around during various OAuth2 workflows to maintain context. This changes allows FusionAuth to fail more gracefully if this is value is intentionally or un-intentionally modified by a 3rd party.
* Resolves [GitHub Issue #2382](https://github.com/FusionAuth/fusionauth-issues/issues/2382)
* `username` and `fullName` fields can be queried using the `.exact` suffix on these fields which does an exact match.
* Resolves [GitHub Issue #602](https://github.com/FusionAuth/fusionauth-issues/issues/602) Thanks to [@patrickvalle](https://github.com/patrickvalle) for reporting this!
### Enhancements
* Add `user.preferredLanguages` to the basic self-service registration to allow a user's preferred language to be collected and then utilized to send localized emails without using advanced self-service registration.
* Resolves [GitHub Issue #1738](https://github.com/FusionAuth/fusionauth-issues/issues/1738), thanks to [@glen-84](https://github.com/glen-84) and [@geoalexidis](https://github.com/geoalexidis) for their input and patience while we delivered this enhancement.
* Improve handling of cache reload requests under heavy load. This should improve system performance at scale when mass creating or deleting of various items such as applications and keys.
* Resolves [GitHub Issue #2318](https://github.com/FusionAuth/fusionauth-issues/issues/2318)
* Add timers and metrics around lambda invocations and the use of HTTP Connect within a lambda function. This should help customers tune and manage lambdas by providing additional insight into the total execution time.
* Resolves [GitHub Issue #2389](https://github.com/FusionAuth/fusionauth-issues/issues/2389)
* Add configuration to accept any named parameter as a login hint coming from the SAML v2 SP when FusionAuth is acting as the SAML v2 IdP. Prior to this change, FusionAuth would accept `login_hint` if provided on the request. However, this value can not be configured or optionally disabled.
* Resolves [GitHub Issue #2222](https://github.com/FusionAuth/fusionauth-issues/issues/2222)
* Add `identityProviderName` to the IdP Link API response.
* Resolves [GitHub Issue #2337](https://github.com/FusionAuth/fusionauth-issues/issues/2337)
### New
* Support SAML v2 assertion encryption when FusionAuth is acting as the SAML v2 IdP. This means FusionAuth is now compatible with a SAML v2 SP that requires encrypted assertions.
* Resolves [GitHub Issue #1741](https://github.com/FusionAuth/fusionauth-issues/issues/1741), thanks [@annismckenzie](https://github.com/annismckenzie) for the request! This is a great addition to FusionAuth.
### Internal
* Add aggregate HTTP request timers and metrics that can be retrieved by the Status API and Prometheus Metrics API.
* Resolves [GitHub Issue #2369](https://github.com/FusionAuth/fusionauth-issues/issues/2369)
* Update dependencies.
* Resolves [GitHub Issue #2344](https://github.com/FusionAuth/fusionauth-issues/issues/2344)
* Resolves [GitHub Issue #2384](https://github.com/FusionAuth/fusionauth-issues/issues/2384)
* Enable GC (garbage collection) logging. A new log named `fusionauth-app.gc.log` will be found in the log directory.
* Resolves [GitHub Issue #2388](https://github.com/FusionAuth/fusionauth-issues/issues/2388)
* Improve performance and overhead when downloading and storing the IP location database required for resolving location meta-data for logins by IP address.
* Resolves [GitHub Issue #2195](https://github.com/FusionAuth/fusionauth-issues/issues/2195)
Entity Management -> Entity Types -> Edit -> JWT .
* If you have not enabled Entity Type specific JWT signing, this section will be collapsed and this entity type will not be affected during upgrade. If the signing configuration is enabled and you have configured a key for the `Access token signing key` field, you may be affected. Please record this setting and ensure it has not changed after the upgrade has completed.
If you have not yet upgraded to version `1.45.0`, it is recommended to move to version `1.45.2` or later at a minimum and skip this version if you have confirmed you may be affected by this issue.
* Resolved in `1.45.2` via [GitHub Issue #2249](https://github.com/FusionAuth/fusionauth-issues/issues/2249)
### Security
* Update usage of `verificationId` on gated email or registration verification pages when configured to use a clickable link instead of a short code.
* Resolves [GitHub Issue #2182](https://github.com/FusionAuth/fusionauth-issues/issues/2182)
* Update 3rd party dependencies to remove CVE scan warnings. No known exploits are vulnerabilities exist in FusionAuth as the result of using these 3rd party clients. These upgrades are simply a precautionary measure to stay current.
* Upgrade Elasticsearch client from version `7.10.2` to `7.13.4`.
* Upgrade GraalJS from version `22.3.0` to `22.3.1`.
* Resolves [GitHub Issue #2183](https://github.com/FusionAuth/fusionauth-issues/issues/2183)
### Fixed
* Validate the length of an entity name in order to provide a more friendly validation error message.
* Resolves [GitHub Issue #2089](https://github.com/FusionAuth/fusionauth-issues/issues/2089)
* Updates to the OpenAPI spec to correct an error related to `BaseSAMLv2IdentityProvider`.
* Resolves [GitHub Issue #2103](https://github.com/FusionAuth/fusionauth-issues/issues/2103)
* Review and correct tooltips in the admin UI for Application specific email templates.
* Resolves [GitHub Issue #2163](https://github.com/FusionAuth/fusionauth-issues/issues/2163)
### Enhancements
* De-couple the self-service themed account pages from SSO. You may now use the self-service account pages even if you choose not to preserve your SSO session. For example, you can un-check the "Keep me signed in" checkbox and still use the self-service pages.
Also allow the self-service account session to be bootstrapped from a mobile application using token authentication, also known as the `Bearer` authentication scheme. This mechanism provides access to the self-service themed pages even if you are unable to share cookies with the web view used to complete login.
Example request header: `Authorization: Bearer `
* Resolves [GitHub Issue #1546](https://github.com/FusionAuth/fusionauth-issues/issues/1546), thanks to [@ansonallard](https://github.com/ansonallard) for the suggestion!
* Resolves [GitHub Issue #1860](https://github.com/FusionAuth/fusionauth-issues/issues/1860)
### New
* Add a policy to require a user to provide their current password when changing a password on the self-service account pages. See Applications -> Edit -> Registration -> Form settings -> Require current password .
* Resolves [GitHub Issue #1578](https://github.com/FusionAuth/fusionauth-issues/issues/1578)
* Integrate the Authorization Code grant workflow into FusionAuth for use with single page web applications. This feature may be used with the FusionAuth React or Angular SDKs to support the use of the Authorization Code grant without having to write any backend code.
And there was much rejoicing. 😅
* Resolves [GitHub Issue #1943](https://github.com/FusionAuth/fusionauth-issues/issues/1943)
* New Search APIs. These new APIs provide search and pagination capability across more APIs and may increase performance when using the FusionAuth admin UI with larger numbers of Tenants and Applications.
Applications, Consents, Groups, Tenants, Themes, Keys, API keys, User Comments, Email Templates, Identity Providers, Webhooks, and Lambdas. (🦁 🐯 🐻 ... oh my!)
* Resolves [GitHub Issue #2055](https://github.com/FusionAuth/fusionauth-issues/issues/2055)
* Resolves [GitHub Issue #2056](https://github.com/FusionAuth/fusionauth-issues/issues/2056)
* Resolves [GitHub Issue #2057](https://github.com/FusionAuth/fusionauth-issues/issues/2057)
* Resolves [GitHub Issue #2058](https://github.com/FusionAuth/fusionauth-issues/issues/2058)
* Resolves [GitHub Issue #2059](https://github.com/FusionAuth/fusionauth-issues/issues/2059)
* Resolves [GitHub Issue #2060](https://github.com/FusionAuth/fusionauth-issues/issues/2060)
* Resolves [GitHub Issue #2061](https://github.com/FusionAuth/fusionauth-issues/issues/2061)
* Resolves [GitHub Issue #2064](https://github.com/FusionAuth/fusionauth-issues/issues/2064)
* Resolves [GitHub Issue #2065](https://github.com/FusionAuth/fusionauth-issues/issues/2065)
* Resolves [GitHub Issue #2066](https://github.com/FusionAuth/fusionauth-issues/issues/2066)
* Resolves [GitHub Issue #2067](https://github.com/FusionAuth/fusionauth-issues/issues/2067)
* Resolves [GitHub Issue #2068](https://github.com/FusionAuth/fusionauth-issues/issues/2068)
* Add support for Drupal MD5, SHA-512 hashes for easier import
* New schemes include `phpass-md5` and `phppass-sha512`.
* See [phpass MD5](/docs/reference/password-hashes#phpass-md5) and [phpass SHA-512](/docs/reference/password-hashes#phpass-md5) for additional details.
* Resolves [GitHub Issue #2165](https://github.com/FusionAuth/fusionauth-issues/issues/2165)
### Internal
* Fix JSON exclusions for ignoring foreign keys.
* Resolves [GitHub Issue #2198](https://github.com/FusionAuth/fusionauth-issues/issues/2198)
io.fusionauth
fusionauth-java-client
${fusionauth.version}
```
When building your application, utilize the version that corresponds to the version of FusionAuth your running. View all available versions on [https://search.maven.org](https://search.maven.org/#search%7Cgav%7C1%7Cg%3A%22io.fusionauth%22%20AND%20a%3A%22fusionauth-java-client%22).
## Using the FusionAuth and consuming the ClientResponse
The Java client has two styles of use, the first return a `ClientResponse` object. This object contains everything that occurred while communicating with the FusionAuth server. If the communication with the server encountered a network issue, the `ClientResponse.exception` might contain an `IOException`.
The following code assumes FusionAuth is running on `http://localhost:9011` and uses an API key `6b87a398-39f2-4692-927b-13188a81a9a3`, you will need to supply your own API key, and if you are not running FusionAuth locally, your host parameter may be different.
Here is an example of using the `retrieveUserByEmail` method to retrieve a User by an email address.
```java
import com.inversoft.error.Errors;
import io.fusionauth.client.FusionAuthClient;
import io.fusionauth.domain.User;
import io.fusionauth.domain.api.UserResponse;
import com.inversoft.rest.ClientResponse;
public class Example {
private final FusionAuthClient client;
public Example() {
client = new FusionAuthClient("6b87a398-39f2-4692-927b-13188a81a9a3", "http://localhost:9011");
}
public User getUserByEmail(String email) {
ClientResponse response = client.retrieveUserByEmail(email);
if (response.wasSuccessful()) {
return response.successResponse.user;
} else if (response.errorResponse != null) {
// Error Handling
Errors errors = response.errorResponse;
} else if (response.exception != null) {
// Exception Handling
Exception exception = response.exception;
}
return null;
}
}
```
## Using the Lambda Delegate
The Java Client may also be used along with our Lambda delegate that provides exception handling and allows you to write code assuming a happy path.
Here is the same example from above using the lambda delegate:
```java
import com.inversoft.error.Errors;
import io.fusionauth.client.LambdaDelegate;
import io.fusionauth.client.FusionAuthClient;
import io.fusionauth.domain.User;
import com.inversoft.rest.ClientResponse;
public class Example {
private final String apiKey = "6b87a398-39f2-4692-927b-13188a81a9a3";
private final String fusionauthURL = "http://localhost:9011";
private final FusionAuthClient client;
private final LambdaDelegate delegate;
public Example(String apiKey, String fusionauthURL) {
this.client = new FusionAuthClient(apiKey, fusionauthURL);
this.delegate = new LambdaDelegate(this.client, (r) -> r.successResponse, this::handleError);
}
public User getUserByEmail(String email) {
return delegate.execute(c -> c.retrieveUserByEmail("user@example.com")).user;
}
private void handleError(ClientResponse clientResponse) {
if (clientResponse.exception != null) {
// Handle the exception
...
} else if (clientResponse.errorResponse != null && clientResponse.errorResponse instanceof Errors) {
// Handle errors
...
}
}
}
```
As you can see, using the lambda delegate requires less code to handle the success response and the error handling code can be re-used.
### Usage Suggestions
File -> New Project . In the New Project dialog, select Custom from the left-hand menu. Select the FusionAuth template you want to use and click Continue . Fill in the required information, including the fully qualified URL to your FusionAuth server and your FusionAuth Application Client Id. Click Continue .
Set the project name and click Create .
#### Visual Studio for Windows
FusionAuth .NET templates require Visual Studio for Windows version 17.6 or higher.
To create a new project from a template, first create or open a Solution. Then select File -> New Project . In the New Project dialog, select "FusionAuth" from the All project types dropdown. Select the FusionAuth template you want to use. Set the project name and click Next . Fill in the required information, including the fully qualified URL to your FusionAuth server and your FusionAuth Application Client Id.
Click Create .
### Testing
To test projects created using the .NET templates, refer to the testing section in the [README.md](https://github.com/FusionAuth/fusionauth-example-client-libraries/tree/main/dotnet/templates/README.md) file.
### Uninstalling the Templates
You can uninstall the templates using the following command.
```bash
dotnet new uninstall FusionAuth.Templates
```
You will need to restart Visual Studio for the changes to take effect.
### Example Apps
The unique Id of the Action to retrieve.
The unique Id of the User for which to retrieve all of the Actions.
When this parameter is provided and set to `true`, only active actions will be returned. When this parameter is provided and set to `false`, only the inactive actions will be returned. When this parameter is omitted, all actions will be returned.
An active action is a time based action that has not yet expired or been canceled. An inactive action is either a time based action that has expired, canceled or an action that is not time based.
This parameter and `preventingLogin` are mutually exclusive.
When this value is provided and set to `true`, only active actions that are preventing the user from login will be returned. Omitting this parameter, or setting this parameter to `false` does not affect the API behavior.
This parameter and `active` are mutually exclusive because an action that is preventing login is always active.
The Id of the User Action being updated.
The Id of the User Action being canceled.
Explore .
For example, to view the 1.40.0 release, put `https://raw.githubusercontent.com/FusionAuth/fusionauth-openapi/1.40.0/openapi.yaml` in the YAML URL input.
Click on the Authorize button to add the FusionAuth API key you created above. You will need to do this every time you reload the page.
### In-Browser API Calls
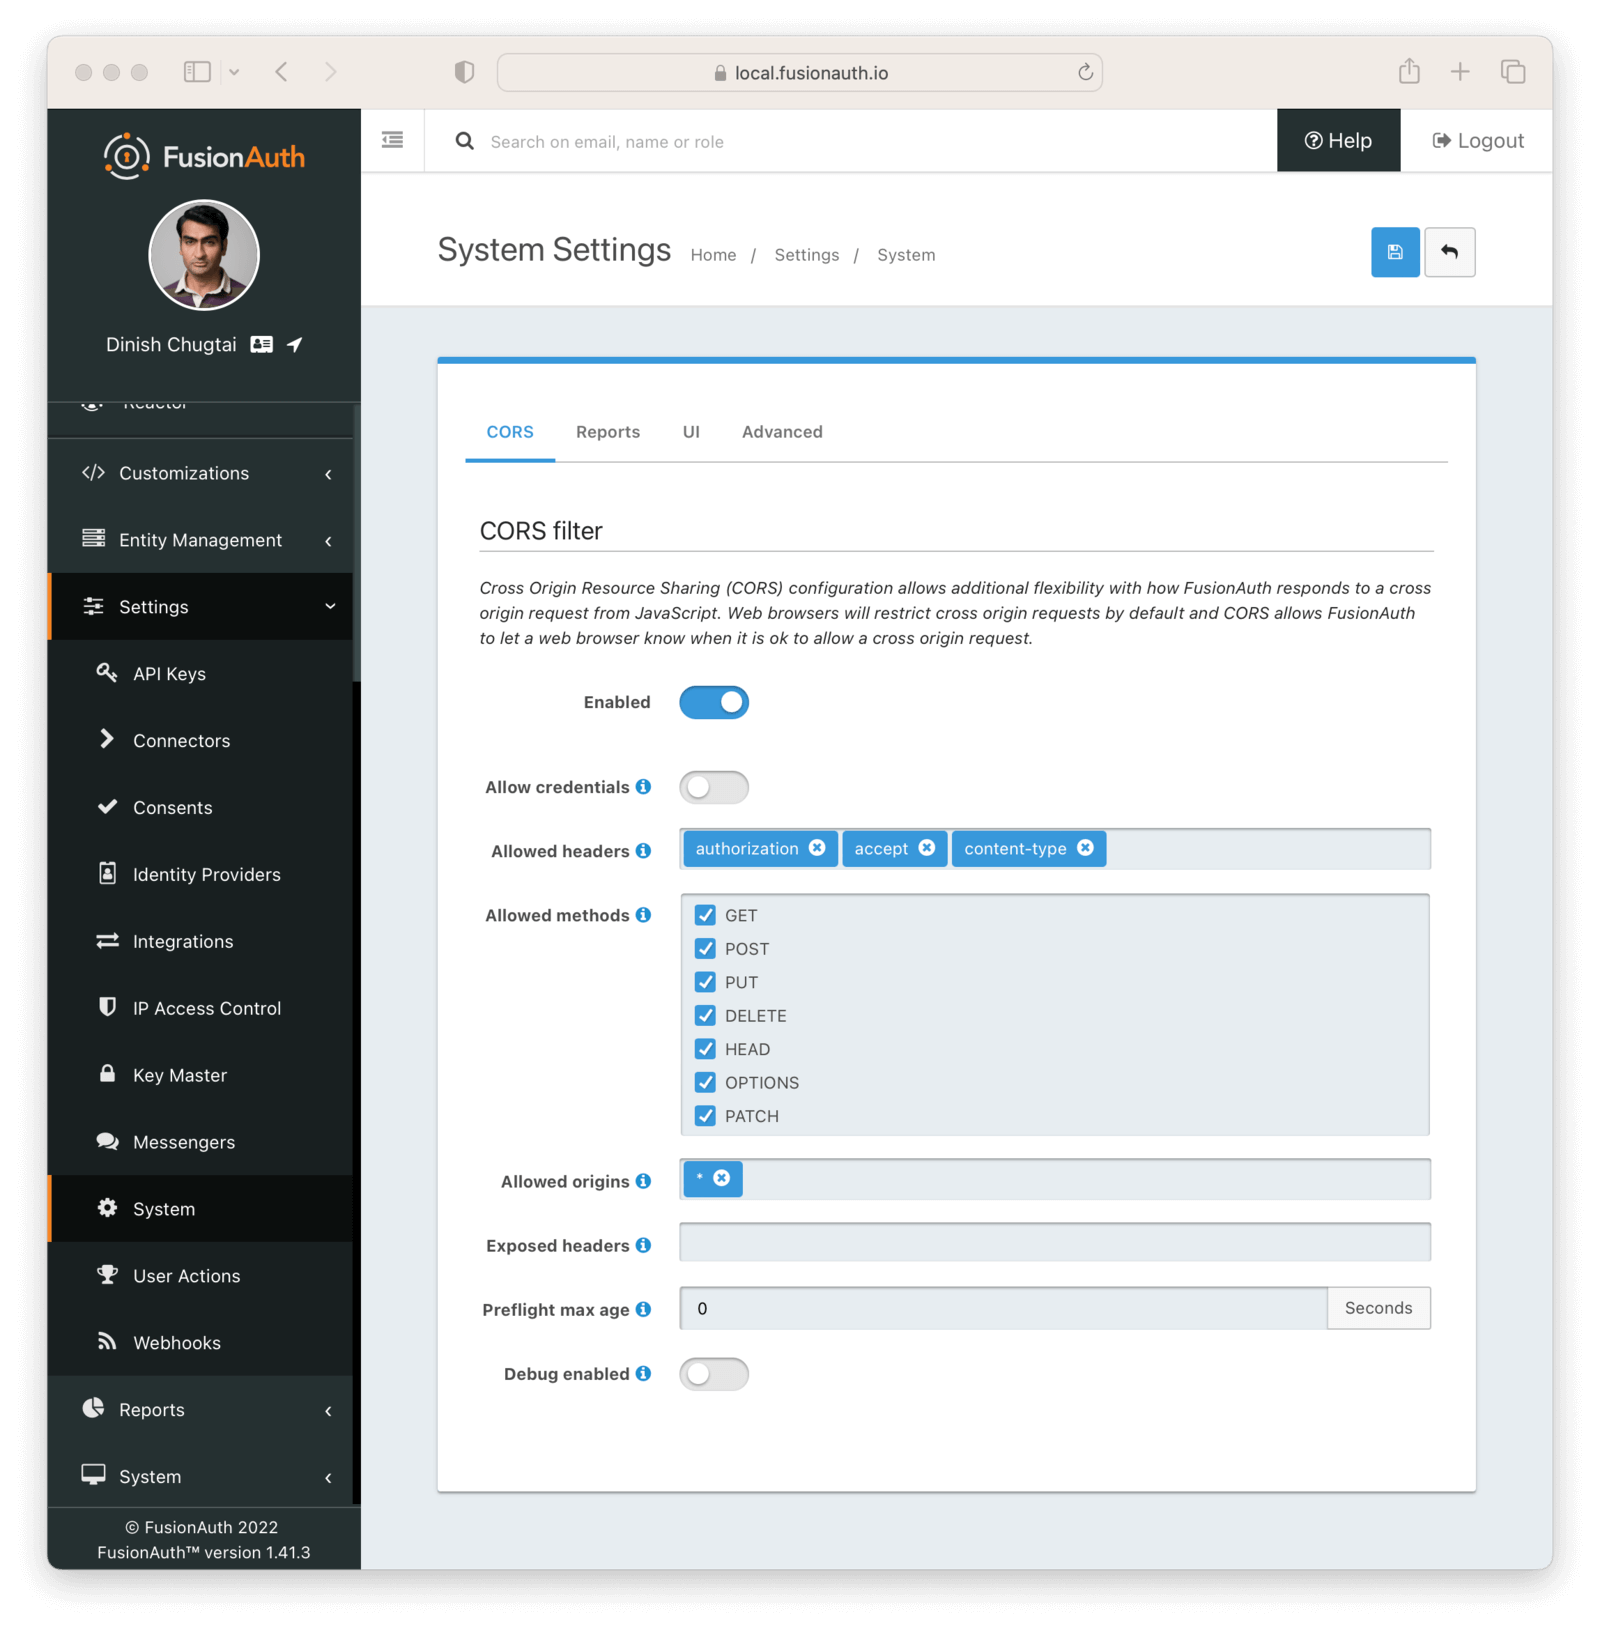
If you want to use the in-browser API explorer, you have to configure CORS on the local FusionAuth instance. Doing so is not required if using the example curl commands to call the API from the command line.
To set up CORS:
* Log in to your FusionAuth administrative user interface
* Navigate to Settings -> System
* Enable CORS .
* Update Allowed headers to include `authorization`, `accept` and `content-type` headers.
* Check all the Allowed methods
* Set Allowed origins to your origin. You can also use the value of `*`, which allows any origin to connect.
 ## Explorer
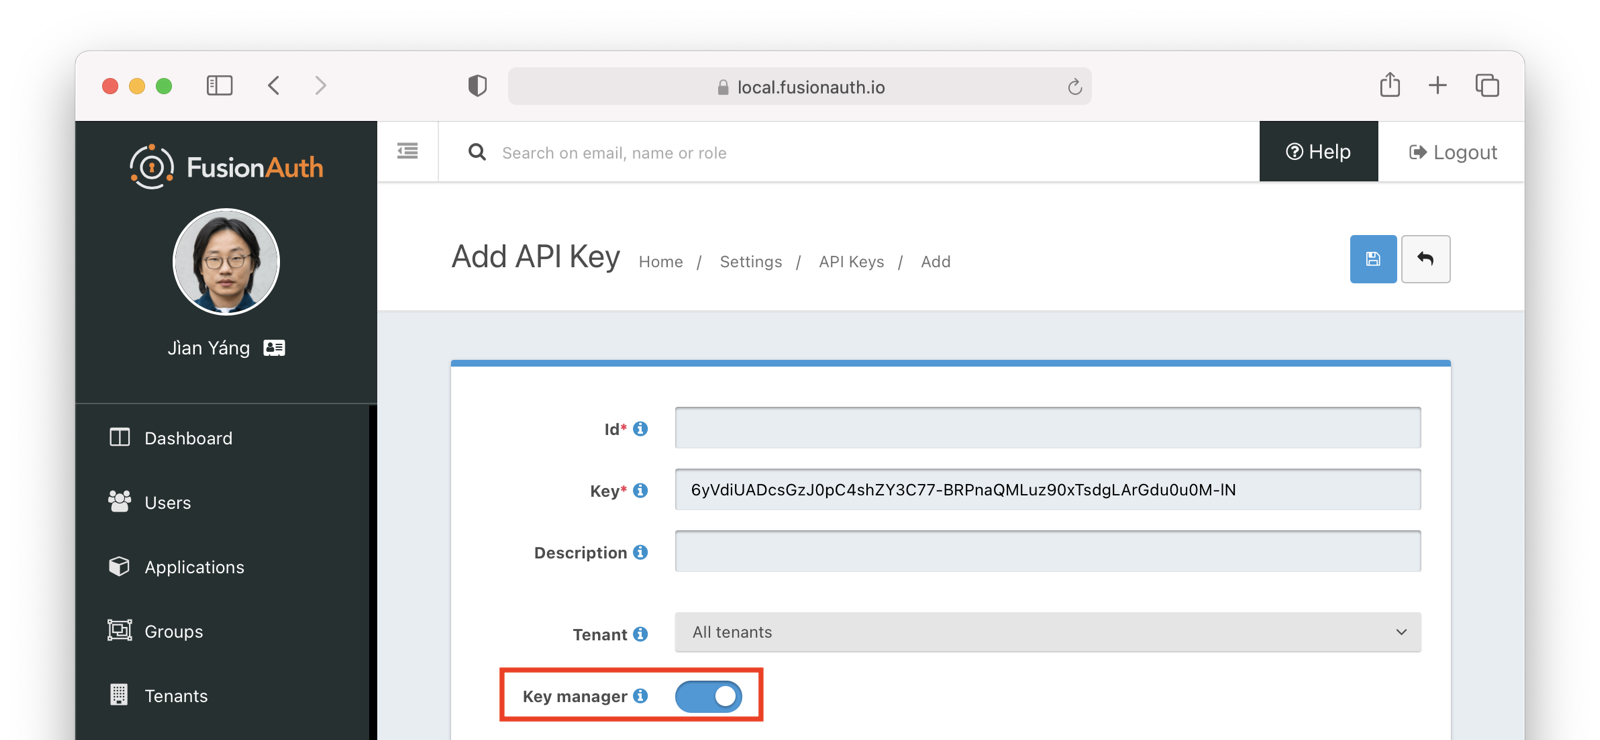
Key manager enabled:
 For security purposes, the
 Key manager setting may be modified only using the administrative user interface or Kickstart. It can't be changed using this API.
## Create an API Key
This API is used to create a new API Key. An API key with key manager permission set to `true` can create keys. An API key that is tenant scoped can create another key for the same tenant.
A key with key manager permissions can not be created using this API. Only through admin UI or kickstart can you create such a key.
### Request
The unique Id of the API Key to create. If not specified a secure random UUID will be generated.
The unique Id of the API Key to create. If not specified a secure random UUID will be generated.
The unique Id of the API Key to retrieve.
### Response
The response for this API contains a single API Key. The response is defined below along with an example JSON response.
The unique Id of the API Key to update.
The unique Id of the API Key to delete.
### Response
This API does not return a JSON response body.
The Id to use for the new Application, which must be unique across all Tenants. If not specified a secure random UUID will be generated.
The Id to use for the new Application. If not specified a secure random UUID will be generated.
Set this parameter to `true` in order to retrieve only inactive Applications. Setting this parameter to `false` is equivalent omitting the `inactive` parameter.
The Id of the Application to retrieve. This request will return the Application if it exists regardless if the Application is active or not.
### Response
The response for this API contains either a single Application or all of the Applications. When you call this API with an Id the response will contain just that Application. When you call this API without an Id the response will contain all of the Applications. Both response types are defined below along with an example JSON response.
The Id of the Application to delete.
Whether or not the Application is soft or hard deleted. A hard delete is a permanent operation.
### Response
This API does not return a JSON response body.
The Id of the Application to reactivate.
### Response
The response for this API contains the information for the Application that was reactivated.
The Id of the Application.
The Id to use for the new role. If not specified a secure random UUID will be generated.
#### Request Body
A description for the role.
The name of the Role.
Whether or not the Role is a default role. A default role is automatically assigned to a user during registration if no roles are provided.
Whether or not the Role is a considered to be a super user role. This is a marker to indicate that it supersedes all other roles. FusionAuth will attempt to enforce this contract when using the web UI, it is not enforced programmatically when using the API.
The Id of the Application.
The Id of the role that is being updated.
#### Request Body
A description for the role.
The name of the Role.
Whether or not the Role is a default role. A default role is automatically assigned to a user during registration if no roles are provided. More than one role can be marked as default.
Whether or not the Role is a considered to be a super user role. This is a marker to indicate that it supersedes all other roles. FusionAuth will attempt to enforce this contract when using the web UI, it is not enforced programmatically when using the API.
The Id of the Application to which the role belongs.
The Id of the role to delete.
The Id of the Application to which the role belongs.
The name of the role to delete.
### Response
This API does not return a JSON response body.
The Id of the Application to retrieve the OAuth configuration.
### Response
An object that can hold additional details of an audit log.
Intended to be utilized during a change to record the new value.
Intended to be utilized during a change to record the old value prior to the change.
Intended to be utilized during a change to indicate the reason for the modification.
The user that took the action that is being written to the Audit Logs. We suggest you use email addresses for this field.
The message of the Audit Log.
The unique Id of the Audit Log to retrieve.
### Response
Additional details of an audit log.
The new value of a changed object.
The previous value of a changed object.
The reason why the audit log was created.
The Audit Log unique Id.
The [instant](/docs/reference/data-types#instants) when the Audit Log was created.
The user that created the Audit Log.
The message of the Audit Log.
The end [instant](/docs/reference/data-types#instants) of the date/time range to search within.
The string to search in the Audit Log message for. This can contain wildcards using the asterisk character (`*`). If no wildcards are present, this parameter value will be interpreted as `*value*`.
The string to search for in the Audit Log field for newValue . Note, that not all audit log entries will contain this field, it is primarily used for Audit Logs for updates to existing objects.
The number of results to return from the search.
The string to search for in the Audit Log field for oldValue . Note, that not all audit log entries will contain this field, it is primarily used for Audit Logs for updates to existing objects.
The database column to order the search results on plus the order direction.
The possible values are:
* `insertInstant` - the [instant](/docs/reference/data-types#instants) when the Audit Log was created
* `insertUser` - the user that create the Audit Log
* `message` - the message of the Audit Log
For example, to order the results by the insert instant in a descending order, the value would be provided as `insertInstant DESC`. The final string is optional can be set to `ASC` or `DESC`.
The string to search for in the Audit Log field for reason . Note, that not all audit log entries will contain this field.
The start [instant](/docs/reference/data-types#instants) of the date/time range to search within.
The offset row to return results from. If the search has 200 records in it and this is 50, it starts with row 50.
The string to search in the Audit Log user for. This can contain wildcards using the asterisk character (`*`). If no wildcards are present, this parameter value will be interpreted as `*value*`.
The end [instant](/docs/reference/data-types#instants) of the date/time range to search within.
The string to search in the Audit Log message for. This can contain wildcards using the asterisk character (`*`). If no wildcards are present, this parameter value will be interpreted as `*value*`.
The string to search for in the Audit Log field for newValue . Note, that not all audit log entries will contain this field, it is primarily used for Audit Logs for updates to existing objects.
In versions >= 1.49.0 sensitive values may be masked.
The number of results to return from the search.
The string to search for in the Audit Log field for oldValue . Note, that not all audit log entries will contain this field, it is primarily used for Audit Logs for updates to existing objects.
In versions >= 1.49.0 sensitive values may be masked.
The database column to order the search results on plus the order direction.
The possible values are:
* `insertInstant` - the [instant](/docs/reference/data-types#instants) when the Audit Log was created
* `insertUser` - the user that create the Audit Log
* `message` - the message of the Audit Log
For example, to order the results by the insert instant in a descending order, the value would be provided as `insertInstant DESC`. The final string is optional can be set to `ASC` or `DESC`.
The string to search for in the Audit Log field for reason . Note, that not all audit log entries will contain this field.
The start [instant](/docs/reference/data-types#instants) of the date/time range to search within.
The offset row to return results from. If the search has 200 records in it and this is 50, it starts with row 50.
The string to search in the Audit Log user for. This can contain wildcards using the asterisk character (`*`). If no wildcards are present, this parameter value will be interpreted as `*value*`.
### Response
The response for this API contains the Audit Logs matching the search criteria in paginated format.
The list of Audit Logs returned by the search.
Additional details of an audit log.
The new value of a changed object.
In versions >= 1.49.0 sensitive values may be masked.
The previous value of a changed object.
In versions >= 1.49.0 sensitive values may be masked.
The reason why the audit log was created.
The Audit Log unique Id.
The [instant](/docs/reference/data-types#instants) when the Audit Log was created.
The user that created the Audit Log.
The message of the Audit Log.
The total number of Audit Logs matching the search criteria. Use this value along with the numberOfResults and startRow in the Search request to perform pagination.
The format string used to format the date and time columns in the export result.
When this parameter is omitted a default format of `M/d/yyyy hh:mm:ss a z` will be used. See the [DateTimeFormatter patterns](https://docs.oracle.com/javase/8/docs/api/java/time/format/DateTimeFormatter.html) for additional examples.
The end [instant](/docs/reference/data-types#instants) of the date/time range to search within.
The string to search in the Audit Log message for. This can contain wildcards using the asterisk character (`*`). If no wildcards are present, this parameter value will be interpreted as `*value*`.
The start [instant](/docs/reference/data-types#instants) of the date/time range to search within.
The string to search in the Audit Log user for. This can contain wildcards using the asterisk character (`*`). If no wildcards are present, this parameter value will be interpreted as `*value*`.
The [time zone](/docs/reference/data-types#time-zone) used to adjust the stored UTC time in the export result.
For example:
> `America/Denver` or `US/Mountain`
When this parameter is omitted the configured default report time zone will be used. See reportTimezone in the [System Configuration API](/docs/apis/system).
The end [instant](/docs/reference/data-types#instants) of the date/time range to include in the export.
The string to search in the Audit Log message for. This can contain wildcards using the asterisk character (`*`). If no wildcards are present, this parameter value will be interpreted as `*value*`.
The start [instant](/docs/reference/data-types#instants) of the date/time range to include in the export.
The string to search in the Audit Log user for. This can contain wildcards using the asterisk character (`*`). If no wildcards are present, this parameter value will be interpreted as `*value*`.
The format string used to format the date and time columns in the export result.
When this parameter is omitted a default format of `M/d/yyyy hh:mm:ss a z` will be used. See the [DateTimeFormatter patterns](https://docs.oracle.com/javase/8/docs/api/java/time/format/DateTimeFormatter.html) for additional examples.
The [time zone](/docs/reference/data-types#time-zone) used to adjust the stored UTC time in the export result.
For example:
> `America/Denver` or `US/Mountain`
When this parameter is omitted the configured default report time zone will be used. See reportTimezone in the [System Configuration API](/docs/apis/system).
### Response
The response for this API will contain a compressed zip of the audit logs.
Settings -> API Keys to manage API keys.
Create as many API keys as you like, each one may be optionally limited in ability to minimize security risk.
For example, the User API `/api/user` has five HTTP methods, `GET`, `POST`, `PUT`, `PATCH` and `DELETE`. While each API may have different semantics, in a general sense you can think of these HTTP methods as being retrieve, create, update, partial update, and delete respectively. With that in mind, if you'd like to create an API key that can only retrieve users, limit the API key to the `GET` method on the `/api/user` API.
When you create an API key, the key value is defaulted to a secure random value. However, the API key is a string, so you may set it to `super-secret-key`, a UUID such as `02e56c92-f5e1-4b0f-8298-b5103bc7add7`, or any other string value that you'd like. A long and random value makes a good API key because it is unique and difficult to guess, so allowing FusionAuth to create the key value is recommended.
### Managing API Keys via the API
Prior to version `1.26.0`, the FusionAuth administrative user interface was the only way to create API keys. This functionality was not available through an API. Starting from version 1.26.0, API keys may be created using an API. Please refer to the [API Key API](/docs/apis/api-keys) for more information.
### Create an API Key
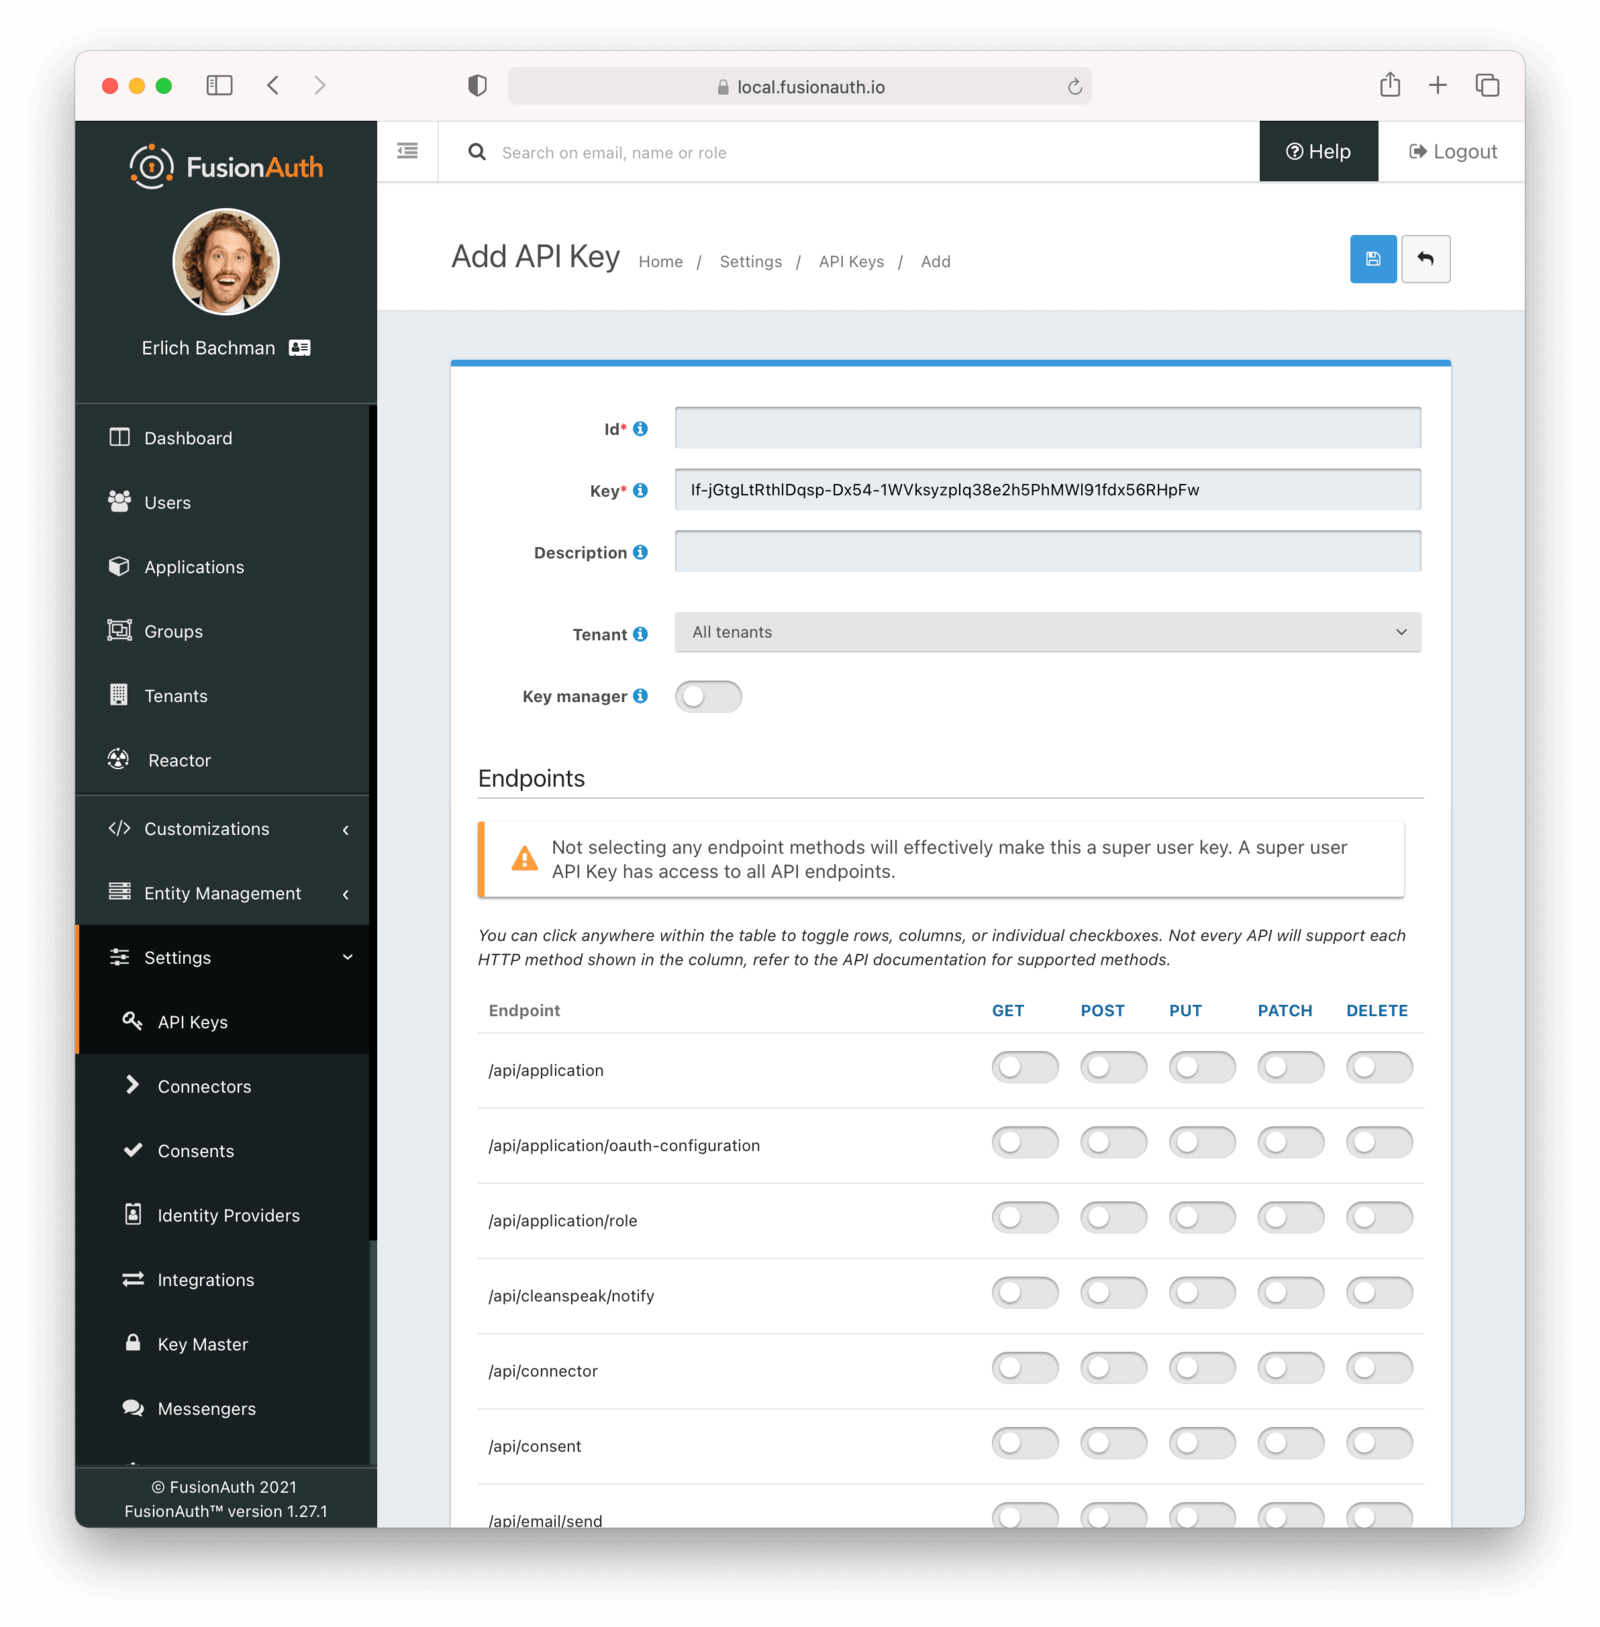
#### Form Fields
The unique Id of this API key.
The unique string representing the API key. This is what is presented in the `Authorization` header for requests to FusionAuth.
The name of this API key. If the Retrievable selector is set to `Not Retrievable`, this field is required.
An optional description of this API key.
This selector allows you to determine whether or not an API key can be retrieved after it is created.
The possible values are:
* `Retrievable` - The API key can be retrieved after it is created. This is the default setting.
* `Not Retrievable` - The API key cannot be retrieved after it is created. So keep it safe!
If a key is `Not Retrievable` then a Name is required.
The optional tenant to which this API key will be assigned. This value cannot be changed once the API key is created.
When you assign an API key to a tenant, any requests made with this key will only be able to operate on users, applications, groups, and other entities in the selected tenant.
One or more endpoints this API key will be authorized to access.
Selecting no endpoints will **authorize this key for all API endpoints**.
Enable to have this key be a key manager. When a key is a key manager, it can be used to call the [API keys APIs](/docs/apis/api-keys#).
Being able to create other API keys via the API is a **privileged operation**. Use it wisely.
Any attempt to call the API Keys API with a non-manager key (`keyManager` set to `false`) will return a HTTP response status code `401`.
The optional [IP Access Control List](/docs/apis/ip-acl) for restricting the usage of this API key by network address.
The optional date and time at which this API key will expire and no longer be usable for API authentication.
Any attempt to call an API with an expired key will result in a `401` response code.
Endpoints section.
When using the administrative user interface, you may click on the HTTP method column or the endpoint row.
Either will toggle all the settings for the column or row, respectively.
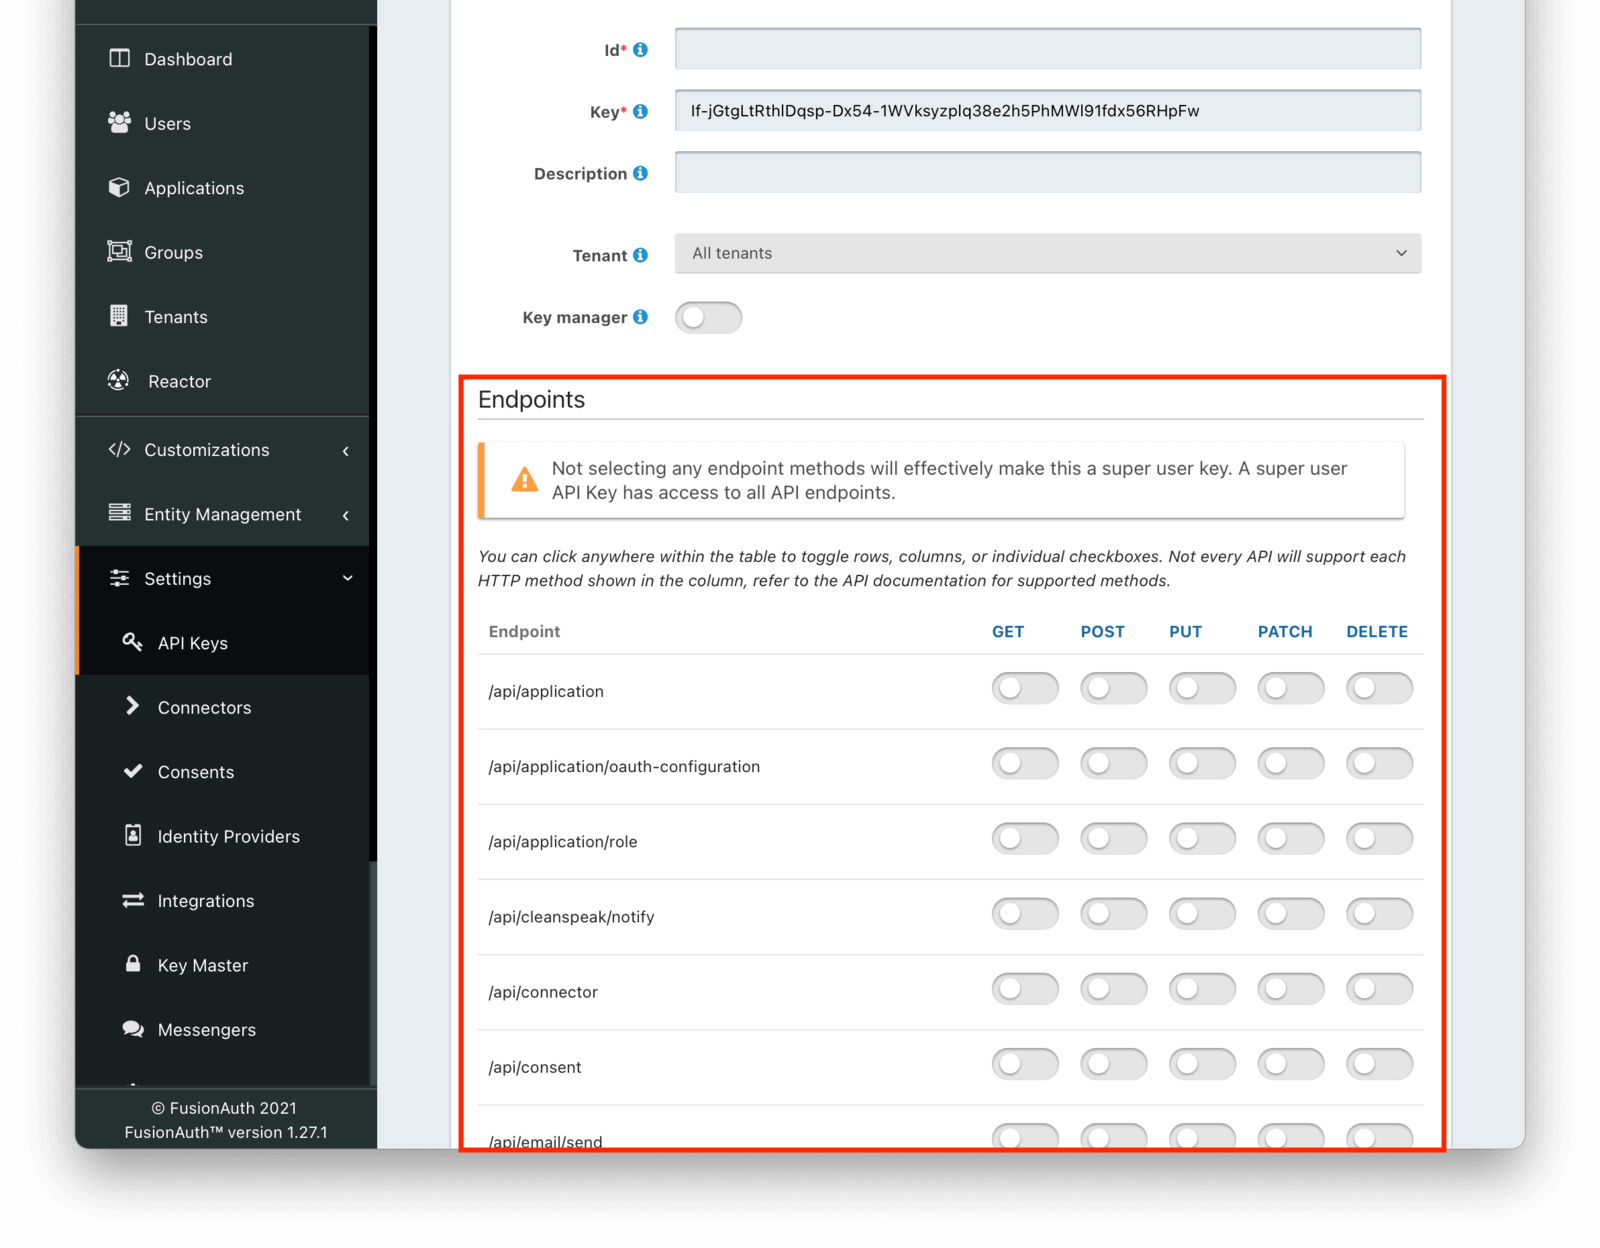
For example, if you were to grant an API key `POST` permissions on `/api/user`, the API key would be able to create users in FusionAuth.
Any calls with this API key would be denied access to any other functionality, including listing users, creating applications, and deleting registrations.
Calling other endpoints would result in a `401` response code.
## Tenant Scoped API Keys
When you assign an API key to a tenant, any requests made with this key will only be able to operate on users, applications, groups, and other entities in the selected tenant.
The Id to use for the new Consent. If not specified a secure random UUID will be generated.
The unique Id of the Consent to retrieve.
### Response
The response for this API contains either a single Consent or all of the Consents. When you call this API with an Id the response will contain a single Consent. When you call this API without an Id the response will contain all of the Consents. Both response types are defined below along with an example JSON response.
The Id to use for the Consent to update.
The unique Id of the Consent to delete.
### Response
This API does not return a JSON response body.
The Id to use for the new User Consent. If not specified a secure random UUID will be generated.
The unique Id of the User to retrieve User Consents for.
The unique Id of the User Consent to retrieve.
### Response
The response for this API contains either a single User Consent or all of a User's Consents. When you call this API with an Id the response will contain a single Consent. When you call this API with the `userId` query parameter, the response will contain all of the User's Consents. Both response types are defined below along with an example JSON response.
The Id of the User Consent to update.
The Id to use for the new Email Template. If not specified a secure random UUID will be generated.
The Id of the Email Template to retrieve.
### Response
The response for this API contains either a single Email Template or all of the Email Templates. When you call this API with an Id the response will contain just that Email Template. When you call this API without an Id the response will contain all of the Email Templates. Both response types are defined below along with an example JSON response.
The Id of the Email Template to update.
The Id of the Email Template to delete.
### Response
This API does not return a JSON response body.
The default From Name used when sending emails. This is the display name part of the email address ( i.e. **Jared Dunn** jared@piedpiper.com).
The default HTML Email Template.
The default Subject used when sending emails.
The default Text Email Template.
The email address that this email will be sent from. This is the address part email address (i.e. Jared Dunn jared@piedpiper.com).
The From Name used when sending emails to users who speak other languages. This overrides the default From Name based on the user's list of preferred languages.
The HTML Email Template used when sending emails to users who speak other languages. This overrides the default HTML Email Template based on the user's list of preferred languages.
The Subject used when sending emails to users who speak other languages. This overrides the default Subject based on the user's list of preferred languages.
The Text Email Template used when sending emails to users who speak other languages. This overrides the default Text Email Template based on the user's list of preferred languages.
The locale to use when rendering the Email Template. If this is null, the defaults will be used and the localized versions will be ignored.
The Id of the Email Template to use to generate the Email from.
#### Request Body
An optional application Id, when provided the application object will be available in the email template for variable replacement.
A list of email addresses to BCC when sending the Email.
A list of email addresses to CC when sending the Email.
An ordered list of locale strings to utilize when localizing the email template for address provided in the toAddresses . See [Locales](/docs/reference/data-types#locales).
An optional JSON object that is passed to the Email Template during rendering. The variables in the JSON object will be accessible to the FreeMarker templates of the Email Template.
A list of email addresses to send the Email to. It is not required that a user exist in FusionAuth with this email address, this may be useful when sending invitations to users that do not yet exist in FusionAuth.
This field may be used in addition to, or as an alternative to the userIds field.
The email address for the user. Using the toAddresses is optional, but when providing one or more entries, this field is required.
An optional display name that can be used to construct the to address.
For example, in this example string `Erlich Bachman`, `Erlich Bachman` is the display name and `bachman@piedpiper.com` is the address.
The list of User Ids to send the Email to.
This field may be used in addition to, or as an alternative to the toAddresses field.
Prior to version `1.28.0`, this field was required.
fieldName indicates the field in the request body the message is describing and [x] indicates the value is part of an array of one or more values.
### Error Fields
The list of general error messages.
The code of the error message.
A descriptive error message that details the problem that occurred.
The list of field error message.
The list of error messages for that field
The code of the error message.
A descriptive error message that details the problem that occurred.
The unique Id of the Event Log to retrieve.
### Response
The event Log unique Id.
The [instant](/docs/reference/data-types#instants) when the Event Log was created.
The message of the event Log.
The type of the Event Log. Possible values are:
* `Information`
* `Debug`
* `Error`
The end [instant](/docs/reference/data-types#instants) of the date/time range to search within.
The string to search in the Event Log message for. This can contain wildcards using the asterisk character (`*`). If no wildcards are present, this parameter value will be interpreted as `*value*`.
The number of results to return from the search.
The database column to order the search results on plus the order direction.
The possible values are:
* `insertInstant` - the [instant](/docs/reference/data-types#instants) when the Event Log was created
* `insertUser` - the user that create the Event Log
* `message` - the message of the Event Log
* `type` - the type of the Event Log
For example, to order the results by the insert instant in a descending order, the value would be provided as `insertInstant DESC`. The final string is optional can be set to `ASC` or `DESC`.
The start [instant](/docs/reference/data-types#instants) of the date/time range to search within.
The offset row to return results from. If the search has 200 records in it and this is 50, it starts with row 50.
The type of Event Logs to return. Only one type may be provided. If omitted, all types will be returned.
The possible values are:
* `Information`
* `Debug`
* `Error`
The end [instant](/docs/reference/data-types#instants) of the date/time range to search within.
The string to search in the Event Log message for. This can contain wildcards using the asterisk character (`*`). If no wildcards are present, this parameter value will be interpreted as `*value*`.
The number of results to return from the search.
The database column to order the search results on plus the order direction.
The possible values are:
* `insertInstant` - the [instant](/docs/reference/data-types#instants) when the Event Log was created
* `insertUser` - the user that create the Event Log
* `message` - the message of the Event Log
For example, to order the results by the insert instant in a descending order, the value would be provided as `insertInstant DESC`. The final string is optional can be set to `ASC` or `DESC`.
The start [instant](/docs/reference/data-types#instants) of the date/time range to search within.
The offset row to return results from. If the search has 200 records in it and this is 50, it starts with row 50.
The type of Event Logs to return. Only one type may be provided. If omitted, all types will be returned.
The possible values are:
* `Information`
* `Debug`
* `Error`
The list of Event Logs returned by the search.
The Event Log unique Id.
The [instant](/docs/reference/data-types#instants) when the Event Log was created.
The message of the Event Log.
The type of the Event Log. Possible values are:
* `Information`
* `Debug`
* `Error`
The total number of Event Logs matching the search criteria. Use this value along with the numberOfResults and startRow in the Search request to perform pagination.
The Id to use for the new Family. If not specified a secure random UUID will be generated.
The unique Id of the Family.
The unique Id of the User.
The unique Id of the Family.
The unique Id of the Family.
The unique Id of the User.
The email address of the parent.
The Id to use for the new Group. If not specified a secure random UUID will be generated.
The unique Id of the Group to retrieve.
The Id of the Group to update.
The unique Id of the Group to delete.
The unique Id of the Group Member to delete.
The unique Id of the Group to remove the User from.
The unique Id of the User to remove from the Group.
The unique Id of the Group.
The unique Id of the Group used to search for Group Members.
The number of results to return from the search.
The database column to order the search results on plus the order direction.
The possible values are:
* `groupId` - the unique Id of the Group
* `id` - the id of the Group Member
* `insertInstant` - the [instant](/docs/reference/data-types#instants) when the Group Member was created
* `userId` - the unique Id of the User
For example, to order the results by the insert instant in descending order, the value would be provided as `insertInstant DESC`. The final string is optional, can be set to `ASC` or `DESC`, or omitted and will default to `ASC`.
Prior to version `1.52.0` this defaults to `insertInstant ASC`.
The offset row to return results from. If the search has 200 records in it and this is 50, it starts with row 50.
The unique Id of the User to search for Group Members. A single user may belong to one or more Groups, so searching on this field may still produce multiple results.
### Response
The client Id for your Application.
The URL encoded URL that the browser will be redirected to at the end of the login flow. If provided, this URL must be included in the Authorized Redirect URLs array for your application. If not provided, the default will be the first value in the Authorized Redirect URLs array configured for your application. This parameter is validated the same as if it were being passed to `/oauth2/authorize`, however when using this endpoint FusionAuth will pass [Callback](#callback) as the redirect_uri to `/oauth2/authorize` as that route will handle the token exchange.
The value of this parameter will be echoed back in the state parameter of the redirect URL at the end of the login flow.
The OAuth2 scope parameter to be passed to the `/oauth2/authorize` endpoint. The format is a URL encoded, space-separated list of scopes (i.e `openid+offline_access` or `openid%20offline_access`).
Available scopes:
* `openid` - This scope is used to request the `app.idt` Id token cookie be returned in the response
* `offline_access` - This scope is used to request the `app.rt` refresh token cookie be returned in the response
Example Request URL
```
https://auth.example.com/app/login/297ca84b-69a9-4508-8649-97644e1d0b3d?redirect_uri=https%3A%2F%2Fapp.example.com%2Fcallback&state=yourStateData&scope=offline_access
```
### Response
Successful invocations of this route will return a `302` redirect to `/oauth2/authorize`. Other status codes indicate an error.
_Response Codes_
| Code | Description |
|------|--------------------------------------------------------------------------------------------------------------------------------------------------------------------------------------------------------------------------------------------------------|
| 200 | There was an error. The route will serve up an error page with HTML and details on what went wrong. |
| 302 | A successful request will redirect the user to `/oauth2/authorize` to log in. |
| 403 | A forbidden response typically means that the Origin of this request did not pass the FusionAuth CORS filter. Add your app origin to your [CORS Configuration](/docs/operate/secure/cors) as an Allowed Origin . |
| 500 | There was a FusionAuth internal error. A stack trace is provided and logged in the FusionAuth log files. |
## Register
This API will start a registration flow by building a valid request and then redirecting the browser to our `/oauth2/register` endpoint. This endpoint is nearly identical to the [Login](#login) endpoint; however the end result is user registration instead of a login. If the user is not logged in the user will be presented with the registration page and prompted for credentials before being redirected back to the [Callback](#callback) endpoint. If the user is logged in they will be redirected to `/oauth2/authorize` and subsequently to the [Callback](#callback) endpoint.
[Self-service Registration](/docs/get-started/core-concepts/applications#registration) will need to be enabled otherwise this endpoint will redirect to [Login](#login).
To use this API, redirect the browser to this route. This is not meant to be called by non-browser clients.
### Request
The client Id for your Application.
The URL encoded URL that the browser will be redirected to at the end of the registration. If provided, this URL must be included in the Authorized Redirect URLs array for your application. If not provided, the default will be the first value in the Authorized Redirect URLs array configured for your application. This parameter is validated the same as if it were being passed to `/oauth2/register`, however when using this endpoint FusionAuth will pass [Callback](#callback) as the redirect_uri to `/oauth2/register` as that route will handle the token exchange.
The value of this parameter will be echoed back in the state parameter of the redirect URL at the end of the registration flow.
The OAuth2 scope parameter to be passed to the `/oauth2/register` endpoint. The format is a URL encoded, space-separated list of scopes (i.e `openid+offline_access` or `openid%20offline_access`).
Available scopes:
* `openid` - This scope is used to request the `app.idt` Id token cookie be returned in the response
* `offine_access` - This scope is used to request the `app.rt` refresh token cookie be returned in the response
Example Request URL
```
https://auth.example.com/app/register/297ca84b-69a9-4508-8649-97644e1d0b3d?redirect_uri=https%3A%2F%2Fapp.example.com%2Fcallback&state=yourStateData&scope=offline_access
```
### Response
Successful invocations of this route will return a `302` redirect to `/oauth2/register`. Other status codes indicate an error.
_Response Codes_
| Code | Description |
|------|--------------------------------------------------------------------------------------------------------------------------------------------------------------------------------------------------------------------------------------------------------|
| 200 | There was an error. The route will serve up an error page with HTML and details on what went wrong. |
| 302 | A successful request will redirect the user to `/oauth2/register` to register. |
| 403 | A forbidden response typically means that the Origin of this request did not pass the FusionAuth CORS filter. Add your app origin to your [CORS Configuration](/docs/operate/secure/cors) as an Allowed Origin . |
| 500 | There was a FusionAuth internal error. A stack trace is provided and logged in the FusionAuth log files. |
## Callback
### Request
The client Id for your Application.
The Id of the Tenant that is associated with the Application.
Authorized Redirect URL configured for the Application. |
| 500 | There was a FusionAuth internal error. A stack trace is provided and logged in the FusionAuth log files. |
#### Response Cookies
Refresh token grant is enabled. If successful a new set of cookies will be set on the response that will continue to allow access to the application. You can call this any time or you can review the value of `app.at_exp` and call it when the access token is about to expire.
This API request is made from the client application. The browser must *NOT* be redirected to this endpoint.
### Request
The client Id for your Application.
Example Request URL
```
https://auth.example.com/app/refresh/297ca84b-69a9-4508-8649-97644e1d0b3d
```
### Response
A successful response will set cookies and return a `200`.
_Response Codes_
| Code | Description |
|------|----------------------------------------------------------------------------------------------------------------|
| 200 | There was an error. The route will serve up an error page with HTML and details on what went wrong. |
| 400 | The request was not successful. The client needs to reauthorize. Redirect the browser to the `Login` endpoint. |
| 500 | There was a FusionAuth internal error. A stack trace is provided and logged in the FusionAuth log files. |
#### Response Cookies
The client Id for your Application.
The URL encoded URL that the browser will be redirected to at the end of the logout flow. This value must be in the Application's Authorized Redirect URLs list. If no `post_logout_redirect_uri` is provided, the user will be redirected to the Logout URL configured for the Application.
Example Request URL
```
https://auth.example.com/app/logout/297ca84b-69a9-4508-8649-97644e1d0b3d?redirect_uri=https%3A%2F%2Fapp.example.com%2
```
### Response
Successful invocations of this route will return a `302` redirect to `/oauth2/logout`. Other status codes indicate an error. After logout the browser is redirected to the defined `redirect_uri`.
_Response Codes_
| Code | Description |
|------|----------------------------------------------------------------------------------------------------------|
| 200 | There was an error. The route will serve up an error page with HTML and details on what went wrong. |
| 302 | A successful request will redirect the user to `/oauth2/logout` to complete the logout. |
| 500 | There was a FusionAuth internal error. A stack trace is provided and logged in the FusionAuth log files. |
# Identity Verify
import API from 'src/components/api/API.astro';
import APIBlock from 'src/components/api/APIBlock.astro';
import APIField from 'src/components/api/APIField.astro';
import Aside from 'src/components/Aside.astro';
import InlineField from 'src/components/InlineField.astro';
import JSON from 'src/components/JSON.astro';
import StandardPostResponseCodes from 'src/content/docs/apis/_standard-post-response-codes.astro';
import XFusionauthTenantIdHeaderScopedOperation from 'src/content/docs/apis/_x-fusionauth-tenant-id-header-scoped-operation.mdx';
## Overview
The identity verification APIs allow you to manage a workflow for verifying a user's identity. This API is similar to the [Verify Email](/docs/apis/users#verify-a-users-email) API.
An identity verification workflow involves three steps:
1. Starting the verification process, which generates a verification code
2. Delivering the code to a user in a way that is specific to the identity (e.g. sending and email to an email address, or an SMS message to a phone number)
3. Having the user complete the verification workflow by presenting the code
In general you will not need to call these APIs directly, as most of identity verification is handled automatically by FusionAuth. The main verification use cases and the applicability of the API are shown below.
| Use Case | Start API | Send API | Complete API |
|------------------------------------------------------- |:---------:| :--------:|:---------------:|
| **User creation** | Automatic | Automatic | N/A |
| **User update** | Automatic | Automatic | N/A |
| **Hosted Pages - login** | N/A | N/A | Automatic |
| **Hosted Pages - resend verification** | Automatic | Automatic | N/A |
| **Login API** | N/A | N/A | Yes* |
| **Login API - resending verification emails or SMS messages** | Yes | Yes | N/A |
| **Verifying identities before user creation** | Yes | Yes | Yes |
_* You will need to use the Complete API if you want to use `FormField` verification or if you don't want to use FusionAuth's `ClickableLink` page._
## Start Identity Verification
This API allows you to generate a verification code for a User's identity. This code can be sent to the User via email or SMS using the [Send Identity Verification API](#send-identity-verification), or can be delivered by some other method of your choosing. The User will then use this code to complete the verification process. This API can also be used to verify an identity before creating a user.
### Request
The login identifier of the User identity to begin verification for. The login identifier can be one of the following:
* Email address
* Phone number
The identity type that FusionAuth will use when comparing the loginId . Can be one of the following:
* `email`
* `phoneNumber`
An application Id. If this is not provided and there are multiple tenants, the X-FusionAuth-TenantId header is required.
When this value is provided, it will be used to resolve an application-specific email or message template and make `application` available as a template variable.
If not provided, only the tenant configuration will be used when resolving templates, and `application` will not be available as a template variable.
Whether an existing user that matches loginId is required. Can be one of the following:
* `mustExist` - There must be a user that matches. This is used to verify an existing user's identity.
* `mustNotExist` - There must NOT be a user that matches. This is used to verify an identity of a yet to be created user.
An optional object that will be returned un-modified when you complete verification. This may be useful to return the User to particular state once verification is completed.
The strategy to use when verifying the User. Can be one of the following:
* `ClickableLink` - send the User a code with a clickable link.
* `FormField` - send the User a short code intended to be manually entered into a form field
The default, when `loginIdType` is `email`, is tenant.emailConfiguration.verificationStrategy . When `loginIdType` is `phoneNumber`, the default is tenant.phoneConfiguration.verificationStrategy .
### Response
The verification Id that was generated by this API request. This identifier should be used by the [Complete Identity Verification](#complete-identity-verification) API and may be used by the [Send Identity Verification](#send-identity-verification) API.
The verification One Time Code is used with the gated Email or Phone Verification workflow. The User enters this code to verify their email or phone number when the `ClickableLink` strategy is not in use.
tenant.emailConfiguration.verificationEmailTemplateId
* a phone number identity - the message will be sent via SMS using the message template defined by tenant.phoneConfiguration.verificationTemplateId and the messenger defined by tenant.phoneConfiguration.messengerId
### Request
The verification Id that was generated by the start API.
### Response
This API does not return a JSON response body.
user.identities\[x].verifiedReason will be set to `Completed`.
### Request
The verification Id generated by the [Start Identity Verification API](#start-identity-verification), used to verify the User's identity is valid by ensuring they have access to the provided email address or phone number.
When using the `FormField` strategy for verification, this value is used along with the `oneTimeCode` as a pair to perform verification.
The short code used to verify the User's account is valid by ensuring they have access to the provided email address or phone number. This field is required when the verification strategy is `FormField`.
### Response
If state was provided during the [Start Identity Verification API](#start-identity-verification) request, this value will be returned exactly as it was provided.
System -> Event Log . |
## The PATCH HTTP Method
There are three options for using `PATCH` operations. You choose between them by specifying a particular `Content-Type` on the request.
_PATCH options_
| Name | Content-Type | Array Behavior | Available Since | RFC Link | Client Library Support | Notes |
|------------------|--------------------------------|------------------------------------------------------------------------------------------------------------------------------------|-----------------|----------------------------------------------------|------------------------|---------------------------------------------------------------------------|
| Original | `application/json` | Varies, sometimes a merge, other times an append. Read the documentation and test before using. Safest option is `GET` then `PUT`. | 1.12.0 | N/A | Yes | May be deprecated in the future. |
| JSON Patch | `application/json-patch+json` | Uses operations to specify JSON modifications. | 1.39.0 | [RFC 6902](https://www.rfc-editor.org/rfc/rfc6902) | No | [Useful patch builder tool](https://json-patch-builder-online.github.io/) |
| JSON Merge Patch | `application/merge-patch+json` | If target value is an array, overwrite the existing value with what is provided. | 1.39.0 | [RFC 7396](https://www.rfc-editor.org/rfc/rfc7396) | No | N/A |
### PATCH Example
Here's an example of how the different options work when used to modify the roles of a [Group](/docs/apis/groups) which has roles of `ceo` and `dev` to remove the `dev` role.
If you are only modifying specific object fields, all three `PATCH` methods are equivalent.
#### Original
With the original, pre 1.39.0 `PATCH` method, the correct way to remove the `dev` role is to request the group JSON, find the `ceo` role from the `roleIds` array, and use `PUT` to update the group object.
The Id to use for the new IP ACL. If not specified a secure random UUID will be generated.
The unique Id of the IP ACL to retrieve.
### Response
The string to match all or part of the IP ACL name. This can contain wildcards using the asterisk character (`*`). If no wildcards are present, this parameter value will be interpreted as `*value*`.
The number of results to return from the search.
The database column to order the search results on plus the order direction.
The possible values are:
* `id` - the id of the IP ACL
* `insertInstant` - the [instant](/docs/reference/data-types#instants) when the IP ACL was created
* `lastUpdateInstant` - the last [instant](/docs/reference/data-types#instants) that the IP ACL was updated
* `name` - the name of the IP ACL
For example, to order the results by the insert instant in descending order, the value would be provided as `insertInstant DESC`. The final string is optional, can be set to `ASC` or `DESC`, or omitted and will default to `ASC`.
The offset row to return results from. If the search has 200 records in it and this is 50, it starts with row 50.
### Response
The response for this API contains the IP ACLs matching the search criteria in paginated format.
The Id of the IP ACL to update.
The unique Id of the IP ACL to delete.
### Response
This API does not return a JSON response body.
The Id of the application for which authorization is being requested.
An existing refresh token used to request a refresh token in addition to a JWT in the response. If the cookie `refresh_token` is also on the request it will take precedence over this value.
The target application represented by the applicationId request parameter must have refresh tokens enabled in order to receive a refresh token in the response.
The refresh token to be used to exchange for a refresh token in the application represented by the applicationId request parameter.
```shell title="Example HTTP Request using cookie"
GET /api/jwt/issue HTTP/1.1
Cookie: refresh_token=xRxGGEpVawiUak6He367W3oeOfh+3irw+1G1h1jc
```
### Response
The encoded access token.
The refresh token. This value will only be returned if a valid non-expired refresh token was provided on the request and application.loginConfiguration.generateRefreshTokens is `true`. The returned refresh token will share the same creation time as the original refresh token in regards to how the token expiration is calculated.
The refresh token expiration policy as defined by jwtConfiguration.refreshTokenExpirationPolicy must be the same as the source application, if the policies are different a refresh token will not be returned.
## Reconcile a JWT Using the External JWT Provider
The Reconcile API is used to take a JWT issued by a third party identity provider as described by an [External JWT Identity Provider](/docs/apis/identity-providers/external-jwt/)
configuration and reconcile the User represented by the JWT to FusionAuth.
The IP address of a client requesting authentication. If the IP address is provided it will be stored for login history of the user. It is
generally preferred to specify the IP address in the request body. If it is not provided in the request body this header value will be used
if available, the request body value will take precedence.
The encoded access token. This cookie is written in the response as an `HttpOnly` session cookie.
The refresh token. This cookie is written in the response as an `HttpOnly` persistent cookie. The cookie expiration is configured in the JWT
configuration for the application or the global JWT configuration.
## Retrieve Public Keys
This API is used to retrieve Public Keys generated by FusionAuth. These can be used to cryptographically verify JWTs signed with the corresponding private key.
### Request
The Application Id is used to retrieve a specific Public Key. This will return the Public Key that has been specifically configured for the provided Application to sign the access token.
A public key may not be available for an Application if it is configured to use the global JWT configuration or a HMAC is the configured algorithm for JWT signing.
The Key Id used to retrieve a specific Public Key. This will return the Public Key associated with the Key Id.
### Response
The public keys keyed by the kid .
The public key configured for the specified Application.
The refresh token to be used to obtain a new access token.
This value is required but optional as a cookie. It must be provided in either the request body or as a cookie.
The previously issued encoded access token. When provided on the request, this value will be relayed in the related JWT Refresh webhook event within the `original` field.
#### Request Body
The refresh token to be used to obtain a new access token.
This value is required but optional in the request body. It must be provided in either the request body or as a cookie.
The previously issued encoded access token. When provided on the request, this value will be relayed in the related JWT Refresh webhook event within the `original` field.
The time to live for the new access token.
When provided on the request, this value will override the default TTL, provided it is less than the default value. The default TTL is taken from application.jwtConfiguration.timeToLiveInSeconds if it is set there, otherwise it is taken from tenant.jwtConfiguration.timeToLiveInSeconds .
The refresh token.
When jwtConfiguration.refreshTokenUsagePolicy is equal to `Reusable` this will be equal to the refresh token provided in the request. When jwtConfiguration.refreshTokenUsagePolicy is equal to `OneTimeUse` a new value will be returned and the previous refresh token value will no longer be valid.
The jwtConfiguration.refreshTokenUsagePolicy is configured at the tenant, and optionally per application.
This unique Id is the persistent identifier for this refresh token, and will not change even when using one-time use refresh tokens. This value may optionally be used to revoke the token using the [Refresh Token API](/docs/apis/jwt#revoke-refresh-tokens).
The encoded access token.
The encoded access token. This cookie is written in the response as an `HttpOnly` session cookie.
The encoded refresh token.
This cookie is written in the response as an `HttpOnly` cookie. When jwtConfiguration.refreshTokenUsagePolicy is equal to `Reusable` this will be equal to the refresh token provided in the request. When jwtConfiguration.refreshTokenUsagePolicy is equal to `OneTimeUse` a new value will be returned and the previous refresh token value will no longer be valid.
The jwtConfiguration.refreshTokenUsagePolicy is configured at the tenant, and optionally per application.
## Retrieve Refresh Tokens
This can be used to examine a centrally managed session when the refresh token represents a user session. [Learn more about using refresh tokens to model sessions](/docs/lifecycle/authenticate-users/logout-session-management).
### Request
The Id of the token.
The Id of the user for whom to retrieve issued Refresh Tokens.
The Id of the application to revoke all issued Refresh Tokens. This will result in any user issued a Refresh Token for this application being required to be issued a new Refresh Token, in other words they'll need to be authenticated again.
This essentially provides a kill switch for all Refresh Tokens scoped to the application.
The Id of the user to revoke issued Refresh Tokens.
The Id of the application.
The Id of the user.
The Id of the refresh token to be revoked.
When deleting a single token, using this parameter is recommended. Using this parameter does not expose the refresh token.
The refresh token in string form that is to be revoked. This string may contain characters such as a plus sign that need to be encoded to be valid on the URL. If you're manually building this request ensure you are properly URL encoding this value.
You can also pass the refresh token in the HTTP body by specifying a Content-Type header of `application/x-www-form-urlencoded` and providing the proper URL encoded value for the parameter. This will prevent the refresh token from being written to HTTP access logs.
If possible, it is recommended use the tokenId parameter rather than this one.
The encoded JWT to validate sent in on the Authorization request header.
The header is expected be in the following form: `Authorization: Bearer [encoded_access_token]`.
See [Authentication](/docs/apis/authentication) for additional examples.
#### Request Cookies
The encoded JWT. This cookie is written to the client by the Login API.
_Response Codes_
| Code | Description |
|------|----------------------------------------------------------------------------------------------------------------------------------------------------------------|
| 200 | The request was successful. The response will contain a JSON body. |
| 401 | The access token is not valid. A new access token may be obtained by authentication against the Login API, the Token Endpoint or by utilizing a Refresh Token. |
| 500 | There was an internal error. A stack trace is provided and logged in the FusionAuth log files. The response will be empty. |
#### Response Body
The decoded JWT payload. The payload contains the identity claims for the user.
timeToLiveInSeconds or the tenant JWT timeToLiveInSeconds . If a reserved claim is passed into the claims object, it will be ignored.
Here's a video showing how to use this feature.
A set of claims to add to this JWT. If any of the "reserved" claims, `exp` or `iat`, are specified they will be ignored. Otherwise, the claims can be any valid JSON value.
The Id of the signing key to use when signing this JWT. If this is not supplied, the tenant's JWT access token signing key will be used.
The length of time in seconds before the JWT expires and is no longer valid. Any integer value greater than `0` is allowed. If omitted, the tenant's timeToLiveInSeconds value will be used instead.
The encoded access token.
The unique Id of the Key to retrieve.
### Response
The response for this API contains either a single Key or all of the Keys. When you call this API with an Id the response will contain a single Key. When you call this API without an Id the response will contain all of the Keys. Both response types are defined below along with an example JSON response.
The unique Id of the Key to update.
The unique Id of the Key to delete.
### Response
This API does not return a JSON response body.
The Id to use for the new key. If not specified a secure random UUID will be generated.
The unique Id of the Key. Use if you want to specify a known UUID. This is useful if you are migrating from an existing system or will otherwise depend on having a known key Id.
The Id to use for the new Lambda. If not specified a secure random UUID will be generated.
The unique Id of the Lambda to retrieve.
### Response
The response for this API contains either a single Lambda or all of the Lambdas. When you call this API with an Id the response will contain a single Lambda. When you call this API without an Id the response will contain all of the Lambdas. Both response types are defined below along with an example JSON response.
The unique Id of the Lambda to update.
The unique Id of the Lambda to delete.
### Response
This API does not return a JSON response body.
applicationId . API key authentication may be disabled per Application, see application.loginConfiguration.requireAuthentication in the [Application API](/docs/apis/applications) or navigate to Applications -> Edit -> Security in the user interface.
Prior to version `1.5.0` this API did not accept an API key and never required authentication.
The IP address of a client requesting authentication. If the IP address is provided it will be stored for login history of the user. It is
generally preferred to specify the IP address in the request body. If it is not provided in the request body this header value will be used
if available, the request body value will take precedence.
#### Request Cookies
The Multi-Factor Trust identifier returned by the Multi-Factor Login API response. This value may be provided to bypass the Multi-Factor challenge when a User has Multi-Factor enabled. When this cookie exists on the request it will take precedence over the twoFactorTrustId if provided in the request body.
#### Request Body
The IP address of the end-user that is logging into FusionAuth. If this value is omitted FusionAuth will attempt to obtain the IP address of
the client, the value will be that of the `X-Forwarded-For` header if provided or the last proxy that sent the request. The IP address will
be stored in the User login history.
When this value is set to true a JWT will not be issued as part of this request. The response body will not contain the `token` or `refreshToken` fields, and the `access_token` and `refresh_token` cookies will not be written to the HTTP response.
This optional parameter may be helpful when performing high volume authentication requests and the JWT is not being utilized, in this scenario removing the additional latency required to issue and sign the JWT may have a measurable cumulative effect on performance.
The user's password or an Application specific [Authentication Token](/docs/lifecycle/authenticate-users/application-authentication-tokens).
The Multi-Factor Trust identifier returned by the Multi-Factor Login API response. This value may be provided to bypass the Multi-Factor challenge when a User has Multi-Factor enabled.
The encoded access token. This cookie is written in the response as an HTTP Only session cookie.
The refresh token. This cookie is written in the response as an HTTP only persistent cookie. The cookie expiration is configured in the JWT
configuration for the application or the global JWT configuration.
## Authenticate a User with a one time password
This API is used to login using a One Time Password that has been returned from the Change Password API. The login request is nearly identical, however the `oneTimePasswordId` will take the place of both the `loginId` and the `password` properties.
### Request
By default, this API will require authentication when called with an applicationId . Authentication may be disabled per Application, see application.loginConfiguration.requireAuthentication in the [Application API](/docs/apis/applications) or navigate to Applications -> Edit -> Security in the user interface.
The IP address of a client requesting authentication. If the IP address is provided it will be stored for login history of the user. It is
generally preferred to specify the IP address in the request body. If it is not provided in the request body this header value will be used
if available, the request body value will take precedence.
#### Request Body
The IP address of the end-user that is logging into FusionAuth. If this value is omitted FusionAuth will attempt to obtain the IP address of
the client, the value will be that of the `X-Forwarded-For` header if provided or the last proxy that sent the request. The IP address will
be stored in the User login history.
The one time password returned by the Change Password API. This value takes the place of the loginId and the password fields.
When this value is set to true a JWT will not be issued as part of this request. The response body will not contain the `token` or `refreshToken` fields, and the `access_token` and `refresh_token` cookies will not be written to the HTTP response.
This optional parameter may be helpful when performing high volume authentication requests and the JWT is not being utilized, in this scenario removing the additional latency required to issue and sign the JWT may have a measurable cumulative effect on performance.
The Multi-Factor Trust identifier returned by the Multi-Factor Login API response. This value may be provided to bypass the Multi-Factor challenge when a User has Multi-Factor enabled.
The encoded access token. This cookie is written in the response as an HTTP Only session cookie.
The refresh token. This cookie is written in the response as an HTTP only persistent cookie. The cookie expiration is configured in the JWT
configuration for the application or the global JWT configuration.
## Complete Multi-Factor Authentication
The Multi-Factor Login API is used to complete the authentication process when a `242` status code is returned by the Login API or as the last step of a [Step Up Procedure](/docs/lifecycle/authenticate-users/multi-factor-authentication#step-up-auth).
### Request
Complete a login request when a User has Multi-Factor authentication enabled.
The IP address of a client requesting authentication. If the IP address is provided it will be stored for login history of the user. It is generally preferred to specify the IP address in the request body. If it is not provided in the request body, this header value will be used if available. If provided in both places, the request body value takes precedence.
#### Request Body
The Multi-Factor verification code. This may also be a recovery code.
The IP address of the end-user that is logging into FusionAuth. If this value is omitted FusionAuth will attempt to obtain the IP address
of the client, the value will be that of the `X-Forwarded-For` header if provided or the last proxy that sent the request. The IP address
will be stored in the User login history.
When this value is set to true a JWT will not be issued as part of this request. The response body will not contain the `token` field,
and the `access_token` and `refresh_token` cookies will not be written to the HTTP response.
When this value is set to true the response will contain a Multi-Factor Trust identifier. This can be used on subsequent Login requests to
allow the Multi-Factor challenge to be bypassed.
An Id generated and returned in the response body during the initial authentication attempt.
The default duration of this identifier is 5 minutes. This means that you have 5 minutes to complete the request to this API after calling the Login API. Once the identifier has expired you will need to call the Login API again to restart the process.
This duration can be modified using the Tenant API or in the FusionAuth UI.
registrationVerificationId that was generated for the user.
Prior to version `1.27.0`, this status code was not returned, and you will see a `200` instead. {/* eslint-disable-line */} | | 400 | The request was invalid and/or malformed. The response will contain an [Errors](/docs/apis/errors) JSON Object with the specific errors. | | 404 | The `twoFactorId` was invalid or expired. You will need to authenticate again using the [Login](#authenticate-a-user) API. The response will be empty. | | 409 | The user is currently in an action that has prevented login. The response will contain the actions that prevented login.
The encoded access token. This cookie is written in the response as an HTTP Only session cookie.
The refresh token. This cookie is written in the response as an HTTP Only persistent cookie. The cookie expiration is configured in the
JWT configuration for the application or the global JWT configuration.
The Multi-Factor Trust identifier. This value is returned when `trustComputer` was set to `true` on the request. This value can be used by
subsequent login requests to bypass the Multi-Factor challenge. This cookie is written in the response as an HTTP Only persistent cookie.
## Update Login Instant
Sends a ping to FusionAuth indicating that the user has authenticated, and (optionally) automatically logged into an application.
When using FusionAuth's SSO or your own, you should call this if the user is already logged in centrally, but accesses an
application where they no longer have a session. This helps correctly track login counts, times and helps with reporting.
### Request
The IP address of a client requesting authentication. If the IP address is provided it will be stored for login history of the user. It is
generally preferred to specify the IP address in the request body. If it is not provided in the request body this header value will be used
if available, the request body value will take precedence.
#### Request Parameters
The Id of the user logging in.
The IP address of the end-user that is logging into FusionAuth. If this value is omitted FusionAuth will attempt to obtain the IP address of
the client, the value will be that of the `X-Forwarded-For` header if provided or the last proxy that sent the request. The IP address will
be stored in the User login history.
The access token cookie. When this cookie available in the request it will be deleted from the client.
The refresh token cookie. When this cookie available in the request it will be deleted from the client and revoked in FusionAuth.
When this value is set to true all of the refresh tokens issued to the owner of the provided refresh token will be revoked. If no refresh token is provided on the request no refresh tokens will be revoked.
The `refresh_token` as a request parameter instead of coming in via a cookie. If provided this takes precedence over the cookie.
### Response
This API does not return a JSON response body.
_Response Codes_
| Code | Description |
|------|------------------------------------------------------------------------------------------------|
| 200 | The update was successful. |
| 500 | There was an internal error. A stack trace is provided and logged in the FusionAuth log files. |
## Search Login Records
This API allows you to search and paginate through the Login Records. Login Records are created in the following scenarios:
Settings -> System -> Advanced -> Login record settings and configuring automatic deletion of Login Records after a certain number of days.
### Request
The unique Id of the Application used to narrow the search results to logins for a particular application.
The end [instant](/docs/reference/data-types#instants) of the date/time range to search within.
The number of results to return from the search.
Set this to `true` if you want the total possible results returned in the response. With a very large number of login records settings this value to `true` will increase the response time of this request.
The start [instant](/docs/reference/data-types#instants) of the date/time range to search within.
The offset into the total results. In order to paginate the results, increment this value by the numberOfResults for subsequent requests.
The unique Id of the User used to narrow the search results to login records for a particular user.
Set this to `true` if you want the total possible results returned in the response. With a very large number of login records settings this value to `true` will increase the response time of this request.
The unique Id of the Application used to narrow the search results to logins for a particular application.
The end [instant](/docs/reference/data-types#instants) of the date/time range to search within.
The number of results to return from the search.
The start [instant](/docs/reference/data-types#instants) of the date/time range to search within.
The offset into the total results. In order to paginate the results, increment this value by the numberOfResults for subsequent requests.
The unique Id of the User used to narrow the search results to login records for a particular user.
### Response
The response for this API will contain all login records matching the search criteria in paginated format.
The list of Login Records returned by the search.
The unique Id of the application.
The name of the application. Because the application name may be modified after the login event occurred, only the applicationId should be considered immutable for historical purposes when identifying the application.
The identity used to log in. Because an identity may be modified after the login event occurred, only the userId should be considered immutable for historical purposes when identifying the user.
In version `1.59.0` and later, the loginId is stored in the login record when the correct value can be identified. In these cases the loginIdType will be populated.
The type of identity used to log in. A missing value on the response indicates the login was not associated with a specific identity, or the login record was created prior to version `1.59.0`.
The [instant](/docs/reference/data-types#instants) when the login occurred.
The recorded IP address for this login record.
The unique Id of the user.
The total number of login records available. This will only be provided in the response when retrieveTotal was set to `true` on the request.
The unique Id of the Application used to reduce the export result to logins for a particular application.
The format string used to format the date and time columns in the export result.
When this parameter is omitted a default format of `M/d/yyyy hh:mm:ss a z` will be used. See the [DateTimeFormatter patterns](https://docs.oracle.com/javase/8/docs/api/java/time/format/DateTimeFormatter.html) for additional examples.
The end [instant](/docs/reference/data-types#instants) of the date/time range to search within.
The start [instant](/docs/reference/data-types#instants) of the date/time range to search within.
The unique Id of the User used to reduce the export result to logins for a particular user.
The [time zone](/docs/reference/data-types#time-zone) used to adjust the stored UTC time in the export result.
For example:
> `America/Denver` or `US/Mountain`
When this parameter is omitted the configured default report time zone will be used. See reportTimezone in the [System Configuration API](/docs/apis/system).
The unique Id of the Application used to reduce the export result to logins for a particular application.
The end [instant](/docs/reference/data-types#instants) of the date/time range to include in the export.
The start [instant](/docs/reference/data-types#instants) of the date/time range to include in the export.
The unique Id of the User used to reduce the export result to logins for a particular user.
The format string used to format the date and time columns in the export result.
When this parameter is omitted a default format of `M/d/yyyy hh:mm:ss a z` will be used. See the [DateTimeFormatter patterns](https://docs.oracle.com/javase/8/docs/api/java/time/format/DateTimeFormatter.html) for additional examples.
The [time zone](/docs/reference/data-types#time-zone) used to adjust the stored UTC time in the export result.
For example:
> `America/Denver` or `US/Mountain`
When this parameter is omitted the configured default report time zone will be used. See reportTimezone in the [System Configuration API](/docs/apis/system).
### Response
The response for this API will contain a compressed zip of the login records.
In version `1.59.0` and later, the export file contains Identity value and Identity type columns. If a login record is associated with a particular identity, those values will be reflected in the export. Older login records and new login records not associated with a particular identity will omit values for these columns in the export.
The Id to use for the new Message Template. If not specified a secure random UUID will be generated.
The Id of the Message Template to retrieve.
### Response
The response for this API contains either a single Message Template or all of the Message Templates. When you call this API with an Id the response will contain just that Message Template. When you call this API without an Id the response will contain all of the Message Templates. Both response types are defined below along with an example JSON response.
The Id of the Message Template to update.
The Id of the Message Template to delete.
### Response
This API does not return a JSON response body.
The locale to use when rendering the Message Template. If this is null or omitted, the defaults will be used and the localized versions will be ignored.
The default Message Template to preview.
The Message Template used when sending messages to users who speak other languages. This overrides the default Message Template based on the locale string passed.
The type of the template. This must be the value `SMS`.
The unique Id of the Application you are requesting to log into.
If you are using the Send Passwordless Login API with the code returned by this call, that API will send a message using a delivery method appropriate for the
An optional object that will be returned un-modified when you complete the passwordless login request. This may be useful to return the user to particular state once they complete login using the passwordless code.
The process by which the user will complete the passwordless login. The possible values are:
* `ClickableLink` - send the user a code with a clickable link.
* `FormField` - send the user a short code intended to be manually entered into a form field.
If not specified, the default is based on the `loginIdType` of `loginId`:
* email address or username - `ClickableLink`
* phone number - `FormField`
The unique code to send via email or SMS, used to complete the login request. This value can be generated with a call to the [Start Passwordless Login](#start-passwordless-login) API. The `loginStrategy` value used in the [Start Passwordless Login](#start-passwordless-login) API controls whether an email or SMS is sent.
The unique Id of the Application you are requesting to log into.
The login identifier of the user. The login identifier can be either the email or the username .
An optional object that will be returned un-modified when you complete the passwordless login request. This may be useful to return the user to particular state once they complete login using the email link.
The IP address of a client requesting authentication. If the IP address is provided it will be stored for login history of the user. It is
generally preferred to specify the IP address in the request body. If it is not provided in the request body this header value will be used
if available, the request body value will take precedence.
#### Request Cookies
The Two Factor Trust identifier returned by the Two Factor Login API response. This value may be provided to bypass the Two Factor challenge when a User has Two Factor enabled. When this cookie exists on the request it will take precedence over the twoFactorTrustId if provided in the request body.
#### Request Parameters
The unique Id of the Application you are requesting to log into. If omitted, no application-specific settings such as lambdas or templates will be applied.
The unique code sent via email used to complete the login request.
The IP address of the end-user that is logging into FusionAuth. If this value is omitted FusionAuth will attempt to obtain the IP address of
the client, the value will be that of the `X-Forwarded-For` header if provided or the last proxy that sent the request. The IP address will
be stored in the User login history.
A human readable description of the device used during login. This meta data is used to describe the refresh token that may be generated for this login request.
A human readable name of the device used during login. This meta data is used to describe the refresh token that may be generated for this login request.
The type of device represented by the `device` parameter. This meta data is used to describe the refresh token that may be generated for this login request.
Prior to version 1.46.0, this value was restricted to the following types:
When this value is set to true a JWT will not be issued as part of this request. The response body will not contain the `token` or `refreshToken` fields, and the `access_token` and `refresh_token` cookies will not be written to the HTTP response.
This optional parameter may be helpful when performing high volume authentication requests and the JWT is not being utilized, in this scenario removing the additional latency required to issue and sign the JWT may have a measurable cumulative effect on performance.
The Two Factor Trust identifier returned by the Two Factor Login API response. This value may be provided to bypass the Two Factor challenge when a User has Two Factor enabled.
The encoded access token. This cookie is written in the response as an HTTP Only session cookie.
The refresh token. This cookie is written in the response as an HTTP only persistent cookie. The cookie expiration is configured in the JWT
configuration for the application or the global JWT configuration.
###
# Reactor
import Aside from 'src/components/Aside.astro';
import API from 'src/components/api/API.astro';
import APIBlock from 'src/components/api/APIBlock.astro';
import APIField from 'src/components/api/APIField.astro';
import StandardPostResponseCodes from 'src/content/docs/apis/_standard-post-response-codes.astro';
import StandardGetResponseCodes from 'src/content/docs/apis/_standard-get-response-codes.astro';
import ReactorMetricsResponseBody from 'src/content/docs/apis/_reactor-metrics-response-body.mdx';
import ReactorStatusResponseBody from 'src/content/docs/apis/_reactor-status-response-body.mdx';
import StandardPutResponseCodes from 'src/content/docs/apis/_standard-put-response-codes.astro';
import StandardDeleteResponseCodes from 'src/content/docs/apis/_standard-delete-response-codes.astro';
## Overview
This page contains the APIs for Reactor, FusionAuth's license system. Reactor is used to activate features based upon your licensing tier. Here are the APIs:
## Activate Reactor license
This API is used to activate a Reactor license.
### Request
The license Id to activate.
The Base64 encoded license value. This value is necessary in an [air-gapped](/docs/get-started/download-and-install/air-gapping) configuration where outbound network access is not available.
### Response
This API does not return a JSON response body.
The Id of the User that is registering for the Application.
The Id to use for the new User. If you don't specify this, FusionAuth will generate a random UUID.
The Id of the Application that the User is registered for.
The Id of the User whose registration is being retrieved.
The Id of the Application for which the User is registered.
While required, this parameter may be provided in the request body as well. If the `applicationId` is provided in both the URL and the request body, the value on the URL will take precedence. Prior to version `1.25.0` this value must be provided in the request body.
The Id of the User that is updating their User Registration for the Application.
The Id of the Application for which the User will no longer be registered.
The Id of the User whose registration is being removed.
The verification Id generated by FusionAuth used to verify the User's registration is valid by ensuring they have access to the provided email address.
This value can still be provided on the URL segment as shown in the above example, but it is recommended you send this value in the request body instead using the verificationId field. If the value is provided in the URL segment and in the request body, the value provided in the request body will be preferred.
#### Request Body
The short code used to verify the User's registration is valid by ensuring they have access to the provided email address. This field is required when the registration verification strategy on the Application is set to `FormField`.
This field is required when the registration verification strategy on the Application is set to `Form field`.
The verification Id generated by FusionAuth used to verify the User's registration is valid by ensuring they have access to the provided email address.
When using the `Form field` strategy for registration verification, this value is used along with the `oneTimeCode` as a pair to verify the registration.
If the verificationId is provided in the URL segment and in the request body, the value provided in the request body will be preferred.
The unique Id of the Application for this User registration.
The email address used to uniquely identify the User.
The unique Id of the Application for this User registration.
The email address used to uniquely identify the User.
If you would only like to generate a new `verificationId` and return it in the JSON body without FusionAuth attempting to send the User an email
set this optional parameter to `false`.
This may be useful if you need to integrate the Registration Verification process using a third party messaging service.
The Registration Verification Id that was generated by this API request. This identifier may be used by the [Verify a User Registration](#verify-a-user-registration) API.
This field is only returned in the JSON response body if the request was authenticated using an API key, if an API key is not used no response body is returned.
A map where the key is the Id of the Application and the value is an object that contains the totals for that Application.
The total number of logins (all time) for the Application.
The current number of registrations for the Application. This doesn't include registrations for user's that have been deleted from FusionAuth.
The total number of registrations (all time) for the Application.
The current number of registered users. This value is incremented each time a new user is added to FusionAuth, and this value is decremented when a user is deleted from FusionAuth.
The total number of registrations (all time). When a user is removed from FusionAuth this number is not decremented.
The Id of the Application.
The Id to use for the new OAuth Scope. If not specified a secure random UUID will be generated.
The Id of the Application.
The Id of the OAuth Scope to retrieve.
### Response
The response for this API contains a single OAuth Scope.
The Id of the Application.
The Id of the OAuth Scope to update.
The Id of the Application.
The Id of the OAuth Scope to delete.
The logger name for which you are requesting to retrieve the current logging level.
### Response
The name of the logger.
The current logging level. Possible values are:
* `error`
* `warn`
* `info`
* `debug`
* `trace`
* `off`
The request body is expected to be sent using form encoded data. Ensure your HTTP client sends the `Content-Type` request header set to `application/x-www-form-urlencoded`.
#### Request Parameters
The logger name for which you are requesting to update the current logging level.
The requested logging level. Possible values are:
* `error`
* `warn`
* `info`
* `debug`
* `trace`
* `off`
### Response
The logging level. If the request was successful, this value should be equal to the request value. Possible values are:
* `error`
* `warn`
* `info`
* `debug`
* `trace`
* `off`
As of version `1.51.1` this status code will no longer be returned based upon the connectivity health check. In practice you only need to monitor for `452` to ensure FusionAuth is able to connect to the database. {/* eslint-disable-line */} | | 460 | FusionAuth is using Elasticsearch and the search service is reporting an unhealthy cluster status. In a cluster with 2+ nodes, this means the cluster status is being reported as `yellow` or `red`. In a single-node Elasticsearch configuration this means the cluster status is `red.`
As of version `1.51.1` this status code will no longer be returned based upon the Elasticsearch health check. If you are using an external Elasticsearch or OpenSearch service, you will want to monitor that separately from FusionAuth. {/* eslint-disable-line */} | | 500 | FusionAuth is not functioning properly. This could indicate that the database connectivity failed or one or more services within FusionAuth failed. Consult the FusionAuth [Troubleshooting](/docs/operate/troubleshooting/troubleshooting) to learn more about the failure or contact FusionAuth support for assistance. | ## Retrieve System Health The Health API is used to monitor the health of the FusionAuth service. This endpoint is specifically intended for use by a load balancer to understand when FusionAUth is available, live and ready for requests. Prefer this endpoint to the Status API when using it for a load balancer or a Kubernetes readiness check. This API does not require an API key. ### Request
The version of the running FusionAuth instance.
```json title="Example JSON Response"
{
"version": "1.27.0"
}
```
## Retrieve System Metrics Using Prometheus
This page contains the API that is used for retrieving FusionAuth application metrics to be used with Prometheus. Please refer to the [Prometheus setup](/docs/operate/monitor/prometheus) guide to understand how to set up Prometheus with the FusionAuth metrics endpoint.
By default, this API requires authentication. If you prefer to allow unauthenticated access to this endpoint from local scrapers, you may set `fusionauth-app.local-metrics.enabled=true`. See the [configuration reference](/docs/reference/configuration) for more info.
The Id to use for the new Tenant. If not specified a secure random UUID will be generated.
The Id to use for the new Tenant. If not specified a secure random UUID will be generated.
The unique Id of the Tenant to retrieve.
The Id of the Tenant to update.
The unique Id of the Tenant to delete.
Set this value to `true` to perform this request asynchronously, this means the API will return a response indicating the request has been accepted and will not wait for the operation to complete.
The Id of the tenant.
Email and SMS multi-factor methods are only available in a paid plan of FusionAuth. Please visit [our pricing page](/pricing) to learn more about paid plans.
## Overview
This API controls [multi-factor authentication (MFA)]((/docs/lifecycle/authenticate-users/multi-factor-authentication) options.
## Authentication
Some of these operations can use JWT authentication instead of API key authentication. In some cases, when you have a valid twoFactorId , neither a JWT nor an API key is required.
Learn more about [JWT authentication and see examples here](/docs/apis/authentication#jwt-authentication).
## TOTP Implementation
Support for Authy, Google Authenticator and other time based one-time password solutions are not premium features and are included in the Community plan.
The Id of the User for whom to enable Multi-Factor authentication.
A Base64 encoded secret that may be used to enable Multi-Factor authentication.
A Base32 encoded form of the provided secret. This is useful if you need to provide a QR code to the User to enable Multi-Factor authentication.
twoFactorId , including any you provide.
To require additional factors during login, [Enable Multi-Factor](#enable-multi-factor) for the User. Then FusionAuth will handle MFA code collection automatically, if you are using the hosted login pages, or send a status code in response to the login API if you are not.
### Request
A unique application Id. When Application multi-factor configuration is enabled, providing this parameter will ensure the returned status applies to the expected result when attempting to login into this application.
The existing multi-factor trust obtained by completing a multi-factor login. This is the value that allows you to bypass multi-factor during the next login attempt.
The unique Id of the user for which to retrieve multi-factor status.
The action the user is attempting to perform. This value may be used by an MFA requirement lambda to determine if multi-factor authentication should be required.
Valid values are:
* `changePassword`
* `login`
* `stepUp`
A unique application Id. When Application multi-factor configuration is enabled, providing this parameter will ensure the returned status applies to the expected result when attempting to login into this application.
An access token (not an Id token) returned by FusionAuth as the result of a successful authentication. The encoded access token will be available in `context.accessToken` in an MFA requirement lambda function. See the [MFA requirement lambda](/docs/extend/code/lambdas/mfa-requirement) documentation. This must be a valid token that was issued and signed by FusionAuth.
The existing multi-factor trust obtained by completing a multi-factor login. This is the value that allows you to bypass multi-factor during the next login attempt.
The unique Id of the user for which to retrieve multi-factor status.
An array of one or more trust configurations.
The value provided in the twoFactorTrustId on the request.
twoFactorId . No API key is required.
This should only be used if you want FusionAuth to send the code. Do not use this if you are sending a code out of band or are using a TOTP based authentication method.
You can use this to re-send a code with the same or a different method. Using this API will invalidate all other codes previously associated with the provided twoFactorId .
Sending a code invalidates all previous codes for the provided `twoFactorId`.
### Request
The twoFactorId returned by the Login API or the Start multi-factor request.
The Id of the MFA method to be used.
An optional Application Id. When this value is provided, it will be used to resolve an application-specific email or message template and make `application` available as a template variable.
If not provided, only the tenant configuration will be used when resolving templates, and `application` will not be available as a template variable.
The email to which send Multi-Factor codes. If the method is equal to `email`, this is required.
The type of the MFA method which will be added. The value provided here must be allowed in the Tenant MFA configuration as well.
Valid values are:
* `email`
* `sms`
The mobile phone to which send Multi-Factor codes. If the method is equal to `sms`, this is required.
The User Id.
An optional Application Id. When this value is provided, it will be used to resolve an application-specific email or message template and make `application` available as a template variable.
If not provided, only the tenant configuration will be used when resolving templates, and `application` will not be available as a template variable.
The email to which send Multi-Factor codes. If the method is equal to `email`, this is required.
The type of the MFA method which will be added. The value provided here must be allowed in the Tenant MFA configuration as well.
Valid values are:
* `email`
* `sms`
The mobile phone to which send Multi-Factor codes. If the method is equal to `sms`, this is required.
An optional Application Id. When this value is provided, it will be used to resolve an application-specific email or message template and make `application` available as a template variable.
If not provided, only the tenant configuration will be used when resolving templates, and `application` will not be available as a template variable.
The Id of the MFA method which will be removed.
The User Id of the User to send a Multi-Factor verification code. This User is expected to already have Multi-Factor enabled.
An optional Application Id. When this value is provided, it will be used to resolve an application-specific email or message template and make `application` available as a template variable.
If not provided, only the tenant configuration will be used when resolving templates, and `application` will not be available as a template variable.
The Id of the MFA method which will be removed.
The unique Id of the user to assign the generated Recovery Codes to.
### Response
The response for this API contains an array of size 10 of Recovery Codes that were created.
The array of Recovery Codes.
The Id of the User to retrieve Recovery Codes for.
### Response
The response for this API contains the remaining Recovery Codes that are assigned to the User. Each time one is used it is removed, so this response will contain between 0 and 10 codes.
The array of Recovery Codes.
The Id to use for the new User Action Reason. If not specified a secure random UUID will be generated.
The Id of the User Action Reason to retrieve.
### Response
The response for this API contains either a single User Action Reason or all of the User Action Reasons. When you call this API with an Id the response will contain just that User Action Reason. When you call this API without an Id the response will contain all of the User Action Reasons. Both response types are defined below along with an example JSON response.
The Id of the User Action Reason to update.
The Id of the User Action Reason to delete.
### Response
This API does not return a JSON response body.
The Id to use for the new User Action. If not specified a secure random UUID will be generated.
The Id of the User Action to retrieve.
### Response
The response for this API contains either a single User Action or all of the User Actions. When you call this API with an Id the response will contain just that User Action. When you call this API without an Id the response will contain all of the User Actions. Both response types are defined below along with an example JSON response.
The Id of the User Action to update.
The Id of the User Action to delete.
Whether or not the User Action is soft or hard deleted.
### Response
This API does not return a JSON response body.
The Id of the User Action to reactivate.
### Response
The response for this API contains the information for the User Action that was reactivated.
The text of the User Comment.
The Id of the User that wrote the User Comment.
The Id of the User that the User Comment was written for.
The text of the User Comment.
The Id of the User that wrote the User Comment.
The [instant](/docs/reference/data-types#instants) when the comment was written. This was deprecated in 1.18.0. Use `insertInstant` instead.
The [instant](/docs/reference/data-types#instants) when the comment was written.
The Id of the User Comment.
The Id of the User that the User Comment was written for.
The Id of the User to retrieve the User Comments for.
### Response
The response for this API contains all of the User Comments for the User.
The list of User Comment objects.
The text of the User Comment.
The Id of the User that wrote the User Comment.
The [instant](/docs/reference/data-types#instants) when the comment was written. This was deprecated in 1.18.0. Use `insertInstant` instead.
The Id of the User Comment.
The [instant](/docs/reference/data-types#instants) when the comment was written.
The Id of the User that the User Comment was written for.
The total number of User Comments matching the search criteria. Use this value along with the numberOfResults and startRow in the search request to perform pagination.
The list of User Comment objects.
The text of the User Comment.
The Id of the User that wrote the User Comment.
The Id of the User Comment.
The [instant](/docs/reference/data-types#instants) when the comment was written.
The Id of the User that the User Comment was written for.
The Id to use for the new User. If not specified a secure random UUID will be generated.
The unique Id of the User to retrieve.
The unique Id of the User to retrieve. The loginId can be either the email or username.
The email of the User to retrieve.
The username of the User to retrieve.
The change password Id associated with the user when the Forgot Password workflow has been started.
The verification Id associated with the user when the Email or Phone number verification process has been started.
The Id of the User to update.
The Id of the User to delete.
To Permanently delete a user from FusionAuth set this value to `true`. Once a user has been permanently deleted, the action cannot be undone. When this value is set to `false` the user is marked as inactive and the user will be unable log into FusionAuth. This action may be undone by reactivating the user.
To preview the user Ids to be deleted by the request without applying the requested action set this value to `true`.
To Permanently delete a user from FusionAuth set this value to `true`. Once a user has been permanently deleted, the action cannot be undone. When this value is set to `false` the user is marked as inactive and the user will be unable log into FusionAuth. This action may be undone by reactivating the user.
The maximum number of users to delete in one call.
You may use this parameter to process deletes in batches in order to limit individual request processing time and the number of user Ids on the response.
The raw JSON Elasticsearch query that is used to search for Users. The userId , query , and queryString parameters are mutually exclusive, they are listed here in order of precedence.
It is necessary to use the query parameter when querying against `registrations` in order to achieve expected results, as this field is defined as a [nested datatype](https://www.elastic.co/guide/en/elasticsearch/reference/6.3/nested.html) in the Elasticsearch mapping.
The Elasticsearch query string that is used to search for Users to be deleted. The userId , query , and queryString parameters are mutually exclusive, they are listed here in order of precedence.
The Id of the User to delete. Repeat this parameter for each user to be deleted. The userId , query , and queryString parameters are mutually exclusive, they are listed here in order of precedence.
The Id of the User to reactivate.
factor field. `N9qo8uLOickgx2ZMRZoMye` is the salt and should be placed in the salt field. `IjZAgcfl7p92ldGxad68LJZdL17lhWy` is the hash value and should be placed in the password field.
### MD5
When importing an MD5 password hash, you may not have a salt. If this is the case, use the empty string, `''`, as the salt. You may still use the salted MD5 plugin provided by FusionAuth.
MD5 is commonly stored in hexadecimal format, such as `25d55ad283aa400af464c76d713c07ad`. The FusionAuth Import Users API requires imported password hashes to be base64 encoded. Convert any hexadecimal values to base64 before importing, or the import will not work.
Here is an example ruby script to convert hexadecimal values to base64 encoded:
This parameter indicates the maximum amount of logins to return for a single request.
This parameter provides the offset into the result set. Generally speaking if you wish to paginate the results, you will increment this parameter on subsequent API request by the size of the `limit` parameter.
This parameter will narrow the results to only logins for a particular user. When this parameter is omitted, the most recent logins for all of FusionAuth will be returned.
A list of recent logins.
The unique Id of the application that is represented by this login record.
The name of the application at the time this record was created.
The [instant](/docs/reference/data-types#instants) this login occurred.
The IP address if provided during the login request.
The city where the login request originated.
The country where the login request originated.
The latitude where the login request originated.
The longitude where the login request originated.
The geographic location where the login request originated.
The zipcode where the login request originated.
The User's email address or username at the time of the login request.
The unique Id of the user that is represented by this login record.
The verification Id generated by FusionAuth used to verify the User's registration is valid by ensuring they have access to the provided email address.
This value can still be provided on the URL segment as shown in the above example, but it is recommended you send this value in the request body instead using the verificationId field. If the value is provided in the URL segment and in the request body, the value provided in the request body will be preferred.
#### Request Body
The short code used to verify the User's account is valid by ensuring they have access to the provided email address. This field is required when the email verification strategy on the Tenant is set to `Form field`.
The verification Id generated by FusionAuth used to verify the User's account is valid by ensuring they have access to the provided email address.
When using the `Form field` strategy for Email verification, this value is used along with the `oneTimeCode` as a pair to verify the email address.
If the verificationId is provided in the URL segment and in the request body, the value provided in the request body will be preferred.
The unique Id of the user to mark verified.
### Response
The response does not contain a body. It only contains one of the status codes below.
The Id of the application. If valid, the email or message template configured in the Application settings will be used, if present. If not present, the template configured in the Tenant settings will be used. In either case, the corresponding Application object will be available to the template.
The email address used to uniquely identify the User.
If you would only like to generate a new verificationId and return it in the JSON body without FusionAuth attempting to send the User an email
set this optional parameter to `false`.
This may be useful if you need to integrate the Email Verification process using a third party messaging service.
The email verification Id that was generated by this API request. This identifier may be used by the [Verify a User's Email](#verify-a-users-email) API.
This field is only returned in the JSON response body if the request was authenticated using an API key, if an API key is not used no response body is returned.
Depending on your tenant configuration, this may be returned. The verification One Time Code is used with the gated Email Verification workflow. The user enters this code to verify their email.
The Id of the application. If valid, the email or message template configured in the Application settings will be used, if present. If not present, the template configured in the Tenant settings will be used. In either case, the corresponding Application object will be available to the template.
An optional object that will be returned un-modified when you complete the forgot password request using the [Change a User's Password API](#change-a-users-password). This may be useful to return the user to particular state once they complete the password change.
The Id of the application. If valid, the email or message template configured in the Application settings will be used, if present. If not present, the template configured in the Tenant settings will be used. In either case, the corresponding Application object will be available to the template.
The optional change password Id to be used on the [Change a User's Password](#change-a-users-password) API.
It is recommended to omit this parameter and allow FusionAuth to generate the identifier. Use this parameter only if you must supply your own value for integration into existing systems.
Whether or not calling this API should attempt to send the user an email using the configured Forgot Password email template. Setting this to `false` will begin the Forgot Password workflow without sending an email and only create the `changePasswordId`, this may be useful if you want to send an email outside of FusionAuth, or complete this workflow without the use of email.
Prefer using the new sendForgotPasswordMessage field.
Determines whether a forgot password message is sent to the user. Setting this to `true` will cause a message to be sent. Setting this to `false` will begin the Forgot Password workflow without sending a message and only create the `changePasswordId`, which may be useful if you want to send a message outside of FusionAuth, or complete this workflow without the use of email/SMS.
The template and delivery method are based on the type of the identity resolved by the request.
* FusionAuth will attempt to deliver the message via SMS when the provided login Id and type resolve to a phone number identity. This requires tenant.phoneConfiguration.forgotPasswordTemplateId to be configured, otherwise the request will fail.
* If the provided login Id and type resolve to an email or username identity, FusionAuth will attempt to deliver the message via email. This requires tenant.emailConfiguration.forgotPasswordEmailTemplateId to be configured, otherwise the request will fail.
An optional object that will be returned un-modified when you complete the forgot password request. This may be useful to return the user to particular state once they complete the password change.
Tenants -> Email -> Template settings in the FusionAuth admin UI. |
|404 |The User could not be found. |
|422 |The User does not have an email address, this request cannot be completed. Before attempting the request again add an email address to the user. |
|500 |There was an internal error. A stack trace is provided and logged in the FusionAuth log files. |
|503 |The search index is not available or encountered an exception so the request cannot be completed. The response will contain a JSON body.| |
#### Response Body
The change password Id that was generated by this API request. This identifier may be used by the [Change a User's Password](#change-a-users-password) API. This field is only returned in the JSON response body if the request was authenticated using an API key, if an API key is not used no response body is returned.
The `changePasswordId` that is used to identify the user after the [Start Forgot Password workflow](#start-forgot-password-workflow) has been initiated.
The IP address of the end-user that is changing their password. If this value is omitted FusionAuth will attempt to obtain the IP address of
the client, the value will be that of the `X-Forwarded-For` header if provided or the last proxy that sent the request. This value may be used by an MFA requirement lambda to determine if multi-factor authentication should be required.
The `changePasswordId` that is used to identify the user after the [Start Forgot Password workflow](#start-forgot-password-workflow) has been initiated.
If this `changePasswordId` was sent via an email to the User by FusionAuth during User create in order to set up a new password, or as part of a Forgot Password request, then successful use of this identifier to change the User's password will implicitly complete Email Verification if not already verified and the Tenant configuration has enabled implicit email verification.
This value can still be provided on the URL segment as shown in the above example, but it is recommended you send this value in the request body instead using the changePasswordId field. If the value is provided in the URL segment and in the request body, the value provided in the request body will be preferred.
The `changePasswordId` that is used to identify the user after the [Start Forgot Password workflow](#start-forgot-password-workflow) has been initiated.
If this `changePasswordId` was sent via an email to the User by FusionAuth during User create in order to set up a new password, or as part of a Forgot Password request, then successful use of this identifier to change the User's password will implicitly complete Email Verification if not already verified and the Tenant configuration has enabled implicit email verification.
If the changePasswordId is provided in the URL segment and in the request body, the value provided in the request body will be preferred.
The User's current password. When this parameter is provided the current password will be verified to be correct.
The User's new password.
This field is marked optional because it is only required when the user has enabled two-factor authentication, and a `trustChallenge` was provided on the Two-Factor Start API request. When a user has enabled two-factor authentication this field becomes required if a `trustChallenge` was provided on the Two-Factor Start API request. When required, this value must be equal to the value provided to the Two-Factor Start API.
This field is marked optional, because it is only required when the user has enabled two-factor authentication. When a user has enabled two-factor authentication this field becomes required when attempting to change a password using the `changePasswordId`.
An optional Application Id. When this value is provided, it will be used to resolve an application specific email or message template if you have configured transactional notifications such as setup password, email verification and others.
If not provided, only the tenant configuration will be used when resolving templates.
The User's current password. When this parameter is provided the current password will be verified to be correct.
When this value is provided it should be in place of the `changePasswordId` request parameter. If both the `changePasswordId` and `loginId` are provided on the request, the `changePasswordId` will take precedence.
}
/>
The User's new password.
This field is marked optional because it is only required when the user has enabled two-factor authentication, and a `trustChallenge` was provided on the Two-Factor Start API request. When a user has enabled two-factor authentication this field becomes required if a `trustChallenge` was provided on the Two-Factor Start API request. When required, this value must be equal to the value provided to the Two-Factor Start API.
This field is marked optional, because it is only required when the user has enabled two-factor authentication. When a user has enabled two-factor authentication this field becomes required when attempting to change a password using the `changePasswordId`.
The User's current password. This is required when using a JWT to change your password.
The User's new password.
The user's existing refresh token. If you have access to your current refresh token, it can be provided in the request body using this parameter. If the `refresh_token` cookie also exists and is present on the request it will take precedence over this parameter.
This parameter is used to determine if the `oneTimePassword` that is returned from this API will be eligible to request a refresh token when used by the Login API. If this parameter is not provided and no cookie is found on the request, a refresh token will not be provided on the Login response when using the returned `oneTimePassword`.
This field is marked optional because it is only required when the user has enabled two-factor authentication, and a `trustChallenge` was provided on the Two-Factor Start API request. When a user has enabled two-factor authentication this field becomes required if a `trustChallenge` was provided on the Two-Factor Start API request. When required, this value must be equal to the value provided to the Two-Factor Start API.
This field is marked optional, because it is only required when the user has enabled two-factor authentication. When a user has enabled two-factor authentication this field becomes required when attempting to change a password using the `changePasswordId`.
A one time password that can be used as a substitute for your `loginId` and `password` on the Login API.
An optional object that is returned un-modified when the forgot password request is completed. This may be useful to return the user to particular state once they complete the password change.
The unique Id of the WebAuthn passkey to retrieve.
The unique Id of the User to retrieve WebAuthn passkeys for.
### Response
The response for this API contains either a single Passkey or all of the Passkeys belonging to a User. When you call this API with an Id, the response will contain just that Passkey. When you call this API without an Id and provide a User Id in the query string, the response will contain all of the Passkeys belonging to that User. Both response types are defined below along with an example JSON response.
The unique Id of the WebAuthn passkey to delete.
The unique Id of the User to delete WebAuthn passkeys for.
### Response
This API does not return a JSON response body.
The Multi-Factor Trust identifier returned by the Multi-Factor Login API response. This value may be provided to bypass the Multi-Factor challenge when a User has Multi-Factor enabled. When this cookie exists on the request it will take precedence over the twoFactorTrustId if provided in the request body.
The unique Id of the Webhook Event Log to retrieve.
### Response
The unique Id of the Webhook Attempt Log to retrieve.
### Response
The end [instant](/docs/reference/data-types#instants) of the date/time range to search within.
If the current time is 2:01:01, this default would be 2:02:00.
Prior to version `1.57.0` this field did not have a default.
The string to search in the Webhook Event Log request body for. This can contain wildcards using the asterisk character (`*`). If no wildcards are present, this parameter value will be interpreted as `*value*`.
The overall result of a [transactional](/docs/extend/events-and-webhooks/events#transaction-compatibility) event. Possible values are:
* `Running` - The default state after an event is fired.
* `Succeeded` - The transactional event was successful, and pending database changes were committed. Non-transactional events are transitioned to this state immediately after the event payload is sent to all recipients regardless of the response.
* `Failed` - The transactional event was unsuccessful, and pending database changes were rolled back.
The event type.
The number of results to return from the search.
The database column to order the search results on plus the order direction.
The possible values are:
* `eventResult` - the overall result of the event
* `eventType` - the event type
* `id` - the unique Id of the Webhook Event Log
* `insertInstant` - the [instant](/docs/reference/data-types#instants) when the Webhook Event Log was created
* `lastAttemptInstant` - the [instant](/docs/reference/data-types#instants) when the last attempt was made to deliver the event
* `linkedObjectId` - the unique Id of the object associated with this event
* `sequence` - the system-assigned event sequence
For example, to order the results by the insert instant in a descending order, the value would be provided as `insertInstant DESC`. The final string is optional can be set to `ASC` or `DESC`.
Prior to version `1.57.0` this defaults to `sequence DESC`.
The start [instant](/docs/reference/data-types#instants) of the date/time range to search within.
If the current time is 2:01:01, this default would be 1:01:00.
Prior to version `1.57.0` this field did not have a default.
The offset row to return results from. If the search has 200 records in it and this is 50, it starts with row 50.
The Id to use for the new Webhook. If not specified a secure random UUID will be generated.
The Id of the Webhook to retrieve.
### Response
The response for this API contains either a single Webhook or all of the Webhooks. When you call this API with an Id the response will contain just that Webhook. When you call this API without an Id the response will contain all of the Webhooks. Both response types are defined below along with an example JSON response.
The Id of the Webhook to update.
The Id of the Webhook to delete.
### Response
This API does not return a JSON response body.
The Id of the User to enable Two Factor authentication.
A valid Two Factor verification code. This value should be provided by the User to verify they are able to produce codes using
an application or receive them using their mobile phone.
The User's preferred delivery for verification codes during a two factor login request.
The possible values are:
* `None`
* `TextMessage`
When using `TextMessage` the User will also need a valid `mobilePhone`. The User's mobile phone is not validated during this request. Because the `code` is provided on this request it is assumed the User has been able to receive a `code` on their mobile phone when setting the delivery to `TextMessage`.
A base64 encoded secret.
You may optionally use the secret value returned by the [Two Factor Secret](/docs/apis/two-factor#generate-a-secret) API instead of generating this value yourself. This value is a secure random byte array that is Base-64 encoded.
If you omit this field, then secretBase32Encoded is required.
A base32 encoded secret.
You may optionally use the secretBase32Encoded value returned by the [Two Factor Secret](/docs/apis/two-factor#generate-a-secret) API instead of generating this value yourself. This value is a secure random byte array that is Base-32 encoded.
If you omit this field, then secret is required.
The Id of the User to enable Two Factor authentication.
The time based one time use password, also called a Two Factor verification code.
The time based one time use password, also called a Two Factor verification code.
The User Id of the User to send a Two Factor verification code. This User is expected to already have Two Factor enabled.
A mobile phone to send the Two Factor verification code.
The Two Factor secret used to generate a Two Factor verification code to send to the provided mobile phone.
You may optionally use value provided in the `secret` field returned by the [Two Factor Secret](/docs/apis/two-factor#generate-a-secret) API instead of generating this value yourself.
The `twoFactorId` returned by the Login API.
A Base64 encoded secret that may be used to enable Two Factor authentication.
A Base32 encoded form of the provided secret. This useful if you need to provide a QR code to the User to enable Two Factor authentication.
The hostname of the SMTP server. This will be provided by your SMTP provider.
The port of the SMTP server. This will be provided by your SMTP provider. Ports `25`, `465`, and `587` are well-known ports used by SMTP, but your provider may use a different port.
In most cases, you will use TLS to connect to your SMTP server and the port will be `587` or `465`.
The username used to authenticate with the SMTP server. This will be provided by your SMTP provider.
When enabled, you may modify the password used to authenticate with the SMTP server. When the Password field is not displayed, the current password cannot be modified.
The new password to use for outgoing SMTP mail server authentication. This field is only required when Change password is checked.
The security type when using an SSL connection to the SMTP server. This value should be provided by your SMTP provider.
Generally, you will select `None` if using port `25`, `SSL` if using port `465`, and `TLS` if using port `587`. Your provider may be different; follow your provider's instructions.
* `None`
* `SSL`
* `TLS`
The default `From Address` used when sending emails if a from address is not provided for an individual email template. This is an email address (for example, **jared@piedpiper.com**).
The default `From Name` used when sending emails if a from name is not provided on an individual email template. This is the display name part of the email address (for example, **Jared Dunn** <jared@piedpiper.com>).
One or more line-separated SMTP headers to be added to each outgoing email. The header name and value should be separated by an equals sign, for example, `X-SES-CONFIGURATION-SET=Value`.
When enabled, SMTP and JavaMail debug information will be output to the Event Log.
## How To Configure SMTP Providers In FusionAuth
To enable and configure the FusionAuth SMTP server, navigate to Tenants -> Edit -> Email .
 Enable email by clicking on the *Enabled* toggle, and save your settings once you have completed your configuration.
To avoid disrupting your application's current DNS records, you may want to point FusionAuth SMTP fields to a temporary subdomain. For example, if your application is hosted at `myapp.com`, you can create `testemail.myapp.com`, and point the SMTP service and FusionAuth there while testing.
Strict SMTP providers require you to have a trustworthy-looking domain and website before they activate your account.
There is a troubleshooting section below this one if you encounter errors while trying to send a test email.
The SMTP providers are presented in alphabetical order below.
### AWS SES
- Create an account at https://aws.amazon.com.
- In your account dashboard, search for SES and start the account setup wizard by clicking
 Get set up on the left sidebar.
- Add your email and domain.
- Verify your email when AWS emails you a link.
- Add the DNS records AWS SES gives you to your domain's DNS settings.
- After a few minutes, the SES Verify sending domain status should change from `Verification pending` to `Verified`.
- Browse to SMTP settings in the AWS sidebar.
- Click Create SMTP credentials and note the created SMTP credentials.
- In your tenant's email tab in the FusionAuth web interface, set the following values:
- Host : `email-smtp.eu-west-1.amazonaws.com` (use your host from the SMTP settings page)
- Port : `587`
- Username : Your username from the SMTP credentials page
- Password : Your SMTP password from the credentials page
- Security : `TLS`
- Default from address : `me@myapp.com` (use your verified domain)
- Click Send test email to test that the settings work. You must send to an email address verified with SES. Use the address you gave when creating your SES account.
- Click the save icon at the top right.
SES is more complicated than the other SMTP services. If the troubleshooting section at the bottom of this article does not help you, please consult the [SES documentation](https://docs.aws.amazon.com/ses/latest/dg/troubleshoot-verification.html).
### Brevo (Previously Sendinblue)
- Create an account at https://app.brevo.com.
- If Brevo suspends your account for violating the terms of service, contact support on [this page](https://www.brevo.com/contact) to activate it.
- Browse to https://app.brevo.com/senders/domain/list.
- Add your domain name.
- In your website domain manager, add the DNS records from the domain authentication page.
- Once you have entered the DNS records and saved, start the verification process on the Brevo page. It should take a minute.
- Browse to https://app.brevo.com/senders/list.
- Add sender: `me@myapp.com` (use your domain name).
- In Brevo, authenticate your email address.
- Browse to https://app.brevo.com/settings/keys/smtp and note your SMTP settings.
- In your tenant's email tab in the FusionAuth web interface, set the following values:
- Host : `smtp-relay.brevo.com`
- Port : `587`
- Username : Your Brevo SMTP login from the settings page
- Password : Your SMTP key value from the settings page
- Security : `TLS`
- Default from address : Any address is allowed
- Click Send test email to test that the settings work, then click the save icon at the top right.
### Gmail
As well as being a popular ESP, Gmail can be used by programs to send email through SMTP. Gmail is not recommended for production use, since it has a [number of limits](https://support.google.com/a/answer/166852). However, it can be useful to test email functionality.
For Gmail, use [application passwords](https://support.google.com/accounts/answer/185833) or you may get a generic `Unable to send email via JavaMail / Prime Messaging Exception` error. The application passwords support article says you need to enable two-factor authentication, then create an app password on the security tab. However, there is no `App password` setting on the tab. You need to browse to https://myaccount.google.com/apppasswords manually to create one.
- In your tenant's email tab in the FusionAuth web interface, set the following values:
- Host : `smtp.gmail.com`
- Port : `587`
- Username : Your full Gmail address (including @gmail.com)
- Password : Your app password (including spaces)
- Security : `TLS`
- Default from address : Your full Gmail address
- Click Send test email to test that the settings work, then click the save icon at the top right.
### Mailchimp (Previously Mandrill)
Mailchimp is currently integrating its transactional email marketing plugin, Mandrill, into its main brand. At the time of writing, you need to create an account with Mailchimp, then log in to Mandrill afterwards.
Mailchimp refused to provide FusionAuth with an account while writing this article. The steps below should work, but we were unable to send a test email to be certain.
- Sign up for an account at https://login.mailchimp.com/signup/?entrypoint=mandrill&locale=en.
- If Mailchimp suspends your account for violating the terms of service, click View issues at the top of the Mailchimp website, then Resolve at the bottom of the page to contact support.
- Log in to https://mandrillapp.com/settings/sending-domains and add your domain name in the text field at the bottom of the page.
- At the bottom of the page click View details for each record that needs to be verified.
- In your website domain manager, add the DNS records from the domain authentication page.
- Once you have entered the DNS records and saved, start the verification process on the Mailchimp page. It should take a minute.
- Browse to https://mandrillapp.com/settings/index and note your SMTP settings. Create a new API key at the bottom of the page.
- In your tenant's email tab in the FusionAuth web interface, set the following values:
- Host : `smtp.mandrillapp.com`
- Port : `587`
- Username : Enter anything
- Password : Your API key
- Security : `TLS`
- Default from address : Use an address at your domain
- Click Send test email to test that the settings work, then click the save icon at the top right.
### MailerSend
- Create an account at https://app.mailersend.com.
- Browse to [Email -> Domains](https://app.mailersend.com/domains) and click Manage on the trial domain MailerSend created for you.
- Under SMTP , click Generate new user and then enter the SMTP name for the user.
- MailerSend will generate the user credentials and you can save them.
- In your tenant's email tab in the FusionAuth web interface, set the following values:
- Host : `smtp.mailersend.net`
- Port : `587`
- Username : Your username from the User page
- Password : Your password from the User page
- Security : `TLS`
- Default from address : Use your MailerSend trial, such as `fa@trial-o89qngkvfrwlwr32.mlsender.net`
- Click Send test email to test that the settings work, then click the save icon at the top right.
- To use your real domain, browse to [Email -> Domains](https://app.mailersend.com/domains).
- Click Add domain .
- On the Domain verification page, you are given DNS records to add to your domain.
- In your domain manager website, add these records.
- Once you have entered the DNS records and saved, start the verification process at the bottom of the MailerSend page. It should take a minute and you will be emailed when verification is done.
- Click Generate new user for this domain and use the SMTP details in FusionAuth.
### Mailgun (Sinch)
- Create an account at https://signup.mailgun.com/new/signup.
- If you are only testing Mailgun, you can use the sandbox domain name Mailgun creates for you to send emails. If you have paid for an account, you should add and verify your company's real domain.
- Add your domain name under Sending -> Add new domain in the Mailgun dashboard at https://app.mailgun.com/mg/sending/new-domain.
- In your domain manager website, add the DNS records from the domain authentication page.
- Once you have entered the DNS records and saved, start the verification process on the Mailgun page. It should take a minute.
- If you are using an unpaid account, you need to add authorized email receivers. Browse to Domains -> Overview and ensure the sandbox domain is selected. Add the email address where you want to receive a test email from FusionAuth.
- Click the verification link in the email you receive to authorize your address.
- Browse to https://app.mailgun.com/mg/sending/domains. Click the gear icon to the right of your domain name and select Settings to browse to a page like https://app.mailgun.com/app/sending/domains/myapp.com/settings. Select the SMTP credentials tab.
- In your tenant's email tab in the FusionAuth web interface, set the following values:
- Host : `smtp.mailgun.org`
- Port : `587`
- Username : Your login name. If using an unpaid account you must use the sandbox domain.
- Password : Get this by pushing Reset password in Mailgun and copying the value you are given.
- Security : `TLS`
- Default from address : Use your Username value from above
- Click Send test email to test that the settings work, then click the save icon at the top right. Enter your authorized email address for the test email, so you can test it arrives.
### Postmark
- Create an account at https://account.postmarkapp.com/sign_up and enter your domain name.
- Verify your email address.
- Browse to https://account.postmarkapp.com/signature_domains.
- Click DNS Settings above your domain name.
- In your domain manager website, add the DNS records from the domain authentication page.
- Once you have entered the DNS records and saved, start the verification process on the Postmark page. It should take a minute.
- To see your SMTP settings, browse to https://account.postmarkapp.com/servers, then click My First Server -> Default Transactional Stream -> Setup Instructions -> SMTP .
- In your tenant's email tab in the FusionAuth web interface, set the following values:
- Host : `smtp.postmarkapp.com`
- Port : `587`
- Username : Your username from the settings page
- Password : Your password from the settings page
- Security : `TLS`
- Default from address : Any address is allowed
- Click Send test email to test that the settings work, then click the save icon at the top right.
While in the Postmark sandbox mode before account approval, you may not send emails to addresses outside your domain. These addresses will be shown in the Activity tab of your server on Postmark.
### Resend
- Create an account at https://resend.com.
- Browse to https://resend.com/domains.
- In your website domain manager, add the records from Resend at the link above.
- You need to set only the DKIM and SPF fields for testing. The DMARC field is optional and required only for your production server.
- Once you have entered the DNS records and saved, return to https://resend.com/domains and start the verification process. It should take a few minutes.
- Browse to https://resend.com/api-keys and create a key with sending access only.
- Browse to https://resend.com/settings/smtp and note your SMTP details.
- In your tenant's email tab in the FusionAuth web interface, set the following values:
- Host : `smtp.resend.com`
- Port : `587`
- Username : `resend`
- Password : Your API key
- Security : `TLS`
- Default from address : Use an email address at your domain
- Click Send test email to test that the settings work, then click the save icon at the top right.
For an overview of all the records Resend asks you to set on your domain, please read their [documentation](https://resend.com/docs/dashboard/domains/introduction). For more general information, read the [Resend documentation on SMTP](https://resend.com/docs/send-with-smtp).
### SendGrid (Twilio)
- Create an account at https://signup.sendgrid.com.
- Verify your email address.
- Browse to https://app.sendgrid.com/settings/sender_auth/senders/new and create a new sender.
- Enter all company details and click Create .
- Verify your sender email address.
- Browse to https://app.sendgrid.com/settings/sender_auth and under Authenticate Your Domain , click Get Started .
- In your domain manager website, add the DNS records from the domain authentication page.
- Once you have entered the DNS records and saved, start the verification process on the SendGrid page. It should take a minute.
- To see your SMTP settings, browse to https://app.sendgrid.com/guide/integrate/langs/smtp.
- Create an API key.
- In your tenant's email tab in the FusionAuth web interface, set the following values:
- Host : `smtp.sendgrid.net`
- Port : `587`
- Username : apikey
- Password : Your API key from the settings page
- Security : `TLS`
- Default from address : Your verified sender created earlier
- Click Send test email to test that the settings work, then click the save icon at the top right.
## Troubleshoot
Below are some common errors you might get when configuring SMTP and how to fix them.
### Authentication Error
```text
Unable to send email via JavaMail
Prime Messaging Exception
535 Authentication failed.
```
This error indicates that your username or password is incorrect. Re-enter them carefully with no excess whitespace and try again.
If the error looks like the one below, you need to set up a [Google application password](https://support.google.com/accounts/answer/185833).
```text
Prime Messaging Exception
535-5.7.8 Username and Password not accepted. For more information, go to
535 5.7.8 https://support.google.com/mail/?p=BadCredentials
```
### Account Suspended
```text
Unable to send email via JavaMail
Prime Messaging Exception
502 5.7.0 Your SMTP account is not yet activated. Please contact us at contact@sendinblue.com to request activation.
```
Some providers automatically disable your account at registration. Contact support at your provider to have it activated.
### Socket Timeout
```text
Error:
Unable to send email via JavaMail
Prime Messaging Exception
Exception reading response
Cause: SocketTimeoutException: Read timed out
```
You may need to change the port number. Try `587`.
### Domain Not Verified
```text
Unable to send email via JavaMail
Prime Messaging Exception
450 The resend.com domain is not verified. Please, add and verify your domain on https://resend.com/domains
```
You need to verify your domain with your SMTP provider by setting DNS records on your web host.
Be aware that DNS records take time to change. If you make a change to a record that your SMTP provider needs to validate, you may have to wait an hour to a day for caches to refresh before you can use the new value.
### Email Address Not Verified
```text
Unable to send email via JavaMail
Prime Messaging Exception
554 Message rejected: Email address is not verified. The following identities failed the check in region EU-WEST-1: address/fa@simplelogin.com
```
```text
Unable to send email via JavaMail
Prime Messaging Exception
421 Domain fa.dns-dynamic.net is not allowed to send: Free accounts are for test purposes only. Please upgrade or add the address to authorized recipients in Account Settings.
```
This error is only likely if you use AWS or Mailgun, which require your sender address to be verified when testing until your service leaves the testing sandbox. To fix this error, send the FusionAuth test email to the same address that you verified when creating the SES service in AWS or add the address to the list of authorized recipients in Mailgun.
### Email Doesn't Arrive
Try the following:
- Wait longer.
- Check that you entered the receiver email address correctly.
- Email an address that is authorized and verified by your SMTP provider, such as the one on your authenticated domain that you used to register your account. Check if the provider has an authorized recipient section and add the address there.
- Check if your SMTP provider received the request and the status is not `Bounced`.
- Check your spam folder in your email client, or other folders if you have filters enabled.
- Disable webhooks in FusionAuth, in case a failed webhook is causing complications.
## SMTP Best Practices
This section lists some recommendations by SMTP providers for transactional emails. Your primary aim should be to keep your sender reputation high to avoid emails being marked as spam.
- Ensure that you add all SPF, DKIM, DMARC, and MX records to your DNS records.
- For extra trustworthiness and brand building, set up Brand Indicators for Message Identification (BIMI), which enables email inboxes to display a brand’s logo next to the company’s authenticated email messages.
- Send emails only to people who have requested to receive them. Always first send a confirmation link to confirm their address is valid.
- Follow your SMTP provider's documentation to configure analytics for your emails (click tracking).
- Track your emails and adjust your sending based on feedback from ESPs and recipients. Don't send emails to recipients who have unsubscribed or complained of spam. Monitor the results of email sending on your SMTP provider's analytics web page.
- Send as few emails to users as possible to avoid emails being marked as spam. Keep your email content as short as possible to avoid wasting your users' time.
- Always include a link to unsubscribe in your emails.
- Always test new email templates by emailing them to yourself on a test FusionAuth server before enabling them in production. Check that fields are populated correctly.
- Send multipart emails using both text and HTML or text only. ESPs do not trust HTML-only email and block images by default. Preview how your emails look with tools like [Litmus](https://www.litmus.com/email-testing).
- Too many links and images trigger spam flags at ESPs. Misspellings and spammy words ("buy now!", "Free!") are spam flags, as are ALL CAPS AND EXCLAMATION MARKS!!!!!!!!!!!!!
- Don't use URL shortening services for links. Use your domain's full URL.
- The domains in the `from` field, `return-path`, and `message-id` should match the domain you are sending from.
- Send transactional and marketing emails through different IP addresses, as marketing email is more likely to be marked as spam. FusionAuth uses only transactional email.
- For similar reasons, send your transactional email and your marketing email through different subdomains. Your domain and your IP address both have reputations with ESPs.
- Do not use a `noreply` email address as your sender. Instead, route all customer replies to your support team.
### Shared IP Addresses
Most SMTP providers allow you to send through an individual IP address dedicated to your account or an IP address (or pool of addresses) shared by multiple SMTP accounts. If you are sending low volumes of email (less than 5000 per day), a shared IP address is a good choice. Shared addresses are less expensive than dedicated addresses. The address is already known and trusted by ESPs, so your emails are unlikely to be sent to spam folders.
If an SMTP account starts sending spam and decreases the address's reputation, the SMTP provider will take action, either canceling the client's account or moving them to a lower-reputation IP address pool.
Mailgun recommends one dedicated IP address for every million messages sent per month.
# Application Email Templates
import PremiumPlanBlurb from 'src/content/docs/_shared/_premium-plan-blurb.astro';
import InlineField from 'src/components/InlineField.astro';
import InlineUIElement from 'src/components/InlineUIElement.astro';
import Breadcrumb from 'src/components/Breadcrumb.astro';
import ChangePasswordHTML from 'src/content/docs/_shared/email/_change-password-html.mdx';
import ChangePasswordText from 'src/content/docs/_shared/email/_change-password-txt.mdx';
Tenant -> Email -> Template Settings -> Forgot Password . select Forgot Password from the dropdown, then click the blue save icon.
If you don't see a `Forgot Password` email template, go to Customizations -> Emails Templates and click the light green + icon. Fill in `Forgot Password` for the Name , and for the Default Subject , From Email , Default from Name fields, whatever values you require. Paste in the following code for HTML Template and Text Template , respectively.
Application overview . Then navigate to your application login page by clicking on Applications in the navigation sidebar, selecting the green magnifying glass icon, and copying and pasting the [Login URL](/docs/get-started/core-concepts/applications) into an incognito browser.
Click the Forgot your password? link, enter your email in the form, and the `Forgot Password` email should be sent to the user's email inbox.
## Configuring Application Email Templates
Finally, override the generic Tenant Email Template just configured with a custom application specific template for a fictitious company called Pied Piper.
Navigate to Customizations -> Emails Templates and click the blue edit icon for the Forgot Password email template and copy the HTML Template and Text Template sections into a text file for easier editing.
Create a new email template by going to Customizations -> Emails Templates and click the green + icon.
Fill out the Name , Default Subject , From Email , Default from Name fields.
Click on HTML Template in the bottom right corner, and paste your default template from above into the Default HTML and Default Text sections. Feel free to edit these templates based on the needs of your application.
Save your template by clicking the blue save icon in the top right corner.
Now configure the email template by navigating to Applications -> Your Application . Click the green edit icon, then navigate to Email -> Templates -> Forgot password and select your application email template. This option will have the same Name field as above. Click the blue save icon in the top right corner.
## Test the Custom Template
For our demo application Pied Piper, call the [Start Forgot Password Workflow](/docs/apis/users#start-forgot-password-workflow) for a user to start the forgot password flow. You can also use the link on the login page, as previously demonstrated.
```shell
curl --request POST \
YOUR_FUSIONAUTH_INSTANCE/api/user/forgot-password \
--header 'Authorization: YOUR_API_KEY' \
--header 'Content-Type: application/json' \
--data '{
"applicationId": "85a03867-dccf-4882-adde-1a79aeec50df",
"loginId": "dinesh@piedpiper.com",
"sendForgotPasswordEmail": true
}'
```
Modify the curl command. You'll need to update a number of values.
* Replace `YOUR_API_KEY` with a valid FusionAuth API key.
* Replace `YOUR_FUSIONAUTH_INSTANCE` with the URL to your instance. If running locally this will be `http://localhost:9011`.
* Replace the value of `applicationId` with the Id of your application.
* Replace the value of `loginId` with the email address of the account for which the password is being reset. Remember this user must be registered for the application before the email can be sent.
Once successfully executed, you will see an application specific email sent to the above user's email address.
# Email Variables
import Aside from 'src/components/Aside.astro';
import API from 'src/components/api/API.astro';
import EmailTemplateBaseUrlNote from 'src/content/docs/customize/email-and-messages/_template-base-url-note.mdx';
import APIBlock from 'src/components/api/APIBlock.astro';
import APIField from 'src/components/api/APIField.astro';
import EnterprisePlanBlurb from 'src/content/docs/_shared/_enterprise-plan-blurb.astro';
import ConfirmChildHTML from 'src/content/docs/_shared/email/_confirm-child-html.mdx';
import ConfirmChildText from 'src/content/docs/_shared/email/_confirm-child-txt.mdx';
import TwoFactorRemoveHTML from 'src/content/docs/_shared/email/_two-factor-remove-html.mdx';
import TwoFactorRemoveText from 'src/content/docs/_shared/email/_two-factor-remove-txt.mdx';
import COPPANoticeHTML from 'src/content/docs/_shared/email/_coppa-notice-html.mdx';
import COPPANoticeText from 'src/content/docs/_shared/email/_coppa-notice-txt.mdx';
import ParentRegistrationHTML from 'src/content/docs/_shared/email/_parent-registration-html.mdx';
import ParentRegistrationText from 'src/content/docs/_shared/email/_parent-registration-txt.mdx';
import RegistrationVerificationHTML from 'src/content/docs/_shared/email/_registration-verification-html.mdx';
import RegistrationVerificationText from 'src/content/docs/_shared/email/_registration-verification-txt.mdx';
import PasswordlessLoginTemplates from 'src/content/docs/_shared/_passwordless-login-templates.mdx';
import SetupPasswordTemplates from 'src/content/docs/_shared/_set-password-templates.mdx';
import BreachedPasswordHTML from 'src/content/docs/_shared/email/_breached-password-html.mdx';
import BreachedPasswordText from 'src/content/docs/_shared/email/_breached-password-txt.mdx';
import COPPAEmailPlusNoticeHTML from 'src/content/docs/_shared/email/_coppa-email-plus-notice-html.mdx';
import COPPAEmailPlusNoticeText from 'src/content/docs/_shared/email/_coppa-email-plus-notice-txt.mdx';
import ChangePasswordHTML from 'src/content/docs/_shared/email/_change-password-html.mdx';
import ChangePasswordText from 'src/content/docs/_shared/email/_change-password-txt.mdx';
import TwoFactorLoginHTML from 'src/content/docs/_shared/email/_two-factor-login-html.mdx';
import TwoFactorLoginText from 'src/content/docs/_shared/email/_two-factor-login-txt.mdx';
import EmailVerificationHTML from 'src/content/docs/_shared/email/_email-verification-html.mdx';
import EmailVerificationText from 'src/content/docs/_shared/email/_email-verification-txt.mdx';
import ThreatDetectedHTML from 'src/content/docs/_shared/email/_threat-detected-html.mdx';
import ThreatDetectedText from 'src/content/docs/_shared/email/_threat-detected-txt.mdx';
import TwoFactorAddHTML from 'src/content/docs/_shared/email/_two-factor-add-html.mdx';
import TwoFactorAddText from 'src/content/docs/_shared/email/_two-factor-add-txt.mdx';
{/* MAKE SURE YOU UPDATE astro/src/content/docs/_shared/email/template_url_list if you add any templates */}
## Templates & Replacement Variables
The email template body (both HTML and text values), subject, and from name fields support replacement variables. This means placeholders can be inserted and the value will be calculated at the time the email template is rendered and sent to a user.
Most templates will contain the User object as returned on the Retrieve User API. This means you can utilize any value found on the User object such as email, first name, last name, etc.
Below you will find each stock template that FusionAuth ships for reference. The available replacement values will be outlined below for each template.
### Retrieving Default Templates
In order to version control the templates or customize them, you can use the admin UI. But you can also pull retrieve them all by using the following command:
```
wget -i https://raw.githubusercontent.com/FusionAuth/fusionauth-site/main/astro/src/content/docs/_shared/email/template_url_list
```
This will place all the email templates in the current working directory.
## Using Replacement Variables
Below are some basic examples of using replacement values in your email templates.
Consider the following User represented by this condensed JSON object.
```json
{
"email": "monica@piedpiper.com",
"firstName": "Monica",
"id": "1c592f8a-59c6-4a09-82f8-f4257e3ea4c8",
"lastName": "Hall"
}
```
The following are example usages with a rendered output based upon the above mentioned example User. The replacement variables are rendered
using [Apache FreeMarker](https://freemarker.apache.org/docs/index.html) which is an HTML template language.
A default value should be provided for variables that may be undefined at runtime such as `firstName`. See `firstName` in the example below
is followed by a bang `!` and then the string `Unknown User`. This indicates that if `firstName` is undefined when the template is rendered the value
of `Unknown User` should be used as a default value.
*Template Source*
```html
Hi ${user.firstName!'Unknown User'}, welcome to Pied Piper.
Please verify your email address ${user.email} by following the provided link.
https://piedpiper.fusionauth.io/email/verify/${verificationId}
- Admin
```
*Rendered Output*
```html
Hi Monica, welcome to Pied Piper.
Please verify your email address monica@piedpiper.com by following the provided link.
https://piedpiper.fusionauth.io/email/verify/YkQY5Gsyo4RlfmDciBGRmvfj3RmatUqrbjoIZ19fmw4
- Admin
```
## Custom Replacement Variables
In addition to the variables mentioned in the previous section, when defining your own email templates to be used by the [Send Email](/docs/apis/emails#send-an-email) API
custom data may be provided on the API request to be used in the email template.
On Send Email API request the contents of the `requestData` field will be made available to you when the template is rendered.
For example, consider the following request to the Send API to send email template Id `1bc118ae-d5fa-4cdf-a90e-e8ef55c3e11e` to the User by Id `ce485a91-906f-4615-af75-81d37dc71e90`.
The Application object, see the Application API for field definitions.
*Note*:
This object may not be available depending upon when this template is constructed. If you utilize this object in your template, ensure you first check to see if it is defined.
The breach result matching loginIds. This is an array of zero or more email addresses or usernames found in the breach result matching this user. A length of zero means only the password was matched.
The breach result match type determined by the FusionAuth Reactor. Possible values include:
* `ExactMatch` The User's loginId and password were found exactly as entered.
* `SubAddressMatch` The User's loginId and password were matched, but the email address was a sub-address match. For example, `joe+test@example.com` is a sub-address match for `joe@example.com`.
* `PasswordOnly` Only the password found, the loginId and password combination were not matched.
* `CommonPassword` The User's password was found to be one of the most commonly known breached passwords.
The Tenant object, see the Tenant API for field definitions.
The User object, see the User API for field definitions.
### Confirm Child
The child User object, see the User API for field definitions of a User.
The parent User object, see the User API for field definitions of a User.
The Tenant object, see the Tenant API for field definitions.
The parent User object. This field has been deprecated, please use the `parent` object instead.
### COPPA Email Plus Notice
The User Consent object, see the Consent API for field definitions of a User consent.
The Tenant object, see the Tenant API for field definitions of a Tenant.
The User giving consent, see the User API for field definitions of a User.
### COPPA Notice
The Tenant object, see the Tenant API for field definitions of a Tenant.
The User giving consent, see the User API for field definitions of a User.
### Email Verification
The Application object, see the Application API for field definitions.
*Note*:
This object may not be available depending upon when this template is constructed. If you utilize this object in your template, ensure you first check to see if it is defined.
The Tenant object, see the Tenant API for field definitions of a Tenant.
The User object, see the User API for field definitions of a User.
The verification Id intended to be used by the [Verify Email](/docs/apis/users#verify-a-users-email) API.
The verification One Time Code (OTP) to be used with the gated Email Verification workflow. The user enters this code to verify their email.
### Forgot Password
This is also known as the "Change Password" template.
The Application object, see the Application API for field definitions.
*Note*:
This object may not be available depending upon when this template is constructed. If you utilize this object in your template, ensure you first check to see if it is defined.
The change password Id intended to be used by the [Change a User's Password](/docs/apis/users#change-a-users-password) API.
If the `state` was provided during the Forgot Password request, it will be available to you in the email template.
The Tenant object, see the Tenant API for field definitions.
The User object, see the User API for field definitions of a User.
### Parent Registration Request
The child User object, see the User API for field definitions of a User.
The Tenant object, see the Tenant API for field definitions of a Tenant.
### Passwordless Login
The Application object, see the Application API for field definitions.
*Note*:
This object may not be available depending upon when this template is constructed. If you utilize this object in your template, ensure you first check to see if it is defined.
The unique code intended to be used by the [Complete a Passwordless Login](/docs/apis/passwordless#complete-a-passwordless-login) API.
If the `state` was provided when the Passwordless request was initiated, it will be available to you in the email template.
The Tenant object, see the Tenant API for field definitions of a Tenant.
The User object, see the User API for field definitions of a User.
### Registration Verification
The Application object, see the Application API for field definitions.
The User Registration object, see the Registration API for field definitions of a User.
The Tenant object, see the Tenant API for field definitions of a Tenant.
The User object, see the User API for field definitions of a User.
The verification Id intended to be used by the [Verify a User Registration](/docs/apis/registrations#verify-a-user-registration) API.
The verification One Time Code to be used with the Gated Registration workflow. The user enters this code to verify their email.
### Set Up Password
The Application object, see the Application API for field definitions.
*Note*:
This object may not be available depending upon when this template is constructed. If you utilize this object in your template, ensure you first check to see if it is defined.
The change password Id intended to be used by the [Change a User's Password](/docs/apis/users#change-a-users-password) API.
The Tenant object, see the Tenant API for field definitions of a Tenant.
The User object, see the User API for field definitions of a User.
### Threat Detected
The Application object, see the [Application API](/docs/apis/applications) for field definitions.
The EventInfo object, see the [User Login Suspicious](/docs/extend/events-and-webhooks/events/user-login-suspicious) event definition for example field definitions.
The Tenant object, see the [Tenant API](/docs/apis/tenants) for field definitions.
The User object, see the [User API](/docs/apis/users) for field definitions of a User.
### Two Factor Authentication
The Application object, see the [Application API](/docs/apis/applications) for field definitions.
*Note*:
This object may not be available depending upon when this template is constructed. If you utilize this object in your template, ensure you first check to see if it is defined. You can check for this variable safely in FreeMarker using the missing value test operator and an `if` statement:
```html
[#if application??]
[#-- Use application here --]
[/#if]
```
This object is not available on the email template when:
* The multi-factor workflow was [started](/docs/apis/two-factor#start-multi-factor) without providing the `applicationId` on that request.
* Multi-factor authentication is required during a call to the [login API](/docs/apis/login#authenticate-a-user) without providing the `applicationId` parameter. That documentation points out that there is likely no production use case where calling the API without the `applicationId` parameter is useful.
* The message is being sent to [enable](/docs/apis/two-factor#send-a-multi-factor-code-when-enabling-mfa) or [disable](/docs/apis/two-factor#send-a-multi-factor-code-when-disabling-mfa) a multi-factor method without providing the `applicationId` on the request.
A code that the user must provide to complete multi-factor authentication.
The Tenant object, see the [Tenant API](/docs/apis/tenants) for field definitions.
The User object, see the [User API](/docs/apis/users) for field definitions of a User.
### Two Factor Authentication Method Added
The Application object, see the [Application API](/docs/apis/applications) for field definitions.
*Note*:
This object may not be available depending upon when this template is constructed. If you utilize this object in your template, ensure you first check to see if it is defined. You can check for this variable safely in freemarker by wrapping the variable as such: `${(application)!""}`.
The Event object for a two factor add event. See the [Webhooks & Events section](/docs/extend/events-and-webhooks/events/user-two-factor-method-add) for field definitions.
The two-factor method that was added. See the [Multi Factor/Two Factor APIs](/docs/apis/two-factor) for property definitions and example JSON.
The Tenant object, see the [Tenant API](/docs/apis/tenants) for field definitions.
The User object, see the [User API](/docs/apis/users) for field definitions of a User.
### Two Factor Authentication Method Removed
The Application object, see the [Application API](/docs/apis/applications) for field definitions.
*Note*:
This object may not be available depending upon when this template is constructed. If you utilize this object in your template, ensure you first check to see if it is defined. You can check for this variable safely in freemarker by wrapping the variable as such: `${(application)!""}`.
The Event object for a two factor remove event. See the [Webhooks & Events section](/docs/extend/events-and-webhooks/events/user-two-factor-method-remove) for field definitions.
The two-factor method that was removed. See the [Multi Factor/Two Factor APIs](/docs/apis/two-factor) for property definitions and example JSON.
The Tenant object, see the [Tenant API](/docs/apis/tenants) for field definitions.
The User object, see the [User API](/docs/apis/users) for field definitions of a User.
# Email Templates
import TemplateContentLimits from 'src/content/docs/_shared/_template-content-limits.mdx';
import EmailTemplateBaseUrlNote from 'src/content/docs/customize/email-and-messages/_template-base-url-note.mdx';
import APIBlock from 'src/components/api/APIBlock.astro';
import APIField from 'src/components/api/APIField.astro';
import Breadcrumb from 'src/components/Breadcrumb.astro';
## Overview
FusionAuth will use email templates to send a Forgot Password request, and other built in workflows. You may also create your own email templates and send them to Users via the [Send Email](/docs/apis/emails#send-an-email) API.
## Allowed Content
Customizations -> Email Templates you will see the following templates.
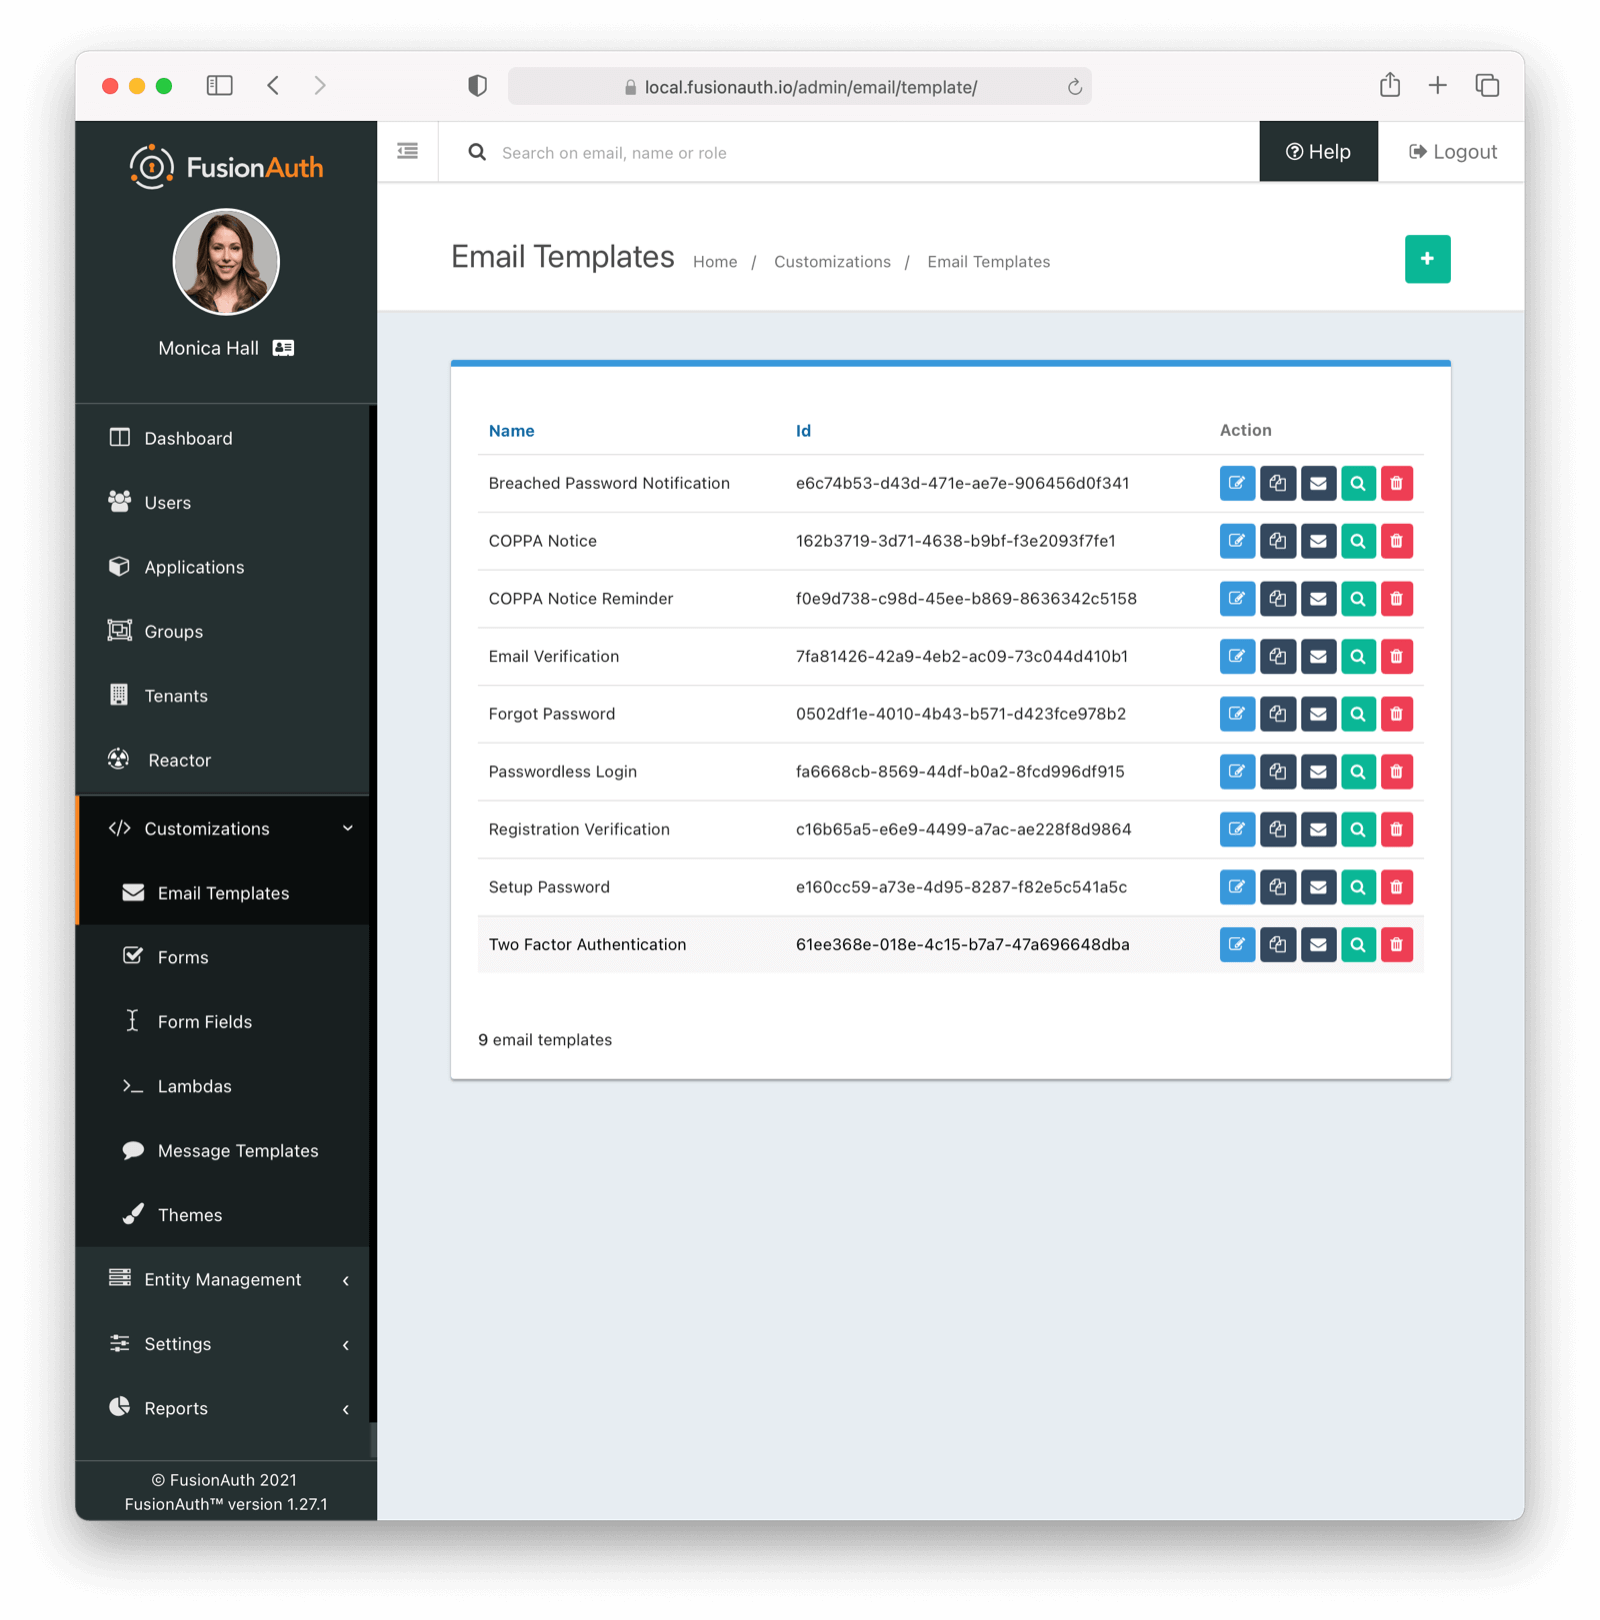 For example, below is the email body of the Email Verification template as it is shipped with FusionAuth.
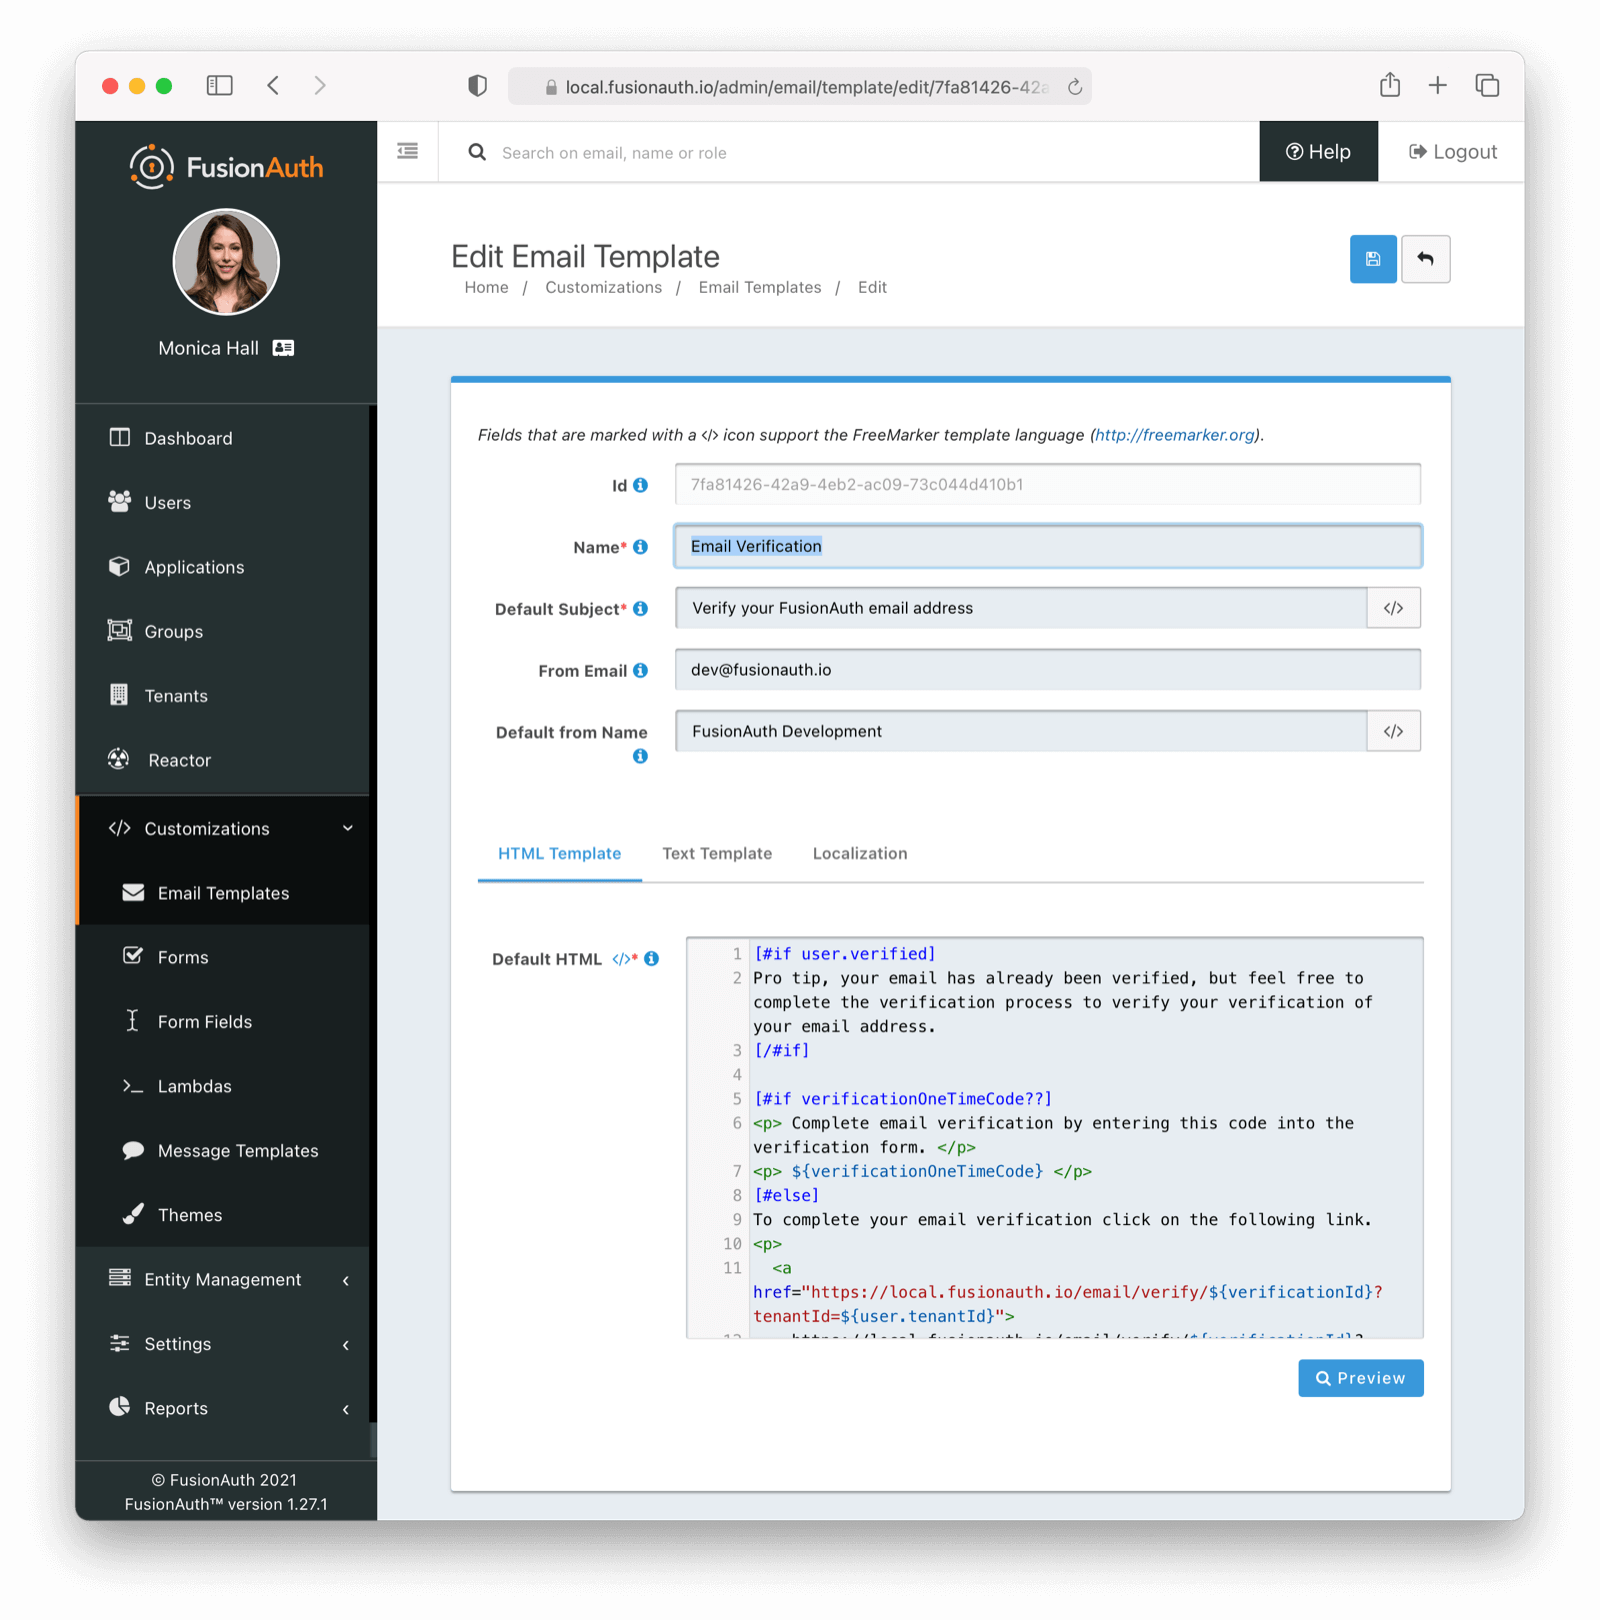 At a minimum, you will need to update this URL to a publicly accessible URL that can reach FusionAuth.
If you will be handling Email Verification yourself, you will need to update this URL to be that of your own. You will notice the one replacement variable in this template named `${verificationId}`. See the Replacement Variables section below for additional detail, but these variables will be replaced when the template is rendered.
### Base Information
The unique Id of the email template. The template Id may not be changed and will be used to interact with the template when using the Email APIs.
The name of the template. This value is for display purposes only and can be changed at any time.
The default subject of the email. The default value will be used unless a localized version is found to be a better match based upon the User's preferred locales.
This field supports replacement variables.
The from email address used to send this template. As of version 1.16.0, this field is optional.
The default from name of the email. The default value will be used unless a localized version is found to be a better match based upon the User's preferred locales.
This field supports replacement variables.
## Localization
The email template body (both HTML and text values), subject, and from name fields can be localized.
You can associate these values with a locale. If a user has a preferred language, the localized template will be used when this email is sent.
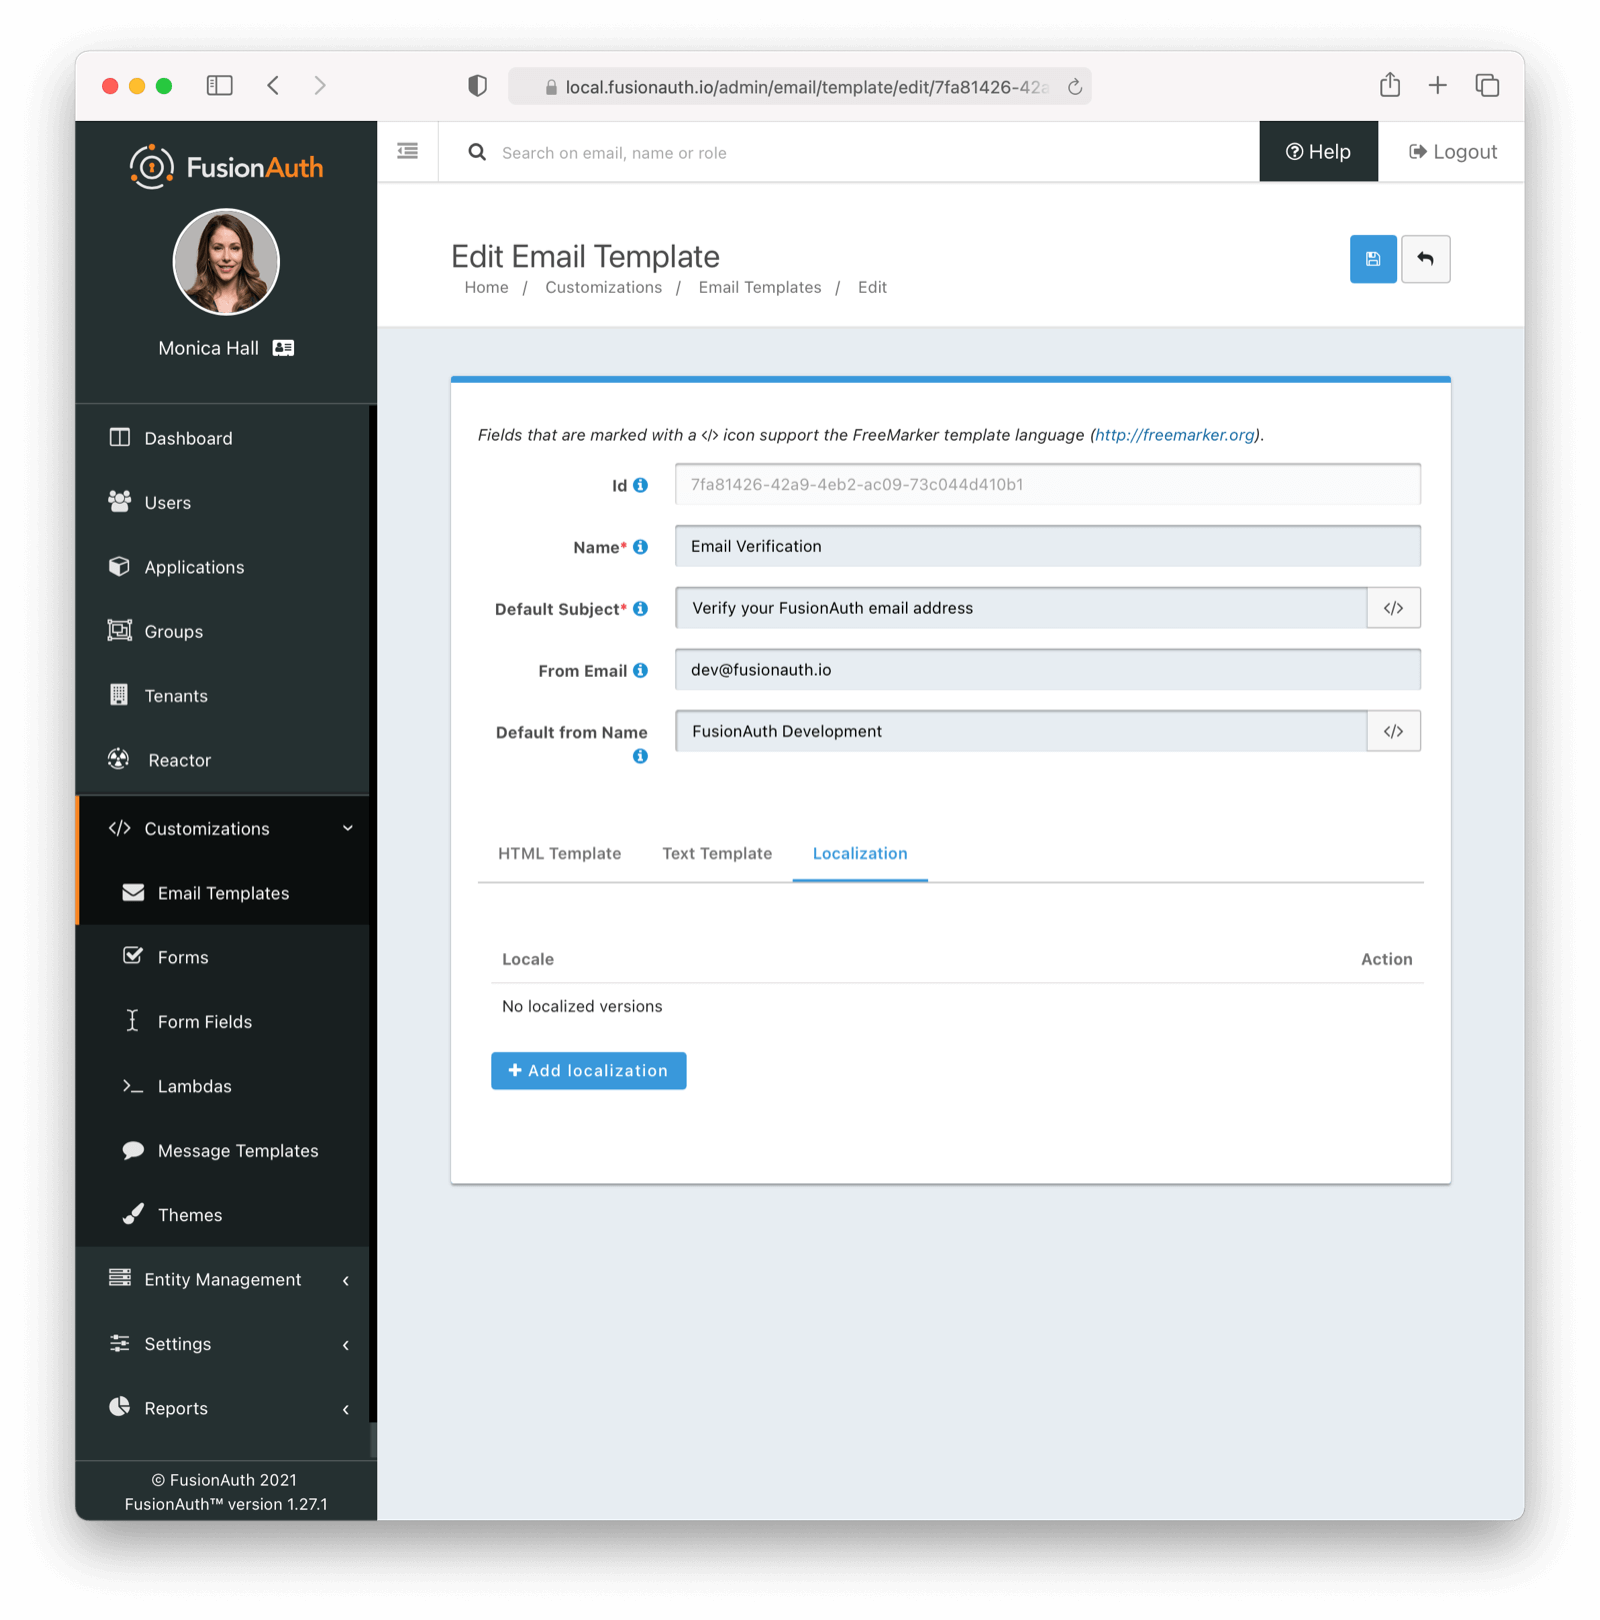 # Generic Messenger
import APIBlock from 'src/components/api/APIBlock.astro';
import APIField from 'src/components/api/APIField.astro';
import Aside from 'src/components/Aside.astro';
import Breadcrumb from 'src/components/Breadcrumb.astro';
import InlineField from 'src/components/InlineField.astro';
import InlineUIElement from 'src/components/InlineUIElement.astro';
import JSON from 'src/components/JSON.astro';
import SecuringHttpRequests from 'src/content/docs/_shared/_securing_http_requests.mdx';
## Set Up a Generic Messenger
Currently, built-in messengers are only provided to send messages via Twilio or email. If you need to connect to a messaging provider other than Twilio, whether you want to send SMS messages or use a different transport layer such as push notifications, you can use the Generic messenger configuration.
The generic messenger allows for a simple JSON REST API integration which allows you to receive a message from FusionAuth to an arbitrary URL. The Generic Message Receiver at this URL may then make an API call to any third party messaging provider.
To create a new generic messenger, navigate to
 Settings -> Messengers . Click Add Generic Messenger from the dropdown in the upper right.
### Add Generic Messenger
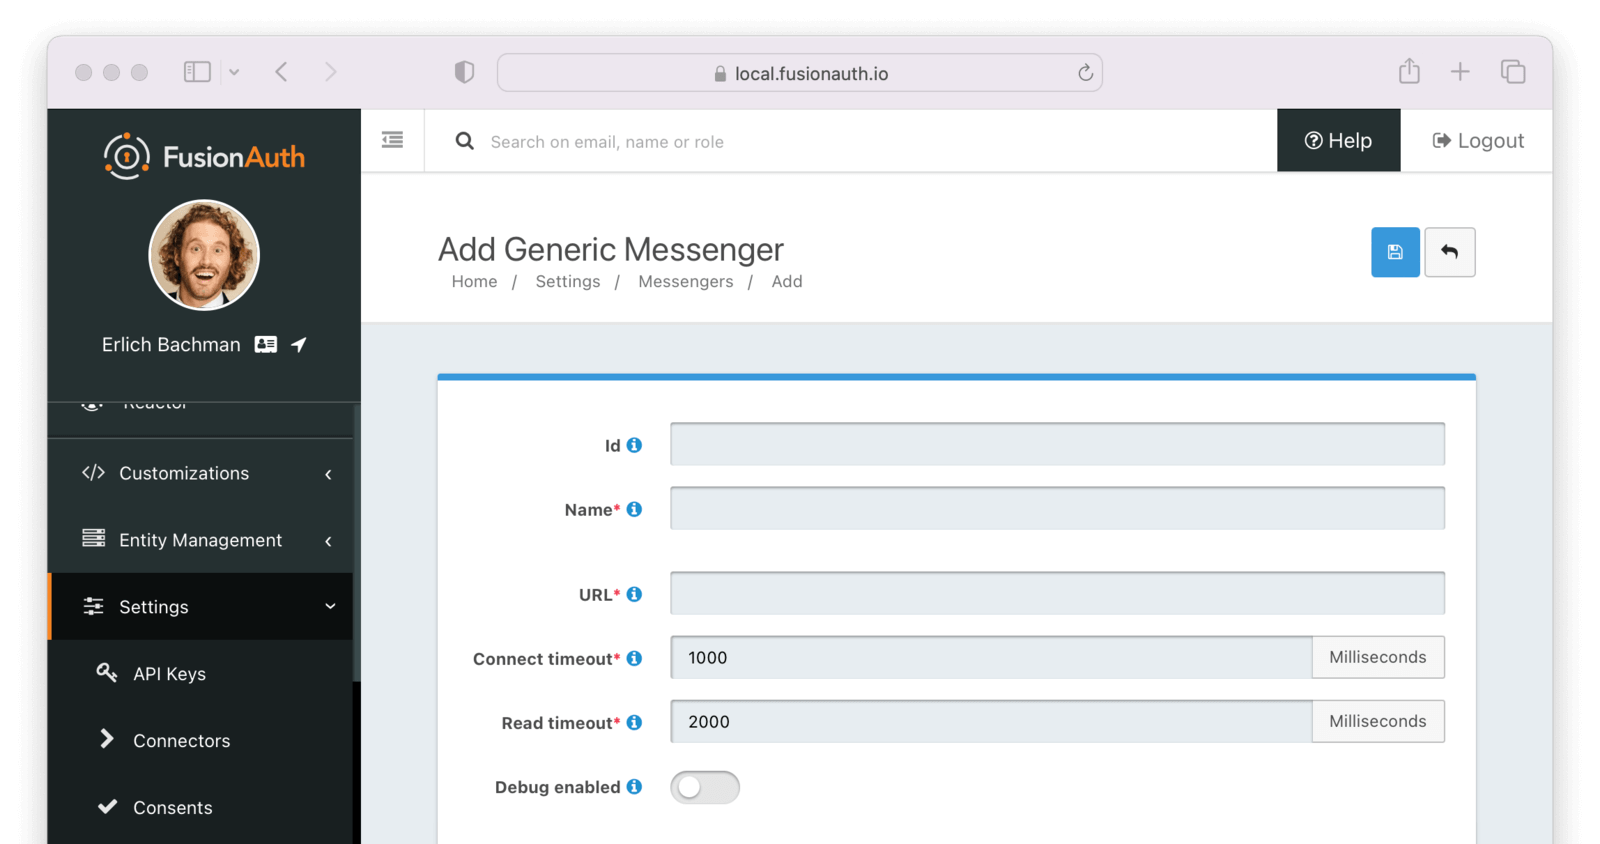 Complete the following fields:
#### Form Fields
A unique UUID is auto generated if left blank.
For display only. Name of this generic messenger.
This is the URL of the messaging service you wish to connect to.
In milliseconds, how long to keep the socket open when connecting to the messenger.
Must be an integer and greater than 0.
In milliseconds, how long to keep the socket open when reading to the messenger.
Must be an integer and greater than 0.
When enabled, each message sent using this messenger will generate a new Debug Event Log which can be viewed using the Event Log API or from the admin UI by navigating to System -> Event Log .
### Security
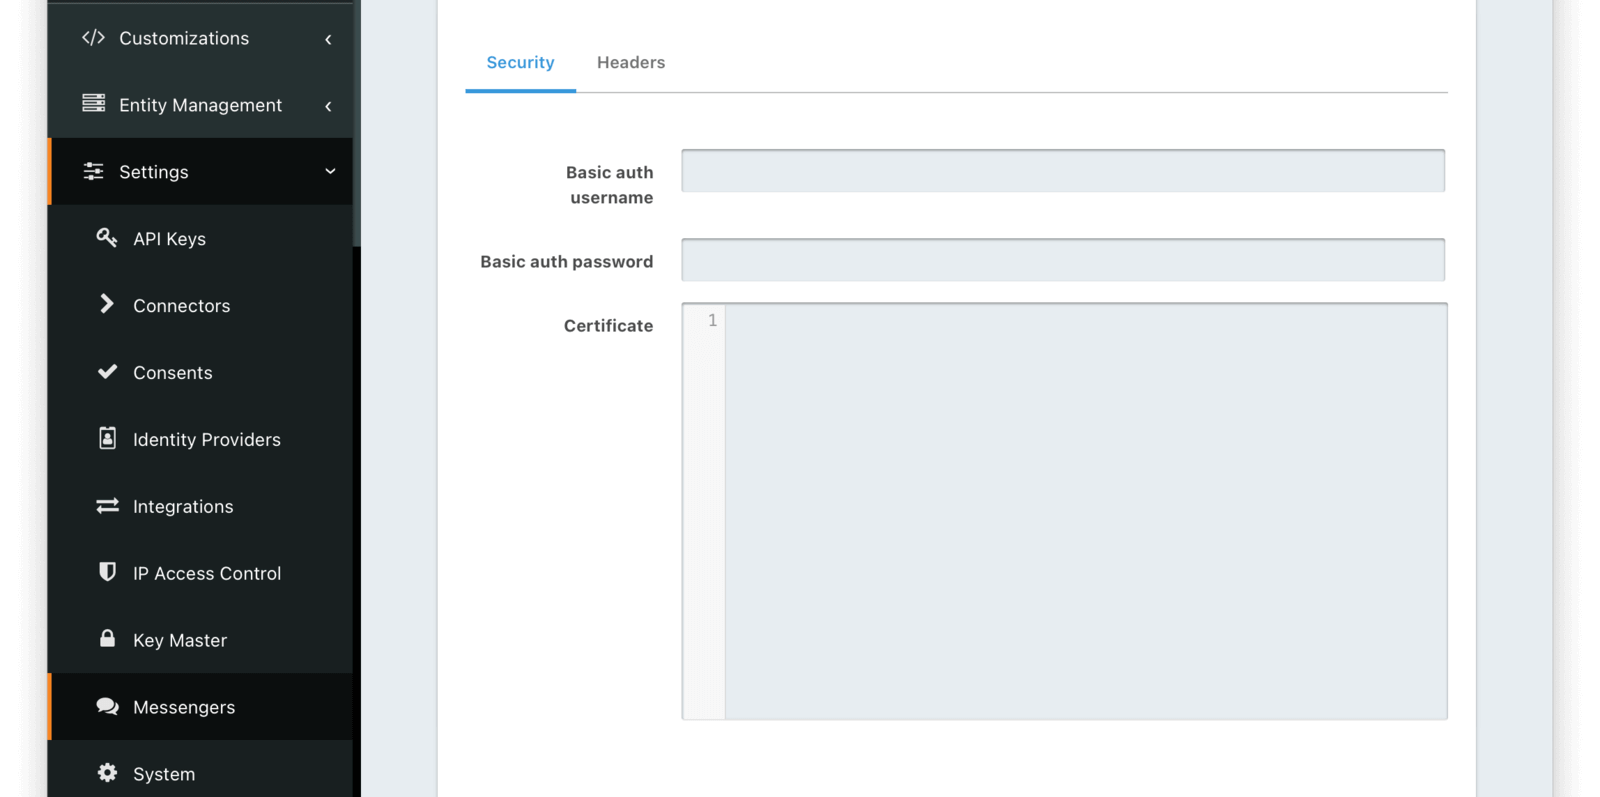 #### Form Fields
Username used to authenticate with the generic messenger
Password used to authenticate with the generic messenger
The SSL certificate in PEM format to be used when connecting to the messenger API endpoint. When provided an in memory keystore will be generated in order to complete the HTTPS connection to the messenger API endpoint.
### Headers
 #### Form Fields
In these fields, you can add custom key and value pairs. These will be sent as headers on the request.
### Testing Your Configuration
 You also can test your generic messenger configuration. By hitting `Test generic configuration` FusionAuth will fire a JSON message to the messenger to ensure everything is set up correctly.
## Writing the Generic Message Receiver
You need to write a server side component, a receiver, which will be deployed at a URL to consume the message sent from FusionAuth. At that point, it can proxy the request to any third party messaging service. In other words, a FusionAuth Generic Messenger is a thin coordination layer between FusionAuth and other messaging services. An application with the proper permissions, code and configuration to relay a message must exist at the configured URL. This receiver component may be written in any language that can consume a JSON message.
The request to your endpoint will be delivered as JSON.
When your application receives this message from FusionAuth, it should take whatever steps necessary to send the message, such as:
* call into a SDK provided by the third party
* make an API request to a vendor provided endpoint
* call multiple internal APIs
* anything else that may be required
### Request
The phone number of the user to which this message should be sent.
The message text to send. This is built from the configured [message template](/docs/customize/email-and-messages/message-templates) and is localized.
The type of the message. This will always be `SMS`.
Customizations -> Message Templates -> Edit -> Preview . The following sample values are used when rendering the template.
| Parameter | Sample Value | Purpose |
|------------------------------|-----------------------------------------------------------------------------|-------------------------------------------------------------------------|
| `${application}` | `{ "name": "My Application", "oauthConfiguration": { "clientId": "123456" } }` | Application name, `oauthConfiguration.clientId` for themed message links |
| `${changePasswordId}` | `1234567890` | Embedded in change password and set password URLs |
| `${code}` | `123456` | Embedded in MFA/Two Factor messages |
| `${event}` | `{ "type": "UserLoginSuspicious", "info": {...} }` | Embedded in User Event messages |
| `${method}` | `{ "id" : "FQLM", "method" : "email" }` | Embedded in Two Factor Add/Remove event messages |
| `${oneTimeCode}` | `88888` | Embedded in passwordless login messages |
| `${tenant}` | `{ "name": "My Tenant", "id": "78910" }` | `tenant.id` allows links embedded in messages to render using the correct theme for that tenant. |
| `${user}` | `{ "firstName": "John", "lastName": "Doe" }` | User information and `user.tenantId` for themed message links |
| `${verificationId}` | `987654` | Embedded in phone number verification messages |
| `${verificationOneTimeCode}` | `abcdef` | Embedded in phone number verification messages |
## Retrieving Default Templates
In order to version control the templates or customize them, you can use the admin UI. But you can also pull retrieve them all by using the following command:
```
wget -i https://raw.githubusercontent.com/FusionAuth/fusionauth-site/main/astro/src/content/docs/_shared/message/template_url_list
```
This will place all the message templates in the current working directory.
## Using Replacement Variables
Below are some basic examples of using replacement values in your message templates.
Consider the following User represented by this condensed JSON object.
```json
{
"phoneNumber": "+15555551234",
"firstName": "Monica",
"id": "1c592f8a-59c6-4a09-82f8-f4257e3ea4c8",
"lastName": "Hall"
}
```
The following are example usages with a rendered output based upon the above mentioned example User. The replacement variables are rendered
using [Apache FreeMarker](https://freemarker.apache.org/docs/index.html) which is an HTML template language.
A default value should be provided for variables that may be undefined at runtime such as `firstName`. See `firstName` in the example below
is followed by a bang `!` and then the string `Unknown User`. This indicates that if `firstName` is undefined when the template is rendered the value
of `Unknown User` should be used as a default value.
*Template Source*
```html
Hi ${user.firstName!'Unknown User'}, welcome to Pied Piper.
Please verify your phone number ${user.phoneNumber} by following the provided link.
https://piedpiper.fusionauth.io/identity/verify/${verificationId}
- Admin
```
*Rendered Output*
```html
Hi Monica, welcome to Pied Piper.
Please verify your phone number +15555551234 by following the provided link.
https://piedpiper.fusionauth.io/identity/verify/YkQY5Gsyo4RlfmDciBGRmvfj3RmatUqrbjoIZ19fmw4
- Admin
```
## Available Message Templates
Below is an overview of each message template that ships with FusionAuth.
The Application object, see the [Application API](/docs/apis/applications) for field definitions.
*Note*:
This object may not be available depending upon when this template is constructed. If you utilize this object in your template, ensure you first check to see if it is defined.
The change password Id that must be included as a path segment in the `/password/change` link. See the [theme variables](/docs/customize/look-and-feel/template-variables) documentation for more information on how this value is used.
If the `state` was provided during the Forgot Password request, it will be available to you in the message template.
The Tenant object, see the [Tenant API](/docs/apis/tenants) for field definitions.
The User object, see the [User API](/docs/apis/users) for field definitions of a User.
### Passwordless Login
The Application object, see the Application API for field definitions.
*Note*:
This object may not be available depending upon when this template is constructed. If you utilize this object in your template, ensure you first check to see if it is defined.
The unique code intended to be used by the [Complete a Passwordless Login](/docs/apis/passwordless#complete-a-passwordless-login) API.
If the `state` was provided when the Passwordless request was initiated, it will be available to you in the template.
The Tenant object, see the Tenant API for field definitions of a Tenant.
The User object, see the [User API](/docs/apis/users) for field definitions of a User.
### Phone Verification
The Application object, see the Application API for field definitions.
*Note*:
This object may not be available depending upon when this template is constructed. If you utilize this object in your template, ensure you first check to see if it is defined.
The Tenant object, see the [Tenant API](/docs/apis/tenants) for field definitions.
The User object, see the [User API](/docs/apis/users) for field definitions of a User.
The verification Id intended to be used by the [Identity Verify](/docs/apis/identity-verify) API.
The verification One Time Code (OTP) to be used with the gated Phone Verification workflow. The user enters this code to verify their phone number.
### Set Up Password
The Application object, see the Application API for field definitions.
*Note*:
This object may not be available depending upon when this template is constructed. If you utilize this object in your template, ensure you first check to see if it is defined.
The change password Id intended to be used by the [Change a User's Password](/docs/apis/users#change-a-users-password) API.
The Tenant object, see the [Tenant API](/docs/apis/tenants) for field definitions.
The User object, see the [User API](/docs/apis/users) for field definitions of a User.
### Threat Detected
The Application object, see the [Application API](/docs/apis/applications) for field definitions.
The EventInfo object, see the [User Login Suspicious](/docs/extend/events-and-webhooks/events/user-login-suspicious) event definition for example field definitions.
The Tenant object, see the [Tenant API](/docs/apis/tenants) for field definitions.
The User object, see the [User API](/docs/apis/users) for field definitions of a User.
### Two Factor Authentication
The Application object, see the [Application API](/docs/apis/applications) for field definitions.
*Note*:
This object may not be available depending upon when this template is constructed. If you utilize this object in your template, ensure you first check to see if it is defined. You can check for this variable safely in FreeMarker using the missing value test operator and an `if` statement:
```html
[#if application??]
[#-- Use application here --]
[/#if]
```
This object is not available on the message template when:
* The multi-factor workflow was [started](/docs/apis/two-factor#start-multi-factor) without providing the `applicationId` on that request.
* Multi-factor authentication is required during a call to the [login API](/docs/apis/login#authenticate-a-user) without providing the `applicationId` parameter. That documentation points out that there is likely no production use case where calling the API without the `applicationId` parameter is useful.
* The message is being sent to [enable](/docs/apis/two-factor#send-a-multi-factor-code-when-enabling-mfa) or [disable](/docs/apis/two-factor#send-a-multi-factor-code-when-disabling-mfa) a multi-factor method without providing the `applicationId` on the request.
A code that the user must provide to complete multi-factor authentication.
Email address associated with the `user`.
Mobile phone number associated with the `user`.
The Tenant object, see the [Tenant API](/docs/apis/tenants) for field definitions.
The User object, see the [User API](/docs/apis/users) for field definitions of a User.
### Two Factor Authentication Method Added
The Application object, see the [Application API](/docs/apis/applications) for field definitions.
*Note*:
This object may not be available depending upon when this template is constructed. If you utilize this object in your template, ensure you first check to see if it is defined. You can check for this variable safely in freemarker by wrapping the variable as such: `${(application)!""}`.
The Event object for a two factor add event. See the [Webhooks & Events section](/docs/extend/events-and-webhooks/events/user-two-factor-method-add) for field definitions.
The two-factor method that was added. See the [Multi Factor/Two Factor APIs](/docs/apis/two-factor) for property definitions and example JSON.
The Tenant object, see the [Tenant API](/docs/apis/tenants) for field definitions.
The User object, see the [User API](/docs/apis/users) for field definitions of a User.
### Two Factor Authentication Method Removed
The Application object, see the [Application API](/docs/apis/applications) for field definitions.
*Note*:
This object may not be available depending upon when this template is constructed. If you utilize this object in your template, ensure you first check to see if it is defined. You can check for this variable safely in freemarker by wrapping the variable as such: `${(application)!""}`.
The Event object for a two factor remove event. See the [Webhooks & Events section](/docs/extend/events-and-webhooks/events/user-two-factor-method-remove) for field definitions.
The two-factor method that was removed. See the [Multi Factor/Two Factor APIs](/docs/apis/two-factor) for property definitions and example JSON.
The Tenant object, see the [Tenant API](/docs/apis/tenants) for field definitions.
The User object, see the [User API](/docs/apis/users) for field definitions of a User.
# Email & Messages Overview
import InlineField from 'src/components/InlineField.astro';
import EmailTroubleshooting from 'src/content/docs/customize/email-and-messages/_email-troubleshooting.mdx';
import { YouTube } from '@astro-community/astro-embed-youtube';
## Overview
This section is designed to review how to utilize email, email templates, and messenger templates in FusionAuth. See [Email APIs](/docs/apis/emails) for additional information on integrating directly with the email APIs and [Messenger Templates](/docs/apis/messengers/) for more information on modifying messenger templates directly.
## Email
Email and Email Templates are a core feature of FusionAuth. [Email Templates](/docs/customize/email-and-messages/email-templates-replacement-variables) allows you to communicate with your Users via email. You can manage these templates using the API, SDKs or manually. FusionAuth
provides [example email templates for workflows](/docs/customize/email-and-messages/email-templates-replacement-variables), but you should plan to revise them to reflect your sites branding.
In order to use email templates and email based workflows, you will need to [configure an SMTP server](/docs/customize/email-and-messages/configure-email).
Here's a brief video covering some aspects of email templates:
Customizations -> Message Templates .
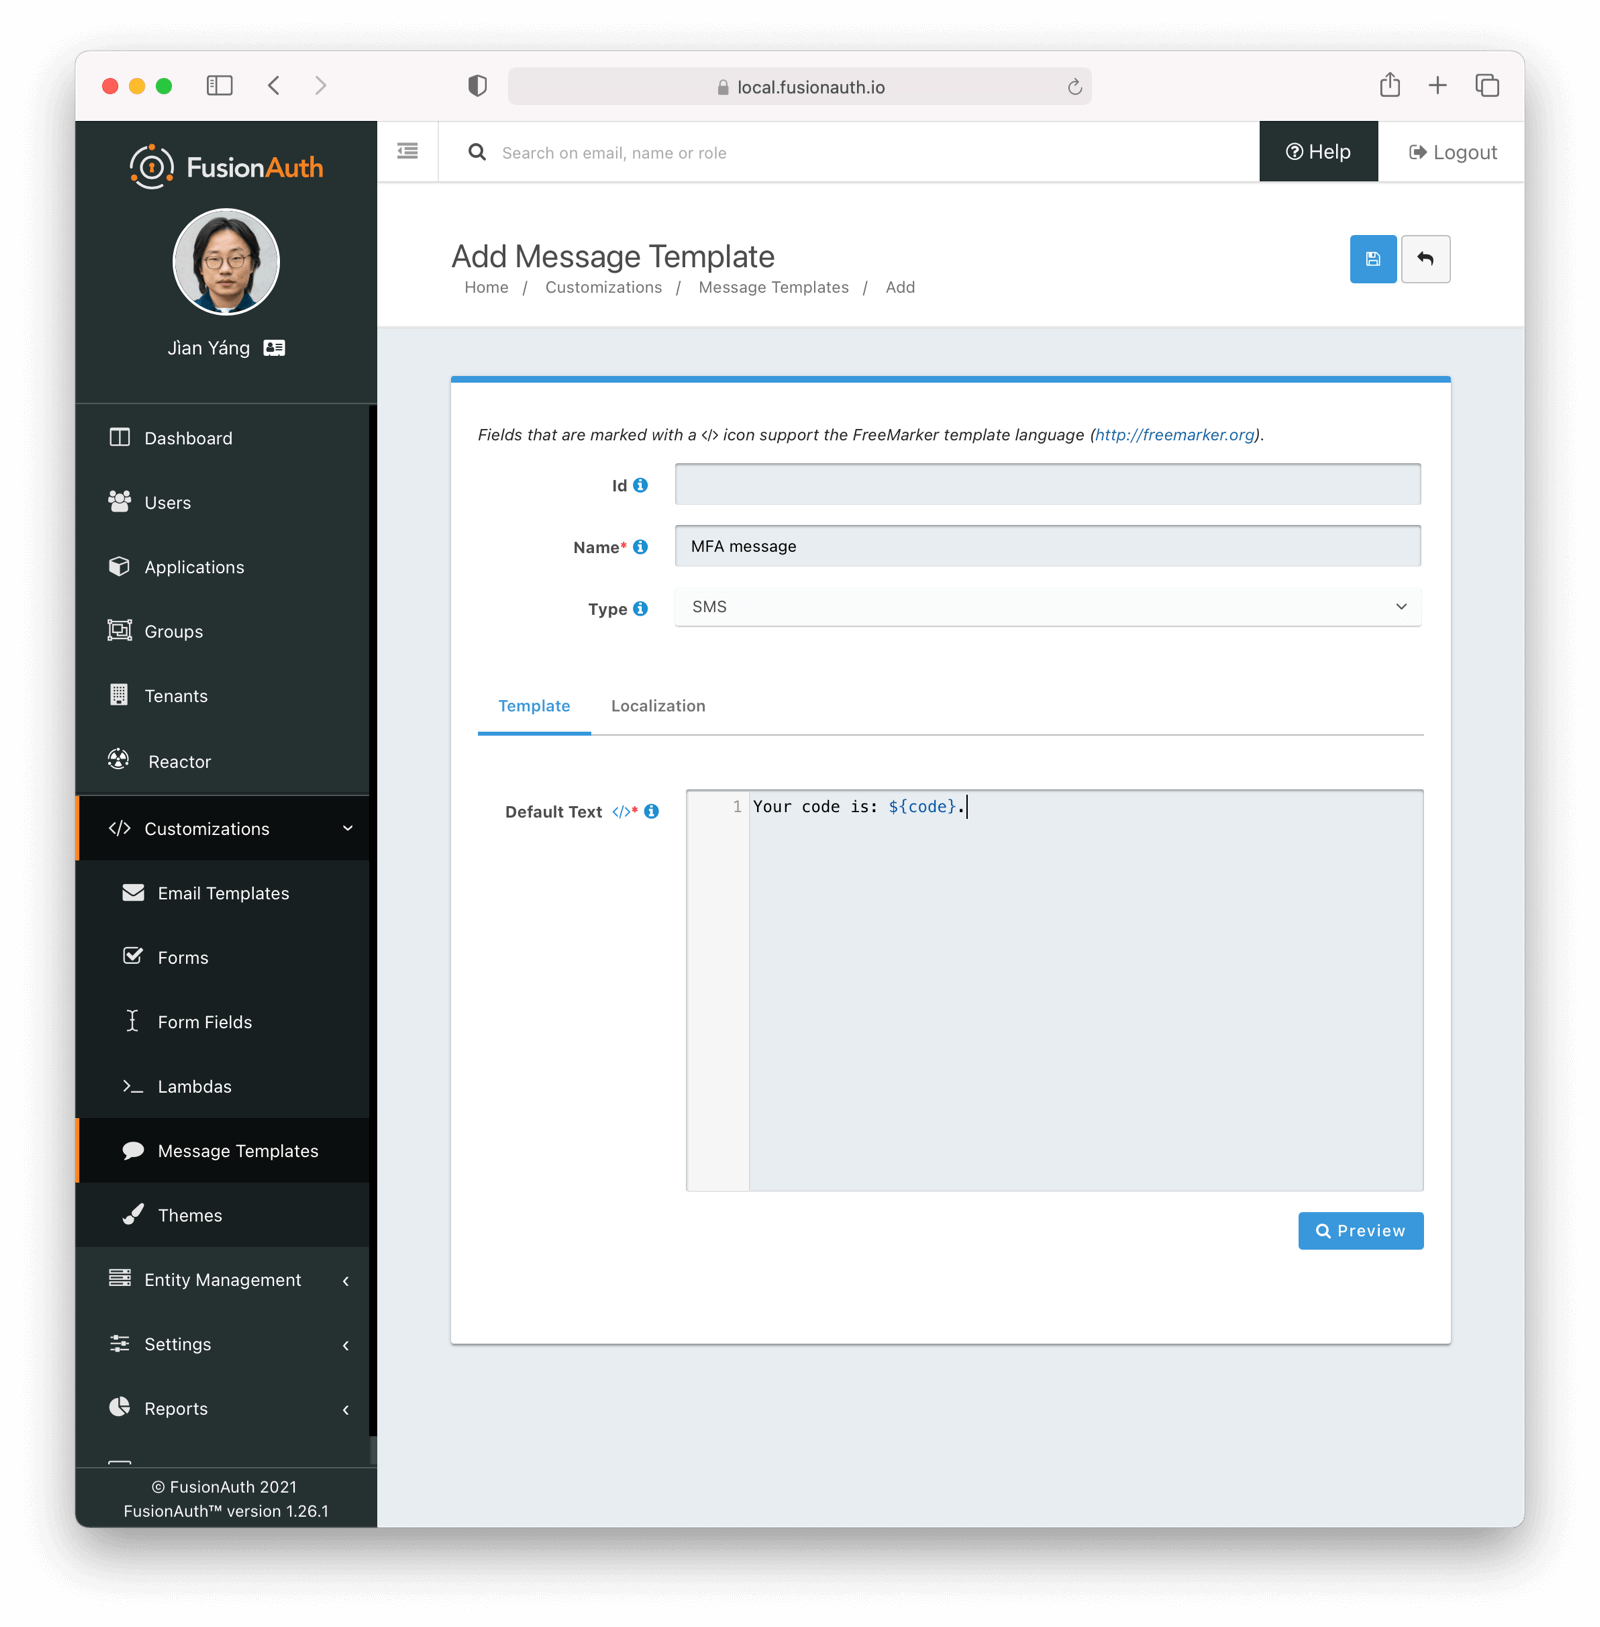 ### Base Information
The unique Id of the Message Template. The template Id may not be changed and will be used to interact with the template when using the APIs.
The name of the template. This value is for display purposes only and can be changed at any time.
The type of the template. `SMS` is the only value currently supported.
## Localization
The message template body can be localized.
You can associate the template text values with a locale. If a user has a preferred language, the localized template will be used when this text message is sent.
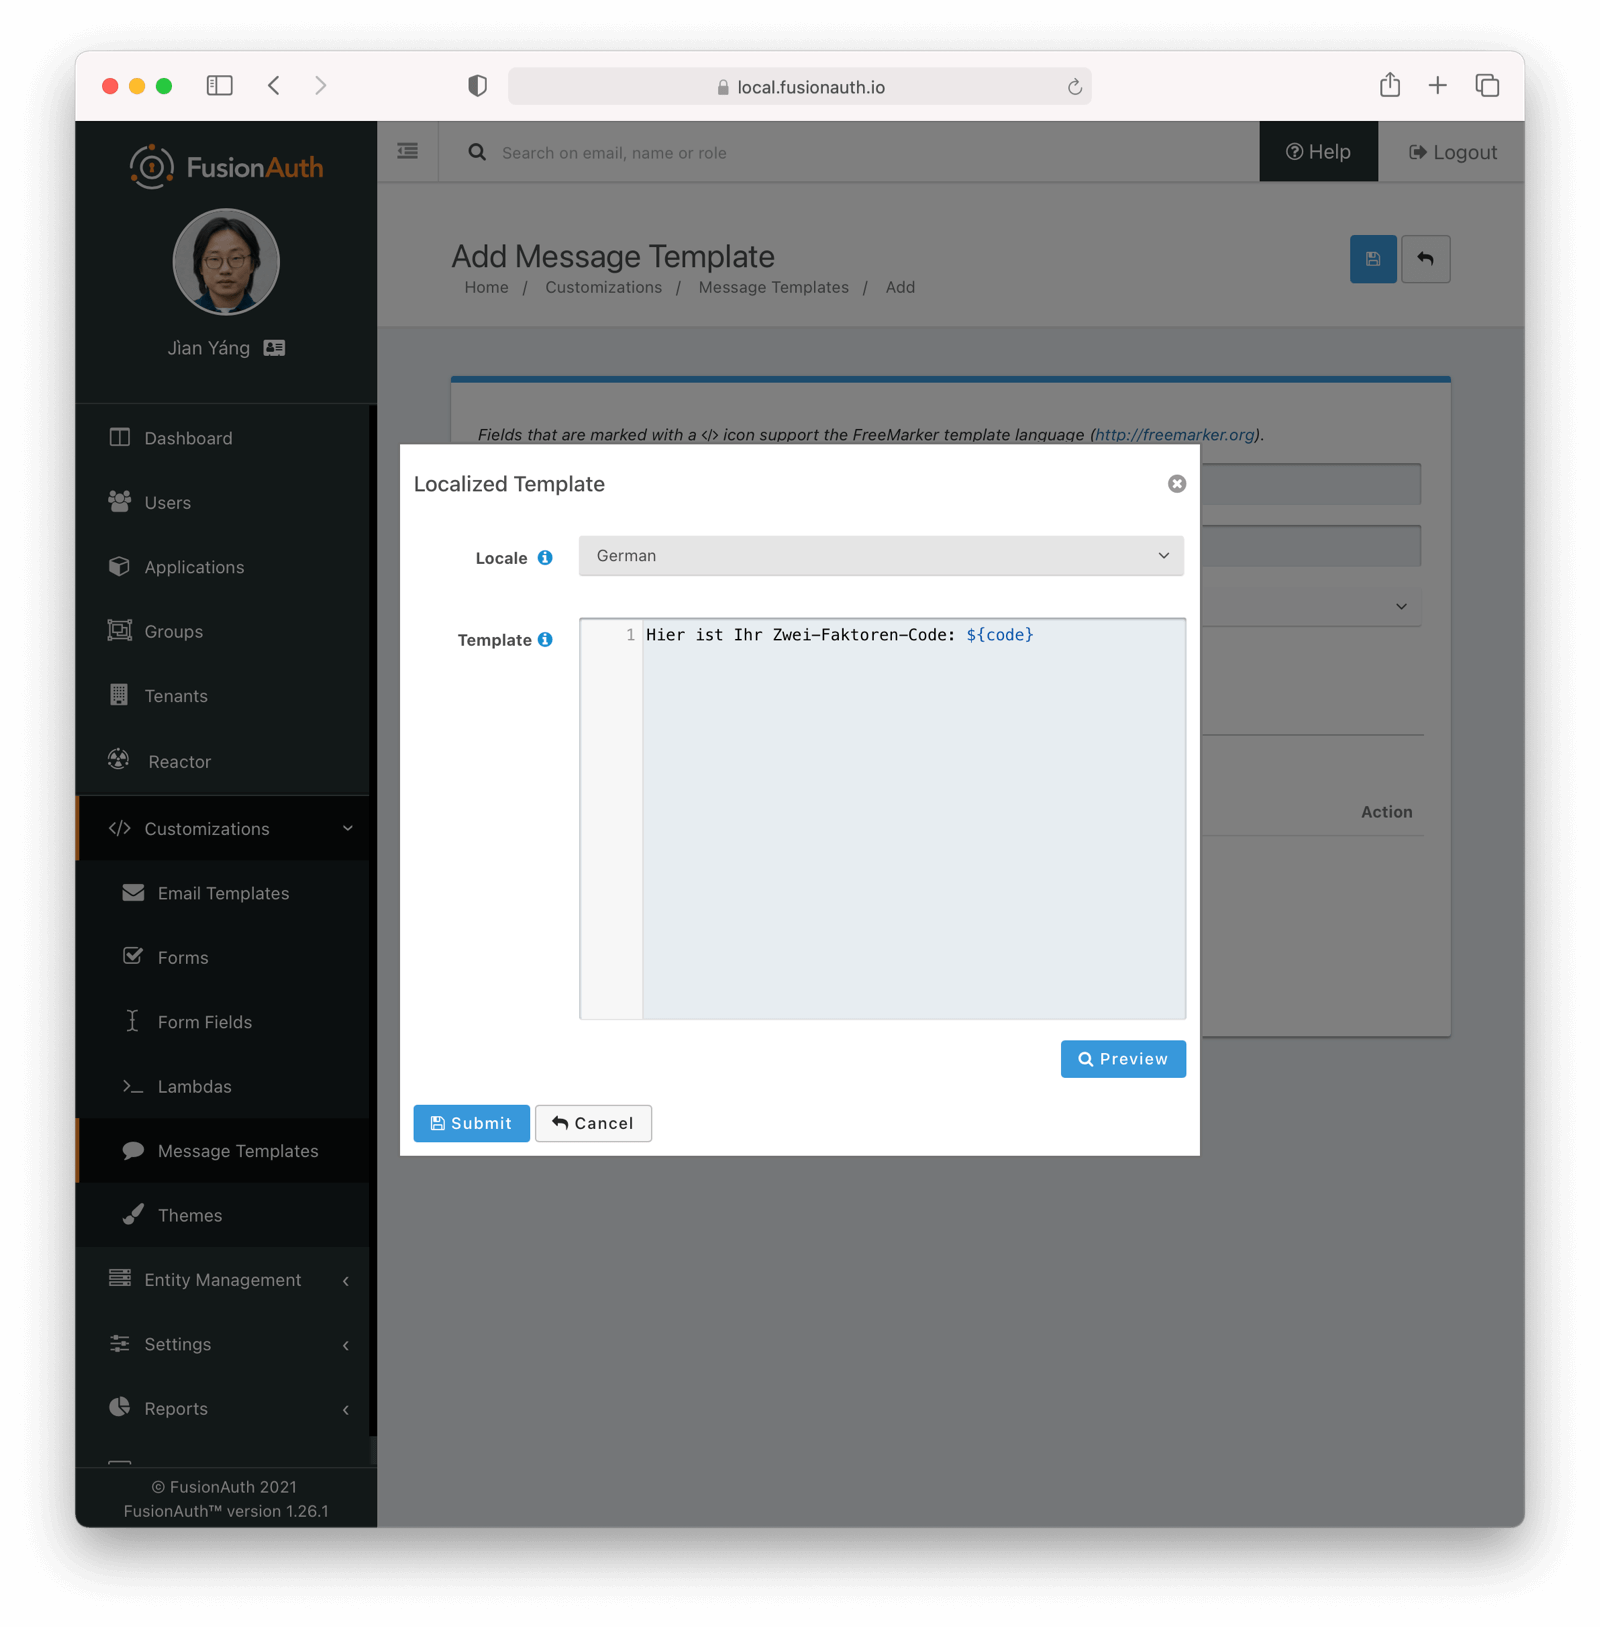 # Messengers
import Aside from 'src/components/Aside.astro';
import Breadcrumb from 'src/components/Breadcrumb.astro';
## Messengers
Messengers are used to send messages from within FusionAuth to other systems.
### Message Transports
In version `1.26.0`, each messenger type is assigned a read-only transport value of `sms`. This tells FusionAuth which configurations the messenger may be assigned to. For example, when configuring `SMS settings` in [multi-factor configuration](/docs/lifecycle/authenticate-users/multi-factor-authentication#tenant-set-up) on a Tenant, we can safely assign only messengers designated with the corresponding transport value.
## Set Up a Messenger
In FusionAuth, you can set up three types of messengers:
- [Set Up a Generic Messenger](/docs/customize/email-and-messages/generic-messenger)
- [Set Up a Twilio Messenger](/docs/customize/email-and-messages/twilio-messenger)
To configure a messenger, navigate to
 Settings -> Messengers and click on the appropriate messenger type in the top right.
## Create a Messenger Template
Message templates are a powerful way to customize messengers and the communication contained within. FusionAuth uses FreeMarker for all templating.
- [Manage Message Templates](/docs/customize/email-and-messages/message-templates)
To configure a message template, navigate to Customizations -> Message Templates .
# Twilio Messenger
import APIBlock from 'src/components/api/APIBlock.astro';
import APIField from 'src/components/api/APIField.astro';
import Aside from 'src/components/Aside.astro';
import Breadcrumb from 'src/components/Breadcrumb.astro';
import InlineField from 'src/components/InlineField.astro';
import InlineUIElement from 'src/components/InlineUIElement.astro';
## Set Up a Twilio Messenger
Here you can add a Twilio messenger to send SMS messages.
To create a new Twilio messenger, navigate to Settings -> Messengers . Click Add Twilio Messenger from the dropdown in the upper right.
### Add Twilio Messenger
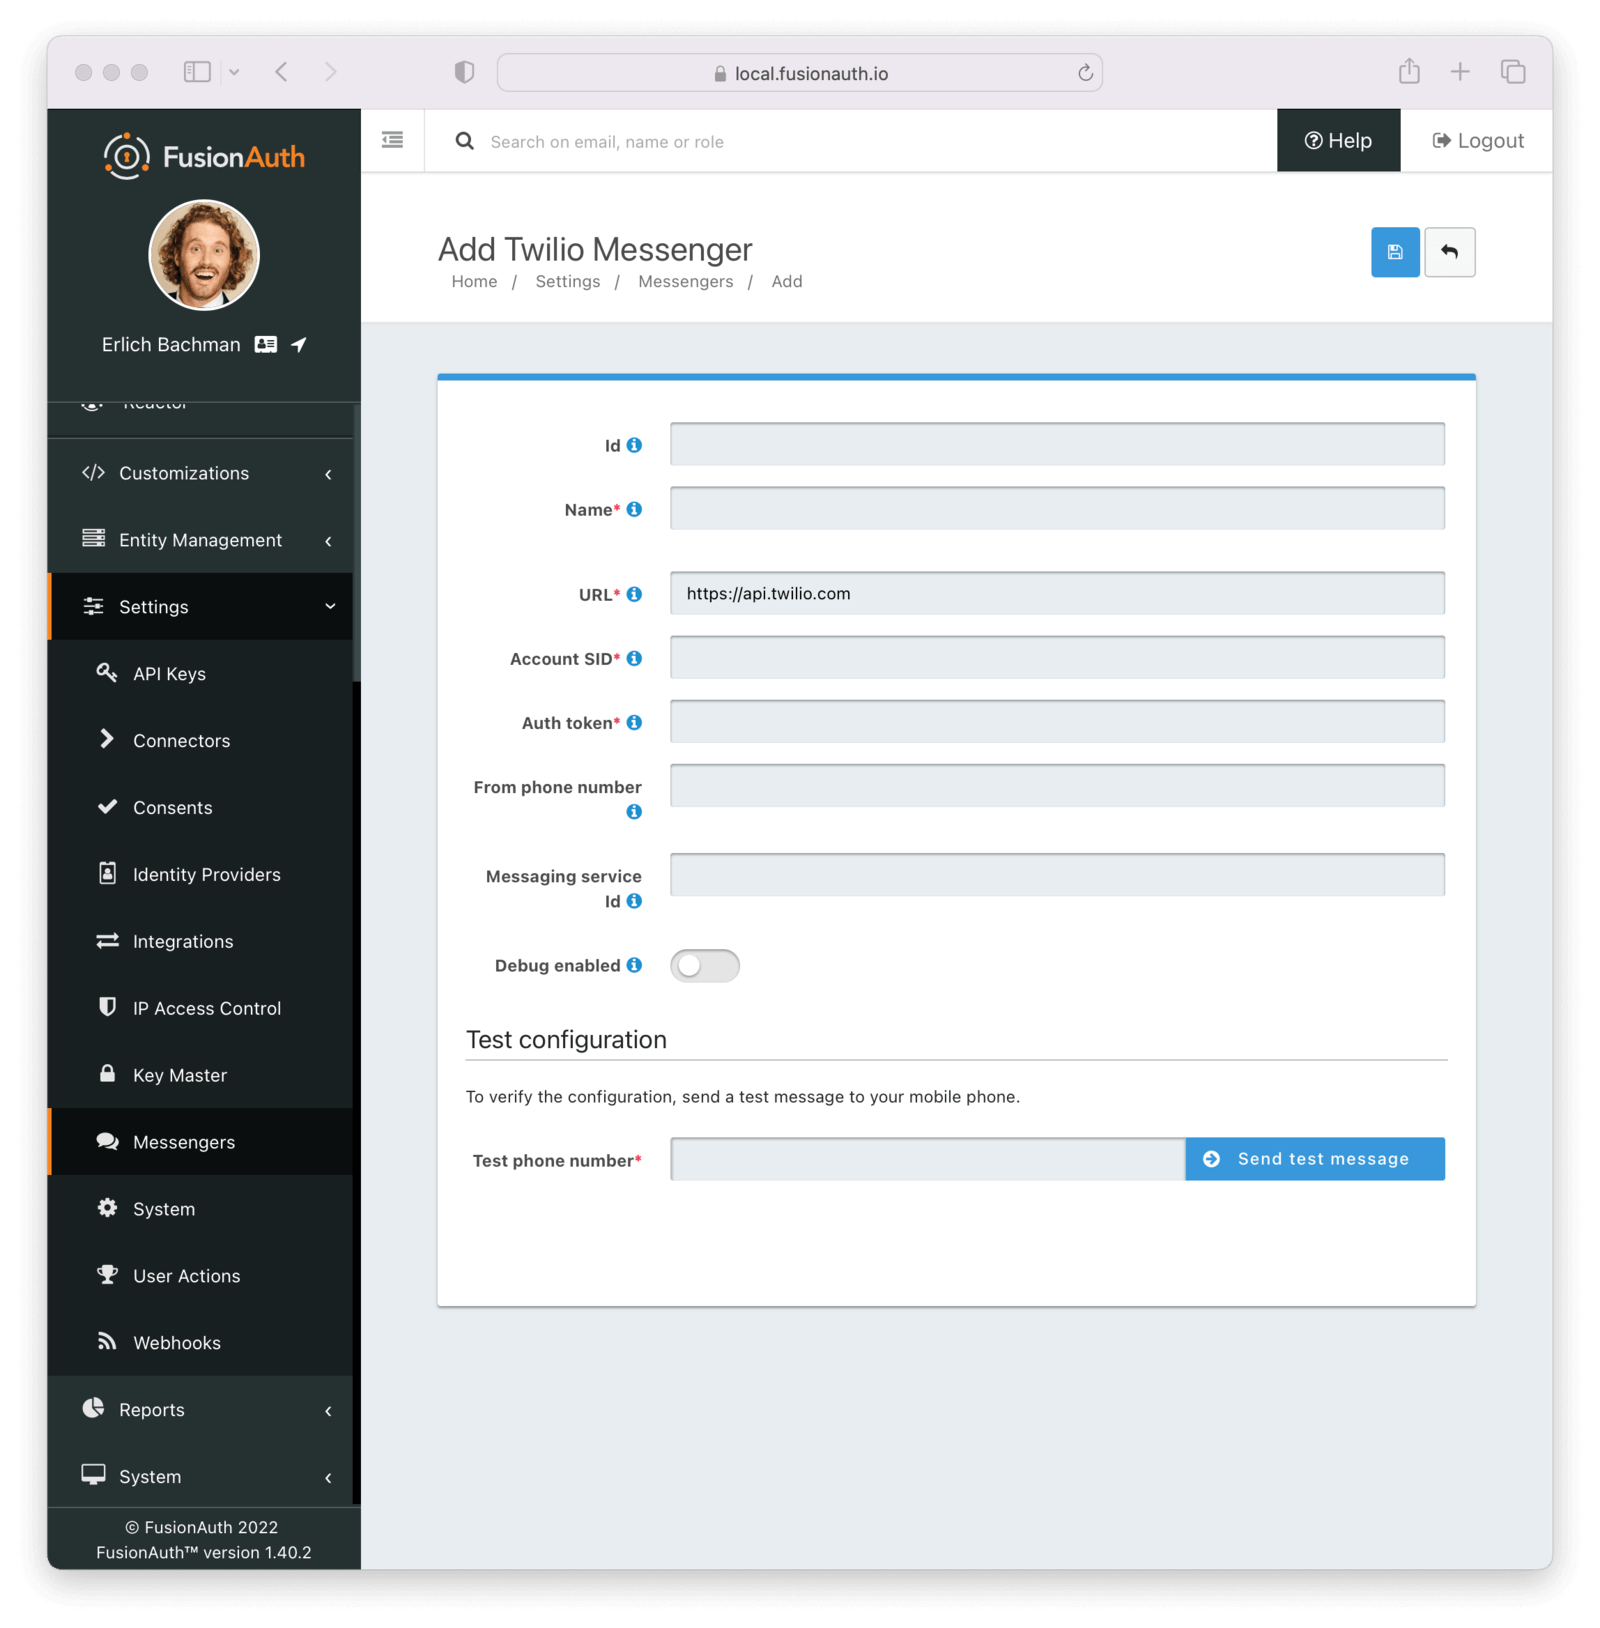 Complete the following fields:
#### Form Fields
A unique UUID is auto generated if left blank.
The name of the messenger. You can have multiple Twilio messengers with different accounts. This is used for display only.
Provided by Twilio. This is the URL of the Twilio messaging service you wish to connect to.
Provided by Twilio.
Provided by Twilio.
The outgoing phone number of your messenger service.
Provided by Twilio and is often used in conjunction with the Copilot service.
When enabled, each message sent using this messenger will generate a new Debug Event Log which can be viewed using the Event Log API or from the admin UI by navigating to System -> Event Log .
### Testing Your Configuration
 You also can test your Twilio messenger configuration. By hitting `Send test message` FusionAuth will fire a test SMS message to your Twilio messenger to ensure everything is set up correctly.
# Advanced Theme Editor
import InlineField from 'src/components/InlineField.astro';
import APIBlock from 'src/components/api/APIBlock.astro';
import APIField from 'src/components/api/APIField.astro';
import MessagesExample from 'src/content/docs/customize/look-and-feel/_messages-example.mdx';
import ThemeEnvironments from 'src/content/docs/operate/deploy/_theme-environment-management.mdx';
import ThemeTroubleshooting from 'src/content/docs/customize/look-and-feel/_theme-troubleshooting.mdx';
import ThemeUpgrade from 'src/content/docs/customize/look-and-feel/_theme-upgrade.mdx';
import Templates from 'src/content/docs/_shared/_theme_templates.astro';
import Aside from 'src/components/Aside.astro';
import Breadcrumb from 'src/components/Breadcrumb.astro';
## Overview
FusionAuth's Advanced Theme Editor allow you to control every aspect of the look and feel of your hosted login pages.
The other option, in version 1.51.0 and later, is to use the [Simple Theme Editor](/docs/customize/look-and-feel/simple-theme-editor) to quickly and easily style FusionAuth with no code.
### Difference From Simple Themes
The Simple Theme Editor allows you to select from a set of pre-built themes and customize them with a few simple options. This is a great way to get started with customizing FusionAuth without needing to write any code.
The Advanced Theme Editor allows editing page templates directly. This allows you to take full control over all of the hosted pages by creating an advanced theme and editing the HTML, CSS, and messages. This is a powerful way to create a fully custom experience, but it can be complex and time-consuming.
## Create a Theme
FusionAuth provides the ability to create and manage themes in the UI as well as a [Themes API](/docs/apis/themes). Any user of the FusionAuth role of `admin` or `theme_manager` may view, edit, update, and delete Themes.
All of the FusionAuth login templates are written in [FreeMarker](https://freemarker.apache.org). FreeMarker provides a very rich template language that will allow you to customize the pages and helpers to suit your needs. You can also define new macros and functions to assist you further.
Below is an example screenshot of the Add Theme panel with each template described below.
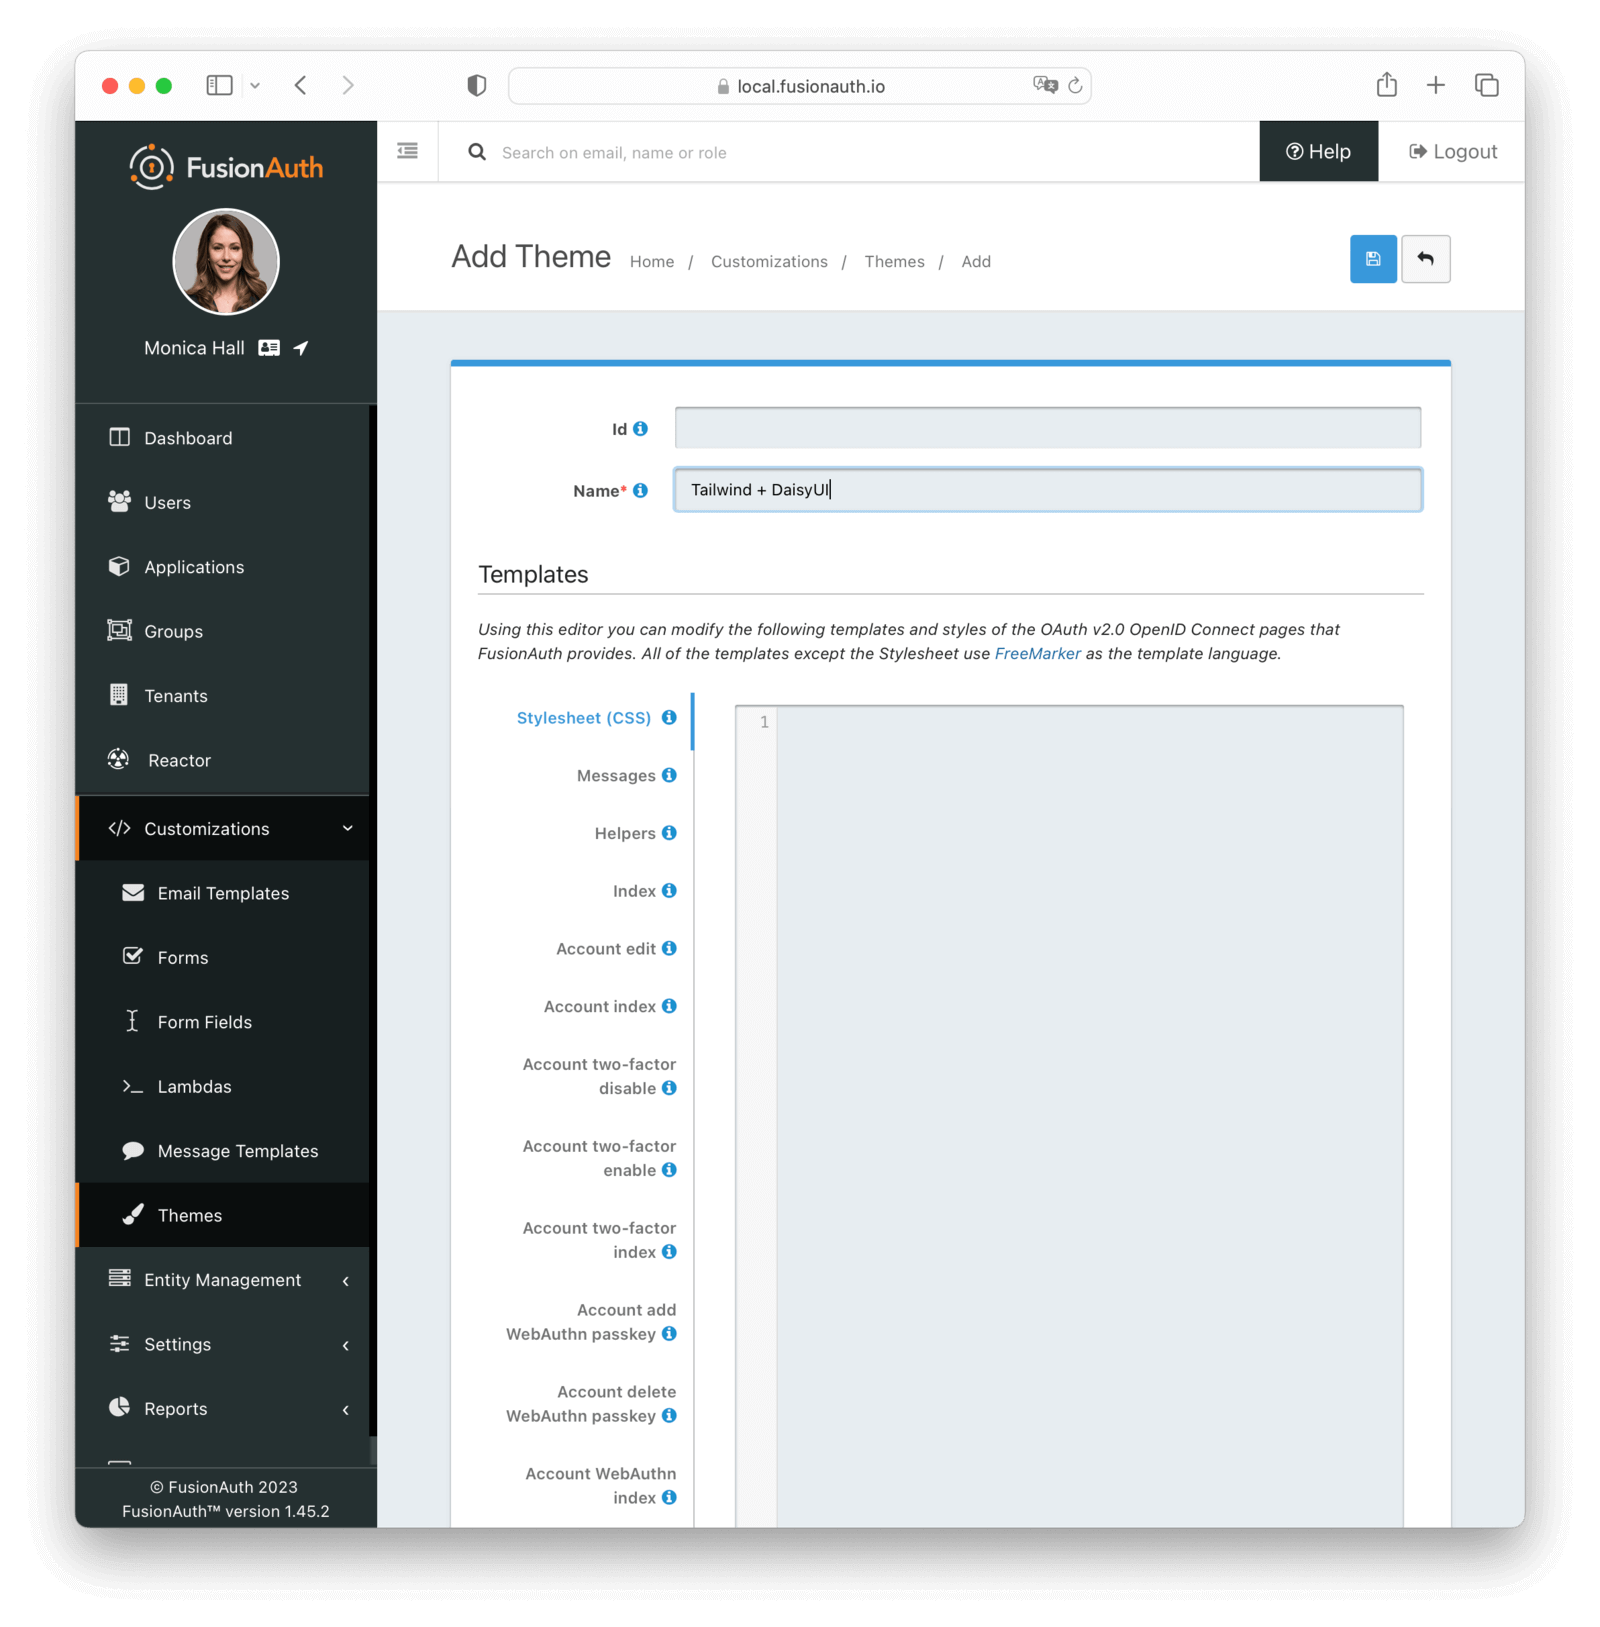 ### Form Fields
An optional UUID. When this value is omitted a unique Id will be generated automatically.
A unique name to identify the theme. This name is for display purposes only and it can be modified later if desired.
### Templates
{/* ===== */}
{/* To add a new theme template, do the following */}
{/* update site/_date/templates.yaml (further instructions there) */}
{/* update the JSON files in site/docs/src/json/themes/ with the new theme template key */}
{/* touch this file to regenerate (if in dev mode) */}
{/* that's it. the API and the theme form page will be automatically updated. */}
This CSS stylesheet may be used to style the themed pages.
This CSS will be included in the `head` tag in the Helpers `head` macro. You may also choose to include other remote stylesheets by using the `
```
This section allows you to add additional localized messages to your theme. When creating an additional locale it is not required that all messages are defined for each language. If a message key is not defined for the specified locale, the value from the default bundles will be used.
If you intend to localize your login templates, you may find our [community contributed and maintained messages in our GitHub repository](https://github.com/FusionAuth/fusionauth-localization) helpful.
This template contains all of the main helper macros to define the `head`, `body` and `footer`. To begin theming FusionAuth you'll want to start with this template as it will affect all other templates.
See the [Helpers](/docs/customize/look-and-feel/helpers) page for additional information.
Customizations -> Themes . Choose your theme, then click the preview link (the green magnifying glass):
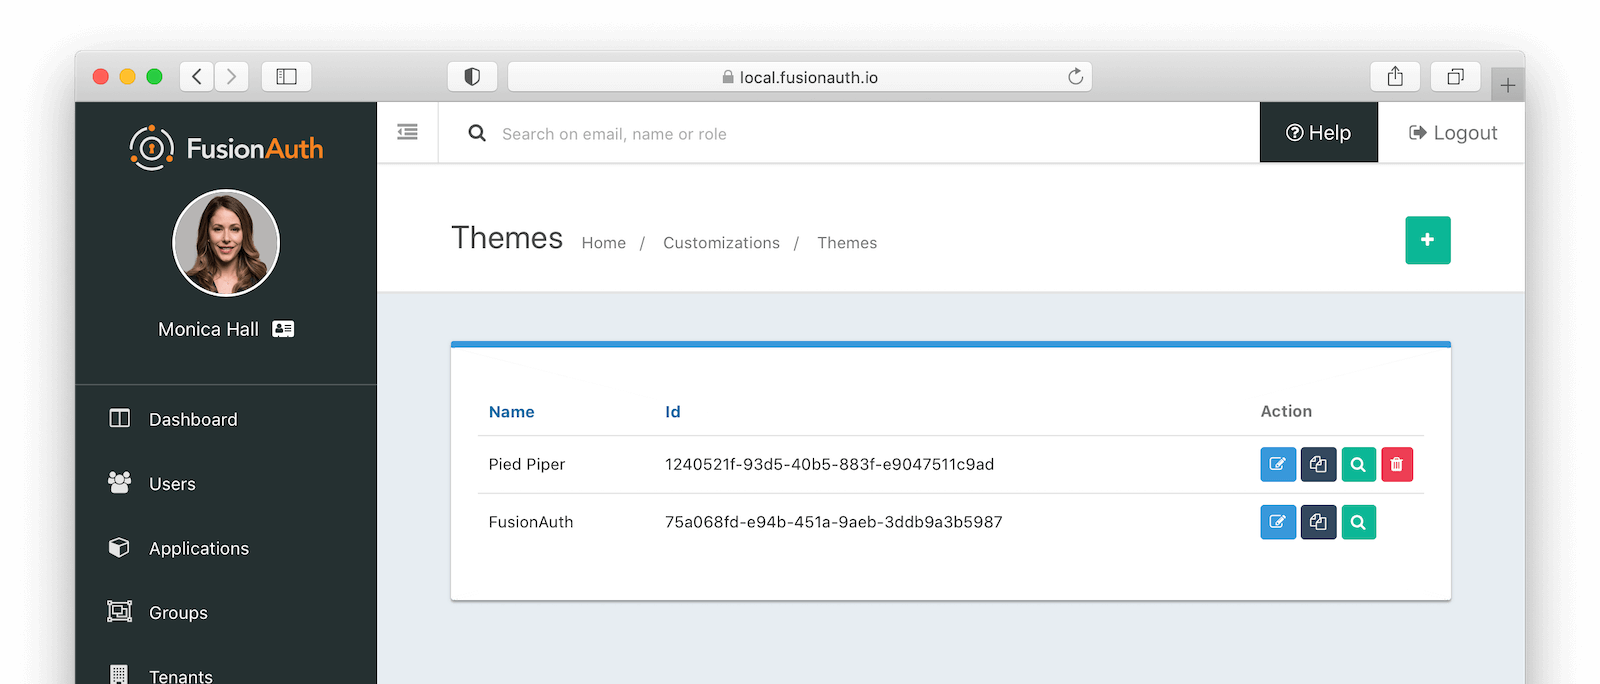 This will open a new tab. Click on any of the pages you've modified in the left hand navigation, for example
 OAuth register , and you'll see the page as it would be rendered.
## Example Code
### Displaying Messages
You can customize messages by locale. You can also have optional keys.
[#nested/]
[/#macro]
```
```html title="Custom footer helper"
[#macro footer]
[#nested/]
[/#macro]
```
Once you make these changes, they will take effect on all of the pages listed above.
## Development Tools
When building an advanced theme, the [FusionAuth theme helper project](https://github.com/FusionAuth/fusionauth-theme-helper) is useful.
You can pull down all your templates, edit them locally, and have them transparently uploaded to your FusionAuth instance.
### Managing Many Themes
If you have a large number of themes, you'll want additional tooling to manage them. Best practices include:
* Put your themes under version control and use CI/CD and one of the [client libraries](/docs/sdks) to apply changes.
* Prefer modifying CSS rather than theme templates.
* Leverage `tenant.data` for a small number of attributes that differ between tenants, which allows you to use the same theme with modified templates. See [Environment Management](#environment-management) for an example.
* Consider generating your themes locally using a templating language such as jinja and then uploading them.
* Automatically assign themes to tenants, using one of the [client libraries](/docs/sdks).
There is an [open feature request](https://github.com/FusionAuth/fusionauth-issues/issues/1869) to allow for theme inheritance, but it is not currently on the roadmap.
## Environment Management
Customizations -> Themes and create a new theme.
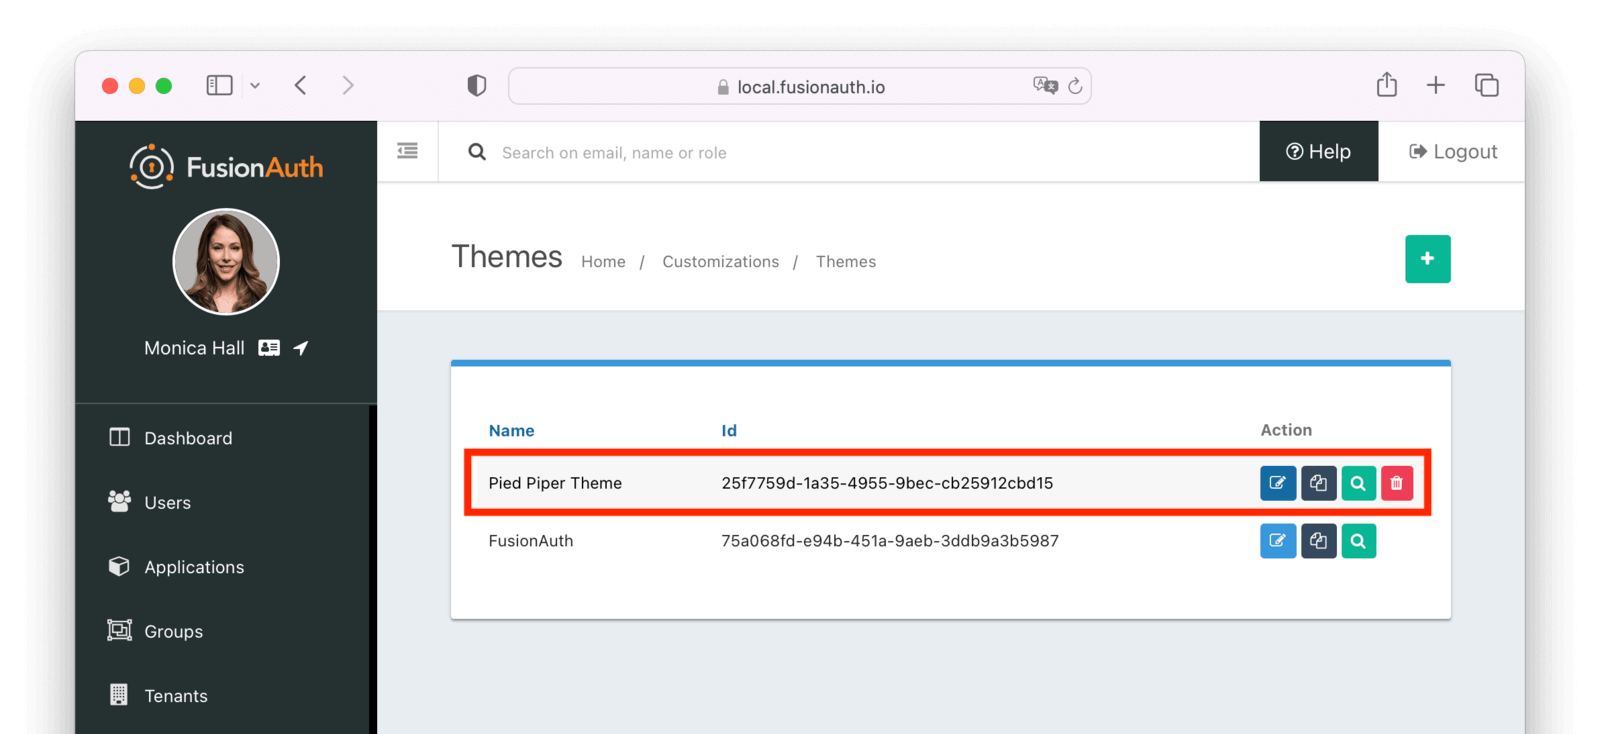 Next, assign it to the application. Navigate to
 Applications -> Your Application and choose a theme from the list of themes.
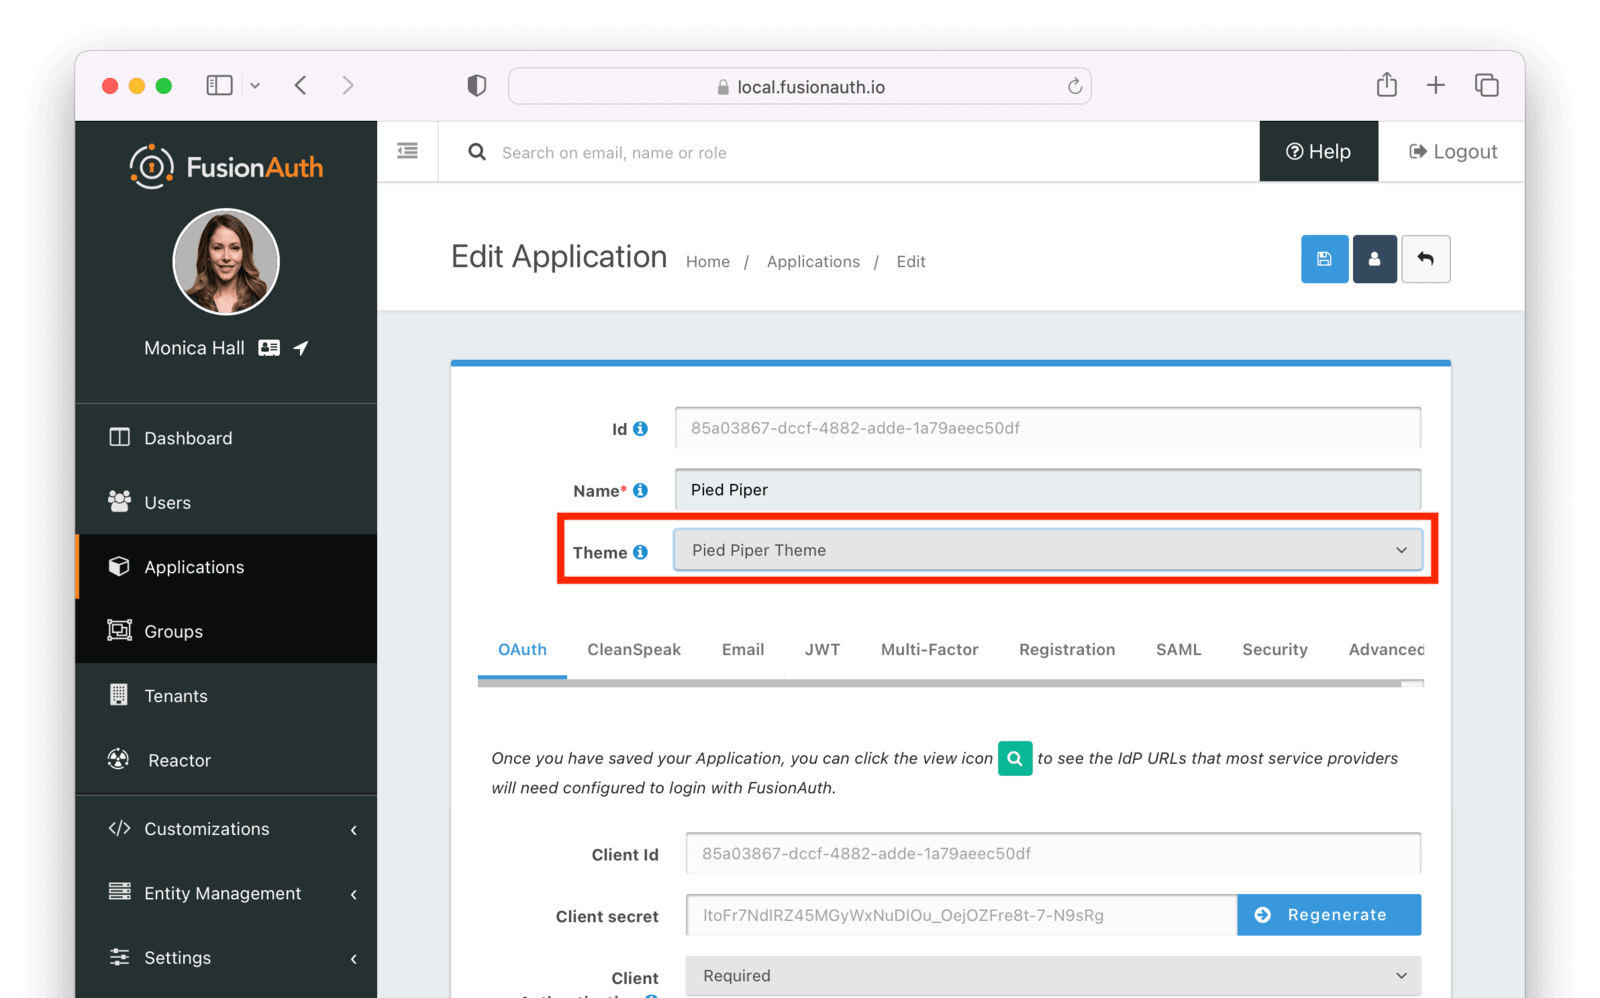 Now, any user accessing a page that belongs to an application will use that theme.
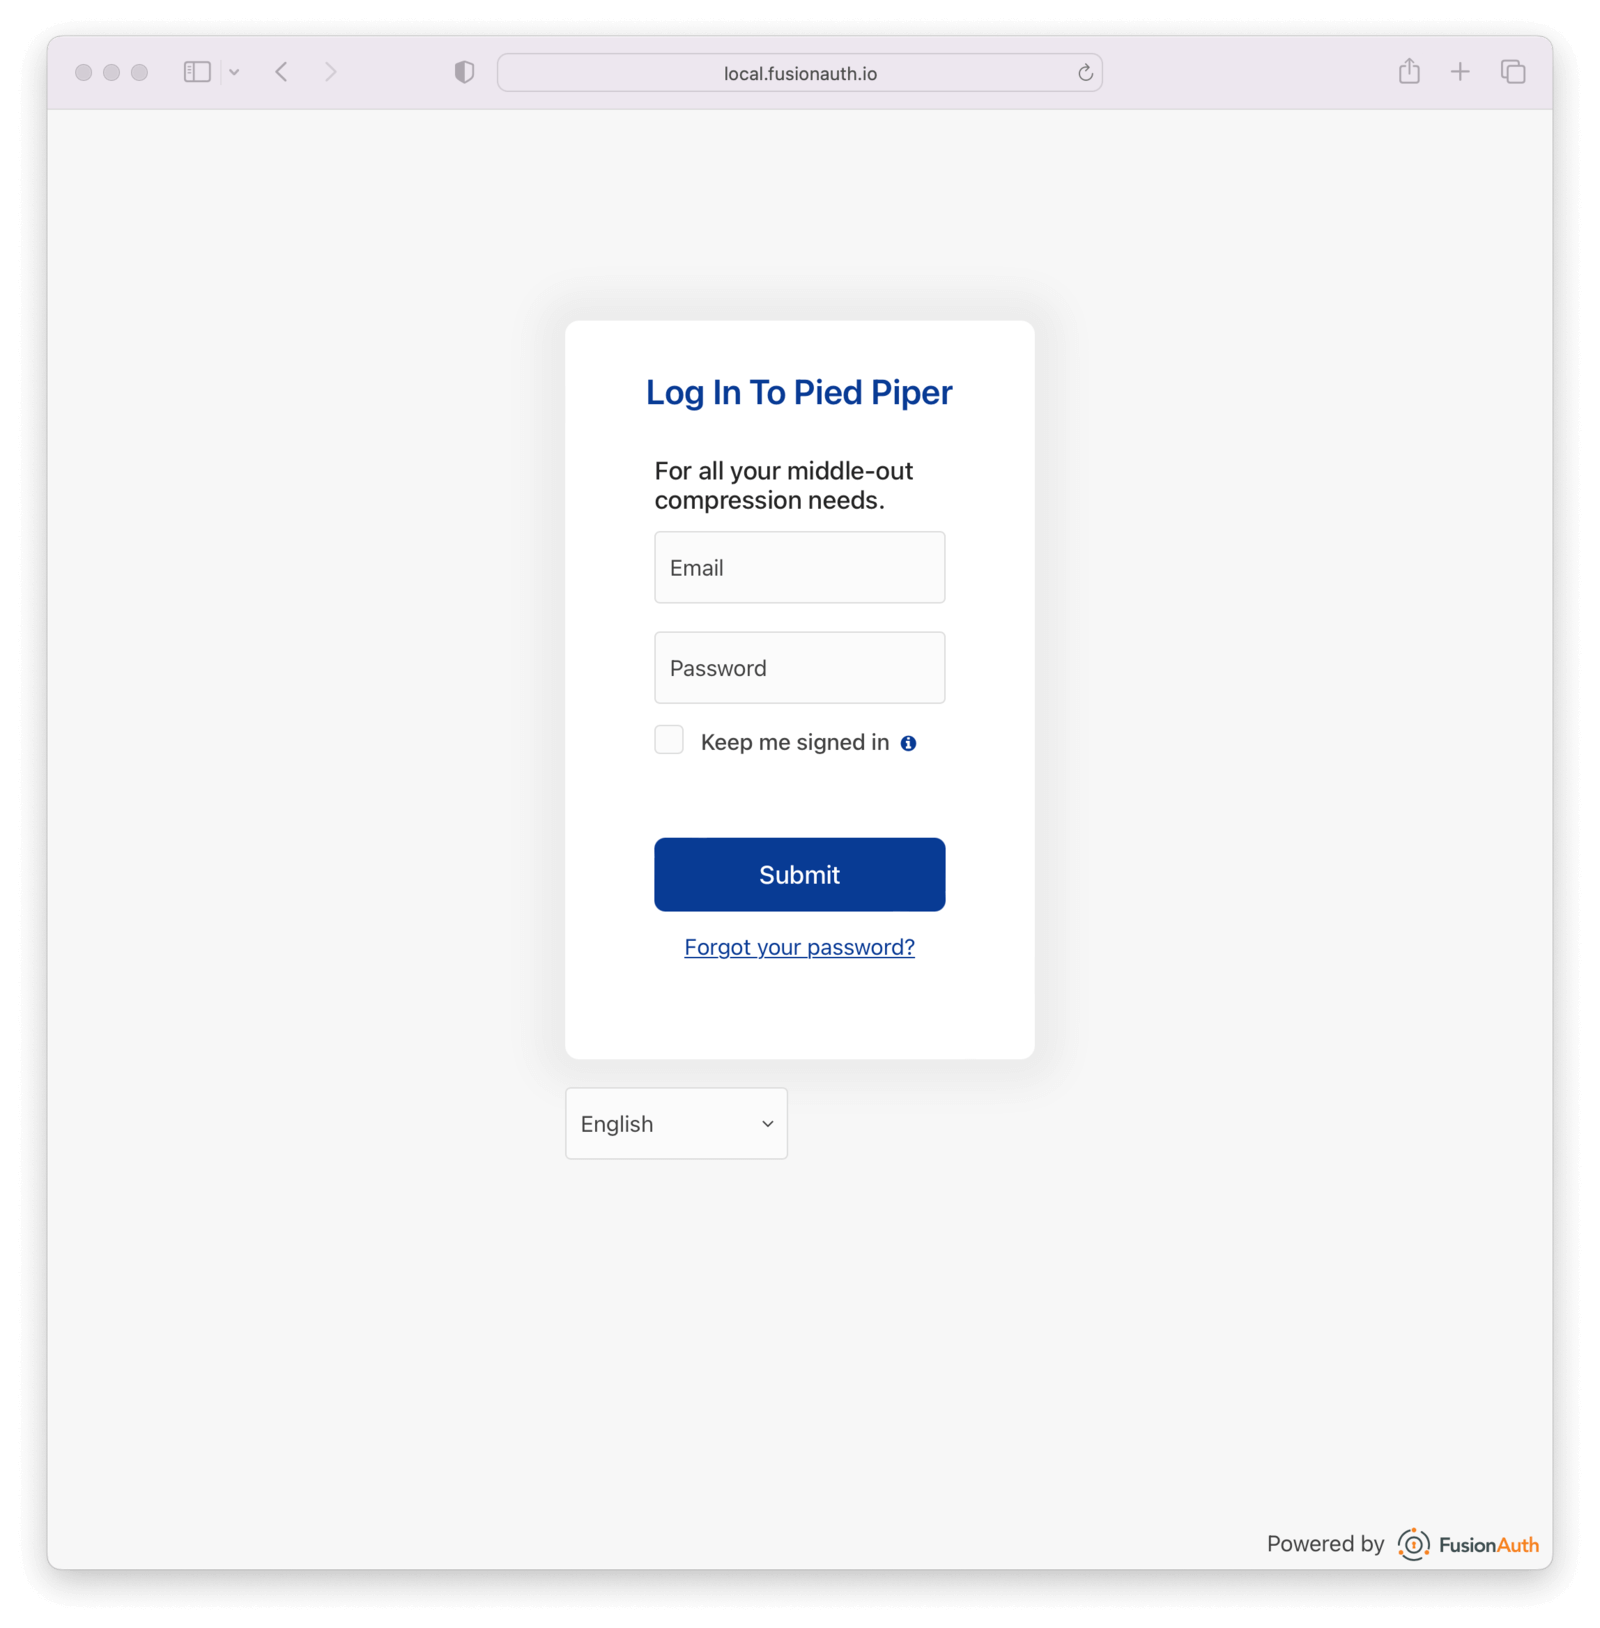 ## Additional Information
For application specific theming to work, FusionAuth must know which application is being accessed. This is typically done with the `client_id` parameter, which ties a request to a FusionAuth application. If the `client_id` cannot be determined, FusionAuth will fall back to the tenant theme. Make sure to include `client_id` on any external links you create.
Application specific theming, as with all theming, isn't very useful if you are not using the FusionAuth hosted login pages.
Currently, there is no concept of child themes to ease management if you have a large number of themes. There's an [open feature request](https://github.com/FusionAuth/fusionauth-issues/issues/1869) for this functionality.
# Client-side Password Rule Validation
import {RemoteCode} from '@fusionauth/astro-components';
import RemoteContent from '/src/components/RemoteContent.astro';
FusionAuth checks password rules in server-side validation, but you can also check them in your client. This page shows one method of doing so in JavaScript.
{/*
This page is primarily pulled from a GH subdirectory, ensuring that the code can be ran and updated easily. The README is also in that repo to make sure it stays in sync with the code.
When you change the remote files, there may be a 5 minute or so lag after your push before the changes are available at the `raw` URL, so don't be surprised if your changes don't immediately appear.
*/}
## Client-side Password Validation Example
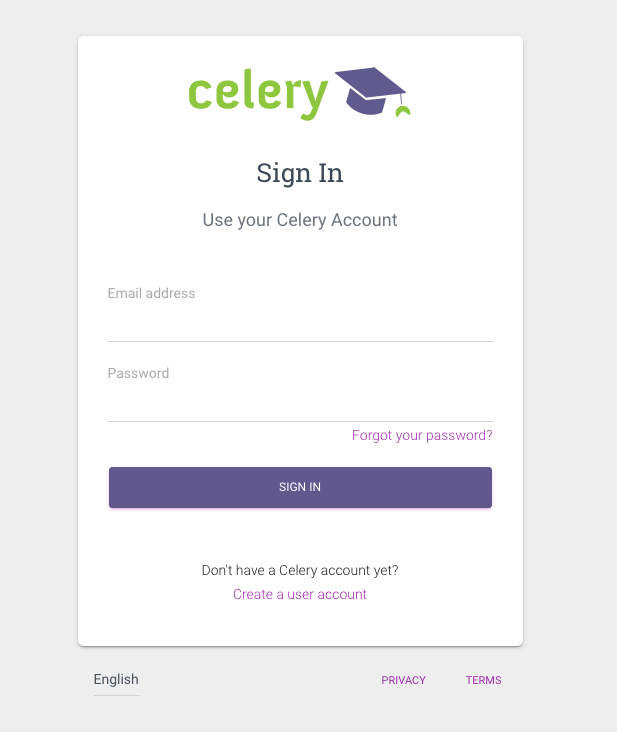
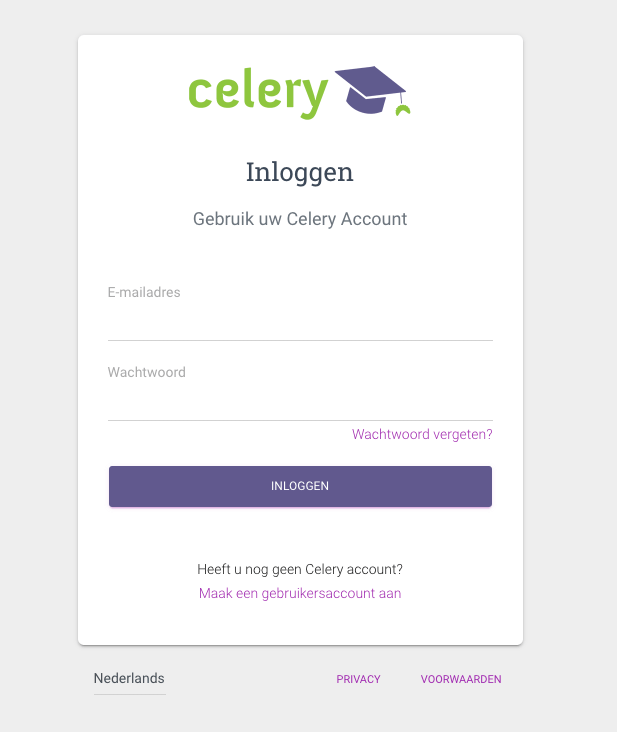 ### Gmork Tech
https://dagger.gmork.tech/
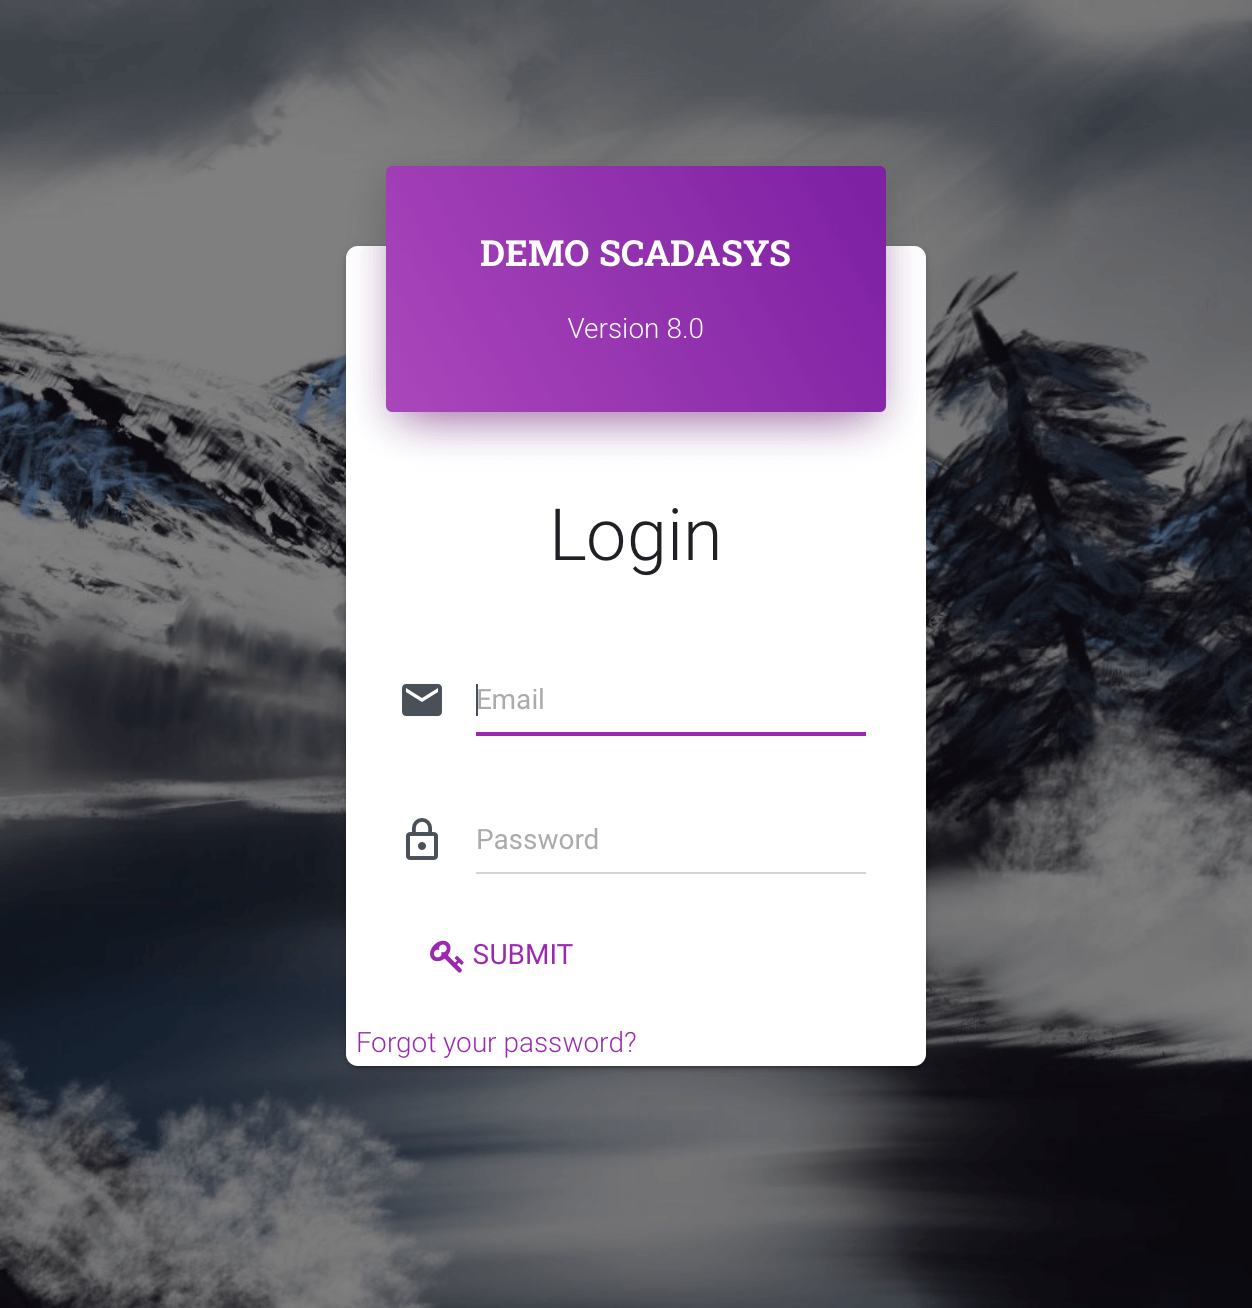 ### Oryx Software
 # Themes Helper Macros
import InlineField from 'src/components/InlineField.astro';
import APIBlock from 'src/components/api/APIBlock.astro';
import APIField from 'src/components/api/APIField.astro';
import Aside from 'src/components/Aside.astro';
import RecaptchaValues from 'src/content/docs/_shared/_recaptcha-values.mdx';
## Overview
FusionAuth has a template that contains a number of macros used in all of the page templates. This template is located at `../_helpers.ftl` and it contains a number of FreeMarker macros. The rest of the pages use these macros to generate various pieces of the HTML. The macros contained in `_helpers.ftl` are:
## Section Helpers
* `html`
* Renders the `` element
* `head`
* Renders the `` element and everything inside it including the `
# Themes Helper Macros
import InlineField from 'src/components/InlineField.astro';
import APIBlock from 'src/components/api/APIBlock.astro';
import APIField from 'src/components/api/APIField.astro';
import Aside from 'src/components/Aside.astro';
import RecaptchaValues from 'src/content/docs/_shared/_recaptcha-values.mdx';
## Overview
FusionAuth has a template that contains a number of macros used in all of the page templates. This template is located at `../_helpers.ftl` and it contains a number of FreeMarker macros. The rest of the pages use these macros to generate various pieces of the HTML. The macros contained in `_helpers.ftl` are:
## Section Helpers
* `html`
* Renders the `` element
* `head`
* Renders the `` element and everything inside it including the ``, CSS, Java Script, and meta information
* `body`
* Renders the `<body>` element
* `header`
* Renders any type of header for each page. This could be a navigation bar, side bar, or page details
* `main`
* Renders the main content body of each page. If all of your pages will have similar HTML elements like a container, this is the place to put them.
* `footer`
* Renders the footer content of each page. This might contain links, nav, privacy policies, etc.
Here is an example of what one of these helpers looks like:
```html title="HTML helper"
[#macro html]
<!DOCTYPE html>
<html>
[#nested/]
</html>
[/#macro]
```
The key to these macros is the `[#nested/]` element. This is the location that FreeMarker will insert any nested content when you use the macro. Here is an example of using this macro:
```html title="Example usage of HTML macro"
[@helpers.html]
<body>
Hello world!
</body>
[/@helpers.html]
```
Everything inside the macro will be place where the `[#nested/]` element is. Therefore, the result of our example would be this HTML:
```html title="Example result"
<!DOCTYPE html>
<html>
<body>
Hello world!
</body>
</html>
```
All of the page templates use these macros, which makes it much easier to style all of the pages at one time. You simply edit the macros and your changes will take effect on all of the pages listed above.
## Social (alternative) Login Helpers
In addition to the section helpers, the `_helpers.ftl` template also contains additional macros that can be used to setup social and alternative logins. Currently, FusionAuth supports these social login providers:
* Apple
* Epic Games
* Facebook
* Google
* HYPR
* LinkedIn
* Sony PlayStation Network
* Steam
* Twitch
* Twitter
* Xbox
* Generic OpenID Connect
* Generic SAML v2
* Generic SAML v2 Identity Provider Initiated
This macro can be included on the Authorize or Register page.
* `/oauth2/authorize`
* `/oauth2/register`, available since 1.28.0
Once you have configured your alternative logins (called identity providers in the interface and API), they will appear on the FusionAuth stock login form. This is because our stock login form includes this code:
```html title="Social login code"
[@helpers.head]
[@helpers.alternativeLoginsScript clientId=client_id identityProviders=identityProviders/]
...
[/@helpers.head]
[@helpers.body]
...
[@helpers.alternativeLogins clientId=client_id identityProviders=identityProviders/]
[/@helpers.body]
```
The first macro (`alternativeLoginScripts`) includes the JavaScript libraries that FusionAuth uses to hook up the identity providers. Unless you want to write your own JavaScript or use a third-party library, you will need this JavaScript in the `<head>` tag in order for FusionAuth to leverage external login providers.
The second macro (`alternativeLogins`) produces the login buttons for each of the configured identity providers. These buttons are all hooked up to the JavaScript included in the `<head>` of the page in order to make it all work nicely.
You might want to use your own buttons for social logins. This is possible with FusionAuth, but you will need to do a couple of things to make it all work.
First, you need to remove the `[@helpers.alternativeLogins]` macro call.
Second, you need to use a specific `id` or `class` on your HTML element for the button. Here are the `id` s or `class` es for each identity provider:
* `id="apple-login-button"` is used for Apple
* `id="epicgames-login-button"` is used for Epic Games
* `id="google-login-button"` is used for Google
* `id="facebook-login-button"` is used for Facebook
* `id="linkedin-login-button"` is used for LinkedIn
* `id="sonypsn-login-button"` is used for Sony PlayStation Network
* `id="steam-login-button"` is used for Steam
* `id="twitch-login-button"` is used for Twitch
* `id="twitter-login-button"` is used for Twitter
* `id="xbox-login-button"` is used for Xbox
* `class="openid login-button"` is used for Generic OpenID Connect
* `class="samlv2 login-button"` is used for Generic SAML v2
And finally, you need to ensure that Prime.js is included on your page. This library ships with FusionAuth and you just need to ensure it is included like this:
```html title="Prime.js include"
<script src="/js/prime-min.js"></script>
```
## Alert and Error Helpers
The `_helpers.ftl` template also provides a couple of macros that can be used to output errors and alerts that might occur. The best bet is to include these macros in your `main` macro. Here are the macros and their purpose:
* `printErrorAlerts`
* This outputs any error alerts. These are normally displayed at the top of the page and you might want to make them able to be dismiss (i.e. removed from the page).
* `printInfoAlerts`
* This outputs any informational alerts. These are the same as the errors, but might have different CSS.
* `alert`
* This macro is used by the `printErrorAlerts` and `printInfoAlerts` but you can also use it directly to display an error or info message anywhere on the page.
## Form Helpers
The `_helpers.ftl` template provides a couple of macros that help render form elements and output form errors. Here are the macros you can use:
* `hidden`
* This outputs a hidden input element. Many pieces of the OAuth workflow and the other pages in FusionAuth use hidden form fields to store data. This macro uses the `eval` feature of FreeMarker in order to pull in data that was in the request. You shouldn't edit this macro unless you know what you are doing.
* `input`
* This outputs an input element plus a label and any errors that might have occurred on the form field. You can use this for text, passwords, and other input elements. FusionAuth also leverages `addons` which are icons next to the input field that provide visual cues to the user. This macro allows you to leverage addons as well. Similar to the `hidden` element, you should not edit this unless you know what you are doing.
* `errors`
* This macro is used by the `input` macro to render errors on the field. You can use this if you write your own `input` macros. Otherwise, you likely won't use this.
* `button`
* This macro renders a button that can be used to submit a form. The FusionAuth version of this macro includes an icon and the button text.
* `scopeConsentField`
* This macro renders the appropriate form field for a requested OAuth scope on the OAuth _Consent prompt_ page. It automatically handles the field type and message resolution based on the application's configuration. It requires the `resolveScopeMessaging` function to be defined in `_helpers.ftl`.
## CAPTCHA
The `_helpers.ftl` template provides a macro to embed [CAPTCHA challenges](/docs/get-started/core-concepts/tenants#captcha-settings) into your templates.
* `captchaBadge`
* Macro that adds a CAPTCHA badge to the template. See [template variables](/docs/customize/look-and-feel/template-variables/) for more information on the template variables. The macro's parameters are:
### Parameters
<APIBlock>
<APIField name="captchaMethod" type="String">
This is the type of CAPTCHA to use. Typically supplied by the `tenant.captchaConfiguration.captchaMethod` template variable. Valid values are:
<RecaptchaValues />
</APIField>
<APIField name="showCaptcha" type="Boolean">
This determines whether or not to show the CAPTCHA badge. Typically supplied by the `showCaptcha` template variable.
</APIField>
<APIField name="siteKey" type="String">
The `data-sitekey` value to use for the CAPTCHA. Typically supplied by the `tenant.captchaConfiguration.siteKey` template variable. Required if using `GoogleRecaptchaV3`.
</APIField>
</APIBlock>
### Invisible reCAPTCHA
If you wish to enable an [invisible reCAPTCHA](https://developers.google.com/recaptcha/docs/invisible) element so that a CAPTCHA will still challenge a submit without a checkbox on the form you may do so by adding the `data-size` and `data-callback` attributes on the tag with the `g-recaptcha` class. In FusionAuth version 1.46.0 and later these attributes will be present in the default template but commented out.
```html title="Invisible tag"
[#if captchaMethod == "GoogleRecaptchaV2"]
<div class="g-recaptcha" data-sitekey="${siteKey!''}"
data-size="invisible"
data-callback="reCaptchaV2InvisibleCallback"
></div>
...
```
<Aside type="note">
On versions of FusionAuth prior to 1.46.0 you will need to update the JavaScript in order to properly handle the form submit for invisible reCAPTCHA. See [the 1.46.0 release notes](/docs/release-notes/#version-1-46-0) for more information.
</Aside>
# Themes Overview
import ListHostedLoginPagesUseCases from 'src/content/docs/_shared/_list-hosted-login-pages-use-cases.mdx';
import PremiumPlanBlurbApi from 'src/content/docs/_shared/_premium-plan-blurb-api.astro';
import ThemeTroubleshooting from 'src/content/docs/customize/look-and-feel/_theme-troubleshooting.mdx';
import Aside from 'src/components/Aside.astro';
import Breadcrumb from 'src/components/Breadcrumb.astro';
## Overview
FusionAuth themes allow you to customize the hosted login pages and other user workflows such as forgot password. In FusionAuth you may create one to many themes and assign a theme per tenant or application so that you can customize the user experience for different users.
<Aside type="note">
Starting in version 1.51.0 you can use the [Simple Theme Editor](/docs/customize/look-and-feel/simple-theme-editor) to quickly and easily style FusionAuth with no code.
</Aside>
## Customization Levels
FusionAuth theme customization is only useful if you are using the hosted login pages. Using the hosted login pages has a number of advantages. By doing so, FusionAuth handles the complexity of a number of different auth related use cases. These use cases include, but are not limited to, the following:
<ListHostedLoginPagesUseCases />
If you are not using the hosted login pages, you are responsible for creating the user interface for the login and other experiences.
In contrast, if you are using the hosted login pages, you can customize at two different levels.
The first is the tenant. Learn more in the [Apply a Theme](#apply-a-theme) section.
The second is the application. There are two options for applying a theme at the application level:
* Use a tenant theme and use freemarker to switch on the `client_id` parameter. Review each template and ensure that you serve different content for different applications based on the Id. This is a good option if your needs are simple and you are willing to commit to the maintenance burden.
* Use application themes. This is a paid feature. Learn more about [application specific themes](/docs/customize/look-and-feel/application-specific-themes). This is a better choice if you have more complicated theming needs.
## Create a Theme
You have three options for creating a theme:
* The [Simple Theme Editor](/docs/customize/look-and-feel/simple-theme-editor)
* The [Advanced Theme Editor](/docs/customize/look-and-feel/advanced-theme-editor)
* The [Themes APIs](/docs/apis/themes) or other scripting solution like the [SDKs](/docs/sdks) or [Terraform](/docs/operate/deploy/terraform)
Here's a table with the relative strengths and weaknesses of the different approaches.
| Option | Good For | Challenges | Documentation |
| --------------------- | ------- | ------- | ------- |
| Simple Theme Editor | Quickly creating a customized look and feel. Upgrading to a new version of FusionAuth, which may have additional templates, is simple. | Doesn't allow injecting JavaScript or pixel-perfect control. Limited control of layouts of the page. | [docs](/docs/customize/look-and-feel/simple-theme-editor) |
| Advanced Theme Editor | Full control of every aspect of the look and feel, including moving or reordering fields on the page, adding custom JavaScript, and inserting multiple images | Can be complex to build, though there is some tooling. Complex to upgrade as new versions of FusionAuth come out. Requires knowledge of or willingness to learn Apache Freemarker. | [docs](/docs/customize/look-and-feel/advanced-theme-editor) |
| Theme APIs/SDKs | Automated application of themes across many tenants. Great if you are using a different templating language to generate many related themes and then uploading them. Good for CI/CD systems. | You still need to initially edit and review the templates somehow; that can be done with a local instance. |[docs](/docs/apis/themes) |
## Apply a Theme
You apply a theme by configuring either a Tenant or an Application to use the theme. Each theme may apply to multiple Applications or Tenants; however, each Tenant or Application may have only one theme.
To apply a theme to a Tenant, navigate to <Breadcrumb>Tenants -> Your Tenant</Breadcrumb>, then select the <Breadcrumb>General</Breadcrumb> tab. Select the appropriate theme and save the tenant. This will apply the theme to every application in that tenant, unless there is a theme specified for an application.
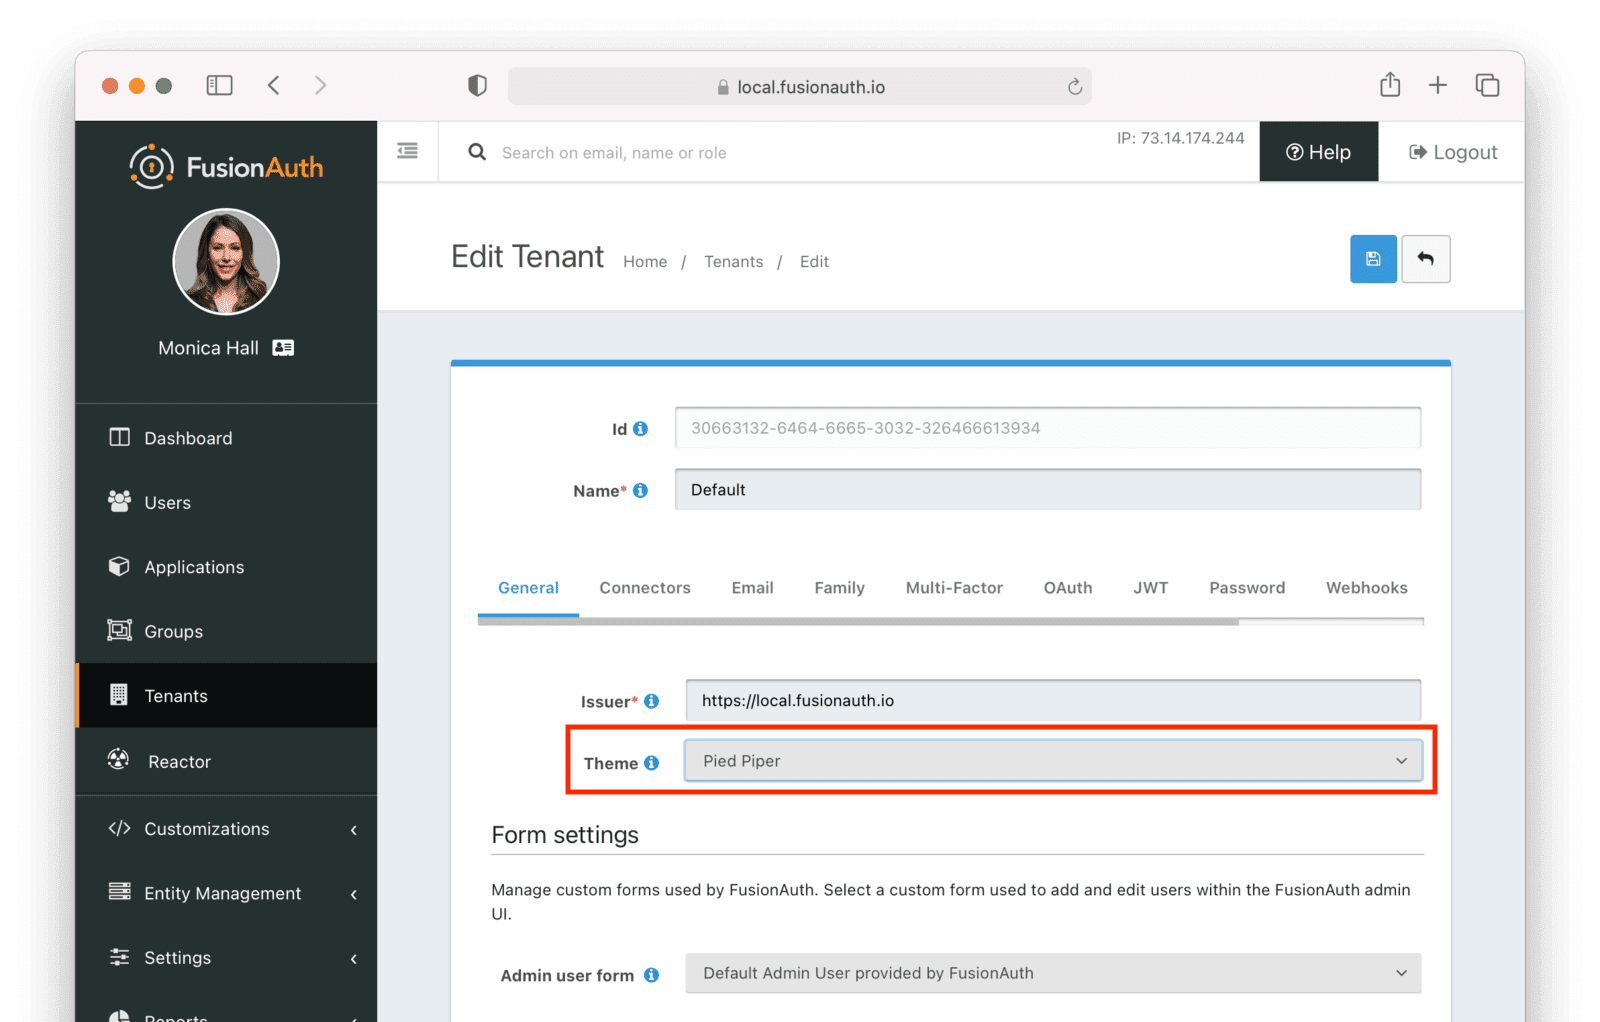
<PremiumPlanBlurbApi feature="application themes" />
To apply a theme to an application, navigate to <Breadcrumb>Applications -> Your Application</Breadcrumb>, then select the appropriate theme.
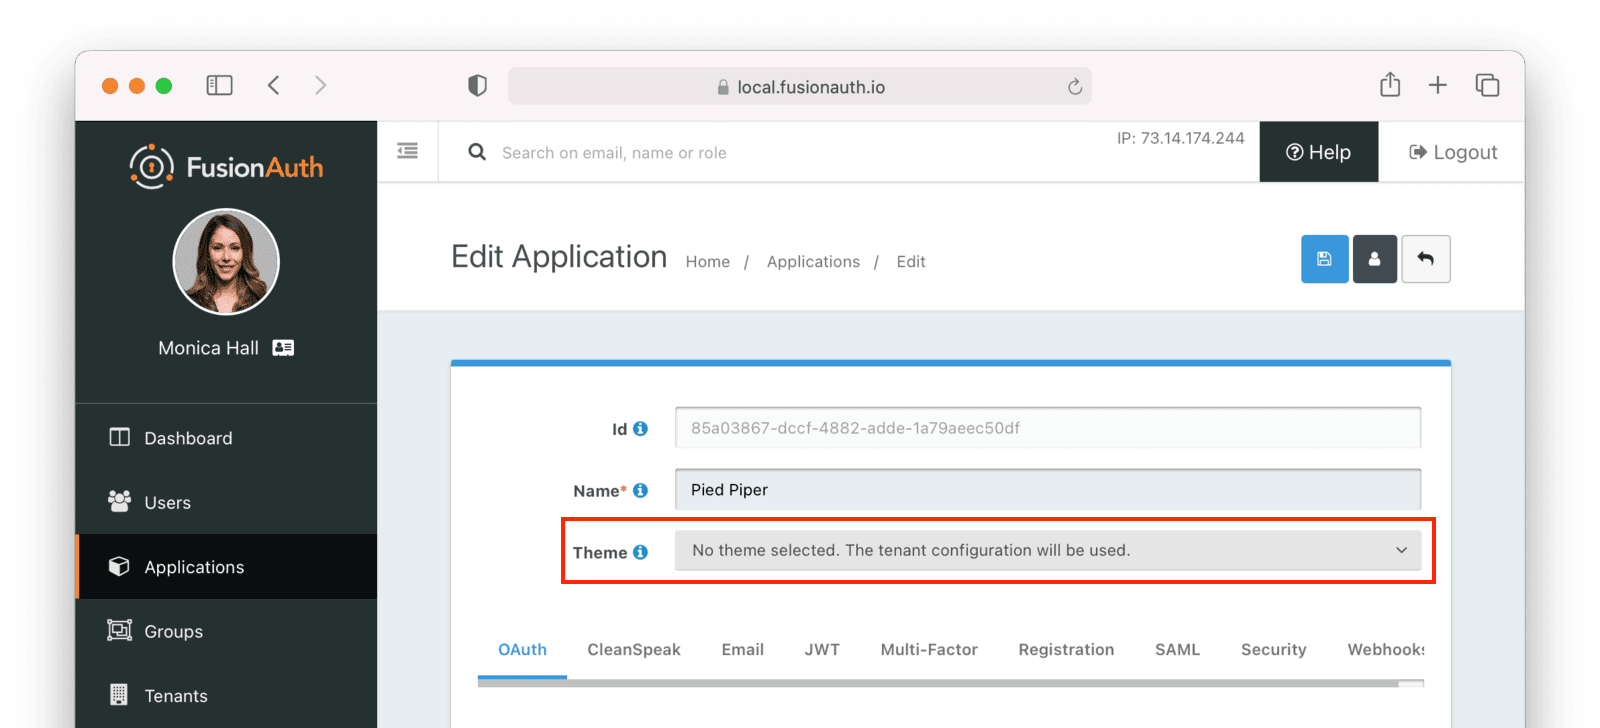
## Troubleshooting
<ThemeTroubleshooting />
# Themes And Kickstart
import Aside from 'src/components/Aside.astro';
import Breadcrumb from 'src/components/Breadcrumb.astro';
import InlineField from 'src/components/InlineField.astro';
import InlineUIElement from 'src/components/InlineUIElement.astro';
## Overview
[FusionAuth Kickstart™](/docs/get-started/download-and-install/development/kickstart) enables you to spin up a reproducible FusionAuth environment using a template file. This guide will walk you through the process of using Kickstart to set up a FusionAuth instance with a custom theme.
We'll apply a dark theme in place of the default application theme presented in the [5-minute Docker installation guide](/docs/extend/examples/5-minute-intro/5-minute-docker). We recommend following the 5-minute Docker installation guide before using this guide to automate the set-up process and apply a custom theme using Kickstart.
## Prerequisites
You'll need to have Node.js and Docker installed to follow this guide and the 5-minute guide. More information can be found [here](/docs/extend/examples/5-minute-intro/5-minute-docker#requirements).
## Getting Started
Once you've completed the steps in the 5-minute guide, we can take a look at the state of the FusionAuth instance you created.
Navigate to <Breadcrumb>Applications</Breadcrumb> and edit the application you created. Go to the <Breadcrumb>OAuth</Breadcrumb> tab to examine the settings that you configured.
<img src="/img/docs/customize/look-and-feel/app-settings.png" alt="Application settings." width="1200" />
In the 5-minute guide, the <InlineField>Authorized redirect URLs</InlineField>, <InlineField>Logout URL</InlineField>, <InlineField>Enabled grants</InlineField>, and <InlineField>Require registration</InlineField> fields were manually entered. We will use Kickstart to automate all of these settings. We will also apply predefined <InlineField>Client Id</InlineField> and <InlineField>Client secret</InlineField> values to make launching the application easier.
Now, navigate to <Breadcrumb>Users -> Manage</Breadcrumb> for the user that you set up in the 5-minute guide.
<img src="/img/docs/customize/look-and-feel/manageuser.png" alt="Manage user." width="1200" />
In the 5-minute guide, you created both the user and the FusionAuth registration by manually filling out the registration form. You then added a registration for the user to the application you created. We are going to automate these steps.
Finally, navigate to <Breadcrumb>Customizations -> Themes</Breadcrumb> and preview the FusionAuth theme. The application you created in the 5-minute guide uses the OAuth authorize and OAuth logout pages.
The OAuth authorize template looks like this:
<img src="/img/docs/customize/look-and-feel/preview-oauth.png" alt="Preview theme" width="1200" />
The OAuth logout template looks like this:
<img src="/img/docs/customize/look-and-feel/preview-oauth-logout.png" alt="OAuth logout FusionAuth" width="1200" />
We are going to create a dark theme so these templates that will look like this:
<img src="/img/docs/customize/look-and-feel/preview-authorize-dark.png" alt="OAuth authorize Dark" width="1200" />
<img src="/img/docs/customize/look-and-feel/preview-logout-dark.png" alt="OAuth logout Dark" width="1200" />
## Creating the Files
To customize our theme, we'll need to create two files:
- A CSS file, which we'll use to define the dark theme.
- A `kickstart.json` file that will enable the automatic configuration of settings.
The requests we add to the `kickstart.json` file will each need a separate JSON file.
If you'd like to skip ahead to the <InlineUIElement>Running Kickstart</InlineUIElement> section, you can [download the completed files here](https://github.com/FusionAuth/fusionauth-example-kickstart/tree/main/theme-css-only).
### The `darkTheme.css` File
The most straightforward way to add a consistent style to your theme is to define a stylesheet using CSS. You can interactively experiment with CSS in your browser to get your application looking the way you want it to.
Let's define one CSS rule together. First, preview the FusionAuth theme and open up the web inspector by right-clicking and selecting "Inspect". Click the <InlineUIElement>Select element</InlineUIElement> button and click the area of the page you would like to style, for example, the `div` element with the class `.panel`.
<img src="/img/docs/customize/look-and-feel/div-panel-bg.png" alt="Panel background color" width="1200" />
This element has a `background` property with a value of `#fff`, or pure white.
Let's change the background from white to black. With the element selected, click the plus <InlineUIElement>+</InlineUIElement> icon and type `background: black`.
<img src="/img/docs/customize/look-and-feel/background-black.png" alt="Panel background color" width="1200" />
We've just defined our first `css` rule. Copy the text that you generated, including the part that the browser made for you when you clicked the plus <InlineUIElement>+</InlineUIElement> icon, into a text editor and save it as `darkTheme.css`, like this:
```css
.panel {
background: black
}
```
You can keep using this process to add rules to your `darkTheme.css` file until you've got a fully defined style that you're happy with. Feel free to use [this file](https://github.com/FusionAuth/fusionauth-example-kickstart/blob/main/theme-css-only/darkTheme.css) for this tutorial.
Once you have your `darkTheme.css` file, create a folder called `kickstart` and move your `darkTheme.css` file into it.
### The `kickstart.json` File
The `kickstart.json` file allows us to automatically configure everything we need for our application from the moment we first launch it.
Create a file called `kickstart.json` in the `kickstart` folder and copy the following text into it:
```json
{
"variables":{
"apiKey" : "#{UUID()}",
"themeID" : "#{UUID()}",
"applicationID" : "404e516b-06b8-49da-9c68-c1cd1928c81d",
"clientSecret" : "RBLhJrfRsa0-YxVPrn_aZfzIGccWyncdvHvDNTy-Hrs",
"defaultTenantId": "da025934-3ba7-4a13-83f0-aab68c9919b8",
"userID" : "#{UUID()}"
},
"apiKeys": [
{
"key": "#{apiKey}"
}
],
"requests":[
"&{json/createTheme.json}",
"&{json/updateTheme.json}",
"&{json/createApplication.json}",
"&{json/createUser.json}",
"&{json/registerUser.json}",
"&{json/setDefaultTheme.json}"
]
}
```
There are three sections in this code: `"variables"`, `"apiKeys"`, and `"requests"`.
The `"variables"` section defines identifiers for the key components of our FusionAuth instance. In this section, `"apiKey"`, `"themeId"`, and `"userId"` are randomly generated UUIDs. We'll use the arbitrary values in `"applicationId"`, `"clientSecret"` and `"defaultTenantId"` later on.
The `"apiKeys"` section defines the key through which our requests will be executed. At least one `"apiKey"` is required for every `kickstart.json` file.
The `"requests"` section defines the API requests that perform our API calls. Each request is stored in a JSON file, which we need to define separately. You can also have them inline, but when you are working with a lot of changes, it is easier to have each change in a separate file.
Let's define these files now.
### The API Request JSON Files
Create a subdirectory in the `kickstart` folder called `json`. In the `json` folder, add a file called `createTheme.json` containing the following code:
```json
{
"method" : "POST",
"url" : "api/theme/#{themeID}",
"body" : {
"sourceThemeId" : "75a068fd-e94b-451a-9aeb-3ddb9a3b5987",
"theme" : {
"name" : "Dark Theme"
}
}
}
```
This request creates the dark theme. It uses the `"sourceThemeId"` attribute to copy everything from the default FusionAuth theme, the Id of which is always `75a068fd-e94b-451a-9aeb-3ddb9a3b5987`. It also assigns the UUID initialized and contained in the `#{themeID}` variable as this theme's Id by setting it as the resource Id in the path of the URL.
Create a file called `updateTheme.json` and add the following to it:
```json
{
"method" : "PATCH",
"url" : "api/theme/#{themeID}",
"body" : {
"theme" : {
"stylesheet" : "@{darkTheme.css}"
}
}
}
```
This request applies our `darkTheme.css` stylesheet to the theme we created.
Create a file called `setDefaultTheme.json` and copy the following into it:
```json
{
"method": "PATCH",
"url": "/api/tenant/#{defaultTenantId}",
"body": {
"tenant": {
"themeId": "#{themeID}"
}
}
}
```
This request sets the dark theme as the theme for the default tenant.
Create a file called `createApplication.json` and copy the following into it:
```json
{
"method" : "POST",
"url" : "/api/application/#{applicationID}",
"body" : {
"application":{
"name" : "Kickstart App",
"oauthConfiguration" : {
"authorizedRedirectURLs" : [
"http://localhost:3000/oauth-redirect"
],
"clientId" : "#{applicationID}",
"clientSecret" : "#{clientSecret}",
"logoutURL": "http://localhost:3000/logout",
"enabledGrants": [
"authorization_code",
"refresh_token"
],
"requireRegistration" : "true"
}
}
}
}
```
This request creates the application and configures its OAuth settings as they appear in the 5-minute guide.
Create a file called `createUser.json` containing the following:
```json
{
"method": "POST",
"url": "/api/user/registration/#{userID}",
"body": {
"user": {
"email": "richard@example.com",
"password": "password"
},
"registration": {
"applicationId": "#{FUSIONAUTH_APPLICATION_ID}",
"roles": [
"admin"
]
}
}
}
```
This request creates a user and registers the user to the default FusionAuth application. This is necessary to login to the admin panel.
Finally, create a file called `registerUser.json` containing the following:
```json
{
"method": "POST",
"url": "/api/user/registration/#{userID}",
"body": {
"registration": {
"applicationId": "#{applicationID}"
}
}
}
```
This request adds a registration for the user that we just created to our custom application. This requires a separate request because our initial request used its `"registration"` field for the default application.
With these files, our `kickstart` folder is complete and ready to use. The entire folder can be downloaded [here](https://github.com/FusionAuth/fusionauth-example-kickstart/blob/main/theme-css-only).
## Modifying the Files from the 5-Minute Guide
Next we'll import and modify the files from the 5-minute guide that let us launch and run our FusionAuth instance.
First, download the Docker files.
```bash
curl -o docker-compose.yml https://raw.githubusercontent.com/FusionAuth/fusionauth-containers/main/docker/fusionauth/docker-compose.yml
curl -o .env https://raw.githubusercontent.com/FusionAuth/fusionauth-containers/main/docker/fusionauth/.env
```
To enable Kickstart to run from this `docker-compose.yml` file, we must make some modifications. They are described in detail at [this link](/docs/get-started/download-and-install/docker#kickstart) and copied here for your convenience:
- In the `volumes:` section of the FusionAuth service, add `- ./kickstart:/usr/local/fusionauth/kickstart`.
- Modify `.env` and add the Kickstart configuration variable: `FUSIONAUTH_APP_KICKSTART_FILE=/usr/local/fusionauth/kickstart/kickstart.json`. This path should be what the Docker container expects, not the path on the host.
- Configure `docker-compose.yml` to pass the environment variable set by `.env` to the container. Do this by adding `FUSIONAUTH_APP_KICKSTART_FILE: ${FUSIONAUTH_APP_KICKSTART_FILE}` to the `environment` section of the FusionAuth service.
Now download the 5-minute guide files.
```bash
git clone https://github.com/FusionAuth/fusionauth-example-5-minute-guide \
&& cd fusionauth-example-5-minute-guide
```
This folder contains a file called `.env.sample`:
```shell
CLIENT_ID=CHANGEME
CLIENT_SECRET=CHANGEME
BASE_URL=http://localhost:9011
```
Change the `CLIENT_ID` and `CLIENT_SECRET` so that they match the `applicationId` and `clientSecret` variables from your `kickstart.json` file. Then save the file as `.env`
```shell
CLIENT_ID=404e516b-06b8-49da-9c68-c1cd1928c81d
CLIENT_SECRET=RBLhJrfRsa0-YxVPrn_aZfzIGccWyncdvHvDNTy-Hrs
BASE_URL=http://localhost:9011
```
## Running Kickstart
Once you have completed the steps above, you should have a folder that is structured as follows. We call this folder `Kickstart_Theme`, but you can call it whatever you like.
```
+ Kickstart_Theme
|
+-- docker-compose.yml
|
+-- fusionauth-example-5-minute-guide
|
+--+ kickstart
|
+-- kickstart.json
|
+-- darkTheme.css
|
+--+ json
|
+-- createTheme.json
|
+-- updateTheme.json
|
+-- createUser.json
|
+-- registerUser.json
|
+-- createApplication.json
|
+-- setDefaultTheme.json
```
To launch the FusionAuth instance, navigate to the `Kickstart_Theme` folder and run the docker compose command.
```bash
docker compose up
```
Once the execution has finished, the newly created FusionAuth instance will be accessible at `http://localhost:9011`.
Login to the FusionAuth instance. The username and password are configured in `kickstart/json/createUser.json`. You can set them to be anything you like, but for this tutorial, they are defined as follows:
```json
"email": "richard@example.com",
"password": "password"
```
Enter these credentials into the login screen to be taken to the admin dashboard.
You can look at <Breadcrumb>Applications</Breadcrumb>, <Breadcrumb>Users</Breadcrumb>, and <Breadcrumb>Customizations -> Themes</Breadcrumb> to verify that all of the settings have been configured correctly.
## Running the Application
Now that everything is set up and our theme has been applied, we can run the application. Navigate to the `fusionauth-example-5-minute-guide` directory and use `npm` to start the application.
```bash
npm install
npm start
```
Open an incognito window and visit `http://localhost:3000`.
You will be taken to the same landing page that you saw in the 5-minute guide. However, when you click <InlineUIElement>Login</InlineUIElement> this time, you will see your custom theme applied to the OAuth authorize page.
<img src="/img/docs/customize/look-and-feel/dark-authorize.png" alt="Dark theme applied" width="1200" role="bottom-cropped" />
Enter the same credentials you used to login to the admin panel and click <InlineUIElement>Logout</InlineUIElement> to see the OAuth logout page.
## Modifying the Default Messages
Let's take it one step further and assume we want to change the content of some of the messages on the OAuth pages. For example, consider the "Forgot your password?" message, which shows up on the OAuth authorize page.
<img src="/img/docs/customize/look-and-feel/forgot-password.png" alt="Forgot password" width="1200" role="bottom-cropped" />
Let's say we want to change this to say "Forgot your password? Click here." We can do this by adding a `defaultMessages` property to `json/updateTheme.json`.
The `defaultMessages` string requires at least all of the messages defined in the FusionAuth default shipped messages file to be present, as it updates all messages as a single unit. The easiest way to accomplish this is to create a new file called `defaultMessages.txt` in your `kickstart` folder and copy-paste these messages into it.
The messages can be accessed by editing your custom theme, navigating to the <Breadcrumb>Messages</Breadcrumb> page, and clicking the <InlineUIElement>Edit</InlineUIElement> button.
<img src="/img/docs/customize/look-and-feel/messages.png" alt="Theme messages" width="1200" />
Copy the entire contents of that box into your `defaultMessages.txt` file, find the `forgot-your-password` message (line 65), and modify it to "Forgot your password? Click here."
```json
{
"method" : "PATCH",
"url" : "api/theme/#{themeID}",
"body" : {
"theme" : {
"stylesheet" : "@{darkTheme.css}",
"defaultMessages" : "@{defaultMessages.txt}"
}
}
}
```
<Aside type="note">
Kickstart will not run if it sees any users, API keys, or applications in the FusionAuth database. This is to prevent data loss. If you can login to the FusionAuth administrative user interface, Kickstart will not run.
</Aside>
Once you have modified `updateTheme.json`, you will need to clear the volumes created when you launched the FusionAuth instance to allow the Kickstart to rerun. You can do this by executing the following command (This will totally destroy all data stored in the instance):
```bash
docker compose down -v
```
When you relaunch the instance using the `docker compose up` command, the result will be as below with the updated message:
<img src="/img/docs/customize/look-and-feel/updated-message.png" alt="Updated message" width="1200" role="bottom-cropped" />
## Conclusion
This guide has shown you how to use Kickstart to launch a reproducible FusionAuth instance with a custom theme. The complete set of files for this project can be found [here](https://github.com/FusionAuth/fusionauth-example-kickstart) in the directory called `theme-css-only`.
Some suggestions for further reading are as follows:
- [General documentation on Themes](/docs/customize/look-and-feel/)
- [API-specific documentation on Themes](/docs/apis/themes)
# Theme Localization
import AdvancedPlanBlurb from 'src/content/docs/_shared/_advanced-plan-blurb.astro';
import Aside from 'src/components/Aside.astro';
import MessagesExample from 'src/content/docs/customize/look-and-feel/_messages-example.mdx';
import LocalePrecedence from 'src/content/docs/_shared/_locale_precedence.mdx';
import OAuthScopeMessageLookup from 'src/content/docs/_shared/_oauth-scope-message-lookup.mdx';
## Overview
The FusionAuth theme can be localized to better server your end users. In each theme you may specify one to many language specific message bundles to translate text rendered in a theme into a user's preferred language.
If you're just looking into localizing your theme, take a look at our [community provided and maintained message bundles](https://github.com/FusionAuth/fusionauth-localization).
You may also want to review our [localization and internationalization documentation](/docs/get-started/core-concepts/localization-and-internationalization).
## Messages
In the Messages tab of your theme editor you may specify one to many languages. Once you have specified a key and value the key may be used in any template to display a localized string.
<MessagesExample />
## Locale
The locale is determined by the [locale](/docs/reference/data-types#locales) value. The locale is resolved on each request using the following precedence:
<LocalePrecedence />
## Identity Provider Login Buttons
The button text displayed in the login pages for identity providers such as Google, Facebook or SAML, is retrieved from the identity provider configuration. The [API documentation](/docs/apis/identity-providers/google) documents how to set and retrieve this value, which is `identityProvider.buttonText`.
This text is used in the default theme like so:
```html title="Login Template Excerpt"
<div class="text">${identityProvider.lookupButtonText(clientId)?trim}</div>
```
The `buttonText` value stored in the identity provider configuration cannot be localized.
However, you can replace this line in the theme template to pull a localized value from the messages bundle.
First, add the translated text to all messages bundles, including the default bundle:
```properties title="English"
google-login=Login With Google
```
```properties title="German"
google-login=Mit Google Einloggen
```
Then, update the relevant templates to display the localized text. Here's an excerpt of an updated login page:
```html title="Updated Login Template Excerpt"
<div class="text">${theme.message('google-login')}</div>
```
## OAuth Scope Consent Prompt
<AdvancedPlanBlurb />
<Aside type="version">Available since 1.50.0</Aside>
The `OAuth2 consent` template at `/oauth2/consent` has an expanded message lookup policy in order to allow customizing scope consent messages and details without requiring a separate theme.
<OAuthScopeMessageLookup />
# Tailwind CSS
import InlineField from 'src/components/InlineField.astro';
import InlineUIElement from 'src/components/InlineUIElement.astro';
import Breadcrumb from 'src/components/Breadcrumb.astro';
## Overview
Tailwind CSS is a utility-first CSS framework for rapidly building custom user interfaces. If you are already using Tailwind CSS in your application, you can integrate it into FusionAuth.
## Prerequisites
* Node.js 18 or later
## Setting up FusionAuth
Create a new theme by navigating to <Breadcrumb>Customization -> Themes</Breadcrumb> and then click the <InlineUIElement>Add</InlineUIElement> button. Enter a <InlineField>Name</InlineField> for the theme and click the <InlineUIElement>Save</InlineUIElement> button.
<img src="/img/docs/customize/look-and-feel/create-theme.png" alt="Create a theme" width="1200" />
Create a new API key with permissions to modify the theme. You can do this by going to <Breadcrumb>Settings -> API Keys</Breadcrumb>. Then click the <InlineUIElement>Add</InlineUIElement> button and select `GET` and `PATCH` permissions for `/api/theme/`.
<img src="/img/docs/customize/look-and-feel/create-api-key.png" alt="Create an API key" width="1200" />
## Installation
To get started, we need to create a new node project with the FusionAuth CLI and Tailwind CSS installed:
```bash
mkdir fusionauth-tailwind
cd fusionauth-tailwind
npm init -y
npm install @fusionauth/cli tailwindcss@3
npx tailwindcss init
```
This will install the dependencies and create the `tailwind.config.js` file in the project root. You can customize the configuration as needed.
Change the `tailwind.config.js` to handle the FreeMarker template files in the `tpl` directory:
```js
/** @type {import('tailwindcss').Config} */
module.exports = {
content: ['./tpl/*.ftl'],
theme: {
extend: {}
},
plugins: []
}
```
Create a new stylesheet `input.css` in the root directory:
```css
@tailwind base;
@tailwind components;
@tailwind utilities;
```
This stylesheet will be used to import the Tailwind CSS base, components, and utilities. Additionally, you can add custom classes to this stylesheet as well.
We can now download the theme from FusionAuth:
```bash
npx fusionauth theme:download <themeId> -k <apiKey> -h http://localhost:9011
```
Replace `<themeId>` and `<apiKey>` with the Id of the theme and API key you created in FusionAuth respectively.
Currently, the theme is using the `fusionauth-style.css` hosted in the FusionAuth instance. This could conflict with our Tailwind CSS file. To fix this, we need to remove the following line from the `tpl/helpers.ftl` file. It should be around line number 85:
```html
<link rel="stylesheet" href="/css/fusionauth-style.css?version=${version}"/>
```
Finally, we add two new scripts to the `package.json` file:
```json
"scripts": {
"watch:tailwind": "tailwindcss -i ./input.css -o ./tpl/stylesheet.css --watch",
"watch:theme": "fusionauth theme:watch <themeId> -k <apiKey> -h http://localhost:9011"
},
```
At this point, we have prepared the project to build the Tailwind CSS file and upload the theme to FusionAuth. To apply the changes in the `helper.ftl` file, run the following command:
```bash
npx fusionauth theme:upload <themeId> -k <apiKey> -h http://localhost:9011
```
## Usage
There are now two scripts that can be used to build the Tailwind CSS file and upload the theme to FusionAuth:
* `npm run watch:theme` — watches the template directory for changes and upload the theme to FusionAuth
* `npm run watch:tailwind` — watches the template directory for changes and rebuild the Tailwind CSS file
If you start both scripts in separate terminal windows, you can edit the template files, which rebuild the Tailwind CSS file, and automatically upload the theme to FusionAuth.
Now if we use a Tailwind CSS class in a template, it will be included in the CSS file:
```html
<div class="bg-gray-200">
<h1 class="text-2xl">Hello World</h1>
</div>
```
To preview the changes, open FusionAuth, navigate to <Breadcrumb>Customization -> Themes</Breadcrumb>. Choose your theme, then click <InlineUIElement>Preview</InlineUIElement>.
<img src="/img/docs/customize/look-and-feel/preview-theme-list.png" alt="Click preview" width="1200" role="bottom-cropped" />
<img src="/img/docs/customize/look-and-feel/preview-theme.png" alt="Preview the theme" width="1200" />
## Integrate DaisyUI
There are many Tailwind CSS UI component libraries available. In this example, we are going to use DaisyUI.
DaisyUI is a Tailwind CSS plugin that provides a set of pre-built components and utilities to build beautiful and responsive websites. It supports color theming, light and dark mode, and RTL.
To integrate DaisyUI, install the plugin:
```bash
npm install daisyui
```
Then add the plugin to the `tailwind.config.js`:
```js
module.exports = {
content: ['./tpl/*.ftl'],
theme: {
extend: {}
},
plugins: [
require('daisyui')
]
}
```
Now you can use the DaisyUI components in the FreeMarker template files:
```html
<div class="bg-gray-200">
<h1 class="text-2xl">Hello World</h1>
<div class="p-4">
<button class="btn btn-primary">Primary</button>
</div>
</div>
```
For an example integration, see [FusionAuth + Tailwind + DaisyUI Repository on GitHub](https://github.com/FusionAuth/fusionauth-example-theme-tailwind-daisyui/).
The example repository has light and dark mode setup, and includes updated templates for the following pages:
* Log in
* Log out
* Registration
* Forgot password
In this repository, you could change the color scheme simply by updating the `tailwind.config.js` file:
```js
/** @type {import('tailwindcss').Config} */
module.exports = {
content: ['./tpl/*.ftl'],
theme: {
extend: {
keyframes: {
progressBar: {
"0%": {
width: "0%"
},
"100%": {
width: "100%"
}
}
},
animation: {
progressBar: "progressBar 10s ease-in 1"
}
}
},
plugins: [require("daisyui")],
daisyui: {
themes: [
'corporate',
{
business: {
...require("daisyui/src/colors/themes")["[data-theme=business]"],
'primary': '#c891f2'
}
}
],
darkTheme: 'business'
}
}
```
Or you can even create your own theme with the [DaisyUI Theme Generator](https://daisyui.com/theme-generator/)
## Conclusion
This guide has shown you how to integrate Tailwind CSS into FusionAuth using the FusionAuth CLI. Additionally, we have shown how to integrate DaisyUI to build beautiful and responsive FusionAuth pages.
## References
* [Tailwind CSS](https://tailwindcss.com/)
* [DaisyUI](https://daisyui.com/)
# Simple Theme Editor
import APIBlock from 'src/components/api/APIBlock.astro';
import APIField from 'src/components/api/APIField.astro';
import Aside from 'src/components/Aside.astro';
import Breadcrumb from 'src/components/Breadcrumb.astro';
import Icon from 'src/components/icon/Icon.astro';
import InlineField from 'src/components/InlineField.astro';
import InlineUIElement from 'src/components/InlineUIElement.astro';
import ThemeTroubleshooting from 'src/content/docs/customize/look-and-feel/_theme-troubleshooting.mdx';
import { YouTube } from '@astro-community/astro-embed-youtube';
## Overview
<Aside type="version">
Available since 1.51.0
</Aside>
<YouTube id="hn7RqbkmHt8" />
The Simple Theme Editor allows you to quickly get up and running with a custom FusionAuth theme by selecting a few styles, and without needing to edit any Freemarker or HTML. If you would rather not use the Admin UI you can also update a theme via the [Themes API](/docs/apis/themes).
The alternative is to use the [Advanced Theme Editor](/docs/customize/look-and-feel/advanced-theme-editor), which lets you control every aspect of the look and feel of your themes but with significantly more complexity.
### Difference From Advanced Themes
FusionAuth allows you to take full control over all of the hosted pages by creating an advanced theme and editing the HTML, CSS, and messages. This is a powerful way to create a fully custom experience, but it can be complex and time-consuming.
Instead of editing the templates directly, the Simple Theme Editor allows you to select from a set of pre-built themes and customize them with a few simple options. This is a great way to get started with customizing FusionAuth without needing to write any code.
## Creating And Editing Themes
To get started with the Simple Theme Editor, navigate to <Breadcrumb>Customizations -> Themes</Breadcrumb> in the FusionAuth admin UI and either select the <InlineUIElement>Add Simple Theme</InlineUIElement> button from the top-right or click the <InlineUIElement>Duplicate</InlineUIElement> button on the default FusionAuth simple theme (the one with the name <InlineUIElement>FusionAuth - Simple</InlineUIElement>). The default simple theme is read-only and can be viewed, but not edited.
To edit an existing simple theme, just click the <Icon name="edit" /> button next to your theme.
<img src="/img/docs/customize/look-and-feel/simple-theme-editor/index.png" alt="Theme index page" />
Once inside the <Breadcrumb>Customize theme</Breadcrumb> page there is a section at the top where you can edit the name and Id of the theme, and some panels below where you can change settings and preview your changes.
In the lower part of the editor you'll find three main panels. The leftmost panel contains a set of buttons that control the editing tools that you'll see in the rightmost panel. They are:
* [Pre-built themes](#pre-built-themes)
* [Images](#images)
* [Styles](#styles)
* [Messages](#messages)
* [Pages preview](#pages-preview)
In the center of the editor, you'll see a preview panel, where you can see what your edits will look like on the different theme templates.
<img src="/img/docs/customize/look-and-feel/simple-theme-editor/light-theme.png" alt="FusionAuth light theme" />
### Name And Id
In the top section, you can choose a name and Id for your theme. A unique name is required, but an Id will be assigned automatically if you don't provide one.
<APIBlock>
<APIField name="Id" optional>
An optional UUID. When this value is omitted a unique Id will be generated automatically.
</APIField>
<APIField name="Name" required>
A unique name to identify the theme. This name is for display purposes only and it can be modified later if desired.
</APIField>
</APIBlock>
### Pre-Built Themes
Out of the box, FusionAuth provides three pre-built themes that you can select from. These provide a starting point, from which you can make changes. They are:
- **Classic** - This theme closely resembles the stock FusionAuth theme that you see with the default FusionAuth advanced theme
- **Dark** - A darker theme featuring FusionAuth brand colors
- **Light** - A lighter theme featuring FusionAuth brand colors
Selecting one of these will change all the styles currently set for the theme. If you have any un-saved changes in the editor when you select one of these, those changes will be discarded. In this case you'll be asked to confirm that you want to lose your changes and load a new pre-built theme.
<img src="/img/docs/customize/look-and-feel/simple-theme-editor/dark-theme.png" alt="FusionAuth dark theme" />
### Images
In the `Images` section you can provide links to logo and page background images that will be used in the theme. You'll also find settings that control image sizing and placement. FusionAuth does not yet support uploading assets to be hosted, so these must be fully-qualified URLs that link to externally hosted images.
<img src="/img/docs/customize/look-and-feel/simple-theme-editor/images.png" alt="Theme image controls" />
<APIBlock>
##### Theme logo
This is the image that will be displayed at the top of the panel on most of the FusionAuth hosted pages.
<APIField name="Logo image URL" optional>
The fully-qualified URL to the image that will be used as the logo.
</APIField>
<APIField name="Logo image size">
This slider determines how large the logo image will be. The slider defaults to `rem` units, but you can use `em` or `px` as well if you know what size that the image should be. Required if the <InlineUIElement>Logo image URL</InlineUIElement> is set.
</APIField>
##### Background image
This image will be used as the page background on all hosted pages. This setting supersedes a page background color.
<APIField name="Background image URL">
The fully-qualified URL to the image that will be used as the page background.
</APIField>
<APIField name="Background size">
This dropdown controls the the [background-repeat](https://developer.mozilla.org/en-US/docs/Web/CSS/background-repeat) and [background-size](https://developer.mozilla.org/en-US/docs/Web/CSS/background-size) properties of the background image.There are three options:
- **Contain** - sets the [background-size](https://developer.mozilla.org/en-US/docs/Web/CSS/background-size) property of the background image to `contain` and the [background-repeat](https://developer.mozilla.org/en-US/docs/Web/CSS/background-repeat) property to `no-repeat`. This will leave the image in its original aspect ratio and not repeat it, and size it to the width of the screen. Below the image will be the theme background color.
- **Cover** - sets the [background-size](https://developer.mozilla.org/en-US/docs/Web/CSS/background-size) property of the background image to `cover`. This will size the image to cover the entire background, cropping it if necessary to maintain the aspect ratio.
- **Repeat** - sets the [background-repeat](https://developer.mozilla.org/en-US/docs/Web/CSS/background-repeat) property of the background image to `repeat`. This will repeat the image in both the x and y directions and retain its original size.
</APIField>
</APIBlock>
### Styles
There are three sub-sections in the Styles section that provide controls for most of the styles in the theme.
<img src="/img/docs/customize/look-and-feel/simple-theme-editor/styles.png" alt="Theme style controls" />
<APIBlock>
##### Fonts
Here you can select from a list of common web fonts for the theme. You may also input a custom font-family value, but be aware that we cannot guarantee a custom font will be available to the browser and the rendered text may be the browser default.
<APIField name="Font family" required>
This is the font-family used for the majority of the text in the theme.
</APIField>
<APIField name="Custom font family">
This is the optional input for a custom font-family value.
</APIField>
<APIField name="Mono font family" required>
This is the font-family used for monospaced text in the theme, such as with MFA recovery codes.
</APIField>
<APIField name="Custom mono font family">
This is the optional input for a custom font-family value for monospaced text.
</APIField>
##### Miscellaneous
Provides controls that don't belong in other sections.
<APIField name="Display footer">
Toggles the "Powered by FusionAuth" footer on or off. **Note:** You must have a valid license to toggle off the footer.
</APIField>
<APIField name="Border radius" required>
Sets how rounded the corners of panels and form inputs are in the theme. The slider defaults to `rem` units, but you can use `em` or `px` as well if you know what value of the border radius should be.
</APIField>
##### Colors
Controls for the various colors of the theme. Clicking on the square next to the input field will bring up the browser's color picker and allow you to select any color or use the eye-dropper tool to select a color on the screen. You may put any value into the input field as long as it is a valid hex, hsl, hsla, rgb, or rgba color value. Hovering over a color control will highlight the element on the page that the color applies to. The colors you can set are:
<APIField name="Page background" required>
The color of the background in the theme.
</APIField>
<APIField name="Panel background" required>
The color of the main content panel in the theme.
</APIField>
<APIField name="Alert background" required>
The color of the alert panels in the theme.
</APIField>
<APIField name="Alert font" required>
The color of the text in the alert panels in the theme.
</APIField>
<APIField name="Font" required>
The color of the majority of the text in the theme.
</APIField>
<APIField name="Mono font" required>
The color of monospaced text in the theme, such as with MFA recovery codes.
</APIField>
<APIField name="Error font" required>
The color of error text in the theme.
</APIField>
<APIField name="Link" required>
The color of links in the theme.
</APIField>
<APIField name="Icon" required>
The color of the icons in the theme.
</APIField>
<APIField name="Info icon" required>
The color of icon in the info alert panels in the theme.
</APIField>
<APIField name="Error icon" required>
The color of icon in the error alert panels in the theme.
</APIField>
<APIField name="Input icon" required>
The color of the icons for the input fields.
</APIField>
<APIField name="Input icon background" required>
The color of the background of the icons for the input fields.
</APIField>
<APIField name="Input text" required>
The color of the text in the input fields.
</APIField>
<APIField name="Input background" required>
The color of the background of the input fields.
</APIField>
<APIField name="Primary button" required>
The color of most buttons in the theme.
</APIField>
<APIField name="Primary button text" required>
The color of the text on most buttons in the theme.
</APIField>
<APIField name="Delete button" required>
The color of the delete buttons in the theme.
</APIField>
<APIField name="Delete button text" required>
The color of the text on the delete buttons in the theme.
</APIField>
</APIBlock>
### Messages
Allows you to change any of the copy in the theme, and also provide localized versions of messages.
<img src="/img/docs/customize/look-and-feel/simple-theme-editor/messages.png" alt="Theme messages editor" />
<APIField name="Messages" optional>
When editing the "Default" locale you will see the full list of the default messages and the comments that explain what they are. However, only properties that you change will be saved to your theme. This ensures only changes you made will be applied and the theme will otherwise always have all of the default text for the theme even after upgrades.
See [Theme Localization](/docs/customize/look-and-feel/localization) for more information.
Any changes made to the messaging will be shown in the preview, but the whole theme must be saved in order to persist those changes.
When creating an additional locale it is not required that all messages are defined for each language.
If you intend to localize your login templates, you may find our [community contributed and maintained messages in our GitHub repository](https://github.com/FusionAuth/fusionauth-localization) helpful.
</APIField>
### Pages Preview
The Pages Preview section allows you to see what the theme will look like on the various FusionAuth hosted pages.
All the hosted pages are ordered into various categories, and you can click on any of them to change what is shown in the preview pane.
Additionally, you can click on the <InlineUIElement>Browser preview</InlineUIElement> button to open the currently selected page in a new browser tab. The page in the new tab will still have the style updates applied as long as the theme editor is active. This allows you to open several pages and once and see your style changes applied in real time.
<img src="/img/docs/customize/look-and-feel/simple-theme-editor/preview.png" alt="Theme preview panel" />
## Troubleshooting
<ThemeTroubleshooting />
## Upgrading
With simple themes, upgrading is simple, as the styles you've configured are applied to any new templates that are added.
New messages will automatically be applied to your theme after an upgrade. The only thing stored in your theme are customizations that override the default text.
# Theme Template Variables
import InlineField from 'src/components/InlineField.astro';
import InlineUIElement from 'src/components/InlineUIElement.astro';
import APIBlock from 'src/components/api/APIBlock.astro';
import APIField from 'src/components/api/APIField.astro';
import ThemeTemplateVariables from 'src/content/docs/_shared/_theme_template_variables.astro';
## Overview
Template variables are provided to allow intelligent customization of theme templates. You can use Freemarker to display, hide, or otherwise logically modify what your end users sees based on these values.
Each template has different variables that are available to it. These variables can be used in the template to help with rendering the HTML. There are also a couple of common variables that are available in all of the pages. The common variables and the page specific variables are all listed below.
When the variable is FusionAuth specific, such as the tenant or application, the fields of the variable are the same as the JSON object described in the Retrieve section of the corresponding API documentation.
By default FusionAuth will provide HTML escaping on all values rendered in HTML, this protects you from script injection attacks. If you find a value that is being incorrectly escaped you may need to utilize the FreeMarker built in for no-escape `?no_esc`.
{/* don't update these variables directly. */}
{/* update site/_date/templates.yaml (further instructions there) */}
{/* update the JSON files in site/docs/src/json/themes/ with the new theme template key */}
{/* touch this file to regenerate (if in dev mode) */}
{/* that's it. the API and the theme form page will be automatically updated. */}
## Common Variables
<APIBlock>
<APIField name="application" type="Application">
The application resolved by the provided <InlineField>client_id</InlineField> provided on the request. If the request was made without a <InlineField>client_id</InlineField> then this variable will be undefined. Ensure you reference it using a null safe strategy if you are using some of the themed pages without a <InlineField>client_id</InlineField>.
See the [Application API](/docs/apis/applications) for details on this object.
</APIField>
<APIField name="client_id" type="String">
The OAuth v2.0 `client_id` parameter. This is synonymous with FusionAuth's Application Id.
</APIField>
<APIField name="currentUser" type="User" since="1.30.0">
When there is an active SSO session, this variable will contain the currently logged in user. When an SSO session does not yet exist, this variable will be `null`. If the user has not checked the `Keep me signed in` option, there is no SSO session and this variable will be `null`.
See the [User API](/docs/apis/users) for details on this object.
</APIField>
<APIField name="errorMessages">
A list of error messages that were generated during the processing of the request.
</APIField>
<APIField name="fieldMessages">
A map of field messages (usually errors) that were generated during the processing of the request. The key into the map is the name of the form field and the value is a list that contains the errors for that form field.
</APIField>
<APIField name="locale" type="Locale">
The locale used to localize messages.
You can find the JavaDoc for this object available here: https://docs.oracle.com/javase/8/docs/api/java/util/Locale.html
</APIField>
<APIField name="request" type="HttpServletRequest">
The HttpServletRequest object that is part of the Java Servlet specification.
You can find the JavaDoc for this object available here: https://docs.oracle.com/javaee/6/api/javax/servlet/http/HttpServletRequest.html
</APIField>
<APIField name="tenant" type="Tenant">
The tenant that has been resolved for this template. This value has either been specified on the request by providing the `tenantId` request parameter or it has been resolved by other request parameters such as the `client_id`.
If you need to customize the look and feel for different tenants but desire to use the same theme to lower maintenance, store values in <InlineField>tenant.data</InlineField>.
For example, you could set <InlineField>tenant.data.customElements.buttonText</InlineField> and <InlineField>tenant.data.customElements.buttonColor</InlineField>, then retrieve values off these fields in the theme templates.
See the [Tenant API](/docs/apis/tenants) for details on this object.
</APIField>
<APIField name="tenantId" type="UUID">
The unique Tenant identifier, this is equivalent to `tenant.id`.
</APIField>
<APIField name="theme" type="Theme">
The theme that has been resolved for this template. This could be resolved based on the tenant or the application.
See the [Themes API](/docs/apis/themes) for details on this object.
</APIField>
<APIField name="themeId" type="UUID">
The unique Theme identifier, this is equivalent to `theme.id`.
</APIField>
</APIBlock>
## Template Specific Variables
In addition to the common variables documented above, each template may have additional variables available to that only make sense in the context of this template. For example, the OAuth Authorize page (the login page) can access the `loginId` template variable, but this variable would make no sense on the email verification template.
{/* This displays all the page specific variables, pulled from the src/content/json/themes/templates.json file */}
<ThemeTemplateVariables />
# Upgrade Notes
import Aside from 'src/components/Aside.astro';
## Overview
New versions of FusionAuth sometimes include new or updated theme templates. If a new template is not part of a custom theme, FusionAuth will render the template from the default theme. Occasionally, modifications to existing templates or [helper macros](/docs/customize/look-and-feel/helpers) introduced in a FusionAuth release will require changes to an existing custom theme in order for it to continue functioning correctly.
This page contains notes on changes in recent versions of FusionAuth that require changes to a customized theme.
## Version 1.62.0
<Aside type="caution">
If you are upgrading from a version prior to FusionAuth 1.61.2 and you have customized your theme, upgrade to 1.61.2 first, add missing templates to your theme, and then upgrade to 1.62.0.
See [Theme Upgrade Notes](/docs/customize/look-and-feel/advanced-theme-editor#troubleshooting) for details on updating an existing advanced theme specific to this release. See [Theme Upgrades](/docs/customize/look-and-feel/advanced-theme-editor#upgrading) for additional information about the upgrade process.
</Aside>
**OPTIONAL - ONLY NEEDED TO USE NEW FEATURE**
To utilize the new pre-verification feature in Advanced Registration Forms, you will need to make the following modifications. No custom theme modifications are required unless you want to use pre-verification.
### OAuth register template
Summary of changes:
* `[#if step == totalSteps]` => `[#if readyToRegister]`
* `[#if fields?has_content]` => `[#if advancedRegistration]`
* Remove `step`, `parentEmailRequired`, and `collectBirthDate` hidden fields
* Add a `<p>` if `formStep` is set below `passwordValidationRules` to explain pre-verification steps
* Add a `linkButton` for resending verification messages if `formStep?? && formStep.resendMessage??`
## Version 1.61.0 - `prompt` parameter
**OPTIONAL - ONLY NEEDED TO USE NEW FEATURE**
To ensure that FusionAuth is able to forward the `prompt` parameter to third party identity providers, you will need to make the following modifications.
### Helpers template
Update the `oauthHiddenFields`, `link` and `logoutLink` macros to add the `max_age` parameter. When editing a theme in the UI, this page will be shown as `Helpers`, and the API template name is `helpers`.
#### Macro oauthHiddenFields
Add `max_age` to the `oauthHiddenFields` macro.
```title="Add prompt"
[@hidden name="max_age"/]
```
For example, this is a macro that includes `max_age`:
``` title="After"
[#macro oauthHiddenFields]
[@hidden name="captcha_token"/]
[@hidden name="client_id"/]
[@hidden name="code_challenge"/]
[@hidden name="code_challenge_method"/]
[@hidden name="metaData.device.name"/]
[@hidden name="metaData.device.type"/]
[@hidden name="nonce"/]
[@hidden name="oauth_context"/]
[@hidden name="max_age"/]
[@hidden name="pendingIdPLinkId"/]
[@hidden name="prompt"/]
[@hidden name="redirect_uri"/]
[@hidden name="response_mode"/]
[@hidden name="response_type"/]
[@hidden name="scope"/]
[@hidden name="state"/]
[@hidden name="tenantId"/]
[@hidden name="timezone"/]
[@hidden name="user_code"/]
[/#macro]
```
#### Macro link
Add `max_age` to the `link` macro.
```title="Add max_age to the query string"
&max_age=${(max_age?url)!''}
```
``` title="After"
[#macro link url extraParameters=""]
<a href="${url}?tenantId=${(tenantId)!''}&client_id=${(client_id)!''}&nonce=${(nonce?url)!''}&pendingIdPLinkId=${(pendingIdPLinkId)!''}&redirect_uri=${(redirect_uri?url)!''}&response_mode=${(response_mode?url)!''}&response_type=${(response_type?url)!''}&scope=${(scope?url)!''}&state=${(state?url)!''}&timezone=${(timezone?url)!''}&metaData.device.name=${(metaData.device.name?url)!''}&metaData.device.type=${(metaData.device.type?url)!''}${(extraParameters!'')?no_esc}&code_challenge=${(code_challenge?url)!''}&code_challenge_method=${(code_challenge_method?url)!''}&user_code=${(user_code?url)!''}&prompt=${(prompt?url)!''}&max_age=${(max_age?url)!''}">
[#nested/]
</a>
[/#macro]
```
#### Macro logoutLink
Add `max_age` to the `logoutLink` macro.
```title="Add max_age to the query string"
&max_age=${(max_age?url)!''}
```
``` title="After"
[#macro logoutLink redirectURI extraParameters=""]
[#-- Note that in order for the post_logout_redirect_uri to be correctly URL escaped, you must use this syntax for assignment --]
[#local post_logout_redirect_uri]${redirectURI}?tenantId=${(tenantId)!''}&client_id=${(client_id)!''}&nonce=${(nonce?url)!''}&pendingIdPLinkId=${(pendingIdPLinkId)!''}&redirect_uri=${(redirect_uri?url)!''}&response_mode=${(response_mode?url)!''}&response_type=${(response_type?url)!''}&scope=${(scope?url)!''}&state=${(state?url)!''}&timezone=${(timezone?url)!''}&metaData.device.name=${(metaData.device.name?url)!''}&metaData.device.type=${(metaData.device.type?url)!''}${(extraParameters?no_esc)!''}&code_challenge=${(code_challenge?url)!''}&code_challenge_method=${(code_challenge_method?url)!''}&user_code=${(user_code?url)!''}&prompt=${(prompt?url)!''}&max_age=${(max_age?url)!''}[/#local]
<a
href="/oauth2/logout?tenantId=${(tenantId)!''}&client_id=${(client_id)!''}&post_logout_redirect_uri=${post_logout_redirect_uri?markup_string?url}">[#t]
[#nested/][#t]
</a>[#t]
[/#macro]
```
## Version 1.61.0 - Multiple identity provider configurations
**OPTIONAL - ONLY NEEDED TO USE NEW FEATURE**
Previously the following [identity provider types](/docs/apis/identity-providers) were limited to a single configuration per FusionAuth instance: Apple, Epic Games, Facebook, Google, HYPR, LinkedIn, Nintendo, Sony PlayStation Network, Steam, Twitch, Twitter, and Xbox.
To enable support for multiple identity provider configurations of these types on a single login page, you will need to make the following modifications. The default theme is available on every FusionAuth instance as a point of comparison or guide to theme upgrades.
### Helpers template
Update the `alternativeLoginsScript`, `alternativeLogins`, and various external identity provider button rendering macros. When editing a theme in the UI, this page will be shown as `Helpers`, and the API template name is `helpers`.
#### Macro alternativeLoginsScript
Remove the `data-app-id` attribute from the `<script>` tag including `Facebook.js`. The attribute must be set by each `facebookButton` macro invocation to support multiple Facebook IdP configurations.
```title="Remove data-app-id"
data-app-id="${identityProviders["Facebook"][0].lookupAppId(clientId)}"
```
Here is an example `<script>` tag without the attribute
```title="After"
<script src="${request.contextPath}/js/identityProvider/Facebook.js?version=${version}"></script>
```
Remove the `data-client-id` attribute from the `<script>` tag including `Twitter.js`. The attribute must be set by each `twitterButton` macro invocation to support multiple Twitter IdP configurations.
```title="Remove data-client-id"
data-client-id="${clientId}"
```
Here is an example `<script>` tag without the attribute
```title="After"
<script src="${request.contextPath}/js/identityProvider/Twitter.js?version=${version}"></script>
```
Replace the `[#if]` block including Google's GSI client JavaScript and `Google.js`. Only one Google identity provider using the GSI client can be included on the page. See [Google IdP limitations](/docs/lifecycle/authenticate-users/identity-providers/social/google#limitations) for more detail.
```title="The old [#if] block"
[#if identityProviders["Google"]?has_content && identityProviders["Google"][0].lookupLoginMethod(clientId) != "UseRedirect"]
<script src="https://accounts.google.com/gsi/client" async></script>
<script src="${request.contextPath}/js/identityProvider/Google.js?version=${version}"
data-client-id="${identityProviders["Google"][0].lookupClientId(clientId)}"></script>
[/#if]
```
Here is the updated `[#if]` block. The updated logic selects the first Google IdP configured to use the GSI client and stores it in a `gsiIdentityProvider` variable to be used later in the `alternativeLogins` macro.
```title="The updated [#if] block"
[#if identityProviders["Google"]?has_content]
[#list identityProviders["Google"] as idp]
[#if idp.lookupLoginMethod(clientId) != "UseRedirect"]
[#-- Only one Google IdP can use the GSI APIs on a page. Assign the IdP for later use and load scripts. --]
[#assign gsiIdentityProvider = idp/]
<script src="https://accounts.google.com/gsi/client" async></script>
<script src="${request.contextPath}/js/identityProvider/Google.js?version=${version}"
data-client-id="${gsiIdentityProvider.lookupClientId(clientId)}"
data-identity-provider-id="${gsiIdentityProvider.id}"></script>
[#break]
[/#if]
[/#list]
[/#if]
```
#### Macro alternativeLogins
The `alternativeLogins` macro checks for various IdP types in the `identityProviders` Freemarker variable and renders the appropriate button for that type. Several identity provider types now support multiple configurations and need to update rendering a single button to looping over the IdPs of that type.alternativeLogins
Here is an example rendering the "Sign in with Apple" button hard-coded to expect a single Apple IdP configuration.
```title="Single configuration"
[#if identityProviders["Apple"]?has_content]
<div class="form-row push-less-top">
[@appleButton identityProvider=identityProviders["Apple"][0] clientId=clientId/]
</div>
[/#if]
```
Here is an example that supports rendering zero or more buttons based on available Apple IdP configurations by looping over all Apple IdP configurations and rendering the button with the `identityProvider` for that loop.
```title="Multiple configurations"
[#if identityProviders["Apple"]?has_content]
[#list identityProviders["Apple"] as identityProvider]
<div class="form-row push-less-top">
[@appleButton identityProvider=identityProvider clientId=clientId/]
</div>
[/#list]
[/#if]
```
The above is just one example of several identity provider types requiring updates in `alternativeLogins` to render multiple buttons by replacing the hard-coded single instance with a loop. As you work through the different identity provider types, pay special attention to the key in the `identityProviders` map and the name of the button rendering macro in each case. The following identity provider types require this update in the `alternativeLogins` macro: Apple, Epic Games, Facebook, LinkedIn, Nintendo, Sony PlayStation Network, Steam, Twitch, Twitter, Xbox.
The Google identity provider type requires a bit more modification in the `alternativeLogins` macro in order to render the single button using the GSI client in addition to other Google IdP configurations with the `UseRedirect` login method. Remove the existing `[#if]` block and replace with the updated code below.
```title="Remove the [#if] block"
[#if identityProviders["Google"]?has_content]
<div class="form-row push-less-top">
[@googleButton identityProvider=identityProviders["Google"][0] clientId=clientId idpRedirectState=idpRedirectState/]
</div>
[/#if]
```
In its place add two `[#if]` blocks. The first block checks whether it should render a GSI client button using the `gsiIdentityProvider` variable assigned in the `alternativeLoginsScript` macro. The second block calls the `googleButton` macro to render a login button for Google IdPs configured with the `UseRedirect` login method.
```title="Render GSI and UseRedirect Google buttons"
[#-- Check whether a Google IdP was assigned to use GSI APIs and render the button --]
[#if gsiIdentityProvider?has_content]
<div class="form-row push-less-top">
[@googleGsiButton identityProvider=gsiIdentityProvider clientId=clientId idpRedirectState=idpRedirectState/]
</div>
[/#if]
[#if identityProviders["Google"]?has_content]
[#list identityProviders["Google"] as identityProvider]
<div class="form-row push-less-top">
[#-- The googleButton macro only renders buttons for IdPs configured with the UseRedirect login methods --]
[@googleButton identityProvider=identityProvider clientId=clientId idpRedirectState=idpRedirectState/]
</div>
[/#list]
[/#if]
```
#### Macro appleButton
Replace the opening tag of the `<button>` element inside the macro with the following
```title="Apple <button>"
<button class="apple login-button" data-scope="${identityProvider.lookupScope(clientId)!''}"
data-services-id="${identityProvider.lookupServicesId(clientId)}"
data-identity-provider-id="${identityProvider.id}">
```
#### Macro epicButton
Replace the opening tag of the `<button>` element inside the macro with the following
```title="Epic Games <button>"
<button class="epicgames login-button" data-login-method="UseRedirect"
data-scope="${identityProvider.lookupScope(clientId)!''}" data-identity-provider-id="${identityProvider.id}">
```
#### Macro facebookButton
Replace the opening tag of the `<button>` element inside the macro with the following
```title="Facebook <button>"
<button class="facebook login-button" data-login-method="${identityProvider.lookupLoginMethod(clientId)!''}"
data-permissions="${identityProvider.lookupPermissions(clientId)!''}" data-identity-provider-id="${identityProvider.id}"
data-app-id="${identityProvider.lookupAppId(clientId)}">
```
#### Macro googleButton
This macro should now only render buttons for Google IdP configurations with the `UseRedirect` login method. Replace the opening tag of the `<button>` element inside the macro with the following
```title="Google <button>"
<button class="google login-button" data-login-method="UseRedirect"
data-scope="${identityProvider.lookupScope(clientId)!''}" data-identity-provider-id="${identityProvider.id}">
```
Remove the `[#else]` block that renders `<div>`s with Ids `g_id_onload` and `g_id_signin`. The updated macro structure looks like this with the `<button>` children removed for brevity
```title="googleButton macro structure"
[#macro googleButton identityProvider clientId idpRedirectState=""]
[#-- When using this loginMethod - the Google JavaScript API is not used at all. --]
[#if identityProvider.lookupLoginMethod(clientId) == "UseRedirect"]
<button class="google login-button" data-login-method="UseRedirect"
data-scope="${identityProvider.lookupScope(clientId)!''}" data-identity-provider-id="${identityProvider.id}">
...
</button>
[/#if]
[/#macro]
```
#### New macro googleGsiButton
The `[#else]` block removed from `googleButton` macro gets its own macro. Add the following macro to your theme
```title="New googleGsiButton macro"
[#macro googleGsiButton identityProvider clientId idpRedirectState=""]
[#-- UsePopup or UseVendorJavaScript --]
[#--
Use the Google Identity Service (GIS) API.
https://developers.google.com/identity/gsi/web/reference/html-reference
--]
<div id="g_id_onload" [#list identityProvider.lookupAPIProperties(clientId)!{} as attribute, value] data-${attribute}="${value}" [/#list]
data-client_id="${identityProvider.lookupClientId(clientId)}"
data-callback="googleLoginCallback">
</div>
[#-- This the Google Signin button. If only using One tap, you can delete or comment out this element --]
<div class="g_id_signin" [#list identityProvider.lookupButtonProperties(clientId)!{} as attribute, value] data-${attribute}="${value}" [/#list]
[#-- Optional click handler, when using ux_mode=popup. --]
data-click_listener="googleButtonClickHandler">
</div>
[/#macro]
```
#### Macro linkedInBottom
You read that correctly. If you'd like, update the name of the macro to `linkedInButton` along with the invocation from the `alternativeLogins` macro. Replace the opening tag of the `<button>` element inside the macro with the following
```title="LinkedIn <button>"
<button class="linkedin login-button" data-login-method="UseRedirect" data-identity-provider-id="${identityProvider.id}">
```
#### Macro sonypsnButton
Replace the opening tag of the `<button>` element inside the macro with the following
```title="Sony PlayStation Network <button>"
<button class="sonypsn login-button" data-login-method="UseRedirect"
data-scope="${identityProvider.lookupScope(clientId)!''}" data-identity-provider-id="${identityProvider.id}">
```
#### Macro steamButton
Replace the opening tag of the `<button>` element inside the macro with the following
```title="Steam <button>"
<button class="steam login-button" data-login-method="UseRedirect" data-scope="${identityProvider.lookupScope(clientId)!''}"
data-identity-provider-id="${identityProvider.id}">
```
#### Macro twitchButton
Replace the opening tag of the `<button>` element inside the macro with the following
```title="Twitch <button>"
<button class="twitch login-button" data-login-method="UseRedirect"
data-scope="${identityProvider.lookupScope(clientId)!''}" data-identity-provider-id="${identityProvider.id}">
```
#### Macro twitterButton
Replace the opening tag of the `<button>` element inside the macro with the following
```title="Twitter <button>"
<button class="twitter login-button" data-client-id="${clientId}" data-identity-provider-id="${identityProvider.id}">
```
#### Macro xboxButton
Replace the opening tag of the `<button>` element inside the macro with the following
```title="Xbox <button>"
<button class="xbox login-button" data-login-method="UseRedirect" data-scope="${identityProvider.lookupScope(clientId)!''}"
data-identity-provider-id="${identityProvider.id}">
```
## Version 1.60.0
**OPTIONAL - ONLY NEEDED TO USE NEW FEATURE**
To enable support of the `prompt` parameter, you will need to make the following modifications.
### Helpers template
Update the `oauthHiddenFields`, `link` and `logoutLink` macros to add the `prompt` parameter. When editing a theme in the UI, this page will be shown as `Helpers`, and the API template name is `helpers`.
#### Macro oauthHiddenFields
Add `prompt` to the `oauthHiddenFields` macro.
```title="Add prompt"
[@hidden name="prompt"/]
```
For example, this is a macro that includes `prompt`:
``` title="After"
[#macro oauthHiddenFields]
[@hidden name="captcha_token"/]
[@hidden name="client_id"/]
[@hidden name="code_challenge"/]
[@hidden name="code_challenge_method"/]
[@hidden name="metaData.device.name"/]
[@hidden name="metaData.device.type"/]
[@hidden name="nonce"/]
[@hidden name="oauth_context"/]
[@hidden name="pendingIdPLinkId"/]
[@hidden name="prompt"/]
[@hidden name="redirect_uri"/]
[@hidden name="response_mode"/]
[@hidden name="response_type"/]
[@hidden name="scope"/]
[@hidden name="state"/]
[@hidden name="tenantId"/]
[@hidden name="timezone"/]
[@hidden name="user_code"/]
[/#macro]
```
#### Macro link
Add `prompt` to the `link` macro.
```title="Add prompt to the query string"
&prompt=${(prompt?url)!''}
```
``` title="After"
[#macro link url extraParameters=""]
<a href="${url}?tenantId=${(tenantId)!''}&client_id=${(client_id)!''}&nonce=${(nonce?url)!''}&pendingIdPLinkId=${(pendingIdPLinkId)!''}&redirect_uri=${(redirect_uri?url)!''}&response_mode=${(response_mode?url)!''}&response_type=${(response_type?url)!''}&scope=${(scope?url)!''}&state=${(state?url)!''}&timezone=${(timezone?url)!''}&metaData.device.name=${(metaData.device.name?url)!''}&metaData.device.type=${(metaData.device.type?url)!''}${(extraParameters!'')?no_esc}&code_challenge=${(code_challenge?url)!''}&code_challenge_method=${(code_challenge_method?url)!''}&user_code=${(user_code?url)!''}&prompt=${(prompt?url)!''}">
[#nested/]
</a>
[/#macro]
```
#### Macro logoutLink
Add `prompt` to the `logoutLink` macro.
```title="Add prompt to the query string"
&prompt=${(prompt?url)!''}
```
``` title="After"
[#macro logoutLink redirectURI extraParameters=""]
[#-- Note that in order for the post_logout_redirect_uri to be correctly URL escaped, you must use this syntax for assignment --]
[#local post_logout_redirect_uri]${redirectURI}?tenantId=${(tenantId)!''}&client_id=${(client_id)!''}&nonce=${(nonce?url)!''}&pendingIdPLinkId=${(pendingIdPLinkId)!''}&redirect_uri=${(redirect_uri?url)!''}&response_mode=${(response_mode?url)!''}&response_type=${(response_type?url)!''}&scope=${(scope?url)!''}&state=${(state?url)!''}&timezone=${(timezone?url)!''}&metaData.device.name=${(metaData.device.name?url)!''}&metaData.device.type=${(metaData.device.type?url)!''}${(extraParameters?no_esc)!''}&code_challenge=${(code_challenge?url)!''}&code_challenge_method=${(code_challenge_method?url)!''}&user_code=${(user_code?url)!''}&prompt=${(prompt?url)!''}[/#local]
<a
href="/oauth2/logout?tenantId=${(tenantId)!''}&client_id=${(client_id)!''}&post_logout_redirect_uri=${post_logout_redirect_uri?markup_string?url}">[#t]
[#nested/][#t]
</a>[#t]
[/#macro]
```
## Version 1.59.0
**OPTIONAL - ONLY NEEDED TO USE NEW FEATURE**
Starting in version `1.59.0`, user passwords are optional and phone identities are now supported. While theme updates are not required, there are some areas that you may want to consider making changes.
| Template | Changed For Phone Identities | Password |
| --------------------------------------- | ---------------------------- | -------- |
| Messages | X | |
| Account edit template (self-service) | | X |
| Account index template (self-service) | X | |
| Forgot password template | X | |
| Forgot password sent template | X | |
| OAuth complete registration template | | X |
| OAuth passwordless template | X | |
| OAuth register template | X | |
### Messages
**REQUIRED - WHETHER PHONE IDENTITIES ARE USED OR NOT**
To properly support phone identities, several themed `Messages` have changed. If `forgot-password-email-sent` or `forgot-password-email-sent-title` was previously customized in a theme, the same customizations need to be applied to the new `forgot-password-message-sent` and `forgot-password-message-sent-title` messages.
``` title="Messages Before"
forgot-password-email-sent=We have sent an email to %s containing a link that will allow you to reset your password. Once you receive the email follow the instructions to change your password.
forgot-password-email-sent-title=Email sent
loginId=Email
...
[PasswordlessRequestSent]=An email is on the way.
```
``` title="Messages After"
forgot-password-message-sent=We have sent a message to %s containing a link that will allow you to reset your password. Once you receive the message follow the instructions to change your password.
forgot-password-message-sent-title=Message sent
loginId=Login
...
[PasswordlessRequestSent]=A message is on the way.
```
### Account edit template (self-service)
To accommodate the use case of an existing user, without a password, setting a password for the first time, there is a new template variable, `passwordSet`, that can be used on the `Helpers` page to hide the "current password" field for users that do not have a password.
```html title="Before"
<form action="${request.contextPath}/account/edit" method="POST" class="full" id="user-form">
...
[#list fieldValues as field]
[#if field.key == "user.password"]
[@helpers.passwordField field application.formConfiguration.selfServiceFormConfiguration.requireCurrentPasswordOnPasswordChange/]
[#else]
[@helpers.customField field=field key=field.key autofocus=false placeholder=field.key label=theme.optionalMessage(field.key) leftAddon="false"/]
[#if field.confirm]
[@helpers.customField field "confirm.${field.key}" false "[confirm]${field.key}" /]
[/#if]
[/#if]
[/#list]
</form>
```
```html title="After"
<form action="${request.contextPath}/account/edit" method="POST" class="full" id="user-form">
...
[#list fieldValues as field]
[#if field.key == "user.password"]
[@helpers.passwordField field=field
showCurrentPasswordField=(passwordSet && application.formConfiguration.selfServiceFormConfiguration.requireCurrentPasswordOnPasswordChange)/]
[#else]
[@helpers.customField field=field key=field.key autofocus=false placeholder=field.key label=theme.optionalMessage(field.key) leftAddon="false"/]
[#if field.confirm]
[@helpers.customField field "confirm.${field.key}" false "[confirm]${field.key}" /]
[/#if]
[/#if]
[/#list]
</form>
```
### Account index template (self-service)
New installations of FusionAuth show the new `user.phoneNumber` field on the account index page, rather than `user.mobilePhone`.
```html title="Before"
<dl class="horizontal">
<dt>${theme.message("user.mobilePhone")}</dt>
<dd>${helpers.display(user, "mobilePhone")}</dd>
</dl>
```
```html title="After"
<dl class="horizontal">
<dt>${theme.message("user.phoneNumber")}</dt>
<dd>${fusionAuth.phone_format(user.phoneNumber!"\x2013")}</dd>
</dl>
```
### Forgot password template
To improve the user experience for phone number identities, the `email` field should be replaced with a `loginId` field which will use the label `Login` instead of `Email` (see Messages above). Everything will continue to function even if this change is not made, but the user experience will be improved with the new field because of the more accurate label.
```html title="Before"
<fieldset class="push-less-top">
[@helpers.input type="text" name="email" id="email" autocapitalize="none" autofocus=true autocomplete="on" autocorrect="off" placeholder=theme.message('email') leftAddon="user" required=true/]
[@helpers.captchaBadge showCaptcha=showCaptcha captchaMethod=tenant.captchaConfiguration.captchaMethod siteKey=tenant.captchaConfiguration.siteKey/]
</fieldset>
```
```html title="After"
<fieldset class="push-less-top">
[@helpers.input type="text" name="loginId" id="loginId" autocapitalize="none" autofocus=true autocomplete="on" autocorrect="off" placeholder=theme.message('loginId') leftAddon="user" required=true/]
[@helpers.captchaBadge showCaptcha=showCaptcha captchaMethod=tenant.captchaConfiguration.captchaMethod siteKey=tenant.captchaConfiguration.siteKey/]
</fieldset>
```
### Forgot password sent template
Similar to the `Forgot password` template, the `Forgot password sent` template should also be updated to use the `loginId` field instead of the `email` field. This will improve the user experience for phone number identities.
```html title="Before"
[@helpers.main title=theme.message('forgot-password-email-sent-title')]
<p>
${theme.message('forgot-password-email-sent', email)}
</p>
<p class="mt-2">[@helpers.link url="/oauth2/authorize"]${theme.message('return-to-login')}[/@helpers.link]</p>
[/@helpers.main]
```
```html title="After"
[@helpers.main title=theme.message('forgot-password-message-sent-title')]
<p>
${theme.message('forgot-password-message-sent', loginId)}
</p>
<p class="mt-2">[@helpers.link url="/oauth2/authorize"]${theme.message('return-to-login')}[/@helpers.link]</p>
[/@helpers.main]
```
### OAuth complete registration template
You may need users to have passwords, but passwords are optional. Consider the following example:
* A user has already logged in
* The user does not have a password
* The user performs self-serve registration for an application that uses basic registration
In this case, FusionAuth takes the user to the `OAuth complete registration` page to add any required fields for the application. If the user does not have a password you can collect it on this page.
To support this, FusionAuth provides a new template variable named `passwordSet`, which indicates whether or not the user has a password. Use this variable to show a password field if you require the user to have a password.
Note that for a new or logged-out user that registers for this application, the password will generally be collected on the initial registration page. Logged-in users bypass the initial page.
For example, before:
```html title="Before"
[#if application.registrationConfiguration.mobilePhone.enabled]
[@helpers.input type="text" name="user.mobilePhone" id="mobilePhone" placeholder=theme.message("mobilePhone") leftAddon="phone" required=application.registrationConfiguration.mobilePhone.required/]
[/#if]
[#if application.registrationConfiguration.preferredLanguages.enabled]
[@helpers.locale_select field="" name="user.preferredLanguages" id="preferredLanguages" label=theme.message("preferredLanguage") required=application.registrationConfiguration.preferredLanguages.required /]
[/#if]
```
```html title="After"
[#if application.registrationConfiguration.mobilePhone.enabled]
[@helpers.input type="text" name="user.mobilePhone" id="mobilePhone" placeholder=theme.message("mobilePhone") leftAddon="phone" required=application.registrationConfiguration.mobilePhone.required/]
[/#if]
[#if !(passwordSet!false)]
[@helpers.input type="password" name="user.password" id="password" autocomplete="new-password" placeholder=theme.message('password') leftAddon="lock" required=true/]
[#if application.registrationConfiguration.confirmPassword]
[@helpers.input type="password" name="confirm.user.password" id="passwordConfirm" autocomplete="new-password" placeholder=theme.message('passwordConfirm') leftAddon="lock" required=true/]
[/#if]
[/#if]
[#if application.registrationConfiguration.preferredLanguages.enabled]
[@helpers.locale_select field="" name="user.preferredLanguages" id="preferredLanguages" label=theme.message("preferredLanguage") required=application.registrationConfiguration.preferredLanguages.required /]
[/#if]
```
### OAuth passwordless template
To support passwordless logins with phone numbers, several changes must be made to allow submission of one-time or short codes on the passwordless page. The changes include: new hidden form fields, an `if` surrounding the `loginId` field with a new `oneTimeCode` field, and a change to the button text based on whether the form is being submitted or a code is being sent.
```html title="Before"
<form action="${request.contextPath}/oauth2/passwordless" method="POST" class="full">
[@helpers.oauthHiddenFields/]
<fieldset>
[@helpers.input type="text" name="loginId" id="loginId" autocomplete="username" autocapitalize="none" autocomplete="on" autocorrect="off" spellcheck="false" autofocus=true placeholder=theme.message("loginId") leftAddon="user" required=true/]
[@helpers.captchaBadge showCaptcha=showCaptcha captchaMethod=tenant.captchaConfiguration.captchaMethod siteKey=tenant.captchaConfiguration.siteKey/]
</fieldset>
[@helpers.input id="rememberDevice" type="checkbox" name="rememberDevice" label=theme.message("remember-device") value="true" uncheckedValue="false"]
<i class="fa fa-info-circle" data-tooltip="${theme.message('{tooltip}remember-device')}"></i>[#t/]
[/@helpers.input]
<div class="form-row">
[@helpers.button icon="send" text=theme.message('send')/]
<p class="mt-2">[@helpers.link url="/oauth2/authorize"]${theme.message('return-to-login')}[/@helpers.link]</p>
</div>
</form>
```
```html title="After"
<form action="${request.contextPath}/oauth2/passwordless" method="POST" class="full">
[@helpers.oauthHiddenFields/]
[@helpers.hidden name="code"/]
[@helpers.hidden name="formField"/]
<fieldset>
[#if (formField!false)]
[@helpers.input type="text" name="oneTimeCode" id="otp" autocapitalize="none" autofocus=true autocomplete="one-time-code" autocorrect="off" placeholder="${theme.message('passwordless-code')}" leftAddon="lock"/]
[#else]
[@helpers.input type="text" name="loginId" id="loginId" autocomplete="username" autocapitalize="none" autocomplete="on" autocorrect="off" spellcheck="false" autofocus=true placeholder=theme.message("loginId") leftAddon="user" required=true/]
[/#if]
[@helpers.captchaBadge showCaptcha=showCaptcha captchaMethod=tenant.captchaConfiguration.captchaMethod siteKey=tenant.captchaConfiguration.siteKey/]
</fieldset>
[@helpers.input id="rememberDevice" type="checkbox" name="rememberDevice" label=theme.message("remember-device") value="true" uncheckedValue="false"]
<i class="fa fa-info-circle" data-tooltip="${theme.message('{tooltip}remember-device')}"></i>[#t/]
[/@helpers.input]
<div class="form-row">
[#if (formField!false)]
[@helpers.button text=theme.message('submit')/]
[#else]
[@helpers.button icon="send" text=theme.message('send')/]
[/#if]
</div>
</form>
```
### OAuth register template
To support phone numbers in basic registration, a `user.phoneNumber` field must be added.
```html title="Before"
[#if application.registrationConfiguration.loginIdType == 'email']
[@helpers.input type="text" name="user.email" id="email" autocomplete="username" autocapitalize="none" autocorrect="off" spellcheck="false" autofocus=true placeholder=theme.message('email') leftAddon="user" required=true/]
[#else]
[@helpers.input type="text" name="user.username" id="username" autocomplete="username" autocapitalize="none" autocorrect="off" spellcheck="false" autofocus=true placeholder=theme.message('username') leftAddon="user" required=true/]
[/#if]
```
```html title="After"
[#if application.registrationConfiguration.loginIdType == 'email']
[@helpers.input type="text" name="user.email" id="email" autocomplete="username" autocapitalize="none" autocorrect="off" spellcheck="false" autofocus=true placeholder=theme.message('email') leftAddon="user" required=true/]
[#elseif application.registrationConfiguration.loginIdType == 'phoneNumber']
[@helpers.input type="text" name="user.phoneNumber" id="phoneNumber" autocomplete="mobile" autocapitalize="none" autocorrect="off" spellcheck="false" autofocus=true placeholder=theme.message('phoneNumber') leftAddon="mobile" required=true/]
[#else]
[@helpers.input type="text" name="user.username" id="username" autocomplete="username" autocapitalize="none" autocorrect="off" spellcheck="false" autofocus=true placeholder=theme.message('username') leftAddon="user" required=true/]
[/#if]
```
## Version 1.53.3
**OPTIONAL - ONLY NEEDED TO USE NEW FEATURE**
Version `1.53.3` includes a change to persist the value of the `Keep me signed in` checkbox from the hosted login pages through an external identity provider workflow. This checkbox value indicates whether the user wishes to create an SSO session after login. If the Google IdP's `loginMethod` is configured as `UsePopup` or `UseVendorJavaScript`, existing custom advanced themes require an update to incorporate the fix for the Google IdP. You can update the template via the API using `theme.templates.helpers` or by modifying the *Helpers* template in the admin UI. Google IdPs configured with a `loginMethod` value of `UseRedirect` do not require this update, but you may consider making the change preemptively in case the `loginMethod` is changed later.
To allow the `Keep me signed in` value to be persisted through a Google IdP login in an existing custom advanced theme, remove the `data-login_uri` attribute and its value from the `div` with Id `g_id_onload` in the `googleButton` macro and add the `data-callback` attribute in its place.
Replace
```html
<div id="g_id_onload" [#list identityProvider.lookupAPIProperties(clientId)!{} as attribute, value] data-${attribute}="${value}" [/#list]
data-client_id="${identityProvider.lookupClientId(clientId)}"
data-login_uri="${currentBaseURL}/oauth2/callback?state=${idpRedirectState}&identityProviderId=${identityProvider.id}" >
</div>
```
with
```html
<div id="g_id_onload" [#list identityProvider.lookupAPIProperties(clientId)!{} as attribute, value] data-${attribute}="${value}" [/#list]
data-client_id="${identityProvider.lookupClientId(clientId)}"
data-callback="googleLoginCallback" >
</div>
```
## Version 1.52.0
**OPTIONAL - ONLY NEEDED TO USE NEW FEATURE**
Version `1.52.0` includes a change to use the browser-default date picker to enhance the experience on mobile. Existing custom advanced themes require an update to incorporate the change. You can update the template via the API using `theme.templates.helpers` or by modifying the *Helpers* template in the admin UI.
To include the new date picker in an existing custom advanced theme, replace the `Prime.Document.query('.date-picker')` line in the `head` macro with the following:
```javascript
document.querySelectorAll('.date-picker').forEach(datePicker => {
datePicker.onfocus = () => datePicker.type = 'date';
datePicker.onblur = () => {
if (datePicker.value === '') {
datePicker.type = 'text';
}
};
});
```
## Version 1.50.0
**OPTIONAL - ONLY NEEDED TO USE NEW FEATURE**
Version `1.50.0` added the ability to prompt users for consent to custom OAuth scopes in third-party applications. This change requires a new themed template `oauth2Consent` as well as a new macro and function in the `helpers` template.
The `oauth2Consent` template from the default theme will be used until it is added to an existing custom theme. You can copy the new template from the default theme as a starting point and add it to a custom theme via the API using `theme.templates.oauth2Consent` or the _Consent prompt_ template in the admin UI.
The new `scopeConsentField` macro and `resolveScopeMessaging` function *must* be added to an existing custom theme's `helpers` template in order for the theme to continue functioning. Add these new items to the template via the API using `theme.templates.helpers` or the *Helpers* template in the admin UI. You can copy them from the default template or use the following:
```html
[#macro scopeConsentField application scope type]
[#-- Resolve the consent message and detail for the provided scope --]
[#if type != "unknown"]
[#local scopeMessage = resolveScopeMessaging('message', application, scope.name, scope.defaultConsentMessage!scope.name) /]
[#local scopeDetail = resolveScopeMessaging('detail', application, scope.name, scope.defaultConsentDetail!'') /]
[/#if]
[#if type == "required"]
[#-- Required scopes should use a hidden form field with a value of "true". The user cannot change this selection, --]
[#-- but there should be a display element to inform the user that they must consent to the scopes to continue. --]
<div class="form-row consent-item col-lg-offset-0">
[@hidden name="scopeConsents['${scope.name}']" value="true" /]
<i class="fa fa-check"></i>
<span>
${scopeMessage}
[#if scopeDetail?has_content]
<i class="fa fa-info-circle" data-tooltip="${scopeDetail}"></i>
[/#if]
</span>
</div>
[#elseif type == "optional"]
[#-- Optional scopes should render a checkbox to allow a user to change their selection. The available values should be "true" and "false" --]
<div class="consent-item col-lg-offset-0">
[@input type="checkbox" name="scopeConsents['${scope.name}']" id="${scope.name}" label=scopeMessage value="true" uncheckedValue="false" tooltip=scopeDetail /]
</div>
[#elseif type == "unknown"]
[#-- Unknown scopes and the reserved "openid" and "offline_access" scopes are considered required and do not have an associated display element. --]
[@hidden name="scopeConsents['${scope}']" value="true" /]
[/#if]
[/#macro]
[#function resolveScopeMessaging messageType application scopeName default]
[#-- Application specific, tenant specific, not application/tenant specific, then default --]
[#local message = theme.optionalMessage("[{application}${application.id}]{scope-${messageType}}${scopeName}") /]
[#local resolvedMessage = message != "[{application}${application.id}]{scope-${messageType}}${scopeName}" /]
[#if !resolvedMessage]
[#local message = theme.optionalMessage("[{tenant}${application.tenantId}]{scope-${messageType}}${scopeName}") /]
[#local resolvedMessage = message != "[{tenant}${application.tenantId}]{scope-${messageType}}${scopeName}" /]
[/#if]
[#if !resolvedMessage]
[#local message = theme.optionalMessage("{scope-${messageType}}${scopeName}") /]
[#local resolvedMessage = message != "{scope-${messageType}}${scopeName}" /]
[/#if]
[#if !resolvedMessage]
[#return default /]
[#else]
[#return message /]
[/#if]
[/#function]
```
# Events & Webhook Overview
import APIBlock from 'src/components/api/APIBlock.astro';
import APIDeprecatedRemoved from 'src/content/docs/_shared/_api-deprecated-removed.mdx';
import APIField from 'src/components/api/APIField.astro';
import ApplicationWebhooksWarning from 'src/content/docs/extend/events-and-webhooks/_application-webhooks-warning.mdx';
import Aside from 'src/components/Aside.astro';
import Icon from 'src/components/icon/Icon.astro';
import InlineField from 'src/components/InlineField.astro';
import InlineUIElement from 'src/components/InlineUIElement.astro';
import TenantWebhooksTable from 'src/content/docs/get-started/core-concepts/_tenant-webhooks-table.mdx';
import { YouTube } from '@astro-community/astro-embed-youtube';
import Breadcrumb from 'src/components/Breadcrumb.astro';
## Overview
Events and Webhooks are a core architecture feature of FusionAuth. This feature provides a publish-subscribe pattern to developers and integrators of FusionAuth. In this architecture pattern, the Webhook is the subscriber and FusionAuth is the publisher.
This system is designed to provide feedback to your system when events occur within FusionAuth. Events are sent via an HTTP `POST` request with a JSON request body. The request will be sent with the a `Content-Type` header of `application/json`. This is the same style of API that the FusionAuth App uses to handle API requests from your application.
Here's a brief video covering some aspects of webhooks:
<YouTube id="QuHslZ6a_cw" />
See the corresponding [Webhook APIs](/docs/apis/webhooks) if you'd prefer to programatically configure FusionAuth Webhooks.
Here are the topics in this section:
* [Writing a Webhook](/docs/extend/events-and-webhooks/writing-a-webhook) - Covers how to write a Webhook that will process events from FusionAuth.
* [Securing a Webhook](/docs/extend/events-and-webhooks/securing) - Covers how to ensure your webhooks are secured properly.
* [Signing a Webhook](/docs/extend/events-and-webhooks/signing) - Covers how to sign webhook events
* [Events](/docs/extend/events-and-webhooks/events/) - Covers all of the event types that FusionAuth sends to Webhooks
Continue reading below to see how the events and webhooks are configured using the FusionAuth user interface.
## Tenant Settings
To prepare to consume FusionAuth events you'll first need to enable the event and select a transaction level that is compatible with your requirements in the tenant.
<Aside type="note">
You do not need to configure the tenant settings for any system level webhook events, such as the `Audit Log Create` event.
</Aside>
To do so, navigate to <Breadcrumb>Tenants -> Webhooks</Breadcrumb> to enable events and optionally modify the default transaction level for each event type.
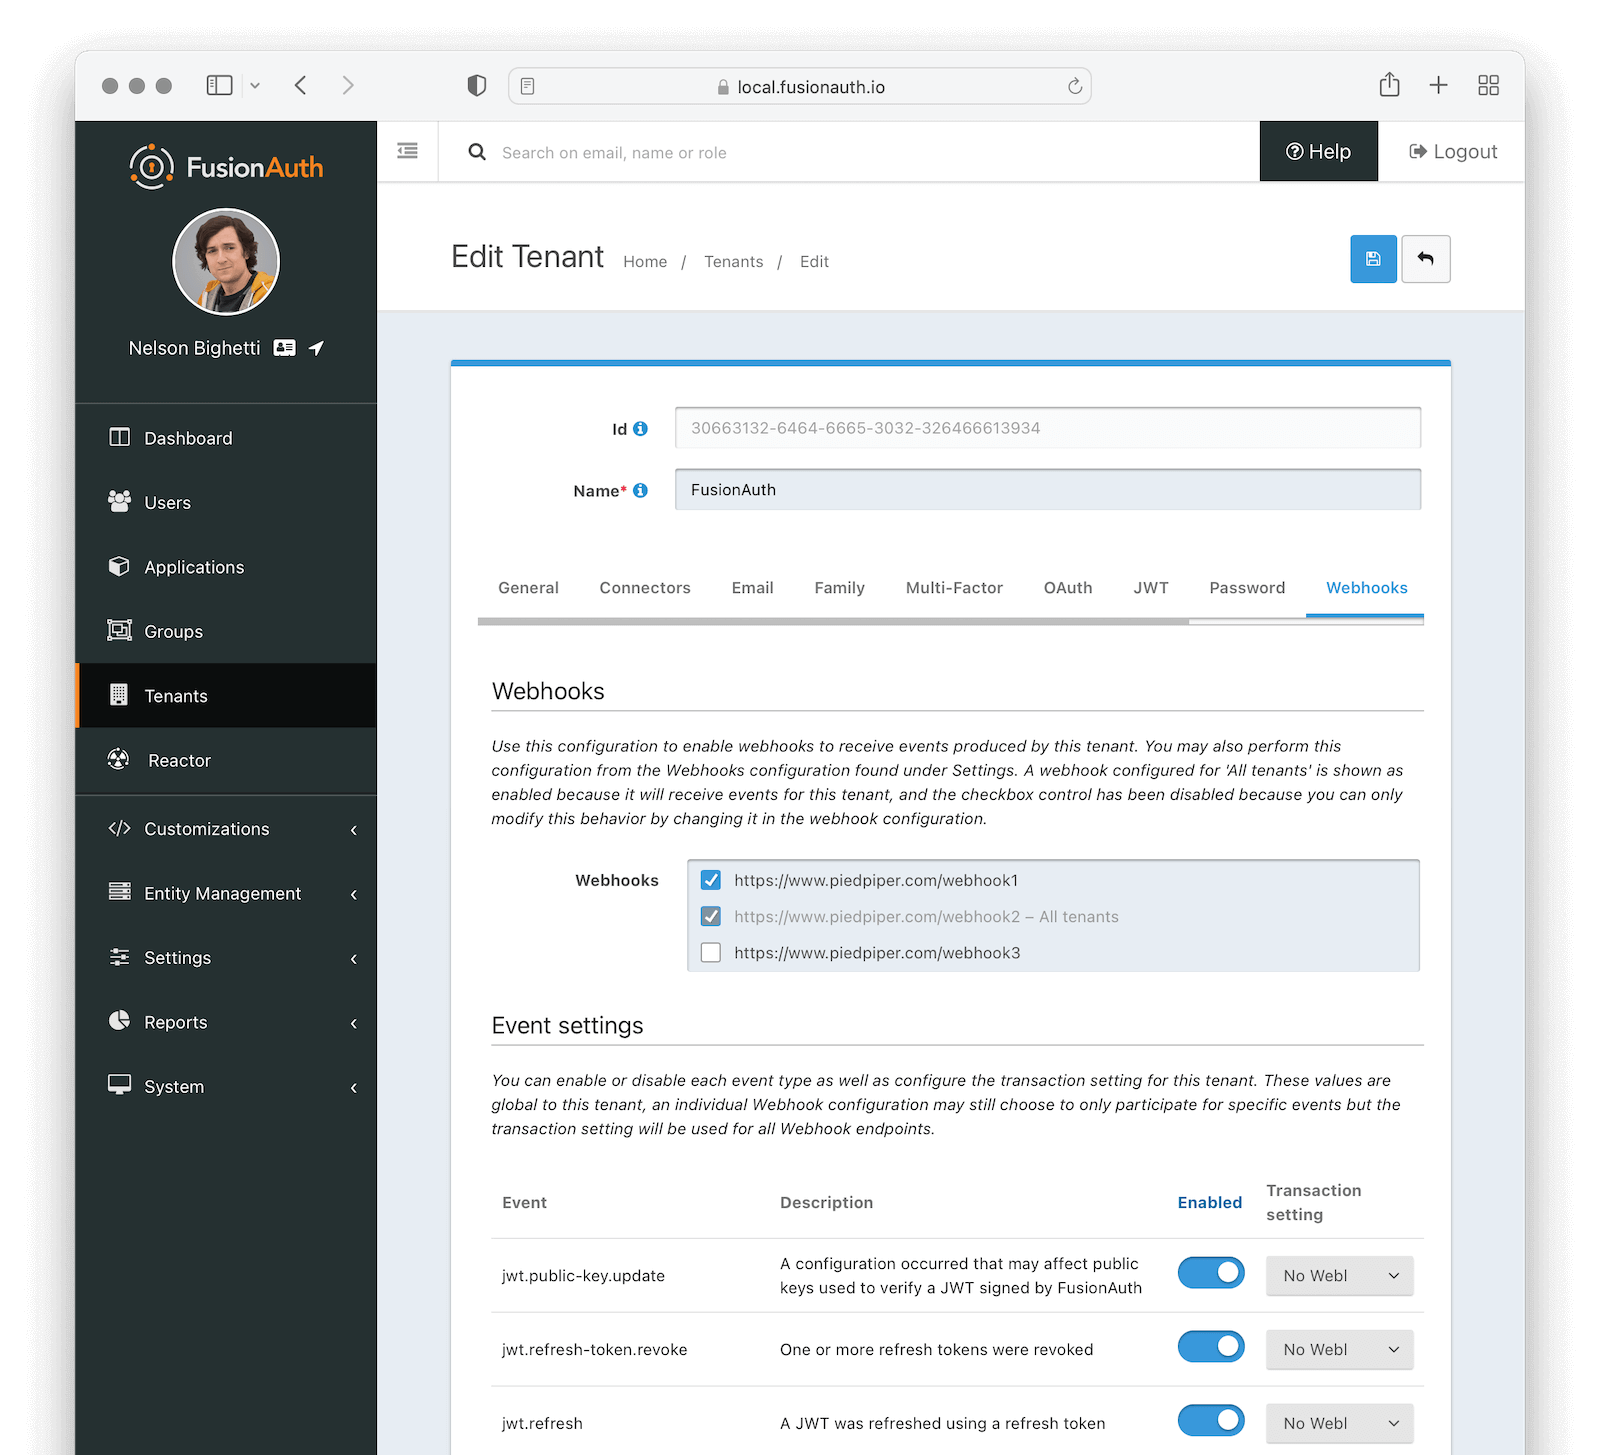
### Webhooks
<APIBlock>
<APIField name="Webhooks">
Enable the webhooks you wish to receive events from this tenant. All webhooks will be shown, but if the webhook is a `global` webhook then you will not be able to unselect it here. That must be done in the [Webhook Settings](/docs/extend/events-and-webhooks/#tenants)
</APIField>
</APIBlock>
### Event Settings
<TenantWebhooksTable />
### Transaction Failures
As mentioned above, if you configure your transaction settings to require one or more webhooks to succeed, success occurs if the requisite number of webhooks returns a status code between 200 and 299.
If they do not, however, the webhook transaction fails. When this occurs, any API calls you are making will receive a response with the status code `504`.
The response will be a JSON object with more details:
```json title="Example Error Response JSON"
{
"generalErrors": [
{
"code": "[WebhookTransactionException]",
"message": "One or more webhooks returned an invalid response or were unreachable. Based on your transaction configuration, your action cannot be completed."
}
]
}
```
## Add Webhook
After you have enabled the events that you will be using, create a webhook definition to indicate where FusionAuth should send the JSON events. Navigate to <Breadcrumb>Settings -> Webhooks</Breadcrumb> to create a new webhook.
See the example screenshot below, at a minimum you will need to provide the URL the endpoint that will accept the FusionAuth JSON events. You can see in this screenshot that even though an event may be enabled globally you can still select which events will be sent to this webhook.
If you need to configure an Authorization header or other credentials to allow FusionAuth to make a request to your webhook, you may do so in the Security tab.
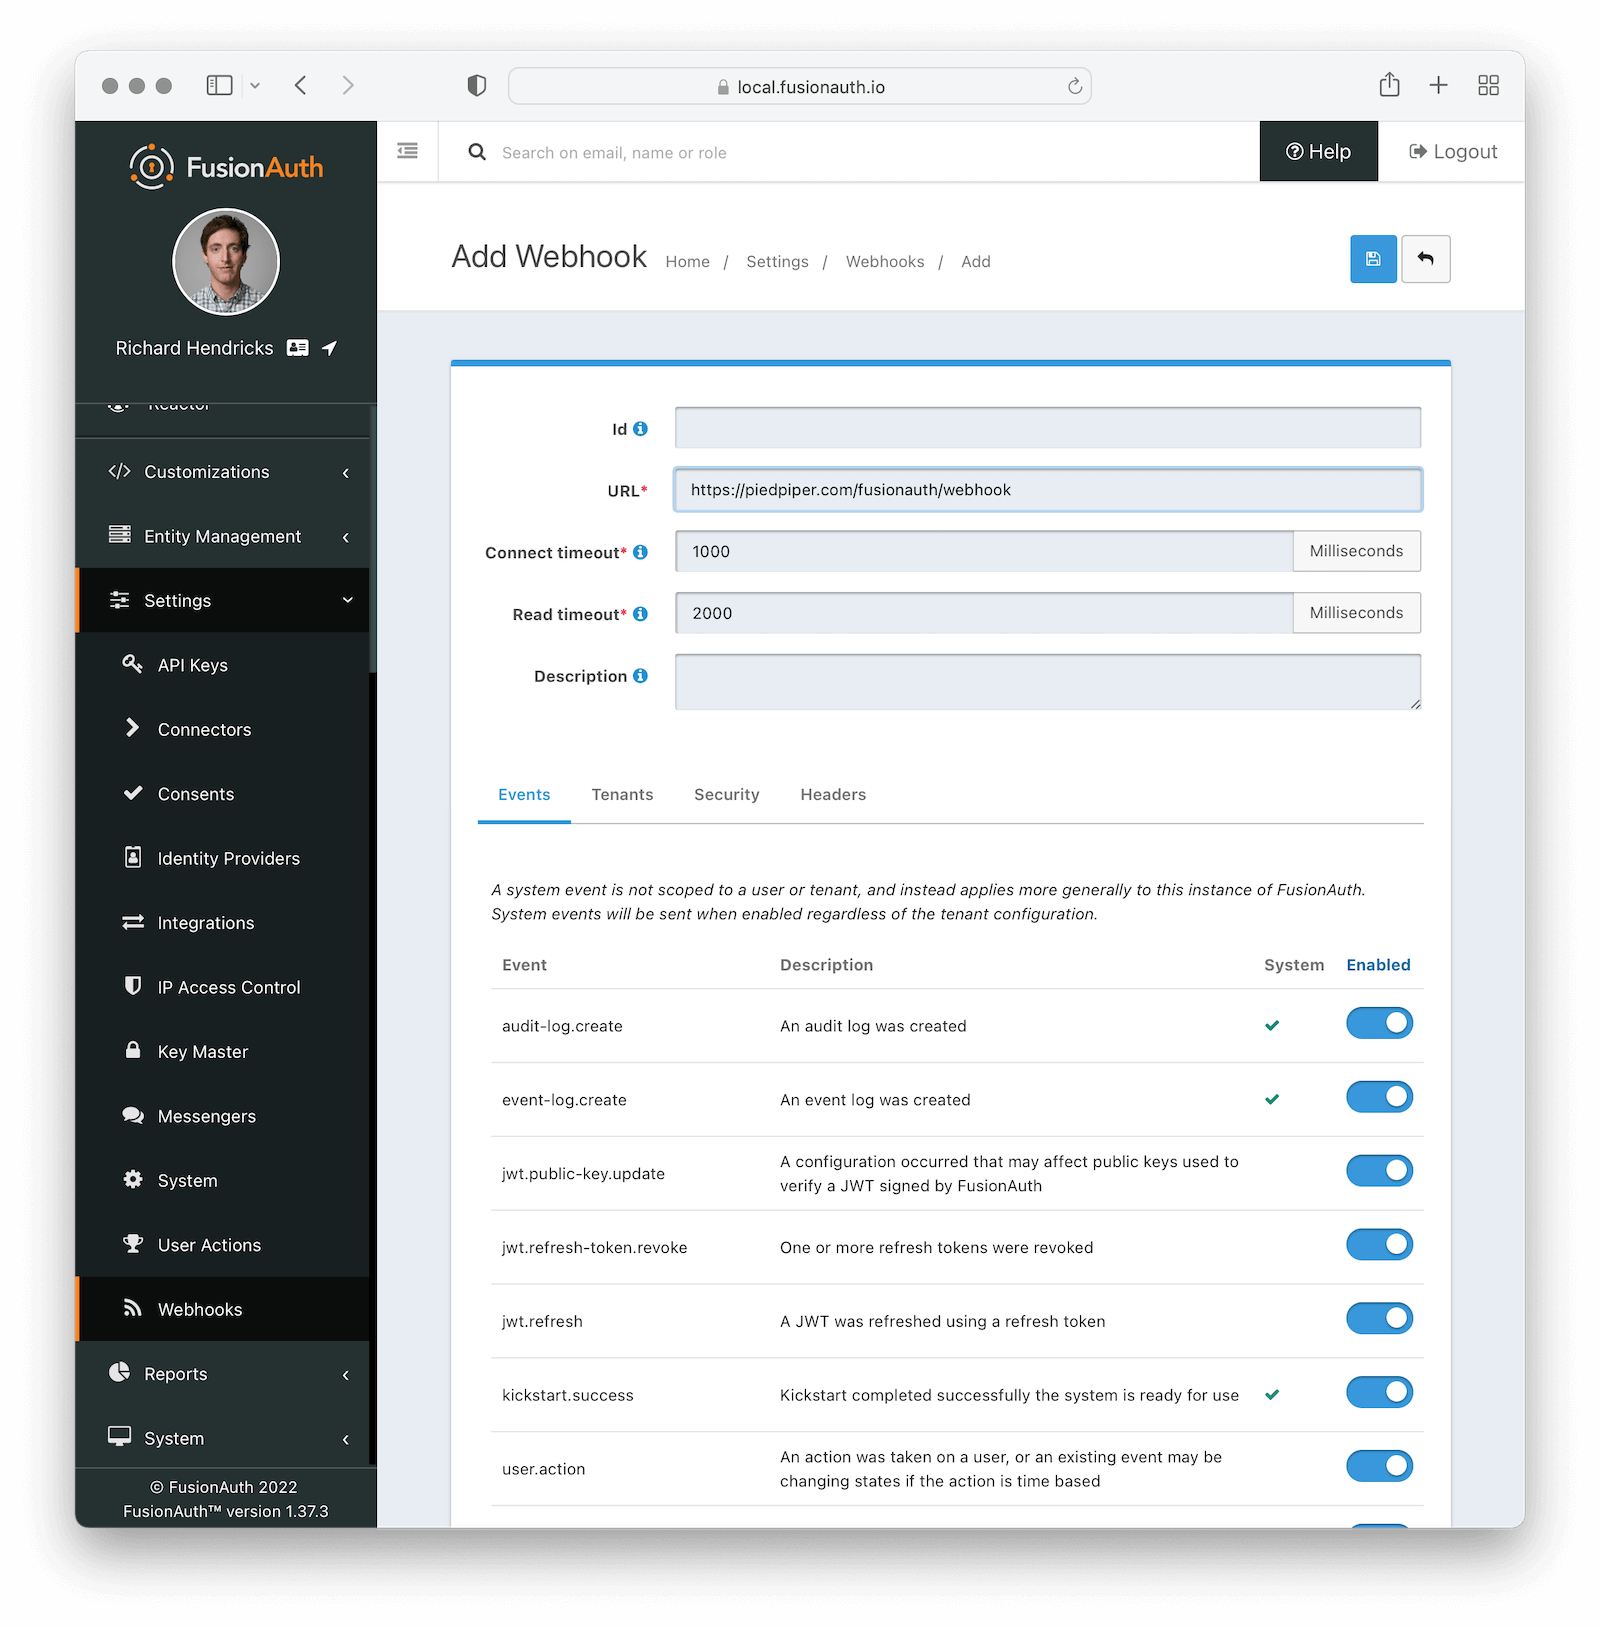
### Form Fields
<APIBlock>
<APIField name="Id" optional>
An optional UUID. When this value is omitted a unique Id will be generated automatically.
</APIField>
<APIField name="URL" required>
The endpoint that FusionAuth will used to send JSON events.
</APIField>
<APIField name="Connect timeout" required>
The HTTP connect timeout in milliseconds used when connecting to the provided URL.
</APIField>
<APIField name="Read timeout" required>
The HTTP read timeout in milliseconds used when connecting to the provided URL.
</APIField>
<APIField name="Description" optional>
An optional description of this webhook.
</APIField>
</APIBlock>
### Events
#### Form Fields
<APIBlock>
<APIField name="Event">
The event type that will be provided in the JSON event.
</APIField>
<APIField name="Description">
The description of the event.
</APIField>
<APIField name="System">
A check indicates this event is a system event and is not scoped to a tenant.
</APIField>
<APIField name="Enabled">
This toggle indicates if the event is enabled and may be sent to configured webhooks. This toggle affects all webhooks, a specific webhook may still be configured to ignore this event.
</APIField>
</APIBlock>
### Security
The security settings may be used to require authentication in order to submit an event to the webhook.
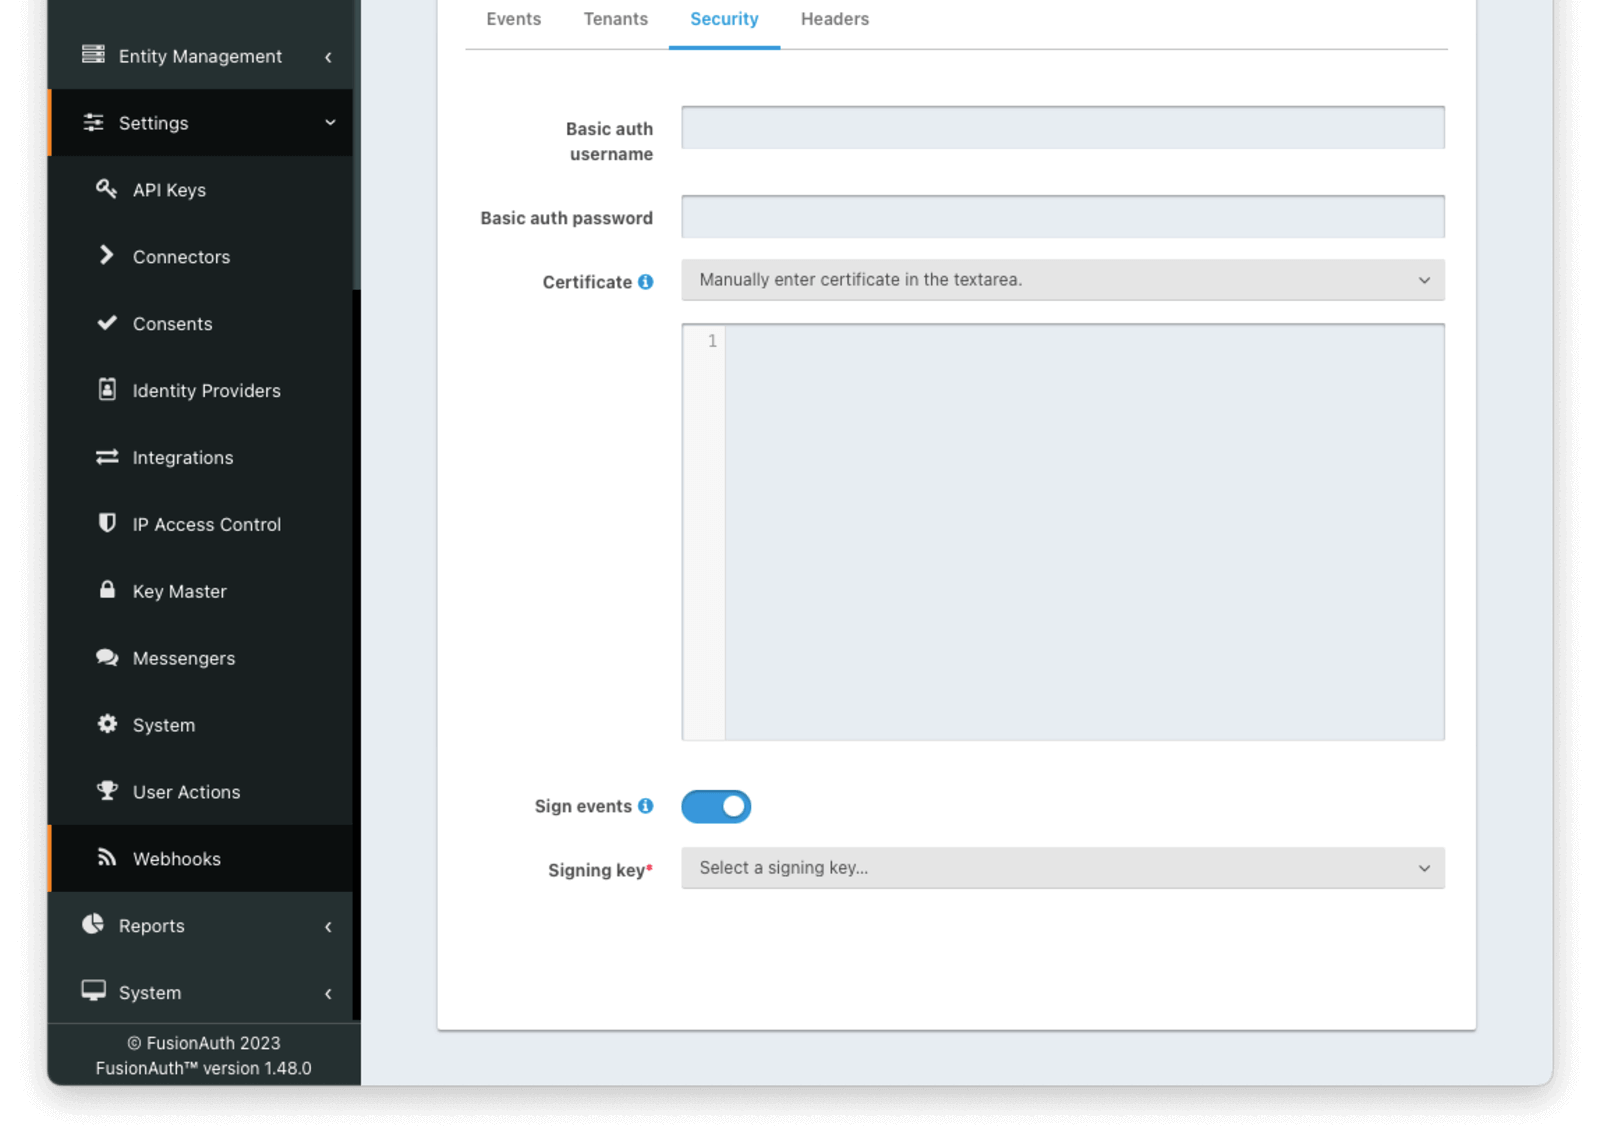
#### Form Fields
<APIBlock>
<APIField name="Basic auth username" optional>
The username to be used for HTTP Basic Authentication.
</APIField>
<APIField name="Basic auth password" optional>
The password to be used for HTTP Basic Authentication.
</APIField>
<APIField name="Certificate" optional>
The [Key](/docs/operate/secure/key-master) containing an SSL certificate to be used when connecting to the webhook.
If you need to add a certificate for use with this webhook, navigate to <Breadcrumb>Settings -> Key Master</Breadcrumb> and import a certificate. The certificate will then be shown as an option in this form control.
You can also select the `Manually enter certificate in the textarea.` option to manually specify the SSL certificate in PEM format on the webhook configuration.
When a Key is selected or a certificate is provided, an in memory keystore will be generated in order to complete the `https` connection to the webhook.
</APIField>
</APIBlock>
### Tenants
<Aside type="version">
Available since 1.37.0
</Aside>
Here's the configuration when a webhook will be sent for all tenants.
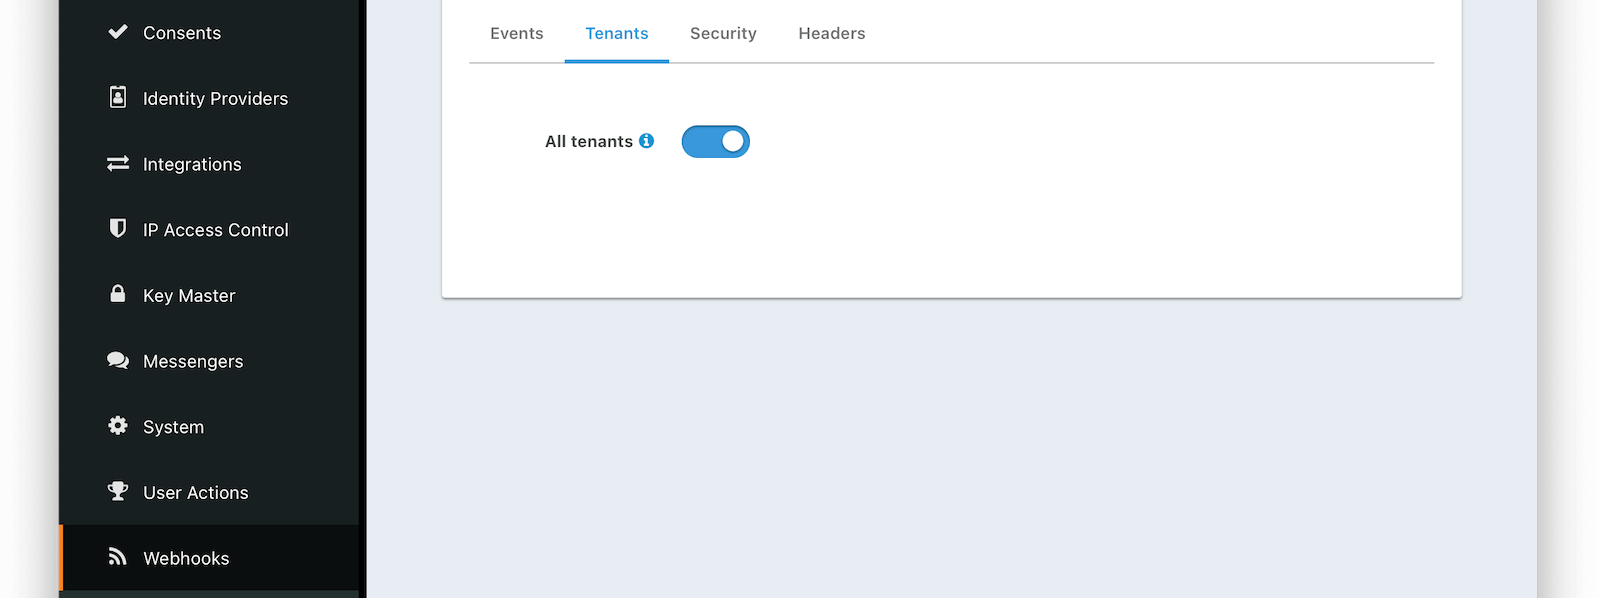
Here's the configuration when a webhook should be sent for certain tenants.
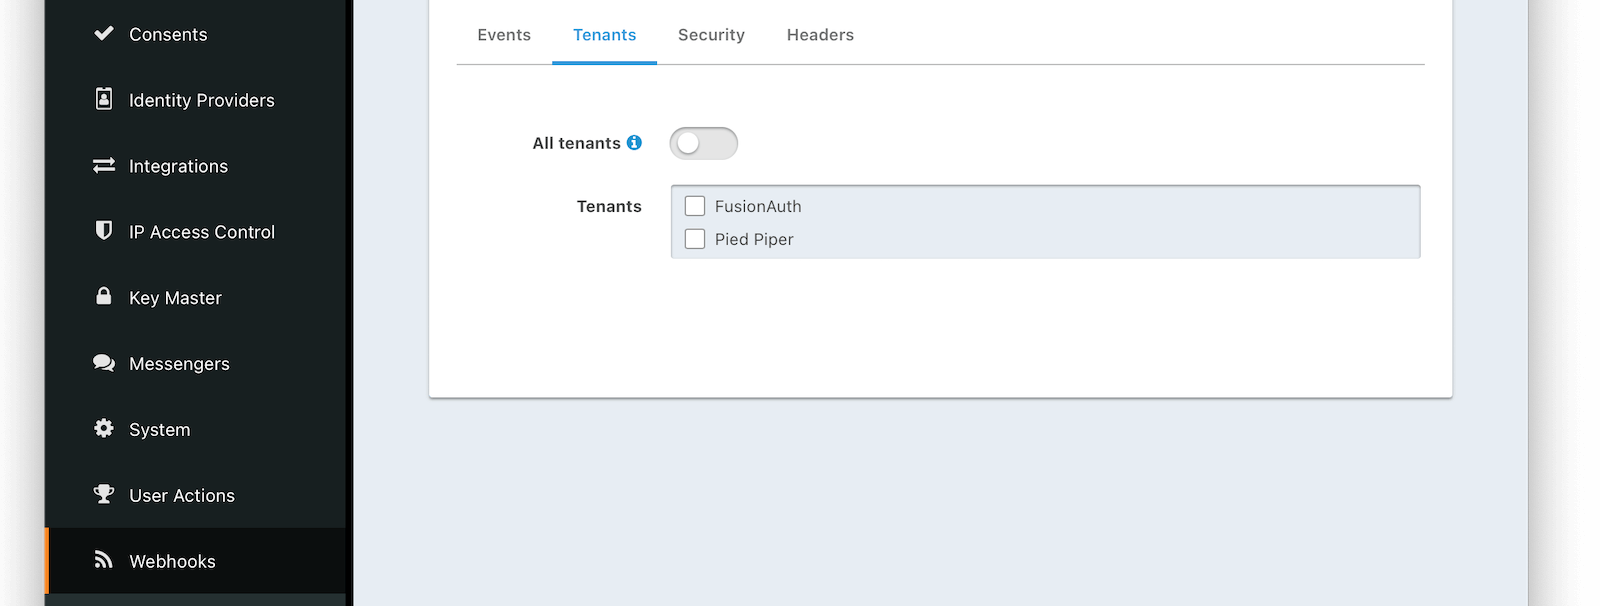
#### Form Fields
<APIBlock>
<APIField name="All tenants">
When this toggle is enabled, events for all tenants will be sent to this webhook.
</APIField>
<APIField name="Tenants">
When the <InlineField>All tenants</InlineField> setting is disabled, this field will be exposed. Select the tenants for which you would like to receive events.
Most events are scoped to a tenant. Selecting one more more tenants will cause FusionAuth to send events only for those tenants.
</APIField>
</APIBlock>
The exceptions to this are the following system events which are not tenant specific:
* `audit-log.create`
* `event-log.create`
* `kickstart.success`
These events are configured at the system level and cannot be scoped to a certain tenant.
### Headers
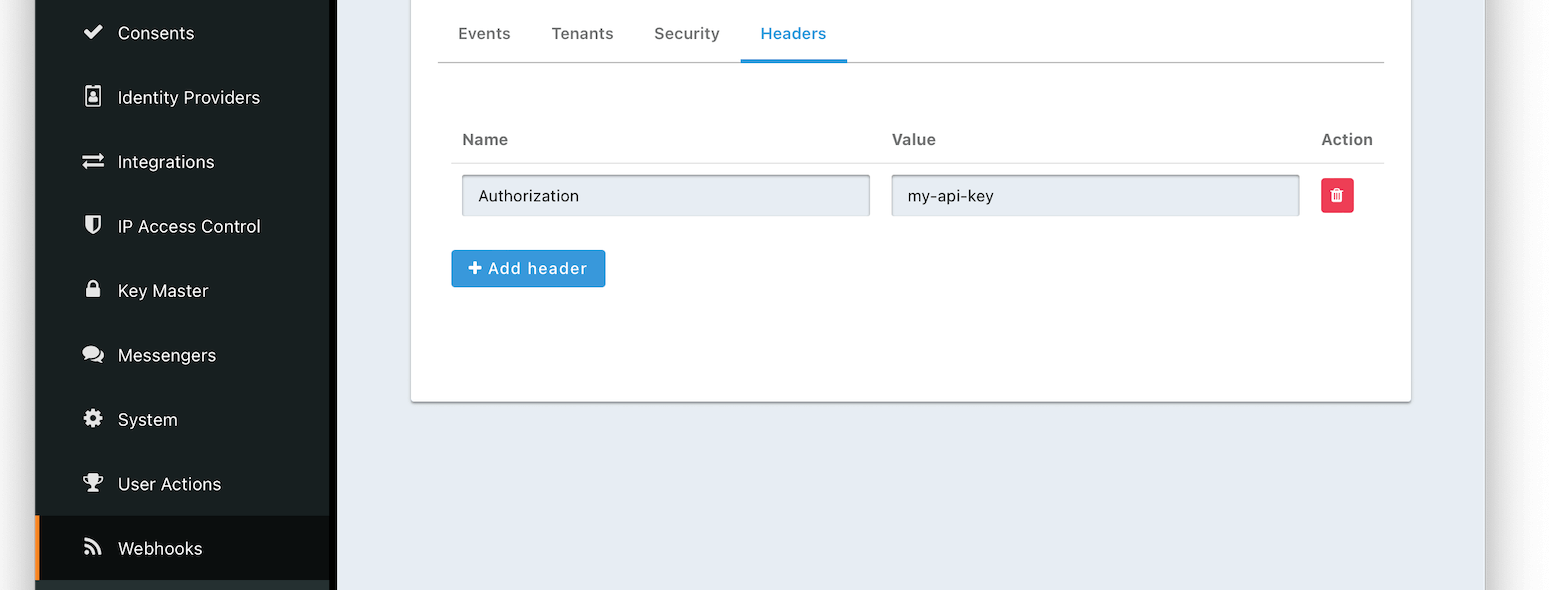
#### Form Fields
<APIBlock>
<APIField name="Name">
The name of the header to add to the HTTP request when sending the event to the webhook
</APIField>
<APIField name="Value">
The header value to add to the HTTP request when sending the event to the webhook
</APIField>
</APIBlock>
### Applications
<ApplicationWebhooksWarning />


#### Form Fields
<APIBlock>
<APIField name="All applications" deprecated>
When this toggle is enabled, all events will be sent to this webhook.
<APIDeprecatedRemoved version="1.37.0" description="In version 1.37.0 and beyond, webhooks are scoped to tenants." />
</APIField>
<APIField name="Applications" deprecated>
When the <InlineField>All applications</InlineField> is disabled, this field will be exposed. Select the application for which you would like to receive events.
Not all events are considered application specific and selecting an application will limit you to only receiving application events. The following events are considered Application events:
* `jwt.public-key.update`
* `jwt.refresh-token.revoke`
* `user.action`
In most cases you will want to use the <InlineField>All applications</InlineField> configuration.
<APIDeprecatedRemoved version="1.37.0" description="In version 1.37.0 and beyond, webhooks are global or are scoped to tenants." />
</APIField>
</APIBlock>
## Test a Webhook
Once you have a webhook up and running and configured to receive JSON events from FusionAuth you may wish to test it by sending different events. FusionAuth has built in a test capability to allow you to construct any event and send it to your webhook.
Navigate to <Breadcrumb>Settings -> Webhooks</Breadcrumb> and select the purple <Icon name="exchange" /> icon for the webhook you wish to test. Select the event type to test, optionally modify the JSON to test a specific scenario and then use the send button in the top right to send the event to the webhook.
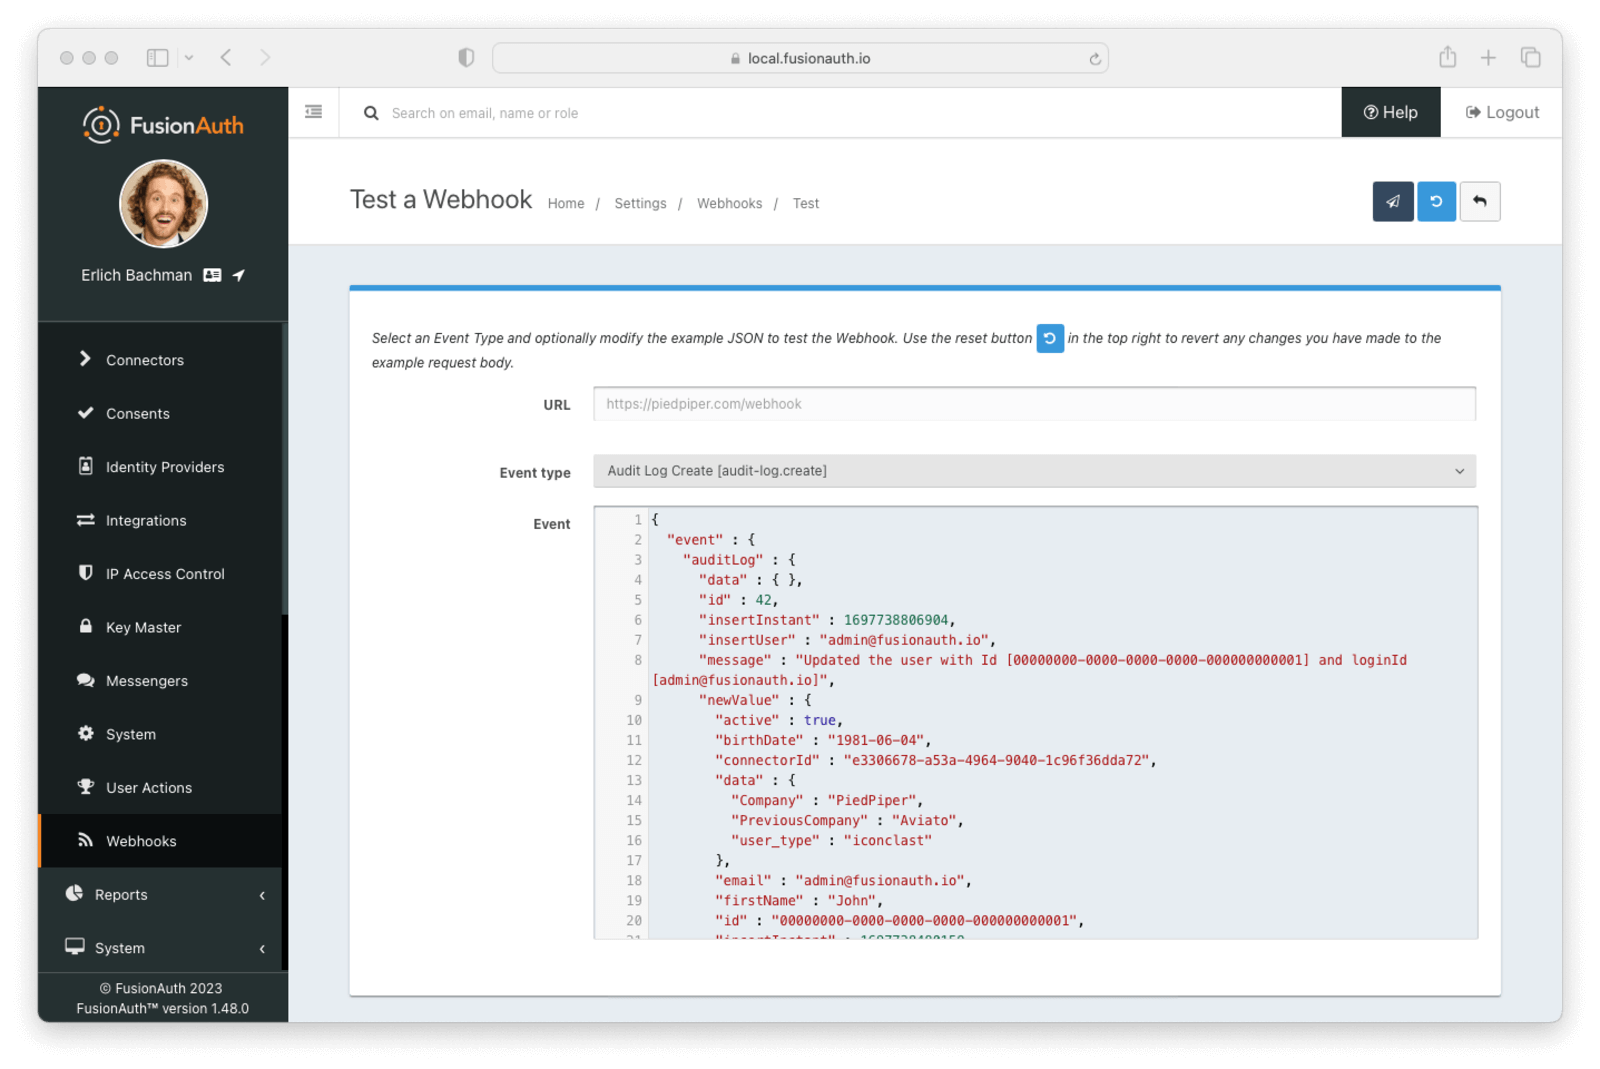
Modifications to event JSON will be preserved across tests. If you want to reset the JSON for a given event, select that event and click the <Icon name="undo" /> Reset button.
### Form Fields
<APIBlock>
<APIField name="URL">
The URL of the webhook you are testing. If you wish to test a different webhook return to the webhook menu and select the test action on another webhook.
</APIField>
<APIField name="Event type">
The selected event type to send to the webhook.
</APIField>
<APIField name="Event">
The JSON event to send to the webhook. This is a generated example and it may be modified before sending to replicate a specific scenario.
</APIField>
</APIBlock>
## FAQs
**Q:** I have successfully tested my Webhook, but why am I not receiving specific live events?
**A:** In order to receive events to your webhook endpoint, ensure the following items are configured:
* Set up the Tenant events. Navigate to <Breadcrumb>Tenants -> Webhooks</Breadcrumb> and enable the specific events.
* Set up Webhook tenants. Navigate to <Breadcrumb>Settings -> Webhooks -> Tenants</Breadcrumb> and ensure the Webhook is configured either for <InlineUIElement>All tenants</InlineUIElement> or your desired tenant or tenants.
* Set up the Webhook events. Navigate to <Breadcrumb>Settings -> Webhooks -> Events</Breadcrumb> and ensure the specific events are enabled for the Webhook.
Unless all three of these configurations are correct, you won't receive events to your configured endpoint.
# Securing Webhooks
import SecuringHttpRequests from 'src/content/docs/_shared/_securing_http_requests.mdx';
## Securing Webhooks
FusionAuth sends JSON events to your configured Webhooks that might include user information or other sensitive data. Therefore, it is important to ensure that your Webhooks are secured properly to prevent data from being leaked or stolen.
This document covers the standard methods for securing Webhooks. You can also [learn more about verifying webhook message integrity](/docs/extend/events-and-webhooks/signing).
<SecuringHttpRequests request_entity="Webhook" request_entity_lc="webhook" ssl_certificate_sentence="This can be an SSL certificate previously added to Key Master or a manually entered SSL certificate in PEM format" />
# Signing Webhooks
import InlineField from 'src/components/InlineField.astro';
import {RemoteCode} from '@fusionauth/astro-components';
import Breadcrumb from 'src/components/Breadcrumb.astro';
import Aside from 'src/components/Aside.astro';
<Aside type="version">
Available since 1.48.0
</Aside>
## Signing Webhooks
Signing Webhook events allows you to verify each event was sent by FusionAuth. Webhook signatures provide an extra layer of security in addition to the methods described in [Securing a Webhook](/docs/extend/events-and-webhooks/securing). Signature verification provides protection against bad actors spoofing webhook event payloads to look like they came from FusionAuth.
This document covers configuring webhook signatures, verifying signatures in your webhook listener, and key rotation.
### Configuration
Configuring webhook signatures in FusionAuth consists of generating a key and configuring your webhook to sign using that key.
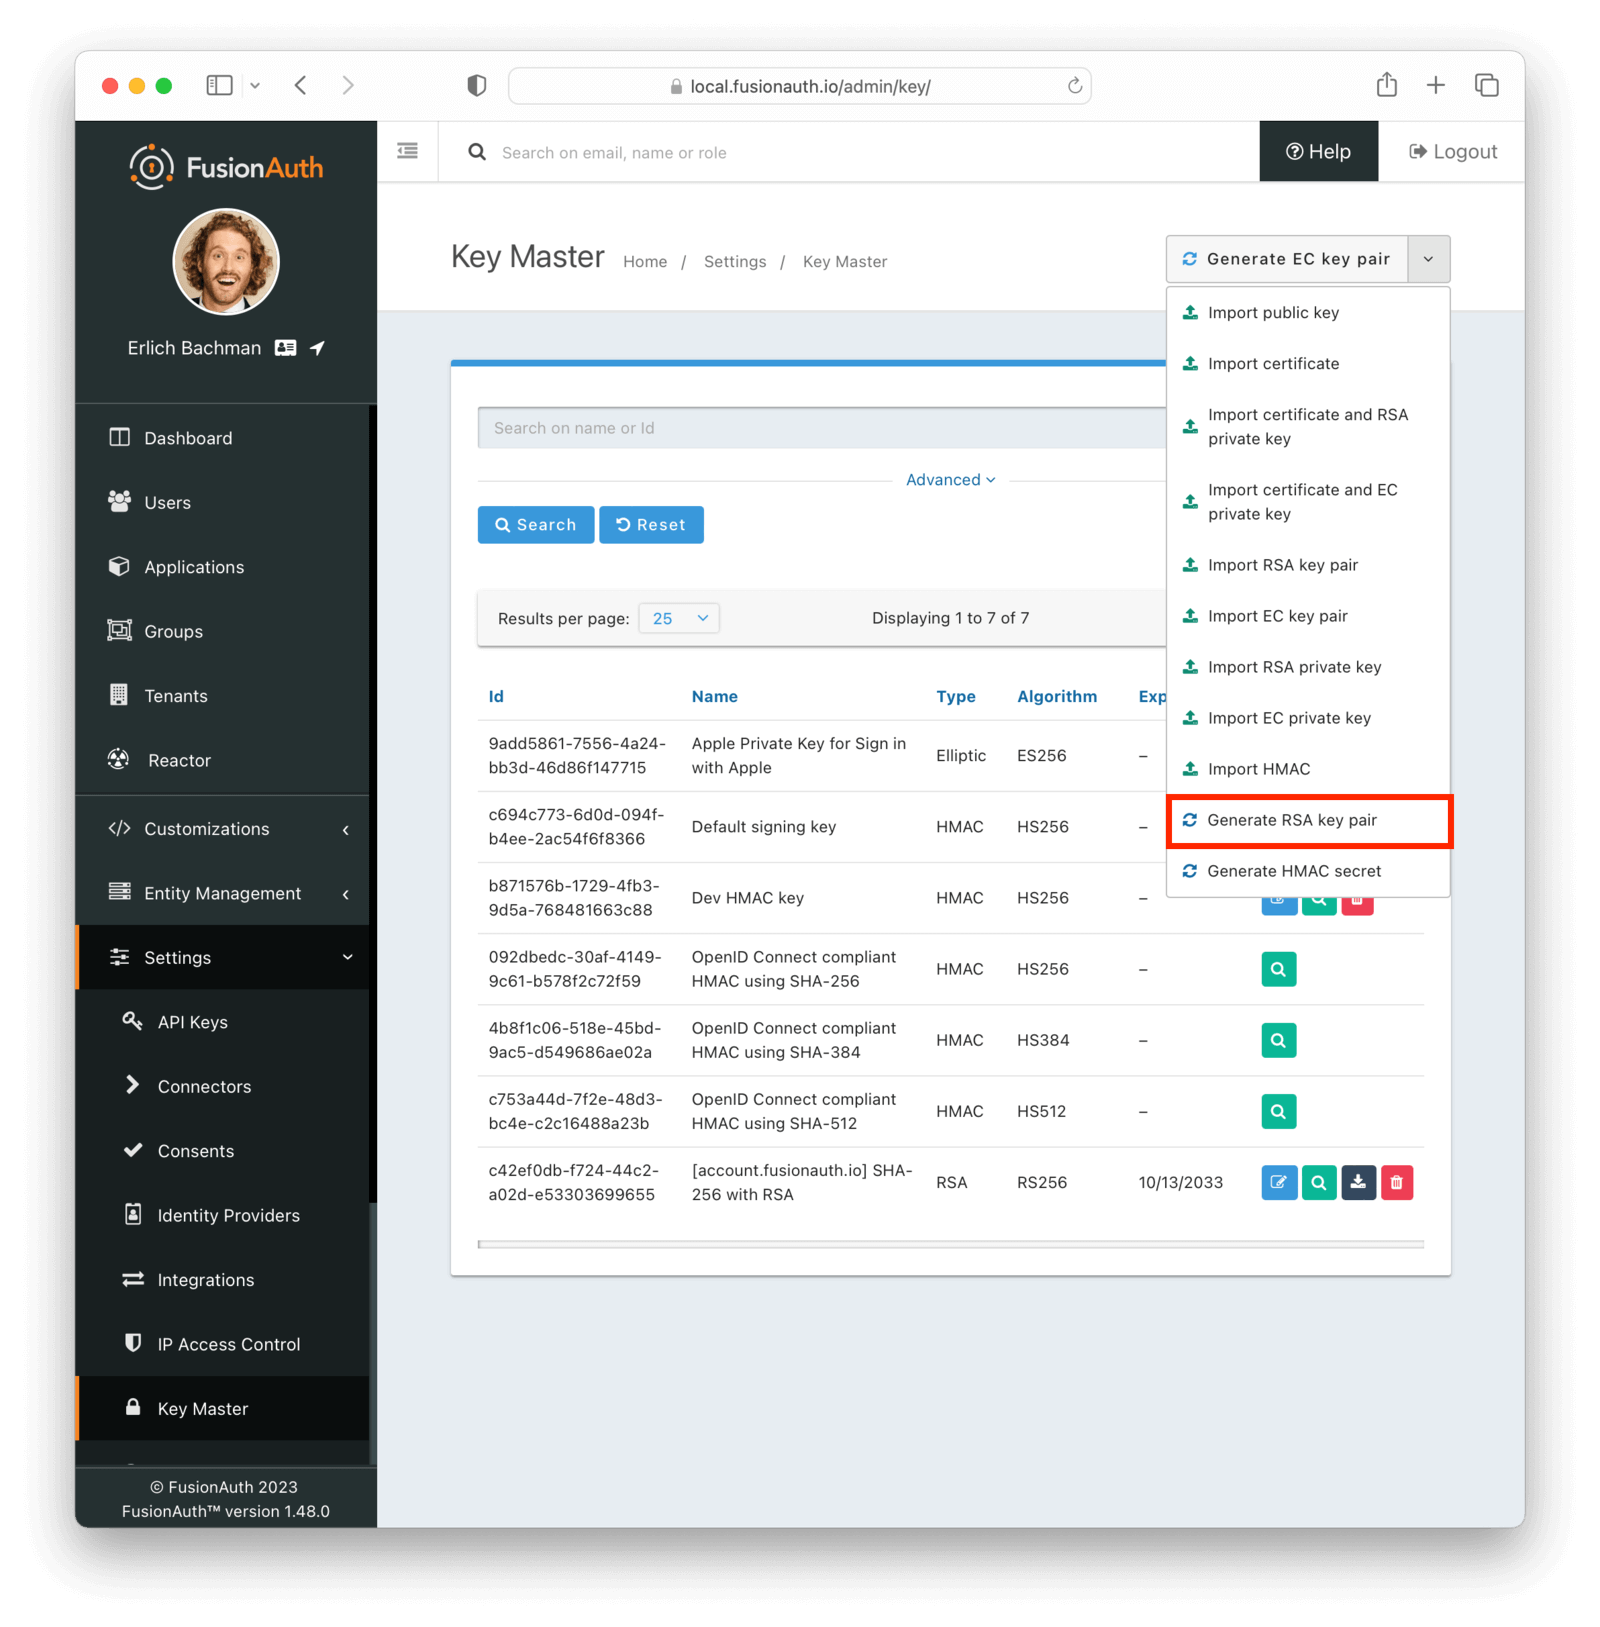
Keys are generated or imported from <Breadcrumb>Settings -> Key Master</Breadcrumb>. Webhooks can be signed with three types of keys
* OKP (EdDSA) key - strongest cryptography, public key can be available
* EC key - stronger cryptography, public key can be available
* RSA key - strong cryptography, public key can be available
* HMAC key - fast cryptography, requires manual key distribution
Asymmetric key types allow you to make public keys available through the `/.well-known/jwks.json` endpoint, which facilitates key rotation. If your webhook listener cannot make outbound network connections or you prefer to manually configure your key in your webhook listener, HMAC keys are a good option.
For this example, we'll use an RSA key pair. More information on keys is available in the [Key Master Guide](/docs/operate/secure/key-master).
Next, you configure your webhook to sign the event with this key. From <Breadcrumb>Settings -> Webhooks</Breadcrumb>, click on the Edit button for your webhook (or create a new webhook). Select the <Breadcrumb>Security</Breadcrumb> tab panel. Once you enable <InlineField>Sign events</InlineField>, a <InlineField>Signing key</InlineField> select dropdown allows you to choose the generated key. Be sure to click Save in the upper right corner.
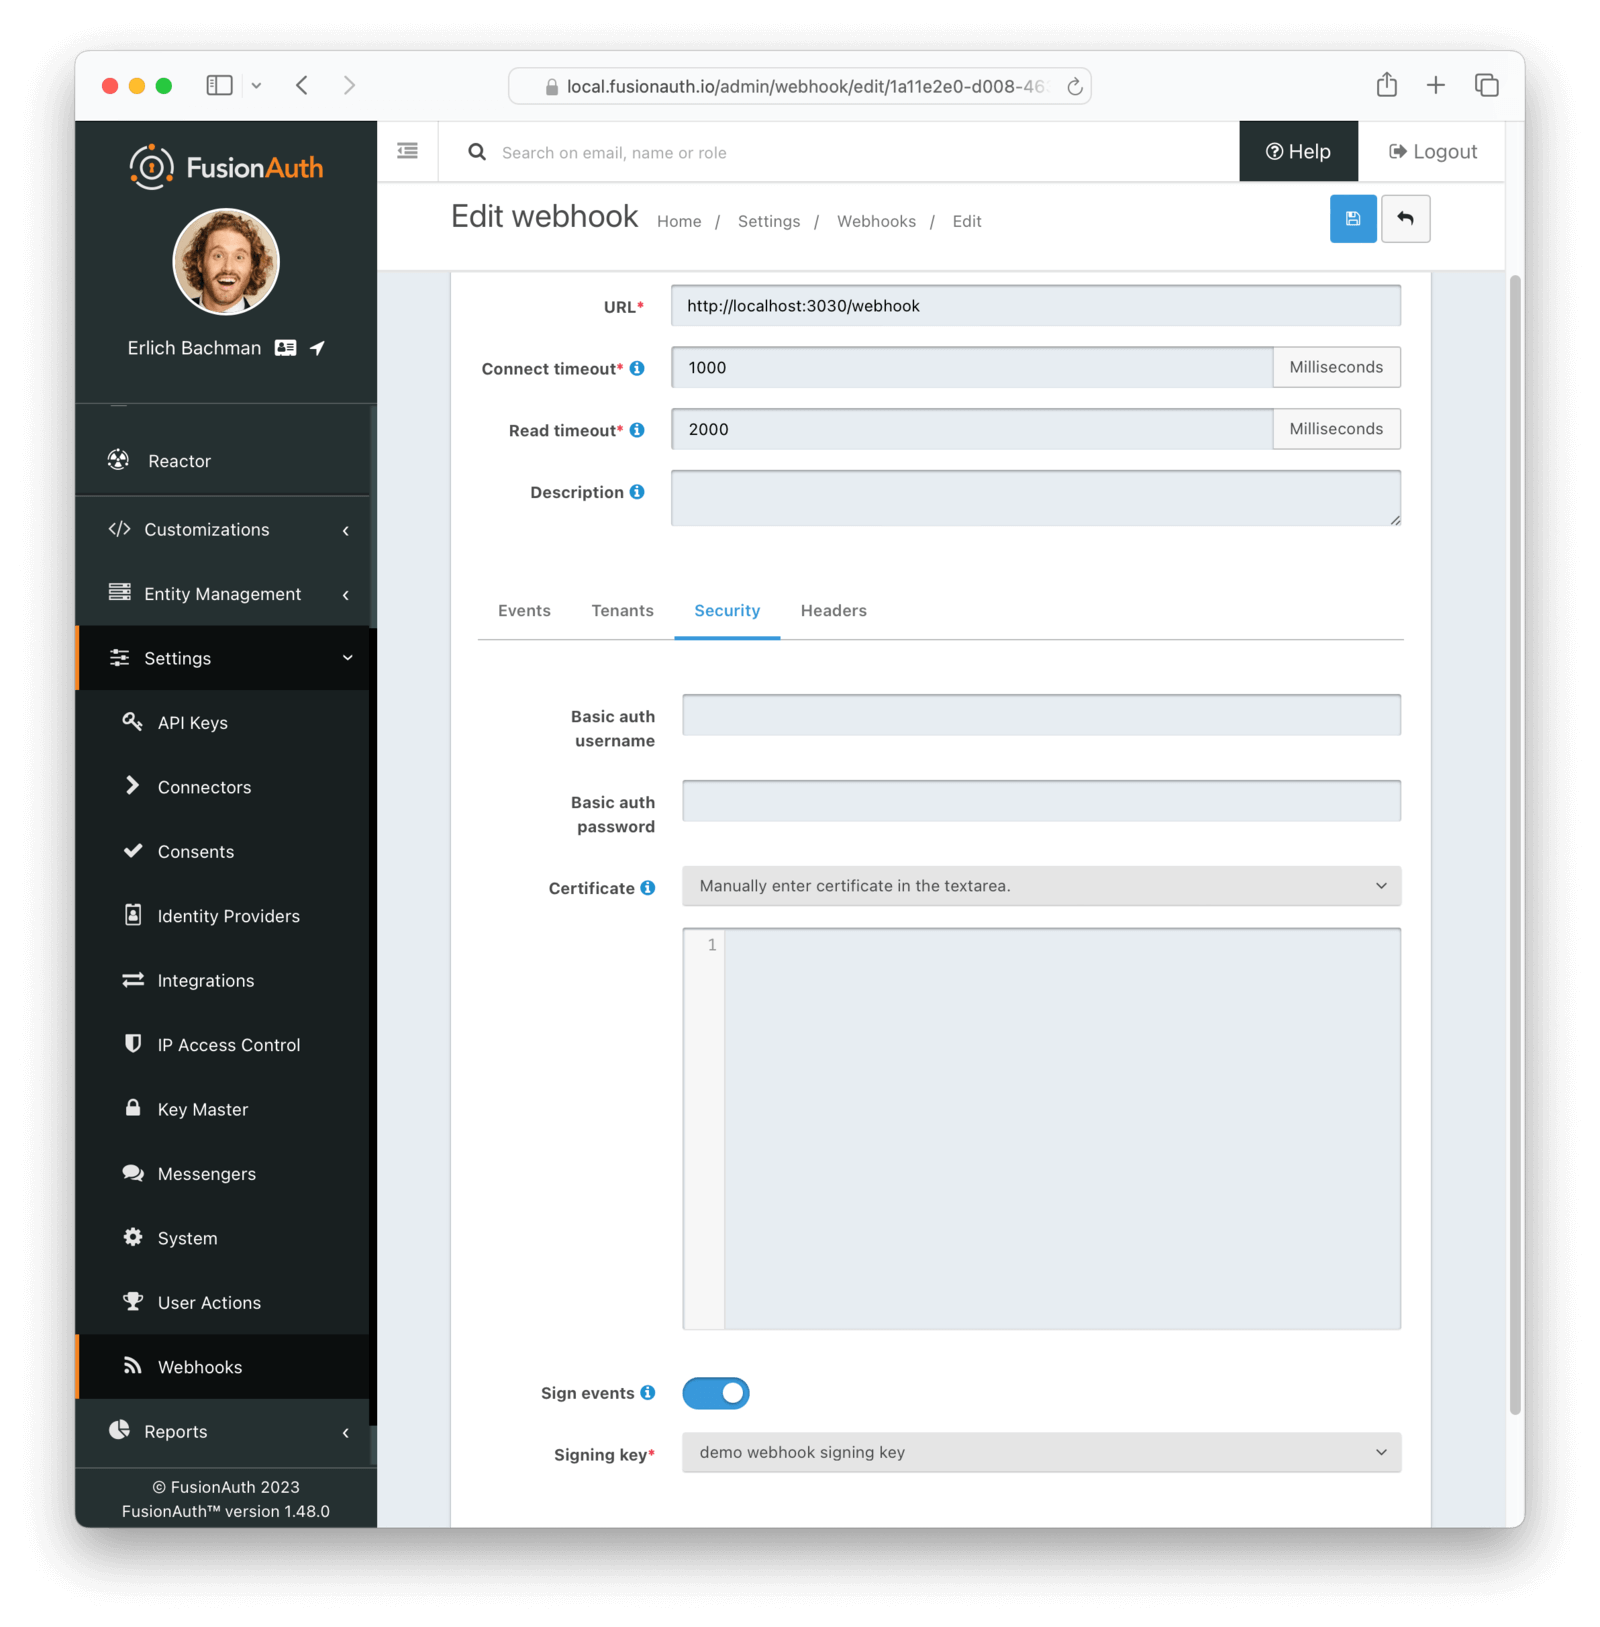
### Signature Verification
The webhook signature is provided in the HTTP header `X-FusionAuth-Signature-JWT` as a signed JWT with a claim of `request_body_sha256` containing the SHA-256 hash of the webhook event payload.
Your webhook listener can verify the signature by:
- Verifying the JWT is properly signed
- Decoding the JWT
- Comparing the JWT's `request_body_sha256` claim against your own calculated SHA-256 hash of the event body
```ini title="Example webhook HTTP header"
X-FusionAuth-Signature-JWT: eyJhbGciOiJSUzI1NiIsInR5cCI6IkpXVCIsImtpZCI6Il9IMDd3VkcxZlYzbDVpaDc0ck54SUMzbmV2RSJ9.eyJyZXF1ZXN0X2JvZHlfc2hhMjU2IjoiS2VWKy9IR29JUXJ4dUU1WVBDUlI2QXVRT0p2ZWxkWU5OaGJWaTFpMjJxaz0ifQ.J70gqZVuTej8FfriQqJJZecCT6XOZKH6h6Te2ir_yrSwR3luhoj_R1vAZULdrktaFPqXFXbnq9prN8j3ddelUVA5SU51J-MWVhz1bkimLo8EEdJ47ytI_97rPqVK1YJ6FSiS8_o37gablaQZv2WDbZ6ap-t4hNU5m7uwZTW9DerKg9iQjMDUIlfafEwsROLfNPfK49IsCzBNCQ8SsinVbGU0dNbs9YfMAxNzSuEKdZOIXkRNgjPfWpPnkwBbroWUrrpcoAcBSQIYFajKV-MFRISnFZ_blYps16f95iQsuTfqBkBH3r59R5tFBP66FA1bvQJZVlAHJfdNTXnXx2F2BQ
```
The JWT decodes with:
```json title="JWT header"
{
"alg": "RS256",
"typ": "JWT",
"kid": "_H07wVG1fV3l5ih74rNxIC3nevE"
}
```
```json title="JWT payload"
{
"request_body_sha256": "KeV+/HGoIQrxuE5YPCRR6AuQOJveldYNNhbVi1i22qk="
}
```
The `kid` identifies the Id of the key used to sign the JWT. JWT libraries can look the key up from the JWKS endpoint, or a locally stored key can be used. After verifying the JWT signature, the JWT's `request_body_sha256` payload claim is compared against your own calculated SHA-256 hash of the event body
### Example Webhook Listener Code
The following code ([available on GitHub](https://github.com/FusionAuth/fusionauth-example-javascript-webhooks/blob/main/signature-verify/app.js)) demonstrates webhook signature verification with a simple Node server.
<RemoteCode title="Example Node.js Webhook Signature Verifier" lang="javascript" url="https://raw.githubusercontent.com/FusionAuth/fusionauth-example-javascript-webhooks/main/signature-verify/app.js" />
### Testing
The [Webhook Testing](/docs/extend/events-and-webhooks#test-a-webhook) page provides a quick way to test your webhook signature configuration and signature verification on your webhook listener.
### Key Rotation
[Rotating keys](/docs/operate/secure/key-rotation) regularly is an important part of a defense-in-depth strategy. The type of key used for signing webhook events and the method used for fetching that key determines the process for rotating keys.
* Signatures validated using a public key where signature verification dynamically fetches public key from `.well-known/jwks.json` endpoint
* Generate new key in FusionAuth
* Update webhook signing key to use new key
* Test
* Delete old key
* Other cases
* Generate new key
* Update your webhook listener to accept new key in addition to old key
* Update webhook to use new key
* Test
* Update your webhook listener to only accept new key
* Delete old key from FusionAuth
# Webhook Event Log
import ApplicationWebhooksWarning from 'src/content/docs/extend/events-and-webhooks/_application-webhooks-warning.mdx';
import Aside from 'src/components/Aside.astro';
import Breadcrumb from 'src/components/Breadcrumb.astro';
import Icon from 'src/components/icon/Icon.astro';
import InlineField from 'src/components/InlineField.astro';
import InlineUIElement from 'src/components/InlineUIElement.astro';
import {RemoteCode} from '@fusionauth/astro-components';
import DiagramTxNone from 'src/diagrams/docs/extend/events-and-webhooks/_transaction-none.astro';
import DiagramTxAny from 'src/diagrams/docs/extend/events-and-webhooks/_transaction-any-succeed.astro';
import DiagramTxThree from 'src/diagrams/docs/extend/events-and-webhooks/_transaction-any-succeed-three-failures.astro';
import { YouTube } from '@astro-community/astro-embed-youtube';
<Aside type="version">
Available since 1.53.0
</Aside>
## Overview
A Webhook Event Log is provided to review events sent by FusionAuth along with timing and result information for each attempt to send the event to configured endpoints. The `webhook_event_log_viewer` role grants users access to these pages. You can find the Webhook Event Log by navigating to <Breadcrumb>System -> Webhook Log</Breadcrumb>. The same information is available via the [Webhook Event Log APIs](/docs/apis/webhook-event-logs).
Starting in version `1.57.0` the Webhook Event Log is disabled by default.
## Webhook Event Log UI
### List of Webhook Event Logs
The main Webhook Event Log page provides a list of summary information and search functionality for events. Test events sent via the admin UI are not recorded in the Webhook Event Log.
<img src="/img/docs/extend/events-and-webhooks/webhook-event-log-list.png" alt="List of Webhook Event Logs" width="1200" role="bottom-cropped" />
Using the icons on this screen, you can:
* <Icon name="address-card" /> Manage the webhook event log
### Manage Webhook Event
Click the <InlineUIElement>Manage</InlineUIElement> button on the list to manage a webhook event.
The page displays summary information about the event such as timing, event type, and result. The <InlineUIElement>Webhook attempts</InlineUIElement> tab contains information on attempts to send the event to each configured receiver.
<img src="/img/docs/extend/events-and-webhooks/manage-webhook-event.png" alt="Manage of Webhook Event" width="1200" role="bottom-cropped" />
Using the icons on this screen, you can:
* <Icon name="fa-search" /> View attempt details
The <InlineUIElement>Source</InlineUIElement> tab shows a read-only view of the event request body. The same event body is sent to all receivers.
<img src="/img/docs/extend/events-and-webhooks/manage-webhook-event-source.png" alt="Webhook Event Source" width="1200" />
### View attempt details
Click the <InlineUIElement>View</InlineUIElement> button on the manage screen to view details for an attempt to send the event.
<img src="/img/docs/extend/events-and-webhooks/webhook-attempt.png" alt="Webhook Attempt Log" width="1200" role="bottom-cropped" />
### Configuration
The Webhook Event Log can be configured under <Breadcrumb>Settings -> System</Breadcrumb> on the <Breadcrumb>Advanced</Breadcrumb> tab.
Starting in version `1.57.0` the Webhook Event Log is disabled by default. Prior to that the feature could not be disabled.
By default Webhook Event Logs are retained for 30 days, after which they are deleted. Prior to version `1.57.0` the default behavior was to never delete Webhook Event Logs.
<img src="/img/docs/extend/events-and-webhooks/webhook-event-log-settings.png" alt="Webhook Event Log Settings" width="1200" />
When the <InlineField>Delete</InlineField> retention is enabled, Webhook Event Logs older than the configured number of days will be deleted automatically. The retention period can be set to a minimum of one day.
# Writing a Webhook
import ApplicationWebhooksWarning from 'src/content/docs/extend/events-and-webhooks/_application-webhooks-warning.mdx';
import InlineField from 'src/components/InlineField.astro';
import {RemoteCode} from '@fusionauth/astro-components';
import DiagramTxNone from 'src/diagrams/docs/extend/events-and-webhooks/_transaction-none.astro';
import DiagramTxAny from 'src/diagrams/docs/extend/events-and-webhooks/_transaction-any-succeed.astro';
import DiagramTxThree from 'src/diagrams/docs/extend/events-and-webhooks/_transaction-any-succeed-three-failures.astro';
import { YouTube } from '@astro-community/astro-embed-youtube';
import Breadcrumb from 'src/components/Breadcrumb.astro';
## Overview
In order to appropriately handle requests from the FusionAuth event, you must build a HTTP Webhook receiver to listens for requests from FusionAuth. Your Webhook must be able to receive HTTP `POST` requests with a JSON request body. The HTTP request will be sent using a `Content-Type` header value of `application/json`.
Additional headers may be added to the request by adding headers to the Webhook configuration.
## Responses
Your Webhook must handle the RESTful request described above and send back an appropriate status code. Your Webhook must send back to FusionAuth an HTTP response code that indicates whether or not the event was successfully handled or not. If your Webhook handled the event properly, it must send back an HTTP response status code of `2xx`. If there was any type of error or failure, your Webhook must send back a non `2xx` HTTP response status.
## Configuration
Once your Webhook is complete and listening for events, you must configure your Webhook URL in FusionAuth. To add a webhook navigate to <Breadcrumb>Settings -> Webhooks</Breadcrumb>.
Then, configure the Tenant to listen for the event by navigating to <Breadcrumb>Tenants -> Your Tenant -> Webhooks</Breadcrumb>.
Here's a video displaying how to configure a webhook.
<YouTube id="peyqQggiR4o" />
If you have multiple Webhooks configured for a single Tenant, the transaction setting for the event will dictate if FusionAuth will commit the transaction or not.
As of version 1.37.0 if you have multiple webhooks assigned to different tenants but configured for the same event, such as `user.create`, only the events matching both tenant and type will be delivered. For example, imagine you have Pied Piper and Hooli tenants and both have different webhooks (`piedpier.com/webhook` and `hooli.com/webhook`) and each is configured to listen only to their tenant for the `user.create` webhook event. In this case, `piedpiper.com/webhook` would receive only Pied Piper user creation event information; likewise `hooli.com/webhook` will receive only webhooks for the `user.create` event from the Hooli tenant.
Prior to version 1.37.0 if you have multiple tenants listening for the same event, they will all receive that event and can filter on the provided <InlineField>tenantId</InlineField> to determine if they should handle the event.
### Application Scoped Events
<ApplicationWebhooksWarning />
### Tenant Scoped Events
As of version 1.37.0, all events can be tenant scoped except system events:
* `audit-log.create`
* `create-log.create`
* `kickstart.success`
If you want to get events for certain applications, the preferred method is to send events for a tenant. Filter on the `applicationId` when consuming the event and discard events from any applications not of interest.
### Example Configuration After 1.37.0
Here's an example scenario. You have two tenants, Pied Piper and Hooli. You have configured two webhooks listening for `user.create` events. One updates a separate user database, the other records information in an analytics system. Both the Pied Piper and Hooli tenants have the `user.create` event enabled in their webhook configurations and both webhooks are selected to receive events from both tenants.
In this scenario, each webhook will receive data when a user is created in either tenant, Pied Piper or Hooli.
Transaction settings can be managed at the tenant level. It is possible, for example, to require only the analytics webhook to succeed for the Pied Piper tenant and only the user database sync to succeed for the Hooli tenant.
If you are separating your staging and production environments using tenants, webhooks will not cross those boundaries except for the system scoped events.
### Example Configuration Before 1.37.0
Here's an example scenario. You have two tenants, Pied Piper and Hooli. You have configured two webhooks listening for `user.create` events. One updates a separate user database, the other records information in an analytics system. Both the Pied Piper and Hooli tenants have the `user.create` event enabled in their webhook configurations.
In this scenario, each webhook will receive data when a user is created in either tenant, Pied Piper or Hooli.
Transaction settings can be managed at the tenant level, but the webhooks receiving an event are not. Any webhook that is configured to receive the `user.create` event will play a role in the transaction. It is not possible, for example, to require only the analytics webhook to succeed for the Pied Piper tenant and only the user database sync to succeed for the Hooli tenant. If you need this level of granularity, run different FusionAuth instances.
If you are separating your staging and production environments using tenants, webhooks will cross those boundaries. While you can filter on the tenant in the webhook itself, if you register both a production webhook and a staging webhook for the same event, the production webhook will receive staging data and the staging webhook will receive production data. In addition, webhook transactions will depend on both. The workaround is to run separate FusionAuth instances.
Please review this issue for additional information about [future webhook improvements](https://github.com/FusionAuth/fusionauth-issues/issues/1543).
## Retries
If the webhook transaction succeeds, FusionAuth will try to send the payload to any failed webhooks again. For example, if there are three webhooks set up to listen to a `user.update` request, and the transaction level is set to "Any single webhook must succeed" and one webhook succeeds, the two failures will be retried. FusionAuth will retry sending the payload up to three additional times. This retry logic means that webhook endpoints may receive a payload multiple times and should be prepared to handle such a situation.
{/* TODO update when https://github.com/FusionAuth/fusionauth-issues/issues/1543 lands */}
If not enough of the webhooks succeed to satisfy the transaction type initially, the operation will not succeed; for example, the user will not be updated. The originating call will receive an error HTTP status code.
If a webhook endpoint times out, this is considered a failure, the same as if a non `2xx` status code is returned. If the endpoint does not respond after the retries, the failure will be logged in the system log.
### Retry Examples
Below are flow diagrams of example requests. The order of the requests is not guaranteed, but is merely illustrative. In each of these, an API call such as a user update is made, and FusionAuth has been configured to fire off to three different webhooks at that time. The webhook transaction level and the webhook success statuses vary.
Here's a situation with three webhooks and a webhook transaction level of "No webhooks are required to succeed". In this scenario, FusionAuth "fires and forgets":
<DiagramTxNone alt="A flow with three webhooks and a 'no webhooks are required to succeed' transaction level." />
Next, consider the scenario with three webhooks and a webhook transaction configuration of "Any single webhook must succeed" where "Webhook 1" succeeds. In this case, the other two webhooks are retried up to three additional times. "Webhook 2" succeeds eventually, but "Webhook 3" fails:
<DiagramTxAny alt="A flow with three webhooks, a 'any single webhook must succeed' transaction level, and one success." />
Here's a configuration with three webhooks and a webhook transaction configuration of "Any single webhook must succeed" where all webhooks fail or time out. In this case, there are no retries, since the webhook transaction level was not met.
<DiagramTxThree alt="A flow with three webhooks, a 'any single webhook must succeed' transaction level, and three failures." />
## Calling FusionAuth APIs In Webhooks
Some events fire on creation of an entity in FusionAuth, such as `user.create`. You may want to modify the created entity, but if your webhook tries to modify the newly created object in a webhook handling the create event, the operation will fail. This is due to the fact that the operation occurs in a database transaction and has not yet completed when the webhook runs.
In fact, the created user will not be visible to any other API request until the transaction is committed. The operation fails because the webhook is trying to modify an object that has not yet been completely created and has not yet been committed to persistent storage. Depending upon your transaction configuration for a particular event, FusionAuth may wait until all webhooks have responded before committing the transaction.
Even if you configure your webhook transaction to not require any webhooks to succeed, it is unlikely your code will operate as intended due to the parallel timing of the requests. The `user.create` event was not designed to allow a webhook to retrieve and modify the user.
Here's a scenario:
* You have a webhook that catches the `user.create` event.
* It extracts the user's email address.
* Then it queries a non FusionAuth database and adds a custom `user.data.premiumUser` field to the FusionAuth user object based on the query results.
* At user login, the value of the `user.data.premiumUser` field will be placed into a JWT for other applications to access.
In this example, you have a few options; which one is best depends on when you need to be able to read from the `user.data.premiumUser` field.
* Provide the custom data field at user creation, instead of updating the user via a webhook. This option is the simplest, but may not be possible if users are self registering. In this case, the field is available from the moment the user is created.
* Review available events and determine if a subsequent event occurs in your workflow. For example, `user.registration.create` may occur after a user is created. At this point, the user will exist and can be modified. If an event happens repeatedly, make the modification idempotent. In this case, the field is available as soon as the other event fires.
* Don't process the data in the webhook. Instead, push the event JSON to a queue and return success. Have a queue consumer pull the data off and update the `user.data.premiumUser` field. The consumer can retry multiple times if the user object has not yet been fully created, which can happen if there are other webhooks whose completion is required. In this case, the field is available when the consumer finishes.
While this scenario is most obvious when a user or registration is being created, it applies to all webhooks. The final state of the operation which caused the webhook is not persisted to FusionAuth until after the webhook finishes.
## Example Code
Here's an example of a Webhook written in Node using Express. In this example, if the event is a `user.delete` event, this code deletes all of the user's ToDos. The example code is [available on GitHub](https://github.com/FusionAuth/fusionauth-example-javascript-webhooks/blob/main/simple/app.js).
In this example we are also checking the HTTP Authorization header for an API key. Using an API key or some type of authentication helps secure your Webhook to prevent malicious requests. You can configure the API key via the FusionAuth Web Interface or the API using the Headers of the Webhook configuration.
<RemoteCode title="Example Webhook" lang="javascript" url="https://raw.githubusercontent.com/FusionAuth/fusionauth-example-javascript-webhooks/main/simple/app.js" tags="simplewebhook" />
# Device Limiting
import Aside from 'src/components/Aside.astro';
import Breadcrumb from 'src/components/Breadcrumb.astro';
import InlineField from 'src/components/InlineField.astro';
import InlineUIElement from 'src/components/InlineUIElement.astro';
import {RemoteCode} from '@fusionauth/astro-components';
You may want to limit the number of devices a user can simultaneously log in to your app from. This guide will show you how to limit concurrent logins on user devices with FusionAuth.
## Why Limit Device Logins?
There are many reasons why you might be interested in limiting concurrent user logins. Here are a few examples:
* **Security:** To ensure that a user's account isn't compromised. For example, it's unlikely that a user would need to log in to a banking app from multiple devices at the same time, but the same is not true for an email application.
* **Prevent account sharing:** Especially for paid consumer content services. This is common on media streaming services, for example.
* **Enforce a licensing agreement:** This is common for enterprise software that is licensed per user, such as a CRM or project-management tool.
You can also see requests from FusionAuth customers looking to implement device-limiting schemes on our GitHub issues page:
* [Limit a user to a single session](https://github.com/FusionAuth/fusionauth-issues/issues/1363).
* [Limit the number of different devices an account can log in from](https://github.com/FusionAuth/fusionauth-issues/issues/1156).
This guide provides a way to address these requirements and user requests. While FusionAuth does not directly support limiting device logins, you can implement a solution using FusionAuth APIs and custom logic in your application.
FusionAuth only captures limited information about each device as part of the session information. Devices are not tracked separately, and a user may have multiple sessions on the same device (for example, on different browsers or in private browsing mode). In this guide, we consider a device to be anything a user logs in from, so Chrome and Firefox on the same computer are two "devices".
## Approaches To Device Limiting
This guide will cover two approaches to limiting concurrent logins. Both approaches rely on the [JWT Retrieve Refresh Tokens API](/docs/apis/jwt#retrieve-refresh-tokens) to retrieve the number of active refresh tokens for a user as a proxy for active logins.
* **Simpler implementation:** The user will simply be informed that they are logged in from too many devices and will be asked to log out of one of them manually, and then try logging in again. By logging out of one of the sessions, the refresh token for that session will be revoked by FusionAuth.
* **More user-friendly implementation:** The list of current logins will be displayed and the user will be able to select which session to end. The application will then call the FusionAuth API to end the session by [revoking the refresh token](/docs/apis/jwt#revoke-refresh-tokens) for the chosen session.
For the second option to work, the user JWTs issued by FusionAuth must be configured to relatively short lifespans to prevent the user from staying logged in on the additional devices long after the corresponding refresh token has been revoked.
## The ChangeBank Application
To make things a bit more concrete, let's use an example from the [quickstart guides](/docs/quickstarts/quickstart-javascript-express-web). The [ChangeBank](https://www.youtube.com/watch?v=CXDxNCzUspM) application is a simple banking application that allows users to convert dollars to coins.
This guide will show two ways to extend the [Express](https://expressjs.com)-based [ChangeBank application](/docs/quickstarts/quickstart-javascript-express-web) to limit concurrent logins.
Full implementations of both device-limiting methods in the ChangeBank application are available on GitHub:
- [Simple implementation application](https://github.com/FusionAuth/fusionauth-device-limit-guide-simple)
- [User-friendly implementation application](https://github.com/FusionAuth/fusionauth-device-limit-guide-friendly)
## Using The Refresh Token API
Both device-limiting methods depend on calling the [FusionAuth JWT Retrieve Refresh Tokens API](/docs/apis/jwt#retrieve-refresh-tokens) to retrieve the active [refresh tokens](/docs/apis/jwt) for a user. You will use the API key with the GET and DELETE permissions for the `/api/jwt/refresh` API route in this guide.
To create a key for the Retrieve Refresh Tokens API, navigate to <Breadcrumb>Settings -> API Keys</Breadcrumb> and click the <InlineUIElement>+</InlineUIElement> button to add a key. Give the key a name, and enable the GET and DELETE permissions for `/api/jwt/refresh`. Click <InlineUIElement>Save</InlineUIElement> to save the API Key.
Now you can use this key to call the API to retrieve the active refresh tokens for a user. The API returns refresh tokens for all applications, so you will need to filter the tokens by the `applicationId` to get the number of active sessions for a specific application. Note that there may be refresh tokens without an `applicationId`, which are tokens used for the "Remember me" feature on FusionAuth itself. These tokens should be ignored when counting a user's active sessions.
You can now use the number of active refresh tokens filtered for the particular application as a proxy for the number of active logins for the user. Calling the API using Node and filtering the results looks something like the following.
<RemoteCode url={frontmatter.codeRootSimple + "/complete-application/src/index.ts"} tags="active-session-count" lang="typescript"/>
The `clientId` variable stores the FusionAuth application Id of the application you are limiting logins for, and `userId` is the Id of the user you are checking the active sessions for.
## Login Requirements
Since the solution relies on counting the number of active refresh tokens for a user to determine how many devices they are logged in on, you will need to ensure that your FusionAuth application is set up to issue refresh tokens and that your client application requests them when logging in.
To set up your FusionAuth application to issue refresh tokens, navigate to <Breadcrumb>Applications -> Edit -> OAuth</Breadcrumb> and select the <InlineField>Generate refresh tokens</InlineField> field if it isn't already selected. Scroll down to the <InlineField>Enabled Grants</InlineField> field and select the <InlineField>Refresh Token</InlineField> field.
To set up your client application to request refresh tokens when logging in, add [the `offline_access` scope](/docs/lifecycle/authenticate-users/oauth/) in the `scope` parameter of the `/oauth2/authorize` request. If you are constructing the request manually, it should look something like the following.
```javascript
res.redirect(302, `${fusionAuthURL}/oauth2/authorize?client_id=${clientId}&response_type=code&scope=offline_access&redirect_uri=http://localhost:${port}/oauth-redirect&state=${userSessionCookie?.stateValue}&code_challenge=${userSessionCookie?.challenge}&code_challenge_method=S256`)
```
If you are using [Passport.js](https://www.passportjs.org/), you can include the `offline_access` scope in the `scope` key of the options object passed to the `authenticate` method. It should look something like the following.
```javascript
passport.authenticate('oauth2', { scope: ['offline_access'] })
```
For other libraries and languages, consult the documentation to see how to include the `offline_access` scope in the authorization request to FusionAuth.
## Logout Requirements
When logging out of FusionAuth with the `/oauth2/logout` endpoint, the refresh token is [not automatically revoked by FusionAuth](/community/forum/topic/270/logout-questions). This means that the refresh token will still be returned from the refresh token API, and will still be counted as an active session or device. To ensure that the refresh token is revoked when the user logs out, you will need to call the [JWT Revoke Refresh Tokens API](/docs/apis/jwt#revoke-refresh-tokens) on logout.
The best place to do this is in the logout callback configured under <Breadcrumb>Applications -> Edit -> OAuth</Breadcrumb> on the <InlineField>Logout URL</InlineField> field. This is the route that the user is redirected to after they have been logged out of FusionAuth. You should also remove any local cookies at the same time. The complete logout return route should look like the following.
<RemoteCode url={frontmatter.codeRootFriendly + "/complete-application/src/index.ts"} tags="oauth-logout" lang="typescript"/>
## Simpler Scheme
This scheme uses the FusionAuth [`user.login.success`](/docs/extend/events-and-webhooks/events/user-login-success) webhook. This webhook is fired after a user provides valid credentials, but before a session is created and the user logged in. Returning a `2xx` response from this webhook will allow the login to proceed. Returning a `4xx` response will prevent the login from proceeding. Since a FusionAuth webhook is enabled at the tenant level, you will also need to check the application the user is attempting to log in to when implementing this solution. The `applicationId` is provided in the webhook payload, along with the `userId`, among other information.
This scheme uses the Refresh Token API explained above to retrieve the number of active sessions for a user. If the user is logged in on too many devices, the login will be prevented by returning a `403` response from the webhook. They will then need to log out from one of their devices before they can attempt to log in again.
To let the user know the login failed, the default message for a failed webhook needs to be overridden with a custom message.
<Aside type="note">
This failed login message will be displayed for any login that fails due to a webhook error, not just for failed logins due to too many concurrent logins. Therefore this solution is not ideal if your application uses other webhooks.
</Aside>
### Create A Webhook In FusionAuth
To add the webhook to FusionAuth, navigate to <Breadcrumb>Settings -> Webhooks</Breadcrumb> in the sidebar. Click the <InlineUIElement>+</InlineUIElement> button to add a webhook. Give the webhook a name, and select the <InlineField>user.login.success</InlineField> event. Set the URL to `http://{YOUR_APPLICATION_URL}/user-login-success`. Click <InlineUIElement>Save</InlineUIElement> to save the webhook when you are done.
<Aside type="note">
In production, you should [add security to the webhook](/docs/extend/events-and-webhooks/#security) in the form of Basic Auth and a certificate in the <Breadcrumb>Security</Breadcrumb> tab. This ensures that the webhook can only be called by FusionAuth.
</Aside>
### Listen To The Webhook
In the application, you will need to listen for the `user.login.success` event and check the number of active sessions for the user. Here is an example of how to do this in an Express application, like the ChangeBank application.
<RemoteCode url={frontmatter.codeRootSimple + "/complete-application/src/index.ts"} tags="device-limiting" lang="typescript"/>
As described in the [documentation](/docs/extend/events-and-webhooks/events/user-login-success), the event data sent by FusionAuth as JSON in the body of the webhook includes the `applicationId` and `userId`. The `applicationId` is used to check that the login event is for the application you are limiting logins for. The `userId` is used to retrieve the active refresh tokens for the user.
Try running your application with the webhook connected and logging in with the same user on more than two devices. Simulate multiple device logins by logging in with different browsers and with private tabs. You should see the following message when trying to log in for the third time.
```
One or more webhooks returned an invalid response or were unreachable. Based on your transaction configuration, your action cannot be completed.
```
This message is very generic and does not tell the user that the reason they cannot log in is because they are logged in on too many devices. To fix this, override the default message with a custom message. You can do this by customizing the <InlineField>WebhookTransactionException</InlineField> message in your FusionAuth theme templates.
Customize the message in <Breadcrumb>Customizations -> Themes</Breadcrumb>. Click the <InlineUIElement>Edit</InlineUIElement> button next to the "ChangeBank Theme". Under <InlineField>Templates</InlineField>, click <InlineUIElement>Messages</InlineUIElement>. Click the <InlineUIElement>Edit</InlineUIElement> button next to the <InlineField>Default</InlineField> locale. Search for `[WebhookTransactionException]` (around line 606), and change the message to read something more explanatory, such as, "You are already logged in on other devices. Please log out of one of your other devices and try again." Click <InlineUIElement>Submit</InlineUIElement>, and then save the theme.
Logging in again with the same user on more than two devices should now display the new message.
## The User-Friendly Implementation
The previous implementation has the advantage of code simplicity, but it does have a few problems.
* **Inconvenience:** The user has to manually log out of one of their devices before they can log in again.
* **The user is not informed which devices they are logged in on:** They will have to try to remember which of their devices they are logged in on. If they don't have physical access to one of their devices, they will be unable to log in.
* **The failed login message is the same generic message used for all webhook errors:** Adding other webhooks to your application will result in the same error message being displayed, regardless of the type of webhook failing.
This second implementation is a more user-friendly way of handling device limits that saves the user the trouble of having to manually log out of one of their devices. Instead, the user will be presented with a list of their current logins, and will be able to select which sessions to end. The application will then call the FusionAuth API to end the session by [revoking the refresh token](/docs/apis/jwt#revoke-refresh-tokens) for the chosen sessions.
To achieve this, the application will always allow a login to proceed, and call the FusionAuth API once the user is logged in. The API will retrieve the other sessions to check if the device limit has been reached, and if the user's logins exceed the limit, a page will display the user's current logins and allow them to select which session to end before allowing access to the rest of the app.
To implement this solution, you will need to:
* Set the lifespan of the ordinary user JWT to a relatively short time to prevent staying logged in after the corresponding refresh token has been revoked.
* Create a middleware function to call the FusionAuth API to retrieve the number of active sessions for a user for each request.
* Create a page to display the user's current logins and allow them to select which session to end. The middleware above will redirect the user to this page if they are logged in on too many devices.
* Create a route to handle the user's selection and call the FusionAuth API to revoke the refresh token for the selected session.
### Setting The JWT Lifespan
To set the JWT lifespan, navigate to <Breadcrumb>Applications</Breadcrumb> in the FusionAuth sidebar. Select the <InlineUIElement>Edit</InlineUIElement> button next to the application you are limiting logins for. Under the <Breadcrumb>JWT</Breadcrumb> tab, set <InlineField>JWT duration</InlineField> to a relatively short time, such as 300 seconds (five minutes). Click <InlineUIElement>Save Application</InlineUIElement> when you are done.
### Create A Middleware Security Function
For any route that you would normally check for authentication, add a middleware function to check the number of active sessions for the authenticated user. The middleware should check for the number of active sessions using the Refresh Token API as described earlier. If the user is logged in on too many devices, the middleware should redirect the user to a page to display the user's current logins and allow them to select which session to end.
The middleware function should look similar to the following.
<RemoteCode url={frontmatter.codeRootFriendly + "/complete-application/src/index.ts"} tags="get-active-devicelist" lang="typescript"/>
Notice that in the `getActiveDeviceList` function, the current session's refresh token is removed from the list of active sessions. This is because it would not make sense to allow the user to end the current session to continue using the application. The user Id is also retrieved from the existing authentication cookie. For this reason, the device-limit middleware must always be placed after the user authentication and token validation middleware for any secured route.
The `getActiveDeviceList` function returns a list of view models containing all the session information for the user. This list of view models will also be used to display the user's current logins and allow them to select which session to end.
The middleware function `checkDeviceLimit` can be used on restricted routes, such as the `make-change` and `account` routes in the ChangeBank app, as follows.
<RemoteCode url={frontmatter.codeRootFriendly + "/complete-application/src/index.ts"} tags="make-change-check-devicelimit" lang="typescript"/>
### Create A Page To Display The User's Current Logins
The middleware function of the previous step redirects to a route called `/device-limit`. This route should return a web page to display the user's current logins and allow them to select which session to end. To pass the list of active sessions with their details, you will need to use a templating engine like Handlebars to simplify the HTML generation. You can add Handlebars to the ChangeBank application using NPM.
```bash
npm install handlebars
```
Then add it to the express app.
<RemoteCode url={frontmatter.codeRootFriendly + "/complete-application/src/index.ts"} tags="views-hbs" lang="typescript"/>
You will need a GET route to render the `device-limit` page. The route should look something like the following.
<RemoteCode url={frontmatter.codeRootFriendly + "/complete-application/src/index.ts"} tags="device-limiting-maxcount" lang="typescript"/>
The Handlebars template page should look similar to the following.
<RemoteCode url={frontmatter.codeRootFriendly + "/complete-application/templates/device-limit.hbs"} lang="html"/>
### Revoking A Chosen Session
The web page posts the selected token Ids to the backend. You will need a route that accepts these token Ids and revokes the selected tokens using the DELETE method on the FusionAuth Refresh Token API.
<RemoteCode url={frontmatter.codeRootFriendly + "/complete-application/src/index.ts"} tags="device-limiting-validatetoken" lang="typescript"/>
## Example Applications
You can download, review, and run full applications for both the simple and user-friendly device-limiting implementations from the FusionAuth GitHub:
* [Simple implementation using a webhook](https://github.com/FusionAuth/fusionauth-example-device-limit-simple)
* [User-friendly implementation](https://github.com/FusionAuth/fusionauth-example-device-limit-friendly)
# Example Application Repos
import ExampleAppsIntro from 'src/content/docs/sdks/examples/_example_apps_intro.mdx';
import ExampleAppsList from 'src/content/docs/sdks/examples/_index-list.astro';
## Overview
<ExampleAppsIntro />
<ExampleAppsList />
# Modeling Hierarchies
import PremiumPlanBlurb from 'src/content/docs/_shared/_premium-plan-blurb.astro';
import Breadcrumb from 'src/components/Breadcrumb.astro';
import InlineField from 'src/components/InlineField.astro';
import InlineUIElement from 'src/components/InlineUIElement.astro';
import Aside from 'src/components/Aside.astro';
import TypesDiagram from 'src/diagrams/docs/extend/examples/modeling-hierarchies/types.astro'
import CompanyDiagram from 'src/diagrams/docs/extend/examples/modeling-hierarchies/company.astro'
import HierarchyDiagram from 'src/diagrams/docs/extend/examples/modeling-hierarchies/hierarchy.astro'
This guide discusses ways of modeling hierarchical organizations and entities, with users and permissions, and provides an example script you can use in your own website. Entities are not available in the free version of FusionAuth.
<PremiumPlanBlurb />
## Understand FusionAuth Types And Their Relationships
Before continuing, please read the [review of FusionAuth types](/docs/get-started/core-concepts/types-and-relationships) and how they relate. You need to understand these types well to adjust the hierarchical system design in this guide to suit your situation.
To avoid confusion with FusionAuth applications in this guide, the service you provide your users will be called your "website", as opposed to an application, app, or service.
## An Example Company Hierarchy With Permissions
None of the FusionAuth types are hierarchical. In other words, no types can be nested in any other types. Groups can't be members of groups, applications can't contain other applications, and entities don't have sub-entities.
This is a problem when trying to model organizations that are hierarchical, especially when trying to decide when a user who has permissions to one level of the hierarchy should have permissions to an entity somewhere in the hierarchy.
Let's take an example. Assume that you want to use FusionAuth to authorize users in your corporation, Change Corp, to have access to certain documents. Your corporation has two sub-companies: Change Bank and Change Insurance. Each company has many departments, like marketing, sales, finance, operations, and management. Documents belong to a single department in an organization. Companies, departments, and documents have read and write permissions.
Permissions propagate downwards. So an employee with write permissions to the marketing department in Change Insurance will have write permissions to all its documents. And an employee with read permissions to Change Corp has read permissions to every document in every department of both sub-companies. But you might have an auditor who you add as a user in FusionAuth that has only read access to a specific document in a specific department. This will not give her permissions to any other documents anywhere higher in the organizational hierarchy.
Below is a diagram of the company structure to model.
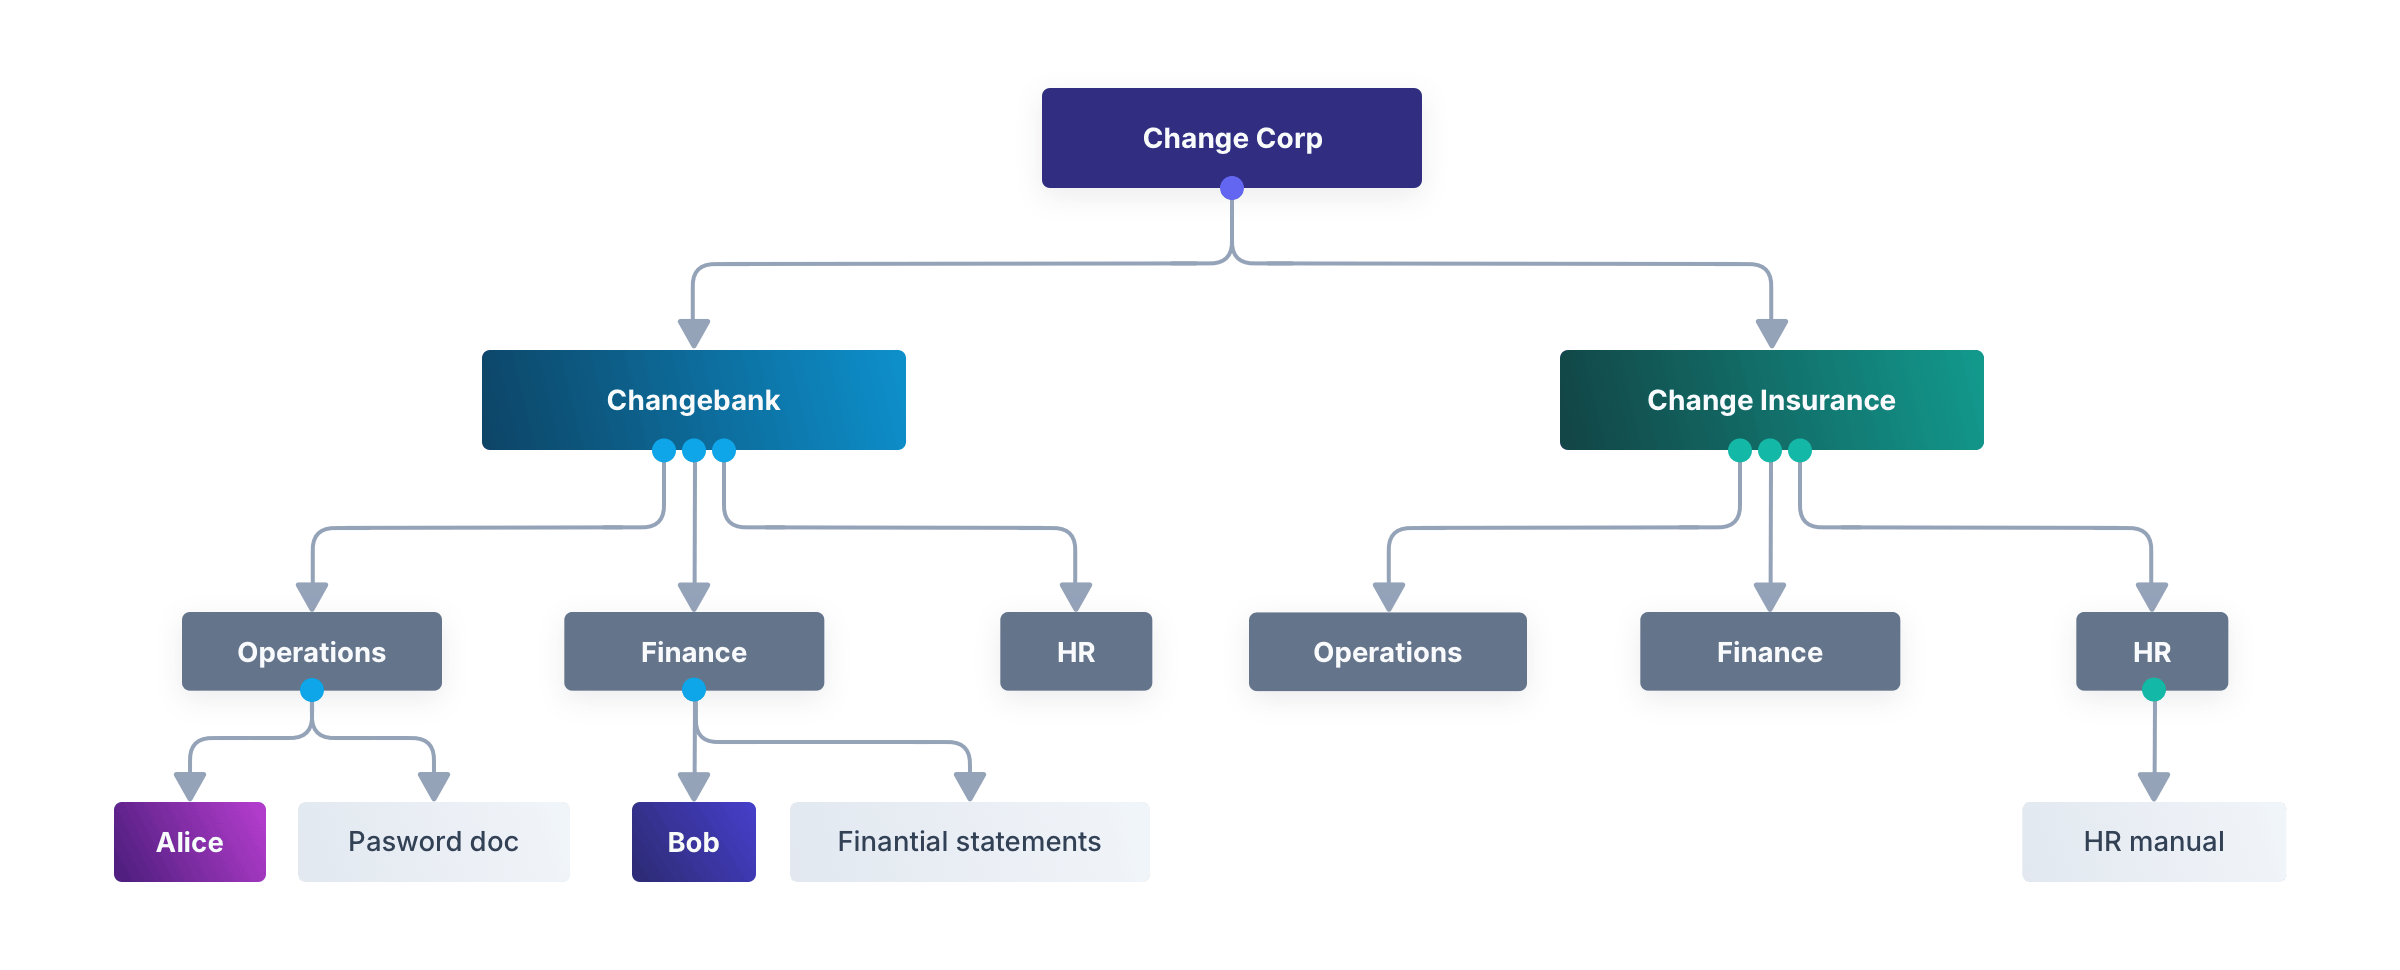
<Aside type="note">
You can probably see some challenges already:
- How do you handle documents that everyone in the corporation needs to read, such as a corporate HR manual, which is managed by the HR department of the top-level corporation? Because permissions don't propagate upwards, you have to individually give read permissions to everyone, instead of relying on the hierarchy to do it automatically.
- What happens when permissions conflict? The operations department might have a passwords document that should have read access only by members of that department, but anyone with read access to the sub-company will have access to the passwords.
There are solutions to these problems, such as including "Deny access" permissions and a "Common" department for shared documents, and you need to pick what works for your organization. These challenges won't be discussed in this guide, as you can use the techniques shown here to implement your own solution.
</Aside>
## How To Model Hierarchy In FusionAuth With Entities And Grants
The best way to model a hierarchy in FusionAuth is with Entities.
For the example above, you should create entity types Company and Department with permissions Read, Write, and IsMember. Read and write are used to show permissions, but IsMember is used to show hierarchy.
Then create an entity called Change Bank of type Company and entity of Department called Operations. Create an entity grant for Operations to Change Bank with IsMember set to true to show that this Operations entity belongs to the Change Bank entity. Note that it will not be possible to tell departments called Operations in different companies apart by their name alone. You will need to examine each department's entity grant to see which company it belongs to.
Finally, you'll create an entity grant for user Alice to entity Change Bank with no permissions, and an entity grant for Alice to Operations with permissions Read and Write. Below is a diagram of this example, which is similar to the earlier types diagram, but includes a department hierarchy now. Permissions are shown in separate blocks now too.
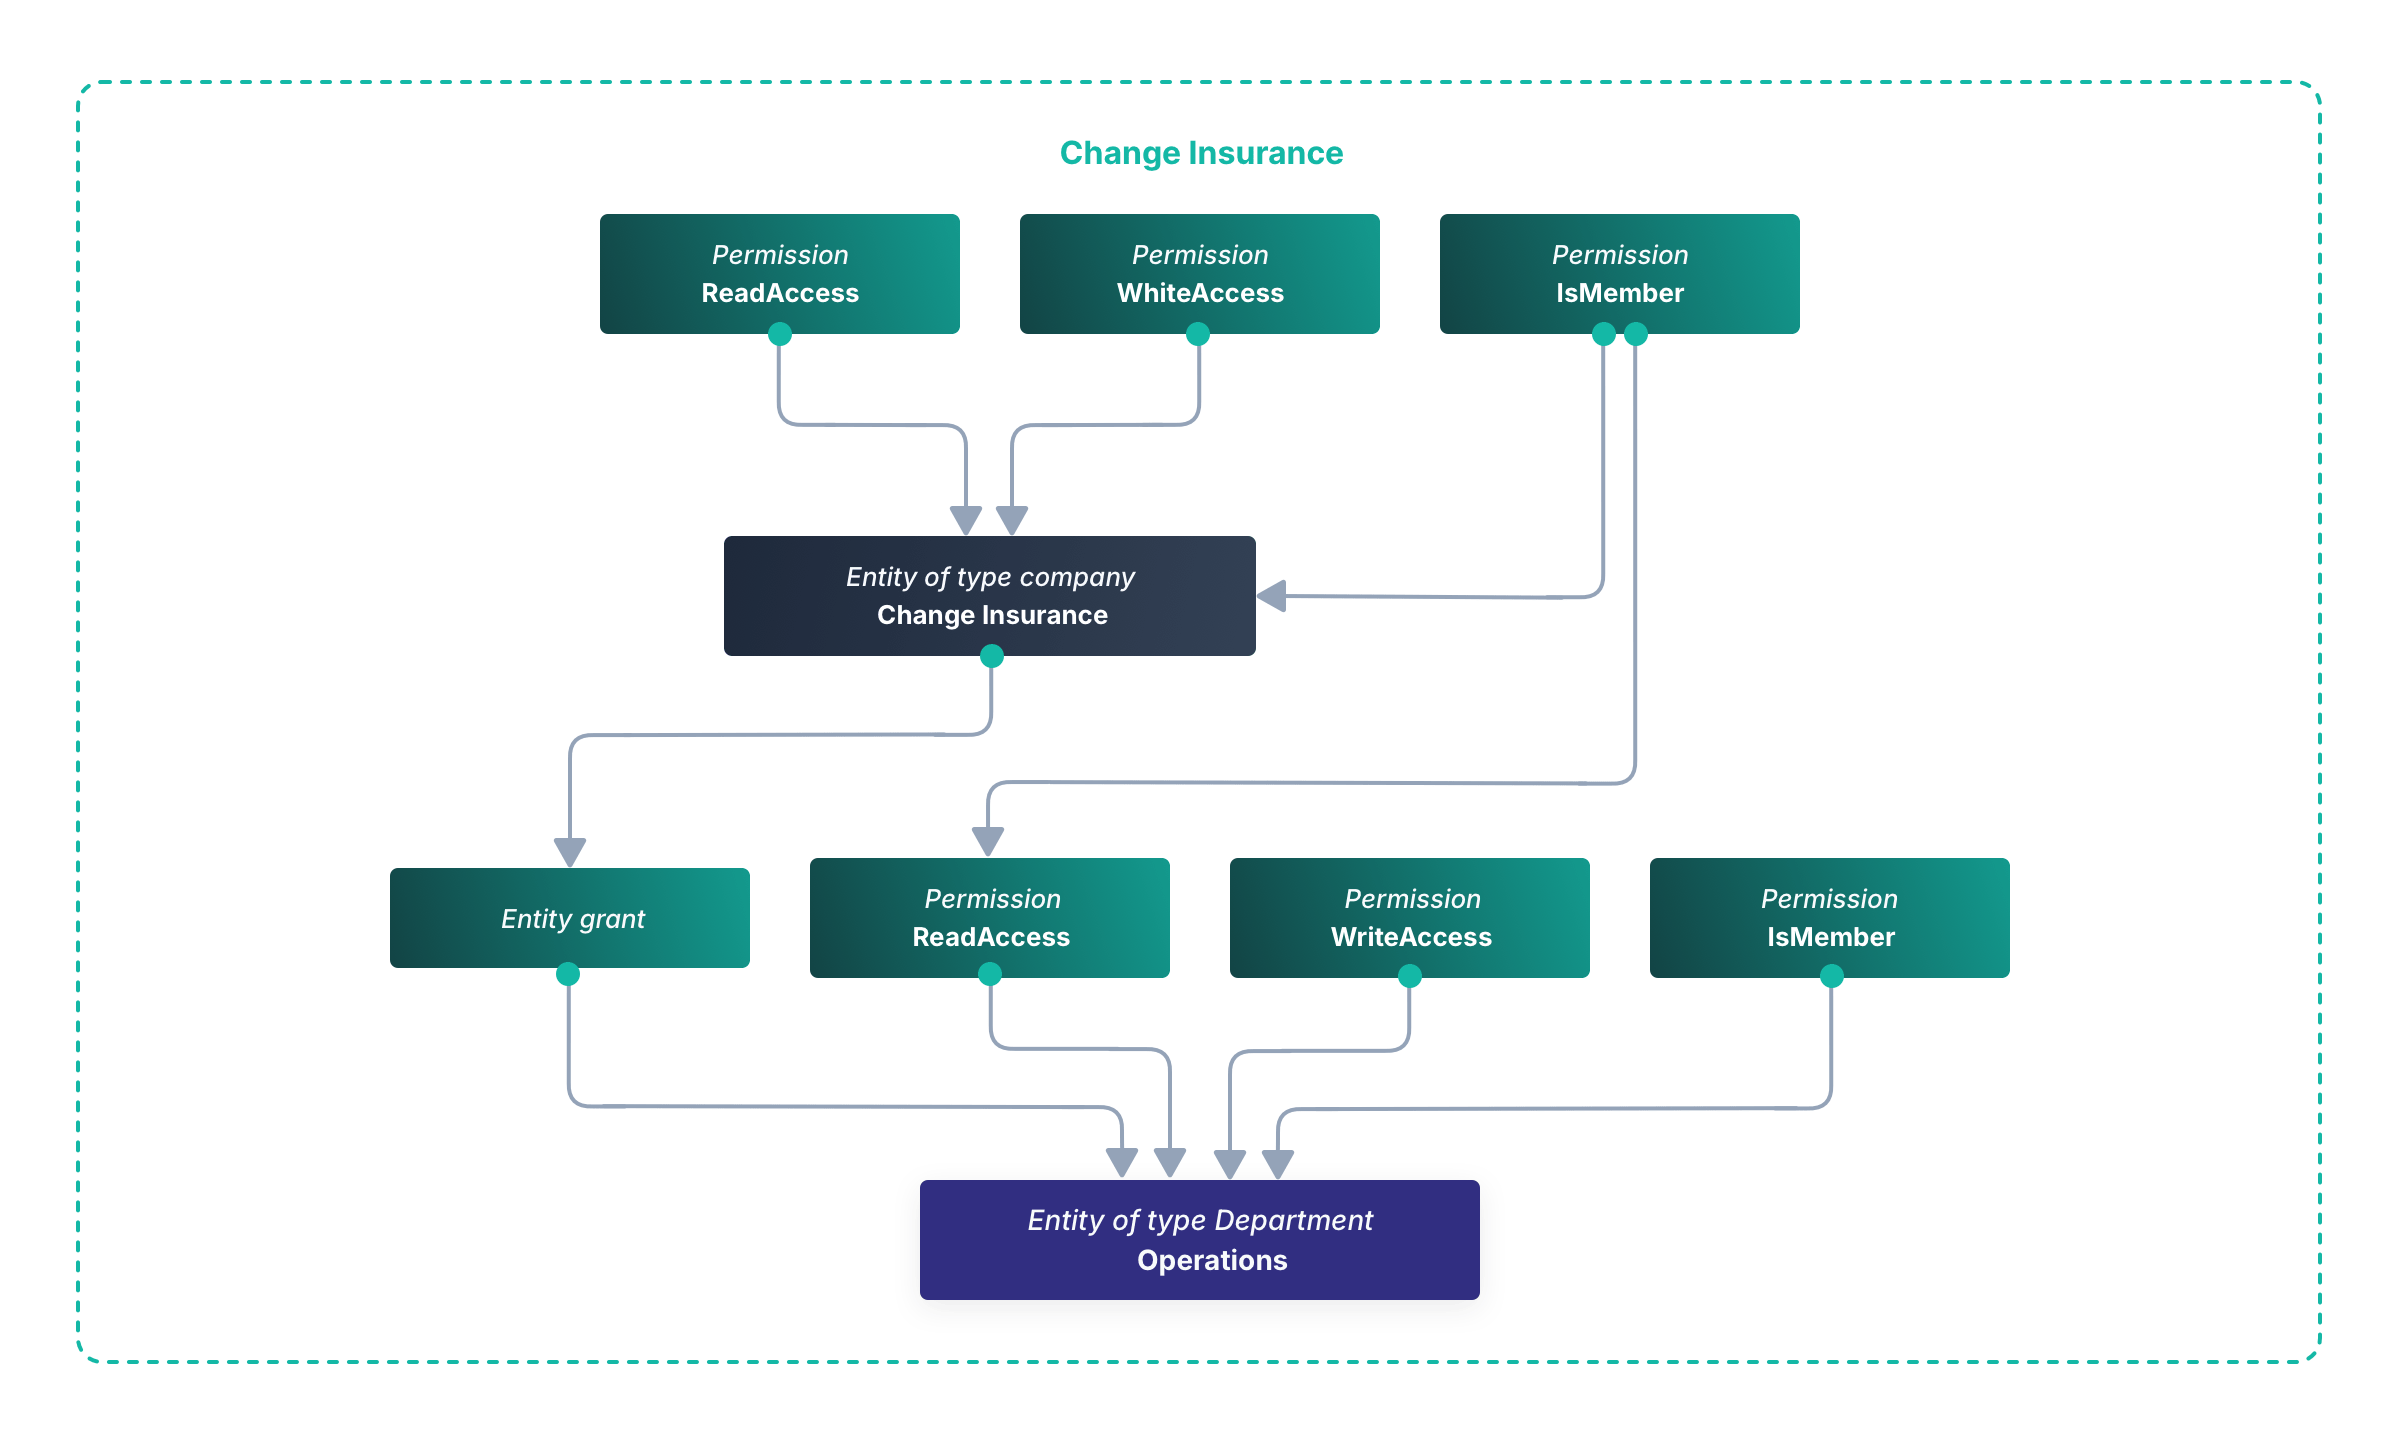
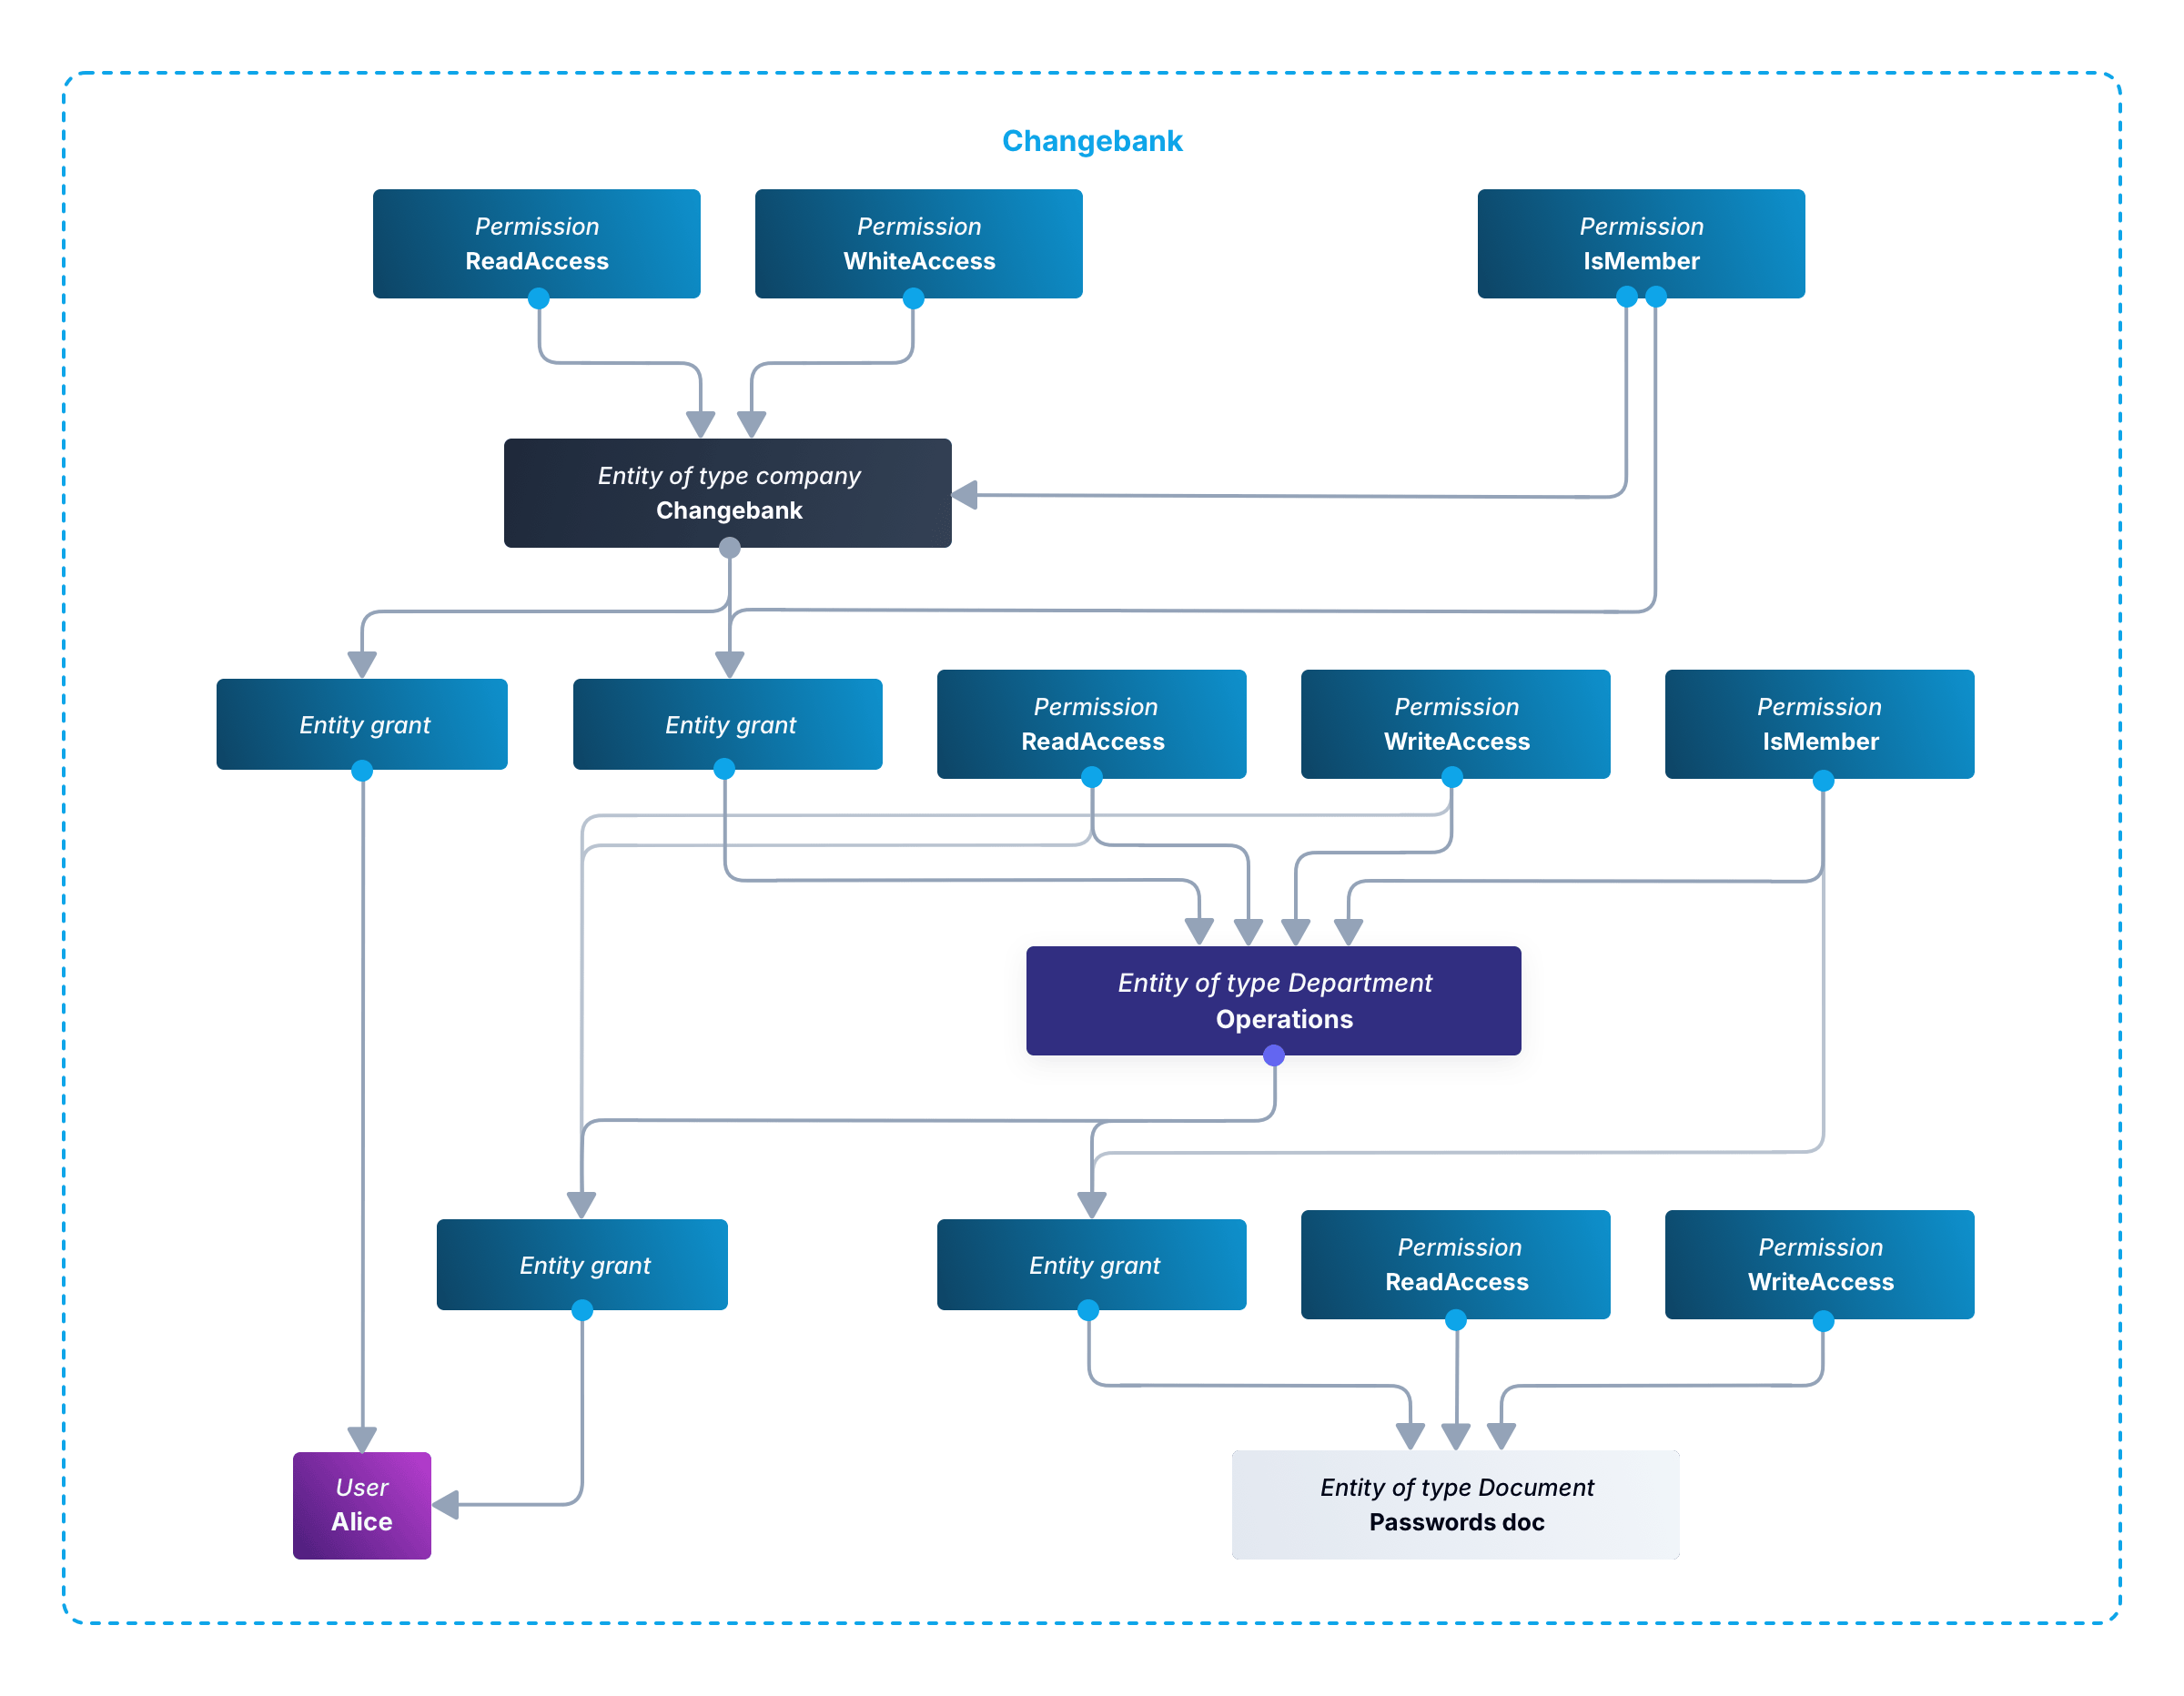
For simplicity's sake, this diagram does not include the Change Corp entity of entity type Corporation. There are two blocks: one for Change Insurance and one for Change Bank. Ignore the Change Insurance block and concentrate on Change Bank to see how Alice is connected to her department, which is connected to the company. This diagram also shows a document attached to the Operations department. The document itself needs read and write permissions, for when you want to enable individual access, and is linked to the Operations department via an entity grant with the IsMember permission, in the same way departments are linked to companies.
Finally, note that you should use a matching UUID for every document in your document management system and in FusionAuth, to handle situations where document names and versions change.
## Example Permissions Calculation Script
This section demonstrates how to create all the entities for the example company hierarchy, and how to write a script to determine a user's permissions to any document in the hierarchy.
### Download Example Project And Start FusionAuth
Use `git clone` to clone the repository at https://github.com/FusionAuth/fusionauth-example-docker-compose, or download and unzip it.
Open a terminal in the directory containing the repository files.
Run the command below to start FusionAuth.
```sh
cd light
docker compose up
```
<Aside type="note">
If you have completed any FusionAuth tutorials before, you might need to first delete any existing FusionAuth containers with the same name and the database volumes. Run the command below to do that.
```sh
docker rm fa fa_db; docker compose down -v
```
</Aside>
This command starts FusionAuth using Kickstart, which automatically creates an example application with an example user called Richard. It saves you the time of having to configure everything yourself when following this tutorial.
- Log in to your FusionAuth web interface at http://localhost:9011/admin with credentials `admin@example.com` and `password`.
- Browse to <Breadcrumb>Reactor</Breadcrumb>.
- Enter your license key to activate Reactor and refresh the page.
<Aside type="note">
If you have any trouble with this tutorial, try replacing the FusionAuth image in the Docker compose file with `fusionauth/fusionauth-app:1.54.0`, in case future versions of FusionAuth introduced a breaking change.
</Aside>
### Create Hierarchy Entities
In this section, you'll create the entities and permissions in FusionAuth to represent a company hierarchy with documents.
- Browse to <Breadcrumb>Entity Management -> Entity Types</Breadcrumb>.
- Click the <InlineUIElement>+ Add</InlineUIElement> button.
- Name the entity type `Company`.
- Add the permissions `Read`, `Write`, and `IsMember` and save the entity type.
- Add another entity type called `Department` with the same permission names and save it.
- Add a final entity type called `Document` with only `Read` and `Write` permissions. Nothing can be a member of a document, so it doesn't need an `IsMember` permission.
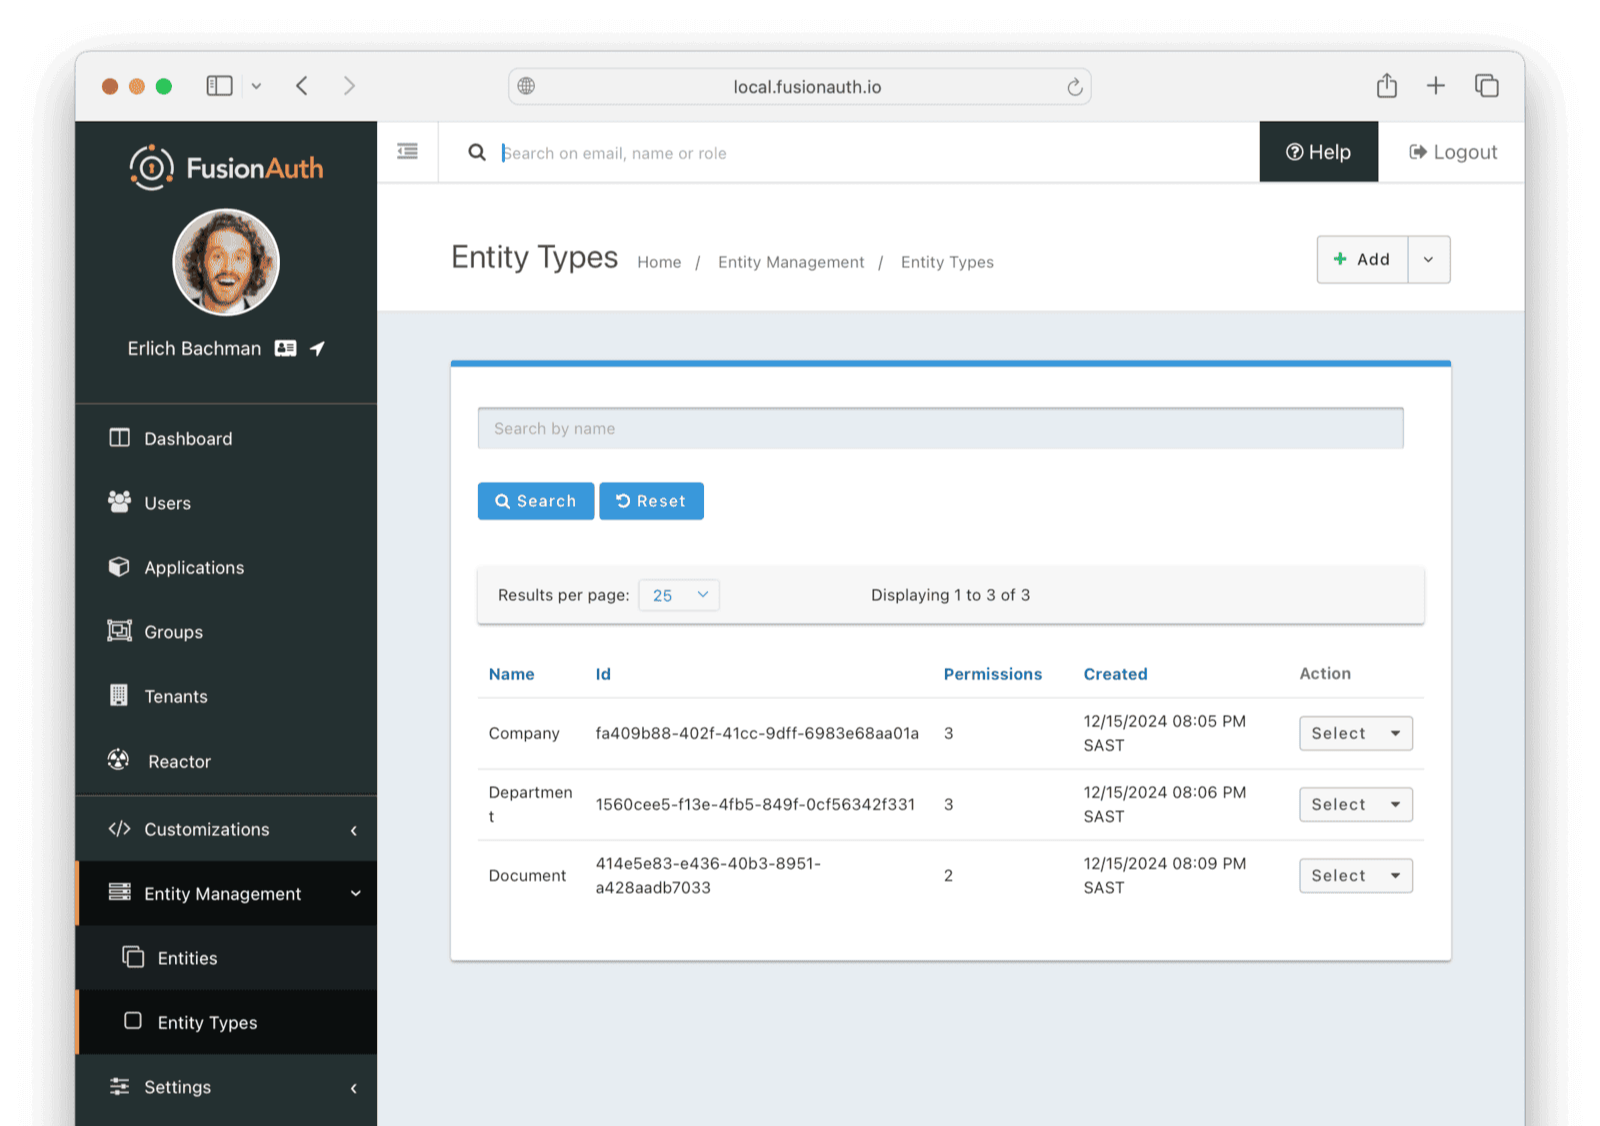
Next you'll populate FusionAuth with some entities of these types:
- Browse to <Breadcrumb>Entity Management -> Entities</Breadcrumb>.
- Add a new entity.
- For <InlineField>Name</InlineField> enter `Change Bank`.
- For <InlineField>Entity type</InlineField> choose `Company`.
- You don't need to give the entity an Id since FusionAuth alone will manage companies and users. Only documents need to share Ids between FusionAuth and your website.
- Save.
- Add another entity of type Company and call it `Change Insurance`.
- Add another entity of type Department and call it `Change Insurance Operations`.
- Add another entity of type Department and call it `Change Bank Operations`.
- Add another entity of type Department and call it `Change Bank Finance`.
- Add another entity of type Document and call it `Passwords`.
- Give this entity the Id `e52925cb-1072-421f-9f64-a64aacd8a7cb`.
- Add another entity of type Document and call it `Statements`.
- Give this entity the Id `832bf368-6adc-4ae0-b838-41feeb01ac47`.
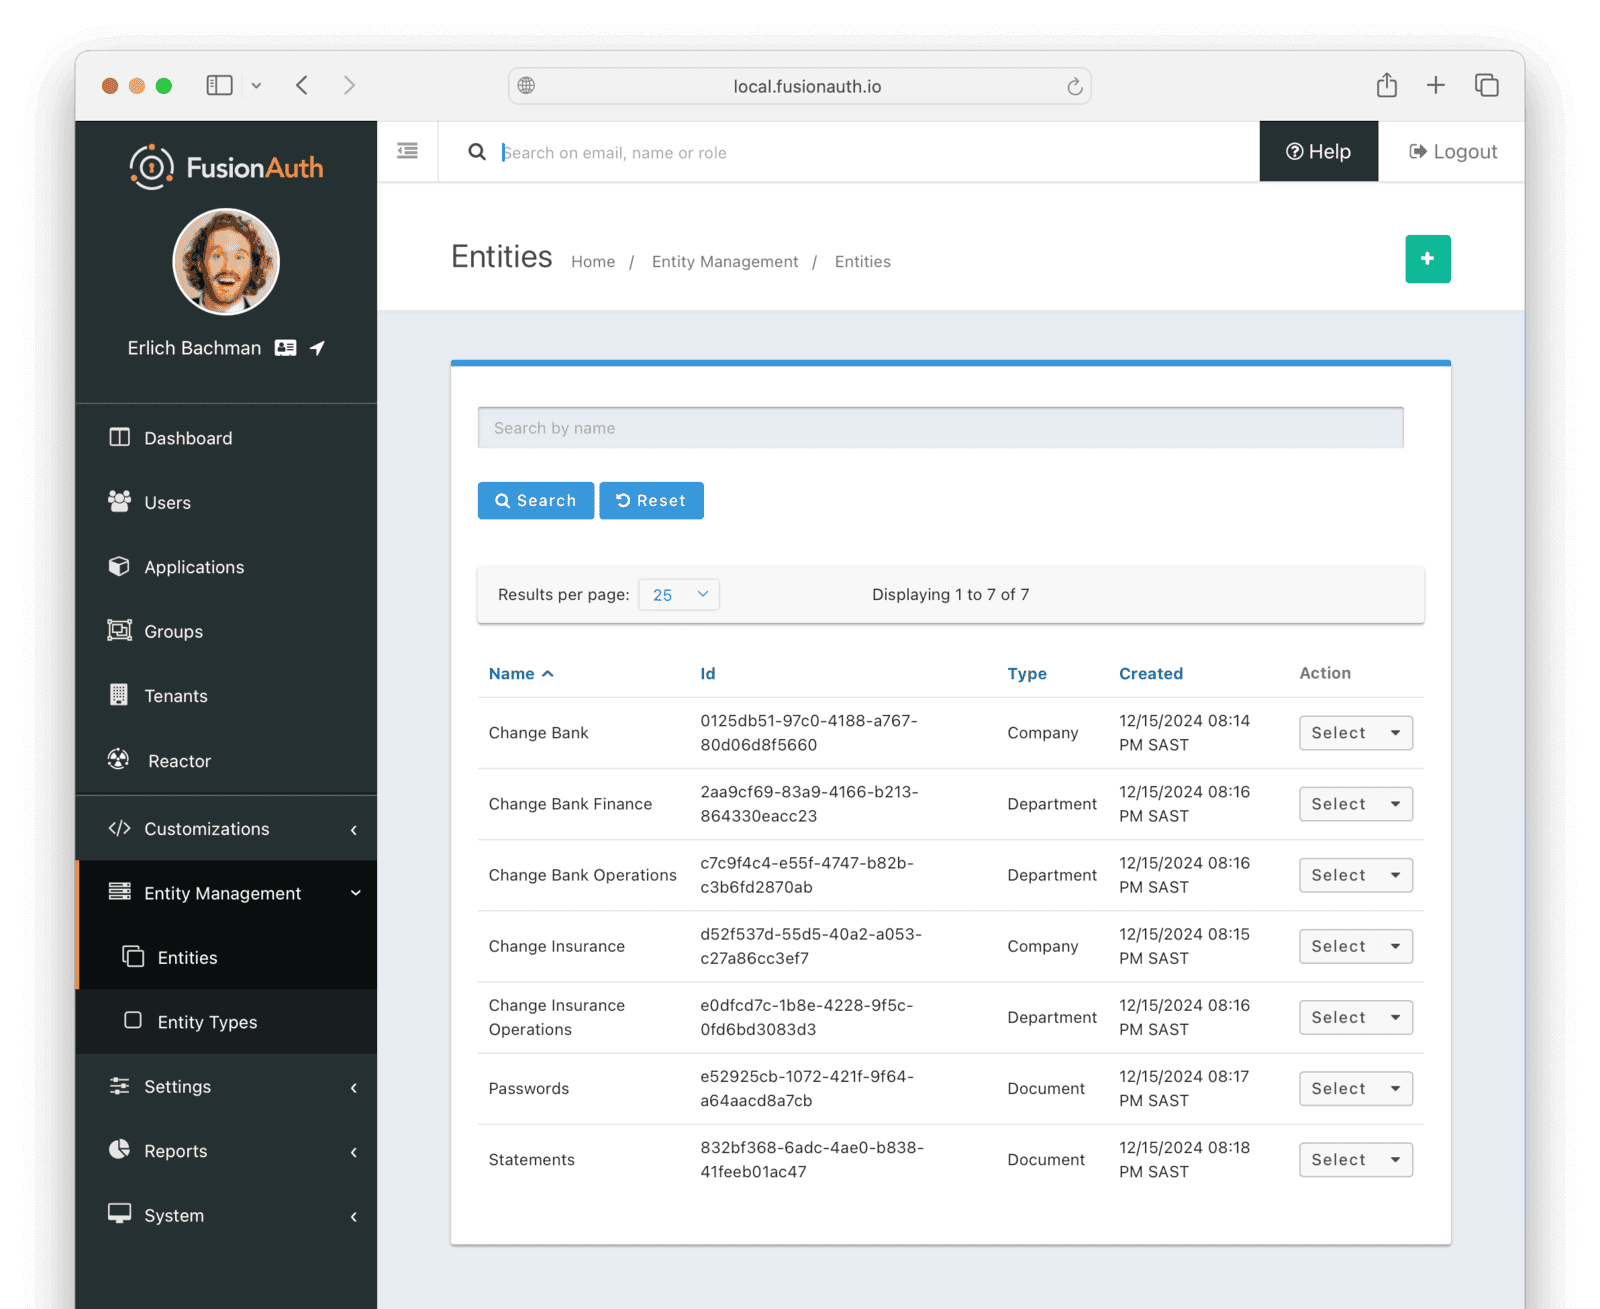
Finally, you need to connect the entities in a hierarchy using permissions as a link.
- In the <InlineUIElement>Select</InlineUIElement> menu for the Change Bank Operations department entity, click <InlineUIElement>Manage</InlineUIElement>.
- Click <InlineUIElement>+ Add</InlineUIElement> to add an entity grant.
- In the search box, enter `Change Bank`, and select it from the dropdown list.
- Enable the <InlineUIElement>IsMember</InlineUIElement> permission.
- Save.
- Return to <Breadcrumb>Entity Management -> Entities</Breadcrumb>.
- Add the Change Bank Finance department entity to the Change Bank company in the same way as above.
- Add the Change Insurance Operations department entity to the Change Insurance company in the same way as above.
- Change Bank now has two departments and Change Insurance has one.
- Manage the Passwords document, and give it an entity grant to the Change Bank Operations department with permission IsMember.
- Manage the Statements document, and give it an entity grant to the Change Bank Finance department with permission IsMember.
<Aside type="caution">
Notice here that when you search for `Operations`, the search dropdown list provides you only the names `Change Bank Operations` and `Change Insurance Operations`, with no Ids or hierarchical links displayed. So if you had instead called both departments just `Operations`, without indicating the company they belonged to in their name, you wouldn't know which department to choose when trying to add the document to the department. Though it would be more elegant to call the entity by the same name as the real department, just `Operations`, you need to work with the limitations of FusionAuth here to create a makeshift hierarchy. Alternatively, you could create all entities programmatically using the API and entity Ids. That would allow you to use any names you wanted.
</Aside>
### Grant Entity Permissions To A User
You haven't set any read or write permissions yet, because those are linked only to users, or flow implicitly downwards through the company hierarchy set by `IsMember`. So let's add a user to the Operations department.
- Browse to <Breadcrumb>Users</Breadcrumb>.
- From the <InlineUIElement>Select</InlineUIElement> menu for user `Richard`, choose <InlineUIElement>Manage</InlineUIElement>.
- In the <InlineUIElement>Entity grants</InlineUIElement> tab, click <InlineUIElement>+ Add</InlineUIElement>.
- Search for and add `Change Bank Operations`.
- Enable all three permissions for the user and save.

FusionAuth now represents your corporate hierarchy and you can start work on the website.
### Run Your Website To Calculate All The User Permissions
In this section, you'll write a script to get all the direct and indirect (through the company hierarchy) permissions a user has to all documents in FusionAuth. All you need is the user's email address or Id. Though this is a simple script, you can use exactly the same code after the user has logged in to your website with FusionAuth. (To learn how to make a simple Node.js website that uses FusionAuth, read the [quickstart](/docs/quickstarts/quickstart-javascript-express-web).)
For this script, you'll use TypeScript. It's easy to make errors when working with a tree structure, like these parent and child entities. TypeScript's strong typing will prevent errors, and enable you to see exactly which properties are available on each object. If you prefer JavaScript, you can delete all the type syntax, rename the file with `.js`, and the code will still run fine.
Start by creating the script, called `getPermissions.ts` in the current `light` working directory, and add the type definitions below. Axios will be used to call the FusionAuth API on the network.
```ts
import axios from "npm:axios@1.7.9";
type TUser = {
id: string,
email: string,
};
type TEntity = {
id: string,
name: string,
type: {
id: string,
name: string,
}
};
type Grant = {
id: string,
permissions: string[]
entity: TEntity,
};
type TUserGrant = Grant & { userId: string };
type TEntityGrant = Grant & { recipientEntityId: string };
type TPermission = {
entityId: string,
entityName : string,
permissions: Set<string>
}
```
These types show all the objects returned when calling FusionAuth, listing only the important properties, and ignoring the other properties. An entity has only a name and a type. There are two types of grants, one for users and one for entities. Note the Id here points to the grant object itself, not the target entity. You usually want to use the Id of the entity inside the grant. A grant's permissions are an array of strings.
The goal of this script is to find the permission type: A document (an entity with a name and Id) and all the permissions a user has to it. These permissions are a set, not an array, to avoid duplicates.
Next, add a function to calculate the user's permissions to every document, which starts with code to get the user from FusionAuth, all entities, and all grants from every entity to every other.
```ts
async function getUserPermissions(emailAddress: string): Promise<TPermission[]> {
// get user, entities, and grants from fusionauth
const api = axios.create({ baseURL: 'http://fa:9011/api', headers: { 'Authorization': '33052c8a-c283-4e96-9d2a-eb1215c69f8f-not-for-prod' } });
const { data: { user } } = await api.get(`/user`, { params: { email: emailAddress } }) as {data: {user: TUser}};
const { data: { grants: userGrants } } = await api.get(`/entity/grant/search?userId=${user.id}`) as {data: {grants: TUserGrant[]}};
const { data: { entities } } = await api.post(`/entity/search`, { search: { numberOfResults: 10000, queryString: "*" } }) as {data: {entities: TEntity[]}};
const entityGrants: TEntityGrant[] = [];
for (const entity of entities) {
const { data: { grants } } = await api.get(`/entity/grant/search?entityId=${entity.id}`);
entityGrants.push(...grants);
}
```
Note that the FusionAuth API key is hardcoded into this file and passed to Axios. In reality, you should never commit your key to Git, but keep it in a `.env` file. The rest of the code is straightforward: It calls the FusionAuth API for each type and stores the result returned. Read more about the APIs for [users](/docs/apis/users), [entities](/docs/apis/entities/entities), and [grants](/docs/apis/entities/grants).
Continue the function above by calculating the permissions for the user for every document, and end the script by calling the function.
```ts
// the goal: all documents and user's permissions to them
const permissionsToDocuments: TPermission[] = [];
// for each document
for (const document of entities.filter(e => e.type.name == 'Document')) {
// add document with no starting permissions to list of documents
permissionsToDocuments.push({ entityId: document.id, entityName: document.name, permissions: new Set() });
// get list of document and all ancestor entities
const entitiesWithPermissionsToDocument : TEntity[] = [];
let currentEntity: TEntity | null = document;
while (currentEntity != null) {
entitiesWithPermissionsToDocument.push(currentEntity);
currentEntity = getEntityParent(currentEntity, entities, entityGrants);
}
// if user has permissions to ancestor, add those permissions to document permissions for the user
for (const entityWithPermissionsToDocument of entitiesWithPermissionsToDocument)
userGrants.find(grant => grant.entity.id === entityWithPermissionsToDocument.id)
?.permissions.map(p => permissionsToDocuments.at(-1)?.permissions.add(p));
}
console.log('All documents and permissions to them for ' + emailAddress + '\n');
console.dir(permissionsToDocuments, { depth: null });
return permissionsToDocuments;
}
function getEntityParent(entity: TEntity, entities: TEntity[], entityGrants: TEntityGrant[]): TEntity | null {
for (const entityGrant of entityGrants)
if (entityGrant.recipientEntityId == entity.id && entityGrant.permissions.includes('IsMember'))
for (const parentEntity of entities)
if (parentEntity.id == entityGrant.entity.id)
return parentEntity;
return null;
}
await getUserPermissions('richard@example.com');
```
This code is a little tricky if you haven't worked with a tree structure before. Luckily, our example assumes that every entity has only one owner (parent node), so in all searches, once you find a grant with `IsMember`, you know you have found the node's only parent. The code starts by looping through every entity that is a document, because you can ignore entities that aren't documents. For each document, the code gets all ancestors (the document's department and the department's company). Then it finally checks if the user has any permissions to any of those entities, and adds the permissions to the list of permissions the user has to the document.
In a new terminal, run the commands below to install Axios and run the script to check what permissions Richard has to both documents. Here, to save time, you use Docker again, with the Deno 2 image, which can run TypeScript without any compile step, as well as allowing you to freely mix JavaScript, ES modules, and CommonJS modules. In reality, you could use the TypeScript compiler, and Node, Bun, or any other JavaScript environment you like.
```sh
docker run --platform=linux/amd64 --rm --network faNetwork -v ".:/app" -w "/app" denoland/deno:alpine-2.1.3 sh -c "deno run --allow-net --allow-read ./getPermissions.ts"
```
The result should be as below.
```sh
All documents and permissions to them for richard@example.com
[
{
entityId: "e52925cb-1072-421f-9f64-a64aacd8a7cb",
entityName: "Passwords",
permissions: Set(3) { "IsMember", "Read", "Write" }
},
{
entityId: "832bf368-6adc-4ae0-b838-41feeb01ac47",
entityName: "Statements",
permissions: Set(0) {}
}
]
```
You can see the user has permissions to the passwords document because he is a member of the Operations department where the document is a member.
The user has no permissions to the financial statements. In the FusionAuth web interface, browse to the list of users and manage Richard. Give him an entity grant with permission `Write` to the Change Bank entity.
Now when you run the script again, you'll see he has been given indirect write permissions to the financial statements too.
```sh
All documents and permissions to them for richard@example.com
[
{
entityId: "e52925cb-1072-421f-9f64-a64aacd8a7cb",
entityName: "Passwords",
permissions: Set(3) { "IsMember", "Read", "Write" }
},
{
entityId: "832bf368-6adc-4ae0-b838-41feeb01ac47",
entityName: "Statements",
permissions: Set(1) { "Write" }
}
]
```
## Clean Up
To remove all the Docker volumes, containers, images, and networks used in this guide, run the commands below.
```sh
docker compose down -v
docker rm fa fa_db
docker rmi postgres:16.0-bookworm fusionauth/fusionauth-app:latest denoland/deno:alpine-2.1.3
docker network prune;
```
## Alternative Methods To Model Hierarchy In FusionAuth
The code above demonstrates modeling hierarchies using entities, but there are other ways to model the example company structure in FusionAuth. Documents must be entities, or stored outside FusionAuth, and employees must be users. No other types in FusionAuth will work for this.
With these constraints in mind, below are the two alternatives to using entities and grants.
### Applications And Roles
In this option, you add the finance employee, Alice, to an application representing her company and department, like Change Bank Operations application, instead of an entity representing the company. Each application will have two roles, read and write, which are effectively permissions not roles. You can't use groups instead of applications to model this example because groups do not have permissions. Alice will need to be a member of multiple applications, for different departments and companies.
You would have to keep record of what department each document belongs to outside FusionAuth. This approach offers no benefit over using entities, unless you are using the free version of FusionAuth, which does not have entities.
### User JSON Data
In this option, you store every user's company and department as properties in their JSON `user.data` field. This has to be done through the FusionAuth API, and cannot be maintained in the FusionAuth web interface. You will need to write your own UI app for HR staff to work with FusionAuth. With this approach, you don't need to use applications, roles, or groups. Below is example JSON data for Alice:
```js
"permissions": {
"Change Bank": [],
"Change Bank Operations": ["read", "write"],
"Change Bank Human Resources manual": ["read"],
}
```
The last line, regarding permissions to a document, could either be stored manually, as is shown above, or could be an entity grant from Alice to the document. If you remove the last line, you would keep only company permissions in JSON and store document permissions using entities.
Using entities, as the example script demonstrated earlier, or using JSON, are opposite approaches. Using entities explicitly stores the relationship between all organizational departments and all documents and their related permissions in FusionAuth. In contrast, using JSON doesn't use any FusionAuth features to store a user's departments and permissions. Instead, you can choose any naming scheme you want to represent your hierarchy. Here it's very important that you are able to map the text in the JSON with the names of your departments stored elsewhere. For instance, your permissions manager code would have to consistently use "Change Bank" and not "ChangeBank" for thousands of lines of JSON across hundreds of users.
If you are using the free plan of FusionAuth, using JSON might be suitable for you, but may become confusing. A better alternative would be to use FusionAuth only for user authentication, and keep all authorization and company structure information in a separate dedicated document management system that uses FusionAuth as its authentication gateway. Example document management systems that can use an external OAuth provider like FusionAuth are [Nuxeo](https://doc.nuxeo.com/nxdoc/using-openid-oauth2-in-login-screen) and [M-Files](https://www.m-files.com/products/platform-security). (There may be other document management systems that allow the use of FusionAuth, but their documentation does not state it.)
# Modeling Organizations
import PremiumPlanBlurb from 'src/content/docs/_shared/_premium-plan-blurb.astro';
import {RemoteCode} from '@fusionauth/astro-components';
Business-to-business (B2B) enterprises commonly model the profiles of their customers and the roles of customers' employees. This practice isn't limited to SaaS businesses, as many companies sell products and services to other companies and need to ensure that employees, contractors, and other user groups can access the necessary applications to do their work.
Let's consider a CRM example to illustrate organization modeling. You're building a hot new CRM called AwesomeCRM. Your customers are other businesses, and one is Pied Piper. Pied Piper employs ten salespeople, and they each need access to your CRM, but each salesperson may have different permissions. Additionally, Pied Piper uses an outsourced CRO service called Big Bucks CRO. Jane is a fractional CRO with Big Bucks, and she also needs access to your CRM. Besides Pied Piper, Jane works with ten or more clients (like Aviato and Hooli). You need to ensure Jane can access all her clients' accounts and has the correct permissions for each.
A structure like this CRM introduces a lot of complexity. This is where FusionAuth's [Entity Management](/docs/get-started/core-concepts/entity-management) feature comes in handy. Entity Management allows you to create objects (that is, Entities) and grant Users permissions to them. Users aren't limited to having permissions to just one Entity; Users can be granted different permissions to different Entities.
<PremiumPlanBlurb />
This guide will walk you through implementing the use case described above with Entity Management using the FusionAuth APIs. See the [core concepts for Entity Management](/docs/get-started/core-concepts/entity-management) documentation for more information.
You can take a look at the companion application that implements the concepts in this guide at [https://github.com/fusionauth/fusionauth-example-modeling-organizations](https://github.com/fusionauth/fusionauth-example-modeling-organizations). The application repo includes a Kickstart file with all the settings detailed in the steps below and a Docker Compose file to run FusionAuth locally. Follow the steps in the [companion application README](https://github.com/fusionauth/fusionauth-example-modeling-organizations/blob/main/README.md) to get up and running.
Let's get started.
## Create An Entity Type
The first step is to create an Entity Type. Entity types define a class of entities along with the permissions that can be granted. You can create Entity Types using the API but in most cases, Entity Types are only created once, so you can use the admin UI for that. If you prefer to use the APIs, you'll find [the API you need here](/docs/apis/entities/entity-types).
Create an Entity Type and give it a name. In the image below, the new Entity Type is called `Customers`, but the name is just for display purposes, so you can give it any name.
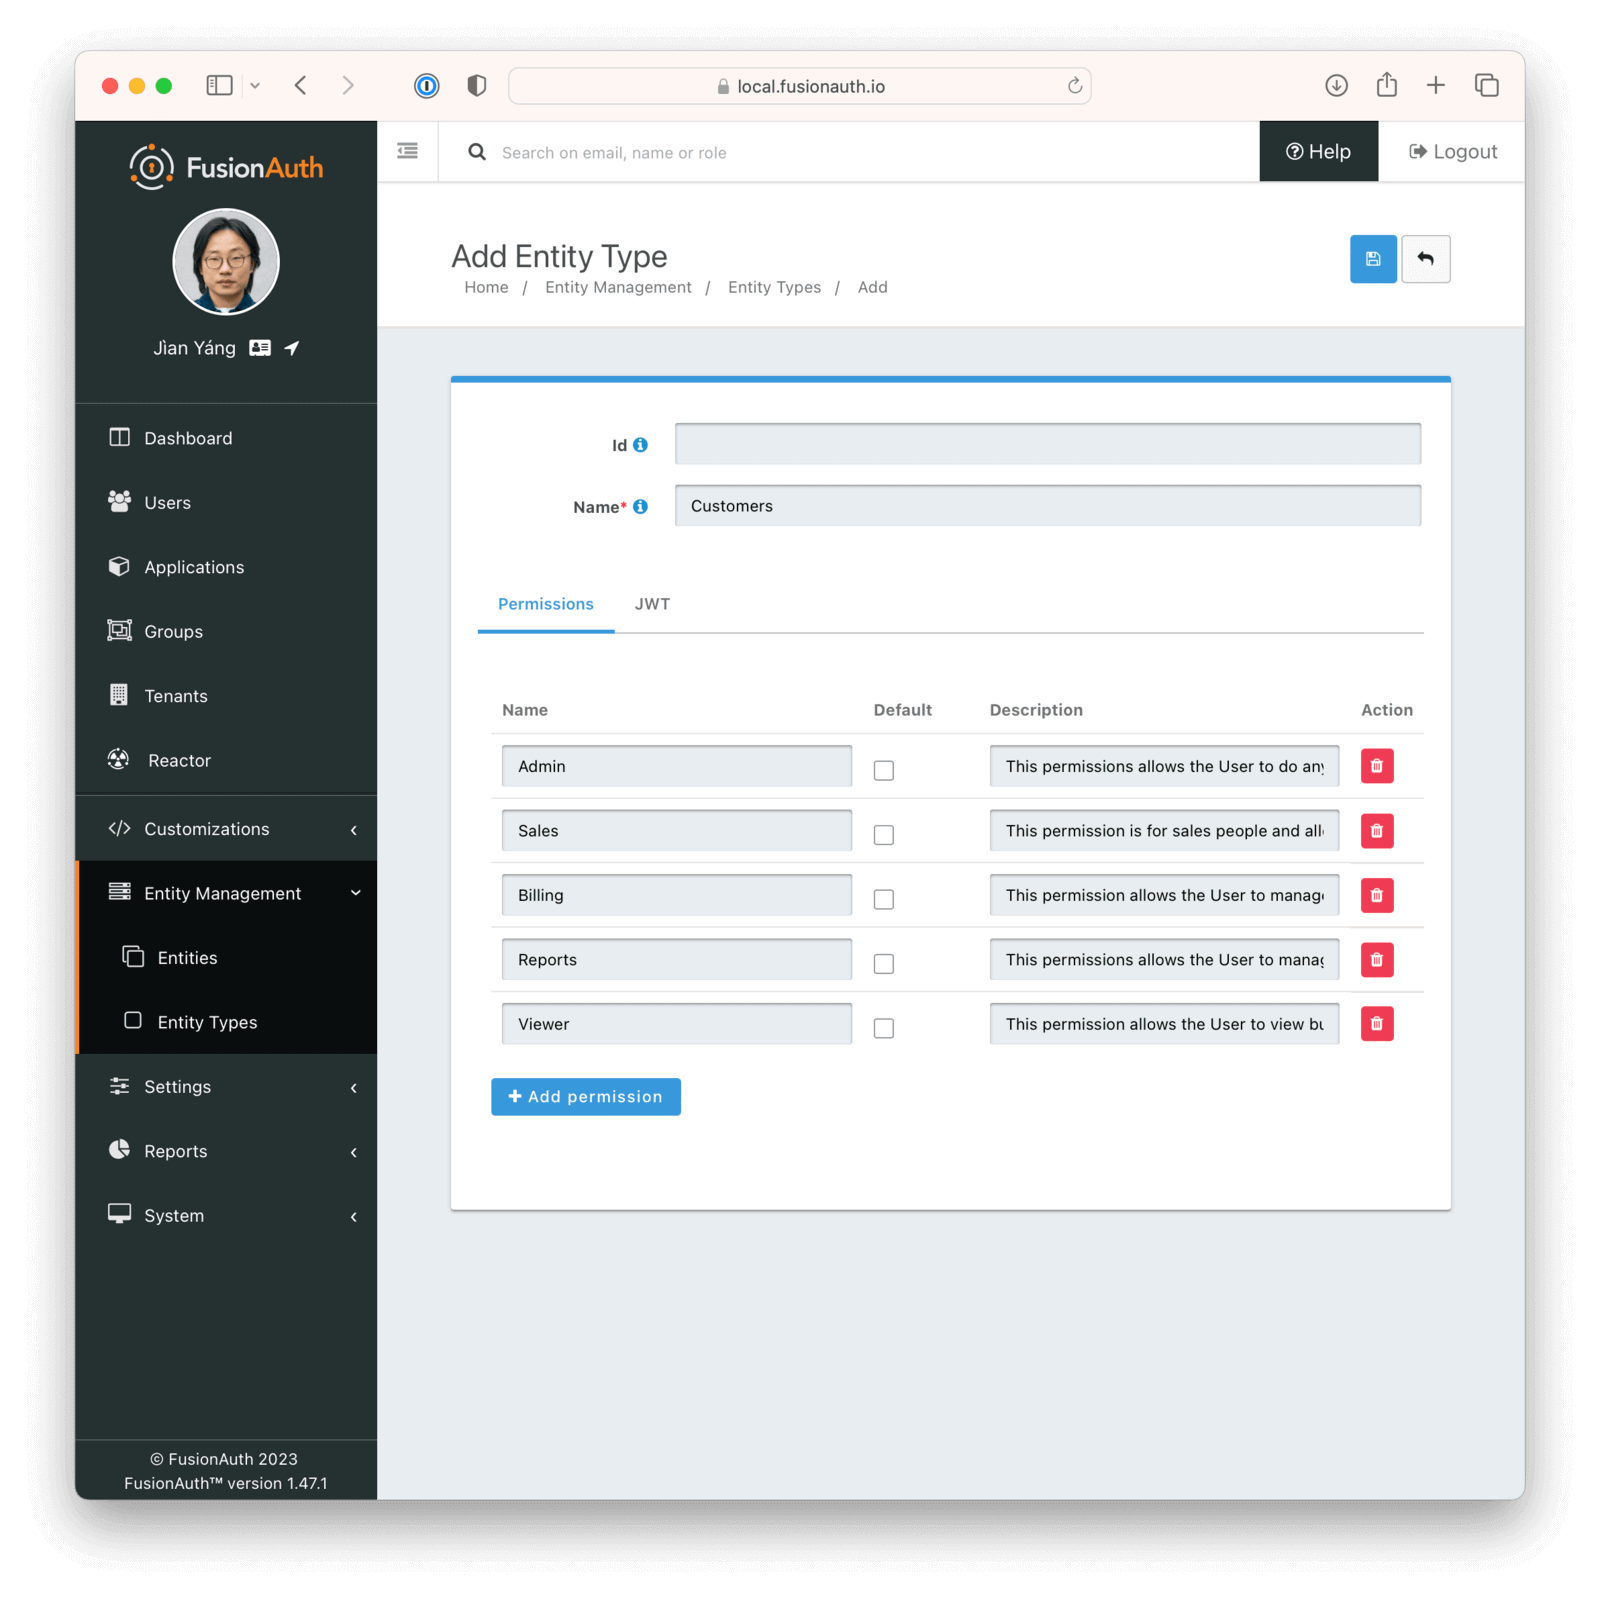
Five different permissions for the `Customers` type are defined here.
* **Admin:** Allows the User to do anything with the account.
* **Sales:** For salespeople, allows the User to do things like create contacts, companies, deals, and so on.
* **Billing:** Allows the User to manage billing things like invoices, credit cards, and so on.
* **Reports:** Allows the User to manage reports.
* **Viewer:** Allows the User to view but not edit.
The names for permissions are also arbitrary and mostly for display purposes, so feel free to name your permissions categories whatever you want.
After you create the Entity Type, copy its Id for the next step.
## Creating Entities
Now that you have an Entity Type, you can start creating Entities. The process of creating Entities is usually part of a signup or other onboarding process and depends on how your business handles creating accounts for your customers. For AwesomeCRM, you'll collect account information when the user signs up. During the signup process, you'll create the Entity and then grant the newly created User permissions to that Entity. In this model, the first user to sign up is the first Admin of the account.
To create the Entity for a new customer, call the [Create an Entity API](/docs/apis/entities/entities#create-an-entity). Your JSON should look similar to below.
```json
{
"entity": {
"type": {
"id": "<entity-type-id>"
},
"name": "Pied Piper"
}
}
```
This JSON will create an Entity with the name `Pied Piper` with the newly created Entity Type from the previous step. Entity names are not unique, so you don't need to worry about multiple users conflicting with respect to their company name.
Parse the response to capture the Id of this newly created Entity. The JSON response should look like this.
```json
{
"entity": {
"clientId": "092dbded-30af-4149-9c61-b578f2c72f59",
"clientSecret": "+fcXet9Iu2kQi61yWD9Tu4ReZ113P6yEAkr32v6WKOQ=",
"id": "8174f72f-5ecd-4eae-8de8-7fef597b3473",
"insertInstant": 1595361142909,
"lastUpdateInstant": 1595361143101,
"name": "Pied Piper",
"tenantId": "30663132-6464-6665-3032-326466613934",
"type": {
"id": "4838d96a-4e7b-42c6-a4a1-ebc64952e1c8",
"insertInstant": 1518962408732,
"jwtConfiguration": {
"enabled": false,
"timeToLiveInSeconds": 60
},
"lastUpdateInstant": 1518962408732,
"name": "Customers"
}
}
}
```
Extract the `id` from the JSON and store it in a variable.
## Create Entity Grants
The final step during the signup process assigns the correct permissions for the User to their Entity. To do this, call the [grant permissions API](/docs/apis/entities/grants#grant-a-user-or-entity-permissions-to-an-entity). You will need the Entity and User Ids to call this API. The JSON for the grant request will look like this.
```json
{
"grant": {
"permissions": [
"Admin"
],
"userId": "<user-id>"
}
}
```
Notice that the JSON only includes the User Id. The Entity Id is added to the URL when calling this API, like this.
```http
POST /api/entity/<entityId>/grant
```
Note that the User Id can be determined several different ways, depending on how your registration process is set up. If you are using FusionAuth for registration, you can extract the User Id from the JWT access token that FusionAuth provides at the end of the OAuth workflow. The User Id is stored in the `sub` claim. Or you can use the [UserInfo](/docs/lifecycle/authenticate-users/oauth/endpoints#userinfo) or [Introspect](/docs/lifecycle/authenticate-users/oauth/endpoints#introspect) APIs with the access token to retrieve the User details.
Now you have constructed all the necessary pieces to model the customers of AwesomeCRM and the Users that have access to the customer accounts.
## Login
Now that your data model is prepared, you need to handle login events. When a user logs in, your application needs to know what organization they belong to. Generally, this information is stored in a cookie or a server-side session so that it is available on each request to the application.
To get this information from FusionAuth, call the [search grants API](/docs/apis/entities/grants#search-for-grants), which allows you to retrieve all the Grants a specific User has to any Entities. This API doesn't take a JSON body. Supply the User Id in the URL as below.
```http
GET /api/entity/grant/search?userId={userId}
```
Replace the `userId` parameter with the Id of the user that is currently logged in. Retrieve the User's organization information from the access token JWT or the [UserInfo](/docs/lifecycle/authenticate-users/oauth/endpoints#userinfo) or [Introspect](/docs/lifecycle/authenticate-users/oauth/endpoints#introspect) APIs.
The response from the search grants API looks like this.
```json
{
"grants": [
{
"entity": {
"clientId": "092dbded-30af-4149-9c61-b578f2c72f59",
"clientSecret": "+fcXet9Iu2kQi61yWD9Tu4ReZ113P6yEAkr32v6WKOQ=",
"data": {
"companyType": "Legal"
},
"id": "8174f72f-5ecd-4eae-8de8-7fef597b3473",
"insertInstant": 1595361142909,
"lastUpdateInstant": 1595361143101,
"name": "Raviga",
"tenantId": "30663132-6464-6665-3032-326466613934",
"type": {
"id": "4838d96a-4e7b-42c6-a4a1-ebc64952e1c8",
"insertInstant": 1518962408732,
"jwtConfiguration": {
"enabled": false,
"timeToLiveInSeconds": 60
},
"lastUpdateInstant": 1518962408732,
"name": "Customers"
}
},
"id": "8174f72f-5ecd-4eae-8de8-6fef597b3473",
"insertInstant": 1595361142929,
"lastUpdateInstant": 1595361143121,
"permissions": [
"Admin"
],
"userId": "7174f72f-5ecd-4eae-8de8-7fef597b3473"
}
],
"total": 1
}
```
You can see that the permissions are available in the response. You can extract the permissions and use them to authorize actions that the user takes or APIs they call. In this example, the User has `Admin` permission, which means they are allowed to do anything they wish.
You can store the `grant` object (or some portion of it) in various locations for easy access, for example, in a cookie (encrypted is preferred), a server-side session, or a database. The [search grants API](/docs/apis/entities/grants#search-for-grants) is designed to be queried frequently and returned quickly. Depending on the scale of the application and where FusionAuth is deployed, you could query this API for each request, ensuring that the User's permissions are always the most current.
In the companion application, the `grant` object is loaded via a middleware function and appended to the `user` object so it is available in the `req` object for each request. This middleware function is called `loadGrants` and is shown below.
<RemoteCode url={frontmatter.codeRoot + "/complete-application/middleware/loadGrants.js"} tags="loadGrants" lang="javascript"/>
The `loadGrants` function is then added to the Express `app` request pipeline:
<RemoteCode url={frontmatter.codeRoot + "/complete-application/app.js"} tags="loadGrantsPipeline" lang="javascript"/>
The `loadGrants` middleware function first checks if the user is authenticated before trying to retrieve the Grants, as the User is needed to find the Grants. Therefore, immediately before authentication with Passport in the `passport.authenticate` callback pipeline, the `loadGrants` middleware exits early because the User is not yet available. To tack the Grants onto the user object in this special request flow, the `loadGrants` middleware function is added to the `passport.authenticate` callback pipeline.
<RemoteCode url={frontmatter.codeRoot + "/complete-application/app.js"} tags="loadGrantsPassport" lang="javascript"/>
Once the Grant with permissions is loaded, you can use it to authorize actions in your application. For example, you can check if the user has the `billing` permission before allowing them to view the billing page.
The companion application uses another custom middleware function called `checkGrantPermissions` to check if the user has the required permission to access a route.
<RemoteCode url={frontmatter.codeRoot + "/complete-application/middleware/checkGrantPermissions.js"} tags="checkGrantPermissions" lang="javascript"/>
This middleware function can be used on individual routes as below.
<RemoteCode url={frontmatter.codeRoot + "/complete-application/routes/billing.js"} tags="billingPost" lang="javascript"/>
Notice that [all routes in the companion application](https://github.com/fusionauth/fusionauth-example-modeling-organizations/tree/main/complete-application/routes) are protected by the `checkGrantPermissions` middleware function, with the appropriate permissions required to access the route.
## Multiple Organizations
The final component to cover in this guide is handling multiple organizations for a single User. AwesomeCRM works with many partners, and often these partners work with many clients. This means that a user at a partner company might be working with multiple organizations at the same time. To handle this scenario, you need to ensure you can handle multiple results from the [Retrieve Grants API](/docs/apis/entities/grants#retrieve-grants).
Here's an example of the response from the [Retrieve Grants API](/docs/apis/entities/grants#retrieve-grants) when a User has multiple organizations (many properties have been trimmed for brevity).
```json
{
"grants": [
{
"entity": {
"name": "Pied Piper",
...
},
"permissions": [
"Admin"
],
...
},
{
"entity": {
"name": "Hooli",
...
},
"permissions": [
"Sales"
],
...
},
{
"entity": {
"name": "Aviato",
...
},
"permissions": [
"Billing",
"Reports"
],
...
}
],
"total": 3
}
```
This response indicates that the user belongs to three organizations and has different permissions for each. To manage this in your AwesomeCRM application, you can provide users with an option to select the company they would like to work on when they log in, as in the example below.
Notice that in the companion app `passport.authenticate` pipeline, when the user is authenticated the first time, the first Grant is selected as the default Entity for the user and added to the `req.session` object on the `selectedGrant` property.
<RemoteCode url={frontmatter.codeRoot + "/complete-application/app.js"} tags="loadGrantsPassport" lang="javascript"/>
When the user selects another Entity to work on from the index page, the `selectedGrant` is updated with the new Entity.
<RemoteCode url={frontmatter.codeRoot + "/complete-application/routes/index.js"} tags="companyPost" lang="javascript"/>
## Managing Users
Applications often allow Users to manage other Users on their account.
* Add a User to an organization using the [grant permissions API](/docs/apis/entities/grants#grant-a-user-or-entity-permissions-to-an-entity).
* Remove a User from an organization using the [Delete a Grant API](/docs/apis/entities/grants#delete-a-grant).
* Adjust the permissions a User has to an organization using the [grant permissions API](/docs/apis/entities/grants#grant-a-user-or-entity-permissions-to-an-entity). The grant permissions API is an upsert, which means that if a Grant already exists, it will update its attributes.
In the companion app, managing Users is demonstrated in the [`routes/users.js` file](https://github.com/fusionauth/fusionauth-example-modeling-organizations/blob/main/complete-application/routes/users.js). There is a trick to getting all Users filtered by FusionAuth application. By default, getting Users from FusionAuth will return all Users in the containing tenant. You will need to use a search query combined with the [Search for Users API](/docs/apis/users#search-for-users) to find all Users in the particular application. The companion app demonstrates this in the `GET /users` route, using an [Elasticsearch query](/docs/lifecycle/manage-users/search/user-search-with-elasticsearch) to filter Users by application.
After filtering for the Users you want to manage, use the [grant search API function](/docs/apis/entities/grants#search-for-grants) to retrieve the Grants for each User. In the companion application, Grants are managed for a single Entity (or company) at a time. Since the API returns all Grants to all Entities associated with a User, the application filters the Grants to only show the Grant for the selected Entity.
<RemoteCode url={frontmatter.codeRoot + "/complete-application/routes/users.js"} tags="getGrantsForAllUsers" lang="javascript"/>
## Custom Data And Search
Custom data on an Entity can be used to store additional information about the Entity, like various Ids (for Stripe, QuickBooks, or NetSuite), organization attributes (locations, parent company, and so on), or just about anything you need. Custom data on an Entity is indexed within FusionAuth, which means it is also searchable using the [Search for Entities API](/docs/apis/entities/entities#search-for-entities).
For example, say your organizations have a custom attribute for addresses like below.
```json
{
"entity": {
"data": {
"address": {
"city": "Denver"
}
},
"type": {
"id": "<entity-type-id>"
},
"name": "Pied Piper"
}
}
```
You can search for the address attribute using a request like this.
```http
GET /api/entity/search?queryString=data.address.city:denver
```
This request uses the [Elasticsearch query string query syntax](https://www.elastic.co/guide/en/elasticsearch/reference/current/query-dsl-query-string-query.html#query-string-syntax).
The companion application stores the address of the company in the Entity custom data, which is displayed on the `Admin` page. The custom data is returned with the Entity when it is retrieved using the [Retrieve an Entity API](/docs/apis/entities/entities#retrieve-an-entity) and doesn't need to be loaded separately.
## Changing An Organization
Beyond managing users, some applications allow you to rename or modify a User's organization. Use the [Update an Entity API](/docs/apis/entities/entities#update-an-entity) to update any Entity attribute, including custom data.
This is demonstrated in the companion app in the [`routes/admin.js` file](https://github.com/fusionauth/fusionauth-example-modeling-organizations/blob/main/complete-application/routes/admin.js). This route can update the Entity name and the company address. Use the `PATCH` HTTP method for this type of operation, as it allows you to update only the fields that have changed, even when updating custom data.
<RemoteCode url={frontmatter.codeRoot + "/complete-application/routes/admin.js"} tags="updateEntity" lang="javascript"/>
## Conclusion
This is just one of the many uses for the FusionAuth Entity Management feature, allowing you to easily implement a data model for organizations and permissions and grant the permissions to users in your application. Other uses for Entity Management include IOT (permissions to devices), machine-to-machine clients (OAuth Client Credentials), [SCIM](/docs/lifecycle/migrate-users/scim/) clients, and many more.
# Multi-Application Dashboard
import Aside from 'src/components/Aside.astro';
import Breadcrumb from 'src/components/Breadcrumb.astro';
import IconButton from 'src/components/icon/Icon.astro';
import InlineUIElement from 'src/components/InlineUIElement.astro';
import {RemoteCode} from '@fusionauth/astro-components';
## Overview
If you're using FusionAuth to manage many applications, you might want to provide your users with a central list of applications, so they know what's available. For example, Google does this for its apps.
In this guide, you'll learn to make a similar page — a dashboard linking to all the applications in a FusionAuth tenant.
In the language of authentication, FusionAuth is an identity provider (IdP) and your applications and websites are the service providers (SPs). One way to authenticate a user from a central dashboard is to use an IdP-initiated login. In other words, the dashboard will log the user in, and then redirect them to the selected app. In short, a service provider application will receive a login that it didn't initiate itself. This has security implications.
This guide will demonstrate a simpler and safer way to authenticate users from a central dashboard by making each application link in the dashboard point to the application's login page. From that point onward, authentication follows the standard OAuth Authorization Code grant.
The next section of this guide will show you how to make a dashboard for two existing FusionAuth applications in the same tenant. All this requires is customizing the theme for the index landing page of the FusionAuth site. The guide will first show you how to install FusionAuth and make two simple web applications. If you already have a FusionAuth installation with existing applications, you can skip ahead to [the section that creates the dashboard](#make-a-dashboard).
If you want to follow along with the full guide, you will need Docker installed.
## Download The Example Repository And Run FusionAuth
Use `git clone` to clone the repository at https://github.com/fusionauth/fusionauth-example-multiapp-dashboard, or download and unzip it.
Open a terminal in the directory containing the repository files.
Run the command below to start FusionAuth.
```sh
docker compose up
```
<Aside type="note">
If you have completed any FusionAuth tutorials before, you might need to first delete any existing FusionAuth containers with the same name and the database volumes. Run the command below to do that.
```sh
docker ps rm fa faDb; docker compose down -v
```
</Aside>
Leave FusionAuth running.
In a new terminal, run the commands below to start a web server for the Changebank app, which uses FusionAuth for authentication.
```sh
cd bankApp
docker compose up
```
The Changebank app is now running at http://localhost:3000.
In a third terminal, run the commands below to start a web server for a second app that uses FusionAuth for authentication.
```sh
cd insuranceApp
docker compose up
```
The app is called Changeinsurance, and is now running at http://localhost:3001.
Before making the dashboard, check that you can log in to all three applications. Either use an incognito browser window or don't enable <InlineUIElement>[Keep me signed in](/docs/lifecycle/authenticate-users/logout-session-management#fusionauth-sso)</InlineUIElement> when logging in, otherwise, you won't see the login form in the rest of this guide:
- Browse to FusionAuth at http://localhost:9011/admin and log in with `admin@example.com` and `password`.
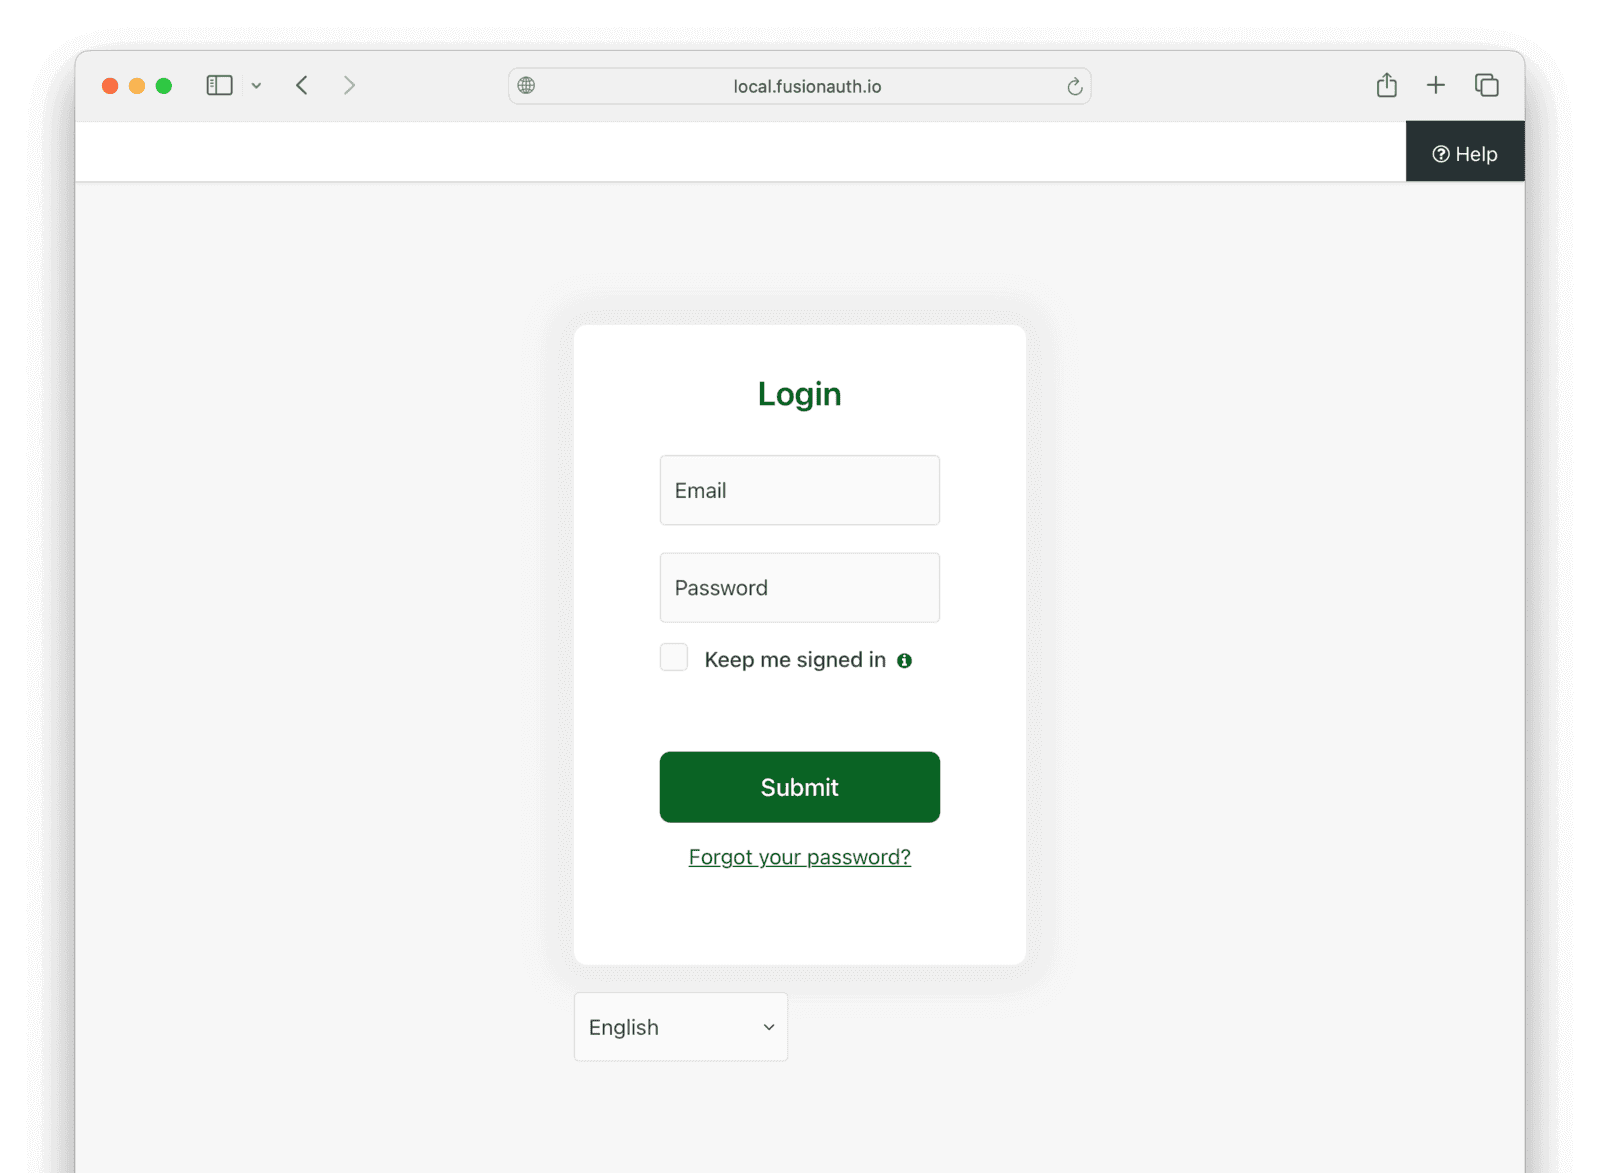
- Browse to Changebank at http://localhost:3000 and log in with the same username and password.
- Browse to Changeinsurance at http://localhost:3001 and log in with the same username and password.
If you enabled <InlineUIElement>Keep me signed in</InlineUIElement>, logging out of an application won't necessarily log you out of FusionAuth. It will only delete the session of the application. Next time you try to log in, FusionAuth will see the FusionAuth authentication cookie in your browser and automatically log you in.
## Make A Dashboard
Now that you have applications up and running, let's build the dashboard.
Look at the current FusionAuth landing page at http://localhost:9011.
In this section, you will change the FusionAuth landing page to display links to the two banking app web servers you started in the previous section.
Log in to your [FusionAuth web interface](http://localhost:9011/admin) and browse to <Breadcrumb>Customizations -> Themes</Breadcrumb>.
Notice there are three themes in the list. The first two are the default FusionAuth themes. The last one, <InlineUIElement>Bank theme</InlineUIElement>, was added by Kickstart when you started FusionAuth up. Read about Kickstart [here](/docs/get-started/download-and-install/development/kickstart).
- Click the <IconButton name="edit" /> edit button in the Bank theme row's action column.
- Select the <InlineUIElement>Index</InlineUIElement> page (fourth item in the list on the left).
- Paste the code below into the text box.
<RemoteCode lang="html" url="https://raw.githubusercontent.com/fusionauth/fusionauth-example-multiapp-dashboard/refs/heads/main/theme/index.ftl" />
- Click the <IconButton name="save" /> save button at the top right.
Besides a little CSS for styling, the code above only adds links for the two applications. The links don't point to the login page of the target application. Instead, they point to the logged-in main page. If the user isn't logged in to FusionAuth, they will be automatically redirected to the app's login page. If they are already logged in, they will be taken straight to the app. This saves the user time while still protecting the application content.
To see the new landing page, browse to http://localhost:9011.

You can extend this to any number of applications, just like Google does.
### Partial Access
You can require application registration for users before access is allowed. Do so by first disabling the self-service registration setting under the <Breadcrumb>Registration</Breadcrumb> tab and enabling the <InlineUIElement>Require registration</InlineUIElement> setting in the <Breadcrumb>OAuth</Breadcrumb> tab of the application.
When this is configured, a user who is not registered to the Changebank or Changeinsurance application will not be able to access it, even though they can click on the link. They simply won't be logged in.
## Clean Up
To stop the running containers run the command below.
```sh
docker compose down -v
```
## Next Steps
To make a dashboard for your FusionAuth instance, all you need to do is make links in a custom theme for the FusionAuth landing page similar to the ones shown above. [FusionAuth themes](/docs/customize/look-and-feel/) use a template language called FTL. Read more about it [here](https://freemarker.apache.org/index.html).
# Multi-tenancy
import Aside from 'src/components/Aside.astro';
import Breadcrumb from 'src/components/Breadcrumb.astro';
import ControlPlaneRegistrationDiagram from 'src/diagrams/docs/extend/examples/_control-plane-registration.astro';
import CrossTenantUserAccess from 'src/content/docs/get-started/core-concepts/_cross-tenant-access.mdx';
import DataPlaneLoginDiagram from 'src/diagrams/docs/extend/examples/_data-plane-login.astro';
import InlineField from 'src/components/InlineField.astro';
import MultiTenantLimitations from 'src/content/docs/get-started/core-concepts/_multi-tenant-limitations.mdx';
This guide will help you set up multi-tenancy in FusionAuth. Tenants allow for logical separation of users, applications and other objects in FusionAuth.
## Why Use Multi-Tenancy
There are many reasons why you might be interested in a multi-tenant FusionAuth instance:
* Provide logical separation for configuration. With only one FusionAuth instance to manage, users, applications, API keys, and other configurable objects are kept logically distinct.
* To support building an application which you'll offer as a service, often called SaaS (Software as a Service). Each customer can be modeled as a tenant in FusionAuth.
* Managing different deployment environments. For instance, on one FusionAuth instance, you could run integration, user acceptance and developer environments. It's not recommended to run production in the same instance as other environments, however.
* To easily manage multiple developer environments. Having each developer use a tenant on a dedicated development server allows developers free reign to add, remove and modify configuration, while keeping them relatively isolated from each other.
* Per-client custom tenant level settings are needed. Examples of such settings include password rules, the issuer of JWTs, or webhook transaction levels.
FusionAuth's performant, lightweight multi-tenancy can help with any of these scenarios. If you want to learn more about FusionAuth tenants, there's an entire [Tenant core concepts section](/docs/get-started/core-concepts/tenants).
## Levels of Isolation
There are two different kinds of isolation possible for tenants in FusionAuth: physical and logical.
With physical isolation, you run a separate web server, database and other components (such as FusionAuth). You run the same codebase (or perhaps multiple versions). The codebase doesn't have to support multiple tenants.
The strengths of physical separation include:
* Each tenant can live in different geographies, which may be required for compliance or data sovereignty rules.
* Downtime for one tenant doesn't affect others.
* There is no possibility of intermixing user data.
* Clients can live on different versions of your software and upgrades may be managed by them.
However, there are some downsides:
* Deployment becomes more difficult, as you need to ship artifacts to N different servers.
* It is more expensive because servers scale linearly with tenants.
* Rollup reporting or any other cross-tenant operation becomes a series of network calls.
The other option, far more common, is logical isolation. With this architecture, you have the same web server, sending traffic to different tenants based on hostname or some other attribute, with the same database. You typically have a `tenant` table and a `tenant_id` foreign key in almost every other table. Your codebase knows about these data attributes and is built with multi-tenancy in mind.
The logical approach has the following benefits:
* Operations are much simpler; there is one application for you to manage, even though it looks to users like many different applications.
* Typically it will be less expensive. Even if you need a bigger server to handle multiple tenants, costs won't scale linearly with the number of tenants.
* Cross tenant operations such as reporting are a database query rather than network requests.
There are issues with this approach, though:
* It is more difficult to have tenants on different versions. You can do this with feature flags or other custom coding; check out how [Stripe versions their APIs](https://stripe.com/blog/api-versioning) for an example.
* One tenant's traffic can affect other tenants; this is also known as the noisy neighbor problem.
* Hosting data in different geographies becomes complex, if not impossible.
This guide covers logical isolation of tenants. If you need physical isolation with FusionAuth, run different instances. You can also [read this article for more information](/articles/identity-basics/multi-tenancy-vs-single-tenant-idaas-solutions).
## The PiedPiper Video Chat Application
To make things a bit more concrete, let's use an example. Suppose you wanted to build a Pied Piper Video Chat SaaS application(or PPVC for short).
This will be similar to Slack in terms of how users sign up and how hostnames are used to identify different tenants, but will have a superior video experience, with patented middle out compression. This application will support multiple entirely distinct groups of users. Each user who signs up to create a tenant picks their own hostname and other configuration.
This sets up an application that can be logged into by other users. Just as you can sign up for `foo.slack.com` and share it with your organization, PPVC will be built to let someone sign up for `foo.piedpipervideochat.com` and share the awesome video chat with their colleagues.
The creator of a PPVC tenant will be able to pick a hostname and a display background color. If someone from Hooli joins, they could set up `hooli.piedpipervideochat.com`, for example. As mentioned above, Slack uses hostnames to differentiate tenants, and PPVC will as well. If you are familiar with Slack, you may have noticed that the URL to access Slack is `your-company.slack.com`. This pattern allows Slack to route your request based upon the hostname portion of the URL, `your-company`. It also provides each customer with a unique URL which makes life simple for everyone.
<Aside type="note">
The word application is unfortunately overloaded when discussing multi-tenancy. There are actually multiple things which could all be called an "application".
* The entire PPVC application, which is the combination of all the functionality built to support the chat application. This will be referred to below as the PPVC application.
* The codebase and datastore implementing features, written in some programming language. This will be called the "web application" or the "web application codebase".
* The applications where users will sign up for the PPVC and also the place where their users will go to access the chat functionality. These all have separate users and functionality. These could live in the same codebase or in separate code bases. These will be referred to as "control plane" or "data plane" applications, unapologetically borrowing from [network routing](https://en.wikipedia.org/wiki/Control_plane).
* The FusionAuth application configuration, stored in FusionAuth and managed by the FusionAuth UI or API. This includes OAuth, registration and other configuration. These will be called "FusionAuth application configuration" or the "FusionAuth application object".
</Aside>
## Common Components of a Multi-Tenant Setup
While FusionAuth multi-tenancy can help with many different scenarios, as mentioned above, this rest of this guide will focus on building out the Pied Piper Video Chat SaaS application.
A control plane application manages user and tenant creation. You can integrate billing and general account management in the control plane application. This is the Slack application where you sign up for Slack itself.
Users will video chat through one of the data plane applications. This is analogous to `foo.slack.com`.
Here are common components for a multi-tenant SaaS application:
* The control plane application, where users will create and manage tenants.
* The data plane application, where users will login and video chat.
* FusionAuth tenant and application configurations, which control how users can login and register.
* A component to determine the tenant from the hostname.
* Code to set up the tenant.
* The tenant object, which contains tenant specific data.
Let's look at each of these.
### The Control Plane Application
When you have a multi tenant SaaS program, you need a way to manage tenants. For our example, PPVC must have a web or mobile application where users can sign up for Pied Piper Video Chat for their company. The users may be able to do other tasks, like set up the hostname, customize the look and feel, and set up billing. If you are building the PPVC application, you must charge that per user per month fee, after all, otherwise you won't be able to afford a car with doors that open by going up.
But the control plane application doesn't enable video chat between users. Instead, the control plane application is basically a tenant management portal.
For PPVC, this app will likely deliver functionality over the web. However, the actual implementation details don't matter much for the purposes of illustrating multi-tenancy concepts.
### The Data Plane Applications
Data plane applications offer functionality to PPVC's users' users. Hooli employees will log into `hooli.piedpipervideochat.com` to chat amongst themselves, and Raviga employees will do the same at `raviga.piedpipervideochat.com`. Within each data plane application, users can have roles, language preferences, and other user profile information.
Tenant management is not part of the data plane applications. There also may be little or no overlap between the users of a data plane application and the control plane application.
For PPVC, the data plane application will also likely deliver functionality over the web using HTML, but it could be an API used by a mobile application if that worked better for the business. The actual implementation details don't really matter for the purposes of this guide.
### FusionAuth Tenants and Applications
For each of the control and data plane applications built, corresponding FusionAuth configuration objects need to be created. The control plane application will have a corresponding FusionAuth tenant configuration where the users of the control plane application will be stored. It will also have a FusionAuth application configuration which contains application specific settings, such as whether a user can self register. Each data plane application will also have both a FusionAuth tenant configuration and a FusionAuth application configuration.
For the PPVC control plane web application, the FusionAuth objects can be created manually. Each time a user signs up and creates a new PPVC application (remember, like `foo.slack.com` is created in Slack), a new data plane FusionAuth tenant configuration will also be created.
If an employee at Raviga signs up for PPVC, a new FusionAuth tenant object will be created for Raviga, and within that tenant a new FusionAuth application configuration object. This Raviga FusionAuth tenant object is where all users of the Raviga PPVC application would be stored.
The mapping between the data plane application and the corresponding FusionAuth tenant and application objects must be stored somewhere. In this example, each data plane application has a hostname and background display color, as well as FusionAuth configuration information. This additional metadata should be stored in the application database. This metadata will be discussed more deeply in [The Tenant Object](#the-tenant-object) section.
### Data Plane Application Tenant Determination
The data plane application needs to differentiate between different tenants. If the codebase is hosted at `piedpipervideochat.com`, there are a few ways to send incoming requests to the appropriate tenant.
* The hostname: `hooli.piedpipervideochat.com` can point to the Hooli data plane application. As mentioned above, this is similar to how Slack operates.
* User self-identification: A user provides an identifier that determines the tenant, in a separate field. This is how AWS operates.
* User choice: A user logs in and is presented with a list of data plane applications to which they can login. In this case, present this option outside of the data plane applications, perhaps in the control plane application.
* User or request attributes: If there is an attribute of the client or incoming request indicating the correct tenant, that can be used to route the user. For instance, a system may be able to read network information to determine the appropriate data plane application.
Here's an example of the hostname approach:
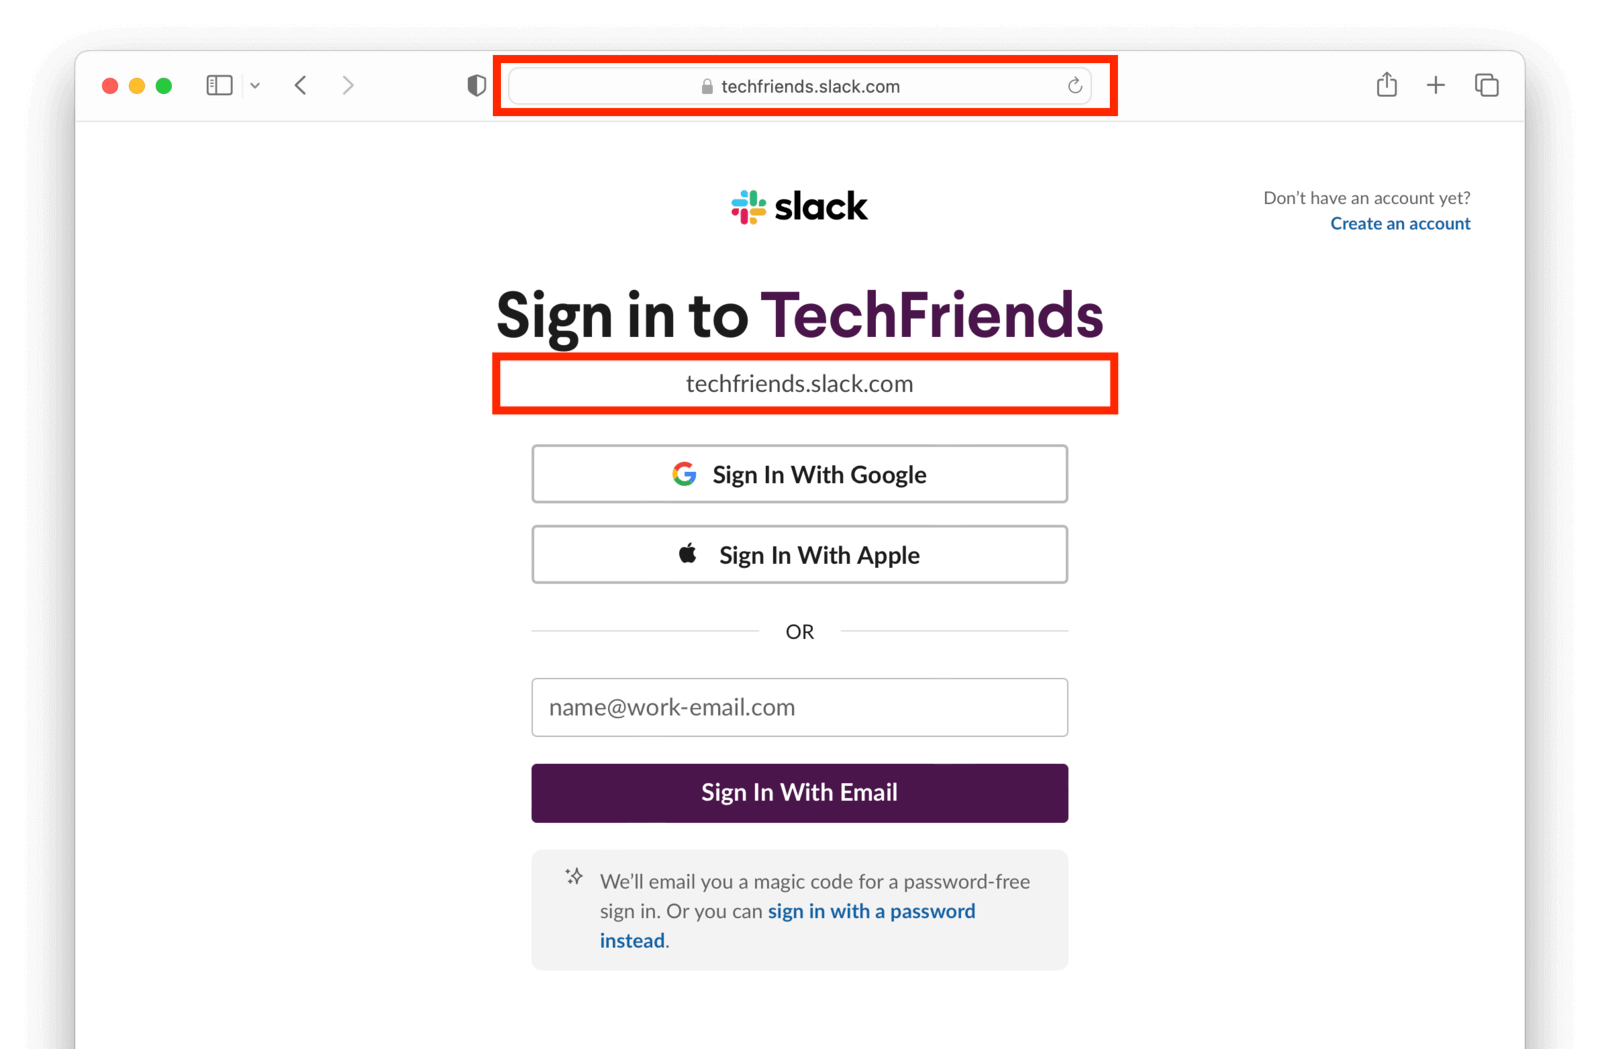
Here's an example of the user self-identification approach:
A distinct hostname is the easiest way to differentiate tenants. It is memorable to the user, works well with internet standards such as cookies, and scales well. That's the approach this guide will take.
### Tenant Setup
When a user signs up in the control plane application, they pick a hostname. Other configuration will happen behind the scenes. Some examples include:
* You need to set up the hostname. When someone signs up with the `hooli` hostname, you want `hooli.piedpipervideochat.com` to point to your web application where the code is running. This could be handled with DNS wildcarding or by updating DNS records automatically.
* The FusionAuth tenant configuration and a FusionAuth application configuration must be created and configured. These objects allow the new data plane application to log users in and perform other login related tasks.
* Creating any FusionAuth roles that might be applicable, such as an `admin` role.
* Customizing the theme of the FusionAuth hosted login pages with custom colors and logos.
* Creating an initial user in the data plane application, optionally.
* Any needed metadata of the data plane application that the end user cannot modify.
Since the data plane application is not usable for the new tenant without these configuration settings, this configuration should take place at the moment of signup. There may be other optional configuration that can be performed asynchronously.
### The Tenant Object
Within your control plane application's database, store metadata about each tenant in a table. This metadata:
* Allows your users to customize their data plane application without your intervention.
* Configures the data plane application to deliver proper functionality. The `hooli` tenant might be on a premium plan and be allowed ten chat rooms, whereas the `raviga` tenant might be on a basic plan and have a lower limit.
* Can be used for reporting as your business grows.
Some attributes you might need in this object when implementing multi-tenancy with FusionAuth:
* The owning user: which user created this tenant. Depending on your business model, there could be a one to one or one to many mapping between users and tenants in your control plane application datastore.
* Hostname: a hostname which users of a given organization will access to get to their data plane application. Something like `hooli.piedpipervideochat.com` or `hooli` if you will always append a domain name.
* FusionAuth tenant Id: the tenant created in FusionAuth during setup.
* FusionAuth Client Id and Client Secret: this allows you to build links for users to log into the data plane application and access other OAuth functionality.
* Customization attributes: such as a logo or background color for the hosted login pages.
* Internal attributes: about the tenant such as the plan level.
* A tenant scoped FusionAuth API key and API key id: When the control plane application needs to modify FusionAuth configuration, it can use this API key. This API key could also be displayed to the administrators of the data plane application. Doing so will allow them to automate interactions with their users in FusionAuth. They could, for example, write a script to pull a list of their users.
## Registration and Login Flows
Let's get more concrete and continue to discuss the PPVC app. It is typical to allow users to self register for the control plane application and automatically set up a corresponding tenant. In this case, the below diagram outlines the registration flow:
<ControlPlaneRegistrationDiagram alt="Registration process for the control plane application." />
After a user has registered in the control plane application, they can log in and view details of their tenant:

Here's the login flow for a data plane application. Such a login would happen after a user had registered in the control plane application and a tenant had been created and configured. Apart from the lookup of the tenant OAuth configuration by hostname (the Client Id and Client Secret), this is a typical Authorization Code grant.
<DataPlaneLoginDiagram alt="Login process for the data plane application." />
The users of each data plane application can register or log in and see the chat window (or at least a note about the chat functionality that will later be built out).

Each of the data plane applications have a corresponding FusionAuth tenant configuration. Different users can have the same email address, as you can see in the below screenshot, where the `jian@fusionauth.io` user exists in the default tenant and the `ppvctest2` tenant:
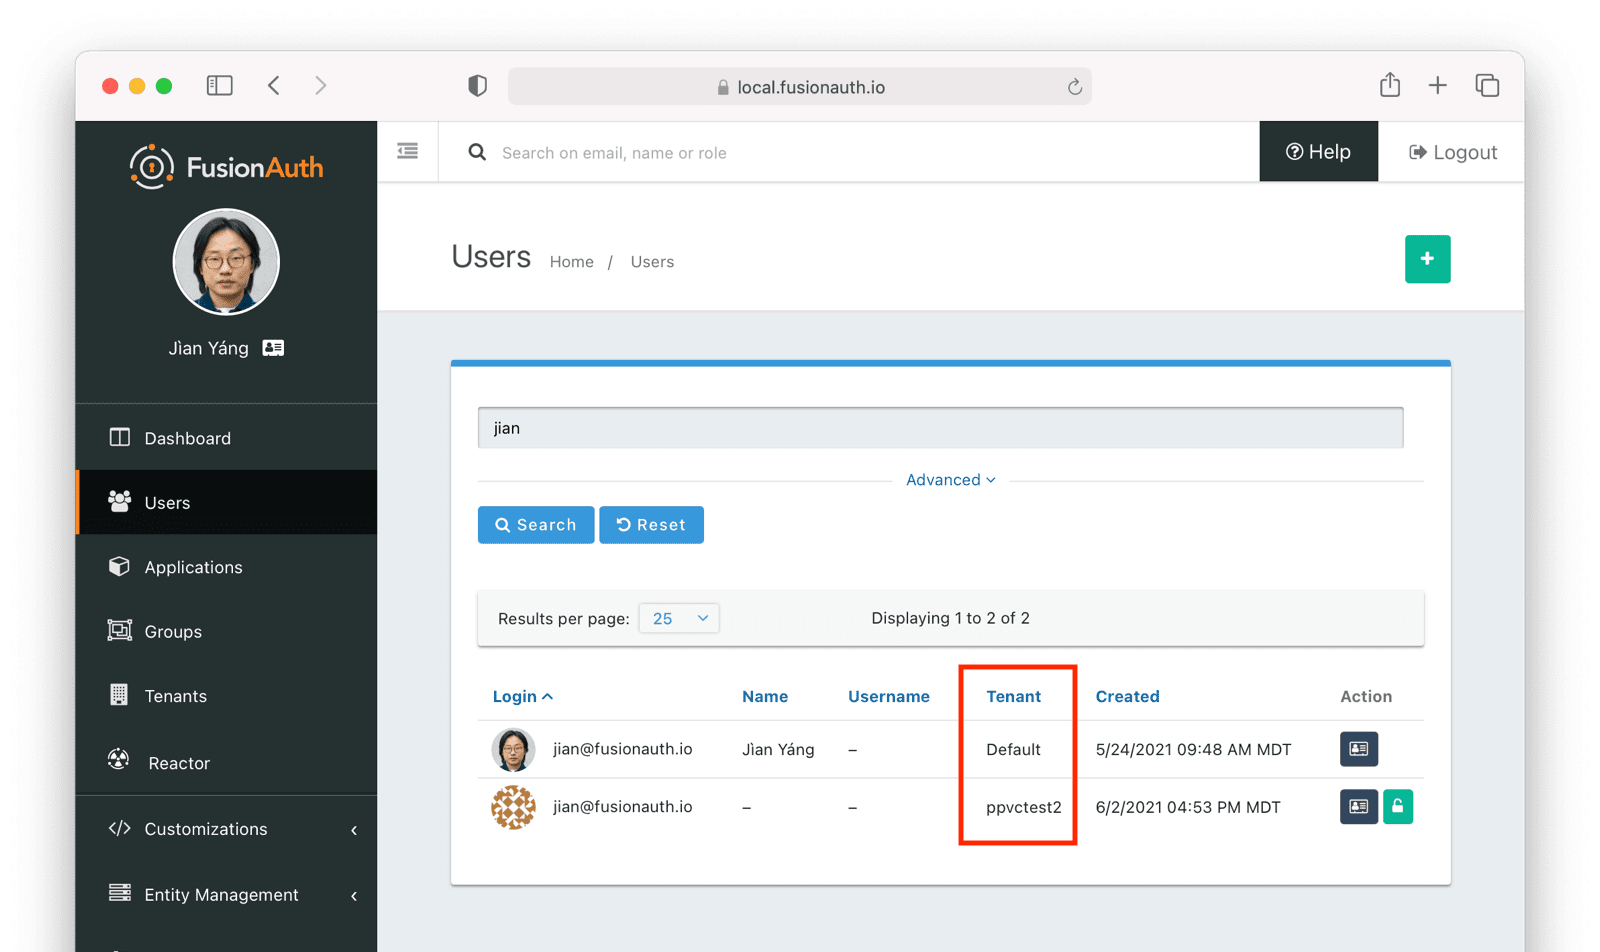
## Setting Up the Multi-Tenant System
Let's cover the steps to build the PPVC using an external identity provider like FusionAuth. FusionAuth will be used as the user database for the control plane application as well as all related data plane applications. Here are the tasks to set up an application skeleton, configure FusionAuth and integrate them both.
* Configure a control plane application object in FusionAuth and set up your control plane application up to use that FusionAuth configuration for user sign up and login.
* Create a `tenant` table in your database, an object in your web application codebase, and CRUD methods to manage it.
* A way to create, modify, and delete FusionAuth configuration for each data plane application.
* Building the URLs to allow user login, registration and logout requests to be routed to the correct FusionAuth tenant.
* The callback handling for the Authorization Code grant within your web application codebase.
Let's look at each of these from the perspective of PPVC. If you'd prefer, you can download, review and run a [fully functional multi-tenant chat application](https://github.com/FusionAuth/fusionauth-example-symfony-multitenant), actual video chat functionality not included.
### Initial FusionAuth Configuration
The control plane application needs a corresponding FusionAuth application configuration, as mentioned above. Create this in its own FusionAuth tenant to increase isolation. Perform the following configuration on the FusionAuth application object:
* An authorized redirect URL.
* Enable the Authorization Code grant.
* Enable self service registration, if desired.
* Specific roles, if desired.
Here's what the <Breadcrumb>OAuth</Breadcrumb> tab will look like:
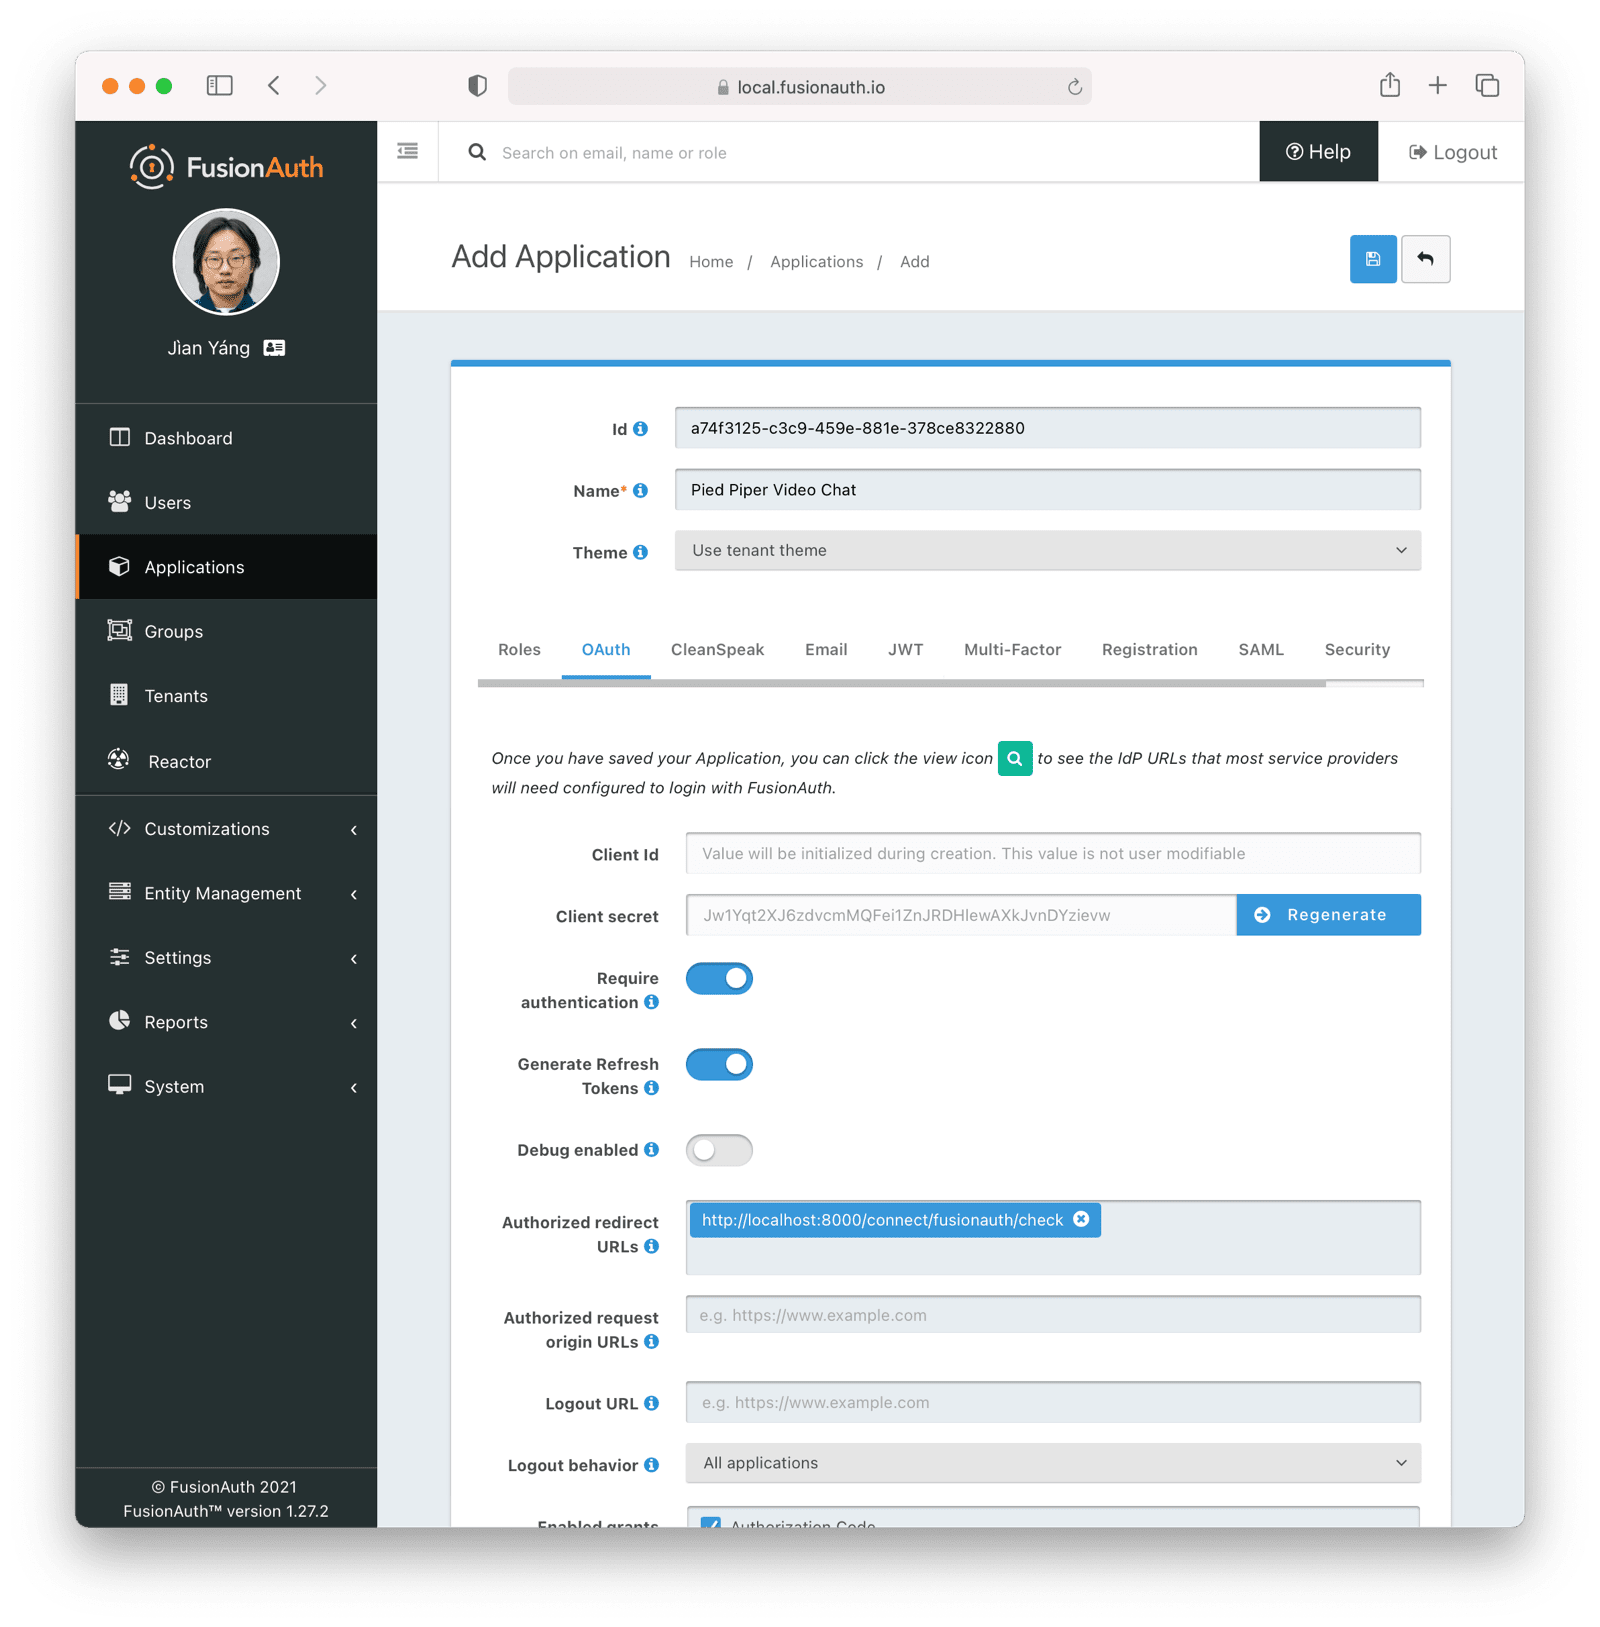
Below, basic self service registration is enabled. Doing this will allow a user to sign up for the control plane application themselves. If you do not enable this, create the users in some other fashion using the [User API](/docs/apis/users).
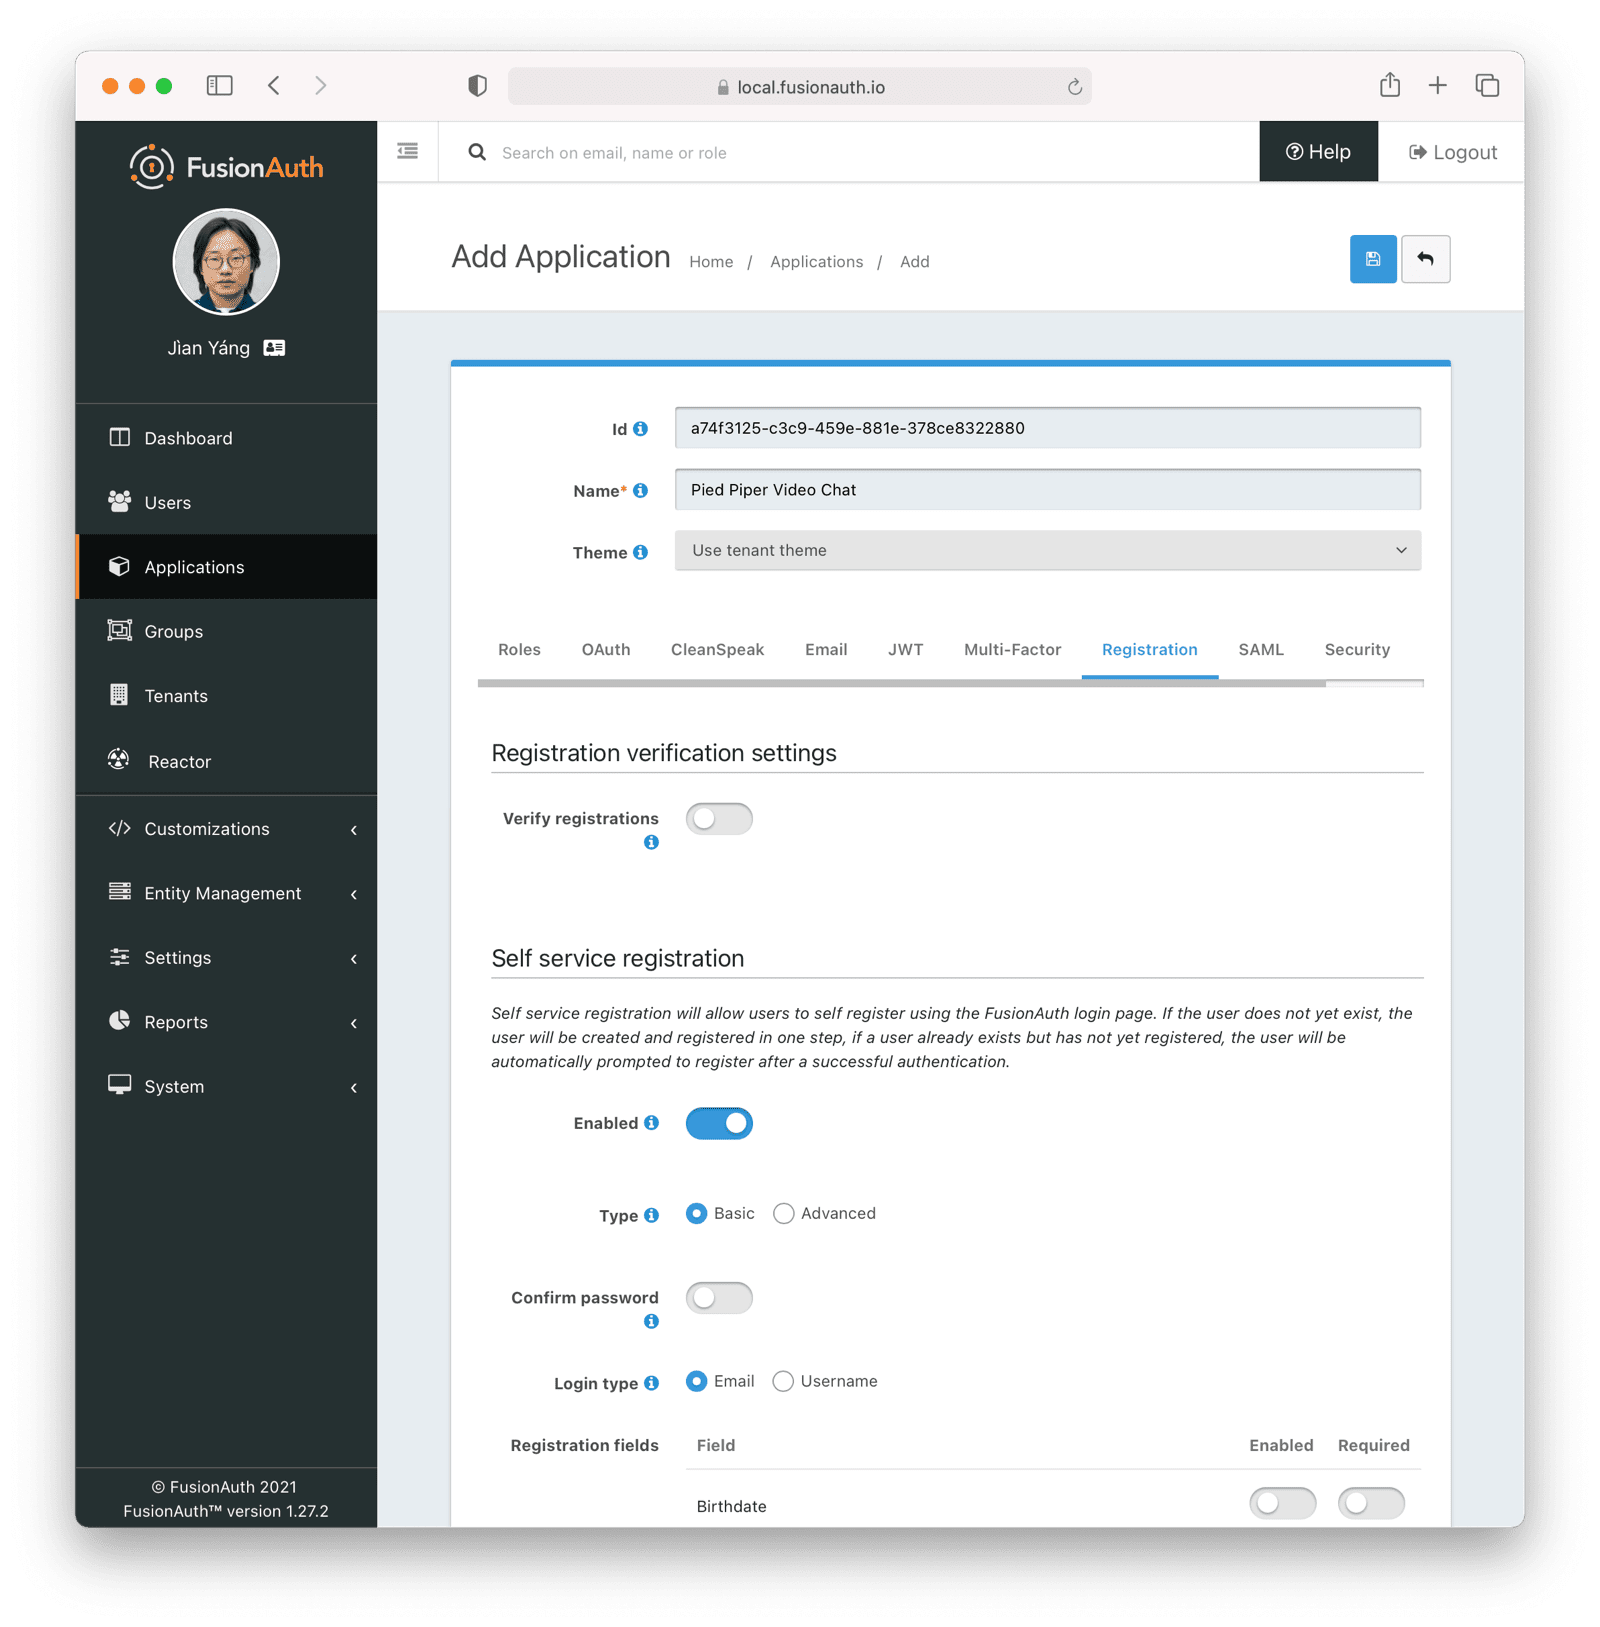
Then, you need to configure your control plane application to use FusionAuth for auth. This is framework dependent, but typically involves an OAuth library.
You also need to create a Key Manager API key. Navigate to <Breadcrumb>Settings -> API Keys</Breadcrumb> and create a global API key. Make sure you enable <InlineField>Key manager</InlineField> as this will be used to mint tenant scoped API keys.
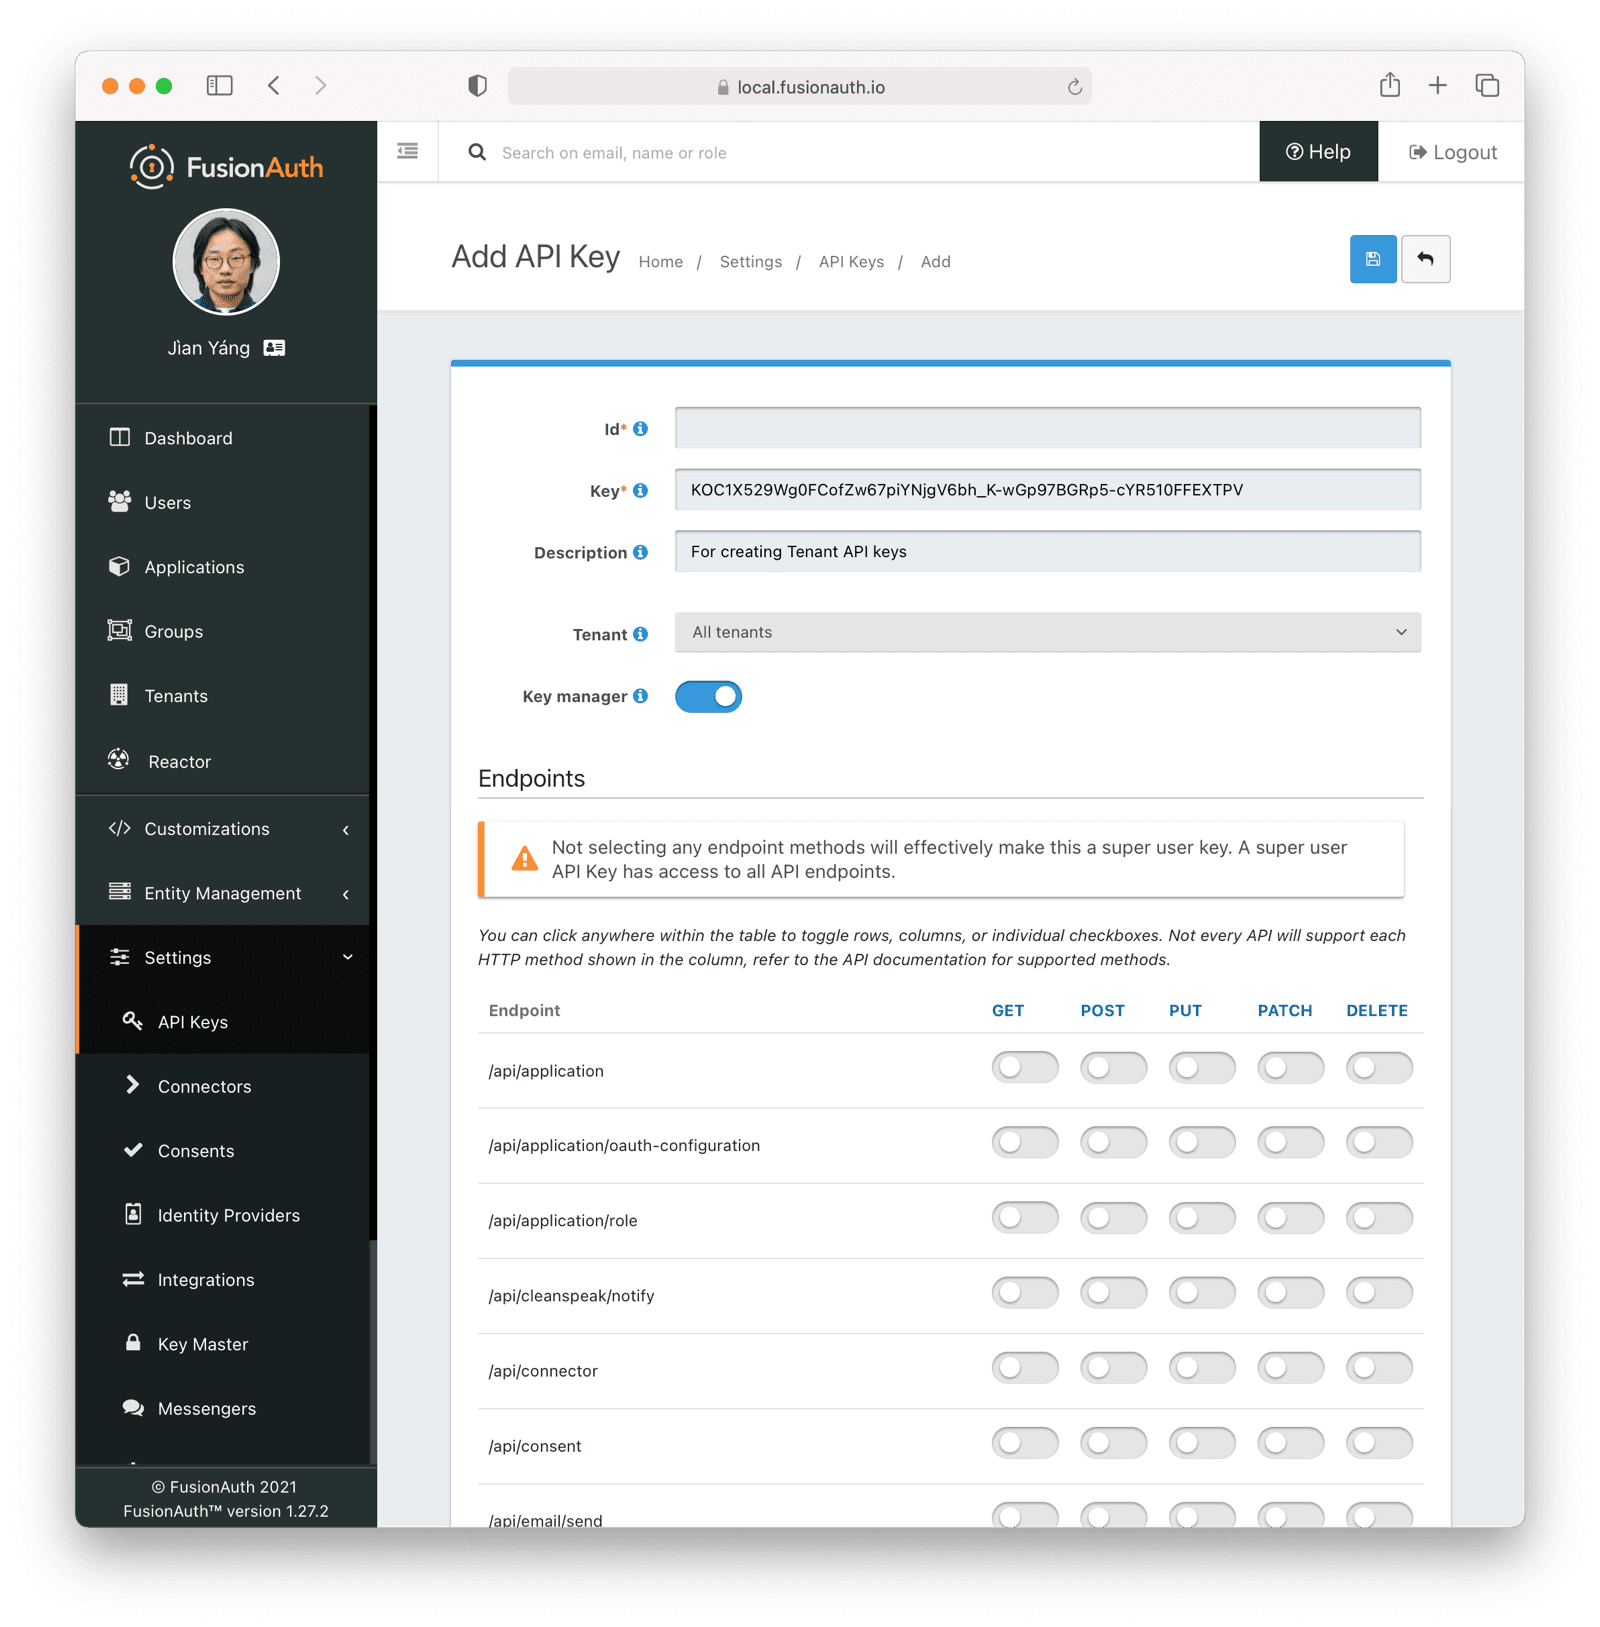
Finally, create a separate tenant to serve as a blueprint tenant. This tenant will provide default settings for all data plane FusionAuth tenants. Configure the email server, password complexity and other settings as you see fit. Of course, you may customize these settings further for each tenant, but having a blueprint tenant to copy makes the initial data plane tenant setup easier.
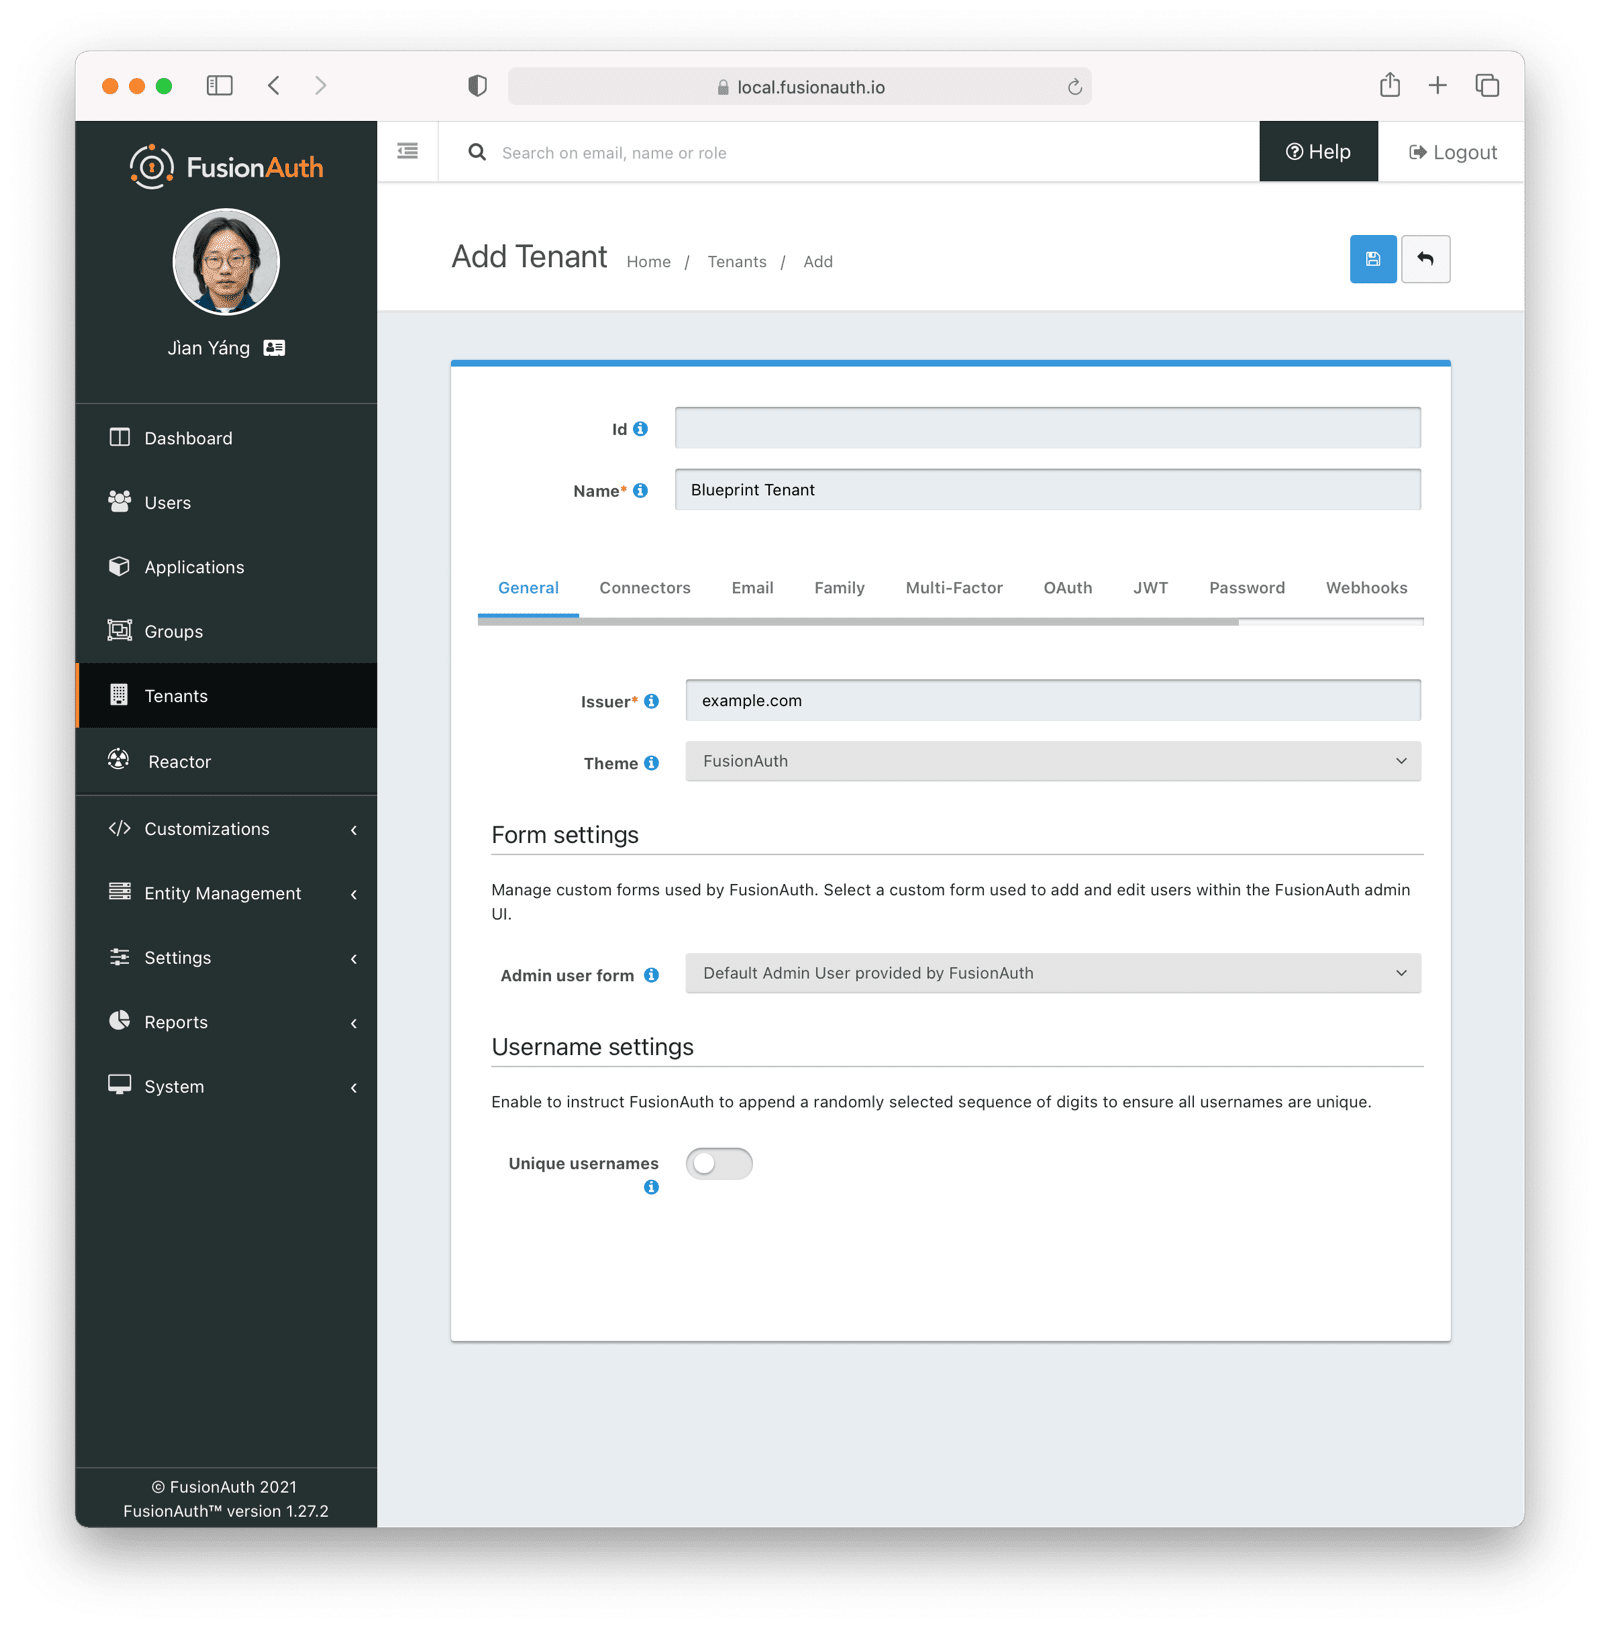
Instead of doing all of these manually, you may also download [a kickstart file](https://github.com/FusionAuth/fusionauth-example-kickstart/blob/main/multi-tenant-control-plane/kickstart.json), customize it, and run it using [Kickstart](/docs/get-started/download-and-install/development/kickstart).
### Defining The Tenant Object
The tenant object exists in your control plane and data plane applications. As outlined in [The Tenant Object](#the-tenant-object), this entity stores all tenant related information, whether FusionAuth related or application specific. Here's a sample `tenant` table definition:
```sql title="Tenant object creation DDL"
CREATE TABLE tenant
(
id INT NOT NULL auto_increment,
user_id INT NOT NULL,
hostname VARCHAR(255) collate utf8mb4_unicode_ci NOT NULL,
background_color_code VARCHAR(6) COLLATE utf8mb4_unicode_ci NOT NULL,
fusion_auth_tenant_id VARCHAR(255) COLLATE utf8mb4_unicode_ci NOT NULL,
api_key VARCHAR(255) COLLATE utf8mb4_unicode_ci NOT NULL,
api_key_id VARCHAR(255) COLLATE utf8mb4_unicode_ci NOT NULL,
client_id VARCHAR(255) COLLATE utf8mb4_unicode_ci NOT NULL,
client_secret VARCHAR(255) COLLATE utf8mb4_unicode_ci NOT NULL,
PRIMARY KEY (id),
UNIQUE KEY uniq_4e59c462a76ed395 (user_id),
UNIQUE KEY uniq_6459cd6da86ed443 (hostname),
CONSTRAINT fk_4e59c462a76ed395 FOREIGN KEY (user_id) REFERENCES user (id)
)
engine=innodb DEFAULT charset=utf8mb4 COLLATE=utf8mb4_unicode_ci
```
This implementation maps each tenant to a single user, since `user_id` is a foreign key into the local `user` table. As mentioned above, you could choose to allow users to create multiple tenants as well.
You'll need to create a user interface to manage this data.
<Aside type="note">
You could use [Advanced Registration Forms](/docs/lifecycle/register-users/advanced-registration-forms), a premium feature, to capture tenant setup information, such as hostname, on user registration. Then you could use a webhook to create the FusionAuth configuration and the tenant object in your web application's database. This is an alternative implementation.
</Aside>
The `hostname` is an important field which will repeatedly be used in the PPVC application. The `hostname` is how the code differentiates between different data plane applications/tenants. `hostname` is forced to be unique. You may either let the user pick the hostname (such as `hooli`) or assign it (`tenant123`). In either case, the `hostname` will typically be prepended to the domain name (in this case, `piedpipervideochat.com`) to create an address that end users of PPVC can visit to chat their hearts out.
You could of course also let the user choose an entirely different host and domain name (`chat.hooli.com`). That is a great premium feature, but requires more setup, so this guide will leave that as an exercise for the reader.
The FusionAuth specific fields in the above table are:
* `fusion_auth_tenant_id`: the UUID representing the tenant.
* `api_key`: a tenant locked API key.
* `api_key_id`: the Id of the tenant locked API key. This allows you to manage the API key.
* `client_id`: the Client Id of the data plane FusionAuth application configuration.
* `client_secret`: the corresponding Client Secret.
Let's discuss how to obtain the FusionAuth configuration values and update the `tenant` data in your web application codebase next.
### Updating the Tenant Object With FusionAuth Configuration
To keep FusionAuth and your application in sync, you need to be able to create and delete required FusionAuth configuration for the data plane applications as they are created and removed.
<Aside type="note">
You can use [any of the client libraries](/docs/sdks/) to create FusionAuth configuration. This document happens to use PHP, but feel free to use whatever language makes the most sense in the context of your development.
You can manipulate FusionAuth with client libraries by creating JSON objects as documented by the [APIs](/docs/apis/) and then calling the corresponding operation.
</Aside>
How you manage FusionAuth configuration depends on your framework and requirements. Options for calling the FusionAuth APIs to manage the new FusionAuth tenant configuration include:
* In the same controller where you create the row in the `tenant` table, call the APIs and wait for them to return.
* Use a queue. Put a message on the queue when a new tenant row is added, then have a listener retrieve the message and create the configuration.
* Use a framework specific method to call the APIs before the tenant is saved or deleted.
For the PPVC application, the last method is used. Before the tenant information is saved to the database, the FusionAuth APIs are called and FusionAuth configuration is done. However, what makes sense depends on how many new tenants you expect to be created and how much configuration you need to do. If, for example, large numbers of PPVC users were being imported for each data plane application creation, asynchronous execution would work better.
The minimal amount of FusionAuth configuration required:
* A FusionAuth tenant object based on the blueprint tenant set up initially.
* A FusionAuth tenant locked API key.
* A FusionAuth application object.
After these are created, the generated configuration values are stored in the data plane application's tenant object for future reference. Let's take a deeper look at each of the required FusionAuth settings.
#### Creating the FusionAuth Tenant
The easiest way to do this is to retrieve the blueprint tenant, extract the default configuration and then create the new tenant. Here's example PHP code:
```php
$fusionauthBase = 'http://login.piedpipervideochat.com/'; // or pull from config
$client = new FusionAuthClient($fusionauthKeyManagerKey, $fusionauthBase);
$result = $client->retrieveTenant($this->blueprintTenantId);
if (!$result->wasSuccessful()) {
$this->logger->error('An error occurred!');
$this->logger->error(var_export($result,TRUE));
throw new FusionAuthException("Can't save: ".var_export($result,TRUE));
}
$blueprint_tenant = $result->successResponse;
// pick off what we know we want to minimize forward compatibility issues.
$tenant_object = array();
$tenant_object["name"] = $tenant->getHostname();
$tenant_object["themeId"] = $blueprint_tenant->tenant->themeId;
$tenant_object["issuer"] = 'https://'.$tenant->getHostname().".ppvc.com";
$tenant_email_configuration = $this->convertObjectToArray($blueprint_tenant->tenant->emailConfiguration);
$tenant_object["emailConfiguration"] = $tenant_email_configuration;
$tenant_jwt_configuration = $this->convertObjectToArray($blueprint_tenant->tenant->jwtConfiguration);
$tenant_object["jwtConfiguration"] = $tenant_jwt_configuration;
$tenant_externalId_configuration = $this->convertObjectToArray($blueprint_tenant->tenant->externalIdentifierConfiguration);
$tenant_object["externalIdentifierConfiguration"] = $tenant_externalId_configuration;
$tenant_request = array();
$tenant_request["tenant"] = $tenant_object;
$result = $client->createTenant('', $tenant_request);
if (!$result->wasSuccessful()) {
$this->logger->error('An error occurred!');
$this->logger->error(var_export($result,TRUE));
throw new FusionAuthException("Can't save: ".var_export($result,TRUE));
}
$new_tenant = $result->successResponse;
return $new_tenant->tenant->id;
```
In this code, you can see that the following configuration is extracted from the blueprint tenant:
* `themeId`
* `emailConfiguration`
* `jwtConfiguration`
* `externalIdentifierConfiguration`
There are only a few different values between the new data plane tenant and the blueprint tenant:
* The name of the tenant, which is set to the hostname.
* The issuer, which is set to the expected host.
An alternative implementation would be to copy the blueprint tenant and then patch the differences.
Either way, you could tweak any other FusionAuth tenant settings as needed. For example, if your tenants had different password complexity rules, setting them when the FusionAuth tenant object is created would ensure they were consistently applied.
Don't forget to store the FusionAuth tenant Id in your database in the `tenant` table.
Next, let's create an API key.
#### The Tenant Locked API Key
You should set up a tenant locked API key for two reasons:
* You can use the new key for further configuration of this tenant. This follows the principle of least privilege and ensures you won't accidentally affect any other tenants.
* You can display it to your clients. They can then write scripts against FusionAuth for their own purposes, such as managing users. This is a low-cost value add that will increase the stickiness of the PPVC application.
Here's code to create the tenant scoped API key:
```php
$apikey_object = array();
$apikey_object["metaData"]["attributes"]["description"] = "API key for ".$hostname;
$apikey_object["tenantId"] = $fusionauth_tenant_id;
$apikey_request = array();
$apikey_request["apiKey"] = $apikey_object;
$result = $client->createAPIKey('', $apikey_request);
if (!$result->wasSuccessful()) {
$this->logger->error('An error occurred!');
$this->logger->error(var_export($result,TRUE));
throw new FusionAuthException("Can't save: ".var_export($result,TRUE));
}
$apikey = $result->successResponse;
return [$apikey->apiKey->id, $apikey->apiKey->key];
```
Store this key in your web application's database in the `tenant` table. Both the key and the key Id must be stored. The key can be used to make other API calls. The API key Id can be used to modify the key later.
The next action after creating the tenant scoped API key is create a new FusionAuth client that uses this less powerful key:
```php
$fusionauthTenantLockedApiKey = '...'; // returned from the previous code block
$fusionauthBase = 'http://login.piedpipervideochat.com/'; // or pull from config
$client = null;
$client = new FusionAuthClient($fusionauthTenantLockedApiKey, $fusionauthBase);
```
Then, create the FusionAuth application configuration.
#### Creating a FusionAuth Application
At this point, you are creating the FusionAuth application configuration. A FusionAuth application configuration is required for anything a user can log in to. Users like Patrice or Jason Winter might be logging into the Hooli instance of the PPVC application. The hostname (`hooli`) is required for proper FusionAuth application object configuration, as there are a number of URLs which must be configured.
```php
$saasRootDomain = '.piedpipervideochat.com'; // or pull from config
$ppvc_app_base = "https://".$hostname.$saasRootDomain;
$application_object = array();
$application_object["name"] = "Default application for ".$hostname;
$application_oauthconfiguration = array();
$application_oauthconfiguration["authorizedRedirectURLs"] = [$ppvc_app_base."/login/callback"];
$application_oauthconfiguration["enabledGrants"] = ["authorization_code"];
$application_oauthconfiguration["logoutURL"] = $ppvc_app_base;
$application_object["oauthConfiguration"] = $application_oauthconfiguration;
$application_registrationconfiguration = array();
$application_registrationconfiguration["enabled"] = true;
$application_object["registrationConfiguration"] = $application_registrationconfiguration;
$application_request = array();
$application_request["application"] = $application_object;
$result = $client->createApplication('', $application_request);
if (!$result->wasSuccessful()) {
$this->logger->error('An error occurred!');
$this->logger->error(var_export($result,TRUE));
throw new FusionAuthException("Can't save: ".var_export($result,TRUE));
}
$application = $result->successResponse;
return [$application->application->id, $application->application->oauthConfiguration->clientSecret];
```
There is a base URL constructed, something like `https://hooli.piedpipervideochat.com`. This is the base for any URLs or other data plane application specific configuration.
Users will be logging into the corresponding data plane application using the OAuth Authorization Code grant, so the `oauthConfiguration` field needs to be set up. In that section, the code:
* Enables the authorization code grant by configuring the `enabledGrants` field.
* Sets the value of `logoutURL`. This is where FusionAuth will send the user after they have logged out.
* Adds needed values to `authorizedRedirectURLs`. This callback code will be discussed later.
Once this data plane application is live, the Hooli users need to be created. You have some options:
* Allow users to sign in with a social provider.
* Create users via the FusionAuth API and an automated process.
* Allow users to sign in with an enterprise SSO provider such as an OAuth or SAML compatible identity provider.
* Let users sign up for an account.
In this code, basic self service registration is enabled:
```php
{/* ... */}
$application_registrationconfiguration = array();
$application_registrationconfiguration["enabled"] = true;
$application_object["registrationConfiguration"] = $application_registrationconfiguration;
{/* ... */}
```
If needed, any of the above options could be configured. For instance, to allow users to sign in with Google, you would create an identity provider and assign the identity provider to the FusionAuth application configuration for a new data plane application during the [Initial FusionAuth Configuration](#initial-fusionauth-configuration) step.
After the FusionAuth configuration is set up, store the FusionAuth application's Id and Client Secret. These values will be needed later.
#### Other FusionAuth Configuration
The above sections outlined all required configuration to allow a user to sign up or log in to one of the PPVC data plane applications. However, there might be other FusionAuth configuration you'll want to set up. You might want to:
* Add a user or set of users.
* Create FusionAuth registrations for them, so they'll be able to log in.
* Set up roles.
* Set up groups.
* Assign users to groups and roles.
* Create FusionAuth API keys with limited permissions, such as a read-only user query key.
Now that FusionAuth tenant objects and application objects are automatically created every time a user registers in the control plane application, the next step is to look at routing user requests to the correct data plane application/tenant.
### Routing Requests to the Correct Tenant
As mentioned in [Data Plane Application Tenant Determination](#data-plane-application-tenant-determination), you must map requests to a specific data plane application. Typically the hostname is used to determine the tenant: `hooli.piedpipervideochat.com` points to the Hooli data plane application.
#### Configure DNS and Your Web Server to Handle Wildcard Domains
You need to configure your DNS and web application server to send all requests ending in `.piedpipervideochat.com` to your running web application codebase. How to do so varies depending on your DNS provider and web application server.
Consult your DNS provider documentation on how to point a wildcard DNS entry to a given host. If you are developing locally, you can add multiple hostnames to your `/etc/hosts` file.
```
127.0.0.1 localhost app.piedpipervideochat.com raviga.piedpipervideochat.com hooli.piedpipervideochat.com
```
Consult your web server documentation to determine how to accept multiple hostname requests. Below is an example Apache configuration file to send traffic for multiple `piedpipervideochat.com` addresses to a proxied local web application running on port 8000.
```
<VirtualHost *:443>
ServerName app.piedpipervideochat.com
ServerAlias *.piedpipervideochat.com
ProxyPreserveHost on
ProxyPass / http://localhost:8000/ retry=1
ProxyPassReverse / http://localhost:8000/ retry=1
</VirtualHost>
```
Make sure you are passing the `Host` header through to the web application code, since that is what the web application will use to look up the tenant object.
#### Look Up the OAuth Configuration Based On the Hostname
Once the request is received by your web application, look up the Client Id and Secret in the `tenant` table in your database based on the incoming request's hostname.
When a request comes in to `https://hooli.piedpipervideochat.com/login`, map from the hostname (`hooli`) to the appropriate Client Id. Here is some sample code:
```php
$client_id = '';
$client_secret = '';
if ($this->isControlPlaneHost($host)) {
$client_id = $this->controlPlaneClientId;
$client_secret = $this->controlPlaneClientSecret;
} else {
$hostname = $this->hostname($host); // converts from hooli.piedpipervideochat.com to hooli
$repository = $this->entityManager->getRepository(Tenant::class);
$tenant = $repository->findOneBy(array('hostname'=>$hostname));
if ($tenant) {
$client_id = $tenant->getApplicationId();
$client_secret = $tenant->getClientSecret();
} else {
// throw an error, this is not a valid hostname. Doing so will allow an attacker to enumerate your supported hostnames, however.
}
}
return [$client_id, $client_secret];
```
The code checks to see if the host matches the control plane application. Remember, in the PPVC multi-tenant application, the web application code responds to all requests for any users, both those logging into the control plane application to create video chat tenants and the users of the video chat application logging into a data plane application.
The OAuth configuration for the control plane application is static and was created in the [Initial FusionAuth Configuration](#initial-fusionauth-configuration) section. In contrast, for the data plane applications, the configuration is dynamic, is stored in the database, and was created in [Creating a FusionAuth Application](#creating-a-fusionauth-application). The tenant object is retrieved by the hostname and the Client Id and Client Secret are returned.
Each FusionAuth application object lives in one and only one FusionAuth tenant object, so providing the Client Id, which identifies the FusionAuth application configuration, ensures FusionAuth determines the correct FusionAuth tenant object. The Client Id is used to create the login, logout and registration links displayed in the PPVC application. These links can be used in navigation or any other location where the user might want to log in, register, or log out. Let's look at building those links next.
#### Create the Links
<Aside type="note">
The sample PPVC application leverages an open source library for managing and creating OAuth URLs. This library handles setting the `state` parameter and other niceties. If your web application framework or language has such a library, using it is highly recommended.
</Aside>
The simplified login link generation, without using a library, uses FusionAuth's well documented OAuth endpoints as well as the retrieved `client_id`:
```php
$redirectURI = '...'; // discussed below.
$fusionauthBase = 'http://login.piedpipervideochat.com/'; // or pull from config
return $fusionauthBase . '/oauth2/authorize?client_id='.$client_id.'&redirect_uri='.$redirectURI.'&response_type=code'
```
The registration URL is the same format, but uses the path `/oauth2/register` instead of `/oauth2/authorize`.
```php
$redirectURI = '...'; // discussed below.
$fusionauthBase = 'http://login.piedpipervideochat.com/'; // or pull from config
return $fusionauthBase . '/oauth2/register?client_id='.$client_id.'&redirect_uri='.$redirectURI.'&response_type=code'
```
Next up is logging out. In this case, you need to log the user out of FusionAuth and your control plane or data plane application. Because the `logoutURL` setting was configured in the FusionAuth application configuration, when the logout URL is visited, FusionAuth will first log the user out of FusionAuth and then redirect the user to that location. The code at that location should ensure it logs the user out of the control or data plane application (killing the session or otherwise doing so).
```php
$fusionauthBase = 'http://login.piedpipervideochat.com/'; // or pull from config
$fusionauthBase.'/oauth2/logout?client_id='.$clientId;
```
This logout URL works with browsers. If you are using APIs for a mobile application, revoke the refresh token instead of using the `/oauth2/logout` endpoint.
### Handling OAuth Callbacks
The final auth specific functionality for supporting multiple tenants is handling the OAuth callback. You may recall that in the [Creating a FusionAuth Application](#creating-a-fusionauth-application) section, you configured a FusionAuth application object with a given `authorizedRedirectURLs` value. It was something like: `https://hooli.piedpipervideochat.com/login/callback`. And in the most recent section, you saw code that looked like `$redirectURI = '...';`. These are the same values.
You must create a part of your web application codebase to respond to OAuth redirect requests. The code must do the following:
* Determine the tenant from the hostname to retrieve the correct Client Id and Client Secret.
* Exchange the authorization code for a token.
* Log the user into your web application.
Let's look at each of these steps.
#### Determine the Tenant's OAuth Configuration
Mapping from the hostname like `hooli` to a certain Client Id and Secret should sound familiar. It is exactly the same logic as what was done in the [Look Up the OAuth Configuration Based On the Hostname](#look-up-the-oauth-configuration-based-on-the-hostname) section.
#### Exchange the Authorization Code
To perform this exchange, it's best to use an OAuth library for your language or framework. You may also use the FusionAuth client library:
```php
$fusionauthBase = 'http://login.pipedpipervideochat.com/'; // or pull from config
$noApiKeyNeeded = '';
$client = new FusionAuthClient($noApiKeyNeeded, $fusionauthBase);
$result = $client->exchangeOAuthCodeForAccessToken($code, $client_id, $client_secret, $redirect_uri)
if (!$result->wasSuccessful()) {
$this->logger->error('An error occurred!');
$this->logger->error(var_export($result,TRUE));
throw new FusionAuthException("Can't save: ".var_export($result,TRUE));
}
$oauthResult = $result->successResponse;
$token = $oauthResult->access_token;
```
### Logging the User In
At this point you have an access token and a user who has successfully authenticated. You can examine the token to determine if the user is authorized for the FusionAuth application object. You can also examine the roles assigned to this user and expose or prohibit functionality based on them.
At this point, your next step depends on the framework or programming language you are using. Create a login session in your web application. This is specific to your implementation, so is left as an exercise for the reader.
You may also create or update a local user record in your database. If there are other parts of the web application functionality which will be associated with a user, this is a common task, and many frameworks expect a local user record.
After you have set up a session in your web application, redirect to the chat page for the data plane application. The control plane application should send the user to a profile page. Distinguish between these by checking the hostname.
## API Calls
If you are not using a tenant scoped API key, provide a tenant Id when you call the FusionAuth API. There are cases where the FusionAuth tenant object can be inferred from another identifier, such as when you provide an FusionAuth application Id. But there are other times where it cannot, such as when you are creating a user. It's better to be consistent and present the FusionAuth tenant Id every time.
Throughout the API documentation, you'll see sections referencing `X-FusionAuth-TenantId` which will specify when the header should be used.
## Additional Considerations
After you've set up multiple tenants, there's still more work to do. After all, you need to build features, such as a real video chat application.
But you have a solid foundation. Your users will be able to create their own data plane applications. And your user's users will be able to log in using FusionAuth.
There are a few other specific things worth considering, however.
### Control Plane Codebase Vs Data Plane Codebase
The control plane and data plane applications are conceptually different, but do not need to be physically distinct. You could, in other words, implement them within the same web application, as this guide did.
Doing so makes sense initially. There will be database overlap between them and it may be easier to operate a single web application than to create two distinct web or mobile applications. Both the control plane and data plane applications will be using `tenant` data. The control plane application will write the data and the data plane application will read it. You'll need to either share a database or have some other way of syncing up that data if you create separate web applications for the control and data plane applications.
If you use the same web application for both the control and data planes, limit access to functionality based on whether the host indicates the control plane or a data plane application is executing.
As you grow, you may want to split these apart. They will probably have different SLAs, and they'll have different features and release cycles. For an initial implementation, however, it will be simpler to build them as a single deployment artifact.
### Framework Specific User Objects
As mentioned above, oftentimes a web framework will require a local user record. This will be used for permissions checks within the framework or for relations with other objects.
They may even require a unique email address. However, FusionAuth tenants are a separate userspace. In other words, one can sign up for `hooli.piedpipervideochat.com` and `raviga.piedpipervideochat.com` with the same `richard@fusionauth.io` email address.
To handle this discrepancy, you can:
* Use a compound value of email address and tenant Id for the email address.
* Prepend the FusionAuth user id to the email address. This is guaranteed to be unique, since it is a UUID.
* Pick any other unique string.
In all of these cases, you are searching FusionAuth if you need the actual user's email address.
In addition, add a field in the local user object referencing the FusionAuth user Id. For FusionAuth, you should also add a `data.applicationUserId` field, to store the identifier for the local user object. This will let you map back and forth between the local user representation and the one stored in FusionAuth, as needed.
### User Hostname Choice
If you allow users to pick their hostnames, ensure that you have a process for handling collisions.
You also should have a manual process for dealing with squatting. For example, someone may sign up with the hostname `piedpiper`, but you probably don't want `piedpiper.piedpipervideochat.com` to be in the hands of anyone except the company who created PPVC.
## Multi-Tenant Concepts
There are five general categories of modifiable objects in FusionAuth:
* FusionAuth Tenant scoped objects
* FusionAuth Tenant attached objects
* FusionAuth Application scoped objects
* FusionAuth Application attached objects
* Global objects
A "scoped" object is contained within the enclosing object. If the latter is deleted, the former will be as well. For instance, both users and groups are scoped to a tenant, and when the enclosing tenant is deleted, the users and groups for that tenant are too. Scoped objects cannot be shared. If the PPVC application has groups for different user privileges, each tenant needs to have its own. For example, an "Admin Group" or "Moderator Group" would have to be created in each tenant.
An "attached" object, on the other hand, is linked to a different object, but if the latter is deleted, the former still exists. For instance, a signing key, created by using <Breadcrumb>Key Master</Breadcrumb>, can be associated with a tenant. When that tenant is deleted, the association is removed, but the signing key remains.
Attached objects can be shared between peer objects. For example, PPVC can use the same signing key for the `hooli.piedpipervideochat.com` and `raviga.piedpipervideochat.com` tenants.
Here are examples of configuration in each of these categories.
### Tenant Scoped
Here is a partial list of FusionAuth tenant scoped objects:
* Users
* Groups
* API Keys (optionally)
* Applications
* Entities
#### Cross Tenant User Access
<CrossTenantUserAccess />
### Tenant Attached
Here is a partial list of FusionAuth tenant attached objects:
* Email templates (some of them)
* Forms (some of them)
* Themes
* Connectors
* Consents
* User actions
* Webhooks
### Application Scoped
Here is a partial list of FusionAuth application scoped objects:
* Registrations
* Roles
### Application Attached
Here is a partial list of FusionAuth application attached objects:
* Identity providers
* Email templates (some of them)
* Forms (some of them)
* Lambdas
### Global Objects
There are a few objects which are globally available. APIs to manage these objects are usually available under the `system` path in the API namespace.
* API Keys (optionally)
* Login reports
* Logs
* CORS settings
If you need separate global configuration, run multiple FusionAuth instances. If you need to sync configuration between them, script your changes using the API, terraform provider, or client libraries.
## Example Applications
You can download, review and run a [fully functional multi-tenant application](https://github.com/FusionAuth/fusionauth-example-symfony-multitenant) modeled on the PPVC application discussed in this guide. It is written in PHP and the Symfony framework. Actual video chat functionality is not included.
If you want a simpler multi-tenant application, here's [one written in node](https://github.com/FusionAuth/fusionauth-example-node-multi-tenant).
## Limits
<MultiTenantLimitations />
# Connecting FusionAuth To Twilio Segment
import Aside from 'src/components/Aside.astro';
import IconButton from 'src/components/IconButton.astro';
import Breadcrumb from 'src/components/Breadcrumb.astro';
import InlineField from 'src/components/InlineField.astro';
import InlineUIElement from 'src/components/InlineUIElement.astro';
## Introduction
[Twilio Segment](https://segment.com) is an online service that consolidates information about your users from multiple sources. For instance, you might collect purchasing information from your website, interaction patterns from your mobile app, customer feedback through your support channels, and engagement data from email marketing.
This guide shows you how to send FusionAuth data to Segment. Specifically, when a user is created or updated in FusionAuth, they are added to Segment with all their metadata. When the user logs in to FusionAuth, the event is saved in Segment.
## Understand The System Design
Running FusionAuth and PostgreSQL in Docker usually looks like the diagram below (you might also run OpenSearch in another Docker container).
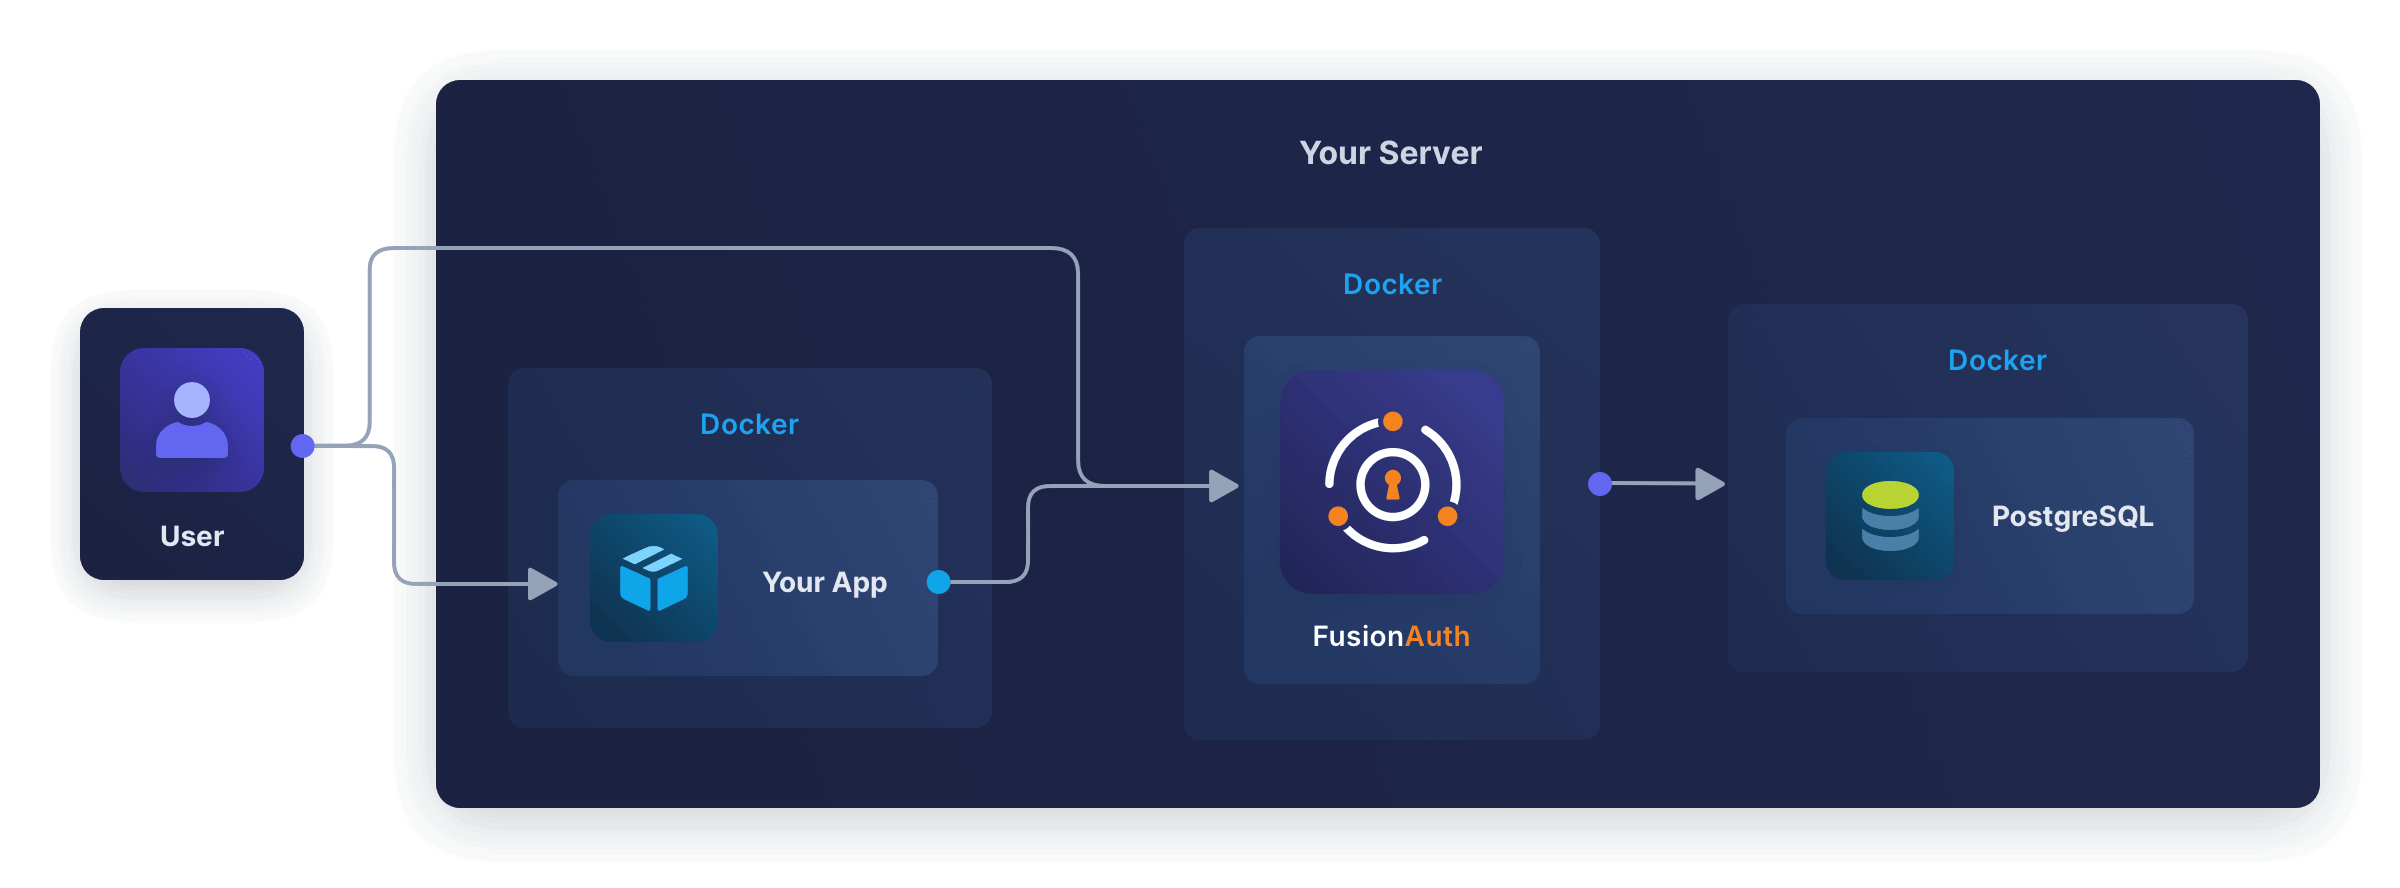
In this guide, you will use [webhooks](/docs/extend/events-and-webhooks) to send data from FusionAuth to Segment. Unfortunately, FusionAuth does not allow you to set which events trigger which webhooks. Instead, any event will trigger **all** webhooks. So you have to write an adapter web service that receives the webhook call from FusionAuth, checks what event caused the call, and forwards the appropriate information to Segment.
While Segment stores all the events you send, you can't query Segment's store to extract information. Instead, Segment is intended as a communications hub that receives data from multiple **sources**, filters, adjusts, and merges the data, and sends it to multiple **destinations**. The easiest destination to configure is a PostgreSQL database.
This design looks like the diagram below.
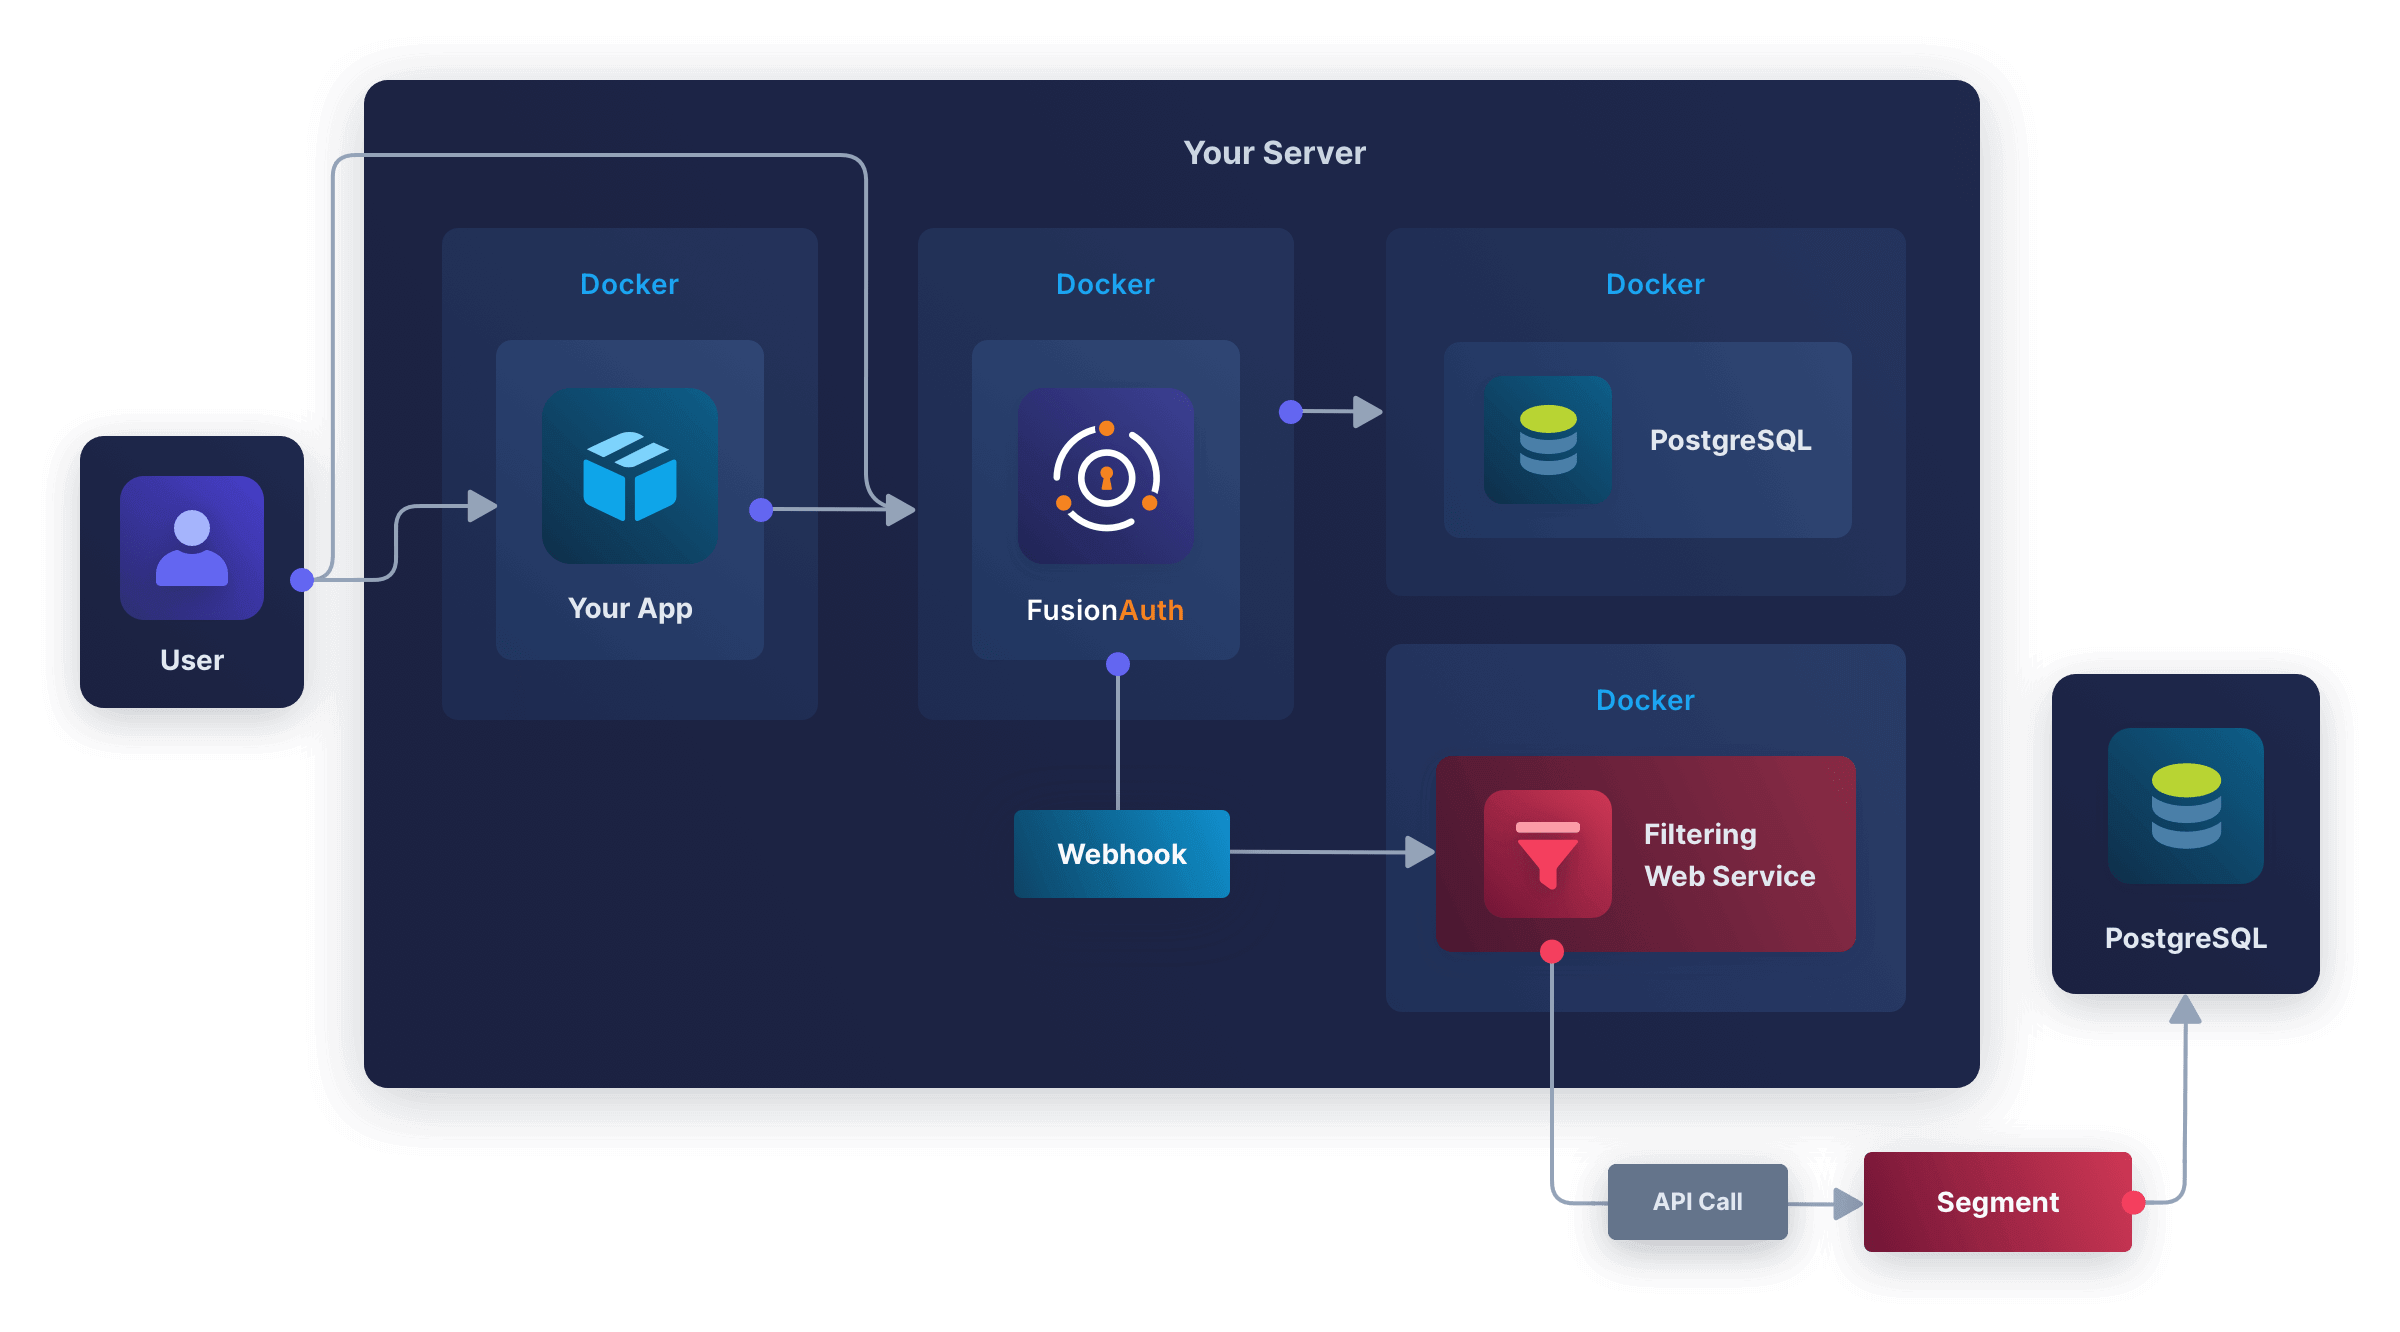
If you already use Segment, you will have your own data warehouse configured, and that's fine. Once you've finished following this guide, using a fresh warehouse for testing, you can add your production warehouse as a destination for the new FusionAuth source.
You're going to follow the steps below in the next sections:
- Create a free cloud-hosted PostgreSQL database.
- Create a free Segment account and connect the database as a destination and FusionAuth as a source.
- Create a filtering web service to receive FusionAuth webhooks and forward some event types to Segment.
- Run FusionAuth, create a new user, and log in with that user to test the whole system.
## Create A PostgreSQL Database In Aiven
In this section, you'll create a free fresh database to act as a Segment destination. If you already have a server with a public IP address and PostgreSQL installed, you can use that instead.
- Browse to https://aiven.io and click <InlineUIElement>Get started for free</InlineUIElement>.
- Sign up for a new account and create a new database. Follow the wizard to the end and wait for the new database instance to start.
- The screenshot below shows a project called `fa` and a database called `defaultdb`.
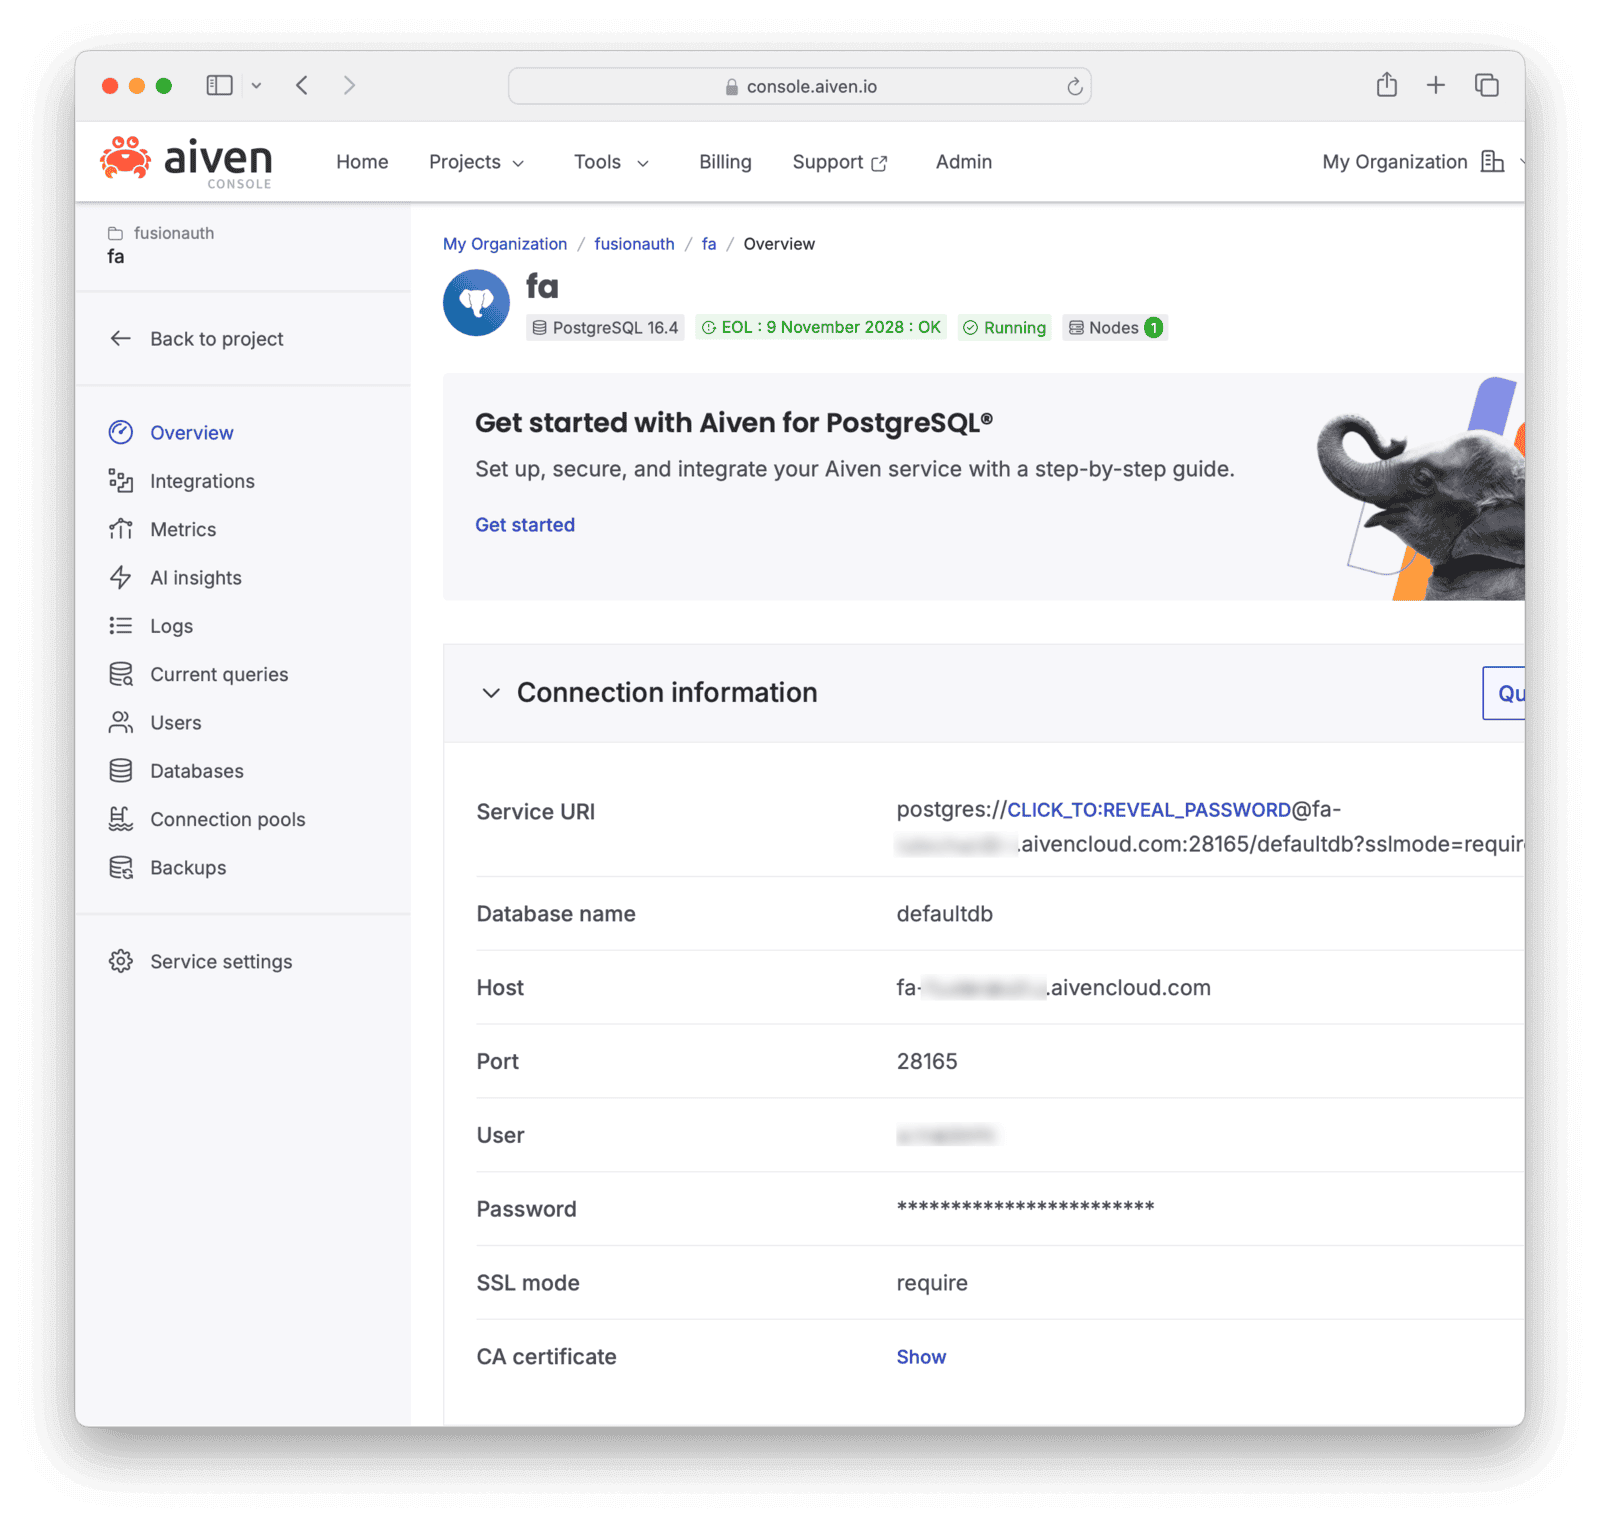
- The Aiven overview page shown above lists all the details you need to create a PostgreSQL connection: host, port, database, username, and password. You can test your connection in a cross-platform database IDE like [DBeaver](https://dbeaver.io/download) or [Azure Data Studio](https://learn.microsoft.com/en-us/azure-data-studio/download-azure-data-studio?tabs=win-install%2Cwin-user-install%2Credhat-install%2Cwindows-uninstall%2Credhat-uninstall#download-azure-data-studio) (ADS). If you use ADS, install the PostgreSQL extension in the sidebar before trying to create a database connection. The details shown in the new connection window below match the ones in the Aiven list above, and will be similar for your database.
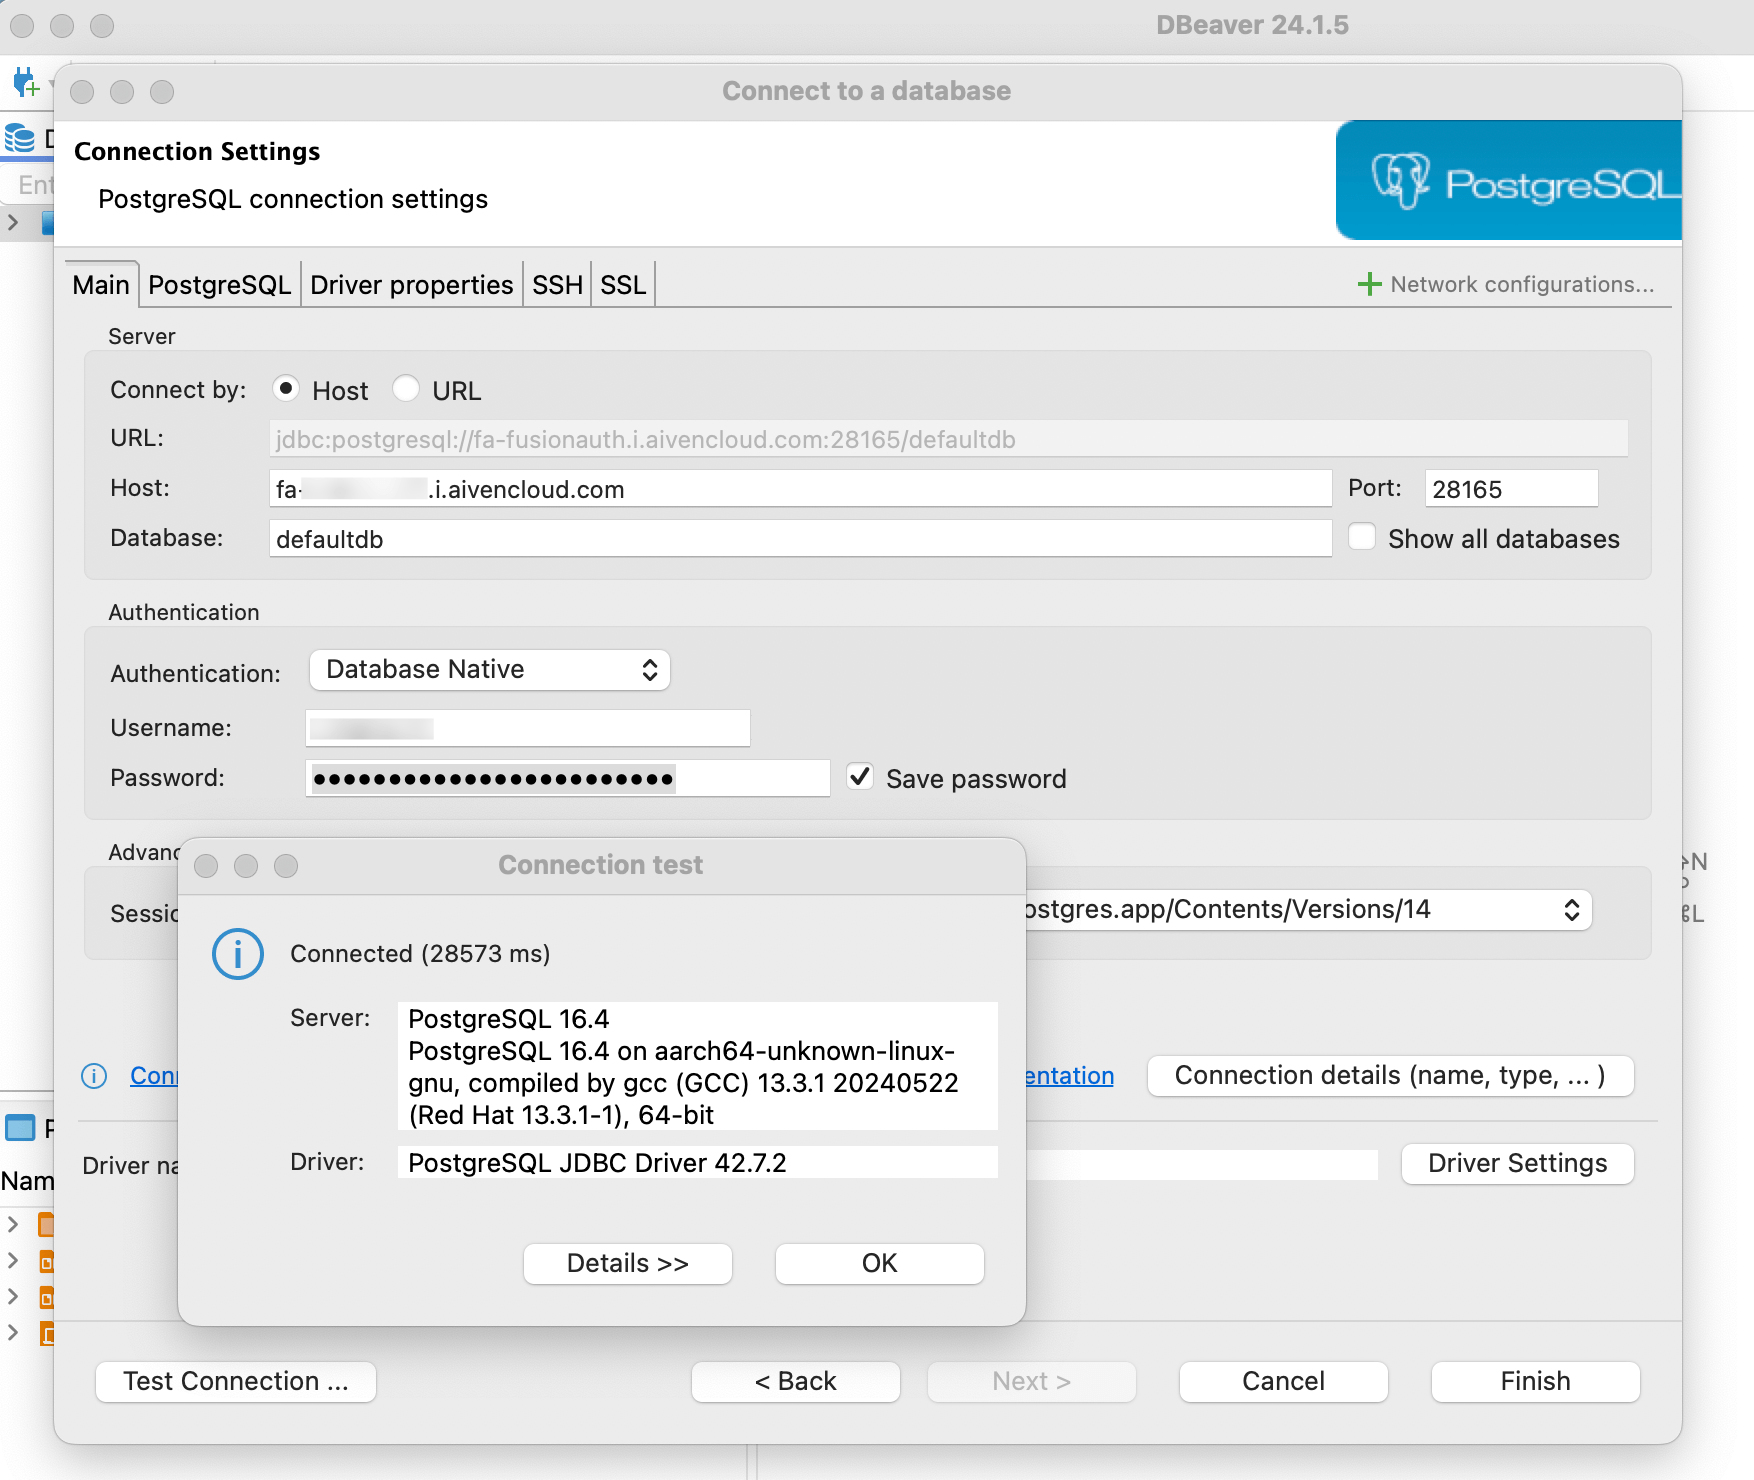
This is all you need for a Segment destination.
Other options are available, but they may be a bit more difficult to use:
- Neon.tech created a database that had connection errors from Segment ("Endpoint ID does not exist").
- Render.com needs credit card details.
- Google Sheets can be used as a destination, but requires manually-created multiple mappings between source event types and the flat format requirement for a spreadsheet. It's more tedious than using an automated relational database.
## Create A Segment Account
If you don't have a Segment account, register for one:
- Register for a new workspace at https://segment.com/signup.
- Browse to https://app.segment.com.
Add FusionAuth as a source:
- Click <Breadcrumb>Connections -> Sources</Breadcrumb> in the sidebar.
- Click <InlineUIElement>Add source</InlineUIElement>.
- Choose <InlineUIElement>HTTP API</InlineUIElement> and click <InlineUIElement>Add Source</InlineUIElement>. (The Segment API is documented [here](https://segment.com/docs/connections/sources/catalog/libraries/server/http-api)).
- Give the source the <InlineField>Name</InlineField> `fa`.
- Click <InlineUIElement>Add Source</InlineUIElement>.
- Note your <InlineField>Write Key</InlineField>. Keep it secret and do not commit it to GitHub.
Add PostgreSQL as a destination:
- Click <Breadcrumb>Connections -> Destinations</Breadcrumb> in the sidebar.
- Click <InlineUIElement>Add destination</InlineUIElement>.
- Choose <InlineUIElement>Postgres</InlineUIElement>.
- Add your connection details from Aiven and test the connection.
- Save and continue.
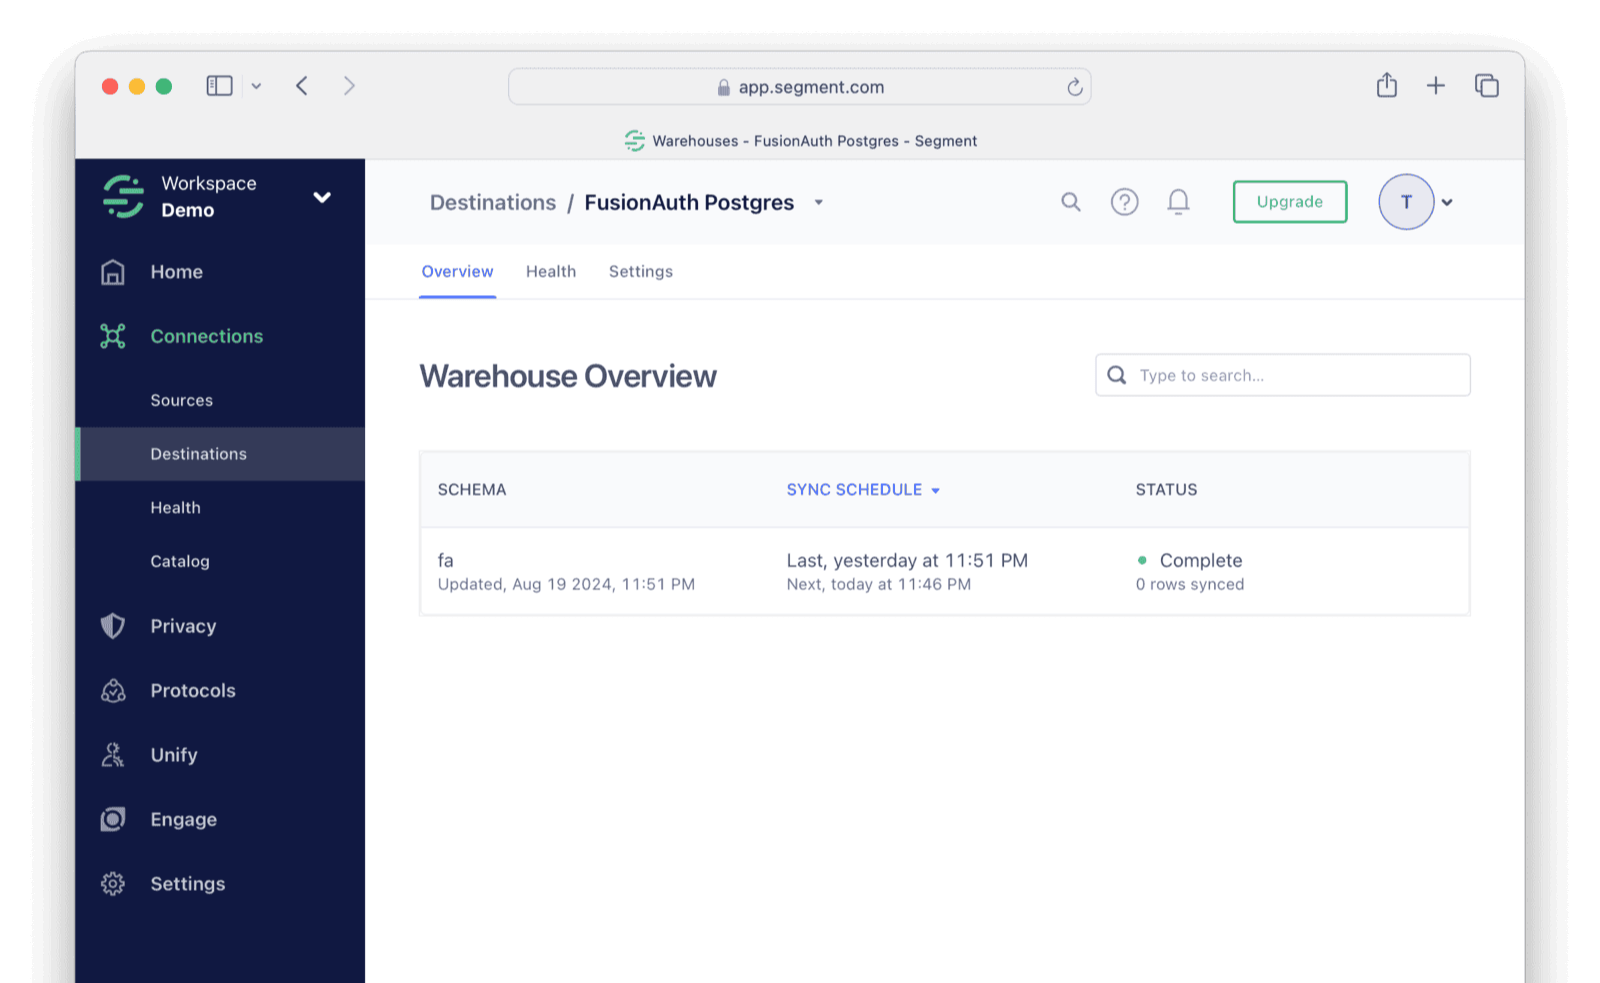
## Create A Filtering Web Service
Follow the steps below to write a web service that receives the webhook calls from FusionAuth, filters them by event, and forwards relevant events to Segment.
- Create a file called `app.mjs`. You will use Node.js for the adapter web service in this guide, but the code is simple enough to easily code it in your favorite language.
- Add the content below to `app.mjs`. Set your `_writeKey` from Segment.
```js
import express from 'express';
import axios from 'axios';
const _writeKey = '8iVzf647lDo07';
const _apiUrl = 'https://api.segment.io';
const app = express();
app.use(express.json());
app.post('/', (req, res) => {
try {
console.log(`Received event of type: ${req.body.event.type}`);
if (req.body.event.type == 'user.create.complete') callSegmentIdentify(req.body);
if (req.body.event.type == 'user.email.update') callSegmentIdentify(req.body);
if (req.body.event.type == 'user.login.success') callSegmentTrack(req.body);
if (req.body.event.type == 'user.update.complete') callSegmentIdentify(req.body);
res.send('Event processed');
}
catch (error) {
console.log('Invalid request data');
console.dir(error);
res.status(500).send('Internal server error');
}
});
app.listen(80, '0.0.0.0', () => {console.log('Server running on port 80');});
function convertToDate(timestamp) {
if (!timestamp) return '';
return new Date(timestamp).toISOString();
}
async function callSegmentIdentify(body) {
const data = {
'writeKey': _writeKey,
'event': body.event.type,
'userId': body.event.user.id,
"timestamp": convertToDate(body.event.createInstant),
"context": {
'ip': body.event.ipAddress,
'deviceName': body.event.info.deviceName,
'deviceType': body.event.info.deviceType,
'userAgent': body.event.info.userAgent,
},
"traits": {
'data': body.event.data,
"email": body.event.user.email,
"firstName": body.event.user.firstName,
"lastName": body.event.user.lastName,
'active': body.event.user.active,
'birthDate': body.event.user.birthDate,
'connectorId': body.event.user.connectorId,
'insertInstant': body.event.user.insertInstant,
'lastLoginInstant': body.event.user.lastLoginInstant,
'lastUpdateInstant': body.event.user.lastUpdateInstant,
'memberships': body.event.memberships,
'passwordChangeRequired': body.event.user.passwordChangeRequired,
'passwordLastUpdateInstant': body.event.user.passwordLastUpdateInstant,
'preferredLanguages': body.event.preferredLanguages,
'registrations': body.event.registrations,
'tenantId': body.event.user.tenantId,
'twoFactor': body.event.twoFactor,
'usernameStatus': body.event.user.usernameStatus,
'verified': body.event.user.verified,
'verifiedInstant': body.event.user.verifiedInstant
},
};
await axios.post(`${_apiUrl}/v1/identify`, data, { headers: { 'Content-Type': 'application/json' } })
.catch(error => console.dir(error));
}
async function callSegmentTrack(body) {
const data = {
'writeKey': _writeKey,
'event': body.event.type,
'userId': body.event.user.id,
"timestamp": convertToDate(body.createInstant),
"properties": { /* none yet */ },
"context": {
'ip': body.event.ipAddress,
'deviceName': body.event.info.deviceName,
'deviceType': body.event.info.deviceType,
'userAgent': body.event.info.userAgent,
'applicationId' : body.event.applicationId,
},
};
await axios.post(`${_apiUrl}/v1/track`, data, { headers: { 'Content-Type': 'application/json' } })
.catch(error => console.dir(error));
}
```
- The Segment API endpoint URL might differ depending on whether you created your workspace in the USA or EU. Either https://events.eu1.segmentapis.com or https://api.segment.io/v1.
The code above has three important functions:
- An Express POST method listens to all incoming FusionAuth webhooks but responds only to those you care about, like the line `(req.body.event.type == 'user.create.complete')`.
- `callSegmentIdentify()` calls the Segment `identify` method to update user information. The call is made only for FusionAuth update completed webhooks. User data goes in the `traits` property.
- `callSegmentTrack()` calls the Segment `track` method to associate an event with a user. This script only tracks logins, but you could add any event you need. Data about the event goes in the `properties` property. There isn't any data to add for a successful login.
If you want to test sending an event to Segment manually, you can run the curl command below using your `writeKey`.
```sh
curl -v --location 'https://api.segment.io/v1/track' --header 'Content-Type: application/json' --data-raw '{
"event": "user.login.success",
"userId": "00000000-0000-0000-0000-000000000001",
"writeKey": "8iVzf6"
}'
```
The Segment API [returns a successful status code for most errors](https://segment.com/docs/connections/sources/catalog/libraries/server/http-api/#errors). Check the debugger log on the Segment website if your data does not show in the Segment events list.
## Run FusionAuth
Now that Segment is prepared and you have a service to send events, you can start FusionAuth and begin testing.
- Install [Docker](https://docs.docker.com/get-docker/) if you don't have it on your machine.
- Clone the [FusionAuth example Docker Compose repository](https://github.com/FusionAuth/fusionauth-example-docker-compose) to your computer.
- In your terminal, navigate to the `light` directory in the repository. You will work in this directory for the rest of this guide, creating files and running terminal commands.
- Copy the previously created `app.mjs` script into this directory.
- Edit the `docker-compose.yml` file from the FusionAuth kickstart example project to add the new service below. The service will be a Node.js container that runs your `app.mjs` script.
```yaml
fa_seg:
image: segimage
container_name: fa_seg
networks:
- db_net
```
- Create the file `Dockerfile` with the content below.
```sh
FROM --platform=linux/amd64 alpine:3.19
RUN apk add --no-cache curl nodejs npm bash
RUN mkdir /app; cd /app; npm install express axios;
COPY app.mjs /app/app.mjs
CMD node /app/app.mjs
```
- Run the command below to build the `segimage` image with the script.
```sh
docker build --no-cache --platform linux/amd64 -t segimage .
```
- Start FusionAuth and the filtering service with `docker compose up`.
## Enable Webhooks
Now that FusionAuth is running, you can enable webhooks so that events start to flow from FusionAuth into the filtering service.
- Browse to http://localhost:9011/admin and check you can log in with `admin@example.com` and `password`.
- In the FusionAuth web interface, browse to Tenants.
- Edit the default tenant.
- Click the <Breadcrumb>Webhooks</Breadcrumb> tab.
- Enable webhooks for the events:
- [x] user.create.complete
- [x] user.email.update
- [x] user.login.success
- [x] user.update.complete
- Click <IconButton icon="save" color="blue"/> at the top right of the page.
- Browse to <Breadcrumb>Settings -> Webhooks</Breadcrumb>.
- Click <IconButton icon="add" color="green"/> at the top right.
- Enter the URL `http://fa_seg`.
- Click <IconButton icon="save" color="blue"/> at the top right. All events are enabled by default. You don't need to worry about security because the receiving service will run on the same Docker network as FusionAuth.
You can click Test on the created webhook now to see example JSON for all the events that will be sent.
## Test The System
First test the `track` event in Segment.
Log out of FusionAuth and log in again.
In the terminal, you should see a notification from the filtering script:
```sh
fa_seg | Received event of type: user.login.success
```
In Segment, you should see your event arriving. You may have to refresh the page. If you cannot see your event, consult the troubleshooting section at the end of this guide.
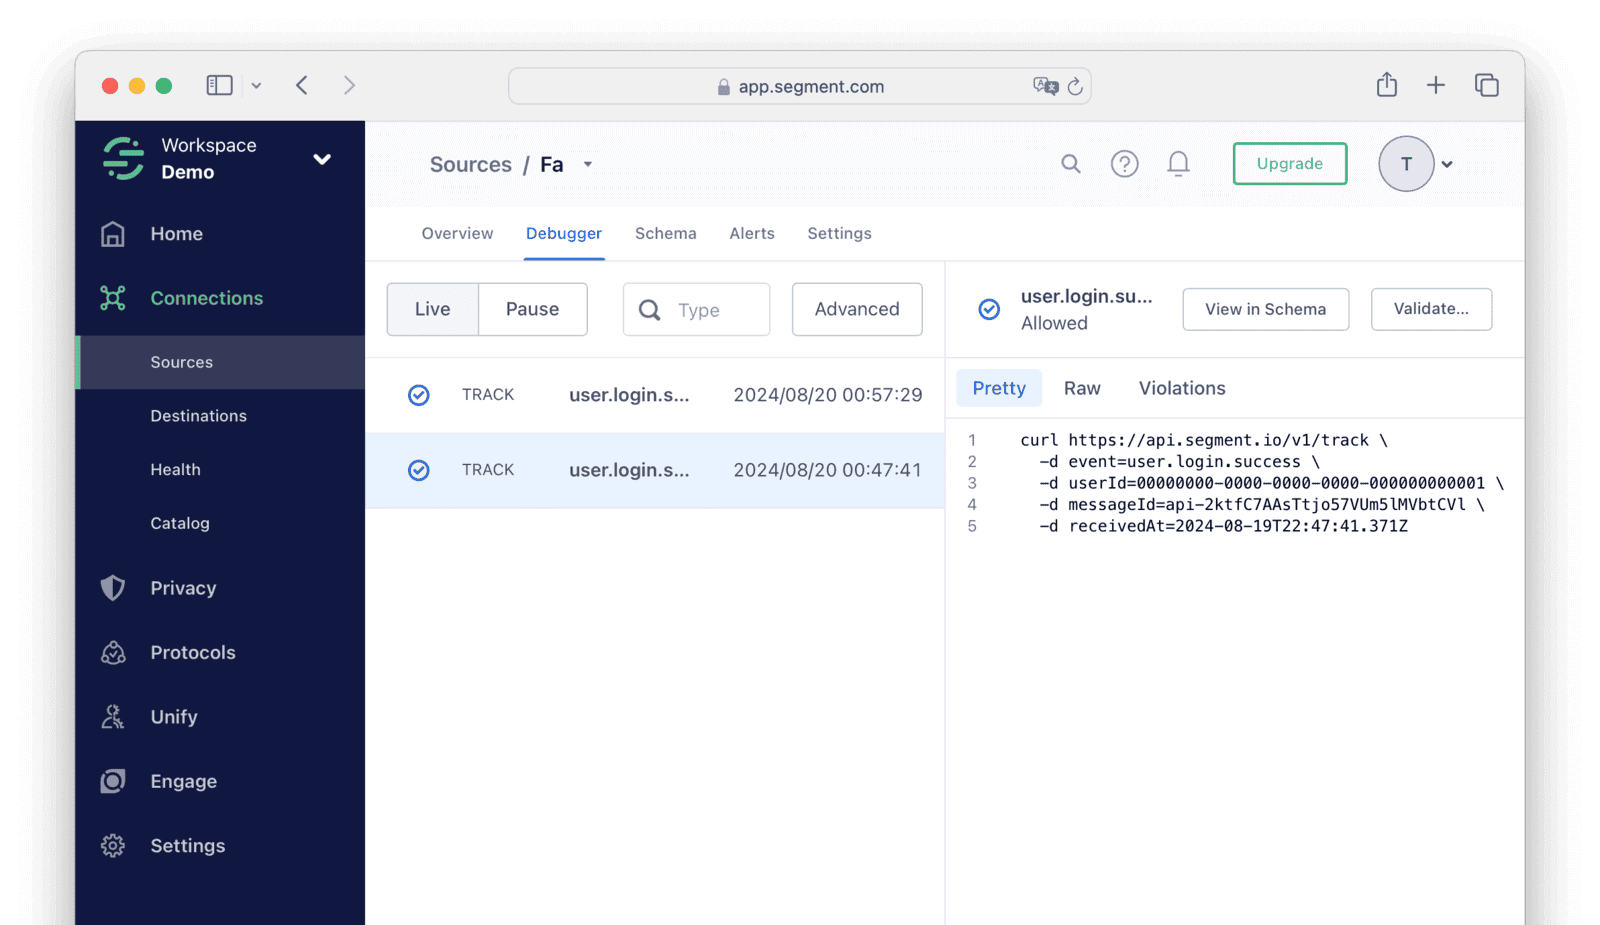
If you connected DBeaver to your PostgreSQL database earlier, you should be able to refresh your tables and see that data has arrived in the destination table.
To test the `identify` event, create a new user.
Browse to http://localhost:9011/admin/user and create a new user with any details.
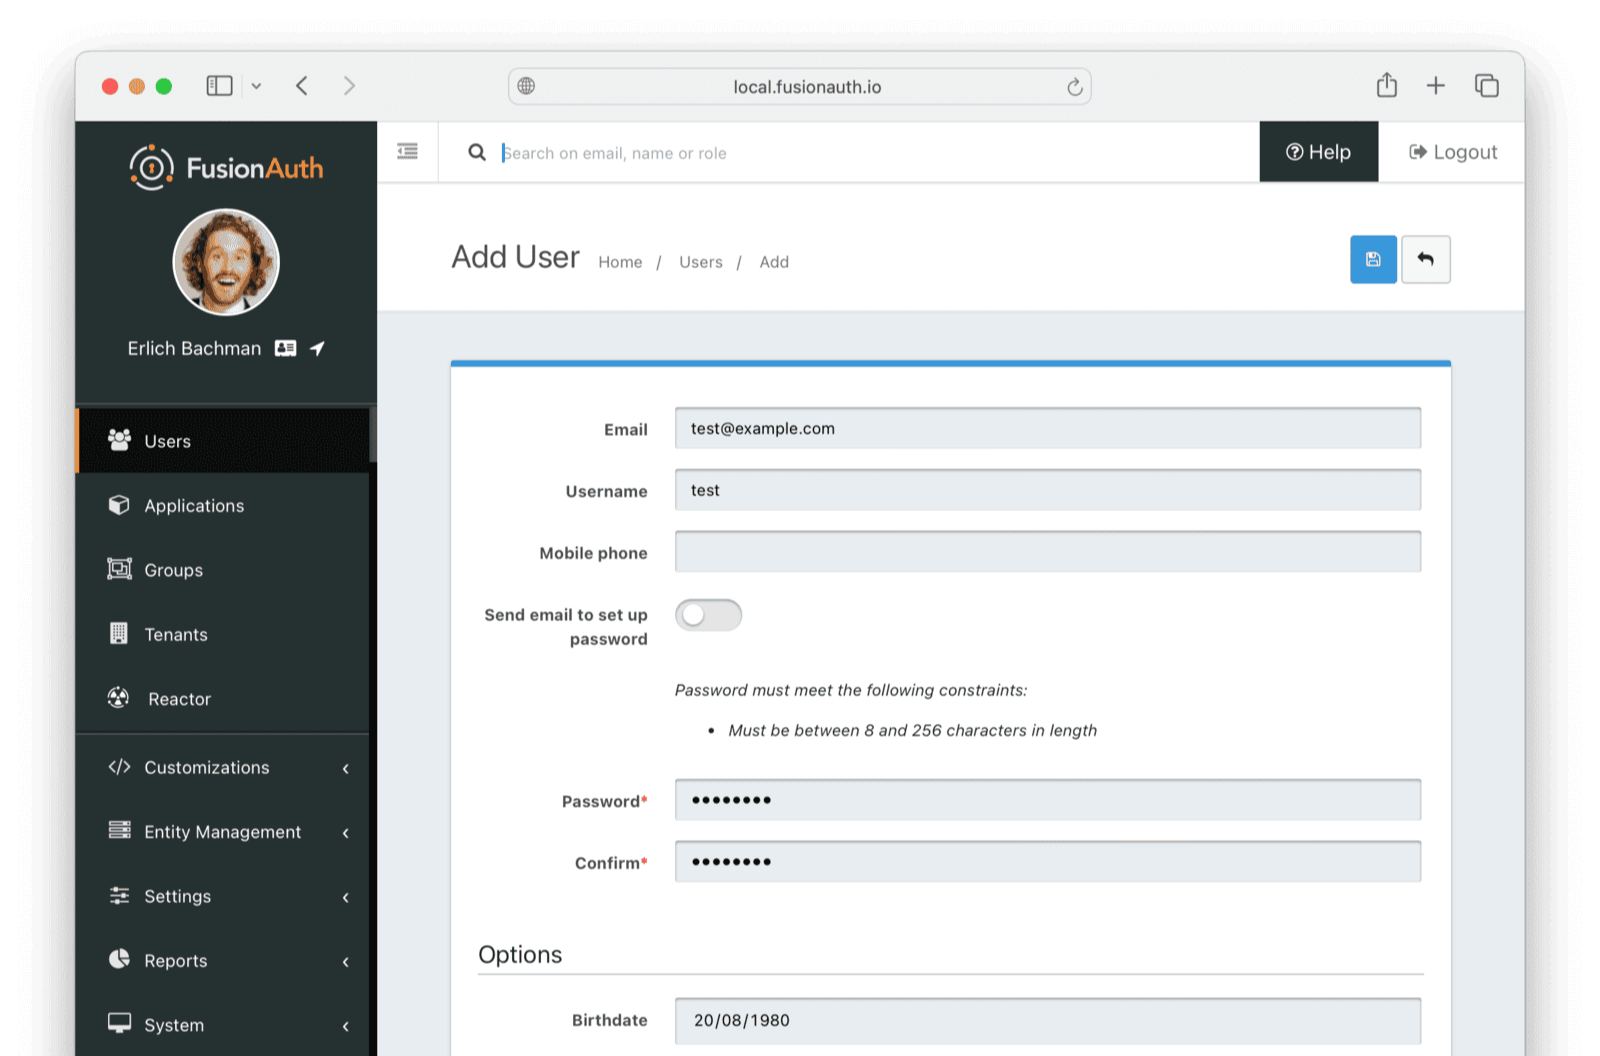
In the terminal, you should see a notification from the filtering script:
```sh
fa_seg | Received event of type: user.create.complete
```
The event should show in the Segment event list as an `identify` type. The new event might not propagate to PostgreSQL until the Segment store is synchronized with the warehouse in a few hours.
## Next Steps
Now that your FusionAuth user data is available in your data warehouse, you can write a SQL query on user Id or email address to match user data in FusionAuth to user activity sent to Segment from your other apps.
At this stage, you might want to:
- Add more event types to the filtering script.
- Change the user data sent to Segment (being mindful of your users' data privacy).
- Forward the data to your real destinations instead of the test PostgreSQL instance.
## Troubleshooting
If you don't see events arrive in Segment, try the following:
- Run the curl command manually to send events to Segment.
- Check that the URL details and key are correct.
- Check the event debug log in Segment to see if events are being rejected due to a flaw in the JSON, even though an HTTP 200 code is returned.
If curl works but the Node.js script fails, try debugging on your physical machine instead of in Docker.
- Install Node.js.
- Change the webhook URL in FusionAuth settings from `http://fa_seg` to `http://host.docker.internal:3000`.
- Open the `app.mjs` script in Visual Studio Code.
- Change `app.listen(80, '0.0.0.0', ` to `app.listen(3000, '0.0.0.0', `.
- Run the script from the VS Code debug sidebar to see where errors occur.
# FusionAuth Account Portal
import AccountPortalCore from 'src/content/docs/_shared/_account-portal.mdx';
import * as account from 'src/content/docs/_shared/_account-portal.mdx';
export const headings = account.getHeadings();
<AccountPortalCore />
# Air-gapping FusionAuth
import Aside from 'src/components/Aside.astro';
import Breadcrumb from 'src/components/Breadcrumb.astro';
import DeactivateLicense from 'src/content/docs/_shared/_deactivate-license.mdx';
import EnterprisePlanBlurb from 'src/content/docs/_shared/_enterprise-plan-blurb.astro';
import HostsToAllowNetworkAccessFor from 'src/content/docs/_shared/_hosts-to-allow-network-access.mdx';
import InlineField from 'src/components/InlineField.astro';
import InlineUIElement from 'src/components/InlineUIElement.astro';
<EnterprisePlanBlurb />
## Overview
Air-gapping allows you to run FusionAuth in environments with custom networking or compliance requirements. These include:
* high-security environments with extreme exfiltration risks
* industrial control systems with limited networking bandwidth
* malware analysis
* regulatory or compliance requirements, such as PCI-DSS
This document covers the differences in configuring and running an air-gapped instance of FusionAuth. You can also [use a license with network access](/docs/get-started/core-concepts/licensing).
<Aside type="note">
To run FusionAuth air-gapped requires an Enterprise license.
</Aside>
## Adding a License to Your Instance
To add a license to an air-gapped instance, do these tasks:
* Buy a license
* Retrieve the license
* Lock down the network around your instance
* Install the license on your instance
### Buy A License
The air-gapped license is available for purchase only by [contacting the sales team](/contact).
Once a license is purchased, you need to get the license key and text.
### Retrieve A License
To retrieve a license, log into your [Account](https://account.fusionauth.io/account). Navigate to the <Breadcrumb>Plan</Breadcrumb> tab.
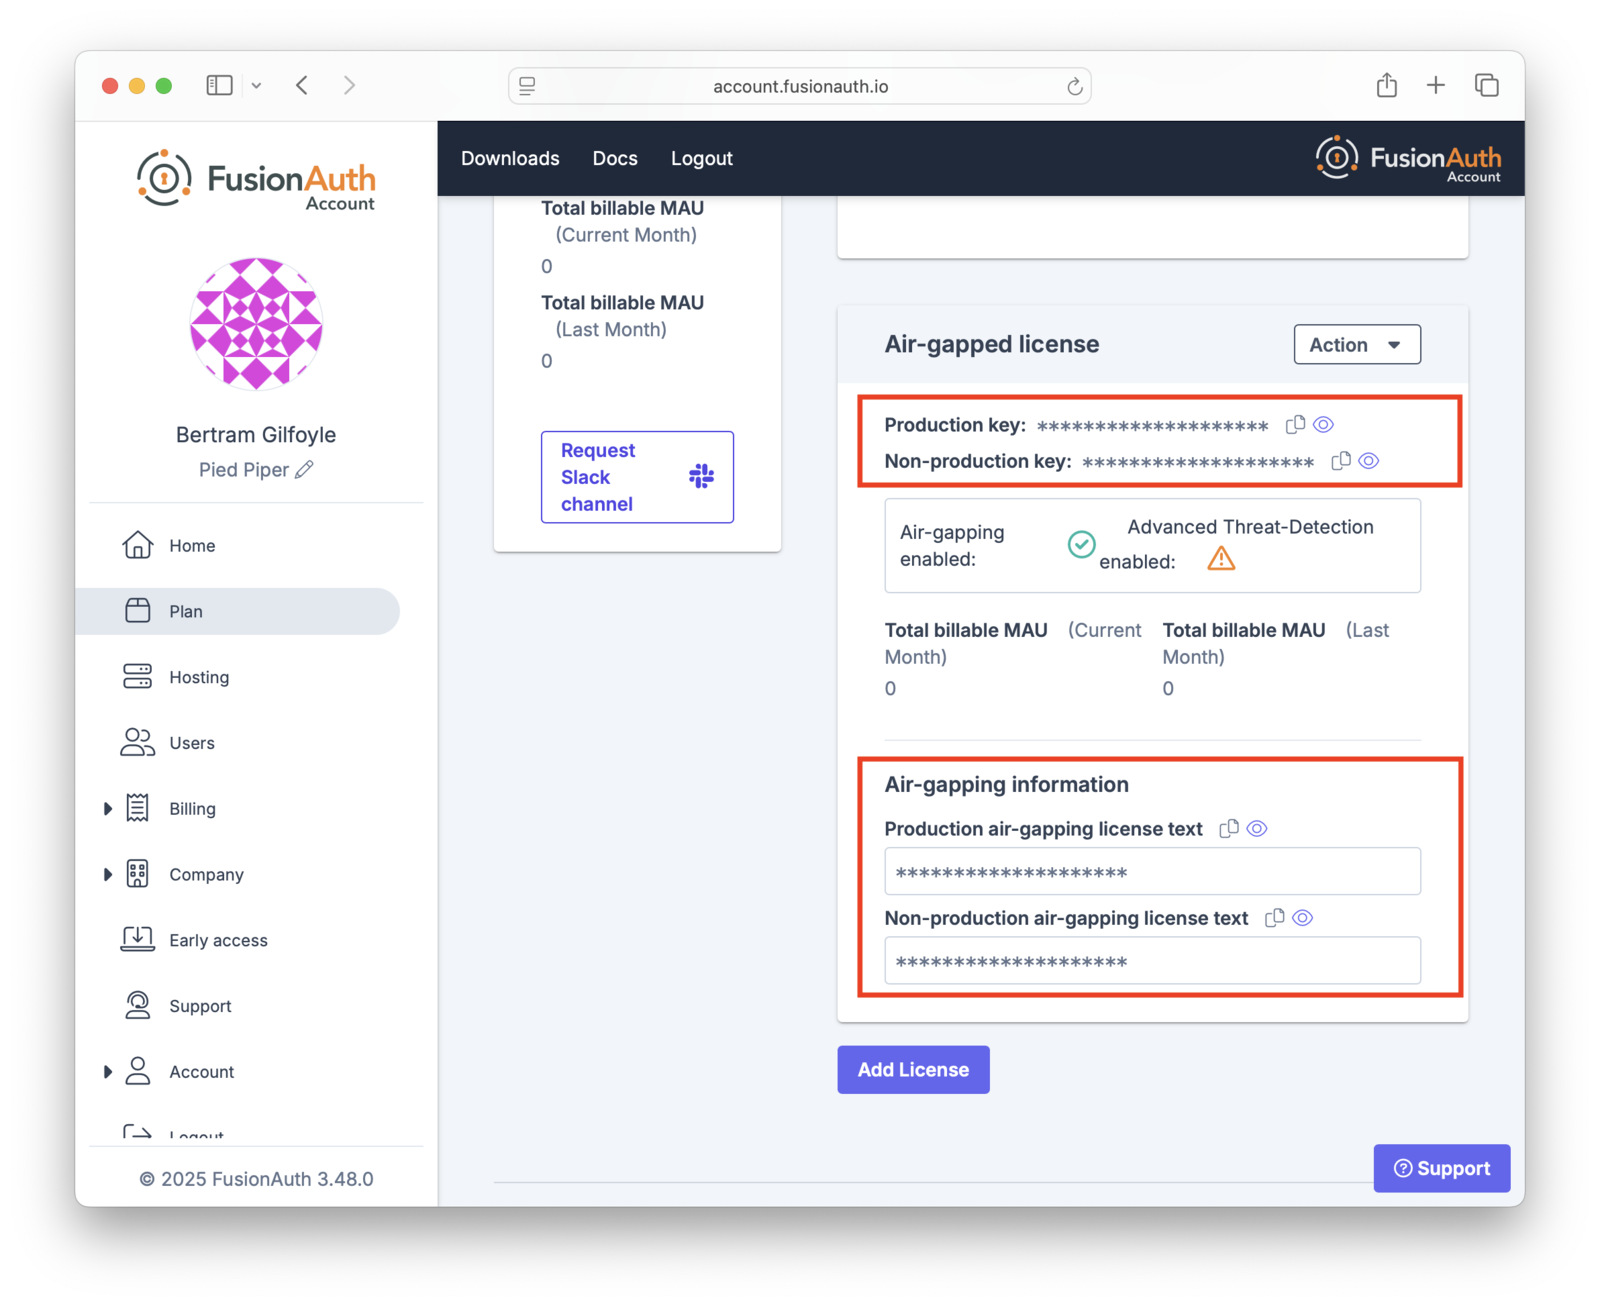
Copy the appropriate license key and text. Use the "Production" license for your production server. The other license is suitable for non-production environments, such as user acceptance testing or development.
If you need your license key and text later, log in to your [Account](https://account.fusionauth.io/account) and then navigate to the <Breadcrumb>Plan</Breadcrumb> tab. You might need to do this if you are installing the license on a new instance.
### Preparing Your Instance
An instance of FusionAuth requires the air-gapped license text as it can't use the licensing server. However, it will still attempt to communicate with the license server. It may also originate other outbound traffic for metrics reporting and other purposes. Block the following hostnames to stop any calls to FusionAuth servers:
<HostsToAllowNetworkAccessFor />
You can also turn off FusionAuth collecting usage data. To do this, see the [section on disabling data collection in Collected Metrics](/docs/get-started/download-and-install/collected-metrics#disabling-data-collection).
Your method of blocking outbound traffic depends on your installation and environment.
For example, if you're running FusionAuth in AWS, you can block outbound requests using a [security group rule](https://docs.aws.amazon.com/vpc/latest/userguide/vpc-security-groups.html). If you're running Kubernetes on-premises, you can use a [network policy](https://kubernetes.io/docs/concepts/services-networking/network-policies/).
### Installing The License
After you have your license key and text, log in to your FusionAuth instance. You will need either the `admin` or `reactor_manager` roles in the FusionAuth Admin UI application to view the <Breadcrumb>Reactor</Breadcrumb> tab. The credentials you use to log into the instance have no connection to the credentials you used to log into your Account Portal.
Navigate to the <Breadcrumb>Reactor</Breadcrumb> tab and enter your license key and text in the <InlineField>License key</InlineField> field.
Check the <InlineField>I have an air-gap license</InlineField> box underneath the <InlineUIElement>License Key</InlineUIElement> field. Add the license text into the <InlineField>License text</InlineField> field.
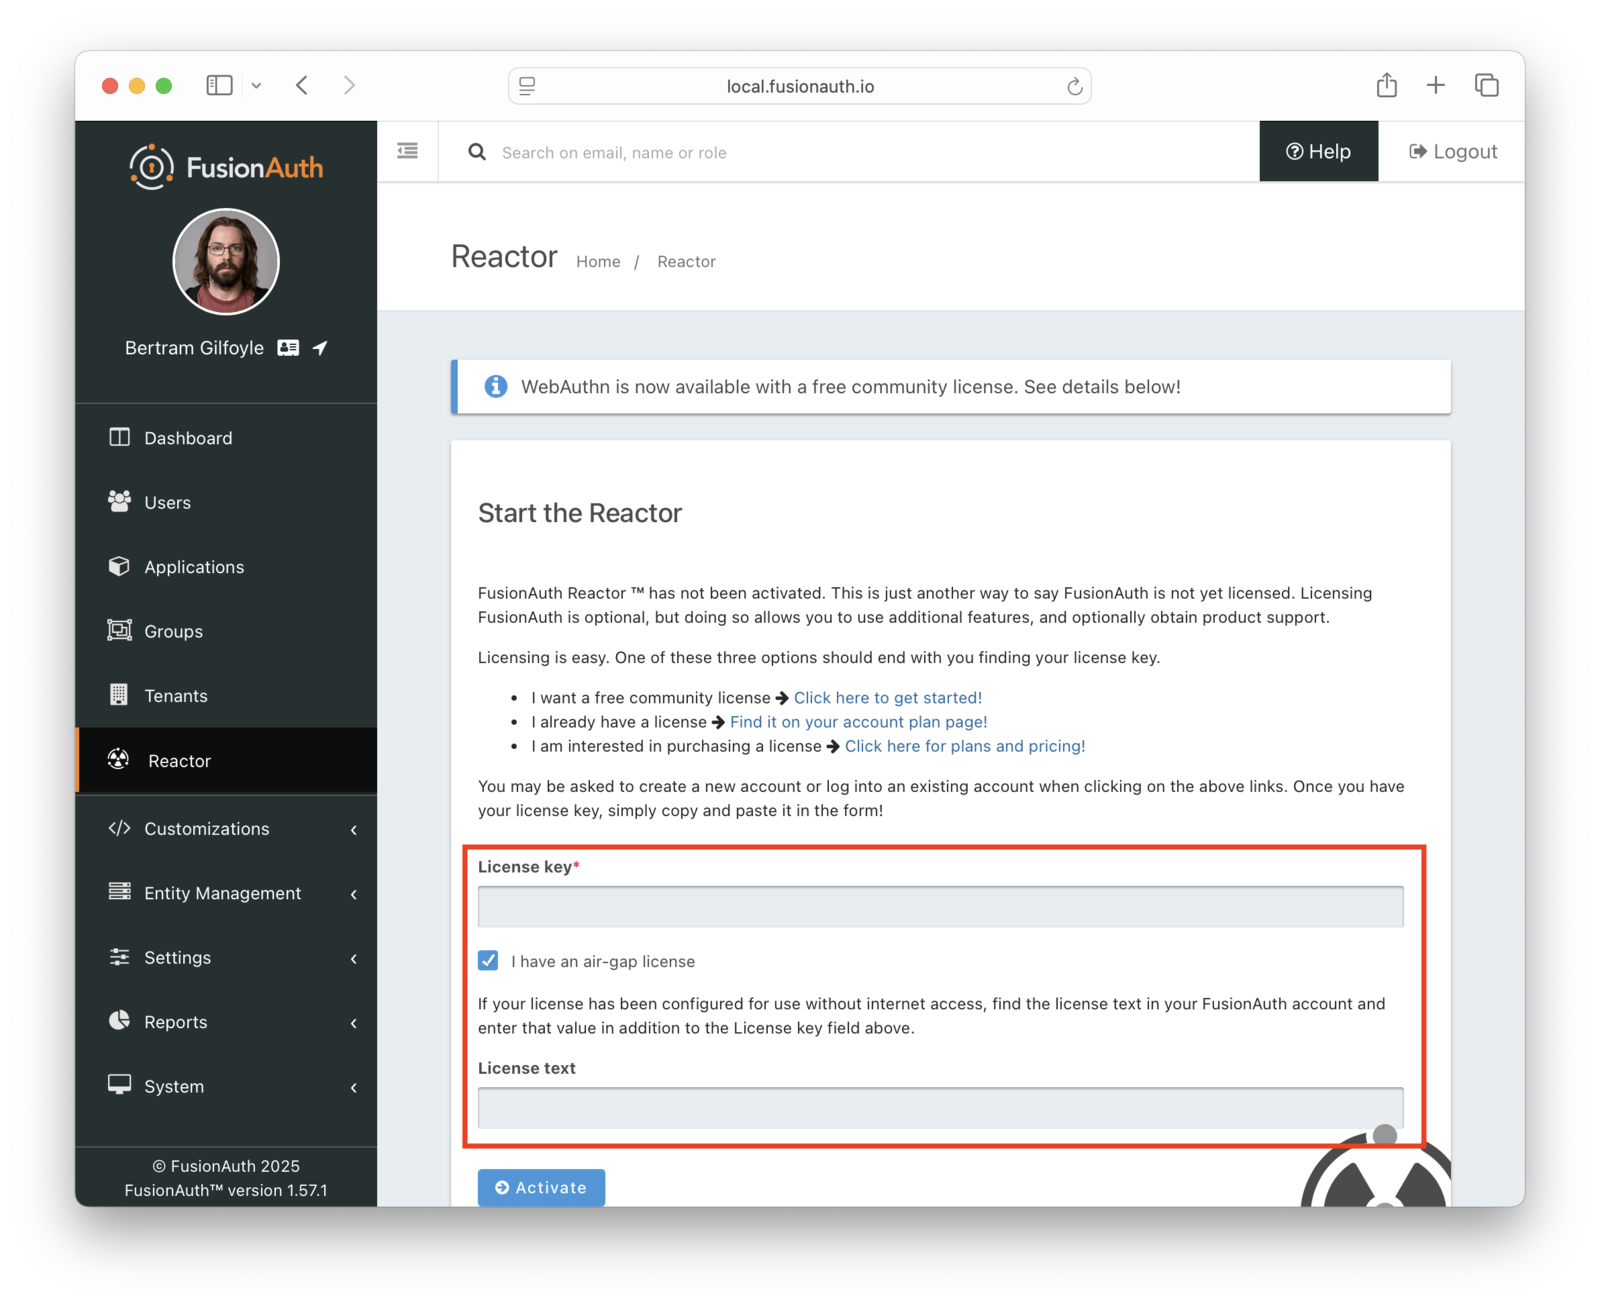
Immediately after activating, FusionAuth validates the license. It may take a minute or two to complete activation. No network access is required for activation.
Once activated, the <InlineField>Licensed</InlineField> field on the <Breadcrumb>Reactor</Breadcrumb> tab changes to a green checkmark. This may require a page refresh. You will also see a list of features and the expiration date of the license.
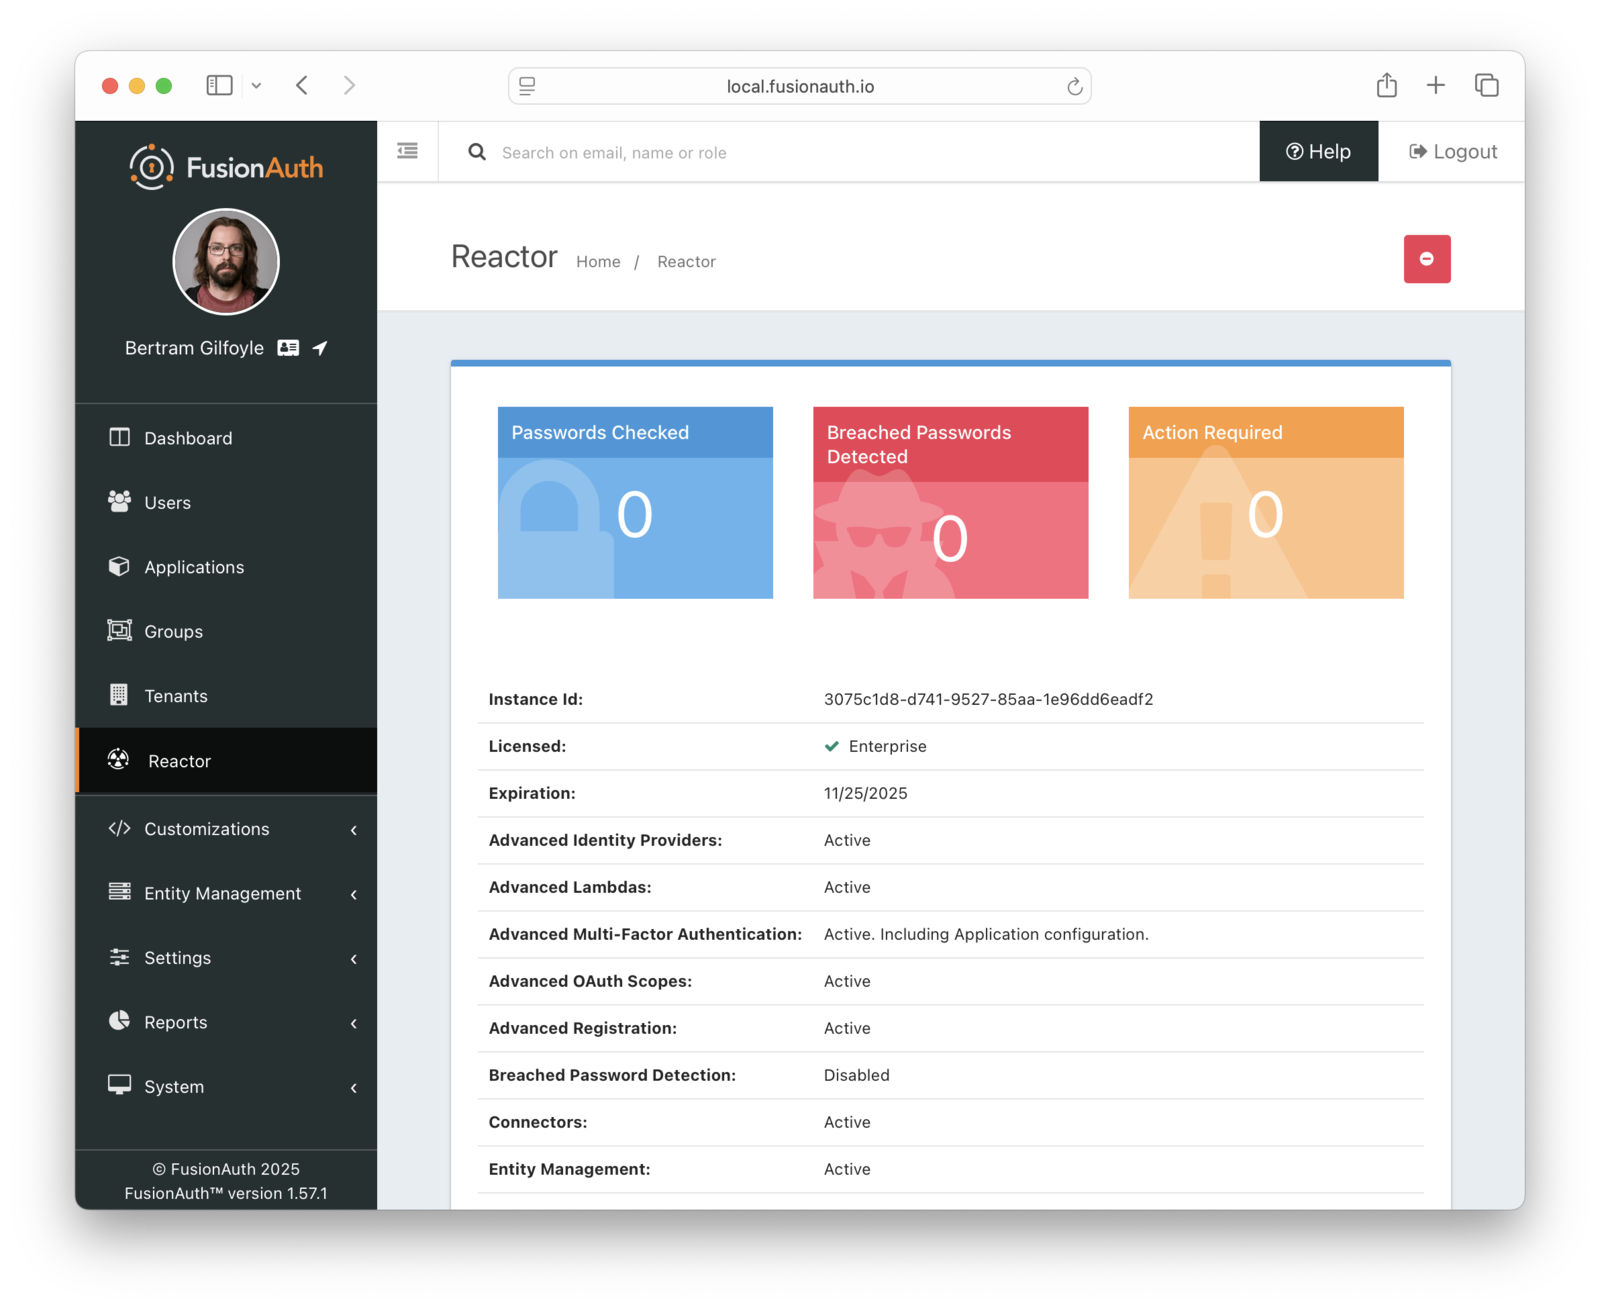
## Regenerating Your License
You may want to regenerate your license for any number of reasons.
* The process may be part of a regular secrets rotation plan.
* You may have inadvertently exposed your license.
* A personnel change may require rotation of licenses.
You can regenerate the license via the <Breadcrumb>Plan</Breadcrumb> tab. To do so, log into your [Account](https://account.fusionauth.io/account). Then navigate to the <Breadcrumb>Plan</Breadcrumb> tab. Then click the <InlineUIElement>Action</InlineUIElement> button to display the dropdown.
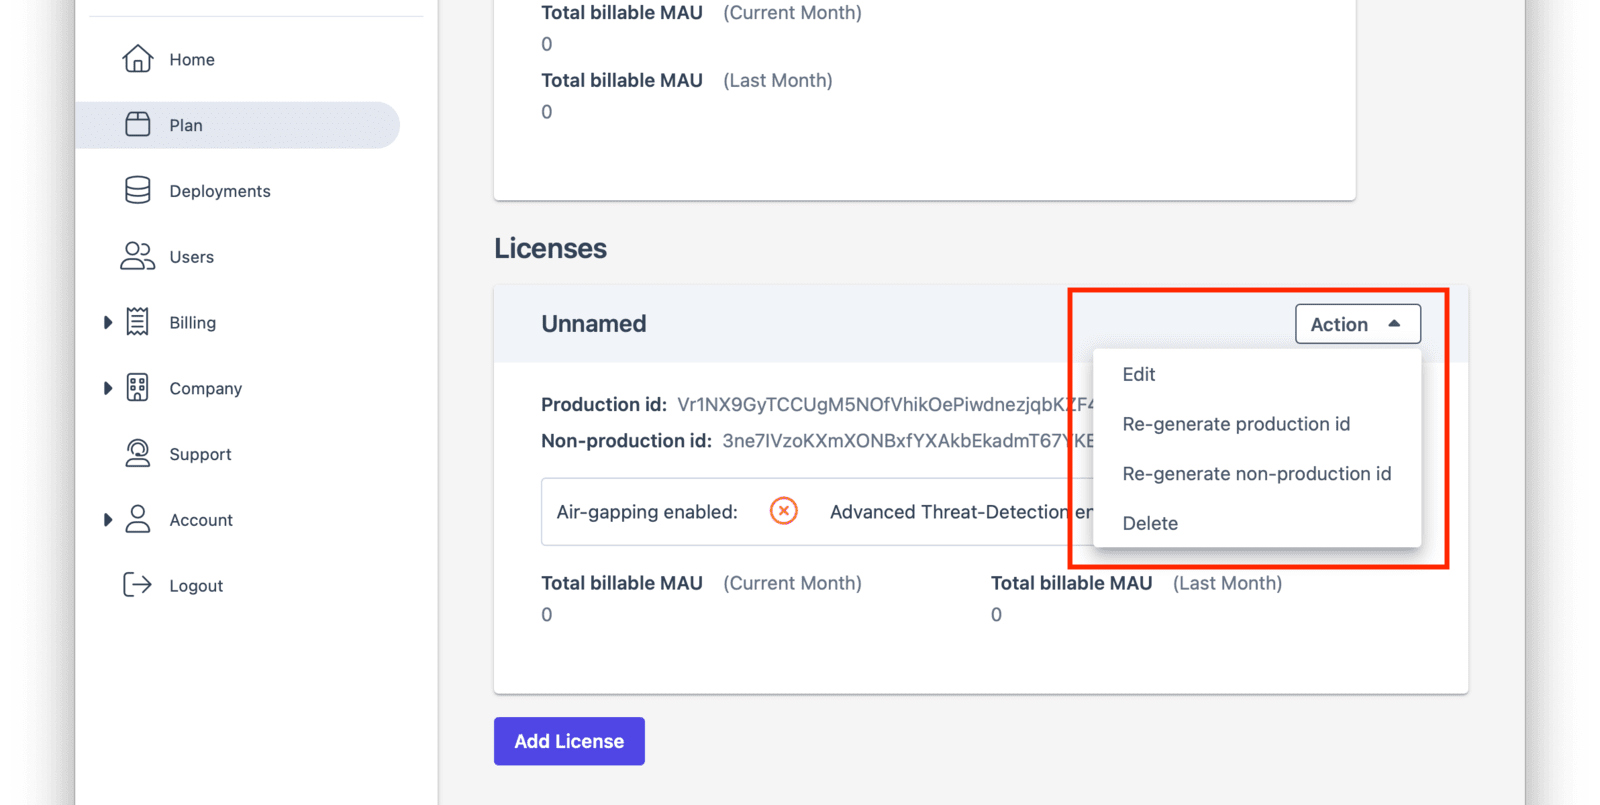
After you choose which license to regenerate, you'll be prompted to confirm your choice.
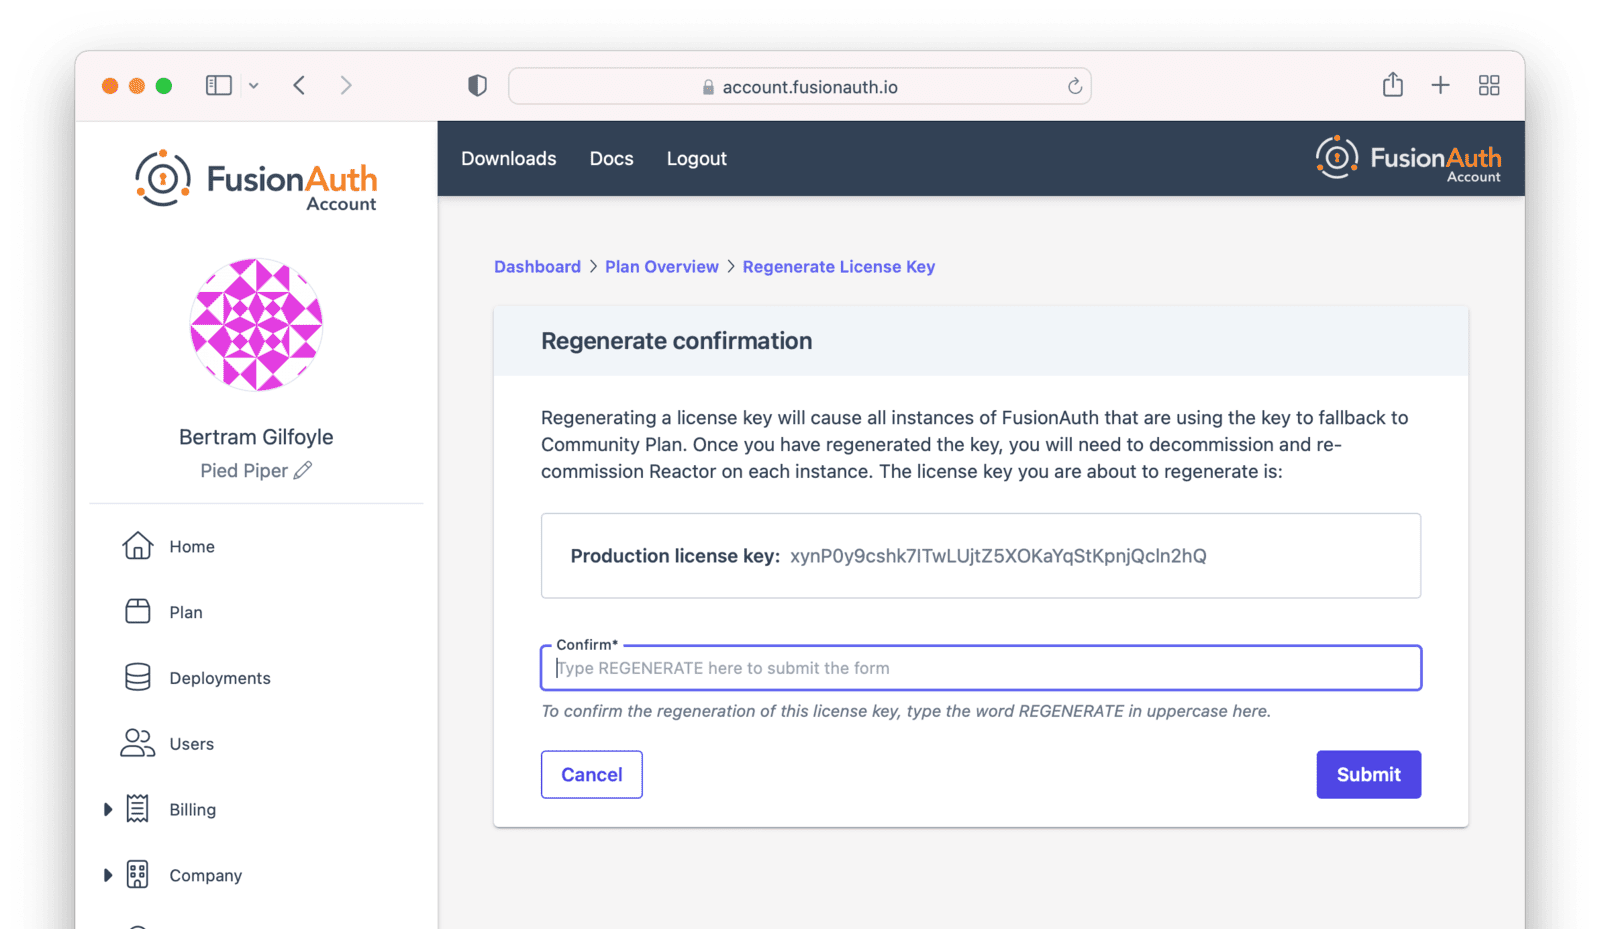
Then, view your license to retrieve both the license key and text.
Once you have that, you can update your license on your instance by using the [Reactor API](/docs/apis/reactor) or by deactivating and then reactivating the license on the admin UI <Breadcrumb>Reactor</Breadcrumb> tab.
## Deactivating Your Instance
<DeactivateLicense />
## License Expiration
Your [license is deactivated](#deactivating-your-instance) when it expires. This results in a loss of functionality until the license is renewed.
Find out when the license expires by using the [Reactor API](/docs/apis/reactor#retrieve-reactor-status) or viewing the expiration date in the admin UI on the <Breadcrumb>Reactor</Breadcrumb> tab.
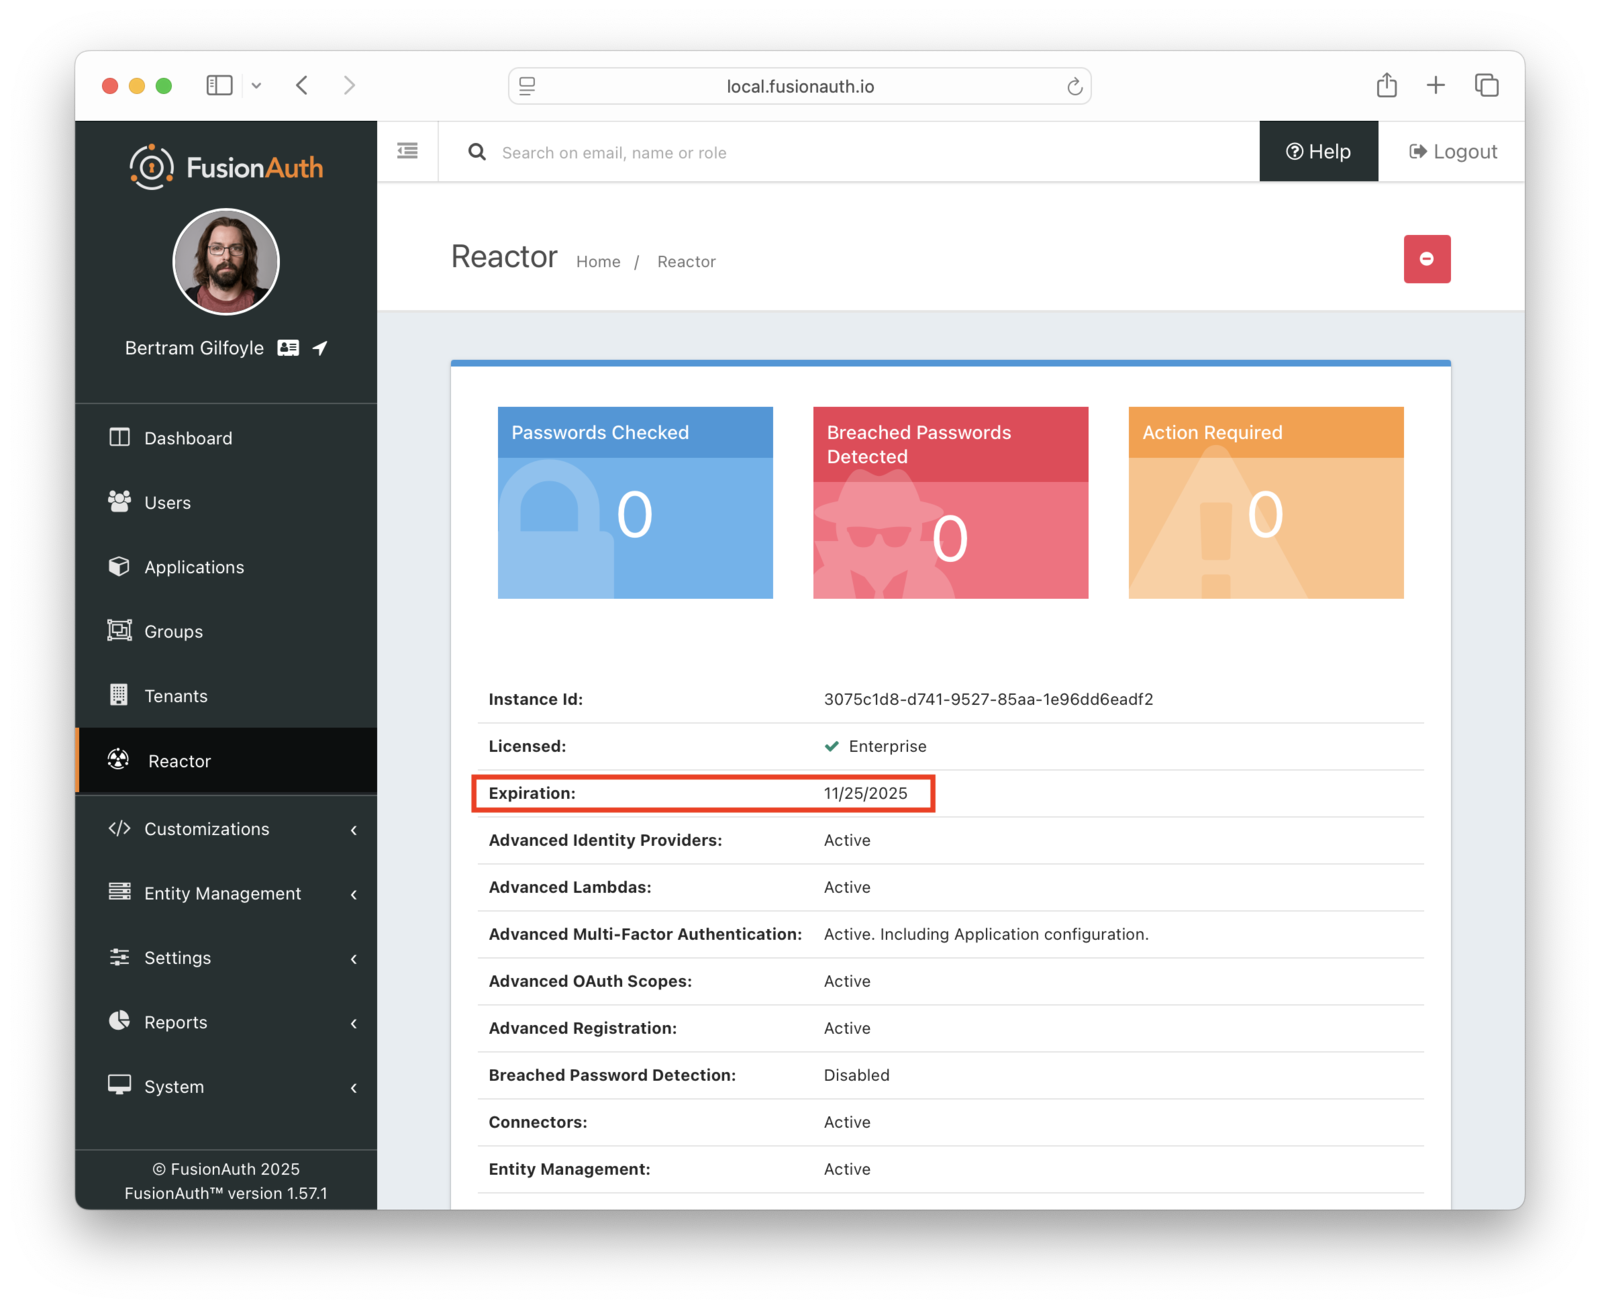
Please [contact support](https://account.fusionauth.io/account/support/) to obtain your new air-gapped license.
Then update your instance with the new license by [adding it to your instance](#adding-a-license-to-your-instance) before the license expiration date.
There is no grace period, so make sure you update your license before it expires to avoid loss of functionality.
## Licensing and Kickstart
You can use [Kickstart](/docs/get-started/download-and-install/development/kickstart) to configure a FusionAuth instance to a known configuration using any API, and this includes setting up an instance with an air-gapped license. See the [Kickstart documentation to learn how to provide your license key and text](/docs/get-started/download-and-install/development/kickstart#set-your-license-id).
One common use case for Kickstart is to configure the FusionAuth component of an air-gapped software package before delivering it to your customers. In this scenario, use the production license key and text.
## Limits
Running air-gapped limits certain features in FusionAuth, including:
* breached password detection
* advanced threat detection
Both of these features depend on downloading data over a network.
Air-gapping is not available when running in FusionAuth Cloud.
# Collected Metrics
import CollectedMetrics from 'src/content/docs/_shared/_collected-metrics.mdx';
import * as metrics from 'src/content/docs/_shared/_collected-metrics.mdx';
export const headings = metrics.getHeadings();
<CollectedMetrics />
# Common Configuration
import CommonConfiguration from 'src/content/docs/_shared/_common-configuration.mdx';
import * as common from 'src/content/docs/_shared/_common-configuration.mdx';
import InlineField from 'src/components/InlineField.astro';
export const headings = common.getHeadings();
<CommonConfiguration />
# Install a Database
import Aside from 'src/components/Aside.astro';
## Install a Database
<Aside type="note">
If you already have a PostgreSQL database installed that you will be using with FusionAuth, you can skip this section completely. If you are using MySQL and already have MySQL installed, you will still need to install the MySQL Connector to ensure FusionAuth works properly.
</Aside>
In order to use FusionAuth, you need to install a database. The database requirements are provided in the [System Requirements](/docs/get-started/download-and-install/system-requirements).
Follow the instructions below to install a supported database.
### Install MySQL
<Aside type="note">
IBM Compose for MySQL or other MysQL platforms that utilize MySQL Group Replication are not supported.
</Aside>
#### Linux
To install MySQL on a Linux system, you can use the `apt` or `yum` tools depending on whether or not your Linux distribution is based on Red Hat or Debian. The package name may vary depending on your platform, for example: `mysql-server` or `mysql-server-5.7`. Here's the commands for each:
```bash title="Red Hat"
yum install mysql-server
```
```bash title="Debian"
sudo apt-get install mysql-server
```
#### Windows or macOS
If you are installing MySQL on a platform that does not supports RPM or DEB packages, you will need to download the installer from the MySQL website here: http://dev.mysql.com/downloads/mysql/
#### MySQL and Unicode
<Aside type="note">
To properly store 4 byte Unicode, the character set must be set to `utf8mb4`.
By default this configuration is enforced during startup. If FusionAuth fails to startup due to this validation the log will contain detailed
messages about the MySQL configuration.
It is recommended to ensure you have properly configured MySQL to use `utf8mb4` before attempting to startup FusionAuth. Please verify you have
the following configuration in your `my.cnf` file. On Windows the file is called `my.ini`.
If you need to modify your configuration, restart MySQL for the changes to take effect.
</Aside>
```ini title="my.cnf"
[client]
default-character-set = utf8mb4
[mysql]
default-character-set = utf8mb4
[mysqld]
character-set-client-handshake = FALSE
character-set-server = utf8mb4
collation-server = utf8mb4_bin
```
This is a system wide configuration option, so be certain that other databases and applications on the same MySQL server won't be impacted by this change.
It is possible not all of these configuration options will be available depending on your database configuration. Once you have configured the available
options, if startup still fails due to this validation you may disable this feature. See `database.mysql.enforce-utf8mb4` in the [Configuration](/docs/reference/configuration) reference.
### Install MySQL Connector
In order to use MySQL with FusionAuth, you also need to download and install the MySQL Connector for Java. This is a manual process due to the way that Oracle licenses MySQL. Follow these steps to get the MySQL Connector into the correct location for FusionAuth to use.
1. Download the MySQL Connector version 8.0.23 or newer using the Platform Independent installer from the Oracle website here: https://dev.mysql.com/downloads/connector/j/8.0.html
2. Unzip or untar the archive you downloaded
3. Copy the file from the archive named `mysql-connector-java-<version>.jar` to the FusionAuth app library directory. This directory is located in the installation directory at `fusionauth-app/lib`. For example, if you installed using the DEB package on a Debian Linux system, this location will be `/usr/local/fusionauth/fusionauth-app/lib`
### Install PostgreSQL
#### Linux
To install PostgreSQL on a Linux system, you can use the `apt` or `yum` tools depending on whether or not your Linux distribution is based
on Red Hat or Debian. The package name may vary depending on your platform.
```bash title="Red Hat"
sudo yum install postgresql-server postgresql
sudo yum install postgresql9-contrib.x86_64
```
```bash title="Debian"
sudo apt-get install postgresql-server
sudo apt-get install postgresql-contrib
```
#### Windows or macOS
If you are installing PostgreSQL on a platform that does not support RPM or DEB packages, you will need to download the installer from the PostgreSQL website here: https://www.postgresql.org
# Using FusionAuth on Docker
import DockerComposeFiles from 'src/content/docs/get-started/download-and-install/_docker-compose-files.mdx';
import ElasticsearchVersion from 'src/content/docs/_shared/_elasticsearch-version.mdx';
import ElasticsearchRam from 'src/content/docs/_shared/_elasticsearch-ram.mdx';
import UpgradeUsingDocker from 'src/content/docs/_shared/_upgrade-using-docker.mdx';
import Aside from 'src/components/Aside.astro';
import {RemoteCode} from '@fusionauth/astro-components';
FusionAuth Docker containers can be used with Docker Compose, Kubernetes, Helm or OpenShift.
The following example is using Docker Compose. Here are [kubernetes installation instructions, which use Helm](/docs/get-started/download-and-install/kubernetes/). Find links for OpenShift and other community supported environments in the [FusionAuth Contrib](https://github.com/FusionAuth/fusionauth-contrib) GitHub repo.
## Docker Compose
All of the FusionAuth Docker images may be found on [Docker Hub](https://hub.docker.com/u/fusionauth/).
The FusionAuth Docker Compose YAML files may be found on [FusionAuth containers repository](https://github.com/FusionAuth/fusionauth-containers) and more examples in the [FusionAuth Docker Compose example repository](https://github.com/FusionAuth/fusionauth-example-docker-compose) described in more detail below.
If you're looking for a complete configuration to get up and running quickly, use our Docker Compose example. `docker-compose.yml` will install FusionAuth with OpenSearch, but you can [switch between the different search engines](/docs/lifecycle/manage-users/search/switch-search-engines/).
### Installing FusionAuth
<DockerComposeFiles />
### The Docker Compose Files
The following is the default `docker-compose.yml` file, which installs FusionAuth.
<RemoteCode title="docker-compose.yml" url="https://raw.githubusercontent.com/FusionAuth/fusionauth-containers/main/docker/fusionauth/docker-compose.yml" lang="yaml" />
## Docker Services
In the above example configurations there are three services:
* `database `
* `search`
* `fusionauth`
Let's look at each of these.
### Database Service
The database service provides a PostgreSQL database for use by FusionAuth.
You will need to either set the `POSTGRES_PASSWORD` environment variable in the `db` service section, or, more ideally, set the value in the host environment and only reference it in the `docker-compose.yml` file.
By default this database is not accessible outside of the Docker Compose containers, but you may expose the port if you want to examine the database by adding the ports mapping in the service definition.
Review the other properties to ensure they meet your requirements.
**Note:** If you plan to use MySQL please review the [Limitations](#limitations) for the FusionAuth docker images.
### Search Service
<ElasticsearchVersion />
<ElasticsearchRam />
### The FusionAuth Service
This is the service that runs the FusionAuth application.
Review the [Configuration](/docs/reference/configuration#options) documentation to customize your deployment. The best way to configure FusionAuth when using Docker is to use environment variables as documented in that link.
In addition, the port `9011` is mapped between the container and your host machine. This may be modified if you want to run more than one FusionAuth instance or for any other reason.
### Other Services
You may add other services to the Docker Compose files if needed.
For example, in development environments it can be helpful to run [MailCatcher](https://mailcatcher.me/) which provides a local SMTP server. This allows FusionAuth to send transactional emails for account verification, password reset, and others.
<RemoteCode title="Example docker-compose.yml with mailcatcher" url="https://raw.githubusercontent.com/FusionAuth/fusionauth-example-docker-compose/main/mailcatcher/docker-compose.yml" lang="yaml" />
Below is a functional configuration on the tenant email tab based on the above configuration file:
<img src="/img/docs/get-started/download-and-install/tenant-mailcatcher-setting.png" alt="Tenant Setting With MailCatcher" width="1200" role="bottom-cropped" />
This a view of the Mailcatcher client.
<img src="/img/docs/get-started/download-and-install/mailcatcher-client.png" alt="Mailcatcher Client View" width="1200" role="bottom-cropped" />
## Upgrading
<UpgradeUsingDocker />
### Migrations
If there were database migrations required, what happens on an upgrade depends on two settings: the runtime mode and the silent mode.
<Aside type="note">
Prior to version `1.19.0`, migration behavior was different. See below for more.
</Aside>
If silent mode is set to `true`, then database migrations will automatically be performed.
If silent mode is `false` and the runtime mode is set to `development`, then the [maintenance mode screen](/docs/get-started/download-and-install/fusionauth-app#maintenance-mode) will pop up and you will be prompted to complete the migrations there.
In all other cases the migrations will not be applied, and you'll have to perform them yourself. If you want to manage your own database upgrades, performing the SQL migrations out of band with another tool or process is a good option.
*When Are Database Migrations Applied*
| Runtime Mode | Silent Mode | Migration Behavior |
|---------------|-------------|--------------------------------------------------------------------|
| `development` | `true` | Migration applied automatically |
| `development` | `false` | Maintenance mode UI displayed, user prompted to run migrations |
| `production` | `true` | Migration applied automatically |
| `production` | `false` | Migration never applied by FusionAuth, must be applied out of band |
See the [configuration reference](/docs/reference/configuration) or the [silent mode guide](/docs/get-started/download-and-install/silent-mode) for more information. To apply the database migrations out of band see the [database upgrade](/docs/operate/deploy/upgrade#downtime-and-database-migrations) documentation.
#### Prior to 1.19
If the installation is in `production` mode, apply the migrations out of band.
When running in development runtime mode, silent mode was enabled based upon the presence of environment variables, such as the database user, and could not explicitly be enabled or disabled.
### Docker Tags
The Docker Compose file references the `latest` tag, but that tag is not dynamic. It is only the latest at a point in time. To get the most recently released image, you have a couple of options.
* Pull the latest image with this command: `docker pull fusionauth/fusionauth-app:latest` or `docker compose pull` and recreate your deployment with `docker compose up -d` which will recreate every container where a new image is available.
* Edit the Docker Compose file and specify a specific version. This is a good idea for a production deployment. With `docker compose pull` you can only pull the specified image, or just run `docker compose up -d` which will pull the image and recreate the container at the same time.
* Remove all images with `docker rmi <IMAGE ID>` selected from the list of IMAGE IDs which you can show with `docker images`. This requires that the image isn't used and therefore may prompt you to remove containers using it. Since all state of FusionAuth is stored in the database, and for docker you use volumes to persist data, you can safely remove the containers. After that you can use `docker compose pull`, `docker compose build` and `docker compose up -d` accordingly to get images specified the in the `docker-compose.yml`.
To generally clean up your images on your system ,`docker image prune` will remove all unused, dangling images.
## Custom Docker Images
If you want to build your own image starting with our base image, start with the `fusionauth/fusionauth-app` image. Just as the FusionAuth Docker image is based on an Ubuntu container image, you can build a Docker file which is based on the `fusionauth/fusionauth-app:latest` image. This can be useful if you want to permanently add a password hashing plugin, configuration file, or other customization to the image.
Here's a Dockerfile which extends the latest FusionAuth image:
<RemoteCode title="Example Dockerfile for building fusionauth-app including a plugin" url="https://raw.githubusercontent.com/FusionAuth/fusionauth-example-docker-compose/main/build/fusionauth-app/Dockerfile" lang="docker" />
Here's an example docker compose YAML file which uses this new image:
<RemoteCode title="Example docker-compose.yml for building fusionauth-app including a plugin" url="https://raw.githubusercontent.com/FusionAuth/fusionauth-example-docker-compose/main/build/docker-compose.yml" lang="yaml" />
With this example, you can use `docker compose build` to only run the build steps in the referenced Dockerfile. This will create you a custom Docker image which is consequentially used in the creation of the container in Docker Compose when running `docker compose up -d`. Alternatively you can run only `docker compose up -d` which will automatically take care of the build as well if not present.
By default the build process will cache a lot of the steps, to force a fresh build you can run `docker compose build --pull --no-cache` instead.
Here's the FusionAuth application Dockerfile as a reference which builds the `fusionauth/fusionauth-app` base image.
<RemoteCode title="The FusionAuth Docker file" url="https://raw.githubusercontent.com/FusionAuth/fusionauth-containers/main/docker/fusionauth/fusionauth-app/Dockerfile" lang="docker" />
Here is [additional Docker documentation](https://docs.docker.com/engine/reference/builder/#from).
## Kickstart
Using Docker with Kickstart is a powerful combination. Using these technologies together lets you:
* Configure and share development environments
* Create replicable bug reports
* Spin up auth instances with a well known, versioned set of data for continuous integration and testing
All the normal limitations of Kickstart apply (the Kickstart will not run if the database has already been set up with an API key, for example).
To use Kickstart, you'll need to tweak your Docker Compose files. Before you begin, you'll need a valid `kickstart.json` file (the `kickstart.json` name is just a convention). Check out the [Kickstart documentation](/docs/get-started/download-and-install/development/kickstart) for more information on writing a `kickstart.json`.
Once you have a valid `kickstart.json` file, create a subdirectory in the location of your `docker-compose.yml` file. It can be named anything; this documentation will use a directory called `kickstart`. Next, you'll mount this directory and set the `FUSIONAUTH_APP_KICKSTART_FILE` variable in the `docker-compose.yml` file.
Here are the steps to do so:
* In the `volumes:` section of the `fusionauth` service, add `- ./kickstart:/usr/local/fusionauth/kickstart`.
* Modify `.env` and add the Kickstart configuration variable: `FUSIONAUTH_APP_KICKSTART_FILE=/usr/local/fusionauth/kickstart/kickstart.json`. This path should be what the Docker container expects, not the path on the host.
* Configure `docker-compose.yml` to pass the environment variable set by `.env` to the container. Do this by adding `FUSIONAUTH_APP_KICKSTART_FILE: ${FUSIONAUTH_APP_KICKSTART_FILE}` to the `environment` section of the `fusionauth` service.
* `docker compose up -d`
The following is an example `docker-compose.yml` file configuring FusionAuth to run the commands in a `kickstart.json` at startup.
<RemoteCode title="Example docker-compose.yml for running Kickstart" url="https://raw.githubusercontent.com/FusionAuth/fusionauth-example-docker-compose/main/kickstart/docker-compose.yml" lang="yaml" />
After running `docker compose up -d` you should see a line similar to the one below in the logs. These logs can be accessed using this command: `docker compose logs -f fusionauth`:
```plaintext title="FusionAuth log messages indicating Kickstart has succeeded"
io.fusionauth.api.service.system.kickstart.KickstartRunner - Summary
```
This indicates that Kickstart completed and provides a summary of the configuration changes made by it.
You may also want to check out [the Isolated Docker Setups](https://github.com/FusionAuth/fusionauth-example-scripts/tree/main/isolated-docker-setup) if you want the ability to rapidly stand up different versions and configurations of FusionAuth.
If you want to test changes to your Kickstart file, you'll need to delete your volumes each time. Kickstart won't run except on a brand new install. If there is any data in the database, it won't proceed.
<Aside type="caution">
This will delete all data in your docker instance.
</Aside>
```plaintext title="Deleting the volumes"
docker compose down -v
```
## Plugins
Instead of building a custom docker image, you can directly mount a directory containing a plugin to your Docker container.
Here are the steps to do so:
* In the `volumes:` section of the `fusionauth` service, add `- ./plugins:/usr/local/fusionauth/plugins`.
* Copy your plugin jar file, created [by following the instructions](/docs/extend/code/password-hashes/), to your `plugins` directory on the host.
* `docker compose up -d`
The following is an example `docker-compose.yml` file configuring FusionAuth to scan for plugins at startup.
<RemoteCode title="Example docker-compose.yml for installing a plugin" url="https://raw.githubusercontent.com/FusionAuth/fusionauth-example-docker-compose/main/plugin/docker-compose.yml" lang="yaml" />
After running `docker compose up -d` you should see a line like this in the logs, which you can access using the command `docker compose logs -f fusionauth`:
```plaintext title="FusionAuth log messages indicating a plugin has been successfully installed"
INFO io.fusionauth.api.plugin.guice.PluginModule - Installing plugin [com.mycompany.fusionauth.plugins.guice.MyExampleFusionAuthPluginModule]
INFO io.fusionauth.api.plugin.guice.PluginModule - Plugin successfully installed
```
Such output indicates that the plugin has been installed and can be used.
## Accessing the Host Machine
The default FusionAuth Docker configuration sets up the network using the `bridge` configuration. This means that all the hosts defined by `docker-compose.yml` can access each other. However, it means that any applications running on your host machine cannot be accessed by FusionAuth using `localhost`.
This is typically only an issue when FusionAuth is accessing resources outside of the Docker network to, for example, send email or request a webhook. For example, if an application is running locally and you want FusionAuth, running in Docker, to send a webhook payload to it, configuring FusionAuth to send the webhook to `localhost` won't work. `localhost` in the Docker container refers to the Docker container itself, not the host machine.
In this situation, do one of the following:
* Run a container with your application in Docker, and use the appropriate network domain name.
* Install FusionAuth on the host machine and use `localhost`.
* Use an alias address, `host.docker.internal`, as the hostname instead of `localhost`.
* For macOS and Windows hosts, you can use `host.docker.internal` without any additional configuration.
* For Linux hosts, add the following lines to your `docker-compose.yml`.
```yaml
extra_hosts:
- "host.docker.internal:host-gateway"
```
Modifying the FusionAuth service in `docker-compose.yml` to use other Docker networking schemes such as `host` may work, but isn't fully tested or supported.
## OpenSearch Production Deployment Configuration
Production runtime requirements and configuration for OpenSearch will drastically differ from the Docker Compose examples as the examples are configured without any security or redundancy.
Please review the [Installing OpenSearch documentation](https://opensearch.org/docs/latest/install-and-configure/install-opensearch/index/) for further details around production deployment.
## Elasticsearch Production Deployment Configuration
Elasticsearch has a few runtime requirements that may not be met by default on your host platform. Please review the [Elasticsearch Docker production mode guide for more information](https://www.elastic.co/guide/en/elasticsearch/reference/7.6/docker.html#docker-cli-run-prod-mode).
For example if startup is failing and you see the following in the logs, you will need to increase `vm.max_map_count` on your host VM.
```plaintext title="The log message when max_map_count is too low"
2018-11-22T12:32:06.779828954Z Nov 22, 2018 12:32:06.779 PM ERROR c.inversoft.maintenance.search.ElasticsearchSilentConfigurationWorkflowTask
- Silent configuration was unable to complete search configuration. Entering maintenance mode. State [SERVER_DOWN]
2018-11-22T13:00:05.346558595Z ERROR: [2] bootstrap checks failed
2018-11-22T13:00:05.346600195Z [1]: memory locking requested for elasticsearch process but memory is not locked
2018-11-22T13:00:05.346606495Z [2]: max virtual memory areas vm.max_map_count [65530] is too low, increase to at least [262144]
```
## Limitations
Due to Oracle licensing restrictions, the docker images published on [Docker Hub](https://hub.docker.com/r/fusionauth/fusionauth-app) do not contain the necessary software to connect to a MySQL database.
If you wish to use MySQL, you'll need to build a custom container that includes the MySQL Connector JAR file. Here is an example container definition that uses the FusionAuth image as a base layer and adds the MySQL connector.
<RemoteCode title="Example Dockerfile which downloads the MySQL connector" lang="docker" url="https://raw.githubusercontent.com/FusionAuth/fusionauth-containers/main/docker/fusionauth/fusionauth-app-mysql/Dockerfile" />
# Fast Path Install & Upgrade
import DownloadWidget from 'src/components/download/DownloadWidget.astro';
## Fast Path Install
Want to get up and running super fast on your dev box or server? Use our awesome download scripts and you'll be coding in no time. These commands will download and unpack the latest version of FusionAuth.
By default, FusionAuth installs leveraging the database as the User search engine. You may optionally also install and configure Elasticsearch to leverage advanced search functionality. Commands for both configurations are provided below.
### Environment Variables
The following environment variables may be provided to the install script to augment behavior.
* `TARGET_DIR` - The location to install the zip. Default value is $PWD/fusionauth.
* `VERSION` - The version to install. Defaults to the latest stable version.
<DownloadWidget includeDocker={false}/>
## Fast Path Upgrade
The Fast Path commands can also be used to upgrade to the latest version of FusionAuth. Follow the steps documented below.
### macOS and Linux
In this example, we'll assume you have previously installed FusionAuth in `/home/example/dev/fusionauth` (or somewhere in your home directory) and this directory will be referred to `FUSIONAUTH_HOME`. If you have used a different directory, you can adjust the following example accordingly.
```sh title="Shutdown FusionAuth"
# Stop Services
<FUSIONAUTH_HOME>/bin/shutdown.sh
```
Then, run the same FastPath command you ran above to install FusionAuth from the parent directory of `FUSIONAUTH_HOME` (if `FUSIONAUTH_HOME` is `/home/example/dev/fusionauth`, run the command from `/home/example/dev`).
After FusionAuth has been upgraded, you can start it again using the same start command from above as well. For example, on macOS you would run this command:
```sh title="Start FusionAuth"
# Start Services
<FUSIONAUTH_HOME>/bin/startup.sh
```
### Windows
Please note, that versions equal to `1.37.0` and less than `1.40.0` did not have a native Windows install option. It is recommended to plan to install version `1.40.0` or later.
In this example, we'll assume you have previously installed FusionAuth in `\Users\example\dev\fusionauth` and this directory will be referred to `FUSIONAUTH_HOME`. If you have used a different directory you can adjust the following example accordingly.
First, terminate the running FusionAuth App and Search services. Prior to version `1.40.0` if you are not using Windows services, you will need to manually end the FusionAuth process by closing the interactive command shell window. Beginning in version `1.40.0`, please utilize the following shutdown command.
```powershell title="Shutdown FusionAuth services"
# Stop Services
<FUSIONAUTH_HOME>\bin\shutdown.ps1
```
Then, run the same FastPath install command you ran above to install FusionAuth from the parent directory of `FUSIONAUTH_HOME` (if `FUSIONAUTH_HOME` is `\Users\example\dev\fusionauth`, run this command from `\Users\example\dev`).
After FusionAuth has been upgraded, you can start it again using the same start command from above as well. Prior to version `1.37.0`, the startup command will be named `startup.bat` instead of `startup.ps1`.
```powershell title="Start FusionAuth"
# Startup Services
<FUSIONAUTH_HOME>\bin\startup.ps1
```
# FusionAuth App Installation
import Aside from 'src/components/Aside.astro';
import InlineField from 'src/components/InlineField.astro';
import TroubleshootingRuntimeModesAtStartup from 'src/content/docs/get-started/download-and-install/_troubleshooting-runtime-modes-at-startup.mdx';
import Modes from 'src/content/docs/get-started/download-and-install/_modes.mdx';
## Overview
This guide will assist you with installing FusionAuth App on your own server running Linux, macOS, or Windows. The FusionAuth App
bundle provides access to the API and the web based user interface.
## Download the Package
Navigate to the [Downloads](/download/) page and find FusionAuth App package for your target platform.
## Install the Package
### Red Hat
To install on a Red Hat based system, use the RPM bundle. Execute this command to install the FusionAuth App RPM (replace `<version>` with
the correct version number):
```shell
sudo rpm -i fusionauth-app<version>.rpm
```
### Debian
To install on a Debian based system, use the DEB bundle. Execute this command to install the FusionAuth App DEB (replace `<version>` with
the correct version number):
```shell
sudo dpkg -i fusionauth-app<version>.deb
```
### macOS
To install on macOS, use the `.zip` bundle. Extract the `fusionauth-app` zip bundle anywhere on the file system. Remember where you extract the file.
This location will be referred to as `FUSIONAUTH_HOME`. We suggest extracting this file to a directory such as `/usr/local/fusionauth`.
Once the zip bundle has been extracted, the directory structure should look similar to this. If you installed somewhere other the default `FUSIONAUTH_HOME`,
your directory structure will be different, this is only for shown as an example.
```shell
/usr/local/fusionauth/bin
/usr/local/fusionauth/config
/usr/local/fusionauth/config/fusionauth.properties
/usr/local/fusionauth/fusionauth-app
```
### Windows
Please note, that versions equal to `1.37.0` and less than `1.40.0` did not have a native Windows install option. It is recommended to plan to install version `1.40.0` or later.
To install on Windows, use the `.zip` bundle. Extract the `fusionauth-app` zip bundle anywhere on the file system. Remember where you extract
the file. This location will be referred to as `FUSIONAUTH_HOME`. We suggest extracting this file to a directory such as `\fusionauth` on Windows.
Once the zip bundle has been extracted, the directory structure should look similar to this. If you installed somewhere other the default `FUSIONAUTH_HOME`,
your directory structure will be different, this is only for shown as an example.
```
\fusionauth\bin
\fusionauth\config
\fusionauth\config\fusionauth.properties
\fusionauth\fusionauth-app\
```
Next, install the Windows service by changing to the directory designated as `FUSIONAUTH_HOME` and then running the install command. For versions less than `1.40.0`, adjust the example below to use `\fusionauth\fusionauth-app\apache-tomcat\bin` instead.
```
cd \fusionauth\fusionauth-app\bin
FusionAuthApp.exe /install
```
## Start FusionAuth App
Next, you need to start FusionAuth App and use of the following options to setup the database:
* Enter [Maintenance Mode](#maintenance-mode) where you can visually configure and create the database
* Use [silent mode](/docs/get-started/download-and-install/silent-mode) and allow FusionAuth to automatically configure and create the database
Use the instructions below to start FusionAuth. FusionAuth App depends on the Search Engine, the Search Engine must be started first.
<Aside type="note">
Maintenance Mode makes installation simple. If it is not possible for you to use maintenance mode, you can edit the FusionAuth configuration files and leverage [silent mode](/docs/get-started/download-and-install/silent-mode) or install the database schema via the command-line using the [Advanced Installation](#advanced-installation) instructions below.
If you do not plan to use [silent mode](/docs/get-started/download-and-install/silent-mode) or [Maintenance Mode](#maintenance-mode) to configure FusionAuth, do not start FusionAuth at this point. Instead, skip the to [Advanced Installation](#advanced-installation) section and then return to this section after you have configured FusionAuth and the database via the command-line.
</Aside>
```shell title="Linux (RPM or DEB package)"
sudo systemctl start fusionauth-app
```
```shell title="macOS (ZIP package)"
<FUSIONAUTH_HOME>/bin/startup.sh
```
```plaintext title="Windows (ZIP package)"
\fusionauth\bin\startup.ps1
```
```plaintext title="Windows Service"
net start FusionAuthApp
```
## Runtime Modes
The runtime mode may be configured to trigger or suppress environment specific runtime behavior.
See the <InlineField>fusionauth.runtime-mode</InlineField> property and the `FUSIONAUTH_RUNTIME_MODE` environment variable definitions in the [Configuration](/docs/reference/configuration) documentation for reference.
The available runtime modes are:
* `development`
* `production`
<Aside type="caution">
All FusionAuth nodes in a multi-node cluster must use the **same** runtime mode.
Changing runtime mode of an existing deployment requires stopping all running nodes before starting new nodes with a different runtime mode. Plan for brief downtime during this process.
</Aside>
### Development
When in development runtime mode, FusionAuth will enter an interactive [Maintenance Mode](#maintenance-mode) when installing and upgrading FusionAuth to aid in the configuration of the database and Elasticsearch, and apply necessary database migrations.
### Production
Production runtime mode should be configured when deploying FusionAuth to a production environment.
When in production runtime mode, maintenance mode will never run.
Maintenance mode is not intended for multi-node deployments and will not reliably coordinate database migrations among the nodes, which can result in a corrupted database schema.
Additionally, disabling maintenance mode prevents end-users from navigating to the interactive maintenance mode page rather than the login page at runtime.
In production runtime mode, database migrations will need to be applied out of band using our documented manual method, or using some other external mechanism. See the [Upgrade FusionAuth](/docs/operate/deploy/upgrade) documentation for reference.
In order to enable the production runtime mode, all database and (optional) Elasticsearch configuration properties must be configured properly, see the [Configuration Reference](/docs/reference/configuration).
The configured database and Elasticsearch will be expected to be running and ready to accept connections.
## Maintenance Mode
<Aside type="note">
Maintenance mode is only accessible in the development runtime mode. See [Runtime Modes](#runtime-modes) above for details.
</Aside>
You will access FusionAuth App's Maintenance Mode setup via the browser. If you installed FusionAuth App on your local machine, you'll
access this interface by opening `http://localhost:9011` in your browser. If FusionAuth is running on a remote server, change the server
name in the URL to match your server's name.
### Database Configuration
The first step will be to configure the database connection to allow FusionAuth to configure the database.
To complete this step you will need to confirm the database type, host, port and name. The connection type defaults to `MySQL` with the default
MySQL port of `3306`. If you are connecting to a PostgreSQL database the default port is `5432`, your configuration may be different.
In the Super User credentials section you will need to supply FusionAuth with a username and password to the database so that it may create
a new database and configure the FusionAuth schema. The provided credentials must have adequate authority to complete successfully. These credentials
are not persisted and only utilized to complete maintenance mode.
<Aside type="caution">
**Troubleshooting MySQL root user issues**
If you are using MySQL, your server might not be configured to allow the `root` user to login except from the hostname `localhost`. Depending on how your system is
configured, FusionAuth might use a different IP or hostname such as `127.0.0.1` or `myapp.com`. Therefore, you need to ensure that your MySQL server is configured to allow the `root` user
to connect from your specific location. To do this, you can create a separate `root` user with the hostname you are targeting, in the example we are using `127.0.0.1`. Here are the
SQL statements for this method:
**Create new user method with all permissions to all databases and tables**
```sql
# replace password with a secure password, or omit the `IDENTIFIED BY` clause to create user without a password
CREATE USER 'root'@'127.0.0.1' IDENTIFIED BY password;
GRANT ALL PRIVILEGES ON *.* TO 'root'@'127.0.0.1' WITH GRANT OPTION;
FLUSH PRIVILEGES;
```
</Aside>
The final section labeled FusionAuth credentials will be used to define a new database user to own the FusionAuth schema and connect to the database
when FusionAuth starts up. A default `username` and `password` have been generated for you, feel free to utilize these values or modify them to suit your
InfoSec requirements. These credentials will be created and used by FusionAuth to connect to the database at runtime. These credentials will be saved
to the `fusionauth.properties` configuration file.
Click the submit button once you have completed this form and if the provided credentials and database connection information was correct you will
be taken to the next step of the maintenance process or FusionAuth will continue starting up if the configuration is complete.
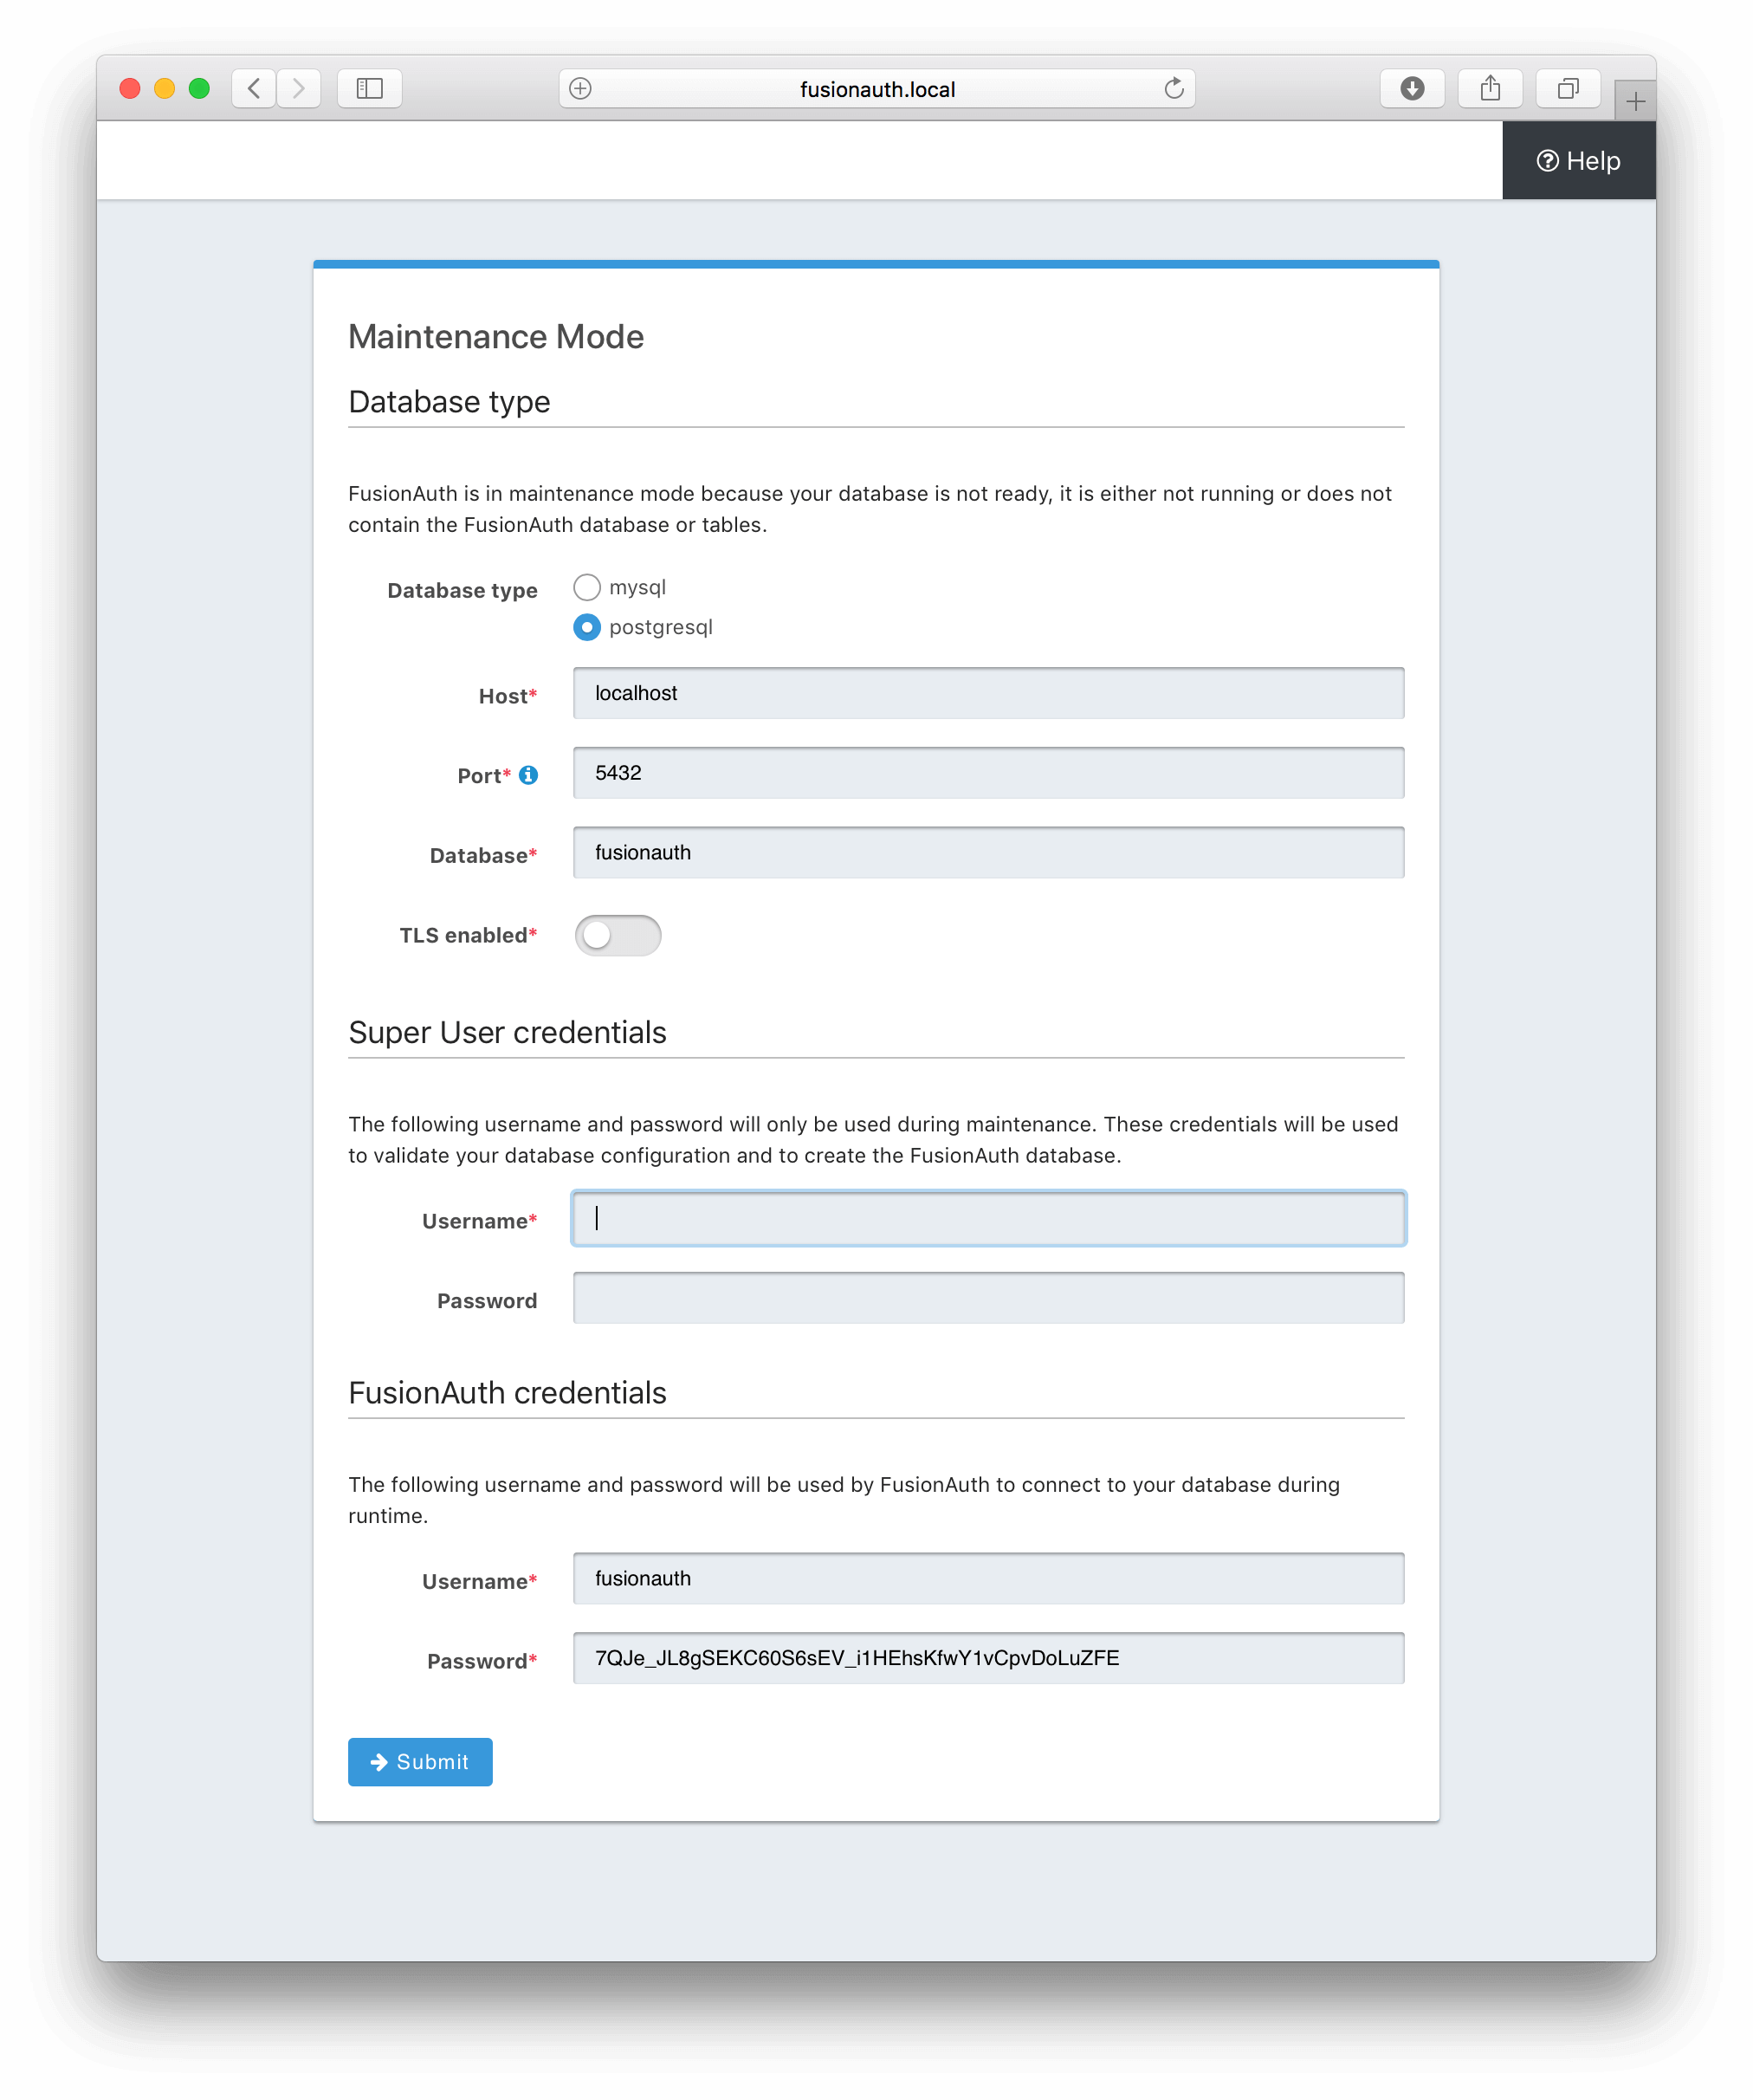
### Search Configuration
If this is your first time starting up FusionAuth we will need to validate your connection to the search engine service and create a search index
for use by FusionAuth.
No configuration is required, but you will need to complete this step by clicking on the Submit button to continue. Once this step is complete you
will complete the initial configuration using the [Setup Wizard](/docs/get-started/run-in-the-cloud/setup-wizard).
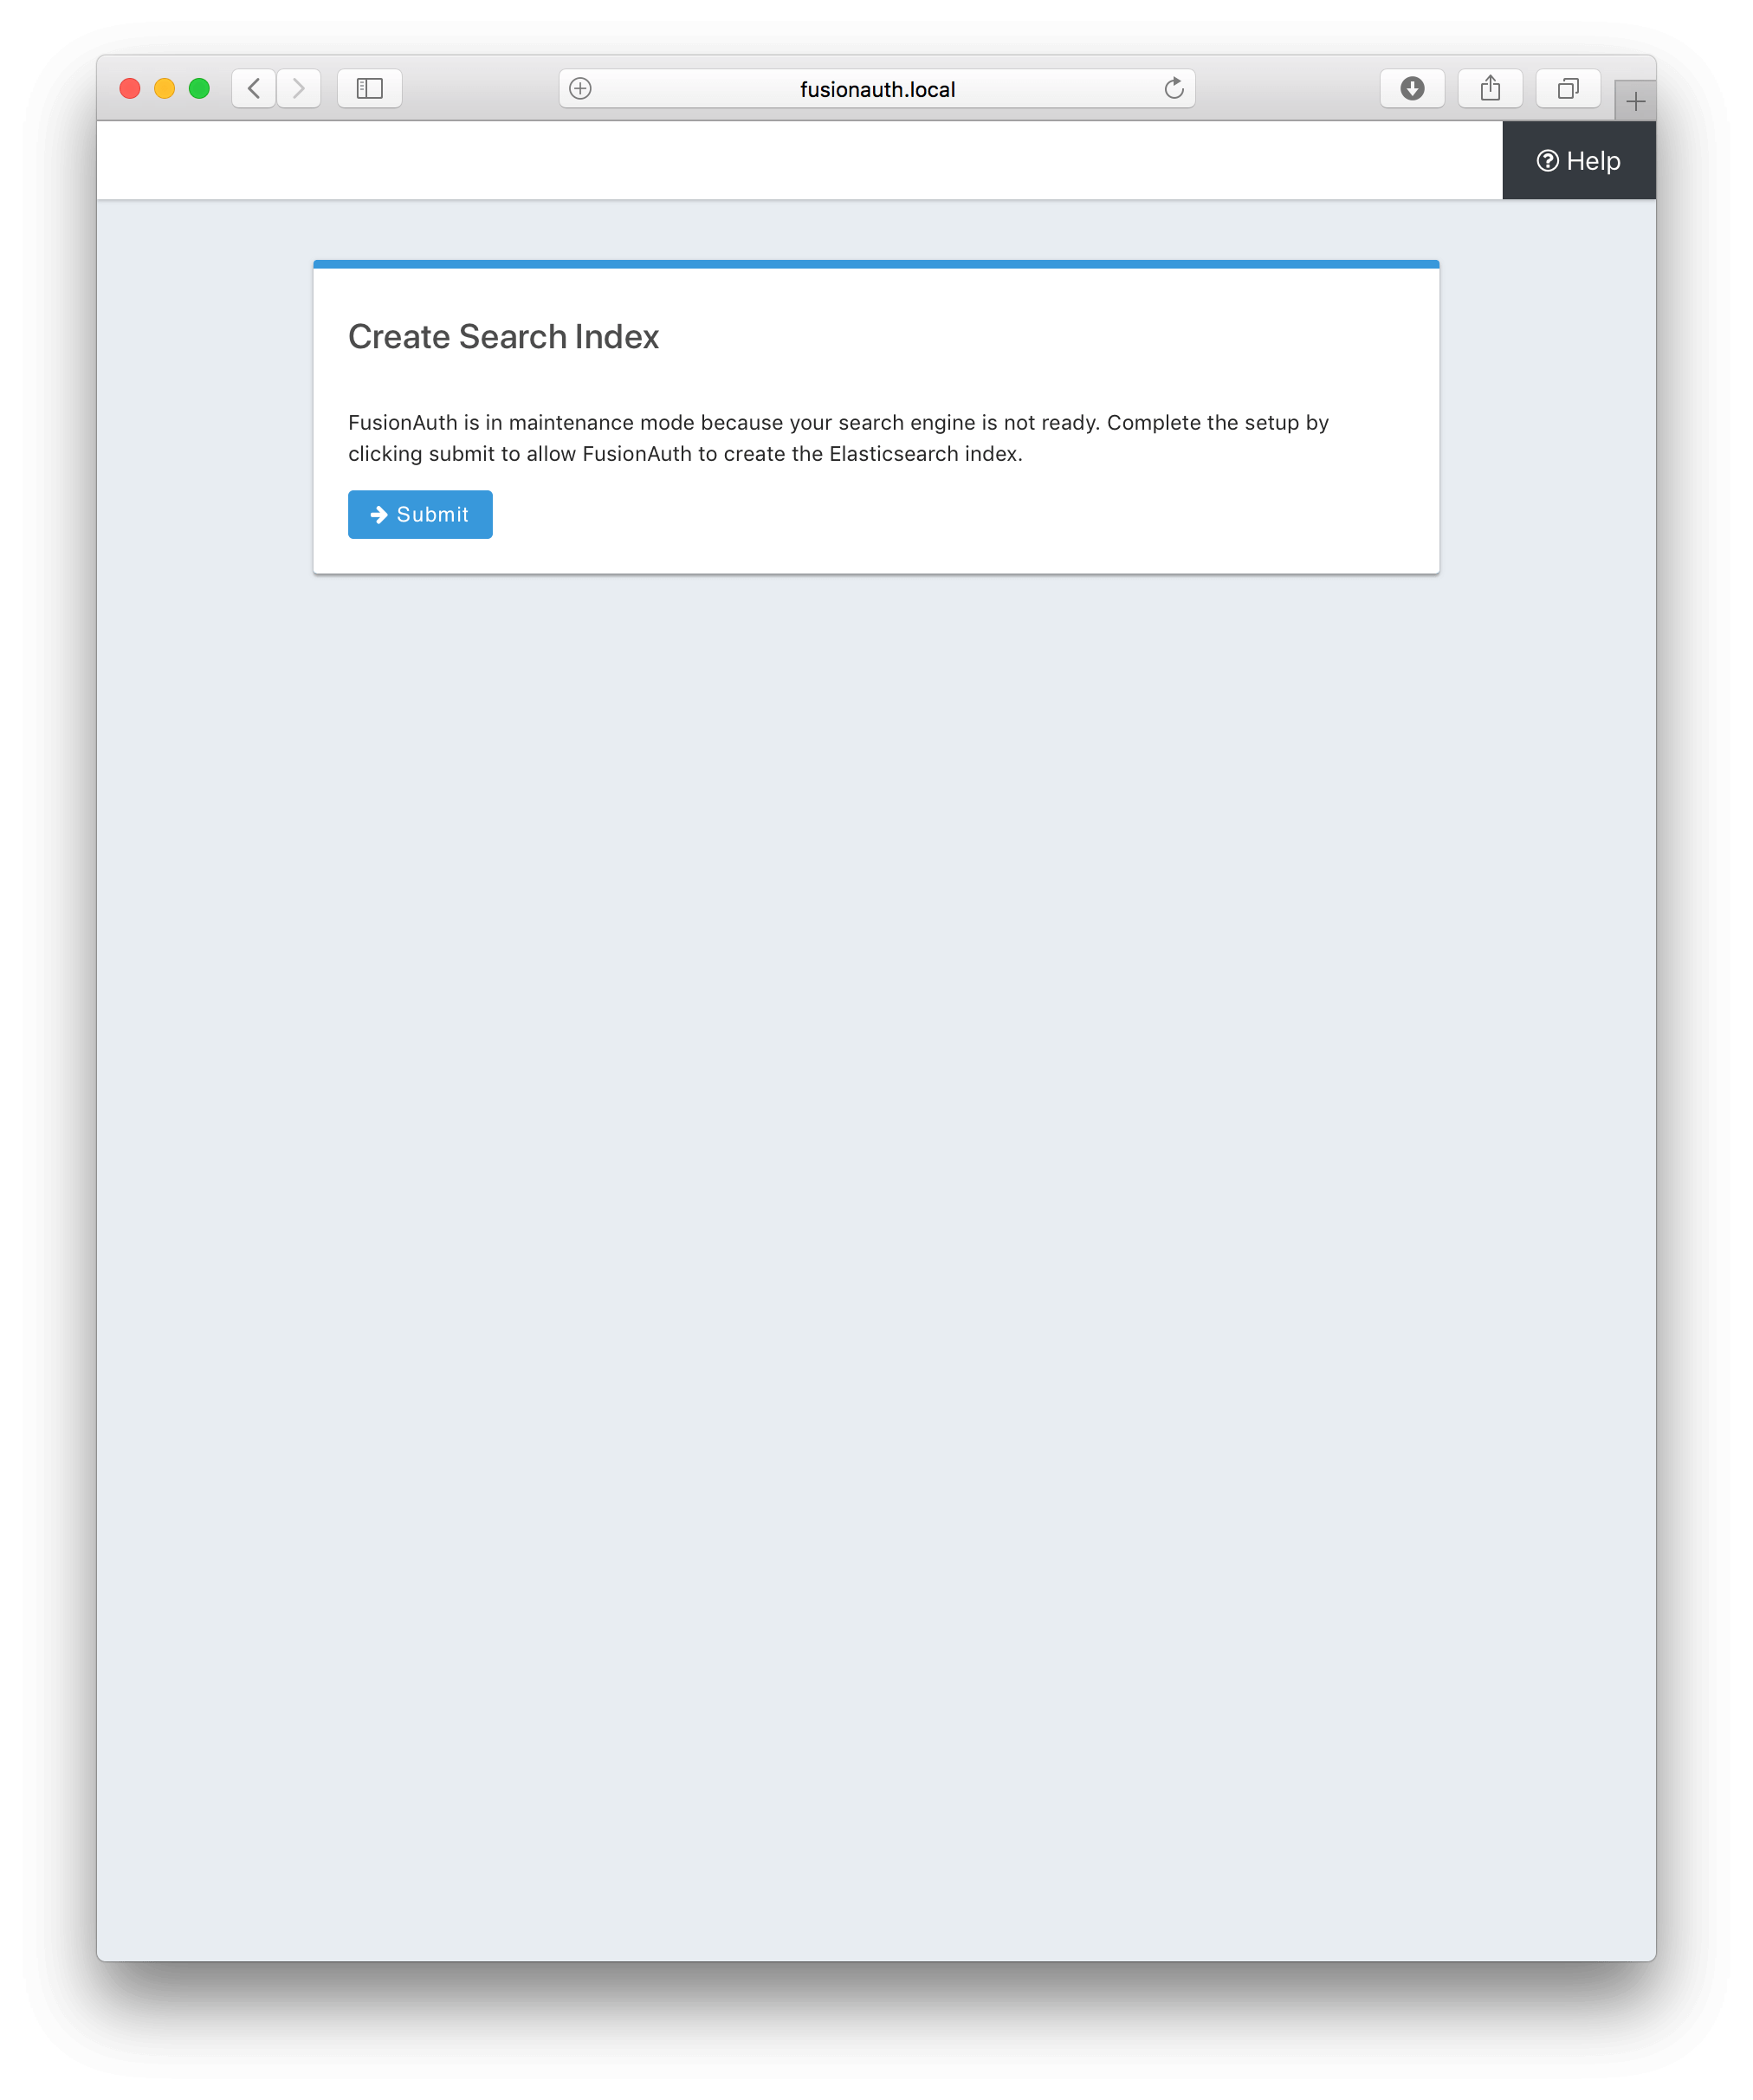
## Advanced Installation
These instructions will assist you in editing the FusionAuth configuration file and installing the database schema via the command-line. If you used Maintenance Mode to configure FusionAuth App, you can skip this section.
To manually configure the database schema, you will need to downloaded the corresponding zip file for the version of FusionAuth you'll be installing. Navigate to the [Direct Download](/direct-download) page and find the file named `fusionauth-database-schema-<version>.zip`. That zip archive will contain the necessary SQL files to complete this section.
When you extract the contents of the zip archive you will find `mysql.sql` and `postgresql.sql`. Typically, these files are used when building a database from the ground up (in other words, creating the schema, in the next section) and are always provided with each release of FusionAuth. For existing databases, migrations can be run and are included in the `migrations` folder. Not all versions of FusionAuth require a database migration. FusionAuth versions with migrations are highlighted in the [release notes](/docs/release-notes/).
```
fusionauth-database-schema/
├── migrations
│ ├── mysql
│ │ ├── 1.1.0.sql
//...
│ │ ├── 1.33.0.sql
│ └── postgresql
│ ├── 1.1.0.sql
//...
│ ├── 1.33.0.sql
├── mysql.sql
├── passport-to-fusionauth (less common to reference)
│ ├── mysql.sql
│ └── postgresql.sql
└── postgresql.sql
```
### Database Schema
<Aside type="caution">
**Security**
By default, unless you configure the database connection using Maintenance Mode, FusionAuth is configured to connect to the database named `fusionauth`
on `localhost` with the user name `fusionauth` and the password `fusionauth`. For development and testing, you can use these defaults; however, we recommend a more secure password for production systems.
</Aside>
In the following examples, `<root_user>` is the name of the root user for your database. The `<root_user>` must be either the root user or
a user that has privileges to create databases. For MySQL, this is generally a user named `root`, on PostgreSQL, this is generally a user named `postgres`, your configuration may vary. Run the following SQL commands to configure the database for use by FusionAuth. Additionally, `<ordinary_user>` and `<ordinary_password>` are non-superuser accounts that are used to connect to the FusionAuth database.
```shell title="MySQL"
# Create the fusionauth database, replace <root_user> a valid superuser.
mysql --default-character-set=utf8 -u<root_user> -e "CREATE DATABASE fusionauth CHARACTER SET = 'utf8mb4' COLLATE = 'utf8mb4_bin';"
# Create the non-superuser account in the database, replace <root_user> a valid superuser, <ordinary_user> a valid non-superuser and <ordinary_password> with a secure password.
mysql --default-character-set=utf8mb4 -u<root_user> -e "CREATE USER <ordinary_user> IDENTIFIED BY '<ordinary_password>'"
# Grant ordinary user all authority to fusionauth database, replace <root_user> a valid superuser and <ordinary_user> with your user from above.
mysql --default-character-set=utf8mb4 -u<root_user> -e "GRANT ALL ON fusionauth.* TO '<ordinary_user>'@'%'" fusionauth
# Create FusionAuth schema, run this command from the directory where you have extracted the FusionAuth Database Schema zip, replace <ordinary_user> and <ordinary_password> with the values from above.
mysql --default-character-set=utf8mb4 -u<ordinary_user> -p<ordinary_password> fusionauth < mysql.sql
```
```shell title="PostgreSQL"
# Create the fusionauth database, replace <root_user> a valid superuser.
psql -U<root_user> -c "CREATE DATABASE fusionauth ENCODING 'UTF-8' LC_CTYPE 'en_US.UTF-8' LC_COLLATE 'en_US.UTF-8' TEMPLATE template0"
# Note, if installing on Windows, the Encoding values are different, replace the previous command with this version.
psql -U<root_user> -c "CREATE DATABASE fusionauth ENCODING 'UTF-8' LC_CTYPE 'English_United States' LC_COLLATE 'English_United States' TEMPLATE template0;"
# Create the non-superuser account in the database, replace <root_user> a valid superuser, <ordinary_user> a valid non-superuser and <ordinary_password> with a secure password.
psql -U<root_user> -c "CREATE ROLE <ordinary_user> WITH LOGIN PASSWORD '<ordinary_password>';"
# Grant ordinary user all authority to fusionauth database, replace <root_user> a valid superuser and <ordinary_user> with your user from above.
psql -U<root_user> -c "GRANT ALL PRIVILEGES ON DATABASE fusionauth TO <ordinary_user>; ALTER DATABASE fusionauth OWNER TO <ordinary_user>;"
# Create FusionAuth schema, run this command from the directory where you have extracted the FusionAuth Database Schema zip, replace <ordinary_user> with
the value from above.
psql -U<ordinary_user> fusionauth < postgresql.sql
```
### Configuration
Before starting FusionAuth for the first time, you'll need to add your database connection in the configuration. The name of this
file is `fusionauth.properties`.
The configuration file may be found in the following directory, assuming you installed in the default locations. If you have installed in an
alternate location, the path to this file will be different.
Windows::
`\fusionauth\config`
macOS or Linux::
`/usr/local/fusionauth/config`
For more information about the other configuration options found in this file, see the [Configuration Reference](/docs/reference/configuration) section.
Find the default database JDBC URL, username and password values, verify this information is correct. The default JDBC URL is configured for MySQL,
if you're using PostgreSQL you'll need to update the URL. See the `database.url` property documentation in [Configuration Reference](/docs/reference/configuration) for more information.
<Aside type="note">
If you are using MySQL, your `database.url` property must have a parameter at the end like this: `?serverTimezone=UTC`. The `?` character is the
same as a standard URL parameter, so if you have additional parameters, you should only have a single `?` and parameters should be separated by `&`.
</Aside>
```ini title="Database Configuration"
database.url=jdbc:mysql://localhost:3306/fusionauth?serverTimezone=UTC
database.username=fusionauth
database.password=fusionauth
```
FusionAuth should now be configured, the database should be created and everything should be ready to run. You can start FusionAuth using
the instructions in the [Start FusionAuth App](#start-fusionauth-app) section above.
## Troubleshooting
<TroubleshootingRuntimeModesAtStartup />
## FAQs
<Modes />
# FusionAuth Search Installation
import Aside from 'src/components/Aside.astro';
## Overview
This guide will assist you with installing FusionAuth Search on your own server running Linux, macOS, or Windows. The search engine
is required by FusionAuth and provides full text search. This service may be horizontally scaled by using Elasticsearch clustering.
## Download the Package
Navigate to the [Downloads](/download/) page and find FusionAuth Search package for your target platform.
## Install the Package
### Red Hat
To install on a Red Hat based system, use the RPM bundle. Execute this command to install the FusionAuth Search RPM (replace `<version>` with
the correct version number):
```shell
sudo rpm -i fusionauth-search<version>.rpm
```
### Debian
To install on a Debian based system, use the DEB bundle. Execute this command to install the FusionAuth Search DEB (replace `<version>` with
the correct version number):
```shell
sudo dpkg -i fusionauth-search<version>.deb
```
### macOS
To install on macOS, use the `.zip` bundle. Extract the `fusionauth-search` zip bundle anywhere on the file system. Remember where you extract the file.
This location will be referred to as `FUSIONAUTH_HOME`. We suggest extracting this file to a directory such as `/usr/local/fusionauth`.
Once the zip bundle has been extracted, the directory structure should look similar to this. If you installed somewhere other the default `FUSIONAUTH_HOME`,
your directory structure will be different, this is only for shown as an example.
```shell
/usr/local/fusionauth/bin
/usr/local/fusionauth/config
/usr/local/fusionauth/config/fusionauth.properties
/usr/local/fusionauth/fusionauth-search
```
### Windows
To install on Windows, use the `.zip` bundle. Extract the `fusionauth-search` zip bundle anywhere on the file system. Remember where you extract
the file. This location will be referred to as `FUSIONAUTH_HOME`. We suggest extracting this file to a directory such as `\fusionauth` on Windows.
Once the zip bundle has been extracted, the directory structure should look similar to this. If you installed somewhere other the default `FUSIONAUTH_HOME`,
your directory structure will be different, this is only for shown as an example.
```
\fusionauth\bin
\fusionauth\config
\fusionauth\config\fusionauth.properties
\fusionauth\fusionauth-search\
```
Next, install the Windows service by changing to the directory designated as `FUSIONAUTH_HOME` and then running the install command.
```
cd \fusionauth\fusionauth-search\elasticsearch\bin
\fusionauth\fusionauth-search\elasticsearch\bin> FusionAuthSearch.exe /install
```
## Configuration
If you will be running more than one search engine service, or the search engine is installed on a separate server than the FusionAuth App service,
you will need to modify the default configuration in the `fusionauth.properties` file.
If you have installed the Search Engine service on the same server that is running FusionAuth App no further configuration is required.
Each server running the FusionAuth Search service will need to be added to the configuration. To do this, you will need to edit the
`fusionauth.properties` configuration file. More information about this configuration file is located in the [Configuration Reference](/docs/reference/configuration) section.
The following examples assume that FusionAuth App and FusionAuth Search can communicate either on `localhost` if running on the same
system, or if running on separate systems that a site local connection exists between both servers. If you require communication between
FusionAuth App and FusionAuth Search on a public IP address, you will also need to modify the `fusionauth-search.hosts` property
on the server running FusionAuth Search. The default value will only bind to localhost and site local IP addresses. See the
[Configuration Reference](/docs/reference/configuration) for more information on configuring the `fusionauth-search.hosts` property.
The following examples also assume the default port as specified by the `fusionauth-search.transport-port` property. If this value has been
modified, adjust the examples accordingly.
### Example Configuration 1
The following is an example where FusionAuth Search is running on the same server as FusionAuth. This is the default configuration,
if this is how you have your system configured, no change to `fusionauth.properties` is required.
```ini title="fusionauth.properties"
fusionauth-search.servers=localhost:9020
fusionauth-app.search-engine-type=elasticsearch
fusionauth-app.search-servers=http://localhost:9021
```
### Example Configuration 2
The following is an example where the FusionAuth Search is running on a separate system than the FusionAuth App and the FusionAuth
Search Engine has an IP Address of `192.168.1.41`.
We'll refer to the server running FusionAuth App as System 1, and the server running FusionAuth Search as System 2.
```ini title="fusionauth.properties on System 1"
fusionauth-search.servers=192.168.1.41:9020
fusionauth-app.search-engine-type=elasticsearch
fusionauth-app.search-servers=http://192.168.1.41:9021
```
```ini title="fusionauth.properties on System 2"
fusionauth-search.servers=localhost:9020
fusionauth-app.search-engine-type=elasticsearch
fusionauth-app.search-servers=http://localhost:9021
```
### Example Configuration 3
<Aside type="note">
When configuring multiple Elasticsearch nodes, you will need to modify the service discovery settings in the shipped `elasticsearch.yml`. See [Elasticsearch's Discovery and cluster formation settings](https://www.elastic.co/guide/en/elasticsearch/reference/current/modules-discovery-settings.html) documentation in configuring multiple nodes.
</Aside>
The following is an example where FusionAuth Search is running on the same server as FusionAuth App, and another server also has
both the FusionAuth App and the FusionAuth Search installed.
We will refer to these systems as System 1 and System 2, where System 1 has an IP address of `192.168.1.41` and System 2 has an IP address
of `192.168.1.42`.
```ini title="fusionauth.properties on System 1"
fusionauth-search.servers=localhost:9020,192.168.1.42:9020
fusionauth-app.search-engine-type=elasticsearch
fusionauth-app.search-servers=http://localhost:9021,http://192.168.1.42:9021
```
```ini title="fusionauth.properties on System 2"
fusionauth-search.servers=localhost:9020,192.168.1.41:9020
fusionauth-app.search-engine-type=elasticsearch
fusionauth-app.search-servers=http://localhost:9021,http://192.168.1.41:9021
```
## Start FusionAuth Search
FusionAuth Search Engine should now be ready to run. Use the instructions below to start FusionAuth Search. The search engine should be started
first before the FusionAuth App service.
```shell title="Linux (RPM or DEB package)"
sudo systemctl start fusionauth-search
```
```shell title="macOS (ZIP package)"
<FUSIONAUTH_HOME>/fusionauth-search/elasticsearch/bin/elasticsearch -d
```
```plaintext title="Windows (ZIP package)"
\fusionauth\fusionauth-search\elasticsearch\bin\elasticsearch.bat
```
```plaintext title="Windows Service"
net start FusionAuthSearch
```
# Install FusionAuth using Homebrew
import UpgradeUsingBrew from 'src/content/docs/_shared/_upgrade-using-brew.mdx';
## Homebrew Install
Homebrew is a macOS package manager, so if you're running macOS and you're familiar with Homebrew, we've got you covered. Our Homebrew formula is open source and available on GitHub.
https://github.com/FusionAuth/homebrew-fusionauth
To install FusionAuth using brew, first install the Tap, you will only need to do this step once.
```
brew tap fusionauth/homebrew-fusionauth
```
Next, install the FusionAuth services. Make sure you have `postgresql` up and running, optionally you can skip the `elasticsearch`/`opensearch` service if you would like to use the database as the User search engine, or if you already have a compatible Elasticsearch service running. See the [System Requirements](/docs/get-started/download-and-install/system-requirements) and [Configuration Reference](/docs/reference/configuration).
If you want to install the prerequisites with Homebrew check the [Prerequisites With Homebrew](#prerequisites-with-homebrew) section.
```
brew install fusionauth-app
```
That's it! Now fire it up!
```
brew services start fusionauth-app
```
Now to get started open your browser to `http://localhost:9011`, and complete maintenance mode and the setup wizard.
If you want to run FusionAuth in silent mode, you can follow the instructions in the [Configure For Silent Configuration](#silent-configuration) section.
The shared configuration file will be located here: `/usr/local/etc/fusionauth/fusionauth.properties` and the logs are here : `/usr/local/var/log/fusionauth/`.
## Homebrew Upgrade
<UpgradeUsingBrew />
## Prerequisites With Homebrew
FusionAuth requires a database and a search engine. The recommended database is PostgreSQL, and the recommended search engine is OpenSearch.
### Postgres
If you don't have PostgreSQL installed, you can install it using Homebrew:
```bash
# Install PostgreSQL 16
brew install postgresql@16
# Check the service status
brew services info postgresql@16
# Start PostgreSQL 16 service
brew services start postgresql@16
```
To run the FusionAuth installation in silent mode, you need to create a PostgreSQL user and database for FusionAuth. You can do this with the following commands:
```bash
# Ensure the PostgreSQL binaries are in your PATH
export PATH="$PATH:$(brew --prefix postgresql@16)/bin"
# Create the fusionauth user fusionauth with password fusionauth
psql --command="CREATE USER fusionauth PASSWORD 'fusionauth'" --command="\du" postgres
# Create the fusionauth database owned by the fusionauth user
createdb --owner=fusionauth fusionauth
```
### OpenSearch
If you don't have OpenSearch installed, you can install it using Homebrew:
```bash
brew install opensearch
brew services info opensearch
brew services start opensearch
```
## Silent Configuration
After installing FusionAuth, you can configure it before starting the service to run a silent configuration. The configuration file is located at `$(brew --prefix)/etc/fusionauth/fusionauth.properties`.
```bash
# Add linebreak to the end of the fusionauth.properties file
echo "" >> $(brew --prefix)/etc/fusionauth/fusionauth.properties
# Add your kickstart file path
echo "fusionauth-app.kickstart.file=/path/to/your/kickstart/kickstart.json" >> $(brew --prefix)/etc/fusionauth/fusionauth.properties
# Add the silent mode property
echo "fusionauth-app.silent-mode=true" >> $(brew --prefix)/etc/fusionauth/fusionauth.properties
# Change the search.type=database to search.type=elasticsearch
sed -i '' 's/search.type=database/search.type=elasticsearch/g' $(brew --prefix)/etc/fusionauth/fusionauth.properties
# Add the open search URL
echo "search.servers=http://localhost:9200" >> $(brew --prefix)/etc/fusionauth/fusionauth.properties
# Check the full configuration
cat $(brew --prefix)/etc/fusionauth/fusionauth.properties
```
# Packages
import Aside from 'src/components/Aside.astro';
## What Packages do I need?
If you will be manually installing packages, you'll have a choice of a few packages on the package [Direct Downloads](/direct-download) page.
Review the following information to understand which packages you need to download. If your target platform is Linux, using the RPM or DEB packages is preferred and provides the simplest installation process.
The Zip package may be used on macOS, Linux or Windows.
## FusionAuth App
The FusionAuth App is the web service that handles all API calls and provides the web based management interface. You will always need to download this package since it is the core component of FusionAuth.
## FusionAuth Search
<Aside type="note">
The FusionAuth Search package is intended for a single node Elasticsearch configuration. In order to use the FusionAuth Search package in a multi-node configuration, you will need to modify the shipped `elasticsearch.yml` configuration file accordingly.
</Aside>
The FusionAuth Search package contains the Elasticsearch service that FusionAuth uses to provide advanced and performant search capabilities of users. This package is provided to ease setup using Elasticsearch as the search engine. This package is optional, and you may configure FusionAuth to connect with any Elasticsearch cluster running a supported version of Elasticsearch.
FusionAuth ships configured to use the database as the default search engine type, you will need to update the configuration to leverage Elasticsearch as the search engine. See the [Configuration](/docs/reference/configuration) documentation for reference in configuring the search engine.
## Database
The database package contains the schema and migration scripts to support upgrades as the schema changes. In most cases, you will not need to use this package. Instead, FusionAuth App will enter Maintenance Mode when it is started and this will automatically create the database or upgrade it. If you need to perform unattended installs or upgrades of FusionAuth, you will need to download this package for the schema and migration SQL scripts. You can review the [Advanced Installation](/docs/get-started/download-and-install/fusionauth-app#advanced-installation) portion of the [Install FusionAuth App](/docs/get-started/download-and-install/fusionauth-app) section to learn more about unattended installations and upgrades.
# Server Layout
## Server Layout
To help you determine the best server layout, look over the diagrams below and determine which layout works best for your dev, staging and production environments.
Each layout will require FusionAuth App, Search Engine and a relational database.
The FusionAuth services are separated because as you will see in the diagrams below they may not all run on the same server, and each component can be horizontally scaled separately. The FusionAuth Search is Elasticsearch and FusionAuth will handle the cluster configuration when multiple instances are installed based upon the provided configuration. See the [Configuration](/docs/reference/configuration) reference for additional detail.
After you have selected a desired server layout, see the installation links below for each service.
* [Install a Database](/docs/get-started/download-and-install/database)
* [Install FusionAuth Search](/docs/get-started/download-and-install/fusionauth-search)
* [Install FusionAuth App](/docs/get-started/download-and-install/fusionauth-app)
### Single server
<img src="/img/docs/get-started/download-and-install/single-server.png" alt="One Server" />
This configuration uses a single server to host all of the components for FusionAuth including the relational database. In this deployment model there is no service redundancy and there is a risk of resource contention. For this reason this model should be limited to the following purposes:
* Development servers or workstations
* QA / Staging environments
* Small production deployments
### Two servers with external database
<img src="/img/docs/get-started/download-and-install/two-servers-external-db.png" alt="Two servers with an external database" />
This configuration uses a separate server to host the relational database. The method for configuring this database is outside the scope of this guide but a general guideline would be to provide some sort of storage redundancy or clustering capability to ensure a high level of availability and performance.
Each FusionAuth service is redundant and running on a separate server, this configuration provides basic redundancy.
When more than one FusionAuth Search is running and configured properly these Elasticsearch nodes will cluster and duplicate each the entire search index by replicating shards between nodes.
In this scenario FusionAuth should be placed behind a load balancer to utilize both services equally. Prior to version `1.19.0` session pinning should be utilized to support stateful sessions to FusionAuth. API connections to the FusionAuth App are stateless and do not require session pinning. All URLs beginning with `/api/` will be API requests and should not be session pinned. In version `1.19.0` this requirement was removed and session pinning is no longer required. This configuration is best suited for the following purposes:
* Staging environments
* Production deployments
### Horizontally Scaled with external database
<img src="/img/docs/get-started/download-and-install/n-servers-external-db.png" alt="Horizontally scaled with an external database" />
This configuration uses separate servers to host FusionAuth App, FusionAuth Search and the database. This is a theoretical example of scaling each service individually. This configuration will provide the most flexibility and availability to FusionAuth.
The details regarding load balancing requests and session pinning (when applicable) is the same as the previous example. This highly flexible and performance oriented configuration is best suited for the following purposes:
* Staging environments suitable for load testing
* Production environments
# Setup Wizard & First Time Setup
import SetupWizard from 'src/content/docs/_shared/_setup-wizard.mdx';
import * as wizard from 'src/content/docs/_shared/_setup-wizard.mdx';
export const headings = wizard.getHeadings();
<SetupWizard />
# Start and Stop FusionAuth
## Start and Stop FusionAuth
If you are self-hosting FusionAuth, you may need to manually start or stop FusionAuth periodically. If you find yourself in this situation you'll be glad you know how.
Please note, unless you are self-hosting FusionAuth these instructions do not apply to you. FusionAuth manages and monitors instances hosted in our private
cloud and will restart FusionAuth if necessary.
It is recommended you start the FusionAuth Search service before starting the FusionAuth App service. You should also shutdown the Search Engine last. FusionAuth
utilizes the Search Engine and database for persisting and retrieving users.
The following examples will make the assumption that all of the services are running on the same server. Based upon how you have installed FusionAuth
you may or may not have all of the services running on the same server.
The macOS and Windows instructions assume an installation directory of `/usr/local/fusionauth` and `\fusionauth` respectively. Please adjust to your
specific installation directory. We'll refer to this directory as `FUSIONAUTH_HOME`.
### Linux
When you install FusionAuth using our Debian or RPM packages a service is registered. It is recommended you utilize these services to start and stop
FusionAuth.
The service names are as follows:
* `fusionauth-search`
* `fusionauth-app`
```shell title="Start FusionAuth"
sudo systemctl start fusionauth-search
sudo systemctl start fusionauth-app
```
```shell title="Stop FusionAuth"
sudo systemctl stop fusionauth-app
sudo systemctl stop fusionauth-search
```
If you'd prefer to use the native Elastic and Tomcat scripts you may follow the macOS instructions, the same scripts may be executed on Linux.
### macOS
*Start and Stop services using the native Elastic and FusionAuth scripts*
```shell title="Start FusionAuth services"
/usr/local/fusionauth/fusionauth-search/elasticsearch/bin/elasticsearch
/usr/local/fusionauth/fusionauth-app/bin/start.sh
```
```shell title="Stop FusionAuth services"
/usr/local/fusionauth/fusionauth-app/bin/stop.sh
```
Elasticsearch should be stopped last. If you started Elasticsearch using the `elasticsearch` script then you may simply kill the terminal where
the service is running to initiate shutdown.
```shell title="Start FusionAuth services - Versions < 1.37.0"
/usr/local/fusionauth/fusionauth-search/elasticsearch/bin/elasticsearch
/usr/local/fusionauth/fusionauth-app/apache-tomcat/bin/catalina.sh start
```
```shell title="Stop FusionAuth services - Versions < 1.37.0"
/usr/local/fusionauth/fusionauth-app/apache-tomcat/bin/catalina.sh stop
```
### Windows
*Start and Stop services using the native PowerShell scripts*
```plaintext title="Start FusionAuth services using command line"
\fusionauth\fusionauth-search\elasticsearch\bin\elasticsearch.bat
\fusionauth\fusionauth-app\bin\start.ps1
```
```plaintext title="Stop FusionAuth using command line"
\fusionauth\fusionauth-app\bin\stop.ps1
```
Elasticsearch should be stopped last. If you started Elasticsearch using the `elasticsearch.bat` script then you may simply close the command
window where the service is running to initiate shutdown.
```plaintext title="Start FusionAuth services using command line - Versions < 1.37.0"
\fusionauth\fusionauth-search\elasticsearch\bin\elasticsearch.bat
\fusionauth\fusionauth-app\apache-tomcat\bin\catalina.bat start
```
```plaintext title="Start FusionAuth services using command line - Versions < 1.37.0"
\fusionauth\fusionauth-app\apache-tomcat\bin\catalina.bat stop
```
*Start and Stop services using Windows Services*
We also provide support for running FusionAuth as a Windows service.
```plaintext title="Start Services"
net start FusionAuthSearch
net start FusionAuthApp
```
```plaintext title="Stop Services"
net stop FusionAuthApp
net stop FusionAuthSearch
```
*Uninstall and reinstall Windows Services*
In most cases you will not need to re-install the services. If you want to remove the software from your system, the following commands will un-register the services.
```plaintext title="Unregister Windows Services"
\fusionauth\fusionauth-app\bin\FusionAuthApp.exe /uninstall
\fusionauth\fusionauth-search\elasticsearch\bin\FusionAuthSearch.exe /uninstall
```
You may then optionally re-install the Windows services.
```plaintext title="Register Windows Services"
\fusionauth\fusionauth-search\elasticsearch\bin\FusionAuthSearch.exe /install
\fusionauth\fusionauth-app\bin\FusionAuthApp.exe /install
```
```plaintext title="Unregister Windows Services - Versions < 1.37.0"
\fusionauth\fusionauth-app\apache-tomcat\bin\FusionAuthApp.exe /uninstall
\fusionauth\fusionauth-search\elasticsearch\bin\FusionAuthSearch.exe /uninstall
```
You may then optionally re-install the Windows services.
```plaintext title="Register Windows Services - Versions < 1.37.0"
\fusionauth\fusionauth-search\elasticsearch\bin\FusionAuthSearch.exe /install
\fusionauth\fusionauth-app\apache-tomcat\bin\FusionAuthApp.exe /install
```
# Silent Mode
## Overview
Silent mode has been available in FusionAuth since version `1.0.0`. This feature was previously called Silent Configuration and allowed you to configure the database for FusionAuth without the need to manually run the SQL scripts or to interactively use maintenance mode in the UI. Prior to version `1.19.0`, silent mode was not available if the runtime mode was set to anything except `development`. This prevented production systems from accidentally being modified by silent mode. Since version `1.19.0`, silent mode is now fully configurable and can be enabled even when the runtime mode is set to `production`.
Silent mode serves two purposes that we will cover in the following sections: installation and upgrades. Keep in mind that both of these processes might fail so you should always be ready to intervene and you should always make backups of existing databases.
## Behavior
Silent mode automatically creates everything in the database that FusionAuth needs without prompts in the browser. When enabled, silent mode will perform the following steps:
1. Open a raw socket to the database on the correct port to ensure it is reachable
2. If the configuration contains super user credentials, connect to the FusionAuth database using the super user (i.e. the `fusionauth` database and not the `mysql` or `postgres` database)
3. If the database doesn't exist in either case, silent mode will connect to the root database (i.e. `mysql` or `postgres` depending on the database server type) again using the super user credentials and create the database
4. Connect to the root database (i.e. `mysql` or `postgres` depending on the database server type) using the super user credentials and check if the ordinary user exists
5. If the ordinary user doesn't exist, attempt to create it and grant it all the necessary privileges to connect and use the FusionAuth database. This might also change the owner of the FusionAuth database to the ordinary user if you are using PostgreSQL
6. Finally, silent mode connects to the FusionAuth database as the ordinary user and creates the FusionAuth schema
Silent mode will try each of the steps above and if any of them fail, it will exit and put FusionAuth into maintenance mode. This will then require you to remedy the situation and possibly restart FusionAuth to get it back into silent mode. When silent mode does fail, it will present an error message for you to try and figure out what happened. The error might look like this:
<img src="/img/docs/get-started/download-and-install/failure.png" alt="Example of silent mode failure screen." width="1200" />
All of the silent mode steps ensure that at the end of silent mode FusionAuth can connect to the database and function properly. This also prevents FusionAuth from entering the interactive maintenance mode.
## Configuration
### Production mode
In order to configure FusionAuth to take these steps, you must specify a number of configuration properties. Luckily in 1.19.0, FusionAuth now supports specifying configuration properties using environment variables, command line properties, or the `fusionauth.properties` file. You can also mix and match these strategies. Here is an example configuration file that defines the necessary properties to enable silent mode and instruct it to install FusionAuth using the steps above:
```properties title="Example configuration file"
database.url=jdbc:postgresql://localhost:5432/fusionauth
database.username=fusionauth
database.password=ordinary-user-password
database.root.username=postgres
database.root.password=super-user-password
fusionauth-app.runtime-mode=production
```
FusionAuth enables silent mode automatically because `database.url`, `database.username`, and `database.root.username` are set.
### Development mode
Silent mode can also be used in development mode. The following configuration will use silent mode. `fusionauth-app.runtime-mode` can be omitted because its default value is `development`.
```properties title="Example development mode configuration file"
database.url=jdbc:postgresql://localhost:5432/fusionauth
database.username=fusionauth
database.password=ordinary-user-password
database.root.username=postgres
database.root.password=super-user-password
```
### Managed databases
Some cloud providers don't provide access to a super user account and also don't allow you to connect to the "root" databases (i.e. `mysql` or `postgres`). Instead, they provision an ordinary user account and create an empty database for you to use. Often you can name this database to anything you want.
For these types of situations, FusionAuth can still connect to the managed database and create all of the necessary tables it requires to run. The only difference is that you must not specify the root credentials in the configuration. Here's an example configuration that will allow silent mode to function without access to any super user information or database. Note that the `fusionauth-app.silent-mode` property is explicitly set in this case:
```properties title="Example configuration file"
database.url=jdbc:postgresql://localhost:5432/fusionauth
database.username=fusionauth
database.password=ordinary-user-password
fusionauth-app.runtime-mode=production
fusionauth-app.silent-mode=true
```
## Upgrades
Using silent mode to upgrade a FusionAuth deployment is simple. The configuration you need to provide is the exact same as the configuration we covered above in the Installation section. It is recommended that you backup your FusionAuth database before performing a silent mode upgrade.
The only additional step that you need to take is to upgrade the version of FusionAuth itself. When the new version of FusionAuth starts up, it checks the database to determine if there are any database migrations that need to be run. If there are, FusionAuth will run the migrations in order and then resume the startup process.
Easy peasy!
# System Requirements
import Aside from 'src/components/Aside.astro';
import ElasticsearchVersion from 'src/content/docs/_shared/_elasticsearch-version.mdx';
import ElasticsearchRam from 'src/content/docs/_shared/_elasticsearch-ram.mdx';
import HostsToAllowNetworkAccessFor from 'src/content/docs/_shared/_hosts-to-allow-network-access.mdx';
## System Requirements
FusionAuth will install and run on nearly any system. We have done our best to document the supported configurations here. If you
have any questions about platform support, please ask a question on <a href="/community/forum/" target="_blank">the forum</a> or open an issue on <a href="https://github.com/FusionAuth/fusionauth-issues/issues/new/choose" target="_blank">GitHub</a>. If you have a licensed plan with support included, you may open a <a href="https://account.fusionauth.io" target="_blank">support request from your account</a>.
Please read through this documentation and ensure you have met all of the requirements before continuing with the installation of FusionAuth.
<Aside type="caution">
Support is unavailable for any unauthorized modification of the FusionAuth software. See [section 5, Exhibit A of the FusionAuth license for more](/license#support-services).
</Aside>
## Operating System
FusionAuth will run on most platforms. The following list summarizes the supported platforms.
* Linux - all distributions
* macOS 10.15 (Catalina) or newer
* Windows Server 2019
* Windows 10
Docker, k8s and other container platforms are supported because the host operating system is based upon Linux.
## Java
FusionAuth ships with its own version of Java. The version that is contained in the bundle is the required and supported version.
Currently, Java 21 is the supported major version. The versions of Java that are supported for prior versions of FusionAuth are:
| FusionAuth Version | Java Version |
|--------------------|--------------|
| 1.53.0 and newer | Java 21 |
| 1.32.0 - 1.52.1 | Java 17 |
| 1.31.0 and earlier | Java 14 |
To determine the Java version required for any given version of FusionAuth, [download the appropriate FusionAuth package](/direct-download) and examine the install script.
## Compute RAM
The minimum memory required to run FusionAuth will vary depending upon the number of users you expect and the general intended system capacity.
General guideline: `512M`
If you have memory lying around, feel free to throw more at it - but in a multi-node configuration `512M` to `1GB` assigned per node should be very adequate.
<Aside type="note">
This memory is required for the FusionAuth application. Other programs as well as the operating system take memory too. If you are going to run another application on the same server or a local database, increase your memory appropriately.
</Aside>
If you intend to run Elasticsearch and FusionAuth on the same host you will need to ensure the host has adequate memory for both services and ensure you have adequate disk space for the Elasticsearch index to be stored.
Considerations that may require a larger amount of memory:
* Bulk importing users into FusionAuth. If you are importing in chunks of 250k to 500k it is possible FusionAuth will require additional memory to complete this request.
* Lambdas (>1k). Lambdas need to be pre-compiled, cached and sandboxed in their own JavaScript engine for use a runtime. Creating thousands of Lambdas will increase your memory requirements due to what is needed to keep in memory at runtime.
* Tenants (>1k). There are tasks that require a full traversal of all tenants, when you have 1000's of tenants these tasks may affect performance and will increase your memory requirements.
* Applications (>1k). There are tasks that require a full traversal of all applications, when you have 1000's of applications these tasks may affect performance and will increase your memory requirements.
* When using the Advanced Threat Detection feature, a minimum of `2GB` of heap is required, and `3GB` is recommended.
<Aside type="caution">
When using Advanced Threat Detection before version 1.47.0, it is recommended to allow for adequate memory headspace on the deployment. If the FusionAuth application is taking `3GB` of an in-memory heap, then its best to allocate at least `4GB` (in total, possibly more) for the host system.
When using Advanced Threat Detection with version 1.47.0 or after, you can follow the general guideline for compute RAM.
</Aside>
## Compute Disk Space
The minimum disk space for a compute node (that is nodes that are running `fusionauth-app`) required to run FusionAuth can generally be minimal. We recommend providing compute nodes with between `10GB` and `50GB` of disk space. The `fusionauth-app` installation is only a few hundred megabytes and the operating system is usually on a gigabyte or two. Therefore, you only need to provide enough space for logging and operations performed on the server.
This recommendation assumes that you aren't running `fusionauth-search` on the node and leveraging Elasticsearch. If you intend to use Elasticsearch, please see the disk space recommendations below.
## Compute CPU
The CPU required for compute nodes (that is nodes that are running `fusionauth-app`) depends mostly on the login and registration volume you expect and the password hashing algorithm you use. Here are some general guidelines based on AWS EC2 nodes and using `PBKDF2` with a load factor of `24,000` for the password hashing algorithm:
| Node type | Logins/registrations per second |
|-----------|---------------------------------|
| t3.medium | 10 - 20 logins per second |
| m5.large | 30 - 50 logins per second |
## Database
<Aside type="note">
FusionAuth Cloud runs on PostgreSQL.
If you would like the option to migrate to FusionAuth Cloud in the future, you must use PostgreSQL. If you use MySQL, you will not have the option to ever migrate your data to FusionAuth Cloud.
</Aside>
* MySQL 8.0 or newer
* MysQL platforms that utilize MySQL Group Replication are not supported.
* MariaDB and Percona may work, however these variants are not actively tested against by FusionAuth.
* See [MariaDB known issues](https://github.com/FusionAuth/fusionauth-issues/issues/327) on our GitHub issues.
* PostgreSQL 10 or newer
* PostgreSQL 15 or newer is not supported for FusionAuth versions older than 1.43.0.
### Database RAM
The RAM required by the database depends on your login volume and object counts. If you expect to have a few logins per minute and only a few thousand objects, `1GB-2GB` of RAM will be sufficient. If you have hundreds of millions of objects and 1,000 logins per second, you'll might need `256GB` of RAM. We recommend running load tests of FusionAuth to help determine the amount of RAM that is required for your needs.
### Database Disk Space
The amount of disk space required by the database depends on your configuration, login volumes, and total object counts. We recommend that you estimate the disk space based on the amount of data and storage configuration (event logs, audit logs, and raw login). It is also a good idea to use a system that allows you to expand the disk space if needed (such as Amazon RDS).
In most cases, if you have thousands of objects and low login volumes, `10GB` of disk space will be sufficient. If you have millions of objects and high login volumes, you might need `1TB` of disk or more.
## Elasticsearch
Elasticsearch is optional, and may be leveraged for improving user search functionality. See the [Core Concepts - User](/docs/get-started/core-concepts/users#user-search) documentation for reference in configuration and usage.
If you will be running Elasticsearch on the same host as FusionAuth, please ensure there is adequate RAM for both services to operate normally. Elasticsearch may also protect the index by moving it to read-only if the underlying host is running low on disk space, ensure you have plenty of free storage for the Elasticsearch index.
You can use the [`fusionauth-search`](/docs/get-started/download-and-install/packages#fusionauth-search) package or any other Elasticsearch service including a cloud hosted service or just downloading it and installing it yourself from [elastic.co](https://www.elastic.co/products/elasticsearch).
<ElasticsearchVersion />
### Elasticsearch RAM
<ElasticsearchRam />
### Elasticsearch Disk Space
The amount of disk space required by Elasticsearch depends on your total user and entity counts. We recommend that you estimate the disk space based on the amount of data you will have.
In most cases, if you have thousands of users and entities, `10GB` of disk space will be sufficient. If you have more users and entities please size up accordingly.
## Network Access
FusionAuth offers instructions on downloading the MySQL JDBC driver at install time. Due to the drivers' licensing, it cannot be bundled into the application. You have to download and install the drivers even if the server has network access.
Prior to 1.16.0, the drivers were downloaded no matter which database you used. Prior to 1.40.0, the drivers were downloaded if you are using MySQL.
If you are running FusionAuth in an environment with no network access and are using MySQL, you must download the MySQL driver jar file and place it in `fusionauth-app/web/WEB-INF/lib`.
### Paid Plans
If you are using the Community plan and are not using a license, you can block all outbound network connectivity. Lack of connectivity will not affect the product.
On a licensed plan, you must enable network access to FusionAuth or the license and features will not function properly. If you are in a firewalled or restricted environment and have a licensed plan, add the following hostnames to your network allow list for proper functionality:
<HostsToAllowNetworkAccessFor />
### Egress Proxies
You may set up an outbound proxy and route required network connections through it. To use a proxy, set one or more of the following configuration parameters:
* `proxy.host`
* `proxy.port`
* `proxy.username`
* `proxy.password`
When these are set, FusionAuth will use the configured proxy for all outbound connections.
Learn more about [these parameters in the Configuration Reference](/docs/reference/configuration).
### Collected Metrics
Currently FusionAuth sends a payload to the metrics endpoint for all instances. A self-hosted community user can disable network egress or block access to the metrics endpoint without affecting functionality. Customers on a paid plan must allow a metrics connection [per the license agreement](/license), unless they have an [air-gapped license](/docs/get-started/download-and-install/air-gapping).
To learn more about what metrics we collect and how they are used, view the [collected metrics documentation](/docs/get-started/download-and-install/collected-metrics).
# Applications
import Breadcrumb from 'src/components/Breadcrumb.astro';
import Icon from 'src/components/icon/Icon.astro';
import InlineField from 'src/components/InlineField.astro';
import InlineUIElement from 'src/components/InlineUIElement.astro';
import APIBlock from 'src/components/api/APIBlock.astro';
import APIField from 'src/components/api/APIField.astro';
import AvailableSince from 'src/components/api/AvailableSince.astro';
import EnterprisePlanBlurb from 'src/content/docs/_shared/_enterprise-plan-blurb.astro';
import PremiumPlanBlurbApi from 'src/content/docs/_shared/_premium-plan-blurb-api.astro';
import RoleAttributes from 'src/content/docs/get-started/core-concepts/_role_attributes.mdx';
import ReadOnly from 'src/components/api/ReadOnly.astro';
import Optional from 'src/components/api/Optional.astro';
import TemplateSettings from 'src/content/docs/get-started/core-concepts/_template-settings.mdx';
import ApplicationLambdaSettings from 'src/content/docs/get-started/core-concepts/_application-lambda-settings.mdx';
import ApplicationJsonWebTokenSettings from 'src/content/docs/get-started/core-concepts/_application-json-web-token-settings.mdx';
import ApplicationOAuthSettings from 'src/content/docs/_shared/_application-oauth-settings.mdx';
import ApplicationScopesSettings from 'src/content/docs/_shared/_application-scopes-settings.mdx';
import RefreshTokenSettings from 'src/content/docs/get-started/core-concepts/_refresh-token-settings.mdx';
import PremiumPlanBlurb from 'src/content/docs/_shared/_premium-plan-blurb.astro';
import AdvancedPlanBlurb from 'src/content/docs/_shared/_advanced-plan-blurb.astro';
import Aside from 'src/components/Aside.astro';
import { YouTube } from '@astro-community/astro-embed-youtube';
## Overview
A FusionAuth Application is simply something a user can log into. When you use the Login API, you will provide an `applicationId` to indicate what resource you're attempting to obtain authorization. When you use one of the OAuth2 / OpenID Connect authorization grants you will provide a `client_id` in some fashion. This client identifier will be unique to a single FusionAuth Application which allows FusionAuth to verify the User is registered for the requested Application and subsequently return the correct roles. The `applicationId` and `client_id` can be considered synonymous, both concepts use the same `Id` value.
A FusionAuth Application holds configuration for how your applications interact with FusionAuth. A one to one mapping between an external web, mobile or desktop application and a FusionAuth Application is not required. All of these mappings are supported:
* One to one. Each application has one Application configuration.
* Many to one. Multiple web and mobile applications use one FusionAuth Application config.
* One to many. One web application can auth against multiple FusionAuth Applications, if different authentication scenarios needed to be handled in one application (this isn't very common, though).
Here's a brief video covering some aspects of applications:
<YouTube id="DaZbwrA7M90" />
## Core Concepts Relationships
Below is a visual reminder of the relationships between FusionAuth's primary core concepts.
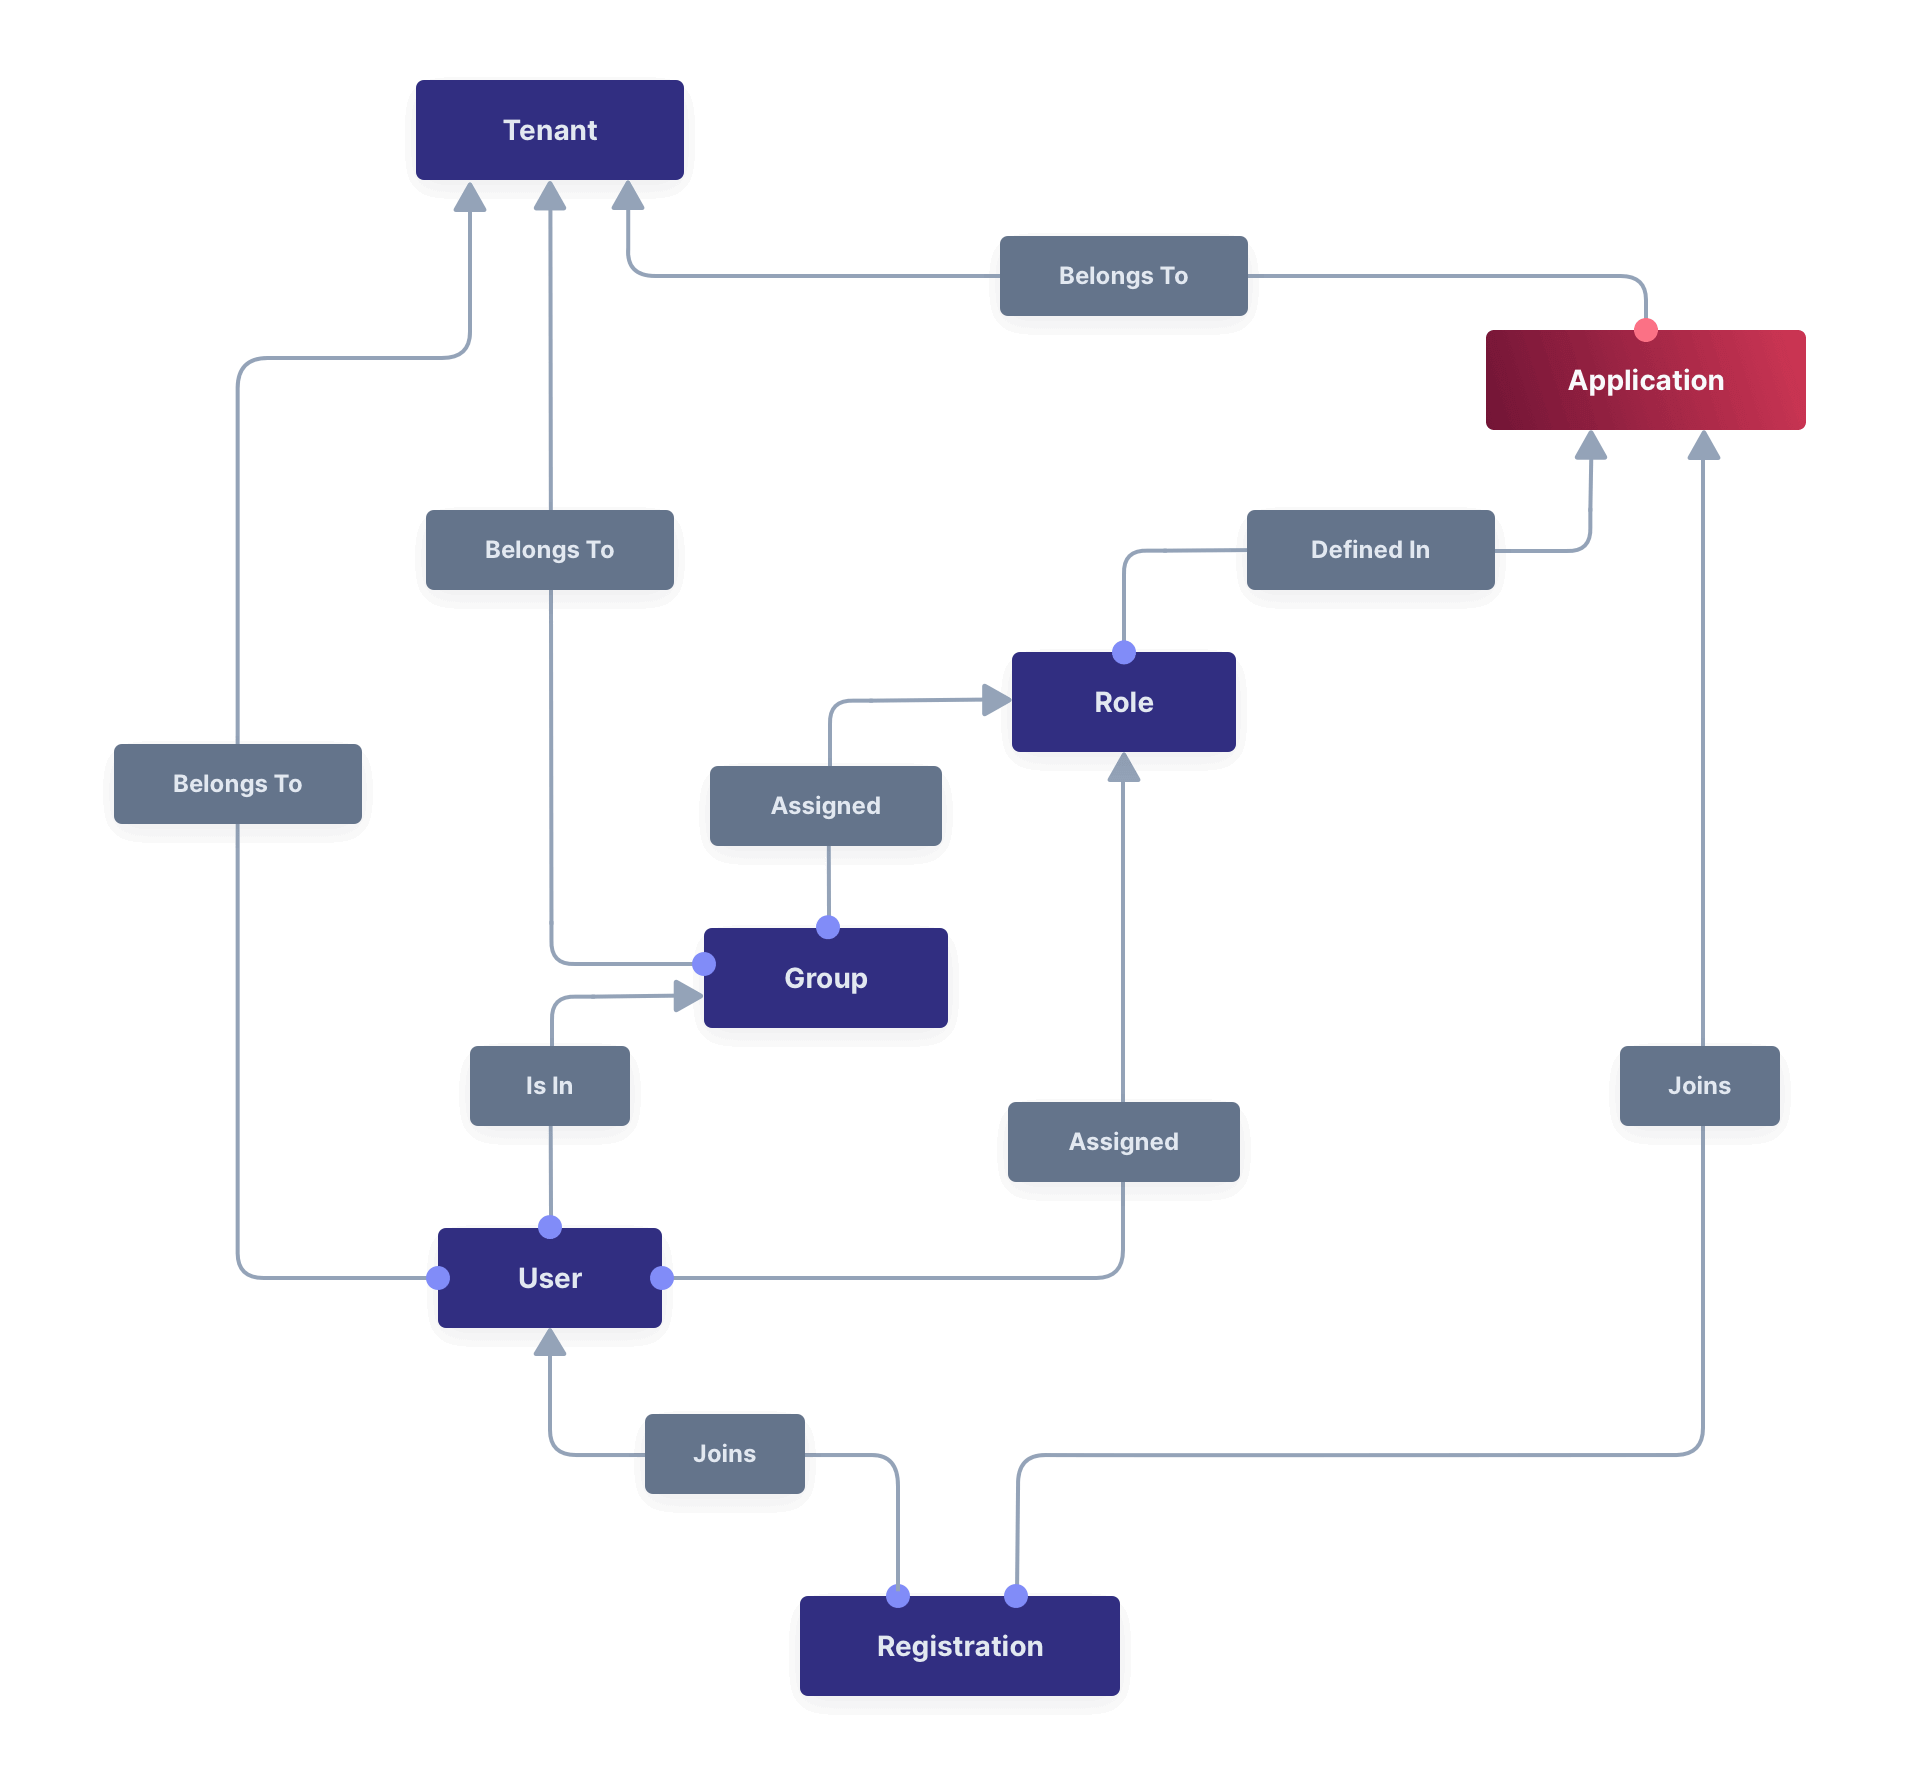
## Admin UI
This page describes the admin UI for creating and configuring an Application.
### Add an Application
Before you start your integration with FusionAuth you need to set up at least one Application. Click on <Breadcrumb>Applications</Breadcrumb> from the left navigation to begin.
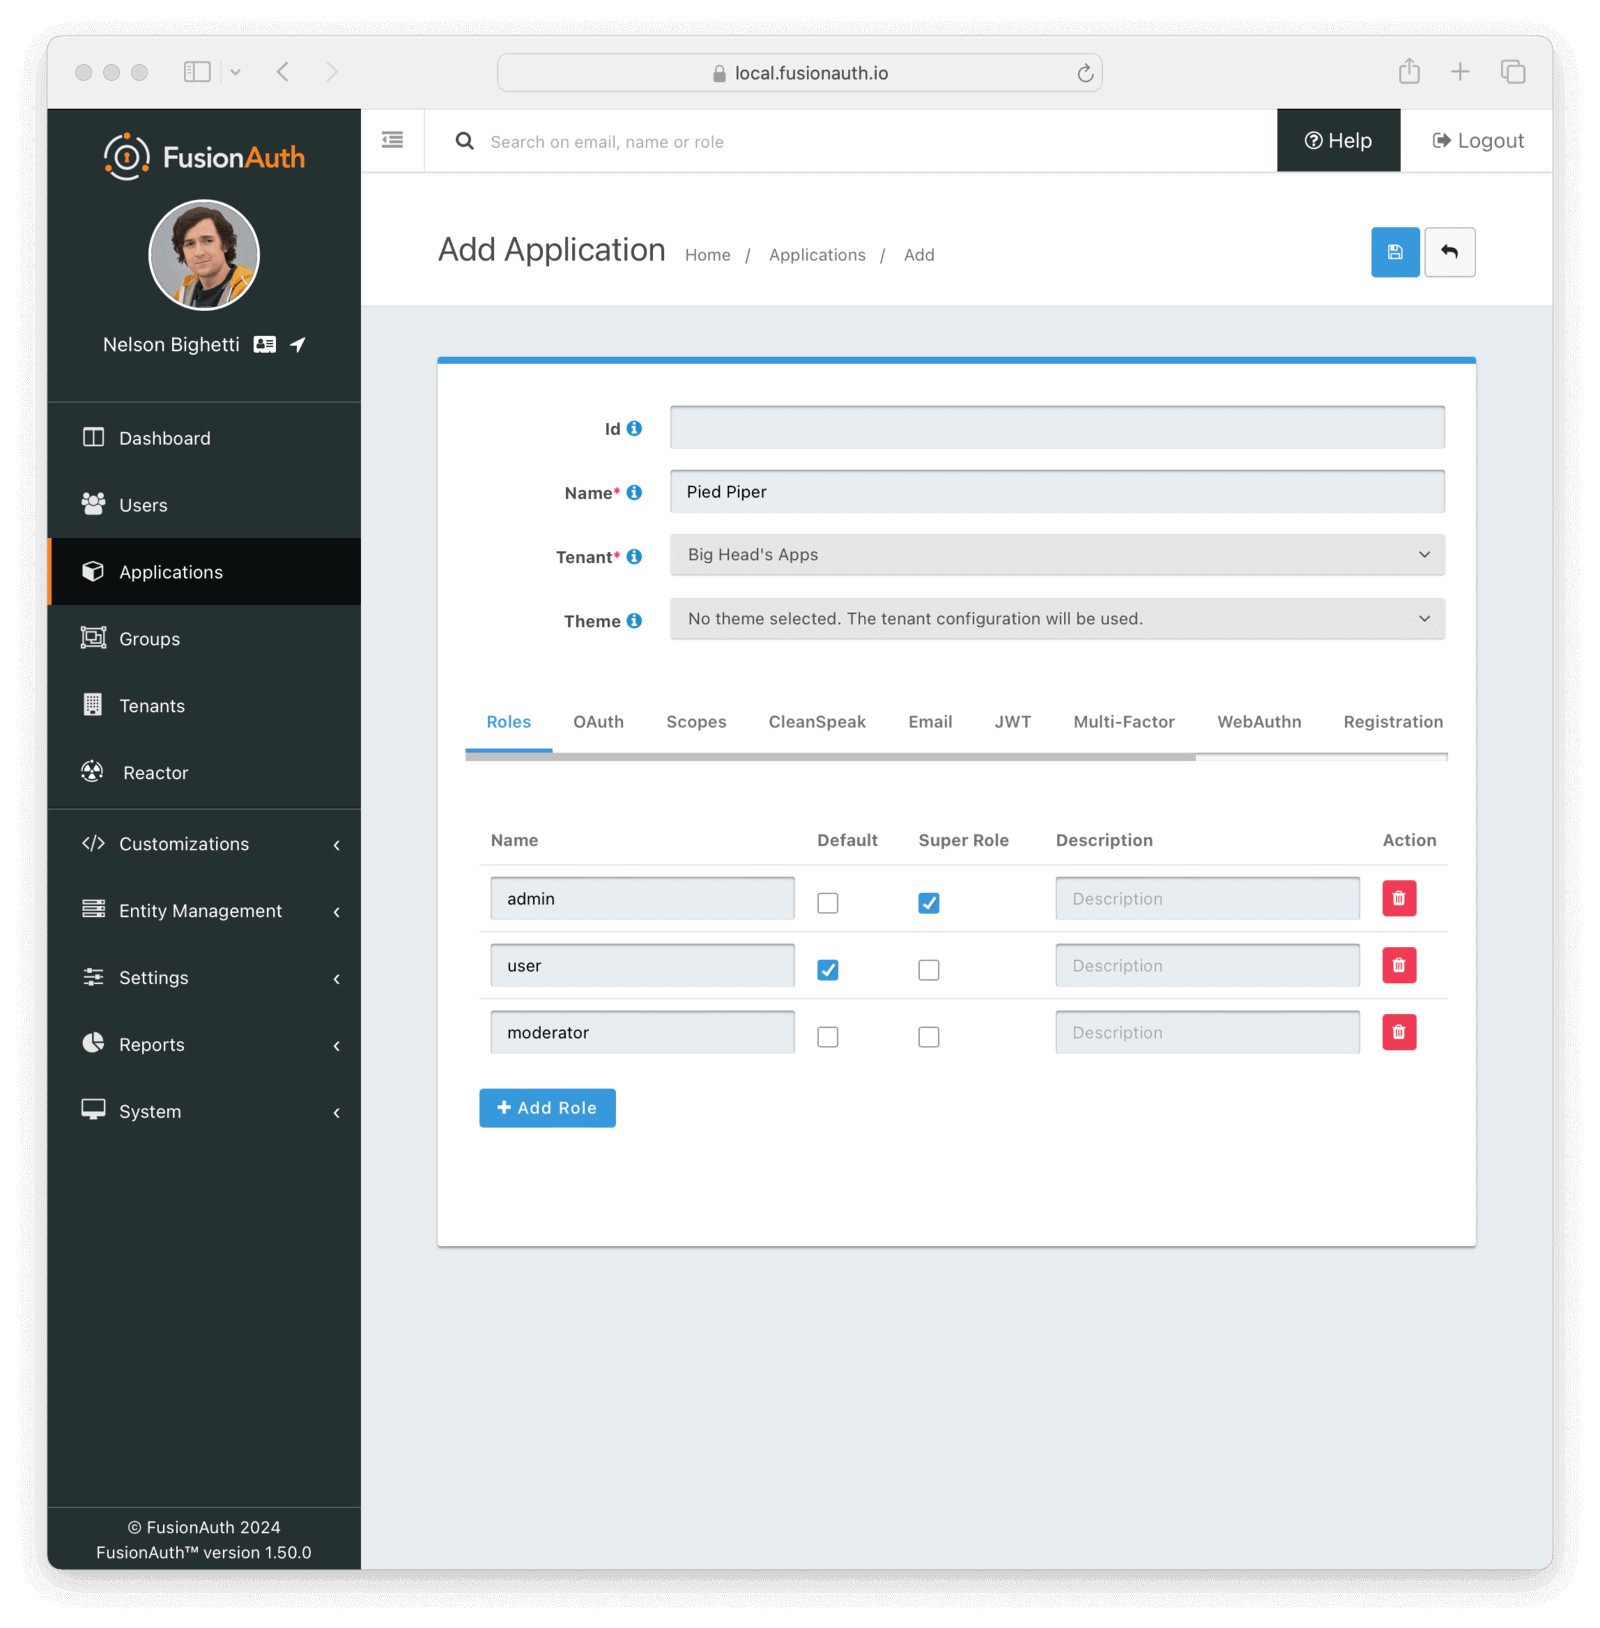
#### Form Fields
<APIBlock>
<APIField name="Id" optional>
An optional UUID. When this value is omitted a unique Id will be generated automatically. This will also be used as the <InlineField>Client Id</InlineField> in the <InlineUIElement>OAuth</InlineUIElement> configuration, so if you require a specific value for that, set it here. Application Ids are unique across all tenants.
</APIField>
<APIField name="Name" required>
The name of the Application. This value is for display purposes only and can be changed at any time.
</APIField>
<APIField name="Universal" required>
When enabled, the created application will be a [universal application](#universal-applications). A regular application is assigned to a single tenant, while a universal application exists in all tenants.
This setting cannot be changed after the application has been created.
</APIField>
<APIField name="Tenant" required>
The tenant in which to create this Application.
This field is only displayed once multiple tenants exist in FusionAuth. When only a single tenant exists, the Application will always be created in the default tenant.
</APIField>
<APIField name="Theme" optional since="1.27.0">
When a theme is selected, it will be used for this application instead of the tenant theme.
<PremiumPlanBlurbApi feature="application themes" />
</APIField>
</APIBlock>
### Roles
The Roles tab will only be available on the Add Application form. To manage roles after the Application has been created you will use the Manage Roles action.
#### Table Columns
<RoleAttributes />
To manage Application Roles after you have added an Application, click the <Icon name="user"/> Manage Roles button on the index page. To edit an Application click the <Icon name="edit"/> edit icon. The following sections will walk you through each panel for the edit action.

### OAuth
The OAuth tab allows you to configure the OAuth2 and OpenID Connect settings specific to this Application.
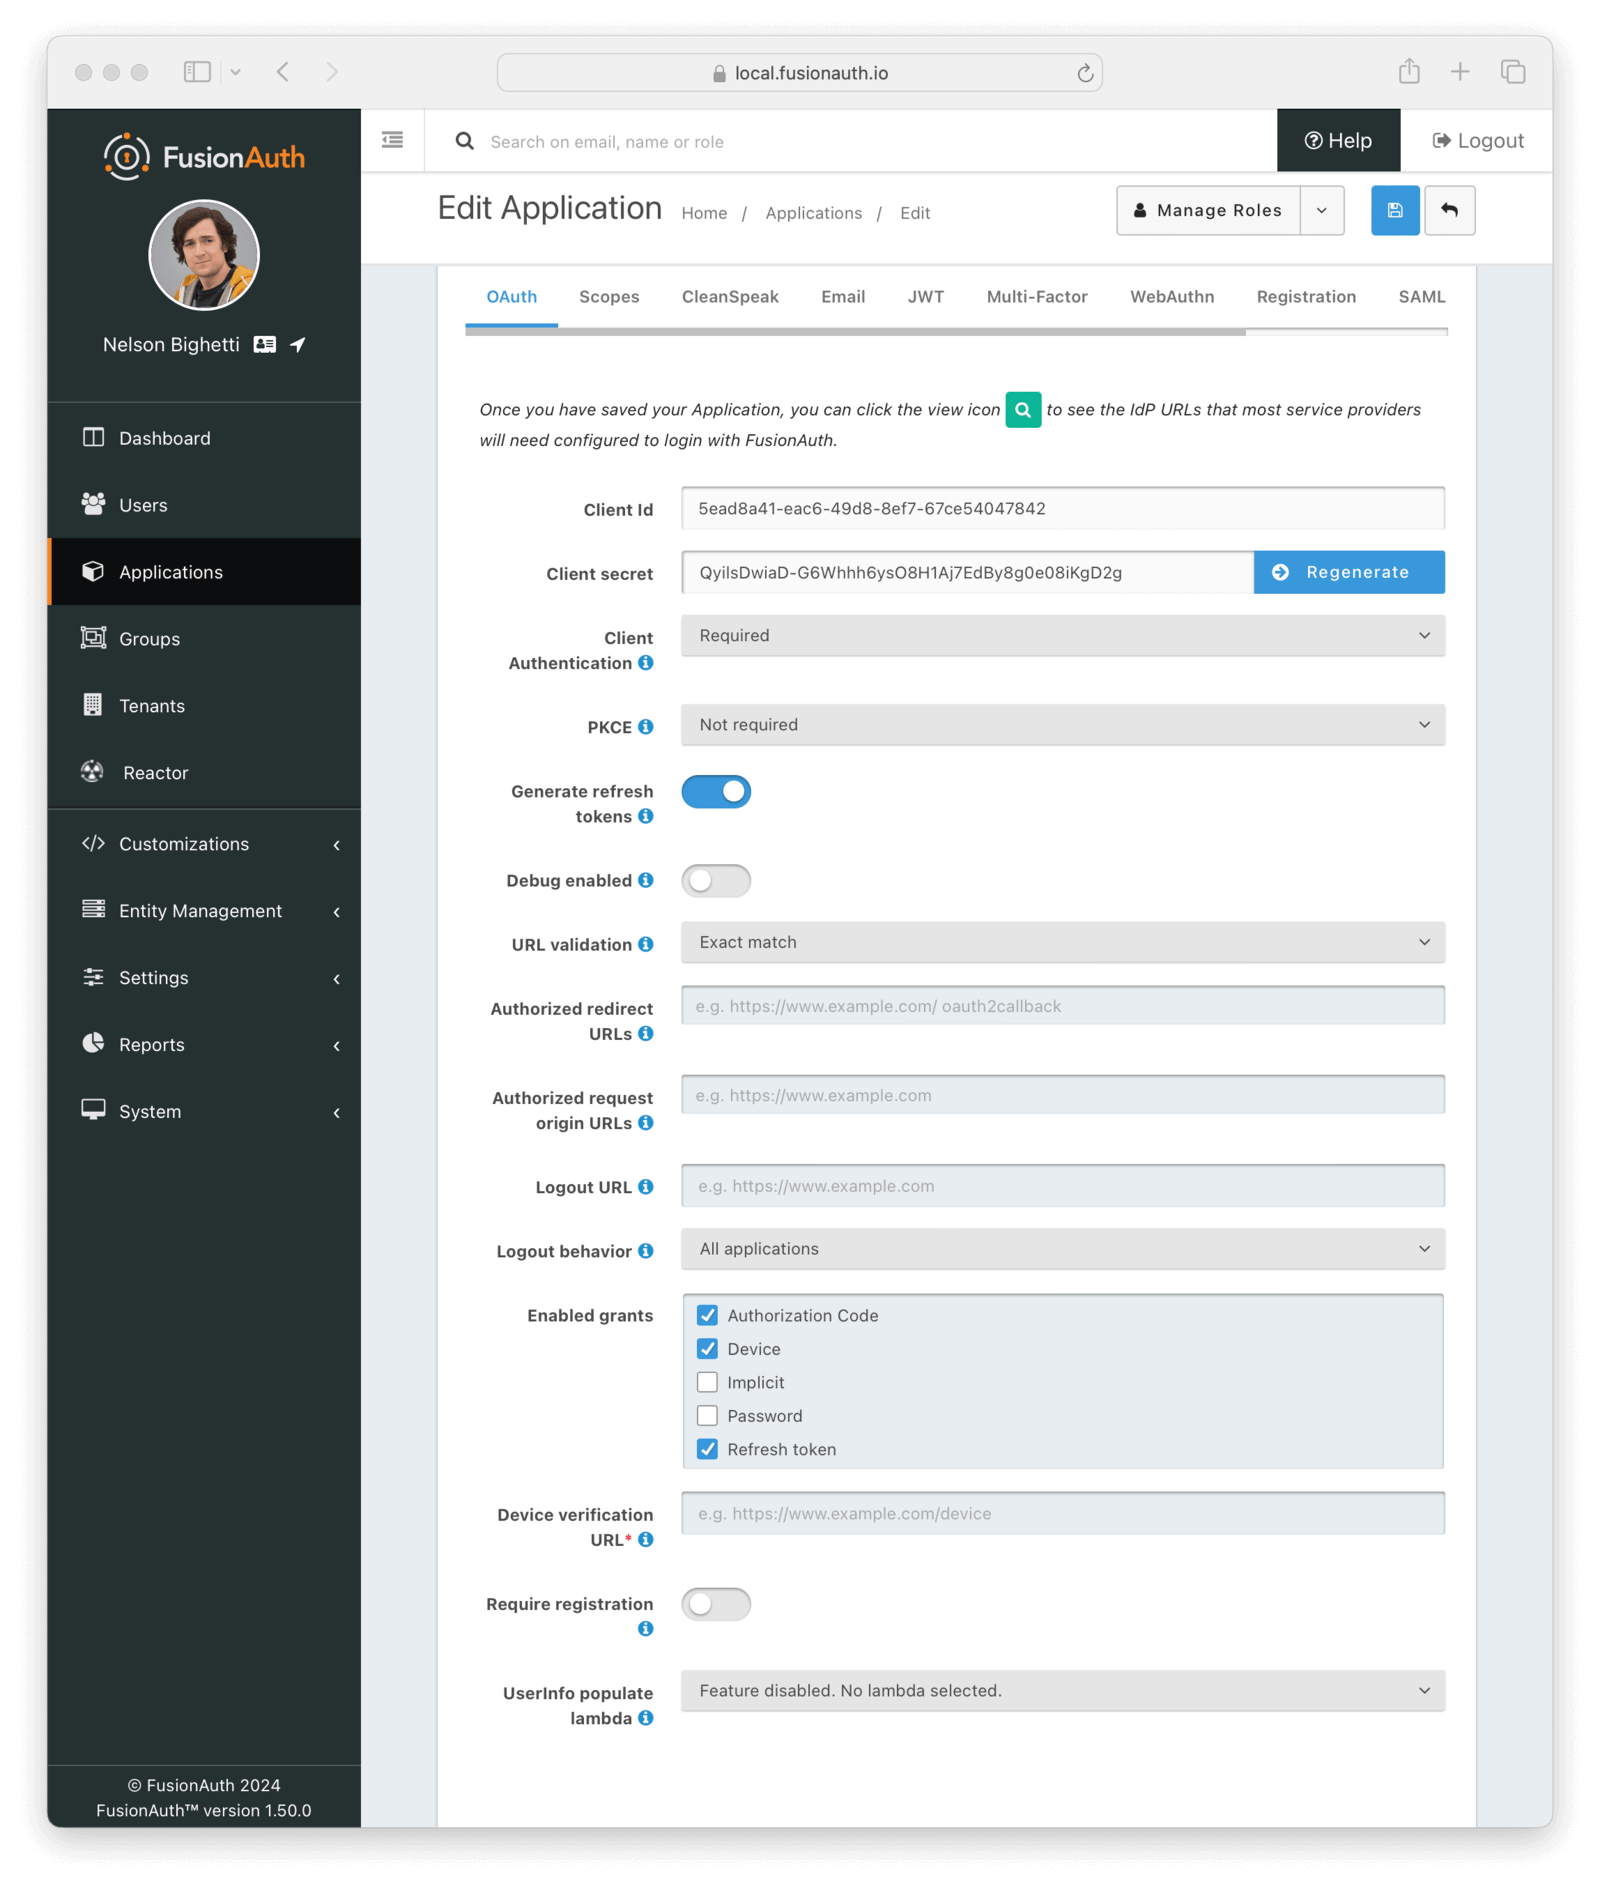
#### Form Fields
<ApplicationOAuthSettings />
### Scopes
<Aside type="version">
Available since 1.50.0
</Aside>
The Scopes tab allows you to configure OAuth scope settings specific to this Application. To manage custom OAuth Scopes, click the <InlineUIElement>Manage Scopes</InlineUIElement> button in the action dropdown a the top of the page or click the link to `Manage custom scopes` from the <Breadcrumb>Scopes</Breadcrumb> tab. See [Scopes](/docs/get-started/core-concepts/scopes) for more detail.
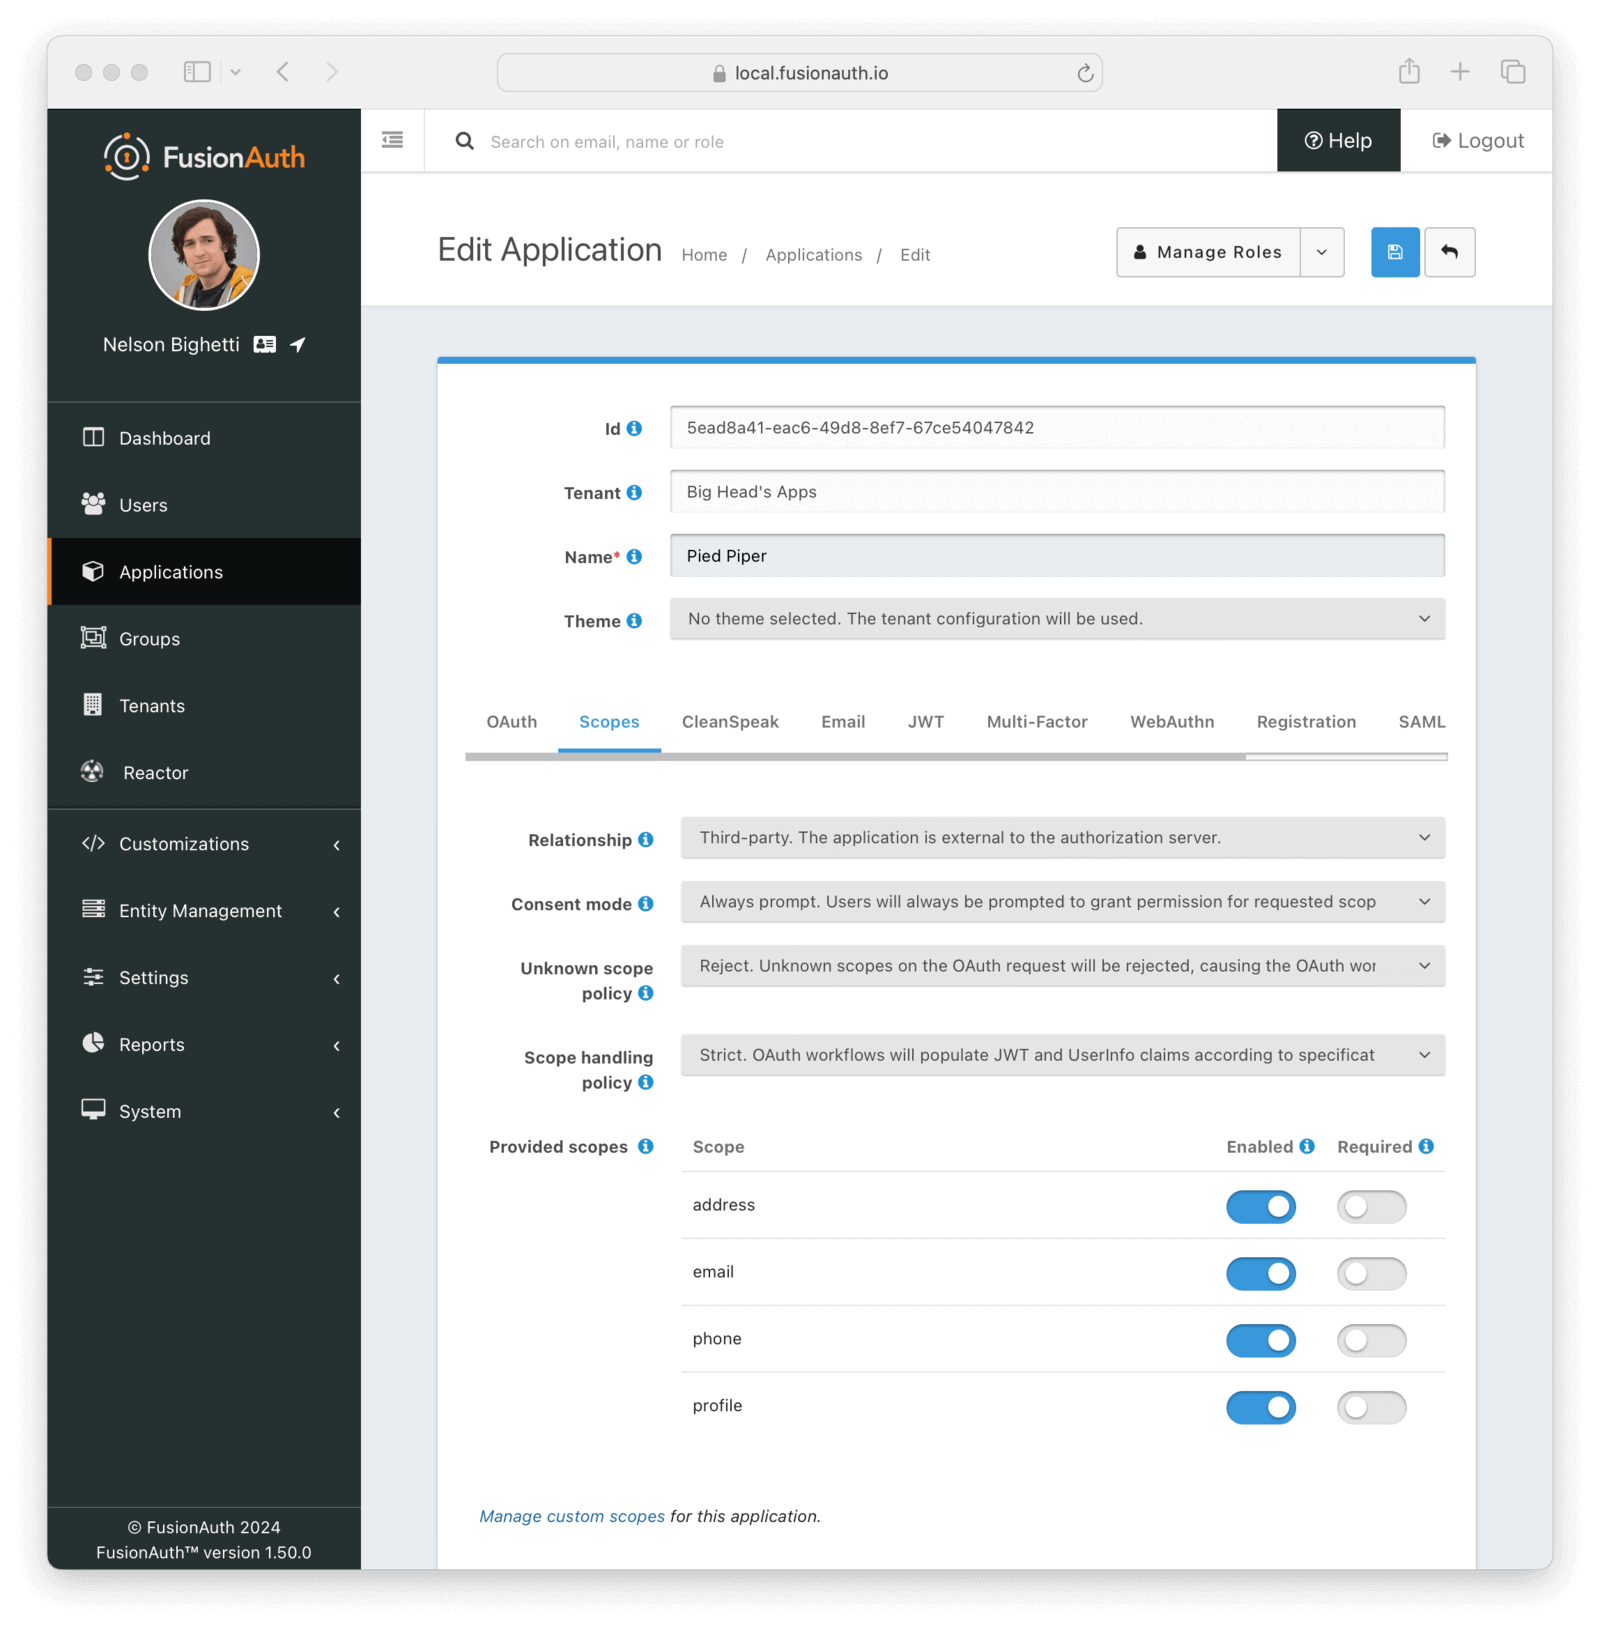
#### Form Fields
<ApplicationScopesSettings />
### CleanSpeak
The CleanSpeak configuration panel allows you to optionally configure username filtering through the use of a CleanSpeak integration. See [CleanSpeak Integration](/docs/lifecycle/manage-users/cleanspeak) for additional configuration details.
The use of this feature requires a licensed instance of CleanSpeak. See https://cleanspeak.com for additional information.

### Identities
The identities configuration allows you to optionally select customized email or message templates for this Application. When configured, an application specific template will be used instead of the corresponding tenant configured template.
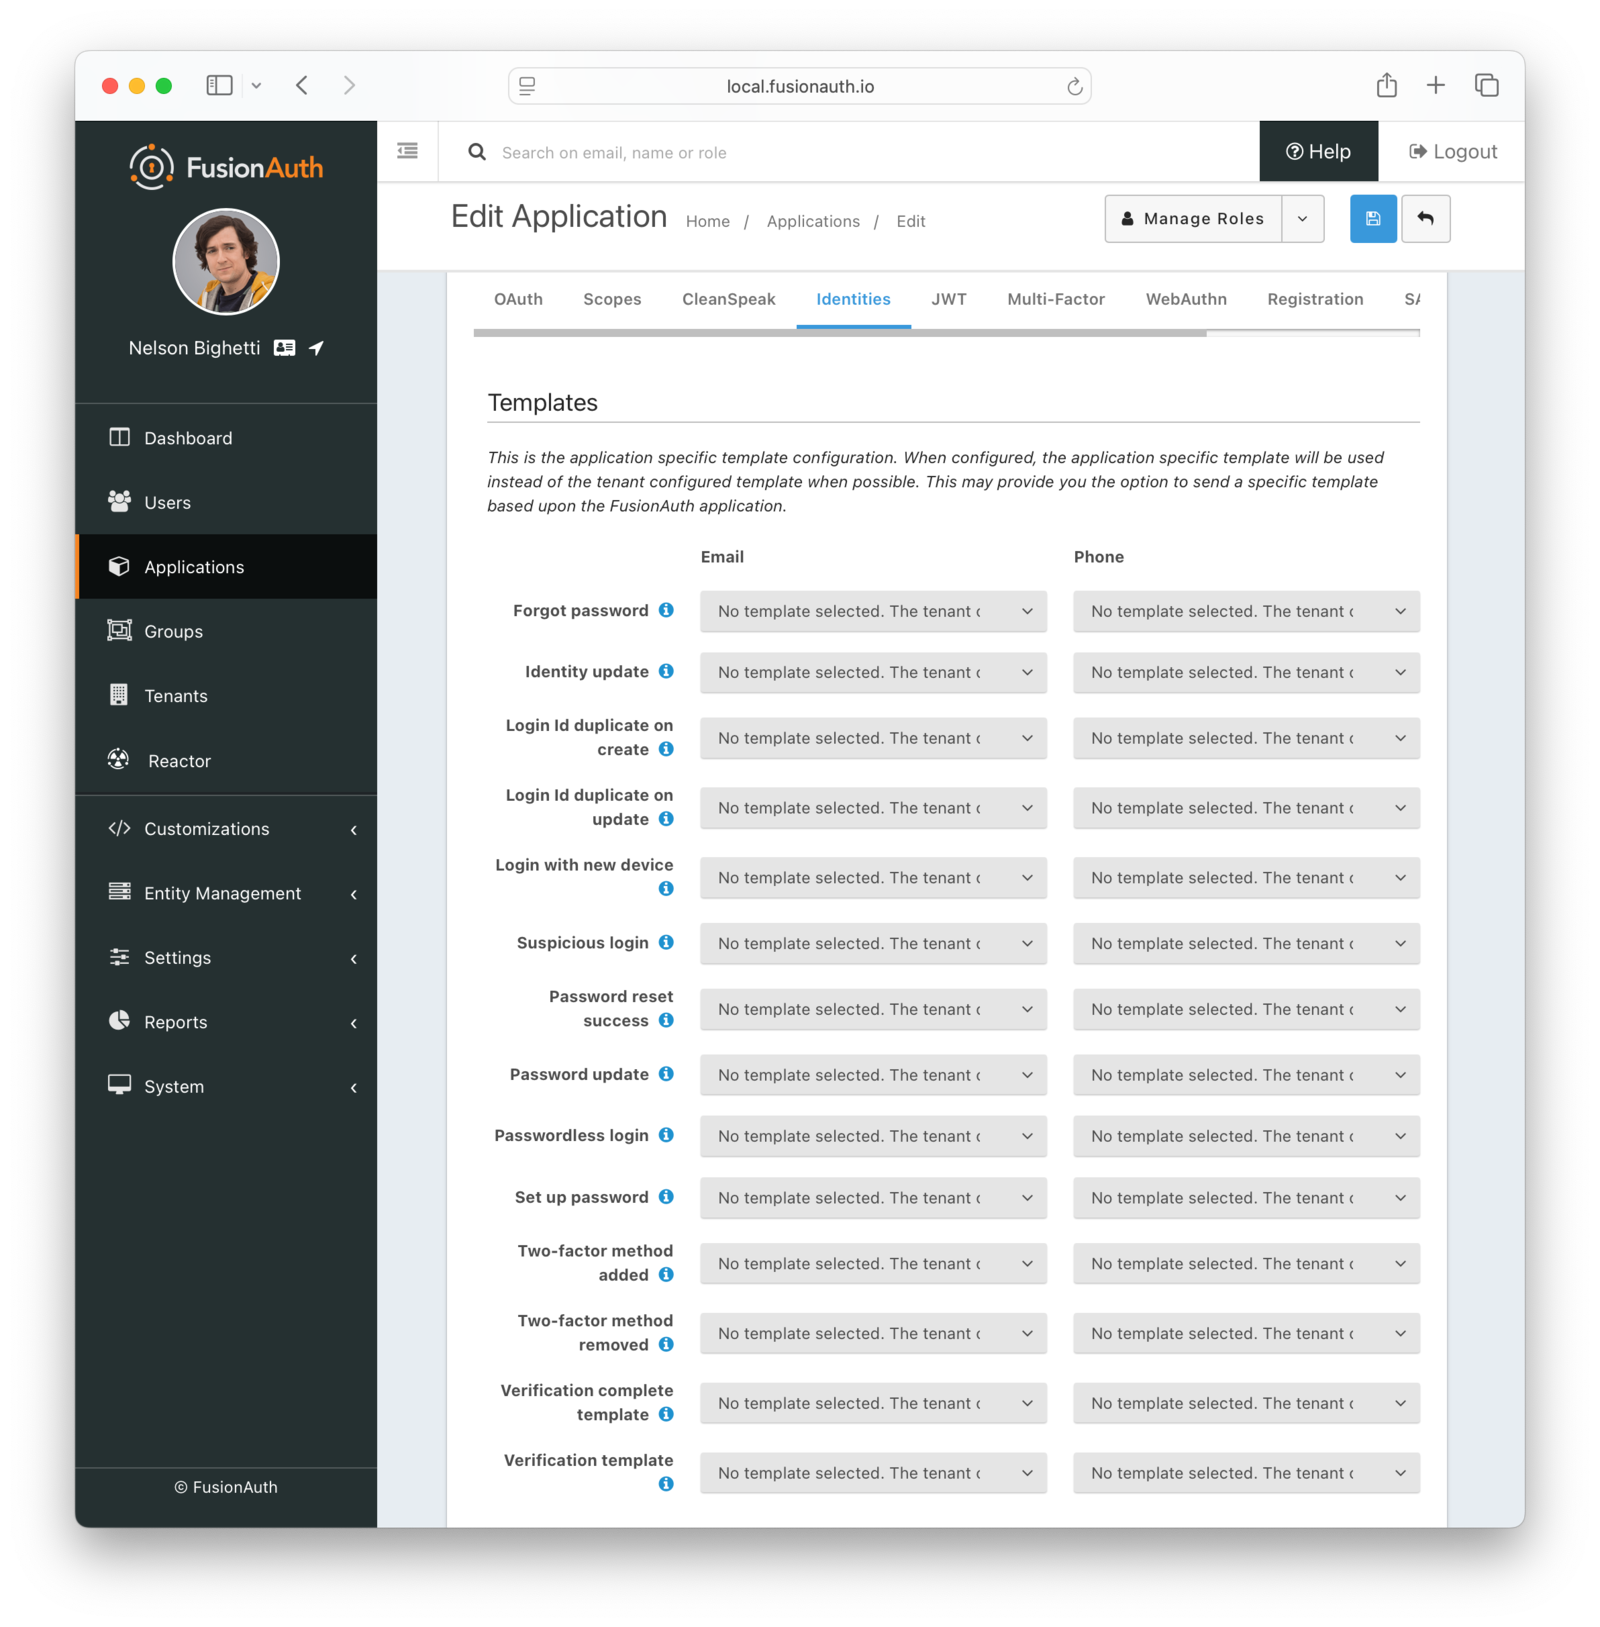
#### Form Fields
<TemplateSettings page="application" />
### JWT
The JWT configuration allows you to provide application specific JWT configuration. When this panel is left in the default state as shown in this screenshot without the enable toggle turned on, the JWT configuration provided by the Tenant will be utilized.
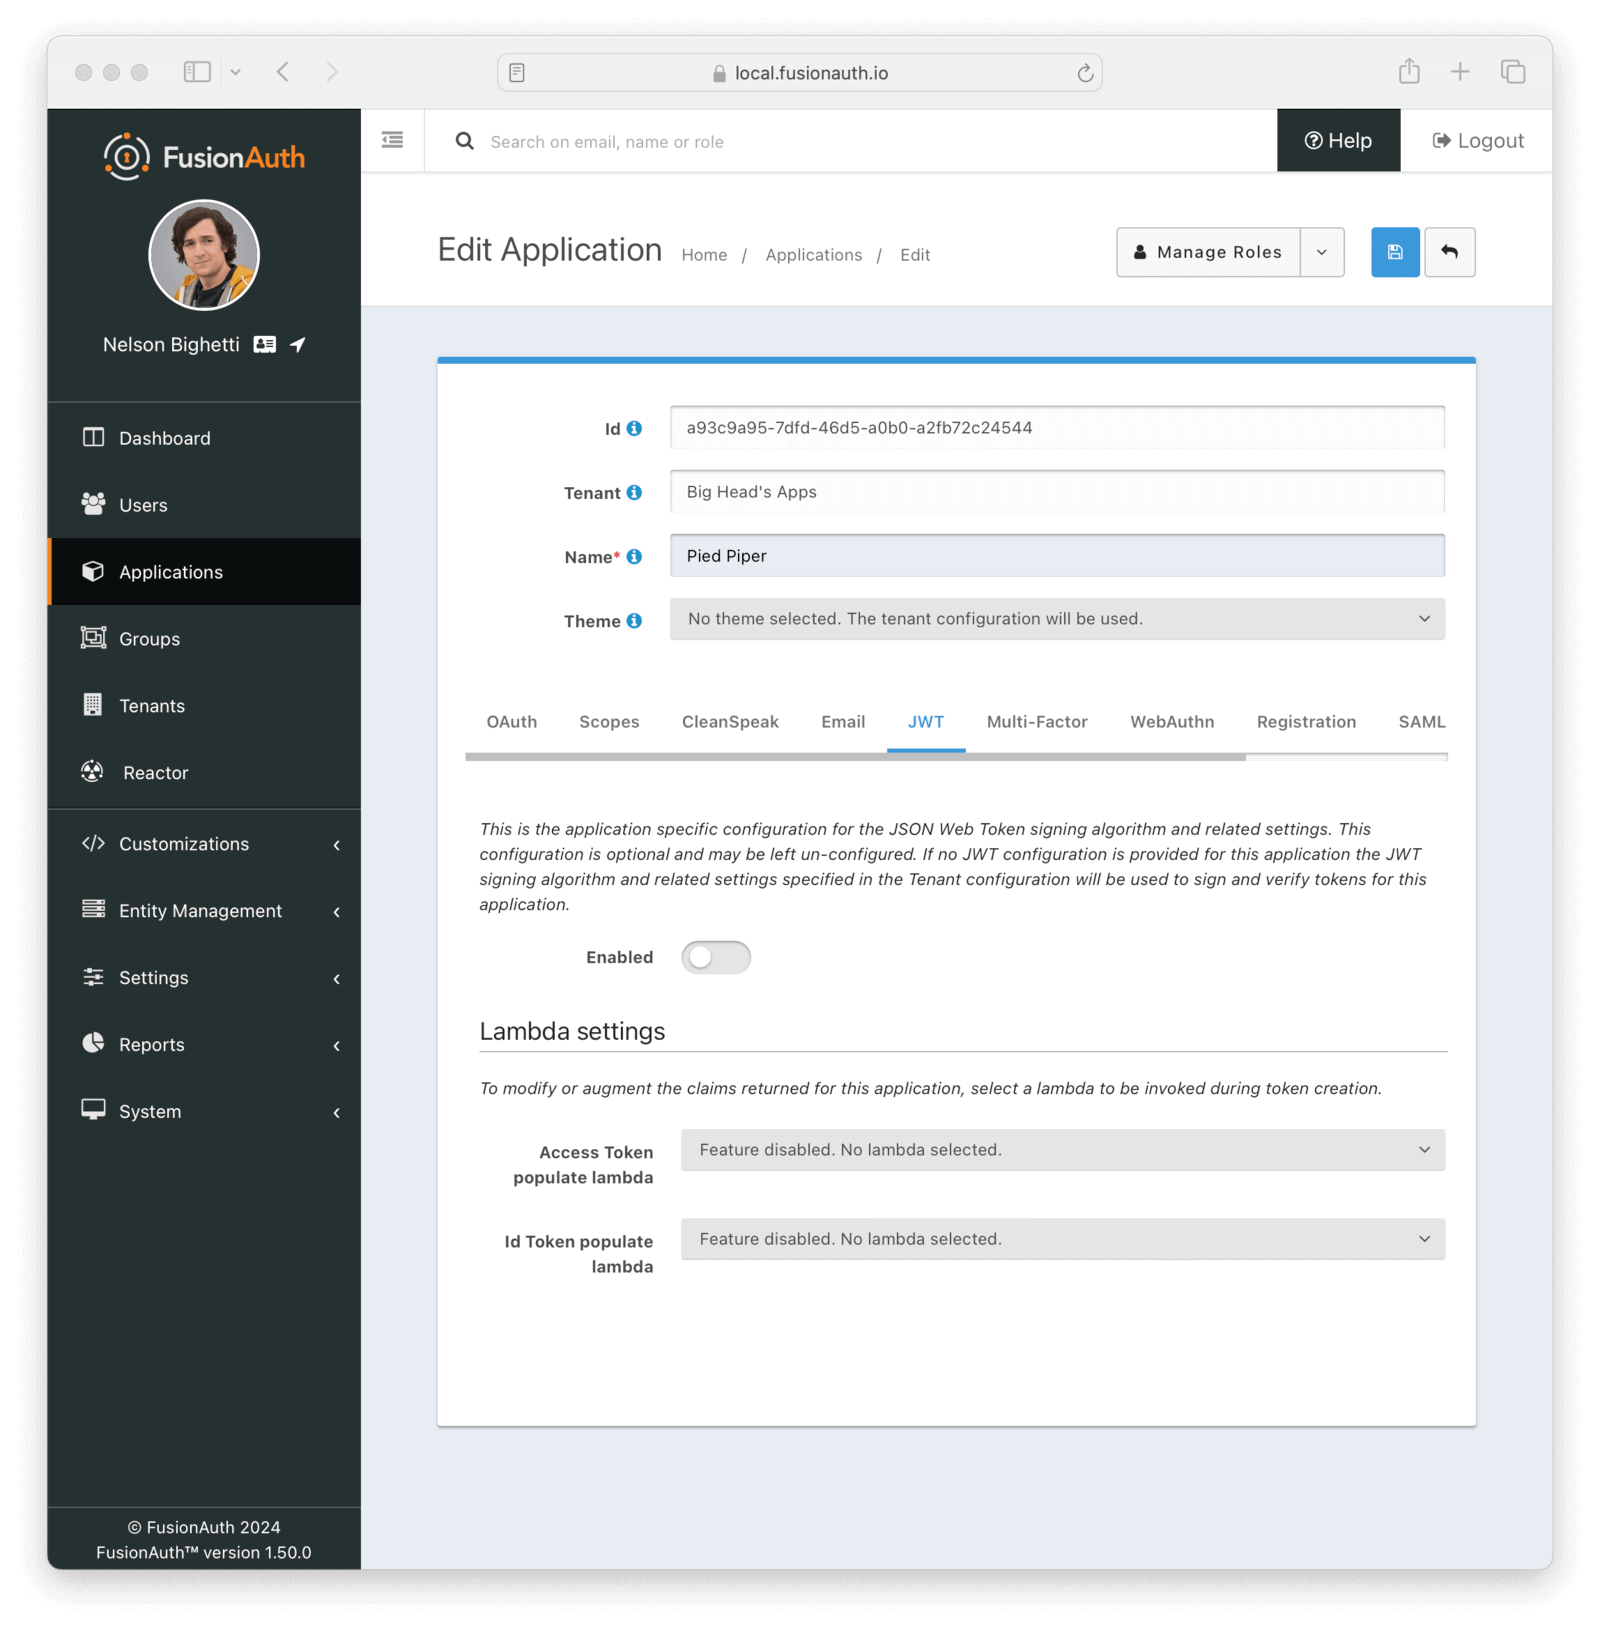
<APIBlock>
<APIField name="Enabled" optional>
When enabled you may configure Application specific JWT configuration including signing keys, durations, etc.
</APIField>
</APIBlock>
#### Lambda Settings
<ApplicationLambdaSettings />
Once you have enabled JWT configuration for this Application you will be provided with additional configuration options.
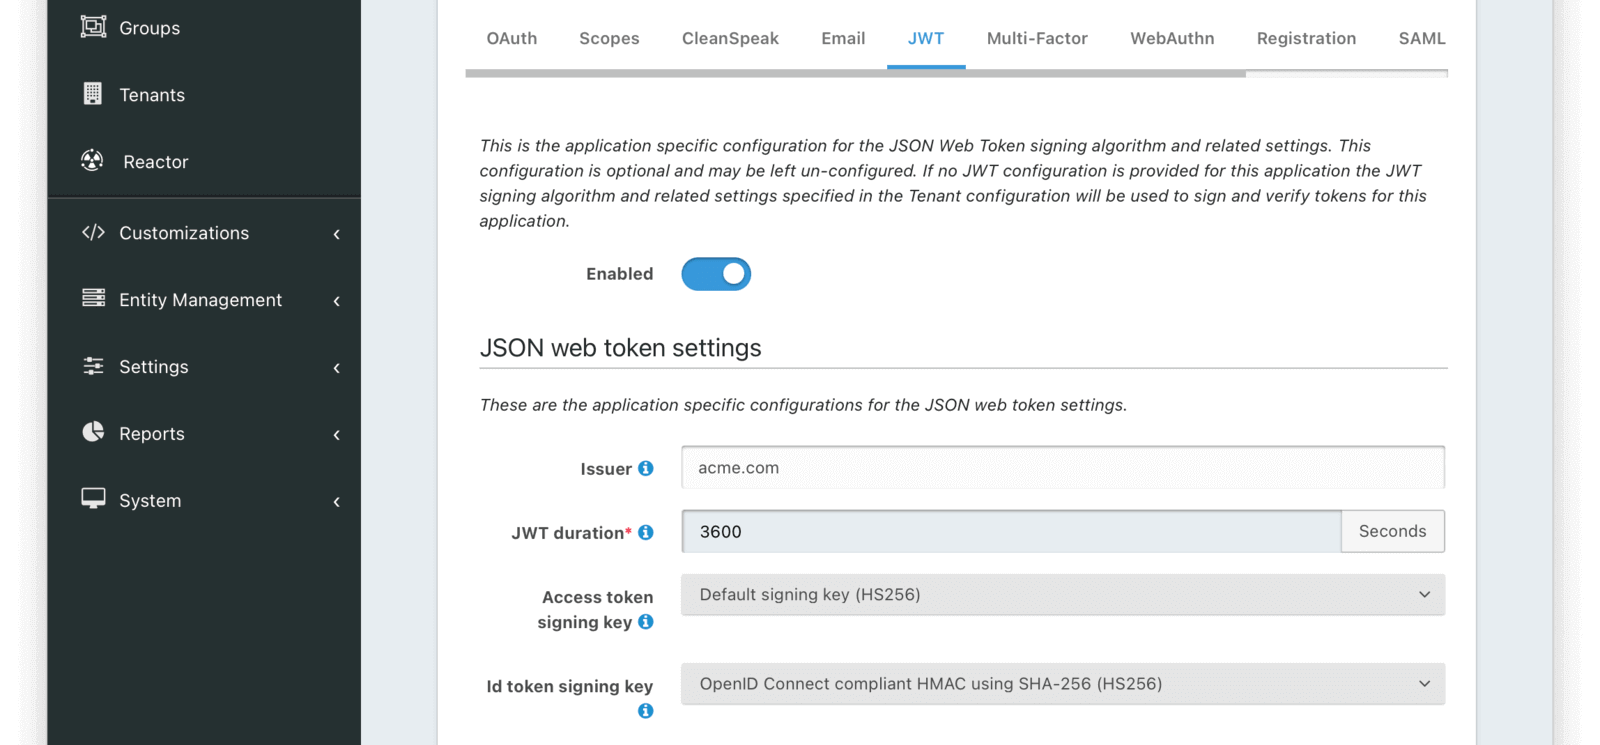
#### JWT Settings
<ApplicationJsonWebTokenSettings />

#### Refresh Token Settings
<RefreshTokenSettings />
### Multi-Factor
<PremiumPlanBlurb />
The multi-factor configuration allows you to provide Application specific multi-factor settings.
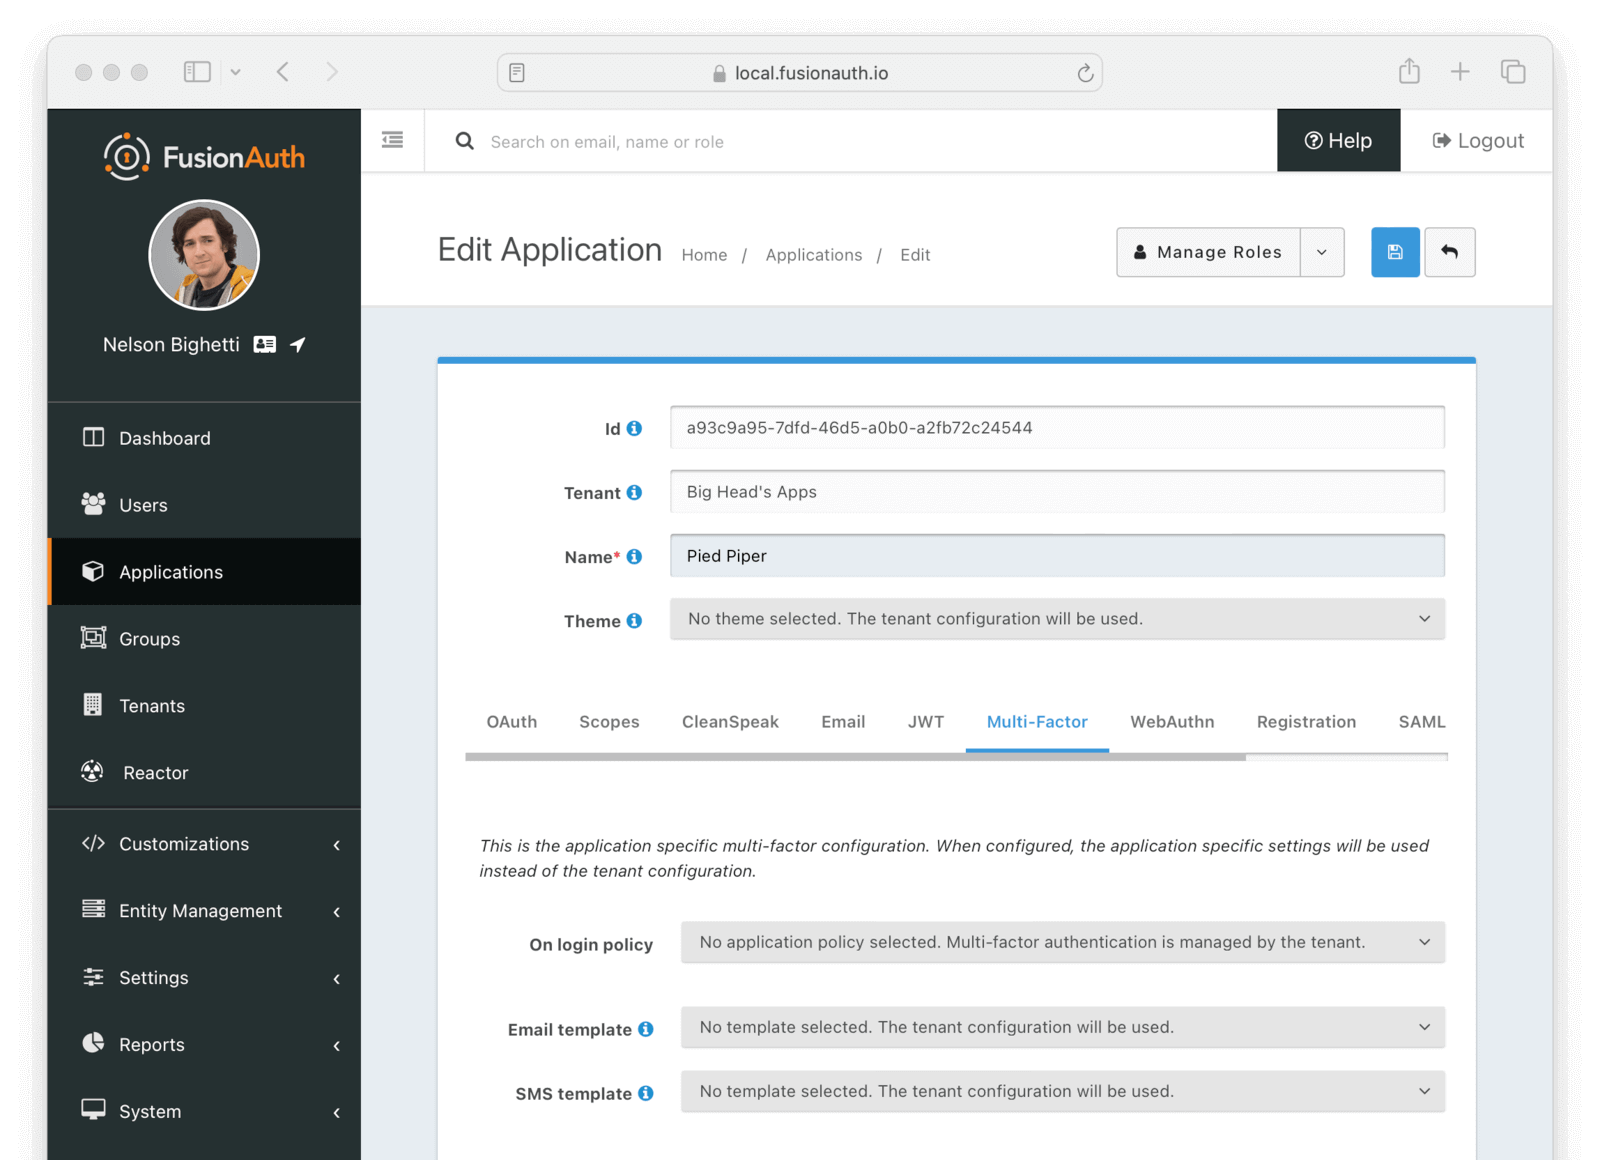
#### Form Fields
<APIBlock>
<APIField name="On login policy" optional>
When set to `Enabled` a two-factor challenge will be required during login when a user has configured one or more two-factor methods. When set to `Disabled`, even when a user has one or more two-factor methods configured, a two-factor challenge will not be required during login. When set to `Required`, a two-factor challenge will be required during login. If a user does not have configured two-factor methods, they will not be able to log in.
Supported values include:
* No application policy selected. Multi-factor authentication is managed by the tenant.
* Enabled. A challenge will be required during login when an eligible method is available.
* Disabled. A challenge will not be required during login.
* Required. A challenge will be required during login. <AvailableSince since="1.42.0"/>
</APIField>
<APIField name="Trust policy" optional>
When <InlineField>On login policy</InlineField> is set to `Enabled` or `Required`, the following field will be displayed. This value will control how the two-factor trust value is utilized.
Supported values include:
* Any. Trust obtained from any application is sufficient to bypass the challenge during login.
* This Application. Only trust obtained from this application is sufficient to bypass to challenge during login.
* None. The user will always be prompted to complete a challenge during login.
</APIField>
<APIField name="Email template" optional>
When a template is selected, it will be used to send a multi-factor authentication code when the email MFA method is used and a user is signing in to this application.
</APIField>
<APIField name="SMS template" optional>
When a template is selected, it will be used to send a multi-factor authentication code when the SMS MFA method is used and a user is signing in to this application.
</APIField>
<APIField name="MFA requirement lambda" since="1.62.0" optional>
The MFA requirement lambda that will be invoked during logins, password changes, and MFA Status API calls. FusionAuth uses this lambda to determine whether to challenge the user with MFA. The lambda assigned to the application will override the lambda assigned to the application's tenant.
You can customize this logic to:
* Change FusionAuth’s MFA decision for a user.
* Trigger a suspicious login event based on your criteria./>
<EnterprisePlanBlurb />
</APIField>
</APIBlock>
### WebAuthn
<AdvancedPlanBlurb />
The WebAuthn configuration allows you to configure which WebAuthn workflows are enabled for the Application, overriding the Tenant configuration.
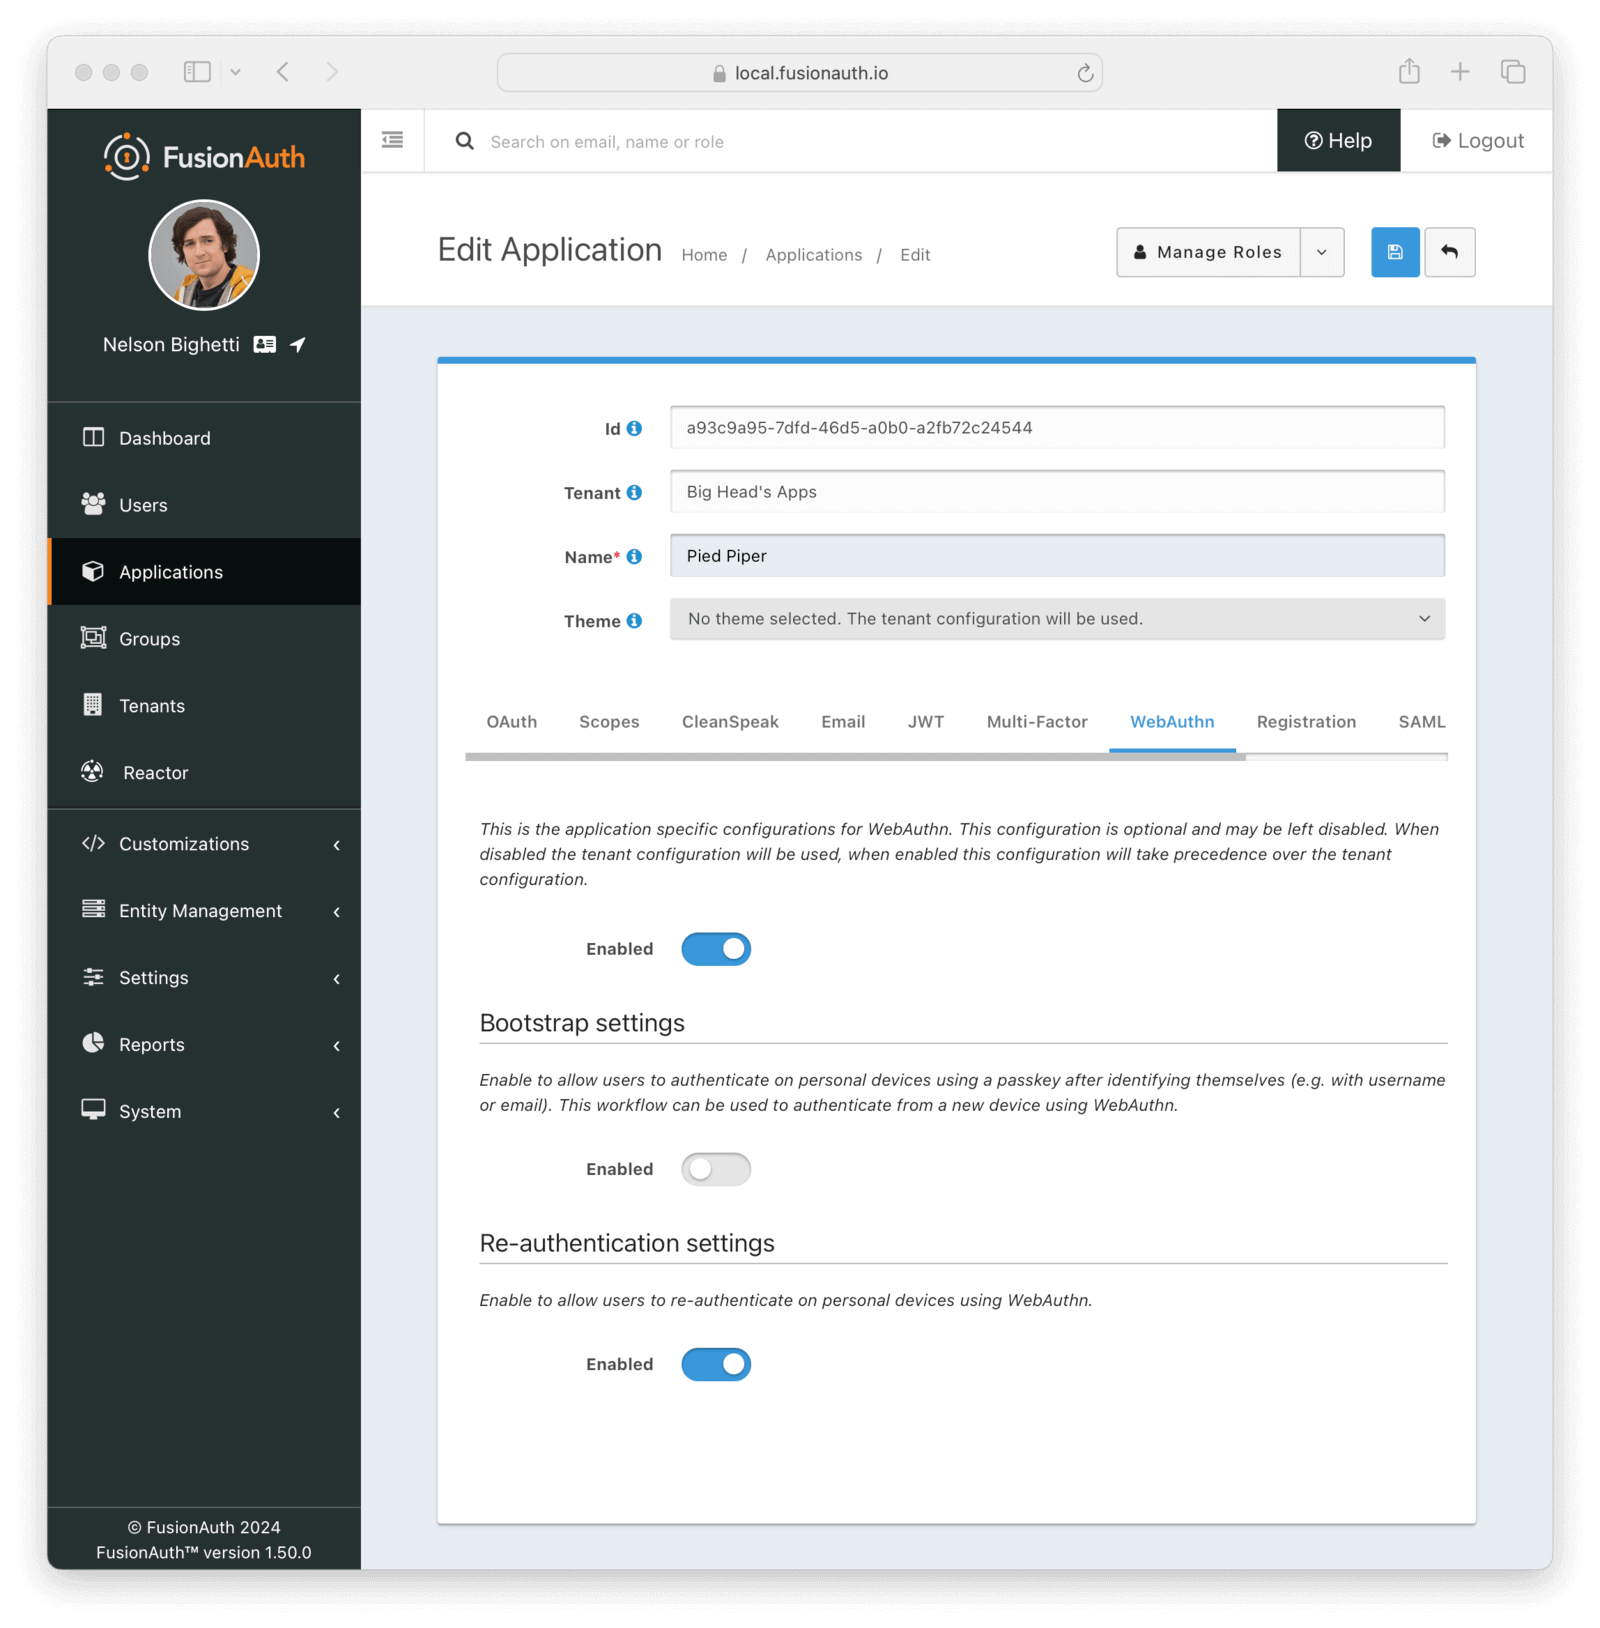
#### Form Fields
<APIBlock>
<APIField name="Enabled" optional>
When disabled, the tenant configuration for enabled WebAuthn workflows will be used. When enabled, the options on this page will be used to override which WebAuthn workflows are enabled for this application.
</APIField>
</APIBlock>
#### Bootstrap settings
The bootstrap workflow is used when the user must "bootstrap" the authentication process by identifying themselves prior to the WebAuthn ceremony and can be used to authenticate from a new device using WebAuthn.
#### Form Fields
<APIBlock>
<APIField name="Enabled" optional>
When enabled, users will be able to use the WebAuthn bootstrap workflow to sign in, including on new devices.
</APIField>
</APIBlock>
#### Re-authentication settings
The re-authentication workflow is used to streamline the login process for repeat logins on a device.
#### Form Fields
<APIBlock>
<APIField name="Enabled" optional>
When enabled, users will be able to use the WebAuthn re-authentication workflow for repeat logins on their device.
</APIField>
</APIBlock>
### Registration
The registration configuration allows you to provide Application specific registration configuration.
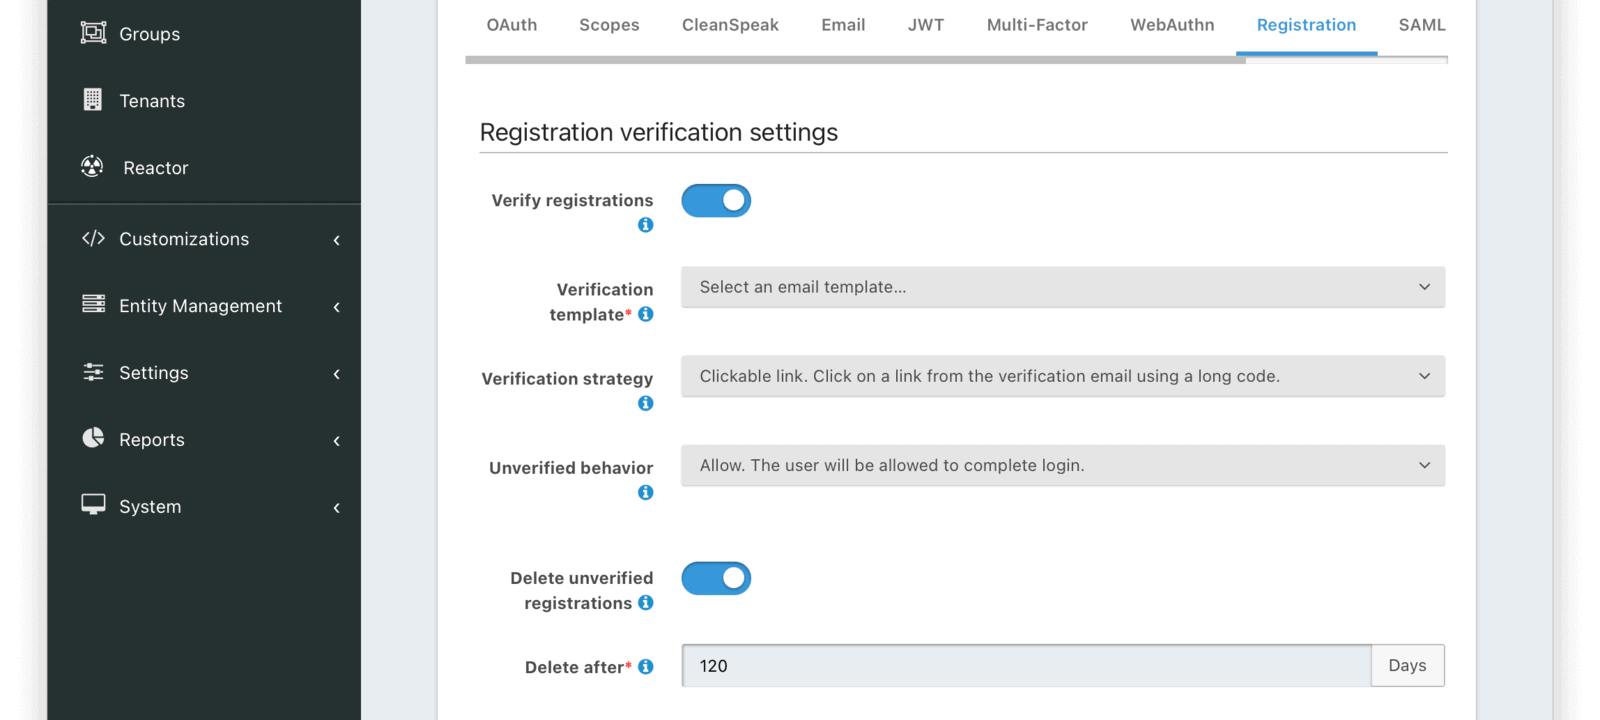
#### Form Fields
<APIBlock>
<APIField name="Verify registrations" optional>
When enabled a registration can be verified using an email workflow. This is similar to the email verification process, which occurs when a user is first created. Verifying a registration allows you to send an email to an end user and allows them to confirm they registered for this specific application.
</APIField>
<APIField name="Verification template" required>
The email template to be used when sending the Registration Verification email to the end user.
Required when <InlineField>Verify registrations</InlineField> field toggle has been enabled.
</APIField>
<APIField name="Delete unverified registrations" optional>
When enabled, the system will delete registrations for users who have not verified their registration for this application after a configurable duration since the registration occurred.
</APIField>
<APIField name="Delete after" required>
The duration in days for which a user's registration to this application must exist and remain unverified before being deleted.
Required when <InlineField>Delete unverified registrations</InlineField> field toggle has been enabled.
</APIField>
</APIBlock>
#### Self Service Registration
Self service registration allows users to register for this application themselves. If this is not enabled, users must be created using the APIs or the administrative user interface.
There are two types of self service registration, basic and advanced.
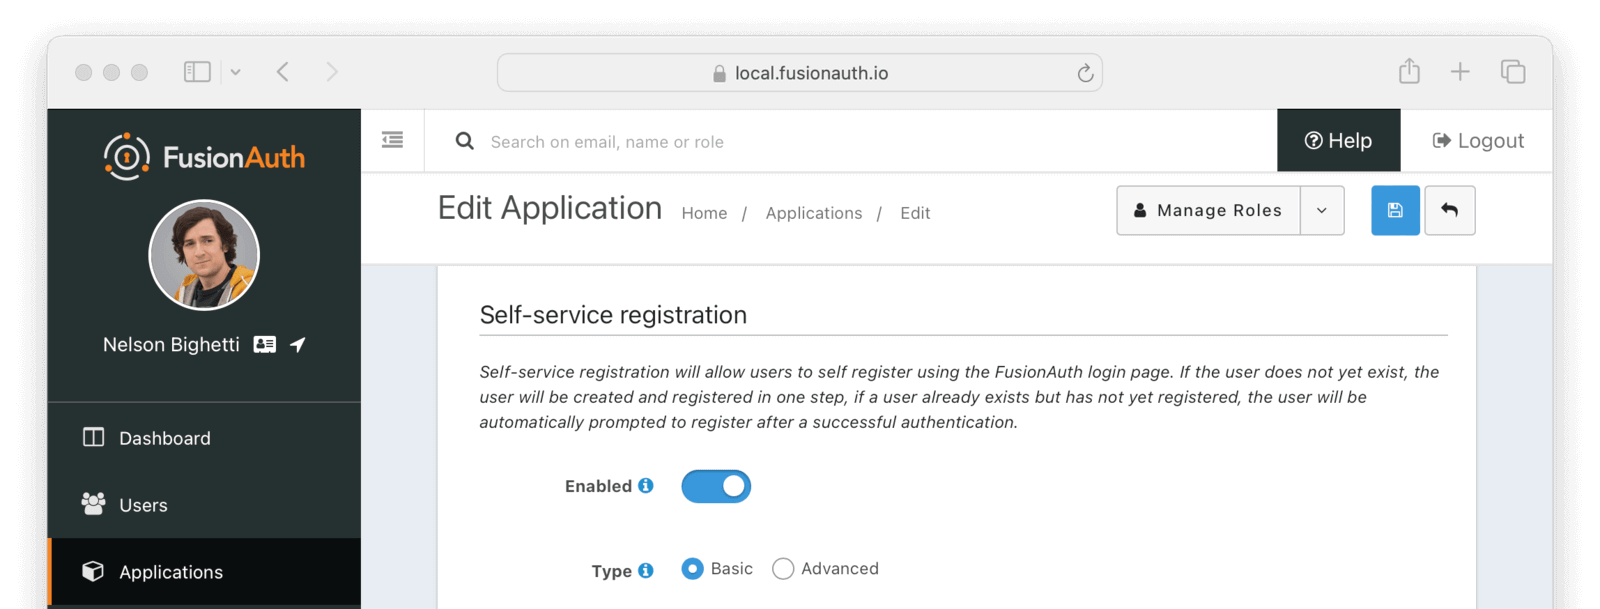
#### Form Fields
<APIBlock>
<APIField name="Enabled" optional>
When enabled, a button on the login page will be rendered to allow users to create a new account.
</APIField>
<APIField name="Type" optional>
Select <InlineUIElement>Basic</InlineUIElement> or <InlineUIElement>Advanced</InlineUIElement> self service registration forms.
A paid plan of FusionAuth is required to use the Advanced self service registration forms.
</APIField>
</APIBlock>
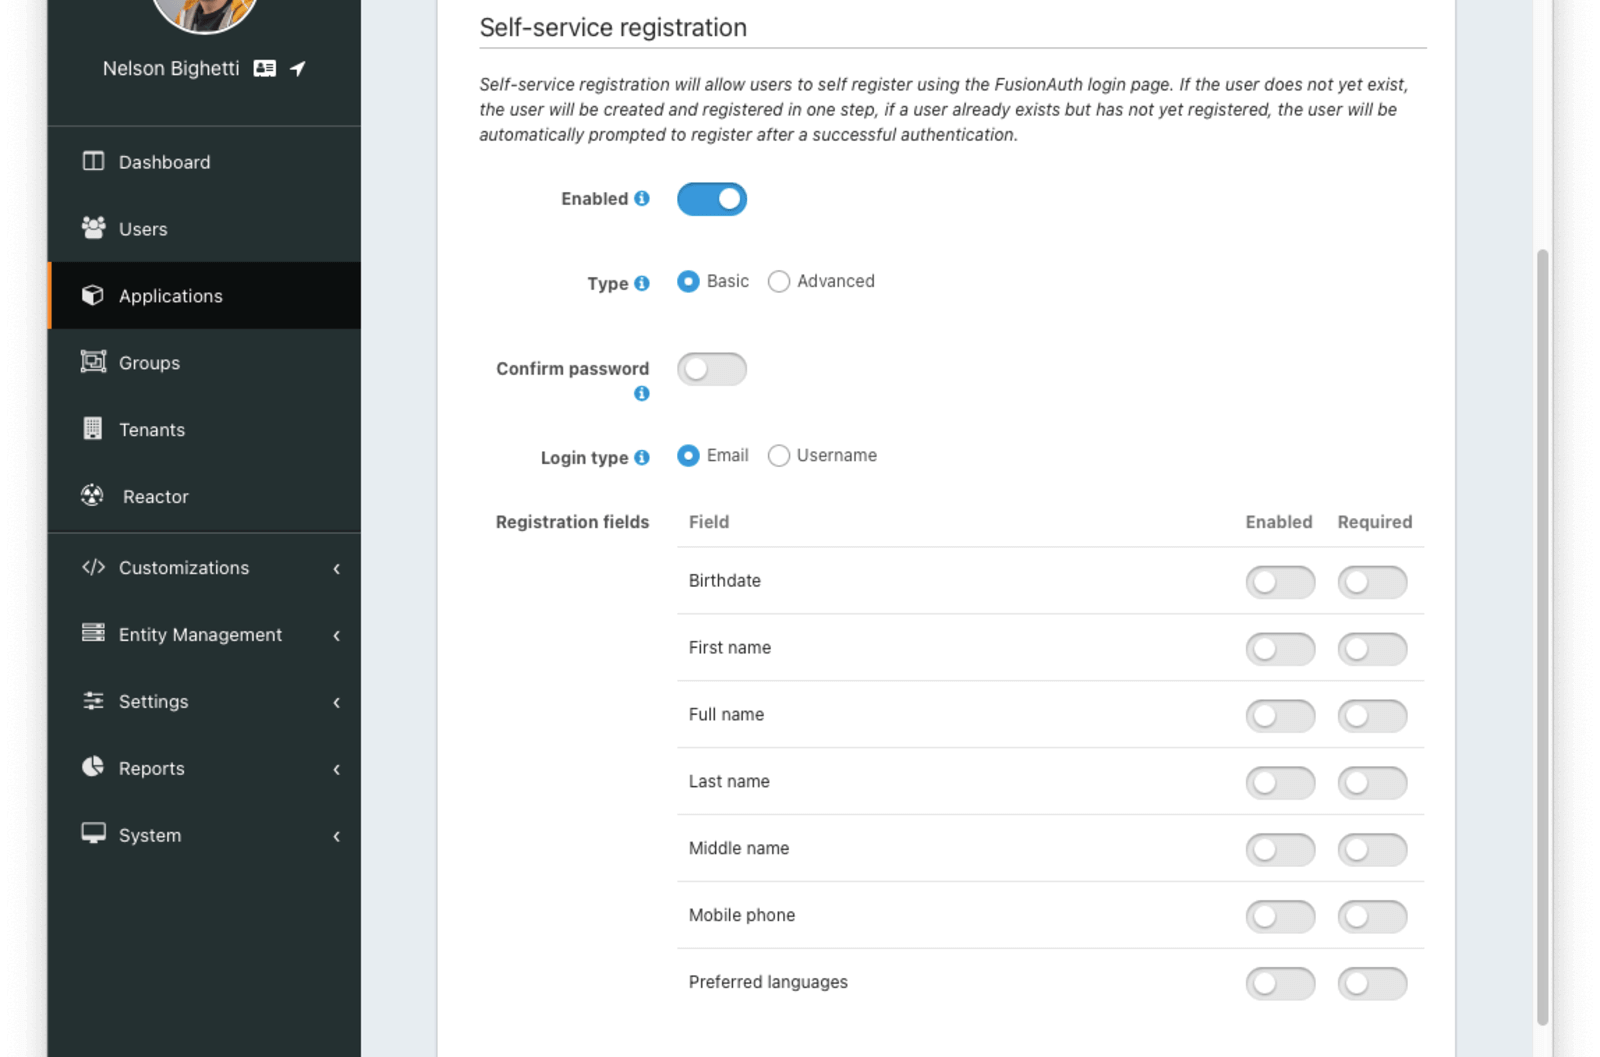
#### Basic Self Service Registration
<APIBlock>
<APIField name="Confirm password" optional>
Toggle this field if you want FusionAuth to require a password confirmation during registration.
</APIField>
<APIField name="Login type" optional>
This field indicates if the email address or username should be the user's unique identifier.
</APIField>
<APIField name="Registration fields" optional>
The optional fields to be displayed on the registration form.
</APIField>
<APIField name="Field" readonly>
The user attribute that can be shown on the registration form. Each field can be <InlineField>Enabled</InlineField> and/or <InlineField>Required</InlineField>.
</APIField>
<APIField name="Enabled" optional>
This field will be shown on the registration form.
</APIField>
<APIField name="Required" optional>
This field will be required and the user will be unable to complete registration unless the field is provided. If this field is not also <InlineField>Enabled</InlineField> then it will not be required.
</APIField>
</APIBlock>

#### Advanced Self Service Registration
<PremiumPlanBlurb />
Advanced self service registration allows you to create a custom registration form, including validation, custom form fields, and multiple steps. [Learn more in the guide](/feature/user-registration).
<APIBlock>
<APIField name="Enabled" optional>
When enabled, a button on the login page will be rendered to allow users to create a new account.
</APIField>
<APIField name="Form" required>
The selected form will be used to provide self service registration for this application.
</APIField>
<APIField name="Self-service registration validation" optional since="1.43.0">
The lambda that will be used to perform additional validation on registration form steps. See [Self-Service Registration Validation lambda](/docs/extend/code/lambdas/self-service-registration)
</APIField>
</APIBlock>
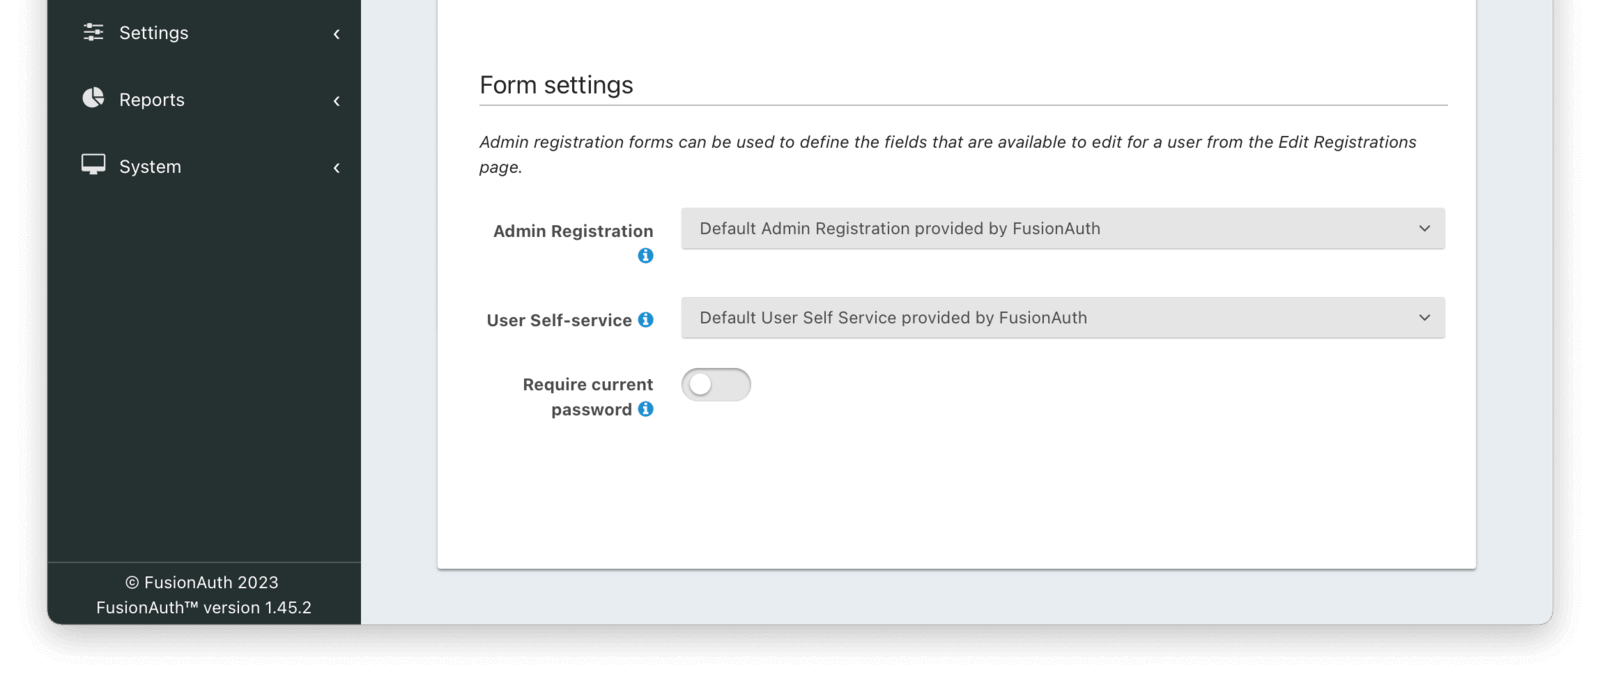
#### Form Settings
<PremiumPlanBlurb />
<APIBlock>
<APIField name="Admin Registration" optional since="1.20.0">
The form that will be used in the FusionAuth UI for adding and editing user registrations.
</APIField>
<APIField name="User self-service" optional since="1.26.0">
The form that will be used with the hosted login pages for user self-service account management.
</APIField>
<APIField name="Require current password" optional since="1.45.0">
When enabled a user will be required to provide their current password when changing their password on a self-service account form.
</APIField>
</APIBlock>
### SAML
The SAML configuration allows you to reveal FusionAuth as a SAML v2 Identity Provider (IdP).
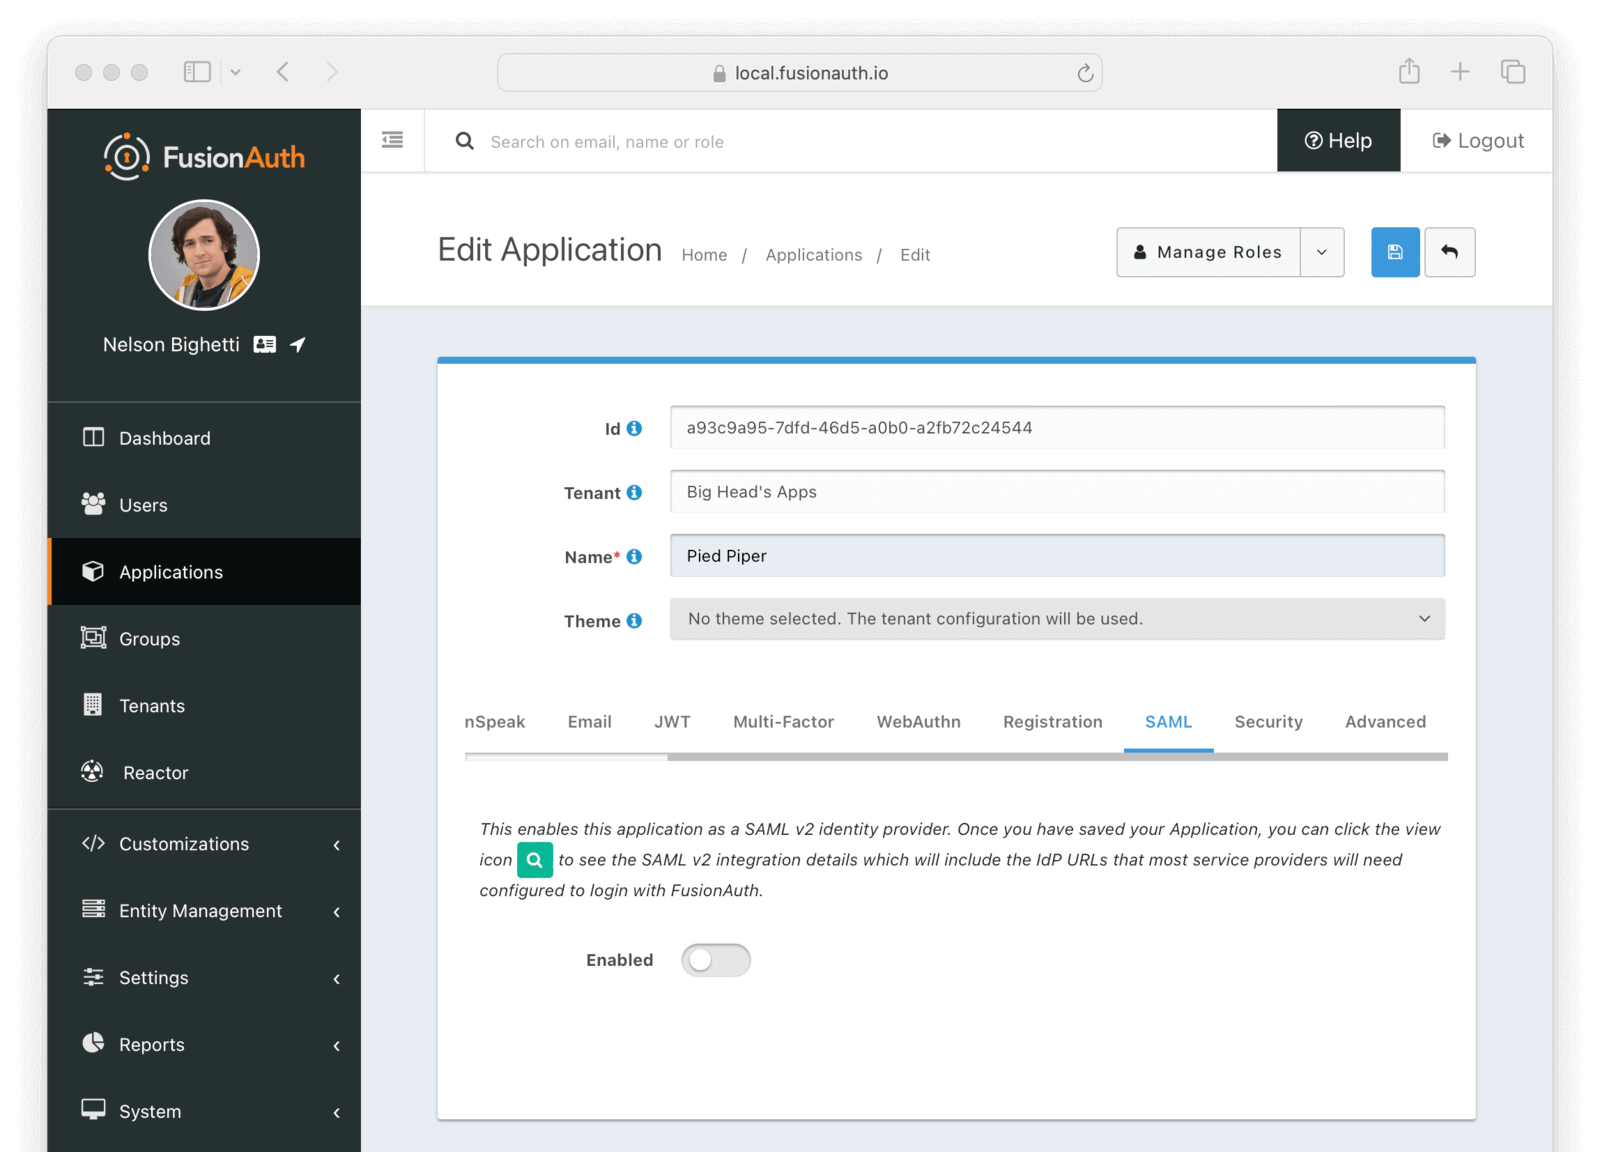
<APIBlock>
<APIField name="Enabled" optional>
When enabled you may configure FusionAuth to reveal this application as a SAML v2 Identity Provider (IdP).
Once you have enabled SAML for this Application you will be provided with additional configuration options.
</APIField>
</APIBlock>
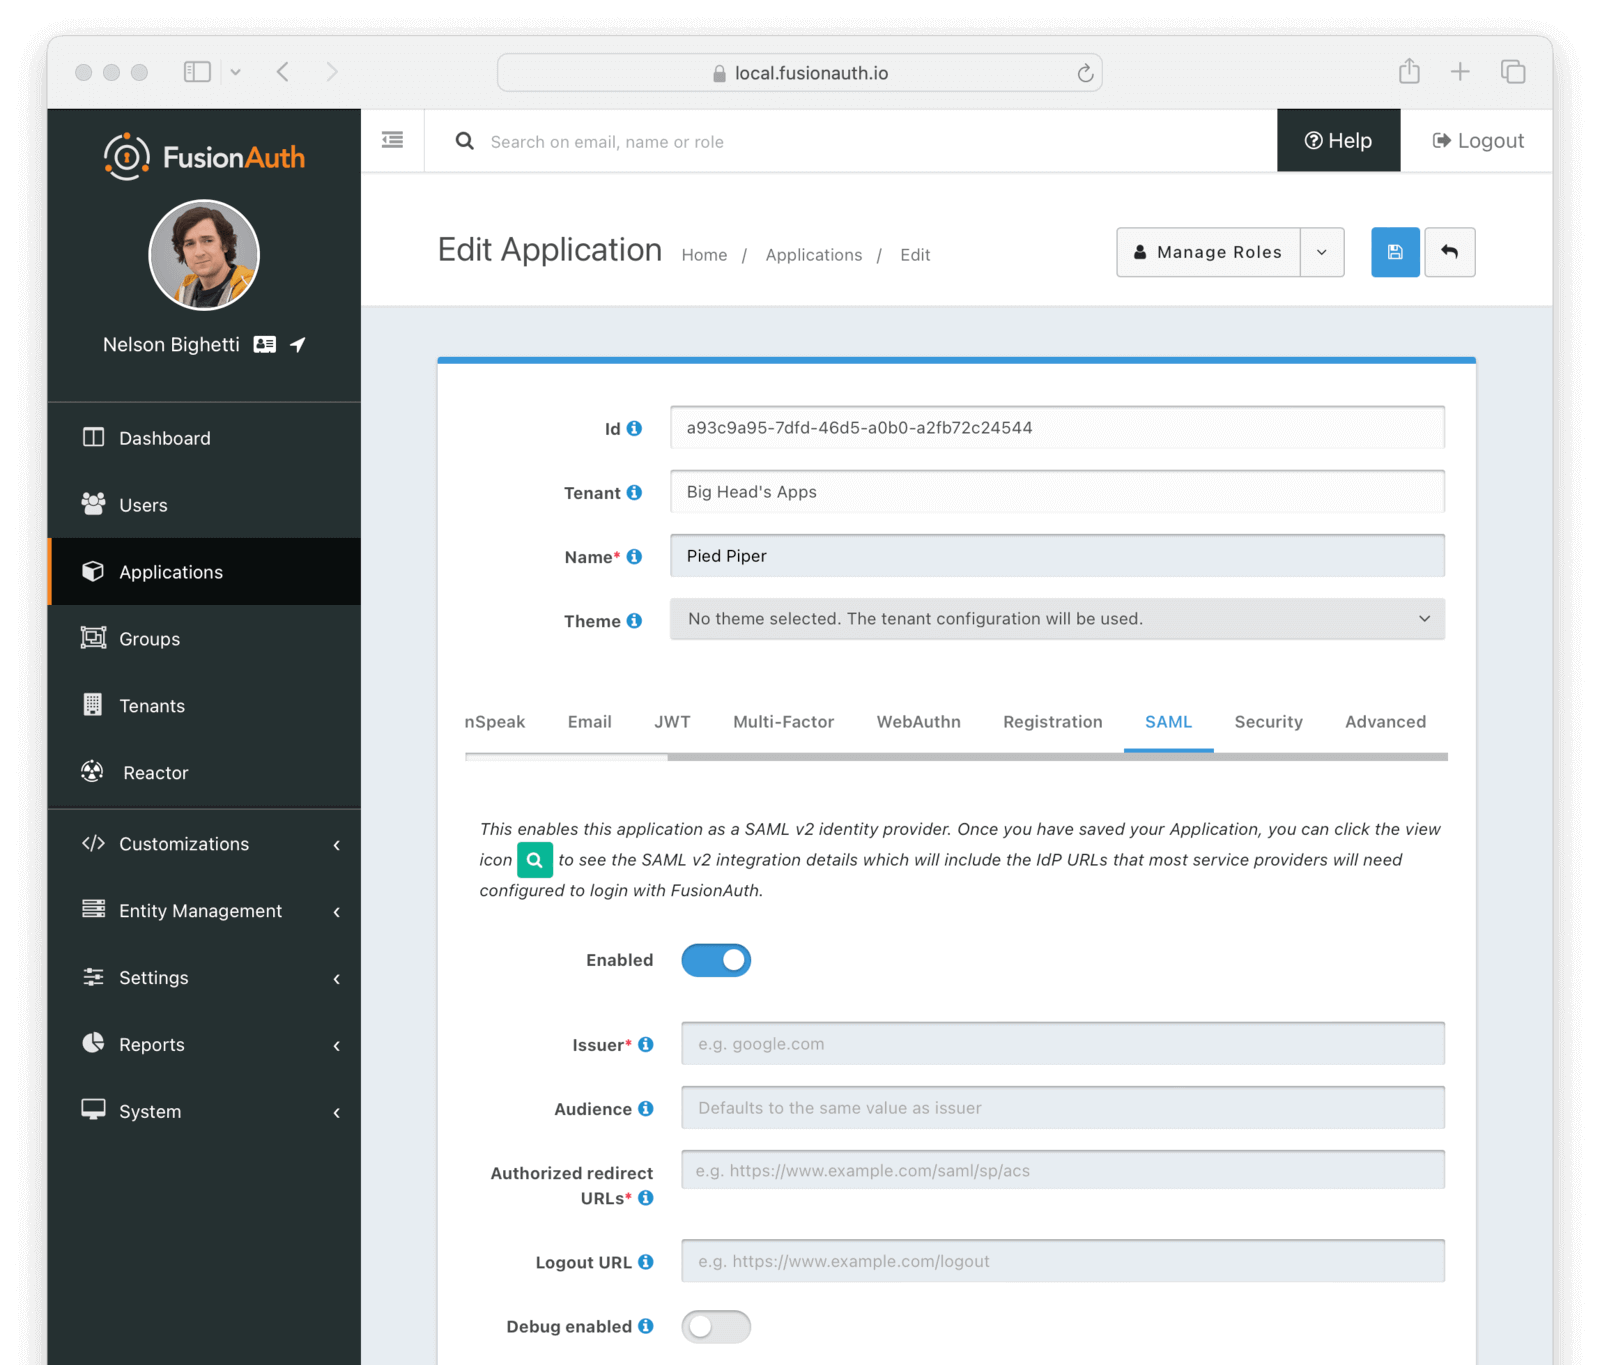
#### Form Fields
<APIBlock>
<APIField name="Issuer" required>
The issuer used by service providers (i.e. Google, Zendesk, etc.) to identify themselves to FusionAuth's SAML identity provider. Often you cannot set this in the service provider and need to read their documentation or test the integration and use the error messages to determine the correct value.
</APIField>
<APIField name="Audience" optional>
Some service providers require a different audience (such as Zendesk). You can leave this blank if the audience is the same as the issuer.
</APIField>
<APIField name="Authorized redirect URLs" required>
One or more allowed URLs that FusionAuth may redirect to after the user has logged in via SAML v2, also known as the Assertion Consumer Service URL (ACS).
</APIField>
<APIField name="Logout URL" optional>
The URL that the user is redirected to after they are logged out. Usually this is the starting location of the application.
</APIField>
<APIField name="Debug enabled" optional>
Enable debug to create an event log to assist you in debugging integration errors.
</APIField>
</APIBlock>

#### Authentication Request
<APIBlock>
<APIField name="Require signature" optional>
When enabled, all unsigned requests will be rejected.
</APIField>
<APIField name="Default verification key" optional since="1.20.0">
The verification key used to verify a signature when the SAML v2 Service Provider is using HTTP Redirect Bindings.
When HTTP POST Bindings are used, this is the default verification key used if a `KeyInfo` element is not found in the SAML AuthNRequest. If a `KeyInfo` element is found, Key Master will be used to resolve the key and this configuration will not be used to verify the request signature.
This field is required when <InlineField>Require signature</InlineField> is enabled.
</APIField>
<APIField name="Enable login hint" since="1.47.0">
When enabled, FusionAuth will accept a username or email address as a login hint on a custom HTTP request parameter.
</APIField>
<APIField name="Login hint parameter name" optional defaults="login_hint" since="1.47.0">
The name of the login hint parameter provided by the service provider on an AuthnRequest. If this parameter is present, its value will be used to pre-populate the username field on the FusionAuth login form.
For example, suppose <InlineField>Enable login hint</InlineField> is enabled and <InlineField>Login hint parameter name</InlineField> has the value `login_name`. When FusionAuth is set up as an IdP, the SP can send a request which includes the parameter `login_name=richard@example.com`, and FusionAuth will pre-populate richard@example.com into the login form the end user sees.
Note that this setting names an HTTP query parameter, not an element in the SAML AuthnRequest XML.
</APIField>
</APIBlock>

#### Authentication Response
<APIBlock>
<APIField name="Signing key" optional>
The signing key used to sign the SAML request. When this value is not selected the default selection will cause FusionAuth to generate a new key pair and assign it to this configuration.
</APIField>
<APIField name="Signature canonicalization method" optional>
The XML signature canonicalization method. If you are unsure which method to select, leave the default and begin testing, or contact your service provider for configuration assistance.
</APIField>
<APIField name="Signature location" optional defaults="Assertion" since="1.21.0">
The location of the XML signature in the SAML response.
</APIField>
<APIField name="Populate lambda" optional>
The lambda used to add additional values from the user and registration to the SAML response.
</APIField>
<APIField name="Enable IdP initiated login" optional defaults="false" since="1.41.0">
When enabled, FusionAuth will be able to initiate a login request to a SAML v2 Service Provider.
Once enabled, open the View dialog or this application to view the integration URI. You will find this value in the view dialog in the SAML v2 Integration details, and the value will be named <InlineField>Initiate login URL:</InlineField>.
</APIField>
<APIField name="NameID format" optional defaults="Persistent" since="1.41.0">
The NameId format to send in the AuthN response to the SAML v2 Service Provider. There are two valid values:
* Persistent - The `urn:oasis:names:tc:SAML:2.0:nameid-format:persistent` NameID format will be used.
* Email - The `urn:oasis:names:tc:SAML:1.1:nameid-format:emailAddress` NameID format will be used.
</APIField>
</APIBlock>
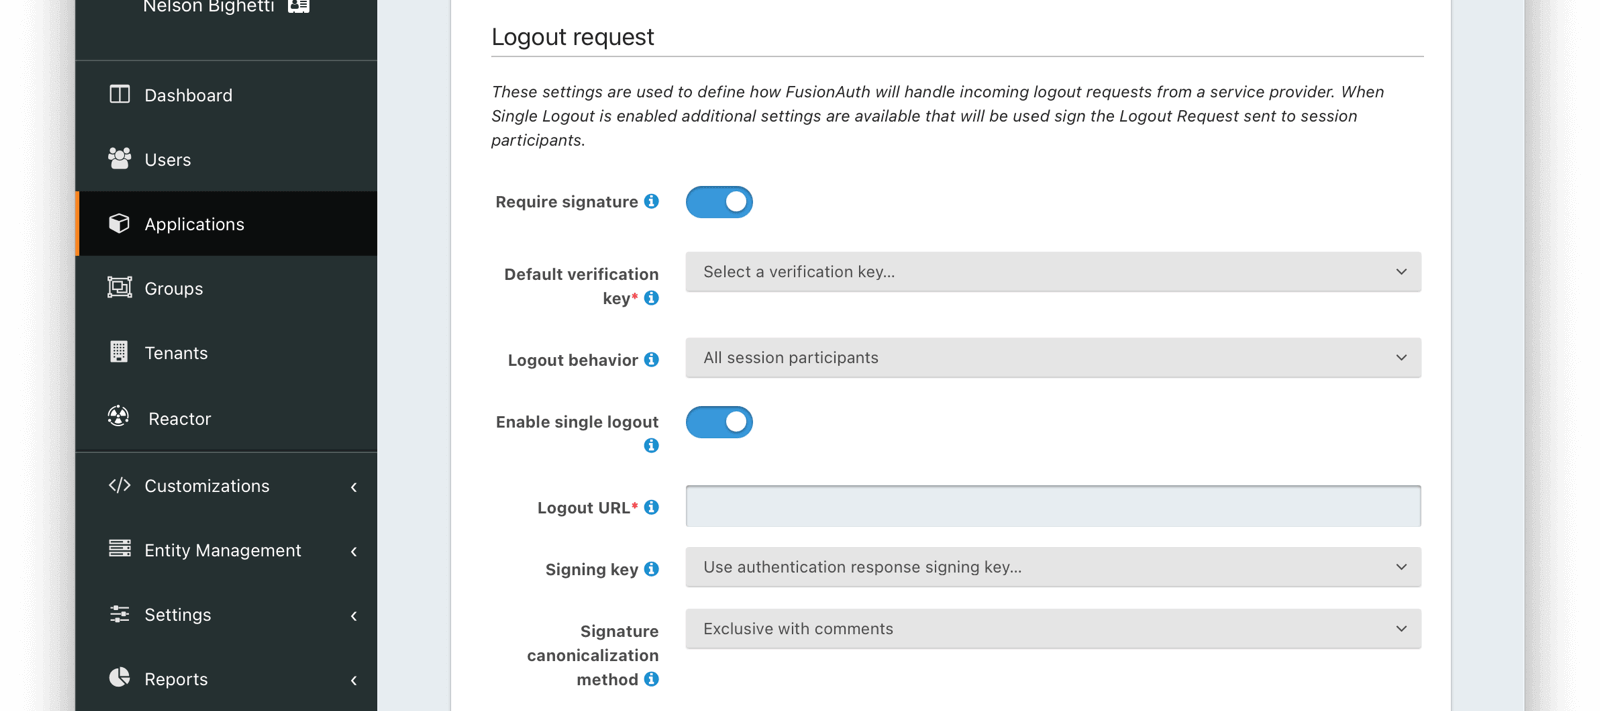
#### Logout Request
<APIBlock>
<APIField name="Require signature" optional since="1.25.0">
When enabled the SAML service provider (SP) will be required to sign the Logout request. All unsigned Logout requests will be rejected.
</APIField>
<APIField name="Default verification key" optional since="1.25.0">
The unique Id of the Key used to verify the signature if the public key cannot be determined by the KeyInfo element when using POST bindings, or the key used to verify the signature when using HTTP Redirect bindings.
This field is required when <InlineField>Require signature</InlineField> is enabled.
</APIField>
<APIField name="Logout behavior" optional since="1.25.0">
This selector allows you to modify the behavior when logout occurs. There are two valid values:
* All session participants - This is the default behavior. Each session participant that has enabled single logout will be sent a Logout Request.
* Only logout request originator - no other session participants will be notified when a logout request is sent for this application.
</APIField>
<APIField name="Enable single logout" optional since="1.25.0">
Enable this to receive a LogoutRequest as a session participant when any other SAML enabled application within the same tenant receives a LogoutRequest.
</APIField>
<APIField name="Logout URL" optional since="1.25.0">
The URL where you want to receive the LogoutRequest from FusionAuth.
This field is required when <InlineField>Enable single logout</InlineField> is enabled.
</APIField>
<APIField name="Signing key" optional since="1.25.0">
The Key used to sign the SAML Single Logout response.
</APIField>
<APIField name="Signature canonicalization method" optional since="1.25.0">
The XML signature canonicalization method. If you are unsure which method to select, leave the default and begin testing, or contact your service provider for configuration assistance.
</APIField>
</APIBlock>
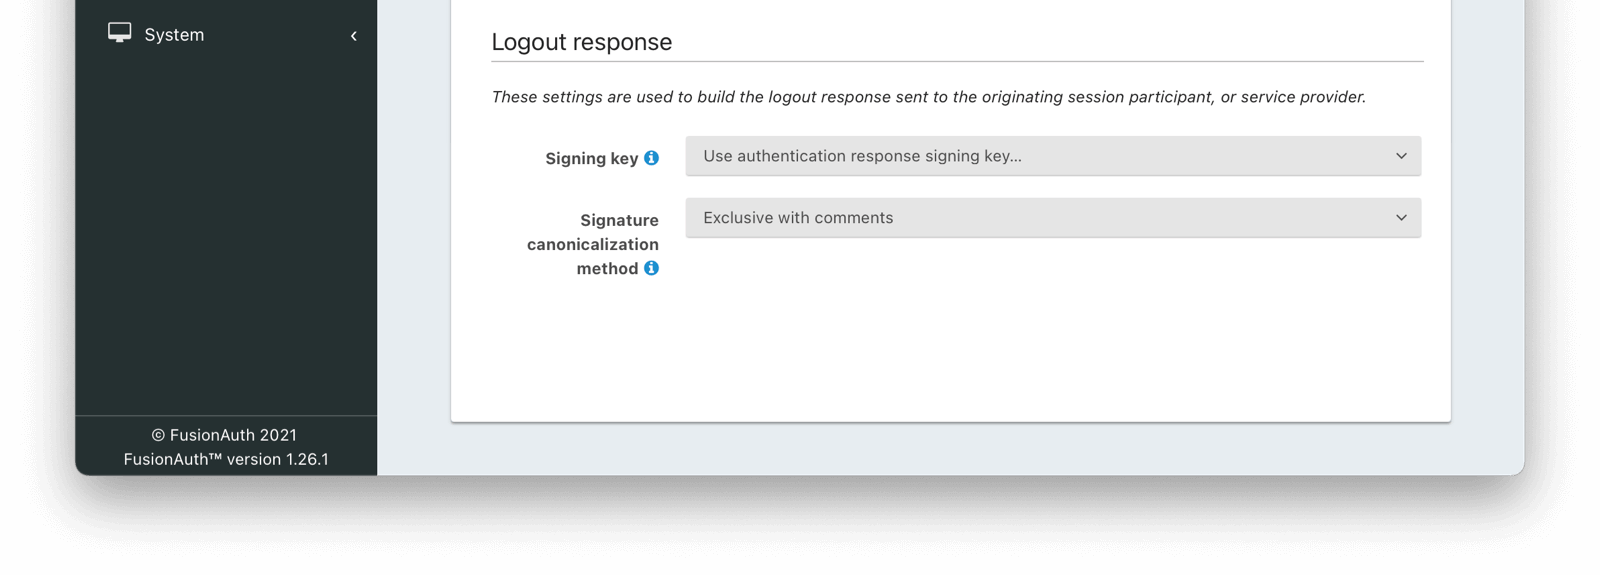
#### Logout Response
<APIBlock>
<APIField name="Signing key" optional defaults="Assertion" since="1.25.0">
The signing key used to sign the SAML logout request. When this value is not selected the Authentication Response <InlineField>Signing key</InlineField> will be used.
</APIField>
<APIField name="Signature canonicalization method" optional since="1.25.0">
The XML signature canonicalization method. If you are unsure which method to select, leave the default and begin testing, or contact your service provider for configuration assistance.
</APIField>
</APIBlock>
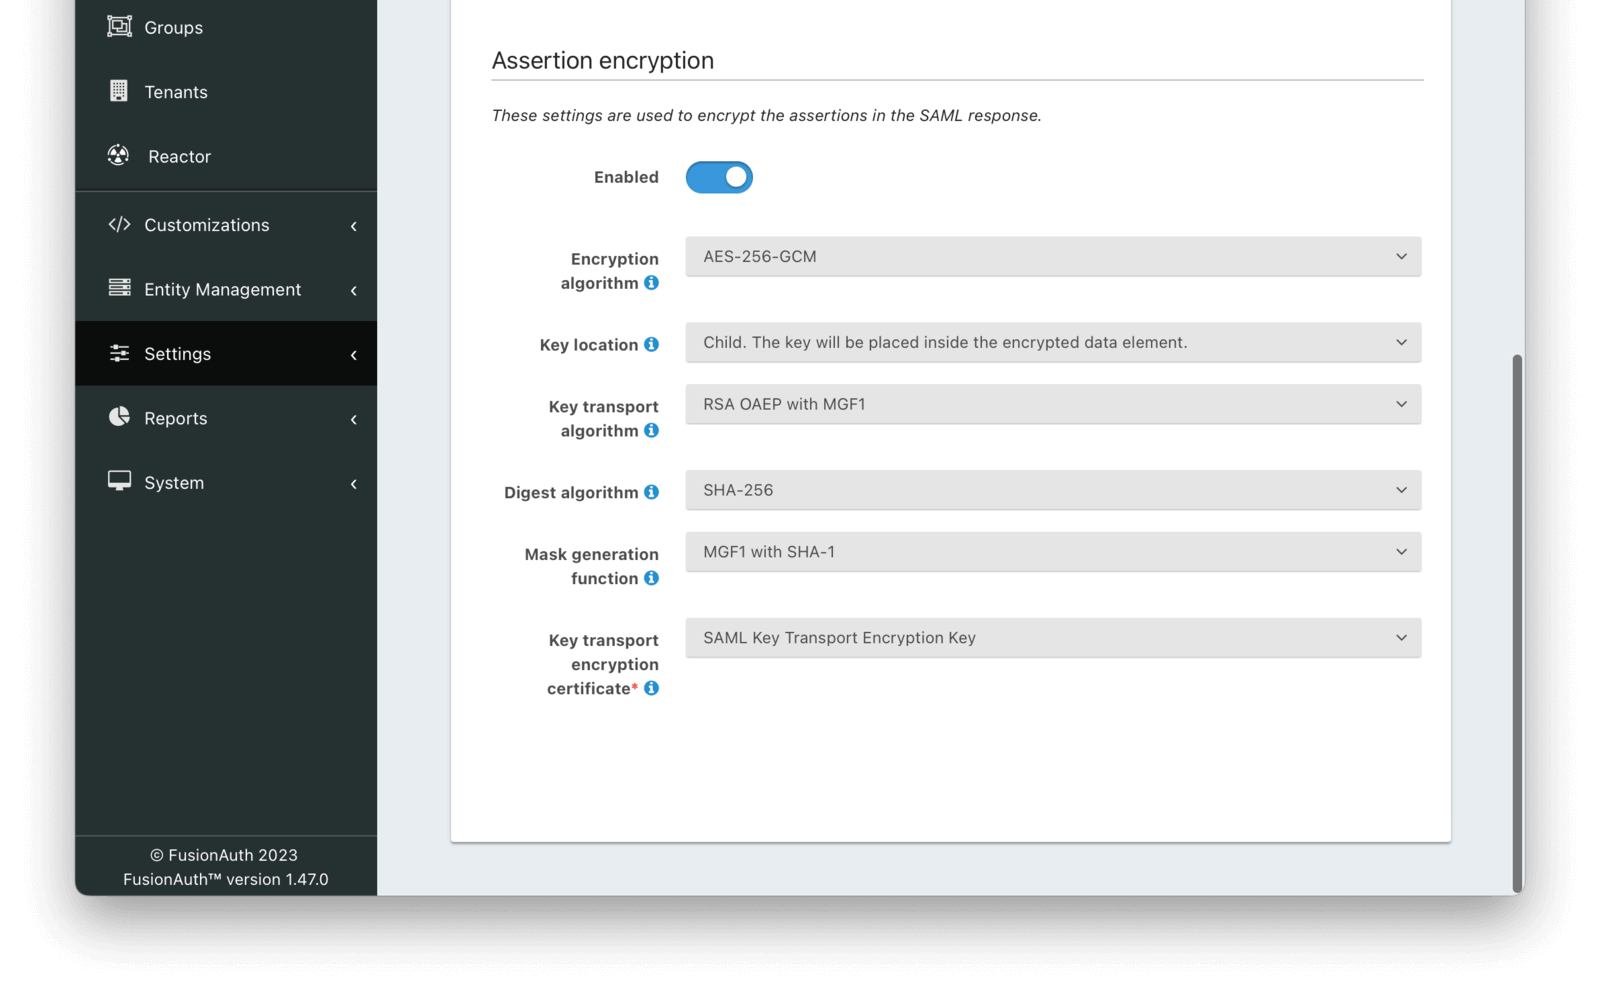
#### Assertion Encryption
<APIBlock>
<APIField name="Enabled" optional defaults="false" since="1.47.0">
When enabled, assertions in SAML responses will be encrypted.
</APIField>
<APIField name="Encryption algorithm" optional since="1.47.0">
The symmetric key encryption algorithm used to encrypt the SAML assertion.
</APIField>
<APIField name="Key location" optional defaults="Child" since="1.47.0">
The location that the encrypted symmetric key information will be placed in the SAML response in relation to the `EncryptedData` element containing the encrypted assertion value.
</APIField>
<APIField name="Key transport algorithm" optional since="1.47.0">
The encryption algorithm used to encrypt the symmetric key for transport in the SAML response.
</APIField>
<APIField name="Digest algorithm" optional since="1.47.0">
The message digest algorithm to use when encrypting the symmetric key for transport.
</APIField>
<APIField name="Mask generation function" optional since="1.47.0">
The mask generation function and hash function to use for the Optimal Asymmetric Encryption Padding when encrypting a symmetric key for transport. This configuration is only available when <InlineField>Key transport algorithm</InlineField> is set to `RSA OAEP with MGF1`.
</APIField>
<APIField name="Key transport encryption certificate" optional since="1.47.0">
The RSA certificate from Key Master that will be used to encrypt the SAML assertion encryption symmetric key for transport.
This field is required when SAML assertion encryption is enabled.
</APIField>
</APIBlock>
### Security
The security tab contains some additional security configuration for this application.
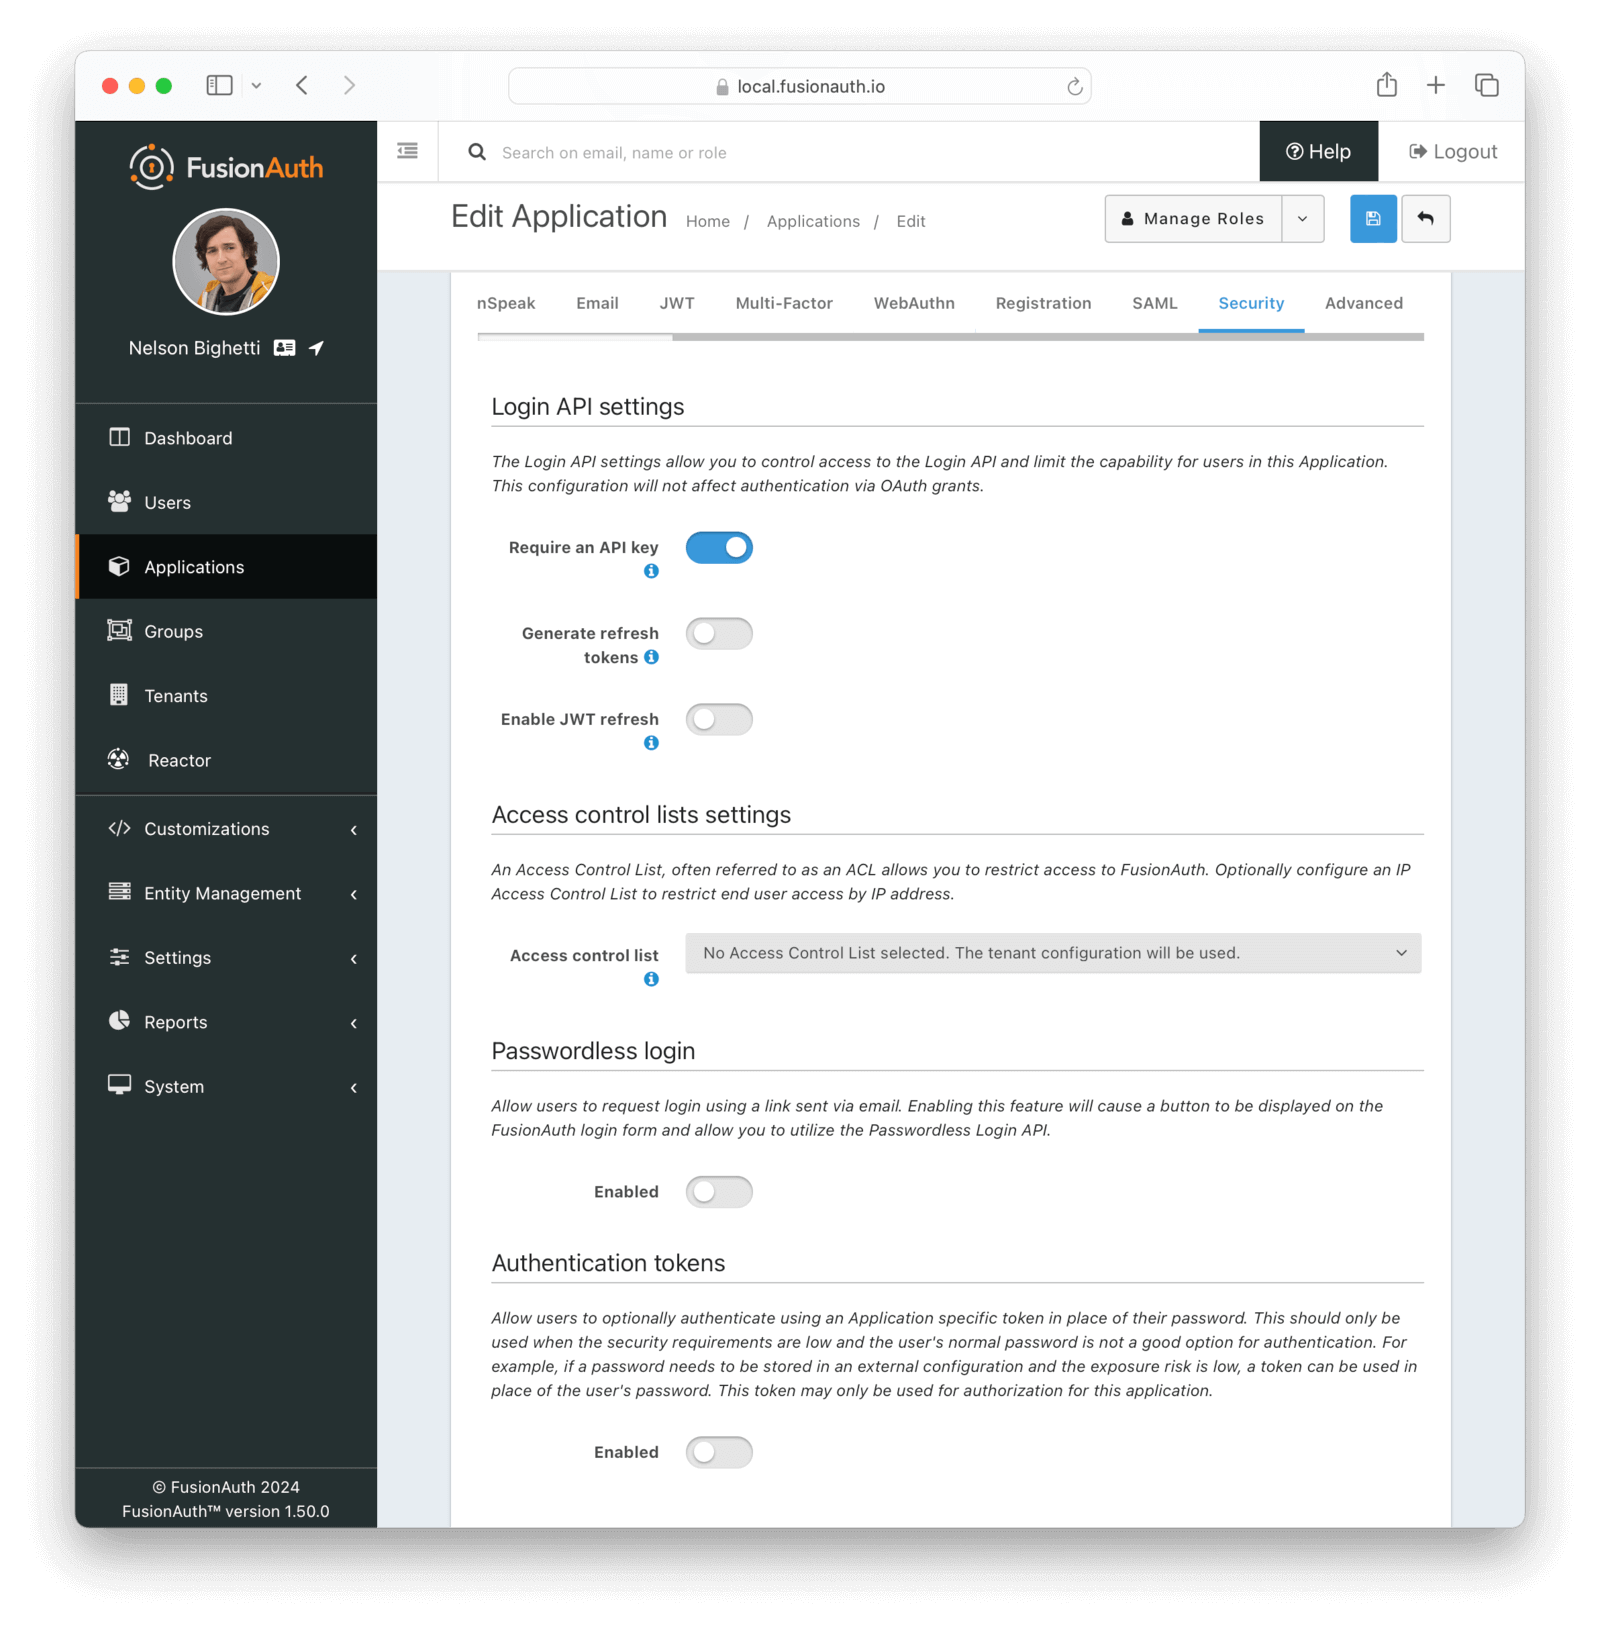
#### Login API Settings
<APIBlock>
<APIField name="Require an API key" optional>
When enabled the Login API will require an API key. This is functionally equivalent to requiring client authentication during OAuth2.
</APIField>
<APIField name="Generate Refresh Tokens" optional>
When enabled the Login API will return refresh tokens. This is functionally equivalent to requesting the offline_scope during an OAuth2 grant.
</APIField>
<APIField name="Enable JWT refresh" optional>
When enabled a JWT may be refreshed using the JWT Refresh API. This is functionally equivalent to enabling the OAuth2 Refresh Grant.
</APIField>
</APIBlock>
##### Access control lists settings
<PremiumPlanBlurb />
<APIBlock>
<APIField name="Access control list" optional since="1.30.0">
The IP access control list that will be used to restrict or allow access to hosted login pages in FusionAuth. Using this, you can allow access to or block specific IP addresses from an application's authentication pages (login, forgot password, etc).
When configured, this value will override the IP access control list configuration on the tenant.
</APIField>
</APIBlock>
#### Passwordless Login
<APIBlock>
<APIField name="Enabled" optional>
When enabled, allow users to request login using a link sent via an email (or code sent via an SMS message). Enable this feature to display a button on the FusionAuth login form and allow usage of the Passwordless Login API.
</APIField>
</APIBlock>
#### Authentication Tokens
<APIBlock>
<APIField name="Enabled" optional>
When enabled, allow users to optionally authenticate using an Application specific token in place of their password. This should only be used when the security requirements are low and the user's normal password is not a good option for authentication.
For example, if a password needs to be stored in an external configuration and the exposure risk is low, a token can be used in place of the user's password. This token may only be used for authorization for this application.
</APIField>
</APIBlock>
### Webhooks
<Aside type="caution">
This feature is removed as of version 1.37.0.
</Aside>
The Webhooks tab allows you to select one or more webhooks to be used for this Application. In this example screenshot either no webhooks have been configured, or no application specific webhooks are configured.
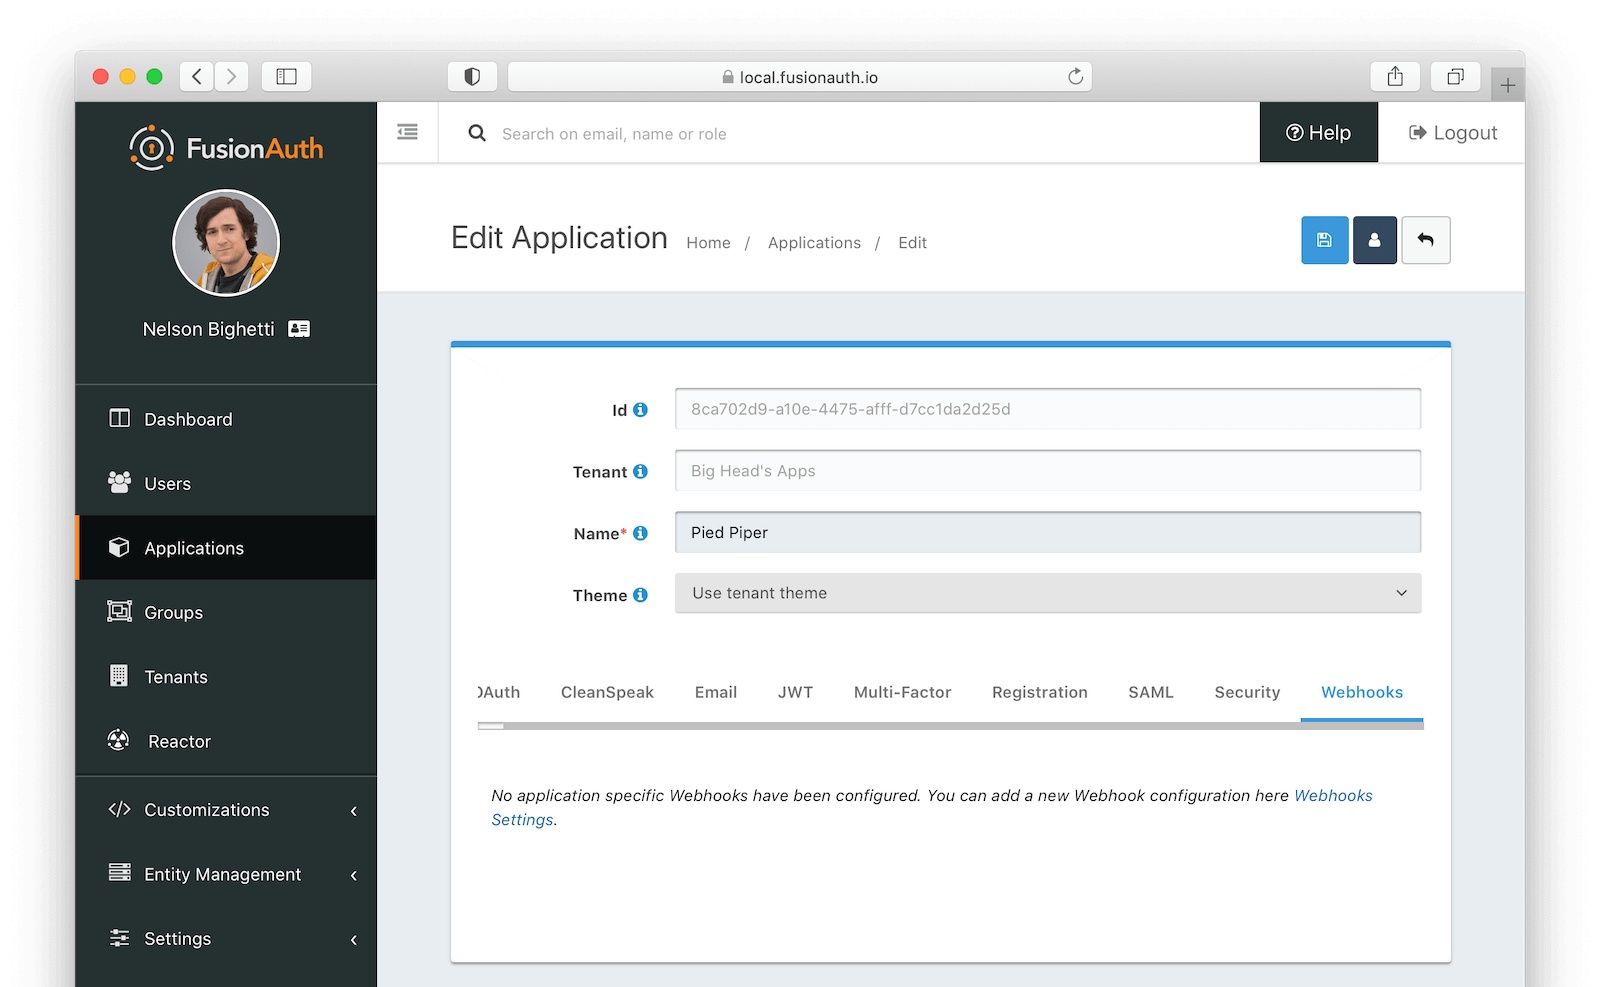
In most cases you will not need to configure this panel. Only a few specific events are considered application specific, and when a webhook is configured to be application specific, only those events will be sent to the webhook.
This example screenshot shows one Application specific webhook selected. This option will be visible if at least one webhook is configured as application specific.
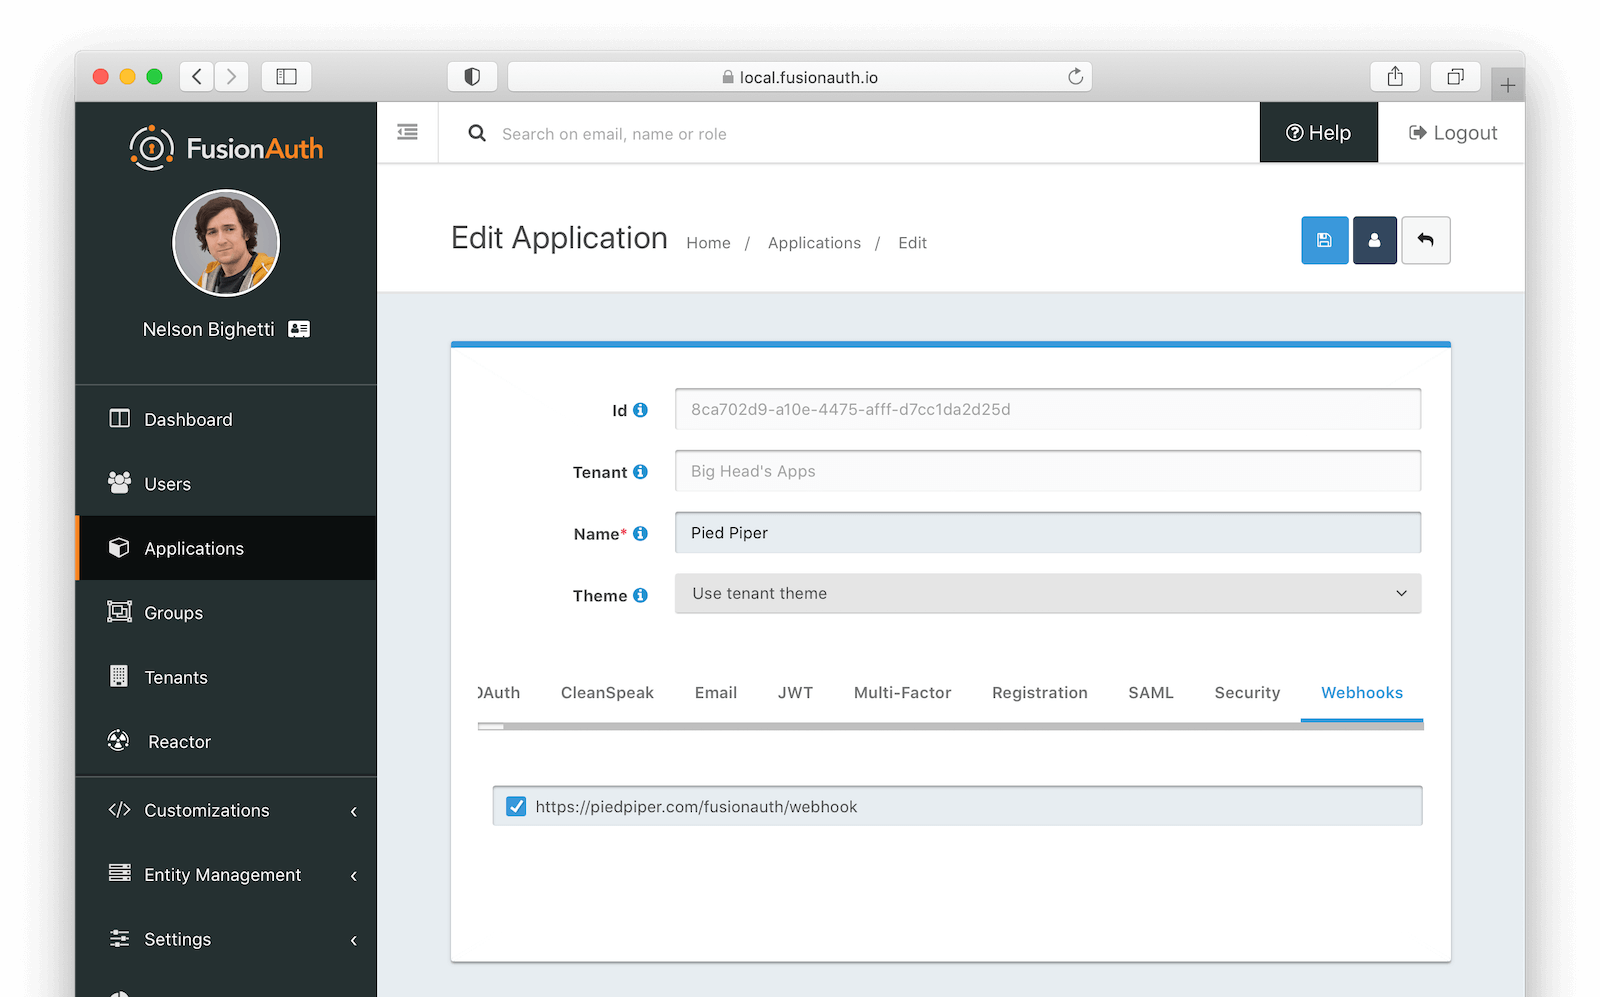
## Universal Applications
A universal application is an application that exists for all tenants, rather than belonging to a single tenant. Universal applications are useful when you need to make the same application available to users across many or all tenants.
A universal application uses the same application configuration across all tenants, including its client Id, client credentials, and more. This makes configuration management simpler, allowing you to share configuration across all uses of the application.
### Universal Application Registrations
Users from any tenant can have a registration to a universal application, and registrations work as they would for normal applications.
### Universal Applications and Tenants
Because a universal application does not belong to a single tenant, you will generally have to supply a tenant Id when interacting with a universal application. This is true during authentication and other user-specific workflows. The supplied tenant Id tells FusionAuth a number of things, such as which tenant the user that is logging in belongs to, which theme to use, and more.
The tenant Id is typically provided on a `tenantId` query parameter, unless otherwise specified.
A universal application "inherits" settings from the tenant it is being associated with at runtime. This means that you can customize the behavior of a universal application per tenant by using different tenant configuration.
Note that for tenant configuration settings that can be overridden at the application level, if you supply an application-level override, that setting will be used for all tenants. If this is not what you want, do not set a value in the universal application's configuration and let the application fall back to what is defined in the tenant.
### Universal Applications and Tenant-scoped API Keys
A tenant-scoped API key cannot make changes that could be seen or otherwise affect other tenants than the one it is scoped to. Because universal applications span all tenants, you cannot use a tenant-scoped API key with a universal application via the [Application API](/docs/apis/applications). You can, however, use a tenant-scoped API key to interact with things like registrations and refresh tokens, as these are confined to a user within a tenant.
### Configure an Application as Universal
You can only set an application as universal when it is created. Do this by setting `application.universalConfiguration.universal` to `true` when using the API, or select the `Universal` toggle on the Add Application view in the admin app.
### Universal Applications and the Self-serve Account application
When using the [self-serve account](/docs/lifecycle/manage-users/account-management) application, users supply an application Id to edit their profile within the context of that application. To use this application with a universal application, the user will also need to specify a tenant Id in the following way:
```
/account?client_id=APPLICATION_ID&tenantId=TENANT_ID
```
# Authentication and Authorization
import InlineField from 'src/components/InlineField.astro';
import InlineUIElement from 'src/components/InlineUIElement.astro';
import JSON from 'src/components/JSON.astro';
import Aside from 'src/components/Aside.astro';
## Overview
Authentication and authorization are two fundamental concepts in FusionAuth. The traditional definitions are:
* authentication: who you are
* authorization: what you can do
Authentication is sometimes referred to as `authn` or `AuthN` and authorization is sometimes referred to as `authz` or `AuthZ`.
### Authentication in FusionAuth
Authentication means that a user has provided credentials which the system has accepted. This is often a username and password, but could be a code from a magic link, a token from a social auth provider, or a JWT from an external identity provider.
Authentication occurs with users, who are scoped to the tenant. When authentication happens, if you are using the [Login API](/docs/apis/login), a `2xx` response is returned from FusionAuth. See the API documentation for the specific `2xx` value. When using an [Authorization Code grant](/docs/lifecycle/authenticate-users/oauth/), the user is redirected to the provided `redirect_uri`.
In either case, the end result of the request will be a JWT containing information about the user. Each JWT has a header, a payload and a signature. You can [decode JWTs using any number of online tools](/dev-tools/jwt-decoder), because it's two base 64 encoded strings joined by periods, with the signature for integrity checking. Here's a diagram of a JWT:
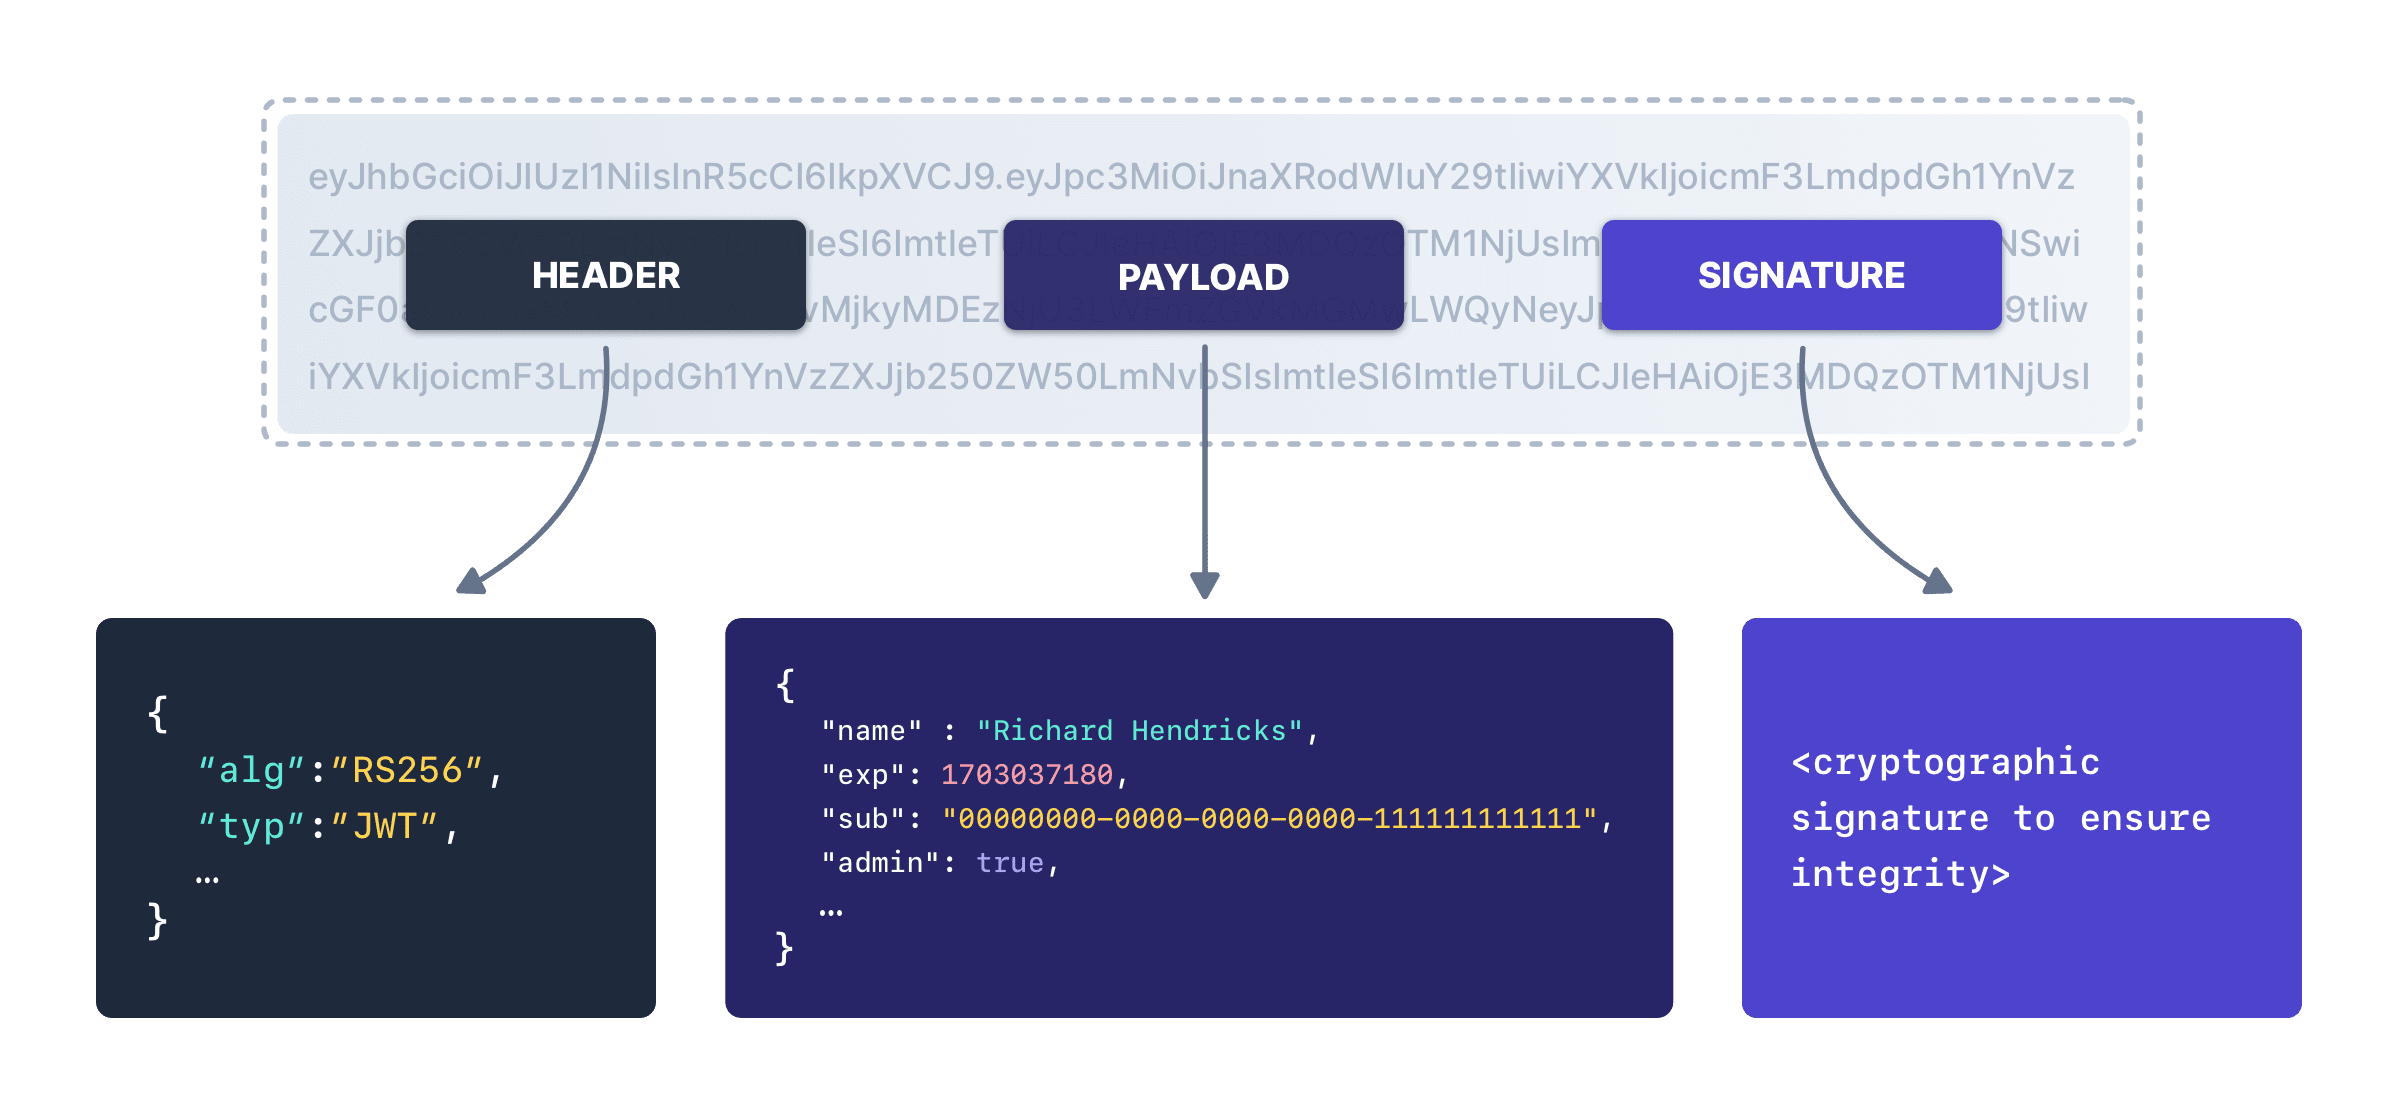
The JWT will contain information about the user. Here's an example of the payload of a JWT for a user that has been authenticated but not authorized:
<JSON title="Example JWT For an Authenticated But Not Authorized User" src="login/jwt-unauthorized.json" />
### Authorization in FusionAuth
Authorization means that the user has been registered with an application. Authentication is a necessary prerequisite to authorization; if FusionAuth doesn't know who the user is, it can't know what resources the user is allowed to access.
If using the [Login API](/docs/apis/login), the status code returned for an authorized user is typically `200`. See the API documentation for more details. When using an [Authorization Code grant](/docs/lifecycle/authenticate-users/oauth/), the user is redirected to the provided `redirect_uri`.
In either case, the end result of the request will be a JWT containing information about the user. Here's an example:
<JSON title="Example JWT For an Authorized User" src="login/jwt.json" />
### Authorization and Securing Your Application
These concepts are critical to application security.
If you are utilizing the JWT to authorize a user to your application, you must do more than just ensure the JWT has a valid signature and is not expired. You must also ensure the JWT has provided adequate claims to the user's authorization.
<Aside type="note">
Checking the JWT signature and expiration are only a part of the story. Make sure you check the `roles` and `applicationId` claim to ensure the user is properly registered for the application they are trying to access.
This check must be done by your web, mobile or native app.
</Aside>
If you enable <InlineField>Require registration</InlineField> on an application, a JWT won't be provided until the user is registered for this application if you are using the hosted login pages.
The `aud` claim identifies the context of the request, in other words who is this JWT for: a Payroll application, a mobile application, etc. The presence of the `applicationId` and `roles` claims identifies the User's registration (authorization) and access (roles) to the requested resource identified by the `aud` claim.
### An Example
Say you have three people trying to log in:
* Richard
* Monica
* Erlich
The following Applications are configured in FusionAuth:
* Pied Piper
* Pied Piper Video Chat
* Raviga Notes
* Raviga Payroll
* Hooli Jobs
You grant access to a particular application with a [User Registration](/docs/get-started/core-concepts/registrations). Once registered, a user can have 0 or more [roles](/docs/get-started/core-concepts/roles) as defined by the [Application](/docs/get-started/core-concepts/applications).
Richard is registered for Pied Piper and Pied Piper Video Chat. Monica is registered for Pied Piper, Raviga Notes, and Raviga Payroll. Neither Richard nor Monica is registered for Hooli Jobs. Erlich does not have an account.
What happens when each user tries to log in to a particular application?
| Application | Richard Authenticated | Richard Authorized | Monica Authenticated | Monica Authorized | Erlich Authenticated | Erlich Authorized |
|-----------------------|-----------------------|--------------------|----------------------|-------------------|----------------------|-------------------|
| Pied Piper | Yes | Yes | Yes | Yes | No | No |
| Pied Piper Video Chat | Yes | Yes | Yes | No | No | No |
| Raviga Notes | Yes | No | Yes | Yes | No | No |
| Raviga Payroll | Yes | No | Yes | Yes | No | No |
| Hooli Jobs | Yes | No | Yes | No | No | No |
FusionAuth successfully authenticates Richard and Monica because they exist, and the credentials they provided were correct. But if a user is not authorized to the Application, the access token (JWT) returned will not contain authorization (`applicationId`, `roles`) claims for the resource.
# Groups
import AdvancedPlanBlurb from 'src/content/docs/_shared/_advanced-plan-blurb.astro';
import APIBlock from 'src/components/api/APIBlock.astro';
import APIField from 'src/components/api/APIField.astro';
import Breadcrumb from 'src/components/Breadcrumb.astro';
import GroupLimits from 'src/content/docs/get-started/core-concepts/_group-limits.md';
import InlineField from 'src/components/InlineField.astro';
import MembershipLambda from 'src/content/docs/extend/code/_membership-lambda.md';
## Overview
There are a few reasons you may want to use a FusionAuth Group.
The first use is to logically group one or more users within a Tenant. Once a User is a member of a Group they may be identified as a member of the Group and retrieved using the [User Search API](/docs/apis/users#search-for-users).
The second reason you may use a Group is to manage Application Role assignment. A Group may be assigned roles from one or more Applications, a member of this Group will be dynamically assigned these roles if they have a registration for the Application.
## Core Concepts Relationships
Below is a visual reminder of the relationships between FusionAuth's primary core concepts.
<img src="/img/docs/get-started/core-concepts/core-concepts-relationships-groups.png" alt="Diagram showing Groups used within FusionAuth" />
## Examples
Here are some examples of using Groups.
### Grouping Users
If you are performing educational marketing activities and driving self-service signups, you can pull the source of a signup off a URL parameter and place it into the `user.data` field using a [custom registration form](/docs/lifecycle/register-users/advanced-registration-forms). On user creation, you could add them to a variety of Groups based on the attributes of the webinar using a webhook.
For example:
* Date of signup
* Online or offline presentation
* Presenter
* Version of webinar
You could then use these Groups for cohort analysis later to see which users best converted to paying customers.
This usage of Groups can be similarly performed by the `user.data` custom data fields. However, with this approach, each Group can have metadata in the `group.data` field that includes information about the Group and how and why users were placed in it. The use of a separate grouping object with its own metadata can be useful.
### Assigning Roles
You could create a Group called `Admin`, and assign this group the admin role from each of your applications.
A more detailed example:
Suppose the Pied Piper Application has two roles: `admin` and `member`. The Hooli Application has one role `superadmin`.
Richard has a registration in Pied Piper and Nelson has a registration in Hooli.
Finally, there's a group called `Admin Group` which has the application roles of `admin` from Pied Piper and `superadmin` from Hooli.
If you add Richard to the `Admin Group`, he will receive the role `admin` in Pied Piper, but not `superadmin` (because they aren't registered for Hooli, so he can't get the role for that application).
## Group Membership In Tokens
Sometimes you want membership information in an access token generated by a login event. This data is not directly available in the lambda arguments.
However, you can do this by using [Lambda HTTP Connect](/docs/extend/code/lambdas/lambda-remote-api-calls) to request memberships using the [Group API](/docs/apis/groups) from within a [JWT Populate Lambda](/docs/extend/code/lambdas/jwt-populate). Here's an example of such a lambda.
<MembershipLambda />
<AdvancedPlanBlurb />
## Admin UI
### Create a Group
Click on <Breadcrumb>Settings -> Groups</Breadcrumb> from the main menu to add a Group. At a minimum, you must provide a <InlineField>Name</InlineField> for the Group and the <InlineField>Tenant</InlineField> it belongs to.
You may apply Application roles from the various Applications in this Group's Tenant.

#### Form Fields
<APIBlock>
<APIField name="Id" optional>
The Group Id.
</APIField>
<APIField name="Name" required>
The Group name.
</APIField>
<APIField name="Tenant" required>
The Tenant the Group will be scoped to.
</APIField>
<APIField name="Application Roles" optional>
The selected Application Roles will be assumed by members of this Group.
</APIField>
</APIBlock>
## Limits
<GroupLimits />
# Entity Management
import PremiumPlanBlurb from 'src/content/docs/_shared/_premium-plan-blurb.astro';
import APIBlock from 'src/components/api/APIBlock.astro';
import APIField from 'src/components/api/APIField.astro';
import Aside from 'src/components/Aside.astro';
import Breadcrumb from 'src/components/Breadcrumb.astro';
import Icon from 'src/components/icon/Icon.astro'
import ScimServerPermissions from 'src/content/docs/_shared/_scim-server-permissions.md'
<PremiumPlanBlurb />
## Overview
There are many use cases where it is helpful to model entities in addition to users. Examples might include devices, cars, computers, customers, or companies.
_Enter Entities._ Entities allow you to model everything right from FusionAuth! Entities allow you to model relationships and enable machine-to-machine authentication using the Client Credentials grant.
## Features
### Scalability
- FusionAuth Entity Management supports large volumes of Entities right out of the box.
- This is especially helpful for Internet of Things (IoT) devices; FusionAuth scales right alongside them.
### Typecasting
- Entities can have a type.
- For example, an Entity could be a type of `lock`, `car`, `company`, `corporate division`, `computer`, or `API`
- Entity Types can define permissions.
- You are limited only by your business need and imagination!
### Permissions Aware
- Permissions can be assigned to each Entity Type.
- Entities can be granted permissions on other entities (In OAuth terms, entities can initiate a Client Credentials Grant to obtain access to other entities).
- Users can have permissions to access Entities.
## Common Applications
- Corporate relationship modeling
- Per use device permissions
- Internet IoT
Below is an example diagram using the client credentials grant, and an email Entity Type.
<img src="/img/docs/get-started/core-concepts/client-credentials-grant-diagram.png" alt="Client Credentials Grant Diagram" role="shadowed bottom-cropped" />
### Can't I Just Use a Group?
In some cases, Groups work as a model for such ideas like `customers`. However, the flexibility of Groups is limited by their lack of typecasting (very much needed as use cases evolve). Additionally, Groups do not have a hierarchical model or permissions functionality built in.
{/* Here's a brief video covering some aspects of Entity Management: */}
{/* Placeholder for a video in the future */}
{/* video::DaZbwrA7M90[youtube,width=560,height=315] */}
## Entity Types
<img src="/img/docs/get-started/core-concepts/entity-type-homepage.png" alt="Home Screen Entity Types" width="1200" />
This is the Entity Types homepage. Here you can:
| | |
|--------------------------|-----------------------------------------------|
| <Icon name="plus"/> | **Create** a new Entity Type |
| <Icon name="edit"/> | **Edit** a previously created Entity Type |
| <Icon name="key" /> | **Manage Permissions** on Entity Type |
| <Icon name="fa-search"/> | **View** the previously created Entity Type |
| <Icon name="trash"/> | **Remove** the previously created Entity Type |
## Entity Type Form Fields
<img src="/img/docs/get-started/core-concepts/entity-type-add.png" alt="Create an Entity Type" width="1200" role="bottom-cropped" />
<APIBlock>
<APIField name="Id" optional>
An optional UUID. When this value is omitted, a unique Id will be generated automatically.
</APIField>
<APIField name="Name" required>
The name of the Entity Type. This value is for display purposes only and can be changed at any time.
</APIField>
</APIBlock>
### Permissions
Add and manage custom permissions.
<img src="/img/docs/get-started/core-concepts/manage-permissions.png" alt="Entity Homepage" role="bottom-cropped" />
<APIBlock>
<APIField name="Name" required>
The name of the permission
</APIField>
<APIField name="Default" optional>
If this permission should be assigned once the Entity Type is created (by default). More than one default can be set.
</APIField>
<APIField name="Description" optional>
Please write a helpful description of the permissions' purpose.
</APIField>
</APIBlock>
### JWT
Controls the JWT settings used for this entity type.
<img src="/img/docs/get-started/core-concepts/entity-type-add-jwt-tab.png" alt="Create an Entity Type - JWT tab" width="1200" role="bottom-cropped" />
<APIBlock>
<APIField name="Enabled" optional>
When enabled, you can specify JWT settings for this entity type. If disabled, settings for the entity's tenant will be used.
</APIField>
<APIField name="JWT Duration" required>
The length of time specified in seconds that the issued token is valid. This value must be greater than 0.
When JWT customization is enabled, this is required.
</APIField>
<APIField name="Access token signing key" optional>
The key used to sign the JWT.
</APIField>
</APIBlock>
## Entity
<img src="/img/docs/get-started/core-concepts/entity-homepage.png" alt="Entity Homepage" width="1200" />
This is the Entity homepage. Here you can:
| | |
|--------------------------|------------------------------------------|
| <Icon name="plus" /> | **Create** a new Entity |
| <Icon name="edit" /> | **Edit** a previously created Entity |
| <Icon name="fa-search"/> | **View** the previously created Entity |
| <Icon name="trash"/> | **Remove** the previously created Entity |
## Entity Form Fields
<img src="/img/docs/get-started/core-concepts/entity-add.png" alt="Create an Entity" width="1200" />
Creating a new Entity is straightforward
Just complete the following fields:
<APIBlock>
<APIField name="Id" optional>
An optional UUID.
When this value is omitted, a unique Id will be generated automatically.
</APIField>
<APIField name="Name" required>
The name of the Entity.
This value is for display purposes only and can be changed at any time.
</APIField>
<APIField name="Tenant" required>
Assign the new Entity to a Tenant
</APIField>
<APIField name="Client Id" optional>
When this value is omitted a unique Client Id will be generated automatically.
</APIField>
<APIField name="Client secret" optional>
When this value is omitted a unique Client secret will be generated automatically.
</APIField>
<APIField name="Entity Type" required>
When creating this Entity, you can assign it to a previously created Entity Type
</APIField>
</APIBlock>
## SCIM Configuration
<Aside type="version">
This functionality has been available since 1.36.0
</Aside>
When configuring FusionAuth to accept SCIM requests, you must create a SCIM server Entity and a SCIM client Entity. These entities will be used by the Client Credentials grant which will provide the access token which is used to authenticate calls to the SCIM endpoints. These entities must be of the Entity Type configured in the Tenant SCIM configuration. They also must have the SCIM permissions granted to successfully call [SCIM API endpoints](/docs/apis/scim/) requiring authentication.
The necessary Entity Types can be created by navigating to Entity <Breadcrumb>Management > Entity Types</Breadcrumb> and selecting the clicking the drop down Add button in the top right of the page. In most cases you will find these two entity types have been created for you by FusionAuth.
The default entity types are named **\[FusionAuth Default] SCIM client** and **\[FusionAuth Default] SCIM server**. Below is a screenshot of adding a new Entity Type for the SCIM Server, but if you wish to use the default Entity Type, you do not need to create an additional Entity Type.
<img src="/img/docs/get-started/core-concepts/entity-type-scim-add.png" alt="Home Screen SCIM Entity Types" width="1200" />
[Learn more about SCIM](/docs/lifecycle/migrate-users/scim/).
### SCIM Server Permissions
<ScimServerPermissions />
## Limitations
It is not currently possible to utilize an OAuth2 grant to retrieve user permissions to an entity. Please review [GitHub Issue #1295](https://github.com/FusionAuth/fusionauth-issues/issues/1295/) and vote if you would like to see this capability in FusionAuth.
It is also not possible to rename or otherwise customize scopes used with Entity Management. Please review [GitHub Issue #1481](https://github.com/FusionAuth/fusionauth-issues/issues/1481) and vote if you would like to see this capability in FusionAuth.
## More Information
* An example [client credentials grant using Entities](/docs/lifecycle/authenticate-users/oauth/#example-client-credentials-grant).
* The [Entity Management APIs](/docs/apis/entities/).
* A guide to using [Entities to model organizations](/docs/extend/examples/modeling-organizations).
# Login Pages - Hosted or API
If you're reading this then you already know about the importance of authentication. What you might not know is whether you want to use FusionAuth's hosted login pages, or if you'd prefer to use the API options instead. We put a guide together for you to help you make up your mind.
We're going to explore the differences between hosted login pages and the results that you can get using the API. We will dive into their pros and cons so that you can make an informed decision about what is best for you.
## Hosted Login Pages
Hosted login pages are a popular choice for many developers. This is especially true for those who prefer to use a WYSIWYG editor to handle their customization. That said, Hosted Logins do require some tradeoffs such as a browser redirect. Further, since the Hosted Login is designed in our Simple Themes editor or inside of Apache FreeMarker, they do not leverage React or other common design systems.
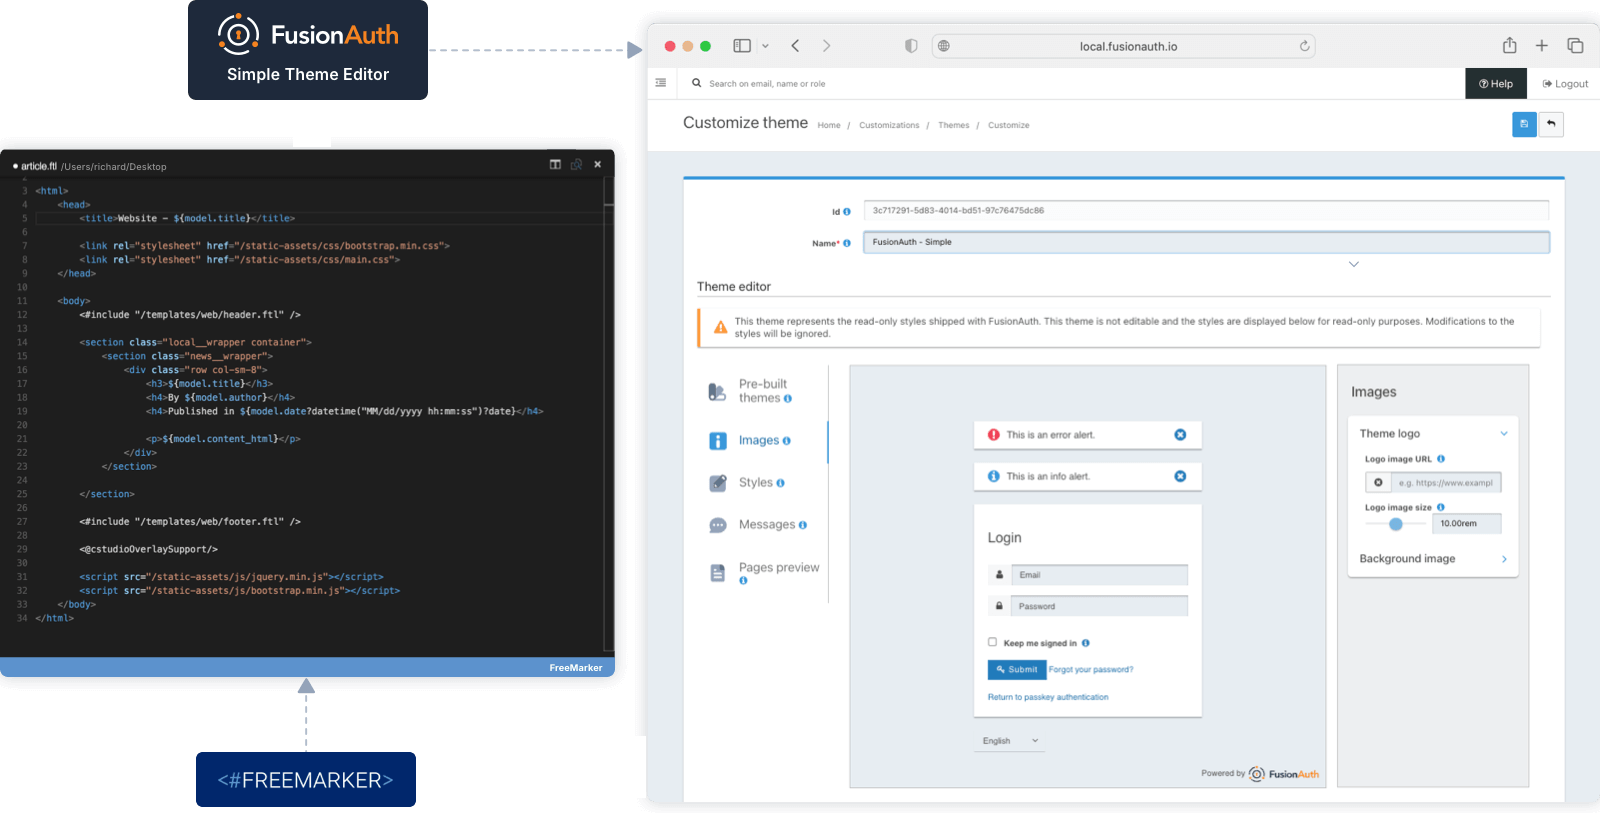
|Pros |Cons |
|----- |----- |
|Managed by experts.|Look and feel customization uses Freemarker unless you use Simple Themes.|
|No sensitive credentials seen by your application.|Browser redirect is required.|
|Fully custom look and feel.|Mobile devices use the system browser, not native UX components. See the image below this chart for an example.|
|Handles multiple use cases (account creation, MFA prompting, etc.)|Does not leverage React or other common design systems. Might require additional work from your design team.|
|Includes single sign-on (SSO) between different apps.|Upgrades can be problematic unless you're using Simple Themes.|
|Localization support.|Limited workflow customization.|
|New workflows added regularly so you gain function without added development work.||
|Doesn't exclude API usage. You can add custom logic such as redirects or requiring MFA for certain groups.||
### Example Hosted Login Page on Mobile
The image below shows the mobile login experience for [Audacy](https://audacy.com). As discussed in the preceding chart, you can see the address bar and UX components that are from the system browser, rather than the native UX components that your customers will see in your application.
## API Login Pages
Some users want full control over absolutely every element of their login UI. But that control comes with some responsibilities. The chart below details what some might consider to be "cons" to using an API Login page.
| Pros | Cons |
|---|---|
| A fully custom login experience, with support for embedded flows such as iframe, modals, overlays, and native application UI elements. | Must build your own UI for auth related cases, often requiring several API calls per use case. |
| Browser not required. | Doesn't follow OAuth or OIDC standards. |
| No redirection for the user. | Your application will see sensitive user credentials. |
| You are able to build custom workflows to suit your business needs. For example, asking for an email on one screen, a password on another and requesting MFA on a third. | You must handle all session management. |
| | You build it, you maintain it. |
| | You are responsible for implementing new FusionAuth functions when they are released. |
| | You must ensure that you handle every Login API status code correctly and securely. |
| | By default, the Login API requires an API key. |
___
Thanks again for choosing FusionAuth for your customer login solution. Make sure to check out our [library of Articles](/articles) for more helpful information. Not yet a FusionAuth customer? What are you waiting for? [Get started for free](/download) today!
# Integration Points
import ListHostedLoginPagesUseCases from 'src/content/docs/_shared/_list-hosted-login-pages-use-cases.mdx';
import ClientSideApiKeys from 'src/content/docs/_shared/_client-side-api-keys.mdx';
import LoginAPIDiagram from 'src/diagrams/docs/get-started/core-concepts/integration-points/login-api-flow.astro';
import LoginAPIIssues from 'src/content/docs/get-started/core-concepts/_login-api-issues.mdx';
import LoginAPIWithFederationDiagram from 'src/diagrams/docs/get-started/core-concepts/integration-points/login-api-flow-federation.astro';
import OAuthDiagram from 'src/diagrams/docs/get-started/core-concepts/integration-points/oauth-grant.astro';
import OAuthAndFederationDiagram from 'src/diagrams/docs/get-started/core-concepts/integration-points/oauth-grant-with-federation.astro';
import RecommendedTokenStorageOptions from 'src/content/docs/_shared/_recommended-token-storage-options.mdx';
import TokenStorageOptionsTable from 'src/content/docs/_shared/_token-storage-options.mdx';
import { YouTube } from '@astro-community/astro-embed-youtube';
## Overview
You typically integrate FusionAuth into one or more applications. User data will live in FusionAuth (possibly synced with other data stores) and users will auth against it.
FusionAuth is a developer first platform and there are a large number of ways to integrate it into your new or existing applications.
## Login Options
There are three main ways to have your users sign in: OAuth/OIDC/SAML, federated authentication, or the Login API.
### OAuth/OIDC/SAML
The first option is to use OAuth/OIDC/SAML. These are standards and FusionAuth should work with any library or application which supports them. If you find a library which supports OAuth or OIDC and does not work with FusionAuth, please [open a bug](https://github.com/FusionAuth/fusionauth-issues/issues/), as we want to know about it. You can also use a [FusionAuth client library](/docs/sdks/) to help with the OAuth/OIDC flow.
Using OAuth/OIDC lets your users authenticate and authorize; they'll receive the responses [documented for each grant](/docs/lifecycle/authenticate-users/oauth/). If you choose SAML, [configure FusionAuth as the IdP](/docs/lifecycle/authenticate-users/saml/).
When you use this option, the data your client receives about the user is limited. You can put custom claims in your JWT using [lambdas](/docs/extend/code/lambdas/) if what you need is in the user or the registration objects.
If this level of integration meets your needs, you'll have more portability and less lock-in to FusionAuth.
<OAuthDiagram alt="The OAuth Authorization Code Grant"/>
### Federated Authentication
Federated authentication, where FusionAuth isn't the system of record for users, is provided by [Connectors](/docs/apis/connectors/) and [Identity Providers](/docs/lifecycle/authenticate-users/identity-providers/).
When this is used, FusionAuth will defer to the configured systems of record for authentication and authorization. Please consult the Connector or Identity Provider documentation for more information on these options.
<OAuthAndFederationDiagram alt="Logging In With An Identity Provider" />
### Login API
<LoginAPIIssues />
<LoginAPIDiagram alt="The Login API Flow"/>
You can also use federation with the Login API. Create and configure an [Identity Provider](/docs/lifecycle/authenticate-users/identity-providers/).
<LoginAPIWithFederationDiagram alt="The Login API Flow When User Logs In With An Identity Provider Such As Google"/>
Depending on the identity provider, you may be able to pass the token instead of the authorization code and redirect URI. In the case of a SAML provider, you'll need to provide the SAML response. Please consult the [provider specific API documentation](/docs/apis/identity-providers/) for details.
## JSON Web Tokens
FusionAuth can create signed JSON web tokens. Customize these using the [JWT Populate Lambda](/docs/extend/code/lambdas/jwt-populate). They can be signed with any of the [supported key types](/docs/apis/keys).
When using OAuth/OIDC, there are multiple kinds of tokens: [Access Tokens, Id Tokens and Refresh Tokens](/docs/lifecycle/authenticate-users/oauth/tokens). The Login API can also generate a JWT.
These tokens can be consumed by APIs or other systems to verify that the holder of the token has been authorized by FusionAuth. [Learn more about JWTs](/articles/tokens/) or [decode a JWT](/dev-tools/jwt-decoder).
Each JWT has a header, a payload and a signature. Here's a diagram of a JWT:

### JWT Storage
FusionAuth recommends the Authorization Code grant, where there is a server-side component which exchanges the one-time use authorization code for an access token. This server side component offers a lot of flexibility when it comes to storing the JWT.
But what should you do with it? After all, an access token is a bearer token, and should be properly secured. What you do with the token depends on what you are using it for as well as your security requirements. If you are wondering about your options, [here are a number of common login flows](/learn/expert-advice/authentication/login-authentication-workflows).
Recommended storage mechanisms include:
<RecommendedTokenStorageOptions />
Here is a more full featured list of token storage options and security considerations.
<TokenStorageOptionsTable />
## FusionAuth APIs
Whether you use the Login API, identity federation, or an OAuth grant, you can use additional [FusionAuth APIs](/docs/apis/) in your application.
These allow your application to access and modify data and entities beyond that available from OIDC/OAuth/SAML or a federated identity.
Common tasks such as registering a user to an application, removing them from a group, capturing a consent, or capturing custom data are accomplished with these APIs. APIs can also be used to manage entities other than users, such as applications, tenants or Identity Providers.
The upside of using these is the ability to leverage the FusionAuth data model and functionality. The downside is that your application is coupled to FusionAuth.
## Hosted Login Pages
You'll see the phrase "hosted login pages" used throughout the FusionAuth site. These are all the pages that your end user sees when you are hosting your login experience on FusionAuth, as opposed to within your application. These pages are [themeable](/docs/customize/look-and-feel/); you can make them look exactly like your website or application.
Using the hosted login pages has a number of advantages. By doing so, FusionAuth handles the complexity of a number of different auth related use cases. These use cases include, but are not limited to, the following:
<ListHostedLoginPagesUseCases />
Additionally, when you use the hosted login pages, FusionAuth provides transparent single sign on (SSO) between applications as well as support for localization of the user interface.
The alternative to using the hosted login pages is building your own login experience. You can then use the APIs or an OAuth grant to authenticate your user against FusionAuth. This alternative gives you more control at the cost of more development effort.
For an example of how the hosted login pages help with common workflows, please review this video which walks through the forgot password workflow.
<YouTube id="AFRBH9r4VhY" />
## Hosted Backend
The Authorization Code grant requires the use of a server-side application to do the token exchange. This is often called the "backend". This server-side code can securely hold secrets, which a client such as a single-page application (SPA) cannot. It also can send the access token to a SPA as a secure, `HttpOnly` cookie.
Running your own backend offers you a lot of flexibility. However, it is not the correct solution for all situations.
As of version 1.45, FusionAuth provides a hosted backend. This is included with every FusionAuth installation and can be used to quickly integrate OAuth into a front-end only application.
Please consult the [Hosted Backend API documentation for more details](/docs/apis/hosted-backend). You can also work through a [React quickstart](/docs/quickstarts/quickstart-javascript-react-web) which uses the hosted backend.
## SAML Integration Options
You can use SAML to integrate with FusionAuth in a few different ways, depending on the role that FusionAuth is playing and your other needs.
FusionAuth supports both Service Provider initiated login, as well as Identity Provider initiated login in both the Service Provider and Identity Provider roles.
In other words, FusionAuth can act as a SAML v2 Identity Provider or a SAML v2 Service provider, and in either configuration both SP and IdP initiated login flows are supported.
### SP (Service Provider) Initiated Login
This is a traditional integration and the Service Provider will initiate the login request to the Identity Provider by building an AuthN request and sending it to the Identity Provider.
To configure FusionAuth as the Service Provider, see [SAML v2 Identity Provider](/docs/lifecycle/authenticate-users/identity-providers/overview-samlv2). To configure FusionAuth as the Identity Provider, see [SAML v2](/docs/lifecycle/authenticate-users/saml/).
### IdP (Identity Provider) Initiated Login
In this configuration, the login request is not solicited by the Service Provider, and instead the Identity Provider builds an AuthN response and sends it to the Service Provider.
To configure FusionAuth as the Service Provider, see [SAML v2 Identity Provider](/docs/lifecycle/authenticate-users/identity-providers/overview-samlv2) and [SAML v2 IdP Initiated Identity Provider](/docs/apis/identity-providers/samlv2-idp-initiated). To configure FusionAuth as the Identity Provider, see [SAML v2](/docs/lifecycle/authenticate-users/saml/).
*Table 2. Summary of SAML v2 integration options*
| FusionAuth is the | Login initiated by | Replay protection | More details |
|-------------------|--------------------|--------------------------------|---------------------------------------------------------------------------------------------------------------------------------------------------------------------------------------------------|
| Service Provider | Service Provider | Yes | [SAML v2 Identity Provider](/docs/lifecycle/authenticate-users/identity-providers/overview-samlv2) |
| Service Provider | Identity Provider | Yes | [SAML v2 IdP Initiated Identity Provider](/docs/apis/identity-providers/samlv2-idp-initiated), [SAML v2 Identity Provider](/docs/lifecycle/authenticate-users/identity-providers/overview-samlv2) |
| Identity Provider | Service Provider | No. This is managed by the SP. | [SAML v2](/docs/lifecycle/authenticate-users/saml/) |
| Identity Provider | Identity Provider | No. This is managed by the SP. | [SAML v2](/docs/lifecycle/authenticate-users/saml/) |
**_Note:_** _SP_ refers to the Service Provider, and _IdP_ refers to the Identity Provider.
## Client Side API Usage
<ClientSideApiKeys />
## Other Integration Points
There are a number of other integration points in FusionAuth beyond the APIs.
* [Connectors](/docs/apis/connectors/) allow you to authenticate against external user data sources, and optionally migrate users into FusionAuth.
* [Account Management](/docs/lifecycle/manage-users/account-management/) Allows admins and users to dynamically edit user data, user passwords, and enable multi-factor authentication.
* [Identity Providers](/docs/lifecycle/authenticate-users/identity-providers/) allow you to federate authentication decisions to social or standards based providers. You can also specify a linking strategy which allows you to flexibly map between accounts with different identifiers.
* [Lambdas](/docs/extend/code/lambdas/) allow you to run business logic at certain points in the authentication lifecycle.
* [Plugins](/docs/extend/code/password-hashes/) allow you to extend FusionAuth with custom Java code. Currently the main use is to allow you to use custom password hashing. This allows you to import user data from existing systems without requiring user password changes.
* [Webhooks](/docs/extend/events-and-webhooks/) allow you to send data to external systems when events occur in FusionAuth.
* [Monitoring](/docs/operate/monitor/monitor) provides insight into a FusionAuth instance's debug messages, performance metrics and other data.
# Identity Providers
import InlineUIElement from 'src/components/InlineUIElement.astro';
import { YouTube } from '@astro-community/astro-embed-youtube';
## Overview
Identity providers allow you to defer authentication to third party services. A user can log in with an existing account at a third party and create an account within FusionAuth. Users don't have to create a new identity within FusionAuth, but can instead leverage their existing identity at the third party. This is often called identity federation.
FusionAuth supports social identity providers, such as Apple, Facebook, Google and Twitter. Other providers implementing OpenID Connect or SAMLv2 are supported as well. As a fail safe, if the IdP you want to use does not fall into one of the previously mentioned types, if the IdP can produce a JWT, you can integrate using the External JWT Identity Provider.
<img src="/img/docs/get-started/core-concepts/identity-providers.png" alt="A list of Identity Providers" width="1200" role="shadowed" />
You may use the hosted login pages to provide <InlineUIElement>Sign In</InlineUIElement> buttons or build your own integrations and complete the login with a token from the provider. The latter option works well if you are writing your own login pages.
Identity providers are assigned on an application by application basis and can be managed from the administrative user interface or the [identity provider API](/docs/apis/identity-providers/).
Learn more about the various [identity providers](/docs/lifecycle/authenticate-users/identity-providers/), including which ones are supported and how to integrate this functionality into your site.
Here's a brief video covering some aspects of identity providers:
<YouTube id="5oycV6LYXTM" />
# Licensing
import Aside from 'src/components/Aside.astro';
import Breadcrumb from 'src/components/Breadcrumb.astro';
import DeactivateLicense from 'src/content/docs/_shared/_deactivate-license.mdx';
import DeletingYourAccount from 'src/content/docs/_shared/_deleting-your-account.mdx';
import HostsToAllowNetworkAccessFor from 'src/content/docs/_shared/_hosts-to-allow-network-access.mdx';
import InlineField from 'src/components/InlineField.astro';
import InlineUIElement from 'src/components/InlineUIElement.astro';
import KickstartLicenseText from 'src/content/docs/_shared/_kickstart-license-text.mdx';
import LicensingPremiumFeaturesIntro from 'src/content/docs/_shared/_licensing-premium-features-intro.mdx';
import { YouTube } from '@astro-community/astro-embed-youtube';
## Overview
<LicensingPremiumFeaturesIntro />
You can see a list of features on the [plans and features page](/docs/get-started/core-concepts/plans-features).
Here's a brief video documenting how to find and add your license to your instance if you have a paid plan.
<YouTube id="ss2U5VKo42M" />
The video covers the same content as the [Adding Your License to Your Instance](#adding-your-license-to-your-instance) section.
## Adding Your License to Your Instance
To access paid features, purchase a license via the [pricing page](/pricing) or by [contacting the sales team](/contact).
Once a license is purchased you must activate it.
To do so, log into your [Account](https://account.fusionauth.io/account).
Navigate to the <Breadcrumb>Plan</Breadcrumb> tab.
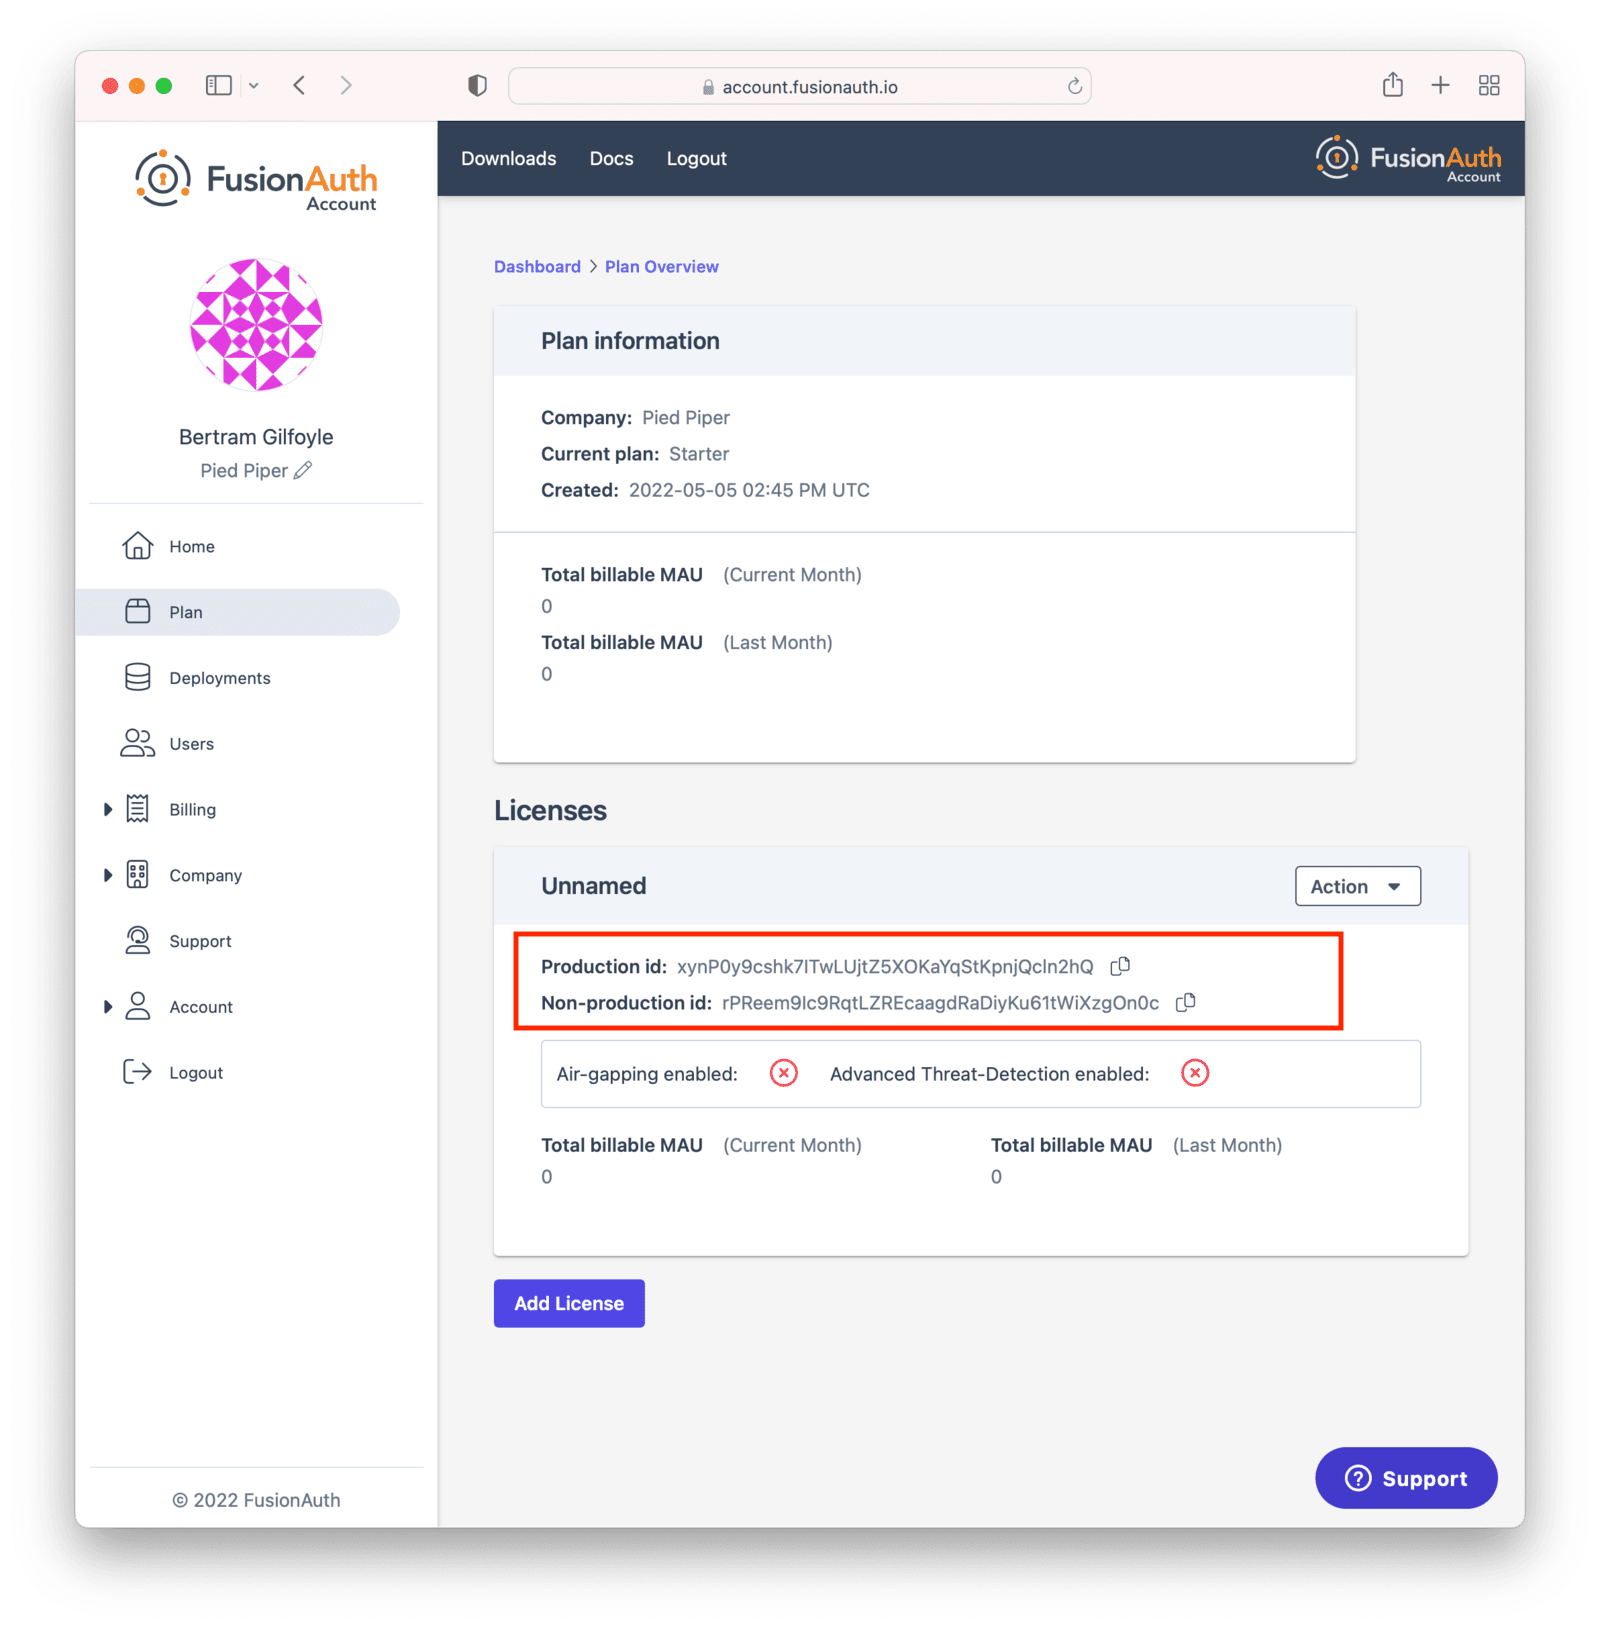
Copy the license Id appropriate for your needs.
Use the "Production" license Id for your production server.
This will be used to calculate your monthly active users (MAU), which may affect your monthly bill.
[Learn more about MAU here](/docs/get-started/core-concepts/users#what-makes-a-user-active).
The other license Id is suitable for non-production environments, such as user acceptance testing or development.
<Aside type="note">
You can always find your license Id by logging in to your [Account](https://account.fusionauth.io/account) and then navigating to the <Breadcrumb>Plan</Breadcrumb> tab. If you do not have a license Id there, you are on the Community plan. In that case, no license is required.
</Aside>
After you have your license Id, log in to your FusionAuth instance.
The credentials you use to log into the instance have no connection to the credentials you used to log into your account portal.
Navigate to the <Breadcrumb>Reactor</Breadcrumb> tab and enter your license Id in the <InlineField>License key</InlineField> field.
<Aside type="note">
You will need either the `admin` or `reactor_manager` roles in the FusionAuth application to view the <Breadcrumb>Reactor</Breadcrumb> tab.
</Aside>
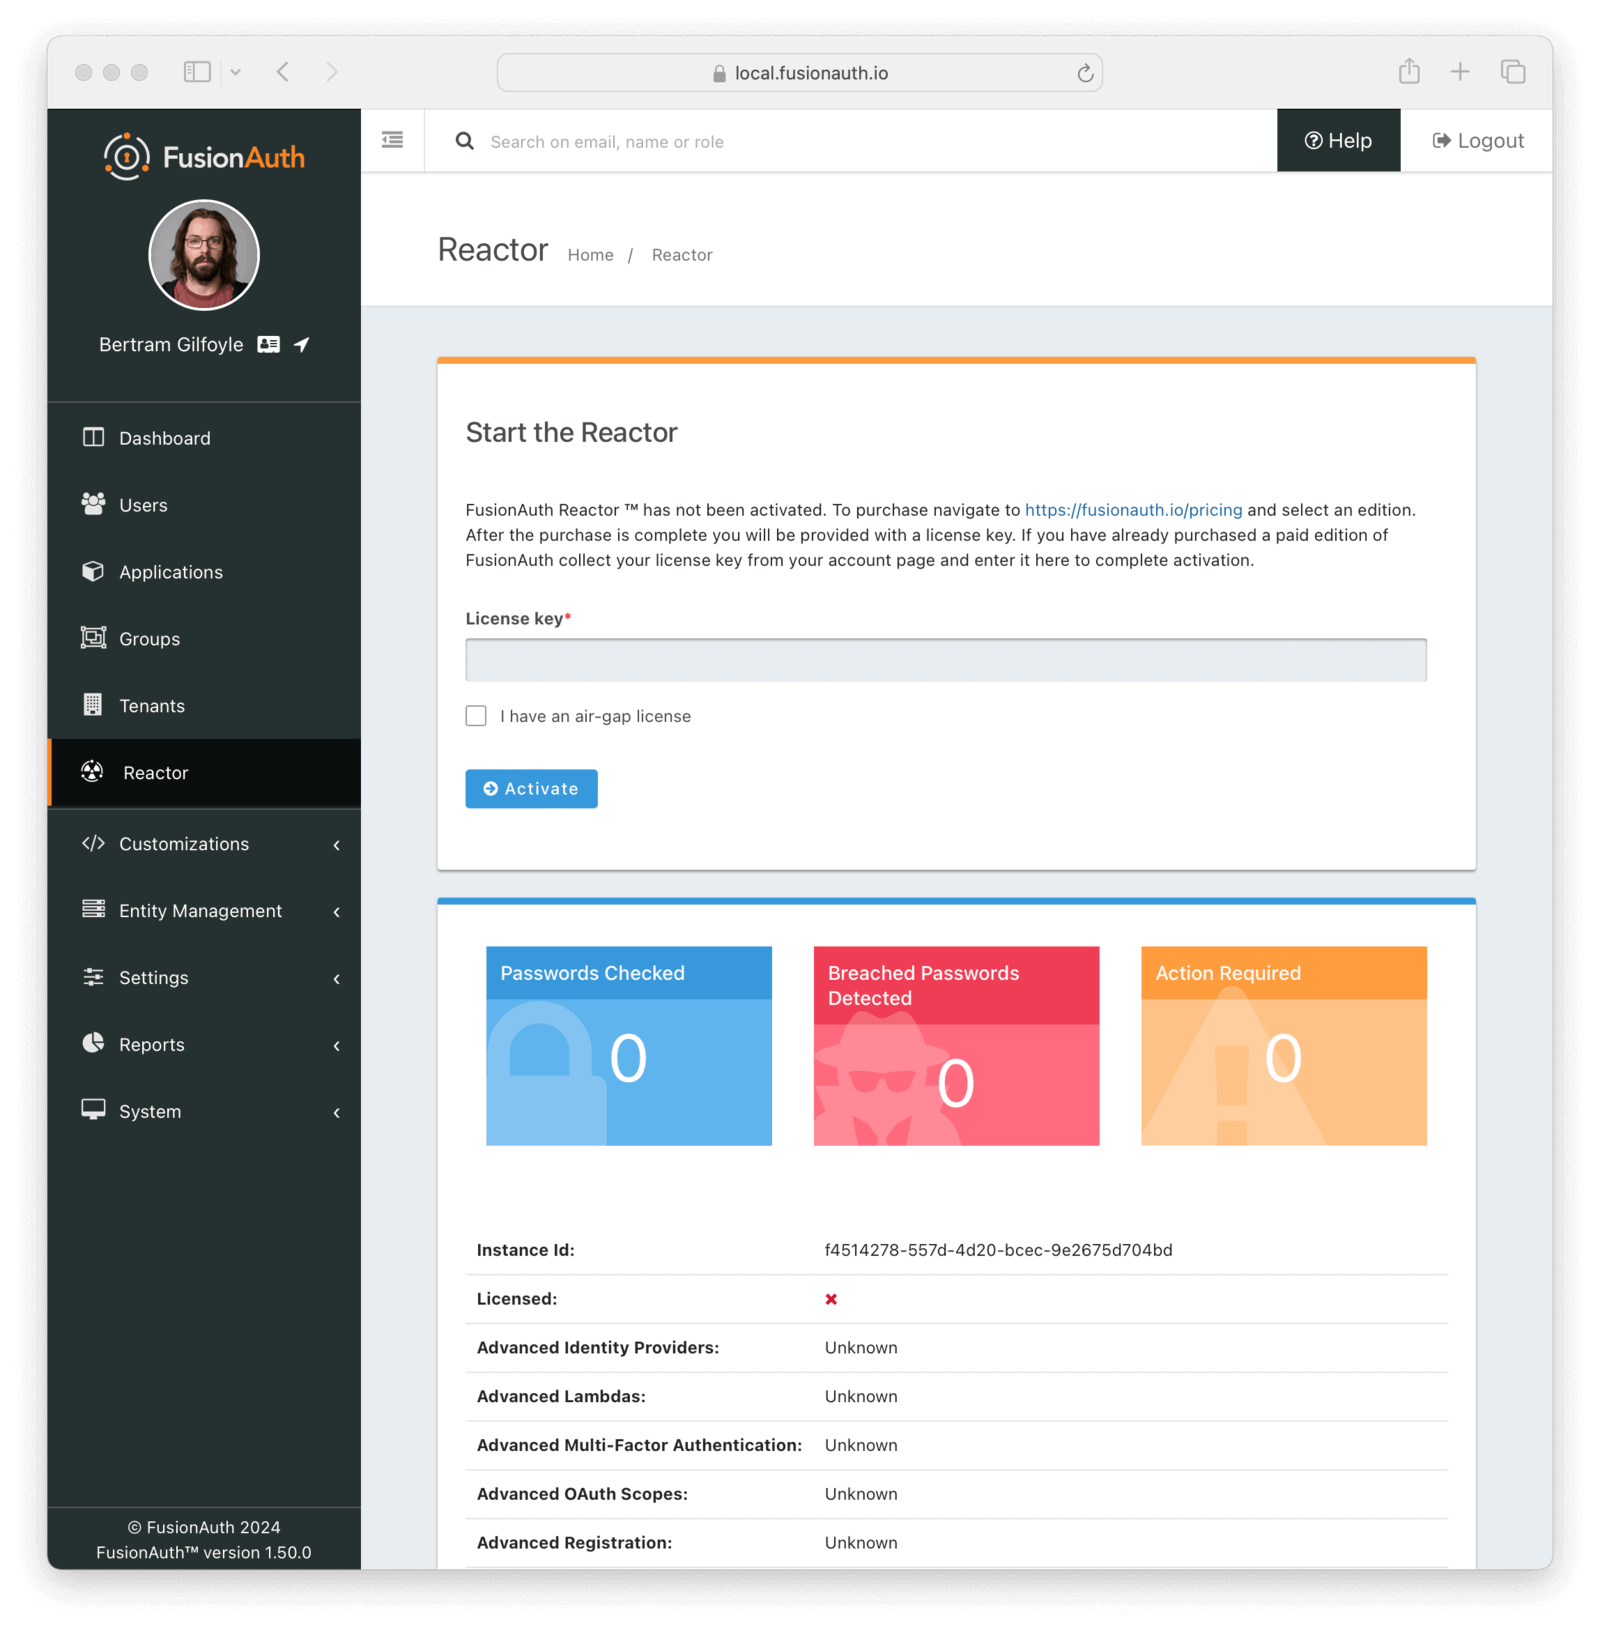
In an air-gapped configuration where outbound network access is not allowed, the license text is available in your [Account Portal in the <Breadcrumb>Plan</Breadcrumb> tab](https://account.fusionauth.io/account/plan). See the [air-gapping documentation](/docs/get-started/download-and-install/air-gapping) for more on how to use the license text.
Immediately after activating, FusionAuth must obtain a secure connection to FusionAuth's servers.
It may take a minute or two to complete activation.
Once that has happened, the <InlineField>Licensed</InlineField> field will change to a green checkmark.
This may require a page refresh.
You will also see a list of premium features.
Depending on your particular plan, some may not be active.
You can see a list of features on the [premium features page](/docs/get-started/core-concepts/premium-features).
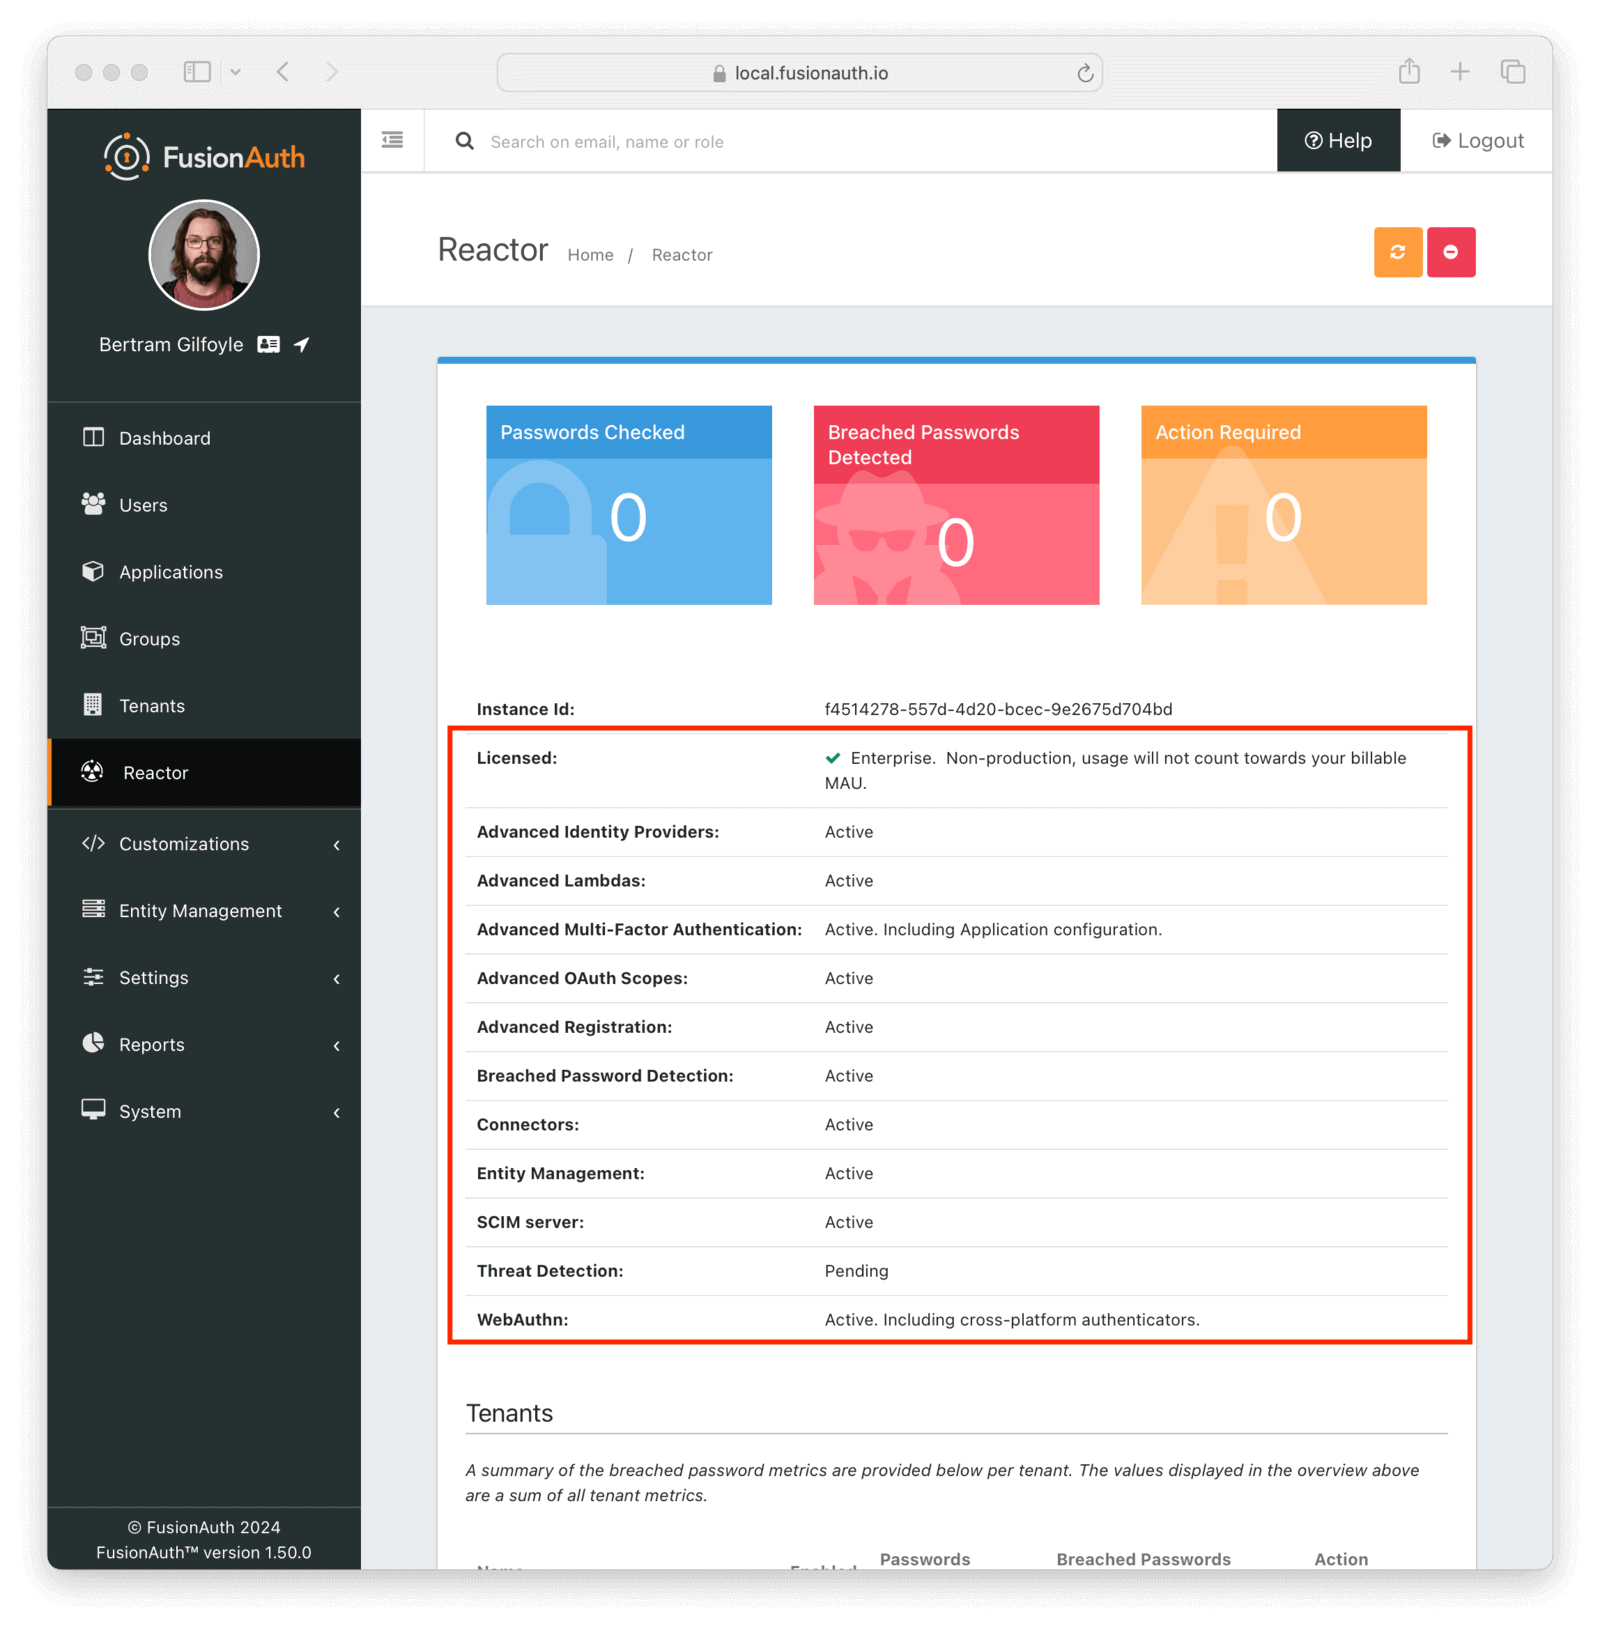
## Regenerating Your License
You may want to regenerate your license for any number of reasons.
* It may be part of a regular secrets rotation system.
* You may have inadvertently exposed your license key.
You can do so using the [Reactor API](/docs/apis/reactor).
But you can also regenerate the license via the <Breadcrumb>Plan</Breadcrumb> tab.
To do so, log into your [Account](https://account.fusionauth.io/account). Then navigate to the <Breadcrumb>Plan</Breadcrumb> tab. Then click the <InlineUIElement>Action</InlineUIElement> button to display the dropdown.

After you choose which license to regenerate, you'll be prompted to confirm your choice.

## Deactivating Your License
<DeactivateLicense />
## The License API
You can use the [Reactor API](/docs/apis/reactor) to activate or deactivate your license.
You can also retrieve data on the license status of your instance, including whether specific features are enabled or disabled.
## Licensing and Kickstart
You can set your license Id using Kickstart as well.
Doing so allows you to use features requiring a license in your development environment and continuous integration systems.
You should use the non-production license Id in your Kickstart files.
<KickstartLicenseText />
Learn more about [setting up Kickstart](/docs/get-started/download-and-install/development/kickstart).
## Advanced Scenarios
You may configure FusionAuth to use an HTTP proxy for any outbound connections. This is done using the `proxy.*` configuration settings, [documented here](/docs/reference/configuration). When a proxy is configured, FusionAuth will use it for all outbound HTTP connections, including the data downloads for premium features mentioned above. Using a proxy in this manner allows FusionAuth to access external data through a connection of your choosing.
You can run FusionAuth with limited or no network access by using an [air-gapped license](/docs/get-started/download-and-install/air-gapping). Please [contact sales](/contact) for more information.
## Deleting Your Account
<DeletingYourAccount />
## Common Questions
**Which license do I use?**
There are two licenses, a production license and a non-production one. Use the production license on any system where real live users login. This will be tracked for purposes of MAU calculations, and will affect your monthly bill.
Non-production licenses are used for any other purpose: development, UAT, testing, CI/CD, etc. Any logins which occur on an instance with such a license will not be part of the MAU count.
**What counts as an active user?**
Any user who logs in during the time period. It doesn't matter if they log in once or one thousand times. [Learn more about what counts as a login here](/docs/get-started/core-concepts/users#what-makes-a-user-active).
Other questions about licensing, MAU overages and certifications can be found in [the License FAQ](/license-faq).
# Limitations
import UserInfoAudClaimLimits from 'src/content/docs/_shared/_userinfo-aud-claim-limits.mdx';
import UserSearchLimits from 'src/content/docs/_shared/_user-search-limits.mdx';
import UserSearchLimitsWorkarounds from 'src/content/docs/_shared/_user-search-limits-workarounds.mdx';
import UpdateKeyNote from 'src/content/docs/_shared/_update-key-note.mdx';
import DefaultEntities from 'src/content/docs/_shared/_default-entities.mdx';
import LoginAPIScopeLimitations from 'src/content/docs/_shared/_login-api-scope-limits.mdx';
import LogoutBehaviorAllApplications from 'src/content/docs/get-started/core-concepts/_logout-behavior-all-applications.mdx';
import SamlIdpLimitations from 'src/content/docs/get-started/core-concepts/_saml-idp-limitations.mdx';
import SamlSpLimitations from 'src/content/docs/_shared/_saml-sp-limitations.mdx';
import DataFieldDataTypeChanges from 'src/content/docs/_shared/_data-field-data-type-changes.mdx';
import TwoFactorTotpLimits from 'src/content/docs/_shared/_two-factor-totp-limits.mdx';
import MultiTenantLimitations from 'src/content/docs/get-started/core-concepts/_multi-tenant-limitations.mdx';
import DowntimeUpgradeLimitation from 'src/content/docs/get-started/core-concepts/_downtime-upgrade-limitation.mdx';
import ConfigurationLimits from 'src/content/docs/get-started/core-concepts/_configuration-limits.mdx';
import ScimLimits from 'src/content/docs/_shared/_scim-limits.mdx';
import TemplateContentLimits from 'src/content/docs/_shared/_template-content-limits.mdx';
import TerraformLimitations from 'src/content/docs/operate/deploy/_terraform-limitations.mdx';
import IdentityProviderLimitations from 'src/content/docs/_shared/_identity-provider-limits.mdx';
import GroupLimits from 'src/content/docs/get-started/core-concepts/_group-limits.md';
import AdminCustomFormLimitations from 'src/content/docs/lifecycle/manage-users/_custom-admin-form-limitations.mdx';
## Overview
FusionAuth has the following known limits:
## User Searches
<UserSearchLimits />
### Maximum Users Returned Workarounds
<UserSearchLimitsWorkarounds />
## Field Lengths
FusionAuth stores most data in a database. Lengths of specific fields are documented in the database schema for your database type. Please [download the database schema for your version of FusionAuth](/direct-download) to review length limits for a particular column.
Many varchar columns have a length of 191. Why 191? In MySQL when using a `utf8mb4` (4 byte character set) on an indexed column, MySQL limits the usable characters to 191 to account for the overhead of the 4 byte addressing. The InnoDB MySQL engine has a max index length of 767 bytes (for mysql 5.7.9, the earliest version of MySQL which [FusionAuth supports](/docs/get-started/download-and-install/system-requirements)). Because we are using `utf8mb4` which allows up to 4 bytes per character, we end up with 767/4 ~ 191, so we set the column length to that.
## API Keys
FusionAuth is API first and everything can be managed by an API. You can create an API key in the following ways:
* Using the [API Key API](/docs/apis/api-keys), if you are using version 1.26 or greater.
* Use the administrative user interface.
* [Kickstart](/docs/get-started/download-and-install/development/kickstart) which only works on fresh installations.
## Minimum Key Lengths
You can use FusionAuth to manage your cryptographic keys. Due to security considerations, FusionAuth won't import keys below a certain length.
For RSA keys used to verify signatures, the minimum length is 1024. This key length is allowed as of FusionAuth 1.23.4 and supports external systems that rely upon this weak key length.
For RSA keys used for signing or any other purpose, the minimum length is 2048.
For ECC keys, the minimum length is 256.
See the [Keys API](/docs/apis/keys) for more, including supported algorithms and lengths.
## Updating Keys
FusionAuth can manage keys, secrets, and certificates, using [Key Master](/docs/operate/secure/key-master). You can update a Key managed by FusionAuth, with some limits.
<UpdateKeyNote />
## Default Configuration
There are a number of items in FusionAuth created by default and which cannot be removed. Additionally, there are sometimes limits to modifying them.
Here are the default items and their Ids:
<DefaultEntities />
## Login API and OAuth Scopes
<LoginAPIScopeLimitations />
## OAuth Logout Behavior
<LogoutBehaviorAllApplications />
## UserInfo Authorization Header
The UserInfo endpoint takes access tokens and returns claims about the user.
<UserInfoAudClaimLimits />
## SAML
### IdP Limitations
<SamlIdpLimitations />
### SP Limitations
<SamlSpLimitations />
## Identifiers
Identifiers (Ids) in FusionAuth are [UUIDs](/docs/reference/data-types#uuids).
If you are creating an object, such as an Application, with the FusionAuth API, you can specify this Id, as long as it is a valid UUID. The ability to choose specific Ids exists for Users, Applications, and Tenants, among others, and allows you to avoid breaking external systems dependent on existing identifiers.
Ids cannot be modified after the object is created. If you need to change an identifier, delete the object and recreate it with the correct Id.
### User Identifiers
Each account must have an identifier, either an email address or a username. Users may not have multiple email addresses. See [this issue for more information](https://github.com/fusionauth/fusionauth-issues/issues/1).
An account may have both a username and an email address.
### Client Ids
OAuth has the concept of a `client_id`. In FusionAuth, `client_id`s cannot be modified after creation. During creation, an Id can be set to any valid UUID value. The Id must be unique across all Tenants.
The `client_id` is always the same as either the Application Id or Entity Id, depending on the grant you are using.
## Data Type Changes In 'data' Fields
<DataFieldDataTypeChanges />
## TOTP Algorithm Implementation
<TwoFactorTotpLimits />
## Multi-Tenancy
<MultiTenantLimitations />
## System Upgrade Downtime
<DowntimeUpgradeLimitation />
## Database Configuration
<ConfigurationLimits />
## Password Hashes
There is no FusionAuth API allowing user password hashes to be exported.
If you need to migrate hashes from FusionAuth to any other system, use a database export.
## SCIM
<ScimLimits />
## Email Templates
<TemplateContentLimits />
## Terraform Limitations
<TerraformLimitations />
## Identity Provider Limitations
<IdentityProviderLimitations />
## Group Limitations
<GroupLimits />
## Admin Custom Forms
<AdminCustomFormLimitations />
## What's Not Limited
All other objects and configuration, including but not limited to the following, are limited only by the resources of your system:
* Users
* Applications
* Tenants
* Roles
* Groups
* Identity Providers such as SAML or OIDC connections
* API keys to allow for programmatic configuration of and interaction with FusionAuth
* The number of email templates
* Supported languages/locales
* Signing and verifying keys
* MFA methods per user
# Localization and Internationalization
import Aside from 'src/components/Aside.astro';
import Breadcrumb from 'src/components/Breadcrumb.astro';
import InlineField from 'src/components/InlineField.astro';
import InlineUIElement from 'src/components/InlineUIElement.astro';
import LocalePrecedence from 'src/content/docs/_shared/_locale_precedence.mdx';
import { YouTube } from '@astro-community/astro-embed-youtube';
## Overview
FusionAuth is built from the ground up with localization (often abbreviated l10n), translation and internationalization (often abbreviated i18n) in mind.
* Internationalization is the practice of building a product such that it can be used in many languages. This is often done by extracting user interface elements such as images and text to files which can be customized for a given language and country, as well as by having a data model capable of storing users' preferred language and locale.
* Localization is the practice of actually configuring a product for a given language and country. This can include formatting of data, such as numbers, translation, and formatting images or layout.
* Translation is converting all text in an interface to a given language.
* A locale identifies a language and a geographic region. An example is `fr_CA`, which means Canadian French, as opposed to French French, which is `fr_FR`. Java has [some good locale documentation](https://www.oracle.com/technical-resources/articles/javase/locale.html).
The key data element most relevant to l10n and i18n in FusionAuth is the <InlineField>preferredLanguages</InlineField> field. This is present in both the User and Registration objects and stores a user's locale. The locale is available in the Registration because different applications may support different languages.
There are four different areas of FusionAuth where user language preferences matter.
* [Your application](#obtaining-the-users-locale-in-your-application)
* [Hosted login pages](#hosted-login-pages)
* [Emails and other messages](#emails-and-other-messages)
* [The administrative user interface, that is, the FusionAuth admin UI](#the-fusionauth-administrative-user-interface)
## Obtaining the User's Locale In Your Application
Assign a user's <InlineField>preferredLanguages</InlineField> via the API or [advanced registration form](/docs/lifecycle/register-users/advanced-registration-forms). This allows you to store a user's preferred locale in FusionAuth and use it across all applications. This can take more than one locale. As of version 1.32.2, they are stored in the order they were added. Previously, they were stored in alphabetical order.
The default application registration form has the <InlineField>preferredLanguages</InlineField> field as well.
<img src="/img/docs/get-started/core-concepts/user-registration-locale.png" alt="Adding a registration via the administrative interface allows you to set the preferred language of the user." width="1200" role="bottom-cropped" />
After the user has a locale assigned, you can add it to a JWT using a [JWT populate lambda](/docs/extend/code/lambdas/jwt-populate), so it can be utilized by other applications.
```javascript
function populate(jwt, user, registration) {
jwt.preferredLanguages = registration.preferredLanguages || ['en_US'];
}
```
You may also retrieve the value from via the [User API](/docs/apis/users).
## Hosted Login Pages
The hosted login pages, which are displayed for [user facing login flows](/docs/get-started/core-concepts/integration-points#hosted-login-pages) are fully localized. The translation and localization of these pages is done using [themes](/docs/customize/look-and-feel/localization).
The locale for display is determined in the following manner.
<LocalePrecedence />
The text in all of these login flows for these pages have been translated into a number of different languages. These are available for installation into your FusionAuth instance; they do not ship with the default installation.
To install a community supported localization package, navigate to <Breadcrumb>Themes -> Your Theme -> Messages</Breadcrumb> and click the <InlineUIElement>Add Localization</InlineUIElement> button. Select your <InlineField>Locale</InlineField> and then copy and paste in the appropriate `messages` file obtained from the repository.
<img src="/img/docs/get-started/core-concepts/installing-translation.png" alt="Installing a Polish translation for the hosted login pages." width="1200" />
After you have set up your localized theme, set the tenant's <InlineField>Login theme</InlineField> to your theme. Navigate to <Breadcrumb>Tenants -> My Tenant -> General</Breadcrumb> to do so.
The current list of languages is:
* Arabic (`ar`)
* Chinese Simplified (`zh_CN`)
* Czech (`cz`)
* Danish (`da`)
* Dutch (`nl`)
* English (`en`)
* Finnish (`fi`)
* French (`fr`)
* German (`de`)
* Indonesian (`id_ID`)
* Italian (`it`)
* Japanese (`ja`)
* Polish (`pl`)
* Portuguese - Brazilian (`pt_BR`)
* Russian (`ru`)
* Spanish (`es`)
* Swedish (`sv`)
* Ukrainian (`ua`)
Here's a brief video showing how to install translated messages in your theme.
<YouTube id="RWQsRXPCUVc" />
Visit the [fusionauth-localization GitHub repo](https://github.com/FusionAuth/fusionauth-localization/) to view the most up to date list of translations or to contribute one.
### Unsupported Languages
There's a distinction in FusionAuth language support for the hosted login pages, which is the difference between internationalization and localization. This is discussed [above](#overview), but it is worth reiterating that both of these are true:
* FusionAuth is built to support any language for the hosted login pages experience. Your end users can log in using a UX that is in their language. This is because the hosted login pages are internationalized.
* FusionAuth, however, does not provide translations for all human languages. The team only provides an English translation. There is a [fusionauth-localization GitHub repo](https://github.com/FusionAuth/fusionauth-localization/) which has community provided translations for the languages listed above. The team is happy to accept revisions or new translations. This is because the hosted login pages are not fully localized in all languages.
Suppose you needed support for both Afrikaans and Zulu, but find that there are no translations available. To use FusionAuth with these languages, you would:
* download the English messages file from the [GitHub repo](https://github.com/FusionAuth/fusionauth-localization/) and translate all messages using whatever resources or software you had access to
* install the new file in FusionAuth as documented above
You could contribute the translated messages file back to the community, if you desired to, by opening a PR against the GitHub repo.
You should review the content of the messages file to make sure it meets your branding requirements as well. You typically need to refine or modify the messages based on your product's tone, messaging and brand identity.
## Emails and Other Messages
FusionAuth sends emails and other messages on behalf of your application. An example would be a "Forgot Password" email. FusionAuth provides support for you to customize and localize these messages.
Unlike the hosted login pages, there are no community supported bundles of translated email templates. The shipped email template text is rarely used in production. In general you will customize the content as well as the language to support your organization and applications.
Please see the [email template localization documentation](/docs/customize/email-and-messages/email-templates#localization) for more.
{/* Add SMS localization here when it ships */}
## The FusionAuth Administrative User Interface
There are no translations of the FusionAuth administrative user interface. Currently the only supported language is English. The interface does support limited localization in the display of dates, times and numbers.
To enable this localization, set the admin user's preferred language. Then, items such as dates and numbers will be formatted based on the user's locale.
FusionAuth supports the following locales for the administrative user interface.
<Aside type="note">
The list below is of supported locales which will affect the presentation of dates, times and numbers in the administrative user interface, not locales for which the interface has been completely translated.
</Aside>
* Arabic (`ar`)
* Czech (`cs`)
* Danish (`da`)
* German (`de`)
* Greek (`el`)
* English (`en`)
* English - US (`en_us`)
* Spanish (`es`)
* French (`fr`)
* Irish (`ga`)
* Hebrew (`he`)
* Hindi (`hi`)
* Italian (`it`)
* Japanese (`ja`)
* Korean (`ko`)
* Dutch (`nl`)
* Norwegian (`no`)
* Portuguese (`pt`)
* Russian (`ru`)
* Swedish (`sv`)
* Chinese (`kzh`)
* Chinese - Simplified (`zh_CN`)
* Chinese - Traditional (`zh_TW`)
In the below screenshot, Richard has a <InlineField>preferredLanguage</InlineField> of `French`. When Richard interacts with the FusionAuth administrative user interface, the account with the email `dinesh@fusionauth.io`, created on Oct 5, 2020, has a displayed date formatted as specified by the French locale, with the day first.
<img src="/img/docs/get-started/core-concepts/user-locale-fusionauth-admin-ui.png" alt="The FusionAuth administrative interface as viewed by a user with a preferred language of French." width="1200" role="bottom-cropped" />
If you'd like to see additional localizations or translations of the FusionAuth administrative interface, please [file an issue](https://github.com/fusionauth/fusionauth-issues/issues).
# Plans and Features
import AdvancedPlanBlurb from 'src/content/docs/_shared/_advanced-plan-blurb.astro';
import AdvancedPlanBlurbApi from 'src/content/docs/_shared/_advanced-plan-blurb-api.astro';
import CloudLimits from 'src/content/docs/get-started/run-in-the-cloud/_cloud-limits.mdx';
import EnterprisePlanBlurb from 'src/content/docs/_shared/_enterprise-plan-blurb.astro';
import EnterprisePlanBlurbApi from 'src/content/docs/_shared/_enterprise-plan-blurb-api.astro';
import Features from 'src/content/docs/_features.astro';
import LicensedPlanBlurb from 'src/content/docs/_shared/_licensed-plan-blurb.mdx';
import LicensedPlanBlurbApi from 'src/content/docs/_shared/_licensed-plan-blurb-api.mdx';
import LicensingPremiumFeaturesIntro from 'src/content/docs/_shared/_licensing-premium-features-intro.mdx';
import PremiumPlanBlurb from 'src/content/docs/_shared/_premium-plan-blurb.astro';
import PremiumPlanBlurbApi from 'src/content/docs/_shared/_premium-plan-blurb-api.astro';
## Overview
<LicensingPremiumFeaturesIntro />
After summarizing the features offered in different FusionAuth plans, this article will explain the differences between hosting FusionAuth yourself, and having it hosted and managed for you in the cloud.
## Plans and Features
FusionAuth has different plans which have different features.
They are also called editions.
* `Community` has all features not otherwise labeled in the documentation.
* `Licensed Community` has all licensed community features.
* `Starter` has all starter features, but some may have some numeric or usage limits.
* `Essentials` has all essentials and starter features, but some may have some numeric limits.
* `Enterprise` has all enterprise, essentials and starter features and no limits.
Please review the [features page](/feature-list) for much more information on plans and features.
## Feature List
Here are the major features available in each licensed plan.
### Licensed Community Features
<Features plan="licensed" />
### Starter Features
<Features plan="premium" />
### Essentials Features
<Features plan="advanced" />
### Enterprise Features
<Features plan="enterprise"/>
## Feature Documentation
The FusionAuth documentation calls out features not part of the Community plan so you can make an informed decision about which plan works for you.
If a feature you are using requires a license, you may also encounter an error message in the administrative user interface or in an API message.
### Licensed Community Features
Throughout the documentation, you'll see features available to all licensed plans marked like so:
<LicensedPlanBlurb version="1.52.0" />
In the API documentation, you'll see licensed features marked like this:
<LicensedPlanBlurbApi feature="this feature" />
### Starter Features
Throughout the documentation, you'll see starter features marked like so:
<PremiumPlanBlurb />
In the API documentation, you'll see starter features marked like this:
<PremiumPlanBlurbApi feature="this feature" />
### Essentials Features
Throughout the documentation, you'll see essentials features marked like so:
<AdvancedPlanBlurb />
In the API documentation, you'll see essentials features marked like this:
<AdvancedPlanBlurbApi feature="this feature" />
### Enterprise Features
Throughout the documentation, you'll see enterprise features marked like so:
<EnterprisePlanBlurb />
In the API documentation, you'll see enterprise features marked like this:
<EnterprisePlanBlurbApi feature="this feature" />
## Self-Hosted FusionAuth Versus Cloud-Hosted FusionAuth
Once you have chosen a FusionAuth plan with the features you want, you need to decide where to host your FusionAuth instance. You can host it yourself, either on-premise server or with a cloud service provider like Hetzner or AWS, or you can use FusionAuth Cloud to host your instance. Your decision to self-host or register for FusionAuth Cloud is independent of which plan you choose. There are no differences in plan features between hosts.
Let's first consider how each hosting type works, and then assess the advantages of each.
### How Each Hosting Type Works
For self-hosting, you download the FusionAuth software (as a Docker image, zip file, RPM or DEB--your choice), and run it together with a MySQL or PostgreSQL server. You may also run Elasticsearch, but it's optional. You have full control over the configuration of FusionAuth but have to manage and maintain all the following considerations:
- Database backups
- Monitoring and error checking
- Networking
- Upgrades to PostgreSQL and FusionAuth
- Server scaling and migration as your users increase
- Load balancing
- Proxy configuration
To learn how to run FusionAuth on your own host, read the [guide to using FusionAuth on Docker](/docs/get-started/download-and-install/docker) or [one of the other options](/docs/get-started/download-and-install/fusionauth-app).
For cloud hosting, you create a FusionAuth Cloud account and choose a plan. You can then start and stop as many instances of FusionAuth (called deployments) as you want through the web interface. You pay for each deployment for as long as it runs but need not worry about any of the considerations of self-hosting.
You can choose what geographic region your deployment runs in, you have API level access to manage your deployment, and you control the upgrade cycle.
To learn how to use cloud hosting in detail, read the [FusionAuth Cloud guide](/docs/get-started/run-in-the-cloud/cloud). To estimate the fees for the deployments in your account, use the [pricing calculator](https://account.fusionauth.io/pricing-calculator/).
### Advantages Of Each Hosting Type
Self-hosting gives you complete control over FusionAuth, including the ability to use [Kickstart](/docs/get-started/download-and-install/development/kickstart) to start an instance with the exact configuration you need, allowing you to specify whether it includes sample applications and users. You can use Kickstart in conjunction with GitHub or continuous deployment services to deploy any number and configuration of FusionAuth instances. You can set up proxies and otherwise limit access to FusionAuth should you need to for compliance or security reasons. You can monitor and instrument FusionAuth using any Java compatible tooling. You can turn off usage data reporting. The FusionAuth database runs on your database. You can make FusionAuth highly available in the same way you would any other web application. With database access, you can run any SQL queries against it to extract data for analytics. Running any queries which modify the database will void your support warranty.
Cloud hosting is more convenient than self-hosting. Starting and stopping a deployment takes only a few clicks, as does upgrading. Deployments scale easily as your number of customers grows, due to the more powerful cloud instances available to handle the greater authentication workload. Backups are automated and available should you need to roll back your database at any time. A team of FusionAuth experts manages the cloud environment and is available if you need support. You can also purchase a 99.99% uptime service level agreement (SLA) to guarantee that your app's authentication will always be available. FusionAuth is also available in the [cloud marketplaces(/docs/get-started/run-in-the-cloud/marketplaces/), allowing you to use your pre-approved spend to pay for FusionAuth as a single line item.
In exchange for convenience, cloud hosting offers less control than self-hosting.
<CloudLimits />
### Use Cases For Each Hosting Type
Self-hosting is free (other than any required license, computer and network costs), which is perfect for testing FusionAuth, local development, or any spare resources you already have on an existing server. You can also host FusionAuth anywhere, even on a private network, which may be a requirement for your organization's data regulations. Self-hosting is a good choice if your team has the knowledge and time to manage FusionAuth.
Cloud hosting is a good choice for businesses that want to spend as little time as possible managing infrastructure or that don't know enough about FusionAuth and server management to host it themselves.
If neither option offers you an obvious advantage, compare the cost of self-hosting and cloud hosting to decide:
- Self-hosting is a good choice when you have an infrastructure team with spare time to monitor and maintain your own instances.
- Cloud hosting costs money but saves your infrastructure team time.
You should calculate the total cost of cloud hosting your deployments against the cost of having your own team maintaining FusionAuth, and the potential cost of downtime if your local FusionAuth instance were to become misconfigured.
# FusionAuth Premium Features
import Features from 'src/content/docs/_features.astro';
## Overview
FusionAuth has a full-featured Community plan, but some features are reserved for customer with a license key. This section outlines the features and how to use them.
### Licensed Community Features
<Features plan="licensed" />
### Premium Features
{/* Don't add a new feature here. Add it to the src/content/json/features.json file and the list will be generated. */}
<Features plan="premium" />
### Advanced Features
{/* Don't add a new feature here. Add it to the src/content/json/features.json file and the list will be generated. */}
<Features plan="advanced" />
### Enterprise Features
{/* Don't add a new feature here. Add it to the src/content/json/features.json file and the list will be generated. */}
<Features plan="enterprise" />
# Registrations
import RegistrationAttributes from 'src/content/docs/get-started/core-concepts/_registration_attributes.mdx';
import RegistrationsSelfService from 'src/content/docs/_shared/_registrations-self-service.mdx';
## Overview
Registrations in FusionAuth are the link between [Users](/docs/get-started/core-concepts/users) and [Applications](/docs/get-started/core-concepts/applications).
A User can have zero or more registrations. Each registration can have zero or more [roles](/docs/get-started/core-concepts/roles) associated with it.
The [registrations API](/docs/apis/registrations) documents the allowed attributes of a User registration.
If a User exists in a [tenant](/docs/get-started/core-concepts/roles) and attempts to authenticate against an [Application](/docs/get-started/core-concepts/applications), but are not registered, the [authentication will succeed but they will not be authorized](/docs/get-started/core-concepts/authentication-authorization).
## Core Concepts Relationships
Below is a visual reminder of the relationships between FusionAuth's primary core concepts.
<img src="/img/docs/get-started/core-concepts/core-concepts-relationships-registrations.png" alt="Diagram showing Registrations used within FusionAuth" />
### Attributes
With [advanced registration forms](/docs/lifecycle/register-users/advanced-registration-forms), you can customize the attributes of a registration. By default, registrations have the following attributes:
<RegistrationAttributes />
### Registrations and Self-Service Registration
<RegistrationsSelfService />
# Roles
import AvailableSince from 'src/components/api/AvailableSince.astro';
import RoleAttributes from 'src/content/docs/get-started/core-concepts/_role_attributes.mdx';
import Aside from 'src/components/Aside.astro';
## Overview
Roles in FusionAuth are associated with an [application](/docs/get-started/core-concepts/applications). You can define as many roles as you want in an application. There are no limits on the number of roles a user or a group can have.
Roles are application specific and may be specific to the domain of the application. Roles are typically used by APIs and applications to control access to functionality. For example, Zendesk presents a different user interface to users with the `agent` role than to users without that role.
For a further example, an e-commerce application may have the following roles:
* `admin`
* `seller`
* `shopper`
On the other hand, a content management system may have these roles:
* `admin`
* `editor`
* `contributor`
* `subscriber`
Roles are available in the [JWT](/docs/lifecycle/authenticate-users/oauth/tokens) upon successful [authorization](/docs/get-started/core-concepts/authentication-authorization) and are also returned as part of the [user's registrations](/docs/apis/registrations).
You can associate roles with [users](/docs/get-started/core-concepts/users) directly via their [registration](/docs/get-started/core-concepts/registrations). Or you can assign an application role to a [group](/docs/get-started/core-concepts/groups), and then any users in that group who have access to that application will have that role.
## Core Concepts Relationships
Below is a visual reminder of the relationships between FusionAuth's primary core concepts.
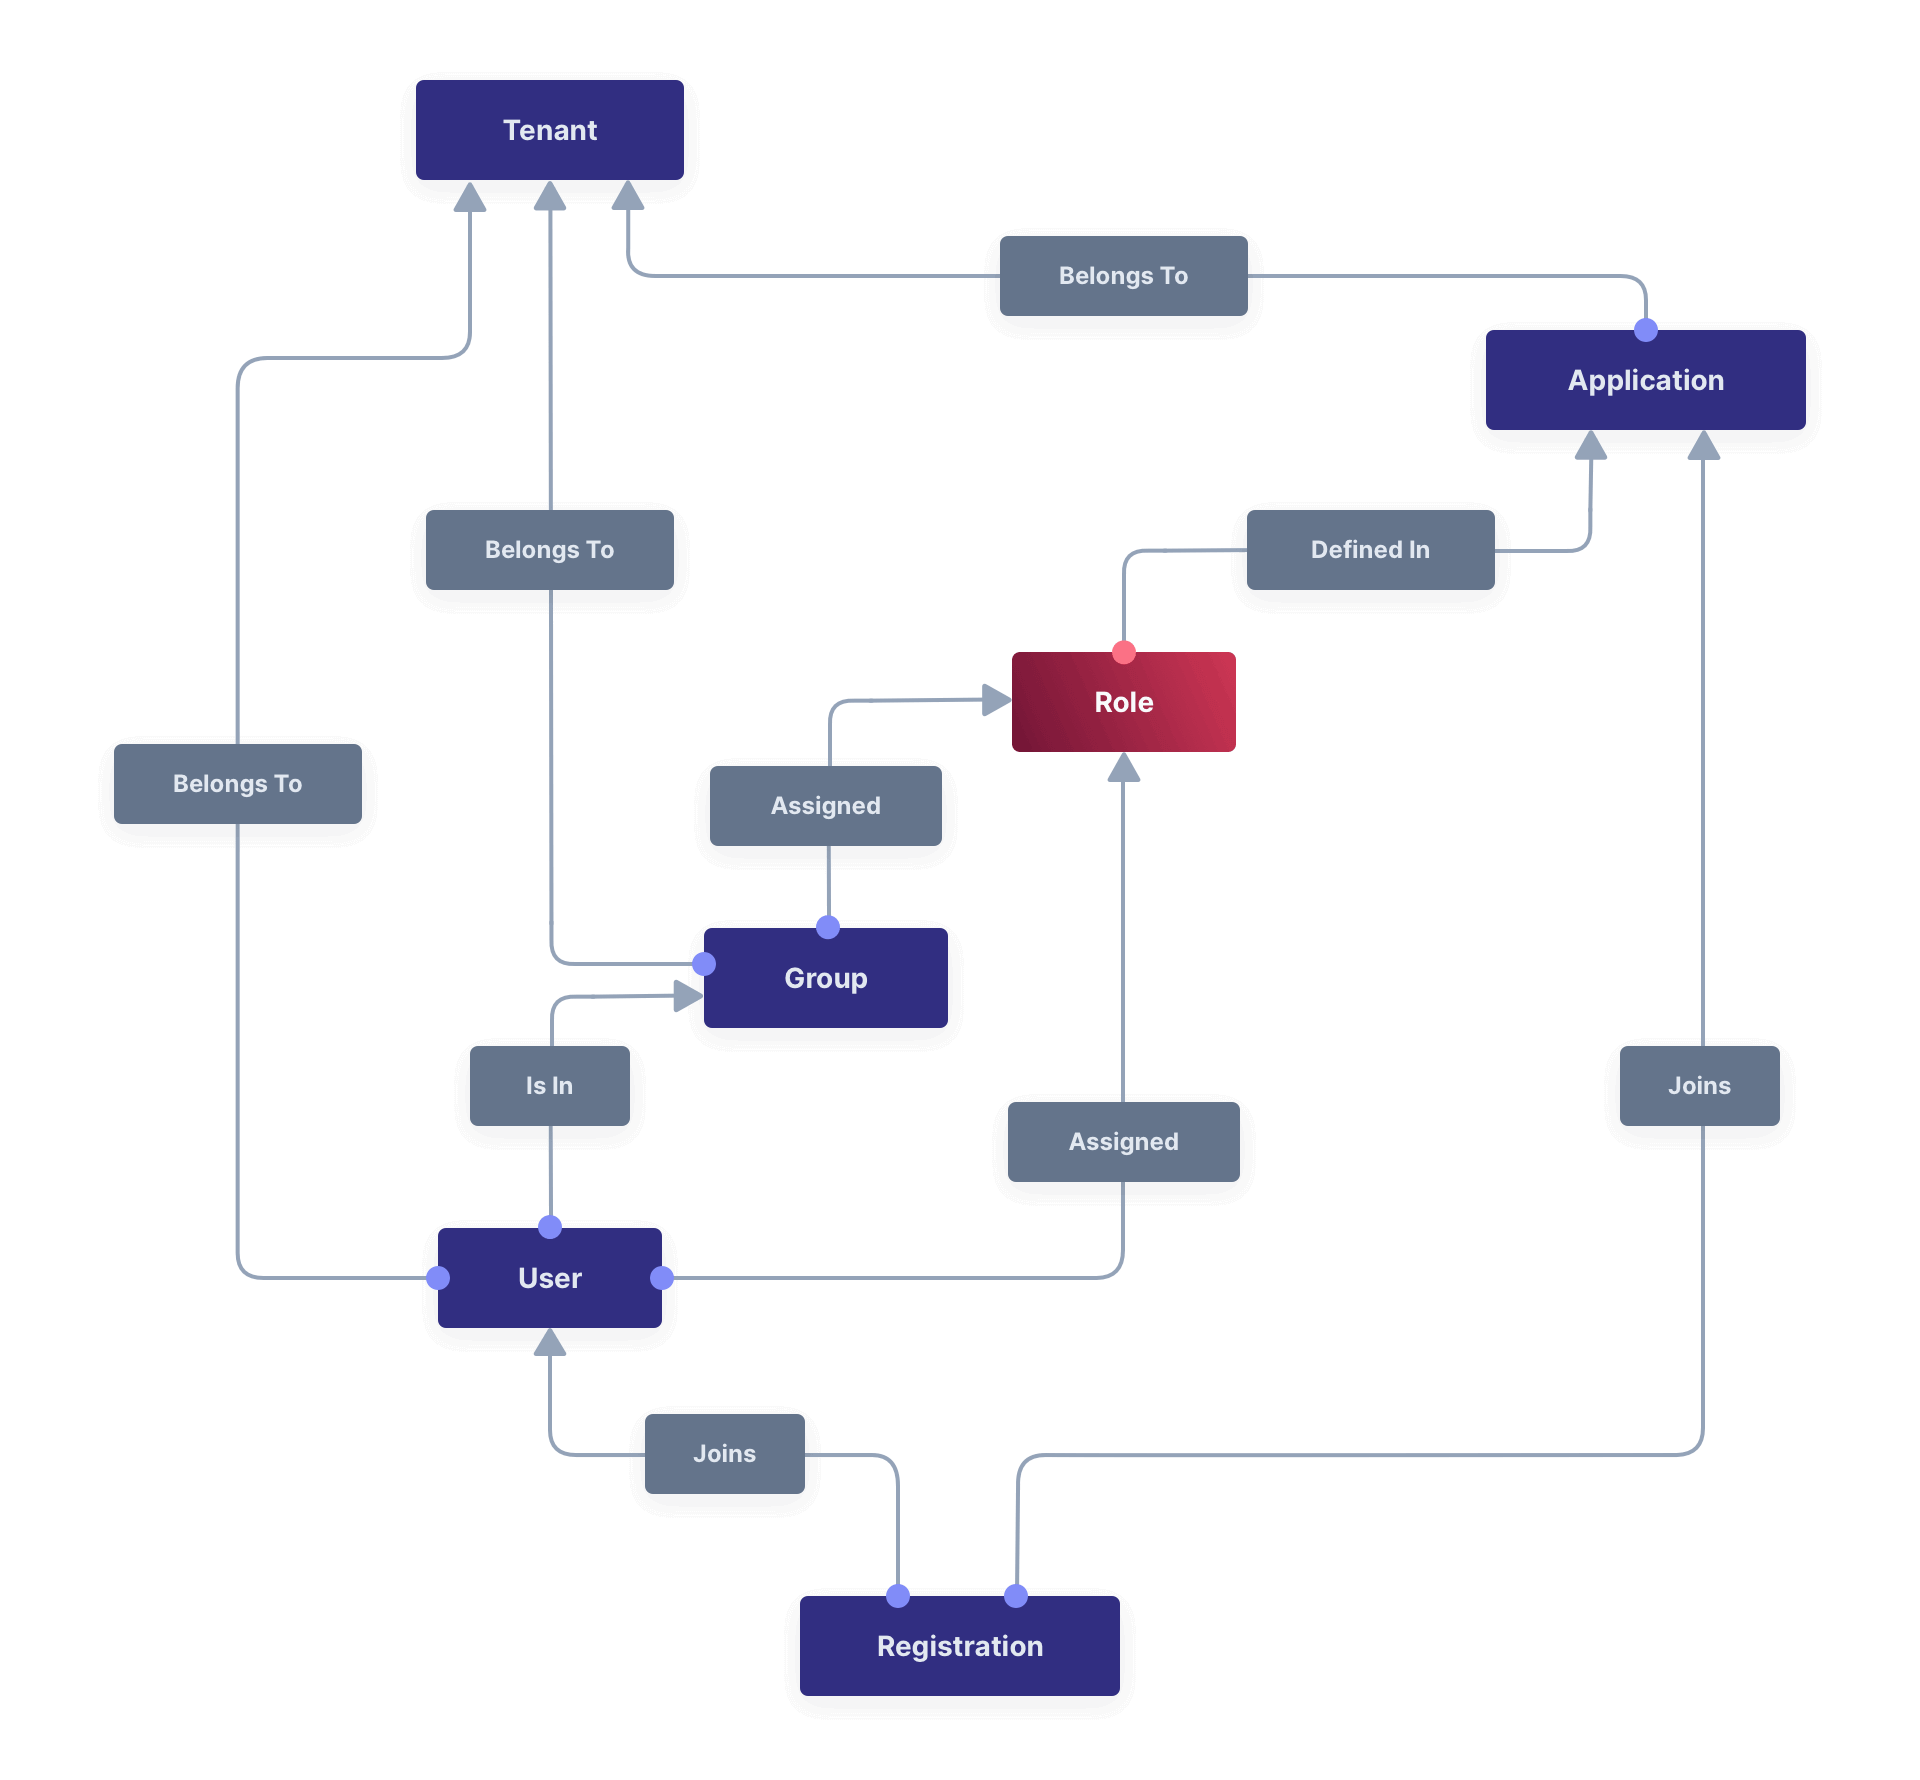
## Role Attributes
Roles in FusionAuth have the following attributes:
<RoleAttributes />
## FusionAuth Admin UI Roles
FusionAuth provides an administrative user interface for the running instance with several built-in roles. These can be assigned to any user registered with the FusionAuth admin application. These roles control access to functionality within the FusionAuth administrative user interface.
<Aside type="note">
These roles are used only internally to manage authorization within the FusionAuth admin UI application.
These roles are *not global* and are not present in any other applications for which FusionAuth provides authentication, authorization, or user management.
</Aside>
Below you can see the administrative user interface screen where you assign roles in the FusionAuth application to a user.
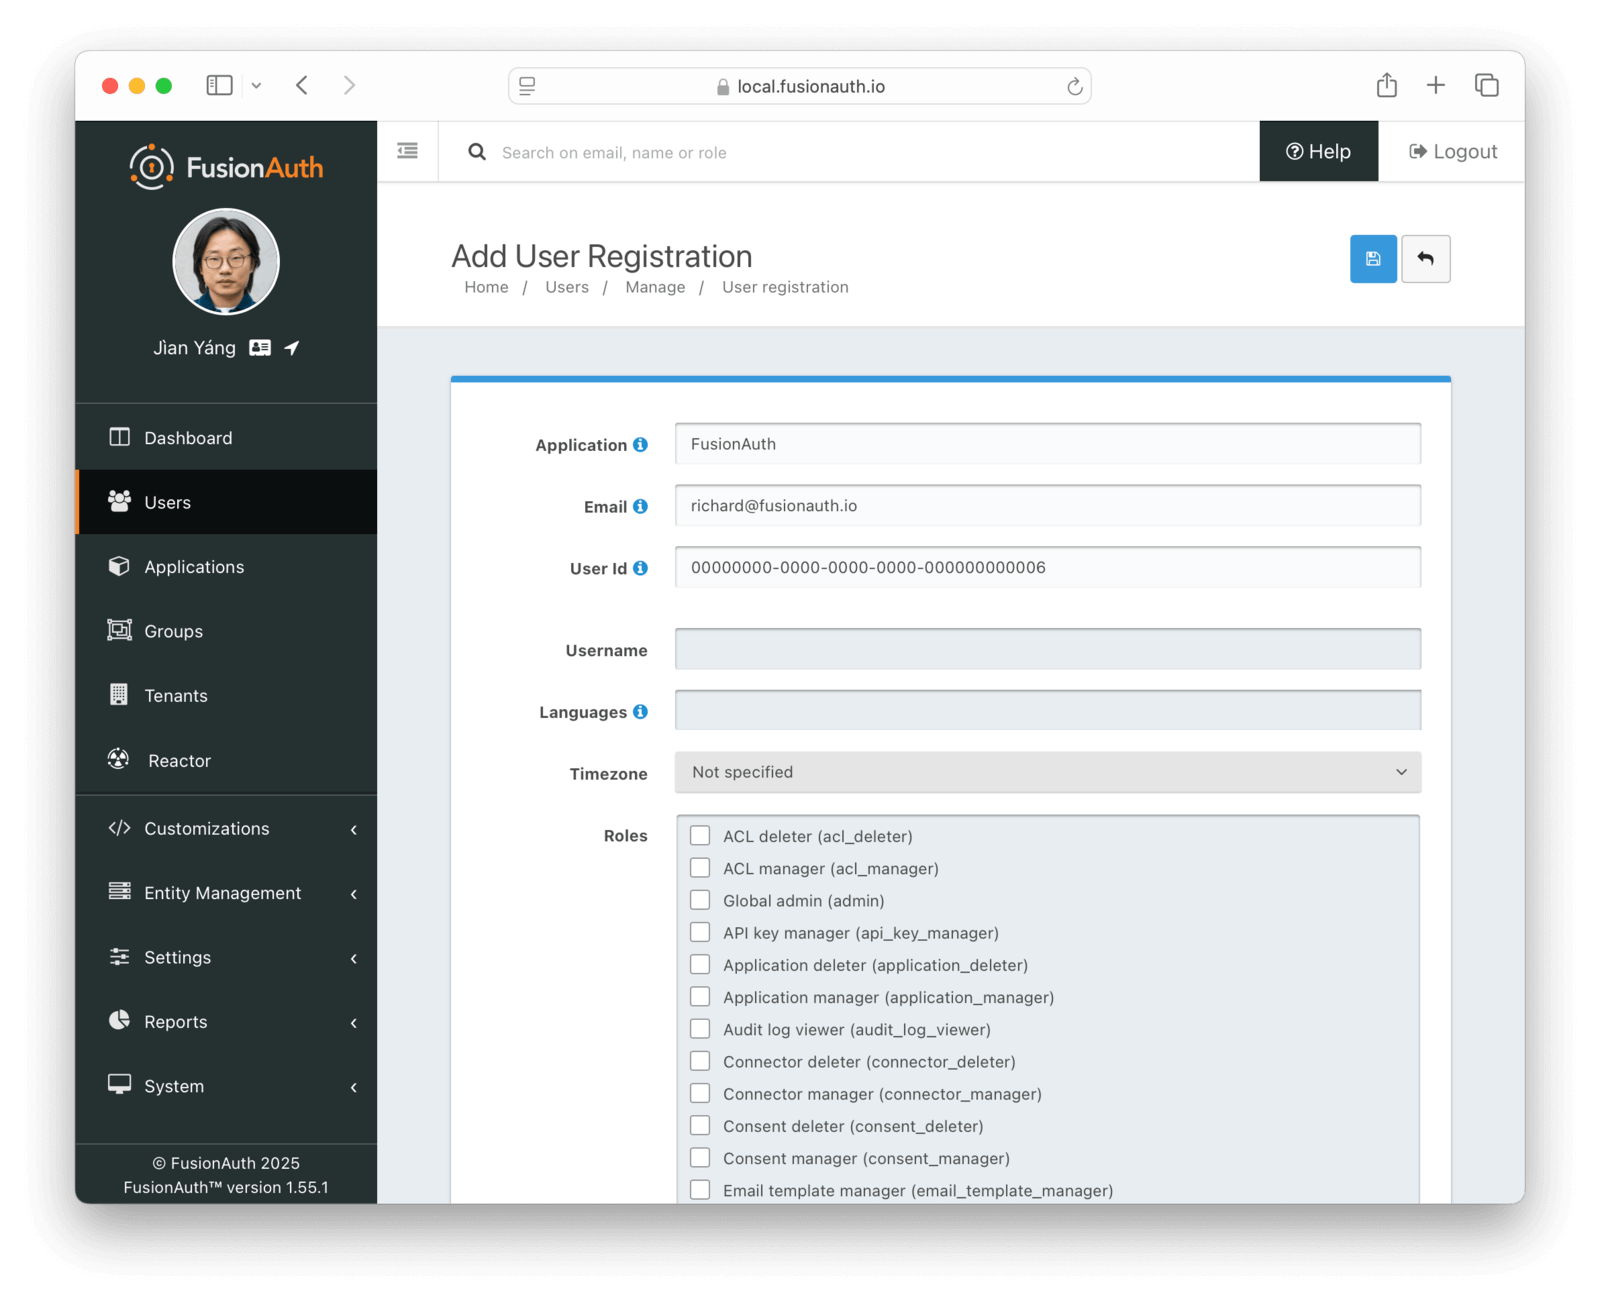
### Role Schema and Exceptions
The table below outlines how admin UI roles were designed at an abstract level. Of course, risk is always relative to the information and organization; even a low-access role can do significant damage in the wrong hands.
In general, FusionAuth roles follow this convention:
| Suffix | Access Level | Meaning |
|------------|--------------|------------------------------------------|
| `_viewer` | low | Can view entities of a particular type |
| `_manager` | high | Can add or edit the entities |
| `_deleter` | high | Can delete entities |
However, when an entity is missing one of these roles, such as a `_deleter` role, the `_manager` role has additional capabilities.
There are a few roles which do not follow the above convention.
| Role | Access Level | Meaning |
|------------------------|--------------|---------------------------------|
| `admin` | highest | Can manage anything (see below) |
| `user_support_manager` | varied | Tech support role (see below) |
### Admin UI Roles
Below are all the roles available in the FusionAuth Admin UI. There is [additional documentation for the `user_support_manager` role](#the-user_support_manager-role).
| Name | Id | Description |
|----------------------------|----------------------------------------|--------------------------------------------------------------------------------------------------------------------------------------------------------------------------------|
| `admin` | `631ecd9d-8d40-4c13-8277-80cedb8236e2` | Can manage everything, including creating new users with administrator privileges. |
| `acl_manager` | `631ecd9d-8d40-4c13-8277-80cedb823712` | Can add and edit IP access control lists. <AvailableSince since="1.30.0"/> |
| `acl_deleter` | `631ecd9d-8d40-4c13-8277-80cedb823711` | Can delete IP access control lists. <AvailableSince since="1.30.0"/> |
| `api_key_manager` | `631ecd9d-8d40-4c13-8277-80cedb8236e3` | Can add, edit and delete API keys. |
| `application_deleter` | `631ecd9d-8d40-4c13-8277-80cedb8236e4` | Can delete applications. |
| `application_manager` | `631ecd9d-8d40-4c13-8277-80cedb8236e5` | Can add and edit applications. Can also add, edit and delete roles and scopes. |
| `audit_log_viewer` | `631ecd9d-8d40-4c13-8277-80cedb8236e6` | Can view audit logs. |
| `connector_deleter` | `631ecd9d-8d40-4c13-8277-80cedb823700` | Can delete Connectors. <AvailableSince since="1.18.0"/> |
| `connector_manager` | `631ecd9d-8d40-4c13-8277-80cedb823701` | Can add and edit Connectors. <AvailableSince since="1.18.0"inline={true}/> |
| `consent_deleter` | `631ecd9d-8d40-4c13-8277-80cedb8236fc` | Can delete consents. |
| `consent_manager` | `631ecd9d-8d40-4c13-8277-80cedb8236fd` | Can add and edit consents. |
| `email_template_manager` | `631ecd9d-8d40-4c13-8277-80cedb8236e7` | Can add, edit and delete email templates. |
| `entity_manager` | `631ecd9d-8d40-4c13-8277-80cedb823706` | Can add, edit and delete entities. <AvailableSince since="1.26.0"/> |
| `event_log_viewer` | `631ecd9d-8d40-4c13-8277-80cedb8236fa` | Can view the event log. |
| `form_deleter` | `631ecd9d-8d40-4c13-8277-80cedb823702` | Can delete forms and form fields. <AvailableSince since="1.18.0"/> |
| `form_manager` | `631ecd9d-8d40-4c13-8277-80cedb823703` | Can add and edit forms and form fields. <AvailableSince since="1.18.0"/> |
| `group_deleter` | `631ecd9d-8d40-4c13-8277-80cedb8236f6` | Can delete groups. |
| `group_manager` | `631ecd9d-8d40-4c13-8277-80cedb8236f5` | Can add and edit groups. |
| `key_manager` | `631ecd9d-8d40-4c13-8277-80cedb8236fb` | Can add, edit and delete keys. |
| `lambda_manager` | `631ecd9d-8d40-4c13-8277-80cedb8236f9` | Can add, edit and delete lambdas. |
| `message_template_deleter` | `631ecd9d-8d40-4c13-8277-80cedb823709` | Can delete message templates. <AvailableSince since="1.26.0"/> |
| `message_template_manager` | `631ecd9d-8d40-4c13-8277-80cedb823710` | Can add and edit message templates. <AvailableSince since="1.26.0"/> |
| `messenger_deleter` | `631ecd9d-8d40-4c13-8277-80cedb823707` | Can delete messengers. <AvailableSince since="1.26.0"inline={true}/> |
| `messenger_manager` | `631ecd9d-8d40-4c13-8277-80cedb823708` | Can add and edit messengers. <AvailableSince since="1.26.0"/> |
| `reactor_manager` | `631ecd9d-8d40-4c13-8277-80cedb8236ff` | Can add and edit reactor and license settings, including detaching a license from an instance. <AvailableSince since="1.15.0"/> |
| `report_viewer` | `631ecd9d-8d40-4c13-8277-80cedb8236e8` | Can view reports. |
| `system_manager` | `631ecd9d-8d40-4c13-8277-80cedb8236e9` | Can add and edit system configuration. Can also delete themes, manage identity providers, manage integrations with CleanSpeak and Kafka, view system logs and login records, reindex Elasticsearch and see information about the FusionAuth version. |
| `tenant_deleter` | `631ecd9d-8d40-4c13-8277-80cedb8236f8` | Can delete tenants. |
| `tenant_manager` | `631ecd9d-8d40-4c13-8277-80cedb8236f7` | Can add and edit tenants. |
| `theme_manager` | `631ecd9d-8d40-4c13-8277-80cedb8236fe` | Can add and edit themes. |
| `user_action_deleter` | `631ecd9d-8d40-4c13-8277-80cedb8236f0` | Can delete user actions.
|
| `user_action_manager` | `631ecd9d-8d40-4c13-8277-80cedb8236f1` | Can add and edit user actions. Can also add, edit and delete user action reasons. |
| `user_deleter` | `631ecd9d-8d40-4c13-8277-80cedb8236f2` | Can delete users. |
| `user_manager` | `631ecd9d-8d40-4c13-8277-80cedb8236f3` | Can add and edit users. Please note that because this role can fully manage users, it is similar to the `admin` role. The `user_support_manager` role is recommended in most cases.|
| `user_support_manager` | `631ecd9d-8d40-4c13-8277-80cedb823704` | Allows for a limited scope of user management. See below. <AvailableSince since="1.23.0"/> |
| `user_support_viewer` | `631ecd9d-8d40-4c13-8277-80cedb823705` | Can view user information. <AvailableSince since="1.23.0"/> |
| `webhook_event_log_viewer` | `631ecd9d-8d40-4c13-8277-80cedb823713` | Can view the webhook event log. <AvailableSince since="1.53.0"/> |
| `webhook_manager` | `631ecd9d-8d40-4c13-8277-80cedb8236f4` | Can add, edit and delete webhooks. |
### The user_support_manager Role
The `user_support_manager` role is a role tuned for tier 1 technical support personnel and has a mix of capabilities. A user with such a role can:
| Domain | Ability |
|--------------|---------------------------------------------------------------------------------------------------------------------------------------------------------------------------------|
| consents | Manage consents. |
| email | Send a verify email request. |
| passwords | Send a forgot password request. |
| passwords | Require a password change at next login. |
| group | Manage group membership. |
| family | Manage family membership. |
| registration | View a registration. |
| registration | Add a registration with no role management. If a new registration is created it would receive the default roles only. Cannot add a role to the FusionAuth admin UI application. |
| registration | Edit a registration with no role modification. |
| registration | Delete a registration. |
| user | Add a user. |
| user | Edit a user, except for any identity information that could be used to authenticate. For example, the email and username cannot be modified. |
| user | Lock a user account. |
| user | Unlock a user account. |
| user | View 2FA settings if available. |
| user | Action a user. |
| user | Add a comment to a user. |
| user | Verify a user's email address. |
| tokens | Manage sessions (refresh tokens). |
## FusionAuth Tenant Manager roles
Below are all the roles available for use in the Tenant Manager application.
| Name | Id | Description |
|----------------------------|----------------------------------------|--------------------------------------------------------------------------------------------------------------------------------------------------------------------------------|
| `admin` | `631ecd9d-8d40-4c13-8277-80cedb823714` | Can manage everything. |
# Tenants
import APIBlock from 'src/components/api/APIBlock.astro';
import APIField from 'src/components/api/APIField.astro';
import AdvancedPlanBlurb from 'src/content/docs/_shared/_advanced-plan-blurb.astro';
import AvailableSince from 'src/components/api/AvailableSince.astro';
import Breadcrumb from 'src/components/Breadcrumb.astro';
import DefaultSMTPConfigurationProperties from 'src/content/docs/_shared/default-smtp-configuration-properties.mdx';
import TemplateSettings from 'src/content/docs/get-started/core-concepts/_template-settings.mdx';
import EnterprisePlanBlurb from 'src/content/docs/_shared/_enterprise-plan-blurb.astro';
import EnterprisePlanBlurbApi from 'src/content/docs/_shared/_enterprise-plan-blurb-api.astro';
import Icon from 'src/components/icon/Icon.astro';
import InlineField from 'src/components/InlineField.astro';
import InlineUIElement from 'src/components/InlineUIElement.astro';
import LicensedPlanBlurb from 'src/content/docs/_shared/_licensed-plan-blurb.mdx';
import PremiumPlanBlurb from 'src/content/docs/_shared/_premium-plan-blurb.astro';
import RefreshTokenSettings from 'src/content/docs/get-started/core-concepts/_refresh-token-settings.mdx';
import TenantJsonWebTokenSettings from 'src/content/docs/get-started/core-concepts/_tenant-json-web-token-settings.mdx';
import TenantWebhooksTable from 'src/content/docs/get-started/core-concepts/_tenant-webhooks-table.mdx';
import { YouTube } from '@astro-community/astro-embed-youtube';
## Overview
FusionAuth is fundamentally a single tenant solution, so you may be surprised to learn that we support multiple tenants.
FusionAuth will always be a single tenant solution, this means that your instance of FusionAuth is your own and even when FusionAuth is hosting, we do not co-mingle your data with other clients. FusionAuth was built as a single tenant solution, and we have no plans to change anytime soon.
It is entirely likely that our clients may wish to be multi-tenant or offer their services to more than one client. In these scenarios it may be useful to separate Users, Applications and Groups for each of your clients.
For example, let's assume you are building a payroll offering using a SaaS model. In this case it is possible that `monica@piedpiper.com` works for two of your clients, Acme Corp and The Umbrella Company. Because Monica is not aware that Acme Corp and The Umbrella Company both are buying their Payroll software from the same vendor it would be surprising for Monica to share the same password and account details between these two companies. In this scenario you would likely want to utilize the FusionAuth Tenant to ensure that `monica@piedpiper.com` exists once for each instance of your Payroll offering.
See [Tenant API Authentication](/docs/apis/authentication#making-an-api-request-using-a-tenant-id) for more details about making API requests in a multi-tenant configuration.
Here's a brief video covering some aspects of tenants:
<YouTube id="bamlKmIelyc" />
## Core Concepts Relationships
Below is a visual reminder of the relationships between FusionAuth's primary core concepts.
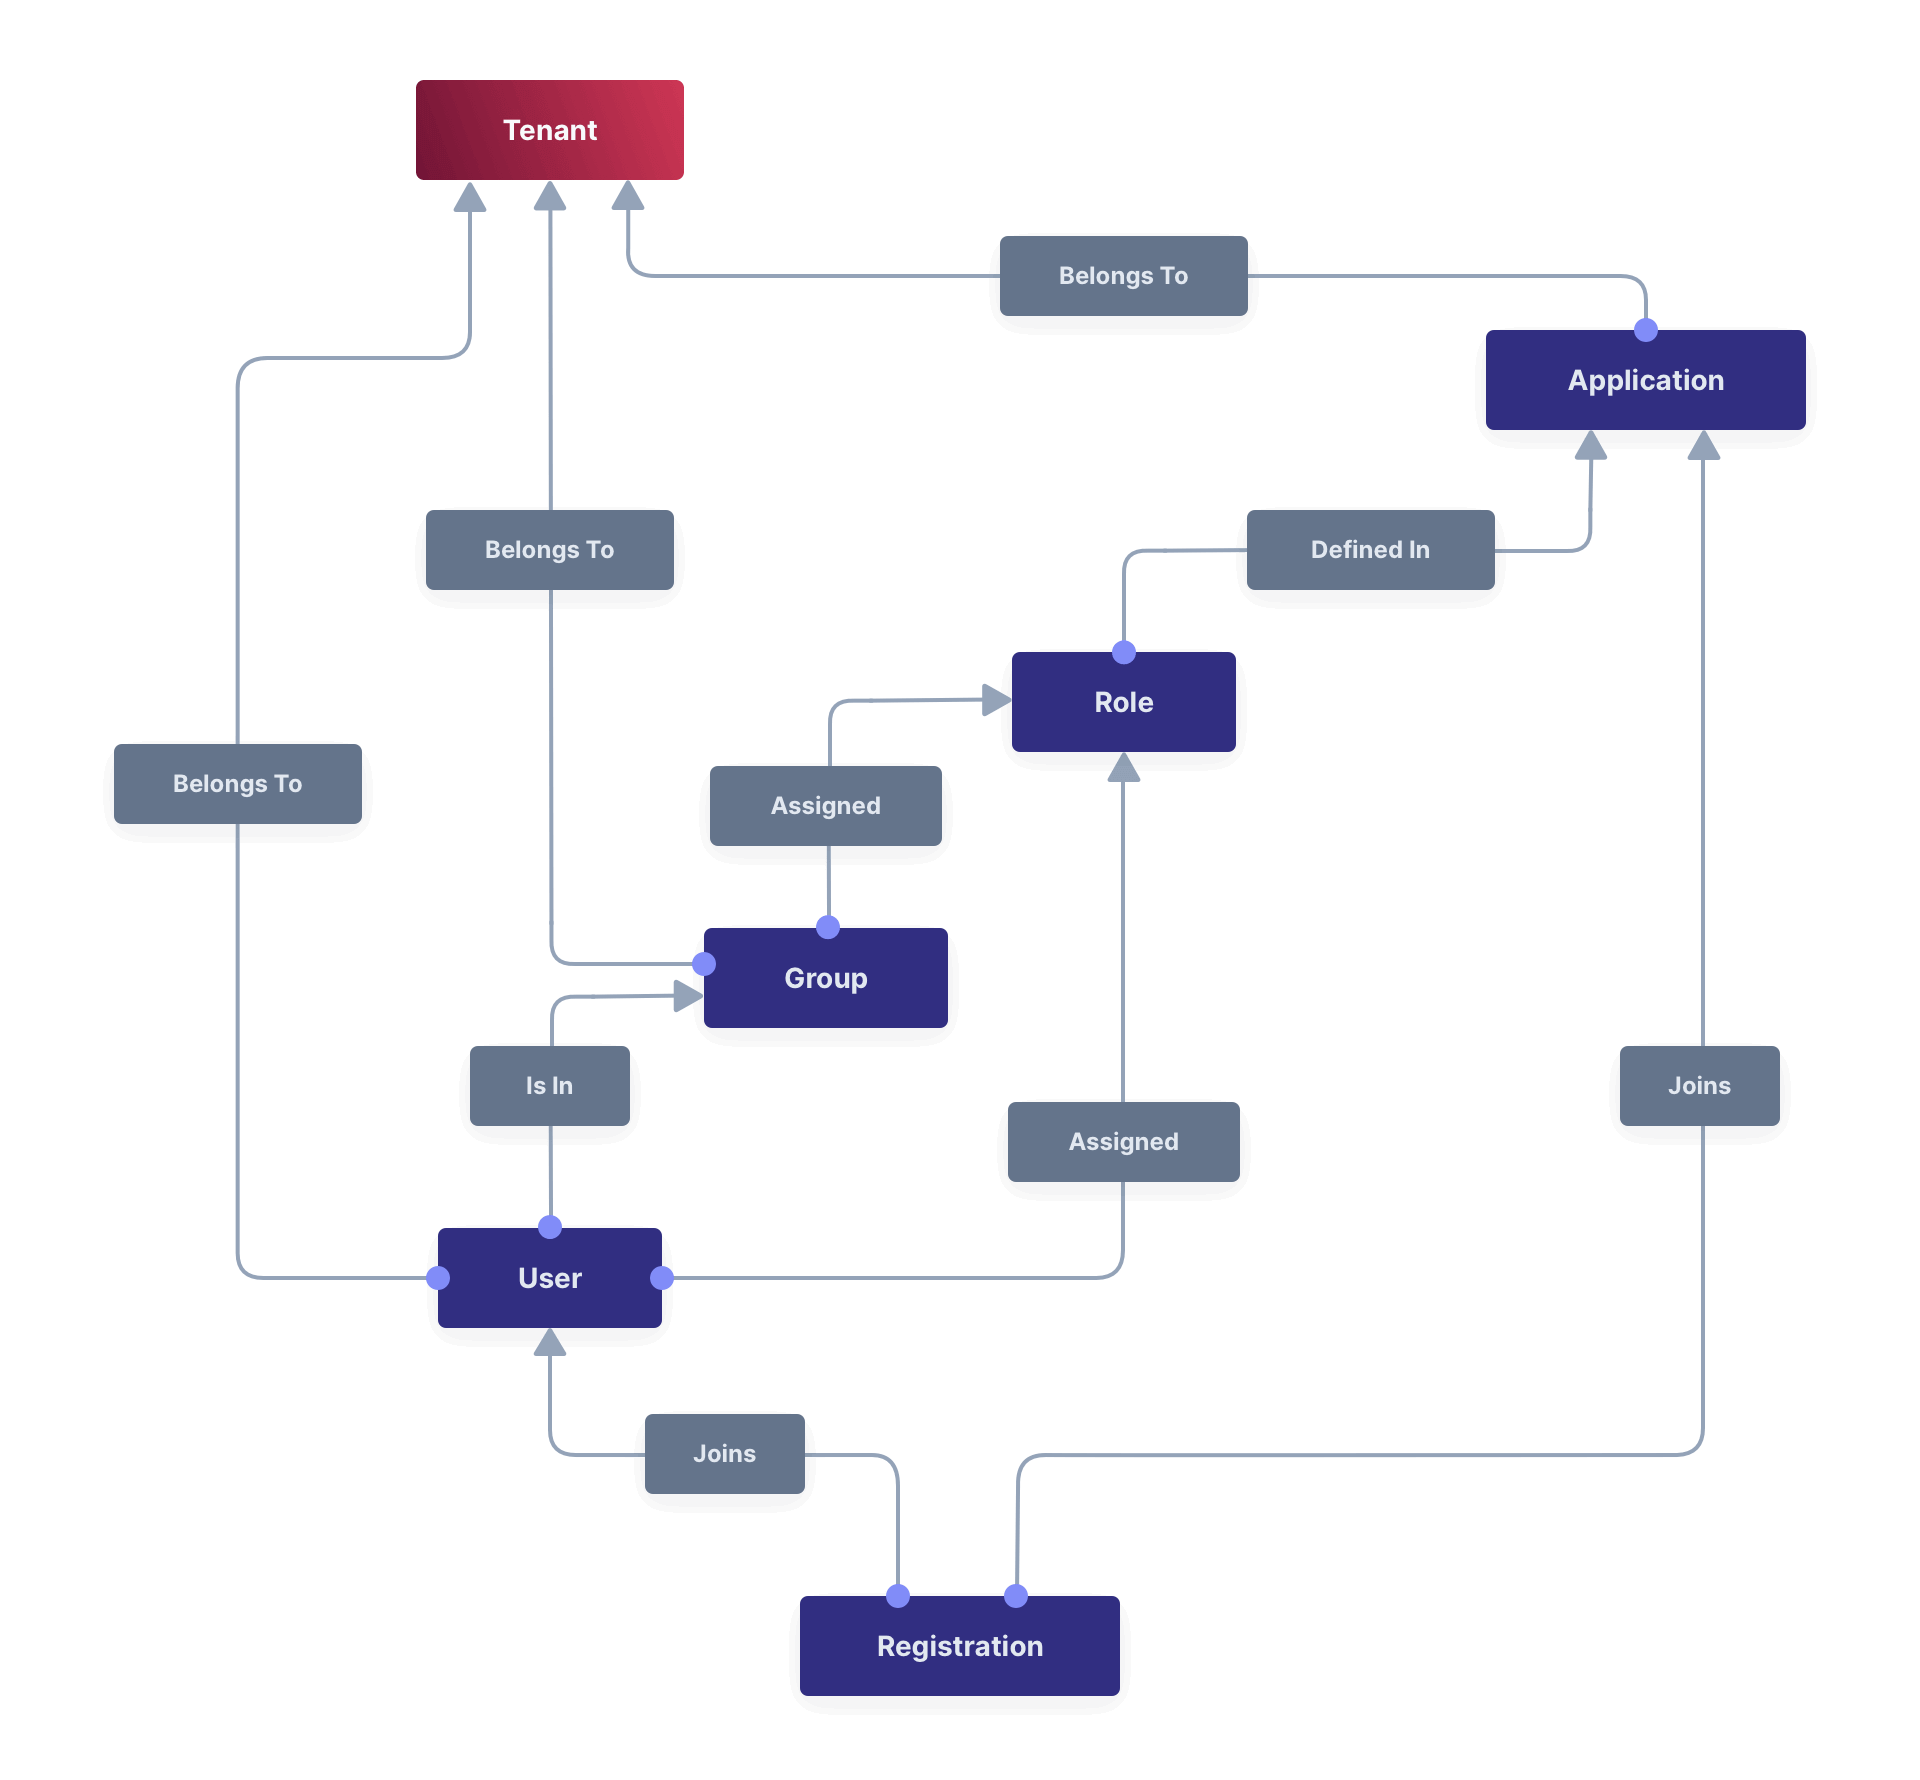
## Admin UI
This page describes the admin UI for creating and configuring a Tenant.
### List of Tenants
To display a list of tenants, navigate to <Breadcrumb>Tenants</Breadcrumb>.
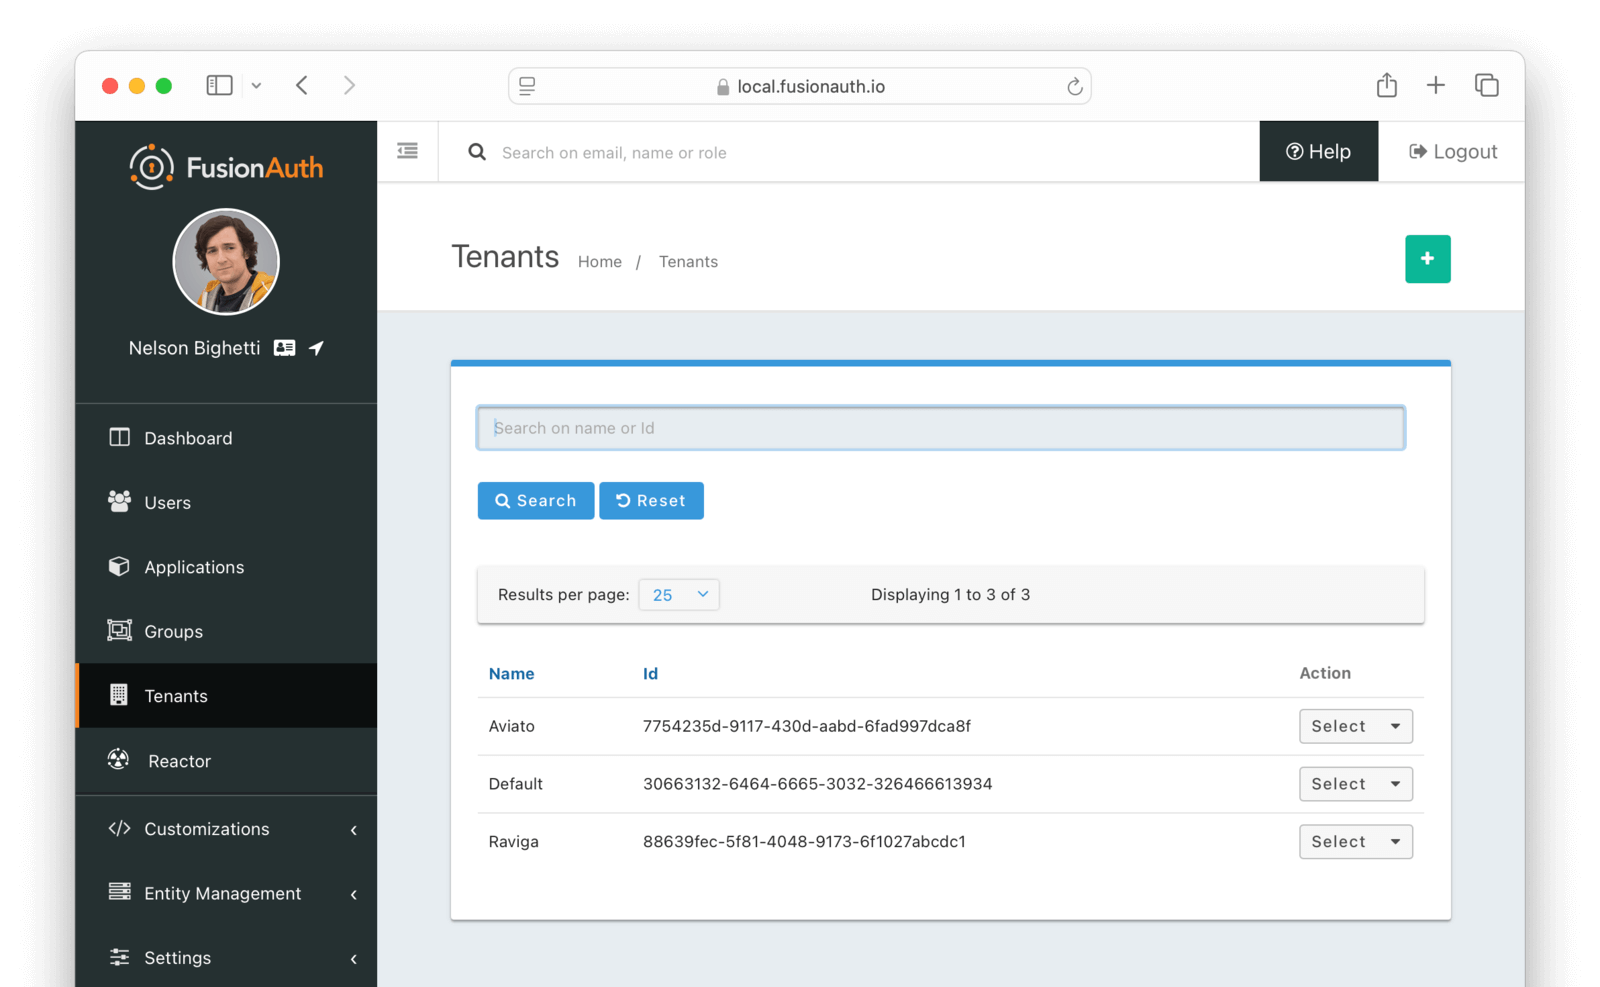
Using the icons on this screen, you can:
* <Icon name="plus" /> Create a new tenant
* <Icon name="trash" /> Delete the tenant configuration
* You cannot delete the [Default tenant](/docs/get-started/core-concepts/limitations#default-configuration).
* <Icon name="copy" /> Duplicate the tenant configuration
* <Icon name="edit" /> Edit the tenant configuration
* <Icon name="fa-search" /> View the tenant configuration
### Create a Tenant
To create a new tenant, navigate to <Breadcrumb>Tenants</Breadcrumb>.
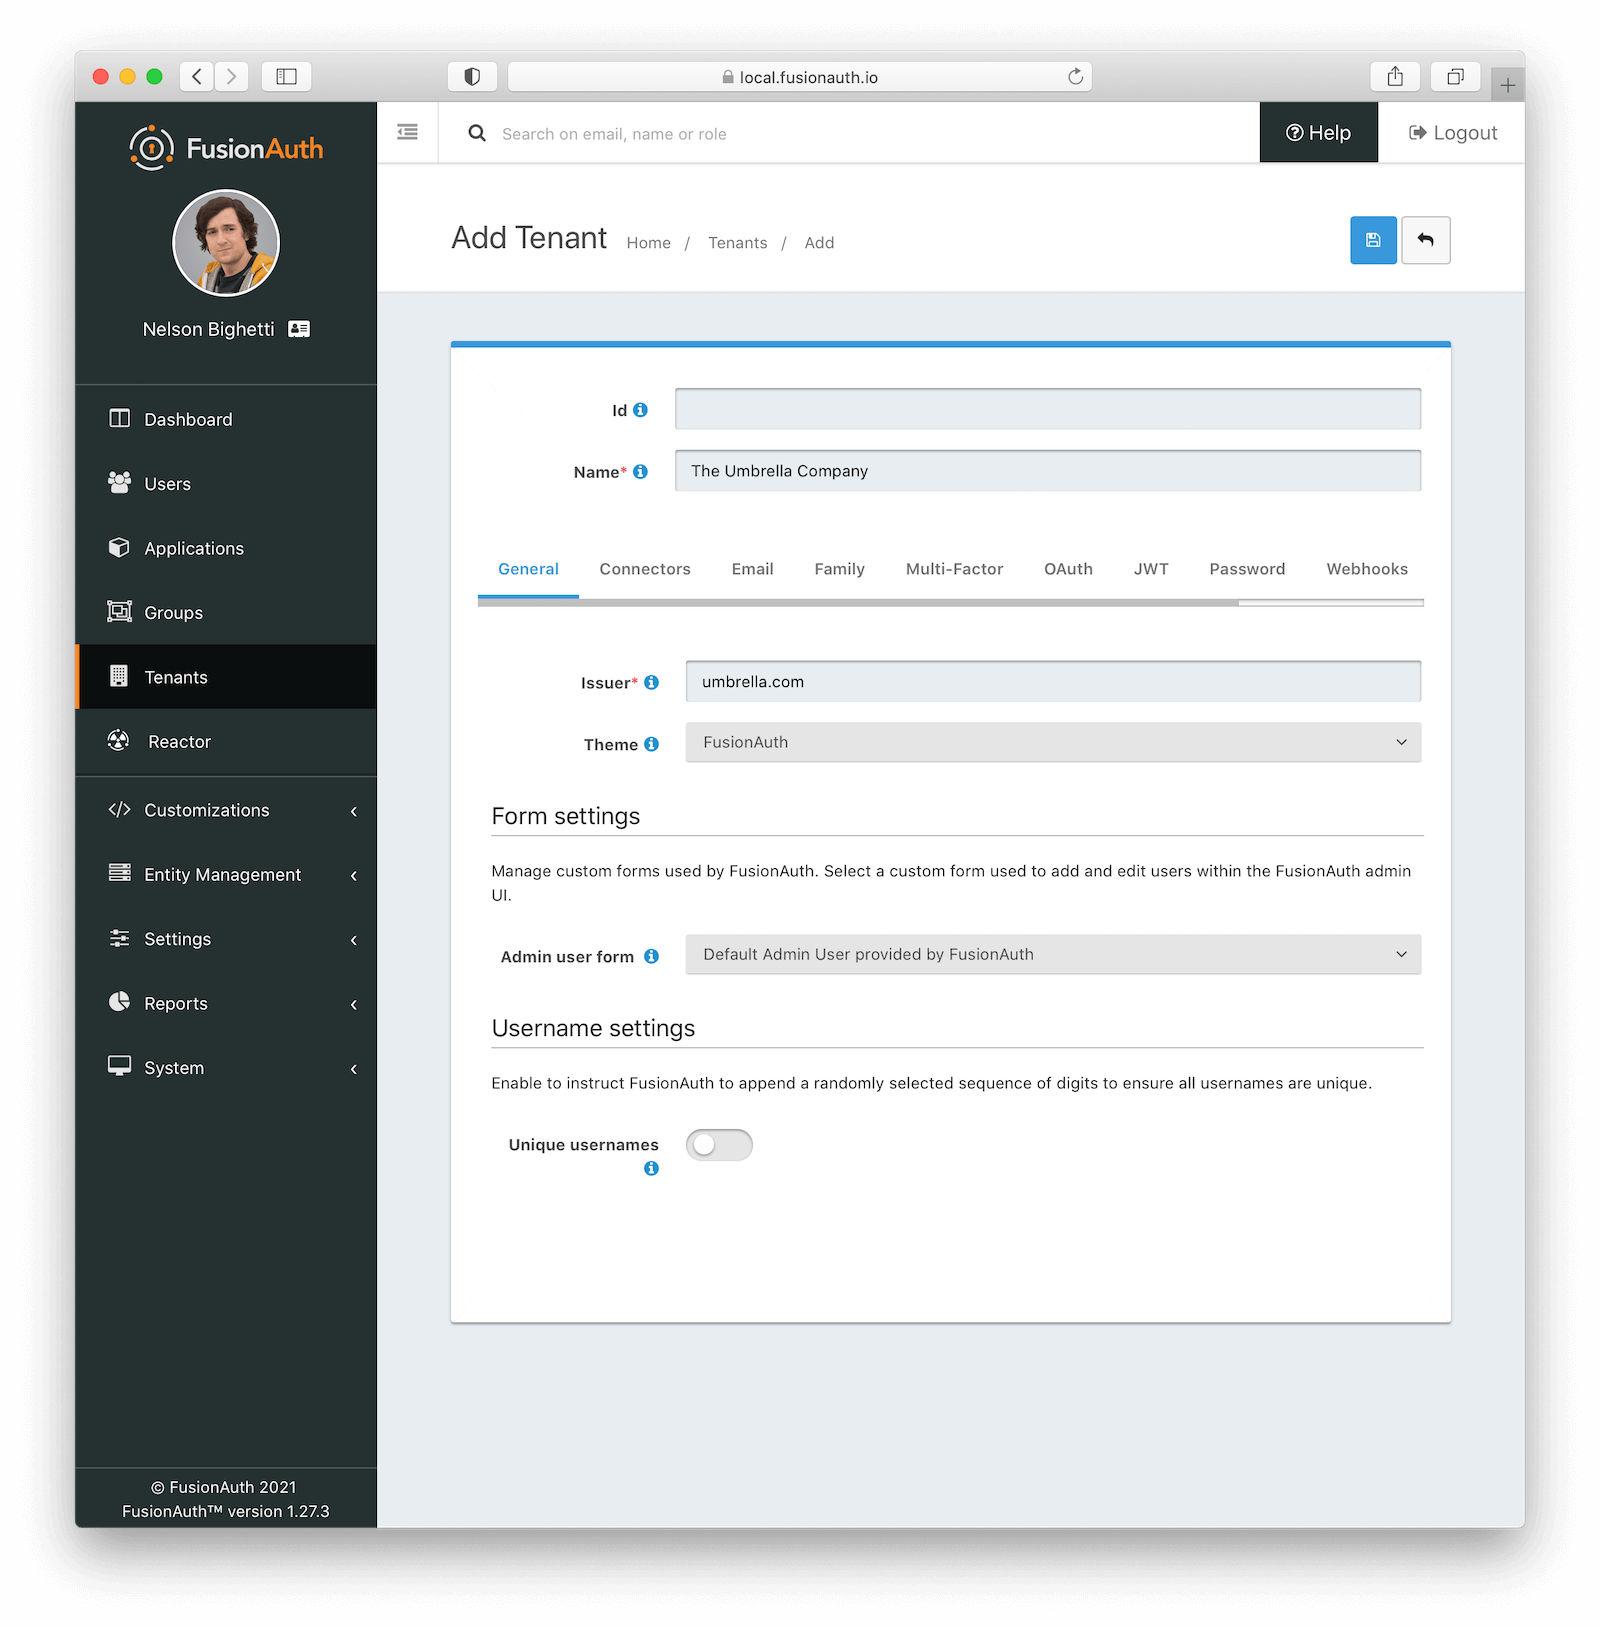
### Tenant Configuration
A majority of your FusionAuth configuration is managed at the Tenant-level. Some of these configuration options act as defaults and can be overridden by the Application.
### General
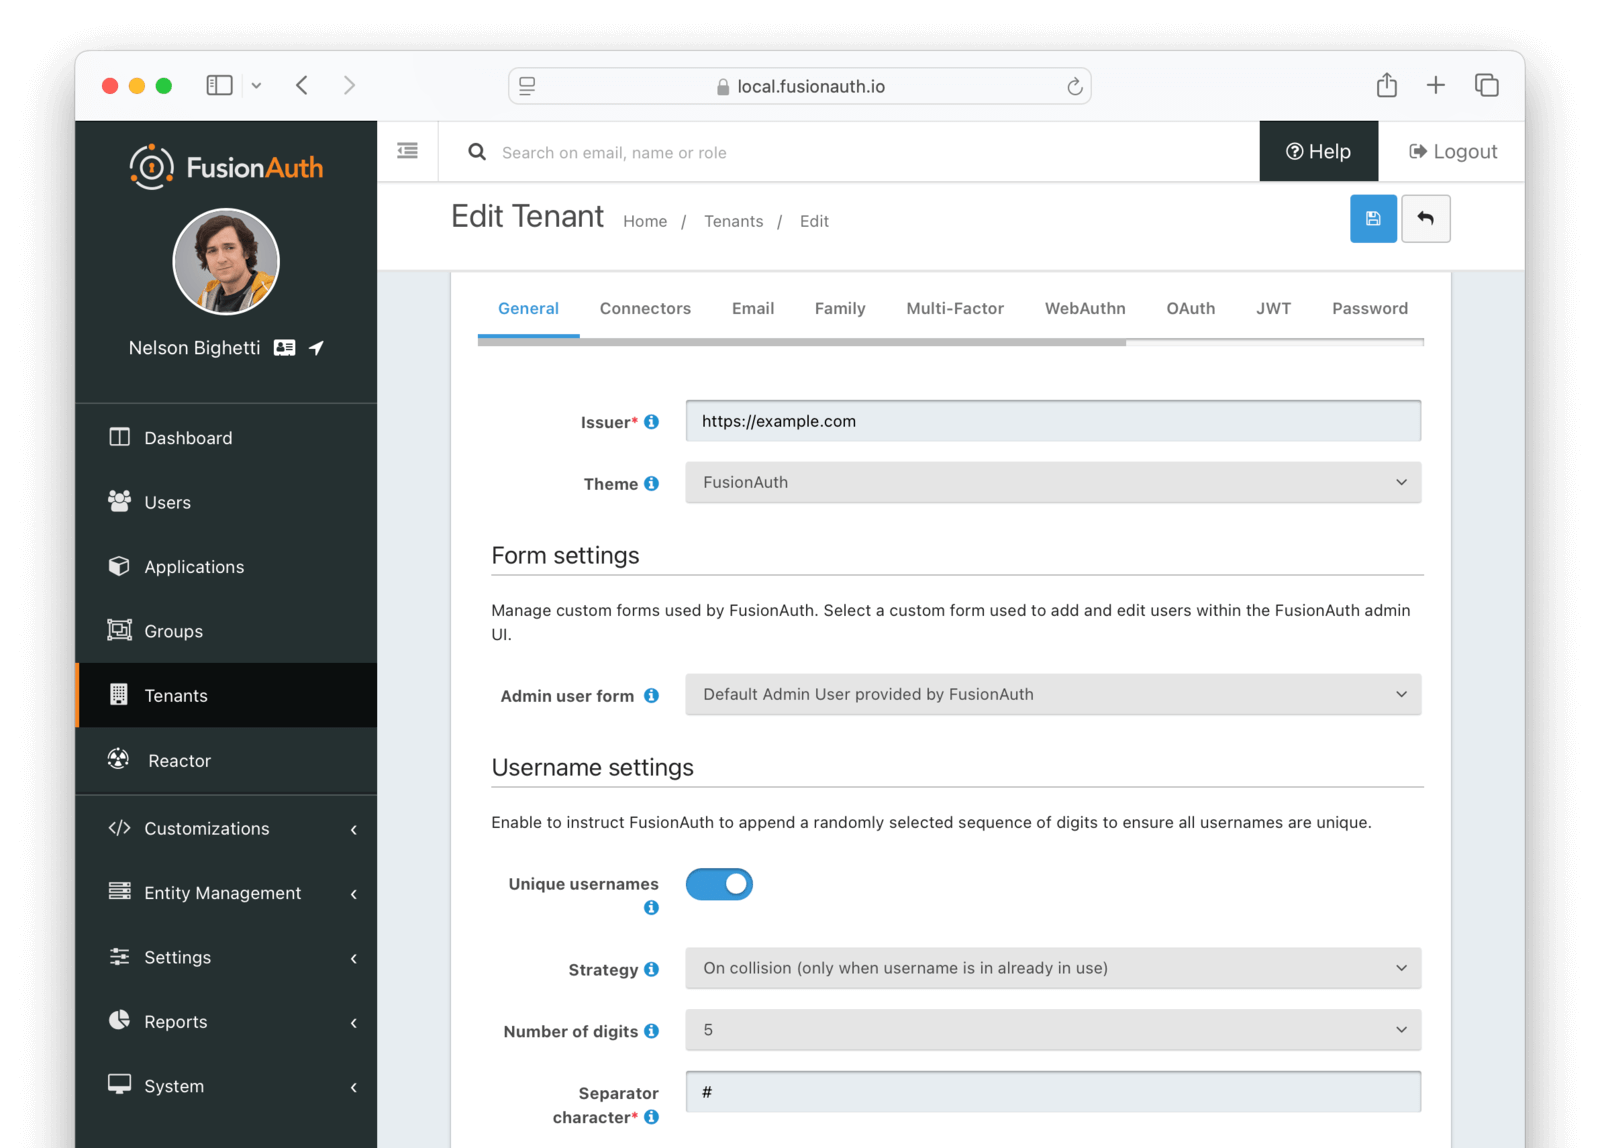
#### Form Fields
<APIBlock>
<APIField name="Issuer" required>
The named issuer used to sign tokens. This is generally your public fully qualified domain with the `https://` protocol prefix. For example, `https://example.com`.
</APIField>
<APIField name="Login Theme" optional>
The Theme associated with this Tenant; determines which templates to render for interactive work-flows.
</APIField>
</APIBlock>
#### Form Settings
<APIBlock>
<APIField name="Admin user form" optional since="1.20.0">
The form that will be used in the FusionAuth UI for adding and editing users.
<PremiumPlanBlurb />
</APIField>
</APIBlock>
#### Username settings
Enable <InlineField>Unique usernames</InlineField> to allow multiple users suggest the same username. If there are any collisions, FusionAuth will transparently create a unique username by appending a suffix. The user will continue to use the username without the suffix.
<APIBlock>
<APIField name="Unique usernames" optional defaults="false" since="1.27.0">
When `true`, FusionAuth will handle username collisions.
<PremiumPlanBlurb />
</APIField>
<APIField name="Number of digits" optional defaults="5" since="1.27.0">
The maximum number of digits to use when building a unique suffix for a username. A number will be randomly selected and may be 1 or more digits up to this configured value. The value of this field must be greater than or equal to `3` and less than or equal to `10`.
</APIField>
<APIField name="Separator character" optional since="1.27.0">
A single character to use as a separator from the requested username and a unique suffix that is added when a duplicate username is detected. This value can be a single non alphanumeric ASCII character.
</APIField>
</APIBlock>
### Connectors
Connectors can be enabled on a per tenant basis with a Connector policy.
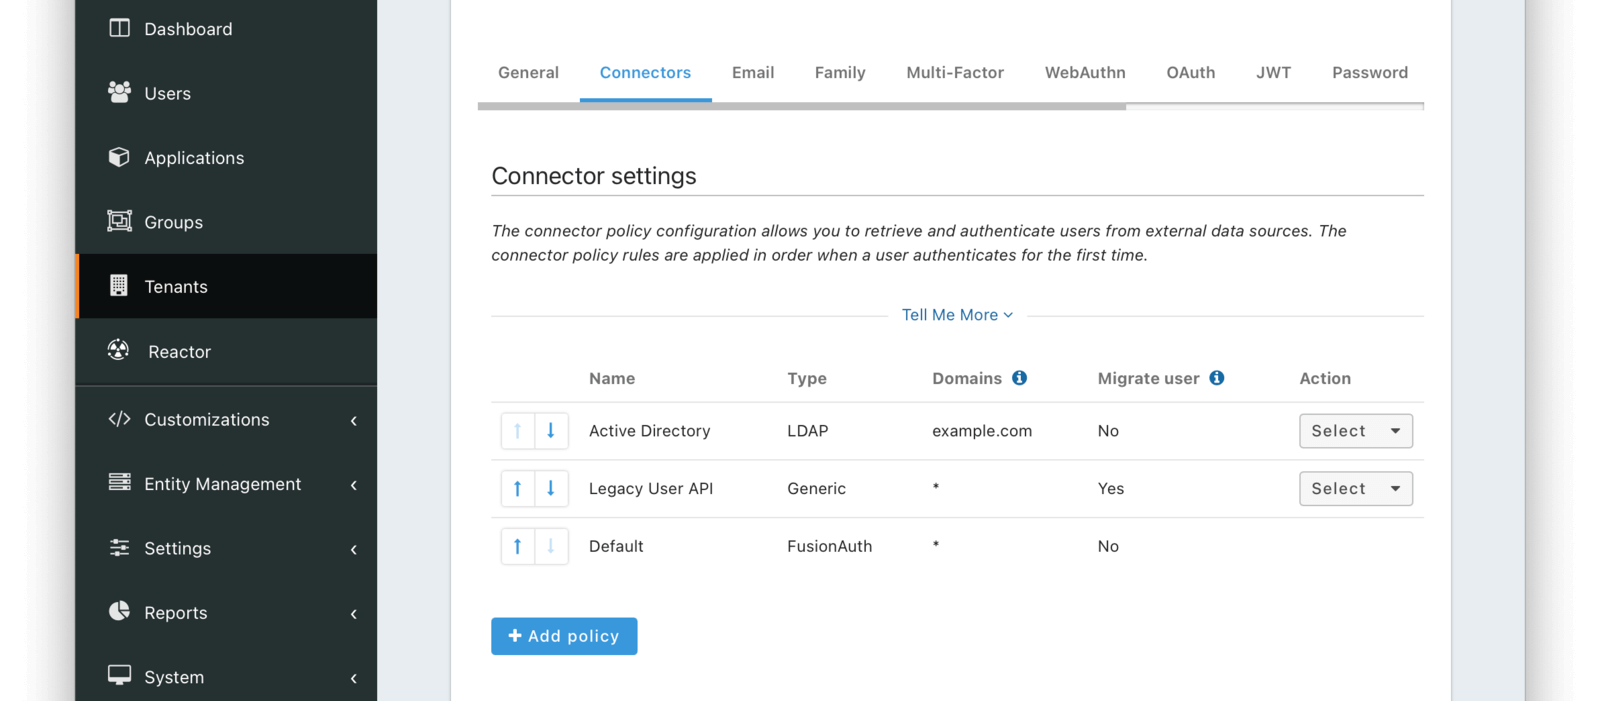
You can find details on adding a connector below. Full documentation on Connectors and Connector Policies can be found [here](/docs/lifecycle/migrate-users/connectors/).
#### Add Connector Policy Dialog
If you click on the <InlineUIElement>Add policy</InlineUIElement> button on this page you will be presented with the following dialog.
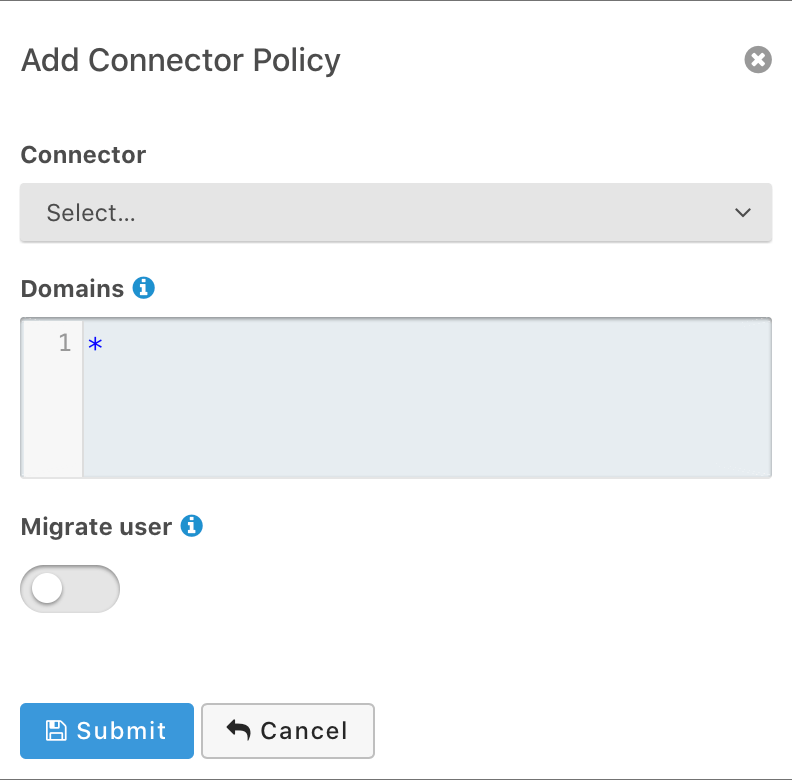
##### Form Fields
<APIBlock>
<APIField name="Connector" required>
The Connector to be used for this policy.
</APIField>
<APIField name="Domains" optional defaults='["*"]'>
One or more line separated domains to be used to filter incoming authentication requests. To match all incoming email addresses, a single entry using an asterisk `*` can be used.
</APIField>
<APIField name="Migrate user" optional>
When selected, migrate the user from the Connector into FusionAuth so that future authentications will use FusionAuth and not the Connector.
</APIField>
</APIBlock>
### Identities
Control Email and Phone Number identity verification and template settings from one place.
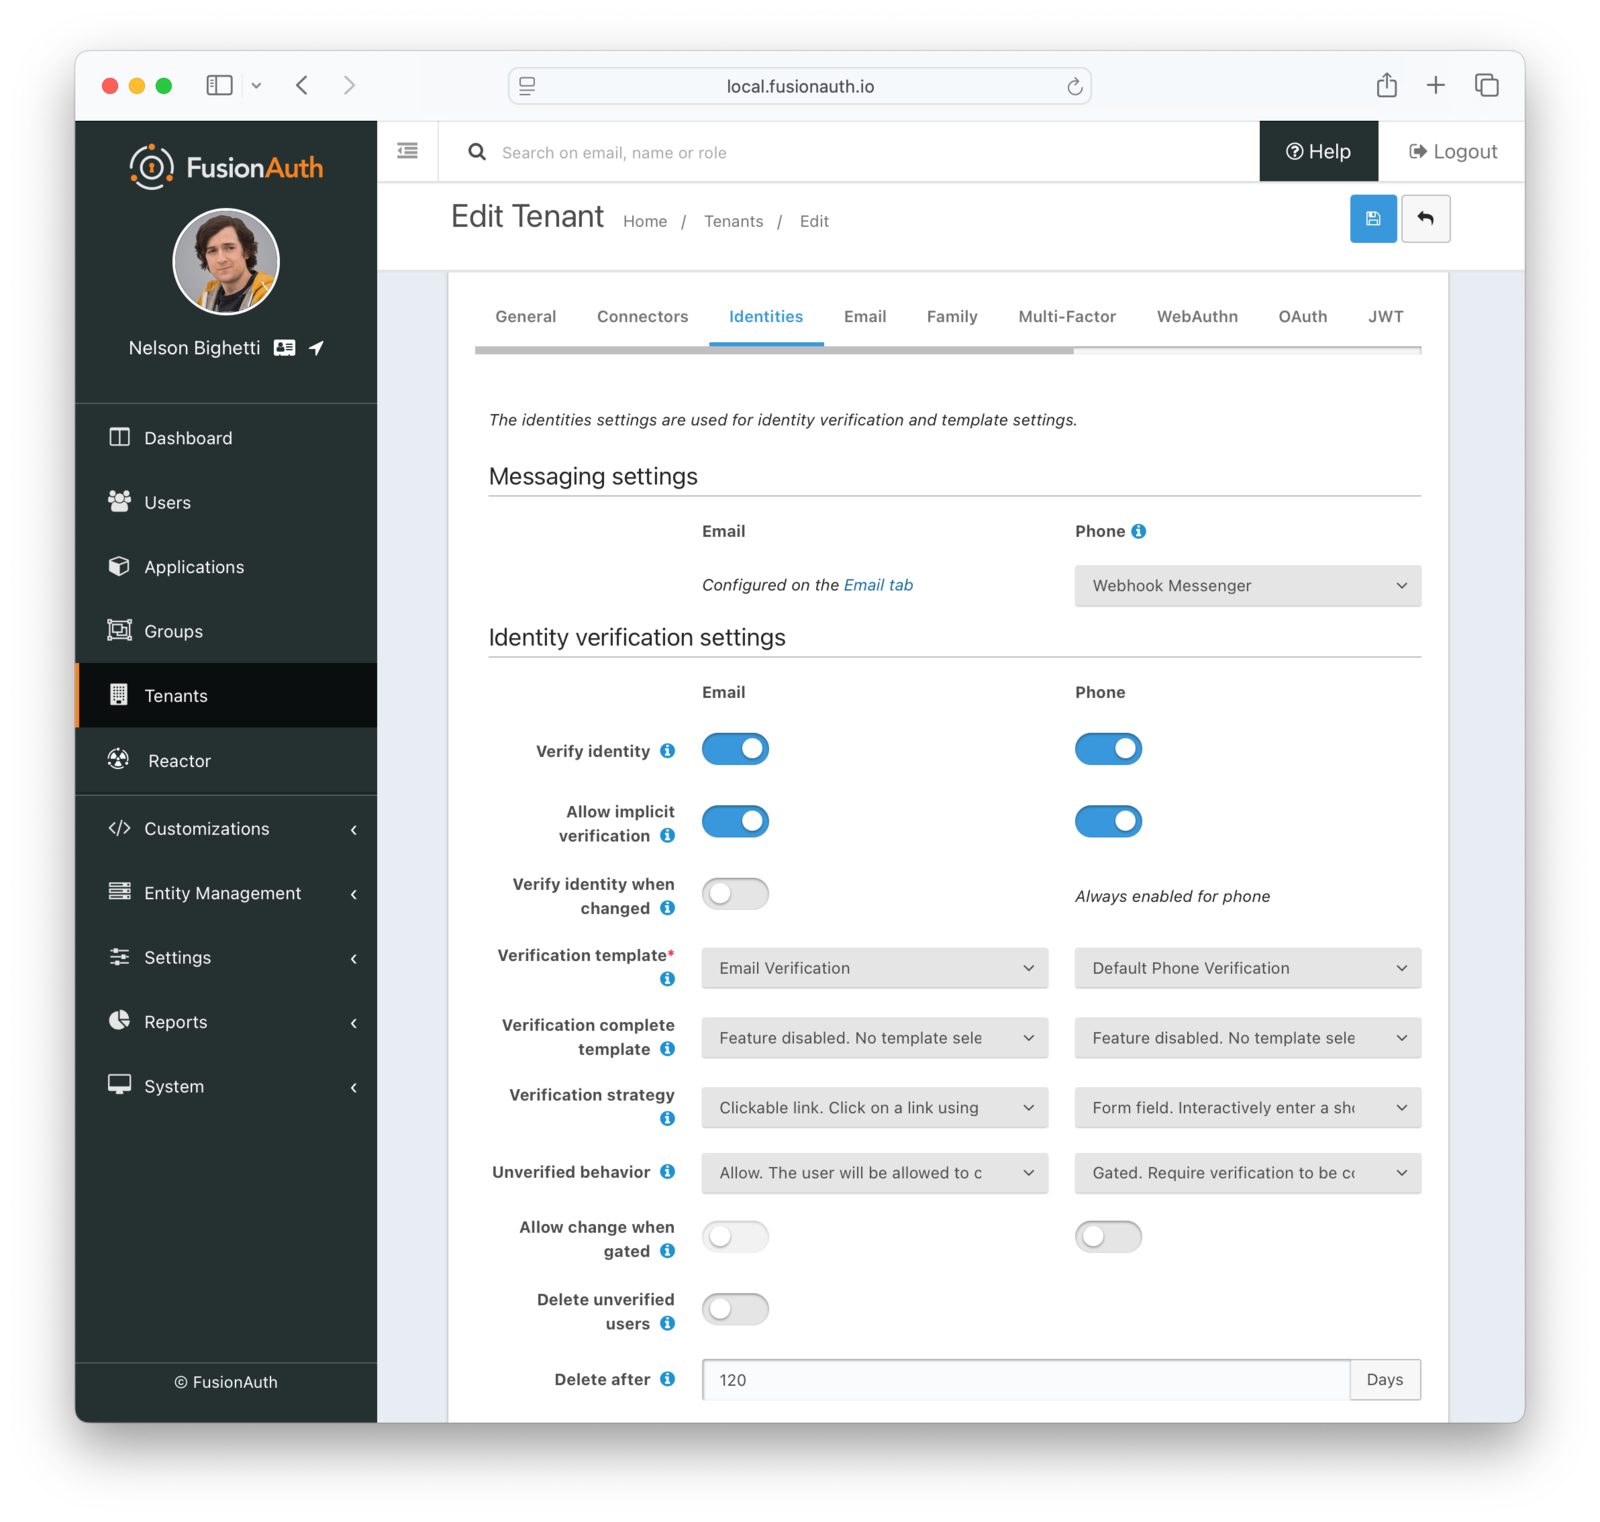
#### Messaging Settings
<APIBlock>
<APIField name="Messenger" required since="1.59.0">
The messenger used to deliver messages for phone number verification, passwordless login, two-factor authentication, and event notifications.
Required when the <InlineField>Verify identity</InlineField> toggle is enabled for phone numbers or when any phone templates are configured in <Breadcrumb>Template Settings</Breadcrumb>.
</APIField>
</APIBlock>
#### Identity Verification Settings
<APIBlock>
<APIField name="Verify identity" optional>
When enabled, users will be required to verify their email address or phone number identity.
</APIField>
<APIField name="Allow implicit verification" optional>
When enabled, this allows a user's email address to be verified as a result of completing a similar based email workflow such as change password.
</APIField>
<APIField name="Verify identity when changed" optional>
When enabled, users will be required to verify their email address upon update. Phone number identities are always verified after a change.
</APIField>
<APIField name="Verification template" required>
The email or message template to use when accounts are created to verify the User's email address or phone number.
Required when the associated <InlineField>Verify identity</InlineField> toggle is enabled.
</APIField>
<APIField name="Verification complete template" optional since="1.30.0">
The email or message template to use when notifying a user that their email address or phone number has been verified.
</APIField>
<APIField name="Verification strategy" optional since="1.27.0">
The process by which the user will verify their email address or phone number. Using the `Form Field` method works only when the associated <InlineField>Unverified behavior</InlineField> is `Gated`.
</APIField>
<APIField name="Unverified behavior" optional since="1.27.0">
The way a user is handled during the login process when they do not have a verified email address or phone number.
</APIField>
<APIField name="Allow change when gated" optional since="1.27.0">
When enabled, the user is allowed to change their email address or phone number when they are gated because they haven't verified their identity.
</APIField>
<APIField name="Delete unverified users" optional>
When enabled, users who have not verified their email address or phone number after a configurable duration since being created will be permanently deleted.
</APIField>
<APIField name="Delete after" required>
The duration since creation that a user must exist before being deleted for having an unverified email address or phone number.
Required when the <InlineField>Delete unverified users</InlineField> toggle is enabled.
</APIField>
</APIBlock>
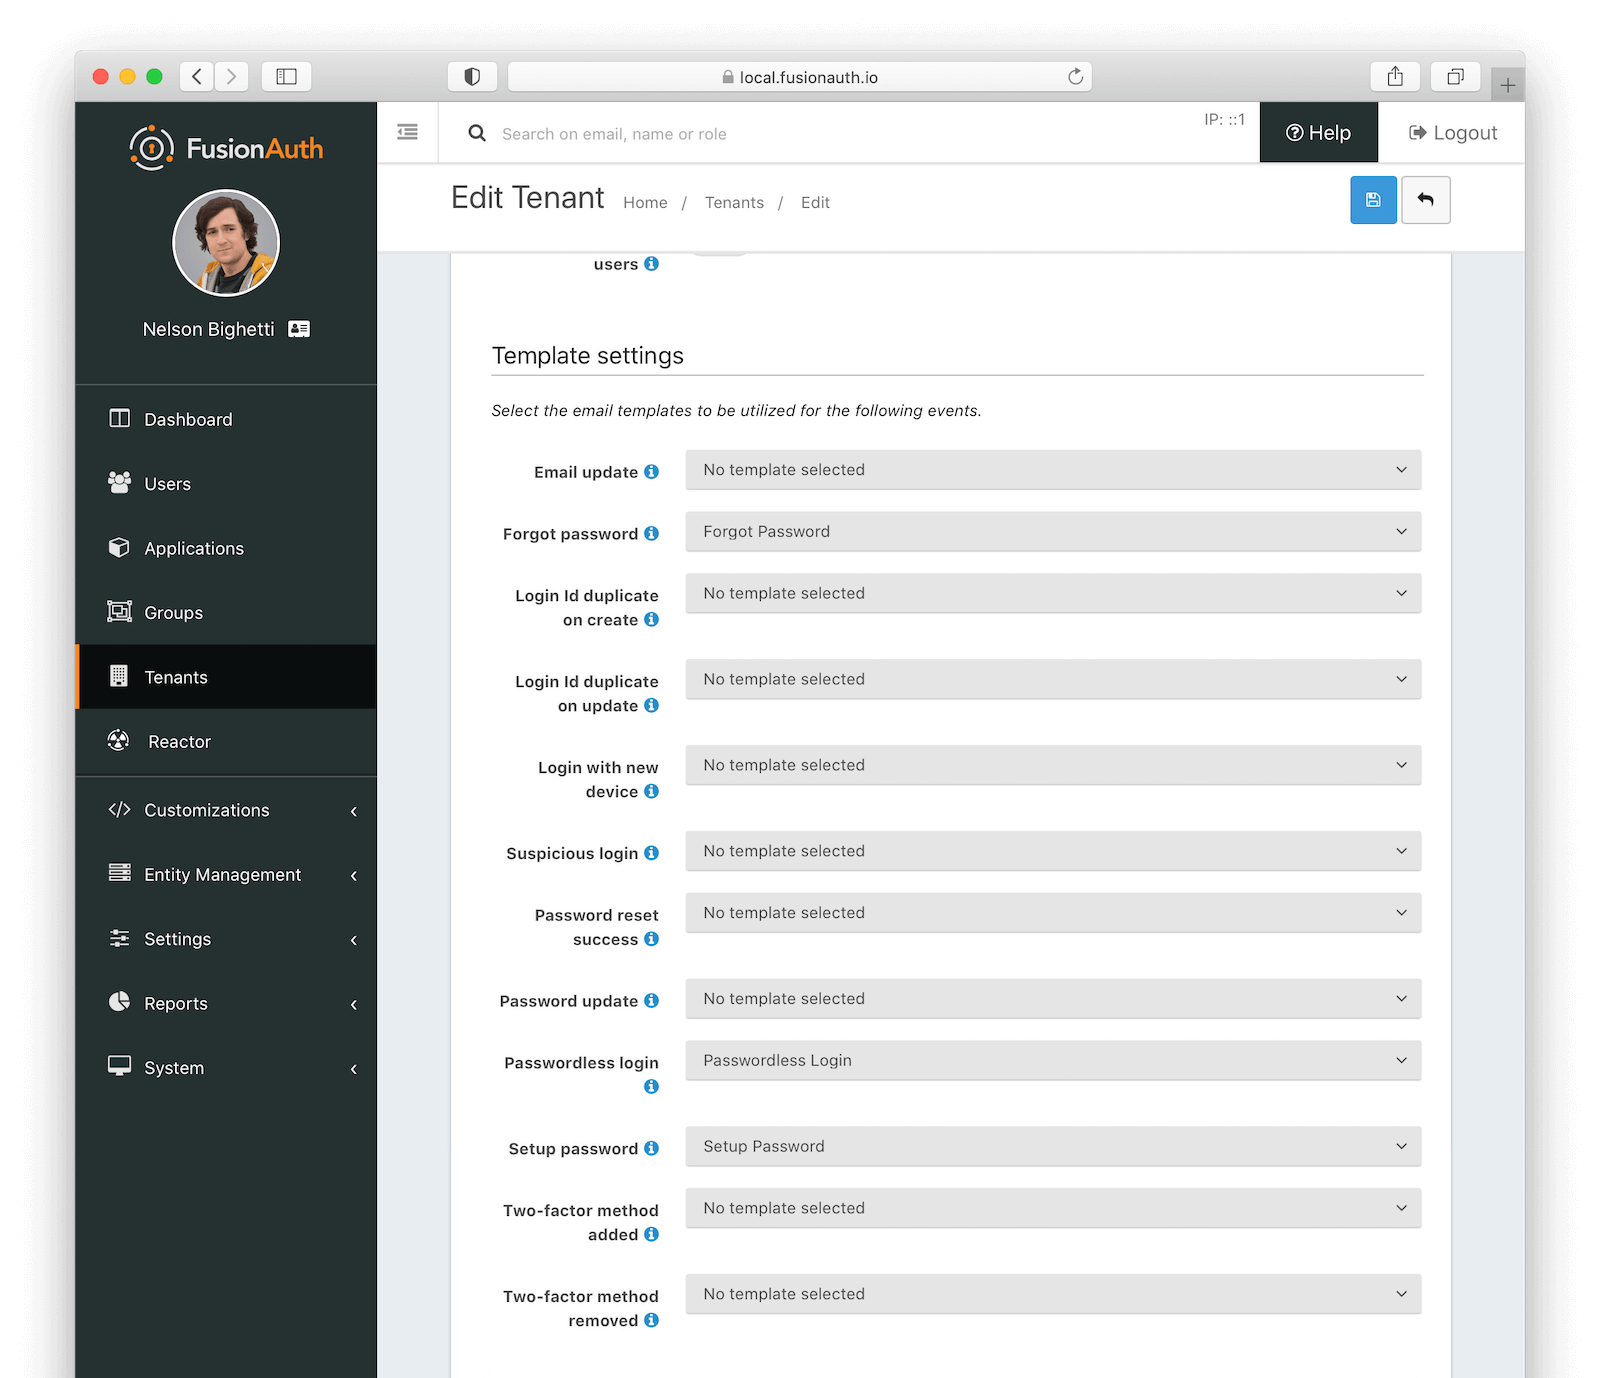
#### Template settings
<TemplateSettings />
### Email
Once you have configured your email settings, you may test your configuration with the <InlineUIElement>Send test email</InlineUIElement> button.
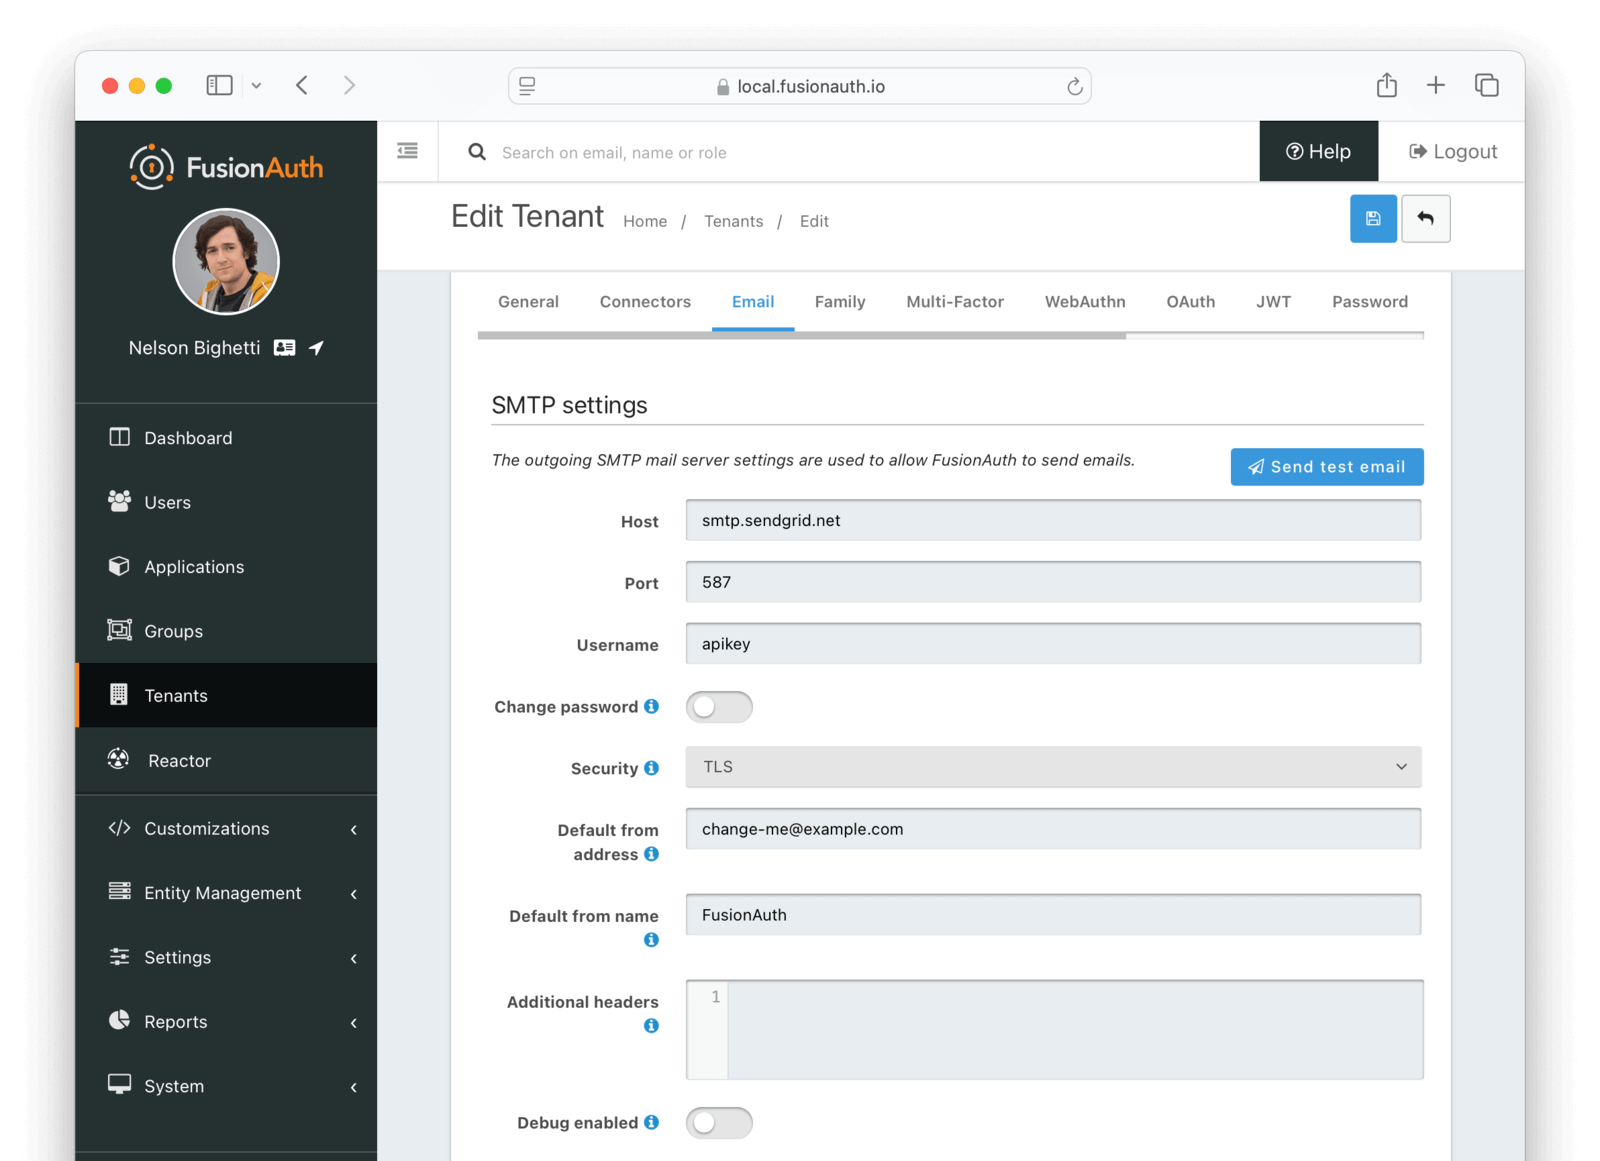
#### SMTP settings
<APIBlock>
<APIField name="Host" optional defaults="localhost">
The hostname of the SMTP server. This will be provided by your SMTP provider.
</APIField>
<APIField name="Port" optional defaults="25">
The port of the SMTP server. This will be provided by your SMTP provider. Ports `25`, `465` and `587` are the well known ports used by SMTP, it is possible your provider will utilize a different port.
In most cases you will be using TLS to connect to your SMTP server, and the port will generally be `587` or `465`.
</APIField>
<APIField name="Username" optional>
The username of the outgoing SMTP mail server authentication.
</APIField>
<APIField name="Change password" optional>
When enabled, you may modify the SMTP password, when the <InlineField>Password</InlineField> field is not displayed the current password will not be modified.
</APIField>
<APIField name="Password" required>
The new password to use for the outgoing SMTP mail server authentication. This field is only required when <InlineField>Change password</InlineField> is checked.
When using duplicating Tenants, the SMTP password is not copied. You will have to enter this manually before sending emails.
</APIField>
<APIField name="Security" optional defaults="None">
The security type when using an SSL connection to the SMTP server. This value should be provided by your SMTP provider.
Generally speaking, if using port `25` you will select `None`, if using port of `465` you will select `SSL` and if using port `587` you will select `TLS`. It is possible your provider will be different, follow your providers instruction.
* `None`
* `SSL`
* `TLS`
</APIField>
<APIField name="Default from address" optional>
The default email address that emails will be sent from when a from address is not provided on an individual email template. This is the address part email address (i.e. Jared Dunn `jared@piedpiper.com`).
</APIField>
<APIField name="Default from name" optional>
The default From Name used in sending emails when a from name is not provided on an individual email template. This is the display name part of the email address ( i.e. **Jared Dunn** `jared@piedpiper.com`).
</APIField>
<APIField name="Additional Headers" optional since="1.32.0">
One or more line separated SMTP headers to be added to each outgoing email. The header name and value should be separated by an equals sign. ( i.e. `X-SES-CONFIGURATION-SET=Value`).
</APIField>
<APIField name="Debug enabled" optional since="1.37.0">
When enabled SMTP and JavaMail debug information will be output to the Event Log.
</APIField>
</APIBlock>
### Family
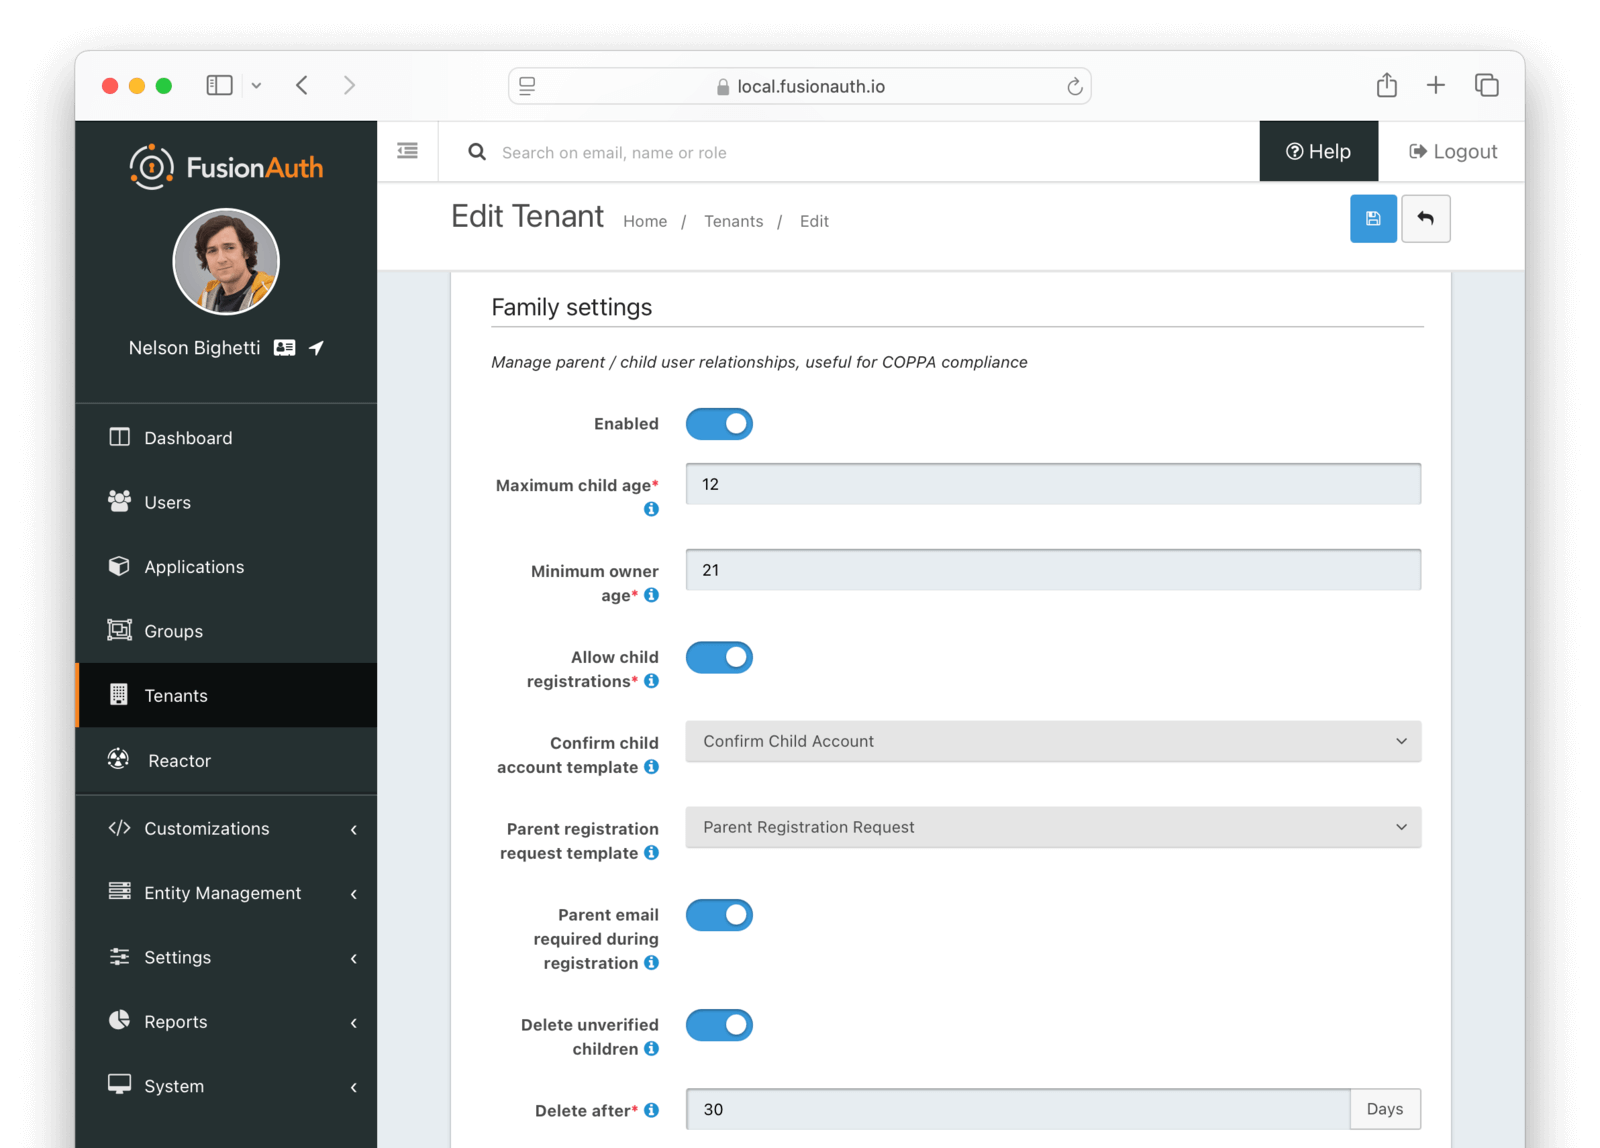
#### Form Fields
<APIBlock>
<APIField name="Enabled" optional>
When enabled, you may model parent-child user relationships, and observe parental approval and age validation on user creation.
</APIField>
<APIField name="Maximum child age" required>
The maximum age a user can be to be considered a child.
Required when the <InlineField>Enabled</InlineField> toggle is enabled.
</APIField>
<APIField name="Minimum owner age" required>
The minimum age a user must be to create a family.
Required when the <InlineField>Enabled</InlineField> toggle is enabled.
</APIField>
<APIField name="Allow child registrations" required>
When enabled, allow children to register themselves without requiring a parent to create their account for them.
</APIField>
<APIField name="Family request template" optional>
The email template used when children are not able to register themselves and they are asking their parent to create them an account.
</APIField>
<APIField name="Confirm child account template" optional>
The email template used when a parent needs to confirm a child account before it is activated as part of their family.
</APIField>
<APIField name="Parent registration request template" optional>
The email template used when a child is requesting that their parent create an account (because it is not created automatically).
</APIField>
<APIField name="Parent email required during registration" optional>
When enabled, child users must provide their parent's email address during the registration process.
</APIField>
<APIField name="Delete unverified children" optional>
When enabled, child user accounts that have not been verified by a parent after a configured period will be automatically deleted.
</APIField>
<APIField name="Delete after" required>
The number of days before a child account that has not yet been verified by a parent is automatically deleted.
Required when the <InlineField>Delete unverified children</InlineField> toggle is enabled.
</APIField>
</APIBlock>
### Multi-Factor
<PremiumPlanBlurb />
**Note:** The Authenticator/TOTP implementation is not a premium feature, and is included in the Community version. Email and SMS require the Advanced Multi-Factor feature available when purchasing a paid plan.

#### Policies
<APIBlock>
<APIField name="On login" optional>
When set to `Enabled`, a two-factor challenge will be required during login when a user has configured one or more two-factor methods. When set to `Disabled`, even when a user has one or more two-factor methods configured, a two-factor challenge will not be required during login. When set to `Required`, a two-factor challenge will be required during login. If a user does not have configured two-factor methods, they will not be able to log in.
Supported values include:
* Enabled. A challenge will be required during login when an eligible method is available.
* Disabled. A challenge will not be required during login.
* Required. A challenge will be required during login. <AvailableSince since="1.42.0"/>
</APIField>
<APIField name="MFA requirement lambda" optional>
The MFA requirement lambda that will be invoked during logins, password changes, and MFA Status API calls. FusionAuth uses this lambda to determine whether to challenge the user with MFA. Will be overridden by any MFA requirement lambda provided by the application.
You can customize this logic to:
* Change FusionAuth’s MFA decision for a user.
* Trigger a suspicious login event based on your criteria. <AvailableSince since="1.62.0"/>
<EnterprisePlanBlurb />
</APIField>
</APIBlock>

#### Authenticator settings
<APIBlock>
<APIField name="Enabled" optional>
When enabled, users may use an authenticator application to complete a multi-factor authentication request.
</APIField>
</APIBlock>

#### Email settings
<APIBlock>
<APIField name="Enabled" optional>
When enabled, users may use an email address to complete a multi-factor authentication request.
</APIField>
<APIField name="Template" required>
The email template to use when a multi-factor authentication request is sent to the User's email address.
Required when the <InlineField>Enabled</InlineField> toggle is enabled.
</APIField>
</APIBlock>

#### SMS settings
<APIBlock>
<APIField name="Enabled" optional>
When enabled, users may use a mobile phone number to complete a multi-factor authentication request.
</APIField>
<APIField name="Messenger" required>
The Messenger used to deliver the template.
Required when the <InlineField>Enabled</InlineField> toggle is enabled.
</APIField>
<APIField name="Template" required>
The SMS template to use when a multi-factor authentication request is sent to the User's mobile phone number.
Required when the <InlineField>Enabled</InlineField> toggle is enabled.
</APIField>
</APIBlock>
### WebAuthn
<LicensedPlanBlurb version="1.52.0" />
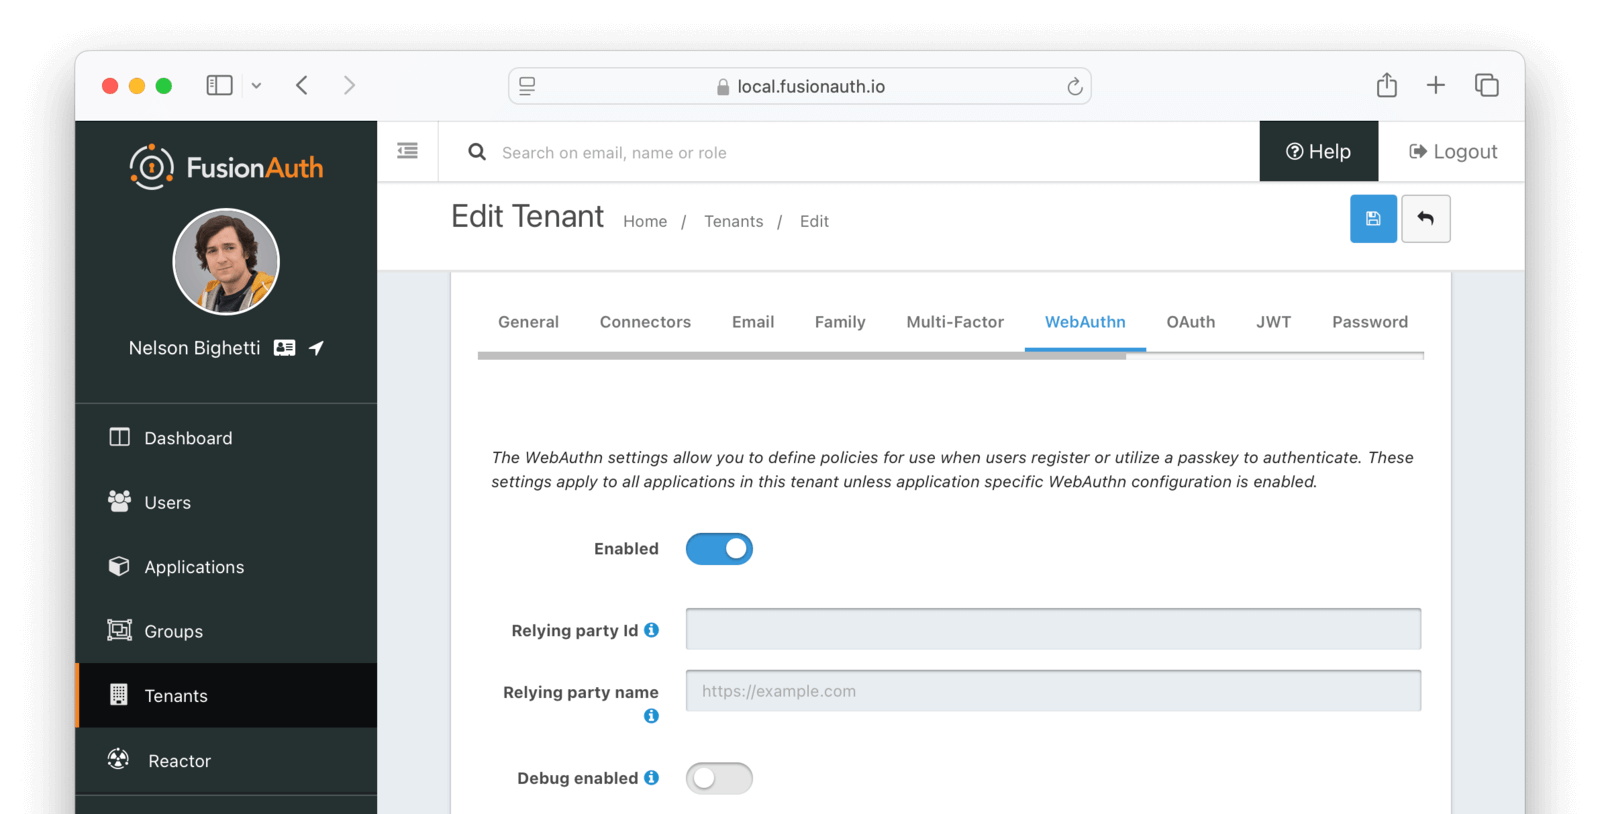
#### Form Fields
<APIBlock>
<APIField name="Enabled" optional>
When enabled, WebAuthn is available for the tenant, and additional configuration options will be available.
</APIField>
<APIField name="Relying party Id" optional>
The Relying Party Id is used to scope WebAuthn passkeys to the site where they were registered. As part of WebAuthn's security requirements, this value must be either:
* The browser request origin's effective domain
* A registrable domain suffix of the effective domain
For example, if the login page is at `auth.piedpiper.com`, then the following are valid Relying Party Ids:
* `auth.piedpiper.com` - matches the effective domain
* `piedpiper.com` - a registrable suffix of the effective domain
But the following values are _not_ valid:
* `m.auth.piedpiper.com` - a subdomain of the effective domain
* `com` - this is a suffix of the effective domain but not registrable
It is important that this is configured according to the URL that a user would see in their browser while on the FusionAuth login page. See the [WebAuthn Admin Guide](/docs/lifecycle/authenticate-users/passwordless/webauthn) for more details on how to select the appropriate value.
Leaving this value empty will cause the [WebAuthn JavaScript API](https://developer.mozilla.org/en-US/docs/Web/API/Web_Authentication_API) to use the browser's current request origin.
</APIField>
<APIField name="Relying party name" optional>
The Relying Party name for WebAuthn ceremonies. This value may be displayed to the user by the browser or OS during WebAuthn registration and authentication ceremonies.
If this value is left blank, the <InlineField>Issuer</InlineField> value will be used.
</APIField>
<APIField name="Debug enabled" optional>
Enable debug to create an event log to assist you in debugging integration errors.
</APIField>
</APIBlock>

#### Bootstrap settings
The settings in this section affect the availability and behavior of the WebAuthn bootstrap workflow. The bootstrap workflow is used when the user must "bootstrap" the authentication process by identifying themselves prior to the WebAuthn ceremony and can be used to authenticate from a new device using WebAuthn.
<APIBlock>
<APIField name="Enabled" optional>
When enabled, the WebAuthn bootstrap workflow can be used to authenticate users via WebAuthn from new or repeat devices.
The availability of the bootstrap workflow can be overridden at the application level on the [WebAuthn Tab of the Application settings](/docs/get-started/core-concepts/applications#webauthn).
</APIField>
<APIField name="Authenticator attachment" optional>
The authenticator attachment preference for the bootstrap workflow on this tenant. This value controls the attachment requirement for authenticators during the bootstrap workflow registration ceremony. Authenticators that do not meet the requirement are not considered during passkey registration. The possible values are:
* `Any` - any authenticator attachment is allowed
* `Platform only` - only authenticators integrated with the client device are allowed
* `Cross-platform only` - only authenticators that are usable across multiple client devices are allowed
The recommended value for the bootstrap workflow is `Any` when the option is available.
<EnterprisePlanBlurbApi feature="WebAuthn cross-platform authenticators" />
</APIField>
<APIField name="User verification" optional>
The user verification requirement for the bootstrap workflow on this tenant. This value controls whether user verification is required for registration and authentication ceremonies during the bootstrap workflow. Authenticators that do not meet the requirement are not considered during passkey registration or authentication. The possible values are:
* `Required` - user verification is required to complete the WebAuthn ceremony
* `Preferred` - the Relying Party prefers user verification is provided but will not fail the WebAuthn ceremony without it
* `Discouraged` - the Relying Party does not want user verification for the WebAuthn ceremony
Because the bootstrap workflow is used to authenticate a user, it is _highly_ recommended to set this value to `Required`.
</APIField>
</APIBlock>

#### Re-authentication settings
The settings in this section affect the availability and behavior of the WebAuthn re-authentication workflow. The re-authentication workflow is meant to provide a streamlined user experience when logging in from a frequently used device.
<APIBlock>
<APIField name="Enabled" optional>
When enabled, the WebAuthn re-authentication workflow can be used to streamline the login experience when authenticating from a previously used device.
The availability of the re-authentication workflow can be overridden at the application level on the [WebAuthn Tab of the Application settings](/docs/get-started/core-concepts/applications#webauthn).
</APIField>
<APIField name="Authenticator attachment" optional>
The authenticator attachment preference for the re-authentication workflow on this tenant. This value controls the attachment requirement for authenticators during the re-authentication workflow registration ceremony. Authenticators that do not meet the requirement are not considered during passkey registration. The possible values are:
* `Any` - any authenticator attachment is allowed
* `Platform only` - only authenticators integrated with the client device are allowed
* `Cross-platform only` - only authenticators that are usable across multiple client devices are allowed
The recommended value for the re-authentication workflow is `Platform only` to ensure the user has access to that authenticator when logging from the device in the future.
<EnterprisePlanBlurbApi feature="WebAuthn cross-platform authenticators" />
</APIField>
<APIField name="User verification" optional>
The user verification requirement for the re-authentication workflow on this tenant. This value controls whether user verification is required for registration and authentication ceremonies during the re-authentication workflow. Authenticators that do not meet the requirement are not considered during passkey registration or authentication. The possible values are:
* `Required` - user verification is required to complete the WebAuthn ceremony
* `Preferred` - the Relying Party prefers user verification is provided but will not fail the WebAuthn ceremony without it
* `Discouraged` - the Relying Party does not want user verification for the WebAuthn ceremony
Because the re-authentication workflow is used to authenticate a user, it is _highly_ recommended to set this value to `Required`.
</APIField>
</APIBlock>
### OAuth
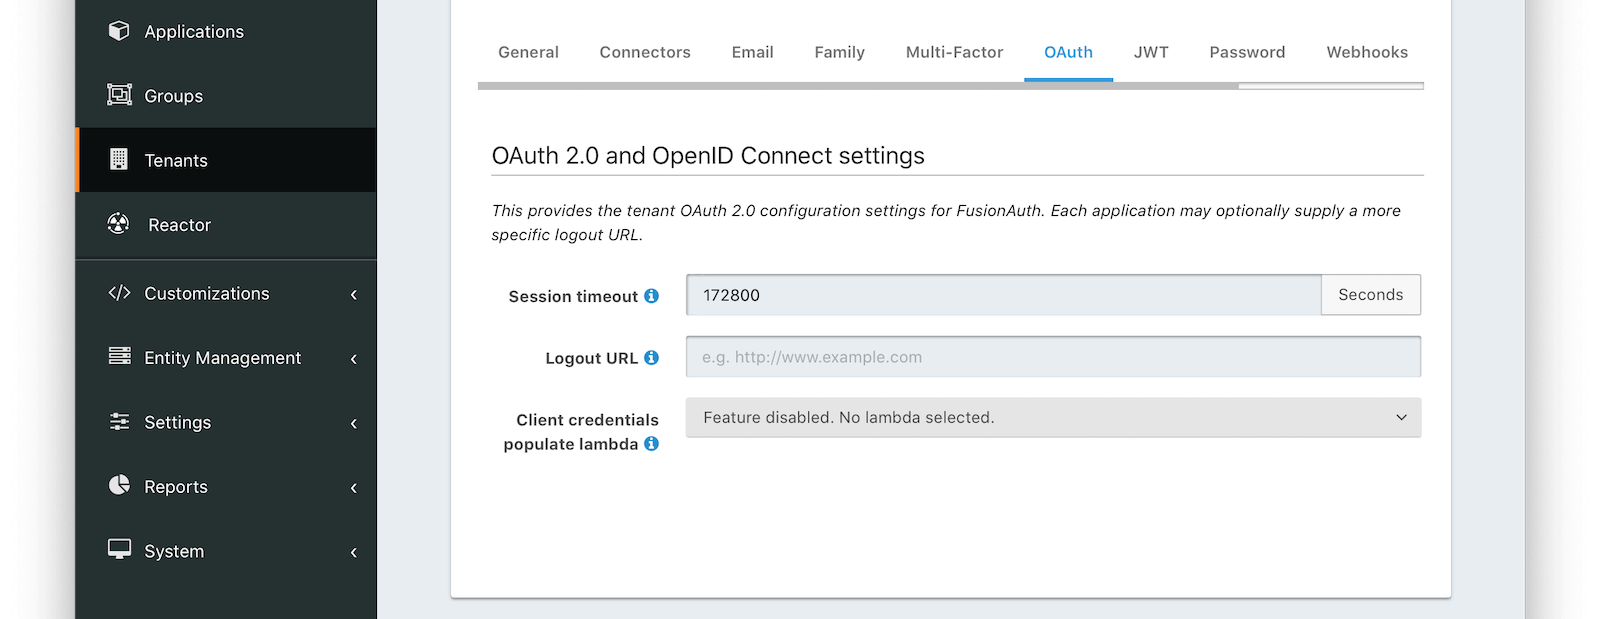
#### Form Fields
<APIBlock>
<APIField name="Session timeout" optional>
The length of time an SSO session can be inactive before it is closed.
</APIField>
<APIField name="Logout URL" optional>
The URL the user is redirected to upon logout.
</APIField>
<APIField name="Client credentials populate lambda" optional since="1.28.0">
The lambda that will be called to populate the JWT during a client credentials grant.
</APIField>
<APIField name="Allow access token bootstrap" since="1.56.0">
When enabled, an SSO session can be created after login by providing an access token as a bearer token in a request to the OAuth2 Authorize endpoint.
</APIField>
</APIBlock>
### JWT
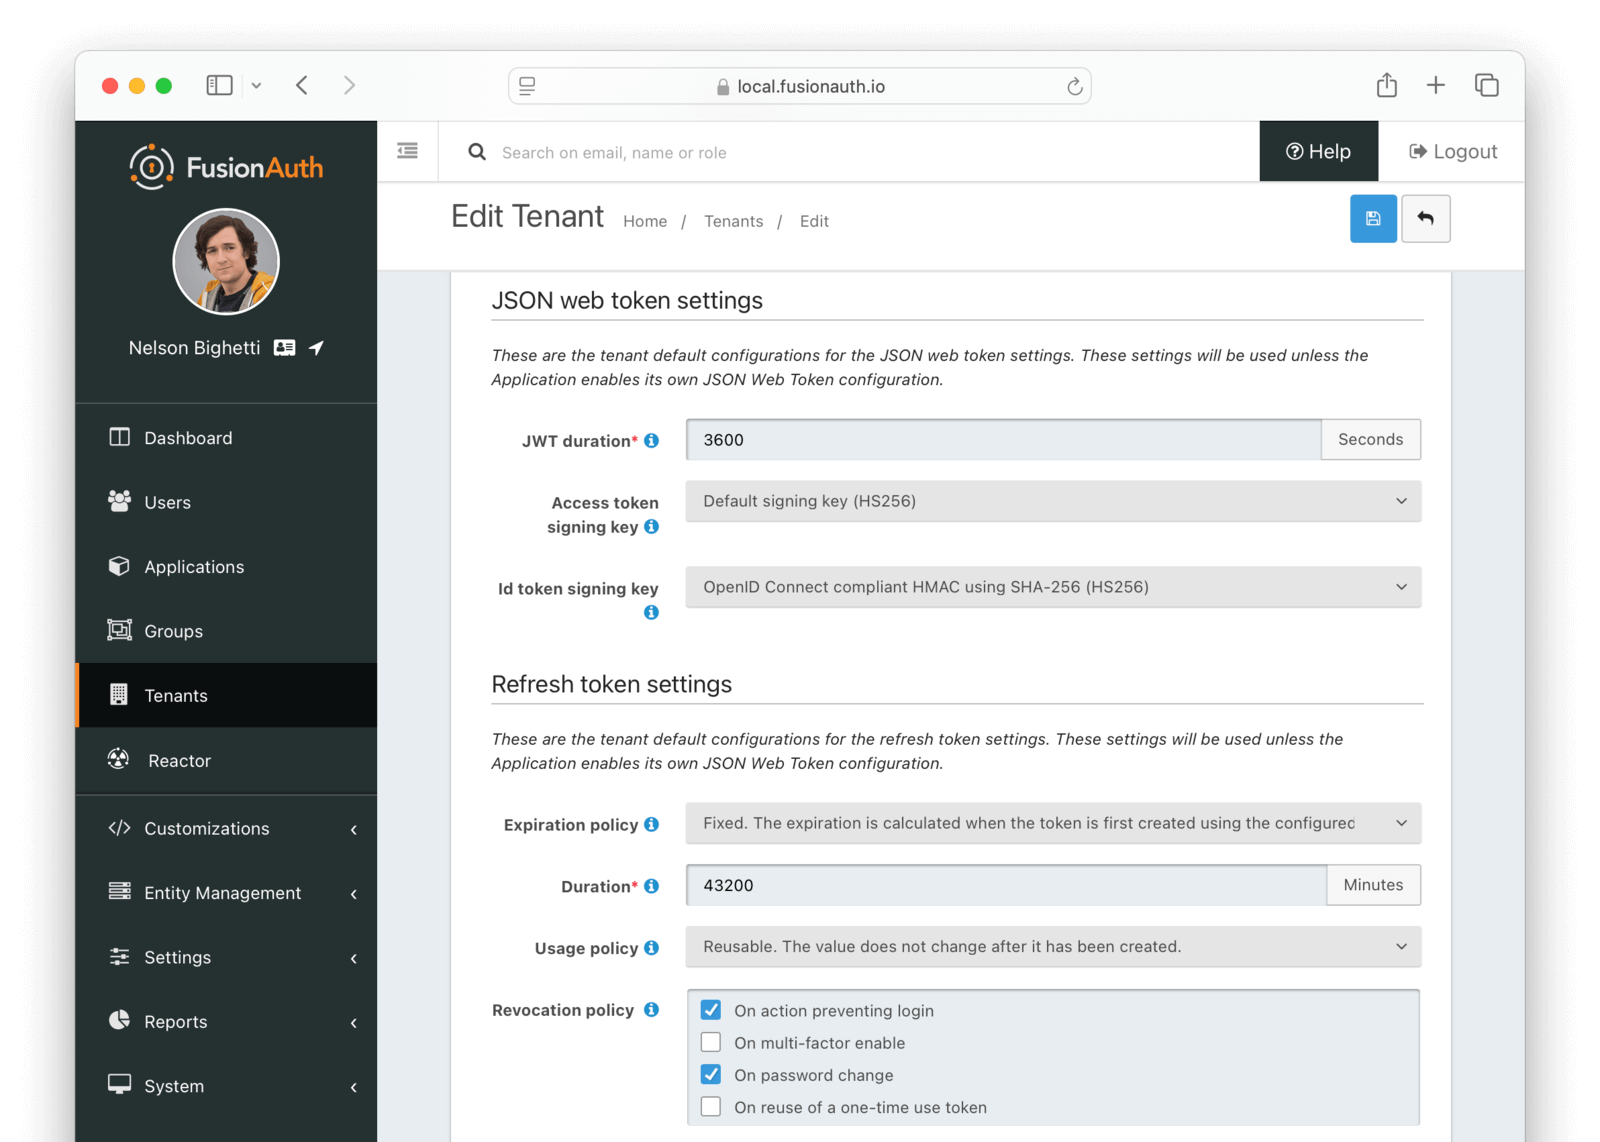
#### JSON Web Token settings
<TenantJsonWebTokenSettings />
#### Refresh Token settings
<RefreshTokenSettings page="tenant" />
### Password
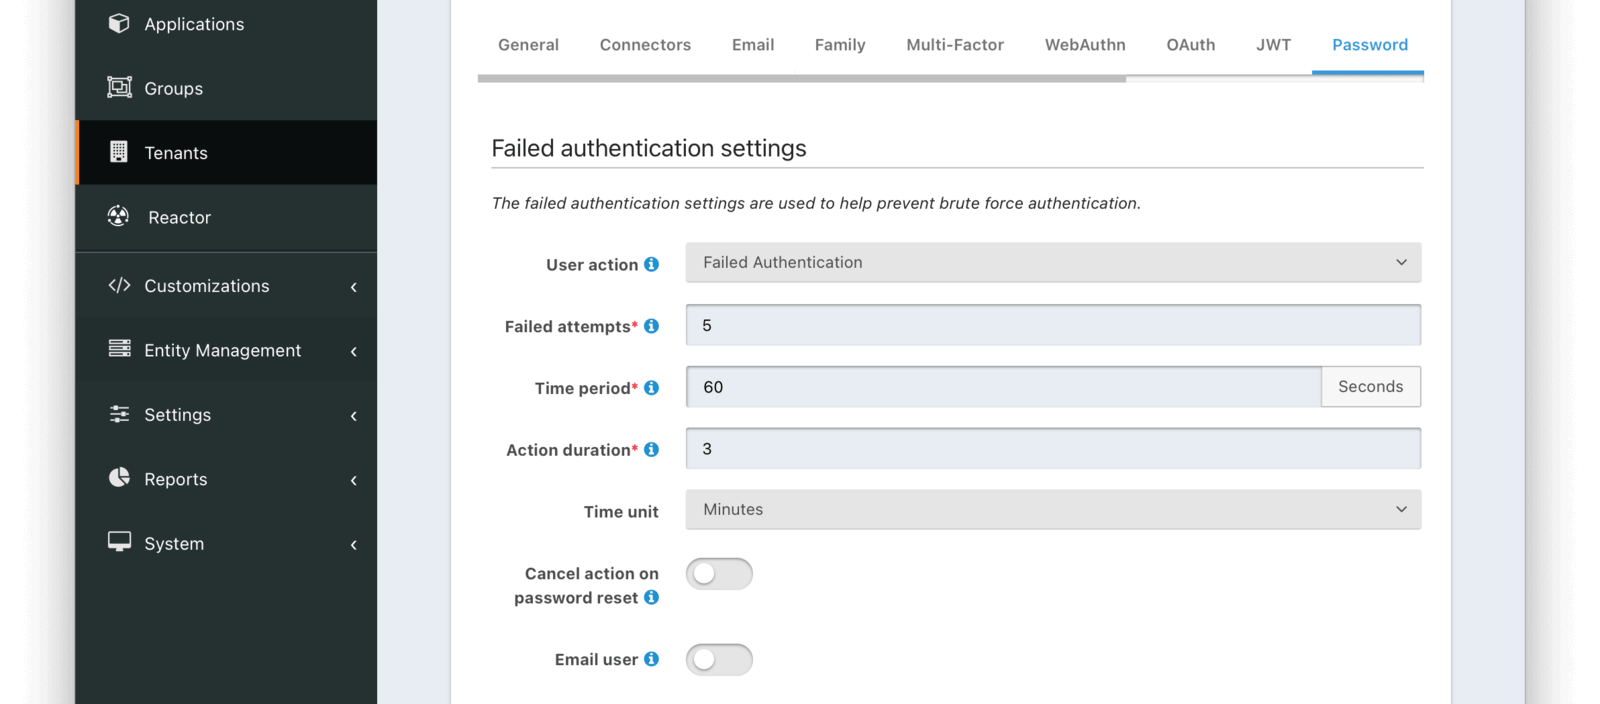
#### Failed authentication settings
<APIBlock>
<APIField name="User action" optional>
The user action must be 'time-based' and must have 'prevent login' enabled. This actions is applied after multiple failed login attempts.
</APIField>
<APIField name="Failed attempts" required>
The number of failed attempts allowed during the specified time period before the selected action is applied.
</APIField>
<APIField name="Time period" required>
The window of time in seconds for which the failed authentication attempts are counted. If no further failed attempts occur the failure count will be reset after this time period starting at the time of the last failed login.
</APIField>
<APIField name="Action duration" required>
The length of time the selected action is applied to the user before the action expires at which point the user will be allowed to attempt log in again.
</APIField>
<APIField name="Time unit" optional>
The time unit the <InlineField>Action duration</InlineField> is measured in.
</APIField>
<APIField name="Cancel action on password reset" since="1.42.0">
Indicates whether you want the user to be able to self-service unlock their account prior to the action duration by completing a password reset workflow.
</APIField>
<APIField name="Email user" since="1.42.0">
Indicates you would like to email the user when the user's account is locked due to this action being taken. This requires the User Action specified by the <InlineField>User action</InlineField> to also be configured for email. If the User Action is not configured to be able to email the user, this configuration will be ignored.
The email template configuration will be in the User Action.
</APIField>
</APIBlock>

#### Breach detection settings
<APIBlock>
<APIField name="Enabled" optional>
When enabled, users' login Id and password will be checked against public breached password databases on user creation, password change, and (optionally) on login. Purchase of a FusionAuth plan is required to enable this feature.
</APIField>
<APIField name="Match mode" optional>
The login Id and password match constraints to qualify as a breach match.
</APIField>
<APIField name="On login" optional>
The action to perform during login for breach detection. Performing breach detection during login may increase the time it takes to complete authentication.
</APIField>
</APIBlock>
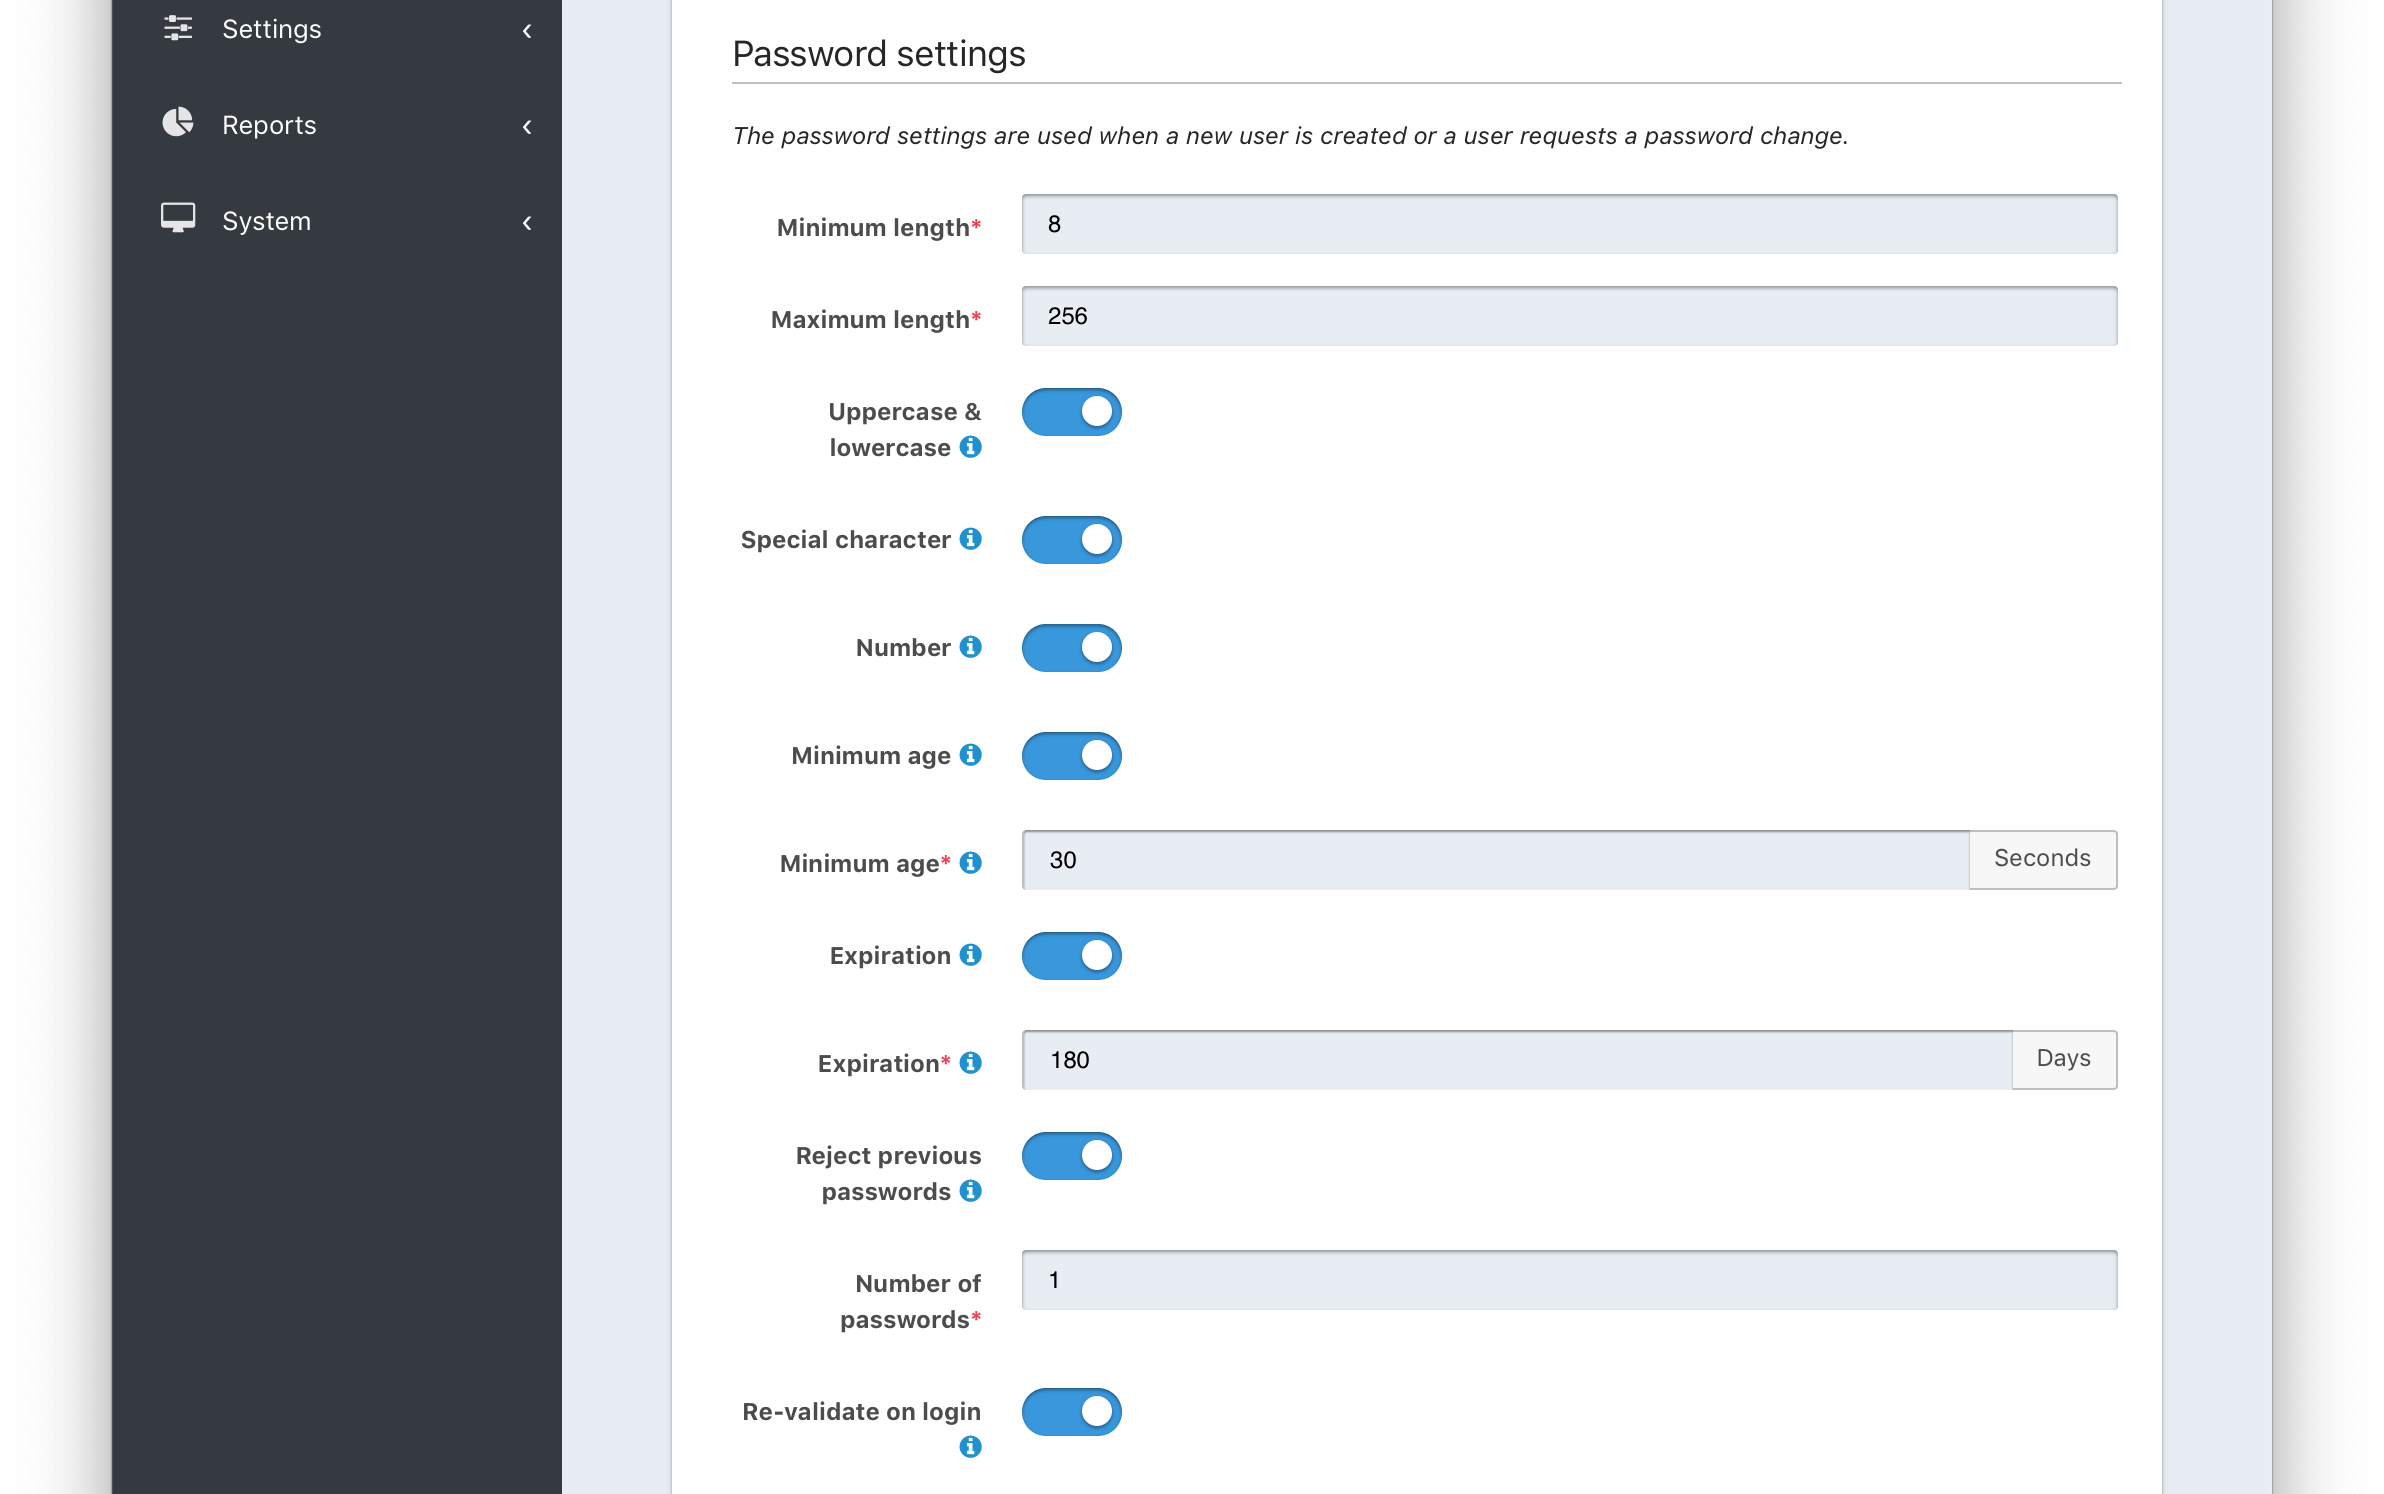
#### Password settings
<APIBlock>
<APIField name="Password enabled" optional defaults="enabled" since="1.59.0">
When enabled, users will be required to set a password during registration and can later change it. When disabled, applications must be configured to allow passwordless login or have an IdP configured to allow login.
</APIField>
<APIField name="Minimum length" required>
The minimum length a password may be to qualify as a valid password.
</APIField>
<APIField name="Maximum length" required>
The maximum length a password may be to qualify as a valid password.
</APIField>
<APIField name="Uppercase & lowercase" optional>
When enabled, force the user to use at least one uppercase and one lowercase character.
</APIField>
<APIField name="Special character" optional>
When enabled, force the user to use at least one non-alphanumeric character.
</APIField>
<APIField name="Number" optional>
When enabled, force the user to use at least one number.
</APIField>
<APIField name="Minimum age (toggle)" optional>
When enabled, users must wait a configurable duration before changing their password after the previous change.
</APIField>
<APIField name="Minimum age (value)" required>
The minimum age (in seconds) users must wait before changing their password after the previous change.
Required when the <InlineField>Minimum age</InlineField> toggle is enabled.
</APIField>
<APIField name="Expiration (toggle)" optional>
When enabled, user passwords will expire after a configurable duration, at which point the user will be forced to change their password on login.
</APIField>
<APIField name="Expiration (value)" required>
The duration (in days) the password expire after since the previous change.
Required when the <InlineField>Expiration</InlineField> toggle is enabled.
</APIField>
<APIField name="Reject previous passwords" optional>
When enabled, prevent users from using a configurable number of their previous passwords.
</APIField>
<APIField name="Number of passwords" required>
The number of previous password to retain, to prevent users from password reuse.
Required when the <InlineField>Reject previous passwords</InlineField> toggle is enabled.
</APIField>
<APIField name="Re-validate on login" optional>
When enabled the user's password will be validated during login. If the password does not meet the currently configured validation rules the user will be required to change their password.
</APIField>
</APIBlock>

#### Cryptographic hash settings
<APIBlock>
<APIField name="Scheme" optional>
The password hashing scheme used when creating new users and when changing a password. View [hashing algorithms that ship with FusionAuth](/docs/reference/password-hashes) or [learn how to create your own hashing algorithm](/docs/extend/code/password-hashes/custom-password-hashing).
</APIField>
<APIField name="Factor" required>
A non-zero number that provides an iteration count to the hashing scheme. A higher number will make the password hash more difficult to reverse engineer but will take more CPU time during login. Be careful as a high factor may cause logins to become very slow.
</APIField>
<APIField name="Re-hash on login" optional>
When enabled the user's password hash will be modified if it does not match the configured values during next login.
</APIField>
</APIBlock>
### Webhooks

#### Webhooks
Enable the webhooks you wish to receive events from this tenant. All webhooks will be shown, but if the webhook is a `global` webhook then you will not be able to unselect it here. That must be done in the [Tenants Tab of the Webhook Settings](/docs/extend/events-and-webhooks/#tenants).
#### Event Settings
<TenantWebhooksTable />
### SCIM
<EnterprisePlanBlurb />
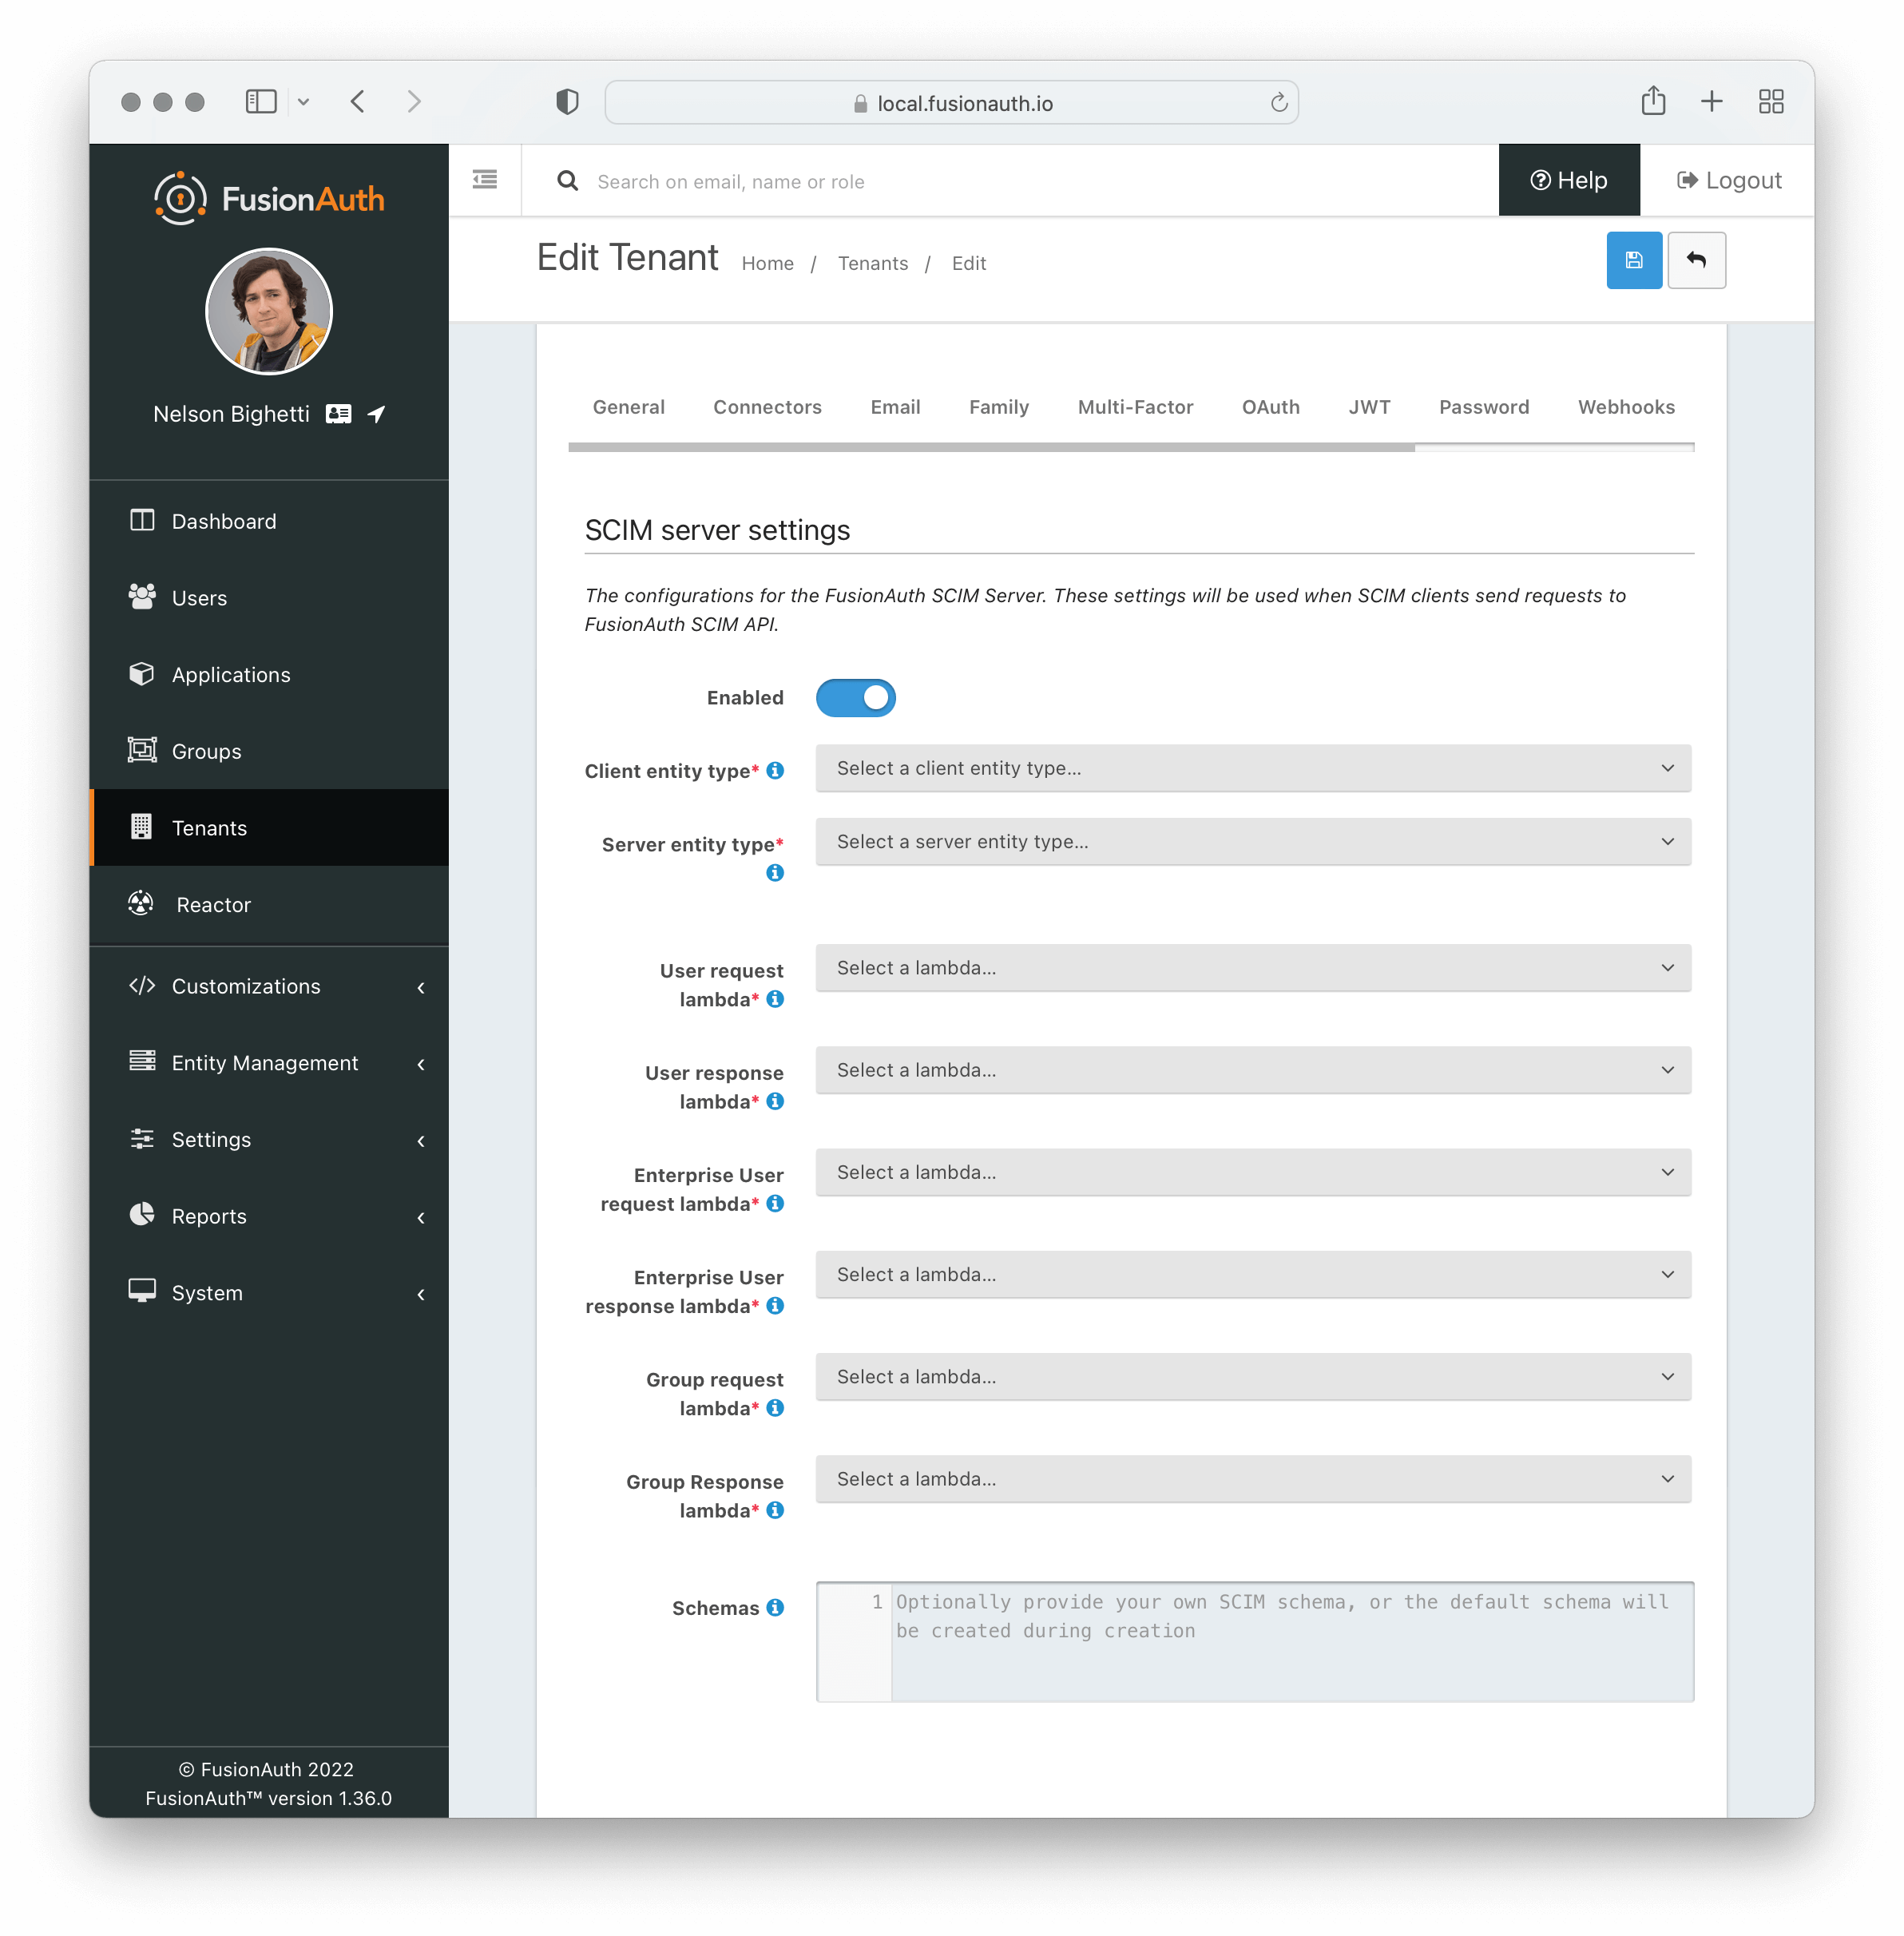
Read more about setting up and using SCIM in the [full SCIM documentation](/docs/lifecycle/migrate-users/scim/scim).
The SCIM server configuration to enable incoming SCIM client provisioning requests.
#### SCIM server settings
<APIBlock>
<APIField name="Enabled" optional>
When enabled, FusionAuth will act as a SCIM server and the SCIM API endpoints will be functional.
</APIField>
<APIField name="Client entity type" required>
The Entity Type defined for the SCIM client. If there are no Entity Types available in the list then navigate to Entity > Types and create a new one using the template button for SCIM client.
</APIField>
<APIField name="Server entity type" required>
The Entity Type defined for the SCIM server. If there are no Entity Types available in the list then navigate to Entity > Types and create a new one using the template button for SCIM server.
</APIField>
<APIField name="User request lambda" required>
The lambda that will be invoked on every incoming request to the SCIM User API endpoints. This maps the incoming SCIM User JSON to the User object.
</APIField>
<APIField name="User response lambda" required>
The lambda that will be invoked on every outgoing response from the SCIM User API endpoints. This maps the outgoing User object to the JSON for a SCIM User.
</APIField>
<APIField name="Enterprise User request lambda" required>
The lambda that will be invoked on every incoming request to the SCIM Enterprise User API endpoints. This maps the incoming SCIM Enterprise User JSON to the User object.
</APIField>
<APIField name="Enterprise User response lambda" required>
The lambda that will be invoked on every outgoing response from the SCIM Enterprise User API endpoints. This maps the outgoing User object to the JSON for a SCIM Enterprise User.
</APIField>
<APIField name="Group request lambda" required>
The lambda that will be invoked on every incoming request to the SCIM Group API endpoints. This maps the incoming SCIM Group JSON to the Group object.
</APIField>
<APIField name="Group response lambda" required>
The lambda that will be invoked on every outgoing response from the SCIM Group API endpoints. This maps the outgoing Group object to the JSON for a SCIM Group.
</APIField>
<APIField name="Schemas" optional>
The JSON response sent from the Schemas endpoint. This can be customized however you like, but by default the response body will contain the JSON for the core SCIM [schemas](https://datatracker.ietf.org/doc/html/rfc7643#section-8.7.1) for SCIM Group, SCIM User, and SCIM EnterpriseUser.
</APIField>
</APIBlock>
### Security
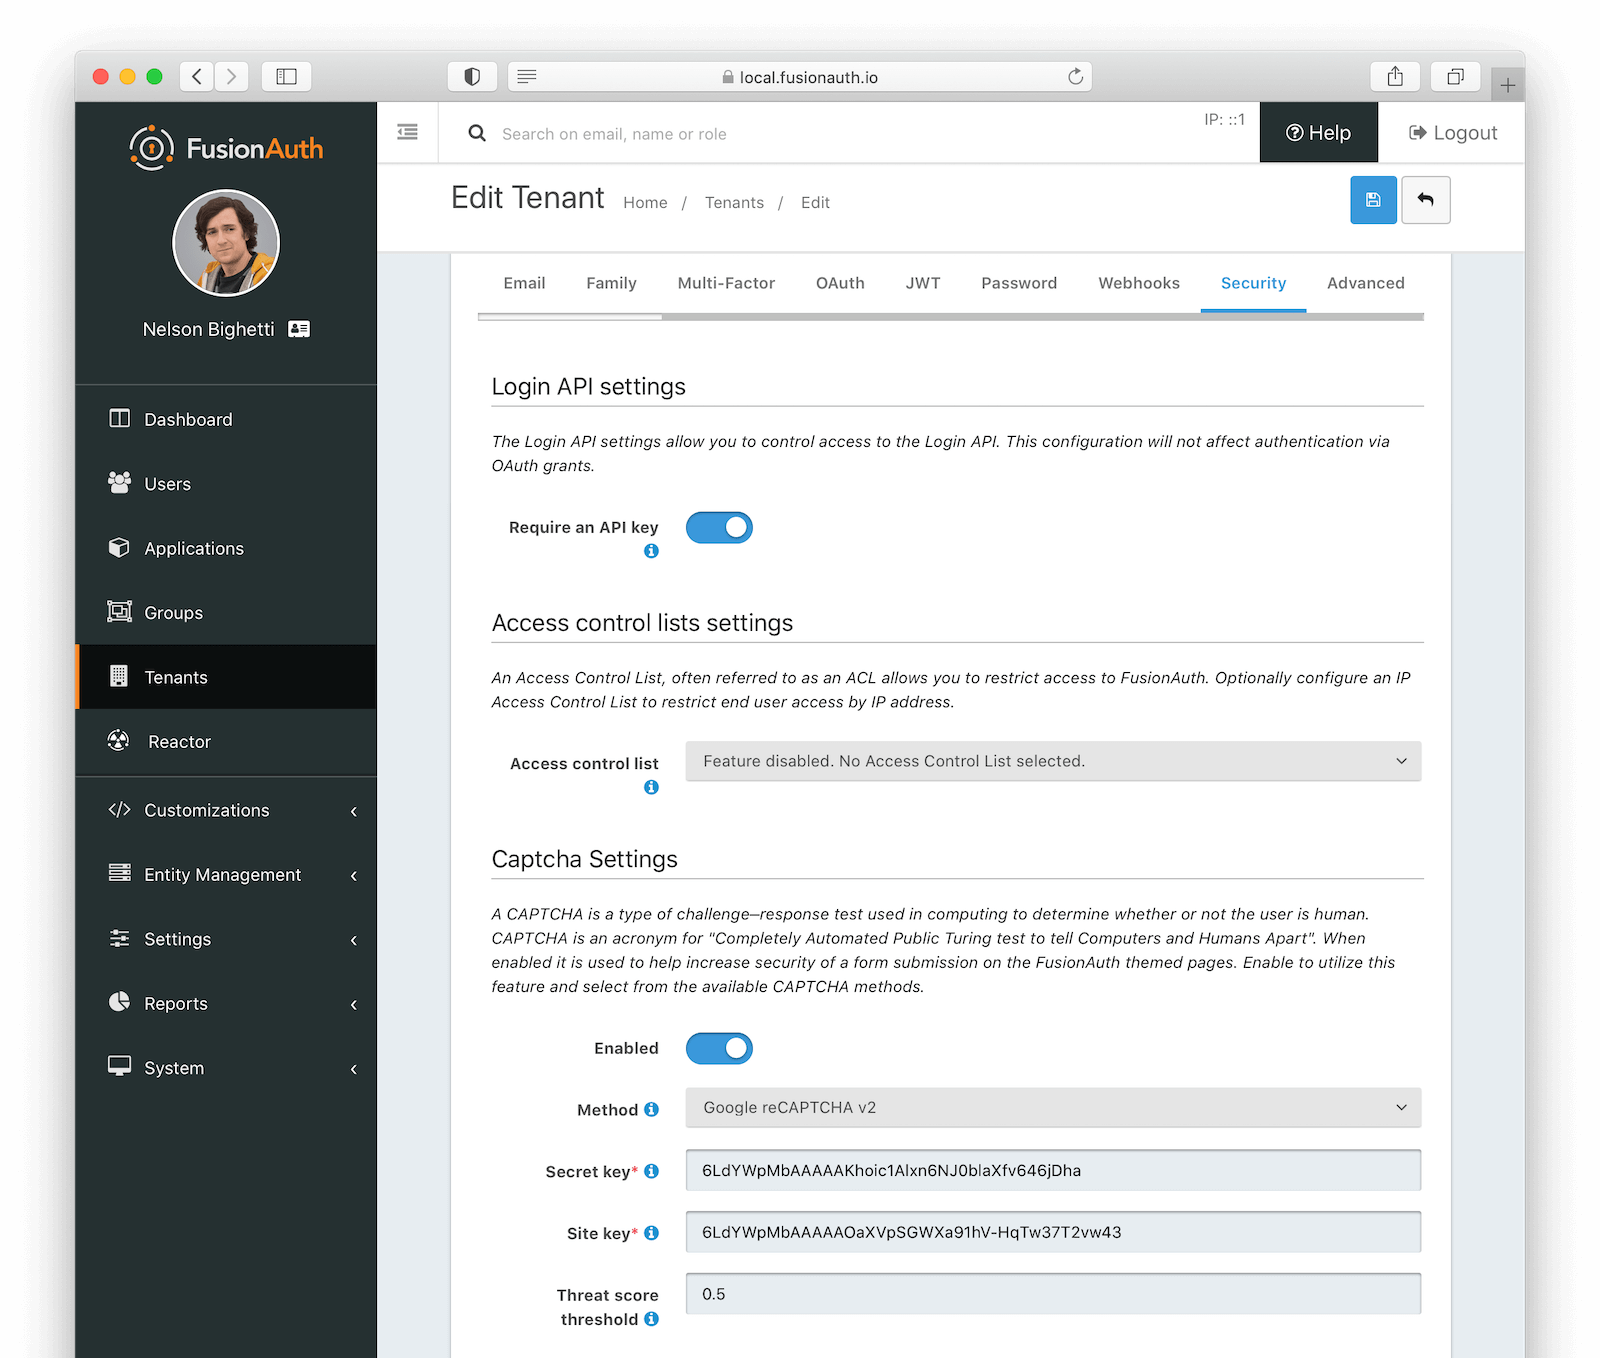
#### Login API settings
<APIBlock>
<APIField name="Require an API key" optional>
This indicates how to authenticate the Login API when an `applicationId` is not provided.
When an `applicationId` is provided, the application configuration will take precedence. In almost all cases you will want to leave this enabled to require the use of an API key.
</APIField>
<APIField name="Login validation lambda" optional since="1.53.0">
The lambda assigned to perform extended validation during login requests.
</APIField>
</APIBlock>
#### Access control lists settings
<EnterprisePlanBlurb />
<APIBlock>
<APIField name="Access control list" optional>
The IP access control list that will be used to restrict or allow access to hosted login pages in FusionAuth. For example, it may be configured to only allow specific IP addresses to access authentication pages (login, forgot password, etc) for all applications on that tenant.
When <InlineField>Access control list</InlineField> is configured on an application within the tenant, the application value will override the tenant value for that application.
</APIField>
</APIBlock>
#### CAPTCHA settings
<EnterprisePlanBlurb />
CAPTCHA is supported on multiple theme templates, when enabled. You can further control display on a template by template basis with the [specific theme template variables](/docs/customize/look-and-feel/template-variables).
See [invisible reCAPTCHA](/docs/customize/look-and-feel/helpers#invisible-recaptcha) for information on enabling an invisible reCAPTCHA badge on the page.
<APIBlock>
<APIField name="Enabled" optional>
When enabled, CAPTCHA is used to help increase security of a form submission on the FusionAuth themed pages.
</APIField>
<APIField name="Method" required>
The type of CAPTCHA to use. FusionAuth supports `Google reCAPTCHA v2`, `Google reCAPTCHA v3`, `hCaptcha`, and `hCaptcha Enterprise`.
Required when `enabled` is set to `true`.
</APIField>
<APIField name="Secret key" required>
The secret key for this CAPTCHA service.
Required when `enabled` is set to `true`.
</APIField>
<APIField name="Site key" required>
The site key for this CAPTCHA service.
Required when `enabled` is set to `true`.
</APIField>
<APIField name="Threat score threshold" optional>
The threat score threshold for this CAPTCHA service if required. If it is not used by this CAPTCHA service then the value will be ignored.
</APIField>
</APIBlock>
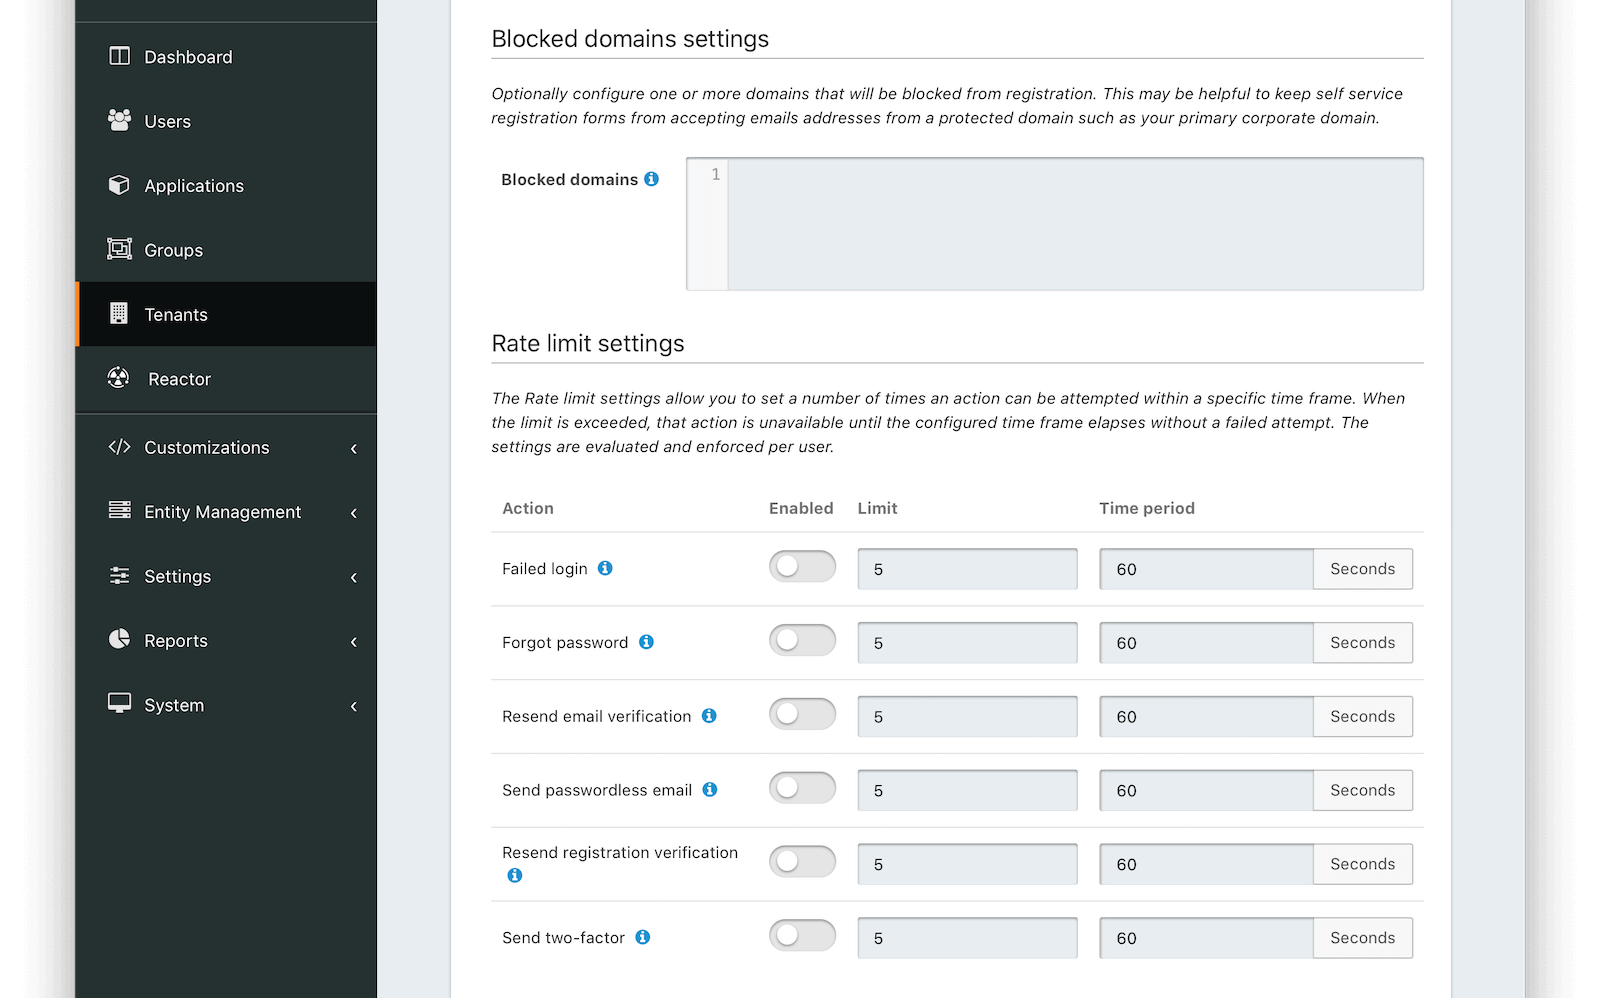
#### Blocked domain settings
<EnterprisePlanBlurb />
<APIBlock>
<APIField name="Blocked domains" optional>
One or more newline separated email domains for which self service registration will be prohibited. For example, enter your company email domain (`piedpiper.com`) to prevent employees from using the self-service registration form, or to prevent end users from attempting to create an account using a company email address.
This configuration is applied to all registration API requests and self-service registration pages for all applications in this tenant.
</APIField>
</APIBlock>
#### Rate limit settings
<EnterprisePlanBlurb />
The Rate limit settings allow you to set a number of times an action can be attempted within a specific time frame. When the limit is exceeded, that action is unavailable until the configured time frame elapses without a failed attempt. The settings are evaluated and enforced per user.
<APIBlock>
<APIField name="Action">
The action to be rate limited.
*Note:* For the `Failed login` action, rate limiting can be used in combination with [Failed authentication settings](#failed-authentication-settings). When enabled, and rate limiting conditions have been exceeded, login requests will be denied and bypass the login flow until conditions are no longer exceeded. <InlineField>Failed attempts</InlineField> will only be incremented when requests are not being rate limited.
</APIField>
<APIField name="Enabled">
When enabled, the corresponding action will be rate limited when the <InlineField>limit</InlineField> value has been exceeded within the specified <InlineField>time period</InlineField>.
</APIField>
<APIField name="Limit">
The number of allowed attempts within the <InlineField>time period</InlineField> before an action will be rate limited. When an action is rate limited, it will not succeed.
</APIField>
<APIField name="Time period">
The window of time that the <InlineField>limit</InlineField> is evaluated against when determining if an action should be rate limited.
</APIField>
</APIBlock>
### Advanced
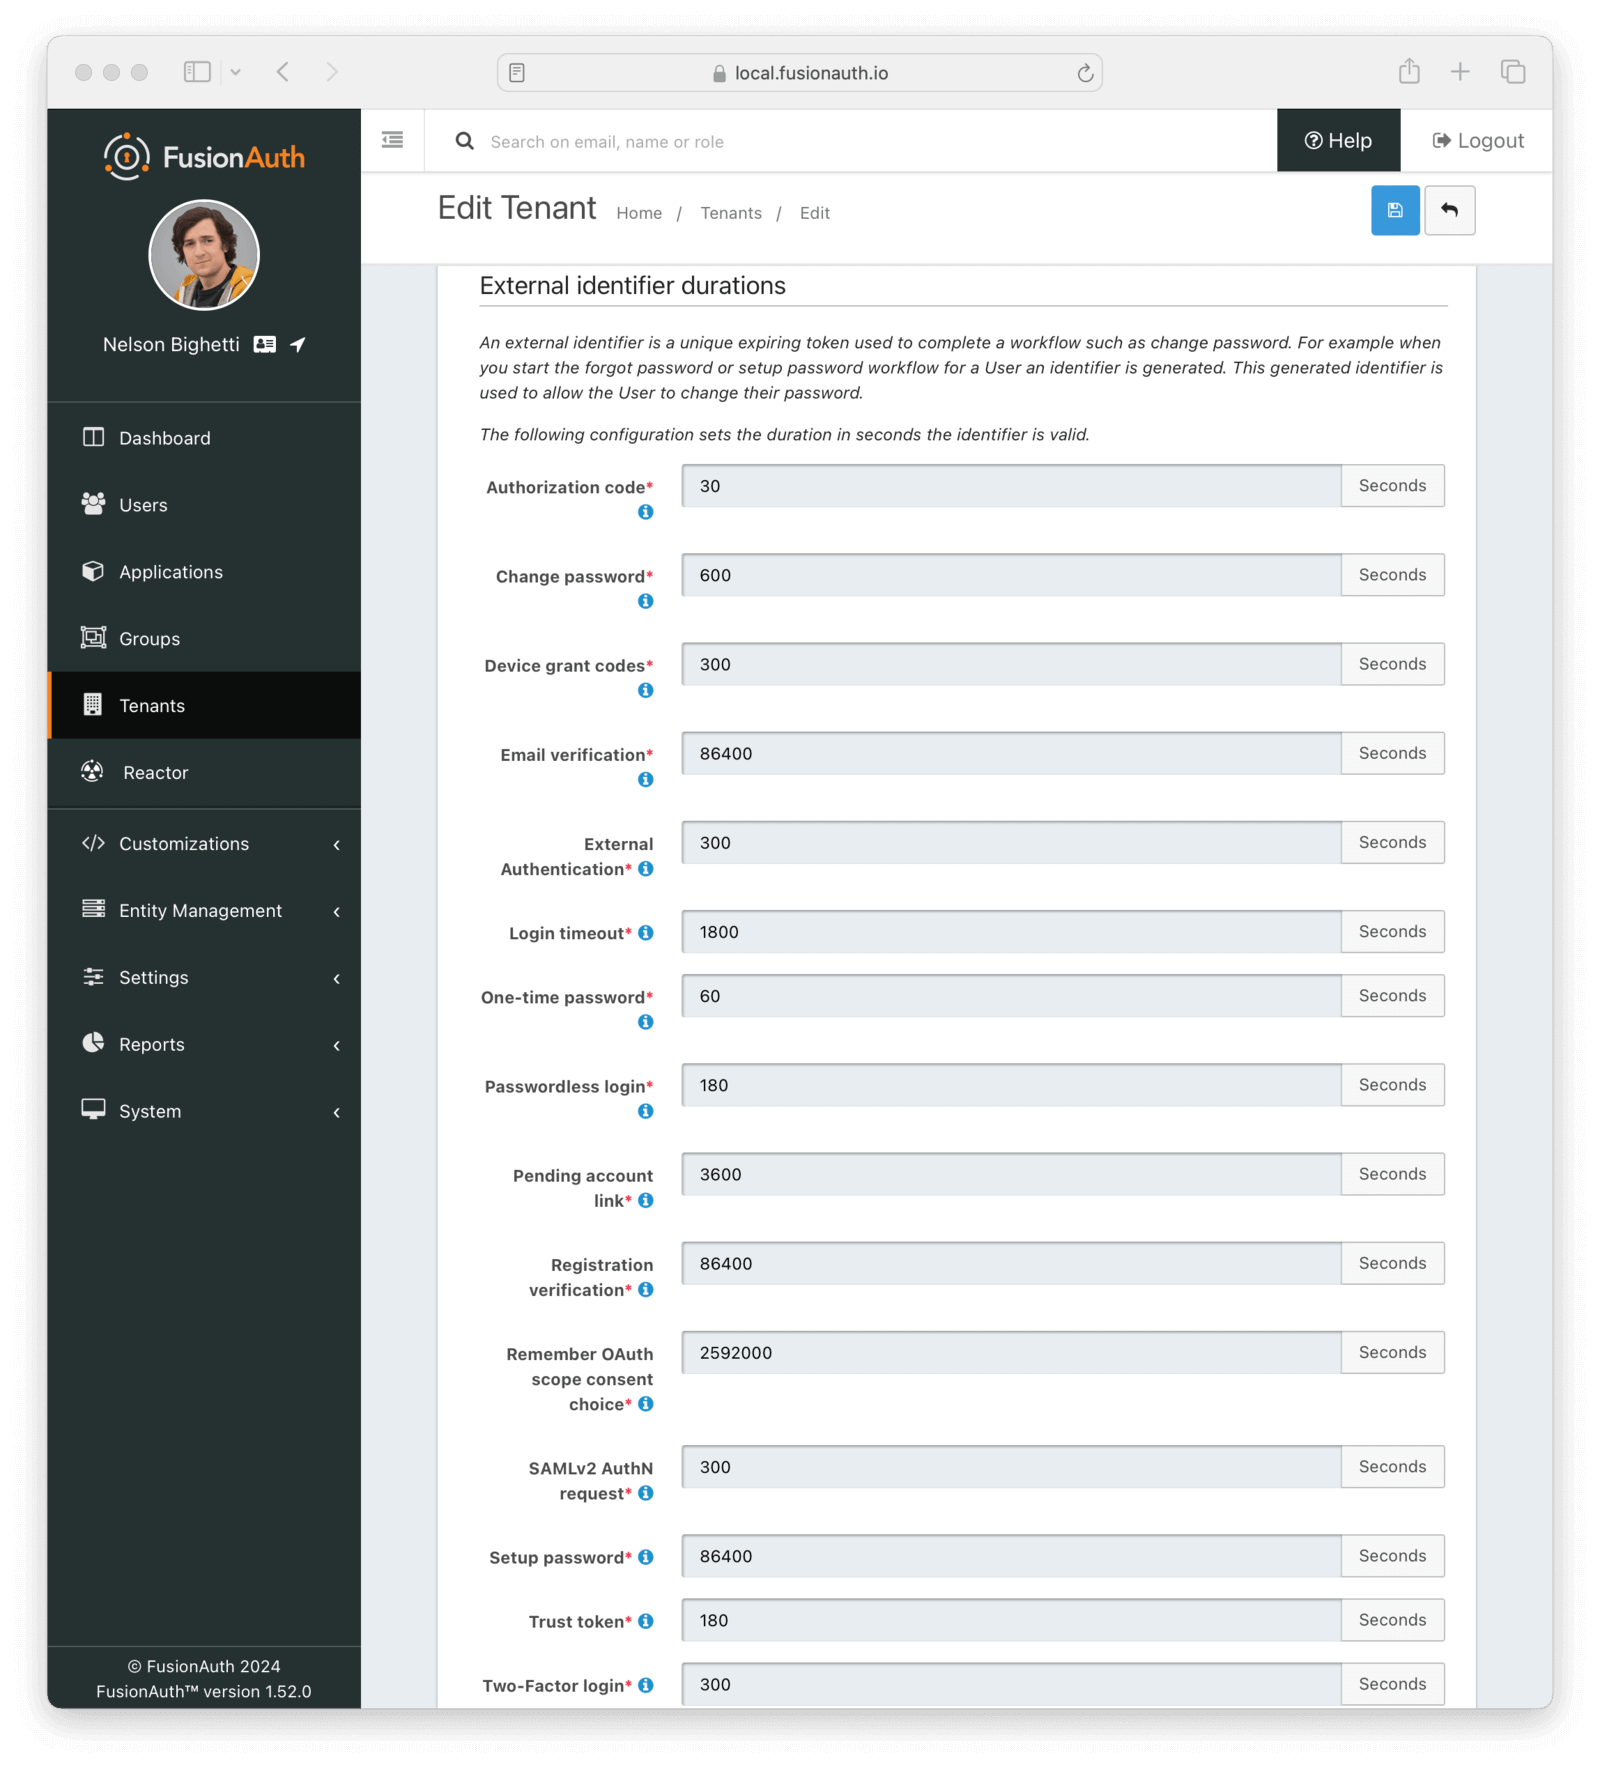
#### External identifier durations Form Fields
<APIBlock>
<APIField name="Authorization Code" required>
The number of seconds before the OAuth2 Authorization Code is no longer valid to be used to complete a Token request.
</APIField>
<APIField name="Change Password" required>
The number of seconds before the Change Password identifier is no longer valid to complete the Change Password request.
</APIField>
<APIField name="Device Grant Codes" required>
The number of seconds before the `device_code` and `user_code` are no longer valid to be used to complete the Device Code grant.
</APIField>
<APIField name="Email Verification" required>
The number of seconds before the Email Verification identifier is no longer valid to complete the Email Verification request.
</APIField>
<APIField name="External Authentication" required>
The number of seconds before the External Authentication identifier is no longer valid to complete the Authentication request.
</APIField>
<APIField name="Login timeout" required>
The number of seconds before the Login Timeout identifier is no longer valid to complete post-authentication steps in the OAuth workflow.
</APIField>
<APIField name="One Time Password" required>
The number of seconds before the One Time Password identifier is no longer valid to complete a Login request.
</APIField>
<APIField name="Passwordless Login" required>
The number of seconds before the Passwordless Login identifier is no longer valid to complete a Login request.
</APIField>
<APIField name="Pending account link" required>
The number of seconds before the Pending account link is no longer valid to complete an account link request.
</APIField>
<APIField name="Phone verification" required>
The number of seconds before the Phone Verification identifier is no longer valid to complete the Phone Verification request.
</APIField>
<APIField name="Registration Verification" required>
The number of seconds before the Registration Verification identifier is no longer valid to complete the Registration Verification request.
</APIField>
<APIField name="Remember scope consent choice" required>
The number of seconds before a remembered consent choice, used to bypass the OAuth scope consent prompt, expires.
</APIField>
<APIField name="SAMLv2 AuthN request" required>
The number of seconds before the SAMLv2 AuthN request is no longer valid to complete the SAMLv2 login request.
</APIField>
<APIField name="Setup Password" required>
The number of seconds before the Setup Password identifier is no longer valid to complete the Change Password request.
</APIField>
<APIField name="Two Factor Login" required>
The number of seconds before the Two Factor identifier is no longer valid to complete a Two Factor login request.
</APIField>
<APIField name="Two Factor one-time code" required>
The number of seconds before the Two Factor one-time code used to enable or disable a two-factor method is no longer valid.
</APIField>
<APIField name="Two Factor Trust" required>
The number of seconds before the Two Factor Trust is no longer valid and the user will be prompted for Two Factor during login.
</APIField>
<APIField name="WebAuthn authentication" required>
The number of seconds before the WebAuthn authentication challenge is no longer valid and the user will need to restart the authentication workflow.
</APIField>
<APIField name="WebAuthn registration" required>
The number of seconds before the WebAuthn registration challenge is no longer valid and the user will need to restart the credential registration workflow.
</APIField>
</APIBlock>
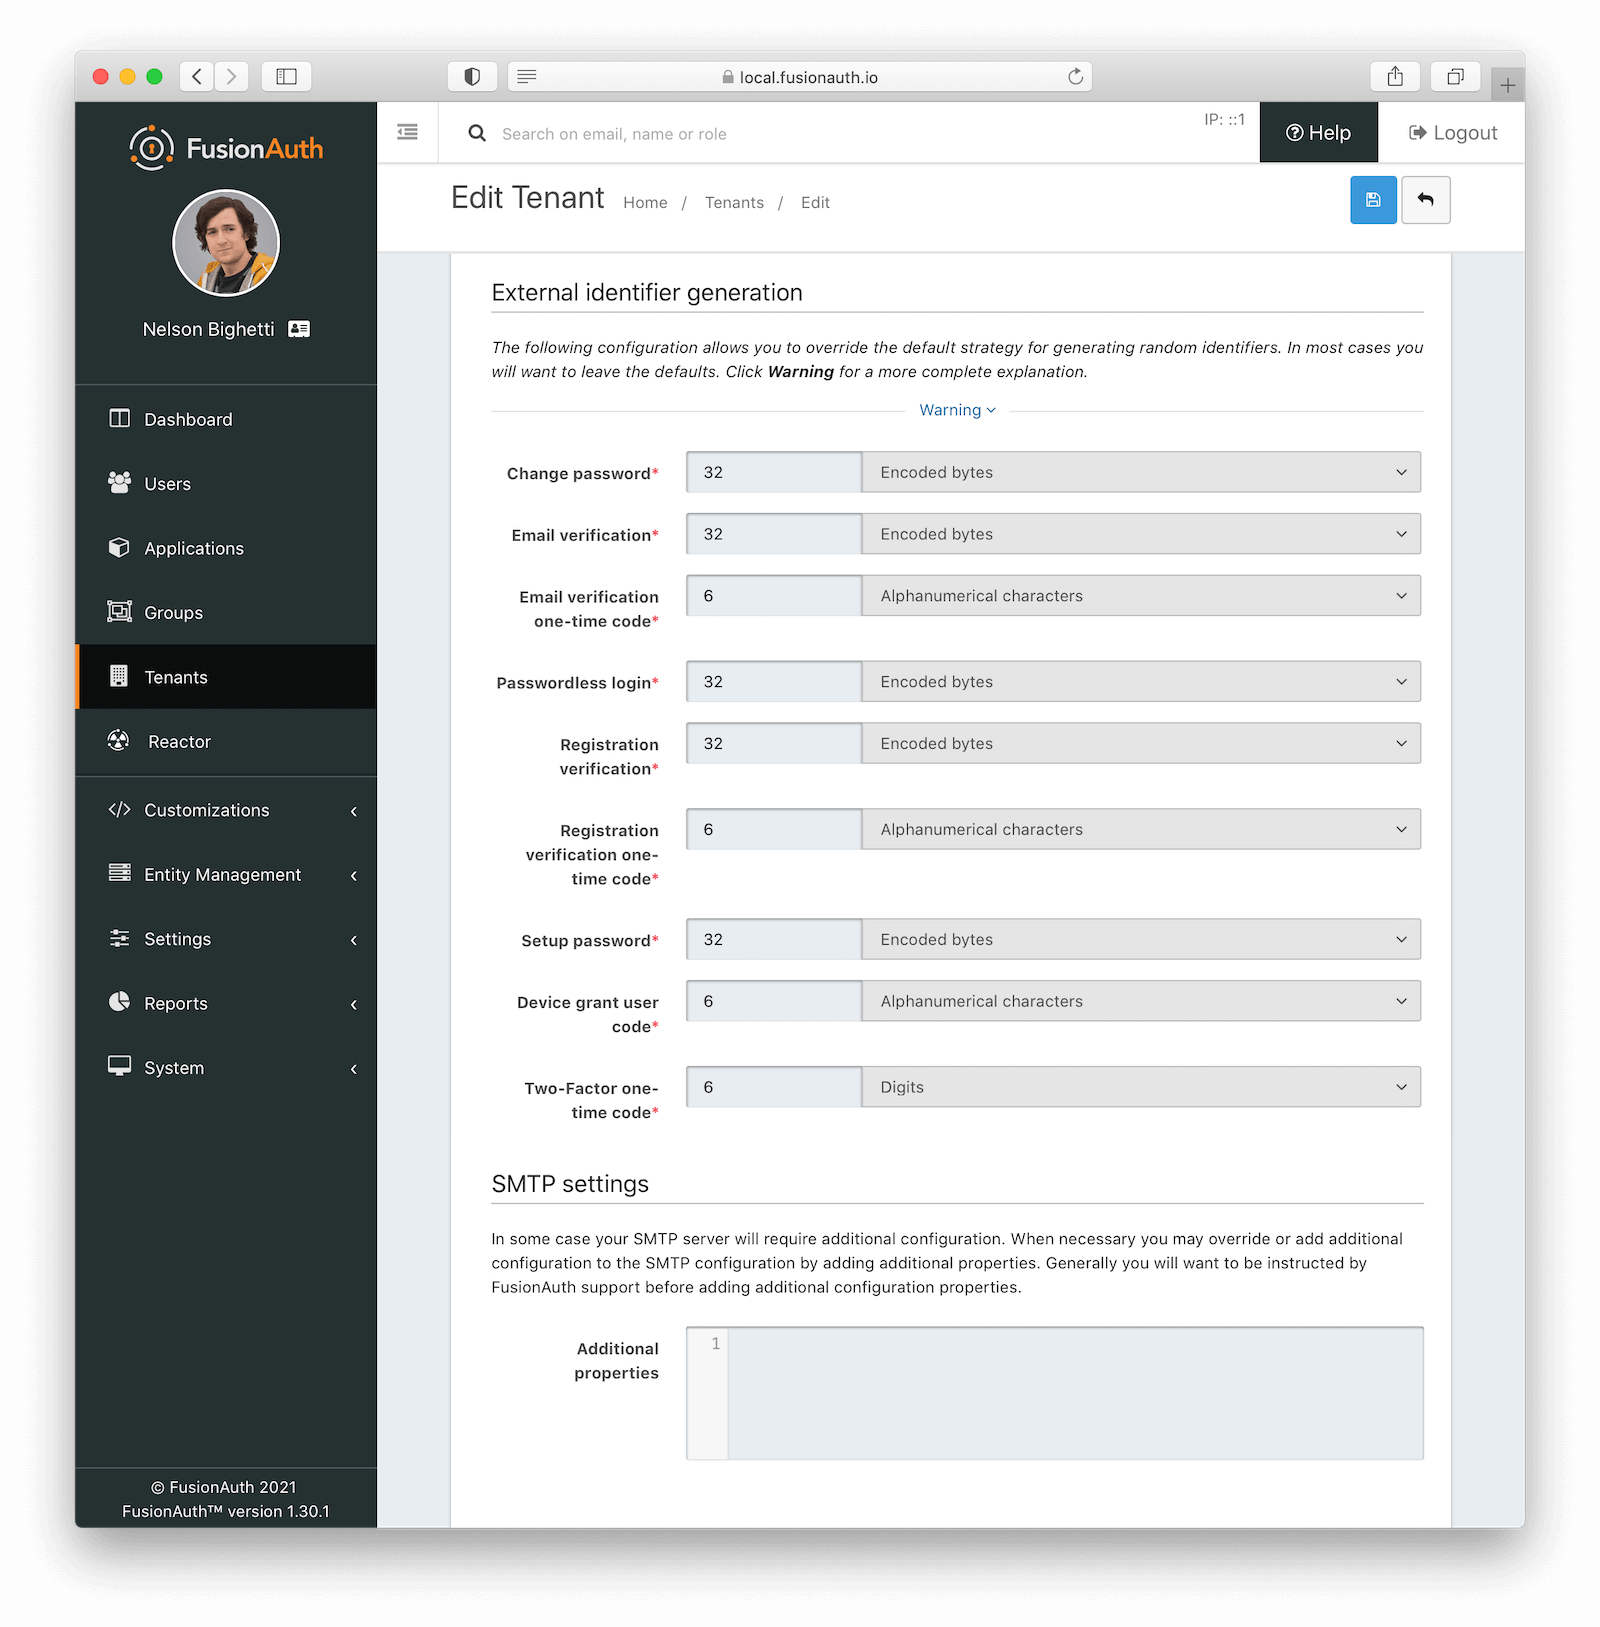
#### External identifier generation Form Fields
<APIBlock>
<APIField name="Change Password" required>
The length and type of characters of the generated code used in the Change Password flow.
</APIField>
<APIField name="Email Verification" required>
The length and type of characters of the generated code used in the Email Verification flow.
</APIField>
<APIField name="Email Verification one-time code" required>
The length and type of characters of the generated code used for Email Verification one-time codes.
The one-time code for email verification is only used with email verification gating and when using a form field configuration instead of the clickable link.
</APIField>
<APIField name="Passwordless Login" required>
The length and type of characters of the generated code used in the Passwordless Login flow.
</APIField>
<APIField name="Passwordless Login one-time code" required since="1.59.0">
The length and type of characters used for the generated codes in the Passwordless Login flow.
The one-time code for passwordless logins is only used when sending SMS messages to phone numbers, or when using an explicit `loginStrategy` value of `FormField` on the [Start Passwordless Login API](/docs/apis/passwordless#start-passwordless-login).
</APIField>
<APIField name="Phone verification" required>
The length and type of characters of the generated code used in the Phone Verification flow.
</APIField>
<APIField name="Phone verification one-time code" required>
The length and type of characters of the generated code used for Phone Verification one-time codes.
The one-time code for phone verification is only used with phone verification gating and when using a form field configuration instead of the clickable link.
</APIField>
<APIField name="Registration Verification" required>
The length and type of characters of the generated code used in the Registration Verification flow.
</APIField>
<APIField name="Registration Verification one-time code" required>
The length and type of characters of the generated code used for Registration Verification one-time codes.
The one-time code for registration verification is only used with registration verification gating and when using a form field configuration instead of the clickable link.
</APIField>
<APIField name="Setup Password" required>
The length and type of characters of the generated code used in the Setup Password flow.
</APIField>
<APIField name="Device grant user code" required>
The length and type of characters of the generated user code used in the Device Authorization Grant flow.
</APIField>
<APIField name="Two-Factor one-time code" required>
The length and type of characters of the generated code used for Two-Factor one-time codes.
</APIField>
</APIBlock>
#### SMTP Settings Form Fields
<APIBlock>
<APIField name="Additional properties" optional>
Custom SMTP configuration properties. This field can contain any Java mail property. Any value here will override the default values FusionAuth sets.
<DefaultSMTPConfigurationProperties />
Here's example syntax for overriding these properties, in this case setting both timeout defaults to 5 seconds.
```
mail.smtp.timeout=5000
mail.smtp.connectiontimeout=5000
```
</APIField>
</APIBlock>
# OAuth Scopes
import AdvancedPlanBlurb from 'src/content/docs/_shared/_advanced-plan-blurb.astro';
import APIBlock from 'src/components/api/APIBlock.astro';
import APIField from 'src/components/api/APIField.astro';
import Aside from 'src/components/Aside.astro';
import Icon from 'src/components/icon/Icon.astro'
<AdvancedPlanBlurb />
## Overview
<Aside type="version">
Available since 1.50.0
</Aside>
Scope management in FusionAuth allows an administrator to define OAuth scopes and the messaging used on the OAuth consent screen when these scopes are requested.
Scopes in FusionAuth are associated with an [application](/docs/get-started/core-concepts/applications). While there is no limit to the number of scopes an application can have, each must have a unique name.
By providing the `scope` parameter on an OAuth request, you can limit the scope of access for the resulting access token. Providing a `scope` value that matches the level of access the token needs for the current workflow enhances security by limiting what can be done with the token if it is intercepted or stolen.
For applications that do not have the same owner as the authorization server, called third-party applications in FusionAuth, OAuth scopes and the [themeable](/docs/customize/look-and-feel) consent prompt allow users the chance to limit the information shared with the third-party or decline access to their information entirely.
<img src="/img/docs/get-started/core-concepts/scopes-consent.png" alt="Scope Consent Prompt" width="1200" role="bottom-cropped" />
This page provides more detail around managing custom OAuth scopes. The [OAuth Scopes](/docs/lifecycle/authenticate-users/oauth/scopes) page has more information on configuring how the application handles scopes, including the consent prompt.
## Managing Scopes
<img src="/img/docs/get-started/core-concepts/manage-scopes.png" alt="Manage Scopes Page" width="1200" role="bottom-cropped" />
This is the Manage Scopes homepage for a given application. From here you can see a list of all the configured OAuth scopes
as well as perform the following actions:
| | |
|--------------------------|-----------------------------------------------|
| <Icon name="plus"/> | **Create** a new OAuth scope |
| <Icon name="edit"/> | **Edit** a previously created OAuth scope |
| <Icon name="fa-search"/> | **View** a previously created OAuth scope |
| <Icon name="trash"/> | **Remove** a previously created OAuth scope |
### Create and Edit a Scope
Creating and editing scopes for an application is straight forward.
Here is what you can expect when creating a new scope:
<Aside type="note">
Once created, a scope is implicitly enabled and can be requested by the application during an OAuth workflow.
</Aside>
<img src="/img/docs/get-started/core-concepts/manage-scopes-create.png" alt="Manage Scopes - Create Scope" width="1200" />
Here is what you can expect when updating an existing scope:
<img src="/img/docs/get-started/core-concepts/manage-scopes-edit.png" alt="Manage Scopes - Edit Scope" width="1200" />
#### Form Fields
<APIBlock>
<APIField name="Name" required>
The name of the OAuth scope. This is the value that will be used to request the scope in OAuth workflows.
<Aside type="note">
Once a scope has been created the name cannot be updated. In this situation, you will need to create a new scope and delete the old one.
</Aside>
</APIField>
<APIField name="Description" optional>
A description of the OAuth scope for internal use.
</APIField>
<APIField name="Consent message" optional>
The default message to display on the OAuth consent screen if one cannot be found in the theme.
[Learn more about setting this value using themes.](/docs/customize/look-and-feel/localization#oauth-scope-consent-prompt)
</APIField>
<APIField name="Consent details" optional>
The default detail to display on the OAuth consent screen if one cannot be found in the theme.
[Learn more about setting this value using themes.](/docs/customize/look-and-feel/localization#oauth-scope-consent-prompt)
</APIField>
<APIField name="Required" optional>
Determines if the OAuth scope is required when requested in an OAuth workflow.
</APIField>
</APIBlock>
### View a Scope
Additional details about a particular OAuth scope can be viewed by clicking the <Icon name="fa-search"/> action:
<img src="/img/docs/get-started/core-concepts/manage-scopes-view.png" alt="Manage Scopes - View Scope" width="1200" />
### Remove a Scope
When a scope is no longer needed, it can be removed by clicking the <Icon name="trash"/> action:
<Aside type="note">
Deleting a scope can impact the OAuth workflows for an application in different ways depending on the
[Unknown scope policy](/docs/get-started/core-concepts/applications#scopes) configured for that application.
It will also affect resource servers or APIs which may be expecting a scope to be presented in a token.
</Aside>
<img src="/img/docs/get-started/core-concepts/manage-scopes-delete.png" alt="Manage Scopes - Delete Scope" width="1200" />
# Types And Their Relationships
import Aside from 'src/components/Aside.astro';
import TypesDiagram from 'src/diagrams/docs/extend/examples/modeling-hierarchies/types.astro'
This overview summarizes all the FusionAuth types and how they relate. To avoid confusion with FusionAuth Applications, this guide refers to the service you provide your users as your "website", rather than an application, app, or service.
The first set of FusionAuth types are **Tenants**, **Applications**, **Groups**, **Roles**, and **Users**. These types manage users logging in to an application. (Applications are sometimes called clients in other systems.)
The second set of types are **Entity Types**, **Entities**, **Permissions**, and **Entity Grants**. These types were added to FusionAuth in 2021, after the original set of types in the previous paragraph. These types are used for machine-to-machine authentication, and provide a case-specific way to model things (entities), rather than organizations.
### Applications And Users
A tenant in FusionAuth is a completely isolated environment, with its own set of users, applications, and configurations, independent of other tenants, even if they share the same FusionAuth instance.
An application represents an organization, website, or service that a person (a user) logs in to. A user is associated with an application through a registration, and can be registered with many applications, or none. A user has personal data, an email address, and a variable quantity of custom data stored in JSON.
Applications have roles. A role is just a string. A registration can assign multiple roles to a user for an application. Your website can use a user's role in any way, such as authorizing a user to perform specific actions or choosing to ignore roles entirely.
A group is a collection of users. A user can belong to multiple groups, so you can think of a group as a tag that can be applied to a user. A group can have many roles in many applications. If a user belongs to a group and is also registered with an application, they will automatically be granted any roles the group has in the application.
Consider the example of a bank website with clients and employees. The bank website is an application in FusionAuth. The application has two roles, client and employee. Clients and employees are users, and each has a single registration in the bank application. Each registration gives a user the role of client, employee, or both.
In this scenario, you could make groups called "client" and "employee", each assigned the corresponding roles in the application. Users could be added to either or both groups on registration with the application and roles would not need to be assigned manually. This approach would be useful if an application has many roles.
You could also use groups to tag users with certain attributes, such as VIP users.
<Aside type="caution">
Digital security usually involves three types: users, roles, and permissions. A user can have many roles, and roles can have many permissions. The advantages of not granting users permissions directly are:
- You can add (or remove) permissions to a role and they automatically apply to every user in that role. You don't have to add a permission to many users individually.
- A user can have multiple roles, each with its own permissions, and automatically inherits the combined permissions from all their assigned roles. You don't have to evaluate each user individually or define the exact combination of permissions they require.
- Your website can rely on permissions to determine whether a user has rights to do something, without needing to map users through roles to permissions.
Although FusionAuth does not currently support permissions, there is a GitHub feature request for this functionality. You can vote for it [here](https://github.com/FusionAuth/fusionauth-issues/issues/15).
In the meantime, there are two workarounds you can implement:
- Treat roles as permissions. In other words, instead of the "employee" role, make roles called "can edit clients", "can adjust salaries", and so on. When a user logs in with FusionAuth, your website will receive a list of exactly which "permissions" (roles) the user has. The trade-off of this approach is that the advantages of working with roles described above are lost.
- Manage permissions in your website code. Keep the user and role associations in FusionAuth, but link roles to permissions in your website database, not in FusionAuth. When a user logs in with FusionAuth, your website queries the database to retrieve all permissions associated with their roles and applies them to the user. This treats FusionAuth more as an authentication system than an authorization system.
</Aside>
### Entities And Permissions
An entity in FusionAuth is just a name, and can represent anything — a company, document, or refrigerator. The only functional aspect to an entity is that it can be used for machine-to-machine authentication with the client credentials OAuth flow. In this case, an entity usually represents a service. Entities are only available with a paid FusionAuth license.
An entity has an entity type. The type of an entity cannot be changed once an entity is created. An entity type can have many permissions, which are also just strings.
Both users and entities can be linked to entities by entity grants. An entity grant lists which permissions of an entity the linked user or entity has access to.
For example, you could make an entity type called "Company", with entities like "Changebank" and "ChangeInsurance". The "Changebank" entity could have permissions like "ReadAccess" and "WriteAccess". An entity grant could link "ChangeInsurance" to "Changebank" and grant it "ReadAccess" permission. Similarly, an employee who is a user (as described in the previous section) could also have an entity grant providing "ReadAccess" to the "Changebank" entity.
As with roles, permissions in FusionAuth have no functional meaning. They are merely strings passed to your website when a user logs in, and your website can use them in any way.
### A Diagram Of All FusionAuth Types
The diagram below illustrates the relationships between FusionAuth types as described in the previous sections, pairing each type name with its corresponding example object. Read the diagram from bottom to top to see who is a member of what, or who has what attributes.
Note that entities and applications cannot be related, even if they represent the same physical company. Only users can have entity grants to entities.
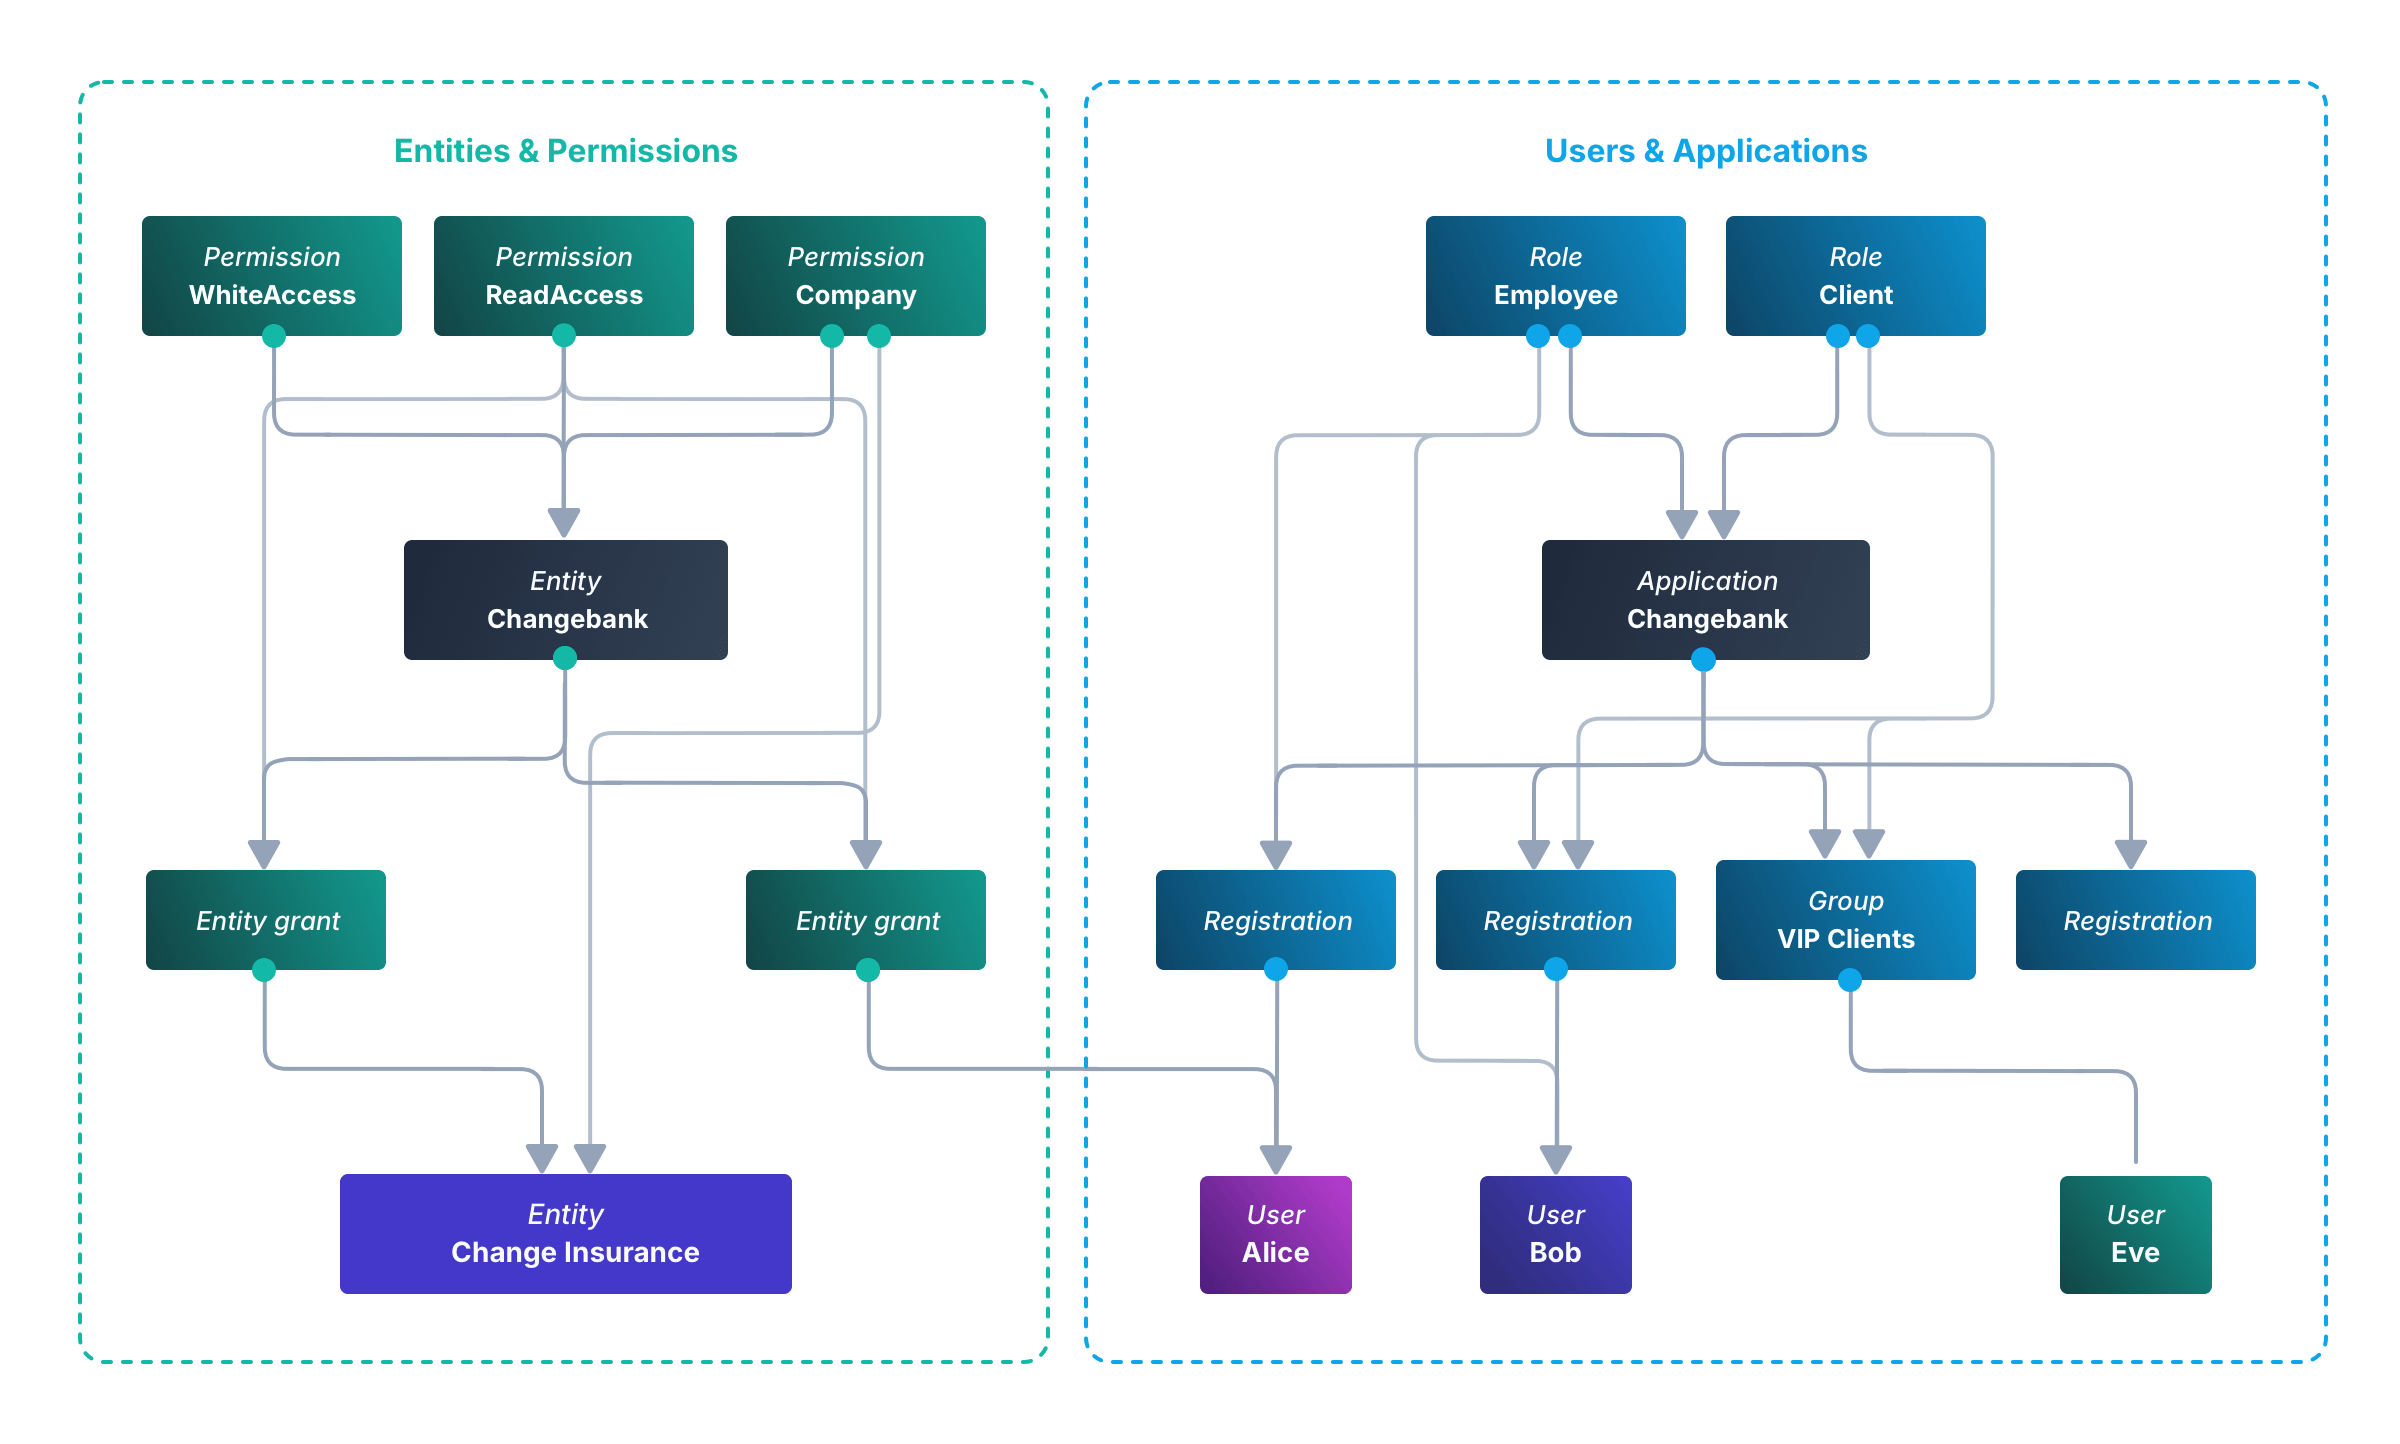
To reduce clutter, this diagram includes only two permission blocks. However, this simplification isn't quite accurate, as in FusionAuth, each entity grant would point to a separate permission — objects don't share permissions.
# Users
import APIBlock from 'src/components/api/APIBlock.astro';
import APIField from 'src/components/api/APIField.astro';
import AvailableSince from 'src/components/api/AvailableSince.astro';
import Breadcrumb from 'src/components/Breadcrumb.astro';
import InlineField from 'src/components/InlineField.astro';
import InlineUIElement from 'src/components/InlineUIElement.astro';
import Aside from 'src/components/Aside.astro';
import LoginEvents from 'src/content/docs/_shared/_login_events.mdx';
import DataFieldDataTypeChanges from 'src/content/docs/_shared/_data-field-data-type-changes.mdx';
import CrossTenantUserAccess from 'src/content/docs/get-started/core-concepts/_cross-tenant-access.mdx';
import UserSegmentTable from 'src/content/docs/get-started/core-concepts/_user-segment-table.mdx';
import Icon from 'src/components/icon/Icon.astro';
import { YouTube } from '@astro-community/astro-embed-youtube';
## Overview
FusionAuth is all about users, and it is helpful to fully understand how FusionAuth understands users to fully leverage all of the features FusionAuth offers.
The user itself is easy enough to understand; it represents your end user, your employee, or your client.
Here's a brief video covering some aspects of users:
<YouTube id="Dcdp-dGFwpI" />
## Core Concepts Relationships
Below is a visual reminder of the relationships between FusionAuth's primary core concepts.

## Admin UI
This page describes the admin UI for creating and managing users.
{/* These are not capitalized because we are matching the exact names for the tabs in the admin UI. */}
### List of Users
To display a list of users, navigate to <Breadcrumb>Users</Breadcrumb>.
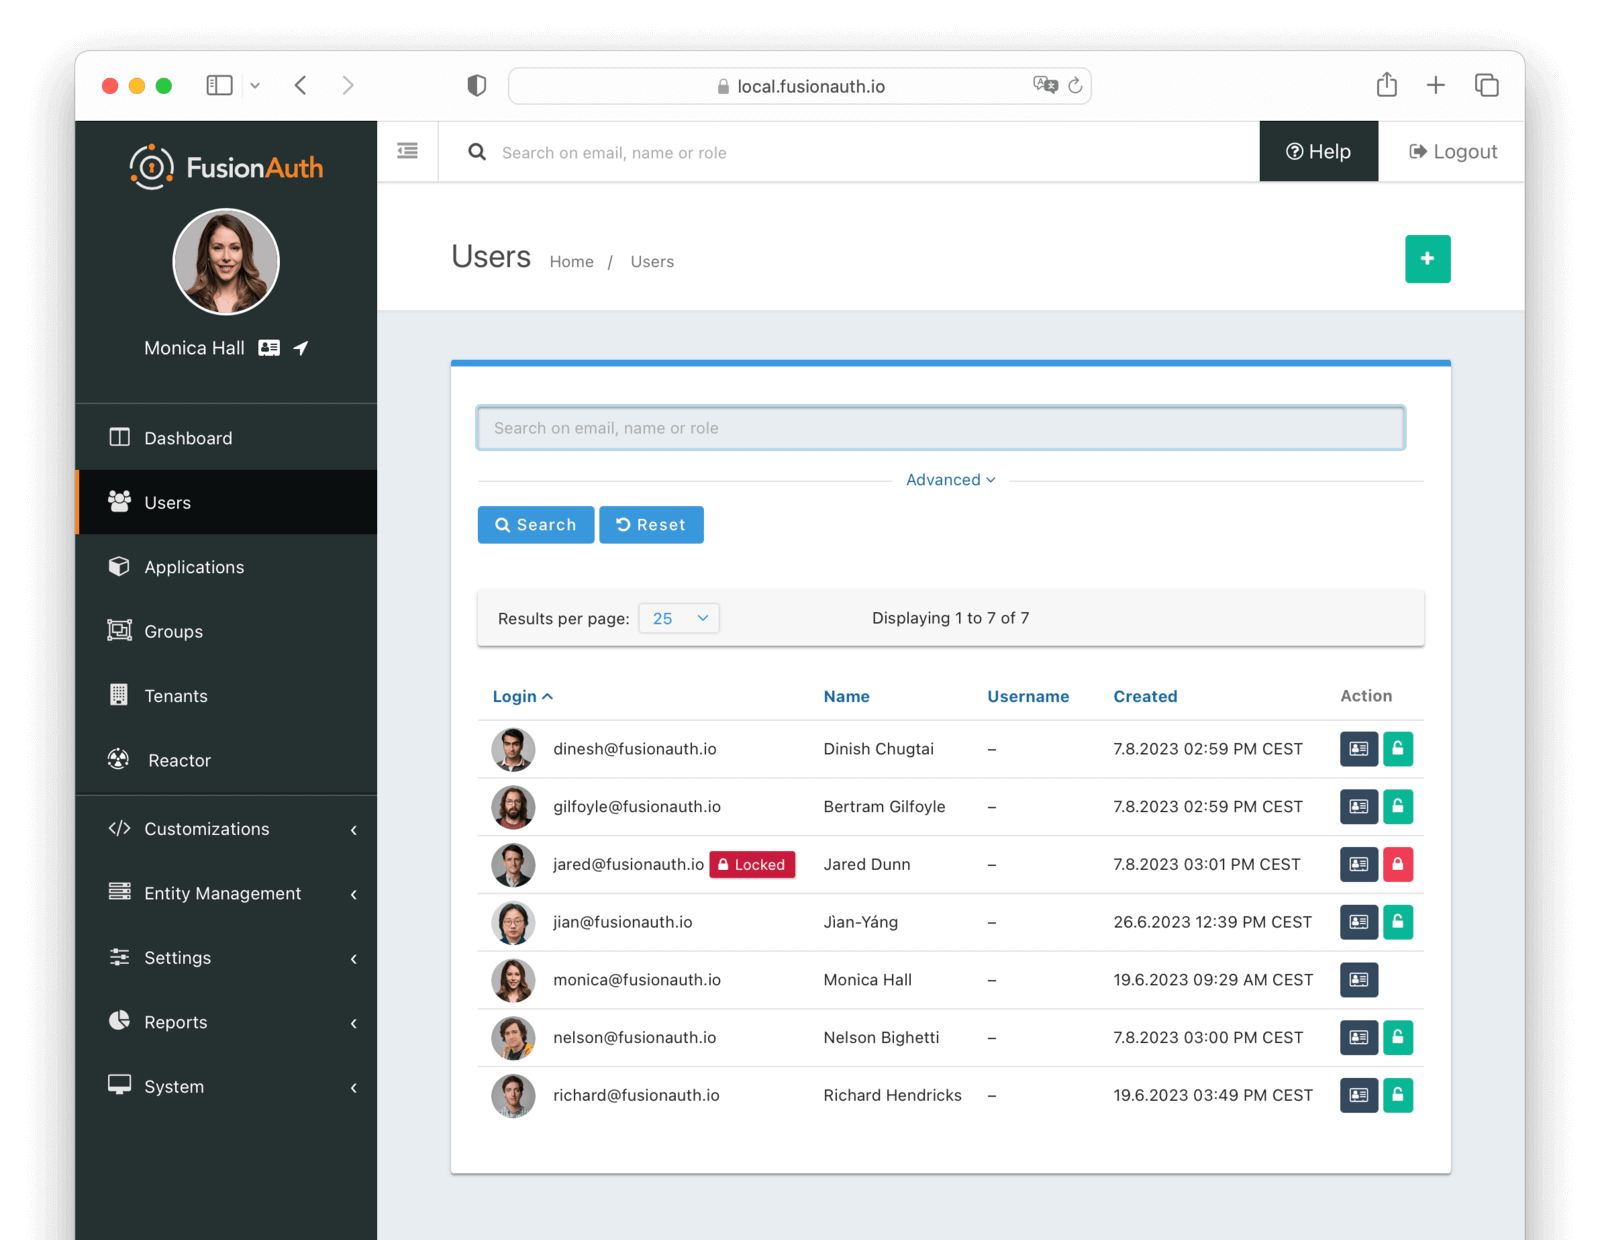
Using the icons on this screen, you can:
* <Icon name="address-card" /> Manage the user's profile
* <Icon name="unlock-button"/> Lock the user
* <Icon name="lock-button" /> Unlock the user
If you have user selected, you can also:
* <Icon name="plus-circle" /> Add the users to a group
* <Icon name="minus-circle" /> Remove the users from a group
You can search for users using the search field. Learn more about [User Search](#user-search).
### Add a User
To add a new user, navigate to <Breadcrumb>Users</Breadcrumb>.
#### Form Fields
These are the default fields that are available when creating a user. You can add additional fields by creating custom forms and fields. See the [Editing User Data In the admin UI](/docs/lifecycle/register-users/advanced-registration-forms#editing-user-data-in-the-admin-ui) documentation for more information.
<Aside>
The password-related fields are only available if the following are configured for the tenant:
* A [Setup password](/docs/get-started/core-concepts/tenants#template-settings) template has been set on the user's tenant
* [Password enabled](/docs/get-started/core-concepts/tenants#password) has been set to `true`
</Aside>
<APIBlock>
<APIField name="Tenant" required>
The tenant to which this user belongs. This field is only displayed once multiple tenants exist in FusionAuth. When only a single tenant exists, the user will always be created in the default tenant.
</APIField>
<APIField name="Skip verification" optional>
If this is checked, FusionAuth will not send a message asking the user to verify their email address or phone number. This is only available if [Email verification](/docs/get-started/core-concepts/tenants#identities) or [Phone verification](/docs/get-started/core-concepts/tenants#identities) in the tenant is set up.
<Aside>
If both an email address and phone number are supplied and <InlineField>Skip verification</InlineField> is checked, then verification will be skipped for both the email address and the phone number.
</Aside>
</APIField>
<APIField name="Email" optional>
The email address of the user. This is a required field if <InlineField>Send password setup to</InlineField> is set to `Email`. It must be unique across all users in the tenant.
</APIField>
<APIField name="Phone number" optional>
The phone number of the user. This is a required field if <InlineField>Send password setup to</InlineField> is set to `Phone`.
</APIField>
<APIField name="Username" optional>
The username of the user. The username is stored and returned as a case-sensitive value, however, a username is considered unique regardless of the case. This is a required field if no <InlineField>Email</InlineField> or <InlineField>Phone number</InlineField> is provided.
</APIField>
<APIField name="Send password setup to" optional>
If this is set to `Email` or `Phone`, FusionAuth will send an email or SMS message asking the user to set their password. This email or message can also be used for identity verification. If the following are all true, then only the setup password message will be sent to the user:
* Verification is enabled on the tenant (for email address or phone number)
* <InlineField>Skip verification</InlineField> is not checked
* Implicit verification is enabled on the tenant
</APIField>
<APIField name="Password" required>
The password of the user.
</APIField>
<APIField name="Confirm password" required>
Password confirmation field. You must enter the same value in both <InlineField>Password</InlineField> and <InlineField>Confirm password</InlineField>.
</APIField>
</APIBlock>
##### Options
<APIBlock>
<APIField name="Birthdate" optional>
The birthdate of the user.
</APIField>
<APIField name="First name" optional>
The first name of the user.
</APIField>
<APIField name="Middle name" optional>
The middle name of the user.
</APIField>
<APIField name="Last name" optional>
The last name of the user.
</APIField>
<APIField name="Full name" optional>
The full name of the user as a separate field that is not calculated from <InlineField>firstName</InlineField> and <InlineField>lastName</InlineField>.
</APIField>
<APIField name="Languages" optional>
The preferred languages of the user. These are important for email templates and other localizable text. See [Locales](/docs/reference/data-types#locales) for the list and [Localization and Internationalization](/docs/get-started/core-concepts/localization-and-internationalization) for more on how they are used.
</APIField>
<APIField name="Timezone" optional>
The preferred timezone of the user.
</APIField>
<APIField name="Image URL" optional>
The URL that points to an image file that is the user’s profile image.
</APIField>
</APIBlock>
### Edit a User
To edit a user, navigate to <Breadcrumb>Users</Breadcrumb> and click the <InlineUIElement>Manage</InlineUIElement> button next to the user you wish to edit.
In the top right corner of the page, you will see a dropdown menu with the following options:
* <InlineUIElement>Edit user</InlineUIElement> Edit the user's profile information.
* <InlineUIElement>Add a comment</InlineUIElement> Add a comment to the user's profile. This will be visible in the user's [History](#history).
* <InlineUIElement>Action User</InlineUIElement> Perform a user action on the user. See [Current actions](#current-actions) for more information.
* <InlineUIElement>Delete user</InlineUIElement> Delete the user. You will have to confirm this action, because it is permanent and cannot be undone.
* <InlineUIElement>Lock account</InlineUIElement> Lock the user's account. Only available if the user is not already locked.
* <InlineUIElement>Unlock account</InlineUIElement> Unlock the user's account. Only available if the user is locked.
* <InlineUIElement>Send password reset</InlineUIElement> Send a password reset message to the user. Only available if the user has an email address or phone number.
* <InlineUIElement>Require password change</InlineUIElement> The user will be required to change their password the next time they log in.
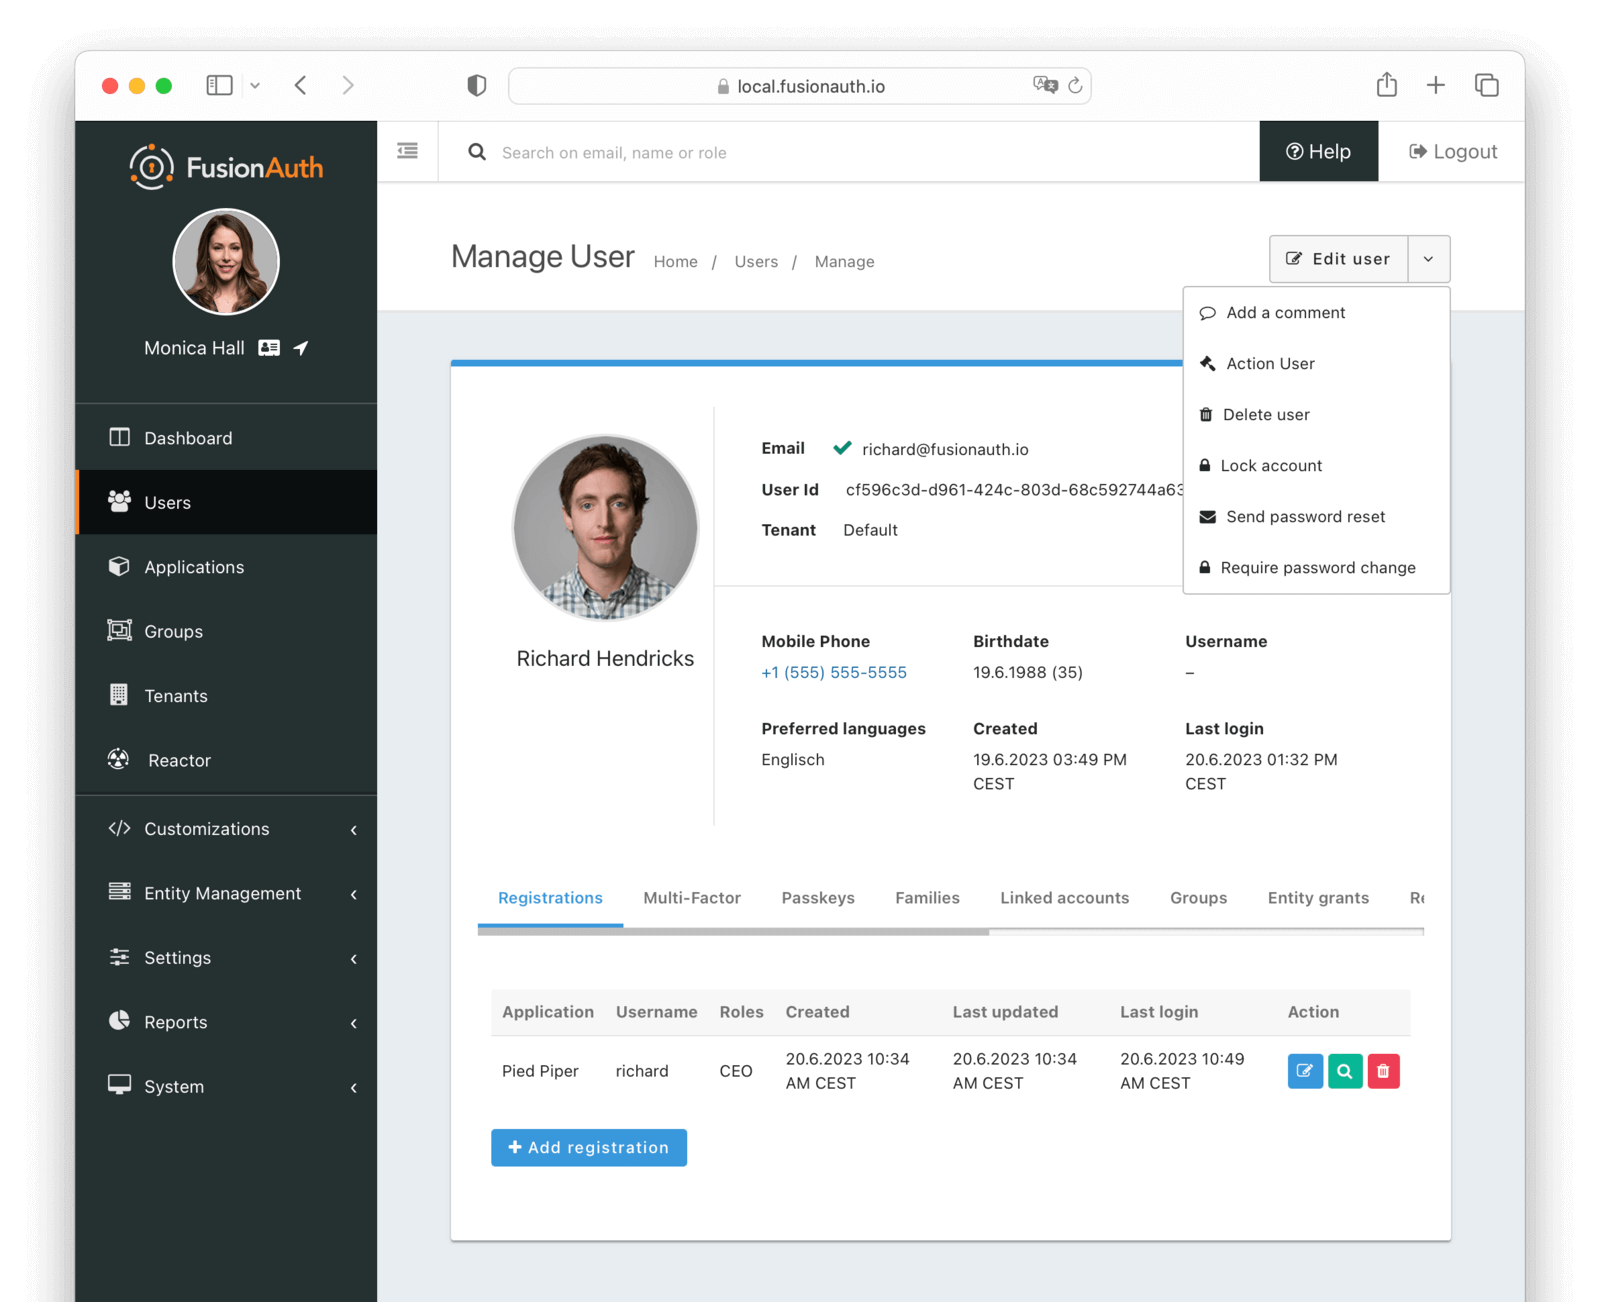
Additionally, a lock icon is displayed in the top right corner of the profile. If the user is unlocked, the icon will be green. If the user is locked, the icon and the top border of the profile will be red. Clicking on the icon will lock or unlock the user.
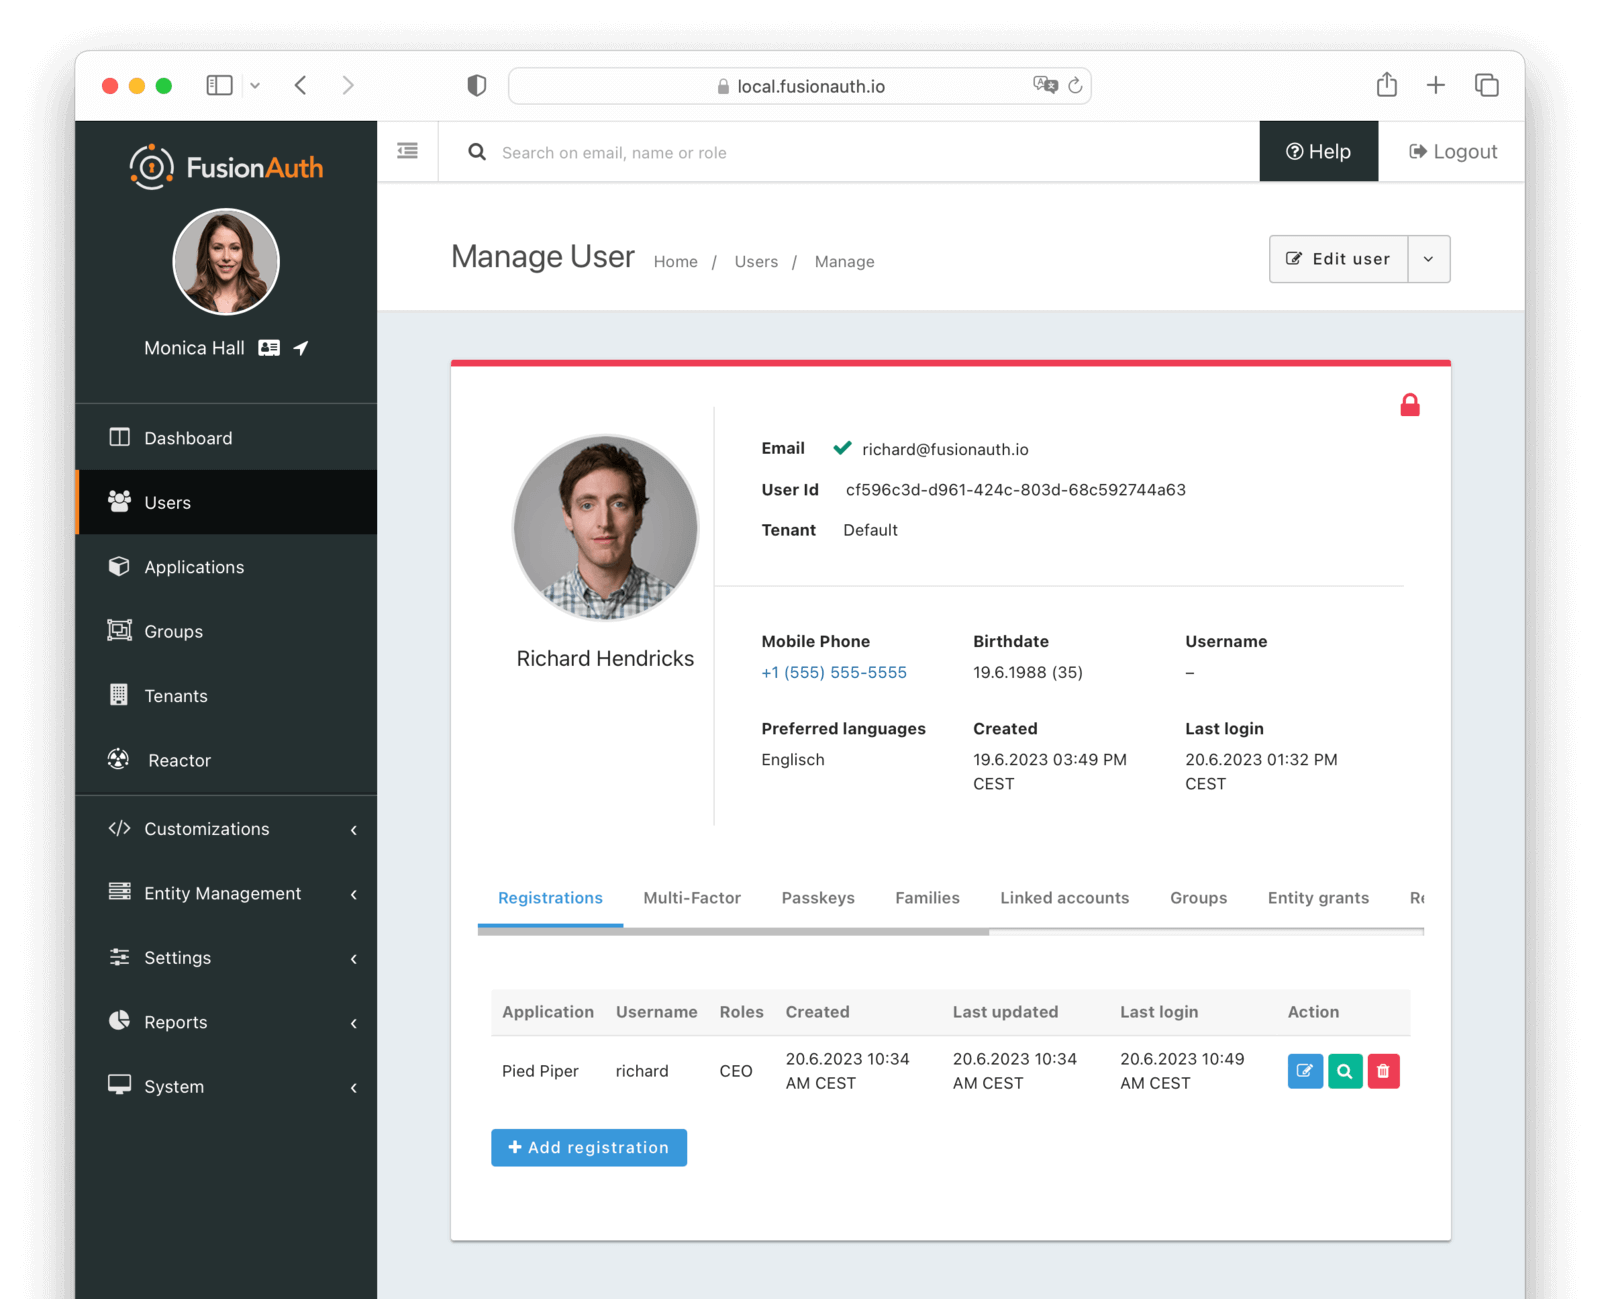
### Registrations
Applications in FusionAuth represent something you can log in to.
They are tenant scoped.
You associate a user with an application via a registration.
You may also optionally associate one or more roles with each user's registration.
An example use case is a single company, where you have a forum, a todo application, and an accounting application.
If you have three users, Richard, Monica, and Jared, you can grant Richard access to all three applications, Monica access to the forum and todo applications, and Jared access to the accounting application.
Prohibit a user from logging into an application for which they are not registered by checking the claims in the token or enabling the <InlineField>Require registration</InlineField> setting for the application.
Applications also may have associated identity providers, such as Google or OIDC providers.
When so configured, a user may log in to an application with the identity provider.
Every user object contains an array of application registrations.
You can search for all users with a given registration.
Learn more about [Applications](/docs/get-started/core-concepts/applications).
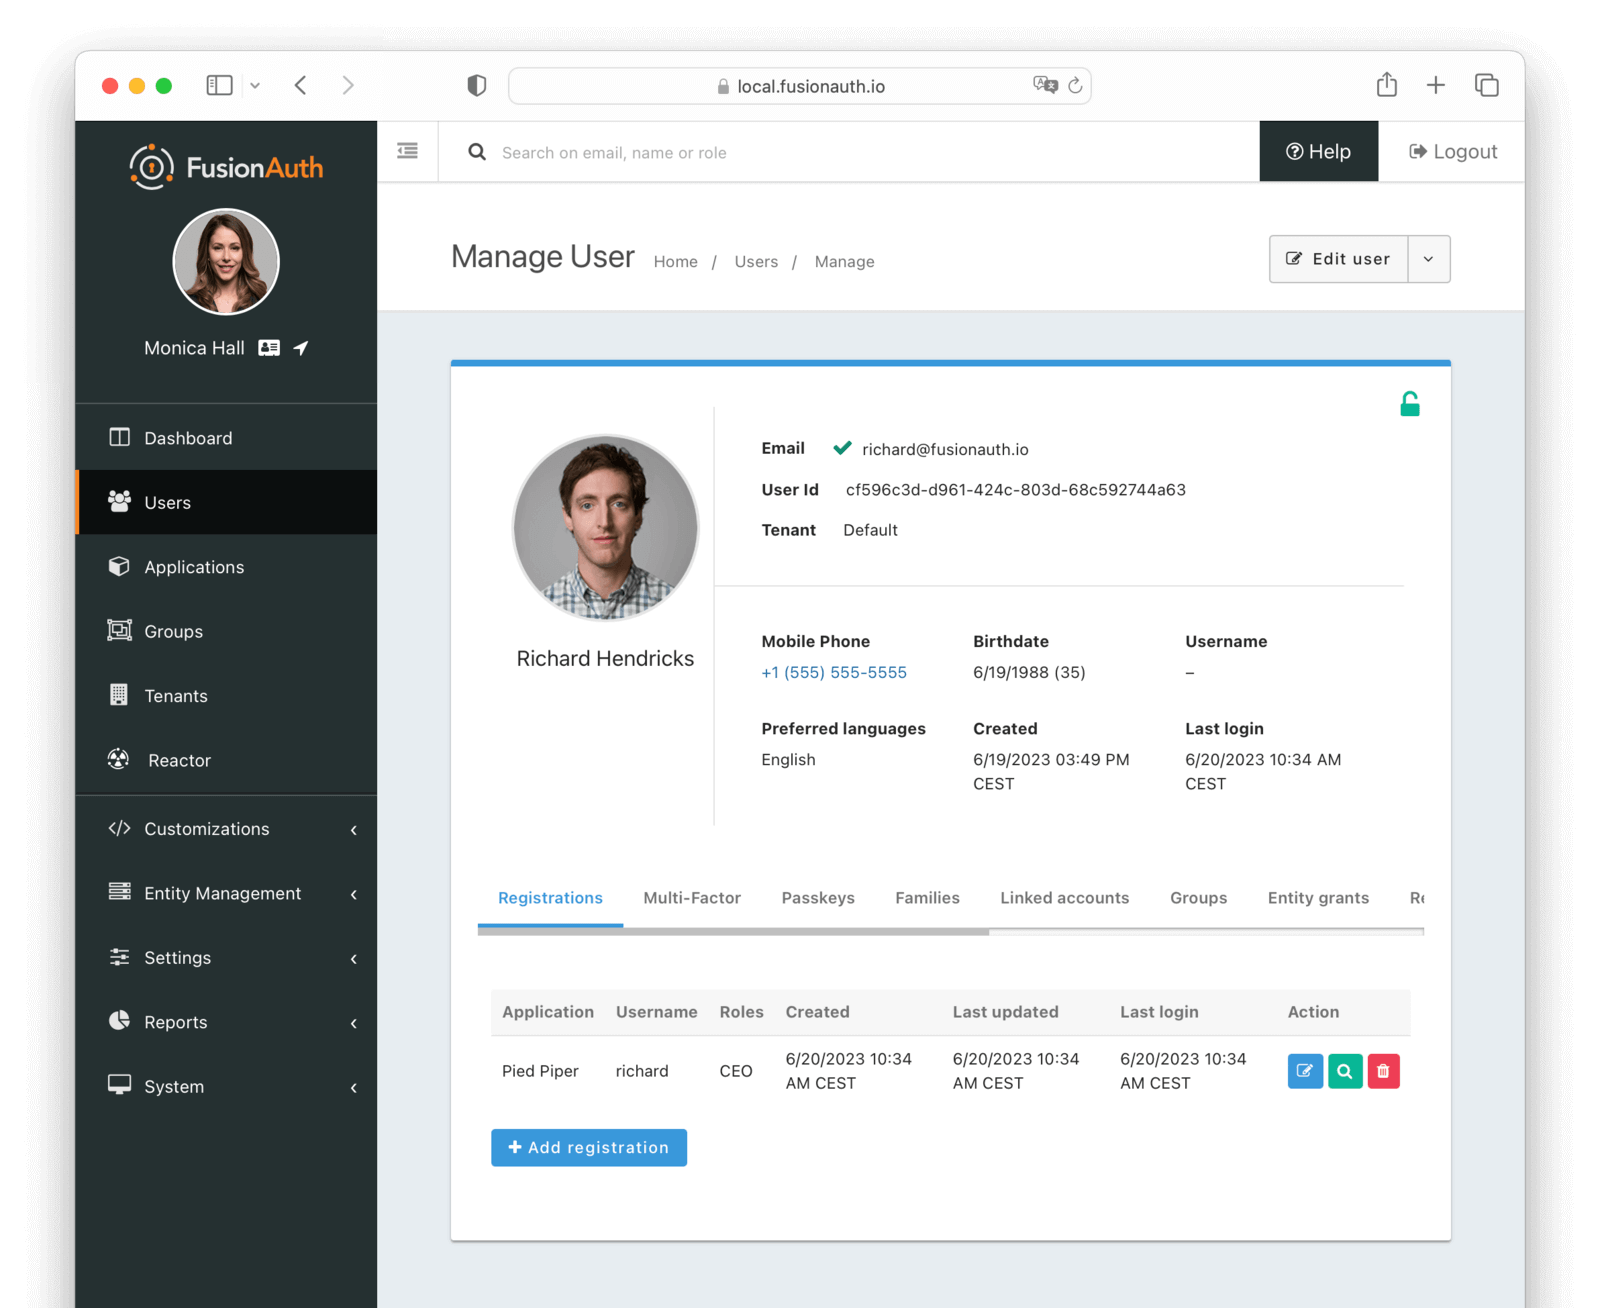
#### Table Columns
<APIBlock>
<APIField name="Application" required>
The application to which this registration belongs.
</APIField>
<APIField name="Username" optional>
The username of the user for this application. This username cannot be used to log in. It is for display purposes only.
</APIField>
<APIField name="Roles" optional>
The roles assigned to the user on the application.
</APIField>
<APIField name="Created">
The date and time this registration was created.
</APIField>
<APIField name="Last updated">
The date and time this registration was last updated.
</APIField>
<APIField name="Last login">
The date and time that the user last logged into the application for this registration.
</APIField>
<APIField name="Action">
The action to take on this registration.
The available actions are:
* <Icon name="edit" /> Edit the registration
* <Icon name="fa-search" /> View the registration
* <Icon name="trash" /> Delete the registration
</APIField>
</APIBlock>
### Multi-Factor
The multi-factor tab allows you to view and remove the multi-factor authentication settings for a user.
Learn more about [Multi-Factor Authentication (MFA)](/docs/lifecycle/authenticate-users/multi-factor-authentication).
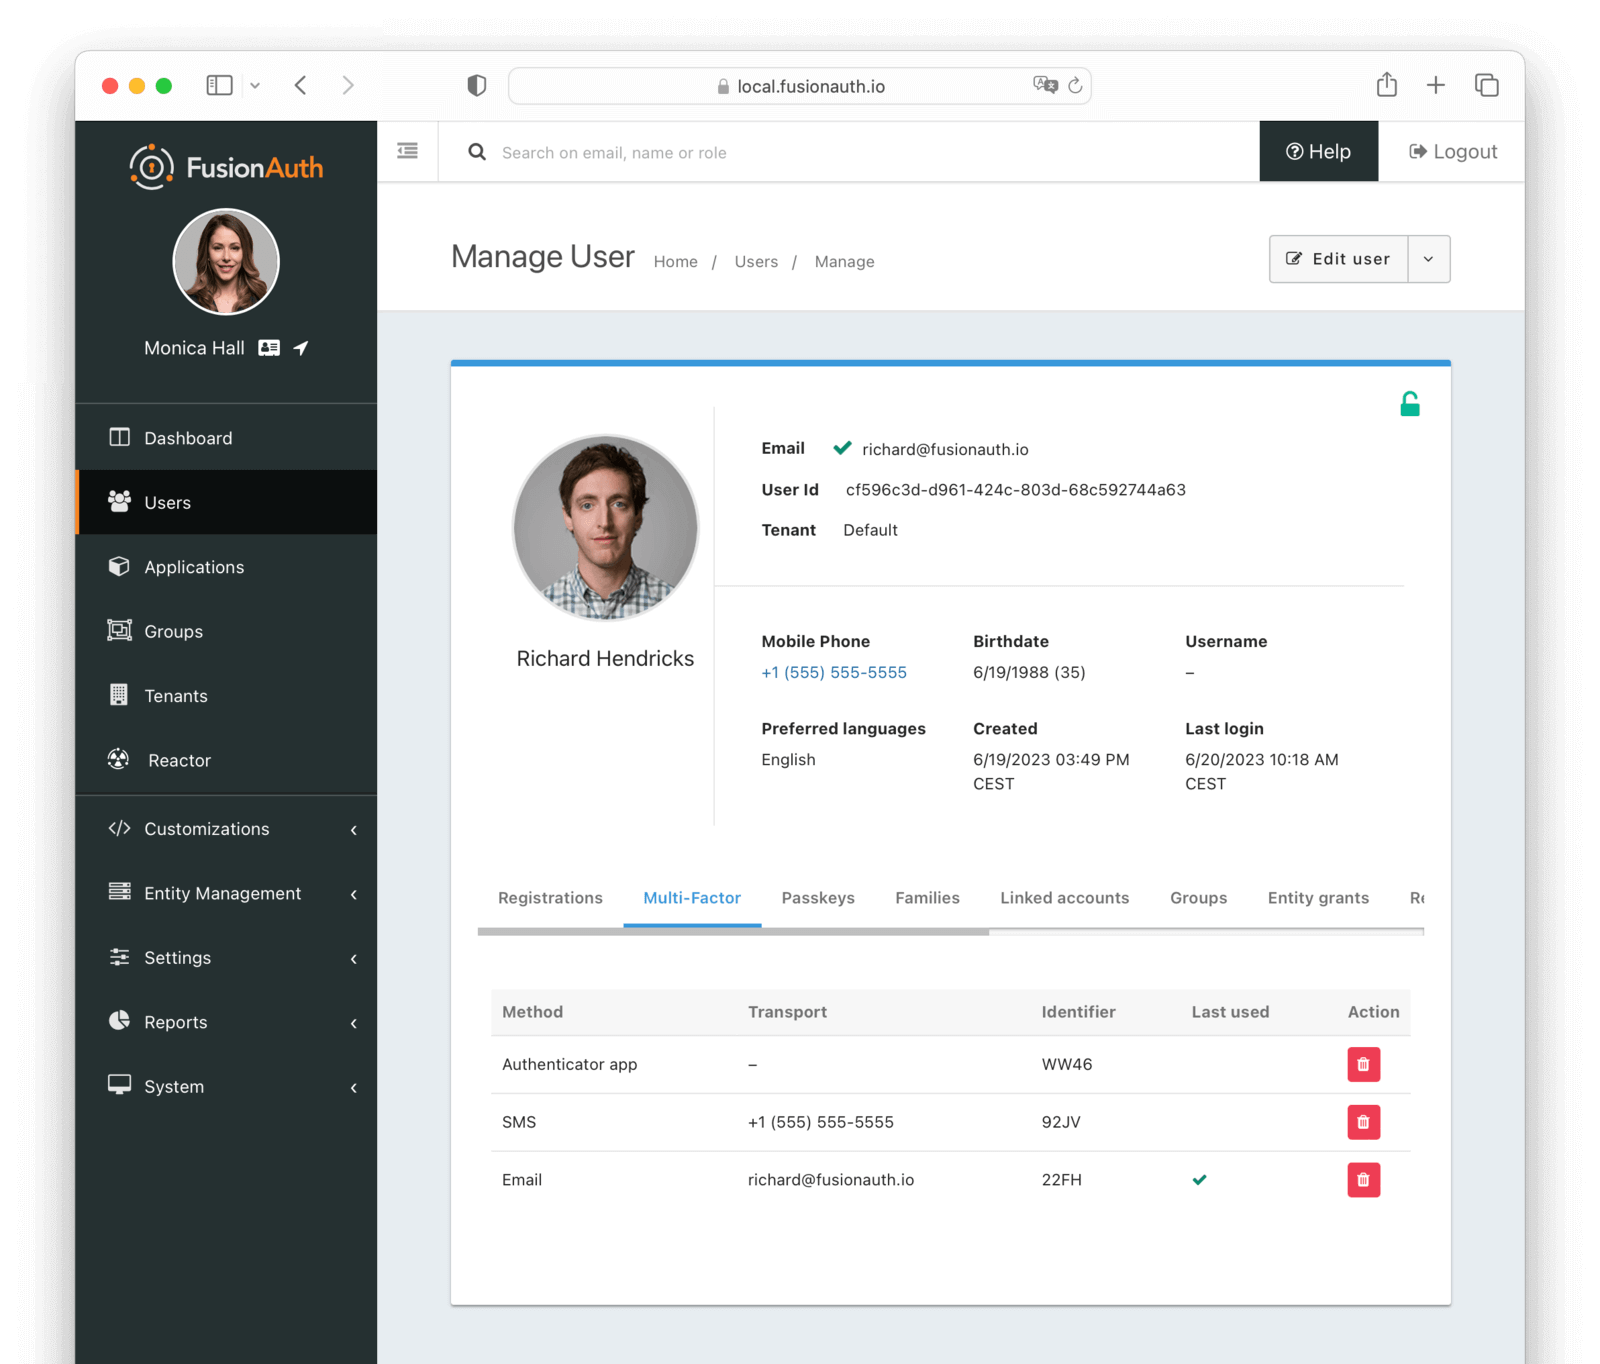
#### Table Columns
<APIBlock>
<APIField name="Method" required>
The method of multi-factor authentication:
* Authenticator App
* Email
* SMS
</APIField>
<APIField name="Transport" optional>
The receiver address used for the multi-factor authentication method. This address does not have to be the same as the <InlineField>Email</InlineField> or <InlineField>Mobile phone</InlineField> of the user. The value depends on the <InlineField>Method</InlineField>:
* Email address
* Phone number
</APIField>
<APIField name="Identifier">
The Id of the multi-factor authentication method.
</APIField>
<APIField name="Last used">
Indicates which multi-factor authentication method was last used.
</APIField>
<APIField name="Action">
You can disable multi-factor authentication for a user by clicking the <Icon name="trash" /> button.
</APIField>
</APIBlock>
### Passkeys
The passkeys tab allows you to manage the registered passkeys for a user.
Learn more about [WebAuthn and passkeys](/docs/lifecycle/authenticate-users/passwordless/webauthn-passkeys).
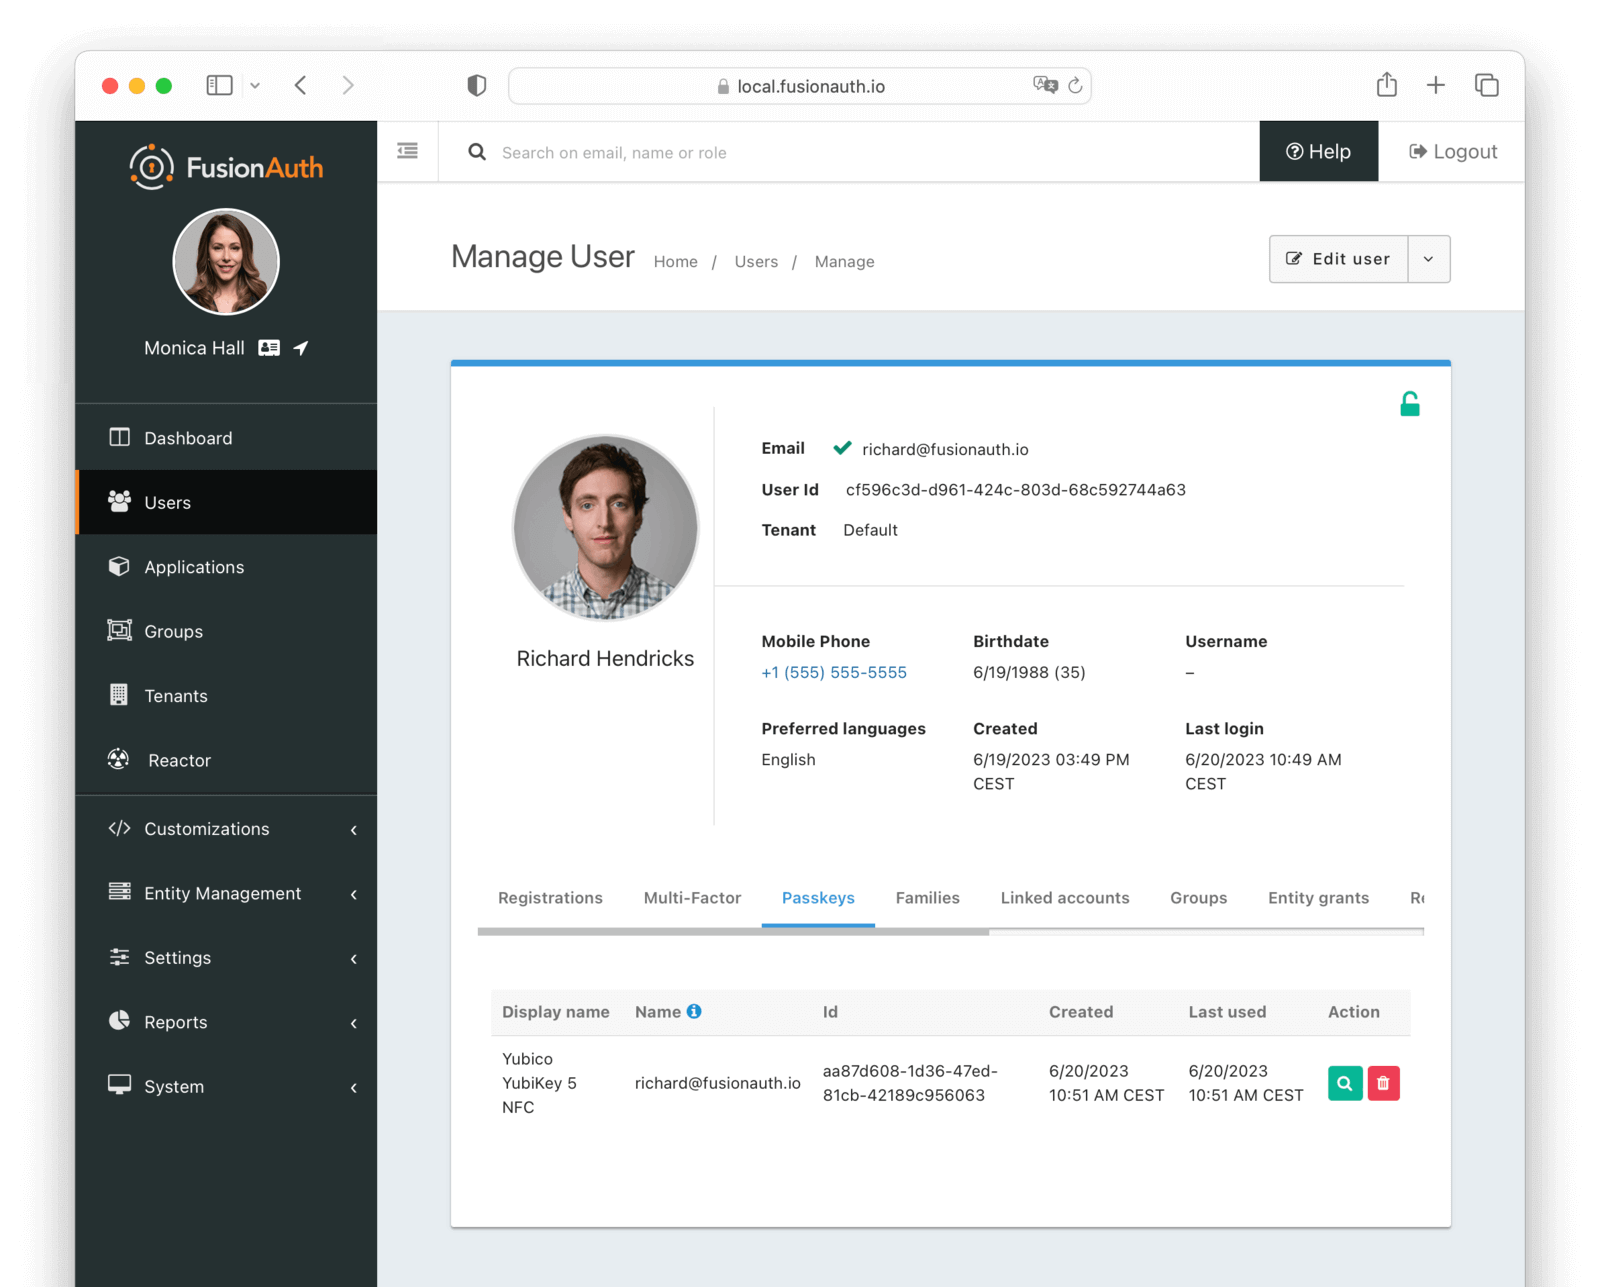
#### Table Columns
<APIBlock>
<APIField name="Display name" required>
The display name for the passkey selected during registration. The user should have selected this value.
</APIField>
<APIField name="Name" required>
A unique name meant to disambiguate passkeys with the same <InlineField>Display name</InlineField>.
</APIField>
<APIField name="Id" required>
The unique Id of the passkey.
</APIField>
<APIField name="Created">
The date and time when the passkey was created.
</APIField>
<APIField name="Last used">
The date and time when the passkey was last used.
</APIField>
<APIField name="Action">
You can view and delete a passkey by clicking the <Icon name="fa-search" /> or <Icon name="trash" /> buttons.
</APIField>
</APIBlock>
### Families
The families tab allows you to view the families to which a user belongs.
A family is a collection of users that are related to each other. For example, a family may consist of a parent and their children.
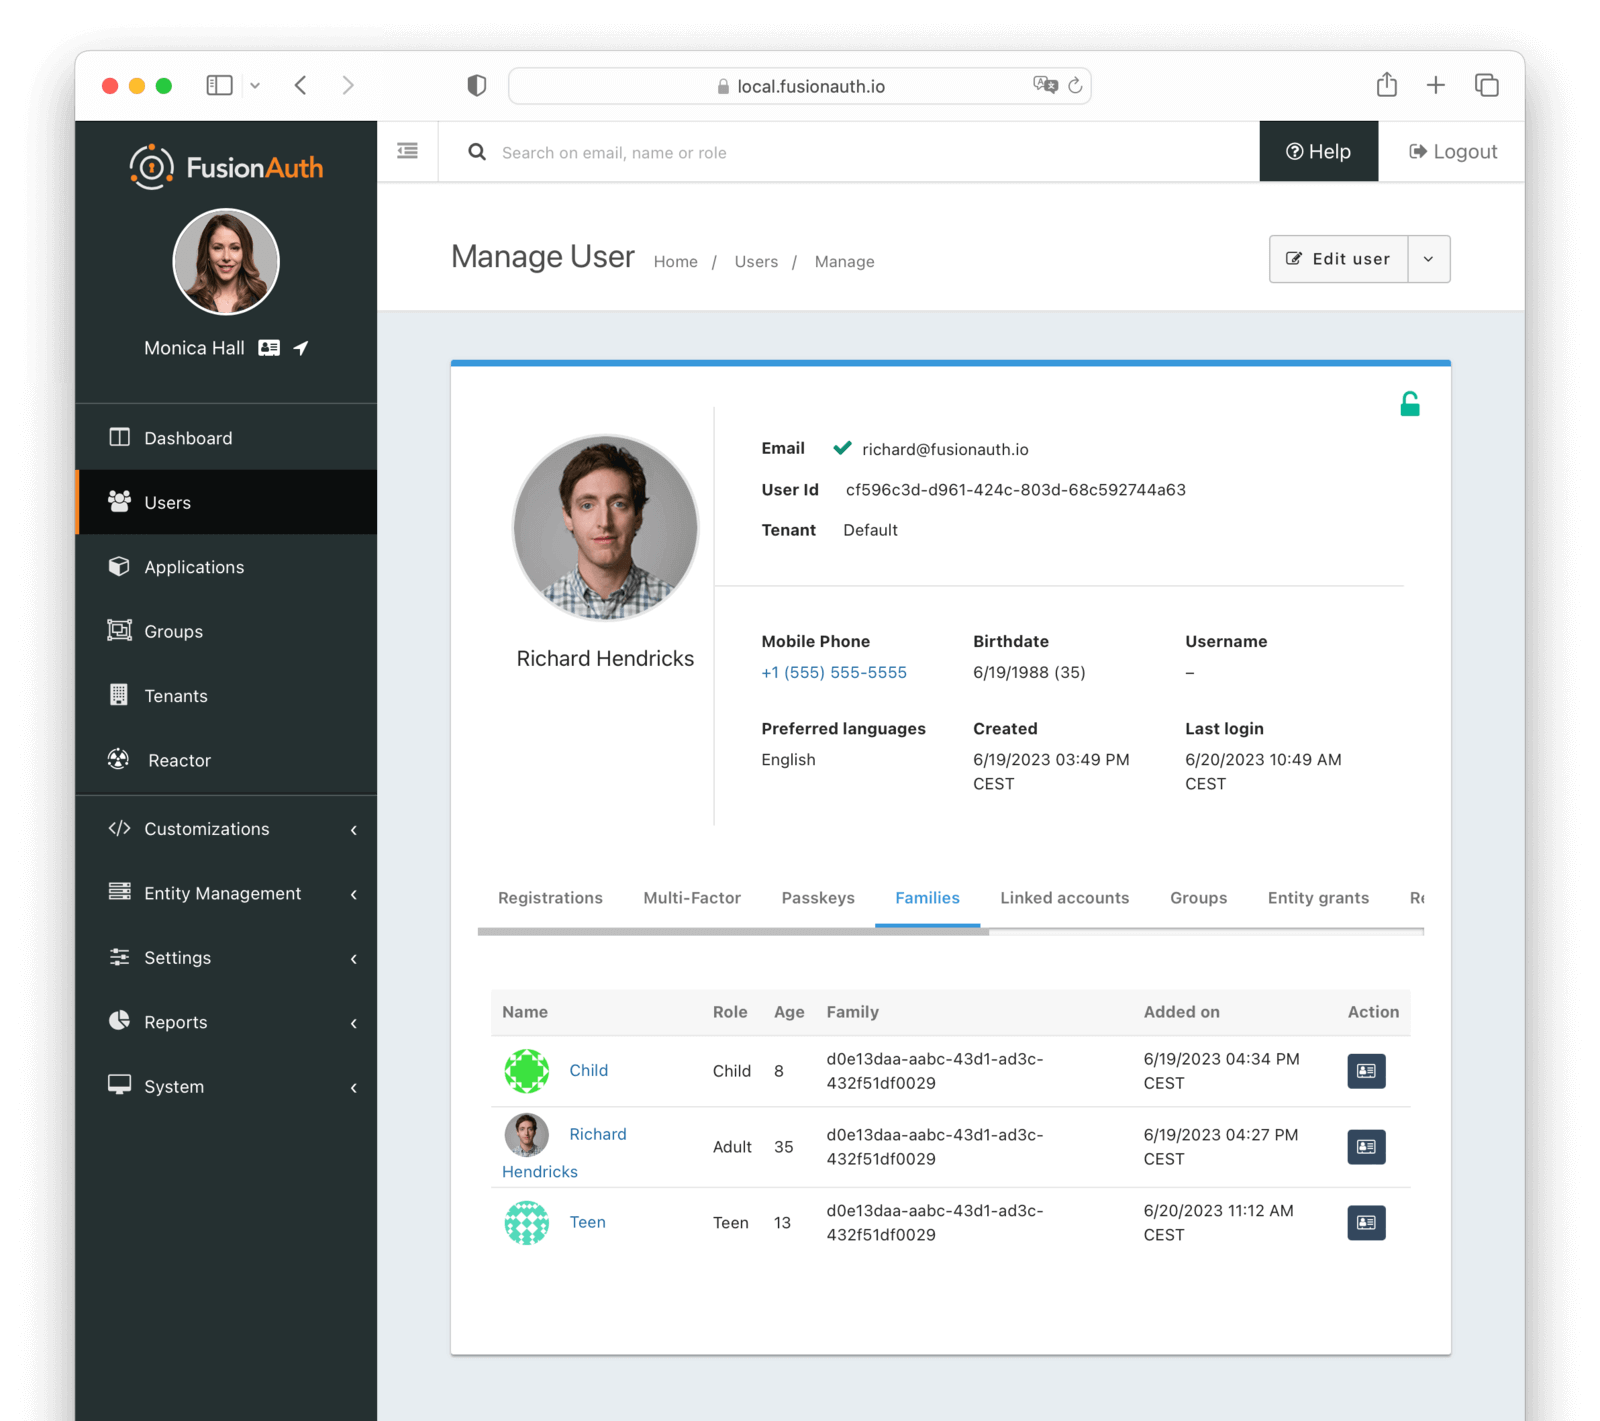
#### Table Columns
<APIBlock>
<APIField name="Name" required>
The avatar and name of the user in the family.
</APIField>
<APIField name="Role" optional>
The roles assigned to the user on the family. Possible values are:
* Adult
* Child
* Teen
</APIField>
<APIField name="Age" required>
The age of the user. This is calculated from the <InlineField>Birthdate</InlineField>.
</APIField>
<APIField name="Family">
The family Id to which this relationship belongs.
</APIField>
<APIField name="Added on">
The date and time when the user was added to the family.
</APIField>
<APIField name="Action">
You can navigate to the user's profile by clicking the <icon name="address-card" /> button.
</APIField>
</APIBlock>
### Linked accounts
The linked accounts tab allows you to manage the Identity Provider accounts which have been linked for this user.
Learn more about [Identity Providers](/docs/get-started/core-concepts/identity-providers/) and [Identity Provider links](/docs/lifecycle/authenticate-users/identity-providers/#linking-strategies).
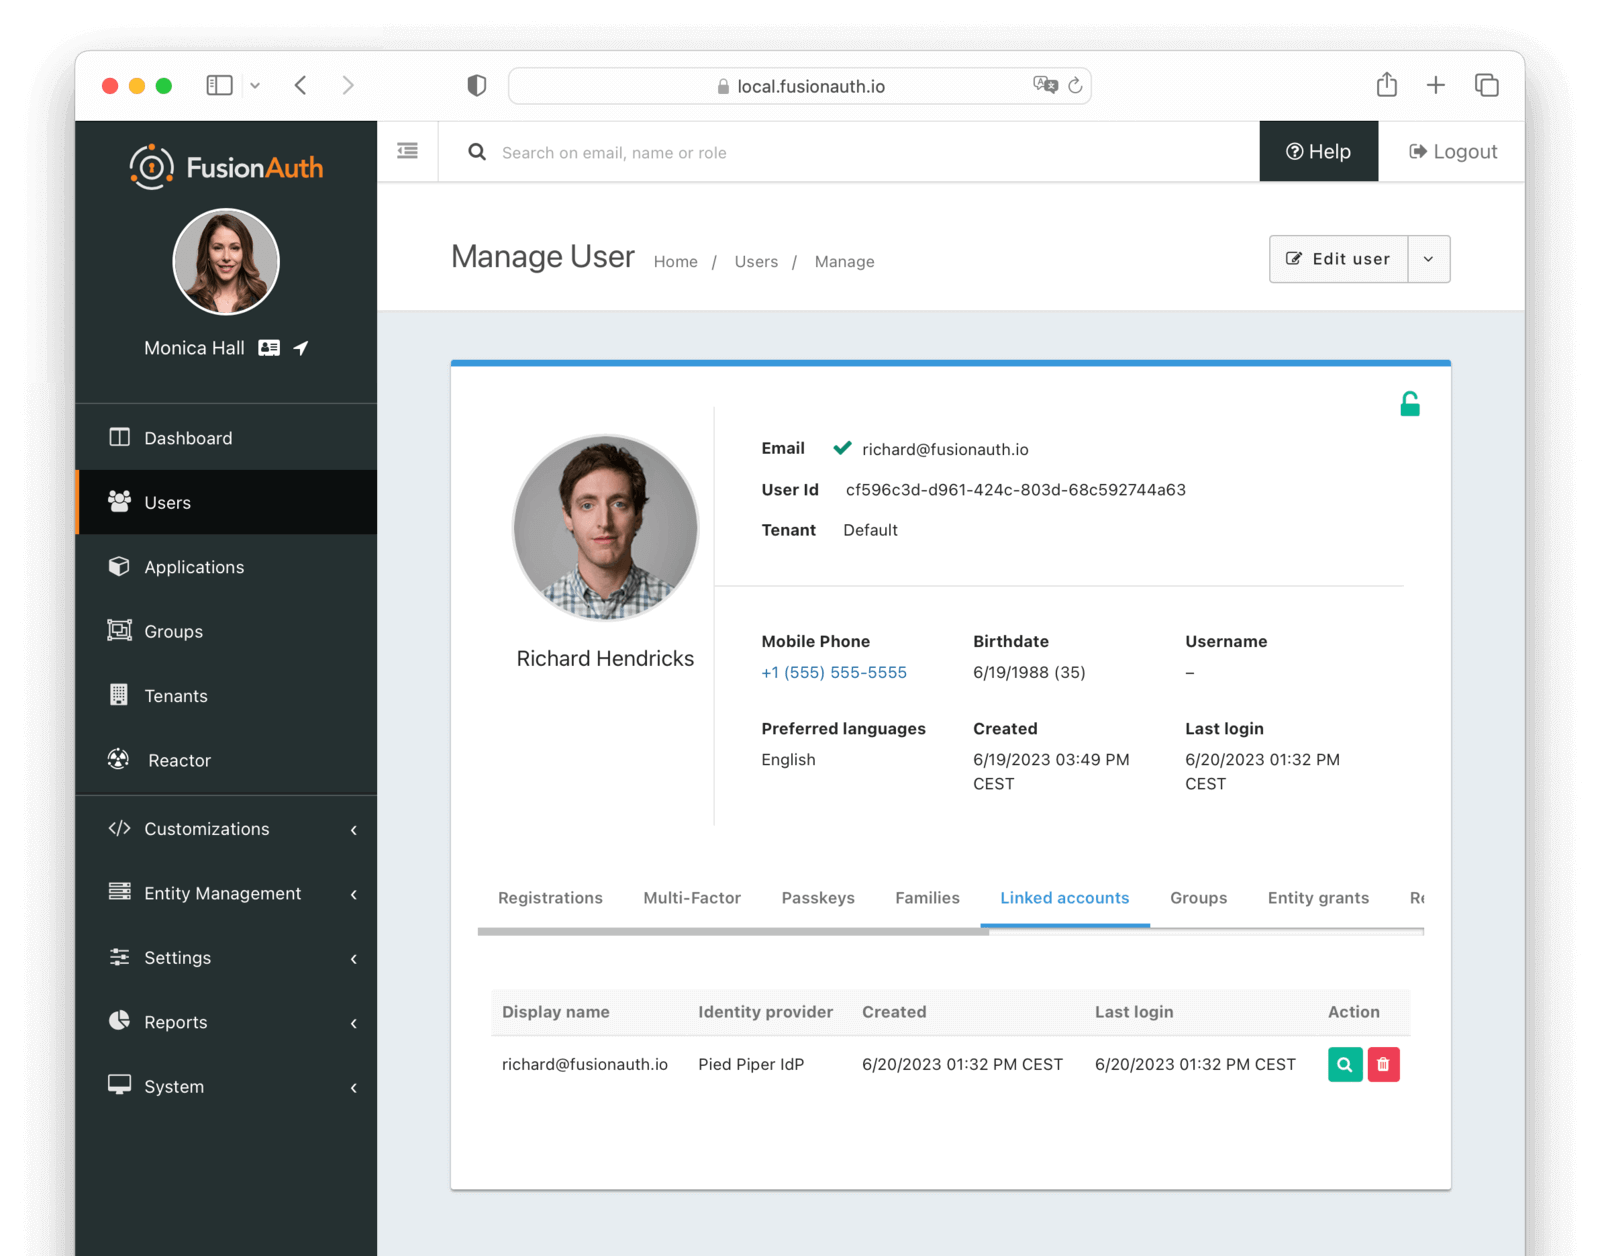
#### Table Columns
<APIBlock>
<APIField name="Display name" required>
The display name of the linked account.
</APIField>
<APIField name="Identity Provider" required>
The identity provider to which this linked account belongs.
</APIField>
<APIField name="Created">
The date and time this linked account was created.
</APIField>
<APIField name="Last login">
The date and time this linked account was last used to log in.
</APIField>
<APIField name="Action">
You can view and delete a linked account by clicking the <Icon name="fa-search"/> or <Icon name="trash"/> buttons.
</APIField>
</APIBlock>
### Groups
The groups tab allows you to manage the groups for a user.
Groups are a way to group users in FusionAuth.
They are tenant scoped.
They may have application roles associated with them.
Users with a registration for an application as well as a group membership will assume those roles upon login.
Group membership is boolean in nature.
A user is either in a group or out of a group.
An example use case is a forum moderators group.
The forum application can get the group memberships of any user.
If the user is a member of the moderators group, the application can provide a 'flag' button on the forum software.
Every user object contains an array of group memberships.
You can search for all users with a given group membership.
To get the group names of memberships for a user, you must use FusionAuth's proprietary APIs.
Group names are not included in the user object.
Learn more about [Groups](/docs/get-started/core-concepts/groups).
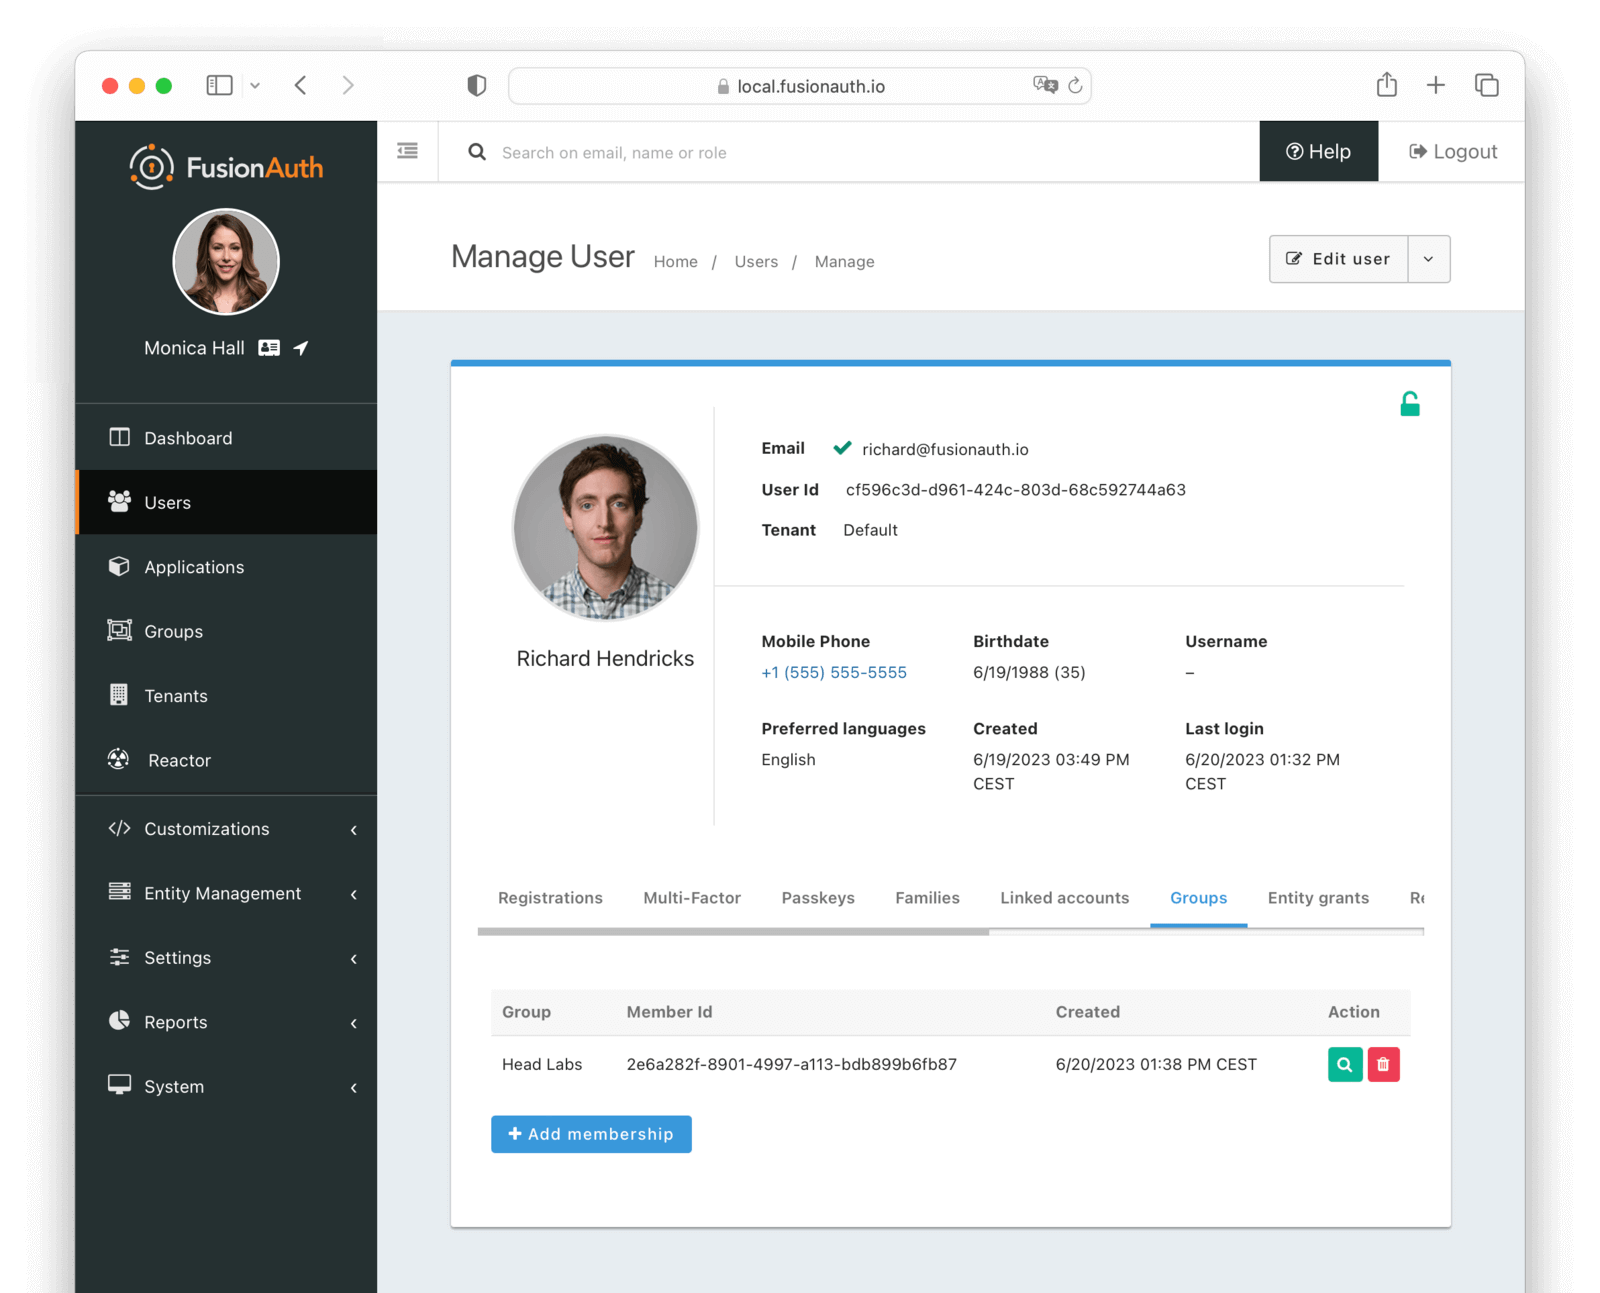
#### Table Columns
<APIBlock>
<APIField name="Group" required>
The group to which the user belongs.
</APIField>
<APIField name="Member Id" optional>
The unique Id of this group member. This is not the user Id, but a unique Id for the membership.
</APIField>
<APIField name="Created" required>
The date and time this membership was created.
</APIField>
<APIField name="Action">
You can view and delete a group membership by clicking the <Icon name="fa-search"/> or <Icon name="trash" /> buttons.
</APIField>
</APIBlock>
### Entity grants
The entity grants tab allows you to manage the entity grants for a user.
Entities and grants allow you to model fine-grained permissions in a flexible manner.
Entities are things, while grants are expressions of permissions granted to a user or thing to another thing.
Entities have configurable permissions.
Entities are a good fit when you have users that may need access to different assets which can't be easily modeled as applications.
An example use case which could be modeled using entities is GitHub organizations.
A user can belong to zero or more GitHub organizations and have different access levels in each one.
But a user logs in to GitHub, not to a GitHub organization.
Additionally, permissions will vary between organizations.
A user may be an admin in one GitHub organization and have read-only access in another one.
To implement this, you'd represent each GitHub organization as an entity in FusionAuth, and grant users permissions to each organization of which they are a member.
It is very common to have an interstitial page when using entities.
(This page is custom-built and is not provided by FusionAuth.)
The user logs in to an application, and is then presented with a list of entities to which they've been granted permissions.
The user selects an entity and then acts within the confines of that entity.
You can search for all users granted access to a given entity.
You can search for all entities for which a user has a grant.
To search for grants on a user, you must use FusionAuth's proprietary APIs.
Additionally, since entities cannot be 'logged into', they don't have any relationship with external identity providers.
Learn more about [Entities and Grants](/docs/get-started/core-concepts/entity-management).
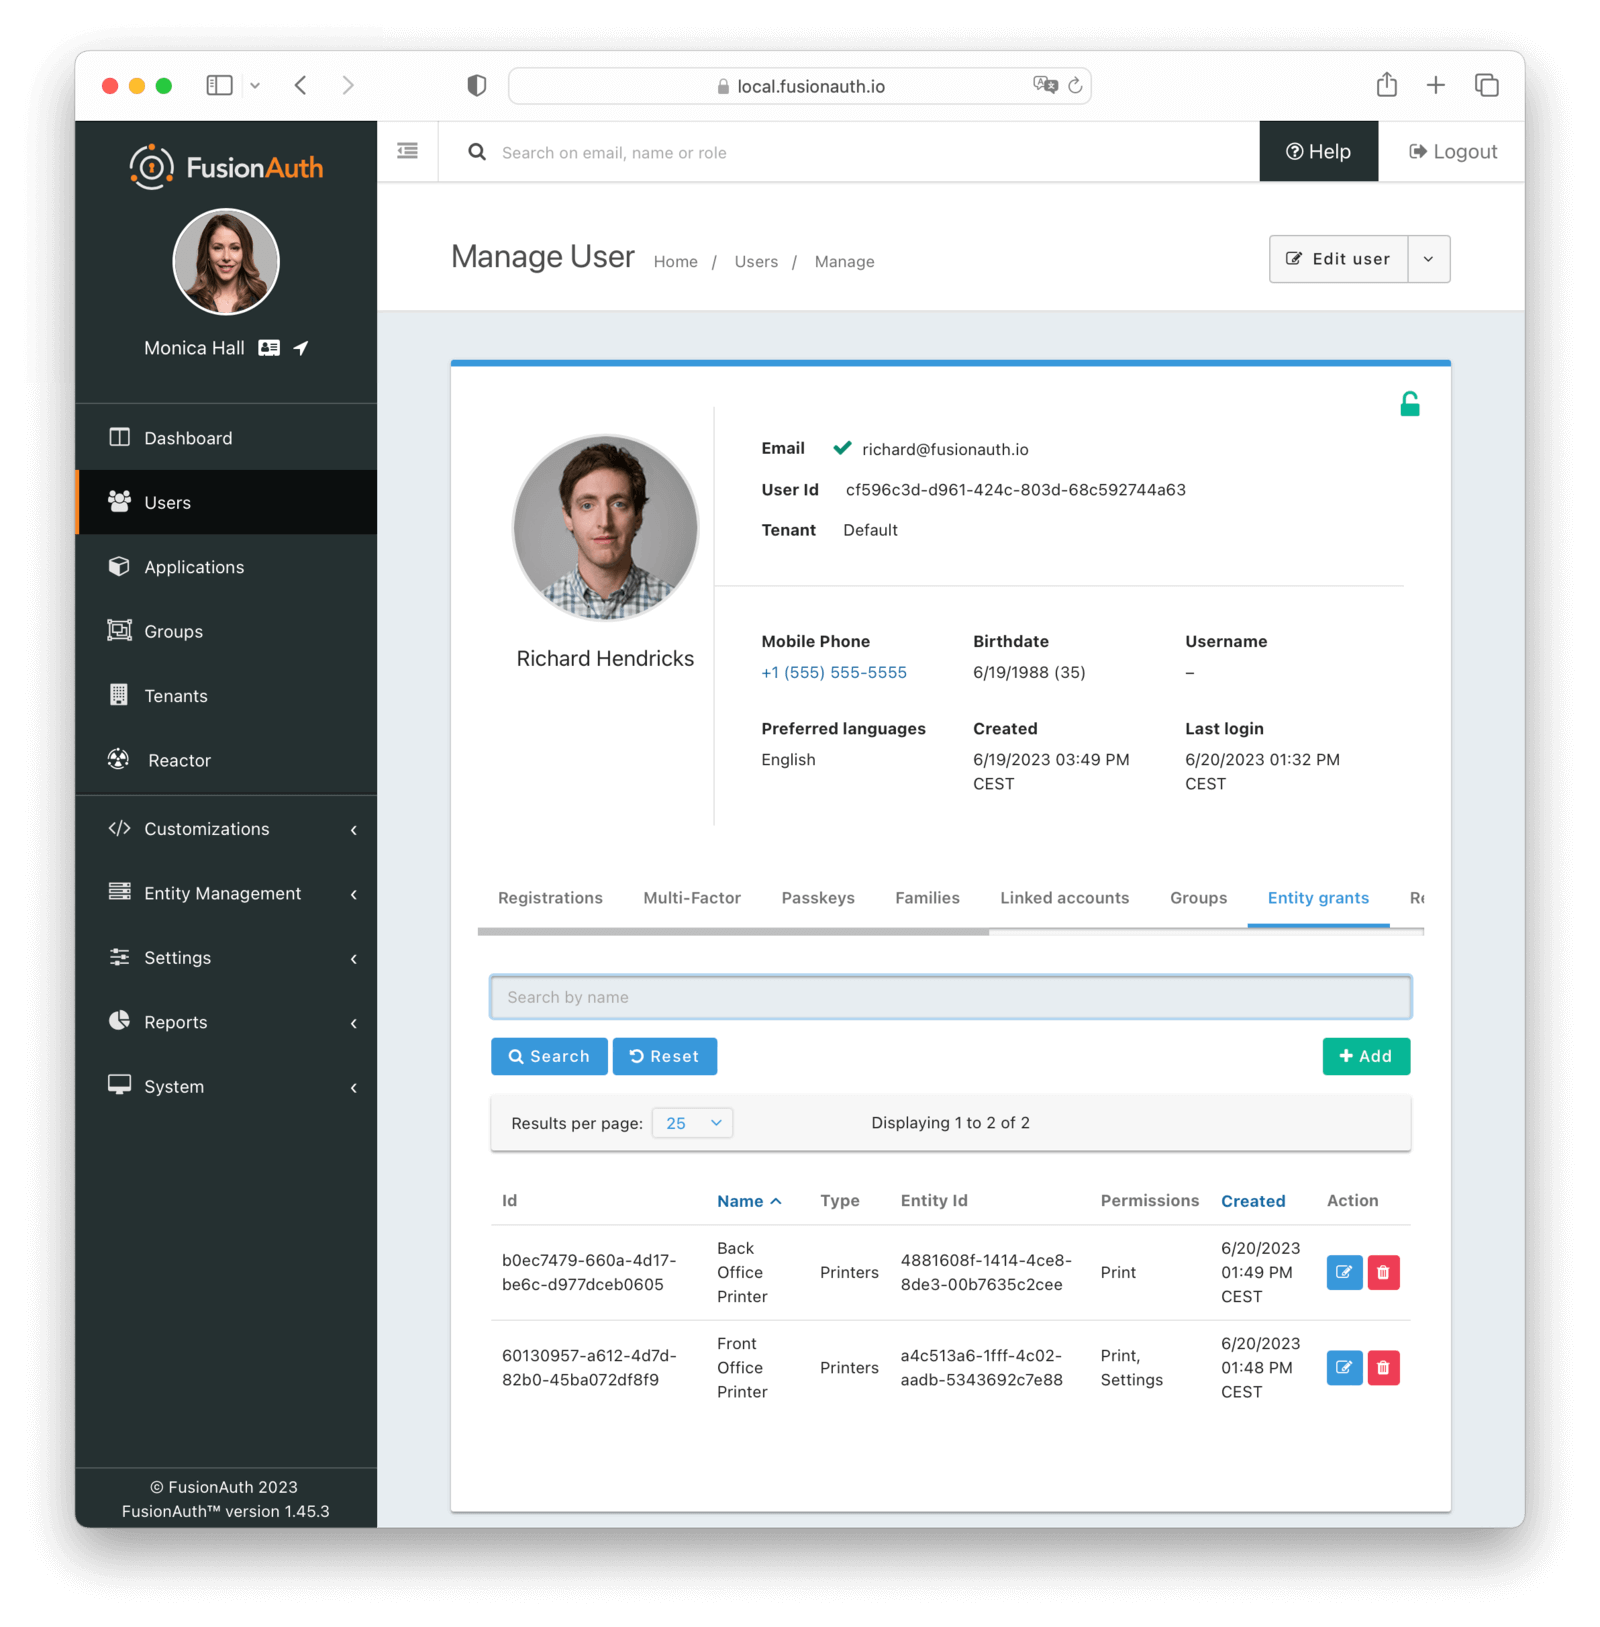
#### Table Columns
<APIBlock>
<APIField name="Id" required>
The Id of the grant.
</APIField>
<APIField name="Name" required>
The name of the entity.
</APIField>
<APIField name="Type" required>
The type of the entity.
</APIField>
<APIField name="Entity Id" required>
The Id of the target entity.
</APIField>
<APIField name="Permissions" required>
The set of permissions of this grant.
</APIField>
<APIField name="Created">
The date and time the grant was created.
</APIField>
<APIField name="Action">
You can edit and delete a grant by clicking the <Icon name="edit" /> or <Icon name="trash" /> buttons.
</APIField>
</APIBlock>
#### Entities Compared to Applications
Entities, grants, and permissions are analogous to applications, registrations, and roles, but you can't log into an entity.
Entities may also be useful if you have two or more applications in FusionAuth, but you want to group access in an orthogonal way while still allowing users to assume different roles.
Suppose you have a point of sales application and a scheduling application for your retail chain.
You have ten stores.
You want to allow employees to log in to each of these applications, but you want to limit them to access only stores where they are currently working.
But if they move between stores to cover for a shift or because of a transfer, you want to handle that use case as well.
This means you can't use tenants to model stores.
You could model the point of sales and scheduling applications as applications.
Each store would be an entity, and after the user has logged into an application, you'd show them the stores to which they'd have access.
You could also provide different roles in different stores.
The scheduling software could know that Richard would have access to the scheduling application as a manager for store A, but only as an employee for store B.
If you were to model this using only applications, you'd have to have twenty applications in FusionAuth (two for each store) and keeping those configurations synchronized might be difficult.
And if you added more applications or stores, you'd face a combinatorial explosion of applications.
### Recent logins
The recent logins tab allows you to view the recent logins for a user. This includes when the user logged in, the IP address, and the application.
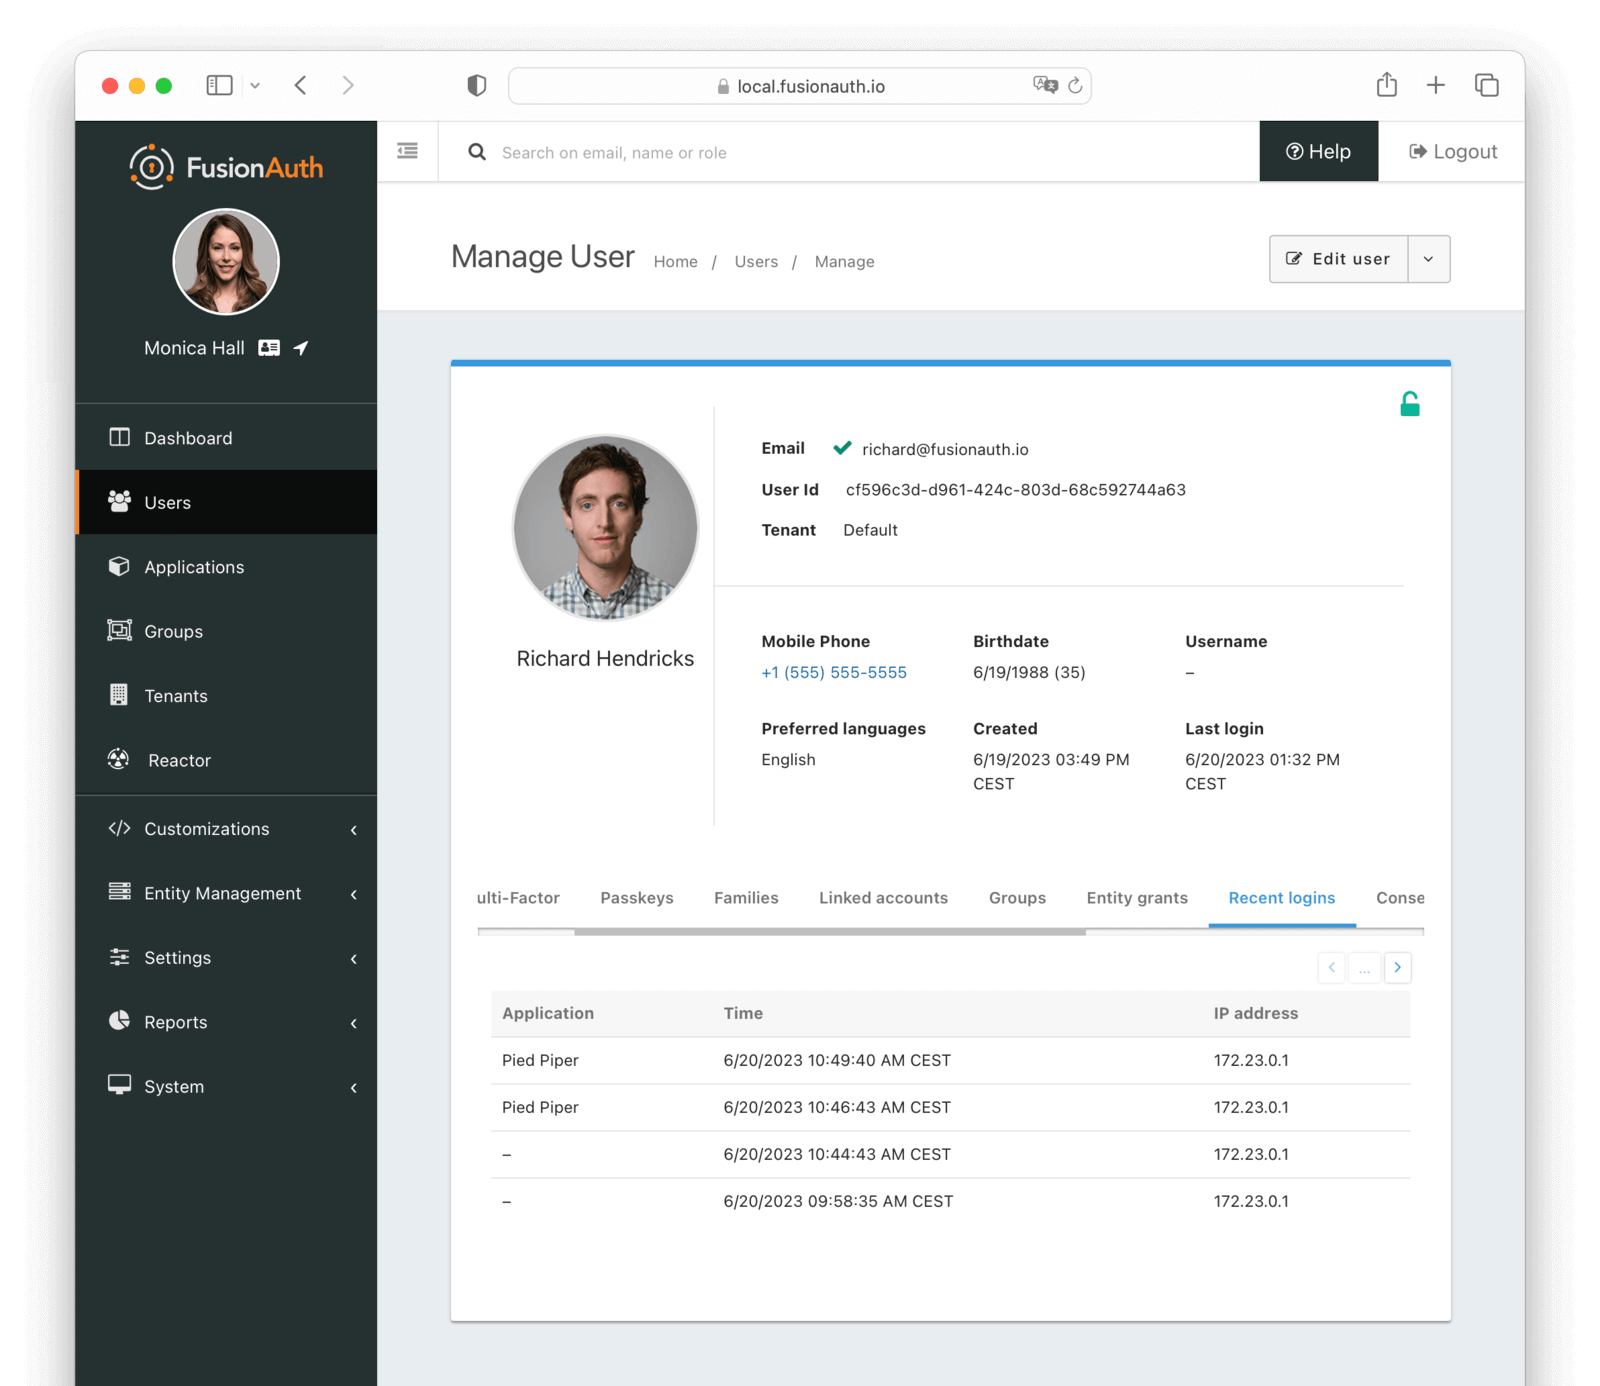
#### Table Columns
<APIBlock>
<APIField name="Application" required>
The application the user logged in to. If `-`, the user logged in to the tenant, but not to a specific application. This can occur when no application Id is provided, or if the user is not registered for the application.
</APIField>
<APIField name="Time">
The date and time when the login occurred.
</APIField>
<APIField name="IP Address" required>
The recorded IP address for this login record.
</APIField>
</APIBlock>
### Consent
The consent tab allows you to manage the consent for a user.
A FusionAuth consent is a definition of a permission that can be given to a user. At a minimum a consent has a name, and defines the minimum age of self-consent. A consent can then be granted to a user from a family member, or optionally, a user may self-consent if they meet the minimum age defined by the consent.
Learn more about [Family API with Consents](/blog/2023/06/13/modeling-family-and-consents).
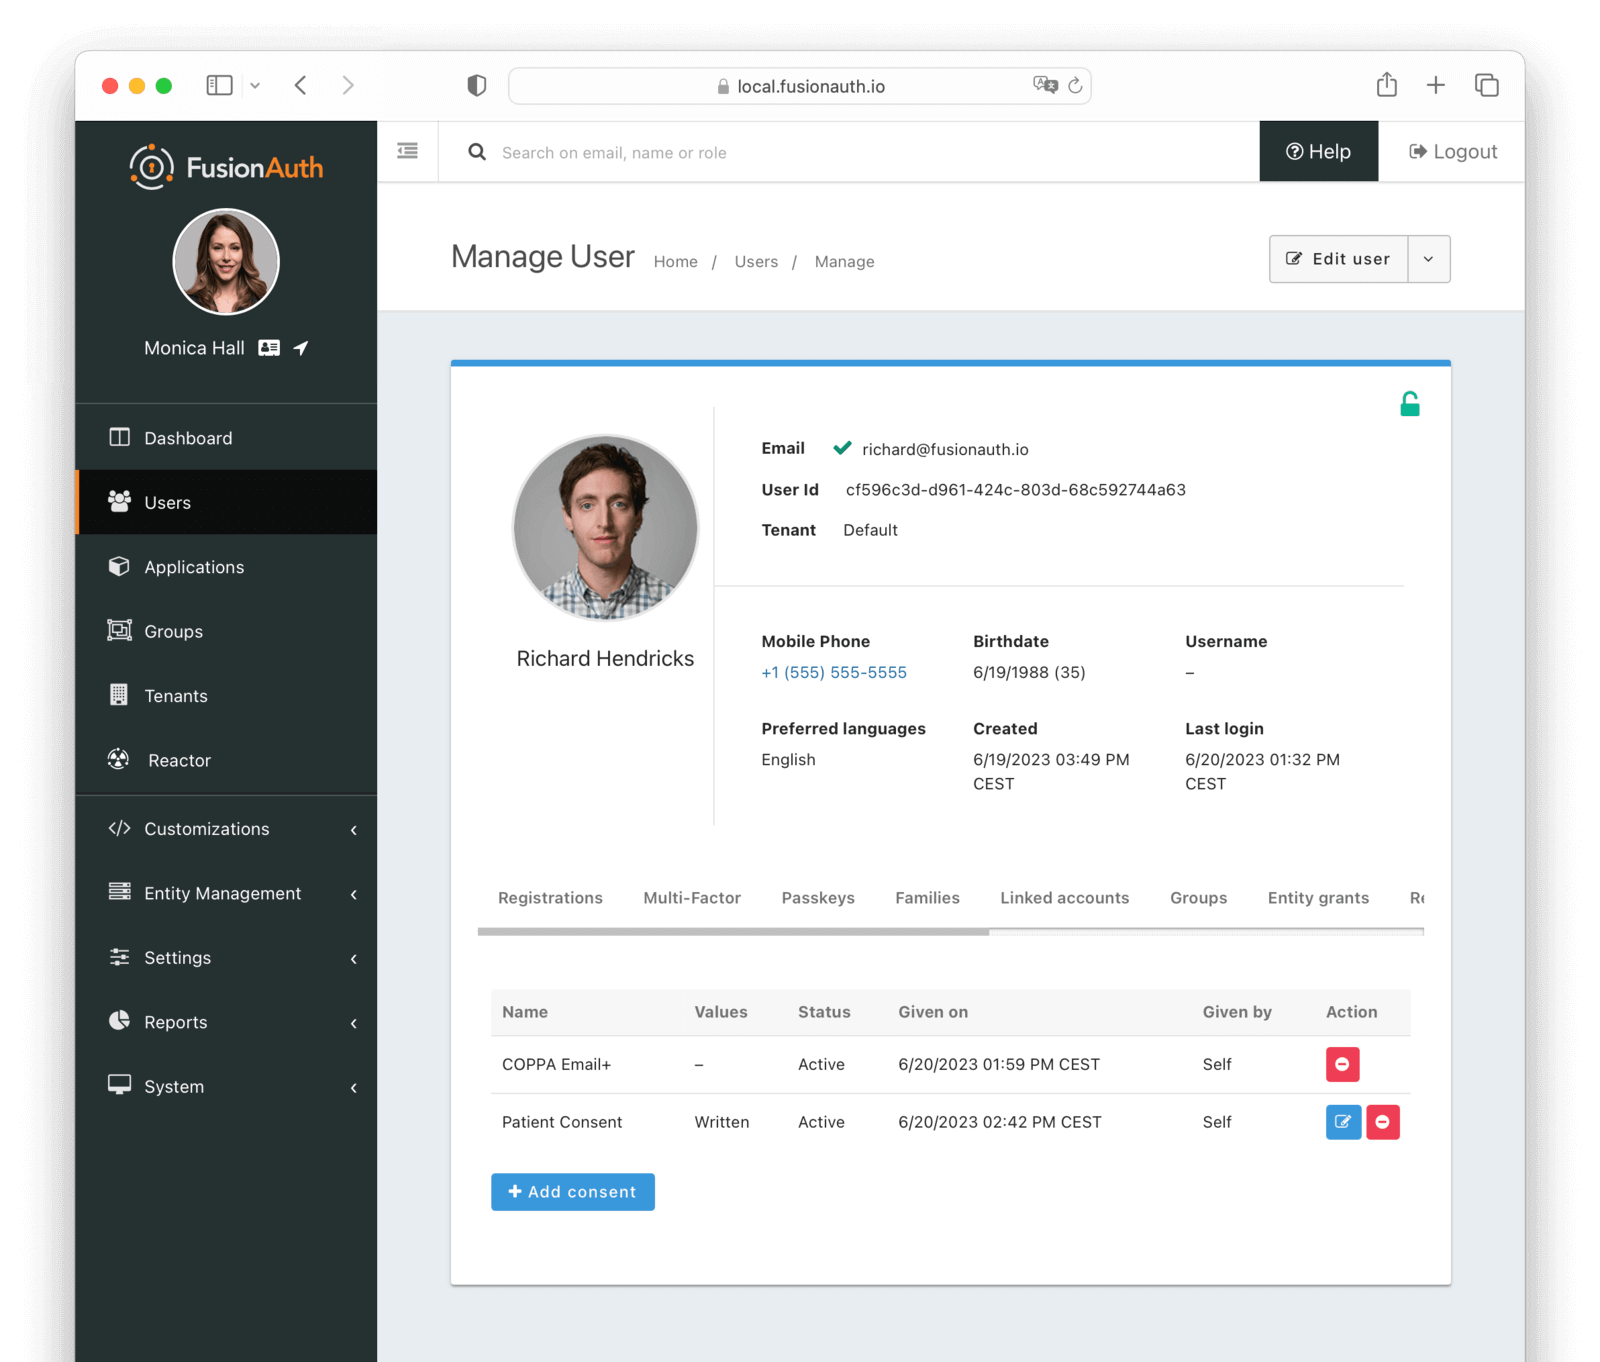
#### Table Columns
<APIBlock>
<APIField name="Name" required>
The name of the consent.
</APIField>
<APIField name="Values" required>
The values of the consent.
</APIField>
<APIField name="Status" required>
The status of the consent.
</APIField>
<APIField name="Given on">
The date and time this consent was given.
</APIField>
<APIField name="Given by" required>
The Id of the user who gave this consent.
</APIField>
<APIField name="Action">
You can edit and revoke a consent by clicking the <Icon name="edit" /> or <Icon name="minus-circle-red" /> buttons.
</APIField>
</APIBlock>
### Sessions
Users have sessions in FusionAuth. Sessions are represented by refresh tokens. Their lifetime is controlled by the tenant or application refresh token settings.
These appear in the administrative user interface under the <Breadcrumb>Sessions</Breadcrumb> tab (you may need to scroll if your screen is small):
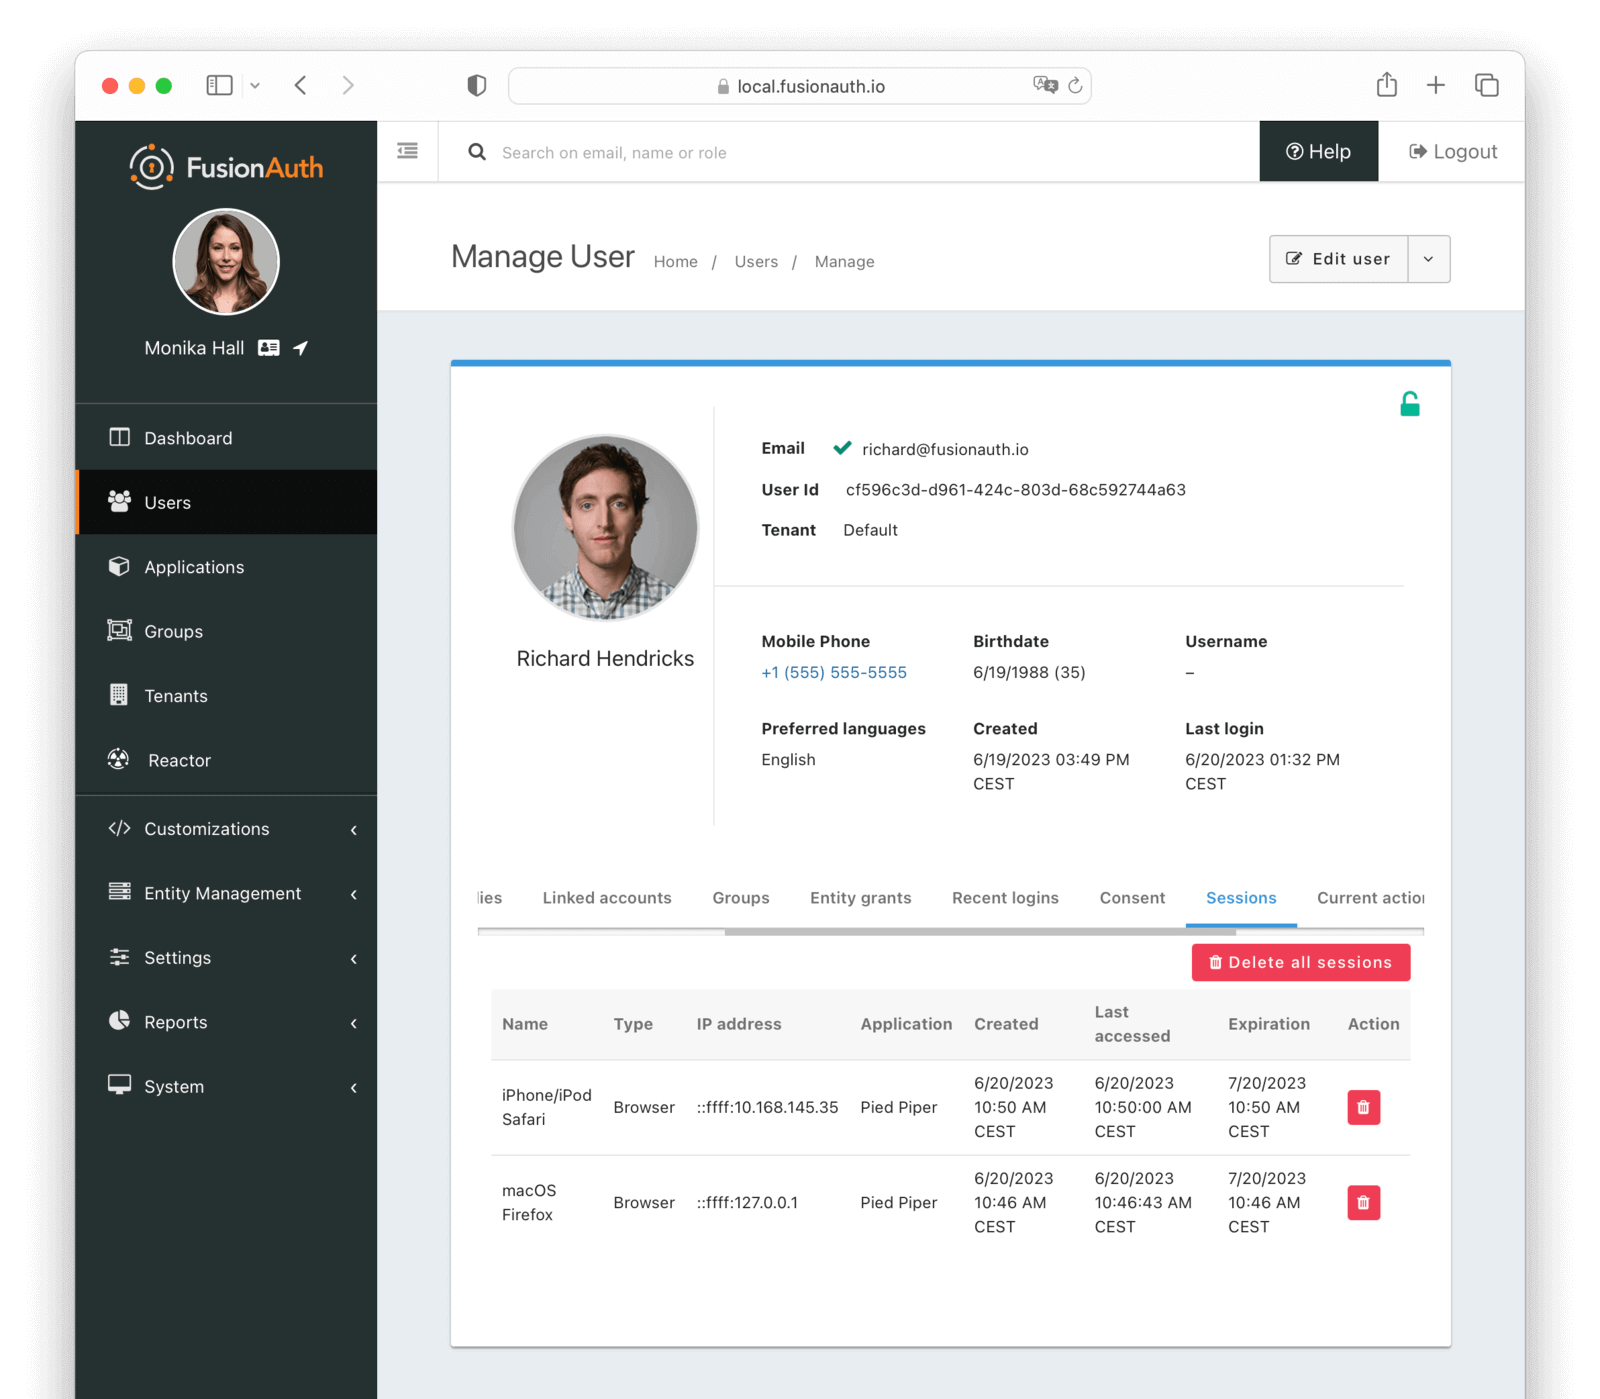
There are two primary types of sessions/tokens shown in this table:
* Normal refresh tokens.
* SSO token. While technically a refresh token, it is special and fully managed by FusionAuth. You may safely ignore this.
With <InlineUIElement>Delete all sessions</InlineUIElement> button, you can revoke all sessions for a user.
This is useful if you want to force a user to log in again.
[Learn more about sessions and logging out](/docs/lifecycle/authenticate-users/logout-session-management).
#### Table Columns
<APIBlock>
<APIField name="Name" required>
The name of the session.
</APIField>
<APIField name="Type" required>
The type of the session.
</APIField>
<APIField name="IP address" required>
The IP address of the client that initiated this session.
</APIField>
<APIField name="Application" required>
The application to which this session belongs.
</APIField>
<APIField name="Created">
The date and time this session was created.
</APIField>
<APIField name="Last Accessed">
The date and time this session was last accessed.
</APIField>
<APIField name="Expiration" required>
The date and time this session will expire.
</APIField>
<APIField name="Action">
You can revoke a session by clicking the <Icon name="trash" /> button.
</APIField>
</APIBlock>
### Current actions
The current actions tab allows you to view user actions that are currently in effect for this user. User actions can be used to flag a user, send emails and webhook notifications when they buy temporary access to a resource, or when they are temporarily locked out of their account.
See [Using FusionAuth User Actions](/blog/2023/04/20/using-user-actions) for more information about user Actions.
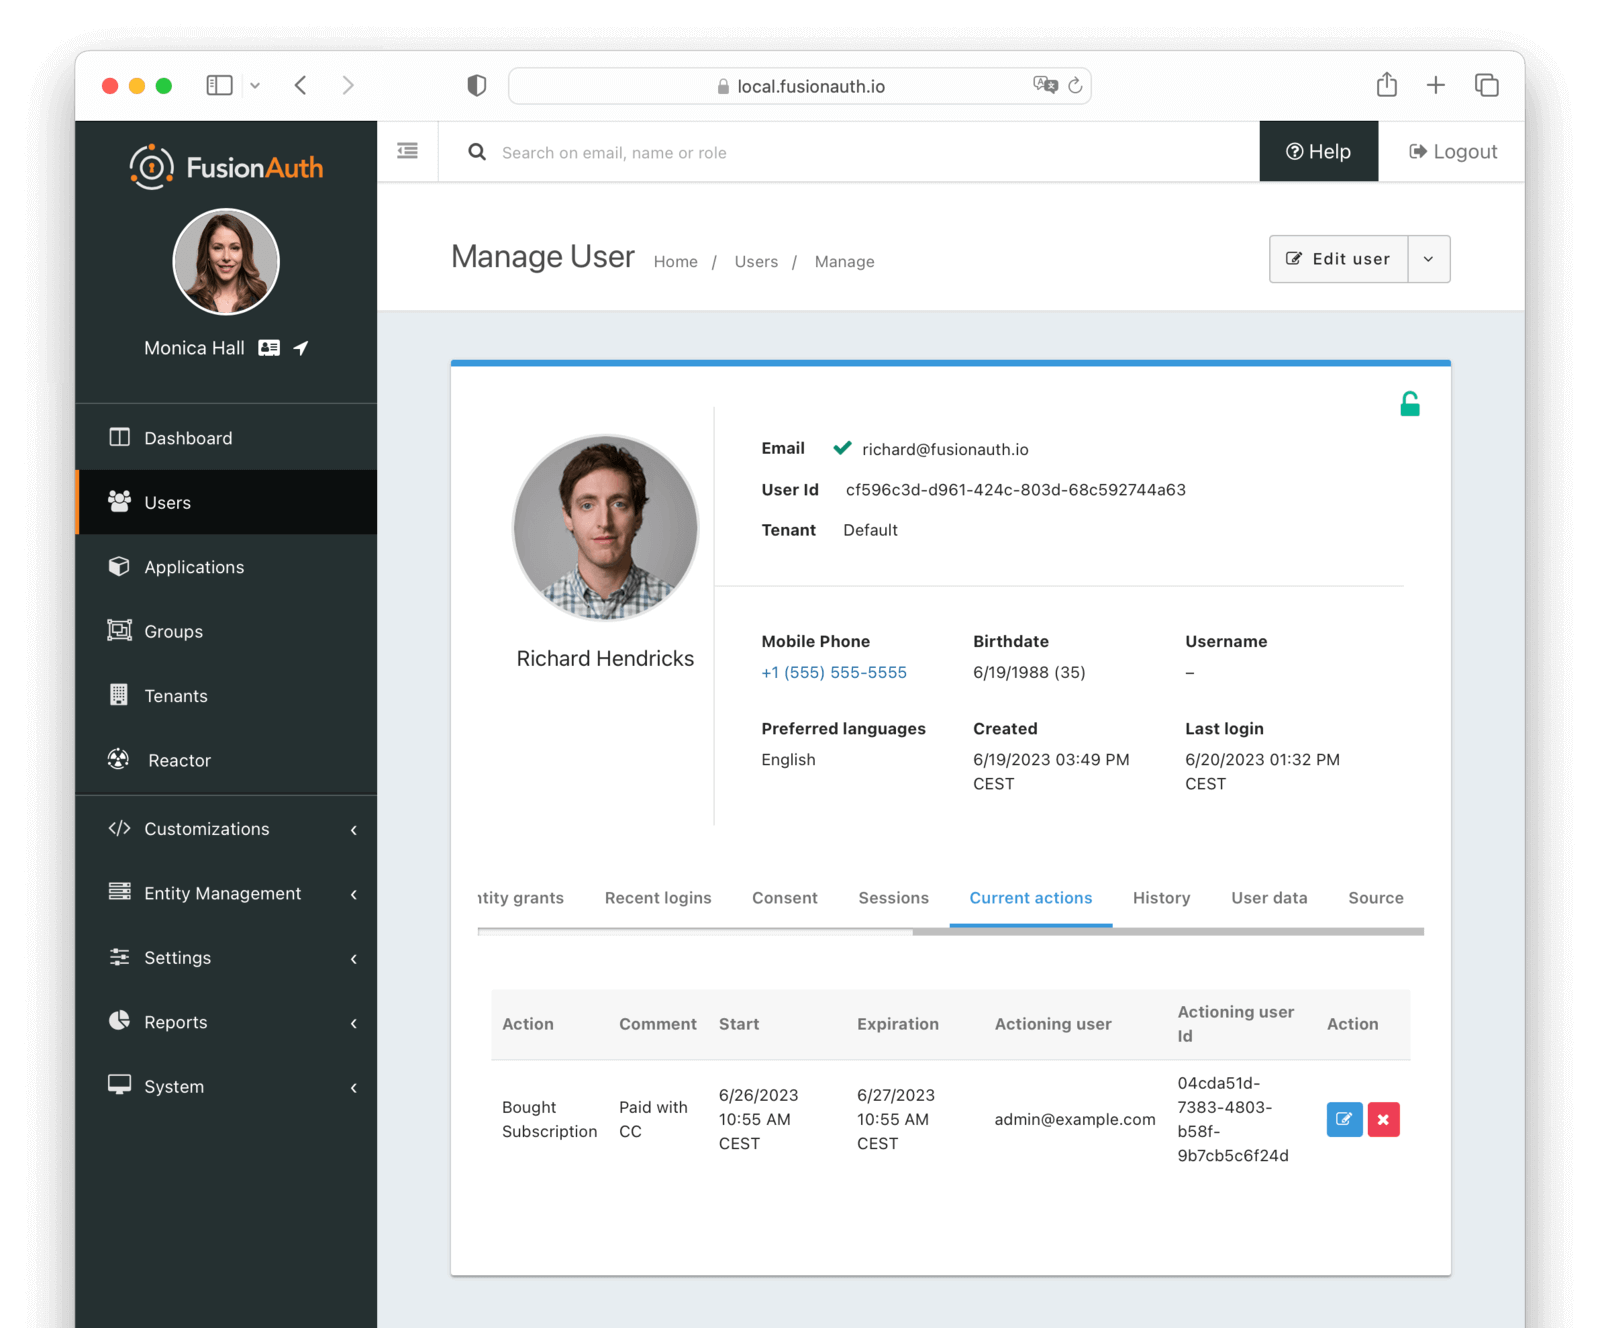
#### Table Columns
<APIBlock>
<APIField name="Action" required>
The action that is currently taken on the user. If a reason was provided, it will be appended to the action name.
</APIField>
<APIField name="Comment" required>
The comment left by the actioner.
</APIField>
<APIField name="Start" required>
The date and time this action was started.
</APIField>
<APIField name="Expiration" required>
The date and time this action will expire.
</APIField>
<APIField name="Actioning user" required>
The user that is taking the action on the user.
</APIField>
<APIField name="Actioning user id" required>
The Id of the user that is taking the action on the user.
</APIField>
<APIField name="Action">
You can modify and cancel an action by clicking the <Icon name="edit"/> or <Icon name="x" /> buttons.
</APIField>
</APIBlock>
### History
The history tab allows you to view expired user actions. Comments are also displayed here.
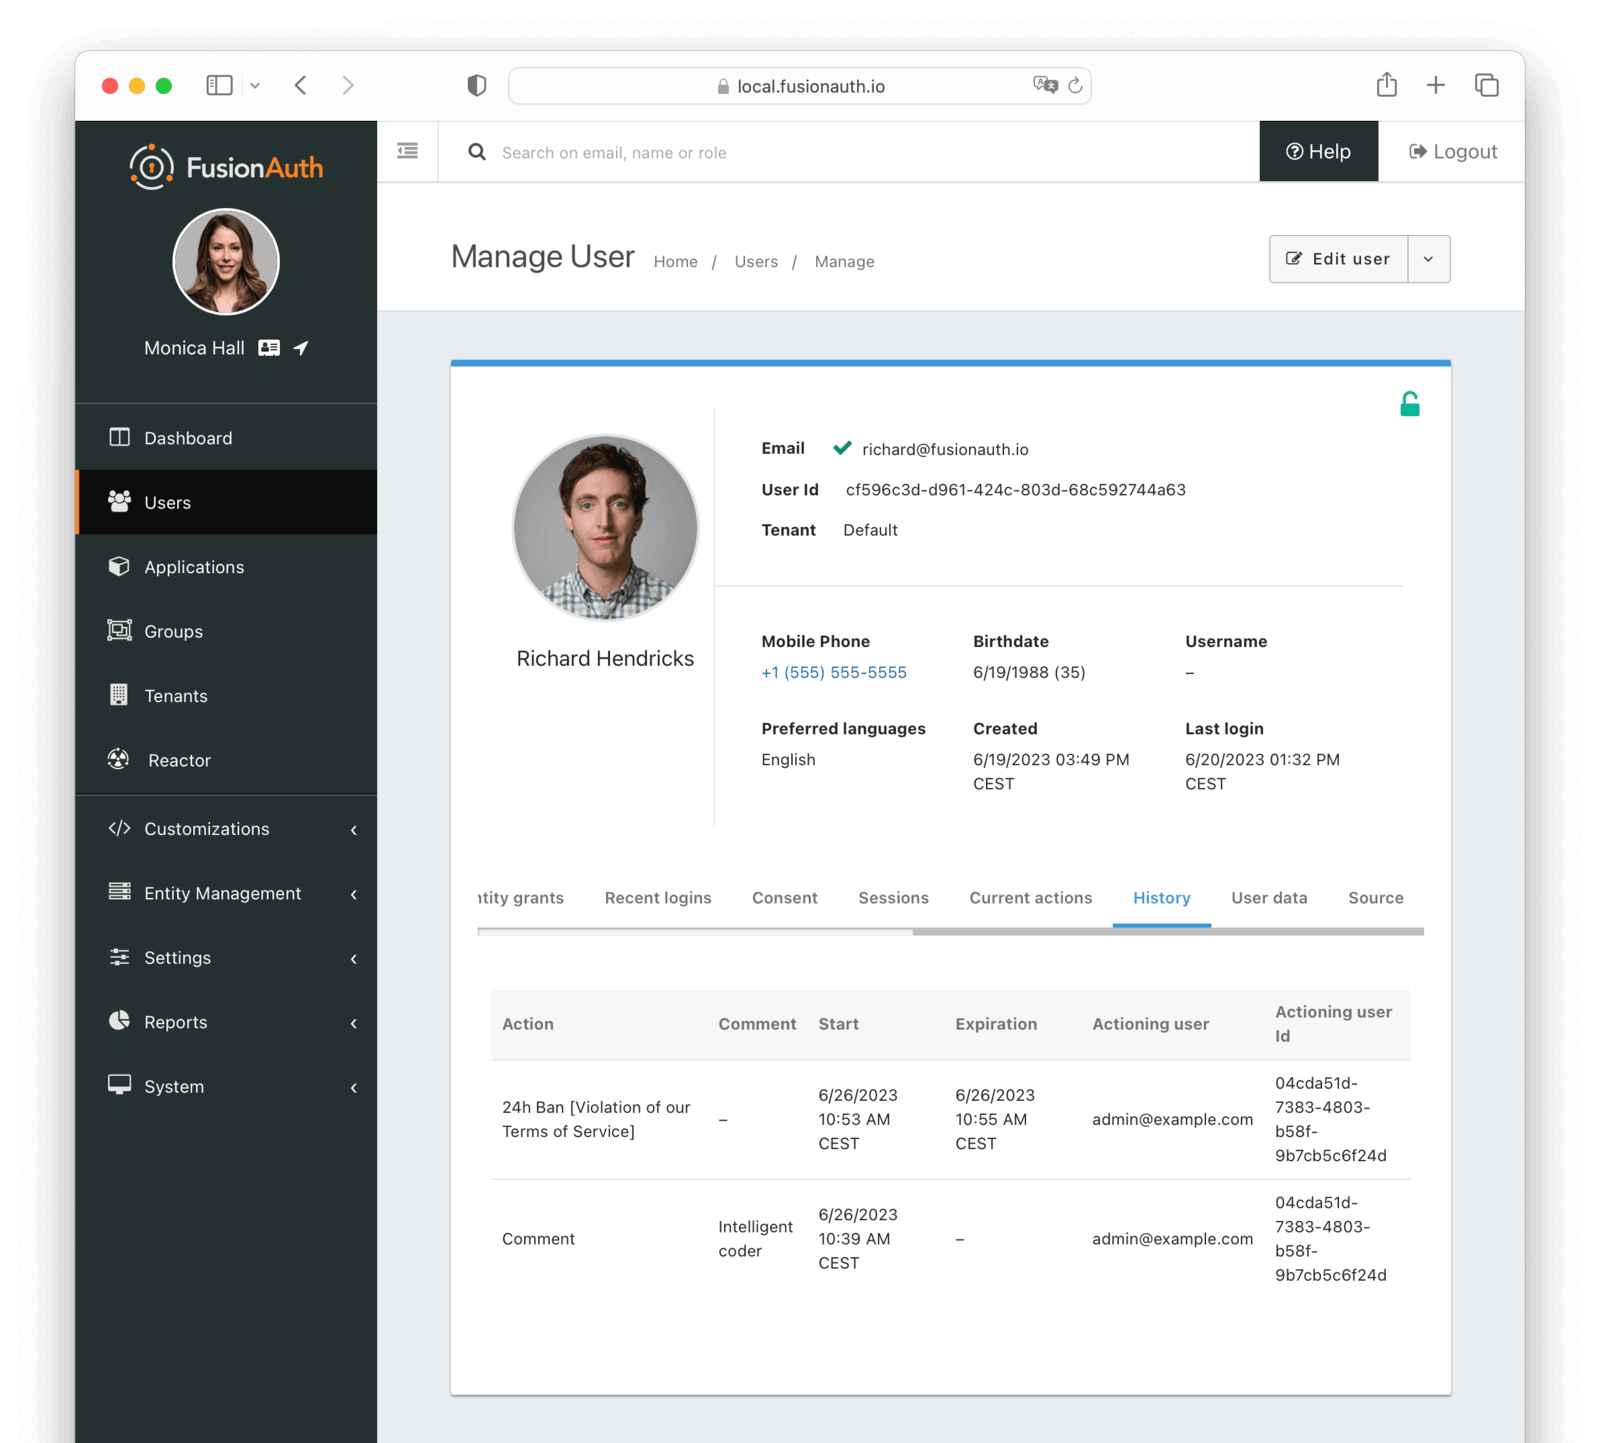
#### Table Columns
<APIBlock>
<APIField name="Action" required>
The action that was taken on the user. If a reason was provided, it will be appended to the action name.
</APIField>
<APIField name="Comment" required>
The comment left by the actioner.
</APIField>
<APIField name="Start" required>
The date and time this action was started.
</APIField>
<APIField name="Expiration" required>
The date and time this action expired.
</APIField>
<APIField name="Actioning user" required>
The user that was taking the action on the user.
</APIField>
<APIField name="Actioning user id" required>
The Id of the user that was taking the action on the user.
</APIField>
</APIBlock>
### User data
The user data tab allows you to view the user data for a user.
User data is a key value store that allows you to store arbitrary data about a user. This data is not used by FusionAuth, it is simply stored and returned when the user is retrieved. FusionAuth does not provide a UI for managing user data. It is intended to be used by your application utilizing the API.
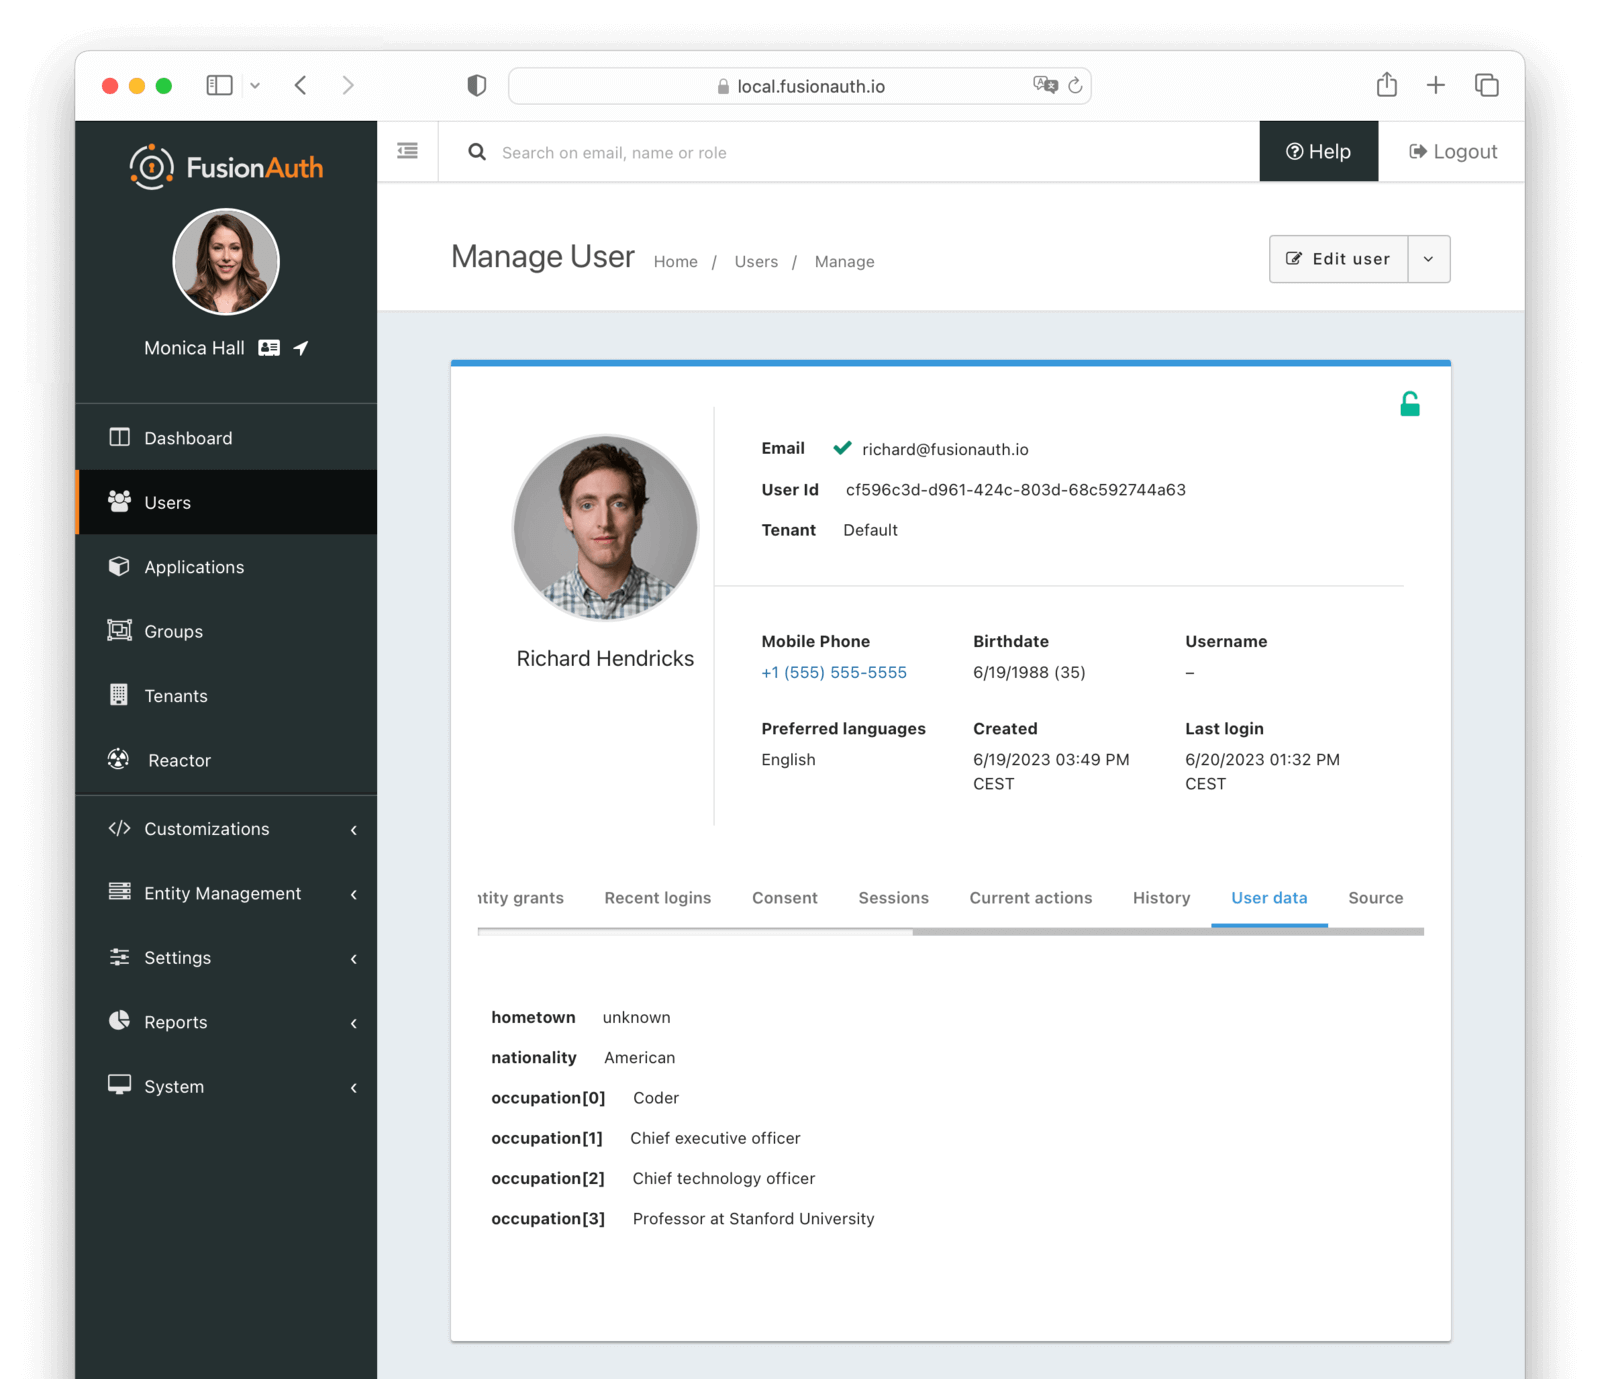
### Source
The source tab allows you to view the user account as read-only JSON. This is equivalent to retrieving the user via [the User API](/docs/apis/users). This is useful for debugging and troubleshooting.
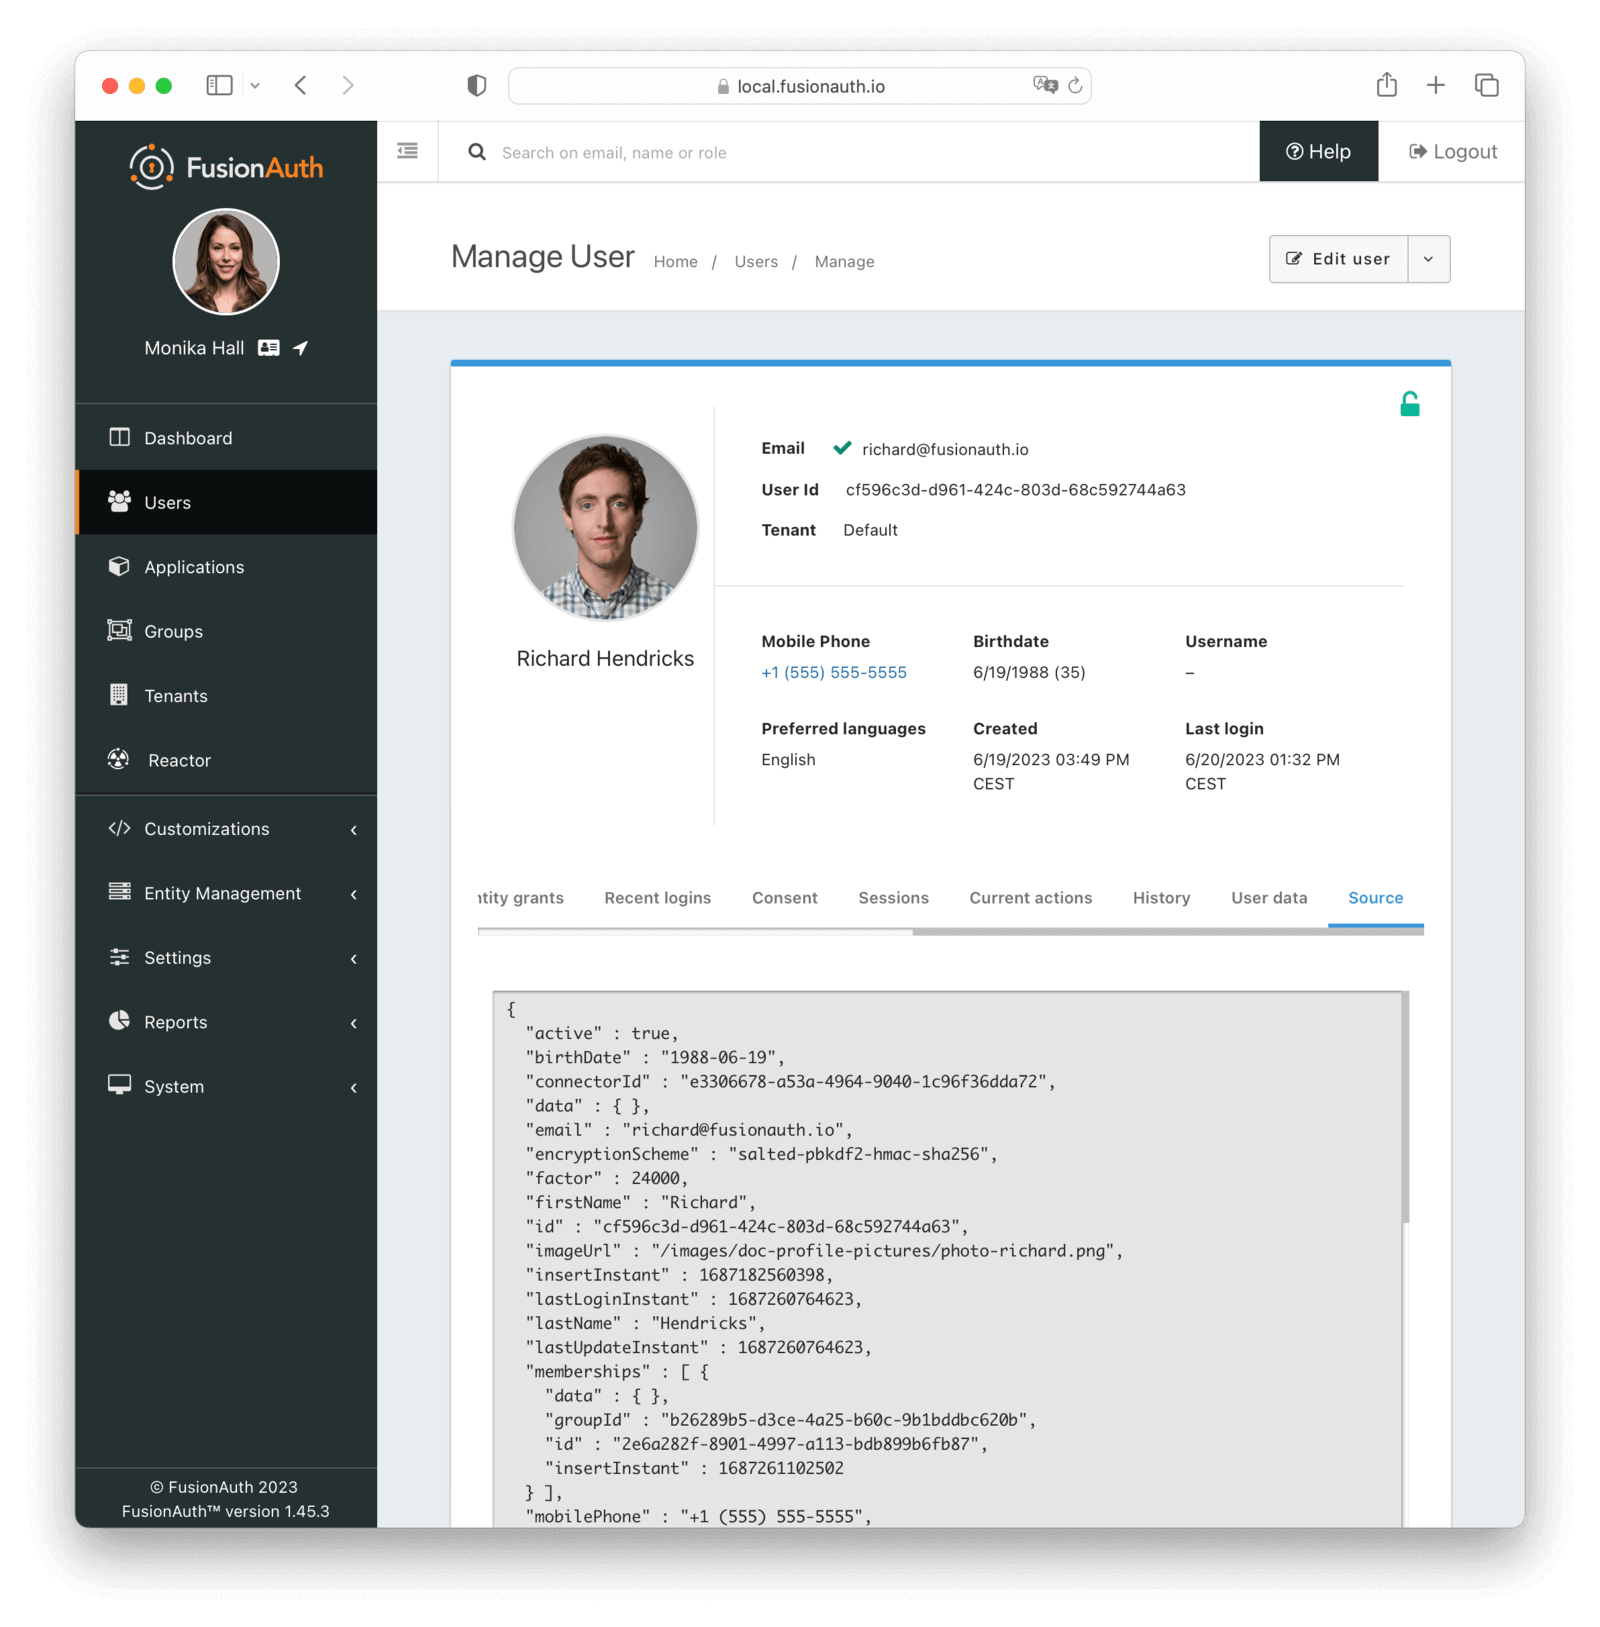
## User Scope
A user is scoped to a tenant.
Each FusionAuth tenant is a logical grouping of users, configurations, and applications.
This means a user with the same identifier (email, username, etc.) in two different tenants is a different user.
They can have different passwords, different identity provider links, and different attributes.
You can search for users across tenants using the User Search API.
An example use case is a private label todo SaaS application, where you want a user to sign up for two or more different instances of your SaaS and not know that there is a shared identity store behind them.
For example, richard@piedpiper.com can sign up for the Pied Piper Todo application and the Hooli Todo Application with the same email address, but different passwords, MFA methods, and more.
<CrossTenantUserAccess />
Learn more about [Tenants](/docs/get-started/core-concepts/tenants).
## What Makes a User Active
FusionAuth includes reporting on the number of daily and monthly active users. What makes a user active during a time period is any of these events:
* A user is created.
* A user logs in.
* The [Login Ping API](/docs/apis/login#update-login-instant) is used.
* A JWT is refreshed using a refresh token.
* A user is registered for an application.
* A user is provisioned via SCIM.
* SSO is used; this calls the login ping.
<Aside type="note">
The following scenarios do NOT count as a monthly active user (MAU):
* Users imported with the [User Import API](/docs/apis/users#import-users)
* Users whose profile data is updated via the [User Update API](/docs/apis/users#update-a-user)
* Identities created using the [Start Identity Verification API](/docs/apis/identity-verify#start-identity-verification), with an <InlineField>existingUserStrategy</InlineField> of `mustNotExist`, that have not been verified and used to create a user
</Aside>
There are many different ways to log in using FusionAuth, but all of the below trigger a login event:
<LoginEvents />
## User Search
<Aside type="version">
As of version 1.16.0, FusionAuth ships with a database search engine as the default.
By selecting the appropriate [installation guide](/docs/get-started/download-and-install/fast-path), one can easily create a configuration with Elasticsearch pre-enabled.
You can read more about the database and other search engines in the [search core concepts section](/docs/lifecycle/manage-users/search/search).
</Aside>
User search requests may be made through the [User Search API](/docs/apis/users#search-for-users) or within the FusionAuth admin UI under <Breadcrumb>Users</Breadcrumb>.
### Configuration
Please see our [search core concepts section](/docs/lifecycle/manage-users/search/search) for additional information on basic configuration. The remainder of this section will cover specifics as it relates to users and search.
### Database Search Engine
This configuration is lightweight, simplifies installation and system complexity, but comes with the tradeoffs of limited search capabilities and performance implications.
The database search engine enables fuzzy search against the following fields of the user:
* `firstName`
* `lastName`
* `fullName`
* `email`
* `phoneNumber` <AvailableSince since="1.59.0" />
* `username`
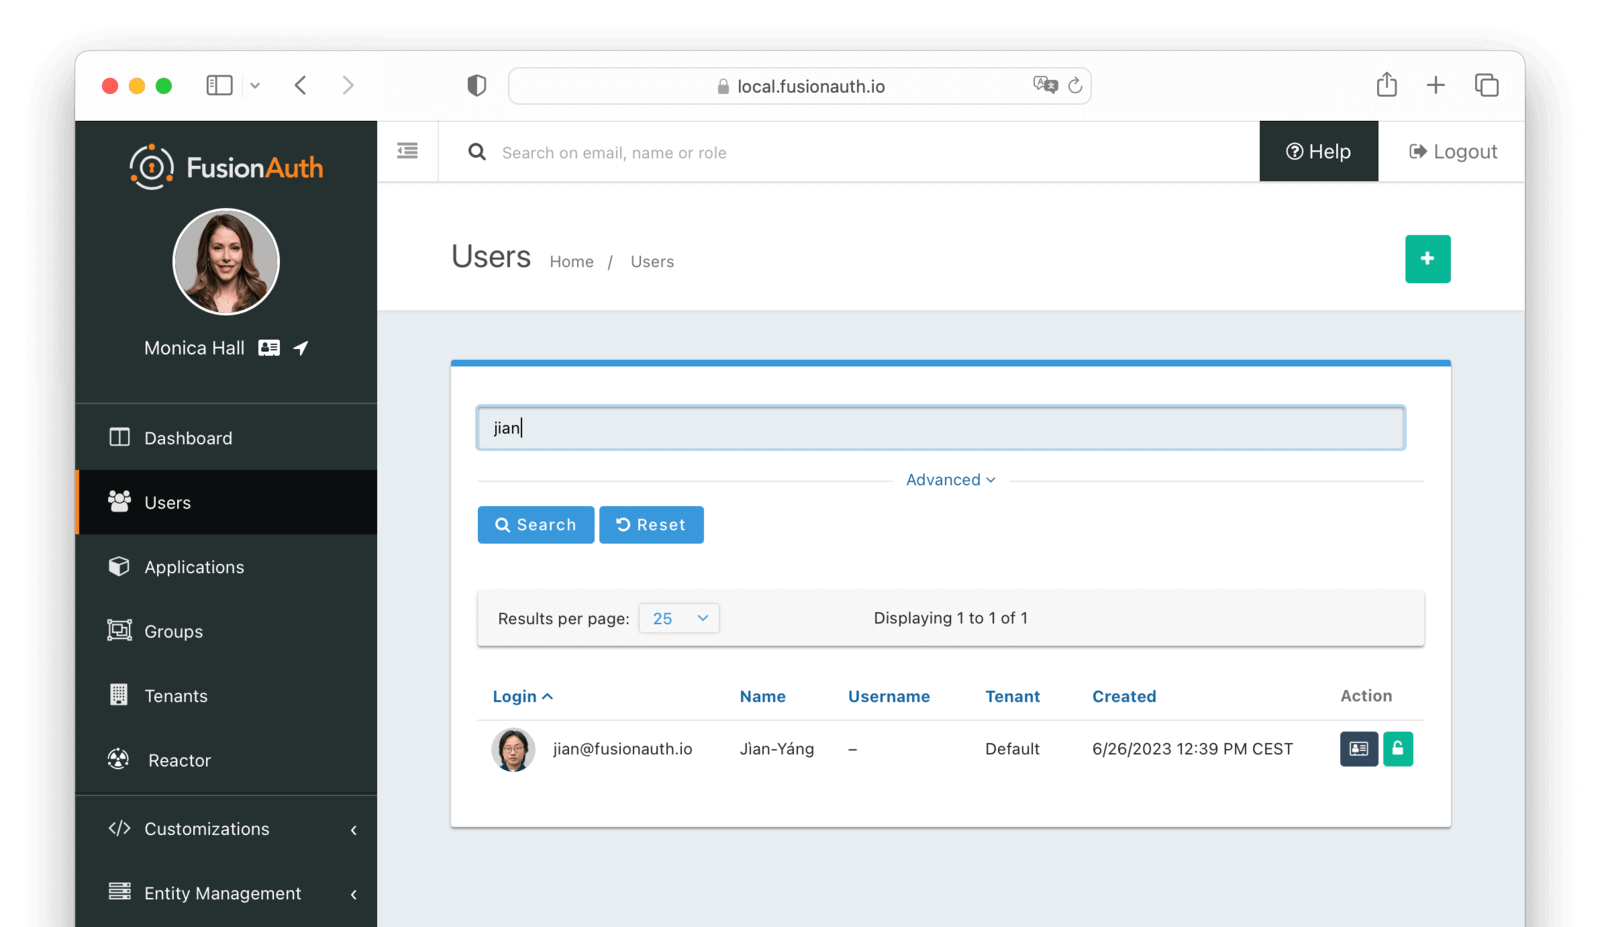
To learn more about the database search engine in general, view the [search core concepts section](/docs/lifecycle/manage-users/search/search).
### Elasticsearch Search Engine
Leveraging Elasticsearch for the user search engine enables advanced search capabilities on more numerous and granular data and a performance improvement for user search.
#### Advanced Search UI
FusionAuth provides an advanced user search interface that reveals how you may construct <InlineField>queryString</InlineField> and <InlineField>query</InlineField> parameters for the [User Search API](/docs/apis/users#search-for-users) and [User Bulk Delete API](/docs/apis/users#bulk-delete-users) with desired results. Navigate to <InlineUIElement>Users</InlineUIElement> from the left navigation and click on the <InlineUIElement>Advanced</InlineUIElement> link below the <InlineField>Search</InlineField> input field to begin. The [<InlineUIElement>Advanced</InlineUIElement>](/docs/apis/users#search-for-users) portion of this UI is available when the search engine type is configured to `elasticsearch`.
We provide selectors for common search fields, as well as a free-form search field for constructing complex search queries. By selecting the <InlineField>Show Elasticsearch query</InlineField> toggle, you will see either the Elasticsearch query string or JSON search query that can be used as <InlineField>queryString</InlineField> and <InlineField>query</InlineField> parameters for the [User Search API](/docs/apis/users#search-for-users) and [User Bulk Delete API](/docs/apis/users#bulk-delete-users).
Additionally, you may enter Elasticsearch query strings or raw JSON queries into the search field for testing purposes.
The following screenshot shows a query string being constructed to search for users that belong to the `Moderators` group and are in the `Default` tenant:
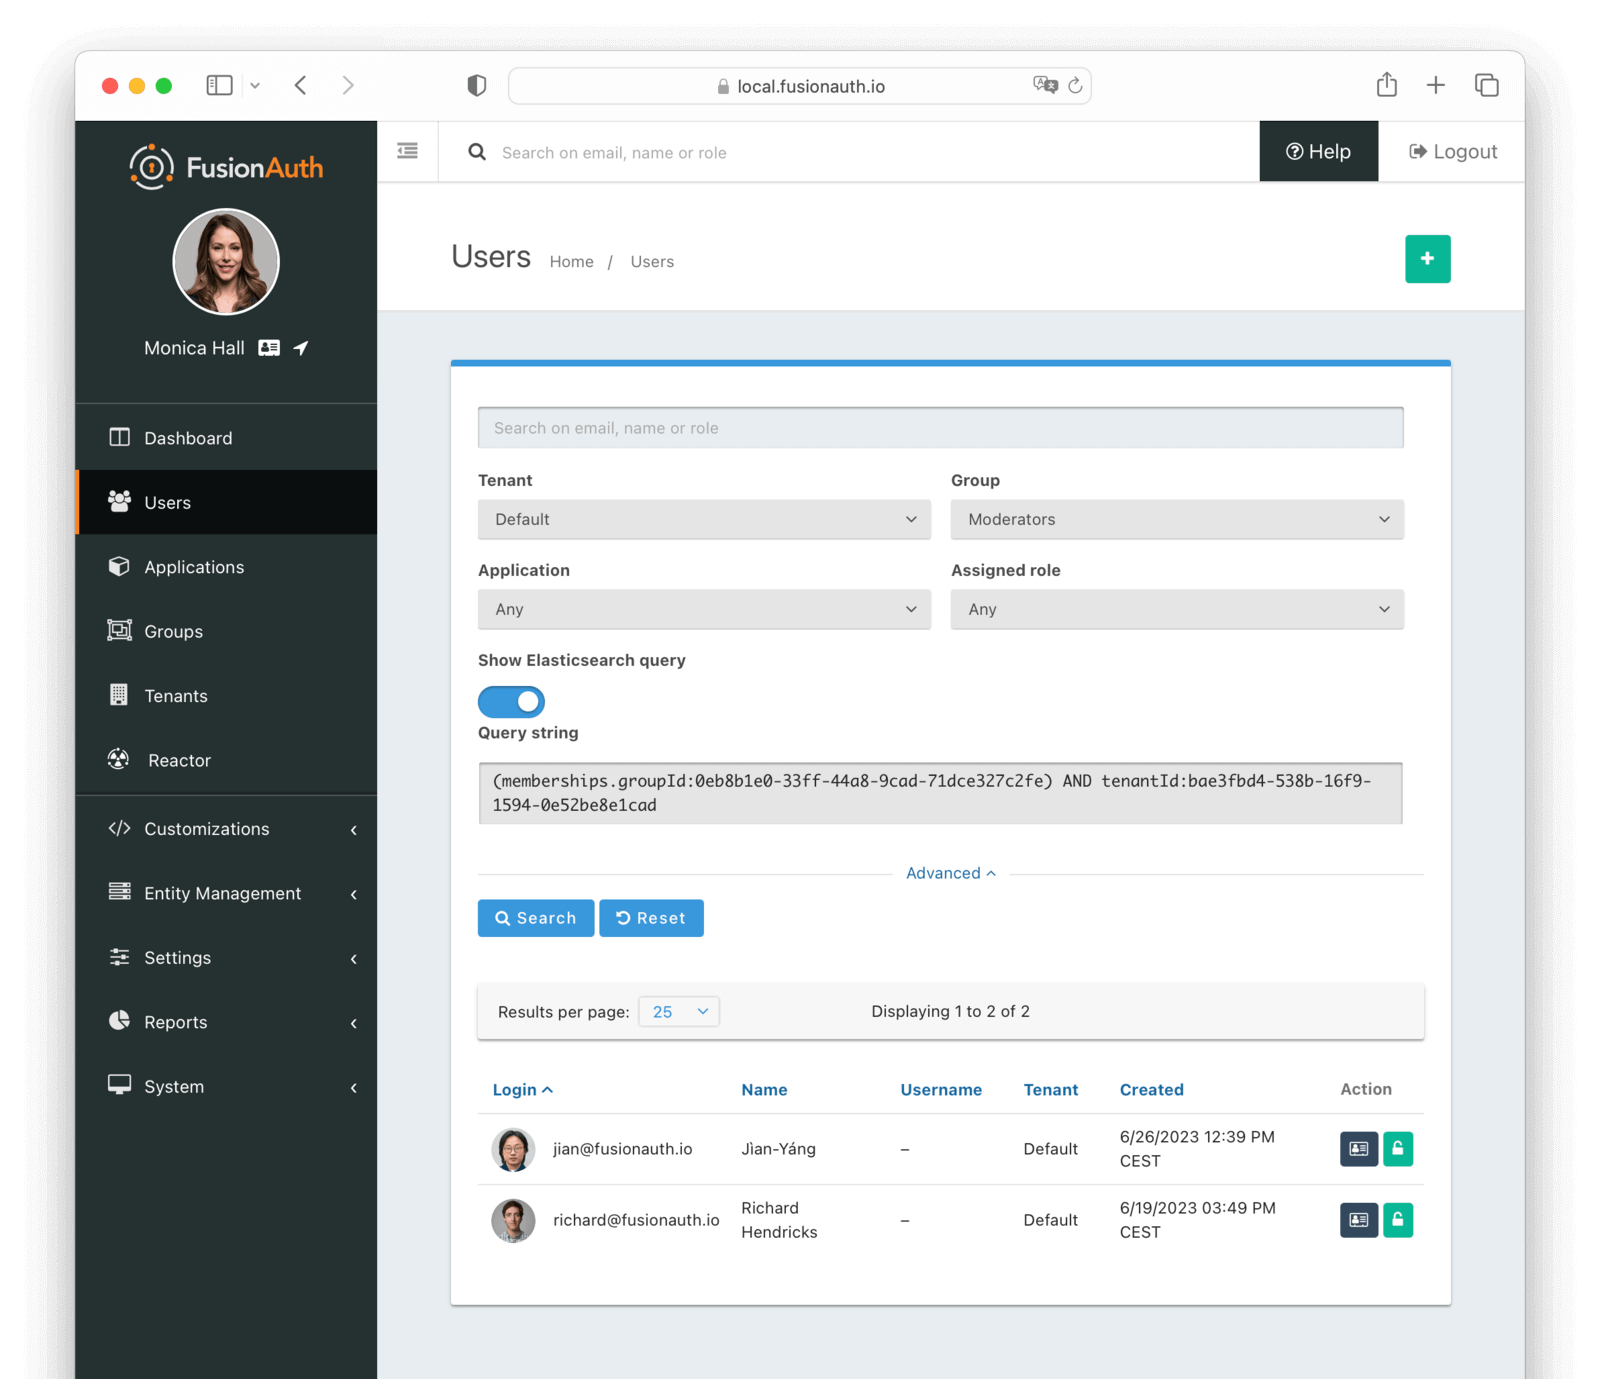
When searching for users by application or any fields on an application, it is necessary to construct a JSON query due to the way the Elasticsearch mapping is defined.
The screenshot shows an Elasticsearch JSON query for the registered users of the `Pied Piper` application assigned to the `CEO` role that have an email that matches the pattern `*@fusionauth.io`:
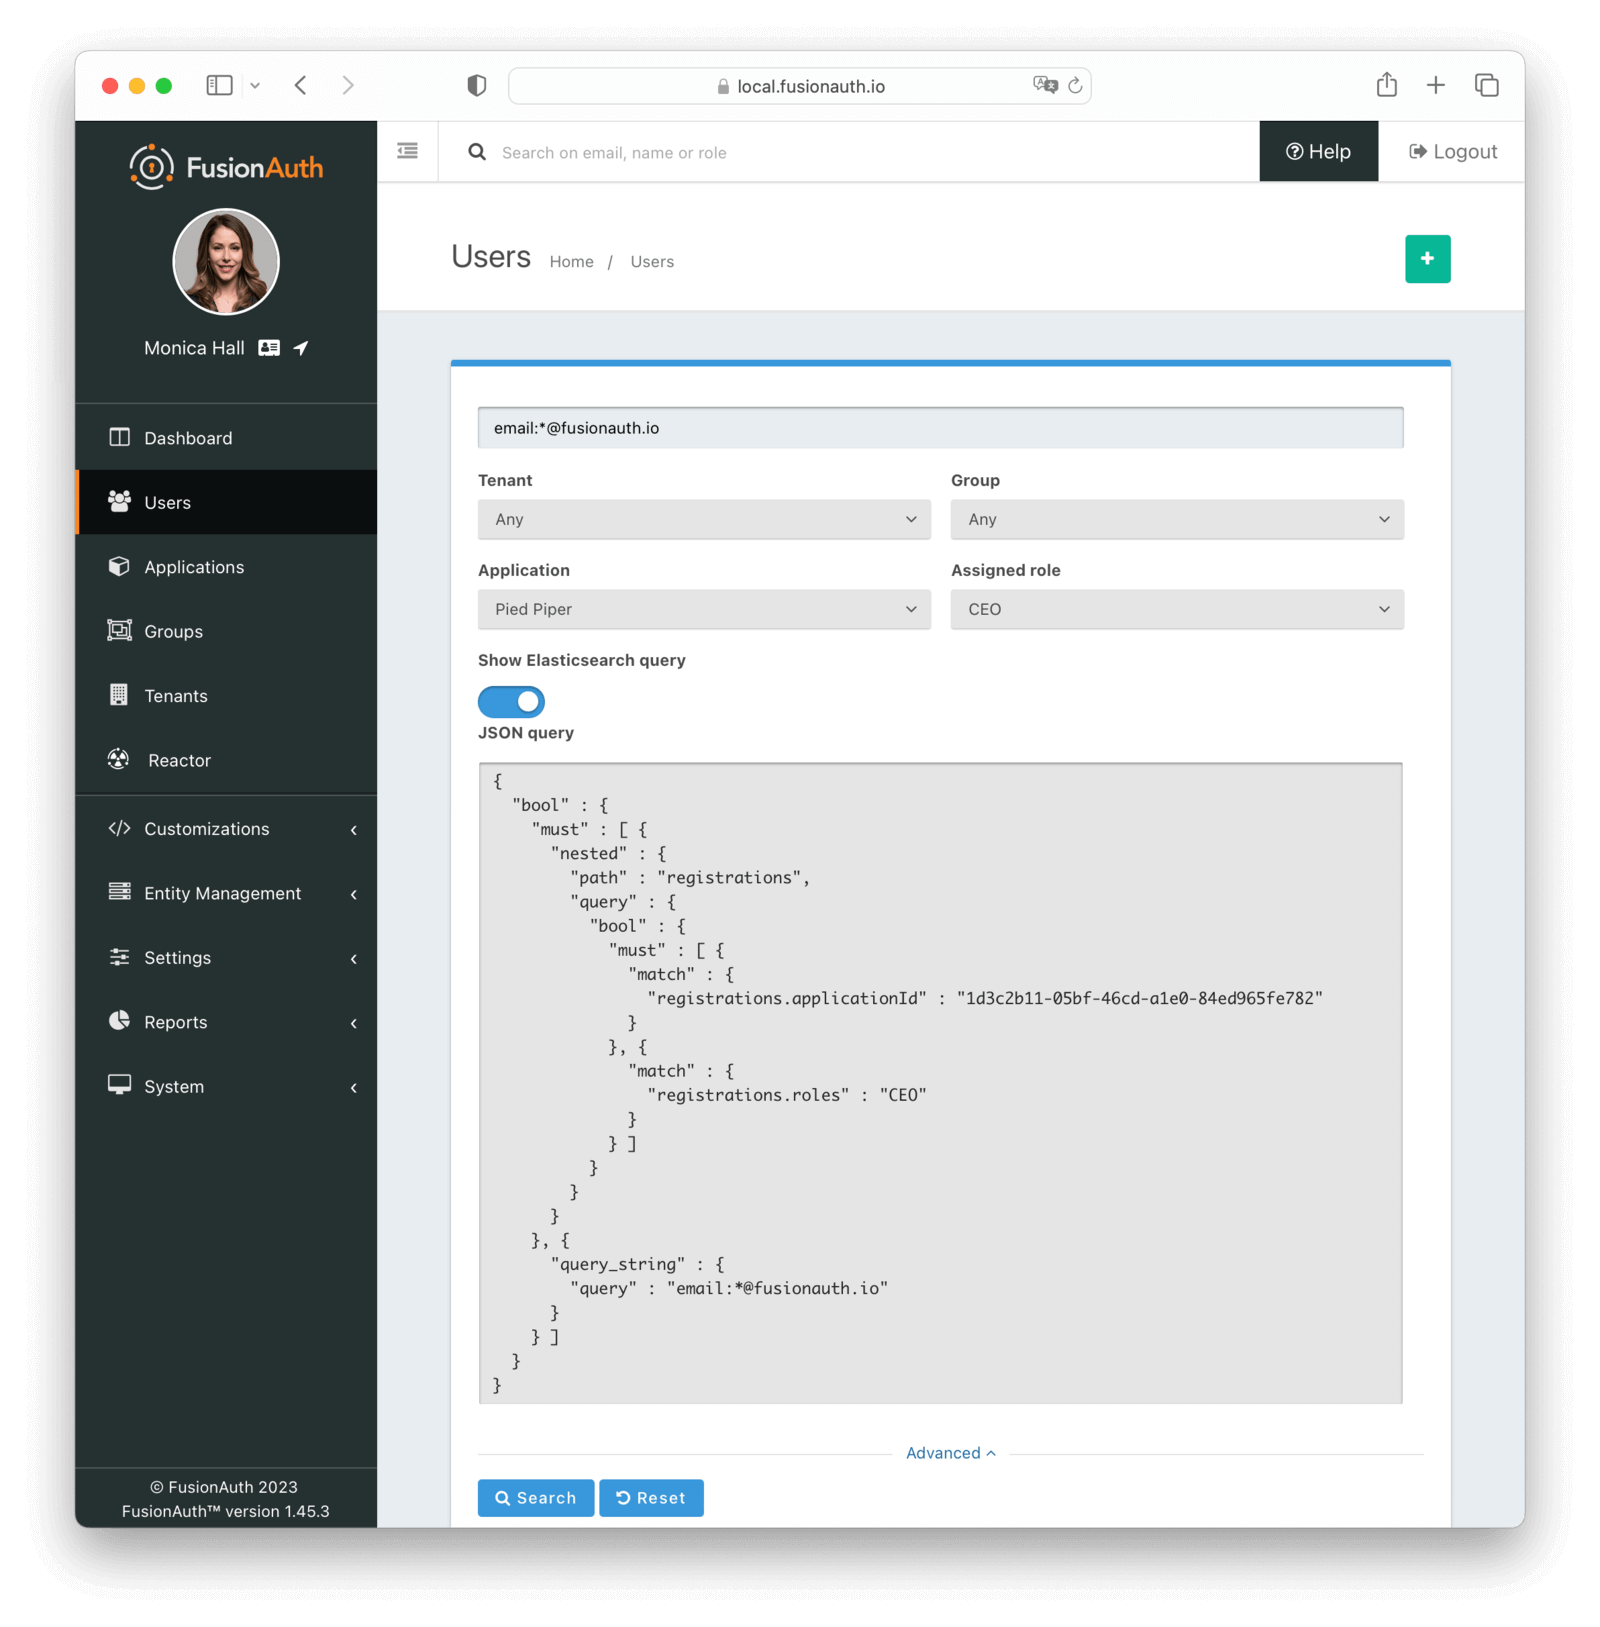
To learn more about the Elasticsearch search engine in general, view the [Elasticsearch search guide](/docs/lifecycle/manage-users/search/user-search-with-elasticsearch).
<Aside type="version">
Prior to version 1.48.0 if you attempted to page past 10,000 results in the admin UI you would encounter an error.
Starting in version 1.48.0 you are able to page past the 10,000 results limit one page at a time.
</Aside>
When there are more than 10,000 results when using the Elasticsearch engine you have the option to navigate past the limit, however you may only do so one page at a time.
Clicking on the <InlineUIElement>Last</InlineUIElement> pagination button will take you to the page with the 10,000th result. You will then have the option to click on the <InlineUIElement>Next</InlineUIElement> button to continue paging forward.

You may continue to page forward using <InlineUIElement>Next</InlineUIElement> until you reach the last of the search results.

For more information see [Extended Pagination](/docs/lifecycle/manage-users/search/search#extended-pagination)
#### Limitations On Changing Data Field Types
<DataFieldDataTypeChanges />
## Segmenting Users
Often you want to segment or separate your users.
You have options to do so in FusionAuth.
They each have tradeoffs.
Here's a table with the strengths and challenges of each option.
<UserSegmentTable showLinks="true" />
### Tenants
Each FusionAuth tenant is a logical grouping of users, configuration and applications.
Users are tenant scoped.
This means a user with the same identifier (email, username, etc) in two different tenants is a different account.
They can have different passwords, identity provider links and profile attributes.
You can search for users across tenants using the [User Search API](/docs/apis/users#search-for-users).
An example use case is a private label SaaS application for managing todos and tasks. You want a user to sign up for two or more different instances of your SaaS and never know that there is a shared identity store behind them.
For example, richard@piedpiper.com can sign up for the Pied Piper Todo application and the Hooli Todo Application with the same email address, but different passwords, MFA methods and more.
<CrossTenantUserAccess />
Learn more about [Tenants](/docs/get-started/core-concepts/tenants).
### Applications and Registrations
Applications in FusionAuth are anything a user can log in to: mobile applications, webapps, COTS applications, APIs and desktop applications.
Applications are tenant scoped.
You associate a user with an application using a registration.
You may also optionally associate one or more roles with each user's registration.
An example use case is a single company, where you have a forum, a todo application and an accounting application.
If you have three users, Richard, Monica and Jared, you can grant Richard access to all three applications, Monica access to the forum and todo applications, and Jared access to the accounting application.
Prevent a user from logging into an application for which they are not registered by [checking the claims in the token](/docs/get-started/core-concepts/authentication-authorization) and enabling the <InlineField>Require registration</InlineField> setting for the application.
Applications also may have associated Identity Providers, such as Google or OIDC providers.
When so configured, a user may log in to an application with the Identity Provider.
Every user object contains an array of application registrations.
You can search for all users with a given registration.
Learn more about [Applications](/docs/get-started/core-concepts/applications).
### Groups
Groups are a way to group users in FusionAuth.
They are tenant scoped.
They may have application roles associated with them.
Users with a registration for an application as well as a group membership will assume those roles upon login.
Group membership is boolean in nature.
A user is either in a group or out of a group.
An example use case is a forum moderators group.
The forum application can get the group memberships of any user.
If the user is a member of the moderators group, the application can provide a 'flag' button on the forum software.
Every user object contains an array of group memberships.
You can search for all users with a given group memberships.
One issue is that to get the group names of memberships for a user, you must use FusionAuth's proprietary APIs.
Group names are not included in the user object.
Learn more about [Groups](/docs/get-started/core-concepts/groups).
### Entities and Grants
Entities and grants allow you to model fine grained permissions in a flexible manner.
Entities are things, while grants are expressions of permissions granted to a user or thing to another thing.
Entities have configurable permissions.
Entities are a good fit when you have users that may need access to different assets which can't be easily modeled as applications.
An example use case which could be modeled using entities is GitHub organizations.
A user can belong to zero or more GitHub organizations and have different access levels in each one.
But a user logs in to GitHub, not to a GitHub organization.
Additionally, permissions will vary between organizations.
A user may be an admin in one GitHub organization and have read-only access in another one.
To implement this, you'd represent each GitHub organization as an entity in FusionAuth, and grant users permissions to each organization of which they are a member.
It is very common to have an interstitial page when using entities.
(This page is custom built and is not provided by FusionAuth.)
The user logs in to an application, and is then presented with a list of entities to which they've been granted permissions.
The user selects an entity and then interacts with the permissions they have been granted to that entity.
You can search for all users granted access to a given entity.
You can search for all entities for which a user has a grant.
To search for grants on a user, you must use FusionAuth's proprietary APIs.
Additionally, since entities cannot be 'logged into', they don't have any relationship with external Identity Providers.
Learn more about [Entities and Grants](/docs/get-started/core-concepts/entity-management).
#### Entities Compared to Applications
Entities, grants and permissions are analogous to applications, registrations and roles, but you can't log in to an entity.
Entities may also be useful if you have two or more applications in FusionAuth, but you want to control access in an orthogonal way while still allowing users to assume different roles.
Suppose you have a point of sales application and a scheduling application for your retail chain.
You have ten stores.
You want to allow employees to log in to each of these applications, but you want to limit them to access only stores where they are currently working.
But if they move between stores to cover for a shift or because of a transfer, you want to handle that use case as well.
This means you can't use tenants to model stores.
To solve this, model the point of sales and scheduling applications as applications.
Each store would be an entity, and after the user has logged into an application, you'd show them the stores to which they'd have access.
With entities, you can give users different levels of access in different stores.
The scheduling software can query the FusionAuth API or examine the token and allow Richard access to the scheduling application as a manager for store A but only as an employee for store B.
If you were to model this using only applications, you'd need twenty applications in FusionAuth (two for each store). Keeping those configurations synchronized might be difficult.
And if you added more applications, you'd face a combinatorial explosion of applications.
### The user.data Field
You can add arbitrary JSON to the `user.data` field. You can do this using the [User API](/docs/apis/users), in the admin UI with [custom admin forms](/docs/lifecycle/manage-users/admin-forms) or allow users to do so using [self-service account management](/docs/lifecycle/manage-users/account-management/). The `user.data` fields can be read in a [JWT Populate Lambda](/docs/extend/code/lambdas/jwt-populate) and pushed into the tokens generated during authentication.
The downstream application can examine the tokens and determine access.
A variant of this is using [Lambda HTTP Connect](/docs/extend/code/lambdas/lambda-remote-api-calls) which can pass a user Id to an external service during authentication and retrieve user attributes. This has the advantage of avoiding synchronization at the cost of increased latency during the authentication event. The exact amount of latency depends on API responsiveness.
This approach works well when you want FusionAuth to handle authentication but keep all user segmentation logic in your application.
An example use case for `user.data` is if you have custom authorization logic in your application based on user profile data such as `org_id` and `org_type`. At authentication time, push these attributes into your token using a JWT populate lambda. Then pass the token to your client, and have the client present the token to your application. The application can then examine the `org_id` and `org_type` profile attributes and make an authorization decision based on that custom logic.
Learn more about [Searching user data](/docs/lifecycle/manage-users/search/user-search-with-elasticsearch) and the [JWT Populate Lambda](/docs/extend/code/lambdas/jwt-populate).
#### The user.data Schema
<DataFieldDataTypeChanges />
# FusionAuth Account Portal
import AccountPortalCore from 'src/content/docs/_shared/_account-portal.mdx';
import * as account from 'src/content/docs/_shared/_account-portal.mdx';
export const headings = account.getHeadings();
<AccountPortalCore />
# FusionAuth Cloud
import AccountSectionsOverview from 'src/content/docs/get-started/_account-sections-overview.mdx';
import Aside from 'src/components/Aside.astro';
import Breadcrumb from 'src/components/Breadcrumb.astro';
import CloudLimits from 'src/content/docs/get-started/run-in-the-cloud/_cloud-limits.mdx';
import CloudUserNote from 'src/content/docs/get-started/_cloud-user-note.mdx';
import DeletingYourAccount from 'src/content/docs/_shared/_deleting-your-account.mdx';
import EnterprisePlanBlurb from 'src/content/docs/_shared/_enterprise-plan-blurb.astro';
import InlineField from 'src/components/InlineField.astro';
import InlineUIElement from 'src/components/InlineUIElement.astro';
import LoadTestingIntro from 'src/content/docs/get-started/run-in-the-cloud/_load-testing-intro.mdx';
import LoadTestingTips from 'src/content/docs/get-started/run-in-the-cloud/_load-testing-tips.mdx';
import SettingUpPortalAccount from 'src/content/docs/get-started/_setting-up-portal-account.mdx';
import { YouTube } from '@astro-community/astro-embed-youtube';
## Overview
FusionAuth Cloud is an entirely managed FusionAuth instance in the cloud. As the owner of that server, you have complete access to the administrative user interface and can create API keys and manage the instance via client libraries or APIs. But you have no access to the servers or networks where the instance runs.
With FusionAuth Cloud, you create "deployments".
A deployment is a FusionAuth instance, a database, a search application, and all the necessary networking configuration to connect your FusionAuth deployment to the internet.
You can create as many deployments as you want and tear them down when you do not need them. You pay only for the time each deployment is running.
Every deployment is separated, both logically and physically, from every other deployment.
There is no network path between deployments except over the internet.
There is no shared database or other storage infrastructure.
## Why Use FusionAuth Cloud
FusionAuth Cloud is a fully managed service which can be used for many use cases. Among them:
* Proof of concepts
* FusionAuth trials
* Testing new versions without affecting prod
* Development servers
* High availability production environments
With FusionAuth Cloud, spin up a functioning FusionAuth instance in minutes.
This allows you to get to work testing or integrating with FusionAuth, rather than installing or configuring it.
FusionAuth Cloud is protected by world class security measures and DDoS protections.
If you want to use FusionAuth and hand all the management burden to the team who built it, FusionAuth Cloud is a good choice.
### Supported Geographies
FusionAuth has datacenters in the following locations:
Africa
* South Africa
Asia/Pacific
* Australia
* Singapore
* South Korea
Europe
* France
* Germany
* Ireland
* Sweden
* UK
Middle East
* Bahrain
North America
* Canada
* USA
If none of our current locations meet your needs, please [contact our sales team](/contact) to discuss other options. You can also [download and self-host FusionAuth](/download) if you need data residency in a country not listed above and have the expertise to operate FusionAuth.
## What Does FusionAuth Cloud Cost
For pricing information, visit <a href="/pricing" target="_blank">the pricing page</a>. {/* eslint-disable-line */}
### The Pricing Calculator
You can also find the expected cost without creating an account by using the <a href="https://account.fusionauth.io/price-calculator" target="_blank">pricing calculator</a>. {/* eslint-disable-line */}
You can choose the hosting option and the deployment region.
Choose a deployment configuration by clicking <InlineUIElement>Add</InlineUIElement> on the <Breadcrumb>Deployments</Breadcrumb> section to get an estimated cost.
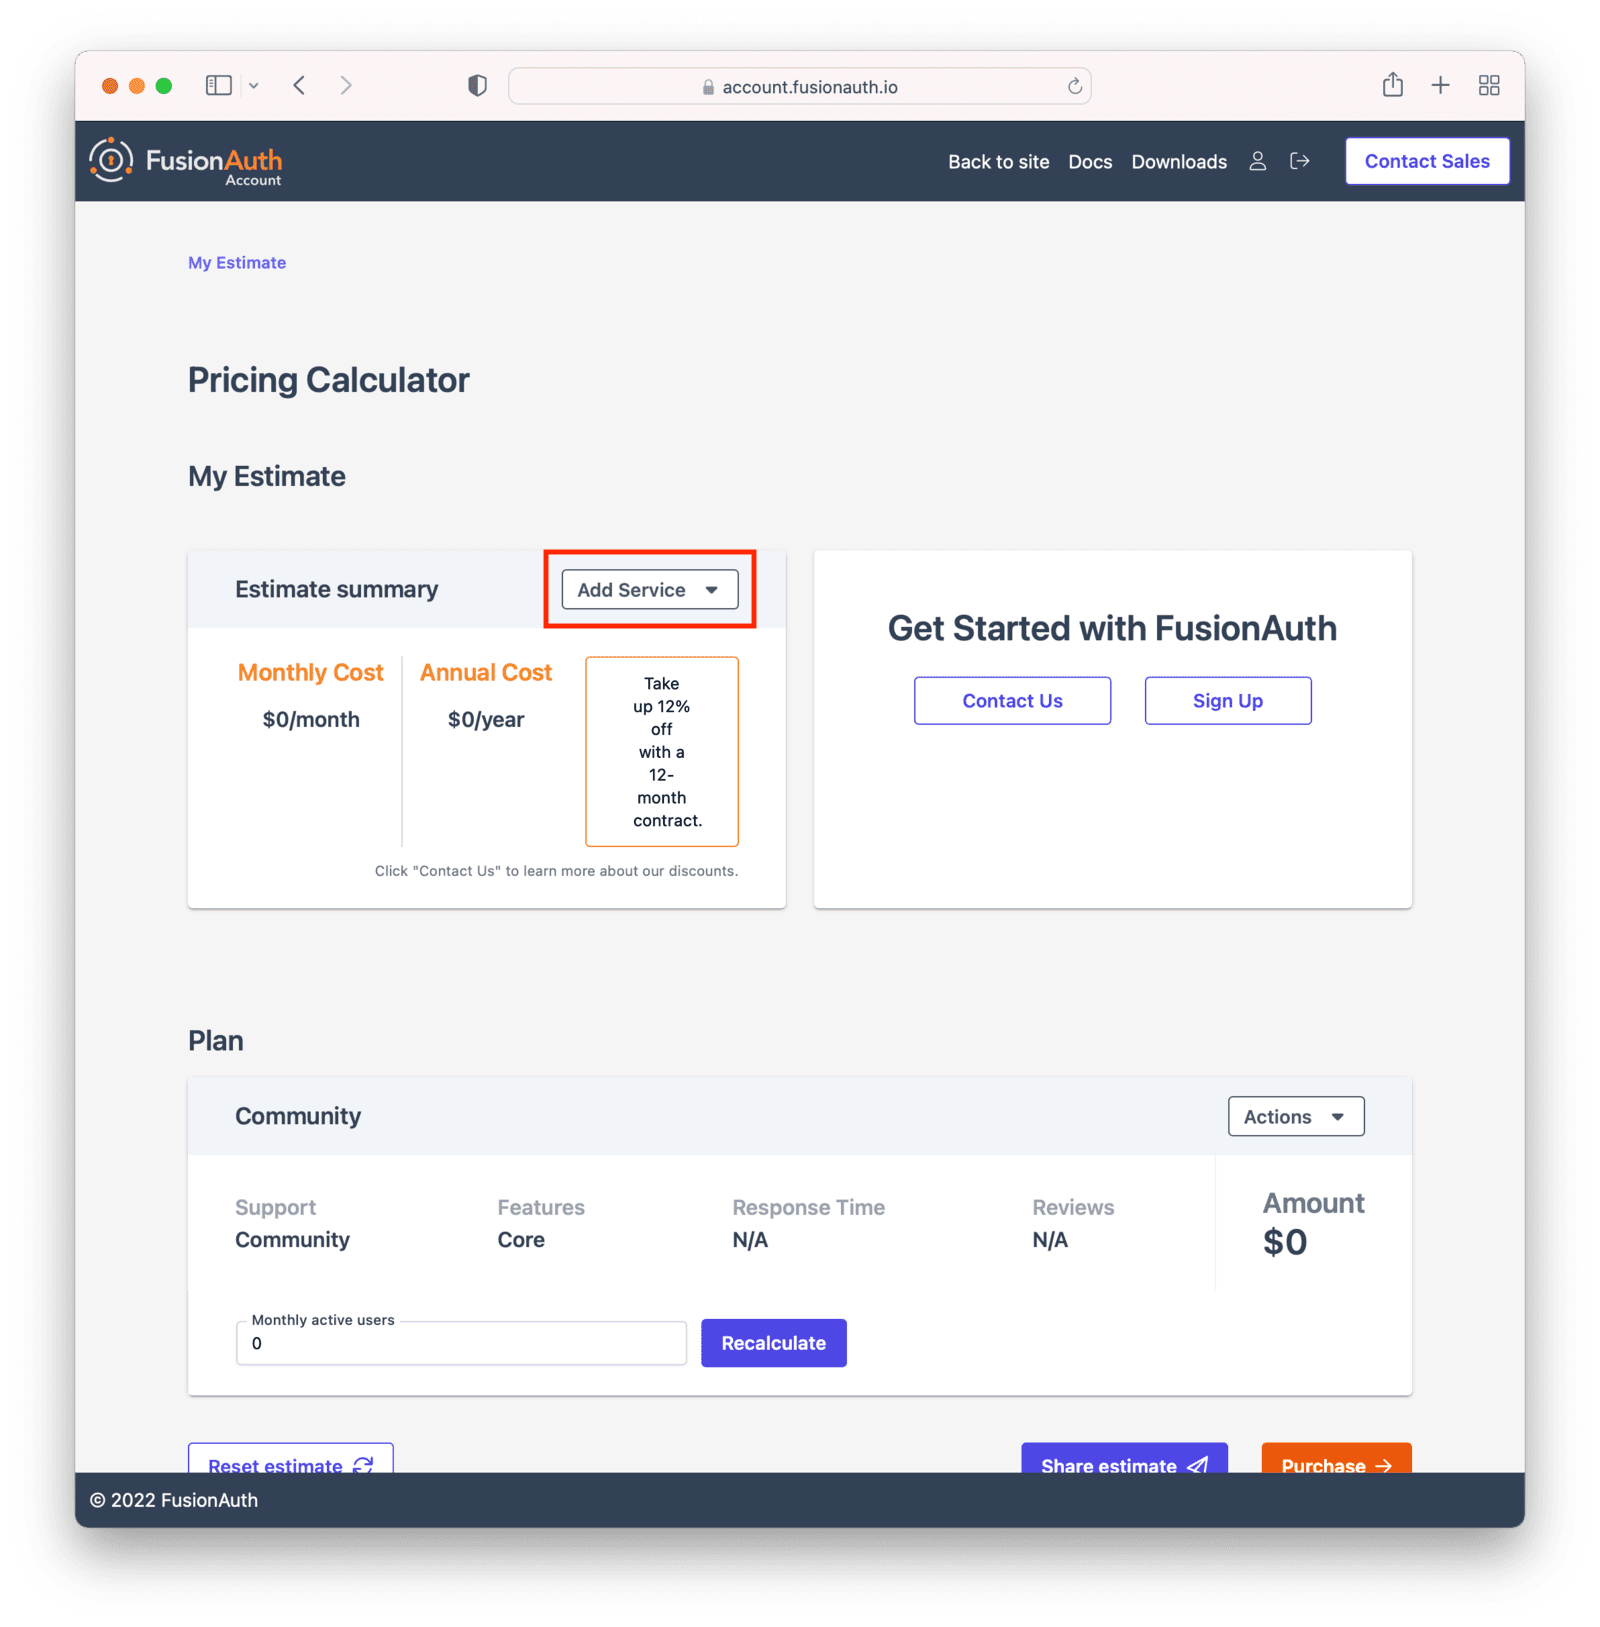
You can modify attributes of your deployment, including the hosting option and the hosting region.
You'll be able to see the total price before you are charged anything. Here's an example of the deployment creation screen.
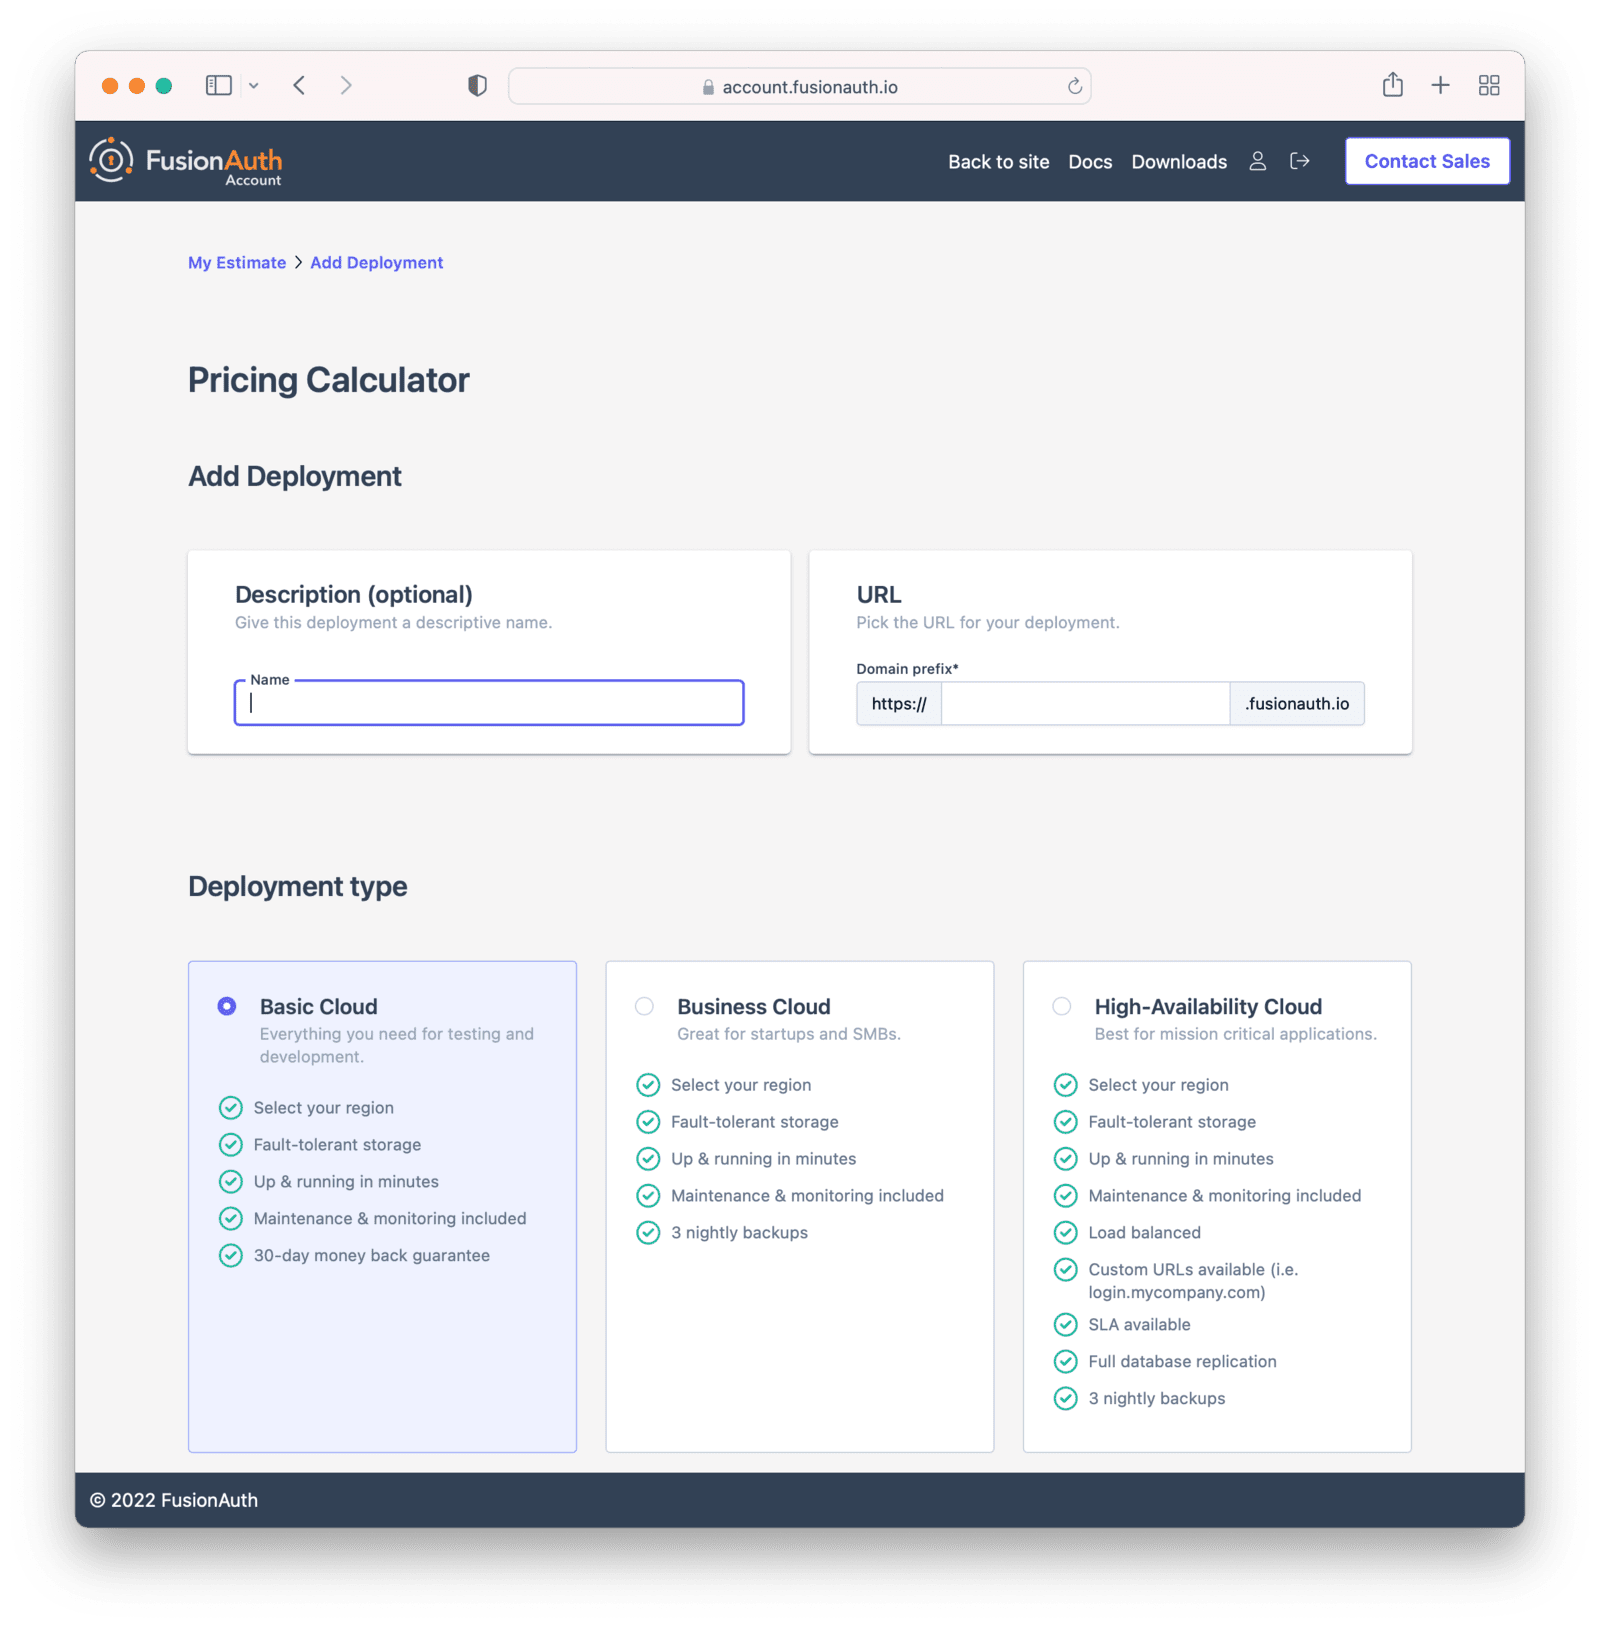
## The Account Portal
You can control all aspects of FusionAuth Cloud deployments by logging into the <a href="https://account.fusionauth.io/" target="_blank">account portal</a>.{/* eslint-disable-line */}
### Portal Areas
<AccountSectionsOverview/>
<CloudUserNote/>
You can read more about the other portal areas in the [Account Portal](/docs/get-started/run-in-the-cloud/account-portal) documentation.
## Setting Up Your Account
<SettingUpPortalAccount incloudinstall="true" />
If you are paying with a credit card, you will receive a payment receipt to the email address you signed up with.
If you need the receipt to go to a different address, you can update details in the <Breadcrumb>Billing</Breadcrumb> tab.
You will also be able to find past invoices there as well.
The following section focuses on deployments and the actions available in the <Breadcrumb>Hosting</Breadcrumb> tab.
Learn more about the [other portal areas here](/docs/get-started/run-in-the-cloud/account-portal).
After you have created an account, the next step is to create a deployment.
## Creating a Deployment
As mentioned above, a deployment is a FusionAuth instance that is operated by FusionAuth.
You can create as many deployments as you like.
There are a few steps to getting access to a deployment.
Navigate to the <Breadcrumb>Hosting</Breadcrumb> tab.
If you have no deployments, you will see a screen like this:
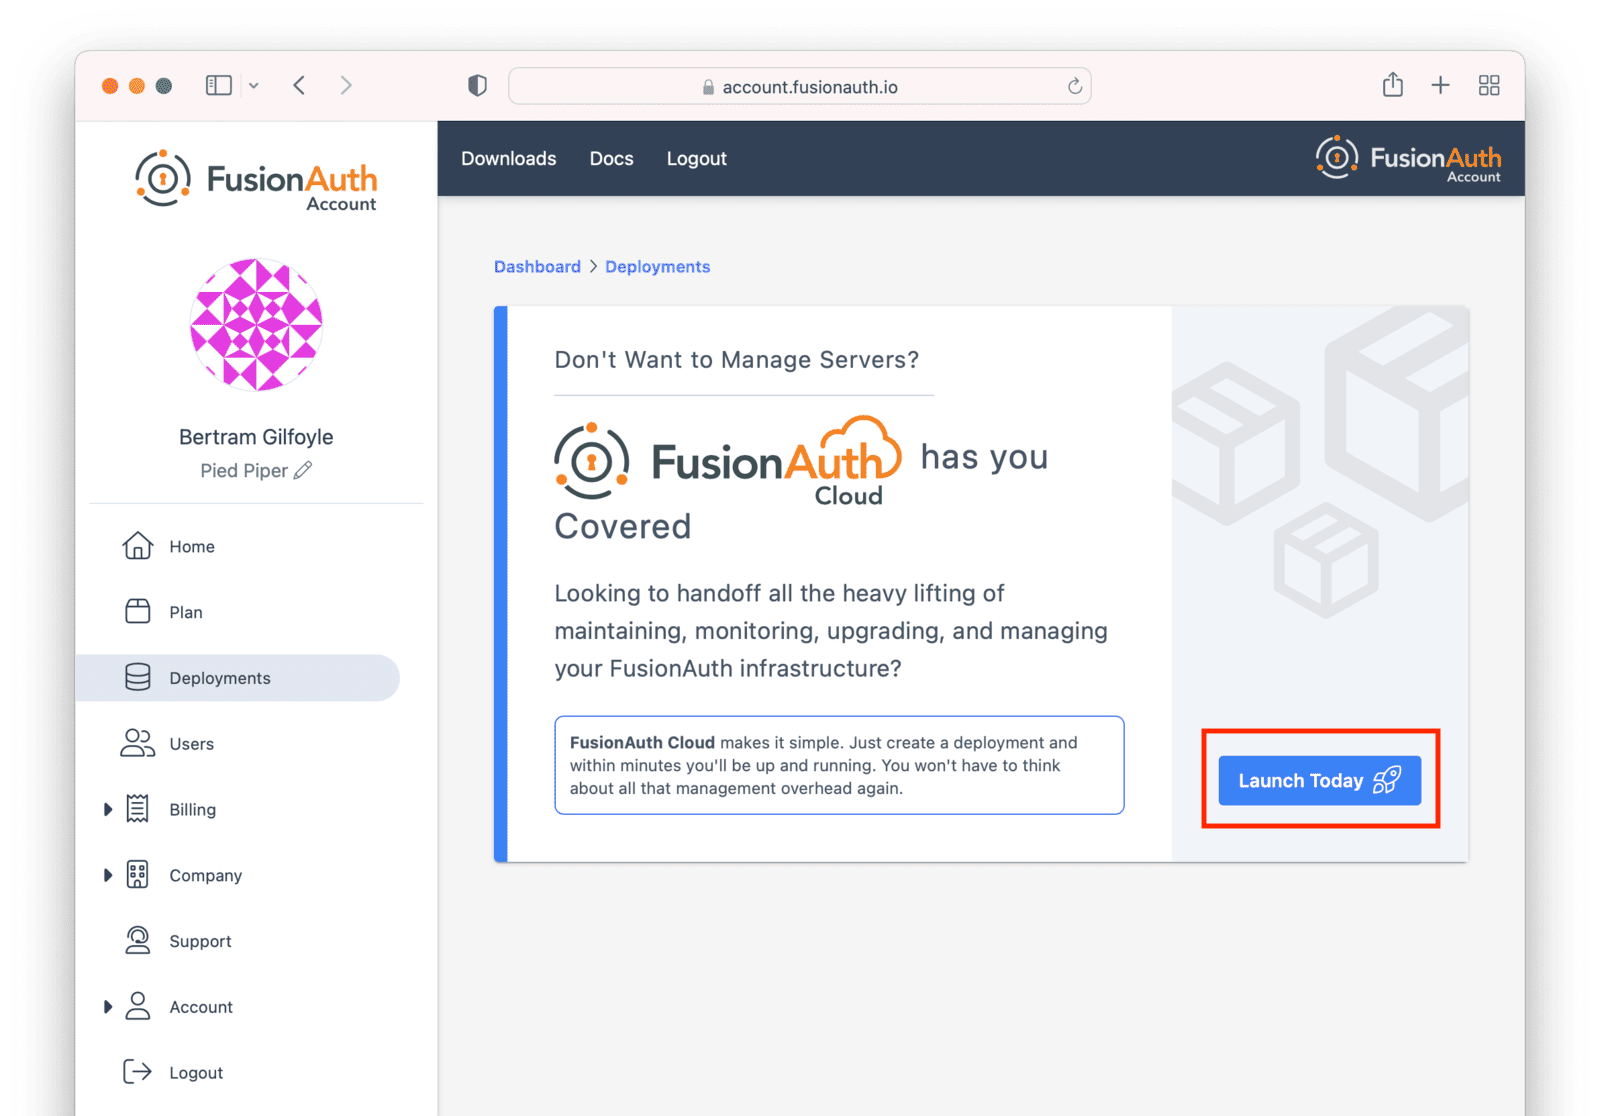
Click the <InlineUIElement>Launch Today</InlineUIElement> button to start your first FusionAuth Cloud deployment.
### Billing Issues
If you are on invoice billing, you cannot launch a FusionAuth Cloud deployment.
You'll see a screen like this:
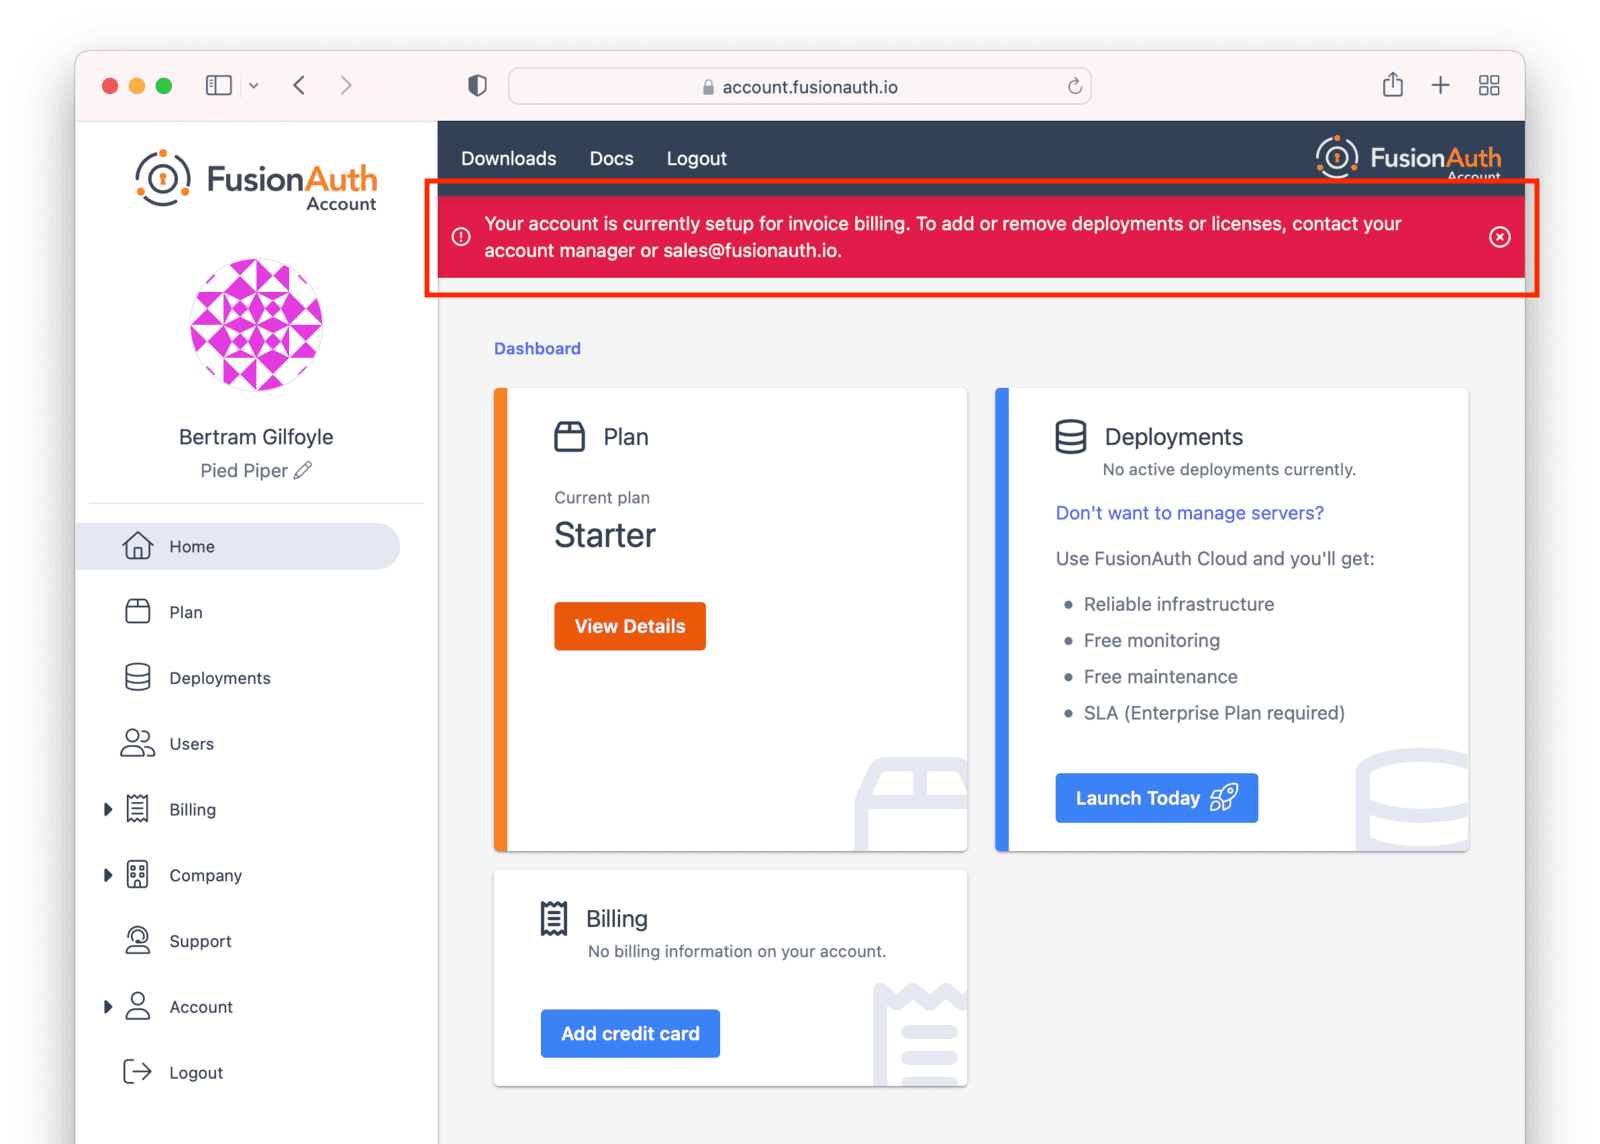
In this situation, please [file a support ticket](https://account.fusionauth.io/account/support) to modify your billing status or request a new deployment.
### Configuring Your Deployment
In order to create the correct FusionAuth instance, specify attributes of the deployment.
First, select your hosting option: Basic, Business or High-Availability (HA). Each has different features and data durability guarantees.
Then provide a unique hostname for the deployment, such as `piedpiper-dev`.
This hostname will be suffixed with the `fusionauth.io` domain name.
If your plan supports it, you will be able to configure a different hostname, such as `auth.piedpiper.com`.
If you need to reuse an existing hostname or migrate data from an existing deployment, open a [support ticket](https://account.fusionauth.io/account/support/).
Next, choose your FusionAuth version and hosting region. Supported regions include:
* North America
* Europe
* Asia Pacific
* Africa
* Middle East
See [Supported Geographies](#supported-geographies) for the full list of countries in which FusionAuth has data centers.
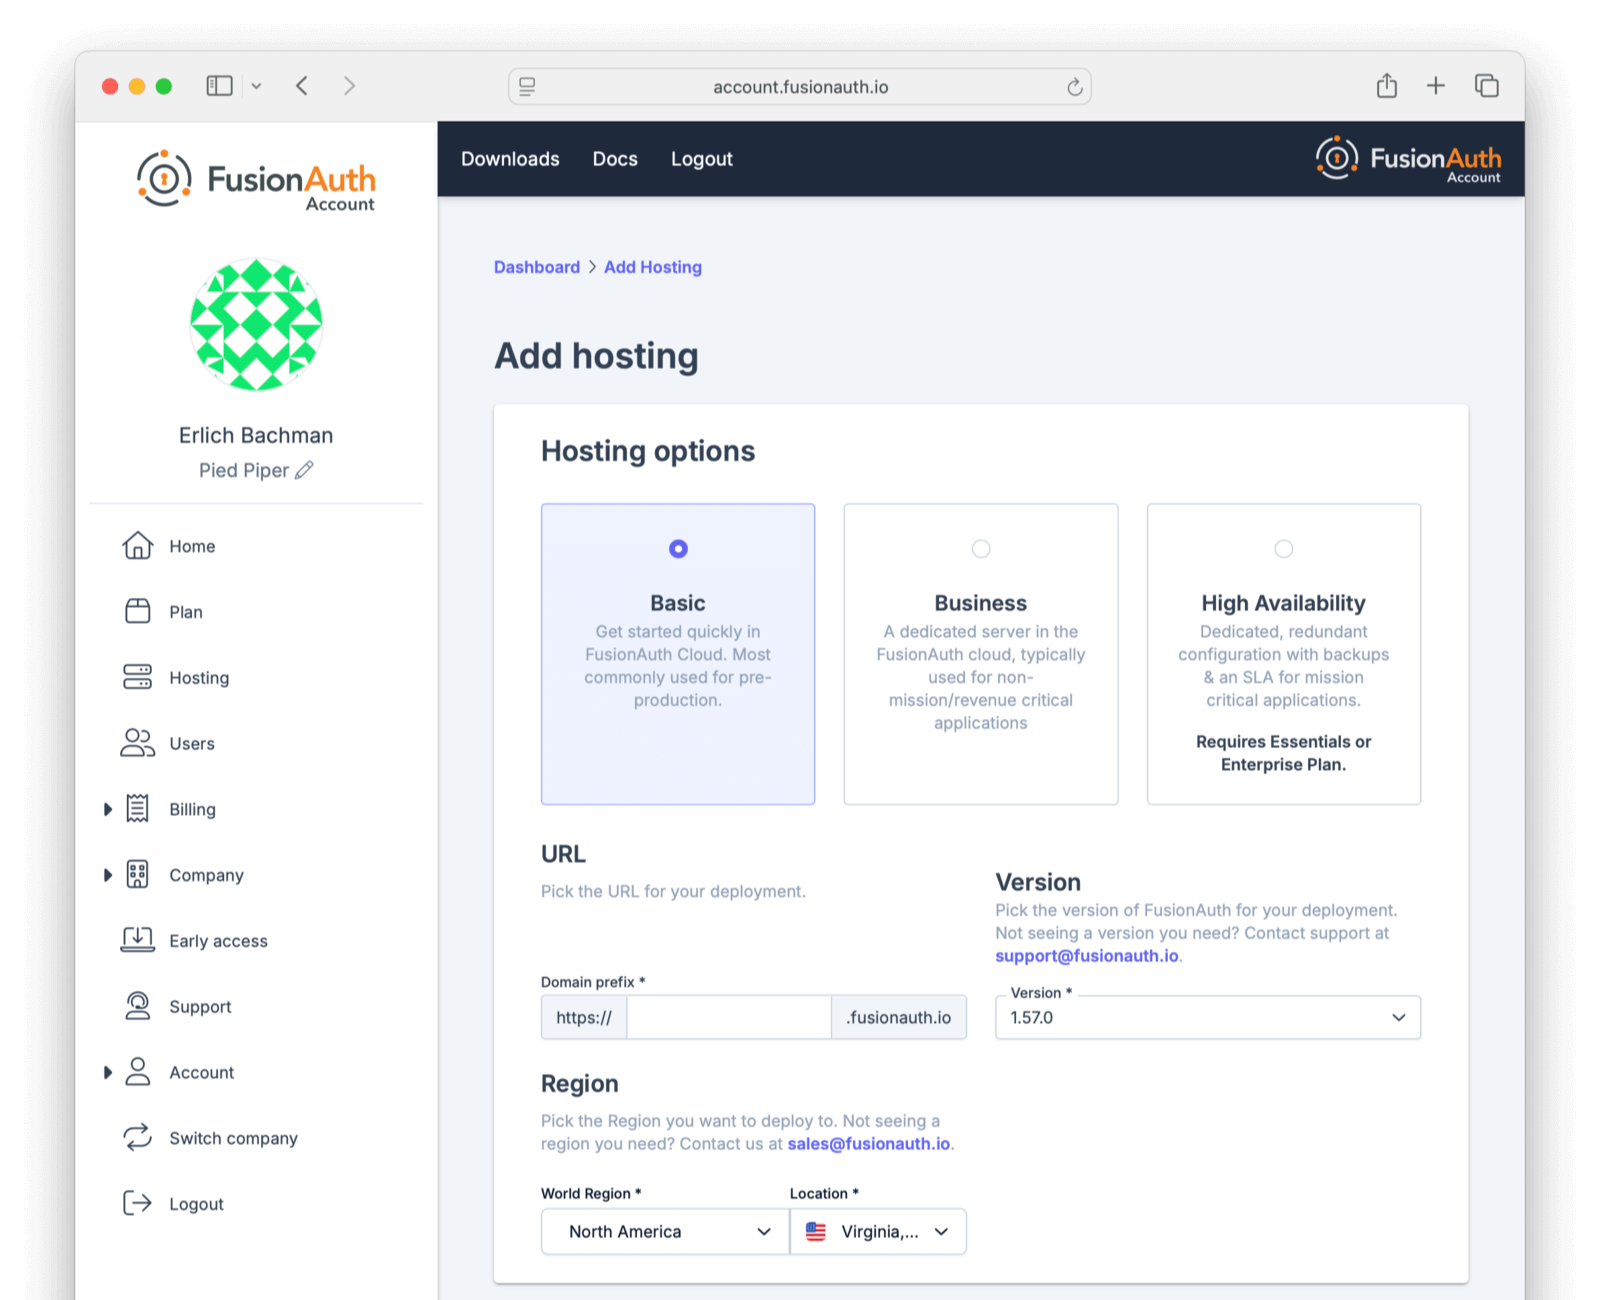
If you don't see a region you need, please [contact us](/contact) and let us know what you are looking for.
Within each region, select a geographic area, such as Oregon, USA.
Pick the location that meets your legal and compliance needs and is close to your applications.
You'll see a price at the bottom of the screen. This price will update as you change attributes of your deployment.
When you have your deployment configured as you would like, scroll to the bottom and click <InlineUIElement>Purchase</InlineUIElement> to begin the deployment creation process.
This will also charge your credit card.
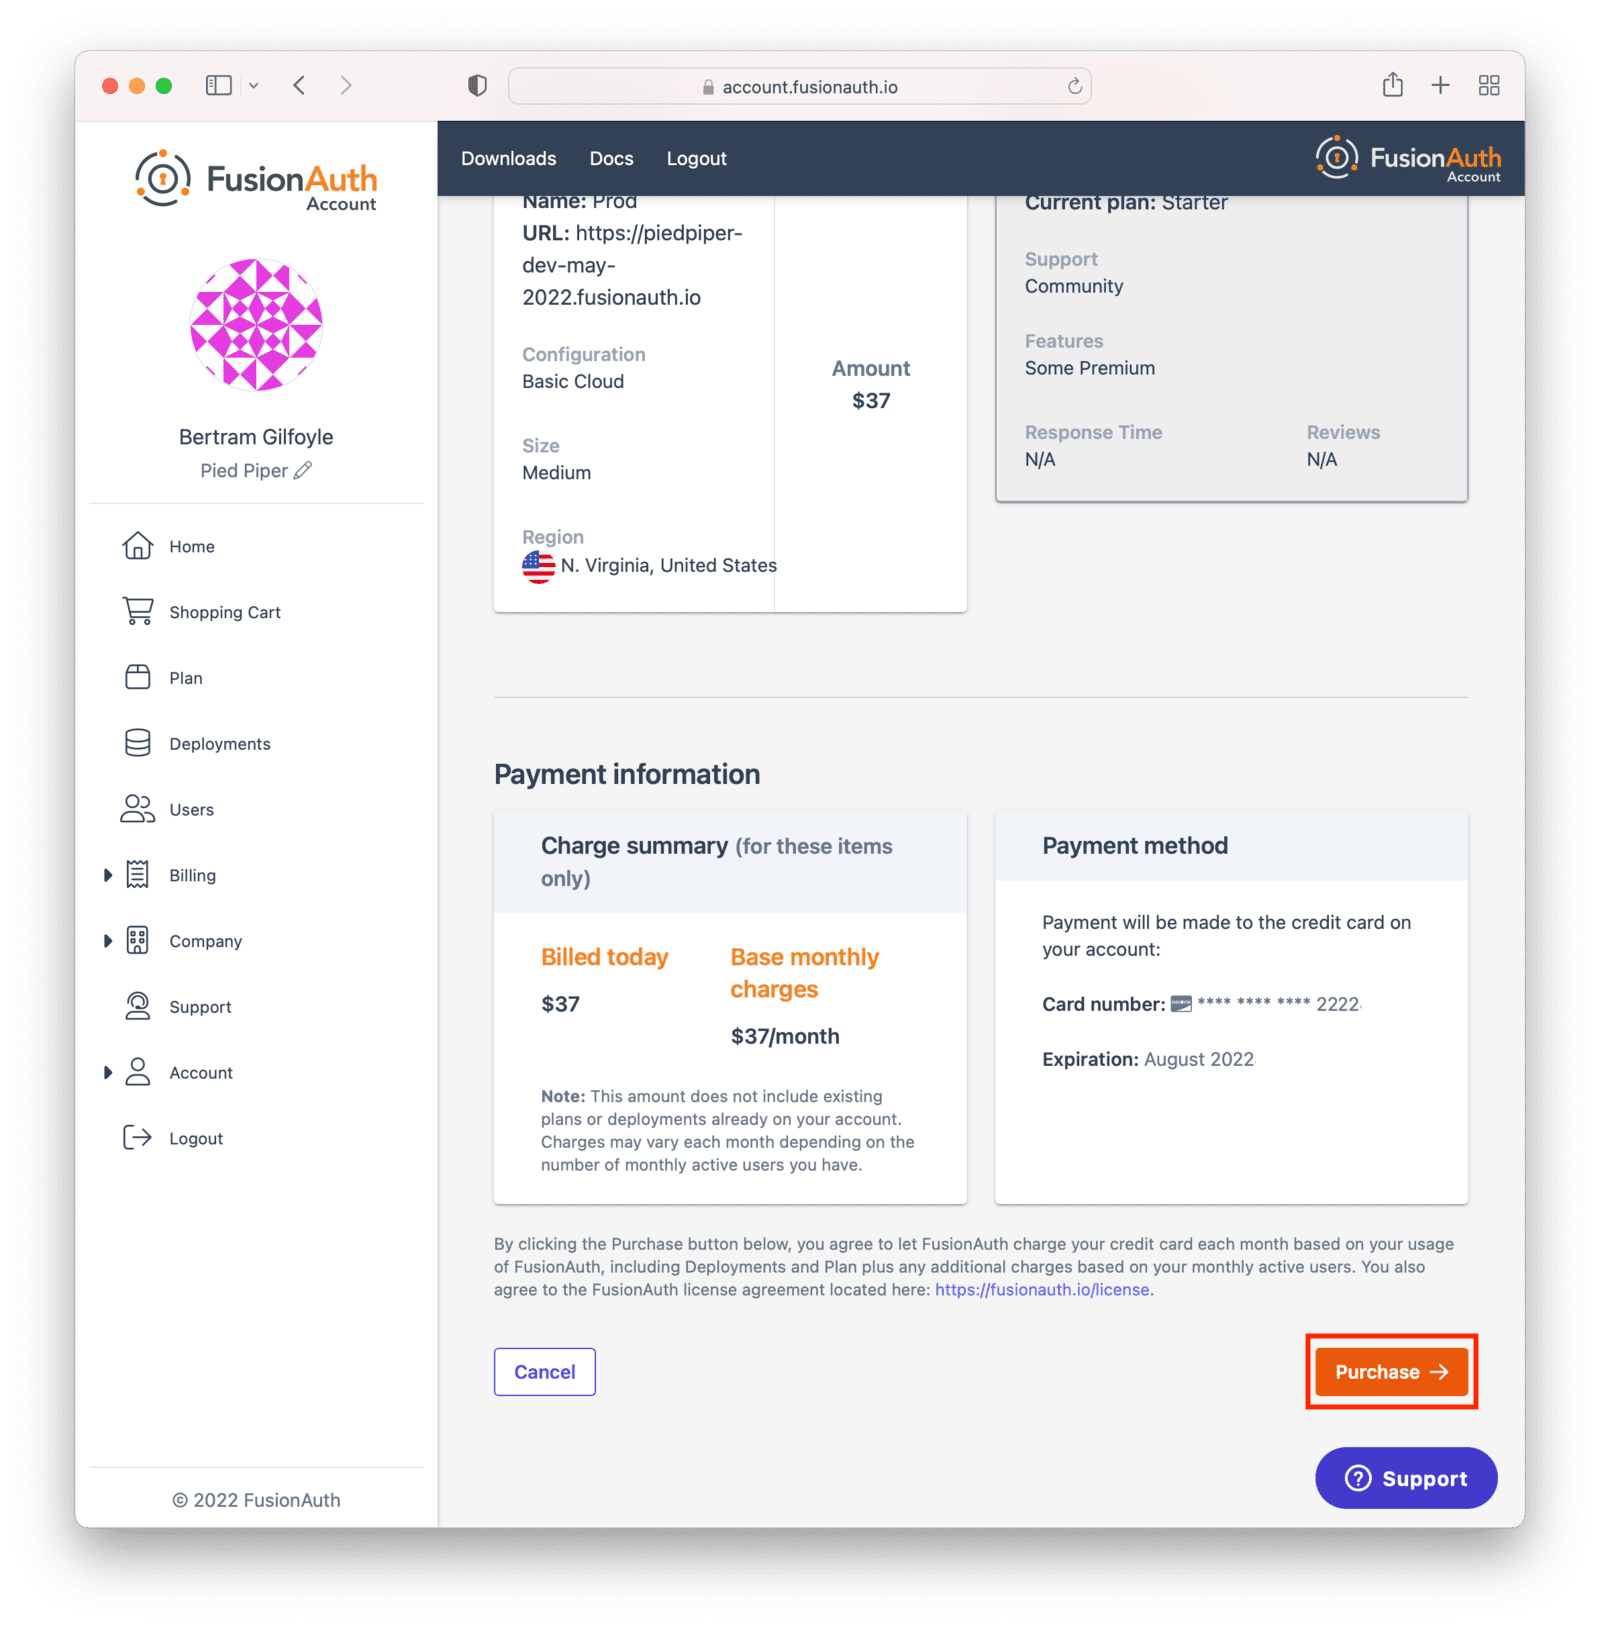
If you do not have a payment method on file, add one in the <Breadcrumb>Billing</Breadcrumb> tab.
<Aside type="note">
The screenshots above are for a Basic FusionAuth Cloud deployment.
Different deployments will show different options.
</Aside>
### Deployment Provisioning
Navigate to the <Breadcrumb>Hosting</Breadcrumb> tab to see the new deployment.
The exact duration of the deployment process depends on system load as well as the tier chosen.
Expect your deployment to be available in 5 to 30 minutes.
When the deployment is ready, the link to your deployment will be live and the <Breadcrumb>Hosting</Breadcrumb> tab will look similar to this:
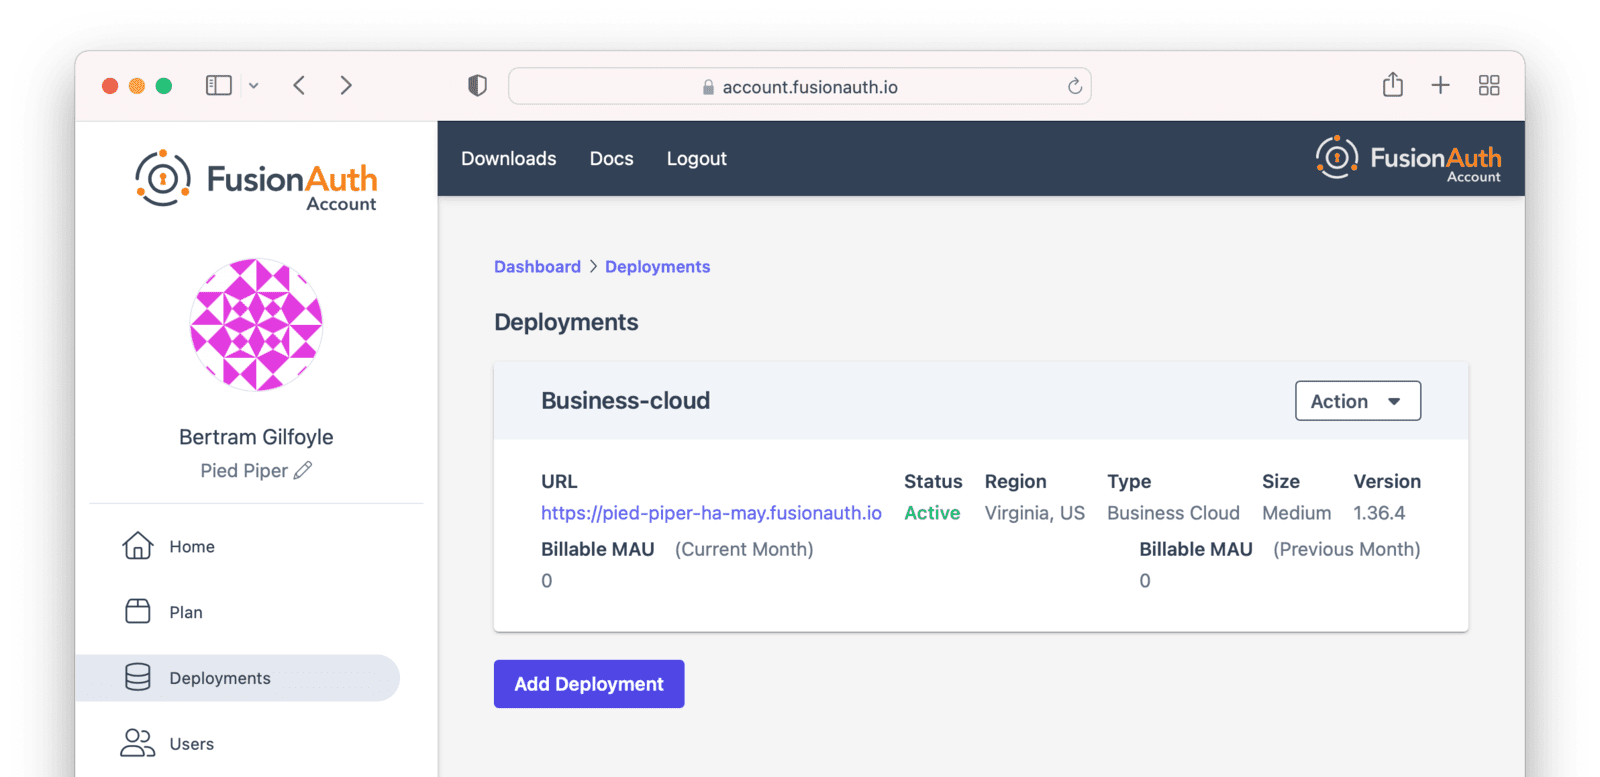
### Accessing the FusionAuth UI
In order to ensure that only authorized users can set up your new deployment, a setup token is required to access the deployment's
administrative user interface. If you navigate directly to the deployment URL, such as `https://piedpiper-dev-ha-may.fusionauth.io`,
you will be prompted to enter an 8-character setup token. This token is available under the <InlineUIElement>Setup status</InlineUIElement> section on the
deployment management screen.
If you access the deployment by clicking on provided URL link, the setup token will be automatically submitted and the Setup
Token screen will be bypassed.
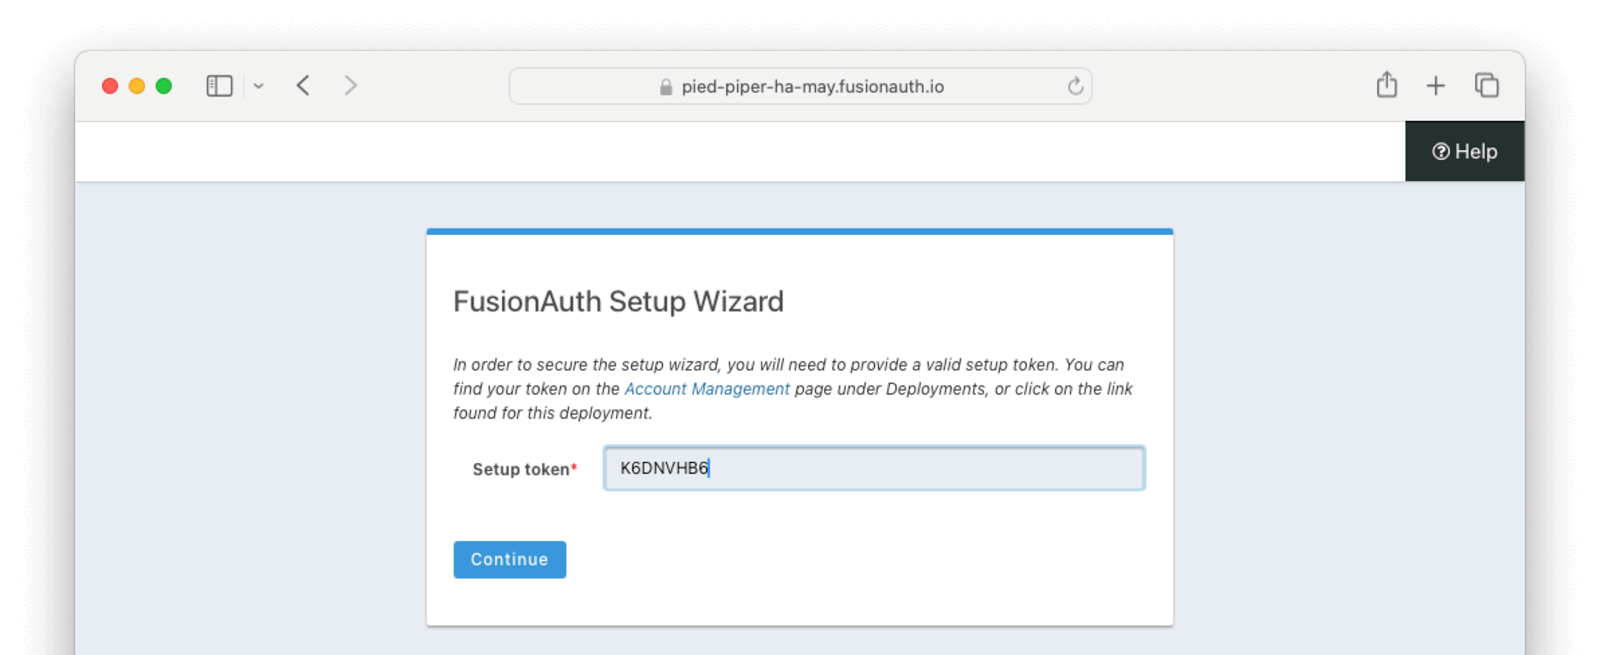
At that point the [Setup Wizard](/docs/get-started/run-in-the-cloud/setup-wizard) will begin.
You can configure FusionAuth by creating API keys, adding additional users, setting up applications for your users to log in to, or any other task.
The interface will be exactly the same as a self hosted FusionAuth instance.
If new to FusionAuth, you might want to work through the ["Start Here" guide](/docs/get-started/start-here) to gain familiarity.
You'll also want to update various system or tenant level settings.
This includes creating API keys, updating your email host settings and configuring groups and roles.
This guide to [Common configuration](/docs/get-started/run-in-the-cloud/common-configuration) is helpful at this point.
<Aside type="caution">
Many infrastructure or network providers don't allow any traffic on port 25.
This includes FusionAuth Cloud.
You cannot connect a FusionAuth Cloud deployment to an SMTP server on port 25. Such a connection will always be blocked. No email will be sent.
Instead, we recommend using one of the TLS ports for SMTP, such as 465 or 587.
FusionAuth will work with any email provider which has a SMTP interface.
</Aside>
## Managing Your Deployments
At any time you can log in to the account portal, navigate to <Breadcrumb>Hosting</Breadcrumb> and manage your deployments.
To add another deployment, click <InlineUIElement>Add Hosting</InlineUIElement>.
You'll go through the same provisioning workflow as above, and end up with another FusionAuth Cloud deployment.
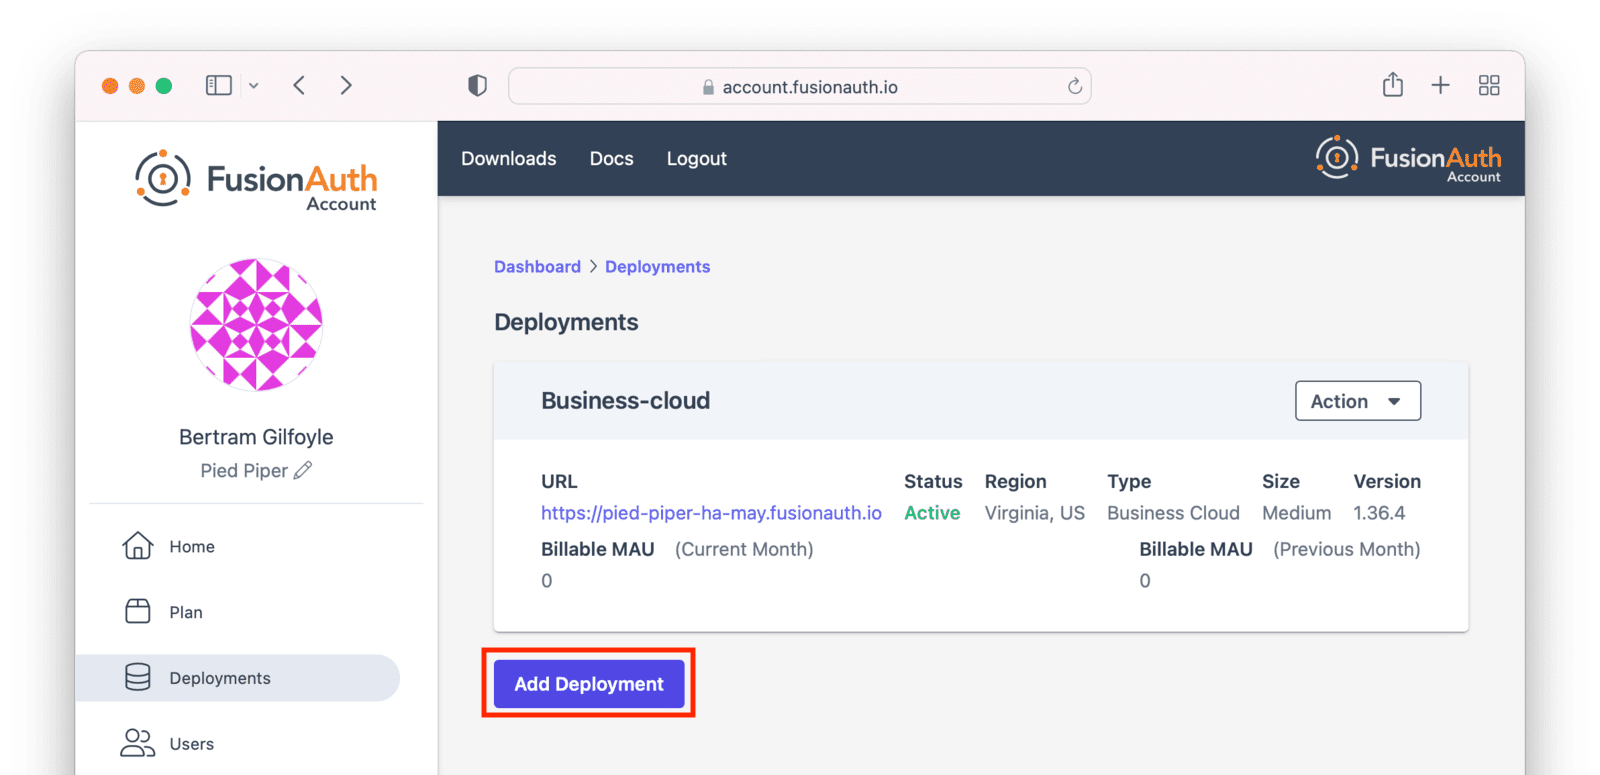
You can also upgrade or destroy each deployment.
To begin either process, select the menu under <InlineUIElement>Action</InlineUIElement>:
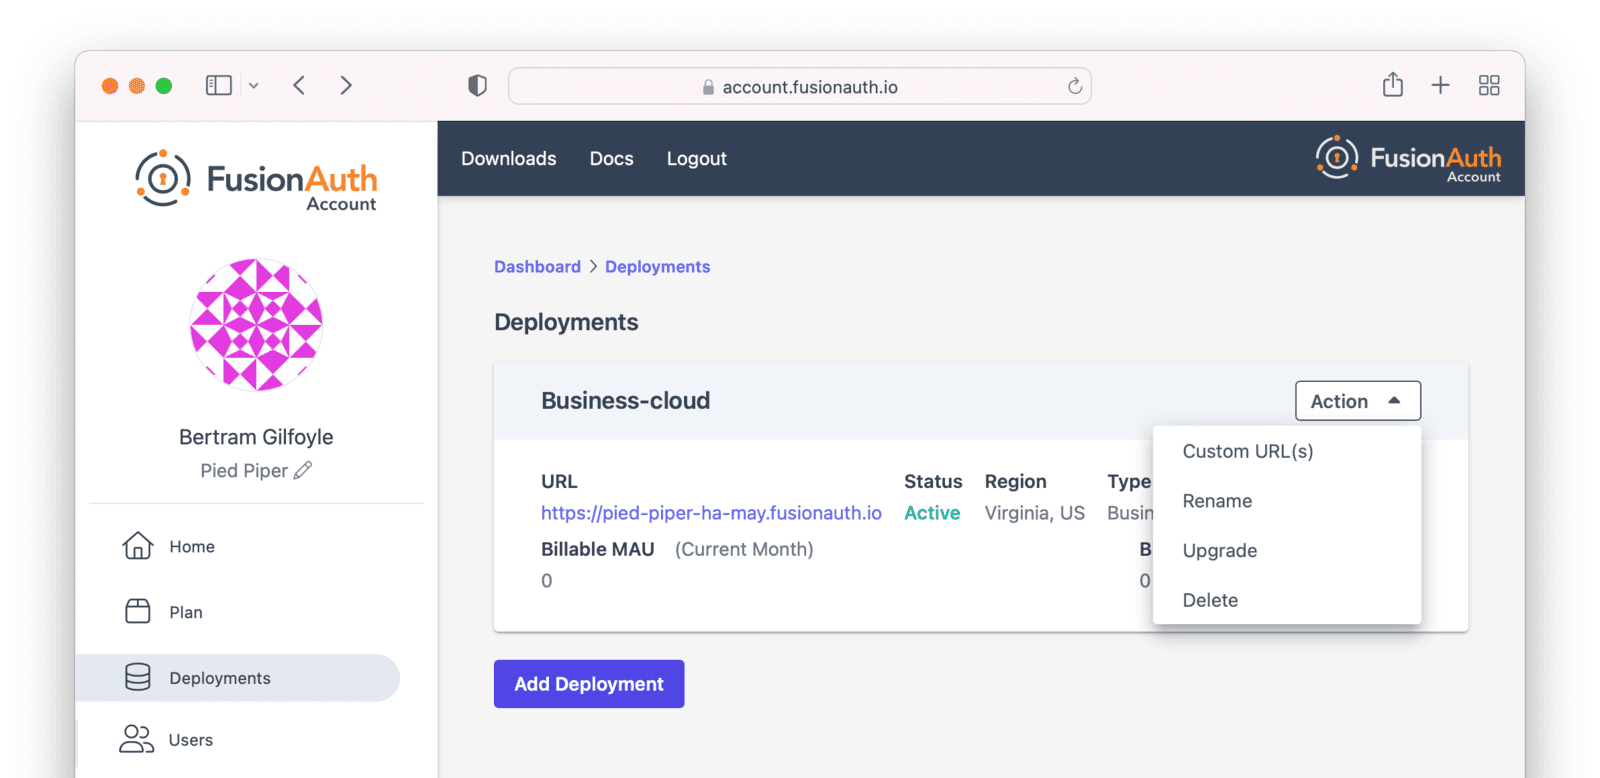
## Upgrading a Deployment
If your deployment is not running the latest version of FusionAuth, you may upgrade it.
It is a good idea to run the latest released version of FusionAuth, which has the latest bug fixes, security updates, and features.
However, you will not be forced to upgrade on a certain schedule.
Upgrades are optional and controlled by you.
<Aside type="note">
Upgrade management is only available if the deployment is not currently running the latest released FusionAuth version.
</Aside>
### Upgrade Duration
This upgrade process takes between 5 minutes and 60 minutes of time.
The exact duration of system downtime depends on the type of deployment, amount of data in your system, and database changes required by the version upgrade.
*Table 2. Upgrade Durations in FusionAuth Cloud*
| Hosting Option | Duration of Upgrade | Expected Downtime |
|----------------|---------------------|-------------------|
| Basic Cloud | 5 to 60 minutes | 5 to 60 minutes |
| Business Cloud | 5 to 60 minutes | 5 to 60 minutes |
| HA Cloud | 5 to 60 minutes | seconds |
HA systems have significantly lower downtime during an upgrade because the system has two or more nodes. They are upgraded one at a time and can continue to receive traffic during the upgrade.
### Upgrade Considerations
Consult the [relevant release notes](/docs/release-notes/) for functional changes.
Such changes may require updates or modifications to your code, whether to take advantage of new features or, occasionally, to handle changes in FusionAuth functionality.
Due to the downtime, it is recommended that you schedule the upgrade for a low traffic period.
Test the upgrade process on development or test servers first.
<Aside type="note">
The upgrade process described in this section updates the version of FusionAuth.
If you are looking to modify other attributes of your deployment, such as the region it is running in, the deployment size, or the service tier, review the [Modifying Deployments](#modifying-deployments) section.
</Aside>
### Upgrade Process
To upgrade a deployment from version `1.x-1` to version `1.x`:
* Test `1.x` on a staging or development environment.
* Select a time that works for your users, your team, and your applications.
* [Log into your account](https://account.fusionauth.io/).
* Record the time you began the upgrade.
* Navigate to the <Breadcrumb>Hosting</Breadcrumb> tab. Manage the deployment, then choose the <InlineUIElement>Upgrade</InlineUIElement> option. Select `1.x` from the <InlineField>Version</InlineField> dropdown.
* Confirm you want to start the upgrade.
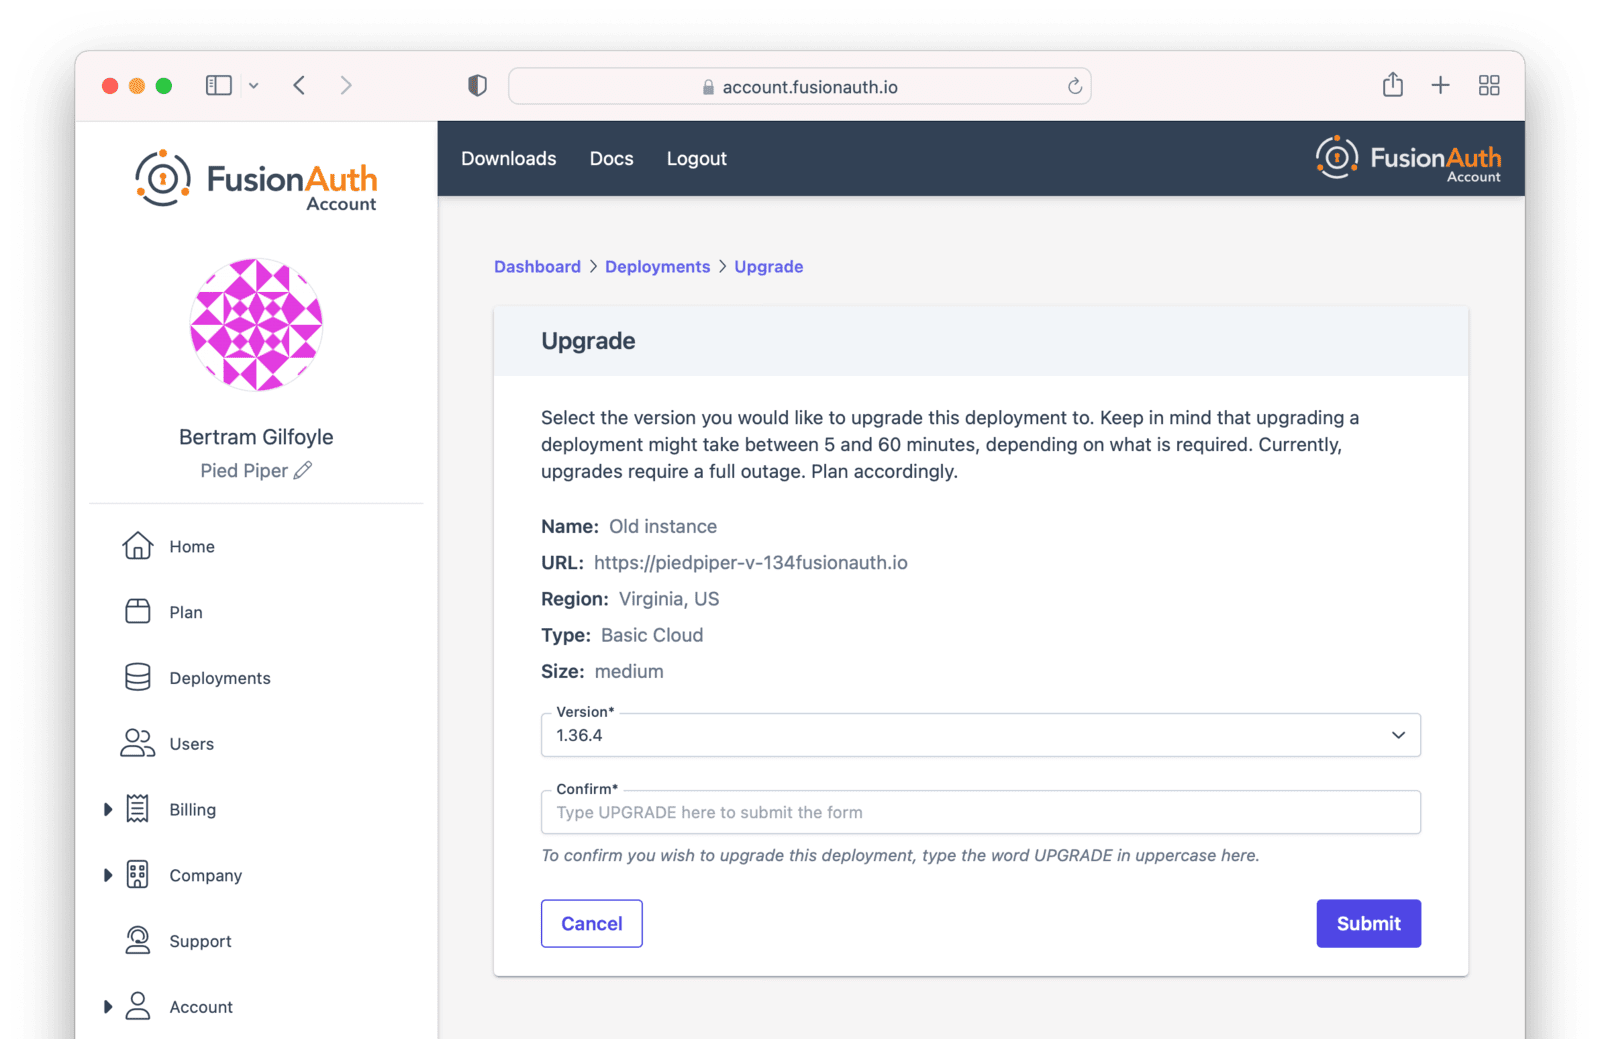
* After confirmation, the deployment will be in an "Upgrading" state until finished. Monitor the upgrade by viewing the <Breadcrumb>Hosting</Breadcrumb> tab. To programmatically monitor the upgrade, call the [System Status API](/docs/apis/system#retrieve-system-status).
* The upgrade to version `1.x` is complete when the user interface deployment has a status of "Active", or when the System Status API returns success.
<Aside type="caution">
You cannot downgrade a FusionAuth Cloud deployment version.
Please test upgrades before performing them on your production system.
</Aside>
### Rolling Back From a Problematic Upgrade
If an upgrade is problematic, and you identify the issue during the timeframe of your plan's backup retention period, open a [support ticket](https://account.fusionauth.io/account/support/) to restore your data to the previous version.
In the support ticket, please provide:
* The version from which you were upgrading. This will be the version of your restored instance.
* The approximate time the upgrade began, including timezone, so that the correct backup can be restored.
For Business and High Availability deployments, backups from an upgrade are available for 30 days. For Basic deployments, no backups are available.
Both production and non-production environments can be rolled back if on a plan with backups.
Production rollbacks will be treated the same as a production outage.
Non-production rollbacks will be completed within two business days, and will be handled during normal FusionAuth business hours (9am-5pm Mountain time, Monday-Friday). Non-production rollbacks will not be treated as a production outage.
All rollbacks will have data loss; the amount of data loss depends on when the upgrade began and when the rollback was requested.
## Destroying a Deployment
If you have a FusionAuth deployment and want to delete it, do so by [logging into your account](https://account.fusionauth.io/).
<Aside type="caution">
Before destroying a deployment, ensure you back up your user data and configuration. You can retrieve your configuration using the APIs.
See [Accessing User Data](#accessing-user-data) for more about retrieving user data and passwords.
For Business and High Availability deployments, FusionAuth will retain a backup for a maximum of 30 days.
For Basic deployments, no backups are available.
</Aside>
Navigate to the <Breadcrumb>Hosting</Breadcrumb> tab.
Click the <InlineUIElement>Action</InlineUIElement> button.
Choose the <InlineUIElement>Delete</InlineUIElement> option.
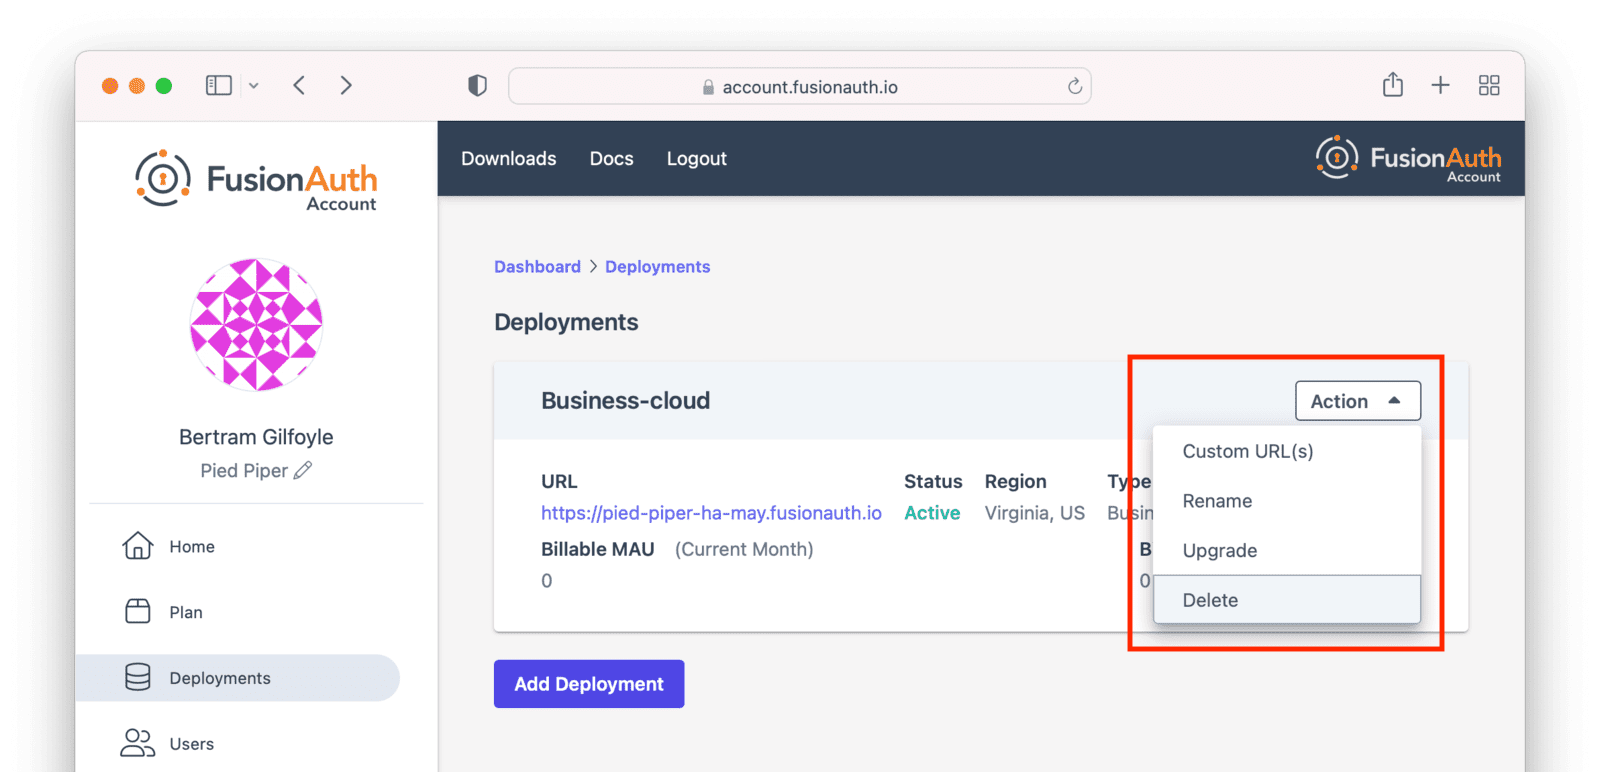
You will be prompted to confirm your decision.
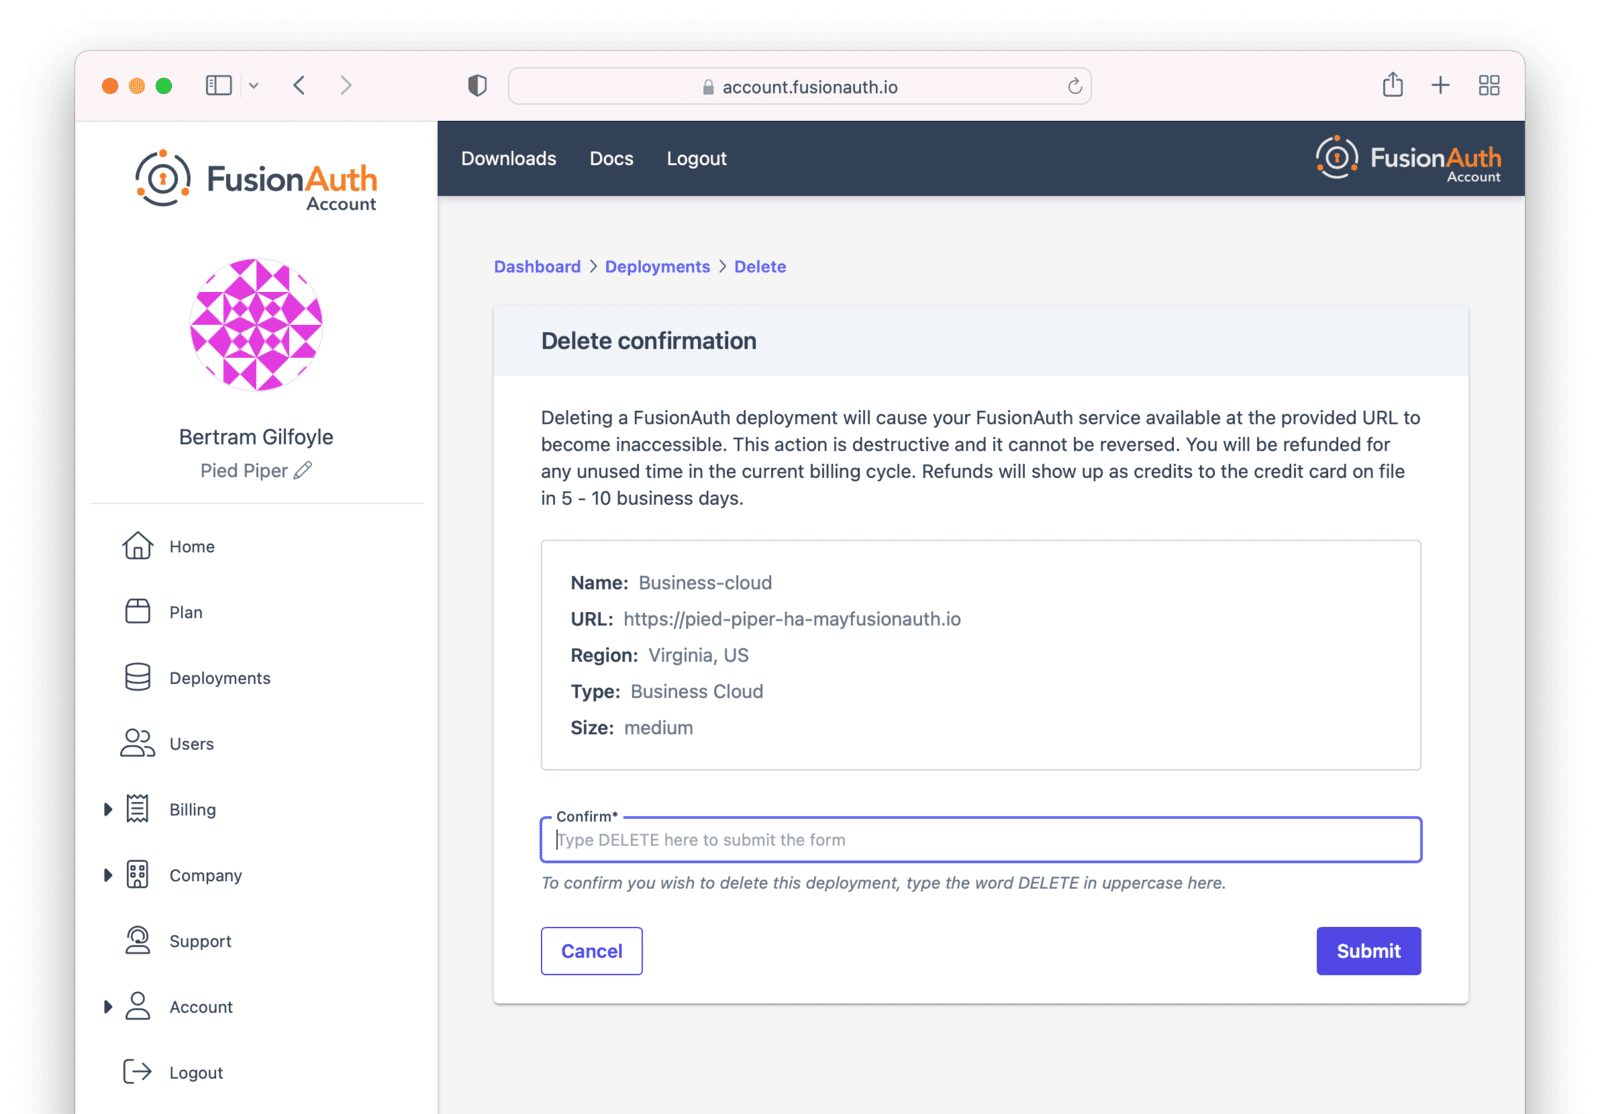
After confirmation, the deployment will transition to the "Destroying" state.
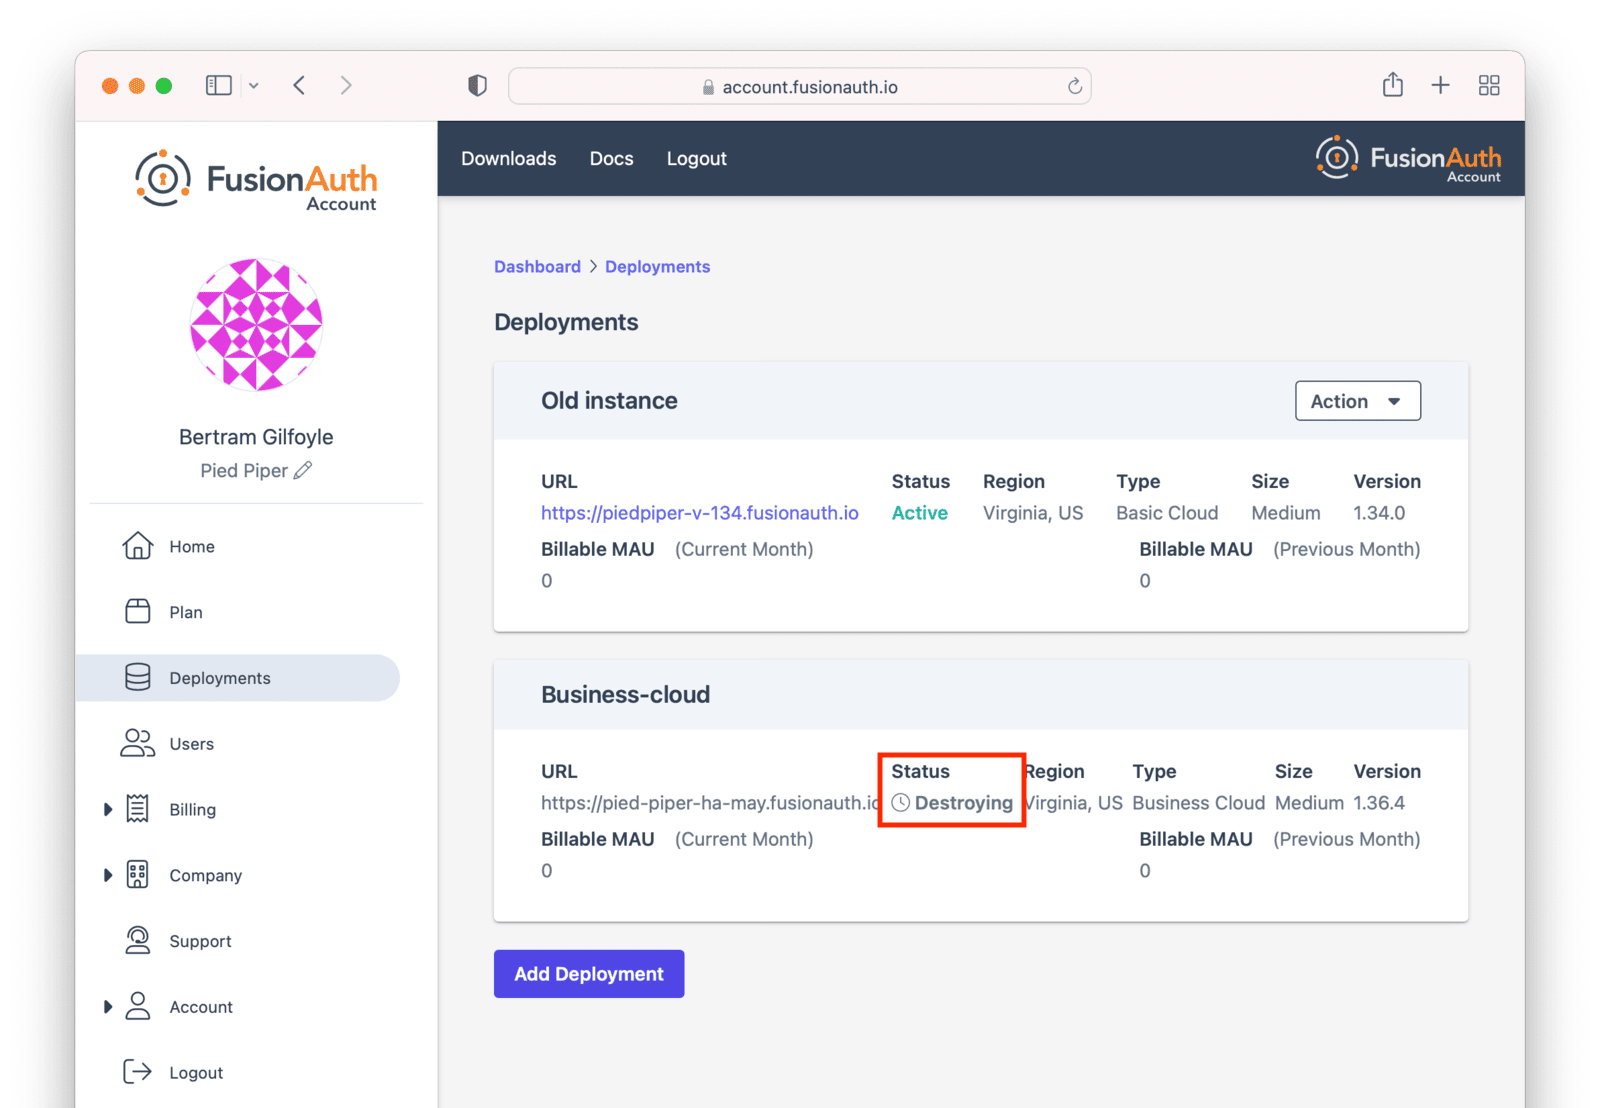
After the deployment is completely removed, it will have a "Destroyed" state on the <Breadcrumb>Hosting</Breadcrumb> tab.
At this point you will no longer be charged for this deployment.
If you configured [custom domains](#custom-domains), remove the DNS records you added.
## Migrating Data From a Deployment
FusionAuth can be run in a variety of environments, but you may want to migrate between them because:
* You want to let the FusionAuth team operate your auth server.
* You started out in FusionAuth Cloud but now want to run the software on internal systems for performance, compliance or control.
* You started out running FusionAuth locally for cost reasons, but now have launched and want to have someone else run it for you.
You can migrate the user data FusionAuth holds for you in a number of ways:
* From a self-hosted FusionAuth instance to a FusionAuth Cloud deployment.
* From a FusionAuth Cloud deployment to a self-hosted FusionAuth instance.
* From a different auth provider into FusionAuth.
* Away from FusionAuth to a different auth provider.
If you want to retrieve your user data from FusionAuth Cloud in order to migrate to a different auth provider, see [Accessing User Data](#accessing-user-data). To retrieve user data from a self-hosted FusionAuth instance, query the database.
### Migrating From A Different Auth Provider
If you are interested in migrating to FusionAuth from an auth system other than FusionAuth, check out the [Migration Guide](/docs/lifecycle/migrate-users/).
### Migrating To FusionAuth Cloud
To migrate from a self-hosted instance to FusionAuth Cloud:
* You must be running PostgreSQL. If you are running MySQL, please migrate to a PostgreSQL database locally. Here's a [forum post on how to do this](/community/forum/topic/985/migrating-from-mysql-to-postgresql). This has been provided by the community and is not supported nor endorsed by FusionAuth.
* Export your FusionAuth database to a file. When you run the `pg_dump` command, please use the following options: `--format=c` and `--compress 9` to minimize the file size.
* Encrypt the export file with a symmetric solution such as gpg.
* Purchase a FusionAuth Cloud deployment that meets your needs. Select the version of FusionAuth that is the same as your local installation. You will be able to upgrade FusionAuth later; see [Upgrading a Deployment](#upgrading-a-deployment) for more.
* [Open a support ticket](https://account.fusionauth.io/account/support/) and provide the database export file, the version of PostgreSQL you are running, and the name of the new FusionAuth deployment.
* Provide the password for the database export through another channel. You can mention the channel you'd prefer in the support ticket. Slack, email and a separate support ticket are all options.
Within 1-2 business days, we will upload your data to your FusionAuth Cloud deployment.
After your data is uploaded, upgrade your deployment to any subsequent FusionAuth version, if desired. See [Upgrading a Deployment](#upgrading-a-deployment) for more.
*Table 3. Migration checklist*
| Done? | Task |
|-------|------------------------------------------------------------------------------------------------------------|
| | Confirmed running Postgres for local instance. |
| | Found FusionAuth version for local instance. |
| | Created a new deployment. Instructions: [Creating a Deployment](#creating-a-deployment). |
| | Ensured the FusionAuth Cloud deployment and the local instance are running the same version of FusionAuth. |
| | Communicated the version of Postgres used in the export file. |
| | Encrypted the database export. |
| | Provided the decryption password via a separate communication channel. |
### Migrating Away From FusionAuth Cloud
To migrate from FusionAuth Cloud to a self-hosted instance, please request a database export, as documented in [Accessing User Data](#accessing-user-data).
After you have the data, install it in a PostgreSQL database and configure your self-hosted instance to point to that database.
Ensure your self-hosted instance uses the same FusionAuth and database versions as those used by your Cloud deployment.
You can view your FusionAuth version in the administrative user interface.
To find your deployment's database version:
* If you are running a version of FusionAuth before 1.30.2, [open a support ticket](https://account.fusionauth.io/account/support).
* If running a version >= 1.30.2, navigate to <Breadcrumb>System -> About</Breadcrumb> to view the version.
Once you've tested your self-hosted installation, destroy your FusionAuth Cloud deployment as outlined in [Destroying a Deployment](#destroying-a-deployment).
## Modifying Deployments
Modifying certain aspects of a deployment, such as the region, requires assistance from the FusionAuth team.
This is in contrast with upgrading the version of FusionAuth your deployment is running, which is a self-serve operation described in [Upgrading a Deployment](#upgrading-a-deployment).
Please open a [support ticket](https://account.fusionauth.io/account/support/) to change any of the following attributes of your deployment:
* the type (basic, business, or high availability)
* the region or geographic location
* the size of each compute node
* the number of compute nodes
* your database size and class
* the hostname
* any database redundancy attributes
These changes are typically handled in 1-2 business days, and in certain contexts may require changes to your billing/contract.
### Data Integrity
A common question is: "will I lose any data when migrating between tiers, region, size, or hostname?"
When performing any change which requires modifying cloud infrastructure, the cloud database is backed up, and then reconnected to the new infrastructure.
No data loss should occur and your configuration will be preserved.
## Custom Domains
<YouTube id="vozW88qjfXU" />
<Aside type="note">
If you are an Enterprise customer with a High Availability cloud deployment and require more than your current allotment of custom domains, you are eligible for an upgrade to [Unlimited Custom Domains](#unlimited-custom-domains).
</Aside>
If you are on a supported deployment and want a custom domain name such as `auth.piediper.com`, it is entirely self service.
The number of custom domain names you can have depends on the type of deployment.
First, log into your account portal.
Navigate to <Breadcrumb>Hosting</Breadcrumb>.
Then, choose the <InlineUIElement>Action</InlineUIElement> dropdown and select <InlineUIElement>Custom URL(s)</InlineUIElement>.
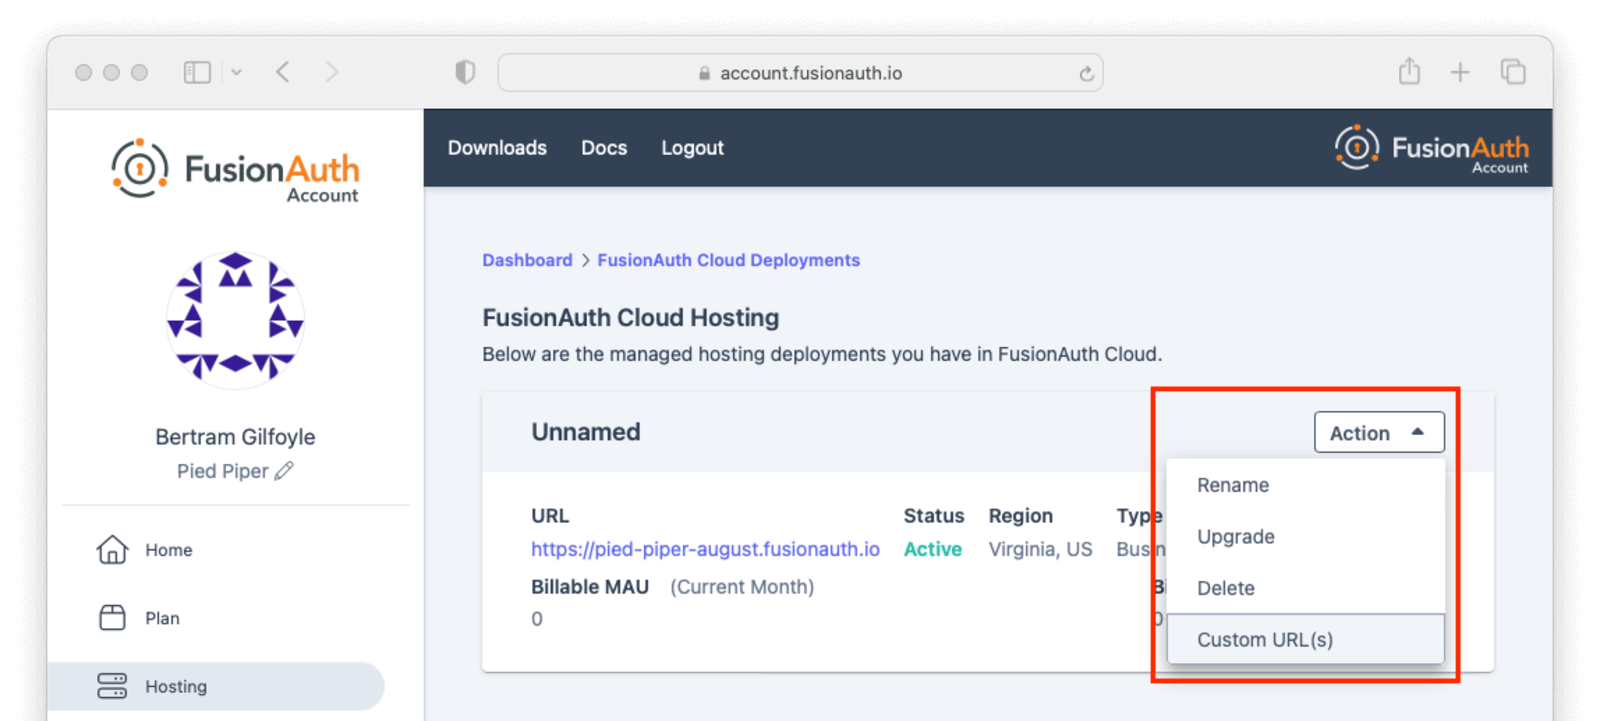
If you have existing custom URLs, you'll see them here.
To add one, click <InlineUIElement>Update custom URL(s)</InlineUIElement>.
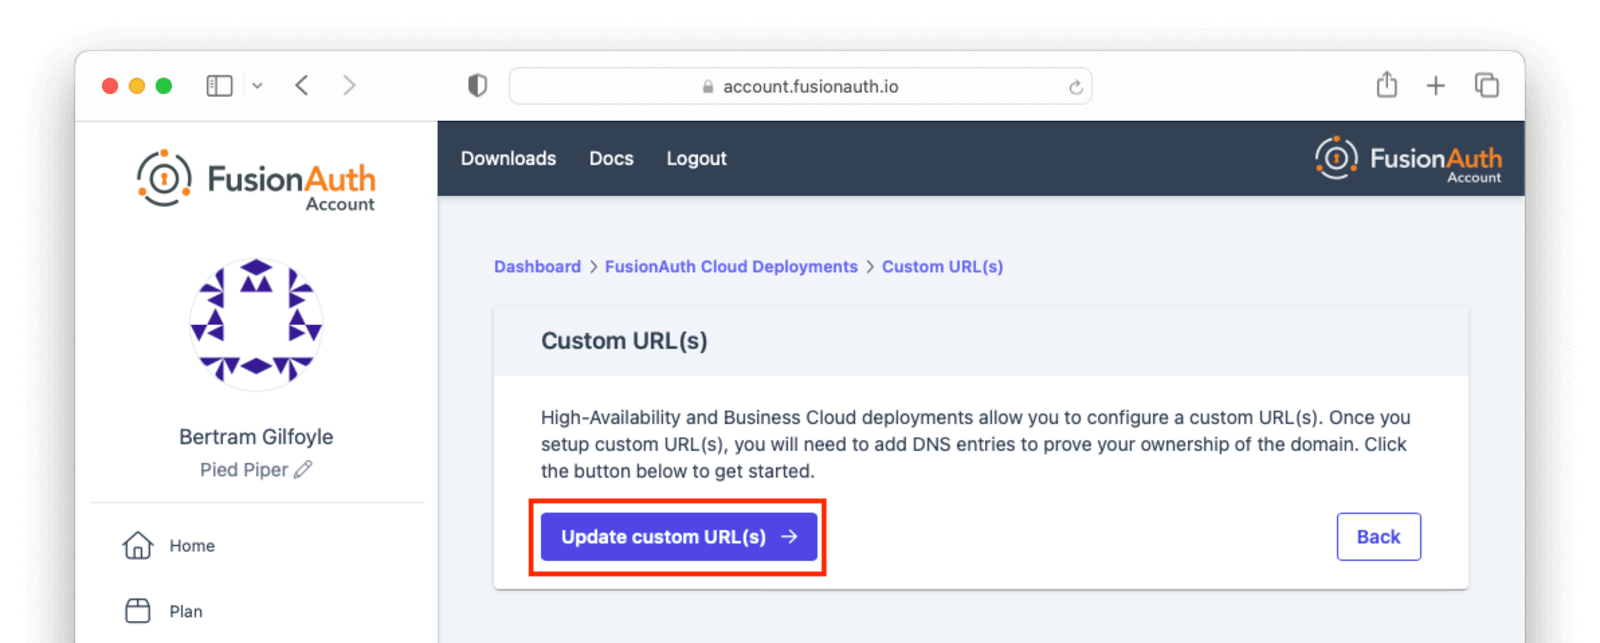
Add the domain names to <InlineField>Custom domains</InlineField> field; for example, `auth.piedpiper.com`.
Confirm you want the change by entering the text `CONFIRM` in the <InlineField>Confirm</InlineField> text field.
Then click <InlineUIElement>Submit</InlineUIElement>.
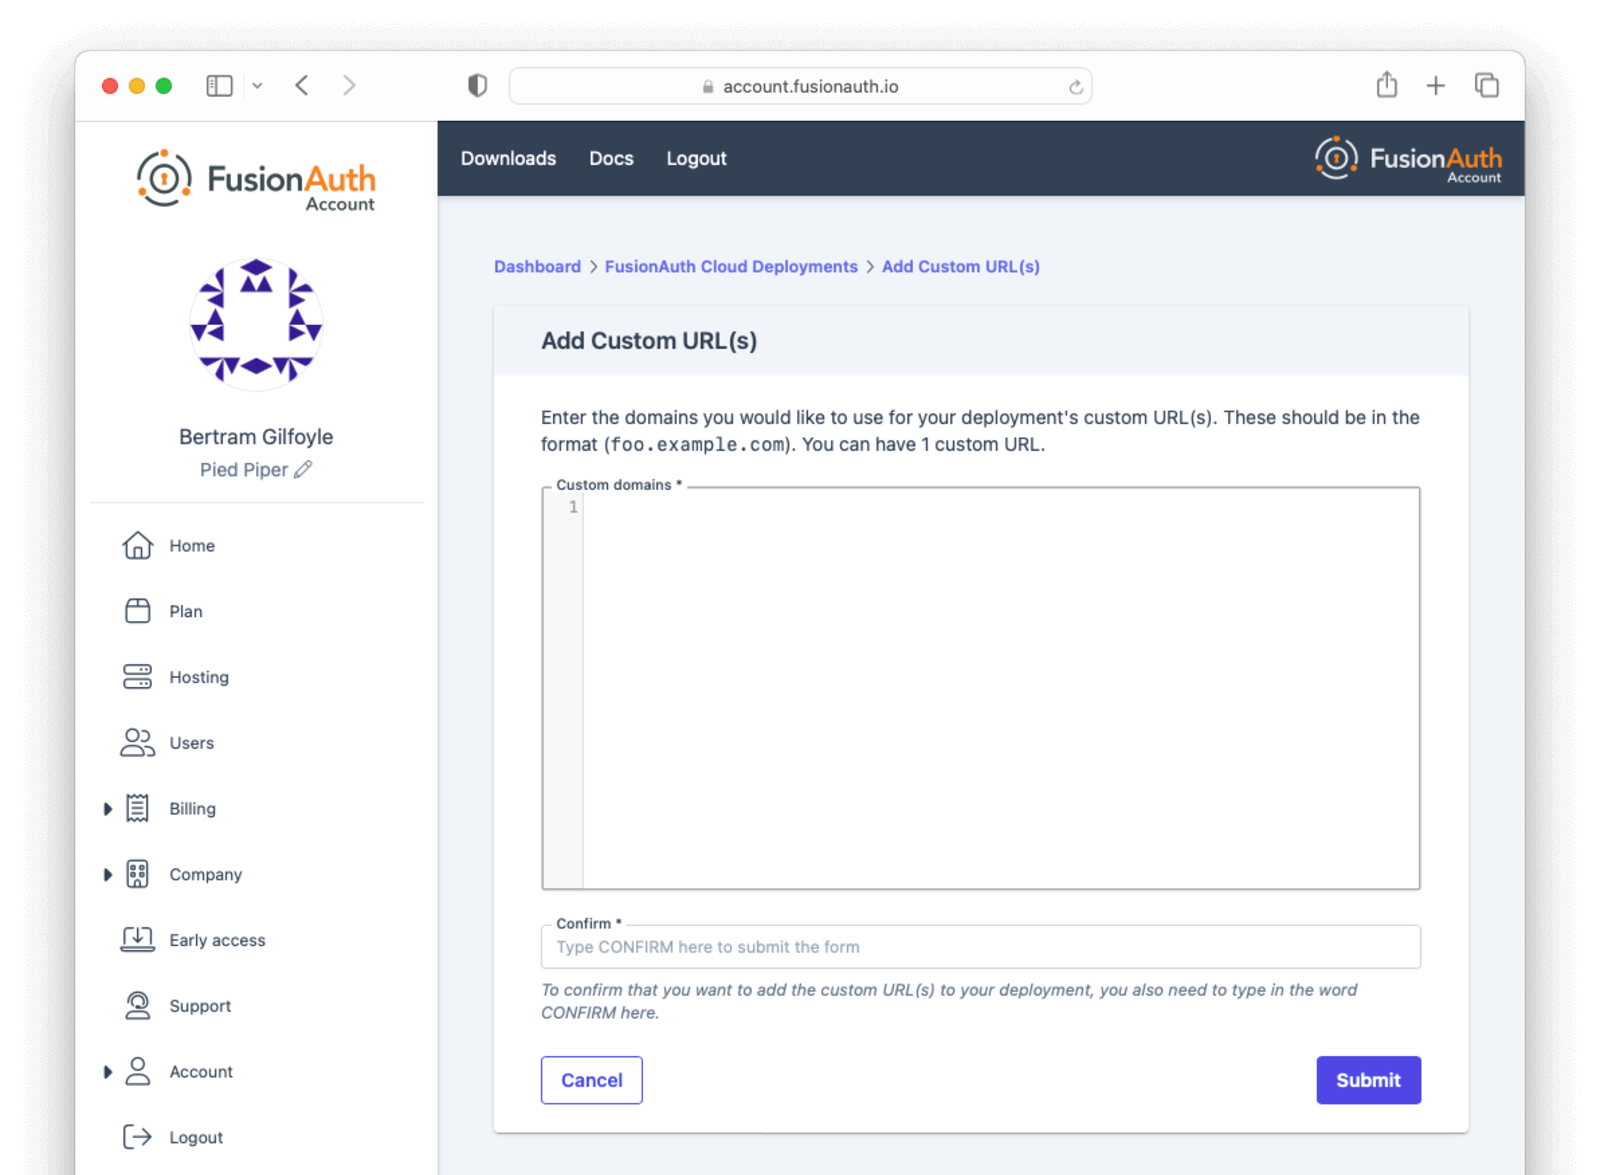
You'll be sent to a verification screen.
This screen will update as the proper DNS records and other infrastructure are created.
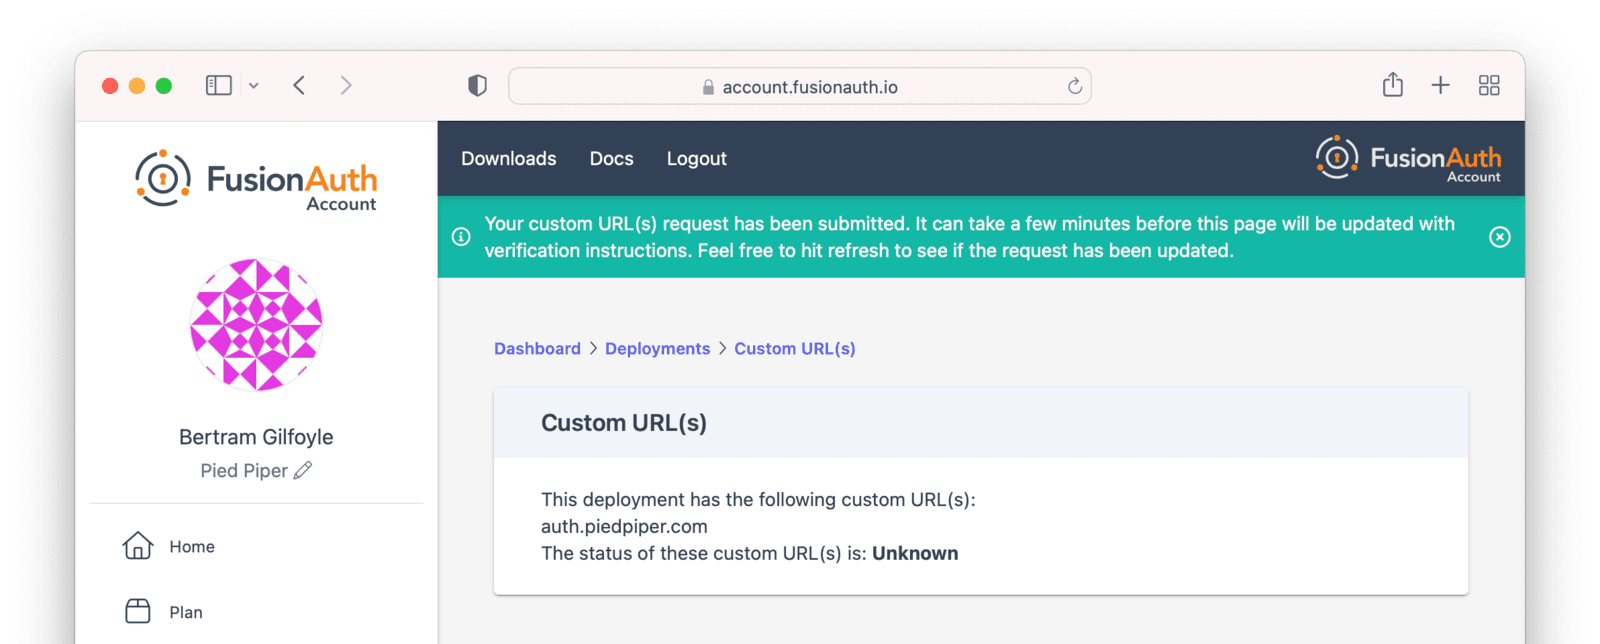
After a few minutes, you'll be shown a set of records which you'll have to add to your DNS. Once validated, the status will move to `Issued`. No further action is required at this point.
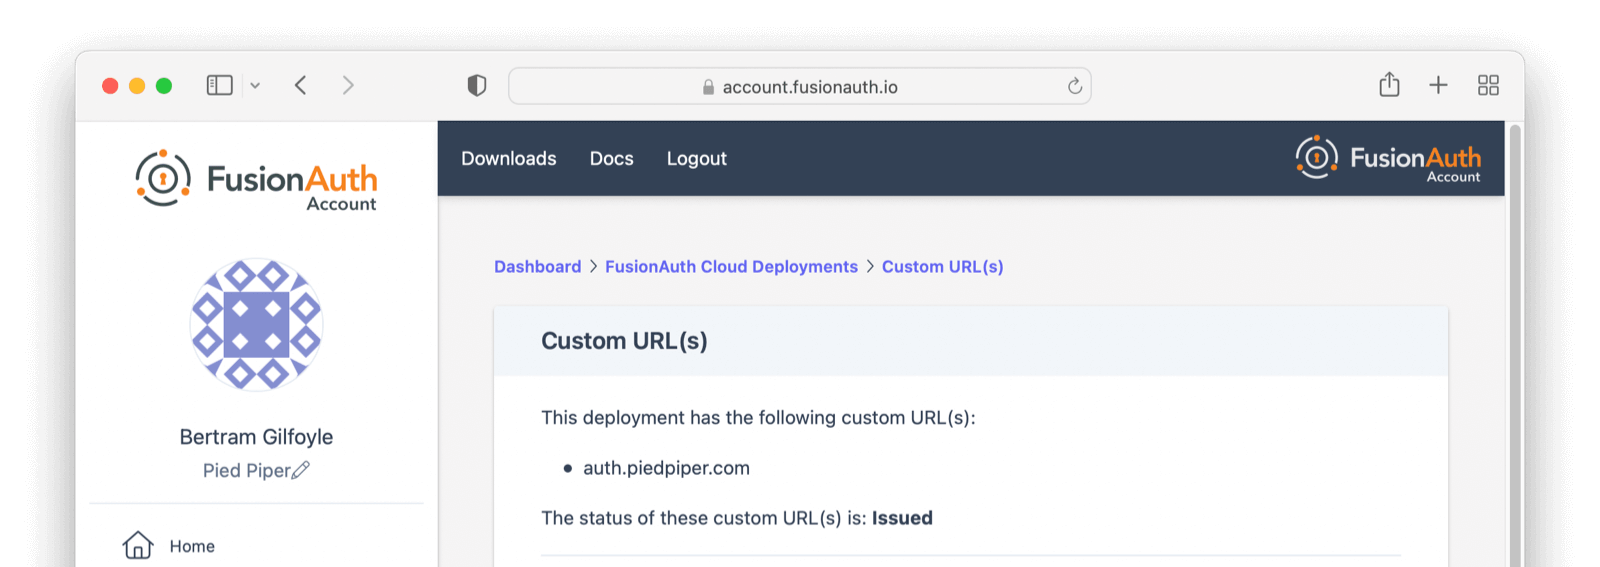
### Updating with Existing Custom Domain(s)
It is common to have one custom domain already associated with your deployment, such as `auth.piedpiper.com`, and need to add another domain, such as `second-auth.piedpiper.com` without affecting the first domain. The ability to add multiple domains is only available on HA Cloud deployments.
You can update the custom domains for your deployment by navigating to the same page where you first added them. Note that updating the custom domains for a deployment is a _replacement_ operation. Any domains not included in the form will be deleted.
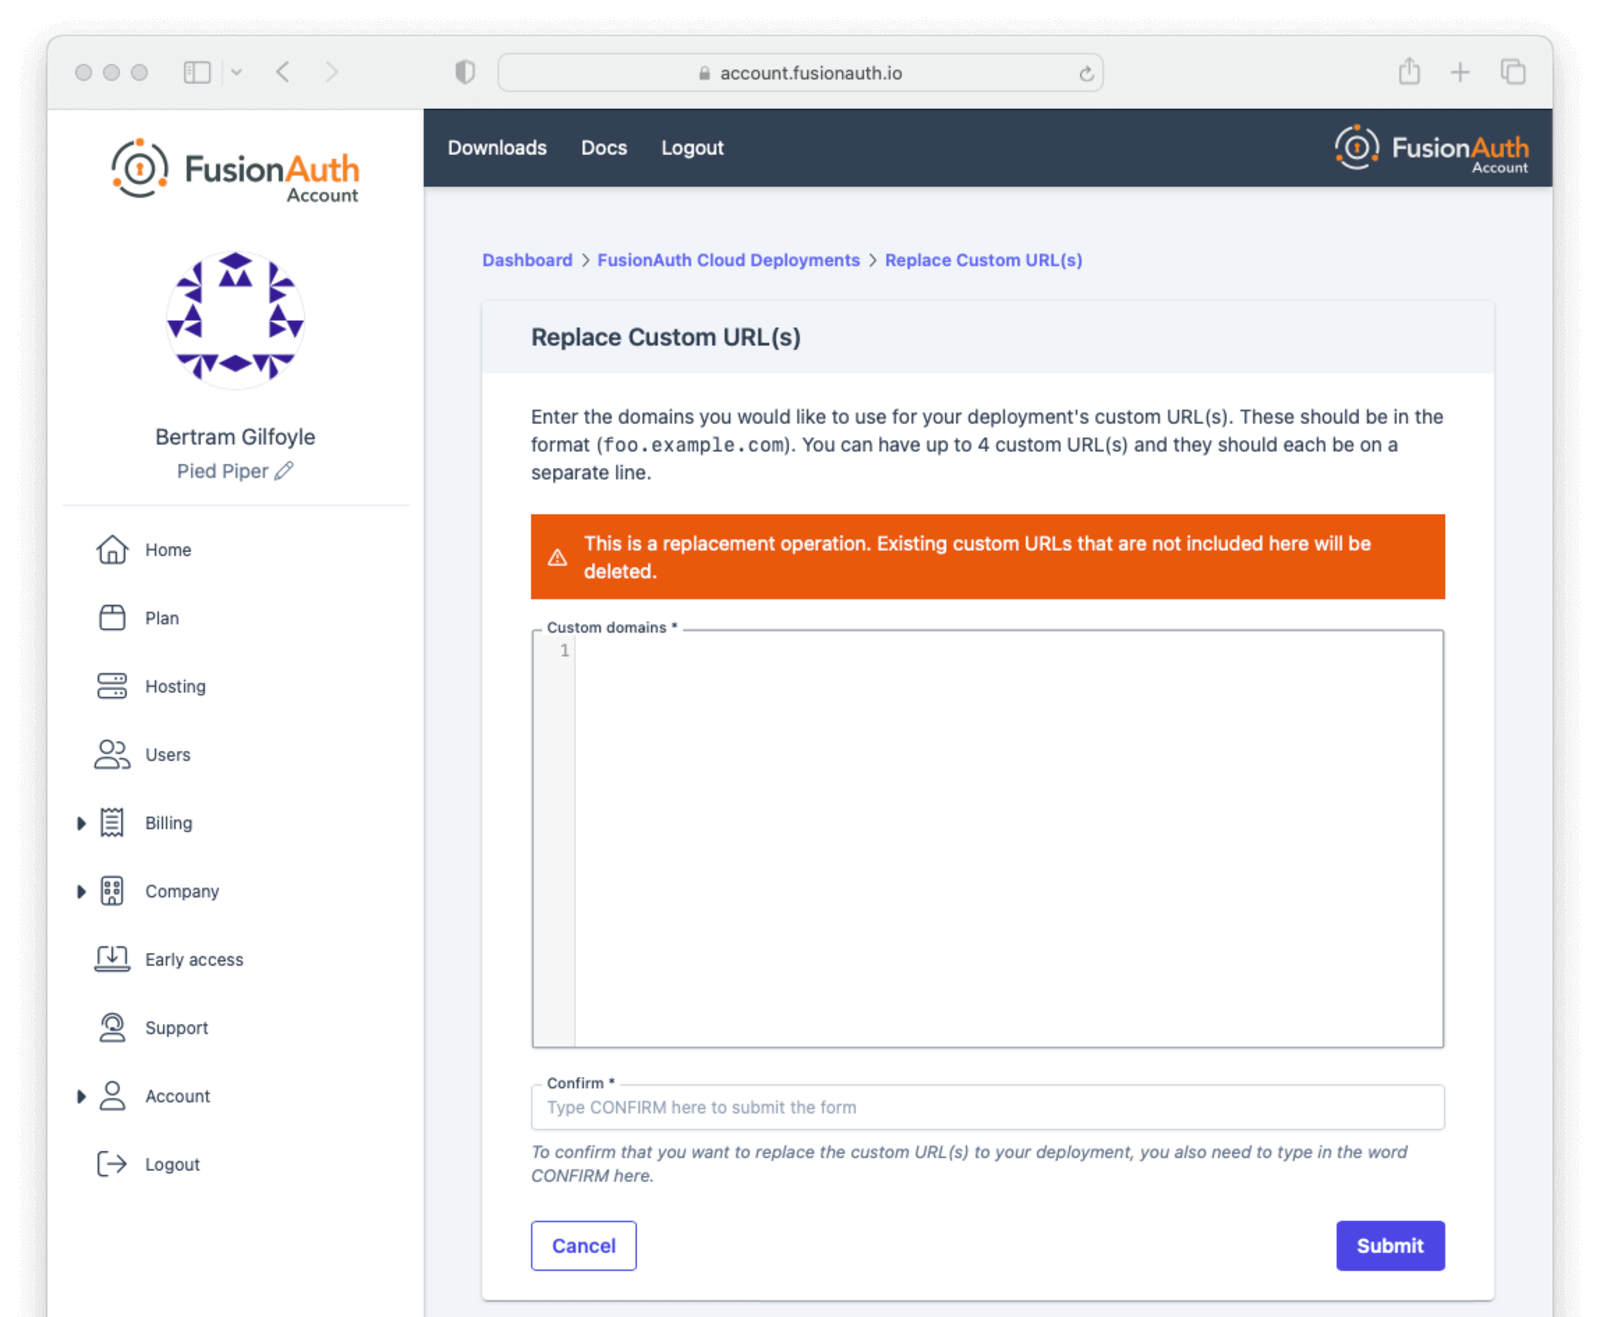
Setting up `auth.piedpiper.com` created two records in your DNS provider:
* **A Validation Record CNAME** - adding this CNAME to your DNS authorizes FusionAuth Cloud to use `auth.piedpiper.com`
`[random-value].auth.piedpiper.com. CNAME [random-value].acm-validations.aws.`
* **A Vanity URL CNAME** - this CNAME will actually route traffic from `https://auth.piedpiper.com` to your FusionAuth deployment, `https://piedpiperdeployment.fusionauth.io`
`auth.piedpiper.com CNAME [uuid].durable.fusionauth.io` or `auth.piedpiper.com CNAME piedpiperdeployment.fusionauth.io`
FusionAuth Cloud will display these same two records, as well as additional sets of two records for each custom domain requested.
Best practice is to:
1. Add the vanity URL CNAMEs.
2. Wait for DNS propagation to occur.
3. Add the validation record CNAMEs.
This ensures users will always be able to access your FusionAuth deployment at the original `auth.piedpiper.com` domain, even as you add subsequent custom domains (`second-auth.piedpiper.com`, for instance). Until the changes are confirmed in DNS, the state will remain `Issued with Updated Pending`. Once the DNS records are added and verification is complete, the status will return to `Issued`.
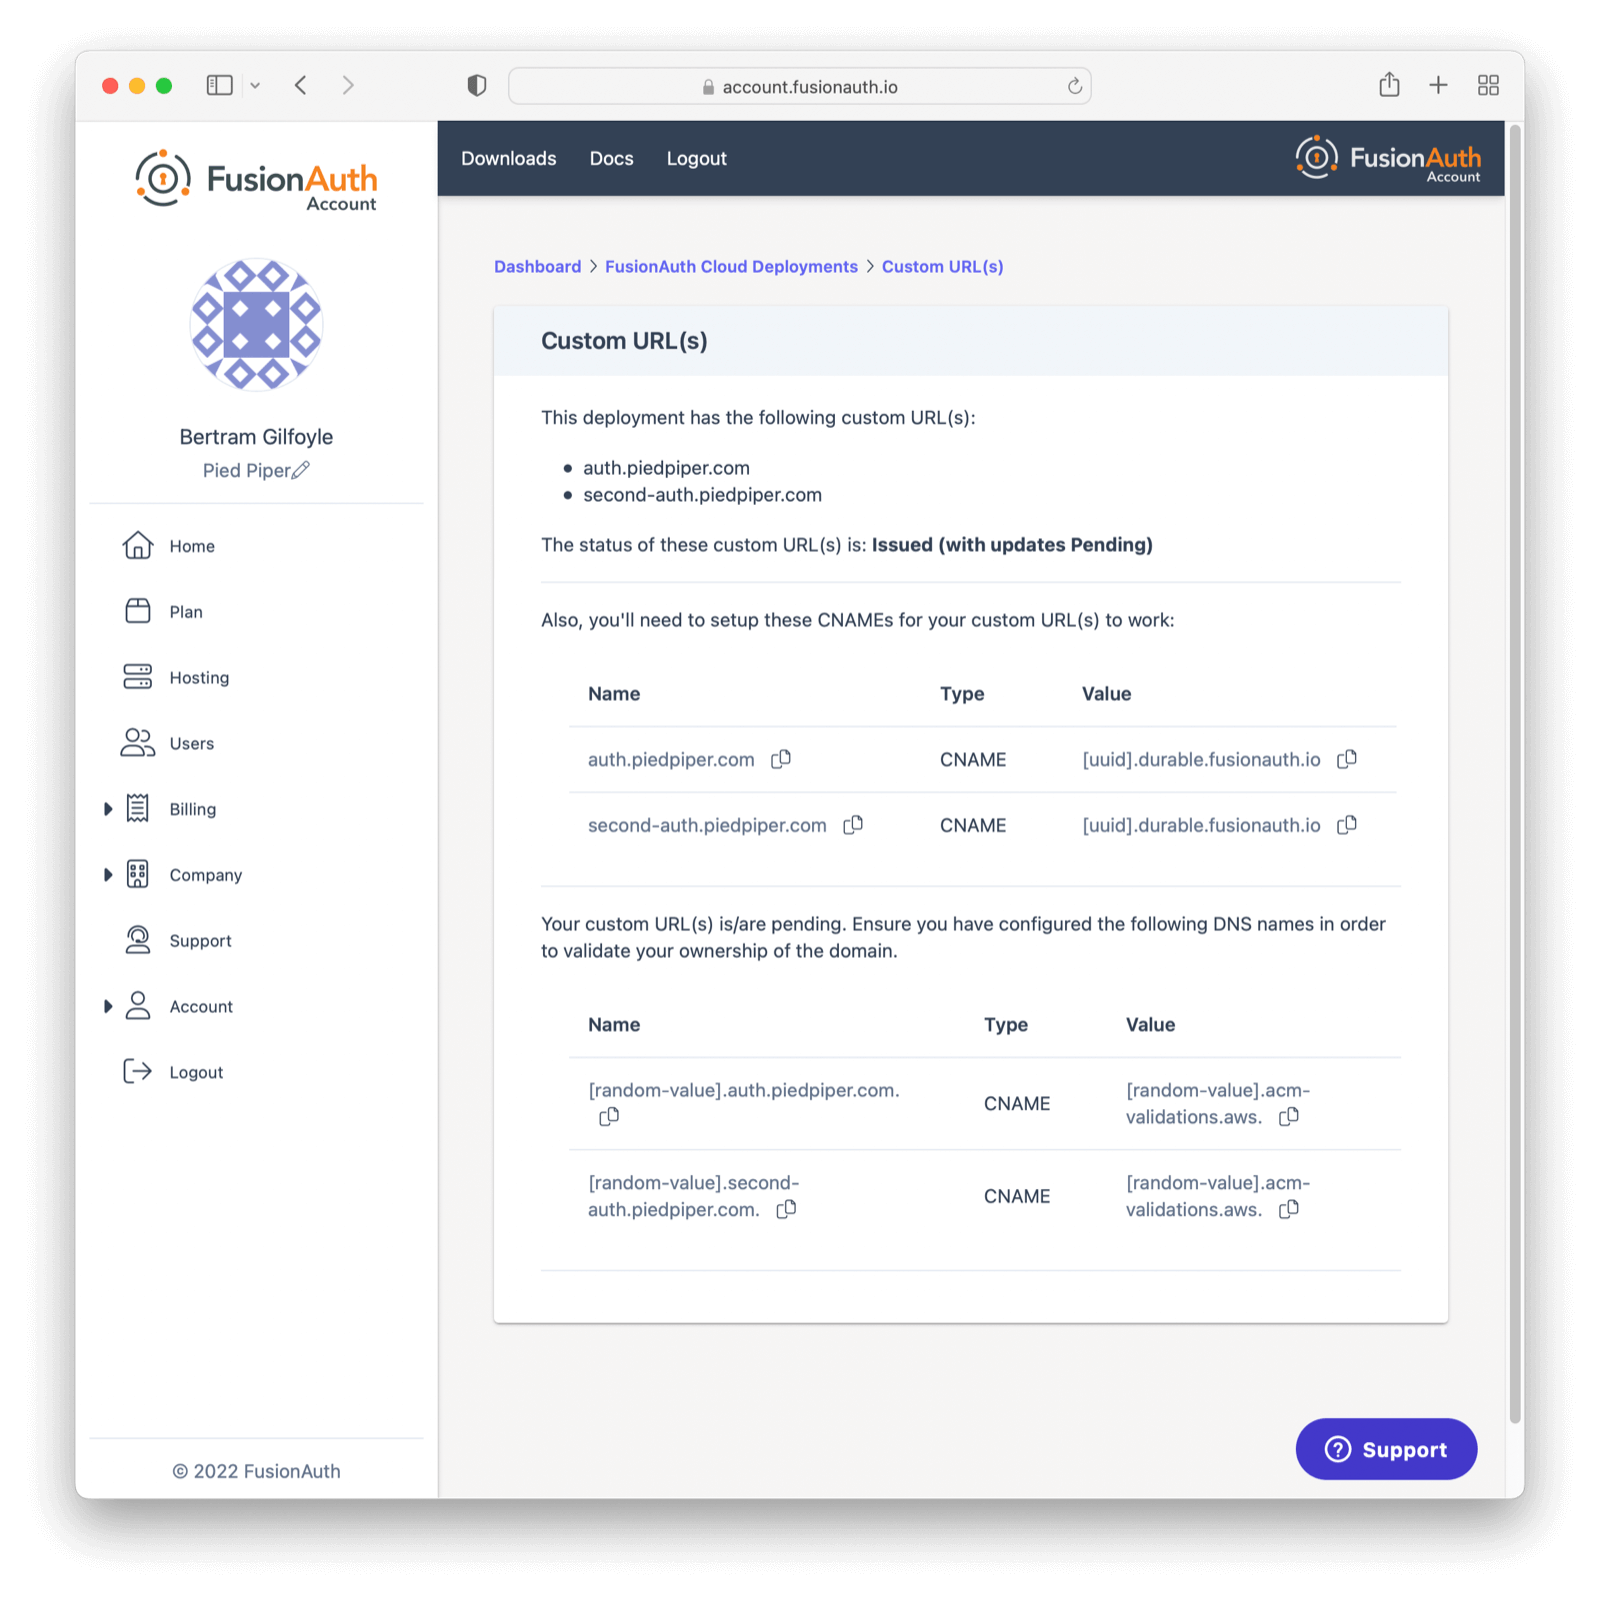
#### What is a Durable FusionAuth CNAME?
If you have an existing custom domain, you might have an existing vanity URL with a CNAME similar to this: `auth.piedpiper.com CNAME piedpiper-deployment-prod.fusionauth.io`
You may notice FusionAuth Cloud now supports a `[uuid].durable.fusionauth.io` CNAME where `[uuid]` is a UUID such as `3ffe6da1-e6f5-4be4-96e0-5dabdf42fd68`. This durable URL will not change and is functionally equivalent to the above vanity URL. Using this updated CNAME will enable use of [Disaster Recovery services](/docs/get-started/run-in-the-cloud/disaster-recovery) should you require them at a later point.
`auth.piedpiper.com CNAME [uuid].durable.fusionauth.io`
### Unlimited Custom Domains
<EnterprisePlanBlurb />
FusionAuth Cloud supports unlimited custom domains for Enterprise customers with High Availability deployments. Aside from allowing unlimited custom domains, the feature also has the following benefits:
* A streamlined user interface for managing custom domains
* The ability to add and remove individual custom domains
* Custom domain validation and routing with a single DNS change
* DNS validation status checks for custom domains
* Faster provisioning of certificates
If you would like to enable this feature on one of your HA cloud deployments, please open a [support ticket](https://account.fusionauth.io/account/support/) to get started.
#### Unlimited Domains Transition
When unlimited domains are first enabled for a deployment, that deployment will enter a transition state. This allows time to perform any necessary DNS changes for existing custom domains in order to avoid domain resolution errors when completing the cutover to unlimited custom domains. During this transition other deployment actions such as upgrading or destroying the deployment will be unavailable.
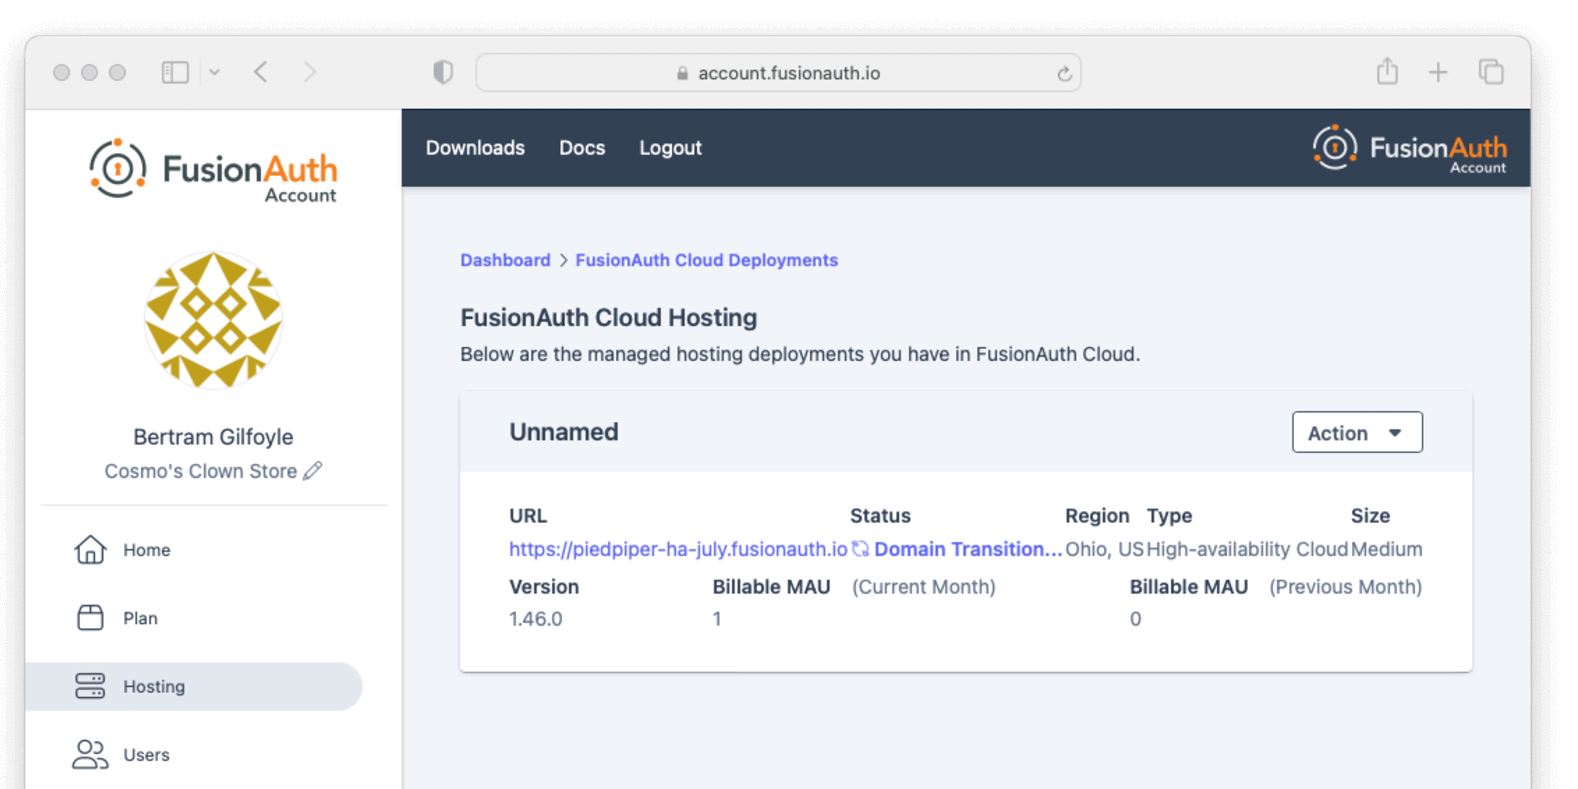
Existing custom domain DNS records pointing to the deployment's `*.fusionauth.io` domain name need to be updated to refer to the [Durable FusionAuth CNAME](#what-is-a-durable-fusionauth-cname). Once DNS records have been updated, you can complete the cutover to unlimited custom domains from the account management portal by selecting <InlineUIElement>Cutover Custom URL(s)</InlineUIElement> from the <InlineUIElement>Action</InlineUIElement> menu at the top of the custom domains listing page and completing the form on the next page. If a deployment does not have any existing custom domains when unlimited domains are enabled, it can be cut over immediately.
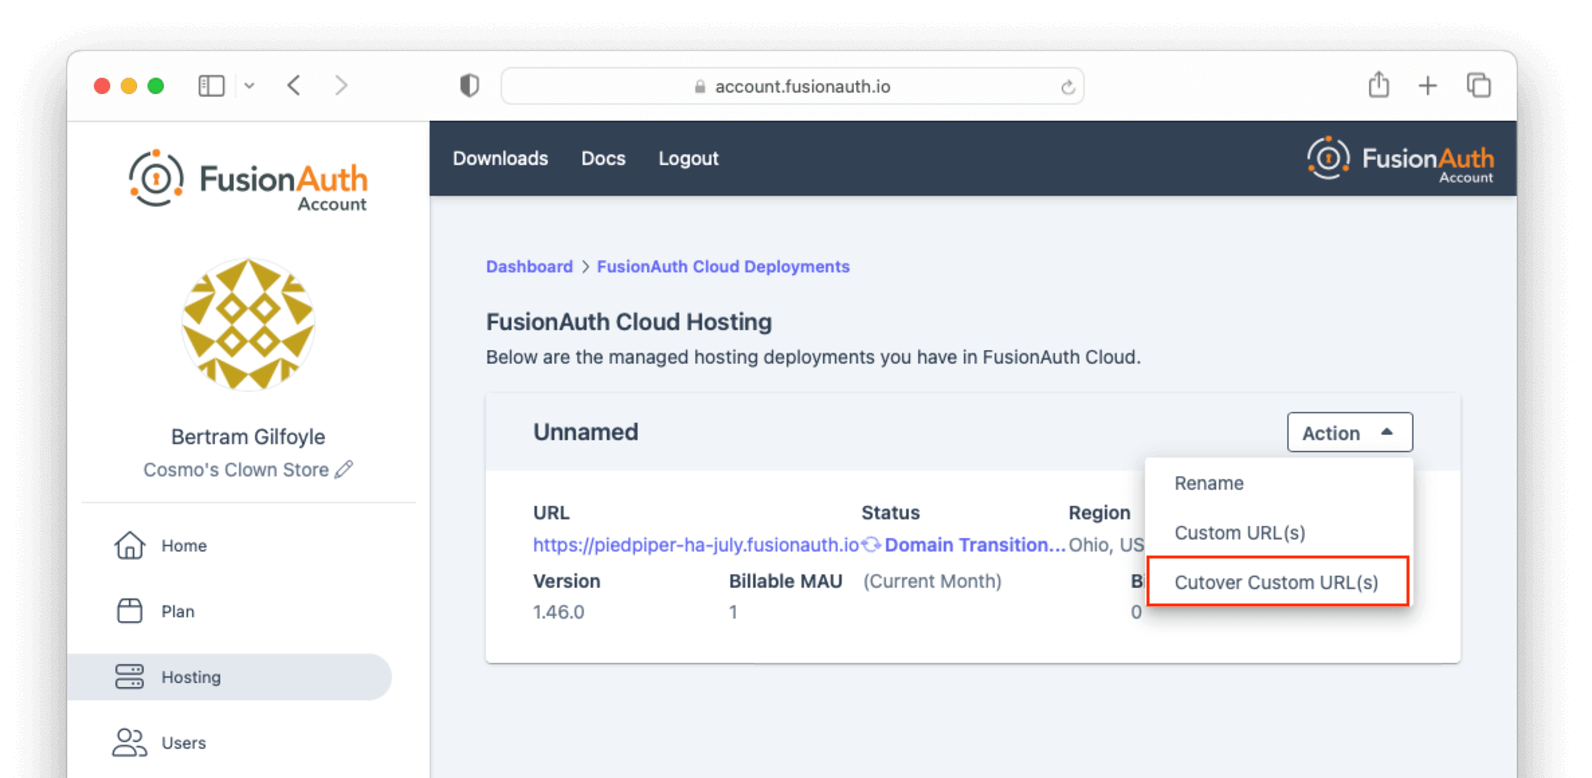
#### Unlimited Domains Listing
The updated user interface for unlimited custom domains includes a listing of existing custom domains for the deployment, including the DNS validation status of each, and search capabilities. During the transition phase this page does not include the ability to add or remove domains.
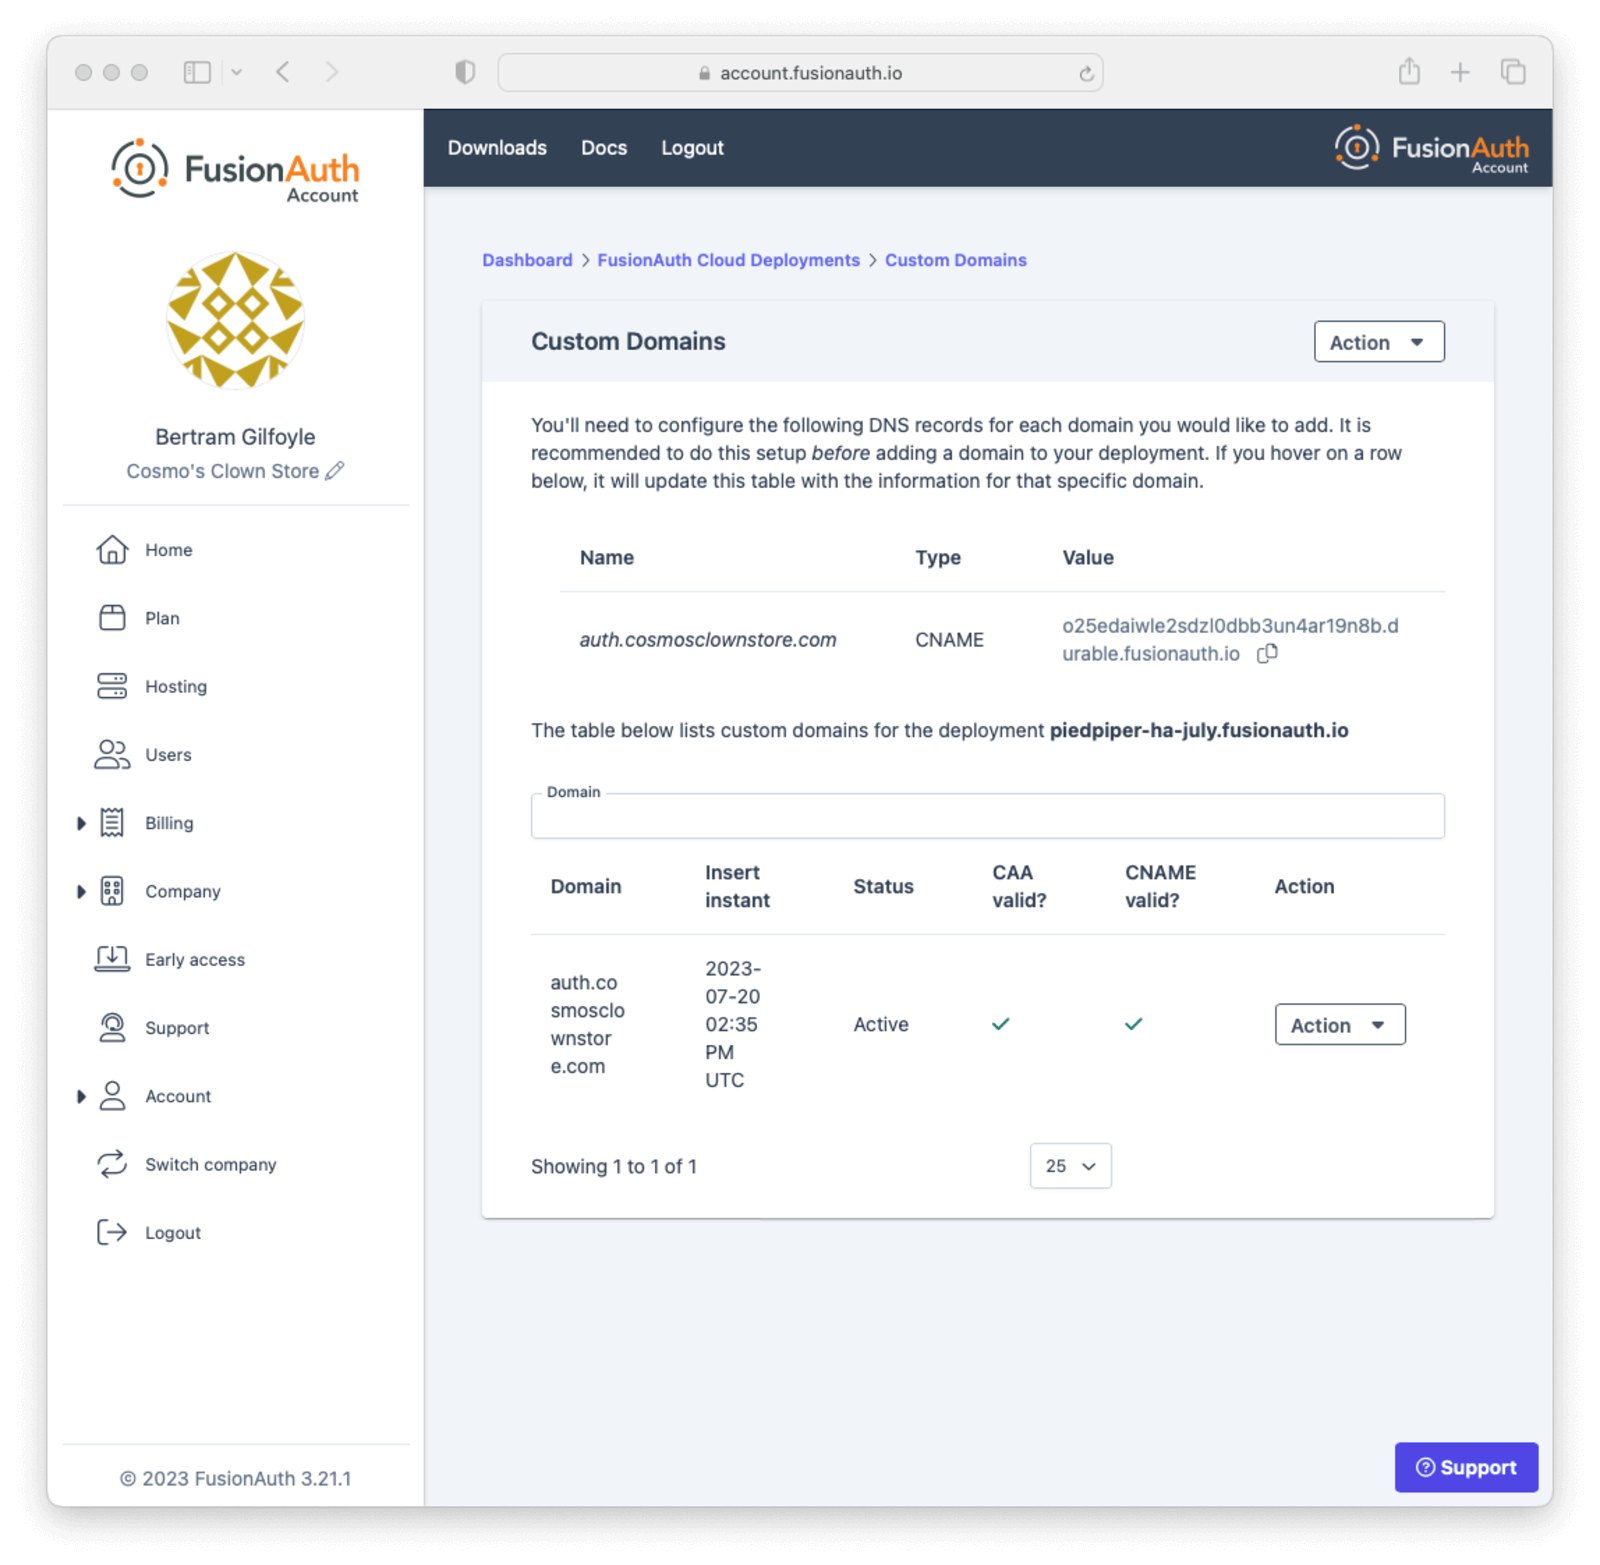
You can refresh the DNS validation status of a custom domain by selecting <InlineUIElement>Refresh Status</InlineUIElement> from the <InlineUIElement>Action</InlineUIElement> menu for the domain and clicking the <InlineField>Refresh</InlineField> button on the next page.
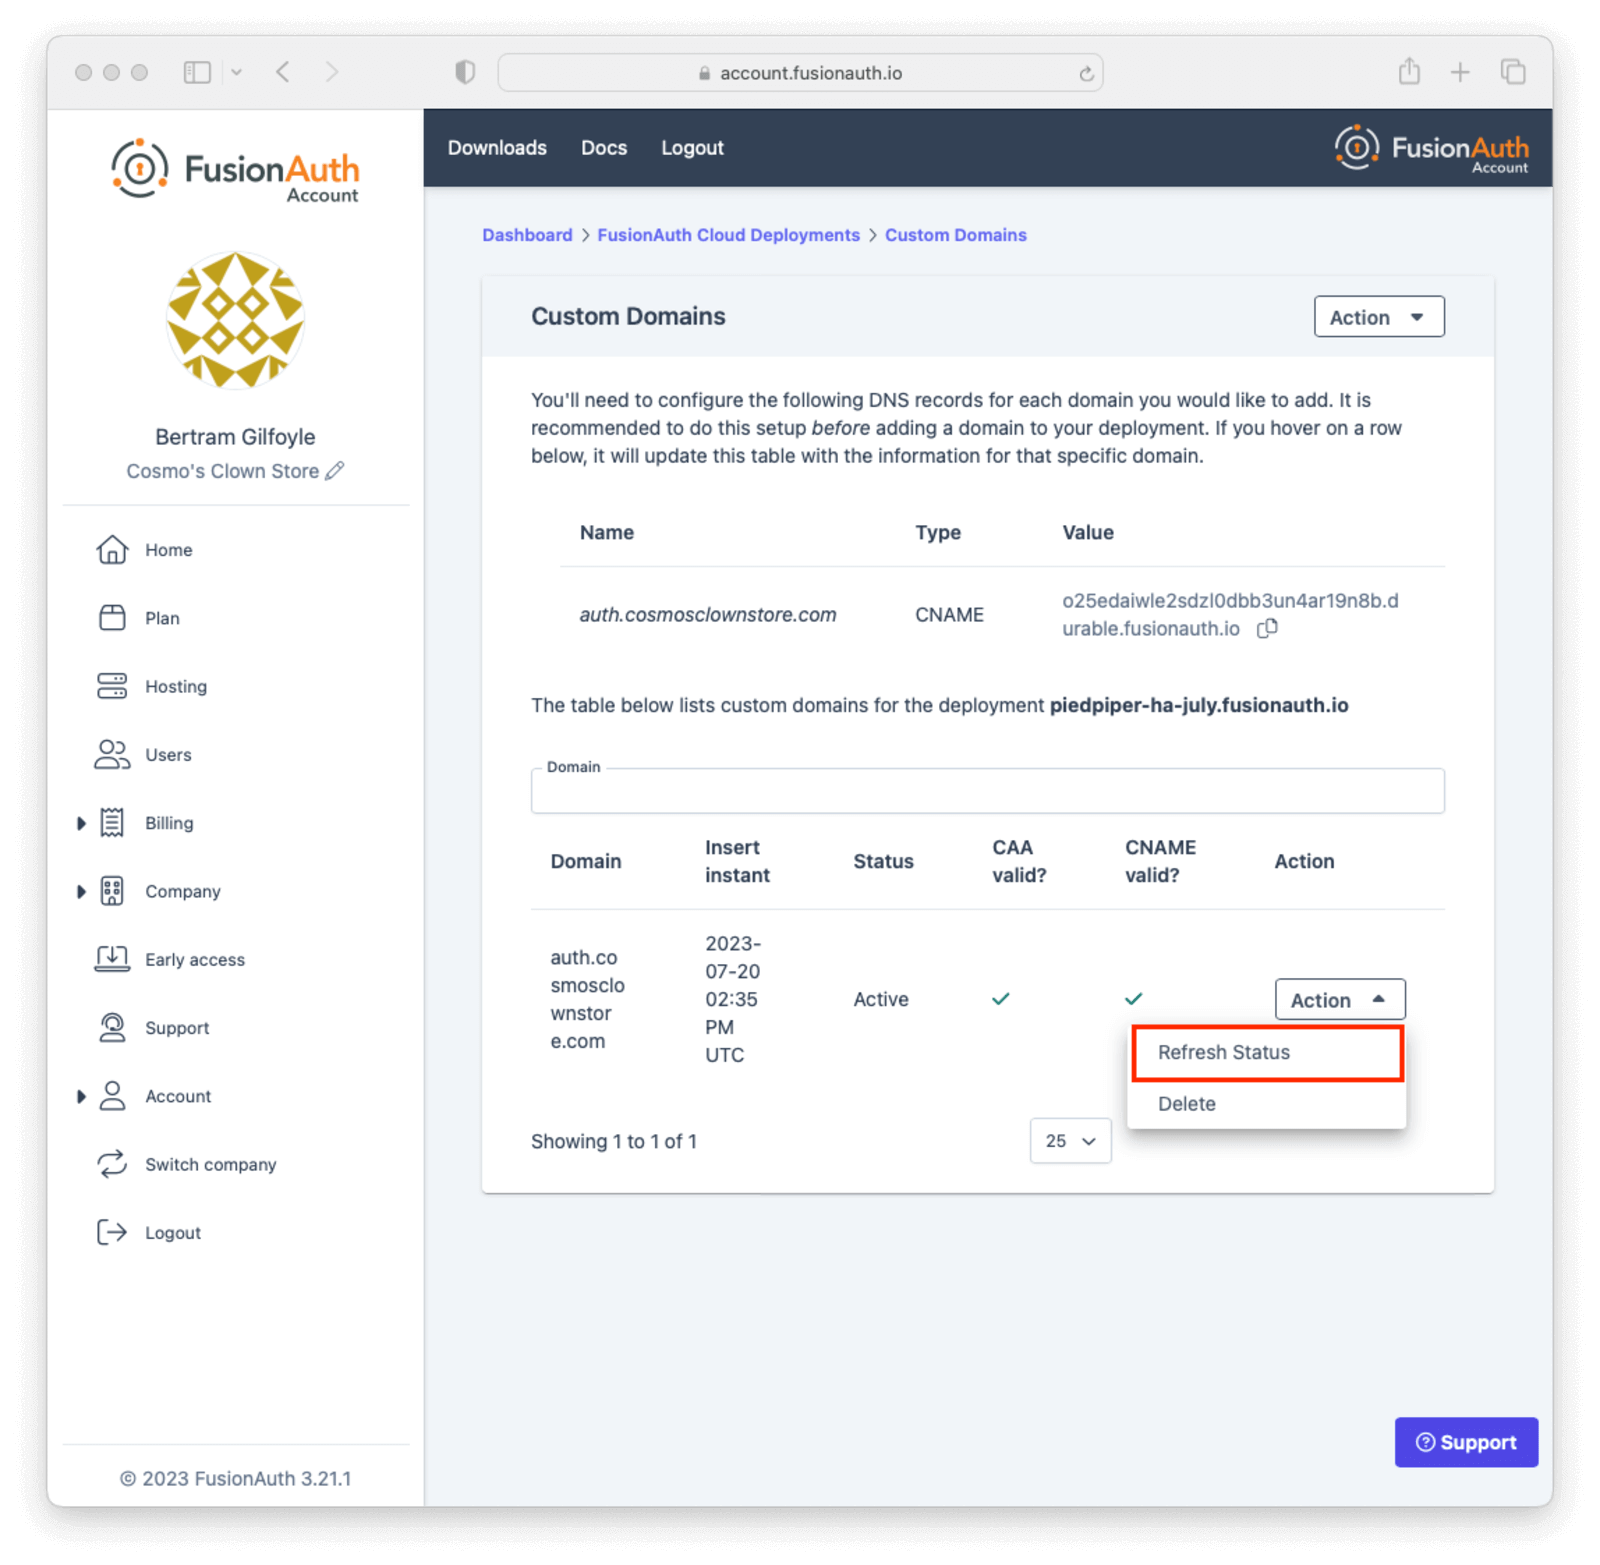
#### Adding a Domain
You can add a custom domain to your deployment by clicking the <InlineUIElement>Add Domain</InlineUIElement> button in the <InlineUIElement>Action</InlineUIElement> menu at the top of the listing page.
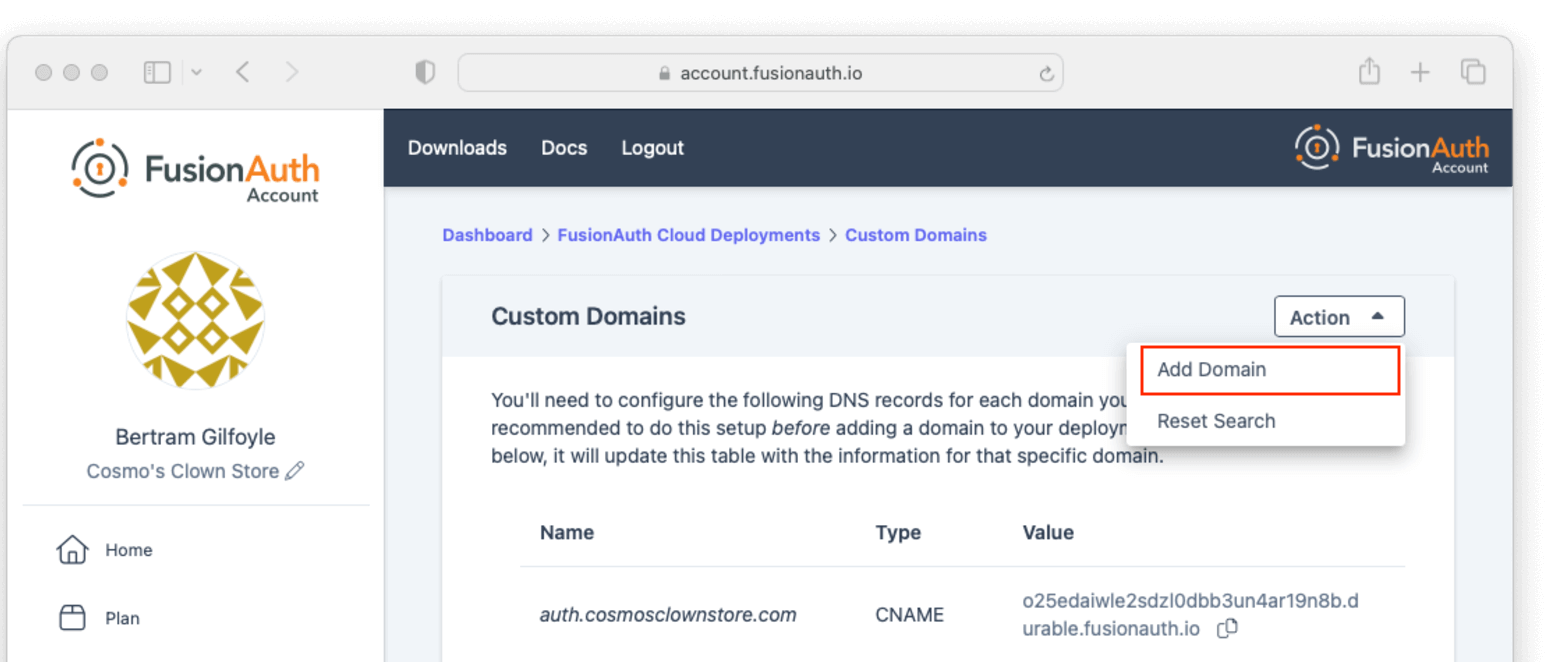
On the next page enter the new custom domain and submit the form.
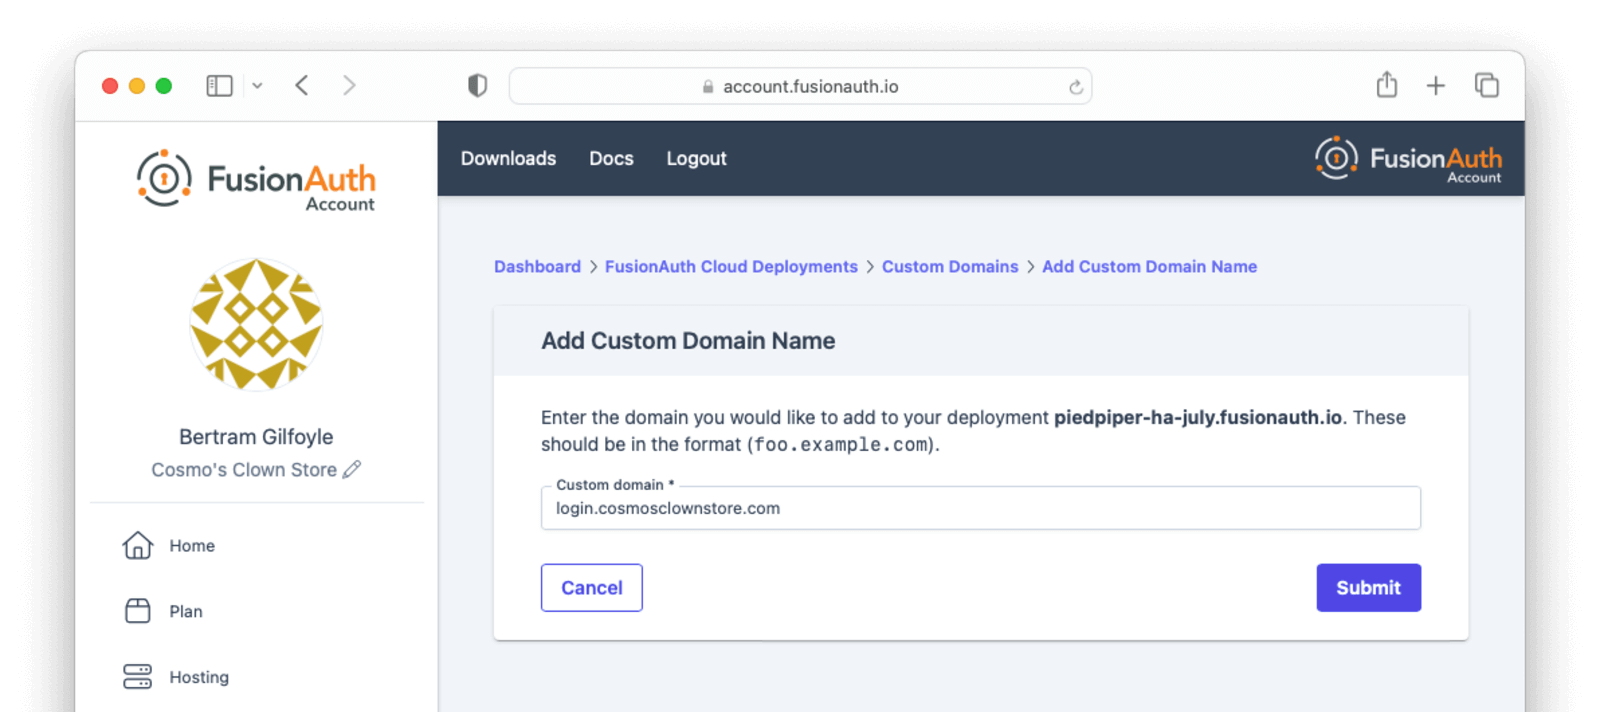
You will be redirected back to the custom domain listing page and will see the DNS validation status for the new domain.
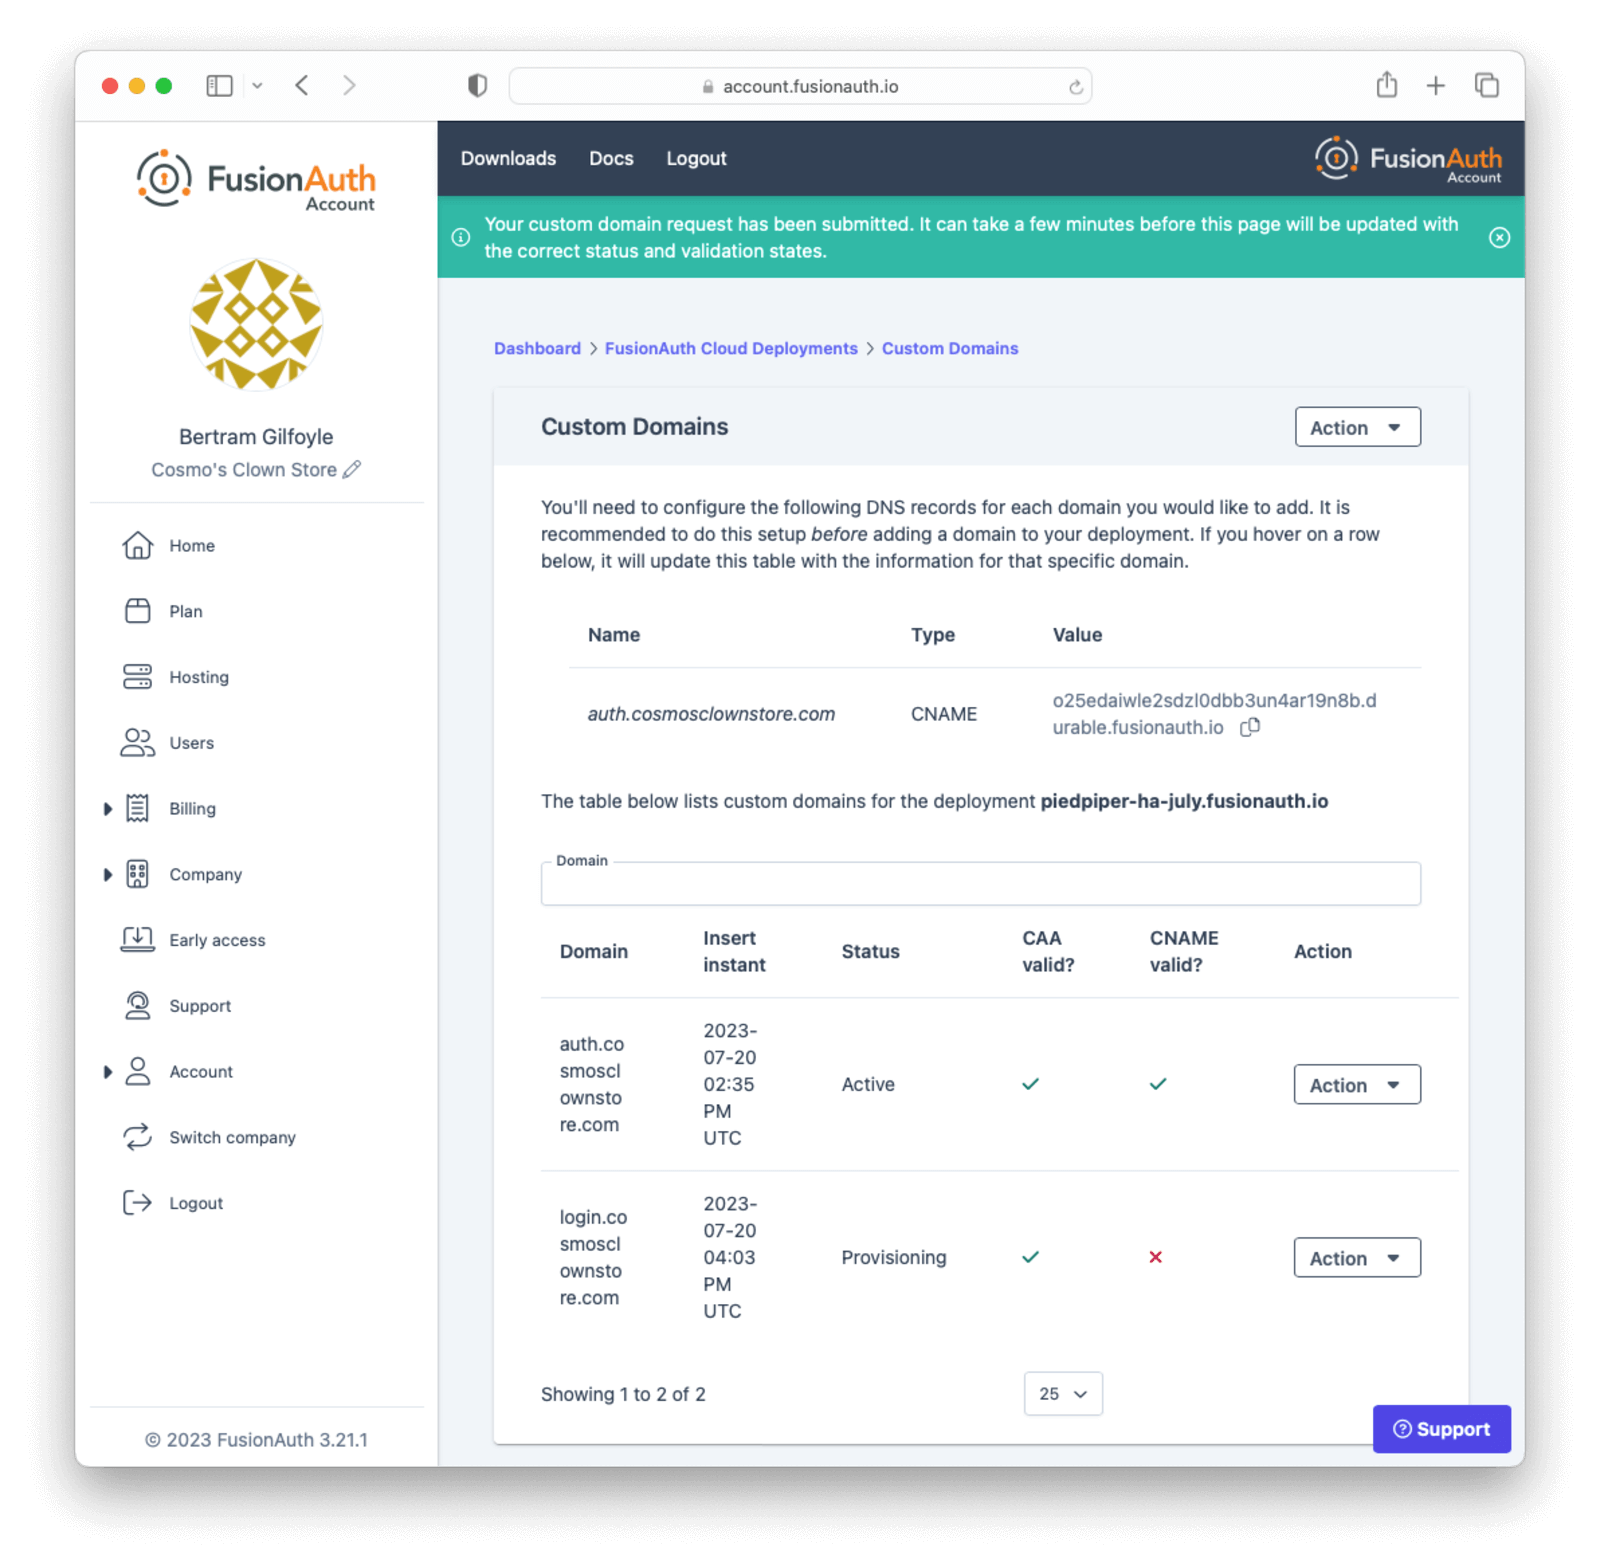
If you have set up the DNS CNAME ahead of time, your new custom domain should already be validated and working. Otherwise, create the DNS record and use the <InlineUIElement>Refresh Status</InlineUIElement> button in the <InlineUIElement>Action</InlineUIElement> menu to re-validate the custom domain when DNS changes have propagated.
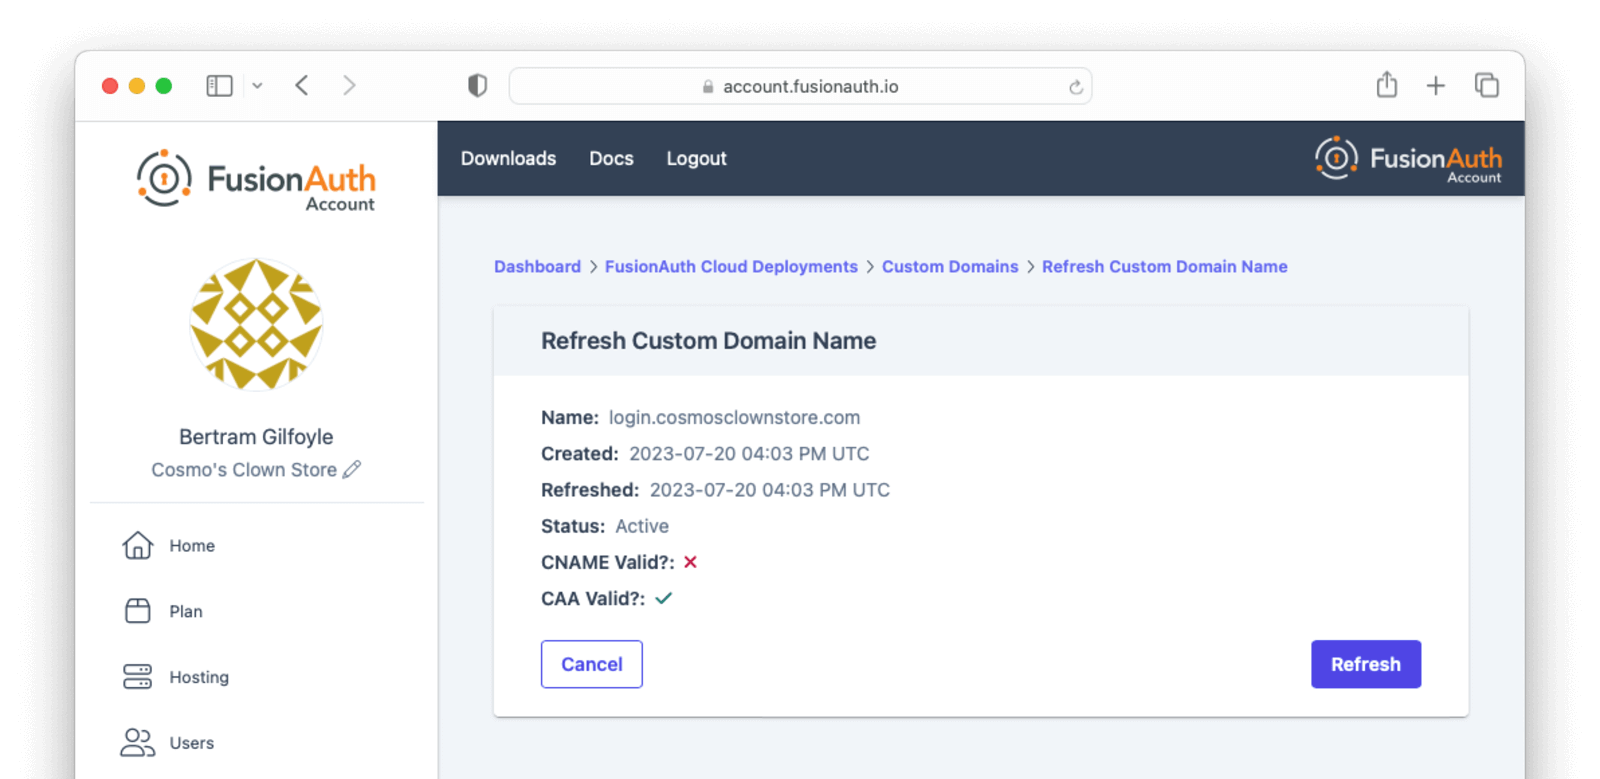
Once the proper DNS record is in place, refreshing the status of a custom domain will update the DNS validation statuses and provision the certificate.
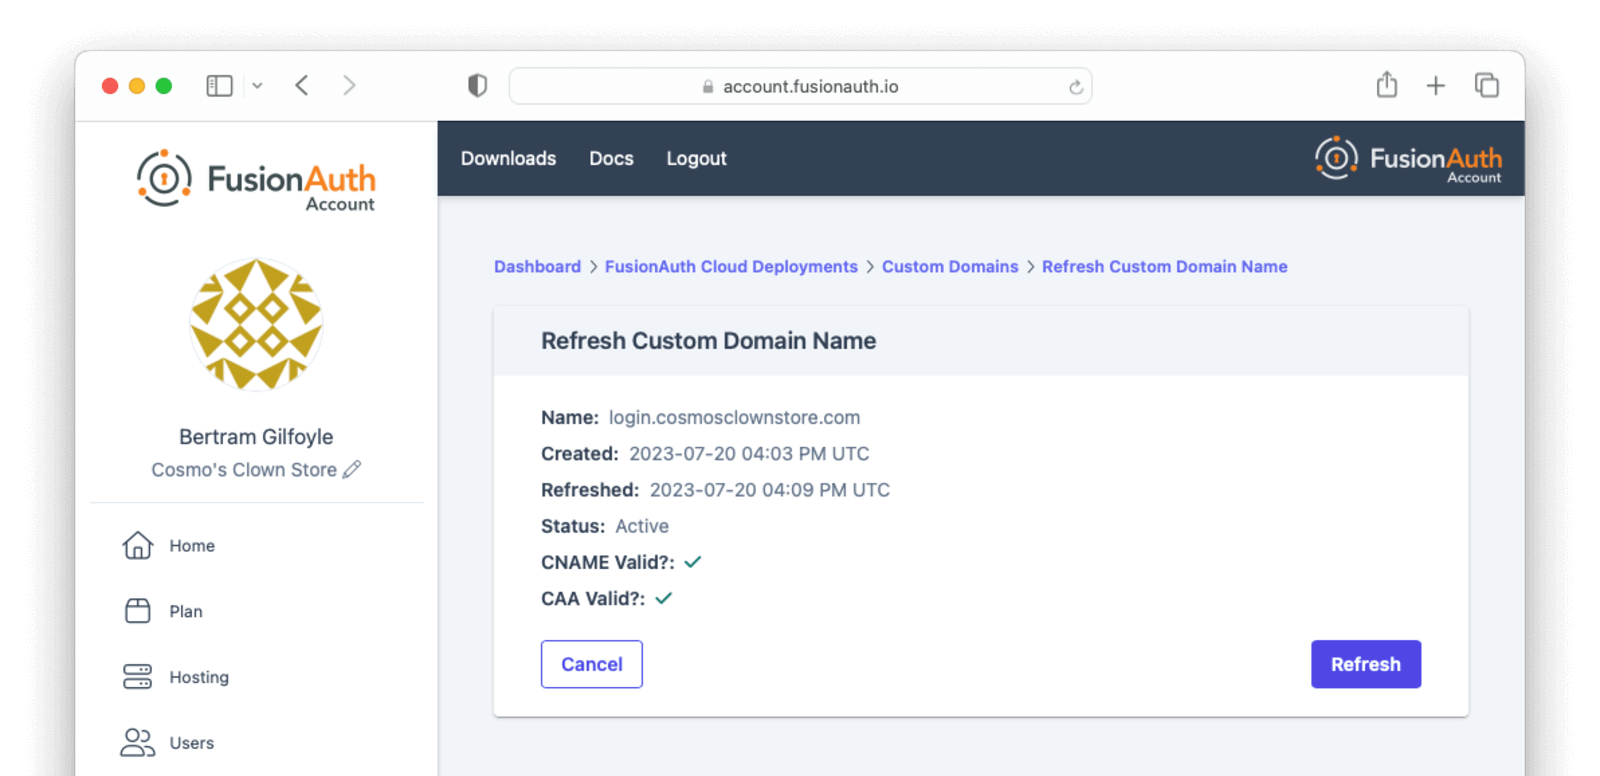
<Aside type="note">
A custom domain that has been added in the account management portal will still work properly without refreshing the status as long as the DNS CNAME record exists. The validation indicators and status refresh are meant to provide additional feedback for configuring and troubleshooting a new custom domain.
</Aside>
#### Deleting a Domain
If your deployment contains a custom domain that is no longer in use, you can remove it by selecting <InlineUIElement>Delete</InlineUIElement> in the <InlineUIElement>Action</InlineUIElement> menu for the domain.
Confirm that the domain you want to delete is shown on the page, enter `DELETE` in the form field to confirm the operation, and submit the form.
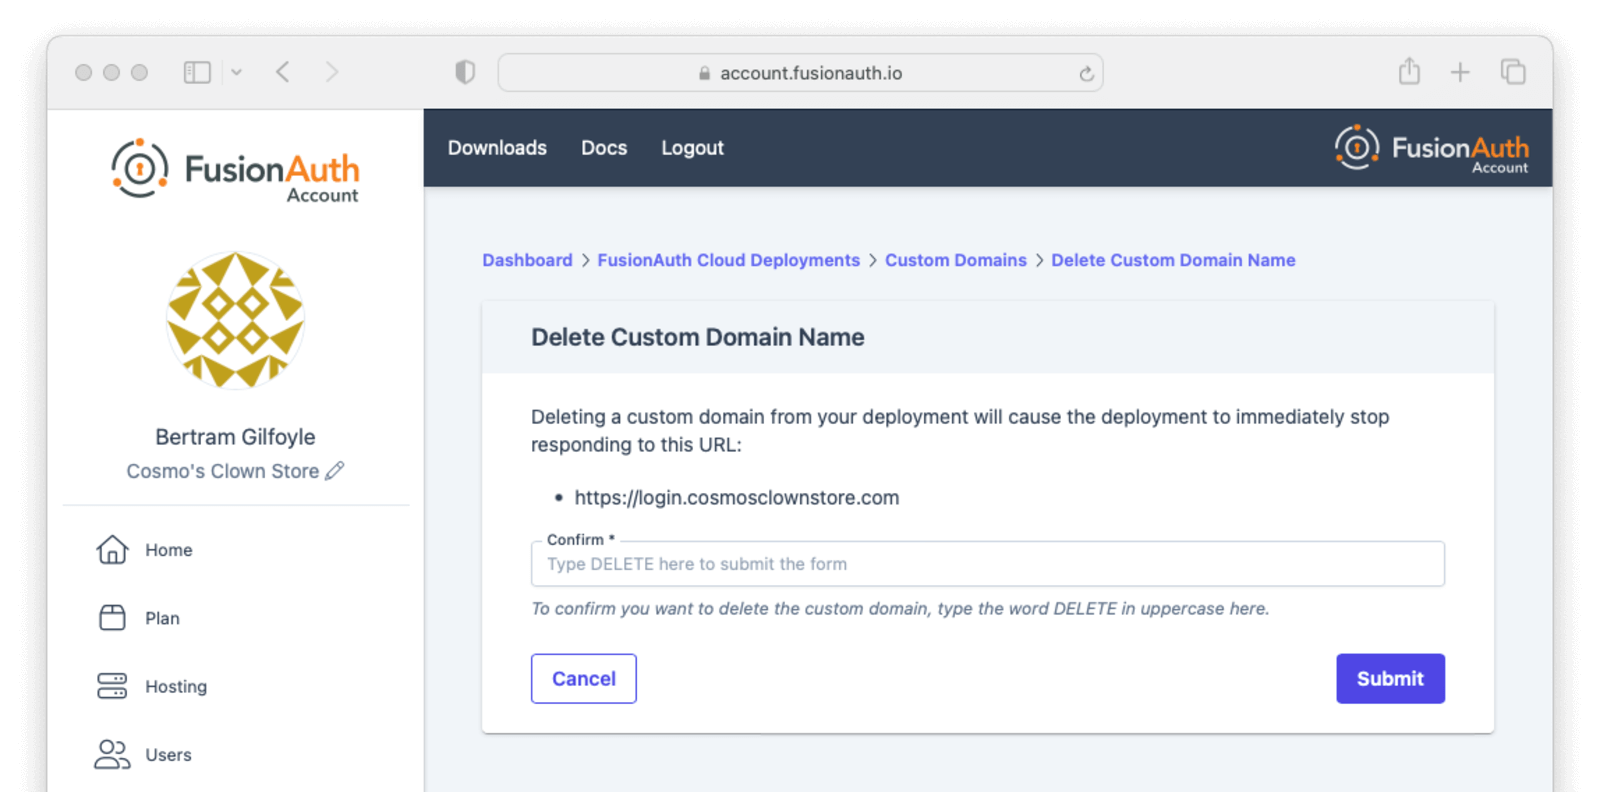
You will be redirected back to the custom domain listing page. The deleted domain will continue to be shown on this page with the `Destroying` status while FusionAuth Cloud cleans up the supporting infrastructure.
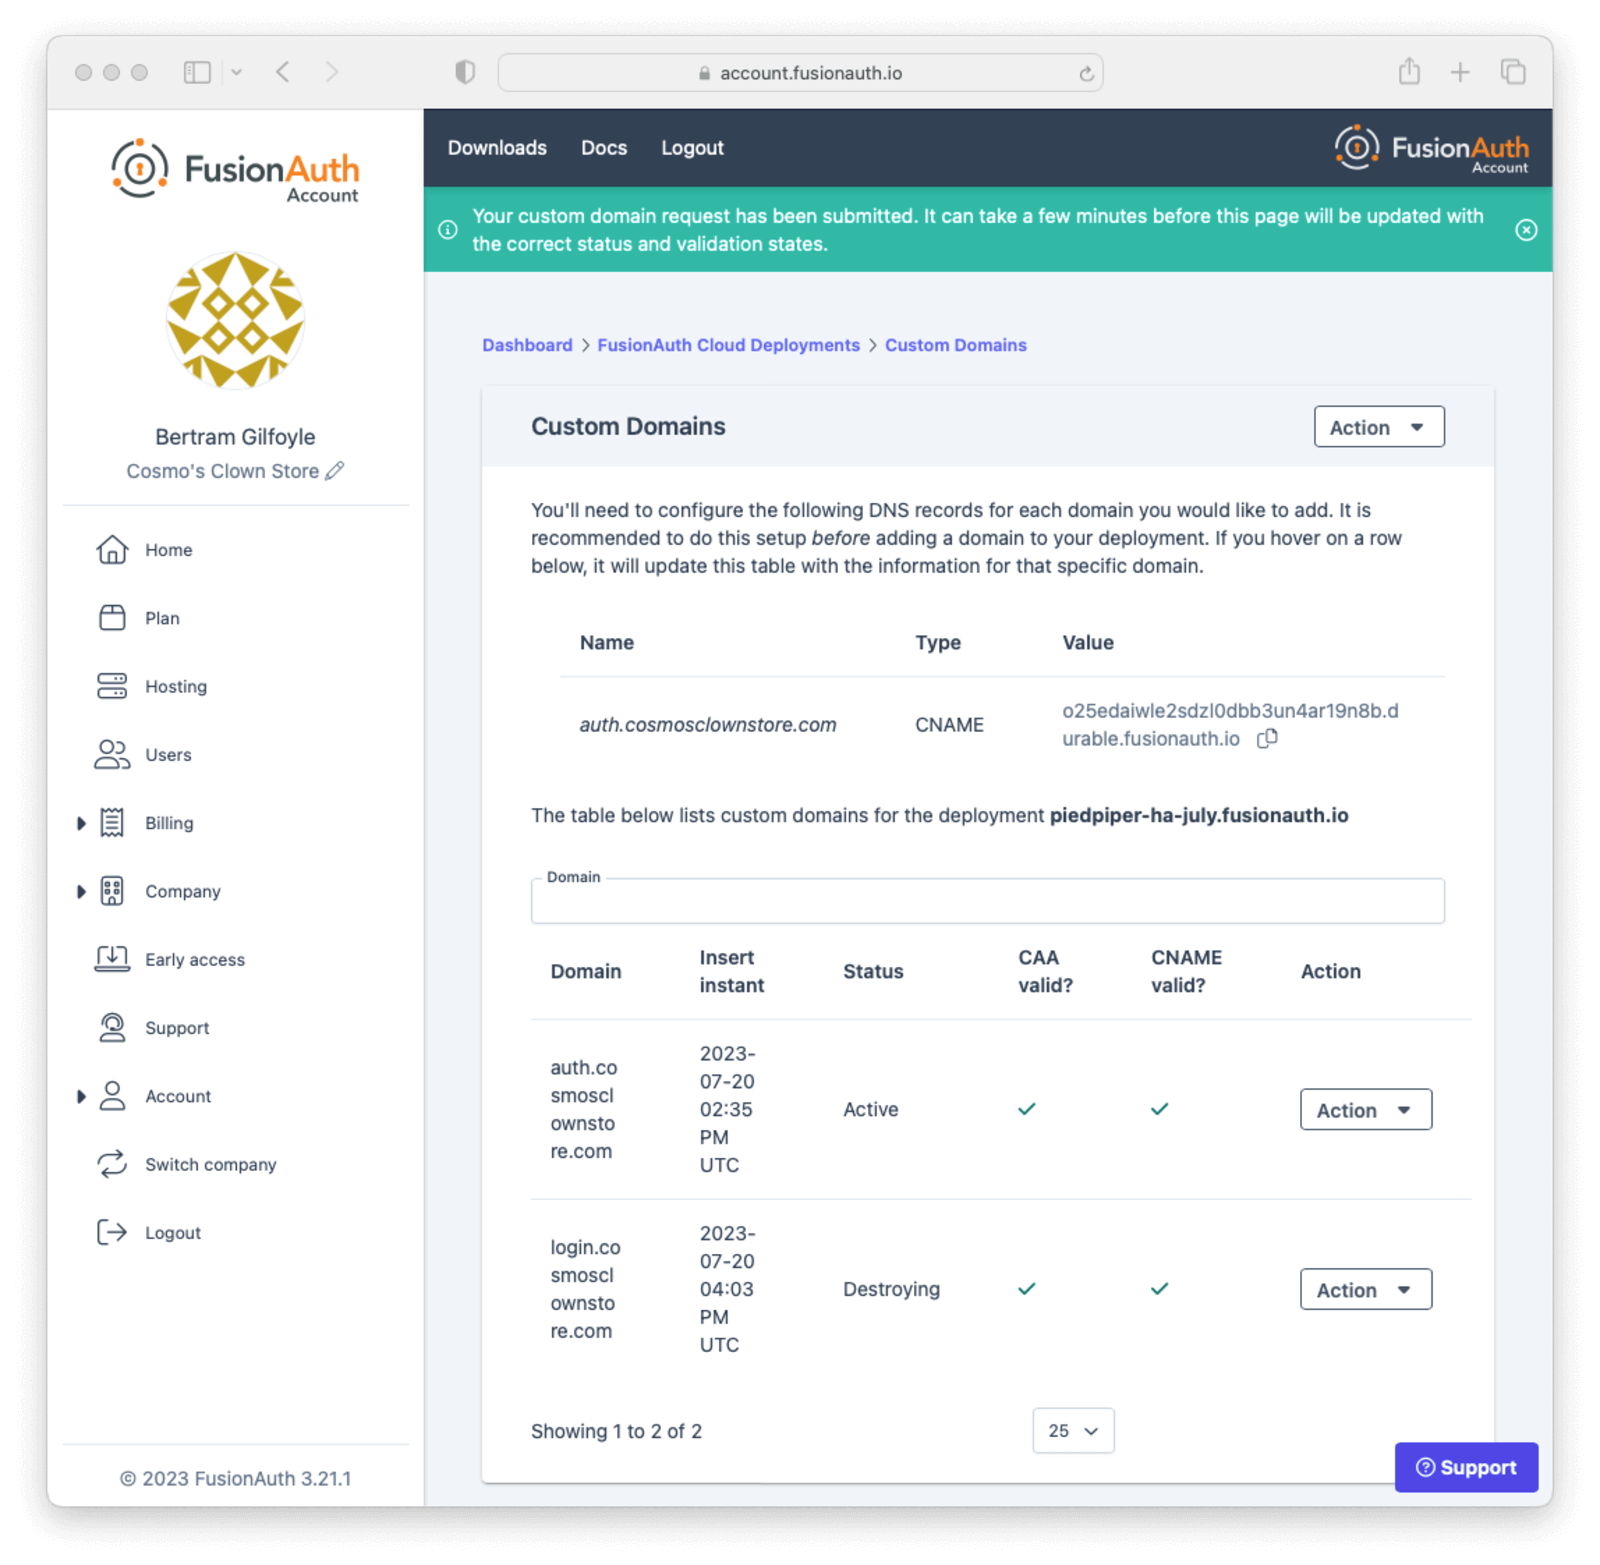
<Aside type="note">
The deleted custom domain will continue to operate normally until the certificate for that domain expires. In order to prevent traffic for that custom domain being routed to your FusionAuth deployment, you must remove the DNS CNAME record that was created when adding the domain.
</Aside>
## Accessing User Data
If you need to export user data from FusionAuth Cloud, because you are migrating away from FusionAuth or setting up a production instance in your data center, open a [support ticket](https://account.fusionauth.io/account/support/). Your data is yours!
A support request is required because data exports contain sensitive fields, like password hashes. The FusionAuth team will work with you to find a safe data transfer mechanism.
If you need to download user data regularly for analytics or other purposes, consider using the [User API](/docs/apis/users) or a [webhook](/docs/extend/events-and-webhooks/) to track ongoing account creation. Be aware that performing such operations as downloading all users in your account can impact performance; if possible, pull a subset of users, such as those who have been created in the last week.
If these solutions do not meet your needs and you have an Enterprise plan, open a [support ticket](https://account.fusionauth.io/account/support/) to discuss options for regular data exports.
<Aside type="note">
If you need your user data because you are migrating off of FusionAuth Cloud, it's yours and we'll get it to you. This applies to any level of hosting and plan.
If you need your data exported regularly for any other reason, this is only available to organizations on Enterprise plans.
In either case, please open a support ticket to discuss options.
</Aside>
### Restoring From Backup
Certain FusionAuth Cloud tiers include regular backups. If you need to restore your user database from a backup, open a [support ticket](https://account.fusionauth.io/account/support/) with the details.
You can restore to any point in time in the last three days. In the ticket, provide the date and time and timezone to which you'd like to restore your database.
## Support
You can view support options by navigating to the <Breadcrumb>Support</Breadcrumb> tab:
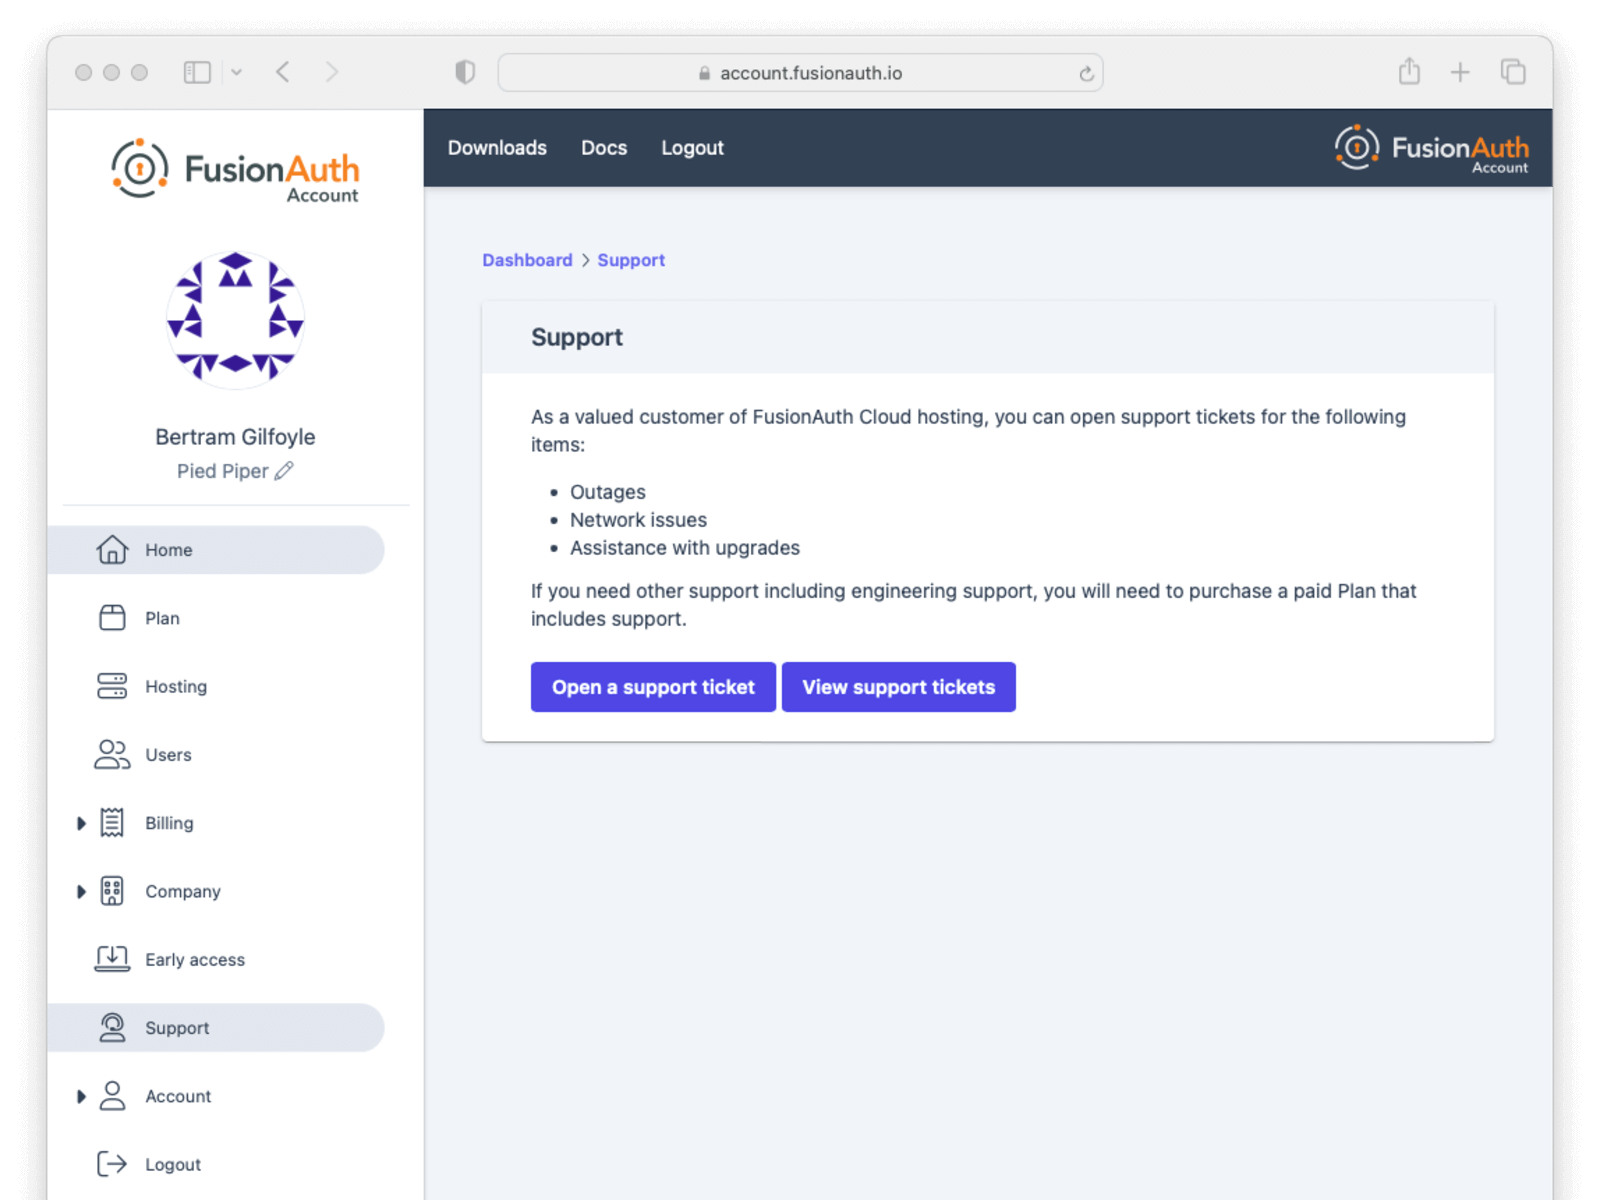
Support for FusionAuth Cloud is limited in scope.
Support can only help with issues related to running your FusionAuth Cloud deployments. Some examples:
* "My FusionAuth Cloud instance is down" - **supported**
* "Please restore my FusionAuth Cloud instance from backup" - **supported**
* "I need help integrating FusionAuth into my Express/Rails/Django/Spring/etc application" - **not supported**
* "How do I set up a webhook to sync my user data with an external system?" - **not supported**
Support from the engineering team for integrating with FusionAuth can be [purchased separately](/pricing).
If you have out of scope questions and have not purchased a support contract, you can find community support in the [forums](/community/forum/) and [documentation](/docs/).
## CAPTCHA and Rate Limits
FusionAuth Cloud has a number of protections in place to prevent a DoS attack and keep your services running smoothly. If you receive `429` response codes or the following message appears, this would indicate the end user, test, or application is making requests in excess of what is considered typical.

Prior to this message you may receive one of the following CAPTCHA challenges, or a similar one.


To prevent either scenario please limit the number of requests you are making over a given time period or [open a support ticket](https://account.fusionauth.io/account/support) to add your static production IP addresses to the FusionAuth Cloud allow list as needed.
The criteria for adding an IP address to the FusionAuth Cloud allow list:
* It is static.
* It is owned by your company, not shared with other companies/resources, such as a CDN.
* It is associated with a production server (not a developer's laptop).
If the IP addresses meet these conditions, [log a support request](https://account.fusionauth.io/account/support/). The turnaround time for an allow list change is two to three business days.
If you no longer need an IP address on the allow list, please [log a support ticket](https://account.fusionauth.io/account/support/) to remove it.
If you encounter a CAPTCHA during manual testing, ensure you have local browser caching enabled. Using browser developer tools to disable caching often leads to CAPTCHA presentation. Consult the documentation for your browser to learn more.
<Aside type="note">
The CAPTCHA described here is separate from the CAPTCHA configured using [Advanced Threat Detection](/docs/operate/secure/advanced-threat-detection) and can only be managed by the FusionAuth team.
</Aside>
## Custom FusionAuth Cloud Features
If managed FusionAuth hosting does not meet your needs, [contact us](/contact) with more details.
We're happy to discuss custom deployment architectures or configurations. If you need any of these:
* Longer retention of database backups.
* Static deployment IP addresses for adding to a firewall allow/deny list.
* Deployments capable of handling more requests per second (custom-built FusionAuth configurations have handled 2,000 requests per second).
* Custom deployments for [disaster recovery](/docs/get-started/run-in-the-cloud/disaster-recovery), compliance, or other reasons.
Please [contact us](/contact) to learn more about these options.
## SLAs and Availability
We know that availability of your auth system is critical.
Below are some of the steps FusionAuth takes to ensure that FusionAuth Cloud systems are available.
For all deployments:
* All components are monitored via external software systems as well as internal metrics gathering systems.
* The application architecture is not exotic, reducing risk. This is a three tier web application, which is a well understood architecture.
* Third party security researchers can submit security issues via a bug bounty program.
* The FusionAuth software and infrastructure is pentested on a regular basis.
* Major changes, such as FusionAuth upgrades or operating system upgrades, are scripted and rollout timing is controlled by the customer.
* Modifications to the underlying product are tested extensively, including load testing where appropriate.
* Automated rulesets provide protection against DDoS.
* A world class cloud provider's managed services for system components are used where appropriate.
* Network firewalls are automatically configured on deployment to set up "least privileged" access to each architectural component.
For high availability/HA deployments:
* Each deployment has redundant components. This includes, but is not limited to, the DNS system, load balancer, and the compute nodes running FusionAuth.
* Each deployment's relational database is set up in a primary/secondary configuration. If the primary becomes unavailable the secondary will "stand up" and the instance will continue to be available. This is also known as "full database replication".
* Each set of components is run in separate geographic availability zones, geographically separated. This prevents disasters from affecting all components.
* The FusionAuth engineering team will consult on product implementation and can offer "best practices" advice to further ensure system stability.
* We size the instance properly for expected traffic, in consultation with the customer.
You can find more information about service level agreements (SLAs) in the [FusionAuth license](/license) and [license FAQ](/license-faq), including uptime numbers and definitions of downtime.
For all deployments which include backups (HA and Business Cloud), the default backup retention is 3 days.
## Deployment IP Addresses
Depending on your security posture, defense in depth requirements, and application architecture, you may need the IP addresses or hostnames of the instances in your FusionAuth Cloud deployment.
There are any number of reasons you might need this information, including:
* Adding the values to the allow list for your SMTP service.
* Punching a hole in a firewall to allow FusionAuth webhooks to be delivered.
* Updating a network access control list to enable access to an on-premises LDAP directory with a connector.
* Any other outbound connection from a FusionAuth deployment.
To get the IP addresses for your deployment, please [open a support ticket](https://account.fusionauth.io/account/support/). Include the name of the deployment for which you need the outbound IP addresses.
<Aside type="caution">
Provided IP addresses should not be used for HTTP requests such as API calls; they won't respond to such requests.
This information should be used only to allow outbound traffic from FusionAuth deployments through firewalls and other network control layers.
</Aside>
In addition to using these IP addresses, consider custom headers, TLS transport and client certificates to ensure that outbound traffic is appropriately secured.
## Load Testing
<LoadTestingIntro />
### General Tips
<LoadTestingTips />
### Load Testing With FusionAuth Cloud
Load testing is an important part of evaluating FusionAuth. However, it is important to load test in an environment that replicates your expected production environment. This means that if you are planning to use an HA cloud deployment for production, you should load test against that type of environment.
When you are load testing against FusionAuth Cloud instances:
* Please [open a support ticket](https://account.fusionauth.io/account/support/) to let us know when you are planning to load test. We monitor CPU usage and other metrics and it can be helpful for us to know when you are planning to stress test your instance.
* Store configuration as scripts which you can apply to your FusionAuth instance. This allows you to easily stand up and tear down different deployments to see what meets your needs.
* If you have a plan with support, please [open a support ticket](https://account.fusionauth.io/account/support/) if you'd like additional support or guidance on sizing or testing.
Please don't use a FusionAuth Cloud Basic deployment to load test.
Instances on this tier of FusionAuth Cloud run on a single compute node, so the node is running FusionAuth, Elasticsearch and a PostgreSQL database.
The node is therefore very resource constrained, and attempting to run load tests on this type of system is not recommended.
The numbers you get from this type of test will not be valuable to you in planning your production deployment.
Testing on a Business Cloud or High-Availability Cloud plan will provide more useful results.
If you cannot achieve your target request per second with a standard setup, you can create a deployment with larger node sizes.
You can spin up a deployment, apply your configuration, perform load testing, and tear it down.
You'll only be charged for the time the instance is running.
## Account Deletion
<DeletingYourAccount />
## Limits
<CloudLimits />
# Collected Metrics
import CollectedMetrics from 'src/content/docs/_shared/_collected-metrics.mdx';
import * as metrics from 'src/content/docs/_shared/_collected-metrics.mdx';
export const headings = metrics.getHeadings();
<CollectedMetrics />
# Common Configuration
import CommonConfiguration from 'src/content/docs/_shared/_common-configuration.mdx';
import InlineField from 'src/components/InlineField.astro';
import * as config from 'src/content/docs/_shared/_common-configuration.mdx'
export const headings = config.getHeadings();
<CommonConfiguration />
# Disaster Recovery (DR)
import InlineUIElement from 'src/components/InlineUIElement.astro';
import Breadcrumb from 'src/components/Breadcrumb.astro';
import Aside from '/src/components/Aside.astro';
import { RemoteCode } from '@fusionauth/astro-components';
import EnterprisePlanBlurb from 'src/content/docs/_shared/_enterprise-plan-blurb.astro';
import PrimaryServing from 'src/diagrams/docs/get-started/run-in-the-cloud/disaster-recovery/primary-serving.astro';
import SecondaryServing from 'src/diagrams/docs/get-started/run-in-the-cloud/disaster-recovery/secondary-serving.astro';
<EnterprisePlanBlurb />
FusionAuth Cloud supports multi-region disaster recovery (DR). This page discusses how to enable and use DR in FusionAuth Cloud.
## What Is FusionAuth Cloud Disaster Recovery
DR, also known as cross-region replication (CRR), makes a secure backup copy of your FusionAuth deployment in a datacenter geographically distant from where your primary FusionAuth deployment runs. The database is securely replicated from your primary geographic region to the secondary region. The locations of the primary and secondary regions are configurable.
The primary FusionAuth deployment normally serves all production traffic, and the secondary is kept as a backup.
In the event of a disaster affecting the geographic area of your primary deployment, you can redirect traffic from your primary FusionAuth deployment to your secondary one. When your secondary deployment is fully promoted and DNS changes have propagated, the secondary will serve all production traffic and the primary will serve none.
Using DR minimizes downtime, business impact and user frustration if the data centers running your primary deployment are offline. With FusionAuth Cloud DR, you can redirect login traffic away from a regional failure in minutes.
FusionAuth Cloud DR is an active/passive DR configuration. You are only serving live traffic out of one deployment at a time.
## Requirements
To enable DR:
* your deployment must be highly available (HA)
* you must purchase an Enterprise plan
In addition, DR is not available without talking to the [technical FusionAuth sales team](/contact). It requires additional configuration and guidance.
## Set Up
After consulting with the technical sales team and purchasing the correct hosting and plan, there are a few other steps.
First, you'll need to determine the secondary region for your DR setup. This can be any region supported by FusionAuth Cloud.
Set up a custom domain name pointing to a [durable CNAME provided by FusionAuth](/docs/get-started/run-in-the-cloud/cloud#what-is-a-durable-fusionauth-cname) for your deployment. Having a custom domain name is not enough; it must be a CNAME which points to the durable DNS name for proper failover.
Once you have a properly configured HA deployment and have discussed your DR needs with the FusionAuth team, FusionAuth enables DR for that deployment.
When this step is done, you'll see the DR instance in the FusionAuth <Breadcrumb>Hosting</Breadcrumb> tab in your account portal.
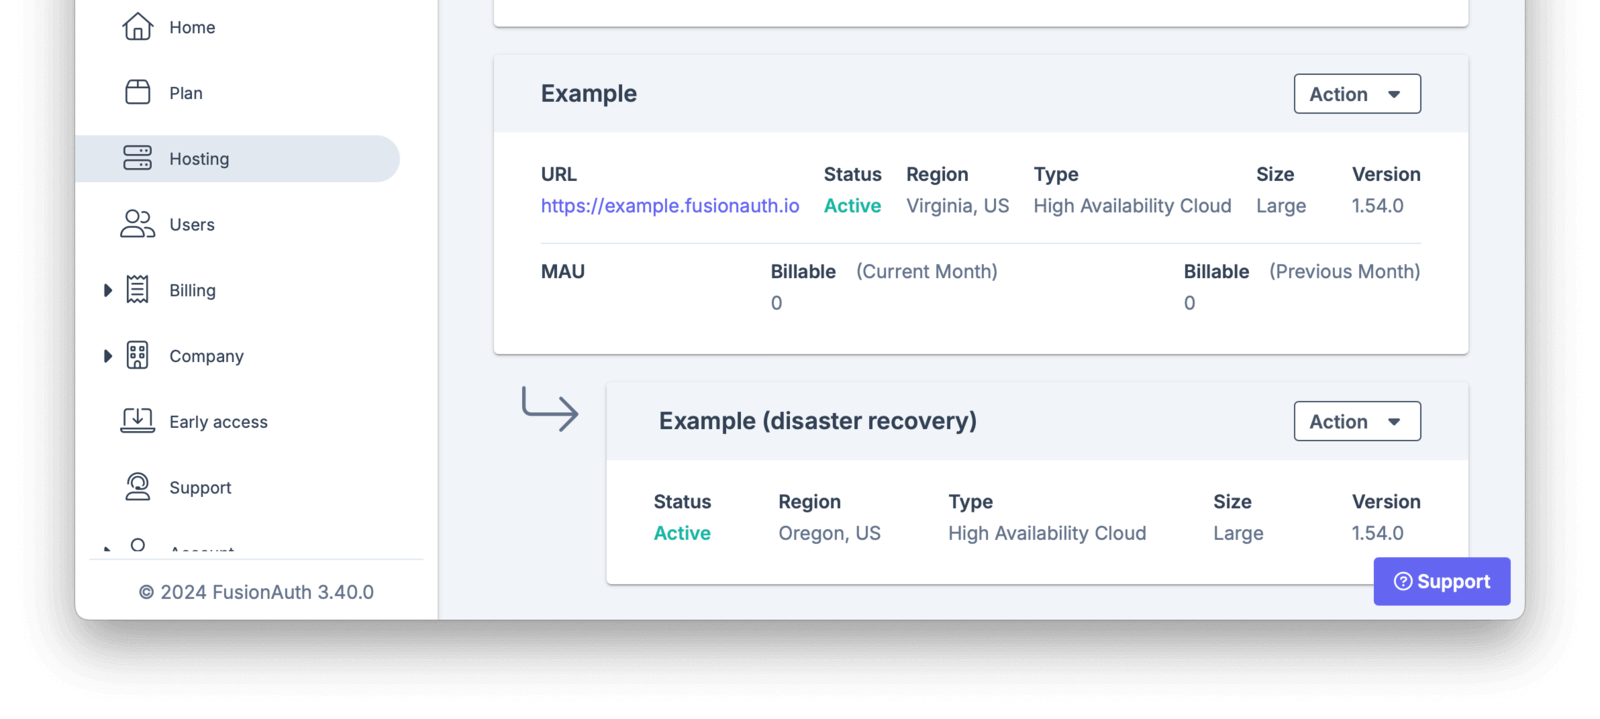
The database of the secondary deployment is automatically and securely kept up to date with the primary deployment.
<PrimaryServing alt="When the primary deployment is serving traffic."/>
## Fail Over
When disaster strikes, you need to fail over. The primary goal of failing over to the secondary is to ensure that customers can continue to log in and access your applications.
To initiate a failover, please [open a support ticket](https://account.fusionauth.io/account/support/) or call the emergency phone number, [which can be found here](https://account.fusionauth.io/account/support/). The support team at FusionAuth may reach out to you proactively as well.
<Aside type="note">
Why not automatically failover as soon as an error is detected? Good question, and one we debated internally.
The team decided that authentication failover was critical, long enough and could have a profound business impact, so putting a human in the loop is required.
</Aside>
After assessment and discussion, failover is triggered by the FusionAuth team. All traffic is routed to the secondary.
<SecondaryServing alt="When the primary deployment has failed and the secondary deployment is serving traffic."/>
This failover process takes between 15 and 30 minutes.
After failover, functionality that depends on the Elasticsearch index, such as user search, will not be available until after a re-index.
When failover completes, the new primary deployment (formerly the secondary one) can have DR enabled. This creates a new secondary in a different region.
### RTO and RPO
The RTO (Recovery Time Objective) is the amount of time it takes to restore services after a disaster. For FusionAuth Cloud DR, the RTO is typically between 15 to 30 minutes. This is the time it takes for the secondary to be available and to have all traffic routed to it. This value is dependent on factors that FusionAuth Cloud can plan for, like standing up the appropriate number of compute resources, and factors out of the FusionAuth team's control, such as DNS caching at a customer's ISP.
The RPO (Recovery Point Objective) is the maximum amount of data lost during failover, which depends on the database replication. You may lose up to 5 minutes of data due to lag between the primary and secondary database. Our monitoring shows that an RPO of a few seconds is common.
## FusionAuth Version Upgrades
When the version of the primary deployment is upgraded, the version of the secondary is automatically upgraded.
## Limitations
The Elasticsearch/OpenSearch indices are not replicated. This does not impact the ability of your users to continue to authenticate or register, but does impact non-authentication based functionality such as searching for users. These indices must be recreated once the secondary has been promoted by performing a re-index.
The primary and secondary deployment regions must both be supported by FusionAuth Cloud.
The primary and secondary deployments must be on the same version of FusionAuth and be the same size.
FusionAuth Cloud does not support failing over to a self-hosted or on-premises FusionAuth instance.
FusionAuth Cloud does not support active/active architectures, where both deployments are serving live requests.
## Self-Hosting And Disaster Recovery
The above outlines FusionAuth Cloud's DR solution. FusionAuth, the software product, also supports multi-region disaster recovery. If you are self-hosting, you can replicate your database and Elasticsearch/OpenSearch data to a different region. To do so, please consult your database and Elasticsearch provider documentation for steps to configure, manage and monitor data replication, as well as to update the deployment domain name in the event of a disaster.
You can set up self-hosted FusionAuth in a DR compatible architecture with any plan, but support is only available if you are on the Enterprise plan.
# GitHub Actions With FusionAuth
import InlineUIElement from 'src/components/InlineUIElement.astro';
import Aside from '/src/components/Aside.astro';
import { RemoteCode } from '@fusionauth/astro-components';
import Breadcrumb from 'src/components/Breadcrumb.astro';
## Introduction
This article explains:
- How to upgrade FusionAuth.
- How to write automated tests of your application login with FusionAuth.
- How to run these tests in a [GitHub Actions workflow](https://docs.github.com/en/actions) when pushing to the main branch.
- How to automate deployment and testing on your live application.
## Prerequisites
To follow this article, you need to know how to create a project in GitHub, but you don't need to know anything about FusionAuth, GitHub Actions, or automated testing, as the basics are explained here.
You will need Docker and Node.js installed to run the example application accompanying this guide.
## Some Definitions And Goals
FusionAuth provides login functionality for your web application. Users are stored in the FusionAuth database, separate from the database your app uses to keep its data. Assuming you have built a login page that redirects a user to FusionAuth, your system will have the components shown below.
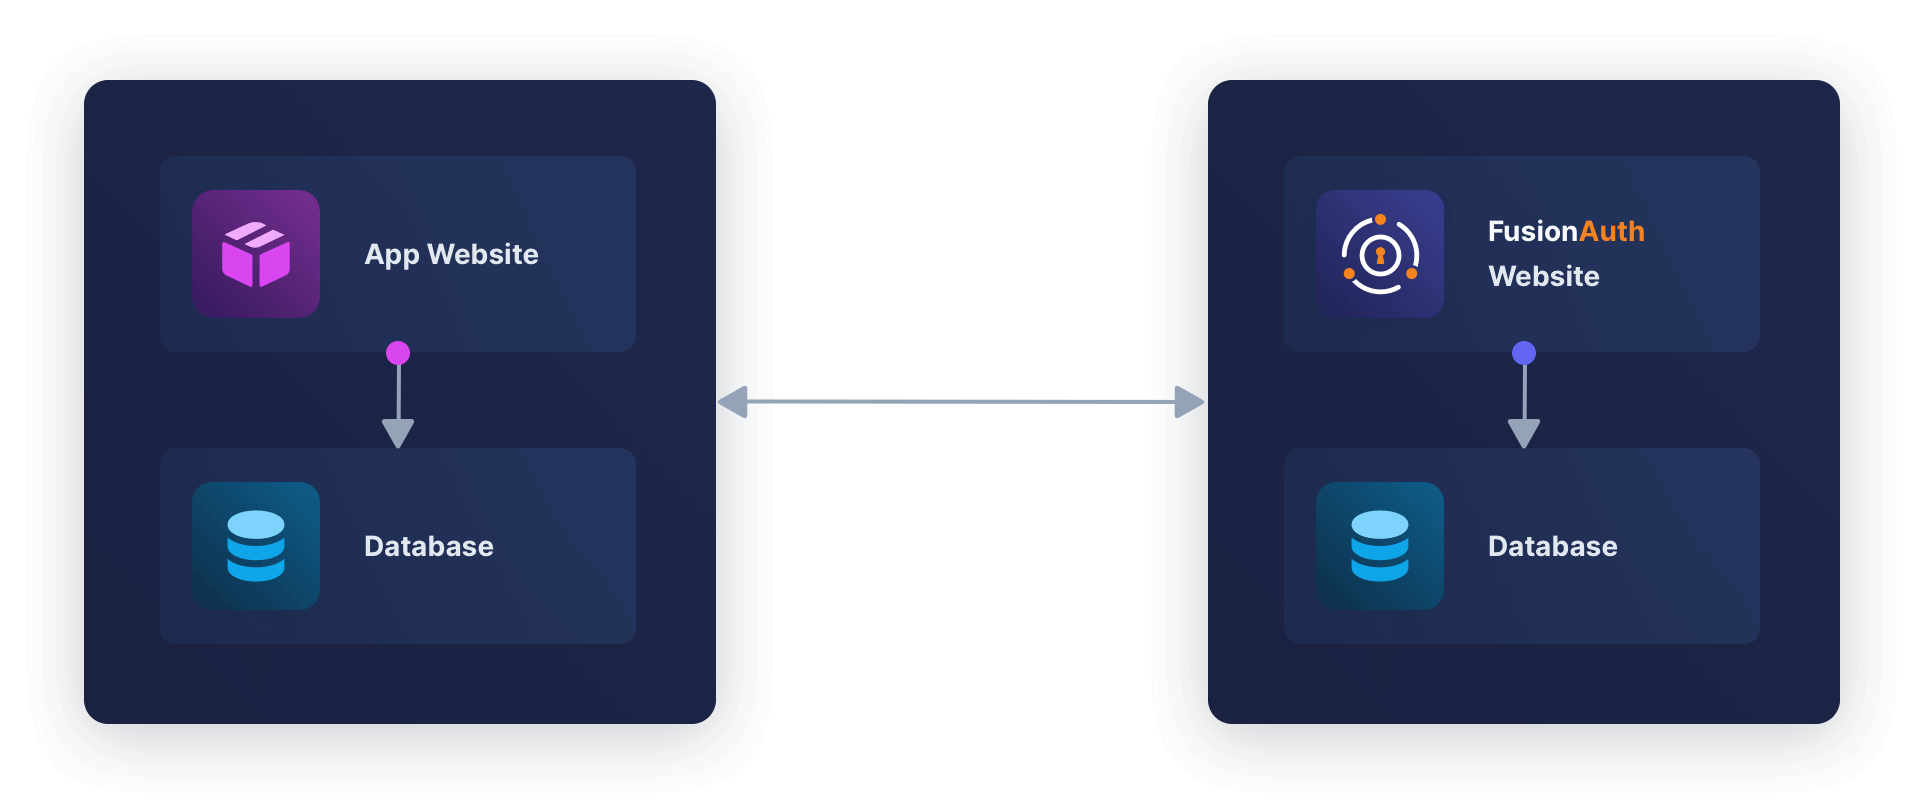
You might have the following questions:
- How do I deploy these components to production?
- What happens when FusionAuth releases a new version? How do I upgrade FusionAuth without losing data?
- How can I test that login still works after upgrading my app or FusionAuth?
- How do I separate and manage my development and production environments?
- How do I securely keep administrative passwords, including database access passwords, and include them when deploying?
Automating these tasks is called CI/CD or continuous integration and continuous deployment.
- CI refers to testing changes to code you push to the main branch to ensure it fits in with the existing system and everything still works.
- CD refers to deploying every push to the main branch of your production (live) site.
GitHub provides a tool for automating workflows called GitHub Actions. It provides a virtual machine in which you can run scripts to check out your code, compile it, deploy alongside FusionAuth and other services, run tests, and manage deployment.
The flow looks like the diagram below.
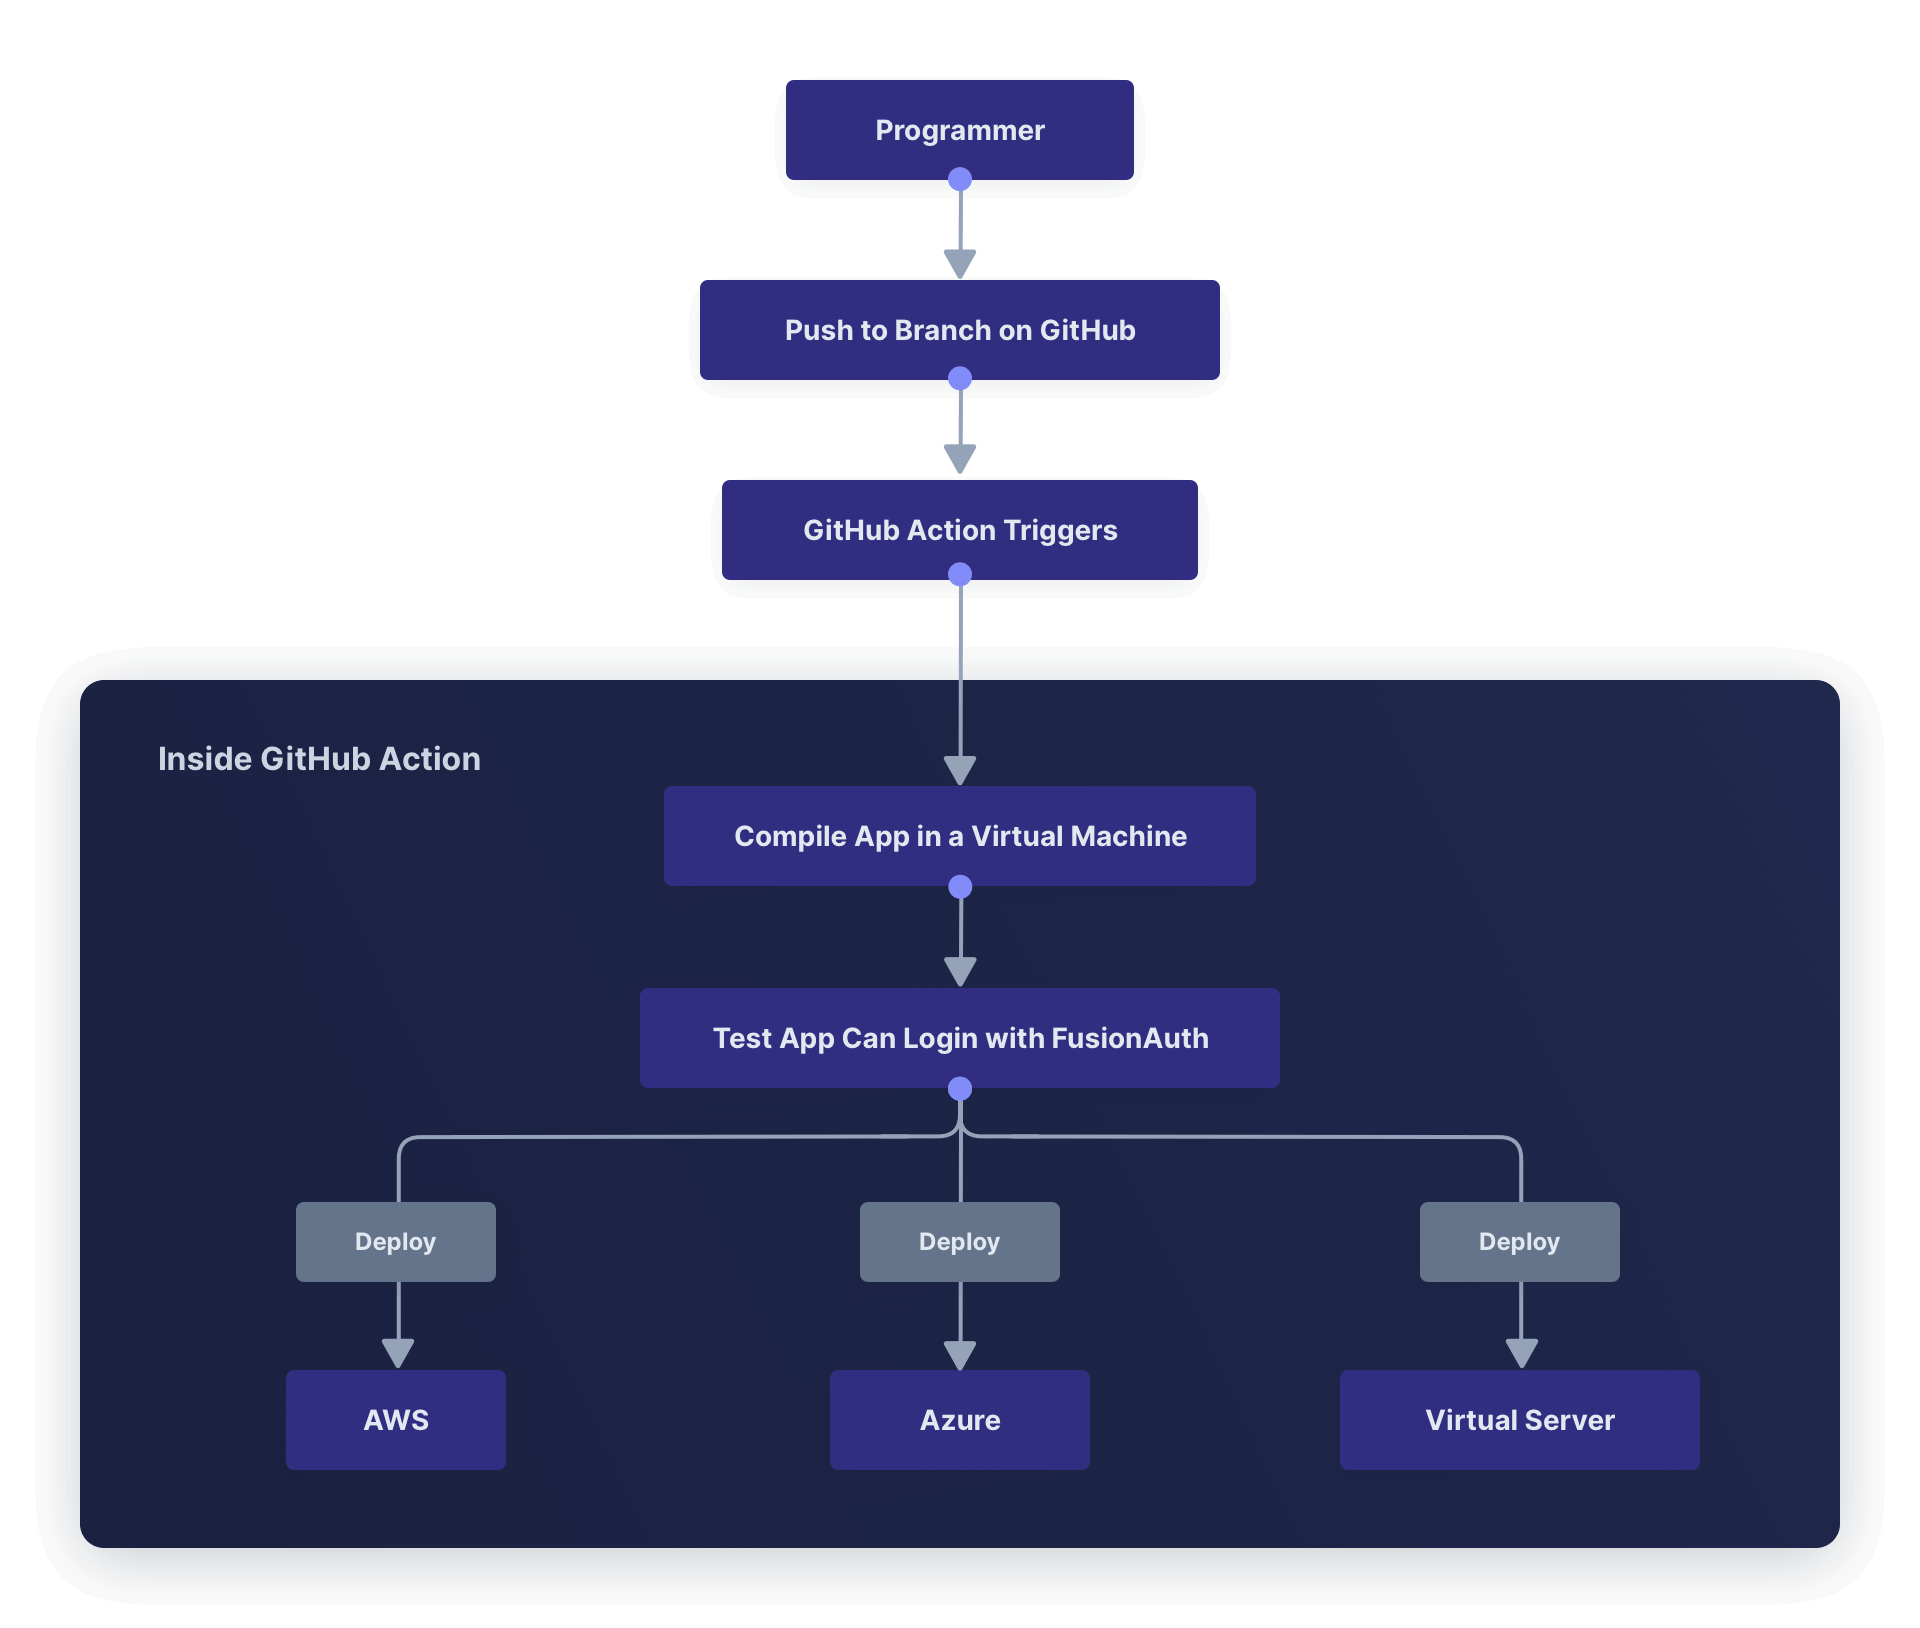
## A Simple Example Using GitHub Actions
There is a minimal but complete CI/CD example in this [repository](https://github.com/FusionAuth/fusionauth-example-github-actions). An overview of the setup is shown below.
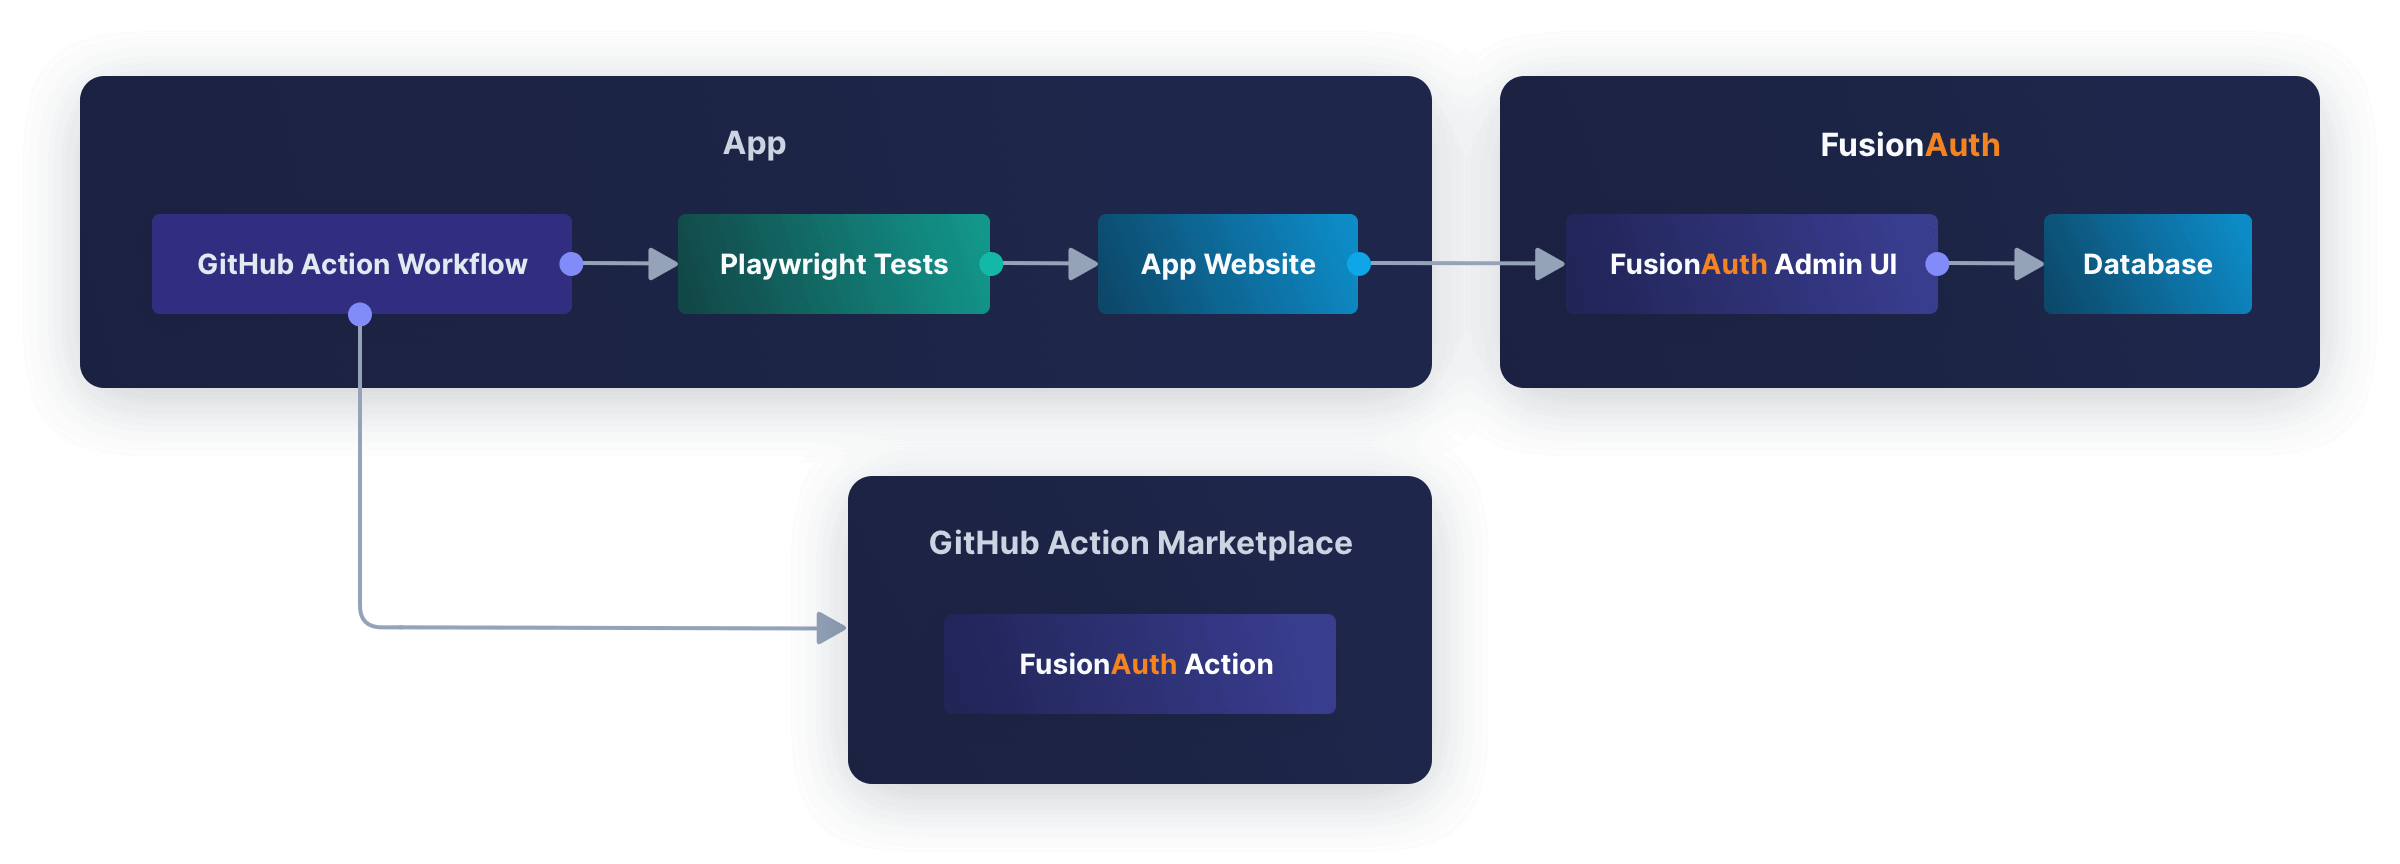
In GitHub, click <InlineUIElement>Fork</InlineUIElement> and add the repository to your GitHub account. Then run `git clone https://github.com/<your_username>/fusionauth-example-github-actions.git` in a terminal to download it. Remember to replace `<your_username>` with your GitHub username.
Below is the repository structure.
```bash
├── app
│ ├── app.js
│ ├── .env
│ ├── .github
│ │ └── workflows
│ │ └── playwright.yml
│ ├── package.json
│ ├── playwright.config.js
│ ├── public # css and images
│ ├── routes
│ │ └── index.js
│ ├── services
│ │ └── authentication.js
│ ├── tests
│ │ └── test.spec.js
│ └── views # html templates
├── docker-compose.yml
├── .env
├── .github
│ └── workflows
│ └── test.yaml
└── kickstart
├── css
│ └── styles.css
└── kickstart.json
```
FusionAuth is managed by the `docker-compose.yml` and `.env` files, and the `kickstart` directory. FusionAuth runs in a Docker container. On starting, FusionAuth uses the `.env` file to get the database password. The database is stored in files in a Docker volume. When FusionAuth starts for the first time, it uses the `kickstart` details to configure the visual style and various settings. If FusionAuth has run before, it attaches to the existing volume and uses that database.
The `app` folder contains a Node.js JavaScript application. The Express server provides a login page that sends the user to FusionAuth, and then to the account page after login. The `tests` folder contains a login test written in [Playwright](https://playwright.dev/docs/intro). Playwright runs tests in a web browser to see if all elements and interactions behave as they would with a real user. The tests can all be run from the terminal, however, so you can test your application on a computer without a graphical environment.
The `.github/workflows/test.yaml` file is the GitHub Actions workflow script. The `app/.github/workflows/playwright.yml` file contains a Playwright-provided script, but this script uses more GitHub resources, has a long timeout, and saves the test results to a file. The `test.yaml` script is written to take advantage of the [GitHub Free 2000 CI/CD minutes per month](https://docs.github.com/en/get-started/learning-about-github/githubs-plans).
<Aside type="note">To learn how FusionAuth runs in Docker, please read the [five-minute guide](/docs/quickstarts/5-minute-docker). To learn how Express connects to FusionAuth, please read this [quickstart](/docs/quickstarts/quickstart-javascript-express-web).</Aside>
## How To Upgrade FusionAuth
Before running the app, let's demonstrate how to upgrade FusionAuth. It should usually be as trivial as changing the version number and restarting FusionAuth.
In this section, you will:
- Start an older version of FusionAuth.
- Create a new user in <Breadcrumb>Users</Breadcrumb>.
- Upgrade FusionAuth.
- Check that the new user is still there.
Open the `docker-compose.yml` file. On line 51, set the FusionAuth image to the following.
```yaml
image: fusionauth/fusionauth-app:1.47.1
```
In a terminal, run the following command.
```bash
docker compose up
```
FusionAuth will start, and you will be able to log in at `http://localhost:9011/admin` with username `admin@example.com` and password `password`. In the <Breadcrumb>Users</Breadcrumb> section, [add a new user](/docs/get-started/core-concepts/users) by clicking the green <InlineUIElement>+</InlineUIElement> button.
<Aside type="note">
After logging in successfully, you should be able to see the FusionAuth version number `1.47.1` at the bottom of the left sidebar.
</Aside>
Stop Docker in the terminal by pressing `control-C`. In the `docker-compose.yml` file, change line 51 to use a new FusionAuth version, `1.48.3`. Run the startup command again.
```bash
docker compose up
```
The output of the Docker command below shows that FusionAuth silently (without needing user approval) successfully runs database migration (upgrade) scripts on the existing database when starting.
```bash
fa | ---------------------------------- Entering Silent Configuration Mode ---
fa | ----------------------------
fa | 12:49:04.337 PM INFO JDBCMaintenanceModeDatabaseService - Attempting to lock database to support multi-node configurations
fa | 12:49:04.348 PM INFO JDBCMaintenanceModeDatabaseService - Obtained a database lock
fa | 12:49:04.386 PM INFO JDBCMaintenanceModeDatabaseService - Database Version [1.47.1]
fa | 12:49:04.393 PM INFO JDBCMaintenanceModeDatabaseService - Latest Migration Version [1.48.1]
fa | 12:49:04.459 PM INFO JDBCMaintenanceModeDatabaseService - Execute migration script [1.48.0]
fa | 12:49:04.472 PM INFO JDBCMaintenanceModeDatabaseService - Execute migration script [1.48.1]
fa | 12:49:04.500 PM INFO JDBCMaintenanceModeDatabaseService - Database Version [1.48.1]
fa | 12:49:04.500 PM INFO JDBCMaintenanceModeDatabaseService - Latest Migration Version [1.48.1]
fa | 12:49:04.500 PM INFO JDBCMaintenanceModeDatabaseService - Attempting to unlock database to support multi-node configurations
fa | 12:49:04.501 PM INFO JDBCMaintenanceModeDatabaseService - Unlock completed
```
If you browse to FusionAuth again, you'll see that the user you created is still there.
The FusionAuth application is separate from the FusionAuth database. In this case, the database is stored in a Docker volume. When the upgrade scripts run, the data should not be broken, and upgrading FusionAuth should be unnoticeable. However, mistakes can happen, as well as database crashes, and you should back up both the FusionAuth database and your application database daily. The rest of this article will show you how to automate login tests to check that your system still works after upgrading FusionAuth or your app. If something breaks, you can restore the old version of the database and begin debugging.
For more details on upgrading FusionAuth, including non-silent upgrades, please read this [article](/docs/get-started/download-and-install/docker#upgrading).
<Aside type="note">
FusionAuth also has a paid version that [runs in the cloud](/docs/get-started/run-in-the-cloud/cloud). If you want to avoid the hassle of managing, backing up, and upgrading FusionAuth yourself, this might be the solution for you. Tests in this guide will still work after the version of FusionAuth has been upgraded.
</Aside>
## Test Your App Login With Playwright
FusionAuth is already running. To start the app that uses it, run the code below in a new terminal window.
```bash
cd app
npm install
npm run start
```
Browse to `http://localhost:3000` and log in with the same user as previously.
When changing your application, it would be faster to test that login works automatically, rather than by hand. This is called an integration, or end-to-end test, as opposed to a unit test, which tests only a single function. For integration tests in the browser, you can use Playwright.
<Aside type="note">
Playwright was created by Microsoft, runs in JavaScript, and allows you to run tests in multiple browsers. It is a popular successor to Selenium, which used Java, and Puppeteer, which was written by Google and focused on Chrome.
</Aside>
To start the Playwright tests for this app, open a new terminal in the `app` directory and run the code below.
```bash
npx playwright install
npx playwright install-deps
npx playwright test --project=chromium
```
The output should be as below.
```bash
Running 1 test using 1 worker
✓ 1 [chromium] › test.spec.js:3:1 › Test login (5.1s)
1 passed (5.8s)
```
The command returns `0` if all tests passed, and another number if any tests failed. This allows you (and GitHub Actions) to write shell scripts that perform different tasks if the tests succeed or not.
To see what is happening visually, run the code below.
```bash
npx playwright test --project=chromium --ui
```
This will open the playwright window. Click on the <InlineUIElement>Run</InlineUIElement> button next to the test name to execute the test. You can see that Playwright runs a browser, clicks buttons, and fills in forms.
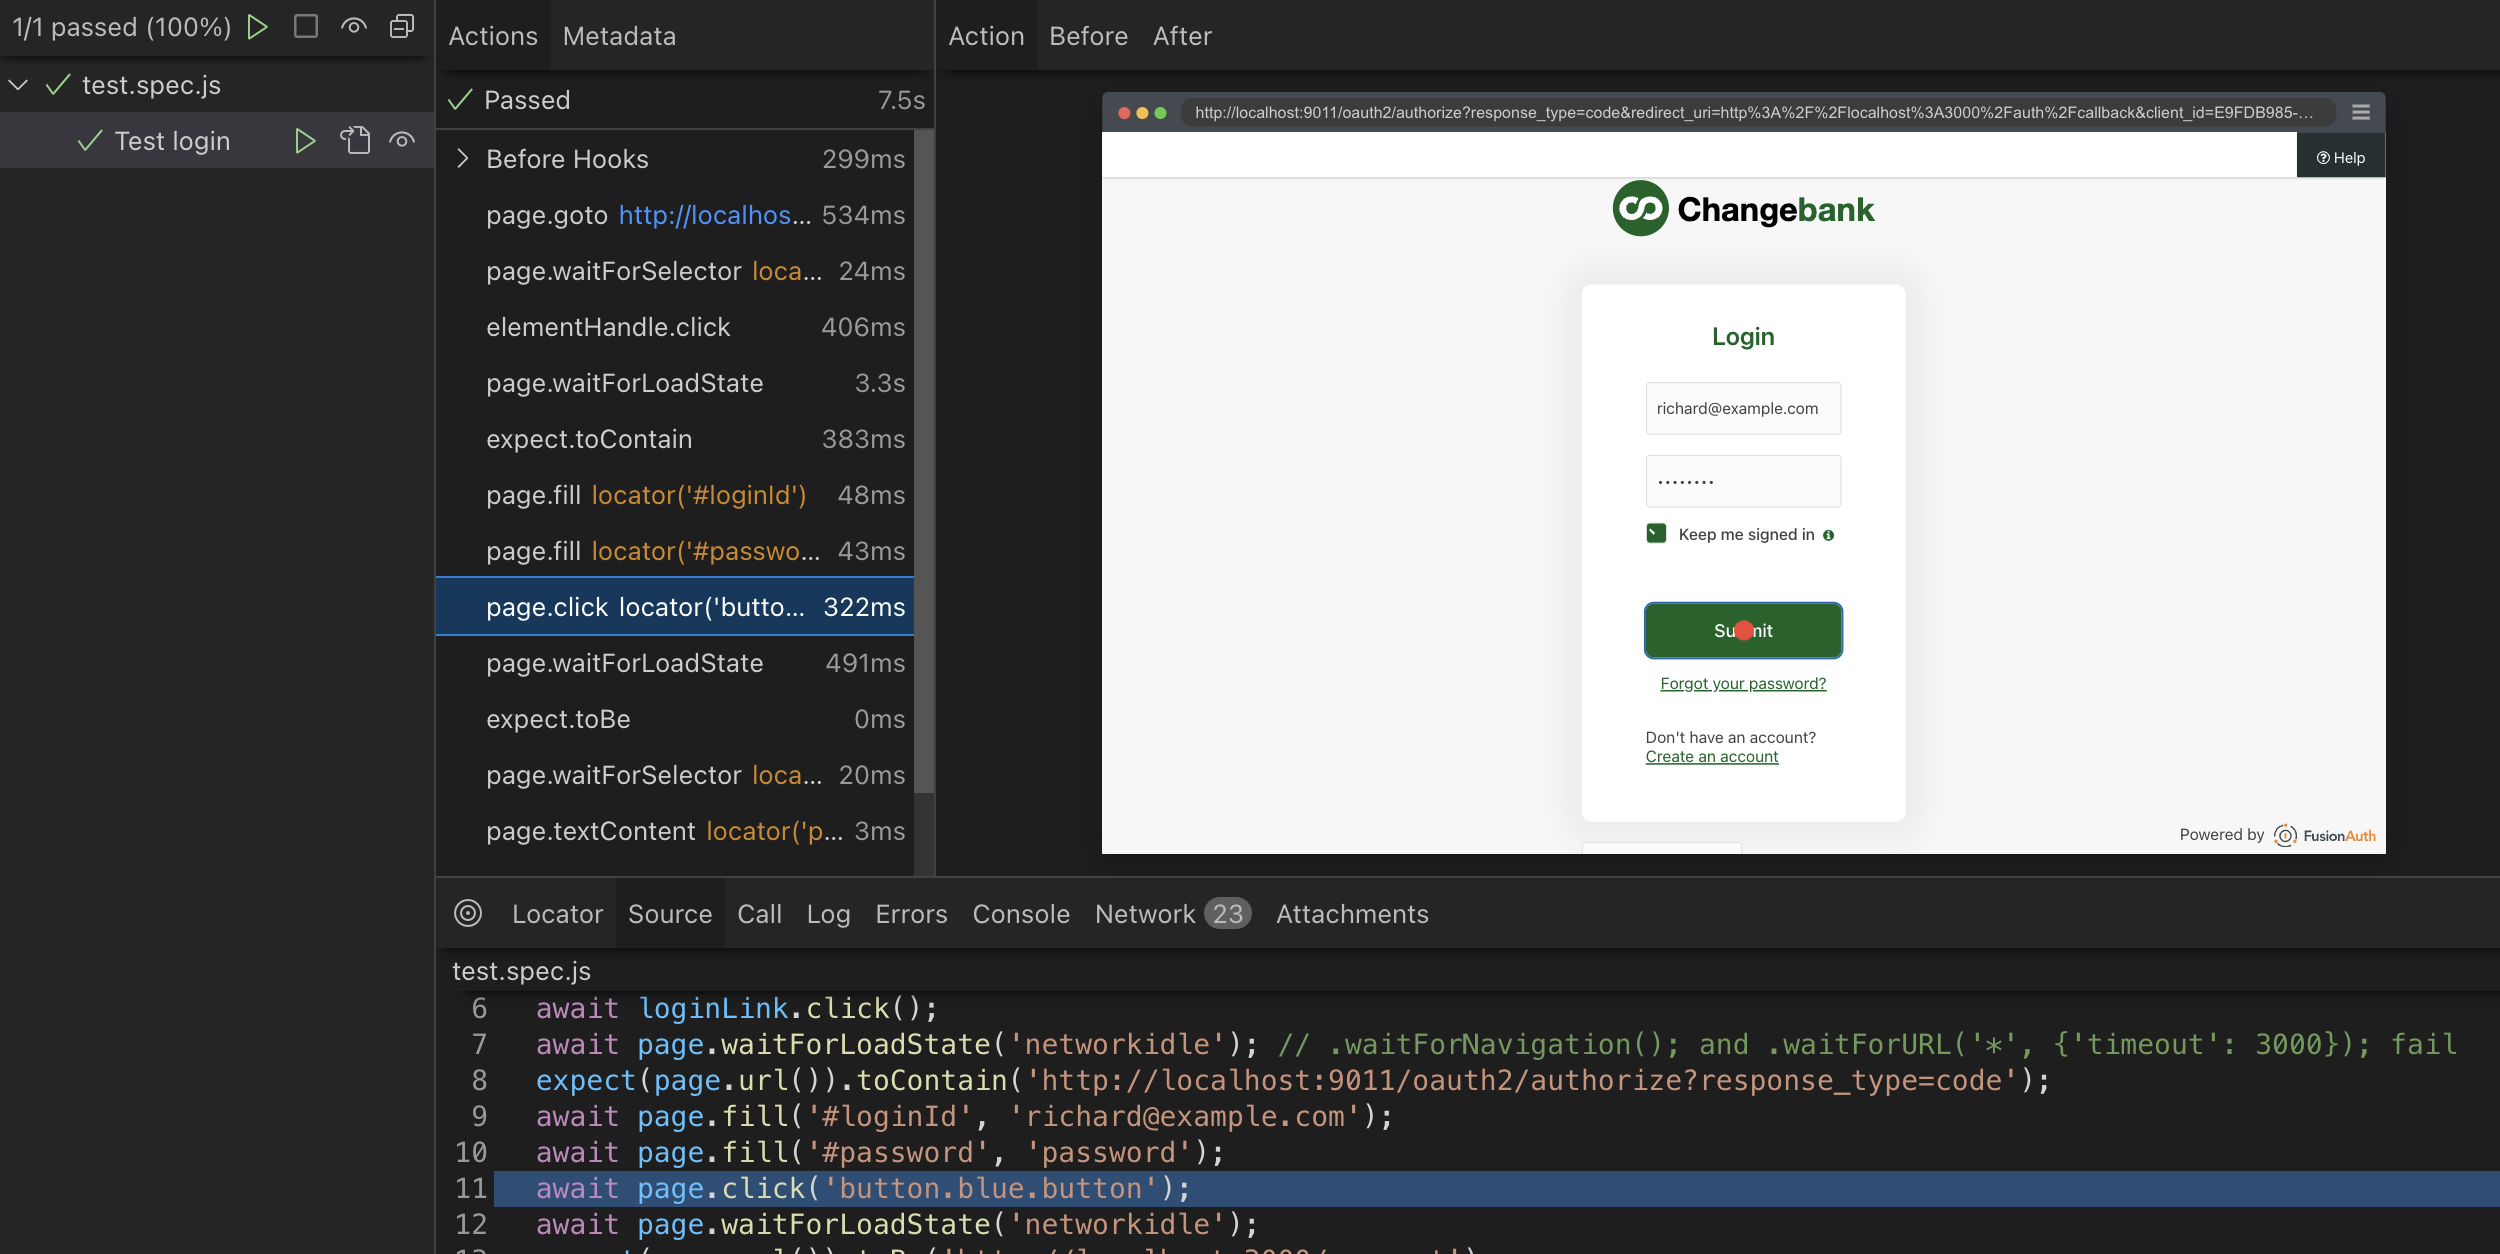
## Write A Test For Playwright
The code for the test Playwright runs is in the file `app/tests/test.spec.js`.
<RemoteCode url={frontmatter.codeRoot + "/app/tests/test.spec.js"}
lang="js" />
The code should mostly be self-explanatory, but there are a few things to note:
- `await` is used frequently as most operations on the page are asynchronous.
- `waitForLoadState('networkidle')` is used to wait for pages to load. When this article was written, `.waitForNavigation()` and `.waitForURL()` failed.
- Tests start with `expect()`, such as `expect(emailText).toBe('richard@example.com')`. Without this function, your tests won't test anything.
- To add a new test of your own, write a new function like `test('Test login', async ({ page }) => {`.
To add Playwright to your own project, follow [their guide](https://playwright.dev/docs/intro). Running `npm init playwright` will create a configuration file and sample test you can use as a starting point.
In the configuration file `playwright.config.js`, you can set which browsers to use (we used `--project=chromium` earlier), whether to start your app before running the tests, and which directory contains test files.
## Test Your App In A GitHub Action
Now that you know how to test your app after a change to it or FusionAuth, let's automate the process in GitHub. Your goal is to have a test run whenever committing to your main branch. GitHub will email you if the test fails.
<Aside type="note">
By default, GitHub prevents action workflows from running on forked repositories. To grant permission for the workflow to execute, navigate to the Actions tab on your forked repository and click on the <InlineUIElement>I understand my workflows, go ahead and enable them</InlineUIElement> button on the repository.
</Aside>
In this example, we'll trigger the execution of the test by listening to push events on the main branch. Open the file `.github/workflows/test.yaml` in your IDE. The fifth line in the file specifies the branch name that triggers the execution of the action when commits are pushed to it. It currently reads as follows.
```yaml
- main_RENAME_THIS_TO_ENABLE_TEST
```
Change this line from a nonsense name to the main branch of your application.
```yaml
- main
```
Save the changes to the `.github/workflows/test.yaml` file, commit to the main branch of your repository in Git, and push to GitHub. The commit you just pushed will trigger the execution of the test. The test may take a few minutes to run as GitHub configures the necessary resources.
You can browse to the Actions tab in your GitHub repository and then select <InlineUIElement>Test FusionAuth login</InlineUIElement> on the left sidebar to see the workflow run. The most recent workflow run will appear at the top of the list and you can see further details by clicking on the title of the workflow run items. Clicking on the <InlineUIElement>run-tests</InlineUIElement> job item will reveal further details of the workflow execution steps.
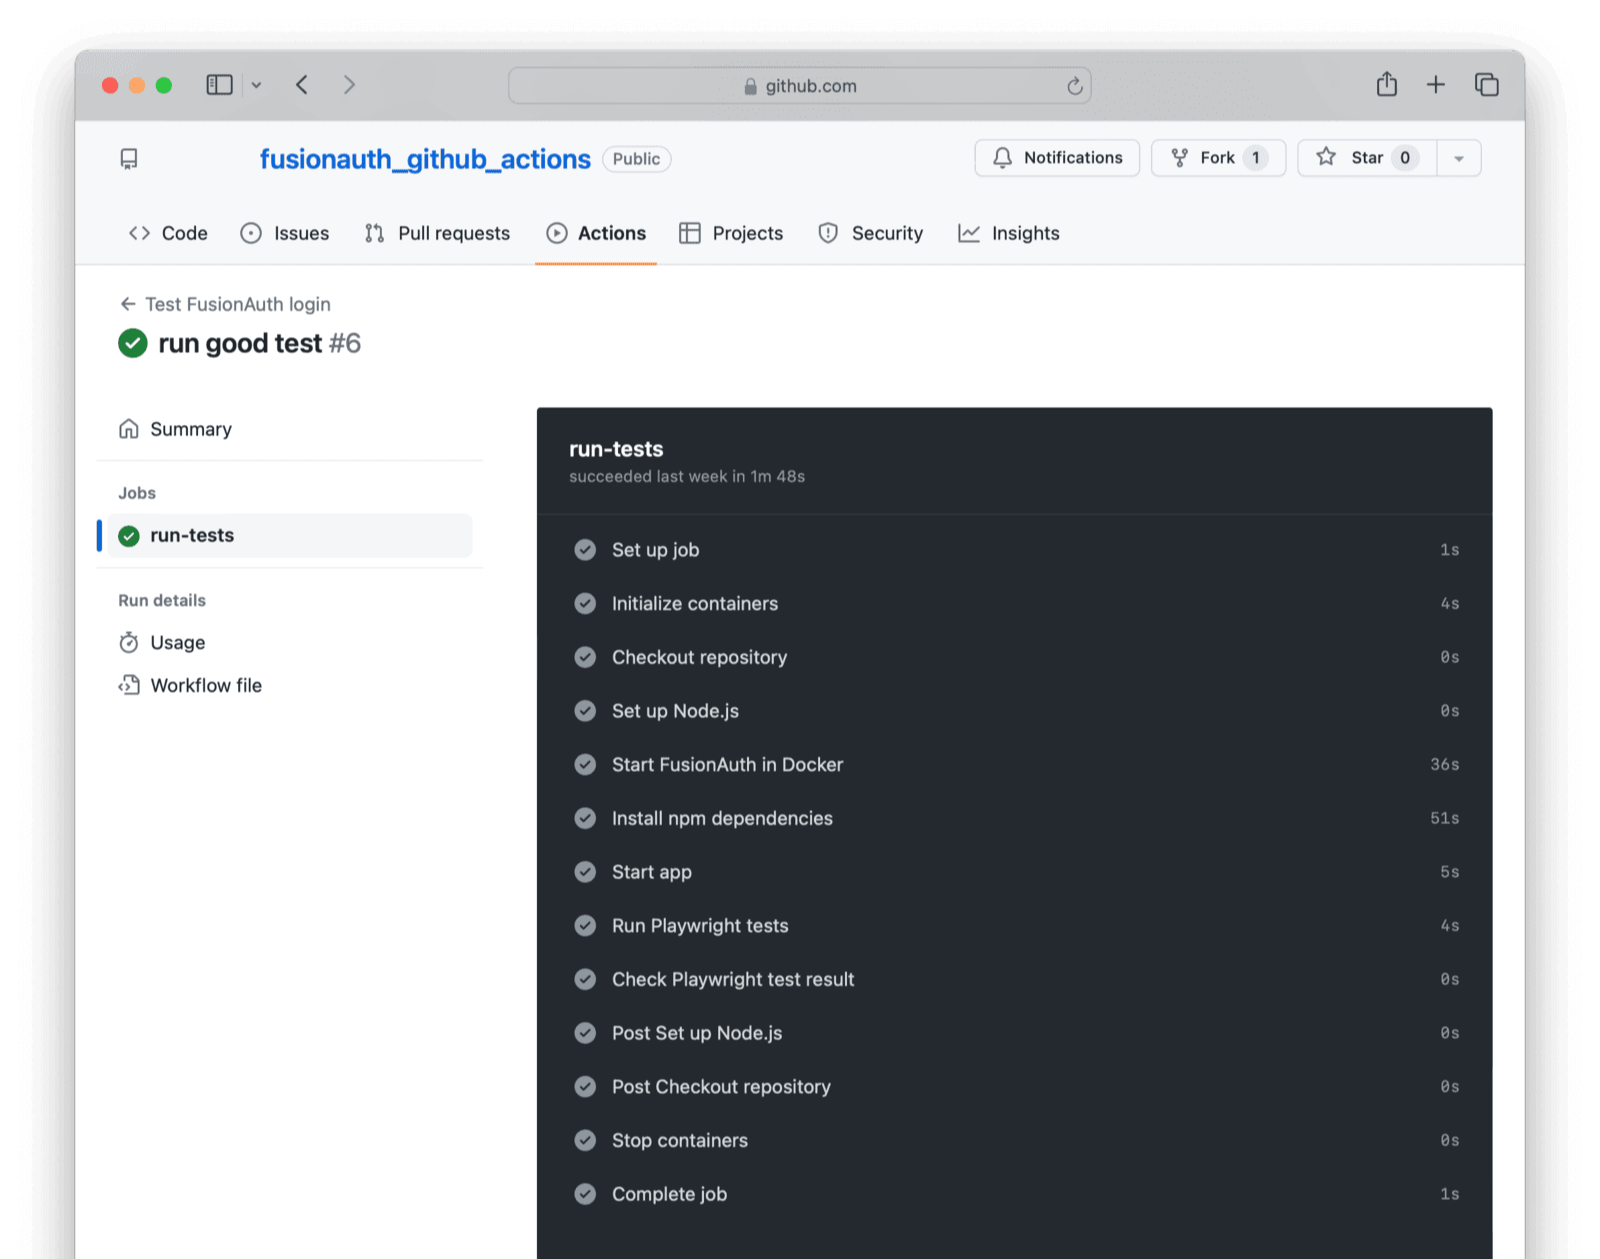
To test that the test works, change the login email in `test.spec.js`, on the line `expect(emailText).toBe('richard@example.com');` change to `expect(emailText).toBe('wrong@example.com');` and push to GitHub again. You can now verify that the test does detect a broken login or invalid credentials.
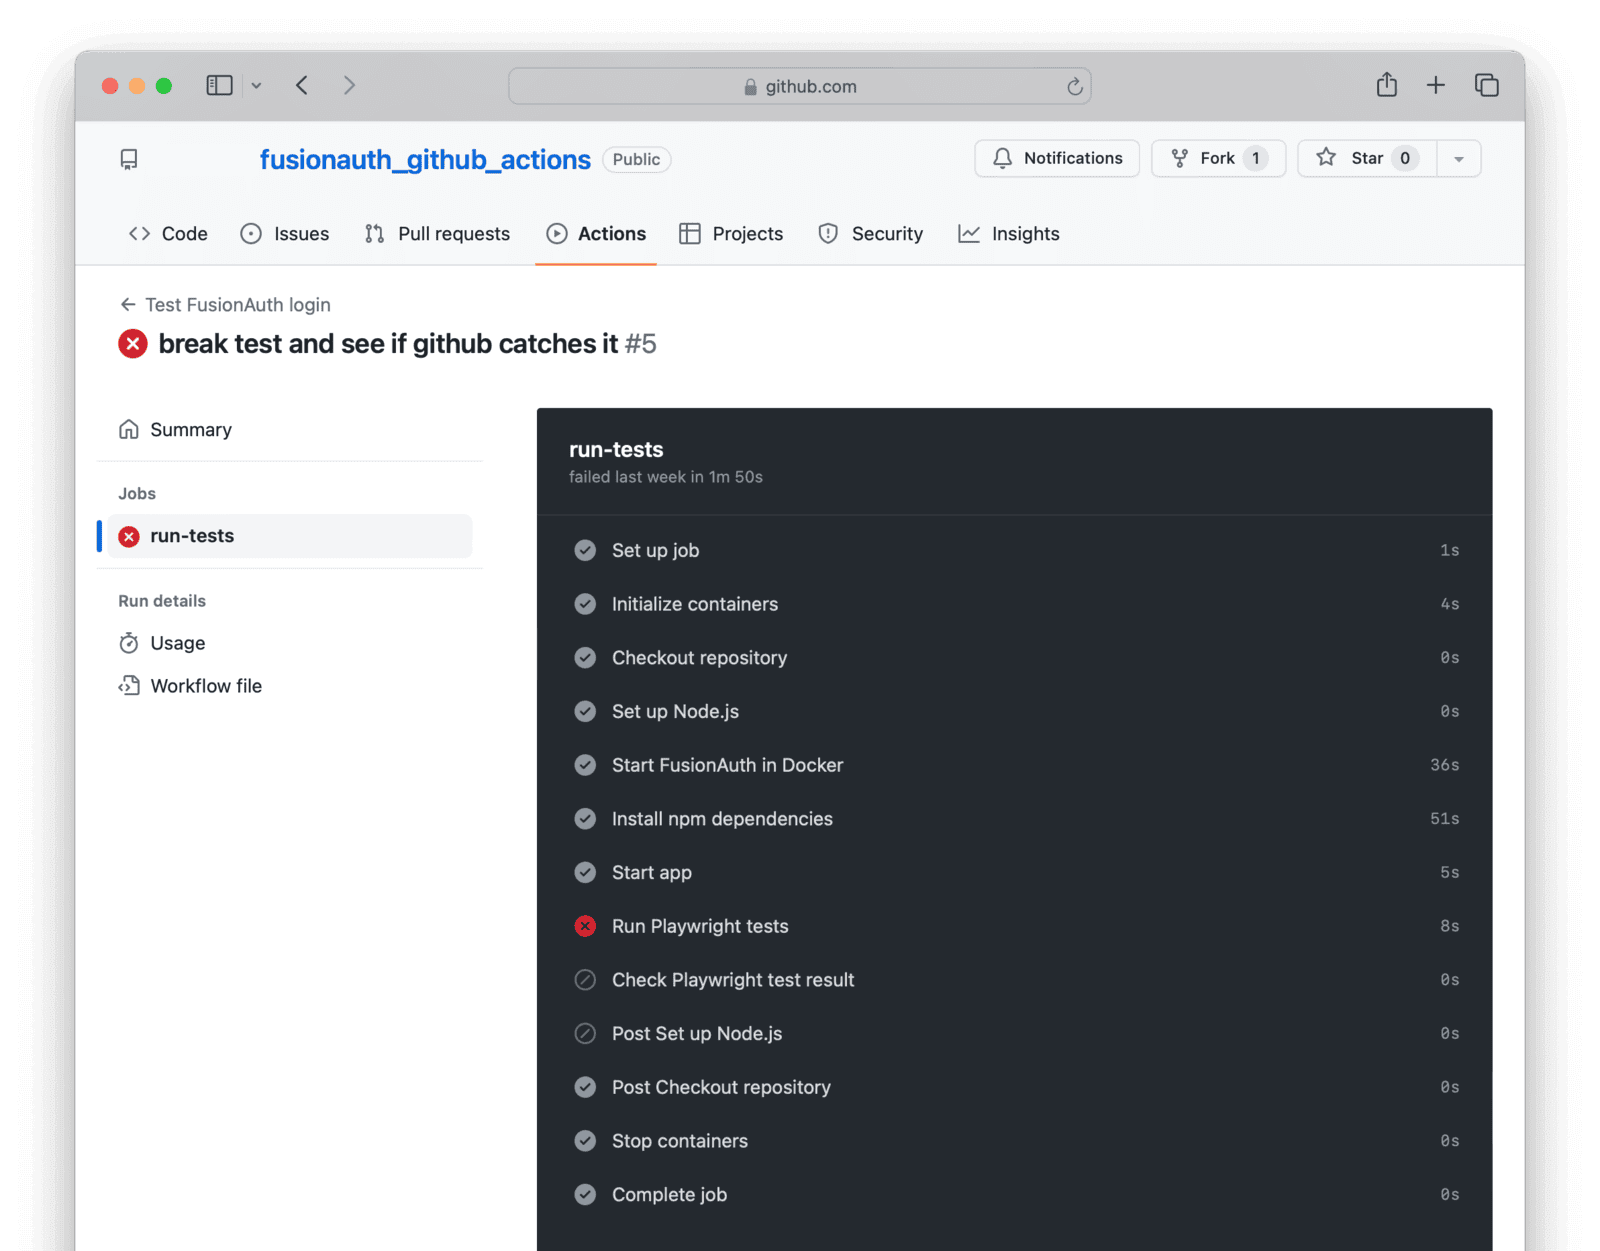
If your test runs successfully, you can be certain that your app and FusionAuth are both running, can speak to each other, and that the user is still present in the database after any migrations have run.
## Understand GitHub Actions
GitHub Actions is a service provided by GitHub that allows you to run workflows that can do anything you can write in a script, triggered by different types of events in your repository. GitHub runs your script in a virtual machine. GitHub allocates each user a certain amount of free CPU minutes per month and a set amount of storage, depending on your plan. For more details, see the [learn GitHub Actions](https://docs.github.com/en/actions/learn-github-actions) documentation and [pricing page](https://docs.github.com/en/billing/managing-billing-for-github-actions/about-billing-for-github-actions).
Let's review the GitHub Actions workflow script to see how it works. All scripts are stored in the `.github/workflows` directory, and the files can be called whatever you like. Here, the file is called `test.yaml`.
<RemoteCode url={frontmatter.codeRoot + "/.github/workflows/test.yaml"}
lang="yaml" />
Each workflow has a name, which is a human-readable label.
```yaml
name: Test FusionAuth login
```
This is followed by an event, which is all the conditions that trigger the workflow to execute. Events are stored in the `on` object. The most common ones to use are when pushing a commit or receiving a pull request. For a full list, see the [documentation](https://docs.github.com/en/actions/using-workflows/events-that-trigger-workflows).
Your workflow uses the push-to-main-branch event.
```yaml
push:
branches:
- main
```
Then comes the workflow `jobs`. This is what will run when the push event occurs. This workflow has just one job, `run-tests`.
<Aside type="note">
You need to specify the type of operating system the machine will run to execute the job steps. Here, you use `ubuntu-latest`. It is the cheapest runner on GitHub. Windows runners use minutes at twice the rate of Linux, and Mac runners use ten times the rate of Linux.
</Aside>
The `steps` section defines a sequence of tasks that are executed during the workflow run.
The steps consist of two types of code:
- Actions, which are existing tasks in GitHub like checking out a repository or installing Node.js.
- Custom commands, which run code directly in the machine's terminal.
This script starts by checking out your repository, and then installs FusionAuth and Node.js using the respective actions.
```yaml
steps:
- name: Checkout repository
uses: actions/checkout@v4
- name: Start FusionAuth
uses: fusionauth/fusionauth-github-action@v1
with:
FUSIONAUTH_VERSION: "latest" # Optional: provide FusionAuth version number otherwise it defaults to latest
- name: Set up Node.js
uses: actions/setup-node@v4
with:
node-version: '18'
```
Custom code then installs Node.js modules, runs the app, and runs the tests. Note that steps usually run in serial. To run steps simultaneously, you use `&` to start the next step without waiting for the first step to exit. If a step fails, the next step will not run.
```yaml
- name: Install npm dependencies
run: |
npm install
npx playwright install-deps
npx playwright install
working-directory: ./app
- name: Start app
run: npm run start & # & in background
working-directory: ./app
- name: Run Playwright tests
run: npx playwright test --project=chromium
working-directory: ./app
```
Using the `fusionauth-github-action` is the preferred method to start FusionAuth in the workflow. If you want to start FusionAuth with Docker compose instead of the action, you can use the commented-out configuration in the `.github/workflows/test.yaml` file (for example, if you need customizations to use a custom password hashing plugin).
In the commented-out workflow configuration, the `services` section specifies that the action requires Docker where FusionAuth will run.
```yaml
services:
docker:
image: docker:19.03.12
options: --privileged # container has full access to host
ports:
- 3000:3000
- 9011:9011
```
Then FusionAuth is started using `docker-compose`.
```yaml
- name: Start FusionAuth in Docker
run: docker-compose up -d # -d in background
```
## Compile Your App In A GitHub Action
You might have noticed that GitHub did not build your app at any point in this workflow. This is because JavaScript is a dynamic language and does not need to be compiled. If you are using FusionAuth with C#, Go, Rust, or TypeScript, you can easily add another step to your workflow to compile the code before running the tests. This might look like the code below.
```yaml
- name: Compile app
run: cargo build
working-directory: ./app
```
## Deploy Your App In A GitHub Action
Deploying your app with a GitHub action is more complex than building it. Your production environment might be a physical server, a virtual server like DigitalOcean, or a large service provider like AWS or Azure. You might also want to deploy a new version of FusionAuth, which may use Docker.
You can deploy using an existing action, such as those for [AWS](https://github.com/aws-actions), [Azure](https://github.com/Azure/actions), or [DigitalOcean](https://github.com/digitalocean/action-doctl), or you can write your own deployment script.
Let's assume your production environment is a virtual server that runs your application in a Go binary and FusionAuth in Docker.
After the tests in your action have run successfully, you can deploy your app and FusionAuth to the server.
To run a command on your server from within an action, use [SSH for GitHub Actions](https://github.com/appleboy/ssh-action). This action allows you to open a terminal on your server and run commands. Here's how you would change the version number of FusionAuth, and restart it in Docker.
We'll discuss the secrets used in the code below in a later section [Secrets And Deployment Environments](#secrets-and-deployment-environments).
```yaml
- name: Update FusionAuth and Restart Docker
uses: appleboy/ssh-action@master
with:
host: ${{ secrets.SERVER_HOST }}
username: ${{ secrets.SERVER_USERNAME }}
key: ${{ secrets.SERVER_SSH_KEY }}
script: |
cd /fa_config # assume this is where docker compose file is
# change docker version number
sed -i 's|fusionauth/fusionauth-app:.*|fusionauth/fusionauth-app:latest|' docker-compose.yml
# pull the latest image from DockerHub before we try to use it
docker-compose pull fusionauth-app
# restart docker and leave it running
docker-compose up -d fusionauth-app
```
Let's say you want to deploy a Go application you created. You can do one of the following:
1. Download the repository of source code to the server and compile it there.
2. Compile the executable in the action and download it on the server.
3. Build your app into a Docker image, upload the image to DockerHub, and download and run it on the server.
Using Docker is the least work for the server and least likely to disrupt your operations. It requires compiling the executable on the server, as with option two. Downloading the code on the server and compiling it there is the easiest to do but might disrupt the server.
To make your Go binary (and all the HTML templates it serves) available for other steps in the workflow, use the [upload-artifact action](https://github.com/actions/upload-artifact). To build and push a DockerHub image, use the [Docker action](https://github.com/marketplace/actions/build-and-push-docker-images).
Once you have your application files ready, you can SSH into your server using the SSH action, download the Docker image or binary files, run any database migrations scripts, and restart your web application.
## Test Your Production Release
Even if your tests run successfully in the GitHub virtual machine, your production release might not allow users to log in. You need to test again.
Add a final step to your script, after the deployment step, that runs the Playwright login test. This time, run a test file that uses the production server URL instead of your localhost in the line `await page.goto('http://localhost:3000');`.
If this test passes, you can be certain your live website and FusionAuth can still communicate. If it fails, you need to revert your release to the previous version.
## Secrets And Deployment Environments
Your organization will probably have several environments (server and database) where your application runs:
Environment | Purpose
--- | ---
Development | Where programmers are free to test new features without fear of breaking anything. Database users are obfuscated.
Test | Where quality assurance testers test the latest release that is scheduled to go live soon.
Pre-production | An exact duplicate of the production environment, with real sensitive user information. This is used for debugging errors in production. Access is restricted.
Production | The live site that must always be online. Access is restricted to a system administrator and automated deployment programs.
The production environment might also be two mirrored applications and databases (called blue and green). You could deploy to one color, and then immediately transfer the live URL from the other color once it's complete. This way, your application will never suffer a moment's downtime.
Each environment should correspond to a single branch in GitHub, and have its own set of secrets: passwords, URLs, and database values.
In this guide's sample application action, you set the action event to be triggered when pushing to the main branch (which corresponds to the production environment). You'll need to add other events and scripts to run tests, but not deploy, for all other environments and pull-request events. For example, you would probably want a push to the test branch to run tests and deploy the new release to the test environment.
This application also used two `.env` files to store secrets that your app and FusionAuth use. In reality, you should never do this, as it allows anyone to access your private database with your password kept publicly on GitHub.
Instead, each environment should store its secrets in environment variables or a configuration file that is not overwritten on deployment. These values should be readable only by the system administrator and the application's user account.
But you also need some secrets in the GitHub action, such as the SSH key of the server you are deploying to. This was seen in the script above.
```yaml
key: ${{ secrets.SERVER_SSH_KEY }}
```
These secrets are kept in the [GitHub Secrets](https://docs.github.com/en/actions/security-guides/using-secrets-in-github-actions) page, where they are automatically available to your scripts.

## Summary Of Testing And Deployment
Let's summarize what you need to do to test and deploy your application:
- Configure your server to run Docker and the programming framework that your app uses.
- Keep secrets safe and private in environment variables on each server, even from your developers.
- Back up your FusionAuth and app database frequently, and test that you can restore them successfully.
- Write Playwright tests that check your app can log in with FusionAuth and any other essential functionality, including new features that you are releasing.
- Write a GitHub Actions workflow that runs these tests when receiving a pull request or pushing code to a branch.
- Add secrets in GitHub that allow it to access your deployment environment.
- Add a deployment step to your GitHub Actions workflow that sends your new release to the server and starts it.
- Add a final step in the workflow to test that your Playwright tests work on the deployed server.
- If your tests are successful, switch your public URL over to the latest release.
## Further Reading
- [Playwright test framework](https://playwright.dev/docs/intro)
- [FusionAuth five-minute guide](/docs/quickstarts/5-minute-docker)
- [FusionAuth Express quickstart](/docs/quickstarts/quickstart-javascript-express-web)
- [FusionAuth upgrade guide](/docs/get-started/download-and-install/docker#upgrading)
- [FusionAuth cloud version](/docs/get-started/run-in-the-cloud/cloud)
- [GitHub Actions](https://docs.github.com/en/actions)
- [GitHub Actions pricing](https://docs.github.com/en/billing/managing-billing-for-github-actions/about-billing-for-github-actions)
- [GitHub Actions events](https://docs.github.com/en/actions/using-workflows/events-that-trigger-workflows)
- [GitHub Secrets](https://docs.github.com/en/actions/security-guides/using-secrets-in-github-actions)
- [AWS actions](https://github.com/aws-actions)
- [Azure actions](https://github.com/Azure/actions)
- [DigitalOcean actions](https://github.com/digitalocean/action-doctl)
- [SSH for GitHub Actions](https://github.com/appleboy/ssh-action)
- [Upload-artifact action](https://github.com/actions/upload-artifact)
- [Build and push Docker images action](https://github.com/marketplace/actions/build-and-push-docker-images)
# Setup Wizard & First Time Setup
import SetupWizard from 'src/content/docs/_shared/_setup-wizard.mdx';
import * as wizard from 'src/content/docs/_shared/_setup-wizard.mdx';
export const headings = wizard.getHeadings();
<SetupWizard />
# Step 1 - Install
import ExpectedTime from 'src/components/ExpectedTime.astro';
import DownloadWidget from 'src/components/download/DownloadWidget.astro';
<ExpectedTime duration={2}/>
## Install FusionAuth
First, you need to get FusionAuth up and running. The simplest way to run FusionAuth is to install it on your development machine (which is probably the laptop you are reading this doc on). The benefit of running FusionAuth locally is that you don't need internet access to use FusionAuth and you can also automate unit, integration, and functional tests against it.
Plus, you'll likely want to run FusionAuth in your staging environment, and probably in your CI/CD pipeline as well. Learning to install FusionAuth now is a great place to start.
Pick your preferred method of installation below. And remember, these are not exhaustive. FusionAuth also provides platform-specific options and services such as DEB and RPM packages. For a list of all our download and installation options, visit [https://fusionauth.io/download](/download).
<DownloadWidget kickstartEnabled={true} kickstartName={"get-started"}/>
## Open the web UI
Open a browser to http://localhost:9011/admin and you'll be presented with the FusionAuth login page. The installation instructions above used [Kickstart](/docs/get-started/download-and-install/development/kickstart), which created an admin user:
* Login id: **admin@example.com**
* Password: **password**
Go ahead and log into the FusionAuth admin UI now by clicking the lock icon in the top right corner.
**NOTE:** You should log out of the FusionAuth Admin UI before proceeding to the next step. The next set of steps all work with an admin user, but it's better to demonstrate login and protected pages using an `Ordinary User` instead. To logout click the `Logout` button in the top right corner.
## Next steps
<span className="inline-block mr-6 font-bold">Ready for the next step?</span> [Step 2 - Login button \>](step-2)
# Step 2 - Login button
import Aside from 'src/components/Aside.astro';
import ExpectedTime from 'src/components/ExpectedTime.astro';
import {RemoteCode} from '@fusionauth/astro-components';
<ExpectedTime duration={7}/>
## Get the example app
To get a better understanding of how FusionAuth works, let's take a look at an example application. This application uses Node, Express, Typescript, and FusionAuth to secure a section of the application. This application is simple, but demonstrates how to leverage FusionAuth for things like login and access controls (we'll cover what those are later).
<Aside type="note" title="Prequisites">
You will need Node 22.x or newer to run this example.
</Aside>
```shell
git clone git@github.com:FusionAuth/fusionauth-example-get-started.git
```
Now start the application:
```shell
cd fusionauth-example-get-started
npm install
npm run dev
```
Open your browser to http://localhost:8080 and you'll see the example application. Click the login button, and you'll be taken over to FusionAuth's login page.
Now, one of two things might have happened. If you were still logged into the FusionAuth admin with the user from the previous step, you would have seen a few redirects in the browser and ended up back at the Changebank example application. This is an example of FusionAuth's single sign-on (SSO) capabilities.
On the flip side, if you had logged out in the previous step, you should be looking at a login page. From here, you can log in as an "ordinary" user, rather than the admin user from the previous step. Here are some credentials for an ordinary user that were set up by the [Kickstart](/docs/get-started/download-and-install/development/kickstart) process from Step 1.
* Login id: **richard@example.com**
* Password: **password**
You can determine the user that you are logged in with by looking at the top right of the screen.
## How it works
Let's take a quick look at how this application interacts with FusionAuth. First, open the file `templates/home.html`. This contains the homepage of the application. In this file, you'll see a bit of code that looks like this:
<RemoteCode url={frontmatter.codeRoot + "/templates/home.html"} lang="html" tags="login"/>
This renders a login button that when clicked will take the browser to `/login`. Let's see how this URL is connected to the application.
Open the file `src/index.mts`. This file contains the Node and Express backend code for the example app. In this file, you will find a route that looks like this:
<RemoteCode url={frontmatter.codeRoot + "/src/index.mts"} lang="typescript" tags="login"/>
Anytime the browser requests this route, the code will first check to see if the user is already logged in. If the user is logged in, they are simply redirected to the `/account` page. If they aren't logged in, this will redirect them to the FusionAuth login page.
In this example app, most of the complex OAuth, JWT, and cookie logic has been pulled out into a separate file named `sdk.ts`. Feel free to take a look at this code if you want to get a better understanding of how this all comes together.
The main piece that takes the user to the FusionAuth login page is in the function `sendToLoginPage`. This performs a redirect following the OAuth specification. We won't go into detail about OAuth here, but the key takeaway is that this application integrates with FusionAuth using the OAuth standard.
## Next steps
[\< Go back to step 1 - Install](step-1) <span className="inline-block mx-6 font-bold">Ready for the next step?</span> [ Step 3 - Protected pages \>](step-3)
# Step 3 - Protected pages
import ExpectedTime from 'src/components/ExpectedTime.astro';
import {RemoteCode} from '@fusionauth/astro-components';
<ExpectedTime duration={5}/>
## Protecting pages
Now that we have the FusionAuth and the example app running, let's take a look at how the application protects pages that require a user to be logged in.
This process is also known as access control. It is the process of controlling the users that have access to specific pages and functions of an application. The first step is to protect a page such that only users that have logged in can view it.
Open the file `src/index.mts` and find the route named `/account`. It should look something like this:
<RemoteCode url={frontmatter.codeRoot + "/src/index.mts"} lang="typescript" tags="account"/>
The first check is where the application determines if the user is logged in or not. This is done by calling the SDK function `userHasAccess` (you can ignore the last parameter, which we will cover in the next section). This function returns true if the user has access, which implicitly verifies that they are logged in. Let's take a look at this function.
Open the file `src/sdk.ts` and find the function named `userHasAccess`. One note is that this application uses `jose` which is a Node library used for validating and parsing [JSON Web Tokens (JWTs)](/docs/lifecycle/authenticate-users/login-api/json-web-tokens). If you want to learn more about `jose`, you can visit the project at Github here: https://github.com/panva/jose
The `userHasAccess` method begins by loading the user from the request. This is accomplished by calling the `getUser` function of the SDK, which returns the user's access token. If the access token comes back `null`, that means the user is not logged in and this function returns false.
<RemoteCode url={frontmatter.codeRoot + "/src/sdk.ts"} lang="typescript" tags="userHasAccess"/>
Let's take a quick peek at the `getUser` function of the SDK. This function looks like this:
<RemoteCode url={frontmatter.codeRoot + "/src/sdk.ts"} lang="typescript" tags="getUser"/>
The first part of this function loads a cookie from the request that contains the user's access token. The access token is part of the OAuth specification, and is generated after the user successfully logs in. FusionAuth uses JWTs for access tokens.
The second part of this function verifies that the JWT is valid using `jose`'s `jwtVerify` function. This function validates the cryptographic signature of the JWT and also ensures that the JWT is not expired and all of the claims are valid.
We won't go into detail about JWTs and all of the claims here, but you can read our [OAuth token documentation](/docs/lifecycle/authenticate-users/oauth/tokens) to learn more.
If the `getUser` function returns `null`, this means that the user is not logged in. The user is then redirected to the login page.
You can also take a look at the `/make-change` route and you'll find that it uses this same approach to ensure that the user is logged in.
In the next step, we'll expand on this and cover role-based access controls.
## Next steps
[\< Go back to step 2 - Login button](step-2) <span class="inline-block mx-6 font-bold">Ready for the next step?</span> [Step 4 - Role-based access controls \>](step-4)
# Step 5 - Session Management
import ExpectedTime from 'src/components/ExpectedTime.astro';
import {RemoteCode} from '@fusionauth/astro-components';
<ExpectedTime duration={7}/>
## Sessions
When using FusionAuth as an OAuth identity provider, a user is logged in using what is known as the Authorization Code grant. This leverages FusionAuth's hosted login pages to authenticate the user and provide an access token to the application.
Access tokens are designed to have short lifespans though. In most cases, an access token will only be valid for a few minutes before it expires. It would be brutal to force users to log in every few minutes. Instead, it would be ideal to control how long the user is logged in via a user session.
Luckily, the OAuth standard provides a simple way to manage user sessions. This is done using refresh tokens.
Refresh tokens are long-lived tokens that should never be shared with any other application, user, or system. These are the most secure tokens and therefore access to them must be strictly controlled. In many cases, refresh tokens are stored in cookies in the browser. These cookies must be marked as `HttpOnly` and `Secure`. These two settings ensure that the refresh token cannot be stolen in any way. Ideally, the access token is also marked with the same attributes.
Our example app handles refresh tokens automatically. Let's look at how this is accomplished.
Open the file `src/sdk.ts` and locate the function named `logInUser`. This function is where the access token, refresh token, and id token (part of the OpenID Connect specification) are written out to the browser as cookies. This function looks like this:
<RemoteCode url={frontmatter.codeRoot + "/src/sdk.ts"} lang="typescript" tags="logInUser"/>
You can see that the access and refresh token are written out as `HttpOnly`. Our example application doesn't run over TLS, therefore we can't set the `Secure` flag. But for production applications, you should use TLS and mark cookies as `Secure`.
Next, let's look at how the refresh token is used when the access token expires. Scroll to the `getUser` function in this file. This function loads the same cookie that was written out above. We are using the `jose` library, which throws an exception when the access token has expired. This exception is handled in the `catch` block like this:
<RemoteCode url={frontmatter.codeRoot + "/src/sdk.ts"} lang="typescript" tags="getUser"/>
Inside this `catch` block, we call a handle function called `handleJWTException`. If you scroll down to that code you will see that we check if the exception is due to an expired JWT. If the JWT is expired, we refresh it. This code block looks like this:
<RemoteCode url={frontmatter.codeRoot + "/src/sdk.ts"} lang="typescript" tags="handleJWTException"/>
You can see that we first verify if refresh tokens have been enabled and then load the refresh token from the cookie. The code then uses the FusionAuth Typescript client library to call a standard OAuth API that handles what is known as the `Refresh Grant`. You can read up more about this API and the grant in our [OAuth documentation](/docs/lifecycle/authenticate-users/oauth/).
Once FusionAuth responds with a new set of tokens, which might include a new access token, new refresh token, and new id token, these are all stored in their respective cookies again.
If at any point the refresh token expires or is deleted, this code will immediately return `null`, which will cause the `userHasAccess` and `userLoggedIn` checks to fail, sending the user back to the login page.
FusionAuth also provides numerous methods for managing user sessions directly using the API or SDKs, including the ability to terminate any session, sessions that meet certain criteria, or all sessions associated with a user or an application.
## Next steps
[\< Go back to step 4 - Role-based access control](step-4) <span class="inline-block mx-6 font-bold">Ready for the next step?</span> [Step 6 - Logout \>](step-6)
# Step 4 - Role-Based Access Control
import ExpectedTime from 'src/components/ExpectedTime.astro';
import {RemoteCode} from '@fusionauth/astro-components';
<ExpectedTime duration={4}/>
## Setting up roles
The [Kickstart](/docs/get-started/download-and-install/development/kickstart) from step one created two roles for our Changebank application. These are `admin` and `user`. It assigned these roles to the two users it created as well. The user `admin@example.com` was granted the `admin` role and the user `richard@example.com` was granted the `user` role.
Roles are the way that FusionAuth manages user authorization to applications. And authorization is the process an application determines what a user is allowed to do. Access control is the method that is used to enforce these constraints. A common form of authorization and access controls is Role-Based Access Controls (RBAC).
When a user logs into an application, the user's roles for that application are included in their access token. Since FusionAuth access tokens are JWTs, it is simple to decode the JWT and analyze the roles a user has been granted.
Let's take a look at how our example application uses roles to verify the user's access.
If you open the `src/sdk.ts` file and scroll to the `userHasAccess` function, you'll see that the final parameter of this function is an array. This array contains the names of the roles that are allowed to access a specific page in the application. For example, the `/account` route calls this method like this:
<RemoteCode url={frontmatter.codeRoot + "/src/index.mts"} lang="typescript" tags="account"/>
This means that the user must have either the `admin` or the `user` role in order to access the `/account` page.
Similarly, the `/admin` route makes a similar check like this:
<RemoteCode url={frontmatter.codeRoot + "/src/index.mts"} lang="typescript" tags="admin"/>
However, this route requires that the user has the `admin` role.
The check for the roles is located in the `userHasAccess` function of the `src/sdk.ts` file. If you jump over to that function, you can see that the function confirms that the user has one of the specified roles like this:
<RemoteCode url={frontmatter.codeRoot + "/src/sdk.ts"} lang="typescript" tags="userHasAccess"/>
You can write a similar function to verify roles and in some languages you can leverage security frameworks and libraries as well. The general rule is to ensure that every protected route has an access control check before it renders the response.
## Next steps
[\< Go back to step 3 - Protected page](step-3) <span class="inline-block mx-6 font-bold">Ready for the next step?</span> [Step 5 - Session management \>](step-5)
# Step 6 - Logout
import ExpectedTime from 'src/components/ExpectedTime.astro';
import {RemoteCode} from '@fusionauth/astro-components';
<ExpectedTime duration={5}/>
## Logging users out
Similar to login, logout is handled using the FusionAuth OAuth logout process. In order to ensure a full log out, the user must be logged out of all applications, including the FusionAuth SSO system.
To accomplish this, applications need to redirect the browser to the FusionAuth logout URL. Let's look at how this is done.
First, open the `templates/account.html` file. You'll see at the top of the file there is a button that sends the browser to `/logout` like this:
<RemoteCode url={frontmatter.codeRoot + "/templates/account.html"} lang="html" tags="logout"/>
Open the file `src/index.mts` and find the route for `/logout`. This code is simple and delegates to the SDK like this:
<RemoteCode url={frontmatter.codeRoot + "/src/index.mts"} lang="typescript" tags="logout"/>
Open the `src/sdk.ts` file and find the function named `sendToLogoutPage`. This function constructs a URL to FusionAuth's logout system and sends a redirect back to the browser like this:
<RemoteCode url={frontmatter.codeRoot + "/src/sdk.ts"} lang="typescript" tags="sendToLogoutPage"/>
Luckily, FusionAuth does all the work of logging the user out of the FusionAuth SSO system and deleting their refresh tokens, effectively closing all of their sessions. It also attempts to log the user out of other applications if possible. You'll also notice that the URL contains a parameter called `client_id`. This helps FusionAuth identify the application which initiated the log out request and also assists with look and feel theming and other settings as well.
Once FusionAuth has completed the logout, it redirects back to the application. This is when the application can complete its own log out process. Open the `src/index.mts` file and find the route for `/oauth2/logout`. This function looks like this:
<RemoteCode url={frontmatter.codeRoot + "/src/index.mts"} lang="typescript" tags="oauth2-logout"/>
This leverages a function in the SDK called `handleOAuthLogoutRedirect` and then redirects the browser back to the homepage. Go ahead and open that function in `src/sdk.ts`. It should look like this:
<RemoteCode url={frontmatter.codeRoot + "/src/sdk.ts"} lang="typescript" tags="handleOAuthLogoutRedirect"/>
You'll see that this function clears all of the cookies that helped to identify the user, specifically the access, refresh, and id tokens. Once the cookies are deleted from the browser, all future requests will not contain them and the user will no longer be logged in.
## Next steps
[\< Go back to step 5 - Session management](step-5) <span class="inline-block mx-6 font-bold">Ready for the next step?</span> [Step 7 - Testing \>](step-7)
# Step 7 - Testing
import ExpectedTime from 'src/components/ExpectedTime.astro';
import {RemoteCode} from '@fusionauth/astro-components';
<ExpectedTime duration={8}/>
## Local testing
Testing is a critical component of all software development. FusionAuth makes testing simple and awesome. Rather than having to create new accounts or wait hours for testing accounts to be reset as you would have to do with a cloud-only auth provider, you can instead run FusionAuth locally, test against it, and reset it to a known state.
Let's take a look again at our example app, which runs full end-to-end tests against FusionAuth.
Open the file `example.spec.ts` in the `tests` directory. This is a Playwright test file and contains a handful of tests. If we look at the test named `FA has title` it looks something like this:
<RemoteCode url={frontmatter.codeRoot + "/tests/example.spec.ts"} lang="typescript" tags="fa-has-title"/>
You'll see that this test makes a request to `http://localhost:9011/admin` and ensures that HTML is returned with a title tag of `Login`. This test verifies that FusionAuth is running and that it redirects to the login page when the admin UI is accessed.
A more complex test in this test suite is called `log in`. This test logs a user into FusionAuth and then ensures that the user can access the application. Here's the code of this test:
<RemoteCode url={frontmatter.codeRoot + "/tests/example.spec.ts"} lang="typescript" tags="log-in"/>
This test executes these steps in order:
1. Hit the homepage of the application
2. Click the login button
3. Verify that the browser is redirected to FusionAuth's OAuth login page
4. Fill out the login form with the ordinary user's credentials (`richard@fusionauth.io` - `password`)
5. Submit the login form
6. Ensure that the browser is redirected back to the application
7. Ensure the user is logged in
This is a complete test that logs a real user into the application without the need to mock or simulate the login flow. Rather, this uses a real running version of FusionAuth to log the user in.
## Resetting FusionAuth
Now, let's say our tests have made changes to FusionAuth's state such as creating users or deleting users. In this case, we will need to reset FusionAuth. Assuming we are running FusionAuth inside Docker, we simply run these 2 commands in the terminal window that was running FusionAuth via Docker:
```shell
docker compose down -v
docker compose up
```
The first command brings FusionAuth down and clears its database. The second command starts FusionAuth back up, which will again use [Kickstart](/docs/get-started/download-and-install/development/kickstart) to configure FusionAuth for our application.
If you are using a different installation method, no problem. You can simply stop FusionAuth, delete the database, and restart it. Usually this looks something like this:
```shell
bin/shutdown.sh
psql -U postgres -c 'drop database fusionauth;'
bin/startup.sh
```
You might need to tweak these commands for your platform and database.
## Testing in CI/CD
Beyond testing locally, most development teams leverage a CI/CD system to automate tests and deploy their software. There are a ton of different CI/CD systems, but let's review how our example app runs its own tests in the Github Actions CI system.
If you open the file `.github/workflows/main.yaml`, you'll see that this file is a Github action that performs a number of steps. The important steps in this file are the ones that start FusionAuth and run the tests. Here's the command that starts FusionAuth via Docker in Github Actions:
```yaml
- name: Start FusionAuth
uses: fusionauth/fusionauth-github-action@v1
with:
FUSIONAUTH_VERSION: latest
FUSIONAUTH_APP_KICKSTART_DIRECTORY_PATH: kickstart
```
This leverages a Github Marketplace action called [fusionauth/fusionauth-github-action](https://github.com/FusionAuth/fusionauth-github-action). This action will run FusionAuth within Github Actions such that our tests can leverage it. This might also require you to configure a Kickstart file that FusionAuth will use, but we'll leave that as an exercise for you to handle.
The next step of our example app's Github Action is to run the tests. This is done with these commands:
```yaml
- name: Install npm dependencies
run: |
npm install
npx playwright install-deps
npx playwright install
working-directory: .
- name: Start app
run: npm run dev & # & in background
working-directory: .
- name: Run Playwright tests
run: npx playwright test --project=chromium
working-directory: .
```
These steps load any necessary dependencies, start our application, and then run the Playwright tests.
Depending on the CI/CD tool you are using, you might need to tweak all of these items to get them working.
The key takeaway from this step is that since FusionAuth is downloadable, it provides the best way to run real tests against it without the need for mocking, simulations, or any cumbersome test environment resets.
## Next steps
[\< Go back to step 6 - Logout](step-6) <span class="inline-block mx-6 font-bold">Congrats you're finished!</span> [Step 8 - Finished \>](step-8)
# Step 8 - Finished
## Congrats!
You've completed your first steps to becoming a FusionAuth master. Even if Typescript, Node, and Express aren't your preferred languages or frameworks, you should have a decent understanding of how applications integrate with FusionAuth to provide authentication and authorization.
To continue your learning journey, this Getting Started section of the docs contain a ton of great resources.
If you need additional assistance, don't hesitate to reach out by filling out our [contact form](/contact).
Happy coding!
# API Consents Platform
import Aside from 'src/components/Aside.astro';
import InlineUIElement from 'src/components/InlineUIElement.astro';
import UserAuthorizeDiagram from 'src/diagrams/docs/get-started/use-cases/api-consents/user-authorize.astro';
import ApplicationAPIRequestDiagram from 'src/diagrams/docs/get-started/use-cases/api-consents/application-api-request.astro';
import APIConsentsPlatformDescription from 'src/content/docs/get-started/use-cases/_api-consents-platform-description.mdx';
import {RemoteCode} from '@fusionauth/astro-components';
## Overview
<APIConsentsPlatformDescription />
## Problem
You have valuable data, robust APIs and a substantial user base. You want to build and foster an ecosystem of applications or services on top of your data and APIs to make your data more valuable and to enhance the experience of your users. Such applications are called third-party applications, since you don't create, update, maintain or manage them.
With the API consents platform, let internal or external developers build on your platform, with FusionAuth handling the authentication, consent gathering, and scopes management. Scope is OAuth for "logical grouping of permissions that a third-party application can request".
This is the inverse of the [authorization hub use case](/docs/get-started/use-cases/authorization-hub). Instead of managing access and refresh tokens for external APIs, here you are issuing tokens for your APIs after users offer consent.
## Solution
FusionAuth allows you to manage third-party applications, including custom scopes, for your APIs. FusionAuth can also manage the user consents for each set of scopes, which can vary between different third-party applications.
You can use FusionAuth to:
* centrally manage scopes for your APIs
* store information about third-party applications
* allow users to offer consent to or revoke consent from such applications
This is an example of [the First-Party Service Authorization Mode](/docs/lifecycle/authenticate-users/oauth/modes#first-party-service-authorization).
### Are Scopes Different Than Roles?
FusionAuth already lets you assign roles to a user after they log in, and offers full role based access control (RBAC). FusionAuth can also integrate with other authorization methods solutions [such as attribute based access control (ABAC), policy based access control (PBAC) or relationship based access control (ReBAC)](/articles/identity-basics/authorization-models).
Both roles and scopes limit access to data and functionality. But how are scopes different from roles? The table below outlines the differences:
| | RBAC Roles | Scopes |
|-------------|-------------|-------------|
| Applies to | Users or groups | Token |
| Who picks them | Admins or business rules | 3rd party app developers constructing the authorization URL |
| How are they accepted | By logging in | By explicitly accepting |
| Lifetime | Indefinite until removed | Token lifetime with optional refreshes |
| Access enforced by | Depends on application architecture | The API being called |
| Visibility | Varies, usually internal to application | Visible to the user via consents |
Use scopes when:
* you have a third party that is going to use the authentication results (the tokens) on behalf of a user
* you want to offer the user control over what data and functionality the third party can access on their behalf
## Prerequisites
You have configured your application or applications to [delegate authentication to FusionAuth](/docs/get-started/use-cases/auth-service) via the Authorization Code grant and are using the hosted login pages. Your user data is stored in FusionAuth.
You have APIs you want to expose and allow applications outside of your organization to access.
You have a paid license installed on your FusionAuth instance. The functionality in this use case requires the Essentials plan or higher. [Learn more about pricing](/pricing).
## Example Scenario
Suppose you are a financial service software package offering payment processing, investment management and more. You are operating under the name Changebank. You want to allow developers to build on top of your APIs to make your software a platform.
You aren't quite sure what applications developers will build, but you hope that they will help your users out and build things like:
* analytics tools
* budget tracking solutions
* investment management and optimization software
* loan comparison software packages
You have APIs for these operations already and are ready to publish them publicly.
You need to manage each of these applications built on your platform. Every user who installs an application will need to give explicit permission to each one to access their data.
To make the scenario even more specific, let's say you are onboarding a developer who built analytics tool. This tool helps users understand their spending habits over time, but won't make any account modifications. Let's walk through how to build a system to give read-only access to the third-party engineering team.
## Actors/Components
* a developer building on your platform, creating an spending analytics application called MoneyScope
* your users, who will, with their consent, allow data to be ingested into MoneyScope
* FusionAuth, which gathers consents, manages the MoneyScope OAuth settings, and issues access tokens
* Changebank APIs, which will verify access tokens and provide your users' data
* the Changebank application, run by you, where your users normally log in
## Implementation Steps
This is a three phase implementation:
* Set up your platform. This happens once. Define your scopes, ensure your APIs accept access tokens, including scope verification, and build an onboarding plan.
* Onboard a new application to your platform. This happens once per third-party application, and to do so you need to add a new third-party Application in FusionAuth with the appropriate scopes, provide configuration information to the specific engineering (for example, the MoneyScope team). The developers must add the correct URLs to their applications and store resulting tokens.
* The user logs in and authorizes the application. Optionally, you build a page to show the users their authorized applications.
### Set Up Your System
First off, make your APIs available for third-party developers.
#### Define Your Scopes
Think about the type of operations you want your third-party developers to be able to perform; these are called scopes. Group these into similar areas, and give them a name and definition. Scopes:
* should be coarse grained; they should not map one to one to API endpoints
* can be hierarchical; you could have `account:read` and `account:details:read` where the latter is a subset of the former
* should be designed around business concepts, not technical ones
* must use terms intelligible to the end user
Each scope will have a string representation useful to developers. This can contain any visible ASCII character except `"` and `\`; the `:` and `.` characters are often used as delimiters. You also need to have a text description you can display to your users. For an example, `accounts.read` is the developer version of the scope, but the user display could be `Basic account information and balances`.
Whatever you choose, scopes are long lived once released. Plan to have a beta test with a known set of external and internal developers to test assumptions about the right definitions. It's also better to start with a smaller set of scopes and add more later; easier to give than to take away.
In the Changebank example above, the following scopes can be used:
* `accounts.read`: Basic account information and balances
* `profile.read`: User profile and contact information
* `transactions.read`: Transaction history and details
* `transfers.write`: Initiate money transfers between accounts
* `payments.write`: Make bill payments
* `investments.read`: Investment portfolio information
* `investments.trade`: Execute investment trades
* `creditScore.read`: Access credit score information
#### Modify Your APIs To Check Scopes
Modify your APIs to accept an OAuth access token to determine if a request is allowed or denied. Validate the access token signature and the claims associated with the access token. Your APIs may already support access tokens.
Next, associate every API with one or more scopes. If a request comes in with an invalid scope or no scope, fail the request in the same way you would if the token signature was invalid.
Here are two routes that offer up banking information and check scopes.
<RemoteCode lang="javascript"
url="https://raw.githubusercontent.com/FusionAuth/fusionauth-example-api-consents-platform/refs/heads/main/changebank-apis/routes/index.js"
title="Example Changebank API routes"
tags="routes"
/>
The `hasScope` method looks like this:
<RemoteCode lang="javascript"
url="https://raw.githubusercontent.com/FusionAuth/fusionauth-example-api-consents-platform/refs/heads/main/changebank-apis/services/hasScope.js"
title="The hasScope logic"
tags="hasScope"
/>
You could check claims and signatures at your API gateway rather than in your code, but the process for handling scopes is the same:
* map an API endpoint to one or more scopes
* split the `scope` string provided by the access token
* check if the required scope is present
#### Build Your Onboarding Process
Once you've decided on scopes and implemented checks through the Changebank APIs, build out an application approval and onboarding process. This varies but will include:
* capturing prospective application information, including desired scopes and how users' data is used and stored
* paying fees associated with accessing Changebank APIs and user data
* signing legal agreements regarding data access
* after submission, evaluating the application, including verifying appropriate scopes
* configuring FusionAuth if the application is approved
* getting required configuration to the developer
* promoting the developer's application to your users
The detailed business processes outlined above for onboarding a new third-party application are specific to your organization.
### Onboard A New Third-Party Application
Now that your technical changes are made and onboarding process built, let's walk through setting up MoneyScope.
Since much of the onboarding is business specific, we'll skip over that and jump into the FusionAuth changes and the technical communication with the MoneyScope development team.
#### FusionAuth Configuration
As part of your onboarding evaluation, you gathered the type of data MoneyScope needs. Now, create a new Application in FusionAuth with these scopes.
Since you are onboarding an analytics tool, only the `read` options should be even considered. After discussion with the developers, you decide that the following scopes will be required:
* `accounts.read`: Basic account information and balances
* `profile.read`: User profile and contact information
* `transactions.read`: Transaction history and details
Required scopes are included in the consent of the user automatically, though they are still displayed. MoneyScope can expect APIs or data corresponding to these scopes to be available.
These scopes will be optional, which means the user can choose to allow or disallow them during the consent process:
* `investments.read`: Investment portfolio information
* `creditScore.read`: Access credit score information
MoneyScope should fully function without the APIs or data corresponding to these scopes.
You can use the admin UI to configure scopes for your application.
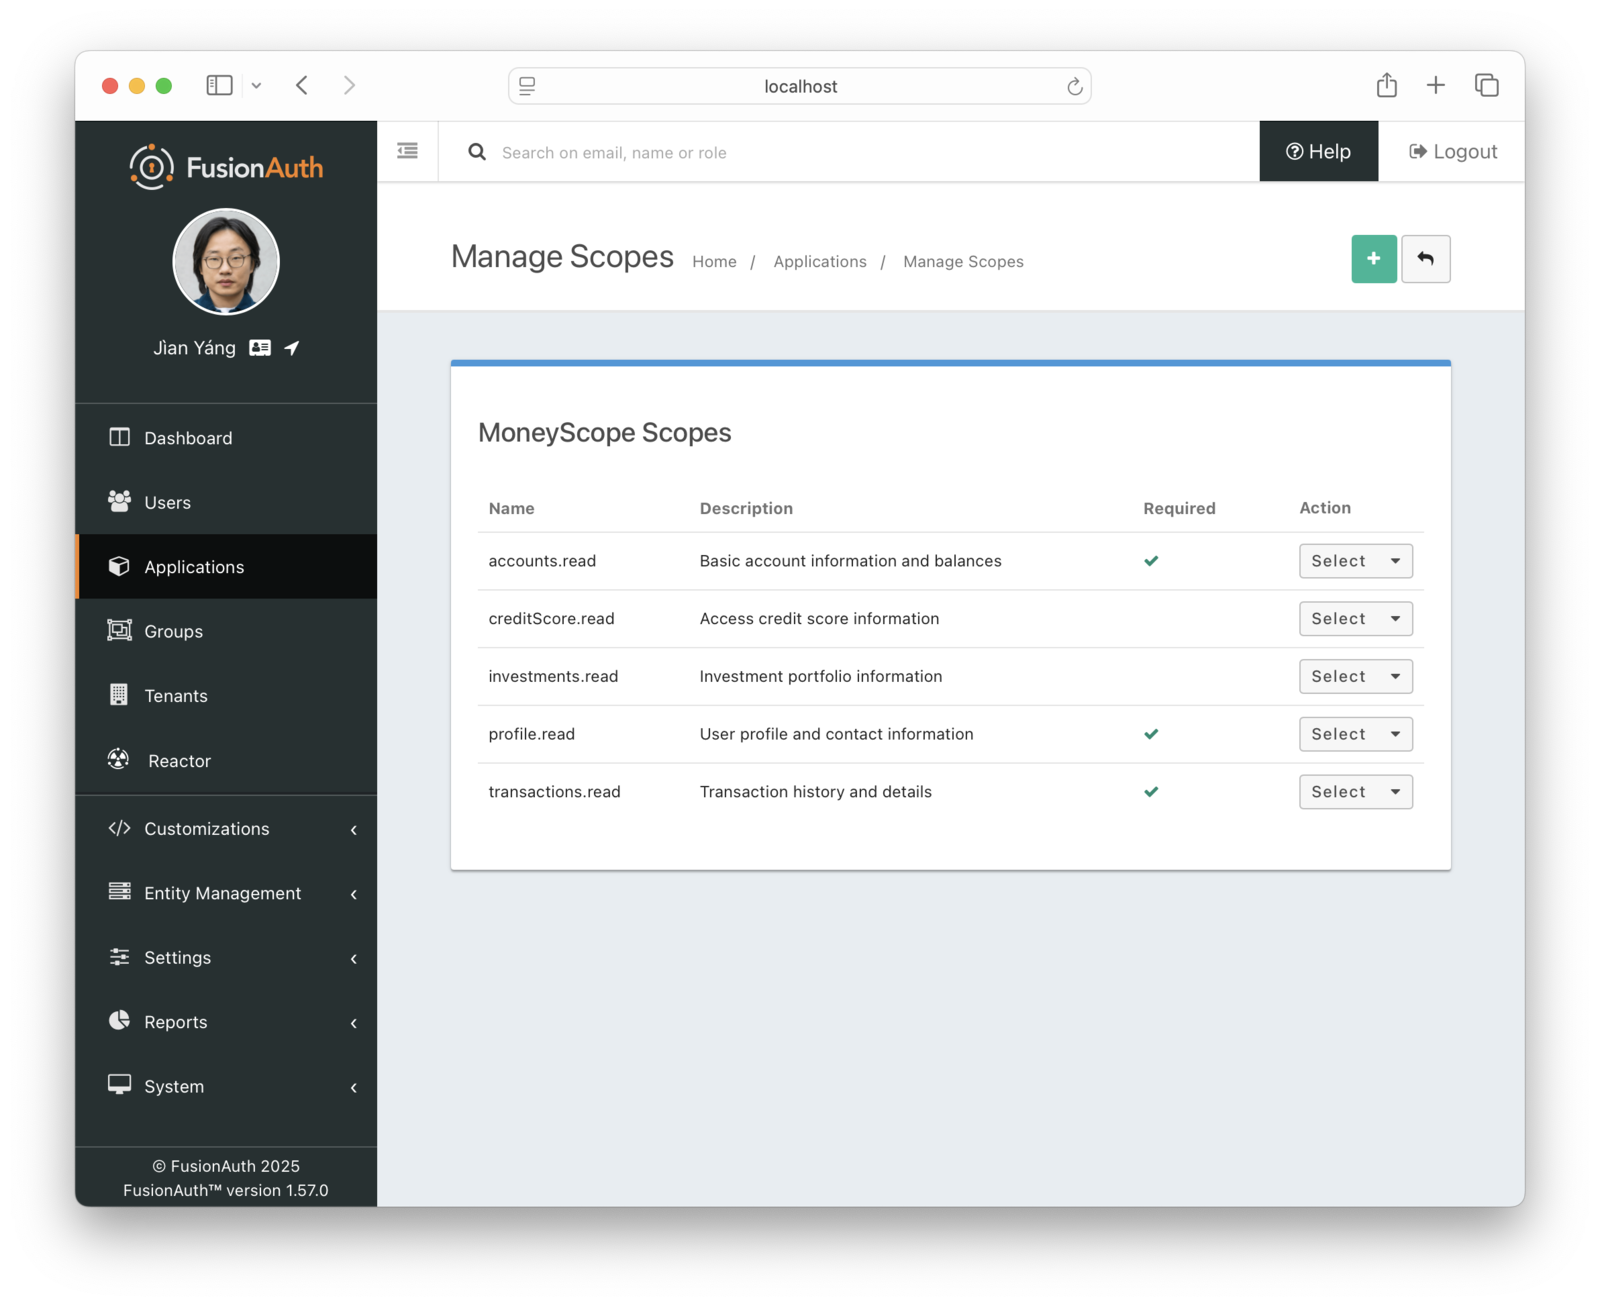
You can also do this with [our SDKs](/docs/sdks). Here's sample code to create the application:
<RemoteCode lang="javascript"
url="https://raw.githubusercontent.com/FusionAuth/fusionauth-example-api-consents-platform/refs/heads/main/create-application/create-application.js"
title="Using the TypeScript SDK to create the application"
tags="createApplication"
/>
Here's sample code to add needed scopes:
<RemoteCode lang="javascript"
url="https://raw.githubusercontent.com/FusionAuth/fusionauth-example-api-consents-platform/refs/heads/main/create-application/create-application.js"
title="Using the TypeScript SDK to create the application"
tags="createScopes"
/>
You could also use the [FusionAuth Terraform provider](/docs/operate/deploy/terraform) to manage the application and scopes.
If you need to support multiple languages, you can [localize the displayed consent messages](/docs/customize/look-and-feel/localization#oauth-scope-consent-prompt). This allows every user to see the consent screen in their preferred language.
#### Communicate With The Third-Party Developer
Once you've provisioned the application in FusionAuth, provide integration information for the MoneyScope developers. Provide these values:
* client Id
* client secret
* scopes, scope requirements, and scope descriptions
The first two correspond to the application and are relatively static. The last could vary depending on what the application needs. For example, one part of the MoneyScope might request only the `accounts.read` scope, whereas others might need data corresponding to all the `read` scopes.
FusionAuth doesn't have a dedicated page for displaying integration details, but you could store them in a database table in your application, or in the `data` field in the application. You could also use [entities to model each third-party company](/docs/extend/examples/modeling-organizations) inside FusionAuth.
Other functionality that might go on such a custom developer portal page includes:
* adding or removing team members with privileges to manage the third-party application
* the ability to rotate the client secret
* a way to request more or fewer scopes from Changebank
* a method to update their contact information, so you can contact the team
* a news feed showing new features available for the APIs your organization offers
* example code for integrating the scopes request
#### Third-Party Developer Actions
Finally, the developer needs to add the correct URL to their application to begin the authentication and authorization process with FusionAuth. The URL will look something like this:
```
${fusionAuthURL}/oauth2/authorize?client_id=${clientId}&response_type=code&redirect_uri={redirectURI}&state=${stateValue}&code_challenge=${codeChallenge}&code_challenge_method=S256&scope=profile%20email%20openid%20offline_access%20accounts.read%20creditScore.read%20investments.read%20profile.read%20transactions.read
```
The `clientId` corresponds to the application created for this developer. The `scope` parameter lists the scopes you and the MoneyScope developers agreed was required for the application.
You can read more about [the other parameters for the authorization code grant](/docs/lifecycle/authenticate-users/oauth/endpoints#authorization-code-grant-request) to learn about the other parameters.
Should this URL be available to anyone or do users have to log in to MoneyScope before they can authorize the application to access their data held by Changebank? Third-party developers could entirely delegate authentication to the Changebank application. Or they could run their own login system and have Changebank login be an authorization process. Choose this option if there is useful functionality in an application even without the access to the Changebank APIs. In that case, there'd be a button to connect with Changebank within the MoneyScope.
After this is done, you should test the MoneyScope application and make sure it works as advertised. Things to test for:
* Scopes are in the URL, and therefore can be edited by a malicious end user. Make sure the third party developer's application handles when scopes are not exactly as they expect.
* Clicking the <InlineUIElement>Cancel</InlineUIElement> button on the consent screen terminates the OAuth workflow. The user is sent to the `redirect_uri` with an OAuth error. The third-party developer must handle this scenario in a way the user expects.
### User Authorization Process
Let's talk about what happens when a user visits MoneyScope.
They have to log in to the Changebank app and give needed consents.
Here's a diagram of the user authorization flow:
<UserAuthorizeDiagram alt="A diagram of the user authorization flow."/>
Here's an example of the consent screen the MoneyScope user will see.
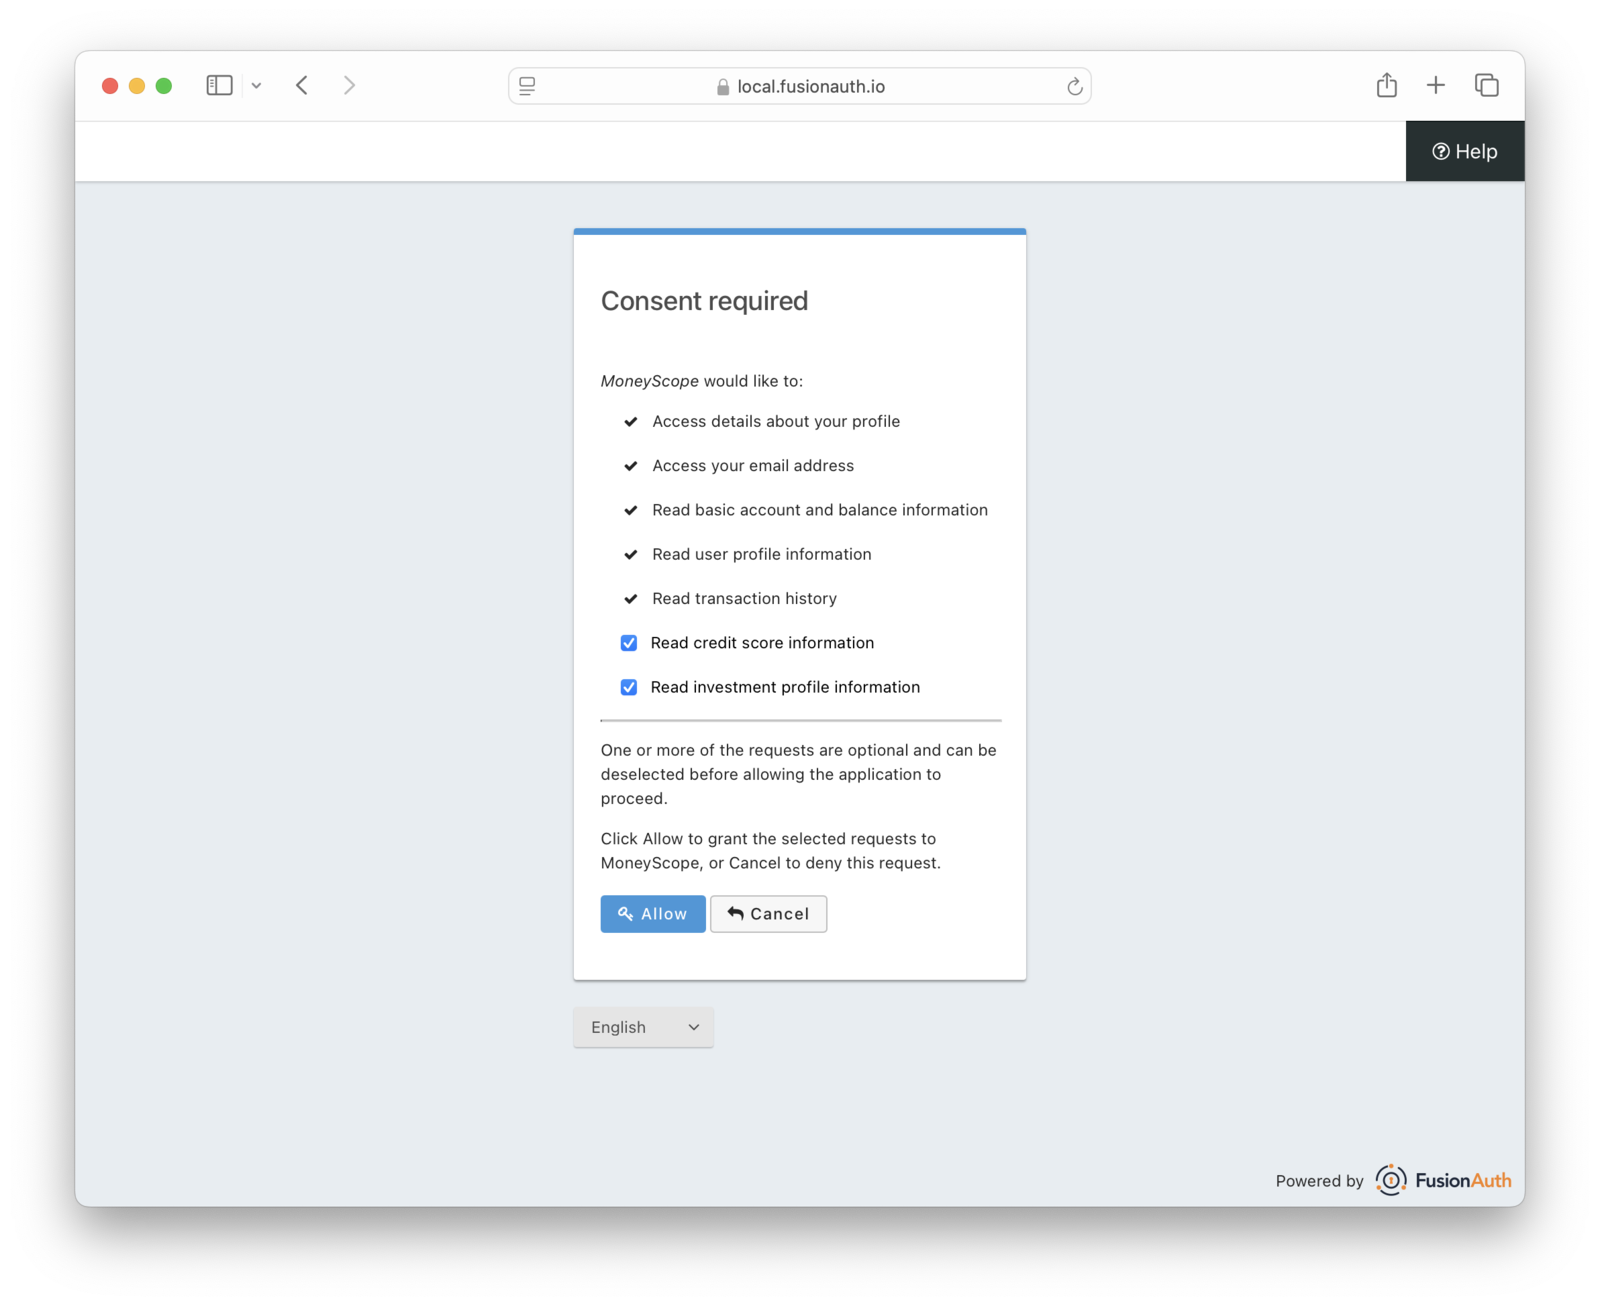
MoneyScope stores the Changebank access and refresh tokens. Then, when it needs it, it makes requests of the Changebank APIs. Depending on the timeframe, it may need to refresh the access token before it calls the APIs.
Here's a diagram of the flow that MoneyScope follows to get the data it needs, when it needs a refresh token:
<ApplicationAPIRequestDiagram alt="A diagram of the flow that MoneyScope follows to get the data it needs." />
### Third-Party Application List
You, as a developer at Changebank, can build a page to display the third-party applications that your users have authorized. This would be a custom page you'd build out using the FusionAuth APIs or SDKs. Here are the steps you'd take:
* Use the FusionAuth user Id to [find all the user's refresh tokens](/docs/apis/jwt#retrieve-refresh-tokens).
* Filter the refresh tokens to find all the application Ids
* [Retrieve each application](/docs/apis/users#retrieve-a-user) and filter out any that do not have an `application.oauthConfiguration.relationship` of `ThirdParty`. You don't want to display any Changebank-owned, first-party applications.
* Display the names of third-party applications with a valid refresh token token, including when the token was issued and scopes issued.
Here's a screenshot of such a screen from GitHub.
To allow users to revoke access, add a button or action to this page which calls the FusionAuth API and revokes the refresh token. For example, a user could revoke the MoneyScope refresh token. The next time MoneyScope tries to retrieve a new access token, it will be denied.
## Expected Outcome
After implementing this use case, third-party developers can build on top of your APIs, accessing user data with your user's permission.
This fosters an ecosystem of applications around your APIs, which makes your APIs more valuable.
Your users will also have access to functionality that might not ever get built by you.
## Edge Cases
Usually you want to enable self service registration for third-party applications, so that users can from any application that has been onboarded. If you want to control who can authorize specific third-party applications, configure `Require registration` in FusionAuth and turn off self-service registration. In this case, you'll need to register users via the API, SDKs, or admin UI before the third-party application can be used.
In this use case, FusionAuth handles scopes and user consents. There are other considerations you'll want to consider, such as rate limiting and per-call monetization.
In the example scenario, the consent was displayed every time the user authenticated with FusionAuth. You can also remember the user's decision for a configurable period of time.
You almost always want third-party applications to request the `offline_access` scope, which creates a refresh token. This allows for requests from the third-party applications long after the initial authorization while still allowing you to keep the access token lifetime short.
Even after access is revoked, a third-party application might have user data stored. You can use the [`jwt.refresh-token.revoke` event](/docs/extend/events-and-webhooks/events/jwt-refresh-token-revoke) to notify a third-party application they should remove data associated with the user. Setting this up would be part of the onboarding process.
OAuth scopes as described in this document only applies to grants involving user interaction. The Client Credentials grant follows [a different model of scopes](/docs/lifecycle/authenticate-users/oauth/#example-client-credentials-grant).
## Other Example Scenarios
These include:
* A CRM who wants to let third-party developers build mini-apps using their data and APIs
* A social media platform which wants to enable third-party teams to build custom posting applications
* Any platform that wants to allow a [model context protocol (MCP)](https://modelcontextprotocol.io) client to access to APIs guarded by an MCP server
* An e-commerce marketplace that wants to support other companies building tools for inventory management, fulfillment and sales analysis
All of these have a platform with valuable data behind APIs and want to allow API access in a controlled fashion. They all want to build an ecosystem and respect users' choices about their data.
## Additional Documentation
* [The First-Party Service Authorization Mode](/docs/lifecycle/authenticate-users/oauth/modes#first-party-service-authorization)
* [The authorization hub use case](/docs/get-started/use-cases/authorization-hub)
* [List of SDKs](/docs/sdks)
* [OAuth scopes documentation](/docs/lifecycle/authenticate-users/oauth/scopes)
* [The Authorization endpoint](/docs/lifecycle/authenticate-users/oauth/endpoints#authorize)
* [API gateways integration documentation](/docs/extend/examples/api-gateways/)
* [Custom OAuth scopes in FusionAuth blog post](/blog/custom-scopes-in-third-party-applications)
* [OAuth scopes design post](/blog/how-to-design-oauth-scopes)
* [Example application GitHub repository](https://github.com/fusionauth/fusionauth-example-api-consents-platform)
# App Suite
import ApplicationSwitchDiagram from 'src/diagrams/docs/get-started/use-cases/app-suite/application-switch.astro';
import AppSuiteDescription from 'src/content/docs/get-started/use-cases/_app-suite-description.mdx';
import Breadcrumb from 'src/components/Breadcrumb.astro';
import InlineField from 'src/components/InlineField.astro';
## Overview
<AppSuiteDescription />
## Problem
You have multiple applications you want to share across a common user base.
These applications may:
* be hosted at different domains or under different paths
* use SAML or OIDC for authentication
* be custom, commercial, or open source
* be written using different technology stacks
You want to let your users log in once, and switch between applications without having to log in again. Users may or may not have different roles for each application.
## Solution
With the app suite use case, after the user logs in to one application, they will transparently log in to every application via the magic sauce of FusionAuth SSO. You'll also have only one customer profile to manage. You can view their login activity across the applications.
## Prerequisites
You have configured your application or applications to [delegate authentication to FusionAuth](/docs/get-started/use-cases/auth-service) via the Authorization Code grant and the FusionAuth hosted login pages.
## Example Scenario
Suppose you have a thriving e-commerce business with much clown love and with multiple end user applications:
* an e-commerce store where people can buy clown costumes
* a virtual try-on app which lets you see yourself in the outfits before you buy
* a forum for discussion about the latest trends
* a ticketing system for customer support
Here's a diagram of an app suite as a central hub for these different applications.
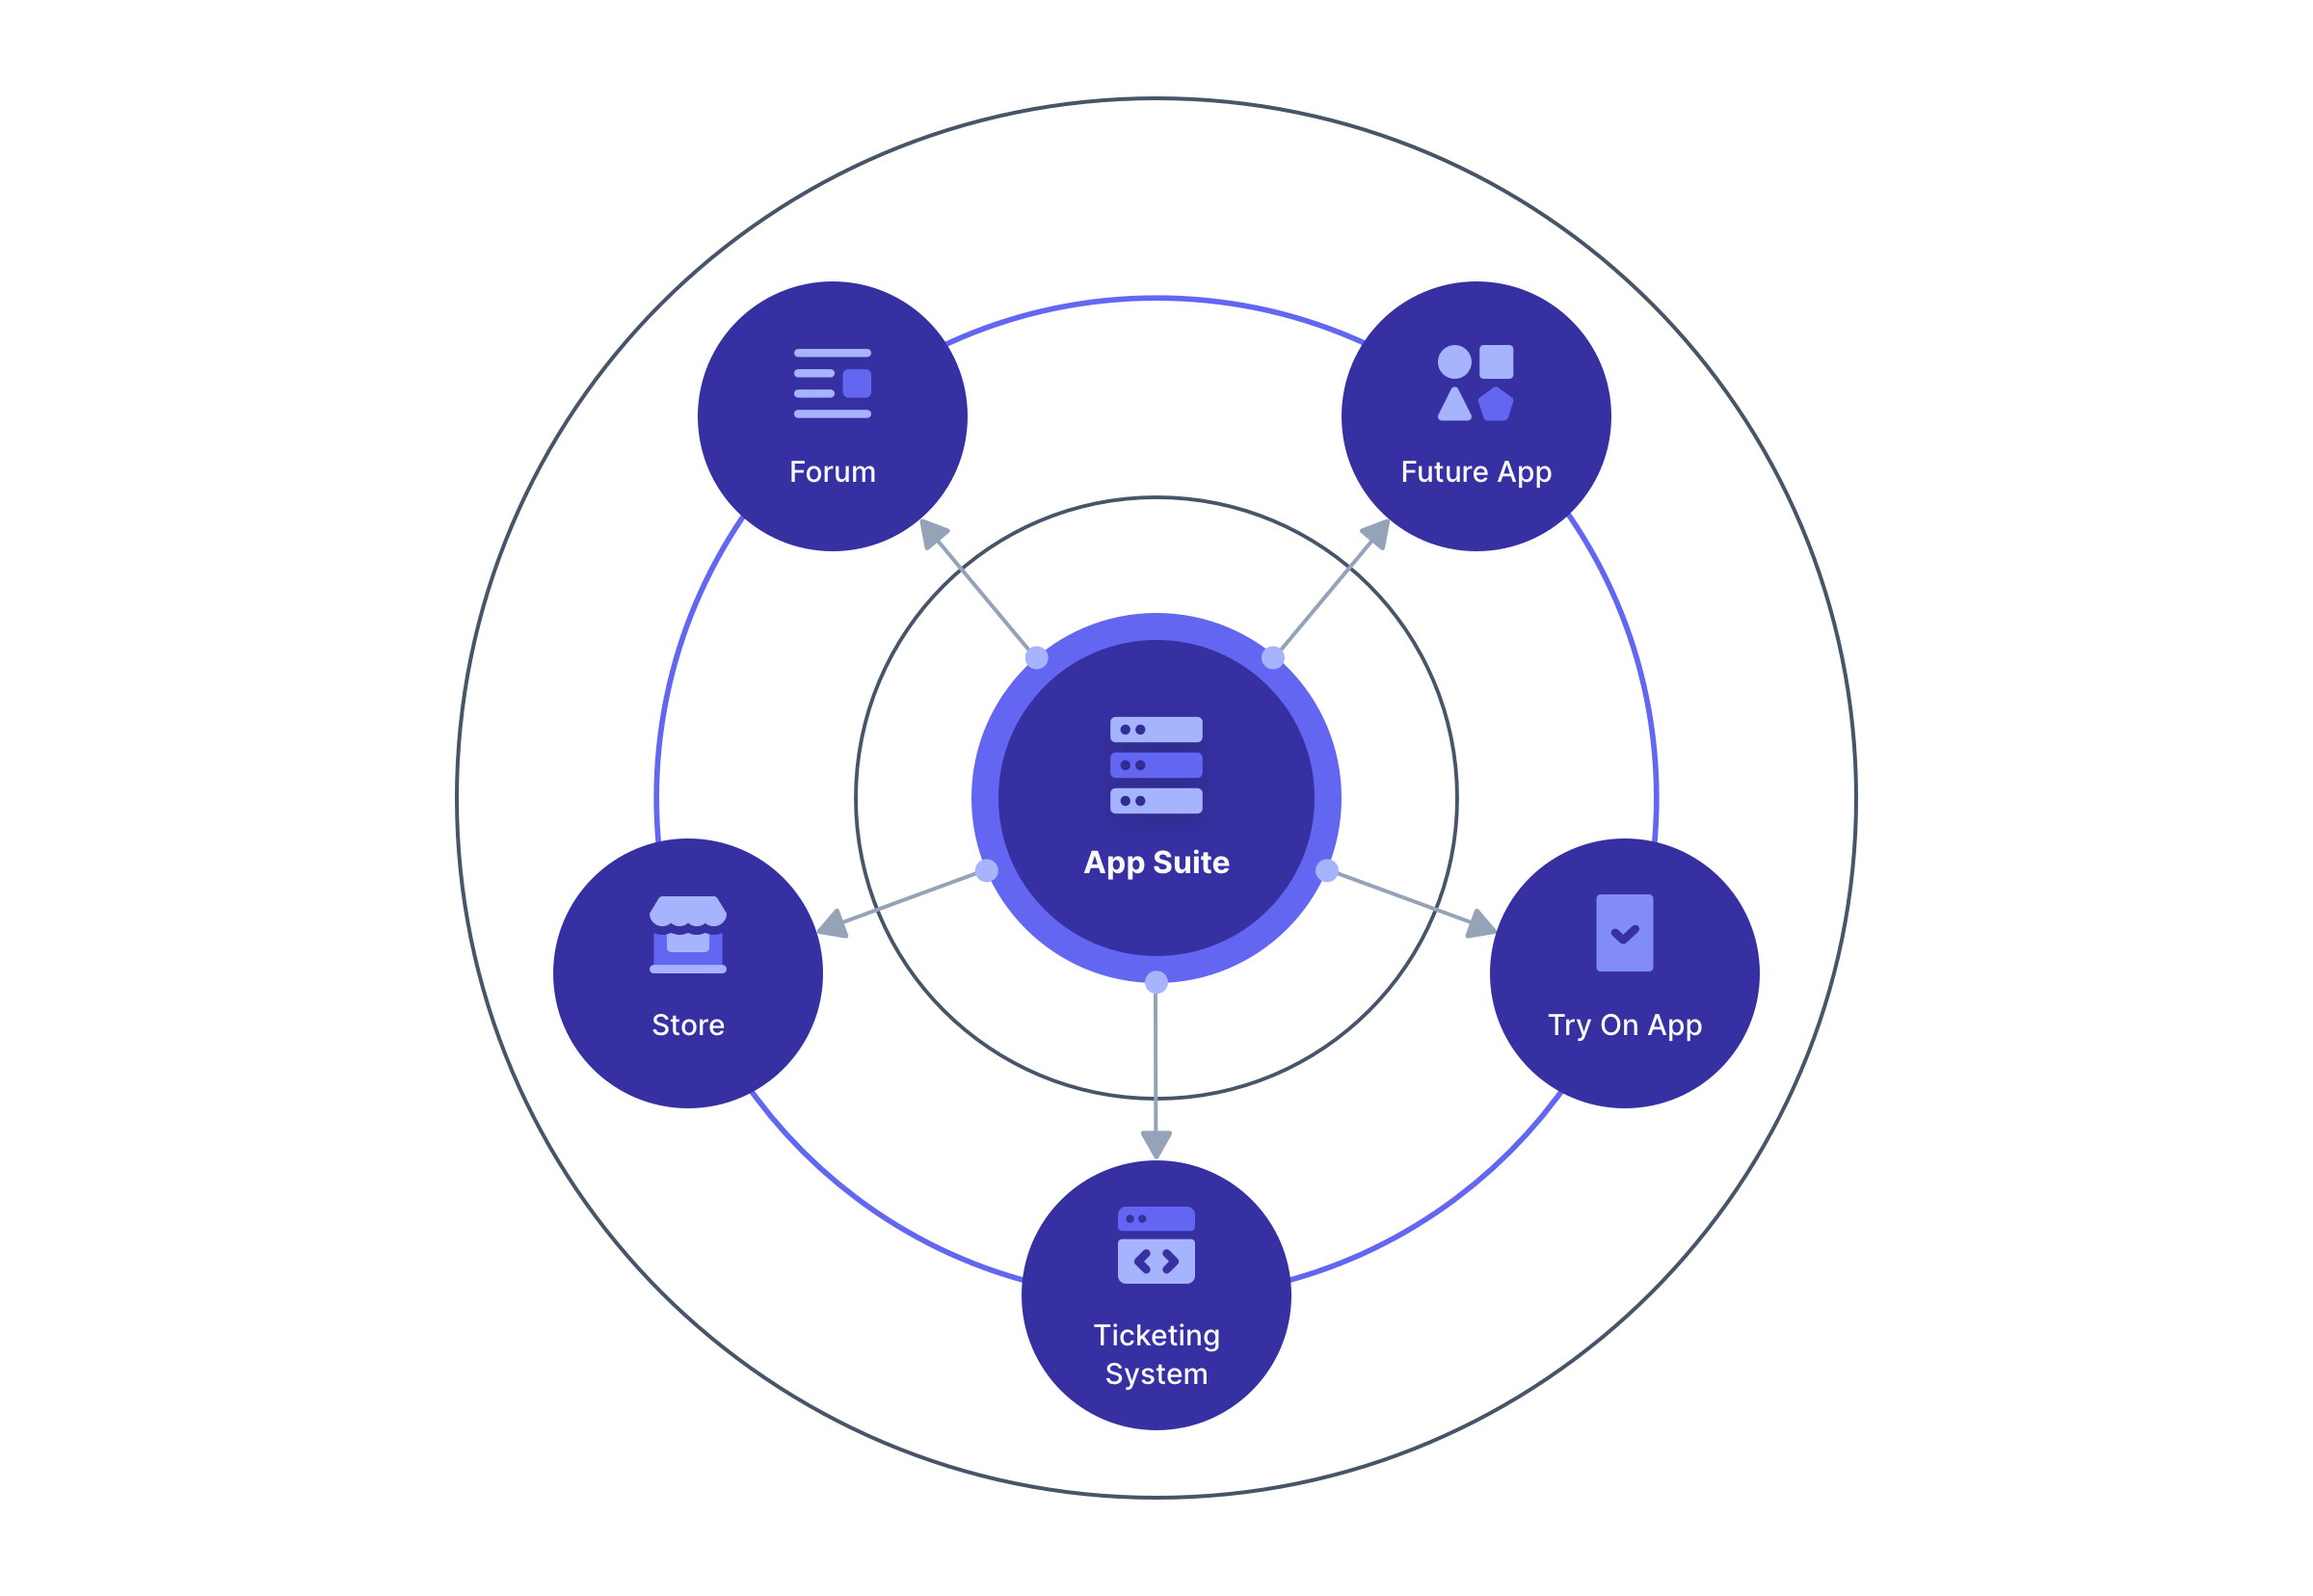
All of these use FusionAuth for their login. Each is represented by a different application and client Id, but your users transparently log in each time they switch between applications.
## Actors/Components
* your user and their client application (mobile app or browser)
* two or more applications
* FusionAuth
This use case is built on cookies and redirects to FusionAuth. The redirect is typically transparent to the end user.
## Implementation Steps
This is a two step implementation process to ensure customers can access all the applications. Steps to take:
* Ensure end users have their FusionAuth SSO session enabled when they first authenticate.
* When a user is not logged in to a particular application, forward the user to FusionAuth. They'll be transparently logged in and delivered back to the application.
### Force SSO Session Creation
The easiest way to force the SSO session to be created as a user logs in is to modify the login page. You do so by modifying the theme. In the default theme, a user can check or uncheck the `rememberDevice` checkbox, labelled by default "Keep me signed in". To force creation of the SSO session, update the theme to set the `rememberDevice` parameter to `true`. Modify the `OAuth Authorize` template [using the advanced theme editor](/docs/customize/look-and-feel/advanced-theme-editor).
Here's a sample FreeMarker block you can use to update the default template.
```
[@hidden name="rememberDevice" value="true"/]
```
The duration of this SSO session is controlled in the Tenant settings. You can modify it by navigating to <Breadcrumb>Tenant -> Your Tenant -> OAuth</Breadcrumb> and updating the <InlineField>Session timeout</InlineField>.
### Forward Unauthenticated Users
Whenever a user is not logged in and accesses an application in your app suite, forward them to the login URL for FusionAuth. As your applications are already delegating authentication to FusionAuth, use the same logic or library functions to create an authorize URL. Here's an [explanation of how to create the URL and what each component means](/docs/lifecycle/authenticate-users/oauth/endpoints#authorization-code-grant-request).
Here's a diagram of a user switching between the clownwear e-commerce store and the forum.
<ApplicationSwitchDiagram alt="An example of an application switch." />
If a user is browsing the e-commerce store, then clicks on the forum link, they will transparently be logged in to the forum application.
Their client will get a token associated with the forum application, including the roles the user has for that application and claims such as the audience claim (`aud`) set correctly. The user will be logged in to the new application, as desired.
## Expected Outcome
Users switch between your applications transparently and securely.
## Edge Cases
SSO login works across all apps in a tenant, including those the user isn't registered for. After redirection to and from FusionAuth, the user will be authenticated, but the `applicationId` and `roles` claims will be missing from the access token. Applications must check these claims when determining whether a user is authorized for an application. [Read more about the difference between authentication and authorization](/docs/get-started/core-concepts/authentication-authorization).
When your user logs out, destroy the SSO session as well as each application session. You can do that using API calls or with FusionAuth's Front-Channel logout. [Read more about logout](/docs/lifecycle/authenticate-users/logout-session-management).
Any applications with [self-service registration](/docs/lifecycle/register-users/basic-registration-forms) enabled will automatically register a user with default roles when the user is redirected to the login URL for that application.
If an application only wants to allow logins from a certain identity provider or impose other conditions, you'll need extra integration work. For example, imagine there's a time tracking app for your clownwear e-commerce store that employees log in to using Google Workspace federation. You don't want customers to be able to view this application. One way you can prevent this with a [login validation lambda](/docs/extend/code/lambdas/login-validation).
The functionality described in this use case only works with [FusionAuth hosted login pages](/docs/get-started/core-concepts/hosted-login-vs-api-login#hosted-login-pages). If you use the Login API, you need to build your SSO implementation.
Applications may have different authentication related requirements. Examples include:
* multi-factor authentication (MFA)
* required registration fields
* registration verification
If a user logs into an application and then switches to another app with different requirements, they will be forced to satisfy the second apps' requirements. For example, suppose that an e-commerce application requires MFA and the forum application does not. If the user initially logs into the forum application and then switches to the e-commerce application, they will be prompted to complete MFA.
## Other Example Scenarios
Applications which share customer or user accounts are a good fit for this use case. Examples include:
* Multiple affiliated online games
* An office suite with an online word processor, spreadsheet and presentation software
* Travel booking software, where you might have one application for booking flights, another for hotels and a third for car rental
## Additional Documentation
* [Single sign-on guide](/docs/lifecycle/authenticate-users/single-sign-on)
* [Logout and session guide](/docs/lifecycle/authenticate-users/logout-session-management)
* [Theme customization](/docs/customize/look-and-feel/)
# Auth as a Service
import LoginBefore from 'src/diagrams/quickstarts/login-before.astro';
import LoginAfter from 'src/diagrams/quickstarts/login-after.astro';
import AuthServiceDescription from 'src/content/docs/get-started/use-cases/_auth-service-description.mdx';
import Breadcrumb from 'src/components/Breadcrumb.astro';
## Overview
<AuthServiceDescription />
## Problem
You have an application that you want to add authentication features to. You also want to safely store users' personal identifiable information and credentials.
## Solution
With the auth as a service use case, after integrating FusionAuth with your application, you can add a variety of authentication and authorization features to your application or applications using configuration rather than coding.
Additionally, as FusionAuth improves in security and functionality, you'll be able to enable the features without any further code changes to your application or applications.
This is an example of [the Local Login and Registration Mode](/docs/lifecycle/authenticate-users/oauth/modes#local-login-and-registration) and is the foundation of most other use cases.
## Prerequisites
You have a running web or mobile application that has some kind of login flow.
You have a FusionAuth instance up and running.
## Example Scenario
Suppose you have an e-commerce store, where people can buy clown costumes. You want to:
* let the user log in easily, using social logins or magic links
* let the user register
* enable MFA
* verify user emails
## Actors/Components
* your user and their client application (mobile app or browser)
* your application
* FusionAuth
## Implementation Steps
This is a two step implementation to ensure your customers will always be able to buy clown wigs and red noses. First you need to integrate with FusionAuth, then you need to configure FusionAuth to enable desired features.
Here's a high level sequence diagram of the application login process before you integrate with FusionAuth.
<LoginBefore alt="Your application login flow before FusionAuth." />
Here's a high level sequence diagram of the application login process after FusionAuth integration.
<LoginAfter alt="Your application login flow with FusionAuth." />
### Integrating With FusionAuth
You need to do the following to integrate with FusionAuth:
* Create an application configuration in FusionAuth using the admin UI or the API. This corresponds to your clown goods e-commerce store and tells FusionAuth about the login behaviors you want.
* Choose an integration method. The right option depends on your applications architecture and technology. You can use an OIDC library, one of the FusionAuth SPA SDKs ([Angular](/docs/sdks/angular-sdk), [React](/docs/sdks/react-sdk), [Vue](/docs/sdks/vue-sdk)) or mobile SDKs ([Android](/docs/sdks/android-sdk), iOS coming soon), or a compatible FusionAuth [client library](/docs/sdks).
* Configure the integration method. The exact steps will vary, but typically includes the client Id.
* Update your application and add a link or button to send the user to FusionAuth when they need to log in. The correct URL is displayed in the <Breadcrumb>View</Breadcrumb> screen of the application config or you can build it using the [example authorization code grant](/docs/lifecycle/authenticate-users/oauth/#example-authorization-code-grant) documentation. Some OIDC libraries can generate this URL given a client Id.
* When your application receives tokens, the user is successfully "logged in". You should ensure that the e-commerce application considers the user logged in. What exactly that means depends on each particular application, but often involves creating a session and storing user data inside of it.
* Take additional steps such as examining tokens for roles or sending the token to the browser as a cookie. Again, the exact next steps depend on the application.
### Updating FusionAuth Configuration
Now that your application delegates authentication to FusionAuth, additional features can be enabled via configuration. The specific configuration steps depend on the exact feature. You can manage [FusionAuth configuration using IaC or other means](/docs/operate/deploy/configuration-management).
You'll probably want to update the [FusionAuth hosted pages look and feel to match your branding using themes](/docs/customize/look-and-feel/).
## Expected Outcome
You've delegated your application's login functionality to FusionAuth. User profile and credential data is securely stored, and you can enable new functionality through configuration, rather than engineering effort.
## Edge Cases
If you have user data in your application, you'll want to migrate it to FusionAuth. Here's a [helpful migration guide](/docs/lifecycle/migrate-users/general-migration).
In your application, after successful login, validate [the tokens and the claims provided](/articles/tokens/building-a-secure-jwt#consuming-a-jwt) to ensure the token was provided by FusionAuth for your application.
Ensure you modify [the look and feel of the hosted login pages with themes](/docs/customize/look-and-feel/).
{/* TODO link this when data store use case is built out */}
The hosted login pages give you maximal flexibility around look and feel customization, but constrain your login flow options. If you want to build login workflows with unique requirements, use the [Login API](/docs/apis/login). This is the data store use case. An example custom workflow would be:
* prompt for an invite code and have the user provide a login Id
* send the user an MFA challenge
* present them with a login screen, but only the login Id (email or username)
* ask for the password on the next page
## Other Example Scenarios
Any application which requires a user to log in to access data or functionality matches this use case. Examples include:
* An online game
* An AI content editing application
* A blog
* A support ticketing system
* A social network
In each of these cases there's functionality limited to users based on their identity, profile and permissions.
## Additional Documentation
{/* TODO should update this to point to task based quickstarts, both for MFA and for email verification */ }
* [Enabling Google login](/docs/lifecycle/authenticate-users/identity-providers/social/google)
* [Enabling SAML Login](/docs/lifecycle/authenticate-users/identity-providers/overview-samlv2)
* [Email verification tenant settings](/docs/get-started/core-concepts/tenants#identities)
* [MFA guide](/docs/lifecycle/authenticate-users/multi-factor-authentication)
* [General migration guide](/docs/lifecycle/migrate-users/general-migration)
* [Basic self-service registration](/docs/lifecycle/register-users/basic-registration-forms)
* [Theme/look and feel changes](/docs/customize/look-and-feel/)
# Authorization Hub
import Aside from 'src/components/Aside.astro';
import StoreRefreshTokensDiagram from 'src/diagrams/docs/get-started/use-cases/authorization-hub/store-refresh-token.astro';
import RetrieveAccessTokenDiagram from 'src/diagrams/docs/get-started/use-cases/authorization-hub/retrieve-access-token.astro';
import AuthorizationHubDescription from 'src/content/docs/get-started/use-cases/_authorization-hub-description.mdx';
## Overview
<AuthorizationHubDescription />
## Problem
You have an application that leverages social or other platform providers, using their APIs to provide functionality to your users.
You need to manage your users' tokens in one place, as well as easily add new integrations.
With the authorization hub implementation, you can manage tokens for social providers and third party platforms such as:
* Google
* YouTube
* Facebook
* Instagram
* LinkedIn
* Microsoft Entra Id
* Any provider supporting OIDC
This is the inverse of the API consents use case](/docs/get-started/use-cases/api-consents-platform).
## Solution
Use FusionAuth as your hub for this functionality. FusionAuth can be a centralized repository for long lived tokens and make it easier to integrate with third party platforms.
You can use FusionAuth as:
* an adapter for social provider integrations, making it easy to add new ones and stay up to date as the providers change
* a storage location, safely holding long-lived tokens for each user, making them available to your application via a secure API or SDK
This is an example of [the Third-Party Service Authorization Mode](/docs/lifecycle/authenticate-users/oauth/modes#third-party-service-authorization).
## Prerequisites
You have configured your application or applications to [delegate authentication to FusionAuth](/docs/get-started/use-cases/auth-service) via the Authorization Code grant and the hosted login pages.
You can also implement this use case without using the hosted login pages, using the FusionAuth APIs. The API you'd use is the `Complete the Login` [Identity Provider APIs](/docs/apis/identity-providers/), but that implementation is beyond the scope of this document.
## Example Scenario
Suppose you have a video posting site, where people can post videos of their favorite pet antics. You want to:
* let a user upload a video to your site
* allow the user to tag the video with metadata
* enhance the video using an algorithm to make the antics extra fun
* then upload the video to the YouTube, Facebook and Instagram accounts of this user
FusionAuth can help with parts of this, including storing the tokens needed to upload the video.
## Actors/Components
* your user and their client application (mobile app or browser)
* your application
* the social provider platforms
* their identity services
* APIs you want to access, for video upload functionality
* FusionAuth
## Implementation Steps
This is a two phase implementation.
<Aside type="note">
This document refers to various APIs, but you can also use the [client libraries](/docs/sdks) to interact with FusionAuth.
</Aside>
### Connecting Accounts
First, you need to let users connect their accounts with the platforms.
* Select the social providers whose APIs you need to call. To let a user connect to YouTube, configure a connection to Google using an OIDC Identity Provider (see [Edge Cases](#edge-cases) for a note about the Google Identity Provider). Other platforms might use different providers.
* Make sure you configure the Identity Providers with the proper scopes. You'll want the scopes for any APIs you'll be calling at the social provider, as well as a refresh token scope. For example, to upload to YouTube, you'll want the `https://www.googleapis.com/auth/youtube.upload` scope and make sure you include the `access_type=offline` parameter. Consult the platform provider documentation for specifics on the correct values.
* Set up the social providers in FusionAuth and enable them in the Application configuration.
* Create a 'Connect Your Account' page that you'll display to users who are logged in.
* Add the 'Connect To YouTube' or other appropriate buttons to this page.
* The for these buttons is similar to what you'd add to let someone authenticate using a social provider, but you want to use the `idp_hint` parameter. The link look likes this: `https://yourinstance.fusionauth.io/oauth2/authorize?client_id=85a03867-dccf-4882-adde-1a79aeec50df&response_type=code&redirect_uri=https%3A%2F%2Fexample.com%2F/connectaccount&idp_hint=82339786-3dff-42a6-aac6-1f1ceecb6c46`
* The user will connect their YouTube account by clicking on this link. Other platforms will have a different `idp_hint` value corresponding the correct identity provider.
* You should display all accounts the user has connected by using the [Links API](/docs/apis/identity-providers/links#retrieve-a-link). You can also offer the ability to disconnect a user from a provider. You can do this after user action by unlinking the user from the identity provider.
Here's a sequence diagram for requesting and storing the refresh token.
<StoreRefreshTokensDiagram alt="Requesting and storing the refresh token." />
### Accessing Social Provider APIs
Next, when your application needs to interact with the platform, take these general steps.
* Retrieve the [Identity Provider link](/docs/apis/identity-providers/links#retrieve-a-link) using the user's Id and the appropriate Identity Provider Id.
* Retrieve the long lived token stored in the `token` field.
* Offer this token to the provider's token or refresh endpoint to retrieve a new access token.
* Use the access token to make authenticated requests to the social provider's APIs to, for example, upload a video to YouTube.
There may be slightly different steps to retrieve the access token, or they may use a different term, for certain platforms, but the general flow will be as above. Here's a sequence diagram for requesting the new access token.
<RetrieveAccessTokenDiagram alt="Getting the access token." />
## Expected Outcome
You now have a central, secure repository of long-lived or refresh tokens for your users.
Using the APIs, you can display connections for each user, allowing them to review and revoke them as needed.
Your application can take the long-lived tokens and exchange them for access tokens, which can be used to access platform services.
## Edge Cases
When the long lived token stored in FusionAuth expires or is revoked by the user or platform, any request you make of the social provider's token endpoint will fail. At that point, the user will need to re-authorize and refresh the link. Make sure you build out this functionality.
For Google, prefer the OIDC Identity Provider, which allows you to request a refresh token, rather than the Google Identity Provider, which only offers you the Id token. The OIDC Identity Provider offers more flexibility for this use case. [Learn more](/docs/lifecycle/authenticate-users/identity-providers/social/google#custom-parameters).
Currently you cannot query user link attributes using the [User Search API](/docs/lifecycle/manage-users/search/user-search-with-elasticsearch). This means that you can't query FusionAuth to, for example, find out how many users have connected to a certain social provider. Please [follow this GitHub issue for more, including workarounds](https://github.com/FusionAuth/fusionauth-issues/issues/2335).
## Other Example Scenarios
These include:
* A social media posting site, which integrates with various social media platforms to post content.
* An application which ingests Google or Microsoft Outlook calendars to provide syncing or reminder services.
* A photo sharing site that accesses users photos stored in Google and Facebook and lets users comment on them.
In each of these cases there's a third party platform API which is used to provide app functionality.
## Additional Documentation
* [Multi-Platform Video Uploads blog post](/blog/using-identity-provider-links)
* [The third-party service authorization mode](/docs/lifecycle/authenticate-users/oauth/modes#third-party-service-authorization)
* [The API consents use case](/docs/get-started/use-cases/api-consents-platform)
* [List of supported social identity providers](/docs/lifecycle/authenticate-users/identity-providers/#social-identity-providers)
* [List of SDKs](/docs/sdks)
* [Identity link APIs](/docs/apis/identity-providers/links)
* [Google API documentation](https://developers.google.com/identity/protocols/oauth2)
* [Facebook API documentation](https://developers.facebook.com/docs/graph-api/overview)
# Business To Business To Consumer
import B2B2CDescription from 'src/content/docs/get-started/use-cases/_b2b2c-description.mdx';
import Breadcrumb from 'src/components/Breadcrumb.astro';
import Aside from 'src/components/Aside.astro';
import CircusesRelationships from 'src/diagrams/docs/get-started/use-cases/b2b2c/b2b2c-circuses.astro';
import AddNewCustomers from 'src/diagrams/docs/get-started/use-cases/b2b2c/add-new-customers.astro';
import UserLoggingIn from 'src/diagrams/docs/get-started/use-cases/b2b2c/user-logging-in.astro';
import AdminManagingUsers from 'src/diagrams/docs/get-started/use-cases/b2b2c/admin-managing-users.astro';
import UserSegmentTable from 'src/content/docs/get-started/core-concepts/_user-segment-table.mdx';
import CrossTenantUserAccess from 'src/content/docs/get-started/core-concepts/_cross-tenant-access.mdx';
import TenantAuthorizationWarning from 'src/content/docs/get-started/use-cases/_tenant-authorization.mdx';
## Overview
<B2B2CDescription />
<Aside type="note">
There are multiple users in a business to business to consumer (b2b2c) system and the different types can be confusing.
In this document, the term `customer` refers to people who are paying you to use the application you have built. The term `user` refers to their users, the end users of your software application. `Users` are the `customers` free or paid users.
</Aside>
## Problem
You have an application that you sell to customers; they then have their own users. You want these users to safely log in to your application with a customized experience unique to each customer. You also want to safely store users' personal identifiable information and credentials, but allow customers to query and manage their users.
## Solution
With the b2b2c use case, you allow the users of your customers to securely authenticate. You can also allow your customers to manage users.
This use case is appropriate when the identity of the end user is *not* controlled by the customer, but rather by the end user themselves. If the identity of the end user is controlled by the customer, [the b2b2e use case](/docs/get-started/use-cases/b2b2e) is a better option.
## Prerequisites
You have configured your application or applications to [delegate authentication to FusionAuth](/docs/get-started/use-cases/auth-service) via the Authorization Code grant and the hosted login pages.
## Example Scenario
Suppose your company, ClownPass, sells a ticketing system for circuses. Your software package lets customers buy tickets to see adorable clowns and great feats of strength. Circuses sometimes offer free events, so you need to support both paid and free customers.
Your customers are the circuses, and their users are *their* customers. Each circus has their own policies about login methods, password length, and more.
You are super excited because you've landed both Ringling Bros. and Barnum & Bailey Circus and Cirque du Soleil as customers. They have customers of their own, who may be either individuals or organizations buying tickets. Here's a diagram of the relationship between ClownPass, its customers and the end users.
<CircusesRelationships alt="Circus relationships diagram."/>
The set of customers for each circus can overlap. Jamie Morgan is an example of a customer of both circuses.
## Actors/Components
* your customer and their client application (mobile app or browser)
* your customer's users and their client application (mobile app or browser)
* your application
* FusionAuth
## Implementation Steps
There are three implementation steps to ensure your customers' users will always be able to get the tickets they need. This is a tenant based implementation, where users are stored in different FusionAuth tenants.
The steps include:
* Setting up your system to handle adding new customers
* Letting customers' users sign in or register
* Allowing your customers to manage their users and other settings
Here's a high level sequence diagram of the process of adding new customers. Each customer is represented as a tenant.
<AddNewCustomers alt="Adding new customers." />
Here's a high level sequence diagram of a user logging in to one of the customer's ticketing systems. The application is responsible for mapping the user to the correct customer.
<UserLoggingIn alt="Users logging in." />
Here's a high level sequence diagram of a customer admin managing their users. The admin functions are integrated with the application admin screens using API calls.
<AdminManagingUsers alt="Tenant admin management of their users." />
Let's look at these steps in detail.
### Adding New Customers
To add new customers, you need to make changes to both the ClownPass ticketing application and FusionAuth configuration.
#### Preparing The ClownPass Application
Make sure your circus SaaS application can handle multiple tenants. At a minimum, you need to ensure your application has some way to distinguish each customer's access points. There are a couple of ways to do this, but the most typical is to offer a different hostname for each customer. If the ticketing application is hosted at `example.com`, you might have the following hostnames:
* `ringling.example.com` for Ringling Bros. and Barnum & Bailey Circus ticketing
* `cirquedesoleil.example.com` for Cirque du Soleil ticketing
Ensure your web application can respond to multiple hostnames. If you don't want to have customer specific hostnames, there are [other options](/docs/extend/examples/multi-tenant#data-plane-application-tenant-determination).
There are many other aspects of a multi-tenant application, such as logically isolating customer data in your application. Such multi-tenant application architecture guidance is beyond the scope of this document.
#### Configuring FusionAuth
For each new customer, you'll need to update configuration in the ClownPass FusionAuth instance. You'll need to:
* create a new tenant
* create a new application in that tenant
* configure the correct redirect URL for the application
* create a new tenant scoped API key with the proper permissions
* configure the application to use desired identity providers, such as Google Login
* create email templates and themes appropriate for the customer's brand
You can script these configuration steps using one of the [SDKs](/docs/sdks). You can also create a template tenant and copy it, modifying as needed.
Record information such as the API key, the client Id and client secret from the FusionAuth Application configuration in your web or mobile application's database. Later, your application will look up this information based on the request hostname.
When using FusionAuth Cloud, you can [configure FusionAuth to respond to different hostnames](/docs/get-started/run-in-the-cloud/cloud#custom-domains). You can also do the same with self-hosted FusionAuth. In addition to the hostnames above, you could also have:
* `auth.ringling.example.com` for Ringling Bros. and Barnum & Bailey Circus login host
* `auth.cirquedesoleil.example.com` for Cirque du Soleil login host
If you don't use hostname customization, users may see a domain name they don't expect when logging in.
Once the customer is set up, users can be registered for your application in a variety of ways. They can:
* be migrated in from an existing store
* register using social sign-on (make sure you create a registration for the user if you do this)
* created directly using the API or SDKs
* register themselves if you enable self-service registration
Pick one or more methods that work for your use case; FusionAuth supports them all.
### User Authentication
When a user comes to the Ringling site hosted by ClownApp, they must be redirected to a FusionAuth authorization URL with the appropriate client Id and redirect URL. This starts the Authorization Code grant to authenticate this user. Here's an [explanation of how to create the URL and what each component means](/docs/lifecycle/authenticate-users/oauth/endpoints#authorization-code-grant-request).
The user sees a Ringling themed page because of the previous customization and the provided client Id. Other interactions with FusionAuth, such as a "forgot password" email, should be Ringling themed as well.
After the user authenticates and is redirected to the ClownPass application, the client Id and client secret is looked up in the application database based on the hostname in the redirect URL. The circus ticketing web application handles many client Ids and secrets, one for each customer. The client Id and client secret are provided to FusionAuth to complete the Authorization Code grant. Here's an [explanation of that request](/docs/lifecycle/authenticate-users/oauth/endpoints#complete-the-authorization-code-grant-request).
The [tokens](/docs/lifecycle/authenticate-users/oauth/tokens) contain information about the user and their roles. The ClownPass application can use them to determine correct levels of access or data to retrieve.
### User Management
Customer admins and other privileged users can add, read, update and delete user data using the ClownPass application. While there is a lot of user management functionality exposed as an API that you could add to your application, common functionality includes:
* resetting a user's password
* locking a user
* changing user profile data
The application uses the tenant scoped API key and an SDK to allow customer admins to perform user management.
Users can manage their own profile and credentials using the [self-service account management](/docs/lifecycle/manage-users/account-management/) provided by FusionAuth.
### Implementation Notes
Each customer's users are entirely separate with this tenant based implementation. A person can sign up with the email address `jamie.morgan@example.com` for both Ringling Brothers and Cirque De Soleil. The person who owns the `jamie.morgan@example.com` email address may not even know the ticketing application for these circuses are both provided by ClownPass.
Each account is entirely separate with no relation to each other. The accounts can have different:
* profile attributes
* credentials
* roles in applications
### Alternative Implementation
The tenant based solution outlined above has separate user spaces. Remember Jamie, the user discussed above? With tenants, each account is different, even if the user uses the same email to log in.
If you want a shared user space, where the `jamie.morgan@example.com` user has the same profile data and credentials no matter which circus they are buying tickets for, you need to use a different approach. Instead of separate tenants, have all users in one tenant and model each circus ticketing application as a separate FusionAuth application configuration.
With this approach, you can't use tenant scoped API keys. Make sure to build and enforce your own authorization scheme to ensure customer admins from Ringling Brothers couldn't access Cirque De Soleils' users.
If you have more complex modelling needs, you can use entities to [model organizations](/docs/extend/examples/modeling-organizations).
Here's a table which shows tradeoffs between these different approaches.
<UserSegmentTable />
You might want to use one of the alternative options if users must be able to seamlessly purchase tickets from different circuses with a single account. This is similar to the approach of GitHub or Slack.
## Expected Outcome
Your web or mobile application has isolated groups of users, one set for each customer. Each user has their own profile data and manages their identity, either in your application or via other login methods such as social sign-on.
Admins can use whatever user management related functionality you choose to expose in your application, using tenant scoped API keys to limit access.
## Edge Cases
<TenantAuthorizationWarning />
The word `tenant` can be overloaded. When you are planning for this use case, make sure you distinguish between tenants in your application and FusionAuth tenants. They don't have to map one to one.
<CrossTenantUserAccess />
## Other Example Scenarios
Any application which has customers who then have their own users or customers is a good fit for this use case.
A very common scenario is a private labelled product sold to SMBs or consumers. Examples include:
* Website builders resold by creative agencies
* Appointment schedulers for hair salons, personal trainers and other service providers
* Private labelled job boards
* Accounting software sold to CPAs and used by the customers they offer tax services to
In each of these cases there is a clear differentiation between the customer organization buying the solution and their end customer. This use case is appropriate when the user identity is *not* controlled by the customer, but rather by the user themselves.
## Additional Documentation
* [Multi-tenant guide](/docs/extend/examples/multi-tenant)
* [Determining the tenant for a user](/docs/extend/examples/multi-tenant#data-plane-application-tenant-determination)
* [Options for segmenting users](/docs/get-started/core-concepts/users#segmenting-users)
* [Theme customization](/docs/customize/look-and-feel/)
* [Email template customization](/docs/customize/email-and-messages/)
* [Blog post about private labeling](/blog/private-labeling-with-multi-tenant)
* [Self-service registration](/docs/lifecycle/register-users/basic-registration-forms)
* [Self-service account management](/docs/lifecycle/manage-users/account-management/)
* [Tenant scoped API keys](/docs/apis/authentication#using-a-tenant-scoped-api-key)
# Business To Business To Employee
import B2B2EDescription from 'src/content/docs/get-started/use-cases/_b2b2e-description.mdx';
import Breadcrumb from 'src/components/Breadcrumb.astro';
import Aside from 'src/components/Aside.astro';
import CircusesRelationships from 'src/diagrams/docs/get-started/use-cases/b2b2e/b2b2e-circuses.astro';
import AddNewCustomers from 'src/diagrams/docs/get-started/use-cases/b2b2e/add-new-customers.astro';
import UserLoggingIn from 'src/diagrams/docs/get-started/use-cases/b2b2e/user-logging-in.astro';
import AdminManaging from 'src/diagrams/docs/get-started/use-cases/b2b2e/admin-managing.astro';
import UserSegmentTable from 'src/content/docs/get-started/core-concepts/_user-segment-table.mdx';
import CrossTenantUserAccess from 'src/content/docs/get-started/core-concepts/_cross-tenant-access.mdx';
import APIKeyCrossTenantNote from 'src/content/docs/apis/_api-key-cross-tenant-note.mdx';
import TenantAuthorizationWarning from 'src/content/docs/get-started/use-cases/_tenant-authorization.mdx';
## Overview
<B2B2EDescription />
<Aside type="note">
There are multiple users in a business to business to employee (b2b2e) system and the different types can be confusing.
In this document, the term `customer` refers to people who are paying you to use the application you have built. The term `user` refers to the customers' users, typically employees or contractors. Users are the end users of your software application.
</Aside>
## Problem
You have an application that you sell to customers; they then have their own users. You want these users to safely log in to your application with a customized experience unique to each customer.
Users' identities are controlled by the associated customer in a datastore they manage. There may be some personal identifiable information of users stored in your authentication system.
You want customers to configure the connection to their own user data store and have your application rely on that connection for authentication and authorization decisions. Your customers control their users' access to your application based on that data store.
## Solution
With the b2b2e use case, you allow the users of your customers to securely authenticate using customers' identity providers, typically via OIDC or SAML. You also allow customers to manage the identity provider configuration.
<Aside type="tip">
This use case is appropriate when the identity of the end user is *controlled* by the customer. If the identity of the end user is controlled by the end user, the [b2b2c use case](/docs/get-started/use-cases/b2b2c) is a better option.
</Aside>
## Prerequisites
You have configured your application or applications to [delegate authentication to FusionAuth](/docs/get-started/use-cases/auth-service) via the Authorization Code grant and the hosted login pages.
## Example Scenario
Suppose your company, ClownTime, sells a time tracking system for circuses. Your software package lets circus clowns and performers track their hours.
Your customers are the circuses, and their users are *their* employees or contractors. Each circus has its own remote user directory, and wants to control access to ClownTime through those directories. Access is not simply allowed or disallowed; some employees are managers and should have greater access to reports in ClownTime.
You are super excited because you've landed both Ringling Bros. and Barnum & Bailey Circus and Cirque du Soleil as customers; they have large staffs to manage. Here's a diagram of the relationship between ClownTime, its customers and the end users.
<CircusesRelationships alt="Circus relationships diagram."/>
The entities who fill out time sheets can be either people or companies. For example, `ContractMarketingCorp` is a marketing corporation that promotes Cirque du Soleil on a monthly basis. The set of employees for each circus can also overlap. Jamie Morgan is an example of an employee of both circuses.
## Actors/Components
* your customer and their client application (mobile app or browser)
* your customer's users and their client application (mobile app or browser)
* your application
* FusionAuth
## Implementation Steps
There are a few implementation steps to ensure your customers' employees will be able to enter their timesheets correctly. This is a tenant based implementation, where users are stored in different FusionAuth tenants.
Jamie, the user mentioned above who is an employee of both circuses, has two different accounts, one in each tenant. Those accounts have different ids, profile data, and role assignments, even though the same human is logging into each of them.
The steps include:
* Setting up your system to handle adding new customers
* Letting customers' users sign in using their employee directory
* Allowing your customers to manage settings and access reporting
Here's a high level sequence diagram of the process of adding new customers. Each of your customers is a tenant in FusionAuth. With b2b2e, you usually want to capture information needed to configure an identity provider, such as SAML public keys or OIDC client Ids and secrets. Store this in your application and then provide it to FusionAuth via API or SDK. This allows users to log in via the correct identity provider.
<AddNewCustomers alt="Adding new customers." />
Here's a high level sequence diagram of a user logging in to a customer's time tracking system. Your application is responsible for mapping the user to the correct customer.
<UserLoggingIn alt="Users logging in using idp_hints." />
Here's a high level sequence diagram of a customer admin managing their configuration and running reports. The admin functions are integrated with the application admin screens using API calls.
<AdminManaging alt="Tenant admin management." />
Let's look at these steps in detail.
### Adding New Customers
To add new customers, you need to make changes to both the ClownTime time tracking application and FusionAuth configuration.
#### Preparing The ClownTime Application
Make sure your time tracking SaaS application can handle multiple tenants. At a minimum, you need to ensure your application has some way to distinguish each customer's access points. There are a couple of ways to do this, but the most typical is to offer a different hostname for each customer. If the time tracking application is hosted at `example.com`, you might have the following hostnames:
* `ringling.example.com` for Ringling Bros. and Barnum & Bailey Circus time tracking
* `cirquedesoleil.example.com` for Cirque du Soleil time tracking
Ensure your web application can respond to multiple hostnames. If you don't want customer specific hostnames, there are [other options](/docs/extend/examples/multi-tenant#data-plane-application-tenant-determination).
There are many other aspects of writing a multi-tenant application, such as logically isolating customer data and handling cross-tenant reporting. Such multi-tenant application architecture guidance is beyond the scope of this document.
#### Configuring FusionAuth
For each new customer, you'll need to update configuration in the ClownTime FusionAuth instance. You'll need to:
* create a new tenant
* create a new application in that tenant
* configure the correct redirect URL for the application
* create a new tenant scoped API key with the proper permissions
* configure the desired identity provider, such as a Google Workspace or Entra ID; this often involves sharing a secret or public key
* configure the application to use desired identity provider
* create email templates and themes appropriate for the customer's brand
You can script these configuration steps using one of the [SDKs](/docs/sdks). You can also create a template tenant and copy it, modifying as needed.
Record information such as the API key, the identity provider Id, the client Id and client secret from the application configuration in your application's database. Later, your application will look up this information based on the request hostname.
When using FusionAuth Cloud, you can [configure FusionAuth to respond to different hostnames](/docs/get-started/run-in-the-cloud/cloud#custom-domains). You can also do the same with self-hosted FusionAuth. In addition to the hostnames above, you could also have:
* `auth.ringling.example.com` for Ringling Bros. and Barnum & Bailey Circus login host
* `auth.cirquedesoleil.example.com` for Cirque du Soleil login host
If you don't use hostname customization, users may see a domain name they don't expect when logging in.
Once the customer is set up, you have a variety of methods to get users into FusionAuth. They can be:
* migrated in from an existing store
* provisioned 'just-in-time' by logging in using the identity provider (make sure you create a registration for the user if you do this)
* created directly using the API or SDKs
* provisioned using SCIM, if source user data store supports SCIM
Pick one or more methods that work for your use case; FusionAuth supports them all.
### User Authentication
When a user comes to the Ringling site hosted by ClownTime, they must be redirected to a FusionAuth authorization URL with the appropriate client Id and redirect URL. This starts the Authorization Code grant to authenticate this user. Here's an [explanation of how to create the URL and what each component means](/docs/lifecycle/authenticate-users/oauth/endpoints#authorization-code-grant-request).
Additionally, the `idp_hint` parameter with a value of the identity provider Id should be added to the authorization URL. This skips the FusionAuth login page entirely. Instead, the browser transparently redirects the user to the identity provider.
If you don't use an `idp_hint`, the user will see a custom themed page. Other interactions with FusionAuth, such as the account locked page, should be themed as well.
After the user authenticates and is redirected to the ClownTime application, the client Id and client secret can be looked up in the application database based on the hostname in the redirect URL. The circus time tracking web application handles many client Ids and secrets, one for each customer. The client Id and client secret are provided to FusionAuth to complete the Authorization Code grant. Here's an [explanation of that request](/docs/lifecycle/authenticate-users/oauth/endpoints#complete-the-authorization-code-grant-request).
The [tokens](/docs/lifecycle/authenticate-users/oauth/tokens) contain information about the user and their roles. The ClownTime application can use them to determine correct levels of access or data to retrieve.
### Customer Administration
In this use case, customer admins don't interact with FusionAuth as much as in the [b2b2c use case](/docs/get-started/use-cases/b2b2c). After all, the source of record for user data is the customer's configured identity provider, not FusionAuth. But there are still a few ways a customer admin user could interact with data held by FusionAuth. Common functionality includes:
* reviewing or updating identity provider information
* rotating secrets or certificates
* locking a user
* running reports on usage
Your application should use a tenant scoped API key and an SDK to allow customer admins to perform management.
### Implementation Notes
For a b2b2e application, quickly disabling access is critical. Keep the lifetimes of the SSO sessions and tokens low enough to satisfy your requirements. You need to balance your security needs while avoiding degrading the user experience by forcing them to log in repeatedly. Setting the access token lifetime to be short and using the refresh grant is one way to solve this. You can also set up a [deny list](/articles/tokens/revoking-jwts). Using tenants for customers allows you to set different SSO lifetime durations as well as other settings for each customer.
With this use case, the remote identity providers are responsible for authenticating users to their satisfaction, including applying multi-factor authentication (MFA). FusionAuth, and by extension your application, fully trusts these remote data stores.
You can mix users that are authenticated by FusionAuth and those authenticated by an identity provider. For this use case, within one tenant, you should pick one user data store or the other. For example, smaller circuses may not have an identity provider set up; these customers' users can be managed by FusionAuth, while Ringling users can be managed by their identity store. If you do mix them and the user login source can be determined by email address, use [managed domains](/docs/lifecycle/authenticate-users/identity-providers/#managed-domains).
Users that are provisioned 'just-in-time' using identity providers can use reconcile lambdas to modify the user's application registration, including roles. With [lambda HTTP connect](/docs/extend/code/lambdas/lambda-remote-api-calls) these lambdas can retrieve data from other systems via `fetch` calls.
### Alternative Implementations
The tenant based solution outlined above has separate user spaces. Remember Jamie, the user discussed above? With tenants, each account is different, even if the user uses the same email to log in.
If you want a shared user space, where the `jamie.morgan@example.com` user has the same profile data and identity, you need a different approach. Instead of separate tenants, have all users in one tenant and model each circus time tracking application as a separate FusionAuth application configuration. Each application has a different identity provider. You can [require registration](/docs/get-started/core-concepts/authentication-authorization#authorization-and-securing-your-application) for all applications and use a [login validation lambda](/docs/extend/code/lambdas/login-validation) to enforce the mapping between applications and identity providers.
With this approach, you can't use tenant scoped API keys. Make sure to build and enforce your own authorization scheme to ensure customer admins from Ringling Brothers couldn't access Cirque De Soleils' users.
If you have more complex modelling needs, you can use entities to [model organizations](/docs/extend/examples/modeling-organizations).
Here's a table which shows tradeoffs between these different approaches.
<UserSegmentTable />
You might want to use one of the alternative options if users must be able to seamlessly track time with a single user account when they work for different circuses. This is similar to the approach of GitHub or Slack.
## Expected Outcome
Your web or mobile application has an isolated set up for each customer. The customer can control the configuration of their identity provider from within the primary application and the customer's user data store determines access for each of the users.
## Edge Cases
<TenantAuthorizationWarning />
The word `tenant` can be overloaded. When you are planning for this use case, make sure you distinguish between tenants in your application and FusionAuth tenants. They don't have to map one to one.
<CrossTenantUserAccess />
Use tenants to model customers when using SCIM to add their users. It's not recommended to have multiple SCIM servers provisioning users into one FusionAuth tenant. SCIM provisioning requires additional work to register users for roles.
When the user logs out of your application, they are logged out of FusionAuth but not out of the identity provider. Logging them out of the identity provider requires identity provider dependent functionality.
If you have users who are managed locally and users that are managed via an identity provider in the same tenant and you require local users to set up MFA, the identity provider managed users may [run into this issue](https://github.com/FusionAuth/fusionauth-issues/issues/2357).
## Other Example Scenarios
Any application which has customers who then have employees or users managed in an identity provider or user data story is a good fit for this use case.
A very common scenario is a private labelled product sold to mid-size or large businesses. Examples include:
* IT ticketing systems
* Document collaboration systems
* Procurement software
* Learning management systems
In each of these cases the customer organization is buying the solution from you, the SaaS vendor, and allowing their employees to access it. This use case is appropriate when the user identity is controlled by the customer.
## Additional Documentation
* [Multi-tenant guide](/docs/extend/examples/multi-tenant)
* [Determining the tenant for a user](/docs/extend/examples/multi-tenant#data-plane-application-tenant-determination)
* [Options for segmenting users](/docs/get-started/core-concepts/users#segmenting-users)
* [Theme customization](/docs/customize/look-and-feel/)
* [Email template customization](/docs/customize/email-and-messages/)
* [Blog post about private labeling](/blog/private-labeling-with-multi-tenant)
* [SAML identity provider](/docs/lifecycle/authenticate-users/identity-providers/overview-samlv2)
* [OIDC identity provider](/docs/lifecycle/authenticate-users/identity-providers/overview-oidc)
* [SCIM](/docs/lifecycle/migrate-users/scim)
* [Searching users](/docs/lifecycle/manage-users/search/user-search-with-elasticsearch)
* [Tenant scoped API keys](/docs/apis/authentication#using-a-tenant-scoped-api-key)
# Identity Broker
import Aside from 'src/components/Aside.astro';
import Breadcrumb from 'src/components/Breadcrumb.astro';
import UserLoggingInDiagram from 'src/diagrams/docs/get-started/use-cases/identity-broker/user-logging-in.astro';
import IdentityBrokerDescription from 'src/content/docs/get-started/use-cases/_identity-broker-description.mdx';
## Overview
<IdentityBrokerDescription />
<Aside type="note">
Deploying FusionAuth into an [air-gapped environment](/docs/get-started/download-and-install/air-gapping) is supported.
</Aside>
## Problem
You have an application that is embedded in your customer's environment, which could be a private cloud, an on-premises data center, or a remote location. Such deployment often happens for security, compliance or data gravity reasons.
Each of your customers has their own identity system they want to use to control access to your application. You want to integrate with a wide variety of identity systems to offer easy single sign-on, but also want to avoid writing extra integration code or support documentation.
## Solution
With the identity broker implementation, you can integrate your application with FusionAuth once and let your customers configure their identity provider to allow for user login. Supported providers include:
* Google Workspace
* Okta
* Microsoft Entra ID
In fact, any provider supporting OIDC, SAML, or LDAP can be used.
With this approach, your application is simpler to build and maintain and your customers can integrate with their preferred identity store.
## Prerequisites
You have configured your application to [delegate authentication to FusionAuth](/docs/get-started/use-cases/auth-service) via the Authorization Code grant and the hosted login pages.
You have a license for reselling FusionAuth, obtained by [talking to our sales team](/contact). Deploying FusionAuth alongside your application in customer environments requires a reseller license.
## Example Scenario
Suppose you have a data analytics tool that you deploy into a customer's environment. This application allows analysts to apply your proprietary algorithms to their sales data.
But the analysts logging into this application don't want to have yet another set of credentials. They want to use single sign-on against their employer's directory.
## Actors/Components
* your user and their client application (mobile app or browser)
* your application
* the customer's identity store (Okta, Entra Id, Active Directory, etc)
* FusionAuth
## Implementation Steps
This is a four phase implementation, where you do the following:
* integrate FusionAuth into your application deployment process
* build logic to map between remote profile data and your application's user objects
* help customers configure their identity provider
* allow customer's users to log in and access your application
### Embed FusionAuth
You already have FusionAuth working for your application, but when you are building your deployment package, you'll need to include FusionAuth and a compatible database, as well as other [system requirements](/docs/get-started/download-and-install/system-requirements).
You can deploy FusionAuth as a Docker image on Kubernetes or another orchestration system, or as a zip, DEB or RPM file if deploying on a VM or hardware. Either way, make sure there is a network path between your application and FusionAuth.
Make sure you [configure FusionAuth correctly](/docs/reference/configuration). You'll usually want to deploy FusionAuth using the [database search engine](/docs/lifecycle/manage-users/search/search#using-the-database-search-engine) to make deployment simpler.
For the initial install, script FusionAuth to a known state using [Kickstart](/docs/get-started/download-and-install/development/kickstart) to set up an API key with no user intervention. Then script further configuration using [an SDK](/docs/sdks) or [Terraform](/docs/operate/deploy/terraform). Pick the solution closest to how you configure your own application.
You'll want to configure:
* a local admin user
* an Application representing your analytics application
* a placeholder Identity Provider
* any branding login page customization; prefer a [simple theme](/docs/customize/look-and-feel/simple-theme-editor) for forward compatibility
* the FusionAuth license key or text
Other configuration you may or may not need:
* reconcile and login validation lambdas
* additional API keys
* extra users
For subsequent upgrades, use scripts or Terraform to apply FusionAuth configuration changes, such as adding a new application.
Share the local admin user with your customer so they have access in case their identity provider is not available or is not configured correctly.
#### Configuring The Admin User
Give the admin user the `lambda_manager` and `system_manager` roles. The `lambda_manager` allows for lambda editing. The `system_manager` role gives access to create, update and delete identity provider configuration.
Give this user a known password that you can share with your customer. You can require them to change it at first login by setting the `passwordChangeRequired` field to `true` when creating the user.
#### Configuring The Identity Provider
This placeholder identity provider can be partially configured with whatever information you have from customer onboarding. Configure these settings as well:
* a known `Id` so that later `idp_hint` operations are simpler
* set `name` to `Customer identity provider`
* set `debug` to `false`
* set `createRegistration` to `true`
* set `enabled` to `true` for your application to enable this identity provider
If you have gathered all needed information during an onboarding, you can configure the identity provider fully.
#### Configuring The Application
The application configuration should include the following:
* the appropriate local redirect URL or URLs for your analytics application
* `application.oauthConfiguration.requireRegistration` to `true` to require user registration
Configuring these settings secures application access and limits it to users with an account in the customer's identity store.
### Mapping Roles
If you use role-based access control (RBAC), you'll need to map roles between the customer's identity store and your application's expected roles. Say your data analytics application has these roles, which each have different functionality available:
* `admin`
* `developer`
* `business_analyst`
Each customer will have roles in their identity store that map to roles in your application, but they'll vary. Here's an example of different possible role names for two customers:
| Your Application | Customer 1 | Customer 2 |
|--------------------|-----------------|------------------|
| `admin` | `administrator` | `superadmin` |
| `developer` | `dev` | `engineer` |
| `business_analyst` | `ba` | `data_analyst` |
To map between these, use a custom reconcile lambda. This ensures user data in FusionAuth and any tokens FusionAuth generates have the expected application specific role.
Here's the body of [an example OIDC reconcile lambda](/docs/extend/code/lambdas/openid-connect-response-reconcile) which maps roles from a customer data store to the application roles:
```javascript
function reconcile(user, registration, jwt, id_token, tokens) {
registration.roles = [mapCustomerRoleToAppRole(jwt.role)];
}
function mapCustomerRoleToAppRole(customerRole) {
const roleMap = {
administrator: 'admin',
dev: 'developer',
ba: 'business_analyst',
};
return roleMap[customerRole] || null;
}
```
The above lambda should be installed in Customer 1's FusionAuth instance. For customer 2, you'd use a different `mapCustomerRoleToAppRole` function. Associate the lambda with the identity provider during the initial configuration.
There may be other profile attributes such as name or title that need mapping. Lambdas can help with these too.
These mappings depend on the customer implementation and may need to be iterated upon.
### Enable Identity Providers
A customer employee or implementation engineer needs to configure FusionAuth to use the customer's identity provider. You can do this in one of two ways:
* give the configurer direct access to the admin UI and the FusionAuth documentation
* add a page to your application which collects needed information and use the [Identity Provider API](/docs/apis/identity-providers/) and/or SDKs to configure it
In either case, plan to guide the customer through the configuration process with support and documentation.
#### Direct Access
For direct access to the admin UI, have the customer log in with the previously created admin user account and follow FusionAuth documentation.
You can also customize the admin UI, to a limited extent. Use the [System API](/docs/apis/system) to modify these aspects by changing the `systemConfiguration.uiConfiguration.*` properties. You can add a custom logo and tweak the color scheme of the admin UI.
Choose this approach if you want to leverage the existing admin UI screens and FusionAuth docs. You can add links in your product docs to the FusionAuth documentation for common identity provider configuration, including options such as Okta or Entra ID. For example, here's documentation for setting up [Microsoft Entra ID](/docs/lifecycle/authenticate-users/identity-providers/enterprise/azure-ad-oidc).
#### Integrated Approach
With the integrated approach, add a configuration screen to your application capturing all the information needed to set up an OIDC or SAMLv2 connection. Create an API key for your application to use, and use one of the SDKs to create, update or manage the identity provider directly from your application.
This option gives you full control over the user interface and allows you to hide the admin UI from the customer. In addition to the engineering effort required to build that custom interface, this approach requires you to:
* document the values of the form fields
* update your integration when new features that you want to use, such as encrypted SAML assertions, are added
### User Log In
After the customer has configured the identity provider, FusionAuth is set up. The next time an unauthenticated user visits your application, forward them to the identity provider by constructing the authorization URL and providing an `idp_hint`.
If the application you've configured has an Id of `85a03867-dccf-4882-adde-1a79aeec50df` and the identity provider has an Id of `82339786-3dff-42a6-aac6-1f1ceecb6c46`, the login URL might look like this (newlines added for clarity):
```
https://yourinstance.local/oauth2/authorize?
client_id=85a03867-dccf-4882-adde-1a79aeec50df&response_type=code&
redirect_uri=https%3A%2F%2Fyourapp.local%2F/oauth-redirect&
idp_hint=82339786-3dff-42a6-aac6-1f1ceecb6c46
```
Here's a diagram of the user login process.
<UserLoggingInDiagram alt="User logging in to the application." />
#### Blocking Users
There may be certain sets of users that you don't want to have access to your analytics application, even if they can log in using the remote identity server.
Block these users from logging in using the [login validation lambda](/docs/extend/code/lambdas/login-validation). Say you wanted to prevent anyone with the `dev` role from logging to the analytics application. You'd use a lambda body similar to this one:
```javascript
function validate(result, user, registration, context) {
if (registration.roles && registration.roles.contains('dev')) {
result.errors.generalErrors = [{
code: "[LoginRestricted]",
message: "Sorry, you can't log in. Please contact the app administrator for more details."
}];
}
}
```
#### Troubleshooting The Login Process
If there are issues, enable the `debug` setting in the Identity Provider configuration and review the event log, under <Breadcrumb>System -> Event Log</Breadcrumb>.
## Expected Outcome
Deploy your application into any environment and have FusionAuth take care of the authentication integration.
Your engineering team leverages FusionAuth tokens for identity data. They can code against the FusionAuth API or use the SDKs if user information beyond that is needed.
Your customers can configure their own identity store and have all their users log in using that.
## Edge Cases
If you are using LDAP instead of OIDC or SAML, you'll use a [LDAP connector](/docs/lifecycle/migrate-users/connectors/ldap-connector) with migration disabled instead of an OIDC or SAMLv2 Identity Provider. Follow the documentation to configure the connector. The customer's users will see the FusionAuth login screen, which you can customize, instead of being redirected.
You can also add local users to your FusionAuth instance, to enable access if a customer's identity store becomes unavailable or is misconfigured.
You can support more than one remote identity data store. If, for example, you're deploying into an enterprise and there are two departments with two different identity stores, configure both of them. You'll need to either remove the `idp_hint` and let users choose which identity store to log in with, or update the logic which builds the initial login URL to provide the correct `idp_hint` for users from each department.
While you do not have to use internet routable addresses or domain names, FusionAuth and the application delegating authentication to it must be able to communicate over the network.
With this use case, you can support social identity providers such as Facebook or LinkedIn. These require internet access.
## Other Example Scenarios
These include:
* healthcare software deployed into a hospital network
* a retail analytics engine running in stores
* an IoT management system deployed in a remote geography
* a legal discovery platform installed inside a client's firewall
## Additional Documentation
* [The auth facade pattern](/articles/ciam/auth-facade-pattern)
* [Unsupervised case study](/blog/unsupervised-avoids-development-maintenance-with-with-fusionauth)
* [OIDC reconcile lambda](/docs/extend/code/lambdas/openid-connect-response-reconcile)
* [SAMLv2 reconcile lambda](/docs/extend/code/lambdas/samlv2-response-reconcile)
* [Login validation lambda](/docs/extend/code/lambdas/login-validation)
* [LDAP connector](/docs/lifecycle/migrate-users/connectors/ldap-connector)
# Use Cases Overview
import AuthServiceDescription from 'src/content/docs/get-started/use-cases/_auth-service-description.mdx';
import AppSuiteDescription from 'src/content/docs/get-started/use-cases/_app-suite-description.mdx';
import B2B2CDescription from 'src/content/docs/get-started/use-cases/_b2b2c-description.mdx';
import B2B2EDescription from 'src/content/docs/get-started/use-cases/_b2b2e-description.mdx';
import M2MCommunicationDescription from 'src/content/docs/get-started/use-cases/_m2m-communication-description.mdx';
import IdentityBrokerDescription from 'src/content/docs/get-started/use-cases/_identity-broker-description.mdx';
import AuthorizationHubDescription from 'src/content/docs/get-started/use-cases/_authorization-hub-description.mdx';
import DataStoreDescription from 'src/content/docs/get-started/use-cases/_data-store-description.mdx';
import APIConsentsPlatformDescription from 'src/content/docs/get-started/use-cases/_api-consents-platform-description.mdx';
import DecisionChart from 'src/diagrams/docs/get-started/use-cases/use-case-decision-chart.astro';
As a flexible developer tool, FusionAuth can be used in many different ways. We've even heard of customers using us for localized email template management.
But there are a few key use cases that FusionAuth particularly shines at, and this section outlines them.
## Decision Flowchart
By answering a few questions, you can narrow down how FusionAuth fits into your application or applications.
<DecisionChart />
You can also combine options, using FusionAuth to provide more than one core application service.
## Use Case Table
Here's a table of the common use cases. If you have questions, feel free to [contact our technical sales team](/contact) or [post in our community forum](/community/forum/).
| I Want To | Use Case Name | Description |
|------------|------------|------------|
| Log in to my application using FusionAuth to enable authentication features, such as MFA, to be configured rather than coded. | [Auth as a service](/docs/get-started/use-cases/auth-service) | <AuthServiceDescription /> |
| Enable SSO between my applications. | [App suite](/docs/get-started/use-cases/app-suite) | <AppSuiteDescription /> |
| Allow my customers to offer access to my software to their customers, who are consumers. | [Business to business to consumer (b2b2c)](/docs/get-started/use-cases/b2b2c) | <B2B2CDescription /> |
| Allow my customers to offer access to my software to their customers, who are businesses, and their employees. | [Business to business to employee (b2b2e)](/docs/get-started/use-cases/b2b2e) | <B2B2EDescription /> |
| Use standards based authentication for my APIs or other software systems. | [Machine to machine communication (m2m)](/docs/get-started/use-cases/machine-to-machine) | <M2MCommunicationDescription /> |
| Embed FusionAuth in my deployable application to provide a single interface for my engineering team, while allowing my customers to bring their own identity providers. | [Identity broker](/docs/get-started/use-cases/identity-broker) | <IdentityBrokerDescription /> |
| Easily add 'authorize' buttons for third party platforms, and manage the tokens used to access third party APIs. | [Authorization hub](/docs/get-started/use-cases/authorization-hub) | <AuthorizationHubDescription /> |
| Build a platform for others to access my APIs on behalf of my users using OAuth grants. | [API user consents and delegated access](/docs/get-started/use-cases/api-consents-platform) | <APIConsentsPlatformDescription /> |
| Control all the UX and use FusionAuth only for the backend of my auth system. | Data store | <DataStoreDescription /> |
# Machine To Machine Communication
import APIRequestDiagram from 'src/diagrams/docs/get-started/use-cases/machine-to-machine/api-request.astro';
import M2MCommunicationDescription from 'src/content/docs/get-started/use-cases/_m2m-communication-description.mdx';
import Breadcrumb from 'src/components/Breadcrumb.astro';
import InlineField from 'src/components/InlineField.astro';
import DataFieldDataTypeChanges from 'src/content/docs/_shared/_data-field-data-type-changes.mdx';
import JSON from 'src/components/JSON.astro';
import {RemoteCode} from '@fusionauth/astro-components';
## Overview
<M2MCommunicationDescription />
## Problem
You have software programs, devices or APIs which need to authenticate and access data or functionality. You want to manage this in a central location. Each of these entities have specific permissions that may change over time.
## Solution
With the machine to machine (m2m) use case, model everything inside FusionAuth using Entity Management. Each entity (the aforementioned software programs, devices or APIs) is granted permissions against any other entity. Permissions against an entity can also be granted to a user.
To test if permissions are granted, use the [Client Credentials grant](/docs/lifecycle/authenticate-users/oauth/#example-client-credentials-grant) to get an access token, which can be presented to APIs to access data or functionality.
## Prerequisites
You have at least two pieces of software that need to securely communicate with each other without any humans in the loop. This could include APIs, AI agents, or devices.
You have a paid license installed on your FusionAuth instance. The functionality in this use case requires the Starter plan or higher. [Learn more about pricing](/pricing).
## Example Scenario
Machine to machine communication is very flexible, and can include communication between any software entities. If this example doesn't fit your use case, consider [other example scenarios](#other-example-scenarios).
Suppose you have a hardware business selling internet enabled clock radios. The radio ships with the ability to tell time and tune into FM stations, but you want recurring revenue as well, so you offer two upsells, a news API and weather API. A user can subscribe and provide their zip code. Then, in the groggy morning hours, they can press a button on their clock radio for either news or weather. Basic subscriptions get weather, and premium plans get both news and weather.
You need to tie each device to a plan paid for by the user. Since users might change from not having a plan to a basic plan, or from basic to premium you also need to allow the device permissions to change over time.
You can do this by representing each clock radio with a software "twin". Then, you can modify the twin and change the APIs that the hardware device can call. This is also known as creating a digital twin.
'
### Why Not Use API Keys
Before talking implementation, you might be wondering about API keys and why they could not be used to manage the device access to the weather and news APIs. The access token generated by the Client Credentials grant is essentially an API key, proving the clock radio's identity and level of access. Why not simply give a static API key to each clock radio and call it good?
By using an access token for machine to machine communication, you see the following benefits:
* the access token is time bound and expires; if someone steals it, access is limited
* the process is standards based
* the client Id and secret are centrally managed and monitored
* the access tokens can be validated without contacting FusionAuth
* granular permissions and other data can be placed in the token
## Actors/Components
* a weather API which returns weather
* a news API which returns news
* devices: clock radios
* code running on the devices
* FusionAuth
## Implementation Steps
This is a five step implementation process to enable m2m communication. Steps to take:
* set up entity types
* create digital twins for each clock radio
* have the clock radio request the API
* have the API respond
* modify the digital twin as needed
The next time the radio makes a request, the access token will only be granted for the appropriate permissions.
### Setting Up Entity Types
Entity types define permissions and token lifetime. To set up the entity types and permissions, create an `APIType` Entity Type with two possible permissions, `news` and `weather`. If you needed more permissions later, you could add them to the `APIType` Entity Type.
You'll also need the `ClockRadioType` Entity Type. This doesn't need any permissions, since nothing is granted permissions against this type of entity.
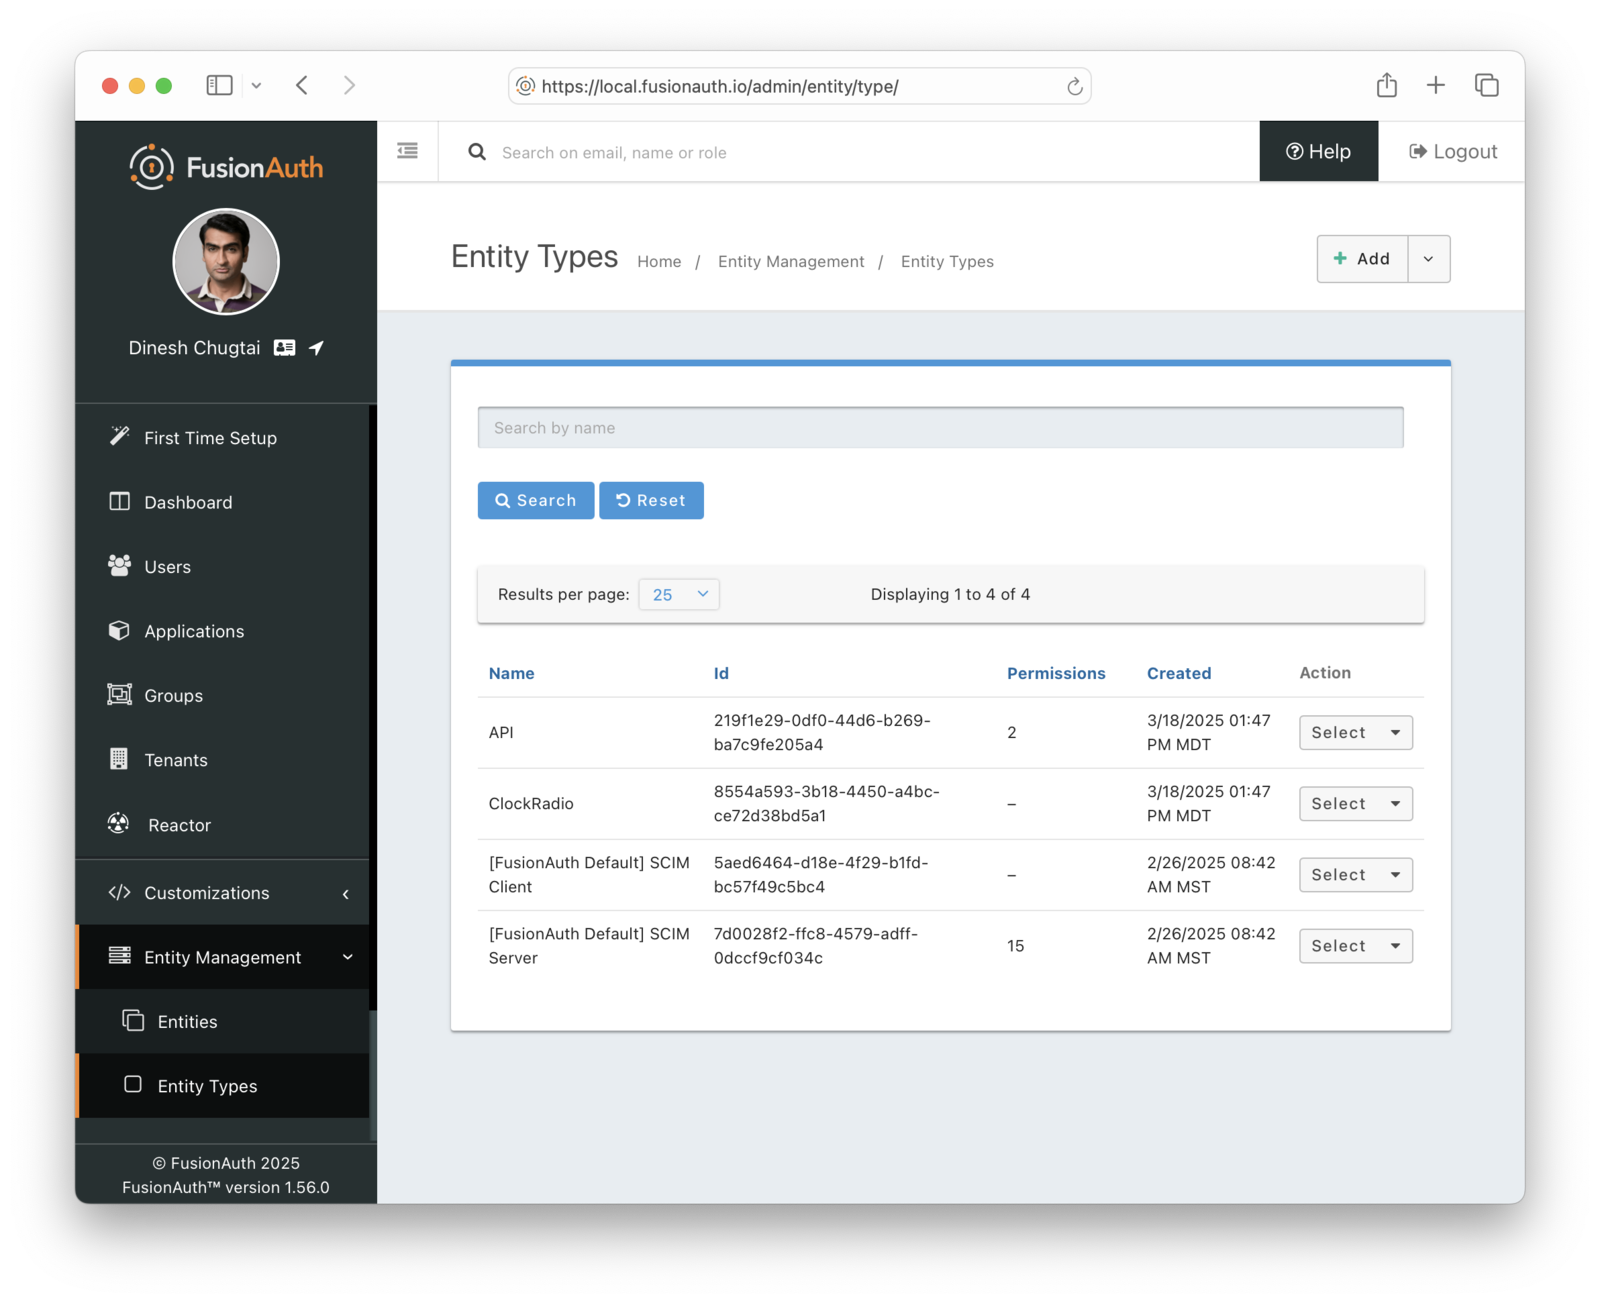
Configure the lifetime of the JWT issued in the Client Credentials grant. Select an asymmetric signing keypair as well, so that the access token can be verified without contacting FusionAuth.
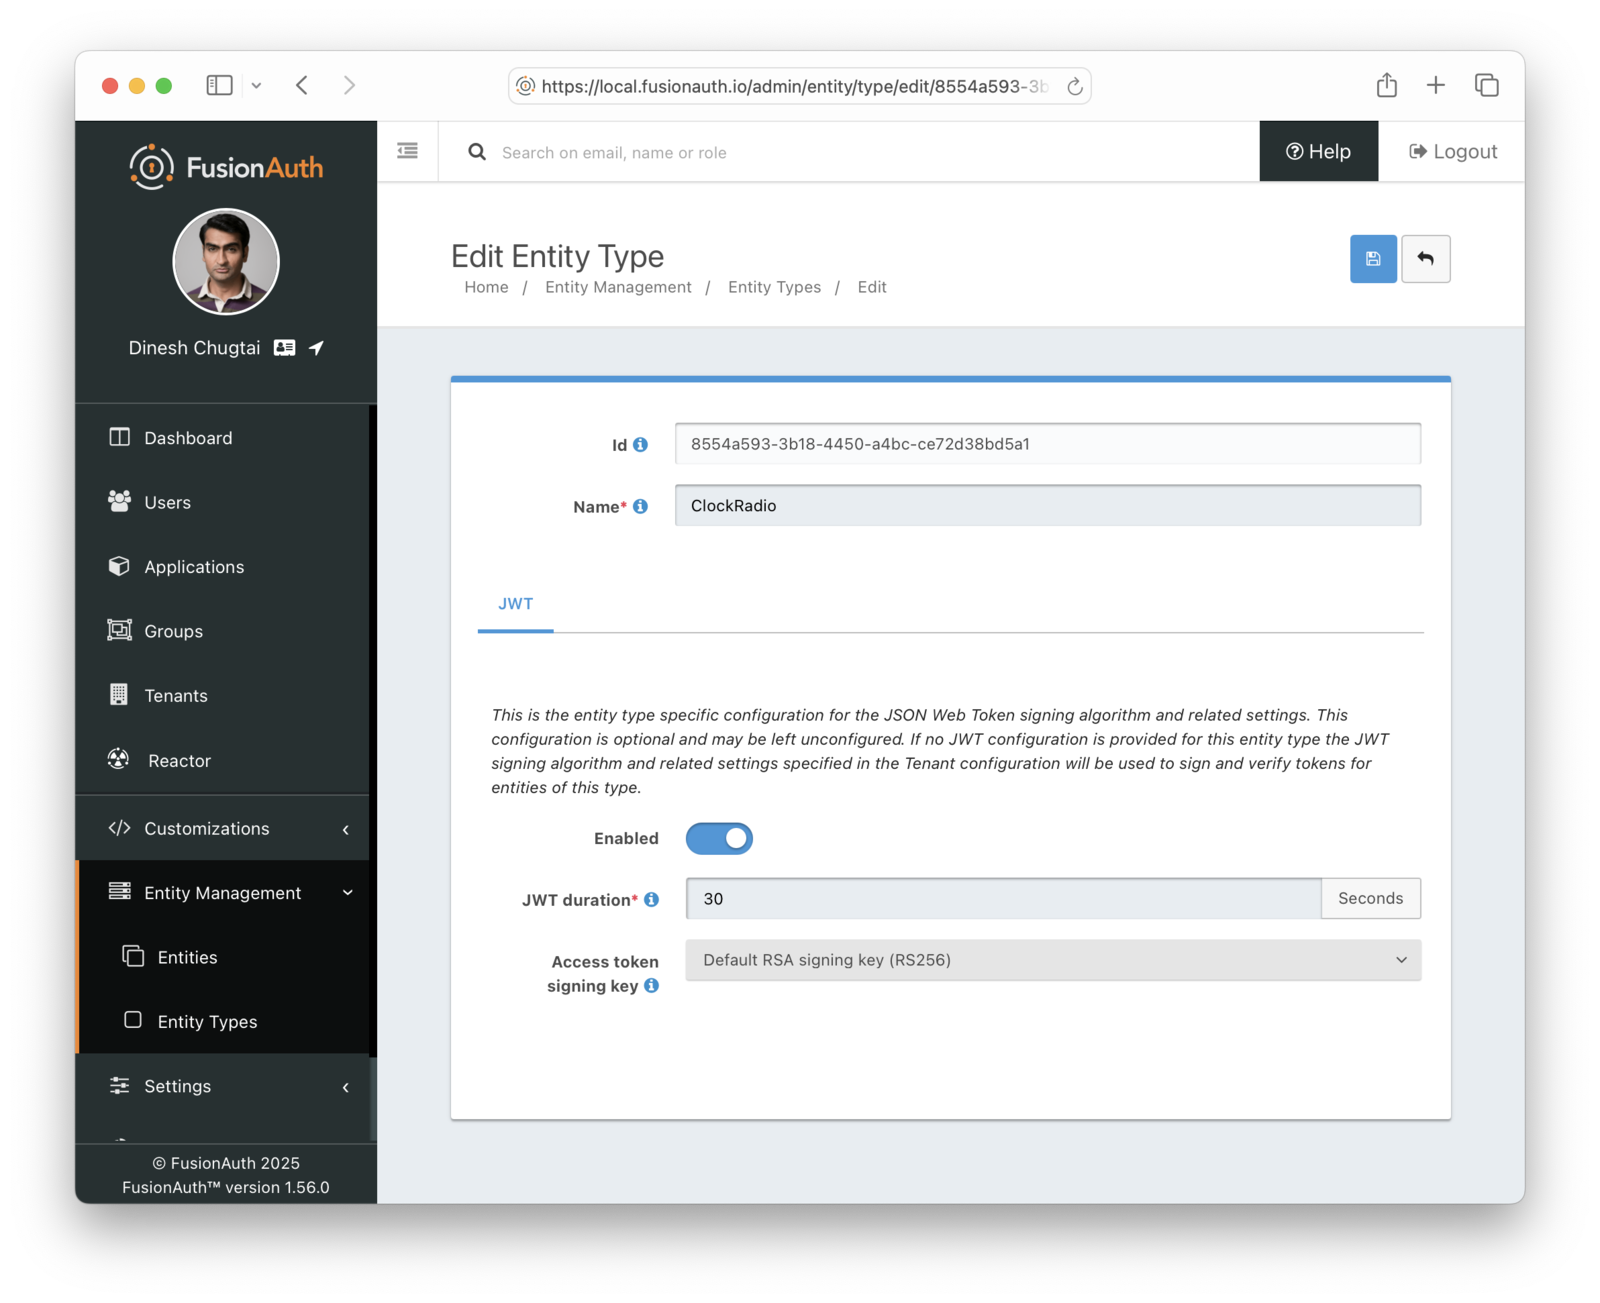
Finally, set up one `API` Entity, which has the `APIType` entity type. Access to this API will be granted in the next step.
### Creating The Digital Twin
For each clock radio, create an Entity in FusionAuth which will function as a digital twin. This is something that you should write code for, using [one of the SDKs](/docs/sdks), because you need to do this for every device. You'll need to [create an API key](/docs/apis/authentication#api-key-authentication) to automate this.
Here's example code to create the entity and then grant the `news` permission:
<RemoteCode lang="javascript"
url="https://raw.githubusercontent.com/FusionAuth/fusionauth-example-machine-to-machine/refs/heads/main/create-entity/create-entity.js"
title="Create the entity and grant the permission"
/>
Finally, distribute the client Id and secret to each clock radio so that it can request an access token. If you want to do this in reverse order, and set up the device with a known client Id and secret and then set up the entity, you can do that as well, as long as the [client Id is a UUID](/docs/reference/data-types#uuids).
### Making The API Request
When the radio is ready to make the API request, it must obtain an access token. Then it will make a call against the appropriate API endpoint, passing along the token and other data needed for the request. The API can validate the token and return the data. Here's a diagram outlining this flow.
<APIRequestDiagram alt="A clock radio making an API request." />
You obtain the access token using [the Client Credentials grant](/docs/lifecycle/authenticate-users/oauth/#example-client-credentials-grant). If needed, modify the body of the access token by using a [Client Credentials JWT Populate lambda](/docs/extend/code/lambdas/client-credentials-jwt-populate). Here's an example of the grant request made by a clock radio.
<RemoteCode lang="javascript"
url="https://raw.githubusercontent.com/FusionAuth/fusionauth-example-machine-to-machine/refs/heads/main/request-api/request-news.js"
title="Request the access token"
tags="requestAccessToken"
/>
Present the access token to the API along with your request. This is typically done using the `Authorization` header, but can be customized based on what the API expects.
<RemoteCode lang="javascript"
url="https://raw.githubusercontent.com/FusionAuth/fusionauth-example-machine-to-machine/refs/heads/main/request-api/request-news.js"
title="Make the API request with the access token in the Authorization header"
tags="fetchNews"
/>
### Building The API Response
The API validates the access token, using a library to check the signature and the other claims. Here's an example helper middleware validating an access token in an Express API, which reads the token either from a cookie or from the `Authorization` header.
<RemoteCode lang="javascript"
url="https://raw.githubusercontent.com/FusionAuth/fusionauth-example-machine-to-machine/refs/heads/main/apis/services/verifyJWT.js"
title="Validating the access token in the API"
/>
This code checks the following parts of the access token:
* signature
* expiration time
* issuer claim
* audience claim
You must further check the permissions from the validated token using code like this helper method:
<RemoteCode lang="javascript"
url="https://raw.githubusercontent.com/FusionAuth/fusionauth-example-machine-to-machine/refs/heads/main/apis/services/hasPermission.js"
title="Validating the access token in the API"
/>
You can do this in the API route:
<RemoteCode lang="javascript"
url="https://raw.githubusercontent.com/FusionAuth/fusionauth-example-machine-to-machine/refs/heads/main/apis/routes/index.js"
title="Validating the access token in the API"
/>
Implementation of the actual APIs is incomplete in this example application.
Our [quickstarts show how to validate the access token in an API](/docs/quickstarts/#api) in other languages.
Validate the access token directly, rather than using introspection. Introspection by an API of the access token obtained via a Client Credentials grant doesn't work as you might expect. [More details in this GitHub issue](https://github.com/FusionAuth/fusionauth-issues/issues/3010).
### Changing The User's Plan
When the user changes their plan, you can update the entity's permissions. Here's sample code to update the plan and permissions.
```javascript
import {FusionAuthClient} from '@fusionauth/typescript-client';
import 'dotenv/config'
const FUSIONAUTH_API_KEY = process.env.FUSIONAUTH_API_KEY;
const BASE_URL = process.env.BASE_URL;
const RECIPIENT_ENTITY_ID = process.env.RECIPIENT_ENTITY_ID;
const TARGET_ENTITY_ID = process.env.TARGET_ENTITY_ID;
const PERMISSIONS = ['news','weather'];
const client = new FusionAuthClient(FUSIONAUTH_API_KEY, BASE_URL);
async function grantPermission(entityId) {
try {
const req = {
grant: {
permissions: PERMISSIONS,
recipientEntityId: entityId
}
}
const response = await client.upsertEntityGrant(TARGET_ENTITY_ID, req);
console.log('Permission granted:', response);
} catch (error) {
console.error('Error granting permission:', JSON.stringify(error));
}
}
async function updateEntity(entityId) {
try {
const response = await client.patchEntity(entityId, {
entity: {
data: { plan: 'premium' }
}
});
console.log('Entity updated:', response);
} catch (error) {
console.error('Error updating entity:', JSON.stringify(error));
}
}
(async () => {
await updateEntity(RECIPIENT_ENTITY_ID);
await grantPermission(RECIPIENT_ENTITY_ID);
})();
```
The next time an API request is made, updated permissions will be included in the access token.
## Expected Outcome
Your devices now have a digital twin that can be used to securely manage device authentication and authorization against APIs and services.
You can change the permissions and capabilities of these devices over time.
## Edge Cases
The admin UI for managing entities can be cumbersome. Use the admin UI to explore functionality but prefer the SDKs or direct API access to manage entities in production.
No "on behalf of" semantics are currently supported, where machines communicate in sequence. [Read more on the GitHub issue](https://github.com/FusionAuth/fusionauth-issues/issues/1471).
You can rotate client secrets, but you cannot change the device's entity Id. To modify that value, create a new entity.
Entity Ids are always UUIDs.
### Limits On The Data Field
<DataFieldDataTypeChanges />
## Other Example Scenarios
Whenever software talks to other software without a human in the mix, that's machine to machine communication. Examples include:
* APIs calling other APIs in a microservices based application
* a cron job making calls against a protected service every night at 11pm
* CI/CD pipelines where you are making calls against remote services to, for example, push a container image
* external tooling built by developers integrating with your platform; the client Id and secret can be managed in a developer portal
## Additional Documentation
* [An example Client Credentials grant](/docs/lifecycle/authenticate-users/oauth/#example-client-credentials-grant)
* [Examples of how to validate the access token in an API](/docs/quickstarts/#api)
* [Entity management](/docs/get-started/core-concepts/entity-management)
* [Customize the access token body with a lambda](/docs/extend/code/lambdas/client-credentials-jwt-populate)
* [Videos on using the Client Credentials grant for API authentication](https://www.youtube.com/watch?v=rT-VTtgligI&list=PLUOVyt5DYPpNzRdTKrio0P0a4mktqLPN9)
* [Securing your API blog post](/blog/securing-your-api)
* [Types of Kubernetes authentication](/articles/authentication/types-of-kubernetes-auth)
* [Example machine to machine application](https://github.com/FusionAuth/fusionauth-example-machine-to-machine)
# Application Authentication Tokens
import API from 'src/components/api/API.astro';
import Breadcrumb from 'src/components/Breadcrumb.astro';
import InlineField from 'src/components/InlineField.astro';
import InlineUIElement from 'src/components/InlineUIElement.astro';
import JSON from 'src/components/JSON.astro';
## Application Authentication Tokens
In most cases, Users will authenticate using a login Id (email or username) plus a password. Passwords are hashed using a strong cryptographic
hash such as BCrypt. The process of hashing is intentionally slow by design to limit the risk of brute force attacks. In some cases, you might need
a way to speed up authentication without reducing the hashing strength for the normal login process.
To solve this problem, FusionAuth supports the concept of Authentication Tokens. Authentication Tokens are an Application specific way of
authenticating Users. For each Application, you can enable Authentication Tokens and then allow Users to authenticate using this authentication token.
An Authentication Token is a sequence of characters and it can be used in place of your normal password. If you allow FusionAuth to generate the
token for you which is highly recommended, the token is built using a secure random generator and the URL safe Base64 encoded to produce a string 43 characters in length.
While 128 bites of entropy is generally considered to be sufficiently secure , the generated Authentication Token provides 256 bites of entropy. This value is calculated
by multiplying the number of characters by the entropy per character, and because a Base64 encoded character provides a entropy of 5.954 bits, a 43 character string will have 256 bits of entropy.
### Enabling Authentication Tokens
To enable Authentication Tokens, open the FusionAuth web interface and navigate to <Breadcrumb>Applications</Breadcrumb> from the main menu. Edit the Application you want to use Authentication Tokens for and click the Security tab. You'll see an option like this:
<img src="/img/docs/lifecycle/authenticate-users/authentication-token.png" alt="Authentication Tokens" width="1200" role="shadowed" />
Enable this option and save the change to your Application.
### Generating Authentication Tokens
Once the Authentication Tokens are enabled for a specific Application, you can ask FusionAuth to generate one for a User by creating or
updating a User Registration. To accomplish this, you will set the request parameter named `generateAuthenticationToken` to true in
the request JSON like this:
<API method="PUT" uri="/api/user/registration"/>
<JSON title="Example Request JSON" src="user-registrations/create-request-with-authentication-token.json" />
This request will result in a response that includes an Authentication Token like this:
<JSON title="Example Response JSON" src="user-registrations/response-with-authentication-token.json" />
For more information, review the [User Registration APIs](/docs/apis/registrations).
### Authenticating Using a Token
Once a User has been given an Application specific Authentication Token, you can supply it on the [Login API](/docs/apis/login) as long as
you include the Application Id in the request as well.
Note that you must provide a valid API key unless you've also unchecked the <InlineField>Require an API key</InlineField> setting in the <InlineUIElement>Login API Settings</InlineUIElement>.
Here is an example request to the Login API:
<JSON title="Example Request JSON" src="login/request-with-authentication-token.json" />
# Contextual Multi-Factor Authentication (MFA)
import InlineField from 'src/components/InlineField.astro';
import PremiumPlanBlurb from 'src/content/docs/_shared/_premium-plan-blurb.astro';
import EnterprisePlanBlurb from 'src/content/docs/_shared/_enterprise-plan-blurb.astro';
import MfaDecisionTree from 'src/diagrams/docs/lifecycle/authenticate-users/mfa-decision-tree.astro';
import TenantMfaDecisionTree from 'src/diagrams/docs/lifecycle/authenticate-users/tenant-mfa-decision-tree.astro';
import ApplicationMfaDecisionTree from 'src/diagrams/docs/lifecycle/authenticate-users/app-mfa-decision-tree.astro';
import Breadcrumb from 'src/components/Breadcrumb.astro';
## Overview
This page explains why and how FusionAuth asks for MFA during the login process.
For guidance on implementing MFA using FusionAuth, see the [MFA documentation](/docs/lifecycle/authenticate-users/multi-factor-authentication).
## When is MFA Required?
FusionAuth displays an MFA challenge to the user when a login attempt meets one of the following criteria:
* Does the tenant or application enable or require MFA?
* Has the user provided an MFA method?
* Did the user log in using an Identity Provider such as Google or OIDC? In this case, MFA is never required.
* Has the device passed appropriate contextual checks, such as using a known device?
The following diagram shows the FusionAuth MFA logic:
<MfaDecisionTree alt="High level diagram of MFA logic."/>
### Contextual Checks
Contextual checks are based on attributes of the request evaluated every time a user authenticates. These checks include:
* Has this device been seen before?
* Has this user been seen before on this device?
* Is there a suspicious login detected for this authentication attempt?
The duration of trust of the device can be configured with the <InlineField>tenant.externalIdentifierConfiguration.twoFactorTrustIdTimeToLiveInSeconds</InlineField> configuration value.
The goal of this contextual check is to challenge the user for another factor of authentication whenever FusionAuth determines the risk of invalid access outweighs user friction.
Depending on [your license](#license-limitations), you can configure MFA policies at both the tenant and application level.
### Tenant MFA Configuration
Tenant configuration applies to all applications within a tenant. The MFA policy has three values:
* `Disabled`: no MFA challenge occurs
* `Enabled`: an MFA challenge occurs only if the user has a valid MFA method
* `Required`: an MFA challenge always occurs, requires users without MFA to configure an MFA method
Here's a diagram of the MFA challenge logic when the tenant has a policy for MFA.
<TenantMfaDecisionTree alt="Diagram of tenant MFA decision logic."/>
### Application MFA Configuration
Application configuration applies to a single application within a tenant. Application policies always supersede the tenant policy.
With an active application MFA configuration, there is an MFA policy with three possible values:
* `Disabled`: no MFA challenge occurs
* `Enabled`: an MFA challenge occurs only if the user has a valid MFA method
* `Required`: an MFA challenge always occurs, requires users without MFA to configure an MFA method
An additional trust policy determines if an application accepts the results of other MFA challenges with the following options:
* `Any`: any application's challenge results are acceptable
* `This`: only this application's challenge results are acceptable
* `None`: no application's challenge results are acceptable, always displays an MFA challenge
Here's a table outline possible scenarios for different trust policies.
| Trust Policy | Example Application | Notes |
|--------------------------|--------------------------------------|-----------------------------------------------------------------------|
| `Any` | Apps in a [suite of applications](/docs/get-started/use-cases/app-suite) such as Google Drive, Google Calendar and Gmail | Any MFA challenge is good enough since they all have roughly the same risk profile. |
| `This` | A gambling application which uses real money in a suite which has other fantasy gaming apps. | The other fantasy gaming apps might not require MFA at all, but if they do, it's not a high enough level of security for the "real money" gambling application. |
| `None` | An internal admin dashboard | Access should be strictly controlled and user friction is not an issue. |
Here's a diagram of MFA challenge logic when the application has a policy for MFA.
<ApplicationMfaDecisionTree alt="Diagram of application MFA decision logic."/>
## License Limitations
Not all plans support all MFA features. The plan you are on affects the MFA options available to you and your users. Learn more about [plan features](/docs/get-started/core-concepts/premium-features) and [pricing](/pricing).
The following contextual MFA features are limited to the specified plan.
### Enterprise Only
* Application MFA policies
* Suspicious Login Contextual Check
### Any Paid Plan
* Email MFA
* SMS MFA
* User MFA Enrollment Account Management Pages
### Any Plan
* TOTP MFA
* Tenant MFA policies
* User MFA Enrollment APIs
* Application MFA policies for the FusionAuth Admin UI only
## MFA Challenges After Identity Provider Login
If a user logs in with an Identity Provider such as Google or OIDC, FusionAuth does not challenge for MFA. [FusionAuth trusts that the correct MFA challenge process happens at Identity Provider](/docs/lifecycle/authenticate-users/identity-providers/#account-security).
There's an [open issue to add a policy to allow for more control](https://github.com/FusionAuth/fusionauth-issues/issues/2005) in this scenario.
## Custom MFA Logic
You may need more granularity on who is challenged for an additional factor during login. For example, you might want everyone who is a member of a certain group or has a certain `user.data` field to complete an MFA challenge.
To customize MFA to meet your needs, use one of the following methods:
### MFA Requirement Lambda
Under <Breadcrumb> Customization -> Lambdas </Breadcrumb>, create a new Lambda of type "MFA requirement lambda".
The following example forces an MFA check for any user whose email address includes the string 'gilfoyle':
```javascript
function checkRequired(result, user, registration, context) {
if (user.email.includes('gilfoyle')) {
result.required = true;
}
}
```
For more information, see [the MFA requirement lambda documentation](/docs/extend/code/lambdas/mfa-requirement).
### Use a Webhook
1. Set a tenant or application policy to `Enabled` and then use the API to ensure that everyone in the `mfa_required` group has an MFA method.
1. Use a [transactional `user.update` webhook](/docs/extend/events-and-webhooks/events/user-update) to ensure that the MFA method can't be removed while the user is in that group.
1. Set the trust duration to be the same or less than your session length.
1. If you are using the application policy, set the trust policy to `This`.
### Redirect Users Through a Special Application
The following example guarantees that all users in the `mfa_required` group are challenged with MFA whenever they log in:
1. Create an "MFA check" application with an MFA policy of `Required` and a trust policy of `None`.
1. After a user logs in, examine their profile on an interstitial page.
1. If they are in the `mfa_required` group, redirect them to this application. They will be prompted for MFA and then redirected to the initial application.
1. Users that are not in the `mfa_required` group can be sent directly through to the application.
Make sure the MFA check application uses a lambda to set the `aud` and `applicationId` claims to values expected by any access token consumers.
This is similar to doing a conditional step-up authentication on the interstitial page, without using the step-up API.
## MFA Challenges Outside Of The Login Process
If you need to prompt for MFA outside of the login process, use step-up authentication. For example, you could display an MFA challenge when a user performs a high-risk action like initiating a money transfer. Use the [2FA API](/docs/apis/two-factor#start-multi-factor) to perform this process.
For more information, see the [step-up authentication](/docs/lifecycle/authenticate-users/multi-factor-authentication#step-up-auth) documentation.
## Limitations On MFA Challenges
There's an [open issue](https://github.com/FusionAuth/fusionauth-issues/issues/2357) about unexpected MFA behavior and workarounds when a user logs in with an identity provider but SSOs to an application with a login policy of `Required`.
If a user signs up with an MFA method that is allowed for a tenant, such as email, and the tenant configuration changes later to disable that MFA method, the user can still use that MFA method. Users cannot, however, add disabled MFA methods. If you are disabling an MFA method previously in use, it's recommended you search for users using that method and remove it using a script, updating each user.
# Logout And Session Management
import AccountLogout from 'src/content/docs/lifecycle/manage-users/account-management/_account-logout.mdx';
import Aside from 'src/components/Aside.astro';
import InlineField from 'src/components/InlineField.astro';
import InlineUIElement from 'src/components/InlineUIElement.astro';
import BootstrappingSSO from 'src/content/docs/lifecycle/authenticate-users/_bootstrapping-sso.mdx'
import Breadcrumb from 'src/components/Breadcrumb.astro';
import JSON from 'src/components/JSON.astro';
import { RemoteCode } from '@fusionauth/astro-components';
import ApplicationManagedSessionsStart from 'src/diagrams/docs/lifecycle/authenticate-users/application-managed-sessions-start.astro';
import ApplicationManagedSessionInvalid from 'src/diagrams/docs/lifecycle/authenticate-users/application-managed-session-invalid.astro';
import ApplicationManagedSessionsRequests from 'src/diagrams/docs/lifecycle/authenticate-users/application-managed-sessions-requests.astro';
import ApplicationManagedSessionsLogout from 'src/diagrams/docs/lifecycle/authenticate-users/application-managed-sessions-logout.astro';
import CentralizedSessionsStart from 'src/diagrams/docs/lifecycle/authenticate-users/centralized-sessions-start.astro';
import CentralizedSessionsRequests from 'src/diagrams/docs/lifecycle/authenticate-users/centralized-sessions-requests.astro';
import CentralizedSessionsLogout from 'src/diagrams/docs/lifecycle/authenticate-users/centralized-sessions-logout.astro';
import CentralizedSessionsSessionInvalid from 'src/diagrams/docs/lifecycle/authenticate-users/centralized-sessions-session-invalid.astro';
import SSOLogout from 'src/diagrams/docs/lifecycle/authenticate-users/sso-logout.astro';
import SessionsExpiration from 'src/content/docs/lifecycle/authenticate-users/_sessions-expiration.mdx';
## Overview
This guide documents logout and session management features. Logout, or sign out, processes revoke users' access to applications and functionality. Session management controls the session and therefore continued access to application functionality and data.
For web and mobile applications, a session allows servers receiving requests over HTTP to group requests made by a user or application together. OWASP, an open-source security project, [defines a session](https://cheatsheetseries.owasp.org/cheatsheets/Session_Management_Cheat_Sheet.html) as:
> ... a sequence of network HTTP request and response transactions associated with the same user. Modern and complex web applications require the retaining of information or status about each user for the duration of multiple requests. Therefore, sessions provide the ability to establish variables – such as access rights and localization settings – which will apply to each and every interaction a user has with the web application for the duration of the session.
Applications which delegate authentication to FusionAuth may delegate session management to FusionAuth.
## The ChangeBank Scenario
Let's look at two applications, ChangeBank and ChangeBank Forum. ChangeBank is the application you can build when [working through a quickstart](/docs/quickstarts). It lets you make change given an amount of money. ChangeBank Forum is a web forum where people share their favorite stories and advice about coins and how change is made. Both applications delegate authentication to FusionAuth.
This guide will explore sessions and logging out functionality with these two example applications.
## Sessions Basics
Every session in FusionAuth is associated with all three of:
* a user (a person)
* an application
* a device or software running on a device
Here are examples that result in different sessions:
* Richard logs in to ChangeBank with the Chrome browser on his Windows PC. He gets session A.
* Richard logs in to ChangeBank with the Edge browser on his Windows PC. He gets session B.
* Richard logs in to the ChangeBank Forum with the Safari browser on his iPhone. He gets session C.
* Malia logs in to the ChangeBank Forum with the Safari browser on her iPhone. She gets session D.
Even though Richard is on one Windows PC, he gets both session A and session B because he used different browsers.
There are three types of sessions relevant to this guide:
* An **application session** is created after FusionAuth has authenticated a user, the application has completed the token exchange, and the user has been logged in to the application. The application almost always creates a session. How exactly this session works (a cookie, value stored in redis, or a database row) is specific to each web or mobile application.
* A **FusionAuth SSO session** is created when a user checks <InlineUIElement>Keep me signed in </InlineUIElement>, or when a custom theme hard codes that form value. This session is available only when using the [hosted login pages](/docs/get-started/core-concepts/integration-points#hosted-login-pages) and a browser or webview. It allows for transparent, automatic user authentication when a user moves between different web or mobile applications on the same device.
* A **centralized session** is a FusionAuth refresh token. It represents an application session that is managed by FusionAuth. This session can be read or revoked using the FusionAuth API. It is created by a user login. Both the hosted login pages or the Login API support this type of session.
When this guide refers to sessions without any of these prefixes, the relevant statement applies to all these types of sessions.
## Types Of Session Management
When considering session management with FusionAuth, first consider whether you need a centralized session store. Do you want your FusionAuth instance to keep track of sessions for each application?
With centralized session management, you can:
* capture information about users' sessions across applications such as lifetime, device, or IP address
* log users out of application using the FusionAuth admin UI or the API
* remove sessions with fine grained control according to business logic you write
* have different session lifetimes for applications, but manage those lifetimes in FusionAuth
The downside of centralized sessions is implementation complexity and more reliance on FusionAuth's APIs.
The alternative to centralized sessions is application managed sessions. These sessions are ended with [Front-Channel Logout](/docs/lifecycle/authenticate-users/oauth/endpoints#logout) rather than the API. With application managed sessions, FusionAuth doesn't keep track of session lifetime or other characteristics. Instead, FusionAuth relies on the applications to manage each session.
With application managed sessions, you:
* will have no values will appear on the <Breadcrumb>Sessions</Breadcrumb> tab under the user details screen in the admin UI, except perhaps the FusionAuth SSO session
* cannot use the API to view or manage application sessions
* won't have any control over timeouts; they are managed by each application and will need to be configured there
* cannot revoke application sessions via the API, though you will still be able to request revocation
### Choosing A Session Management Approach
Here's a table outlining major differences between centralized sessions and application managed sessions.
| Feature | Centralized Sessions | Application Managed Sessions |
| -------- | ------- | ------- |
| Level of effort | Medium | Low |
| Revoke sessions across all applications in a tenant on logout | Yes | Yes |
| Revoke sessions for one application on logout | Yes | Yes |
| Revoke sessions for more than one and fewer than all applications on logout | Yes | No |
| Fine grained session revocation, including via API | Yes | No |
| Precise control of session timeout | Yes | No |
| Central view of sessions in FusionAuth | Yes | No |
| Call to FusionAuth required each time a user interacts with your application | Yes | No |
| Works with FusionAuth SSO, including revocation | Yes | Yes |
| Works with non browser based applications, such as APIs | Yes | No |
| Session revocation webhooks available | Yes | No |
| Can be used without using the hosted login pages | Yes | No |
Let's examine each of these approaches in more detail.
## Centralized Sessions
This section documents how to implement a centralized session store using FusionAuth. Let's use the example ChangeBank and ChangeBank Forum applications mentioned above.
### Implementation Steps
* Make sure to set up the ChangeBank and ChangeBank Forum Applications are correctly configured inside FusionAuth. The Application has the <InlineField>Refresh token</InlineField> checkbox toggled in the <InlineUIElement>Enabled Grants</InlineUIElement> section. The <InlineField>Generate refresh tokens</InlineField> setting must be enabled too.
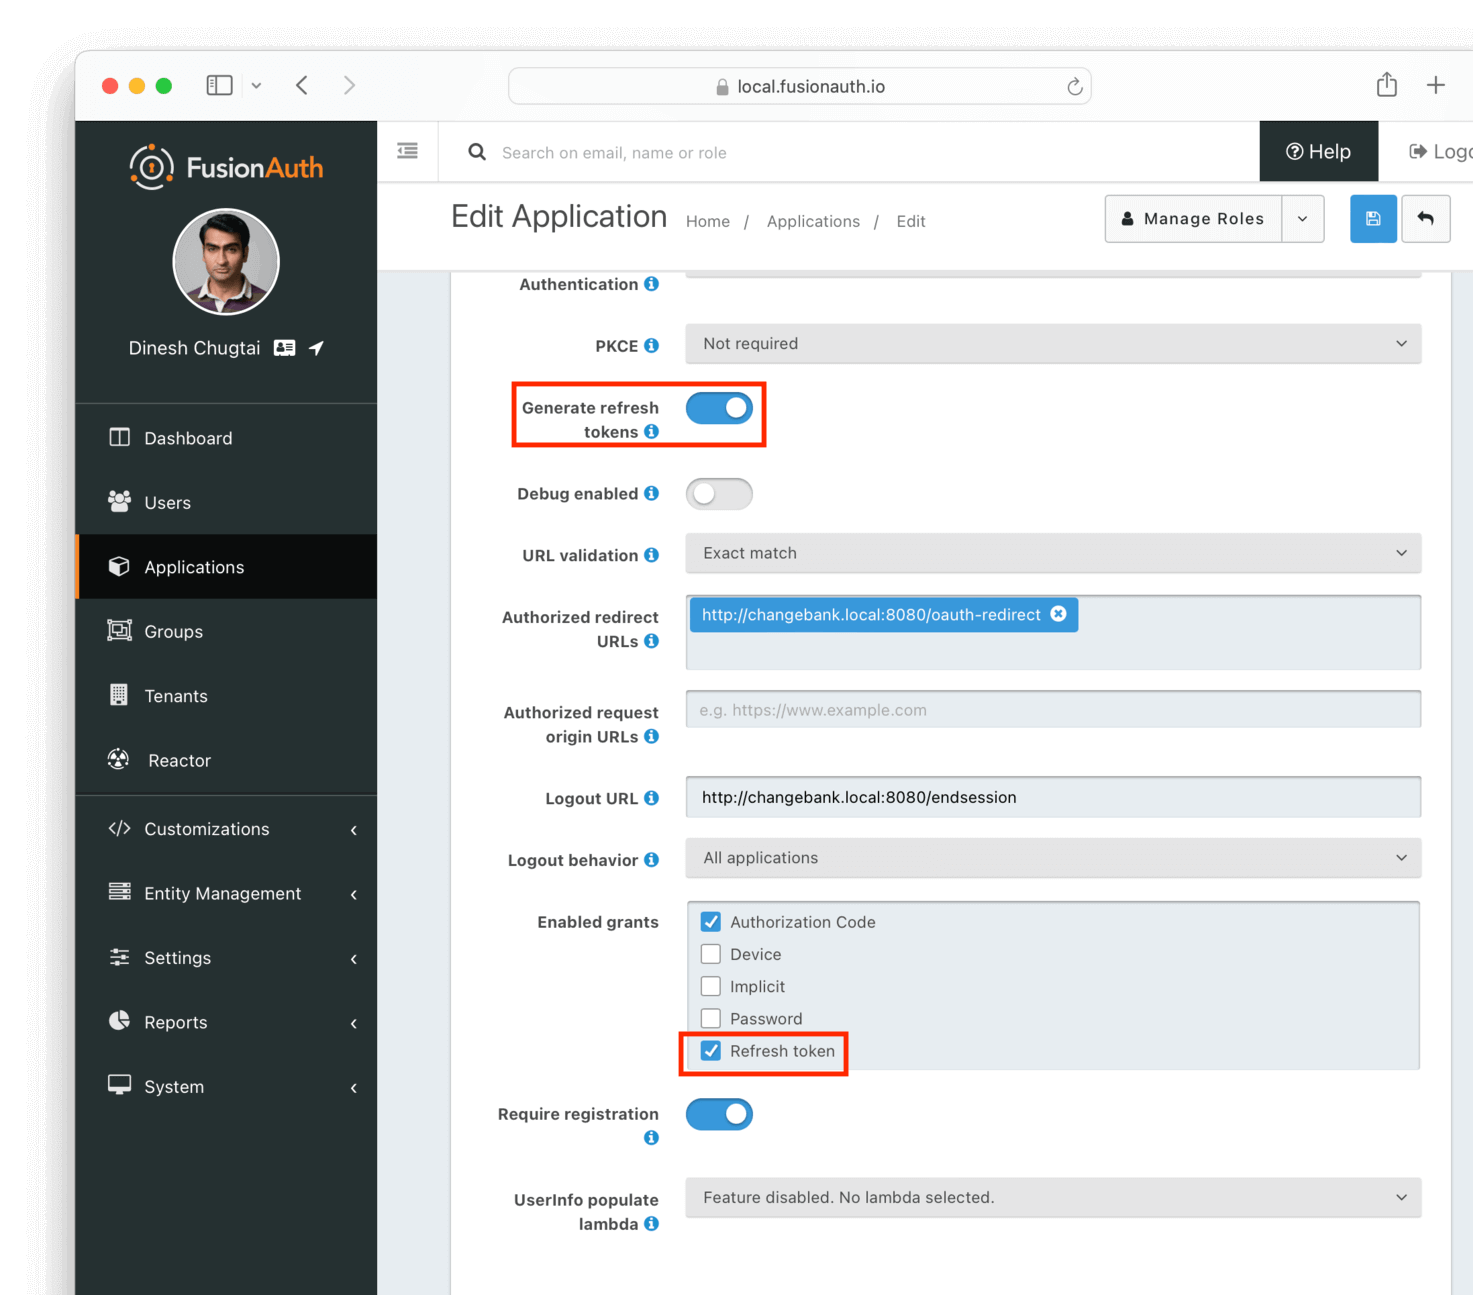
* Each time you build the authorization URL, your `scope` parameter must include the following scopes: `offline_access`, which creates the refresh token and `openid`, which asks for an Id token. The authorization URL will therefore include this string: `&scope=openid%20offline_access`, since scopes are separated with a URL encoded space.
* In the ChangeBank and ChangeBank Forum applications, create an application session following your web or mobile app framework documentation.
* After the user is logged in, store the refresh token Id in the application session. The Id is available in the `sid` parameter in the Id token, or in the access token. Prefer the refresh token Id instead of the refresh token value, since the Id will not change even if the value of the token itself does. This can happen if you are using one-time refresh tokens.
* You could also store the refresh token Id in a HttpOnly cookie instead of in a session.
* Whenever the ChangeBank or ChangeBank Forum application receives a request, call the [Retrieve Refresh Tokens API](/docs/apis/jwt#retrieve-refresh-tokens), using the stored refresh token Id, to check the status of the refresh token. You can call the REST API directly or using one of [the FusionAuth client libraries](/docs/sdks). If the refresh token doesn't exist or is invalid, deny the user access and invalidate the application session.
* When a user logs out from either the ChangeBank or ChangeBank Forum application, revoke the refresh token. Use the [Revoke Refresh Tokens API](/docs/apis/jwt#revoke-refresh-tokens). You can revoke all refresh tokens or just a few. The logic around revocation depends on your business needs. See [Flexible Revocation](#flexible-revocation) for more details.
You are using the refresh token to tie the ChangeBank and ChangeBank Forum applications to FusionAuth. Your applications are confirming session validity with FusionAuth each time a request is received.
### Flow Diagrams Of Common Use Cases
Let's look at some flow diagrams for these four use cases:
* a user logs into ChangeBank and then visits ChangeBank Forum
* a logged in user interacts with ChangeBank
* a user logs out of ChangeBank, which revokes all refresh tokens for that user
* tries to access ChangeBank Forum after logging out of ChangeBank
#### Login Request Flow
This is the flow of a user who logs in to both the ChangeBank and ChangeBank Forum applications who checks the <InlineUIElement>Keep me signed in</InlineUIElement> checkbox on the hosted login pages. The refresh token Id is stored in an application session.
<CentralizedSessionsStart alt="Centralized sessions login flow." />
#### Normal Request Flow
This is the flow of a user who has a valid ChangeBank application session and is interacting with the application. FusionAuth is consulted every request.
<CentralizedSessionsRequests alt="Centralized sessions normal request flow." />
#### Logout Request Flow
This is the flow of a user who is logging out of ChangeBank.
<CentralizedSessionsLogout alt="Centralized sessions logout flow." />
#### Request Flow With Invalid Centralized Session
Suppose a user has logged out of ChangeBank. They have had their refresh tokens revoked and thus their centralized sessions invalidated. But the ChangeBank Forum application still has a valid application session. This flow shows what happens when the user visits ChangeBank Forum.
<CentralizedSessionsSessionInvalid alt="Centralized sessions with a request when sessions have been invalidated." />
### Checking Session Validity
With centralized sessions, on each request you must check whether the refresh token associated with the current device is valid. How you do that depends on your application, but one approach is to use middleware.
Here's code adding middleware to an Express application.
<RemoteCode url={frontmatter.codeRoot + "/changebankforum/src/index.ts"}
lang="ts"
tags="redirectmiddleware"/>
`redirectFunction` is defined in a separate file. In this code the refresh token Id is stored as a cookie, but it could be stored in an application session. The code retrieves the Id of the refresh token and checks the validity. The check happens on every request, but you can ignore certain URLs, either by a full path or by path prefix.
<RemoteCode url={frontmatter.codeRoot + "/changebankforum/src/redirectMiddleware.js"}
lang="ts"
/>
Using the API to check refresh token validity may not work, depending on your [session lifetime preferences](#timeouts-and-session-lifetimes).
If you want a rolling window of session validity, use the refresh token grant instead. This will extend the lifetime of the refresh token. It will also trigger a webhook if configured, which can be useful for [analytics](#session-analytics). You can discard the resulting JWT.
### Flexible Revocation
One of the strengths of centralized sessions is custom session invalidation logic. You can write code to control what refresh tokens are revoked when a logout request is processed.
Let's look at a scenario where custom session invalidation logic would be helpful. Consider these business requirements:
* When a user logs out of ChangeBank, they are also logged out of the ChangeBank Forum.
* When a user logs out of ChangeBank Forum, they are *not* logged out of ChangeBank. Just because someone doesn't want to talk about nickels and dimes doesn't mean they should be logged out of their main application.
* If a user logs out of ChangeBank on one device, they must be logged out from all their devices.
* If a user logs out of ChangeBank Forum, it only affects that particular device.
Here's example typescript code for the ChangeBank logout route, where all tokens for the user are revoked across all devices.
<RemoteCode url={frontmatter.codeRoot + "/changebank/src/index.ts"}
lang="ts"
tags="endsession"/>
Here's example code for the ChangeBank Forum logout route. Here only the refresh token whose Id was previously stored is revoked.
<RemoteCode url={frontmatter.codeRoot + "/changebankforum/src/index.ts"}
lang="ts"
tags="endsession"/>
It's not just the complex single user logout use case shown above that is supported. Since you can revoke refresh tokens from other applications using the SDKs and APIs, you can have custom session expiration logic.
Examples include:
* When a [suspicious login](/docs/extend/events-and-webhooks/events/user-login-suspicious) occurs, you can revoke the refresh tokens for the affected user, and force them to re-authenticate. You can also [force them to MFA using step up auth](/docs/lifecycle/authenticate-users/multi-factor-authentication#step-up-auth).
* Revoke the refresh tokens for all users in a group or with a custom user data value if any single user logs out.
* Enforce a schedule, and revoke access for users every Friday night, forcing them to log in weekly.
* When building or augmenting a customer service application, you can add a button to 'log the user out' in the user details screen. In fact, the FusionAuth admin UI provides this functionality. Here's a screenshot:
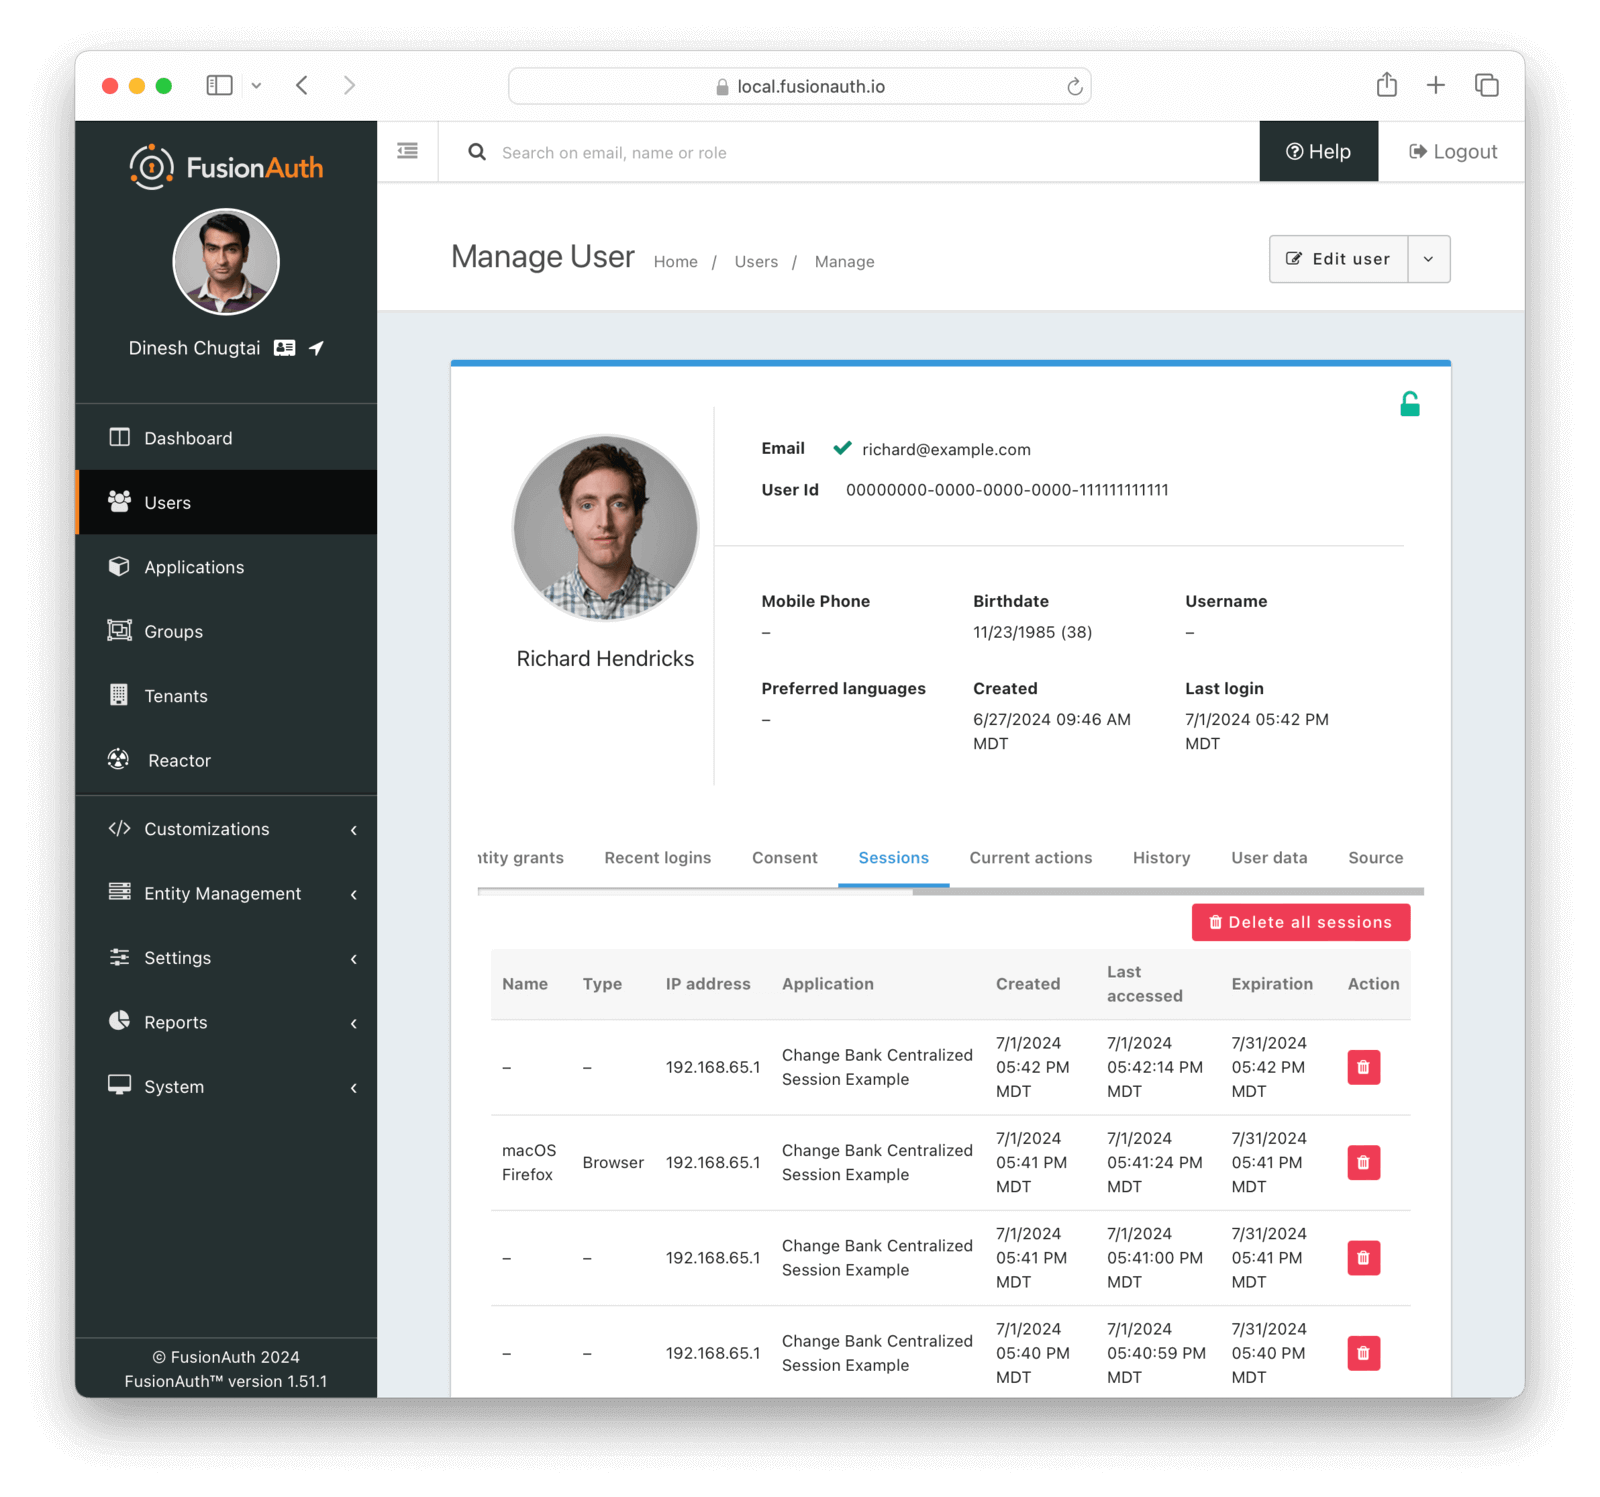
All of these are possible because your applications check in with FusionAuth, and FusionAuth provides programmatic control of the centralized sessions.
### Using The Login API
If you don't want to use the hosted login pages, but instead want to create your own user interface, use the [Login API](/docs/apis/login). You can create refresh tokens and use centralized sessions when users log in with the Login API.
To obtain refresh tokens, configure the Application to allow refresh tokens using the Login API. Navigate to <Breadcrumb>Applications -> Your Application -> Security</Breadcrumb>. Make sure the Application has the <InlineField>Enable JWT refresh</InlineField> checkbox toggled. The <InlineField>Generate refresh tokens</InlineField> setting must be enabled too.

Build the same refresh token validity check and revocation logic into the logout functionality of your application as shown above.
### Timeouts And Session Lifetimes
A centralized session can be created only by using the Login API, when configured as documented in [Using The Login API](#using-the-login-api), or by completing the [OAuth Authorization Code grant](/docs/lifecycle/authenticate-users/oauth/#example-authorization-code-grant) with the `offline_access` scope requested. There is no API for creating a centralized session, though there is an [open GitHub issue](https://github.com/FusionAuth/fusionauth-issues/issues/1850).
A centralized session will end when:
* It expires.
* It is deleted using the [API or a corresponding SDK call](/docs/apis/jwt#revoke-refresh-tokens).
* Optionally, as a result of a user changing their password or having their account locked.
The timeout of refresh tokens are controlled at the Tenant level, under <Breadcrumb>Tenants -> Your Tenant -> JWT</Breadcrumb>. In the <InlineUIElement>Refresh token settings</InlineUIElement>, there is a <InlineField>Duration</InlineField> field. Durations have a unit of minutes. The minimum lifetime of a centralized session is one minute. Timeouts can be overridden at the Application level if different web or mobile applications need different session durations.
The lifetime is controlled by the Tenant or Application refresh token expiration policy as well. Options include:
* have a fixed lifetime
* a lifetime which resets each time the refresh token is used
* a lifetime which resets on use up to a maximum duration
Please review the [Tenant API](/docs/apis/tenants) for more information about the policy and its options.
Ensure your application session timeout is longer than the timeout of the centralized session so you don't inadvertently log someone out before their centralized session expires.
### Testing Logins
If a user is repeatedly logging in and creating a refresh token, they should log out or revoke the tokens periodically. This behavior often happens in automated testing.
The list of tokens is visible in the admin UI. Here's an example:

If the list of sessions is long in a production or QA context, you may not be appropriately revoking refresh tokens.
### But Aren't Refresh Tokens Used For Minting JWTs?
Yes. Yes they are.
But for FusionAuth, refresh tokens serve two purposes.
* Refresh tokens represent a user/device pair as a session.
* Refresh tokens can be used as RFC 6749 compatible refresh tokens for creating access tokens using the Refresh grant. These access tokens would then be presented to your APIs or servers for access.
#### JWTs And Sessions
You can use the JWTs generated by the authentication process as a distributed session for other applications. This is common practice with APIs and single-page applications (SPAs). This is an example of [decentralized API key authentication](/blog/securing-your-api).
JWTs represent a session to other services, but the refresh token represents the session within FusionAuth.
When you use JWTs in this way, you are making a tradeoff:
The JWT represents a decentralized session which can be stored by the client after authentication and presented to other services as proof that the user has authenticated. It is decentralized because [a JWT can be verified without consulting FusionAuth](/articles/tokens/building-a-secure-jwt#consuming-a-jwt). This means that FusionAuth isn't consulted when a service receives a JWT to determine if it is valid, which lowers the availability and performance requirements of FusionAuth.
On the other hand, because the JWT is decentralized, revocation of the session becomes difficult. There are [ways to offer JWT revocation](/articles/tokens/revoking-jwts), but they can be cumbersome. Revoking the refresh token eventually prevents access using a JWT, after the JWT expires.
### Working With The FusionAuth SSO Session
If you are using the FusionAuth SSO session as well as centralized sessions, you can delete it in two ways:
* deleting all the refresh tokens associated with a user
* redirecting the users the user to the Front-Channel Logout endpoint
In the latter case, you'll still need to revoke refresh tokens using the API, because the Front-Channel Logout does not revoke any other refresh tokens.
### Sample Project
Here's [an example application showing how to use centralized sessions](https://github.com/FusionAuth/fusionauth-example-node-centralized-sessions). While this example focuses on two web apps, the centralized sessions approach is well suited to mobile apps, APIs, or non-browser based applications as well.
## Application Managed Sessions
Application managed sessions, the other main approach for session management in FusionAuth, are simpler. However, they don't offer centralized control of your users' sessions. Instead, with this approach, you delegate session management to each application.
### Implementation Steps
Let's discuss this in the context of the ChangeBank and ChangeBank Forum applications. To set up application managed sessions for these application:
* Write code which can log a user out when it receives a `GET` request. This code should destroy the application session. It should be idempotent because it may receive more than one request.
* Set the <InlineField>Logout URL</InlineField> for each application. This URL should point to the endpoint where the code you wrote is hosted. This value is configured under <Breadcrumb>Applications -> Your Application -> OAuth</Breadcrumb>.
* Configure each application's <InlineField>Logout behavior</InlineField> to be either <InlineUIElement>All applications</InlineUIElement> or <InlineUIElement>Redirect only</InlineUIElement>. This option controls the behavior when the user logs out. The former option logs the user out of all applications in a tenant by making a request to each application's configured <InlineField>Logout URL</InlineField>. The latter logs the user out of the single application for which the logout request was made.
* When a user logs out of either the ChangeBank or the ChangeBank Forum application, redirect the user's browser to the [Front-channel Logout endpoint](/docs/lifecycle/authenticate-users/oauth/endpoints#logout).
That's it.
With application managed sessions, users can be logged out of multiple applications, though the approach is less granular than that offered by centralized sessions. The Front-channel Logout endpoint will attempt to log the user out based on the <InlineField>Logout behavior</InlineField> value.
<Aside type="note">
If you are using application managed sessions and a user logs out of ChangeBank, but you don't route them through the Front-channel Logout endpoint, all other applications will be unaffected.
In addition, if the user has a FusionAuth SSO session, the next time the user tries to log in, they'll be sent to FusionAuth which will **transparently log them in**, since they were never logged out of the FusionAuth SSO session.
</Aside>
If you want to review application managed sessions in more detail, the [single sign-on guide walks you through building an example application](/docs/lifecycle/authenticate-users/single-sign-on).
Let's look at some example flows of a user logging into the ChangeBank and ChangeBank Forum applications.
### Flow Diagrams Of Common Use Cases
Let's look at some flow diagrams for these four use cases:
* a user logs into ChangeBank and then visits ChangeBank Forum
* a logged in user interacts with ChangeBank
* a user logs out of ChangeBank, which revokes all refresh tokens for that user
* tries to access ChangeBank Forum after logging out of ChangeBank
In these diagrams, the ChangeBank application is configured to log users out of all applications on logout. That is, <InlineField>Logout behavior</InlineField> is <InlineUIElement>All applications</InlineUIElement>.
#### Login Request Flow
This is the flow of a user who logs in to both the ChangeBank and ChangeBank Forum applications who checks the <InlineUIElement>Keep me signed in</InlineUIElement> checkbox on the hosted login pages.
<ApplicationManagedSessionsStart alt="Application managed sessions login flow." />
If you don't have the <InlineUIElement>Keep me signed in </InlineUIElement> checked, then the user will be prompted to authenticate every time they are sent to FusionAuth. There will be no [FusionAuth SSO session](#fusionauth-sso).
#### Normal Request Flow
This is the flow of a user who has a valid ChangeBank application session and is interacting with the application. FusionAuth receives no requests.
<ApplicationManagedSessionsRequests alt="Application managed sessions normal requests flow." />
#### Request Flow With Invalid Application Session
This is the flow when an application session expires. The user is then sent to FusionAuth. However, FusionAuth still has a valid SSO session, so the user is logged in without interaction.
<ApplicationManagedSessionInvalid alt="Application managed sessions when the application session is invalid, but the SSO session is still valid." />
#### Logout Request Flow
This is the flow of a user who is logging out of ChangeBank.
<ApplicationManagedSessionsLogout alt="Application managed sessions logout flow." />
### Timeouts And Session Lifetimes
With this approach, each application manages session timeouts, including idle timeouts.
FusionAuth has no information about each application session duration, current status, or devices attached.
### Redirecting Users On Logout
Adding a `post_logout_redirect_uri` parameter to the [Front-Channel Logout endpoint](/docs/lifecycle/authenticate-users/oauth/endpoints#logout) request allows you to send different users to different logout pages.
Each URL that might be added as a value must be included in the Application's <InlineField>Authorized redirect URLs</InlineField> list. [Learn more about adding URLs to that list.](/docs/get-started/core-concepts/applications#oauth).
Let's look at a scenario where this would be useful. Suppose you have three tiers of users in the ChangeBank application:
* Enterprise
* Premium
* Free
After a user has logged out, you need to send them to a different page based on their tier. Create these URLs, make sure they display different messages, and register them as authorized redirect URLs.
* `https://example.com/logout/thank-you-so-much` for the enterprise customers, where you thank them profusely for using your software.
* `https://example.com/logout/thanks` for the premium customers, where you thank them.
* `https://example.com/logout/consider-paying-us` for the free tier customers, where you thank them but also try to upsell them.
Then, in the code which generates the logout URL, you add the correct value as a `post_logout_redirect_uri`. Make sure you escape the URL. The user will then be sent to the appropriate thank you page.
For example, suppose FusionAuth is running at `https://auth.example.com`, the ChangeBank application has a client Id of `e9fdb985-9173-4e01-9d73-ac2d60d1dc8e`, and the user is a premium user. The logout URL would be: `https://auth.example.com/oauth2/logout?client_id=e9fdb985-9173-4e01-9d73-ac2d60d1dc8e&post_logout_redirect_uri=https%3A%2F%2Fexample.com%2Flogout%2Fthanks`.
### Working With Centralized Sessions
The code at the <InlineField>Logout URL</InlineField> which has to terminate the application session can also make API calls and revoke FusionAuth refresh tokens. Doing so lets you combine this approach with centralized sessions.
### Sample Project
Here's [two example web apps with application managed sessions](https://github.com/FusionAuth/fusionauth-example-node-sso/).
## FusionAuth SSO
In [Types of Sessions](#types-of-session-management), you learned about the FusionAuth SSO Session. This section will discuss it in more depth. The FusionAuth SSO session is managed by FusionAuth.
This session can be bootstrapped from an access token if you are using the Login APIs, but is more typically used with the hosted login pages. The rest of this doc, except the [Bootstrapping SSO](#bootstrapping-sso) section, assumes you are using the FusionAuth SSO session with the hosted login pages.
You can use FusionAuth with or without the FusionAuth SSO session. If you do not use this session, users must authenticate every time their application session expires or if they switch to a different application.
To enable the SSO session, set the `rememberDevice` parameter on the login page to `true`. This is the <InlineUIElement>Keep me signed in </InlineUIElement> checkbox in the default theme. This value can be set by an end user checking a checkbox or it can be a hidden field in the login form.
To customize the lifetime for this session, navigate to <Breadcrumb>Tenants -> Your Tenant -> OAuth</Breadcrumb>. The <InlineUIElement>Session Timeout</InlineUIElement> must be a positive integer. The unit is seconds. Since the FusionAuth SSO session lets users log into every application in a tenant, there is no application level override of the SSO session duration.
<Aside type="note">
In this context, SSO or single sign-on, is the ability of a user to switch between different applications without authenticating each time. It is accomplished by delegating authentication to FusionAuth. [Here's a guide walking through this functionality in more detail](/docs/lifecycle/authenticate-users/single-sign-on).
FusionAuth SSO is not the same concept as a single sign-on to Google, Facebook, or another external identity provider. Such functionality, also called federation, is handled in FusionAuth by [Identity Providers](/docs/lifecycle/authenticate-users/identity-providers/).
</Aside>
When the `rememberDevice` value is `true`, FusionAuth creates a session for the user **within FusionAuth**. When the same device visits the hosted login pages and has a valid SSO session, the user is transparently logged in. They'll be sent to the requested application redirect URL with an authorization code. This code can be exchanged for a token.
This transparent authentication flow follows the same process and rules as any other authentication in FusionAuth. These include but are not limited to:
* If an application requires the user to be registered and they are not, they'll be presented with an error screen.
* If an application requires email verification and the user has not completed such a verification, they'll be prompted to do so.
Only if all the authentication conditions are met will the authentication be truly transparent.
### Session Timeouts and Lifetime
The FusionAuth SSO session allows transparent authentication on one browser or device until one of the following happens:
* the SSO session expires
* the user is logged out by being sent to the Front-Channel logout endpoint
* the refresh token representing the FusionAuth SSO session is revoked via an API call or the admin UI
<Aside type="note">
Previous to version 1.52, setting the SSO session to a low value and enabling other post authentication workflows such as an OAuth consent screen could cause a login workflow to be restarted. See the [release notes for version 1.53.0](/docs/release-notes/#version-1-53-0) for more details.
</Aside>
<SessionsExpiration />
### Disabling FusionAuth SSO
If you don't want FusionAuth SSO to be enabled, set the `rememberDevice` parameter to `false` in the login page. In this case, there will be no SSO session. You can also set the <InlineUIElement>Session Timeout</InlineUIElement> to zero.
You can selectively disable the FusionAuth SSO session. For example, suppose you have five applications which delegate authentication to FusionAuth. If four of the applications are consumer facing, but the fifth is an internal business application, you might want to let users transparently log in between the consumer facing apps, but not the business app.
Options to implement this behavior include:
* Place the business application in a separate FusionAuth tenant. Now your users need to manage two separate logins and there might be credential drift. You can work around this by having users who need access to both the business application and the consumer facing applications use the same Identity Provider to log in across tenants.
* Require registration for the business application and turn off self-service registration for that application. Then you'll need to add a registration for all users who need access to the business application manually or using the API.
### Bootstrapping SSO
<BootstrappingSSO />
## Session Analytics
For application managed sessions, there are minimal analytics available, as FusionAuth only captures information about the login. This is available via the [Search Login Records API](/docs/apis/login#search-login-records).
FusionAuth has prebuilt session visibility when using centralized session management. View current sessions for a user by navigating to <Breadcrumb>Users -> A User</Breadcrumb> in the administrative user interface. Then look at the <Breadcrumb>Sessions</Breadcrumb> tab.

If you need more in-depth insights into sessions, set up webhooks for:
* [User login](/docs/extend/events-and-webhooks/events/user-login-success), sent when a session is created.
* [Refresh Token use](/docs/extend/events-and-webhooks/events/jwt-refresh), sent when a session is extended.
* [Refresh Token revocation](/docs/extend/events-and-webhooks/events/jwt-refresh-token-revoke), sent when a session is revoked.
These events can be stored and correlated based on the user Id to generate statistics around the average duration of a session, data attributes, or number of sessions.
## Other Ways To Logout
While refresh token revocation, calling the <InlineField>Logout URL</InlineField> and using the Front-Channel Logout are the main ways of logging a user out of FusionAuth, there are some other options too.
### SAML Single Logout
If you are using FusionAuth as a [SAML IdP](/docs/lifecycle/authenticate-users/saml) you can also enable SAML Single Logout. FusionAuth will then work with off the shelf commercial applications which support the [SAMLv2 Single Logout profile](http://docs.oasis-open.org/security/saml/Post2.0/sstc-saml-tech-overview-2.0-cd-02.html#5.3.Single%20Logout%20Profile|outline).
Learn more about configuring [SAML Single Logout here](/docs/lifecycle/authenticate-users/saml#logout-request).
### Logging Out Of Identity Providers
FusionAuth does not support logging the user out of Identity Providers. In other words, if someone logs in using a [Google Identity Provider](/docs/lifecycle/authenticate-users/identity-providers/social/google), then logs out of FusionAuth, they won't be logged out of Google.
This is typically the behavior you want.
If you want users logged out of the Identity Provider, a workaround, if the Identity Provider has a well known logout endpoint, is to add that as a `post_logout_redirect_uri` and send the user's browser there after they've logged out of FusionAuth.
This only works if you know the user logged in with that Identity Provider, which is currently available on the login success webhook. So you'd have to capture that to build the correct `post_logout_redirect_uri`.
### Logging Out Of The Account Application
<AccountLogout />
### The `/api/logout` Endpoint
You can use the [`/api/logout` endpoint](/docs/apis/login#logout-a-user) in certain circumstances.
This is designed for situations where you store the refresh token in a cookie and want to revoke it from the client without an API key.
Using this endpoint is uncommon.
## Other Resources
* The [Device Limiting guide](/docs/extend/examples/device-limiting) discusses sessions as well.
* The [Applications Core Concepts](/docs/get-started/core-concepts/applications) covers many of these settings.
* The [Front-Channel Logout Endpoint](/docs/lifecycle/authenticate-users/oauth/endpoints#logout) documents this form of logout.
* The [Single Sign-on guide](/docs/lifecycle/authenticate-users/single-sign-on) discusses FusionAuth SSO session usage in detail.
# Multi-Factor Authentication (MFA)
import Breadcrumb from 'src/components/Breadcrumb.astro';
import EnterprisePlanBlurb from 'src/content/docs/_shared/_enterprise-plan-blurb.astro';
import JSON from 'src/components/JSON.astro';
import InlineField from 'src/components/InlineField.astro';
import RecoveryCodesBlurb from 'src/content/docs/lifecycle/authenticate-users/_recovery-codes-blurb.mdx';
import Aside from 'src/components/Aside.astro';
import MfaMigration from 'src/content/docs/lifecycle/authenticate-users/_mfa-migration.mdx';
import MfaTroubleshooting from 'src/content/docs/lifecycle/authenticate-users/_mfa-troubleshooting.mdx';
import StepUpDiagram from 'src/diagrams/docs/lifecycle/authenticate-users/step-up-auth.astro';
import { YouTube } from '@astro-community/astro-embed-youtube';
import StaticPatchNote from 'src/content/docs/sdks/_static-patch-note.mdx';
<YouTube id="GM2JPTu-EE4" />
## Overview
Multi-factor authentication (MFA) makes authentication more secure by requiring multiple methods of identification, known as **factors**. Users can use specific methods to verify these factors, including passwords, codes sent over email, SMS, and time-based one time passwords (TOTP).
**Two-Factor Authentication (2FA)** is the practice of requiring two factors of authentication for a login. 2FA typically combines a password with any other factor.
In FusionAuth, you can implement MFA for login and **step-up authentication**, a feature that requires users to authenticate before accessing sensitive parts of an application, such as an administrator dashboard or a password change UI.
## MFA Workflow
Fusionauth applies MFA as follows:
1. User signs in
1. FusionAuth checks tenant and user settings
1. If policy or context requires, prompt for MFA code
1. Validate code
1. Continue login or step-up flow
## Supported Methods
FusionAuth currently supports the following factors:
* Time-based one-time passwords (TOTP) using an application such as Google Authenticator (free with Community plan)
* [Email MFA](/docs/lifecycle/manage-users/account-management/two-factor-email) (requires paid plan)
* [SMS MFA](/docs/lifecycle/manage-users/account-management/two-factor-sms), including Twilio (requires paid plan)
## Tenant MFA Settings (Enable methods, policies, templates)
Before users can use an MFA method, you must explicitly enable MFA methods for each tenant. This includes configuring email templates and SMS messengers. If you are using hosted login pages or the login API, enable your preferred allowed MFA methods on the tenant. If you are only using step-up auth, on the other hand, you do not have to enable any tenant MFA methods.
The tenant configuration also sets the default multi-factor policy. The policy controls when MFA is required.
In the image below, this tenant has all FusionAuth supported methods enabled:
<img src="/img/docs/lifecycle/authenticate-users/tenant-settings-mfa.png" alt="Configuring allowed MFA methods on the tenant." width="1200" />
Please see the [Tenant configuration documentation for more information](/docs/get-started/core-concepts/tenants#multi-factor).
For configuring [message templates (for SMS/email codes)](/docs/customize/email-and-messages/message-templates), see the Message Templates documentation.
[Review tenant concepts and where MFA defaults live.](/docs/get-started/core-concepts/tenants)
## Application-Level MFA Settings (Overrides & requirements)
<EnterprisePlanBlurb />
You can override some MFA configuration settings at the application level.
For instance, if you have one application that is used by your administrators, you might want to require MFA. For another application used by your customers, you might want to disable MFA.
<img src="/img/docs/lifecycle/authenticate-users/application-settings-mfa.png" alt="Configuring allowed MFA methods on the application." width="1200" role="bottom-cropped" />
Please see the [Application configuration documentation for more information](/docs/get-started/core-concepts/applications#multi-factor).
[See application settings that affect MFA.](/docs/get-started/core-concepts/applications)
## Enable MFA for a User
Once you've configured tenant settings, enable one or more MFA methods on a user. Doing this will require the user to present the additional factor of proof whenever they log in.
Since this involves sharing secrets and verifying possession of email accounts or mobile phones, you cannot enable MFA for a different user using the FusionAuth administrative user interface.
You can, however, enable MFA on your own account using the administrative user interface.
<img src="/img/docs/lifecycle/authenticate-users/self-enable-mfa.png" alt="Using the administrative user interface to enable MFA for your own account." width="1200" />
There are three options to allow users to enable multi-factor authentication on their account:
* If you have a paid plan, users may use the self service account management feature to enable MFA for their accounts. [Learn more about that option here](/docs/lifecycle/manage-users/account-management/).
* You may enable MFA directly using the [User API](/docs/apis/users).
* You can build your own MFA user interface, allowing end users to enable MFA.
### Directly Enable MFA for another User
To directly enable MFA for a user, update their user object with one or more MFA methods:
1. Retrieve user object
1. Add MFA method to `twoFactor.methods` array
1. Update user via PATCH request
1. Verify MFA is enabled
```shell title="Adding MFA methods to a user directly"
API_KEY=...
curl -XPATCH -H 'Content-type: application/json' -H "Authorization: $API_KEY" \
'https://localhost.fusionauth.io/api/user/00000000-0000-0000-0000-000000000004' \
-d '{
"user": {
"twoFactor": {
"methods": [{
"method": "email",
"email": "dinesh@aol.com"
}, {
"method": "email",
"email": "dinesh@gmail.com"
}]
}
}
}'
```
You are using `PATCH` for `twoFactor` array; doing so multiple times adds to the array each time (rather than setting it to exactly what you provided in the API call). [Learn more about `PATCH` options.](/docs/apis/#the-patch-http-method)
If adding a TOTP factor, make sure you capture the secret and convey it to the user so they may enter it into their authenticator application.
There is no confirmation step when using this approach, so if an email address or phone number is incorrect, the user will never see the code sent.
You can read more about updating a user in the [User API docs](/docs/apis/users).
### Build Your Own Interface
If building your own user interface, these are the steps to take with the API:
* If using TOTP, optionally generate a shared secret to present to the user
* If using a message based MFA method, send a code to the user
* Build a page to accept that code and enable MFA
#### Optionally Generate a Shared Secret
This is needed if you are using TOTP. For any other MFA method, skip this section.
Additionally, using this API is not required as you may build your own secret. The API is provided for your convenience only.
```shell title="Generate a Shared Secret Sample Curl Script"
API_KEY=...
curl -XGET -H "Authorization: $API_KEY" 'https://local.fusionauth.io/api/two-factor/secret'
```
Here's a sample response:
<JSON title="Generate a Shared Secret Response JSON" src="two-factor/secret/response.json" />
You must present the shared secret to the user for TOTP MFA. This can be presented as a QR code or a string of digits to enter into an application such as Google Authenticator or Authy.
Unless you are using the self service account management, you'll have to build this interface for your application.
#### Optionally Send a Code to the User For Message-Based MFA
For email and SMS methods, send a code to the user using the Send API. If you are using TOTP, skip this section.
```shell title="Send a Code Sample Curl Script"
API_KEY=...
REQUEST_PAYLOAD='{...}'
curl -XPOST -H 'Content-type: application/json' -H "Authorization: $API_KEY" 'https://local.fusionauth.io/api/two-factor/send' -d $REQUEST_PAYLOAD
```
<JSON title="Send a Code Sample Curl Script Request JSON" src="two-factor/send/enable-userId-request.json" />
This API call will send a unique code to the user using the method specified.
The lifetime and length of this code can be configured by navigating to <Breadcrumb>Tenants -> Your Tenant -> Advanced</Breadcrumb> and modifying the <InlineField>Two-Factor One Time Code</InlineField> settings.
#### Collect the Code
Once the code has been sent or the secret shared, accept the code from the user. Unless you are using the self service account management, you'll have to build this page in your application.
With message based MFA methods, the user enters the code they've been sent. In the case of TOTP, they configure the application with the shared secret, then enter the code displayed by their application.
After your application has the code, enable MFA for this user with this API call. You must specify the method the code is associated with.
```shell title="Enable MFA Sample Curl Script for the Email Method"
API_KEY=...
USER_ID=...
REQUEST_PAYLOAD='{...}'
curl -XPOST -H 'Content-type: application/json' -H "Authorization: $API_KEY" 'https://local.fusionauth.io/api/user/two-factor/'$USER_ID -d $REQUEST_PAYLOAD
```
<JSON title="Enable MFA for the Email Method Request JSON" src="two-factor/enable-email-request.json" />
### Verify MFA Is Enabled
If you view the user in the administrative user interface, you can see the user has an MFA method attached to their account:
<img src="/img/docs/lifecycle/authenticate-users/enabled-mfa.png" alt="The MFA settings in the user details view when the first MFA method has been enabled." width="1200" role="bottom-cropped" />
At this point, the user will be prompted to provide another factor of authentication whenever they login. This is the default screen displayed if you are using the hosted login pages:
<img src="/img/docs/lifecycle/authenticate-users/code-sent-after-user-mfa-enabled.png" alt="The MFA prompt screen at login." width="1200" role="bottom-cropped" />
### Add a Second Method
To enable TOTP based MFA, use a slightly different request body, which includes the code the user provides and the shared secret:
```shell title="Enable MFA Sample Curl Script for TOTP Method"
API_KEY=...
USER_ID=00000000-0000-0000-0000-000000000004
REQUEST_PAYLOAD='{...}'
curl -XPOST -H 'Content-type: application/json' -H "Authorization: $API_KEY" 'https://local.fusionauth.io/api/user/two-factor/'$USER_ID -d $REQUEST_PAYLOAD
```
<JSON title="Enable MFA for TOTP Method Request JSON" src="two-factor/enable-authenticator-request.json" />
Now that the user has two MFA methods associated with their account, the user is prompted to choose a method when logging in:
<img src="/img/docs/lifecycle/authenticate-users/authentication-challenge-multiple-factors.png" alt="MFA prompt screen at login with multiple factors enabled." width="1200" role="bottom-cropped" />
In the administrative user interface, the user has a second MFA method attached to their account:
<img src="/img/docs/lifecycle/authenticate-users/enabled-second-factor.png" alt="The MFA settings in the user details view when a second MFA method has been enabled." width="1200" role="bottom-cropped" />
By repeating this process, users can attach as many MFA methods of each type to their account as they wish.
### Recovery Codes
<RecoveryCodesBlurb />
## User Login Experience
Once multi-factor authentication is enabled for a user, they'll be required to provide the additional factor whenever they log in until [they disable MFA](#disabling-mfa-on-a-user).
### Hosted Login Pages
If you are using hosted login pages (learn more about ["hosted login pages"](/docs/get-started/core-concepts/integration-points#hosted-login-pages)), there are two MFA specific templates you'll want to modify.
* The "OAuth two-factor methods" template displays the page where a user may choose between various MFA methods.
* The "OAuth two-factor" template displays the page where a user enters an MFA code during login.
You'll also need to modify the [email or message templates](/docs/customize/email-and-messages/) if using email or SMS methods.
Here's an example of the default template when a user has one MFA method enabled.
By default, the code for the factor is sent, if applicable, and the user is prompted for the code.
<img src="/img/docs/lifecycle/authenticate-users/code-sent-after-user-mfa-enabled.png" alt="The user experience with one MFA method enabled." width="1200" role="bottom-cropped" />
Here's an example of the default template when a user has more than one MFA method enabled.
The user is then prompted to pick which method they'd like.
<img src="/img/docs/lifecycle/authenticate-users/authentication-challenge-multiple-factors.png" alt="MFA prompt screen at login with multiple factors enabled." width="1200" role="bottom-cropped" />
Learn more about themes and templates, including the variables available for each page, in the [themes documentation](/docs/customize/look-and-feel/).
### Build Your Own Screens
If you are not using the hosted login pages, you'll need to build your own pages using the Login API. In that case, you'll want to use the following flow:
* Start the login process
* Send the code
* Complete the login
Let's walk through each of these steps.
#### Log the User In
Build a page with a login form. Use the [Login API](/docs/apis/login) docs to call the API correctly.
```shell title="Log the User In Sample Curl Script"
API_KEY=...
REQUEST_PAYLOAD='{...}'
curl -XPOST -H 'Content-type: application/json' -H "Authorization: $API_KEY" 'https://local.fusionauth.io/api/login' -d $REQUEST_PAYLOAD
```
<JSON title="Log the User In Request JSON" src="login/request.json" />
If they have MFA enabled or MFA is required, your code will receive a `242` response status code. You'll also get JSON with a list of the user's methods:
<JSON title="Log the User In Response JSON When MFA Enabled" src="login/login-two-factor-response.json" />
Save the <InlineField>twoFactorId</InlineField> value as you'll need that later in the flow. Save the `methods` array to present to the user when they need to choose their preferred MFA method. Implement a screen letting a user choose this.
When they have chosen a method, send a code if they are using a message based MFA method.
#### Optionally Send a Code
This is only required if the user chooses a message based MFA method. Calling this API invalidates any other codes previously sent to the user.
```shell title="Send the Code Sample Curl Script"
API_KEY=...
REQUEST_PAYLOAD='{...}'
TWO_FACTOR_ID=... # from the login response
curl -XPOST -H 'Content-type: application/json' -H "Authorization: $API_KEY" 'https://local.fusionauth.io/api/two-factor/send?twoFactorId='$TWO_FACTOR_ID -d $REQUEST_PAYLOAD
```
<JSON title="Send the Code Request JSON" src="two-factor/send/twoFactorId-request.json" />
This sends an email because that is the MFA method corresponding to the provided `methodId`.
The email address to which the code is sent may be different from the `loginId` used, since the target email address for a MFA method need not be the same as the user's login Id.
#### Collect the Code and Complete the Login
Build a screen to collect the code. When you have it, complete the two factor login by calling the Login API:
```shell title="Complete the MFA Login Sample Curl Script"
API_KEY=...
REQUEST_PAYLOAD='{...}'
curl -XPOST -H 'Content-type: application/json' -H "Authorization: $API_KEY" 'https://local.fusionauth.io/api/two-factor/login' -d $REQUEST_PAYLOAD
```
<JSON title="Complete the MFA Login Request JSON" src="login/two-factor/request.json" />
You can pass a parameter to this request indicating you want to receive a `twoFactorTrustId`. That can then be provided at future logins to bypass the MFA process. Please consult the [Login API](/docs/apis/login) documentation for more on that.
[OAuth overview (challenge during login, tokens)](/docs/lifecycle/authenticate-users/oauth/) provides more context on the OAuth flow with MFA.
## Step-Up Auth
Step-up authentication allows you to be extra certain that a user is who they say they are. You can use this in your application to protect sensitive actions, such as account deletion or sending money.
Step-up authentication is intertwined in your application in a way that normal login isn't. Only you know what type of actions require the additional certainty of a step-up. Therefore, you always need to implement a step-up by calling the FusionAuth APIs.
To use this:
* Check if MFA is required
* Start the step-up process
* Optionally send the code
* Collect the code and verify it
Here's a diagram showing this flow for a banking application which requires step-up auth before completing a transfer, but not when users view a balance.
<StepUpDiagram alt="Diagram of step-up auth when user selects a message based MFA method like email." />
You can also send information at the start of the step-up process and receive it at the end.
Let's walk through each of these steps.
### Check if MFA is Required
Before starting the step up process, determine if the user is required to complete MFA.
```shell title="Check MFA Requirement Sample Curl Script"
API_KEY=...
REQUEST_PAYLOAD='{...}'
curl -XPOST -H 'Content-type: application/json' -H "Authorization: $API_KEY" 'https://local.fusionauth.io/api/two-factor/status' -d "$REQUEST_PAYLOAD"
```
<Aside>
The POST method of this endpoint was added in FusionAuth 1.62.0 and is preferred over the GET method because it allows specifying more details about the context of the request for MFA Lambdas to evaluate. See the [MFA Status API](/docs/apis/two-factor#retrieve-multi-factor-status) API documentation for more details.
</Aside>
<JSON title="Check MFA Requirement Request JSON" src="two-factor/status/request.json" />
Specify the `action` field as `stepUp` to indicate this is for step up auth. If a MFA Lambda is configured, it will be used to determine if MFA is required. If not, the default tenant and application policies will be used.
<JSON title="Check MFA Requirement Response JSON" src="two-factor/status/response.json" />
If MFA is required, a status code of `242` will be returned. If not, a status code of `200` will be returned, along with the JSON above, and the user can proceed with the sensitive action.
### Start the Process
Kick off the process using the start endpoint:
```shell title="Start a Step-Up MFA Flow Sample Curl Script"
API_KEY=...
REQUEST_PAYLOAD='{...}'
curl -XPOST -H 'Content-type: application/json' -H "Authorization: $API_KEY" 'https://local.fusionauth.io/api/two-factor/start' -d "$REQUEST_PAYLOAD"
```
<JSON title="Start a Step-Up MFA Flow Request JSON" src="two-factor/start/request.json" />
Specify a code if you don't want FusionAuth to generate one. You can also provide a `state` object containing JSON. This is returned to you after the step-up auth process completes, and can be useful to help the application return to its previous state after step-up authentication completes.
<JSON title="Start an MFA Flow Response JSON" src="two-factor/start/response-with-methods.json" />
Store the `twoFactorId` as you'll need that later. Present the user with the list of methods that they can choose.
When they select an MFA method, inspect it. If they choose a message based MFA method, you can send it with FusionAuth or send it via your own messaging.
If you provided your own code during the start API call, do not use FusionAuth to send that code. If you attempt to do so, FusionAuth will create a new code instead. If you provided your own code for the step-up authentication, send the code using your own delivery mechanism instead.
### Optionally Send the Code
This is only required if the user chooses a message based MFA method and you want to send the message with FusionAuth. Unlike with the login API, you don't have to send the code using this API with step-up authentication.
However, you need to get the code to the user somehow. The user doesn't even need to have MFA enabled within FusionAuth. You could, for example, build your own integration with a chat service like Slack and send the code to the user that way. Any out of band method, even [carrier pigeon](https://tools.ietf.org/html/rfc1149), would work.
<Aside type="note">
Using this request will reset the code to a different value than any provided to the start API call.
</Aside>
```shell title="Send the Code Sample Curl Script"
API_KEY=...
REQUEST_PAYLOAD='{...}'
TWO_FACTOR_ID=... # from the /api/two-factor/start response
curl -XPOST -H 'Content-type: application/json' -H "Authorization: $API_KEY" 'https://local.fusionauth.io/api/two-factor/send?twoFactorId='$TWO_FACTOR_ID -d "$REQUEST_PAYLOAD"
```
<JSON title="Send the Code Request JSON" src="two-factor/send/twoFactorId-request.json" />
This call will send the user an email, because that is the specified method.
### Complete the Step-Up
Build a screen or page to collect the code. When you have it, complete the step-up by calling the Login API. This will return the user object if the provided code is valid. If the code is not valid, one of the other return codes documented in the [Login API](/docs/apis/login) will be returned.
```shell title="Complete the MFA Step-Up Sample Curl Script"
API_KEY=...
REQUEST_PAYLOAD='{...}'
curl -XPOST -H 'Content-type: application/json' -H "Authorization: $API_KEY" 'https://local.fusionauth.io/api/two-factor/login' -d "$REQUEST_PAYLOAD"
```
<JSON title="Complete the MFA Login Request JSON" src="login/two-factor/request.json" />
If you have a valid user object, full speed ahead with the sensitive action your application was protecting!
<JSON title="Example Valid User Object" src="login/two-factor/login-response.json" />
### State For Step-Up
As mentioned above, you can also store arbitrary data in the `state` field. This is provided by your application when you start the step-up process, and then returned after the end. This is useful in the following situations:
* Tracing a step-up auth request to a given interaction, such as a transaction id.
* Reconstituting the state of the application, such as displaying a modal, after a step-up display screen.
* Re-filling a multi-step form that you interrupted to display a step-up challenge.
[Contextual MFA](/docs/lifecycle/authenticate-users/contextual-multi-factor) for more advanced step-up scenarios.
## Disable MFA on a User
Users may need to disable an MFA method. They may switch email addresses, change their phone number, or simply want to turn off MFA.
To disable MFA for a user, use one of the following options:
* If you have a paid plan, users may use the [self-service account management](/docs/lifecycle/manage-users/account-management/) feature to disable MFA for their accounts.
* You may remove MFA using the administrative user interface.
* You may disable MFA directly using the [User API](/docs/apis/users).
* You can build your own MFA user interface, allowing end users to disable MFA.
### Disable MFA in the Administrative User Interface
Navigate to <Breadcrumb>Users -> The User</Breadcrumb> and manage the user. Then go to the <Breadcrumb>Multi-Factor</Breadcrumb> tab. Remove any of the MFA methods by clicking the red trash can icon and confirming the deletion:
<img src="/img/docs/lifecycle/authenticate-users/delete-factor-admin-view.png" alt="Delete an MFA method from the admin screen." width="1200" role="bottom-cropped" />
A user may also remove an MFA method by using the self service account management (if you have a paid plan) by clicking the `-` link. [Learn more about that here.](/docs/lifecycle/manage-users/account-management/)
<img src="/img/docs/lifecycle/authenticate-users/user-self-serve-manage-factors.png" alt="Self service management of MFA methods." width="1200" role="bottom-cropped" />
### Directly Disable MFA for a User
To do this, you'll need to update the `twoFactor` array.
In the below example, all methods are removed.
You could also remove just the ones with a method of `email` or one particular MFA method.
**Step-by-step disable process:**
1. Retrieve current user object
2. Modify twoFactor array (remove methods)
3. Update user via PUT request
4. Confirm MFA is disabled
```shell title="Deleting MFA methods from a user directly"
API_KEY=...
user=`curl -XGET -H "Authorization: $API_KEY" 'https://local.fusionauth.io/api/user/00000000-0000-0000-0000-000000000004'`
# this empties out the twoFactor array. You can use any programming language to do this, this example uses jq
user_two_factor_removed=`echo $user| jq 'del(.[].twoFactor[])' -`
curl -XPUT -H 'Content-type: application/json' -H "Authorization: $API_KEY" 'https://sandbox.fusionauth.io/api/user/00000000-0000-0000-0000-000000000004' -d "$user_two_factor_removed"
```
The reason you need to retrieve the user and modify the data then use `PUT` to update it, is [because of how `PATCH` handles arrays](/docs/apis/#the-patch-http-method).
### Build Your Own Interface
Building your interface allows you maximal control.
To disable MFA, you need to do the following:
* Optionally send the code
* Collect the code
* Call the disable MFA API
Typically, you need to send a code to the user first.
If they are using TOTP, this is optional.
#### Optionally Send a Code
This can be a code from one of the user's existing MFA methods or a recovery code.
To build this screen, you may need to present them with a list of available MFA methods. This is present on the user object.
If the user choose a message based MFA method, send them a code:
```shell title="Send a Code For Disabling MFA Sample Curl Script"
API_KEY=...
REQUEST_PAYLOAD='{...}'
curl -XPOST -H 'Content-type: application/json' -H "Authorization: $API_KEY" 'https://local.fusionauth.io/api/two-factor/send' -d $REQUEST_PAYLOAD
```
<JSON title="Send a Code For Disabling MFA Request JSON" src="two-factor/send/disable-userId-request.json" />
This will send a code using the method specified. If a user is using a TOTP method or a recovery code, skip this.
#### Collect the Code
You'll need to build a page to collect the code.
This will be part of your application.
For message based MFA methods, this will be a code you sent.
For TOTP MFA, this will be a code provided by an authenticator application.
#### Disable MFA
When you have the code, you can then call the disable API.
```shell title="Send a Code For Disabling MFA Sample Curl Script"
API_KEY=...
USER_ID=...
CODE=...
METHOD_ID=...
curl -XDELETE -H "Authorization: $API_KEY" 'http://localhost:9011/api/user/two-factor/'$USER_ID'?&code='$CODE'&methodId='$METHOD_ID
```
If this returns successfully, the MFA method has been removed from the user. If all MFA methods are removed from the user, they will no longer be prompted to provide additional factors at login.
<Aside type="note">
When you use a recovery code to disable MFA, it removes all the MFA methods for a given user and invalidates all the other recovery codes.
</Aside>
## Resend Codes
You can resend codes using message based MFA methods by calling the send API.
You may need to do this because a user requests it. For example, if a user initially requests to get a code to be sent to an email address, then realizes they really want to MFA with their mobile phone, your application may call the send endpoint twice.
Calling the send endpoint sends a new code but also invalidates all other codes associated with this MFA request.
## Recovery Codes
<RecoveryCodesBlurb />
## Trust Tokens and Trust Challenges
Changing a password when 2FA is enabled requires a trust token. To obtain this token of trust, you can complete a two factor workflow. This is to ensure that anyone who has MFA enabled and tries to change their password also has the additional factor of authentication, which provides a higher level of assurance.
When using the hosted login pages, you don't need to worry about this. If you are building your own MFA integration, however, read on.
For example, to change a password, you need to do the following:
* Request `/api/two-factor/start`. You get the `twoFactorId` and a `code`.
* Request `/api/two-factor/login`. Send in the `twoFactorId` and the `code` returned from the previous call. You'll get a `trustToken`.
This is an overview of the process. [See the API docs for all parameters for these API calls](/docs/apis/two-factor).
Now you have the `trustToken` required to perform a trusted action, such as changing your password while MFA is enabled. But this trust token could be stolen and used by someone else.
In order to offer a higher level of security, you can provide a `trustChallenge` when you start the MFA process. Using one binds the challenge and the token. You can't use the `trustToken` without the corresponding `trustChallenge`.
If you do not provide a `trustChallenge` when you begin the MFA workflow, you do not need to provide anything other than the `trustToken` to access a trusted endpoint such as the Change Password API.
If, on the other hand, you want to use a `trustChallenge`, do the following to get the `trustToken`:
* Request `/api/two-factor/start`. Send a `trustChallenge`. You can provide any value, but it is best practice to make it long and random. You get the `twoFactorId` and a `code`.
* Request `/api/two-factor/login`. Send in the `twoFactorId` and the `code` returned from the previous call. You'll get a `trustToken`.
This is an overview of the process. [See the API docs for all parameters for these API calls](/docs/apis/two-factor).
Now you have the `trustToken` required to perform a trusted action, such as changing your password while MFA is enabled.
In this situation, when using the `trustToken` on the [Change Password API](/docs/apis/users#change-a-users-password), because you provided a `trustChallenge` on the `/api/two-factor/start` step, the same value must be provided as well as the `trustToken` to successfully use the `trustToken` and complete the privileged operation.
## Migration from Version 1.25 and Earlier
To migrate from the Two-Factor Authentication APIs provided in FusionAuth 1.25 or earlier, you'll need to think about the following aspects:
* Your plan
* Your data
* Your code
### Your Plan
If you do not have a paid FusionAuth plan, you have the Community plan. [Learn more about the various plans](/pricing). Due to the complexity of the new MFA implementation, SMS based MFA is no longer part of the Community plan as it was before version 1.26.
Therefore if you want to use message based MFA in a version of FusionAuth after 1.25, you must purchase a paid license.
Google Authenticator and time based one-time password MFA continue to work in the Community plan. TOTP MFA has been improved and you can now add multiple authenticator devices to one user account.
### Your Data
If you used the Two Factor API previously, your data should be migrated transparently when you run the SQL migration.
The migrated data includes:
{/* TBD link to messenger configuration docs when done */}
* Whether or not each user has MFA enabled
* Existing Twilio settings which will be converted to the new messenger configuration
* TOTP configuration
If you find your data has not migrated correctly, [please file an issue](https://github.com/fusionauth/fusionauth-issues/issues) and let us know. If you have a plan which includes support, please [file a ticket](https://account.fusionauth.io/account/support/).
### Your Code
Modifying your code depends on what MFA methods you were using. To enable MFA on a user in the new system:
* Ensure the MFA method is allowed on the tenant.
* Ensure the Twilio messenger is set up correctly if you are using that.
* Instead of using the <InlineField>delivery</InlineField> field, use the <InlineField>method</InlineField> field and the corresponding method specific field such as <InlineField>email</InlineField>.
To disable MFA on a user:
* In addition to passing the <InlineField>userId</InlineField> and <InlineField>code</InlineField> fields, you also need to determine the method to disable and pass the appropriate <InlineField>methodId</InlineField> field.
When sending a code, Twilio SMS was previously your only choice. The send API is now more complicated and requires different parameters for enabling or disabling MFA on a user than sending a code for step-up authentication or a login.
To migrate this functionality:
* Ensure the MFA method is allowed on the tenant.
* Ensure the Twilio messenger is set up correctly if you are using that.
* Review the [API](/docs/apis/two-factor) and call the send endpoint with the correct parameters.
## Integrate Other MFA Methods (Generic messenger, webhooks)
If you have other MFA methods that you'd like to use with FusionAuth, you have a few options:
* [Check out the roadmap guidance](/docs/operate/roadmap/roadmap/) to see if your desired method is going to be added soon. If not, the roadmap documents various ways you can request a new feature.
* If you can identify a user using their phone number and can set up a small application to process JSON requests from FusionAuth, you may use a [custom Generic Messenger](/docs/customize/email-and-messages/generic-messenger) to send a code as a second factor. This works well with transports like SMS or any other messaging protocol.
* If you can send a code out of band, you may use step-up authentication to protect all the pages in your system. As soon as a user logs in, require step-up auth. Users don't have to have MFA enabled to use step-up.
* If your additional factor can receive a webhook, configure your webhooks to be transactional and send one on login. The service can then perform the MFA check, perhaps doing something like fingerprint recognition. If any status other than `200` is returned, the login will fail. The downside of this approach is that the message to the end user won't be helpful, and that MFA will be required on every login. Here is an [example of a webhook stopping a login](/blog/2020/08/13/locking-an-account-with-breached-password).
* Use the [Login API](/docs/apis/login) and build custom login flows, inserting your custom MFA functionality where needed.
* Set up an OpenID Connect server with the required MFA functionality. Then set up an [Identity Provider](/docs/lifecycle/authenticate-users/identity-providers/) that delegates to that OIDC server. Add a [Login Validation Lambda](/docs/extend/code/lambdas/login-validation) so that this Identity Provider is the only login option.
[Authentication workflows overview (where MFA appears in end-to-end flows)](/articles/login-authentication-workflows/authentication-workflows-overview) provides comprehensive guidance on integrating MFA into your authentication architecture.
## Migrate MFA Methods From a Different System
<MfaMigration />
## Enforce or Require MFA (Login policy & contextual checks)
There are times when you might want to force a user to provide an additional factor of authentication before they ever get access to your application.
For example, you might require MFA when a user logs into an accounting application, but not when they log in to a customer support application.
In FusionAuth, this is controlled by the Login Policy setting. This can be configured at the tenant level, or, if you have the Enterprise plan, at the application level. There are three values for any tenant login policy:
* Enabled
* Disabled
* Required
When the login policy is `Enabled`, a two-factor challenge will be required during login when a user has configured one or more two-factor methods.
When the login policy is `Disabled`, even when a user has one or more two-factor methods configured, a two-factor challenge will not be required during login.
When the login policy is `Required`, a two-factor challenge will be required during login. If a user does not have configured two-factor methods, they will not be able to log in.
You can learn more about the logic behind MFA challenges in the [Contextual Multi-Factor](/docs/lifecycle/authenticate-users/contextual-multi-factor) documentation.
### Alternate Methods
If login policies aren't flexible enough for you, you can add [step-up authentication](/docs/lifecycle/authenticate-users/multi-factor-authentication#step-up-auth) to your application.
Each time the user accesses a sensitive part of an application, you can require a step-up, which will force them to provide an additional factor.
## Troubleshooting
<MfaTroubleshooting />
### Additional Common Issues
**Codes aren't arriving (SMS or email):**
- Check [tenant/app messenger + template configuration](/docs/customize/email-and-messages/message-templates) and [verify email/SMS delivery settings](/docs/customize/email-and-messages/delivery-troubleshooting)
- Verify [user-facing SMS factor setup steps](/docs/lifecycle/manage-users/account-management/two-factor-sms) and resend behavior
**Users stuck logged in / sign-out doesn't clear MFA prompts:**
- Confirm full sign-out across apps with [Logout & Session Management](/docs/lifecycle/authenticate-users/logout-session-management) (IdP session vs app session)
**Where do I let end users add/remove factors themselves?**
- Point admins and users to [Self-Service Account Management](/docs/lifecycle/manage-users/account-management/) (enrollment, removal, logout link)
**MFA is forced for IdP users:**
- [Why MFA triggers with external IdPs and how to adjust policy](/community/forum/topic/2653/mfa-is-forced-also-on-identity-provider-users)
**Require MFA for admin portal access:**
- Configure tenant-level MFA requirements for administrative access
**Enable MFA for all users or certain projects (Essentials plan):**
- [See community discussion on enabling MFA for specific projects](/community/forum/topic/3025/enabling-mfa-for-all-users-or-specific-projects-in-fusionauth-essentials-plan)
### Related Articles
- [What is MFA? article](/articles/authentication/multi-factor-authentication)
- [Combine SSO + MFA article](/articles/authentication/combine-sso-mfa-fusionauth)
- [MFA compliance article](/articles/authentication/mfa-compliance-fusionauth)
# Setting Up User Account Lockout
import Aside from 'src/components/Aside.astro';
import Breadcrumb from 'src/components/Breadcrumb.astro';
import InlineField from 'src/components/InlineField.astro';
import InlineUIElement from 'src/components/InlineUIElement.astro';
## Locking User Accounts Based on Failed Authentication Attempts
If a user tries to authenticate multiple times and fails, you may want to prevent them from trying further. Typically you'd do so after a certain number of failures. Configuring this can help prevent brute force attacks, which is where attackers attempt to figure out your users' passwords by guessing repeatedly.
If you're concerned about breached passwords compromising your systems, you may also be interested in [Reactor, which can detect breached passwords on user login](/docs/get-started/core-concepts/licensing).
To accomplish this rules based account lockout, you need to take two steps:
1. Create a user action representing the account lock behavior
2. Configure tenant settings defining when to apply the lock and the duration of the lock
<Aside type="note">
If you are interested in rate limiting other actions, such as forgot password requests or two-factor messages, you can use [advanced threat detection](/docs/operate/secure/advanced-threat-detection) to do so.
</Aside>
### Creating the User Action
The first step is to create a user action, under <Breadcrumb>Settings -> User Actions</Breadcrumb>. Give it a name of "Account Lock". Check the <InlineField>Time-based</InlineField> and <InlineField>Prevent login</InlineField> checkboxes.
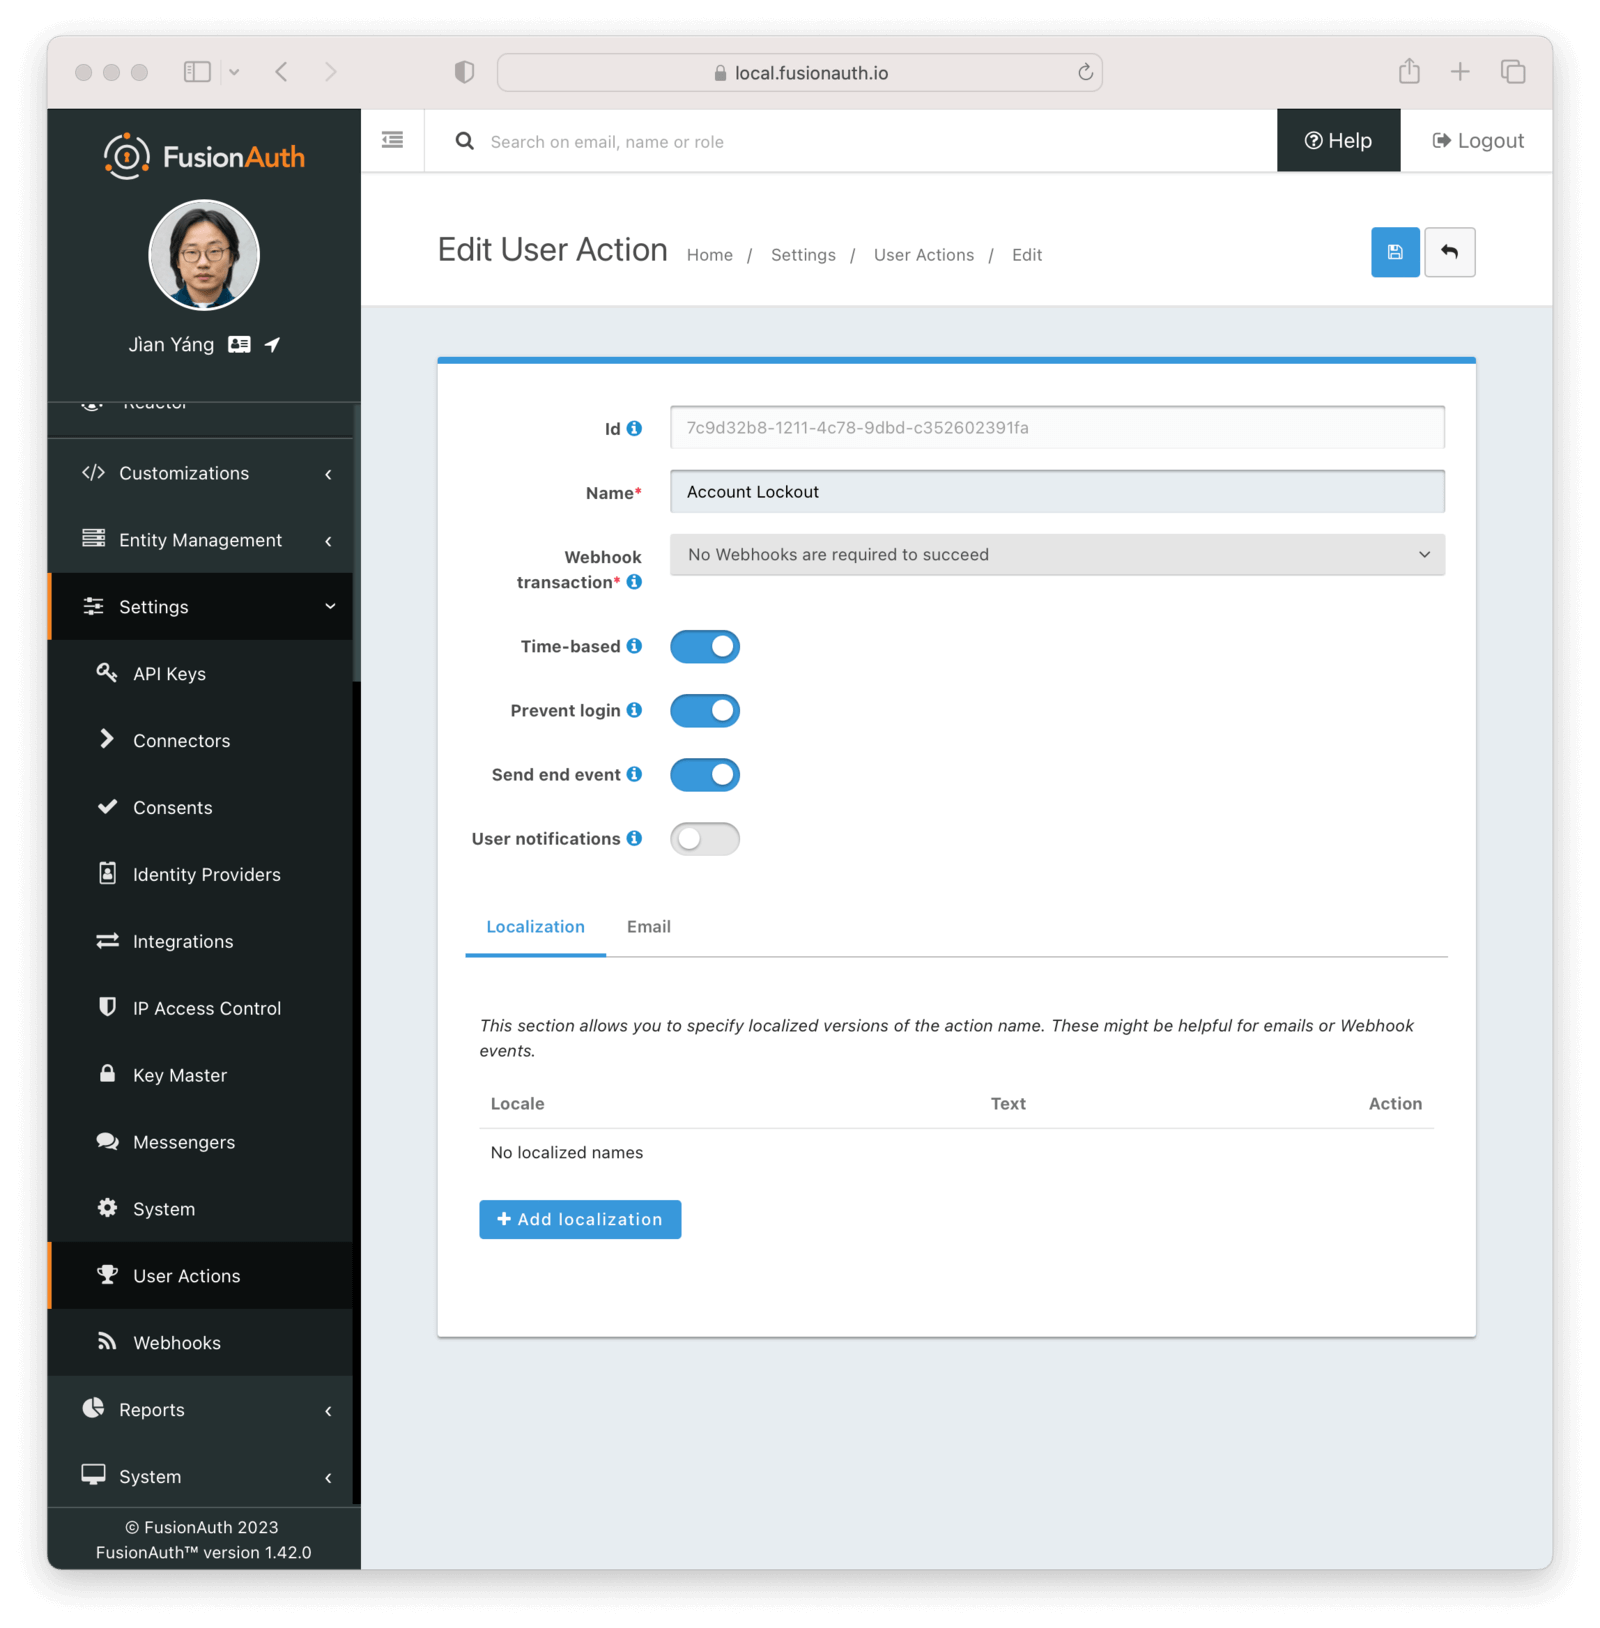
There are other configuration options available, including localization and user notification options; check out the [User Action APIs](/docs/apis/user-actions) for more information.
### Tenant Configuration
Next, configure your tenant, under <Breadcrumb>Tenants -> Default</Breadcrumb>. Then navigate to the <Breadcrumb>Password</Breadcrumb> tab. Under the <InlineUIElement>Failed authentication settings</InlineUIElement> section, change the <InlineField>User action</InlineField> to your newly created user action, `Account Lock`.
You can configure the number of failed attempts which will trigger the lockout, the time period during which the allotted failures must take place, and the duration of the lockout.
For example, the below settings will allow five failed attempts in sixty seconds. Once the fifth attempt fails, the account will be locked for three minutes. However, each additional failed attempt restarts the three minute lockout.
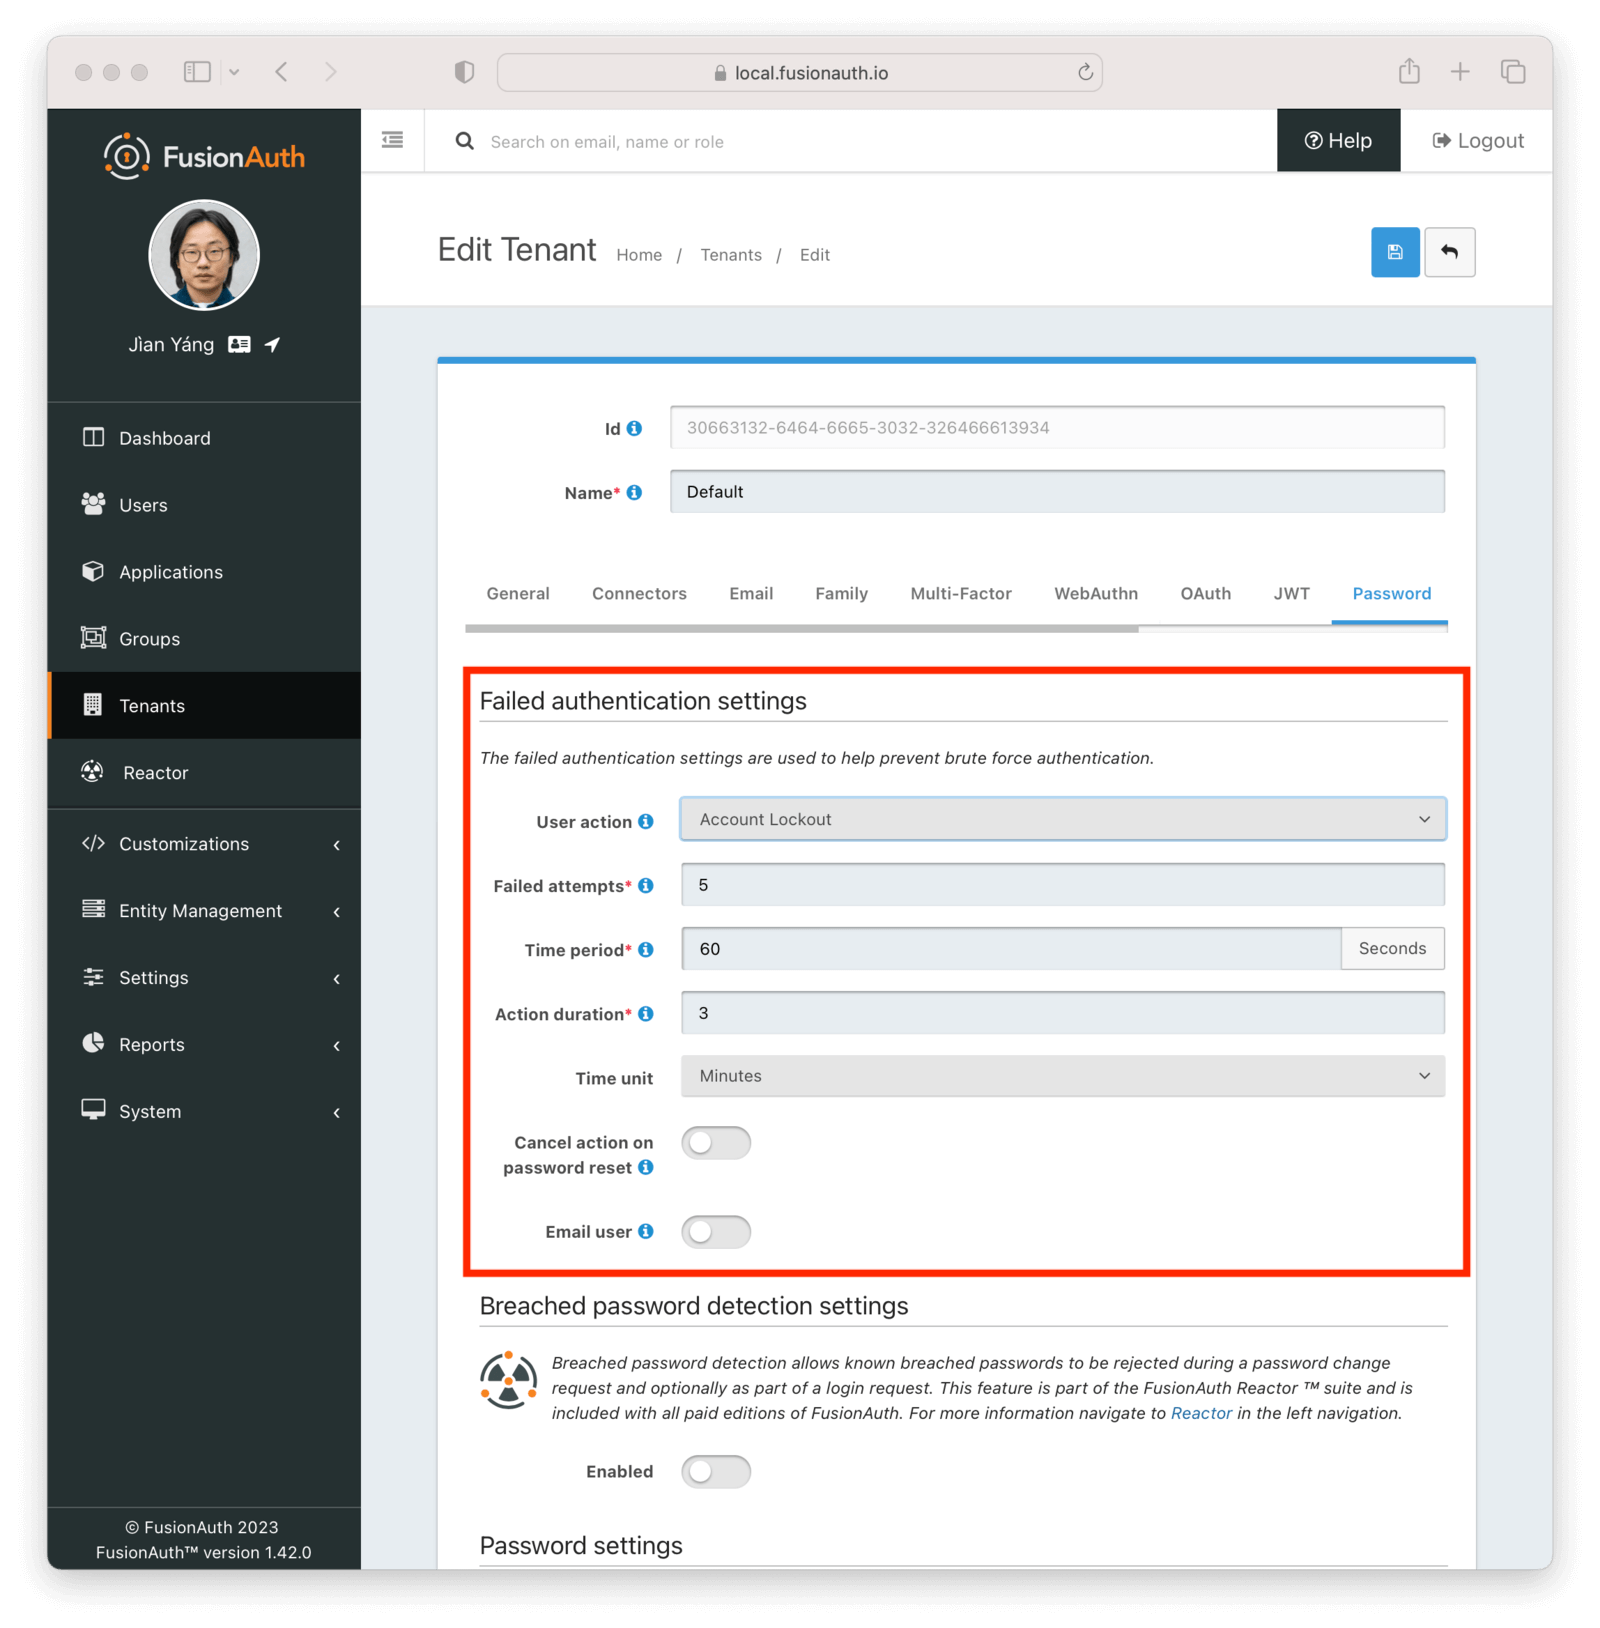
### What Happens When The Account is Locked
When a user account has been locked by this mechanism, they'll be able to sign in after the duration has elapsed. All login paths will be locked. This user will not be able to log in using the FusionAuth login pages, and any login API access will return a 4xx error, as specified in the [Login API docs](/docs/apis/login).
This is what a user will see if the standard FusionAuth OAuth theme is used:
Since this is a temporary action, the user details screen in the administration user interface will not display a red lock. That is reserved for locks not applied by the user action rules, such as by users that have been [soft deleted](/docs/apis/users#delete-a-user).
An administrator can manually remove or extend this lock. You can also modify the action applied to a user by using the [Actioning Users API](/docs/apis/actioning-users). Administrators can see the action under the user's "Current actions" tab.
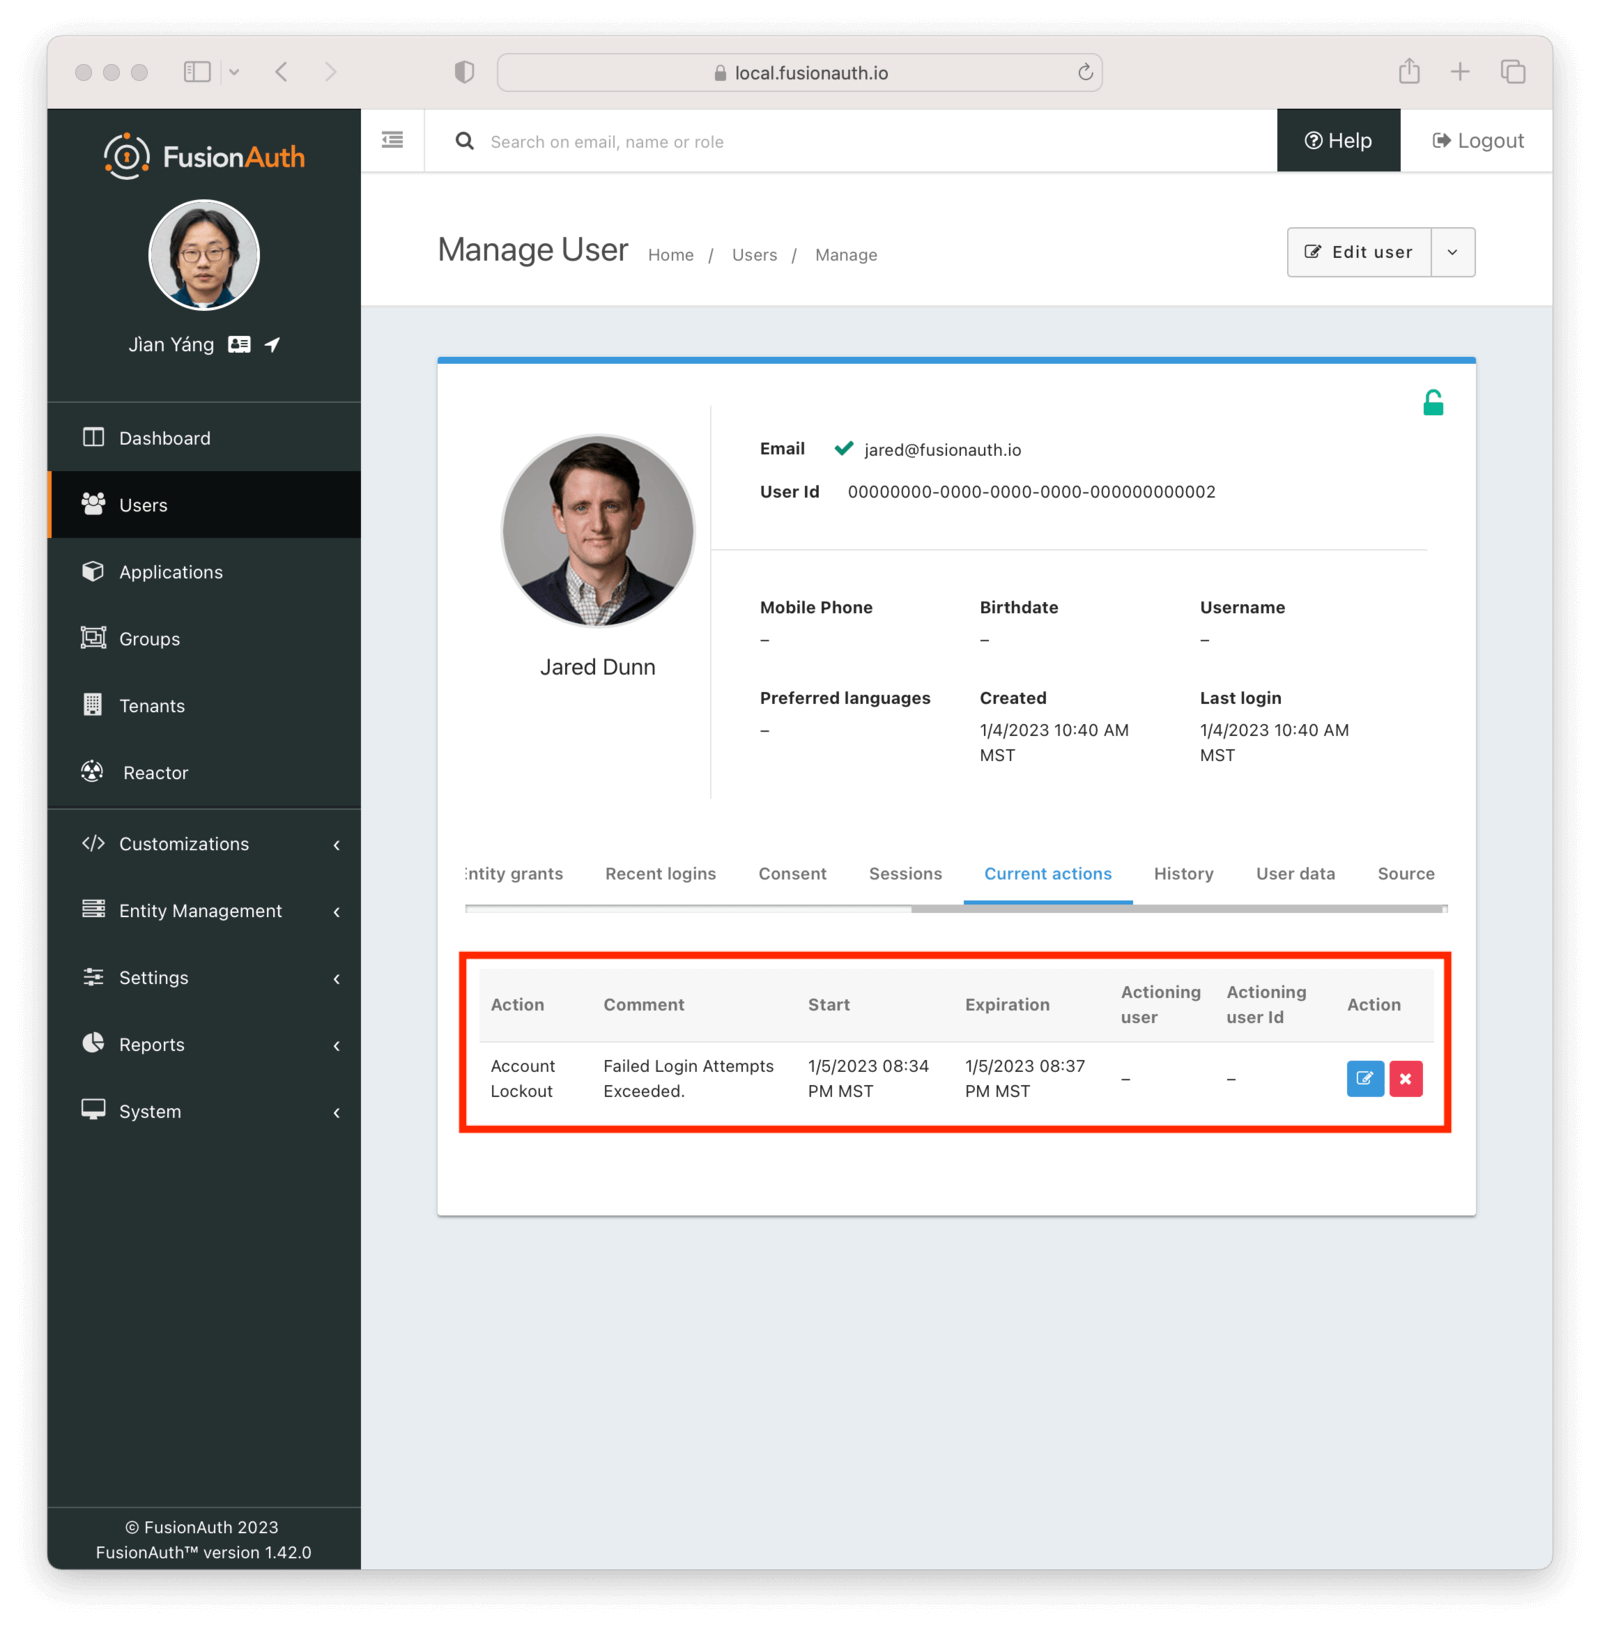
### Webhooks
If you are interested in analytics around the number of lockout actions that are taken, you may want to listen for these [webhooks](/docs/extend/events-and-webhooks/events/) and ingest the data into a reporting tool.
* `user.action` which will fire when the defined action starts and ends.
* `user.login.failed` which will fire when a user login attempt fails
# Custom Admin Forms
import AdminCustomFormLimitations from 'src/content/docs/lifecycle/manage-users/_custom-admin-form-limitations.mdx';
import AdminUserForm from 'src/content/docs/_shared/_admin-user-form.mdx';
import AdminUserRegistrationForm from 'src/content/docs/_shared/_admin-user-registration-form.mdx';
import Breadcrumb from 'src/components/Breadcrumb.astro';
import PremiumPlanBlurb from 'src/content/docs/_shared/_premium-plan-blurb.astro';
## Overview
With custom admin forms, you can modify the administrative user interface (admin UI) and customize your view of Users or Registrations. While FusionAuth ships with usable admin UI forms, if you have user or registration fields that are unique to your use case or business, this feature may be useful to you.
This can be useful if there are custom data fields that you want to let users of the admin UI edit, while applying validation rules. With this feature, you are changing the way user data can be edited, not the way it is viewed in the admin UI.
These fields are like any other custom data fields and [can be searched](/docs/lifecycle/manage-users/search/user-search-with-elasticsearch) in the same way.
<PremiumPlanBlurb />
### The User Form
<AdminUserForm />
### The Registration Form
<AdminUserRegistrationForm />
## Example
Suppose you needed to capture two additional fields for your application:
* a user's favorite color
* a user's desired background color on a specific application
If you want these fields to be editable in the admin UI so that customer service reps could update the colors when the user called in. (You can also make these fields editable by the end user, see [Update User Profiles and Passwords](/docs/lifecycle/manage-users/account-management/updating-user-data) for more.)
You can create two custom form fields called `user.data.favoriteColor` and `registration.data.backgroundColor`. Then you create a new user form and add the `favoriteColor` field to it.
You'd also create a new registration form and add the `backgroundColor` field to it.
You'd also need to update the theme's messages file as mentioned above in order to have the correct form labels. If you do not, the keys of the fields will be used as the labels.
Finally, you'd update the tenant settings to use the new user form, and the application to use the new registration form.
### Results
Here's the admin user form after you've added the `user.data.favoriteColor` field.
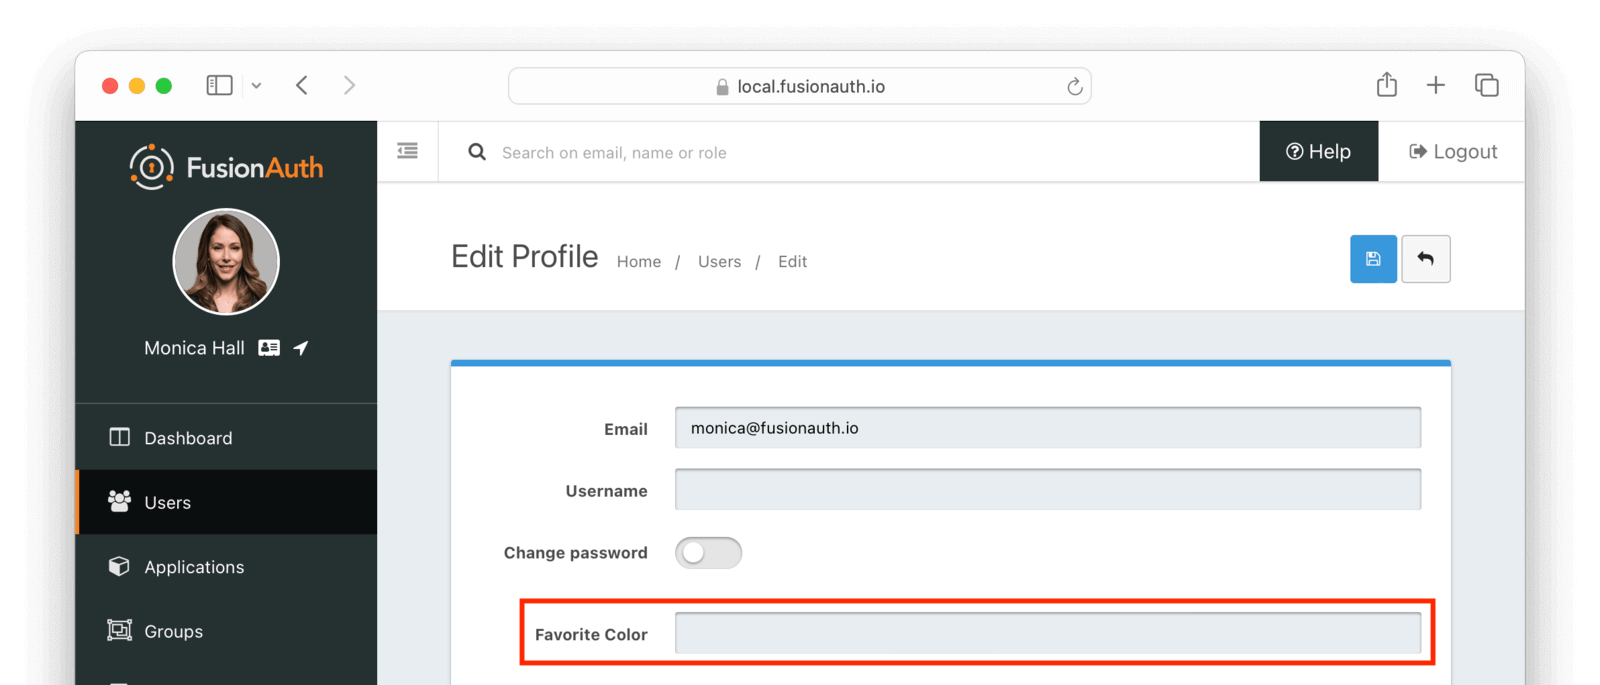
Here's the admin registration form after you've added the `user.data.favoriteColor` field.
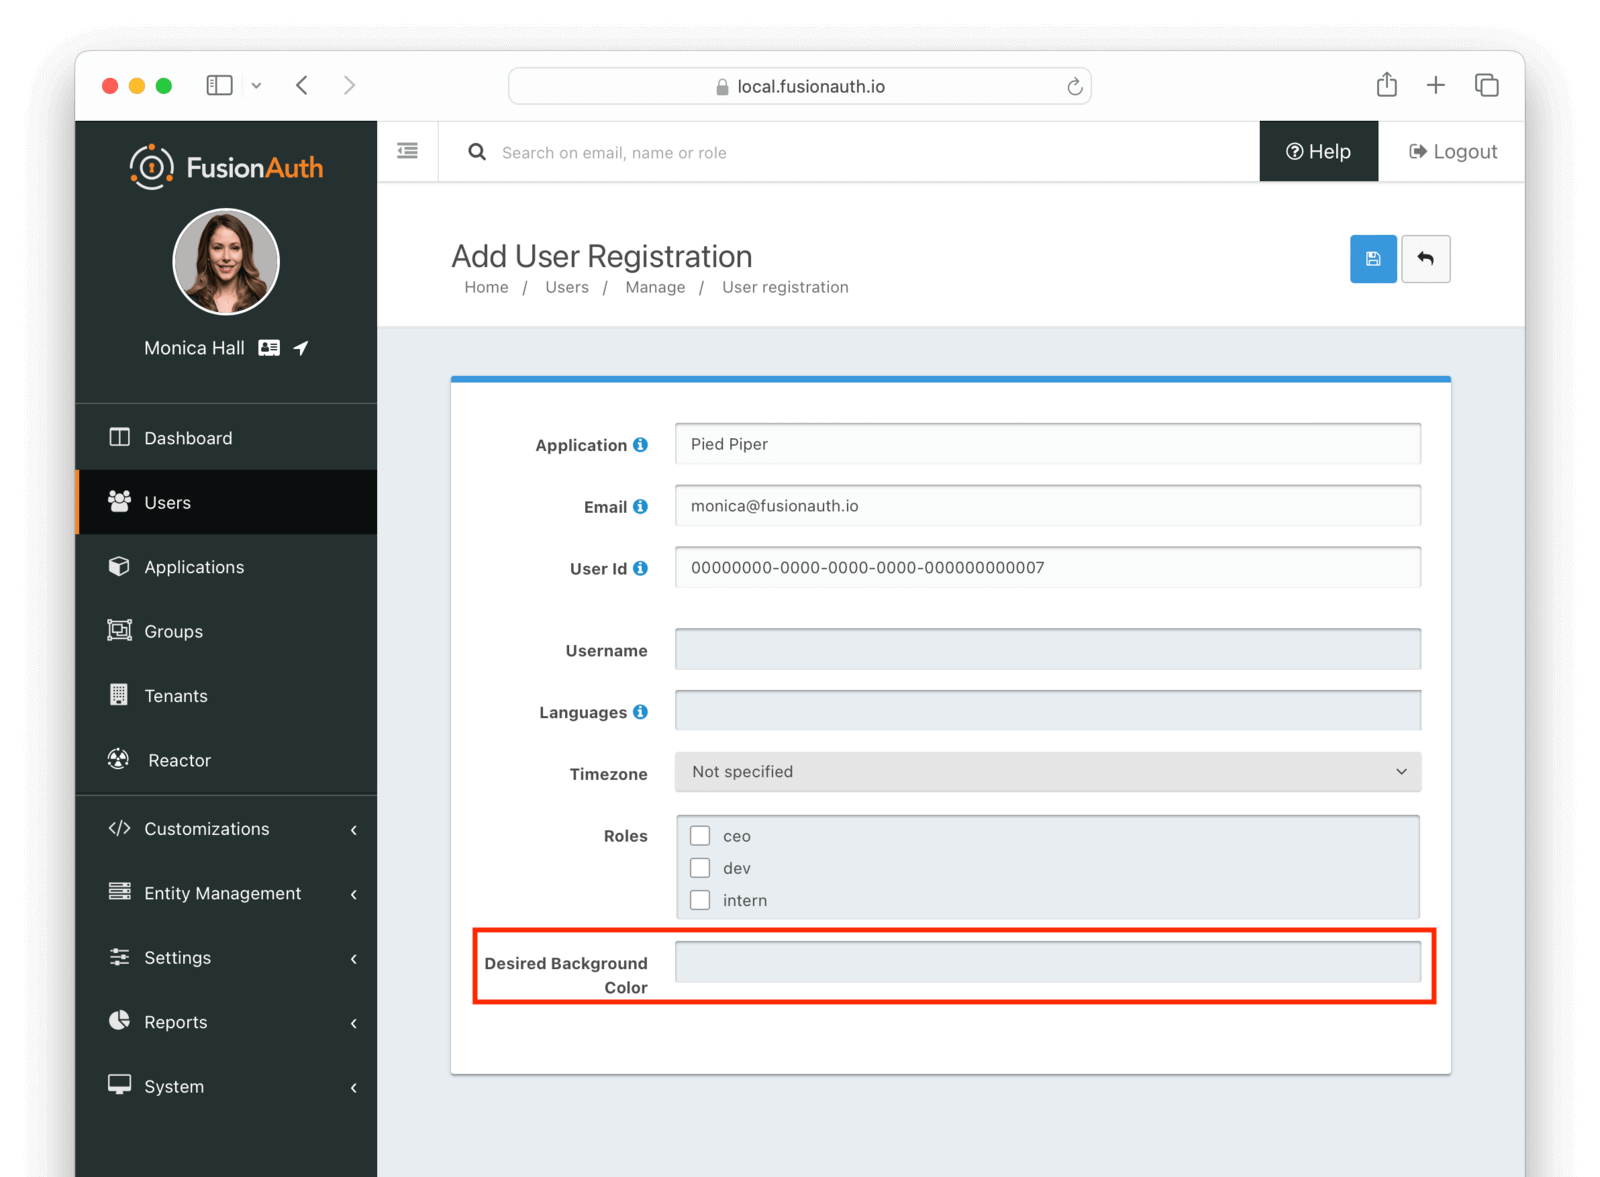
Here's an example of a user who has had both custom fields updated. The <Breadcrumb>User data</Breadcrumb> tab will display custom data.
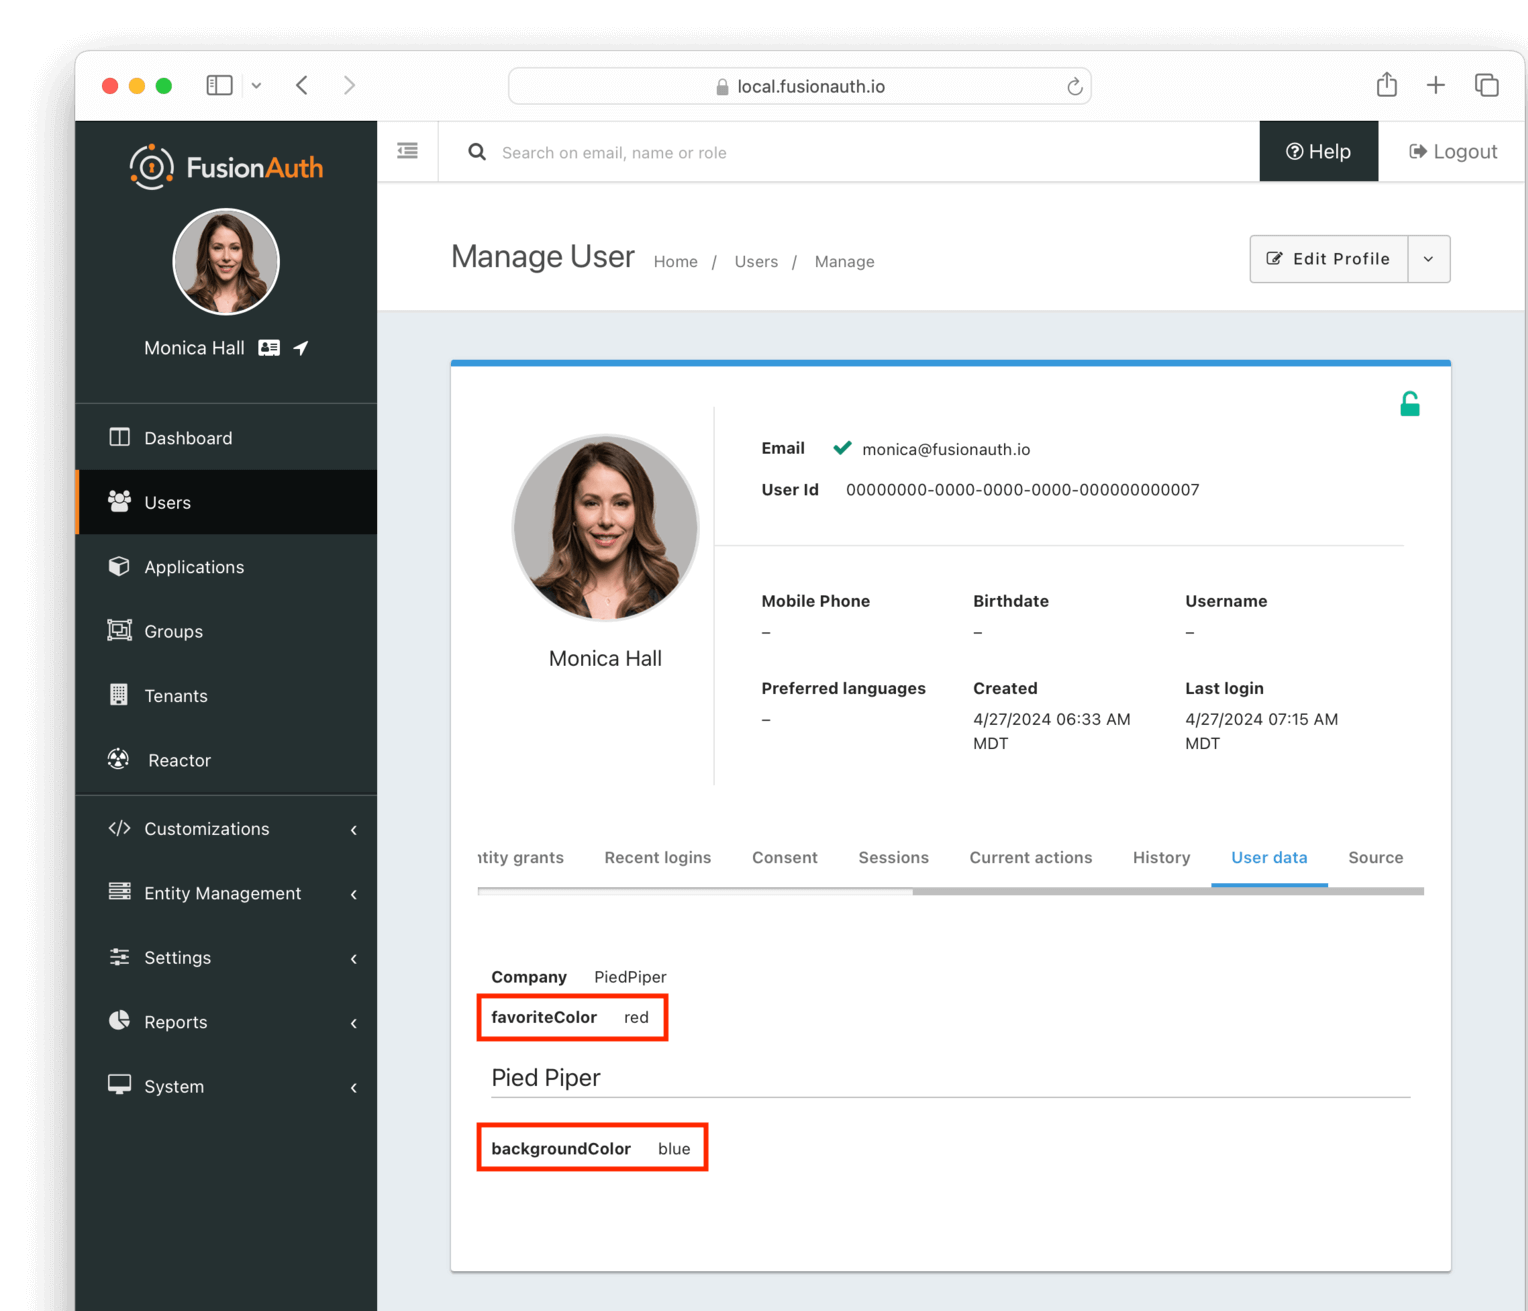
The layout and labels of the custom data can't be modified.
## View Only Admin User Data Access
Custom admin forms are useful for allowing users with access to the admin UI to edit profile data. If you only want to allow the user to view profile data, you can give them the [appropriate FusionAuth admin UI role](/docs/get-started/core-concepts/roles#fusionauth-admin-ui-roles), typically `user_support_viewer`.
They can then navigate to <Breadcrumb>Users -> The User</Breadcrumb> and then to the <Breadcrumb>User data</Breadcrumb> tab.
## Access Paths
You can have multiple types of custom data fields. You can have fields that are editable in:
* the admin UI, appropriate for fields that should only be edited by admin users
* the self-service account management UI, appropriate for fields that can be edited by end users
* neither, appropriate for fields that are used by software systems
You can always edit custom data fields directly using the [User API](/docs/apis/users) or [Registration API](/docs/apis/registrations). Or, if you prefer not to make raw HTTP API calls, a [client library](/docs/sdks) with an appropriate API key.
## Difference Between User And Registration Fields
You have two options for storing custom data:
* The `user.data` field
* The `registration.data` field
How can you choose between these? Users exist independent of any other entity, though they are contained within a Tenant, and that Registrations join Users with Applications. Therefore, if a field is part of a User, it should be stored in `user.data`. If, on the other hand, the field only makes sense in the context of a User and an Application, then use the `registration.data` field.
Examples of fields that should be stored on the user:
* Unchanging or slowly changing attributes like the user's shoe size or favorite color
* Identifiers tying the user to other systems
* Cross-application preferences like timezone
Examples of fields that should be stored on the registration:
* Application preferences such as background color or profile header image
* User controllable attributes related to a single application such as a nick or friends list
* Application data such as the last access date or last file opened
## Limitations
<AdminCustomFormLimitations />
# Implementing Single Sign-on
import Aside from 'src/components/Aside.astro';
import BootstrappingSSO from 'src/content/docs/lifecycle/authenticate-users/_bootstrapping-sso.mdx'
import Breadcrumb from 'src/components/Breadcrumb.astro';
import InlineField from 'src/components/InlineField.astro';
import InlineUIElement from 'src/components/InlineUIElement.astro';
import LogoutBehaviorAllApplications from 'src/content/docs/get-started/core-concepts/_logout-behavior-all-applications.mdx';
import SessionsExpiration from 'src/content/docs/lifecycle/authenticate-users/_sessions-expiration.mdx';
import SSOLogin from 'src/diagrams/docs/lifecycle/authenticate-users/sso-login.astro';
import SSOLogout from 'src/diagrams/docs/lifecycle/authenticate-users/sso-logout.astro';
import { YouTube } from '@astro-community/astro-embed-youtube';
import { RemoteCode } from '@fusionauth/astro-components';
This guide will walk you through setting up single sign-on (SSO) between two web applications using FusionAuth as their common authentication and authorization server. You will use the hosted login pages for your login form.
These are the applications you'll build:
* Pied Piper
* Hooli
At the end of this guide, both applications will be running. You can then log in to Pied Piper. Then if you visit Hooli, you will be automatically signed in to that second application. If you sign out from either of them, you'll be signed out from both.
This pattern scales to any number of applications, and can include commercial off the shelf apps. If you have a suite of applications, you can provide a seamless single sign-on experience for all your users.
<Aside type="note">
This guide illustrates a single sign-on scenario where FusionAuth is the system of record for your users.
If, instead, another datastore is your system of record, check out the [Identity Providers](/docs/lifecycle/authenticate-users/identity-providers/) documentation, which allows users to authenticate with third party login. This includes both social sign-on providers like Google as well as providers implementing standards such as OIDC.
</Aside>
## Concepts
It's worth spending a bit of time to discuss sessions. Sessions are how servers know they've seen the client, usually a browser, before. They are usually implemented with cookies, but the actual technologies used don't matter. In the SSO scenario, the following sessions exist:
* FusionAuth's session, also known as the single sign-on session
* The Pied Piper application's session
* The Hooli application's session
If a session doesn't exist for a given application, or expected values aren't present in it, then the session must be created or updated after the user has presented valid credentials. For FusionAuth, the credentials are a username and password, but for the other applications, the credential is a valid FusionAuth token.
## Request Flow Diagrams
Here's the flow of a single sign-on login request.
<SSOLogin alt="Single sign-on request flow during login." />
Here's the flow of the corresponding logout request.
<SSOLogout alt="Single sign-on request flow during logout." />
Above, note that FusionAuth automatically logs the user out of the Hooli application after the user chooses to log out of the Pied Piper application. The user does not have to log out of multiple applications. The logout URLs will be called for each application in this tenant, allowing you to transparently sign the user out of three, five or ten web applications. However, you can disable this setting too.
## Prerequisites
To walk through this guide, you will need to have FusionAuth and Node installed. For FusionAuth installation instructions, please visit [the 5 minute setup guide](/docs/quickstarts/5-minute-setup-guide).
## Set Up The Domains
In order to properly exercise single sign-on, applications need to live on different domains, or at least different paths. If you, for instance, set up two Node applications at `localhost:3000` and `localhost:3001`, browser sessions won't be separated and the SSO functionality won't work as intended. Cookies typically don't differ based on ports, so you'll see confusing behavior.
You can, however, easily set up two local domains. Edit your hosts file; on macOS, this file lives at `/etc/hosts`. Look for a line starting with `127.0.0.1`, which is the address of your computer.
Add the following text to that line:
```ini title="Additions to the /etc/hosts file"
hooli.local piedpiper.local
```
You want it to look something like this after editing:
```ini title="The modified localhost line in /etc/hosts file"
127.0.0.1 localhost hooli.local piedpiper.local
```
Later, when you have the code running, you can type `http://piedpiper.local:3000` or `http://hooli.local:3001` into your browser's address bar and the local Node application will serve the request.
## Configure The Applications In FusionAuth
Next, create and configure the applications in FusionAuth. This guide uses the Admin UI, though you can also do this using the API.
Navigate to <Breadcrumb>Applications</Breadcrumb> and create two new applications. Configure the following for each application:
* <InlineField>Name</InlineField>
* <InlineField>Authorized redirect URL</InlineField>
* <InlineField>Logout URL</InlineField>
The <InlineField>Name</InlineField> is used for display purposes.
The <InlineField>Authorized redirect URL</InlineField> lists all the valid redirect URLs that the application is capable of handling. In this case there is only one per application, but if you want your user to be sent to different landing pages based on where they signed in or some other parameter, you can add more.
<InlineField>Logout URL</InlineField> is where the user is sent if they log out from this application. It is also a URL requested by FusionAuth if you have multi-application logout enabled. The value of <InlineField>Logout behavior</InlineField> controls this. The default value of `All applications` means that when a user signs out of one FusionAuth application in a tenant, they are automatically signed out of all of them.
For the Pied Piper application, the configuration values will be:
* <InlineField>Name</InlineField>: Pied Piper
* <InlineField>Authorized redirect URL</InlineField>: `http://piedpiper.local:3000/oauth-redirect`
* <InlineField>Logout URL</InlineField>: `http://piedpiper.local:3000/endsession`
For the Hooli application, the values will be:
* <InlineField>Name</InlineField>: Hooli
* <InlineField>Authorized redirect URL</InlineField>: `http://hooli.local:3001/oauth-redirect`
* <InlineField>Logout URL</InlineField>: `http://hooli.local:3001/endsession`
All of these will be configured on the <Breadcrumb>OAuth</Breadcrumb> tab.
Here's what the Pied Piper application might look like when properly configured:
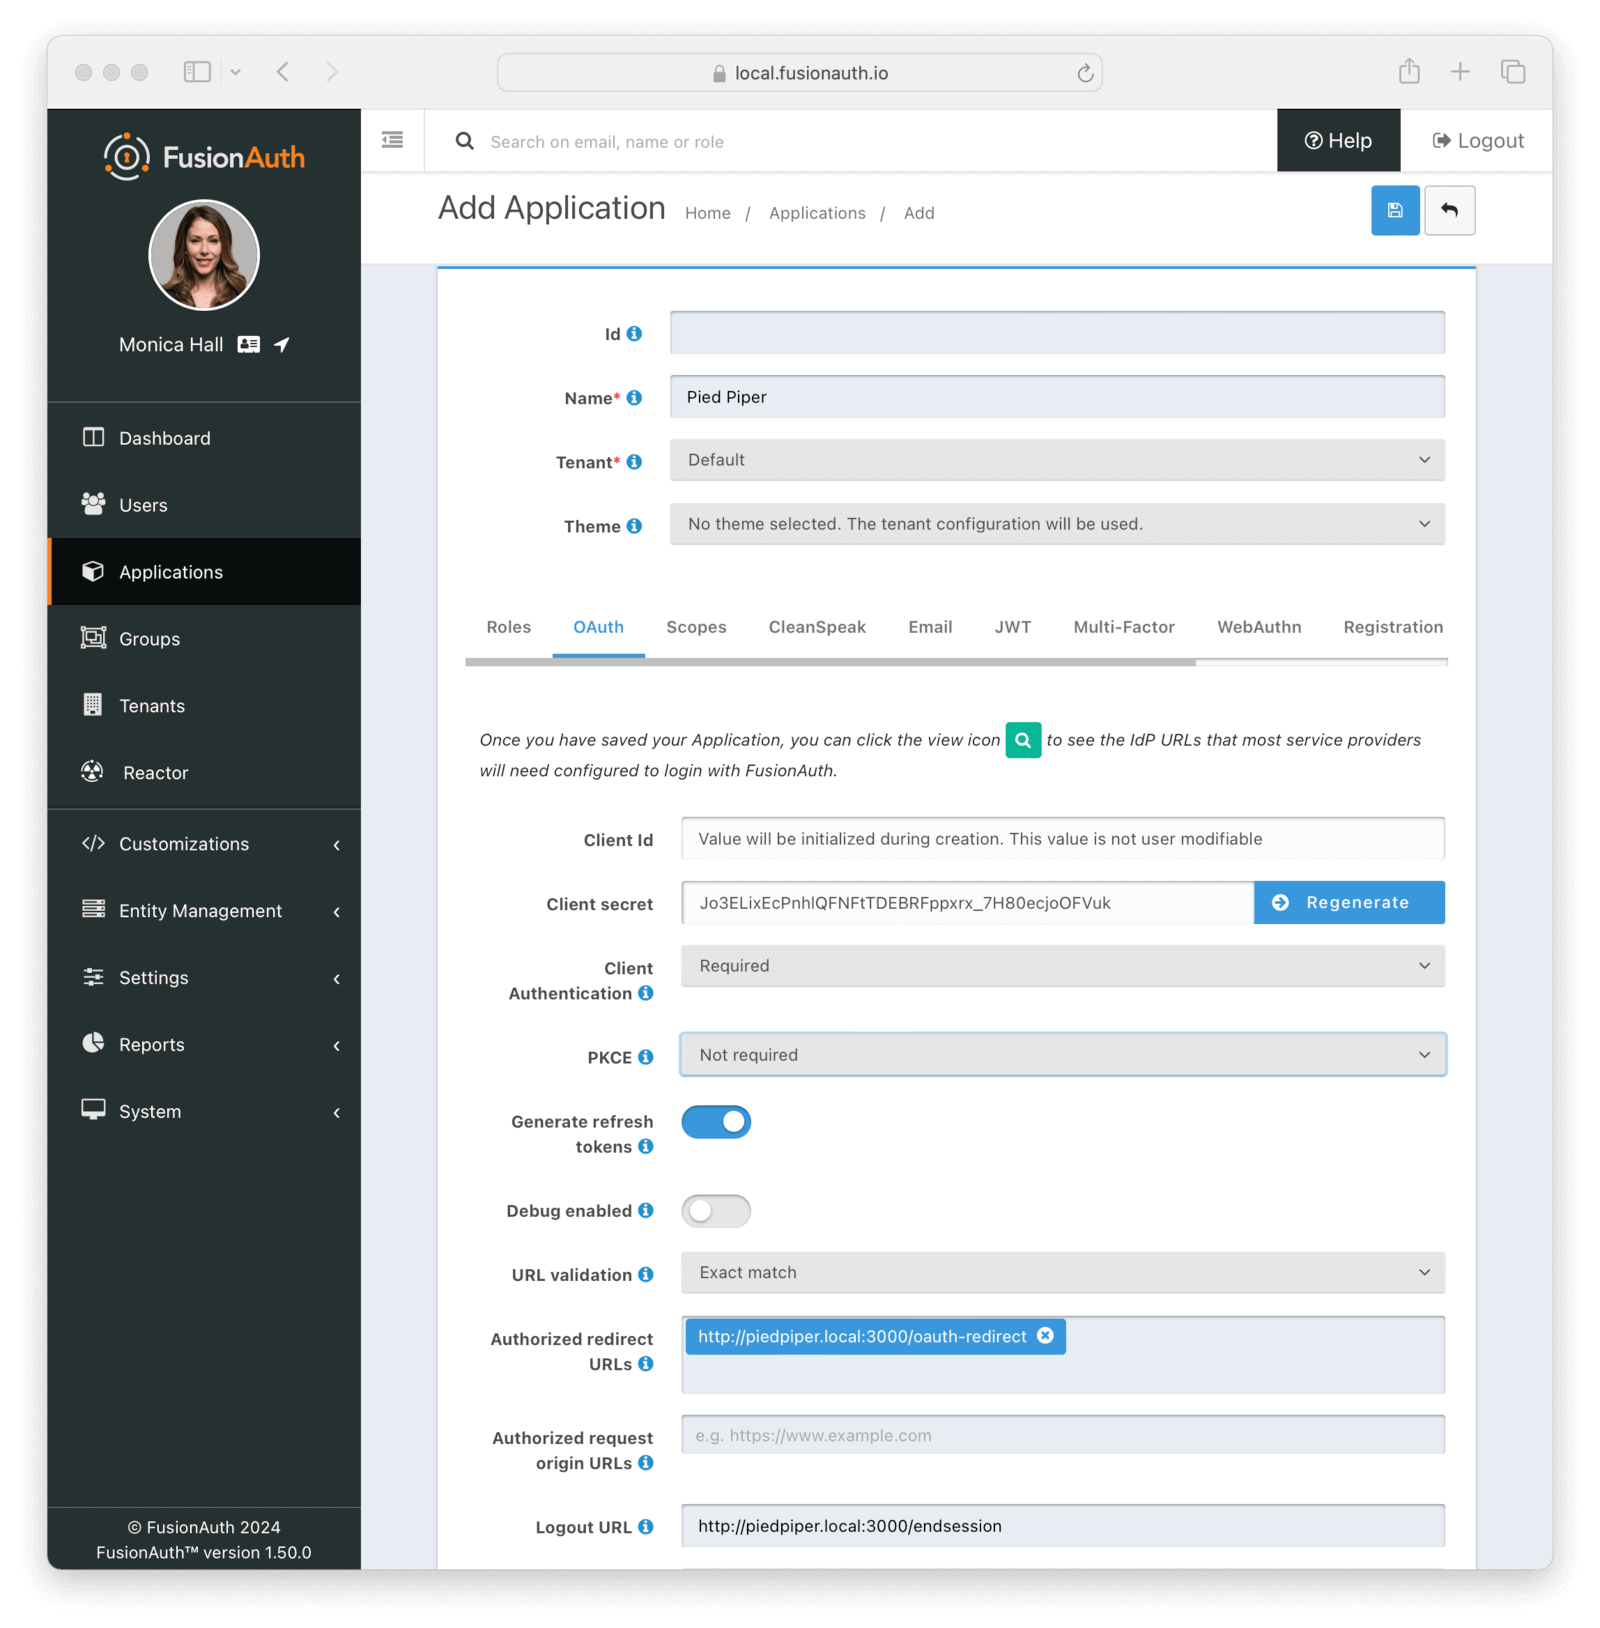
Click <InlineUIElement>Save</InlineUIElement> for each application.
View each application by clicking the green magnifying glass when looking at the list of applications and note the `Client Id` and `Client Secret` values:
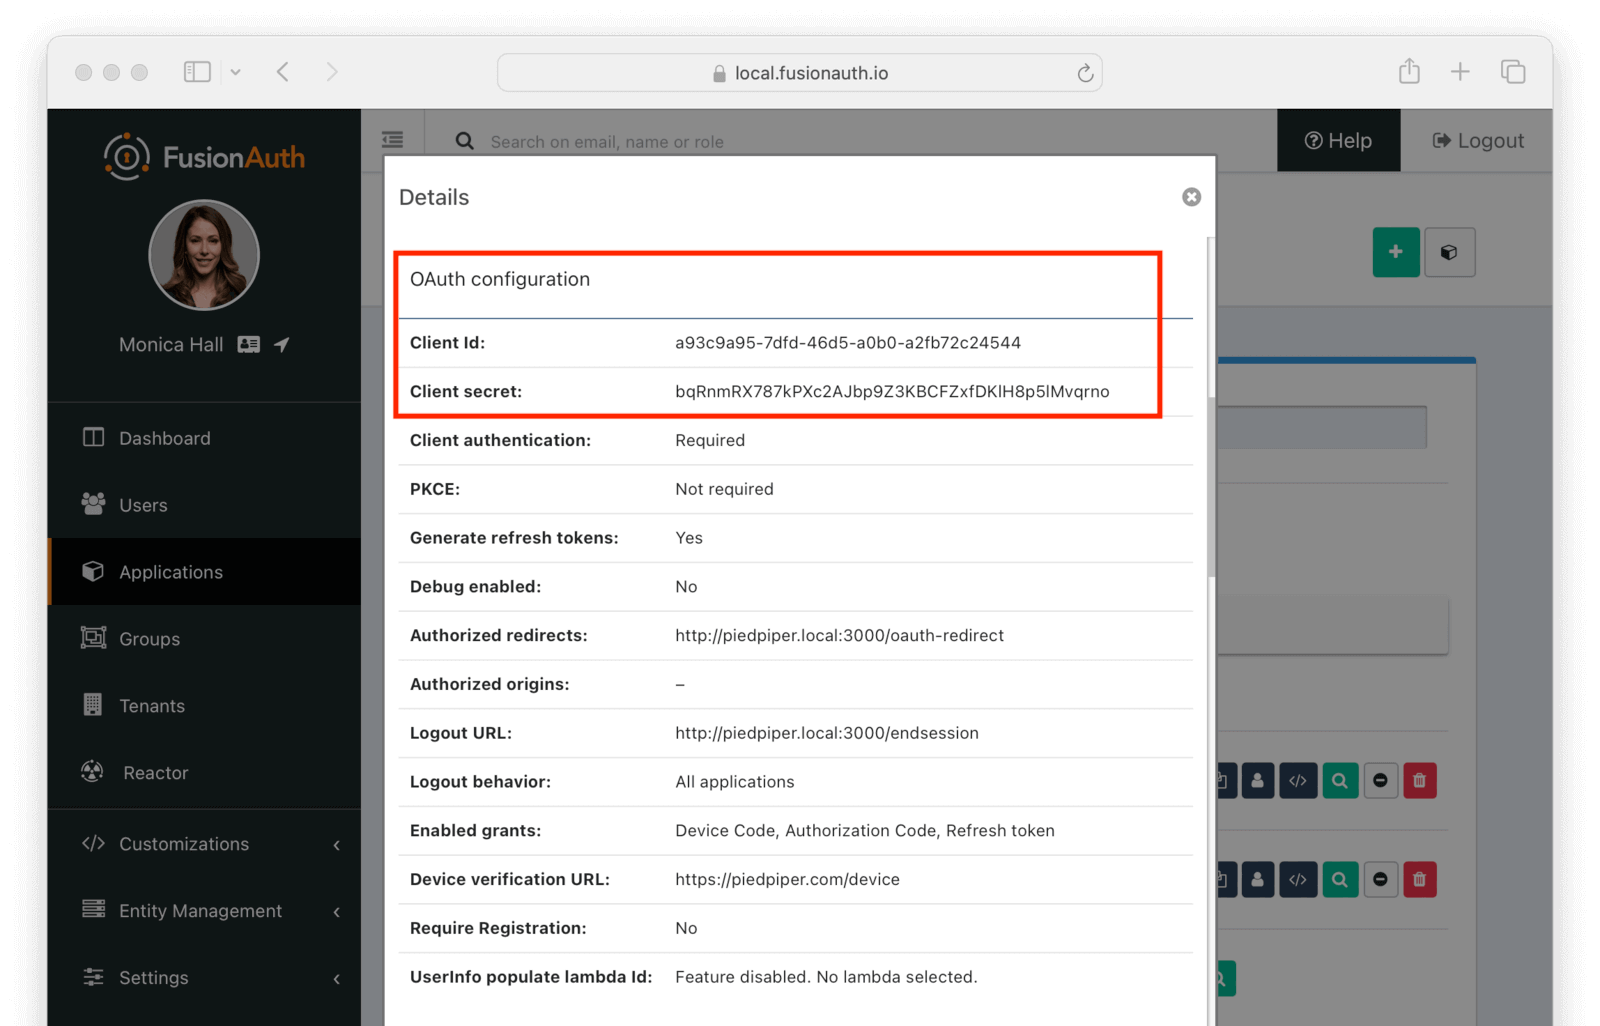
## Set Up The User
You'll need to make sure that a FusionAuth user is registered for both applications you created. You can use the default user created when installing FusionAuth or any other user. Here's an example of what the user details of a user registered for both the Pied Piper and Hooli applications will look like:
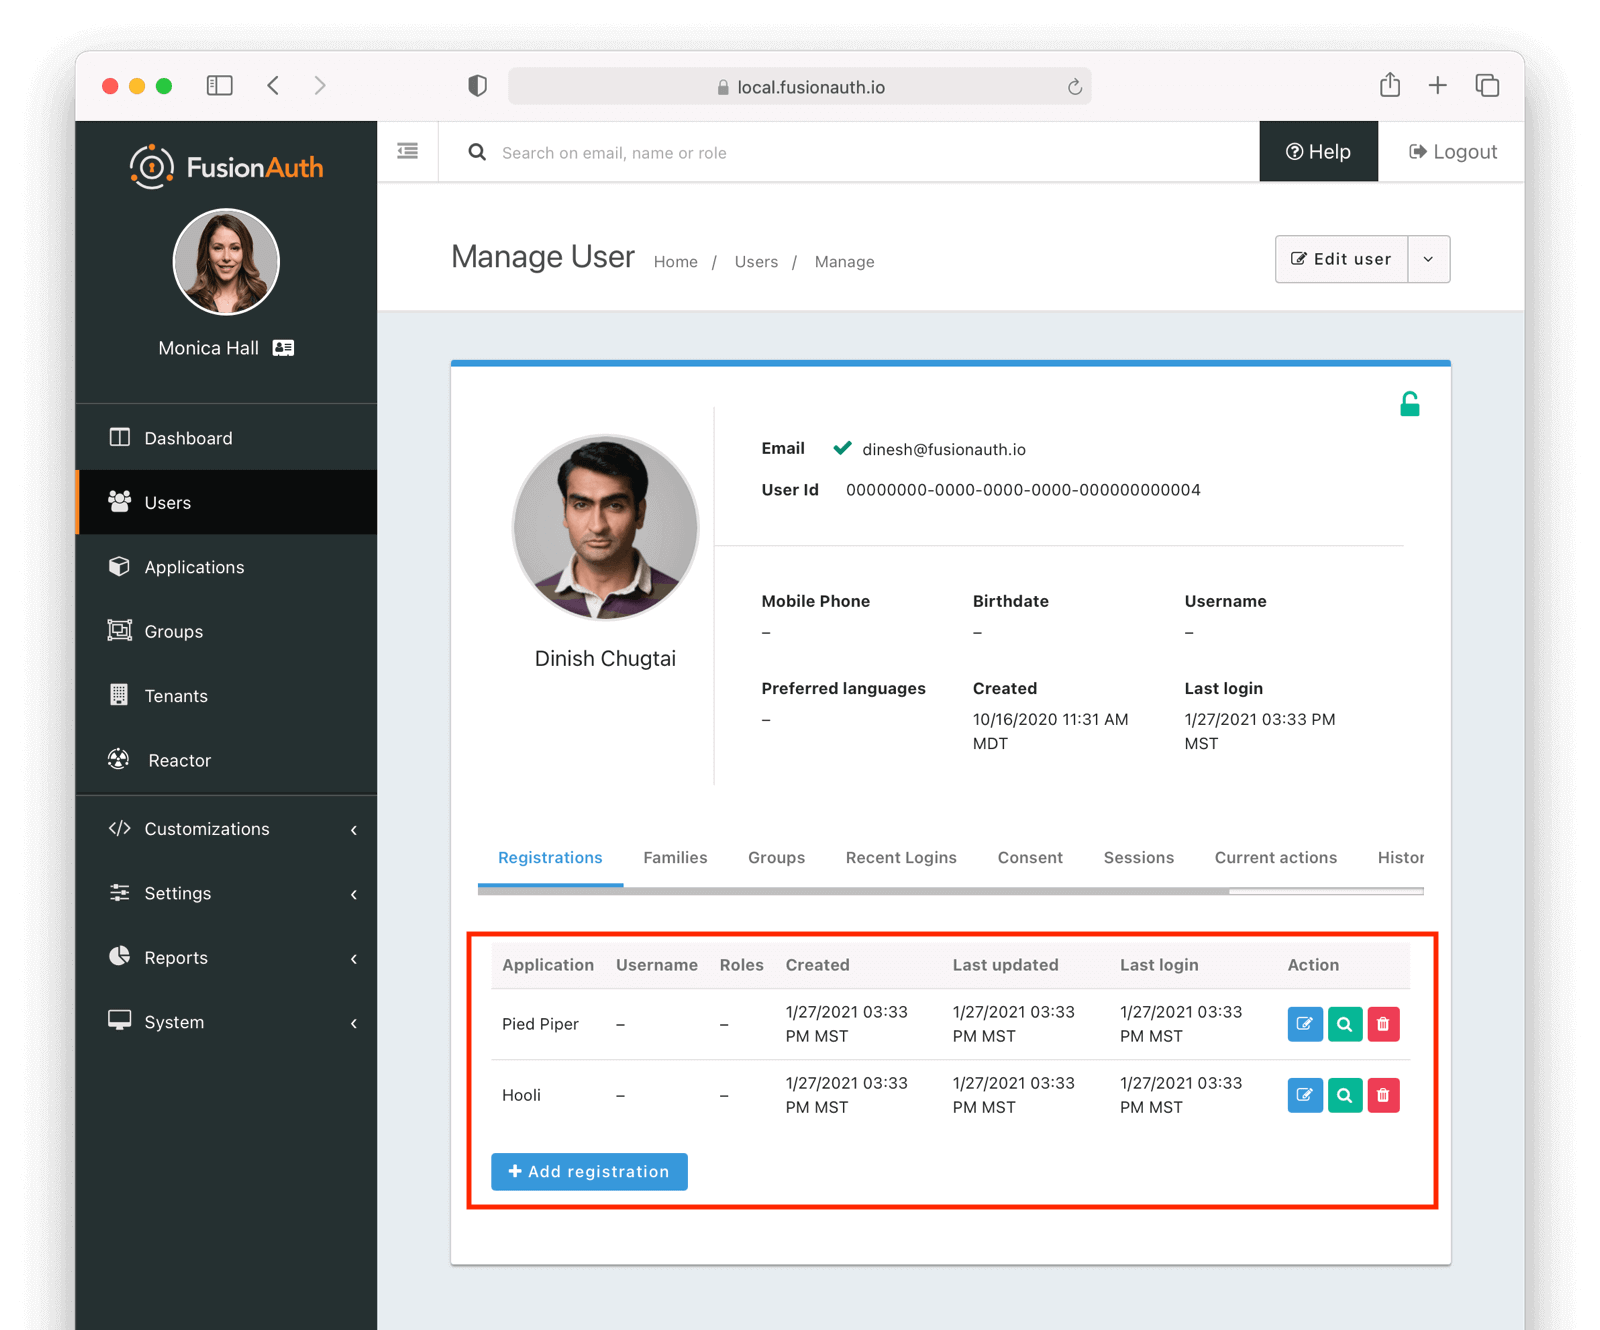
## Set Up The Code
Next, set up the code. Both of the applications in this guide are written in Node, but the logic will be the same no matter the language. This [code is available on GitHub](https://github.com/fusionauth/fusionauth-example-node-sso), feel free to clone the repository.
Set up two Node applications, one for Pied Piper and one for Hooli. In this guide, the applications are very similar, so let's create the Pied Piper application first. Once this is running, you can copy most of the code for the Hooli application.
First off, make a `pied-piper` directory and change into it.
```shell script title="Creating Pied Piper directory"
mkdir pied-piper && cd pied-piper
```
### Required packages
Set up your needed packages. Here's what the `package.json` file should look like:
<RemoteCode
url={frontmatter.codeRoot + "/pied-piper/package.json"}
lang="javascript"
title="package.json" />
Go ahead and install the needed modules:
```shell script title="Installing needed modules"
npm install
```
### The Express Server
This guide uses express for each application and the [typescript client](/docs/sdks/typescript) for interactions with the FusionAuth API. Create an `app.js` file; this is what will be executed when the server starts.
This is a pretty standard express application which uses pug and sessions. It reads routes from files in the `routes` directory and views from the `views` directory.
<RemoteCode
url={frontmatter.codeRoot + "/pied-piper/app.js"}
lang="javascript"
title="app.js" />
The session length for this application is 60 seconds; the `maxAge` value is in milliseconds. When the node application's session expires, it will redirect the end user to FusionAuth. If the single sign-on session has not expired, the user will be transparently redirected back. If it has expired, the user must re-authenticate.
### The `www` script
The next step is to create a script which starts up express. Place the contents of this file in `bin/www`.
<RemoteCode
url={frontmatter.codeRoot + "/pied-piper/bin/www"}
lang="javascript"
title="bin/www" />
This script is what running `npm start` actually executes.
This code isn't that interesting with regards to single sign-on but is included for completeness.
It looks for a port from the environment or uses `3000` as the default. It also registers some error handling code. Then it starts up a server listening on that port, based on configuration from `app.js`.'
### The .env File
Here's the `.env` file, which should be placed at `.env`:
<RemoteCode
url={frontmatter.codeRoot + "/pied-piper/.env"}
lang="properties"
title="The .env File" />
This contains configuration settings such as the Client Id and Client Secret. Make sure to update it with the correct values you've copied in the [Configure The Applications In FusionAuth](#configure-the-applications-in-fusionauth) section.
Next, build out the `indexRouter` code referenced from the `app.js` file above.
### The Index Route
Here's the entire `index.js` file, which should be placed at `routes/index.js`:
<RemoteCode
url={frontmatter.codeRoot + "/pied-piper/routes/index.js"}
lang="javascript"
title="routes/index.js" />
This code handles a number of paths. Let's look at the code in more detail.
<RemoteCode
url={frontmatter.codeRoot + "/pied-piper/routes/index.js"}
tags="constants"
lang="javascript"
title="Constants section" />
The top of the `index.js` file has configuration values and some needed constants.
The `clientId` and `clientSecret` are the values noted in the administrative user interface when you created the application in FusionAuth. The `fusionAuthURL` value needs to match your FusionAuth location, typically `http://localhost:9011`. If the FusionAuth server is running at a different hostname, update that.
The first argument to the FusionAuth client creation is `noapikeyneeded` because the client interactions this application performs do not require an API key. If you extend these applications to update user data or make other privileged API calls, you'll need to change that value to a [real API key](/docs/apis/authentication#managing-api-keys).
<RemoteCode
url={frontmatter.codeRoot + "/pied-piper/routes/index.js"}
tags="homepageroute"
lang="javascript"
title="Home page route" />
In this SSO implementation, users can't view the homepage if they aren't signed in. This is a design choice you can make. The code checks for the presence of a user in the session and if it isn't present, the user is redirected to the FusionAuth login page.
<RemoteCode
url={frontmatter.codeRoot + "/pied-piper/routes/index.js"}
tags="loginpageroute"
lang="javascript"
title="Login page route" />
This page is available to users who are not logged in. For this guide, the only information on this page is a login link, but for a real application you'd probably want to entice the user to register or log in.
<RemoteCode
url={frontmatter.codeRoot + "/pied-piper/routes/index.js"}
tags="logoutpageroute"
lang="javascript"
title="Logout page route" />
This route removes the user object from the session and then redirects to the FusionAuth logout URL.
Recall that there are three sessions present in this system: the FusionAuth session and one for each application. This route invalidates the local node application's session and then sends the browser to FusionAuth's logout URL, which will invalidate both the FusionAuth session and all other Node application sessions.
<RemoteCode
url={frontmatter.codeRoot + "/pied-piper/routes/index.js"}
tags="endsessionroute"
lang="javascript"
title="End session route" />
This route is what FusionAuth requests when a user logs out from any other application in this tenant. If a user is in the Hooli application and logs out, they will be signed out from the Pied Piper application as well. You configured this endpoint in the FusionAuth application details; FusionAuth is responsible for calling this endpoint. This is a separate endpoint from the `/logout` endpoint because in this request, the browser needs to end up on a page accessible to unauthenticated users, but in the `/logout` case, the user needs to be sent to FusionAuth.
<RemoteCode
url={frontmatter.codeRoot + "/pied-piper/routes/index.js"}
tags="oauthredirectroute"
lang="javascript"
title="OAuth redirect route" />
This route is responsible for catching the authorization code request from FusionAuth after the user has signed in. It retrieves an access token and from that gathers the user data. This code ensures that the user is registered for this application, and then places the user data in the session.
Implementation of features that might cause a user to want to log in are left as an exercise for the reader.
### Views
Next, create the views. Each of these live in the `views` subdirectory. First, the layout view, which looks like this:
<RemoteCode
url={frontmatter.codeRoot + "/pied-piper/views/layout.pug"}
lang="pug"
title="Layout view" />
The content is displayed using the `block content` directive. Above it is a menu which lets users switch between both applications.
Next, the login view:
<RemoteCode
url={frontmatter.codeRoot + "/pied-piper/views/login.pug"}
lang="pug"
title="Login view" />
This is where you'd put information about your application for unauthorized users.
Then, create the index view:
<RemoteCode
url={frontmatter.codeRoot + "/pied-piper/views/index.pug"}
lang="pug"
title="Index view" />
This welcomes the user by name. If you were building a more complicated application, this is where you would put functionality that required a user to be authenticated..
There is some CSS in this application too; the CSS is available in the GitHub repository, but won't be covered here.
### Start It Up
Start the Pied Piper application on port 3000 after you've built the above files.
```shell script title="Starting up the Pied Piper application"
PORT=3000 npm start
```
Next, create the sibling Hooli application.
### Hooli application
In real life, these applications would have different functionality. For this guide, they are going to be similar. The only changes you need to make for the Hooli application are:
* Put the same files in a directory called `hooli`.
* Change `index.js` constants to use the Hooli values for the title (to 'Hooli'), hostname (`hooli.local`), port (`3001`), and the Client Id and Client Secret (from the admin UI application screen).
* Change the layout so that the menu links to the Pied Piper application. Make sure to include the port.
<RemoteCode
url={frontmatter.codeRoot + "/hooli/views/layout.pug"}
lang="pug"
title="Index view" />
* Start the application on the port `3001`. Use a different terminal window so that you can have both Node applications running at once.
```shell script title="Starting up the Hooli application"
PORT=3001 npm start
```
And that's it. You've just created a second application. Congrats!
## Test The Results
Here's how you can test the work you've just done:
* Visit `http://piedpiper.local:3000`. You'll be redirected to the FusionAuth login screen.
* Check <InlineUIElement>Keep Me Signed In</InlineUIElement>
* Log in. You'll be greeted with a welcome message by the Pied Piper app.
* Click on the 'Hooli' link and you'll be automatically signed in to that application.
Here's a demo video of the single sign-on process from the end user perspective:
<YouTube id="KxxLLoS74Ks" />
### Caveat
If you are testing these applications with a modern browser, logout won't work due to browser quirks when you are running over `http`. However, if you set up TLS and change the redirects to happen over `https`, then logout works.
## Other Scenarios
In this guide users who click on the Hooli link are automatically logged in. This is appropriate for most applications. However, if you have an application but can't customize the login process to check a session value and redirect if it doesn't exist, you can still use SSO.
Instead of redirecting the user when there's value is missing in such an application, display the FusionAuth login URL with the appropriate redirect parameter. The user will not be automatically signed in, but when they click on the login link, they will be sent to FusionAuth. FusionAuth will recognize the user as being signed in and redirect them back without requiring credentials.
### COTS applications
If you are looking to integrate with a commercial off the shelf or open source software package, FusionAuth can act as a SAML identity provider or an OIDC OpenID Provider. For example, FusionAuth can act as an IdP for Zendesk, as shown in this video:
<YouTube id="QYuTOD8wjZU" />
Please see the [SAML IdP](/docs/lifecycle/authenticate-users/saml/) and [OIDC documentation](/docs/lifecycle/authenticate-users/oauth/) or the single sign-on documentation for the application you're looking to integrate with for more.
### Bootstrapping SSO
<BootstrappingSSO />
## Additional Configuration
### Session Expiration
<SessionsExpiration />
### Logout Behavior
The default behavior is to log a user out of all applications when they log out of one. If you want to only log the user out of the application where the user made the logout request, you can do that.
Navigate to <Breadcrumb>Applications -> Your Application -> OAuth</Breadcrumb> and configure <InlineField>Logout behavior</InlineField> to have the value `Redirect Only`.
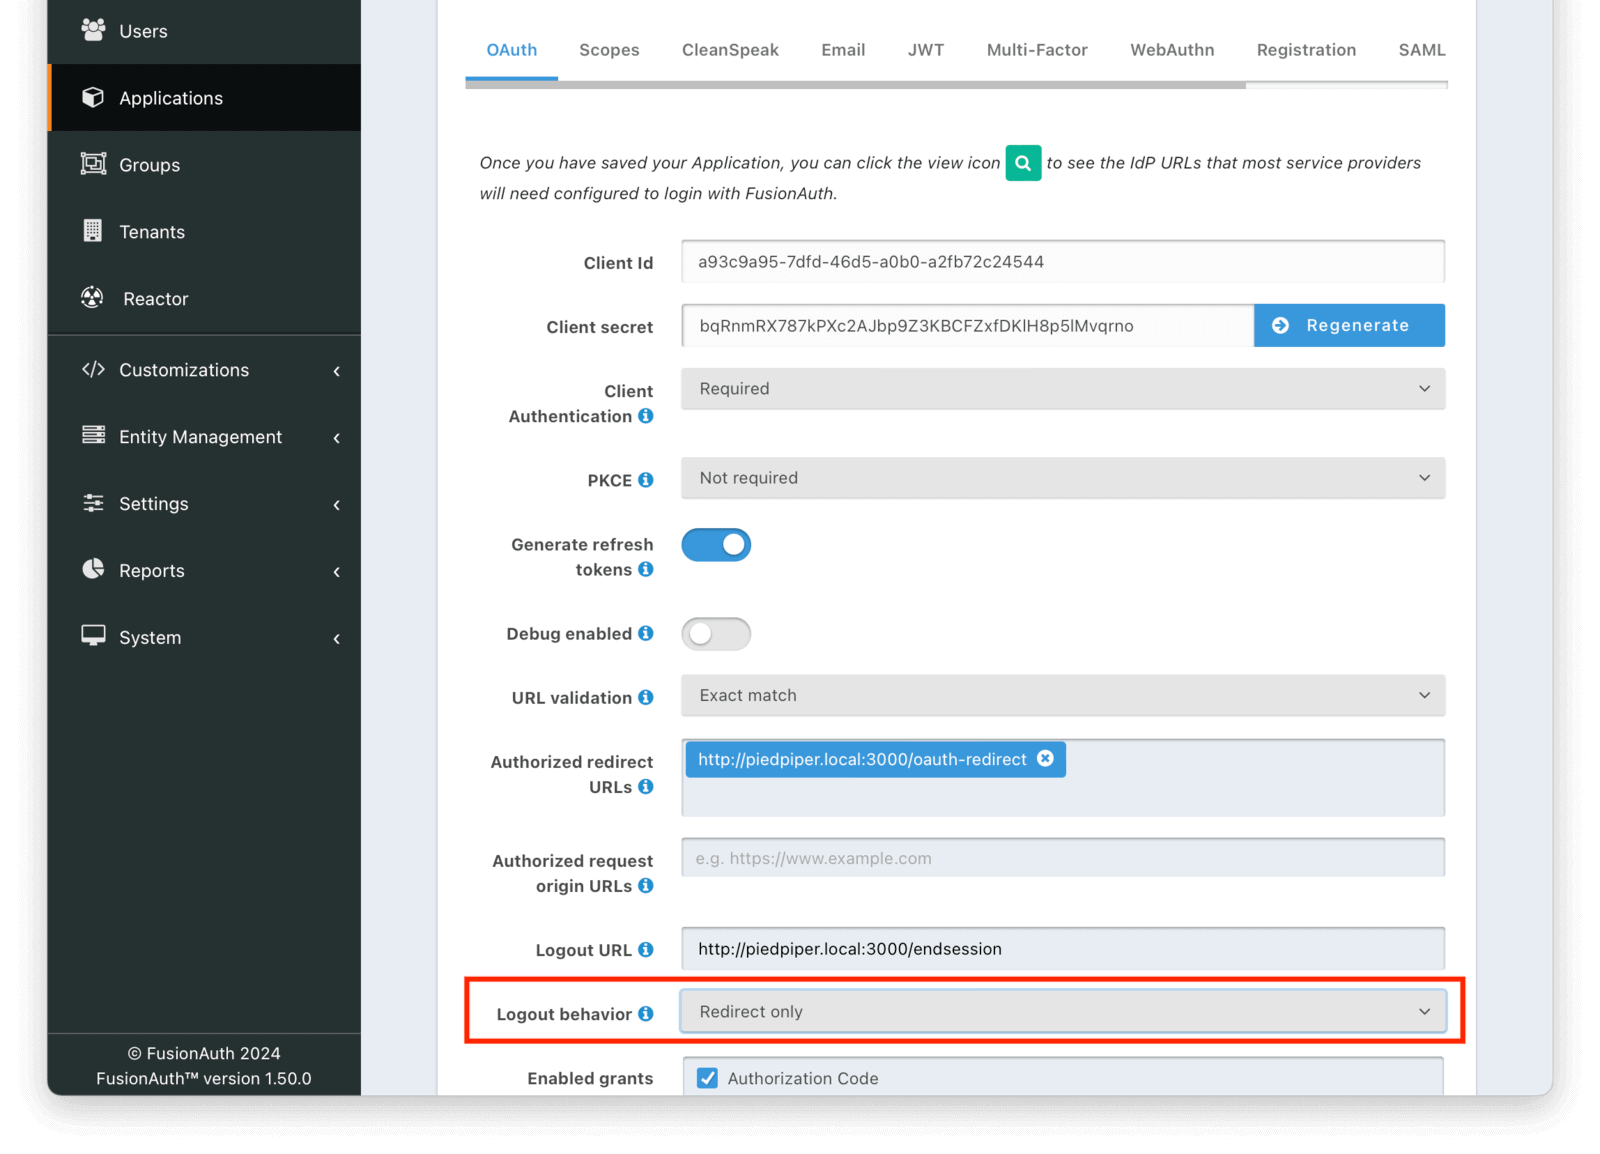
## Limitations
<LogoutBehaviorAllApplications />
## Additional Resources
* You can view the [example application's codebase](https://github.com/fusionauth/fusionauth-example-node-sso).
* The [Tenant API](/docs/apis/tenants) can be used to manage single sign-on related configuration.
* This guide uses the hosted login pages.
* The [Logout and Sessions Guide](/docs/lifecycle/authenticate-users/logout-session-management) has more information about session management options beyond using the built in SSO session.
# CleanSpeak Integration
import Breadcrumb from 'src/components/Breadcrumb.astro';
## Overview
[CleanSpeak](https://cleanspeak.com/) is an industry leading profanity and moderation platform. To utilize the CleanSpeak integration you'll need the URL of your CleanSpeak API and a valid API key.
Enabling the CleanSpeak integration provides username filtering for new Users and username modifications to existing Users. This integration allows you to prevent profanity from showing up in your application by way of username.
In the following example, the username `shithead` is not allowed to be entered when the CleanSpeak integration has been enabled.
<img src="/img/docs/lifecycle/manage-users/filtered-username.png" alt="Filtered Username" width="1200" role="shadowed" />
## Configuration
The CleanSpeak integration may be enabled using the [Integrations](/docs/apis/integrations) API or through the FusionAuth UI by navigating to <Breadcrumb>Settings -> Integrations -> CleanSpeak</Breadcrumb>.
<img src="/img/docs/lifecycle/manage-users/integration-cleanspeak.png" alt="CleanSpeak Configuration" width="1200" role="shadowed" />
# How To Use User Actions
import Aside from 'src/components/Aside.astro';
import Breadcrumb from 'src/components/Breadcrumb.astro';
import Icon from 'src/components/icon/Icon.astro';
import InlineField from 'src/components/InlineField.astro';
import InlineUIElement from 'src/components/InlineUIElement.astro';
import { RemoteCode } from '@fusionauth/astro-components';
## Overview
User Actions in FusionAuth are ways to interact with, reward, and discipline users. For example, you could use them to email a user, call another application when a user does something, or temporarily disable a user's login.
This guide refers to User Actions simply as Actions. In the first part, you'll learn about the components of an Action and their sequences of events. In the second part, you'll learn ways to create and apply Actions.
## Part 1: Theory of FusionAuth Actions
## Definitions
Below are the terms you'll encounter when working with Actions.
* **Action** — An Action is a state or event that can be applied to a User. It is reusable for many Users in many Applications. Applying an Action to a specific User is called an Action instance. This is similar to programming, where you have classes (Actions) and objects (Action instances). An Action instance consists of one User applying the Action on another User, the time of the Action, and the name of the Action.
<Aside type="note">
Other FusionAuth documentation pages might speak interchangeably about Actions and Action instances. For example, saying "the Action expires" when it is actually the Action instance that expires. The pages call an Action instance "taking an Action" or "applying an Action", which is correct, but very wordy.
In this guide, the detailed discussion of the two concepts requires distinguishing between them by using the word "instance". Actions and their instances are separate types of objects in FusionAuth, created in separate areas of the admin UI, and in separate APIs.
</Aside>
* **Actionee** — The User an Action is applied to.
* **Actioner** — The User that applies the Action. Every Action has an Actioner, even if the instance is programmatically created, in which case the Actioner should be set to an administrator of the Application.
* **Reason** — A text description of why an Action is taken. A Reason is not required when you apply an Action, but it's useful for auditing and filtering Actions sent to webhooks.
* **Webhook** — A webhook is an outbound HTTP request or requests bearing a message to an endpoint. A webhook is used to inform an external system of some event and can be triggered by an Action. An example is FusionAuth calling a customer-support service like Intercom to start the customer onboarding process when the user has verified their email in FusionAuth. Another example would be posting a message to a Slack channel whenever a new customer signs up.
The webhook/API terminology can be confusing. Note that most web applications, including FusionAuth, call a trigger to send data a "Webhook", but when they receive data they call it an "API". So if you're looking for a destination for a FusionAuth webhook in an external system, you won't find it under the webhook documentation; you'll find it under [API documentation](/docs/apis/webhooks). This is why webhooks are sometimes known as "reverse APIs". However, some companies, like Slack in their documentation, also call incoming requests "incoming webhooks".
* **Temporal Actions** — Temporal (or time-based) Actions have a duration. Once a temporal Action expires or is canceled, it will no longer be considered active and will not affect the user. However, you can apply a temporal Action to a user indefinitely by setting a very distant end date. An Action that prevents login must be temporal.
Unlike an instantaneous Action, a temporal Action may be canceled or modified. An example of an instantaneous Action would be a reward, such as sending a user a discount coupon.
* **Active** — An active Action can be applied to Users. In contrast, an inactive Action cannot be applied to Users. It is viewable in the list of inactive Actions in FusionAuth. An inactive Action can be reactivated if you want to use it again.
If a temporal Action instance has ended, it is still considered active. Active relates to the Action definition and expiry relates to a particular instance of the Action.
* **Option** — A custom text field that you can add to an instantaneous Action but not to temporal Actions. You can add multiple Options to an Action definition, but choose only one for an instance of the Action. Options can be sent through emails and webhooks.
* **Localization** — A text field with an associated language. It's a way of providing more information to users who speak different languages. Localizations can be added for an Action name, Reason, and Options.
* **Tenant** — You can make an Action available to all Tenants or just a few.
Below is a visual reminder of the relationships between [Tenants, Groups, and Applications](/docs/get-started/core-concepts/).
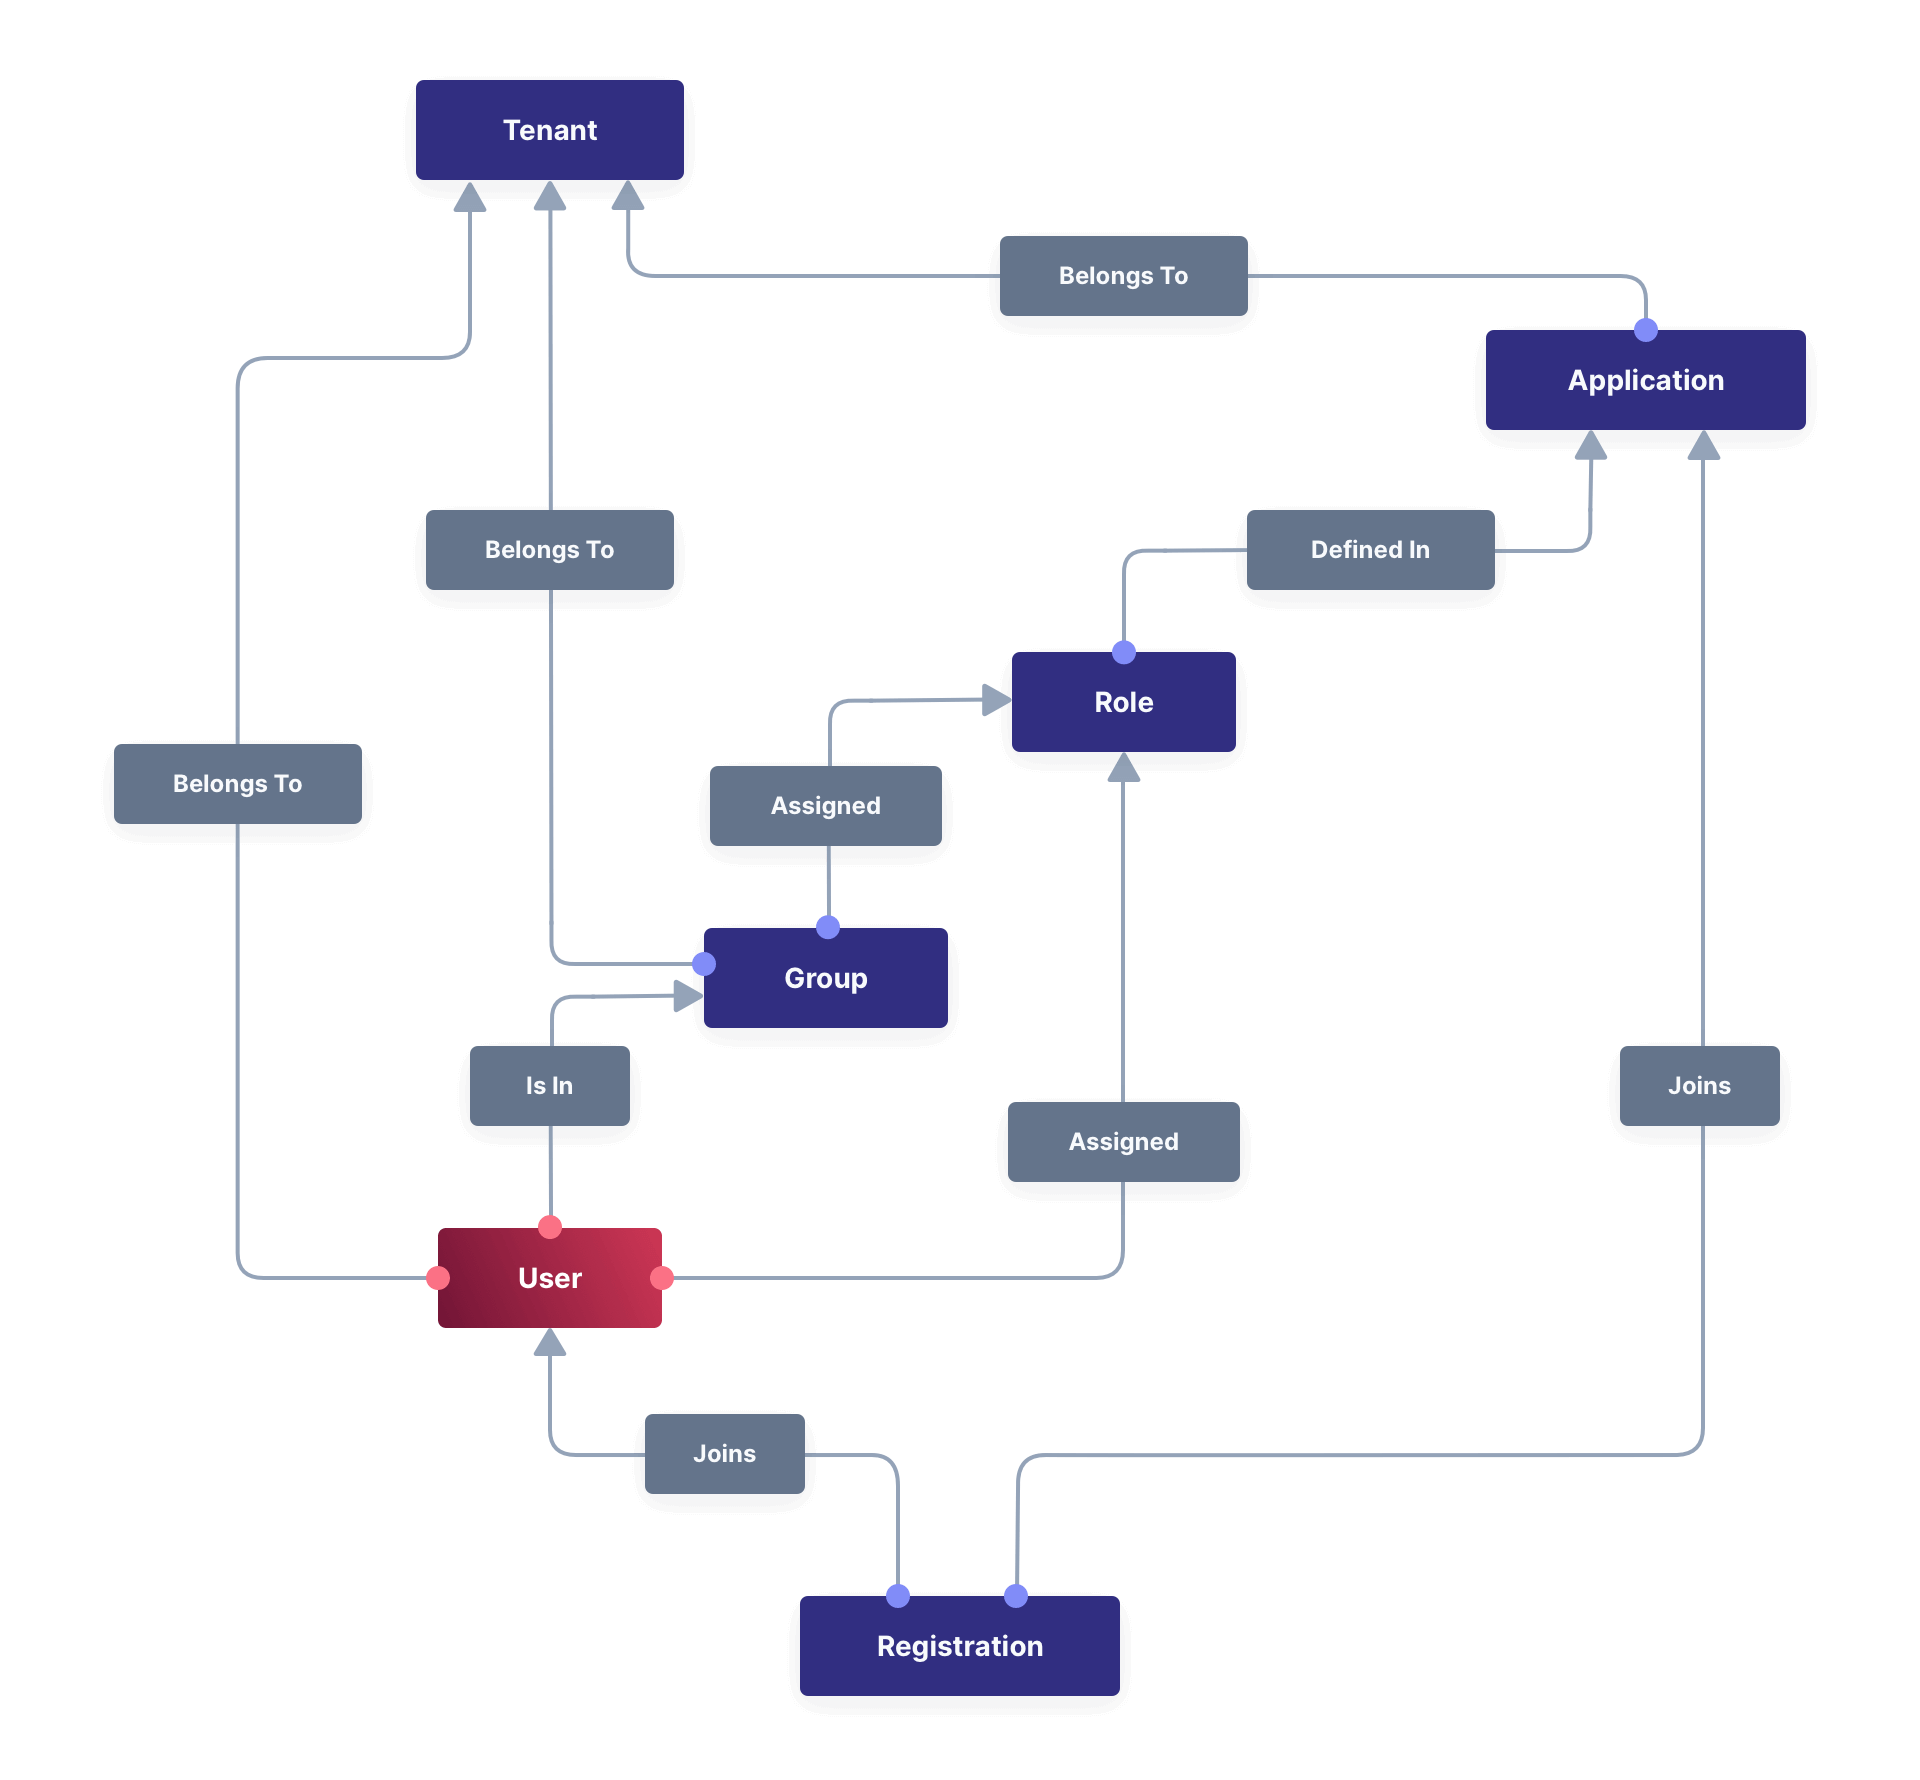
## Types of Actions and Their Purpose
There are two main types of Actions: "temporal Actions" and "instantaneous Actions". They are summarized below.
|Type |Purpose |Example of use
| ---- | ---- | ---- |
|Temporal |To apply a state to a user for a period of time. |Subscription access · Expiring software trial · Forum ban
|Instantaneous |To apply a state to a user at a single point in time, recording who did so, optionally with comments. |User surveyed and was happy/indifferent/frustrated · User has earned a sufficient level of trust on your forum and been given an award (possibly increasing their access rights)
You cannot create a temporal Action that also has Options in FusionAuth.
The general process to use an Action is to:
* Create the Action in the FusionAuth admin UI or with the API.
* Optionally, create Reasons for the Action.
* Apply the Action to a User, with an expiry date if appropriate, and with a Reason if you want. You can do this many times, to many users, if needed.
You'll see some detailed examples of this process later in this guide.
<Aside type="note">
The primary purpose of FusionAuth is to simplify authentication (verifying a user's identity) and authorization (giving your app a user's role).
Actions are an additional feature that you might want to use in your app. Think of them as a premade way for you to store extra user-related data in FusionAuth instead of your own database, at a specified time, and notify people or systems if these fields change.
FusionAuth has no built-in support for payments and no automated subscription features, so you need to decide carefully if you want to write the code you need to manage such features in FusionAuth using Actions, in your own app with custom code, or an external system that specializes in handling subscriptions and payments.
</Aside>
### Temporal Actions
Temporal Action instances can be in one of four states. Each state can trigger a webhook or an email to a user.
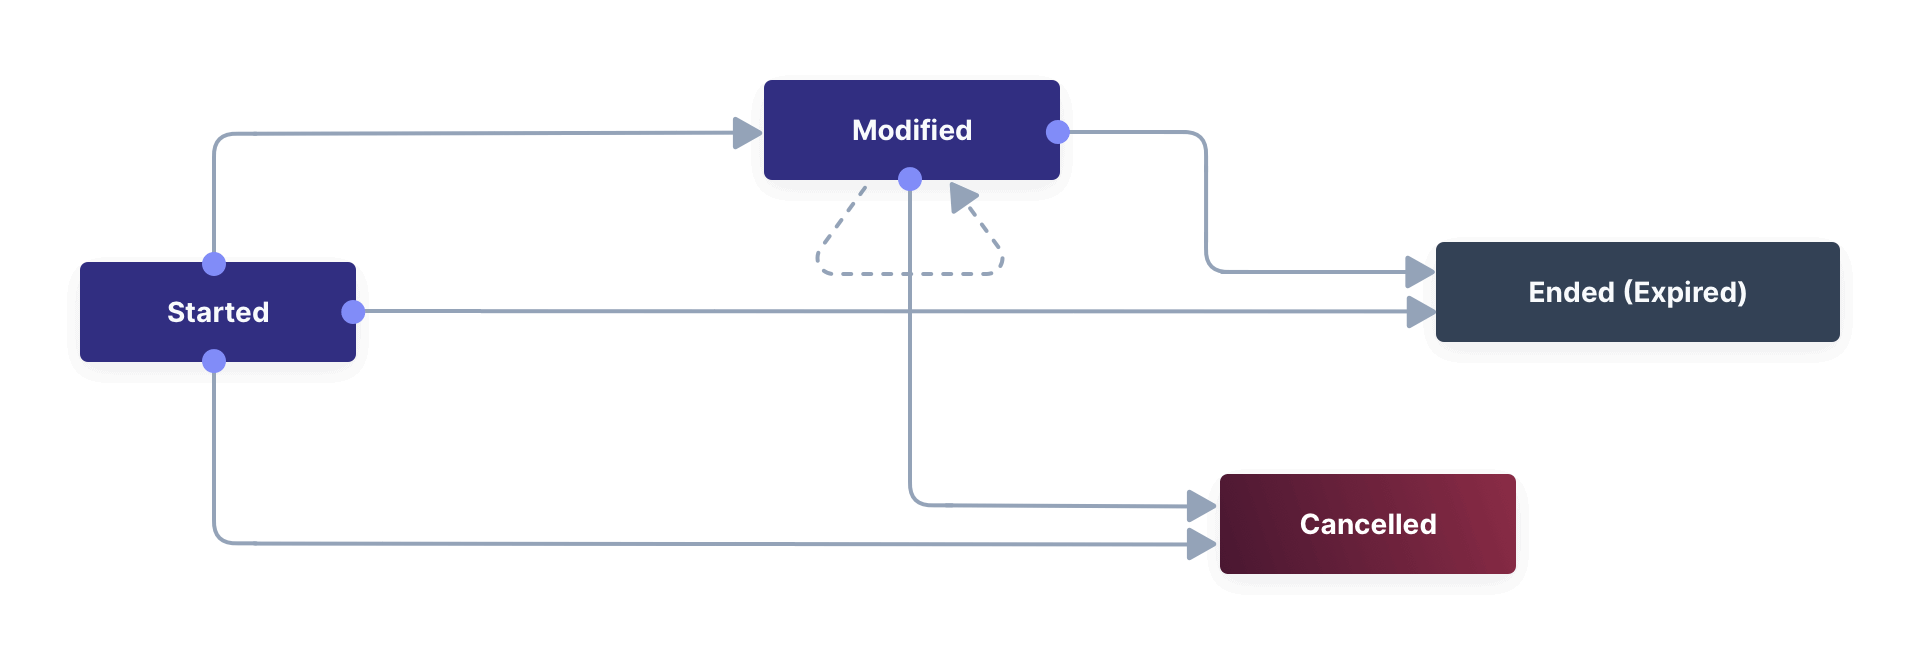
#### Subscription Example
Let's look at a temporal Action example where a user purchases a one-month subscription to a newspaper website that you manage. Assume you have already created a temporal Action named "Subscription" in FusionAuth. Once the user has made their purchase (either on your newspaper site or through some payment gateway), your code will call the [FusionAuth API to apply the Action to the User](/docs/apis/actioning-users#take-an-action-on-a-user) and give the Action instance an end-date one month from now. The user will now have access to the newspaper when they are authenticated on your site with FusionAuth.
On creation, this Action instance will be in the `Started` state shown above. You can set the Action to trigger a welcome email created from a template to be sent to the user and a webhook that sends the user's information to another subscription site you manage. The associated subscription site can then use the email address to advertise to the user or to target advertising to the user, for example, through Facebook adverts.
Once the Action instance expires (the `Ended` event), it can trigger a goodbye email to the user and any webhooks you configure. To prevent the user from accessing your site after this date, you could do one of the following:
* Check the subscription state of the Action for the User in FusionAuth from your site when the user attempts to log in.
* Use a webhook at the end of the Action to change the User's Role in FusionAuth and disallow that role in your site.
* Use a webhook at the end of the Action to call your code to create another temporal Action in FusionAuth with an indefinite end date and <InlineField>preventLogin</InlineField> set to true.
The last option is probably the simplest and most idiomatic way to use FusionAuth in most cases. In fact, using an Action to prevent login is the most common use case for Actions.
### Instantaneous Actions
An instantaneous Action instance has an Option that can be chosen from a list but no temporal states. Once you set the Action for a User, it either remains or is removed.

#### Survey Example
Let's take an instantaneous Action example where a user gives feedback on their interaction with customer support by assigning a rating and giving a comment.
Assume you have already created an instantaneous Action named "Feedback" in FusionAuth, with Options of "Bad", "Neutral", and "Good". Your user chooses "Good" in your feedback form and enters the comment "Problem solved quickly". When the form is saved, your code will call the Action API and create an Action instance for the User with the option "Good", and populate the <InlineField>comment</InlineField> field. The <InlineField>actionee</InlineField> of the instance will be set to the support User who helped the customer.
At any point in the future, you can use the [Actions API](/docs/apis/actioning-users#retrieve-a-previously-taken-action) to retrieve this saved Action instance and create a report of the customer support agent's performance or the approval ratings of your app. You can also use a webhook to immediately send this data to an external system when the Action is created.
## Applying an Action Automatically
In addition to applying an Action using the FusionAuth Actions API, FusionAuth can automatically apply a temporary <InlineField>Prevent Login</InlineField> Action to a User in the case of repeatedly failing authentication. For more information, see this [guide to setting up user account lockout](/docs/lifecycle/authenticate-users/setting-up-user-account-lockout).
## Part 2: A Tutorial Example Using Actions
The remainder of this guide will demonstrate a practical example of using Actions that you can follow. Let's start with a brief tour of the APIs that you'll use in the example.
## The Action APIs
Three separate APIs manage Actions. Each API has its own documentation.
* [Actions](/docs/apis/user-actions) — Defines an Action, updates it, and deletes it. The API path is `/api/user-action`.
* [Action Reasons](/docs/apis/user-action-reasons) — Defines the reason an Action is taken. The API path is `/api/user-action-reason`.
* [Action instances](/docs/apis/actioning-users) — Applies an existing Action to a User, optionally with a Reason. Can also update or cancel the Action instance. The API path is `/api/user/action`.
Actions and Action Reasons can be managed on the FusionAuth admin UI. You can also apply an Action to a User using the <InlineUIElement>Action User</InlineUIElement> option directly on the User in the FusionAuth admin UI. However, you cannot edit an Action instance or see lists of instances without using the API. To action a User, browse to <Breadcrumb>Users -> Manage -> Action User</Breadcrumb>.
<img src="/img/docs/lifecycle/manage-users/action-user.png" alt="Applying an Action on a User in FusionAuth" width="1200" role="bottom-cropped" />
It is faster to use FusionAuth client libraries rather than make HTTP calls directly. You can read how to use client libraries in the [client library guide](/docs/sdks/) before continuing. This guide uses the TypeScript client library.
The Actions API reference documentation is long and repeats the same parameters for each type of request. For easier understanding, the parameters listed there are grouped and summarized below for each API. Parameters such as Ids and names, whose purpose is obvious from the earlier [definitions](#definitions) section, are not described here.
### Action Parameters
Action parameters are used when you create an Action definition.
* <InlineField>userActionId</InlineField> - The Id of the Action.
* <InlineField>name</InlineField> - The name of the Action.
* <InlineField>localizedNames</InlineField> - The name of the Action in various languages.
* <InlineField>startEmailTemplateId</InlineField>, <InlineField>cancelEmailTemplateId</InlineField>, <InlineField>modifyEmailTemplateId</InlineField>, <InlineField>endEmailTemplateId</InlineField> — The Id of the email templates to use when the Action starts, is canceled, is modified, or expires. Temporal Actions have all four events, whereas instantaneous Actions have only the start event.
* <InlineField>includeEmailInEventJSON</InlineField> — Whether to include the email information in the JSON sent to the webhook when an Action is taken.
* <InlineField>options</InlineField>, <InlineField>options[x].name</InlineField>, <InlineField>options[x].localizedNames</InlineField>
* <InlineField>preventLogin</InlineField> — User may not log in if true until the Action expires.
* <InlineField>sendEndEvent</InlineField> — Whether to call webhooks when this Action instance expires.
* <InlineField>temporal</InlineField> — Whether the Action is temporal.
* <InlineField>userEmailingEnabled</InlineField>, <InlineField>userNotificationsEnabled</InlineField> — Enabling user notifications for an Action doesn't contact the user, but adds a <InlineField>notifyUser</InlineField> field to the JSON sent to webhooks.
### Action Reason Parameters
These are the parameters used when creating an Action Reason.
* <InlineField>userActionReasonId</InlineField> - The Id of the Action Reason.
* <InlineField>text</InlineField>, <InlineField>localizedTexts</InlineField> — The description of the Reason that a human can understand, possibly in many languages.
* <InlineField>code</InlineField> — A short text string to categorize the Reason, for software to process.
### Action Instance Parameters
These are the parameters used when applying an Action to a User, possibly with a Reason.
* <InlineField>userActionId</InlineField> - The Id of the User Action.
* <InlineField>actioneeUserId</InlineField> - The Id of the User to which the Action is applied.
* <InlineField>actionerUserId</InlineField> - The Id of the User who is applying the Action.
* <InlineField>applicationIds</InlineField> — The Action can be applied to the actionee for multiple Applications.
* <InlineField>broadcast</InlineField> — Whether the Action should trigger webhooks.
* <InlineField>comment</InlineField> — A note by the Actioner if they want to add information in addition to the Reason.
* <InlineField>emailUser</InlineField> — Whether the user should be emailed when the Action instance is created.
* <InlineField>expiry</InlineField> — Time after which this temporal Action should end. This is not a duration, but a [moment in time](/docs/reference/data-types#instants).
* <InlineField>notifyUser</InlineField> — Whether the literal text value <InlineField>notifyUser</InlineField> should be sent to webhooks to be acted on.
* <InlineField>option</InlineField> — The option the Actioner chose for this instance of the Action.
* <InlineField>reasonId</InlineField>
## Starting the PiedPiper Newspaper Company
Let's take a look at a practical example to demonstrate creating Actions to manage subscriptions and a survey for a paid news site called "PiedPiper".
The subscription Action will email the user and trigger a webhook to Intercom. When the Action instance expires, FusionAuth will send the user a goodbye email and trigger a webhook to PiedPiper to create a <InlineField>Prevent Login</InlineField> Action.
The survey Action will trigger a webhook to Slack.
Below is a diagram of this process.
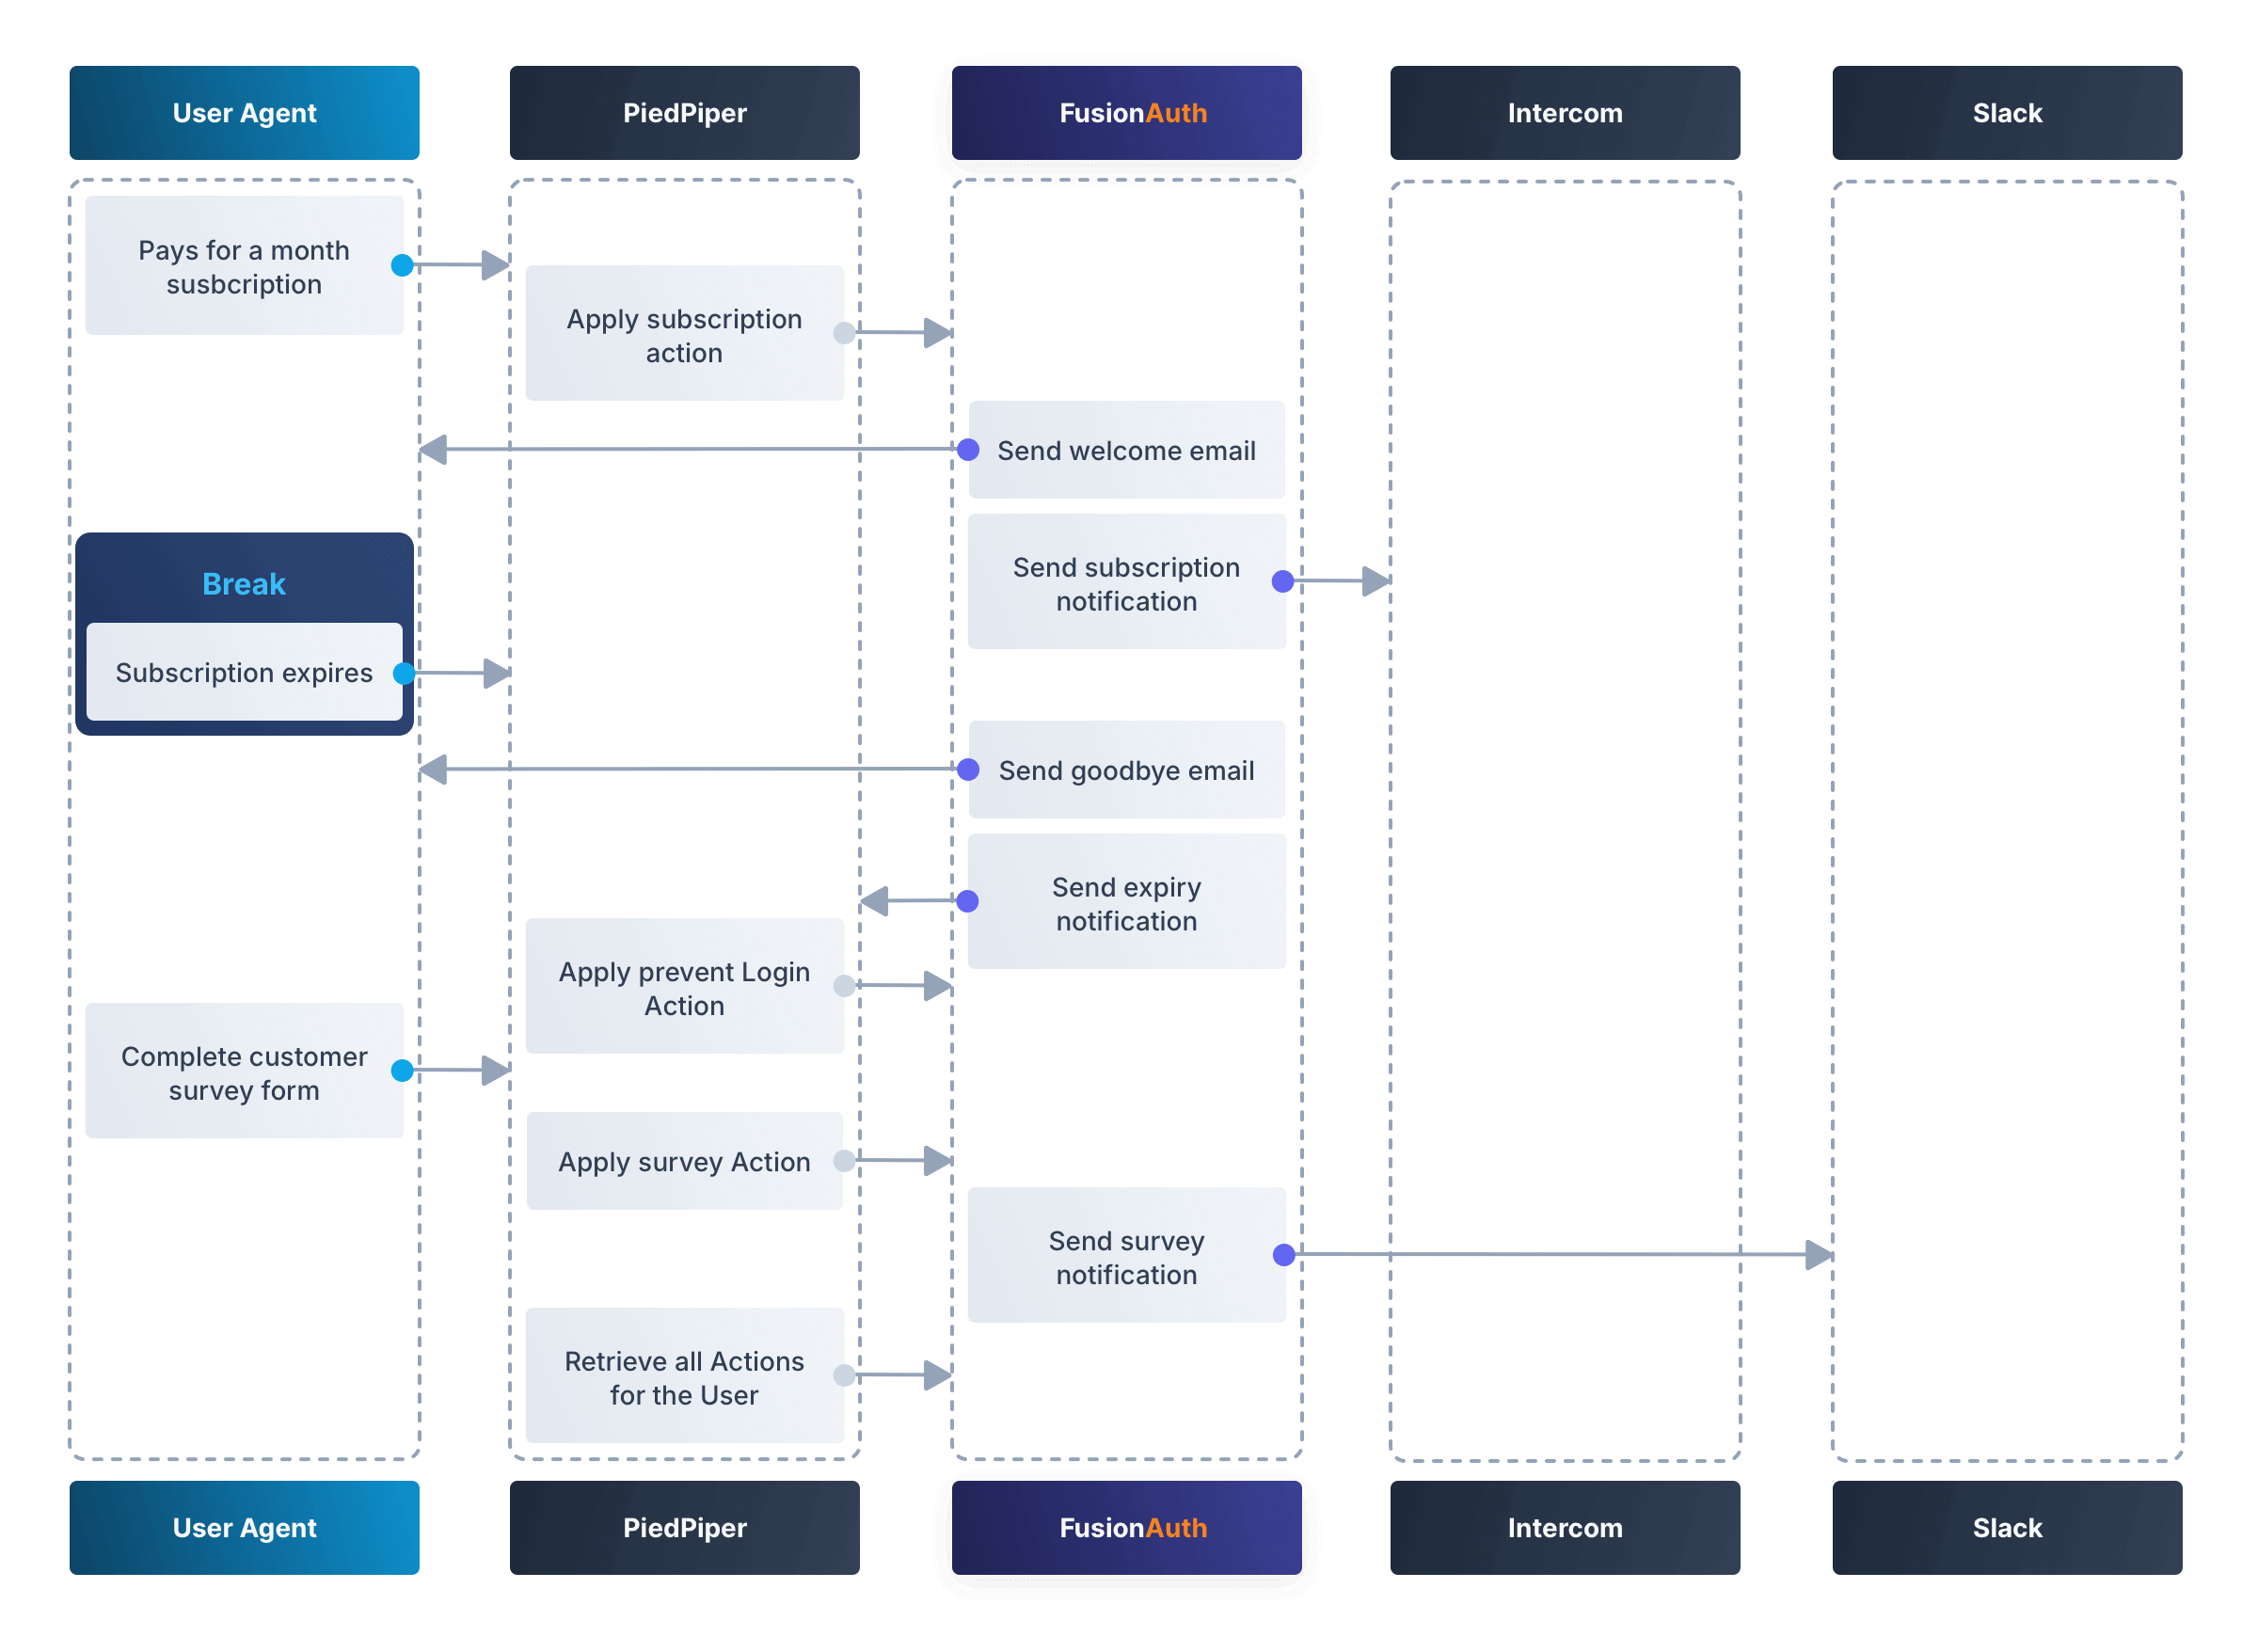
### FusionAuth Setup
This guide assumes you have installed Node.js and FusionAuth. For FusionAuth installation instructions, please follow the [5 minute getting started guide](/docs/quickstarts/5-minute-setup-guide). You should be able to log in to FusionAuth at `http://localhost:9011/admin` and your Node.js test app at `http://localhost:3000`.
<Aside type="note">
You can't use the [online FusionAuth sandbox](https://sandbox.fusionauth.io/admin) for this tutorial because you need to point the webhooks and emails to fake localhost services.
</Aside>
### Create a Mock Email Service
The first task is to configure email for FusionAuth. You'll use [MailDev](https://github.com/maildev/maildev), a Node.js mock SMTP server.
* Open a new terminal window. It doesn't matter where, but your test application folder is a neat place. Run the following command.
```shell
npm install maildev && npx maildev -v;
```
* Leave this terminal window running until you have finished this tutorial. Run other commands in a different terminal.
* Browse to `http://localhost:1080/` so that you can see emails arrive as you test Actions.
If you're running FusionAuth through Docker, review the callout note below. If you're running FusionAuth directly on your localhost, you can skip to the Tenant email setup instructions.
<Aside type="note">
**Configuring localhost access on Docker**
You need to use Docker version 18 or higher on macOS or Windows. On Linux, you need version 20 to support `host.docker.internal`, which allows Docker services to call out to your localhost.
* Open the `docker-compose.yml` file for FusionAuth and add the following text to the `fusionauth:` service definition, on the same indentation level as the service `volumes:` key.
```
extra_hosts:
- "host.docker.internal:host-gateway"
```
* Run the following commands in a new terminal in the folder to restart FusionAuth with mail capabilities. **Be warned:** This might reset your existing FusionAuth database.
```
docker compose down && docker compose up;
```
</Aside>
* Log in to FusionAuth and navigate to <Breadcrumb>Tenants</Breadcrumb>. Edit the "Default" tenant by clicking on the <Icon name="edit"/> icon.
* Click on the <Breadcrumb>Email</Breadcrumb> tab and enter the following values:
* If FusionAuth is running on Docker.
* <InlineField>Host</InlineField>: `host.docker.internal`
* <InlineField>Port</InlineField>: `1025`
* If FusionAuth is running on localhost.
* <InlineField>Host</InlineField>: `localhost`
* <InlineField>Port</InlineField>: `1025`
<img src="/img/docs/lifecycle/manage-users/tenant-set-email.png" alt="Enabling SMTP Settings in FusionAuth" width="1200" role="bottom-cropped" />
* Click <InlineUIElement>Send test email</InlineUIElement> and an email should arrive in the MailDev web interface.
* Click the <Icon name="save" /> button to save your changes to the Tenant configuration.
<img src="/img/docs/lifecycle/manage-users/test-email.png" alt="FusionAuth SMTP Settings Test Email" width="1200" role="bottom-cropped" />
### Create PiedPiper Application
* In the FusionAuth admin UI, navigate to <Breadcrumb>Applications</Breadcrumb> and click the <Icon name="plus" /> button to add a new Application.
* Enter the values:
* <InlineField>Id</InlineField>: `e9fdb985-9173-4e01-9d73-ac2d60d1dc8e`
* <InlineField>Name</InlineField>: `PiedPiper`
<Aside type="note">
In general, you can leave the Ids of new objects in FusionAuth blank to have them autogenerated but you need to know their values to call them in the API in this tutorial.
</Aside>
* On the <Breadcrumb>Roles</Breadcrumb> tab, click the <InlineUIElement>Add Roles</InlineUIElement> button to add two Roles.
* For the first Role, enter:
* <InlineField>Name</InlineField>: `admin`
* <InlineField>Super Role</InlineField>: enable
* For the second Role, enter:
* <InlineField>Name</InlineField>: `customer`
<img src="/img/docs/lifecycle/manage-users/create-application.png" alt="Creating an Application in FusionAuth" width="1200" role="bottom-cropped" />
* Switch to the <Breadcrumb>OAuth</Breadcrumb> tab and enter the following values.
* <InlineField>Authorized redirect URLs</InlineField>: `http://localhost:3000/oauth-redirect`.
* <InlineField>Logout URL</InlineField>: `http://localhost:3000/logout`.
* Record the <InlineField>Client secret</InlineField> value to use later.
<Aside type="note">
The <InlineField>Authorized redirect URLs</InlineField> field accepts multiple entries. To insert entries, enter the text followed by a space. A popup will appear, click it to confirm the entry.
</Aside>
* Save <Icon name="save" /> the new Application.
<img src="/img/docs/lifecycle/manage-users/application-oauth.png" alt="Application OAuth Settings in FusionAuth" width="1200" role="bottom-cropped" />
### Create an Administrative User (Actioner)
* Navigate to <Breadcrumb>Users</Breadcrumb> and click the <Icon name="plus" /> button to add a User.
* Enter the following values.
* <InlineField>Email</InlineField>: `admin@example.com`
* Disable <InlineField>Send email to set up password</InlineField> to manually set the password.
* <InlineField>Password</InlineField>: `password`
* <InlineField>Confirm</InlineField>: `password`
* Save <Icon name="save" /> the User.
* Register the User to the following Applications on the <Breadcrumb>Registrations</Breadcrumb> tab by clicking the <InlineUIElement>Add registration</InlineUIElement> button.
* First registration:
* <InlineField>Application</InlineField>: `PiedPiper`
* <InlineField>Roles</InlineField>: `admin`
* Save <Icon name="save" /> the Registration
* Second registration:
* <InlineField>Application</InlineField>: `FusionAuth`
* <InlineField>Roles</InlineField>: `GlobalAdmin`
* Save <Icon name="save" /> the Registration
<img src="/img/docs/lifecycle/manage-users/application-registrations.png" alt="Create an Administrative User in FusionAuth" width="1200" role="bottom-cropped" />
### Create a Subscriber User (Actionee)
* Under <Breadcrumb>Users</Breadcrumb>, click the <Icon name="plus" /> button to add a User.
* Enter the values:
* <InlineField>Email</InlineField>: `reader@example.com`
* Disable <InlineField>Send email to set up password</InlineField> to manually set the password.
* <InlineField>Password</InlineField>: `password`
* <InlineField>Confirm</InlineField>: `password`
* <InlineField>Languages</InlineField>: `Esperanto` (Note that you have to enter the text, wait for a popup to appear, then click it to confirm the entry.)
* Save <Icon name="save" /> the User.
* Click <InlineUIElement>Add registration</InlineUIElement> under the <Breadcrumb>Registrations</Breadcrumb> tab to register the user to the "PiedPiper" application.
* <InlineField>Application</InlineField>: `PiedPiper`
* <InlineField>Roles</InlineField>: `customer`
<img src="/img/docs/lifecycle/manage-users/reader-user.png" alt="Create a Subscriber User in FusionAuth" width="1200" role="bottom-cropped" />
Record the <InlineField>User Id</InlineField> of both the Users you created to use later.
### Create an API Key
You now have an Application with two registered Users.
To apply Actions using the API, you need to create an API Key. In reality, you should grant as few privileges as possible to an API Key (principle of least privilege), but you'll make a key with all privileges in this tutorial to save time.
* Navigate to <Breadcrumb>Settings -> API Keys</Breadcrumb> and click the <Icon name="plus" /> button to add an API Key.
* Enter the following values:
* <InlineField>Id</InlineField>: `cbf34b5f-cb45-4c97-9b7c-5fda3ad8f08c`
* <InlineField>Key</InlineField>: `FTQkSoanK7ObbNjOoU69WDVclfTx8L_zfEJbdR8M0xu-jKotV0iQZiQh`
* Leave all the toggle buttons for the endpoints disabled to give the key super access.
* Save <Icon name="save" /> the API Key.
<Aside type="note">
More information on keys is available [here](/docs/apis/authentication#managing-api-keys).
</Aside>
<img src="/img/docs/lifecycle/manage-users/api-key.png" alt="Create an API Key in FusionAuth" width="1200" role="bottom-cropped" />
### Subscription Work
The following steps will create the parts needed to handle subscriptions.
#### Create Welcome Email Template
First create two email templates, one for an email to send to the user when they subscribe and one for when their subscription ends. (The templates in this tutorial do not use variables like the user's name, but you should in reality.)
* Navigate to <Breadcrumb>Customizations -> Email Templates</Breadcrumb> and click the <Icon name="plus" /> icon to create an email template.
* Enter the values:
* <InlineField>Id</InlineField>: `ae080fe4-5650-484f-807b-c692e218353d`
* <InlineField>Name</InlineField>: `Welcome`
* <InlineField>Default Subject</InlineField>: `Welcome`
* On the <Breadcrumb>HTML Template</Breadcrumb> tab:
* Set the <InlineField>Default HTML</InlineField> to `Welcome to PiedPiper. Your subscription is valid for one month of reading.`
* On the <Breadcrumb>Text Template</Breadcrumb> tab:
* Set the <InlineField>Default Text</InlineField> to `Welcome to PiedPiper. Your subscription is valid for one month of reading.`
* Save <Icon name="save" /> the email template.
<img src="/img/docs/lifecycle/manage-users/welcome-template.png" alt="Create an Email Template in FusionAuth" width="1200" role="bottom-cropped" />
#### Create Expiry Email Template
* Under <Breadcrumb>Customizations -> Email Templates</Breadcrumb>, click the <Icon name="plus" /> button to create an email template.
* Enter the values:
* <InlineField>Id</InlineField>: `1671beff-78ed-420d-9e13-46b4d7d5c00d`
* <InlineField>Name</InlineField>: `Goodbye`
* <InlineField>Default Subject</InlineField>: `Goodbye`
* On the <Breadcrumb>HTML Template</Breadcrumb> tab:
* Set the <InlineField>Default HTML</InlineField> to `Your subscription has expired and you may no longer read the news. Goodbye.`
* On the <Breadcrumb>Text Template</Breadcrumb> tab:
* Set the <InlineField>Default Text</InlineField> to `Your subscription has expired and you may no longer read the news. Goodbye.`
* Save <Icon name="save" /> the email template.
<Aside type="note">
More information on email templates is available [here](/docs/customize/email-and-messages/email-templates#overview).
</Aside>
#### Create Reasons
Now create two Reasons for applying Actions to the subscriber. Remember that Reasons are optional. Reasons are most useful when a single Action could have multiple Reasons, such as a subscription given as a free trial, a competition win, part of a bundle, or for normal payment.
<img src="/img/docs/lifecycle/manage-users/reasons-header.png" alt="Navigate to User Action Reasons in FusionAuth" width="1200" role="bottom-cropped" />
* Navigate to <Breadcrumb>Settings -> User Actions</Breadcrumb> and click the <InlineUIElement>Reasons</InlineUIElement> button on the top right.
* Add <Icon name="plus" /> the first Reason.
* <InlineField>Id</InlineField>: `ae080fe4-5650-484f-807b-c692e218353d`
* <InlineField>Text</InlineField>: `Paid Subscription`
* <InlineField>Code</InlineField>: `PS`
* Save <Icon name="save" /> the Reason.
* Add <Icon name="plus" /> the second Reason.
* <InlineField>Id</InlineField>: `28b0dd40-3a65-48ae-8eb3-4d63d253180a`
* <InlineField>Text</InlineField>: `Expired Subscription`
* <InlineField>Code</InlineField>: `ES`
* Save <Icon name="save" /> the Reason.
<img src="/img/docs/lifecycle/manage-users/reasons.png" alt="Create User Action Reasons in FusionAuth" width="1200" role="bottom-cropped" />
#### Create Signup Webhook to Intercom
Since your Actions will rely on calling webhooks, you're going to create the webhooks first. Your first webhook will notify Intercom that a new user has subscribed and should be sent the onboarding series of emails that explain how to use all the paid features of PiedPiper. All our webhooks in this tutorial are sent to fake localhost versions of these real companies.
* Navigate to <Breadcrumb>Settings -> Webhooks</Breadcrumb> and add <Icon name="plus" /> a webhook.
* <InlineField>Id</InlineField>: `55934340-3c92-410a-b361-40fb324ed412`
* <InlineField>URL</InlineField>: `http://host.docker.internal:3000/intercom`
* Scroll down and ensure that the <InlineField>user.action</InlineField> event is enabled.
* Save <Icon name="save" /> the webhook.
<img src="/img/docs/lifecycle/manage-users/create-webhook.png" alt="Create a Webhook in FusionAuth" width="1200" />
#### Create Expiry Webhook to PiedPiper
The next webhook calls PiedPiper to notify it once the user's subscription expires.
* Under <Breadcrumb>Settings -> Webhooks</Breadcrumb>, click the <Icon name="plus" /> button to add a new webhook.
* <InlineField>Id</InlineField>: `fa76b458-e0a0-438a-a5c8-26ca487e473e`
* <InlineField>URL</InlineField>: `http://host.docker.internal:3000/expire`
* Scroll down and ensure that the <InlineField>user.action</InlineField> event is enabled.
* Save <Icon name="save" /> the webhook.
#### Enable Webhooks in Tenants
* Navigate to <Breadcrumb>Tenants</Breadcrumb> and edit <Icon name="edit" /> the "Default" tenant.
* Click on the <Breadcrumb>Webhooks</Breadcrumb> tab. Note that the two webhooks you just created are enabled in the checkbox list.
* Scroll down and enable <InlineField>user.action</InlineField>.
* Save <Icon name="save" /> updates to the Tenant.
<Aside type="note">
Enabling the webhooks in two places gives you fine-grained control across Tenants. More information on webhooks is available [here](/docs/extend/events-and-webhooks/#overview).
</Aside>
#### Create Subscription Action
Now you can create the subscription and banning Actions to apply to the user in our PiedPiper code. They're both temporal Actions.
<Aside type="note">
You'll continue using the FusionAuth admin UI to create objects in this tutorial. You can also use client libraries and the API. Here's a [blog post which illustrates this functionality](/blog/2023/04/20/using-user-actions#creating-the-user-action).
</Aside>
* Navigate to <Breadcrumb>Settings -> User Actions</Breadcrumb> and add <Icon name="plus" /> a User Action.
* <InlineField>Id</InlineField>: `38bf18dd-6cbc-453d-a438-ddafe0daa1b0`
* <InlineField>Name</InlineField>: `Subscribe`
* <InlineField>Time-based</InlineField>: `Enable`
* Click on the <Breadcrumb>Email</Breadcrumb> tab.
* <InlineField>Email user</InlineField>: `Enable`
* <InlineField>Send to Webhook</InlineField>: `Enable`
* For <InlineField>Start template</InlineField>, select the `Welcome` template.
* For <InlineField>Modify template</InlineField>, select the `Goodbye` template.
* For <InlineField>Cancel template</InlineField>, select the `Goodbye` template.
* For <InlineField>End template</InlineField>, select the `Goodbye` template.
* Save <Icon name="save" /> the User Action.
<Aside type="note">
Note that this example workflow never modifies or cancels a user subscription and these emails will never be sent. Nevertheless, FusionAuth requires a template to be chosen for every possibility if you enable <InlineField>Email user</InlineField>.
</Aside>
<img src="/img/docs/lifecycle/manage-users/subscribe-action.png" alt="Create an Action in FusionAuth" width="1200" role="bottom-cropped" />
#### Create Prevent Login Action
This next Action will prevent the User from logging in after the subscription expires.
* Under <Breadcrumb>Settings -> User Actions</Breadcrumb>, click the <Icon name="plus" /> icon to add a new User Action.
* <InlineField>Id</InlineField>: `b96a0548-e87c-42dd-887c-31294ca10c8b`
* <InlineField>Name</InlineField>: `Ban`
* <InlineField>Time-based</InlineField>: `Enable`
* <InlineField>Prevent login</InlineField>: `Enable`
* Save <Icon name="save" /> the User Action.
This Action will not email or notify anyone.
### Survey Work
Now you can use instantaneous Actions to create the survey.
#### Create Thanks Email Template
Create an email template that thanks the user for completing the survey.
* Navigate to <Breadcrumb>Customizations -> Email Templates</Breadcrumb> and add <Icon name="plus" /> a new email template.
* Enter the values:
* <InlineField>Id</InlineField>: `9006bb3c-b13b-4238-b858-d7a97e054a8d`
* <InlineField>Name</InlineField>: `Thanks`
* <InlineField>Default Subject</InlineField>: `Thanks`
* On the <Breadcrumb>HTML Template</Breadcrumb> tab:
* Set the <InlineField>Default HTML</InlineField> to `Thank you for your survey feedback. It helps us improve. If your experience was negative we'll contact you shortly.`
* On the <Breadcrumb>Text Template</Breadcrumb> tab:
* Set the <InlineField>Default Text</InlineField> to`Thank you for your survey feedback. It helps us improve. If your experience was negative we'll contact you shortly.`
* Save <Icon name="save" /> the email template.
#### Create Survey Webhook to Slack
* Navigate to <Breadcrumb>Settings -> Webhooks</Breadcrumb> and add <Icon name="plus" /> a new webhook.
* <InlineField>Id</InlineField>: `d86e097a-f23f-459b-80c5-8b47bae182ee`
* <InlineField>URL</InlineField>: `http://host.docker.internal:3000/slack`
* Scroll down and ensure that the <InlineField>user.action</InlineField> event is enabled.
* Save <Icon name="save" /> the webhook.
#### Create Survey Action With Options With Localizations
In this last Action, you will add Options that represent the responses a user may have in the survey. You will also add a translation (localization) for each Option so that agents who don't speak English can see feedback in their own language.
* Navigate to <Breadcrumb>Settings -> User Actions</Breadcrumb> and add <Icon name="plus" /> a new User Action.
* <InlineField>Id</InlineField>: `8e6d80df-74bb-4cb8-9caa-c9a2dafc6e57`
* <InlineField>Name</InlineField>: `Survey`
* Leave all temporal, email, and notification settings disabled.
* Under the <Breadcrumb>Options</Breadcrumb> tab, click <InlineUIElement>Add option</InlineUIElement> to add the first option.
* <InlineField>Name</InlineField>: `Good`
* Click <InlineUIElement>Add localization</InlineUIElement>.
* <InlineField>Locale</InlineField>: `Esperanto`
* <InlineField>Text</InlineField>: `Bona`
* Click <InlineUIElement>Submit</InlineUIElement> to save the option.
* Add a second option by clicking the <InlineUIElement>Add option</InlineUIElement> button.
* <InlineField>Name</InlineField>: `Neutral`
* Click <InlineUIElement>Add localization</InlineUIElement>.
* <InlineField>Locale</InlineField>: `Esperanto`
* <InlineField>Text</InlineField>: `Meza`
* Click <InlineUIElement>Submit</InlineUIElement> to save the option.
* Add a third option by clicking the <InlineUIElement>Add option</InlineUIElement> button.
* <InlineField>Name</InlineField>: `Bad`
* Click <InlineUIElement>Add localization</InlineUIElement>.
* <InlineField>Locale</InlineField>: `Esperanto`
* <InlineField>Text</InlineField>: `Malbona`
* Click <InlineUIElement>Submit</InlineUIElement> to save the option.
* Save <Icon name="save" /> the User Action.
<img src="/img/docs/lifecycle/manage-users/webhook-options.png" alt="Create a Webhook With Options in FusionAuth" width="1200" role="bottom-cropped" />
## PiedPiper Setup
Your JavaScript code will act as PiedPiper, Intercom, and Slack, all in one. You'll use the `fusionauth-example-5-minute-guide` Node.js app as the base to start from. If you have not worked through [that guide](/docs/quickstarts/5-minute-setup-guide) and do not have the code available, please do so before continuing.
* Set the `CLIENT_ID` and `CLIENT_SECRET` in your `.env` file to the values you recorded for the new PiedPiper Application in this [section](#create-piedpiper-application).
* Create a new environment variable in the `.env` file called `API_KEY` and set the value to the value of the API key you created earlier `FTQkSoanK7ObbNjOoU69WDVclfTx8L_zfEJbdR8M0xu-jKotV0iQZiQh`.
* Note in the `package.json` file that the `@fusionauth/typescript-client` library is available for use. This is what will be calling the FusionAuth API to create Action instances.
### Create Mock Intercom API
In the `fusionauth-example-5-minute-guide` Node.js app, open `app.js`.
You'll add a new route that pretends to be Intercom and will listen for new subscribers to start the onboarding process. In this tutorial, the API will just print the webhook to the console so that you can see what it looks like.
After the line `var indexRouter = require('./routes/index');`, add a reference to the FusionAuth TypeScript client library, the `API_KEY` and `BASE_URL` environment variables.
<RemoteCode lang="js" url="https://raw.githubusercontent.com/FusionAuth/fusionauth-example-user-actions-guide/main/app.js" tags="tsClientLib"/>
Below the line `app.use('/', indexRouter);`, add the following.
<RemoteCode lang="js" url="https://raw.githubusercontent.com/FusionAuth/fusionauth-example-user-actions-guide/main/app.js" tags="intercom" />
### Create Mock Slack API
Now make a similar API to mock Slack by adding the following code below the code you added previously.
<RemoteCode lang="js" url="https://raw.githubusercontent.com/FusionAuth/fusionauth-example-user-actions-guide/main/app.js" tags="slack" />
Administrators monitoring PiedPiper on Slack can immediately contact the user to help them if their survey response was `Bad`.
### Create PiedPiper API to Listen for Expiry and Call Prevent Login Action
The final piece of code you'll add to `app.js` is a little more complex. The `expire` route below is called by FusionAuth when the user's subscription Action instance ends. To ban the user from logging in after this time, PiedPiper applies the <InlineField>Prevent Login</InlineField> Action to the user by calling the FusionAuth API. Add this code directly below the mock Slack code you just added.
<RemoteCode lang="js" url="https://raw.githubusercontent.com/FusionAuth/fusionauth-example-user-actions-guide/main/app.js" tags="expire" />
## Testing
In this last section, you'll see how Actions work by applying them and watching the emails and webhooks be triggered.
### Start PiedPiper
Run the PiedPiper Node.js app by typing the following in a terminal.
```bash
npm run start
```
### Apply Subscription Action
Let's start testing by applying the subscription Action to the user. In reality, your app would do this in code once the user has paid, but for now we'll do it in a new terminal.
<Aside type="note">
You'll need to install `curl` if it's not already installed.
</Aside>
In the following code, you will replace the values of <InlineField>actioneeUserId</InlineField> and <InlineField>actionerUserId</InlineField> with the values you recorded earlier for the reader and administrator users respectively.
To test out the workflow, you can let the subscription expire after 60 seconds. From the [FusionAuth Date-Time tool](/dev-tools/date-time), copy the <InlineField>Milliseconds</InlineField> value, add `60000` (60 seconds) to it, and paste it into the `"expiry"` field below. This will ensure the subscription action expires quickly. If you're on Linux, use the Option 2 code snippet to set the <InlineField>expiry</InlineField> value automatically.
**Option 1:** Set the expiry manually (remember to change the user Ids)
```bash
curl -i --location --request POST 'http://localhost:9011/api/user/action' \
--header 'Authorization: FTQkSoanK7ObbNjOoU69WDVclfTx8L_zfEJbdR8M0xu-jKotV0iQZiQh' \
--header 'Content-Type: application/json' \
--data-raw '{
"broadcast": true,
"action": {
"actioneeUserId": "9af67e9a-8332-4c06-971c-463b6710c340",
"actionerUserId": "ac2f073d-c063-4a7b-ab76-812f44ed7f55",
"comment": "Paid for the news",
"emailUser": true,
"expiry": 1690288205000,
"userActionId": "38bf18dd-6cbc-453d-a438-ddafe0daa1b0",
"reasonId": "ae080fe4-5650-484f-807b-c692e218353d"
}
}'
```
**Option 2:** Set the expiry automatically (remember to change the user Ids)
```bash
curl -i --location --request POST 'http://localhost:9011/api/user/action' \
--header 'Authorization: FTQkSoanK7ObbNjOoU69WDVclfTx8L_zfEJbdR8M0xu-jKotV0iQZiQh' \
--header 'Content-Type: application/json' \
--data-raw '{
"broadcast": true,
"action": {
"actioneeUserId": "9af67e9a-8332-4c06-971c-463b6710c340",
"actionerUserId": "ac2f073d-c063-4a7b-ab76-812f44ed7f55",
"comment": "Paid for the news",
"emailUser": true,
"expiry": '"$(($(date +%s) * 1000 + 60000))"',
"userActionId": "38bf18dd-6cbc-453d-a438-ddafe0daa1b0",
"reasonId": "ae080fe4-5650-484f-807b-c692e218353d"
}
}'
```
You should receive a `200` status code and a response that looks like the following.
```json
{
"action":
{
"actioneeUserId":"223515c6-6be5-4027-ac4f-4ebdcded2af9",
"actionerUserId":"a1b4962f-0480-437c-9bb1-856fa2acabed",
"applicationIds":[],
"comment":"Paid for the news",
"emailUserOnEnd":true,
"endEventSent":false,
"expiry":1690204666927,
"id":"ad07e697-1583-4c2e-922e-8038945b3c09",
"insertInstant":1690204662349,
"localizedName":"Subscribe",
"name":"Subscribe",
"notifyUserOnEnd":false,
"userActionId":"38bf18dd-6cbc-453d-a438-ddafe0daa1b0",
"reason":"Paid Subscription",
"localizedReason":"Paid Subscription",
"reasonCode":"PS"
}
}
```
If you are experimenting with Action instances and wish to delete one, you can use the following code and change the UUID in the URL to match the instance Id that was returned by FusionAuth when you created it.
```bash
curl -i --location --request DELETE 'http://localhost:9011/api/user/action/3cc31d87-25b9-4528-970a-2b177508afe1'\
--header 'Authorization: FTQkSoanK7ObbNjOoU69WDVclfTx8L_zfEJbdR8M0xu-jKotV0iQZiQh'\
--header 'Content-Type: application/json'\
--data-raw '{"action": {"actionerUserId": "ac2f073d-c063-4a7b-ab76-812f44ed7f55"}}'
```
### Examine the Webhook Calls
Open the terminal that the Node.js PiedPiper app is running in to view the webhooks the app received. You might expect to see only one for the subscription webhook sent to Intercom. FusionAuth has no way of configuring an Action to trigger only one specific webhook. Instead, every Action triggers every webhook, so you'll need to filter the JSON arriving at your webhook targets by `action`, `reason`, and `phase` to decide whether to use it or not.
Below is an example of the JSON sent to webhooks.
```js
event: {
action: 'Subscribe',
actionId: '32754f74-d92c-4829-ab8b-704825baf1ef',
actioneeUserId: '9af67e9a-8332-4c06-971c-463b6710c340',
actionerUserId: 'ac2f073d-c063-4a7b-ab76-812f44ed7f55',
applicationIds: [],
comment: 'Paid for the news',
createInstant: 1690282558415,
emailedUser: true,
expiry: 1690282574000,
id: '5dba9944-ce71-4ce0-b18f-c44723e7394b',
info: { ipAddress: '172.28.0.1' },
localizedAction: 'Subscribe',
localizedDuration: '15 seconds',
notifyUser: false,
phase: 'start',
tenantId: '8891ecad-ae5c-3d5d-1f4e-3e95f8583b78',
type: 'user.action'
}
```
Check that at least two specific webhooks have been sent after one minute — one for the Subscribe Action to Intercom and one for the Expiry Action to PiedPiper.
### Check Welcome and Expiry Emails Arrive
Check that the welcome and goodbye emails arrived in the MailDev browser window. If you can't see them, go back to the FusionAuth Tenant email settings and verify that you're using port `1025` and host `host.docker.internal`.
<img src="/img/docs/lifecycle/manage-users/expiry-email.png" alt="Received Welcome and Expiry Emails" width="1200" role="bottom-cropped" />
### Check Prevent Login Action Was Created
After a minute has passed, the terminal should display `User banned successfully`. This means that PiedPiper received the expired subscription webhook, tested for `(req.body.event.action === 'Subscribe' && req.body.event.phase === 'end')`, and applied the "Ban" Action to the user.
To test that it did indeed work, try to log in to the test application at `http://localhost:3000` with the user `reader@example.com`. You should be prohibited.
<img src="/img/docs/lifecycle/manage-users/locked-account.png" alt="Locked Account After Prevent Login Action" width="1200" role="bottom-cropped" />
### Apply Survey Action
Assume the user has now filled in a survey and sent his response to PiedPiper. You'll emulate the app applying the survey Action to the User with the chosen Option and given comment. There is no need to set an expiry value in this command because the Action is instantaneous, not temporal. You need to change the User Ids to match the ones you recorded earlier. The customer is the Actioner and the customer support agent is the Actionee.
```bash
curl -i --location --request POST 'http://localhost:9011/api/user/action' \
--header 'Authorization: FTQkSoanK7ObbNjOoU69WDVclfTx8L_zfEJbdR8M0xu-jKotV0iQZiQh' \
--header 'Content-Type: application/json' \
--data-raw '{
"broadcast": true,
"action": {
"actioneeUserId": "ac2f073d-c063-4a7b-ab76-812f44ed7f55",
"actionerUserId": "9af67e9a-8332-4c06-971c-463b6710c340",
"applicationIds": ["e9fdb985-9173-4e01-9d73-ac2d60d1dc8e"],
"comment": "Could not find my horoscope in the newspaper :( Agent did not help me.",
"emailUser": false,
"userActionId": "8e6d80df-74bb-4cb8-9caa-c9a2dafc6e57",
"option": "Bad"
}
}'
```
Note that the <InlineField>option</InlineField> field is a string, `Bad`, not a UUID. Because of this, if you ever change the wording of your Options in FusionAuth, you need to change them in every piece of code that uses them. When creating your Options, instead of using a descriptive word for the <InlineField>Name</InlineField>, like `Bad`, you could give it a code or UUID, like `Bad-269edb4a-aef0-461a-917d-a7f76a254841` to discourage people from changing it in future. Then create a localization for English too, `Bad`. Now, even if you want to change the localization `Bad` to `Negative` in the future, you can keep using the same <InlineField>Name</InlineField> in all your code that calls the API. Here, we include the word in addition to the UUID so that when you are browsing the Options in the FusionAuth admin UI, you can still see what the Options represent without going into the localization detail screens.
### Check Slack Is Called
In the PiedPiper terminal, you'll see JSON being sent to the mock Slack.
```js
{
event: {
action: 'Survey',
actionId: 'ef9e753f-ecc0-468b-8160-dcb25dbb4d91',
actioneeUserId: 'ac2f073d-c063-4a7b-ab76-812f44ed7f55',
actionerUserId: '9af67e9a-8332-4c06-971c-463b6710c340',
applicationIds: [ 'e9fdb985-9173-4e01-9d73-ac2d60d1dc8e' ],
comment: 'Could not find my horoscope in the newspaper :(',
createInstant: 1690291936476,
emailedUser: false,
id: 'be3470aa-0dfd-408e-a286-6d3c16a9af1f',
info: { ipAddress: '172.28.0.1' },
localizedAction: 'Survey',
localizedOption: 'Malbona',
notifyUser: false,
option: 'Bad',
tenantId: '8891ecad-ae5c-3d5d-1f4e-3e95f8583b78',
type: 'user.action'
}
}
```
The user's comment has been recorded as the survey response. The option they chose is also shown as <InlineField>localizedOption</InlineField>: `'Malbona'`. Note that translations are always shown in the preferred language of the Actionee, not the Actioner. In this example, the Actioner is the customer and the localized option is shown in the language of the administrator (customer service agent).
### Retrieve All Survey Action Instances for This User
The last thing you might want to do with Actions is retrieve them all from FusionAuth to create an audit trail of PiedPiper interactions with the subscriber. The [following command](/docs/apis/actioning-users#retrieve-a-previously-taken-action) will do that. Remember to replace the subscriber's UUID with yours.
```bash
curl -i --location --request GET 'http://localhost:9011/api/user/action?userId=9af67e9a-8332-4c06-971c-463b6710c340'\
--header 'Authorization: FTQkSoanK7ObbNjOoU69WDVclfTx8L_zfEJbdR8M0xu-jKotV0iQZiQh'
```
# Generic Migration Tutorial
import AdditionalSupport from 'src/content/docs/lifecycle/migrate-users/provider-specific/_additional-support.mdx';
import Aside from '/src/components/Aside.astro';
import Breadcrumb from 'src/components/Breadcrumb.astro';
import InlineField from 'src/components/InlineField.astro';
import InlineUIElement from 'src/components/InlineUIElement.astro';
import MappingUserAttributes from 'src/content/docs/lifecycle/migrate-users/provider-specific/_mapping-user-attributes.mdx';
import OtherEntitiesIntro from 'src/content/docs/lifecycle/migrate-users/provider-specific/_other-entities-intro.mdx';
import SocialLoginMigration from 'src/content/docs/lifecycle/migrate-users/provider-specific/_social-login-migration.mdx';
import WhatNext from 'src/content/docs/lifecycle/migrate-users/provider-specific/_what-next.mdx';
export const migration_source_dir = 'generic';
export const script_supports_social_logins = 'false';
## Overview
This document will help you migrate users from {frontmatter.technology} to FusionAuth.
This guide is a low-level, technical tutorial focusing on transferring password hashes, calling APIs, and preparing data when migrating users from {frontmatter.technology}. For more information on how to plan a migration at a higher level, please read the [FusionAuth migration guide](/docs/lifecycle/migrate-users).
[](/ebooks/ultimate-guide-to-outsourcing-your-auth)
## Prerequisites
If you want to import user passwords in addition to user personal details, you need a basic understanding of how password hashing and salts work. FusionAuth has a [hashing article](/articles/security/math-of-password-hashing-algorithms-entropy) that is a good starting point.
To follow this tutorial, you need [Docker](https://docs.docker.com/get-docker/) to run an example web application and the migration scripts.
<Aside>
You may need to update your hosts file to include an entry for `127.0.0.1 host.docker.internal` if it's not already present. On macOS and Linux, you can add the entry with the following command.
```
echo "127.0.0.1 host.docker.internal" | sudo tee -a /etc/hosts
```
</Aside>
If you prefer to run scripts directly on your machine, you will need Node.js installed locally. You will also need to change occurrences of `db` and `host.docker.internal` to `localhost` in all the scripts.
## Planning Considerations
### Mapping User Attributes
<MappingUserAttributes migration_source_name={'exported'} />
### Social Logins
<SocialLoginMigration />
### Other Entities
<OtherEntitiesIntro migration_source_name={'your Custom Authentication System'} other_migrated_entities="connections or roles" />
* If your application makes use of roles, FusionAuth has [roles](/docs/get-started/core-concepts/roles) that are configured on an application-by-application basis and made available in a token after successful authentication.
* In FusionAuth, you can manage a set of users via a [Tenant](/docs/get-started/core-concepts/tenants).
* If your application sends emails like forgotten password notifications, FusionAuth has this functionality, and [the templates are customizable](/docs/customize/email-and-messages/).
* In FusionAuth, custom user attributes are stored on the `user.data` field and are dynamic, searchable, and unlimited in size. Any valid JSON value may be stored in this field.
* If your application uses multi-factor authentication (MFA), FusionAuth [supports MFA](/docs/lifecycle/authenticate-users/multi-factor-authentication), and you can enable it for a tenant and configure it for a user at any time.
#### Identifiers
When you create an object with the FusionAuth API, you can specify the Id. It must be a [UUID](/docs/reference/data-types#uuids). This works for users, applications, tenants, and others.
## Exporting Users
Let's consider a minimal web application to demonstrate how to migrate users and authentication to FusionAuth. This example app only has a sign-in page, a restricted account details page, and a PostgreSQL database with a single table to hold user passwords.
### Create An Example Application With Custom Authentication
To get the code used in this tutorial, clone the Git repository below.
```sh
git clone https://github.com/FusionAuth/fusionauth-import-scripts
```
The `generic` directory contains all the code you need for this tutorial, and `generic/exampleData` contains the output of the scripts.
Navigate to the `generic/src` directory.
```sh
cd fusionauth-import-scripts/generic/src
```
Start a Docker container for the app and database by running the command below in a terminal.
```sh
docker compose --file 1_appDockerCompose.yaml up
```
### Create The User Table
Now that the database is running, you need to create a table to hold users. Open a new terminal in the `fusionauth-import-scripts/generic/src` directory and run the command below.
```sh
docker exec --interactive --tty app sh
```
This will connect to the app container running in Docker and start an interactive terminal. You will run all the JavaScript scripts in this interactive Docker terminal. Run the code below in this terminal to create the user table.
```sh
cd /workspace
npm install
node 2_createUser.mjs
```
The `2_createUser.mjs` script creates a table with the text fields `email`, `hash`, and `salt`.
If you want to see the table, browse the database in any database IDE that can connect to PostgreSQL. [DBeaver](https://dbeaver.io/download) is a free, cross-platform IDE you can use.
Create a new connection to `localhost`, port `7770`, database `p`, username `p`, and password `p`. Open the connection and expand the database tables to see the `user` table.
### Run The Web App
Run the command below in the interactive Docker terminal to start the minimal Express web app.
```sh
node 3_webApp.mjs
```
Browse to `http://localhost:7771/account`. This is a restricted page. Since you are not authenticated, you are not able to view it.
Browse to `http://localhost:7771`. On the authentication page displayed, enter a random email like `user@example.com` and password `password`.
The user will be created in the database, and you will be redirected to the account page. Now you will be able to see the page as you have a cookie in your browser with the user's email address.
Open `3_webApp.mjs` and take a look. It has two GET routes to display the home page and account page. The POST route for the home page is more complex. It does the following:
- Checks if username and password have been entered.
- Queries the database to see if the email exists.
- If the email exists, compares the password hash in the database with the hash of the password entered.
- If not, creates the user and saves their password hashed with a random UUID salt.
The `getHash` function at the bottom of the file creates a password hash using SHA256. This is a simple algorithm, [supported natively by FusionAuth](/docs/reference/password-hashes#salted-sha-256). If your real application uses an uncommon hashing algorithm, you can [write a custom hashing plugin for FusionAuth](/docs/extend/code/password-hashes/writing-a-plugin).
In the interactive Docker terminal, click Ctrl + C to stop the application server.
### Create A Users File
Run the command below in the interactive Docker terminal to export your users to the file `users.json`.
```sh
node 4_exportUsers.mjs
```
In reality, you could create a JSON file of users from your application in whatever language suits you — most likely a SQL script run directly against your database.
The next script, `5_convertUserToFaUser.mjs`, is the most important. It maps the fields of `users.json` to FusionAuth fields. The tiny example app has only email and password, so you will want to alter this script significantly for your real app. The attributes of the User object in FusionAuth are [well documented here](/docs/apis/users).
The script uses `stream-json`, a JSON library that can incrementally read massive files with millions of users. It opens the `users.json` file for reading in the line `new Chain([fs.createReadStream(inputFilename), parser(), new StreamArray(),]);`. For more information, read https://github.com/uhop/stream-json. The `processUsers()` function calls `getFaUserFromUser()` to map your user to FusionAuth, and then saves them to an `faUsers.json` file.
The `getFaUserFromUser()` function does a few things:
- Maps as many matching fields from your app to FusionAuth as possible.
- Stores all user details that don't map to FusionAuth in the `data` field.
- Uses the hashing algorithm name in `faUser.encryptionScheme = 'salted-sha256';`. The salt is converted to Base64 to meet FusionAuth requirements.
- Adds Registrations (a Role link between a User and an Application) for users. You will need to change these Ids to match those of your application when doing a real migration.
If you are uncertain about what a user attribute in FusionAuth does, read more in the [user guide](/docs/apis/users), as linked in the [general migration guide](/docs/lifecycle/migrate-users).
In the interactive Docker terminal, run the script with the following command.
```sh
node 5_convertUserToFaUser.mjs
```
Your output should be valid JSON and look like the file `fusionauth-import-scripts/generic/exampleData/faUsers.json`.
## Importing Users
If you are not already running FusionAuth or want to test this process on another instance, you can start FusionAuth in Docker.
Open a new terminal in the `fusionauth-import-scripts` directory and run the commands below.
```sh
cd generic/fusionAuthDockerFiles
docker compose up
```
FusionAuth will now be running and accessible at `http://localhost:9011`. You can log in to the [FusionAuth admin UI](http://localhost:9011/admin) with `admin@example.com` and `password`. The container is called `fa`.
This configuration makes use of a bootstrapping feature of FusionAuth called [Kickstart](/docs/get-started/download-and-install/development/kickstart), defined in `fusionauth-import-scripts/generic/fusionAuthDockerFiles/kickstart/kickstart.json`. When FusionAuth comes up for the first time, it will look at the `kickstart.json` file and configure FusionAuth to the specified state. In summary, the defined Kickstart sets up an API Key, an admin user to log in with, a theme, and a Test application in FusionAuth.
Now you have the users file `faUsers.json`, and FusionAuth is running. To import the users into FusionAuth, you need to run the Node.js import script.
In the interactive Docker terminal, run the command below.
```sh
node 6_importUsers.mjs
```
This script uses the FusionAuth SDK for Node.js `@fusionauth/typescript-client`. It's used only for a single operation, `fa.importUsers(importRequest)`. For more information, read the [FusionAuth TypeScript Client Library](/docs/sdks/typescript) documentation.
This script imports users individually. If this is too slow when running the production migration, wrap the `importUsers()` FusionAuth SDK call in a loop that bundles users in batches of 1000.
### Verify The Import
If the migration script ran successfully, you should be able to log in to the `Test` application with one of the imported users. In the [FusionAuth admin UI](http://localhost:9011/admin), navigate to <Breadcrumb>Applications -> Test</Breadcrumb>. Click the <InlineUIElement>View</InlineUIElement> button (green magnifying glass) next to the application and note the <InlineField>OAuth IdP login URL</InlineField>.
<img src={`/img/docs/lifecycle/migrate-users/provider-specific/${migration_source_dir}/find-login-url.png`} alt="Application login URL." width="1200" role="bottom-cropped" />
Copy this URL and open it in a new incognito browser window. (If you don’t use an incognito window, the admin user session will interfere with the test.) You should see the login screen. Enter username `user@example.com` and password `password`. Login should work.
<Aside type="note">
After a successful test login, the user will be redirected to a URL like `https://example.com/?code=2aUqU0ZhQCjtz0fnrFL_i7wxhIAh7cTfxAXEIpJE-5w&locale=en&userState=AuthenticatedNotRegistered`.
This occurs because you haven't set up a web application to handle the authorization code redirect yet. This will be done in the [Use FusionAuth As Your Authentication Provider](#use-fusionauth-as-your-authentication-provider) section.
</Aside>
Next, log in to the [FusionAuth admin UI](http://localhost:9011/admin) with `admin@example.com` and password `password`. Review the user entries to ensure the data was correctly imported.
<img src={`/img/docs/lifecycle/migrate-users/provider-specific/${migration_source_dir}/list-users.png`} alt="List of imported users." width="1200" role="bottom-cropped" />
Click the <InlineUIElement>Manage</InlineUIElement> button (black button) to the right of a user in the list of users to review the details of the imported user’s profile. In the <InlineUIElement>Source</InlineUIElement> tab, you can see all the user details as a JSON object.
#### Debug With The FusionAuth Database
If you have errors logging in, you can use the FusionAuth database directly to see if your users were imported, and check their hashes manually.
You can use any PostgreSQL browser. DBeaver will work. The connection details are in the files `docker-compose.yml` and `.env` in the `fusionauth-import-scripts/generic/fusionAuthDockerFiles/` directory.
In your database IDE, create a new PostgreSQL connection with the following details:
- <InlineField>URL:</InlineField> `jdbc:postgresql://localhost:5432/fusionauth`
- <InlineField>Host:</InlineField> `localhost`
- <InlineField>Port:</InlineField> `5432`
- <InlineField>Database:</InlineField> `fusionauth`
- <InlineField>Username:</InlineField> `fusionauth`
- <InlineField>Password:</InlineField> `hkaLBM3RVnyYeYeqE3WI1w2e4Avpy0Wd5O3s3`
Log in to the database and browse to `Databases/fusionauth/Schemas/public/Tables`. The `identities` and `users` tables will show the login credentials and user personal information.
## Use FusionAuth As Your Authentication Provider
Now that your users have been migrated into FusionAuth, how do you authenticate them in your app?
The first step is to set your OAuth callback URL in the [FusionAuth admin UI](http://localhost:9011/admin). Under <Breadcrumb>Applications</Breadcrumb> edit your `Test` application and set the <InlineField>Authorized redirect URLs</InlineField> to `http://localhost:7771/callback`.
<img src={`/img/docs/lifecycle/migrate-users/provider-specific/${migration_source_dir}/authorised-redirect.png`} alt="Authorised redirect URL." width="1200" role="bottom-cropped" />
Now run the command below in the interactive Docker terminal to see the original Express app rewritten to use FusionAuth for authentication.
```sh
node 7_webAppWithFa.mjs
```
Browse to `http://localhost:7771`. You'll see that the sign-in page has been replaced by FusionAuth. You can style this page however you like. For more information, see the full [quickstart guide for Express](/docs/quickstarts/quickstart-javascript-express-web).
The new application code looks very similar to the original, except that the login and hashing code has been replaced by OAuth 2.0 calls to FusionAuth via the Node.js [Passport library](https://www.npmjs.com/package/passport).
<Aside type='caution'>
Note that the `authOptions` object defined at the bottom stores secrets directly in the code. In reality, you should move these to a `.env` file that is not checked into GitHub. Be sure to use `host.docker.internal` instead of `localhost` for URLs that call a server directly (browser URLs still use `localhost`).
</Aside>
### Delete The Docker Containers
Push Ctrl + C in all terminals to stop the Docker instances. Run the code below on your host machine to remove the Docker containers and images if you are done testing.
```sh
docker rm app app_db fa fa_db
docker rmi postgres:16.2-alpine3.19 node:alpine3.19 fusionauth/fusionauth-app:latest postgres:16.0-bookworm
```
## What To Do Next
The sample application uses a relatively old and weak hashing algorithm, though not terrible. You might want to rehash your users' passwords on their next login with a stronger algorithm. To enable this setting, follow these [instructions](/docs/extend/code/password-hashes/custom-password-hashing#rehashing-user-passwords).
<WhatNext />
## Additional Support
<AdditionalSupport />
# Introduction To Migration
import DecisionChart from 'src/diagrams/docs/lifecycle/migrate-users/generic-migration-flow-chart.astro';
import JSON from 'src/components/JSON.astro';
import Aside from 'src/components/Aside.astro';
import RehashingUserPasswords from 'src/content/docs/_shared/_rehashing-user-passwords.mdx';
import SocialLoginMigration from 'src/content/docs/lifecycle/migrate-users/provider-specific/_social-login-migration.mdx';
import LdapConnectorReconcile from 'src/content/docs/_shared/lambda/_ldap-connector-reconcile.mdx';
import MfaMigration from 'src/content/docs/lifecycle/authenticate-users/_mfa-migration.mdx';
import PremiumPlanBlurb from 'src/content/docs/_shared/_premium-plan-blurb.astro';
import SlowMigrationTimeline from 'src/content/docs/lifecycle/migrate-users/provider-specific/_slow-migration-timeline.mdx';
import PerformanceTips from 'src/content/docs/lifecycle/migrate-users/_performance-tips.mdx';
import InlineField from 'src/components/InlineField.astro';
import InlineUIElement from 'src/components/InlineUIElement.astro';
import EnterprisePlanBlurb from 'src/content/docs/_shared/_enterprise-plan-blurb.astro';
## Overview
Often you are migrating to FusionAuth from another solution, whether a homegrown or vendor solution.
The guides in this section will help you understand and prepare for the migration process.
There are three tools you can use to import users into FusionAuth.
* The User API
* SCIM
* Connectors
FusionAuth supports importing all your user data (storing any non-standard info in `user.data`), roles, groups, application associations, refresh tokens (so that someone using a TV app, for example, won't have to log in again), and password hashes.
### The User API
When importing only a few users, you can use the [Create User API](/docs/apis/users) to import users individually. This is typically done using [a client library](/docs/sdks). With this method, you cannot migrate users' passwords.
The User API is a good choice when:
* You have only a few users to migrate.
* You don't have passwords for users (for example, if they have authenticated using a social provider like Google).
* You are migrating users into a FusionAuth instance that contains pre-existing users.
The User API also allows bulk import, which is discussed in its own section later in this article.
### SCIM
<EnterprisePlanBlurb />
[System for Cross-domain Identity Management, or SCIM,](/docs/lifecycle/migrate-users/scim/scim) allows you to migrate and provision users from other systems, such as Azure AD or Okta, into FusionAuth.
SCIM is a good choice when:
* You need continuous user migration and user account deactivation.
* You have a source of user data that supports SCIM and is a SCIM client.
Learn more about the [basics of SCIM](/articles/identity-basics/what-is-scim) or [how to use SCIM with FusionAuth](/docs/lifecycle/migrate-users/scim/scim).
## Using FusionAuth Without Importing Users
You don't have to store user information in FusionAuth. You can instead use FusionAuth in a purely federated way — to authenticate users with an external identity provider.
There are two ways to do this:
- If your existing user store supports SAML or OIDC, you should be able to use an [identity provider](/docs/get-started/core-concepts/identity-providers). You will need to modify the theme and probably want to use a hint.
- If your existing user store supports LDAP or a JSON API, you can use [Connectors](/docs/lifecycle/migrate-users/connectors/) (a paid feature) without migrating.
In both cases, FusionAuth communicates with your user store through a facade, not directly with the database. Direct database access isn't supported.
## Migration Types
Every migration involves a backfill, in which data is transferred from the old system to the new system, and a cutover, in which users authenticate with the new system rather than the old one.
There are three approaches to user migration:
* **Bulk** migration, also called **offline** or **big bang** migration, migrates all users at once. With this approach, you have one cutover.
* **Segment-by-segment** migration segments your users, resulting in multiple cutovers, each with a natural chunk of users.
* **Slow** migration, also called **rolling**, **gradual**, **online**, or **phased** migration, migrates each user as they authenticate. With this choice, there are two cutover points. The first is the application cutover, which happens when you direct users to FusionAuth for authentication. Then as each user logs in, the data is migrated and the user's system of record changes. This results in many data cutover events.
Each approach migrates user and other account data into FusionAuth from one or more other systems of record. All three options are supported by FusionAuth. Consider how many cutovers you want to handle and pick the one that works best for your situation.
Here's a high-level flow chart explaining your choices based on the data you have.
<DecisionChart />
Let's examine each approach in more detail.
### Bulk (Offline) Migration
With a bulk migration, you are moving all your users at once. The exact duration varies, but there is a single cutover period. The basic steps are:
* Map user attributes from the old system to the new system.
* Build a set of migration scripts or programs.
* Test it well. Ensure that migration accuracy and duration meet your needs.
* Plan to modify your applications to point to the new system.
* When you are ready to migrate, bring your systems down or to a mode where authentication is degraded (read-only or disallowed).
* Run the migration scripts or programs.
* Perform the cutover and flip the system of record for all your users from the old system to the new.
Bulk migration lets you import users at a single point in time, making for a clean cutover. You can import password hashes, including hashes performed with a custom, non-standard algorithm, making migration seamless for your users. You use the [User Import API](/docs/apis/users#import-users) to perform this. You can also [import refresh tokens](/docs/apis/users#import-refresh-tokens) if you want your users to be able to refresh access tokens transparently. When using the [User Import API](/docs/apis/users#import-users), you should only import batches of fewer than 10,000 users per request. After completing a migration you should [reindex of the Elasticsearch database](/docs/lifecycle/manage-users/search/search#reindexing-elasticsearch) as well.
This approach has strengths:
* If you manage the timing of auth unavailability, the migration can have minimal impact on users.
* It has a fixed timeframe. When you have completed the migration, you're done and can shortly shut down the original system.
* If you have to decommission the old system by a certain deadline, perhaps due to an upcoming license renewal or other external factors, you can plan to migrate before the deadline.
* You only have to run two production user auth systems for a short period of time; typically you'll run the original system after the cutover in case you need to roll back.
* Employees or contractors accessing user data, such as customer service reps, only need to switch their working routines after the migration has been performed.
The bulk approach has some challenges, though.
* It is common to miss issues during testing because this is a unique procedure. Production systems are often subtly different from testing environments.
* Any problems with the migration impact many users, since all are migrated.
* The bulk migration requires you to write code that you'll test intensely, use once, and then throw away.
* The new auth system must be compatible with the old system's password hashing algorithm for the migration to be transparent to the end user. (An alternative is to force all users to reset their password.)
* New users may not register during migration, nor may users alter their data, or the changes will not be available in the new system. This means migration has to be as fast as possible. Alternatively, you could allow users to continue using the old system during migration, then perform a final synchronization of data once the migration is complete and the cutover has occurred.
A bulk migration is a good choice when:
* You want to migrate all of the users at once.
* You are migrating into a new FusionAuth instance.
* You have access to password hashes from a previous auth system.
In short, this is a high-risk, low-outage-duration, high-reward solution.
### Segment-By-Segment Migration
Segment-by-segment migration is the second alternative. It can be thought of as a series of "little bang" migrations. With this approach, you split your user accounts into segments and migrate each segment. Natural division points could be the type of user, source of user data, or applications used.
Such a migration lets you test your processes in production by migrating less critical, or more understanding, sets of users first. The engineering team will be more understanding of any migration issues than paying customers, for instance. You will probably be able to reuse code in each segment's migration scripts. This approach works well when you have more than one old system from which you are migrating users. In general, this approach decreases risk when compared to a bulk migration.
However, this approach is not without its issues:
* You have multiple projects, downtime periods, and cutovers to manage, not just one.
* There may be no natural divisions in your user base.
* If most of the users are in one segment, this approach may not be worth the extra effort. For example, if you have one popular application and a couple of nascent applications, the extra work to migrate in phases may not be useful. You won't get a real test of the migration process until you do the popular application, which is where all the risk is.
* This will take longer to complete, requiring you to run both old and new systems for longer.
* You'll need to consider how to handle the cutover from the old system to the new system. Depending on how you segment your users, this could be complicated and require additional development. For example, if you divide your users by type and migrate the admin user segment first, you will need some kind of proxy in front of your auth systems to send admin users to the new system and normal users to the old one.
Segment-by-segment migration decreases cutover risk but requires a longer cutover timeline in exchange.
### User-By-User (Slow) Migration
This approach is a logical extension of segment-by-segment migration. Here, each segment is a single user. With a slow migration, you move users one at a time when they log in. You keep the other system running and set up a connection between them. This means you don't have to have access to the underlying password hashes or other user information. With FusionAuth, you implement a slow migration using [Connectors](/docs/lifecycle/migrate-users/connectors/).
<PremiumPlanBlurb />
Connectors allow you to migrate users transparently, one by one. Learn how to [use Connectors with FusionAuth](/docs/lifecycle/migrate-users/connectors).
With a slow migration:
* User attributes are mapped from the old system to the new system.
* A connection is established between the original auth system and FusionAuth.
* You then modify your application or applications to point to FusionAuth. This is the application cutover point, which may require some downtime.
* FusionAuth receives all auth requests, but delegates the first such request for each user to the original user management system.
* The old system returns the information and FusionAuth creates a new user. This is the data "cutover" point for this user.
* For this user's subsequent authentication requests, FusionAuth is now the system of record. The user has been migrated.
To implement a slow migration, FusionAuth needs to pass each user's auth credentials to the old system and expect the user information being migrated. You also need to modify applications to point to FusionAuth before any migration starts. A slow migration has the following benefits.
* Since you are only doing a user migration at the time a user authenticates, the blast radius of a mistake is smaller; it's limited to whoever is logging in.
* You can upgrade your password hash algorithms transparently without requiring anyone to reset their password. FusionAuth supports a [number of different algorithms](/docs/reference/password-hashes) and you can also [bring your own](/docs/extend/code/password-hashes/writing-a-plugin) as well.
* You don't have to migrate inactive users; this lets you scrub your user base.
* You can use this opportunity to contact any dormant application users and encourage them to log in.
* There's less downtime during the application cutover because you aren't moving any data, only switching where users authenticate.
* You don't have to understand all the moving pieces of the old auth system. You don't have to understand all the business logic that goes into authentication in the old system.
However, a slow migration isn't the right solution for every application. Issues to be aware of:
* You pass a user's plaintext password from FusionAuth to the old auth system, take special care to secure this data in transit. If possible, keep it from traveling over the internet.
* The old user management solution must be extensible or support a standard like LDAP. You may need to extend it to add an auth API and you need to understand the user account attributes.
* You have to run both FusionAuth and the original system for the duration of the migration. Depending on the state of the old user auth management software, this may be painful.
* Customer service and other internal users may need to access two systems to find a user during the migration period.
* Rollback from a phased migration is more complex if there are issues because there are two systems of record, one for migrated users and one for users still in the old system.
A slow migration is a good choice when:
* You don't have access to password hashes or other data from the previous auth system.
* You are comfortable running two different auth systems for a while.
* You are migrating users into a FusionAuth instance that contains pre-existing users
In short, slow migration is a low-risk, long-duration choice.
Read the [Slow Migration of User Data](/articles/identity-basics/slow-migration) blog post to learn more about slow migrations.
## Migration Implementation
Now that you understand the different approaches, let's look at how to implement each one.
However, before we do so, there are certain common steps. The first is getting familiar with FusionAuth's nomenclature. Taking a moment to do so will save you time when searching for documentation or writing code against the FusionAuth APIs.
### FusionAuth Core Concepts
The [Core Concepts section](/docs/get-started/core-concepts/) is worth reviewing to help you plan your migration and future FusionAuth usage. Important FusionAuth concepts are users, applications, roles, groups, registration,s and tenants. Here's a short summary of how they relate:
* A tenant is a top-level object that contains users, applications, and groups.
* Applications have roles. Users authenticate and are authorized to access applications.
* Groups contain users and may have associated roles.
* Users have registrations with applications. You can create registrations at the same time you are creating a user.
All entities have a [UUID](/docs/reference/data-types#uuids) identifier. This Id can be specified on creation, but must be a valid UUID. If you have an identifier that is not a valid UUID, one option is to store the old Id in the `data` field of the FusionAuth configuration.
#### Evaluating FusionAuth
If you haven't already done so, ensure FusionAuth will work with your application or applications. You can [install it in about five minutes](/docs/quickstarts/5-minute-setup-guide) and build a prototype.
A prototype is helpful for determining which [login method](/docs/get-started/core-concepts/integration-points#login-options) you should use and how to [theme the hosted login pages](/docs/customize/look-and-feel/) to maintain your application's look and feel.
FusionAuth assigns users roles. A user's roles are available in API responses and in the [JWT (JSON Web Token)](/docs/lifecycle/authenticate-users/login-api/json-web-tokens) sent to client applications after successful user authentication. You may need to update your application to look at the `roles` claim to allow or disallow functionality within an application.
You may choose to use a language-specific library to interface with FusionAuth's standards-compliant SAML, OAuth, and OIDC endpoints. There are [sample applications](/docs/quickstarts/) you can review to see examples of such integrations. You may also choose to use one of FusionAuth's [client libraries](/docs/sdks/).
If you allow users to register with your application, modify your application to point to FusionAuth's registration form and ensure you capture the registration data you need.
If you want social sign-on (such as Google) or enterprise identity provider integration (such as SAML), configure and enable those providers as well.
Testing FusionAuth's ability to integrate with your identity providers and existing applications before diving into the migration planning will ensure that there won't be any unpleasant surprises during cutover.
Next, let's talk about migration planning.
### Migration Planning And Assessment
The first step to any successful data migration is planning, and user data migration is no different. You need to know:
* Where all your data sources are
* Who uses the data from each source
* If your application can work with the auth system in a read-only configuration
* How to connect to each datasource
* What the user and account data looks like
* Special considerations such as SAML migration
* Which migration approach fits your needs: bulk, segment-by-segment, or slow migration
A full explanation of data migration planning is beyond the scope of this guide, but here are items to consider when moving user data:
Think about the edge cases. What fields are required and optional in the old auth system or systems? FusionAuth requires minimal data about a user; only a password and username or email are required.
Is there clean one-to-one mapping between the original system's auth fields and FusionAuth? The answer is usually "No," so plan to spend some time examining the current system's data and seeing how it maps to FusionAuth's user schema, [as documented](/docs/apis/users). We'll look at an example of a mapping process in the next section.
What should you do if you have data that doesn't map cleanly to any of the fields available in FusionAuth? FusionAuth provides a `data` field on a number of entities, including the user entity and application registrations. This `data` field can be used to store arbitrary key-value data and is a good place to save any fields from the old system that don't map well to the FusionAuth user or application registration data models. In fact, it's often useful to store all the original user data in this field, so that you have it should you need it post-migration. Having access to the original, unmigrated data can be helpful in the future. If there were mistranslated fields or data, you'll be able to examine what was present in the old system without accessing it.
Consider how to handle unexpected data during the migration process. You can save it off the record for further examination, toss it as malformed, or ignore only the fields containing unexpected data. Which choice you make depends on your business needs and the value of each account.
Don't forget to handle relationships between users and other identity-related entities. Groups, application associations, roles, historical data, and anything else from the old system that is tied to a user account. Find out where this data is coming from, if it should be migrated, and where it will end up. Such auxiliary data can be stored in FusionAuth, but another datastore is sometimes more suitable.
There are two common types of data involved in a user data migration that are worth closer examination.
The first is user Ids. These identifiers are often referenced by other systems, including external ones, and may be used for auditing, analytics or other purposes. You can preserve these user Ids in two ways when moving to FusionAuth.
* If the original system has user ids which are [FusionAuth compatible UUIDs](/docs/reference/data-types#uuids), specify that user Id when you import each user into FusionAuth.
* If your user Ids are not FusionAuth compatible, store the Id in the `user.data` field under a key such as `original_user_id`. You will then be able to search on this value when you need to retrieve a user by their old Id.
The second is user passwords (and related fields, such as a salt or hashing scheme). Dealing with this data depends on your migration approach. For a bulk or segment-by-segment migration, ensure FusionAuth understands the original system's hashing algorithm by [writing a plugin](/docs/extend/code/password-hashes/custom-password-hashing) if the password has not been hashed in one of [FusionAuth's supported algorithms](/docs/reference/password-hashes). For a slow migration, the password will be available for FusionAuth to hash or re-hash. If you have the users' passwords in plain text, FusionAuth can also hash them on import.
If you have user data in multiple systems and plan to merge the data, map the user fields from all the old system datastores.
#### An Example Of Data Mapping
Let's examine a data mapping example. Suppose an old auth system has the following user data model (let's ignore the `email` and `password` fields, as they won't necessarily be mapped):
* `fname` - string
* `lname` - string
* `datebirth` - string
* `phone_num` - string
* `role` - string
FusionAuth has a user object with these attributes and data types:
* `firstName` - string
* `lastName` - string
* `birthDate` - An ISO-8601 formatted date string
* `mobilePhone` - string
There are a number of mappings required.
The first is converting from `fname` to `first_name` and `lname` to `last_name`, which might seem trivial. It is, but you need to make sure you handle any field that needs to be renamed. Spreadsheets are your friend.
The second mapping task is parsing the `datebirth` field into an ISO-8601 formatted string, to be placed in the `birthDate` field. Depending on how clean the original data is, this could be simple or it could be painful. If the latter, use a date parsing library; it'll handle edge cases.
Then, consider how to handle the `phone_num` field. If you know that every number in your original datastore is a mobile number, you could use the `mobilePhone` FusionAuth field. You could also store it in `user.data` in the `user.data.phoneNumber` field, for example.
Finally, you need to map role values. Roles in FusionAuth are stored on the `registration` object because they are associated with applications and users. When creating a user, you can create a registration at the same time, and then associate any roles for that application with that registration.
In general, any user data that doesn't change between different applications should be stored on the user object. Examples include a user's name and their phone number. Here's a sample FusionAuth `User` object:
<JSON title="Example User JSON Request Body" src="users/request.json" />
Please consult the [User API](/docs/apis/users) for detailed field descriptions.
Any data associated with a user's use of an application, on the other hand, should be stored on the registration object. Examples include their roles or application-specific profile data. Here's a sample FusionAuth registration object:
<JSON title="Example User Registration JSON Request Body" src="user-registrations/create-request.json" />
Similarly, consult the [Registration API](/docs/apis/users) for the full documentation of this object.
As this example shows, getting ready for a migration consists of many choices and design decisions. Understanding your user account data model and how it maps to FusionAuth's before you write any code will prevent unpleasant surprises.
### Setting Up FusionAuth
Before you can migrate any user information into FusionAuth, ensure it is set up correctly. While you tested FusionAuth previously, it is now time to set up a production-ready instance.
Determine where your FusionAuth instances should be hosted. You can self-host in any data center or cloud provider, or use the managed services from FusionAuth, [FusionAuth Cloud](/pricing). Decide whether you need a [support plan](/pricing), with guaranteed response times. Evaluate whether you need any of the [paid plan features](/pricing).
Consider your change management strategy. How will you capture your FusionAuth settings so that you can make future configuration changes in a measured, understandable way? You can use the [community-supported Terraform provider](https://registry.terraform.io/providers/gpsinsight/fusionauth/latest) or script changes in your preferred language's [client library](/docs/sdks/).
#### Configure FusionAuth
Prepare FusionAuth for your users and applications; while the exact configuration depends on your application needs, the following items should be considered.
Create one or more tenants. Multiple tenants are useful for allowing someone to have the same email but different passwords or to have different settings, such as the theme or password rules. Add these via the API or navigate to **Tenants** and click the **green plus sign**.
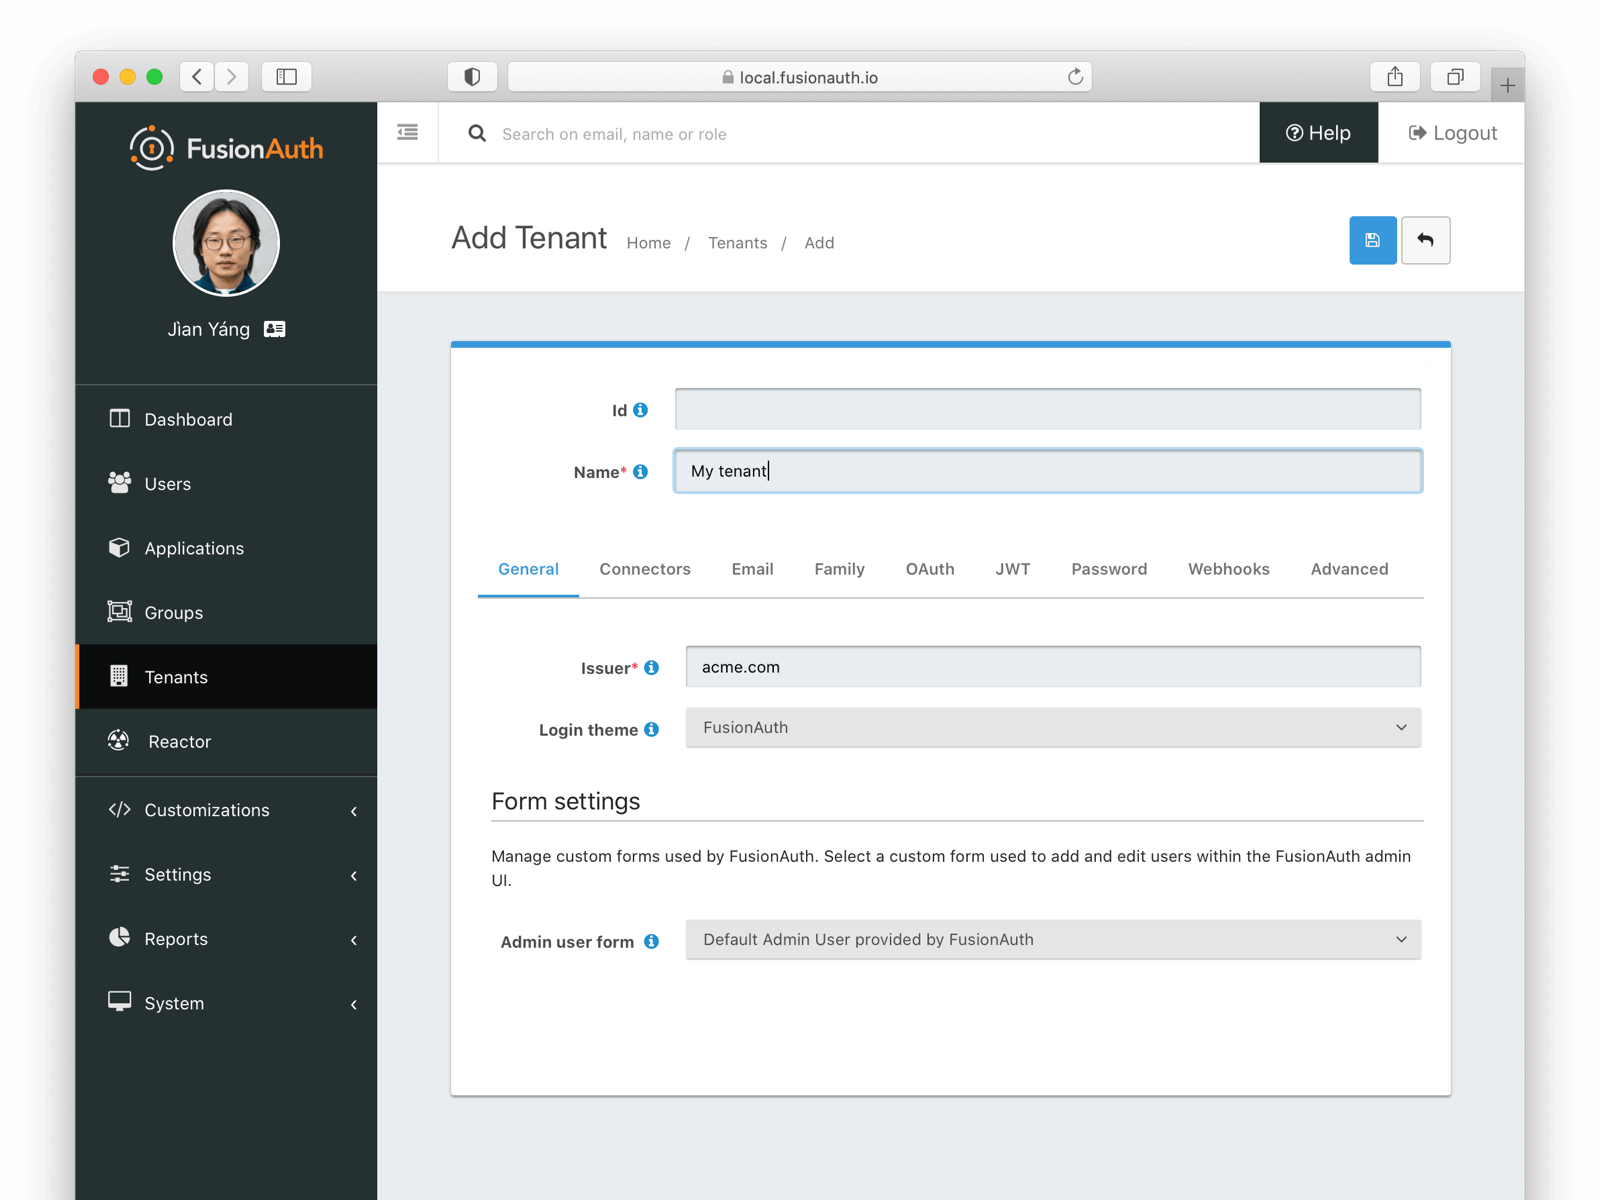
Create one or many applications and add any roles they require. Create a FusionAuth application entity for each application whose users you are migrating. An application is anything a user can log in to, whether it is an API, a commercial product, or a custom web application. Add each of these via the API or navigate to **Applications** in the administrative user interface and click the **green plus sign** to add the application.
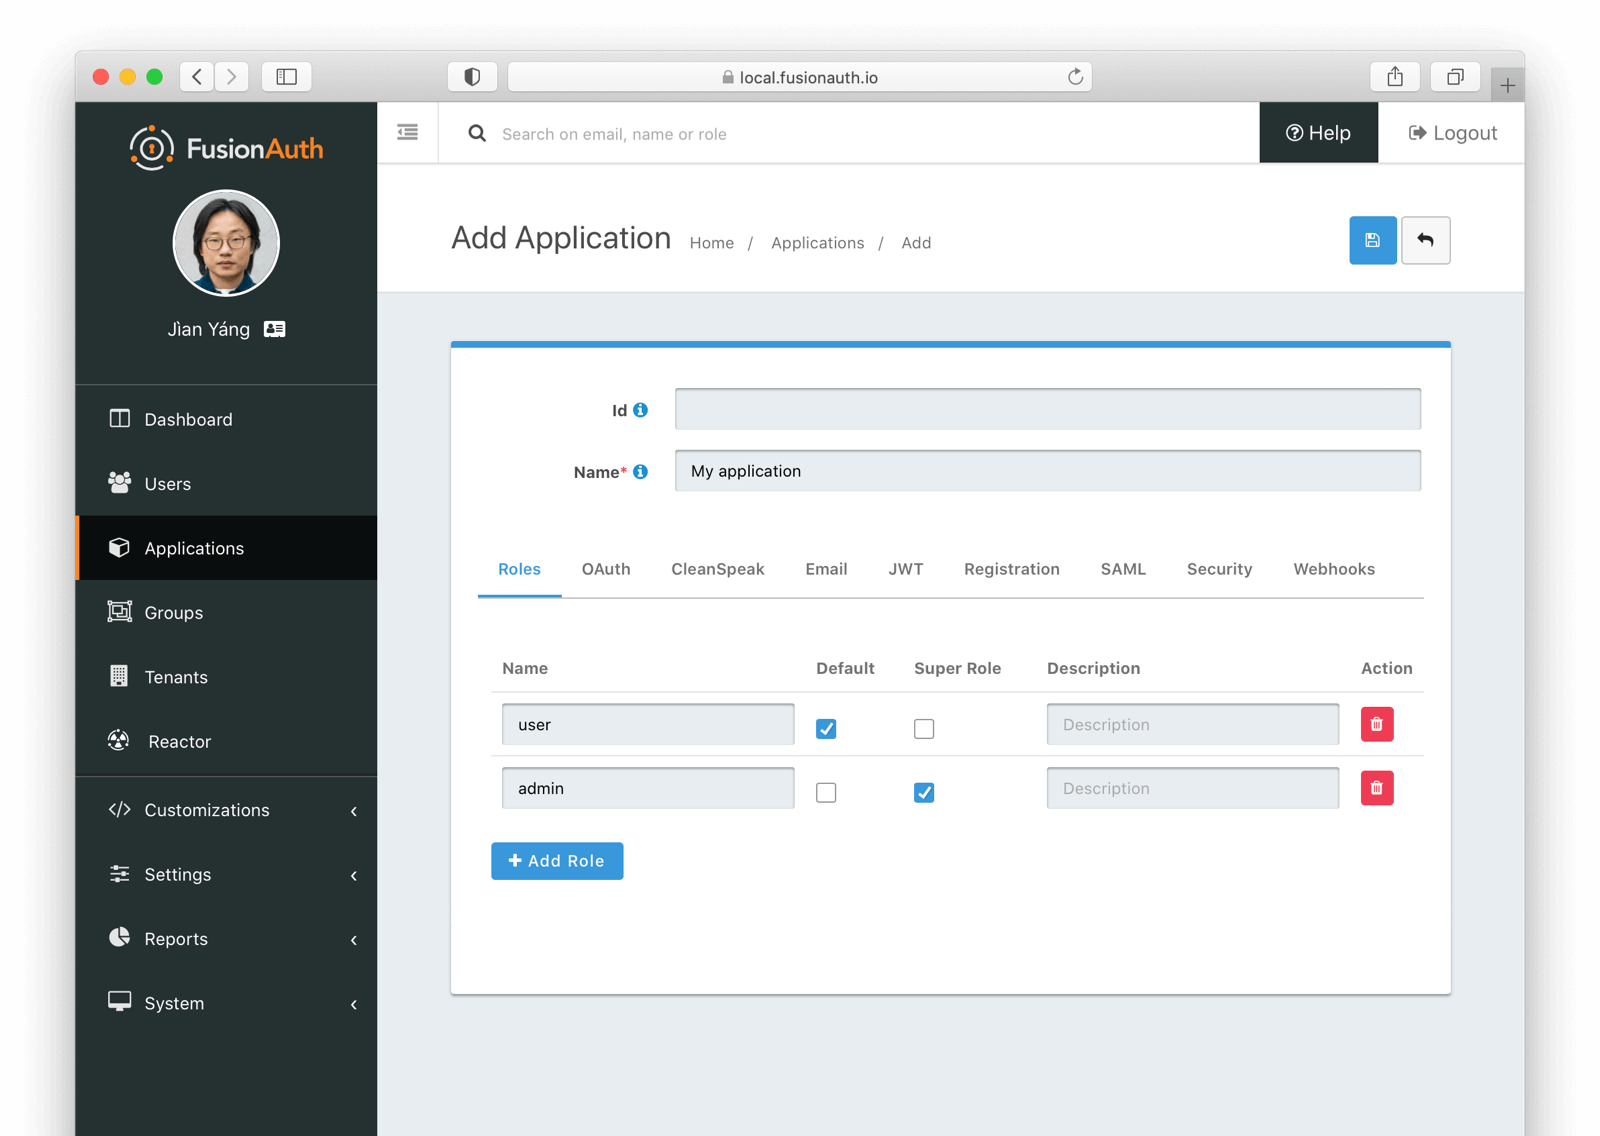
Map user attributes, as discussed above, into the FusionAuth `user` or `registration` objects. If some of your data doesn't fit into the FusionAuth model, add it to the appropriate `data` field.
All this configuration can be done via the API or the administrative user interface. If you want to use the former, you'll have to [create an API key](/docs/apis/authentication#managing-api-keys) with appropriate permissions.
Now that FusionAuth is up and running, proceed to either the [Bulk Migration Implementation](#bulk-migration-implementation), the [Segment-By-Segment Implementation](#segment-by-segment-implementation) or the [Slow Migration Implementation](#slow-migration-implementation) section.
### Bulk Migration Implementation
This section outlines how to migrate all your user data into FusionAuth with one cutover.
#### Performance
Because you have downtime with this approach, you're going to want to import users quickly. Tweak these FusionAuth settings and perform the following tasks to do so.
<PerformanceTips />
#### Building The Migration Scripts
To actually move the data, you'll build out a series of scripts and programs. To begin this process, stand up a FusionAuth instance for testing. To start your FusionAuth instance in a known state every time, you may want to configure [Kickstart](/docs/get-started/download-and-install/development/kickstart). A Kickstart file can serve as a foundation for developers and CI processes in the future as well.
You'll also want to [create an API key](/docs/apis/authentication#managing-api-keys). Make sure you give the key appropriate permissions. The minimum required are the `POST` method on the `/api/user/import` endpoint.
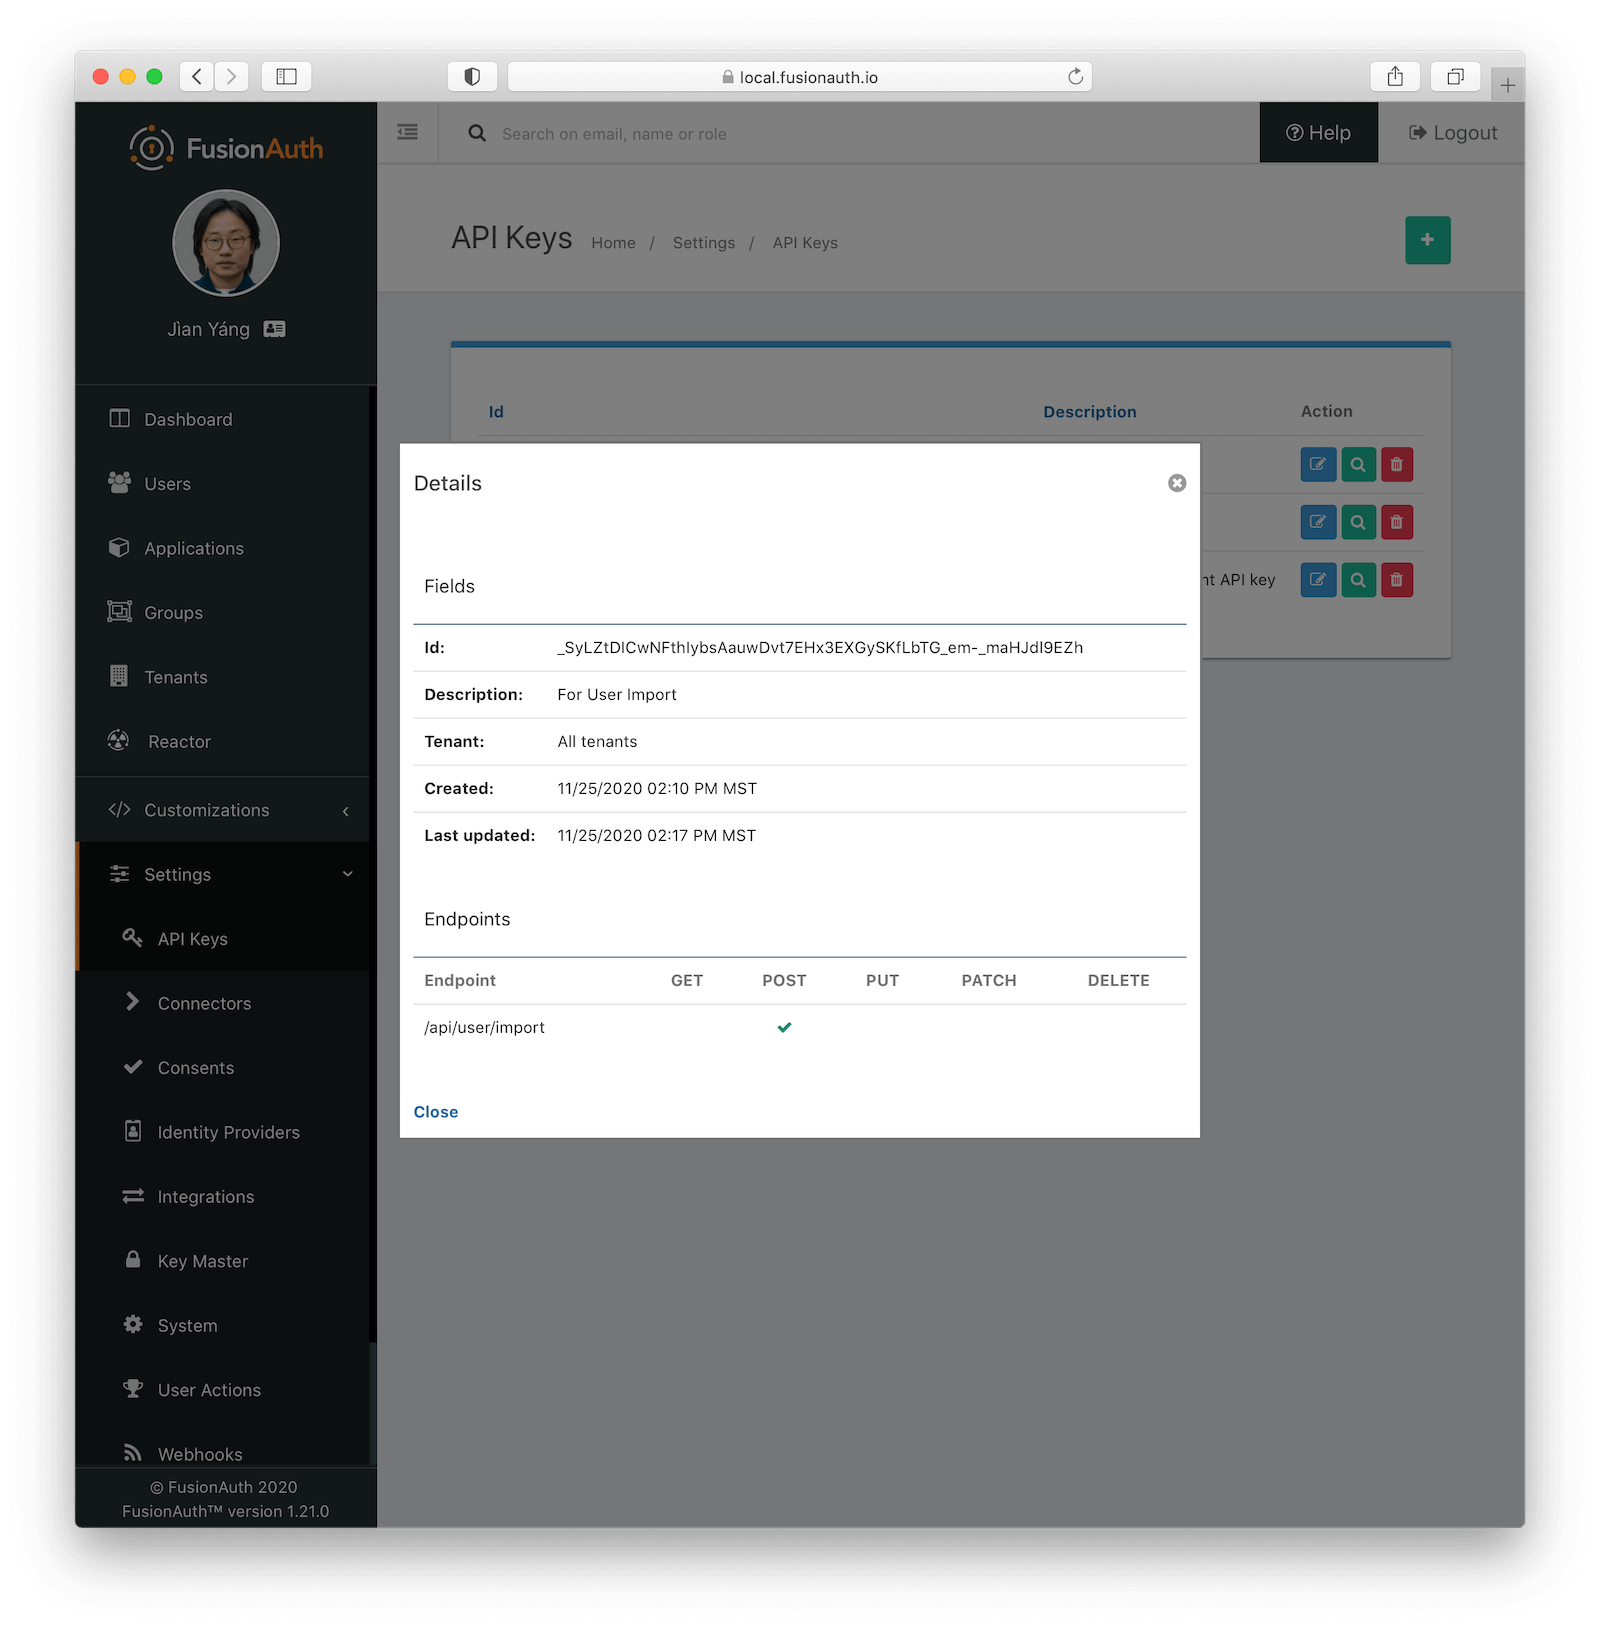
You can write the migration scripts in shell, any of the supported [client library languages](/docs/sdks/), or against the [REST API](/docs/apis/users) in any language supporting HTTP requests. Iterate over all the users in the old system or systems. Build the JSON files. Add a registration for each application to which a user should have access.
<Aside type="note">
Make sure you create all your groups, tenants, and applications before you import your users. You can do that by specifying them in the Kickstart file or writing scripts to create them.
</Aside>
If you can't build JSON files on the filesystem for some reason, you may build the JSON in memory. This can be a good approach if you are dynamically merging two data sources, but will be tougher to troubleshoot.
Finally, import the JSON using the `importUsers` method of a FusionAuth client library or by calling the REST API directly. This is [fully documented](/docs/apis/users#import-users).
Here's an example of an import API JSON request body:
<JSON title="Example User Import JSON Request Body" src="users/import-request.json" />
This JSON imports one user, but you can add multiple `user` objects to the `users` array to import multiple users.
Below is an example of a curl script for importing JSON files. It times out in 10 minutes, iterates over files in a directory, and stops processing if it receives any non-`200` status code. That would indicate there was an issue importing the users.
```shell title="Example User Import Shell Script"
#!/bin/sh
API_KEY=...
JSON_FILE_DIR=...
FA_HOST=...
for file in $JSON_FILE_DIR/*.json; do
echo "Processing $file";
RES=`curl --max-time 600 \
-s -w "%{http_code}" \
-H "Authorization: $API_KEY" \
-H "Content-type: application/json" \
-XPOST \
$FA_HOST/api/user/import \
-d@$file`
if [ "$RES" -ne "200" ]; then
echo "Error: $RES";
exit 1;
fi
done
```
Consult the [Import Users API documentation](/docs/apis/users#import-users) for more information.
If the original system hashes passwords using an algorithm other than those [schemes FusionAuth supports](/docs/reference/password-hashes), write and install a [custom password hashing plugin](/docs/extend/code/password-hashes/custom-password-hashing). In either case, specify the scheme in the user import JSON file. (It is called an `encryptionScheme` for backwards compatibility, but is actually a hashing scheme.)
In FusionAuth, duplicate emails are not allowed within the same tenant. If you may have duplicate emails, de-duplicate them before importing. If you don't want to do so, set the `validateDbConstraints` property to `true` in the import JSON. When this is done, the import API will return a user-friendly error message when duplicate addresses are found.
```json title="Import Error Message When validateDbConstraints is true"
{
"fieldErrors": {
"user.email": [{
"code": "[duplicate]user.email",
"message": "A User with email [example@piedpiper.com] already exists."
}]
}
}
```
```json title="Import Error Message When validateDbConstraints is false"
{
"generalErrors": [{
"code": "[ImportRequestFailed]",
"message": "An error occurred during the import request. This is most likely due to a unique key constraint which would indicate one or more of the users in the import request already exist in FusionAuth. Re-attempt the request with additional validation by using the [validateDbConstraints] property. If you have already enabled the additional validation and you still receive this error, please open a bug report."
}]
}
```
The extra validation comes at a performance cost, however, so you may want to run your import with `validateDbConstraints` equal to `true` to find the duplicate email addresses and remove or remediate them. After that, you can run an import with `validateDbConstraints` equal to `false` and reap the performance benefits.
#### Rehashing User Passwords
<RehashingUserPasswords />
#### Users Without Passwords
The import API expects users to have passwords. If you are migrating some users without passwords, you have a couple of options.
You can assign them a high entropy password such as a UUID for the import and then use the [Forgot Password API](/docs/apis/users#start-forgot-password-workflow). This will send them an email to reset their password.
Another option is not to use the Import API. Instead, import these users one by one using the [User API](/docs/apis/users), which can optionally send a setup password email.
Note that both methods rely on sending an email to these users. It's worth reviewing how many users will fall into this bucket and ensuring that your email-sending infrastructure is capable of handling the requests.
#### Users With Social Logins
<SocialLoginMigration />
#### Users With MFA
<MfaMigration />
#### Testing
Test this import process with as large a dataset as possible. If you can, use your entire user dataset. Testing with a realistically sized load lets you know how long your import will take. Real-world data will reveal edge cases, such as duplicate emails or incorrectly formatted user attributes.
Even if you aren't using multiple tenants in production, during the testing phase it is a good idea to create a `Testing` tenant and load all your users and applications into this tenant. You can drop a tenant with one API call or one click in the administrative user interface. All the users, applications, groups, and settings of that tenant will be removed at that point, making it easy to iterate your import scripts.
However, you cannot drop the `Default` tenant containing the FusionAuth application. This is why you must create a new tenant. Alternatively, you could also drop the entire database and perform a fresh FusionAuth install.
When you have an import working well, test your assumptions by pointing applications to FusionAuth for authentication. You've probably made some application changes for the proof of concept, but now test with the real user data that you've just migrated.
#### Performing The Migration
When your scripts work in your testbed environment, prepare to do a production migration. Inform all the internal stakeholders. Plan for downtime unless you can run your application with the original user store in a read-only mode. How much downtime? You should know based on your testing of the import.
Run the migration on your production dataset, moving the data from the original system to FusionAuth. When the migration is finished, release your application changes. All applications should point to FusionAuth for authentication requests and related user flows, including, but not limited to:
* Login
* Registration, if applicable
* Forgot password
* Password changes
Should you need to roll back, revert the changes to your application pointing it to FusionAuth. If users have updated profile data in FusionAuth, you'll need to port those changes back to your legacy system. A script using the user API and searching for users with recent updates will be a good starting point, though the exact data rollback will be application-dependent.
### Segment-By-Segment Implementation
A segment-by-segment migration is similar to the above bulk migration, except that you split your user data into segments and migrate each segment. Logical user database segmentation points include by application or by role. However, the planning, mapping, and execution are similar, just done for smaller chunks of users and multiple times.
However, the application cutover process with this approach is not as simple. You can't simply send all your users to FusionAuth when you haven't migrated all of them.
Which users are sent to FusionAuth depends on how you create your segments. If you split on application usage, update one application to send any authenticating users to FusionAuth. If you split your users based on other attributes, build logic in your application to determine where to send a user when they log in.
### Slow Migration Implementation
With FusionAuth, slow migrations use [Connectors](/docs/lifecycle/migrate-users/connectors/).
<PremiumPlanBlurb />
#### Determine Your Finish Line
Unlike bulk migrations, you need to set a migration completion goal for slow migrations. A slow migration moves accounts one user at a time, so it is unlikely you'll migrate one hundred percent of your users through this approach. Some people log in to your application rarely, while others may have abandoned their accounts. No matter how long a migration period you allow, some of your users will not log in during that time frame, and therefore won't be migrated.
So, with this approach, you need to decide what "done" means. Some factors to consider:
* How often do people log in?
* Is there a significant long tail of users who visit the application less frequently than the average user?
* Are there external events such as times of the year or holidays when greater or lesser numbers of users engage with your application?
* What are the ramifications of a user being unable to log in? Are there business, compliance, legal, or security concerns?
* Is the loss of timely access to your application an annoyance or a disaster?
* You will have some users who have not migrated when the slow migration period is over. How will you handle those accounts?
* How painful is it to operate both FusionAuth and your current authentication system?
* How valuable is a customer who has not logged in to your application in six months? A year? Three years?
Based on these answers, set a goal for a number or proportion of migrated users, the duration of the migration period, or both. If you don't have this, you don't know when to stop the migration. Set a cadence for how often you'll check the number of migrated users and compare it with your goal.
Make sure you can regularly query FusionAuth to know the number of migrated accounts. To do so, set a value on the `user.data` object, such as `user.data.migrated`, indicating successful migration. You'll also need to ensure you are using the Elasticsearch search engine, but [you can switch easily](/docs/lifecycle/manage-users/search/switch-search-engines).
#### Migration Timeline
Communicate a timeline for migration to interested parties.
<SlowMigrationTimeline />
#### Connect To The Original System
With a slow migration, FusionAuth connects to your previous datastore every time a user not currently in FusionAuth authenticates. This connection requires either an HTTP API request or an LDAP call.
If your current user datastore is an LDAP directory, such as ActiveDirectory or OpenLDAP, then you don't need to do anything special to enable the connection; FusionAuth knows how to communicate with LDAP servers.
If, on the other hand, your datastore is not LDAP, you'll need to build an HTTP API and use a Generic Connector. This API must take a login request in JSON format and authenticate the user against the old datastore, but can be written in any language that can output JSON.
<JSON title="Example of a Migrate on Authentication Login Request JSON Document" src="login/request.json" />
This API should return a FusionAuth login response, which includes the `User` object as well as a JWT:
<JSON title="Example of a Successful Login Response JSON" src="users/login-migrated-response.json" />
This is an example of all the JSON data you could return, but you can omit most fields. The only requirement is that either the `username` or the `email` field must be returned.
The password is not included. That password will have been hashed according to your FusionAuth tenant password settings.
The generated JWT will be delivered to the client to present to any resource servers (other API servers, etc). For maximum compatibility, it should have [FusionAuth claim values](/docs/apis/jwt).
The JSON response above has a `user.data.migrated` value of `true`. This indicates that this user has been migrated. As mentioned above, adding this custom attribute allows you to query migration progress. You can read more about the [Generic Connector requirements](/docs/lifecycle/migrate-users/connectors/generic-connector) in the documentation.
#### Configure Your Connector
Navigate to **Settings -> Connectors** and add a Connector. You can also configure Connectors by using the API; consult the [Connector API documentation](/docs/apis/connectors/) for more details.
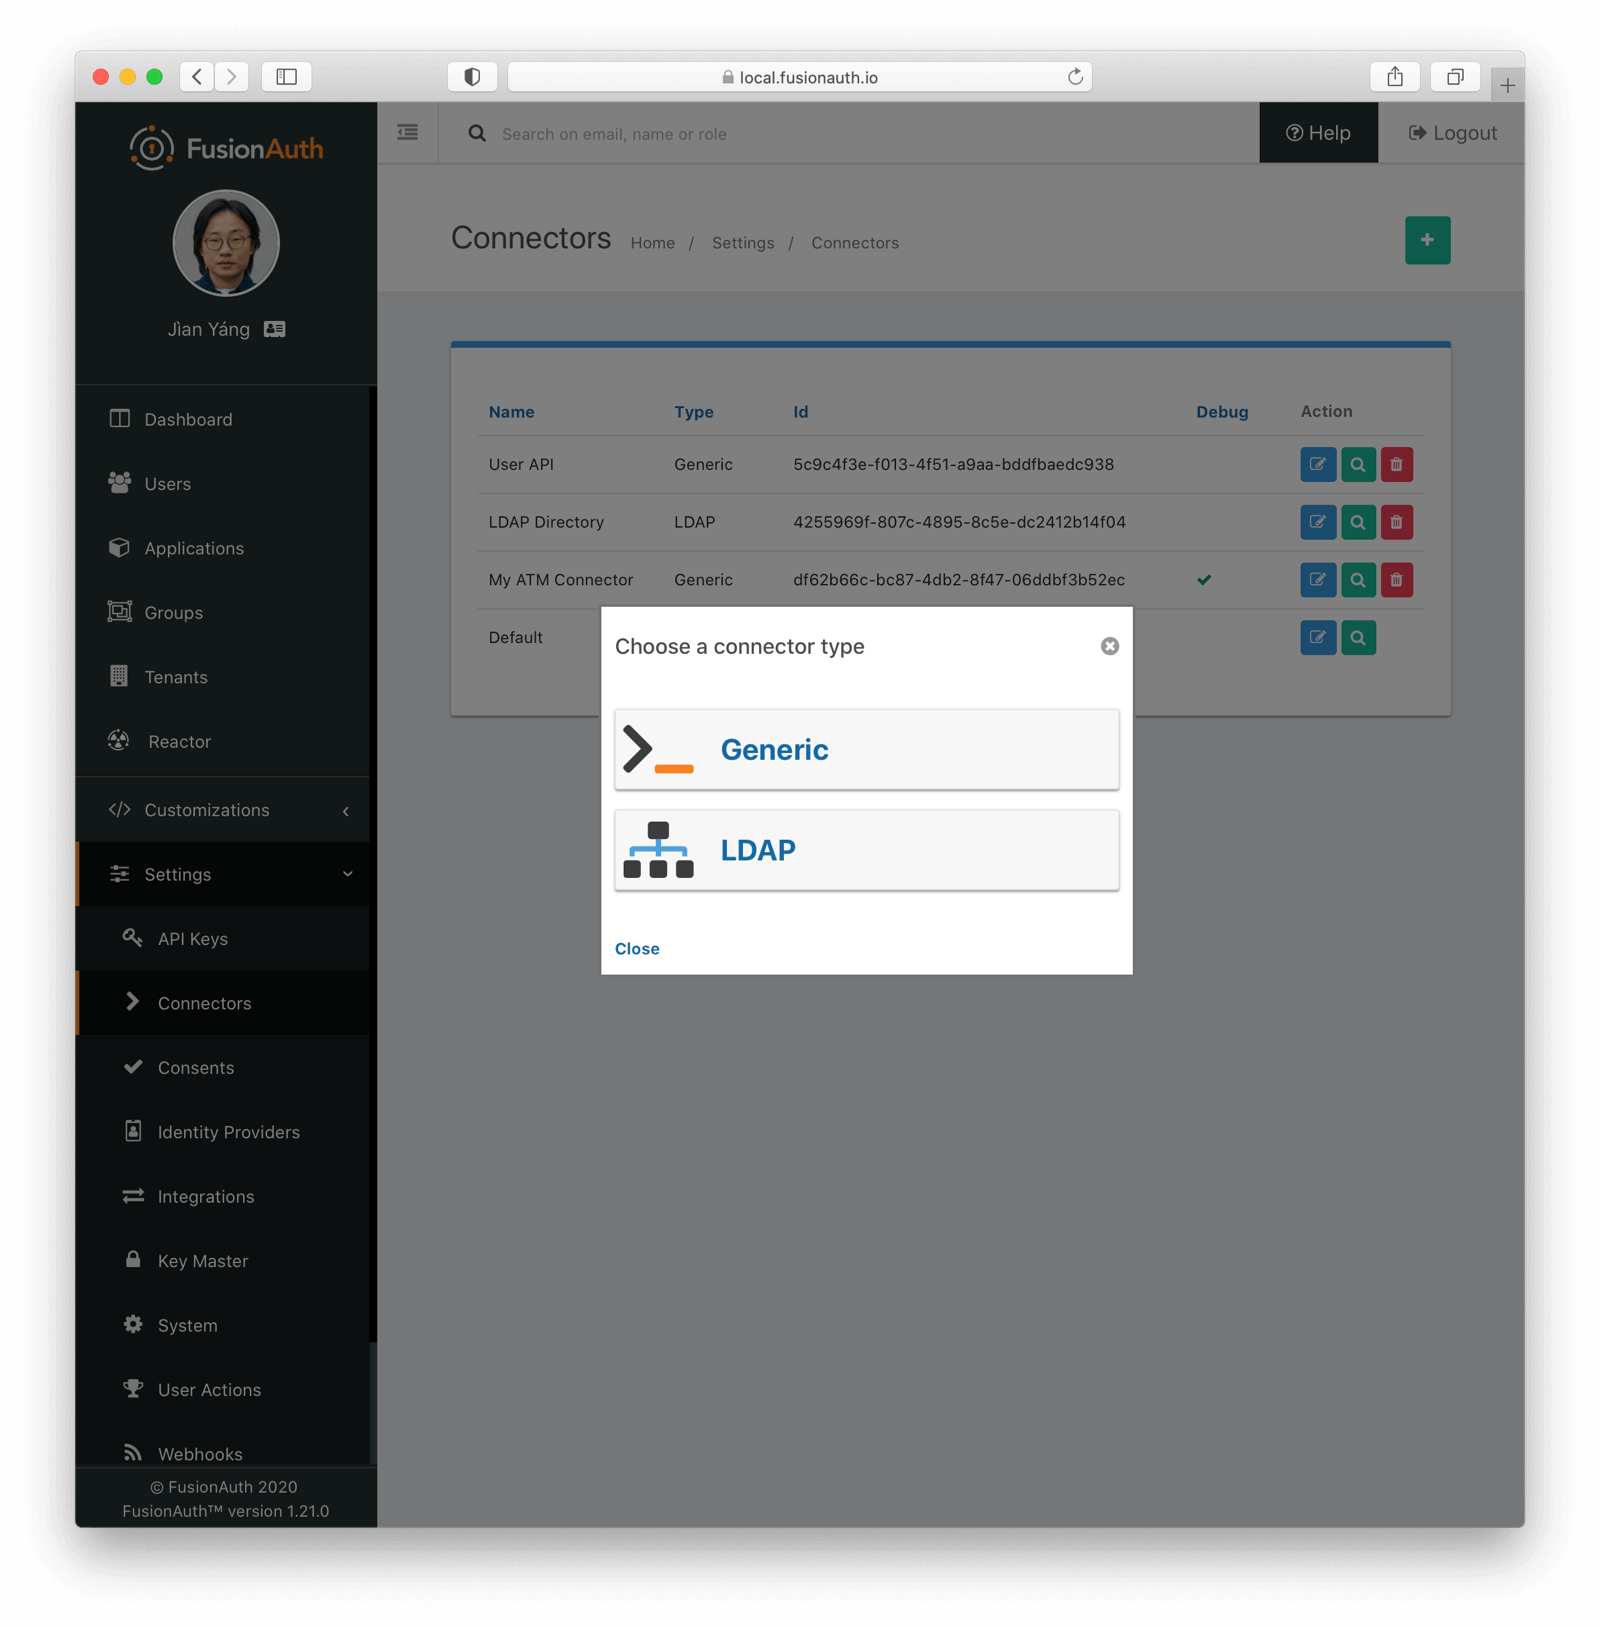
Configuration varies depending on whether the original datasource is an HTTP API or an LDAP directory.
##### LDAP
Configure the connection information, including the URL of the server, the method used to connect to it (LDAPS, STARTTLS), and a system account that can query across all accounts for the directory or section of the directory tree being migrated. You'll also need to specify the user attributes to be queried and returned.
Map each attribute from the LDAP directory into the FusionAuth user object. You do this with an [LDAP Connector Reconcile Lambda](/docs/extend/code/lambdas/ldap-connector-reconcile).
<LdapConnectorReconcile />
Make sure you uncomment the lines where `user.data.migrated` is set to `true`, as that will be needed to monitor the migration progress. More details about LDAP configuration are available in the [LDAP Connector documentation](/docs/lifecycle/migrate-users/connectors/ldap-connector).
##### Generic
With a Generic Connector, configure the URL endpoint and the security settings. Unlike with the LDAP connector, there is no lambda. The mapping of the original system's user data into the FusionAuth data model is performed instead in the HTTP API logic.
Make sure you use TLS and other security measures to connect to this endpoint, since you'll be sending sensitive user information to it. Full configuration details are available in the [Generic Connector documentation](/docs/lifecycle/migrate-users/connectors/generic-connector).
#### Capturing Migration Progress
As discussed above, you want to make sure you can identify that a user has been migrated, rather than created directly in FusionAuth. Having this data allows you to determine progress toward your migration goal. Ensure that every migrated user has a `user.data.migrated` attribute set to `true`. Whichever connection you use, make sure you set this attribute, as illustrated above.
#### Testing
To test this, log some users in. If you have test users in your original auth system, you can use the [Login API](/docs/apis/login) to automate the testing:
* Confirm a user does not exist in FusionAuth
* Log a user in
* Confirm the user now exists in FusionAuth with the expected values
#### Proxying Authentication
With FusionAuth, proxying authentication requests to the original datasource is easy. You've already set up the connection information when configuring the Connector. Now associate the Connector to the tenant. This is called a Connector policy. Navigate to **Tenants -> Your Tenant -> Connectors** and add a policy.
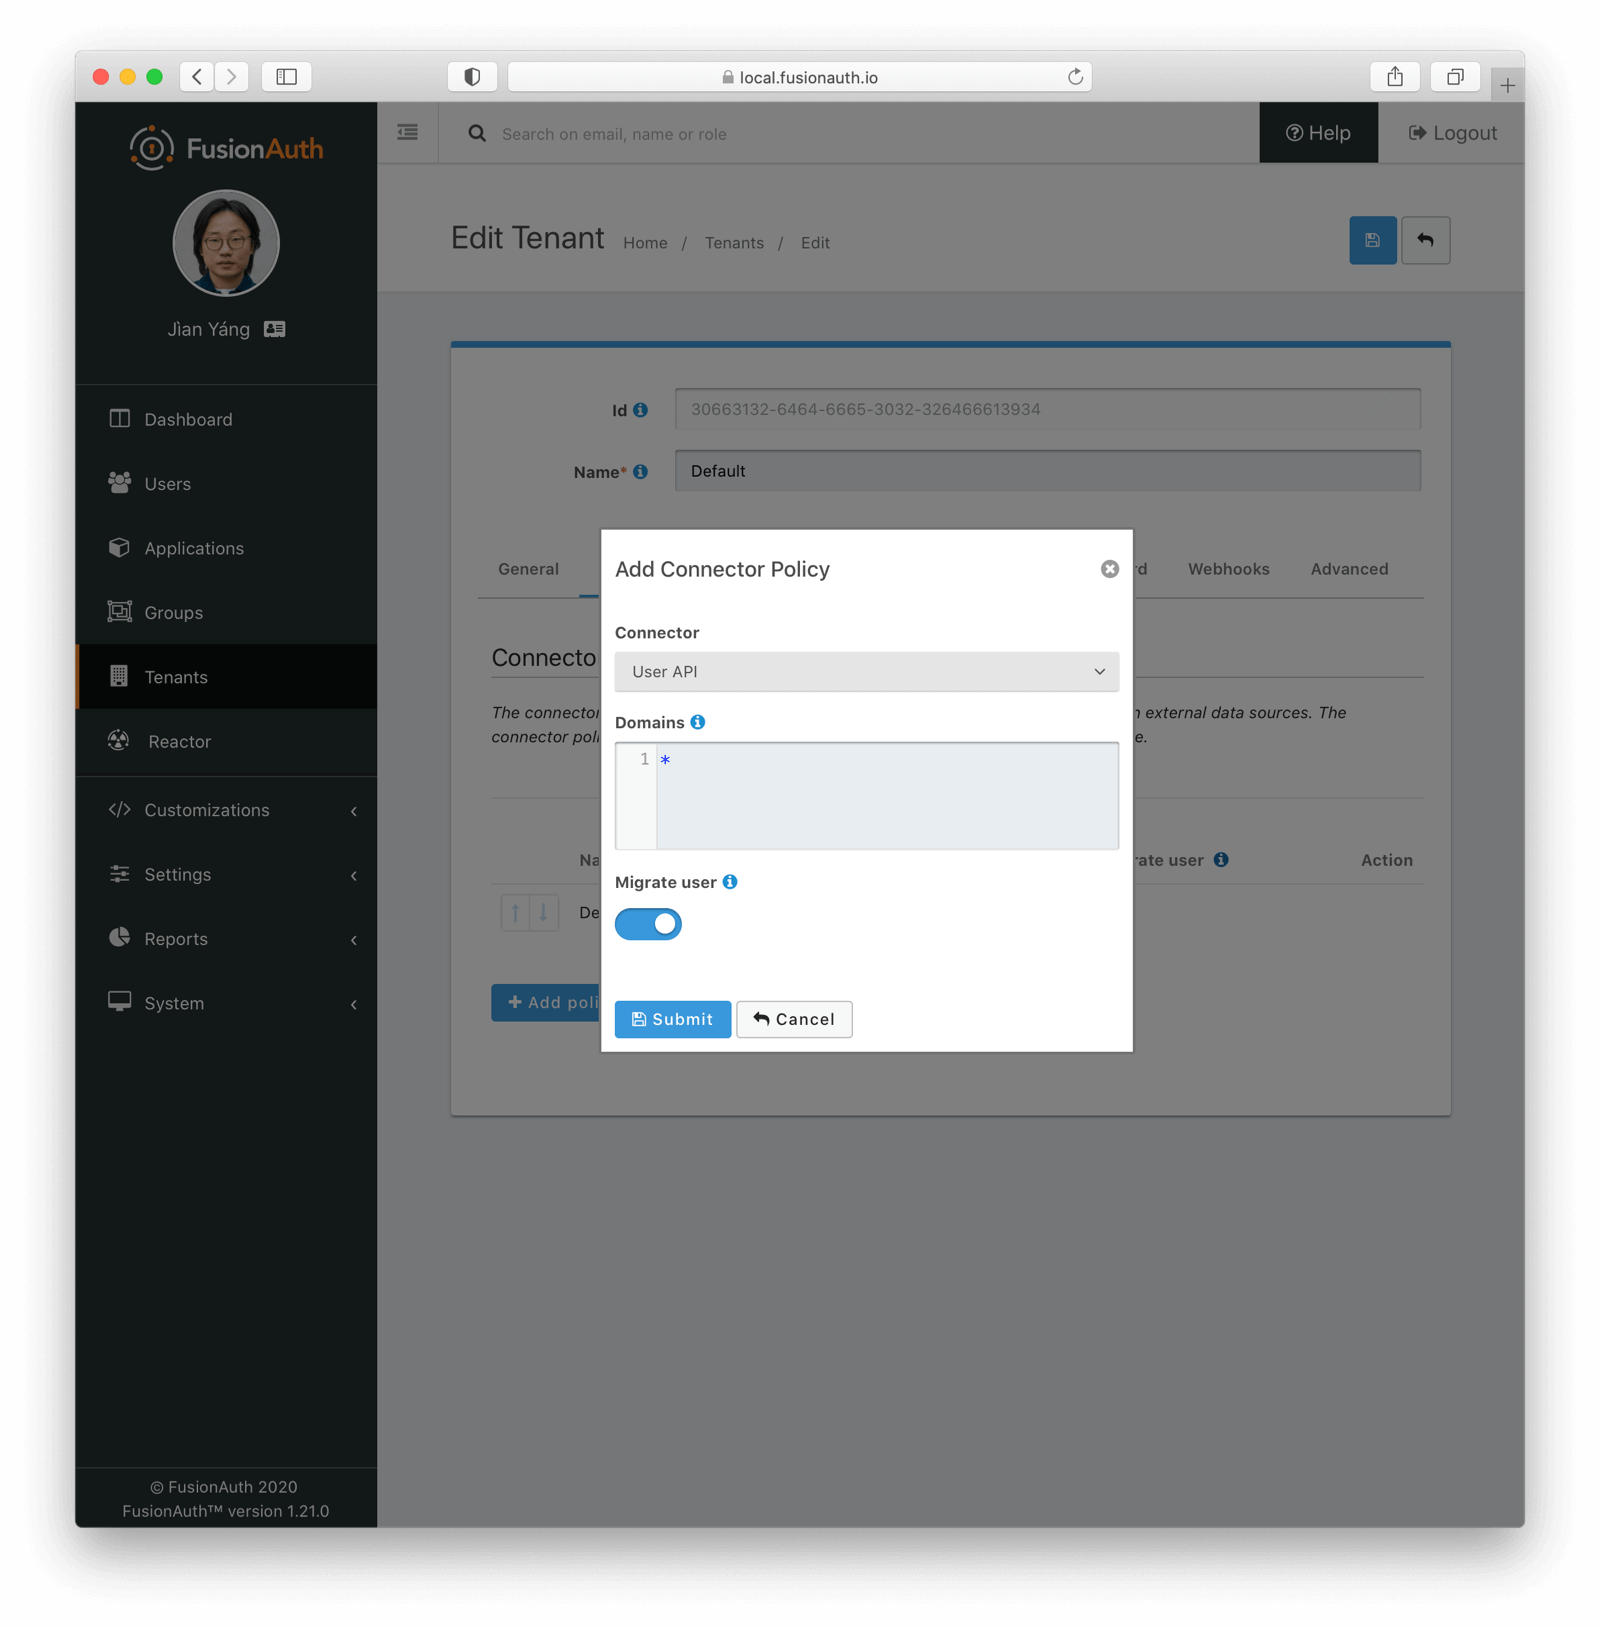
Make sure to check the <InlineField>Migrate user</InlineField> checkbox. Then, each user will be authenticated against the original user datastore the first time they are seen. Their data will then be migrated to FusionAuth. On subsequent logins, they'll authenticate with FusionAuth. You can learn more about configuring Connector policies in the [Connector documentation](/docs/lifecycle/migrate-users/connectors/).
#### Modify Your Application
Unlike with a bulk approach, there is no protracted downtime. You simply need to release the changes required for users to authenticate against FusionAuth after configuring and testing the Connectors. Make sure you record the number of accounts in the old system just before cutover.
Should you need to rollback, revert all changes made to your application which direct users to FusionAuth. If users updated their profile data in FusionAuth, you'll need to port those changes back to your original system. A script using the user API will be a good starting point.
After you release this modified version of your application, your users will begin their transparent migration into FusionAuth.
#### Monitor Progress
You can monitor your progress by comparing the number of users who have successfully migrated with the number of users in the original auth system. To query FusionAuth, run this shell script:
```shell title="Counting the number of migrated users"
API_KEY=...
FA_HOST=...
curl -H "Authorization: $API_KEY" $FA_HOST'/api/user/search?queryString=data.migrated%3Atrue%0A&accurateTotal=true'
# If you're using the default Docker FusionAuth Kickstart sample project, the command would be:
# curl -vH "Authorization: 33052c8a-c283-4e96-9d2a-eb1215c69f8f-not-for-prod" http://localhost:9011/api/user/search?queryString=data.migrated%3Atrue%0A&accurateTotal=true
```
Here's an example of the output:
```json title="Results of the FusionAuth migrated user query"
{"total":629,"users": [ ... ] }
```
However you retrieve the number of users migrated, regularly compare it to the number of accounts in the original system before the migration began. This ratio will determine whether it is time to end the slow migration.
#### Remove The Proxy
When it is time to stop the slow migration, remove the Connector policy. All future logins will take place against FusionAuth.
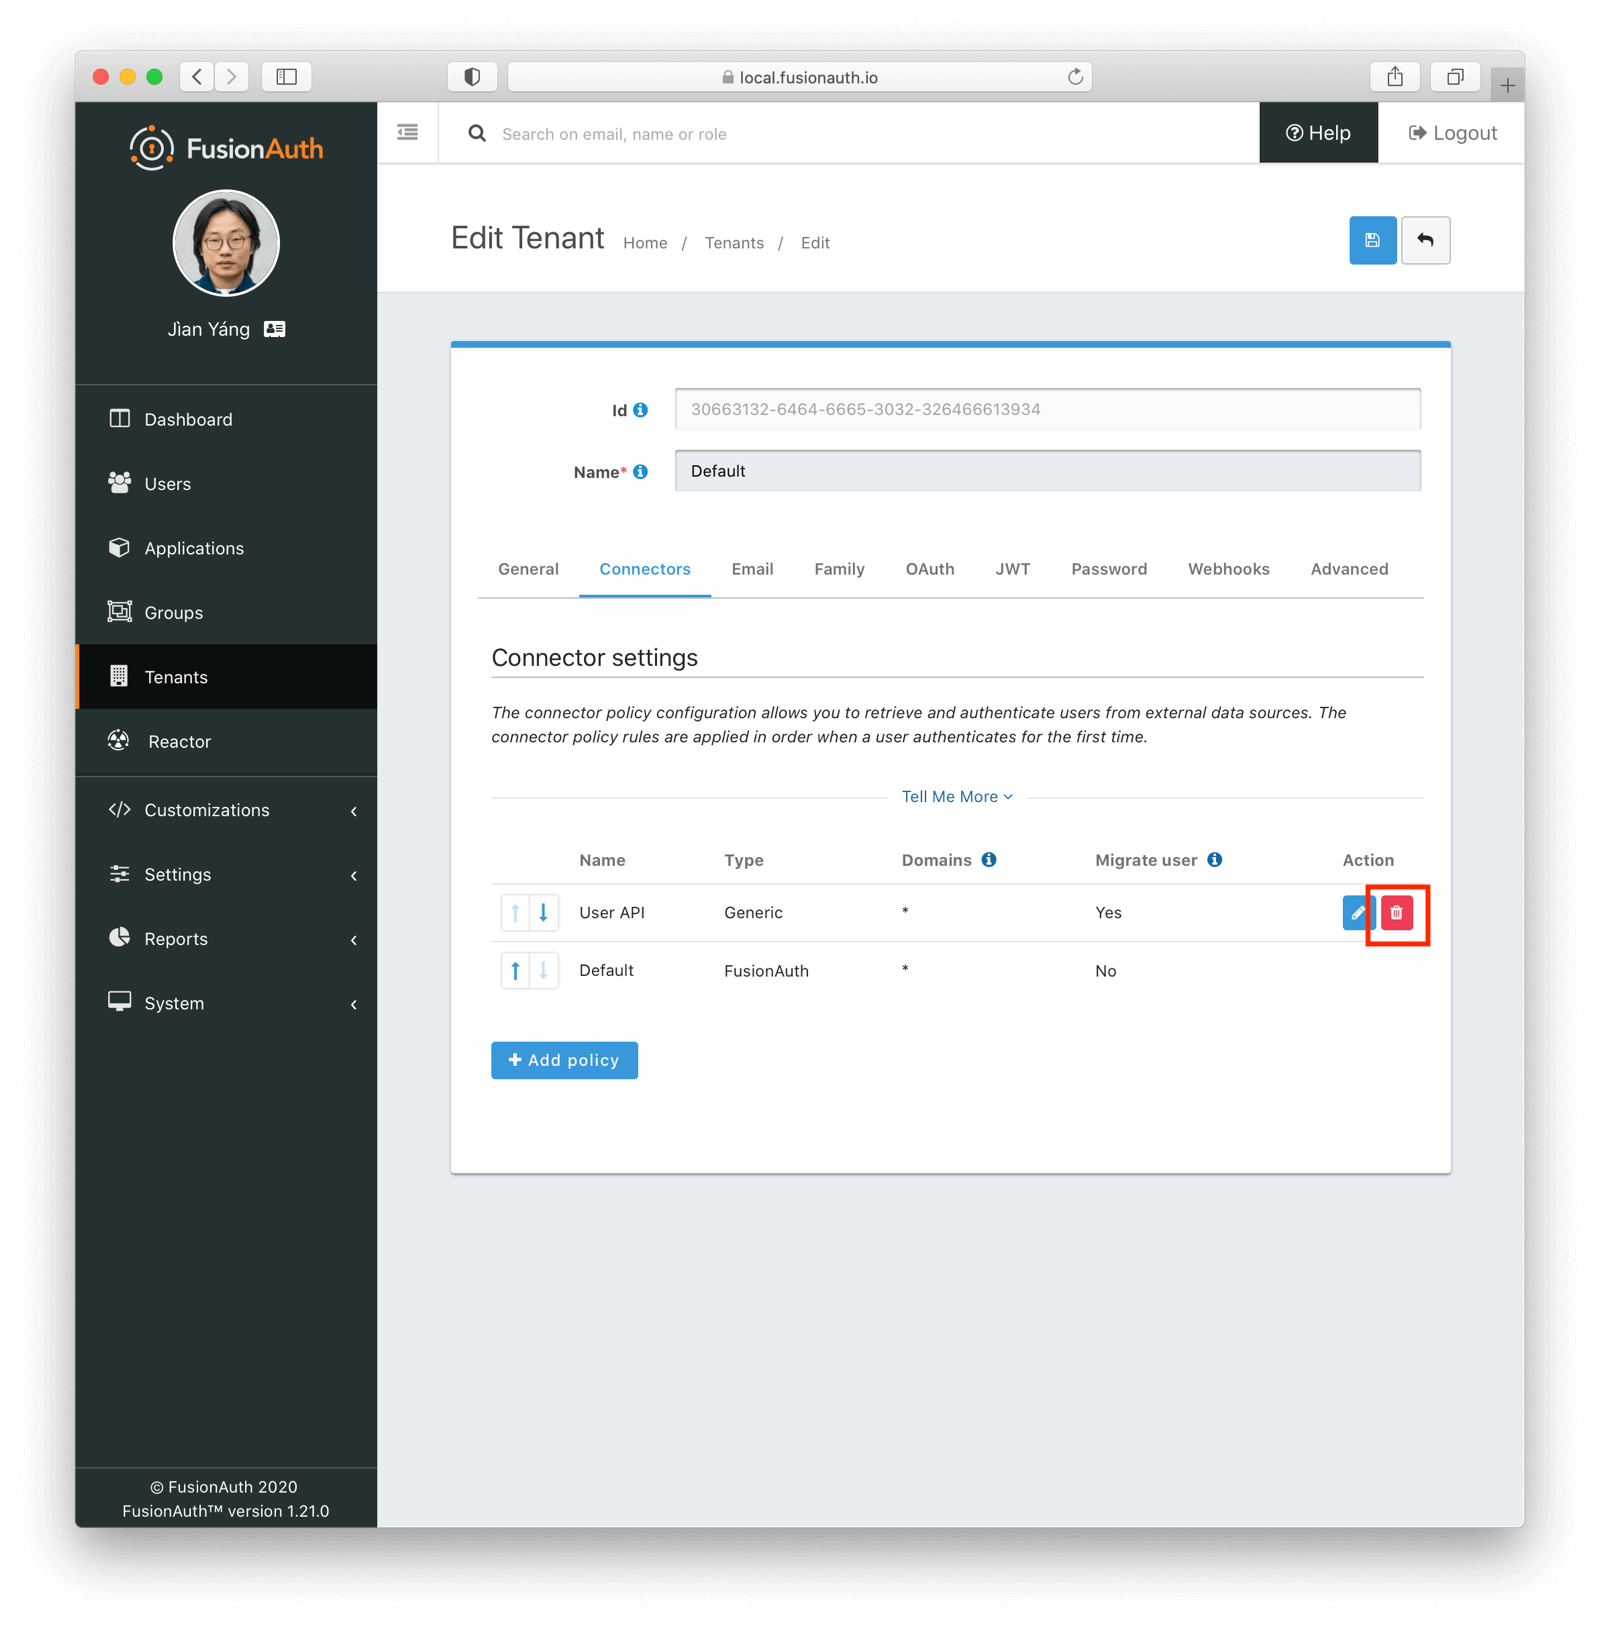
You may also optionally remove the Connector.
#### Handle Unmigrated Users
At this point, decide how to handle users who haven't been migrated. You may be able to find these users by subtracting the set of migrated users from the users in the original system. You may also be able to query the original system directly and note who has not signed in since the slow migration started.
You considered this situation while planning your migration, but now need to implement the decision. You could:
* Notify them and encourage them to log in. You can contact them with a message such as the following.
```
If you don’t log in by DATE, your account will be deleted.
```
* Archive or delete the accounts and their corresponding data. When one of these users comes to your site and tries to sign in, they won't have an account and will be forced to re-register, having lost their data.
* Move them to FusionAuth via a bulk migration of all unmigrated users.
* Extend the time running both systems; that is, set a new goal and continue the slow migration.
You can mix and match these approaches. For example, you could migrate all paying customers, even those who haven't signed in during the migration period. At the same time you could archive the data of free accounts; those potential customers may have been trialing your application and may even have forgotten they have an account.
#### The Forgot Password Use Case
What happens when a user forgets their password and attempts to reset it, but you are in the middle of a slow migration? There are two scenarios:
* The user has been migrated and has an account in FusionAuth
* The user has not been migrated and still only has an account in the legacy system
In either case, when a user submits a forgot password request, FusionAuth will display a message similar to the following.
```
We've sent you an email containing a link that will allow you to reset your password. Once you receive the email, follow the instructions to change your password.
```
An email will only be sent in the first case, where the user exists in FusionAuth. In the second case, the user will never receive an email.
Why, then, is this message displayed for both sets of users?
The answer is that FusionAuth *can't distinguish* between users that haven't been migrated and users that don't exist. In order to secure your user data and prevent enumeration attacks, FusionAuth doesn't reveal whether there is a valid account for a given username or email.
If FusionAuth were to display a `There is no account in the system` message for a user who had not been migrated, attackers could determine whether an account existed, by trying different values and noting the different error messages.
This unfortunately means that the "Forgot Password" experience isn't as smooth during migration as it is afterward.
The current recommendation is to update the error message to something like:
```
We've sent you an email containing a link that will allow you to reset your password. Once you receive the email follow the instructions to change your password. If you don't receive an email, please check your spam folder or contact customer service.
```
Make sure you provide a link to a form, phone number, or other means of contacting customer service. Customer service representatives can then check to see whether the user has been migrated or not.
A customer service representative can trigger a password reset email from the appropriate user data store. You can do that from within the FusionAuth administrative user interface.
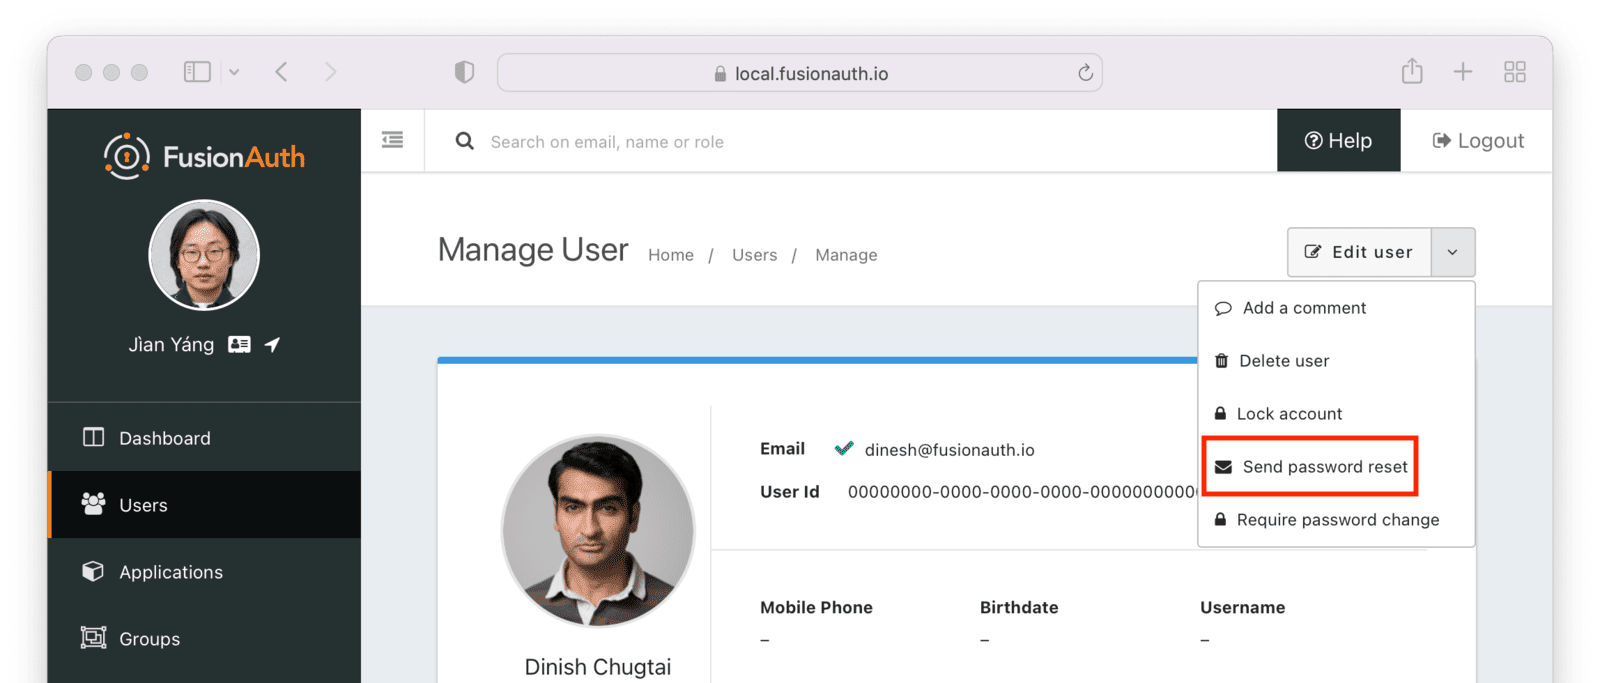
Alternatively, if the user has not been migrated, the customer service representative can look up the user and then reset their password in the legacy system.
The message displayed in the user interface when someone enters the "forgot password" flow can be modified by changing the `forgot-password-message-sent` property in the `messages.properties` file in [your theme](/docs/customize/look-and-feel/localization#messages).
There's an [open issue discussing how to improve this experience](https://github.com/FusionAuth/fusionauth-issues/issues/895). Please upvote or add any comments there.
##### Other Options
You have two other options in this case, both of which require integration work.
You can look for failed logins.
* Set up a webhook for [failed login](/docs/extend/events-and-webhooks/events/user-login-failed).
* Check to see if the email address exists in your legacy user data store.
* If the user exists, migrate the user data via the [User API](/docs/apis/users#create-a-user), setting <InlineField>sendSetPasswordEmail</InlineField> to `true`.
This will force the user to reset their password, which may be a surprise to them, but will let them continue to access their account without contacting customer service. If you pursue this option, make sure you consider the content of the Set Password email template.
You can fire off an event to an API of your own when a user visits the forgot password page.
* Write JavaScript code that runs on the forgot password page. Install it via a custom theme. The JavaScript can fire an event with the user's email to an API endpoint written by you. Fire this event whenever a user submits a 'forgot password' form.
* Have the API endpoint look up the user in the legacy system. If the user exists in the legacy system, query to see whether they exist in FusionAuth.
* If they do not exist in FusionAuth but do in the legacy system, migrate the profile data.
* After they are migrated, trigger the [reset password email via FusionAuth API](/docs/apis/users#start-forgot-password-workflow).
#### The Registration Use Case
What happens when a user attempts to register for an application and you are in the middle of a slow migration? There are two scenarios:
* The user has been migrated and has an account in FusionAuth
* The user has not been migrated and still only has an account in the legacy system
In the first case, the normal FusionAuth behavior occurs: an error message will be displayed, prompting the user to log in.
In the second case, FusionAuth doesn't know about the user. You could let the new user register, which will create an entirely new account. If they have existing data, you could try to migrate it with a custom process.
A more straightforward approach would be to fail the registration. You can do this with webhooks. In this case, you'd use the [`user.create`](/docs/extend/events-and-webhooks/events/user-create) webhook, which fires every time a user is created.
If you set a transaction level of 'at least one webhook must succeed' and the webhook doesn't return a 200, then user creation will fail.
You can write code to receive the webhook and then check your database. If the user exists, they have not migrated yet. Return a non 2xx status code, and then update the error message to state that they must log in. If the user does not exist in your legacy database, you can return a 200 status code and the user creation and registration will complete.
The message displayed in the user interface when a webhook fails can be modified by changing the `[WebhookTransactionException]` property in the `messages.properties` file in [your theme](/docs/customize/look-and-feel/localization#messages).
#### Slow Migration Alternatives
In some cases, you may be able to implement a slow migration without a Connector. If the profile data in your original system of record doesn't change, or you can safely lose any changes, you can do a forked slow migration.
In this scenario, you place a custom proxy in front of both systems. This proxy receives the login credentials and then checks them with FusionAuth using the [Login API](/docs/apis/login). If the user does not exist on the FusionAuth system, the legacy system is called using a similar API, and the user data is then added to FusionAuth. A token is provided by the User API and can be returned to a client.
All communication should be over TLS to ensure the safety of user passwords. If possible, use an internal network to keep the passwords from traveling over the internet.
Once this proxy is up and running, you can choose when to do a bulk migration. Perform the migration, then modify the proxy to only consult FusionAuth, or remove the proxy entirely.
This approach has some downsides:
* It introduces additional complexity and means you are tied to the FusionAuth Login API. You can't take advantage of the hosted login pages and provided workflows.
* The legacy system must accept a username and password set of credentials over HTTP.
* Multi-factor authentication and social account links are not migrated.
* When compared to Connectors, profile data may become more fragmented.
But if you are trying to migrate an expected mass of new users and want to use FusionAuth for the new users while running the legacy system for older users, this approach may work.
## How To Import Users From Another FusionAuth Database?
There is no simple way to import users from one instance of FusionAuth to another. You need to treat this case as you would any other external data source. Follow the [generic migration tutorial](/docs/lifecycle/migrate-users/genericmigration) and modify the user [export and import scripts](https://github.com/FusionAuth/fusionauth-import-scripts/tree/main/generic/src) in the example repository.
## How To Delete Users After Testing A Migration?
To reset the FusionAuth database to its original state after testing importing users, you have three options:
* Drop the database and create a new database with [Kickstart](/docs/get-started/download-and-install/development/kickstart) or [Terraform](/docs/operate/deploy/terraform) to create default applications, accounts, and other items.
* Import the users into a temporary tenant different from your default application tenant. Deleting the tenant will remove all users associated with that tenant. This option maintains all the other non-tenant settings (identity providers, email templates, and themes).
- Use the [bulk delete API](/docs/apis/users#bulk-delete-users) to remove users. You can start deleting blocks of 5-10k users and increase the number deleted with each API call. This is slower than the other options but has the benefit of leaving the rest of the system untouched.
## Special Considerations
Beyond migrating users, there may be other important data to import from a previous user identity datastore, or aspects to consider.
### Migrating Refresh Tokens
If you have a token-based authentication system, you may follow the common practice of using short-lived access tokens to protect resources and long-lived refresh tokens to avoid needlessly reauthenticating users. If updating this system to use FusionAuth as a token source, you can avoid invalidating all the existing refresh tokens.
You can import users' refresh tokens from the existing system into FusionAuth. Importing refresh tokens ensures that your users can enjoy an uninterrupted application experience. The next time their access token expires, each client can present a valid refresh token to FusionAuth, which will in turn issue a new signed access token.
This option is only applicable for bulk migrations, since a slow migration can re-issue a refresh token for each user at login time.
Consult the [Refresh Token Import API documentation](/docs/apis/users#import-refresh-tokens) for more information on how to import these tokens.
Users should be able to use their JSON Web Tokens (JWTs) from the previous system, especially if the JWTs are used only in APIs. You need to ensure the JWT producers and consumers have the correct signing secrets. Share the secrets between the old system and FusionAuth by using the [Keymaster](/docs/apis/keys) to import existing keys or allowing clients to look up the keys from both the old and new systems on a [JSON Web Key Set (JWKS) endpoint](/docs/lifecycle/authenticate-users/oauth/endpoints#json-web-key-set-jwks).
### Migrating SAML Configuration
If you have SAML identity providers (IdPs) to which your existing user account system delegates, you must update all external IdP configurations that depend on an existing authentication system. This is common when you have multiple organizations represented in your application and each organization has one or more SAML identity providers which are the system of record for the organization's users in your application.
When migrating, there is an existing SAML Service Provider (SP). This could be a custom application or another vendor. After migration, you will use FusionAuth as your new SP.
There are two options to update this type of SAML configuration external to FusionAuth.
#### Updating Upstream Configuration
The first option is to contact every upstream SAML IdP and have the administrators update their configuration to point to FusionAuth instead of the existing SAML SP. You can pre-load the required certificates in FusionAuth using the [Key Master UI](/docs/operate/secure-and-monitor/key-master) or APIs. You can also configure [FusionAuth SAMLv2 Identity Providers](/docs/lifecycle/authenticate-users/identity-providers/) with the same values (audience, etc) as the existing SAML SP.
This is the recommended option. If you choose this option, make sure to incorporate communication and testing time into your migration plan.
#### Relaxing FusionAuth Security Settings
In the previous option, each upstream IdP needs to update its Assertion Consumer Service (ACS) URL to a valid FusionAuth value. Since the ACS URL typically is different and the administrators of the IdP may not make such changes a priority, this updating process may take a while.
This will impact a FusionAuth migration, because you may have to wait to configure your applications to use FusionAuth until the upstream IdP sends the SAML response to the correct ACS URL.
An alternative is to relax certain security settings in FusionAuth. This will allow FusionAuth to ingest SAML assertions designated for the existing SAML SP, which means you can migrate to FusionAuth more quickly.
<Aside type="version">
This option relies on FusionAuth functionality available since version 1.43.0.
</Aside>
In this scenario, you also pre-load the required certificates and notify upstream IdP administrators they'll need to update their ACS URLs eventually. You'll also configure a [FusionAuth SAMLv2 Identity Provider](/docs/lifecycle/authenticate-users/identity-providers/) with the same values as your existing SAML SP.
But you also need to:
* Configure your applications to point to the FusionAuth-hosted login pages. You may want to use an `idp_hint` to skip the hosted login pages and send users directly to the IdP.
* Modify the FusionAuth destination assertion policy. You can do this via the API or the administrative user interface. In the administrative user interface, navigate to **Identity Providers -> Your SAMLv2 Identity Provider**. Then navigate to the **Options** tab, and find the <InlineField>Destination assertion policy</InlineField> field.
* Set up an HTTP redirect from your existing ACS URL to the FusionAuth ACS URL. You can do this using a proxy such as nginx.
* You may disable or shut down the existing SAML SP at this time, since all traffic should be moving through FusionAuth.
Set the <InlineField>Destination assertion policy</InlineField> field to <InlineUIElement>Allow alternates</InlineUIElement>. This choice verifies the SAML `Destination` attribute is either the expected FusionAuth ACS URL, or one multiple known alternate values. Add as many alternates as you need. Each is typically an ACS URL of the SAML SP that FusionAuth is replacing.
<Aside type="caution">
When you are changing the <InlineField>Destination assertion policy</InlineField> setting, be aware of the security risks and minimize the number of destinations that FusionAuth accepts.
While modifying this setting may be necessary for migration, you should work with the upstream IdPs to modify their configuration to point directly to the FusionAuth ACS URL as soon as possible. This is the safest and most secure configuration.
</Aside>
At a later time, request each SAML IdP update their configuration to point to the FusionAuth ACS URL. After all upstream providers have been migrated to the latest configuration, set the <InlineField>Destination assertion policy</InlineField> field to <InlineUIElement>Enabled</InlineUIElement>, the most secure setting.
### Migrating Large Numbers Of Users
Migrating tens or hundreds of millions of users is more complex than migrating 1000 users, if for no other reason than it takes more time.
This is general guidance, but feel free to [contact us](/contact) if you'd like more specific guidance about planning for such a migration.
It is useful to break the load into different phases, where you load against different instances based on goals. The ability to run FusionAuth locally lets you:
* Confirm that the encryption scheme/salt/factor configuration works. Make sure you can load a test user and log in with their known password.
* Set `validateDBConstraints` to true to make sure that the data loads properly. Enabling this value lets the import API offer useful error messages if there are constraints violated, such as duplicate usernames for users in the same tenant.
* Make sure the JSON structure is correct and that you are loading the user with the correct profile data, group memberships, and account registrations.
* Drop the database when you are done with a test load. This is quicker than deleting a tenant.
Take advantage of the iteration speed you get by running locally.
After you have made sure that your user data is clean, then test against your production system. Here, it makes sense to start with a subset of your users to get an estimate of timing. It's important to test against production or a production replica, as testing against an environment that doesn't have equivalent CPU, memory, or network bandwidth won't provide helpful results.
Testing loading 100k or 1M users will help you estimate the time needed for all your users. Load these test users in a separate tenant so you can easily test and drop users in batches.
<Aside type="note">
Deleting the test tenant will take at least as long as loading it, so plan for that in your timeline. Please [see this GitHub issue for more details](https://github.com/FusionAuth/fusionauth-issues/issues/2151).
</Aside>
After this, you'll know how long it will take to load all of your users. You can then break up your user population into groups, loading 1M, 5M, or 10M at a time.
#### Performance Tips
<PerformanceTips />
#### Importing To FusionAuth Cloud
For FusionAuth Cloud, the following additional recommendations apply:
* You can't run the import API code in the same network due to security concerns. You can stand up an EC2 instance in the same AWS region to minimize network latency.
* Provide a static IP address to the FusionAuth team so they can allow-list your instance. This prevents your requests from being rate-limited.
* If you receive 429 error messages, you are being rate-limited. Double-check you are using an IP address on the allow list.
* If you receive 504 error messages, you are exhausting the resources of your deployment. Increase the size of your deployment or add in pauses.
#### What If I Have A Moving Target
What should you do if you have calculated it will take you two days to load all your users, but you'll have significant numbers of new users or users who have modified their profiles during that time frame?
Use timestamps to break the load up into phases based on the last modified timestamp for each user. Here are the steps to take:
* Run through all the local steps above with the bulk of your users.
* Record the timestamp, call it BULK_TIMESTAMP.
* Pull all the users who have a last modified time before `BULK_TIMESTAMP` and load them.
* Pull all users who have a created time after `BULK_TIMESTAMP` and load them.
* Pull all users who have a created time before `BULK_TIMESTAMP` but an updated time after `BULK_TIMESTAMP` and process them, updating their profile data if changed. If their password has changed, you'll need to either initiate a password reset for these users or let them initiate the password process themselves.
Depending on how long it takes you to run a bulk load, you may need to repeat this cycle a few times.
If you don't have timestamps, things get more complicated, but you may be able to split users deterministically into groups, track users in a separate datastore, or add a `processed_timestamp` column to your existing user datastore to achieve the same goal.
## Provider-Specific Migration Guides
If you are moving to FusionAuth from another provider, there may be specific tasks to perform or concepts to understand. FusionAuth has complete tutorials for importing from many providers, listed in the [Provider-Specific](/docs/lifecycle/migrate-users/provider-specific) section below.
If you have a single user's table and want to walk through how its migration would work, review the [generic migration tutorial](/docs/lifecycle/migrate-users/genericmigration).
If you are working with an identity provider for which there is no guide, please [open an issue in our GitHub repository](https://github.com/FusionAuth/fusionauth-issues/issues) with the details.
## Additional Resources
If you have issues importing users, review the [relevant troubleshooting section](/docs/operate/troubleshooting/troubleshooting#troubleshooting-user-import).
FusionAuth maintains a [repository of open-source import scripts](https://github.com/FusionAuth/fusionauth-import-scripts) to help you migrate from third-party identity providers.
If you need further assistance migrating to FusionAuth, please ask a question in the <a href="/community/forum/" target="_blank">FusionAuth forum</a>.
If you have a paid plan, you may open a <a href="https://account.fusionauth.io" target="_blank">support request</a> from your account for more migration assistance.
* [Plugins](/docs/extend/code/password-hashes/) - Use custom password hashing support to migrate without requiring your users to change their passwords.
* [APIs](/docs/apis/) - Migrate data and configuration using the APIs.
* [Client libraries](/docs/sdks/) - Use the language of your choice to make FusionAuth API calls.
* [Connectors](/docs/lifecycle/migrate-users/connectors/) - Implement a slow migration using this feature.
* [Import scripts](https://github.com/FusionAuth/fusionauth-import-scripts) - Use open-source scripts to import from CSV, Auth0, and more.
* [FusionAuth Plans](/pricing) - Review your plan options. Some plans include FusionAuth team support for data migration.
# Offboard: Leaving FusionAuth
import Aside from 'src/components/Aside.astro';
import IconButton from 'src/components/IconButton.astro';
import Breadcrumb from 'src/components/Breadcrumb.astro';
import InlineField from 'src/components/InlineField.astro';
import InlineUIElement from 'src/components/InlineUIElement.astro';
## Introduction
This guide explains how to export user data from FusionAuth to prepare it for migration to another system. This information may be useful for you to:
- Export user data to a data warehouse for analysis.
- Assess how easy migrating from FusionAuth would be before signing up.
- Switch from FusionAuth to another authentication service.
You can follow this guide to try some examples of exporting data. You will start a new FusionAuth instance with a sample user and run SQL queries. If you already use FusionAuth, you can export your data from your existing instance.
To learn about authentication migration in general, please see the [generic migration guide](/docs/lifecycle/migrate-users) and the [migration overview](/docs/lifecycle/migrate-users). The principles in these guides that explain how to migrate **to** FusionAuth can also be used to migrate **from** FusionAuth to another service. It is important to understand the different migration strategies, especially online and offline migrations (static versus dynamic migrations).
FusionAuth might also have a specific guide on migrating from the service you want to migrate to, listed [here](/docs/lifecycle/migrate-users/provider-specific/). If so, check the steps in the guide to see if there are any important differences between the two services that you need to plan for.
<Aside type='note'>
For integrating FusionAuth data with complementary services, such as using a monitoring service like [Prometheus](/docs/operate/monitor/prometheus) or [Elastic](/docs/operate/monitor/elastic), please see those guides.
You should use different techniques, like webhooks and APIs, for sending data to such services, instead of the bulk database export discussed in this guide.
</Aside>
<Aside type='note'>
The offboarding documentation and processes described here are tied to a specific version of FusionAuth's database schema. If you need to query the database directly, you must [download the database schema](/direct-download/) zip for your specific FusionAuth version. The schema structure may differ between versions, so you'll need to adapt these examples to match your version's database structure.
</Aside>
## Start A Sample Instance Of FusionAuth
To run a new self-hosted FusionAuth instance with Docker:
- Install [Docker](https://docs.docker.com/get-docker/) if you don't have it on your machine.
- Clone the [FusionAuth example Docker Compose repository](https://github.com/FusionAuth/fusionauth-example-docker-compose) to your computer.
- In your terminal, navigate to the `light` directory in the repository.
- Run `docker compose up` to start FusionAuth.
- Browse to http://localhost:9011 to check that FusionAuth is running. You can log in with `admin@example.com` and `password`.
- Note the database connection details in the `docker-compose.yml` file and the hidden `.env` file.
## Browse The Database
While the FusionAuth Java code is closed-source, your database data is always freely available to you, unadulterated. You should not edit the data manually and risk breaking your system, but reading the data is fine. You can browse your database using a free, cross-platform database IDE like [DBeaver](https://dbeaver.io/download) or [Azure Data Studio](https://learn.microsoft.com/en-us/azure-data-studio/download-azure-data-studio?tabs=win-install%2Cwin-user-install%2Credhat-install%2Cwindows-uninstall%2Credhat-uninstall#download-azure-data-studio)(ADS). If you use ADS, install the PostgreSQL extension in the sidebar before creating a database connection.
If you use [FusionAuth Cloud](/docs/get-started/run-in-the-cloud/cloud#accessing-user-data) (the paid, cloud-hosted version of FusionAuth), please contact support to request a backup file of your database. Import the backup file you receive from FusionAuth into a PostgreSQL instance on your computer to explore the data and schema.
The screenshot below shows DBeaver connected to the FusionAuth PostgreSQL database from the example repository using a connection string with port `5432`, database `fusionauth`, username `fusionauth`, and password `hkaLBM3RVnyYeYeqE3WI1w2e4Avpy0Wd5O3s3`. To connect to FusionAuth on a remote server, change the <InlineField>Host</InlineField> from `localhost` to your server name. The image shows the main user data table, `identities`.
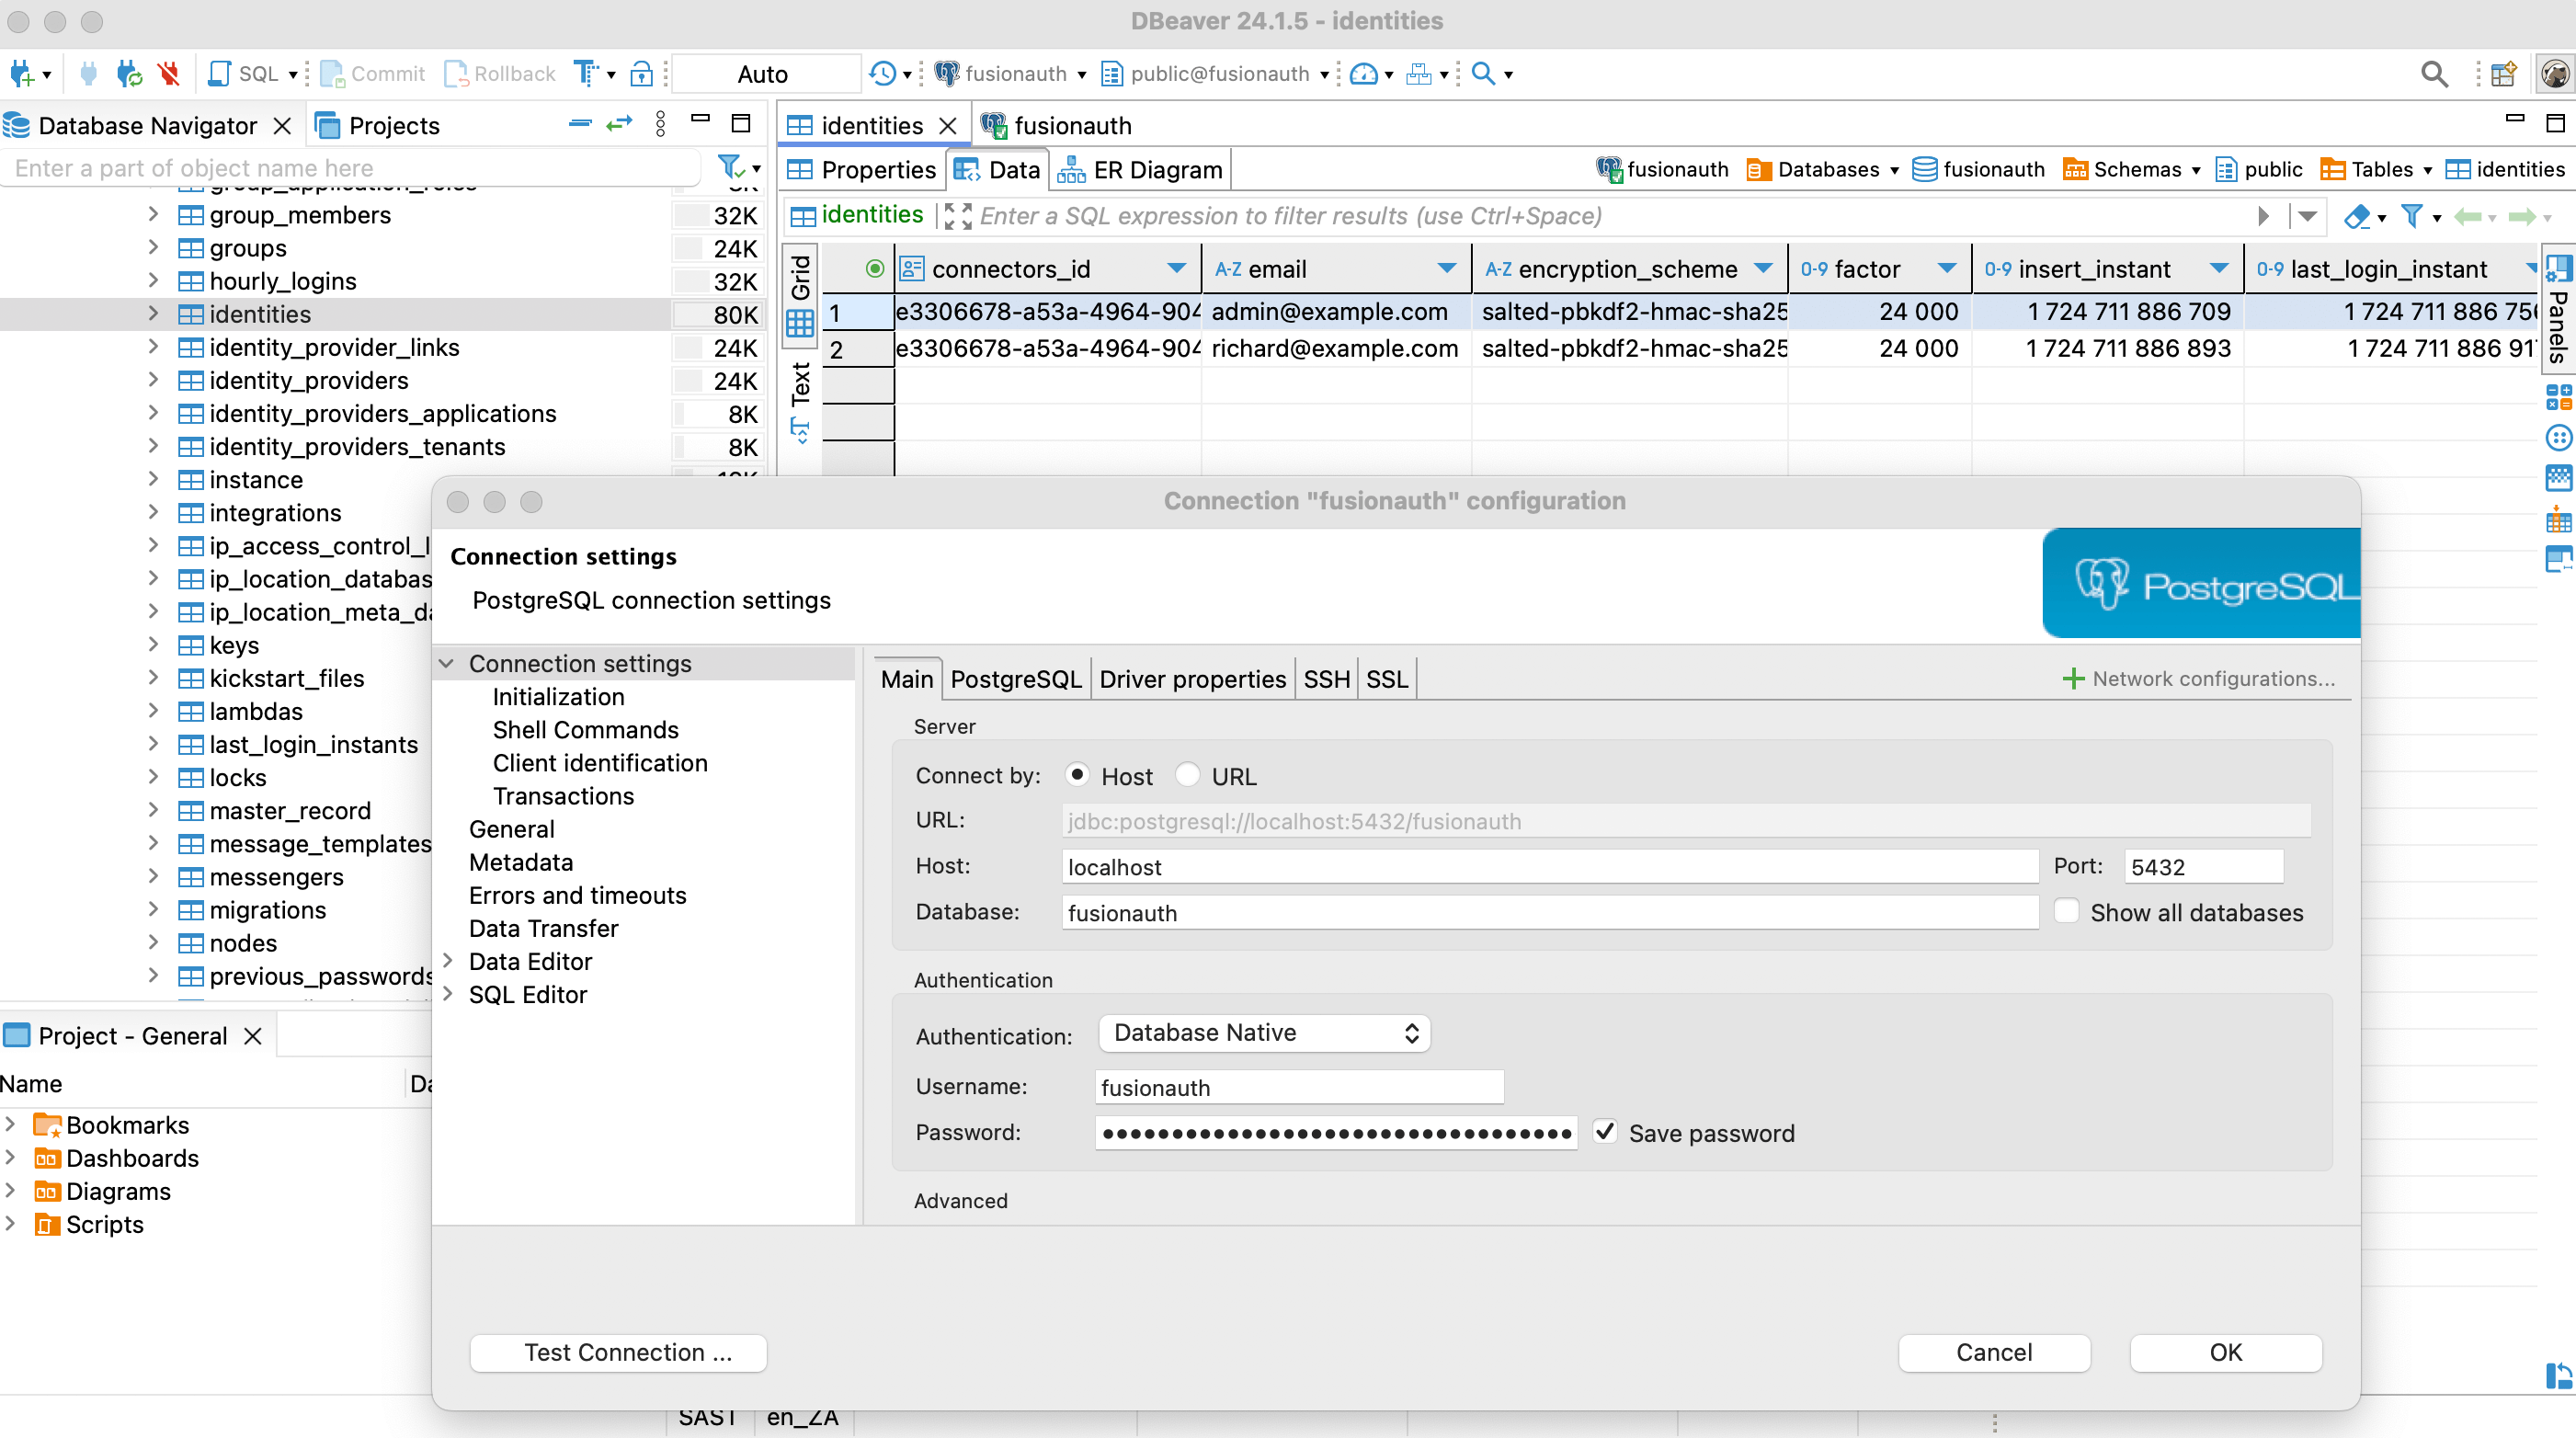
## Bulk And Slow Migrations
Now that you know how to access your data, you can write a database export script to extract the values you want and import them into your new authentication system. However, you need to consider new users and users that update their details after you have exported your database but before the users have joined your new system.
You have three strategy options:
- Bulk migration: Take the application offline. Migrate all user data to the new system at once using a database script. Switch the application from pointing to FusionAuth for authentication to the new authentication system. Bring the application online again. This process could take a few minutes to a few hours.
- Slow migration: Use webhooks and the FusionAuth API to migrate users gradually from FusionAuth to the new system. As each user logs in, a webhook event fires, triggering a script you write to migrate the user's data and mark them as using the new system for future logins instead of FusionAuth.
- Hybrid migration: Alternatively you can combine both approaches by doing a bulk migration without taking the application offline, and using webhooks to keep both systems in sync until the migration is complete. This allows you to migrate most users quickly while maintaining system availability.
A bulk migration is simpler but requires system downtime. You'll need a slow or hybrid migration if your database is large or your application must stay online. With any approach, warn users about potential service disruptions.
Whichever option you choose, you will need to test the process thoroughly before running it against the live application.
## What To Export?
FusionAuth does not have any dedicated documentation that explains the database schema. The schema is discussed briefly in this guide and most tables' purposes should be clear from their column names. If you need help understanding something in particular, please ask the FusionAuth programmers on the [Slack channel](/community).
Some data types, like users, applications, and roles, are used in most authentication services. But some data is so specific to FusionAuth that there is no point in trying to migrate it with a script. This includes settings for webhooks, connectors, lambdas, and user actions. There is also no point in exporting logs like daily login counts and FusionAuth instance settings like themes, because your new authentication service won't use them. You will need to manually reproduce actions and styles like these in whichever format the new service specifies.
To understand the user-related data tables in the database, please read the [FusionAuth core concepts](/docs/get-started/core-concepts) guide before continuing. Below is a visual summary of the organization.
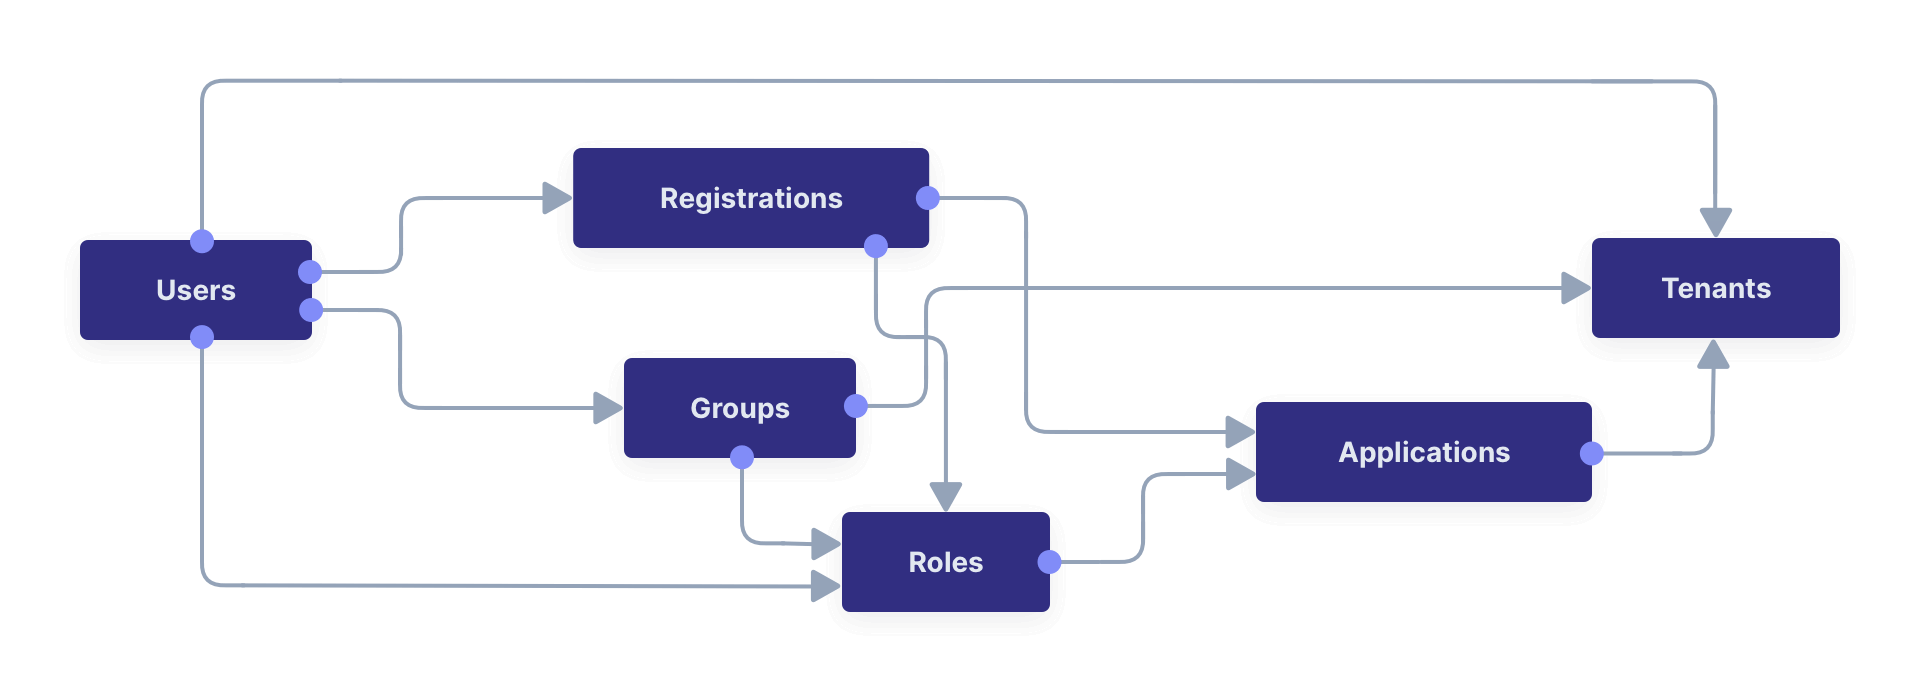
In addition to the objects above, you may want to migrate identity providers like Google OAuth, user consents, and email templates.
Below is the full database diagram for the tables you need to export. Though it has more fields than the diagram above, it is the same design. (You can [open](/img/docs/lifecycle/migrate-users/offboard/databaseDiagram.svg) the SVG in a new tab to zoom in.)

<Aside type="note">
To browse the database diagram in DBeaver, you can download the ERD file [here](/img/docs/lifecycle/migrate-users/offboard/databaseDiagram.erd).
</Aside>
Here is the full list of FusionAuth database tables you should look at for export: `application_roles`, `applications`, `consents`, `email_templates`, `group_application_roles`, `group_members`, `groups`, `identities`, `identity_provider_links`, `identity_providers`, `identity_providers_applications`
`identity_providers_tenants`, `tenants`, `user_comments`, `user_consents`, `user_consents_email_plus`, `user_registrations`, `user_registrations_application_roles`, `users`.
## How To Migrate
There are dozens of alternative authentication services to FusionAuth. This guide provides general advice for migrating to any of them. Ultimately, migration is the process of copying data about users from a database in the FusionAuth format to the new system's database in its format, mapping tables and columns appropriately. Each service allows you to import users (and sometimes other data) in different ways:
- **Direct database import through SQL statements** — These services tend to be free or open-source. Examples include Keycloak, the Janssen project from Gluu, Authentic, and Authelia. While free services don't have the funding to pay developers to write user-migration plugins, they allow you complete access to edit your database and insert any data you need. In these cases, you would write a SQL script against the FusionAuth database that generates a SQL script that is a set of INSERT statements that writes users to the target database.
- **API** — Most services will also provide an API, allowing you to manage users from a terminal. Examples include AWS Cognito, Firebase, Keycloak, Gluu, Janssen, Auth0, Frontegg, Stytch, and authentik. Instead of writing SQL to generate SQL, write SQL to export a JSON or YAML file of users. Then write a script in bash, Python, or Node.js that loops through the file and calls the target service API to create a new user for each existing user.
- **Plugins** — Some of the more powerful services provide dedicated import plugins that will import users for you, given a CSV or JSON file or a database connection. Examples include AWS Cognito, Auth0, and Frontegg. To use a plugin, you'll need to write SQL to generate a file of users. Services that do this tend to have cloud-only offerings that don't allow you direct access to the database.
From top to bottom, these options decrease in complexity but also decrease in customization. In other words, if you have direct database access, you can map more of your existing user data into the target system, but you also have more work to do and more chance of making database entries that cause errors in the service.
## Example SQL
Let's look at example SQL queries for the three migration approaches.
Consider exporting a list of users containing user Id, first name, email, password, hash, salt, and encryption scheme. As illustrated in the database diagram above, you need to join the `users` table on the `identities` table to find these fields.
Below is the SQL to get this data.
```sql
SELECT
u.id, u.first_name,
i.email, i.encryption_scheme, i.password, i.salt, i.factor
FROM
identities AS i
JOIN users AS u
ON u.id = i.users_id
-- OUTPUT:
id | first_name| email | encryption_scheme | password | salt | factor
00000000-0000-0000-0000-111111111111 | Fred | richard@example.com |salted-pbkdf2-hmac-sha256|ULoj1fuENZ+QvRqoaOhZ2YX6vuI7uqi7pY0a1EcE32Q= |u8ikPE4m35czpQArp2lDLYDGpIIo+FC+wiNzCclLRbw= | 24000
00000000-0000-0000-0000-000000000001 | Dinesh | admin@example.com |salted-pbkdf2-hmac-sha256|VBSc35CHt/4udxuL+ctb+MY+inWUGr4gMvZSwhvJ8iI= |l5LWrb6/YBIR3USJTFdDHIGYBaDWvqN1uqSRGhDfQHM= | 24000
a58ebb5e-a207-4653-824c-b7f41a73c63c | Test | test@example.com |salted-pbkdf2-hmac-sha256|3JK/aB+MBHtFXvxCvoVqZ4cl5wTkiV843dwA/HKGKBM= |s1ElWordVlDuCjuy1rhHz5i2GPdGp9NcVCfx+jSFRic= | 24000
```
### Direct Database Import Through SQL Statements
Assuming the database you're writing to has a single table called `user`, you can change the SQL query to generate SQL insert queries using the format below.
```sql
SELECT format
(
'INSERT INTO user (id, first_name, email, encryption_scheme, password, salt, factor) VALUES (%L, %L, %L, %L, %L, %L, %s);',
u.id, u.first_name, i.email, i.encryption_scheme, i.password, i.salt, i.factor
)
FROM
identities AS i
JOIN
users AS u ON
u.id = i.users_id;
-- OUTPUT:
format
INSERT INTO user (id, first_name, email, encryption_scheme, password, salt, factor) VALUES ('00000000-0000-0000-0000-111111111111', 'Fred', 'richard@example.com', 'salted-pbkdf2-hmac-sha256', 'ULoj1fuENZ+QvRqoaOhZ2YX6vuI7uqi7pY0a1EcE32Q=', 'u8ikPE4m35czpQArp2lDLYDGpIIo+FC+wiNzCclLRbw=', 24000);
INSERT INTO user (id, first_name, email, encryption_scheme, password, salt, factor) VALUES ('00000000-0000-0000-0000-000000000001', 'Dinesh', 'admin@example.com', 'salted-pbkdf2-hmac-sha256', 'VBSc35CHt/4udxuL+ctb+MY+inWUGr4gMvZSwhvJ8iI=', 'l5LWrb6/YBIR3USJTFdDHIGYBaDWvqN1uqSRGhDfQHM=', 24000);
INSERT INTO user (id, first_name, email, encryption_scheme, password, salt, factor) VALUES ('a58ebb5e-a207-4653-824c-b7f41a73c63c', 'Test', 'test@example.com', 'salted-pbkdf2-hmac-sha256', '3JK/aB+MBHtFXvxCvoVqZ4cl5wTkiV843dwA/HKGKBM=', 's1ElWordVlDuCjuy1rhHz5i2GPdGp9NcVCfx+jSFRic=', 24000);
```
Save the output to a SQL file, and then run the file on the new database.
### API Or Plugins
To generate a JSON file to give to user-import plugins or loop through in code that calls the new service's API, run the original SQL query from the start of this section. In the DBeaver query output, click `Export data` and follow the wizard, choosing `JSON` as the output format.
```json
{
"SELECT \n\tu.id, u.first_name,\n\ti.email, i.encryption_scheme, i.password, i.salt, i.factor \nFROM \n\tidentities AS i\n\tJOIN users AS u \n\t\tON u.id = i.users_id": [
{
"id" : "00000000-0000-0000-0000-111111111111",
"first_name" : "Fred",
"email" : "richard@example.com",
"encryption_scheme" : "salted-pbkdf2-hmac-sha256",
"password" : "ULoj1fuENZ+QvRqoaOhZ2YX6vuI7uqi7pY0a1EcE32Q=",
"salt" : "u8ikPE4m35czpQArp2lDLYDGpIIo+FC+wiNzCclLRbw=",
"factor" : 24000
},
{
"id" : "00000000-0000-0000-0000-000000000001",
"first_name" : "Dinesh",
"email" : "admin@example.com",
"encryption_scheme" : "salted-pbkdf2-hmac-sha256",
"password" : "VBSc35CHt\/4udxuL+ctb+MY+inWUGr4gMvZSwhvJ8iI=",
"salt" : "l5LWrb6\/YBIR3USJTFdDHIGYBaDWvqN1uqSRGhDfQHM=",
"factor" : 24000
},
{
"id" : "a58ebb5e-a207-4653-824c-b7f41a73c63c",
"first_name" : "Test",
"email" : "test@example.com",
"encryption_scheme" : "salted-pbkdf2-hmac-sha256",
"password" : "3JK\/aB+MBHtFXvxCvoVqZ4cl5wTkiV843dwA\/HKGKBM=",
"salt" : "s1ElWordVlDuCjuy1rhHz5i2GPdGp9NcVCfx+jSFRic=",
"factor" : 24000
}
]}
```
If you need to rename FusionAuth columns to columns in the new database, use SQL syntax, like `SELECT u.first_name as name`. Alternatively, you could do the mapping in the Python or Node.js code.
## How To Handle Differing Password Hashing Algorithms
The biggest challenge in moving from one authentication service to another is how each service handles password hashing.
Passwords are not stored in plaintext in databases. Instead, each password is irreversibly hashed into a sequence of bytes. Sometimes the password is combined with random bytes, called a salt, before hashing. The salt must be kept with the hash. Many different algorithms hash passwords. Some algorithms include the salt in the same field as the hash.
By default, FusionAuth uses [Salted PBKDF2 HMAC SHA-256](/docs/reference/password-hashes#salted-pbkdf2-hmac-sha-256). If the new service also uses this hash algorithm, you have no work to do. If the new service uses a different algorithm, you have two choices:
- Do not migrate passwords. Require all your users to change their password before logging in using the forgot-password email mechanism. This requires little work from you, but is a poor user experience.
- Set the hashing algorithm field for the user in the new service, if the service supports the algorithm. If the service doesn't support the algorithm, it may support hashing extensions. This means that you can write your own code that implements the hashing algorithm to check the user's password at login, and add the code to the service as an extension. For example, here's how [custom hashing works](/docs/extend/code/password-hashes/custom-password-hashing) in FusionAuth. Check if your new service supports similar capabilities.
Many services provide the option to overwrite the hash and algorithm of the migrated user with the service's default algorithm after first login. You should enable this, so all users are consistently stored.
Finally, be aware that FusionAuth users can have different hashing algorithms — don't assume all users use PBKDF2, check the `encryption_scheme` field. This difference will occur only if FusionAuth users were migrated into the database from another system, or if a previous administrator configured FusionAuth to use a different algorithm than the default.
## Social Logins Like Facebook And Google
[Social logins](/docs/lifecycle/authenticate-users/identity-providers) are stored in the `identity_provider_links` table, which links `identity_providers` (like Google or Apple) with `users`. Generally, a user's email address is retrieved from the identity providers, and the address is stored in the `identities` table.
If you are changing only your authentication gateway and the domain name for your application and the identity provider client Id and key remain the same, social logins should continue to work. At worst, users will be required to log in again with their Google account. This requires only a few clicks and is not a bad user experience, unlike requiring users to complete a forgot-password workflow.
## Slow Migration Techniques
If you cannot do a bulk migration and take your application offline, you need to know how to migrate individual users. FusionAuth provides two useful tools for this, [webhooks](/docs/extend/events-and-webhooks) and [APIs](/docs/apis).
It is possible to do a [slow migration](/docs/lifecycle/migrate-users/#user-by-user-slow-migration) using the [users](/docs/apis/users#search-for-users) API instead of a database script, but it would be slower unless your database is small.
Slow migrations generally involve choosing relevant FusionAuth [events](/docs/extend/events-and-webhooks/events), and using those to trigger a webhook that calls a web service you've written. The web service can then call the relevant API to get user data, and call the API of the authentication service you are migrating to, to update user data.
For example, you might do a migration of some users into the target system, but continue using FusionAuth. If a user logs in to FusionAuth and updates their last name, you would want the "user update" event to fire and trigger a call to your web service. Your service could then call the `GET /api/user/{userId}` API and get the user's new last name. Finally, the service would call the new gateway's API to update the user, ensuring that user data remains synchronized between both databases until the final transition to the new gateway occurs.
# Advanced Registration Forms
import PremiumPlanBlurb from 'src/content/docs/_shared/_premium-plan-blurb.astro';
import InlineField from 'src/components/InlineField.astro';
import Aside from 'src/components/Aside.astro';
import AvailableSince from 'src/components/api/AvailableSince.astro';
import Breadcrumb from 'src/components/Breadcrumb.astro';
import InlineUIElement from 'src/components/InlineUIElement.astro';
import JSON from 'src/components/JSON.astro';
import RegistrationsSelfService from 'src/content/docs/_shared/_registrations-self-service.mdx';
import AdminUserForm from 'src/content/docs/_shared/_admin-user-form.mdx';
import AdminUserRegistrationForm from 'src/content/docs/_shared/_admin-user-registration-form.mdx';
import { YouTube } from '@astro-community/astro-embed-youtube';
## Overview
Advanced registration forms let you build multi-step custom registration and admin user management forms for your applications.
## What Are Advanced Registration Forms
Advanced registration forms let you build powerful, multi-step, custom registration experiences with no coding required.
<img src="/img/docs/lifecycle/register-users/built-out-advanced-form.png" alt="Example of built out advanced registration form." width="1200" />
You might be interested in this feature if you use the FusionAuth themed login pages for your application and the default self service registration form doesn't meet your needs. Advanced registration forms can help if you want to separate a form into multiple steps, verify identities before user creation, gather user consent, or have the user provide app-specific data.
If you are building your own login and registration pages using the [APIs](/docs/apis/), you can still use the form builder in the administrative user interface, but you will have to generate the user facing HTML from the configured form data and recreate any front end logic. You may want to consider using the themeable hosted login pages instead.
## How Do I Use Advanced Registration Forms?
<PremiumPlanBlurb />
Here's a video showing setup and use of the advanced registration forms feature.
<YouTube id="wte-NDXHE8I" />
To use advanced registration forms, you must:
* Create any needed custom form fields.
* Assemble predefined and custom form fields into steps, and steps into a form.
* Configure an application to use the form for self service registration.
* Theme the form (optional, but highly recommended).
## What is the Difference Between Advanced and Basic Registration Forms
FusionAuth has two types of registration forms: basic and advanced. Both of these options allow you to enable self service registration in your application. The basic option is available in all plans of FusionAuth, including Community.
Basic registration is limited to a single step and offers minimal configuration. You may mix and match from the following user data fields:
* Birthdate
* First name
* Full name
* Last name
* Middle name
* Mobile phone
* Preferred languages
Any displayed fields can be required for successful registration. You can choose to use an email, phone number, or a username for your login identifier. A password field is displayed and required.
<img src="/img/docs/lifecycle/register-users/basic-registration.png" alt="Basic registration." width="1200" />
This is a solid registration page; you can collect information and at the end the user will be associated with the application in FusionAuth and be able to sign in. The look and feel of the registration form can be themed. Validation is limited to having fields be required, though you can also implement additional validation in theme managed client side JavaScript.
Basic registration forms have a subset of the functionality of advanced registration forms. With advanced registration forms, in addition to registering a user to an application, you can also:
* Collect additional profile data and store it in FusionAuth.
* Validate any field on the server in a variety of ways, including matching a regular expression.
* Use more complicated fields, such as consents and confirmation fields.
* Break a registration process into a series of less imposing steps.
* Verify user identities before creating the user.
## Set Up
To use advanced registration forms, you must have a valid license key. Please visit [our pricing page](/pricing) to review paid plan options and buy a license.
Next, you need to activate the license. Before that, ensure that your FusionAuth instance has outbound network access. To activate, follow the steps outlined in the [Reactor documentation](/docs/get-started/core-concepts/licensing).
## Building an Advanced Form Registration Flow
Let's create a form for a fictional real estate application. When someone registers, the application should collect the minimum home price and maximum home price that the user is looking at. You'll also need to collect other, more typical, data, such as an email address. This guide will walk through creating a form to collect the following profile information:
* Email
* Password
* First name
* Phone number
* Free form geographic area where they are looking to buy
* Minimum house price
* Maximum house price
Some of these fields are available in every FusionAuth installation, but some are custom. Before you create a form, first create any non-standard form fields.
### Create Form Fields
The following fields are available by default:
* Email
* Phone number
* Username
* Password
* First name
* Middle name
* Last name
* Full name
* Mobile phone
* Birthdate
If you need additional fields, you must create them. To do so, navigate to <Breadcrumb>Customizations -> Form Fields</Breadcrumb>. You'll see a list of the above default fields, any existing custom fields and a button to create new ones.
You can mix and match any fields listed here on a form. If what you need is already defined, there's no need for any custom form field creation. But if not, create a new form field.
#### Custom Form Fields
The real power of advanced registration forms comes when you add custom fields. You can add as many of these as you'd like.
You may store data in any of the predefined user fields such as `user.fullName`. But you can also use the `data` field on both the `registration` and the `user` objects to store data.
`user.data` is the right place to store information related to a user's account which is not application specific. If you wanted information that multiple applications might use, such as a current mailing address, that would be best stored in the `user.data` field.
Store data related to a user's account and specific to an application in `registration.data`. As a reminder, [a registration](/docs/get-started/core-concepts/registrations) is a link between a user and an application defined in FusionAuth.
Since you are building a real estate app, the minimum house hunting price point of the user is only useful to this application. Therefore, storing the data in `registration.data` is the right approach. If you were later to build a mortgage application, there would be different fields, such as loan amount sought, associated with that registration.
Now that you have decided where to store the custom profile data, you should create the fields.
First, add a minimum price field. Configure the form field to have a data type of `number` and a `text` form control. The user's minimum price point is really useful information. Make it required so that a new user can't complete registration without providing a value. Here's what it will look like before saving the configuration:
<img src="/img/docs/lifecycle/register-users/minimum-price-form-field.png" alt="Adding the minimum price field." width="1200" role="bottom-cropped" />
Add a maximum price field by duplicating the `minprice` field. Use a key of `maxprice`; keys must be unique within the `data` object, `registration.data` in this case. Change the name as well. All other settings can be the same as those of the `minprice` field.
Finally, add a geographic search area custom field. The purpose of this field is to capture where the new user is looking to buy. It'll be a string, but make it optional. Potential users might not have a good idea of where they're interested in looking at homes.
<img src="/img/docs/lifecycle/register-users/geographic-area-form-field.png" alt="Adding the geographic area field." width="1200" role="bottom-cropped" />
After saving the above custom fields, if you view the list of fields, you'll see the three new fields. They are now available for the advanced registration form you'll build next. These custom fields can be used for future forms as well.
### Create a Form
The next step is to assemble the form from the form fields. You can mix and match any of the standard, predefined form fields and your custom form fields.
Fields may appear in any order on the form. Arrange them in whatever order makes the most sense for your potential users. You may also add as many steps as make sense. It's a good idea to group similar types of fields together into the same step.
When you create a new form, you'll see a name field and a button to add steps:
<img src="/img/docs/lifecycle/register-users/new-form.png" alt="The blank form, ready to be assembled." width="1200" role="bottom-cropped" />
There are a few rules about advanced registration forms. Each form must have:
* At least one step
* An email, phone number, or a username field in one of the steps
* At least one field on each step (except for verification steps)
To begin building this real estate application form, navigate to <Breadcrumb>Customizations -> Forms</Breadcrumb>. Click the green <Breadcrumb>+</Breadcrumb> button to create a new form.
Add the first step and then the following fields:
* First name
* Email
* Password
* Phone number
<img src="/img/docs/lifecycle/register-users/first-step-form-editor.png" alt="Adding fields to our first step." width="1200" />
Create a second step. Add your custom house hunting parameter fields:
* Geographic area of interest
* Minimum house search price
* Maximum house search price
<img src="/img/docs/lifecycle/register-users/second-step-form-editor.png" alt="Adding fields to our second step." width="1200" />
After you've added these fields to the form, feel free to rearrange the form fields within each step by clicking the arrows to move a field up or down.
The form configuration specifies steps and field display order within those steps. If you need to move a field between steps, delete it from one step and add it to another. To change field validation, return to the <InlineUIElement>OAuth Configuration</InlineUIElement> section and make your changes. When you're done tweaking the form to your liking, save it.
### Associate a Form With an Application
Once you've created an advanced registration form, the next step is to specify which applications should use this form. Forms can be reused in any application and any tenant.
In addition to specifying the registration form, you'll need to configure a few other options. Assuming you are creating a new FusionAuth application, navigate to the <Breadcrumb>Applications</Breadcrumb> tab and add one. If you aren't, you'll need to tweak the settings of your existing application.
You must configure a redirect URL; this is where the user is sent when registration succeeds. Navigate to the <Breadcrumb>OAuth</Breadcrumb> tab of your application and enter a valid redirect URL. Though the specifics depend on your application settings, such as whether you require email verification, a user will typically be authenticated at the end of the registration process.
You must configure the application to allow users to register themselves. Otherwise, no users will be allowed to create their own accounts, which means they'll never see the registration form. Navigate to the <Breadcrumb>Registration</Breadcrumb> tab and enable <InlineField>Self service registration</InlineField>. You configure the application to use your registration form by checking the advanced option and selecting the form you created above.
Return to the list of applications. Your form is ready to go. Once you have the registration URL, your users can sign up.
### User Registration
To find the registration URL, navigate to <Breadcrumb>Applications</Breadcrumb> and then view the application you created. Copy the <InlineField>Registration URL</InlineField>.
<img src="/img/docs/lifecycle/register-users/find-registration-url.png" alt="Finding the registration URL." width="1200" />
Now that you have the URL, open up an incognito window or a different browser and navigate to it. The first screen asks for your first name, email address, password and phone number. Each screen also shows how many registration steps there are.
<img src="/img/docs/lifecycle/register-users/first-step-no-placeholder.png" alt="The first page of the custom registration flow." width="1200" role="bottom-cropped" />
The second screen displays the custom fields: the minimum and maximum home prices and your area of geographic interest. Click <InlineUIElement>Register</InlineUIElement> to complete your sign up. You'll be sent to the configured redirect URL value and be signed in.
#### The Admin View
Sign into the administrative user interface and navigate to <Breadcrumb>Users</Breadcrumb> page. You should see a new account added with the data you filled out. If you go to the <Breadcrumb>User data</Breadcrumb> tab on the new user's account details page, you'll see the custom data as well:
<img src="/img/docs/lifecycle/register-users/new-user-data-display.png" alt="The user data tab of the newly registered user." width="1200" role="bottom-cropped" />
### Theming
The form you built has a few rough user interface elements. You can create a better user experience by theming the form.
#### Theming Setup
While you can make the changes outlined below in the administrative user interface, you can also manipulate the theme via the FusionAuth API. To do so, navigate to <Breadcrumb>Settings -> API Keys</Breadcrumb> and create an API key. Allow this API key to call all methods on the `/api/theme` endpoint, at a minimum.
Next, create a new theme, since the default theme is read-only. Themes are assigned on a tenant by tenant basis, so you may either change the theme for the default tenant or create a new tenant and assign a new theme to it. This guide will do the former. To do so, navigate to <Breadcrumb>Customizations -> Themes</Breadcrumb>. Duplicate the existing FusionAuth theme. Rename your theme to something meaningful, such as `Real Estate Application`.
Navigate to <Breadcrumb>Tenants</Breadcrumb> and edit the default tenant. Go to the <Breadcrumb>General</Breadcrumb> tab and update the <InlineField>Login theme</InlineField> setting to the `Real Estate Application` theme.
<img src="/img/docs/lifecycle/register-users/update-theme-for-tenant.png" alt="Select your new theme for the default tenant." width="1200" role="bottom-cropped" />
#### Customizing a Theme
Customizing the theme gives you full control over what the user sees. As a reminder, here's what the first step of the registration flow looked like with no theming:
<img src="/img/docs/lifecycle/register-users/first-step-no-placeholder.png" alt="The first page of the custom registration flow." width="1200" role="bottom-cropped" />
You are going to add placeholders and labels, but there's a lot more you can do; check out the [theming documentation](/docs/customize/look-and-feel/) for more information.
Navigate to <Breadcrumb>Customizations -> Themes</Breadcrumb>. Find the theme you created above and copy the Id; it'll be a GUID like `42968bbf-29af-462b-9e83-4c8d7c2d55cf`.
##### Modifying a Theme Via API
To change placeholders or other messages to users such as validation errors, you must modify the messages attribute of a theme. These are stored in a Java properties file format by FusionAuth. You might want to use the API, as opposed to the administrative user interface, to change these messages if you plan to version control them or use automated tooling.
Scripts can help manage updating the messages via API. The below shell scripts assume you are running FusionAuth at `http://localhost:9011`; if not, adjust the endpoints accordingly. These scripts are [also available on GitHub](https://github.com/FusionAuth/fusionauth-theme-management). To use them, you must have [`jq`](https://stedolan.github.io/jq/) and python3 installed locally.
##### Retrieving a Theme File For Local Editing
To modify these messages, you will first retrieve the messages and store them in a text file. Below is a shell script which converts the JSON response from the API into a newline delimited file:
```shell
API_KEY=<your api key> # created above
THEME_ID=<your theme id>
curl -H "Authorization: $API_KEY" 'http://localhost:9011/api/theme/'$THEME_ID|jq '.theme.defaultMessages' |sed 's/^"//' |sed 's/"$//' |python3 convert.py > defaultmessages.txt
```
The `convert.py` script turns embedded newlines into real ones:
```python
import sys
OUTPUT = sys.stdin.read()
formatted_output = OUTPUT.replace('\\n', '\n')
print(formatted_output)
```
Running this script after updating the API key and theme Id will create a `defaultmessages.txt` file in the current directory. This script downloads only the messages file, but could be extended to retrieve other theme attributes. The `defaultmessages.txt` file contents look like this:
```
#
# Copyright (c) 2019-2020, FusionAuth, All Rights Reserved
#
# Licensed under the Apache License, Version 2.0 (the \"License\");
# you may not use this file except in compliance with the License.
# You may obtain a copy of the License at
#
# http://www.apache.org/licenses/LICENSE-2.0
# ...
# Webhook transaction failure
[WebhookTransactionException]=One or more webhooks returned an invalid response or were unreachable. Based on your transaction configuration, your action cannot be completed.
```
The file is approximately 200 lines in length so the above is an excerpt. Open it in your favorite text editor.
##### Modifying the Messages File
You are going to add both placeholders for the text input boxes as well as custom validation messages. To add the placeholders, add values to the `Custom Registration` section.
Maintaining sections in this file isn't required since it's not a `.ini` file. However, it's a good idea to change only what is needed and not restructure the entire file. Upgrades to FusionAuth will add more properties and you will have to merge your changes in. Search for the section starting with `Custom Registration forms`.
The keys of the messages file must match the field keys for the registration form.
To add the placeholders for the custom and default input fields, add these lines:
```properties
# ...
user.firstName=Your first name
user.mobilePhone=Your mobile phone num
registration.data.minprice=Minimum home price
registration.data.maxprice=Maximum home price
registration.data.geographicarea=Where are you looking?
# ...
```
To add validation messages, search for `# Custom Registration form validation errors`. You'll add the error messages there.
Each error message takes the form: `[errortype]fieldname`. Look at the `Default validation errors` section to see the list of valid `errortype`s. The field name is the keyname for the field. For example, to display a user friendly error message when required price range information is omitted or invalid, add these properties:
```properties
[invalid]registration.data.minprice=Please enter a number
[invalid]registration.data.maxprice=Please enter a number
[missing]registration.data.minprice=Minimum home price required
[missing]registration.data.maxprice=Maximum home price required
```
These messages are displayed to the user when the minimum or maximum prices are `invalid`. Because these fields have the `number` datatype, they are `invalid` any time the user input is not a number, but missing when the empty string is provided.
If any of the values added to `defaultmessages.txt` contain a double quote, escape it: `\"`. Since the file will be eventually turned into a quoted JSON attribute and sent to the API, an unescaped double quote is invalid JSON and will cause the API call to fail.
##### Updating the Messages
After `defaultmessages.txt` has been changed, it needs to be converted to JSON and sent to FusionAuth. The following script updates a FusionAuth theme's `defaultMessages` attribute:
```shell
API_KEY=<your api key>
THEME_ID=<your theme id>
FILE_NAME=out.json$$
awk '{printf "%s", $0"\\n"}' defaultmessages.txt |sed 's/^/{ "theme": { "defaultMessages": "/' | sed 's/$/"}}/' > $FILE_NAME
STATUS_CODE=`curl -XPATCH -H 'Content-type: application/json' -H "Authorization: $API_KEY" 'http://localhost:9011/api/theme/'$THEME_ID -d @$FILE_NAME -o /dev/null -w '%{http_code}' -s`
if [ $STATUS_CODE -ne 200 ]; then
echo "Error with patch, exited with status code: "$STATUS_CODE
exit 1
fi
rm $FILE_NAME
```
To load the new messages, run this script in the directory with the modified `defaultMessages.txt` file. Visit the registration URL in your incognito browser and see the changes:
<img src="/img/docs/lifecycle/register-users/first-step-with-placeholder.png" alt="The first page of the registration form with the correct messages added." width="1200" role="bottom-cropped" />
#### Adding Form Labels
You can customize your field display more extensively by modifying macros used to build the registration form. You can edit these directly in the administrative user interface. Navigate to <Breadcrumb>Themes</Breadcrumb> and edit your theme. Click on <InlineUIElement>Helpers</InlineUIElement> and scroll to the bottom. You'll be modifying the `customField` [FreeMarker macro](https://freemarker.apache.org/).
The macro is a series of if/then statements executed against every custom field as the user interface is generated. The macro examines each field definition and creates the correct HTML element. For instance, a `password` field will be rendered as an HTML input field with the type `password`.
To add a label to each field, after `[#assign fieldId = field.key?replace(".", "_") /]`, add this:
```
<label for="${fieldId}">${theme.optionalMessage(field.key)}:</label>
```
Open an incognito window and go through the registration flow again. You should see labels for both steps. These label values are pulled from your message bundles.
<img src="/img/docs/lifecycle/register-users/first-step-with-placeholder-and-labels.png" alt="The first registration step with labels." width="1200" role="bottom-cropped" />
This gives you a glimpse of the full flexibility of FusionAuth themes. You can use the power of Apache FreeMarker, ResourceBundles, CSS, and JavaScript to customize and localize these pages. Check out the [theme documentation](/docs/customize/look-and-feel/) for more.
### Reading the Data
The registered user's profile data is available via the FusionAuth APIs, in the standard user fields, `user.data`, and `registration.data`. It is also available for viewing, but not editing, in the administrative user interface.
To enable users to modify their profile data, you'll have to build a profile management application. The application will let users log in or register. After a user has been authenticated, it will display their profile information.
Because the application profile data, such as the home price ange, isn't standard, you can't use an OAuth or OIDC library to retrieve it. Instead, you must use the FusionAuth APIs. To do so, you'll need to create an API key and then use either the API or one of the [client libraries](/docs/sdks/) to access it.
This interface should be integrated with the rest of your application, but this guide will build an example in python and flask. You can view the [example code here](https://github.com/FusionAuth/fusionauth-example-flask-portal).
#### Creating an API key
Go to <Breadcrumb>Settings -> API Keys</Breadcrumb>. Create an API key. Configure these endpoints to be allowed:
* `/api/user/registration`: all methods
* `/api/form`: `GET` only
* `/api/form/field`: `GET` only
Here's the relevant section of the example application:
```python
# ...
@app.route('/', methods=["GET"])
def homepage():
user=None
registration_data=None
fields = {}
if session.get('user') != None:
user = session['user']
fusionauth_api_client = FusionAuthClient(app.config['API_KEY'], app.config['FA_URL'])
user_id = user['sub']
application_id = user['applicationId']
client_response = fusionauth_api_client.retrieve_registration(user_id, application_id)
if client_response.was_successful():
registration_data = client_response.success_response['registration'].get('data')
fields = get_fields(fusionauth_api_client)
else:
print(client_response.error_response)
return render_template('index.html', user=user, registration_data=registration_data, fields=fields)
# ...
```
This home page route examines the `user` object, which was returned from the successful authentication. It pulls off the `sub` attribute, which is the user identifier and looks something like `8ffee38d-48c3-48c9-b386-9c3c114c7bc9`. It also retrieves the `applicationId`.
Once these are available, the registration object is retrieved using a FusionAuth client. The registration object's data field is placed into the `registration_data` variable and passed to the template for display. The helper method, to be examined below in more detail, is also called and whatever it returns is made available to the template as the `fields` variable.
Here's the `get_fields` helper method:
```python
# ...
def get_fields(fusionauth_api_client):
fields = {}
client_response = fusionauth_api_client.retrieve_form(app.config['FORM_ID'])
if client_response.was_successful():
field_ids = client_response.success_response['form']['steps'][1]['fields']
for id in field_ids:
client_response = fusionauth_api_client.retrieve_form_field(id)
if client_response.was_successful():
field = client_response.success_response['field']
fields[field['key']] = field
else:
print(client_response.error_response)
return fields
# ...
```
This function looks at the form and retrieves ids of all fields on the second step: `['form']['steps'][1]`. It then retrieves the configuration of each field.
The code then adds that form field configuration information to a dictionary, with a key of the field `key`. A field key looks like `registration.data.minprice`. This dictionary is used to build attributes of the update form, which is created later. This helper would need to be modified to loop over multiple steps if you had more than one step collecting profile data.
Here's the update form processing route:
```python
# ...
@app.route("/update", methods=["POST"])
def update():
user=None
error=None
fields=[]
fusionauth_api_client = FusionAuthClient(app.config['API_KEY'], app.config['FA_URL'])
if session.get('user') != None:
user = session['user']
user_id = user['sub']
application_id = user['applicationId']
client_response = fusionauth_api_client.retrieve_registration(user_id, application_id)
if client_response.was_successful():
registration_data = client_response.success_response['registration'].get('data')
fields = get_fields(fusionauth_api_client)
for key in fields.keys():
field = fields[key]
form_key = field['key'].replace('registration.data.','')
new_value = request.form.get(form_key,'')
if field['control'] == 'number':
registration_data[form_key] = int(new_value)
else:
registration_data[form_key] = new_value
patch_request = { 'registration' : {'applicationId': application_id, 'data' : registration_data }}
client_response = fusionauth_api_client.patch_registration(user_id, patch_request)
if client_response.was_successful():
pass
else:
error = "Unable to save data"
return render_template('index.html', user=user, registration_data=registration_data, fields=fields, error=error)
return redirect('/')
# ...
```
This code retrieves the user's registration object. It updates the `data` object with new values from the profile update form, perhaps transforming a field from a string to a different datatype if required. Currently only the `number` type is transformed, but could be extended to handle `boolean` or other data types. After the object has been updated, a `PATCH` request is made. This updates only the `data` field of the user registration.
Here's an image of the portal in action:
{/* fix dark mode/incognito mode at some point */}
<img src="/img/docs/lifecycle/register-users/flask-app-screen-shot.png" alt="The user profile portal." width="1200" role="bottom-cropped" />
You can view the [example code here](https://github.com/FusionAuth/fusionauth-example-flask-portal), which includes templates and the login and registration links as well as the above profile modification code.
## Editing User Data In The Admin UI
<Aside type="version">
Available Since Version 1.20.0
</Aside>
Advanced user registration forms add custom data to your users' profiles. However, what happens when that profile data needs to be modified? You can write code against the APIs to modify it, but using a custom admin form is easier. You don't have to write any code, only configure a form or two.
There are two types of profile data:
* User data, which is associated with the user. This could be in standard fields such as `user.birthDate` or custom data fields in `user.data`.
* Registration data, associated with the user's registration to an application. This could be in standard fields such as `roles` or custom data in `registration.data`.
Each of these types of profile data has an admin form associated with it. Admin user forms are associated with the tenant and admin registration forms are associated with an application.
The default user and registration editing forms ship with FusionAuth and are implemented using this functionality. They can easily be replaced by your own custom forms suited to your business needs.
### How To Use A Custom Admin Form
There are a few steps to using custom admin forms:
* Determine if you are going to create a custom registration form, user form or both.
* Consider data sources for each field of the profile. It could be user registration, API calls from other systems, or manually entered by an admin. Should some data be protected from admin modification?
* Create custom fields if needed. This is where you'd set the data type, form control and validation rules.
* Assemble the fields into a form, including possibly organizing them into sections.
* Update the tenant or application, as appropriate, to use the form.
Let's walk through each of these.
#### Custom Registration Form or Custom User Form
To determine if you are going to create a custom admin registration form, custom admin user form or both, think about where the data should be stored.
If the profile information is useful for more than one application which the user might log in to, then the data should be stored on the user. You could put it in a custom field (`user.data.somefield`) or repurpose one of the standard user fields.
For instance, for the real estate search application built above, a boolean value indicating that someone is a current client would be good to store on the user. Data stored as `user.data.currentClient` would be helpful for many applications. Some examples of functionality you might build based on this value:
* For a search application, display additional information to current clients or add a CTA for past clients.
* For a mortgage application, display additional interest rate or program information.
* Trigger a welcome email when someone becomes a client.
If, on the other hand, your data is useful only to a specific application, associate it with a registration. An example of that is the `registration.data.minprice` field created above.
The minimum and maximum price points someone is searching for only apply to the real estate search application. Such data won't be useful for other applications.
#### Profile Data Sources
Next, consider where the data will come from. You have three main source of profile data:
* The user registration; when a new user signs up
* API calls to modify the profile data using the [User APIs](/docs/apis/users) or [Registration APIs](/docs/apis/registrations).
* The admin forms, used in the FusionAuth backend.
Think about what profile data will come from each source. For example, the user's email address will typically come from their registration. The date of their closing might come from an external scheduling system. And the current client status should be set by a customer service rep or realtor.
When you know where each field is coming from, you can consider what kind of administrator modifications should be allowed. Some of this user profile data will be submitted by the end user and should be read-only for admin users.
An example of this would be a data sharing setting; does someone want their data shared with brokerage affiliated companies? Depending on your business rules, you may not want to expose this setting to your admins in the backend FusionAuth user interface. However, more typically, you'll want to allow your admin users to modify most profile data.
There will also be fields which contain profile data not created at user registration time. Some of these may be created or updated by automated processes. Others, for example, a `user.data.notes` field, will be manually updated by admin users. This field can be used to capture information a user's real estate needs. This field should be updated by customer service reps. New clients certainly won't be providing this information about themselves on registration.
#### Create Custom Fields
If you want any fields in your custom admin forms which are not part of a user registration form you've created, such as the `notes` field mentioned above, you'll need to create a custom field for that data. To do so, navigate to <Breadcrumb>Customizations -> Form Fields</Breadcrumb> and add them.
Here's an example of adding a `user.data.notes` field:
<img src="/img/docs/lifecycle/register-users/add-custom-field.png" alt="Adding a custom form field." width="1200" role="bottom-cropped" />
You may use any supported validation rules, form controls or data types.
Don't forget to add the field names for any new fields to your theme's messages file. Otherwise users in the administrative user interface will see a field name like `user.data.notes` instead of `User notes`.
#### Build the Forms
Next, build the forms. You can use any of the custom or standard form fields previously created.
First, let's add an admin user form. Navigate to <Breadcrumb>Customizations -> Forms</Breadcrumb> and add a new form. Make sure that the <InlineField>Type</InlineField> is set to `Admin User`.
Add your form fields and order as needed. Multiple sections help organize the data if you have a large number of fields and want them logically grouped. Here we'll just add the fields we added for user registration as well as our new, admin only, notes field. You'll end up with a form looking similar to this:
<img src="/img/docs/lifecycle/register-users/add-admin-user-form.png" alt="Adding an admin user form." width="1200" />
Next up, let's create a custom admin registration form. This will only apply to the real estate search application. To add this form, navigate to <Breadcrumb>Customizations -> Forms</Breadcrumb> and add a new form. Make sure that the <InlineField>Type</InlineField> is set to `Admin Registration`.
Add your form fields, ordering them as needed. Add multiple sections if desired. Again, this is typically a good idea if you have a large number of fields and want to logically group them. Below, the three custom registration fields added for user registration have been added to this form: Geographic Area, Minimum Price and Maximum Price. If you are doing the same, you'll end up with a form looking similar to this:
<img src="/img/docs/lifecycle/register-users/add-admin-registration-form.png" alt="Adding an admin registration form." width="1200" />
Next up, you'll need to associate the admin user form with the tenant, and the admin registration form with the application.
#### Associate the Form(s)
If your form is an admin user form, modify the tenant settings. If, on the other hand, it is an admin registration form, modify the application. In both cases, you can use either the administrative user interface or the API to make the updates. Below you'll see how to make the changes with the administrative user interface.
To change the form used to edit users, navigate to <Breadcrumb>Tenants -> Your Tenant -> General -> Form Settings</Breadcrumb>. Then chose your custom form as the <InlineField>Admin user form</InlineField>:
<img src="/img/docs/lifecycle/register-users/associate-admin-user-form.png" alt="Associating an admin user form with a tenant." width="1200" />
To change the admin registration form, navigate to <Breadcrumb>Applications -> Your Application -> Registration -> Form Settings</Breadcrumb>. Then chose your custom form as the <InlineField>Form</InlineField> value:
<img src="/img/docs/lifecycle/register-users/associate-admin-registration-form.png" alt="Associating an admin registration form with an application." width="1200" />
Once you've configured these forms, see how it looks for an admin user to edit a user or a registration by, well, editing a user or registration. These forms will be used both for editing users or registrations as well as adding new users or registrations. Any time you are accessing a user or registration from the FusionAuth administrative user interface, the specified form is used.
### Limiting User Access to the FusionAuth UI
Using custom admin forms lets users access the FusionAuth web interface to manage custom user and registration data. But perhaps you don't want to expose all of the FusionAuth administrative user interface and configuration settings to employees who only need to be able to update user profile data?
FusionAuth roles to the rescue! The FusionAuth application has over 25 roles which offer fine grained control over its functionality. Whether you want to let people only manage themes or webhooks, consents or lambdas, roles let you lock down access.
Let's build a user account which will only have user management access. After adding the account, if needed, edit the account's FusionAuth registration and give them the `user_manager` role. With this role, they'll be able to add and update users, but nothing else. To prevent privilege escalation, they won't be able to modify their role or anyone else's, however.
<img src="/img/docs/lifecycle/register-users/set-user-role-user-manager.png" alt="Granting a user a role." width="1200" />
Check the `user_manager` checkbox and save the user. Next time they log in to the FusionAuth interface, they'll see only what they have permissions for:
<img src="/img/docs/lifecycle/register-users/limited-menu.png" alt="The FusionAuth administrative user interface when viewed with limited privileges." width="1200" role="bottom-cropped" />
Log out of your admin account and sign into this user manager account. When you edit a user, you can see the edit screen shows the fields you added to the form above:
<img src="/img/docs/lifecycle/register-users/user-edit-screen.png" alt="Editing a user with a custom form." width="1200" role="bottom-cropped" />
The same is true for adding or editing a registration for the application:
<img src="/img/docs/lifecycle/register-users/registration-edit-screen.png" alt="Editing a user application registration with a custom form." width="1200" role="bottom-cropped" />
If a user manager edits the URL to try to access other admin areas, they'll see a message letting them know that access is not authorized:
<img src="/img/docs/lifecycle/register-users/unauthorized-access-user-manager.png" alt="Unauthorized access: denied!." width="1200" role="bottom-cropped" />
## Using the API to Manage Forms
You can use the [form fields](/docs/apis/custom-forms/form-fields) and [forms](/docs/apis/custom-forms/forms) APIs to manage advanced registration forms. Using the API allows for migration of form configuration between environments as well as the dynamic creation of registration forms for new applications.
For instance, if you had a private labelled application, you might want to allow an administrator to control which fields were required at registration without allowing them access to the FusionAuth administrative interface. Building a custom interface and calling the FusionAuth APIs to assemble the registration form and associate it with the application would accomplish this.
## Consents
To associate an existing consent with a field, select a <InlineField>field</InlineField> of `Self consent`. See the [Consent APIs](/docs/apis/consents) for more information on user consents. Consents are rendered as a checkbox to the user in the registration from.
The consent field will have a name automatically generated based on the consent identifier. For example: `consents['dd35541d-e725-4487-adba-5edbd3680fb8']`. However, it can be referenced in the theme files. To add a label for the above consent, add this line to your messages file:
```
consents['dd35541d-e725-4487-adba-5edbd3680fb8']=I consent to sharing my data with affiliated companies
```
## Email Localization
Emails are localized based on the user preferred language attributes. [Learn more here about the different ways FusionAuth localizes content](/docs/get-started/core-concepts/localization-and-internationalization).
Using advanced registration forms, you can set this attribute on registration. FusionAuth will then localize any initial emails, such as a password setup or email verification email.
To do so, add a custom field to your form setting the <InlineField>user.preferredLanguages</InlineField> field. You can use the default one that ships with FusionAuth, as below.
<img src="/img/docs/lifecycle/register-users/setup-locale-selection.png" alt="Add locale choice to registration form." width="1200" />
This will build a select box with a list of all supported locales. If you'd prefer to limit it to a certain subset, copy the default field and edit the allowed values.
You may also add this as a hidden field and set it via JavaScript if you'd rather not display the dropdown.
## Form Fields and Validation
Making sure user registration data meets your quality requirements is important. FusionAuth provides multiple ways to validate user input during the registration process.
Any validation failure will prevent the user from moving past the current registration step. The theme controls the location and display of error messages. All validation for advanced registration forms are either browser native or server side. If you'd like to add client side validation, you may inject JavaScript validation libraries and code into your login templates.
### Form Control
If your field uses a form control with a limited set of options, such as a radio button or select dropdown, the user will be forced to choose from that set of options.
Form field control options are documented in the [form field API documentation](/docs/apis/custom-forms/form-fields).
### Data Type
You can configure a form field to use one of the non-`String` data types. Doing so means the form field will require the user to enter data acceptable to that data type. For instance, if a form field has a data type of `Number`, any non-numeric value will result in an error message.
Form field data type options are thoroughly documented in the [form field API documentation](/docs/apis/custom-forms/form-fields).
### The Required Attribute
If a field is configured to be <InlineField>required</InlineField>, a valid value must be provided. Otherwise an empty string is a valid value.
### The Confirm Value Attribute
If a field is configured to have a <InlineField>Confirm value</InlineField>, a second input field of the same type and control will be added to the form. This confirmation field will be displayed just below the original field, but the location can be customized by modifying the theme.
The form will fail validation unless the same value is entered in both fields.
### Regular Expression Validation
If <InlineField>Validation</InlineField> is enabled, a regular expression must be specified. The user input will be matched against the regular expression and validation will fail if it doesn't match. See the [Java Regular Expression documentation](https://docs.oracle.com/javase/8/docs/api/java/util/regex/Pattern.html) for more information on how to build such a regular expression.
### Lambda Validation
If you need to perform more complex validation of the registration form, use this lambda [Self-Service Registration Validation lambda](/docs/extend/code/lambdas/self-service-registration). If you are on a plan which includes HTTP Lambda Connect, you can also make fetch calls to external APIs if needed to validate a registration.
## Special Considerations
### Pre-verification
<AvailableSince since="1.62.0" />
Advanced registration forms can be used to verify users' identities before user creation. See [Pre-verification](/docs/lifecycle/manage-users/verification/pre-verification) for more details.
### Searching on User Data
All data stored in the `registration.data` and `user.data` fields is indexed if you are using the Elasticsearch search engine. You may use the [User Search API](/docs/apis/users) to search against these values.
For example, if you wanted to find all the users with a `minprice` value between 50000 and 100000, you could use this Elasticsearch query:
<JSON title="Example JSON for the query parameter to search for users with a given house hunting price range" src="users/search-registration-data-range-query.json" />
### Adding Required Fields Later
Once you enable self service registration, the authentication flow is:
```
Authorize -> Complete Registration -> Redirect
```
Every time a user authenticates using the hosted login pages, FusionAuth ensures their registration is complete.
If you add a required field to the application's registration form after users have registered, the next time one of the users authenticates using the hosted login pages, they'll be sent to the registration form to fill out the required field. The <InlineField>OAuth complete registration</InlineField> template will be used in this scenario.
If you have required registration fields and the user authenticates via a single sign-on method, such as Google or SAML, and all the required fields are not provided, then the user will be dropped into your registration form.
You can avoid this for users logging in with an Identity Provider by providing all required profile fields in a lambda.
<Aside type="note">
Any <InlineField>Email verification</InlineField> or <InlineField>Phone verification</InlineField> steps that exist on a registration form will be ignored when completing registrations for existing users. Verification requirements for existing users are enforced with gating. See [Gate Users Until They Verify Their Email
](/docs/lifecycle/manage-users/verification/gate-accounts-until-user-email-verified) or [Gate Users Until They Verify Their Phone Number
](/docs/lifecycle/manage-users/verification/gate-accounts-until-user-phone-verified) for more details.
</Aside>
### Modifying an Existing Form Field
You cannot change the underlying field, control or data type of an existing form field. Other attributes may be modified.
If you need to change the data type or form control of a field, create a new one. Duplicate the form field and update the form to use the duplicate.
<Aside type="caution">
Changing data types for the same underlying key into `registration.data` or `user.data` is problematic if you are using Elasticsearch and may require manual updates of the index. It is recommended that you change the key name if you must change the data type of a form field.
</Aside>
For example, if you wanted to modify the real estate search form to have the minimum price be a drop down instead of a numeric input field, duplicate the existing form field and modify the control. Then update the form to use the new form field.
### Registration With Other Identity Providers
If you have an advanced registration form, but allow for a user to register with an external identity provider, such as Facebook or Active Directory, FusionAuth will drop the user into the registration flow after the external provider returns.
Assume you've enabled the Facebook identity provider and allowed for registration with that provider. Also, assume you've created a registration form with three steps. The first step contains optional fields, and the second step contains required fields.
After a user signs up with Facebook, they'll be dropped back into the registration flow on the second step. They'll be required to complete the registration from the second step onward before they are fully registered.
### Hidden Fields
You may create form fields in an advanced registration form that capture information about a user, such as a referrer, using hidden fields.
To do so:
* create the form field. You can set the cont
* add it to the form
* modify your theme to not display the form field
<img src="/img/docs/lifecycle/register-users/hidden-field.png" alt="Example of hidden form field." width="1200" role="bottom-cropped" />
Modify the Freemarker code which generates the registration form to do this. The `customField` macro generates the HTML, so you could modify it like so:
```plaintext title="Generating a hidden field"
[#if field.key == "user.data.referrer"]
<input id="user_data_referrer" type="hidden" name="user.data.referrer">
[/#if]
```
Note that the field Id has all periods replaced with underscores. That is expected by the form processing logic.
Set the field value using JavaScript:
```javascript title="Setting a hidden field"
document.getElementById("user_data_referrer").value = "value";
```
### Self-Service Registration and Registrations
<RegistrationsSelfService />
## Customizing The Admin UI Forms
You can also use custom form fields and forms to tailor your admin UI.
### The User Form
<AdminUserForm />
### The Registration Form
<AdminUserRegistrationForm />
# Anonymous Users
import Aside from 'src/components/Aside.astro';
import {RemoteCode} from '@fusionauth/astro-components';
import Breadcrumb from 'src/components/Breadcrumb.astro';
## Overview
A "stub" user profile, also known as an anonymous user, is a pattern to allow your users to build up profiles gradually before requiring identifying information such as an email address or username. This is a common pattern with business to consumer or gaming applications, where you want to lower friction as much as possible.
In this guide, you'll be creating anonymous users whenever a user visits a page to watch the video. The video is about [ChangeBank](https://www.youtube.com/watch?v=CXDxNCzUspM), the global leader in making change.
In this case, you will record how many times a user visited the video page. You could also capture other data, such as how long this video was watched, when it was visited, or anything else you want to record. Users can also sign up on the viewing page and set a password via an email. The number of times the user watched the video will be preserved in the user account.
This guide will cover the important concepts and code, but won't be a step by step tutorial.
You can find [the full code here](https://github.com/FusionAuth/fusionauth-example-anonymous-user) if you want to grab it and explore the code yourself. The repository includes a Kickstart file to get FusionAuth correctly configured in one command.
If you want to follow along with that code, you need to have the following:
* Docker for running FusionAuth
* Python3.8 or later
## Setting Up Anonymous User Support
Tracking a user without any identifying information isn't supported by the FusionAuth hosted login pages, so you'll be building on top of the FusionAuth APIs. The APIs allow you to extend FusionAuth to meet specific or atypical needs for your identity store.
This guide uses Python to interact with the APIs, but you can use any of the supported [client libraries](/docs/sdks/) or the [REST API](/docs/apis/).
To track anonymous users and allow them to convert to regular users, you'll need to:
* Set up an API Key with the appropriate permissions
* Set up an anonymous user profile based on behavior on the site
* Store the anonymous user Id on the device
* Update the stub user profile when the user takes an action, such as viewing a page
* Build a conversion page when the user wants to sign up with an email address to enable more personalized functionality
There are four types of users in this solution:
* an unknown user is a regular website visitor who has not yet taken an action which will create an anonymous user account
* an anonymous user has a shadow account in FusionAuth which can track actions, but doesn't have access to that account
* a converted user has set up a password and email address, but previously had an anonymous account
* a regular user is either a converted user or an unknown user who has registered
## Creating The API Key
Since you are using the FusionAuth APIs to create and update user data, you'll need to create an API Key. This is a high privilege secret and should be treated with care. Actions it will enable:
* creating the anonymous user account
* reading and updating the user's data
* issuing a special JWT to safely place the user Id in a browser cookie
* triggering a forgot password flow
To create the key, navigate to <Breadcrumb>Settings -> API Keys</Breadcrumb> and create a new API Key. The key needs to have the following permissions:
* `/api/user`: `GET`, `POST`, `PATCH`
* `/api/jwt/vend`: `POST`
* `/api/user/forgot-password`: `POST`
Now that you've set up the API key, make sure it is available to the application via a secrets manager or environment variable. You can then create a FusionAuth client like this.
<RemoteCode url="https://raw.githubusercontent.com/FusionAuth/fusionauth-example-anonymous-user/main/complete-application/server.py"
lang="python"
tags="createFusionAuthClient" />
## Create The Anonymous User
Next, determine when to create the anonymous user account. The best time is when a user first takes an action worth recording. In this example, that occurs when they visit the video page.
When that happens, make an API call to create a user. Because FusionAuth requires a login identifier (either an email or a username) and a password, you'll have to provide those. Use long random values for these fields so they are unguessable. You'll be accessing the account via the Id and the user won't be logging in, so random values are fine.
Here's the user creation logic, from the route which serves up the video page.
<RemoteCode url="https://raw.githubusercontent.com/FusionAuth/fusionauth-example-anonymous-user/main/complete-application/server.py"
lang="python"
tags="createUser" />
You can see code checks to see if an anonymous account exists by checking for a cookie. If not, a new user is created with the relevant data attributes. The Id of the user is then extracted. You'll need to save that off. All future interactions will be keyed off this Id.
## Saving The Id
After the anonymous profile is created, you need to store the Id, which is a [UUID](/docs/reference/data-types#uuids). This value should be sent down to the user's device. If this is a web application, a `Secure`, `HttpOnly` cookie is a good storage option.
The value of the cookie can be one of the following.
* the plaintext Id value
* a JSON Web Token (JWT) containing the Id
* an encrypted value
Which you choose depends on your use case. The security risk with the plaintext value is that anyone with access to the cookie can try different Id values to modify the profile of another user. Attackers may notice the anonymous cookie format and try to probe your system in other ways using scripts. This may be an acceptable risk in low-value accounts.
An encrypted value ensures that no one can read the Id except the system which created it. This requires effort and key management.
A JWT is a middle ground. It requires less effort than encrypting the Id, but eliminates the risk of account probing, since any JWT that is tampered won't be valid. That is the approach this guide will take.
Here's the code to create the JWT and store it in a cookie.
<RemoteCode url="https://raw.githubusercontent.com/FusionAuth/fusionauth-example-anonymous-user/main/complete-application/server.py"
lang="python"
tags="createJWT" />
You can then store the JWT. You can do so in a persistent secure, `HttpOnly` browser cookie, or, if the device is a mobile application, in a shared preferences file.
<Aside type="note">
You can also add more information to the JWT. Depending on how your application is architected, you may want to replicate the format of a JWT which would be generated by a full account login.
</Aside>
## Presenting The Token
Your client side application should then present the token representing the stub profile every time it interacts with your application to persist or read a preference. At a high level, the process is:
* read the JWT
* validate it
* read the Id
* retrieves the user information from the User API
* updates the user profile data
In this example, the `watchCount` is incremented each time the video page is viewed. Here's the code to do so.
<RemoteCode url="https://raw.githubusercontent.com/FusionAuth/fusionauth-example-anonymous-user/main/complete-application/server.py"
lang="python"
tags="readJWT" />
The user Id is retrieved from the cookie, then the user is looked up. If the user Id is not found, something is wrong and processing stops. Otherwise, the anonymous user profile is updated.
It's also worth looking at the `get_anon_user_id_from_cookie` method, which is what gets the `user_id`.
<RemoteCode url="https://raw.githubusercontent.com/FusionAuth/fusionauth-example-anonymous-user/main/complete-application/server.py"
lang="python"
tags="getAnonUserIdFromCookie" />
Here the JWT is retrieved from the cookie. It is also validated using the [authlib JWT decoder](https://docs.authlib.org). If validation fails, someone is messing with the JWT value and no processing should occur.
## Converting To A Full User
After a period of time, the user may want to register. Behind the scenes, this process is different from a normal self-service registration because you're converting an anonymous account to a full user profile. However, for the user, it is a simple registration. You may prompt them to register based on time of game play or actions they've taken. Encourage them to register if they want to play across devices or require them to do so to gain access to features.
<Aside type="note">
You'll also want to handle the case where an unknown user wants to register.
In that case, redirect to your normal registration flow.
</Aside>
For the purposes of this example, you are going to allow the user to convert to a full account by clicking a link any time they want to, rather than forcing registration based on business logic.
A conversion process looks like this:
* The user chooses to convert their account by providing an email address
* The application retrieves the user Id
* The application updates the user account with the email address
* The application triggers a forgot password email
Here's code that does this.
<RemoteCode url="https://raw.githubusercontent.com/FusionAuth/fusionauth-example-anonymous-user/main/complete-application/server.py"
lang="python"
tags="registerAnonymousUserRoute" />
### The Forgot Password Workflow
Make sure that you always confirm the user owns the email address which they are entering. Otherwise, a malicious actor could enter any email address, which may lead to unwanted escalation.
Since you can only have one forgot password email template per user, you can provide a `state` value specifying this forgot password workflow was started by an anonymous user conversion, and then use logic in the email template.
Here's the example email template with the logic with a `[#if state.anon_user??]` statement.
<RemoteCode url="https://raw.githubusercontent.com/FusionAuth/fusionauth-example-anonymous-user/main/kickstart/email-templates/forgot-password.txt.ftl" />
### Cleaning Up After Full Conversion
After the forgot password workflow is completed, the user should be prompted to log in. At this point, the anonymous user has been fully converted to a regular user account, and you can undertake any cleanup that is needed.
There are two [webhook](/docs/extend/events-and-webhooks/) events you could listen for and process cleanup after.
The first is [password change](/docs/extend/events-and-webhooks/events/user-password-update). This is the cleanest option, because when a user has changed their password, they have indicated control of the email address, but this is only available on the Enterprise plan.
The second is the [successful user login event](/docs/extend/events-and-webhooks/events/user-password-update). Here, you examine the user who is logging in and see if they have any anonymous user attributes. Since an anonymous user can't log in, because they have a random username and password, this event will never be triggered for that type of user.
This guide will use the latter option. You'll need to [create and register the webhook](/docs/extend/events-and-webhooks/#add-webhook), which can be done via admin UI or API.
Here's the webhook code.
<RemoteCode url="https://raw.githubusercontent.com/FusionAuth/fusionauth-example-anonymous-user/main/complete-application/server.py"
lang="python"
tags="cleanupAnonymousUserRoute" />
This examines the incoming event to see if it is a login success. It then checks if the user is a newly converted user, as indicated by a value of `user.data.anonymousUser`. If these are all true, then the user is updated to set `anonymousUser` to `false`. For this guide, that is indication that the user has been converted to a regular user.
At this point, the user has a full fledged user account with a known login identifier and password, as well as the profile data that they've provided when they were an anonymous user.
## Querying For Users
When you create a user and put values in `user.data`, you can query those values later. Running such queries helps you understand how many anonymous users you have, what these anonymous users are doing, how many people convert to full accounts, and more.
In this example, the `user.data` object looks like this.
```json
{
"data" : {
"anonymousUser" : true,
"watchCount" : 2
}
}
```
You can run queries to see how many anonymous users there are or how many actions they've taken. Run such queries using the [User Search API](/docs/apis/users#search-for-users).
For more examples of searching users, see the [Searching Users With Elasticsearch guide](/docs/lifecycle/manage-users/search/user-search-with-elasticsearch).
## Limitations
Creating anonymous users as outlined in this guide has some limitations.
* Creating an anonymous user counts as a [monthly active user](/docs/get-started/core-concepts/users#what-makes-a-user-active), which may affect your cost if you have a paid plan. Any updates to a user will not trigger an MAU.
* If a user removes the cookie or logs in from a different device, they will not have access to the anonymous profile.
* You may end up with a large number of stub accounts, depending on when you create them. You use the User Search APIs to find anonymous accounts that have not been updated for 30 days and delete those accounts.
# Self-service Registration
import Breadcrumb from 'src/components/Breadcrumb.astro';
import InlineUIElement from 'src/components/InlineUIElement.astro';
import PremiumPlanBlurb from 'src/content/docs/_shared/_premium-plan-blurb.astro';
import RegistrationsSelfService from 'src/content/docs/_shared/_registrations-self-service.mdx';
import { YouTube } from '@astro-community/astro-embed-youtube';
## Overview
Self-service basic registration forms let you quickly and simply add signup functionality to your application.
## What Are Basic Registration Forms
Basic registration forms let you get user registration up and running quickly and simply with no coding required.
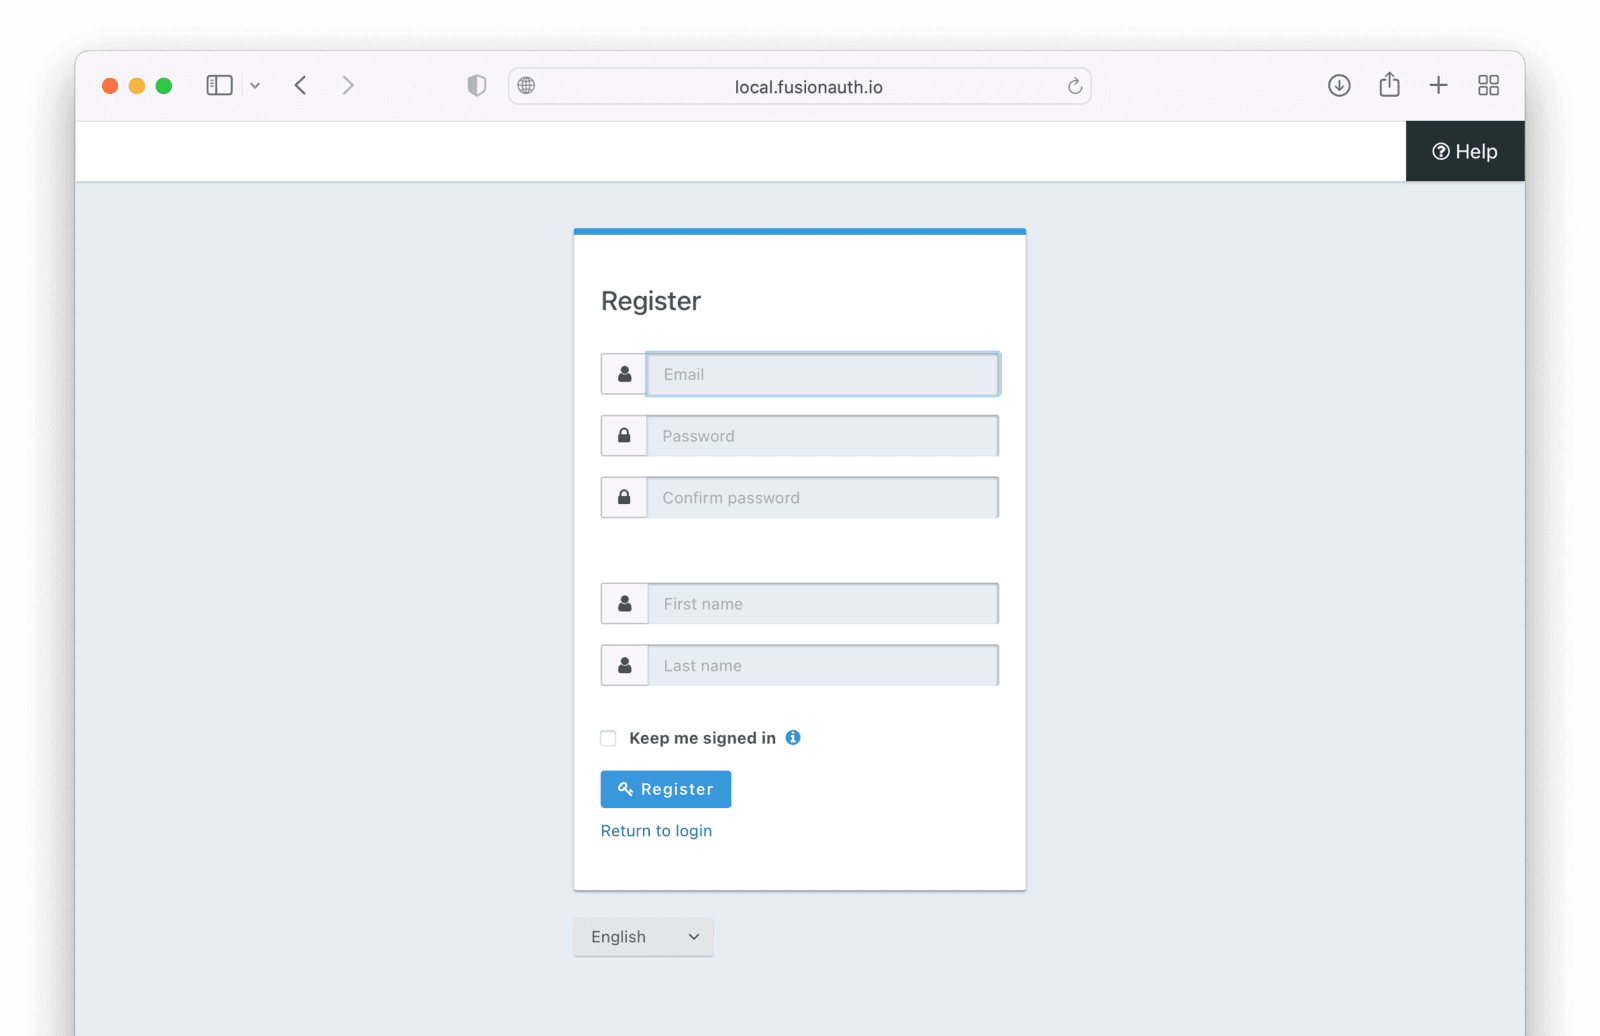
You might be interested in this feature if you have a straightforward registration process, where all you need are a few pieces of common user information to register a new user. Basic registration forms are a single step.
This is also called self-service registration, because visitors can create an account on their own, with no action required from you.
If you are building your own login and registration pages using the [APIs](/docs/apis/), you can still use the basic registration setup in the administrative user interface, but you will have to generate the user facing HTML from the configured form data and recreate any front end logic. You may want to consider using the themeable hosted login pages instead.
Here's a video showing setup and use of the advanced registration forms feature.
<YouTube id="kvn9bj1tTV8" />
## How Do I Use Basic Registration Forms?
To use basic registration forms, you must:
* Create an application.
* Enable and configure registration on the application.
## Building a Basic Form Registration Flow
Let's create a basic registration form for an application that requires:
* Email
* Password
* First name
* Optional last name
These fields are already available in the set of basic registration fields in every FusionAuth installation, and only need to have their <InlineUIElement>Enabled</InlineUIElement> and <InlineUIElement>Required</InlineUIElement> switches toggled.
We'll go through the entire process, from creating a new application in FusionAuth, to registering a new user.
### Create a new FusionAuth Application
In order to register a user, you must have first installed FusionAuth and created an Application.
A guide to getting started with installing FusionAuth is provided in the [Getting Started Guide](/docs/get-started/).
A tutorial for creating an Application is provided in the [Applications Overview](/docs/get-started/core-concepts/applications). Once the Application has been created, you can set up the basic registration options.
### Configuring Basic Registration
To set up Basic Registration, navigate to the Applications tab, and select the "Edit" icon to open the edit page.
Then navigate to the <Breadcrumb>Registration</Breadcrumb> tab. Scroll down to the <InlineUIElement>Self Service Registration</InlineUIElement> section. Toggle the <InlineUIElement>Enabled</InlineUIElement> switch on.
The "Type" radio button should have "Basic" selected. Leave it on this setting.
You can toggle on the <InlineUIElement>Confirm Password</InlineUIElement> switch to ask the user to enter their password twice when creating an account to ensure it is captured correctly.
Leave the "Login type" radio button set on "Email".
Then set the "Registration Fields" as follows:
- First name: "Enabled" and "Required" on.
- Last name: "Enabled" on and "Required" off.
Set all the other fields to "Enabled" off.
The settings should now look like this:
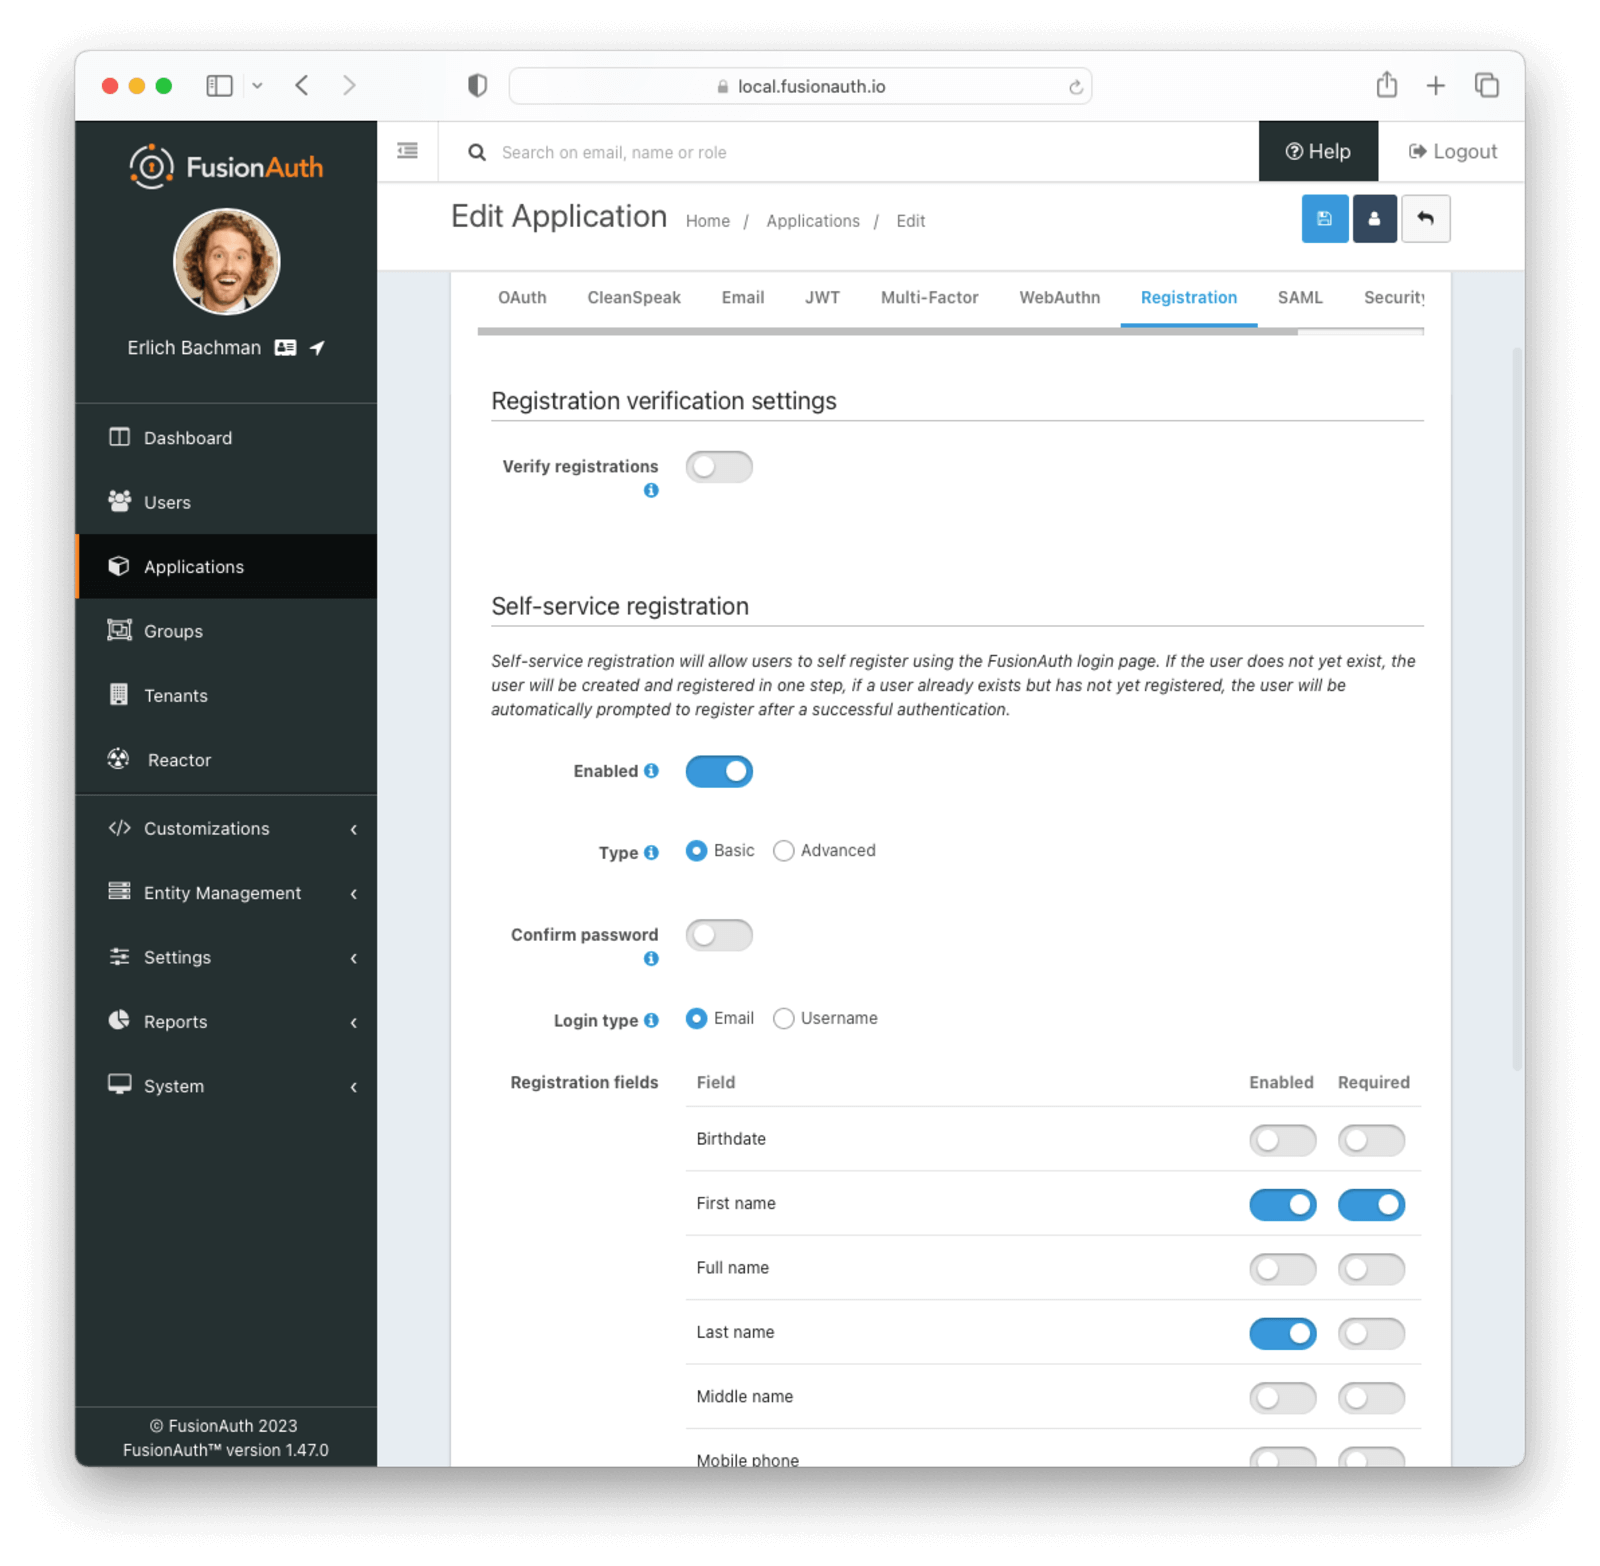
### Register a User
Now that the application has been configured, you can register a user. Navigate to the <Breadcrumb>Applications list</Breadcrumb> page. Click on the green button with the magnifying glass icon next to your application to open the details popup.
Scroll down to the "Registration URL" item, and copy the URL.
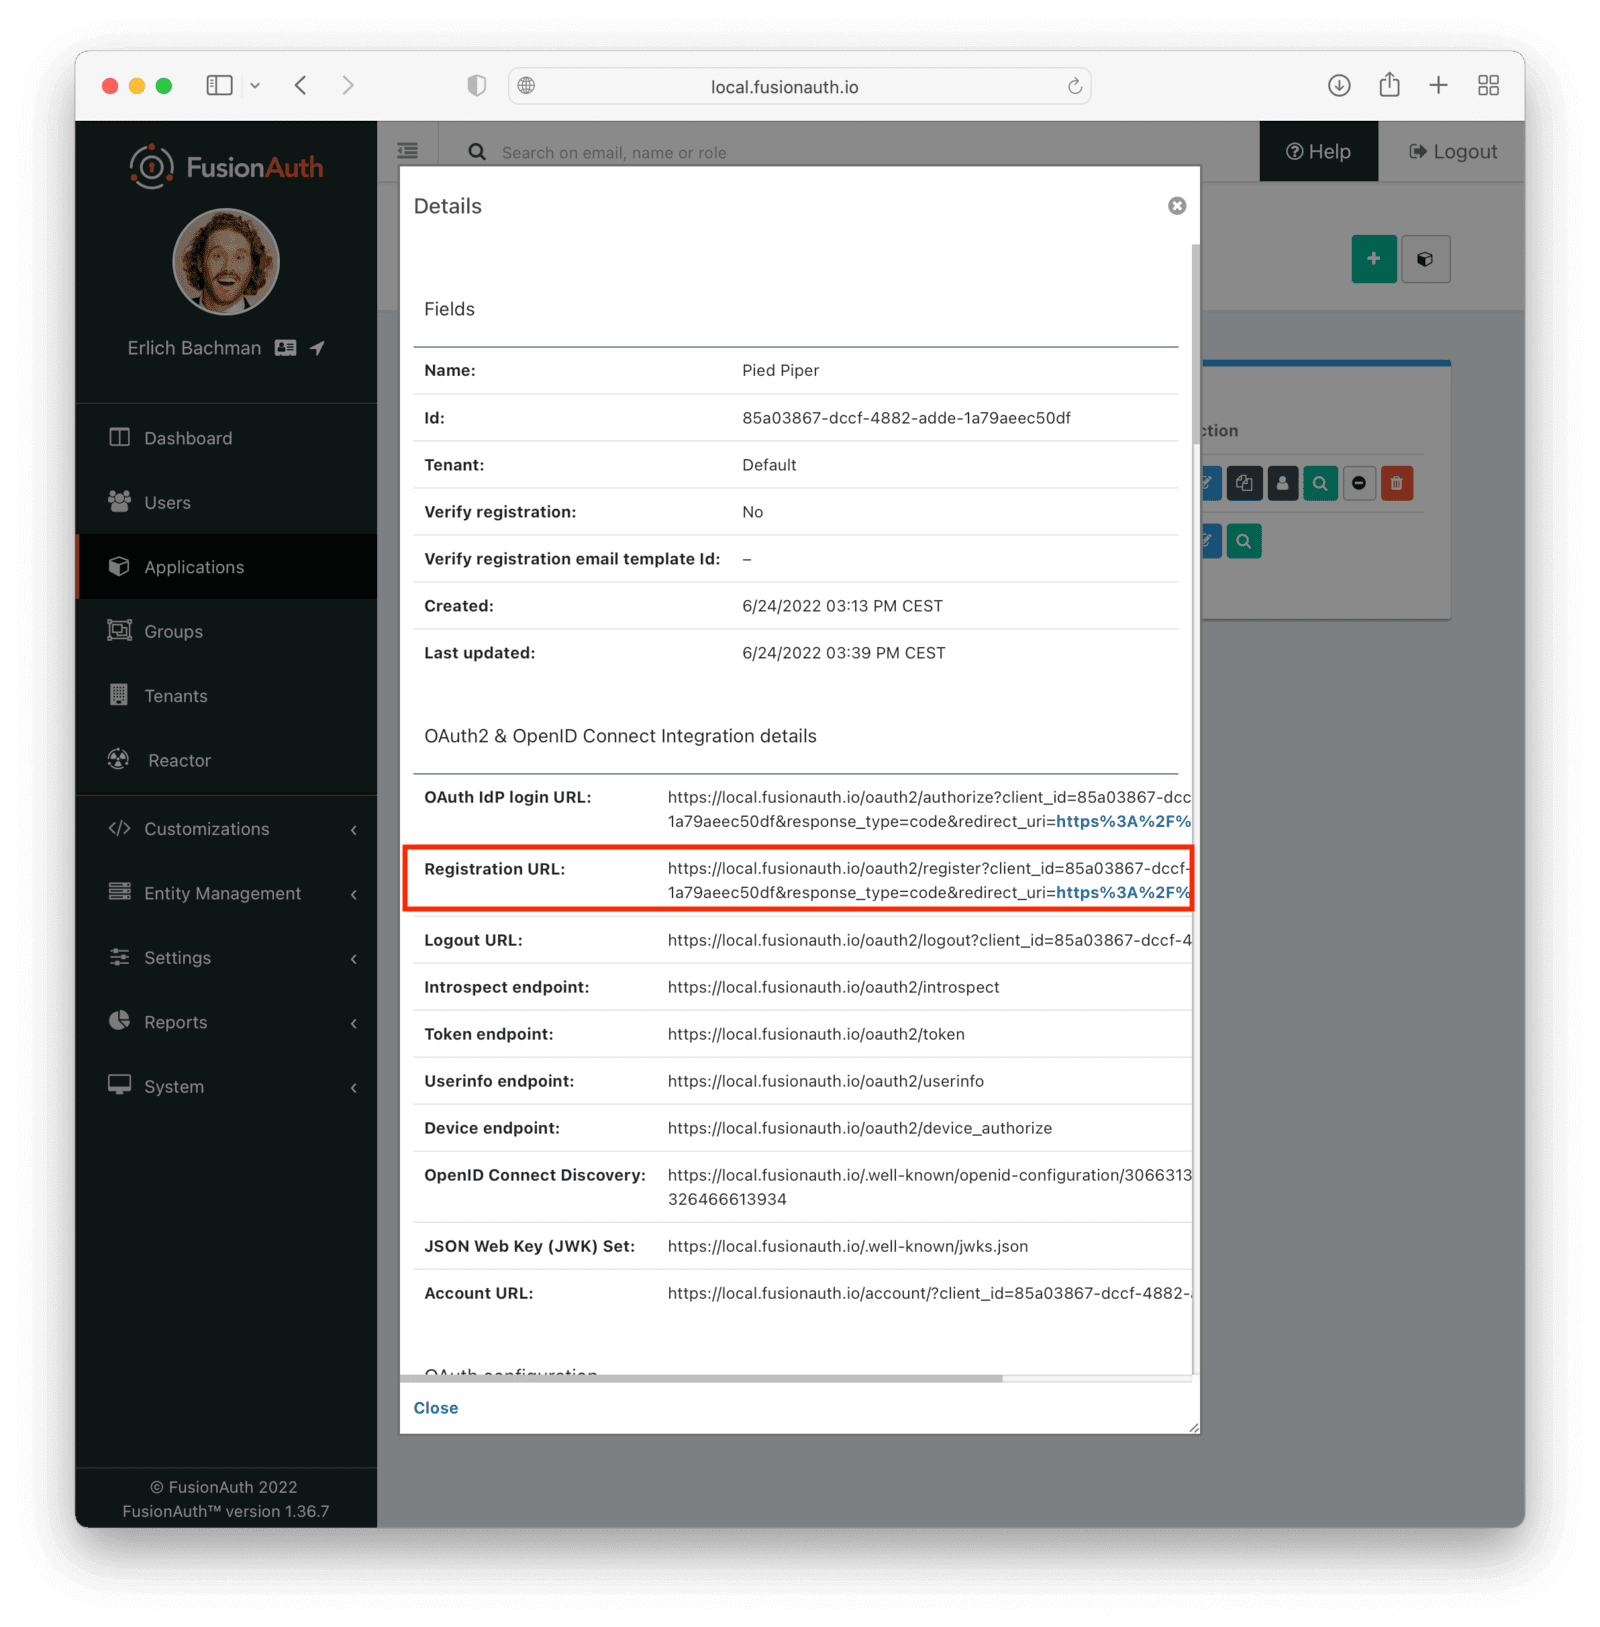
Open the URL in a new tab, and follow the instructions to register a user.

The page specified by the "redirect_uri" in the "Registration URL" is the page that your users will be redirected to when they click the <InlineUIElement>Register</InlineUIElement> button. This can be configured on the <Breadcrumb>OAuth</Breadcrumb> tab of the application. You can have more than one.
After registering, you should receive an email with a verification link. Click the link to verify the user.
### View the User
After you have registered a user, you can view the user in the FusionAuth user management interface. Navigate to the <Breadcrumb>Users</Breadcrumb> page in the sidebar.
You should see the newly registered user in the list.
## Advanced Registration Forms
Basic self-service registration can meet many requirements. Advanced self-service registration forms are a paid feature that allows a bit more flexibility including the ability to collect custom user data at registration and more.
<PremiumPlanBlurb />
With advanced registration forms, in addition to allowing a user to register for an application, you can also:
* Collect additional profile data and store it in FusionAuth.
* Validate any field on the server in a variety of ways, including matching a regular expression.
* Use more complicated fields, such as consent and confirmation fields.
* Break a registration process into a series of less imposing steps.
A guide to setting up advanced registration forms is provided at [Advanced Registration Forms](/docs/lifecycle/register-users/advanced-registration-forms).
## Self-Service Registration and Registrations
<RegistrationsSelfService />
# Overview
Registration lets you control which users have access to which applications in a tenant (authorization), in contrast to authenticating a user. [Learn more about these concepts.](/docs/get-started/core-concepts/authentication-authorization)
You have a number of options for registering users.
## Self-service Registration
You can enable self-service registration, which lets users create accounts without any interaction from your team. There are two kinds of self-service registration:
* [Basic](/docs/lifecycle/register-users/basic-registration-forms), which is included in the Community plan and lets you capture a limited number of fields on one page
* [Advanced](/docs/lifecycle/register-users/advanced-registration-forms), which requires a paid plan and lets you capture unlimited fields on multiple pages
If any user in a tenant logs into any application with self-service registration enabled, they will automatically have a registration created for that application.
## Federation Using Identity Providers
If you allow users to log in to an Application with an [Identity Provider](/docs/lifecycle/authenticate-users/identity-providers), you can register the user at the time of login. This is controlled using the `createRegistration` attribute on the Identity Provider.
## Using The APIs
You can register users using the [User Registration APIs](/docs/apis/registrations). There's [a guide here](/docs/lifecycle/register-users/register-user-login-api).
This is a good choice if you want to embed registration into your application and don't want to use the FusionAuth hosted login pages. The hosted login pages offer pre-built workflows, but if you need custom workflows, the APIs will allow you maximum flexibility.
## Special Situations
### Anonymous Users
You capture data about anonymous users using the [User APIs](/docs/apis/users). There's [a guide here](/docs/lifecycle/register-users/anonymous-user) walking through the use case in detail.
This is helpful when you want to avoid account creation to minimize friction, but still allow users to customize their experience.
### Progressive Registration
You can also implement progressive registration with FusionAuth. In this case, you'd use one of the above options to collect minimal user profile data to get users into your application with as little friction as possible.
Then, you'd use the [User APIs](/docs/apis/users) or [User Registration APIs](/docs/apis/registrations) along with custom screens in your application to collect additional information.
# Register A User And Login
import ListHostedLoginPagesUseCases from 'src/content/docs/_shared/_list-hosted-login-pages-use-cases.mdx';
## Overview
This tutorial guides you through the basics of registering users and logging them into Applications using the FusionAuth APIs as well as some alternatives.
## Register a User
In order to register a User, you must have first created an Application. A tutorial for creating an application is provided in the [Application overview](/docs/get-started/core-concepts/applications). Once the Application has been created, you are ready to call the API to register a User.
There are two APIs that can be used to create the User and then create a Registration for that User in the Application you create. In most cases you will want to create the User and register them in a single step. This can be accomplished by calling the [`/api/user/register` (combined) API](/docs/apis/registrations#create-a-user-and-registration-combined).
However, you can also create the User and then register them for the Application in separate API calls. This method would make use of the [`/api/user` API](/docs/apis/users#create-a-user) followed by a call to the [`/api/user/register` API](/docs/apis/registrations#create-a-user-registration-for-an-existing-user). We recommend using the single API call, but in some cases, calling the APIs separately is preferred.
You can also allow accounts to be created with [basic self-service registration](/docs/lifecycle/register-users/basic-registration-forms) or [advanced self-service registration](/docs/lifecycle/register-users/advanced-registration-forms). With this approach, FusionAuth hosts the registration forms and pages.
<img src="/img/docs/lifecycle/register-users/register-new-user.png" alt="Example of built out basic registration form." width="1200" role="bottom-cropped" />
## Log in a User
Once you have created a User and registered them for an Application, you can authenticate them by calling the [Login API](/docs/apis/login). That will return a JWT and other User information as documented.
A user can also log in via the [hosted login pages](/docs/get-started/core-concepts/integration-points/#hosted-login-pages). These use the Authorization Code grant or a SAML flow. FusionAuth owns the user interface for authentication in this scenario.
<img src="/img/docs/lifecycle/register-users/login-page.png" alt="Example of login form." width="1200" role="bottom-cropped" />
## Should I Use the APIs or the FusionAuth Hosted Login Pages
In general the hosted login pages are recommended. They are [customizable and localizable with themes](/docs/customize/look-and-feel/) and when used, FusionAuth is the only server side system to see sensitive user information like credentials. In other words, you are delegating authentication and authorization entirely to FusionAuth.
They also include a number of common workflows, including, but not limited to:
<ListHostedLoginPagesUseCases />
The reason to use the APIs is to give you full control over the workflow, user experience, and look and feel of your login and registration functionality. Reasons include:
* You don't want to use a webview for authentication on a mobile application.
* You need a custom user registration flow not supported by FusionAuth, such as directing a user to different registration flows based on their email address.
* You have an existing application that already handles login and you want to continue to use it as the "front door" to your app.
# FusionAuth Cluster Setup
import Aside from 'src/components/Aside.astro';
import DowntimeUpgradeLimitations from 'src/content/docs/get-started/core-concepts/_downtime-upgrade-limitation.mdx';
import InlineField from 'src/components/InlineField.astro';
import SharedState from 'src/content/docs/operate/deploy/_shared-state.mdx';
import TroubleshootingRuntimeModeMismatch from 'src/content/docs/get-started/download-and-install/_troubleshooting-runtime-modes-at-startup.mdx';
import { YouTube } from '@astro-community/astro-embed-youtube';
import Breadcrumb from 'src/components/Breadcrumb.astro';
## Overview
FusionAuth is stateless and typically CPU bound. Clustering FusionAuth nodes improves performance and redundancy. You can run as many FusionAuth nodes in a cluster as you'd like.
<SharedState />
FusionAuth can be run in multiple architectures; see the [Server Layout](/docs/get-started/download-and-install/server-layout) documentation for more.
## Using Clustered FusionAuth
### Requirements
Before you cluster multiple servers or containers running FusionAuth, prepare your environment. In addition to FusionAuth, you'll need the following components:
* A database. This will be used by all nodes to maintain state. While you could have the database on a node running FusionAuth, you'll see better performance on a dedicated database server.
* A load balancer in front of the FusionAuth nodes. This will distribute traffic between them.
* An Elasticsearch cluster, if using the [Elasticsearch search engine](/docs/get-started/core-concepts/users#user-search).
This infrastructure must be created and managed when operating a FusionAuth cluster. However, this setup is beyond the scope of this document.
These instructions assume you have a load balancer, optional Elasticsearch server, and database server already configured.
When building a FusionAuth cluster, consider:
* What load balancer will you use? Software or hardware load balancers both work. You can use a vendor managed balancer like an AWS application load balancer or an open source web server such as nginx.
* By what algorithm will traffic be distributed? If all the nodes have equivalent capacity, a round robin algorithm is fine.
* Where will you terminate SSL? Typically this is done at the load balancer, but can be done at the FusionAuth nodes.
* What level of security and network isolation do you need? Build the architecture that suits your needs. You can run FusionAuth in a private network and have all HTTP connections proceed through the load balancer, with SSH connections happening through a jump box, for example.
* What version of FusionAuth will you be running? All nodes must be on the same version for correct functionality.
* How will you manage [FusionAuth configuration](/docs/reference/configuration)? All nodes must have the same configuration or undetermined behavior will occur. Ensure that configuration changes are replicated to every node.
* Will you use a custom password hashing plugin? If so, plan to distribute the plugin to every node, distribute to a shared filesystem, or otherwise make it available.
* With a standalone database you must use the [advanced database installation](/docs/get-started/download-and-install/fusionauth-app#advanced-installation) and run the database creation and migration scripts outside of FusionAuth. How will you manage this? Do you have in-house tools you can leverage to do so?
### FusionAuth Installation
User the [advanced database installation instructions](/docs/get-started/download-and-install/fusionauth-app#advanced-installation) to create and populate the FusionAuth database. Add a FusionAuth database user and password. Record the connection information; you'll want a JDBC URL, the username and the password.
Install FusionAuth on each of the servers or containers which you plan to run. You can install the software via RPM, DEB, zip file or [any of the installation methods](/docs/get-started/download-and-install).
Build your [FusionAuth configuration](/docs/reference/configuration). Double check the following settings (these are shown as the configuration file keys, but the same settings are available as environment variables or system properties):
* `fusionauth-app.url` should typically be blank. You may need to manually specify this value if you have multiple FusionAuth nodes and the only way the nodes can communicate is on a public network. In that case, specify each node's public address.
* Set the `fusionauth-app.runtime-mode` to `production`.
This setting ensures your users will never see maintenance mode.
You want to avoid that because maintenance mode writes database and other configuration information to only one node.
With a cluster, you should always be using `silent` mode with a runtime of `production`.
Ensure your database connection configuration is synchronized across all nodes.
You will have to apply database upgrades out of band, via [FusionAuth's provided database upgrade scripts](/docs/get-started/download-and-install/fusionauth-app#advanced-installation).
* Configure `database.url` with the full JDBC connection string URL recorded above.
* Set `database.username` to the database user name recorded above.
* Update `database.password` as the database password noted above.
Distribute your FusionAuth configuration to all nodes. They must all have the same configuration. You can do this by setting environment variables, Java system properties, or by pushing the `fusionauth.properties` file to each server. If you have a password hashing plugin, make sure it is distributed or available to all the nodes as well.
Restart the instances to ensure configuration changes are picked up.
Add the instance addresses to your load balancer. If you are terminating TLS at the load balancer, proxy the HTTP port, otherwise communicate over the TLS port. Both of these are configurable, but they default to `9011` and `9013`, respectively.
Configure the load balancer to forward the following headers to FusionAuth:
* `X-Forwarded-Proto`: typically this will be `https`. This ensures any redirects are sent with the appropriate scheme.
* `X-Forwarded-Host`: The original host requested by the client in the `Host` HTTP request header.
* `X-Forwarded-For`: The originating IP address of the client.
* `X-Forwarded-Server`: The hostname of the proxy server.
You can see community submitted proxy configurations in [the `fusionauth-contrib` repo](https://github.com/FusionAuth/fusionauth-contrib/tree/main/Reverse%20Proxy%20Configurations).
You can learn more about [FusionAuth and proxies here](/docs/operate/deploy/proxy-setup).
#### Troubleshooting Installation
If you have difficulty installing FusionAuth in a cluster, you can set up a cluster with one node. Set up your load balancer to point to only one server, and get this working before adding any other nodes. This will narrow down any issues you may encounter.
### Verification
Verify that the installation is clustered by navigating to <Breadcrumb>System -> About</Breadcrumb>. You'll see multiple nodes listed:
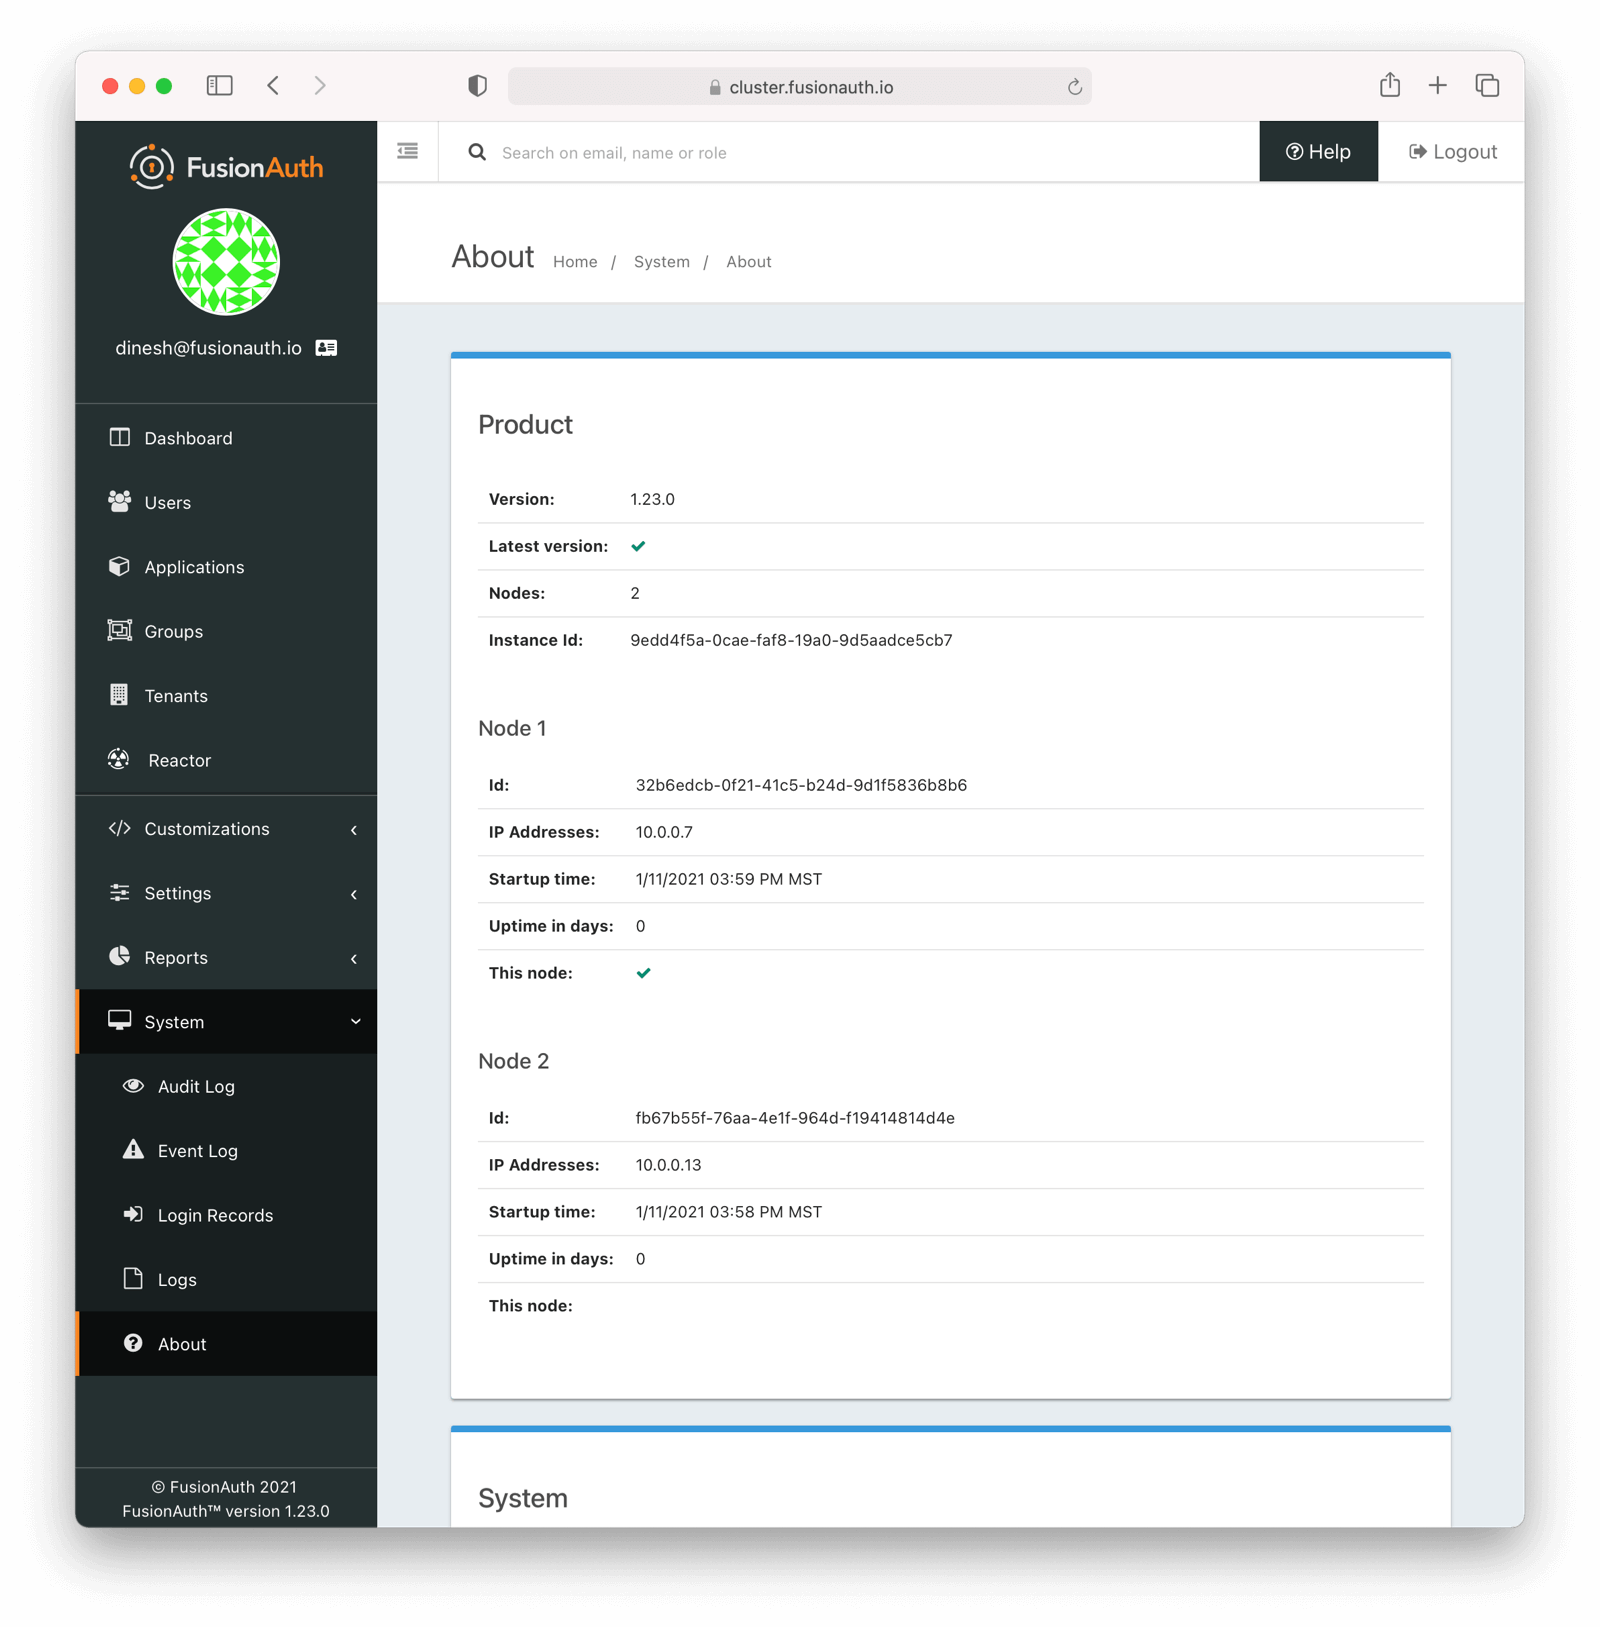
The node which served the request you made has a checkmark in the <InlineField>This node</InlineField> field. `Node 1` served the above request.
You may see incorrect IP addresses for each node if you are using a version of FusionAuth prior to 1.23. This bug doesn't affect clustering functionality. All other information about the nodes is correct.
## Cluster Operation
### Security
While ssh access to each node is helpful for initial installation and troubleshooting, you should not need it during normal cluster operation. Modify your firewall accordingly.
You may also lock down the FusionAuth nodes to only accept traffic from the load balancer, so that all HTTP traffic goes through it.
### Monitoring
If your load balancer supports health checks, call the [status API](/docs/apis/system#retrieve-system-status). A `GET` request against the `/api/status` endpoint will return a status code. It'll either be `200` if the system is operating as expected or non `200` value if there are any issues with the node.
<Aside type="version">
Available since 1.27, you can use a [Prometheus endpoint](/docs/operate/monitor/prometheus) to monitor your instances.
</Aside>
You can ingest the [system log output](/docs/apis/system#export-system-logs), [event logs](/docs/apis/event-logs) and [audit logs](/docs/apis/audit-logs#export-audit-logs) into a log management system via API calls.
See the [Monitoring documentation](/docs/operate/monitor/monitor) for more information.
### Log Files
<Aside type="version">
Available since 1.16.0-RC1
</Aside>
Should you need to review system log files in the administrative user interface, you can see those by navigating to <Breadcrumb>System -> Logs</Breadcrumb>. Logs for all nodes are displayed there.
See [the Troubleshooting documentation](/docs/operate/troubleshooting/troubleshooting) for more information about logs.
### Adding and Removing Nodes
To add more nodes to the cluster, do the following:
* Stand up new FusionAuth servers.
* Provide the same FusionAuth configuration as the existing nodes. In particular, provide the same connection info for the database.
* Add any custom password hashing plugins, if used. You can either use a shared filesystem or copy the plugin jar file to the correct location.
* Update your load balancer to send traffic to the new node.
To remove nodes, simply:
* Update your load balancer configuration; remove the node that you'll be shutting down.
* Stop FusionAuth on the node to be removed.
* Verify that the node disappears from the node list displayed at <Breadcrumb>System -> About</Breadcrumb>.
Here's a video covering how to add and remove nodes from a FusionAuth cluster:
<YouTube id="y6bPjqP4Dzk" />
#### "Bye node" Messages
There are two different levels of cluster membership. The first is managed by the load balancer and concerns what traffic is sent to which node. FusionAuth operates a second level of cluster membership for the limited state shared between nodes.
<SharedState />
Each node regularly updates the shared database by updating a row with URL and timestamp information. If a node does not check in, after a certain period it will be removed from the cluster, as far as FusionAuth is concerned.
If that happens you might see a message like this:
```
io.fusionauth.api.service.system.NodeService - Node [abce451c-6c5f-4615-b4eb-c1ae5ccf460c] with address [http://10.0.0.2:9011] removed because it has not checked in for the last [83] seconds. Bye node.
```
While a node is removed from FusionAuth's node list, it will no longer participate in the FusionAuth cluster actions as mentioned above.
This automated removal does not affect load balancer traffic. The load balancer, typically by using a health check, must stop sending a node authentication traffic if it is unhealthy.
### How Many Instances Should I Run?
To determine the number of nodes to run, load test your cluster. Usage, installation and configuration differ across environments and load testing is the best method to determine the correct setup for your situation.
Any commercial or open source load testing tool will work. Alternatively, use [the FusionAuth load testing scripts](https://github.com/FusionAuth/fusionauth-load-tests).
If you'd prefer detailed architecture or design guidance customized to your situation, please purchase [a support contract](/pricing).
## Cluster Upgrades
<DowntimeUpgradeLimitations />
## Troubleshooting
### Runtime Mode Mismatch
<TroubleshootingRuntimeModeMismatch />
# Configuration Management
import ThemeEnvironments from 'src/content/docs/operate/deploy/_theme-environment-management.mdx';
import Breadcrumb from 'src/components/Breadcrumb.astro';
## Overview
FusionAuth is a key part of your application infrastructure.
How can you manage changes to the configuration?
How can you promote changes from one environment to another?
## Configuration Management Options
There are a number of options you can use to manage the configuration of your FusionAuth instance over time, as well as to promote changes from one environment (such as staging) to another (such as production).
### Script The Changes
You can script your changes using the API and apply those scripts to different environments. You can either use the API directly or a [client library](/docs/sdks/) in one of the supported programming languages.
This approach is similar to database migration scripts except the scripts make REST calls against the FusionAuth API instead of SQL calls against a database. The scripts are run during upgrades of an application or as a standalone project that other applications depend upon.
If you are using an application framework such as rails, you can leverage the existing migration framework.
Using this approach gives you full access to the FusionAuth API.
### Terraform
There is an open source terraform provider which allows you to manage FusionAuth using Terraform, an open source infrastructure tool.
Here is the [FusionAuth Terraform provider documentation](https://registry.terraform.io/providers/fusionauth/fusionauth/latest/docs).
There is a [FusionAuth and Terraform guide](/docs/operate/deploy/terraform) which goes into more details about how use these technologies together.
### Pulumi
There is a community supported, open source terraform provider which allows you to manage FusionAuth using Pulumi, an open source infrastructure tool.
Here is the [FusionAuth Pulumi package documentation](https://www.pulumi.com/registry/packages/fusionauth/).
Since it is a community project, it is not as complete as the client libraries. If you find yourself needing to manage something not currently supported, you can contribute to the [project using GitHub](https://github.com/theogravity/pulumi-fusionauth).
{/* TODO example */}
### CLI
You can use the [FusionAuth CLI](/docs/customize/look-and-feel/cli) to manage complex configuration such as themes.
### Manual Configuration
You can manually configure FusionAuth via the administrative user interface. Changes made in this manner are recorded in the Audit Log, which you may view by navigating the <Breadcrumb>System -> Audit Log</Breadcrumb>.
However, while this is a good option for testing out new functionality, it is not recommended for production environments, since it depends on humans replicating configuration.
## Options To Avoid
There are some options that you may think will work, but should be avoided.
### Exporting and Importing the FusionAuth Database
If you are self hosting FusionAuth, you could conceivably export the database containing the FusionAuth information and import it into a new environment. You could also directly manipulate settings via SQL statements.
This is unsupported and not advised. The database structure of FusionAuth is not exposed for a reason and may change at any time. It also contains sensitive information such as passwords and user personal information that shouldn't be shared between environments.
### Kickstart
Kickstart is perfect for continuous integration (CI) as it provides full access to the FusionAuth API to configure a test instance however you want.
However, Kickstart works only on fresh installs; it doesn't execute if the instance has previously been configured. This means it doesn't work for managing configuration changes over time.
There is an open issue regarding [Kickstart migrations](https://github.com/FusionAuth/fusionauth-issues/issues/560), feel free to upvote it.
Learn more about [Kickstart](/docs/get-started/download-and-install/development/kickstart).
## Other Considerations
### Theme Assets
<ThemeEnvironments />
# FusionAuth and Proxies
import Aside from 'src/components/Aside.astro';
import OneProxyDiagram from 'src/diagrams/docs/operate/deploy/_one-proxy.astro';
import TwoProxyDiagram from 'src/diagrams/docs/operate/deploy/_two-proxies.astro';
import ProxyTroubleshooting from 'src/content/docs/operate/deploy/_proxy-troubleshooting.mdx';
## Overview
While FusionAuth doesn't require a proxy, using one offers additional flexibility.
## What Is a Proxy
While the term is overloaded, for the purposes of this document, a proxy is any software which sits between your users and FusionAuth. Some or all requests to FusionAuth then pass through the proxy.
<OneProxyDiagram alt="A typical proxy configuration." />
Proxies can be self-hosted or SaaS. Examples include:
* NGINX
* Apache
* Caddy
* Cloudflare
* CloudFront
FusionAuth should work with any proxy that supports HTTP. If you find a proxy that isn't supported, please [open a GitHub issue with details](https://github.com/fusionauth/fusionauth-issues/issues).
## Why Use a Proxy
While you can run FusionAuth without a proxy, there are a number of reasons why you might want one:
* Have different domain names which point to different FusionAuth tenants; the proxy can map between domain names and tenant Ids
* Block or throttle access based on request characteristics such as user agent
* Cache CSS or other static assets for performance
* Display custom error pages for 4xx or 5xx errors ([see this issue for more](https://github.com/FusionAuth/fusionauth-issues/issues/404))
* Terminate TLS before requests reach FusionAuth
* Add additional request processing logic
* Have FusionAuth requests served from a non-standard path such as `/fa/` ([see this issue for more](https://github.com/FusionAuth/fusionauth-issues/issues/88))
## How To Use a Proxy
This section won't discuss setting up your proxy or proxy specific configuration. For more on that, please consult your proxy package's or server's documentation.
To correctly set up a proxy in front of FusionAuth, you must forward all requests to FusionAuth, and you must also set the correct headers.
### Headers To Set
Below is a list of the headers you must set when using a proxy with FusionAuth. If you do not set these headers correctly, FusionAuth will not function correctly. You may be unable to log in to the administrative user interface, redirect URLs may be sent incorrectly, or other functionality may not work.
*Proxy Headers To Set*
| Header | Example Value | Notes |
| ---- | ---- | ---- |
| `X-Forwarded-Proto` | `https` | Typically this will be `https`, as it is typical to run FusionAuth in production using HTTPS. This ensures any redirects and cookies are sent with the appropriate scheme. This will be the scheme of the proxy server. |
| `X-Forwarded-Host` | `auth.example.com` | The original host requested by the client in the `Host` HTTP request header. This will be the hostname of the proxy server. |
| `X-Forwarded-Port` | `443` | The original port requested by the client. This will be the port of the proxy server. |
| `X-Forwarded-For` | `204.98.1.1` | The originating IP address of the client. This varies and is used for logging IP addresses and [enforcing ACLs](/docs/apis/ip-acl). |
| `X-Forwarded-Server` | `auth.example.com` | The hostname of the proxy server. It should be set by every proxy server in the proxy chain. This may be different from `X-Forwarded-Host` if there are two or more proxy servers. |
Let's say FusionAuth is running at `https://example.fusionauth.io`, and the proxy lives at `https://auth.example.com`. In this case, the headers would have the following values:
* `X-Forwarded-Proto`: `https`
* `X-Forwarded-Host`: `auth.example.com`
* `X-Forwarded-For`: The client IP address
* `X-Forwarded-Server`: `auth.example.com`
* `X-Forwarded-Port`: `443`
Proxies may use different formats to set these headers. For example, IIS requires underscores and you must prepend the header with HTTP. `X-Forwarded-Proto` is `HTTP_X_Forwarded_Proto`. Please consult your proxy server's documentation for more details.
Here is documentation for common proxy servers, describing how to configure these headers:
* [Cloudflare](https://developers.cloudflare.com/rules/transform/request-header-modification/)
* [NGINX](https://nginx.org/en/docs/http/ngx_http_headers_module.html)
* [Apache](https://httpd.apache.org/docs/current/mod/mod_headers.html)
* [Caddy](https://caddyserver.com/docs/caddyfile/directives/header)
* [Amazon CloudFront](https://docs.aws.amazon.com/AmazonCloudFront/latest/DeveloperGuide/add-origin-custom-headers.html)
### Caching
FusionAuth disallows caching of non-static assets such as HTML pages with the [`Cache-control: no-store` header](https://developer.mozilla.org/en-US/docs/Web/HTTP/Headers/Cache-Control).
Never cache FusionAuth non-static asset responses.
### Common Proxy Configurations
The community has provided a number of example configurations for different proxies. You can [view them in the GitHub repo](https://github.com/FusionAuth/fusionauth-contrib/tree/main/Reverse%20Proxy%20Configurations).
<Aside type="note">
If you are running version `1.41.0` or later, please make sure your proxy is using `HTTP/1.1` instead of `HTTP/1.0`. We do not support `HTTP/1.0` anymore.
We figured since it has been [supported since 1997](https://developer.mozilla.org/en-US/docs/Web/HTTP/Basics_of_HTTP/Evolution_of_HTTP), `HTTP/1.1` was a good option.
</Aside>
### Chaining Proxies
If needed, you can have multiple proxies for each request. This may be useful if one proxy handles custom domain names for tenants and another handles error pages.
<TwoProxyDiagram alt="A proxy configuration with multiple proxies." />
With this pattern, every proxy in the chain must have the same value for `X-Forwarded-Host`, the hostname of the initial proxy. The initial proxy is `Proxy 1` in the diagram above.
Doing so allows FusionAuth to set cookies and create redirects correctly.
However, `X-Forwarded-Server` should change as requests pass through each proxy.
### Proxies and Tenants
If you are running [multiple tenants](/docs/get-started/core-concepts/tenants) in FusionAuth, a proxy can be useful to add the tenant Id to all requests for a given domain or path. Clients use the domain without needing to know or care about the tenant they are interacting with.
Suppose we have with two tenants, Pied Piper and Hooli:
* Pied Piper has an endpoint at `piedpiper.example.com` and a FusionAuth tenant Id of `edfcf8d6-3044-4b5b-a52a-016f17f635d6`.
* Hooli has an endpoint at `hooli.example.com` and a FusionAuth tenant Id of `6fec7aed-cad3-45e0-bade-3c23cbeff070`.
When an API request comes in to `piedpiper.example.com`, the proxy can append an `X-FusionAuth-TenantId` header with the value `edfcf8d6-3044-4b5b-a52a-016f17f635d6`. And, when an API request comes in to `hooli.example.com`, the proxy can append an `X-FusionAuth-TenantId` header with the value `6fec7aed-cad3-45e0-bade-3c23cbeff070`.
When requesting the [hosted login pages](/docs/get-started/core-concepts/integration-points#hosted-login-pages), you can append a `tenantId` query string. Simply add `tenantId=edfcf8d6-3044-4b5b-a52a-016f17f635d6` for all requests to `piedpier.example.com`.
### Locking FusionAuth Down
You may want to allow access to FusionAuth only through the proxy to enhance a defense in depth strategy. There are a few options to do so:
* At the network level, using firewalls.
* Using FusionAuth's IP ACL feature (only available in the Enterprise plan).
In either case, disallow traffic to FusionAuth not originating from the proxy.
## Trusting Proxies
When running behind a proxy, FusionAuth uses the `X-Forwarded-For` header to resolve the client's IP address. To prevent man-in-the-middle attacks or IP spoofing via the `X-Forwarded-For` header, FusionAuth allows you to specify a list of trusted proxies. See the [networking configuration](/docs/operate/secure/networking) section for more information.
## Troubleshooting
<ProxyTroubleshooting />
## Proxying Requests From FusionAuth
This guide covers proxying requests *to* FusionAuth, in order to add a layer of indirection between your users and FusionAuth. The benefits are listed in [Why Use a Proxy](#why-use-a-proxy).
If you are self-hosting, you can also proxy requests *from* FusionAuth, such as [webhooks](/docs/extend/events-and-webhooks/) or [connector requests](/docs/lifecycle/migrate-users/connectors/). You can read more about that in the [Configuration Reference](/docs/reference/configuration). Look for the `proxy.*` configuration values. This functionality is not available in FusionAuth Cloud.
## FusionAuth Cloud Instances
The latest FusionAuth Cloud Instances will use [Server Name Indication (SNI)](https://en.wikipedia.org/wiki/Server_Name_Indication) to negotiate a TLS connection. If you are using a proxy in front of your FusionAuth instance, ensure it supports the use of SNI for TLS connections. Additionally, to allow for proper TLS certificate handling, the `Host` header should be set to the domain name of your FusionAuth instance (e.g. `example.fusionauth.io`).
## Limits
There are no limits on using a proxy with FusionAuth.
You can use a proxy with self-hosted FusionAuth or with FusionAuth Cloud.
When using a proxy with FusionAuth Cloud, ensure you have configured DDOS and other protections correctly at the proxy.
FusionAuth Cloud's built-in protection depends, in part, on receiving correct client IP addresses, but a proxy may mask or modify those and render this protection less effective.
# FusionAuth And Terraform
import Aside from 'src/components/Aside.astro';
import JSON from 'src/components/JSON.astro';
import {RemoteCode} from '@fusionauth/astro-components';
import TerraformLimitations from 'src/content/docs/operate/deploy/_terraform-limitations.mdx';
import InlineUIElement from 'src/components/InlineUIElement.astro';
## Overview
In this section you'll learn about the open source [FusionAuth Terraform provider](https://registry.terraform.io/providers/fusionauth/fusionauth/latest/), with which you will be able to manage FusionAuth using Terraform, an open source infrastructure as code automation tool.
Since it began as a community project, the provider is not as complete as the [client libraries](/docs/sdks), but it covers the majority of use cases. If you find yourself needing to manage an unsupported resource or configuration, please submit a PR to the [GitHub repository](https://github.com/fusionauth/terraform-provider-fusionauth). PRs are regularly reviewed and merged.
### Types Of Resources
In any FusionAuth system, there are three types of configuration information.
* Default object with configuration defined by FusionAuth. For example, the FusionAuth admin UI is represented as an Application inside FusionAuth's default Tenant.
* Objects managed by the application developer. Examples of these include any Applications other than the admin UI, Groups, Email Templates and more.
* Self-managed objects. The most common of these is user objects, when users can self-register.
Only the first two are good fits for management by an infrastructure as code tool like Terraform. And the first, since they cannot be created by Terraform, require special handling to import and manage.
## Prerequisites
In order to get the most value from this guide, you should have a running FusionAuth instance and the Terraform CLI installed. If you don't have these set up yet, please review the following documentation:
* The [FusionAuth 5 minute setup guide](/docs/quickstarts/5-minute-setup-guide) - get a FusionAuth instance running and integrated with an Express application. If you want to use a different technology, please check out [the quickstarts](/docs/quickstarts).
* The [Install Terraform](https://developer.hashicorp.com/terraform/tutorials/docker-get-started/install-cli) section in the [Get Started - Docker](https://developer.hashicorp.com/terraform/tutorials/docker-get-started) guide from Terraform walks you through installing the Terraform CLI.
This document has been tested with Terraform 1.5 but should work with any modern version.
You can download all of the terraform files in this guide in the [corresponding GitHub repository](https://github.com/fusionauth/fusionauth-example-terraform).
## Initial Setup
In this section, you initialize the Terraform working directory with a FusionAuth API key.
### The FusionAuth API Key
First, create an API key as described in [Managing API Keys](/docs/apis/authentication#managing-api-keys). Create a superuser key by not selecting any endpoint methods for the key. A super user API key has access to all API endpoints. If you want to limit the operations which can be performed by Terraform, limit the API key to specific endpoints. For this document, a super user API key is assumed.
Copy the key value before pressing the Save button.
If you wanted to set up the key automatically, use [Kickstart](/docs/get-started/download-and-install/development/kickstart) with a predefined API key. Then you can add this key as a secret in your automated deployment.
<JSON title="Example Kickstart File" src="kickstart/simplest-kickstart.json" />
### Initializing The Working Directory
With the API key from your FusionAuth instance, you need to initialize the Terraform working directory.
Create a new directory. Any name will do, but for consistency, it is suggested to name it after your FusionAuth instance host name.
```
mkdir auth.example.com
cd auth.example.com
```
You'll use Terraform variables, so create a `variables.tf` file with the following content to declare all the [Input Variables](https://developer.hashicorp.com/terraform/language/values/variables) used in this example.
<RemoteCode lang="hcl" title="Example Variables File" url="https://raw.githubusercontent.com/fusionauth/fusionauth-example-terraform/main/examples/import/variables.tf" />
<Aside type="caution">
For the `fusionauth_api_key` variable, the configuration option `sensitive = true` is set. This will prevent sensitive data being added to the Terraform state.
</Aside>
For the variable definitions, create a `terraform.tfvars` file with the following content and changes:
* Set the `fusionauth_api_key` variable to the value of the previously created API key.
* Set the `fusionauth_host` variable to the hostname of the FusionAuth instance you want to manage. Make sure this value is the full URL including the protocol of your FusionAuth instance. When using docker, this will typically be `http://localhost:9011`.
* The `fusionauth_default_tenant_id` variable can be omitted for now, but you'll update it later.
<RemoteCode lang="hcl" title="Example Variable Definitions" url="https://raw.githubusercontent.com/fusionauth/fusionauth-example-terraform/main/examples/import/terraform.tfvars" />
The variable definition with `terraform.tfvars` is only one option for setting these variables. Review the [Assigning Values to Root Module Variables](https://developer.hashicorp.com/terraform/language/values/variables#assigning-values-to-root-module-variables) documentation for more options.
Next, add the [FusionAuth Terraform Provider](https://registry.terraform.io/providers/fusionauth/fusionauth/latest) configuration in the directory by:
* Opening the [FusionAuth Terraform Provider Documentation](https://registry.terraform.io/providers/fusionauth/fusionauth/latest/docs).
* Clicking the <InlineUIElement>USE PROVIDER</InlineUIElement> button.
* Copying the HashiCorp Configuration Language (HCL) provided.
* Creating a Terraform configuration file named `main.tf`.
* Pasting the copied HCL into that file.
* Adding the previously created variable as `var.fusionauth_api_key` to the `provider` section
* Adding the FusionAuth instance you plan to manage with the `var.fusionauth_host` variable in the `provider` section
Here's a screenshot of the page.
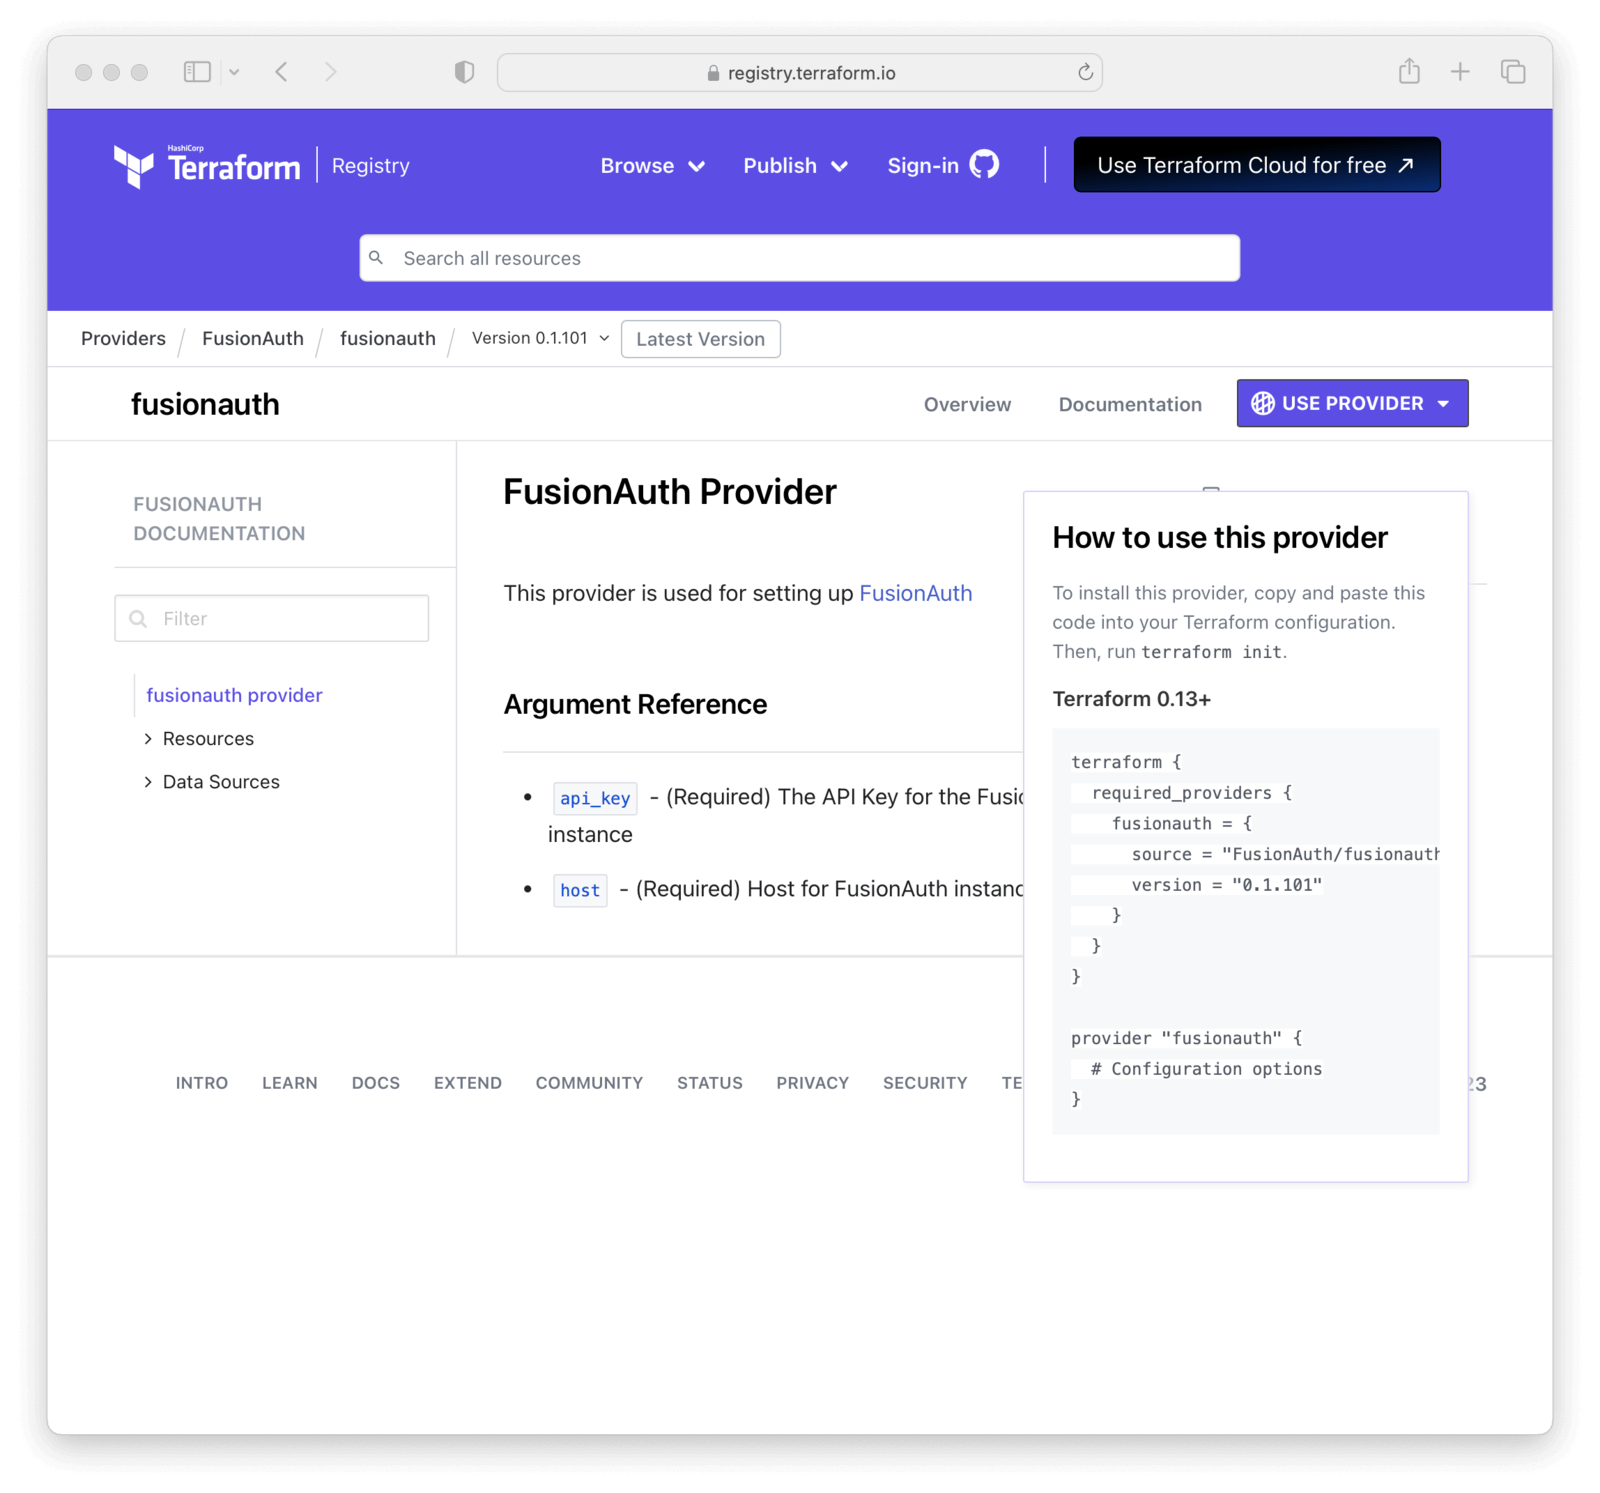
Here's what your `main.tf` file should look like at this point.
<RemoteCode lang="hcl" title="Example main.tf File" url="https://raw.githubusercontent.com/fusionauth/fusionauth-example-terraform/main/examples/import/main.tf" tags="terraformProvider" />
Finally, the following command prepares the current working directory for use with Terraform.
```shell
terraform init
```
It is always safe to run [`terraform init`](https://developer.hashicorp.com/terraform/cli/commands/init) multiple times, to bring the working directory up to date with changes in the configuration. Though subsequent runs may give errors, this command will never delete your existing configuration or state.
## Choosing A Configuration Strategy
Once you initialize the Terraform working directory, review different initial strategies to handle resource creation.
| Strategy | Advantages | Disadvantages |
| ---- | ---- | ---- |
| import | manage existing resources | some resources don't fully support the Terraform lifecycle |
| data source | reference existing resources without having to manage them | requires a external process to manage these resources |
| create | always create and be able to manage all resources through Terraform | bigger initial effort and default resources can't be managed |
## Importing Default Resources
Before you create, update, and remove resources with Terraform, let's examine the [Import](https://developer.hashicorp.com/terraform/language/import) and [Data Source](https://developer.hashicorp.com/terraform/language/data-sources) functionality.
There are [FusionAuth default configuration elements](/docs/get-started/core-concepts/limitations#default-configuration) present in every FusionAuth instance. If you want to manage changes to these elements via Terraform, you must tell Terraform about them. Or, if you have existing FusionAuth configuration you want to manage via Terraform, import it.
<Aside type="tip">
The most consistent method for managing FusionAuth is to create all resources through Terraform. However, you must use either `Import` or `Data Source` to handle default or existing FusionAuth configuration.
</Aside>
The FusionAuth default Tenant and default Application are two configuration elements that you will almost certainly want to manage via Terraform. There are others outlined in the [FusionAuth default configuration elements](/docs/get-started/core-concepts/limitations#default-configuration) that can be managed using the same methods described below.
### Importing Tenants
The default Tenant is created whenever you install FusionAuth. To manage it through Terraform, you must import this resource. The FusionAuth Application, which is the administrative user interface, is always in this Tenant.
<Aside type="tip">
While you can use the default Tenant for all your Applications, when using Terraform, it is easier to create your own Tenant and create Applications in that Tenant.
</Aside>
As outlined in the [Tenant Terraform Resource documentation](https://registry.terraform.io/providers/fusionauth/fusionauth/latest/docs/resources/tenant), add the following code to `main.tf`.
<RemoteCode lang="hcl" title="Default Tenant Import" url="https://raw.githubusercontent.com/fusionauth/fusionauth-example-terraform/main/examples/import/main.tf" tags="defaultTenantImport" />
To make things easier, you only have to update the first Id in the import section with the default Tenant Id. You can find this Id in the FusionAuth admin UI under "Tenants".
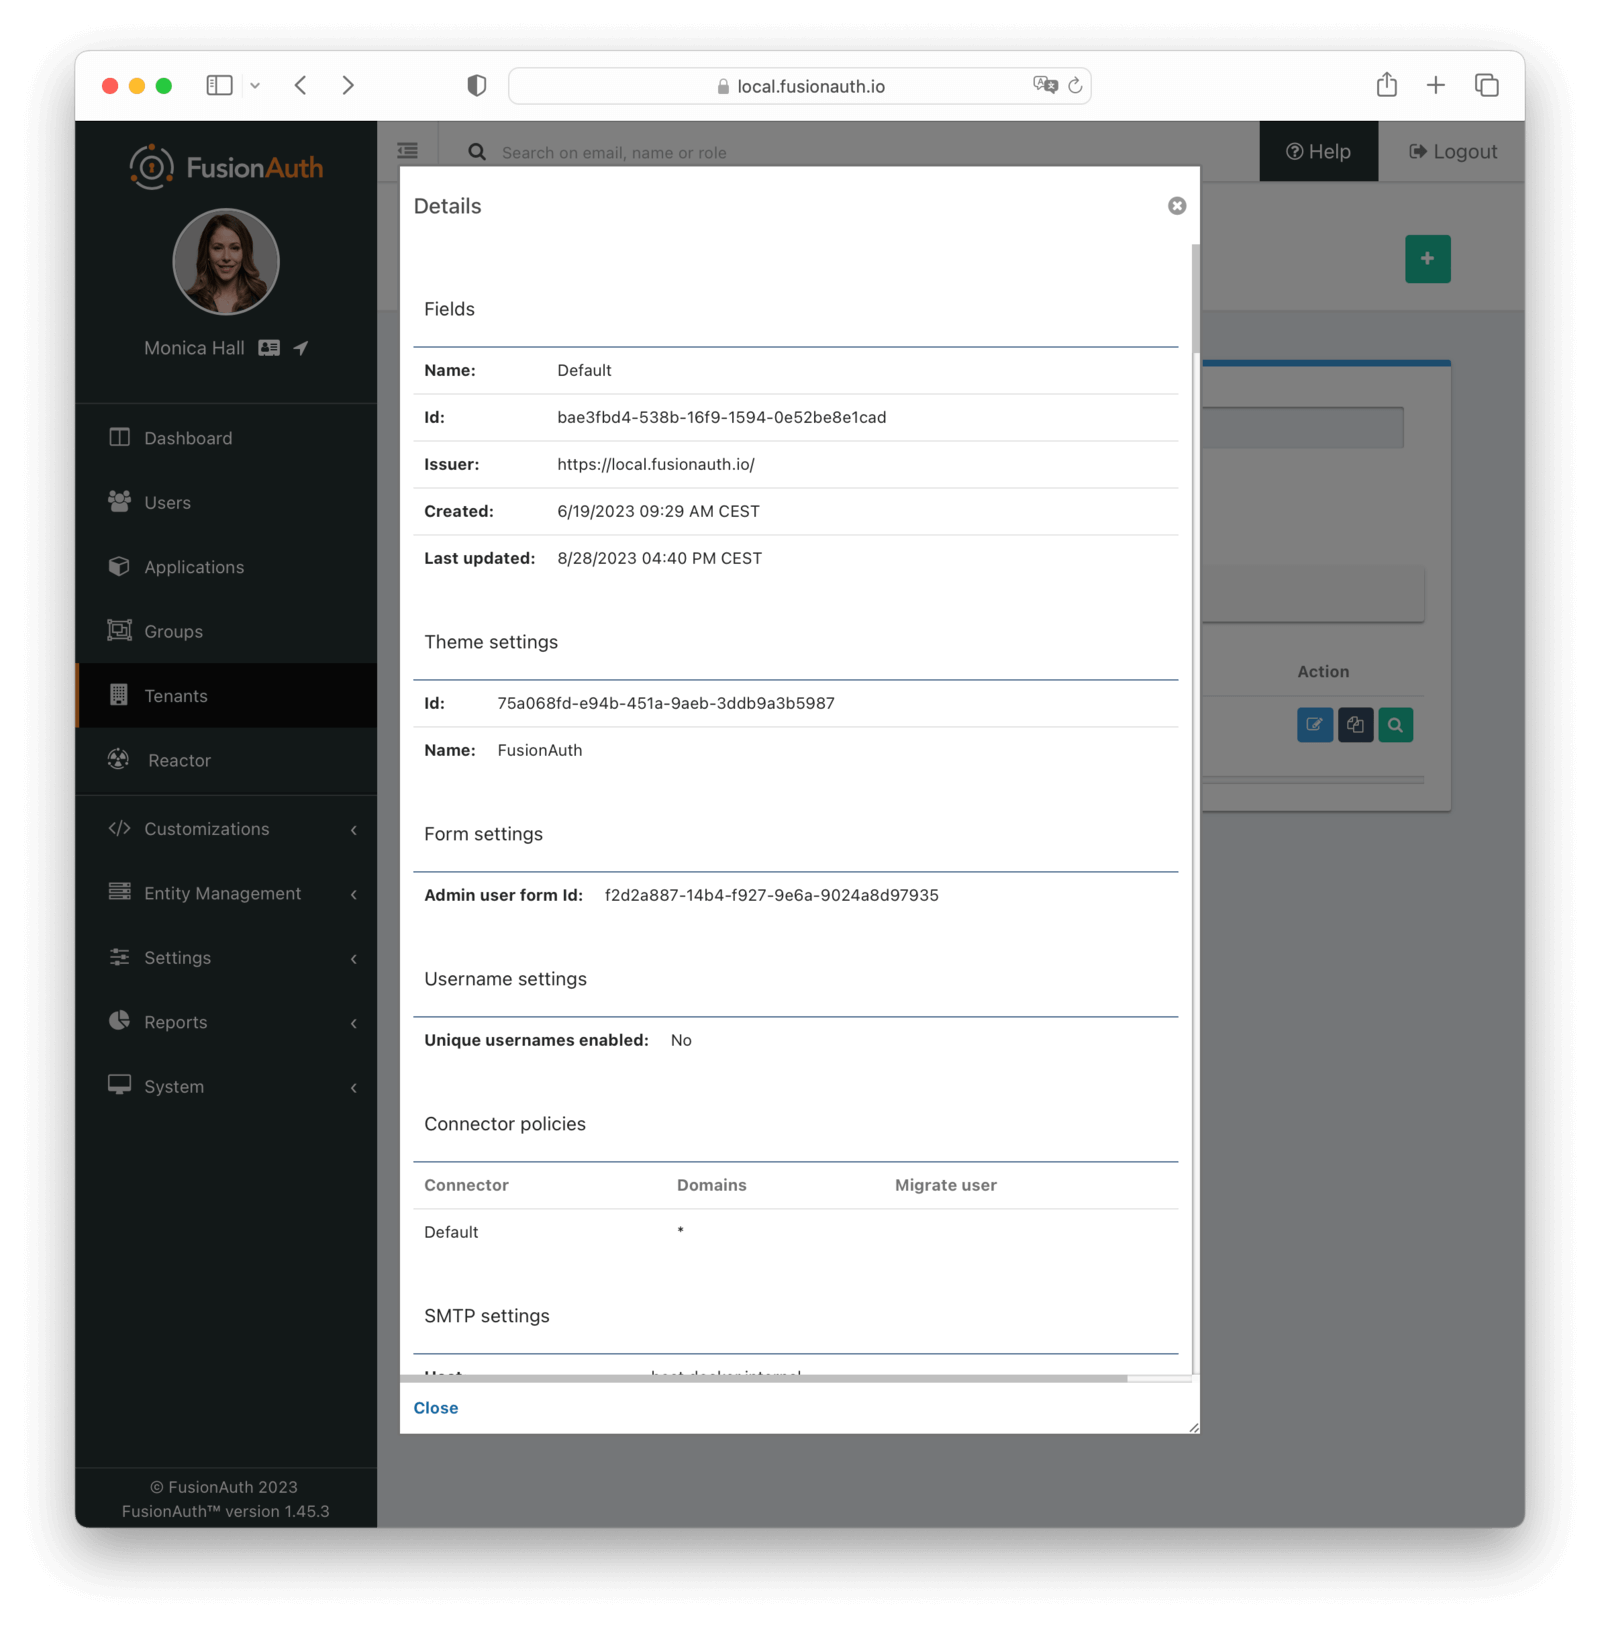
Replace the value `Replace-This-With-The-Existing-Default-Tenant-Id` with the Tenant's Id, for example `bafb4319-b7ca-ed27-fa2f-bbdba9d8ec06`.
All other UUID definitions are set to `00000000-0000-0000-0000-000000000000`. You'll find the correct values for the other Ids later. You can use this technique with any resource you want to import into Terraform.
Since you provided a valid Tenant Id, you can let Terraform find the other Ids by searching the plan output for in-place updates. Then update `main.tf` with those values. Do this by running `terraform plan`.
```shell
terraform plan | grep \~
```
Because of the way Terraform works, this plan suggests replacing the UUID definitions for configuration with `00000000-0000-0000-0000-000000000000`. You don't want to do that, you just used that value to find the **real** UUID values. So, copy the UUIDs to `main.tf` and replace each instance of `00000000-0000-0000-0000-000000000000` with the correct value.
Here is how the output of the `grep` command might look:
```plaintext
~ update in-place
~ resource "fusionauth_tenant" "Default" {
~ theme_id = "75a068fd-e94b-451a-9aeb-3ddb9a3b5987" -> "00000000-0000-0000-0000-000000000000"
~ email_configuration {
~ jwt_configuration {
~ access_token_key_id = "a39be146-51cb-0288-7806-6eb6c066aed3" -> "00000000-0000-0000-0000-000000000000"
~ id_token_key_id = "092dbedc-30af-4149-9c61-b578f2c72f59" -> "00000000-0000-0000-0000-000000000000"
```
Make sure you copy all those Id's from your output to the `main.tf` file. For example, modify `jwt_configuration` to look like
```hcl
jwt_configuration {
refresh_token_time_to_live_in_minutes = 43200
time_to_live_in_seconds = 3600
refresh_token_revocation_policy_on_login_prevented = true
refresh_token_revocation_policy_on_password_change = true
access_token_key_id = "a39be146-51cb-0288-7806-6eb6c066aed3"
id_token_key_id = "092dbedc-30af-4149-9c61-b578f2c72f59"
}
```
Once appended run [`terraform plan`](https://developer.hashicorp.com/terraform/cli/commands/plan) to check the validity of your configuration. If there is no output, that indicates that the remote FusionAuth configuration and the `main.tf` file are in sync.
<Aside type="tip">
The above configuration is subject to change either due to changes made using the admin UI or version differences. New tenant configuration defaults may be added over time. Carefully check the `terraform plan` output to make sure the imported configuration matches the values in FusionAuth.
</Aside>
When the plan is valid, run [`terraform apply`](https://developer.hashicorp.com/terraform/cli/commands/apply).
```shell
terraform plan
terraform apply
```
You can take the same steps with the FusionAuth Application to import its default configuration into Terraform.
<Aside type="caution">
Once imported, Terraform tracks the Tenant object in your state file. You can then manage the imported resource in the same way as others.
You can't destroy the default Tenant or FusionAuth Application. Attempting to do so will break your Terraform state. See the [Prevent Destroy section](#prevent-destroy) for more details.
</Aside>
Leave the import block in your `main.tf` file as a record of the resource's origin. The import block records that Terraform imported the resource and didn't create it.
## Using Data Sources
Instead of importing a resource, you can use a `Data Source`. The list of supported FusionAuth data sources is in the [Terraform Provider documentation](https://registry.terraform.io/providers/fusionauth/fusionauth/latest/docs).
Data sources are useful if you choose to manage the default Tenant and FusionAuth Application outside of Terraform, either manually or via a script using the [client libraries](/docs/sdks/), but you still need to reference the Tenant or Application. Examples of this include:
* adding Applications in the default Tenant
* associating a JWT signing key with the FusionAuth Application
* setting up an IP ACL to limit access to the FusionAuth Application
Review the [tenant](https://registry.terraform.io/providers/fusionauth/fusionauth/latest/docs/data-sources/tenant) and [application](https://registry.terraform.io/providers/fusionauth/fusionauth/latest/docs/data-sources/application) data source documentation to learn more.
Here's an example of how you might add data sources to your Terraform file:
<RemoteCode lang="hcl" title="A Data Source For The default Tenant" url="https://raw.githubusercontent.com/fusionauth/fusionauth-example-terraform/main/examples/data-source/main.tf" tags="defaultTenantDataSource" />
<RemoteCode lang="hcl" title="A Data Source For The FusionAuth Application" url="https://raw.githubusercontent.com/fusionauth/fusionauth-example-terraform/main/examples/data-source/main.tf" tags="defaultApplicationDataSource" />
<Aside type="tip">
If you manage the default Tenant and FusionAuth Application outside of Terraform but want specific actions (scripts, API calls, etc.) integrated and triggered by your Terraform configuration, you could use [Provisioners](https://developer.hashicorp.com/terraform/language/resources/provisioners/syntax). Terraform includes the concept of provisioners as a measure of pragmatism and last resort since provisioners are non-declarative and potentially unpredictable.
</Aside>
Now that you've configured Terraform to handle some of FusionAuth's default configuration elements, let's walk through creating, updating, and removing other resources.
## Creating Resources
To create a new resource review the list of resources available to you in the [FusionAuth Terraform Provider documentation](https://registry.terraform.io/providers/fusionauth/fusionauth/latest/docs). Pick the resource you're interested in. Each resource contains information about required and optional arguments.
For this example, you'll create the following:
* A new Tenant called `Forum`.
* An Application in that Tenant, also called `Forum`.
* Two roles for that Application, `admin` and `user`.
* A token signing key for that Application.
* Email templates for password emails that will be assigned to the Tenant.
### Variables
You'll need to update `variables.tf` to include additional variables.
<RemoteCode lang="hcl" title="Forum Variable" url="https://raw.githubusercontent.com/FusionAuth/fusionauth-example-terraform/main/examples/create/variables.tf" />
The `fusionauth_default_theme_id` is another constant value across all FusionAuth instances. If you imported or added the default Tenant as a data source, you could also reference the theme Id via that object.
Next, update the `terraform.tfvars` with customizations of those values. It should look similar to the below file, but you'll need to update it.
<RemoteCode lang="hcl" title="Forum Variable Definitions" url="https://raw.githubusercontent.com/FusionAuth/fusionauth-example-terraform/main/examples/create/terraform.tfvars" />
* Set the `fusionauth_api_key` variable to the value of the previously created API key.
* Set the `fusionauth_host` variable to the hostname of the FusionAuth instance you want to manage. Make sure this value is the full URL including the protocol of your FusionAuth instance. When using docker, this will typically be `http://localhost:9011`.
* The `fusionauth_default_tenant_id` variable should be the UUID of the default Tenant.
### The Terraform File
Next, update the `main.tf` file.
If you haven't worked through the prerequisites above, make sure you add the `required_providers` and `provider` sections.
<RemoteCode lang="hcl" title="main.tf Initial Sections" url="https://raw.githubusercontent.com/fusionauth/fusionauth-example-terraform/main/examples/import/main.tf" tags="terraformProvider" />
Then, configure the `Forum` Tenant; this Tenant will contain users and applications.
<RemoteCode lang="hcl" title="Creating A Forum Tenant" url="https://raw.githubusercontent.com/fusionauth/fusionauth-example-terraform/main/examples/create/main.tf" tags="createForumTenant" />
Then, configure the signing key. This will be used to sign access tokens for the `Forum` Application.
<RemoteCode lang="hcl" title="Creating A Signing Key" url="https://raw.githubusercontent.com/fusionauth/fusionauth-example-terraform/main/examples/create/main.tf" tags="createKey" />
Next, set up the email templates. Because email templates can be long, use the [`file()` function](https://developer.hashicorp.com/terraform/language/functions/file). You'll need to create files in the `email_templates` directory and give them the same names. Terraform will import these files.
<RemoteCode lang="hcl" title="Creating An Email Template" url="https://raw.githubusercontent.com/fusionauth/fusionauth-example-terraform/main/examples/create/main.tf" tags="createEmailTemplate" />
While the values of the email templates don't matter for this guide, you can find [sample files in the GitHub repository](https://github.com/FusionAuth/fusionauth-example-terraform/tree/main/examples/create/email_templates).
Now, create the Application in the Tenant. This configuration represents what users actually log in to.
<RemoteCode lang="hcl" title="Creating A Forum Application In The Forum Tenant" url="https://raw.githubusercontent.com/fusionauth/fusionauth-example-terraform/main/examples/create/main.tf" tags="createForumApplication" />
Create the roles for the Application. These roles will be used by the `Forum` Application.
<RemoteCode lang="hcl" title="Creating Roles In The Forum Application" url="https://raw.githubusercontent.com/fusionauth/fusionauth-example-terraform/main/examples/create/main.tf" tags="createForumApplicationRoles" />
Finally, get the plan.
```shell
terraform plan
```
Once you're happy with your configuration run `terraform plan`. If you aren't experiencing errors and are ok with the planned changes, run `terraform apply`.
### Where Are The Users?
As mentioned above, Terraform is great for configuring and tracking changes of relatively slow-changing aspects of systems.
With FusionAuth, users typically self-register or are managed dynamically using API calls. Using Terraform to manage them doesn't make much sense.
Instead, turn on [self-service registration](/docs/lifecycle/register-users/basic-registration-forms), create them [using the User API](/docs/apis/users), or [migrate your users](/docs/lifecycle/migrate-users/).
## Updating Resources
Once a resource is managed by Terraform, you can change the `main.tf` or other Terraform files according to the [Terraform Provider Documentation](https://registry.terraform.io/providers/fusionauth/fusionauth/latest/docs/).
You might decide you want to change the `time_to_live_in_seconds` value for your JWT configuration from `3600` to `1800` seconds. If so, update the configuration element to look something like this:
```hcl
jwt_configuration {
refresh_token_time_to_live_in_minutes = 43200
time_to_live_in_seconds = 1800
}
```
After you're done with editing the Terraform file, run `terraform plan` to check the planned changes. Review and fix any errors. Terraform will show you what it will change.
```plaintext
Terraform will perform the following actions:
# fusionauth_tenant.forum will be updated in-place
~ resource "fusionauth_tenant" "forum" {
id = "ef1f5235-82de-4a2a-b103-4d130fa5f5f2"
name = "Forum"
# (7 unchanged attributes hidden)
~ jwt_configuration {
~ time_to_live_in_seconds = 3600 -> 1800
```
After review, run `terraform apply`.
If you want to know what already has been defined by Terraform but is not specified in your `.tf` files you can run `terraform show`.
The configuration file can get very large. If you want to show specific resources, list all resources with the `terraform state list` command. Then examine the resource state with `terraform state show <resource-name>`.
### Ignoring Changes
Every time you make changes it is possible that configuration has been updated in your FusionAuth instance manually or via API. While it is best to lock down access so every change runs through Terraform, this isn't always possible.
You can either align your configuration with the installation or decide to [`ignore_changes`](https://developer.hashicorp.com/terraform/language/meta-arguments/lifecycle#ignore_changes) in your configuration.
Here is an example with FusionAuth resources. Imagine a situation where a business web or mobile app adds data to a FusionAuth Application's `data` field. For example, the app could update the configuration with a curl command to add a `productOwner` or other data.
<RemoteCode lang="shell" title="Example Script To Modify An Application" url="https://raw.githubusercontent.com/fusionauth/fusionauth-example-terraform/main/scripts/fusionauth-application-data/script.sh" />
<RemoteCode lang="json" title="JSON To Patch An Application" url="https://raw.githubusercontent.com/fusionauth/fusionauth-example-terraform/main/scripts/fusionauth-application-data/patch.json" />
You will see in the `terraform plan` output that Terraform wants to revert the Application back to the original state.
```plaintext
Terraform used the selected providers to generate the following execution plan. Resource actions are indicated with the following symbols:
~ update in-place
Terraform will perform the following actions:
# fusionauth_application.forum will be updated in-place
~ resource "fusionauth_application" "forum" {
~ data = {
- "externalApplication" = "Acme. Customer Support Forum" -> null
- "productOwner" = "john@acme.com" -> null
- "supportHotline" = "+1-636-555-3226" -> null
}
id = "7acaec93-edd4-49a1-82db-602fe8dda23f"
name = "forum"
# (12 unchanged attributes hidden)
# (5 unchanged blocks hidden)
}
Plan: 0 to add, 1 to change, 0 to destroy.
```
To prevent Terraform from doing this, use `ignore_changes` to tell Terraform to ignore parts of your configuration.
```hcl
resource "fusionauth_application" "forum" {
tenant_id = fusionauth_tenant.forum.id
name = "forum"
lifecycle {
ignore_changes = [
data
]
}
}
```
If you're only interested in creating and destroying resources, rather than updating them, you can ignore all changes:
```hcl
lifecycle {
ignore_changes = all
}
```
## Removing Resources
If you want to remove a resource, comment out or delete the lines defining the resource in your Terraform files. Run `terraform plan` to double check what will be removed. Then run `terraform apply`, which will destroy the resource.
<Aside type="caution">
If you run [`terraform destroy`](https://developer.hashicorp.com/terraform/cli/commands/destroy), be aware that all Terraform managed resources will be destroyed.
Deleting a Tenant removes all the associated Applications, Groups, and Users. If you want to make sure that the Tenant isn't destroyed, see [Prevent Destroy](#prevent-destroy) for more details.
</Aside>
### Prevent Destroy
If you want to make sure that certain resources aren't destroyed, specify the [prevent_destroy](https://developer.hashicorp.com/terraform/language/meta-arguments/lifecycle#prevent_destroy) lifecycle meta-argument as a measure of safety against the accidental replacement of objects that may be costly or impossible to reproduce. However, using this argument makes certain configuration changes impossible to apply.
```hcl
lifecycle {
prevent_destroy = true
}
```
A good example of an element to apply `prevent_destroy` to would be a Tenant currently in use. Deleting a Tenant removes all the associated Applications, Groups, and Users. Below, notice that the `Forum` Tenant can't be destroyed.
<RemoteCode lang="hcl" title="Creating A Forum Tenant" url="https://raw.githubusercontent.com/fusionauth/fusionauth-example-terraform/main/examples/create/main.tf" tags="createForumTenant" />
You should always apply the `prevent_destroy` same meta-argument for Terraform managed non-deletable resources like the default Tenant and the FusionAuth Application, since Terraform can't delete these anyway.
<RemoteCode lang="hcl" title="Default Tenant Import" url="https://raw.githubusercontent.com/fusionauth/fusionauth-example-terraform/main/examples/import/main.tf" tags="defaultApplicationImport" />
## FusionAuth And OpenTofu
The FusionAuth Terraform provider should work fine with OpenTofu as long as OpenTofu remains compatible with Terraform. If you notice any differences, please open a [GitHub issue](https://github.com/FusionAuth/terraform-provider-fusionauth).
## Limitations
<TerraformLimitations />
# Upgrade FusionAuth
import Aside from 'src/components/Aside.astro';
import ClientLibraryVersioning from 'src/content/docs/operate/deploy/_client-library-versioning.mdx';
import RuntimeModes from 'src/content/docs/get-started/download-and-install/_modes.mdx';
import ThemeUpgrade from 'src/content/docs/customize/look-and-feel/_theme-upgrade.mdx';
import TroubleshootingUninstallUpgradeReinstallRpm from 'src/content/docs/_shared/_troubleshooting-uninstall-upgrade-reinstall-rpm.mdx';
import UpgradeUsingDocker from 'src/content/docs/_shared/_upgrade-using-docker.mdx';
import UpgradeUsingBrew from 'src/content/docs/_shared/_upgrade-using-brew.mdx';
If you're considering upgrading FusionAuth, this document will help you understand the upgrade process and how to plan for it. It also covers detailed instructions on how to upgrade FusionAuth on various platforms and distributions.
Topics covered in this document:
## When to Upgrade
### Reasons To Upgrade
Upgrading to a newer version of FusionAuth can provide the following benefits:
* Access to new features and improvements.
* Improved performance and stability.
* Critical security updates and patches.
### Reasons Not To Upgrade
You might want to delay upgrading in the following situations:
* Your current version meets all your requirements.
* You are in the middle of a project or have tight deadlines.
* You have concerns about compatibility with customizations or third-party integrations.
### Being Aware of Upgrade Options
You can stay informed about new FusionAuth releases and updates by:
* Signing up for [release notifications](/docs/operate/roadmap/releases#release-notifications).
* Monitoring the [release notes](/docs/release-notes/).
* Joining the [FusionAuth community](/community) forum and/or Slack.
* Following FusionAuth on social media platforms, including [Twitter](https://twitter.com/FusionAuth) and [LinkedIn](https://www.linkedin.com/company/fusionauth).
* Monitoring the [FusionAuth Issues GitHub repository](https://github.com/FusionAuth/fusionauth-issues/issues).
## How to Think About Upgrades
Before upgrading FusionAuth, there are a number of things to consider. Upgrading FusionAuth is similar to upgrading a library your application depends on. Go through each of the points below to see if any of them apply to your situation.
### Version Changes and Notes
Read the [release notes](/docs/release-notes/). Release notes help you understand how a version update affects your systems.
The FusionAuth team strives to provide detailed information for every change in every version, including tying the change back to a GitHub issue. The release notes include details on new features, improvements, workarounds, bug fixes, and potential breaking changes.
### Testing
Before starting the upgrade process on production, test the upgrade in a staging or development environment to identify potential issues. This is particularly important for upgrades involving multiple version jumps or a FusionAuth instance that has been heavily customized.
### Downtime and Database Migrations
Plan for any downtime or maintenance windows required for the upgrade. If changes to the database schema are required, required data migrations could lead to downtime that affects end users. Such changes are always noted in the release notes. (Read the release notes carefully.) An upgrade without a schema change, on the other hand, may not require any downtime from an end-user perspective.
FusionAuth can perform database migrations automatically and silently using a process called [Silent Mode](/docs/get-started/download-and-install/silent-mode).
If you want to run the database migrations interactively or with other tooling, you can run any needed scripts out of band (meaning directly on the database yourself). The general process would be to:
- Remove all server nodes from a load balancer/proxy.
- Run the database migration scripts.
- Add all server nodes back to the load balancer/proxy.
<Aside type="note">
You should always back up your database before upgrading. Doing so gives you the ability to roll back.
</Aside>
The timing of the database upgrade is also important to note. When an upgraded node is started and connects to the database, it will lock the database immediately if configured for [Silent Mode](/docs/get-started/download-and-install/silent-mode) and the database requires upgrading. Silent Mode is an optional runtime mode that can automatically handle upgrades on startup. This means that the database will be unavailable to other nodes in the cluster until the upgrade is complete. Learn more about the different runtime modes and how they affect database upgrades in the [Upgrade FAQs](#upgrade-faqs) section below.
### Connected Applications and Client Libraries
A FusionAuth upgrade might mean that you need to upgrade your client libraries too. Check if this is needed before upgrading, as it will entail a more complex upgrade process and may require downtime from other components of a your system.
In general, client libraries are forward-compatible, but any issues will be noted in the release notes. (Read the release notes carefully.)
If you are using an OIDC compatible library in your application to log your users in, it is unlikely that this integration would require modification, but test it in a non-production environment to make sure.
#### Client Library Versioning
<ClientLibraryVersioning />
### Skipping Versions
Sometimes, you will want to upgrade to a FusionAuth version that is multiple minor versions ahead of your current version. For example, you might want to upgrade from version 1.43.0 to 1.45.0. This is called a "version jump." FusionAuth can run all the necessary database migrations to get you to the latest version, or you can apply the database migrations yourself.
To determine if you can perform a version jump, you should review the [release notes](/docs/release-notes/) carefully. If the releases focus on bug fixes and minor improvements, you can probably perform a version jump safely. Version jumping across patch versions, for example from 1.43.0 to 1.43.3, is usually safe.
The alternative to a version jump is to migrate and test at each version of FusionAuth. This is a good option because if there are any issues, you'll be able to know precisely which version of FusionAuth is problematic. It's a great option if you have automated tests that can exercise FusionAuth integrations.
Whichever approach you take, you should always test the upgrade in a staging environment to identify potential issues. This is particularly important on more complex upgrades where you are moving between distant minor versions (from 1.22.0 to 1.43.0, for example) or if you have made customizations to FusionAuth. We recommend that the staging environment be as close as possible to your production environment. This includes using the same data, or at least the same data volume, as production. This enables you to test both functionality changes and data update performance times before committing to the upgrade on production.
### Updating Configuration
Review the release notes to verify if the new version has any new configuration options with defaults that affect your installation.
There are a number of options for managing the configuration of your FusionAuth instance over time and promoting changes from one environment to another. This includes changes from one version to another.
Configuration management options include:
- Scripting changes using a client library.
- Terraform.
- Pulumi.
- Manual configuration via the UI.
You can read more in [the Configuration Management guide](/docs/operate/deploy/configuration-management).
## Updating Your Theme
<ThemeUpgrade />
## Upgrade Options
<Aside type="caution">
Maintenance Mode should never be used in production. You don't want your end users to be prompted to update a database, which is what Maintenance Mode does.
You should always back up your database before upgrading regardless of the upgrade method you choose.
</Aside>
For each of the options below, FusionAuth is running any database migrations. However, you can also stop all nodes and run the database migration SQL statements yourself, rather than relying on FusionAuth to run them. See [Downtime and Database Migrations](#downtime-and-database-migrations) for more.
### Easiest Route
The easiest upgrade route is to simply stop all your services, upgrade each FusionAuth node, and then bring it all back online. In this case, FusionAuth will be performing the database upgrade, if needed, when the first node connects to the database.
This is a good option for development instances or non-production systems such as QA.
This is also a good option for systems that can tolerate longer periods of downtime. For instance, if you know you have near-zero user activity at midnight, you can upgrade then. If you have scheduled downtime for other components of your system, that is a good time to upgrade FusionAuth in this manner.
If minimizing downtime is a goal, then rolling upgrades or a blue-green deployment might be more suitable.
### Rolling Upgrade
You can perform a rolling upgrade if you have multiple FusionAuth nodes running behind a load balancer. The nodes are upgraded one at a time, and the load balancer is configured to direct traffic to the upgraded nodes as they become available for use. This allows you to upgrade FusionAuth with minimal downtime.
<Aside type="note">
This upgrade method requires a load balancer and multiple FusionAuth nodes.
</Aside>
Because individual nodes are taken offline during the rolling upgrade, the capacity of your installation is reduced during the upgrade.
You can choose to run in-place upgrades on each node or to replace each node with a new node running the latest version of FusionAuth. In-place upgrades are simpler and faster because you don't have to spin up a new server, but if something goes wrong, rolling back the upgrade is more complex. Replacing nodes may be slower, but if something goes wrong, you can revert to the previous version of FusionAuth by pointing the load balancer to the old nodes.
An in-place rolling upgrade procedure for a three node cluster might look like this:
1. Stop the first node and remove it from the load balancer.
2. Upgrade FusionAuth on the first node.
3. Start FusionAuth on the upgraded node.
4. The upgraded node will perform required database migrations.*
5. Add the first node back to the load balancer.
6. Remove the second and third nodes from the load balancer
7. Stop the second and third nodes.
8. Upgrade the second and third nodes.
9. Start the second and third nodes.
10. Add the second and third nodes back to the load balancer.
* The FusionAuth instance on the upgraded node will lock the database and own it while the database upgrade is completed. Note that there will be a schema mismatch between the first node and the other nodes, so the other nodes may give errors while the first node is being upgraded. The nature of these errors depends on the code paths being updated as well as how users interact with the system. *Errors should be minimal for core login functionality.*
Downtime for this upgrade method is limited to the time it takes the first node to run the database migration. There will be limited capacity while the second and third nodes are upgrading, but the system will be available for use for most of the upgrade process.
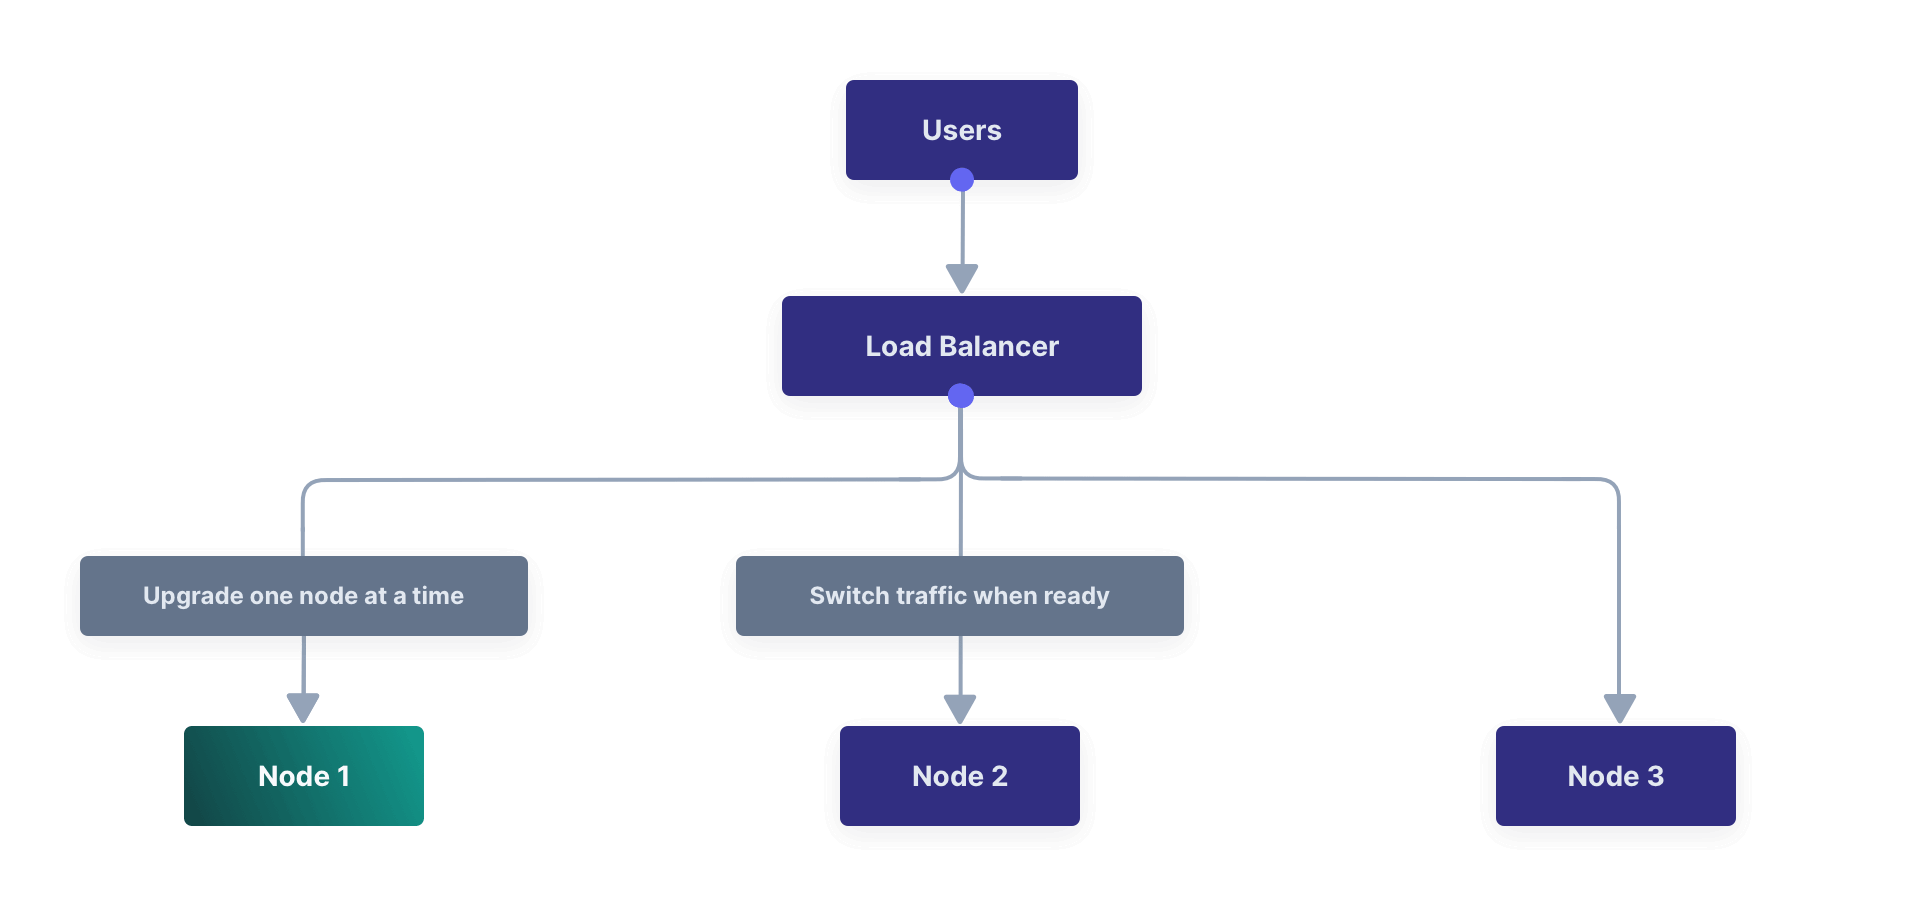
### Blue-Green Deployment
A blue-green deployment is a technique that reduces downtime and risk by running two identical environments in parallel. A load balancer is used to direct traffic to one of the environments. Using a blue-green deployment isolates the upgrade process from the existing production servers, reducing the impact and risk compared to a rolling upgrade.
<Aside type="note">
This upgrade method requires a load balancer and multiple FusionAuth nodes.
</Aside>
To perform a blue-green deployment with a three node cluster, follow these steps.
1. Create three new nodes with the new version of FusionAuth.
2. Start FusionAuth on one of the new nodes.
3. The new node will perform required database migrations.*
4. Add the new nodes to the load balancer.
5. Remove the old nodes from the load balancer.
* The FusionAuth instance on the upgraded node will lock the database and own it while the database upgrade is completed. Note that there will be a schema mismatch between the first node and the other nodes, so the other nodes may give errors while the first node is being upgraded. The nature of these errors depends on the code paths being updated as well as how users interact with the system. *Errors should be minimal for core login functionality.*
Downtime for this upgrade method is limited to the time it takes the first node to run the database migration, and the system will be back online at full capacity with the upgraded version of FusionAuth on the new nodes immediately following the migration.
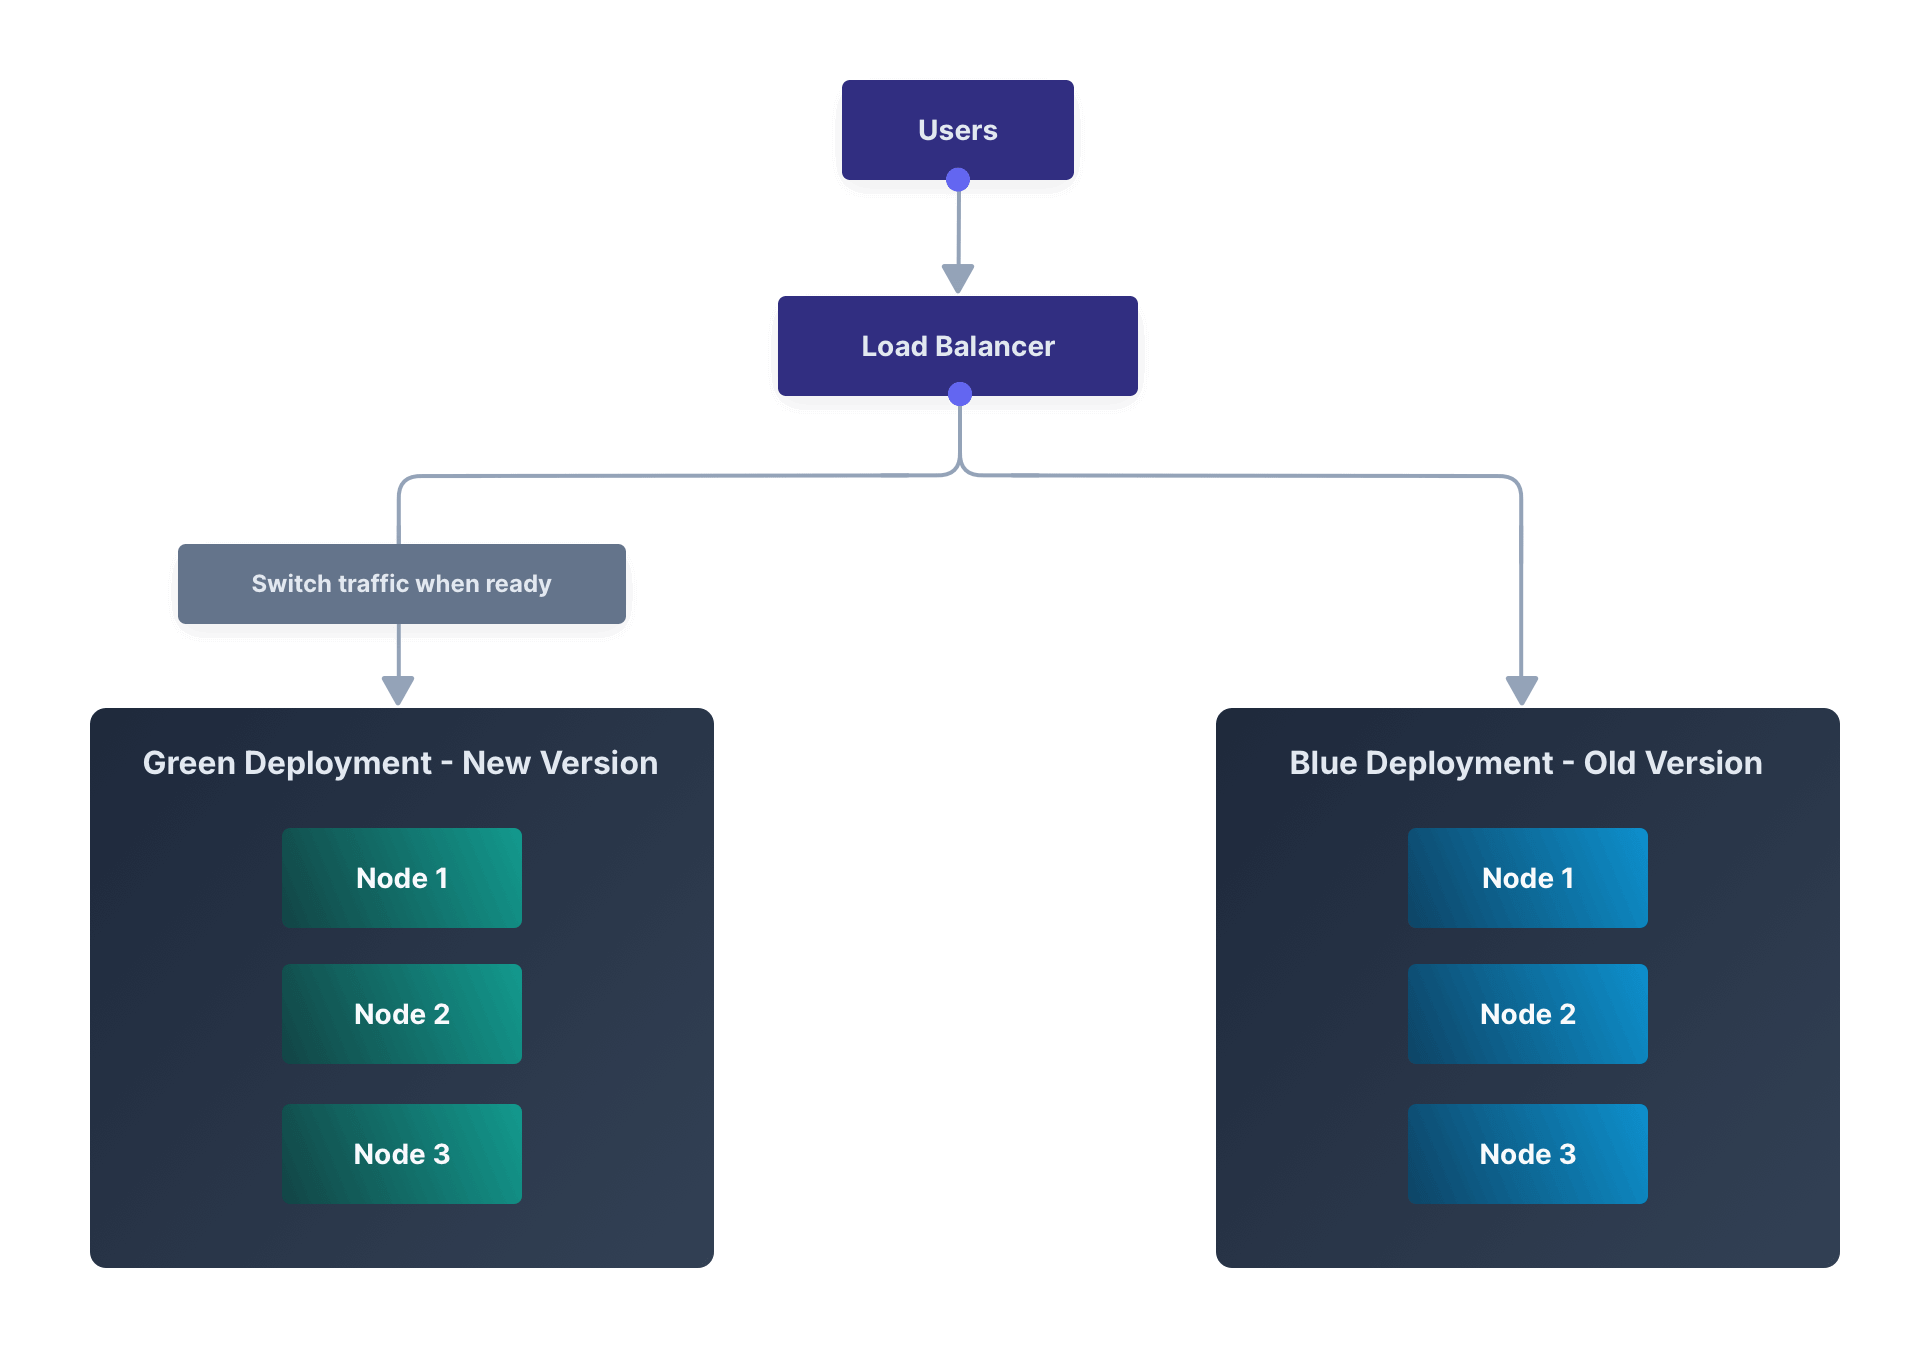
### Out-of-Band Database Upgrades
FusionAuth can handle database migrations automatically using [Silent Mode](/docs/get-started/download-and-install/silent-mode). FusionAuth can also handle updates interactively on development environments using [Maintenance Mode](/docs/get-started/download-and-install/fusionauth-app#maintenance-mode).
In production you may want to perform the database migration yourself rather than allow FusionAuth to do so. This is also known as an out-of-band upgrade. This is useful if you want to perform the database migration in a way that minimizes downtime or as part of a larger automated or coordinated upgrade process. Performing the database migration involves running SQL scripts to update the database schema.
Depending on your current version and the new version you will be updating to, you might need to execute one or more SQL scripts to update your database. These scripts are located in the migrations folder in the Database Schema ZIP file, which you can download from the [Direct Downloads](/direct-download) page.
<Aside type="caution">
When upgrading your database from a previous version, be sure to only run the scripts located in the `migrations` folder. The base files
`mysql.sql` and `postgresql.sql` should only be used during a clean installation when no database schema is present.
</Aside>
Find the FusionAuth migrations in the Database Schema ZIP file. Run them in order, starting with the first migration greater than your current FusionAuth version, and ending with the version that is less than or equal to the target upgrade version.
For example, if upgrading from version `1.19.1` to `1.22.0`, run the following SQL migrations in this order:
* `1.20.0.sql`
* `1.21.0.sql`
* `1.22.0.sql`
```
fusionauth-database-schema/
|-- migrations/
|-- [mysql | postgresql]/
|-- 1.1.0.sql
|-- 1.2.0.sql
|-- 1.3.0.sql
|-- 1.3.1.sql
|-- 1.5.0.sql
|-- 1.6.0.sql
|-- 1.7.0.sql
|-- 1.7.1.sql
|-- 1.8.0-RC.1.sql
|-- 1.8.1-RC.1.sql
|-- 1.11.0.sql
|-- 1.12.0.sql
|-- 1.13.0.sql
|-- 1.14.0.sql
|-- 1.15.0.sql
|-- 1.15.3.sql
|-- 1.16.0-RC.1.sql
|-- 1.16.0.sql
|-- 1.17.0.sql
|-- 1.17.3.sql
|-- 1.18.0.sql
|-- 1.18.2.sql
|-- 1.19.0.sql
|-- 1.20.0.sql
|-- 1.21.0.sql
|-- 1.22.0.sql
|-- 1.23.0.sql
|-- 1.25.0.sql
|-- 1.26.0.sql
|-- 1.27.0.sql
|-- 1.28.0.sql
|-- 1.28.1.sql
|-- 1.29.1.sql
|-- 1.30.0.sql
|-- 1.30.1.sql
|-- 1.30.2.sql
|-- 1.32.0.sql
|-- 1.33.0.sql
|-- 1.35.0.sql
|-- 1.36.0.sql
|-- 1.37.0.sql
|-- 1.40.1.sql
|-- 1.41.0.sql
|-- 1.43.0.sql
|-- 1.44.0.sql
|-- 1.45.2.sql
|-- 1.46.0.sql
|-- 1.47.0.sql
|-- 1.48.0.sql
|-- 1.48.1.sql
|-- 1.49.0.sql
|-- 1.50.0.sql
|-- 1.50.1.sql
|-- 1.51.0.sql
|-- 1.53.0.sql
|-- 1.54.0.sql
|-- 1.55.0.sql
|-- 1.55.1.sql
|-- 1.56.0.sql
|-- 1.57.0.sql
|-- 1.58.0.sql
|-- 1.58.1.sql
|-- 1.59.0.sql
|-- 1.62.0.sql
```
## Rolling Back an Upgrade
If your upgrade is unsuccessful or causes unexpected issues, you may need to roll back your FusionAuth instance to a previous version.
Here are the steps for initiating a rollback:
1. Stop your FusionAuth instances.
2. Initiate the process to restore from the database backup taken prior to starting the upgrade.
3. Redeploy FusionAuth using your previous version. How you do this will depend on your deployment method.
If you are running a FusionAuth Cloud deployment, you can find instructions for rolling back an upgrade here: [Rolling Back From a Problematic Upgrade](/docs/get-started/run-in-the-cloud/cloud#rolling-back-from-a-problematic-upgrade).
It's important to consider the timing implications of a rollback or any disaster recovery process. RTO, or Recovery Time Objective, is the targeted period time within which a service should be restored after an outage to avoid unacceptable consequences. Simply put, it is how long you can afford to be without the service or system before it severely impacts your business. It represents the goal for the time taken to recover from failure.
RPO, or Recovery Point Objective, on the other hand, refers to the maximum tolerable amount of data loss measured in time. Determine RPO by looking at the time of the last backup you need to restore from and the restore time.
In the context of a FusionAuth upgrade rollback, the RPO would be the time since the last backup before the upgrade, and the RTO would be the time it takes to stand up the older version of the system and restore the database.
The RPO effectively measures the maximum tolerable data loss in the event of a rollback, and the RTO measures the time it takes to recover from the failure.
## Upgrade FAQs
<RuntimeModes />
**Q:** How many versions can I skip? \
**A:** We recommended migrating from one minor version to the next. Read the release notes carefully and test your upgrade in a non-production environment.
**Q:** How often should I upgrade? \
**A:** We recommend staying within the last three minor versions, but we will not force an upgrade. In addition, we typically don't backport bug fixes. If you run into an issue with a bug, you'll need to upgrade to get the fix. We recommend you set up a regular cadence of reviewing and upgrading FusionAuth that fits your business needs, the same as you would with a framework or library your application depends on.
**Q:** How can I find out about new releases? \
**A:** We publish release notes for every release. You can find them here: [Release Notes](/docs/release-notes/). There are a variety of ways to be [notified of releases](/docs/operate/roadmap/releases#release-notifications), including an email list and RSS feed.
**Q:** Does FusionAuth support zero-downtime upgrades? \
**A:** At this time, FusionAuth does not support zero-downtime upgrades when there is a database change. While there are a variety of options that can minimize downtime, upgrades will cause downtime whenever a schema change is required. Please [review and upvote this issue](https://github.com/FusionAuth/fusionauth-issues/issues/1240) if zero-downtime upgrades are important to you.
**Q:** What kind of downtime can I expect? \
**A:** This depends. Factors include the amount of data in your system, the speed of your database, the schema changes required, and your upgrade option choice. If you run multiple nodes, downtime can be minimized. For example, multi-node clusters in FusionAuth Cloud experience user-facing downtime on the order of seconds to minutes during upgrades. Testing an upgrade in a non-production environment is the surest way to understand the amount of downtime.
## Detailed Upgrade Instructions
This section will guide you with detailed technical instructions on how to upgrade FusionAuth nodes on different platforms.
### Cloud
To upgrade your FusionAuth Cloud instance, see the [Cloud Installation Guide](/docs/get-started/run-in-the-cloud/cloud#upgrading-a-deployment).
### Docker
<UpgradeUsingDocker />
### Homebrew
<UpgradeUsingBrew />
### ZIP Packages
FusionAuth is available in a ZIP package for macOS, Linux, and Windows. If you are using the ZIP package, please use this guide to update an existing instance of FusionAuth. Find the ZIP packages at the FusionAuth [Downloads](/download) page.
#### macOS and Linux
In this example, we'll assume you have previously installed FusionAuth in `/usr/local/fusionauth` and this directory will be referred to as `FUSIONAUTH_HOME`. If you have used a different directory you can adjust the following example accordingly.
```sh title="Example filesystem layout"
/usr/local/fusionauth/bin
/usr/local/fusionauth/config
/usr/local/fusionauth/config/keystore
/usr/local/fusionauth/config/fusionauth.properties
/usr/local/fusionauth/data
/usr/local/fusionauth/fusionauth-app
/usr/local/fusionauth/fusionauth-search
/usr/local/fusionauth/java
```
The first step will be to shut down the FusionAuth services.
```sh title="Shut down and uninstall FusionAuth"
# Stop services
/usr/local/fusionauth/bin/shutdown.sh
# Delete or move existing installation
cd /usr/local/fusionauth
rm -rf ./fusionauth-app
rm -rf ./fusionauth-search
rm -rf ./bin
```
During an upgrade, most everything is saved in the database, so it is safe to delete these directories. To preserve your configuration and Elasticsearch index, you want to be sure to preserve the following directories:
```sh title="Preserve these directories"
/usr/local/fusionauth/config
/usr/local/fusionauth/data
/usr/local/fusionauth/java
/usr/local/fusionauth/logs
```
Extract the new ZIP files and place them in `FUSIONAUTH_HOME`. In the following example, we use the `unzip` command with the `-n` and `-q` flags. The `-q` flag is optional, it causes the command to be run in quiet mode to reduce the amount of output to the console. The other flag `-n` is a no-overwrite flag so that any configuration files are not overwritten.
```sh title="Unzip the new packages with a no-overwrite flag"
unzip -nq new-fusionauth-app.zip
unzip -nq new-fusionauth-search.zip
```
Finally, restart the FusionAuth services.
```sh title="Start up FusionAuth"
# Start Services
/usr/local/fusionauth/bin/startup.sh
```
#### Windows
In this example, we'll assume you have previously installed FusionAuth in `\fusionauth` and this directory will be referred to as `FUSIONAUTH_HOME`. If you have used a different directory, you can adjust the following example accordingly.
```sh title="Example filesystem layout"
\fusionauth\bin
\fusionauth\config
\fusionauth\config\keystore
\fusionauth\config\fusionauth.properties
\fusionauth\data
\fusionauth\fusionauth-app
\fusionauth\fusionauth-search
\fusionauth\java
```
The first step will be to shut down the FusionAuth services and delete the old installation.
```sh title="Shut down and uninstall FusionAuth"
# Stop Services
net stop FusionAuthApp
net stop FusionAuthSearch
# Uninstall Services
cd \fusionauth\fusionauth-app\bin
FusionAuthApp.exe /uninstall
cd \fusionauth\fusionauth-search\elasticsearch\bin
FusionAuthSearch.exe /uninstall
# Delete or move existing installation
cd \fusionauth
move fusionauth-app fusionauth-app-old
move fusionauth-search fusionauth-search-old
```
<Aside type="note">
Prior to version 1.37.0, the executable will be found in the `apache-tomcat` directory. For example,
`\fusionauth\fusionauth-app\apache-tomcat\bin\FusionAuthApp.exe`
Versions 1.37.0 through 1.39.0 do not support native Windows installation.
</Aside>
During an upgrade, most everything is saved in the database, so it is safe to delete these directories. To preserve your configuration and Elasticsearch index, you want to be sure to preserve the following directories:
```sh title="Preserve these directories"
\fusionauth\config
\fusionauth\data
\fusionauth\java
\fusionauth\logs
```
Extract the new ZIP files and place them in `FUSIONAUTH_HOME`. You may do this using Windows File Explorer or other command line tools to unpack the ZIP archive. Ensure you delete or move the existing directories to prevent unzipping the new version on top of the existing version. If the new version is unzipped on top of the existing version, you will end up with duplicate libraries in the classpath that will lead to runtime errors.
After you have extracted the new packages, reinstall the Windows services and start them.
```sh title="Install and start FusionAuth"
# Install Windows Services
cd \fusionauth\fusionauth-app\bin
FusionAuthApp.exe /install
cd \fusionauth\fusionauth-search\elasticsearch\bin
FusionAuthSearch.exe /install
# Startup Services
net start FusionAuthSearch
net start FusionAuthApp
```
<Aside type="note">
Prior to version 1.37.0, you can find `FusionAuthApp.exe` at:
`\fusionauth\fusionauth-app\apache-tomcat\bin\FusionAuthApp.exe`
Versions 1.37.0 through 1.39.0 do not support native Windows installation.
</Aside>
### Linux Packages
Updating your application is easy if you installed using the RPM or Debian packages. All you need to do is to issue an update command to the `dpkg` or RPM program and specify the new package file. Here is an example:
<Aside type="note">
Running the update script will shut down the FusionAuth service if it has not yet been stopped. The service will need to be restarted after the update is finished.
</Aside>
```sh title="Shut down FusionAuth"
sudo service fusionauth-app stop
sudo service fusionauth-search stop
```
```shell title="Upgrade FusionAuth using Debian bundles"
sudo dpkg -i fusionauth-search-<version>.deb
sudo dpkg -i fusionauth-app-<version>.deb
```
```shell title="Upgrade FusionAuth using RPM bundles"
sudo rpm -U fusionauth-search-<version>.rpm
sudo rpm -U fusionauth-app-<version>.rpm
```
```sh title="Start FusionAuth"
sudo systemctl start fusionauth-search
sudo systemctl start fusionauth-app
```
#### Troubleshooting Upgrade with RPMs
<TroubleshootingUninstallUpgradeReinstallRpm />
### FastPath
While FastPath is an option to perform an upgrade, the FastPath process limits the flexibility of the installation in order to get it up and running quickly. We therefore don't recommend you use FastPath install scripts in a production environment.
We recommend using `.deb` or `.rpm` packages on Linux production environments. If your production platform is macOS or Windows, please manually manage the upgrade using the `.zip` bundles.
# User Support Guide
import AdminUserForm from 'src/content/docs/_shared/_admin-user-form.mdx';
import AdminUserRegistrationForm from 'src/content/docs/_shared/_admin-user-registration-form.mdx';
import Aside from 'src/components/Aside.astro';
import Breadcrumb from 'src/components/Breadcrumb.astro';
import InlineUIElement from 'src/components/InlineUIElement.astro';
import Icon from 'src/components/icon/Icon.astro';
import InlineField from 'src/components/InlineField.astro';
import PremiumPlanBlurb from 'src/content/docs/_shared/_premium-plan-blurb.astro';
## Overview
This guide provides step-by-step instructions for basic operations in the FusionAuth admin UI. This is intended for customer service representatives supporting end users with login problems, resetting passwords or removing account lockout, and resolving other authentication related issues.
This guide also contains information on customizing the admin UI forms which may be helpful to developers working on enabling customer service representatives.
## Adding Users And Assigning Roles In The FusionAuth Admin UI
The FusionAuth administrative user interface allows you to assign one of several built-in roles to users registered with the FusionAuth admin application. These roles control access to functionality within the FusionAuth administrative user interface. Refer to the [roles](/docs/get-started/core-concepts/roles#fusionauth-admin-ui-roles) documentation for more information about roles in FusionAuth.
Customer service reps are likely to be assigned one of two roles:
* `user_support_viewer`: Users assigned this role can view user information in the FusionAuth admin UI, but cannot make any changes.
* `user_support_manager`: A special role tuned for tier 1 technical support personnel that has a mix of capabilities.
To add a user in FusionAuth, you need to have a `user_manager`, `user_support_manager`, or `admin` role.
Only a user with `user_manager` or `admin` permissions can assign a role to an existing user.
### Adding A New User
To add a new user, log in to the FusionAuth admin UI using your admin credentials and select <Breadcrumb>Users</Breadcrumb> from the left sidebar of the dashboard.
<img src="/img/docs/operate/deploy/users-tab.png" alt="image" width="1200" role="bottom-cropped" />
Click on the green <Icon name="plus" /> icon to open the "Add User" form:
<img src="/img/docs/operate/deploy/new-user-form.png" alt="image" width="1200" role="bottom-cropped" />
Complete the fields for the new user. You can choose to set the user’s password or let the user set their own password by toggling the <InlineUIElement>Send email to set up password</InlineUIElement> button.
Click on the <Icon name="save" /> icon in the top right corner to save.
### Assign A Role To A User
On the <Breadcrumb>Users</Breadcrumb> page, search for the user you will assign the role to and click on the <Icon name="user" /> icon in the action column to open the user details page.
Scroll down and click the <InlineUIElement>Add registration</InlineUIElement> button.
<img src="/img/docs/operate/deploy/add-registration.png" alt="image" width="1200" role="bottom-cropped" />
Select an <InlineField>Application</InlineField> if you have configured multiple applications.
<img src="/img/docs/operate/deploy/select-application.png" alt="image" width="1200" role="bottom-cropped" />
On the <Breadcrumb>Add User Registration</Breadcrumb> page, scroll down to the <InlineField>Roles</InlineField>. Select the role to assign to the user, in this case, <InlineUIElement>User support manager (user_support_manager)</InlineUIElement>.
<img src="/img/docs/operate/deploy/roles.png" alt="image" width="1200" role="bottom-cropped" />
Save your changes by clicking the <Icon name="save" /> icon.
## Basic Authentication Operations
The FusionAuth admin UI provides a user-friendly interface for performing basic authentication operations. Here are some common tasks a user account manager may need to perform.
### Send A Password Reset
Use the Password Reset operation to help an end user regain access to their account.
* Log in to the FusionAuth admin UI.
* Navigate to <Breadcrumb>Users</Breadcrumb> and search for the user whose password needs to be reset.
* Click on the <Icon name="user" /> icon to open the user's details page.
* Click on the down arrow next to the <InlineUIElement>Edit user</InlineUIElement> button to open a dropdown with user management options.
* Select <InlineUIElement>Send password reset</InlineUIElement> to send password reset instructions to the end user by email.
<img src="/img/docs/operate/deploy/send-password-reset.png" alt="image" width="1200" role="bottom-cropped" />
* Confirm the password reset by clicking <InlineUIElement>Submit</InlineUIElement> in the popup.
<img src="/img/docs/operate/deploy/confirm-reset.png" alt="image" width="1200" role="bottom-cropped" />
### Require A Password Change
You might need a user to change their password for security reasons without sending a password reset email. You can use this feature to require the user to change their password the next time they log in.
* Log in to the FusionAuth admin UI.
* Navigate to <Breadcrumb>Users</Breadcrumb> and search for the user whose password needs to be changed.
* Click on the <Icon name="user" /> icon to open the user's details page.
* Click on the down arrow next to the <InlineUIElement>Edit user</InlineUIElement> button to open a dropdown with user management options.
* Select <InlineUIElement>Require password change</InlineUIElement> from the dropdown.
<img src="/img/docs/operate/deploy/require-password-change.png" alt="image" width="1200" role="bottom-cropped" />
* Click <InlineUIElement>Submit</InlineUIElement> in the "Confirm require password change" popup.
<img src="/img/docs/operate/deploy/confirm-change.png" alt="image" width="1200" role="bottom-cropped" />
### Verify User Information
You might need to verify a user's information for security purposes or to ensure up-to-date user data.
* Log in to the FusionAuth admin UI.
* Navigate to <Breadcrumb>Users</Breadcrumb> and search for the user whose information needs to be updated.
* Click on the <Icon name="user" /> icon to open the user's details page.
* Here you can view user information such as <InlineField>Email</InlineField> address, <InlineField>Mobile Phone</InlineField> number, <InlineField>Birthdate</InlineField>, and <InlineField>Username</InlineField>.
<img src="/img/docs/operate/deploy/verify.png" alt="image" width="1200" role="bottom-cropped" />
* To update the information click the <InlineUIElement>Edit user</InlineUIElement> button to open the <Breadcrumb>Edit User</Breadcrumb> form.
<img src="/img/docs/operate/deploy/edit-user.png" alt="image" width="1200" role="bottom-cropped" />
Save your changes by clicking the <Icon name="save" /> icon.
### Log A User Out
You might need to log a user out of their account for security reasons, following a data breach, or to perform system maintenance.
* Log in to the FusionAuth admin UI using your admin credentials.
* Navigate to <Breadcrumb>Users</Breadcrumb> and search for the user who needs to be logged out.
* Click on the <Icon name="user" /> icon to open the user's details page.
* Select the <Breadcrumb>Sessions</Breadcrumb> tab to view the user's current sessions.
* Click on the <Icon name="trash" /> icon to delete a single session or <InlineUIElement>Delete all sessions</InlineUIElement> to clear all the user's sessions and the user will be logged out.
<img src="/img/docs/operate/deploy/sessions.png" alt="image" width="1200" role="bottom-cropped" />
### Delete A User
<Aside type="caution">
The Delete user action is destructive and cannot be reversed. Instead, FusionAuth recommends that you lock (deactivate) the user which is not destructive and may be reversed. Navigate to [Lock Or Unlock A User Account](#lock-or-unlock-a-user-account) for instructions on locking and unlocking an account.
</Aside>
### Lock Or Unlock A User Account
You might need to lock a user account for security or troubleshooting purposes.
* Log in to the FusionAuth admin UI.
* Navigate to <Breadcrumb>Users</Breadcrumb> and search for the user whose account needs to be locked.
* Click on the <Icon name="user" /> icon to open the user's details page.
* Click on the down arrow next to the <InlineUIElement>Edit user</InlineUIElement> button to open a dropdown with user management options.
* Select <InlineUIElement>Lock account</InlineUIElement>.
<img src="/img/docs/operate/deploy/lock-account.png" alt="image" width="1200" role="bottom-cropped" />
* Click <InlineUIElement>Submit</InlineUIElement> in the "Confirm lock account" popup.
<img src="/img/docs/operate/deploy/confirm-lock.png" alt="image" width="1200" role="bottom-cropped" />
* To unlock a locked account click on the down arrow next to the <InlineUIElement>Edit user</InlineUIElement> button to open a dropdown with user management options and select <InlineUIElement>Unlock account</InlineUIElement>.
<img src="/img/docs/operate/deploy/unlock-account.png" alt="image" width="1200" role="bottom-cropped" />
* Click <InlineUIElement>Submit</InlineUIElement> in the "Confirm unlock" popup.
<img src="/img/docs/operate/deploy/confirm-unlock.png" alt="image" width="1200" role="bottom-cropped" />
### Add A Comment
You can use User Comments to take notes on Users.
* Log in to the FusionAuth admin UI using your admin credentials.
* Navigate to <Breadcrumb>Users</Breadcrumb> and search for the user you want to leave a comment on.
* Click on the <Icon name="user" /> icon to open the user's details page.
* Click on the down arrow next to the <InlineUIElement>Edit user</InlineUIElement> button to open a dropdown with user management action options.
* Select the <InlineUIElement>Add a comment</InlineUIElement> option.
<img src="/img/docs/operate/deploy/add-comment.png" alt="image" width="1200" role="bottom-cropped" />
* Add your comment to the <InlineField>Comment</InlineField> field and click <InlineUIElement>Submit</InlineUIElement> to save. Previously added comments can be viewed under the <Breadcrumb>History</Breadcrumb> tab on the User details page.
<img src="/img/docs/operate/deploy/write-comment.png" alt="image" width="1200" role="bottom-cropped" />
### Remove A User Action
You can remove a user action using the following steps:
* Log in to the FusionAuth admin UI using your admin credentials.
* Navigate to <Breadcrumb>Users</Breadcrumb> and search for the user you want to remove the action on.
* Click on the <Icon name="user" /> icon to open the user's details page.
* Select the <Breadcrumb>Current actions</Breadcrumb> tab to view the user's current actions.
* To cancel a user action click on the red <InlineUIElement>X</InlineUIElement> cancel action icon.
<img src="/img/docs/operate/deploy/remove-user-action.png" alt="image" width="1200" role="bottom-cropped" />
* Confirm you want to cancel the action by clicking <InlineUIElement>Submit</InlineUIElement> on the "Confirm cancellation" popup and optionally leave a <InlineField>Comment</InlineField>.
<img src="/img/docs/operate/deploy/confirm-action-cancellation.png" alt="image" width="1200" role="bottom-cropped" />
## Customizing Admin UI Forms
<PremiumPlanBlurb />
You can customize the forms and fields used in the FusionAuth admin UI. While the instructions below document how to do so using the admin UI, you can also create and manage these forms via [the Form APIs](/docs/apis/custom-forms/forms).
### The User Form
<AdminUserForm />
### The Registration Form
<AdminUserRegistrationForm />
### User Management Outside Of The Admin UI
If you want to create customer user support forms because custom forms don't meet your needs, you can use [the APIs](/docs/apis/) or one of the [Client Libraries](/docs/sdks/) to build any workflow you desire.
For instance, suppose you wanted to take the following actions in one screen:
* create a user
* add them to a group
* verify their identity against an external database
* register them to an application with a role based on their identity
* ensure they had first name, last name and favorite color set
In this case, a custom form built against the FusionAuth APIs is the best path forward. The FusionAuth admin UI, while flexible, is not capable of this level of customization.
## Privilege Escalation
If you grant someone the `user_manager` role, they can then create a user, set the user's email address and password, and grant that user the `admin` or any other FusionAuth role. They could then log in as that user and have `admin` privileges.
This is working as designed, as the `user_manager` role gives full control of all users to any account which is granted it. Read more about this design choice in this [GitHub issue](https://github.com/FusionAuth/fusionauth-issues/issues/2170).
To prevent this escalation, use the `user_support_manager` role, which can add users, but cannot register a user for the FusionAuth admin UI application.
<Aside type="caution">
Prefer the `user_support_manager` role to the `user_manager` role to avoid undesired privilege escalation.
</Aside>
# Monitor With CloudWatch
import Aside from 'src/components/Aside.astro';
import Breadcrumb from 'src/components/Breadcrumb.astro';
import IconButton from 'src/components/IconButton.astro';
import InlineField from 'src/components/InlineField.astro';
import InlineUIElement from 'src/components/InlineUIElement.astro';
## Overview
Amazon CloudWatch monitors your Amazon Web Services (AWS) resources and the applications you run on AWS in real-time. You can use CloudWatch to collect and track metrics for your resources and applications. Additionally, you can create dashboards to display metrics for your applications or to show custom collections of metrics.
This guide will show you how to:
- Connect FusionAuth to Amazon CloudWatch using Docker in an on-premise environment or an Amazon EC2 instance.
- Set up a custom collector agent to send data to Amazon CloudWatch.
- Create a dashboard in Amazon CloudWatch to view metrics.
We'll also take a look at which FusionAuth metrics are useful in Amazon CloudWatch. Please read the [FusionAuth guide to monitoring for an overview of the available metrics](/docs/operate/monitor/monitor). For an overview of the metrics you can collect with Amazon CloudWatch agent, review the [CloudWatch agent metrics document](https://docs.aws.amazon.com/AmazonCloudWatch/latest/monitoring/metrics-collected-by-CloudWatch-agent.html).
## Set Up Your Amazon Account
You need an Amazon account to use CloudWatch. If you don't already have an Amazon account, navigate to the [AWS website](https://aws.amazon.com/) and click <InlineUIElement>Create an AWS Account</InlineUIElement>.
<img src="/img/docs/operate/secure-and-monitor/cloudwatch/create-aws-account.png" alt="Create an AWS Account" role="bottom-cropped" width="1200" />
When you have provided your details, verified your email, and completed the account creation process, you will need to set up permissions for the CloudWatch agent to access AWS resources and communicate with Amazon EC2 and AWS Systems Manager. You will need to create an IAM role for the CloudWatch agent on an Amazon EC2 instance, and an IAM user for the CloudWatch agent on an on-premises server.
### Create An IAM Role For The CloudWatch Agent On An EC2 Instance
First create an IAM role to use the CloudWatch agent on Amazon EC2.
In your AWS console, navigate to <Breadcrumb>Services -> IAM -> Roles</Breadcrumb>.
<img src="/img/docs/operate/secure-and-monitor/cloudwatch/navigate-iam-roles.png" alt="Create an AWS Role" role="bottom-cropped" width="1200" />
Click the <InlineUIElement>Create role</InlineUIElement> button in the top left.
- On the "Select trusted entity" step 1, choose "AWS service" on the "Trusted entity type".
- Under "Use case", choose "EC2", and then click <InlineUIElement>Next</InlineUIElement>.
- In the list of policies, select the checkbox next to `CloudWatchAgentServerPolicy`. If necessary use the search box to find the policy.
- To use Systems Manager to install or configure the CloudWatch agent, select the checkbox next to `AmazonSSMManagedInstanceCore`. This AWS-managed policy enables an instance to use the Systems Manager service core functionality. If necessary, use the search box to find the policy. This policy isn't required if you start and configure the agent only through the command line. Click <InlineUIElement>Next</InlineUIElement>.
- Enter the name `CloudWatchAgentServerRole` and a description, and click <InlineUIElement>Create role</InlineUIElement>.
<img src="/img/docs/operate/secure-and-monitor/cloudwatch/create-aws-cloudwatchagnetrole.png" alt="Create an AWS Role Details" role="bottom-cropped" width="1200" />
### Create An IAM User For The CloudWatch Agent On An On-Premises Server
Now create the IAM user necessary for the CloudWatch agent to write data to CloudWatch.
In your AWS console, navigate to <Breadcrumb>Services -> IAM -> Users</Breadcrumb>.
Click the <InlineUIElement>Create user</InlineUIElement> button in the top left.
- Enter `CloudWatchAgentUser` as the name and click <InlineUIElement>Next</InlineUIElement>.
- For permissions, choose "Attach policies directly".
- In the list of policies, select the checkbox next to `CloudWatchAgentServerPolicy`, `CloudWatchFullAccess`, and `CloudWatchFullAccessV2`. If necessary, use the search box to find the policies.
- To use Systems Manager to install or configure the CloudWatch agent, select the box next to `AmazonSSMManagedInstanceCore`. This AWS-managed policy enables an instance to use the Systems Manager service core functionality. If necessary, use the search box to find the policy. This policy isn't required if you start and configure the agent only through the command line.
- Click <InlineUIElement>Next</InlineUIElement> and then <InlineUIElement>Create user</InlineUIElement>.
Add a `PutRetentionPolicy` to the CloudWatch agent user.
- On the Users overview page, click the `CloudWatchAgentUser` name.
- Click the <InlineUIElement>Add permissions</InlineUIElement> dropdown and choose <InlineUIElement>Create inline policy</InlineUIElement>.
- On the next screen, choose <InlineUIElement>JSON</InlineUIElement> on the "Policy editor" and replace the JSON with the code below.
```json
{
"Version": "2012-10-17",
"Statement": [
{
"Effect": "Allow",
"Action": "logs:PutRetentionPolicy",
"Resource": "*"
}
]
}
```
- Click <InlineUIElement>Next</InlineUIElement>.
- Give the policy a name and click <InlineUIElement>Create policy</InlineUIElement>.
Generate an access key for the CloudWatch agent user.
- Click <InlineUIElement>Create access key</InlineUIElement> on the `CloudWatchAgentUser` overview page.
- Select "Application running outside AWS" and click <InlineUIElement>Next</InlineUIElement>.
- Click <InlineUIElement>Create access key</InlineUIElement>.
The access keys will look something like this:
<Aside type='note'>
In this guide, use your actual AWS credential values instead of `your_key_id` and `your_access_key` wherever these placeholder texts occur.
</Aside>
```sh
aws_access_key_id = your_key_id
aws_secret_access_key = your_access_key
```
Save the access and secret access keys to use later.
## Set Up A Collector To Receive Data From FusionAuth
Now you will build a FusionAuth Docker image that has the CloudWatch agent installed.
<Aside type='note'>
In this section, you will need the region your AWS account uses. Get your region from the address bar when logged in to AWS. For example, this guide uses the `eu-north-` region, as found in the URL: `https://eu-north-1.console.aws.amazon.com/console/home?region=eu-north-1`.
<img src="/img/docs/operate/secure-and-monitor/cloudwatch/aws-get-region.png" alt="Edit an AWS user Details" role="bottom-cropped" width="1200" />
</Aside>
Save the Dockerfile from the [FusionAuth containers repo](https://github.com/FusionAuth/fusionauth-containers/blob/master/docker/fusionauth/fusionauth-app/Dockerfile) to your working directory on your computer.
Edit the Dockerfile and replace line 92 `&& apt-get -y install --no-install-recommends curl \` with `&& apt-get -y install --no-install-recommends curl unzip ca-certificates sudo \`. This adds the `unzip`, `sudo`, and `ca-certificates` packages to the image.
Replace the section marked with the comment "###### Connect the log file to stdout" with the following configuration.
```
###### Connect the log file to stdout #############################################################
RUN mkdir -p /usr/local/fusionauth/logs \
&& touch /usr/local/fusionauth/logs/fusionauth-app.log \
&& chown -R fusionauth:fusionauth /usr/local/fusionauth/logs/
```
Insert the following lines above the comment "###### Start FusionAuth App". Replace `eu-north-1` with the region your AWS account uses. If the incorrect region is used here, it may take a long time to download when you build the Docker image.
```
### NEW FOR CloudWatch ###
RUN curl -O https://amazoncloudwatch-agent-eu-north-1.s3.eu-north-1.amazonaws.com/debian/amd64/latest/amazon-cloudwatch-agent.deb \
&& dpkg -i -E ./amazon-cloudwatch-agent.deb \
&& rm ./amazon-cloudwatch-agent.deb
# Add FusionAuth user to sudo group
RUN usermod -aG sudo fusionauth
RUN echo "fusionauth ALL=(ALL) NOPASSWD:ALL" >> /etc/sudoers
# Set correct permissions for CloudWatch agent directories
RUN mkdir -p /opt/aws/amazon-cloudwatch-agent/etc \
&& chown -R fusionauth:fusionauth /opt/aws/amazon-cloudwatch-agent
ENV RUN_IN_CONTAINER=True
### END CloudWatch ###
```
This configuration downloads the CloudWatch agent installation package, sets the environment variables, and grants the FusionAuth user some permissions to complete the installation.
Replace the last line in the Dockerfile `CMD ["/usr/local/fusionauth/fusionauth-app/bin/start.sh"]` with the following `CMD ["/bin/sh", "-c", "/opt/aws/amazon-cloudwatch-agent/bin/start-amazon-cloudwatch-agent & /usr/local/fusionauth/fusionauth-app/bin/start.sh"]`.
Build the Dockerfile into a new image instead of the official FusionAuth image.
```sh
docker build --platform linux/amd64 -t faimage .
```
Now create a `cloudwatch-config.json` file in the same folder as the Dockerfile and add the following configuration to it.
```json
{
"agent": {
"metrics_collection_interval": 60,
"region": "${AWS_REGION}",
"logfile": "/opt/aws/amazon-cloudwatch-agent/logs/amazon-cloudwatch-agent.log",
"debug": false,
"run_as_user": "fusionauth"
},
"logs": {
"logs_collected": {
"files": {
"collect_list": [
{
"file_path": "/usr/local/fusionauth/logs/fusionauth-app.log",
"log_group_name": "fusionauth-logs",
"log_stream_name": "fusionauth-app"
},
{
"file_path": "/opt/aws/amazon-cloudwatch-agent/logs/amazon-cloudwatch-agent.log",
"log_group_name": "cloudwatch-logs",
"log_stream_name": "fusionauth-app"
},
{
"file_path": "/var/log/bootstrap.log",
"log_group_name": "host-bootstrap-logs",
"log_stream_name": "fusionauth-app"
}
]
}
}
},
"metrics": {
"namespace": "FusionAuth",
"metrics_collected": {
"cpu": {
"resources": [
"*"
],
"measurement": [
"usage_active",
"usage_system",
"usage_user"
]
},
"mem": {
"measurement": [
"used",
"total",
"used_percent"
]
},
"net": {
"resources": [
"*"
],
"measurement": [
"bytes_sent",
"bytes_recv",
"packets_sent",
"packets_recv"
]
}
}
}
}
```
In the above configuration, you set up the region for the CloudWatch agent, some logs to collect and display, and the metrics we are interested in. The <InlineField>log_group_name</InlineField> and <InlineField>log_stream_name</InlineField> values are specified for the log files and the `FusionAuth` namespace for the metrics.
Next, save the [`docker-compose.yml`](https://github.com/FusionAuth/fusionauth-containers/blob/main/docker/fusionauth/docker-compose.yml) and sample [`.env`](https://github.com/FusionAuth/fusionauth-containers/blob/main/docker/fusionauth/.env) files from the FusionAuth containers repo.
In the `docker-compose.yml` file, change the line `image: fusionauth/fusionauth-app:latest` to point to the image you have just built, `image: faimage:latest`.
On the `fusionauth` service, replace the `volumes:` section with the code configuration below.
```yaml
volumes:
- fusionauth_config:/usr/local/fusionauth/config
# NEW FOR CLOUDWATCH
- ./cloudwatch-config.json:/opt/aws/amazon-cloudwatch-agent/bin/default_linux_config.json
- .aws/credentials:/usr/local/fusionauth/.aws/credentials:ro # Mount AWS credentials
# END CLOUDWATCH
```
In the `environment:` section under the `fusionauth:` service, add the following environment variable for the AWS region.
```yaml
environment:
DATABASE_URL: jdbc:postgresql://db:5432/fusionauth
DATABASE_ROOT_USERNAME: ${POSTGRES_USER}
DATABASE_ROOT_PASSWORD: ${POSTGRES_PASSWORD}
DATABASE_USERNAME: ${DATABASE_USERNAME}
DATABASE_PASSWORD: ${DATABASE_PASSWORD}
FUSIONAUTH_APP_MEMORY: ${FUSIONAUTH_APP_MEMORY}
FUSIONAUTH_APP_RUNTIME_MODE: ${FUSIONAUTH_APP_RUNTIME_MODE}
FUSIONAUTH_APP_URL: http://fusionauth:9011
SEARCH_SERVERS: http://search:9200
SEARCH_TYPE: elasticsearch
AWS_REGION: eu-north-1 # Replace with your AWS region, e.g., us-west-2 NEW for cloudwatch
```
Now, in the same folder as the Dockerfile, create a `.aws` folder with a file called `credentials` using the command below.
```sh
mkdir .aws
cd .aws
touch credentials
```
Add the AWS access keys you created previously to the `credentials` file.
```sh
[AmazonCloudWatchAgent]
aws_access_key_id = your_key_id
aws_secret_access_key = your_access_key
```
To start the services, run the following command in the terminal you used to save the `docker-compose.yml` file.
```sh
docker compose up -d
```
## Set Up A Collector Dashboard
Let's create a dashboard on CloudWatch to visualize the data received from FusionAuth.
In the AWS UI, navigate to <Breadcrumb>Services -> CloudWatch -> Dashboards</Breadcrumb>.
Click <InlineUIElement>Create dashboard</InlineUIElement>. Give the dashboard a <InlineField>Name</InlineField>, for example, `FusionAuthDashboard`, and click <InlineUIElement>Create dashboard</InlineUIElement>.
On the next screen, you have a few options to choose from to configure the dashboard Widget:
- For <InlineField>Data source types</InlineField>, choose `CloudWatch`.
- For <InlineField>Data type</InlineField>, choose `Metrics`.
- For <InlineField>Widget type</InlineField>, choose `Line`.
<img src="/img/docs/operate/secure-and-monitor/cloudwatch/select-dashboard-options.png" alt="Select Options For The Dashboards" role="bottom-cropped" width="1200" />
Click <InlineUIElement>Next</InlineUIElement>.
Now you can add metrics to the widget and configure some options. Give your graph a title and choose "1h" for the time preference. You can also set the refresh interval from the dropdown on the far right.
<img src="/img/docs/operate/secure-and-monitor/cloudwatch/add-metrics-dashboard.png" alt="Add Metrics To The Dashboards" role="bottom-cropped" width="1200" />
Click the `FusionAuth` namespace, then click <InlineField>CPU</InlineField>. Select all the CPU options and click <InlineUIElement>Create widget</InlineUIElement>.
<img src="/img/docs/operate/secure-and-monitor/cloudwatch/create-dashboard-widget.png" alt="Create The Dashboards" role="bottom-cropped" width="1200" />
Using the same method as above, you can also add logs to the dashboard. Click on the <InlineUIElement>+</InlineUIElement> in the right-hand corner to add another widget.
On the create widget screen, configure the dashboard logs widget as follows:
- For <InlineField>Data source types</InlineField>, choose `CloudWatch`.
- For <InlineField>Data type</InlineField>, choose `Logs`.
- For <InlineField>Widget type</InlineField>, choose `Logs table`.
Click <InlineUIElement>Next</InlineUIElement>.
<img src="/img/docs/operate/secure-and-monitor/cloudwatch/create-log-table-widget.png" alt="Add A Log Table To The Dashboards" role="bottom-cropped" width="1200" />
Click <InlineUIElement>Browse log groups</InlineUIElement> and select a log group or stream configured in the CloudWatch agent configuration, like `fusionauth-logs`. Click <InlineUIElement>Run query</InlineUIElement>. If data has been received on the selected stream, it will show in the "Logs" section. Click <InlineUIElement>Create Widget</InlineUIElement> to add the new log table to the dashboard.
This is how the dashboard will look when data is received.
<img src="/img/docs/operate/secure-and-monitor/cloudwatch/cloudwatch-dashboard.png" alt="Add A Log Table To The Dashboards" role="bottom-cropped" width="1200" />
## Set Up FusionAuth API Access For The Collector
When you create a custom collector later in this guide, you will need FusionAuth API access configured and access to a specific FusionAuth endpoint.
To export login information from FusionAuth, you need to allow the custom collector access to the `/api/system/login-record/export` endpoint. The steps outlined below can be used to configure access to other endpoints.
- Log in to your FusionAuth instance and navigate to <Breadcrumb>Settings -> API keys</Breadcrumb>.
- On the top right of the page, click the <IconButton icon="plus" color="green" /> button to add a new API key.
<img src="/img/docs/operate/secure-and-monitor/cloudwatch/create-api-key-fusionauth.png" alt="Add API Key For FusionAauth" role="bottom-cropped" width="1200" />
- Enter a <InlineField>Description</InlineField> for the API key.
- Scroll down and enable the "GET" permission on the `/api/system/login-record/export` endpoint.
<img src="/img/docs/operate/secure-and-monitor/cloudwatch/login-record-api-key-fusionauth.png" alt="Add Access To Login Export For FusionAauth" role="bottom-cropped" width="1200" />
- Click the <IconButton icon="save" color="blue" /> button to save the API key.
- After saving the API key, click the red lock <IconButton icon="lock" color="red" /> next to the key to reveal and copy the value of the key. Store this key, as you will need it later.
## FusionAuth Metrics
FusionAuth offers a wide range of [metrics](/docs/operate/secure-and-monitor/monitor#metrics), which are detailed in the documentation. It's up to you to determine which metrics are important for your monitoring needs.
## Mapping FusionAuth Metrics To AWS CloudWatch Metrics
CloudWatch gives you actionable insights that help you optimize application performance, manage resource utilization, and understand system-wide operational health. CloudWatch provides up to one-second visibility of metrics and logs data, and the ability to perform calculations on metrics. CloudWatch collects, aggregates, and summarizes compute utilization information such as CPU, memory, disk, and network data, as well as diagnostic information such as container restart failures.
The CloudWatch agent supports the counter, gauge, and summary metric types, and also handles the sum and count of a summary metric in the same way as it handles counter metrics.
Note that you can write custom services to send available data to AWS CloudWatch through FusionAuth API endpoints using the AWS API and Watchtower libraries.
## Write A Custom Service To Send Data To The API
The Python application below exports login records every 60 seconds and sends them to CloudWatch in AWS. This script is for demonstration purposes; in real-world scenarios, records are more likely to be sent every 60 minutes.
All the FusionAuth APIs providing event data are documented [here](/docs/apis), and the login records API is documented [here](/docs/apis/login#request-6).
The FusionAuth APIs export events as zip files — you will not get JSON or YAML data in memory. The application will get the zip file, extract it, read it, format the entries for CloudWatch, and upload them.
Since FusionAuth API access is needed, see the section on [Set Up FusionAuth API Access For The Collector](#set-up-fusionauth-api-access-for-the-collector).
You will also need to get your FusionAuth app Id. In the FusionAuth UI, navigate to <InlineUIElement>Applications</InlineUIElement> and copy and save the Id for your application.
<img src="/img/docs/operate/secure-and-monitor/cloudwatch/cloudwatch-fusionauth-applications-id.png" alt="FusionAuth API Key" role="bottom-cropped" width="1200" />
Save the following Python script to a file `cloudwatch_logger.py` in a new folder.
```python
import boto3
import watchtower
import logging
from datetime import datetime, timedelta
import time
import os
import requests
import csv
from io import StringIO
import zipfile
# Configure logging
logger = logging.getLogger(__name__)
logger.setLevel(logging.INFO)
# Create console handler
console_handler = logging.StreamHandler()
console_handler.setLevel(logging.INFO)
formatter = logging.Formatter('%(asctime)s - %(name)s - %(levelname)s - %(message)s')
console_handler.setFormatter(formatter)
logger.addHandler(console_handler)
# Get AWS region from environment variable
aws_region = os.environ.get('AWS_REGION', 'eu-north-1')
# Configure boto3 client
logs_client = boto3.client('logs',
region_name=aws_region,
aws_access_key_id=os.environ.get('AWS_ACCESS_KEY_ID'),
aws_secret_access_key=os.environ.get('AWS_SECRET_ACCESS_KEY')
)
# Configure Watchtower handler
cloudwatch_handler = watchtower.CloudWatchLogHandler(
log_group="FusionAuth-CustomLogExporter",
stream_name="MyLogStream-{:%Y-%m-%d}".format(datetime.now()),
use_queues=False,
log_group_retention_days=30,
create_log_group=True,
boto3_client=logs_client
)
cloudwatch_handler.setFormatter(formatter)
logger.addHandler(cloudwatch_handler)
# FusionAuth configuration
FA_ENDPOINT = os.environ.get('FA_ENDPOINT', 'http://fusionauth:9011/api/system/login-record/export')
FA_API_KEY = os.environ.get('FA_API_KEY')
FA_APP_ID = os.environ.get('FA_APP_ID')
def get_login_records():
end = int(time.time() * 1000)
start = end - 3600000 # 1 hour ago
date_format = "yyyy-MM-dd'T'HH:mm:ss.SSS"
params = {
"applicationId": FA_APP_ID,
"dateTimeSecondsFormat": date_format,
"start": start,
"end": end
}
headers = {"Authorization": FA_API_KEY}
response = requests.get(FA_ENDPOINT, params=params, headers=headers)
if response.status_code != 200:
logger.error(f"Failed to fetch login records: {response.status_code}")
return []
with open('record.zip', 'wb') as f:
f.write(response.content)
records = []
with zipfile.ZipFile('record.zip', 'r') as zip_ref:
with zip_ref.open('login_records.csv') as csvfile:
csv_reader = csv.reader(StringIO(csvfile.read().decode('utf-8')))
next(csv_reader) # Skip header
for row in csv_reader:
records.append(row)
return records
def process_login_records(records):
for record in records:
user_id, time_str = record[0], record[1]
user_id = user_id.strip().strip('"')
time_str = time_str.strip().strip('"').replace('T', ' ')
dt = datetime.strptime(time_str, "%Y-%m-%d %H:%M:%S.%f")
timestamp = int(dt.timestamp() * 1000)
log_data = {
"cumulative_counter": [
{
"metric": "login.success",
"dimensions": {"host": "testServer"},
"value": 1,
"timestamp": timestamp
}
]
}
logger.info(f"Login record: {log_data}")
def main():
while True:
try:
records = get_login_records()
process_login_records(records)
# Ensure all logs are sent to CloudWatch
logger.handlers[1].flush()
except Exception as e:
logger.exception(f"An error occurred: {str(e)}")
time.sleep(60) # Run avey 60 seconds
if __name__ == "__main__":
main()
```
Add a new Dockerfile in the same folder with the following command.
```sh
touch Dockerfile
```
Add the following to the file created above.
```sh
FROM python:3.9-slim
WORKDIR /app
COPY requirements.txt .
RUN pip install --no-cache-dir -r requirements.txt
COPY cloudwatch_logger.py .
CMD ["python", "cloudwatch_logger.py"]
```
This Dockerfile will create a new container that will run the `cloudwatch_logger.py` application and export and upload the login data from FusionAuth to CloudWatch. The application requires some packages, Watchtower, and Boto3, which are used for communicating with AWS CloudWatch.
Add the `requirements.txt` file to the same folder.
```sh
touch requirements.txt
```
Add the dependencies.
```sh
boto3==1.26.90
watchtower==3.0.1
requests==2.28.2
```
Create a new `.aws` folder.
```sh
mkdir .aws
cd .aws
touch credentials
touch config
```
Add the AWS access keys you created earlier to the credentials file:
```
AWS_ACCESS_KEY_ID=your_key_id
AWS_SECRET_ACCESS_KEY=your_access_key
```
Add the following region info in the configuration file (remember to use the region for your AWS account):
```
[default]
region = eu-north-1
```
Although these credentials are similar to the AWS credentials that were set up earlier when we used the CloudWatch agent in the FusionAuth Docker example, these use the `default` profile instead of the `AmazonCloudWatchAgent` we used previously.
The configuration above is for this guide only, and you must replace it with your own.
Build the `Dockerfile` with the following command.
```sh
docker build --platform linux/amd64 -t cloudwatch-logger .
```
Finally, add the following service to the FusionAuth `docker-compose.yml` file. You will need to change the region, access key, secret access key, FusionAuth API key, and FusionAuth app Id to your values.
```yaml
cloudwatch-logger: # NEW for custom logging
image: cloudwatch-logger:latest
environment:
- AWS_REGION=eu-north-1
- FA_ENDPOINT=http://fusionauth:9011/api/system/login-record/export
- FA_API_KEY=wYXTsNC-KC8I70fba8iIiwcT6d4fsTFhugVLyNcxSZ7UoEsIVY8DIYIP
- FA_APP_ID=3c219e58-ed0e-4b18-ad48-f4f92793ae32
- AWS_ACCESS_KEY_ID=${AWS_ACCESS_KEY_ID}
- AWS_SECRET_ACCESS_KEY=${AWS_SECRET_ACCESS_KEY}
volumes:
- ~/.aws:/root/.aws:ro
- ~/.aws:/app/.aws:ro
logging:
driver: "json-file"
options:
max-size: "200k"
max-file: "10"
networks:
- db_net
depends_on:
- fusionauth
```
You can add this to the same `docker-compose.yml` file we used earlier, as we only add a new service that runs in conjunction with the other FusionAuth services.
To start the services, run the following command in the terminal you used to save the `docker-compose.yml` file.
```sh
docker compose up -d
```
### Set Up An AWS CloudWatch Dashboard For The Custom Service
Now you can set up a dashboard to visualize data collected by the custom logger.
In your AWS console, navigate to <Breadcrumb>CloudWatch -> Dashboards</Breadcrumb>. Add a new dashboard, name it `CloudWatchLogger`, and click <InlineUIElement>Create dashboard</InlineUIElement>.
Select `Logs` for <InlineField>Data type</InlineField> and keep the defaults for the remaining options. Click <InlineUIElement>Next</InlineUIElement>.
The code for the custom logging service specified a `log_group="FusionAuth-CustomLogExporter` log group. On the next screen, click <InlineUIElement>Browse log groups</InlineUIElement> and select `FusionAuth-CustomLogExporter`. In the query box, delete the contents and enter `stats count() by bin(30s)`.
Click <InlineUIElement>Run query</InlineUIElement>. For <InlineField>Visualization</InlineField>, choose `Graph type:Bar`.
You should see some info being plotted on the screen. If you don't, log in to your FusionAuth instance a few times. If you still don't see any data coming in, retrace the dashboard setup steps.
<img src="/img/docs/operate/secure-and-monitor/cloudwatch/create-dashboard-widget-custom-logger.png" alt="Create A Custom Logger Dashboard Widget" role="bottom-cropped" width="1200" />
Click <InlineUIElement>Create widget</InlineUIElement> in the top-right corner and click <InlineUIElement>Save</InlineUIElement> to save the dashboard.
You should see your logger info being reflected.
<img src="/img/docs/operate/secure-and-monitor/cloudwatch/cloudwatch-dashboard-custom-logger.png" alt="Custom Logger Dashboard Table" role="bottom-cropped" width="1200" />
You can set up widgets for other endpoints and metrics similarly.
## Monitoring FusionAuth In An AWS EC2 Instance
Navigate to the EC2 dashboard in the AWS console <Breadcrumb>Services -> EC2</Breadcrumb>.
To create a virtual server, click <InlineUIElement>Launch new instance</InlineUIElement>. Give the server a <InlineUIElement>Name</InlineUIElement> and select "Amazon Linux" as the operating system. You can use the default "Architecture". For the instance type, select `t3.medium`, which is the lowest memory allocation that FusionAuth Docker will successfully start on.
<img src="/img/docs/operate/secure-and-monitor/cloudwatch/create-ecs-instance-settings-1.png" alt="Create EC2 Instance-1" role="bottom-cropped" width="1200" />
Next, generate a key pair to access the server via SSH. Click <InlineUIElement>Create new key pair</InlineUIElement>. Enter a name for the keypair, choose "RSA" as the keypair type, and `.pem` as the file format. Click <InlineUIElement>Create key pair</InlineUIElement>.
<img src="/img/docs/operate/secure-and-monitor/cloudwatch/create-key-pair.png" alt="Create Key Pair" role="bottom-cropped" width="1200" />
The `.pem` file will be downloaded to your downloads folder. Copy the `.pem` file to your working directory so that you can use it to SSH to the server later.
Return to the launch instance dialog in AWS and make sure the key pair you created is selected in the key pair name dropdown list.
We'll use the default network configuration and security setting for this guide. In production, you would configure and secure the network settings for your environment here.
Click <InlineUIElement>Launch instance</InlineUIElement> to create your virtual server.
<img src="/img/docs/operate/secure-and-monitor/cloudwatch/create-ec2-success.png" alt="Create EC2 Success" role="bottom-cropped" width="1200" />
Navigate to the EC2 instance overview screen and click the newly created instance.
<img src="/img/docs/operate/secure-and-monitor/cloudwatch/ec2-instance-overview.png" alt="EC2 Instance Overview" role="bottom-cropped" width="1200" />
We need to set port 9011 to allow traffic to FusionAuth.
Select the security tab in the middle and click the security group under "Security Groups".
Click <InlineUIElement>Edit inbound rules</InlineUIElement>. Select `Custom TCP` as the <InlineUIElement>Type</InlineUIElement>. Set `9011` for the <InlineUIElement>Port range</InlineUIElement> and select `My IP` as the source for testing purposes. Click <InlineUIElement>Save rules</InlineUIElement>.
<img src="/img/docs/operate/secure-and-monitor/cloudwatch/open-port-9011.png" alt="EC2 Instance Open Port 9011" role="bottom-cropped" width="1200" />
Return to the instance screen and make sure the instance is running.
Now, find the public IP on the Instance overview screen, then log in to the console by typing the following in the terminal, replacing `16.16.204.161` with your public IP and `test.pem` with the name of your downloaded key pair file.
First change the permissions of the key file if they are too open
```sh
chmod 600 test.pem
```
Then you can use it to ssh into the instance with the following command
```sh
ssh -i test.pem ec2-user@16.16.204.161
```
Answer "yes" to the fingerprint question and you will be connected to your EC2 server in the terminal.
The following shell commands will set up the EC2 instance with Docker, `docker-compose`, and Vim, and create the necessary files and folders for the FusionAuth installation.
```sh
sudo dnf update -y
#enter
sudo dnf install vim -y
#enter
sudo dnf install docker -y
#enter
sudo systemctl start docker
#enter
sudo systemctl enable docker
#enter
sudo usermod -aG docker ec2-user
#enter
sudo curl -L "https://github.com/docker/compose/releases/latest/download/docker-compose-$(uname -s)-$(uname -m)" -o /usr/local/bin/docker-compose
#enter
sudo chmod +x /usr/local/bin/docker-compose
#enter
mkdir fusionauth-project
#enter
cd fusionauth-project
#enter
mkdir .aws
#enter
touch .aws/credentials
#enter
touch .aws/config
#enter
touch .env
#enter
```
Log out and log back in to apply the group changes.
Now edit the credentials file.
```sh
vim ~/fusionauth-project/.aws/credentials
```
Add the CloudWatch agent access keys.
```
[default]
aws_access_key_id=your_key_id
aws_secret_access_key=your_access_key
```
Save the file by pressing `Esc` and typing `:wq` then pressing `Enter` on your keyboard.
Next, edit the configuration file.
```sh
vim ~/fusionauth-project/.aws/config
```
Add your region. Remember to replace `eu-north-1` with your actual region.
```sh
[default]
region = eu-north-1
```
Save the file.
Edit the `.env` file.
```sh
vim ~/fusionauth-project/.env
```
Add the following.
```sh
DATABASE_USERNAME=fusionauth
DATABASE_PASSWORD=hkaLBMBRVnyYeYeq=3W11w2e4Avpy0Wd503s3
FUSIONAUTH_APP_MEMORY=512M
FUSIONAUTH_APP_RUNTIME_MODE=development
OPENSEARCH_JAVA_OPTS="-Xms512m -Xmx512m"
POSTGRES_USER=postgres
POSTGRES_PASSWORD=postgres
```
Save the file.
Since there are no changes to the configuration files, you can use the same `cloudwatch-config.json`, Dockerfile, and `docker-compose.yml` files from the on-prem Docker example we used to [Set Up A Collector To Receive Data From FusionAuth](#set-up-a-collector-to-receive-data-from-fusionauth).
Using SCP, copy the FusionAuth files over from the working directory you used to set up the collector to the EC2 instance using the same `.pem` file and the AWS EC2 folder we created for the FusionAuth project.
```sh
scp -i ./test.pem ./cloudwatch-config.json ec2-user@16.16.204.161:~/fusionauth-project/
#enter
scp -i ./test.pem ./Dockerfile ec2-user@16.16.204.161:~/fusionauth-project/
```
Comment out the `cloudwatch-logger:` service you added to the `docker-compose.yml` file earlier and copy the file to the instance.
```sh
scp -i ./test.pem ./docker-compose.yml ec2-user@16.16.204.161:~/fusionauth-project/
```
SSH back into your EC2 instance to build the FusionAuth image and start the services with `docker-compose`.
```sh
ssh -i ./test.pem ec2-user@16.16.204.161
cd fusionauth-project/
#enter
docker build --platform linux/amd64 -t faimage .
#enter
docker-compose up -d
#enter
```
Now navigate to `http://your_instance_public_ip:9011/` (use your EC2 instance public IP here), as configured in your FusionAuth instance on EC2.
If you return to the CloudWatch dashboard and add widgets to monitor the EC2 FusionAuth instance, you will find data is now being pushed to CloudWatch from the EC2 Docker instance.
## Further Reading
- [Overview of CloudWatch from the AWS documentation](https://docs.aws.amazon.com/AmazonCloudWatch/latest/monitoring/WhatIsCloudWatch.html)
- [Amazon CloudWatch metrics](https://docs.aws.amazon.com/AmazonCloudWatch/latest/monitoring/working_with_metrics.html)
- [AWS guide to getting set up with CloudWatch](https://docs.aws.amazon.com/AmazonCloudWatch/latest/monitoring/GettingSetup.html)
- [AWS guide to the metrics collected by the CloudWatch agent](https://docs.aws.amazon.com/AmazonCloudWatch/latest/monitoring/metrics-collected-by-CloudWatch-agent.html)
- [How to configure the CloudWatch agent](https://docs.aws.amazon.com/AmazonCloudWatch/latest/monitoring/CloudWatch-Agent-Configuration-File-Details.html#CloudWatch-Agent-Configuration-File-Agentsection)
# Monitor With Datadog
import Aside from 'src/components/Aside.astro';
import Breadcrumb from 'src/components/Breadcrumb.astro';
import IconButton from 'src/components/IconButton.astro';
import InlineField from 'src/components/InlineField.astro';
import InlineUIElement from 'src/components/InlineUIElement.astro';
## Overview
[Datadog](https://docs.datadoghq.com/getting_started/application/) is an observability service you can integrate with your FusionAuth applications to collect events and metrics so that you can analyze the monitoring and performance data.
This guide will show you how to connect FusionAuth to Datadog, including instructions for:
- Setting up Prometheus API access in FusionAuth.
- Setting up your Datadog account.
- Adding a Datadog Agent to a FusionAuth Docker image to collect and export telemetry data.
- Creating a dashboard in Datadog to monitor FusionAuth metrics.
- Installing the Datadog Agent on a remote host to monitor the Prometheus endpoint exposed by FusionAuth.
- Setting up an OpenTelemetry Linux collector to receive, process, and export telemetry data.
- Adding export logs or events with a Python app using the Datadog API.
Look at the [FusionAuth guide to monitoring](/docs/operate/monitor/monitor) to get an overview of available metrics and choose the ones relevant to your needs. For an overview of the metrics you can collect with Datadog, review the [Datadog](https://docs.datadoghq.com/metrics/) and [OpenTelemetry in Datadog](https://docs.datadoghq.com/opentelemetry/?_ga=2.63663855.1324212944.1718441678-2001470719.1718441677&_gac=1.150758018.1718441678.EAIaIQobChMI1OXNip7dhgMV_UNBAh1xfQDYEAAYASAAEgIBs_D_BwE) documentation.
## Set Up Prometheus API Access In FusionAuth
FusionAuth exposes metrics on a Prometheus endpoint. To use the endpoint, generate an API key in FusionAuth and grant it access to perform GET requests on the endpoint:
- Log in to your FusionAuth instance and navigate to <Breadcrumb>Settings -> API keys</Breadcrumb>.
- On the top-right of the page, click the <IconButton icon="plus" color="green" /> button to add a new API key.
<img src="/img/docs/operate/secure-and-monitor/datadog/datadog-fusionauth-enableapikey-prometheus-endpoint.png" alt="Enable API Key Prometheus endpoint in FusionAuth" role="bottom-cropped" width="1200" />
- Enter a <InlineField>Description</InlineField> for the API key.
- Scroll down and enable GET permission on the `/api/prometheus/metrics` endpoint.
<img src="/img/docs/operate/secure-and-monitor/datadog/datadog-enableget-prometheus-endpoint.png" alt="Enable API Key GET Method for the Prometheus endpoint FusionAuth" role="bottom-cropped" width="1200" />
- Click the <IconButton icon="save" color="blue" /> button to save the API key.
On the API Keys list page, click the red lock <IconButton icon="lock" color="red" /> next to the newly generated key to reveal the key value. Copy and store this key, as you will need it later in the guide.
<img src="/img/docs/operate/secure-and-monitor/datadog/datadog-fusionauth-apikey.png" alt="FusionAuth API Key" role="bottom-cropped" width="1200" />
## Set Up A Datadog Account
Navigate to [Datadog](https://www.datadoghq.com/) and log in. If you don't already have a Datadog account, click <InlineUIElement>GET STARTED FREE</InlineUIElement> to complete the registration form and start a 14-day trial.
<img src="/img/docs/operate/secure-and-monitor/datadog/signup-datadog-trial.png" alt="Sign up for a Datadog Trial" role="bottom-cropped" width="1200" />
Note the hosting <InlineField>Region</InlineField>, as this will determine the URL you use later to connect to Datadog. This guide uses the United States (US5-Central) region (`us5.datadoghq.com`).
You can optionally give Datadog information about your stack on the "Your Stack" tab.
The Datadog Agent collects metrics and events from your system and apps and can be installed anywhere, even on your workstation.
On the "Agent Setup" tab in Datadog, select your platform from the list on the left for installation instructions. For example, if you select Ubuntu, it will show the command to install the agent on Ubuntu using a script.
<img src="/img/docs/operate/secure-and-monitor/datadog/install-datadog-agent-ubuntu.png" alt="Install Datadog Agent Ubuntu" role="bottom-cropped" width="1200" />
Copy your Datadog API key value from the `DD_API_KEY` field in the installation command and save it to use later.
If you prefer to manually install the agent, expand the <InlineUIElement>Manual Step by Step Instructions</InlineUIElement> accordion.
## Set Up The Datadog Agent Using Docker
Now you will build a FusionAuth Docker image that has the Datadog Agent installed using the installation command from the instructions page.
First, save the Dockerfile from the [FusionAuth containers repo](https://github.com/FusionAuth/fusionauth-containers/blob/master/docker/fusionauth/fusionauth-app/Dockerfile) to your computer. Edit the Dockerfile file and insert the following lines above the comment "###### Start FusionAuth App".
```
### New for Datadog ###
RUN mkdir -p /var/lib/apt/lists/partial \
&& chmod 755 /var/lib/apt/lists/partial \
&& apt update \
&& apt install -y ca-certificates curl sudo \
&& cd /usr/local/fusionauth \
&& curl -L -o install_script_agent7.sh https://s3.amazonaws.com/dd-agent/scripts/install_script_agent7.sh \
&& chmod +x /usr/local/fusionauth/install_script_agent7.sh
### Install Datadog Agent app ###
ENV DD_API_KEY="<your API key from Datadog website>"
ENV DD_SITE="us5.datadoghq.com" #<Your Datadog site domain>
ENV DD_INSTALL_ONLY=false
ENV DD_HOSTNAME="fusionauthdocker"
RUN /bin/bash -c "/usr/local/fusionauth/install_script_agent7.sh"
### Copy the OpenMetrics configuration file ###
COPY openmetrics.d-conf.yaml /etc/datadog-agent/conf.d/openmetrics.d/conf.yaml
# Allow FusionAuth user to run Datadog agent service without password
RUN echo "fusionauth ALL=(ALL) NOPASSWD: /usr/sbin/service datadog-agent start" > /etc/sudoers.d/fusionauth
# Ensure correct ownership and permissions for the log directory
RUN mkdir -p /usr/local/fusionauth/logs \
&& chown -R fusionauth:fusionauth /usr/local/fusionauth/logs
## Modify FusionAuth start script to start Datadog Agent as root and continue on failure
# RUN head -n -1 /usr/local/fusionauth/fusionauth-app/bin/start.sh > temp.sh \
# && echo 'sudo service datadog-agent start <&- >> /dev/null' >> temp.sh \
# && mv temp.sh /usr/local/fusionauth/fusionauth-app/bin/start.sh \
# && chown fusionauth:fusionauth /usr/local/fusionauth/fusionauth-app/bin/start.sh \
# && chmod +x /usr/local/fusionauth/fusionauth-app/bin/start.sh
```
This configuration downloads the Datadog Agent installation script from https://s3.amazonaws.com/dd-agent/scripts/install_script_agent7.sh and sets the environment variables to complete the installation. Once the Datadog Agent is installed, the config `openmetrics.d-conf.yaml` is copied into the image to handle the OpenMetrics integration.
Now create an `openmetrics.d-conf.yaml` file in the same folder as the Dockerfile and add the following configuration to it:
```yaml
init_config:
instances:
- prometheus_url: http://localhost:9011/api/prometheus/metrics
namespace: FusionAuth_docker_metrics_openmetric_agent
metrics:
- '*'
headers:
Authorization: '<Your FusionAuth API key with access to Prometheus metrics>'
Content-Type: 'application/json'
```
<Aside type="note">
If you have restarted your FusionAuth instance, you need to regenerate the API key using the steps outlined in the [Set Up Prometheus API Access In FusionAuth](#set-up-prometheus-api-access-in-fusionauth) section.
</Aside>
Build the Dockerfile into a new image to use in place of the official FusionAuth image.
```sh
docker build --platform linux/amd64 -t faimage .
```
Save the [`docker-compose.yaml`](https://github.com/FusionAuth/fusionauth-containers/blob/main/docker/fusionauth/docker-compose.yml) and sample [`.env`](https://github.com/FusionAuth/fusionauth-containers/blob/main/docker/fusionauth/.env) files from the FusionAuth containers repo.
In the `docker-compose.yaml` file, change the line `image: fusionauth/fusionauth-app:latest` to point to the image you have just built `image: faimage:latest`.
To start the services, run the following command in the terminal you used to save the `docker-compose.yaml` file.
```sh
docker compose up -d
```
<Aside type="note">
The code to autostart the `datadog-agent` is commented out in the sample Dockerfile configuration because the current version of the agent gives a fail message when it starts, although it starts successfully. This prevents FusionAuth from starting in the Docker container. You need to start the agent manually when FusionAuth is running with the following commands.
```sh
docker ps # to get the ID of the FusionAuth container which should look something like d5a0c674288a
docker exec -u root -it d5a0c674288a service datadog-agent start #start the agent
docker exec -u root -it d5a0c674288a service datadog-agent status #get the service status should respond with * datadog-agent is running
```
</Aside>
When the agent is successfully installed and started in the FusionAuth container, refresh the window on the Datadog website, and it will indicate that metrics from the agent are being received.
<img src="/img/docs/operate/secure-and-monitor/datadog/datadog-agent-reporting.png" alt="Datadog agent reporting" width="1200" />
Click on <InlineUIElement>Finish</InlineUIElement> to continue.
You can view all registered hosts by navigating to <Breadcrumb>Infrastructure -> Host Map</Breadcrumb>. Click the <InlineUIElement>agent</InlineUIElement> block for a registered host to view metrics received.
<img src="/img/docs/operate/secure-and-monitor/datadog/infrastructure-hosts-agent-info.png" alt="Infrastructure hosts agent" width="1200" />
## Set Up A Datadog Dashboard
Let's create a dashboard on Datadog to visualize the data received from FusionAuth.
In the Datadog UI, navigate to <Breadcrumb>Dashboards -> New Dashboard</Breadcrumb>. Give the dashboard a <InlineField>Name</InlineField>. If you have organizations configured, you can select a <InlineField>Team</InlineField>.
Click on <InlineUIElement>New Dashboard</InlineUIElement> to create the dashboard.
<img src="/img/docs/operate/secure-and-monitor/datadog/datadog-website-create-new-dashboard.png" alt="Creating a new dashboard widget" role="bottom-cropped" width="1200" />
Now add a widget to your dashboard. Under <Breadcrumb>Widgets</Breadcrumb> in the right-hand sidebar, select the <InlineUIElement>Timeseries</InlineUIElement> widget. For the metrics to monitor, select `system.net.bytes_rcvd` and `system.net.bytes_sent`. You can give the metrics different colors to differentiate the graphs.
Under <Breadcrumb>Set time preference</Breadcrumb> choose "Past 15 minutes" and give your graph a title.
Click <InlineUIElement>Save</InlineUIElement>.
<img src="/img/docs/operate/secure-and-monitor/datadog/datadog-website-new-dashboard-configuration.png" alt="Datadog new dashboard configuration" role="bottom-cropped" width="1200" />
The new widget will now be available on the dashboard.
<img src="/img/docs/operate/secure-and-monitor/datadog/datadog-website-new-dashboard-preview.png" alt="Datadog new dashboard configuration" role="bottom-cropped" width="1200" />
## Use The Datadog Agent On A Remote Host
You can install the Datadog Agent on a separate machine to monitor Prometheus metrics or OpenMetrics data from a FusionAuth host remotely. The FusionAuth Prometheus endpoint can also be monitored using the OpenMetric-Datadog integration.
To access the Prometheus endpoint and allow Prometheus metrics on your FusionAuth instance, ensure you have configured an API key by following the steps in the [Set Up Prometheus API Access In FusionAuth](#set-up-prometheus-api-access-in-fusionauth) section.
Integrating Datadog with OpenMetrics or Prometheus consists of two parts: First you install the integration using the install button on the tile in the Datadog UI, then you install the Datadog Agent and configure an OpenMetrics or Prometheus collector.
### Integrate Datadog With OpenMetrics
To install the OpenMetrics integration in Datadog, select <Breadcrumb>Integrations</Breadcrumb> from the left sidebar, search for "OpenMetrics", and click on the OpenMetrics tile.
<img src="/img/docs/operate/secure-and-monitor/datadog/datadog-openmetrics-install-integration.png" alt="Datadog OpenMetrics integration" role="bottom-cropped" width="1200" />
### Integrate Datadog With Prometheus
To install the Prometheus integration in Datadog, select <Breadcrumb>Integrations</Breadcrumb> from the left sidebar, search for "Prometheus", and click on the Prometheus tile.
### Install The Datadog Agent
To install the Datadog Agent, navigate to the [agent download page](https://us5.datadoghq.com/account/settings/agent/latest?platform=overview) and select your platform.
Follow the instructions for your platform. Take care to use the correct region. This guide uses `us5.datadoghq.com`, but yours may be different depending on your selection when you created your Datadog account in the [Set Up A Datadog Account](#set-up-a-datadog-account) section. If prompted, choose a folder to save the download to or it will be saved to your default downloads folder.
Run the downloaded installer and follow the prompts, accept the license agreement, and enter your Datadog API key and region.
When installation is complete, you are given the option to launch the Datadog Agent Manager. Launch the Datadog Agent Manager.
<img src="/img/docs/operate/secure-and-monitor/datadog/datadog-agent-windows-setup.png" alt="Datadog agent set up" role="bottom-cropped" width="1200" />
Look for a green button at the top that says "Connected to Agent". If there is no button, follow the installation instructions again.
### Configure Prometheus Metrics
Click <InlineUIElement>Checks</InlineUIElement> in the left sidebar and select <InlineUIElement>Manage Checks</InlineUIElement>. Select "Prometheus" from the list.
<img src="/img/docs/operate/secure-and-monitor/datadog/datadog-agent-prometheus-config.png" alt="Datadog agent Prometheus config" role="bottom-cropped" width="1200" />
Add the following config details for the remote FusionAuth server to the right-hand pane:
```yaml
## All options defined here are available to all instances.
init_config:
instances:
- prometheus_url: https://<Your FusionAuth domain>/api/prometheus/metrics
namespace: Prometheus_remote_metrics # namespace to identify requests in Datadog
metrics:
- '*' # you can filter or add specific metrics here, see documentation.
headers:
Authorization: '<Your FusionAuth API key>'
Content-Type: 'application/json'
```
Save the config by clicking <InlineUIElement>Add check</InlineUIElement>.
Restart the agent. Select <InlineUIElement>Checks</InlineUIElement> from the sidebar to visit the checks summary page and confirm that the collector is running.
<img src="/img/docs/operate/secure-and-monitor/datadog/datadog-agent-prometheus-check-summary.png" alt="Datadog agent Prometheus check summary" role="bottom-cropped" width="1200" />
To see the results in Datadog, navigate to <Breadcrumb>Metrics Explorer</Breadcrumb>. Use the `Prometheus_remote_metrics` namespace defined in the above config to add metrics in the metrics explorer, and specify the last 15 minutes for the period. You will see data being pulled from the FusionAuth Prometheus endpoint. Now you can follow the instructions in [Set Up A Datadog Dashboard](#set-up-a-datadog-dashboard) to add these metrics to your dashboard.
<img src="/img/docs/operate/secure-and-monitor/datadog/datadog-website-metrics-explorer-prometheus.png" alt="Datadog website metrics explorer Prometheus" role="bottom-cropped" width="1200" />
## Use A Python App To Send Events To Datadog
You can use the Datadog API to create cron jobs or services on your FusionAuth instance to provide additional custom events or logs to Datadog.
Before running a script, install the `requests` and `datadog-api-client` libraries.
```sh
pip install requests datadog-api-client
```
The sample Python script below checks that a given FusionAuth host is alive and sends a status event to Datadog.
```python
import requests
from datadog_api_client import ApiClient, Configuration
from datadog_api_client.v1.api.events_api import EventsApi
from datadog_api_client.v1.model.event_create_request import EventCreateRequest
from datetime import datetime
# Get the current date and time
now = datetime.now()
def is_website_alive(url):
try:
response = requests.get(url, timeout=10)
# Check if the response status code is 200 (OK)
if response.status_code == 200:
return True
else:
return False
except requests.RequestException as e:
# If there was an issue (e.g., network error, timeout), the website is not reachable
print(f"Error: {e}")
return False
formatted_now = now.strftime("%Y-%m-%d %H:%M:%S")
url = "https://<Your FusionAuth domain>"
if is_website_alive(url):
status = f"[{ formatted_now}] - {url} is alive. "
else:
status = f"[{ formatted_now}] - {url} is not reachable."
#### here you can define your message/event
body = EventCreateRequest(
title="FusionAuthStatusEvent",
text=status,
tags=[
"FusionAuth:StatusEvent",
],
)
configuration = Configuration()
configuration.api_key["apiKeyAuth"] = "<Your Datadog API key>"
configuration.server_variables["site"] = "us5.datadoghq.com" #your Region
configuration.api_key["appKeyAuth"] = "<your Application key if needed>"
with ApiClient(configuration) as api_client:
api_instance = EventsApi(api_client)
response = api_instance.create_event(body=body)
print(response)
```
Run the script, then navigate to <Breadcrumb>Service Mgmt -> Event Management -> Explorer </Breadcrumb> on the Datadog website to see that the event was logged.
<img src="/img/docs/operate/secure-and-monitor/datadog/datadog-custom-events.png" alt="Datadog custom events" role="bottom-cropped" width="1200" />
Read more about the available Datadog APIs [here](https://docs.datadoghq.com/api/latest/using-the-api/).
## Send Data To Datadog With The OpenTelemetry Collector
You can use the OpenTelemetry Java collector to push data from the FusionAuth host to Datadog.
To use the OpenTelemetry Java collector with Docker, modify the official FusionAuth Docker image to download the OpenTelemetry Java agent and change the script that starts FusionAuth. Configuration values for Java OpenTelemetry are described [here](https://opentelemetry.io/docs/languages/java/configuration).
Save the [Dockerfile from the FusionAuth containers repo](https://github.com/FusionAuth/fusionauth-containers/blob/master/docker/fusionauth/fusionauth-app/Dockerfile) to your computer.
Edit the file. Above the comment labeled "###### Start FusionAuth App", insert the following code.
```
##### NEW FOR OPENTELEMETRY #######################################################################
RUN mkdir -p /var/lib/apt/lists/partial \
&& chmod 755 /var/lib/apt/lists/partial \
&& apt update \
&& apt install -y ca-certificates \
&& cd /usr/local/fusionauth \
&& curl -L -o otel.jar https://github.com/open-telemetry/opentelemetry-java-instrumentation/releases/download/v2.4.0/opentelemetry-javaagent.jar\
&& (head -n -1 /usr/local/fusionauth/fusionauth-app/bin/start.sh; echo 'exec "${JAVA_HOME}/bin/java" -javaagent:/usr/local/fusionauth/otel.jar -Dotel.resource.attributes=service.name=fusionauth -Dotel.traces.exporter=otlp -Dotel.exporter.otlp.endpoint=http://otel:4318 -cp "${CLASSPATH}" ${JAVA_OPTS} io.fusionauth.app.FusionAuthMain <&- >> "${LOG_DIR}/fusionauth-app.log" 2>&1') > temp.sh \
&& mv temp.sh /usr/local/fusionauth/fusionauth-app/bin/start.sh;
RUN chown fusionauth:fusionauth /usr/local/fusionauth/otel.jar /usr/local/fusionauth/fusionauth-app/bin/start.sh \
&& chmod +x /usr/local/fusionauth/fusionauth-app/bin/start.sh
```
This code edits the `start.sh` file, the script that starts FusionAuth when the container starts, replacing the final line with the new command.
By default, the OpenTelemetry Java agent sends data to the OpenTelemetry collector at http://localhost:4317. The code above changes it to send data to the container at `http://otel:4318`.
Build the Dockerfile into a new image to use in place of the official FusionAuth one.
```sh
docker build --platform linux/amd64 -t faimage .
```
Now save the [`docker-compose.yaml`](https://github.com/FusionAuth/fusionauth-containers/blob/main/docker/fusionauth/docker-compose.yml) and [sample `.env`](https://github.com/FusionAuth/fusionauth-containers/blob/main/docker/fusionauth/.env) files from the FusionAuth containers repo.
In the `docker-compose.yaml` file, change the line `image: fusionauth/fusionauth-app:latest` to point to the image you have just built `image: faimage:latest`.
To include the OpenTelemetery collector service in your compose configuration, add the following service to the `docker-compose.yaml` file.
``` yaml
# OpenTelemetry Collector Contrib
otel:
image: otel/opentelemetry-collector-contrib:latest
volumes:
- ./otel-collector.yml:/etc/otel-collector.yml
command: ["--config=/etc/otel-collector.yml"]
#,"--feature-gates=-exporter.datadogexporter.DisableAPMStats"]
ports:
- "1888:1888" # pprof extension
- "8888:8888" # Prometheus metrics exposed by the collector
- "8889:8889" # Prometheus exporter metrics
- "13133:13133" # health_check extension
- "4317:4317" # OTLP gRPC receiver
- "4318:4318" # OTLP gRPC receiver
- "55679:55679" # zpages extension
environment:
- OTEL_EXPORTER_OTLP_LOGS_ENDPOINT=http://otel:4318/v1/logs
- OTEL_EXPORTER_OTLP_METRICS_ENDPOINT=http://otel:4318
- OTEL_EXPORTER_OTLP_TRACES_ENDPOINT=http://otel:4318/v1/traces
networks:
- db_net
depends_on:
- db
- search
- fusionauth
```
Now create an `otel-collector.yml` file in the same directory as the `docker-compose.yaml` file to use with the otel container. This file is passed into the container with the `docker-compose.yaml` configuration. Add the following to the `otel-collector.yml` file.
```yaml
receivers:
hostmetrics:
scrapers:
load:
cpu:
disk:
filesystem:
memory:
network:
paging:
# process:
otlp:
protocols:
http:
#endpoint: "localhost:4318"
grpc:
#endpoint: "localhost:4317"
processors:
batch:
send_batch_max_size: 100
send_batch_size: 10
timeout: 10s
connectors:
datadog/connector:
exporters:
datadog/exporter:
api:
site: "us5.datadoghq.com" #<make sure of your region>
key: "<Your Datadog API key>"
service:
pipelines:
traces:
receivers: [otlp]
processors: [batch]
exporters: [datadog/connector, datadog/exporter]
metrics:
receivers: [hostmetrics, otlp, datadog/connector] #// The connector provides the metrics to your metrics pipeline
processors: [batch]
exporters: [datadog/exporter]
```
Start the Docker containers with the command below.
```bash
docker compose -f docker-compose.yaml up -d
# if you want to monitor the progress
# docker compose logs --follow
```
## Visualize OpenTelemetry Metrics In Datadog
Select <Breadcrumb>Integrations</Breadcrumb> from the left sidebar, search for "OpenTelemetry", and click on the OpenTelemetry tile to install the integration.
On the Datadog website, see the OpenTelemetry metrics on graphs by navigating to <Breadcrumb>Dashboards -> Dashboard List -> OpenTelemetry Host Metrics Dashboard</Breadcrumb>.
<img src="/img/docs/operate/secure-and-monitor/datadog/dataDog-opentelemetry-dashboard.png" alt="Datadog OpenTelemetry dashboard" role="bottom-cropped" width="1200" />
## Further Reading
- [FusionAuth metrics](/docs/operate/monitor/monitor#metrics)
- [OpenTelemetry documentation](https://opentelemetry.io/docs/what-is-opentelemetry)
- [OpenTelemetry Java documentation](https://github.com/open-telemetry/opentelemetry-java-instrumentation)
- [Datadog OpenTelemetry documentation](https://docs.datadoghq.com/opentelemetry/collector_exporter/)
- [FusionAuth containers](https://github.com/FusionAuth/fusionauth-containers/blob/master/docker/fusionauth/fusionauth-app/Dockerfile)
- [Getting Started with the Datadog Agent](https://docs.datadoghq.com/getting_started/agent/)
- [Datadog Ubuntu Agent Install Script Configurations options](https://github.com/DataDog/agent-linux-install-script/blob/main/README.md#agent-configuration-options)
- [FusionAuth Docker Install For the 5-Minute Guide](/docs/quickstarts/5-minute-docker)
- [Pricing](https://www.datadoghq.com/pricing/)
- [Datadog Agents](https://docs.datadoghq.com/getting_started/agent/)
- [OpenTelemetry Metric Format](https://opentelemetry.io/docs/specs/otel/metrics/data-model/#point-kinds)
- [Datadog Metric Types](https://docs.datadoghq.com/metrics/types/?tab=count)
- [Datadog Metrics](https://docs.datadoghq.com/metrics/)
# Monitor With Elastic
import Aside from 'src/components/Aside.astro';
import IconButton from 'src/components/IconButton.astro';
import Breadcrumb from 'src/components/Breadcrumb.astro';
import InlineField from 'src/components/InlineField.astro';
import InlineUIElement from 'src/components/InlineUIElement.astro';
## Introduction
[Elastic](https://www.elastic.co) is a company known for managing the ELK stack: Elasticsearch, Logstash, and Kibana. These products allow you to import (ingest) data, including observability data like logs and server metrics, organize it, and monitor it.
This guide explains how to connect FusionAuth to Elastic in various ways, identifies FusionAuth metrics that are useful in Elastic, and shows how to create a simple dashboard to show them.
Before continuing with this guide, please go through the [FusionAuth guide to monitoring](/docs/operate/monitor/monitor) to get an overview of the available metrics and choose the ones relevant to your needs.
Refer to the [Elastic documentation](https://www.elastic.co/guide/en/observability/current/index.html) to learn more about the Elastic Observability platform, and compare Elastic subscriptions on the [pricing page](https://www.elastic.co/pricing). The Standard (lowest) pricing tier includes sufficient observability features, including handling logs and metrics.
Elastic can import and visualize different types of data, including server performance, application (FusionAuth) performance, and logs.
As well as monitoring FusionAuth with Elastic, you can use Elastic to monitor your custom application by following steps similar to the ones in this guide.
## Cloud-Hosted Or Self-Hosted?
Before 2021, Elastic products were open-source software. In 2021, Elastic changed their licenses to [Elastic License 2.0](https://www.elastic.co/licensing/elastic-license/faq) to prevent cloud hosts (AWS, Google, Azure) from freely selling managed Elastic services that compete with [Elastic Cloud](https://www.elastic.co/cloud/shared-responsibility).
While not officially open source, the Elastic License 2.0 still allows free and open (gratis and libre) use of most Elastic products, as long as you are not selling them as your own service. So you can host the Elastic stack on your own server instead of buying Elastic Cloud, but you will still need to pay Elastic to use [certain premium features](https://www.elastic.co/subscriptions), like AI.
This guide assumes you are using the paid Elastic Cloud for monitoring. If you are self-hosting Elastic, you should still be able to follow the guide, but you will need to change connections that point to Elastic Cloud to point to your own server. To install Elastic yourself in Docker, follow the first half of this [guide](https://www.elastic.co/blog/getting-started-with-the-elastic-stack-and-docker-compose) until you reach the MetricBeat section.
In the Elastic documentation (for example, the [getting started guide](https://www.elastic.co/guide/en/observability/current/logs-metrics-get-started.html)), you may read that "you need an Elastic Stack deployment". Note that this does not mean you need to deploy the entire ELK stack locally alongside your application or FusionAuth instance. It simply means that you need to have the Elastic Stack installed somewhere, which will likely be on their Elastic Cloud.
## Create An Elastic Account
First, register for an Elastic account:
- Register for a trial at https://cloud.elastic.co/registration.
- Verify your email address using the link in the email Elastic sends you.
- Enter your details on the registration page and create a new deployment called `fa`. Note that your two-week free trial starts when you create the deployment.
## How To Send Data To Elastic Cloud
There are many ways to use Elastic. This guide will help you choose the simplest combination that suits the needs of your system architecture.
[Elastic Agent](https://www.elastic.co/guide/en/fleet/current/fleet-overview.html) sends data from your server to Elastic Cloud for processing and monitoring. To use Elastic Cloud, you must first install Elastic Agent on your server.
The options for sending data to Elastic Cloud include:
- Install Elastic Agent in the same Docker container as FusionAuth.
- Install Elastic Agent in a separate container and give it access to the private Docker management data for other containers.
- Install a local [OpenTelemetry](https://opentelemetry.io/) agent to send data to Elastic instead of using Elastic Agent.
- Call the Elastic API directly from a local service instead of using Elastic Agent.
## Monitor FusionAuth With Elastic In The Same Container
Running FusionAuth and PostgreSQL in Docker usually looks like the diagram below (you might also run OpenSearch in another Docker container).
<img src='/img/docs/operate/secure-and-monitor/elastic/secure-and-monitor-monitor-with-elastic.png' alt='FusionAuth with Postgres Database' />
In this section, you will install Elastic Agent in the same container as FusionAuth. The aim is to have a design like the diagram below.
<img src='/img/docs/operate/secure-and-monitor/elastic/secure-and-monitor-monitor-with-elastic-in-same-container-docker.png' alt='FusionAuth with Elastic Agent running in Docker sending data to Elastic Server that has Kibana with Elasticsearch and Fleet.' />
FusionAuth and PostgreSQL are unchanged. Elastic Agent in the FusionAuth container monitors the container (not the FusionAuth app) and uploads the data to Elasticsearch, where it is indexed and saved.
Kibana is a web interface that provides dashboards of the health of the Elastic Agent's container. Note that Elastic Agent is not yet monitoring FusionAuth in this design, but if the container dies or suffers CPU or RAM overuse, that will show in the Kibana dashboard.
Fleet is the web app that tracks all Elastic Agents on all servers. It allows you to set Agent Policies that tell the agents remotely what data they should and shouldn't upload. You can also use Fleet to delete or edit existing agents.
This design is useful when you don't have full control over the Docker environment, as you may not have on some cloud hosts. However, the design violates the principle of one process per Docker container. This means the Elastic Agent process can die while the container and FusionAuth process keep running, which will cause confusion when viewing the dashboard.
Running Elastic Agent on the same server as FusionAuth is also useful when you aren't using Docker (that is, running FusionAuth directly on your server). In this case, your system will look like the diagram below.
<img src='/img/docs/operate/secure-and-monitor/elastic/secure-and-monitor-monitor-with-elastic-in-same-container-directly-on-your-server.png' alt='FusionAuth running directly on server with Elastic Agent sending data to Elastic Server that has Kibana with Elasticsearch and Fleet running' />
Here's how to implement this design.
Navigate to the home page of your Elastic Cloud web interface and do the following:
- At the bottom of the sidebar, click <Breadcrumb>Management -> Fleet</Breadcrumb>.
- Select the <Breadcrumb>Agent policies</Breadcrumb> tab, then click <InlineUIElement>Create agent policy</InlineUIElement>.
- Name the policy `efa`. Review the advanced options if you like, but leave their defaults unchanged.
- Click <InlineUIElement>Create agent policy</InlineUIElement>.
- Back on the agent policy list page, click the name of your new policy, `efa`.
- Under the <Breadcrumb>Integrations</Breadcrumb> tab, the "System" integration should show. Click the name of the integration to open a page to edit it. If you don't see the system integration, click <InlineUIElement>Add integration</InlineUIElement> to the right, search for `System`, and add it.
<img src='/img/docs/operate/secure-and-monitor/elastic/elastic2.png' alt='Add System integration in Elastic' width="1200" role="bottom-cropped" />
- Disable <InlineUIElement>Collect events from the Windows event log</InlineUIElement> and leave the system collection and metric collection toggles enabled. Since your Docker instance runs Ubuntu there is no need for Windows events.
- Click on <InlineUIElement>Save integration</InlineUIElement> at the bottom right.
- Return to the <Breadcrumb>Agents</Breadcrumb> tab of the Fleet page and click <InlineUIElement>Add Agent</InlineUIElement>.
- Choose your newly created agent policy in the dropdown that appears for step 1.
- Copy the text to install the "Linux Tar" version of the agent in step 3, which will be similar to the commands below, but with different parameters.
```sh
curl -L -O https://artifacts.elastic.co/downloads/beats/elastic-agent/elastic-agent-8.14.2-linux-x86_64.tar.gz
tar xzvf elastic-agent-8.14.2-linux-x86_64.tar.gz
cd elastic-agent-8.14.2-linux-x86_64
sudo ./elastic-agent install --url=https://9025e4274.fleet.us-central1.gcp.cloud.es.io:443 --enrollment-token=a2lB5aA1dUagaTk5FUsE743dw==
```
- From the last line of the command sequence, note the subdomain of the URL, which is your unique Elastic Cloud home, and the enrollment token, which is your secret key to use Elastic. Keep the token secure and safe, and never commit it to GitHub where it can be publicly exposed.
Now leave the Elastic site and complete the following steps in a terminal on your computer:
- Install [Docker](https://docs.docker.com/get-docker/) if you don't have it on your machine.
- Save the Dockerfile from the [FusionAuth containers repository](https://github.com/FusionAuth/fusionauth-containers/blob/master/docker/fusionauth/fusionauth-app/Dockerfile) to your computer.
- Rename the file to `elastic.dockerfile`.
- Edit the file and insert the following lines above the comment "###### Start FusionAuth App".
```sh
###### New for Elastic #################################
RUN mkdir -p /var/lib/apt/lists/partial \
&& chmod 755 /var/lib/apt/lists/partial \
&& apt update \
&& apt install -y ca-certificates \
&& apt install nano sudo -y \
&& echo "fusionauth ALL=(ALL) NOPASSWD: ALL" > /etc/sudoers.d/fusionauth \
&& curl -L -O https://artifacts.elastic.co/downloads/beats/elastic-agent/elastic-agent-8.14.3-linux-x86_64.tar.gz \
&& mkdir -p /elastic \
&& tar xzvf elastic-agent-8.14.3-linux-x86_64.tar.gz --strip-components=1 -C /elastic \
&& yes | /elastic/elastic-agent install --url=https://9059ac5.fleet.us-central1.gcp.cloud.es.io:443 --enrollment-token=lBSVldsaUlMRnoyZGh2Zw==
```
- Change the URL and token in the last line to match your values from the Elastic website. Update the version number of the agent if yours is newer.
- Replace the last line of the file, `CMD ["/usr/local/fusionauth/fusionauth-app/bin/start.sh"]` with `CMD sudo /opt/Elastic/Agent/elastic-agent run & /usr/local/fusionauth/fusionauth-app/bin/start.sh`. Now both the Elastic Agent and FusionAuth will run when the container starts. The Agent has to run as root as it [reads data sources that only a superuser can access](https://www.elastic.co/guide/en/fleet/current/elastic-agent-installation.html). Even though the Dockerfile unzips the Agent to `/agent/`, the agent installs to `/opt/Elastic/Agent/`.
- Build the image with the command below.
```sh
docker build --platform linux/amd64 -t efaimage -f elastic.dockerfile .
```
- Use the modified `docker-compose.yml` file from the FusionAuth [five-minute guide](/docs/quickstarts/5-minute-setup-guide) to have the content below. It uses the `efaimage` image you just built for FusionAuth.
```yaml
services:
db:
image: postgres:latest
container_name: fa_db
ports:
- "5432:5432"
environment:
PGDATA: /var/lib/postgresql/data/pgdata
POSTGRES_USER: ${POSTGRES_USER}
POSTGRES_PASSWORD: ${POSTGRES_PASSWORD}
healthcheck:
test: [ "CMD-SHELL", "pg_isready -U postgres" ]
interval: 5s
timeout: 5s
retries: 5
networks:
- db_net
volumes:
- db_data:/var/lib/postgresql/data
fa:
image: efaimage
container_name: efa
depends_on:
db:
condition: service_healthy
environment:
DATABASE_URL: jdbc:postgresql://db:5432/fusionauth
DATABASE_ROOT_USERNAME: ${POSTGRES_USER}
DATABASE_ROOT_PASSWORD: ${POSTGRES_PASSWORD}
DATABASE_USERNAME: ${DATABASE_USERNAME}
DATABASE_PASSWORD: ${DATABASE_PASSWORD}
FUSIONAUTH_APP_MEMORY: ${FUSIONAUTH_APP_MEMORY}
FUSIONAUTH_APP_RUNTIME_MODE: ${FUSIONAUTH_APP_RUNTIME_MODE}
FUSIONAUTH_APP_URL: http://fusionauth:9011
SEARCH_TYPE: database
networks:
- db_net
ports:
- 9011:9011
volumes:
- fusionauth_config:/usr/local/fusionauth/config
extra_hosts:
- "host.docker.internal:host-gateway"
networks:
db_net:
driver: bridge
volumes:
db_data:
fusionauth_config:
```
- Create a `.env` file with the default content below.
```text
DATABASE_USERNAME=fusionauth
DATABASE_PASSWORD=hkaLBM3RVnyYeYeqE3WI1w2e4Avpy0Wd5O3s3
FUSIONAUTH_APP_MEMORY=512M
FUSIONAUTH_APP_RUNTIME_MODE=development
OPENSEARCH_JAVA_OPTS="-Xms512m -Xmx512m"
POSTGRES_USER=postgres
POSTGRES_PASSWORD=postgres
```
- Start FusionAuth with `docker compose up`.
Return to the Elastic web interface, and you should see the message "Agent enrollment confirmed".
You should see the agent in the Fleet dashboard with the status showing `Healthy`.
<img src='/img/docs/operate/secure-and-monitor/elastic/elastic3.png' alt='Fleet Agent overview in Elastic' width="1200" role="bottom-cropped" />
In the sidebar, browse to <Breadcrumb>Analytics -> Dashboards</Breadcrumb>. Search for and display `Host overview`.
<img src='/img/docs/operate/secure-and-monitor/elastic/elastic4.png' alt='Host overview dashboard in Elastic' width="1200" role="bottom-cropped" />
The monitoring agent for your FusionAuth machine is now installed and you can now monitor it online.
### How To Debug The Container
If you get errors when running FusionAuth, or the Agent does not appear in Fleet, you will need to open a terminal in the container to find the problem.
To stop FusionAuth and the Agent starting so you can test manually, change the last line of the Dockerfile to the line below.
```sh
CMD tail -f /dev/null
```
Rebuild the Dockerfile after changes.
```sh
docker rm fa; docker rm efa; docker rmi efaimage; docker build --platform linux/amd64 -t efaimage -f elastic.dockerfile .
```
Run the container and enter it as root.
```sh
docker run -it --user root --name efa efaimage bash
```
Start the agent with `/opt/Elastic/Agent/elastic-agent run` and use `cat /var/log/elastic-agent.err` to look for errors. If you see the agent trying to connect to `127.0.0.1:9200`, it is not because the URL is configured incorrectly. The 127 address is just a fallback when the agent cannot connect to the server, usually due to it not running as root.
## Monitor FusionAuth With Elastic In Another Container
Running Elastic Agent and FusionAuth in the same container requires altering the FusionAuth Dockerfile, which means you have to edit the file and rebuild the image every time you want to use a new version of FusionAuth.
Running Elastic Agent in a separate container will avoid this problem, but you need to have full control over the machine running Docker to give Elastic Agent access to restricted Docker data (the Docker socket). This may not be possible on some cloud hosts.
Running Elastic Agent in a separate container to FusionAuth is shown in the diagram below.
<img src='/img/docs/operate/secure-and-monitor/elastic/secure-and-monitor-monitor-with-elastic-in-another-container-docker.png' alt='Elastic Agent running in Docker talking with FusionAuth on the same server in Docker. The Elastic Agent is also talking to an external Elastic Server.' />
Below are the instructions to implement this design. They follow from the work you did in the previous section.
- Browse to the Elastic web interface.
- Click <InlineUIElement>Add integrations</InlineUIElement> on the sidebar. Search for and add Docker.
- Give it the name `fadocker`.
- At the bottom of the page, name the new policy `fadockerpolicy`.
- Click <InlineUIElement>Save and continue</InlineUIElement>.
- Click <InlineUIElement>Add Elastic Agent to your hosts</InlineUIElement>. You need the URL and token given on the page that shows, but you won't need the installation commands. Elastic already provides a prebuilt Docker image you can use instead.
- Change the Docker compose file you used in the previous section to replace the custom `efaimage` image with the normal FusionAuth image.
```yaml
fa:
image: fusionauth/fusionauth-app:latest
```
Note that you could continue using the `efaimage` image if you wanted to. Elastic allows you to run as many agents as you want, and will collect data from all of them.
- Add a new service to the compose file for the Elastic Agent image. Replace your URL and enrollment token in the markup below with the values from the Elastic web page.
```yaml
faelastic:
image: elastic/elastic-agent:8.14.3
container_name: faelastic
user: root
networks:
- db_net
environment:
- FLEET_ENROLL=1
- FLEET_ENROLLMENT_TOKEN=YTRBMBa1RvUQ==
- FLEET_URL=https://905ec5.fleet.us-central1.gcp.cloud.es.io:443
volumes:
- /var/run/docker.sock:/var/run/docker.sock:ro # `ro` makes the folder readonly in the container to protect your real machine
- /var/lib/docker/containers:/var/lib/docker/containers:ro
```
- `/var/run/docker.sock` allows Elastic Agent to view Docker metrics about other containers. It will work on Linux and macOS hosts, but might not work on Windows. If you encounter socket problems on Windows, please read [this article](https://tomgregory.com/aws/running-docker-in-docker-on-windows/) and try prefixing your local socket path with an extra slash.
- `/var/lib/docker/containers` allows Elastic Agent to read the logs of other containers.
- Run the Elastic Agent container first, so that it will see some log information from other containers when they start. Run `docker compose up faelastic`.
- In the Elastic Cloud web interface, browse to the sidebar and then <Breadcrumb>Observability -> Logs -> Stream</Breadcrumb>.
- Run the other Docker containers with `docker compose up db fa`
- You should be able to see the FusionAuth log output appearing in the Elastic web interface.
<img src='/img/docs/operate/secure-and-monitor/elastic/elastic10.png' alt='Log stream from Docker containers in Elastic' width="1200" role="bottom-cropped" />
- Browse to the sidebar and then <strong>Analytics -> Dashboards -> [Metrics Docker]Overview</strong>. You should see details about all your Docker containers.
<img src='/img/docs/operate/secure-and-monitor/elastic/elastic5.png' alt='Docker metrics overview in Elastic' width="1200" role="bottom-cropped" />
## Monitor The FusionAuth Application Directly With Elastic
You've learned how to monitor the FusionAuth container in two different ways. Since a Docker container will exit if the process it runs exits, this monitoring will tell you if FusionAuth dies, which might be enough for you to know. But if you want to monitor details about the FusionAuth app itself, there are various approaches:
- Use an [Elastic APM (application performance monitoring) app for Java](https://www.elastic.co/guide/en/observability/current/_step_3_install_apm_agents.html) inside the FusionAuth container to monitor the Java Virtual Machine. Since monitoring Java won't give you any useful information that monitoring the container doesn't already, you can ignore this idea. There is a guide to running FusionAuth with a Java monitoring app by altering the Dockerfile in the [FusionAuth Splunk guide](./splunk) if you would like to try.
- Use an [OpenTelemetry Java monitoring agent](https://github.com/open-telemetry/opentelemetry-java-instrumentation) to send information about FusionAuth to Elastic. This is similar to the previous point - OpenTelemetry won't provide any useful information that container monitoring doesn't already. Using OpenTelemetry is also shown in the [FusionAuth Splunk guide](./splunk). Elastic has a guide to Java [here](https://www.elastic.co/guide/en/observability/8.14/apm-open-telemetry.html) that you can use with the Splunk guide.
- Use a specialized Elastic service like Heartbeat to connect to the FusionAuth HTTP server and see if it returns correctly. You can install Heartbeat in a container like we did for Elastic Agent in the previous section, and point it to the FusionAuth URL. A guide on Heartbeat is [here](https://www.elastic.co/guide/en/beats/heartbeat/current/heartbeat-overview.html).
- Send custom metrics from FusionAuth to Elastic. This is the most complex option, as you need to write a custom service to request FusionAuth metrics, extract them from the given zip file, and upload them to Elastic using the Elastic API. However, this is the only way to get precise information about FusionAuth if you want that level of detail. This option will be discussed in the next section.
## Send Custom FusionAuth Metrics To The Elasticsearch API
There are three possible ways to send custom data to Elastic:
- Write your own service to run continuously, get data, and send it by calling the Elasticsearch API.
- Build a custom private module in Go for [MetricBeat](https://www.elastic.co/beats/metricbeat), compile the module with MetricBeat, and deploy the output to a container. MetricBeat is similar to Elastic Agent. It is an Elastic service that runs continuously, calling whatever integration it's configured with. To write a custom module (integration), follow the [Elastic developer documentation](https://www.elastic.co/guide/en/beats/devguide/current/metricbeat-dev-overview.html).
- Deploy MetricBeat in a container with the stock [HTTP module](https://www.elastic.co/guide/en/beats/metricbeat/current/metricbeat-module-http.html). The HTTP module can call any custom API. Write a web service in another container as an interface between MetricBeat and FusionAuth. This service will get whatever metrics you want from FusionAuth and return them in the HTTP response.
Each option has disadvantages. While calling the API directly has the least code, it is low-level work that moves away from using the Elastic components as intended and requires you to configure values to group your custom data with other data from Elastic Agent in the dashboard. Using MetricBeat is Elastic's recommended solution, but it means writing and compiling Go code for every service change or running an additional Docker container with its own web service.
This guide will show you how to send FusionAuth metrics to the Elasticsearch API by creating a custom Docker service that calls the FusionAuth API and sends metrics directly to the Elastic API.
The design looks like the diagram below.
<img src='/img/docs/operate/secure-and-monitor/elastic/secure-and-monitor-monitor-with-elastic-send-custom-fusionauth-metrics-to-the-elasticsearch-api.png' alt='Custom metric getter code in Docker calling FusionAuth in a Docker instance and an external Elastic Server API call to Elasticsearch.' />
### Which Metrics To Monitor
FusionAuth has too [many metrics](/docs/operate/secure-and-monitor/monitor#metrics) to discuss in this article. You will need to decide which are important for you to monitor by reading the documentation.
In addition to the metrics available through the various FusionAuth APIs, you can create your own metrics using any event that can trigger a [webhook](/docs/extend/events-and-webhooks). This webhook can call another Docker container you create that listens for incoming events and forwards them to Elastic.
A useful metric to start with is login counts. If this number drops from the average, it's a good sign something might be wrong with your system. In this guide, you'll learn how to create a program that uses the FusionAuth API to get the login count, then upload it to Elastic.
You can add any other metrics you want to this service.
### Create An Elastic API Key
Earlier you used an enrollment token tied to a specific Agent Policy to configure Elastic Agent. Now, to call the Elasticsearch API directly, you need an API key.
- In the Elastic Cloud web interface, open the sidebar and browse to <Breadcrumb>Search -> Elasticsearch</Breadcrumb>.
- Click <InlineUIElement>Endpoints & API keys</InlineUIElement>.
- Note your endpoint and cloud Id values.
- Click <InlineUIElement>New API key</InlineUIElement>.
- Give it a name and enable "Security Privileges" and "Metadata".
- Click <InlineUIElement>Create API Key</InlineUIElement>.
- Securely save the key to use later. Never commit the key to Git, which can expose it on the internet.
### Create An Elasticsearch Index
To prepare Elasticsearch for data upload, open a terminal and run the three commands below, using your API key and URL in the first two commands. The API key is the value of the `encoded` field from the JSON in Elastic, not the `api_key` field.
```sh
export elasticKey="WGdLQ=="
export elasticUrl="https://c301.us-central1.gcp.cloud.es.io:443"
curl -X PUT "${elasticUrl}/falogins" -H "Authorization: ApiKey ${elasticKey}" -H "Content-Type: application/json" -d'
{
"mappings": {
"properties": {
"timestamp": { "type": "date" },
"value": { "type": "text" }
}
}
}'
# Result:
# {"acknowledged":true,"shards_acknowledged":true,"index":"falogins"}
```
These commands create an index (think of an index as a database table) to which you can upload FusionAuth metrics. If you receive an authentication or 404 error, please check your URL and API key settings.
Check that the index exists by running the command below.
```sh
curl "${elasticUrl}/falogins" -H "Authorization: ApiKey "${elasticKey}"" -H "Content-Type: application/json"
# Result:
# {"falogins":{"aliases":{},"mappings":{"properties":{"timestamp":{"type":"date"},"value":{"type":"integer"}}},"settings":{"index":{"routing":{"allocation":{"include":{"_tier_preference":"data_content"}}},"number_of_shards":"1","provided_name":"falogins","creation_date":"1721213253232","number_of_replicas":"1","uuid":"JXwp3mzBTJqkQH6sNkEvPg","version":{"created":"8505000"}}}}}
```
Let's review the index in Elastic Cloud.
- In the web interface, open the sidebar, and browse to <Breadcrumb>Management -> Stack Management -> Index Management</Breadcrumb>.
<img src='/img/docs/operate/secure-and-monitor/elastic/elastic6.png' alt='Index management in Elastic' width="1200" role="bottom-cropped" />
- You should see `falogins` in the list. Click it.
- Click the <Breadcrumb>Mappings</Breadcrumb> tab.
<img src='/img/docs/operate/secure-and-monitor/elastic/elastic7.png' alt='Index mappings in Elastic' width="1200" role="bottom-cropped" />
You can now see the type of data that the index will accept. You can create indexes manually instead of using the API if you like. Creating mappings manually will show you all the types of fields that Elasticsearch supports.
### Write A Custom Service To Send Data To The API
Let's get the login records every ten seconds and send them to Elastic. All the FusionAuth APIs that give you event data are documented [here](/docs/apis). The login records API is documented [here](/docs/apis/login#request-6). Note that, while the documentation says the date format is the standard Java type, some constants like `ISO_LOCAL_DATE_TIME` are not supported. You need to enter the format string you want manually.
Unfortunately, all the APIs export events as zip files — you will not get JSON or YAML data in memory. You will need to create a script that gets the zip file, extracts it, reads it, formats the entries for Elastic, and uploads them.
Browse to FusionAuth, which is at http://localhost:9011 if you are running through the default Docker setup. Log in and look for your application Id in <Breadcrumb>System -> Login Records</Breadcrumb>.
Next, create an API key by navigating to <Breadcrumb>Settings -> API Keys</Breadcrumb> and clicking the <IconButton icon="plus" color="green" /> button. Enter a <InlineField>Description</InlineField> for the API key and click on the <IconButton icon="save" color="blue" /> button to save the API key. On the API Keys list page, click the red lock <IconButton icon="lock" color="red" /> next to the newly generated key to reveal the key value. Copy and save the key.
Create a file called `app.sh`. Insert the content below, replacing your FusionAuth API key, FusionAuth application Id, and your Elastic API key and Elastic URL.
```sh
#!/bin/sh
# exit on error
set -e
# get login records from fusionauth
faUrl="http://fa:9011/api/system/login-record/export" # use "http://localhost:9011... for testing this script outside of Docker
faKey="33052c8a-c283-4e96-9d2a-eb1215c69f8f-not-for-prod"
faAppId="3c219e58-ed0e-4b18-ad48-f4f92793ae32"
elasticKey="WGdNxOUkwQQ=="
elasticUrl="https://c36cbc1.us-central1.gcp.cloud.es.io:443"
dateFormat=$(echo -n "yyyy-MM-dd'T'HH:mm:ss.SSS" | jq -sRr @uri)
end=$(date +%s)000
start=$(($end - 3600000))
params="applicationId=${faAppId}&dateTimeSecondsFormat=${dateFormat}&start=${start}&end=${end}"
url="${faUrl}?${params}"
echo "curl -H \"Authorization: ${faKey}\" -o record.zip \"$url\""
curl -H "Authorization: ${faKey}" -o record.zip "$url"
unzip -o record.zip
cat login_records.csv
# for each record, get the user and unix time in ms
tail -n +2 login_records.csv | while IFS=',' read -r userId time rest; do
userId=$(echo "$userId" | tr -d ' "' )
time=$(echo "$time" | tr -d ' "') # 2024-06-21T05:14:56.123
time=$(echo "$time" | tr 'T' ' ') # 2024-06-21 05:14:56.123
sec="$(date -d "$(echo $time | cut -d '.' -f 1)" +%s)" # 1718946896
ms="$(echo $time | cut -d '.' -f 2)" # 123
# make the POST data
data=$(cat <<EOF
{
"timestamp": ${sec}${ms},
"value": "${userId}"
}
EOF
)
# send data to Elastic API
curl -X POST "${elasticUrl}/falogins/_doc" -H "Authorization: ApiKey ${elasticKey}" -H "Content-Type: application/json" -d "$data"
done
```
This script gets all login records in the last hour to be sure the zip file has some data. In reality, replace 3600000 with 10000 so that when the script runs every ten seconds, it gets only the latest records. Note that FusionAuth uses milliseconds instead of the epoch standard of seconds, so the script has to append `000` to the normal Unix time.
The file returned from FusionAuth unzips to `login_records.csv`, which looks like the data below.
| "User Id " | "Time " | "Application Id " | "IP Address " | "City " | "Country " | "Zipcode " | "Region " | "Latitude " | "Longitude " |
|--------------------------------------|-------------------------|--------------------------------------|---------------|---------|------------|------------|-----------|-------------|--------------|
| ba81f3e2-3b0f-4d64-930f-38298de9dc0d | 2024-06-21T05:14:56.123 | 3c219e58-ed0e-4b18-ad48-f4f92793ae32 | 172.20.0.1 | | | | | | |
| ba81f3e2-3b0f-4d64-930f-38298de9dc0d | 2024-06-21T05:07:06.406 | 3c219e58-ed0e-4b18-ad48-f4f92793ae32 | 172.20.0.1 | | | | | | |
The records in this file look different from those in the FusionAuth console. Only Ids are given here, not email addresses or application names.
The second half of the script reads in the CSV file, discards the header, and sends the user Id and the time of each login to Elastic.
Create a file called `metricDockerfile`. Insert the content below.
```
FROM --platform=linux/amd64 alpine:3.19
RUN apk add --no-cache curl jq nano
COPY app.sh /app.sh
RUN chmod +x app.sh
CMD watch -t -n 10 /app.sh
```
Build the container with the command below.
```sh
docker build -f metricDockerfile --platform linux/amd64 -t metricimage .
```
Edit your `docker-compose.yml` file and add the new service as follows.
```
fametric:
image: metricimage
container_name: fametric
networks:
- db_net
```
Now run all the containers with `docker compose up`.
The output should be as below. Since you logged in within the last hour, there will be one row in the exported file and one value will be sent to Elastic. If you don't see any rows displayed on the screen, log in to FusionAuth again.
```sh
curl -H "Authorization: 33052c8a-c283-4e96-9d2a-eb1215c69f8f-not-for-prod" -o record.zip "http://fa:9011/api/system/login-record/export?applicationId=3c219e58-ed0e-4b18-ad48-f4f92793ae32&dateTimeSecondsFormat=yyyy-MM-dd%27T%27HH%3Amm%3Ass.SSS&start=1721215014000&end=1721218614000"
fametric | % Total % Received % Xferd Average Speed Time Time Time Current
fametric | Dload Upload Total Spent Left Speed
100 319 0 319 0 0 42962 0 --:--:-- --:--:-- --:--:-- 45571
fametric | Archive: record.zip
fametric | inflating: login_records.csv
fametric | "User Id ","Time ","Application Id ","IP Address ","City ","Country ","Zipcode ","Region ","Latitude ","Longitude "
fametric | 00000000-0000-0000-0000-000000000001,2024-07-17T05:26:05.740,3c219e58-ed0e-4b18-ad48-f4f92793ae32,172.21.0.1,,,,,,
fametric | 00000000-0000-0000-0000-000000000001,2024-07-17T05:25:59.800,3c219e58-ed0e-4b18-ad48-f4f92793ae32,172.21.0.1,,,,,,
```
If the metric has not uploaded correctly, you can debug the container by running `docker exec -it fametric sh` in a new terminal. Once in the container, you can alter the script with `nano /app.sh`. Add `-v` to the `curl` command to see verbose output. Run the script with `/app.sh`.
If you have trouble calling the FusionAuth API, review the [troubleshooting tips](/docs/apis/#troubleshooting).
If you alter `app.sh` in your host machine and want to rerun the containers, use the command below.
```sh
clear; docker build -f metricDockerfile --platform linux/amd64 -t metricimage .; docker compose up
```
You can follow the process described here to add other FusionAuth API calls to `app.sh` to get other metrics to send to Elastic.
### View The Metrics In Kibana
The final step to use your metrics is to create a dashboard to view them in Kibana. You are going to show recent logins on a timeline to indicate the health of FusionAuth. Since the `UserId` field is free text and thus not aggregatable, you will not be able to visualize it, but it will be available for search if you need to run queries against users in Elasticsearch.
- In the Elastic Cloud web interface, open the sidebar and browse to <Breadcrumb>Search -> Elasticsearch -> Indices -> falogins -> Documents</Breadcrumb>. You should see data in the table. If not, please run `app.sh` manually and debug where it is failing, paying attention to all API keys and URLs.
<img src='/img/docs/operate/secure-and-monitor/elastic/elastic8.png' alt='Login rate data from the FusionAuth' width="1200" role="bottom-cropped" />
- In the sidebar, browse to <Breadcrumb>Analytics -> Dashboards -> Create dashboard -> Create visualization</Breadcrumb>.
- In the index combo box in the top left, change from `logs-*` to `falogins`.
- Click the <InlineUIElement>+</InlineUIElement> button next to "timestamp" to add it to the dashboard.
- Change the time in the top right to "Today".
- Change the visualization type to "Bar vertical".
<img src='/img/docs/operate/secure-and-monitor/elastic/elastic9.png' alt='Login rate dashboard in Elastic' width="1200" role="bottom-cropped" />
- Click <InlineUIElement>Save and return</InlineUIElement>.
- Click <InlineUIElement>Save</InlineUIElement>.
- Give the dashboard a name like `FusionAuth login rate` and save.
You now have a dashboard to monitor the health of FusionAuth. Following the process in this section, you can extract any metrics from the FusionAuth API, create an index for them in Elastic, upload the metrics in a Docker container, and create a dashboard for them in Kibana.
## Final System Architecture
A relatively simple but adequate monitoring architecture with Elastic might look as follows.
<img src='/img/docs/operate/secure-and-monitor/elastic/secure-and-monitor-monitor-with-elastic-final-system-architecture.png' alt='Elastic Agent monitors all Docker infrastructure and the FusionAuth logs, while the custom metric service provides fine-grained FusionAuth data to Elastic to monitor the app itself.' />
In this design, Elastic Agent monitors all Docker infrastructure and the FusionAuth logs, while the custom metric service provides fine-grained FusionAuth data to Elastic to monitor the app itself.
## Next Steps
Now that you can monitor FusionAuth in Elastic, you should enable Elastic [alerts](https://www.elastic.co/kibana/alerting) to notify you by email or in Slack if something goes wrong, like a massive decrease in login rates, a Docker container restarting, or a log output containing `error`.
## Further Reading
- [FusionAuth metrics](/docs/operate/secure-and-monitor/monitor#metrics)
- [Getting started with Docker and Elastic](https://www.elastic.co/blog/getting-started-with-the-elastic-stack-and-docker-compose)
- [Elasticsearch REST API](https://www.elastic.co/guide/en/elasticsearch/reference/current/docs-index_.html)
# Monitoring FusionAuth
import Aside from 'src/components/Aside.astro';
import LoadTestingIntro from 'src/content/docs/get-started/run-in-the-cloud/_load-testing-intro.mdx';
import LoadTestingTips from 'src/content/docs/get-started/run-in-the-cloud/_load-testing-tips.mdx';
import WhatIsOpenTelemetry from 'src/components/docs/operate/secure-and-monitor/whatIsOpentelemetry.mdx';
## Overview
Once you've installed FusionAuth and your applications use it for authentication, you'll want to ensure FusionAuth remains online and operational. An ecosystem of tools, protocols, and paid services are available to monitor applications and provide telemetry (remote measurement) to help you maintain FusionAuth's availability and performance.
This overview article will introduce you to various metrics (measurements) you can extract from FusionAuth and common monitoring tools to process, store, and visualize them.
Your choice of tools and services will depend on the specific information you need about the state of FusionAuth, the time you are willing to spend setting up and maintaining your monitoring system, and your budget for cloud services.
### What Is Monitoring?
The aim of monitoring FusionAuth is to be able to see at any time if the service is alive (Docker container is running) and functioning correctly (users can sign in and logs have no errors), and to be alerted (by email or chat app) if either of these conditions is not met.
A complete monitoring system involves five activities:
- Measuring — Getting operational data about FusionAuth and Docker.
- Processing — Filtering, indexing, and aggregating data into counts and booleans that represent whether the system is working correctly.
- Storing — Storing metrics, logs, and aggregates.
- Displaying — Showing the information in a dashboard. (A query language might do the aggregation here instead of the processing step.)
- Alerting — Notifying administrators when services degrade or fail.
While you can use stock Docker-monitoring apps to monitor Docker containers and collect logs, you will need to write custom code or [webhooks](/docs/apis/webhooks) to get FusionAuth-specific information, like the number of successful logins.
## What FusionAuth Metrics Can Be Monitored?
The table below lists the metadata available from FusionAuth for monitoring purposes. Unless otherwise noted, all these metrics are available both with FusionAuth self-hosted and FusionAuth Cloud.
| Name | Description | Access | More Information | FusionAuth Cloud Differences |
|---------------|--------------------------------------------------------------------------------------------------------------------------------------------------------------------------------------------------------------------------------------------------------------------------------------------------------------------------------------------------------------------------------------------------------|------------------------------------------------------------------------------------------------------------------------------------------------|--------------------------------------------------------------------------|-----------|
| Status | System health information. | Read using API endpoints. | [More info](/docs/apis/system#retrieve-system-status) | Affected by metrics collisions. [Learn more](https://github.com/FusionAuth/fusionauth-issues/issues/2379). |
| Login API | The authentication response for an individual user. | Read using API endpoints. | [More info](/docs/apis/login) | API calls may be affected by [rate limits](/docs/get-started/run-in-the-cloud/cloud#captcha-and-rate-limits). |
| Metrics | System metrics, such as JVM buffers, memory, and threads. | Read using API endpoints. Data available in Prometheus-compatible format. | [More info](/docs/operate/monitor/monitor#metrics) | Affected by metrics collisions. [Learn more](https://github.com/FusionAuth/fusionauth-issues/issues/2379). |
| System Logs | Exceptions, stack traces, database connection issues, Elasticsearch connection issues. Enable debug logging to show more tracing data. Logs are also written to the Docker standard output. | Export as a ZIP file using the API. | [More info](/docs/operate/troubleshooting/troubleshooting#system-log-ui) | Logs may be removed without notice. |
| Audit Logs | Logs admin UI actions. You may add your own data to the audit log using the Audit Log API. | Read using API endpoints or a webhook. | [More info](/docs/apis/audit-logs) | API calls may be affected by [rate limits](/docs/get-started/run-in-the-cloud/cloud#captcha-and-rate-limits). |
| Event Logs | Debug information for external integrations with IdPs, SMTP, and other services. This is usually runtime errors that are caused by an external service that can't be effectively communicated at runtime. Some examples: a template rendering error in a custom theme, an exception connecting to SMTP due to bad credentials, a failure in a SAML exchange, or a connection to a webhook fails. | Read using API endpoints or a webhook. | [More info](/docs/operate/troubleshooting/troubleshooting#event-log) | API calls may be affected by [rate limits](/docs/get-started/run-in-the-cloud/cloud#captcha-and-rate-limits). |
| Login records | A record of each successful login that includes IP information, application, user, and a timestamp. | Read using API endpoints. In addition, you can use a webhook to record login success or failure. | [More info](/docs/apis/login#export-login-records) | API calls may be affected by [rate limits](/docs/get-started/run-in-the-cloud/cloud#captcha-and-rate-limits). |
| Webhooks | Triggered by event. Contains IP and location information when available and enabled for the instance's license. | Send to an HTTP URL or a Kafka topic. | [More info](/docs/extend/events-and-webhooks/) | |
The next few subsections detail each of these items.
### Log Files
The system log files will be placed in the `logs` directory under the FusionAuth installation unless you are running FusionAuth in a container. In that case, the log output will be sent to `stdout` by default. You may also set up a [Docker logging driver](https://docs.docker.com/config/containers/logging/configure/) to direct log files elsewhere.
System logs running in non-containerized instances can also be exported via the [Export System Logs API](/docs/apis/system#export-system-logs).
[Learn more about FusionAuth log files](/docs/operate/troubleshooting/troubleshooting#logs).
### Application Logging
A few different APIs expose FusionAuth application-specific information you may want to ingest into your monitoring system:
* [FusionAuth administrative user interface audit logs](/docs/apis/audit-logs)
* [Logs and errors from asynchronous code execution](/docs/apis/event-logs)
* [Login records](/docs/apis/login#export-login-records)
In general, these are APIs you will have to poll to ingest.
### Log File Formats
| Log Type | Export Format | Timezone | Date Format | API Docs |
|---------------|--------------------------------------------------------------------------------------------------------------------|------------------------------------------------------------------------------------------------------------------|-----------------------------------------------------------------------------------------|----------------------------------------------|
| Audit Logs | Zipped CSV | Specified by the `zoneId` parameter | Specified by the `dateTimeSecondsFormat` parameter, defaults to `M/d/yyyy hh:mm:ss a z` | [API](/docs/apis/audit-logs) |
| Event Logs | JSON | UTC | [Instant](/docs/reference/data-types#instants) | [API](/docs/apis/event-logs) |
| Login Records | Zipped CSV | Specified by the `zoneId` parameter | Specified by the `dateTimeSecondsFormat` parameter, defaults to `M/d/yyyy hh:mm:ss a z` | [API](/docs/apis/login#export-login-records) |
| System Logs | Zipped directory of files. Log entries separated by newlines, but may be unstructured (for example, stack traces). | For log entries, the timezone of the server. The `zoneId` parameter, if provided, is used to build the filename. | `yyyy-MM-dd h:mm:ss.SSS a` | [API](/docs/apis/system#export-system-logs) |
<Aside type="note">
There are currently no plugins for ingesting FusionAuth logs into a log management system. A polling script using a [client library](/docs/sdks/) is usually sufficient. Please [file an issue](https://github.com/FusionAuth/fusionauth-issues/issues) if this does not meet your needs.
</Aside>
### Application Events
You may want to ingest application events such as failed authentication or account deletion into your monitoring system. These are available as webhooks.
Here's [the list of all available events](/docs/extend/events-and-webhooks/events/).
### Metrics
You can pull system metrics from the [System API](/docs/apis/system#retrieve-system-status). The format of these metrics is evolving and thus not documented.
You can also enable JMX metrics as outlined in the [troubleshooting documentation](/docs/operate/troubleshooting/troubleshooting#enabling-jmx).
#### Prometheus Endpoint
Default system metrics are also available in a Prometheus-compatible form. [This tutorial](/docs/operate/monitor/prometheus) explains how to set up Prometheus to monitor FusionAuth metrics.
## Overview Of Popular Monitoring Tools
This section introduces the most common monitoring tools. The table at the end of the section illustrates each tool's suitability for the five monitoring activities: measuring, processing, storing, displaying, and alerting.
### What Is OpenTelemetry?
<WhatIsOpenTelemetry></WhatIsOpenTelemetry>
Read the [guide to monitoring FusionAuth with OpenTelemetry](/docs/operate/monitor/opentelemetry).
### What Is Prometheus?
[Prometheus](https://prometheus.io/docs/introduction/overview) is a monitoring and alerting toolkit with a built-in time series database designed to efficiently store metrics and provide data through a custom query language. Prometheus offers instrumentation tools to collect metrics from networks, machines, and some [programming languages](https://prometheus.io/docs/instrumenting/clientlibs/). While Prometheus includes basic charting capabilities, more advanced dashboards require integration with Grafana. You can use the Prometheus [Alertmanager](https://github.com/prometheus/alertmanager) to handle alerts.
Prometheus can be used for all activities in the monitoring chain, though some at a very basic level, but should [not be used to store logs](https://prometheus.io/docs/introduction/faq/#how-to-feed-logs-into-prometheus).
For example, you could run the Prometheus network monitoring agent to monitor the amount of data traveling your network every second as a metric and save the data to the Prometheus database. You could then run an adhoc query to visualize the network usage in the last hour as a chart with the Prometheus web interface.
### What Is Grafana?
[Grafana](https://grafana.com/grafana) is an open-source dashboard app that can be self-hosted or cloud-hosted with a fee. Grafana does not aggregate or process data but can retrieve aggregated metrics from data providers that support a query language capable of aggregation. Grafana can also trigger [alerts](https://grafana.com/docs/grafana/latest/alerting/fundamentals/).
For example, you could create a dashboard in Grafana that queries Prometheus every few seconds to get the network usage over the last hour and display it as a chart.
### What Is Grafana Loki?
Although Grafana does not store data, [Grafana Loki](https://grafana.com/oss/loki/), a separate tool that is part of the Grafana brand, does store data. Loki receives and stores logs. It has a similar purpose to Elasticsearch and Logstash (explained in the next section).
Unlike Logstash, Loki does not do significant processing to the logs it receives. So Loki can run faster, but provides less data for indexed searching.
For example, you could redirect the output of your app's logs from the Docker container standard output to Loki for storing.
### What Are Elasticsearch, Logstash, And Kibana (ELK)?
Elasticsearch is a database that stores and searches indexed non-relational data. You can either save logs directly to Elasticsearch, or first send logs to Logstash for processing and indexing, which forwards the processed logs to Elasticsearch for saving.
Both tools are managed by the Elastic company and are designed to integrate with the Elastic dashboard tool, Kibana.
You could use Elasticsearch similarly to both Prometheus and Loki, in the same way as their examples.
### What Are OpenSearch And OpenSearch Dashboard?
[OpenSearch and OpenSearch Dashboard](https://opensearch.org/faq) are the open-source versions of the ElasticSearch and Kibana tools. OpenSearch was forked from Elastic at version 7.10 and is maintained by AWS.
Note that while not strictly open source for all uses, both Elastic products are free for most uses and the code is available (gratis and libre). Only reselling Elastic products as a hosted service in competition with Elastic Cloud is disallowed. So until the features of Elastic and OpenSearch diverge significantly, you can treat them as equivalents for your monitoring purposes.
### What Are Jaeger, Zipkin, and Grafana Tempo?
[Jaeger](https://www.jaegertracing.io/docs/1.59/) is an open-source monitoring tool made by [Uber](https://www.uber.com/en-IE/blog/distributed-tracing) to understand user requests across distributed microservices. You don't need to use Jaeger with FusionAuth since FusionAuth is a single service.
[Zipkin](https://zipkin.io/), made by Twitter, is similar to Jaeger but was developed earlier. [Grafana Tempo](https://grafana.com/oss/tempo/) is another similar tool, and is the most modern of the three distributed tracing options.
### What Tools Are Available To Send Alerts To Administrators?
Some of the monitoring components discussed in the previous sections can alert system administrators when applications fail. Alerts can be sent to:
- Email: You will probably need to subscribe to a mail sender service to receive email alerts, unless your internet provider allows you access to the SMTP protocol.
- Computer chat apps: Computer chat apps like Slack and Discord can receive alert messages in a specific channel for free. Slack and Discord clients can be installed on your phone to be sure you never miss an alert.
- Public notification web apps: There are public websites, like https://ntfy.sh and https://webhook.site that allow anyone to send messages to named channels for free. ntfy also has a mobile app that will notify you when a channel receives a message. Since these services are public, you should never send secrets to them.
- Phone chat apps: For example, WhatsApp and Threema. WhatsApp requires a phone number to sign up. Threema does not need a phone number but requires you to buy the mobile app for a small one-time fee. Both services charge a fee for businesses to send messages to users.
Grafana's OnCall tool consolidates and redirects multiple alerts from various systems. This might be a good option for you if you have support staff that monitor an alert system in shifts rather than wait to receive an email.
### What Can You Do With A Custom Script?
As a simple and free alternative to all the tools above, you could write a small web service in JavaScript, Go, or Python to continuously call the FusionAuth website or API, and if it fails, send an alert to the administrator.
If you want to monitor any FusionAuth metrics directly instead of only the FusionAuth container, you will need to write a custom script to call the FusionAuth API anyway.
### Monitoring Tools Compared
The table below shows which tools are available for each type of activity in the monitoring flow.
Remember that Prometheus, Loki, and Grafana all work together, in the same way all the Elastic products work together.
| | Measure | Process | Store | Display | Alert (send) | Alert (receive) |
|------------------------------------------|------------------------------|----------------|---------------------|----------------------------|----------------------------|-----------------|
| FusionAuth webhooks | Yes | No | No | No | No | No |
| Custom script | Yes | Yes | No | No | Yes | No |
| OpenTelemetry | Yes | Yes | No | No | No | No |
| Elastic | Yes (Elastic Agent or Beats) | Yes (Logstash) | Yes (Elasticsearch) | Yes (Kibana) | Yes (Kibana) | No |
| OpenSearch | Yes | Yes | Yes | Yes (OpenSearch Dashboard) | Yes (OpenSearch Dashboard) | No |
| Prometheus | Yes | Yes | Yes | Yes | Yes (Alertmanager) | No |
| Grafana | No | No | No | Yes | Yes (OnCall) | No |
| Loki (logs only) | No | Yes | Yes | No | No | No |
| Email, Slack, Discord, WhatsApp, Threema, Webhook.site, ntfy.sh | No | No | No | No | No | Yes |
There are other paid and hosted monitoring services that aren't discussed in this article, like Splunk (integration guide with FusionAuth [here](/docs/operate/monitor/splunk)) and Datadog, which have their own tools and typically implement the OpenTelemetry Protocol.
## Which Tools Should You Choose?
Which combination of monitoring tools you choose is based on:
- How much you need to know about your system (coverage). Do you want to know only that FusionAuth is running, or monitor the login count per hour?
- How much time you want to spend building and maintaining a monitoring system. Less time means you'll have less information about your system, and possibly spend more on specialized monitoring cloud services that handle maintenance for you.
- How much money you want to spend. If you want to pay as little as possible, there are free tools available for all aspects of monitoring, but you will have to install them on your own server and monitor them too.
If you already use a paid cloud monitoring service, it probably has all the components you need to monitor FusionAuth. Continue using that.
### A Sample Of Monitoring Tool Choices
Below are some examples of how you could monitor FusionAuth. The table gives an example configuration, how much of FusionAuth usability it covers, how expensive it is, and what its flaws are.
| System | Coverage | Cost | Notes |
|------------------------------------------------------------------------------------------------------------------------------------------------------------------------------------------------------------------------------------------------------|---------------------------------------------------------------------------------------|------|-------------------------------------------------------------------------------------------------------------------------------------------------------------------------------------------------------------------------------------------------------------------------------------------------------------------------------------------------------------|
| A custom web service that either checks the FusionAuth container is running or calls the FusionAuth API to check there are no errors. If either condition is not met, the service alerts the administrator by posting a message to Slack or Discord. | You can make the service check as many or as few metrics as you want. | Free | You need to write custom code. You won't have a dashboard or a store of historical performance data and logs. |
| Install the ElasticSearch or OpenSearch stack in Docker on your server. Monitor your Docker container cluster with ElasticAgent. | Low. You know only if your container is running or not. | Free | Setting up the Elastic stack yourself is initially complex and time-consuming. You will automatically have dashboards available in Kibana. |
| As above, the Elastic stack, but also save logs to Elasticsearch, and write a custom web service to upload FusionAuth metrics via the Elastic API | Very high. You will know every detail about your instance and can search stored data. | Free | Substantial work needed. |
| As above, the Elastic stack with custom code, but use Elastic Cloud as your paid monitoring host. | Very high | High | Much less work needed than self-hosting, and no need to worry about a failing monitoring service you need to maintain. |
| Run Prometheus in a container and point it to the stock FusionAuth endpoints for Prometheus. | Medium | Free | Simple to set up. Will provide you with a simple dashboard, metric storage, and alerts, all provided by Prometheus alone. |
| As above, Prometheus with FusionAuth endpoints, but save logs with Grafana Loki, and create comprehensive permanent dashboards with Grafana. | High | Free | More complex to set up and maintain, but will provide very detailed information with high-quality usability for administrators. |
| A custom web service to extract FusionAuth metrics, plus the tools of a paid monitoring service like Datadog or Splunk. | High | High | You will need to write a custom web service as no monitoring service integrates naturally with FusionAuth. The service's existing monitoring components should cover everything else you need, such as container monitoring and log indexing. If you are a large firm that already uses a paid service for your other software, this is the easiest choice. |
In any of these systems, you can configure a trigger to send alerts to your preferred chat app using its API, for example, to a Slack channel using the Slack API. Most paid services, like Elastic Cloud, will have stock Slack integrations that won't need you to code an API call yourself.
### Monitoring Monitors
Remember that if you're using a self-hosted monitoring system, you won't be alerted if the system dies — nothing monitors the monitor. To overcome this you will need to:
- Pay for an external monitoring service instead of self-hosting.
- Use a simple heartbeat monitoring service that checks only that your hosted monitoring service is contactable.
- Write a service to monitor the monitor on a separate self-hosted server.
## Load Testing
{/* shared with cloud guide */}
<LoadTestingIntro />
### Tips
{/* shared with cloud guide */}
<LoadTestingTips />
# Monitor With OpenTelemetry
import Aside from 'src/components/Aside.astro';
import WhatIsOpenTelemetry from 'src/components/docs/operate/secure-and-monitor/whatIsOpentelemetry.mdx';
import Diagram1 from 'src/components/docs/operate/secure-and-monitor/opentelemetryDiagram1.astro';
import Diagram2 from 'src/components/docs/operate/secure-and-monitor/opentelemetryDiagram2.astro';
## Introduction
This guide explains how to monitor FusionAuth with OpenTelemetry.
<WhatIsOpenTelemetry></WhatIsOpenTelemetry>
Please read the [FusionAuth monitoring overview](/docs/operate/secure-and-monitor/monitor) before proceeding. The overview explains the FusionAuth metrics, the activities that comprise a complete monitoring workflow, and the tools that complement OpenTelemetry, such as Prometheus and Elastic (which have their own FusionAuth guides). Review the [alternative monitoring services](/docs/operate/secure-and-monitor/monitor#overview-of-popular-monitoring-tools) in the overview to ensure that OpenTelemetry is the right tool for your needs.
<Aside type="note">
FusionAuth doesn't support OpenTelemetry instrumentation for traces. For more information and to find status, see the [open GitHub issue to add instrumentation for traces](https://github.com/FusionAuth/fusionauth-issues/issues/1665).
</Aside>
## Architecture For Using OpenTelemetry With FusionAuth
Running FusionAuth and PostgreSQL in Docker usually looks like the diagram below (you might also run OpenSearch in another Docker container).
<Diagram1></Diagram1>
This diagram shows three components that could die and need monitoring: the PostgreSQL database, FusionAuth, and your app (web server) that directs users to FusionAuth for login. In this guide, you'll focus on monitoring FusionAuth.
The tool you'll use to monitor FusionAuth is the OpenTelemetry Collector. It consists of two types of components:
- A **receiver**, which monitors a container or application and either directly produces its metrics or receives its metrics from another tool.
- An **exporter**, which exposes these metrics to other tools.
The Collector can also process the values it receives before exporting them.
Since you don't have access to the FusionAuth source code, there are three ways you can use OpenTelemetry to export FusionAuth metrics:
- Run an OpenTelemetry exporter inside the FusionAuth Docker container to monitor the Java Virtual Machine (JVM) in which FusionAuth runs. The FusionAuth team does not recommend this approach. You have to alter the provided Docker image to include the Java agent and to alter the image every time FusionAuth releases an update. The metrics the JVM provides also do not provide any useful information beyond the data provided by monitoring the container itself.
- Run an OpenTelemetry exporter in its own Docker container on your host. This will allow you to know whether FusionAuth is up and receive basic container health metrics, like CPU and RAM use. Usually, the OpenTelemetry container requires administrative permissions to the Docker engine to get metrics about the FusionAuth container status, but OpenTelemetry can read metrics in the older Prometheus format provided by FusionAuth, so administrative permissions aren't required in this case.
- Write a custom script to request metrics from the FusionAuth API and forward them to an OpenTelemetry collector. This will allow you to monitor specific FusionAuth metrics, like application errors and user login rates.
In this guide, you'll set up the last two options.
If you are not using a paid cloud service, you will need to install Prometheus to view the OpenTelemetry metrics. That installation is explained briefly in this guide, but please work through the [Prometheus monitoring guide](/docs/operate/secure-and-monitor/prometheus) too. OpenTelemetry also monitors more than Prometheus — OpenTelemetry can trace an entire web request across services, instead of recording only a metric at a point in time.
So why use OpenTelemetry if you are not using a paid monitoring service, do not need to trace requests inside FusionAuth, and could just use Prometheus by itself? For most FusionAuth users, there probably isn't any reason to use OpenTelemetry — Prometheus alone should be enough to monitor whether FusionAuth is up and running correctly. The only advantage running an OpenTelemetry collector offers is that it allows you to write a script that requests custom metrics (like user login counts) from the FusionAuth API and sends them through the OpenTelemetry collector to Prometheus, so you can get more detail about specific FusionAuth processes than you can get from Prometheus alone.
<Aside type="note">
If you're wondering how Prometheus can poll the OpenTelemetry Collector for metrics if the Collector doesn't store metrics, it's because the Collector keeps recently received metrics in RAM. However, the Collector does not store them for long or persist metrics to disk.
</Aside>
In the following sections of this guide, you will run:
- The OpenTelemetry Collector in Docker to poll the FusionAuth Prometheus endpoint
- A bash script in another container to poll the FusionAuth API to get data about user logins
- Prometheus in a final container to receive both the OpenTelemetry metrics
<Diagram2></Diagram2>
This guide focuses on OpenTelemetry, not Prometheus and Grafana, and so uses the OpenTelemetry Collector. However, as of 2024, Grafana has released their own free and open-source version of an OpenTelemetry collector, called [Alloy](https://grafana.com/oss/alloy-opentelemetry-collector), that supports all Prometheus and OpenTelemetry protocols. It is component-based and has features that the OpenTelemetry Collector does not. You may prefer to use Alloy instead of OpenTelemetry Collector in your project.
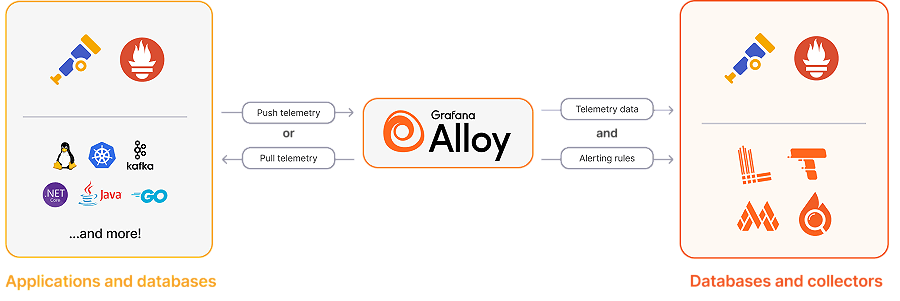
## Run OpenTelemetry With Docker To Monitor FusionAuth
In this section, you will run FusionAuth, poll metrics from it with OpenTelemetry, and store those metrics in Prometheus.
Clone the sample [FusionAuth kickstart repository](https://github.com/FusionAuth/fusionauth-example-docker-compose) with the command below.
```sh
git clone https://github.com/FusionAuth/fusionauth-example-docker-compose.git
cd fusionauth-example-docker-compose/light
```
The `docker-compose.yml` file currently starts FusionAuth and its database.
Add the two new services to the bottom of `docker-compose.yml`, before the `networks:` section, with the code below.
```yml
otel:
image: otel/opentelemetry-collector
container_name: faOtel
platform: linux/amd64
depends_on:
- fa
ports:
- 8889:8889
- 4318:4318
volumes:
- ./collectorConfig.yml:/etc/otel-collector-config.yml
networks:
- db_net
command: ["--config=/etc/otel-collector-config.yml"]
prometheus:
image: ubuntu/prometheus:2.52.0-22.04_stable
container_name: faProm
platform: linux/amd64
depends_on:
- otel
ports:
- 9090:9090
volumes:
- ./prometheusConfig.yml:/etc/prometheus/prometheus.yml
- ./prometheusDb:/prometheus
networks:
- db_net
```
All containers in the configuration file are on the same network `db_net`.
The second service definition specifies that the [Prometheus image](https://hub.docker.com/r/ubuntu/prometheus) starts after the OpenTelemetry Collector, that you can browse to Prometheus on port `9090`, and that it will save its database and configuration file in persistent directories on your machine.
The first service definition states that the OpenTelemetry image comes from https://hub.docker.com/r/otel/opentelemetry-collector. Alternatively, you can use a [contrib](https://hub.docker.com/r/otel/opentelemetry-collector-contrib) image instead. The image is bigger and contains more components that interoperate with other OpenTelemetry tools you may want to use. The `ports` exposed in the configuration are `8889`, which Prometheus uses to pull metrics from OpenTelemetry Collector, and `4318`, which the Collector uses to receive custom metrics.
The `volumes` and `command` lines provide a configuration file for the Collector. Now, let's make that file, `collectorConfig.yml`, with the content below.
```yml
receivers:
prometheus:
config:
scrape_configs:
- job_name: 'fusionauth'
scrape_interval: 15s
scheme: http
metrics_path: api/prometheus/metrics
static_configs:
- targets: ['fa:9011']
basic_auth:
username: "apikey"
password: "33052c8a-c283-4e96-9d2a-eb1215c69f8f-not-for-prod"
exporters:
prometheus:
endpoint: "0.0.0.0:8889"
service:
pipelines:
metrics:
receivers: [prometheus]
exporters: [prometheus]
```
The Collector is configured to pull metrics from the apps it monitors (`receivers`) and allow other apps (`exporters`) to pull metrics from it. In this case, the Collector pulls metrics from FusionAuth in the Prometheus format every 15 seconds on `http://fa:9011/api/prometheus/metrics` using the API key set in the kickstart configuration file. Only one exporter is exposed — metrics in the Prometheus format on port `8889` (OpenTelemetry Collector exposes metrics about itself on port `8888`). For more information, see the [configuration documentation](https://opentelemetry.io/docs/collector/configuration/).
<Aside type="tip">
The FusionAuth kickstart configuration files created a superuser API key. For improved security in production, rather create an API key with only the `GET` permission for the `/api/prometheus/metrics` endpoint.
</Aside>
The last step is to create the `prometheusConfig.yml` file with the following content.
```yml
global:
evaluation_interval: 30s
scrape_configs:
- job_name: otel
scrape_interval: 15s
static_configs:
- targets: ['otel:8889']
```
This configures Prometheus to pull metrics from the Collector every fifteen seconds.
Run all the containers with `docker compose up`. You should be able to log in to FusionAuth at http://localhost:9011 with email address `admin@example.com` and password `password`, and to Prometheus at http://localhost:9090.
To check that metrics are being pulled correctly, enter `up` on the Prometheus graph page and see whether any values appear after a minute. If you see nothing, check the Docker log files in the terminal.

## Run A Bash Script To Send Custom Metrics To The OpenTelemetry Collector
FusionAuth provides only some information on its Prometheus endpoint. If you cannot find the information you are looking for in Prometheus, such as user login details, you will need to extract it yourself. In this section, you will learn how to use a custom metrics script to extract information from FusionAuth.
First, update your `collectorConfig.yml` file to allow the Collector to receive `otlp` (OpenTelemetry Protocol) metrics on port `4318` (at the top of the YAML), and add OTLP to the list of receivers at the bottom. The updated file content is shown below.
```yml
receivers:
otlp:
protocols:
http:
endpoint: 0.0.0.0:4318
prometheus:
config:
scrape_configs:
- job_name: 'fusionauth'
scrape_interval: 15s
scheme: http
metrics_path: api/prometheus/metrics
static_configs:
- targets: ['fa:9011']
basic_auth:
username: "apikey"
password: "33052c8a-c283-4e96-9d2a-eb1215c69f8f-not-for-prod"
exporters:
prometheus:
endpoint: "0.0.0.0:8889"
service:
pipelines:
metrics:
receivers: [prometheus, otlp]
exporters: [prometheus]
```
Next, create the custom metric script, the file `app.sh`, with the content below.
```sh
#!/bin/sh
# exit on error
set -e
# SECTION 1. get login records from FusionAuth
otelUrl="http://otel:4318/v1/metrics"
faUrl="http://fa:9011/api/system/login-record/export"
faKey="33052c8a-c283-4e96-9d2a-eb1215c69f8f-not-for-prod"
appId="3c219e58-ed0e-4b18-ad48-f4f92793ae32"
dateFormat=$(echo -n "yyyy-MM-dd'T'HH:mm:ss.SSS" | jq -sRr @uri)
end=$(date +%s)000
start=$(($end - 60000)) # milliseconds
params="applicationId=${appId}&dateTimeSecondsFormat=${dateFormat}&start=${start}&end=${end}"
url="${faUrl}?${params}"
echo "curl -H \"Authorization: ${faKey}\" -o record.zip \"$url\""
curl -H "Authorization: ${faKey}" -o record.zip "$url"
unzip -o record.zip
cat login_records.csv
# SECTION 2. for each record, get the user and unix time in ms
tail -n +2 login_records.csv | while IFS=',' read -r userId time rest; do
userId=$(echo "$userId" | tr -d ' "' )
time=$(echo "$time" | tr -d ' "') # 2024-06-21T05:14:56.123
time=$(echo "$time" | tr 'T' ' ') # 2024-06-21 05:14:56.123
sec="$(date -d "$(echo $time | cut -d '.' -f 1)" +%s)" # 1718946896
ms="$(echo $time | cut -d '.' -f 2)" # 123
# make OTLP JSON payload
json_payload=$(cat <<EOF
{
"resource_metrics": [{
"resource": {
"attributes": [
{"key": "service.name", "value": {"stringValue": "fusionauth"}},
{"key": "host", "value": {"stringValue": "fusionauth"}}
]
},
"scope_metrics": [{
"metrics": [{
"name": "login_event",
"gauge": {
"dataPoints": [{
"asInt": 1,
"timeUnixNano": "${sec}${ms}000000",
"attributes": [ {"key": "user_id", "value": {"stringValue": "$userId"}} ]
}]
}
}]
}]
}]
}
EOF
)
# send data to Collector
curl -X POST -H "Content-Type: application/json" -d "$json_payload" $otelUrl
done
```
All of `SECTION 1` above is used to download a file of user login records from FusionAuth. The URL, `api/system/login-record/export`, is called with a timespan from one minute ago until now. The records are downloaded as a ZIP file and extracted.
`SECTION 2` opens the unzipped CSV file with `tail`, loops through it with `while`, converts every line to a JSON object of the time the user logged in and their user Id, and still in the loop, uses `curl` to post the JSON data to the OpenTelemetry Collector on the `otelUrl`.
Build this script into an image by creating a file called `Dockerfile` with the content below. The last line runs the script every sixty seconds.
```sh
FROM --platform=linux/amd64 alpine:3.19
RUN apk add --no-cache curl nano jq bash docker-cli
COPY app.sh /app.sh
RUN chmod +x /app.sh
CMD watch -t -n 60 /app.sh
```
Build the image with the command below.
```sh
docker build --platform linux/amd64 -t scriptimage .
```
Use the new image in your `docker-compose.yml` configuration by adding the service below.
```yml
script:
image: scriptimage
container_name: faScript
platform: linux/amd64
depends_on:
- fa
- otel
networks:
- db_net
```
Run everything with `docker compose up`, or if the other containers are already running, with `docker compose up script`. Check the terminal to confirm there are no errors in the Docker logs. In your browser, log out of FusionAuth and then log in again, so the custom script will retrieve a login metric for the last sixty seconds.
If the OpenTelemetry Collector and custom script worked correctly, when you browse to Prometheus you should now be able to see the `login_event` metric in the graph.
Since the metrics are separated by user Id, there are too many lines on the screen to be useful for monitoring. Use Prometheus queries like the following three to aggregate the metrics over time and group them across users.
```
count_over_time(login_event[5h])
sum(count_over_time(login_event{exported_job="fusionauth", instance="otel:8889", job="otel"}[5h]))
sum without(user_id) (count_over_time(login_event{exported_job="fusionauth", instance="otel:8889", job="otel"}[5h])) /5
```
Alternatively, you can remove the `attributes` property in the JSON section of `app.sh`, so that the `login_event` sent to the Collector has no user information.
If you cannot see the custom metrics arriving in Prometheus, it's faster to debug the script locally on your machine without Docker. To do so, you need to make the script executable by running `chmod +x app.sh`. You also have to change the two container URLs to `localhost` at the top of the script:
- `otelUrl="http://otel:4318` → `otelUrl="http://localhost:4318`
- `faUrl="http://fa:9011` → `faUrl="http://localhost:9011`
Now you can run the script with `./app.sh` and add `echo` statements to debug each section.
## Which Custom Metrics To Monitor?
You can add any other metrics you want to this bash script.
FusionAuth has too [many metrics](/docs/operate/secure-and-monitor/monitor#metrics) to discuss in this article. You will need to decide which are important for you to monitor by reading the documentation.
In addition to the metrics available through the various FusionAuth APIs, you can create your own metrics using any events that trigger [webhooks](/docs/extend/events-and-webhooks). A webhook can call another Docker container (created by you) that listens for incoming events and forwards them to the Collector.
A useful metric to start with is login counts. If this number drops from the average, it's a good sign something might be wrong with your system.
## Next Steps
OpenTelemetry is not a standalone tool. Read the FusionAuth guides to [Prometheus](/docs/operate/secure-and-monitor/prometheus) and [Elastic](/docs/operate/secure-and-monitor/elastic) to choose a complete system that provides a dashboard with alerts you can use in conjunction with OpenTelemetry.
## Further Reading
- [FusionAuth monitoring overview](/docs/operate/secure-and-monitor/monitor)
- [FusionAuth metrics](/docs/operate/secure-and-monitor/monitor#metrics)
- [OpenTelemetry Collector configuration documentation](https://opentelemetry.io/docs/collector/configuration)
# Monitor With Prometheus, Loki, And Grafana
import Aside from 'src/components/Aside.astro';
import Breadcrumb from 'src/components/Breadcrumb.astro';
import InlineField from 'src/components/InlineField.astro';
import InlineUIElement from 'src/components/InlineUIElement.astro';
import Diagram1 from 'src/components/docs/operate/secure-and-monitor/prometheusDiagram1.astro';
import Diagram2 from 'src/components/docs/operate/secure-and-monitor/prometheusDiagram2.astro';
import Diagram3 from 'src/components/docs/operate/secure-and-monitor/prometheusDiagram3.astro';
import Diagram4 from 'src/components/docs/operate/secure-and-monitor/prometheusDiagram4.astro';
import Diagram5 from 'src/components/docs/operate/secure-and-monitor/prometheusDiagram5.astro';
## Introduction
This guide explains how to monitor FusionAuth logs and metrics with the open-source tools [Prometheus](https://prometheus.io/docs/introduction/overview), [Loki](https://grafana.com/docs/loki), and [Grafana](https://grafana.com/grafana), and receive alerts when problems occur.
Please read the [FusionAuth monitoring overview](/docs/operate/secure-and-monitor/monitor) for details on FusionAuth metrics, the activities in a complete monitoring workflow, and what Prometheus, Loki, and Grafana are. Review the [alternative monitoring services](/docs/operate/secure-and-monitor/monitor#overview-of-popular-monitoring-tools) in the overview to ensure that Prometheus is the right tool for your needs.
This guide will show you how to set up Prometheus in Docker containers on your local machine. However, a paid, cloud-hosted alternative is also available from [Grafana Cloud](https://grafana.com/auth/sign-up/create-user).
## Initial Architecture
Running FusionAuth and PostgreSQL in Docker usually looks like the diagram below (you might also run OpenSearch in another Docker container).
<Diagram1></Diagram1>
This diagram shows three components that could die and need monitoring: the PostgreSQL database, FusionAuth, and the app (web server) that directs users to FusionAuth for login. In this guide, you'll focus on monitoring FusionAuth by adding Prometheus to your setup. Prometheus will poll your FusionAuth instance for errors every fifteen seconds.
<Diagram2></Diagram2>
<Aside type="caution">
These instructions are for monitoring FusionAuth with Prometheus when you are self-hosting.
FusionAuth Cloud deployments with more than one compute node round-robin requests to the Prometheus endpoint. Using this endpoint to monitor such a deployment is not recommended.
[Learn more about this issue here](https://github.com/FusionAuth/fusionauth-issues/issues/2379).
</Aside>
## Run Prometheus To Monitor FusionAuth
Clone the sample [FusionAuth kickstart repository](https://github.com/FusionAuth/fusionauth-example-docker-compose) with the command below.
```sh
git clone https://github.com/FusionAuth/fusionauth-example-docker-compose.git
cd fusionauth-example-docker-compose/light
```
Add the following code to `docker-compose.yaml` near the end, before the `networks:` section, to define a new service. The service uses the Ubuntu Docker image from Docker Hub for [Prometheus](https://hub.docker.com/r/ubuntu/prometheus).
```yaml
prometheus:
image: ubuntu/prometheus:2.52.0-22.04_stable
platform: linux/amd64
container_name: faProm
depends_on:
- fa
ports:
- 9090:9090
networks:
- db_net
volumes:
- ./prometheusConfig.yml:/etc/prometheus/prometheus.yml
- ./prometheusDb:/prometheus
```
This service definition specifies that Prometheus starts after FusionAuth, is accessible on port 9090, and saves its database and configuration file in persistent directories on your machine.
Create a `prometheusConfig.yml` configuration file containing the content below.
```yaml
global:
evaluation_interval: 30s
scrape_configs:
- job_name: FusionAuth
scrape_interval: 15s
scheme: http
metrics_path: api/prometheus/metrics
static_configs:
- targets: ["fa:9011"]
basic_auth:
username: "apikey"
password: "33052c8a-c283-4e96-9d2a-eb1215c69f8f-not-for-prod"
```
This configures Prometheus to collect metrics from FusionAuth every 15 seconds and evaluate the metrics every 30 seconds. Prometheus uses the superuser API key, created by the FusionAuth kickstart configuration files, as `password`. For improved security in production, create an API key that has only `GET` permissions for the `/api/prometheus/metrics` endpoint.
If you prefer to allow unauthenticated access to the Prometheus metrics endpoint in FusionAuth from any local scraper, you can set `fusionauth-app.local-metrics.enabled=true`. See the FusionAuth [configuration reference](/docs/reference/configuration) for more information.
<Aside type="note">
To learn more about configuring Prometheus, see the [documentation](https://prometheus.io/docs/prometheus/latest/configuration/configuration).
</Aside>
Run all the containers with `docker compose up`. You should be able to log in to FusionAuth at http://localhost:9011 with email address `admin@example.com` and password `password`, and to Prometheus at http://localhost:9090.
To check that Prometheus has accepted your configuration file as valid, enter the container and use `promtool` to validate the YAML file.
```sh
docker exec -it faProm /bin/bash
promtool check config /etc/prometheus/prometheus.yml
exit
```
The metrics FusionAuth exposes to Prometheus change over time. Some basic Java Virtual Machine (JVM) metrics are listed [here](/docs/apis/system#retrieve-system-metrics-using-prometheus). You can see exactly what metrics are available on your FusionAuth instance by running the command below.
```sh
curl -u "apikey:33052c8a-c283-4e96-9d2a-eb1215c69f8f-not-for-prod" 0.0.0.0:9011/api/prometheus/metrics
# Output:
# HELP HikariPool_1_pool_MinConnections Generated from Dropwizard metric import (metric=HikariPool-1.pool.MinConnections, type=com.zaxxer.hikari.metrics.dropwizard.CodaHaleMetricsTracker$$Lambda$292/0x0000000100449e40)
# TYPE HikariPool_1_pool_MinConnections gauge
HikariPool_1_pool_MinConnections 10.0
# HELP jvm_memory_heap_committed Generated from Dropwizard metric import (metric=jvm.memory.heap.committed, type=com.codahale.metrics.jvm.MemoryUsageGaugeSet$8)
# TYPE jvm_memory_heap_committed gauge
jvm_memory_heap_committed 5.36870912E8
# HELP prime_mvc___api_key_generate__requests Generated from Dropwizard metric import (metric=prime-mvc.[/api/key/generate].requests, type=com.codahale.metrics.Timer)
# TYPE prime_mvc___api_key_generate__requests summary
prime_mvc___api_key_generate__requests{quantile="0.5",} 0.2392109
prime_mvc___api_key_generate__requests{quantile="0.75",} 0.2392109
prime_mvc___api_key_generate__requests{quantile="0.95",} 0.2392109
prime_mvc___api_key_generate__requests{quantile="0.98",} 0.2392109
prime_mvc___api_key_generate__requests{quantile="0.99",} 0.2392109
prime_mvc___api_key_generate__requests{quantile="0.999",} 0.2392109
prime_mvc___api_key_generate__requests_count 1.0
...
```
If you get no response, add `-v` to the command to see what error occurs. If you see `401`, it is likely that your API key is incorrect.
Check what metrics Prometheus scraped from FusionAuth in the [Prometheus web interface](http://localhost:9090/tsdb-status) by browsing to <Breadcrumb>Menu -> Status -> TSDB Status</Breadcrumb> (time-series database).
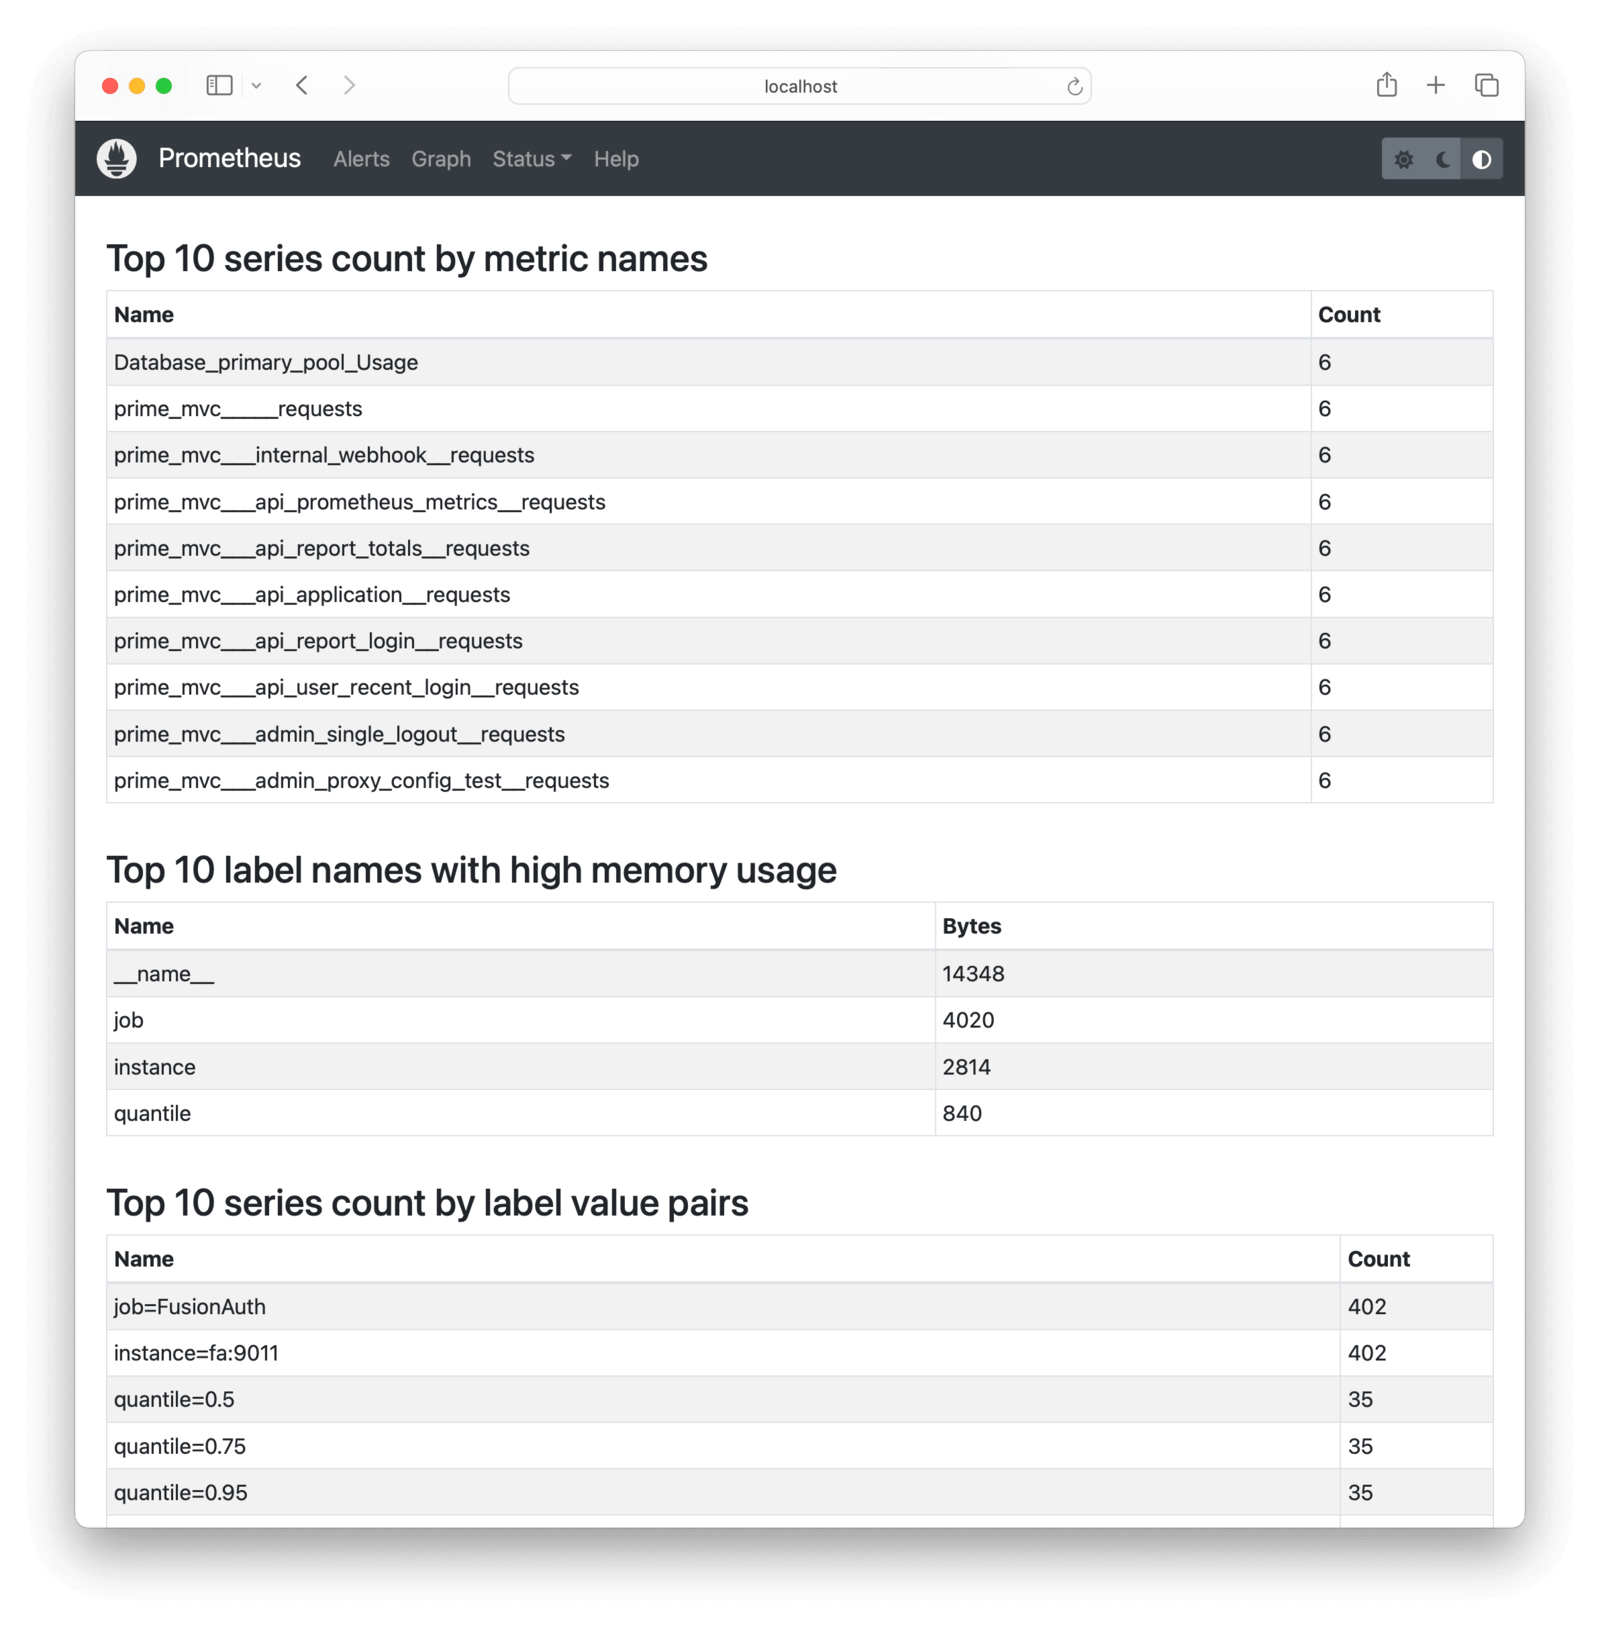
In the [Prometheus web interface](http://localhost:9090/targets), check that FusionAuth is running by browsing to <Breadcrumb>Menu -> Status -> Targets</Breadcrumb>.
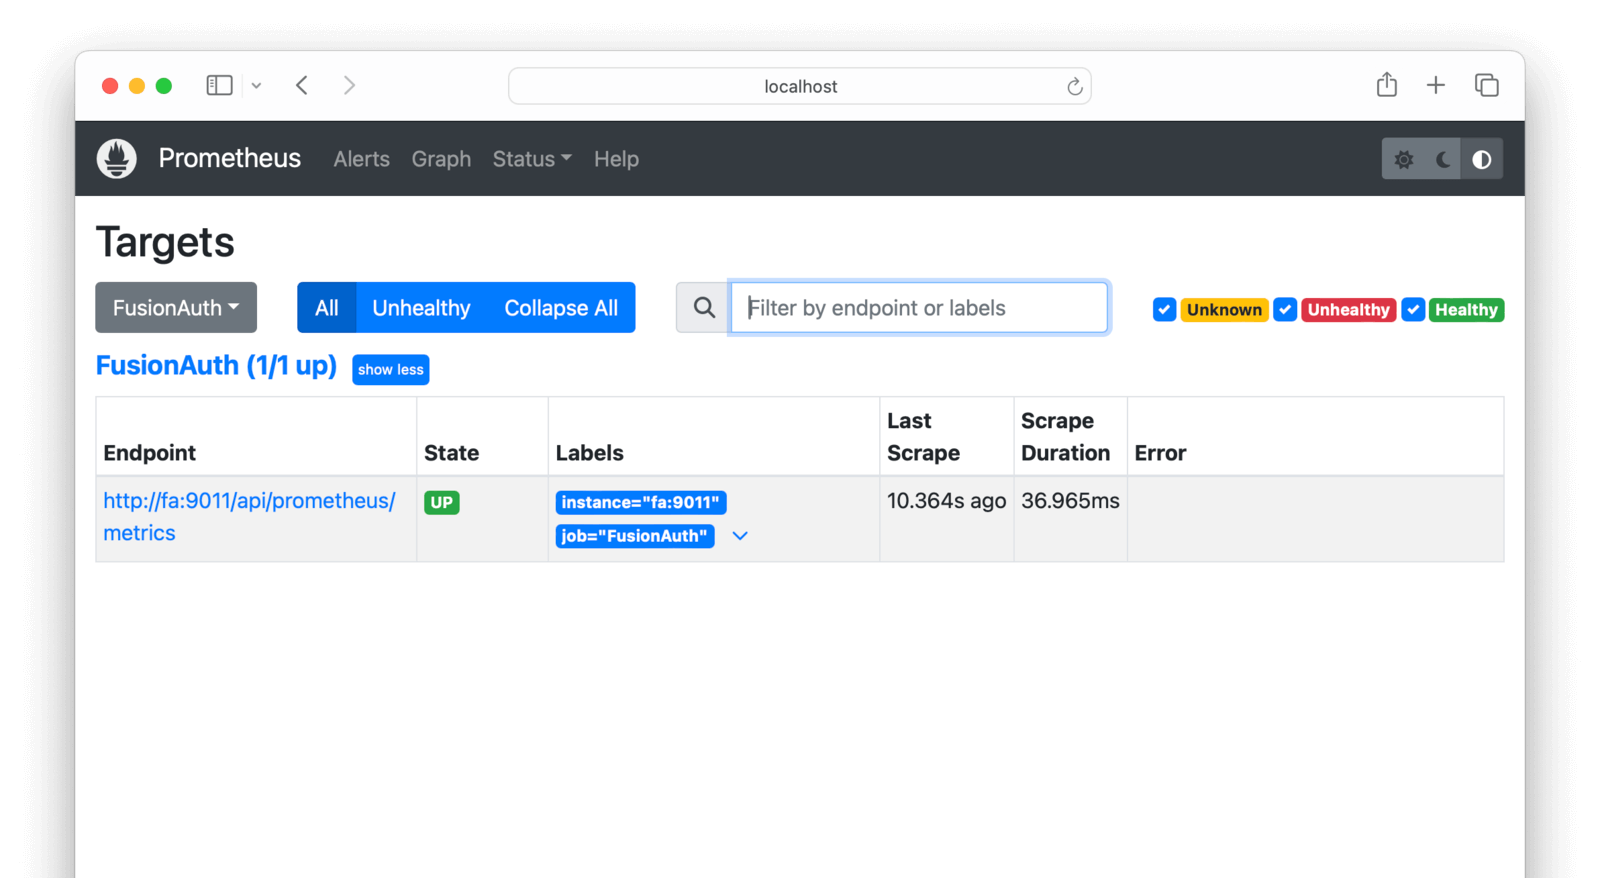
See charts of FusionAuth metrics in the [Prometheus web interface](http://localhost:9090/graph?g0.expr=HikariPool_1_pool_Usage&g0.tab=0&g0.display_mode=lines&g0.show_exemplars=0&g0.range_input=15m&g0.end_input=2024-09-10%2011%3A11%3A02&g0.moment_input=2024-09-10%2011%3A11%3A02) by browsing to <Breadcrumb>Menu -> Graph</Breadcrumb>. Push <kbd>Ctrl + Spacebar</kbd> in the text box to view all the metrics and functions available. Try entering `Database_primary_pool_Usage` and clicking <InlineUIElement>Execute</InlineUIElement>.
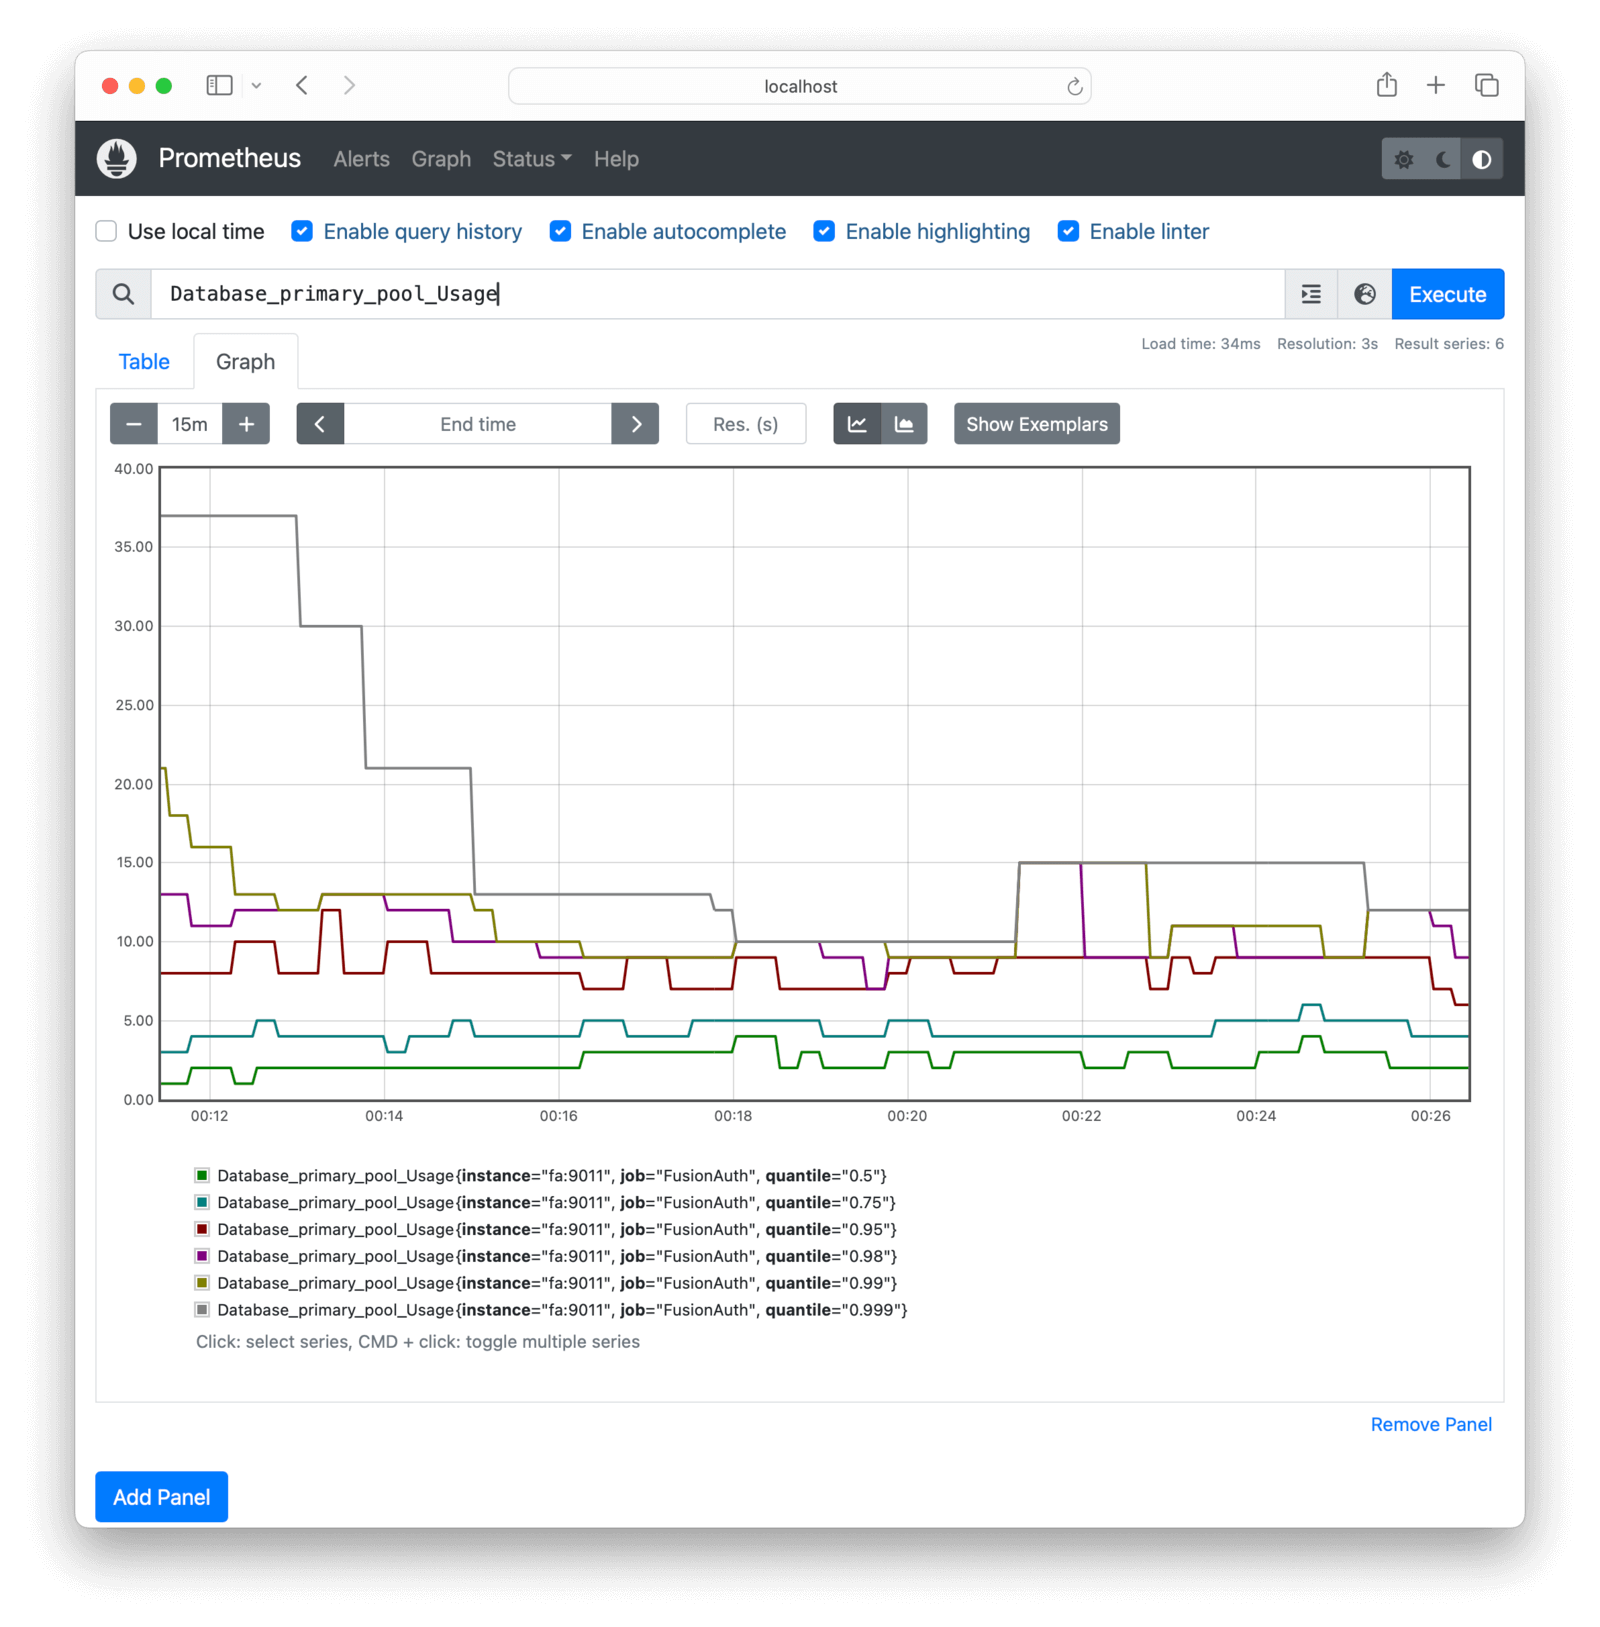
To monitor all FusionAuth errors, use the expression `prime_mvc_____errors_total`. A useful metric to monitor is simply called `up`, which has the value `1` if Prometheus successfully scraped its target.
<Aside type="tip">
At this point, Prometheus is set up and you can monitor FusionAuth. The rest of this guide will show you how to enhance the system with alerts and an improved dashboard.
</Aside>
## Run Alertmanager To Send Alerts
Let's set up a service to notify you when errors occur in FusionAuth.
The service will check if the `prime_mvc_____errors_total` counter has increased in the last minute. If it has, FusionAuth will send a message to a channel that your company can monitor, for example, on Discord or Slack, or by email or SMS.
The simplest and cheapest alert service is [ntfy.sh](https://ntfy.sh/). ntfy is free, but all channels are public, so don't broadcast secrets.
To see how ntfy works, run the command below in a terminal.
```sh
curl -H "Title: Error" -d "A FusionAuth error occurred in the last minute" ntfy.sh/fusionauthprometheus
```
Browse to the channel at https://ntfy.sh/fusionauthprometheus to see messages.
Now let's configure Prometheus to send errors automatically using the Prometheus [Alertmanager](https://prometheus.io/docs/alerting/latest/overview) component.
The Prometheus documentation doesn't say it explicitly, but Alertmanager is not included with Prometheus and must be run separately. This guide runs Alertmanager using the [Ubuntu Docker container](https://hub.docker.com/r/ubuntu/alertmanager).
<Aside type="caution">
At the time of writing, FusionAuth found an error in the Ubuntu container documentation. The Alertmanager configuration file path is actually `/etc/alertmanager/alertmanager.yml` not `/etc/prometheus/alertmanager.yml`.
</Aside>
Below is a diagram of the system design with the new components.
<Diagram3></Diagram3>
Add the code below to the `docker-compose.yml` file to include the new Alertmanager container and point the existing Prometheus container to it.
```yaml
alertmanager:
image: ubuntu/alertmanager:0.27.0-22.04_stable
platform: linux/amd64
container_name: faAlert
ports:
- 9093:9093
networks:
- db_net
volumes:
- ./prometheusAlertConfig.yml:/etc/alertmanager/alertmanager.yml
prometheus:
image: ubuntu/prometheus:2.52.0-22.04_stable
platform: linux/amd64
container_name: faProm
depends_on:
- fa
- alertmanager
ports:
- 9090:9090
networks:
- db_net
volumes:
- ./prometheusConfig.yml:/etc/prometheus/prometheus.yml
- ./prometheusRules.yml:/etc/prometheus/rules.yml
- ./prometheusDb:/prometheus
```
Update `prometheusConfig.yml` to provide Prometheus with the URL of the Alertmanager service and define the rules for when alerts should be sent.
```yaml
global:
evaluation_interval: 30s
scrape_configs:
- job_name: FusionAuth
scrape_interval: 15s
scheme: http
metrics_path: api/prometheus/metrics
static_configs:
- targets: ["fa:9011"]
basic_auth:
username: "apikey"
password: "33052c8a-c283-4e96-9d2a-eb1215c69f8f-not-for-prod"
rule_files:
- rules.yml
alerting:
alertmanagers:
- static_configs:
- targets:
- "alertmanager:9093"
```
Create the `prometheusRules.yml` file below.
```yaml
groups:
- name: fusionauthAlerts
rules:
- alert: FusionAuthError
expr: prime_mvc_____requests_count > 0
for: 30s
labels:
severity: error
annotations:
summary: FusionAuth Error Detected
description: A FusionAuth error occurred in the last minute
```
Here, the `expr` expression rule checks the requests metric, not the errors metric, to be sure that a notification is sent in this prototype. In reality, you could use an error metric like `increase(prime_mvc_____errors_total[1m]) > 0`.
Finally, create a `prometheusAlertConfig.yml` configuration file for the Alertmanager.
```yaml
route:
receiver: ntfy
repeat_interval: 1m
receivers:
- name: ntfy
webhook_configs:
- url: http://ntfy.sh/fusionauthprometheus
```
<Aside type="tip">
You can rename all these configuration files, as long as you update the filenames in the `docker-compose.yaml` file, too.
</Aside>
Push <kbd>Ctrl + C</kbd> in the terminal, and then run `docker compose up` again to start everything. Check the terminal logs to confirm that Alertmanager started successfully. If it didn't, check the configuration file and try to restart the service individually with `docker compose up alertmanager`.
Confirm that Alertmanager can connect to ntfy manually by running the command below in a new terminal.
```sh
curl -X POST -H "Content-Type: application/json" -d '[{"labels":{"alertname":"TestAlert"}}]' http://localhost:9093/api/v2/alerts
```
If you browse to http://localhost:9093, you should see the alert has arrived. Browse to the Status page to check that Alertmanager has successfully loaded the configuration file.
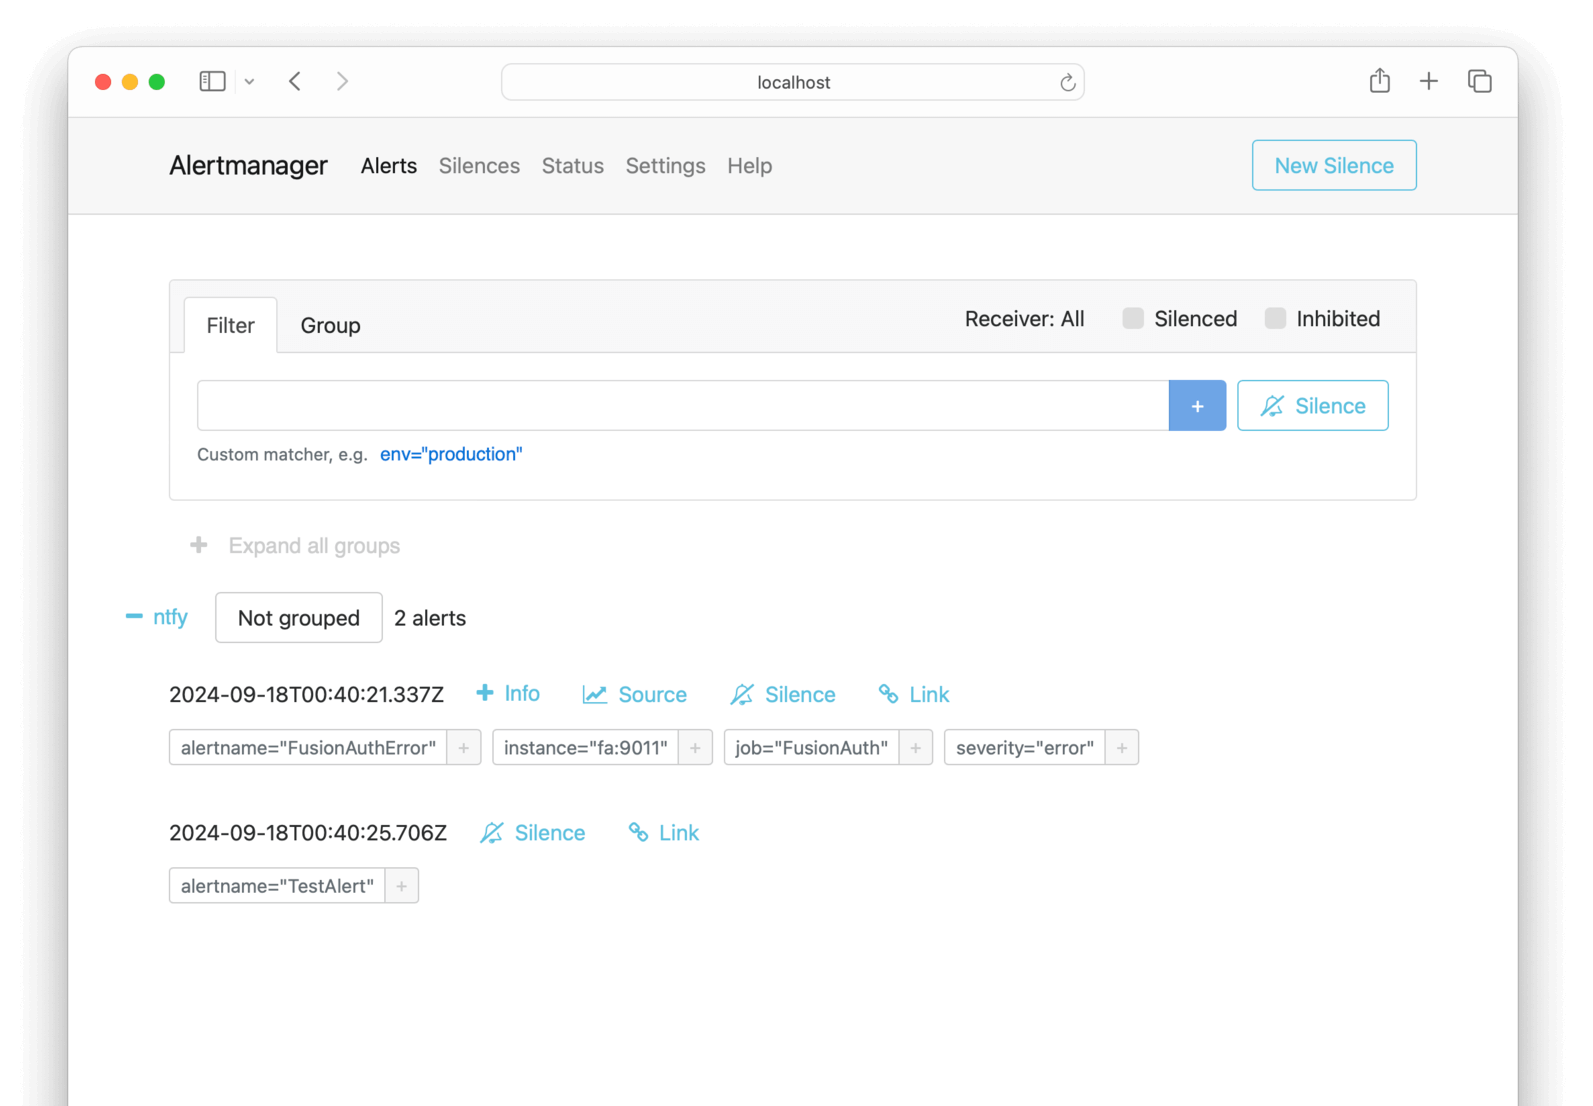
If you wait a minute and then browse to https://ntfy.sh/fusionauthprometheus, you should see that Prometheus scraped FusionAuth, registered that requests were greater than zero, and sent an alert to Alertmanager, and that Alertmanager sent the alert to ntfy.
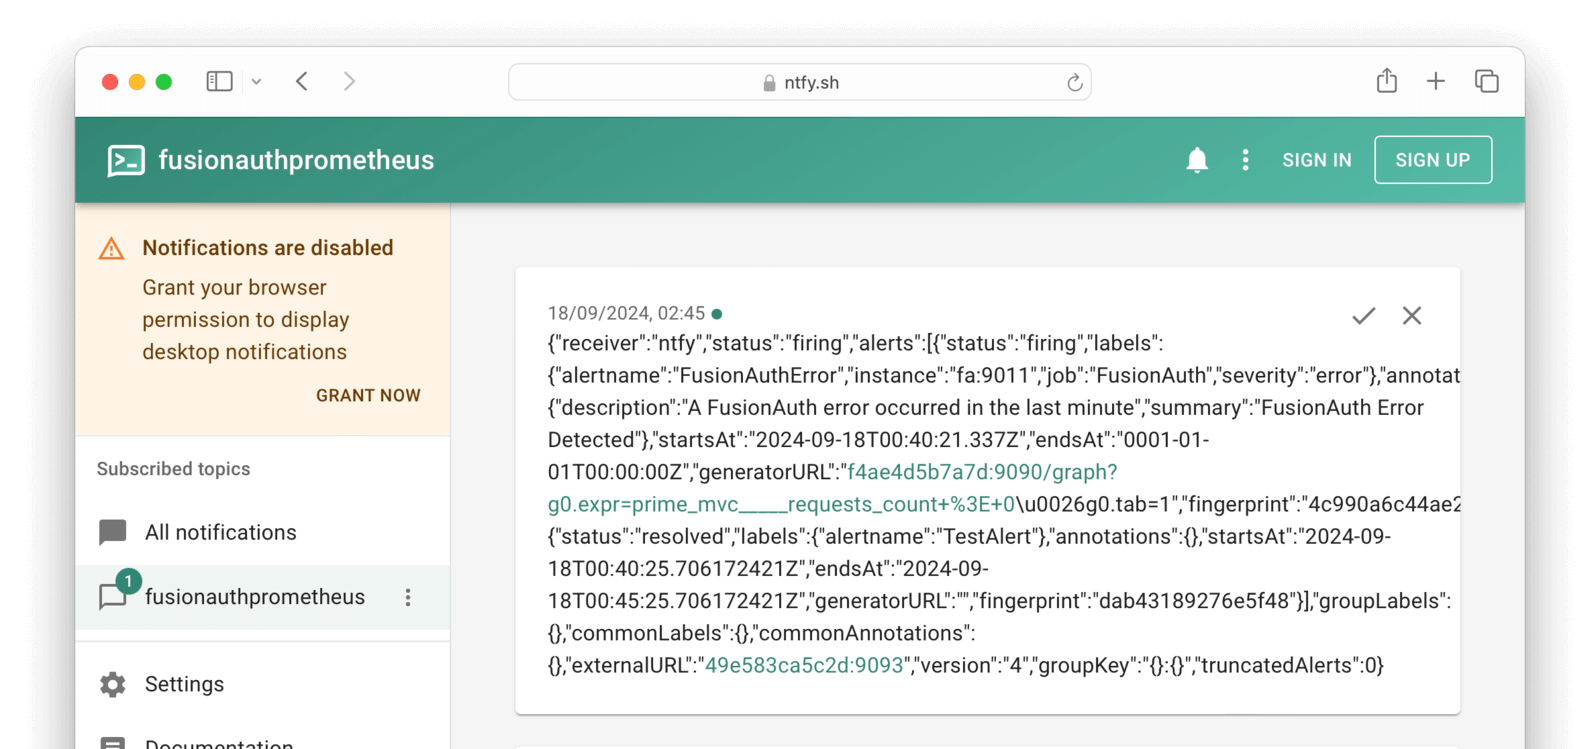
Alertmanager sent ntfy raw JSON that includes the `annotations` fields from the `prometheusRules.yml` configuration. If you would like notifications to look neater, read about [templates](https://prometheus.io/docs/alerting/latest/notifications) in Prometheus.
## Run Grafana To Create A Dashboard
To display FusionAuth metrics in a set of charts in a dashboard instead of a single Prometheus query, you can use Grafana.
This section will show you how to run Grafana in Docker and create a simple dashboard to monitor FusionAuth.
Below is a diagram of the system design with the new components.
<Diagram4></Diagram4>
Add the new service below to `docker-compose.yml`.
```yaml
grafana:
image: ubuntu/grafana:11.0.0-22.04_stable
platform: linux/amd64
container_name: faGraf
depends_on:
- prometheus
ports:
- 9091:3000
networks:
- db_net
volumes:
- ./prometheusGrafanaConfig.ini:/etc/grafana/grafana-config.ini
- ./prometheusGrafana/:/data/
# - ./prometheusGrafanaProvisioning/:/conf/
```
This configuration uses the [Ubuntu Grafana container](https://hub.docker.com/r/ubuntu/grafana) to maintain consistency with the Ubuntu containers used previously.
None of the three volumes in the configuration above are needed for this example, but you will want to use them in production.
- The `/etc/grafana/grafana-config.ini` Grafana configuration file specifies values for settings like security, proxies, and servers. These values are explained in the [configuration documentation](https://grafana.com/docs/grafana/latest/setup-grafana/configure-grafana). Note that the documentation lists various places the configuration file could live inside the container. This path will differ between Docker images and operating systems. By default, the filename `/etc/grafana/grafana.ini` is different from the `grafana-config.ini` in this container. If you use a different image for Grafana, look at the Docker logs in the terminal to see where Grafana looks for configuration files when starting.
- The `/data` volume stores the Grafana database so that data persists if you restart the container.
- The `/conf` directory allows you to automatically provision infrastructure like data sources for Grafana to monitor and dashboards to create. Leave the volume commented out for now. If you uncomment it without having the correct files in your local directory, Grafana will fail to start. To create provisioning files, read the [documentation](https://grafana.com/docs/grafana/latest/administration/provisioning) and look at all the sample files in `/conf/provisioning/` when the container is running.
Run `docker compose up` to start Grafana (or `docker compose up grafana` if FusionAuth is already running).
Log in to Grafana at http://localhost:9091 with username and password `admin`.
If you want to change the login settings in production, you can create the local file `prometheusGrafanaConfig.ini` with the example content below.
```ini
[security]
admin_user = admin2
```
Run `docker exec -it faGraf /bin/bash` to log in to the container and view sample files. For example, when in the container, run `more /conf/sample.ini` to see all configuration values. Lines starting with `;` are commented out.
Add a dashboard in the Grafana web interface:
- Click <InlineUIElement>Add your first data source</InlineUIElement> in the center of the home page.
- Click <InlineUIElement>Prometheus</InlineUIElement> to add the default Prometheus connection.
- In the Prometheus <InlineField>Connection</InlineField>, enter the URL of the Docker container, `http://prometheus:9090`.
- Click <InlineUIElement>Save & test</InlineUIElement>. Grafana should now be able to connect to Prometheus. (Note that this connection retrieves the FusionAuth metrics, which is what we want, not metrics about Prometheus itself.)
- Click <InlineUIElement>Dashboards</InlineUIElement> in the sidebar, and then <InlineUIElement>New dashboard</InlineUIElement> on the right.
- Click <InlineUIElement>Add visualization</InlineUIElement>.
- Select <InlineUIElement>prometheus</InlineUIElement> as the data source.
- Enter the value `prime_mvc_____errors_total` in the <InlineField>Metric</InlineField> browser field at the bottom. Click <InlineUIElement>Run queries</InlineUIElement>, change the panel <InlineField>Title</InlineField>, and then click <InlineUIElement>Apply</InlineUIElement> to save the visualization.
- Add another visualization with the value `prime_mvc___admin_login__requests` and save.
- Save the dashboard and give it the name `FusionAuth dashboard`. You can rearrange the charts if you would like to. The dashboard should look like the image below.
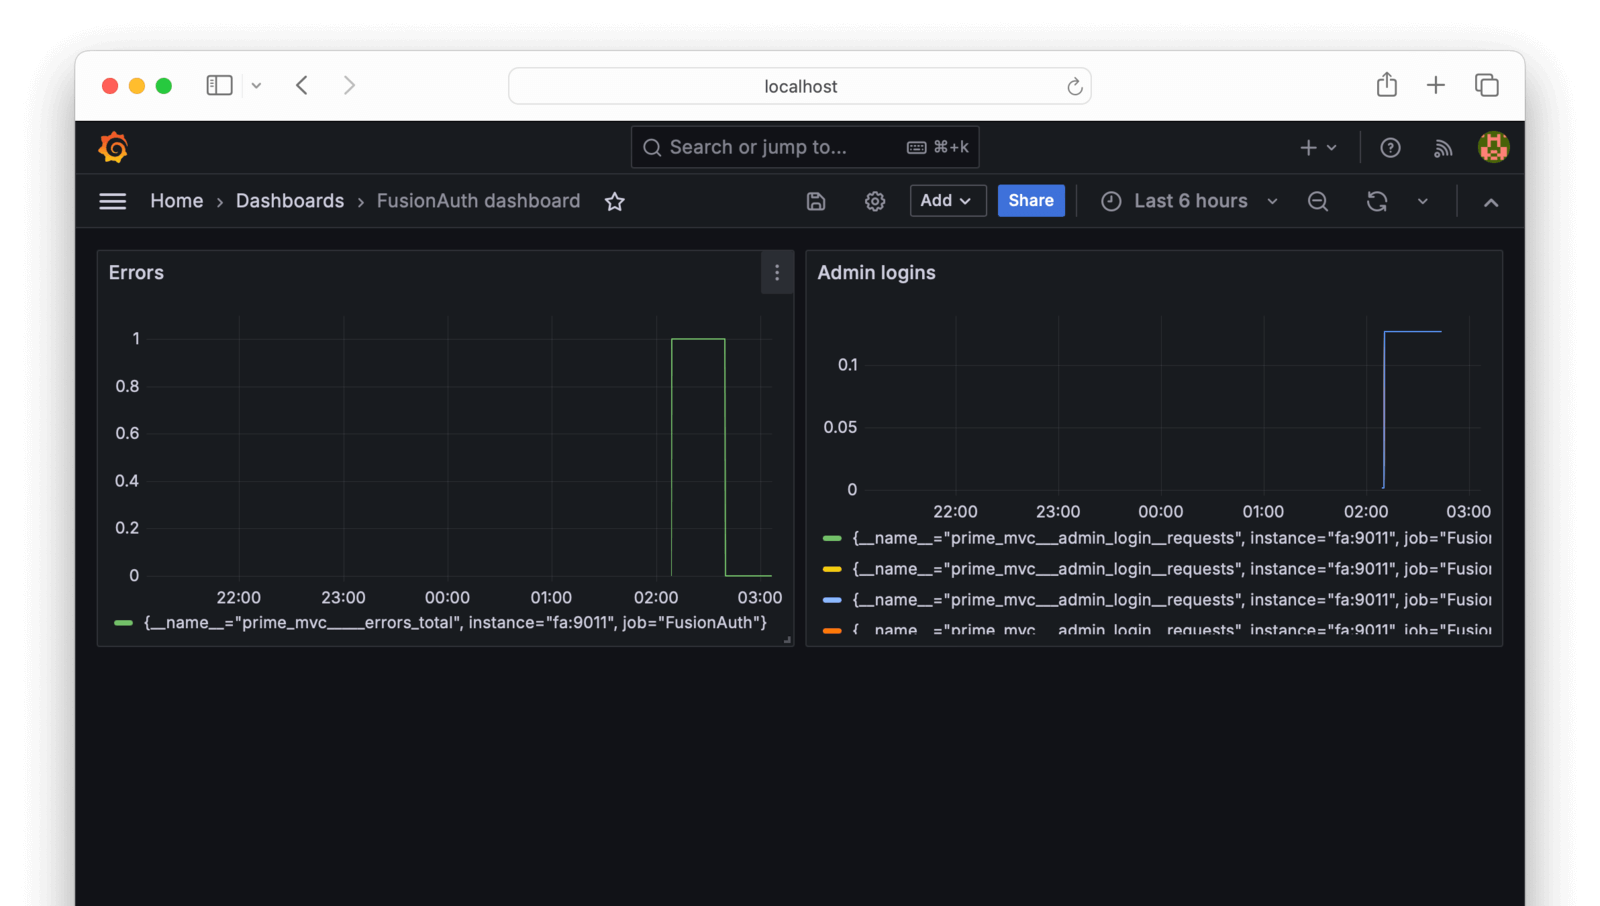
You can add any other metrics as visualizations. In the browser, search for metrics related to user `login` or `oauth` to keep track of how your system is used.
If you edit the dashboard as a whole, The JSON Model tab contains the full configuration text for your dashboard, which you can use in the provisioning files referred to earlier to automatically recreate the dashboard in a new instance of Grafana.
You can also create a new dashboard by importing a standard template from the Grafana repository. However, there is no FusionAuth template currently, and FusionAuth does not export all the Java metrics necessary to use the [JVM template](https://grafana.com/grafana/dashboards/8563-jvm-dashboard/).
## Store Logs In Loki
The final monitoring component you might want to use is [Grafana Loki](https://grafana.com/docs/loki) for storing logs. Loki indexes only the metadata of a log line (its time, and attributes such as the server that sent it) and not its content. This is unlike Elasticsearch or OpenSearch, which index the log content, too. Loki therefore uses far less disk space than OpenSearch but is not quickly searchable. The no-indexing choice Loki made is better for most applications, where you need only to monitor logs for errors and store logs for auditing purposes, and don't need to run frequent queries against old logs.
Loki can run as a single app in a single Docker container or as separate components in multiple containers. In [monolithic mode](https://grafana.com/docs/loki/latest/get-started/deployment-modes), Loki can handle up to 20 GB per day. This is enough for FusionAuth and is what you'll use in this guide.
Below is a diagram showing all the [components](https://grafana.com/docs/loki/latest/get-started/components) Loki runs in a single container.

You can query logs in Grafana, or in the terminal with the Loki API or [LogCLI](https://grafana.com/docs/loki/latest/query/logcli).
Loki is primarily a log store, and will not fetch logs itself. Tools to send logs to Loki include Promtail (the original sending tool), OpenTelemetry, and Alloy (a new OpenTelemetry-compliant tool from Grafana). For more options, see the [documentation](https://grafana.com/docs/loki/latest/send-data). In this guide, you use Promtail for simplicity and stability.
<Aside type="note">
When FusionAuth runs in Docker, it writes logs to the terminal and does not save them to a file or provide them via the [API](/docs/apis/system#export-system-logs). This means that the logs are not available in the [web interface](/docs/operate/troubleshooting/troubleshooting#logs).
</Aside>
To use Loki, add the services below to your `docker-compose.yml` file. You are now using Grafana images because Ubuntu has no images for Promtail.
```yml
faLoki:
image: grafana/loki:3.0.0
container_name: faLoki
ports:
- 3100:3100
volumes:
- ./prometheusLoki/:/loki/
- ./prometheusLokiConfig.yml:/etc/loki/local-config.yaml
user: root
environment:
- target=all
networks:
- db_net
faPromtail:
image: grafana/promtail:3.0.0
container_name: faPromtail
depends_on:
- faLoki
volumes:
- ./prometheusPromtailConfig.yml:/etc/promtail/config.yml
- /var/run/docker.sock:/var/run/docker.sock
- /var/lib/docker/containers:/var/lib/docker/containers
networks:
- db_net
```
The `faLoki` port 3100 is open so that Grafana can query it. The `prometheusLoki` volume persists log storage across container restarts. The `prometheusLokiConfig.yml` volume allows you to adjust Loki settings. Unlike the Ubuntu images, Grafana images don't use the root user. This means that the user in the container won't have permissions to create files on the Docker host machine. In production, you can inspect the running container to see what user it has, then create the `prometheusLoki` directory, and assign the directory owner as the container user. But for this prototype, it's faster to set the container user to `user: root` instead, so the container can directly write to the shared volume. The `target=all` configuration runs the Loki container in monolithic mode.
The `faPromtail` service waits for Loki to start by using `depends_on: faLoki`. The service has volumes for a configuration file and for access to the log files saved by Docker and the Docker socket file.
Use the code below to change the `fa` service to make FusionAuth wait for `Promtail` to run before FusionAuth starts. If FusionAuth isn't configured to wait, Loki will not record potential FusionAuth starting errors.
```yml
depends_on:
faPromtail:
condition: service_started
fa_db:
condition: service_healthy
```
You can comment out the `prometheusLokiConfig.yml` volume in the `faLoki` service configuration to use default values. The default values are fine. But if you want to use Loki with Alertmanager, you should create the file with the contents below (where only the last line differs from the default). Below, the Alertmanager URL now points to the Docker service for the `ruler` ([rules manager](https://grafana.com/docs/loki/latest/alert)).
```yml
auth_enabled: false
server:
http_listen_port: 3100
common:
instance_addr: 127.0.0.1
path_prefix: /loki
storage:
filesystem:
chunks_directory: /loki/chunks
rules_directory: /loki/rules
replication_factor: 1
ring:
kvstore:
store: inmemory
schema_config:
configs:
- from: 2020-10-24
store: tsdb
object_store: filesystem
schema: v13
index:
prefix: index_
period: 24h
ruler:
alertmanager_url: http://alertmanager:9093
```
The `prometheusPromtailConfig.yml` file controls which containers Promtail will get logs from. It is documented [here](https://grafana.com/docs/loki/latest/send-data/promtail/configuration). Create the `prometheusPromtailConfig.yml` file and add the content below.
```yml
server:
http_listen_port: 9080
grpc_listen_port: 0
clients:
- url: http://faLoki:3100/loki/api/v1/push
scrape_configs:
- job_name: docker
docker_sd_configs:
- host: unix:///var/run/docker.sock
refresh_interval: 15s
filters:
- name: name
values: [^fa$]
relabel_configs:
- source_labels: ['__meta_docker_container_name']
regex: '/(.*)'
target_label: 'container'
```
The `clients` URL points to the Loki Docker service where Promtail will send logs. The `scrape_configs` section describes how Promtail will get logs.
The [`docker_sd_configs`](https://grafana.com/docs/loki/latest/send-data/promtail/configuration/#docker_sd_configs) configuration option is one way for Promtail to get logs (along with local file logs and Kubernetes). It follows the Prometheus [configuration format](https://prometheus.io/docs/prometheus/latest/configuration/configuration/#docker_sd_config), which uses the Docker [container reference format](https://docs.docker.com/reference/api/engine/version/v1.40/#operation/ContainerList).
The `filters` section excludes all containers from having their logs stored other than FusionAuth, which has the regular expression container name `^fa$` (start, fa, end). There is no `/` in this name. If you instead used a filter of `fa`, the logs of `fa_db` would also be stored.
The `relabel_configs` section maps the Docker container name to the logs `container` metadata, so you can search for it when querying the logs. Note that while your container and service name in the Docker process list is `fa`, the name exposed in the Docker API is actually `/fa`. You can see the `/` used in the `regex` above. To see this is true in Docker, run `docker inspect fa`. You'll see the container name is actually `"Name": "/fa"`.
Log monitoring is ready. Run `docker compose up` to start all monitoring components. Browse to http://localhost:3100/ready to check that Loki is up.
To view the logs in Grafana:
- Browse to Grafana and choose <Breadcrumb>Connections -> Data sources</Breadcrumb> in the sidebar.
- Choose <InlineUIElement>Add new data source</InlineUIElement> and select <InlineUIElement>Loki</InlineUIElement>.
- Enter `http://faLoki:3100` in the <InlineField>URL</InlineField> field - this is the only setting to change.
- Click <InlineUIElement>Save and test</InlineUIElement>. If Grafana cannot detect Loki, check that your URL matches the one in your Docker Compose file and that there are no errors in the Docker terminal.
- Click <InlineUIElement>Explore</InlineUIElement> in the sidebar to start browsing your Loki logs.
- Choose Loki as your data source and enter a query value of `{container="fa"}`.
- Press <InlineUIElement>Run query</InlineUIElement> to view the logs.
You can filter logs and make complex queries. For example, try `{container="fa"} |~ "(ERROR|WARN)"`.
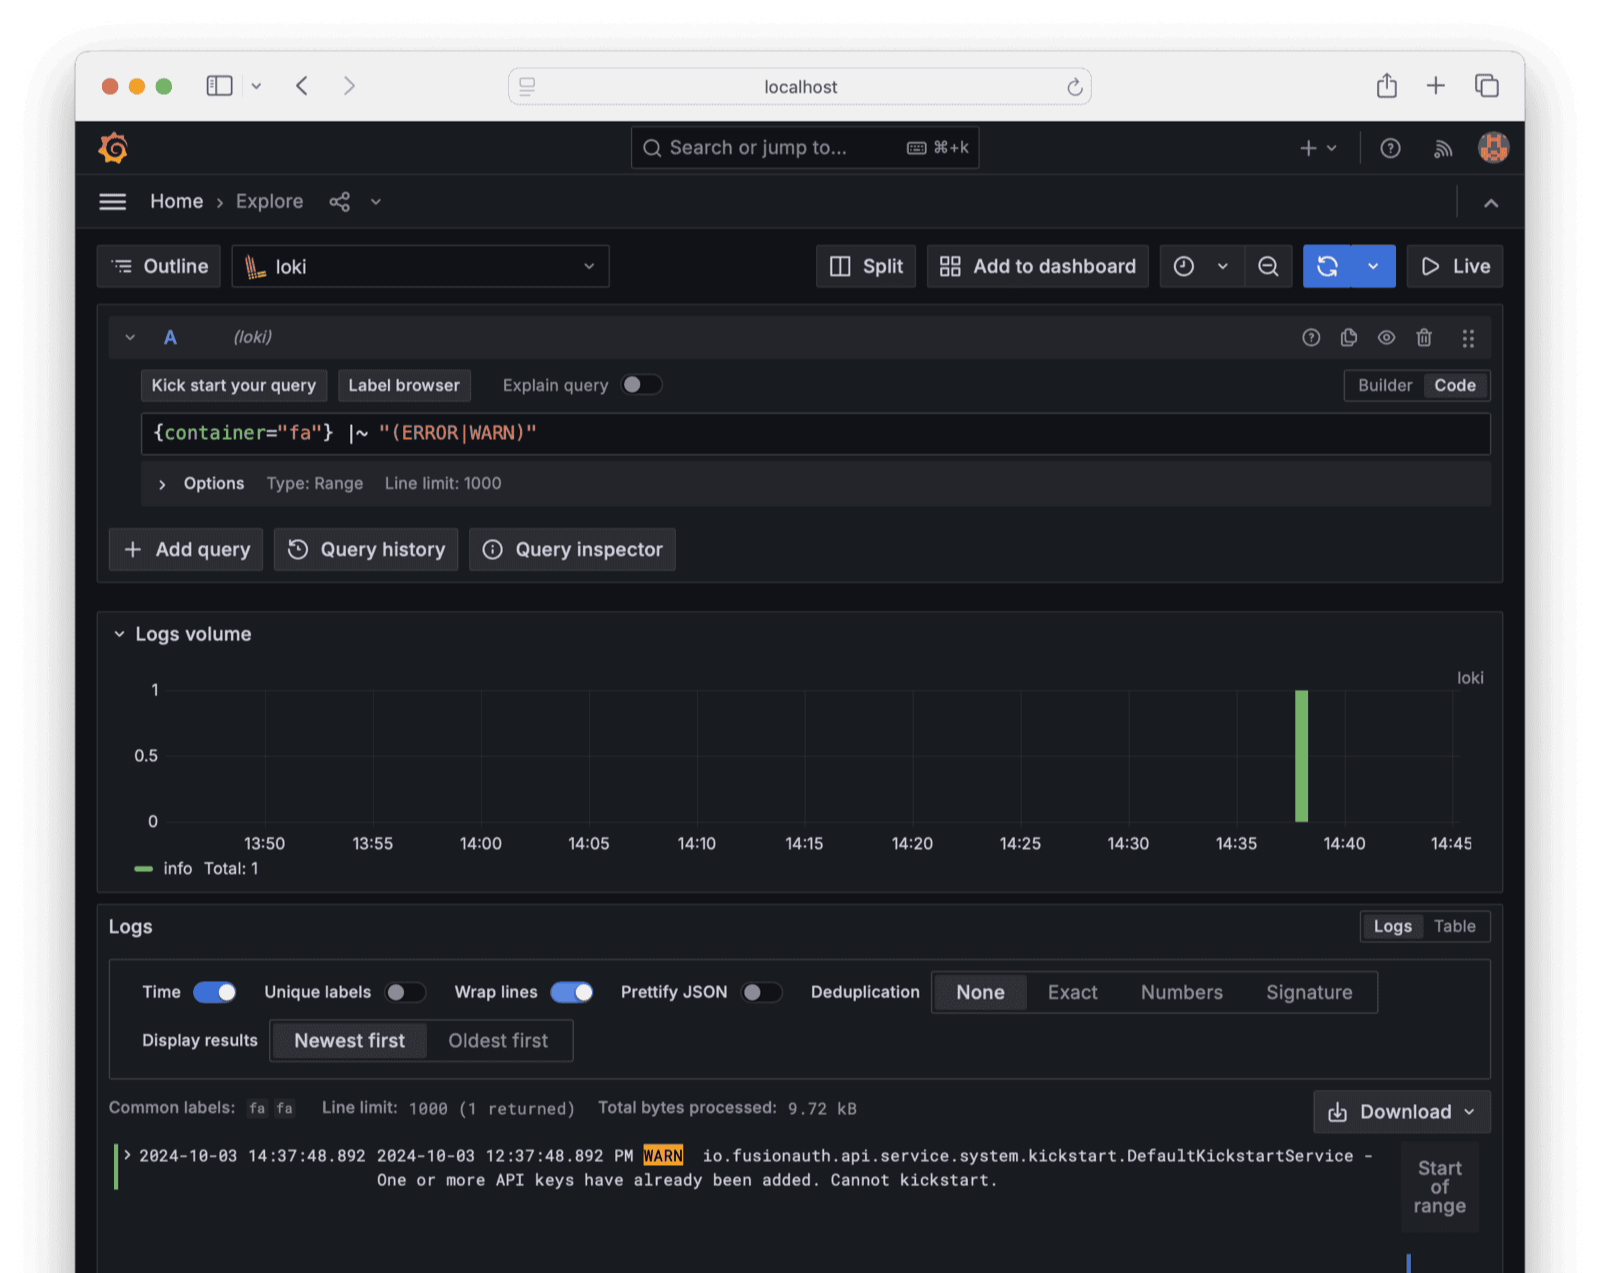
Now that Loki stores FusionAuth logs, you can add log widgets to your Grafana dashboard, and use either Grafana or Loki directly to send alerts to Alertmanager.
## Next Steps
In addition to monitoring the Prometheus metrics provided by FusionAuth, you might want to know various custom metrics, such as user login rates and successes. To do this, read the FusionAuth guide to [OpenTelemetry](./opentelemetry) and how to use it to create a bash script to collect any metric the FusionAuth API offers.
## Final System Architecture
If you combine the Prometheus, Alertmanager, Grafana, Loki, and ntfy infrastructure shown in this guide, your architecture will be as follows.
<Diagram5></Diagram5>
## Further Reading
- [FusionAuth monitoring overview](/docs/operate/secure-and-monitor/monitor)
- [FusionAuth metrics](/docs/operate/secure-and-monitor/monitor#metrics)
- [FusionAuth Prometheus API](/docs/apis/system#retrieve-system-metrics-using-prometheus)
- [Prometheus](https://prometheus.io/docs/introduction/overview)
- [Configure Prometheus](https://prometheus.io/docs/prometheus/latest/configuration/configuration)
- [Prometheus alerts](https://prometheus.io/docs/alerting/latest/overview)
- [Prometheus alert templates](https://prometheus.io/docs/alerting/latest/notifications)
- [Loki](https://grafana.com/docs/loki/latest/get-started/overview/?pg=oss-loki)
- [Promtail](https://grafana.com/docs/loki/latest/send-data/promtail/configuration)
- [Grafana](https://grafana.com/grafana)
- [Ubuntu Alertmanager image](https://hub.docker.com/r/ubuntu/alertmanager)
- [Ubuntu Grafana image](https://hub.docker.com/r/ubuntu/grafana)
- [Ubuntu Prometheus image](https://hub.docker.com/r/ubuntu/prometheus)
# Monitor With Slack
import Aside from 'src/components/Aside.astro';
import IconButton from 'src/components/IconButton.astro';
import Breadcrumb from 'src/components/Breadcrumb.astro';
import InlineField from 'src/components/InlineField.astro';
import InlineUIElement from 'src/components/InlineUIElement.astro';
## Overview
[Slack](https://slack.com) is a private chat app you can configure to use in your organization. To send alerts to Slack, create a dedicated channel (chat room) in the app, add your system administrators, and send messages to the channel using the Slack API.
This guide explains how to create a simple script to monitor FusionAuth and call Slack if FusionAuth has errors. Since sending a message to Slack is just an HTTP call made with curl and an API token, you can modify the script in this guide to send messages to services like Discord or WhatsApp. Change the Slack URL and token to whichever service you are using.
Please read the [FusionAuth guide to monitoring](/docs/operate/monitor/monitor) to get an overview of the available metrics and choose the ones relevant to your needs. Sending alerts to Slack is a small component of comprehensive monitoring. The overview explains where Slack fits into the monitoring flow, and provides alternative apps for receiving alerts instead of Slack.
Review Slack fees on the [Slack pricing page](https://slack.com/intl/en-ie/pricing). You can follow this guide and integrate Slack with other applications with the free tier, but you will need at least a Pro subscription to [build workflows](https://slack.com/intl/en-ie/features/workflow-automation).
A workflow is a set of custom triggers, data, and logic you organize into a sequence of steps. The [logic can be code](https://api.slack.com/automation/functions/custom), written in TypeScript or JavaScript. Workflows can also use [stock connectors to outside services](https://api.slack.com/automation/connectors).
The Pro (lowest paid) tier has all the features you need to use Slack with outside apps. Higher-priced tiers have no features you need for integration.
## Understand The System Design
Running FusionAuth and PostgreSQL in Docker usually looks like the diagram below (you might also run OpenSearch in another Docker container).
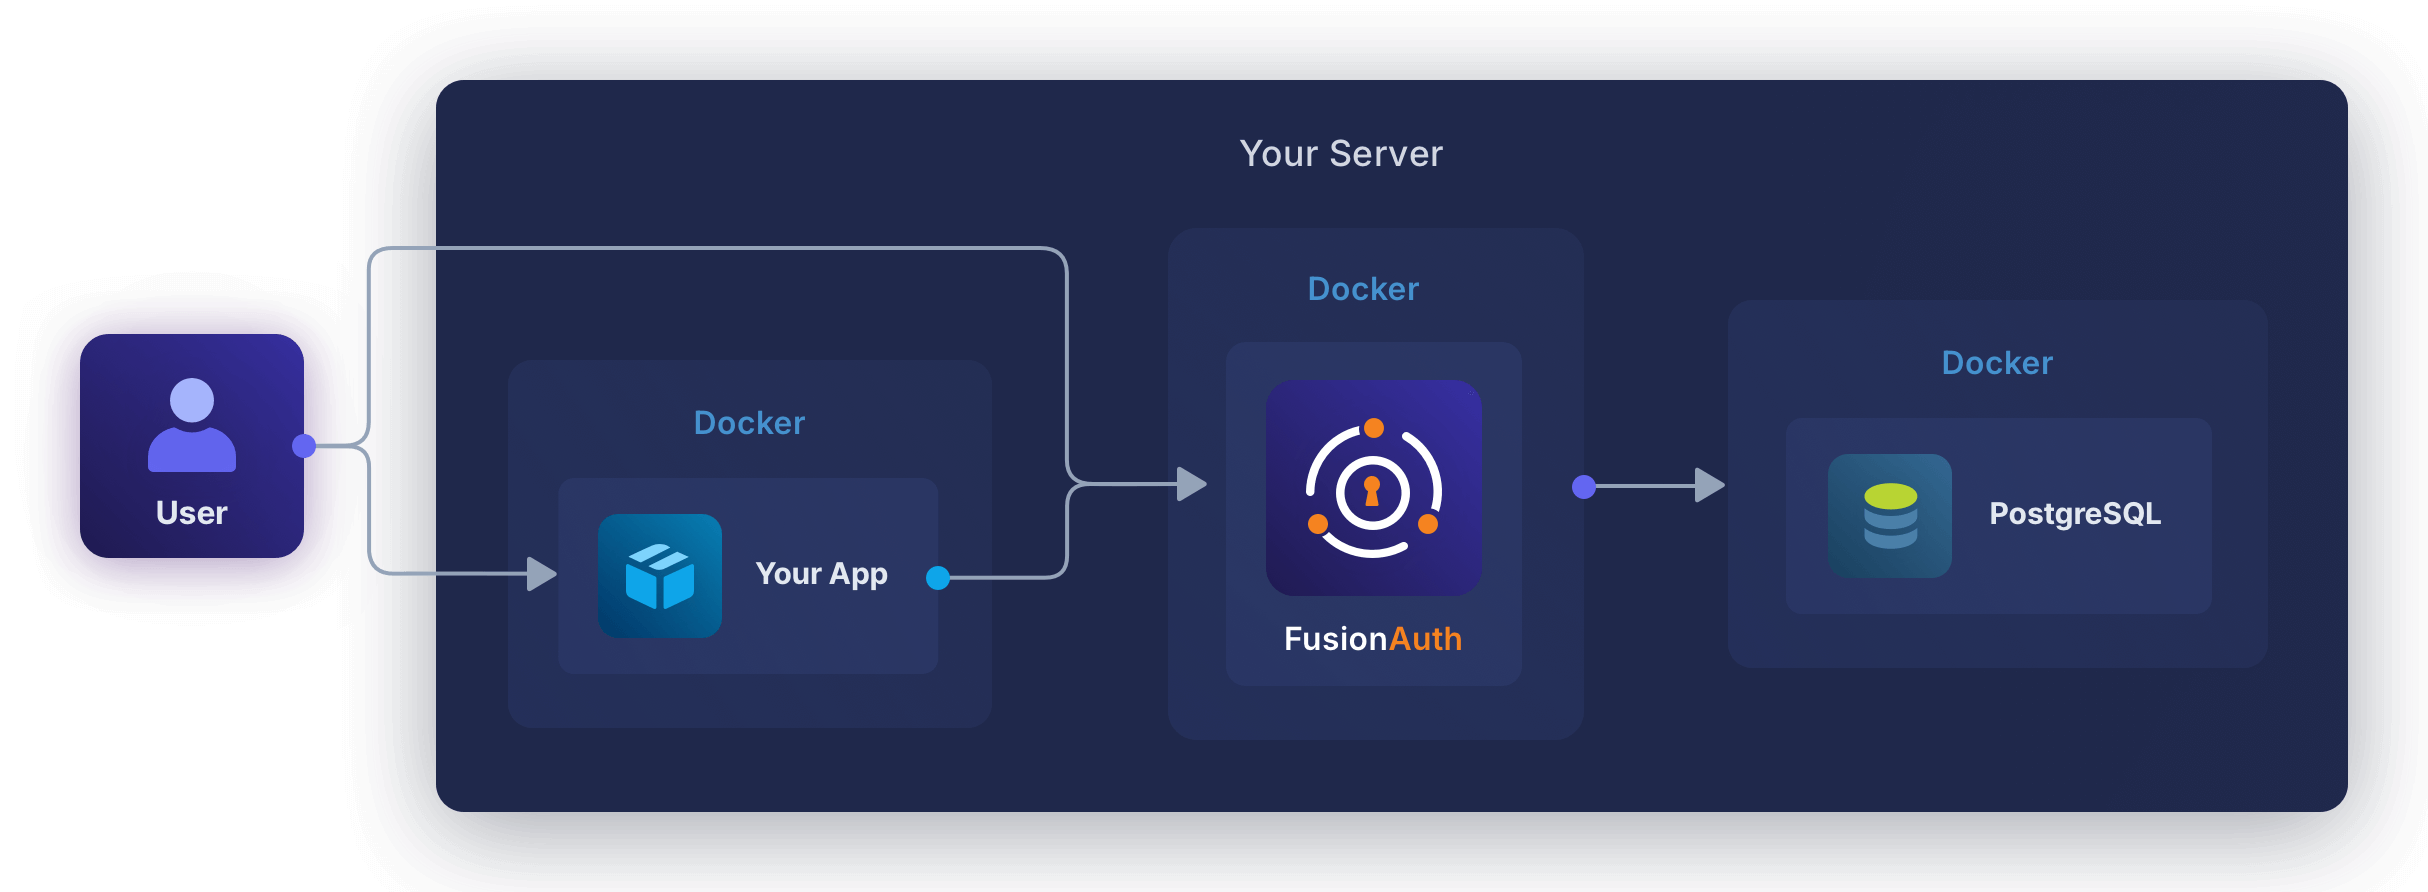
In this guide, you will create a tiny service in its own container to monitor FusionAuth and call Slack if the FusionAuth logs API is not contactable, or if the logs contain an error message. The new design will look like the diagram below.
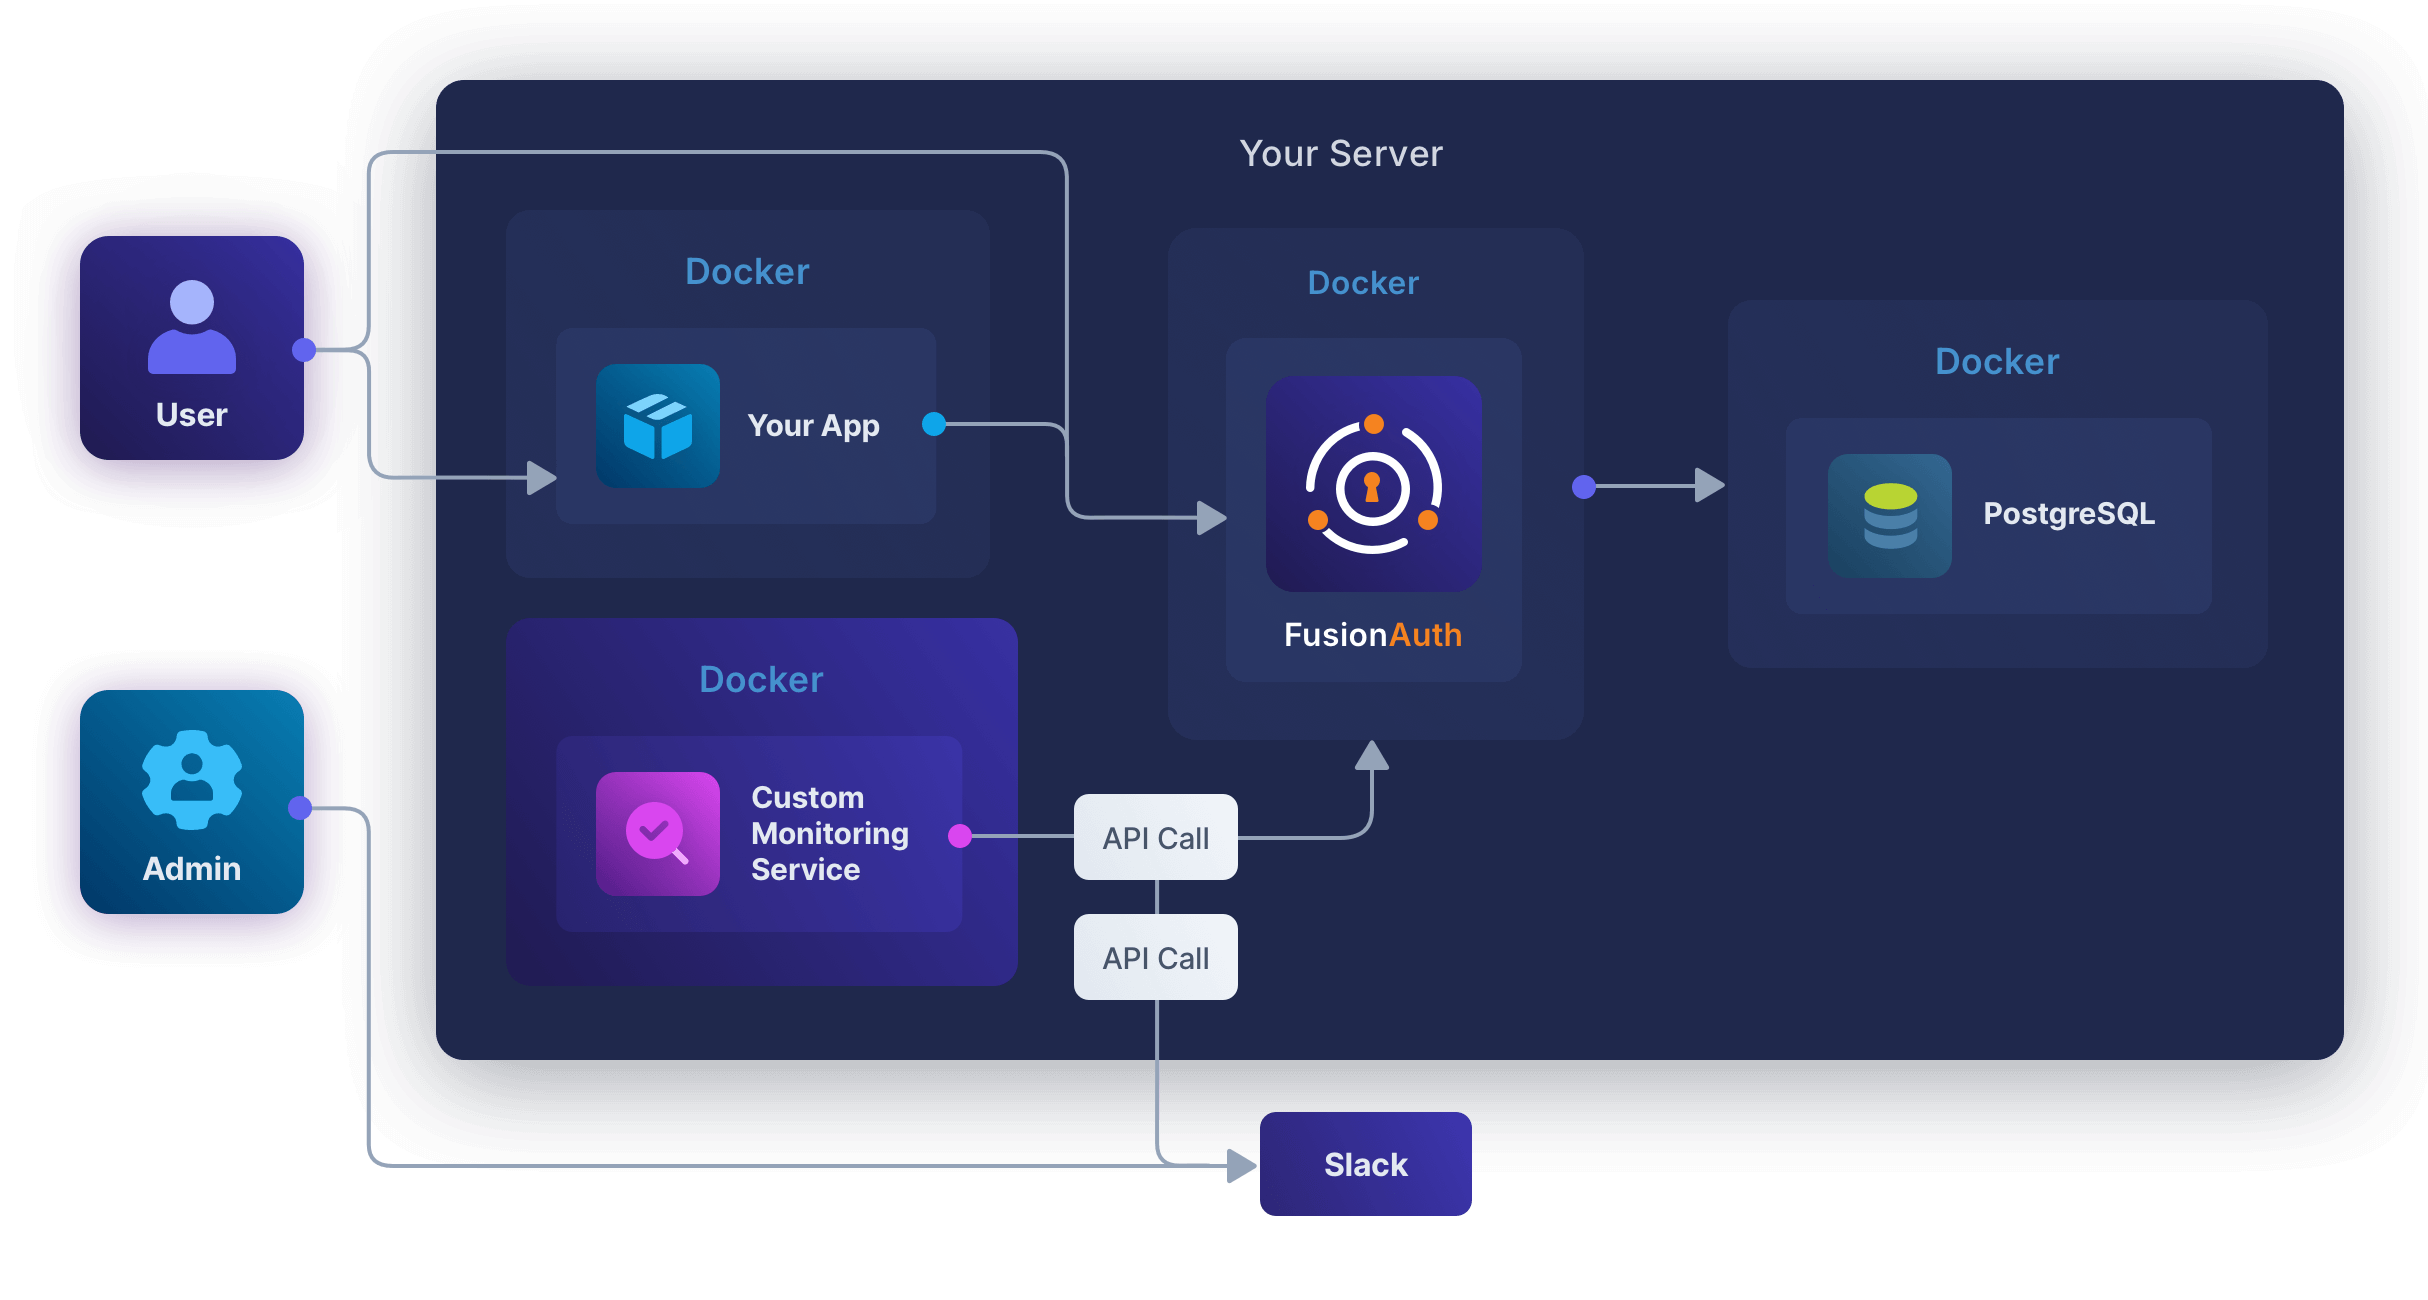
## Create A Slack Account
First, register for a Slack account:
- Register for a new workspace at https://slack.com/intl/en-ie/get-started#/createnew. You don't need to create a password.
- Verify your confirmation code in the email Slack sends you.
- Create a workspace called `fa`.
- Create a [channel](https://slack.com/intl/en-ie/help/articles/360017938993-What-is-a-channel) called `fa-alert`. The channel is public by default, meaning it is usable for every member of your workspace.
- Right-click the `fa-alert` channel and click <InlineUIElement>View channel details</InlineUIElement>. Record the <InlineField>Channel ID</InlineField> value displayed at the bottom of the <Breadcrumb>About</Breadcrumb> tab for later use.
## Create A Slack App
To send messages to Slack, you need an API key. To get an API key, you need to create a [Slack app](https://api.slack.com/tutorials/tracks/posting-messages-with-curl).
- Browse to https://api.slack.com/tutorials/tracks/posting-messages-with-curl and click <InlineUIElement>Create app</InlineUIElement>. (If this tutorial page doesn't exist in the future, create an app in the [apps homepage](https://api.slack.com/apps).)
- Choose the `fa` workspace and click <InlineUIElement>Next</InlineUIElement>.
- Click <InlineUIElement>Edit Configurations</InlineUIElement>.
- Change the <InlineField>name</InlineField> and <InlineField>display_name</InlineField> to `fabot`.
- Click <InlineUIElement>Next</InlineUIElement>.
- Click <InlineUIElement>Create</InlineUIElement>.
- You will be redirected to the "Welcome to your app's configurations" page. Click on <InlineUIElement>Got It</InlineUIElement>.
- Click <InlineUIElement>Install to Workspace</InlineUIElement>.
- On the page that opens, click <InlineUIElement>Allow</InlineUIElement>. (Back in your Slack chat app page, the `fabot` app should now be visible in the user list.)
- Click <InlineUIElement>OAuth & Permissions</InlineUIElement> in the sidebar.
- Note your <InlineField>Bot User OAuth Token</InlineField> (`xoxb-something`) for later use. Keep it secret and do not commit it to Git.
- Check that your bot has permissions for `chat:write` and `chat:write.public` in the "Scopes" section.
Open a terminal and run the command below, using your bot token and channel ID. The response should start with `"ok"`.
```sh
curl -d "text=Test alert from FusionAuth." -d "channel=C123456" -H "Authorization: Bearer xoxb-something" -X POST https://slack.com/api/chat.postMessage
# Result:
# {"ok":true,"channel":"C123456","ts":"1721743117.410499","message":{"user":"U07DNJ4R0","type":"message","ts":"1721743117.410499","bot_id":"B07FNAHNX","app_id":"A07QSG5","text":"Test alert from FusionAuth.","team":"T07E2VGQ","bot_profile":{"id":"B07DHNX","app_id":"A0G5","name":"fabot","icons":{"image_36":"https:\/\/a.slack-edge.com\/80588\/img\/plugins\/app\/bot_36.png","image_48":"https:\/\/a.slack-edge.com\/80588\/img\/plugins\/app\/bot_48.png","image_72":"https:\/\/a.slack-edge.com\/80588\/img\/plugins\/app\/service_72.png"},"deleted":false,"updated":1721740273,"team_id":"T07Q"},"blocks":[{"type":"rich_text","block_id":"XL+","elements":[{"type":"rich_text_section","elements":[{"type":"text","text":"Test alert from FusionAuth."}]}]}]}}
```
You now have a token you can use in a service that monitors FusionAuth to post a message to Slack if FusionAuth fails.
## Run FusionAuth
Now run FusionAuth.
- Install [Docker](https://docs.docker.com/get-docker/) if you don't have it on your machine.
- Clone the [FusionAuth example Docker Compose repository](https://github.com/FusionAuth/fusionauth-example-docker-compose) to your computer.
- In your terminal, navigate to the `light` directory in the repo.
- Run FusionAuth with `docker compose up`.
- Browse to http://localhost:9011/admin and check you can log in with `admin@example.com` and `password`.
This FusionAuth installation will already be configured with an API key you can use to call the FusionAuth API as defined in the `kickstart/kickstart.json` file. But in a new installation, you will need to create your own API key. Create an API key by navigating to <Breadcrumb>Settings -> API Keys</Breadcrumb> and clicking the <IconButton icon="plus" color="green" /> button. Enter a <InlineField>Description</InlineField> for the API key and click on the <IconButton icon="save" color="blue" /> button to save the API key. On the API Keys list page, click the red lock <IconButton icon="lock" color="red" /> next to the newly generated key to reveal the key value and copy and save it.
## Write A Service To Monitor FusionAuth
The monitoring overview explains what metadata you can get from FusionAuth. For alerts, you are interested only in errors. Errors are obtained in two places:
- System logs. These cannot be obtained from an [API call](/docs/apis/system#export-system-logs) because FusionAuth writes the system logs to the Docker standard out when running in Docker, instead of to a file. The system logs expose fundamental errors, like FusionAuth missing a database connection.
- Event logs. These contain more complicated errors relating to lambda functions, SMTP, email templates, and webhooks. Event logs can be called through [the Event Logs API](/docs/apis/event-logs#search-event-logs).
Let's write a script that runs every 30 seconds to get the system and event logs from the last 31 seconds. If either set of logs contains an error or an error occurs in getting the logs, an alert will be sent to Slack.
Create a file called `app.sh`. Insert the content below, using your FusionAuth and Slack API keys and Slack channel ID at the top.
```bash
#!/bin/bash
# settings
alertKey="xoxb-something"
alertChannelID="C0T7"
faUrl="http://fa:9011"
faKey="33052c8a-c283-4e96-9d2a-eb1215c69f8f-not-for-prod"
# send an alert if this script errors
trap 'handleError' ERR
handleError() {
curl -d "text=Monitor cannot connect to FusionAuth" -d "channel=$alertChannelID" -H "Authorization: Bearer $alertKey" -X POST https://slack.com/api/chat.postMessage
}
# get system logs with error or exception in the last 31 seconds. take first line.
systemLogs=$(docker logs fa --since 31s)
errorLog=$(echo "$systemLogs" | grep -i 'error\|exception' | head -n 1)
# alert slack if there is an error log
if [ ! -z "$errorLog" ]; then
curl -d "text=System log has error: $errorLog" -d "channel=$alertChannelID" -H "Authorization: Bearer $alertKey" -X POST https://slack.com/api/chat.postMessage
fi
# get event logs with errors in the last 31 seconds
end=$(date +%s)000
start=$(($end - 31000))
params="message=%2A&start={$start}&end={$end}&type=Error" # %2A is *
url="${faUrl}/api/system/event-log/search?${params}"
eventLogs=$(curl -sS -H "Authorization: ${faKey}" "$url")
# alert slack if getting event logs failed
if [[ "$eventLogs" != "{\"eventLogs\":"* ]]; then
curl -d "text=Monitor cannot get event logs" -d "channel=$alertChannelID" -H "Authorization: Bearer $alertKey" -X POST https://slack.com/api/chat.postMessage
exit 1
fi
# alert slack if there is an error log
total=$(echo "$eventLogs" | jq '.total')
if [[ $total -gt 0 ]]; then
curl -d "text=Event log has error: $eventLogs" -d "channel=$alertChannelID" -H "Authorization: Bearer $alertKey" -X POST https://slack.com/api/chat.postMessage
fi
```
The script above first gets system logs by reading the `fa` container's output from Docker (exposed in the Dockerfile `/var/run/docker.sock:/var/run/docker.sock:ro`). If there is any log containing `error` or `exception`, the script uses `curl` to send a message to Slack.
The script then gets the event logs of type `Error` and messages Slack if it finds any. Note that FusionAuth uses milliseconds instead of the epoch standard of seconds, so the script has to append `000` to the normal Unix time.
If any general error occurs while the script runs, the error is caught by `trap` and the script messages Slack.
Create a file called `Dockerfile`. Insert the content below.
```sh
FROM --platform=linux/amd64 alpine:3.19
RUN apk add --no-cache curl nano jq bash docker-cli
COPY app.sh /app.sh
RUN chmod +x /app.sh
CMD watch -t -n 30 /app.sh # run this script every 30 seconds forever
```
Build the container with the command below.
```sh
docker build -f Dockerfile --platform linux/amd64 -t famonimage .
```
Edit your `docker-compose.yml` file and add the `fa_mon` service below.
```yaml
fa_mon:
image: famonimage
container_name: fa_mon
networks:
- db_net
volumes:
- /var/run/docker.sock:/var/run/docker.sock:ro # allow readonly access to fa docker logs
```
Now run all the containers with `docker compose down; docker compose up`.
To force an error to check whether the service works, run `docker compose down fa`. You should see a message in Slack that the monitor could not reach FusionAuth. If not, debug the script by running it on your physical machine instead of inside Docker with `./app.sh`. Change the FusionAuth URL at the top from `fa` to `localhost` when doing so. If you have trouble calling the FusionAuth API, review the [troubleshooting tips](/docs/apis/#troubleshooting).
### Example Errors
Below are some example errors that the monitoring script will alert you to.
- First, the administrator says he is going to turn off FusionAuth. When the monitor runs, it cannot connect to FusionAuth and alerts Slack.
- Then the administrator starts FusionAuth, but with an incorrect database connection string. Now the monitor can reach FusionAuth, but alerts Slack that FusionAuth fails to return logs when asked.
- Finally, an event log error is shown when a faulty webhook occurs.
## Next Steps
Now that you have a simple way to check that FusionAuth is error-free and alert you if it's not, there are a few ways to make the system more sophisticated.
- Change the monitoring service from a simple bash script to a web service in your favorite programming language. This will improve error handling and make it more easily maintainable for your team.
- Have the monitor check the PostgreSQL container logs in addition to the FusionAuth logs.
- Create a `monitor-up` channel the service writes to every time it runs, so you know it's up. Currently, if the service dies, you'll never know. If you are on a paid Slack subscription, to avoid becoming desensitized to a spam channel that tells you the service is running every 30 seconds, create a workflow that writes to the alert channel if the `monitor-up` channel hasn't received a message in the last minute.
- If you want visibility into the performance of FusionAuth, not just errors, you'll need a comprehensive monitoring service. Please read the FusionAuth guides to Elastic or Prometheus to make one.
## Further Reading
- [FusionAuth metrics](/docs/operate/monitor/monitor#metrics)
# Monitor With Splunk
import Aside from 'src/components/Aside.astro';
import IconButton from 'src/components/IconButton.astro';
import Breadcrumb from 'src/components/Breadcrumb.astro';
import InlineField from 'src/components/InlineField.astro';
import InlineUIElement from 'src/components/InlineUIElement.astro';
## Overview
[Splunk Observability Cloud](https://docs.splunk.com/observability/en/get-started/service-description.html) is a Software as a Service (SaaS) solution for infrastructure monitoring (Splunk IM), application performance monitoring (Splunk APM), real user monitoring (Splunk RUM), and synthetic monitoring (Splunk Synthetic Monitoring). Splunk Observability Cloud also provides a direct integration with logs ingested in Splunk Cloud Platform and Splunk Enterprise through Log Observer Connect.
This guide explains how to connect FusionAuth to Splunk through Docker with the OpenTelemetry Collector using the Splunk API, as well as which FusionAuth metrics are useful in Splunk and how to create a simple dashboard to show them.
Before continuing with this guide, please go through the [FusionAuth guide to monitoring](/docs/operate/monitor/monitor) to get an overview of the available metrics and choose the ones relevant to your needs.
## Create A Splunk Account
First, register for a Splunk account:
- Register for the Observability Cloud trial at https://www.splunk.com/en_us/download/o11y-cloud-free-trial.html. Don't sign up on the Splunk homepage - https://www.splunk.com/en_us/download/splunk-cloud.html. This is **not** the correct service for this guide. Splunk divides its products into completely separate dashboards.
- Verify your email address with the link in the email Splunk sends you. This should also log you in to the Observability dashboard.
- In the future, you can log in to the dashboard at https://login.signalfx.com.
To learn more about the Splunk Observability platform, refer to the documentation [here](https://docs.splunk.com/observability/en/get-started/welcome.html). Pricing of the platform is available [here](https://www.splunk.com/en_us/products/pricing/observability.html). Infrastructure Monitoring, Log Observer Connect, and Synthetic Monitoring are included in the Splunk Infrastructure monthly fee. Each Splunk product has a separate 14-day trial.
The diagram from Splunk below shows what the Observability Cloud can monitor.
<img src='/img/docs/operate/secure-and-monitor/splunk/splunk2.png' alt='Splunk observability cloud illustration. Source: Splunk docs' />
## Test Your Splunk Access Token
You'll need a Splunk organization access token to test uploading custom data with the Splunk API. Importing metrics with the API is documented [here](https://docs.splunk.com/observability/en/gdi/other-ingestion-methods/rest-APIs-for-datapoints.html#rest-api-ingest).
<Aside type='note'>
[To authenticate API requests that send data to Splunk Observability Cloud, you must use an organization access token, not a user API access token.](https://docs.splunk.com/observability/en/admin/authentication/authentication-tokens/api-access-tokens.html)
</Aside>
- Log in to your Observability account at https://login.signalfx.com.
- Click the logo at the top left to expand the menu labels.
- Click <Breadcrumb>Settings -> View Profile -> Organizations</Breadcrumb>.
- Note your realm and endpoints, for instance, `us1`, `https://api.us1.signalfx.com`, and `https://ingest.us1.signalfx.com`.
- To get an [access token](https://docs.splunk.com/observability/en/admin/authentication/authentication-tokens/org-tokens.html#admin-org-tokens) (also called organization token):
- Click <Breadcrumb>Settings -> Access Tokens</Breadcrumb>.
- Expand the `Default` access token.
- Click <InlineUIElement>Show Token</InlineUIElement> and save the token value to use later.
<Aside type="note">
If you mistakenly expose your default token secret, there is no way to change the value. Instead, you need to disable the token from the menu on the Tokens page on the right. Then you need to create a new token of type `Ingest` to work with the API.
</Aside>
Test that you can import data with the terminal command below. Replace `yourtoken` with your token in the `X-SF-TOKEN` header and `us1` with your realm in the last line.
```sh
curl --request POST \
--header "Content-Type: application/json" \
--header "X-SF-TOKEN: yourtoken" \
--data \
'{
"gauge": [
{
"metric": "memory.free",
"dimensions": { "host": "server1" },
"value": 42
}
]
}' \
https://ingest.us1.signalfx.com/v2/datapoint
```
The response should be `"OK"`.
Return to the Observability dashboard home page and browse to <Breadcrumb>Metric Finder</Breadcrumb>. Enter `memory` in the text box and click <InlineUIElement>Search metrics</InlineUIElement>. Click <InlineUIElement>memory.free</InlineUIElement>. You should see the data point created by the above command on the chart. If you don't, try switching to the Column chart view or running the command again with a different value.
<img src='/img/docs/operate/secure-and-monitor/splunk/metric_finder.png' alt='Data point created in metric finder on Splunk' />
In a later section, you'll learn how to use this API to import real data from your FusionAuth instance.
## Import Data To Splunk With The OpenTelemetry Linux Collector
Instead of sending metrics manually to Splunk, you can send them automatically with OpenTelemetry. OpenTelemetry is both a protocol and software that is dedicated to monitoring, measuring, processing, collecting, and sending metrics. In this section, you will add OpenTelemetry to your normal FusionAuth instance.
Running FusionAuth and PostgreSQL in Docker usually looks like the diagram below (you might also run OpenSearch in another Docker container).
<img src='/img/docs/operate/secure-and-monitor/splunk/secure-and-monitor-monitor-splunk-setup.png' alt='FusionAuth in Docker using a Postgresql database in Docker on the same server.' />
You can also start FusionAuth inside Docker with [OpenTelemetry for Java](https://github.com/open-telemetry/opentelemetry-java-instrumentation). OpenTelemetry sends the metrics it reads to a collector. The OpenTelemetry Collector runs in a separate Docker container and sends the metrics to Splunk for recording. This follows the Docker principle of one process per container.
This architecture is shown in the diagram below.
<img src='/img/docs/operate/secure-and-monitor/splunk/secure-and-monitor-monitor-splunk-with-opentelemetry-linux-collector.png' alt='FusionAuth in Docker using a Postgresql database in Docker on the same server. OpenTelemetry Collector inside the Docker image Splunk has prepared.' />
The Splunk [OpenTelementry Linux Collector tutorial](https://docs.splunk.com/observability/en/gdi/opentelemetry/collector-linux/collector-configuration-tutorial/about-collector-config-tutorial.html#about-collector-configuration-tutorial) is designed for a physical machine running systemd. Docker containers don't use systemd, as they are designed to host a single process.
Instead, you'll use the OpenTelemetry Collector inside the Docker image Splunk has prepared.
First you need to modify the official FusionAuth Docker image to download the OpenTelemetry Java agent and change the script that starts FusionAuth.
<Aside type="note">
Configuration values for Java OpenTelemetry are described [here](https://opentelemetry.io/docs/languages/java/configuration).
</Aside>
Save the Dockerfile from the [FusionAuth containers repo](https://github.com/FusionAuth/fusionauth-containers/blob/master/docker/fusionauth/fusionauth-app/Dockerfile) to your computer. Edit the Dockerfile file and insert the following lines above the comment "###### Start FusionAuth App".
```
##### New for OpenTelemetry #################################
RUN mkdir -p /var/lib/apt/lists/partial \
&& chmod 755 /var/lib/apt/lists/partial \
&& apt update \
&& apt install -y ca-certificates \
&& cd /usr/local/fusionauth \
&& curl -L -o otel.jar https://github.com/open-telemetry/opentelemetry-java-instrumentation/releases/latest/download/opentelemetry-javaagent.jar \
&& (head -n -1 /usr/local/fusionauth/fusionauth-app/bin/start.sh; echo 'exec "${JAVA_HOME}/bin/java" -javaagent:/usr/local/fusionauth/otel.jar -Dotel.resource.attributes=service.name=fusionauth -Dotel.traces.exporter=otlp -Dotel.exporter.otlp.endpoint=http://otel:4318 -cp "${CLASSPATH}" ${JAVA_OPTS} io.fusionauth.app.FusionAuthMain <&- >> "${LOG_DIR}/fusionauth-app.log" 2>&1') > temp.sh \
&& mv temp.sh /usr/local/fusionauth/fusionauth-app/bin/start.sh;
RUN chown fusionauth:fusionauth /usr/local/fusionauth/otel.jar /usr/local/fusionauth/fusionauth-app/bin/start.sh \
&& chmod +x /usr/local/fusionauth/fusionauth-app/bin/start.sh
```
This script first updates Ubuntu to install basic software that FusionAuth removed to save space. The script then downloads the OpenTelemetry Java app. Next, the script edits `start.sh`, which is the command run when the container starts, to start FusionAuth with OpenTelemetry. The edit command writes the new command to the end of the `start.sh` file.
By default, the OpenTelemetry Java agent sends data to the OpenTelemetry Collector at http://localhost:4317. The code above changes this so data is sent to the container at http://otel:4318. (Splunk uses 4317 for RPC, not HTTP.)
Build the Dockerfile into a new image to use in place of the official FusionAuth one.
```sh
docker build --platform linux/amd64 -t faimage .
```
Now save the [`docker-compose.yaml`](https://github.com/FusionAuth/fusionauth-containers/blob/main/docker/fusionauth/docker-compose.yml) and [sample `.env`](https://github.com/FusionAuth/fusionauth-containers/blob/main/docker/fusionauth/.env) files from the FusionAuth containers repo. Update the `docker-compose.yaml` file to include the [Splunk OpenTelemetry](https://docs.splunk.com/observability/en/gdi/opentelemetry/collector-linux/install-linux-manual.html#linux-docker) container in your compose file by adding the content below. Replace the access token and realm with yours in the `otel` service. Note that the image on the `fa` service is also changed to point to the one built in the previous step.
```
version: '3'
services:
db:
image: postgres:latest
container_name: fa_db
ports:
- "5432:5432"
environment:
PGDATA: /var/lib/postgresql/data/pgdata
POSTGRES_USER: ${POSTGRES_USER}
POSTGRES_PASSWORD: ${POSTGRES_PASSWORD}
healthcheck:
test: [ "CMD-SHELL", "pg_isready -U postgres" ]
interval: 5s
timeout: 5s
retries: 5
networks:
- db_net
volumes:
- db_data:/var/lib/postgresql/data
fa:
# image: fusionauth/fusionauth-app:latest
image: faimage
container_name: fa
depends_on:
db:
condition: service_healthy
environment:
DATABASE_URL: jdbc:postgresql://db:5432/fusionauth
DATABASE_ROOT_USERNAME: ${POSTGRES_USER}
DATABASE_ROOT_PASSWORD: ${POSTGRES_PASSWORD}
DATABASE_USERNAME: ${DATABASE_USERNAME}
DATABASE_PASSWORD: ${DATABASE_PASSWORD}
FUSIONAUTH_APP_MEMORY: ${FUSIONAUTH_APP_MEMORY}
FUSIONAUTH_APP_RUNTIME_MODE: ${FUSIONAUTH_APP_RUNTIME_MODE}
FUSIONAUTH_APP_URL: http://fusionauth:9011
SEARCH_TYPE: database
FUSIONAUTH_APP_KICKSTART_FILE: ${FUSIONAUTH_APP_KICKSTART_FILE}
networks:
- db_net
ports:
- 9011:9011
volumes:
- fusionauth_config:/usr/local/fusionauth/config
- ./kickstart:/usr/local/fusionauth/kickstart
extra_hosts:
- "host.docker.internal:host-gateway"
otel:
image: quay.io/signalfx/splunk-otel-collector:latest
container_name: fa_otel
environment:
SPLUNK_ACCESS_TOKEN: "<your-splunk-access-token>"
SPLUNK_REALM: "us1"
SPLUNK_LISTEN_INTERFACE: "0.0.0.0"
SPLUNK_MEMORY_LIMIT_MIB: "1000"
SPLUNK_CONFIG: /config.yaml
volumes:
- ./config.yaml:/config.yaml
networks:
- db_net
# no host ports are needed as communication is inside the Docker network
# ports:
# - "13133:13133"
# - "14250:14250"
# - "14268:14268"
# - "4317:4317"
# - "4318:4318"
# - "6060:6060"
# - "7276:7276"
# - "8888:8888"
# - "9080:9080"
# - "9411:9411"
# - "9943:9943"
networks:
db_net:
driver: bridge
volumes:
db_data:
fusionauth_config:
```
Save the [sample Splunk configuration file](https://github.com/signalfx/splunk-otel-collector/blob/main/cmd/otelcol/config/collector/gateway_config.yaml) to a file called `config.yaml` on your computer in the same folder as the `docker-compose.yaml` file. You are using the Splunk collector in [gateway mode (data forwarding), not agent mode (host monitoring)](https://docs.splunk.com/observability/en/gdi/opentelemetry/opentelemetry.html#collector-intro-deploy). The host monitoring is done by the Java agent running in the FusionAuth Docker instance.
The `config.yaml` configuration file path is added as the `SPLUNK_CONFIG: /config.yaml` [environment variable](https://docs.splunk.com/observability/en/gdi/opentelemetry/environment-variables.html#collector-env-var) in the above Docker compose file.
Now check whether the OpenTelemetry container can send data to Splunk. First run the command below.
```sh
docker compose up otel
```
On the Splunk website, go to the <Breadcrumb>Metric Finder</Breadcrumb> section and search for `otel` to see if any data is visible. Even when FusionAuth is not running, the collector will send basic data to Splunk.
If no data is sent, correct your access token and realm in the compose file.
Now that you are sure the Splunk connection works, stop the otel container with <kbd>Ctrl</kbd>+<kbd>C</kbd> and run `docker compose up` to start all three containers. It may take 30 seconds for all the containers to start, but after that, the terminal output should show data being sent to Splunk.
### OpenTelemetry Dashboard
Create a dashboard to view all the data from FusionAuth.
Browse to https://app.us1.signalfx.com/#/dashboards (remember to replace `us1` with your realm). Choose the <Breadcrumb>OpenTelemetry Collector</Breadcrumb> dashboard from the <Breadcrumb>Built-in dashboard groups</Breadcrumb>. (This dashboard will appear as an option only if you have set up the collector in the previous section.)
<img src="/img/docs/operate/secure-and-monitor/splunk/select_opentemetry_dash.png" alt="Selecting the OpenTelemetry dashboard" />
At the top, set the time to the past day to ensure that you see all possible values while testing.
While FusionAuth is running, you should see a dashboard like the image below.
<img src="/img/docs/operate/secure-and-monitor/splunk/splunk1.png" alt="OpenTelemetry dashboard" />
## FusionAuth Metrics
Now you know how to send Splunk Java metrics with OpenTelemetry, let's consider what custom metrics you would want to send and how to write code that uploads the metrics automatically while FusionAuth is running.
### Counts, Not Details
Note that Splunk is designed to monitor aggregate data, in other words, counts of events. Splunk can group those counts over time and by dimension (location, server, or application). Splunk is **not** designed to monitor individual events with details like error messages or the names of the most purchased products on your site.
For FusionAuth, this means you should use Splunk to check **how many** people are logging in over time, not **which** people. Think of it like this: If your data can be used in a gauge or bar chart, it's the right type of data.
While it's true that Splunk does have a log file tracking product and many other services, this article discusses only the Observability Cloud.
### Which Metrics To Monitor
FusionAuth has too [many metrics](/docs/operate/monitor/monitor#metrics) to discuss in this article. You will need to decide which are important for you to monitor by reading the documentation.
In addition to the metrics available through the various FusionAuth APIs, you can create your own metrics using any event that can trigger a [webhook](/docs/extend/events-and-webhooks). This webhook can call another Docker container you create that listens for incoming events and forwards them to Splunk.
A useful metric to start with is login counts. If this number drops from the average, it's a good sign something might be wrong with your system. In this guide, you'll learn how to create a program that uses the FusionAuth API to get the login count, then upload it to Splunk.
You can add any other metrics you want to this system.
## Mapping FusionAuth Metrics To Splunk Metrics
Splunk has two sets of documentation, the [primary](https://docs.splunk.com/observability/en) and the [developer](https://dev.splunk.com/observability/docs) documentation. You need to read only the primary documentation to use Splunk with FusionAuth. The only exception is the [documentation on the data format](https://dev.splunk.com/observability/reference/api/ingest_data/latest#endpoint-send-metrics) expected by Splunk if you're uploading data with their REST API.
Splunk has four different [metric types](https://docs.splunk.com/observability/en/metrics-and-metadata/metric-types.html#metric-types):
| Type | Description |
|--------------------|-----------------------------------------------------------------------------------------------------------|
| Gauge | Value of a measurement at a specific point in time. |
| Cumulative counter | Total number of occurrences or items since the measurement began. |
| Counter | Number of new occurrences or items since the last measurement. |
| Histogram | Distribution of measurements across time. Splunk Observability Cloud supports explicit bucket histograms. |
Let's consider the number of user logins every ten seconds as an example. If you have only a few users, you could monitor the number every hour or even every day instead.
You could send the number of logins to Splunk as a:
- Gauge: Monitoring this would involve seeing that the gauge number on the dashboard doesn't change much.
- Cumulative counter: Monitoring this would involve seeing that the number is steadily increasing.
- Counter: In this case, the metric would function the same as a gauge.
Using a histogram isn't necessary for such simple data.
## Write A Custom Service To Send Data To The API
Previously, this guide showed you how to use a new Docker container to run an OpenTelemetry Collector to receive data from FusionAuth. In this section, you will create another Docker container to call the FusionAuth API and send the metrics to Splunk.
The system looks like the diagram below.
<img src='/img/docs/operate/secure-and-monitor/splunk/secure-and-monitor-monitor-splunk-with-opentelemetry-custom-service.png' alt='FusionAuth in Docker using a Postgresql database in Docker on the same server. Docker container running custom metric getter code to call the FusionAuth API and send the metrics to Splunk via API call.' />
Let's get the login records every ten seconds and send them to Splunk. All the FusionAuth APIs that give you event data are documented [here](/docs/apis). The login records API is documented [here](/docs/apis/login#request-6). Note that the documentation says the date format is the standard Java type, but some constants like `ISO_LOCAL_DATE_TIME` are not supported. You need to enter the format string you want manually.
Unfortunately, all the APIs export events as zip files — you will not get JSON or YAML data in memory. So you will need to create a script that gets the zip file, extracts it, reads it, formats the entries for Splunk, and uploads them.
Browse to FusionAuth, which is at http://localhost:9011 if you are running through the default Docker setup. Log in and look for your application Id in <Breadcrumb>System -> Login Records</Breadcrumb>.
Next, create an API key by navigating to <Breadcrumb>Settings -> API Keys</Breadcrumb> and clicking the <IconButton icon="plus" color="green" /> button. Enter a <InlineField>Description</InlineField> for the API key and click on the <IconButton icon="save" color="blue" /> button to save the API key. On the API Keys list page, click the red lock <IconButton icon="lock" color="red" /> next to the newly generated key to reveal the key value and copy and save it.
Create a file called `app.sh`. Insert the content below, replacing your FusionAuth API key in `key` and FusionAuth application Id in `appId`, and your Splunk access token and Splunk realm in the curl command at the end.
```sh
#!/bin/sh
# exit on error
set -e
# get login records from FusionAuth
endpoint="http://fa:9011/api/system/login-record/export"
# FusionAuth API key
key="33052c8a-c283-4e96-9d2a-eb1215c69f8f-not-for-prod"
# FusionAuth application Id
appId="3c219e58-ed0e-4b18-ad48-f4f92793ae32"
dateFormat=$(echo -n "yyyy-MM-dd'T'HH:mm:ss.SSS" | jq -sRr @uri)
end=$(date +%s)000
start=$(($end - 3600000))
params="applicationId=${appId}&dateTimeSecondsFormat=${dateFormat}&start=${start}&end=${end}"
url="${endpoint}?${params}"
echo "curl -H \"Authorization: ${key}\" -o record.zip \"$url\""
curl -H "Authorization: ${key}" -o record.zip "$url"
unzip record.zip -o
cat login_records.csv
# for each record, get the unix time in ms
tail -n +2 login_records.csv | while IFS=',' read -r userId time rest; do
userId=$(echo "$userId" | tr -d ' "' )
time=$(echo "$time" | tr -d ' "') # 2024-06-21T05:14:56.123
time=$(echo "$time" | tr 'T' ' ') # 2024-06-21 05:14:56.123
sec="$(date -d "$(echo $time | cut -d '.' -f 1)" +%s)" # 1718946896
ms="$(echo $time | cut -d '.' -f 2)" # 123
# make the POST data
data=$(cat <<EOF
{
"cumulative_counter": [
{
"metric": "login.success",
"dimensions": { "host": "testServer" },
"value": 1,
"timestamp": ${sec}${ms}
}
]
}
EOF
)
# send data to Splunk API
curl --request POST -H "X-SF-TOKEN: yourToken" -H "Content-Type: application/json" -d "$data" "https://ingest.us1.signalfx.com/v2/datapoint"
done
```
This script gets all login records in the last hours to be sure the zip file has some data. In reality, replace 3600000 with 10000 so that when the script runs every ten seconds, it gets only the latest records. Note that FusionAuth uses milliseconds instead of the epoch standard of seconds, so the script has to append `000` to the normal Unix time.
The file returned from FusionAuth unzips to `login_records.csv`, which looks like the data below.
| "User Id " | "Time " | "Application Id " | "IP Address " | "City " | "Country " | "Zipcode " | "Region " | "Latitude " | "Longitude " |
|--------------------------------------|-------------------------|--------------------------------------|---------------|---------|------------|------------|-----------|-------------|--------------|
| ba81f3e2-3b0f-4d64-930f-38298de9dc0d | 2024-06-21T05:14:56.123 | 3c219e58-ed0e-4b18-ad48-f4f92793ae32 | 172.20.0.1 | | | | | | |
| ba81f3e2-3b0f-4d64-930f-38298de9dc0d | 2024-06-21T05:07:06.406 | 3c219e58-ed0e-4b18-ad48-f4f92793ae32 | 172.20.0.1 | | | | | | |
The records in this file look different from those in the FusionAuth console. Only Ids are given here, not email addresses or application names.
The second half of the script reads in the CSV file, discards the header, and sends a value of `1` and the time of each login to Splunk.
Create a file called `metricDockerfile`. Insert the content below.
```
FROM --platform=linux/amd64 alpine:3.19
RUN apk add --no-cache curl jq vim
COPY app.sh /app.sh
RUN chmod +x app.sh
CMD watch -t -n 10 /app.sh
```
Build the container with the command below.
```sh
docker build -f metricDockerfile --platform linux/amd64 -t metricimage .
```
Edit your `docker-compose.yaml` file and add the new service as follows.
```
fametric:
image: metricimage
container_name: fametric
networks:
- db_net
```
Now run all the containers with `docker compose up`.
The output should be as below. Since you logged in within the last hour, there will be one row in the exported file and one value will be sent to Splunk.
```sh
curl -H "Authorization: 33052c8a-c283-4e96-9d2a-eb1215c69f8f-not-for-prod" -o record.zip "http://fa:9011/api/system/login-record/export?applicationId=3c219e58-ed0e-4b18-ad48-f4f92793ae32&dateTimeSecondsFormat=yyyy-MM-dd%27T%27HH%3Amm%3Ass.SSS&start=1719216315000&end=1719219915000"
fametric | % Total % Received % Xferd Average Speed Time Time Time Current
fametric | Dload Upload Total Spent Left Speed
100 310 0 310 0 0 41026 0 --:--:-- --:--:-- --:--:-- 44285
fametric | Archive: record.zip
fametric | inflating: login_records.csv
fametric | "User Id ","Time ","Application Id ","IP Address ","City ","Country ","Zipcode ","Region ","Latitude ","Longitude "
fametric | 00000000-0000-0000-0000-000000000001,2024-06-24T02:19:04.054,3c219e58-ed0e-4b18-ad48-f4f92793ae32,172.20.0.1,,,,,,
fametric | % Total % Received % Xferd Average Speed Time Time Time Current
fametric | Dload Upload Total Spent Left Speed
100 173 100 4 100 169 2 112 0:00:02 0:00:01 0:00:01 114
```
On your Splunk web interface, browse to <Breadcrumb>Metric Finder</Breadcrumb>. Search for `login.success`. Click on the result and on the resulting chart, set the "Time" field to `-1d` and the chart type to column.
If the metric has not uploaded correctly, you can debug the container by running `docker exec -it fametric sh` in a new terminal. Once in the container, you can alter the script with `vim /app.sh`. Add `-v` to the `curl` command to see verbose output. Run the script with `/app.sh`.
If you have trouble calling the FusionAuth API, review the [troubleshooting tips](/docs/apis/#troubleshooting).
If you alter `app.sh` in your host machine and want to rerun the containers, use the command below.
```sh
clear; docker build -f metricDockerfile --platform linux/amd64 -t metricimage .; docker compose up
```
You can follow the process described here to add other FusionAuth API calls to `app.sh` to get other metrics to send to Splunk.
## Further Reading
- [FusionAuth metrics](/docs/operate/monitor/monitor#metrics)
- [OpenTelemetry documentation](https://opentelemetry.io/docs/what-is-opentelemetry)
- [OpenTelemetry Java documentation](https://github.com/open-telemetry/opentelemetry-java-instrumentation)
- [Splunk OpenTelemetry Java documentation](https://docs.splunk.com/observability/en/gdi/get-data-in/application/java/get-started.html#get-started-java)
- [Splunk REST API](https://dev.splunk.com/observability/reference/api/ingest_data/latest#endpoint-send-metrics)
- [FusionAuth Dockerfile](https://github.com/FusionAuth/fusionauth-containers/blob/master/docker/fusionauth/fusionauth-app/Dockerfile)
- [Docker OpenTelemetry Collector](https://docs.splunk.com/observability/en/gdi/opentelemetry/collector-linux/install-linux-manual.html#linux-docker)
- [Ports exposed by OpenTelemetry container](https://docs.splunk.com/observability/en/gdi/opentelemetry/exposed-endpoints.html)
# Deprecation Policy
## Overview
FusionAuth is an architectural component integrated into your applications or systems. Such integration means that when changes to FusionAuth occur, it can negatively affect your application. As developers ourselves, we strive to maintain backwards compatibility.
However, there are times when features or functionality must be removed. FusionAuth has [extensive release notes](/docs/release-notes/), which are the source of truth for changes to the FusionAuth system, and any deprecated features will be listed there. Changes to existing features or behavior will also be documented in the release notes.
Because we feel backwards compatibility is important, the FusionAuth team will follow the process outlined in this document before removing features or making breaking changes to existing features.
### What Is A Feature
Here are examples of features that will follow this policy.
* A documented API endpoint or parameter
* A documented way to authenticate against an API
* A documented themeable page
### What Is Not A Feature
Anything not documented in the [FusionAuth technical documentation](/docs) is not considered a feature and may be removed without following this policy.
### What Is A Release
The releases mentioned in this document are either major or point version releases. Patch releases do not change functionality.
* `2.0.0` is a major release.
* `1.50.0` is a point release, as is `1.51.0`.
* `1.50.1` is a patch release, as is `1.50.2`.
## Deprecation Steps
Before removing a feature, the FusionAuth team takes the following steps:
* In the first major or point release where the behavior is deprecated, the deprecation is noted in the release notes. The feature is also marked as deprecated in the documentation.
* The feature deprecation is noted in the documentation for three months.
* In a major or point release after the three month deprecation period, the feature and corresponding documentation are removed. When the feature is removed, it is noted in the release notes. The documentation for the feature is also removed.
While the team commits to maintaining features for at least three months after they are deprecated, that timeframe is a minimum.
## Example Removal Timeline
Suppose the current release is 1.52.0 and FusionAuth planned to remove feature ABC in the next release. Here is what the timeline would look like.
| FusionAuth Version | Date Released | Feature ABC Changes | Release Notes Updates |
| -------- | ------- | ------- | ------- |
| 1.52.0 | March 1, 2024 | None | None |
| 1.52.1 | March 8, 2024 | None | None |
| 1.53.0 | April 1, 2024 | Feature documentation marked as deprecated. | Deprecation announced in release notes. |
| 1.53.1 | April 5, 2024 | Feature documentation remains marked as deprecated. | None |
| 1.53.2 | April 15, 2024 | Feature documentation remains marked as deprecated. | None |
| 1.54.0 | May 15, 2024 | Feature documentation remains marked as deprecated. | None |
| 1.55.0 | July 13, 2024 | Feature and documentation removed. | Feature removal announced in release notes. |
## Policy Exceptions
If this is a change adding new functionality which may require changes to your integration, the FusionAuth team won't follow this policy. This only applies to deprecation and removal of functionality. We will still do our best to document such changes in the release notes to help developers understand what needs to change, or if nothing needs to change based upon your implementation. But such changes fall outside of this deprecation policy.
If a feature impacts performance or security, FusionAuth reserves the right to deprecate features in a different manner than outlined in this policy.
Examples of performance issues include:
* A performance degradation due to a new feature which was not caught in testing.
* A feature which introduced deadlocks in the database due to a corner case.
Examples of security issues include:
* A feature that pentesting determined was vulnerable to attack.
* A SAML feature exposing an XML parsing issue.
Regardless of when a feature was added, if the team finds a large risk to our customers, we may delete it without warning. In this case, the team will notify the [security announcement email list](/docs/operate/secure/securing#securing).
# Releases
import Aside from 'src/components/Aside.astro';
import Breadcrumb from 'src/components/Breadcrumb.astro';
import ReleaseNotification from 'src/content/docs/_shared/_release-notification.astro';
## Overview
FusionAuth is a single tenant SaaS or downloadable solution. This fact means that you control when upgrades occur, rather than having an upgrade with new functionality and possibly breaking changes forced on you and your team.
<Aside type="note">
Authentication and authorization are core dependencies of your application, and we hate forced dependency upgrades.
You and you alone control when you upgrade.
</Aside>
## Release Notifications
<ReleaseNotification />
## Early Access Program
<Aside type="version">
Available since 1.41.0
</Aside>
FusionAuth has an early access program (EAP). The EAP allows you, within certain constraints, to test drive the features and functionality of the next release of FusionAuth. EAP versions differ from typical FusionAuth releases, which are also called generally available (GA) releases or versions.
One of the purposes of the EAP is to allow for community feedback on features. Therefore, new features, which in a GA release will require a license, will not require one in EAP releases.
You should always run a GA release in production.
### EAP Constraints
The constraints of an EAP version include:
* You need to contact us to get access to the EAP install options.
* There is no upgrade path from an EAP version to a released version.
* The performance and stability of a FusionAuth instance running an EAP version is not guaranteed.
* In an EAP, new features, functionality and APIs are under development and may change.
* Documentation for new features in an EAP may be lacking.
<Aside type="caution">
There is no upgrade path from an EAP version to a GA version.
EAP versions should be used only to test features and integrations in preparation for an upcoming GA release.
</Aside>
### EAP Usage Guidelines
An instance running an EAP version is appropriate for the following purposes:
* testing out features
* verifying the new version won't break your existing integrations
* giving feedback to the FusionAuth team
You **should not use** an EAP to:
* authenticate production users
* load test or verify performance
* test the upgrade process duration
<Aside type="caution">
There is no upgrade path from an EAP version to a GA version.
EAP versions should be used only to test features and integrations in preparation for an upcoming GA release.
Seriously.
</Aside>
#### Getting an EAP Release
Anyone can download and run an EAP release; we'd love your feedback.
To get access to the EAP release, take the following steps:
* Sign up for a FusionAuth account. If you don't have one, [you can sign up for free](https://account.fusionauth.io/).
* After you've signed up, please [contact us](/contact) to enable EAP access for you. You can also file a support ticket or send a slack message in your company's Slack channel.
* After the EAP has been enabled, you'll see an <Breadcrumb>Early access</Breadcrumb> tab in your account portal. Navigate to that and you'll see a list of available EAP releases with installation instructions.
* Proceed to install it as you would any GA release, with an understanding of the constraints listed in this document.
Here's the <Breadcrumb>Early access</Breadcrumb> tab before access is granted.
<img src="/img/docs/operate/roadmap/early-access-not-granted.png" alt="The early access tab when you do not yet have access." width="1200" role="bottom-cropped" />
You'll typically want to choose the most recent EAP release, as that will include the latest bug fixes or improvements. Here's the <Breadcrumb>Early access</Breadcrumb> tab when you have access to the EAP and there are active EAP releases.
<img src="/img/docs/operate/roadmap/early-access-granted.png" alt="The early access tab when access is granted." width="1200" />
If there are no EAP releases listed in the account portal, there are no EAP versions available. An EAP version will only be available while the GA release which contains the new features is in development. Once the GA version is released, the EAP versions leading up to that release will be removed.
If you have an Enterprise or Essentials plan, FusionAuth can also stand up a cloud instance running the latest EAP for you upon request.
#### Example Use Cases
Testing a new install with existing configuration with the EAP version:
* stand up a new instance with the EAP version
* configure the new instance with your configuration management solution (Terraform, scripts, Kickstart)
Testing a migration from a released version to the EAP version:
* make a copy of the database of your FusionAuth instance running a GA version
* create a new FusionAuth instance running the same version
* upgrade the instance to the EAP version
Multiple EAP releases may be available. To migrate from one EAP release to another:
* make a copy of the database of your FusionAuth instance running a GA version, **not the instance running a previous EAP release**
* create a new FusionAuth instance running the same version
* upgrade the instance to the new EAP version
# Roadmap
import ReleaseNotification from 'src/content/docs/_shared/_release-notification.astro';
## Overview
FusionAuth is under active development. We often get questions from users and clients asking about when a particular feature will be implemented or can be expected.
> "Alas, it is always dangerous to prophesy, particularly about the future." - Danish proverb
We love our community and a large part of our development effort is directed by feedback from the community. We also love our paying customers and want to make sure their needs are met as well.
## Viewing the Roadmap
If you're a paying customer and need delivery timelines for specific features, please [open a support ticket](https://account.fusionauth.io/account/support/) with your questions. We'll get back to you with answers.
If you're a community member, review the [issues project](https://github.com/FusionAuth/fusionauth-issues/projects/2) which provides a short term roadmap (what we are currently working on, what is on deck). You can also review issues to be resolved in the next few releases in the [milestones](https://github.com/fusionauth/fusionauth-issues/milestones) view.
You can sort the full issues list by [the number of votes](https://github.com/fusionauth/fusionauth-issues/issues?q=is%3Aissue+is%3Aopen+sort%3Areactions-%2B1-desc) which is a good indicator of future development efforts.
It's important to note that **our roadmap is fluid**. Our development efforts are responsive both to community and customer needs. When you view the lists above, please take them as general guides and not hard and fast commitments.
## Giving Feedback
If you're a paying customer and need a particular feature, please [open a support ticket](https://account.fusionauth.io/account/support/). We're happy to do our best to prioritize such requests.
If you're a community member, please [vote on issues](https://github.com/fusionauth/fusionauth-issues) with a thumbs up. As mentioned above, we actively incorporate the number of community votes when planning development efforts.
You can also [file feature requests](https://github.com/fusionauth/fusionauth-issues/issues); please be as detailed as possible about the problem, use cases, and desired solutions.
## Bugs
Every FusionAuth release has both features and bug fixes. We appreciate [detailed bug reports](https://github.com/fusionauth/fusionauth-issues/issues) with replication steps, version information, log output and as much information as possible. After all, it's difficult to fix a bug without being able to reproduce it.
We prioritize bug fixes based on the impact of the issue, how many users are affected, estimated effort and other factors.
## Backwards Compatibility
Integrating an auth system isn't an easy decision. We believe in semantic versioning and backwards compatibility.
We will note any deprecated functionality in the API documentation, which is the source of truth for FusionAuth functionality.
In rare cases where backwards compatibility can't be maintained, we'll follow our [deprecation policy](/docs/operate/roadmap/deprecation-policy) and offer as much warning as possible, including forum posts, release notes and in-application messages.
Some functionality, however, is more liable to change. See [Tech Preview Features](#tech-preview-features) for more information.
## If You Require a Feature
Sometimes you just can't wait for a feature to be finished through the normal development process! We get it.
If you'd like to discuss delivery timelines of an unimplemented feature, please [contact us](/contact). This typically requires an Enterprise plan with a contract.
## Releases
<ReleaseNotification />
## Tech Preview Features
As FusionAuth continues to evolve, we introduce new features. Sometimes these features are fully baked, other times they change based on feedback from users and customers.
If we expect the latter, we will label a feature "Tech Preview" in the release notes. While we never release functionality without planning for backwards compatibility, the "Tech Preview" label means we expect the labelled functionality to change in such a way that may break backwards compatibility.
## Premium Features
FusionAuth has features that are not part of the Community plan, but require a paid license to use. We believe that every developer deserves to use world class authentication and authorization, which is why we continue to invest in the free Community plan. But, we are also building a sustainable business, so we invest in paid features as well.
We will clearly mark these features as requiring a paid license in the documentation. You can learn more about [these features here](/docs/get-started/core-concepts/plans-features).
These are known as paid features, premium features or advanced features as well.
# Breached Password Detection
import Aside from 'src/components/Aside.astro';
import BreachedPasswordHTML from 'src/content/docs/_shared/email/_breached-password-html.mdx';
import BreachedPasswordText from 'src/content/docs/_shared/email/_breached-password-txt.mdx';
import Breadcrumb from 'src/components/Breadcrumb.astro';
import InlineUIElement from 'src/components/InlineUIElement.astro';
import PremiumPlanBlurb from 'src/content/docs/_shared/_premium-plan-blurb.astro';
import { YouTube } from '@astro-community/astro-embed-youtube';
## What Is Breached Password Detection?
Breached password detection consists of the following tasks:
1. Finding breached and compromised passwords.
1. Building a system to download, process and store these datasets.
1. Checking passwords to see if they've been compromised.
1. Taking action when a compromised credential is found.
FusionAuth has taken care of steps 1, 2 and 3. All you need to do is to configure the desired action.
The end goal of detecting breached passwords is to have a more secure auth system and to avoid unauthorized access due to compromised user credentials.
## How Do I Use Breached Password Detection?
<PremiumPlanBlurb />
Here's a video showing setup and usage of the breached password detection feature.
<YouTube id="JUB-5wQ_fdI" />
Conceptually, FusionAuth uses a pull model rather than a push model. Passwords are checked in real time when users provide them: at registration, password change, or, optionally, during login.
## Setting Up
The first step to enabling breached password detection is to have a valid license key. Please visit [our pricing page](/pricing) to buy a license.
The next step is to activate the license. You'll need to ensure that your FusionAuth instance has outbound network access. To activate, simply follow the steps outlined in the [Reactor documentation](/docs/get-started/core-concepts/licensing).
<Aside type="note">
After you activate your license, there will be a delay before the breached password dataset is available and the feature is working. This delay is typically minutes and at most an hour.
</Aside>
Then, navigate to <Breadcrumb>Tenants</Breadcrumb> and edit the tenant for which you wish to enable the feature. Go to the <Breadcrumb>Password</Breadcrumb> tab and the <InlineUIElement>Breached password detection settings</InlineUIElement> section. Click the checkbox to enable breached password detection. This will enable additional configuration options, as seen below:
<img src="/img/docs/operate/secure-and-monitor/turn-on-detection.png" alt="Turn on breached password detection" width="1200" />
The default settings prevent use of compromised credentials in a number of contexts. Simply by enabling breached password detection, all users within this tenant will, from that moment forward, no longer be able to use any password that has been found to be breached by the FusionAuth team.
Passwords will be checked any time they are created or changed, such as when:
* A user is created
* A password change is initiated by an end user
* A administrator modifies a user's password
Below, you can see an administrative user has received an error message because they attempted to update a password to a compromised value:
<img src="/img/docs/operate/secure-and-monitor/admin-user-attempting-to-use-breached-password.png" alt="Error message when an administrative user tries to use a compromised password." width="1200" role="bottom-cropped" />
If an administrative user changes any other user attribute without modifying the password, it won't be checked.
Any password creation or change, whether through user interaction with themed pages or an API call, will check the provided text against the latest corpus of compromised passwords. If there is a match, an error will be returned.
## Configuration Options
While the default settings are secure, you may want to configure this feature further. The <InlineUIElement>Breached password detection settings</InlineUIElement> section contains additional configuration options:
<img src="/img/docs/operate/secure-and-monitor/breached-password-configuration-options.png" alt="Breached password detection configuration options." width="1200" />
Each of these configuration options can be updated using either the administrative interface or by calling the [Tenant API](/docs/apis/tenants).
Let's examine each of these in turn.
### Match Mode
When FusionAuth is checking for compromised credentials, there are a number of ways to attempt to match them. Assume you have a user with the username `richard@piedpiper.com` and they are trying to sign up with the password `This333ABCpassword!`.
The system could match on the password string (`This333ABCpassword!`) only. If the password was in the dataset and any other user had ever used it, FusionAuth would consider this a match and not allow this password.
Another way of matching would be to see if there are any sub-email accounts associated with that password. These are also called aliases by some email providers such as Gmail. For instance, `\richard+test@piedpiper.com` is an alias of `richard@piedpiper.com`. The system could check multiple addresses, such as `richard+test@piedpiper.com` and `richard+foo@piedpiper.com`. All of these addresses would be paired with the provided password and checked against the datasets.
If you match on sub-email accounts, if the pair of `richard+test@piedpiper.com` and `This333ABCpassword!` was found in the corpus, FusionAuth would consider this a match and not allow this password. On the other hand, if `\jared@piedpiper.com` and `This333ABCpassword!` were in the dataset, `\richard@piedpiper.com` would still be allowed to use this password.
You could also narrow your scope further and match on only the username/password pair. If `\richard@piedpiper.com` and `password!` appeared together in the password list, then FusionAuth would not allow this password. If `\richard+test@piedpiper.com` and `This333ABCpassword!` or `\jared@piedpiper.com` and `This333ABCpassword!` were, the password would be allowed.
You can control which level of matching will disallow use of a password. This is called the *Match mode* configuration setting and can be one of the following values:
* `High` means that should any of the above situations hold, the check fails. This is the strictest option.
* `Medium` means that an exact username and password match, a commonly compromised password is found, or a sub-email address match disqualifies the password.
* `Low` means that an exact username and password match or a commonly compromised password results in a failed check.
Assume the dataset contains `richard@piedpiper.com` with a password of `This333ABCpassword!` with the same password. If the following users tried to register, the results for a given mode would be:
*What Is Allowed In Each Match Mode*
| Username | Password | High | Medium | Low |
| --------------------------- | -------------------- | -------- | -------- | -------- |
|`richard@piedpiper.com` |`This333ABCpassword!` | ❌ | ❌ | ❌ |
|`richard+test@piedpiper.com` |`This333ABCpassword!` | ❌ | ❌ | ✅ |
|`jian@piedpiper.com` |`This333ABCpassword!` | ❌ | ✅ | ✅ |
|`richard@piedpiper.com` |`ADifferent333pass!` | ✅ | ✅ | ✅ |
The stricter the match mode, the more likely your users will be forced to choose a different password because the one they choose is not secure.
### On Login
The matching and prohibition of compromised passwords takes place whenever the user is creating or changing a password, as mentioned above. However, there is one other time when a breached password check might make sense: at login.
Consider this scenario: a user signs up on example.com with a password. They come to your site and sign up with the same password. They continue to use your application for months, but forget about their example.com account.
Then, example.com has a data breach. They may send out a notice, but your user may ignore it or may forget to change their password on every system where they used it.
If you only check for compromise when the password is created at registration or when modified, accounts will have credentials that have been compromised by breaches external to your system. The example.com breach negatively affects your application through the vector of the reused password.
For this reason, it's a good idea to detect breached passwords whenever a user logs in.
However, this raises another issue. What do you do when you detect a breached password at login? At the other times FusionAuth is checking, the password is being modified, so it is easy to prohibit the compromised value; just notify the user that the password is not allowed.
However, at sign in, the user isn't expecting to change their password. So what is the appropriate action? The answer is that it depends. FusionAuth allows you flexibility to meet your requirements. In order of increasing impact on the user, the options are:
* Record the breach in metrics
* Send the user an email
* Require the user to change their password
With any of these choices, you can configure a webhook to publish the password breach event.
#### Recording the Breach
Recording the breach and optionally firing a webhook is a good fit for two scenarios. If you're exploring breached password detection and are unsure how it will affect your end users, use this to gauge the number of compromised passwords.
Another reason to use this option is if you want to rely solely on [webhooks](/docs/extend/events-and-webhooks/) to take the appropriate action. You may handle a breached password in custom code, rather than using any of the default FusionAuth options. You could:
* Automatically run a security audit on systems to which the user with the compromised credentials has access
* Lock the account and send an SMS notification
* Force a password change and also flip a flag on their account to more closely monitor it for suspicious activity in the future
All of these require custom code on your end, of course.
#### Sending an Email
Sending the user an email lets the user know that their account could be compromised, but doesn't require any action.
This email is an [email template](/docs/customize/email-and-messages/) which can be customized and localized like other email templates. You'll typically include a link to reset their password, but you may want to include other information as well. Below are the default templates.
<BreachedPasswordHTML />
<BreachedPasswordText />
Please see the [email template documentation](/docs/customize/email-and-messages/email-templates-replacement-variables#breached-password) for more information, including available variables.
#### Requiring a Password Change
Another option for handling breached passwords at login is to require a password change. Once a password has been found to be breached, the account is marked as requiring a password change. The user is forced to change it whenever they attempt to login. Changing the 'On login' setting to a different option will have no effect on accounts already marked as needing a password change.
If you are using the FusionAuth themed login pages, after the user logs in with a compromised password they will see a page generated by the "OAuth Change password form" template. As with any other template, you can customize it. Please check out the [themes documentation](/docs/customize/look-and-feel/) for more information.
If you are instead using the [login API](/docs/apis/login), the API call will respond with a `203` HTTP status code. Please review the API documentation for more information.
You can also read the [End User Experience](#end-user-experience) section for more on what the end user will see.
### Recommended Settings
The recommended options for maximum protection from compromised passwords:
* Set the *Match mode* to *High*.
* Configure the *On login* option to require a password change. Alternatively, set this value to record the result and configure a webhook to process password breach events.
Of course, choose options that work for you and your system. This is why FusionAuth provides all the configuration flexibility outlined above.
## Breached Password Detection Reporting
Reporting is a key part of breached password detection. Aggregate information across all your users informs actions to take on detection, both within FusionAuth and in external systems.
Reports let you know which users have breached account credentials. This allows you to contact the user or take other actions on the compromised account.
### Overview Report
To view the overview report, navigate to <Breadcrumb>Reactor</Breadcrumb>:
<img src="/img/docs/operate/secure-and-monitor/overview-report.png" alt="Overview password breach report" width="1200" />
This report displays the total number of checked passwords, detected breaches and accounts with action required. These numbers are displayed for the entire FusionAuth instance as well as on a per tenant basis, should you be using multi-tenant functionality.
### User Report
You can also view a list of all users with breached passwords. To do so, click on the *Breached users* search button on the <Breadcrumb>Reactor</Breadcrumb> page. You'll see this report:
<img src="/img/docs/operate/secure-and-monitor/user-report.png" alt="Individual password breach report" width="1200" role="bottom-cropped" />
This is a paginated list of users with compromised credentials. You can then manage the user or lock their account. If you navigate to the user's details page, there is a warning about their vulnerable password:
<img src="/img/docs/operate/secure-and-monitor/admin-user-vulnerable-message.png" alt="The vulnerable password message in the admin interface" width="1200" role="bottom-cropped" />
An administrator is also able to modify the user account. Options include locking their account, forcing a password change or resetting their password and sending them an email:
<img src="/img/docs/operate/secure-and-monitor/acting-on-a-user.png" alt="Acting on a user" width="1200" role="bottom-cropped" />
### Custom Reporting
If you have custom reporting needs, such as knowing the number of breached accounts over time, or finding how many users have had multiple password breaches, the best option is to ingest the data into your own analytics system.
You can do so by setting up a webhook to listen for the [`user.password.breach` event](/docs/extend/events-and-webhooks/events/user-password-breach). You can read more about setting up [webhooks here](/docs/extend/events-and-webhooks/).
## End User Experience
What does the end user see when a breached password is detected? It depends on whether they are registering or logging in when the breach is detected.
It also is different if you are using the FusionAuth provided templates or have built your own integration using [APIs](/docs/apis/).
### FusionAuth Provided Templates
If you use the FusionAuth templates, users who are registering will see this message, if they pick a compromised password:
<img src="/img/docs/operate/secure-and-monitor/oauth-registration-breached-message.png" alt="What a user who is registering with a breached password will see." width="1200" role="bottom-cropped" />
They will not be able to successfully complete a registration without choosing a more secure password.
If you enable breach detection on login, but do not require a password change, the end user will see no difference whether signing in with a secure or compromised password. If you configure FusionAuth to send an email, the user will receive that notice, of course.
If you, on the other hand, require a password change, when a user signs in with a breached password, they'll see this screen:
<img src="/img/docs/operate/secure-and-monitor/oauth-login-breached-message.png" alt="What a user who is signing in with a breached password will see." width="1200" role="bottom-cropped" />
These pages can be customized and localized, both in the messages displayed to the end user and in the look and feel. Please visit the [themes documentation](/docs/customize/look-and-feel/) for more information.
### API Responses
When you create a user with the [User APIs](/docs/apis/users) and breached password detection is enabled, you'll receive an error if the password is compromised. The HTTP status code will be `400` and you'll receive a response containing an error object.
*JSON Response When A User Registers With A Breached Password*
```json
{
"fieldErrors": {
"user.password": [
{
"code": "[breachedCommonPassword]user.password",
"message": "The [user.password] property value has been breached and may not be used, please select a different password."
}
]
}
}
```
If you enable breach detection on login and don't require a password change, you'll receive a `200` HTTP status code on successful login and the normal JSON response. Please see the [Login API](/docs/apis/login) documentation for more information.
Alternatively, if you require a password change, you'll receive a `203` HTTP status code. You'll also receive JSON explaining why the password change is required:
*JSON Response When A User Logs In With A Breached Password*
```json
{
"changePasswordId": "yo0FiR_y7Rrtrk2vKe_F93PQ-nWljfGGWexgNSbHfXQ",
"changePasswordReason": "Breached"
}
```
You can then use the [Change a User's Password API](/docs/apis/users#change-a-users-password) to, well, change the user's password.
## How It Works
Here's a high level diagram of the FusionAuth breached password detection service:
<img src="/img/docs/operate/secure-and-monitor/breached-password-detection-diagram.png" alt="Diagram of the breached password detection system." width="1200" />
New breached passwords are ingested and processed by FusionAuth on an ongoing basis. An additional encryption key is used to securely communicate with the FusionAuth Reactor service using a strong AES cipher.
You can modify this key by navigating to <Breadcrumb>Reactor</Breadcrumb> and clicking the *Regenerate Key* button. When you do so, you'll be prompted to confirm this decision:
<img src="/img/docs/operate/secure-and-monitor/regenerating-the-key.png" alt="Regenerating the AES key." width="1200" />
Do this if you there was any chance the key was compromised, if directed to do so by FusionAuth support, or if you are troubleshooting your Reactor service connection.
## Limitations
Breached password detection in FusionAuth has a few limitations of which you should be aware.
As you might expect, it can't check passwords controlled by other systems, such as when you use an [external identity provider](/docs/lifecycle/authenticate-users/identity-providers/).
All other password rules, as defined in the tenant configuration, also apply when passwords are changed. If you set a minimum length requirement of 25 characters, both conditions must be satisfied for a password to be accepted. Therefore, the user will have to select a password at least 25 characters long *and* not known to have been compromised.
Breached password detection is configured at the tenant level and applies to all applications within that tenant. For example, if you enable detection for the `Default` tenant, which contains the FusionAuth application, administrative users with access to that application will have their passwords checked.
The breached password detection webhook event, `user.password.breach`, is only fired when login breach detection is enabled. It is not fired at registration or password modification because in these cases the compromised password has never entered the FusionAuth system.
# Advanced Threat Detection
import Aside from 'src/components/Aside.astro';
import EnterprisePlanBlurb from 'src/content/docs/_shared/_enterprise-plan-blurb.astro';
import InlineField from 'src/components/InlineField.astro';
import WebhookList from 'src/content/docs/extend/events-and-webhooks/events/_list-advanced-threat-detection-webhooks.mdx';
import Breadcrumb from 'src/components/Breadcrumb.astro';
import { YouTube } from '@astro-community/astro-embed-youtube';
<EnterprisePlanBlurb />
## Overview
<Aside type="version">
Available since 1.30.0
</Aside>
Flagging and responding to suspicious behavior is a part of any cybersecurity product.
The FusionAuth Advanced Threat Detection feature provides best-practice functionality to help you manage unusual, potentially malicious behavior around logins, registrations, user creation, and user updates.
<Aside type="note">
Advanced Threat Detection can be enabled when the user creates a license or updates an existing license.
The Advanced Threat Detection feature requires increased RAM on servers running the FusionAuth application, as documented in the [System Requirements](/docs/get-started/download-and-install/system-requirements#compute-ram).
</Aside>
Advanced Threat Detection features include:
- Rate limiting (too many failed login attempts).
- CAPTCHA to prevent automated logins.
- Location and IP restriction.
- Administrator notifications through emails and webhooks.
Each feature is configurable on a tenant-by-tenant basis using [the Tenant API](/docs/apis/tenants) or by browsing to <Breadcrumb>Tenants -> My Tenant -> Security</Breadcrumb>.
Here's a brief video covering some aspects of Advanced Threat Detection:
<YouTube id="pjGxOXamVfk" />
## Enable Advanced Threat Detection
When you enter a license key into FusionAuth in the admin UI at `/admin/reactor`, FusionAuth should contact the licensing server and enable Advanced Threat Detection. If you wait a minute and then refresh the page, <InlineField>Threat Detection</InlineField> should say `Active`.
If the field does not update, please contact FusionAuth support.
## Customizable Rate Limiting
A rate limit is the maximum number of times a user may perform an action in a set duration. You can set the following limits for each tenant:
- Failed login.
- Forgot password.
- Send or resend email verification.
- Passwordless or magic link login.
- Send or resend registration verification.
- Send two-factor code.
- Send or resend phone number verification.
<img src="/img/docs/operate/secure-and-monitor/rate-limit-settings.png" alt="The rate limiting configuration screen." width="1200" />
You can enable or disable each of these and control the number of allowed attempts within a window before an action will be rate-limited.
Let's consider failed logins as an example. Assume you limit failed logins to five per sixty seconds. Should someone try to log in with an email address and the wrong password five times within a minute, that email address will be locked. From the time of the fifth login until one minute passes, no logins will succeed, even with the correct password. (Note that this means an attacker can lock another user out of their account by triggering failed login attempts using their email address.)
Further login attempts during the lockout duration, with or without the correct password, will not extend the duration of the lockout. Once a minute has elapsed, a user can log in again with the correct password. The lockout duration effectively clears failed login attempts because it is the same length as the sliding window of duration in which to check for failed logins. In other words, once the lockout period has passed, the user has up to five new attempts to enter the correct password. Entering an incorrect password won't trigger another lockout period immediately, even if the user had been trying unsuccessfully to log in during the lockout period.
Rate limiting applies whether you are accessing FusionAuth through the admin UI or in the terminal using the APIs.
An example of how rate limiting is applied for login is represented in the diagram below.

If you need to lock an account after several failed logins, consider [user account locking](/docs/lifecycle/authenticate-users/setting-up-user-account-lockout). Using the account lockout feature rather than rate limiting offers additional flexibility in the duration. FusionAuth can also send emails or webhooks when it locks a user's account.
### Before user creation
Rate limiting is also utilized for cases before a user is created, like pre-verification. In this case, rate limiting occurs by identity value (email address or phone number).
### Usability Considerations
In security, it is good practice to give as little information to potential attackers as possible. This is why a website will tell you vaguely on failed login that the username or password is incorrect, rather than admitting that the user is not registered. Similarly, with rate limiting in FusionAuth, the user (or potential attacker) is not notified that rate-limiting restrictions have been triggered.
For example, when the number of incorrect login attempts is exceeded, any further *correct* login attempts within the duration will still fail — but the user won't be told why. Below is an example.
<img src="/img/docs/operate/secure-and-monitor/user_login_failed.png" alt="How rate limiting appears to the user." width="1200" />
This can be extremely confusing to users, who may waste their time resetting their password with the Forgot Password flow, or waste your time making support requests. Note also that an attacker can use rate limiting to completely lock a user out of their account by automating failed login attempts with the victim's email address. FusionAuth does not distinguish between the IP addresses of the callers when applying rate limiting.
To improve the user experience, you can provide additional information in the messages shown on the various login pages and in email templates warning users about rate limits.
For example, you can browse to <Breadcrumb>Customizations -> Themes</Breadcrumb> and edit any of the available Themes, such as the default FusionAuth theme. In the <InlineField>Messages</InlineField> tab, you can change messages shown to users. You could change the following message.
```
[InvalidLogin]=Invalid login credentials.
```
To include a bit more information in the message, as below.
```
[InvalidLogin]=Invalid login credentials. If you are certain your password is
correct, please wait 60 seconds and retry.
```
To balance security with usability, you need to decide how much information to reveal to users based on the usage patterns of your system and its security risks.
You can also use CSS and JavaScript to customize your theme and provide more information to users. For more information, please see the [theme customization documentation](/docs/customize/look-and-feel/).
### Best Practices
There are three main concerns for rate limiting, from most to least important:
- Denial of service attacks on your authentication system. These can leave your entire application unusable.
- User email spam. This annoys users and reduces your email server's reputation. Two-factor SMS spam can incur significant costs to a company, too.
- Brute forcing login passwords. Login attempts are slow, and it's unlikely that attackers will guess any but the simplest of passwords.
For these reasons, you should enable rate limiting on all six functions in your tenant security tab. But they do not have to be very strict to prevent spam. The default limits (five attempts with a minute lockout) are sufficient to prevent most attacks when combined with other FusionAuth security features.
Some systems provide adaptive rate limiting, where limits change dynamically based on the load of the system. FusionAuth does not provide adaptive rate limiting, so you need to adjust your rates manually if you see an increase in attacks on your application.
Note that even if you enable rate limiting, FusionAuth will still receive every request sent to it. An overload of requests will cause a denial of service attack. You need to prevent this attack at the network layer of your system, not in FusionAuth itself.
## CAPTCHA
CAPTCHA stands for Completely Automated Public Turing test to tell Computers and Humans Apart, and can provide additional security. If you enable CAPTCHA, FusionAuth will use it on the login and registration pages.
FusionAuth supports:
- Google reCAPTCHA v2 (puzzle or one-click).
- Google reCAPTCHA v3 (invisible with threat score from 0 to 1).
- hCaptcha and hCaptcha Enterprise.
FusionAuth does not support Google reCAPTCHA Enterprise. reCAPTCHA Enterprise is similar to reCAPTCHA v3, but with added machine learning capability.
reCAPTCHA v3 requires no work from your users and offers a more pleasant user experience than v2, although there is a danger that a user is mistaken as non-human and will have no way to remedy the issue. reCAPTCHA v2 is useful if you prefer to validate that a user is human, rather than operating on the probability they are human. The ease of use of reCAPTCHA v2 makes it a good option to start with, unless your users report errors.
hCaptcha is a reCAPTCHA alternative offered by a company that is not Google. You should research your options before deciding which CAPTCHA service to use, but here are a few of the alleged differences claimed online:
- hCaptcha keeps less private user information than reCAPTCHA and has a strict privacy policy. reCAPTCHA violates GDPR and is not suitable for European sites.
- hCaptcha works in every country. China blocks Google.
- hCaptcha is free for one million verifications per month. reCAPTCHA is free for ten thousand verifications per month.
- Paid plans for both hCaptcha and reCAPTCHA are a bit complicated, and you should carefully estimate the total fee based on your number of users.
At the beginning of 2024, hCaptcha seems to be the better choice for number of countries supported, privacy, and price (depending on your number of users).
<Aside type="note">
"reCAPTCHA scores run from 0.0 (bot) to 1.0 (person). hCaptcha Enterprise scores are risk scores, and thus they run from 0.0 (no risk) to 1.0 (confirmed threat)." - [hCaptcha documentation](https://docs.hcaptcha.com/switch/)
</Aside>
### How To Set Up reCAPTCHA
First, create a CAPTCHA site on Google:
- Browse to https://www.google.com/recaptcha/admin/create.
- Click <InlineField>Switch to create a classic key</InlineField> to ensure that you are not creating an Enterprise key.
- Enter your domain name, or `localhost` if you are testing locally.
- Choose v2 or v3.
The form should look like the image below.
<img src="/img/docs/operate/secure-and-monitor/create_captcha.png" alt="Create a CAPTCHA in Google" width="1200" />
<Aside type="note">
To delete a CAPTCHA site, browse to the Google administrative console at https://www.google.com/recaptcha/admin, select a site, click settings, and click the tiny delete icon at the top-right of the page.
</Aside>
<Aside type="danger">
When you enable reCAPTCHA, take care that your keys in FusionAuth are correct and your domain name in Google is correct. If you make a mistake, you will not be able to log in with your administrator account to make changes because CAPTCHA will fail. You will need to remove CAPTCHA manually by connecting to the FusionAuth database and altering tables. Test on a copy of your live site first.
</Aside>
In the FusionAuth admin UI, edit a tenant and navigate to the **Security** tab. Go to <InlineField>Captcha Settings</InlineField> and toggle on <InlineField>Enabled</InlineField>. Enter your chosen reCAPTCHA version and the keys from Google. Leave the threat score at half and adjust it later if necessary. Save the changes.
<img src="/img/docs/operate/secure-and-monitor/enter_captcha_details.png" alt="Enter CAPTCHA details in FusionAuth" width="1200" />
If you log out and go to the login screen, you'll be given a CAPTCHA puzzle if you specified reCAPTCHA v2. If you specified reCAPTCHA v3, nothing will be shown.
Below is what the user will see when logging in with reCAPTCHA v2 enabled.
<img src="/img/docs/operate/secure-and-monitor/captcha_login1.png" alt="Login with reCAPTCHA" width="1200" />
<img src="/img/docs/operate/secure-and-monitor/captcha_login2.png" alt="Login with reCAPTCHA" width="1200" />
### How To Set Up hCaptcha
Browse to https://dashboard.hcaptcha.com/signup and create an hCaptcha account. Generate a secret key and proceed to add a site. Unlike reCAPTCHA, hCaptcha will not work with localhost. Browse to https://dashboard.hcaptcha.com and click on your site to edit its settings. If you are testing on your localhost, enter a URL for a domain, such as `check.example.com`. Save the site.
<img src="/img/docs/operate/secure-and-monitor/hcaptcha_create_site.png" alt="hCaptcha create new site" width="1200" />
In your local `/etc/hosts` file, add the entry line below to redirect your localhost to the hCaptcha domain and save the file.
```
127.0.0.1 check.example.com
```
For your operating system, see the instructions at https://docs.hcaptcha.com/#local-development.
Now browse to FusionAuth at http://check.example.com:9011/admin. Edit a tenant, and under <InlineField>Captcha Settings</InlineField>, toggle <InlineField>Enabled</InlineField> to on. Choose hCaptcha and enter your keys from the site. Leave the threat score at half and adjust it later if necessary. Save the changes.
If you log out and go to the login screen, you'll be given a CAPTCHA puzzle.
Below is what the user will see when logging in.
<img src="/img/docs/operate/secure-and-monitor/hcaptcha_login1.png" alt="Login with hCaptcha" width="1200" />
<img src="/img/docs/operate/secure-and-monitor/hcaptcha_login2.png" alt="Login with hCaptcha" width="1200" />
## Location Aware Security
FusionAuth collects location information for requests and uses it to secure user accounts in various ways that developers can configure and control.
Some location-aware features are:
- Each Forgot Password email to users displays the geographic location the password reset request was made from. The recipient can determine if the location of the requester seems suspicious.
- Suspicious login events are flagged, users are notified with a message containing an approximate location of the login, and a webhook is sent.
- Logins from different locations around the globe calculate "impossible travel" to see if the user could realistically log in from these locations in a reasonable time frame.
- Logins from unexpected IP addresses send notification emails to the user containing an approximate location of the IP address.
## IP Access Control Lists
You can use Advanced Threat Detection to restrict an application or API key to a certain IP address or range of IP addresses.
Create an IP address access control list (IP ACL) in the FusionAuth admin UI at <Breadcrumb>Settings -> IP Access Control</Breadcrumb>.
<img src="/img/docs/operate/secure-and-monitor/ip-acl-list.png" alt="The IP access control list configuration screen." width="1200" />
<Aside type="danger">
Be careful when enabling an ACL for the default tenant or a FusionAuth application. If you make a mistake, you will not be able to log in with your administrator account to make changes because your IP address is restricted. You will need to remove the ACL by connecting to the FusionAuth database and altering tables.
</Aside>
To apply the ACL to an application, browse to <InlineField>Applications</InlineField> and edit the application. On the <InlineField>Security</InlineField> tab under <InlineField>Access control lists settings</InlineField>, select the ACL.
With an ACL applied, a user will be prevented from even accessing an application login page if they are not in the IP address range. If you have internal applications or applications to which access should otherwise be limited, this feature can help secure them.
You can restrict access on a tenant instead of an application in the same way: Edit the <InlineField>Security</InlineField> tab of the tenant. The ACL restriction will be applied to every application and user belonging to that tenant.
<img src="/img/docs/operate/secure-and-monitor/ip-acl-application.png" alt="Applying an IP ACL to an application." width="1200" />
In addition to restricting users to an IP range, you can also restrict API keys. This is useful if you are managing your FusionAuth configuration via a CI/CD system. You can create an API key to modify configurations, but limit that key to the IP address range of your CI/CD system, increasing security and lowering the risk of the API key being used incorrectly.
To only allow administrators in your company to make API calls to your application or restrict an API key to IP addresses in your building, edit the API key security in <InlineField>Settings</InlineField>-><InlineField>API Keys</InlineField>.
<img src="/img/docs/operate/secure-and-monitor/ip-acl-api-key.png" alt="Applying an IP ACL to an API key." width="1200" />
Finally, IP address restriction can be used in the case of denial-of-service attacks. If an adversary is making thousands of calls a minute to your application, performance will degrade. If you detect an IP address spamming your application, block it in FusionAuth or your network gateway.
### Usability Considerations
In general, restricting IP addresses for users will be more harmful than beneficial. Personal VPN use has risen significantly in the last few years due to people avoiding national firewalls, digital sanctions against countries, governments spying on citizens, and corporate data collection and privacy violations. The IP address your application sees for a user might not indicate their actual country if they use a VPN. It's becoming more common for users' IP addresses to change frequently. Employees work from home, remotely, or use dynamic IP addresses from their internet service providers instead of static ones. VPNs also reduce the reliability of impossible travel calculations. Finally, if you see suspicious behavior from an IP address that is a VPN gateway, you should not ban that address and lock out all other users of that VPN.
In addition to IP address restriction being unpleasant for users, you cannot completely trust the reported IP addresses of clients. As an IP request passes through the internet through various proxy servers, they record the path of addresses in the `X-Forwarded-For` HTTP header. If any proxy lies or is misconfigured, FusionAuth might grant access to an IP address of a client that should not be trusted.
When setting an ACL, be careful that you are not causing unnecessary difficulty for users of your system. You could instead use another solution like CAPTCHA or rate limiting.
## Registration Email Domain Blocking
If you enable self-service registration, users can provide any email address they like. But you may have email domains that have elevated privileges, like your `company.com` domain. There may be email addresses for which you want to block registration, like consumer `gmail.com` addresses if your application is aimed at business users.
In either of these cases, you can block one or more domains from the registration process using Advanced Threat Detection.
<img src="/img/docs/operate/secure-and-monitor/block-domains.png" alt="Blocking consumer facing domains from registering." width="1200" />
## Webhooks And Emails
You can configure FusionAuth to send emails and webhooks when certain security events occur. The difference between the two is that emails are sent to the end user of your application for a security event associated with their account, and webhooks can be sent to any external system for a wide variety of security events.
Emails can be configured separately for tenants and applications. Webhooks can be configured for all tenants (global webhooks) or configured per tenant. Unlike emails, webhooks cannot be configured per application.
### Emails
Emails can be sent to the user when an event involving their account occurs. You can add your [own email templates](/docs/customize/email-and-messages/). A sample ["Threat Detected" email template](/docs/customize/email-and-messages/email-templates-replacement-variables#threat-detected) documents available variables. Security-related emails may be localized, like any other email template.
If you need help setting up email in FusionAuth for the first time, please see the [guide to SMTP](/docs/customize/email-and-messages/configure-email).
Here are the security events for which you can send emails:
- Email update — When a user's email address changes. This mail is sent to the new and old addresses.
- Forgot password — When a user starts the "Forgot password" workflow.
- Login Id duplicate on create — When a user attempts to create a new user with an existing user's email address.
- Login Id duplicate on update — When a user attempts to change their email address to an existing user's email address.
- Login with new device — When a user logs in with a device not previously used.
- Suspicious login — When a login is flagged by FusionAuth as suspicious.
- Password reset success — When a user completes a "Forgot password" flow successfully.
- Password update — When a user's password is updated.
- Passwordless login — When a user requests a login link to be sent to their email address.
- Setup password — When a new account is created for a user and they are asked to set a password.
- Two-factor method added — When a two-factor authentication method is added to a user's account.
- Two-factor method removed — When a two-factor authentication method is removed from a user's account.
You can configure emails for tenants in <Breadcrumb>Tenant -> Your Tenant -> Email -> Template Settings</Breadcrumb> or for Applications in <Breadcrumb>Applications -> Your Application -> Email -> Templates</Breadcrumb>.
<img src="/img/docs/operate/secure-and-monitor/security-emails-list.png" alt="List of email templates." width="1200" />
The easiest way to test security emails is to trigger the "Login with new device" email by logging in to FusionAuth from a private browser window. The image below shows how the "Threat Detected" email template looks to the user.
<img src="/img/docs/operate/secure-and-monitor/security_email.png" alt="What getting a security email looks like" width="1200" />
### Webhooks
A webhook is an outbound HTTP request that carries a message to an endpoint. A webhook is used to inform an external system of some event in FusionAuth. The webhook/API terminology can be confusing. Note that most web applications, including FusionAuth, call a trigger to send data a "webhook", but when receiving data, the term "API" is used. So if you're looking for a destination for a FusionAuth webhook in an external system, you won't find it under the webhook documentation; you'll find it under [API documentation](/docs/apis/webhooks). This is why webhooks are sometimes known as "reverse APIs". However, some companies, like Slack in their documentation, also call incoming requests "incoming webhooks".
Webhooks can be sent to any IP address. Your security information and event management (SIEM) or other analytics systems may need to process security-related events, such as when MFA has been disabled for a user or when a user has requested a password reset.
Here's the full list of Advanced Threat Detection webhooks:
<WebhookList/>
For a comprehensive explanation of using webhooks in FusionAuth, please read [the guide](/docs/extend/events-and-webhooks). If you want to send webhooks programmatically, you can do so using the [FusionAuth API](/docs/apis/webhooks).
If you want to see an example webhook, the easiest way is to browse to https://public.requestbin.com/r and paste the random link they give you, such as `https://enxy8i2pfzcy9.x.pipedream.net`, into the <InlineField>URL</InlineField> of a new webhook you create on the <Breadcrumb>Settings -> Webhooks</Breadcrumb> page.
Then, in your tenant webhooks tab, enable <InlineField>user.login.new-device</InlineField>. Open a new incognito browser window and log in to FusionAuth.
You will see JSON like the following arriving in the logs of `requestbin.com`.
```json
{
"event": {
"applicationId": "3c219e58-ed0e-4b18-ad48-f4f92793ae32",
"authenticationType": "PASSWORD",
"connectorId": "e3306678-a53a-4964-9040-1c96f36dda72",
"createInstant": 1713179501580,
"id": "30caed6b-829f-47a3-8733-ab62a9c2e76b",
"info": {
"deviceName": "Linux Chrome",
"deviceType": "BROWSER",
"ipAddress": "127.0.0.1",
"userAgent": "Mozilla/5.0 (X11; Linux x86_64) AppleWebKit/537.36 (KHTML, like Gecko) Chrome/123.0.0.0 Safari/537.36"
},
"ipAddress": "127.0.0.1",
"tenantId": "d7d09513-a3f5-401c-9685-34ab6c552453",
"type": "user.login.new-device",
"user": {
"active": true,
"birthDate": "1985-11-23",
"connectorId": "e3306678-a53a-4964-9040-1c96f36dda72",
"data": {},
"email": "richard@example.com",
"firstName": "Fred",
"id": "00000000-0000-0000-0000-111111111111",
"insertInstant": 1712746261562,
"lastLoginInstant": 1713179501579,
"lastName": "Flintstone",
"lastUpdateInstant": 1712746261562,
"memberships": [],
"passwordChangeRequired": false,
"passwordLastUpdateInstant": 1712746261581,
"preferredLanguages": [],
"registrations": [
{
"applicationId": "e9fdb985-9173-4e01-9d73-ac2d60d1dc8e",
"data": {
"favoriteColor": "turquoise"
},
"id": "03ec163e-b4d6-43ba-84f1-963318011e1b",
"insertInstant": 1712746261587,
"lastLoginInstant": 1712746261587,
"lastUpdateInstant": 1712746261587,
"preferredLanguages": [],
"roles": [],
"tokens": {},
"usernameStatus": "ACTIVE",
"verified": true,
"verifiedInstant": 1712746261587
}
],
"tenantId": "d7d09513-a3f5-401c-9685-34ab6c552453",
"twoFactor": {
"methods": [],
"recoveryCodes": []
},
"usernameStatus": "ACTIVE",
"verified": true,
"verifiedInstant": 1712746261562
}
}
}
```
To receive a webhook for a location-aware event, use the `user.login.suspicious` event for your tenant.
Using webhooks in combination with API calls to FusionAuth, you can write a simple web server script to perform various security tasks. For instance, if the script received the event `user.password.breach`, it could call FusionAuth to change the user's password to a random UUID and force the user to complete the "Forgot password" workflow and choose a safer password.
# Compliance Frameworks
import Aside from 'src/components/Aside.astro';
## Overview
FusionAuth is in the process of conforming with various standards including the [Federal Information Processing Standards (FIPS)](https://www.nist.gov/standardsgov/compliance-faqs-federal-information-processing-standards-fips) and [FedRAMP](https://www.fedramp.gov). While full certification is not yet available, FusionAuth will conform and self-certify compliance as it is developed. Since most compliance frameworks restrict encryption standards, this is currently the primary focus area. Below you will find the status of FusionAuth's compliance as well as details about the encryption in use.
## Encryption
Here is a non-exhaustive list of encryption FusionAuth uses:
### Signing
FusionAuth signs the items below using various cryptographic signature algorithms including HMAC, RSA, ECDSA, and EdDSA:
* JWT signing
* XML signing for SAML
* Webhook signing
* WebAuthN (Passkeys) signing
### Encryption
FusionAuth encrypts the items below using various cryptographic algorithms including AES, RSA, and ECDSA:
* XML encryption for SAML
* Various encryption of plain-text passwords prior to being hashed
* Encryption for all cookies that contain data
* TLS connections to the database and search engine
* TLS connections to Reactor (advanced threat detection and breached password detection)
### Password Hashing
FusionAuth encrypts the items below using various cryptographic algorithms including bcrypt, PBKDF2, MD5, SHA, and others:
* Password hashing uses various one-way hashing algorithms including
<Aside type="caution">
FusionAuth allows custom hashing algorithms to enabled via our Plugin system. These are not checked for compliance.
</Aside>
<Aside type="caution">
FusionAuth allows the password hashing algorithm to be changed per tenant, Application, or User. FusionAuth cannot certify that the algorithms used are secure or conform to any particular compliance framework.
</Aside>
## FIPS Compliance
Beginning with version `1.62.0`, FusionAuth supports a runtime mode that provides compliance with FIPS 140-3 cryptographic module restrictions. This support is provided by [Bouncy Castle's FIPS compliant library](https://www.bouncycastle.org/download/bouncy-castle-java-fips/), and is configurable via the `fusionauth-app.fips.enabled` configuration parameter (i.e. in `fusionauth.properties`, a command-line parameter, or an environment variable).
#### Restrictions
* This mode may only be enabled on new installations of FusionAuth. An existing FusionAuth installation cannot be converted to run in this mode.
* All nodes in a cluster must be running in this mode
* Customers must use a FIPS compliant database and search engine version. FusionAuth does not provide the database or the search engine, so this is the responsibility of the customer to use a FIPS compliant PostgreSQL, MySQL, and OpenSearch version.
## Timeline
* November 2025 - [`fusionauth-jwt`](https://github.com/FusionAuth/fusionauth-jwt) is updated to support Bouncy Castle's FIPS compliant library; released in [version 6.0.0](https://github.com/FusionAuth/fusionauth-jwt/releases/tag/6.0.0)
* December 2025 - FusionAuth version `1.62.0` is updated
* To leverage [Bouncy Castle's FIPS compliant cryptography modules](https://www.bouncycastle.org/download/bouncy-castle-java-fips/)
* To remove uses of the [`md5`](https://www.postgresql.org/docs/current/functions-binarystring.html) function in PostgreSQL database scripts
Check back here in the near future for updates.
# CORS Reference
import Aside from 'src/components/Aside.astro';
import APIBlock from 'src/components/api/APIBlock.astro';
import APIField from 'src/components/api/APIField.astro';
import Breadcrumb from 'src/components/Breadcrumb.astro';
## Overview
[Cross-Origin Resources Sharing](https://developer.mozilla.org/en-US/docs/Web/HTTP/CORS) (CORS) provides a mechanism to control permission
to resources on a server on a different domain or origin than the originating request. Practically, this means that in order to make HTTP requests in JavaScript to FusionAuth when the request
is coming from a different domain, CORS needs to be configured to allow the request.
Most of the time this works as designed, you do not need to think much about CORS configuration. In some cases you may find the configuration is restricting the way you want to use FusionAuth, especially if you are building out browser-based single page applications (SPAs). If this happens, FusionAuth allows you to modify or enable the CORS filter.
## Configuration
<Aside type="version">
Available Since Version 1.8.0.
</Aside>
To modify the default CORS configuration navigate to <Breadcrumb>Settings -> System -> CORS</Breadcrumb>. Please utilize caution when modifying this configuration, with great power comes great responsibility.
<img src="/img/docs/operate/secure-and-monitor/cors-settings.png" alt="CORS Configuration" width="1200" role="shadowed" />
### Form Fields
<APIBlock>
<APIField name="Enabled">
When enabled, the CORS filter will process requests made to FusionAuth. The default setting disables the CORS filter, and all CORS requests will be denied.
</APIField>
<APIField name="Allow credentials">
The `Access-Control-Allow-Credentials` response header values as described by [MDN Access-Control-Allow-Credentials](https://developer.mozilla.org/en-US/docs/Web/HTTP/Headers/Access-Control-Allow-Credentials).
</APIField>
<APIField name="Allowed headers">
The `Access-Control-Allow-Headers` response header values as described by [MDN Access-Control-Allow-Headers](https://developer.mozilla.org/en-US/docs/Web/HTTP/Headers/Access-Control-Allow-Headers).
</APIField>
<APIField name="Allowed methods">
The `Access-Control-Allow-Methods` response header values as described by [MDN Access-Control-Allow-Methods](https://developer.mozilla.org/en-US/docs/Web/HTTP/Headers/Access-Control-Allow-Methods).
</APIField>
<APIField name="Allowed origins">
The `Access-Control-Allow-Origin` response header values as described by [MDN Access-Control-Allow-Origin](https://developer.mozilla.org/en-US/docs/Web/HTTP/Headers/Access-Control-Allow-Origin). If the wildcard `*` is specified, no additional domains may be specified.
</APIField>
<APIField name="Exposed headers">
The `Access-Control-Expose-Headers` response header values as described by [MDN Access-Control-Expose-Headers](https://developer.mozilla.org/en-US/docs/Web/HTTP/Headers/Access-Control-Expose-Headers).
</APIField>
<APIField name="Preflight max age">
The `Access-Control-Max-Age` response header values as described by [MDN Access-Control-Max-Age](https://developer.mozilla.org/en-US/docs/Web/HTTP/Headers/Access-Control-Max-Age).
</APIField>
<APIField name="Debug enabled" since="1.25.0">
Enable debug to create an event log to assist you in debugging `403` HTTP response codes. When enabled, a Debug event log will be created when the FusionAuth CORS filter returns a `403` detailing the reason for the response to assist you in configuration.
</APIField>
</APIBlock>
### CORS Excluded URI Paths
We have excluded some paths from FusionAuth CORS filtering in order to force same-origin browser requests on these paths. The following are the URL patterns excluded from our CORS filter.
* `/account*`
* `/admin*`
* `/support*`
* `/ajax*`
## Default Configuration
The following reference has been provided in case you want to return the CORS filter configuration to the original values provided by FusionAuth.
{/* Internal Note: This needs to match our shipped CORS configuration. See Migration_1_8_0.java */}
### Default Configuration
<APIBlock>
<APIField name="Enabled">
`false`, but you need this to be `true` to process any CORS requests.
</APIField>
<APIField name="Allow credentials">
`false`
</APIField>
<APIField name="Allowed headers">
`Accept`, `Access-Control-Request-Headers`, `Access-Control-Request-Method`, `Authorization`, `Content-Type`, `Last-Modified`, `Origin`, `X-FusionAuth-TenantId`, `X-Requested-With`
</APIField>
<APIField name="Allowed methods">
* `GET`
* `OPTIONS`
</APIField>
<APIField name="Allowed origins">
None
</APIField>
<APIField name="Exposed headers">
* `Access-Control-Allow-Origin`
* `Access-Control-Allow-Credentials`
</APIField>
<APIField name="Preflight max age">
`1800`
</APIField>
</APIBlock>
# Key Master
import KeyMasterImportFormFields from 'src/content/docs/operate/secure/_key-master-import-form-fields.mdx';
import {RemoteCode} from '@fusionauth/astro-components';
import UpdateKeyNote from 'src/content/docs/_shared/_update-key-note.mdx';
import Breadcrumb from 'src/components/Breadcrumb.astro';
## Overview
Signing keys and certificates are managed in FusionAuth using Key Master. After creating or importing a key, use it with other FusionAuth functionality, such as signing JSON Web Tokens or SAML Requests. This page describes the admin UI for creating and managing signing keys.
You can also manage keys via the [Keys API](/docs/apis/keys). You may also be interested in [rotating your keys](/docs/operate/secure/key-rotation).
## Create or Manage Keys
Navigate to <Breadcrumb>Settings -> Key Master</Breadcrumb>. Here you will see a list of keys and certificates.
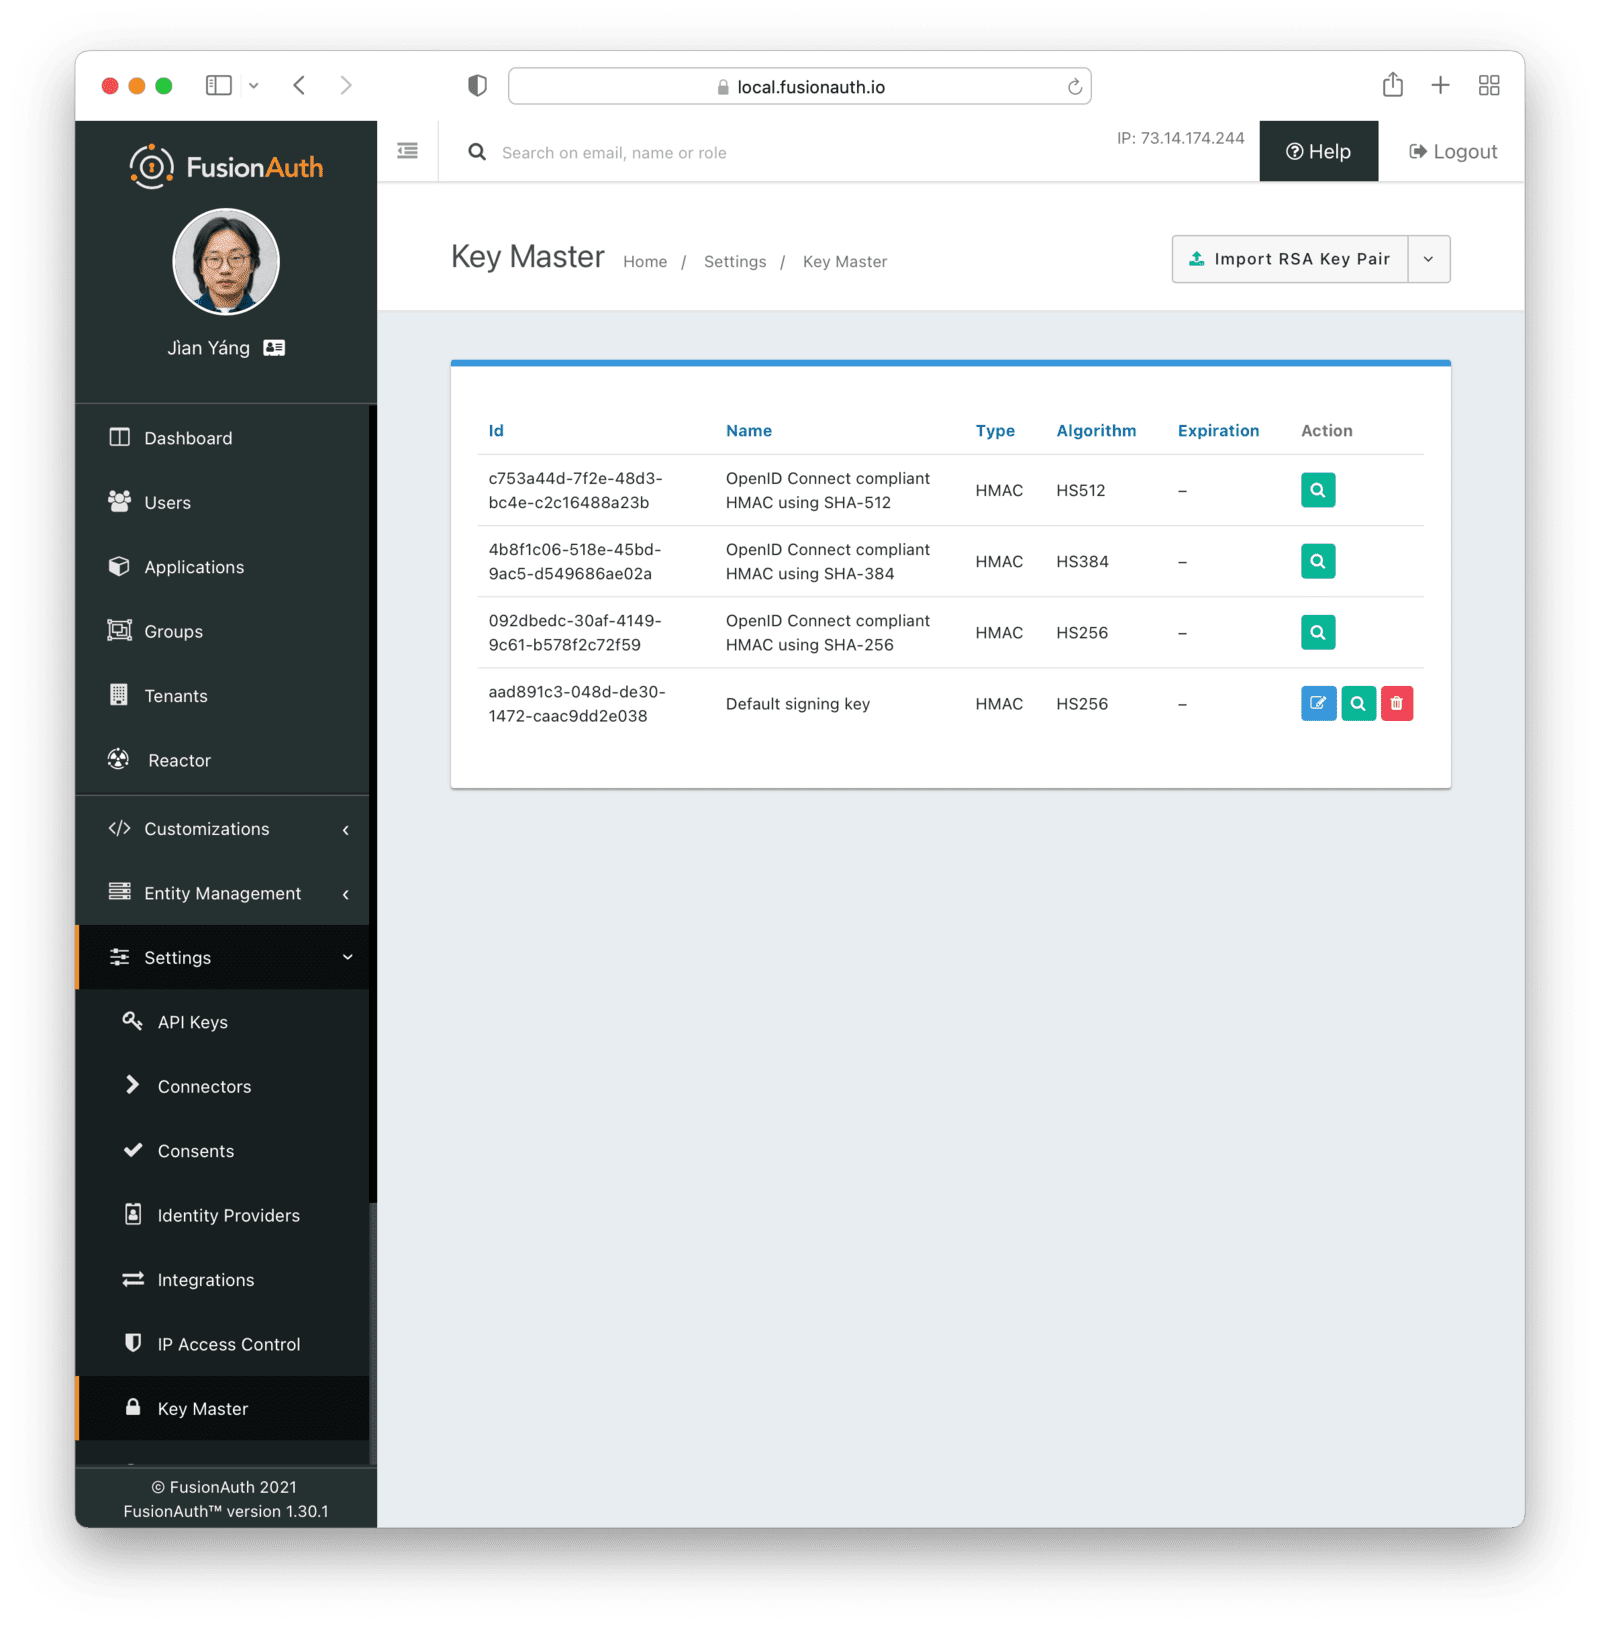
From this page, you can add and import keys and certificates as well as view and remove keys. There are certain default keys that you cannot remove. See the [FusionAuth limitations](/docs/get-started/core-concepts/limitations) for more.
Select the operation from the menu on the listing page.
### Finding Keys
If you have a large number of tenants, applications and signing keys, you may have difficulty keeping track of them. While there is a [key search API](/docs/apis/keys#search-for-keys), it can also be helpful to use the [client libraries](/docs/sdks) to retrieve these.
Here's sample code for retrieving all the keys that have been assigned to a tenant or application. You can learn more about [this community contributed script here](https://github.com/FusionAuth/fusionauth-contrib/tree/main/scripts/listkeys).
<RemoteCode url="https://raw.githubusercontent.com/FusionAuth/fusionauth-contrib/main/scripts/listkeys/Program.cs" lang="csharp" />
## Importing vs Generating
You can import keys and certificates. This is useful if you are integrating with an external system. For instance, you may be migrating from another auth system and want to import keys generated by that auth system to ensure anything signed with those keys will continue to work.
You can generate keys as well. This is useful when FusionAuth is your system of record for such keys.
## Import RSA Key Pair
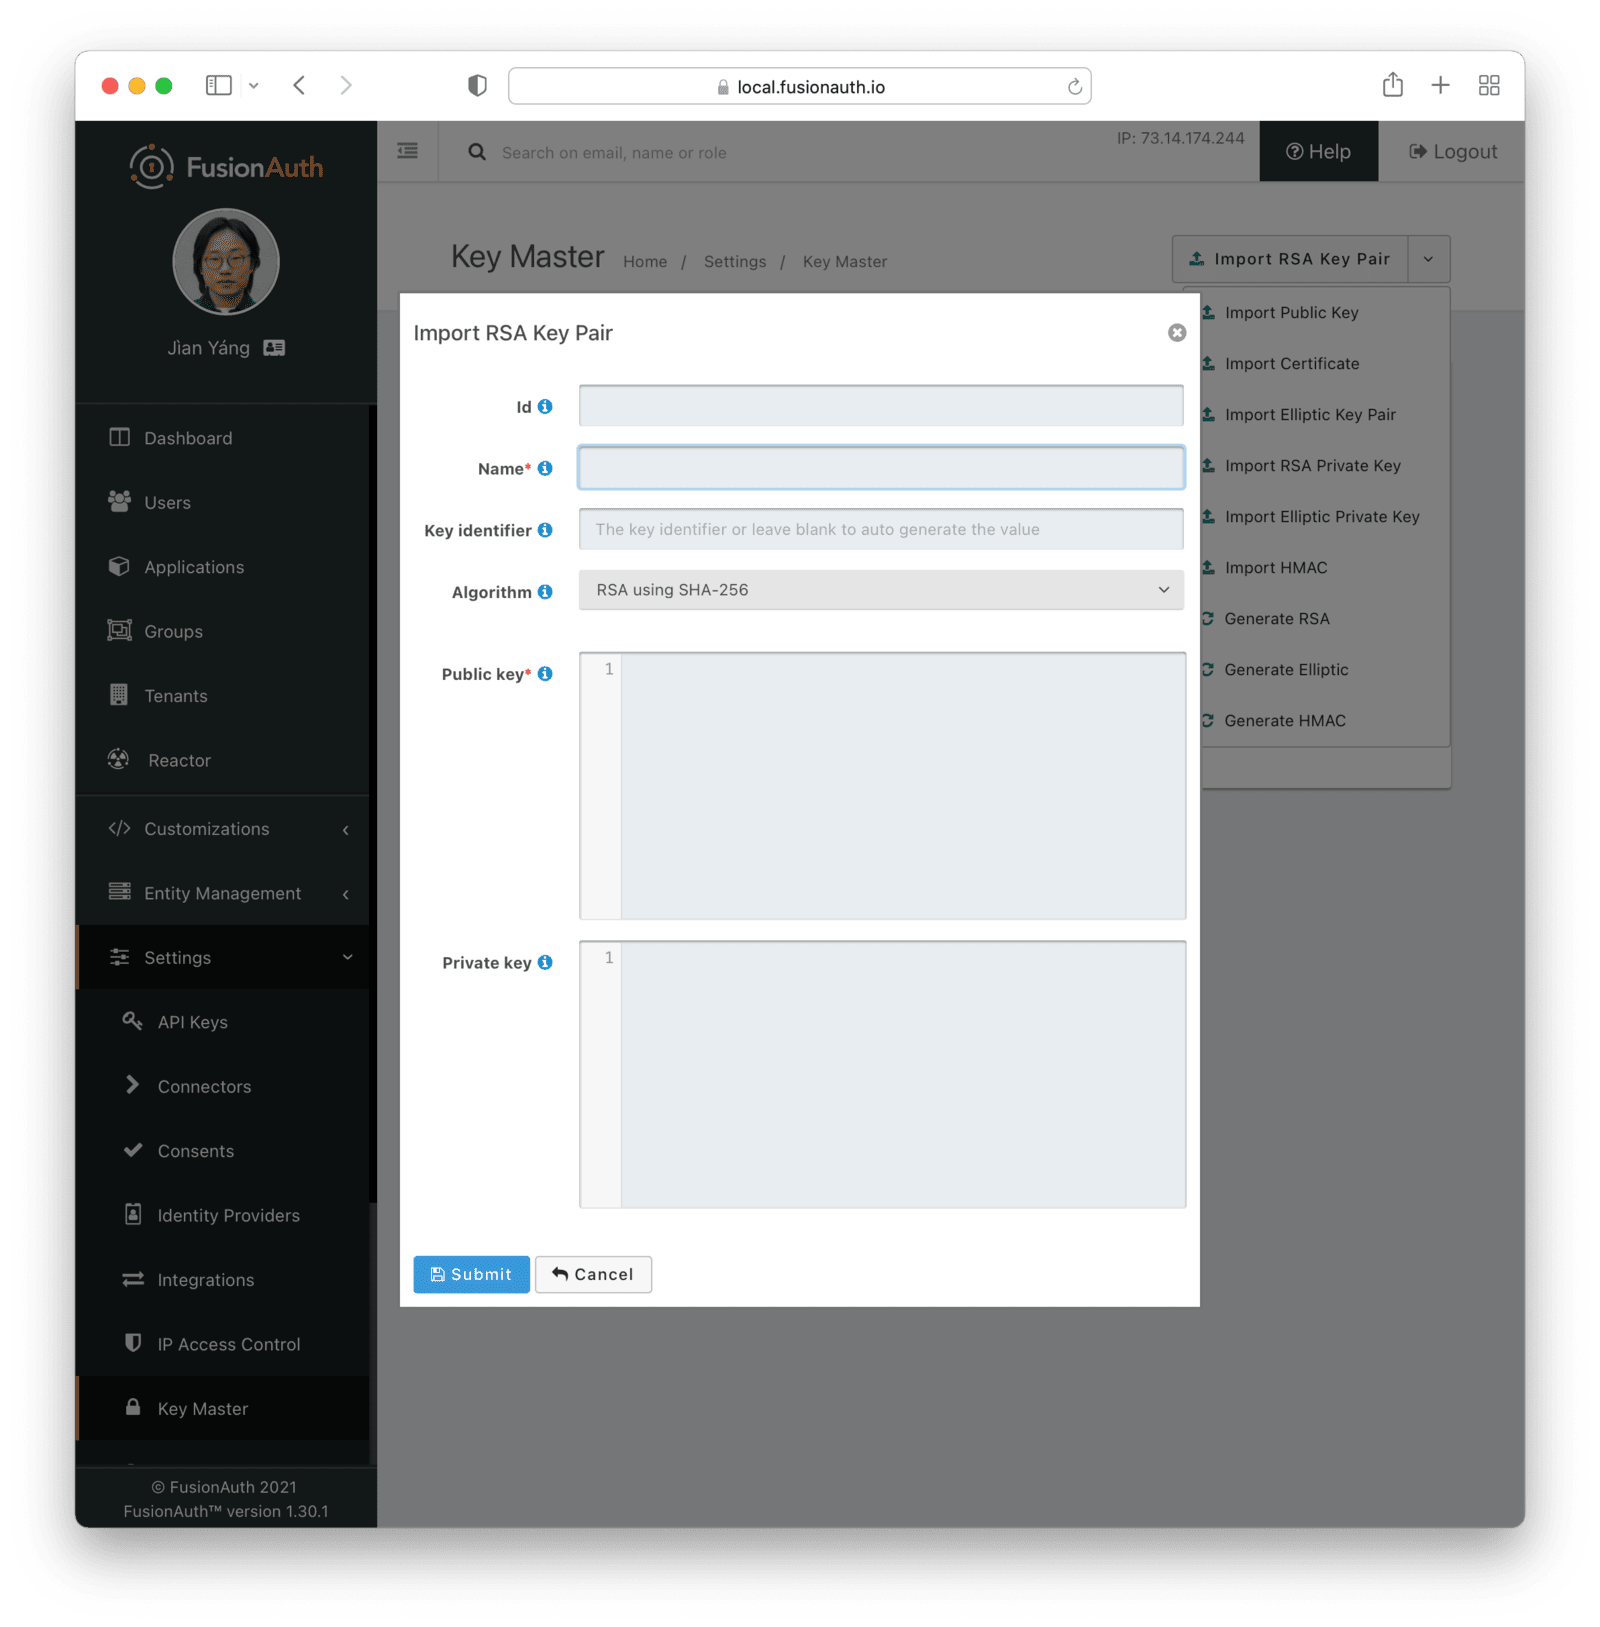
### Form Fields
<KeyMasterImportFormFields has_kid="true" has_algorithm="true" has_public="true" has_private="true" algorithm_name="RSA" />
## Import RSA Private Key
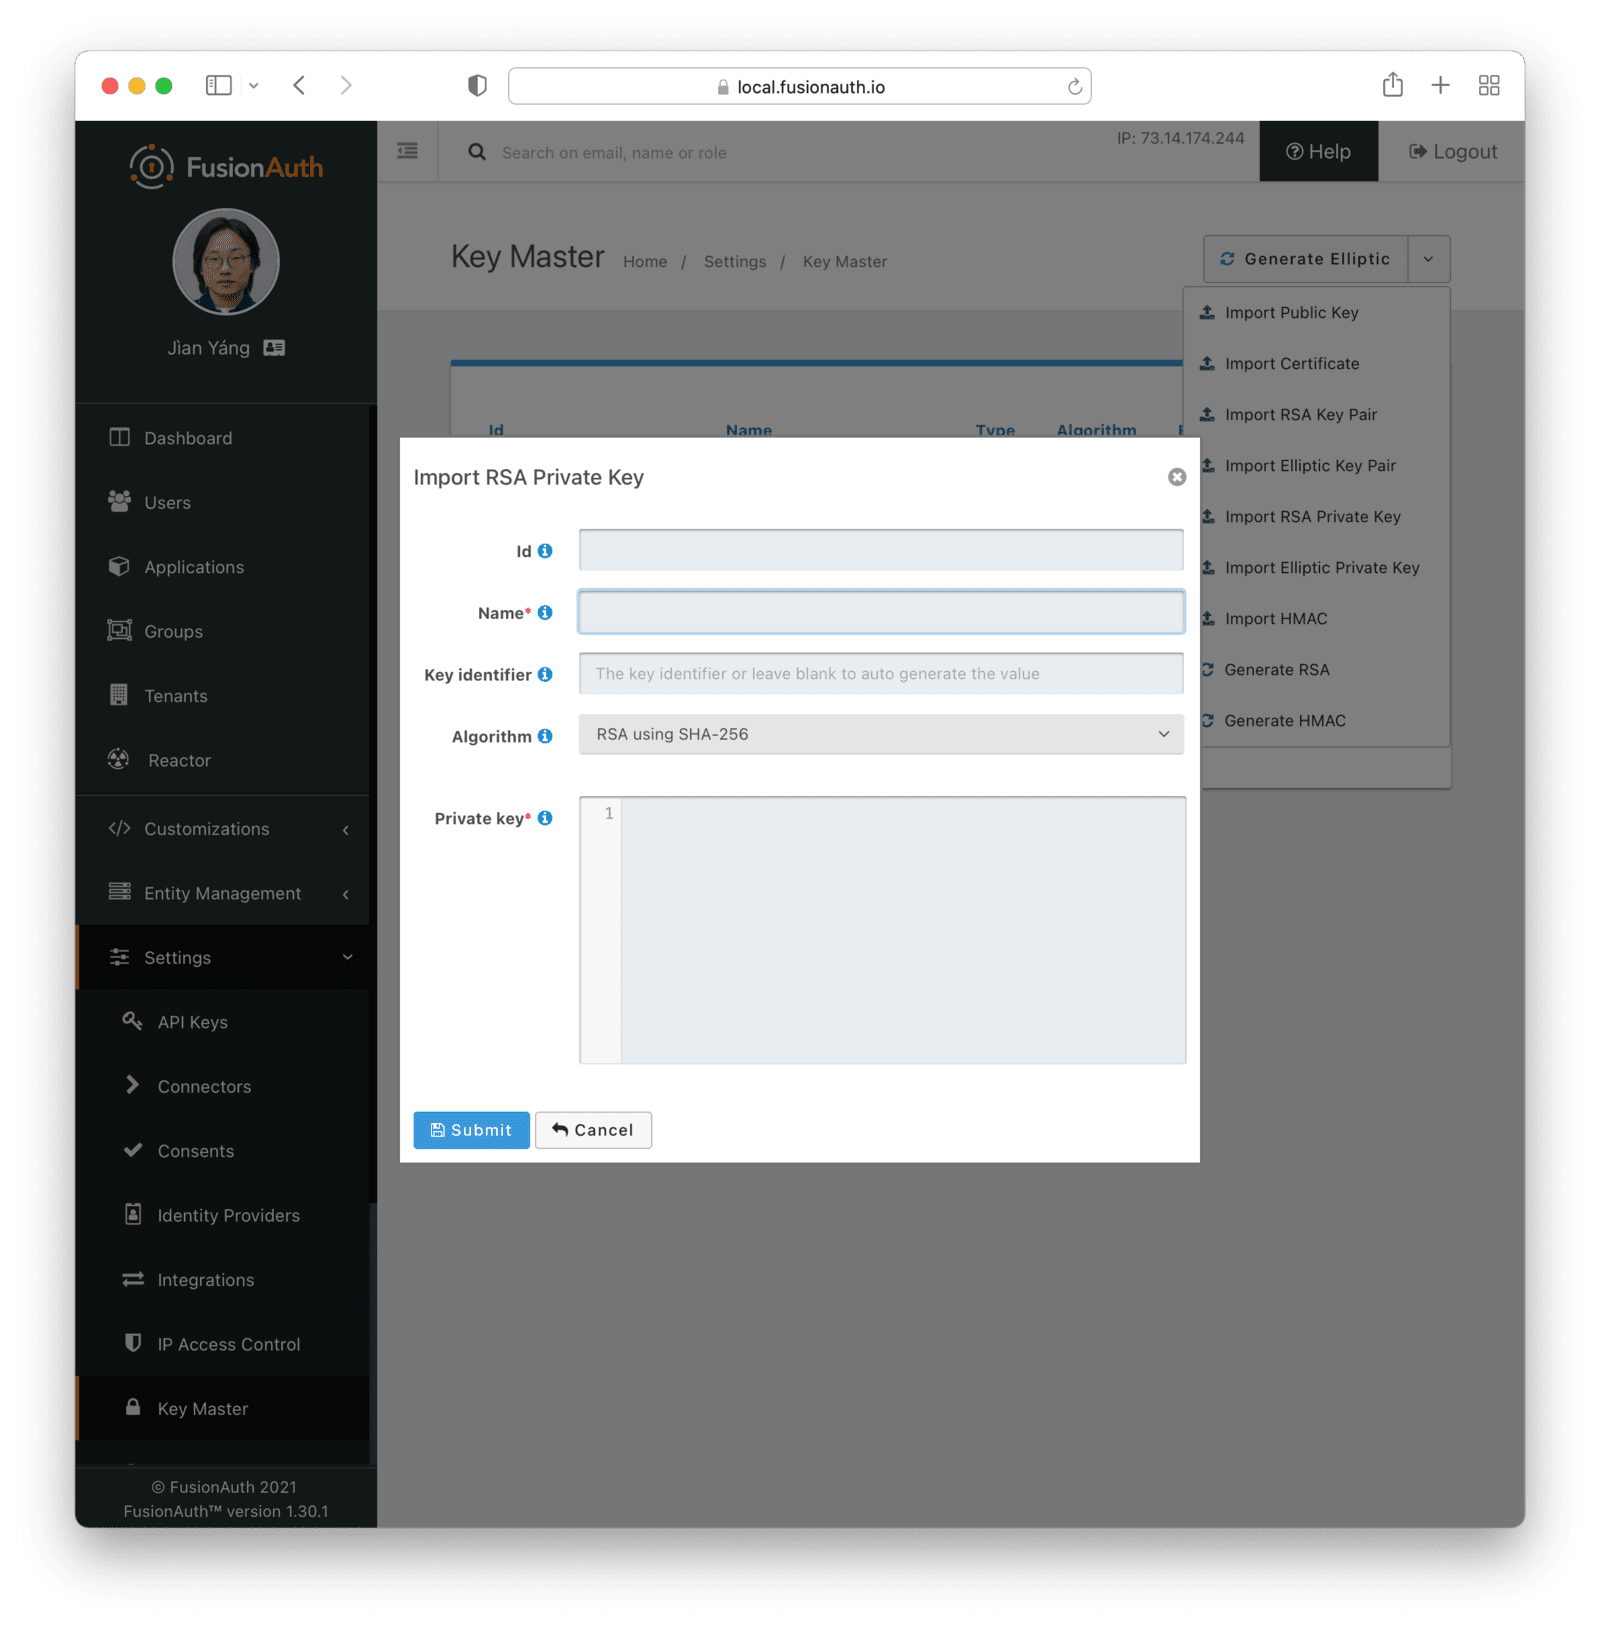
### Form Fields
<KeyMasterImportFormFields has_kid="true" has_algorithm="true" has_private="true" algorithm_name="RSA" />
## Import Elliptic Curve Key Pair
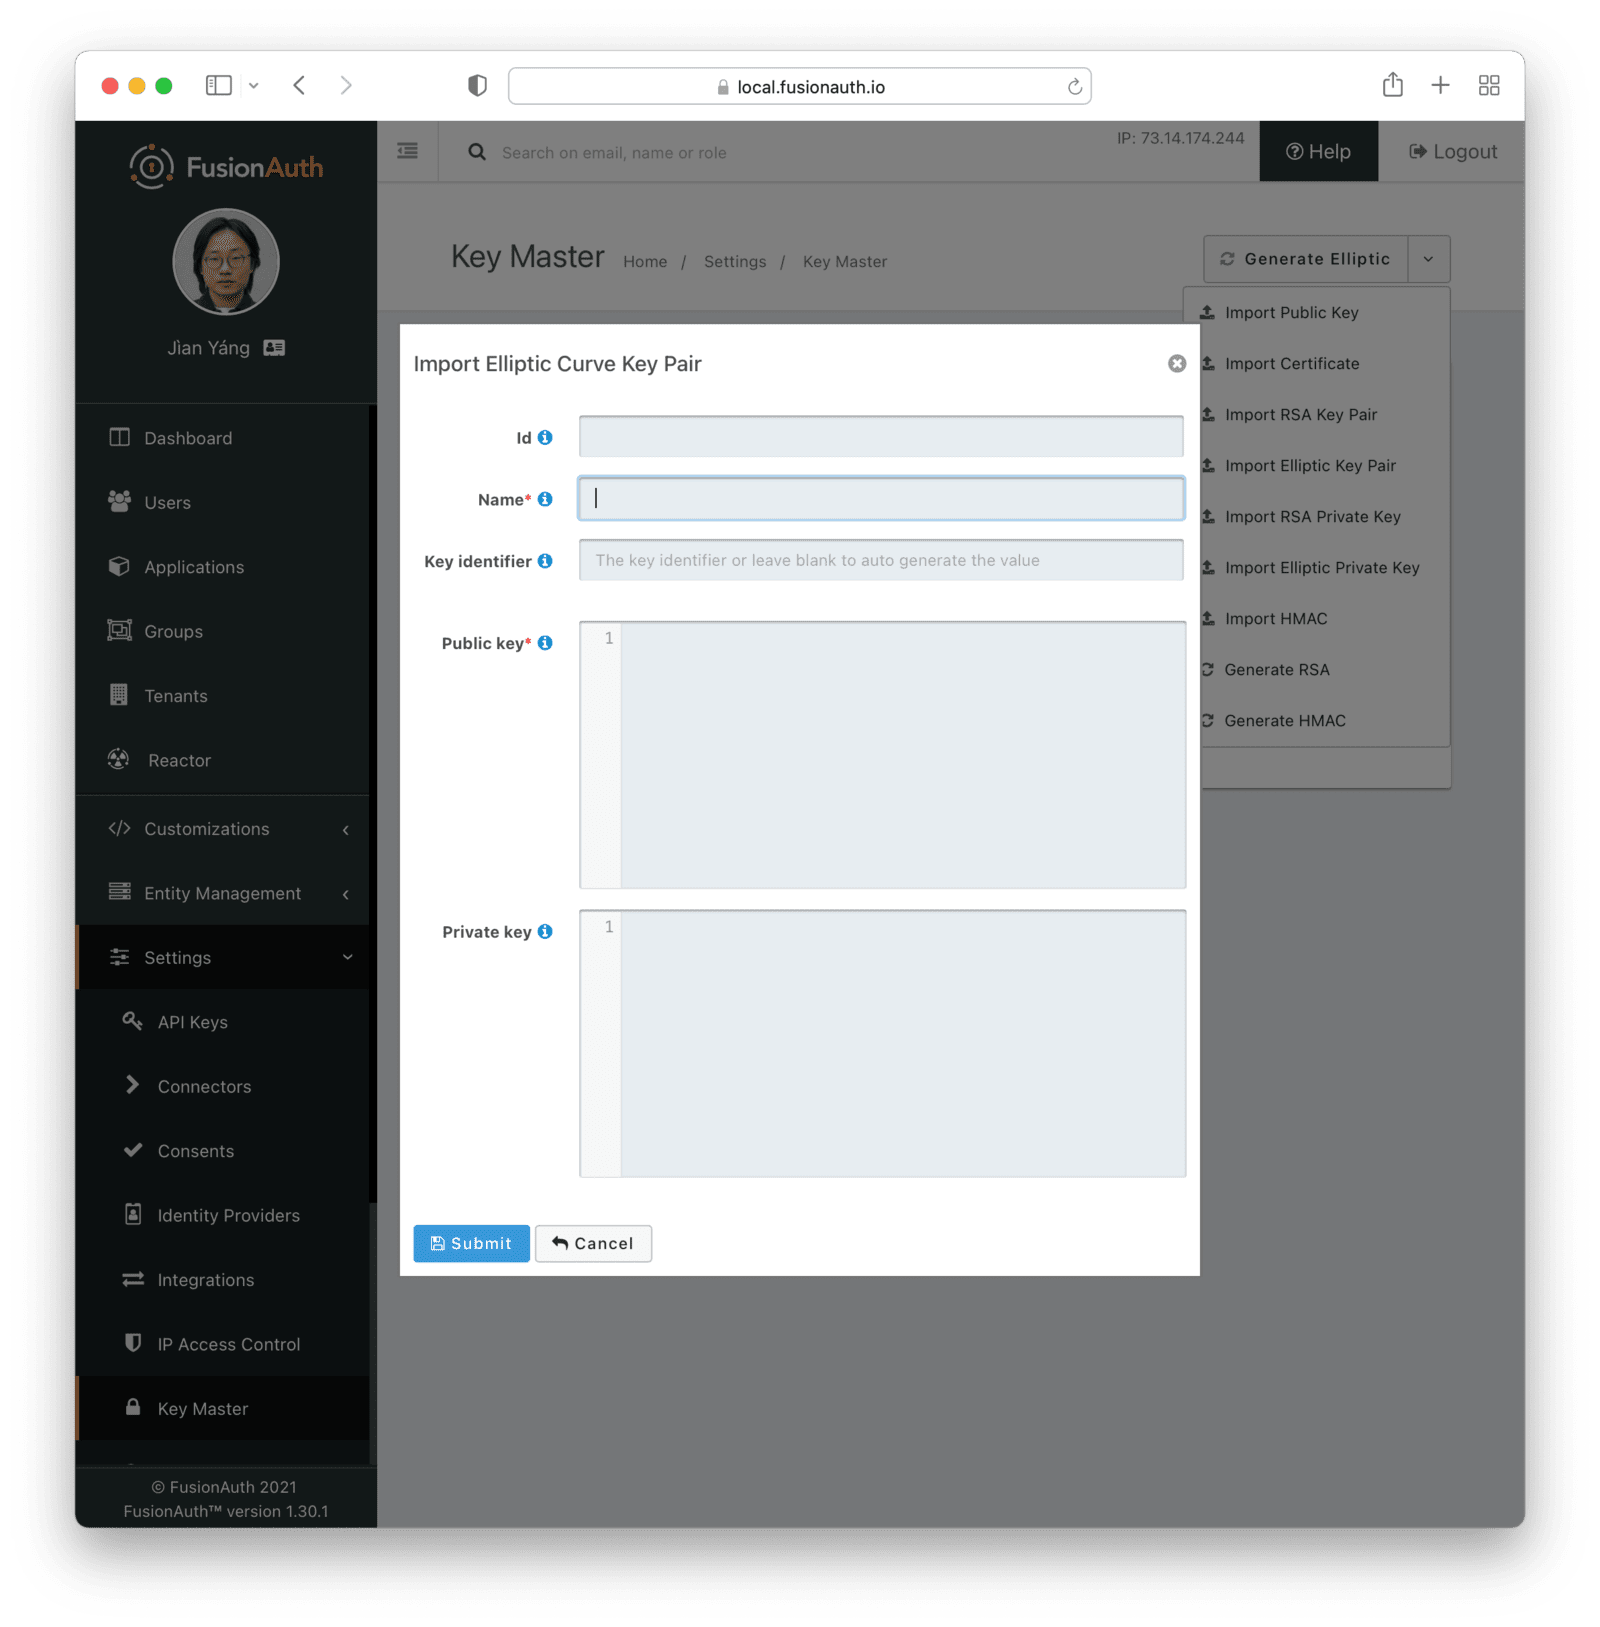
### Form Fields
<KeyMasterImportFormFields has_kid="true" has_public="true" has_private="true" />
## Import Elliptic Curve Private Key
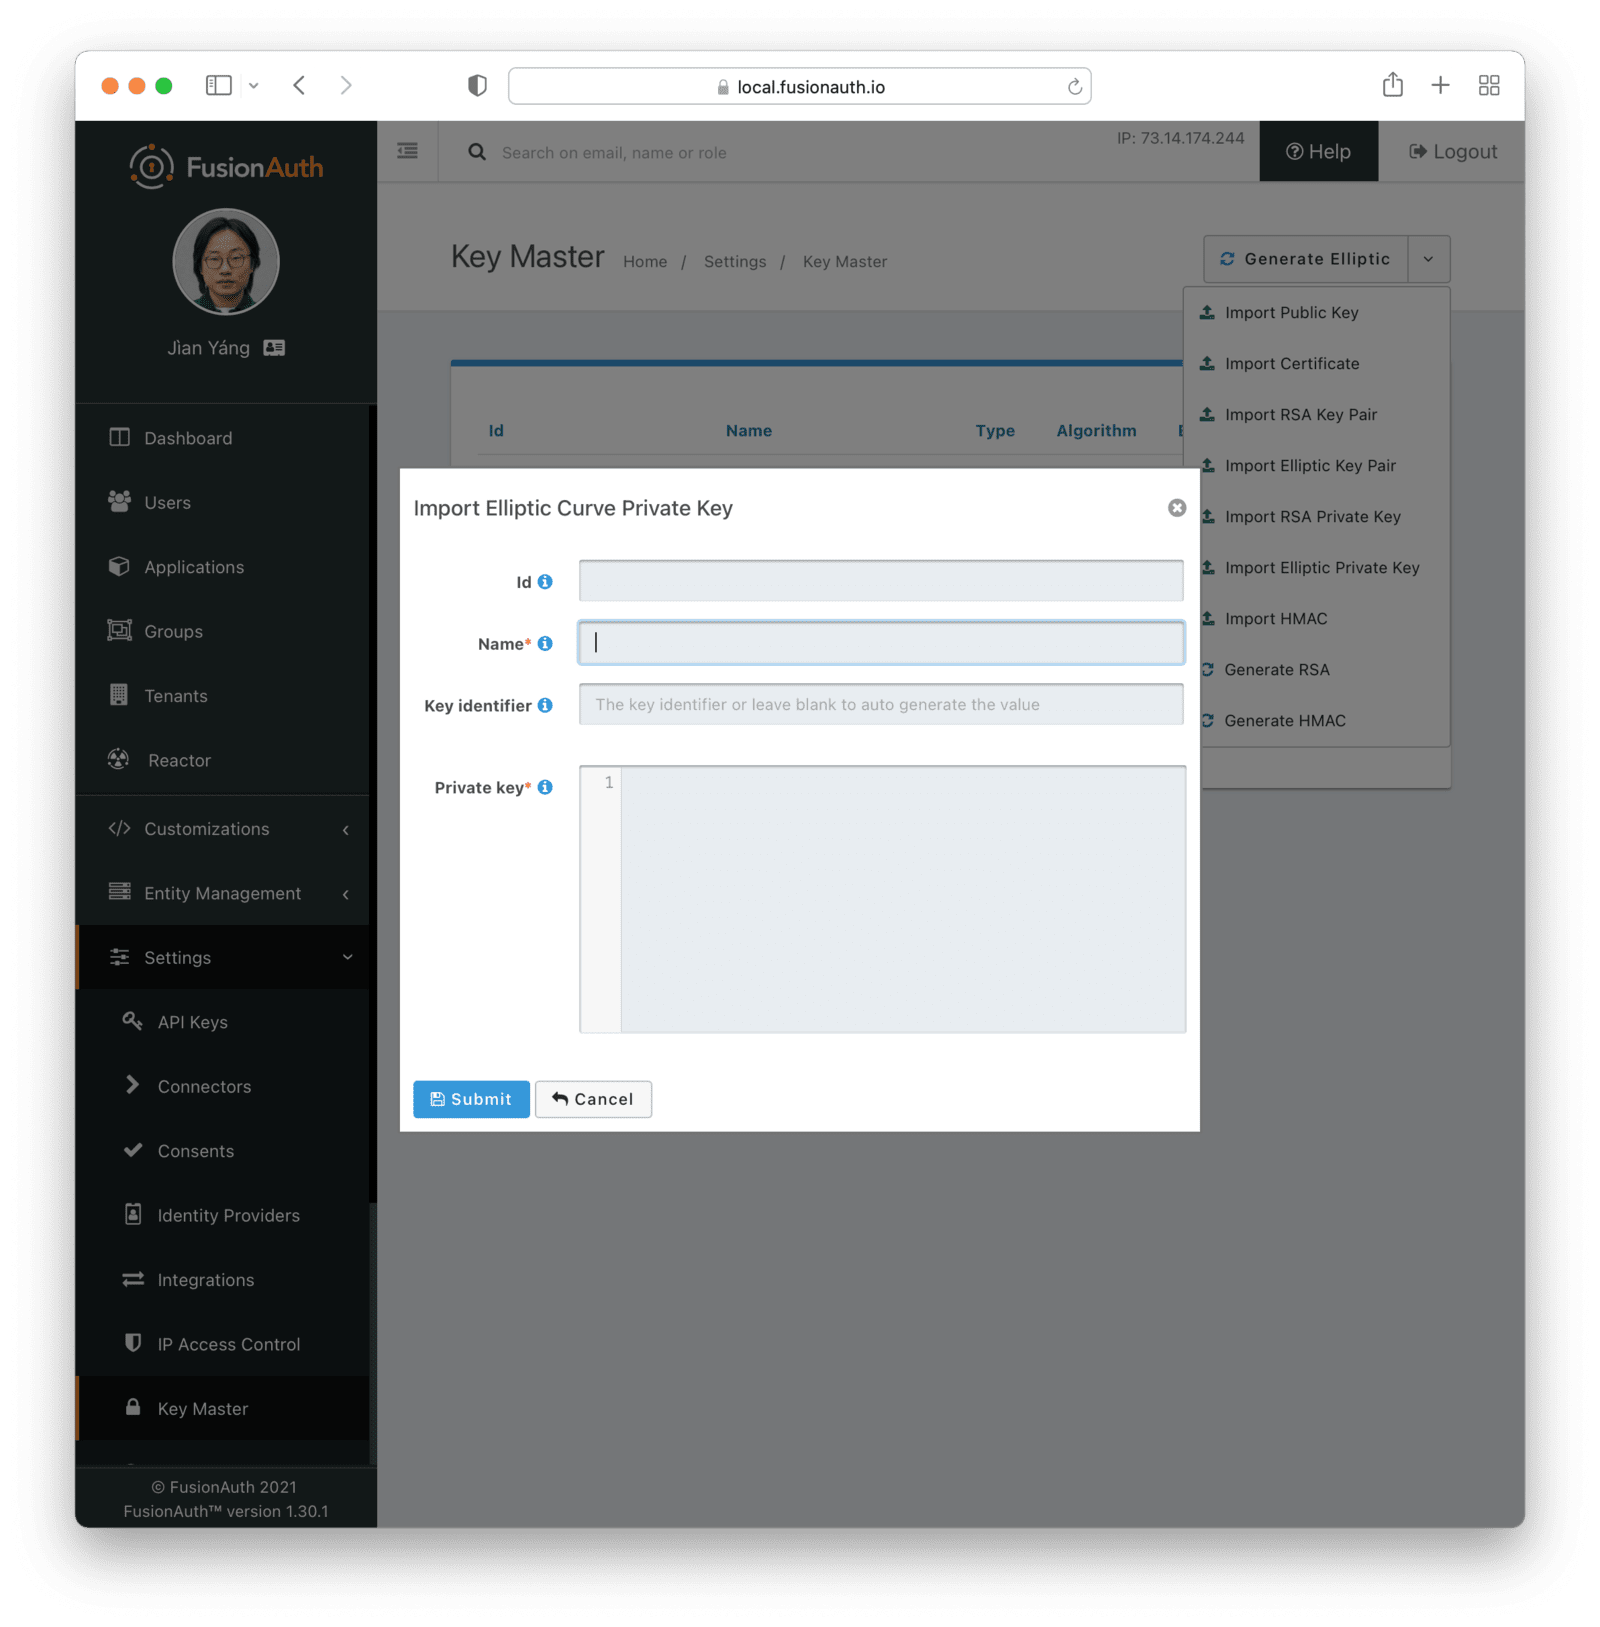
### Form Fields
<KeyMasterImportFormFields has_kid="true" has_private="true" />
## Import EdDSA Key Pair
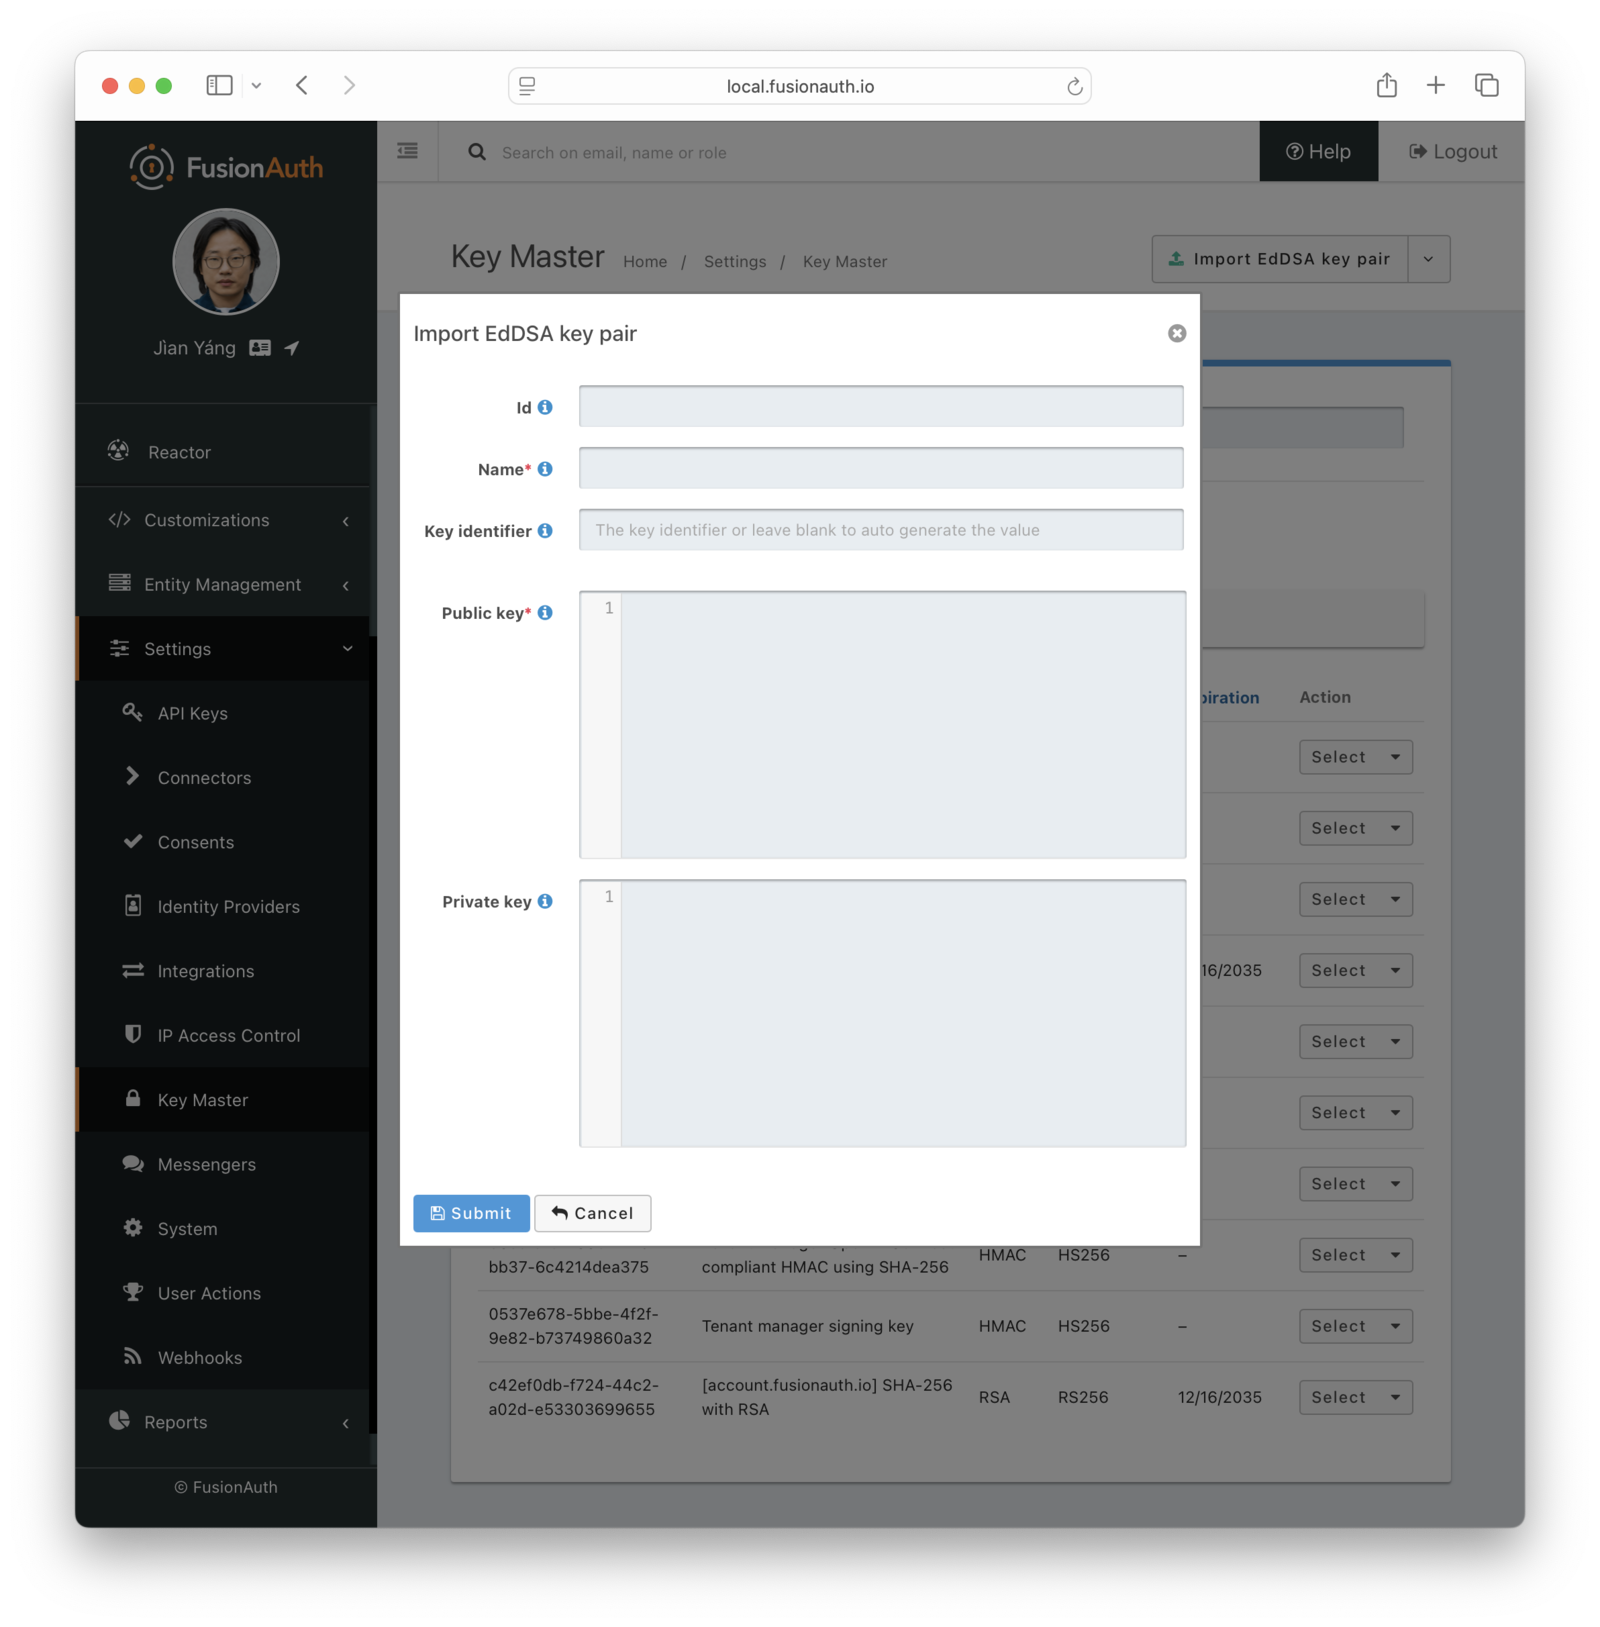
### Form Fields
<KeyMasterImportFormFields has_kid="true" has_public="true" has_private="true" />
## Import EdDSA Private Key
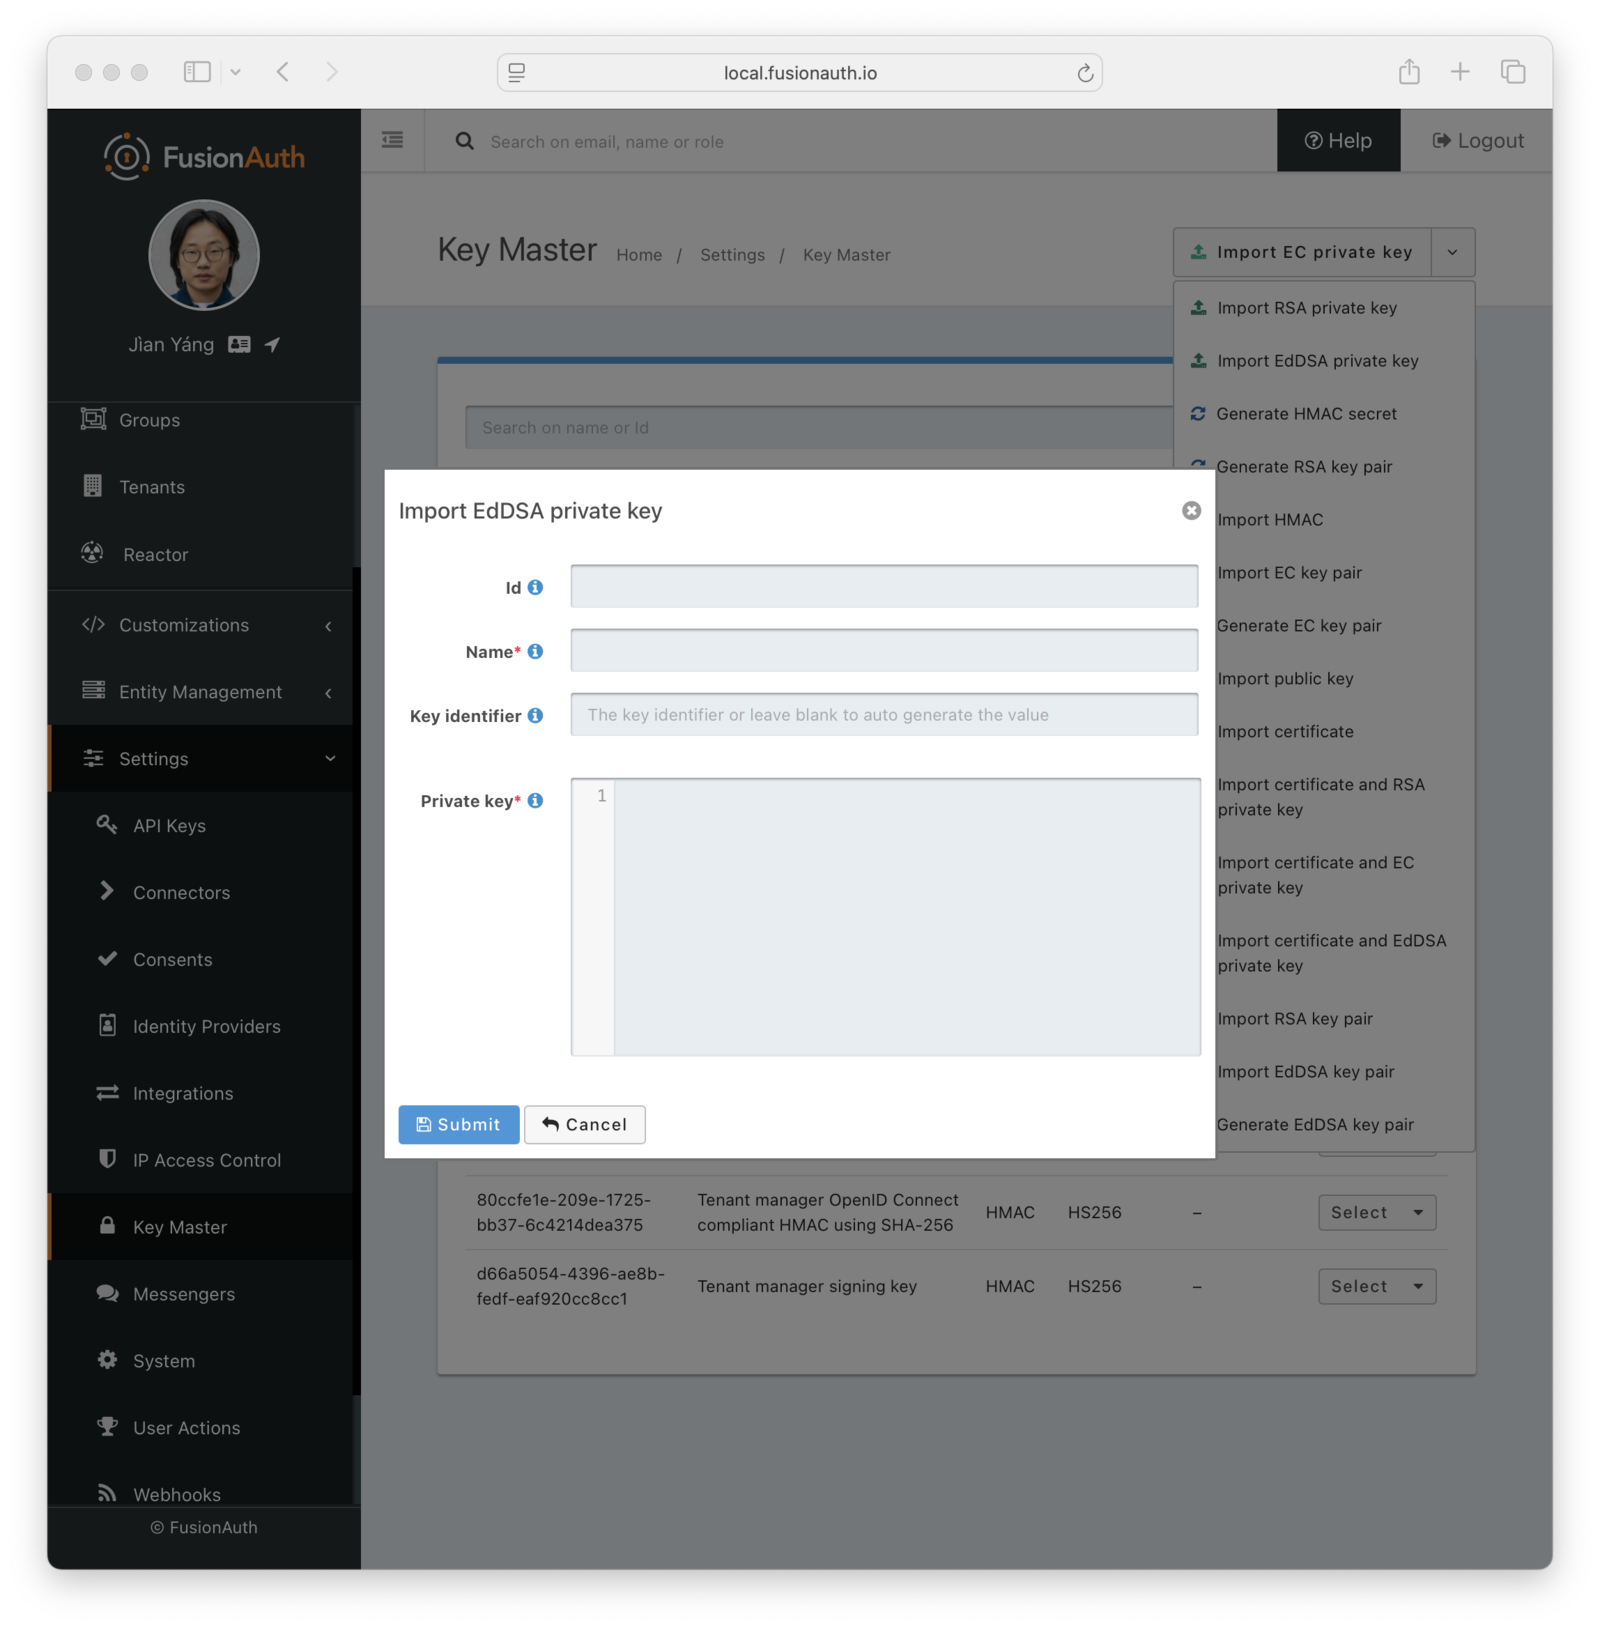
### Form Fields
<KeyMasterImportFormFields has_kid="true" has_private="true" />
## Import HMAC Secret
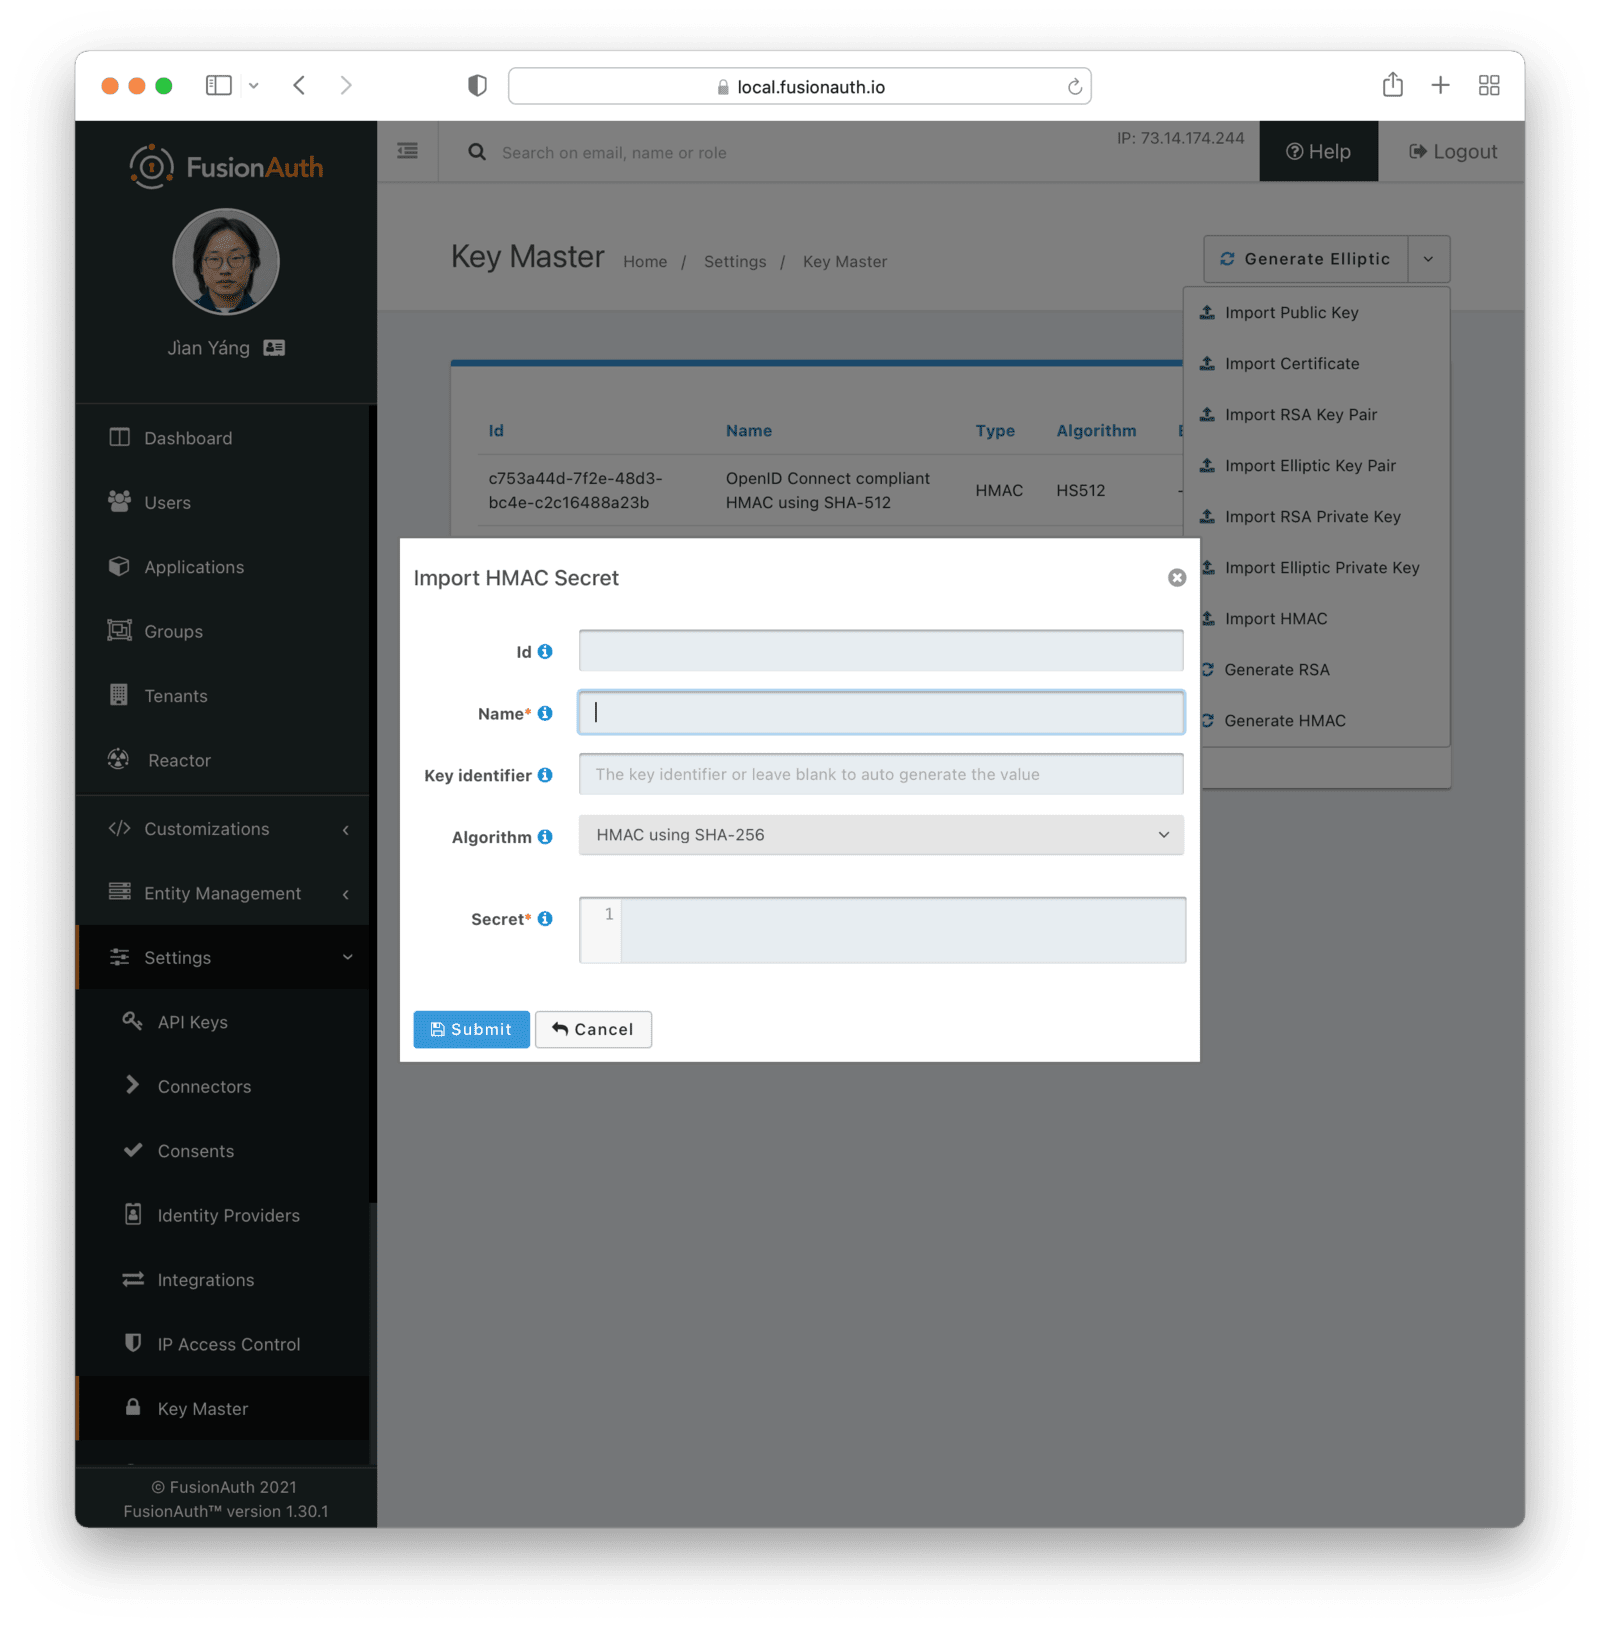
### Form Fields
<KeyMasterImportFormFields has_kid="true" has_algorithm="true" has_secret="true" algorithm_name="HMAC" />
## Import Public Key
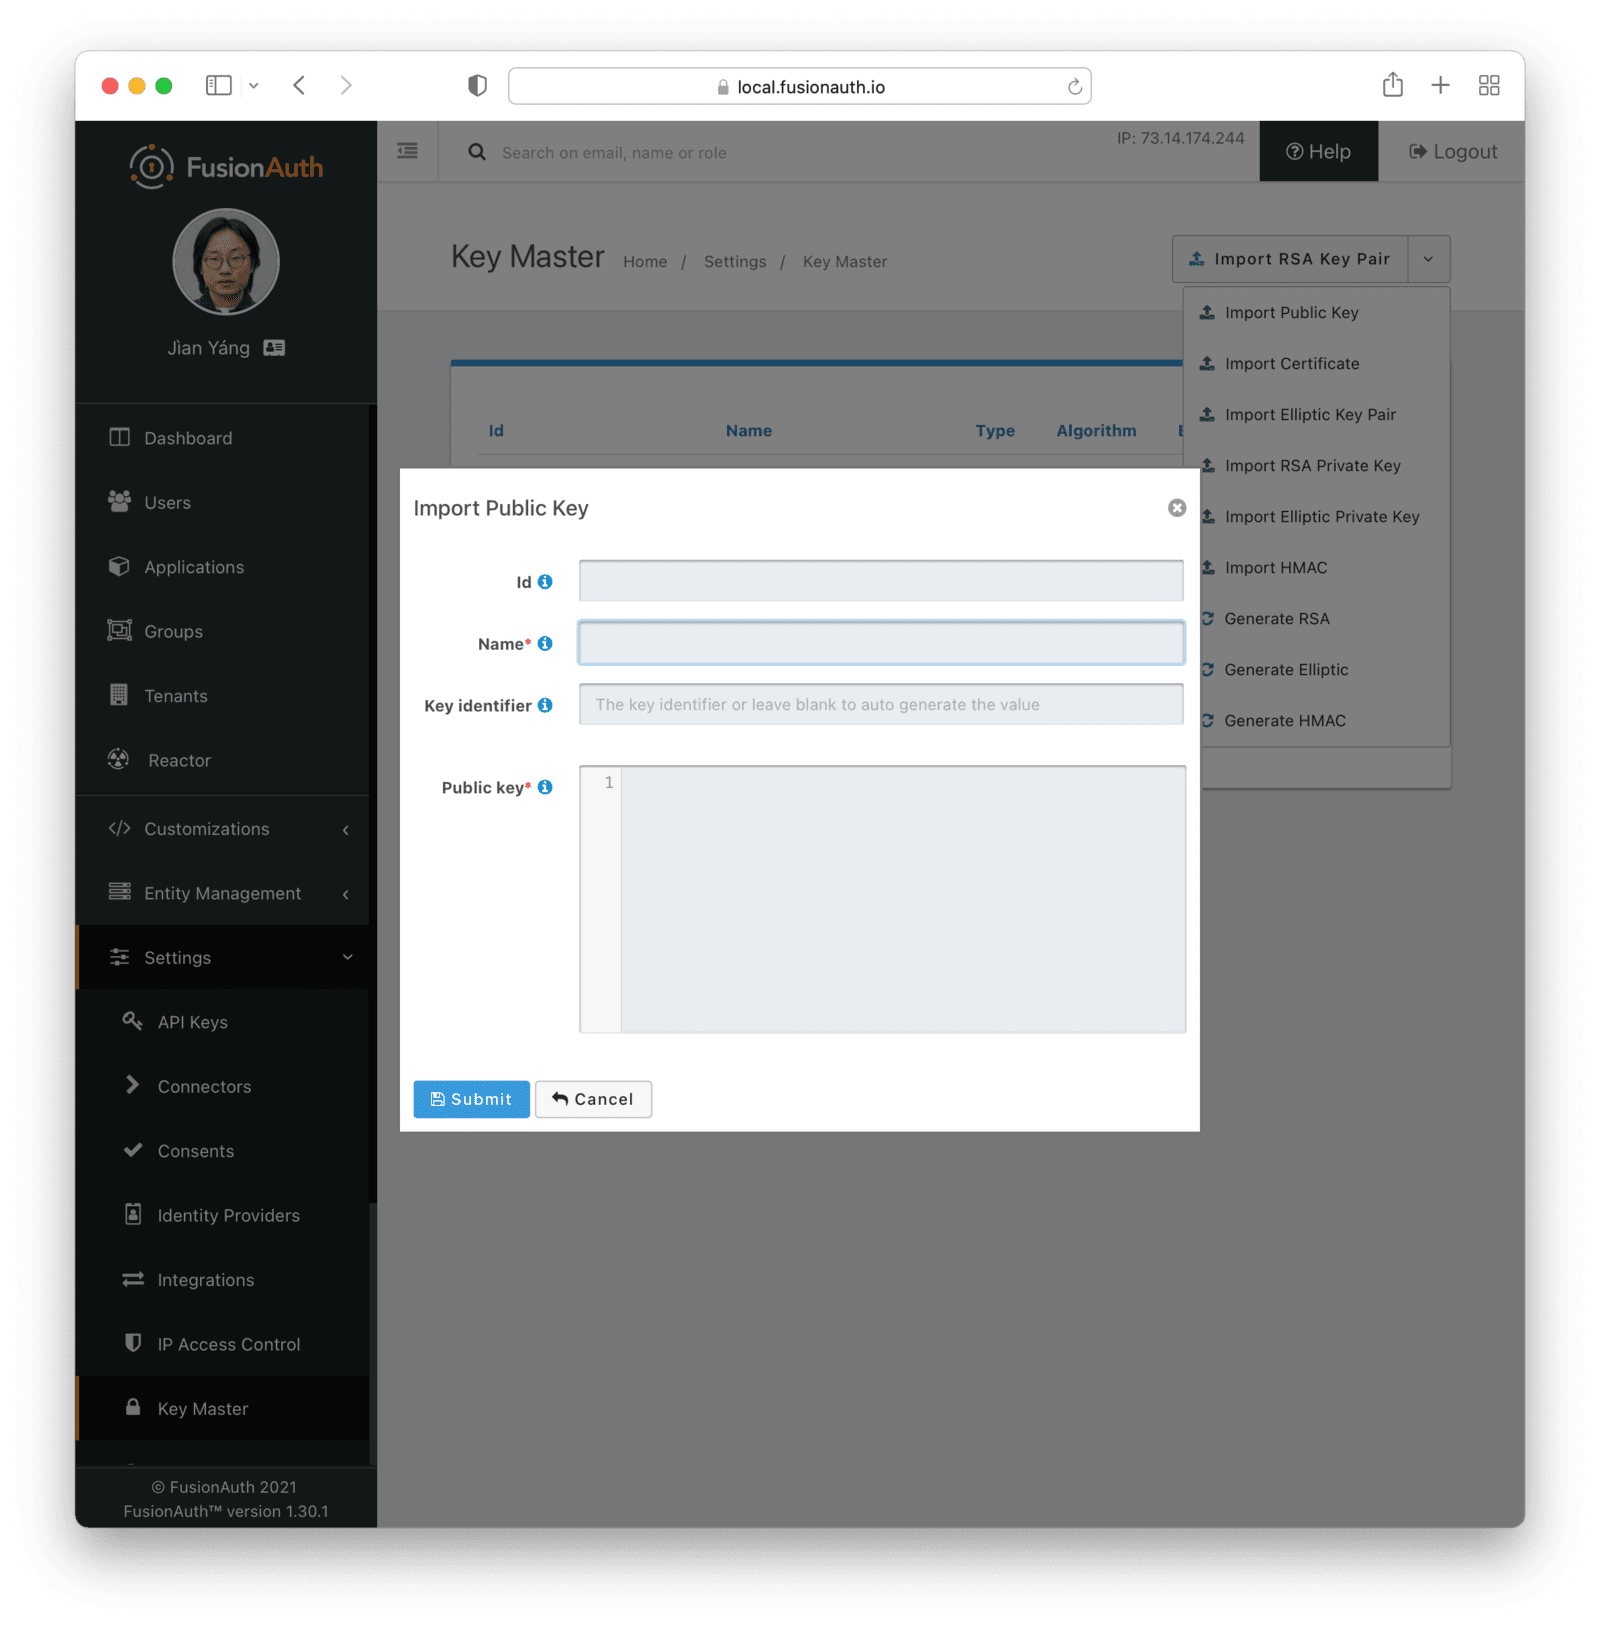
The type of the Key will be inferred from the PEM encoded value.
### Form Fields
<KeyMasterImportFormFields has_kid="true" has_public="true" />
## Import Certificate
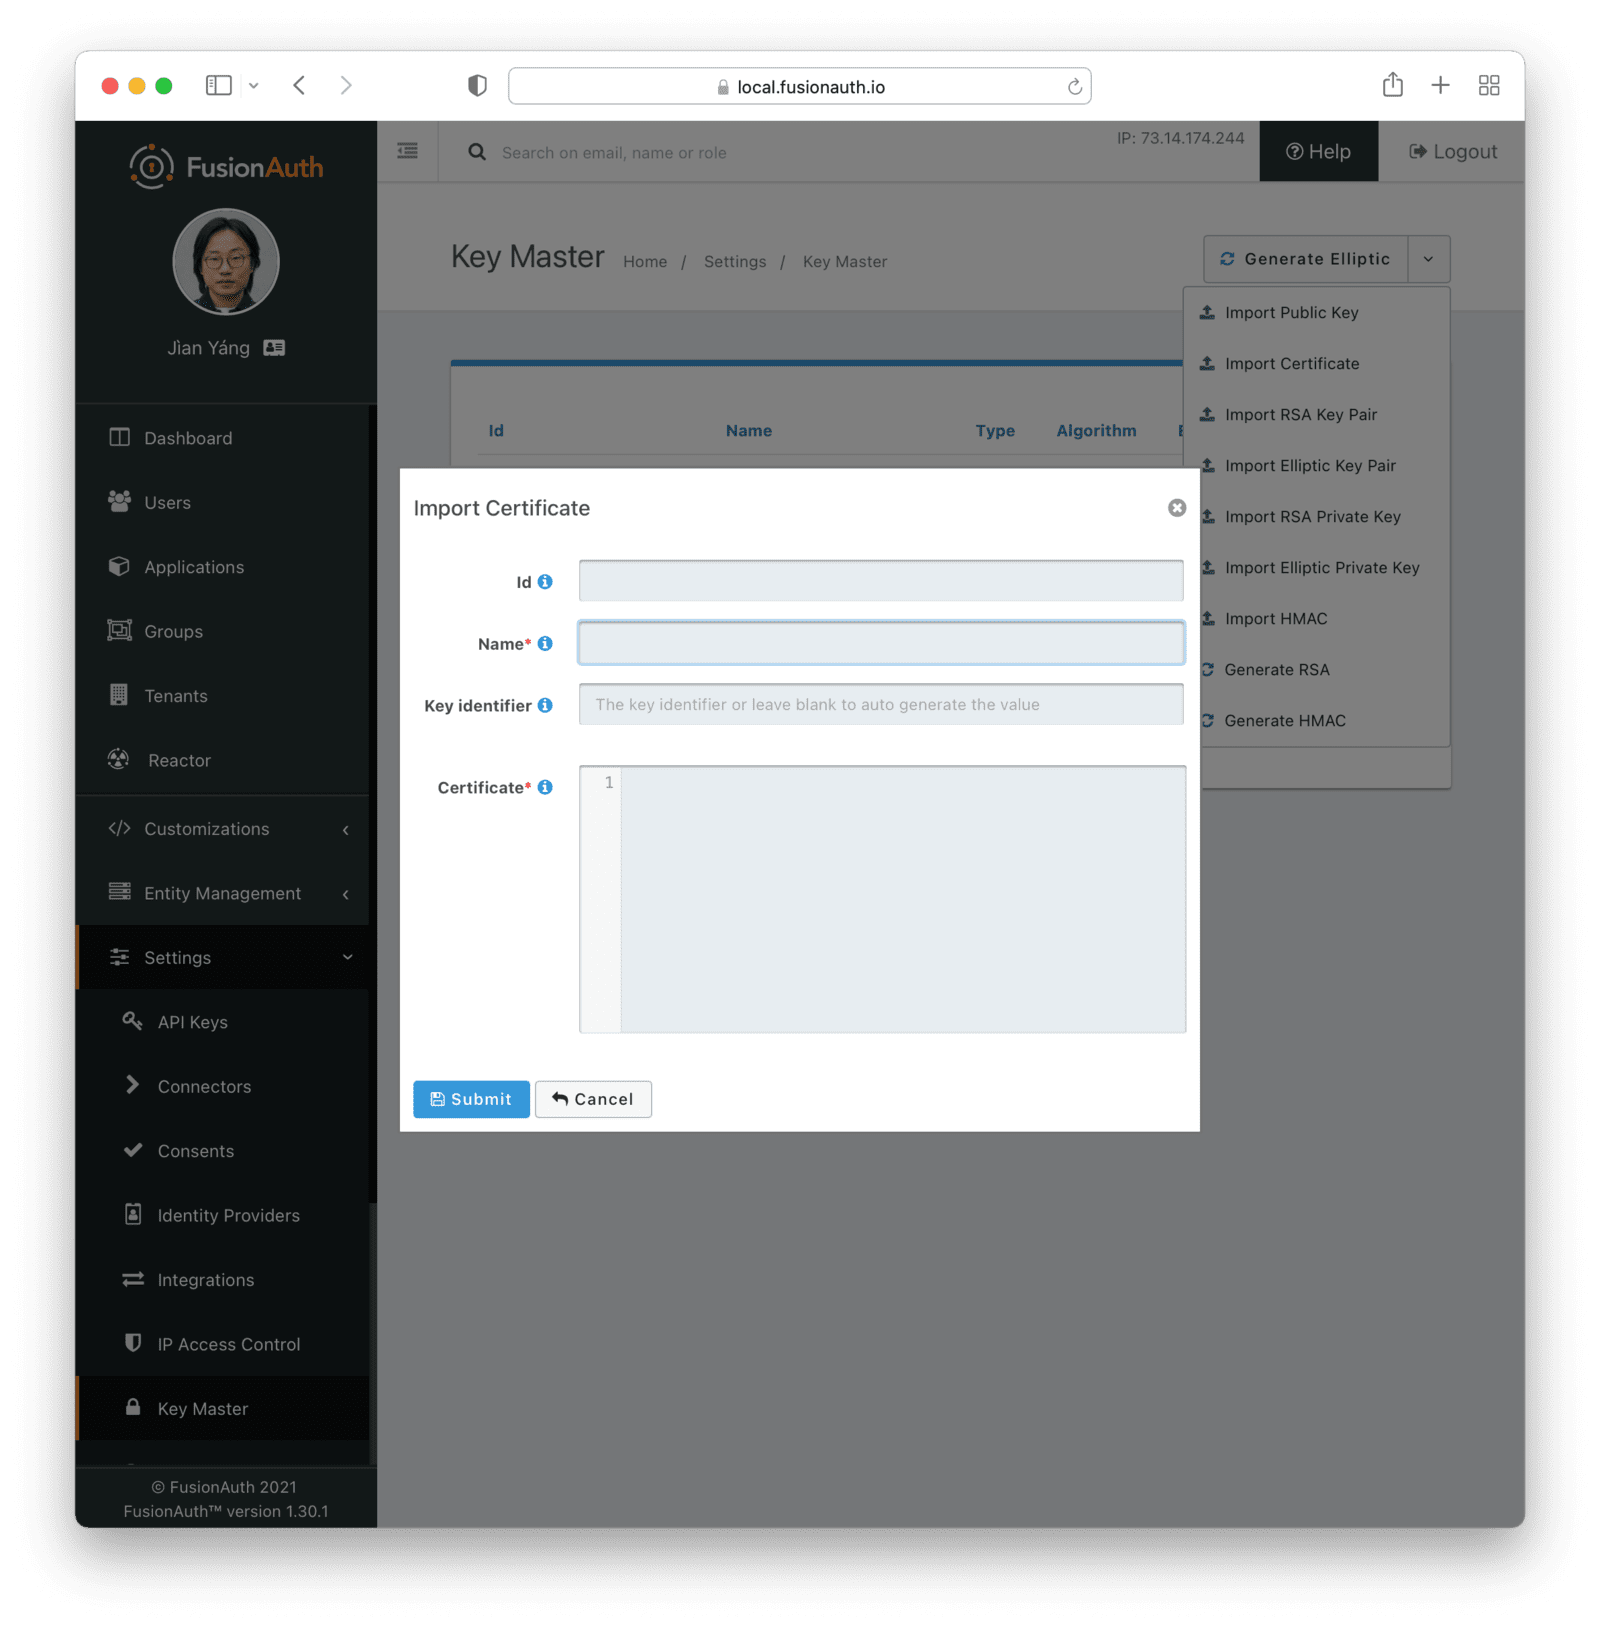
The public key will be extracted from the certificate.
### Form Fields
<KeyMasterImportFormFields has_kid="true" has_certificate="true" />
## Generate RSA Key Pair
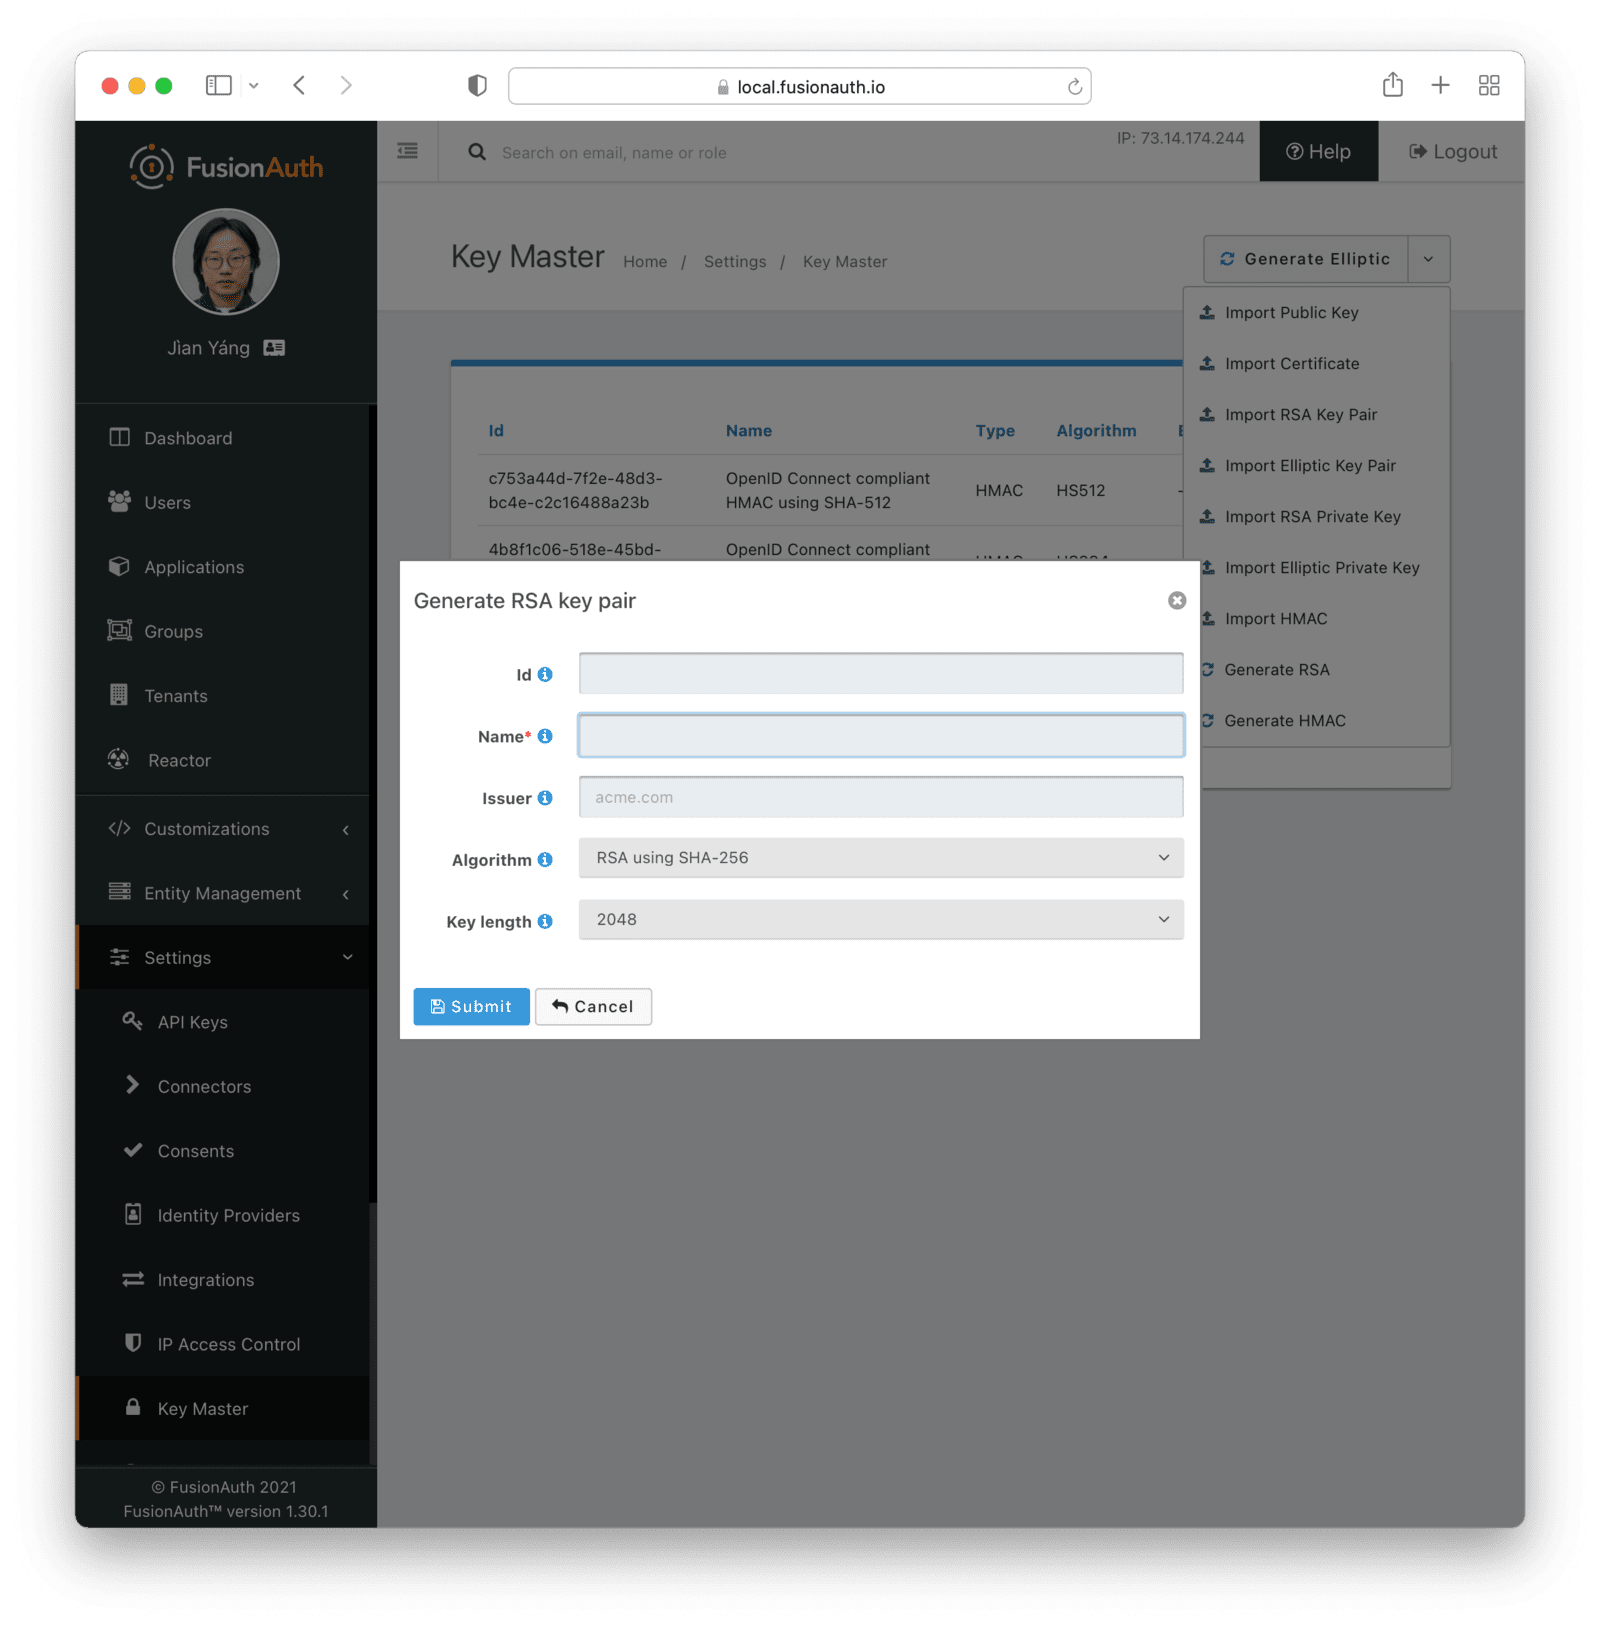
### Form Fields
<KeyMasterImportFormFields has_algorithm="true" has_issuer="true" has_length="true" algorithm_name="RSA" />
## Generate Elliptic Key Pair
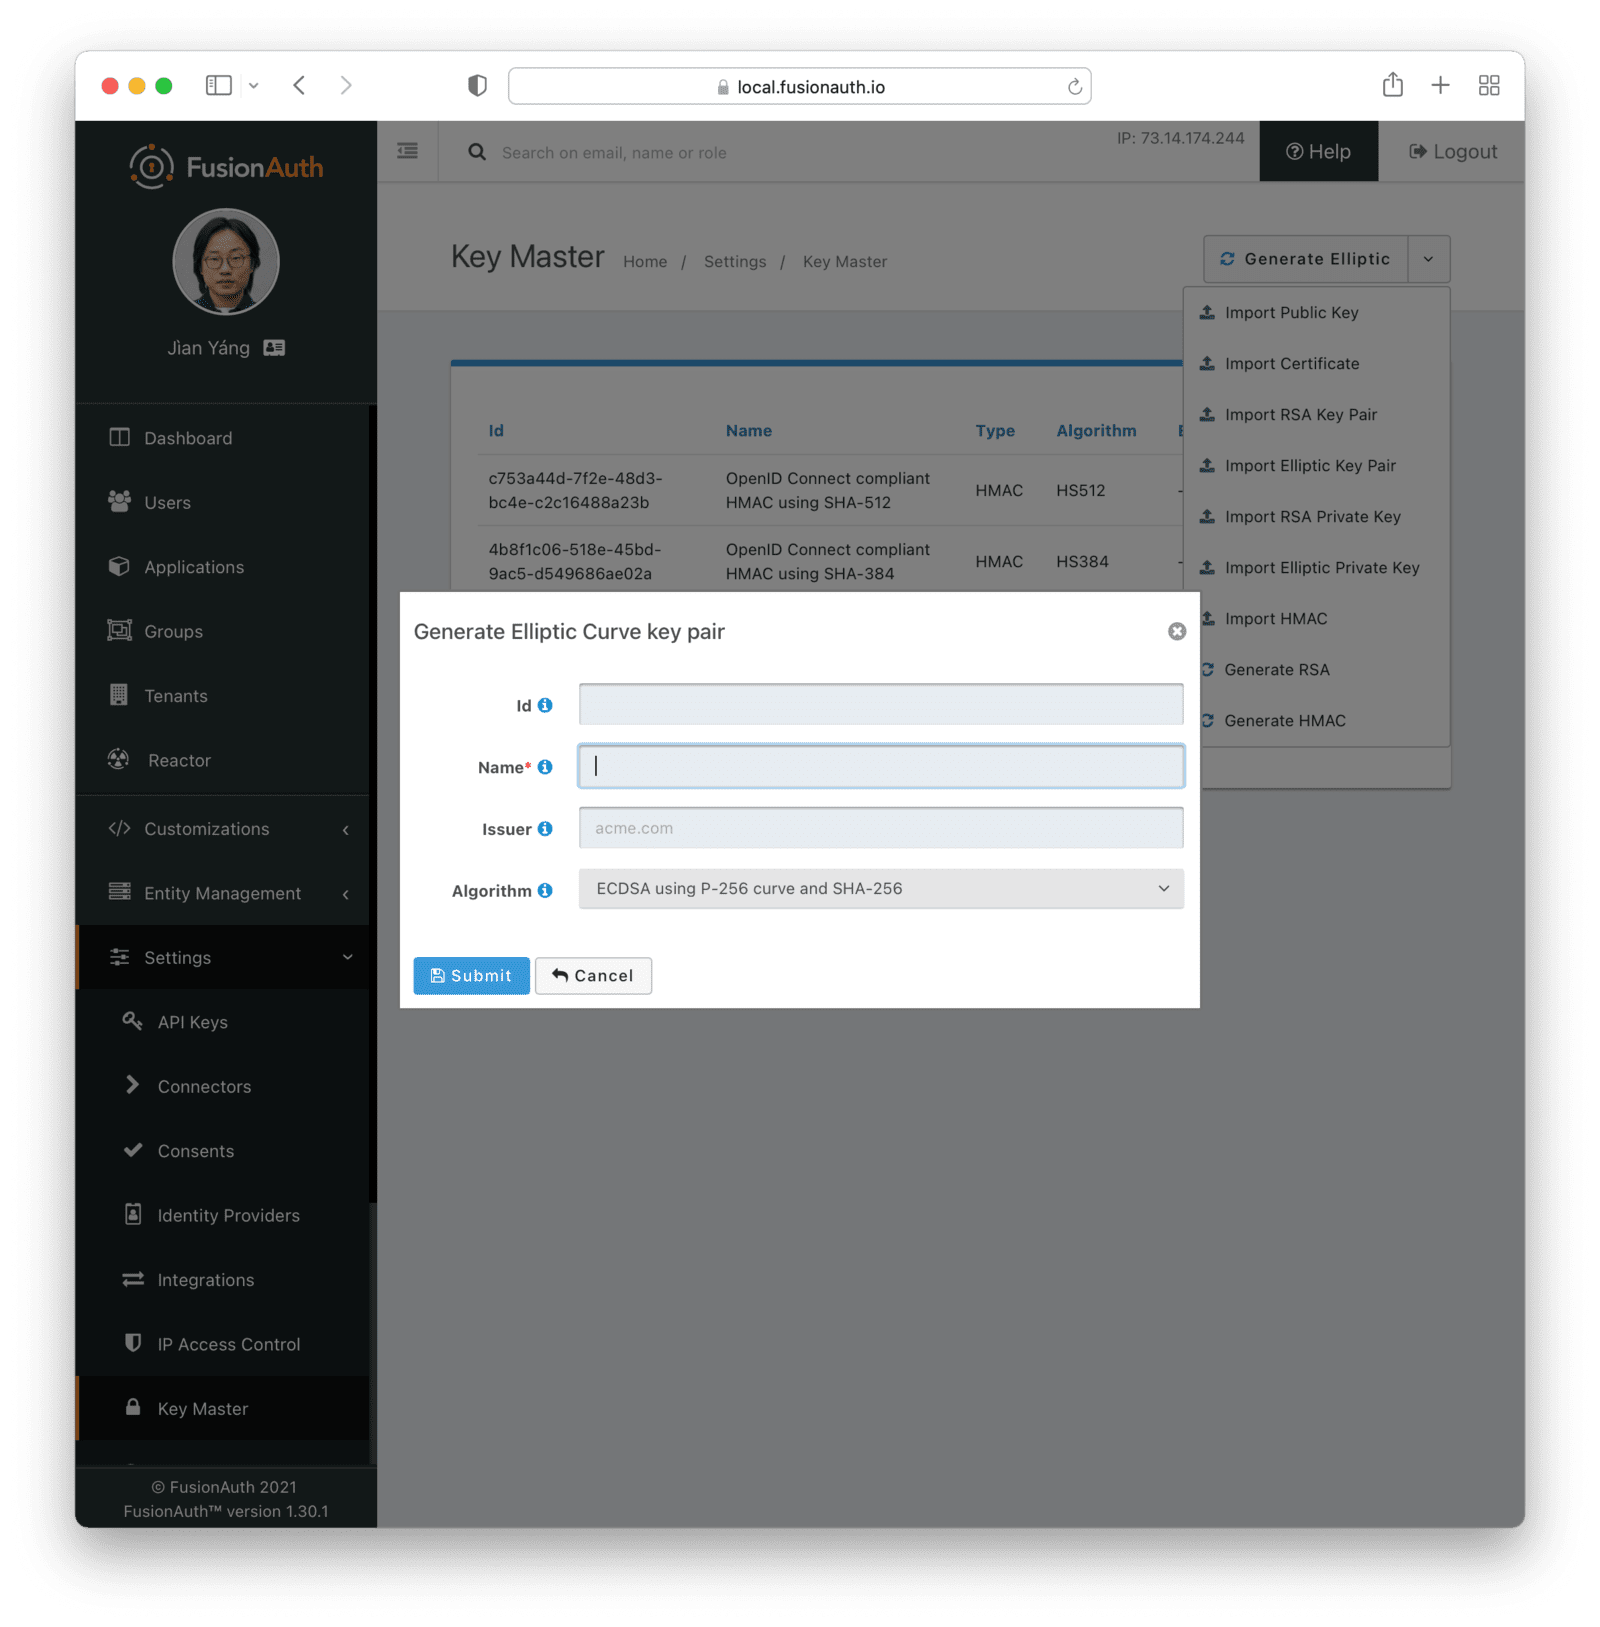
### Form Fields
<KeyMasterImportFormFields has_algorithm="true" algorithm_name="ECC" has_issuer="true" />
## Generate EdDSA Key Pair
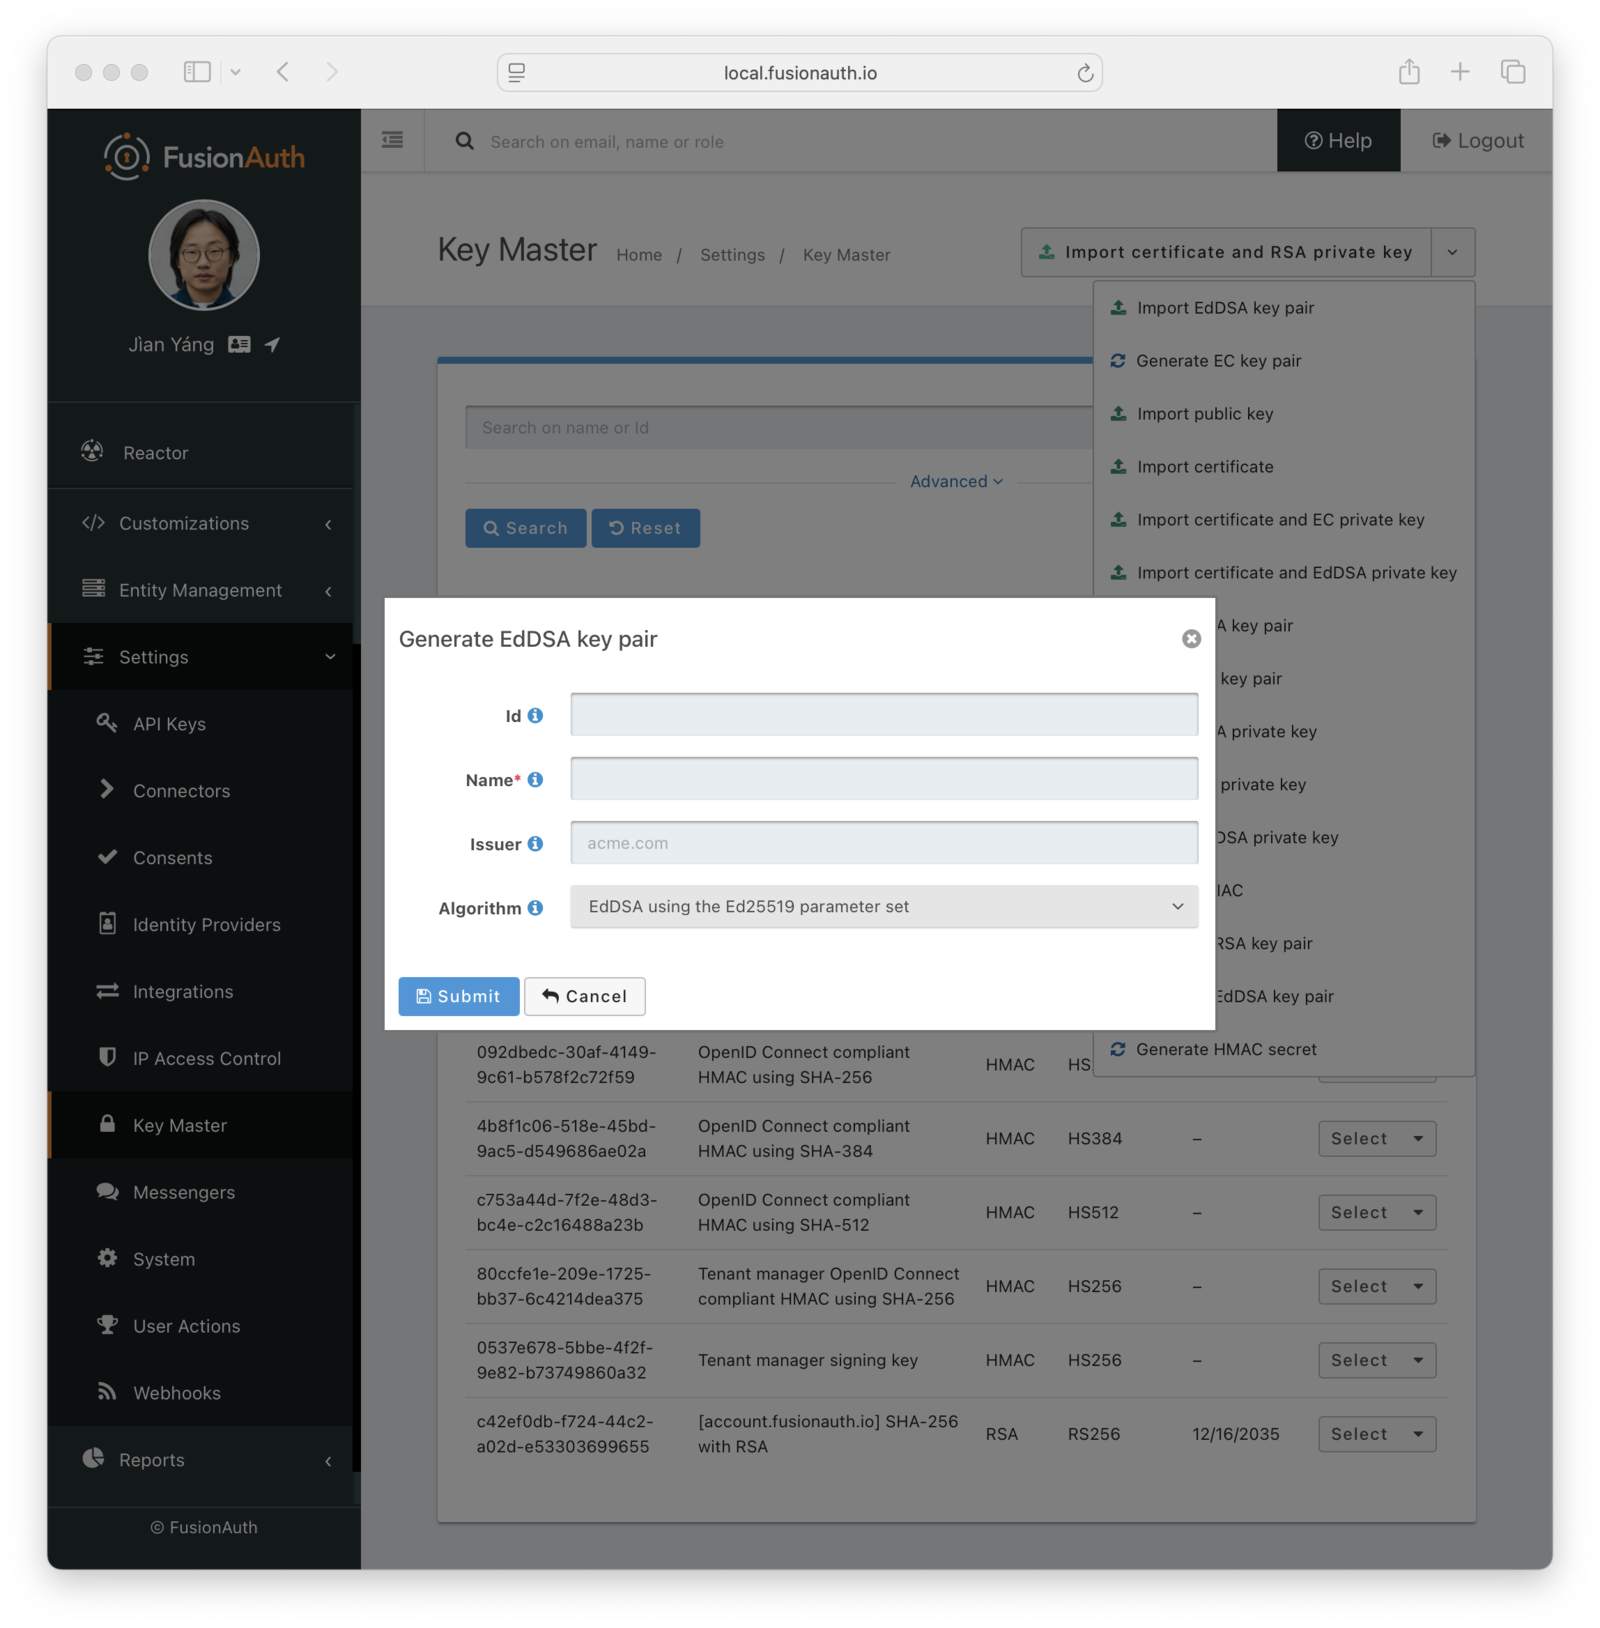
### Form Fields
<KeyMasterImportFormFields has_algorithm="true" algorithm_name="EdDSA" has_issuer="true" />
## Generate HMAC Secret
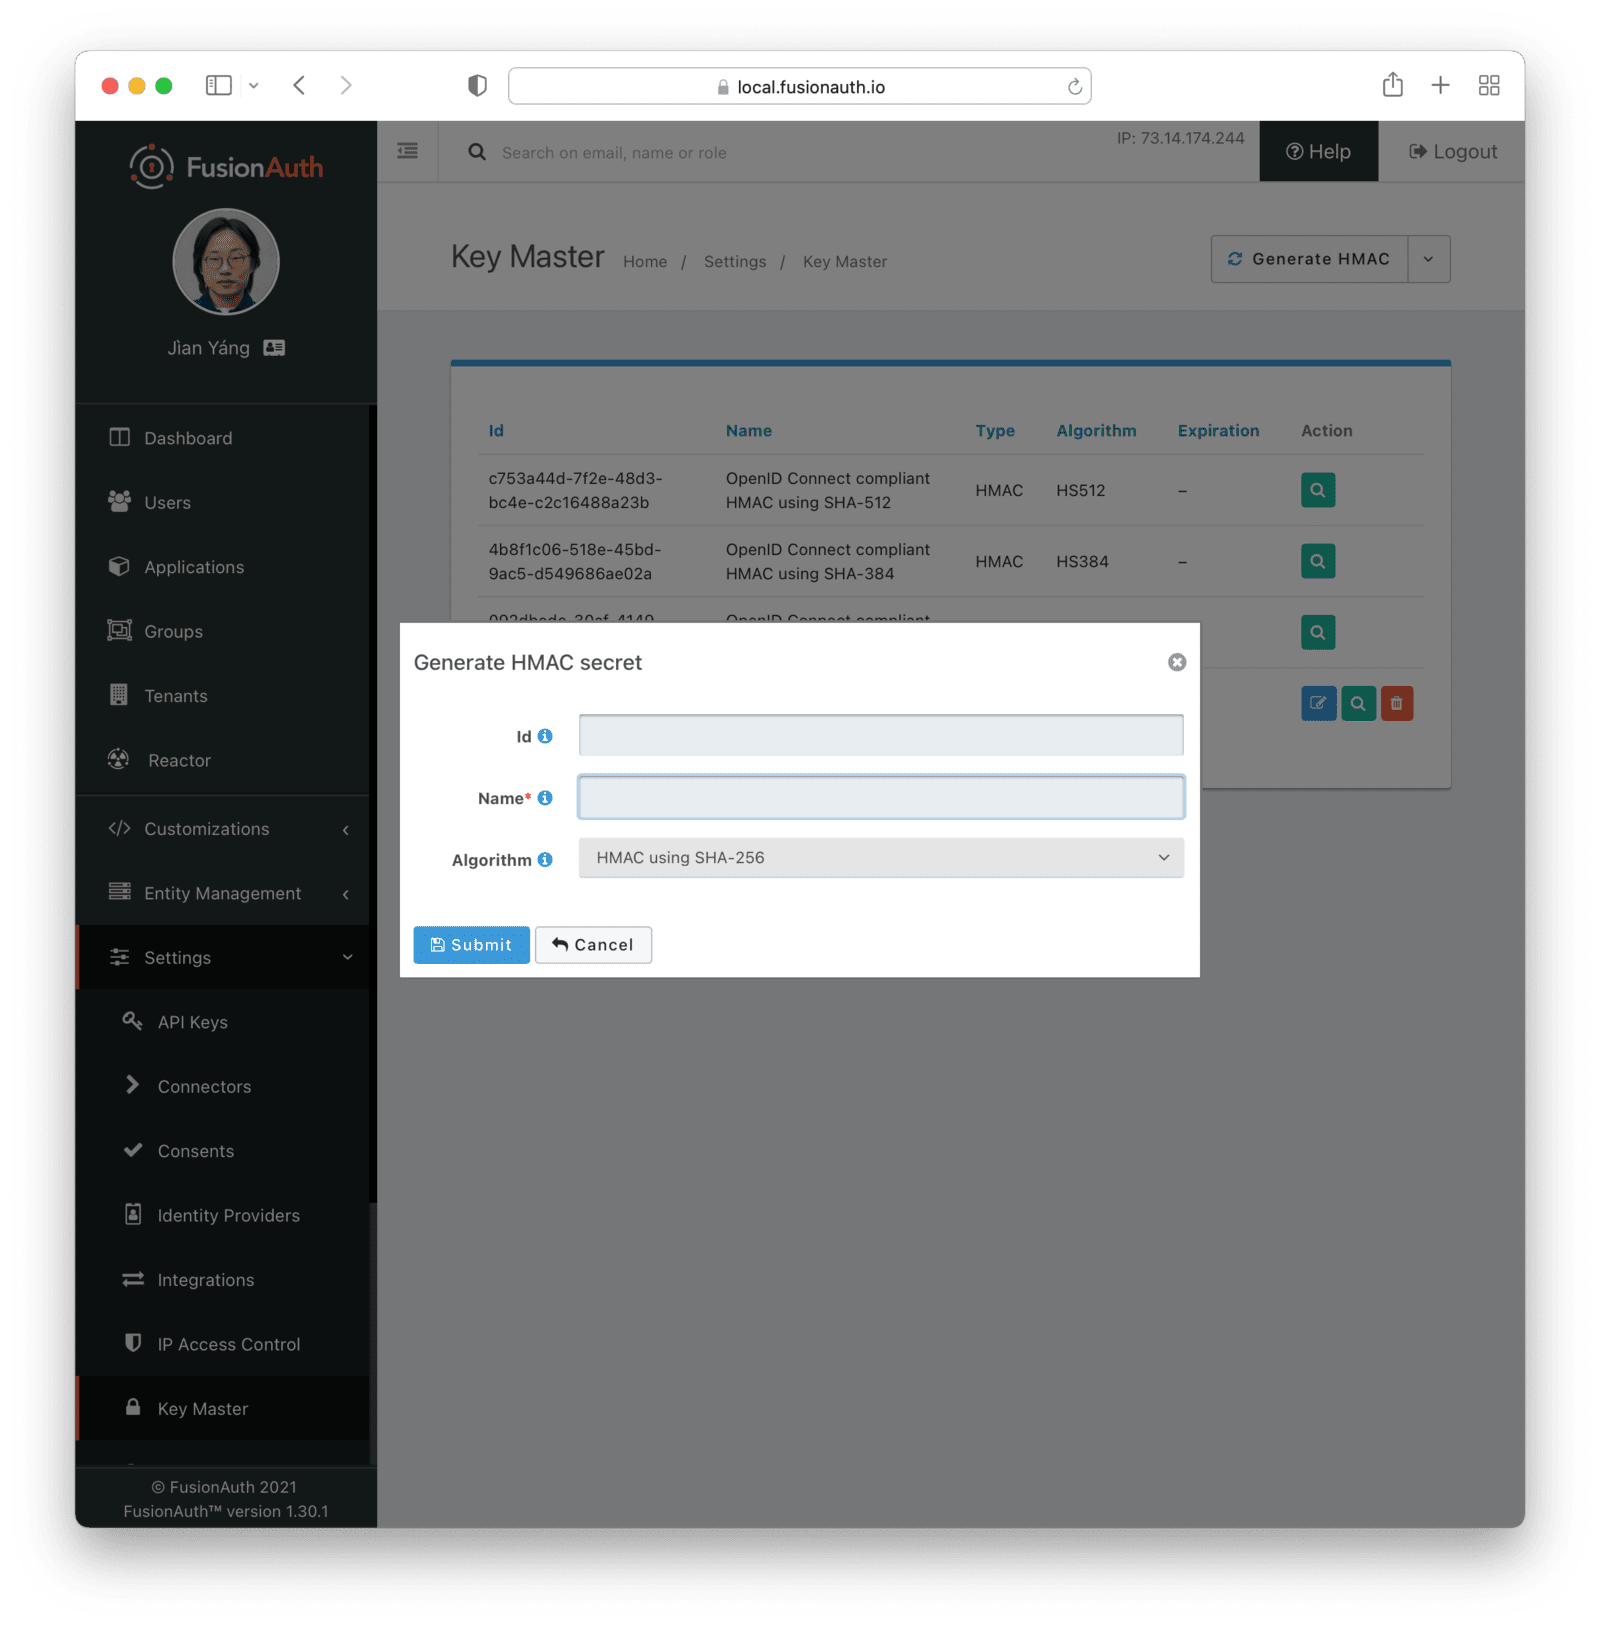
### Form Fields
<KeyMasterImportFormFields has_algorithm algorithm_name="HMAC" />
## Limits On Updating Keys
<UpdateKeyNote />
# Key Rotation
import Aside from 'src/components/Aside.astro';
import Breadcrumb from 'src/components/Breadcrumb.astro';
import InlineField from 'src/components/InlineField.astro';
import {RemoteCode} from '@fusionauth/astro-components';
In FusionAuth, there are multiple types of keys, including API keys and JWT signing keys. In addition, the client secret value for your application and entities can be considered a key to be rotated as well.
Rotating these keys regularly is an important part of a defense-in-depth strategy. Such rotation ensures even if a key is compromised, the length of time it will be useful to attackers is limited. In addition, when you regularly rotate keys, you will necessarily have built systems allowing you to rotate keys at will. This might be a good idea if you suspect an attack or when an employee departs.
## Types of Keys to Rotate
As mentioned above, in FusionAuth, there are multiple kinds of keys: API keys, JWT signing keys, and client secrets. These are used for different purposes.
API keys manage FusionAuth functionality and are used by scripts or applications to authenticate with FusionAuth and perform actions like adding users or updating tenant configuration. API keys are arbitrary strings. They are managed using the [API Keys API](/docs/apis/api-keys) or in the <Breadcrumb>Settings -> API Keys</Breadcrumb> area of the administrative user interface. You can also learn more about them in the [API Key authentication documentation](/docs/apis/authentication#api-key-authentication).
JWT signing keys, on the other hand, are used to sign JSON web tokens (JWTs). These keys are then used by anything consuming the JWT to verify the signature. This assures the consuming application that FusionAuth did indeed sign the token. JWT signing keys are cryptographic keys stored in FusionAuth. They are managed using the [Keys API](/docs/apis/keys) or in the <Breadcrumb>Settings -> Key Master</Breadcrumb> area of the administrative user interface. You can also learn more about JWT signing in the [JWT expert advice section](/learn/expert-advice/tokens/).
Client secrets are used by confidential OAuth clients to authenticate with FusionAuth during one of the OAuth grants, such as the authorization code grant or the client credentials grant. They are also used to sign OIDC `id_token`s. If used for user logins, they are managed using the [Applications API](/docs/apis/applications) or in the <Breadcrumb>Applications</Breadcrumb> area of the administrative user interface. If used for entity management and the client credentials grant, they are managed using the [Entities API](/docs/apis/entities/) or in the <Breadcrumb>Entity Management -> Entities</Breadcrumb> area of the administrative user interface. You can also learn more about client secrets in the [OAuth documentation](/docs/lifecycle/authenticate-users/oauth/).
## Examples of Key Rotation Processes
Each type of key has a slightly different rotation process. Rotation steps for time-based rotations are outlined below.
If you suspect or know of a key compromise, the criteria of whether to rotate a key changes, but the rotation steps are the same.
### API Key Rotation
Suppose you are using API key `A` to manage a FusionAuth instance. To rotate this API key, you need to perform the following steps.
* Find information about key `A`, including when it was created and what its Id is.
* Determine how long it has been in use. If it has been in use long enough to rotate, proceed. Otherwise ignore it.
* Create a new key, `B` with identical permissions to `A`. This ensures continuity of access.
* Store off all needed metadata for key `B`, including when it was brought into service.
* Update all applications, scripts and programs which use key `A` to use key `B`.
* Remove key `A`.
### JWT Signing Key Rotation
In contrast, suppose you are rotating a JWT signing key, `JS1`. To rotate such a key, follow these steps:
* Find information about key `JS1`, including when it was created and what its Id is.
* Determine how long it has been in use. If it has been in use long enough to rotate, proceed. Otherwise ignore it.
* Create a new key, `JS2`. You typically want to ensure `JS2` uses the same algorithm and length as `JS1`.
* Store off all needed metadata for key `JS2`, including when it was brought into service.
* Update the FusionAuth configuration to ensure that `JS2` is used for all applications and tenants for which `JS1` was used.
* Wait until all keys signed by `JS1` have expired. The exact length of time depends on your configured JWT lifetime. For instance, if your JWTs last for five minutes, wait for ten minutes to allow for clock skew.
* Delete key `JS1`.
In this case, FusionAuth is assumed to be the only process that is using `JS1` or `JS2`. If there are external dependencies (for example, if the `JS1` and `JS2` keys are RSA asymmetric keys and the private keys are externally managed or need to be synced with other software), then the process gets a little more complicated.
You need to import the key, instead of create it, and update other systems which use `JS1` to use `JS2`.
To handle the scenario where `JS2` needs to be imported to FusionAuth:
* Determine it is time to rotate `JS1`.
* Import a new key, `JS2`.
* Update the FusionAuth configuration to ensure that `JS2` is used for all applications and tenants for which `JS1` was used.
* Update any other pieces of software which use `JS1` to use `JS2`.
* Wait until all keys signed by `JS1` have expired. The exact length of time depends on your configured JWT lifetime. For instance, if your JWTs last for five minutes, wait for ten minutes to allow for clock skew.
* Delete key `JS1`.
* Note when `JS2` entered into service.
### Client Secret Rotation
Suppose you are using client secret `A` for an application. The application uses the authorization code grant. To rotate this client secret, you need to perform the following steps.
* Find information about `A`, including when the FusionAuth Application was configured to use it and what that corresponding Application Id is.
* Determine how long it has been in use. If it has been in use long enough to rotate, proceed. Otherwise ignore it.
* Create a new random string, `B`. In general, this string should be high entropy and long enough to be a good candidate for an HMAC secret. This is because a client secret may be part of the process to sign an `id_token`. See the [OIDC specification for more](https://openid.net/specs/openid-connect-core-1_0.html#SymmetricKeyEntropy).
* Store off all needed metadata for key `B`, including when the application was updated to use it.
* Update all web applications, mobile applications, scripts and programs which use client secret `A` to use `B`.
* Update the correct FusionAuth Application configuration. Use `PATCH` or `PUT` to update the <InlineField>application.oauthConfiguration.clientSecret</InlineField> value.
## Challenges of Key Rotation
There are a couple of challenges when implementing key rotation in FusionAuth.
### Ensuring Clients' Keys Are Updated
First, you want to ensure that no valid client is using an old API key before you delete it. Deleting a key while it is still in use will cause other software using that key to fail and be denied access. You have a couple of options to avoid this:
* Use a central secrets repository. If all software pulls any required keys from a central secrets repository such as AWS Secrets Manager or Heroku environment variables, then you update the key in only one place. However, implementation of centralized application secrets is beyond the scope of this document.
* Automate the pushing of secrets to all clients that need the key.
* Allow for a grace period to allow clients to update their key before deleting it.
For client secrets, this problem is magnified because while you can have multiple API keys, you cannot have multiple client secrets for any given application or entity. In this case, you may be able work around this by having your client support multiple different client secrets and trying them in sequence. There's also an [open issue](https://github.com/FusionAuth/fusionauth-issues/issues/1361) to have FusionAuth support a grace period for client secrets.
This problem doesn't arise in the same manner for JWT signing keys because they have a built in grace period: the expiration of the JWTs. You can definitely cause issues by removing a JWT signing key before all the keys it has signed have expired, but because JWT signing keys are only used by FusionAuth to sign JWTs and have a built-in expiration time, it is easy to use the grace period option above.
### Determining Key Age
Another challenge is determining when a key should be rotated.
#### 1.45 And Later
You can use the [Key Search API](/docs/apis/keys#search-for-keys) with a wildcard value and ordering by expiration date, so you can write a script to find all keys that expire within the next month or other time period.
Here's an example script, which uses `jq` and `bash`. It's available in the [FusionAuth example scripts GitHub repository](https://github.com/FusionAuth/fusionauth-example-scripts).
<RemoteCode url="https://raw.githubusercontent.com/FusionAuth/fusionauth-example-scripts/main/key-expiration-check/find-expiring-keys.sh"
lang="shell"
title="Script to query for keys expiring in 30 days" />
At regular intervals, perhaps run by `cron` or another scheduling program, run this script, then rotate the returned keys.
#### Before 1.45
<Aside type="note">
Prior to 1.45, you don't have the ability to search for a key by creation or expiration instant.
</Aside>
You must store the creation and age data separately. To be able to rotate keys, store the following attributes:
* `id`. This is the identifier of the key and is used to manipulate and delete keys via the API.
* `inserted`. The instant when the key was created.
* `expires`. The instant when the key expires. Storing this value allows different keys to be valid for different durations.
* `deleteAfter`. The instant after which this key should be removed. This value may be the same as the `expires` value. Having this value be after the `expires` instant is useful as a grace period during which the key shouldn't be used, but will still work.
You can either store this information in an external datastore or in a FusionAuth `data` field. For the latter option, store the information in JSON, on an object like the tenant, a specific user, or an entity. The latter two options are good choices when you are using the Elasticsearch search engine because you can then leverage the respective Search APIs, as the `data` field is indexed. This allows you to keep everything contained within FusionAuth.
Here's an example of what that data might look like.
```json title="Storing key rotation data"
{
"apikeys" : [
{
"id" : "41e6deca-0e39-46e7-804b-68b0bc94a761",
"inserted" : 1628022201033,
"expires" : 1628022205033,
"deleteAfter" : 1628022208033
},
{
"id" : "5b56deca-0e39-46e7-804b-68b0bc94a981",
"inserted" : 1628022202033,
"expires" : 1628022207033,
"deleteAfter" : 1628022209033
}
]
}
```
At regular intervals, perhaps run by `cron` or another scheduling program, a rotation script or program:
* Notes the current time.
* Retrieves the entire data structure.
* Walks it. For each entry:
* Sees if the key has a `deleteAfter` value before the current time. If so, delete the key.
* Checks if the key has an `expires` value before the current time. These are expired keys.
* If a key is expired, create a new key to replace it.
* Push the new key to the secrets manager or otherwise notify clients that rotation has occurred.
* Marks the expired key for deletion by setting the `deleteAfter` attribute to the correct value.
As mentioned above, rather than use a FusionAuth `data` field, you could also use a table in a relational database or other datastore to store key metadata.
### Updating JWT Signing Key Usage
Another challenge particular to signing keys is finding all the locations where the expired key is used.
The easiest way to do this is to retrieve all appropriate objects and look for the key Id. Here are the configuration locations to examine:
* JWT configuration
* `tenant.jwtConfiguration.accessTokenKeyId`
* `tenant.jwtConfiguration.idTokenKeyId`
* `application.jwtConfiguration.accessTokenKeyId`
* `application.jwtConfiguration.idTokenKeyId`
* Entity Type JWT configuration
* `entityType.jwtConfiguration.accessTokenKeyId`
* Application SAML v2
* `application.samlv2Configuration.keyId`
* `application.samlv2Configuration.logout.singleLogout.keyId`
* `application.samlv2Configuration.logout.keyId`
* `application.samlv2Configuration.assertionEncryptionConfiguration.keyTransportEncryptionKeyId`
* SAML v2 IdP
* `identityProvider.keyId`
* `identityProvider.requestSigningKeyId`
* Webhook signature
* `webhook.signatureConfiguration.signingKeyId`
Each of the above configuration objects must be modified to use the new key, rather than the expired one.
# Networking Configuration
import Aside from 'src/components/Aside.astro';
import APIBlock from 'src/components/api/APIBlock.astro';
import APIField from 'src/components/api/APIField.astro';
import Breadcrumb from 'src/components/Breadcrumb.astro';
import InlineField from 'src/components/InlineField.astro';
## IP Address Resolution
<Aside type="version">
Available Since Version 1.49.0
</Aside>
FusionAuth determines a client's IP address so that the address can be recorded during a login event, sent to a webhook in the event request body, and used when IP ACLs are in use by an Application or an API key.
When traffic passes through a proxy, the proxy typically appends the IP address to the `X-Forwarded-For` header, and the proxy's IP address becomes the new requesting IP. Because a proxy is free to modify this header as it sees fit, a bad actor could write a value to the `X-Forwarded-For` header that allowed a request to bypass ACL rules, or to cause an incorrect IP address to be logged or used in calls to webhooks.
The FusionAuth IP resolution configuration allows you to tell FusionAuth which proxies it should trust. When an `X-Forwarded-For` header is present on a request, FusionAuth will take the first untrusted proxy from the list and use that as the client IP address. If all proxies are trusted, then the left most address on the `X-Forwarded-For` header will be used as the client IP address.
<Aside type="caution">
Use caution when applying IP address resolution settings if your FusionAuth Admin application is using an Access control list. Saving an incorrect set of trusted proxies can make your Admin application inaccessible.
</Aside>
### Configuration
To modify the IP resolution trust policy, navigate to <Breadcrumb>Settings -> System -> Networking</Breadcrumb>.
<img src="/img/docs/operate/secure-and-monitor/networking-settings.png" alt="Networking Configuration" width="1200" role="shadowed" />
### Form Fields
<APIBlock>
<APIField name="Trust policy">
This policy indicates how FusionAuth will resolve the client IP address when parsing the `X-Forwarded-For` header.
Selecting `All` will cause FusionAuth to trust all proxies, and to ignore any IP addresses named in the <InlineField>Trusted proxies</InlineField> field. This setting is not recommended, but may be necessary in development, or during configuration when the list of trusted upstream proxies is not yet known.
Selecting `Only Configured` will tell FusionAuth to only trust those proxies listed in the `Trusted proxies` list. This is the recommended settings.
</APIField>
<APIField name="Trusted proxies">
This is newline-separated list of trusted proxy IP addresses. This value will be accepted but ignored when the Trust Policy is set to `All`.
Values may be specified as IPv4, or IPv6 format, and ranges of addresses are also accepted in CIDR notation.
</APIField>
</APIBlock>
# Securing FusionAuth services
import Aside from 'src/components/Aside.astro';
## Securing
If you're installing FusionAuth on your own server, use the following guide as a baseline for securing the network services. If you need further assistance to secure FusionAuth, please ask a question in the <a href="/community/forum/" target="_blank">FusionAuth forum</a>. If you have a licensed plan you may open a <a href="https://account.fusionauth.io/account/support/" target="_blank">support request from your account</a>.
If you are already a FusionAuth customer and would like to be on the security announcement email list, log into [account.fusionauth.io](https://account.fusionauth.io) and ensure you have been assigned the `Security Officer` role.
## Required ports
See the [Configuration Reference](/docs/reference/configuration) for more information on default port configuration. The documentation below
assumes the default port configuration.
### FusionAuth Search
If FusionAuth Search is running on the same system as the FusionAuth App service and you're only running a single instance of FusionAuth
App then no external ports should be allowed for FusionAuth Search. In this scenario, FusionAuth App will access the Elasticsearch
service on port `9021` on the `localhost` address. The default configuration should cause FusionAuth Search to only bind to `127.0.0.1` or other
localhost addresses. See `fusionauth-search.hosts` in the [Configuration Reference](/docs/reference/configuration).
If FusionAuth App is installed on multiple servers and those servers can communicate across a private network using a site local address then
the default FusionAuth Search Configuration will not bind to any public IP addresses. In this scenario you will need to allow access to
ports `9020` and `9021` on the site local IP address.
It is not recommended to expose FusionAuth Search to any public network. If this is a requirement, then a firewall should be used to limit traffic to the service based upon the source and destination IP address.
To protect FusionAuth Search with HTTP basic authentication as well as a firewall, provide the username and password in the URL, like so: `search.servers=http://user:password@myelasticsearchcluster.com`. Support for basic authentication was introduced in version 1.16.
The `9020` port is utilized by Elasticsearch for internal communication including clustering. The `9021` port is the HTTP port utilized by
FusionAuth App to make requests to the search index.
### FusionAuth App
To access the FusionAuth UI you'll need to open port `9011`. If you have more than one instance of FusionAuth installed you will need
to ensure that each instance of FusionAuth Backend can communicate on port `9011`.
## Database Access
FusionAuth uses a database to store almost all system data and configuration. This database contains extremely sensitive user information such as PII and password hashes.
Ensure that access to this database is limited to a single database user, and that the credentials of that user are controlled properly.
In addition, access to backups of this database should be limited and backups permanently deleted when no longer of use.
## Configuration Information
The FusionAuth App is [configured](/docs/reference/configuration) using system properties, environment variables or a configuration file. This configuration includes sensitive information such as database credentials. Ensure you properly secure this configuration. For example:
* If using a file, ensure the file is only readable by the user FusionAuth is running as.
* If using environment variables, ensure they are stored safely and minimally accessible.
* If using system properties, avoid setting them on the command line where they could be visible to other users on the system.
## Custom Certificate Authority
FusionAuth ships with the default `cacerts` file from OpenJDK, which contains a list of root certificate authorities. There are times when you need to add a certificate authority to this file. This might occur if:
* You are using a self signed certificate.
* Your certificate authority does not ship with the version of Java that FusionAuth uses.
<Aside type="caution">
This operation affects the security of your FusionAuth installation. Ensure that you know the provenance of this certificate and trust the issuer.
</Aside>
In some cases, such as with [webhooks](/docs/extend/events-and-webhooks/securing), you may provide your own certificate via the FusionAuth API or UI, but you may need to install a certificate authority globally.
You have two options, specifying a custom keystore and truststore in the Java runtime arguments or importing the certificate into the default keystore that is used by FusionAuth.
### Custom Keystore
To specify it in the Java runtime arguments with a custom keystore, use the `fusionauth-app.additional-java-args` and `fusionauth-search.additional-java-args` configuration parameters.
Create a keystore and truststore as documented by the [Java documentation](https://docs.oracle.com/javase/9/tools/keytool.htm). Let's assume you have created a keystore called `my-keystore` and a truststore called `my-truststore`, and placed them both at `/usr/local/fusionauth/config/` using a configuration management tool with the passwords of `changeit`. With this setup, here is an example the property you might add to the `fusionauth.properties` file.
```properties
fusionauth-app.additional-java-args=-Djavax.net.ssl.keyStore=/usr/local/fusionauth/config/my-keystore -Djavax.net.ssl.keyStorePassword=changeit -Djavax.net.ssl.trustStore=/usr/local/fusionauth/config/my-truststore -Djavax.net.ssl.trustStorePassword=changeit
```
Learn more about [configuration options](/docs/reference/configuration).
If you are using the docker image, you'll have to put the keystore and truststore in a file location accessible to the docker image, as well as define the configuration options using the environment variable syntax.
### Importing Into the FusionAuth Keystore
To import it into the standard keystore, import the certificate representing this authority in every one of your FusionAuth instances.
To add a certificate authority, use the `keytool` to add a value to the Java keystore. First, find the Java installation that is running FusionAuth. This is typically at `FA_INSTALL_DIR/java/` where `FA_INSTALL_DIR` is where you installed FusionAuth. This is typically located at `/usr/local/fusionauth` but may vary.
If your Java installation is at `/usr/local/fusionauth/java/current/`, the `/usr/local/fusionauth/java/current/lib/security/cacerts` file should be modified. Let's also assume the new certificate authority public key file is located at `newcacert.pem`, and that you haven't changed your keystore password from the default value, which is `changeit`.
Import the certificate with this command:
```sh
/usr/local/fusionauth/java/current/bin/keytool -importcert -file newcacert.pem -keystore fusionauth/java/current/lib/security/cacerts -storepass changeit -alias faselfsignedcert
```
Then, restart FusionAuth.
You'll have to repeat these steps every time the FusionAuth Java version is updated. This is a major change and will be highlighted in the [release notes](/docs/release-notes/).
If you are using the docker image, you'll have to build a custom Dockerfile based on the FusionAuth Dockerfile which runs the `keytool` import command. The base FusionAuth Dockerfile is available in the [fusionauth-containers repo](https://github.com/fusionauth/fusionauth-containers).
# Token Storage
import TokenStorageOptionsTable from 'src/content/docs/_shared/_token-storage-options.mdx';
import RecommendedTokenStorageOptions from 'src/content/docs/_shared/_recommended-token-storage-options.mdx';
## Overview
After a grant, FusionAuth delivers access tokens to the client. The client may also receive refresh and Id tokens, depending on the scopes requested.
These tokens are signed and signify that an authentication has occurred. You must store these tokens appropriately.
## Access Token And Refresh Storage Options
Access tokens are meant to be presented by the client to secure resources to gain access to data or functionality. This includes APIs or other services.
Refresh tokens are designed to be presented by the client to FusionAuth in order to get a new access token.
Refresh tokens have a longer lifetime because they are useful only to FusionAuth. Access tokens are shorter lived because, as mentioned, they allow access to data or functionality.
Both access tokens and refresh tokens should be stored in a secure fashion. FusionAuth recommends that these tokens be stored in location inaccessible to the client.
### Recommended Storage Options
There is always nuance when recommending solutions based on your application or applications and how tokens are used. Make sure you understand your threat model and how your tokens are used before selecting your token storage.
FusionAuth's recommended storage mechanisms include:
<RecommendedTokenStorageOptions />
### Storage Options
Here is a complete list of storage options for access and refresh tokens.
<TokenStorageOptionsTable />
## Id Token Storage Options
Id tokens contain data meant to be used by the client. For example, a JavaScript component can examine an Id token to display the name of a user.
Secure them in the same way you would any other user data that is readable by a browser or mobile app.
# FusionAuth Vulnerabilities
## Vulnerabilities
This page is provided to help a FusionAuth administrator understand what CVEs or other documented vulnerabilities affect FusionAuth.
The FusionAuth development team continually monitors for known vulnerabilities in FusionAuth and its dependent packages.
## CVEs
The Common Vulnerabilities and Exposures or CVE as it is referred to is a public database that allows software vendors and software consumers to find and report on software vulnerabilities.
https://www.cve.org/
The purpose of this listing is to provide you with a list of CVEs that are known to exist in one or more versions of FusionAuth. It will also cover affected versions, migration steps, or an explanation of why a CVE may show up in a scan, but not affect FusionAuth.
### CVE-2022-34169
> The Apache Xalan Java XSLT library is vulnerable to an integer truncation issue when processing malicious XSLT stylesheets. This can be used to corrupt Java class files generated by the internal XSLTC compiler and execute arbitrary Java bytecode.
https://www.cve.org/CVERecord?id=CVE-2022-34169
**Why am I seeing this CVE show up in a security scan?**
The version Java that is packaged with FusionAuth contains the Apache Xalan XSLT library.
**Is FusionAuth affected?**
No. FusionAuth is not using the XSLT compiler to compile the style sheets. This CVE does not affect FusionAuth.
**Fixed in version:**
N/A
# Technical Support
import InlineField from 'src/components/InlineField.astro';
import ReleaseNotification from 'src/content/docs/_shared/_release-notification.astro';
FusionAuth is a developer focused product. Developers sometimes need support in integrating it.
This page provides information about our technical support practices and contacting our team if you need such support.
## Support Request Guidelines
Whether you have a paid plan of FusionAuth that includes engineering support, or are one of the thousands of developers in the FusionAuth community, you’ll get answers more quickly if you provide the following information about your issue:
* What you are trying to do, specific step by step of clicks you make, APIs you’ve called, configuration you have, things you’ve changed, etc. More information is better. For example, what you are seeing, specific panels in the UI, API status codes, errors, screenshots, etc. We want all of it.
* What you expected to see. Sometimes this is obvious, and sometimes it isn’t. Err on the side of over sharing.
* What you've tried already. Sometimes this can help us narrow down the issue more quickly.
* The version of FusionAuth you are using (this information is available on the admin screen in the lower left hand corner).
* The number of FusionAuth nodes you are running in your deployment.
* Information about supporting infrastructure such as the database and Elasticsearch, including the version and architecture (is the database local, cloud managed, etc).
* [All FusionAuth log files](/docs/operate/troubleshooting/troubleshooting/) you can provide. Please don't provide snippets because often the issue won't be in the snippet but somewhere else in the logs. Providing us with complete log files upfront helps us track down issues faster. And you'll avoid getting replies like "please send the complete log files". Of course, please remove any sensitive information from the log files.
If you don’t provide this information initially, expect the FusionAuth team to ask for it.
[Exhibit A of the FusionAuth license agreement](/license/#exhibit-a) defines support levels in more detail, including priority levels, service definitions, and exclusions.
## Customers Paying For Support
If you have a paid plan which includes technical support, please [open a ticket via your account portal](https://account.fusionauth.io/account/support/). This ensures that we will see it; slack messages or emails can unfortunately get lost.
When you are logged in to your account, you will see the support button in the lower right hand corner.
<img src="/img/docs/operate/troubleshooting/support-button.png" alt="The support ticket button." width="1200" role="top-cropped" />
When you click the button, you will be directed to the support tab.
<img src="/img/docs/get-started/support-tab.png" alt="The support tab" width="1200" role="bottom-cropped" />
Click the <InlineField>Open a support ticket</InlineField> button to create a new ticket or use the <InlineField>View support tickets</InlineField> button to see existing support tickets.
Fill out the form fields as appropriate to submit a new support ticket.
We do not typically make music recommendations, however.
<img src="/img/docs/operate/troubleshooting/support-ticket-form.png" alt="Adding a support ticket." width="1200" role="bottom-cropped" />
**Paid support plans provide access to the engineering team.**
If you do not have a paid support plan, you generally will not see the support button.
When you open a ticket, you will get a response within [the documented time window for your plan](/pricing/), and typically sooner.
### FusionAuth Cloud Support
If you have a hosted FusionAuth instance running in FusionAuth Cloud, we provide support **related to the operation of your instance**.
This includes upgrades, SLA (if applicable), backups/restores (if applicable) and downtime.
If you would like to shut down one or more of your FusionAuth Cloud instances, please sign into your account portal and destroy your deployments.
If desired, request a data export beforehand by filing a support ticket.
FusionAuth Cloud support **does not include support** for implementation questions. Such support requires purchase of a plan including technical support.
## Community Members
If you run the Community or Starter plan and need technical support, please [search the forum](/community/forum/search), [post your question to the forum](/community/forum/), or [review our extensive documentation](/docs/).
With community support, we can't offer a guaranteed response time. The timeline for an answer in the forum depends on what other community members can provide as well as the demands on the FusionAuth community support team.
In most cases our community support team is able to review community requests and respond within a week or two.
### Community Support Limitations
There are certain classes of problems with which the FusionAuth community support team will not help.
You are welcome to post these questions in the forums to get feedback and to educate other community members, however.
The FusionAuth team is engineers and it pains us to not answer every question.
However, when it comes to architecture decisions or system performance it is just not possible for us to adequately answer these questions through the community channels.
Architecture questions require a lot of context and knowledge of your application and infrastructure. The number of variables to be accounted for when offering performance advice is not trivial.
For these reasons, a paid support plan is required to assist with these types of issues:
* Production issues
* Architectural, design and integration guidance
* Performance tuning or load testing
Some examples of questions the community support team won't be able to answer:
* I want to build my application using features X and Y; how should I best leverage FusionAuth?
* I have 1M users and my FusionAuth instance is slow; can you help?
* I want to connect FusionAuth to \[other service]. How do I do that?
If you have such needs, please consider [purchasing a plan with support](/pricing).
## Proof Of Concept Support
At FusionAuth, we understand how developers make decisions about crucial application components like an auth server: by trying it out!
It's really important to perform a proof of concept integration when you are considering a solution which will be a critical part of your application.
There are two paths to getting support for proof of concept projects.
The first is self-directed. In this case, you don't interact with the sales team at all. Use our [documentation](/docs/) to get started, our community support options such as the [forums](/community/forum/) for questions, and review our [GitHub issues](https://github.com/fusionauth/fusionauth-issues/issues) for known limitations or bugs.
The second option is to [engage with our technical sales team](/contact). This puts you in contact with a sales representative and a sales engineer to help answer your specific questions and who can escalate issues internally. They will set you up with the resources and answers you need to determine if FusionAuth is a fit for you. They'll also follow up with you to make sure you are making the progress you need to make the right decision for you.
## GitHub Issues
[GitHub issues](https://github.com/fusionauth/fusionauth-issues/issues) should be used to submit:
* feature requests (the more details about the use case, the better!)
* or bug requests (please provide replication steps and other details in the bug report issue template)
Any support requests opened in GitHub issues will be closed and redirected to the forum or support tickets, as appropriate.
Unfortunately we may not be able to do such redirection in a timely manner.
## Release Notifications
<ReleaseNotification />
## Roadmap
If you have questions about future features and directions of FusionAuth, please see our [roadmap guidance](/docs/operate/roadmap/roadmap).
# Troubleshooting
import AccountManagementTroubleshooting from 'src/content/docs/lifecycle/manage-users/account-management/_account-management-troubleshooting.mdx';
import Aside from 'src/components/Aside.astro';
import EmailTroubleshooting from 'src/content/docs/customize/email-and-messages/_email-troubleshooting.mdx';
import ExposingLocalInstance from 'src/content/docs/get-started/download-and-install/development/_exposing-local-instance.mdx';
import IdpManagedDomainsTroubleshooting from 'src/content/docs/lifecycle/authenticate-users/identity-providers/_idp-managed-domains-troubleshooting.mdx';
import InlineField from 'src/components/InlineField.astro';
import KafkaTroubleshooting from 'src/content/docs/extend/events-and-webhooks/kafka/_kafka_troubleshooting.mdx';
import KickstartTroubleshooting from 'src/content/docs/get-started/download-and-install/development/_kickstart-troubleshooting.mdx';
import MfaTroubleshooting from 'src/content/docs/lifecycle/authenticate-users/_mfa-troubleshooting.mdx';
import ProxyTroubleshooting from 'src/content/docs/operate/deploy/_proxy-troubleshooting.mdx';
import ThemeTroubleshooting from 'src/content/docs/customize/look-and-feel/_theme-troubleshooting.mdx';
import Troubleshooting from 'src/content/docs/lifecycle/manage-users/account-management/troubleshooting.mdx';
import TroubleshootingApiCalls from 'src/content/docs/_shared/_troubleshooting-api-calls.mdx';
import TroubleshootingElasticsearchQueries from 'src/content/docs/lifecycle/manage-users/search/_troubleshooting-elasticsearch-queries.mdx';
import TroubleshootingGating from 'src/content/docs/lifecycle/manage-users/verification/_troubleshooting-gating.mdx';
import TroubleshootingPlugin from 'src/content/docs/extend/code/password-hashes/_troubleshooting-plugin.mdx';
import TroubleshootingRuntimeModesAtStartup from 'src/content/docs/get-started/download-and-install/_troubleshooting-runtime-modes-at-startup.mdx';
import TroubleshootingUninstallUpgradeReinstallRpm from 'src/content/docs/_shared/_troubleshooting-uninstall-upgrade-reinstall-rpm.mdx';
import { YouTube } from '@astro-community/astro-embed-youtube';
import Breadcrumb from 'src/components/Breadcrumb.astro';
## Overview
If any problems arise or if you are unable to access FusionAuth, consult the FusionAuth log files. In most cases, API errors will be written out to the `fusionauth-app.log` file, but for some installations such as Docker, the errors will be sent to `stdout`.
If you need further assistance, please ask a question in the <a href="/community/forum/" target="_blank">FusionAuth forum</a> or open an issue on <a href="https://github.com/FusionAuth/fusionauth-issues/issues/new/choose" target="_blank">GitHub</a> if you have found a bug (please provide replication steps).
If you have a paid plan that includes technical support, you may open a support request from your <a href="https://account.fusionauth.io/account/support/" target="_blank">FusionAuth Account</a> page. Learn more about [purchasing support](/pricing).
## Logs
### System Log UI
The system logs may be reviewed in the FusionAuth admin UI by navigating to <Breadcrumb>System -> Logs</Breadcrumb>. This feature was added in version 1.16.0. This UI will only render logs for systems that write their logs out to disk. Deployments that write logs to `stdout`, such is the case with Docker, will not be able to review logs through this interface.
The system log UI organizes and renders the most recent 64KB of all logs for all nodes in the deployment. If you need the entire log, use the download action in the upper-right hand corner of the UI to download a zip of all logs.
<img src="/img/docs/operate/troubleshooting/system-logs-single-node.png" alt="System Logs - Single Node" width="1200" />
<img src="/img/docs/operate/troubleshooting/system-logs-multiple-nodes.png" alt="System Logs - Multiple Nodes" width="1200" />
#### System Logs in FusionAuth Cloud
When accessing the system log UI on a FusionAuth Cloud deployment, be aware of the following limitations:
- `fusionauth-search.log` files logs may not be available
- `fusionauth-app.log` files may be limited to the last start of each node
If you are a FusionAuth Cloud customer and require access to logs that are unavailable in the UI, you may open a support request from your <a href="https://account.fusionauth.io/account/support/" target="_blank">FusionAuth Account</a> page.
### Filesystem Logs
Alternatively, the logs may be accessed directly. The following are the default locations for each of the FusionAuth log files. You may or may not have all of the FusionAuth services installed for your system, so you may not have all of the following logs on your server.
```shell title="Linux and macOS"
/usr/local/fusionauth/logs/fusionauth-app.log
/usr/local/fusionauth/logs/fusionauth-search.log
```
These paths assume the suggested product location of `\fusionauth`. This path may be different on your system depending on where you unpacked the zip files.
```plaintext title="Windows"
\fusionauth\logs\fusionauth-app.log
\fusionauth\logs\fusionauth-search.log
```
Note that if you started Windows via Fast Path, the `fusionauth-app.log` file will not be created. Instead, the services are running interactively and all logging is written to stdout.
### Event Log
<Aside type="version">
Available since 1.6.0
</Aside>
The event log is a FusionAuth message store designed to capture different types of events that may be necessary to communicate to a FusionAuth developer or admin user.
The event log may contain helpful details to indicate the cause of the failure, or a failure condition you need to be aware of in FusionAuth. See <Breadcrumb>System -> Event Log</Breadcrumb> to view this log.
While not limited to, generally speaking, the event log will contain events or errors related to external systems or asynchronous issues that are difficult to communicate to the API caller or the FusionAuth admin at runtime. While not intended to be an exhaustive list, examples of these types of errors are:
- SMTP connection issues
- Lambda invocation errors
- External identity provider failures or configuration issues
- Failure to deliver a webhook event
## Enabling Debugging
### Functionality specific
Many features have additional debugging that can be enabled via the administrative user interface or the API. These features include, but are not limited to:
* Application OAuth configuration
* Identity Providers
* Application SAML IdP configuration
* Connectors
If you are having issues with certain functionality, look for a <InlineField>Debug enabled</InlineField> checkbox in the user interface. If present, set it to true.
<img src="/img/docs/operate/troubleshooting/generic-connector-debug-enabled.png" alt="Enabling debugging for a generic connector." width="1200" role="bottom-cropped" />
The additional debugging information will be written to the [Event Log](#event-log). You can find in the administrative user interface by navigating to <Breadcrumb>System -> Event Log</Breadcrumb>.
### Enabling JMX
[JMX](https://openjdk.java.net/groups/jmx/) is an API that allows deeper insight and monitoring of Java applications, including FusionAuth. To use JMX, you’ll need to include a few modules:
* `jdk.management.agent`
* `jdk.httpserver` if you are using the JMX HTTP adapter
These should be part of a recent, standard Java install. However, if you are using the Docker image, which is built with jlink, you'll need to build a new image with these modules. There's a [GitHub issue about adding these modules to the FusionAuth image](https://github.com/FusionAuth/fusionauth-containers/issues/70).
When the above modules are available to your Java runtime, configure JMX by passing additional arguments to FusionAuth using any of the supported [configuration options](/docs/reference/configuration) such as adding a `fusionauth-app.additional-java-args` entry to the `fusionauth.properties` file.
## Troubleshooting Email
<EmailTroubleshooting />
## Troubleshooting Identity Provider Configuration
<IdpManagedDomainsTroubleshooting />
## Troubleshooting Email and Registration Verification
<TroubleshootingGating />
### SAML and Apple Identity Providers
SAML and Apple Identity Providers will not work without the proper CORS configuration. If CORS is misconfigured, you will see a `403` status code during the login process in the browser network console.
When setting up a SAML Identity Provider in FusionAuth, [ensure you have configured CORS correctly](/docs/lifecycle/authenticate-users/identity-providers/overview-samlv2#cors-configuration).
When setting up an Apple Identity Provider in FusionAuth, [ensure you have configured CORS correctly](/docs/lifecycle/authenticate-users/identity-providers/social/apple#cors-configuration).
To further debug CORS issues:
* Enable debugging by navigating to <Breadcrumb>Settings -> System -> CORS</Breadcrumb>, selecting <InlineField>Debug enabled</InlineField>, and saving the settings.
* Attempt to log in again using the provider.
* Review the Event Log for relevant messages. See <Breadcrumb>System -> Event Log</Breadcrumb> to view this log.
After debugging is complete, ensure you disable CORS debugging to avoid spamming the Event Log with unnecessary information. Disable debugging by navigating to <Breadcrumb>Settings -> System -> CORS</Breadcrumb>, deselecting <InlineField>Debug enabled</InlineField>, and saving the settings.
## Troubleshooting Themes
<ThemeTroubleshooting />
## Troubleshooting Two Factor Authentication
If you are receiving an invalid code for your two factor authentication and you are using a [time based one time password (TOTP) application such as Google Authenticator or Authy](/docs/customize/email-and-messages/deprecated/authenticator-app-pre-1-26), confirm that the system time is correct on the server.
The TOTP two factor auth system is time dependent and if there is any slippage between the system time of the client and the system time of the server, the generated code will not be correct. This is also known as "clock skew".
The fix is to ensure that the FusionAuth server has the correct system time. How exactly do that depends on the type of system; please consult your operating system documentation.
## Troubleshooting Database Connections
If you find that FusionAuth is unable to connect to the database, ensure you can use a command line client connection to successfully make a connection using the same port and credentials.
Some MySQL services such as Microsoft Azure may require a specific version of TLS to connect successfully. At the time of writing this note, the MySQL connector will not attempt to utilize TLSv1.2 by default, so when connecting to a service that requires this version you will need to explicitly request this version of TLS on the connection string. For example, appending this `enabledTLSProtocols=TLSv1.2` to the connection string will allow you to successfully connect to an Azure managed MySQL database. See [MySQL Connector : Connecting Securely Using SSL](https://dev.mysql.com/doc/connector-j/8.0/en/connector-j-reference-using-ssl.html) for additional information.
## Troubleshooting Performance
If you are not seeing the logins per second you'd expect from FusionAuth, you can take some steps to troubleshoot the issue. Generally speaking the primary bottleneck for logins per second is CPU. Hashing the password is intentionally slow. FusionAuth will not be able to perform more logins per second than your CPU can handle. The database is the other likely bottleneck.
One way to identify if the password hashing is the bottleneck in load tests is to reduce the hash strength. See <Breadcrumb>Tenants -> Edit -> Password -> Cryptographic hash settings</Breadcrumb>. Set this to Salted MD5 with a factor of 1 and then enable Re-hash on login. This will cause each user to have their password re-hashed the next time they log in to use MD5. Salted MD5 is *not* a good password hashing strategy for several reasons, but is useful to test whether your system is CPU bound. Make sure you switch back after testing is done.
If you can still get a lower number of logins per second than you'd expect with this configuration, then the database is likely the bottleneck and you should update your system to use a database with more resources and load test that system.
If the MD5 configuration allows you to achieve much higher logins per second, then the CPU is your bottleneck. If you are CPU bound, the only way to get more logins per second is to horizontally scale (add more nodes) or vertically scale (use larger CPUs with each node).
## Troubleshooting Kickstart
<KickstartTroubleshooting />
## Troubleshooting Self Service Account Management
<AccountManagementTroubleshooting />
## Troubleshooting Install with RPMs
<TroubleshootingUninstallUpgradeReinstallRpm />
## Troubleshooting User Import
If you are importing password hashes, ensure you provide only the hash in the `password` import field. For some formats, you'll need to separate out the hash and the salt when using the [Import API](/docs/apis/users#import-users). If you do not, the import will succeed, but the user will not be able to log in, as the hash will not be correct.
For example, a bcrypt value of `$2a$10$N9qo8uLOickgx2ZMRZoMyeIjZAgcfl7p92ldGxad68LJZdL17lhWy` would be split out to the following import fields:
* `factor`: `10`
* `salt`: `N9qo8uLOickgx2ZMRZoMye`
* `password`: `IjZAgcfl7p92ldGxad68LJZdL17lhWy`
Learn more about the [bcrypt hash format](https://en.wikipedia.org/wiki/Bcrypt#Description).
## Troubleshooting Application Startup
<TroubleshootingRuntimeModesAtStartup />
## Troubleshooting API Calls
<TroubleshootingApiCalls />
## Troubleshooting FusionAuth Cloud API Calls
If you are on FusionAuth Cloud and you find that some requests are failing, you may be being rate limited.
This isn't intentional, but an automated part of our infrastructure to ensure FusionAuth Cloud performance and security.
If you are rate limited but need these requests to occur, please open a [support ticket](https://account.fusionauth.io/account/support/) with details.
## Troubleshooting Custom Password Hashing Plugins
<TroubleshootingPlugin />
## Troubleshooting Proxies
<ProxyTroubleshooting />
## Troubleshooting Kafka Integrations
<KafkaTroubleshooting />
## Troubleshooting User Search With Elasticsearch
<TroubleshootingElasticsearchQueries />
## Exposing A Local Instance To The Internet
<ExposingLocalInstance />
## Troubleshooting Multi-Factor Authentication
<MfaTroubleshooting />
## Common Errors
### Access Denied
If you see an Access Denied error in your browser while using the FusionAuth UI, this could be caused by a misconfigured CDN or proxy. This error often produces a 4xx error code such as a 403. To fix this issue, ensure that your CDN, proxy, or gateway does not prevent traffic from flowing directly to FusionAuth. FusionAuth can handle all HTTP traffic and any network handling between the browser and FusionAuth should be as simple as possible.
### FusionAuth Stops Unexpectedly
If you are running FusionAuth on a server with limited memory, it may stop unexpectedly. This can also happen when many other applications are competing for memory on the server. Make sure you verify you are running with the minimum requirements specified in the [system requirements](/docs/get-started/download-and-install/system-requirements).
When FusionAuth is killed because of an out-of-memory issue (OOM), it dies with no explanation in the FusionAuth logs. You might see lines like this in server system logs (typically under `/var/log/`):
```
Dec 30 12:00:38 vps kernel: Out of memory: Kill process 30047 (java) score 98 or sacrifice child
```
The OOM killer will begin killing services once the kernel runs out of memory. The solution will be to allocate less memory to FusionAuth or to increase the amount of RAM available.
You can do the former with the `fusionauth-app.memory` setting. See the [configuration reference](/docs/reference/configuration) for more details.
You may do the latter by running a larger server or running fewer competing applications. In particular, applications used by FusionAuth such as Elasticsearch or the database may be moved off to external servers.
#### FusionAuth Docker Containers Stop Unexpectedly
The same memory issues can happen with Docker. If you are running FusionAuth in a container you may see a log line like this, where `fusionauth_1` is the name of the container:
```
fusionauth_1 exited with code 137
```
The remedy is to increase the amount of memory available to the FusionAuth docker container using the `FUSIONAUTH_APP_MEMORY` environment variable. Or, if the Elasticsearch container is failing, the `FUSIONAUTH_SEARCH_MEMORY` variable.
You also may need to increase the amount of memory for the docker environment where the containers run. How to do this varies based on how you are running Docker; please consult that software's documentation.
### MapperParsingException
If you are using the Elasticsearch search engine, attributes in the `user.data`, `registration.data`, and `entity.data` fields are indexed. The data fields can contain arbitrary JSON objects.
If your user search is failing mysteriously and you see an error like this one in your system logs:
```
org.elasticsearch.index.mapper.MapperParsingException: failed to parse field [data.field] of type [text] in document with id 'b8f1ad7d-def0-48d1-a983-aeabf0122b90'. Preview of field's value: '{bar=123}'
```
or
```
org.elasticsearch.index.mapper.MapperParsingException: Could not dynamically add mapping for field [field.email]. Existing mapping for [data.field] must be of type object but found [text].
```
This means that the type of a field in one of the data fields was changed.
In this case, `data.field` was originally text, but the request causing this error message was trying to put an object into that attribute.
This can interfere with user imports, searches and more.
The schema is reset every time you issue a reindex command so manual fixes will not be persisted.
You have two options.
You can fix your data so that each custom field has a consistent data type.
Or you can instruct Elasticsearch to ignore fields that don't match the data type it expects.
#### Fixing Your Data
To fix your data, follow these steps:
* Understand how the field types changed.
* Find the user's Id.
* Modify the problematic `data` fields via the User API to remove the mismatched fields.
Unfortunately, you often can't search for the user by email, username, or other characteristics using the User Search API. If you have the user's Id, which may be available in the error messages, you can use that. Searching by UUID doesn't use Elasticsearch. You can also try to search for all emails, using a `queryString` of `email:*` if you don't have too many users. Another option is to change to the database search engine to find the user. You can switch back to Elasticsearch after you have corrected the `data` field.
If you have a support contract, please [open a ticket](https://account.fusionauth.io/account/support/) and we'll help you out. If not, please back up your FusionAuth database and test the fix thoroughly in a staging environment before applying it to your production instance.
Suppose you had a data field called `customPermissions` which was a `string` on some users and an `object` on others. Below is a script which converts the type of `customPermissions` from `string` to an `object` for all users.
```javascript title="Script to convert mismatched data fields"
import FusionAuthClient from "@fusionauth/typescript-client"
const client = new FusionAuthClient('YOUR_API_KEY', 'https://yourinstance.fusionauth.io')
const response = await client.searchUsersByQuery( request: {queryString: "email:*"}) // or whatever other query gets you a list of users
for (let i = 0; i < response.data.users.length; i++) {
const user = response.data.users[i];
if (typeof user.data.customPermissions === "string") {
const body = {
user: { data: { customPermissions: JSON.parse(user.data.customPermissions) } }
}
await client.patchUser(user.id, { request: body })
}
}
```
The complexity of the fix depends on how you find affected users and how far apart the data fields in their type. For instance, the above would be more complicated if `customPermissions` were sometimes a `string`, sometimes an `object`, sometimes an `integer`, and sometimes were missing.
If you can't fix your data, you can instruct Elasticsearch to ignore mismatches.
#### Ignore Fields With a Mismatched Data Type
<Aside type="caution">
This option is only available to self-hosted FusionAuth instances.
It is not available in FusionAuth Cloud.
</Aside>
You can configure Elasticsearch to ignore fields that don't match their expected data type. This is done with the [`ignore_malformed` parameter](https://www.elastic.co/guide/en/elasticsearch/reference/7.10/ignore-malformed.html).
You can apply this to the FusionAuth Elasticsearch indices.
Whenever [you reindex](/docs/lifecycle/manage-users/search/search#reindexing-elasticsearch), this setting will be lost, so ensure you can reapply it, via a post reindex build step.
There's an [open issue](https://github.com/FusionAuth/fusionauth-issues/issues/1639) to expose this configuration from within FusionAuth.
When fields are mismatched, you won't be able to search on the ones that have been ignored.
In the example above, when `data.field` is an object, you won't be able to search on that, because Elasticsearch ignores it.
However, the data will be safely stored in FusionAuth.
Elasticsearch is only used for searching, not for data storage.
The below video outlines this approach in more detail.
<YouTube id="MUHcB1kdaP8" />
# Dart Example Apps
import ExampleAppsIntro from 'src/content/docs/sdks/examples/_example_apps_intro.mdx';
import ExampleFooter from 'src/content/docs/sdks/examples/_example-footer.astro';
<ExampleAppsIntro language="dart" />
<ExampleFooter language="dart" />
# Go Example Apps
import ExampleAppsIntro from 'src/content/docs/sdks/examples/_example_apps_intro.mdx';
import ExampleFooter from 'src/content/docs/sdks/examples/_example-footer.astro';
<ExampleAppsIntro language="go" />
<ExampleFooter language="go" />
# Example Apps Overview
import ExampleAppsIntro from 'src/content/docs/sdks/examples/_example_apps_intro.mdx';
import ExampleAppsList from 'src/content/docs/sdks/examples/_index-list.astro';
## Overview
<ExampleAppsIntro />
<ExampleAppsList />
# Java Example Apps
import ExampleAppsIntro from 'src/content/docs/sdks/examples/_example_apps_intro.mdx';
import ExampleFooter from 'src/content/docs/sdks/examples/_example-footer.astro';
<ExampleAppsIntro language="java" />
<ExampleFooter language="java" />
# Typescript, Node and JavaScript Example Apps
import ExampleAppsIntro from 'src/content/docs/sdks/examples/_example_apps_intro.mdx';
import ExampleFooter from 'src/content/docs/sdks/examples/_example-footer.astro';
<ExampleAppsIntro language="typescript" />
<ExampleFooter language="javascript" />
# .NET Core Example Apps
import ExampleAppsIntro from 'src/content/docs/sdks/examples/_example_apps_intro.mdx';
import ExampleFooter from 'src/content/docs/sdks/examples/_example-footer.astro';
<ExampleAppsIntro language="netcore" />
<ExampleFooter language="netcore" />
# Ruby Example Apps
import ExampleAppsIntro from 'src/content/docs/sdks/examples/_example_apps_intro.mdx';
import ExampleFooter from 'src/content/docs/sdks/examples/_example-footer.astro';
<ExampleAppsIntro language="ruby" />
<ExampleFooter language="ruby" />
# PHP Example Apps
import ExampleAppsIntro from 'src/content/docs/sdks/examples/_example_apps_intro.mdx';
import ExampleFooter from 'src/content/docs/sdks/examples/_example-footer.astro';
<ExampleAppsIntro language="php" />
<ExampleFooter language="php" />
# Python Example Apps
import ExampleAppsIntro from 'src/content/docs/sdks/examples/_example_apps_intro.mdx';
import ExampleFooter from 'src/content/docs/sdks/examples/_example-footer.astro';
<ExampleAppsIntro language="python" />
<ExampleFooter language="python" />
# Generic Connector
import Aside from 'src/components/Aside.astro';
import API from 'src/components/api/API.astro';
import InlineField from 'src/components/InlineField.astro';
import APIBlock from 'src/components/api/APIBlock.astro';
import APIField from 'src/components/api/APIField.astro';
import GenericRequestBody from 'src/content/docs/apis/connectors/_generic-request-body.mdx';
import StandardPostResponseCodes from 'src/content/docs/apis/_standard-post-response-codes.astro';
import GenericResponseBody from 'src/content/docs/apis/connectors/_generic-response-body.mdx';
import StandardGetResponseCodes from 'src/content/docs/apis/_standard-get-response-codes.astro';
import GenericUpdateExplanationFragment from 'src/content/docs/apis/_generic-update-explanation-fragment.mdx';
import StandardPutResponseCodes from 'src/content/docs/apis/_standard-put-response-codes.astro';
import StandardDeleteResponseCodes from 'src/content/docs/apis/_standard-delete-response-codes.astro';
## Overview
<Aside type="version">
This API has been available since 1.18.0
</Aside>
The following APIs are provided to manage Generic Connectors.
## Create the Generic Connector
### Request
<API method="POST" uri="/api/connector" authentication={["api-key"]} title="Create a Generic Connector with a randomly generated Id."/>
<API method="POST" uri="/api/connector/{connectorId}" authentication={["api-key"]} title="Create a Generic Connector with the provided unique Id."/>
The <InlineField>type</InlineField> in the request JSON is used to determine that you are creating the Generic Connector.
#### Request Parameters
<APIBlock>
<APIField name="connectorId" type="UUID" optional defaults="secure random UUID">
The Id to use for the new Connector. If not specified a secure random UUID will be generated.
</APIField>
</APIBlock>
<GenericRequestBody />
### Response
<StandardPostResponseCodes never_search_error />
<GenericResponseBody />
## Retrieve the Generic Connector
### Request
<API method="GET" uri="/api/connector/{connectorId}" authentication={["api-key"]} title="Retrieve the Generic Connector by Id"/>
#### Request Parameters
<APIBlock>
<APIField name="connectorId" type="UUID" required>
The Id of the Connector to retrieve.
</APIField>
</APIBlock>
### Response
<StandardGetResponseCodes never_search_error />
<GenericResponseBody />
## Update the Generic Connector
<GenericUpdateExplanationFragment capitalized_object_name="Generic Connector" />
### Request
<API method="PUT" uri="/api/connector/{connectorId}" authentication={["api-key"]} showPatch={true} title="Update the Generic Connector by Id"/>
#### Request Parameters
<APIBlock>
<APIField name="connectorId" type="UUID" required>
The Id of the Connector to update.
</APIField>
</APIBlock>
<GenericRequestBody />
### Response
The response for this API contains the Generic Connector.
<StandardPutResponseCodes never_search_error />
<GenericResponseBody />
## Delete the Generic Connector
### Request
<API method="DELETE" uri="/api/connector/{connectorId}" authentication={["api-key"]} title="Delete the Generic Connector by Id"/>
<APIBlock>
<APIField name="connectorId" type="UUID" required>
The Id of the Connector to delete.
</APIField>
</APIBlock>
### Response
This API does not return a JSON response body.
<StandardDeleteResponseCodes never_search_error />
# Overview
import PremiumPlanBlurb from 'src/content/docs/_shared/_premium-plan-blurb.astro';
import API from 'src/components/api/API.astro';
import APIBlock from 'src/components/api/APIBlock.astro';
import APIField from 'src/components/api/APIField.astro';
import StandardGetResponseCodes from 'src/content/docs/apis/_standard-get-response-codes.astro';
import MultipleResponseBody from 'src/content/docs/apis/connectors/_multiple-response-body.mdx';
<PremiumPlanBlurb />
## Overview
A Connector is a named object that provides configuration for allowing authentication against external systems. When you configure a Connector, you can write flexible rules determining which users will use the Connector and whether to migrate the external user information to FusionAuth. FusionAuth will authenticate users against external systems. FusionAuth currently supports the following Connector types:
* [LDAP](/docs/apis/connectors/ldap)
* [Generic](/docs/apis/connectors/generic)
The type of the connector will determine the object's properties as well as the validation that is performed. You can click into any of the connector API docs to get a list of that connector's properties.
### Global Operations
## Retrieve all Connectors
### Request
<API method="GET" uri="/api/connector" authentication={["api-key"]} title="Retrieve all Connectors"/>
<API method="GET" uri="/api/connector/{connectorId}" authentication={["api-key"]} title="Retrieve a Connector by Id"/>
#### Request Parameters
<APIBlock>
<APIField name="connectorId" type="UUID" required>
The unique Id of the Connector to retrieve.
</APIField>
</APIBlock>
### Response
<StandardGetResponseCodes never_missing never_search_error />
<MultipleResponseBody />
# Form Fields
import PremiumPlanBlurb from 'src/content/docs/_shared/_premium-plan-blurb.astro';
import API from 'src/components/api/API.astro';
import APIBlock from 'src/components/api/APIBlock.astro';
import APIField from 'src/components/api/APIField.astro';
import FormFieldRequestBody from 'src/content/docs/apis/custom-forms/_form-field-request-body.mdx';
import StandardPostResponseCodes from 'src/content/docs/apis/_standard-post-response-codes.astro';
import FormFieldResponseBody from 'src/content/docs/apis/custom-forms/_form-field-response-body.mdx';
import StandardGetResponseCodes from 'src/content/docs/apis/_standard-get-response-codes.astro';
import FormFieldsResponseBody from 'src/content/docs/apis/custom-forms/_form-fields-response-body.mdx';
import GenericUpdateExplanationFragment from 'src/content/docs/apis/_generic-update-explanation-fragment.mdx';
import InlineField from 'src/components/InlineField.astro';
import StandardPutResponseCodes from 'src/content/docs/apis/_standard-put-response-codes.astro';
import StandardDeleteResponseCodes from 'src/content/docs/apis/_standard-delete-response-codes.astro';
<PremiumPlanBlurb />
## Overview
A FusionAuth Form Field is an object that can be customized to receive input within a FusionAuth [Form](/docs/apis/custom-forms/forms).
The following APIs are provided to manage Forms Fields.
## Create a Form Field
This API is used to create a new Form Field.
### Request
<API method="POST" uri="/api/form/field" authentication={["api-key"]} title="Create a Form Field with a randomly generated Id"/>
<API method="POST" uri="/api/form/field/{fieldId}" authentication={["api-key"]} title="Create a Form Field with the provided unique Id"/>
#### Request Parameters
<APIBlock>
<APIField name="fieldId" type="UUID" optional defaults="secure random UUID">
The Id to use for the new Form Field. If not specified a secure random UUID will be generated.
</APIField>
</APIBlock>
<FormFieldRequestBody />
### Response
The response for this API contains the Form Field that was created.
<StandardPostResponseCodes never_search_error />
<FormFieldResponseBody />
## Retrieve a Form Field
This API is used to retrieve a single Form Field by unique Id or all of the configured Form Fields.
### Request
<API method="GET" uri="/api/form/field" authentication={["api-key"]} title="Retrieve all of the Form Fields"/>
<API method="GET" uri="/api/form/field/{fieldId}" authentication={["api-key"]} title="Retrieve a Form Field by Id"/>
#### Request Parameters
<APIBlock>
<APIField name="fieldId" type="UUID" required>
The unique Id of the Form Field to retrieve.
</APIField>
</APIBlock>
### Response
The response for this API contains either a single Form Field or all of the Form Fields. When you call this API with an Id, the response will contain a single Form Field. When you call this API without an Id, the response will contain all of the Form Fields. Both response types are defined below along with an example JSON response.
<StandardGetResponseCodes never_search_error />
<FormFieldResponseBody />
<FormFieldsResponseBody />
## Update a Form Field
<GenericUpdateExplanationFragment capitalized_object_name="Form Field" />
Some attributes, such as <InlineField>type</InlineField>, cannot be changed after form field creation.
### Request
<API method="PUT" uri="/api/form/field/{fieldId}" authentication={["api-key"]} showPatch={true} title="Update the Form Field with the given Id"/>
#### Request Parameters
<APIBlock>
<APIField name="fieldId" type="UUID" required>
The Id of the Form Field to update.
</APIField>
</APIBlock>
<FormFieldRequestBody update_request />
### Response
The response for this API contains the Form Field that was updated.
<StandardPutResponseCodes never_search_error />
<FormFieldResponseBody />
## Delete a Form Field
This API is used to permanently delete a Form Field. A form field cannot be deleted when in use by a one or more forms.
### Request
<API method="DELETE" uri="/api/form/field/{fieldId}" authentication={["api-key"]} title="Delete a Form Field by Id"/>
#### Request Parameters
<APIBlock>
<APIField name="fieldId" type="UUID" required>
The unique Id of the Form Field to delete.
</APIField>
</APIBlock>
### Response
This API does not return a JSON response body.
<StandardDeleteResponseCodes never_search_error />
# LDAP Connector
import Aside from 'src/components/Aside.astro';
import API from 'src/components/api/API.astro';
import InlineField from 'src/components/InlineField.astro';
import APIBlock from 'src/components/api/APIBlock.astro';
import APIField from 'src/components/api/APIField.astro';
import LdapRequestBody from 'src/content/docs/apis/connectors/_ldap-request-body.mdx';
import StandardPostResponseCodes from 'src/content/docs/apis/_standard-post-response-codes.astro';
import LdapResponseBody from 'src/content/docs/apis/connectors/_ldap-response-body.mdx';
import StandardGetResponseCodes from 'src/content/docs/apis/_standard-get-response-codes.astro';
import GenericUpdateExplanationFragment from 'src/content/docs/apis/_generic-update-explanation-fragment.mdx';
import StandardPutResponseCodes from 'src/content/docs/apis/_standard-put-response-codes.astro';
import StandardDeleteResponseCodes from 'src/content/docs/apis/_standard-delete-response-codes.astro';
## Overview
<Aside type="version">
This API has been available since 1.18.0
</Aside>
The following APIs are provided to manage LDAP Connectors.
## Create the LDAP Connector
### Request
<API method="POST" uri="/api/connector" authentication={["api-key"]} title="Create a LDAP Connector with a randomly generated Id."/>
<API method="POST" uri="/api/connector/{connectorId}" authentication={["api-key"]} title="Create a LDAP Connector with the provided unique Id."/>
The <InlineField>type</InlineField> in the request JSON is used to determine that you are creating a LDAP Connector.
#### Request Parameters
<APIBlock>
<APIField name="connectorId" type="UUID" optional defaults="secure random UUID">
The Id to use for the new Connector. If not specified a secure random UUID will be generated.
</APIField>
</APIBlock>
<LdapRequestBody />
### Response
<StandardPostResponseCodes never_search_error />
<LdapResponseBody />
## Retrieve the LDAP Connector
### Request
<API method="GET" uri="/api/connector/{connectorId}" authentication={["api-key"]} title="Retrieve the LDAP Connector by Id"/>
#### Request Parameters
<APIBlock>
<APIField name="connectorId" type="UUID" required>
The Id of the Connector to retrieve.
</APIField>
</APIBlock>
### Response
<StandardGetResponseCodes never_search_error />
<LdapResponseBody />
## Update the LDAP Connector
<GenericUpdateExplanationFragment capitalized_object_name="LDAP Connector" />
### Request
<API method="PUT" uri="/api/connector/{connectorId}" authentication={["api-key"]} showPatch={true} title="Update the LDAP Connector by Id"/>
#### Request Parameters
<APIBlock>
<APIField name="connectorId" type="UUID" required>
The Id of the Connector to update.
</APIField>
</APIBlock>
<LdapRequestBody />
### Response
The response for this API contains the LDAP Connector.
<StandardPutResponseCodes never_search_error />
<LdapResponseBody />
## Delete the LDAP Connector
### Request
<API method="DELETE" uri="/api/connector/{connectorId}" authentication={["api-key"]} title="Delete the LDAP Connector by Id"/>
<APIBlock>
<APIField name="connectorId" type="UUID" required>
The Id of the Connector to delete.
</APIField>
</APIBlock>
### Response
This API does not return a JSON response body.
<StandardDeleteResponseCodes never_search_error />
# Forms
import PremiumPlanBlurb from 'src/content/docs/_shared/_premium-plan-blurb.astro';
import API from 'src/components/api/API.astro';
import APIBlock from 'src/components/api/APIBlock.astro';
import APIField from 'src/components/api/APIField.astro';
import FormRequestBody from 'src/content/docs/apis/custom-forms/_form-request-body.mdx';
import StandardPostResponseCodes from 'src/content/docs/apis/_standard-post-response-codes.astro';
import FormResponseBody from 'src/content/docs/apis/custom-forms/_form-response-body.mdx';
import StandardGetResponseCodes from 'src/content/docs/apis/_standard-get-response-codes.astro';
import FormsResponseBody from 'src/content/docs/apis/custom-forms/_forms-response-body.mdx';
import GenericUpdateExplanationFragment from 'src/content/docs/apis/_generic-update-explanation-fragment.mdx';
import StandardPutResponseCodes from 'src/content/docs/apis/_standard-put-response-codes.astro';
import StandardDeleteResponseCodes from 'src/content/docs/apis/_standard-delete-response-codes.astro';
<PremiumPlanBlurb />
## Overview
A FusionAuth Form is a customizable object that contains one-to-many ordered steps. Each step is comprised of one or more [Form Fields](/docs/apis/custom-forms/form-fields).
The following APIs are provided to manage Forms.
## Create a Form
This API is used to create a new Form.
### Request
<API method="POST" uri="/api/form" authentication={["api-key"]} title="Create a Form with a randomly generated Id"/>
<API method="POST" uri="/api/form/{formId}" authentication={["api-key"]} title="Create a Form with the provided unique Id"/>
#### Request Parameters
<APIBlock>
<APIField name="formId" type="UUID" optional defaults="secure random UUID">
The Id to use for the new Form. If not specified a secure random UUID will be generated.
</APIField>
</APIBlock>
<FormRequestBody />
### Response
The response for this API contains the Form that was created.
<StandardPostResponseCodes never_search_error />
<FormResponseBody />
## Retrieve a Form
This API is used to retrieve a single Form by unique Id or all of the configured Forms.
### Request
<API method="GET" uri="/api/form" authentication={["api-key"]} title="Retrieve all of the Forms"/>
<API method="GET" uri="/api/form/{formId}" authentication={["api-key"]} title="Retrieve a Form by Id"/>
#### Request Parameters
<APIBlock>
<APIField name="formId" type="UUID" required>
The unique Id of the Form to retrieve.
</APIField>
</APIBlock>
### Response
The response for this API contains either a single Form or all of the Forms. When you call this API with an Id, the response will contain a single Form. When you call this API without an Id, the response will contain all of the Forms. Both response types are defined below along with an example JSON response.
<StandardGetResponseCodes never_search_error />
<FormResponseBody />
<FormsResponseBody />
## Update a Form
<GenericUpdateExplanationFragment capitalized_object_name="Form" />
### Request
<API method="PUT" uri="/api/form/{formId}" authentication={["api-key"]} showPatch={true} title="Update the Form with the given Id"/>
#### Request Parameters
<APIBlock>
<APIField name="formId" type="UUID" required>
The Id of the Form to update.
</APIField>
</APIBlock>
<FormRequestBody />
### Response
The response for this API contains the Form that was updated.
<StandardPutResponseCodes never_search_error />
<FormResponseBody />
## Delete a Form
This API is used to permanently delete a Form. A form cannot be deleted when in use by one or more applications.
### Request
<API method="DELETE" uri="/api/form/{formId}" authentication={["api-key"]} title="Delete a Form by Id"/>
#### Request Parameters
<APIBlock>
<APIField name="formId" type="UUID" required>
The unique Id of the Form to delete.
</APIField>
</APIBlock>
### Response
This API does not return a JSON response body.
<StandardDeleteResponseCodes never_search_error />
# Entities
import PremiumPlanBlurb from 'src/content/docs/_shared/_premium-plan-blurb.astro';
import Aside from 'src/components/Aside.astro';
import API from 'src/components/api/API.astro';
import XFusionauthTenantIdHeaderCreateOperation from 'src/content/docs/apis/_x-fusionauth-tenant-id-header-create-operation.mdx';
import APIBlock from 'src/components/api/APIBlock.astro';
import APIField from 'src/components/api/APIField.astro';
import EntityRequestBody from 'src/content/docs/apis/entities/_entity-request-body.mdx';
import StandardPostResponseCodes from 'src/content/docs/apis/_standard-post-response-codes.astro';
import EntityResponseBody from 'src/content/docs/apis/entities/_entity-response-body.mdx';
import XFusionauthTenantIdHeaderScopedOperation from 'src/content/docs/apis/_x-fusionauth-tenant-id-header-scoped-operation.mdx';
import StandardGetResponseCodes from 'src/content/docs/apis/_standard-get-response-codes.astro';
import GenericUpdateExplanationFragment from 'src/content/docs/apis/_generic-update-explanation-fragment.mdx';
import StandardPutResponseCodes from 'src/content/docs/apis/_standard-put-response-codes.astro';
import XFusionauthTenantIdRequired from 'src/content/docs/apis/_x-fusionauth-tenant-id-required.mdx';
import StandardDeleteResponseCodes from 'src/content/docs/apis/_standard-delete-response-codes.astro';
import EntitySearchRequestParameters from 'src/content/docs/apis/entities/_entity-search-request-parameters.mdx';
import EntitySearchRequestBodyDatabaseExamples from 'src/content/docs/apis/entities/_entity-search-request-body-database-examples.mdx';
import EntitySearchRequestBodyElasticsearchExamples from 'src/content/docs/apis/entities/_entity-search-request-body-elasticsearch-examples.mdx';
import EntitiesResponseBody from 'src/content/docs/apis/entities/_entities-response-body.mdx';
<PremiumPlanBlurb />
## Overview
This page contains the APIs for managing Entities as well as searching them. [Entity core concepts](/docs/get-started/core-concepts/entity-management) may also be helpful.
<Aside type="version">
This API has been available since 1.26.0
</Aside>
## Create an Entity
This API is used to create an Entity. Specifying an Id on the URI will instruct FusionAuth to use that Id when creating the Entity. Otherwise, FusionAuth will generate an Id for the Entity.
### Request
<API method="POST" uri="/api/entity" authentication={["api-key"]} title="Create an Entity without providing an Id. An Id will be automatically generated."/>
<XFusionauthTenantIdHeaderCreateOperation />
<API method="POST" uri="/api/entity/{entityId}" authentication={["api-key"]} title="Create an Entity with the provided Id"/>
#### Request Parameters
<APIBlock>
<APIField name="entityId" type="UUID" optional defaults="secure random UUID">
The Id to use for the new Entity. If not specified a secure random UUID will be generated.
</APIField>
</APIBlock>
<EntityRequestBody />
<XFusionauthTenantIdHeaderCreateOperation />
### Response
The response for this API contains the information for the Entity that was created.
<StandardPostResponseCodes />
<EntityResponseBody />
## Retrieve an Entity
This API is used to retrieve one Entity.
### Request
<API method="GET" uri="/api/entity/{entityId}" authentication={["api-key"]} title="Retrieve a single Entity by Id"/>
#### Request Parameters
<APIBlock>
<APIField name="entityId" type="UUID" required>
The Id of the Entity to retrieve.
</APIField>
</APIBlock>
<XFusionauthTenantIdHeaderScopedOperation />
### Response
The response for this API contains a single Entity.
<StandardGetResponseCodes no_errors />
<EntityResponseBody />
## Update an Entity
<GenericUpdateExplanationFragment capitalized_object_name="Entity" />
### Request
<API method="PUT" uri="/api/entity/{entityId}" authentication={["api-key"]} showPatch={true} title="Update an Entity by Id"/>
#### Request Parameters
<APIBlock>
<APIField name="entityId" type="UUID" required>
The Id of the Entity to update.
</APIField>
</APIBlock>
<XFusionauthTenantIdHeaderScopedOperation />
<EntityRequestBody />
### Response
The response for this API contains the new information for the Entity that was updated.
<StandardPutResponseCodes />
<EntityResponseBody />
## Delete an Entity
This API is used to delete an Entity. You must specify the Id of the Entity on the URI.
### Request
<API method="DELETE" uri="/api/entity/{entityId}" authentication={["api-key"]} title="Delete an Entity By Id"/>
#### Request Parameters
<APIBlock>
<APIField name="entityId" type="UUID" required>
The Id of the Entity to delete.
</APIField>
</APIBlock>
<XFusionauthTenantIdRequired />
### Response
This API does not return a JSON response body.
<StandardDeleteResponseCodes />
## Search for Entities
This API is used to search for Entities. This API may be called using the `GET` or `POST` HTTP methods. Examples of each are provided below. The `POST` method is provided to allow for a richer request object without worrying about exceeding the maximum length of a URL. Calling this API with either the `GET` or `POST` HTTP method will provide the same search results given the same query parameters.
### Request
Which search query parameters are available and how they behave depends on the search engine type. Read more about [the different types of search engines](/docs/lifecycle/manage-users/search/search).
### Database Search Engine
This is a good choice for [smaller installs, embedded scenarios, or other places where the additional capability of Elasticsearch is not required](/docs/lifecycle/manage-users/search/search).
<API method="GET" uri="/api/entity/search?ids={uuid}&ids={uuid}" authentication={["api-key"]} title="Search for Entities by Id"/>
<API method="GET" uri="/api/entity/search?queryString={queryString}" authentication={["api-key"]} title="Search for Entities by a query string"/>
<API method="GET" uri="/api/entity/search?queryString={queryString}&sortFields[0].name={name}&sortFields[0].order={order}" authentication={["api-key"]} title="Search for Entities by a query string and sort the response"/>
#### Request Parameters
<EntitySearchRequestParameters query_string_request database_search_engine_type parameter_prefix="" />
<XFusionauthTenantIdHeaderScopedOperation />
<API method="POST" uri="/api/entity/search" authentication={["api-key"]} title="Search for Entities using a JSON request body. This allows for larger requests than are possible using request parameters."/>
<XFusionauthTenantIdHeaderScopedOperation />
#### Request Body
<EntitySearchRequestParameters query_string_request="nottrue" database_search_engine_type parameter_prefix="search." />
##### Request Body Examples
<EntitySearchRequestBodyDatabaseExamples />
### Elasticsearch Search Engine
The Elasticsearch engine has [advanced querying capabilities and better performance](/docs/lifecycle/manage-users/search/search).
<API method="GET" uri="/api/entity/search?ids={uuid}&ids={uuid}" authentication={["api-key"]} title="Search for Entities by Id"/>
<API method="GET" uri="/api/entity/search?queryString={queryString}" authentication={["api-key"]} title="Search for Entities by a query string"/>
<API method="GET" uri="/api/entity/search?queryString={queryString}&sortFields[0].name={name}&sortFields[0].order={order}" authentication={["api-key"]} title="Search for Entities by a query string and sort the response"/>
<API method="GET" uri="/api/entity/search?query={query}" authentication={["api-key"]} title="Search for Entities by a raw JSON query"/>
<API method="GET" uri="/api/entity/search?nextResults={nextResults}" authentication={["api-key"]} title="Search for Entities by a nextResults token"/>
#### Request Parameters
<EntitySearchRequestParameters query_string_request elasticsearch_search_engine_type parameter_prefix="" />
<XFusionauthTenantIdHeaderScopedOperation />
<API method="POST" uri="/api/entity/search" authentication={["api-key"]} title="Search for Entities using a JSON request body. This allows for larger requests than are possible using request parameters."/>
<XFusionauthTenantIdHeaderScopedOperation />
#### Request Body
<EntitySearchRequestParameters query_string_request="nottrue" elasticsearch_search_engine_type parameter_prefix="search." />
##### Request Body Examples
<EntitySearchRequestBodyElasticsearchExamples />
### Response
The response contains the Entity objects that were found as part of the lookup or search. Both the database and Elasticsearch search engines return the response in the same format.
<StandardGetResponseCodes />
<EntitiesResponseBody search_result />
## Flush the Search Engine
This API is used to issue a flush request to the FusionAuth Search. This will cause any cached data to be written to disk. In practice it is unlikely
you'll find a need for this API in production unless you are performing search requests immediately following an operation that modifies the index and
expecting to see the results immediately.
### Request
<API method="PUT" uri="/api/entity/search" authentication={["api-key"]} title="Flushes the Search Engine"/>
### Response
The response does not contain a body. It only contains one of the status codes below.
<StandardPostResponseCodes />
# Entity Types
import PremiumPlanBlurb from 'src/content/docs/_shared/_premium-plan-blurb.astro';
import Aside from 'src/components/Aside.astro';
import API from 'src/components/api/API.astro';
import APIBlock from 'src/components/api/APIBlock.astro';
import APIField from 'src/components/api/APIField.astro';
import EntityTypeRequestBody from 'src/content/docs/apis/entities/_entity-type-request-body.mdx';
import StandardPostResponseCodes from 'src/content/docs/apis/_standard-post-response-codes.astro';
import EntityTypeResponseBody from 'src/content/docs/apis/entities/_entity-type-response-body.mdx';
import StandardGetResponseCodes from 'src/content/docs/apis/_standard-get-response-codes.astro';
import EntityTypesResponseBody from 'src/content/docs/apis/entities/_entity-types-response-body.mdx';
import GenericUpdateExplanationFragment from 'src/content/docs/apis/_generic-update-explanation-fragment.mdx';
import StandardPutResponseCodes from 'src/content/docs/apis/_standard-put-response-codes.astro';
import StandardDeleteResponseCodes from 'src/content/docs/apis/_standard-delete-response-codes.astro';
import InlineField from 'src/components/InlineField.astro';
import PermissionRequestBody from 'src/content/docs/apis/entities/_permission-request-body.mdx';
import PermissionResponseBody from 'src/content/docs/apis/entities/_permission-response-body.mdx';
import PermissionUpdateRequestBody from 'src/content/docs/apis/entities/_permission-update-request-body.mdx';
<PremiumPlanBlurb />
## Overview
<Aside type="version">
This API has been available since 1.26.0
</Aside>
This page contains the APIs for managing Entity Types. Here are the APIs:
## Create an Entity Type
This API is used to create an Entity Type. Specifying an Id on the URI will instruct FusionAuth to use that Id when creating the Entity Type. Otherwise, FusionAuth will generate an Id for the Entity Type.
### Request
<API method="POST" uri="/api/entity/type" authentication={["api-key"]} title="Create an Entity Type without providing an Id. An Id will be automatically generated."/>
<API method="POST" uri="/api/entity/type/{entityTypeId}" authentication={["api-key"]} title="Create an Entity Type with the provided Id"/>
#### Request Parameters
<APIBlock>
<APIField name="entityTypeId" type="UUID" optional defaults="secure random UUID">
The Id to use for the new Entity Type. If not specified a secure random UUID will be generated.
</APIField>
</APIBlock>
<EntityTypeRequestBody />
### Response
The response for this API contains the information for the Entity Type that was created.
<StandardPostResponseCodes />
<EntityTypeResponseBody />
## Retrieve an Entity Type
This API is used to retrieve one or all of the configured Entity Types. Specifying an Id on the URI will retrieve a single Entity Type. Leaving off the Id will retrieve all of the Entity Types.
### Request
<API method="GET" uri="/api/entity/type" authentication={["api-key"]} title="Retrieve all of the Entity Types"/>
<API method="GET" uri="/api/entity/type/{entityTypeId}" authentication={["api-key"]} title="Retrieve a single Entity Type by Id"/>
#### Request Parameters
<APIBlock>
<APIField name="entityTypeId" type="UUID" optional>
The Id of the Entity Type to retrieve.
</APIField>
</APIBlock>
### Response
The response for this API contains either a single Entity Type or all of the Entity Types. When you call this API with an Id the response will contain just that Entity Type. When you call this API without an Id the response will contain all of the Entity Types. Both response types are defined below along with an example JSON response.
<StandardGetResponseCodes no_errors />
<EntityTypeResponseBody />
<EntityTypesResponseBody />
## Update an Entity Type
<GenericUpdateExplanationFragment capitalized_object_name="Entity Type" />
### Request
<API method="PUT" uri="/api/entity/type/{entityTypeId}" authentication={["api-key"]} showPatch={true} title="Update an Entity Type by Id"/>
#### Request Parameters
<APIBlock>
<APIField name="entityTypeId" type="UUID" required>
The Id of the Entity Type to update.
</APIField>
</APIBlock>
<EntityTypeRequestBody />
### Response
The response for this API contains the new information for the Entity Type that was updated.
<StandardPutResponseCodes />
<EntityTypeResponseBody />
## Delete an Entity Type
This API is used to delete an Entity Type. You must specify the Id of the Entity Type on the URI.
### Request
<API method="DELETE" uri="/api/entity/type/{entityTypeId}" authentication={["api-key"]} title="Delete an Entity Type By Id"/>
#### Request Parameters
<APIBlock>
<APIField name="entityTypeId" type="UUID" required>
The Id of the Entity Type to delete.
</APIField>
</APIBlock>
### Response
This API does not return a JSON response body.
<StandardDeleteResponseCodes />
## Search for an Entity Type
This API is used to search for matching Entity Types.
### Request
<API method="GET" uri="/api/entity/type/search?name={name}" authentication={["api-key"]} title="Search Entity Types"/>
#### Request Parameters
<APIBlock>
<APIField name="name" type="String" required>
The name of the Entity Type for which to search.
The search matches against the name field and any entity type matching. The match is case-insensitive, and you may not search by prefix or suffix. Whitespace is not allowed in the search. Regular expressions may not be used. A value of `*` will match all records.
</APIField>
<APIField name="numberOfResults" type="Integer" optional defaults="25">
The number of results to return from the search.
</APIField>
<APIField name="orderBy" type="String" optional defaults="name ASC">
The database column to order the search results on plus the order direction.
The columns you can use for this are:
* `insertInstant` - the [instant](/docs/reference/data-types#instants) when the Entity Type was created
* `lastUpdateInstant` - the [instant](/docs/reference/data-types#instants) when the Entity Type was last updated
* `name` - the name of the Entity Type
For example, to order the results by the insert instant in a descending order, the value would be provided as `insertInstant DESC`. The final string is optional can be set to `ASC` or `DESC`.
</APIField>
<APIField name="startRow" type="Integer" optional defaults="0">
The offset into the total results. In order to paginate the results, increment this value by the <InlineField>numberOfResults</InlineField> for subsequent requests.
</APIField>
</APIBlock>
### Response
The response for this API contains the Entity Type matching the search criteria in paginated format.
<StandardGetResponseCodes no_errors never_search_error/>
<EntityTypesResponseBody />
## Create an Entity Type Permission
This API is used to create a permission for an Entity Type. Specifying an Id on the URI will instruct FusionAuth to use that Id when creating the permission. Otherwise, FusionAuth will generate an Id for the permission.
### Request
<API method="POST" uri="/api/entity/type/{entityTypeId}/permission" authentication={["api-key"]} title="Create a Permission with a randomly generated Id"/>
<API method="POST" uri="/api/entity/type/{entityTypeId}/permission/{permissionId}" authentication={["api-key"]} title="Create a Permission with a given Id"/>
#### Request Parameters
<APIBlock>
<APIField name="entityTypeId" type="UUID" required>
The Id of the Entity Type.
</APIField>
<APIField name="permissionId" type="UUID" optional defaults="secure random UUID">
The Id to use for the new permission. If not specified a secure random UUID will be generated.
</APIField>
</APIBlock>
#### Request Body
<PermissionRequestBody />
### Response
The response for this API contains the information for the permission that was created.
<StandardPostResponseCodes never_search_error />
<PermissionResponseBody />
## Update an Entity Type Permission
This API is used to update an existing Entity Type permission. You must specify the Entity Type Id and the permission Id on the URI to identify the permission that is being updated.
### Request
<API method="PUT" uri="/api/entity/type/{entityTypeId}/permission/{permissionId}" authentication={["api-key"]} showPatch={true} title="Update an Entity Type Permission by Id"/>
#### Request Parameters
<APIBlock>
<APIField name="entityTypeId" type="UUID" required>
The Id of the Entity Type.
</APIField>
<APIField name="permissionId" type="UUID" required>
The Id of the permission that is being updated.
</APIField>
</APIBlock>
#### Request Body
<PermissionUpdateRequestBody />
### Response
The response for this API contains the new information for the permission that was updated.
<StandardPostResponseCodes never_search_error />
<PermissionResponseBody />
## Delete an Entity Type Permission
This API is used to delete a permission from an Entity Type.
### Request
<API method="DELETE" uri="/api/entity/type/{entityTypeId}/permission/{permissionId}" authentication={["api-key"]} title="Delete an Entity Type Permission by Id"/>
#### Request Parameters
<APIBlock>
<APIField name="entityTypeId" type="UUID" required>
The Id of the Entity Type the permission belongs.
</APIField>
<APIField name="permissionId" type="UUID" required>
The Id of the permission to delete.
</APIField>
</APIBlock>
<API method="DELETE" uri="/api/entity/type/{entityTypeId}/permission?name={name}" authentication={["api-key"]} title="Delete an Entity Type Permission by name"/>
#### Request Parameters
<APIBlock>
<APIField name="entityTypeId" type="UUID" required>
The Id of the Entity Type the permission belongs.
</APIField>
<APIField name="name" type="String" required>
The name of the permission to delete.
</APIField>
</APIBlock>
### Response
This API does not return a JSON response body.
<StandardDeleteResponseCodes never_search_error />
# Grants
import PremiumPlanBlurb from 'src/content/docs/_shared/_premium-plan-blurb.astro';
import Aside from 'src/components/Aside.astro';
import API from 'src/components/api/API.astro';
import APIBlock from 'src/components/api/APIBlock.astro';
import APIField from 'src/components/api/APIField.astro';
import XFusionauthTenantIdHeaderScopedOperation from 'src/content/docs/apis/_x-fusionauth-tenant-id-header-scoped-operation.mdx';
import EntityGrantRequestBody from 'src/content/docs/apis/entities/_entity-grant-request-body.mdx';
import StandardPostResponseCodes from 'src/content/docs/apis/_standard-post-response-codes.astro';
import InlineField from 'src/components/InlineField.astro';
import EntityGrantResponseBody from 'src/content/docs/apis/entities/_entity-grant-response-body.mdx';
import EntityGrantsResponseBody from 'src/content/docs/apis/entities/_entity-grants-response-body.mdx';
import StandardDeleteResponseCodes from 'src/content/docs/apis/_standard-delete-response-codes.astro';
import EntityGrantSearchRequestParameters from 'src/content/docs/apis/entities/_entity-grant-search-request-parameters.mdx';
import EntityGrantSearchRequestBodyDatabaseExamples from 'src/content/docs/apis/entities/_entity-grant-search-request-body-database-examples.mdx';
import StandardGetResponseCodes from 'src/content/docs/apis/_standard-get-response-codes.astro';
<PremiumPlanBlurb />
## Overview
This page contains the APIs for granting and revoking permissions to Entities.
<Aside type="version">
This API has been available since 1.26.0
</Aside>
## Grant a User or Entity Permissions to an Entity
This API is used to grant permissions to an Entity for a User or another Entity.
This is an upsert operation. If the grant to this Entity for the specified User or recipient Entity exists, it will be updated. Otherwise it will be created.
### Request
<API method="POST" uri="/api/entity/{entityId}/grant" authentication={["api-key"]} title="Create a Grant"/>
#### Request Parameters
<APIBlock>
<APIField name="entityId" type="UUID" required>
The Id of the Entity to which access is granted.
</APIField>
</APIBlock>
<XFusionauthTenantIdHeaderScopedOperation />
#### Request Body
<EntityGrantRequestBody />
<API method="PUT" uri="/api/entity/{entityId}/grant" authentication={["api-key"]} title="Update a Grant"/>
#### Request Parameters
<APIBlock>
<APIField name="entityId" type="UUID" required>
The Id of the Entity to which access is granted.
</APIField>
</APIBlock>
<XFusionauthTenantIdHeaderScopedOperation />
#### Request Body
<EntityGrantRequestBody />
### Response
This API does not return a JSON response body.
<StandardPostResponseCodes success_message="The request was successful." success_code="200" missing_message="The Entity to which access is being granted was not found." />
## Retrieve Grants
This API is used to retrieve Grants. Specifying only an <InlineField>entityId</InlineField> on the URI will retrieve all Grants for a single Entity.
Adding a parameter of <InlineField>userId</InlineField> or <InlineField>recipientEntityId</InlineField> filters the returned Grants. It limits them to those made to the User or recipient Entity, respectively.
### Request
<API method="GET" uri="/api/entity/{entityId}/grant" authentication={["api-key"]} title="Retrieve All Grants To This Entity"/>
<XFusionauthTenantIdHeaderScopedOperation />
<API method="GET" uri="/api/entity/{entityId}/grant?userId={userId}" authentication={["api-key"]} title="Retrieve Grants To This Entity For a User"/>
#### Request Parameters
<APIBlock>
<APIField name="entityId" type="UUID" required>
The Id of the Entity to which access is granted.
</APIField>
<APIField name="userId" type="UUID" required>
The Id of the User which has been granted access.
</APIField>
</APIBlock>
<XFusionauthTenantIdHeaderScopedOperation />
<API method="GET" uri="/api/entity/{entityId}/grant?recipientEntityId={recipientEntityId}" authentication={["api-key"]} title="Retrieve Grants For Another Entity"/>
#### Request Parameters
<APIBlock>
<APIField name="entityId" type="UUID" required>
The Id of the Entity to which access is granted.
</APIField>
<APIField name="recipientEntityId" type="UUID" required>
The Id of the Entity which has been granted access.
</APIField>
</APIBlock>
<XFusionauthTenantIdHeaderScopedOperation />
### Response
This API is used to retrieve one or all of the Grants made to this Entity. Specifying only an <InlineField>entityId</InlineField> on the URI will retrieve all Grants. Adding a parameter of <InlineField>userId</InlineField> or <InlineField>recipientEntityId</InlineField> will retrieve a single Grant made to the User or Entity, respectively.
<StandardPostResponseCodes />
<EntityGrantResponseBody />
<EntityGrantsResponseBody />
## Delete a Grant
This API is used to delete a Grant from an Entity. This is also known as revoking the Grant.
### Request
<API method="DELETE" uri="/api/entity/{entityId}/grant?userId={userId}" authentication={["api-key"]} title="Delete a Grant for a User"/>
#### Request Parameters
<APIBlock>
<APIField name="entityId" type="UUID" required>
The Id of the Entity which is the target of the Grant.
</APIField>
<APIField name="userId" type="UUID" required>
The Id of the User who received the Grant.
</APIField>
</APIBlock>
<XFusionauthTenantIdHeaderScopedOperation />
<API method="DELETE" uri="/api/entity/{entityId}/grant?recipientEntityId={recipientEntityId}" authentication={["api-key"]} title="Delete a Grant for a Recipient Entity"/>
#### Request Parameters
<APIBlock>
<APIField name="entityId" type="UUID" required>
The Id of the Entity which is the target of the Grant.
</APIField>
<APIField name="recipientEntityId" type="UUID" required>
The Id of the Entity which received the Grant.
</APIField>
</APIBlock>
<XFusionauthTenantIdHeaderScopedOperation />
### Response
This API does not return a JSON response body.
<StandardDeleteResponseCodes />
## Search for Grants
This API is used to search for Entity Grants. This API may be called using the `GET` or `POST` HTTP methods. Examples of each are provided below. The `POST` method is provided to allow for a richer request object without worrying about exceeding the maximum length of a URL. Calling this API with either the `GET` or `POST` HTTP method will provide the same search results given the same query parameters.
### Request
<API method="GET" uri="/api/entity/grant/search?entityId={uuid}" authentication={["api-key"]} title="Search for Grants by Entity Id"/>
<API method="GET" uri="/api/entity/grant/search?name={string}" authentication={["api-key"]} title="Search for Grants by Entity name"/>
<API method="GET" uri="/api/entity/grant/search?userId={uuid}" authentication={["api-key"]} title="Search for Grants by User Id"/>
#### Request Parameters
<EntityGrantSearchRequestParameters parameter_prefix="" />
<API method="POST" uri="/api/entity/grant/search" authentication={["api-key"]} title="Search for Grants using a JSON request body."/>
#### Request Body
<EntityGrantSearchRequestParameters parameter_prefix="search." />
##### Request Body Examples
<EntityGrantSearchRequestBodyDatabaseExamples />
### Response
The response contains the Entity Grant objects that were found as part of the lookup or search.
<StandardGetResponseCodes />
<EntityGrantsResponseBody search_result />
# Overview
import PremiumPlanBlurb from 'src/content/docs/_shared/_premium-plan-blurb.astro';
<PremiumPlanBlurb />
## Overview
Entities are arbitrary objects which can be modeled in FusionAuth. Anything which is not a user but might need permissions managed by FusionAuth is a possible entity. Examples might include devices, cars, computers, customers, companies, etc.
FusionAuth's Entity Management has the following major concepts:
* Entity Types categorize Entities. An Entity Type could be `Device`, `API` or `Company`.
* Permissions are defined on an Entity Type. These are arbitrary strings which can fit the business domain. A Permission could be `read`, `write`, or `file-lawsuit`.
* Entities are instances of a single type. An Entity could be a `nest device`, an `Email API` or `Raviga`.
* Entities can have Grants. Grants are relationships between a target Entity and one of two other types: a recipient Entity or a User. Grants can have zero or more Permissions associated with them.
{/* TBD link to client credentials grant */}
You can use the Client Credentials grant to see if an Entity has permission to access another Entity.
You can learn more about [Entities in the Core Concepts section](/docs/get-started/core-concepts/entity-management).
The following APIs are available.
* [Entities](/docs/apis/entities/entities)
* [Entity Types](/docs/apis/entities/entity-types)
* [Grants](/docs/apis/entities/grants)
# Overview
import API from 'src/components/api/API.astro';
import APIBlock from 'src/components/api/APIBlock.astro';
import APIField from 'src/components/api/APIField.astro';
import StandardGetResponseCodes from 'src/content/docs/apis/_standard-get-response-codes.astro';
import MultipleResponseBody from 'src/content/docs/apis/messengers/_multiple-response-body.mdx';
## Overview
A Messenger is a named object that provides configuration for sending messages to external systems. FusionAuth currently supports the following Messenger types:
* [Generic](/docs/apis/messengers/generic)
* [Twilio](/docs/apis/messengers/twilio)
The type of the messenger will determine the object's properties as well as the validation that is performed. You can click into any of the messenger API docs to get a list of that messenger's properties.
### Global Operations
## Retrieve all Messengers
### Request
<API method="GET" uri="/api/messenger" authentication={["api-key"]} title="Retrieve all Messengers"/>
<API method="GET" uri="/api/messenger/{messengerId}" authentication={["api-key"]} title="Retrieve a Messenger by Id"/>
#### Request Parameters
<APIBlock>
<APIField name="messengerId" type="UUID" required>
The unique Id of the Messenger to retrieve.
</APIField>
</APIBlock>
### Response
<StandardGetResponseCodes never_missing never_search_error />
<MultipleResponseBody />
# Generic Messenger
import Aside from 'src/components/Aside.astro';
import API from 'src/components/api/API.astro';
import InlineField from 'src/components/InlineField.astro';
import APIBlock from 'src/components/api/APIBlock.astro';
import APIField from 'src/components/api/APIField.astro';
import GenericRequestBody from 'src/content/docs/apis/messengers/_generic-request-body.mdx';
import StandardPostResponseCodes from 'src/content/docs/apis/_standard-post-response-codes.astro';
import GenericResponseBody from 'src/content/docs/apis/messengers/_generic-response-body.mdx';
import StandardGetResponseCodes from 'src/content/docs/apis/_standard-get-response-codes.astro';
import GenericUpdateExplanationFragment from 'src/content/docs/apis/_generic-update-explanation-fragment.mdx';
import StandardPutResponseCodes from 'src/content/docs/apis/_standard-put-response-codes.astro';
import StandardDeleteResponseCodes from 'src/content/docs/apis/_standard-delete-response-codes.astro';
## Overview
<Aside type="version">
This API has been available since 1.26.0
</Aside>
The following APIs are provided to manage Generic Messengers.
### Operations
## Create the Generic Messenger
### Request
<API method="POST" uri="/api/messenger" authentication={["api-key"]} title="Create a Generic Messenger with a randomly generated Id."/>
<API method="POST" uri="/api/messenger/{messengerId}" authentication={["api-key"]} title="Create a Generic Messenger with the provided unique Id."/>
The <InlineField>type</InlineField> in the request JSON is used to determine that you are creating the Generic Messenger.
#### Request Parameters
<APIBlock>
<APIField name="messengerId" type="UUID" optional defaults="secure random UUID">
The Id to use for the new Messenger. If not specified a secure random UUID will be generated.
</APIField>
</APIBlock>
<GenericRequestBody />
### Response
<StandardPostResponseCodes never_search_error />
<GenericResponseBody />
## Retrieve the Generic Messenger
### Request
<API method="GET" uri="/api/messenger/{messengerId}" authentication={["api-key"]} title="Retrieve the Generic Messenger by Id"/>
#### Request Parameters
<APIBlock>
<APIField name="messengerId" type="UUID" required>
The Id of the Messenger to retrieve.
</APIField>
</APIBlock>
### Response
<StandardGetResponseCodes never_search_error />
<GenericResponseBody />
## Update the Generic Messenger
<GenericUpdateExplanationFragment capitalized_object_name="Generic Messenger" />
### Request
<API method="PUT" uri="/api/messenger/{messengerId}" authentication={["api-key"]} showPatch={true} title="Update the Generic Messenger by Id"/>
#### Request Parameters
<APIBlock>
<APIField name="messengerId" type="UUID" required>
The Id of the Messenger to update.
</APIField>
</APIBlock>
<GenericRequestBody />
### Response
The response for this API contains the Generic Messenger.
<StandardPutResponseCodes never_search_error />
<GenericResponseBody />
## Delete the Generic Messenger
### Request
<API method="DELETE" uri="/api/messenger/{messengerId}" authentication={["api-key"]} title="Delete the Generic Messenger by Id"/>
<APIBlock>
<APIField name="messengerId" type="UUID" required>
The Id of the Messenger to delete.
</APIField>
</APIBlock>
### Response
This API does not return a JSON response body.
<StandardDeleteResponseCodes never_search_error />
# Twilio Messenger
import Aside from 'src/components/Aside.astro';
import API from 'src/components/api/API.astro';
import InlineField from 'src/components/InlineField.astro';
import APIBlock from 'src/components/api/APIBlock.astro';
import APIField from 'src/components/api/APIField.astro';
import TwilioRequestBody from 'src/content/docs/apis/messengers/_twilio-request-body.mdx';
import StandardPostResponseCodes from 'src/content/docs/apis/_standard-post-response-codes.astro';
import TwilioResponseBody from 'src/content/docs/apis/messengers/_twilio-response-body.mdx';
import StandardGetResponseCodes from 'src/content/docs/apis/_standard-get-response-codes.astro';
import GenericUpdateExplanationFragment from 'src/content/docs/apis/_generic-update-explanation-fragment.mdx';
import StandardPutResponseCodes from 'src/content/docs/apis/_standard-put-response-codes.astro';
import StandardDeleteResponseCodes from 'src/content/docs/apis/_standard-delete-response-codes.astro';
## Overview
<Aside type="version">
This API has been available since 1.26.0
</Aside>
The following APIs are provided to manage Twilio Messengers.
### Operations
## Create the Twilio Messenger
### Request
<API method="POST" uri="/api/messenger" authentication={["api-key"]} title="Create a Twilio Messenger with a randomly generated Id."/>
<API method="POST" uri="/api/messenger/{messengerId}" authentication={["api-key"]} title="Create a Twilio Messenger with the provided unique Id."/>
The <InlineField>type</InlineField> in the request JSON is used to determine that you are creating the Twilio Messenger.
#### Request Parameters
<APIBlock>
<APIField name="messengerId" type="UUID" optional defaults="secure random UUID">
The Id to use for the new Messenger. If not specified a secure random UUID will be generated.
</APIField>
</APIBlock>
<TwilioRequestBody />
### Response
<StandardPostResponseCodes never_search_error />
<TwilioResponseBody />
## Retrieve the Twilio Messenger
### Request
<API method="GET" uri="/api/messenger/{messengerId}" authentication={["api-key"]} title="Retrieve the Twilio Messenger by Id"/>
#### Request Parameters
<APIBlock>
<APIField name="messengerId" type="UUID" required>
The Id of the Messenger to retrieve.
</APIField>
</APIBlock>
### Response
<StandardGetResponseCodes never_search_error />
<TwilioResponseBody />
## Update the Twilio Messenger
<GenericUpdateExplanationFragment capitalized_object_name="Twilio Messenger" />
### Request
<API method="PUT" uri="/api/messenger/{messengerId}" authentication={["api-key"]} showPatch={true} title="Update the Twilio Messenger by Id"/>
#### Request Parameters
<APIBlock>
<APIField name="messengerId" type="UUID" required>
The Id of the Messenger to update.
</APIField>
</APIBlock>
<TwilioRequestBody />
### Response
The response for this API contains the Twilio Messenger.
<StandardPutResponseCodes never_search_error />
<TwilioResponseBody />
## Delete the Twilio Messenger
### Request
<API method="DELETE" uri="/api/messenger/{messengerId}" authentication={["api-key"]} title="Delete the Twilio Messenger by Id"/>
<APIBlock>
<APIField name="messengerId" type="UUID" required>
The Id of the Messenger to delete.
</APIField>
</APIBlock>
### Response
This API does not return a JSON response body.
<StandardDeleteResponseCodes never_search_error />
# Apple
import API from 'src/components/api/API.astro';
import APIBlock from 'src/components/api/APIBlock.astro';
import APIField from 'src/components/api/APIField.astro';
import AppleRequestBody from 'src/content/docs/apis/identity-providers/_apple-request-body.astro';
import AppleResponseBody from 'src/content/docs/apis/identity-providers/_apple-response-body.mdx';
import Aside from 'src/components/Aside.astro';
import CompleteLoginText from 'src/content/docs/apis/identity-providers/_complete-login-text.mdx';
import GenericUpdateExplanationFragment from 'src/content/docs/apis/_generic-update-explanation-fragment.mdx';
import DeprecatedSince from 'src/components/api/DeprecatedSince.astro';
import IdentityProviderLoginRequestBody from 'src/content/docs/apis/identity-providers/_identity-provider-login-request-body.astro';
import IdentityProviderLoginResponseBody from 'src/content/docs/apis/identity-providers/_identity-provider-login-response-body.mdx';
import InlineField from 'src/components/InlineField.astro';
import InlineUIElement from 'src/components/InlineUIElement.astro';
import JSON from 'src/components/JSON.astro';
import StandardDeleteResponseCodes from 'src/content/docs/apis/_standard-delete-response-codes.astro';
import StandardGetResponseCodes from 'src/content/docs/apis/_standard-get-response-codes.astro';
import StandardPostResponseCodes from 'src/content/docs/apis/_standard-post-response-codes.astro';
import StandardPutResponseCodes from 'src/content/docs/apis/_standard-put-response-codes.astro';
import TokenStorageNote from 'src/content/docs/apis/identity-providers/_token-storage-note.mdx';
import XForwardedForHeader from 'src/content/docs/apis/identity-providers/_x-forwarded-for-header.mdx';
import XFusionauthTenantIdHeaderScopedOperationRowOnly from 'src/content/docs/apis/_x-fusionauth-tenant-id-header-scoped-operation-row-only.mdx';
export const idp_display_name = 'Apple';
export const idp_since = 11700;
## Overview
<Aside type="version">
This API has been available since 1.17.0
</Aside>
The Apple identity provider type will use the Sign in with Apple APIs and will provide a <InlineUIElement>Sign in with Apple</InlineUIElement> button on FusionAuth's login page that will either redirect to an Apple sign in page or leverage native controls when using Safari on macOS or iOS. Additionally, this identity provider will call Apple's `/auth/token` API to load additional details about the user and store them in FusionAuth.
<TokenStorageNote idp_long_lived_token_type="refresh"
idp_refresh_additional_info_url="https://developer.apple.com/documentation/sign_in_with_apple/sign_in_with_apple_rest_api/verifying_a_user"
idp_display_name="Apple"
idp_linking_strategy="LinkByEmail"
token_name="refresh_token"
return_text="/auth/token" />
## Create an Apple Identity Provider
### Request
<API method="POST" uri="/api/identity-provider" authentication={["api-key"]} title="Create an Apple Identity Provider using a randomly generated Id"/>
<API method="POST" uri="/api/identity-provider/{identityProviderId}" authentication={["api-key"]} title="Create an Apple Identity Provider with the provided unique Id"/>
The <InlineField>type</InlineField> in the request JSON is used to determine that you are managing an Apple identity provider.
#### Request Parameters
<APIBlock>
<APIField name="identityProviderId" type="UUID" optional defaults="secure random UUID" since="1.61.0">
The Id to use for the new Identity Provider. If an Id is not provided, a secure random UUID is generated. If neither an Id nor <InlineField>identityProvider.name</InlineField> are provided, the legacy fixed Apple IdP Id `13d2a5db-7ef9-4d62-b909-0df58612e775` will be used.
</APIField>
</APIBlock>
<AppleRequestBody idp_since={idp_since} />
### Response
<StandardPostResponseCodes never_search_error />
<AppleResponseBody idp_since={idp_since} />
## Retrieve an Apple Identity Provider
### Request
<API method="GET" uri="/api/identity-provider/{identityProviderId}" authentication={["api-key"]} title="Retrieve an Apple Identity Provider by Id"/>
<API method="GET" uri="/api/identity-provider?type=Apple" authentication={["api-key"]} title="Retrieve Apple Identity Providers by type"/>
#### Request Parameters
<APIBlock>
<APIField name="identityProviderId" type="UUID" required>
The unique Id of the Apple Identity Provider to retrieve.
</APIField>
</APIBlock>
### Response
<StandardGetResponseCodes never_search_error />
<AppleResponseBody idp_since={idp_since} />
## Update an Apple Identity Provider
<GenericUpdateExplanationFragment capitalized_object_name="Apple Identity Provider" />
### Request
<API method="PUT" uri="/api/identity-provider/{identityProviderId}" authentication={["api-key"]} showPatch={true} title="Update an Apple Identity Provider by Id"/>
<API method="PUT" uri="/api/identity-provider?type=Apple" authentication={["api-key"]} showPatch={true} title="Update an Apple Identity Provider by type (deprecated)"/>
<DeprecatedSince since="1.61.0">Prefer updating by Id. Updating by type attempts to update the Identity Provider with the legacy fixed Id `13d2a5db-7ef9-4d62-b909-0df58612e775`.</DeprecatedSince>
#### Request Parameters
<APIBlock>
<APIField name="identityProviderId" type="UUID" required>
The unique Id of the Apple Identity Provider to update.
</APIField>
</APIBlock>
<AppleRequestBody idp_since={idp_since} />
### Response
The response for this API contains the Apple Identity Provider.
<StandardPutResponseCodes never_search_error />
<AppleResponseBody idp_since={idp_since} />
## Delete an Apple Identity Provider
### Request
<API method="DELETE" uri="/api/identity-provider/{identityProviderId}" authentication={["api-key"]} title="Delete an Apple Identity Provider by Id"/>
<API method="DELETE" uri="/api/identity-provider?type=Apple" authentication={["api-key"]} title="Delete an Apple Identity Provider by type (deprecated)"/>
<DeprecatedSince since="1.61.0">Prefer deleting by Id. Deleting by type attempts to delete the Identity Provider with the legacy fixed Id `13d2a5db-7ef9-4d62-b909-0df58612e775`.</DeprecatedSince>
#### Request Parameters
<APIBlock>
<APIField name="identityProviderId" type="UUID" required>
The unique Id of the Apple Identity Provider to delete.
</APIField>
</APIBlock>
### Response
This API does not return a JSON response body.
<StandardDeleteResponseCodes never_search_error />
## Complete the Apple Login
<CompleteLoginText idp_display_name="Apple" token_text_with_article="an id token" token_text="id token" />
Apple requires you use a hybrid grant. At a high level, the steps you'll follow are:
* Begin the Authorization Code grant with Apple using a hybrid grant: `response_type=code id_token`.
* Collect the two values, `code` and `id_token` sent to you by Apple on the redirect URL specified by the `redirect_uri` query parameter.
* Send these values to the FusionAuth IdP Login API to complete the login process. The API call, parameters to provide, and response are described below.
<Aside type="note">
Do not complete the Authorization Code exchange with Apple using the Token endpoint.
</Aside>
### Request
<API method="POST" uri="/api/identity-provider/login" authentication={["none"]} title="Complete Apple Login"/>
#### Request Headers
<APIBlock>
</APIBlock>
<XForwardedForHeader />
<XFusionauthTenantIdHeaderScopedOperationRowOnly />
<IdentityProviderLoginRequestBody idp_display_name={idp_display_name} />
<JSON title="Example Native Request JSON" src="identity-providers/login/apple-request-native.json" />
### Response
The response for this API contains the User object.
<IdentityProviderLoginResponseBody />
# Epic Games
import PremiumPlanBlurb from 'src/content/docs/_shared/_premium-plan-blurb.astro';
import Aside from 'src/components/Aside.astro';
import Breadcrumb from 'src/components/Breadcrumb.astro';
import InlineUIElement from 'src/components/InlineUIElement.astro';
import OAuthIdpOperations from 'src/content/docs/apis/identity-providers/_oauth-idp-operations.mdx';
import TokenStorageNote from 'src/content/docs/apis/identity-providers/_token-storage-note.mdx';
<PremiumPlanBlurb />
## Overview
<Aside type="version">
This API has been available since 1.28.0
</Aside>
The Epic Games identity provider type will use the Epic Games OAuth login API. It will also provide a <InlineUIElement>Login with Epic Games</InlineUIElement> button on FusionAuth’s login page that will direct a user to the <Breadcrumb>Epic Games login page</Breadcrumb>.
This identity provider will call Epic Games' API to load the Epic Games user's `displayName` and use that as `username` to lookup or create a user in FusionAuth depending on the linking strategy configured for this identity provider. However, Epic Games does not allow access to user emails, so neither email linking strategy can be used and user’s will not be able to login or be created.
<TokenStorageNote idp_long_lived_token_type="refresh" idp_refresh_additional_info_url="https://dev.epicgames.com/docs/web-api-ref/authentication" manual_idp_display_name={frontmatter.idpDisplayName} token_name="refresh_token" return_text="the Epic Games login " hide_token_map_deprecation="true" />
<OAuthIdpOperations idp_long_lived_token_type="refresh" idp_refresh_additional_info_url="https://dev.epicgames.com/docs/web-api-ref/authentication" manual_idp_display_name={frontmatter.idpDisplayName} idp_id="1b932b19-61a8-47c7-9e81-27dbf9011dad" idp_linking_strategy="CreatePendingLink" idp_lowercase="epicgames" idp_since={12800} idp_token_or_code="token or code" idp_type="EpicGames" />
# External JWT
import Aside from 'src/components/Aside.astro';
import ExternalJwtProviderWarning from 'src/content/docs/_shared/_external-jwt-provider-warning.mdx';
import TokenStorageNote from 'src/content/docs/apis/identity-providers/_token-storage-note.mdx';
import API from 'src/components/api/API.astro';
import InlineField from 'src/components/InlineField.astro';
import APIBlock from 'src/components/api/APIBlock.astro';
import APIField from 'src/components/api/APIField.astro';
import ExternalJwtRequestBody from 'src/content/docs/apis/identity-providers/_external-jwt-request-body.mdx';
import StandardPostResponseCodes from 'src/content/docs/apis/_standard-post-response-codes.astro';
import ExternalJwtResponseBody from 'src/content/docs/apis/identity-providers/_external-jwt-response-body.mdx';
import StandardGetResponseCodes from 'src/content/docs/apis/_standard-get-response-codes.astro';
import GenericUpdateExplanationFragment from 'src/content/docs/apis/_generic-update-explanation-fragment.mdx';
import StandardPutResponseCodes from 'src/content/docs/apis/_standard-put-response-codes.astro';
import StandardDeleteResponseCodes from 'src/content/docs/apis/_standard-delete-response-codes.astro';
import XForwardedForHeader from 'src/content/docs/apis/identity-providers/_x-forwarded-for-header.mdx';
import XFusionauthTenantIdHeaderScopedOperationRowOnly from 'src/content/docs/apis/_x-fusionauth-tenant-id-header-scoped-operation-row-only.mdx';
import IdentityProviderLoginRequestBody from 'src/content/docs/apis/identity-providers/_identity-provider-login-request-body.astro';
import IdentityProviderLoginResponseBody from 'src/content/docs/apis/identity-providers/_identity-provider-login-response-body.mdx';
export const idp_display_name = 'External JWT';
export const idp_enforce_email_verified_claim = true;
export const idp_since = 10100;
export const idp_linking_strategy = 'LinkByEmail';
## Overview
<Aside type="version">
This API has been available since 1.1.0
</Aside>
This is a special type of identity provider that is only used via the [JWT Reconcile](/docs/apis/jwt#reconcile-a-jwt-using-the-external-jwt-provider) API. This identity provider defines the claims inside the incoming JWT and how they map to fields in the FusionAuth User object.
<ExternalJwtProviderWarning />
In order for this identity provider to use the JWT, it also needs the public key or HMAC secret that the JWT was signed with. FusionAuth will verify that the JWT is valid and has not expired. Once the JWT has been validated, FusionAuth will reconcile it to ensure that the User exists and is up-to-date.
[//]: # (idp_display_name blank on purpose reads better)
<TokenStorageNote idp_display_name idp_linking_strategy="LinkByEmail" token_name="token provided in the refresh_token field" return_text="request" />
### Request
<API method="POST" uri="/api/identity-provider" authentication={["api-key"]} title="Create an Identity Provider using a randomly generated id"/>
<API method="POST" uri="/api/identity-provider/{identityProviderId}" authentication={["api-key"]} title="Create an Identity Provider with the provided unique id"/>
The <InlineField>type</InlineField> property in the request JSON is used to determine that you are managing an External JWT identity provider.
#### Request Parameters
<APIBlock>
<APIField name="identityProviderId" type="UUID" optional defaults="secure random UUID">
The Id to use for the new Identity Provider. If an id is not provided, a secure random UUID is generated.
</APIField>
</APIBlock>
<ExternalJwtRequestBody idp_since={idp_since} idp_display_name={idp_display_name} idp_linking_strategy={idp_linking_strategy} idp_enforce_email_verified_claim={idp_enforce_email_verified_claim} />
### Response
<StandardPostResponseCodes never_search_error />
<ExternalJwtResponseBody idp_since={props.idp_since} idp_display_name={props.idp_display_name} idp_linking_strategy={idp_linking_strategy} />
## Retrieve an External JWT Identity Provider
### Request
<API method="GET" uri="/api/identity-provider/{identityProviderId}" authentication={["api-key"]} title="Retrieve an external JWT Identity Provider by Id"/>
#### Request Parameters
<APIBlock>
<APIField name="identityProviderId" type="UUID" required>
The unique Id of the Identity Provider to retrieve.
</APIField>
</APIBlock>
### Response
<StandardGetResponseCodes never_search_error />
<ExternalJwtResponseBody />
## Update an External JWT Identity Provider
<GenericUpdateExplanationFragment capitalized_object_name="External JWT Identity Provider" />
### Request
<API method="PUT" uri="/api/identity-provider/{identityProviderId}" authentication={["api-key"]} showPatch={true} title="Update an Identity Provider"/>
<ExternalJwtRequestBody />
#### Request Parameters
<APIBlock>
<APIField name="identityProviderId" type="UUID" required>
The unique Id of the Identity Provider to update.
</APIField>
</APIBlock>
<ExternalJwtRequestBody idp_since={idp_since} idp_display_name={idp_display_name} idp_linking_strategy={idp_linking_strategy} idp_enforce_email_verified_claim={idp_enforce_email_verified_claim} />
### Response
The response for this API contains the external JWT Identity Provider that was updated.
<StandardPutResponseCodes never_search_error />
<ExternalJwtResponseBody idp_since={props.idp_since} idp_display_name={props.idp_display_name} idp_linking_strategy={idp_linking_strategy} />
## Delete an External JWT Identity Provider
### Request
<API method="DELETE" uri="/api/identity-provider/{identityProviderId}" authentication={["api-key"]} title="Delete an Identity Provider by Id"/>
#### Request Parameters
<APIBlock>
<APIField name="identityProviderId" type="UUID" required>
The unique Id of the Identity Provider to delete.
</APIField>
</APIBlock>
### Response
This API does not return a JSON response body.
<StandardDeleteResponseCodes never_search_error />
## Complete the External JWT Login
This API allows you to complete an External JWT login after retrieving the external JWT and processing it.
For example, if you have a JWT representing a user, using this API you can pass that JWT returned from an external service to FusionAuth and we will complete the login workflow and reconcile the user to FusionAuth.
The user does not need to exist yet in FusionAuth to utilize this API, depending on the configured [linking strategy](/docs/lifecycle/authenticate-users/identity-providers/#linking-strategies). The token returned will be used to retrieve the user's email address or username and if that user does not yet exist in FusionAuth the user may be created.
If <InlineField>createRegistration</InlineField> has been enabled for this identity provider and the user does not yet have a registration for this application, a registration will be automatically created for the user. The user will be assigned any default roles configured for the application.
If <InlineField>createRegistration</InlineField> has not been enabled, a registration will not be created if one does not yet exist. This is useful if you wish to manually provision users and then subsequently allow them to login.
### Request
<API method="POST" uri="/api/identity-provider/login" authentication={["none"]} title="Complete External JWT Login"/>
#### Request Headers
<APIBlock>
<XForwardedForHeader />
<XFusionauthTenantIdHeaderScopedOperationRowOnly />
</APIBlock>
<IdentityProviderLoginRequestBody idp_display_name={idp_display_name} />
### Response
The response for this API contains the User object.
<IdentityProviderLoginResponseBody />
# Facebook
import API from 'src/components/api/API.astro';
import APIBlock from 'src/components/api/APIBlock.astro';
import APIField from 'src/components/api/APIField.astro';
import Aside from 'src/components/Aside.astro';
import CompleteLoginText from 'src/content/docs/apis/identity-providers/_complete-login-text.mdx';
import FacebookPostRequestBody from 'src/content/docs/apis/identity-providers/_facebook-post-request-body.mdx';
import FacebookPutRequestBody from 'src/content/docs/apis/identity-providers/_facebook-put-request-body.mdx';
import FacebookResponseBody from 'src/content/docs/apis/identity-providers/_facebook-response-body.mdx';
import GenericUpdateExplanationFragment from 'src/content/docs/apis/_generic-update-explanation-fragment.mdx';
import IdentityProviderLoginRequestBody from 'src/content/docs/apis/identity-providers/_identity-provider-login-request-body.astro';
import IdentityProviderLoginResponseBody from 'src/content/docs/apis/identity-providers/_identity-provider-login-response-body.mdx';
import InlineField from 'src/components/InlineField.astro';
import InlineUIElement from 'src/components/InlineUIElement.astro';
import StandardDeleteResponseCodes from 'src/content/docs/apis/_standard-delete-response-codes.astro';
import StandardGetResponseCodes from 'src/content/docs/apis/_standard-get-response-codes.astro';
import StandardPostResponseCodes from 'src/content/docs/apis/_standard-post-response-codes.astro';
import StandardPutResponseCodes from 'src/content/docs/apis/_standard-put-response-codes.astro';
import TokenStorageNote from 'src/content/docs/apis/identity-providers/_token-storage-note.mdx';
import DeprecatedSince from 'src/components/api/DeprecatedSince.astro';
import XForwardedForHeader from 'src/content/docs/apis/identity-providers/_x-forwarded-for-header.mdx';
import XFusionauthTenantIdHeaderScopedOperationRowOnly from 'src/content/docs/apis/_x-fusionauth-tenant-id-header-scoped-operation-row-only.mdx';
export const idp_display_name = "Facebook";
export const idp_since = 10100;
export const idp_linking_strategy="LinkByEmail";
## Overview
<Aside type="version">
This API has been available since 1.1.0
</Aside>
The Facebook identity provider type will use the Facebook OAuth login API. It will provide a <InlineUIElement>Login with Facebook</InlineUIElement> button on FusionAuth's login page that will leverage the Facebook login pop-up dialog. Additionally, this identity provider type will call Facebook's Graph API to load additional details about the user and store them in FusionAuth.
The email address returned by the Facebook Graph API will be used to create or lookup the existing user. Additional claims returned by Facebook can be used to reconcile the User to FusionAuth by using a Facebook Reconcile Lambda. Unless you assign a reconcile lambda to this provider, on the `email` address will be used from the available claims returned by Facebook.
When the `picture` field is not requested FusionAuth will also call Facebook's `/me/picture` API to load the user's profile image and store it as the `imageUrl` in FusionAuth. When the `picture` field is requested, the user's profile image will be returned by the `/me` API and a second request to the `/me/picture` endpoint will not be required.
<TokenStorageNote idp_long_lived_token_type="long-lived" idp_display_name={idp_display_name} idp_linking_strategy={idp_linking_strategy} token_name="long-lived token" return_text="/oauth/access_token (after presenting the login token)" />
Please note if an `idp_hint` is appended to the OAuth Authorize endpoint, then the interaction behavior will be defaulted to `redirect`, even if popup interaction is explicitly configured.
## Create a Facebook Identity Provider
### Request
<API method="POST" uri="/api/identity-provider" authentication={["api-key"]} title="Create a Facebook Identity Provider using a randomly generated Id"/>
<API method="POST" uri="/api/identity-provider/{identityProviderId}" authentication={["api-key"]} title="Create a Facebook Identity Provider with the provided unique Id"/>
The <InlineField>type</InlineField> in the request JSON is used to determine that you are managing a Facebook identity provider.
#### Request Parameters
<APIBlock>
<APIField name="identityProviderId" type="UUID" optional defaults="secure random UUID" since="1.61.0">
The Id to use for the new Identity Provider. If an Id is not provided, a secure random UUID is generated. If neither an Id nor <InlineField>identityProvider.name</InlineField> are provided, the legacy fixed Facebook IdP Id `56abdcc7-8bd9-4321-9621-4e9bbebae494` will be used.
</APIField>
</APIBlock>
<FacebookPostRequestBody idp_since={idp_since}
idp_linking_strategy={idp_linking_strategy}
idp_display_name={idp_display_name} />
### Response
<StandardPostResponseCodes never_search_error />
<FacebookResponseBody idp_since={idp_since}
idp_linking_strategy={idp_linking_strategy}
idp_display_name={idp_display_name} />
## Retrieve a Facebook Identity Provider
### Request
<API method="GET" uri="/api/identity-provider/{identityProviderId}" authentication={["api-key"]} title="Retrieve a Facebook Identity Provider by Id"/>
<API method="GET" uri="/api/identity-provider?type=Facebook" authentication={["api-key"]} title="Retrieve Facebook Identity Providers by type"/>
#### Request Parameters
<APIBlock>
<APIField name="identityProviderId" type="UUID" required>
The unique Id of the Facebook Identity Provider to retrieve.
</APIField>
</APIBlock>
### Response
<StandardGetResponseCodes />
<FacebookResponseBody idp_since={idp_since}
idp_linking_strategy={idp_linking_strategy}
idp_display_name={idp_display_name} />
## Update a Facebook Identity Provider
<GenericUpdateExplanationFragment capitalized_object_name="Facebook Identity Provider" />
### Request
<API method="PUT" uri="/api/identity-provider/{identityProviderId}" authentication={["api-key"]} showPatch={true} title="Update a Facebook Identity Provider by Id"/>
<API method="PUT" uri="/api/identity-provider?type=Facebook" authentication={["api-key"]} showPatch={true} title="Update a Facebook Identity Provider by type (deprecated)"/>
<DeprecatedSince since="1.61.0">Prefer updating by Id. Updating by type attempts to update the Identity Provider with the legacy fixed Id `56abdcc7-8bd9-4321-9621-4e9bbebae494`.</DeprecatedSince>
#### Request Parameters
<APIBlock>
<APIField name="identityProviderId" type="UUID" required>
The unique Id of the Facebook Identity Provider to update.
</APIField>
</APIBlock>
<FacebookPutRequestBody idp_since={idp_since}
idp_linking_strategy={idp_linking_strategy}
idp_display_name={idp_display_name} />
### Response
The response for this API contains a Facebook Identity Provider.
<StandardPutResponseCodes />
<FacebookResponseBody idp_since={idp_since}
idp_linking_strategy={idp_linking_strategy}
idp_display_name={idp_display_name} />
## Delete a Facebook Identity Provider
### Request
<API method="DELETE" uri="/api/identity-provider/{identityProviderId}" authentication={["api-key"]} title="Delete a Facebook Identity Provider by Id"/>
<API method="DELETE" uri="/api/identity-provider?type=Facebook" authentication={["api-key"]} title="Delete a Facebook Identity Provider by type (deprecated)"/>
<DeprecatedSince since="1.61.0">Prefer deleting by Id. Deleting by type attempts to delete the Identity Provider with the legacy fixed Id `56abdcc7-8bd9-4321-9621-4e9bbebae494`.</DeprecatedSince>
#### Request Parameters
<APIBlock>
<APIField name="identityProviderId" type="UUID" required>
The unique Id of the Facebook Identity Provider to delete.
</APIField>
</APIBlock>
### Response
This API does not return a JSON response body.
<StandardDeleteResponseCodes />
## Complete a Facebook Login
<CompleteLoginText idp_display_name={idp_display_name} token_text_with_article="an access token" token_text="access token" />
### Request
<API method="POST" uri="/api/identity-provider/login" authentication={["none"]} title="Complete Facebook Login"/>
#### Request Headers
<APIBlock>
<XForwardedForHeader />
<XFusionauthTenantIdHeaderScopedOperationRowOnly />
</APIBlock>
<IdentityProviderLoginRequestBody idp_display_name={idp_display_name} idp_since={idp_since} />
### Response
The response for this API contains the User object.
<IdentityProviderLoginResponseBody />
# Google
import Aside from 'src/components/Aside.astro';
import InlineUIElement from 'src/components/InlineUIElement.astro';
import OauthIdpOperations from 'src/content/docs/apis/identity-providers/_oauth-idp-operations.mdx';
import TokenStorageNote from 'src/content/docs/apis/identity-providers/_token-storage-note.mdx';
## Overview
<Aside type="version">
This API has been available since 1.1.0
</Aside>
The Google identity provider type will use the Google OAuth v2.0 login API. It will also provide a <InlineUIElement>Login with Google</InlineUIElement> button on FusionAuth’s login page that will direct a user to the Google login page.
This identity provider will call Google’s API to load the user's `email` and `preferred_username` and use those as `email` and `username` to lookup or create a user in FusionAuth depending on the linking strategy configured for this identity provider. Additional claims returned by Google can be used to reconcile the user to FusionAuth by using a Google Reconcile Lambda.
<TokenStorageNote idp_long_lived_token_type="id_token" manual_idp_display_name={frontmatter.idpDisplayName} idp_linking_strategy="LinkByEmail" token_name="id_token" return_text="Google API" />
Please note if an `idp_hint` is appended to the OAuth Authorize endpoint, then the login method interaction will be `redirect`, even if popup interaction is explicitly configured.
<OauthIdpOperations idp_id="82339786-3dff-42a6-aac6-1f1ceecb6c46" manual_idp_display_name={frontmatter.idpDisplayName} idp_login_method idp_lowercase="google" idp_since="10100" idp_token_or_code="token or code" idp_type="Google" />
# Overview
import API from 'src/components/api/API.astro';
import StandardGetResponseCodes from 'src/content/docs/apis/_standard-get-response-codes.astro';
import MultipleResponseBody from 'src/content/docs/apis/identity-providers/_multiple-response-body.mdx';
import Aside from 'src/components/Aside.astro';
import IdentityProviderSearchRequestParameters from 'src/content/docs/apis/identity-providers/_identity-provider-search-request-parameters.mdx';
import APIBlock from 'src/components/api/APIBlock.astro';
import APIField from 'src/components/api/APIField.astro';
import LookupResponseBody from 'src/content/docs/apis/identity-providers/_lookup-response-body.mdx';
## Identity Providers
An Identity Provider is a named object that provides configuration to describe an external and/or social identity provider. This configuration will be used to perform an alternative login to the standard FusionAuth local login. FusionAuth currently supports a number of different identity provider types:
* [Apple](/docs/apis/identity-providers/apple)
* [Epic Games](/docs/apis/identity-providers/epicgames) - requires a paid plan.
* [External JWT](/docs/apis/identity-providers/external-jwt)
* [Facebook](/docs/apis/identity-providers/facebook)
* [Google](/docs/apis/identity-providers/google)
* [HYPR](/docs/apis/identity-providers/hypr)
* [LinkedIn](/docs/apis/identity-providers/linkedin)
* [Nintendo](/docs/apis/identity-providers/nintendo) - requires a paid plan.
* [OpenID Connect](/docs/apis/identity-providers/openid-connect)
* [SAML v2](/docs/apis/identity-providers/samlv2)
* [SAML v2 IdP Initiated](/docs/apis/identity-providers/samlv2-idp-initiated) - requires a paid plan.
* [Sony PlayStation Network](/docs/apis/identity-providers/sonypsn) - requires a paid plan.
* [Steam](/docs/apis/identity-providers/steam) - requires a paid plan.
* [Twitch](/docs/apis/identity-providers/twitch) - requires a paid plan.
* [Twitter](/docs/apis/identity-providers/twitter)
* [Xbox](/docs/apis/identity-providers/xbox) - requires a paid plan.
The type of the identity provider will determine the object's properties as well as the validation that is performed. You can click into any of the identity provider API docs to get a list of that identity provider's properties.
To learn how to configure these Identity Providers using the FusionAuth UI, go here [Identity Providers](/docs/lifecycle/authenticate-users/identity-providers/).
### Link APIs
The way a link is established between an identity provider and FusionAuth is determined by the `linkingStrategy` for each identity provider. An API is provided to manually link and unlink a user to a 3rd party identity provider. To learn more about managing links between FusionAuth and a 3rd party identity provider, see the [Link APIs](/docs/apis/identity-providers/links).
### Global Operations
## Retrieve all Identity Providers
### Request
<API method="GET" uri="/api/identity-provider" authentication={["api-key"]} title="Retrieve all of the Identity Providers"/>
### Response
<StandardGetResponseCodes never_missing never_search_error />
<MultipleResponseBody include_total={false} />
## Search for Identity Providers
<Aside type="version">
This API has been available since 1.45.0
</Aside>
This API is used to search for Identity Providers and may be called using the `GET` or `POST` HTTP methods. Examples of each are provided below. The `POST` method is provided to allow for a richer request object without worrying about exceeding the maximum length of a URL. Calling this API with either the `GET` or `POST` HTTP method will provide the same search results given the same query parameters.
### Request
<API method="GET" uri="/api/identity-provider/search?name={name}" authentication={["api-key"]} title="Search for Identity Providers"/>
### Request Parameters
<IdentityProviderSearchRequestParameters parameter_prefix="" />
<API method="POST" uri="/api/identity-provider/search" authentication={["api-key"]} title="Search for Identity Providers"/>
When calling the API using a `POST` request you will send the search criteria in a JSON request body.
### Request Body
<IdentityProviderSearchRequestParameters parameter_prefix="search." />
### Response
The response for this API contains the Identity Providers matching the search criteria in paginated format and the total number of results matching the search criteria.
<StandardGetResponseCodes never_missing never_search_error />
<MultipleResponseBody include_total />
## Lookup an Identity Provider
The Lookup API is intended to be used during an external login workflow.
For example, you might build your own login page. This page might collect the user's email as the first step. That email address can be sent to this API to determine which identity provider was designated as the provider for this email address. If the identity provider is an OpenID Connect provider, then you might redirect the user over to that provider.
### Request
<API method="GET" uri="/api/identity-provider/lookup?domain={domain}" authentication={["none"]} title="Lookup an Identity Provider by domain/email"/>
#### Request Parameters
<APIBlock>
<APIField name="domain" type="String" required>
The email domain or the full email address of the user.
> For example, `jenny@acme.com` and `acme.com` are functionally equivalent.
</APIField>
<APIField name="tenantId" type="UUID" optional since="1.62.0">
If provided, the API searches for an identity provider scoped to the corresponding tenant that manages the requested domain. If no result is found, the API then searches for global identity providers.
Omitting this parameter will only search global identity providers.
</APIField>
</APIBlock>
### Response
The Lookup response is a subset of the Identity Provider configurations that would be returned by the identity provider retrieve operation. A `200` response code indicates the domain is managed and the response will contain a JSON body, a `404` response code indicates it is not managed by a configured Identity Provider.
<StandardGetResponseCodes never_search_error no_authorization missing_message="The requested domain is not being managed by a configured Identity Provider." />
<LookupResponseBody />
# LinkedIn
import API from 'src/components/api/API.astro';
import APIBlock from 'src/components/api/APIBlock.astro';
import APIField from 'src/components/api/APIField.astro';
import Aside from 'src/components/Aside.astro';
import Breadcrumb from 'src/components/Breadcrumb.astro';
import CompleteLoginText from 'src/content/docs/apis/identity-providers/_complete-login-text.mdx';
import GenericUpdateExplanationFragment from 'src/content/docs/apis/_generic-update-explanation-fragment.mdx';
import IdentityProviderLoginRequestBody from 'src/content/docs/apis/identity-providers/_identity-provider-login-request-body.astro';
import IdentityProviderLoginResponseBody from 'src/content/docs/apis/identity-providers/_identity-provider-login-response-body.mdx';
import InlineField from 'src/components/InlineField.astro';
import InlineUIElement from 'src/components/InlineUIElement.astro';
import LinkedinRequestBody from 'src/content/docs/apis/identity-providers/_linkedin-request-body.mdx';
import LinkedinResponseBody from 'src/content/docs/apis/identity-providers/_linkedin-response-body.mdx';
import StandardDeleteResponseCodes from 'src/content/docs/apis/_standard-delete-response-codes.astro';
import StandardGetResponseCodes from 'src/content/docs/apis/_standard-get-response-codes.astro';
import StandardPostResponseCodes from 'src/content/docs/apis/_standard-post-response-codes.astro';
import StandardPutResponseCodes from 'src/content/docs/apis/_standard-put-response-codes.astro';
import TokenStorageNote from 'src/content/docs/apis/identity-providers/_token-storage-note.mdx';
import DeprecatedSince from 'src/components/api/DeprecatedSince.astro';
import XForwardedForHeader from 'src/content/docs/apis/identity-providers/_x-forwarded-for-header.mdx';
import XFusionauthTenantIdHeaderScopedOperationRowOnly from 'src/content/docs/apis/_x-fusionauth-tenant-id-header-scoped-operation-row-only.mdx';
export const idp_display_name = 'LinkedIn';
export const idp_enforce_email_verified_claim = true;
export const idp_since = 12300;
export const idp_linking_strategy = 'LinkByEmail';
## Overview
<Aside type="version">
This API has been available since 1.23.0
</Aside>
The LinkedIn identity provider type will use OAuth 2.0 to authenticate a user with LinkedIn. It will also provide a <InlineUIElement>Login with LinkedIn</InlineUIElement> button on FusionAuth's login page that will direct a user to the LinkedIn login page. Additionally, after successful user authentication, this identity provider will either call LinkedIn's `/v2/userinfo` API or their `/v2/me` and `/v2/emailAddress` APIs to load additional details about the user and store them in FusionAuth.
The email address returned by the LinkedIn API will be used to create or look up the existing user. Additional claims returned by LinkedIn can be used to reconcile the User to FusionAuth by using a LinkedIn Reconcile lambda. Unless you assign a reconcile lambda to this provider, only the `email` address will be used from the available claims returned by LinkedIn.
<TokenStorageNote idp_long_lived_token_type="access_token"
idp_display_name={idp_display_name}
idp_linking_strategy={idp_linking_strategy}
token_name="access_token"
return_text="login endpoint" />
### LinkedIn Identity Provider Scopes
<Aside type="caution">
LinkedIn has changed their API programs over time.
</Aside>
Depending on when you created your application in LinkedIn you may need to use a different set of scopes. LinkedIn had an older "compliance" program for signing in with LinkedIn that used their [Profile API](https://learn.microsoft.com/en-us/linkedin/shared/integrations/people/profile-api). The newer program is "Sign In with LinkedIn using OpenID Connect" and uses their [UserInfo API](https://learn.microsoft.com/en-us/linkedin/consumer/integrations/self-serve/sign-in-with-linkedin-v2#api-request-to-retreive-member-details) to query for user details.
Prior to version 1.49.0 FusionAuth only supported the legacy program. The values to use in the <InlineField>scope</InlineField> parameter are `r_emailaddress`, which returns the user's email and either `r_liteprofile` or `r_basicprofile` for the remaining user info.
The newer program will always the `openid` scope and `profile` for the user's profile information and `email` for the user's email.
You will need to upgrade to FusionAuth version 1.49.0 or later to use the LinkedIn identity provider with the newer OpenID Connect program.
## Create a LinkedIn Identity Provider
### Request
<API method="POST" uri="/api/identity-provider" authentication={["api-key"]} title="Create a LinkedIn Identity Provider using a randomly generated Id"/>
<API method="POST" uri="/api/identity-provider/{identityProviderId}" authentication={["api-key"]} title="Create a LinkedIn Identity Provider (client provided Id)"/>
The <InlineField>type</InlineField> in the request JSON indicates this is a LinkedIn Identity Provider.
#### Request Parameters
<APIBlock>
<APIField name="identityProviderId" type="UUID" optional defaults="secure random UUID" since="1.61.0">
The Id to use for the new Identity Provider. If an Id is not provided, a secure random UUID is generated. If neither an Id nor <InlineField>identityProvider.name</InlineField> are provided, the legacy fixed LinkedIn IdP Id `6177c09d-3f0e-4d53-9504-3600b1b23f46` will be used.
</APIField>
</APIBlock>
<LinkedinRequestBody idp_display_name={idp_display_name}
idp_enforce_email_verified_claim={idp_enforce_email_verified_claim}
idp_linking_strategy={idp_linking_strategy}
idp_since={idp_since}/>
### Response
<StandardPostResponseCodes never_search_error />
<LinkedinResponseBody idp_display_name={idp_display_name}
idp_linking_strategy={idp_linking_strategy}
idp_since={idp_since}/>
## Retrieve a LinkedIn Identity Provider
### Request
<API method="GET" uri="/api/identity-provider/{identityProviderId}" authentication={["api-key"]} title="Retrieve a LinkedIn Identity Provider by Id"/>
<API method="GET" uri="/api/identity-provider?type=LinkedIn" authentication={["api-key"]} title="Retrieve LinkedIn Identity Providers by type"/>
#### Request Parameters
<APIBlock>
<APIField name="identityProviderId" type="UUID" required>
The unique Id of the LinkedIn Identity Provider to retrieve.
</APIField>
</APIBlock>
### Response
<StandardGetResponseCodes never_search_error />
<LinkedinResponseBody idp_display_name={idp_display_name}
idp_linking_strategy={idp_linking_strategy}
idp_since={idp_since}/>
## Update a LinkedIn Identity Provider
<GenericUpdateExplanationFragment capitalized_object_name="LinkedIn Identity Provider" />
### Request
<API method="PUT" uri="/api/identity-provider/{identityProviderId}" authentication={["api-key"]} showPatch={true} title="Update a LinkedIn Identity Provider by Id"/>
<API method="PUT" uri="/api/identity-provider?type=LinkedIn" authentication={["api-key"]} showPatch={true} title="Update a LinkedIn Identity Provider by type (deprecated)"/>
<DeprecatedSince since="1.61.0">Prefer updating by Id. Updating by type attempts to update the Identity Provider with the legacy fixed Id `6177c09d-3f0e-4d53-9504-3600b1b23f46`.</DeprecatedSince>
#### Request Parameters
<APIBlock>
<APIField name="identityProviderId" type="UUID" required>
The unique Id of the LinkedIn Identity Provider to update.
</APIField>
</APIBlock>
<LinkedinRequestBody idp_display_name={idp_display_name}
idp_enforce_email_verified_claim={idp_enforce_email_verified_claim}
idp_linking_strategy={idp_linking_strategy}
idp_since={idp_since} />
### Response
The response for this API contains a LinkedIn Identity Provider.
<StandardPutResponseCodes never_search_error />
<LinkedinResponseBody idp_display_name={idp_display_name}
idp_linking_strategy={idp_linking_strategy}
idp_since={idp_since}/>
## Delete a LinkedIn Identity Provider
### Request
<API method="DELETE" uri="/api/identity-provider/{identityProviderId}" authentication={["api-key"]} title="Delete a LinkedIn Identity Provider by Id"/>
<API method="DELETE" uri="/api/identity-provider?type=LinkedIn" authentication={["api-key"]} title="Delete a LinkedIn Identity Provider by type (deprecated)"/>
<DeprecatedSince since="1.61.0">Prefer deleting by Id. Deleting by type attempts to delete the Identity Provider with the legacy fixed Id `6177c09d-3f0e-4d53-9504-3600b1b23f46`.</DeprecatedSince>
#### Request Parameters
<APIBlock>
<APIField name="identityProviderId" type="UUID" required>
The unique Id of the LinkedIn Identity Provider to delete.
</APIField>
</APIBlock>
### Response
This API does not return a JSON response body.
<StandardDeleteResponseCodes never_search_error />
## Complete a LinkedIn Login
<CompleteLoginText idp_display_name={idp_display_name} token_text_with_article="an id token" token_text="id token" />
### Request
<API method="POST" uri="/api/identity-provider/login" authentication={["none"]} title="Complete LinkedIn Login"/>
#### Request Headers
<APIBlock>
<XForwardedForHeader />
<XFusionauthTenantIdHeaderScopedOperationRowOnly />
</APIBlock>
<IdentityProviderLoginRequestBody idp_display_name={idp_display_name}
idp_linking_strategy={idp_linking_strategy}
idp_since={idp_since} />
### Response
The response for this API contains the User object.
<IdentityProviderLoginResponseBody idp_display_name={idp_display_name}
idp_linking_strategy={idp_linking_strategy}
idp_since={idp_since}/>
# HYPR
import Aside from 'src/components/Aside.astro';
import API from 'src/components/api/API.astro';
import APIBlock from 'src/components/api/APIBlock.astro';
import APIField from 'src/components/api/APIField.astro';
import InlineField from 'src/components/InlineField.astro';
import HyprRequestBody from 'src/content/docs/apis/identity-providers/_hypr-request-body.mdx';
import StandardPostResponseCodes from 'src/content/docs/apis/_standard-post-response-codes.astro';
import HyprResponseBody from 'src/content/docs/apis/identity-providers/_hypr-response-body.mdx';
import StandardGetResponseCodes from 'src/content/docs/apis/_standard-get-response-codes.astro';
import GenericUpdateExplanationFragment from 'src/content/docs/apis/_generic-update-explanation-fragment.mdx';
import StandardPutResponseCodes from 'src/content/docs/apis/_standard-put-response-codes.astro';
import StandardDeleteResponseCodes from 'src/content/docs/apis/_standard-delete-response-codes.astro';
import IdentityProviderStartRequestBody from 'src/content/docs/apis/identity-providers/_identity-provider-start-request-body.mdx';
import IdentityProviderStartResponseBody from 'src/content/docs/apis/identity-providers/_identity-provider-start-response-body.astro';
import CompleteLoginText from 'src/content/docs/apis/identity-providers/_complete-login-text.mdx';
import XForwardedForHeader from 'src/content/docs/apis/identity-providers/_x-forwarded-for-header.mdx';
import XFusionauthTenantIdHeaderScopedOperationRowOnly from 'src/content/docs/apis/_x-fusionauth-tenant-id-header-scoped-operation-row-only.mdx';
import IdentityProviderLoginRequestBody from 'src/content/docs/apis/identity-providers/_identity-provider-login-request-body.astro';
import IdentityProviderLoginResponseBody from 'src/content/docs/apis/identity-providers/_identity-provider-login-response-body.mdx';
import DeprecatedSince from 'src/components/api/DeprecatedSince.astro';
export const idp_display_name = 'HYPR';
export const idp_since = 11200;
export const id_linking_strategy = 'Unsupported';
## Overview
<Aside type="version">
This API has been available since 1.12.0
</Aside>
## Create a HYPR Identity Provider
### Request
<API method="POST" uri="/api/identity-provider" authentication={["api-key"]} title="Create a HYPR Identity Provider using a randomly generated Id"/>
<API method="POST" uri="/api/identity-provider/{identityProviderId}" authentication={["api-key"]} title="Create a HYPR Identity Provider (client provided Id)"/>
The <InlineField>type</InlineField> property in the request JSON is used to determine that you are managing the HYPR identity provider.
#### Request Parameters
<APIBlock>
<APIField name="identityProviderId" type="UUID" optional defaults="secure random UUID" since="1.61.0">
The Id to use for the new Identity Provider. If an Id is not provided, a secure random UUID is generated. If neither an Id nor <InlineField>identityProvider.name</InlineField> are provided, the legacy fixed HYPR IdP Id `778985b7-6fd8-414d-acf2-94f18fb7c7e0` will be used.
</APIField>
</APIBlock>
<HyprRequestBody idp_display_name={idp_display_name} idp_since={idp_since} idp_linking_strategy={id_linking_strategy} />
### Response
<StandardPostResponseCodes never_search_error />
<HyprResponseBody idp_display_name={idp_display_name} idp_since={idp_since} idp_linking_strategy={id_linking_strategy} />
## Retrieve a HYPR Identity Provider
### Request
<API method="GET" uri="/api/identity-provider/{identityProviderId}" authentication={["api-key"]} title="Retrieve a HYPR Identity Provider by Id"/>
<API method="GET" uri="/api/identity-provider?type=HYPR" authentication={["api-key"]} title="Retrieve HYPR Identity Providers by type"/>
### Response
<StandardGetResponseCodes never_search_error />
<HyprResponseBody idp_display_name={idp_display_name} idp_since={idp_since} idp_linking_strategy={id_linking_strategy} />
## Update a HYPR Identity Provider
<GenericUpdateExplanationFragment capitalized_object_name="HYPR Identity Provider" />
### Request
<API method="PUT" uri="/api/identity-provider/{identityProviderId}" authentication={["api-key"]} showPatch={true} title="Update the HYPR Identity Provider by Id"/>
<API method="PUT" uri="/api/identity-provider?type=HYPR" authentication={["api-key"]} showPatch={true} title="Update the HYPR Identity Provider by type (deprecated)"/>
<DeprecatedSince since="1.61.0">Prefer updating by Id. Updating by type attempts to update the Identity Provider with the legacy fixed Id `778985b7-6fd8-414d-acf2-94f18fb7c7e0`.</DeprecatedSince>
<HyprRequestBody idp_display_name={idp_display_name} idp_since={idp_since} idp_linking_strategy={id_linking_strategy} />
### Response
The response for this API contains the HYPR Identity Provider.
<StandardPutResponseCodes never_search_error />
<HyprResponseBody idp_display_name={idp_display_name} idp_since={idp_since} idp_linking_strategy={id_linking_strategy} />
## Delete a HYPR Identity Provider
### Request
<API method="DELETE" uri="/api/identity-provider/{identityProviderId}" authentication={["api-key"]} title="Delete a HYPR Identity Provider by Id"/>
<API method="DELETE" uri="/api/identity-provider?type=HYPR" authentication={["api-key"]} title="Delete a HYPR Identity Provider by type (deprecated)"/>
<DeprecatedSince since="1.61.0">Prefer deleting by Id. Deleting by type attempts to delete the Identity Provider with the legacy fixed Id `778985b7-6fd8-414d-acf2-94f18fb7c7e0`.</DeprecatedSince>
### Response
This API does not return a JSON response body.
<StandardDeleteResponseCodes never_search_error />
## Start the HYPR Login Request
This API is used to initiate a HYPR login request when integrating without the FusionAuth hosted login pages.
### Request
<API method="POST" uri="/api/identity-provider/start" authentication={["none"]} title="Start a login request"/>
<IdentityProviderStartRequestBody idp_display_name={idp_display_name} idp_since={idp_since} idp_linking_strategy={id_linking_strategy} />
### Response
The response for this API contains a code that can be used to complete the login request.
<IdentityProviderStartResponseBody idp_display_name={idp_display_name} idp_since={idp_since} idp_linking_strategy={id_linking_strategy} />
## Complete the HYPR Login
<CompleteLoginText idp_display_name={idp_display_name} token_text_with_article="a token" token_text="token" />
### Request
<API method="POST" uri="/api/identity-provider/login" authentication={["none"]} title="Complete HYPR Login"/>
#### Request Headers
<APIBlock>
<XForwardedForHeader />
<XFusionauthTenantIdHeaderScopedOperationRowOnly />
</APIBlock>
<IdentityProviderLoginRequestBody idp_display_name={idp_display_name} idp_since={idp_since} idp_linking_strategy={id_linking_strategy} />
### Response
The response for this API contains the User object.
<IdentityProviderLoginResponseBody idp_display_name={idp_display_name} idp_since={idp_since} idp_linking_strategy={id_linking_strategy} />
# Nintendo
import PremiumPlanBlurb from 'src/content/docs/_shared/_premium-plan-blurb.astro';
import Aside from 'src/components/Aside.astro';
import TokenStorageNote from 'src/content/docs/apis/identity-providers/_token-storage-note.mdx';
import OauthIdpOperations from 'src/content/docs/apis/identity-providers/_oauth-idp-operations.mdx';
import Breadcrumb from 'src/components/Breadcrumb.astro';
import InlineField from 'src/components/InlineField.astro';
import InlineUIElement from 'src/components/InlineUIElement.astro';
<PremiumPlanBlurb />
## Overview
<Aside type="version">
This API has been available since 1.36.0
</Aside>
The Nintendo identity provider type will use the Nintendo OAuth login API. It will also provide a <InlineUIElement>Login with Nintendo</InlineUIElement> button on FusionAuth's login page.
If the linking strategy depends on a username or email address, FusionAuth will leverage the `/users/me` API that is part of the Nintendo specification. The email address and username returned in the response will be used to create or lookup the existing User. Additional claims from the response can be used to reconcile the User in FusionAuth by using an Nintendo Reconcile Lambda. Unless you assign a reconcile lambda to this provider or configure the IdP options to use different claims, the `email` and `preferred_username` will be used from the available claims returned by the Nintendo identity provider.
<TokenStorageNote idp_long_lived_token_type="access_token" manual_idp_display_name={frontmatter.idpDisplayName} token_name="access_token" return_text="Nintendo API" hide_token_map_deprecation="true" />
<OauthIdpOperations idp_long_lived_token_type="access_token"
manual_idp_display_name={frontmatter.idpDisplayName}
idp_id="b0ac2e16-d4af-483e-98c8-7f6693610665"
idp_linking_strategy="CreatePendingLink"
idp_lowercase="nintendo"
idp_since="13600"
idp_token_or_code="token or code"
idp_type="Nintendo"
optional_tag={true} />
# Links
import Aside from 'src/components/Aside.astro';
import API from 'src/components/api/API.astro';
import XFusionauthTenantIdHeaderScopedOperation from 'src/content/docs/apis/_x-fusionauth-tenant-id-header-scoped-operation.mdx';
import APIBlock from 'src/components/api/APIBlock.astro';
import APIField from 'src/components/api/APIField.astro';
import JSON from 'src/components/JSON.astro';
import StandardPostResponseCodes from 'src/content/docs/apis/_standard-post-response-codes.astro';
import LinksPostResponseBody from 'src/content/docs/apis/identity-providers/_links-post-response-body.mdx';
import StandardGetResponseCodes from 'src/content/docs/apis/_standard-get-response-codes.astro';
import LinkResponseBody from 'src/content/docs/apis/identity-providers/_link-response-body.mdx';
import LinksResponseBody from 'src/content/docs/apis/identity-providers/_links-response-body.mdx';
import InlineField from 'src/components/InlineField.astro';
import PendingLinkResponseBody from 'src/content/docs/apis/identity-providers/_pending-link-response-body.mdx';
import StandardDeleteResponseCodes from 'src/content/docs/apis/_standard-delete-response-codes.astro';
## Overview
<Aside type="version">
This API has been available since 1.28.0
</Aside>
This page contains the APIs that are used to manage Links that establish a relationship between a FusionAuth User and an Identity Provider.
## Link a User
This API is used to create a link between a FusionAuth User and a user in a 3rd party identity provider. This API may be useful when you already know the unique Id of a user in a 3rd party identity provider and the corresponding FusionAuth User.
### Request
<Aside type="version">
This API has been available since 1.43.0
</Aside>
<API method="POST" uri="/api/identity-provider/link" authentication={["api-key"]} title="Link a User"/>
<XFusionauthTenantIdHeaderScopedOperation />
#### Request Body
<APIBlock>
<APIField name="identityProviderLink.displayName" type="String" optional>
A optional human readable name for this link such as an email address, username or given name. This value should be used to make it easier to identify the user this link represents in the remote identity provider.
Please note, that this value will always be overwritten during login to reflect the most current information from the identity provider. In most cases this value will be an email address or username.
</APIField>
<APIField name="identityProviderLink.identityProviderId" type="UUID" required>
The Id of the identify provider that will be linked to the User.
</APIField>
<APIField name="identityProviderLink.identityProviderUserId" type="String" required>
The Id for the user that is provided by the upstream identity provider. This is the value that will allow FusionAuth to link this User on future logins. This value is expected to be immutable.
</APIField>
<APIField name="identityProviderLink.userId" type="UUID" required>
The unique Id of the FusionAuth User that is being linked to the identity provider.
</APIField>
<APIField name="identityProviderLink.token" type="String" optional>
The token returned from the identity provider. This is treated as an opaque token as the type varies by identity provider, this value may not be returned by all identity providers. When provided, this token is typically a long lived access or refresh token, but consult individual identity provider documentation for specifics.
</APIField>
</APIBlock>
<JSON title="Example Request JSON" src="identity-providers/links/request.json" />
<Aside type="note">
Deprecated in version 1.43.0.
While this API is still functional, its usage is discouraged. When available please use the [Link a User endpoint](/docs/apis/identity-providers/links#link-a-user) which takes a different request body.
</Aside>
<API method="POST" uri="/api/identity-provider/link" authentication={["api-key"]} title="Link a User"/>
<XFusionauthTenantIdHeaderScopedOperation />
#### Request Body
<APIBlock>
<APIField name="displayName" type="String" optional since="1.28.1">
An optional human readable name for this link such as an email address, username or given name. This value should be used to make it easier to identify the user this link represents in the remote identity provider.
Please note, that this value will always be overwritten during login to reflect the most current information from the identity provider. In most cases this value will be an email address or username.
</APIField>
<APIField name="identityProviderId" type="UUID" required>
The Id of the identity provider.
</APIField>
<APIField name="identityProviderUserId" type="String" required>
The Id for the User that is provided by the identity provider. This is the value that will allow FusionAuth to link this user on future logins. This value is expected to be immutable.
</APIField>
<APIField name="userId" type="UUID" required>
The FusionAuth Id of the User that is being linked to the identity provider.
</APIField>
</APIBlock>
<JSON title="Example Request JSON" src="identity-providers/links/request-deprecated.json" />
### Response
<StandardPostResponseCodes never_search_error webhook_event />
<LinksPostResponseBody />
## Complete a pending Link
This API is used complete a pending link. If an identity provider is configured with a linking strategy of `Create a pending link`, a `pendingLinkId` will be returned by the Identity Provider API (see the `Complete the Login` section for each respective IdP). This value can be used in the request below.
### Request
<Aside type="version">
Available Since Version 1.43.0
</Aside>
<API method="POST" uri="/api/identity-provider/link" authentication={["api-key"]} title="Complete a pending Link"/>
<XFusionauthTenantIdHeaderScopedOperation />
#### Request Body
<APIBlock>
<APIField name="pendingIdPLinkId" type="String" required>
The pending identity provider link Id.
</APIField>
<APIField name="identityProviderLink.userId" type="String" required>
The unique Id of the FusionAuth User that is being linked to the identity provider.
</APIField>
</APIBlock>
<JSON title="Example Request JSON" src="identity-providers/links/pending-request.json" />
<Aside type="note">
Deprecated in version 1.43.0.
While this API is still functional, its usage is discouraged. When available please use the [Complete a Pending Link](/docs/apis/identity-providers/links#complete-a-pending-link) which takes a different request body.
</Aside>
<API method="POST" uri="/api/identity-provider/link" authentication={["api-key"]} title="Complete a pending Link"/>
<XFusionauthTenantIdHeaderScopedOperation />
#### Request Body
<APIBlock>
<APIField name="pendingIdPLinkId" type="String" required>
The pending identity provider link Id.
</APIField>
<APIField name="userId" type="String" required>
The Id of the User that is being linked to the identity provider.
</APIField>
</APIBlock>
<JSON title="Example Request JSON" src="identity-providers/links/pending-request-deprecated.json" />
### Response
<StandardPostResponseCodes never_search_error webhook_event />
<LinksPostResponseBody />
## Retrieve a Link
This API is used to retrieve a single Link, all Links for a specific identity provider and user, or all Links for a user.
### Request
<API method="GET" uri="/api/identity-provider/link?identityProviderId={identityProviderId}&identityProviderUserId={identityProviderUserId}&userId={userId}" authentication={["api-key"]} title="Retrieve a single link"/>
<XFusionauthTenantIdHeaderScopedOperation />
#### Request Parameters
<APIBlock>
<APIField name="identityProviderId" type="UUID" required>
The unique Id of the identity provider.
</APIField>
<APIField name="identityProviderUserId" type="String" required>
The unique user Id in the 3rd party identity provider. Ideally this value never change and will always uniquely identify the user in the 3rd party identity provider.
</APIField>
<APIField name="userId" type="UUID" optional>
The FusionAuth User Id that is linked to the identity provider. When this value is provided, a `404` status code will be returned if the link does not exist, or the link exists but is linked to a different `userId`. If you wish to identify if any user is linked, omit this parameter.
</APIField>
</APIBlock>
<API method="GET" uri="/api/identity-provider/link?identityProviderId={identityProviderId}&userId={userId}" authentication={["api-key"]} title="Retrieve all links for a specific user by identity provider"/>
<XFusionauthTenantIdHeaderScopedOperation />
#### Request Parameters
<APIBlock>
<APIField name="identityProviderId" type="UUID" required>
The unique Id of the identity provider.
</APIField>
<APIField name="userId" type="UUID" required>
The FusionAuth User Id that is linked to the identity provider.
</APIField>
</APIBlock>
<API method="GET" uri="/api/identity-provider/link?userId={userId}" authentication={["api-key"]} title="Retrieve all links for a user"/>
<XFusionauthTenantIdHeaderScopedOperation />
#### Request Parameters
<APIBlock>
<APIField name="userId" type="UUID" required>
The FusionAuth User Id that is linked to the identity provider.
</APIField>
</APIBlock>
### Response
<StandardGetResponseCodes never_search_error />
<LinkResponseBody />
<LinksResponseBody />
## Retrieve a Pending Link
<Aside type="version">
This API has been available since 1.46.0
</Aside>
This API is used to retrieve a pending IdP Link. A pending IdP Link is created after a user completes login with an Identity Provider configured with a linking strategy of <InlineField>Create a Pending Link</InlineField>. This pending IdP link is then used to link a user in a 3rd party identity provider to a user in FusionAuth.
Retrieving this link may be useful if you are building your own login pages, and need to identify the Identity Provider or various meta-data associated with his pending link.
### Request
<API method="GET" uri="/api/identity-provider/link/pending/{pendingLinkId}?userId={userId}" authentication={["api-key"]} title="Retrieve a single pending link by Id"/>
<XFusionauthTenantIdHeaderScopedOperation />
#### Request Parameters
<APIBlock>
<APIField name="pendingLinkId" type="String" required>
The unique pending IdP Link Id.
</APIField>
<APIField name="userId" type="UUID" optional>
The optional User Id that you intend to link using this pending IdP Link. When provided the user's current link count will be returned in the response body.
This can be useful if you are limiting the number of links a user may have to a single identity provider. This will help you understand if the link will succeed for this user.
</APIField>
</APIBlock>
### Response
<StandardGetResponseCodes never_search_error />
<PendingLinkResponseBody />
## Unlink a User
This API is used to remove a link between a FusionAuth User and a 3rd party identity provider.
### Request
<API method="DELETE" uri="/api/identity-provider/link?identityProviderId={identityProviderId}&identityProviderUserId={identityProviderUserId}&userId={userId}" authentication={["api-key"]} title="Delete the Link with the given Id"/>
<XFusionauthTenantIdHeaderScopedOperation />
#### Request Parameters
<APIBlock>
<APIField name="identityProviderId" type="UUID" required>
The unique Id of the identity provider.
</APIField>
<APIField name="identityProviderUserId" type="String" required>
The Id for the user that is provided by the upstream identity provider. This is the value that will allow FusionAuth to link this user on future logins. This value is expected to be immutable.
</APIField>
<APIField name="userId" type="UUID" required>
The FusionAuth User Id that is linked to the identity provider.
</APIField>
</APIBlock>
### Response
This API does not return a JSON response body.
<StandardDeleteResponseCodes never_search_error />
# OpenID Connect
import API from 'src/components/api/API.astro';
import APIBlock from 'src/components/api/APIBlock.astro';
import APIField from 'src/components/api/APIField.astro';
import Aside from 'src/components/Aside.astro';
import Breadcrumb from 'src/components/Breadcrumb.astro';
import CompleteLoginText from 'src/content/docs/apis/identity-providers/_complete-login-text.mdx';
import GenericUpdateExplanationFragment from 'src/content/docs/apis/_generic-update-explanation-fragment.mdx';
import IdentityProviderLoginRequestBody from 'src/content/docs/apis/identity-providers/_identity-provider-login-request-body.astro';
import IdentityProviderLoginResponseBody from 'src/content/docs/apis/identity-providers/_identity-provider-login-response-body.mdx';
import InlineField from 'src/components/InlineField.astro';
import InlineUIElement from 'src/components/InlineUIElement.astro';
import OpenidConnectRequestBody from 'src/content/docs/apis/identity-providers/_openid-connect-request-body.mdx';
import OpenidConnectResponseBody from 'src/content/docs/apis/identity-providers/_openid-connect-response-body.mdx';
import StandardDeleteResponseCodes from 'src/content/docs/apis/_standard-delete-response-codes.astro';
import StandardGetResponseCodes from 'src/content/docs/apis/_standard-get-response-codes.astro';
import StandardPostResponseCodes from 'src/content/docs/apis/_standard-post-response-codes.astro';
import StandardPutResponseCodes from 'src/content/docs/apis/_standard-put-response-codes.astro';
import TokenStorageNote from 'src/content/docs/apis/identity-providers/_token-storage-note.mdx';
import XForwardedForHeader from 'src/content/docs/apis/identity-providers/_x-forwarded-for-header.mdx';
import XFusionauthTenantIdHeaderScopedOperationRowOnly from 'src/content/docs/apis/_x-fusionauth-tenant-id-header-scoped-operation-row-only.mdx';
export const idp_display_name = 'OpenID Connect';
export const idp_enforce_email_verified_claim = true;
export const idp_linking_strategy = 'LinkByEmail';
export const idp_since = 10100;
export const optional_tag = true;
## Overview
<Aside type="version">
This API has been available since 1.1.0
</Aside>
OpenID Connect identity providers connect to external OpenID Connect login systems. This type of login will optionally provide a <InlineUIElement>Login with ...</InlineUIElement> button on FusionAuth's login page. This button is customizable by using different properties of the identity provider.
Optionally, this identity provider can define one or more domains it is associated with. This is useful for allowing employees to log in with their corporate credentials. As long as the company has an identity solution that provides OpenID Connect, you can leverage this feature. This is referred to as a **Domain Based Identity Provider**. If you enable domains for an identity provider, the <InlineUIElement>Login with ...</InlineUIElement> button will not be displayed. Instead, only the `email` form field will be displayed initially on the FusionAuth login page. Once the user types in their email address, FusionAuth will determine if the user is logging in locally or if they should be redirected to this identity provider. This is determined by extracting the domain from their email address and comparing it to the domains associated with the identity provider.
FusionAuth will also leverage the `/userinfo` API that is part of the OpenID Connect specification. The email address returned from the Userinfo response will be used to create or lookup the existing user. Additional claims from the Userinfo response can be used to reconcile the User in FusionAuth by using an OpenID Connect Reconcile Lambda. Unless you assign a reconcile lambda to this provider, on the `email` address will be used from the available claims returned by the OpenID Connect identity provider.
[//]: # (display_name blank on purpose)
<TokenStorageNote idp_display_name=""
idp_linking_strategy={idp_display_name}
token_name="refresh_token"
return_text="external OpenID Connect provider, if such a token is provided,"
idp_long_lived_token_type="refresh"
idp_refresh_additional_info_url="https://datatracker.ietf.org/doc/html/rfc6749#section-1.5" />
## Create an OpenID Connect Identity Provider
### Request
<API method="POST" uri="/api/identity-provider" authentication={["api-key"]} title="Create an OpenID Connect Identity Provider using a randomly generated Id"/>
<API method="POST" uri="/api/identity-provider/{identityProviderId}" authentication={["api-key"]} title="Create an OpenID Connect Identity Provider with the provided unique id"/>
The <InlineField>type</InlineField> property in the request JSON is used to determine that you are managing an OpenID Connect identity provider.
#### Request Parameters
<APIBlock>
<APIField name="identityProviderId" type="UUID" optional defaults="secure random UUID">
The Id to use for the new Identity Provider. If an Id is not provided, a secure random UUID is generated.
</APIField>
</APIBlock>
<OpenidConnectRequestBody idp_display_name={idp_display_name}
idp_enforce_email_verified_claim={idp_enforce_email_verified_claim}
idp_since={idp_since}
idp_linking_strategy={idp_linking_strategy}
optional_tag={optional_tag} />
### Response
<StandardPostResponseCodes never_search_error />
<OpenidConnectResponseBody idp_display_name={idp_display_name}
idp_since={idp_since}
idp_linking_strategy={idp_linking_strategy}
optional_tag={optional_tag} />
## Retrieve an OpenID Connect Identity Provider
### Request
<API method="GET" uri="/api/identity-provider/{identityProviderId}" authentication={["api-key"]} title="Retrieve an Identity Provider by Id"/>
#### Request Parameters
<APIBlock>
<APIField name="identityProviderId" type="UUID" required>
The unique Id of the OpenID Connect Identity Provider to retrieve.
</APIField>
</APIBlock>
### Response
<StandardGetResponseCodes never_search_error />
<OpenidConnectResponseBody idp_display_name={idp_display_name}
idp_since={idp_since}
idp_linking_strategy={idp_linking_strategy}
optional_tag={optional_tag} />
## Update an OpenID Connect Identity Provider
<GenericUpdateExplanationFragment capitalized_object_name="OpenID Connect Identity Provider" />
### Request
<API method="PUT" uri="/api/identity-provider/{identityProviderId}" authentication={["api-key"]} showPatch={true} title="Update an Identity Provider"/>
#### Request Parameters
<APIBlock>
<APIField name="identityProviderId" type="UUID" required>
The unique Id of the OpenID Connect Identity Provider to update.
</APIField>
</APIBlock>
<OpenidConnectRequestBody idp_display_name={idp_display_name}
idp_enforce_email_verified_claim={idp_enforce_email_verified_claim}
idp_since={idp_since}
idp_linking_strategy={idp_linking_strategy}
optional_tag={optional_tag} />
### Response
The response for this API contains the OpenID Connect Identity Provider that was updated.
<StandardPutResponseCodes never_search_error />
<OpenidConnectResponseBody idp_display_name={idp_display_name}
idp_since={idp_since}
idp_linking_strategy={idp_linking_strategy}
optional_tag={optional_tag} />
## Delete an OpenID Connect Identity Provider
### Request
<API method="DELETE" uri="/api/identity-provider/{identityProviderId}" authentication={["api-key"]} title="Delete an OpenID Connect Identity Provider by Id"/>
#### Request Parameters
<APIBlock>
<APIField name="identityProviderId" type="UUID" required>
The unique Id of the OpenID Connect Identity Provider to delete.
</APIField>
</APIBlock>
### Response
This API does not return a JSON response body.
<StandardDeleteResponseCodes never_search_error />
## Complete an OpenID Connect Login
<CompleteLoginText idp_display_name={idp_display_name} token_text_with_article="an authorization code" token_text="authorization code" />
### Request
<API method="POST" uri="/api/identity-provider/login" authentication={["none"]} title="Complete OpenID Connect Login"/>
#### Request Headers
<APIBlock>
<XForwardedForHeader />
<XFusionauthTenantIdHeaderScopedOperationRowOnly />
</APIBlock>
<IdentityProviderLoginRequestBody idp_display_name={idp_display_name}
idp_since={idp_since}
idp_linking_strategy={idp_linking_strategy}
optional_tag={optional_tag} />
### Response
The response for this API contains the User object.
<IdentityProviderLoginResponseBody idp_display_name={idp_display_name}
idp_since={idp_since}
idp_linking_strategy={idp_linking_strategy}
optional_tag={optional_tag} />
# SAML v2 IdP Initiated
import PremiumPlanBlurb from 'src/content/docs/_shared/_premium-plan-blurb.astro';
import Aside from 'src/components/Aside.astro';
import API from 'src/components/api/API.astro';
import InlineField from 'src/components/InlineField.astro';
import APIBlock from 'src/components/api/APIBlock.astro';
import APIField from 'src/components/api/APIField.astro';
import Samlv2RequestBody from 'src/content/docs/apis/identity-providers/_samlv2-request-body.mdx';
import StandardPostResponseCodes from 'src/content/docs/apis/_standard-post-response-codes.astro';
import Samlv2ResponseBody from 'src/content/docs/apis/identity-providers/_samlv2-response-body.mdx';
import StandardGetResponseCodes from 'src/content/docs/apis/_standard-get-response-codes.astro';
import GenericUpdateExplanationFragment from 'src/content/docs/apis/_generic-update-explanation-fragment.mdx';
import StandardPutResponseCodes from 'src/content/docs/apis/_standard-put-response-codes.astro';
import StandardDeleteResponseCodes from 'src/content/docs/apis/_standard-delete-response-codes.astro';
import SamlCompleteUserRegistration from 'src/content/docs/apis/identity-providers/_saml-complete-user-registration.mdx';
import XForwardedForHeader from 'src/content/docs/apis/identity-providers/_x-forwarded-for-header.mdx';
import XFusionauthTenantIdHeaderScopedOperationRowOnly from 'src/content/docs/apis/_x-fusionauth-tenant-id-header-scoped-operation-row-only.mdx';
import IdentityProviderLoginRequestBody from 'src/content/docs/apis/identity-providers/_identity-provider-login-request-body.astro';
import IdentityProviderLoginResponseBody from 'src/content/docs/apis/identity-providers/_identity-provider-login-response-body.mdx';
import Breadcrumb from 'src/components/Breadcrumb.astro';
export const idp_since = 12600;
export const idp_display_name = 'SAML v2 IdP Initiated';
export const idp_linking_strategy = 'LinkByEmail';
export const samlv2_idp_initiated = true;
<PremiumPlanBlurb idp_since="12600" idp_display_name="SAML v2 IdP Initiated" />
## Overview
<Aside type="version">
This API has been available since 1.26.0
</Aside>
The SAML v2 IdP Initiated IdP initiated Identity Provider allows an external IdP to send an unsolicited `AuthN` request when FusionAuth is acting as the Service Provider (or SP).
### Integration Details
The following values will likely be required by your SAML v2 IdP Initiated Identity Provider in order to trust FusionAuth as a relying party.
These values are autogenerated and viewable within the UI after creating the Identity Provider. They can be viewed by navigating to <Breadcrumb>Settings -> Identity Providers -> SAMLv2 IdP Initiated -> View</Breadcrumb>.
`<base_url>` is the URL for your FusionAuth instance, something like `https://login.piedpiper.com`.
`<identityProviderId>` is the Id of the Identity Provider, and will be a valid UUID.
`<applicationId>` is the Id of the application that is the target of the login, and will be a valid UUID.
**Callback URL (ACS):**
`<base_url>/samlv2/acs/<identityProviderId>/<applicaitonId>`
**Issuer:**
`<base_url>/samlv2/sp/<identityProviderId>`
**Metadata URL:**
`<base_url>/samlv2/sp/metadata/<identityProviderId>`
Note: To receive a refresh token when completing the OAuth2 workflow when using an IdP initiated login, ensure you request the `offline_access` scope. To request a scope, add the following query parameter to your configured ACS in your IdP, `?scope=offline_access`. When logging into the FusionAuth admin UI, this step is optional as the `offline_access` scope will be implicitly added.
## Create a SAML v2 IdP Initiated Identity Provider
### Request
<API method="POST" uri="/api/identity-provider" authentication={["api-key"]} title="Create a SAML v2 IdP Initiated Identity Provider using a randomly generated Id"/>
<API method="POST" uri="/api/identity-provider/{identityProviderId}" authentication={["api-key"]} title="Create a SAML v2 IdP Initiated Identity Provider with the provided unique id"/>
The <InlineField>type</InlineField> property in the request JSON indicates you are managing a SAML v2 IdP Initiated identity provider.
#### Request Parameters
<APIBlock>
<APIField name="identityProviderId" type="UUID" optional defaults="secure random UUID">
The Id to use for the new Identity Provider. If an id is not provided, a secure random UUID is generated.
</APIField>
</APIBlock>
<Samlv2RequestBody idp_display_name={idp_display_name}
idp_since={idp_since}
idp_linking_strategy={idp_linking_strategy}
samlv2_idp_initiated={samlv2_idp_initiated} />
### Response
<StandardPostResponseCodes never_search_error />
<Samlv2ResponseBody idp_display_name={idp_display_name}
idp_since={idp_since}
idp_linking_strategy={idp_linking_strategy}
samlv2_idp_initiated={samlv2_idp_initiated} />
## Retrieve a SAML v2 IdP Initiated Identity Provider
### Request
<API method="GET" uri="/api/identity-provider/{identityProviderId}" authentication={["api-key"]} title="Retrieve an Identity Provider by Id"/>
#### Request Parameters
<APIBlock>
<APIField name="identityProviderId" type="UUID" required>
The unique Id of the SAML v2 IdP Initiated Identity Provider to retrieve.
</APIField>
</APIBlock>
### Response
<StandardGetResponseCodes never_search_error />
<Samlv2ResponseBody idp_display_name={idp_display_name}
idp_since={idp_since}
idp_linking_strategy={idp_linking_strategy}
samlv2_idp_initiated={samlv2_idp_initiated}/>
## Update a SAML v2 IdP Initiated Identity Provider
<GenericUpdateExplanationFragment capitalized_object_name="SAML v2 IdP Initiated Identity Provider" />
### Request
<API method="PUT" uri="/api/identity-provider/{identityProviderId}" authentication={["api-key"]} showPatch={true} title="Update an Identity Provider"/>
#### Request Parameters
<APIBlock>
<APIField name="identityProviderId" type="UUID" required>
The unique Id of the SAML v2 IdP Initiated Identity Provider to update.
</APIField>
</APIBlock>
<Samlv2RequestBody idp_display_name={idp_display_name}
idp_since={idp_since}
idp_linking_strategy={idp_linking_strategy}
samlv2_idp_initiated={samlv2_idp_initiated}/>
### Response
The response for this API contains the SAML v2 IdP Initiated Identity Provider that was updated.
<StandardPutResponseCodes never_search_error />
<Samlv2ResponseBody idp_display_name={idp_display_name}
idp_since={idp_since}
idp_linking_strategy={idp_linking_strategy}
samlv2_idp_initiated={samlv2_idp_initiated}/>
## Delete a SAML v2 IdP Initiated Identity Provider
### Request
<API method="DELETE" uri="/api/identity-provider/{identityProviderId}" authentication={["api-key"]} title="Delete a SAML v2 IdP Initiated Identity Provider by Id"/>
#### Request Parameters
<APIBlock>
<APIField name="identityProviderId" type="UUID" required>
The unique Id of the SAML v2 IdP Initiated Identity Provider to delete.
</APIField>
</APIBlock>
### Response
This API does not return a JSON response body.
<StandardDeleteResponseCodes never_search_error />
## Complete a SAML v2 IdP Initiated Login
This API allows you to complete a SAML v2 login after the user has authenticated with a SAML v2 identity provider.
This API is intended to be used if you want to build your own page to handle the SAML response. Using this API you can pass the `SAMLResponse` returned from the SAML v2 provider to FusionAuth and we will complete the login workflow and reconcile the user to FusionAuth.
<SamlCompleteUserRegistration />
### Request
<API method="POST" uri="/api/identity-provider/login" authentication={["none"]} title="Complete SAML v2 IdP Initiated Login"/>
#### Request Headers
<APIBlock>
<XForwardedForHeader />
<XFusionauthTenantIdHeaderScopedOperationRowOnly />
</APIBlock>
<IdentityProviderLoginRequestBody idp_display_name={idp_display_name}
idp_since={idp_since}
idp_linking_strategy={idp_linking_strategy}/>
### Response
The response for this API contains the User object.
<IdentityProviderLoginResponseBody idp_display_name={idp_display_name}
idp_since={idp_since}
idp_linking_strategy={idp_linking_strategy}/>
# SAML v2
import API from 'src/components/api/API.astro';
import APIBlock from 'src/components/api/APIBlock.astro';
import APIField from 'src/components/api/APIField.astro';
import Aside from 'src/components/Aside.astro';
import Breadcrumb from 'src/components/Breadcrumb.astro';
import GenericUpdateExplanationFragment from 'src/content/docs/apis/_generic-update-explanation-fragment.mdx';
import IdentityProviderLoginRequestBody from 'src/content/docs/apis/identity-providers/_identity-provider-login-request-body.astro';
import IdentityProviderLoginResponseBody from 'src/content/docs/apis/identity-providers/_identity-provider-login-response-body.mdx';
import IdentityProviderStartRequestBody from 'src/content/docs/apis/identity-providers/_identity-provider-start-request-body.mdx';
import IdentityProviderStartResponseBody from 'src/content/docs/apis/identity-providers/_identity-provider-start-response-body.astro';
import InlineField from 'src/components/InlineField.astro';
import InlineUIElement from 'src/components/InlineUIElement.astro';
import SamlCompleteUserRegistration from 'src/content/docs/apis/identity-providers/_saml-complete-user-registration.mdx';
import SamlConfigUrls from 'src/content/docs/apis/identity-providers/_saml-config-urls.mdx';
import Samlv2RequestBody from 'src/content/docs/apis/identity-providers/_samlv2-request-body.mdx';
import Samlv2ResponseBody from 'src/content/docs/apis/identity-providers/_samlv2-response-body.mdx';
import StandardDeleteResponseCodes from 'src/content/docs/apis/_standard-delete-response-codes.astro';
import StandardGetResponseCodes from 'src/content/docs/apis/_standard-get-response-codes.astro';
import StandardPostResponseCodes from 'src/content/docs/apis/_standard-post-response-codes.astro';
import StandardPutResponseCodes from 'src/content/docs/apis/_standard-put-response-codes.astro';
import XForwardedForHeader from 'src/content/docs/apis/identity-providers/_x-forwarded-for-header.mdx';
import XFusionauthTenantIdHeaderScopedOperationRowOnly from 'src/content/docs/apis/_x-fusionauth-tenant-id-header-scoped-operation-row-only.mdx';
export const idp_since = 10600;
export const idp_display_name = 'SAML v2';
export const idp_linking_strategy = 'LinkByEmail';
export const samlv2_idp_initiated = false;
## Overview
<Aside type="version">
This API has been available since 1.6.0
</Aside>
SAML v2 identity providers connect to external SAML v2 login systems. This type of login will optionally provide a <InlineUIElement>Login with ...</InlineUIElement> button on FusionAuth's login page. This button is customizable by using different properties of the identity provider.
Optionally, this identity provider can define one or more domains it is associated with. This is useful for allowing employees to log in with their corporate credentials. As long as the company has an identity solution that provides SAML v2, you can leverage this feature. This is referred to as a **Domain Based Identity Provider**. If you enable domains for an identity provider, the <InlineUIElement>Login with ...</InlineUIElement> button will not be displayed. Instead, only the `email` form field will be displayed initially on the FusionAuth login page. Once the user types in their email address, FusionAuth will determine if the user is logging in locally or if they should be redirected to this identity provider. This is determined by extracting the domain from their email address and comparing it to the domains associated with the identity provider.
FusionAuth will locate the user's email address in the SAML assertion which will be used to create or lookup the existing user. Additional claims from the SAML response can be used to reconcile the User to FusionAuth by using a SAML v2 Reconcile Lambda. Unless you assign a reconcile lambda to this provider, on the `email` address will be used from the available assertions returned by the SAML v2 identity provider.
### Integration Details
The following values will likely be required by your SAML v2 Identity Provider in order to trust FusionAuth as a relying party.
These values are autogenerated and viewable within the UI after creating the Identity Provider. They can be viewed by navigating to <Breadcrumb>Settings -> Identity Providers -> SAMLv2 -> View</Breadcrumb>.
<SamlConfigUrls />
## Create a SAML v2 Identity Provider
### Request
<API method="POST" uri="/api/identity-provider" authentication={["api-key"]} title="Create a SAML v2 Identity Provider using a randomly generated Id"/>
<API method="POST" uri="/api/identity-provider/{identityProviderId}" authentication={["api-key"]} title="Create a SAML v2 Identity Provider with the provided unique id"/>
The <InlineField>type</InlineField> property in the request JSON indicates you are managing a SAML v2 identity provider.
#### Request Parameters
<APIBlock>
<APIField name="identityProviderId" type="UUID" optional defaults="secure random UUID">
The Id to use for the new Identity Provider. If an id is not provided, a secure random UUID is generated.
</APIField>
</APIBlock>
<Samlv2RequestBody idp_display_name={idp_display_name}
idp_since={idp_since}
idp_linking_strategy={idp_linking_strategy}
samlv2_idp_initiated={samlv2_idp_initiated} />
### Response
<StandardPostResponseCodes never_search_error />
<Samlv2ResponseBody idp_display_name={idp_display_name}
idp_since={idp_since}
idp_linking_strategy={idp_linking_strategy}
samlv2_idp_initiated={samlv2_idp_initiated}/>
## Retrieve a SAML v2 Identity Provider
### Request
<API method="GET" uri="/api/identity-provider/{identityProviderId}" authentication={["api-key"]} title="Retrieve an Identity Provider by Id"/>
#### Request Parameters
<APIBlock>
<APIField name="identityProviderId" type="UUID" required>
The unique Id of the SAML v2 Identity Provider to retrieve.
</APIField>
</APIBlock>
### Response
<StandardGetResponseCodes never_search_error />
<Samlv2ResponseBody idp_display_name={idp_display_name}
idp_since={idp_since}
idp_linking_strategy={idp_linking_strategy}
samlv2_idp_initiated={samlv2_idp_initiated}/>
## Update a SAML v2 Identity Provider
<GenericUpdateExplanationFragment capitalized_object_name="SAML v2 Identity Provider" />
### Request
<API method="PUT" uri="/api/identity-provider/{identityProviderId}" authentication={["api-key"]} showPatch={true} title="Update an Identity Provider"/>
#### Request Parameters
<APIBlock>
<APIField name="identityProviderId" type="UUID" required>
The unique Id of the SAML v2 Identity Provider to update.
</APIField>
</APIBlock>
<Samlv2RequestBody idp_display_name={idp_display_name}
idp_since={idp_since}
idp_linking_strategy={idp_linking_strategy}
samlv2_idp_initiated={samlv2_idp_initiated} />
### Response
The response for this API contains the SAML v2 Identity Provider that was updated.
<StandardPutResponseCodes never_search_error />
<Samlv2ResponseBody idp_display_name={idp_display_name}
idp_since={idp_since}
idp_linking_strategy={idp_linking_strategy}
samlv2_idp_initiated={samlv2_idp_initiated}/>
## Delete a SAML v2 Identity Provider
### Request
<API method="DELETE" uri="/api/identity-provider/{identityProviderId}" authentication={["api-key"]} title="Delete a SAML v2 Identity Provider by Id"/>
#### Request Parameters
<APIBlock>
<APIField name="identityProviderId" type="UUID" required>
The unique Id of the SAML v2 Identity Provider to delete.
</APIField>
</APIBlock>
### Response
This API does not return a JSON response body.
<StandardDeleteResponseCodes never_search_error />
## Start a SAML v2 Login Request
<Aside type="version">
This API has been available since 1.19.0
</Aside>
This API is used to initiate a SAML v2 login request when integrating without the FusionAuth hosted login pages.
The SAML v2 AuthN request will require a unique request identifier. This API must be used to record this identifier prior to sending the SAML response from the IdP to FusionAuth in order to protect against SAML response replay attacks. You may optionally provide an identifier to this API if you need to generate your own identifier, or use the generated value provided in the API response.
### Request
<API method="POST" uri="/api/identity-provider/start" authentication={["none"]} title="Start a login request"/>
<IdentityProviderStartRequestBody idp_display_name={idp_display_name}
idp_since={idp_since}
idp_linking_strategy={idp_linking_strategy}/>
### Response
The response for this API contains a code that can be used to complete the login request.
<IdentityProviderStartResponseBody idp_display_name={idp_display_name}
idp_since={idp_since}
idp_linking_strategy={idp_linking_strategy}/>
## Complete a SAML v2 Login
This API allows you to complete a SAML v2 login after the user has authenticated with a SAML v2 identity provider. If you are using the FusionAuth login UI with the SAML v2 button you will not utilize this API directly.
This API is intended to be used if you want to build your own login page and you have added a SAML v2 login button to this page.
For example, if you built your own login page, you could add a Login with Pied Piper button to utilize a third party SAML v2 identity provider. When the user completes the SAML v2 login step, they will be redirected back to your application. This is done via a form submit (using the HTTP `POST` method). This `POST` will contain a parameter named `SAMLResponse`. Using this API you can pass the `SAMLResponse` returned from the SAML v2 provider to FusionAuth and we will complete the login workflow and reconcile the user to FusionAuth.
<SamlCompleteUserRegistration />
### Request
<API method="POST" uri="/api/identity-provider/login" authentication={["none"]} title="Complete SAML v2 Login"/>
#### Request Headers
<APIBlock>
<XForwardedForHeader />
<XFusionauthTenantIdHeaderScopedOperationRowOnly />
</APIBlock>
<IdentityProviderLoginRequestBody idp_display_name={idp_display_name}
idp_since={idp_since}
idp_linking_strategy={idp_linking_strategy}/>
### Response
The response for this API contains the User object.
<IdentityProviderLoginResponseBody idp_display_name={idp_display_name}
idp_since={idp_since}
idp_linking_strategy={idp_linking_strategy}/>
# Sony PlayStation Network
import PremiumPlanBlurb from 'src/content/docs/_shared/_premium-plan-blurb.astro';
import Aside from 'src/components/Aside.astro';
import Breadcrumb from 'src/components/Breadcrumb.astro';
import InlineField from 'src/components/InlineField.astro';
import InlineUIElement from 'src/components/InlineUIElement.astro';
import OauthIdpOperations from 'src/content/docs/apis/identity-providers/_oauth-idp-operations.mdx';
import TokenStorageNote from 'src/content/docs/apis/identity-providers/_token-storage-note.mdx';
<PremiumPlanBlurb />
## Overview
<Aside type="version">
This API has been available since 1.28.0
</Aside>
The Sony PlayStation Network identity provider type will use the Sony OAuth v2.0 login API. It will also provide a <InlineUIElement>Login with Sony PlayStation Network</InlineUIElement> button on FusionAuth’s login page that will direct a user to the Sony login page.
This identity provider will call Sony’s API to load the user's `email` and `online_id` and use those as `email` and `username` to lookup or create a user in FusionAuth depending on the linking strategy configured for this identity provider. Additional claims returned by Sony PlayStation Network can be used to reconcile the user to FusionAuth by using a Sony PlayStation Network Reconcile Lambda.
<TokenStorageNote idp_long_lived_token_type="access_token"
manual_idp_display_name={frontmatter.idpDisplayName}
token_name="access_token"
return_text="Sony PlayStation Network API"
hide_token_map_deprecation="true" />
<OauthIdpOperations idp_long_lived_token_type="access_token"
manual_idp_display_name={frontmatter.idpDisplayName}
idp_id="7764b5c7-165b-4e7e-94aa-02ebe2a0a5fb"
idp_linking_strategy="CreatePendingLink"
idp_lowercase="sonypsn"
idp_since="12800"
idp_token_or_code="token or code"
idp_type="SonyPSN" />
# Twitch
import PremiumPlanBlurb from 'src/content/docs/_shared/_premium-plan-blurb.astro';
import Aside from 'src/components/Aside.astro';
import Breadcrumb from 'src/components/Breadcrumb.astro';
import InlineField from 'src/components/InlineField.astro';
import InlineUIElement from 'src/components/InlineUIElement.astro';
import OauthIdpOperations from 'src/content/docs/apis/identity-providers/_oauth-idp-operations.mdx';
import TokenStorageNote from 'src/content/docs/apis/identity-providers/_token-storage-note.mdx';
<PremiumPlanBlurb />
## Overview
<Aside type="version">
This API has been available since 1.28.0
</Aside>
The Twitch identity provider type will use the Twitch OAuth v2.0 login API. It will also provide a <InlineUIElement>Login with Twitch</InlineUIElement> button on FusionAuth’s login page that will direct a user to the Twitch login page.
This identity provider will call Twitch’s API to load the user's `email` and `preferred_username` and use those as `email` and `username` to lookup or create a user in FusionAuth depending on the linking strategy configured for this identity provider. Additional claims returned by Twitch can be used to reconcile the user to FusionAuth by using a Twitch Reconcile Lambda.
FusionAuth will also store the Twitch `refresh_token` returned from the Twitch API in the link between the user and the identity provider. This token can be used by an application to make further requests to Twitch APIs on behalf of the user.
<TokenStorageNote idp_long_lived_token_type="refresh"
idp_refresh_additional_info_url="https://dev.twitch.tv/docs/authentication/refresh-tokens/"
manual_idp_display_name={frontmatter.idpDisplayName}
token_name="refresh_token"
return_text="Twitch API"
hide_token_map_deprecation="true" />
<OauthIdpOperations idp_long_lived_token_type="refresh" idp_refresh_additional_info_url="https://dev.twitch.tv/docs/authentication/refresh-tokens/" manual_idp_display_name={frontmatter.idpDisplayName} idp_id="bf4cf83f-e824-42d7-b4a3-5b10847a66b2" idp_linking_strategy="CreatePendingLink" idp_lowercase="twitch" idp_since="12800" idp_token_or_code="token or code" idp_type="Twitch" />
# Steam
import PremiumPlanBlurb from 'src/content/docs/_shared/_premium-plan-blurb.astro';
import Aside from 'src/components/Aside.astro';
import Breadcrumb from 'src/components/Breadcrumb.astro';
import InlineField from 'src/components/InlineField.astro';
import InlineUIElement from 'src/components/InlineUIElement.astro';
import OauthIdpOperations from 'src/content/docs/apis/identity-providers/_oauth-idp-operations.mdx';
import TokenStorageNote from 'src/content/docs/apis/identity-providers/_token-storage-note.mdx';
<PremiumPlanBlurb />
## Overview
<Aside type="version">
This API has been available since 1.28.0
</Aside>
The Steam identity provider type will use the Steam OAuth login API. It will also provide a <InlineUIElement>Login with Steam</InlineUIElement> button on FusionAuth’s login page that will direct a user to the Steam login page. The Steam login uses the implicit OAuth grant and will return to the callback URL with `token` and `state` in the URL Fragment. This is handled by the FusionAuth `/oauth2/implicit` JavaScript function to pass those values to the `/oauth2/callback` endpoint.
This identity provider will call Steam's API to load the Steam user's `personaname` and use that as `username` to lookup or create a user in FusionAuth depending on the linking strategy configured for this identity provider. However, Steam does not allow access to user emails, so neither email linking strategy can be used and user’s will not be able to login or be created.
<TokenStorageNote idp_long_lived_token_type="token"
manual_idp_display_name={frontmatter.idpDisplayName}
token_name="token"
return_text="Steam login"
hide_token_map_deprecation="true" />
<OauthIdpOperations idp_long_lived_token_type="token"
manual_idp_display_name={frontmatter.idpDisplayName}
idp_id="e4f39345-7833-4b1d-b331-ca03bdc2c4be"
idp_linking_strategy="CreatePendingLink"
idp_lowercase="steam"
idp_since="12800"
idp_token_or_code="token"
idp_type="Steam" />
# Xbox
import PremiumPlanBlurb from 'src/content/docs/_shared/_premium-plan-blurb.astro';
import Aside from 'src/components/Aside.astro';
import Breadcrumb from 'src/components/Breadcrumb.astro';
import InlineField from 'src/components/InlineField.astro';
import InlineUIElement from 'src/components/InlineUIElement.astro';
import OauthIdpOperations from 'src/content/docs/apis/identity-providers/_oauth-idp-operations.mdx';
import TokenStorageNote from 'src/content/docs/apis/identity-providers/_token-storage-note.mdx';
<PremiumPlanBlurb />
## Overview
<Aside type="version">
This API has been available since 1.28.0
</Aside>
The Xbox identity provider type will use the Xbox OAuth v2.0 login API. It will also provide a <InlineUIElement>Login with Xbox</InlineUIElement> button on FusionAuth’s login page that will direct a user to the Xbox login page.
This identity provider will call Xbox’s API to load the user's `email` and `gtg` (Gamer Tag) and use those as `email` and `username` to lookup or create a user in FusionAuth depending on the linking strategy configured for this identity provider. Additional claims returned by Xbox can be used to reconcile the user to FusionAuth by using an Xbox Reconcile Lambda.
<TokenStorageNote idp_long_lived_token_type="refresh"
idp_refresh_additional_info_url="https://learn.microsoft.com/en-us/gaming/gdk/_content/gc/live/features/s2s-auth-calls/service-authentication/live-service-authentication-nav"
manual_idp_display_name={frontmatter.idpDisplayName}
token_name="refresh_token"
return_text="Xbox API"
hide_token_map_deprecation={true} />
<OauthIdpOperations idp_long_lived_token_type="refresh"
idp_refresh_additional_info_url="https://learn.microsoft.com/en-us/gaming/gdk/_content/gc/live/features/s2s-auth-calls/service-authentication/live-service-authentication-nav"
manual_idp_display_name={frontmatter.idpDisplayName}
idp_id="af53ab21-34c3-468a-8ba2-ecb3905f67f2"
idp_linking_strategy="CreatePendingLink"
idp_lowercase="xbox"
idp_since="12800"
idp_token_or_code="token or code"
idp_type="Xbox" />
# Twitter
import API from 'src/components/api/API.astro';
import APIBlock from 'src/components/api/APIBlock.astro';
import APIField from 'src/components/api/APIField.astro';
import Aside from 'src/components/Aside.astro';
import Breadcrumb from 'src/components/Breadcrumb.astro';
import CompleteLoginText from 'src/content/docs/apis/identity-providers/_complete-login-text.mdx';
import GenericUpdateExplanationFragment from 'src/content/docs/apis/_generic-update-explanation-fragment.mdx';
import IdentityProviderLoginRequestBody from 'src/content/docs/apis/identity-providers/_identity-provider-login-request-body.astro';
import IdentityProviderLoginResponseBody from 'src/content/docs/apis/identity-providers/_identity-provider-login-response-body.mdx';
import InlineField from 'src/components/InlineField.astro';
import InlineUIElement from 'src/components/InlineUIElement.astro';
import StandardDeleteResponseCodes from 'src/content/docs/apis/_standard-delete-response-codes.astro';
import StandardGetResponseCodes from 'src/content/docs/apis/_standard-get-response-codes.astro';
import StandardPostResponseCodes from 'src/content/docs/apis/_standard-post-response-codes.astro';
import StandardPutResponseCodes from 'src/content/docs/apis/_standard-put-response-codes.astro';
import TokenStorageNote from 'src/content/docs/apis/identity-providers/_token-storage-note.mdx';
import DeprecatedSince from 'src/components/api/DeprecatedSince.astro';
import TwitterRequestBody from 'src/content/docs/apis/identity-providers/_twitter-request-body.mdx';
import TwitterResponseBody from 'src/content/docs/apis/identity-providers/_twitter-response-body.mdx';
import XForwardedForHeader from 'src/content/docs/apis/identity-providers/_x-forwarded-for-header.mdx';
import XFusionauthTenantIdHeaderScopedOperationRowOnly from 'src/content/docs/apis/_x-fusionauth-tenant-id-header-scoped-operation-row-only.mdx';
export const idp_display_name = 'Twitter';
export const idp_linking_strategy = 'LinkByEmail';
export const idp_since = 10100;
## Overview
<Aside type="version">
This API has been available since 1.1.0
</Aside>
The Twitter identity provider type will use the Twitter OAuth v1.0 login API. it will provide a <InlineUIElement>Login with Twitter</InlineUIElement> button on FusionAuth's login page that will leverage the Twitter login page directly. Additionally, this identity provider will call Twitter's `/1.1/account/verify_credentials.json` API to load additional details about the user and store them in FusionAuth.
The email address returned by Twitter will be used to create or lookup the existing user. Additional claims returned by Twitter can be used to reconcile the User to FusionAuth by using a Twitter Reconcile Lambda. Unless you assign a reconcile lambda to this provider, on the `email` address will be used from the available claims returned by Twitter.
Twitter does not require a user to have an email address. However, to prevent account hijacking and take-over, FusionAuth prevents users from logging in with Twitter unless they have setup an email address in their Twitter account. Keep this in mind as you enable this identity provider.
<TokenStorageNote idp_long_lived_token_type="access_token"
idp_display_name={idp_display_name}
idp_linking_strategy={idp_linking_strategy}
token_name="access token"
return_text="OAuth v1.0 login workflow" />
### Operations
### Login Operations
## Create a Twitter Identity Provider
### Request
<API method="POST" uri="/api/identity-provider" authentication={["api-key"]} title="Create a Twitter Identity Provider using a randomly generated Id"/>
<API method="POST" uri="/api/identity-provider/{identityProviderId}" authentication={["api-key"]} title="Create a Twitter Identity Provider (client provided Id)"/>
The <InlineField>type</InlineField> property in the request JSON indicates this is a Twitter Identity Provider.
#### Request Parameters
<APIBlock>
<APIField name="identityProviderId" type="UUID" optional defaults="secure random UUID" since="1.61.0">
The Id to use for the new Identity Provider. If an Id is not provided, a secure random UUID is generated. If neither an Id nor <InlineField>identityProvider.name</InlineField> are provided, the legacy fixed Twitter IdP Id `45bb233c-0901-4236-b5ca-ac46e2e0a5a5` will be used.
</APIField>
</APIBlock>
<TwitterRequestBody idp_display_name={idp_display_name}
idp_linking_strategy={idp_linking_strategy}
idp_since={idp_since}/>
### Response
<StandardPostResponseCodes never_search_error />
<TwitterResponseBody idp_display_name={idp_display_name}
idp_linking_strategy={idp_linking_strategy}
idp_since={idp_since}/>
## Retrieve a Twitter Identity Provider
### Request
<API method="GET" uri="/api/identity-provider/{identityProviderId}" authentication={["api-key"]} title="Retrieve a Twitter Identity Provider by Id"/>
<API method="GET" uri="/api/identity-provider?type=Twitter" authentication={["api-key"]} title="Retrieve Twitter Identity Providers by type"/>
#### Request Parameters
<APIBlock>
<APIField name="identityProviderId" type="UUID" required>
The unique Id of the Twitter Identity Provider to retrieve.
</APIField>
</APIBlock>
### Response
<StandardGetResponseCodes never_search_error />
<TwitterResponseBody />
## Update a Twitter Identity Provider
<GenericUpdateExplanationFragment
capitalized_object_name="Twitter Identity Provider" />
### Request
<API method="PUT" uri="/api/identity-provider/{identityProviderId}" authentication={["api-key"]} showPatch={true} title="Update a Twitter Identity Provider by Id"/>
<API method="PUT" uri="/api/identity-provider?type=Twitter" authentication={["api-key"]} showPatch={true} title="Update a Twitter Identity Provider by type (deprecated)"/>
<DeprecatedSince since="1.61.0">Prefer updating by Id. Updating by type attempts to update the Identity Provider with the legacy fixed Id `45bb233c-0901-4236-b5ca-ac46e2e0a5a5`.</DeprecatedSince>
#### Request Parameters
<APIBlock>
<APIField name="identityProviderId" type="UUID" required>
The unique Id of the Twitter Identity Provider to update.
</APIField>
</APIBlock>
<TwitterRequestBody />
### Response
The response for this API contains a Twitter Identity Provider.
<StandardPutResponseCodes never_search_error />
<TwitterResponseBody idp_display_name={idp_display_name}
idp_linking_strategy={idp_linking_strategy}
idp_since={idp_since}/>
## Delete a Twitter Identity Provider
### Request
<API method="DELETE" uri="/api/identity-provider/{identityProviderId}" authentication={["api-key"]} title="Delete a Twitter Identity Provider by Id"/>
<API method="DELETE" uri="/api/identity-provider?type=Twitter" authentication={["api-key"]} title="Delete a Twitter Identity Provider by type (deprecated)"/>
<DeprecatedSince since="1.61.0">Prefer deleting by Id. Deleting by type attempts to delete the Identity Provider with the legacy fixed Id `45bb233c-0901-4236-b5ca-ac46e2e0a5a5`.</DeprecatedSince>
### Response
This API does not return a JSON response body.
<StandardDeleteResponseCodes never_search_error />
## Complete the Twitter Login
<CompleteLoginText idp_display_name={idp_display_name}
idp_linking_strategy={idp_linking_strategy}
idp_since={idp_since}
token_text_with_article="tokens"
token_text="set of tokens" />
### Request
<API method="POST" uri="/api/identity-provider/login" authentication={["none"]} title="Complete Twitter Login"/>
#### Request Headers
<APIBlock>
<XForwardedForHeader />
<XFusionauthTenantIdHeaderScopedOperationRowOnly />
</APIBlock>
<IdentityProviderLoginRequestBody idp_display_name={idp_display_name}
idp_linking_strategy={idp_linking_strategy}
idp_since={idp_since}/>
### Response
The response for this API contains the User object.
<IdentityProviderLoginResponseBody idp_display_name={idp_display_name}
idp_linking_strategy={idp_linking_strategy}
idp_since={idp_since}/>
# Overview
import EnterprisePlanBlurb from 'src/content/docs/_shared/_enterprise-plan-blurb.astro';
import Aside from 'src/components/Aside.astro';
import JSON from 'src/components/JSON.astro';
<EnterprisePlanBlurb />
## SCIM Server API Overview
<Aside type="version">
This API has been available since 1.36.0
</Aside>
This page contains all of the APIs for managing Users and Groups using SCIM requests. See our [overview](/docs/lifecycle/migrate-users/scim/scim) of FusionAuth's support for the SCIM specification for more details.
FusionAuth supported SCIM Resource API endpoints
* [SCIM User](/docs/apis/scim/scim-user)
* [SCIM EnterpriseUser](/docs/apis/scim/scim-enterprise-user)
* [SCIM Group](/docs/apis/scim/scim-group)
FusionAuth supported [Service Provider Configuration](/docs/apis/scim/scim-service-provider) endpoints:
* [SCIM ResourceTypes](/docs/apis/scim/scim-service-provider#retrieve-resource-types)
* [SCIM Schemas](/docs/apis/scim/scim-service-provider#retrieve-schemas)
* [SCIM Service Provider Configuration](/docs/apis/scim/scim-service-provider#retrieve-service-provider-configuration)
## Authentication
In order to use the authenticated FusionAuth SCIM API endpoints, you must create a SCIM client entity and execute the [Client Credentials](/docs/apis/authentication#client-credentials) authorization workflow. [Default Entity Types](/docs/get-started/core-concepts/entity-management#scim-configuration) are provided for you with permission configurations for each individual endpoint. A SCIM Client must use credentials for a SCIM Client Entity and that Entity must have the corresponding permission for that endpoint enabled.
## SCIM Error Responses
All error responses from FusionAuth SCIM API endpoints will be returned using the SCIM `urn:ietf:params:scim:api:messages:2.0:Error` schema as defined by [RFC 7644 Section 3.12](https://datatracker.ietf.org/doc/html/rfc7644#section-3.12).
<JSON title="Example SCIM error response" src="scim/scim-error-response.json" />
When applicable, additional error details will be provided using the `urn:ietf:params:scim:schemas:extension:fusionauth:2.0:Error` SCIM schema extension.
<JSON title="Example SCIM Error Response with FusionAuth custom extension schema" src="scim/scim-extended-error-response.json" />
# EnterpriseUser
import APIBlock from 'src/components/api/APIBlock.astro';
import APIField from 'src/components/api/APIField.astro';
import API from 'src/components/api/API.astro';
import EnterprisePlanBlurb from 'src/content/docs/_shared/_enterprise-plan-blurb.astro';
import InlineField from 'src/components/InlineField.astro';
import ScimEnterpriseuserRequestBody from 'src/content/docs/apis/scim/_scim-enterpriseuser-request-body.mdx';
import ScimEnterpriseuserResponseBody from 'src/content/docs/apis/scim/_scim-enterpriseuser-response-body.mdx';
import ScimGroupListResponseBody from 'src/content/docs/apis/scim/_scim-group-list-response-body.mdx';
import ScimResponseCodes from 'src/content/docs/apis/scim/_scim-response-codes.astro';
<EnterprisePlanBlurb />
## Overview
This page contains all of the APIs for managing Users through [SCIM EnterpriseUser](https://datatracker.ietf.org/doc/html/rfc7643#section-4.3) requests.
## Create an EnterpriseUser
This API is intended to be called by a SCIM Client and is used to create a new FusionAuth User.
### Request
<API method="POST" uri="/api/scim/resource/v2/EnterpriseUsers" authentication={["client-credentials"]} title="Create a User"/>
<ScimEnterpriseuserRequestBody http_method="POST" />
### Response
The response for this API contains the User that was just created in SCIM schema format.
<ScimResponseCodes never_missing />
For FusionAuth SCIM endpoints, any error responses will be returned in standard SCIM schema. See more details in the [SCIM API Overview](/docs/apis/scim/).
<ScimEnterpriseuserResponseBody />
## Retrieve an EnterpriseUser
This API is used to retrieve a FusionAuth User in SCIM schema format through a SCIM request.
### Request
<API method="GET" uri="/api/scim/resource/v2/EnterpriseUsers/{userId}" authentication={["client-credentials"]} title="Retrieves an EnterpriseUser"/>
#### Request Parameters
<APIBlock>
<APIField name="userId" type="UUID" optional>
The FusionAuth unique User Id.
</APIField>
</APIBlock>
### Response
The response for this API contains the User in SCIM schema format.
<ScimResponseCodes never_webhook_event />
For FusionAuth SCIM endpoints, any error responses will be returned in standard SCIM schema. See more details in the [SCIM API Overview](/docs/apis/scim/).
<ScimEnterpriseuserResponseBody />
## Retrieve EnterpriseUsers
This API is used to retrieve a paginated set of Users with an optional filter.
### Request
<API method="GET" uri="/api/scim/resource/v2/EnterpriseUsers" authentication={["client-credentials"]} title="Retrieves users"/>
#### Request Parameters
<APIBlock>
<APIField name="count" type="Integer" optional>
The number of results to return. Used for pagination.
</APIField>
<APIField name="excludedAttributes" type="String" optional since="1.39.0">
A comma separated list of one or more attributes to exclude in the JSON response body.
For example, a value of `phoneNumbers` will remove the `phoneNumbers` attribute from all Users returned in the response.
</APIField>
<APIField name="filter" type="String" optional since="1.39.0">
The optional filter string to limit the Users returned to those matching the filter criteria.
</APIField>
<APIField name="startIndex" type="Integer" optional>
The offset into the total results. In order to paginate the results, increment this value by the <InlineField>count</InlineField> for subsequent requests.
This parameter begins at `1`.
</APIField>
</APIBlock>
### Response
The response for this API contains the EnterpriseUsers in SCIM schema format.
<ScimResponseCodes />
For FusionAuth SCIM endpoints, any error responses will be returned in standard SCIM schema. See more details in the [SCIM API Overview](/docs/apis/scim/).
<ScimGroupListResponseBody />
## Update an EnterpriseUser
This API is used to update a new FusionAuth User from a SCIM request. The FusionAuth User will be overwritten by the data contained in the request. It is not a partial update or a patch.
### Request
<API method="PUT" uri="/api/scim/resource/v2/EnterpriseUsers/{userId}" authentication={["client-credentials"]} patchSupported={false} title="Updates an EnterpriseUser from a SCIM request"/>
#### Request Parameters
<APIBlock>
<APIField name="userId" type="UUID" optional>
The FusionAuth unique User Id.
</APIField>
</APIBlock>
<ScimEnterpriseuserRequestBody http_method="PUT" />
### Response
The response for this API contains the User that was updated in SCIM schema format.
<ScimResponseCodes />
For SCIM endpoints, error responses will be returned in standard SCIM schema. See more details in the [SCIM API Overview](/docs/apis/scim/).
<ScimEnterpriseuserResponseBody />
## Delete an EnterpriseUser
This API is used to hard delete a FusionAuth User. You must specify the Id of the User on the URI.
The data of a User who has been hard deleted is permanently removed from FusionAuth. The User's data cannot be restored via the FusionAuth API or the administrative user interface. If you need to restore the User's data, you must retrieve it from a database backup.
### Request
<API method="DELETE" uri="/api/scim/resource/v2/EnterpriseUsers/{userId}" authentication={["client-credentials"]} title="Delete a User"/>
#### Request Parameters
<APIBlock>
<APIField name="userId" type="UUID" required>
The FusionAuth unique User Id.
</APIField>
</APIBlock>
### Response
This API does not return a JSON response body.
<ScimResponseCodes is_delete />
For FusionAuth SCIM endpoints, any error responses will be returned in standard SCIM schema. See more details in the [SCIM API Overview](/docs/apis/scim/).
# Group
import EnterprisePlanBlurb from 'src/content/docs/_shared/_enterprise-plan-blurb.astro';
import API from 'src/components/api/API.astro';
import ScimGroupRequestBody from 'src/content/docs/apis/scim/_scim-group-request-body.mdx';
import ScimResponseCodes from 'src/content/docs/apis/scim/_scim-response-codes.astro';
import ScimGroupResponseBody from 'src/content/docs/apis/scim/_scim-group-response-body.mdx';
import APIBlock from 'src/components/api/APIBlock.astro';
import APIField from 'src/components/api/APIField.astro';
import InlineField from 'src/components/InlineField.astro';
import ScimGroupListResponseBody from 'src/content/docs/apis/scim/_scim-group-list-response-body.mdx';
<EnterprisePlanBlurb />
## Overview
This page contains all of the APIs for managing Groups through [SCIM Group](https://datatracker.ietf.org/doc/html/rfc7643#section-4.2) requests.
## Create a Group
This API is intended to be called by a SCIM Client and is used to create a new FusionAuth Group.
### Request
<API method="POST" uri="/api/scim/resource/v2/Groups" authentication={["client-credentials"]} title="Create a Group"/>
<ScimGroupRequestBody http_method="POST" />
### Response
The response for this API contains the Group that was just created in SCIM schema format.
<ScimResponseCodes never_missing />
For FusionAuth SCIM endpoints, any error responses will be returned in standard SCIM schema. See more details in the [SCIM API Overview](/docs/apis/scim/).
<ScimGroupResponseBody />
## Retrieve a Group
This API is used to retrieve a FusionAuth Group in SCIM schema format through a SCIM request.
### Request
<API method="GET" uri="/api/scim/resource/v2/Groups/{groupId}" authentication={["client-credentials"]} title="Retrieves a Group"/>
#### Request Parameters
<APIBlock>
<APIField name="groupId" type="UUID" optional>
The FusionAuth unique Group Id.
</APIField>
</APIBlock>
### Response
The response for this API contains the Group in SCIM schema format.
<ScimResponseCodes />
For FusionAuth SCIM endpoints, any error responses will be returned in standard SCIM schema. See more details in the [SCIM API Overview](/docs/apis/scim/).
<ScimGroupResponseBody />
## Retrieve Groups
This API is used to retrieve a paginated set of Groups with an optional filter.
### Request
<API method="GET" uri="/api/scim/resource/v2/Groups" authentication={["client-credentials"]} title="Retrieve Groups"/>
#### Request Parameters
<APIBlock>
<APIField name="count" type="Integer" optional>
The number of results to return. Used for pagination.
</APIField>
<APIField name="excludedAttributes" type="String" optional since="1.39.0">
A comma separated list of one or more attributes to exclude in the JSON response body.
For example, a value of `members` will remove the `members` attribute from all Groups returned in the response.
</APIField>
<APIField name="filter" type="String" optional since="1.39.0">
The SCIM filter string used to limit the Groups returned to those matching the criteria.
The use of this parameter is limited when using to filter Groups. The following limitations apply:
* The `externalId` attribute may be used for an equals comparison
* The `displayName` attribute may be used with the following operators:
* `eq` case-insensitive equals
* `co` case-insensitive contains
* `sw` case-insensitive starts with
* `ew` case-insensitive ends with
</APIField>
<APIField name="startIndex" type="Integer" optional>
The offset into the total results. In order to paginate the results, increment this value by the <InlineField>count</InlineField> for subsequent requests.
This parameter begins at `1`.
</APIField>
</APIBlock>
### Response
The response for this API contains the Groups in SCIM schema format.
<ScimResponseCodes />
For FusionAuth SCIM endpoints, any error responses will be returned in standard SCIM schema. See more details in the [SCIM API Overview](/docs/apis/scim/).
<ScimGroupListResponseBody />
## Update a Group
This API is used to update a new FusionAuth Group from a SCIM request. The FusionAuth Group will be overwritten with only the data contained in the request. It is not a partial update or patch.
### Request
<API method="PUT" uri="/api/scim/resource/v2/Groups/{groupId}" authentication={["client-credentials"]} title="Updates a Group from a SCIM request"/>
#### Request Parameters
<APIBlock>
<APIField name="groupId" type="UUID" optional>
The FusionAuth Group Id.
</APIField>
</APIBlock>
<ScimGroupRequestBody http_method="PUT" />
### Response
The response for this API contains the Group that was updated in SCIM schema format.
<ScimResponseCodes />
For FusionAuth SCIM endpoints, any error responses will be returned in standard SCIM schema. See more details in the [SCIM API Overview](/docs/apis/scim/).
<ScimGroupResponseBody />
## Delete a Group
This API is used to hard delete a FusionAuth Group. You must specify the Id of the Group on the URI.
The data of a Group who has been hard deleted is permanently removed from FusionAuth. The Group's data cannot be restored via the FusionAuth API or the administrative Group interface. If you need to restore the Group's data, you must retrieve it from a database backup.
### Request
<API method="DELETE" uri="/api/scim/resource/v2/Groups/{groupId}" authentication={["client-credentials"]} title="Delete a Group"/>
#### Request Parameters
<APIBlock>
<APIField name="groupId" type="UUID">
The FusionAuth unique Group Id.
</APIField>
</APIBlock>
### Response
This API does not return a JSON response body.
The DELETE endpoint will return a `204` status code upon success or one of the standard error status codes.
<ScimResponseCodes is_delete />
For FusionAuth SCIM endpoints, any error responses will be returned in standard SCIM schema. See more details in the [SCIM API Overview](/docs/apis/scim/).
# Service Provider
import EnterprisePlanBlurb from 'src/content/docs/_shared/_enterprise-plan-blurb.astro';
import API from 'src/components/api/API.astro';
import APIBlock from 'src/components/api/APIBlock.astro';
import APIField from 'src/components/api/APIField.astro';
import ScimResponseCodes from 'src/content/docs/apis/scim/_scim-response-codes.astro';
import ScimResourcetypesResponseBody from 'src/content/docs/apis/scim/_scim-resourcetypes-response-body.mdx';
import ScimSchemasResponseBody from 'src/content/docs/apis/scim/_scim-schemas-response-body.mdx';
import ScimServiceproviderconfigResponseBody from 'src/content/docs/apis/scim/_scim-serviceproviderconfig-response-body.mdx';
<EnterprisePlanBlurb />
## Overview
This API is used to retrieve information about the configuration of the [FusionAuth SCIM Service Provider as specified in the RFC](https://datatracker.ietf.org/doc/html/rfc7644#section-3.2).
## Retrieve Resource Types
### Request
<API method="GET" uri="/api/scim/resource/v2/ResourceTypes" authentication={["client-credentials"]} title="Retrieve All Resource Types"/>
<API method="GET" uri="/api/scim/resource/v2/ResourceTypes/{resourceTypeId}" authentication={["client-credentials"]} title="Retrieve a Resource Type by Id"/>
#### Request Parameters
<APIBlock>
<APIField name="resourceTypeId" type="String" optional>
The unique Resource Type Id, such as `User`.
</APIField>
</APIBlock>
### Response
The response for this API contains the ResourceType(s) in standard SCIM [schema](https://datatracker.ietf.org/doc/html/rfc7643#section-6).
<ScimResponseCodes />
For FusionAuth SCIM endpoints, any error responses will be returned in standard SCIM schema. See more details in the [SCIM API Overview](/docs/apis/scim/).
<ScimResourcetypesResponseBody />
## Retrieve Schemas
### Request
<API method="GET" uri="/api/scim/resource/v2/Schemas" authentication={["client-credentials"]} title="Retrieve All Schemas"/>
<API method="GET" uri="/api/scim/resource/v2/Schemas/{schemaId}" authentication={["client-credentials"]} title="Retrieve a Schema by Id"/>
#### Request Parameters
<APIBlock>
<APIField name="schemaId" type="String" optional>
The unique Schema Id, such as `urn:ietf:params:scim:schemas:core:2.0:User`.
</APIField>
</APIBlock>
### Response
The response for this API contains the Schema definition(s) in standard SCIM [schema](https://datatracker.ietf.org/doc/html/rfc7643#section-7).
<ScimResponseCodes />
For FusionAuth SCIM endpoints, any error responses will be returned in standard SCIM schema. See more details in the [SCIM API Overview](/docs/apis/scim/).
<ScimSchemasResponseBody />
## Retrieve Service Provider Configuration
### Request
<API method="GET" uri="/api/scim/resource/v2/ServiceProviderConfig" authentication={["client-credentials"]} title="Retrieve Service Provider Configuration"/>
### Response
The response for this API contains the Service Provider Configuration in standard SCIM [schema](https://datatracker.ietf.org/doc/html/rfc7643#section-5).
<ScimResponseCodes />
For FusionAuth SCIM endpoints, any error responses will be returned in standard SCIM schema. See more details in the [SCIM API Overview](/docs/apis/scim/).
<ScimServiceproviderconfigResponseBody />
# User
import EnterprisePlanBlurb from 'src/content/docs/_shared/_enterprise-plan-blurb.astro';
import API from 'src/components/api/API.astro';
import ScimUserRequestBody from 'src/content/docs/apis/scim/_scim-user-request-body.mdx';
import ScimResponseCodes from 'src/content/docs/apis/scim/_scim-response-codes.astro';
import ScimUserResponseBody from 'src/content/docs/apis/scim/_scim-user-response-body.mdx';
import APIBlock from 'src/components/api/APIBlock.astro';
import APIField from 'src/components/api/APIField.astro';
import InlineField from 'src/components/InlineField.astro';
import ScimUserListResponseBody from 'src/content/docs/apis/scim/_scim-user-list-response-body.mdx';
<EnterprisePlanBlurb />
## Overview
This page contains all of the APIs for managing Users through [SCIM User](https://datatracker.ietf.org/doc/html/rfc7643#section-4.1) requests.
## Create a User
This API is intended to be called by a SCIM Client and is used to create a new FusionAuth User.
### Request
<API method="POST" uri="/api/scim/resource/v2/Users" authentication={["client-credentials"]} title="Create a User"/>
<ScimUserRequestBody http_method="POST" />
### Response
The response for this API contains the SCIM User. The exact response will be controlled by the configured SCIM Server User request converter lambda function.
<ScimResponseCodes never_missing />
For FusionAuth SCIM endpoints, any error responses will be returned in standard SCIM schema. See more details in the [SCIM API Overview](/docs/apis/scim/).
<ScimUserResponseBody />
## Retrieve a User
This API is used to retrieve a FusionAuth User in SCIM schema format through a SCIM request.
### Request
<API method="GET" uri="/api/scim/resource/v2/Users/{userId}" authentication={["client-credentials"]} title="Retrieves a User"/>
#### Request Parameters
<APIBlock>
<APIField name="userId" type="UUID" optional>
The FusionAuth unique User Id.
</APIField>
</APIBlock>
### Response
The response for this API contains the User in SCIM schema format.
<ScimResponseCodes never_webhook_event />
For FusionAuth SCIM endpoints, any error responses will be returned in standard SCIM schema. See more details in the [SCIM API Overview](/docs/apis/scim/).
<ScimUserResponseBody />
## Retrieve Users
This API is used to retrieve a paginated set of Users with an optional filter.
### Request
<API method="GET" uri="/api/scim/resource/v2/Users" authentication={["client-credentials"]} title="Retrieve Users"/>
#### Request Parameters
<APIBlock>
<APIField name="count" type="Integer" optional>
The number of results to return. Used for pagination.
</APIField>
<APIField name="excludedAttributes" type="String" optional since="1.39.0">
A comma separated list of one or more attributes to exclude in the JSON response body.
For example, a value of `phoneNumbers` will remove the `phoneNumbers` attribute from all Users returned in the response.
</APIField>
<APIField name="filter" type="String" optional since="1.39.0">
The optional filter string to limit the Users returned to those matching the filter criteria.
</APIField>
<APIField name="startIndex" type="Integer" optional>
The offset into the total results. In order to paginate the results, increment this value by the <InlineField>count</InlineField> for subsequent requests.
This parameter begins at `1`.
</APIField>
</APIBlock>
### Response
The response for this API contains the User in SCIM schema format.
<ScimResponseCodes never_webhook_event />
For FusionAuth SCIM endpoints, any error responses will be returned in standard SCIM schema. See more details in the [SCIM API Overview](/docs/apis/scim/).
<ScimUserListResponseBody />
## Update a User
This API is used to update a new FusionAuth User from a SCIM request. The FusionAuth User will be overwritten by the data contained in the request. It is not a partial update or a patch.
### Request
<API method="PUT" uri="/api/scim/resource/v2/Users/{userId}" authentication={["client-credentials"]} patchSupported={false} title="Updates a User"/>
#### Request Parameters
<APIBlock>
<APIField name="userId" type="UUID" optional>
The FusionAuth unique User Id.
</APIField>
</APIBlock>
<ScimUserRequestBody http_method="PUT" />
### Response
The response for this API contains the User that was updated in SCIM schema format.
<ScimResponseCodes />
For FusionAuth SCIM endpoints, any error responses will be returned in standard SCIM schema. See more details in the [SCIM API Overview](/docs/apis/scim/).
<ScimUserResponseBody />
## Delete a User
This API is used to hard delete a FusionAuth User. You must specify the Id of the User on the URI.
The data of a User who has been hard deleted is permanently removed from FusionAuth. The User's data cannot be restored via the FusionAuth API or the administrative user interface. If you need to restore the User's data, you must retrieve it from a database backup.
### Request
<API method="DELETE" uri="/api/scim/resource/v2/Users/{userId}" authentication={["client-credentials"]} title="Delete a User"/>
#### Request Parameters
<APIBlock>
<APIField name="userId" type="UUID" required>
The FusionAuth unique User Id.
</APIField>
</APIBlock>
### Response
This API does not return a JSON response body.
<ScimResponseCodes is_delete />
For FusionAuth SCIM endpoints, any error responses will be returned in standard SCIM schema. See more details in the [SCIM API Overview](/docs/apis/scim/).
# Advanced Themes
import APIBlock from 'src/components/api/APIBlock.astro';
import APIField from 'src/components/api/APIField.astro';
import API from 'src/components/api/API.astro';
import Aside from 'src/components/Aside.astro';
import GenericUpdateExplanationFragment from 'src/content/docs/apis/_generic-update-explanation-fragment.mdx';
import JSON from 'src/components/JSON.astro';
import StandardDeleteResponseCodes from 'src/content/docs/apis/_standard-delete-response-codes.astro';
import StandardGetResponseCodes from 'src/content/docs/apis/_standard-get-response-codes.astro';
import StandardPutResponseCodes from 'src/content/docs/apis/_standard-put-response-codes.astro';
import ThemeCopyRequestBody from 'src/content/docs/apis/themes/_theme-copy-request-body.mdx';
import ThemePutRequestBody from 'src/content/docs/apis/themes/_theme-put-request-body.mdx';
import ThemeRequestBody from 'src/content/docs/apis/themes/_theme-request-body.mdx';
import ThemeRequestBodySuffix from 'src/content/docs/apis/themes/_theme-request-body-suffix.mdx';
import ThemeResponseBody from 'src/content/docs/apis/themes/_theme-response-body.mdx';
import ThemeResponseBodySuffix from 'src/content/docs/apis/themes/_theme-response-body-suffix.mdx';
import ThemeResponsesBody from 'src/content/docs/apis/themes/_theme-responses-body.mdx';
import ThemeResponsesBodySuffix from 'src/content/docs/apis/themes/_theme-responses-body-suffix.mdx';
import ThemeSearchRequestParameters from 'src/content/docs/apis/themes/_theme-search-request-parameters.mdx';
import ThemeTemplateFields from 'src/content/docs/apis/themes/_theme-template-fields.astro';
import InlineField from 'src/components/InlineField.astro';
## Overview
<Aside type="version">
This API has been available since 1.8.0
</Aside>
UI login themes can be configured to enable custom branding for your FusionAuth login workflow. Themes are configured per Tenant or optionally by Application.
The following APIs are provided to manage Themes.
## Create an Advanced Theme
This API is used to create a new Theme.
### Request
<API method="POST" uri="/api/theme" authentication={["api-key"]} title="Create a new Theme with a randomly generated Id"/>
<API method="POST" uri="/api/theme/{themeId}" authentication={["api-key"]} title="Create a Theme with the provided unique Id"/>
#### Request Parameters
<APIBlock>
<APIField name="themeId" type="UUID" optional defaults="secure random UUID">
The Id to use for the new Theme. If not specified a secure random UUID will be generated.
</APIField>
</APIBlock>
#### Request Body
<APIBlock>
<Aside type="note">
Note that the rest of this page will assume that the <InlineField>theme.type</InlineField> of this theme is `advanced`.
</Aside>
<ThemeRequestBody />
<ThemeTemplateFields singleRequest />
</APIBlock>
<ThemeRequestBodySuffix />
<API method="POST" uri="/api/theme" authentication={["api-key"]} title="Create a Theme from an existing Theme with a randomly generated Id"/>
<API method="POST" uri="/api/theme/{themeId}" authentication={["api-key"]} title="Create a Theme from an existing Theme with the provided unique Id"/>
#### Request Parameters
<APIBlock>
<APIField name="themeId" type="UUID" optional defaults="secure random UUID">
The Id to use for the new Theme. If not specified a secure random UUID will be generated.
</APIField>
</APIBlock>
<ThemeCopyRequestBody />
### Response
<StandardGetResponseCodes never_search_error />
<ThemeResponseBody />
<ThemeTemplateFields singleResponse />
<ThemeResponseBodySuffix />
## Retrieve an Advanced Theme
This API is used to retrieve a single Theme by unique Id or all of the Themes.
### Request
<API method="GET" uri="/api/theme" authentication={["api-key"]} title="Retrieve all of the Themes"/>
<API method="GET" uri="/api/theme/{themeId}" authentication={["api-key"]} title="Retrieve a Theme by Id"/>
#### Request Parameters
<APIBlock>
<APIField name="themeId" type="UUID" required>
The unique Id of the Theme to retrieve.
</APIField>
</APIBlock>
### Response
The response for this API contains either a single Theme or all of the Themes. When you call this API with an Id the response will contain a single Theme. When you call this API without an Id the response will contain all of the themes. Both response types are defined below along with an example JSON response.
<StandardGetResponseCodes never_search_error />
<ThemeResponseBody />
<ThemeTemplateFields singleResponse />
<ThemeResponseBodySuffix />
<Aside type="caution">
Responses from the theme API can contain [Simple Themes](/docs/apis/themes/simple-themes) as well.
</Aside>
<ThemeResponsesBody />
<ThemeTemplateFields response />
<ThemeResponsesBodySuffix />
## Search for Themes
<Aside type="version">
This API has been available since 1.45.0
</Aside>
This API is used to search for Themes and may be called using the `GET` or `POST` HTTP methods. Examples of each are provided below. The `POST` method is provided to allow for a richer request object without worrying about exceeding the maximum length of a URL. Calling this API with either the `GET` or `POST` HTTP method will provide the same search results given the same query parameters.
### Request
<API method="GET" uri="/api/theme/search?name={name}" authentication={["api-key"]} title="Search for Themes"/>
#### Request Parameters
<ThemeSearchRequestParameters parameter_prefix="" />
<API method="POST" uri="/api/theme/search" authentication={["api-key"]} title="Search for Themes"/>
When calling the API using a `POST` request you will send the search criteria in a JSON request body.
#### Request Body
<ThemeSearchRequestParameters parameter_prefix="search." />
<JSON title="Example JSON Request" src="themes/search-post-request.json" />
### Response
The response for this API contains the Themes matching the search criteria in paginated format.
<StandardGetResponseCodes never_missing never_search_error />
<Aside type="caution">
Responses from the theme API can contain [Simple Themes](/docs/apis/themes/simple-themes) as well.
</Aside>
<ThemeResponsesBody include_total />
<ThemeTemplateFields />
<ThemeResponsesBodySuffix include_total />
## Update an Advanced Theme
<GenericUpdateExplanationFragment capitalized_object_name="Theme" />
### Request
<API method="PUT" uri="/api/theme/{themeId}" authentication={["api-key"]} showPatch={true} title="Update the Theme with the given Id"/>
#### Request Parameters
<APIBlock>
<APIField name="themeId" type="UUID" required>
The unique Id of the Theme to update.
</APIField>
</APIBlock>
#### Request Body
<APIBlock>
<ThemePutRequestBody />
<ThemeTemplateFields singleRequest />
</APIBlock>
<ThemeRequestBodySuffix />
### Response
The response for this API contains the Theme that was updated.
<StandardPutResponseCodes />
<ThemeResponseBody />
<ThemeTemplateFields singleResponse />
<ThemeResponseBodySuffix />
## Delete an Advanced Theme
This API is used to permanently delete a Theme.
### Request
<API method="DELETE" uri="/api/theme/{themeId}" authentication={["api-key"]} title="Delete a Theme by Id"/>
#### Request Parameters
<APIBlock>
<APIField name="themeId" type="UUID" required>
The unique Id of the Theme to delete.
</APIField>
</APIBlock>
### Response
This API does not return a JSON response body.
<StandardDeleteResponseCodes />
# Simple Themes
import APIBlock from 'src/components/api/APIBlock.astro';
import APIField from 'src/components/api/APIField.astro';
import API from 'src/components/api/API.astro';
import Aside from 'src/components/Aside.astro';
import GenericUpdateExplanationFragment from 'src/content/docs/apis/_generic-update-explanation-fragment.mdx';
import JSON from 'src/components/JSON.astro';
import StandardDeleteResponseCodes from 'src/content/docs/apis/_standard-delete-response-codes.astro';
import StandardGetResponseCodes from 'src/content/docs/apis/_standard-get-response-codes.astro';
import StandardPutResponseCodes from 'src/content/docs/apis/_standard-put-response-codes.astro';
import ThemeCopyRequestBody from 'src/content/docs/apis/themes/_theme-copy-request-body.mdx';
import ThemePutRequestBody from 'src/content/docs/apis/themes/_theme-put-request-body.mdx';
import ThemeRequestBody from 'src/content/docs/apis/themes/_theme-request-body.mdx';
import ThemeResponseBody from 'src/content/docs/apis/themes/_theme-response-body.mdx';
import ThemeResponsesBody from 'src/content/docs/apis/themes/_theme-responses-body.mdx';
import ThemeResponsesBodySuffix from 'src/content/docs/apis/themes/_theme-responses-body-suffix.mdx';
import ThemeSearchRequestParameters from 'src/content/docs/apis/themes/_theme-search-request-parameters.mdx';
import ThemeVariablesRequest from 'src/content/docs/apis/themes/_theme-simple-variables-request.mdx';
import ThemeVariablesResponse from 'src/content/docs/apis/themes/_theme-simple-variables-response.mdx';
import InlineField from 'src/components/InlineField.astro';
## Overview
<Aside type="version">
This API has been available since 1.51.0
</Aside>
Simple UI login themes can be configured to enable custom styling for your FusionAuth login workflow. Themes are configured per Tenant or optionally by Application.
The following APIs are provided to manage Simple Themes.
## Create a Simple Theme
This API is used to create a new Simple Theme.
### Request
<API method="POST" uri="/api/theme" authentication={["api-key"]} title="Create a new Simple Theme with a randomly generated Id"/>
<API method="POST" uri="/api/theme/{themeId}" authentication={["api-key"]} title="Create a Simple Theme with the provided unique Id"/>
#### Request Parameters
<APIBlock>
<APIField name="themeId" type="UUID" optional defaults="secure random UUID">
The Id to use for the new Simple Theme. If not specified a secure random UUID will be generated.
</APIField>
</APIBlock>
#### Request Body
<APIBlock>
<Aside type="note">
Note that the rest of this page will assume that the <InlineField>theme.type</InlineField> of this theme is `simple`.
</Aside>
<ThemeRequestBody simple />
<ThemeVariablesRequest request={true} />
</APIBlock>
<JSON title="Example Simple Theme Request JSON" src="themes/simple-request.json" />
<API method="POST" uri="/api/theme" authentication={["api-key"]} title="Create a Simple Theme from an existing Simple Theme with a randomly generated Id"/>
<API method="POST" uri="/api/theme/{themeId}" authentication={["api-key"]} title="Create a Simple Theme from an existing Simple Theme with the provided unique Id"/>
#### Request Parameters
<APIBlock>
<APIField name="themeId" type="UUID" optional defaults="secure random UUID">
The Id to use for the new Theme. If not specified a secure random UUID will be generated.
</APIField>
</APIBlock>
<ThemeCopyRequestBody simple/>
### Response
<StandardGetResponseCodes never_search_error />
<ThemeResponseBody simple />
<ThemeVariablesResponse />
<JSON title="Example Simple Theme Response JSON" src="themes/simple-response.json" />
## Retrieve a Simple Theme
This API is used to retrieve a single Theme by unique Id or all of the Themes.
### Request
<API method="GET" uri="/api/theme" authentication={["api-key"]} title="Retrieve all of the Themes"/>
<API method="GET" uri="/api/theme/{themeId}" authentication={["api-key"]} title="Retrieve a Theme by Id"/>
#### Request Parameters
<APIBlock>
<APIField name="themeId" type="UUID" required>
The unique Id of the Theme to retrieve.
</APIField>
</APIBlock>
### Response
The response for this API contains either a single Theme or all of the Themes. When you call this API with an Id the response will contain a single Theme. When you call this API without an Id the response will contain all of the themes. Both response types are defined below along with an example JSON response.
<StandardGetResponseCodes never_search_error />
<ThemeResponseBody simple />
<ThemeVariablesResponse />
<JSON title="Example Simple Theme Response JSON" src="themes/simple-response.json" />
<Aside type="caution">
Responses from the theme API can contain [Advanced Themes](/docs/apis/themes/advanced-themes) as well.
</Aside>
<ThemeResponsesBody simple />
<ThemeVariablesResponse search />
<ThemeResponsesBodySuffix />
## Search for Themes
This API is used to search for Themes and may be called using the `GET` or `POST` HTTP methods. Examples of each are provided below. The `POST` method is provided to allow for a richer request object without worrying about exceeding the maximum length of a URL. Calling this API with either the `GET` or `POST` HTTP method will provide the same search results given the same query parameters.
### Request
<API method="GET" uri="/api/theme/search?name={name}" authentication={["api-key"]} title="Search for Themes"/>
#### Request Parameters
<ThemeSearchRequestParameters parameter_prefix="" />
<API method="POST" uri="/api/theme/search" authentication={["api-key"]} title="Search for Themes"/>
When calling the API using a `POST` request you will send the search criteria in a JSON request body.
#### Request Body
<ThemeSearchRequestParameters parameter_prefix="search." />
<JSON title="Example JSON Request" src="themes/search-post-request.json" />
### Response
The response for this API contains the Themes matching the search criteria in paginated format.
<StandardGetResponseCodes never_missing never_search_error />
<Aside type="caution">
Responses from the theme API can contain [Advanced Themes](/docs/apis/themes/advanced-themes) as well.
</Aside>
<ThemeResponsesBody simple include_total />
<ThemeVariablesResponse search />
<ThemeResponsesBodySuffix simple include_total />
## Update a Simple Theme
<GenericUpdateExplanationFragment capitalized_object_name="Theme" />
### Request
<API method="PUT" uri="/api/theme/{themeId}" authentication={["api-key"]} showPatch={true} title="Update the Theme with the given Id"/>
#### Request Parameters
<APIBlock>
<APIField name="themeId" type="UUID" required>
The unique Id of the Theme to update.
</APIField>
</APIBlock>
#### Request Body
<APIBlock>
<ThemePutRequestBody simple />
<ThemeVariablesRequest request />
</APIBlock>
<JSON title="Example Simple Theme Request JSON" src="themes/simple-request.json" />
### Response
The response for this API contains the Theme that was updated.
<StandardPutResponseCodes />
<ThemeResponseBody simple />
<ThemeVariablesResponse />
<JSON title="Example Simple Theme Response JSON" src="themes/simple-response.json" />
## Delete a Simple Theme
This API is used to permanently delete a Theme.
### Request
<API method="DELETE" uri="/api/theme/{themeId}" authentication={["api-key"]} title="Delete a Theme by Id"/>
#### Request Parameters
<APIBlock>
<APIField name="themeId" type="UUID" required>
The unique Id of the Theme to delete.
</APIField>
</APIBlock>
### Response
This API does not return a JSON response body.
<StandardDeleteResponseCodes />
# Two Factor with Google Authenticator
import InlineField from 'src/components/InlineField.astro';
import Aside from 'src/components/Aside.astro';
import API from 'src/components/api/API.astro';
import JSON from 'src/components/JSON.astro';
## Overview
<Aside type="caution">
The functionality described herein is deprecated as of 1.26.0. For version 1.26.0 and greater, please reference [here](/docs/lifecycle/authenticate-users/multi-factor-authentication).
</Aside>
This tutorial will walk through enabling and authenticating a User using the Google Authenticator. The Google Authenticator
application is just one possible option, you may also use any similar 2 Step verification application that implements the Time-Based
One-Time Password Algorithm as specified by [RFC 6238](https://tools.ietf.org/html/rfc6238). Understand that any time the Google
Authenticator is referenced you may assume any other application providing the same function is allowed.
The following is a suggested workflow to enable Two Factor authentication for use with a 2 Step verification application such as Google
Authenticator, your implementation may vary.
## Generate a shared secret
A shared secret may be generated using the [Generate a Two Factor Secret](/docs/apis/two-factor#generate-a-secret) API. Using this API is not required,
you may optionally build your own secret, the API is provided for convenience.
The following is an example response from the Generate a Two Factor Secret API.
```json
{
"secret" : "8MJJfCY4ERBtotvenSc3",
"secretBase32Encoded" : "HBGUUSTGINMTIRKSIJ2G65DWMVXFGYZT"
}
```
## Share the secret and collect a verification code
A common method for sharing the secret with the User is to display a QR code using the Base32 encoded secret. The QR code is then scanned
by the Google Authenticator application which stores the secret. Once the User has stored the secret they provide a verification code as
input.
The following is an example form you may build to allow the User to configure this type of authentication.
<img src="/img/docs/customize/email-and-messages/deprecated/example-qr-code.png" alt="Example QR" width="1000" role="box-shadow" />
## Enable Two Factor Authentication
The secret and code are then provided on this request to enable Two Factor for the User
In this example we'll use the [Enable Two Factor](/docs/apis/two-factor#enable-multi-factor) API. This API will validate that the provided
`code` is valid using the provided `secret`. The secret provided on this API request is not the Base32 encoded version of the secret.
This example demonstrates enabling Two Factor for a User with the specified Id.
<API method="PUT" uri="/api/user/two-factor/1ff649bc-fafe-4cd4-af26-f22c3eda3d82"/>
```json
{
"code": "423187",
"secret": "8MJJfCY4ERBtotvenSc3",
"delivery": "None"
}
```
## Authentication
Once a User has enabled Two Factor authentication, a `242` status code will be returned from the Login API with a response body that will
include a Two Factor Id.
The following is an example response from the Login API when a `242` response code is returned.
<JSON src="login/login-two-factor-response-pre-1-26.json" />
## Two Factor Authentication
To complete authentication you will need present the User with an additional form to collect a verification code. The User will enter a
verification code generated by the Google Authenticator application.
Using the Two Factor Id provided by the Login API response along with the verification code we can then complete authentication by making a
request to the [Complete Two Factor Authentication](/docs/apis/login#complete-multi-factor-authentication) API.
<API method="POST" uri="/api/two-factor/login"/>
<JSON src="login/two-factor/request.json" />
{/* Testing a comment */}
# Pre 1.26 Two Factor Authentication Overview
import InlineField from 'src/components/InlineField.astro';
import Aside from 'src/components/Aside.astro';
## Overview
<Aside type="caution">
The functionality described herein is deprecated as of 1.26.0. For version 1.26.0 and greater, please reference [here](/docs/customize/email-and-messages/).
</Aside>
Two Factor authentication adds an additional step to the authentication process. In addition to requiring a valid
email and password to authenticate, a two factor authentication code is required.
The general idea of Two Factor authentication is to require something you know and something you have to complete authentication.
Using this pattern protects the User against having their credentials compromised because even if you _**know**_ someone's email
and password, unless you also possess the device that generates the two factor authentication code you are not able to complete
an authentication process. In most cases the device the user will possess will be a mobile phone.
* [Two Factor using Google Authenticator (or similar application)](/docs/customize/email-and-messages/deprecated/authenticator-app-pre-1-26)
* [Two Factor using Twilio Push Notifications](/docs/customize/email-and-messages/deprecated/twilio-push-pre-1-26)
# Two Factor with Twilio Push Notifications
import InlineField from 'src/components/InlineField.astro';
import Aside from 'src/components/Aside.astro';
import API from 'src/components/api/API.astro';
import JSON from 'src/components/JSON.astro';
## Overview
<Aside type="caution">
The functionality described herein is deprecated as of 1.26.0. For version 1.26.0 and greater, please reference [here](/docs/customize/email-and-messages/).
</Aside>
This tutorial will walk through enabling and authenticating a User using the Twilio Push integration. The following is just a suggested
workflow, your implementation may vary.
Using Two Factor using a push service to deliver the verification codes to a User's mobile phone using a text message will generally
provide less friction to the user during the initial configuration. This is because the user does not need a special application installed
on their mobile phone and they will not need to understand how to utilize QR codes.
Ensure you have successfully configured the [Twilio integration](/docs/customize/email-and-messages/deprecated/twilio).
## Generate a secret
A secret may be generated using the [Generate a Two Factor Secret](/docs/apis/two-factor#generate-a-secret) API. Using this API is not required,
you may optionally build your own secret, the API is provided for convenience. This secret will be used to send the User a verification code
to validate the configuration before enabling Two Factor authentication for the User.
The following is an example response from the Generate a Two Factor Secret API.
```json
{
"secret" : "8MJJfCY4ERBtotvenSc3",
"secretBase32Encoded" : "HBGUUSTGINMTIRKSIJ2G65DWMVXFGYZT"
}
```
## Collect a verification code
Because the secret does not need to be shared with the User, unlike configuring the Google Authenticator application you need only collect a
verification code to ensure they can receive messages on their configured mobile phone.
You will need to ensure the User already has a mobile phone configured, or collect that number as part of this configuration step. The following
is an example form you may build to allow the User to configure this type of authentication.
<img src="/img/docs/customize/email-and-messages/deprecated/example-enable-push.png" alt="Example Push Configuration" width="1000" role="box-shadow" />
In the above example, you'll notice there is a button to _Send code to mobile phone_. You'll utilize the [Send a Two Factor Code](/docs/apis/two-factor#send-a-multi-factor-code-when-enabling-mfa)
API to send the User a verification code using the secret generated in the previous step and the User's mobile phone.
<API method="POST" uri="/api/two-factor/send"/>
<JSON src="two-factor/send/request-pre-1-26.json" />
## Enable Two Factor Authentication
The secret and code are then provided on this request to enable Two Factor for the User.
In this example we'll use the [Enable Two Factor](/docs/apis/two-factor#enable-multi-factor) API. This API will validate that the provided
`code` is valid using the provided `secret`.
This example demonstrates enabling Two Factor for a User with the specified Id.
<API method="PUT" uri="/api/user/two-factor/1ff649bc-fafe-4cd4-af26-f22c3eda3d82"/>
```json
{
"code": "423187",
"secret": "8MJJfCY4ERBtotvenSc3",
"delivery": "TextMessage"
}
```
## Authentication
Once a User has enabled Two Factor authentication, a `242` status code will be returned from the Login API with a response body that will
include a Two Factor Id.
The following is an example response from the Login API when a `242` response code is returned.
<JSON src="login/login-two-factor-response-pre-1-26.json" />
## Two Factor Authentication
To complete authentication you will need present the User with an additional form to collect a verification code. The User will enter the
verification code sent to their mobile phone as a result of successfully calling the Login API in the previous step If additional codes
need to be sent to the User during the authentication process the [Send a Two Factor Code](/docs/apis/two-factor#send-a-multi-factor-code-during-login-or-step-up) API
may be called with the `twoFactorId`.
Using the Two Factor Id provided by the Login API response along with the verification code we can then complete authentication by making a
request to the [Complete Two Factor Authentication](/docs/apis/login#complete-multi-factor-authentication) API.
<API method="POST" uri="/api/two-factor/login"/>
<JSON src="login/two-factor/request.json" />
# Twilio Integration
import InlineField from 'src/components/InlineField.astro';
import Aside from 'src/components/Aside.astro';
import Breadcrumb from 'src/components/Breadcrumb.astro';
<Aside type="caution">
The functionality described herein is deprecated as of 1.26.0. For version 1.26.0 and greater, please reference [here](/docs/customize/email-and-messages/).
</Aside>
## Overview
[Twilio](https://www.twilio.com/) is a popular third party messaging API. This integration when enabled allows FusionAuth
to deliver push messaging during Two Factor authentication.
## Configuration
The Twilio integration may be enabled using the [Integrations](/docs/apis/integrations) API or through the FusionAuth UI by navigating
to <Breadcrumb>Settings -> Integrations -> Twilio</Breadcrumb>.
<img src="/img/docs/customize/email-and-messages/deprecated/integration-twilio.png" alt="Twilio Configuration" width="1200" role="shadowed" />
# Custom Password Hashing
import InlineField from 'src/components/InlineField.astro';
import InlineUIElement from 'src/components/InlineUIElement.astro';
import Aside from 'src/components/Aside.astro';
import Breadcrumb from 'src/components/Breadcrumb.astro';
import RehashingUserPasswords from 'src/content/docs/_shared/_rehashing-user-passwords.mdx';
import {RemoteCode} from '@fusionauth/astro-components';
## Overview
There are times when you have a custom password hash that you want to import into FusionAuth. [FusionAuth supports a number of password hashing schemes](/docs/reference/password-hashes) but you can write a custom plugin if you have hashed your passwords using a different scheme.
You can use your custom password hashing scheme going forward, or you can rehash your passwords. You'd use the former strategy if you wanted to use a strong, unsupported password hashing scheme such as Argon2. You'd use the latter strategy if you are migrating from a system with a weaker hashing algorithm.
<Aside type="note">
This code uses the words 'encryption' and 'encryptor' for backwards compatibility, but what it is really doing is hashing the password. The functionality used to be referred to as `Password Encryptors`.
</Aside>
## Write the Password Encryptor Class
The main plugin interface in FusionAuth is the Password Encryptors interface. This allows you to write a custom password hashing scheme. A custom password hashing scheme is useful when you import users from an existing database into FusionAuth so that the users don't need to reset their passwords to login into your applications.
To write a Password Encryptor, you must first implement the `io.fusionauth.plugin.spi.security.PasswordEncryptor` interface. Here's an example Password Encryptor.
*Password Encryptor*
<RemoteCode url="https://raw.githubusercontent.com/FusionAuth/fusionauth-example-password-encryptor/main/src/main/java/com/mycompany/fusionauth/plugins/ExamplePBDKF2HMACSHA1PasswordEncryptor.java"
lang="java" />
## Adding the Guice Bindings
To complete the main plugin code (before we write a unit test), you need to add Guice binding for your new Password Encryptor. Password Encryptors use Guice Multibindings via Map. Here is an example of binding our new Password Encryptor so that FusionAuth can use it for users.
*Guice Module*
<RemoteCode url="https://raw.githubusercontent.com/FusionAuth/fusionauth-example-password-encryptor/main/src/main/java/com/mycompany/fusionauth/plugins/guice/MyExampleFusionAuthPluginModule.java" lang="java" />
You can see that we have bound the Password Encryptor under the name `example-salted-pbkdf2-hmac-sha1-10000`. This is the same name that you will use when creating users via the [User API](/docs/apis/users).
## Writing a Unit Test
You'll probably want to write some tests to ensure that your new Password Encryptor is working properly. Our example uses TestNG, but you can use JUnit or another framework if you prefer. Here's a simple unit test for our Password Encryptor:
<RemoteCode title="Unit Test" url="https://raw.githubusercontent.com/FusionAuth/fusionauth-example-password-encryptor/main/src/test/java/com/mycompany/fusionauth/plugins/ExamplePBDKF2HMACSHA1PasswordEncryptorTest.java" lang="java" />
To run the tests using the Java Maven build tool, run the following command.
```
mvn test
```
## Integration Test
After you have completed your plugin, the unit test and installed the plugin into a running FusionAuth installation, you can test it by hitting the User API and creating a test user. Here's an example JSON request that uses the new Password Encryptor:
```json
{
"user": {
"id": "00000000-0000-0000-0000-000000000001",
"active": true,
"email": "test0@fusionauth.io",
"encryptionScheme": "example-salted-pbkdf2-hmac-sha1-10000",
"password": "password",
"username": "username0",
"timezone": "Denver",
"data": {
"attr1": "value1",
"attr2": ["value2", "value3"]
},
"preferredLanguages": ["en", "fr"],
"registrations": [
{
"applicationId": "00000000-0000-0000-0000-000000000042",
"data": {
"attr3": "value3",
"attr4": ["value4", "value5"]
},
"id": "00000000-0000-0000-0000-000000000003",
"preferredLanguages": ["de"],
"roles": ["role 1"],
"username": "username0"
}
]
}
}
```
Notice that we've passed in the `encryptionScheme` property with a value of `example-salted-pbkdf2-hmac-sha1-10000`. This will instruct FusionAuth to use your newly written Password Encryptor.
## Sample Code
[A sample plugin project is available](https://github.com/FusionAuth/fusionauth-example-password-encryptor).
If you are looking to write your own custom password hashing algorithm, this project is a good starting point.
There is also a [selection of contributed plugins](https://github.com/FusionAuth/fusionauth-contrib/tree/main/Password%20Hashing%20Plugins), provided by the community and made available without warranty.
That may also be useful to you, as someone may already have written the hasher you need.
## Rehashing User Passwords
<RehashingUserPasswords />
## Deleting Plugins
You should never delete an installed password hashing plugin unless you are certain that no users are using the hash provided by that plugin. If any users still have that `encryptionScheme` associated with their account, they will see undefined behavior when they try to log in or change their password. This may include runtime exceptions.
The only way to completely and safely delete a custom password hashing plugin is to ensure all user accounts have migrated off of the algorithm defined by the plugin.
However, the hashing scheme is associated with each account and cannot be queried by the [User Search API](/docs/apis/users#search-for-users). You can view it for an individual user by navigating to <Breadcrumb>Users -> Your User -> Manage</Breadcrumb> and choosing the <Breadcrumb>Source</Breadcrumb> tab, but you can't query this value for all users.
If you have a plan which includes support and need to know which users are using a particular password hashing scheme, [open a support ticket](https://account.fusionath.io/account/support) so that the team can assist.
<Aside type="note">
The FusionAuth recommendation is to leave all password hashing plugins in place once installed.
</Aside>
If you are sure you need to remove a password hashing plugin, take the following steps:
* Ensure that no users are using the `encryptionScheme` associated with this plugin assisted by the FusionAuth support team as mentioned above.
* Ensure that no tenants are using the `encryptionScheme` associated with this plugin. This can be verified by querying all the tenants and looking at the `tenant.passwordEncryptionConfiguration.encryptionScheme` value.
* Delete the plugin from the filesystem.
* Restart the FusionAuth application on all nodes.
# Plugins Overview
import InlineField from 'src/components/InlineField.astro';
import InlineUIElement from 'src/components/InlineUIElement.astro';
import Aside from 'src/components/Aside.astro';
## Overview
FusionAuth provides a plugin mechanism that loads plugins at startup rather than at runtime. This provides much better performance than a runtime plugin system.
<Aside type="note">
You must restart FusionAuth anytime a plugin is installed.
</Aside>
There are two steps to adding a plugin to FusionAuth:
1. Write the plugin by implementing the correct plugin interface
2. Install the plugin into your FusionAuth installation
Currently the only extension points offered by plugins are custom password hashing schemes.
Learn more about:
* [Writing a Plugin](writing-a-plugin)
* [Custom Password Hashing](custom-password-hashing)
# Writing a Plugin
import InlineField from 'src/components/InlineField.astro';
import InlineUIElement from 'src/components/InlineUIElement.astro';
import Aside from 'src/components/Aside.astro';
import TroubleshootingPlugin from 'src/content/docs/extend/code/password-hashes/_troubleshooting-plugin.mdx';
import {RemoteCode} from '@fusionauth/astro-components';
import Breadcrumb from 'src/components/Breadcrumb.astro';
## Install Java 8
If you haven't already, you need to download the Java 8 JDK. This contains all of the tools you need to compile Java projects and create JAR files. You can download the Java 8 JDK from the Oracle at the following link.
- https://www.oracle.com/java/technologies/javase-downloads.html
### Get the Example Code
To begin, clone the following GitHub repository. This example code will assume you are able to use the Maven build commands.
```shell
git clone git@github.com:FusionAuth/fusionauth-example-password-encryptor.git
cd fusionauth-example-password-encryptor
mvn compile package
```
If the above commands were successful you have now downloaded the example code and performed and initial build of the jar. If last command was not found, you do not yet have Maven build tool installed. You may utilize whatever Java build system you prefer, such as Maven, Ant, Gradle or Savant. This example will use the Maven build system.
The following is a representation of the plugin project layout.
```plaintext title="Plugin Project Layout"
fusionauth-example-password-encryptor
|
|- src
| |- main
| | |- java
| |
| |- test
| |- java
|
|- pom.xml
```
Following the Java convention of using packages for all classes, you will want to create sub-directories under src/main/java and src/test/java that identify the package for your plugin. For example, you might create a directory under each called `com/mycompany/fusionauth/plugins` that will contain your plugin code.
In the example code you are beginning from, you will find the Plugin `MyExamplePasswordEncryptor` in the package `com/mycompany/fusionauth/plugins`.
Your project is now ready for you to start coding.
## Edit Your Build File
To modify the name of your plugin, edit your build file. Below is a small portion of the build file, you may change whatever you like, but to start with you will want to change the `groupId` and the `artifactId`. These values are used to name the jar that will be built later.
```xml title="pom.xml"
<groupId>io.fusionauth</groupId>
<artifactId>fusionauth-example-password-encryptor</artifactId>
<version>0.1.0</version>
```
## Code the Plugin
This is where you get to code! Ideally you would have one or two known passwords in the data you will be importing to FusionAuth so that you can test your plugin prior to installing it in FusionAuth.
Begin by modifying the `MyExamplePasswordEncryptor` class found in `src/main/java`.
You will find a test ready for you to use called `MyExamplePasswordEncryptorTest` in the package `com/mycompany/fusionauth/plugins` in the `src/test/java` directory. Use this test to assert on one or two known plain text passwords to ensure that the hash you calculate is equal to the actual hash that you will be importing from your existing system.
You can run the test like so: `mvn test`.
You will also find a few other example plugins that are written and tested that you can review to get an idea of how they work. You may delete any of the example code you do not want in your final jar.
### Matching Salt and Encryption
The only two required methods for you to implement are `defaultFactor()`, and `encrypt(String password, String salt, int factor)`. There are two additional methods that are optional: `generateSalt()` and `validateSalt(String salt)`.
If you do not implement these methods in your plugin, the default implementations below will be used:
*`PasswordEncryptor` interface with default `generateSalt` and `validateSalt` methods*
<RemoteCode url="https://raw.githubusercontent.com/FusionAuth/fusionauth-plugin-api/main/src/main/java/io/fusionauth/plugin/spi/security/PasswordEncryptor.java" lang="java" />
If your plugin requires a specific salt length differing from the default implementation, implement these methods in your plugin to generate a salt that meets your requirements.
In other words, the salt generated by your plugin should be consumable by the custom `encrypt` method.
### Using Dependencies
Oftentimes you'll have dependencies for your plugin code.
This is especially true if you are leveraging other cryptographic libraries to ensure password hashes are created correctly.
If you are using FusionAuth `1.36.0` or later and have dependencies, you can place dependencies along with your password plugin into a single directory and that will be loaded in a separate class loader. Please note, that while your plugin will be loaded into a new class loader, it will still share the classpath with FusionAuth. For this reason, you should still be cautious when including dependencies. If at all possible reduce dependencies to a minimum.
If you are using FusionAuth version `1.35.0` or before, and have dependencies, make sure you use the `maven-shade-plugin` plugin to shade your dependencies, or a similar plugin to combine the jar files. Using this strategy, your plugin must be deployed as an uberjar.
## Create the Guice binding
FusionAuth uses Guice for dependency injection and also to setup plugins. No matter what type of plugin you are writing, you need to add a single Guice module to your project.
<Aside type="caution">
In order for FusionAuth to locate your plugin, the package you put your plugin module into must include a parent package named either plugin or plugins. For example, a plugin class cannot be named `com.mycompany.fusionauth.MyExampleFusionAuthPluginModule`. Instead, it must be named `com.mycompany.fusionauth.plugins.MyExampleFusionAuthPluginModule`.
</Aside>
Edit the example Guice module in the `src/main/java` directory: `com/mycompany/fusionauth/plugins/guice/MyExampleFusionAuthPluginModule.java`.
Here is an example of what you will find in the example Guice module referenced above.
<RemoteCode title="Guice Module" lang="java" url="https://raw.githubusercontent.com/FusionAuth/fusionauth-example-password-encryptor/main/src/main/java/com/mycompany/fusionauth/plugins/guice/MyExampleFusionAuthPluginModule.java" />
Notice that this plugin is annotated with the class `io.fusionauth.plugin.spi.PluginModule`. This is how FusionAuth locates the Guice module and installs your plugin.
## Building
This will assume you using the Maven build tool. You are welcome to utilize any Java build tool that you wish.
```shell
mvn clean compile package
ls -lah ./target/*.jar
-rw-r--r-- 1 robotdan staff 4.5K Apr 24 08:06 ./target/fusionauth-example-password-encryptor-0.1.0.jar
```
The above command will compile and build a jar artifact that we will install onto FusionAuth. The jar found in the `target` directory is your plugin.
## Install the Plugin
After you have completed your plugin code and all of your unit tests pass, you are ready to install the plugin into FusionAuth.
You will utilize the jar build output file from the previous step.
Next, you need to create the plugin directory in your FusionAuth installation. Depending on where you installed FusionAuth, you will create the plugin directory in the `FUSIONAUTH_HOME` directory. This directory is the directory right above the `FUSIONAUTH_HOME` directory. Here are some examples for the plugin directory:
```plaintext title="Linux and macOS"
/usr/local/fusionauth/plugins
```
```plaintext title="Windows"
\fusionauth\plugins
```
The location of this directory might be different if you install using the ZIP bundles and placed FusionAuth somewhere else.
Next, you copy this JAR file from your plugin project into the plugin directory like this:
```shell title="Linux/Mac/Unix"
cp target/fusionauth-example-password-encryptor-0.1.0.jar /usr/local/fusionauth/plugins
```
```plaintext title="Windows"
cp target\fusionauth-example-password-encryptor-0.1.0.jar \fusionauth\plugins
```
Now you can restart FusionAuth to load your plugin.
If you plugin is found and loaded successfully, you should see a message like this in the logs:
```
INFO io.fusionauth.api.plugin.guice.PluginModule - Installing plugin [com.mycompany.fusionauth.plugins.guice.MyExampleFusionAuthPluginModule]
INFO io.fusionauth.api.plugin.guice.PluginModule - Plugin successfully installed
```
At this point, you should be able to log in to the administrative user interface, navigate to <Breadcrumb>Tenants -> Your Tenant -> Password</Breadcrumb> and scroll to the <InlineUIElement>Cryptographic hash settings</InlineUIElement> section. Your new hashing scheme will appear in the <InlineField>Scheme</InlineField> field. This is another way to verify the plugin is installed in FusionAuth.
<img src="/img/docs/extend/code/password-hashes/hash-settings-new-plugin.png" alt="Tenant settings with a new plugin installed." width="1200" />
Do not set the <InlineField>Scheme</InlineField> field to that new plugin value unless you want all users in that tenant to use that hash.
### Installing On FusionAuth Cloud
The above instructions document how to install a plugin on a self-hosted FusionAuth system, where you have access to the file system and/or container image where FusionAuth is running.
[FusionAuth Cloud](/docs/get-started/run-in-the-cloud/cloud) does not allow such access, among [other limits](/docs/get-started/run-in-the-cloud/cloud#limits).
If you have a FusionAuth Cloud deployment and want to install a custom plugin, please [open a support ticket](https://account.fusionauth.io/account/support). Make sure you include the jar file as an attachment.
The FusionAuth support team will then coordinate with you to install the plugin and restart FusionAuth.
## Multiple Plugins
You are allowed to have as many plugins as you want. This may occur if you are consolidating multiple systems into FusionAuth, each with their own password hashing algorithm.
When you do so, ensure you have unique values for the classname, the test name and the binding name.
They may remain in the same package and maven artifact or jar file.
<Aside type="caution">
If you do not ensure that each hashing class has a unique name and binding value, system behavior is undetermined.
</Aside>
For example, to have two plugins based on the above example plugin project, copy the following files:
* `MyExamplePasswordEncryptor.java` to `MyOtherExamplePasswordEncryptor.java`
* `MyExamplePasswordEncryptorTest.java` to `MyOtherExamplePasswordEncryptorTest.java`
Then modify the `MyOtherExamplePasswordEncryptor` files to implement and test the new hash.
Finally, add the following to the `MyExampleFusionAuthPluginModule.java` file:
```java
passwordEncryptorMapBinder.addBinding("custom-other-hash").to(MyOtherExamplePasswordEncryptor.class);
```
Please note, when selecting the string value that will be used as your `encryptionScheme`, please do prefix it with `custom-` or your company such as `acme-` to avoid the possibility of a name collision if FusionAuth were to add additional hashing schemes in the base product.
You can then build and install the plugin in the same fashion as you would with one plugin.
### Multiple Plugin Projects
You may also have multiple plugin projects. This may make sense if you want more logical separation between the plugin code.
In that case, ensure that the guice module class, the package name and the `artifactId` values are distinct.
If you have two projects, you'll have to build and deploy each of the artifacts to the correct location in FusionAuth.
## Troubleshooting
<TroubleshootingPlugin />
# Apple Reconcile Lambda
import Breadcrumb from 'src/components/Breadcrumb.astro';
import InlineUIElement from 'src/components/InlineUIElement.astro';
import ReconcileLambdaIntro from 'src/content/docs/extend/code/lambdas/_reconcile-lambda-intro.mdx';
import ReconcileLambdaUserRegistrationParameters from 'src/content/docs/extend/code/lambdas/_reconcile-lambda-user-registration-parameters.mdx';
<ReconcileLambdaIntro identity_provider_name="Apple" prefix="an" />
## Lambda Structure
If you are using the API to create the lambda you will need to ensure your function has the following signature:
```javascript
function reconcile(user, registration, idToken) {
// Lambda code goes here
}
```
This lambda must contain a function named `reconcile` that takes three parameters. The parameters that the lambda is passed are:
<ReconcileLambdaUserRegistrationParameters />
* `idToken` - the JSON payload of the validated and decoded Id Token returned from Apple. This object is read-only.
The two FusionAuth objects are well documented in the [User API](/docs/apis/users) and [Registration API](/docs/apis/registrations) documentation. The Id Token object that contains the payload returned by Apple and may contain well known OpenID Connect registered claims as well as any custom claims defined by Apple.
## Assigning The Lambda
Once a lambda is created, you may assign it to the Apple identity provider in the IdP configuration.
Navigate to <Breadcrumb>Settings -> Identity Providers</Breadcrumb> and select your existing Apple configuration or click <InlineUIElement>Add provider</InlineUIElement> and select Apple if it has not yet been configured.
## Default Lambda
A default Apple reconcile lambda is available in FusionAuth that may be used or modified. The default Apple lambda function is documented below.
```javascript
// This is the default Apple reconcile, modify this to your liking.
function reconcile(user, registration, idToken) {
// Un-comment this line to see the idToken object printed to the event log
// console.info(JSON.stringify(idToken, null, 2));
// During the first login attempt, the user object will be available which may contain first and last name.
if (idToken.user && idToken.user.name) {
user.firstName = idToken.user.name.firstName || user.firstName;
user.lastName = idToken.user.name.lastName || user.lastName;
}
}
```
# Epic Games Reconcile Lambda
import Breadcrumb from 'src/components/Breadcrumb.astro';
import InlineUIElement from 'src/components/InlineUIElement.astro';
import ReconcileLambdaIntro from 'src/content/docs/extend/code/lambdas/_reconcile-lambda-intro.mdx';
import ReconcileLambdaUserRegistrationParameters from 'src/content/docs/extend/code/lambdas/_reconcile-lambda-user-registration-parameters.mdx';
<ReconcileLambdaIntro identity_provider_name="Epic Games" prefix="an" />
## Lambda Structure
If you are using the API to create the lambda you will need to ensure your function has the following signature:
```javascript
function reconcile(user, registration, userInfo) {
// Lambda code goes here
}
```
This lambda must contain a function named `reconcile` that takes the following parameters. The parameters that the lambda is passed are:
<ReconcileLambdaUserRegistrationParameters />
* `userInfo` - data returned by the Epic Games Account API. This object is read-only.
The two FusionAuth objects are well documented in the [User API](/docs/apis/users) and [Registration API](/docs/apis/registrations) documentation. The `idToken` may contain various user claims depending upon the user's Epic Games configuration.
## Assigning The Lambda
Once a lambda is created, you may assign it to the Epic Games identity provider in the IdP configuration.
Navigate to <Breadcrumb>Settings -> Identity Providers</Breadcrumb> and select your existing Epic Games configuration or click <InlineUIElement>Add provider</InlineUIElement> and select Epic Games if it has not yet been configured.
# Client Credentials JWT Populate Lambda
import Breadcrumb from 'src/components/Breadcrumb.astro';
import InlineField from 'src/components/InlineField.astro';
import JSON from 'src/components/JSON.astro';
If you would like to augment the claims provided in the JWT before it has been signed you can specify a lambda in the JWT configuration. This lambda will be invoked prior to the token being signed and issued as a result of the client credentials grant, on behalf of an Entity.
When you create a new lambda using the FusionAuth UI we will provide you an empty function for you to implement.
## Lambda Structure
If you are using the API to create the lambda you will need to ensure your function has the following signature:
```javascript
function populate(jwt, recipientEntity, targetEntities, permissions) {
// Lambda code goes here
}
```
This lambda must contain a function named `populate` that takes four parameters. The parameters that the lambda is passed are:
* `jwt` - the claims object to be signed and return as the JWT payload. You can modify this object.
* `recipientEntity` - the Recipient Entity. This object is read-only. See an example below.
* `targetEntities` - the Target Entities. This object is read-only. See an example below.
* `permissions` - the permissions assigned to the Entity. This object is read-only. Example below.
The `recipientEntity` and `targetEntities` objects are well documented in the [Permissions & Entity Types APIs](/docs/apis/entities/entity-types) and [Entities API](/docs/apis/entities/entities) documentation. The JWT object is a JavaScript object containing the JWT payload. See [here for more](/docs/lifecycle/authenticate-users/oauth/tokens).
You may add or modify anything in the `jwt` object. However, you may not modify the header or reserved claims. The following claims are considered reserved and modifications or removal will not be reflected in the final JWT payload:
- `amr`
- `aud`
- `exp`
- `gty`
- `iat`
- `permissions`
- `sub`
- `tid`
- `tty`
- `use`
## Assigning The Lambda
Once a lambda is created, you must assign it. To do so via the administrative user interface, navigate to <Breadcrumb>Tenants -> Your Tenant -> OAuth</Breadcrumb> and update the <InlineField>Client credentials populate lambda</InlineField> setting.
### Example Entities And Permissions Objects
For these example objects (available in the lambda) there are three entities created (`reminder`, `todo`, and `email`) with an `api` entity type with `read` and `write` user defined permission values.
<JSON title="Example JSON for recipientEntity object." src="lambdas/recipientEntity.json" />
<JSON title="Example JSON for targetEntities object." src="lambdas/targetEntities.json" />
<JSON title="Example JSON for permissions object." src="lambdas/entityPermissions.json" />
### Related
Related information about [Client Credentials Grant](/docs/lifecycle/authenticate-users/oauth/#example-client-credentials-grant).
# External JWT Reconcile Lambda
import Breadcrumb from 'src/components/Breadcrumb.astro';
import InlineUIElement from 'src/components/InlineUIElement.astro';
import ReconcileLambdaIntro from 'src/content/docs/extend/code/lambdas/_reconcile-lambda-intro.mdx';
import ReconcileLambdaUserRegistrationParameters from 'src/content/docs/extend/code/lambdas/_reconcile-lambda-user-registration-parameters.mdx';
<ReconcileLambdaIntro identity_provider_name="External JWT" prefix="an" />
## Lambda Structure
If you are using the API to create the lambda you will need to ensure your function has the following signature:
```javascript
function reconcile(user, registration, jwt) {
// Lambda code goes here
}
```
This lambda must contain a function named `reconcile` that takes three parameters. The parameters that the lambda is passed are:
<ReconcileLambdaUserRegistrationParameters />
* `jwt` - the JSON payload returned by the external identity provider JWT. This object is read-only.
The two FusionAuth objects are well documented in the [User API](/docs/apis/users) and [Registration API](/docs/apis/registrations) documentation. The `jwt` may contain various user claims to utilize during the reconcile process.
## Assigning The Lambda
Once a lambda is created, you may assign it to the External JWT identity provider in the IdP configuration.
Navigate to <Breadcrumb>Settings -> Identity Providers</Breadcrumb> and select your existing External JWT configuration or click <InlineUIElement>Add provider</InlineUIElement> and select External JWT if it has not yet been configured.
## Example Lambda
The following is a simple example of an External JWT reconcile lambda. You will need to modify it to suit your needs.
```javascript
// This is an example External JWT reconcile, modify this to your liking.
function reconcile(user, registration, jwt) {
// User claims
user.firstName = jwt.first_name;
user.lastName = jwt.last_name;
user.birthDate = jwt.birth_date;
user.imageUrl = jwt.image_url;
user.data = user.data || {};
user.data['email'] = jwt.email;
// Registration claims
registration.data = registration.data || {};
registration.data['iss'] = jwt.iss;
}
```
# Facebook Reconcile Lambda
import Breadcrumb from 'src/components/Breadcrumb.astro';
import InlineUIElement from 'src/components/InlineUIElement.astro';
import ReconcileLambdaIntro from 'src/content/docs/extend/code/lambdas/_reconcile-lambda-intro.mdx';
import ReconcileLambdaUserRegistrationParameters from 'src/content/docs/extend/code/lambdas/_reconcile-lambda-user-registration-parameters.mdx';
<ReconcileLambdaIntro identity_provider_name="Facebook" prefix="a" />
## Lambda Structure
If you are using the API to create the lambda you will need to ensure your function has the following signature:
```javascript
function reconcile(user, registration, facebookUser) {
// Lambda code goes here
}
```
This lambda must contain a function named `reconcile` that takes three parameters. The parameters that the lambda is passed are:
<ReconcileLambdaUserRegistrationParameters />
* `facebookUser` - the User returned from the Facebook Me API. This object is read-only.
The two FusionAuth objects are well documented in the [User API](/docs/apis/users) and [Registration API](/docs/apis/registrations) documentation. The `facebookUser` may contain various user claims depending upon the user's Facebook configuration.
## Assigning The Lambda
Once a lambda is created, you may assign it to the Facebook identity provider in the IdP configuration.
Navigate to <Breadcrumb>Settings -> Identity Providers</Breadcrumb> and select your existing Facebook configuration or click <InlineUIElement>Add provider</InlineUIElement> and select Facebook if it has not yet been configured.
## Default Lambda
A default Facebook reconcile lambda is available in FusionAuth that may be used or modified. The default Facebook lambda function is documented below.
```javascript
// This is the default Facebook reconcile, modify this to your liking.
function reconcile(user, registration, facebookUser) {
// Un-comment this line to see the facebookUser object printed to the event log
// console.info(JSON.stringify(facebookUser, null, 2));
user.firstName = facebookUser.first_name;
user.middleName = facebookUser.middle_name;
user.lastName = facebookUser.last_name;
user.fullName = facebookUser.name;
if (facebookUser.picture && !facebookUser.picture.data.is_silhouette) {
user.imageUrl = facebookUser.picture.data.url;
}
if (facebookUser.birthday) {
// Convert MM/dd/yyyy -> YYYY-MM-DD
var parts = facebookUser.birthday.split('/');
user.birthDate = parts[2] + '-' + parts[0] + '-' + parts[1];
}
}
```
# Google Reconcile Lambda
import Breadcrumb from 'src/components/Breadcrumb.astro';
import InlineUIElement from 'src/components/InlineUIElement.astro';
import ReconcileLambdaIntro from 'src/content/docs/extend/code/lambdas/_reconcile-lambda-intro.mdx';
import ReconcileLambdaUserRegistrationParameters from 'src/content/docs/extend/code/lambdas/_reconcile-lambda-user-registration-parameters.mdx';
<ReconcileLambdaIntro identity_provider_name="Google" prefix="a" />
## Lambda Structure
If you are using the API to create the lambda you will need to ensure your function has the following signature:
```javascript
function reconcile(user, registration, idToken) {
// Lambda code goes here
}
```
This lambda must contain a function named `reconcile` that takes three parameters. The parameters that the lambda is passed are:
<ReconcileLambdaUserRegistrationParameters />
* `idToken` - the JSON payload returned by the Google Token Info API. This object is read-only.
The two FusionAuth objects are well documented in the [User API](/docs/apis/users) and [Registration API](/docs/apis/registrations) documentation. The `idToken` may contain various user claims to utilize during the reconcile process.
## Assigning The Lambda
Once a lambda is created, you may assign it to the Google identity provider in the IdP configuration.
Navigate to <Breadcrumb>Settings -> Identity Providers</Breadcrumb> and select your existing Google configuration or click <InlineUIElement>Add provider</InlineUIElement> and select Google if it has not yet been configured.
## Default Lambda
A default Google reconcile lambda is available in FusionAuth that may be used or modified. The default Google lambda function is documented below.
```javascript
// This is the default Google reconcile, modify this to your liking.
function reconcile(user, registration, idToken) {
// Un-comment this line to see the idToken object printed to the event log
// console.info(JSON.stringify(idToken, null, 2));
// The idToken is the response from the tokeninfo endpoint
// https://developers.google.com/identity/sign-in/web/backend-auth#calling-the-tokeninfo-endpoint
user.firstName = idToken.given_name;
user.lastName = idToken.family_name;
user.fullName = idToken.name;
user.imageUrl = idToken.picture;
}
```
# HYPR Reconcile Lambda
import Breadcrumb from 'src/components/Breadcrumb.astro';
import InlineUIElement from 'src/components/InlineUIElement.astro';
import ReconcileLambdaUserRegistrationParameters from 'src/content/docs/extend/code/lambdas/_reconcile-lambda-user-registration-parameters.mdx';
When an HYPR identity provider is used to complete a federated login request FusionAuth will use the email address to reconcile the user. You may optionally utilize a lambda to customize the user and user registration during this authentication event.
When you create a new lambda using the FusionAuth UI we will provide you an empty function for you to implement.
## Lambda Structure
If you are using the API to create the lambda you will need to ensure your function has the following signature:
```javascript
function reconcile(user, registration) {
// Lambda code goes here
}
```
This lambda must contain a function named `reconcile` that takes three parameters. The parameters that the lambda is passed are:
<ReconcileLambdaUserRegistrationParameters />
The two FusionAuth objects are well documented here in the [User API](/docs/apis/users) and [Registration API](/docs/apis/registrations) documentation.
## Assigning The Lambda
Once a lambda is created, you may assign it to the HYPR identity provider in the IdP configuration.
Navigate to <Breadcrumb>Settings -> Identity Providers</Breadcrumb> and select your existing HYPR configuration or click <InlineUIElement>Add provider</InlineUIElement> and select HYPR if it has not yet been configured.
# Lambdas Overview
import AdvancedPlanBlurb from 'src/content/docs/_shared/_advanced-plan-blurb.astro';
import Aside from 'src/components/Aside.astro';
import InlineField from 'src/components/InlineField.astro';
import LambdaTypes from 'src/content/docs/_shared/_lambda-types.astro';
import { YouTube } from '@astro-community/astro-embed-youtube';
## Overview
A FusionAuth lambda is a JavaScript function that can be used to augment or modify runtime behavior, typically during a login flow.
FusionAuth leverages lambdas to handle different events that occur inside it as well as customize tokens and messages that FusionAuth sends such as JWTs or SAML responses. A lambda may optionally be invoked when these events occur. Developers can write lambdas in the FusionAuth UI or can upload lambdas via the API.
Here's a brief video covering some aspects of lambdas:
<YouTube id="aKIWILh3qxM" />
## Lambda Types
Lambdas are typed according to their intended purpose. You cannot use a lambda intended for one situation in another.
The following lambdas are currently supported:
{/* Don't add a new lambda here. Add it to the src/content/json/lambdas.json file and the list will be generated. */}
<LambdaTypes />
## Example Lambdas
Each lambda documentation page will have an example lambda implementation specific to that functionality.
The signature of each lambda function differs for different types of lambdas.
### Adding Claims
Here is an example of a FusionAuth lambda that adds additional claims to a JWT:
```javascript
function populate(jwt, user, registration) {
jwt.favoriteColor = user.data.favoriteColor;
jwt.applicationBackgroundColor = registration.data.backgroundColor;
}
```
## Using Lambda HTTP Connect
Lambda HTTP Connect allows you to make HTTP requests from within a lambda.
<AdvancedPlanBlurb />
[Learn more about making API calls from lambdas](/docs/extend/code/lambdas/lambda-remote-api-calls).
## Engine
### GraalJS
GraalJS is built on top of the Java virtual machine. For security reasons, FusionAuth restricts access to various GraalJS features during a lambda invocation.
The GraalJS Engine [supports ECMAScript 2021](https://www.graalvm.org/22.0/reference-manual/js/JavaScriptCompatibility/).
Here is documentation for the GraalJS engine:
* https://github.com/oracle/graaljs
This engine has been available since version `1.35.0`.
### Nashorn
<Aside type="caution">
As of version 1.49 the Nashorn engine has been removed. Upgrading to version `1.49.0` or beyond will migrate existing lambdas to GraalJS.
</Aside>
Nashorn is built on top of the Java virtual machine and while Nashorn permits access to the Java API, for security reasons FusionAuth restricts access to all Java objects during a lambda invocation. Here is the documentation provided by Oracle for the Nashorn engine:
The Nashorn engine supports ECMAScript version 5.1.
## Console
In addition to the standard JavaScript objects and constructs, FusionAuth provides the `console` object to allow you to create entries in the Event Log during a lambda invocation.
Available methods:
- `info` - Create an event log of type Information
- `log` - alias to the `info` method
- `debug` - Create an event log of type Debug (only when the Lambda has enabled Debug)
- `error` - Create an event log of type Error
The `log`, `info` and `error` will always cause Event Log entries to be created as a result of the lambda invocation. The `log` method is an alias to the `info` method. Messages created using the `debug` method will only be added to the Event Log when you have enabled <InlineField>Debug</InlineField> in your lambda configuration.
Messages of each type are accumulated during the lambda invocation and a maximum of one event log of each type will be created as a result of the lambda invocation. This means making multiple requests to `console.info` in the lambda function body will result in a single event log of type Information.
When logging objects, you'll need to stringify them to see their data.
```javascript
function populate(jwt, user, registration) {
//...
console.log(user); // doesn't log any data other than the fact a user is an object. Probably not what you want.
console.log(JSON.stringify(user)); // outputs all the properties of the user object.
console.log(JSON.stringify(user, null, ' ')); // pretty prints the user object.
//...
}
```
## Exceptions
Any exception thrown in a lambda does two things:
* writes an event log entry
* exits the lambda code path
What that means for the overall user experience depends on the type of lambda. For example, for a JWT populate lambda, the JWT will not be modified. For a reconcile lambda, the user will not be created or linked.
In general, exceptions should not be used for flow control and should instead be used for exceptional situations.
To view exception details, enable debugging on the lambda via the <InlineField>Debug enabled</InlineField> toggle in the administrative user interface or the API.
## Limitations
If the Identity Provider linking strategy is set to `Link Anonymously`, no lambdas will be used by FusionAuth. More information about the [Identity Provider linking strategies is available here](/docs/lifecycle/authenticate-users/identity-providers/#linking-strategies).
The FusionAuth lambdas do not have full access to JavaScript modules and libraries. They also cannot import, require or load other libraries currently. These features might be added to our lambda support in the future.
`console.log` and other `console` methods only take one argument; this differs from the `console` method available in web browsers.
## Managing Lambdas
You can use the [FusionAuth APIs](/docs/apis/lambdas), [client libraries](/docs/sdks) or [the CLI tool](/docs/customize/cli) to manage your lambdas.
It's recommended you keep your lambdas under version control as they are part of the code execution path of FusionAuth.
You can [test your lambdas](/docs/extend/code/lambdas/testing) as well.
# JWT Populate Lambda
import AvailableSince from 'src/components/api/AvailableSince.astro';
import { YouTube } from '@astro-community/astro-embed-youtube';
If you would like to augment the claims provided in the JWT before it has been signed you can specify a lambda in the JWT configuration. This lambda will be invoked prior to the token being signed and issued to a user.
Here's a brief video showing how to set up a JWT populate lambda:
<YouTube id="xFp1QkTiOAU" />
When you create a new lambda using the FusionAuth UI we will provide you an empty function for you to implement.
This lambda is not executed if you call the Login API directly and omit the `applicationId` request parameter.
## Lambda Structure
If you are using the API to create the lambda you will need to ensure your function has the following signature:
```javascript
function populate(jwt) {
// Lambda code goes here
}
```
This lambda must contain a function named `populate` that takes up to 4 parameters. The following parameters are passed to the lambda:
* `jwt` - the claims object to be signed and return as the JWT payload. You can modify this object.
* `user` - the FusionAuth User object. This object is read-only.
* `registration` - the FusionAuth UserRegistration object. This parameter will be `undefined` when the user is not registered for the application. This object is read-only.
* `context` - <AvailableSince since="1.59.0"/> - an object containing the context of the request. This object is read-only.
### `jwt` object
You may add or modify anything in the `jwt` object. However, you may not modify the header or certain reserved claims. The following claims are considered reserved and modifications or removal will not be reflected in the final JWT payload:
- `amr`
- `auth_time`
- `gty`
- `exp`
- `iat`
- `sub`
- `tid`
- `tty`
Note that as of version `1.59.0`, you may modify the `exp` claim as long as the new value does not increase the lifetime of the token. So you may use this behavior to optionally reduce the time-to-live of this token. This may be useful when using a single FusionAuth application and in some contexts you wish to reduce the lifetime of a token. As an example, when using an OAuth grant, the requested scopes are available to the lambda function and could be used as an indicator to reduce the time-to-live of this token.
### `user` and `registration` objects
The two FusionAuth objects are well documented in the [User API](/docs/apis/users) and [Registration API](/docs/apis/registrations) documentation. The JWT object is a JavaScript object containing the JWT payload. See [OpenID Connect & OAuth 2.0 Token](/docs/lifecycle/authenticate-users/oauth/tokens).
### `context` object
The context object includes the following:
* `scopes` - <AvailableSince since="1.59.0"/> - array of scopes that were requested for the token.
## Assigning The Lambda
Once a lambda is created, you must assign it to an Application. See the JWT tab in the Application configuration.
## Example Lambda
Here is an example of a simple Lambda that adds a few extra claims to the JWT issued to the User.
```javascript
function populate(jwt, user, registration) {
// Add a new claim named 'favoriteColor' from a custom data attribute on the user
jwt.favoriteColor = user.data.favoriteColor;
// Add a new claim named 'dept' using a custom data attribute on the registration
jwt.dept = registration.data.departmentName;
// Create an event log of type 'Debug' when the lambda has Debug enabled
console.debug('Added custom claims to the JSON web token');
}
```
# Making API Calls From Lambdas
import AdvancedPlanBlurb from 'src/content/docs/_shared/_advanced-plan-blurb.astro';
import APIBlock from 'src/components/api/APIBlock.astro';
import APIField from 'src/components/api/APIField.astro';
import Aside from 'src/components/Aside.astro';
import AvailableSince from 'src/components/api/AvailableSince.astro';
import InlineField from 'src/components/InlineField.astro';
import LambdaTypes from 'src/content/docs/_shared/_lambda-types.astro';
import MembershipLambda from 'src/content/docs/extend/code/_membership-lambda.md';
import { YouTube } from '@astro-community/astro-embed-youtube';
<AdvancedPlanBlurb />
## Overview
Lambda HTTP Connect allows you to make HTTP requests from within a lambda. Any lambda can make a request to any network accessible URL.
This features allows you to access data from external systems to configure token claims or to add data to a user profile. It also allows you to push profile or other data from FusionAuth to an external system as needed.
Here's a video showing more details about Lambda HTTP Connect:
<YouTube id="_TnDUPQm3aQ" />
## Example Lambda
Here is a FusionAuth lambda that adds additional claims to a JWT based on an HTTP request:
```javascript title="A lambda which adds claims based on an external API."
function populate(jwt, user, registration) {
var response = fetch("https://api.example.com/api/status?" + user.id, {
method: "GET",
headers: {
"Content-Type": "application/json"
}
});
if (response.status === 200) {
// assuming successful response looks like:
// {"status":"statusValue"}
var jsonResponse = JSON.parse(response.body);
jwt.status = jsonResponse.status;
} else {
jwt.status = "basic";
}
}
```
You can also call FusionAuth APIs with a valid API key:
<MembershipLambda />
Use port 9012, or the configured value for `fusionauth-app.http-local.port`, whenever making a FusionAuth API call in a lambda. Doing so minimizes network traffic contention and improves performance.
## Headers
You can provide request header values in a number of different ways:
```javascript title="An anonymous object"
headers: {
"Content-Type": "application/json"
}
```
```javascript title="A hash or map"
headers: new Headers({
"Content-Type": "application/json"
})
```
```javascript title="An array"
headers: new Headers([
["Content-Type", "application/json"]
])
```
## Options
### Timeouts
<Aside type="version">
Available Since Version 1.55.1
</Aside>
In general you will want to be certain that any external request you make within a lambda function returns quickly. The duration of the request will be cause additional latency during the FusionAuth request and can reduce the performance of FusionAuth and cause unexpected errors.
However, in some cases where you know a request may be slow, or the performance of the request is secondary to the request completing, you may need to extend these timeouts. These values are specified in milliseconds.
By default, the HTTP read and connect timeouts are set to 2 seconds. The following is an example of setting the `connectTimeout` and the `readTimeout` on the HTTP request.
```javascript
var response = fetch("https://api.example.com/api/status", {
method: "GET",
connectTimeout: 42000, // 42,000 ms, or 42 seconds
readTimeout: 42000 // 42,000 ms, or 42 seconds
});
```
## Response
A response object will be returned. It will have the following fields:
<APIBlock>
<APIField name="headers" type="Object">
The headers returned by the response. The keys of this object are the header names. All header keys are lower cased.
</APIField>
<APIField name="status" type="Integer">
The HTTP status code.
</APIField>
<APIField name="body" type="String">
The body of the response.
</APIField>
</APIBlock>
## Securing API Keys In Lambdas
Being able to make API requests against FusionAuth can be useful, but requires an API key to be stored in the Lambda code.
To secure that API key, you should:
* scope your API keys as narrowly as possible (both in terms of tenants and permissions)
* create a unique API key for each lambda to make revocation easy
* limit who has access to view lambda code to limit who can see API keys
* [rotate API keys regularly](/docs/operate/secure-and-monitor/key-rotation)
There's an [open GitHub issue](https://github.com/FusionAuth/fusionauth-issues/issues/1629) which discusses product improvements to API key handling.
## Lambda HTTP Connect Limitations
When using Lambda HTTP Connect to make HTTP requests, do not call a FusionAuth API which invokes the calling lambda, because it will fail. For example, in a JWT Populate lambda, do not invoke the Login API.
Requests from a lambda require the lambda to use the GraalJS engine.
HTTP requests will time out after two seconds.
The `fetch` method in a lambda does not implement the [entire `fetch` API](https://developer.mozilla.org/en-US/docs/Web/API/Fetch_API) as implemented in a browser.
The first argument to `fetch` must always be a string URL.
Only the following options are supported:
* `method`, which defaults to `GET`
* `headers`, which defaults to null
* `body`, which must be a string
# LDAP Connector Reconcile Lambda
import Aside from 'src/components/Aside.astro';
import Breadcrumb from 'src/components/Breadcrumb.astro';
import InlineUIElement from 'src/components/InlineUIElement.astro';
When an LDAP Connector is used to authenticate a user based upon the Tenant connector policies, the LDAP Connector lambda is used to map the LDAP attributes into a FusionAuth user. This lambda runs every time the LDAP Connector runs.
When you create a new lambda using the FusionAuth UI we will provide you an empty function for you to implement.
## Lambda Structure
If you are using the API to create the lambda you will need to ensure your function has the following signature:
```javascript
function reconcile(user, userAttributes) {
// Lambda code goes here
}
```
This lambda must contain a function named `reconcile` that takes two parameters. The parameters that the lambda is passed are:
* `user` - the FusionAuth User object. You can modify this object. However you cannot modify the `username` or `email` attributes once the account is linked.
* `userAttributes` - the user attributes returned from LDAP during authentication. This object is read-only.
The FusionAuth user object is well documented in the [User API](/docs/apis/users) documentation. The `userAttributes` object may contain various values returned by the LDAP server.
### LDAP Attributes
LDAP attributes can be returned to FusionAuth in a string form or a byte array. Some attributes are considered non-string values and need to be provided in a byte array to be useful in the Lambda function.
A non-string attribute should be requested as a byte array. To request an attribute as a byte array, use the `;binary` LDAP attribute option as a suffix on your requested attribute. For example, instead of requesting `objectGUID`, you will request `objectGUID;binary`.
## Helper Functions
FusionAuth provides helper functions available in the Lambda function under the namespace `FusionAuth`.
### Active Directory Object GUID To UUID
When using this connector with Microsoft Active Directory, the `objectGUID` attribute will need to be configured to be returned as a byte array. This can be accomplished by appending the suffix `;binary` as an LDAP attribute option to the `objectGUID` in the requested attributes configuration.
Values requested as a byte array will be provided to the lambda function as a Base64 encoded string. Here is an example usage of the FusionAuth helper to convert this base64 encoded string representation of the `objectGUID` to a UUID.
```javascript
// Example usage to convert a Base64 encoded Microsoft Active Directory objectGUID to a valid FusionAuth UUID
user.id = FusionAuth.ActiveDirectory.b64GuidToString(userAttributes['objectGUID;binary']);
```
## Assigning The Lambda
Once a lambda is created, you may use it when adding an LDAP Connector in the Connector configuration.
Navigate to <Breadcrumb>Settings -> Connectors</Breadcrumb> and click <InlineUIElement>Add</InlineUIElement> and select LDAP when prompted to select a connector type.
## Example Lambda
The following is a simple example of an LDAP Connector reconcile lambda. You will need to modify it to suit your needs.
```javascript
// This is an example LDAP Connector reconcile, modify this to your liking.
function reconcile(user, userAttributes) {
// Uncomment this line to see the userAttributes object printed to the event log
// console.info(JSON.stringify(userAttributes, null, 2));
// This assumes the 'uid' attribute is a string form of a UUID in the format
// `8-4-4-4-12`. It will be necessary to ensure an attribute is returned by your LDAP
// connection that can be used for the FusionAuth user Id.
user.id = userAttributes.uid;
user.active = true;
// if migrating users, tag them by uncommenting the below lines
// user.data = {};
// user.data.migrated = true;
user.email = userAttributes.mail;
user.fullName = userAttributes.cn;
// In this example, the registration is hard coded, you may also build this
// dynamically based upon the returned LDAP attributes.
user.registrations = [{
applicationId: "5d562fea-9ba9-4d5c-b4a3-e57bb254d6db",
roles = ['user', 'admin']
}];
}
```
### Example Active Directory Lambda
Active Directory does not have a `uid` attribute, and delivers the GUID as a binary value.
To enable the Connector to work with Active Directory, you must request this attribute: `objectGUID;binary`, decode it into a binary GUID, then convert that to a version 4 UUID. Then you can assign that value to the `user.id` property.
<Aside type="note">
`objectGUID;binary` must be specified in your `Requested Attributes` of the LDAP connector.
In other words, specifying only `objectGUID` will not pass the proper attribute value to the LDAP reconcile lambda.
</Aside>
The below Lambda does this:
```javascript
// Using the response from an LDAP connector, reconcile the User.
function reconcile(user, userAttributes) {
user.email = userAttributes.userPrincipalName;
user.firstName = userAttributes.givenName;
user.lastName = userAttributes.sn;
user.active = true;
// if you are using FusionAuth 1.19.7 or later, you can use the built in method and omit the decodeBase64 and guidToString functions. This is recommended.
// user.id = FusionAuth.ActiveDirectory.b64GuidToString(userAttributes['objectGuid;binary']);
user.id = guidToString(userAttributes['objectGUID;binary']);
}
function decodeBase64(string)
{
var b=0,l=0, r='',
m='ABCDEFGHIJKLMNOPQRSTUVWXYZabcdefghijklmnopqrstuvwxyz0123456789+/';
string.split('').forEach(function (v) {
b=(b<<6)+m.indexOf(v); l+=6;
if (l>=8) r+=String.fromCharCode((b>>>(l-=8))&0xff);
});
return r;
}
function guidToString(b64)
{
var x = decodeBase64(b64);
var ret = "";
for (i = 3; i >= 0; i--)
{
ret += ('00'+x.charCodeAt(i).toString(16)).substr(-2,2);
}
ret += "-";
for (i = 5; i >= 4; i--)
{
//ret = ret + ('00' + (charCode & 0xFF00) >> 8);
ret += ('00'+x.charCodeAt(i).toString(16)).substr(-2,2);
}
ret += "-";
for (i = 7; i >= 6; i--)
{
//ret = ret + ('00' + (charCode & 0xFF00) >> 8);
ret += ('00'+x.charCodeAt(i).toString(16)).substr(-2,2);
}
ret += "-";
for (i = 8; i <= 9; i++)
{
//ret = ret + ('00' + (charCode & 0xFF00) >> 8);
ret += ('00'+x.charCodeAt(i).toString(16)).substr(-2,2);
}
ret += "-";
for (i = 10; i < 16; i++)
{
//ret = ret + ('00' + (charCode & 0xFF00) >> 8);
ret += ('00'+x.charCodeAt(i).toString(16)).substr(-2,2);
}
return ret;
}
```
Thanks to community member Bradley Kite for providing this code.
# MFA Requirement Lambda
import AuthenticationTypeValues from 'src/content/docs/_shared/authentication-type-values.astro';
import Breadcrumb from 'src/components/Breadcrumb.astro';
import EnterprisePlanBlurb from 'src/content/docs/_shared/_enterprise-plan-blurb.astro';
import InlineField from 'src/components/InlineField.astro';
<EnterprisePlanBlurb />
During logins, password changes, and [MFA Status API](/docs/apis/two-factor#retrieve-multi-factor-status) calls, FusionAuth performs various validations to decide whether to challenge the user on one of their MFA methods. Using this lambda function, you may extend this functionality to change FusionAuth's MFA decision for that user or trigger a suspicious login event.
The MFA Requirement Lambda has access to the following information:
* the access token returned by FusionAuth as the result of a successful authentication
* the action being taken
* FusionAuth's out of the box MFA decision
* the user record
* the user's registration for the application they're trying to authenticate to
* the MFA policy settings on the tenant and application
* metadata about the request
You can use Lambda HTTP Connect to access external resources during validation, but you should use external resources sparingly; any additional latency will impact users.
## Lambda Structure
All lambda implementations must contain a method with the following signature:
```javascript
function checkRequired(result, user, registration, context) {
// Lambda code goes here
}
```
The `checkRequired` function must accept the following parameters:
* `result` - an object used for returning modified MFA requirements back to FusionAuth.
* `user` - the read-only FusionAuth User object.
* `registration` - the FusionAuth `UserRegistration` object. This parameter will be `undefined` when the user is not registered for the application (e.g. SSO, when an existing user signs into an application for the first time). This object is read-only.
* `context` - an object containing context for the current request. This object is read-only and contains several optional fields.
For more information about `user` and `application`, see the [User API](/docs/apis/users) and [Registration API](/docs/apis/registrations) documentation.
`result` is of type `RequiredLambdaResult`, with the following structure:
```javascript
class RequiredLambdaResult {
/**
* This value will be set to FusionAuth's out of the box decision on whether an MFA challenge
* should be required for the user. Mutate this to change the decision.
* @type {boolean}
*/
required;
/**
* To force a suspicious login event to be created, set this to true. This will have no effect
* unless the action is `login`.
* @type {boolean}
*/
sendSuspiciousLoginEvent;
}
```
`context` is an immutable argument of type `Context`, with the following structure:
```javascript
class Context {
/**
* The encoded JWT. This is an optional value and may be null. It will be
* populated if the /api/user/change-password was authenticated to via a JWT or if a `token`
* is POSTed to /api/two-factor/status
*
* @type {string}
*/
accessToken;
/**
* represents the action being taken. Logins and password changes via FusionAuth APIs or hosted pages will always use either `login` or `changePassword` respectively.
* `stepUp` is a value that may be passed in to the [MFA Status API](/docs/apis/two-factor#retrieve-multi-factor-status) using the `action` field.
* @type {string} - Possible values are [login], [changePassword], or [stepUp].
*/
action;
/**
* The FusionAuth Application object (if applicable). This only exists if an applicationId was passed in to the relevant API, upstream from the lambda.
* @type {Application}
*/
application;
/**
* A list of authentication threats detected for this request. This will only be populated when the action is `login` and Advanced Threat Detection is enabled.
* @type {Set<String>} - Possible values are [ImpossibleTravel].
*/
authenticationThreats;
/**
* Event information about the current request. This is an optional value and may be null,
* depending on what is provided to FusionAuth via API calls.
* @type {EventInfo} - see below for details
*/
eventInfo;
/**
* If existing two-factor trust was supplied (via a cookie/hosted pages or
* `twoFactorTrustId` on the API), this value will contain details about that trust.
* @type {Trust}
*/
mfaTrust;
/**
* an object containing the MFA policies for the tenant and application.
* @type {Policies}
*/
policies;
}
class EventInfo {
/**
* Additional data associated with the event. This is an optional value and may be null.
* @type {Map<String, Object>}
*/
data;
/**
* @type {string}
*/
deviceDescription;
/**
* @type {string}
*/
deviceName;
/**
* @type {string}
*/
deviceType;
/**
* @type {string}
*/
ipAddress;
/**
* Location details based on the user's IP address. This will only be populated when
* Advanced Threat Detection is enabled.
* @type {Location}
*/
location;
/**
* @type {string}
*/
os;
/**
* @type {string}
*/
userAgent;
}
class Location {
/**
* @type {string}
*/
city;
/**
* @type {string}
*/
country;
/**
* @type {double}
*/
latitude;
/**
* @type {double}
*/
longitude;
/**
* @type {string}
*/
region;
/**
* @type {string}
*/
zipcode;
}
class Policies {
/**
* This value will be set to the application's MFA login policy, if set.
* @type {string} - Possible values are [Disabled], [Enabled], or [Required].
*/
applicationLoginPolicy;
/**
* If the Application has an MFA trust policy set, this value will be set to that policy.
* @type {string} - Possible values are [Any], [This], or [None].
*/
applicationMultiFactorTrustPolicy;
/**
* This value will be set to the tenant's MFA login policy.
* @type {string} - Possible values are [Disabled], [Enabled], or [Required].
*/
tenantLoginPolicy;
}
class StartInstant {
/**
* Every time /api/two-factor/login is completed for an application, the application Id and instant will be recorded here.
*
* @type {Map<UUID, Instant>}
*/
applications;
/**
* The first instant the trust was established for the user's tenant.
*
* @type {Instant}
*/
tenant;
}
class Trust {
/**
* The application that the MFA trust the user already has, was first associated with
* @type {string}
*/
applicationId;
/**
* Additional attributes about the trust.
* @type {Map<String, Object>}
*/
attributes;
/**
* When the MFA trust expires
* @type {Instant}
*/
expirationInstant;
/**
* The twoFactorTrustId
* @type {String}
*/
id;
/**
* When the MFA trust was created
* @type {Instant}
*/
insertInstant;
/**
* Details about each application that trust was established for.
* @type {StartInstant}
*/
startInstants;
/**
* Additional attributes/state trust.
* @type {Map<String, Object>}
*/
state;
/**
* The user's tenant Id.
* @type {string}
*/
tenantId;
/**
* The user's Id.
* @type {string}
*/
userId;
}
```
For more information about `context.application`, see the [Application API reference](/docs/apis/applications).
For more information on advanced threat protection, see the [Advanced Threat Detection](/docs/operate/secure/advanced-threat-detection) documentation.
## Assigning The Lambda
Once a lambda is created, you must assign it to a Tenant. Using the FusionAuth admin UI, find the <InlineField>MFA requirement lambda</InlineField> field found on the <Breadcrumb>Multi-Factor</Breadcrumb> tab in the Tenant configuration.
Or if you are using the Tenant API, assign the lambda Id to the `tenant.lambdaConfiguration.multiFactorRequirementId` field.
A lambda can also be configured at the application level and, if an application is provided on the request (see action above), the application's lambda will take precedence over the tenant's lambda. To assign an application-specific lambda, using the FusionAuth admin UI, find the <InlineField>MFA requirement lambda</InlineField> field found on the <Breadcrumb>Multi-Factor</Breadcrumb> tab in the Application configuration.
Or if you are using the Application API, assign the lambda Id to the `application.lambdaConfiguration.multiFactorRequirementId` field.
## Example Lambdas
The following example requires MFA if the user's email address contains the string `gilfoyle`, and otherwise uses the default MFA decision:
```javascript
function checkRequired(result, user, registration, context) {
if (user.email.includes('gilfoyle')) {
result.required = true;
}
}
```
A more complex example might involve using the user's location to determine if MFA should be required. In this example, if the user is logging in from outside the United States, MFA will be required. Note that this example assumes you are licensed for the [Advanced Threat Detection](/docs/operate/secure/advanced-threat-detection) feature.
```javascript
function checkRequired(result, user, registration, context) {
if (context.eventInfo?.location?.country !== "USA") {
result.required = true;
}
}
```
# Login Validation Lambda
import AuthenticationTypeValues from 'src/content/docs/_shared/authentication-type-values.astro';
import Breadcrumb from 'src/components/Breadcrumb.astro';
import InlineField from 'src/components/InlineField.astro';
During a login request FusionAuth performs various validations such as verifying credentials or verifying a one time code during a multi-factor login. Using this lambda function, you may extend this functionality to include your own validation as part of a login request.
The login validation lambda has access to the user record, the user's registration for the application they're trying to authenticate to if applicable and meta-data about the request. While Lambda HTTP Connect may be used in this function in order to utilize external resources to perform validation, please be aware that adding latency to the login request will likely be observable to your end user.
When you create a new lambda using the FusionAuth UI we will provide you an empty function for you to implement.
## Lambda Structure
If you are using the API to create the lambda you will need to ensure your function has the following signature:
```javascript
function validate(result, user, registration, context) {
// Lambda code goes here
}
```
This lambda must contain a function named `validate` that takes four parameters. The parameters that the lambda is passed are:
* `result` - an object used for returning validation errors. You can modify this object.
* `user` - the FusionAuth User object. This object is read-only.
* `registration` - the FusionAuth UserRegistration object. This object is read-only.
* `context` - an object containing context for the current request. This object is read-only.
The `result` object contains an [Errors](/docs/apis/errors) object. The `user` and `registration` objects are well documented in the [User API](/docs/apis/users) and [Registration API](/docs/apis/registrations) documentation. The `context` object has the following structure:
```json
{
"authenticationType": "...",
"identityProvider": {
"id": "...",
"name": "...",
"identityProviderType": "..."
}
}
```
`authenticationtype` is the method used to authenticate the user. The possible values are:
<AuthenticationTypeValues showSince="1.53.0" />
The `identityProvider` object in the `context` will only be present when the login request is from a 3rd party Identity Provider.
To deny a login attempt, simply add one or more field or general errors to the result. The error schema can be found in the [API Errors](/docs/apis/errors) documentation.
## Assigning The Lambda
Once a lambda is created, you must assign it to a Tenant. Using the FusionAuth admin UI, find the <InlineField>Login validation lambda</InlineField> field found on the <Breadcrumb>Security</Breadcrumb> tab in the Tenant configuration.
For the Tenant API, assign the lambda Id to the `tenant.lambdaConfiguration.loginValidationId` field.
## Example Lambda
Here is an example of a simple Lambda that prevents login attempts by users whose accounts are past due. Note that this is just an example that is assuming you have set the `accountStatus` in the user's data using the User API.
```javascript
function validate(result, user, registration, context) {
if (user.data.accountStatus === 'pastDue') {
result.errors.generalErrors = [{
code: "[LoginRestricted]",
message: "Account is past due, please contact accounts payable."
}];
}
}
```
## Localization
When using any of the Login APIs directly, if the lambda function adds errors to the `result`, the API will respond with a `400` status code and the JSON response will contain the same errors object returned by the lambda function.
When using the FusionAuth hosted login pages, the messaging may be localized. The order of precedence is as follows.
* If the message key returned in the `code` field is defined in your theme, that localized message will be displayed.
* If the message key returned in the `code` field is not defined in your theme, the message as provided by the lambda function will be displayed.
* If the message key returned in the `code` field is not defined in your theme, and the lambda function did not define a value for the `message`, the message key returned in the `code` field will be displayed to the user.
Using the above example, by default the user will be shown the message `Account is past due, please contact accounts payable.`.
To localize this message, or simply modify it to be more user friendly, add the following message to your theme:
```
[LoginRestricted]=Looks like you forgot to pay your bill. Please call 1-800-555-5555 for assitance.
```
With this change, the user will be shown `Looks like you forgot to pay your bill. Please call 1-800-555-5555 for assitance.`.
# LinkedIn Reconcile Lambda
import Breadcrumb from 'src/components/Breadcrumb.astro';
import InlineUIElement from 'src/components/InlineUIElement.astro';
import ReconcileLambdaIntro from 'src/content/docs/extend/code/lambdas/_reconcile-lambda-intro.mdx';
import ReconcileLambdaUserRegistrationParameters from 'src/content/docs/extend/code/lambdas/_reconcile-lambda-user-registration-parameters.mdx';
<ReconcileLambdaIntro identity_provider_name="LinkedIn" prefix="a" />
## Lambda Structure
If you are using the API to create the lambda you will need to ensure your function has the following signature:
```javascript
function reconcile(user, registration, linkedInUser) {
// Lambda code goes here
}
```
This lambda must contain a function named `reconcile` that takes three parameters. The parameters that the lambda is passed are:
<ReconcileLambdaUserRegistrationParameters />
* `linkedInUser` - the JSON payload returned by the LinkedIn Email and Me APIs. This object is read-only.
The two FusionAuth objects are well documented in the [User API](/docs/apis/users) and [Registration API](/docs/apis/registrations) documentation. The `linkedInUser` may contain various user claims depending upon the user's LinkedIn configuration and the scopes requested in the LinkedIn configuration.
## Assigning The Lambda
Once a lambda is created, you may assign it to the LinkedIn identity provider in the IdP configuration.
Navigate to <Breadcrumb>Settings -> Identity Providers</Breadcrumb> and select your existing LinkedIn configuration or click <InlineUIElement>Add provider</InlineUIElement> and select LinkedIn if it has not yet been configured.
## Default Lambda
A default LinkedIn reconcile lambda is available in FusionAuth that may be used or modified. The default LinkedIn lambda function is documented below.
Note that in this lambda we handle two different response objects depending on what type of integration with LinkedIn your application is using. See [Set Up Your LinkedIn App Client Credentials](/docs/lifecycle/authenticate-users/identity-providers/social/linkedin#set-up-your-linkedin-app-client-credentials) for more information.
The best way to know which format your user's data is being return in is to use the `console.log` statement and print the `linkedInUser` field to the event log.
```javascript
// This is the default LinkedIn reconcile, modify this to your liking.
function reconcile(user, registration, linkedInUser) {
// Un-comment this line to see the linkedInUser object printed to the event log
// console.info(JSON.stringify(linkedInUser, null, ' '));
// Depending on how and when you have set up your LinkedIn application you may get a different response back in the linkedInUser.
//
// The first checks apply if you are using the "Sign In with LinkedIn using OpenID Connect" with the "openid", "email", and "profile" scopes.
// If so FusionAuth will call the LinkedIn UserInfo API.
// See https://learn.microsoft.com/en-us/linkedin/consumer/integrations/self-serve/sign-in-with-linkedin-v2#api-request-to-retreive-member-details
//
// The second checks apply if you are using the legacy program and Profile API with the "r_liteprofile" or "r_basicprofile" scopes.
// See https://learn.microsoft.com/en-us/linkedin/shared/integrations/people/profile-api
if (linkedInUser.given_name) {
user.firstName = linkedInUser.given_name;
} else if (linkedInUser.localizedFirstName) {
user.firstName = linkedInUser.localizedFirstName;
}
if (linkedInUser.family_name) {
user.lastName = linkedInUser.family_name;
} else if (linkedInUser.localizedLastName) {
user.lastName = linkedInUser.localizedLastName;
}
if (linkedInUser.picture) {
// UserInfo will only supply one image size
user.imageUrl = linkedInUser.picture;
} else if (linkedInUser.profilePicture){
// LinkedIn may return several images sizes.
// See https://docs.microsoft.com/en-us/linkedin/shared/references/v2/profile/profile-picture
// We'll sort the array by descending size and then grab the largest one.
var images = linkedInUser.profilePicture['displayImage~'].elements || [];
images.sort(function(a, b) {
return b.data["com.linkedin.digitalmedia.mediaartifact.StillImage"].displaySize.width - a.data["com.linkedin.digitalmedia.mediaartifact.StillImage"].displaySize.width;
});
if (images.length > 0) {
user.imageUrl = images[0].identifiers[0].identifier;
}
}
}
```
# Nintendo Reconcile Lambda
import Breadcrumb from 'src/components/Breadcrumb.astro';
import InlineUIElement from 'src/components/InlineUIElement.astro';
import ReconcileLambdaIntro from 'src/content/docs/extend/code/lambdas/_reconcile-lambda-intro.mdx';
import ReconcileLambdaUserRegistrationParameters from 'src/content/docs/extend/code/lambdas/_reconcile-lambda-user-registration-parameters.mdx';
<ReconcileLambdaIntro identity_provider_name="Nintendo" prefix="a" />
## Lambda Structure
If you are using the API to create the lambda you will need to ensure your function has the following signature:
```javascript
function reconcile(user, registration, userInfo) {
// Lambda code goes here
}
```
This lambda must contain a function named `reconcile` that takes three parameters. The parameters that the lambda is passed are:
<ReconcileLambdaUserRegistrationParameters />
* `userInfo` - the JSON payload returned by the Nintendo Token Info API. This object is read-only.
The two FusionAuth objects are well documented in the [User API](/docs/apis/users) and [Registration API](/docs/apis/registrations) documentation. The `userInfo` may contain various user claims depending upon the user's Nintendo configuration.
## Assigning The Lambda
Once a lambda is created, you may assign it to the Nintendo identity provider in the IdP configuration.
Navigate to <Breadcrumb>Settings -> Identity Providers</Breadcrumb> and select your existing Nintendo configuration or click <InlineUIElement>Add provider</InlineUIElement> and select Nintendo if it has not yet been configured.
# OpenID Connect Reconcile Lambda
import Aside from 'src/components/Aside.astro';
import AvailableSince from 'src/components/api/AvailableSince.astro';
import Breadcrumb from 'src/components/Breadcrumb.astro';
import InlineUIElement from 'src/components/InlineUIElement.astro';
import OpenidConnectExampleLambda from 'src/content/docs/_shared/_openid-connect-example-lambda.mdx';
import ReconcileLambdaIntro from 'src/content/docs/extend/code/lambdas/_reconcile-lambda-intro.mdx';
import ReconcileLambdaUserRegistrationParameters from 'src/content/docs/extend/code/lambdas/_reconcile-lambda-user-registration-parameters.mdx';
<ReconcileLambdaIntro identity_provider_name="OpenID Connect" prefix="an" extra_reconcile=" and well known OpenID Connect claims " extra_text="It is common that the claims returned from the UserInfo endpoint during an OpenID Connect login request will contain custom claims defined by your identity provider. In order to utilize these custom claims you may wish to use a lambda to assist FusionAuth during the login request to copy these claims to appropriate fields on the FusionAuth user object."
/>
## Lambda Structure
If you are using the API to create the lambda you will need to ensure your function has the following signature:
```javascript
function reconcile(user, registration, jwt, id_token, tokens) {
// Lambda code goes here
}
```
This lambda must contain a function named `reconcile` that takes at least three parameters, the fourth and fifth parameters are optional. The parameters that the lambda is passed are:
<ReconcileLambdaUserRegistrationParameters />
* `jwt` - the JSON payload returned from the OpenID Connect UserInfo endpoint. This object is read-only.
* `id_token` - the JSON payload returned in the `id_token` when available. This parameter will be `undefined` in that case. This object is read-only. <AvailableSince since="1.31.0"/>
* `tokens` - an object containing the encoded versions of the `access_token` and optionally the `id_token` when available. This object is read-only. <AvailableSince since="1.48.0"/>
The two FusionAuth objects are well documented in the [User API](/docs/apis/users) and [Registration API](/docs/apis/registrations) documentation.
The `jwt` object contains the payload from the UserInfo endpoint. It may contain well known OpenID Connect registered claims as well as any custom claims defined by the Identity Provider.
The `id_token` will be provided to the Lambda only when it was returned by the IdP and the signature can be verified. The `id_token` will be returned by the Identity Provider when the `openid` scope was requested.
The signature can be verified in one of two ways:
* The token has been signed using the `client_secret` and an HMAC algorithm.
* The token has been signed using an asymmetric key-pair and the public key used to verify the signature has been published using the JSON Web Key Set (JWKS) and is correctly advertised by the `jwks_uri` in the `.well-known/openid-configuration` discovery document. In order for FusionAuth to correctly resolve this public key, you must configure the IdP using the Issuer and allow FusionAuth to discover the OpenID Connect configuration using the OpenID Connect discovery document. If you manually configure the Authorize, Token and UserInfo endpoints, automatic discovery of the JSON Web Key Set URI will not occur.
Please note that prior to version `1.48.0`, this parameter was only available if it had been signed with the `client_secret` using an HMAC algorithm.
The `tokens` parameter will always be present and will contain the encoded version of the `access_token`. When the `id_token` is present and the signature has been verified, this object will also contain the `id_token` in the encoded form. These tokens may be useful if you need to use the HTTP Lambda Connect feature to make an external API call using either of these tokens.
## Assigning The Lambda
Once a lambda is created, you may assign it to one or more OpenID Connect IdPs in the IdP configuration.
Navigate to <Breadcrumb>Settings -> Identity Providers</Breadcrumb> and select your existing an OpenID Connect configuration or click <InlineUIElement>Add provider</InlineUIElement> and select OpenID Connect if it has not yet been configured.
## Example Lambda
<OpenidConnectExampleLambda />
## Modifying Email And Username Claims
FusionAuth will require an email or username to create a user. However, if the response from the UserInfo endpoint, or the `id_token` does not return an email claim you can optionally create a unique value to satisfy this requirement. This claim is `email` by default but may be changed with the `oauth2.emailClaim` as documented in the [OpenID Connect Identity Provider API](/docs/apis/identity-providers/openid-connect).
<Aside type="note">
This capability is available beginning in version `1.31.0`. It was also available from `1.17.3` to `1.28.0`.
</Aside>
In this example, we will assume the `jwt` or `id_token` objects contain unique user information such as the `sub` claim. This unique value can be used to fabricate an email address.
```javascript
function(user, registration, jwt, id_token, tokens) {
// The user's unique Id is the 'sub' claim.
user.email = jwt.sub + '@no-email-present.example.com';
}
```
Make sure you pick an email address for a domain you control to avoid malicious attacks. Modifying the username or email address may cause your lambda to be run two times. It will be run again if you modify the linking strategy claim and an existing user is found that matches.
You can't modify an email claim if the linking strategy is username or the username claim if the linking strategy is email. Modifying the claim that is not being linked on will be ignored because doing so could cause collisions if you were to change the linking strategy later.
# SAML v2 Populate Lambda
import SamlResponseFields from 'src/content/docs/extend/code/lambdas/_saml-response-fields.mdx';
In order to handle complex integrations with SAML service providers, you can specify a lambda to be used by a FusionAuth application acting as SAML identity provider (IdP). This lambda will be invoked prior to the SAML response being sent back to the service provider.
When you create a new lambda using the FusionAuth UI we will provide you an empty function for you to implement.
## Lambda Structure
If you are using the API to create the lambda you will need to ensure your function has the following signature:
```javascript
function populate(samlResponse, user, registration) {
// Lambda code goes here
}
```
This lambda must contain a function named `populate` that takes three parameters. The parameters that the lambda is passed are:
* `samlResponse` - the SAML v2 response object. You can modify this object.
* `user` - the FusionAuth User object. This object is read-only.
* `registration` - the FusionAuth UserRegistration object. This object is read-only.
The two FusionAuth objects are well documented in the [User API](/docs/apis/users) and [Registration API](/docs/apis/registrations) documentation. The SAML response object mimics the format of the XML document, but is designed to be much simpler to use than dealing with the DOM object model. Here is a list of the fields you have access to manipulate in the SAML response:
<SamlResponseFields />
## Assigning The Lambda
Once a lambda is created, you may assign it to one or more applications in the SAML configuration. See the SAML tab in the Application configuration.
## Example Lambda
Here is an example of a simple Lambda that sets a few extra parameters into the SAML response from the User, including some custom data:
```javascript
function populate(samlResponse, user, registration) {
// Set an attribute named 'roles' from the User assigned roles for this registration
samlResponse.assertion.attributes['roles'] = registration.roles || [];
// Set an attribute named 'favoriteColor' using the custom data attribute named 'favoriteColor'
samlResponse.assertion.attributes['favoriteColor'] = [user.data.favoriteColor];
}
```
# SAML v2 Reconcile Lambda
import Breadcrumb from 'src/components/Breadcrumb.astro';
import InlineUIElement from 'src/components/InlineUIElement.astro';
import ReconcileLambdaIntro from 'src/content/docs/extend/code/lambdas/_reconcile-lambda-intro.mdx';
import ReconcileLambdaUserRegistrationParameters from 'src/content/docs/extend/code/lambdas/_reconcile-lambda-user-registration-parameters.mdx';
import SamlResponseFields from 'src/content/docs/extend/code/lambdas/_saml-response-fields.mdx';
<ReconcileLambdaIntro identity_provider_name="SAML v2" prefix="an" extra_reconcile=" and well known SAML v2 attributes " extra_text="It is common that the SAML attributes (claims) returned from the SAML IdP login request will contain custom attributes. In order to utilize these custom attributes you may wish to use a lambda to assist FusionAuth during the login request to copy these claims to appropriate fields on the FusionAuth user object."
/>
## Lambda Structure
If you are using the API to create the lambda you will need to ensure your function has the following signature:
```javascript
function reconcile(user, registration, samlResponse) {
// Lambda code goes here
}
```
This lambda must contain a function named `reconcile` that takes three parameters. The parameters that the lambda is passed are:
<ReconcileLambdaUserRegistrationParameters />
* `samlResponse` - the SAML v2 response object. This is read-only.
The two FusionAuth objects are well documented here in the [User API](/docs/apis/users) and [Registration API](/docs/apis/registrations) documentation. The SAML response object mimics the format of the XML document, but is designed to be much simpler to use than dealing with the DOM object model. Here is a list of the fields you have access to manipulate in the SAML response:
<SamlResponseFields />
## Assigning The Lambda
Once a lambda is created, you may assign it to one or more SAML v2 IdPs in the IdP configuration.
Navigate to <Breadcrumb>Settings -> Identity Providers</Breadcrumb> and select your existing a SAML v2 configuration or click <InlineUIElement>Add provider</InlineUIElement> and select SAML v2 if it has not yet been configured.
## Example Lambda
Here is an example of a simple Lambda that sets roles and attributes on the FusionAuth user from the SAML v2 response.
```javascript
function reconcile(user, registration, samlResponse) {
// Assign the roles to the user from the SAML attribute named 'roles'
registration.roles = samlResponse.assertion.attributes['roles'] || [];
// Set Assign a custom attribute from the SAML attribute named 'favoriteColor'
registration.data.favoriteColor = samlResponse.assertion.attributes['favoriteColor'];
// Create an event log of type 'Debug' when the lambda has Debug enabled
console.debug('FusionAuth reconciled a User from a SAML v2 IdP and I helped!');
}
```
During development if you want to get a better idea of what your IdP is returning in the `samlResponse` object, you may print the contents of this object to the Event Log to help you write the lambda. Add the following line of code to your lambda to dump the entire object to an informational event log.
```javascript
// Pretty print the samlResponse object to the Event Log
console.info(JSON.stringify(samlResponse, null, 2));
```
# SCIM Group Request Converter Lambda
If you would like to convert an incoming SCIM Group request into a Group, you must specify a lambda in the SCIM configuration. This lambda will be invoked prior to the Group being acted upon.
When you create a new lambda using the FusionAuth UI we will provide you an empty function for you to implement.
## Lambda Structure
If you are using the API to create the lambda you will need to ensure your function has the following signature:
```javascript
function convert(group, members, options, scimGroup) {
// Lambda code goes here
}
```
This lambda must contain a function named `convert` that takes four parameters. The parameters that the lambda is passed are:
* `group` - the FusionAuth Group object. You can modify this object.
* `members` - the members in this FusionAuth Group. You can modify this object.
* `members[x].userId` - The Id of the FusionAuth User
* `members[x].data.$ref` - The URI to retrieve the SCIM User representation of the FusionAuth User
* ex. `https://login.piedpiper.com/api/scim/v2/Users/902c246b-6245-4190-8e05-00816be7344a`
* `options` - request options. You can modify this object.
* `options.roleIds`
* `scimGroup` - the SCIM request object. This object is read-only.
The FusionAuth object is well documented in the [Group API](/docs/apis/groups) documentation. The SCIM Group object is a JavaScript object containing the SCIM Group request JSON payload. See [SCIM Group](https://datatracker.ietf.org/doc/html/rfc7643#section-4.2).
You may add or modify anything in the `group`, `members` and `options` objects.
## Assigning The Lambda
Once a lambda is created, you must assign it to a Tenant. See the SCIM tab in the Tenant configuration.
## Default Lambda
A default SCIM Group Request Converter Lambda that converts an incoming SCIM Group request to a FusionAuth Group is available and may be used or modified. The lambda function is documented below.
```javascript
function convert(group, members, options, scimGroup) {
// Un-comment this line to see the scimGroup object printed to the event log
// console.info(JSON.stringify(scimGroup, null, 2));
// Request options
// FusionAuth allows you to assign one or more application roles to a group.
// To use this feature, assign one or more application Ids here.
// options.roleIds = [];
// Set the name of the group using the SCIM Group displayName
group.name = scimGroup.displayName;
// Build a members array with a userId and a $ref in custom data
if (scimGroup.members) {
for (var i = 0; i < scimGroup.members.length; i++) {
members.push({
userId: scimGroup.members[i].value,
data: {
$ref: scimGroup.members[i]['$ref']
}
});
}
}
}
```
# SCIM Group Response Converter Lambda
If you would like to convert an outgoing FusionAuth Group response into a SCIM Group, you must specify a lambda in the SCIM configuration. This lambda will be invoked after the Group was acted upon.
When you create a new lambda using the FusionAuth UI we will provide you an empty function for you to implement.
## Lambda Structure
If you are using the API to create the lambda you will need to ensure your function has the following signature:
```javascript
function convert(scimGroup, group, members) {
// Lambda code goes here
}
```
This lambda must contain a function named `convert` that takes three parameters. The parameters that the lambda is passed are:
* `scimGroup` - the SCIM Group object. You can modify this object.
* `group` - the FusionAuth Group object. This object is read-only.
* `members` - the members in this FusionAuth Group. This object is read-only.
The FusionAuth `group` object is well documented in the [Group API](/docs/apis/groups) documentation. The `members` object is an array of `user` objects, well documented in the [User API](/docs/apis/users). The SCIM Group object is a JavaScript object containing the SCIM Group response JSON payload. See [SCIM Group](https://datatracker.ietf.org/doc/html/rfc7643#section-4.2).
You may add or modify anything in the `scimGroup` object.
## Assigning The Lambda
Once a lambda is created, you must assign it to a Tenant. See the SCIM tab in the Tenant configuration.
## Default Lambda
A default SCIM Group Response Converter Lambda that converts an outgoing FusionAuth Group response to a SCIM Group is available and may be used or modified. The lambda function is documented below.
```javascript
function convert(scimGroup, group, members) {
// Un-comment this line to see the group object printed to the event log
// console.info(JSON.stringify(group, null, 2));
// Set the outgoing displayName on the SCIM group using the FusionAuth group name.
scimGroup.displayName = group.name;
}
```
# SCIM User Request Converter Lambda
If you would like to convert an incoming SCIM User and optionally SCIM EnterpriseUser request into a User, you must specify a lambda in the SCIM configuration. This lambda will be invoked prior to the User being acted upon.
When you create a new lambda using the FusionAuth UI we will provide you an empty function for you to implement.
## Lambda Structure
If you are using the API to create the lambda you will need to ensure your function has the following signature:
```javascript
function convert(user, options, scimUser) {
// Lambda code goes here
}
```
This lambda must contain a function named `convert` that takes three parameters. The parameters that the lambda is passed are:
* `user` - the FusionAuth User object. You can modify this object.
* `options` - request options. This object is read-only. This object has the following properties:
** `options.applicationId`
** `options.disableDomainBlock`
** `options.sendSetPasswordEmail`
** `options.skipVerification` NOTE: only applies during a User create request
* `scimUser` - the SCIM request object. This object is read-only.
The FusionAuth objects are well documented in the [User API](/docs/apis/users) documentation. The `options` object contains parameters matching the non-User object Create User API parameters, such as `disableDomainBlock`.
The SCIM User object is a JavaScript object containing the SCIM User and optionally the SCIM EnterpriseUser request JSON payload. See [SCIM User](https://datatracker.ietf.org/doc/html/rfc7643#section-4.1) and [SCIM EnterpriseUser extension](https://datatracker.ietf.org/doc/html/rfc7643#section-4.3).
You may add or modify anything in the `user` and `options` objects.
## Assigning The Lambda
Once a lambda is created, you must assign it to a Tenant. See the SCIM tab in the Tenant configuration.
## Default Lambda
A default SCIM User Request Converter Lambda that converts an incoming SCIM User and SCIM EnterpriseUser request to a FusionAuth User is available and may be used or modified. The lambda function is documented below.
```javascript
function convert(user, options, scimUser) {
// Un-comment this line to see the scimUser object printed to the event log
// console.info(JSON.stringify(scimUser, null, 2));
// Request options
// Note, sendSetPasswordEmail is only utilized during a user create request.
// options.applicationId = null;
// options.disableDomainBlock = false;
// options.sendSetPasswordEmail = false;
// options.skipVerification = false;
user.active = scimUser.active;
user.data.honorificPrefix = scimUser.name && scimUser.name.honorificPrefix;
user.data.honorificSuffix = scimUser.name && scimUser.name.honorificSuffix;
user.firstName = scimUser.name && scimUser.name.givenName;
user.fullName = scimUser.name && scimUser.name.formatted;
user.lastName = scimUser.name && scimUser.name.familyName;
user.middleName = scimUser.name && scimUser.name.middleName;
user.password = scimUser.password;
user.username = scimUser.userName;
// user.email
if (scimUser.emails) {
for (var i = 0; i < scimUser.emails.length; i++) {
if (scimUser.emails[i].primary) {
user.email = scimUser.emails[i].value;
}
}
}
// user.mobilePhone
if (scimUser.phoneNumbers) {
for (var j = 0; j < scimUser.phoneNumbers.length; j++) {
if (scimUser.phoneNumbers[j].primary) {
user.mobilePhone = scimUser.phoneNumbers[j].value;
}
}
}
// Handle the Enterprise User extension and other custom extensions
if (scimUser.schemas) {
for (var k = 0; k < scimUser.schemas.length; k++) {
var schema = scimUser.schemas[k];
if (schema !== 'urn:ietf:params:scim:schemas:core:2.0:User') {
user.data = user.data || {};
user.data.extensions = user.data.extensions || {};
user.data.extensions[schema] = scimUser[schema] || {};
}
}
}
}
```
# SCIM User Response Converter Lambda
If you would like to convert an outgoing FusionAuth User response into a SCIM User and optionally SCIM EnterpriseUser, you must specify a lambda in the SCIM configuration. This lambda will be invoked after the User was acted upon.
When you create a new lambda using the FusionAuth UI we will provide you an empty function for you to implement.
## Lambda Structure
If you are using the API to create the lambda you will need to ensure your function has the following signature:
```javascript
function convert(scimUser, user) {
// Lambda code goes here
}
```
This lambda must contain a function named `convert` that takes two parameters. The parameters that the lambda is passed are:
* `scimUser` - the SCIM response object. You can modify this object.
* `user` - the FusionAuth User object. This object is read-only.
The FusionAuth `user` object is well documented in the [User API](/docs/apis/users) documentation. The SCIM User object is a JavaScript object containing the SCIM User and optionally the SCIM EnterpriseUser response JSON payload. See [SCIM User](https://datatracker.ietf.org/doc/html/rfc7643#section-4.1) and [SCIM EnterpriseUser extension](https://datatracker.ietf.org/doc/html/rfc7643#section-4.3).
You may add or modify anything in the `scimUser` object.
## Assigning The Lambda
Once a lambda is created, you must assign it to a Tenant. See the SCIM tab in the Tenant configuration.
## Default Lambda
A default SCIM User Response Converter Lambda that converts an outgoing FusionAuth User to a SCIM USER and SCIM EnterpriseUser response to a FusionAuth User is available and may be used or modified. The lambda function is documented below.
```javascript
function convert(scimUser, user) {
// Un-comment this line to see the user object printed to the event log
// console.info(JSON.stringify(user, null, 2));
scimUser.active = user.active;
scimUser.userName = user.username;
scimUser.name = {
formatted: user.fullName,
familyName: user.lastName,
givenName: user.firstName,
middleName: user.middleName,
honorificPrefix: user.data.honorificPrefix,
honorificSuffix: user.data.honorificSuffix
};
scimUser.phoneNumbers = [{
primary: true,
value: user.mobilePhone,
type: "mobile"
}];
scimUser.emails = [{
primary: true,
value: user.email,
type: "work"
}];
// Optionally return any custom extensions stored in user.data
if (user.data && user.data.extensions) {
for (var extension in user.data.extensions) {
if (scimUser.schemas.indexOf(extension) === -1) {
scimUser.schemas.push(extension);
}
scimUser[extension] = user.data.extensions[extension];
}
}
}
```
# Self-Service Registration Validation Lambda
import Breadcrumb from 'src/components/Breadcrumb.astro';
import InlineField from 'src/components/InlineField.astro';
import InlineUIElement from 'src/components/InlineUIElement.astro';
When you have an [Advanced Registration Form](/docs/lifecycle/register-users/advanced-registration-forms) you may add a lambda to perform additional validation of the form fields as the user completes steps in the form.
When you create a new lambda using the FusionAuth UI, we will provide you an empty function for you to implement.
## Lambda Structure
If you are using the API to create the lambda, you will need to ensure your function has the following signature:
```javascript
function validate(result, user, registration, formContext) {
// Lambda code goes here
}
```
This lambda must contain a function named `validate` that takes four parameters. The parameters that the lambda is passed are:
* `result` - an object used for returning validation errors. You can modify this object.
* `user` - the FusionAuth User object. This object is read-only.
* `registration` - the FusionAuth UserRegistration object. This object is read-only.
* `formContext` - an object containing data about the current form state. This object is read-only. This object has the following properties:
- `fields` - an array of [Form Fields](/docs/apis/custom-forms/form-fields) in the current form step.
- `form` - the FusionAuth Form object which is documented in the [Forms API](/docs/apis/custom-forms/forms).
- `step` - the current step number (see note below)
- `stepIndex` - the zero-indexed number of the current step (always step - 1)
- `totalSteps` - the total number of steps in the form
The `result` object contains an [Errors](/docs/apis/errors) object. The `user` and `registration` objects are well documented in the [User API](/docs/apis/users) and [Registration API](/docs/apis/registrations) documentation.
With this information you may programmatically perform any validation you wish as the user steps through the self-service registration form. When the user posts the form by hitting the <InlineUIElement>Next</InlineUIElement> or <InlineUIElement>Register</InlineUIElement> buttons (depending on the step) the data for the user and registration fields present on the form step will be populated on the `user` and `registration` objects available to the lambda. All of the objects available to the lambda are immutable except for the `result` object which will provide the validation errors to the form. The `result` is the output of the lambda function.
Field errors should use a key that correlates to the form field in error and to a message defined in the theme. If the form field `user.data.name` is invalid then an appropriate error key would be `[invalid]user.data.name`, for example.
## Example Lambda
Here is how you can setup a simple lambda that will allow a user to tell you who their current auth provider is and who their future auth provider will be. If they supply a current auth provider FusionAuth will conditionally validate who their future auth provider is, and it must be "FusionAuth"!
First you need to set up an advanced registration form with two steps. The lambda will perform validation on the second step.
<img src="/img/docs/extend/code/lambdas/self-service-reg-form-setup.png" alt="Self-Service registration example form setup" width="800" role="bottom-cropped top-cropped" />
You will also add appropriate messaging to your theme.
<img src="/img/docs/extend/code/lambdas/self-service-reg-messages.png" alt="Self-Service registration example theme messages" width="800" role="bottom-cropped top-cropped" />
Then you will supply the following lambda code for the validation
```javascript
// Validate the self-service registration form here
function validate(result, user, registration, context) {
// On form step "2"
if (context.step === 2 &&
// if the user has filled out the "currentAuth" field
user.data.currentAuth !== null &&
// and their "futureAuth" provider field is not "FusionAuth"
user.data.futureAuth !== 'FusionAuth') {
// set a field error for the "futureAuth" field
result.errors.fieldErrors['user.data.futureAuth'] = [{
// with the "invalid" error code that we have defined in the theme
code: '[invalid]user.data.futureAuth'
}];
}
}
```
When a user goes to register they will see this form step
<img src="/img/docs/extend/code/lambdas/self-service-reg-form-blank.png" alt="Self-Service registration example blank form step" width="800" role="bottom-cropped top-cropped" />
When the user submits the wrong future auth provider FusionAuth will trigger the validation and supply the error message
<img src="/img/docs/extend/code/lambdas/self-service-reg-form-invalid.png" alt="Self-Service registration example invalid form step" width="800" role="bottom-cropped top-cropped" />
# Sony PlayStation Network Reconcile Lambda
import Breadcrumb from 'src/components/Breadcrumb.astro';
import InlineUIElement from 'src/components/InlineUIElement.astro';
import ReconcileLambdaIntro from 'src/content/docs/extend/code/lambdas/_reconcile-lambda-intro.mdx';
import ReconcileLambdaUserRegistrationParameters from 'src/content/docs/extend/code/lambdas/_reconcile-lambda-user-registration-parameters.mdx';
<ReconcileLambdaIntro identity_provider_name="Sony PlayStation Network" prefix="a" />
## Lambda Structure
If you are using the API to create the lambda you will need to ensure your function has the following signature:
```javascript
function reconcile(user, registration, userInfo) {
// Lambda code goes here
}
```
This lambda must contain a function named `reconcile` that takes three parameters. The parameters that the lambda is passed are:
<ReconcileLambdaUserRegistrationParameters />
* `userInfo` - the JSON payload returned by the Sony PlayStation Network UserInfo API. This object is read-only.
The two FusionAuth objects are well documented in the [User API](/docs/apis/users) and [Registration API](/docs/apis/registrations) documentation. The `userInfo` may contain various user claims depending upon the user's Sony PlayStation Network configuration.
## Assigning The Lambda
Once a lambda is created, you may assign it to the Sony PlayStation Network identity provider in the IdP configuration.
Navigate to <Breadcrumb>Settings -> Identity Providers</Breadcrumb> and select your existing Sony PlayStation Network configuration or click <InlineUIElement>Add provider</InlineUIElement> and select Sony PlayStation Network if it has not yet been configured.
# Steam Reconcile Lambda
import ReconcileLambdaUserRegistrationParameters from 'src/content/docs/extend/code/lambdas/_reconcile-lambda-user-registration-parameters.mdx';
import ReconcileLambdaIntro from 'src/content/docs/extend/code/lambdas/_reconcile-lambda-intro.mdx';
import Breadcrumb from 'src/components/Breadcrumb.astro';
import InlineUIElement from 'src/components/InlineUIElement.astro';
<ReconcileLambdaIntro identity_provider_name="Steam" prefix="a" />
## Lambda Structure
If you are using the API to create the lambda you will need to ensure your function has the following signature:
```javascript
function reconcile(user, registration, userInfo) {
// Lambda code goes here
}
```
This lambda must contain a function named `reconcile` that takes three parameters. The parameters that the lambda is passed are:
<ReconcileLambdaUserRegistrationParameters />
* `userInfo` - the JSON payload returned by the Steam Player Summaries API. This object is read-only.
The two FusionAuth objects are well documented in the [User API](/docs/apis/users) and [Registration API](/docs/apis/registrations) documentation. The `userInfo` may contain various user claims depending upon the user's Steam configuration.
## Assigning The Lambda
Once a lambda is created, you may assign it to the Steam identity provider in the IdP configuration.
Navigate to <Breadcrumb>Settings -> Identity Providers</Breadcrumb> and select your existing Steam configuration or click <InlineUIElement>Add provider</InlineUIElement> and select Steam if it has not yet been configured.
# Twitch Reconcile Lambda
import ReconcileLambdaUserRegistrationParameters from 'src/content/docs/extend/code/lambdas/_reconcile-lambda-user-registration-parameters.mdx';
import ReconcileLambdaIntro from 'src/content/docs/extend/code/lambdas/_reconcile-lambda-intro.mdx';
import Breadcrumb from 'src/components/Breadcrumb.astro';
import InlineUIElement from 'src/components/InlineUIElement.astro';
<ReconcileLambdaIntro identity_provider_name="Twitch" prefix="a" />
## Lambda Structure
If you are using the API to create the lambda you will need to ensure your function has the following signature:
```javascript
function reconcile(user, registration, userInfo) {
// Lambda code goes here
}
```
This lambda must contain a function named `reconcile` that takes three parameters. The parameters that the lambda is passed are:
<ReconcileLambdaUserRegistrationParameters />
* `userInfo` - the JSON payload returned by the Twitch Token Info API. This object is read-only.
The two FusionAuth objects are well documented in the [User API](/docs/apis/users) and [Registration API](/docs/apis/registrations) documentation. The `userInfo` may contain various user claims depending upon the user's Twitch configuration.
## Assigning The Lambda
Once a lambda is created, you may assign it to the Twitch identity provider in the IdP configuration.
Navigate to <Breadcrumb>Settings -> Identity Providers</Breadcrumb> and select your existing Twitch configuration or click <InlineUIElement>Add provider</InlineUIElement> and select Twitch if it has not yet been configured.
# Testing Lambdas
import { RemoteCode } from '@fusionauth/astro-components';
import Aside from 'src/components/Aside.astro';
import IconButton from 'src/components/IconButton.astro';
import InlineField from 'src/components/InlineField.astro';
import InlineUIElement from 'src/components/InlineUIElement.astro';
import JSON from 'src/components/JSON.astro';
import Breadcrumb from 'src/components/Breadcrumb.astro';
## Overview
This guide shows you how to create a simple lambda manually, update it programmatically, and test it with unit and integration tests. You can familiarize yourself with lambdas by reading the [FusionAuth lambda documentation](/docs/extend/code/lambdas/).
## Prerequisites
To follow this guide, you need
- [Node.js version 18](https://nodejs.org/en/download) or later
- [Docker](https://www.docker.com/get-started/)
### Lambda Limitations
<Aside type="note">
Remember the following limitations of lambdas when planning what they'll do:
<ul>
<li>Lambdas do not have full access to JavaScript libraries, nor can they load them currently.</li>
<li>The console methods take only one argument.</li>
<li>HTTP requests are not available in the Community or Starter FusionAuth plans.</li>
<li>If you set the Identity Provider [linking strategy](/docs/lifecycle/authenticate-users/identity-providers/#linking-strategies) to "Link Anonymously", no lambdas will be used for external authentication.</li>
</ul>
</Aside>
## Set Up The FusionAuth Sample Project
Download or use Git to clone the [testing-lambdas repository](https://github.com/FusionAuth/fusionauth-example-testing-lambdas). Open a terminal in the directory you just created and start FusionAuth with Docker.
```bash
docker compose up -d
```
This command will run FusionAuth and set up a sample application with an API Key and a User, configured in the `kickstart.json` file in the `kickstart` subdirectory.
FusionAuth will be initially configured with these settings.
* Your example username is `richard@example.com` and the password is `password`.
* Your admin username is `admin@example.com` and the password is `password`.
* The base URL of FusionAuth [http://localhost:9011/](http://localhost:9011/).
<Aside type="caution">
The `.env` and `kickstart.json` files contain passwords. In a real application, always add these files to your `.gitignore` file and never commit secrets to version control.
</Aside>
## Manually Create A Simple Lambda
Let's start by making a simple lambda to test that it works on your machine.
- Log in to the [FusionAuth admin UI](http://localhost:9011/admin).
- Navigate to <Breadcrumb>Customizations -> Lambdas</Breadcrumb>.
- Click the <IconButton icon="plus" color="green" /> button at the top right to add a new lambda.
- Enter the Id `f3b3b547-7754-452d-8729-21b50d111505`.
- Enter the Name `[ATest]` (to put it at the top of the list of lambdas alphabetically).
- Select the Type `JWT Populate`.
- Leave the Engine as `GraalJS`.
- Enable <InlineUIElement>Debug Enabled</InlineUIElement> so that you can see messages in the event log.
- Add the line `jwt.message = 'Hello World!';` to the body of the `populate` function.
The body should now be similar to below.
```js
function populate(jwt, user, registration) {
jwt.message = 'Hello World!';
console.info('Hello World!');
}
```
<img src="/img/docs/extend/code/lambdas/populate-lambda.png" alt="Creating a JWT populate lambda" role="bottom-cropped" width="1200" />
Save the lambda.
Now activate the lambda for the example app.
- Navigate to <Breadcrumb>Applications</Breadcrumb> and click the <IconButton icon="edit" color="blue" /> button on the "Example app".
- Click on the "JWT" tab.
- Toggle <InlineUIElement>Enabled</InlineUIElement> to on.
- Under "Lambda Settings", select the lambda you created, called "[ATest]", for the `Access Token populate lambda`.
- Click the <IconButton icon="save" color="blue" /> button to save the changes.
<img src="/img/docs/extend/code/lambdas/edit-application.png" alt="Enabling the lambda in an application" className="img-fluid" width="1200" />
You can now test that the new lambda writes to the event log and returns extra data in the JWT. The repository you downloaded contains two directories.
- `complete-application` — This is the result of the work you will complete in this guide if you need to refer to the finished files. Do not work in this directory.
- `app` — This contains a basic application to which you will add tests in this guide. Work in this directory.
Open the `routes/index.js` file in the `app` directory.
Locate the redirect route handler (which is the function that starts with `router.get('/oauth-redirect'`) and add a line to write the JWT to the console at login.
```js
router.get('/oauth-redirect', function (req, res, next) {
console.dir(res); // You should insert this line
```
Save the file and start the test app with the following command.
```js
npm install
npm start
```
Log in to the app at `http://localhost:3000` with user `richard@example.com` and password `password`.
In the FusionAuth admin UI, navigate to <Breadcrumb>System -> Event Log</Breadcrumb> and you will see a log entry of the invocation of your "Hello World" lambda. The entire HTTP response is logged in the test app terminal. The JWT is a long alphanumeric line at the end of the response. It should look something like below.
```
eyJhbGciOiJIUzI1NiIsInR5cCI6IkpXVCIsImd0eSI6WyJhdXRob3JpemF0aW9uX2NvZGUiXSwia2lkIjoiMWU1NmM0OWU4In0.eyJhdWQiOiJkZGQwNTAyMS0wNjgyLTQ4NWUtYThlMi1kMDMyOTY0YjAyMTEiLCJleHAiOjE2ODkyNjQwNzEsImlhdCI6MTY4OTI2MDQ3MSwiaXNzIjoiYWNtZS5jb20iLCJzdWIiOiIwYTkzOTYwNi0zNmVjLTQ1M2ItOTM0Mi04ZWZmOTE3ZjJhZWYiLCJqdGkiOiIyYmZlMjUwNy1hZWM0LTRjOTEtYWY5Yy1hOWVhYjQzNmQ4MGYiLCJhdXRoZW50aWNhdGlvblR5cGUiOiJQQVNTV09SRCIsImVtYWlsIjoiZXJsaWNoQGV4YW1wbGUuY29tIiwiZW1haWxfdmVyaWZpZWQiOnRydWUsImFwcGxpY2F0aW9uSWQiOiJkZGQwNTAyMS0wNjgyLTQ4NWUtYThlMi1kMDMyOTY0YjAyMTEiLCJzY29wZSI6Im9mZmxpbmVfYWNjZXNzIiwicm9sZXMiOltdLCJzaWQiOiIzNDk5MTAxMS1kNzUxLTRlOTctYWZiNi0zNzQ2N2RlYTc5YWIiLCJhdXRoX3RpbWUiOjE2ODkyNjA0NzEsInRpZCI6ImNiY2VkOWVhLWQ3NzgtZDBlYi03ZjU4LWE0MGYxY2VlNWFhYiIsIm1lc3NhZ2UiOiJIZWxsbyBXb3JsZCEifQ.3DOvP8LRAp6pIh0guUjJjYbNwZKzruVWre8Xq8x_S8k
```
Copy this token from your terminal and paste it into the <InlineField>Token</InlineField> text box on the [FusionAuth Online JWT Decoder](/dev-tools/jwt-decoder). You'll see `"message": "Hello World!"` in the <InlineUIElement>Payload</InlineUIElement> box, showing you that your new lambda ran correctly.
## Programmatically Update A Lambda
Let's take a look at how to update your lambda programmatically using the FusionAuth API. Refer to the [APIs](/docs/apis/) documentation for more.
### Understand The Client Libraries
Although you can use the [lambda API](/docs/extend/code/lambdas/) directly by making HTTP requests, it's much easier to use one of the provided [client libraries](/docs/sdks/).
There are two ways to do this using JavaScript:
- The [TypeScript client library](https://github.com/FusionAuth/fusionauth-typescript-client), documented [here](/docs/sdks/typescript), should be used for any browser or Node.js code you write in JavaScript or TypeScript. It provides a straightforward way of calling the underlying HTTP API.
- The [Node CLI](https://github.com/FusionAuth/fusionauth-node-cli) is a set of commands you can run in the terminal to perform a few advanced functions. The focus of this CLI is on uploading and downloading of commonly modified assets such as lambdas or themes. The Node CLI is a wrapper on the TypeScript client library and operates at a higher level of abstraction. It is helpful to manage lambdas, but you can always drop down to the TypeScript client library if needed.
### Create An API Key
The API, CLI, and client library all need an API Key to access FusionAuth.
The kickstart configuration file used by FusionAuth already created a sample API Key with superuser privileges. For more information on managing API keys, please refer to the following [guide](/docs/apis/authentication#managing-api-keys).
<Aside type="tip">
For production, you would want to enable only the following endpoints necessary to perform actions on lambdas, such as updating and deleting, and to mimic user actions to test the lambdas, such as logging in `/api/lambda`, `/api/lambda/search`, `/api/login`, `/api/user` and `/api/user/registration`.
</Aside>
### Use The Lambda CLI
First, install the Node CLI library. Open a terminal in your app folder and use the following commands.
```bash
npm install --save-dev @fusionauth/cli
npx fusionauth --help
```
You should see the FusionAuth logo and a usage help message.
The lambda commands that the CLI provides match operations in the underlying TypeScript client library: `update`, `delete`, and `retrieve`.
Now you can retrieve the "[ATest]" lambda you created earlier. This is a useful way to check that a lambda you've created has been successfully uploaded for your app.
```bash
npx fusionauth lambda:retrieve f3b3b547-7754-452d-8729-21b50d111505 --key lambda_testing_key
```
The lambda will be saved to a file, where the file name is the UUID of your lambda. So it should look like this: `./lambdas/f3b3b547-7754-452d-8729-21b50d111505.json`.
Let's update the lambda to say "Goodbye World!" instead of "Hello World!" and re-upload it. Open the file in a text editor, and change the value of the <InlineField>body</InlineField> property to the following.
```json
"body": "function populate(jwt, user, registration) {\n jwt.message = 'Goodbye World!';\n console.info('Goodbye World!');\n}",
```
Save the file and upload the lambda with the following command.
```bash
npx fusionauth lambda:update f3b3b547-7754-452d-8729-21b50d111505 --key lambda_testing_key
```
You can check that the lambda in FusionAuth now says "Goodbye World!" by viewing the ["[ATest]" lambda details](http://localhost:9011/admin/lambda).
<img src="/img/docs/extend/code/lambdas/updated-lambda.png" alt="Update lambda" role="bottom-cropped" width="1200" />
### CLI Limitations
The Node CLI allows you only to create, retrieve, and update lambdas. You can delete a lambda that is not in use by an application with `lambda:delete`. The way to link or unlink a lambda with an application is through the admin UI, API, or a client library.
For example, to link a lambda with an application in the TypeScript client library, you could use code similar to the following.
```ts
const request: ApplicationRequest = {
application: {
lambdaConfiguration: {
accessTokenPopulateId: "f3b3b547-7754-452d-8729-21b50d111505"
}
}
};
await new FusionAuthClient(apiKey, host).patchApplication(applicationId, request);
```
## Testing Overview
Lambdas run arbitrary code at certain points in an authentication flow. For example, you can use lambdas to:
- Get user information from an external provider (like a first name or photo from Facebook) or the User object in FusionAuth to put in a JWT.
- Call an external service at login, for example, to send any suspicious login attempt to a private Slack channel monitored by administrators.
In both these cases, there are two types of tests you can perform:
- **Integration test**: Check if the lambda has uploaded and is running correctly by logging in and seeing if the expected output happens.
- **Unit test:** You don't upload the lambda, but instead create a mock FusionAuth event that calls the lambda in your code and checks that the lambda does what it is supposed to.
Each of these types of lambda tests is outlined below.
### Test Library
There are many JavaScript test libraries available, and everyone has their preference. This guide uses a simple library for demonstration so that you can generalize the tests to your favorite library. The tests below use [`tape`](https://github.com/ljharb/tape), which implements the [Test Anything Protocol (TAP)](https://en.wikipedia.org/wiki/Test_Anything_Protocol), a language-agnostic specification for running tests that's been in use since 1987. The tests also use [fetch-mock](https://www.wheresrhys.co.uk/fetch-mock/) to mock `fetch` calls from your lambda, [`faucet`](https://www.npmjs.com/package/faucet) to give neat output from `tape`, [`jsonwebtoken`](https://www.npmjs.com/package/jsonwebtoken) to decode the JWT, and [`uuid`](https://www.npmjs.com/package/uuid) to make a random user Id.
Install the following packages in your test app terminal.
```bash
npm install --save-dev tape faucet fetch-mock jsonwebtoken uuid
```
<Aside type="note">
The `fetch()` method is available natively from Node.js LTS version 18. In earlier versions, `fetch` was provided by libraries, so many popular mocking libraries for `fetch` (such as [Nock](https://github.com/nock/nock)) won't work with modern Node.js in 2023.
</Aside>
### Integration Test: Verify JWT Population
The first of the two tests you're going to write is an integration test. It will verify that your updated lambda is populating the JWT with a "Goodbye World" message when you log in programmatically.
#### Create A User
Before you can write any tests, you need a test user profile to log in with. The test app `package.json` includes a reference to the `@fusionauth/typescript-client` discussed earlier, so you can use that to create a test user programmatically.
Make a new file called `userCreator.js` in the app folder and paste the following code into it.
<RemoteCode lang="javascript" url="https://raw.githubusercontent.com/FusionAuth/fusionauth-example-testing-lambdas/main/complete-application/userCreator.js" />
The code above has two functions:
- The `createRandomUser` function, which creates a User request object with `const request` and then sends it to `fusion.register()`. Details on this can be found in the [TypeScript client library interface](https://github.com/FusionAuth/fusionauth-typescript-client/blob/main/src/FusionAuthClient.ts).
- The `deleteUser` function, which you can use in the tests to delete the user just created.
Run the code to test user creation with the following command.
```bash
node userCreator.js
```
In FusionAuth, click on "Users" to check that a new user called `lambdatestuser` has been created. You can delete the `createRandomUser(uuidv4());` line in `userCreator.js` as each test will use a new temporary user. This will allow you to add multiple lambda tests while avoiding potential conflicts between test users and permissions.
#### Write The Test
Now you will test that the lambda returns "Goodbye World", which will confirm that the CLI `update` command worked.
Create a file called `userLogin.js` and add the following code.
<RemoteCode lang="javascript" url="https://raw.githubusercontent.com/FusionAuth/fusionauth-example-testing-lambdas/main/complete-application/userLogin.js" />
This helper file allows your tests to log in to FusionAuth programmatically. The `login` function calls the FusionAuth TypeScript library. It then decodes the JWT response and returns its `message` property.
Now create a test file that will use it, `test_1.js`, and add the following code.
<RemoteCode lang="javascript" url="https://raw.githubusercontent.com/FusionAuth/fusionauth-example-testing-lambdas/main/complete-application/test_1.js" />
This file starts with a declaration of constant variables that match the `kickstart.json` and `.env` files. The `login` function is called by the `tape` function `test`. This test specifies the name of the test, says that it expects exactly one assertion to occur with `plan`, checks that calling `login` returns the property you expect from the lambda updated earlier, and exits. Even if the test fails, the `finally` clause will delete the temporary user created.
Run it with the following command.
```bash
node test_1.js
```
The output should be as follows.
```bash
TAP version 13
# test login returns JWT with "Goodbye World"
User c82aced2-b25b-4390-a4a2-72562b9bc13b created successfully
ok 1 should be truthy
User c82aced2-b25b-4390-a4a2-72562b9bc13b deleted successfully
1..1
# tests 1
# pass 1
# ok
```
When your code has several tests, and you want a colorful, concise summary, you can use the following instead.
```bash
node test_1.js | npx faucet
```
The output should be as follows.
```bash
✓ test login returns JWT with "Goodbye World"
# tests 1
# pass 1
✓ ok
```
### Unit Test: Call An External Service
The next test you'll write is a unit test that verifies your lambda locally using a fake mock service and not in FusionAuth. The benefit of this test is that you can test your logic works without needing an external service to be reliable at the time of testing. The danger is that your test might pass locally, but the lambda might fail on FusionAuth due to it running on a different JavaScript environment with different restrictions and configuration.
Let's take an example where you check if users have email addresses from a country sanctioned by the United States, such as North Korea or Cuba. You call the external site `https://issanctioned.example.com` with an email address, and you're told whether or not the domain is banned.
Create a file called `test_2.js` and add the following code.
<RemoteCode lang="javascript" url="https://raw.githubusercontent.com/FusionAuth/fusionauth-example-testing-lambdas/main/complete-application/test_2.js" />
This test function uses `fetchMock` to mock the external service that would be called from the lambda function in FusionAuth. The first test checks if North Korea (`.kp`) is banned and the second if Canada (`.ca`) is allowed. The mocks for the JWT, user, and registration objects are all simple `{}` objects you can pass as parameters to the `populate()` lambda. This is the lambda function that would run on FusionAuth, similar to the "Hello World" function described earlier.
Finally, run the tests.
```bash
node test_2.js | npx faucet
```
The output should be as follows
```bash
✓ test lambda rejects sanctioned emails and accepts others
# tests 2
# pass 2
✓ ok
```
If all your unit tests for a lambda pass, you can safely upload it to FusionAuth manually or with the CLI for further testing.
If your HTTP Connect fetch request fails when deployed to FusionAuth, please review the [documentation](/docs/extend/code/lambdas/lambda-remote-api-calls). In particular, ensure you are using a license and have purchased the correct plan (Essentials or Enterprise).
### Unit Test: Populate JWT From FusionAuth
In this final unit test, let's look at how to check user information available in FusionAuth to determine custom fields to return to your app. You are also going to download the lambda code to test from FusionAuth programmatically, instead of hardcoding the `populate` function into your test.
There are two objects related to login to consider. The first is the JWT fields that are returned to your app by default.
<JSON title="Complete JWT Response" src="jwt/login-response.json" />
The second object is the user supplied to your `populate()` function in a lambda.
<JSON title="Complete User Object" src="users/login-response.json" />
You can see that the user object has data that the JWT does not, like names, birthdates, and languages, that you might want to add in a lambda. You can also add logic in the lambda to manipulate these fields before returning them to your app.
To demonstrate, let's write a lambda function that returns permissions to your app based on the user's role.
In the FusionAuth admin UI, open the `[ATest]` lambda function you created earlier and overwrite it with the following code.
```js
function populate(jwt, user, registration) {
jwt.message = 'Goodbye World!';
jwt.permissions = [];
if (user.registrations[0].roles.includes("admin")) {
jwt.permissions.push("all");
} else if (user.registrations[0].roles.includes("editor")) {
jwt.permissions.push("read");
jwt.permissions.push("write");
} else if (user.registrations[0].roles.includes("viewer")) {
jwt.permissions.push("read");
}
}
```
This lambda function `populate` adds a `permissions` array to the JWT returned.
Create a file called `test_3.js` and add the following code.
<RemoteCode lang="javascript" url="https://raw.githubusercontent.com/FusionAuth/fusionauth-example-testing-lambdas/main/complete-application/test_3.js" />
The test function downloads the lambda from FusionAuth using `getLambda()`, runs `eval` it to make it available in memory, and calls it, passing it a mock `user` object. You need to mock only the fields the lambda needs in this parameter. In this test, you've added a `roles` array inside application `registrations`.
Run the test.
```bash
node test_3.js
```
The output is as follows.
```bash
TAP version 13
# test lambda rejects returns permissions based on role
ok 1 Check admin and viewer has all permissions
ok 2 Check editor has write permission
ok 3 Check editor has read permission
1..3
# tests 3
# pass 3
# ok
```
Note that running code downloaded from a database is a security risk. Any administrator with access to your FusionAuth admin UI can put malicious code into your lambdas that could use Node.js to access your local disk or send passwords over the internet. To keep safe, run your tests only in a Docker or LXC container with no disk access to your physical machine, and no passwords stored in the container.
### How To Run All The Tests
If you want to run your entire test suite, use the following command.
```bash
npx tape test_*.js | npx faucet
```
All tests should be green, as follows.
```bash
✓ test login returns JWT with "Goodbye World"
✓ test lambda rejects sanctioned emails and accepts others
✓ test lambda rejects returns permissions based on role
# tests 6
# pass 6
✓ ok
```
# UserInfo Populate Lambda
import Breadcrumb from 'src/components/Breadcrumb.astro';
If you would like to augment the claims provided in the UserInfo response, you can specify a lambda in the Application's OAuth configuration.
When you create a new lambda using the FusionAuth UI we will provide you an empty function for you to implement.
## Lambda Structure
If you are using the API to create the lambda you will need to ensure your function has the following signature:
```javascript
function populate(userInfo, user, registration, jwt) {
// Lambda code goes here
}
```
This lambda must contain a function named `populate` that takes four parameters. The parameters that the lambda is passed are:
* `userInfo` - the claims object to be returned as a JSON payload. You can modify this object.
* `user` - the FusionAuth User object. This object is read-only.
* `registration` - the FusionAuth UserRegistration object. This object is read-only.
* `jwt` - the claims object from the provided JWT. This object is read-only.
The two FusionAuth objects are well documented in the [User API](/docs/apis/users) and [Registration API](/docs/apis/registrations) documentation. The JWT object is a JavaScript object containing the JWT payload. See [OpenID Connect & OAuth 2.0 Token](/docs/lifecycle/authenticate-users/oauth/tokens).
You may add, remove, or modify anything in the `userInfo` object except for certain reserved claims. The following claims are considered reserved and modifications or removal will not be reflected in the final UserInfo response:
- `email`
- `email_verified`
- `phone_number_verified`
- `sub`
- `tid`
## Assigning The Lambda
Once a lambda is created, you must assign it to an Application. See the <Breadcrumb>OAuth</Breadcrumb> tab in the Application configuration.
## Example Lambda
Here is an example of a simple Lambda that adds a few extra claims to the UserInfo response.
```javascript
function populate(userInfo, user, registration, jwt) {
// Add a new claim named 'favoriteColor' from a custom data attribute on the user
userInfo.favoriteColor = user.data.favoriteColor;
// Add a new claim named 'dept' using a custom data attribute on the registration
userInfo.dept = registration.data.departmentName;
// Copy a claim named 'applicationId' from the provided JWT
userInfo.applicationId = jwt.applicationId;
// Create an event log of type 'Debug' when the lambda has Debug enabled
console.debug('Added custom claims to the UserInfo response');
}
```
# Twitter Reconcile Lambda
import ReconcileLambdaUserRegistrationParameters from 'src/content/docs/extend/code/lambdas/_reconcile-lambda-user-registration-parameters.mdx';
import ReconcileLambdaIntro from 'src/content/docs/extend/code/lambdas/_reconcile-lambda-intro.mdx';
import Breadcrumb from 'src/components/Breadcrumb.astro';
import InlineUIElement from 'src/components/InlineUIElement.astro';
<ReconcileLambdaIntro identity_provider_name="Twitter" prefix="a" />
## Lambda Structure
If you are using the API to create the lambda you will need to ensure your function has the following signature:
```javascript
function reconcile(user, registration, twitterUser) {
// Lambda code goes here
}
```
This lambda must contain a function named `reconcile` that takes three parameters. The parameters that the lambda is passed are:
<ReconcileLambdaUserRegistrationParameters />
* `twitterUser` - the JSON user object returned by the Twitter Verify Credentials API. This object is read-only.
The two FusionAuth objects are well documented in the [User API](/docs/apis/users) and [Registration API](/docs/apis/registrations) documentation. The `twitterUser` may contain various user claims to utilize during the reconcile process.
## Assigning The Lambda
Once a lambda is created, you may assign it to the Twitter identity provider in the IdP configuration.
Navigate to <Breadcrumb>Settings -> Identity Providers</Breadcrumb> and select your existing Twitter configuration or click <InlineUIElement>Add provider</InlineUIElement> and select Twitter if it has not yet been configured.
## Example Lambda
There is not a default Twitter reconcile lambda provided by FusionAuth. The following is an example lambda you can use as a starting point.
```javascript
// This is the default Twitter reconcile, modify this to your liking.
function reconcile(user, registration, twitterUser) {
// Un-comment this line to see the twitterUser object printed to the event log
// console.info(JSON.stringify(twitterUser, null, 2));
// Set name if available in the response
if (twitterUser.name) {
user.fullName = twitterUser.name;
}
// https://developer.twitter.com/en/docs/accounts-and-users/user-profile-images-and-banners.html
if (twitterUser.profile_image_url_https) {
// Remove the _normal suffix to get the original size.
user.imageUrl = twitterUser.profile_image_url_https.replace('_normal.png', '.png');
}
// Set twitter screen_name in registration.
// - This is just for display purposes, this value cannot be used to uniquely identify
// the user in FusionAuth.
registration.username = twitterUser.screen_name;
}
```
# Xbox Reconcile Lambda
import Breadcrumb from 'src/components/Breadcrumb.astro';
import InlineUIElement from 'src/components/InlineUIElement.astro';
import ReconcileLambdaIntro from 'src/content/docs/extend/code/lambdas/_reconcile-lambda-intro.mdx';
import ReconcileLambdaUserRegistrationParameters from 'src/content/docs/extend/code/lambdas/_reconcile-lambda-user-registration-parameters.mdx';
<ReconcileLambdaIntro identity_provider_name="Xbox" prefix="an" />
## Lambda Structure
If you are using the API to create the lambda you will need to ensure your function has the following signature:
```javascript
function reconcile(user, registration, userInfo) {
// Lambda code goes here
}
```
This lambda must contain a function named `reconcile` that takes three parameters. The parameters that the lambda is passed are:
<ReconcileLambdaUserRegistrationParameters />
* `userInfo` - the JSON payload returned by the Xbox Token Info API. This object is read-only.
The two FusionAuth objects are well documented in the [User API](/docs/apis/users) and [Registration API](/docs/apis/registrations) documentation. The `userInfo` may contain various user claims depending upon the user's Xbox configuration.
## Assigning The Lambda
Once a lambda is created, you may assign it to the Xbox identity provider in the IdP configuration.
Navigate to <Breadcrumb>Settings -> Identity Providers</Breadcrumb> and select your existing Xbox configuration or click <InlineUIElement>Add provider</InlineUIElement> and select Xbox if it has not yet been configured.
# Kafka Integration
import KafkaTroubleshooting from 'src/content/docs/extend/events-and-webhooks/kafka/_kafka_troubleshooting.mdx';
import {RemoteCode} from '@fusionauth/astro-components';
import Breadcrumb from 'src/components/Breadcrumb.astro';
## Overview
[Kafka](https://kafka.apache.org/) is a scalable messaging platform. This integration allows you to consume webhook events
using a Kafka topic in addition to or instead of consuming the JSON events directly from a configured webhook, so events (for example, a "new user" event when a new user is created in FusionAuth) can be sent from FusionAuth to a Kafka topic.
When the Kafka integration is enabled, all [webhook events](/docs/extend/events-and-webhooks/events/) across all tenants will be sent to Kafka with all fields included.
## Configuration
The Kafka integration may be enabled using the [Integrations](/docs/apis/integrations) API or through the FusionAuth UI by navigating
to <Breadcrumb>Settings -> Integrations -> Kafka</Breadcrumb>.
<img src="/img/docs/extend/events-and-webhooks/kafka/kafka.png" alt="Kafka Configuration" width="1200" />
By default, you'll see properties set for the Kafka Producer configuration, including `bootstrap.servers`, `max.block.ms`, and `request.timeout.ms`. These tell FusionAuth how to make the initial connection to your Kafka cluster and set how long it can wait to send information to Kafka. You can find a complete list of allowed configuration for this block at the [Kafka configuration documentation](https://kafka.apache.org/documentation/#configuration).
Specify a topic that you've already created in your Kafka cluster and press "Send test event" to make sure that the connection is working as expected. After seeing that it succeeded, don't forget to press "Save" in the top right to turn on the Kafka integration.
You should see an event similar to the following in your Kafka topic if the test succeeds.
```json
{"createInstant":1667831017070,"id":"4532ba80-9443-4300-a324-3a2193e56c67","message":"You've successfully configured the Kafka Integration for FusionAuth.","type":"test"}
```
### Example Configuration for Docker Compose
If you're running Kafka alongside FusionAuth (for example, from the same `docker-compose.yaml` file), the only thing you need to change in the default configuration is to show FusionAuth where to find the Kafka bootstrap server on the network.
If your Docker Compose file is as follows:
<RemoteCode title="Example docker-compose.yml with Kafka" url="https://raw.githubusercontent.com/FusionAuth/fusionauth-example-docker-compose/main/kafka/docker-compose.yml" lang="yaml" />
Then you would input the following configuration in the FusionAuth UI to configure the Kafka integration.
```
bootstrap.servers=kafka:9092
max.block.ms=5000
request.timeout.ms=2000
```
### Example Configuration for a Remote Managed Kafka Integration
If you're using a managed service for Kafka that runs on a different server than your FusionAuth installation, you'll also need to specify credentials for connecting to the remote Kafka instance. You should be able to get the exact configuration you need from your Kafka hosting provider by looking for "Producer configuration" or similar. It should look similar to the following.
```
bootstrap.servers=pkc-6ojv2.us-west4.gcp.your-kafka-provider.cloud:9092
client.dns.lookup=use_all_dns_ips
sasl.jaas.config=org.apache.kafka.common.security.plain.PlainLoginModule required username='ZN6LJ5UHSXZLW3LR' password='M9T8b85OPspFAS37Do5Baq7jIS+hl7h7bY8MRrfVff5lz8xeCwea7zB5AC3nKXUD';
sasl.mechanism=PLAIN
security.protocol=SASL_SSL
session.timeout.ms=45000
```
## Event Types and Configuration
After successfully connecting to a Kafka instance, you'll be notified of each event that happens in FusionAuth. Events will generally contain fields for:
* `id`: A unique Id for that event that can be used for deduplication.
* `createInstant`: A timestamp indicating when the event occurred.
* `type`: The kind of event that occurred.
* `info`: A map of extra information about the event and its source, such as IP address and device information.
Other fields applicable to the event may also be included. You can find the full schema for each event in the [webhook events](/docs/extend/events-and-webhooks/events/) documentation.
Events can be categorized into two broad types:
- System events, which include audit log events and event log data.
- Tenant-based events, which include detailed information about user creation, removal, or changes.
By default, system events will be sent to Kafka without further configuration. Tenant events, however, are dependent on a [Webhook](/docs/extend/events-and-webhooks/) being set up and active. The events sent to Kafka then follow the configuration of events for that webhook and tenant. If you don't already have a webhook configured and want to use Kafka for tenant-level events, we recommend you set up a no-op webhook receiver that accepts the incoming POST request, discards it, and returns a `200 OK` status. This will allow you to set up a dummy webhook configuration to control Kafka tenant-level events. To create such a receiver, you can use a low-code platform such as [Pipedream](https://pipedream.com) or [Zapier](https://zapier.com), or roll your own.
## Example Events Sent to Kafka
After creating the integration and using FusionAuth, your Kafka topic might look similar to the following, which shows events for:
1. Sending the initial test event.
2. The audit log event for creating a new user with the email address `newuser@example.com`. This is a system-level event.
3. The tenant-level event for creating the above user.
4. An error event because the SMTP integration isn't working so the password reset email couldn't be sent to the new user. This is a system-level event.
```json
{"createInstant":1667833973280,"id":"e6a4f780-02da-4b5a-8b04-94d2a49ea369","message":"You've successfully configured the Kafka Integration for FusionAuth.","type":"test"}
{"event":{"auditLog":{"id":38,"insertInstant":1667834917902,"insertUser":"test@example.com","message":"Created user with Id [3cbb85e7-ebf8-4c92-bc75-7ca8db4399db], name [null] and loginId [newuser@example.com]","reason":"FusionAuth User Interface"},"createInstant":1667834917903,"id":"4b81d279-24c7-463b-847a-0cecaaf113a0","info":{"ipAddress":"192.168.16.1","userAgent":"Mozilla/5.0 (Macintosh; Intel Mac OS X 10_15_7) AppleWebKit/605.1.15 (KHTML, like Gecko) Version/16.1 Safari/605.1.15"},"type":"audit-log.create"}}
{"event":{"createInstant":1667834917903,"id":"0c11627f-9461-4a00-8156-00ff6c3d68d3","info":{"ipAddress":"172.22.0.1","userAgent":"Mozilla/5.0 (Macintosh; Intel Mac OS X 10_15_7) AppleWebKit/605.1.15 (KHTML, like Gecko) Version/16.1 Safari/605.1.15"},"tenantId":"2671a63f-084c-4434-9465-fde65b8845ee","type":"user.create","user":{"active":true,"connectorId":"e3306678-a53a-4964-9040-1c96f36dda72","email":"newuser@example.com","id":"7e512f97-79f7-42e5-891f-a2383ed3460c","insertInstant":1667834917902,"lastLoginInstant":1667834917902,"lastUpdateInstant":1667834917902,"passwordChangeRequired":false,"passwordLastUpdateInstant":1667834917902,"tenantId":"2671a63f-084c-4434-9465-fde65b8845ee","twoFactor":{},"usernameStatus":"ACTIVE","verified":true}}}
{"event":{"createInstant":1667834917916,"eventLog":{"id":34,"insertInstant":1667834917913,"message":"Async Email Send exception occurred.\n\nTemplate Id: 3e6462be-178c-499f-92c9-3643ccca8ced\nTemplate Name: [FusionAuth Default] Setup Password\nTenant Id: 6825d48e-4df4-f83e-1055-f1d42e363749\nAddressed to: newuser@example.com\n\nCause:\ncom.sun.mail.util.MailConnectException : Message: Couldn't connect to host, port: localhost, 25; timeout -1","type":"Error"},"id":"44ca31e5-967c-4b5c-8ff4-1ee51d73999a","type":"event-log.create"}}
```
## Troubleshooting FusionAuth's Kafka Integration
<KafkaTroubleshooting />
# Audit Log Create
import APIField from 'src/components/api/APIField.astro';
import Event from 'src/content/docs/extend/events-and-webhooks/events/_event.astro';
import EventBody from 'src/content/docs/extend/events-and-webhooks/events/_event-body.astro';
import ReferenceLink from 'src/content/docs/_shared/_reference-link.mdx';
export const eventType = 'audit.log.create';
<Event name="Audit Log Create"
eventType={eventType}
version="1.30.0"
description="This event is generated when an audit log is created."
scope="instance"
transactional="false" />
<EventBody eventType={eventType}
jsonFile="audit-log-create.json">
<APIField slot="leading-fields" name="event.createInstant" type="Long">
The <ReferenceLink file="data-types#instants" label="instant" /> that the event was generated.
</APIField>
<APIField slot="leading-fields" name="event.auditLog" type="Object">
The audit log for this event. See the [Audit Logs API](/docs/apis/audit-logs) for property definitions and example JSON.
</APIField>
<APIField slot="trailing-fields" name="event.id" type="UUID">
The unique Id of the event. You may receive an event more than once based upon your transaction settings. This Id may be used to identify a duplicate event.
</APIField>
<APIField slot="trailing-fields" name="event.type" type="String">
The event type, this value will always be <code>{eventType}</code>.
</APIField>
</EventBody>
# Group Create Complete
import APIField from 'src/components/api/APIField.astro';
import Event from 'src/content/docs/extend/events-and-webhooks/events/_event.astro';
import EventBody from 'src/content/docs/extend/events-and-webhooks/events/_event-body.astro';
import ReferenceLink from 'src/content/docs/_shared/_reference-link.mdx';
export const eventType = 'group.create.complete';
<Event name="Group Create Complete"
eventType={eventType}
version="1.38.0"
description="This event is generated when a single group is created. The JSON includes the Group that was created."
scope="tenant"
transactional="false" />
<EventBody eventType={eventType}
jsonFile="group-create-complete.json">
<APIField slot="leading-fields" name="event.createInstant" type="Long">
The <ReferenceLink file="data-types#instants" label="instant" /> that the event was generated.
</APIField>
<APIField slot="leading-fields" name="event.group" type="Object">
The group that has been created. See the [Groups API](/docs/apis/groups) for property definitions and example JSON.
</APIField>
<APIField slot="leading-fields" name="event.id" type="UUID">
The unique Id of the event.
</APIField>
<APIField slot="trailing-fields" name="event.tenantId" type="UUID">
The unique tenant identifier. This value may not be returned if not applicable.
</APIField>
<APIField slot="trailing-fields" name="event.type" type="String">
The event type, this value will always be <code>{eventType}</code>.
</APIField>
</EventBody>
# Event Log Create
import APIField from 'src/components/api/APIField.astro';
import Event from 'src/content/docs/extend/events-and-webhooks/events/_event.astro';
import EventBody from 'src/content/docs/extend/events-and-webhooks/events/_event-body.astro';
import ReferenceLink from 'src/content/docs/_shared/_reference-link.mdx';
export const eventType = 'event.log.create';
<Event name="Event Log Create"
eventType={eventType}
version="1.30.0"
description="This event is generated when an event log is created."
scope="instance"
transactional="false" />
<EventBody eventType={eventType}
jsonFile="event-log-create.json">
<APIField slot="leading-fields" name="event.createInstant" type="Long">
The <ReferenceLink file="data-types#instants" label="instant" /> that the event was generated.
</APIField>
<APIField slot="leading-fields" name="event.eventLog" type="Object">
The event log for this event. See the [Event Logs API](/docs/apis/event-logs) for property definitions and example JSON.
</APIField>
<APIField slot="leading-fields" name="event.id" type="UUID">
The unique Id of the event. You may receive an event more than once based upon your transaction settings. This Id may be used to identify a duplicate event.
</APIField>
<APIField slot="trailing-fields" name="event.type" type="String">
The event type, this value will always be <code>{eventType}</code>.
</APIField>
</EventBody>
# Group Create
import APIField from 'src/components/api/APIField.astro';
import Event from 'src/content/docs/extend/events-and-webhooks/events/_event.astro';
import EventBody from 'src/content/docs/extend/events-and-webhooks/events/_event-body.astro';
import ReferenceLink from 'src/content/docs/_shared/_reference-link.mdx';
export const eventType = 'group.create';
<Event name="Group Create"
eventType={eventType}
version="1.38.0"
description="This event is generated when a single group is created. The JSON includes the Group that was created."
scope="tenant"
transactional="true" />
<EventBody eventType={eventType}
jsonFile="group-create.json">
<APIField slot="leading-fields" name="event.createInstant" type="Long">
The <ReferenceLink file="data-types#instants" label="instant" /> that the event was generated.
</APIField>
<APIField slot="leading-fields" name="event.group" type="Object">
The group that has been created. See the [Groups API](/docs/apis/groups) for property definitions and example JSON.
</APIField>
<APIField slot="leading-fields" name="event.id" type="UUID">
The unique Id of the event.
</APIField>
<APIField slot="trailing-fields" name="event.tenantId" type="UUID">
The unique tenant identifier. This value may not be returned if not applicable.
</APIField>
<APIField slot="trailing-fields" name="event.type" type="String">
The event type, this value will always be <code>{eventType}</code>.
</APIField>
</EventBody>
# Group Delete Complete
import APIField from 'src/components/api/APIField.astro';
import Event from 'src/content/docs/extend/events-and-webhooks/events/_event.astro';
import EventBody from 'src/content/docs/extend/events-and-webhooks/events/_event-body.astro';
import ReferenceLink from 'src/content/docs/_shared/_reference-link.mdx';
export const eventType = 'group.delete.create';
<Event name="Group Delete Complete"
eventType={eventType}
version="1.38.0"
description="This event is generated when a group is deleted. The JSON includes the Group that was deleted."
scope="tenant"
transactional="false" />
<EventBody eventType={eventType}
jsonFile="group-delete-complete.json">
<APIField slot="leading-fields" name="event.createInstant" type="Long">
The <ReferenceLink file="data-types#instants" label="instant" /> that the event was generated.
</APIField>
<APIField slot="leading-fields" name="event.group" type="Object">
The group that has been deleted. See the [Groups API](/docs/apis/groups) for property definitions and example JSON.
</APIField>
<APIField slot="leading-fields" name="event.id" type="UUID">
The unique Id of the event.
</APIField>
<APIField slot="trailing-fields" name="event.tenantId" type="UUID">
The unique tenant identifier. This value may not be returned if not applicable.
</APIField>
<APIField slot="trailing-fields" name="event.type" type="String">
The event type, this value will always be <code>{eventType}</code>.
</APIField>
</EventBody>
# Group Delete
import APIField from 'src/components/api/APIField.astro';
import Event from 'src/content/docs/extend/events-and-webhooks/events/_event.astro';
import EventBody from 'src/content/docs/extend/events-and-webhooks/events/_event-body.astro';
import ReferenceLink from 'src/content/docs/_shared/_reference-link.mdx';
export const eventType = 'group.delete';
<Event name="Group Delete"
eventType={eventType}
version="1.38.0"
description="This event is generated when a group is deleted. The JSON includes the Group that was deleted."
scope="tenant"
transactional="true" />
<EventBody eventType={eventType}
jsonFile="group-delete.json">
<APIField slot="leading-fields" name="event.createInstant" type="Long">
The <ReferenceLink file="data-types#instants" label="instant" /> that the event was generated.
</APIField>
<APIField slot="leading-fields" name="event.group" type="Object">
The group that has been deleted. See the [Groups API](/docs/apis/groups) for property definitions and example JSON.
</APIField>
<APIField slot="leading-fields" name="event.id" type="UUID">
The unique Id of the event.
</APIField>
<APIField slot="trailing-fields" name="event.tenantId" type="UUID">
The unique tenant identifier. This value may not be returned if not applicable.
</APIField>
<APIField slot="trailing-fields" name="event.type" type="String">
The event type, this value will always be <code>{eventType}</code>.
</APIField>
</EventBody>
# Group Member Add Complete
import APIField from 'src/components/api/APIField.astro';
import Event from 'src/content/docs/extend/events-and-webhooks/events/_event.astro';
import EventBody from 'src/content/docs/extend/events-and-webhooks/events/_event-body.astro';
import ReferenceLink from 'src/content/docs/_shared/_reference-link.mdx';
export const eventType = 'group.member.add.complete';
<Event name="Group Member Add Complete"
eventType={eventType}
version="1.38.0"
description="This event is generated when one or more users are added to a group. The JSON includes the Group and an array of added members."
scope="tenant"
transactional="false" />
<EventBody eventType={eventType}
jsonFile="group-member-add-complete.json">
<APIField slot="leading-fields" name="event.createInstant" type="Long">
The <ReferenceLink file="data-types#instants" label="instant" /> that the event was generated.
</APIField>
<APIField slot="leading-fields" name="event.group" type="Object">
The group to which members were added. See the [Groups API](/docs/apis/groups) for property definitions and example JSON.
</APIField>
<APIField slot="leading-fields" name="event.id" type="UUID">
The unique Id of the event.
</APIField>
<APIField slot="trailing-fields" name="event.members" type="Array">
An array of added group members.
</APIField>
<APIField slot="trailing-fields" name="event.members[x].data" type="Object">
An object that can hold any information about the group member.
</APIField>
<APIField slot="trailing-fields" name="event.members[x].id" type="UUID">
The unique Id of this group member. This is not the user Id.
</APIField>
<APIField slot="trailing-fields" name="event.members[x].insertInstant" type="Long">
The <ReferenceLink file="data-types#instants" label="instant" /> that this membership was created.
</APIField>
<APIField slot="trailing-fields" name="event.members[x].userId" type="UUID">
The user Id of the member.
</APIField>
<APIField slot="trailing-fields" name="event.tenantId" type="UUID">
The unique tenant identifier. This value may not be returned if not applicable.
</APIField>
<APIField slot="trailing-fields" name="event.type" type="String">
The event type, this value will always be <code>{eventType}</code>.
</APIField>
</EventBody>
# Group Member Add
import APIField from 'src/components/api/APIField.astro';
import Event from 'src/content/docs/extend/events-and-webhooks/events/_event.astro';
import EventBody from 'src/content/docs/extend/events-and-webhooks/events/_event-body.astro';
import ReferenceLink from 'src/content/docs/_shared/_reference-link.mdx';
export const eventType = 'group.member.add';
<Event name="Group Member Add"
eventType={eventType}
version="1.38.0"
description="This event is generated when one or more users are added to a group. The JSON includes the Group and an array of added members."
scope="tenant"
transactional="true" />
<EventBody eventType={eventType}
jsonFile="group-member-add.json">
<APIField slot="leading-fields" name="event.createInstant" type="Long">
The <ReferenceLink file="data-types#instants" label="instant" /> that the event was generated.
</APIField>
<APIField slot="leading-fields" name="event.group" type="Object">
The group to which members were added. See the [Groups API](/docs/apis/groups) for property definitions and example JSON.
</APIField>
<APIField slot="leading-fields" name="event.id" type="UUID">
The unique Id of the event.
</APIField>
<APIField slot="leading-fields" name="event.members" type="Array">
An array of added group members.
</APIField>
<APIField slot="trailing-fields" name="event.members[x].data" type="Object">
An object that can hold any information about the group member.
</APIField>
<APIField slot="trailing-fields" name="event.members[x].id" type="UUID">
The unique Id of this group member. This is not the user Id.
</APIField>
<APIField slot="trailing-fields" name="event.members[x].insertInstant" type="Long">
The <ReferenceLink file="data-types#instants" label="instant" /> that this membership was created.
</APIField>
<APIField slot="trailing-fields" name="event.members[x].userId" type="UUID">
The user Id of the member.
</APIField>
<APIField slot="trailing-fields" name="event.tenantId" type="UUID">
The unique tenant identifier. This value may not be returned if not applicable.
</APIField>
<APIField slot="trailing-fields" name="event.type" type="String">
The event type, this value will always be <code>{eventType}</code>.
</APIField>
</EventBody>
# Group Member Remove
import APIField from 'src/components/api/APIField.astro';
import Event from 'src/content/docs/extend/events-and-webhooks/events/_event.astro';
import EventBody from 'src/content/docs/extend/events-and-webhooks/events/_event-body.astro';
import ReferenceLink from 'src/content/docs/_shared/_reference-link.mdx';
export const eventType = 'group.member.remove';
<Event name="Group Member Remove"
eventType={eventType}
version="1.38.0"
description="This event is generated when one or more users are removed from a group. The JSON includes the Group and an array of removed members. This event is not generated when all users are removed from a group."
scope="tenant"
transactional="true" />
<EventBody eventType={eventType}
jsonFile="group-member-remove.json">
<APIField slot="leading-fields" name="event.createInstant" type="Long">
The <ReferenceLink file="data-types#instants" label="instant" /> that the event was generated.
</APIField>
<APIField slot="leading-fields" name="event.group" type="Object">
The group from which members were removed. See the [Groups API](/docs/apis/groups) for property definitions and example JSON.
</APIField>
<APIField slot="leading-fields" name="event.id" type="UUID">
The unique Id of the event.
</APIField>
<APIField slot="trailing-fields" name="event.members" type="Array">
An array of removed group members.
</APIField>
<APIField slot="trailing-fields" name="event.members[x].data" type="Object">
An object that can hold any information about the group member.
</APIField>
<APIField slot="trailing-fields" name="event.members[x].id" type="UUID">
The unique Id of this group member. This is not the user Id.
</APIField>
<APIField slot="trailing-fields" name="event.members[x].insertInstant" type="Long">
The <ReferenceLink file="data-types#instants" label="instant" /> that this membership was created.
</APIField>
<APIField slot="trailing-fields" name="event.members[x].userId" type="UUID">
The user Id of the member.
</APIField>
<APIField slot="trailing-fields" name="event.tenantId" type="UUID">
The unique tenant identifier. This value may not be returned if not applicable.
</APIField>
<APIField slot="trailing-fields" name="event.type" type="String">
The event type, this value will always be <code>{eventType}</code>.
</APIField>
</EventBody>
# Group Member Remove Complete
import APIField from 'src/components/api/APIField.astro';
import Event from 'src/content/docs/extend/events-and-webhooks/events/_event.astro';
import EventBody from 'src/content/docs/extend/events-and-webhooks/events/_event-body.astro';
import ReferenceLink from 'src/content/docs/_shared/_reference-link.mdx';
export const eventType = 'group.member.remove.complete';
<Event name="Group Member Remove Complete"
eventType={eventType}
version="1.38.0"
description="This event is generated when one or more users are removed from a group. The JSON includes the Group and an array of removed members. This event is not generated when all users are removed from a group."
scope="tenant"
transactional="false" />
<EventBody eventType={eventType}
jsonFile="group-member-remove-complete.json">
<APIField slot="leading-fields" name="event.createInstant" type="Long">
The <ReferenceLink file="data-types#instants" label="instant" /> that the event was generated.
</APIField>
<APIField slot="leading-fields" name="event.group" type="Object">
The group from which members were removed. See the [Groups API](/docs/apis/groups) for property definitions and example JSON.
</APIField>
<APIField slot="leading-fields" name="event.id" type="UUID">
The unique Id of the event.
</APIField>
<APIField slot="trailing-fields" name="event.members" type="Array">
An array of removed group members.
</APIField>
<APIField slot="trailing-fields" name="event.members[x].data" type="Object">
An object that can hold any information about the group member.
</APIField>
<APIField slot="trailing-fields" name="event.members[x].id" type="UUID">
The unique Id of this group member. This is not the user Id.
</APIField>
<APIField slot="trailing-fields" name="event.members[x].insertInstant" type="Long">
The <ReferenceLink file="data-types#instants" label="instant" /> that this membership was created.
</APIField>
<APIField slot="trailing-fields" name="event.members[x].userId" type="UUID">
The user Id of the member.
</APIField>
<APIField slot="trailing-fields" name="event.tenantId" type="UUID">
The unique tenant identifier. This value may not be returned if not applicable.
</APIField>
<APIField slot="trailing-fields" name="event.type" type="String">
The event type, this value will always be <code>{eventType}</code>.
</APIField>
</EventBody>
# Group Member Update Complete
import APIField from 'src/components/api/APIField.astro';
import Event from 'src/content/docs/extend/events-and-webhooks/events/_event.astro';
import EventBody from 'src/content/docs/extend/events-and-webhooks/events/_event-body.astro';
import ReferenceLink from 'src/content/docs/_shared/_reference-link.mdx';
export const eventType = 'group.member.update.complete';
<Event name="Group Member Update Complete"
eventType={eventType}
version="1.38.0"
description="This event is generated when updating members in group. The JSON includes the Group and an array of current members."
scope="tenant"
transactional="false" />
<EventBody eventType={eventType}
jsonFile="group-member-update-complete.json">
<APIField slot="leading-fields" name="event.createInstant" type="Long">
The <ReferenceLink file="data-types#instants" label="instant" /> that the event was generated.
</APIField>
<APIField slot="leading-fields" name="event.group" type="Object">
The group in which members were updated. See the [Groups API](/docs/apis/groups) for property definitions and example JSON.
</APIField>
<APIField slot="leading-fields" name="event.id" type="UUID">
The unique Id of the event.
</APIField>
<APIField slot="trailing-fields" name="event.members" type="Array">
An array of updated group members.
</APIField>
<APIField slot="trailing-fields" name="event.members[x].data" type="Object">
An object that can hold any information about the group member.
</APIField>
<APIField slot="trailing-fields" name="event.members[x].id" type="UUID">
The unique Id of this group member. This is not the user Id.
</APIField>
<APIField slot="trailing-fields" name="event.members[x].insertInstant" type="Long">
The <ReferenceLink file="data-types#instants" label="instant" /> that this membership was created.
</APIField>
<APIField slot="trailing-fields" name="event.members[x].userId" type="UUID">
The user Id of the member.
</APIField>
<APIField slot="trailing-fields" name="event.tenantId" type="UUID">
The unique tenant identifier. This value may not be returned if not applicable.
</APIField>
<APIField slot="trailing-fields" name="event.type" type="String">
The event type, this value will always be <code>{eventType}</code>.
</APIField>
</EventBody>
# Group Member Update
import APIField from 'src/components/api/APIField.astro';
import Event from 'src/content/docs/extend/events-and-webhooks/events/_event.astro';
import EventBody from 'src/content/docs/extend/events-and-webhooks/events/_event-body.astro';
import ReferenceLink from 'src/content/docs/_shared/_reference-link.mdx';
export const eventType = 'group.member.update';
<Event name="Group Member Update"
eventType={eventType}
version="1.38.0"
description="This event is generated when updating members in group. The JSON includes the Group and an array of current members. This event is also generated when all users are removed from a group."
scope="tenant"
transactional="true" />
<EventBody eventType={eventType}
jsonFile="group-member-update.json">
<APIField slot="leading-fields" name="event.createInstant" type="Long">
The <ReferenceLink file="data-types#instants" label="instant" /> that the event was generated.
</APIField>
<APIField slot="leading-fields" name="event.group" type="Object">
The group in which members were updated. See the [Groups API](/docs/apis/groups) for property definitions and example JSON.
</APIField>
<APIField slot="leading-fields" name="event.id" type="UUID">
The unique Id of the event.
</APIField>
<APIField slot="trailing-fields" name="event.members" type="Array">
An array of updated group members.
</APIField>
<APIField slot="trailing-fields" name="event.members[x].data" type="Object">
An object that can hold any information about the group member.
</APIField>
<APIField slot="trailing-fields" name="event.members[x].id" type="UUID">
The unique Id of this group member. This is not the user Id.
</APIField>
<APIField slot="trailing-fields" name="event.members[x].insertInstant" type="Long">
The <ReferenceLink file="data-types#instants" label="instant" /> that this membership was created.
</APIField>
<APIField slot="trailing-fields" name="event.members[x].userId" type="UUID">
The user Id of the member.
</APIField>
<APIField slot="trailing-fields" name="event.tenantId" type="UUID">
The unique tenant identifier. This value may not be returned if not applicable.
</APIField>
<APIField slot="trailing-fields" name="event.type" type="String">
The event type, this value will always be <code>{eventType}</code>.
</APIField>
</EventBody>
# Group Update Complete
import APIField from 'src/components/api/APIField.astro';
import Event from 'src/content/docs/extend/events-and-webhooks/events/_event.astro';
import EventBody from 'src/content/docs/extend/events-and-webhooks/events/_event-body.astro';
import ReferenceLink from 'src/content/docs/_shared/_reference-link.mdx';
export const eventType = 'group.update.complete';
<Event name="Group Update Complete"
eventType={eventType}
version="1.38.0"
description="This event is generated when a group is updated. The JSON includes the Group that was updated."
scope="tenant"
transactional="false" />
<EventBody eventType={eventType}
jsonFile="group-update-complete.json">
<APIField slot="leading-fields" name="event.createInstant" type="Long">
The <ReferenceLink file="data-types#instants" label="instant" /> that the event was generated.
</APIField>
<APIField slot="leading-fields" name="event.group" type="Object">
The group that has been updated. See the [Groups API](/docs/apis/groups) for property definitions and example JSON.
</APIField>
<APIField slot="leading-fields" name="event.id" type="UUID">
The unique Id of the event.
</APIField>
<APIField slot="trailing-fields" name="event.original" type="Object">
The original group, before update. See the [Groups API](/docs/apis/groups) for property definitions and example JSON.
</APIField>
<APIField slot="trailing-fields" name="event.tenantId" type="UUID">
The unique tenant identifier. This value may not be returned if not applicable.
</APIField>
<APIField slot="trailing-fields" name="event.type" type="String">
The event type, this value will always be <code>{eventType}</code>.
</APIField>
</EventBody>
# Group Update
import APIField from 'src/components/api/APIField.astro';
import Event from 'src/content/docs/extend/events-and-webhooks/events/_event.astro';
import EventBody from 'src/content/docs/extend/events-and-webhooks/events/_event-body.astro';
import ReferenceLink from 'src/content/docs/_shared/_reference-link.mdx';
export const eventType = 'group.update';
<Event name="Group Update"
eventType={eventType}
version="1.38.0"
description="This event is generated when a group is updated. The JSON includes the Group that was updated."
scope="tenant"
transactional="true" />
<EventBody eventType={eventType}
jsonFile="group-update.json">
<APIField slot="leading-fields" name="event.createInstant" type="Long">
The <ReferenceLink file="data-types#instants" label="instant" /> that the event was generated.
</APIField>
<APIField slot="leading-fields" name="event.group" type="Object">
The group that has been updated. See the [Groups API](/docs/apis/groups) for property definitions and example JSON.
</APIField>
<APIField slot="leading-fields" name="event.id" type="UUID">
The unique Id of the event.
</APIField>
<APIField slot="trailing-fields" name="event.original" type="Object">
The original group, before update. See the [Groups API](/docs/apis/groups) for property definitions and example JSON.
</APIField>
<APIField slot="trailing-fields" name="event.tenantId" type="UUID">
The unique tenant identifier. This value may not be returned if not applicable.
</APIField>
<APIField slot="trailing-fields" name="event.type" type="String">
The event type, this value will always be <code>{eventType}</code>.
</APIField>
</EventBody>
# Events Overview
import PremiumPlanBlurb from 'src/content/docs/_shared/_premium-plan-blurb.astro';
import EnterprisePlanBlurb from 'src/content/docs/_shared/_enterprise-plan-blurb.astro';
import ListAdvancedThreatDetectionWebhooks from 'src/content/docs/extend/events-and-webhooks/events/_list-advanced-threat-detection-webhooks.mdx';
import ApplicationWebhooksWarning from 'src/content/docs/extend/events-and-webhooks/_application-webhooks-warning.mdx';
import InlineField from 'src/components/InlineField.astro';
## Events
These are the events that FusionAuth generates that can be optionally consumed by your registered Webhook.
* [Audit Log Create](/docs/extend/events-and-webhooks/events/audit-log-create) - when an audit log is created
* [Event Log Create](/docs/extend/events-and-webhooks/events/event-log-create) - when an event log is created
* [JWT Public Key Update](/docs/extend/events-and-webhooks/events/jwt-public-key-update) - when a JWT signing Public / Private keypair used for signing may have been updated
* [JWT Refresh](/docs/extend/events-and-webhooks/events/jwt-refresh) - when an access token is refreshed using a refresh token
* [JWT Refresh Token Revoke](/docs/extend/events-and-webhooks/events/jwt-refresh-token-revoke) - when a refresh token (or multiple tokens) are revoked
* [Kickstart Success](/docs/extend/events-and-webhooks/events/kickstart-success) - when kickstart has successfully completed
* [Group Create](/docs/extend/events-and-webhooks/events/group-create) - when a group is created
* [Group Create Complete](/docs/extend/events-and-webhooks/events/group-create-complete) - when a group is created transaction has completed
* [Group Delete](/docs/extend/events-and-webhooks/events/group-delete) - when a group is deleted
* [Group Delete Complete](/docs/extend/events-and-webhooks/events/group-delete-complete) - when a group delete transaction has completed
* [Group Update](/docs/extend/events-and-webhooks/events/group-update) - when a group is updated
* [Group Update Complete](/docs/extend/events-and-webhooks/events/group-update-complete) - when a group update transaction has completed
* [Group Member Add](/docs/extend/events-and-webhooks/events/group-member-add) - when a user is added to a group
* [Group Member Add Complete](/docs/extend/events-and-webhooks/events/group-member-add-complete) - when a user add transaction has completed
* [Group Member Remove](/docs/extend/events-and-webhooks/events/group-member-remove) - when a user is removed from a group
* [Group Member Remove Complete](/docs/extend/events-and-webhooks/events/group-member-remove-complete) - when a user remove transaction has completed
* [Group Member Update](/docs/extend/events-and-webhooks/events/group-member-update) - when a group membership is updated
* [Group Member Update Complete](/docs/extend/events-and-webhooks/events/group-member-update-complete) - when a group membership update transaction has completed
* [User Actions](/docs/extend/events-and-webhooks/events/user-actions) - when a moderator takes an action on a user
* [User Bulk Create](/docs/extend/events-and-webhooks/events/user-bulk-create) - when multiple users are created as the result of the Import API
* [User Create](/docs/extend/events-and-webhooks/events/user-create) - when a user is created
* [User Create Complete](/docs/extend/events-and-webhooks/events/user-create-complete) - when a user create transaction has completed
* [User Deactivate](/docs/extend/events-and-webhooks/events/user-deactivate) - when a user is deactivated
* [User Delete](/docs/extend/events-and-webhooks/events/user-delete) - when a user is deleted
* [User Delete Complete](/docs/extend/events-and-webhooks/events/user-delete-complete) - when a user delete transaction has completed
* [User Email Update](/docs/extend/events-and-webhooks/events/user-email-update) - when a user updates their email address
* [User Email Verified](/docs/extend/events-and-webhooks/events/user-email-verified) - when a user verifies their email address
* [User Identity Provider Link](/docs/extend/events-and-webhooks/events/user-identity-provider-link) - when a link with an Identity Provider is created
* [User Identity Provider Unlink](/docs/extend/events-and-webhooks/events/user-identity-provider-unlink) - when a link with an Identity Provider is removed
* [User Identity Verified](/docs/extend/events-and-webhooks/events/user-identity-verified) - when a user identity is verified
* [User Login Failed](/docs/extend/events-and-webhooks/events/user-login-failed) - when a user fails to complete login
* [User Login Success](/docs/extend/events-and-webhooks/events/user-login-success) - when a user successfully completes login
* [User Reactivate](/docs/extend/events-and-webhooks/events/user-reactivate) - when a user is reactivated
* [User Registration Create](/docs/extend/events-and-webhooks/events/user-registration-create) - when a new user registration is created
* [User Registration Create Complete](/docs/extend/events-and-webhooks/events/user-registration-create-complete) - when a new user registration create transaction has completed
* [User Registration Delete](/docs/extend/events-and-webhooks/events/user-registration-delete) - when a user registration is deleted
* [User Registration Delete Complete](/docs/extend/events-and-webhooks/events/user-registration-delete-complete) - when a user registration delete transaction has completed
* [User Registration Update](/docs/extend/events-and-webhooks/events/user-registration-update) - when a user registration is updated
* [User Registration Update Complete](/docs/extend/events-and-webhooks/events/user-registration-update-complete) - when a user registration update transaction has completed
* [User Registration Verified](/docs/extend/events-and-webhooks/events/user-registration-verified) - when a user completes registration verification
* [User Update](/docs/extend/events-and-webhooks/events/user-update) - when a user is updated
* [User Update Complete](/docs/extend/events-and-webhooks/events/user-update-complete) - when a user update transaction has completed
### Breached Password Events
These are the Breached Password licensed events that may FusionAuth generates that can be optionally consumed by your registered Webhook.
<PremiumPlanBlurb />
* [User Password Breach](../events/user-password-breach) - when Reactor detects a user is using a potentially breached password
### Threat Detection Events
These are the Threat Detection licensed events that may FusionAuth generates that can be optionally consumed by your registered Webhook.
<EnterprisePlanBlurb />
<ListAdvancedThreatDetectionWebhooks />
### Tenant Scoped Events
Tenant scoped events are generated for all applications in a tenant or for none of them.
All user events are tenant scoped because a user is a tenant scoped entity. For example, the `user.delete`, `user.create`, `user.update`, and `user.deactivate` events are all tenant scoped.
A tenant scoped event can, however contain an `applicationId` which can be used to filter events when received. One example is `user.registration.create`.
### Application Scoped Events
<ApplicationWebhooksWarning />
### Transaction Compatibility
Events can be either transactional or non-transactional. The final state of the operation which caused a transaction event is not persisted to FusionAuth until after the configured webhook finishes. Non-transactional events do not require any webhooks to succeed.
To learn more about writing webhooks, see [Writing a Webhook](../writing-a-webhook#calling-fusionauth-apis-in-webhooks).
For more information on event transaction configurations, see <InlineField>transaction setting</InlineField> under [Tenant Settings](/docs/extend/events-and-webhooks#tenant-settings).
# JWT Public Key Update
import APIField from 'src/components/api/APIField.astro';
import Event from 'src/content/docs/extend/events-and-webhooks/events/_event.astro';
import EventBody from 'src/content/docs/extend/events-and-webhooks/events/_event-body.astro';
import ReferenceLink from 'src/content/docs/_shared/_reference-link.mdx';
export const eventType = 'jwt.public-key.update';
<Event name="JWT Public Key Update"
eventType={eventType}
description="This event is generated when a group is updated. The JSON includes the Group that was updated."
scope="application"
transactional="true" />
<EventBody eventType={eventType}
sinceThreatDetection="1.30.0"
sinceIpAddress="1.27.0"
jsonFile="jwt-public-key-update.json">
<APIField slot="leading-fields" name="event.applicationIds" type="Array<UUID>">
A list of Application Ids that may have been affected by a configuration change in which affect the public key used to sign JWTs.
</APIField>
<APIField slot="leading-fields" name="event.createInstant" type="Long">
The <ReferenceLink file="data-types#instants" label="instant" /> that the event was generated.
</APIField>
<APIField slot="leading-fields" name="event.id" type="UUID">
The unique Id of the event. You may receive an event more than once based upon your transaction settings. This Id may be used to identify a duplicate event.
</APIField>
<APIField slot="trailing-fields" name="event.tenantId" type="UUID" since="1.8.0">
The unique tenant identifier. This value may not be returned if not applicable.
</APIField>
<APIField slot="trailing-fields" name="event.type" type="String">
The event type, this value will always be <code>{eventType}</code>.
</APIField>
</EventBody>
# JWT Refresh
import APIField from 'src/components/api/APIField.astro';
import Event from 'src/content/docs/extend/events-and-webhooks/events/_event.astro';
import EventBody from 'src/content/docs/extend/events-and-webhooks/events/_event-body.astro';
import InlineField from 'src/components/InlineField.astro';
import ReferenceLink from 'src/content/docs/_shared/_reference-link.mdx';
export const eventType = 'jwt.refresh';
<Event name="JWT Refresh"
eventType={eventType}
version="1.16.0"
scope="application"
transactional="true" />
<EventBody eventType={eventType}
sinceThreatDetection="1.30.0"
sinceIpAddress="1.27.0"
jsonFile="jwt-refresh.json">
<APIField slot="leading-fields" name="event.applicationId" type="UUID">
The unique Id of the Application for which the token provides access.
</APIField>
<APIField slot="leading-fields" name="event.createInstant" type="Long">
The <ReferenceLink file="data-types#instants" label="instant" /> that the event was generated.
</APIField>
<APIField slot="leading-fields" name="event.id" type="UUID">
The unique Id of the event. You may receive an event more than once based upon your transaction settings. This Id may be used to identify a duplicate event.
</APIField>
<APIField slot="trailing-fields" name="event.original" type="String">
The original encoded access token which was provided on the JWT refresh request. This field will be omitted if the <InlineField>token</InlineField> parameter was not provided on the initiating request.
</APIField>
<APIField slot="trailing-fields" name="event.refreshToken" type="String">
The refresh token which was provided on the JWT refresh request, used in refreshing the JWT.
</APIField>
<APIField slot="trailing-fields" name="event.token" type="String">
The new encoded access token.
</APIField>
<APIField slot="trailing-fields" name="event.tenantId" type="UUID" since="1.8.0">
The unique tenant identifier. This value may not be returned if not applicable.
</APIField>
<APIField slot="trailing-fields" name="event.type" type="String">
The event type, this value will always be <code>{eventType}</code>.
</APIField>
<APIField slot="trailing-fields" name="event.userId" type="UUID">
The unique Id of the User for which the access token was granted.
</APIField>
</EventBody>
# JWT Refresh Token Revoke
import APIField from 'src/components/api/APIField.astro';
import Event from 'src/content/docs/extend/events-and-webhooks/events/_event.astro';
import EventBody from 'src/content/docs/extend/events-and-webhooks/events/_event-body.astro';
import InlineField from 'src/components/InlineField.astro';
import ReferenceLink from 'src/content/docs/_shared/_reference-link.mdx';
export const eventType = 'jwt.refresh-token.revoke';
<Event name="JWT Refresh Token Revoke"
eventType={eventType}
description="This event is generated when a group is updated. The JSON includes the Group that was updated."
scope="application"
transactional="true">
<p slot="description">
This event is generated when a refresh token is revoked. The JSON includes either the User Id and User or the Application Id depending on what was revoked. It will also include the time to live duration (in seconds) for each Application. This value is used to determine if JWTs are valid or not based on their expiration instants.
</p>
<p slot="description">
The following scenarios will cause this event to be generated:
</p>
<ul slot="description">
<li>A single Refresh Token is revoked</li>
<li>All Refresh Tokens owned by a single User are revoked (if there is at least one valid Refresh Token for this User)</li>
<li>All Refresh Tokens owned by a single User for an Application are revoked</li>
<li>All Refresh Tokens for an Application are revoked</li>
</ul>
</Event>
<h3>Revoking Single Refresh Token</h3>
<p>This example JSON would reflect a scenario where a single refresh token is revoked for a single user for a single application.</p>
<EventBody eventType={eventType}
sinceThreatDetection="1.30.0"
sinceIpAddress="1.27.0"
jsonFile="jwt-refresh-token-revoke-user.json">
includeTenantId="false">
<APIField slot="leading-fields" name="event.applicationId" type="UUID">
The unique Id of the Application for which the refresh token have been revoked.
</APIField>
<APIField slot="leading-fields" name="event.applicationTimeToLiveInSeconds" type="Map<UUID, Integer>">
<p>
A map of Application Id to the configured time to live (TTL) for the access token (JWT). This can be used to identify the maximum amount of time after this event occurred where an un-expired access token may be held by a user.
</p>
<p>
If you take the <InlineField>createInstant</InlineField> of this event and add the number of seconds for a specific application TTL you come up with an instant in time where you should consider all access tokens issued before this time invalid. This is because the access token will have been issued on or before the instant the refresh token was revoked.
</p>
<p>
This map will contain a single entry for the application represented by the <InlineField>applicationId</InlineField> field.
</p>
</APIField>
<APIField slot="leading-fields" name="event.createInstant" type="Long">
The <ReferenceLink file="data-types#instants" label="instant" /> that the event was generated.
</APIField>
<APIField slot="leading-fields" name="event.id" type="UUID">
The unique Id of the event. You may receive an event more than once based upon your transaction settings. This Id may be used to identify a duplicate event.
</APIField>
<APIField slot="trailing-fields" name="event.refreshToken" type="Object" since="1.37.0">
The refresh token being revoked. This is only returned when a single refresh token is revoked. See the [JWT API](/docs/apis/jwt#retrieve-refresh-tokens) for property definitions and example JSON.
</APIField>
<APIField slot="trailing-fields" name="event.tenantId" type="UUID" since="1.8.0">
The unique tenant identifier. This value may not be returned if not applicable.
</APIField>
<APIField slot="trailing-fields" name="event.type" type="String">
The event type, this value will always be <code>{eventType}</code>.
</APIField>
<APIField slot="trailing-fields" name="event.userId" type="UUID">
The unique Id of the User for which a refresh token has been revoked.
</APIField>
<APIField slot="trailing-fields" name="event.user" type="Object" since="1.8.0">
The user for which a refresh token has been revoked. See the [Users API](/docs/apis/users) for property definitions and example JSON.
</APIField>
</EventBody>
<h3>All User Refresh Tokens Revoked</h3>
<p>
This example JSON would reflect a scenario where all refresh tokens owned by a single user are revoked.
</p>
<EventBody eventType={eventType}
sinceThreatDetection="1.30.0"
sinceIpAddress="1.27.0"
jsonFile="jwt-refresh-token-revoke-all-user.json">
includeTenantId="false">
<APIField slot="leading-fields" name="event.applicationTimeToLiveInSeconds" type="Map<UUID, Integer>">
<p>
A map of Application Id to the configured time to live (TTL) for the access token (JWT). This can be used to identify the maximum amount of time after this event occurred where an un-expired access token may be held by a user.
</p>
<p>
If you take the <InlineField>createInstant</InlineField> of this event and add the number of seconds for a specific application TTL you come up with an instant in time where you should consider all access tokens issued before this time invalid. This is because the access token will have been issued on or before the instant the refresh token was revoked.
</p>
<p>
This map will contain a single entry for the application represented by the <InlineField>applicationId</InlineField> field.
</p>
</APIField>
<APIField slot="leading-fields" name="event.createInstant" type="Long">
The <ReferenceLink file="data-types#instants" label="instant" /> that the event was generated.
</APIField>
<APIField slot="leading-fields" name="event.id" type="UUID">
The unique Id of the event. You may receive an event more than once based upon your transaction settings. This Id may be used to identify a duplicate event.
</APIField>
<APIField slot="trailing-fields" name="event.tenantId" type="UUID" since="1.8.0">
The unique tenant identifier. This value may not be returned if not applicable.
</APIField>
<APIField slot="trailing-fields" name="event.type" type="String">
The event type, this value will always be <code>{eventType}</code>.
</APIField>
<APIField slot="trailing-fields" name="event.userId" type="UUID">
The unique Id of the User for which a refresh token has been revoked.
</APIField>
<APIField slot="trailing-fields" name="event.user" type="Object" since="1.8.0">
The user for which a refresh token has been revoked. See the [Users API](/docs/apis/users) for property definitions and example JSON.
</APIField>
</EventBody>
<h3>All Applications Refresh Tokens Revoked</h3>
<p>
This example JSON would reflect a scenario where all refresh tokens issued for a specific application are revoked.
</p>
<EventBody eventType={eventType}
sinceThreatDetection="1.30.0"
sinceIpAddress="1.27.0"
jsonFile="jwt-refresh-token-revoke-application.json">
includeTenantId="false">
<APIField slot="leading-fields" name="event.applicationId" type="UUID">
The unique Id of the Application for which all of the refresh tokens have been revoked.
</APIField>
<APIField slot="leading-fields" name="event.applicationTimeToLiveInSeconds" type="Map<UUID, Integer>">
<p>
A map of Application Id to the configured time to live (TTL) for the access token (JWT). This can be used to identify the maximum amount of time after this event occurred where an un-expired access token may be held by a user.
</p>
<p>
If you take the <InlineField>createInstant</InlineField> of this event and add the number of seconds for a specific application TTL you come up with an instant in time where you should consider all access tokens issued before this time invalid. This is because the access token will have been issued on or before the instant the refresh token was revoked.
</p>
<p>
This map will contain a single entry for the application represented by the <InlineField>applicationId</InlineField> field.
</p>
</APIField>
<APIField slot="leading-fields" name="event.createInstant" type="Long">
The <ReferenceLink file="data-types#instants" label="instant" /> that the event was generated.
</APIField>
<APIField slot="leading-fields" name="event.id" type="UUID">
The unique Id of the event. You may receive an event more than once based upon your transaction settings. This Id may be used to identify a duplicate event.
</APIField>
<APIField slot="trailing-fields" name="event.tenantId" type="UUID" since="1.8.0">
The unique tenant identifier. This value may not be returned if not applicable.
</APIField>
<APIField slot="trailing-fields" name="event.type" type="String">
The event type, this value will always be <code>{eventType}</code>.
</APIField>
</EventBody>
# Kickstart Success
import APIField from 'src/components/api/APIField.astro';
import Event from 'src/content/docs/extend/events-and-webhooks/events/_event.astro';
import EventBody from 'src/content/docs/extend/events-and-webhooks/events/_event-body.astro';
import ReferenceLink from 'src/content/docs/_shared/_reference-link.mdx';
export const eventType = 'kickstart.success';
<Event name="Kickstart Success"
eventType={eventType}
description="This event is generated when kickstart has successfully completed."
scope="instance"
version="1.30.0"
transactional="false" />
<EventBody eventType={eventType}
jsonFile="kickstart-success.json"
skipStandardFields="true">
<APIField slot="leading-fields" name="event.createInstant" type="Long">
The [instant](/docs/reference/data-types#instants) that the event was generated.
</APIField>
<APIField slot="leading-fields" name="event.id" type="UUID">
The unique Id of the event. You may receive an event more than once based upon your transaction settings. This Id may be used to identify a duplicate event.
</APIField>
<APIField slot="leading-fields" name="event.instanceId" type="UUID">
The FusionAuth instance Id.
</APIField>
<APIField slot="trailing-fields" name="event.type" type="String">
The event type, this value will always be <code>{eventType}</code>.
</APIField>
</EventBody>
# User Action
import APIField from 'src/components/api/APIField.astro';
import Event from 'src/content/docs/extend/events-and-webhooks/events/_event.astro';
import EventBody from 'src/content/docs/extend/events-and-webhooks/events/_event-body.astro';
import InlineField from 'src/components/InlineField.astro';
import ReferenceLink from 'src/content/docs/_shared/_reference-link.mdx';
import Breadcrumb from 'src/components/Breadcrumb.astro';
export const eventType = 'user.action';
<Event eventType={eventType}
name="User Action"
scope="application">
<p slot="description">
This event is generated when a User Action is taken on a user and when temporal actions transition between phases.
</p>
<p slot="description">
A temporal action is one that has a start time and a duration. When a phase transition occurs for a temporal action, an event will be sent to the webhook. See the <InlineField>event.phase</InlineField> in the message body.
</p>
</Event>
<EventBody eventType={eventType}
sinceThreatDetection="1.30.0"
sinceIpAddress="1.27.0"
jsonFile="user-actions.json">
<APIField slot="leading-fields" name="event.action" type="String">
This parameter specifies the name of the action that is occurring.
</APIField>
<APIField slot="leading-fields" name="event.actionId" type="UUID">
This parameter specifies the unique Id of the action that is occurring.
</APIField>
<APIField slot="leading-fields" name="event.actioneeUserId" type="UUID">
This parameter specifies the unique identifier of the user the action is being performed on.
</APIField>
<APIField slot="leading-fields" name="event.actionerUserId" type="UUID">
This parameter specifies the Id of the User that performed the action that resulted in the notification being sent. If the action was initiated by FusionAuth this value will not be provided.
</APIField>
<APIField slot="leading-fields" name="event.applicationIds">
This parameter if provided specifies the scope of the User Action. When an Action is scoped to one or more Applications the Application Ids will be provided in this parameter.
</APIField>
<APIField slot="leading-fields" name="event.comment" type="String">
An optional comment left to possibly indicate why the action was taken, modified or canceled.
</APIField>
<APIField slot="leading-fields" name="event.createInstant" type="Long">
The [instant](/docs/reference/data-types#instants) that the event was generated.
</APIField>
<APIField slot="leading-fields" name="event.email" type="Object">
When the action is configured to send the email in the event body, FusionAuth will render the email and provide the result in the event body. This can be used to send an email through a third party provider. See Example POST body below for fields.
</APIField>
<APIField slot="leading-fields" name="event.emailedUser" type="Boolean">
This parameter will indicate if FusionAuth has already sent an email to the user as a result of this event. When `true` an email was sent to the user, and if `false` an email was not sent to the user.
</APIField>
<APIField slot="leading-fields" name="event.expiry" type="Long">
The [instant](/docs/reference/data-types#instants) that the action will expire, if the action expires.
</APIField>
<APIField slot="leading-fields" name="event.id" type="UUID">
The unique Id of the event. You may receive an event more than once based upon your transaction settings. This Id may be used to identify a duplicate event.
</APIField>
<APIField slot="trailing-fields" name="event.localizedAction" type="String">
This parameter specifies the localized version of the <InlineField>action</InlineField> field, based on the user's preferred languages.
</APIField>
<APIField slot="trailing-fields" name="event.localizedDuration" type="String">
The duration of the action in a human readable format that is localized based on the user's preferred languages.
</APIField>
<APIField slot="trailing-fields" name="event.localizedOption" type="String">
This parameter specifies the localized version of the <InlineField>option</InlineField> field, based on the user's preferred languages.
</APIField>
<APIField slot="trailing-fields" name="event.localizedReason" type="String">
This parameter specifies the localized reason of the <InlineField>reason</InlineField> field, based on the user's preferred languages.
</APIField>
<APIField slot="trailing-fields" name="event.notifyUser" type="Boolean">
This parameter specifies whether the user should be notified. FusionAuth will only set this value based upon the event configuration, it is simply an indicator to the event consumer to notify the user.
</APIField>
<APIField slot="trailing-fields" name="event.option" type="String">
An optional value to provide additional context to the Action. This value is free form and defined by the User Action.
</APIField>
<APIField slot="trailing-fields" name="event.phase" type="Boolean">
If the Action is temporal, this parameter will be provided to indicate the current phase of the action. The following are the possible Action states:
* `start` - The event has started.
* `modify` - The event has been modified.
* `cancel` - The event has been canceled, the `end` phase will not be reached.
* `end` - The event has ended.
When the action is started by an admin, the phase will be "start". If an admin changes the duration of the action, the phase will be "modify". If an admin cancels an action it will be "cancel" or the action expires, the phase will be "end". If the action is key-based, the phase will be "start".
</APIField>
<APIField slot="trailing-fields" name="event.reason" type="String">
The reason the admin selected. Reasons may be configured in the FusionAuth UI, navigate to <Breadcrumb>Settings -> User Actions -> Reasons</Breadcrumb>. This value will be omitted when no reasons are selected (or configured).
</APIField>
<APIField slot="trailing-fields" name="event.reasonCode" type="String">
The reason code the admin selected. Reasons may be configured in the FusionAuth UI, navigate to <Breadcrumb>Settings -> User Actions -> Reasons</Breadcrumb>. This value will be omitted when no reasons are selected (or configured).
</APIField>
<APIField slot="trailing-fields" name="event.tenantId" type="UUID" since="1.8.0">
The unique tenant identifier. This value may not be returned if not applicable.
</APIField>
<APIField slot="trailing-fields" name="event.type" type="String">
The event type, this value will always be <code>{eventType}</code>.
</APIField>
</EventBody>
# User Bulk Create
import APIField from 'src/components/api/APIField.astro';
import Event from 'src/content/docs/extend/events-and-webhooks/events/_event.astro';
import EventBody from 'src/content/docs/extend/events-and-webhooks/events/_event-body.astro';
import InlineField from 'src/components/InlineField.astro';
import ReferenceLink from 'src/content/docs/_shared/_reference-link.mdx';
export const eventType = 'user.bulk.create';
<Event description="This event is generated when multiple users are created via the [User Import API](/docs/apis/users#import-users). The JSON includes each of the Users that were created."
eventType={eventType}
name="User Bulk Create"
scope="tenant"
transactional="true" />
<EventBody eventType={eventType}
sinceThreatDetection="1.30.0"
sinceIpAddress="1.27.0"
jsonFile="user-bulk-create.json">
<APIField slot="leading-fields" name="event.createInstant" type="Long">
The [instant](/docs/reference/data-types#instants) that the event was generated.
</APIField>
<APIField slot="leading-fields" name="event.id" type="UUID">
The unique Id of the event. You may receive an event more than once based upon your transaction settings. This Id may be used to identify a duplicate event.
</APIField>
<APIField slot="trailing-fields" name="event.tenantId" type="UUID" since="1.8.0">
The unique tenant identifier. This value may not be returned if not applicable.
</APIField>
<APIField slot="trailing-fields" name="event.type" type="String">
The event type, this value will always be <code>{eventType}</code>.
</APIField>
<APIField slot="trailing-fields" name="event.users" type="Array<Object>">
The users that have been created. See the [Users API](/docs/apis/users) for property definitions and example JSON.
</APIField>
</EventBody>
# User Create Complete
import APIField from 'src/components/api/APIField.astro';
import Event from 'src/content/docs/extend/events-and-webhooks/events/_event.astro';
import EventBody from 'src/content/docs/extend/events-and-webhooks/events/_event-body.astro';
import InlineField from 'src/components/InlineField.astro';
import ReferenceLink from 'src/content/docs/_shared/_reference-link.mdx';
export const eventType = 'user.create.complete';
<Event eventType={eventType}
name="User Create Complete"
scope="tenant"
transactional="false"
version="1.30.0">
This event is generated when a single user is created and the user create transaction has completed. The JSON includes the User that was created.
This event is not generated when importing users via the [User Import API](/docs/apis/users#import-users). The [`user.bulk.create`](/docs/extend/events-and-webhooks/events/user-bulk-create) event is generated when importing users.
</Event>
<EventBody eventType={eventType}
jsonFile="user-create-complete.json">
<APIField slot="leading-fields" name="event.createInstant" type="Long">
The [instant](/docs/reference/data-types#instants) that the event was generated.
</APIField>
<APIField slot="leading-fields" name="event.id" type="UUID">
The unique Id of the event. You may receive an event more than once based upon your transaction settings. This Id may be used to identify a duplicate event.
</APIField>
<APIField slot="trailing-fields" name="event.tenantId" type="UUID">
The unique tenant identifier. This value may not be returned if not applicable.
</APIField>
<APIField slot="trailing-fields" name="event.type" type="String">
The event type, this value will always be <code>{eventType}</code>.
</APIField>
<APIField slot="trailing-fields" name="event.user" type="Object">
The user that has been created. See the [Users API](/docs/apis/users) for property definitions and example JSON.
</APIField>
</EventBody>
# User Deactivate
import APIField from 'src/components/api/APIField.astro';
import Event from 'src/content/docs/extend/events-and-webhooks/events/_event.astro';
import EventBody from 'src/content/docs/extend/events-and-webhooks/events/_event-body.astro';
import InlineField from 'src/components/InlineField.astro';
import ReferenceLink from 'src/content/docs/_shared/_reference-link.mdx';
export const eventType = 'user.deactivate';
<Event description="This event is generated when a user is deactivated, also referred to as a soft delete."
eventType={eventType}
name="User Deactivate"
scope="tenant"
transactional="true" />
<EventBody eventType={eventType}
sinceThreatDetection="1.30.0"
sinceIpAddress="1.27.0"
jsonFile="user-deactivate.json">
<APIField slot="leading-fields" name="event.createInstant" type="Long">
The [instant](/docs/reference/data-types#instants) that the event was generated.
</APIField>
<APIField slot="leading-fields" name="event.id" type="UUID">
The unique Id of the event. You may receive an event more than once based upon your transaction settings. This Id may be used to identify a duplicate event.
</APIField>
<APIField slot="trailing-fields" name="event.tenantId" type="UUID" since="1.8.0">
The unique tenant identifier. This value may not be returned if not applicable.
</APIField>
<APIField slot="trailing-fields" name="event.type" type="String">
The event type, this value will always be <code>{eventType}</code>.
</APIField>
<APIField slot="trailing-fields" name="event.user" type="Object">
The user that has been created. See the [Users API](/docs/apis/users) for property definitions and example JSON.
</APIField>
</EventBody>
# User Create
import APIField from 'src/components/api/APIField.astro';
import Event from 'src/content/docs/extend/events-and-webhooks/events/_event.astro';
import EventBody from 'src/content/docs/extend/events-and-webhooks/events/_event-body.astro';
import InlineField from 'src/components/InlineField.astro';
import ReferenceLink from 'src/content/docs/_shared/_reference-link.mdx';
export const eventType = 'user.create';
<Event eventType={eventType}
name="User Create"
scope="tenant"
transactional="true">
This event is generated when a single user is created. The JSON includes the User that was created.
This event is not generated when importing users via the [User Import API](/docs/apis/users#import-users). The [`user.bulk.create`](/docs/extend/events-and-webhooks/events/user-bulk-create) event is generated when importing users.
</Event>
<EventBody eventType={eventType}
sinceThreatDetection="1.30.0"
sinceIpAddress="1.27.0"
jsonFile="user-create.json">
<APIField slot="leading-fields" name="event.createInstant" type="Long">
The [instant](/docs/reference/data-types#instants) that the event was generated.
</APIField>
<APIField slot="leading-fields" name="event.id" type="UUID">
The unique Id of the event.
</APIField>
<APIField slot="trailing-fields" name="event.tenantId" type="UUID" since="1.8.0">
The unique tenant identifier. This value may not be returned if not applicable.
</APIField>
<APIField slot="trailing-fields" name="event.type" type="String">
The event type, this value will always be <code>{eventType}</code>.
</APIField>
<APIField slot="trailing-fields" name="event.user" type="Object">
The user that has been created. See the [Users API](/docs/apis/users) for property definitions and example JSON.
</APIField>
</EventBody>
# User Delete Complete
import APIField from 'src/components/api/APIField.astro';
import Event from 'src/content/docs/extend/events-and-webhooks/events/_event.astro';
import EventBody from 'src/content/docs/extend/events-and-webhooks/events/_event-body.astro';
import InlineField from 'src/components/InlineField.astro';
import ReferenceLink from 'src/content/docs/_shared/_reference-link.mdx';
export const eventType = 'user.delete.complete';
<Event description="This event is generated when a user delete transaction has completed.. The JSON includes the User that was deleted."
eventType={eventType}
name="User Delete Complete"
scope="tenant"
transactional="false"
version="1.30.0"/>
This event is only generated after a `user.delete` transaction has completed.
<EventBody eventType={eventType}
jsonFile="user-delete-complete.json">
<APIField slot="leading-fields" name="event.createInstant" type="Long">
The [instant](/docs/reference/data-types#instants) that the event was generated.
</APIField>
<APIField slot="leading-fields" name="event.id" type="UUID">
The unique Id of the event. You may receive an event more than once based upon your transaction settings. This Id may be used to identify a duplicate event.
</APIField>
<APIField slot="trailing-fields" name="event.tenantId" type="UUID">
The unique tenant identifier. This value may not be returned if not applicable.
</APIField>
<APIField slot="trailing-fields" name="event.type" type="String">
The event type, this value will always be <code>{eventType}</code>.
</APIField>
<APIField slot="trailing-fields" name="event.user" type="Object">
The user that has been deleted. See the [Users API](/docs/apis/users) for property definitions and example JSON.
</APIField>
</EventBody>
# User Delete
import APIField from 'src/components/api/APIField.astro';
import Event from 'src/content/docs/extend/events-and-webhooks/events/_event.astro';
import EventBody from 'src/content/docs/extend/events-and-webhooks/events/_event-body.astro';
import InlineField from 'src/components/InlineField.astro';
import ReferenceLink from 'src/content/docs/_shared/_reference-link.mdx';
export const eventType = 'user.delete';
<Event description="This event is generated when a user is deleted."
eventType={eventType}
name="User Delete"
scope="tenant"
transactional="true" />
<EventBody eventType={eventType}
sinceThreatDetection="1.30.0"
sinceIpAddress="1.27.0"
jsonFile="user-delete.json">
<APIField slot="leading-fields" name="event.createInstant" type="Long">
The [instant](/docs/reference/data-types#instants) that the event was generated.
</APIField>
<APIField slot="leading-fields" name="event.id" type="UUID">
The unique Id of the event. You may receive an event more than once based upon your transaction settings. This Id may be used to identify a duplicate event.
</APIField>
<APIField slot="trailing-fields" name="event.tenantId" type="UUID" since="1.8.0">
The unique tenant identifier. This value may not be returned if not applicable.
</APIField>
<APIField slot="trailing-fields" name="event.type" type="String">
The event type, this value will always be <code>{eventType}</code>.
</APIField>
<APIField slot="trailing-fields" name="event.user" type="Object">
The user that has been deleted. See the [Users API](/docs/apis/users) for property definitions and example JSON.
</APIField>
</EventBody>
# User Email Update
import APIField from 'src/components/api/APIField.astro';
import Event from 'src/content/docs/extend/events-and-webhooks/events/_event.astro';
import EventBody from 'src/content/docs/extend/events-and-webhooks/events/_event-body.astro';
import InlineField from 'src/components/InlineField.astro';
import ReferenceLink from 'src/content/docs/_shared/_reference-link.mdx';
export const eventType = 'user.email.update';
<Event description="This event is generated when a user updates their email address."
eventType={eventType}
name="User Email Update"
scope="tenant"
transactional="false"
version="1.30.0"/>
<EventBody eventType={eventType}
jsonFile="user-email-update.json">
<APIField slot="leading-fields" name="event.createInstant" type="Long">
The [instant](/docs/reference/data-types#instants) that the event was generated.
</APIField>
<APIField slot="leading-fields" name="event.id" type="UUID">
The unique Id of the event. You may receive an event more than once based upon your transaction settings. This Id may be used to identify a duplicate event.
</APIField>
<APIField slot="trailing-fields" name="event.previousEmail" type="String">
The last value of the user's email address.
</APIField>
<APIField slot="trailing-fields" name="event.tenantId" type="UUID">
The unique tenant identifier. This value may not be returned if not applicable.
</APIField>
<APIField slot="trailing-fields" name="event.type" type="String">
The event type, this value will always be <code>{eventType}</code>.
</APIField>
<APIField slot="trailing-fields" name="event.user" type="Object">
The user that has updated their email address. See the [Users API](/docs/apis/users) for property definitions and example JSON.
</APIField>
</EventBody>
# User Email Verified
import APIField from 'src/components/api/APIField.astro';
import Aside from "src/components/Aside.astro";
import AvailableSince from 'src/components/api/AvailableSince.astro';
import Event from 'src/content/docs/extend/events-and-webhooks/events/_event.astro';
import EventBody from 'src/content/docs/extend/events-and-webhooks/events/_event-body.astro';
import InlineField from 'src/components/InlineField.astro';
export const eventType = 'user.email.verified';
<Event description="This event is generated when a user verifies their email address."
eventType={eventType}
name="User Email Verified"
scope="tenant"
transactional="true"
version="1.8.0"/>
<Aside>
The [User Identity Verified](/docs/extend/events-and-webhooks/events/user-identity-verified) event is also created when email identities are verified and also includes phone number identities.
<AvailableSince since="1.59.0" />
</Aside>
<EventBody eventType={eventType}
sinceThreatDetection="1.30.0"
sinceIpAddress="1.27.0"
jsonFile="user-email-verified.json">
<APIField slot="leading-fields" name="event.createInstant" type="Long">
The [instant](/docs/reference/data-types#instants) that the event was generated.
</APIField>
<APIField slot="leading-fields" name="event.id" type="UUID">
The unique Id of the event. You may receive an event more than once based upon your transaction settings. This Id may be used to identify a duplicate event.
</APIField>
<APIField slot="trailing-fields" name="event.tenantId" type="UUID">
The unique tenant identifier. This value may not be returned if not applicable.
</APIField>
<APIField slot="trailing-fields" name="event.type" type="String">
The event type, this value will always be <InlineField>{eventType}</InlineField>.
</APIField>
<APIField slot="trailing-fields" name="event.user" type="Object">
The user that has verified their email address. See the [Users API](/docs/apis/users) for property definitions and example JSON.
</APIField>
</EventBody>
# User Identity Provider Link
import APIField from 'src/components/api/APIField.astro';
import Event from 'src/content/docs/extend/events-and-webhooks/events/_event.astro';
import EventBody from 'src/content/docs/extend/events-and-webhooks/events/_event-body.astro';
import InlineField from 'src/components/InlineField.astro';
import ReferenceLink from 'src/content/docs/_shared/_reference-link.mdx';
export const eventType = 'user.identity-provider.link';
<Event description="This event is generated when a user is linked to an Identity Provider."
eventType={eventType}
name="User Identity Provider Link"
scope="tenant"
transactional="false"
version="1.36.0"/>
<EventBody eventType={eventType}
sinceThreatDetection="1.30.0"
sinceIpAddress="1.27.0"
jsonFile="user-identity-provider-link.json">
<APIField slot="leading-fields" name="event.createInstant" type="Long">
The [instant](/docs/reference/data-types#instants) that the event was generated.
</APIField>
<APIField slot="leading-fields" name="event.id" type="UUID">
The unique Id of the event.
</APIField>
<APIField slot="leading-fields" name="event.identityProviderLink" type="IdentityProviderLink">
The identity provider link created. See the [Identity Provider Links API](/docs/apis/identity-providers/links#retrieve-a-link) for property definitions and example JSON.
</APIField>
<APIField slot="trailing-fields" name="event.tenantId" type="UUID">
The unique tenant identifier.
</APIField>
<APIField slot="trailing-fields" name="event.type" type="String">
The event type, this value will always be <code>{eventType}</code>.
</APIField>
<APIField slot="trailing-fields" name="event.user" type="User">
The user that has been linked. See the [Users API](/docs/apis/users) for property definitions and example JSON.
</APIField>
</EventBody>
# User Identity Provider Unlink
import APIField from 'src/components/api/APIField.astro';
import Event from 'src/content/docs/extend/events-and-webhooks/events/_event.astro';
import EventBody from 'src/content/docs/extend/events-and-webhooks/events/_event-body.astro';
import InlineField from 'src/components/InlineField.astro';
import ReferenceLink from 'src/content/docs/_shared/_reference-link.mdx';
export const eventType = 'user.identity-provider.unlink';
<Event description="This event is generated when a link to an Identity Provider is removed."
eventType={eventType}
name="User Identity Provider Unlink"
scope="tenant"
transactional="false"
version="1.36.0"/>
<EventBody eventType={eventType}
jsonFile="user-identity-provider-unlink.json">
<APIField slot="leading-fields" name="event.createInstant" type="Long">
The [instant](/docs/reference/data-types#instants) that the event was generated.
</APIField>
<APIField slot="leading-fields" name="event.id" type="UUID">
The unique Id of the event.
</APIField>
<APIField slot="leading-fields" name="event.identityProviderLink" type="IdentityProviderLink">
The identity provider link created. See the [Identity Provider Links API](/docs/apis/identity-providers/links#retrieve-a-link) for property definitions and example JSON.
</APIField>
<APIField slot="trailing-fields" name="event.tenantId" type="UUID">
The unique tenant identifier.
</APIField>
<APIField slot="trailing-fields" name="event.type" type="String">
The event type, this value will always be <code>{eventType}</code>.
</APIField>
<APIField slot="trailing-fields" name="event.user" type="User">
The user that has been unlinked. See the [Users API](/docs/apis/users) for property definitions and example JSON.
</APIField>
</EventBody>
# User Identity Verified
import APIField from 'src/components/api/APIField.astro';
import Aside from "src/components/Aside.astro";
import Event from 'src/content/docs/extend/events-and-webhooks/events/_event.astro';
import EventBody from 'src/content/docs/extend/events-and-webhooks/events/_event-body.astro';
import InlineField from 'src/components/InlineField.astro';
export const eventType = 'user.identity.verified';
<Event description="This event is generated when a user verifies an identity, which could be an email address or phone number."
eventType={eventType}
name="User Identity Verified"
scope="tenant"
transactional="true"
version="1.59.0"/>
<Aside>
The [User Email Verified](/docs/extend/events-and-webhooks/events/user-email-verified) event is also created when email identities are verified and will continue to function for compatibility reasons. This event is more generic and will be used for all identity verifications, including phone numbers.
</Aside>
<EventBody eventType={eventType}
jsonFile="user-identity-verified.json">
<APIField slot="leading-fields" name="event.createInstant" type="Long">
The [instant](/docs/reference/data-types#instants) that the event was generated.
</APIField>
<APIField slot="leading-fields" name="event.id" type="UUID">
The unique Id of the event. You may receive an event more than once based upon your transaction settings. This Id may be used to identify a duplicate event.
</APIField>
<APIField slot="trailing-fields" name="event.tenantId" type="UUID">
The unique tenant identifier. This value may not be returned if not applicable.
</APIField>
<APIField slot="trailing-fields" name="event.type" type="String">
The event type, this value will always be <InlineField>{eventType}</InlineField>.
</APIField>
<APIField slot="trailing-fields" name="event.loginId" type="String">
The `loginId` of the identity that was verified. This is the email address or phone number.
</APIField>
<APIField slot="trailing-fields" name="event.loginIdType" type="String">
The `loginIdType` of the identity that was verified. This describes what `event.loginId` is, such as `email` or `phoneNumber`.
</APIField>
<APIField slot="trailing-fields" name="event.user" type="Object">
The user that has verified an identity. See the [Users API](/docs/apis/users) for property definitions and example JSON.
</APIField>
</EventBody>
# User Login Failed
import APIField from 'src/components/api/APIField.astro';
import AuthenticationTypeValues from 'src/content/docs/_shared/authentication-type-values.astro';
import Event from 'src/content/docs/extend/events-and-webhooks/events/_event.astro';
import EventBody from 'src/content/docs/extend/events-and-webhooks/events/_event-body.astro';
import InlineField from 'src/components/InlineField.astro';
import ReferenceLink from 'src/content/docs/_shared/_reference-link.mdx';
export const eventType = 'user.login.failed';
<Event description="This event is generated when a user login request fails due to invalid credentials. It is not generated when a login attempt is made and the user doesn't exist."
eventType={eventType}
name="User Login Failed"
scope="application"
transactional="true"
version="1.6.0"/>
<EventBody eventType={eventType}
sinceThreatDetection="1.30.0"
sinceIpAddress="1.27.0"
jsonFile="user-login-failed.json">
<APIField slot="leading-fields" name="event.applicationId" type="UUID">
The unique Id of the Application for which the user has requested login. If the login request omits the <InlineField>applicationId</InlineField> or the user is not registered for the requested <InlineField>applicationId</InlineField> this value will not be returned in the event.
</APIField>
<APIField slot="leading-fields" name="event.authenticationType" type="String">
The type of authentication used in the login request. The possible values are:
<AuthenticationTypeValues showSince="1.6.0" />
</APIField>
<APIField slot="leading-fields" name="event.createInstant" type="Long">
The [instant](/docs/reference/data-types#instants) that the event was generated.
</APIField>
<APIField slot="leading-fields" name="event.id" type="UUID">
The unique Id of the event. You may receive an event more than once based upon your transaction settings. This Id may be used to identify a duplicate event.
</APIField>
<APIField slot="leading-fields" name="event.ipAddress" type="String" deprecated>
The ip address provided in the login request.
Moved to <InlineField>event.info</InlineField> in 1.30.0
</APIField>
<APIField slot="trailing-fields" name="event.reason" type="Object" since="1.53.0">
An object containing data on the reason the login failed.
</APIField>
<APIField slot="trailing-fields" name="event.reason.code" type="String" since="1.53.0">
The cause of the event. The possible values are:
* `credentials`
* `lambdaValidation`
</APIField>
<APIField slot="trailing-fields" name="event.reason.lambdaId" type="UUID" since="1.53.0">
This is the unique Id of the lambda that caused the login to fail.
This field is only present if <InlineField>reason.code</InlineField> is `lambdaValidation`.
</APIField>
<APIField slot="trailing-fields" name="event.reason.lambdaResult" type="Errors" since="1.53.0">
The [Errors](/docs/apis/errors) object returned by the lambda function which caused the login to fail.
This field is only present if <InlineField>reason.code</InlineField> is `lambdaValidation`.
</APIField>
<APIField slot="trailing-fields" name="event.tenantId" type="UUID" since="1.8.0">
The unique tenant identifier. This value may not be returned if not applicable.
</APIField>
<APIField slot="trailing-fields" name="event.type" type="String">
The event type, this value will always be <code>{eventType}</code>.{/* eslint-disable-line */}
</APIField>
<APIField slot="trailing-fields" name="event.user" type="Object">
The user that failed the login request. See the [Users API](/docs/apis/users) for property definitions and example JSON.
</APIField>
</EventBody>
# User Login Id Duplicate Create
import APIField from 'src/components/api/APIField.astro';
import Event from 'src/content/docs/extend/events-and-webhooks/events/_event.astro';
import EventBody from 'src/content/docs/extend/events-and-webhooks/events/_event-body.astro';
import InlineField from 'src/components/InlineField.astro';
import ReferenceLink from 'src/content/docs/_shared/_reference-link.mdx';
export const eventType = 'user.loginId.duplicate.create';
<Event description="This event is generated when a request to create a user with a login Id (email or username) which is already in use has been received."
plan="enterprise"
eventType={eventType}
name="User Login Id Duplicate Create"
scope="application"
transactional="false"
version="1.30.0"/>
<EventBody eventType={eventType}
sinceThreatDetection="1.30.0"
sinceIpAddress="1.27.0"
jsonFile="user-login-id-duplicate-create.json">
<APIField slot="leading-fields" name="event.createInstant" type="Long">
The [instant](/docs/reference/data-types#instants) that the event was generated.
</APIField>
<APIField slot="leading-fields" name="event.duplicateEmail" type="String">
The email address that is already in-use.
</APIField>
<APIField slot="leading-fields" name="event.duplicateIdentities" type="Array<Object>" since="1.59.0">
List of identities that are already in-use. Identity objects contain a <InlineField>type</InlineField> and a <InlineField>value</InlineField> property. The <InlineField>type</InlineField> is the type of identity (e.g., email, phoneNumber, username) and the <InlineField>value</InlineField> is the actual value of that identity.
</APIField>
<APIField slot="leading-fields" name="event.duplicatePhoneNumber" type="String" since="1.59.0">
The phone number that is already in-use.
</APIField>
<APIField slot="leading-fields" name="event.duplicateUsername" type="String">
The username that is already in-use.
</APIField>
<APIField slot="leading-fields" name="event.existing" type="Object">
The existing user that is using the requested email address or username. See the [Users API](/docs/apis/users) for property definitions and example JSON.
</APIField>
<APIField slot="leading-fields" name="event.id" type="UUID">
The unique Id of the event. You may receive an event more than once based upon your transaction settings. This Id may be used to identify a duplicate event.
</APIField>
<APIField slot="trailing-fields" name="event.tenantId" type="UUID">
The unique tenant identifier. This value may not be returned if not applicable.
</APIField>
<APIField slot="trailing-fields" name="event.type" type="String">
The event type, this value will always be <InlineField>{eventType}</InlineField>.
</APIField>
<APIField slot="trailing-fields" name="event.user" type="Object">
The user that on the create request that attempted to use a duplicate login Id. See the [Users API](/docs/apis/users) for property definitions and example JSON.
</APIField>
</EventBody>
# User Login Id Duplicate Update
import APIField from 'src/components/api/APIField.astro';
import Event from 'src/content/docs/extend/events-and-webhooks/events/_event.astro';
import EventBody from 'src/content/docs/extend/events-and-webhooks/events/_event-body.astro';
import InlineField from 'src/components/InlineField.astro';
import ReferenceLink from 'src/content/docs/_shared/_reference-link.mdx';
export const eventType = 'user.loginId.duplicate.update';
<Event description="This event is generated when a request to update a user with a login Id (email or username) which is already in use has been received."
plan="enterprise"
eventType={eventType}
name="User Login Id Duplicate Update"
scope="tenant"
transactional="false"
version="1.30.0"/>
<EventBody eventType={eventType}
sinceThreatDetection="1.30.0"
sinceIpAddress="1.27.0"
jsonFile="user-login-id-duplicate-update.json">
<APIField slot="leading-fields" name="event.createInstant" type="Long">
The [instant](/docs/reference/data-types#instants) that the event was generated.
</APIField>
<APIField slot="leading-fields" name="event.duplicateEmail" type="String">
The email address that is already in-use.
</APIField>
<APIField slot="leading-fields" name="event.duplicateIdentities" type="Array<Object>" since="1.59.0">
List of identities that are already in-use. Identity objects contain a <InlineField>type</InlineField> and a <InlineField>value</InlineField> property. The <InlineField>type</InlineField> is the type of identity (e.g., email, phoneNumber, username) and the <InlineField>value</InlineField> is the actual value of that identity.
</APIField>
<APIField slot="leading-fields" name="event.duplicatePhoneNumber" type="String" since="1.59.0">
The phone number that is already in-use.
</APIField>
<APIField slot="leading-fields" name="event.duplicateUsername" type="String">
The username that is already in-use.
</APIField>
<APIField slot="leading-fields" name="event.existing" type="Object">
The existing user that is using the requested email address or username. See the [Users API](/docs/apis/users) for property definitions and example JSON.
</APIField>
<APIField slot="leading-fields" name="event.id" type="UUID">
The unique Id of the event. You may receive an event more than once based upon your transaction settings. This Id may be used to identify a duplicate event.
</APIField>
<APIField slot="trailing-fields" name="event.tenantId" type="UUID">
The unique tenant identifier. This value may not be returned if not applicable.
</APIField>
<APIField slot="trailing-fields" name="event.type" type="String">
The event type, this value will always be <InlineField>{eventType}</InlineField>.
</APIField>
<APIField slot="trailing-fields" name="event.user" type="Object">
The user on the update request that attempted to use a duplicate login Id. See the [Users API](/docs/apis/users) for property definitions and example JSON.
</APIField>
</EventBody>
# User Login New Device
import APIField from 'src/components/api/APIField.astro';
import AuthenticationTypeValues from 'src/content/docs/_shared/authentication-type-values.astro';
import Event from 'src/content/docs/extend/events-and-webhooks/events/_event.astro';
import EventBody from 'src/content/docs/extend/events-and-webhooks/events/_event-body.astro';
import InlineField from 'src/components/InlineField.astro';
import ReferenceLink from 'src/content/docs/_shared/_reference-link.mdx';
export const eventType = 'user.login.new-device';
<Event description="This event is generated when a user logs in with a new or un-recognized device."
plan="enterprise"
eventType={eventType}
name="User Login New Device"
scope="tenant"
transactional="true"
version="1.30.0"/>
<EventBody eventType={eventType}
sinceThreatDetection="1.30.0"
sinceIpAddress="1.27.0"
jsonFile="user-login-new-device.json">
<APIField slot="leading-fields" name="event.applicationId" type="UUID">
The unique Id of the Application for which the user has requested login. If the login request omits the <InlineField>applicationId</InlineField> or the user is not registered for the requested <InlineField>applicationId</InlineField> this value will not be returned in the event.
</APIField>
<APIField slot="leading-fields" name="event.authenticationType" type="String">
The type of authentication used in the login request. The possible values are:
<AuthenticationTypeValues showSince="1.30.0" />
</APIField>
<APIField slot="leading-fields" name="event.connectorId" type="UUID">
The unique Id of the connector used to complete the login.
</APIField>
<APIField slot="leading-fields" name="event.createInstant" type="Long">
The [instant](/docs/reference/data-types#instants) that the event was generated.
</APIField>
<APIField slot="leading-fields" name="event.id" type="UUID">
The unique Id of the event. You may receive an event more than once based upon your transaction settings. This Id may be used to identify a duplicate event.
</APIField>
<APIField slot="leading-fields" name="event.identityProviderId" type="UUID">
The unique Id of the identity provider used to complete the login. This value will be omitted from the event if an identity provider was not used.
</APIField>
<APIField slot="leading-fields" name="event.identityProviderName" type="String">
The name of the identity provider used to complete the login. This value will be omitted from the event if an identity provider was not used.
</APIField>
<APIField slot="leading-fields" name="event.tenantId" type="UUID">
The unique tenant identifier. This value may not be returned if not applicable.
</APIField>
<APIField slot="leading-fields" name="event.type" type="String">
The event type, this value will always be <code>{eventType}</code>.{/* eslint-disable-line */}
</APIField>
<APIField slot="leading-fields" name="event.user" type="Object">
The user that completed the login request. See the [Users API](/docs/apis/users) for property definitions and example JSON
</APIField>
</EventBody>
# User Login Success
import APIField from 'src/components/api/APIField.astro';
import AuthenticationTypeValues from 'src/content/docs/_shared/authentication-type-values.astro';
import Event from 'src/content/docs/extend/events-and-webhooks/events/_event.astro';
import EventBody from 'src/content/docs/extend/events-and-webhooks/events/_event-body.astro';
import InlineField from 'src/components/InlineField.astro';
import ReferenceLink from 'src/content/docs/_shared/_reference-link.mdx';
export const eventType = 'user.login.success';
<Event description="This event is generated when a user completes a successful login."
eventType={eventType}
name="User Login Success"
scope="application"
transactional="true"
version="1.6.0"/>
<EventBody eventType={eventType}
sinceThreatDetection="1.30.0"
sinceIpAddress="1.27.0"
jsonFile="user-login-success.json">
<APIField slot="leading-fields" name="event.applicationId" type="UUID">
The unique Id of the Application for which the user has requested login. If the login request omits the <InlineField>applicationId</InlineField> or the user is not registered for the requested <InlineField>applicationId</InlineField> this value will not be returned in the event.
</APIField>
<APIField slot="leading-fields" name="event.authenticationType" type="String">
The type of authentication used in the login request. The possible values are:
<AuthenticationTypeValues showSince="1.6.0" />
</APIField>
<APIField slot="leading-fields" name="event.connectorId" type="UUID" since="1.18.0">
The unique Id of the connector used to complete the login.
</APIField>
<APIField slot="leading-fields" name="event.createInstant" type="Long">
The [instant](/docs/reference/data-types#instants) that the event was generated.
</APIField>
<APIField slot="leading-fields" name="event.id" type="UUID">
The unique Id of the event. You may receive an event more than once based upon your transaction settings. This Id may be used to identify a duplicate event.
</APIField>
<APIField slot="leading-fields" name="event.identityProviderId" type="UUID">
The unique Id of the identity provider used to complete the login. This value will be omitted from the event if an identity provider was not used.
</APIField>
<APIField slot="leading-fields" name="event.identityProviderName" type="String">
The name of the identity provider used to complete the login. This value will be omitted from the event if an identity provider was not used.
</APIField>
<APIField slot="leading-fields" name="event.ipAddress" type="String" deprecated>
The IP address provided in the login request.
Moved to <InlineField>event.info</InlineField> in 1.30.0
</APIField>
<APIField slot="trailing-fields" name="event.tenantId" type="UUID" since="1.8.0">
The unique tenant identifier. This value may not be returned if not applicable.
</APIField>
<APIField slot="trailing-fields" name="event.type" type="String">
The event type, this value will always be <code>{eventType}</code>.{/* eslint-disable-line */}
</APIField>
<APIField slot="trailing-fields" name="event.user" type="Object">
The user that completed the login request. See the [Users API](/docs/apis/users) for property definitions and example JSON
</APIField>
</EventBody>
# User Login Suspicious
import APIField from 'src/components/api/APIField.astro';
import AuthenticationTypeValues from 'src/content/docs/_shared/authentication-type-values.astro';
import Event from 'src/content/docs/extend/events-and-webhooks/events/_event.astro';
import EventBody from 'src/content/docs/extend/events-and-webhooks/events/_event-body.astro';
import InlineField from 'src/components/InlineField.astro';
import ReferenceLink from 'src/content/docs/_shared/_reference-link.mdx';
export const eventType = 'user.login.suspicious';
<Event description="This event is generated when a user logs in and FusionAuth has considered them to be a potential threat."
plan="enterprise"
eventType={eventType}
name="User Login Suspicious"
scope="tenant"
transactional="true"
version="1.30.0"/>
<EventBody eventType={eventType}
sinceThreatDetection="1.30.0"
sinceIpAddress="1.27.0"
jsonFile="user-login-suspicious.json">
<APIField slot="leading-fields" name="event.applicationId" type="UUID">
The unique Id of the Application for which the user has requested login. If the login request omits the <InlineField>applicationId</InlineField> or the user is not registered for the requested <InlineField>applicationId</InlineField> this value will not be returned in the event.
</APIField>
<APIField slot="leading-fields" name="event.authenticationType" type="String">
The type of authentication used in the login request. The possible values are:
<AuthenticationTypeValues showSince="1.30.0" />
</APIField>
<APIField slot="leading-fields" name="event.connectorId" type="UUID">
The unique Id of the connector used to complete the login.
</APIField>
<APIField slot="leading-fields" name="event.createInstant" type="Long">
The [instant](/docs/reference/data-types#instants) that the event was generated.
</APIField>
<APIField slot="leading-fields" name="event.id" type="UUID">
The unique Id of the event. You may receive an event more than once based upon your transaction settings. This Id may be used to identify a duplicate event.
</APIField>
<APIField slot="leading-fields" name="event.identityProviderId" type="UUID">
The unique Id of the identity provider used to complete the login. This value will be omitted from the event if an identity provider was not used.
</APIField>
<APIField slot="leading-fields" name="event.identityProviderName" type="String">
The name of the identity provider used to complete the login. This value will be omitted from the event if an identity provider was not used.
</APIField>
<APIField slot="trailing-fields" name="event.tenantId" type="UUID">
The unique tenant identifier. This value may not be returned if not applicable.
</APIField>
<APIField slot="trailing-fields" name="event.threatsDetected" type="Array<String>">
The types of potential threats that have been flagged for this event.
The possible values are:
* `ImpossibleTravel` - The distance between recent logins exceeds the possible value a person can travel within the allotted time frame.
</APIField>
<APIField slot="trailing-fields" name="event.type" type="String">
The event type, this value will always be <code>{eventType}</code>.{/* eslint-disable-line */}
</APIField>
<APIField slot="trailing-fields" name="event.user" type="Object">
The user that completed the login request. See the [Users API](/docs/apis/users) for property definitions and example JSON
</APIField>
</EventBody>
# User Password Breach
import APIField from 'src/components/api/APIField.astro';
import Event from 'src/content/docs/extend/events-and-webhooks/events/_event.astro';
import EventBody from 'src/content/docs/extend/events-and-webhooks/events/_event-body.astro';
import InlineField from 'src/components/InlineField.astro';
import ReferenceLink from 'src/content/docs/_shared/_reference-link.mdx';
export const eventType = 'user.password.breach';
<Event description="This event is generated when Reactor detects a user is using a vulnerable, or breached password. This event will only occur during login when the Tenant is not configured to require the user to change their password. All other breached password detections will occur during password validation and because the user will not be allowed to use the password."
plan="premium"
eventType={eventType}
name="User Password Breach"
scope="tenant"
transactional="true"
version="1.15.0"/>
<EventBody eventType={eventType}
sinceThreatDetection="1.30.0"
sinceIpAddress="1.27.0"
jsonFile="user-password-breach.json">
<APIField slot="leading-fields" name="event.createInstant" type="Long">
The [instant](/docs/reference/data-types#instants) that the event was generated.
</APIField>
<APIField slot="leading-fields" name="event.id" type="UUID">
The unique Id of the event. You may receive an event more than once based upon your transaction settings. This Id may be used to identify a duplicate event.
</APIField>
<APIField slot="trailing-fields" name="event.tenantId" type="UUID">
The unique tenant identifier. This value may not be returned if not applicable.
</APIField>
<APIField slot="trailing-fields" name="event.type" type="String">
The event type, this value will always be <code>{eventType}</code>.
</APIField>
<APIField slot="trailing-fields" name="event.user" type="Object">
The user that failed the login request. See the [Users API](/docs/apis/users) for property definitions and example JSON.
</APIField>
</EventBody>
# User Password Reset Send
import APIField from 'src/components/api/APIField.astro';
import Event from 'src/content/docs/extend/events-and-webhooks/events/_event.astro';
import EventBody from 'src/content/docs/extend/events-and-webhooks/events/_event-body.astro';
import InlineField from 'src/components/InlineField.astro';
import ReferenceLink from 'src/content/docs/_shared/_reference-link.mdx';
export const eventType = 'user.password.reset.send';
<Event description="This event is generated when a reset password request has been sent."
plan="enterprise"
eventType={eventType}
name="User Password Reset Send"
scope="tenant"
transactional="false"
version="1.30.0"/>
<EventBody eventType={eventType}
jsonFile="user-password-reset-send.json">
<APIField slot="leading-fields" name="event.createInstant" type="Long">
The [instant](/docs/reference/data-types#instants) that the event was generated.
</APIField>
<APIField slot="leading-fields" name="event.id" type="UUID">
The unique Id of the event. You may receive an event more than once based upon your transaction settings. This Id may be used to identify a duplicate event.
</APIField>
<APIField slot="trailing-fields" name="event.tenantId" type="UUID">
The unique tenant identifier. This value may not be returned if not applicable.
</APIField>
<APIField slot="trailing-fields" name="event.type" type="String">
The event type, this value will always be <code>{eventType}</code>.
</APIField>
<APIField slot="trailing-fields" name="event.user" type="Object">
The user for whom the reset password send request was initiated. See the [Users API](/docs/apis/users) for property definitions and example JSON.
</APIField>
</EventBody>
# User Password Reset Start
import APIField from 'src/components/api/APIField.astro';
import Event from 'src/content/docs/extend/events-and-webhooks/events/_event.astro';
import EventBody from 'src/content/docs/extend/events-and-webhooks/events/_event-body.astro';
import InlineField from 'src/components/InlineField.astro';
import ReferenceLink from 'src/content/docs/_shared/_reference-link.mdx';
export const eventType = 'user.password.reset.start';
<Event description="This event is generated when a reset password request has been started."
plan="enterprise"
eventType={eventType}
name="User Password Reset Start"
scope="tenant"
transactional="false"
version="1.30.0"/>
<EventBody eventType={eventType}
jsonFile="user-password-reset-start.json">
<APIField slot="leading-fields" name="event.createInstant" type="Long">
The [instant](/docs/reference/data-types#instants) that the event was generated.
</APIField>
<APIField slot="leading-fields" name="event.id" type="UUID">
The unique Id of the event. You may receive an event more than once based upon your transaction settings. This Id may be used to identify a duplicate event.
</APIField>
<APIField slot="trailing-fields" name="event.tenantId" type="UUID">
The unique tenant identifier. This value may not be returned if not applicable.
</APIField>
<APIField slot="trailing-fields" name="event.type" type="String">
The event type, this value will always be <code>{eventType}</code>.
</APIField>
<APIField slot="trailing-fields" name="event.user" type="Object">
The user that the reset password flow has been started for. See the [Users API](/docs/apis/users) for property definitions and example JSON.
</APIField>
</EventBody>
# User Password Update
import APIField from 'src/components/api/APIField.astro';
import Event from 'src/content/docs/extend/events-and-webhooks/events/_event.astro';
import EventBody from 'src/content/docs/extend/events-and-webhooks/events/_event-body.astro';
import InlineField from 'src/components/InlineField.astro';
import ReferenceLink from 'src/content/docs/_shared/_reference-link.mdx';
export const eventType = 'user.password.update';
<Event description="This event is generated when a user's password has been updated."
plan="enterprise"
eventType={eventType}
name="User Password Update"
scope="tenant"
transactional="false"
version="1.30.0"/>
<EventBody eventType={eventType}
jsonFile="user-password-update.json">
<APIField slot="leading-fields" name="event.createInstant" type="Long">
The [instant](/docs/reference/data-types#instants) that the event was generated.
</APIField>
<APIField slot="leading-fields" name="event.id" type="UUID">
The unique Id of the event. You may receive an event more than once based upon your transaction settings. This Id may be used to identify a duplicate event.
</APIField>
<APIField slot="trailing-fields" name="event.tenantId" type="UUID">
The unique tenant identifier. This value may not be returned if not applicable.
</APIField>
<APIField slot="trailing-fields" name="event.type" type="String">
The event type, this value will always be <code>{eventType}</code>.
</APIField>
<APIField slot="trailing-fields" name="event.user" type="Object">
The user whose password has been updated. See the [Users API](/docs/apis/users) for property definitions and example JSON.
</APIField>
</EventBody>
# User Reactivate
import APIField from 'src/components/api/APIField.astro';
import Event from 'src/content/docs/extend/events-and-webhooks/events/_event.astro';
import EventBody from 'src/content/docs/extend/events-and-webhooks/events/_event-body.astro';
import InlineField from 'src/components/InlineField.astro';
import ReferenceLink from 'src/content/docs/_shared/_reference-link.mdx';
export const eventType = 'user.reactivate';
<Event description="This event is generated when a user is re-activated. A re-activated user is one that had been soft deleted and has now been un-deleted."
eventType={eventType}
name="User Reactivate"
scope="tenant"
transactional="true" />
<EventBody eventType={eventType}
sinceThreatDetection="1.30.0"
sinceIpAddress="1.27.0"
jsonFile="user-reactivate.json">
<APIField slot="leading-fields" name="event.createInstant" type="Long">
The [instant](/docs/reference/data-types#instants) that the event was generated.
</APIField>
<APIField slot="leading-fields" name="event.id" type="UUID">
The unique Id of the event. You may receive an event more than once based upon your transaction settings. This Id may be used to identify a duplicate event.
</APIField>
<APIField slot="trailing-fields" name="event.tenantId" type="UUID" since="1.8.0">
The unique tenant identifier. This value may not be returned if not applicable.
</APIField>
<APIField slot="trailing-fields" name="event.type" type="String">
The event type, this value will always be <code>{eventType}</code>.
</APIField>
<APIField slot="trailing-fields" name="event.user" type="Object">
The user that has been re-activated. See the [Users API](/docs/apis/users) for property definitions and example JSON.
</APIField>
</EventBody>
# User Password Reset Success
import APIField from 'src/components/api/APIField.astro';
import Event from 'src/content/docs/extend/events-and-webhooks/events/_event.astro';
import EventBody from 'src/content/docs/extend/events-and-webhooks/events/_event-body.astro';
import InlineField from 'src/components/InlineField.astro';
import ReferenceLink from 'src/content/docs/_shared/_reference-link.mdx';
export const eventType = 'user.password.reset.success';
<Event description="This event is generated when the reset password flow has completed successfully."
plan="enterprise"
eventType={eventType}
name="User Password Reset Success"
scope="tenant"
transactional="false"
version="1.30.0"/>
<EventBody eventType={eventType}
jsonFile="user-password-reset-success.json">
<APIField slot="leading-fields" name="event.createInstant" type="Long">
The [instant](/docs/reference/data-types#instants) that the event was generated.
</APIField>
<APIField slot="leading-fields" name="event.id" type="UUID">
The unique Id of the event. You may receive an event more than once based upon your transaction settings. This Id may be used to identify a duplicate event.
</APIField>
<APIField slot="trailing-fields" name="event.tenantId" type="UUID">
The unique tenant identifier. This value may not be returned if not applicable.
</APIField>
<APIField slot="trailing-fields" name="event.type" type="String">
The event type, this value will always be <code>{eventType}</code>.
</APIField>
<APIField slot="trailing-fields" name="event.user" type="Object">
The user that the reset password flow has been completed for. See the [Users API](/docs/apis/users) for property definitions and example JSON.
</APIField>
</EventBody>
# User Registration Create Complete
import APIField from 'src/components/api/APIField.astro';
import Event from 'src/content/docs/extend/events-and-webhooks/events/_event.astro';
import EventBody from 'src/content/docs/extend/events-and-webhooks/events/_event-body.astro';
import InlineField from 'src/components/InlineField.astro';
import ReferenceLink from 'src/content/docs/_shared/_reference-link.mdx';
export const eventType = 'user.registration.create.complete';
<Event description="This event is generated when a user registration create transaction has been completed."
eventType={eventType}
name="User Registration Create Complete"
scope="tenant"
transactional="false"
version="1.30.0"/>
<EventBody eventType={eventType}
jsonFile="user-registration-create-complete.json">
<APIField slot="leading-fields" name="event.applicationId" type="UUID">
The unique Id of the Application for which the user has now been registered.
</APIField>
<APIField slot="leading-fields" name="event.createInstant" type="Long">
The [instant](/docs/reference/data-types#instants) that the event was generated.
</APIField>
<APIField slot="leading-fields" name="event.id" type="UUID">
The unique Id of the event. You may receive an event more than once based upon your transaction settings. This Id may be used to identify a duplicate event.
</APIField>
<APIField slot="trailing-fields" name="event.registration" type="Object">
The user registration that has been created. See the [Registration API](/docs/apis/registrations) for property definitions and example JSON.
</APIField>
<APIField slot="trailing-fields" name="event.tenantId" type="UUID">
The unique tenant identifier. This value may not be returned if not applicable.
</APIField>
<APIField slot="trailing-fields" name="event.type" type="String">
The event type, this value will always be <code>{eventType}</code>.
</APIField>
<APIField slot="trailing-fields" name="event.user" type="Object">
The user that owns the new registration. See the [Users API](/docs/apis/users) for property definitions and example JSON.
</APIField>
</EventBody>
# User Registration Create
import APIField from 'src/components/api/APIField.astro';
import Event from 'src/content/docs/extend/events-and-webhooks/events/_event.astro';
import EventBody from 'src/content/docs/extend/events-and-webhooks/events/_event-body.astro';
import InlineField from 'src/components/InlineField.astro';
import ReferenceLink from 'src/content/docs/_shared/_reference-link.mdx';
export const eventType = 'user.registration.create';
<Event eventType={eventType}
name="User Registration Create"
scope="tenant"
transactional="true"
version="1.6.0">
<p slot="description">This event is generated when a user registration is created.</p>
<p slot="description">The final state of the operation which caused the webhook is not persisted to FusionAuth until after the webhook finishes; [learn more](/docs/extend/events-and-webhooks/writing-a-webhook#calling-fusionauth-apis-in-webhooks).</p>
</Event>
<EventBody eventType={eventType}
sinceThreatDetection="1.30.0"
sinceIpAddress="1.27.0"
jsonFile="user-registration-create.json">
<APIField slot="leading-fields" name="event.applicationId" type="UUID">
The unique Id of the Application for which the user has now been registered.
</APIField>
<APIField slot="leading-fields" name="event.createInstant" type="Long">
The [instant](/docs/reference/data-types#instants) that the event was generated.
</APIField>
<APIField slot="leading-fields" name="event.id" type="UUID">
The unique Id of the event. You may receive an event more than once based upon your transaction settings. This Id may be used to identify a duplicate event.
</APIField>
<APIField slot="trailing-fields" name="event.registration" type="Object">
The user registration that has been created. See the [Registration API](/docs/apis/registrations) for property definitions and example JSON.
</APIField>
<APIField slot="trailing-fields" name="event.tenantId" type="UUID">
The unique tenant identifier. This value may not be returned if not applicable.
</APIField>
<APIField slot="trailing-fields" name="event.type" type="String">
The event type, this value will always be <code>{eventType}</code>.
</APIField>
<APIField slot="trailing-fields" name="event.user" type="Object">
The user that owns the new registration. See the [Users API](/docs/apis/users) for property definitions and example JSON.
</APIField>
</EventBody>
# User Registration Delete Complete
import APIField from 'src/components/api/APIField.astro';
import Event from 'src/content/docs/extend/events-and-webhooks/events/_event.astro';
import EventBody from 'src/content/docs/extend/events-and-webhooks/events/_event-body.astro';
import InlineField from 'src/components/InlineField.astro';
import ReferenceLink from 'src/content/docs/_shared/_reference-link.mdx';
export const eventType = 'user.registration.delete.complete';
<Event description="This event is generated when a user registration delete transaction has completed."
eventType={eventType}
name="User Registration Delete Complete"
scope="application"
transactional="false"
version="1.30.0"/>
<EventBody eventType={eventType}
jsonFile="user-registration-delete-complete.json">
<APIField slot="leading-fields" name="event.applicationId" type="UUID">
The unique Id of the Application for which the user has now been registered.
</APIField>
<APIField slot="leading-fields" name="event.createInstant" type="Long">
The [instant](/docs/reference/data-types#instants) that the event was generated.
</APIField>
<APIField slot="leading-fields" name="event.id" type="UUID">
The unique Id of the event. You may receive an event more than once based upon your transaction settings. This Id may be used to identify a duplicate event.
</APIField>
<APIField slot="trailing-fields" name="event.registration" type="Object">
The user registration that has been deleted. See the [Registration API](/docs/apis/registrations) for property definitions and example JSON.
</APIField>
<APIField slot="trailing-fields" name="event.tenantId" type="UUID">
The unique tenant identifier. This value may not be returned if not applicable.
</APIField>
<APIField slot="trailing-fields" name="event.type" type="String">
The event type, this value will always be <code>{eventType}</code>.
</APIField>
<APIField slot="trailing-fields" name="event.user" type="Object">
The user that owns the registration being deleted. See the [Users API](/docs/apis/users) for property definitions and example JSON.
</APIField>
</EventBody>
# User Registration Delete
import APIField from 'src/components/api/APIField.astro';
import Event from 'src/content/docs/extend/events-and-webhooks/events/_event.astro';
import EventBody from 'src/content/docs/extend/events-and-webhooks/events/_event-body.astro';
import InlineField from 'src/components/InlineField.astro';
import ReferenceLink from 'src/content/docs/_shared/_reference-link.mdx';
export const eventType = 'user.registration.delete';
<Event description="This event is generated when a user registration has been deleted."
eventType={eventType}
name="User Registration Delete"
scope="tenant"
transactional="true"
version="1.6.0"/>
<EventBody eventType={eventType}
sinceThreatDetection="1.30.0"
sinceIpAddress="1.27.0"
jsonFile="user-registration-delete.json">
<APIField slot="leading-fields" name="event.applicationId" type="UUID">
The unique Id of the Application for which the user has now been registered.
</APIField>
<APIField slot="leading-fields" name="event.createInstant" type="Long">
The [instant](/docs/reference/data-types#instants) that the event was generated.
</APIField>
<APIField slot="leading-fields" name="event.id" type="UUID">
The unique Id of the event. You may receive an event more than once based upon your transaction settings. This Id may be used to identify a duplicate event.
</APIField>
<APIField slot="trailing-fields" name="event.registration" type="Object">
The user registration that has been deleted. See the [Registration API](/docs/apis/registrations) for property definitions and example JSON.
</APIField>
<APIField slot="trailing-fields" name="event.tenantId" type="UUID">
The unique tenant identifier. This value may not be returned if not applicable.
</APIField>
<APIField slot="trailing-fields" name="event.type" type="String">
The event type, this value will always be <code>{eventType}</code>.
</APIField>
<APIField slot="trailing-fields" name="event.user" type="Object">
The user that owns the registration being deleted. See the [Users API](/docs/apis/users) for property definitions and example JSON.
</APIField>
</EventBody>
# User Registration Update Complete
import APIField from 'src/components/api/APIField.astro';
import Event from 'src/content/docs/extend/events-and-webhooks/events/_event.astro';
import EventBody from 'src/content/docs/extend/events-and-webhooks/events/_event-body.astro';
import InlineField from 'src/components/InlineField.astro';
import ReferenceLink from 'src/content/docs/_shared/_reference-link.mdx';
export const eventType = 'user.registration.update.complete';
<Event description="This event is generated when a user registration update transaction has completed."
eventType={eventType}
name="User Registration Update Complete"
scope="application"
transactional="false"
version="1.30.0"/>
This event is only generated after a `user.registration.update` transaction has completed.
<EventBody eventType={eventType}
jsonFile="user-registration-update-complete.json">
<APIField slot="leading-fields" name="event.applicationId" type="UUID">
The unique Id of the Application for which the user has now been registered.
</APIField>
<APIField slot="leading-fields" name="event.createInstant" type="Long">
The [instant](/docs/reference/data-types#instants) that the event was generated.
</APIField>
<APIField slot="leading-fields" name="event.id" type="UUID">
The unique Id of the event. You may receive an event more than once based upon your transaction settings. This Id may be used to identify a duplicate event.
</APIField>
<APIField slot="trailing-fields" name="event.original" type="Object">
The original registration prior to being updated. See the [Registration API](/docs/apis/registrations) for property definitions and example JSON.
</APIField>
<APIField slot="trailing-fields" name="event.registration" type="Object">
The user registration with current and updated values. See the [Registration API](/docs/apis/registrations) for property definitions and example JSON.
</APIField>
<APIField slot="trailing-fields" name="event.tenantId" type="UUID">
The unique tenant identifier. This value may not be returned if not applicable.
</APIField>
<APIField slot="trailing-fields" name="event.type" type="String">
The event type, this value will always be <code>{eventType}</code>.
</APIField>
<APIField slot="trailing-fields" name="event.user" type="Object">
The user that owns the registration being updated. See the [Users API](/docs/apis/users) for property definitions and example JSON.
</APIField>
</EventBody>
# User Registration Update
import APIField from 'src/components/api/APIField.astro';
import Event from 'src/content/docs/extend/events-and-webhooks/events/_event.astro';
import EventBody from 'src/content/docs/extend/events-and-webhooks/events/_event-body.astro';
import InlineField from 'src/components/InlineField.astro';
import ReferenceLink from 'src/content/docs/_shared/_reference-link.mdx';
export const eventType = 'user.registration.update';
<Event description="This event is generated when a user registration has been updated."
eventType={eventType}
name="User Registration Update"
scope="tenant"
transactional="true"
version="1.6.0"/>
<EventBody eventType={eventType}
sinceThreatDetection="1.30.0"
sinceIpAddress="1.27.0"
jsonFile="user-registration-update.json">
<APIField slot="leading-fields" name="event.applicationId" type="UUID">
The unique Id of the Application for which the user has now been registered.
</APIField>
<APIField slot="leading-fields" name="event.createInstant" type="Long">
The [instant](/docs/reference/data-types#instants) that the event was generated.
</APIField>
<APIField slot="leading-fields" name="event.id" type="UUID">
The unique Id of the event. You may receive an event more than once based upon your transaction settings. This Id may be used to identify a duplicate event.
</APIField>
<APIField slot="trailing-fields" name="event.original" type="Object">
The original registration prior to being updated. See the [Registration API](/docs/apis/registrations) for property definitions and example JSON.
</APIField>
<APIField slot="trailing-fields" name="event.registration" type="Object">
The user registration with the current and updated values. See the [Registration API](/docs/apis/registrations) for property definitions and example JSON.
</APIField>
<APIField slot="trailing-fields" name="event.tenantId" type="UUID">
The unique tenant identifier. This value may not be returned if not applicable.
</APIField>
<APIField slot="trailing-fields" name="event.type" type="String">
The event type, this value will always be <code>{eventType}</code>.
</APIField>
<APIField slot="trailing-fields" name="event.user" type="Object">
The user that owns the registration being updated. See the [Users API](/docs/apis/users) for property definitions and example JSON.
</APIField>
</EventBody>
# User Registration Verified
import APIField from 'src/components/api/APIField.astro';
import Event from 'src/content/docs/extend/events-and-webhooks/events/_event.astro';
import EventBody from 'src/content/docs/extend/events-and-webhooks/events/_event-body.astro';
import InlineField from 'src/components/InlineField.astro';
import ReferenceLink from 'src/content/docs/_shared/_reference-link.mdx';
export const eventType = 'user.registration.verified';
<Event description="This event is generated when a user registration has been verified."
eventType={eventType}
name="User Registration Verified"
scope="tenant"
transactional="true"
version="1.8.0"/>
<EventBody eventType={eventType}
sinceThreatDetection="1.30.0"
sinceIpAddress="1.27.0"
jsonFile="user-registration-verified.json">
<APIField slot="leading-fields" name="event.applicationId" type="UUID">
The unique Id of the Application for which the user has now been registered.
</APIField>
<APIField slot="leading-fields" name="event.createInstant" type="Long">
The [instant](/docs/reference/data-types#instants) that the event was generated.
</APIField>
<APIField slot="leading-fields" name="event.id" type="UUID">
The unique Id of the event. You may receive an event more than once based upon your transaction settings. This Id may be used to identify a duplicate event.
</APIField>
<APIField slot="trailing-fields" name="event.registration" type="Object">
The user registration that has been verified. See the [Registration API](/docs/apis/registrations) for property definitions and example JSON.
</APIField>
<APIField slot="trailing-fields" name="event.tenantId" type="UUID">
The unique tenant identifier. This value may not be returned if not applicable.
</APIField>
<APIField slot="trailing-fields" name="event.type" type="String">
The event type, this value will always be <code>{eventType}</code>.
</APIField>
<APIField slot="trailing-fields" name="event.user" type="Object">
The user that owns the registration being verified. See the [Users API](/docs/apis/users) for property definitions and example JSON.
</APIField>
</EventBody>
# User Two-factor Method Add
import APIField from 'src/components/api/APIField.astro';
import Event from 'src/content/docs/extend/events-and-webhooks/events/_event.astro';
import EventBody from 'src/content/docs/extend/events-and-webhooks/events/_event-body.astro';
import ReferenceLink from 'src/content/docs/_shared/_reference-link.mdx';
export const eventType = 'user.two-factor.method.add';
<Event description="This event is generated when a user has added a new two-factor method."
plan="enterprise"
eventType={eventType}
name="User Two-factor Method Add"
scope="tenant"
transactional="false"
version="1.30.0"/>
<EventBody eventType={eventType}
jsonFile="user-two-factor-method-add.json">
<APIField slot="leading-fields" name="event.createInstant" type="Long">
The [instant](/docs/reference/data-types#instants) that the event was generated.
</APIField>
<APIField slot="leading-fields" name="event.id" type="UUID">
The unique Id of the event. You may receive an event more than once based upon your transaction settings. This Id may be used to identify a duplicate event.
</APIField>
<APIField slot="trailing-fields" name="event.method" type="Object">
The two-factor method that was added. See the [Multi Factor/Two Factor APIs](/docs/apis/two-factor) for property definitions and example JSON.
</APIField>
<APIField slot="trailing-fields" name="event.tenantId" type="UUID">
The unique tenant identifier. This value may not be returned if not applicable.
</APIField>
<APIField slot="trailing-fields" name="event.type" type="String">
The event type, this value will always be <code>{eventType}</code>.
</APIField>
<APIField slot="trailing-fields" name="event.user" type="Object">
The user that added a new two-factor method. See the [Users API](/docs/apis/users) for property definitions and example JSON.
</APIField>
</EventBody>
# User Two-factor Method Remove
import APIField from 'src/components/api/APIField.astro';
import Event from 'src/content/docs/extend/events-and-webhooks/events/_event.astro';
import EventBody from 'src/content/docs/extend/events-and-webhooks/events/_event-body.astro';
import ReferenceLink from 'src/content/docs/_shared/_reference-link.mdx';
export const eventType = 'user.two-factor.method.remove';
<Event description="This event is generated when a user has removed a new two-factor method."
eventType={eventType}
name="User Two-factor Method Remove"
scope="tenant"
transactional="false"
version="1.30.0"/>
<EventBody eventType={eventType}
jsonFile="user-two-factor-method-remove.json">
<APIField slot="leading-fields" name="event.createInstant" type="Long">
The [instant](/docs/reference/data-types#instants) that the event was generated.
</APIField>
<APIField slot="leading-fields" name="event.id" type="UUID">
The unique Id of the event. You may receive an event more than once based upon your transaction settings. This Id may be used to identify a duplicate event.
</APIField>
<APIField slot="trailing-fields" name="event.method" type="Object">
The two-factor method that was removed. See the [Multi Factor/Two Factor APIs](/docs/apis/two-factor) for property definitions and example JSON.
</APIField>
<APIField slot="trailing-fields" name="event.tenantId" type="UUID">
The unique tenant identifier. This value may not be returned if not applicable.
</APIField>
<APIField slot="trailing-fields" name="event.type" type="String">
The event type, this value will always be <code>{eventType}</code>.
</APIField>
<APIField slot="trailing-fields" name="event.user" type="Object">
The user that removed a two-factor method. See the [Users API](/docs/apis/users) for property definitions and example JSON.
</APIField>
</EventBody>
# User Update Complete
import APIField from 'src/components/api/APIField.astro';
import Event from 'src/content/docs/extend/events-and-webhooks/events/_event.astro';
import EventBody from 'src/content/docs/extend/events-and-webhooks/events/_event-body.astro';
import InlineField from 'src/components/InlineField.astro';
import ReferenceLink from 'src/content/docs/_shared/_reference-link.mdx';
export const eventType = 'user.update.complete';
<Event description="This event is generated when a user update transaction has completed."
eventType={eventType}
name="User Update Complete"
scope="application"
transactional="false"
version="1.30.0"/>
<EventBody eventType={eventType}
jsonFile="user-update-complete.json">
<APIField slot="leading-fields" name="event.createInstant" type="Long">
The [instant](/docs/reference/data-types#instants) that the event was generated.
</APIField>
<APIField slot="leading-fields" name="event.id" type="UUID">
The unique Id of the event. You may receive an event more than once based upon your transaction settings. This Id may be used to identify a duplicate event.
</APIField>
<APIField slot="trailing-fields" name="event.original" type="Object">
The user before the update occurred, this is the old version of the user. See the [Users API](/docs/apis/users) for property definitions and example JSON.
</APIField>
<APIField slot="trailing-fields" name="event.tenantId" type="UUID">
The unique tenant identifier. This value may not be returned if not applicable.
</APIField>
<APIField slot="trailing-fields" name="event.type" type="String">
The event type, this value will always be <code>{eventType}</code>.
</APIField>
<APIField slot="trailing-fields" name="event.user" type="Object">
The user after the update, this is the new version of the user. See the [Users API](/docs/apis/users) for property definitions and example JSON.
</APIField>
</EventBody>
# User Update
import APIField from 'src/components/api/APIField.astro';
import Event from 'src/content/docs/extend/events-and-webhooks/events/_event.astro';
import EventBody from 'src/content/docs/extend/events-and-webhooks/events/_event-body.astro';
import InlineField from 'src/components/InlineField.astro';
import ReferenceLink from 'src/content/docs/_shared/_reference-link.mdx';
export const eventType = 'user.update';
<Event description="This event is generated when a user has added a new two-factor method."
eventType={eventType}
name="User Update"
scope="tenant"
transactional="true"
version="1.6.0">
<p slot="description">This event is generated when a user is updated. The event will include the before and after versions of the User being updated.</p>
<p slot="description">This event is currently generated each time a user logs in via an IdP, such as Google, or OIDC -- even if the user data or user details in the IdP have not been modified.</p>
</Event>
<EventBody eventType={eventType}
sinceThreatDetection="1.30.0"
sinceIpAddress="1.27.0"
jsonFile="user-update.json">
<APIField slot="leading-fields" name="event.createInstant" type="Long">
The [instant](/docs/reference/data-types#instants) that the event was generated.
</APIField>
<APIField slot="leading-fields" name="event.id" type="UUID">
The unique Id of the event. You may receive an event more than once based upon your transaction settings. This Id may be used to identify a duplicate event.
</APIField>
<APIField slot="trailing-fields" name="event.original" type="Object">
The user before the update occurred, this is the old version of the user. See the [Users API](/docs/apis/users) for property definitions and example JSON.
</APIField>
<APIField slot="trailing-fields" name="event.tenantId" type="UUID">
The unique tenant identifier. This value may not be returned if not applicable.
</APIField>
<APIField slot="trailing-fields" name="event.type" type="String">
The event type, this value will always be <code>{eventType}</code>.
</APIField>
<APIField slot="trailing-fields" name="event.user" type="Object">
The user after the update, this is the new version of the user. See the [Users API](/docs/apis/users) for property definitions and example JSON.
</APIField>
</EventBody>
# Securing your APIs with FusionAuth
import PremiumPlanBlurb from 'src/content/docs/_shared/_premium-plan-blurb.astro';
import Aside from 'src/components/Aside.astro';
## The scenario
If you have an application which provides an HTTP API (application programming interface), you may want to protect access to it. For example, you may have an API which provides access to information about tasks. The tasks may be stored in a database, or in some other manner, but the API allows them to be queried and returns JSON over HTTP. Let's call this the **Todo API**.
Suppose you want to use FusionAuth to control access to this API. Third party applications will present credentials to the Todo API. The Todo API will verify the credentials using FusionAuth and then, depending on whether they are valid, will return the requested data or an error message.
There could be many apps needing access to the Todo API, such as a Google Calendar Todo Syncer or a Todo Analytics program. But let's assume the first one is an application which reminds people about upcoming tasks. Call it the **Reminder App**. This app will call the Todo API and examine upcoming tasks. It will then email someone if they have any tasks due in the next day.
## The problem
There are two parts to this conundrum. The first is creating and distributing whatever credentials the Reminder App will present to the Todo API. This credential creation will happen repeatedly, but doesn't necessarily need to be automated; it may be okay if a human generates and distributes these keys.
The second part is validating the presented credentials. We want to ensure that the credentials presented by the Reminder App to the Todo API are not expired or otherwise incorrect. This operation will be frequent. Each time the Reminder App checks for future todos, there should be no human in the loop.
## Your options
FusionAuth offers four solutions, with different strengths and weaknesses.
* Client Credentials Grant
* OAuth + JWTs
* FusionAuth API Keys
* Authentication Tokens
Let's examine each of these in turn.
### Client Credentials Grant
<PremiumPlanBlurb />
This is the recommended approach.
<Aside type="version">
This grant has been available since 1.26.
</Aside>
With this choice, two entities are created in FusionAuth. One represents the Todo App and is the target entity. The other represents the Reminder App and is the recipient entity. It's called the recipient entity because it receives a grant to access the target entity. The Reminder App is granted permissions on the Todo App, which can be done via API or the administrative user interface.
After these are set up, the Reminder App can use the [Client Credentials grant](/docs/lifecycle/authenticate-users/oauth/) to get credentials, which would be a JWT.
After the OAuth grant occurs, the access token is saved off. The Reminder App presents the JWT to the Todo API each time it needs access. If the JWT has expired, the Reminder App can make another Client Credentials grant request to FusionAuth to retrieve a new JWT.
When presented with the token, the Todo API can verify it was signed by FusionAuth, possibly using JWKS to find the correct public key. It should validate the claims in the JWT, such as the expiration of the token, the issuer, and others. This processing requires no contact between the Todo API and FusionAuth.
The Todo API can alternatively call the `/oauth2/token` endpoint with the JWT to check its validity.
Strengths of this approach:
* OAuth is a standard and thus may be more familiar to developers. There are also libraries to parse and validate JWTs.
* This flow is similar to what large companies such as Facebook and Google require for access to their APIs.
* Additional information can be stored in the JWT if needed (such as roles).
* The Todo API can check credential validity without communicating with FusionAuth. This helps performance because there are fewer network calls.
Challenges of this approach:
* This functionality is not available in the Community plan.
### OAuth + JWTs
With this choice, a human being proceeds through the [Authorization Code grant](/docs/lifecycle/authenticate-users/oauth/) in a web application, like a developer portal, to get their credentials, which would be a JWT and an optional refresh token. You'd create a FusionAuth application called "Dev Center" and grant access to this FusionAuth application for each third party program, such as the Reminder App.
After the OAuth grant occurs, the access token and refresh token are saved off. The Reminder App presents the JWT to the Todo API each time it needs access. If the JWT has expired, the Reminder App can present the refresh token to FusionAuth to retrieve a new JWT.
When presented with the token, the Todo API can verify it was signed by FusionAuth, possibly using JWKS to find the correct public key. It should validate the claims in the JWT, such as the expiration of the token, the issuer, and others. This processing has the benefit of requiring no contact between the Todo API and FusionAuth.
The Todo API can alternatively call the `/oauth2/token` endpoint with the JWT to check its validity.
Strengths of this approach:
* OAuth is a standard and thus may be more familiar to developers. There are also libraries to parse and validate JWTs.
* This flow is similar to what large companies such as Facebook and Google require for access to their APIs.
* Additional information can be stored in the JWT if needed (such as roles).
* The Todo API can check credential validity without communicating with FusionAuth. This helps performance because there are fewer network calls.
* This is essentially a per user API key. This means you can use any of the user management tools FusionAuth provides to manage these keys, such as locking an account to temporarily deny access. However, the stateless nature of a JWT means if you wanted to be able to revoke access, the Todo API should call the `/oauth2/token` endpoint instead of reviewing the claims.
* Logins are logged and could be used for auditing purposes.
Challenges of this approach:
* The process for gathering the credentials is more complex than other options.
* A human being must be present for the initial credential grant.
### FusionAuth API Keys
Another option is to use [FusionAuth API keys](/docs/apis/authentication#managing-api-keys).
To distribute the key, you would log in to the FusionAuth admin user interface (or use the API Key API), create an API key and provide it to the Reminder App developer.
When using this approach, ensure the FusionAuth API key is narrowly scoped. You should limit the API endpoints and methods this key is authorized for, so if it is compromised, there are no negative implications beyond unauthorized access to the Todo API. A narrow scope that might work well would be to grant read-only access to a FusionAuth endpoint you never plan to use.
Pick an endpoint that you wouldn't actually want to ever use for your testbed. For example, you could create an application called `API Test Application` and create multiple API keys with permissions against the `/api/application` endpoint.
The Reminder App would present an API key to the Todo App every time they needed access.
To validate this credential, the Todo API would make a call against a FusionAuth `/api/application` endpoint with the key and the HTTP method with the Id of the `API Test Application`.
If the call succeeds, the Todo API considers the Reminder App client valid and returns the requested data. If, instead, FusionAuth responds with a 401 response, the Todo API denies access.
Strengths of this approach:
* There is only one secret to distribute per client application, and distribution is straightforward. The Reminder App developers get the API key one time and it is good until revoked.
* There is no browser or user interaction required to acquire credentials.
* As of version 1.26, you can manage API keys using the [API Key API](/docs/apis/api-keys), including creating and revoking the keys.
Challenges of this approach:
* While you can control key lifetime with the API Key API, you must manage it in your own code. There's no automatic expiration.
* With this approach, the validity of a FusionAuth API key is being used for business logic. This isn't really what these API keys are designed for.
* If you want permissions beyond the five methods supported by API keys, you need to build those out and manage them yourself.
* There's no fine grained way to distinguish between different clients. They can have different API keys, but they'll all authenticate against the same API endpoint with the same five methods.
### Authentication Tokens
[Authentication tokens](/docs/lifecycle/authenticate-users/application-authentication-tokens) and the [Login API](/docs/apis/login) are the final option.
In this case, you'd create an application called "Dev Center" and enable Authentication Tokens for it. The developers of the Reminder App would be associated with one or more users. When each user is created and registered with the "Dev Center" application, an Authentication Token would also be created. Both the token and the user's email would be distributed to the Reminder App developers.
Each time the Reminder App called the Todo API, it would present the email address and the authentication token, perhaps in an `Authorization` header.
The Todo API would in turn call the Login API against FusionAuth with these two credentials. FusionAuth would return a [status code as documented](/docs/apis/login#authenticate-a-user); either a 200 if the program's user authenticated correctly and was registered with the "Dev Center" application, a 202 if the application authenticated correctly but was not registered, or a 404 if the credentials were invalid.
Strengths of this approach:
* There's no browser involved in acquiring credentials.
* Generation of the credentials, the email address and Authentication Token pair, can be automated.
* This is essentially a per user API key. This means you can use any of the user management tools FusionAuth provides to manage these keys, such as locking an account to temporarily deny access.
* Each user authentication is logged and the logs could be used for auditing purposes.
Challenges of this approach:
* Authentication Token generation and usage are not as secure as the OAuth grant.
* Authentication Tokens don't expire automatically.
* You can't generate the credentials with the administrative user interface, only with the API.
## Other considerations
**Which is the best option?**
It depends on your needs. Typically we recommend the Client Credentials grant as that is the most secure. This is the OAuth grant built for machine to machine communication. However, recognize that each approach has different strengths.
**Can I rotate keys? That is, I'd like to have multiple credentials valid for one user (using the [OAuth + JWTs](#oauth--jwts) scenario) so that I can distribute the newer credentials over time?**
This is not currently possible.
If you are using the [Client Credentials Grant](#client-credentials-grant) you could create multiple Entities for a given API caller and rotate their access to the API.
**Does FusionAuth handle features like billing and request throttling?**
Nope. This document outlines options to leverage FusionAuth to handle API authorization, but FusionAuth is not a full API management solution. If you need that, it is recommended to find a solution which will allow API management functionality and use FusionAuth for its authentication and authorization.
# Amazon API Gateway
import Breadcrumb from 'src/components/Breadcrumb.astro';
import InlineField from 'src/components/InlineField.astro';
import InlineUIElement from 'src/components/InlineUIElement.astro';
import FrameworkIntegrationTutorialList from 'src/content/docs/_shared/_framework-integration-tutorial-list.mdx';
## Overview
Amazon API Gateway is an AWS service for creating, publishing, maintaining, monitoring, and securing REST, HTTP, and WebSocket APIs at any scale. You can create APIs for AWS services or other web services.
You can configure Amazon API Gateway to handle authentication and authorization to a resource through JSON Web Tokens (JWTs) issued on behalf of a user by an identity provider.
In this document, you'll learn how to set up Amazon API Gateway and FusionAuth as the identity provider to protect a lambda function running on your AWS cloud instance.
## Prerequisites
* A FusionAuth instance running on a publicly accessible URL. You can spin up a [basic FusionAuth Cloud instance](/pricing) or [install it on any server](/docs/get-started/download-and-install). If you are not able to host FusionAuth on a public server, you can tunnel your local instance of FusionAuth through a tool like [ngrok](https://ngrok.com).
* An [AWS account](https://aws.amazon.com).
### Exposing FusionAuth Publicly
If your FusionAuth instance is already publicly available, you can skip this section.
If you are hosting FusionAuth locally and want to expose it publicly using ngrok, you can run the following command:
```shell title="Exposing a local FusionAuth instance through ngrok"
ngrok http 9011
```
This assumes your local FusionAuth instance is running on port 9011, which is the default for local FusionAuth installations.
Look for the `Forwarding` line in the output. It should look something like this:
```shell title="Output forwarding address from ngrok"
Forwarding https://7817-102-218-66-2.eu.ngrok.io -> http://localhost:9011
```
The forwarding address will be publicly accessible and you can use this to replace `<YOUR_FUSIONAUTH_URL>` in this tutorial.
## Set Up FusionAuth
Navigate to your FusionAuth instance.
First, you need to make sure the JWT issuer setting is correct. Navigate to <Breadcrumb>Tenants -> Your Tenant</Breadcrumb> and change the issuer to the URL of your FusionAuth instance. For example, `https://local.fusionauth.io`. Record this value, as we'll set it in the AWS Gateway API Authorizer later.
Next, you need to configure an application that will issue tokens to access the Amazon API Gateway project.
Navigate to <Breadcrumb>Applications</Breadcrumb> and create a new application. Fill out the <InlineField>Name</InlineField> field, then click the <InlineUIElement>OAuth</InlineUIElement> tab.
Make sure that the <InlineField>Enabled grants</InlineField> checkboxes have the `Authorization Code` and `Refresh Token` grants enabled.
Your application should look like this.
<img src="/img/docs/extend/examples/api-gateways/application-configuration.png" alt="The FusionAuth example configuration" width="1200" />
On the <Breadcrumb>JWT</Breadcrumb> tab, toggle the <InlineField>Enabled</InlineField> field and set the <InlineField>Access Token signing key</InlineField> and <InlineField>Id Token signing key</InlineField> to `Auto generate a new key on save...`
<img src="/img/docs/extend/examples/api-gateways/jwt-config.png" alt="The JWT configuration" width="1200" role="bottom-cropped" />
Click the <InlineUIElement>Save</InlineUIElement> button.
Edit the new application. You should see a value in the <InlineField>Client Id</InlineField> field. Copy it and put it in a text file. You'll use it in the [Set Up AWS API Gateway](#set-up-aws-api-gateway) step.
<img src="/img/docs/extend/examples/api-gateways/application-client-id-client-secret.png" alt="Extracting the Client Id and secret" width="1200" />
## Set Up AWS API Gateway
Navigate to your [AWS Console](https://aws.amazon.com) or create an [AWS account](https://docs.aws.amazon.com/accounts/latest/reference/manage-acct-creating.html) if you haven't got one already.
Search for `API Gateway` in the top bar and click it.
<img src="/img/docs/extend/examples/api-gateways/search-api-gateway.png" alt="The AWS search for API Gateway" width="1200" />
Select `Build HTTP API` from the API type list.
<img src="/img/docs/extend/examples/api-gateways/build-http-api.png" alt="Choose HTTP API build" width="1200" />
Name the API. This is for your description only, so it can be anything. Then click <InlineUIElement>Next</InlineUIElement>.
<img src="/img/docs/extend/examples/api-gateways/name-api.png" alt="Name the HTTP API build" width="1200" />
On the <Breadcrumb>Configure Routes</Breadcrumb> page, click <InlineUIElement>Next</InlineUIElement> without setting anything. We'll add the route via the lambda function we'll create in a bit.
On the <Breadcrumb>Configure Stages</Breadcrumb> page, click <InlineUIElement>Next</InlineUIElement>, leaving the defaults.
Finally, click <InlineUIElement>Create</InlineUIElement> on the <Breadcrumb>Review and Create</Breadcrumb> page.
A summary page for the API should appear. Copy the <InlineField>Invoke URL</InlineField> from the **$default** stage under the stages section. This will be the base URL for the API. We'll add a lambda function next, which will give us a route to call.
### Create a Lambda Function to Secure
In the main AWS search bar, search for and select `lambda`.
Click <InlineUIElement>Create function</InlineUIElement> to create a new lambda function. Name the function `privateFunction` and leave all the other options as the defaults. For the purposes of this document, the code you will add here is going to return all the user claims, but in a real-world situation, you would have business logic or functionality here. Click <InlineUIElement>Create Function</InlineUIElement> at the bottom of the page.
<img src="/img/docs/extend/examples/api-gateways/name-lambda.png" alt="Name the Lambda" width="1200" />
Under the <Breadcrumb>Code</Breadcrumb> tab for the lambda, click on the "index.mjs" file and replace the contents with the following code to return the claims found in the JWT:
```javascript title="Lambda function to reflect user claims"
export const handler = async(event) => {
const claims = event.requestContext.authorizer.claims;
const response = {
statusCode: 200,
body: JSON.stringify(claims),
};
return response;
};
```
Then click the <InlineUIElement>Deploy</InlineUIElement> button to update the lambda.
Expand **Function overview** near the top of the page. Then click on <InlineUIElement>Add Trigger</InlineUIElement>.
Under <InlineField>Trigger Configuration</InlineField>, choose `API Gateway` as the source. select <InlineUIElement>Use an existing API</InlineUIElement> and then select the API gateway set up earlier. Select the `$default` deployment stage.
Under <InlineField>Security</InlineField>, choose `Create a JWT authorizer`.
Set <InlineField>Identity source</InlineField> to `$request.header.Authorization`.
For API Gateway <InlineField>Issuer</InlineField>, set the value to be the same URL as you set for the <InlineField>Issuer</InlineField> in the FusionAuth Tenant configuration. Make sure that it is exactly the same, including trailing slashes, without any white space.
Under <InlineField>Audiences</InlineField>, paste in the `Client Id` from the FusionAuth application created earlier.
Then click the primary <InlineUIElement>Add</InlineUIElement> button at the bottom right of the screen.
<img src="/img/docs/extend/examples/api-gateways/create-trigger.png" alt="Create Lambda Trigger" width="1200" />
After completing this, a new route will be added to your gateway API with the same name as the lambda: `privateFunction`. Combine the lambda function name with the "Invoke URL" value recorded earlier when setting up the API gateway to get the full URL.
Your full URL should look similar to this: `https://w3miabt10d.execute-api.us-east-2.amazonaws.com/privateFunction`.
If you call this route through a browser, Postman, or curl, you will receive a `401` HTTP status code and an `Unauthorized` message. We'll create a token next with FusionAuth to show how the route can be successfully called.
## Testing With a Token From FusionAuth
To access the secured lambda function, we'll need to get a valid token. Normally, your frontend app would use the Authorization Code grant which would redirect a user to FusionAuth to login, obtain a code, and then exchange that code for a token, using a framework of your choice. [More on the Authorization Code grant.](/docs/lifecycle/authenticate-users/oauth/)
For the purposes of this guide, we'll call the [FusionAuth Login API](/docs/apis/login) on behalf of a user to create a token directly. This is a more straightforward means of getting a token, but the generated token will be similar with either process.
To use the Login API, there are a few settings that need to be changed on FusionAuth. In the side panel in FusionAuth, select <Breadcrumb>Settings -> API Keys</Breadcrumb>. Click the green <InlineUIElement>+</InlineUIElement> button at the top left to create a new key.
Give the key a meaningful description, like `API Gateway Key`. Select the Tenant that you created the FusionAuth application under (normally `Default`).
Then, under **Endpoints**, allow `POST` on the `/api/login` route. This key will only be allowed to call this endpoint with the `POST` method.
<img src="/img/docs/extend/examples/api-gateways/login-api.png" alt="Enabling the login API" width="1200" />
Save the API key. You should now see a list of all API keys. Click on the lock icon next to the <InlineField>key</InlineField> field for the key you just created and copy the API key for later use. Make sure you get the API key value and not the API key Id.
<img src="/img/docs/extend/examples/api-gateways/api-key.png" alt="Enabling the login API" width="1200" role="bottom-cropped" />
To test, you'll need to link a FusionAuth user to your application. You can either use the existing admin user you use to log into FusionAuth or create a new isolated user.
To link your existing user, navigate to the user list through the <Breadcrumb>Users</Breadcrumb> menu item in the sidebar. Find your user and click the <InlineUIElement>Manage</InlineUIElement> action button on the user. Click the <Breadcrumb>Registrations</Breadcrumb> tab. Click <InlineUIElement>Add registrations</InlineUIElement> and select the FusionAuth application you set up earlier.
Alternatively, to create a new user, navigate to <Breadcrumb>Users</Breadcrumb> in the sidebar and click the green <InlineUIElement>+</InlineUIElement> button at the top right of the screen to create a new user. Choose the appropriate tenant (usually `default`) and fill in the information. You can choose not to send an email to set up the password but rather set it directly when creating the user by toggling the <InlineField>Send email to set up password</InlineField> switch. Record this user email and password, as we'll use it to obtain a token.
After saving the user, click the <Breadcrumb>Registrations</Breadcrumb> tab. Click <InlineUIElement>Add registrations</InlineUIElement> and select the FusionAuth application you set up earlier.
<img src="/img/docs/extend/examples/api-gateways/registrations-tab.png" alt="The application registrations tab" width="1200" role="bottom-cropped" />
Using curl or Postman, make a POST request to your FusionAuth instance's `/api/login` endpoint. This will return a JWT in the response.
The curl call should look like this:
```shell title="curl command to obtain a JWT token"
curl --location --request POST 'https://<YOUR_FUSIONAUTH_URL>/api/login' \
--header 'Authorization: <API_KEY>' \
--header 'Content-Type: application/json' \
--data-raw ' {
"loginId": "<USER_EMAIL>",
"password": "<USER_PASSWORD>",
"applicationId": "<APPLICATION_ID>",
"noJWT" : false
}'
```
Where:
* `<YOUR_FUSIONAUTH_URL>` is the URL of your FusionAuth installation.
* `<API_KEY>` is the API key created above, enabled for login.
* `<USER_EMAIL>` is the email address of the user added above.
* `<USER_PASSWORD>` is the password of the user added above.
* `<APPLICATION_ID>` is the Id of the FusionAuth application registered for the user.
The return response from FusionAuth should look similar to the following:
```json title="Login API Response"
{
"token": "eyJhbGciOiJSUzI1NiIsInR5cCI6IkpXVCIsImtpZCI6ImhDUjA4X3daR2s0OUFlYUFmRDY5ZmJKWmRGTSJ9.eyJhdWQiOiI2M2I3M2Y3Ni03NDAwLTQ4N2QtYjEyMi01NzA1Yjg0OGRhODAiLCJleHAiOjE2NzMzNjYyMDQsImlhdCI6MTY3MzM2MjYwNCwiaXNzIjoiaHR0cHM6Ly9mdXNpb25hdXRoLnJpdHphLmNvIiwic3ViIjoiMzk2MzAwMGYtNjg2ZC00MTY5LWI2MjgtOWM5YzQ1MzRiNzgwIiwianRpIjoiZDk3ZGIyZWYtZjExNS00ZDIxLWFlOTQtMDIyN2RmMGU4YzI5IiwiYXV0aGVudGljYXRpb25UeXBlIjoiUEFTU1dPUkQiLCJlbWFpbCI6ImJvYkBhd3MuY29tIiwiZW1haWxfdmVyaWZpZWQiOnRydWUsInByZWZlcnJlZF91c2VybmFtZSI6ImJvYmF3cyIsImFwcGxpY2F0aW9uSWQiOiI2M2I3M2Y3Ni03NDAwLTQ4N2QtYjEyMi01NzA1Yjg0OGRhODAiLCJyb2xlcyI6W10sImF1dGhfdGltZSI6MTY3MzM2MjYwNCwidGlkIjoiZjAwNGMxZmUtNDg0Yi05MDJjLWQ3Y2EtYmRiYzQ2NGRhMGI3In0.m7gzXhNLToPNVE1p5Vo2pLgP6WBcPNfS_zZJnJ81mdEgi6-orViz-tU8j0L8wva0-8KlMdy54cq_XjnDnYJ0aX90O4ZE_QVU5NuDDfzXH14wQtKQoIIydsB6ZvQoBt8JNFUHJb9ANLCGnfn6FVQKqPIzye18Gx_7wYSVokw3eLNFyzrq9dwOD5Q8V9gvZmXV2pTokQAtA7qFaadb2dIeFlSEB7wamKiZLXILjeWAeMbbvAAMQZWFh46UJjwr06QTd8PxQmRwDWWznJy1Vs8EAgZA4vkRSWnn3IbiaCtOaL1ANuEex6il7q32ahxj0Ncm9wn0DbDsQE9NB0CCNTSIhA",
"tokenExpirationInstant": 1673366204805,
"user": {
"sampleuserdata" : "..."
}
}
```
Copy the `token` value. This is a JWT, which we can use to access the API gateway function.
Now call the API gateway with the following curl command:
```shell title="Calling the API Gateway endpoint with the JWT"
curl --location --request GET 'https://<GATEWAY_URL>/privateFunction' \
--header 'Authorization: Bearer <JWT_TOKEN>'
```
Where:
* `<GATEWAY_URL>` is the invoke URL saved earlier.
* `<JWT_TOKEN>` is the JWT from the `/api/login` call.
You should see the function return with a reflection of the claims it received:
```json title="Return token from the API call"
{
"applicationId":"63b73f76-7400-487d-b122-5705b848da80",
"aud":"63b73f76-7400-487d-b122-5705b848da80",
"auth_time":"1672137288",
"authenticationType":"PASSWORD",
"email":"ehrlich@piedpiper.com",
"email_verified":"true",
"exp":"1672140888",
"iat":"1672137288",
"iss":"https://local.fusionauth.io",
"jti":"2f80b975-1870-4970-b876-90c2e7d9444b",
"preferred_username":"erlich",
"roles":"[]",
"sub":"3963000f-686d-4169-b628-9c9c4534b780",
"tid":"f004c1fe-484b-902c-d7ca-bdbc464da0b7"
}
```
## Troubleshooting
* If you are running a local instance of FusionAuth, Amazon API Gateway will not be able to reach the key sets needed to validate the JWT. You will either need to host FusionAuth on a publicly accessible URL or proxy your local instance through a tool like [ngrok](https://ngrok.com).
* Ensure that your FusionAuth application's <InlineField>Access Token signing key</InlineField> and <InlineField>Id Token signing key</InlineField> on the application's <Breadcrumb>JWT</Breadcrumb> tab are asymmetric (RS256).
* The JWT issued by the [FusionAuth Login API](/docs/apis/login) has an expiry. If you wait too long before using it to call the Amazon API Gateway, the token will expire and the call will fail. You can resolve this by re-running the curl command to obtain a JWT token and using the new token.
## Next Steps
You can build a complete HTTP API using Amazon API Gateway, AWS Lambda, and FusionAuth without managing any servers.
You can also configure required scopes for a route and check against them before allowing a user through. Set the `scope` claim using a [JWT Populate lambda](/docs/extend/code/lambdas/jwt-populate).
Finally, you can configure FusionAuth to ensure that the user is registered for the Amazon Gateway API application or [fire off webhooks](/docs/extend/events-and-webhooks/) when the user logs in.
You used the FusionAuth API to create a test token on behalf of a user. For a production system, the token will be generated after a user signs in to your application through a frontend. Check out some of the framework integration tutorials to implement that:
<FrameworkIntegrationTutorialList />
# Cloudflare Worker Functions (API Gateway)
import Aside from 'src/components/Aside.astro';
import Breadcrumb from 'src/components/Breadcrumb.astro';
import FrameworkIntegrationTutorialList from 'src/content/docs/_shared/_framework-integration-tutorial-list.mdx';
import InlineField from 'src/components/InlineField.astro';
import InlineUIElement from 'src/components/InlineUIElement.astro';
## Overview
Cloudflare is a global cloud platform designed to make everything you connect to the internet secure, private, fast, and reliable. Creating an API Gateway app on Cloudflare is a great way to manage, secure, and optimize your APIs. Cloudflare offers several services that can help you achieve this, such as Cloudflare Workers, Cloudflare Gateway, and Cloudflare Load Balancing.
You can set up Cloudflare Workers to handle authentication and authorization to a resource through JSON Web Tokens (JWTs) issued to a user by an identity provider.
This guide will show you how to set up Cloudflare Workers and use FusionAuth as the identity provider to protect a Worker function running on your Cloudflare.
Please note that there are many ways to integrate FusionAuth with Cloudflare. For this guide, we chose to use a Worker function created on the Cloudflare portal, but you can also use Wrangler, the Cloudflare Workers command-line interface (CLI). Find more info on Wrangler in the [Cloudflare documentation](https://developers.cloudflare.com/workers/wrangler/).
## Prerequisites
* A FusionAuth instance running on a publicly accessible URL. You can spin up a [basic FusionAuth Cloud instance](/pricing) or [install it on any server](/docs/get-started/download-and-install). You can also tunnel to your local instance of FusionAuth through a tool like [ngrok](https://ngrok.com).
* A [Cloudflare account](https://dash.cloudflare.com/login).
## Set Up FusionAuth
First, you need to make sure the JWT issuer setting is correct for your FusionAuth instance. Navigate to <Breadcrumb>Tenants -> Your Tenant</Breadcrumb> and change the issuer to the URL of your FusionAuth instance. For example, you can set a value like `https://local.fusionauth.io` if your FusionAuth instance is accessible at `https://local.fusionauth.io`. Note down this value, as you'll set it in the Cloudflare Worker function later.
If you are running FusionAuth locally and want to expose it publicly using ngrok, you can run the following command.
```shell
ngrok http 9011
```
This command assumes your local FusionAuth instance is running on port 9011, which is the default for local FusionAuth installations. Look for the `Forwarding` line in the output. It should look something like this:
```
Forwarding https://7817-102-218-66-2.eu.ngrok.io -> http://localhost:9011
```
The ngrok forwarding address will be publicly accessible and you can use this URL in place of `<YOUR_FUSIONAUTH_URL>` in this guide.
Next, you need to configure an application that will issue tokens to access the Cloudflare function. Navigate to <Breadcrumb>Applications</Breadcrumb> and create a new application. Fill out the <InlineField>Name</InlineField> field and select a **Tenant** if you have more than one. Click on the <Breadcrumb>OAuth</Breadcrumb> tab and make sure that `Authorization Code` and `Refresh Token` grants are enabled under <InlineField>Enabled grants</InlineField>.
Your application should look like this.
<img src="/img/docs/extend/examples/api-gateways/application-configuration.png" alt="The FusionAuth example configuration" width="1200" />
On the <Breadcrumb>JWT</Breadcrumb> tab, toggle the <InlineField>Enabled</InlineField> switch and set the <InlineField>Access Token signing key</InlineField> and <InlineField>Id Token signing key</InlineField> to `Auto generate a new key on save...`.
<img src="/img/docs/extend/examples/api-gateways/jwt-config.png" alt="The JWT configuration" width="1200" role="bottom-cropped" />
Click the <InlineUIElement>Save</InlineUIElement> button to save the application.
You will be redirected to the page that lists all your applications. Click the <InlineUIElement>Edit</InlineUIElement> button next to the application you just created. Note down the <InlineField>Client Id</InlineField> value to use in the [Set Up Cloudflare](#set-up-cloudflare) step.
<img src="/img/docs/extend/examples/api-gateways/application-client-id-client-secret.png" alt="Extracting the Client Id and secret" width="1200" />
For testing, you'll need to link a FusionAuth user to your application. You can either use the existing user you used to log in to FusionAuth or create a new isolated user.
To create a new user, navigate to <Breadcrumb>Users</Breadcrumb> in the sidebar and click the green <InlineUIElement>+</InlineUIElement> button at the top right of the screen. Choose the appropriate tenant and fill in the <InlineField>Email</InlineField>. To set the password for the user directly without sending an email, toggle the <InlineField>Send email to set up password</InlineField> switch. Record this user email and password, as you'll use it to obtain a token.
<img src="/img/docs/extend/examples/api-gateways/new-user.png" alt="Creating a new user" width="1200" role="bottom-cropped" />
Now select the <Breadcrumb>Registrations</Breadcrumb> tab. Click <InlineUIElement>Add registrations</InlineUIElement> and select the FusionAuth application you set up earlier. Alternatively, to link your existing user, navigate to the user list by selecting <Breadcrumb>Users</Breadcrumb> on the left sidebar. Find your user and click the <InlineUIElement>Manage</InlineUIElement> action button on the user. Select the <Breadcrumb>Registrations</Breadcrumb> tab. Click <InlineUIElement>Add registrations</InlineUIElement> and select the FusionAuth application you set up earlier.
<img src="/img/docs/extend/examples/api-gateways/registrations-tab.png" alt="The application registrations tab" width="1200" role="bottom-cropped" />
Next, set up an API key. On the left sidebar, select <Breadcrumb>Settings -> API Keys</Breadcrumb>. Click the green <InlineUIElement>+</InlineUIElement> button at the top left to create a new key. Give the key a description, like `API Gateway Key`. Select the tenant that you created the FusionAuth application under.
Then, on <Breadcrumb>Endpoints</Breadcrumb>, allow `POST` on the `/api/login` route. This key will only be allowed to call this endpoint with the `POST` method.
<img src="/img/docs/extend/examples/api-gateways/login-api.png" alt="Enabling the login API" width="1200" />
Save the API key. You should now see a list of all API keys. Click on the lock icon next to the <InlineField>key</InlineField> field for the key you just created and copy the API key for later use. Make sure you get the API key value and not the API key Id.
<img src="/img/docs/extend/examples/api-gateways/api-key.png" alt="Enabling the login API" width="1200" role="bottom-cropped" />
## Set Up Cloudflare
Navigate to your [Cloudflare dashboard](https://dash.cloudflare.com/login) and log in or create a [Cloudflare account](https://developers.cloudflare.com/fundamentals/setup/account/create-account/) if you haven't got one already.
### Create A Cloudflare Worker Function
On the left-hand sidebar, navigate to <Breadcrumb>Workers & Pages -> Overview</Breadcrumb>. Click the <InlineUIElement>Get Started</InlineUIElement> button if you are setting up a worker for the first time, or the <InlineUIElement>Create Application</InlineUIElement> button to get to the Create Worker screen.
<img src="/img/docs/extend/examples/api-gateways/cloudflare-workers-pages-overview.png" alt="Cloudflare Workers & Pages overview page" width="1200" />
Click the <InlineUIElement>Create Worker</InlineUIElement> button.
Give the worker a descriptive name (we will use `privatefunction`) and click the <InlineUIElement>Deploy</InlineUIElement> button at the bottom to deploy the function. The default script is fine for now, you will update it in the next step.
<img src="/img/docs/extend/examples/api-gateways/cloudflare-workers-create-worker.png" alt="Create a Cloudflare worker" width="1200" />
Test that the deployed function is working by clicking on the preview link provided on the next page.
<img src="/img/docs/extend/examples/api-gateways/cloudflare-workers-preview-worker.png" alt="Preview a Cloudflare worker" width="1200" />
A new browser tab will open containing the text "Hello world!"
Return to the Worker configuration page and click the <InlineUIElement>Edit Code</InlineUIElement> button. Replace the initial `Hello World` code with the code below to handle authorization requests to FusionAuth. Remember to update the code with your values for `fusionAuthApiKey`, `fusionAuthClientId`, and `fusionAuthUrl`.
```javascript title="Worker function to handle claims requests and validate the token"
// Replace with your FusionAuth values
const fusionAuthApiKey = '<fusionAuthApiKey>';
const fusionAuthClientId = '<fusionAuthClientId>';
const fusionAuthUrl = '<fusionAuthUrl>';
addEventListener("fetch", (event) => {
event.respondWith(handleRequest(event.request));
});
async function handleRequest(request) {
const { pathname } = new URL(request.url);
// Check if the request is for the /api/claims endpoint
if (pathname === "/api/claims") {
let authToken = request.headers.get("Authorization");
if (authToken && authToken.startsWith("Bearer ")) {
authToken = authToken.slice(7);
}
// Verify the authentication token
const verificationResponse = await verifyAuthToken(authToken);
if (verificationResponse.active === true) {
// Call your Worker API function and pass the claims
return handleClaimsAPI(verificationResponse);
} else {
return new Response("Unauthorized", { status: 401 });
}
} else {
return new Response("Not found", { status: 404 });
}
}
async function verifyAuthToken(authToken) {
const url = `${fusionAuthUrl}/oauth2/introspect`;
const options = {
method: "POST",
headers: {
Authorization: `Bearer ${fusionAuthApiKey}`,
"Content-Type": "application/x-www-form-urlencoded",
},
body: `token=${authToken}&client_id=${fusionAuthClientId}`,
};
try {
const response = await fetch(url, options);
if (!response.ok) {
return { error: "Invalid response" };
}
return await response.json();
} catch (error) {
console.error("Error making fetch request:", error);
return { error: "Invalid JSON response" };
}
}
async function handleClaimsAPI(claims) {
// Your Worker API function logic
const response = {
statusCode: 200,
body: JSON.stringify(claims),
};
return new Response(response.body, { status: response.statusCode });
}
```
This Cloudflare Worker function code sets up an API gateway that integrates with FusionAuth for authentication and authorization. The API gateway accepts requests to the `/api/claims` endpoint. It verifies the authentication token using the FusionAuth API and, if it is valid, passes the claims to the `handleClaimsAPI` function, which represents the logic for your API endpoint.
- The `fusionAuthApiKey`, `fusionAuthClientId`, and `fusionAuthUrl` values are used to communicate and authenticate with your FusionAuth instance. Replace the values with the values you noted when setting up FusionAuth earlier.
- The `addEventListener` function is used to listen for incoming requests and pass them to the `handleRequest` function.
- The `handleRequest` function is the main entry point for handling incoming requests.
- It checks if the request path matches `/api/claims`. If the path matches, it extracts the authentication token from the request headers.
- It calls the `verifyAuthToken` function to verify the authentication token with the FusionAuth API.
- If the token is valid `(verificationResponse.active === true)`, it calls the `handleClaimsAPI` function, passing the response claims as an argument.
- If the token is invalid, it returns an "Unauthorized" response with a 401 status code.
- If the request path doesn't match `/api/claims`, it returns a "Not found" response with a 404 status code.
- The `verifyAuthToken` function is responsible for verifying the authentication token with the FusionAuth API.
- It constructs the request options, including the FusionAuth API key, client Id, and the authentication token.
- It sends a POST request to the FusionAuth introspection endpoint `/oauth2/introspect` with the request options.
- If the response is valid JSON, it returns the parsed JSON data.
- If the response is not valid JSON, it returns an error object.
- The `handleClaimsAPI` function represents the logic for your API endpoint.
- It receives the claims from the verified authentication token.
- In this example, it constructs a response object with a 200 status code and the claims as the response body.
- It returns a new `Response` object with the response body and status code.
When you have entered the code, click the <InlineUIElement>Deploy</InlineUIElement> button on the top right to redeploy the function. A new route will be available and the full URL to the claims endpoint should look something like `https://privatefunction.<username>.workers.dev/api/claims`.
If you make a request to this route through a browser, Postman, or curl, you will receive a `401` HTTP status code and an `Unauthorized` message. We'll create a token next with FusionAuth to show how the route can be successfully called.
Call the API gateway with the following curl command to test, replacing `<PUBLIC_WORKER_URL>` with your Worker URL, which should look like `https://privatefunction.<username>.workers.dev/api/claims`.
```shell title="Calling the API Gateway endpoint "
curl --location --request GET '<PUBLIC_WORKER_URL>'
```
You should get an `Unauthorized` response.
### Testing With A Token From FusionAuth
To access the secured Worker function, you'll need to get a valid token. Normally, your frontend app would use the Authorization Code Grant flow, which redirects a user to FusionAuth to log in, obtains a code, and then exchanges that code for a token, using a framework of your choice. [More on the Authorization Code grant](/docs/lifecycle/authenticate-users/oauth/).
For this guide, we'll call the [FusionAuth Login API](/docs/apis/login) on behalf of a user to create a token directly. This is a more straightforward means of getting a token, but the generated token will be similar with either process.
Using curl or Postman, make a POST request to your FusionAuth instance's `/api/login` endpoint. This will return a JWT in the response.
```shell title="curl command to obtain a JWT token"
curl --location --request POST '<YOUR_FUSIONAUTH_URL>/api/login' \
--header 'Authorization: <API_KEY>' \
--header 'Content-Type: application/json' \
--data-raw ' {
"loginId": "<USER_EMAIL>",
"password": "<USER_PASSWORD>",
"applicationId": "<APPLICATION_ID>",
"noJWT" : false
}'
```
Replace the following values with the values you noted in the [Set Up FusionAuth](#set-up-fusionauth) section.
* `<YOUR_FUSIONAUTH_URL>` is the URL of your FusionAuth installation.
* `<API_KEY>` is the API key created earlier, enabled for login.
* `<USER_EMAIL>` is the email address of the user added earlier.
* `<USER_PASSWORD>` is the password of the user added earlier.
* `<APPLICATION_ID>` is the client Id of the FusionAuth application registered for the user.
The response from FusionAuth should look similar to the following.
```json title="FusionAuth Login API Response"
{
"token": "eyJhbGciOiJSUzI1NiIsInR5cCI6IkpXVCIsImtpZCI6ImhDUjA4X3daR2s0OUFlYUFmRDY5ZmJKWmRGTSJ9.eyJhdWQiOiI2M2I3M2Y3Ni03NDAwLTQ4N2QtYjEyMi01NzA1Yjg0OGRhODAiLCJleHAiOjE2NzMzNjYyMDQsImlhdCI6MTY3MzM2MjYwNCwiaXNzIjoiaHR0cHM6Ly9mdXNpb25hdXRoLnJpdHphLmNvIiwic3ViIjoiMzk2MzAwMGYtNjg2ZC00MTY5LWI2MjgtOWM5YzQ1MzRiNzgwIiwianRpIjoiZDk3ZGIyZWYtZjExNS00ZDIxLWFlOTQtMDIyN2RmMGU4YzI5IiwiYXV0aGVudGljYXRpb25UeXBlIjoiUEFTU1dPUkQiLCJlbWFpbCI6ImJvYkBhd3MuY29tIiwiZW1haWxfdmVyaWZpZWQiOnRydWUsInByZWZlcnJlZF91c2VybmFtZSI6ImJvYmF3cyIsImFwcGxpY2F0aW9uSWQiOiI2M2I3M2Y3Ni03NDAwLTQ4N2QtYjEyMi01NzA1Yjg0OGRhODAiLCJyb2xlcyI6W10sImF1dGhfdGltZSI6MTY3MzM2MjYwNCwidGlkIjoiZjAwNGMxZmUtNDg0Yi05MDJjLWQ3Y2EtYmRiYzQ2NGRhMGI3In0.m7gzXhNLToPNVE1p5Vo2pLgP6WBcPNfS_zZJnJ81mdEgi6-orViz-tU8j0L8wva0-8KlMdy54cq_XjnDnYJ0aX90O4ZE_QVU5NuDDfzXH14wQtKQoIIydsB6ZvQoBt8JNFUHJb9ANLCGnfn6FVQKqPIzye18Gx_7wYSVokw3eLNFyzrq9dwOD5Q8V9gvZmXV2pTokQAtA7qFaadb2dIeFlSEB7wamKiZLXILjeWAeMbbvAAMQZWFh46UJjwr06QTd8PxQmRwDWWznJy1Vs8EAgZA4vkRSWnn3IbiaCtOaL1ANuEex6il7q32ahxj0Ncm9wn0DbDsQE9NB0CCNTSIhA",
"tokenExpirationInstant": 1673366204805,
"user": {
"sampleuserdata" : "..."
}
}
```
Copy the `token` value. This is a JWT, which we can use to access the API gateway function.
Now call the API gateway with the following curl command:
```shell
curl --location --request GET '<PUBLIC_WORKER_URL>' \
--header 'Authorization: Bearer <JWT_TOKEN>'
```
* `<PUBLIC_WORKER_URL>` is the invoke URL for the claims endpoint saved earlier, for example, `https://privatefunction.<username>.workers.dev/api/claims`.
* `<JWT_TOKEN>` is the JWT from the `/api/login` call.
You should see the function return with a reflection of the claims it received.
```json
{
"active":true,
"applicationId":"18740210-b386-4679-a626-a84d9abdb8dd",
"aud":"18740210-b386-4679-a626-a84d9abdb8dd",
"auth_time":1716133402,
"authenticationType": "PASSWORD",
"email":"richard@example.com",
"email_verified":true,
"exp":1716137002,
"iat":1716133402,
"iss":"https://local.fusionauth.io",
"jti":"64d7e970-d0ff-4bbc-82b4-adc80413818e",
"preferred_username":"richard",
"roles":[],
"sub":"588155c8-b1df-4fb6-8c40-5f431e770644",
"tid":"31f7e6b3-9c71-4a7f-b1e2-45be0d7067d8"
}
```
## Troubleshooting
* If you are running a local instance of FusionAuth, the Cloudflare Worker will not be able to reach the key sets needed to validate the JWT. You will either need to host FusionAuth on a publicly accessible URL or proxy your local instance through a tool like [ngrok](https://ngrok.com).
* Ensure that the generated FusionAuth application's <InlineField>Access Token signing key</InlineField> and <InlineField>Id Token signing key</InlineField> on the application's <Breadcrumb>JWT</Breadcrumb> tab are asymmetric (RS256).
* The JWT issued by the [FusionAuth Login API](/docs/apis/login) has an expiry. If you wait too long before using it to call the Cloudflare Worker, the token will expire and the call will fail. You can resolve this by rerunning the curl command to obtain a new JWT token and then use the new token.
## Next Steps
You can build a complete HTTP API using Cloudflare Workers, Cloudflare Gateway, Cloudflare Load Balancing, and FusionAuth without managing any servers.
### Custom Domain
To use a custom domain for your API (for example, `api.yourdomain.com`), set up a DNS record in the Cloudflare dashboard pointing your subdomain to `your-workers-subdomain.workers.dev`.
### Configure Routes
Set up routes to associate your Worker with your domain or subdomains. For example, you can route `https://api.yourdomain.com/*` to your Worker.
Configure custom domains and routes in the Trigger section of the Settings tab for your Worker. Note that these options are only available if you have a domain set up in the Cloudflare environment. New domains may take some time to propagate.
<img src="/img/docs/extend/examples/api-gateways/cloudflare-workers-add-route.png" alt="" width="1200" />
### Secure Your API With Cloudflare Gateway
- Go to the Zero Trust dashboard in Cloudflare to set up security policies for your API.
- Define policies to restrict access to your API, such as IP filtering, token-based access, or integrating with certain identity providers for alternative web login methods. FusionAuth is not an option here, but it can manually be added as a login provider using OpenID connect as an alternative solution.
Finally, you can configure FusionAuth to ensure that the user is registered for the Cloudflare application or [fire off webhooks](/docs/extend/events-and-webhooks/) when the user logs in.
You used the FusionAuth API to create a test token on behalf of a user. For a production system, the token will be generated after a user signs in to your application through a frontend. Check out some of the framework integration tutorials to implement that:
<FrameworkIntegrationTutorialList />
# HAProxy API Gateway
import Aside from 'src/components/Aside.astro';
import Breadcrumb from 'src/components/Breadcrumb.astro';
import InlineField from 'src/components/InlineField.astro';
import InlineUIElement from 'src/components/InlineUIElement.astro';
import FrameworkIntegrationTutorialList from 'src/content/docs/_shared/_framework-integration-tutorial-list.mdx';
## Overview
[HAProxy](https://www.haproxy.com) is a popular load balancer that can also be used as an [API Gateway](https://www.haproxy.com/blog/using-haproxy-as-an-api-gateway-part-1/).
You can configure HAProxy to handle authorization to services through JSON Web Tokens (JWTs) issued on behalf of a user authenticated by an identity provider.
In this document, you'll learn how to set up HAProxy with FusionAuth as the identity provider to protect an HTTP service using JWTs.
## Prerequisites
* A FusionAuth instance running on a publicly accessible URL. You can spin up a [basic FusionAuth Cloud instance](/pricing) or [install it on any server](/docs/get-started/download-and-install).
* An HAProxy instance routed to an HTTP service. You can follow [this guide](https://www.haproxy.com/blog/how-to-run-haproxy-with-docker/) to get a simple example running on Docker.
<Aside type="note">
When creating your HAProxy container, be sure to use `haproxytech/haproxy-alpine:latest`, not `haproxytech/haproxy-alpine:2.4` as the guide instructs. Version 2.4 does not support the full set of JWT features needed in this tutorial.
If you have trouble getting the `haproxy` container from the guide to start, make sure your `haproxy.cfg` file ends with a newline. Even a white space character on the last line will prevent the container from running.
</Aside>
## FusionAuth Configuration
Navigate to your FusionAuth instance.
First, you need to make sure that the JWT issuer setting is correct. Navigate to <Breadcrumb>Tenants -> Your Tenant</Breadcrumb> and change the <InlineField>Issuer</InlineField> field to the URL of your FusionAuth instance, for example, `https://local.fusionauth.io`. Record this value, because you will use it later when generating the JWT. It will be referred to as `<YOUR_FUSIONAUTH_URL>`.
<img src="/img/docs/extend/examples/api-gateways/haproxy-tenant-issuer.png" alt="Tenant issuer" width="1200px" />
Next, you need to configure a FusionAuth application to issue tokens to access the HAProxy services.
Navigate to <Breadcrumb>Applications</Breadcrumb> and create a new application. Fill out the <InlineField>Name</InlineField> field, then click the <Breadcrumb>JWT</Breadcrumb> tab and toggle the <InlineField>Enabled</InlineField> switch. Select <InlineUIElement>Auto generate a new key on save...</InlineUIElement> for the <InlineField>Access Token signing key</InlineField> and <InlineField>Id token signing key</InlineField> fields. This will generate an RS256 asymmetric key pair specifically for this application.
<img src="/img/docs/extend/examples/api-gateways/haproxy-application-jwt-settings.png" alt="Application JWT settings" width="1200px" />
Click the <InlineUIElement>Save</InlineUIElement> button.
After saving the new application, find it in the list of applications and click the <InlineUIElement>View</InlineUIElement> button next to it (look for the green magnifying glass). Here you will find the application <InlineField>Id</InlineField>. Record this value, as you will need it further on. It will be referred to later as `<YOUR_APPLICATION_ID>`.
<img src="/img/docs/extend/examples/api-gateways/haproxy-application-id.png" alt="Application id" width="1200px" role="bottom-cropped" />
Now, navigate to <Breadcrumb>Settings -> Key Master</Breadcrumb>. You will see the access key that you've just created in this list. By default, it has the name `Access token signing key generated for application <NAME_OF_APPLICATION>`. View this key and copy the entire contents of the <InlineField>PEM encoded</InlineField> field under the <InlineUIElement>Public Key</InlineUIElement> section. Create a file called `pubkey.pem` in the same directory as you placed the `haproxy.cfg` file while setting up HAProxy with the public key you copied. Remember this filename, as you will supply it to the HAProxy configuration file later.
<img src="/img/docs/extend/examples/api-gateways/haproxy-public-key.png" alt="Record the public key for later use" width="1200px" />
You will use FusionAuth's API to generate a test JWT for your application. However, in a real-world application, the user or service would get the JWT through an OAuth grant. In the case of a user, the appropriate grant is the Authorization Code grant, and for a service, the Client Credentials grant. To make this example simpler, you'll use the Login API to get the JWT. To do this, you need an API key with POST access to the `/api/login` endpoint. Go to <Breadcrumb>Settings -> API Keys</Breadcrumb> to add the key. Make sure the appropriate tenant is selected in the <InlineField>Tenant</InlineField> field.
<img src="/img/docs/extend/examples/api-gateways/haproxy-api-key-permissions.png" alt="API key with post access to /api/login" width="1200px" />
After saving the API key, you can view the key in the list of API keys. Make a note of the value of the <InlineField>Key</InlineField> field. You will need to click the red padlock icon next to the key to reveal the value.
<img src="/img/docs/extend/examples/api-gateways/haproxy-api-key-value.png" alt="Contents of API key" width="1200px" role="bottom-cropped" />
Finally, make sure there is at least one user registered to your application so that you can test with a JWT issued for that user. You can create a new user by navigating to <Breadcrumb>Users -> Add user</Breadcrumb>. Toggle the <InlineField>Send email to set up password</InlineField> switch to `disabled` and manually enter a password in the <InlineField>Password</InlineField> field.
<img src="/img/docs/extend/examples/api-gateways/haproxy-create-user.png" alt="Create user with email and password" width="1200px" role="bottom-cropped" />
After saving this user, click <InlineUIElement>Manage</InlineUIElement> and go to the <Breadcrumb>Registrations</Breadcrumb> tab. Click <InlineUIElement>Add Registration</InlineUIElement> to register the user to your application.
<img src="/img/docs/extend/examples/api-gateways/haproxy-user-registration.png" alt="Register user to HAProxy application" width="1200px" />
## Configure HAProxy
After following the HAProxy quickstart guide noted earlier, you can execute the following command in the terminal:
```shell title="Test HAProxy setup"
curl -X GET -I http://localhost:80
```
If you have correctly set up HAProxy, this command will return `HTTP/1.1 200 OK`, indicating a successful connection to the service.
Now you can restrict access to the service by requiring a JWT. To do this, add the following lines to the `frontend myfrontend` section of your `haproxy.cfg` file. More information on this can be found [here](https://www.haproxy.com/blog/verify-oauth-jwt-tokens-with-haproxy/#configure-haproxy-for-jwts).
```ini title="Add JWT requirement to HAProxy configuration file"
http-request deny content-type 'text/html' string 'Missing Authorization HTTP header' unless { req.hdr(authorization) -m found }
# get header part of the JWT
http-request set-var(txn.alg) http_auth_bearer,jwt_header_query('$.alg')
http-request set-var(txn.iss) http_auth_bearer,jwt_payload_query('$.iss')
http-request set-var(txn.aud) http_auth_bearer,jwt_payload_query('$.aud')
# get payload part of the JWT
http-request set-var(txn.exp) http_auth_bearer,jwt_payload_query('$.exp','int')
# Validate the JWT
http-request deny content-type 'text/html' string 'Unsupported JWT signing algorithm' unless { var(txn.alg) -m str RS256 }
http-request deny content-type 'text/html' string 'Invalid JWT issuer' unless { var(txn.iss) -m str <YOUR_FUSIONAUTH_URL> }
http-request deny content-type 'text/html' string 'Invalid JWT audience' unless { var(txn.aud) -m str <YOUR_APPLICATION_ID> }
http-request deny content-type 'text/html' string 'Invalid JWT signature' unless { http_auth_bearer,jwt_verify(txn.alg,"/etc/haproxy/pubkey.pem") -m int 1 }
http-request set-var(txn.now) date()
http-request deny content-type 'text/html' string 'JWT has expired' if { var(txn.exp),sub(txn.now) -m int le 0 }
```
In the `Invalid JWT issuer` and `Invalid JWT audience` lines above, the placeholder values `<YOUR_FUSIONAUTH_URL>` and `<YOUR_APPLICATION_ID>` will need to be updated with the appropriate values from the previous section. `<YOUR_FUSIONAUTH_URL>` is the fully-qualified URL from the <InlineField>Issuer</InlineField> field in your <Breadcrumb>Tenant</Breadcrumb> configuration and `<YOUR_APPLICATION_ID>` is the UUID that identifies your FusionAuth application.
Note that your configuration file will look slightly different from the one in HAProxy's documentation linked above. You only need to import the lines necessary for proper JWT authentication. For example, you do not need to bind to port 443 or set up an SSL certificate, although it is good practice to do so in a production environment. More information on this can be found [here](https://www.haproxy.com/blog/haproxy-ssl-termination/).
Restart HAProxy by running the following:
```shell title="Restart the HAProxy load balancer"
sudo docker kill -s HUP haproxy
```
At this point, the service is inaccessible without a token. To confirm this, you can execute:
```shell title="Test that service is inaccessible without JWT"
curl -X GET -I http://localhost:80
```
This will return `HTTP/1.1 403 Forbidden`. You can also omit the `-I` option to see the error message that you supplied above, namely `Missing Authorization HTTP header`.
## Accessing the Service with a JWT
You can now generate a test JWT to access your HAProxy service using FusionAuth's login API. Execute the following command in your terminal:
```shell title="Get JWT token from FusionAuth"
curl --location --request POST '<YOUR_FUSIONAUTH_URL>/api/login' \
--header 'Authorization: <API_KEY>' \
--header 'Content-Type: application/json' \
--data-raw ' {
"loginId": "<USER_EMAIL>",
"password": "<USER_PASSWORD>",
"applicationId": "<APPLICATION_ID>",
"noJWT" : false
}'
```
Here, `<YOUR_FUSIONAUTH_URL>` is the <InlineField>Issuer</InlineField> name, and `<API_KEY>` is the key you noted when setting it up on the <Breadcrumb>Settings -> API Keys</Breadcrumb> page.
For `<APPLICATION_ID>`, use the Id of your FusionAuth application, noted when setting up the application.
The values for `<USER_EMAIL>` and `<USER_PASSWORD>` are the <InlineField>Username</InlineField> and <InlineField>Password</InlineField> of the test user that you registered to that application.
The returned response from FusionAuth should look similar to the following:
```json title="Token response from API call"
{
"token": "eyJhbGciOiJSUzI1NiIsInR5cCI6IkpXVCIsImtpZCI6ImhDUjA4X3daR2s0OUFlYUFmRDY5ZmJKWmRGTSJ9.eyJhdWQiOiI2M2I3M2Y3Ni03NDAwLTQ4N2QtYjEyMi01NzA1Yjg0OGRhODAiLCJleHAiOjE2NzMzNjYyMDQsImlhdCI6MTY3MzM2MjYwNCwiaXNzIjoiaHR0cHM6Ly9mdXNpb25hdXRoLnJpdHphLmNvIiwic3ViIjoiMzk2MzAwMGYtNjg2ZC00MTY5LWI2MjgtOWM5YzQ1MzRiNzgwIiwianRpIjoiZDk3ZGIyZWYtZjExNS00ZDIxLWFlOTQtMDIyN2RmMGU4YzI5IiwiYXV0aGVudGljYXRpb25UeXBlIjoiUEFTU1dPUkQiLCJlbWFpbCI6ImJvYkBhd3MuY29tIiwiZW1haWxfdmVyaWZpZWQiOnRydWUsInByZWZlcnJlZF91c2VybmFtZSI6ImJvYmF3cyIsImFwcGxpY2F0aW9uSWQiOiI2M2I3M2Y3Ni03NDAwLTQ4N2QtYjEyMi01NzA1Yjg0OGRhODAiLCJyb2xlcyI6W10sImF1dGhfdGltZSI6MTY3MzM2MjYwNCwidGlkIjoiZjAwNGMxZmUtNDg0Yi05MDJjLWQ3Y2EtYmRiYzQ2NGRhMGI3In0.m7gzXhNLToPNVE1p5Vo2pLgP6WBcPNfS_zZJnJ81mdEgi6-orViz-tU8j0L8wva0-8KlMdy54cq_XjnDnYJ0aX90O4ZE_QVU5NuDDfzXH14wQtKQoIIydsB6ZvQoBt8JNFUHJb9ANLCGnfn6FVQKqPIzye18Gx_7wYSVokw3eLNFyzrq9dwOD5Q8V9gvZmXV2pTokQAtA7qFaadb2dIeFlSEB7wamKiZLXILjeWAeMbbvAAMQZWFh46UJjwr06QTd8PxQmRwDWWznJy1Vs8EAgZA4vkRSWnn3IbiaCtOaL1ANuEex6il7q32ahxj0Ncm9wn0DbDsQE9NB0CCNTSIhA",
"tokenExpirationInstant": 1673366204805,
"user": {
"sampleuserdata" : "..."
}
}
```
Copy the <InlineField>token</InlineField> value. You can now gain access to your HAProxy service by passing this value as a bearer token.
```shell title="Gain access with JWT"
curl -I http://localhost:80 \
-H 'Authorization: Bearer <TOKEN>'
```
Here, `TOKEN` is the value of the JWT that you copied from the `/api/login` call.
This command should return `HTTP/1.1 200 OK`, indicating successful authorization to the HAProxy service.
## Troubleshooting
* The JWT issued by the FusionAuth Login API has an expiration date. If you wait too long before using it to call the HAProxy service, the token will expire and the call will fail. You can resolve this by rerunning the curl command to obtain another JWT token and use the new token.
* The issuer URL set in the <InlineField>Issuer</InlineField> field from <Breadcrumb>Tenants -> Your Tenant</Breadcrumb> must exactly match the `<YOUR_FUSIONAUTH_URL>` value in the `haproxy.cfg` file. If the values do not match exactly, including any white space and slashes, the JWT token will not be accepted by HAProxy.
## Next Steps
You've learned how to enable JWT authorization on an HAProxy service. In a production application, using HAProxy and the JWT plugin is useful to secure the backend services of the application. This way, each service does not need to handle authorization or authentication. Instead, authentication and authorization are handled by FusionAuth and HAProxy.
You used the FusionAuth API to create a test token on behalf of a user. For a production system, the token will be generated after a user signs in to your application through a frontend. Check out some of the framework integration tutorials to implement that:
<FrameworkIntegrationTutorialList />
# API Gateways Overview
import ApiGatewayArchitectureDiagram from 'src/diagrams/docs/extend/examples/api-gateways/_example-api-gateway-architecture.astro';
import InlineField from 'src/components/InlineField.astro';
import Breadcrumb from 'src/components/Breadcrumb.astro';
## Overview
FusionAuth is an OIDC and OAuth server, which means it integrates with a variety of third party systems out of the box. One of those systems is an API gateway. It is a common architectural pattern to have an authentication system generate a token which is then presented to other services. These services can sit behind an API Gateway, which offers throttling, billing and checks for authenticated requests.
## General Integration Guidance
In general, you'll want to do the following to perform an API gateway integration using OIDC.
In FusionAuth:
* Create an Application in FusionAuth.
* Record the <InlineField>Client Id</InlineField> and the <InlineField>Client Secret</InlineField>.
* Provide the <InlineField>Client Id</InlineField> and the <InlineField>Client Secret</InlineField> to the web application which will complete the Authorization Code grant. This may be the API gateway or a custom application.
* Add the configured redirect URL to the <InlineField>Authorized redirect URLs</InlineField> field. This may be the API gateway or a custom application.
You typically need to ensure that FusionAuth is signing the JWT with an asymmetric key. Do that by navigating to <Breadcrumb>Settings -> Key Master</Breadcrumb> to create or import the key pair. Then configure the Application to use the key by navigating to <Breadcrumb>Applications -> Your Application -> JWT</Breadcrumb>.
In the API gateway:
* Provide the URL for FusionAuth, often called the `issuer`.
* Configure the API gateway with the client Id, and sometimes the secret, from the Application.
* Configure which claims of the JWT the API gateway should inspect.
* Add routes in the API gateway to forward requests to services.
If the API gateway does not support token exchange, but instead expects a token:
* Create a web application which can receive the one-time Authorization Code and exchange it for an access token. Provide this web application with the client secret.
* Have the web application securely provide the client the token.
After this is configured, when the user tries to access a service, they'll be prompted to login. After they successfully do so, the API gateway will examine the token and allow access if applicable.
FusionAuth also supports SAML integrations. Learn more about [how FusionAuth can act as a SAML IdP](/docs/lifecycle/authenticate-users/saml/).
## Sample Architecture
Here's a sequence diagram with an example API gateway protecting two services.
<ApiGatewayArchitectureDiagram alt="API gateway sample architecture." />
## Token Location
The location of the token in the request is typically in one of two places:
* The `Authorization` header
* A secure, `HttpOnly` cookie
The former is compatible with a variety of API gateways and open source libraries.
The latter is more secure when used for browser based clients such as SPAs, since JavaScript doesn't have access to the token. It is also compatible with the [Hosted Backend APIs](/docs/apis/hosted-backend), which use FusionAuth to perform the token exchange.
## Example Integrations
Here are some example API gateway integrations.
* [Amazon API Gateway](/docs/extend/examples/api-gateways/aws-api-gateway)
* [HAProxy](/docs/extend/examples/api-gateways/haproxy-api-gateway)
* [Hasura](https://hasura.io/learn/graphql/hasura-authentication/integrations/fusion-auth/) (external documentation)
* [Kong Gateway](/docs/extend/examples/api-gateways/kong-gateway)
* [ngrok Cloud Edge](/docs/extend/examples/api-gateways/ngrok-cloud-edge)
# Kong Gateway
import Breadcrumb from 'src/components/Breadcrumb.astro';
import InlineField from 'src/components/InlineField.astro';
import InlineUIElement from 'src/components/InlineUIElement.astro';
import Aside from 'src/components/Aside.astro';
import FrameworkIntegrationTutorialList from 'src/content/docs/_shared/_framework-integration-tutorial-list.mdx';
## Overview
Kong Gateway is an API management tool that allows you to connect client API calls to the appropriate services.
You can configure Kong Gateway to handle authorization to the services through JSON Web Tokens (JWTs) issued on behalf of a user authenticated by an identity provider.
In this document, you'll learn how to set up Kong Gateway with FusionAuth as the identity provider to protect a simple HTTP service.
## Prerequisites
* A FusionAuth instance running on a publicly accessible URL. You can spin up a [basic FusionAuth Cloud instance](/pricing) or [install it on any server](/docs/get-started/download-and-install).
* A Kong Gateway instance with service routes. You can follow the Kong quickstart guide at [to set up Kong locally](https://docs.konghq.com/gateway/3.1.x/get-started/). You should complete both the [Get Kong](https://docs.konghq.com/gateway/3.1.x/get-started/) and [Services and Routes](https://docs.konghq.com/gateway/3.1.x/get-started/services-and-routes/) sections.
** Note: If the terminal seems to hang after outputting `Debugging info logged to 'kong-quickstart.log'`, it may be having trouble connecting to Docker. Try [resetting Docker to factory defaults](https://www.kindacode.com/article/how-to-reset-docker-desktop/) to solve this issue.
## Restrict Access to your Kong Gateway Service
After following the Kong Quickstart Guide above, you can execute the following command in the terminal.
```shell title="Curl to test Kong setup"
curl -I http://localhost:8000/mock/requests
```
If you have correctly set up Kong Gateway, this command will return `HTTP/1.1 200 OK`, indicating a successful connection to the service.
Now, you can restrict access to the service by requiring a JWT. To do this, add a [JWT plugin](https://docs.konghq.com/hub/kong-inc/jwt/) to the Kong service with the following command. We assume the service name is "example_service", as in the Kong Get Started guide.
```shell title="Restricting access with JWT"
curl -X POST http://localhost:8001/services/example_service/plugins \
--data "name=jwt"
```
At this point, the service is inaccessible without a token. To confirm this, you can execute:
```shell title="Curl to test Kong setup after restricting access"
curl -I http://localhost:8000/mock/requests
```
This time, the command will return `HTTP/1.1 401 Unauthorized`.
## Set Up FusionAuth
Navigate to your FusionAuth instance.
First, you need to make sure the JWT issuer setting is correct. Navigate to <Breadcrumb>Tenants -> Your Tenant</Breadcrumb> and change the <InlineField>Issuer</InlineField> field to the URL of your FusionAuth instance, for example, `https://local.fusionauth.io`. Record this value, because you will use it later when generating the JWT.
<img src="/img/docs/extend/examples/api-gateways/kong-gateway-tenant-issuer.png" alt="Tenant issuer" width="1200" />
Next, you need to configure an application that will issue tokens to access the Kong Gateway service.
Navigate to <Breadcrumb>Applications</Breadcrumb> and create a new application. Fill out the <InlineField>Name</InlineField> field, then click the <Breadcrumb>JWT</Breadcrumb> tab and toggle the <InlineField>Enabled</InlineField> switch. Select <InlineUIElement>Auto generate a new key on save...</InlineUIElement> for the <InlineField>Access Token signing key</InlineField> field. This will generate an RS256 asymmetric key pair specifically for this application.
<img src="/img/docs/extend/examples/api-gateways/kong-gateway-fusionauth-jwt-settings.png" alt="FusionAuth application JWT settings" width="1200" />
Click the <InlineUIElement>Save</InlineUIElement> button.
After saving the application, find the application in the list of applications and click <InlineUIElement>View</InlineUIElement> next to the application you just created. Here you will find the application <InlineField>Id</InlineField>. Note this value, as we will refer to it later as `APPLICATION_ID`.
<img src="/img/docs/extend/examples/api-gateways/kong-gateway-application-id.png" alt="FusionAuth Application Id" width="1200" role="bottom-cropped" />
Now, navigate to <Breadcrumb>Settings -> Key Master</Breadcrumb>. You will see the access key that you've just created in this list. By default, it has the name `Access token signing key generated for application <NAME_OF_APPLICATION>`. View the key and copy the entire contents of the <InlineField>PEM encoded</InlineField> field under the <InlineUIElement>Public Key</InlineUIElement> section into a file in your current working directory. Name the file something like `public.pem`.
<img src="/img/docs/extend/examples/api-gateways/kong-gateway-public-key.png" alt="FusionAuth Public Key for Access Token" width="1200" />
<Aside type="note">
Why not use JWKS, which FusionAuth supports, to retrieve the public key?
Unfortunately, [JWKS is not supported by the JWT Kong plugin](https://github.com/Kong/kong/issues/8381#issuecomment-1035441828).
</Aside>
You will use FusionAuth's API to generate a test JWT for your application.
In a real-world application, the user or service would get the JWT through an OAuth grant. In the case of a user, the appropriate grant is the [Authorization Code grant](/docs/lifecycle/authenticate-users/oauth/#example-authorization-code-grant), and for a service, the [Client Credentials grant](/docs/lifecycle/authenticate-users/oauth/#example-client-credentials-grant).
To make this example simpler, you'll use the Login API to get the JWT. To do this, you need an API key with POST access to the `/api/login` endpoint. Go to <Breadcrumb>Settings -> API Keys</Breadcrumb> to add the key. Make sure the appropriate tenant is selected in the <InlineField>Tenant</InlineField> field.
<img src="/img/docs/extend/examples/api-gateways/kong-gateway-api-key-setup.png" alt="FusionAuth API Key setup" width="1200" />
After saving the API key, you can view the key in the list of API keys. Make a note of the value of the <InlineField>Key</InlineField> field, as it will be used later. You will need to click the red padlock icon next to the key to reveal the value.
<img src="/img/docs/extend/examples/api-gateways/kong-gateway-api-key.png" alt="FusionAuth API Key setup" width="1200" role="bottom-cropped" />
Finally, make sure there is at least one user registered to your application so that you can test with a JWT issued for that user. You can create a new user by navigating to <Breadcrumb>Users -> Add user</Breadcrumb>. Toggle the <InlineField>Send email to set up password</InlineField> switch to off and manually enter a password in the <InlineField>Password</InlineField> field.
<img src="/img/docs/extend/examples/api-gateways/kong-gateway-create-user.png" alt="FusionAuth User Creation" width="1200" role="bottom-cropped" />
After saving this user, click <InlineUIElement>Manage</InlineUIElement> and go to the <Breadcrumb>Registrations</Breadcrumb> tab. Click <InlineUIElement>Add Registration</InlineUIElement> to register the user to your application.
<img src="/img/docs/extend/examples/api-gateways/kong-gateway-user-registration.png" alt="FusionAuth User Registration" width="1200" />
## Add a Consumer in Kong Gateway
Now that FusionAuth has all the requisite information to create a JWT, you can configure your Kong Gateway and JWT plugin to provide access based on valid tokens created by FusionAuth.
Execute the following command in your terminal to add a consumer to Kong.
```shell title="Creating a consumer"
curl -i -X POST http://localhost:8001/consumers \
--data "username=fusionauth"
```
This command creates a Kong consumer with the username `fusionauth`. This consumer will be linked to credentials that you supply to it, namely the <InlineField>Public key</InlineField> and <InlineField>Issuer</InlineField> name from FusionAuth. This consumer uses the information provided to verify any JWT used to access the service. You can enable this with the following command:
```shell title="Create credentials for the consumer"
curl -i -X POST http://localhost:8001/consumers/<CONSUMER_USERNAME>/jwt \
-F "algorithm=RS256" \
-F "rsa_public_key=@./<PUBLIC_KEY_FILENAME>" \
-F "key=<YOUR_FUSIONAUTH_URL>"
```
Here, `<YOUR_FUSIONAUTH_URL>` should exactly match the <InlineField>Issuer</InlineField> field from <Breadcrumb>Tenants -> Your Tenant</Breadcrumb>, `<CONSUMER_USERNAME>` should match the <InlineField>username</InlineField> that you supplied to the consumer in the prior step, and `<PUBLIC_KEY_FILENAME>` should match the name of the file that you saved the public key to, from the <Breadcrumb>Key Master</Breadcrumb> page.
Using the example values from this guide, the command would be:
```shell title="Supply key to consumer with example values"
curl -i -X POST http://localhost:8001/consumers/fusionauth/jwt \
-F "algorithm=RS256" \
-F "rsa_public_key=@./public.pem" \
-F "key=https://local.fusionauth.io"
```
## Creating and Using the Service with a JWT
You can now generate a test JWT to access your Kong Gateway service using FusionAuth's login API. Execute the following command in your terminal.
```shell title="Get JWT token from FusionAuth"
curl --location --request POST '<YOUR_FUSIONAUTH_URL>/api/login' \
--header 'Authorization: <API_KEY>' \
--header 'Content-Type: application/json' \
--data-raw ' {
"loginId": "<USER_EMAIL>",
"password": "<USER_PASSWORD>",
"applicationId": "<APPLICATION_ID>",
"noJWT" : false
}'
```
Here, `<YOUR_FUSIONAUTH_URL>` is the <InlineField>Issuer</InlineField> name, and `<API_KEY>` is the key you noted when setting it up on the <Breadcrumb>Settings -> API Keys</Breadcrumb> page.
For `<APPLICATION_ID>`, use the Id of your FusionAuth application, noted when setting up the application.
The values for `<USER_EMAIL>` and `<USER_PASSWORD>` are the username and password of the test user that you registered to that application.
Using the example values from this guide, the command would be:
```shell title="Get JWT token from FusionAuth with example values"
curl --location --request POST 'https://local.fusionauth.io/api/login' \
--header 'Authorization: cQoB7kVu9h4lI8cCMzjfeOyZFevj_suDRDKnVzh1SK1aPSlvzjyNIVnh' \
--header 'Content-Type: application/json' \
--data-raw ' {
"loginId": "richard@example.com",
"password": "password",
"applicationId": "6245b444-bd51-4be2-9260-7dc825adbcb6",
"noJWT" : false
}'
```
The return response from FusionAuth should look similar to the following:
```json title="Token response from API call"
{
"token": "eyJhbGciOiJSUzI1NiIsInR5cCI6IkpXVCIsImtpZCI6ImhDUjA4X3daR2s0OUFlYUFmRDY5ZmJKWmRGTSJ9.eyJhdWQiOiI2M2I3M2Y3Ni03NDAwLTQ4N2QtYjEyMi01NzA1Yjg0OGRhODAiLCJleHAiOjE2NzMzNjYyMDQsImlhdCI6MTY3MzM2MjYwNCwiaXNzIjoiaHR0cHM6Ly9mdXNpb25hdXRoLnJpdHphLmNvIiwic3ViIjoiMzk2MzAwMGYtNjg2ZC00MTY5LWI2MjgtOWM5YzQ1MzRiNzgwIiwianRpIjoiZDk3ZGIyZWYtZjExNS00ZDIxLWFlOTQtMDIyN2RmMGU4YzI5IiwiYXV0aGVudGljYXRpb25UeXBlIjoiUEFTU1dPUkQiLCJlbWFpbCI6ImJvYkBhd3MuY29tIiwiZW1haWxfdmVyaWZpZWQiOnRydWUsInByZWZlcnJlZF91c2VybmFtZSI6ImJvYmF3cyIsImFwcGxpY2F0aW9uSWQiOiI2M2I3M2Y3Ni03NDAwLTQ4N2QtYjEyMi01NzA1Yjg0OGRhODAiLCJyb2xlcyI6W10sImF1dGhfdGltZSI6MTY3MzM2MjYwNCwidGlkIjoiZjAwNGMxZmUtNDg0Yi05MDJjLWQ3Y2EtYmRiYzQ2NGRhMGI3In0.m7gzXhNLToPNVE1p5Vo2pLgP6WBcPNfS_zZJnJ81mdEgi6-orViz-tU8j0L8wva0-8KlMdy54cq_XjnDnYJ0aX90O4ZE_QVU5NuDDfzXH14wQtKQoIIydsB6ZvQoBt8JNFUHJb9ANLCGnfn6FVQKqPIzye18Gx_7wYSVokw3eLNFyzrq9dwOD5Q8V9gvZmXV2pTokQAtA7qFaadb2dIeFlSEB7wamKiZLXILjeWAeMbbvAAMQZWFh46UJjwr06QTd8PxQmRwDWWznJy1Vs8EAgZA4vkRSWnn3IbiaCtOaL1ANuEex6il7q32ahxj0Ncm9wn0DbDsQE9NB0CCNTSIhA",
"tokenExpirationInstant": 1673366204805,
"user": {
"sampleuserdata" : "..."
}
}
```
Copy the <InlineField>token</InlineField> value. You can now gain access to your Kong Gateway service by passing this value as a bearer token.
```shell title="Gain access with JWT"
curl -I http://localhost:8000/mock/requests \
-H 'Authorization: Bearer <TOKEN>'
```
Where `<TOKEN>` is the value of the JWT that you copied from the `/api/login` call.
This command should return `HTTP/1.1 200 OK`, indicating successful authorization to the Kong Gateway service.
## Troubleshooting
* The JWT issued by the FusionAuth Login API has an expiry. If you wait too long before using it to call the Kong service, the token will expire and the call will fail. You can resolve this by rerunning the curl command to obtain another JWT token and using the new token.
* The issuer URL set in the <InlineField>Issuer</InlineField> field from <Breadcrumb>Tenants -> Your Tenant</Breadcrumb> must exactly match the `key` value in the curl command when creating the consumer credentials on Kong. If the values do not match exactly, including any white space and slashes, the JWT token will not be accepted by Kong.
## Next steps
You've learned how to enable JWT authorization on a Kong service. In a production application, using Kong and the JWT plugin is useful to secure backend services of the application. This way, each service does not need to handle authorization or authentication. Instead, authentication and authorization are handled by FusionAuth and Kong.
You used the FusionAuth API to create a test token on behalf of a user. For a production system, the token will be generated after a user signs in to your application through a frontend. Check out some of the framework integration tutorials to implement that:
<FrameworkIntegrationTutorialList />
# ngrok Cloud Edge
import Breadcrumb from 'src/components/Breadcrumb.astro';
import InlineField from 'src/components/InlineField.astro';
import InlineUIElement from 'src/components/InlineUIElement.astro';
## Overview
ngrok Cloud Edge allows you to protect any resource which is proxied by an ngrok agent. This can be an on-premise server, something in a different cloud, or an IoT device running out in the field.
You can configure ngrok Cloud Edge to allow connections to the resource, and then configure it to delegate authentication to FusionAuth. This is done with what is called the OIDC module.
In this document, you'll learn how to set up ngrok Cloud Edge and FusionAuth to protect a static site running on your computer.
You can view the [ngrok guide](https://ngrok.com/docs/integrations/fusionauth/sso-oidc) as well.
## Prerequisites
* A FusionAuth instance running on a publicly accessible URL. You can spin up a [basic FusionAuth Cloud instance](/pricing) or [install it on any server](/docs/get-started/download-and-install).
* A local server with a website or application running. This document will use python's built-in web server, but any option will do.
* The `ngrok` CLI. You can [download it for free](https://ngrok.com/download), but you have to register.
* An ngrok account with the appropriate plan. ngrok Cloud Edge is a paid feature. Please [contact ngrok](https://ngrok.com/enterprise/contact) for pricing and licensing options.
You can test if you have `ngrok` installed by running this command.
```shell title="Testing if you have ngrok installed"
ngrok -v
```
```shell title="Output of testing if you have ngrok installed"
ngrok version 3.1.0
```
## Set Up The Application
This is going to be a sample application that you want to protect. For this document, it'll be a simple web page.
First, make a directory.
```shell title="Make a directory"
mkdir apptoprotect && cd apptoprotect
```
Then, copy this HTML into a file called `index.html`.
```html title="Content of the index.html file"
<html>
<head>
<title>My application
 ## Set Up FusionAuth
Navigate to your FusionAuth instance.
First, you need to make sure the issuer setting is correct. Navigate to
 Tenants -> Your Tenant and change the issuer to the URL of your FusionAuth instance. For example, `https://local.fusionauth.io`.
Next, you need to configure an application which will correspond to the ngrok Cloud Edge instance.
Navigate to Applications and then create a new Application. Fill out the Name field, then click the OAuth tab.
Make sure that the Enabled grants checkboxes have the `Authorization Code` and `Refresh Token` grants enabled.
Your application should look like this.
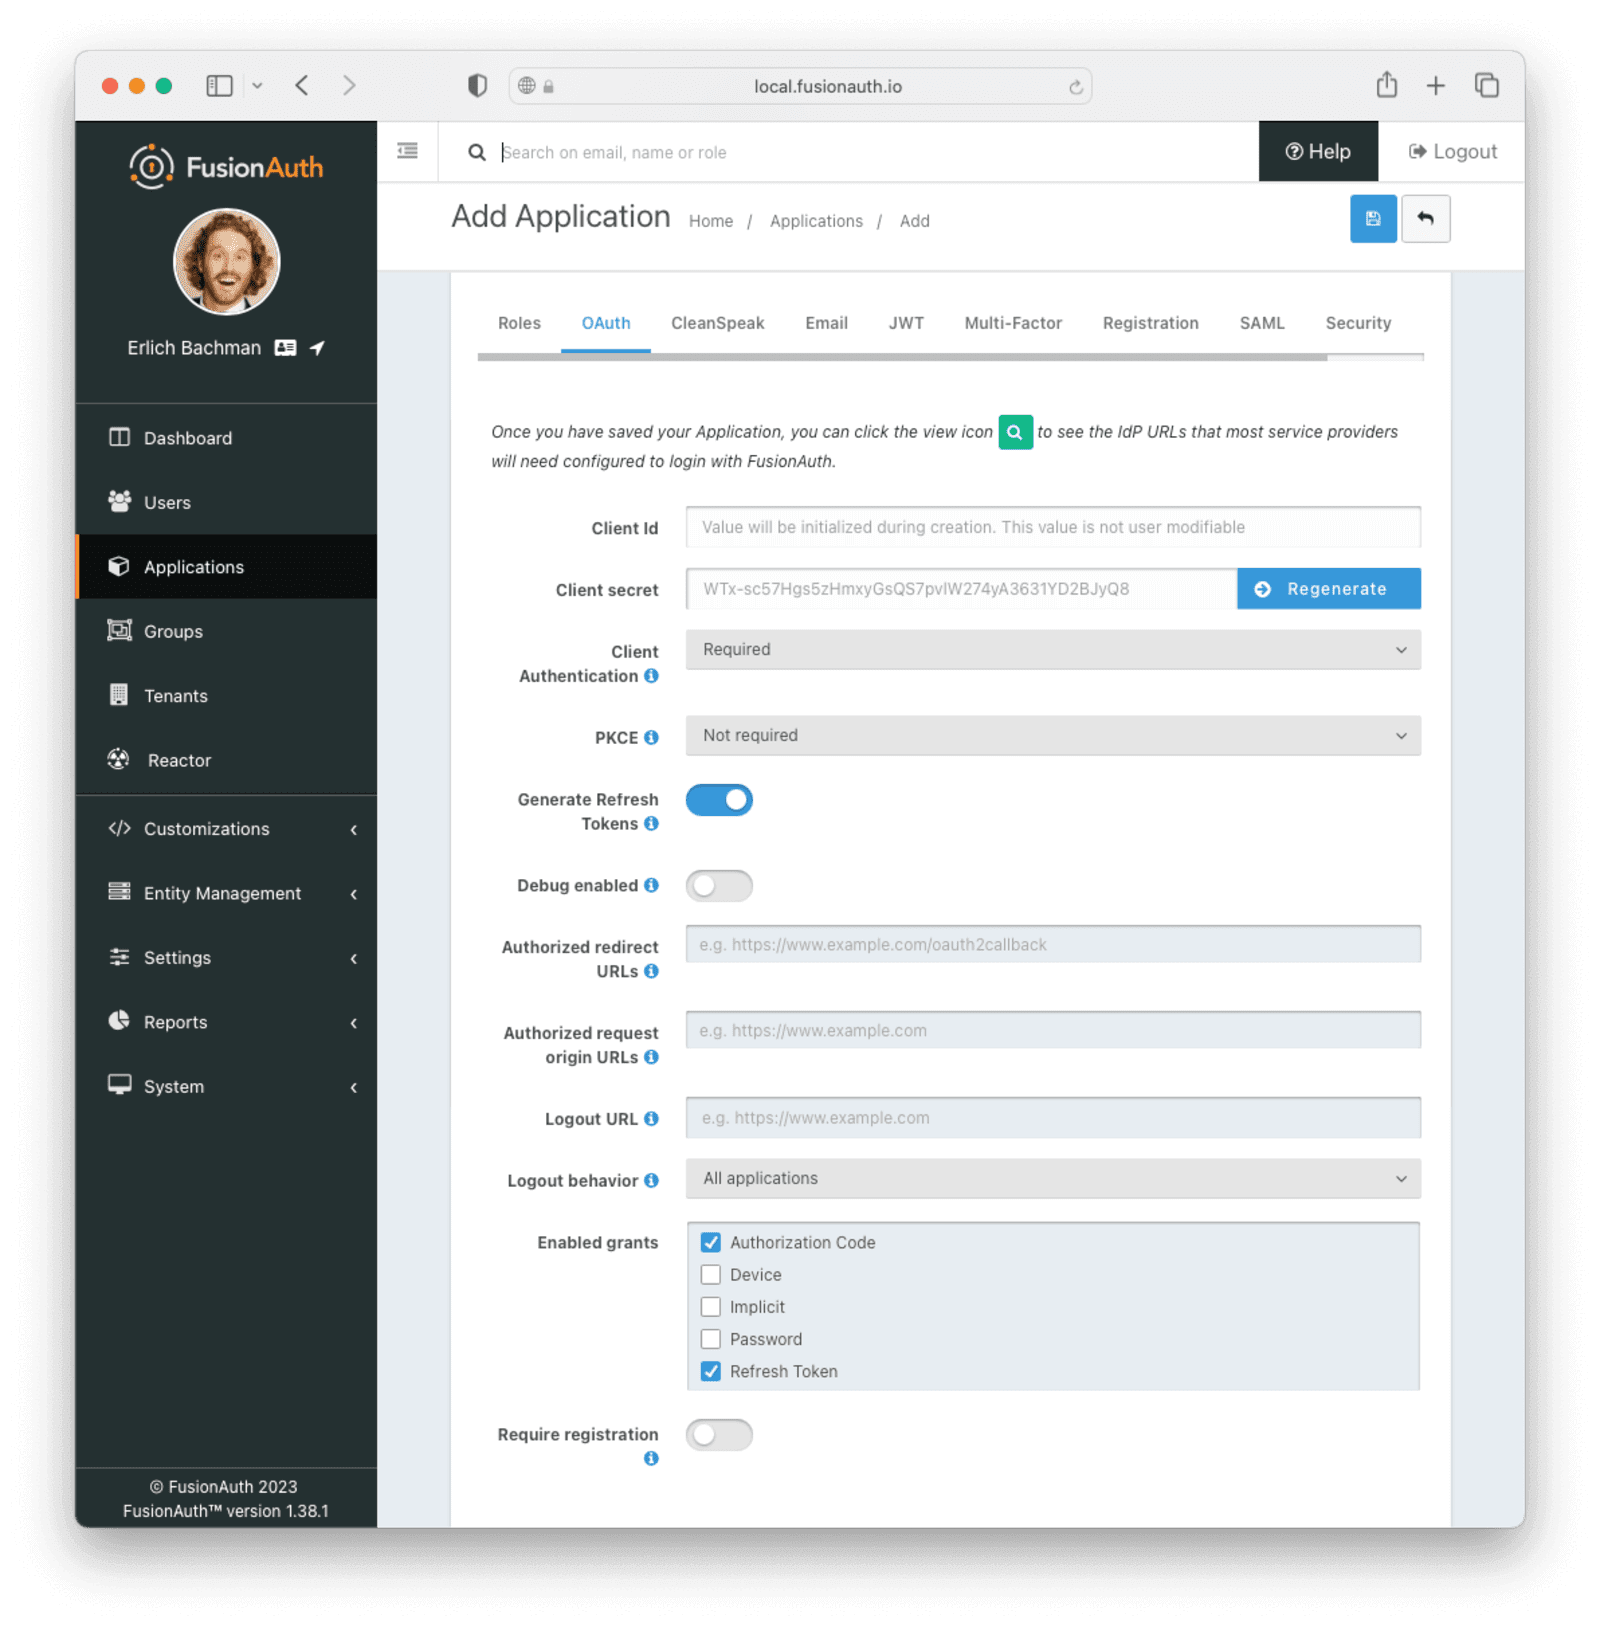 Click the
 Save button.
Edit the new application. You should see values in the Client Id and Client secret fields. Copy them and put them in a text file. You'll use them in the [Set Up ngrok Cloud Edge](#set-up-ngrok-cloud-edge) step.
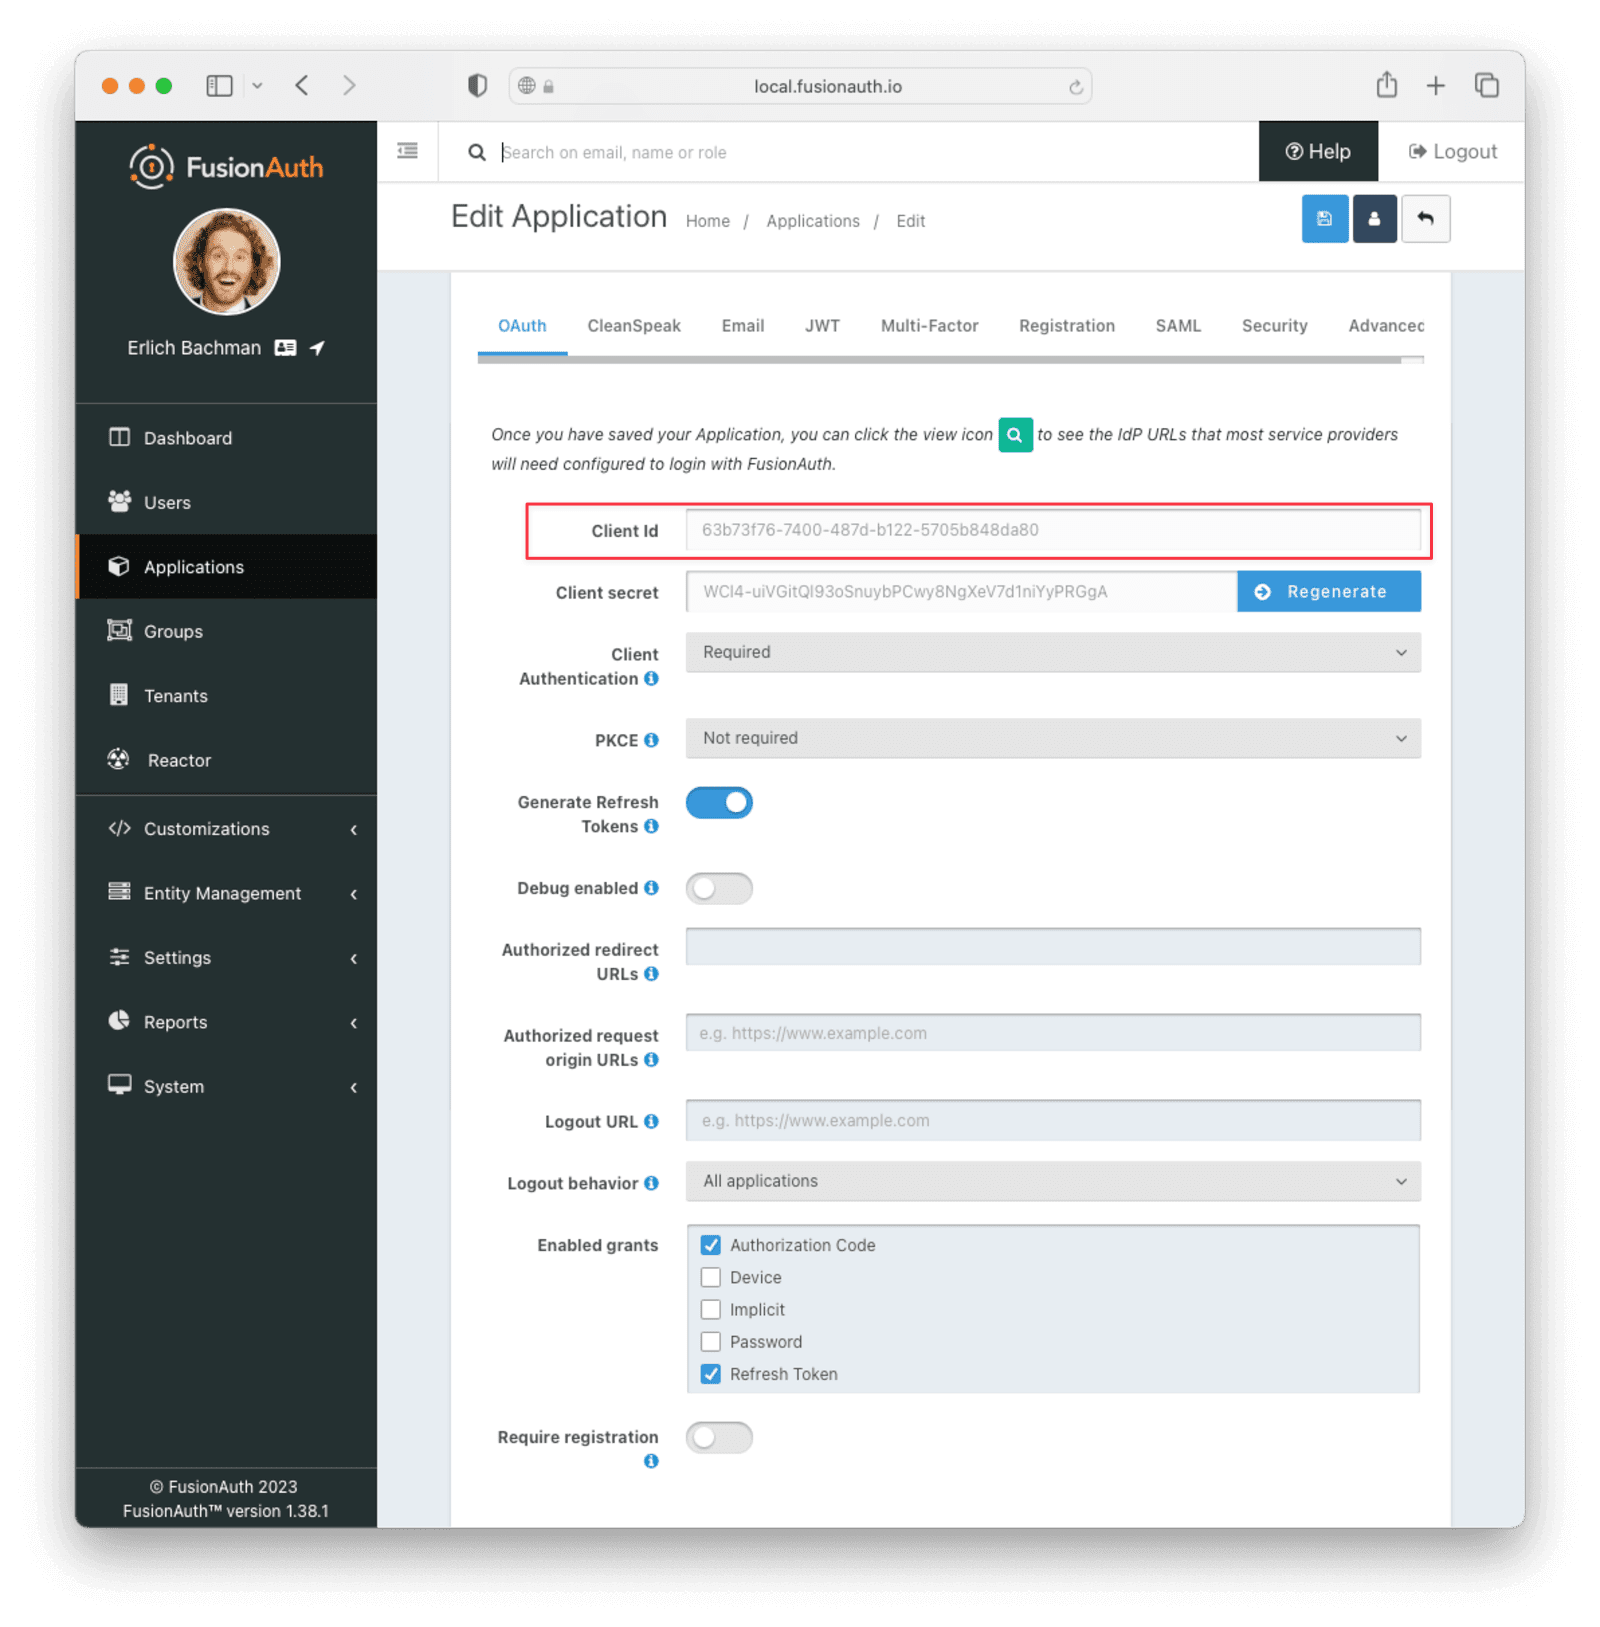 Now, open up a new tab. Next, you are going to set up ngrok Cloud Edge.
## Set Up ngrok Cloud Edge
Log into an account with ngrok Cloud Edge enabled. Navigate to [the ngrok dashboard](https://dashboard.ngrok.com/cloud-edge/edges) and then to
 Cloud Edge -> Edges .
 Click
Click Create Edge and select an `HTTPS Edge`. Click Create HTTPS Edge .
Copy the endpoint, which might look like `https://pe07g5cn.ngrok.io` and paste it into the text file. You'll use that in the [Test It Out](#test-it-out) step.
Click on Start a Tunnel . This will give you an `ngrok` command to run.
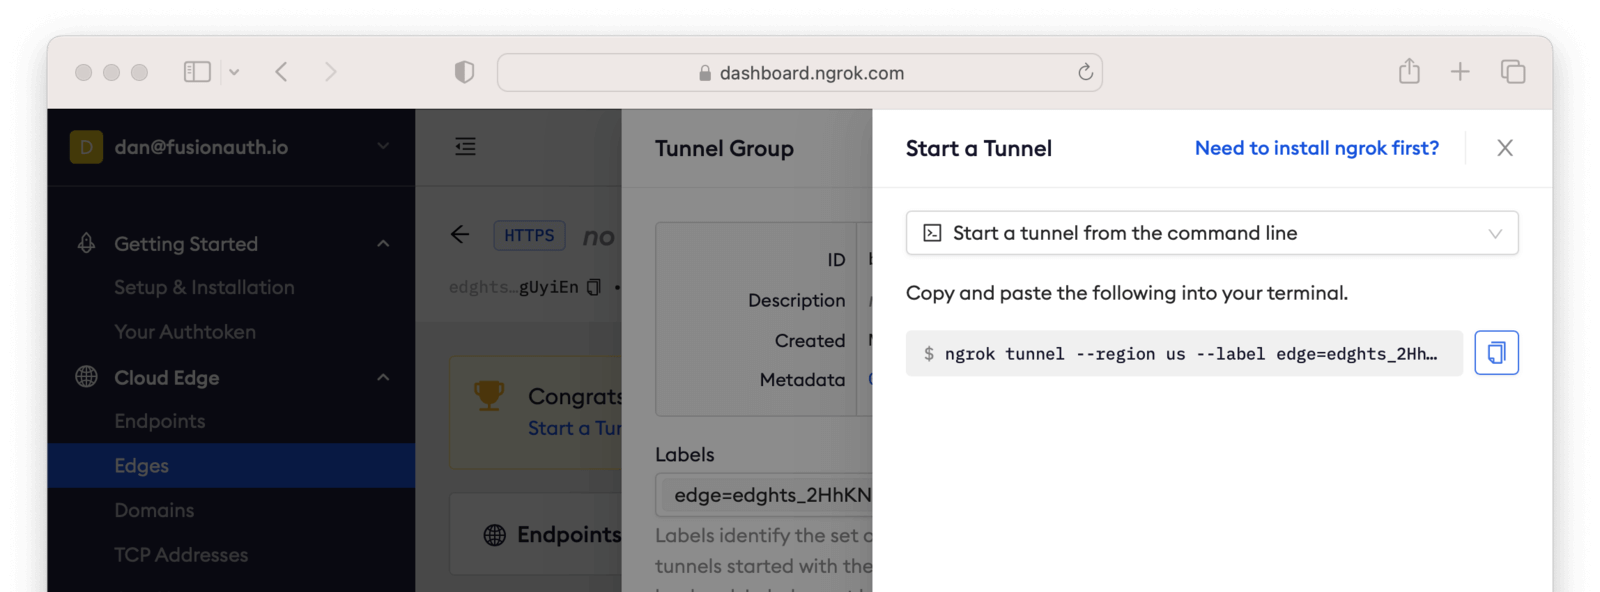 It'll look something like this.
```shell title="Command to start the ngrok tunnel"
ngrok tunnel --region us --label edge=edghts_2HhKN3ozOCbPO6eDYlXnUgUyiEn http://localhost:80
```
Copy and paste it, and then modify that to point to your web server. If you are following this document, you need to point it to port 8000.
```shell title="Command to start the ngrok tunnel to the python protected app"
ngrok tunnel --region us --label edge=edghts_2HhKN3ozOCbPO6eDYlXnUgUyiEn http://localhost:8000
```
Then paste the command into the same text file.
Next, navigate to the
 OIDC tab.
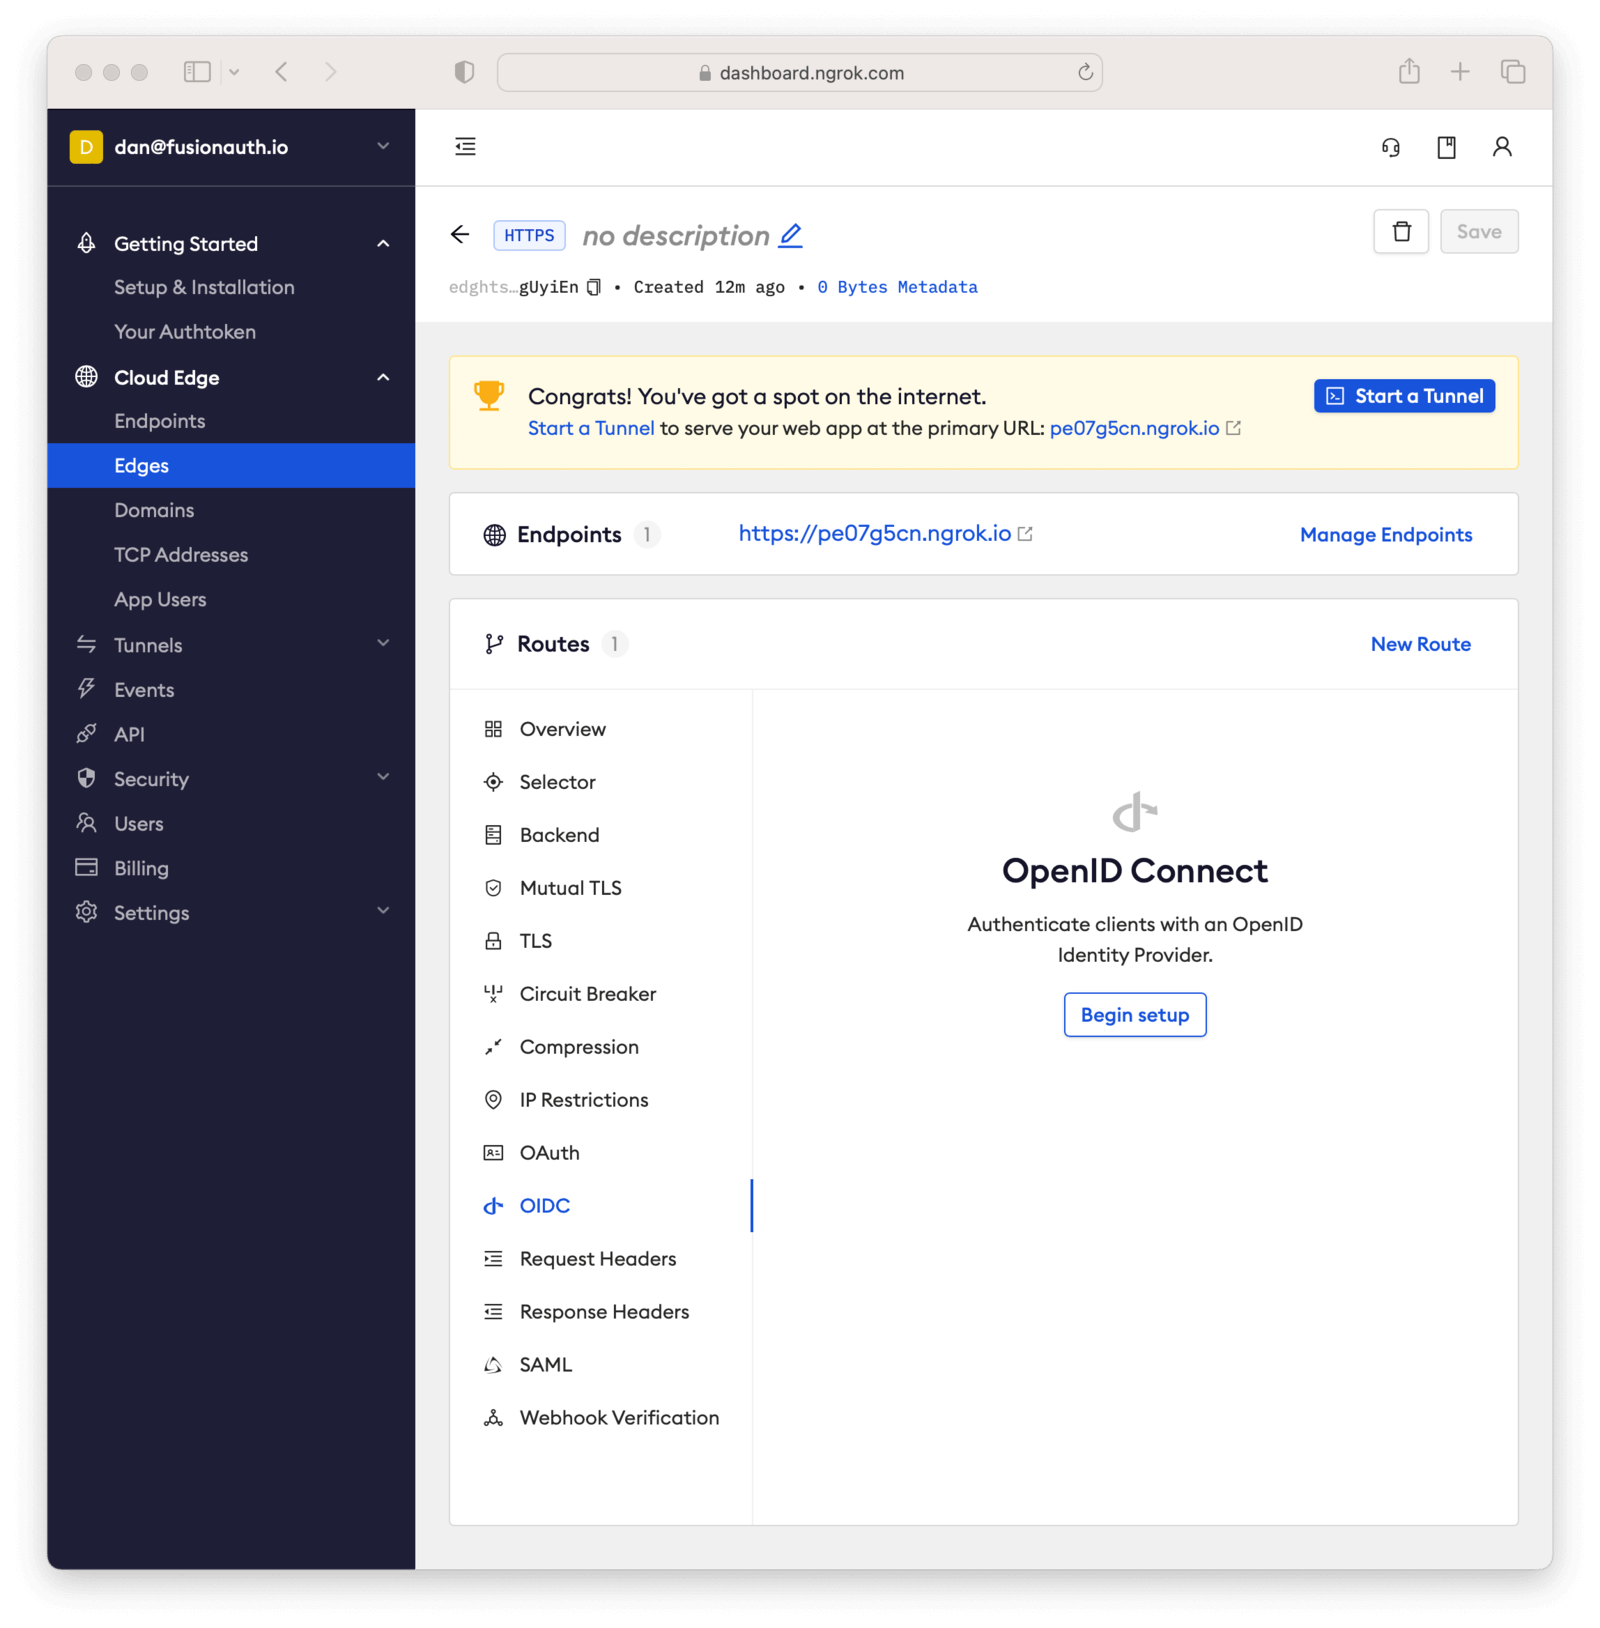 Click on
 Begin setup .
Configure it by taking the following steps.
* Add the URL of the FusionAuth server into the Issuer URL (Open ID Provider) field.
* Put the Client Id you copied in the [Set Up FusionAuth](#set-up-fusionauth) step into the Client ID field.
* Put the Client secret you copied in the [Set Up FusionAuth](#set-up-fusionauth) step into the Client Secret field.
Here's how the configuration will look after you are done.
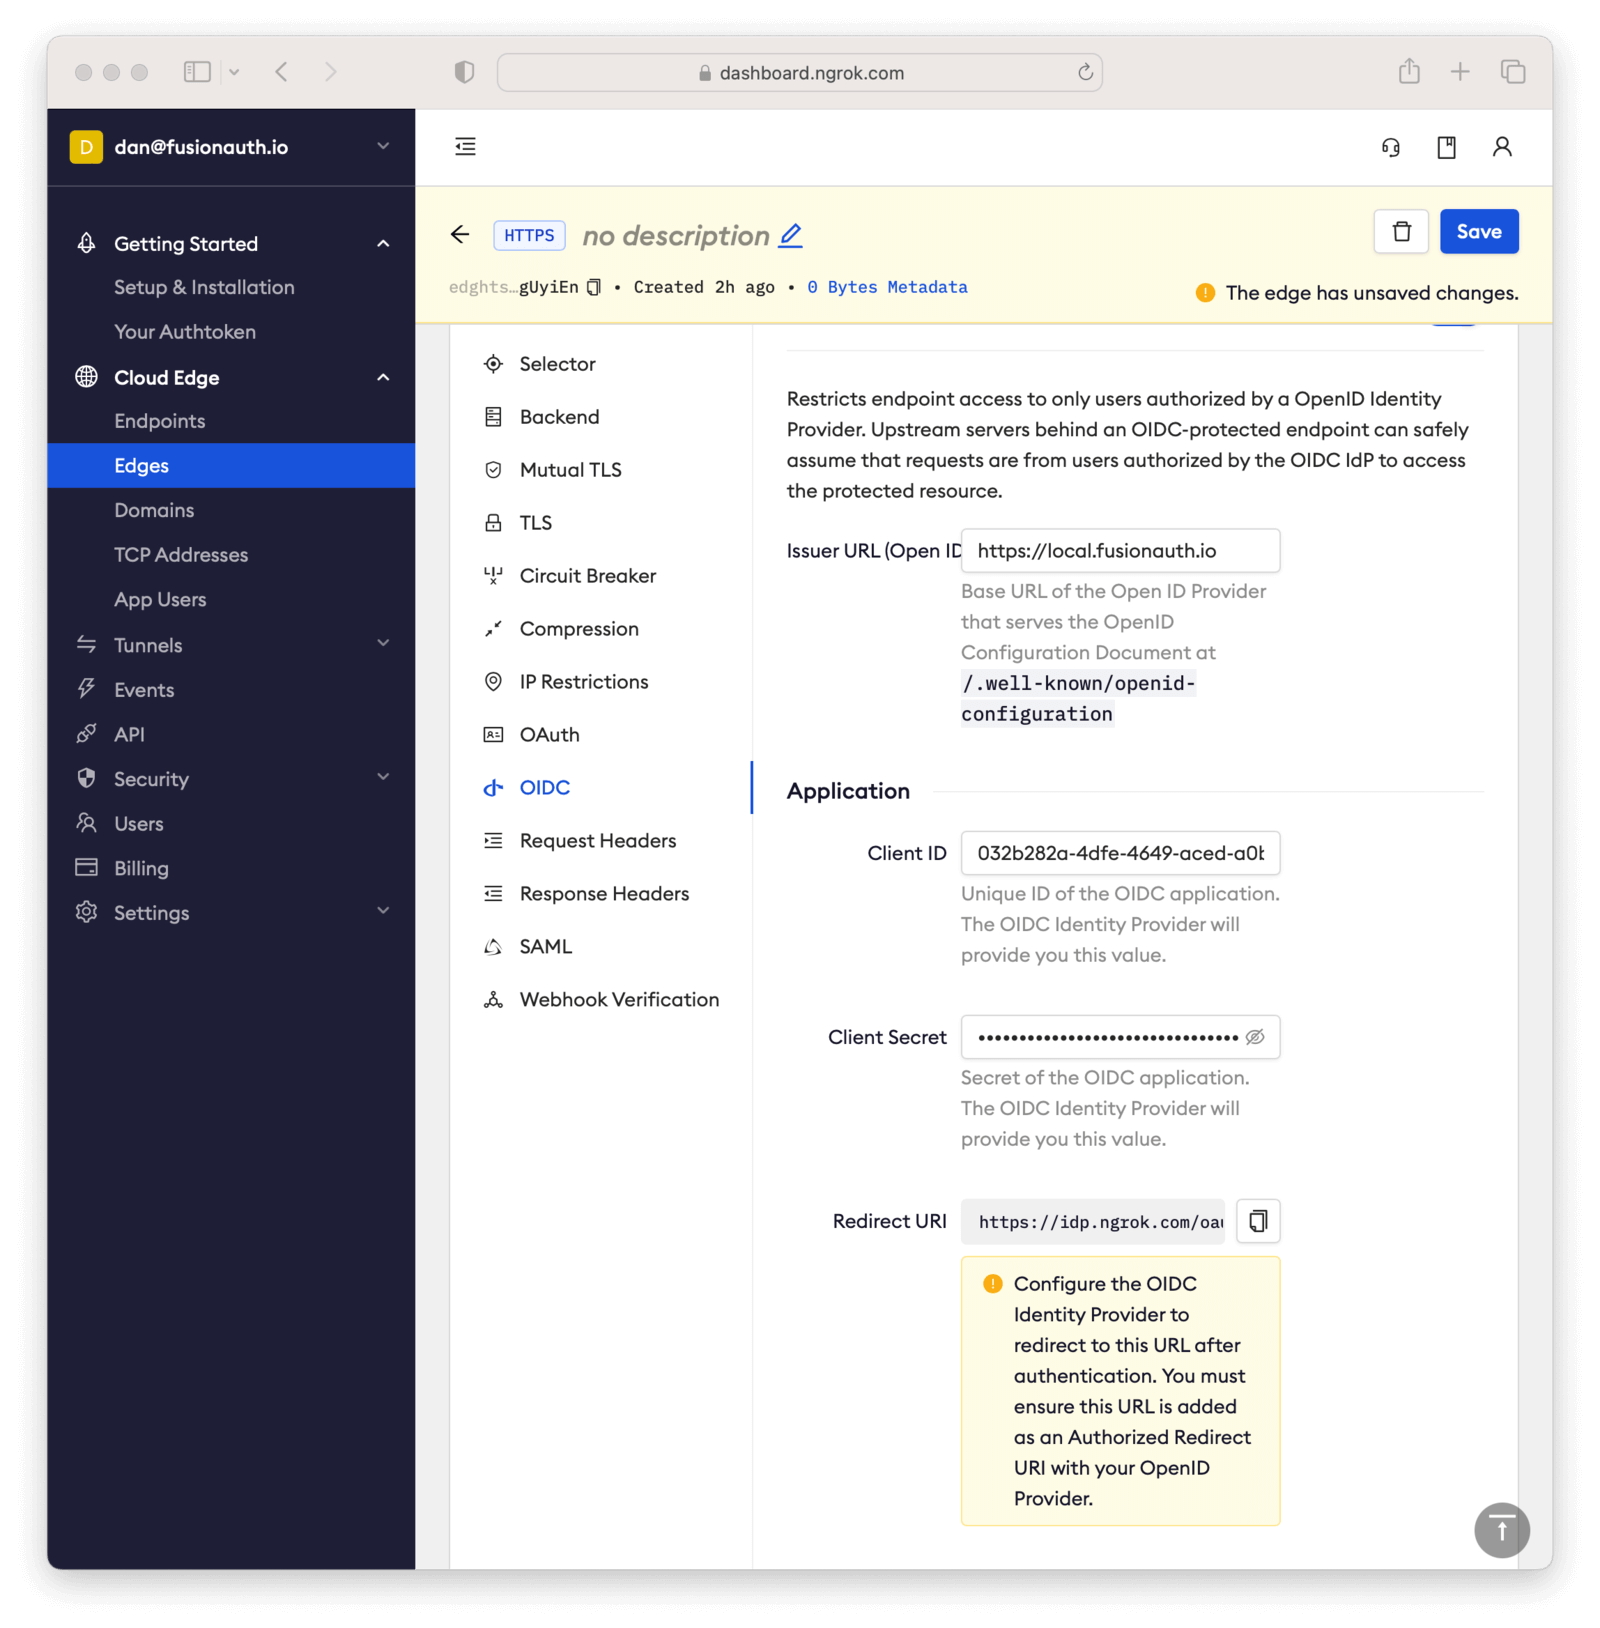 Next, copy the value in the
 Redirect URI read-only field. This should be something like `https://idp.ngrok.com/oauth2/callback`.
Save the configuration.
## Finishing Up With FusionAuth
Switch back to the FusionAuth admin screen. Edit the FusionAuth application config, if you previously navigated away.
Add the value from the ngrok Cloud Edge Redirect URI read-only field to the FusionAuth Authorized redirect URLs field.
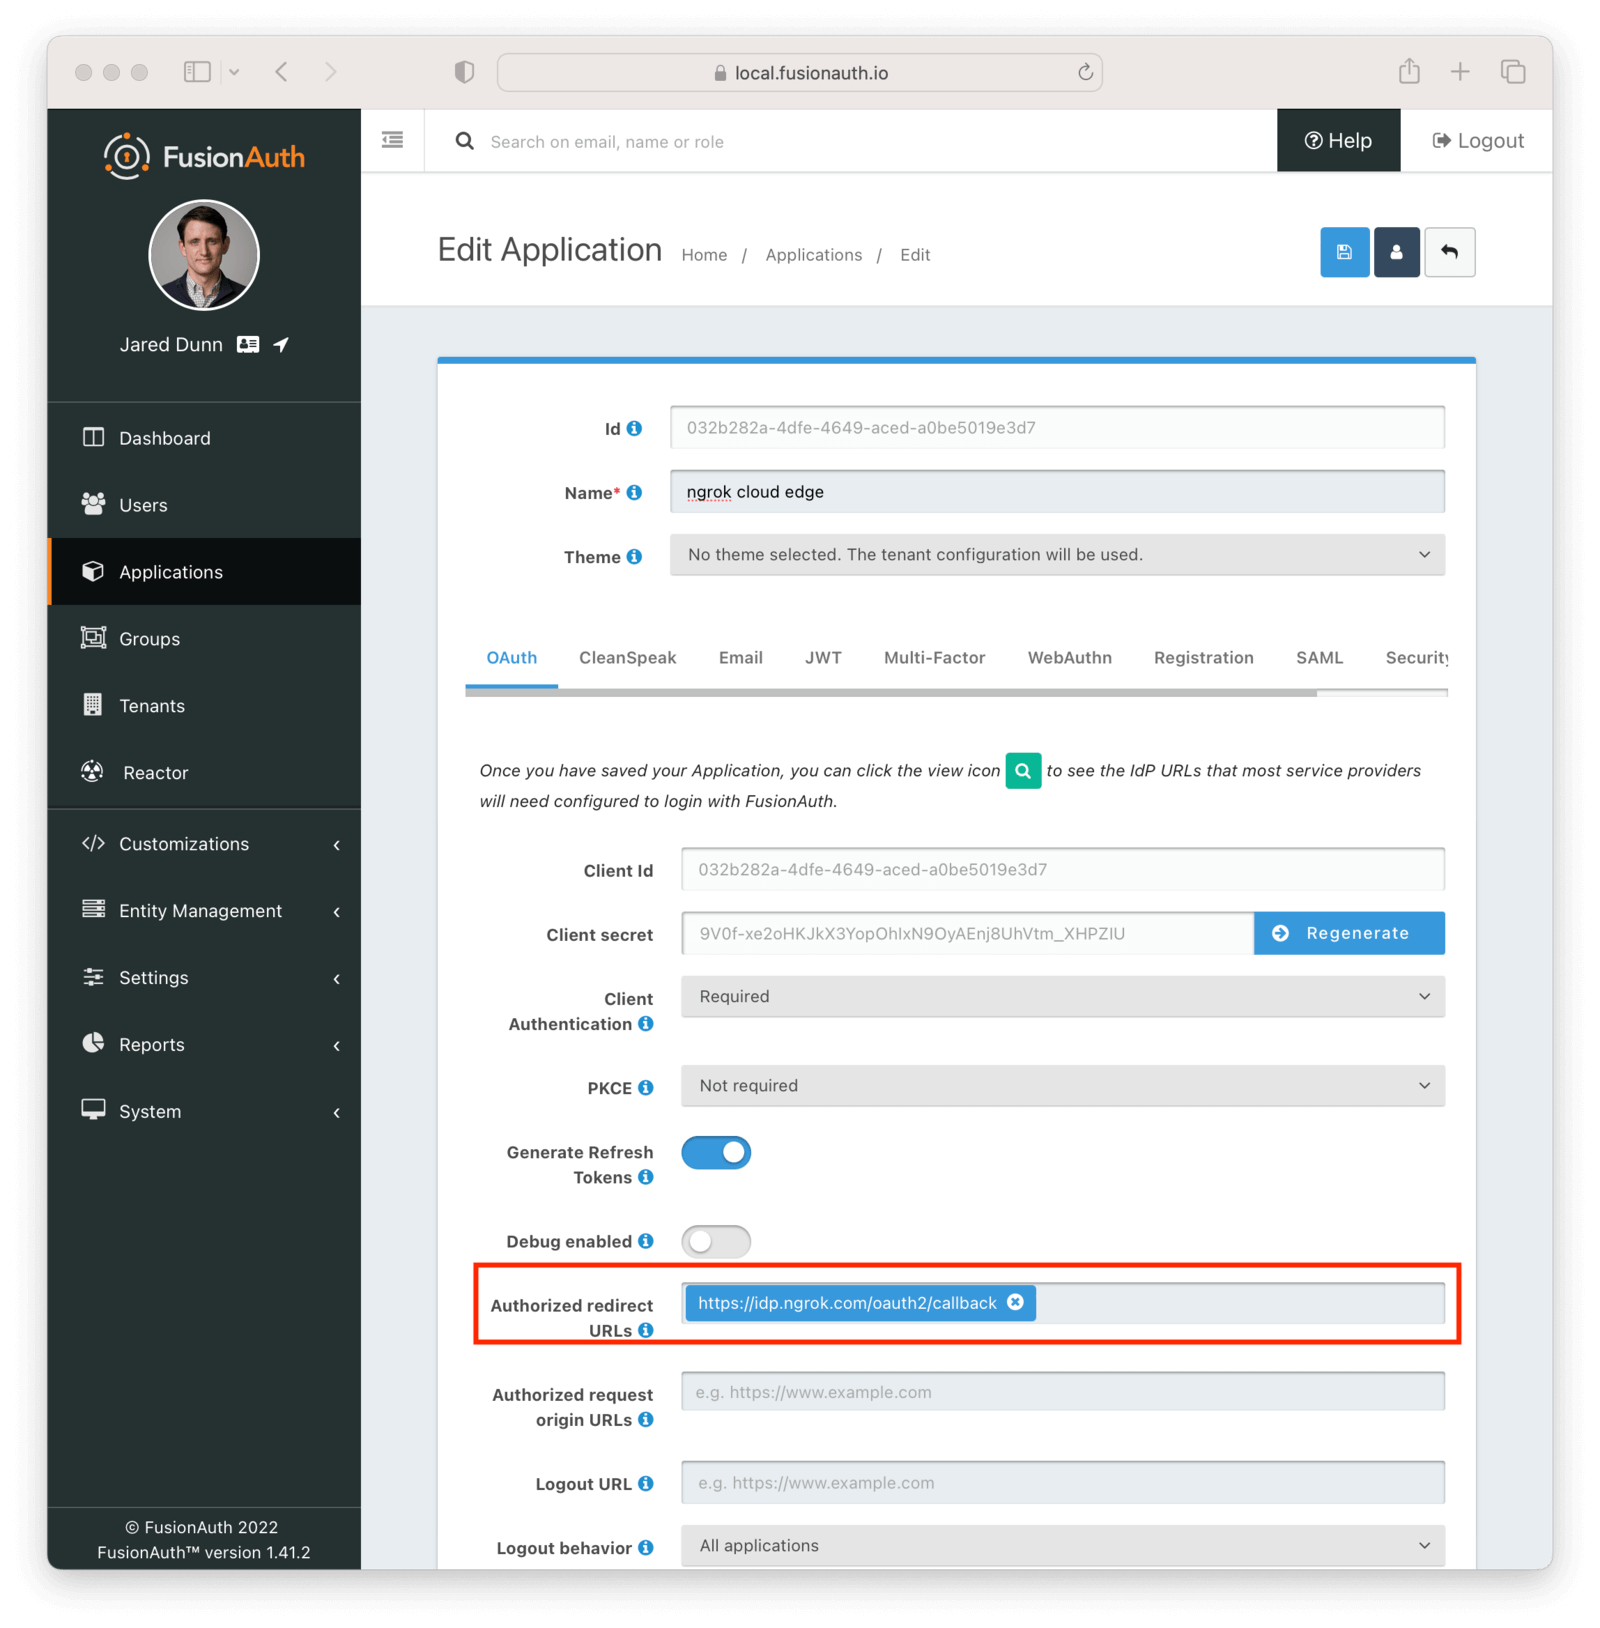 Save the updated configuration.
## Test It Out
Now it is time to test the integration. Open up another terminal and start up the ngrok tunnel.
```shell title="Start the ngrok tunnel to the protected app"
ngrok tunnel --region us --label edge=edghts_2HhKN3ozOCbPO6eDYlXnUgUyiEn http://localhost:8000
```
Open an incognito browser window to ensure that you aren't logged into FusionAuth.
Visit the endpoint you copied above: `https://pe07g5cn.ngrok.io`.
You will be prompted to log into FusionAuth.
 If you login, you'll see the protected application. You won't be able to access it without doing so.
## Next Steps
There's a lot more you can do with ngrok Cloud Edge.
You can configure the ngrok Cloud Edge OIDC module to force users to reauthenticate, expire after a certain amount of inactivity and more.
You can also combine the OIDC module with other security limitations, such as IP restrictions. You can also configure ngrok to proxy different paths to different applications and add or remove headers.
Finally, you can tweak your FusionAuth settings to ensure that the user is registered for the ngrok Cloud Edge application or fire off webhooks when the user logs in.
# Docker Install For the 5-Minute Guide
import DockerComposeFiles from 'src/content/docs/get-started/download-and-install/_docker-compose-files.mdx';
import FiveMinuteRequirements from 'src/content/docs/extend/examples/5-minute-intro/_5-minute-requirements.mdx';
import FiveMinuteSetupWizard from 'src/content/docs/extend/examples/5-minute-intro/_5-minute-setup-wizard.mdx';
import FiveMinuteApplicationSetup from 'src/content/docs/extend/examples/5-minute-intro/_5-minute-application-setup.mdx';
import FiveMinuteRegisterUser from 'src/content/docs/extend/examples/5-minute-intro/_5-minute-register-user.mdx';
import FiveMinuteConfigureNodeApplication from 'src/content/docs/extend/examples/5-minute-intro/_5-minute-configure-node-application.mdx';
import FiveMinuteStoreUserObject from 'src/content/docs/extend/examples/5-minute-intro/_5-minute-store-user-object.mdx';
import FiveMinuteTestApplication from 'src/content/docs/extend/examples/5-minute-intro/_5-minute-test-application.mdx';
import FiveMinuteLogout from 'src/content/docs/extend/examples/5-minute-intro/_5-minute-logout.mdx';
import FiveMinuteSummingUp from 'src/content/docs/extend/examples/5-minute-intro/_5-minute-summing-up.mdx';
import { YouTube } from '@astro-community/astro-embed-youtube';
You've chosen to install FusionAuth via Docker and Docker Compose.
This is the best option if you have Docker installed locally or you plan to run FusionAuth in a Docker compatible environment such as Kubernetes and want to learn more about how FusionAuth runs in Docker.
If you've arrived here directly, start with the [5-Minute Setup Guide Overview](/docs/extend/examples/5-minute-intro).
Below is a brief video showing how to set up FusionAuth in less than 5 minutes.
## 2. Complete Maintenance Mode
After you have FusionAuth installed and running, open your browser to `http://localhost:9011`. This is the default address for FusionAuth when running locally. This will bring up the FusionAuth admin UI, which should be sitting in Maintenance Mode and ready to be configured.
FusionAuth enters Maintenance Mode any time the database is not accessible or is not properly set up. In this case, FusionAuth was able to connect, but the system was not configured. Below is a screenshot of the Maintenance Mode screen.
 Here you need to provide the super user credentials for the database along with the database hostname, if it isn't running locally. You can also select either MySQL or PostgreSQL and change the database port if needed. For this example, you will be using PostgreSQL on the standard port with a super username of `postgres` and a password of `password`. You can also change the username and password that will be created as the primary database account that FusionAuth will access. This is the `fusionauth` user above, but can be set to any username and password you desire.
The reason that FusionAuth uses a separate username and password to connect to the database during normal operation is that if the configuration is compromised and an attacker learns the database username and password, they will only have access to the FusionAuth database. This is helpful if you are using a single database server for multiple applications and databases. This is known as the principle of least privilege and FusionAuth generally follows this principle.
Once you click the
 Submit button, you will be taken to the next step of Maintenance Mode. If you have opted to install with Elasticsearch, this step is where the FusionAuth Search component is configured, otherwise you can skip ahead to step 4, the Setup Wizard.
Our Fast Path install and startup script automatically start the `fusionauth-search` component, which is a standard version of Elasticsearch. Since FusionAuth is able to connect to this search engine, all that is needed is to create the indexes inside it. This page looks like this.
 Clicking the
 Submit button here will cause FusionAuth to exit Maintenance Mode and begin starting up. You see an interstitial page.
 ## 3. Complete the Setup Wizard
 After doing so you'll arrive at the sandbox dashboard.
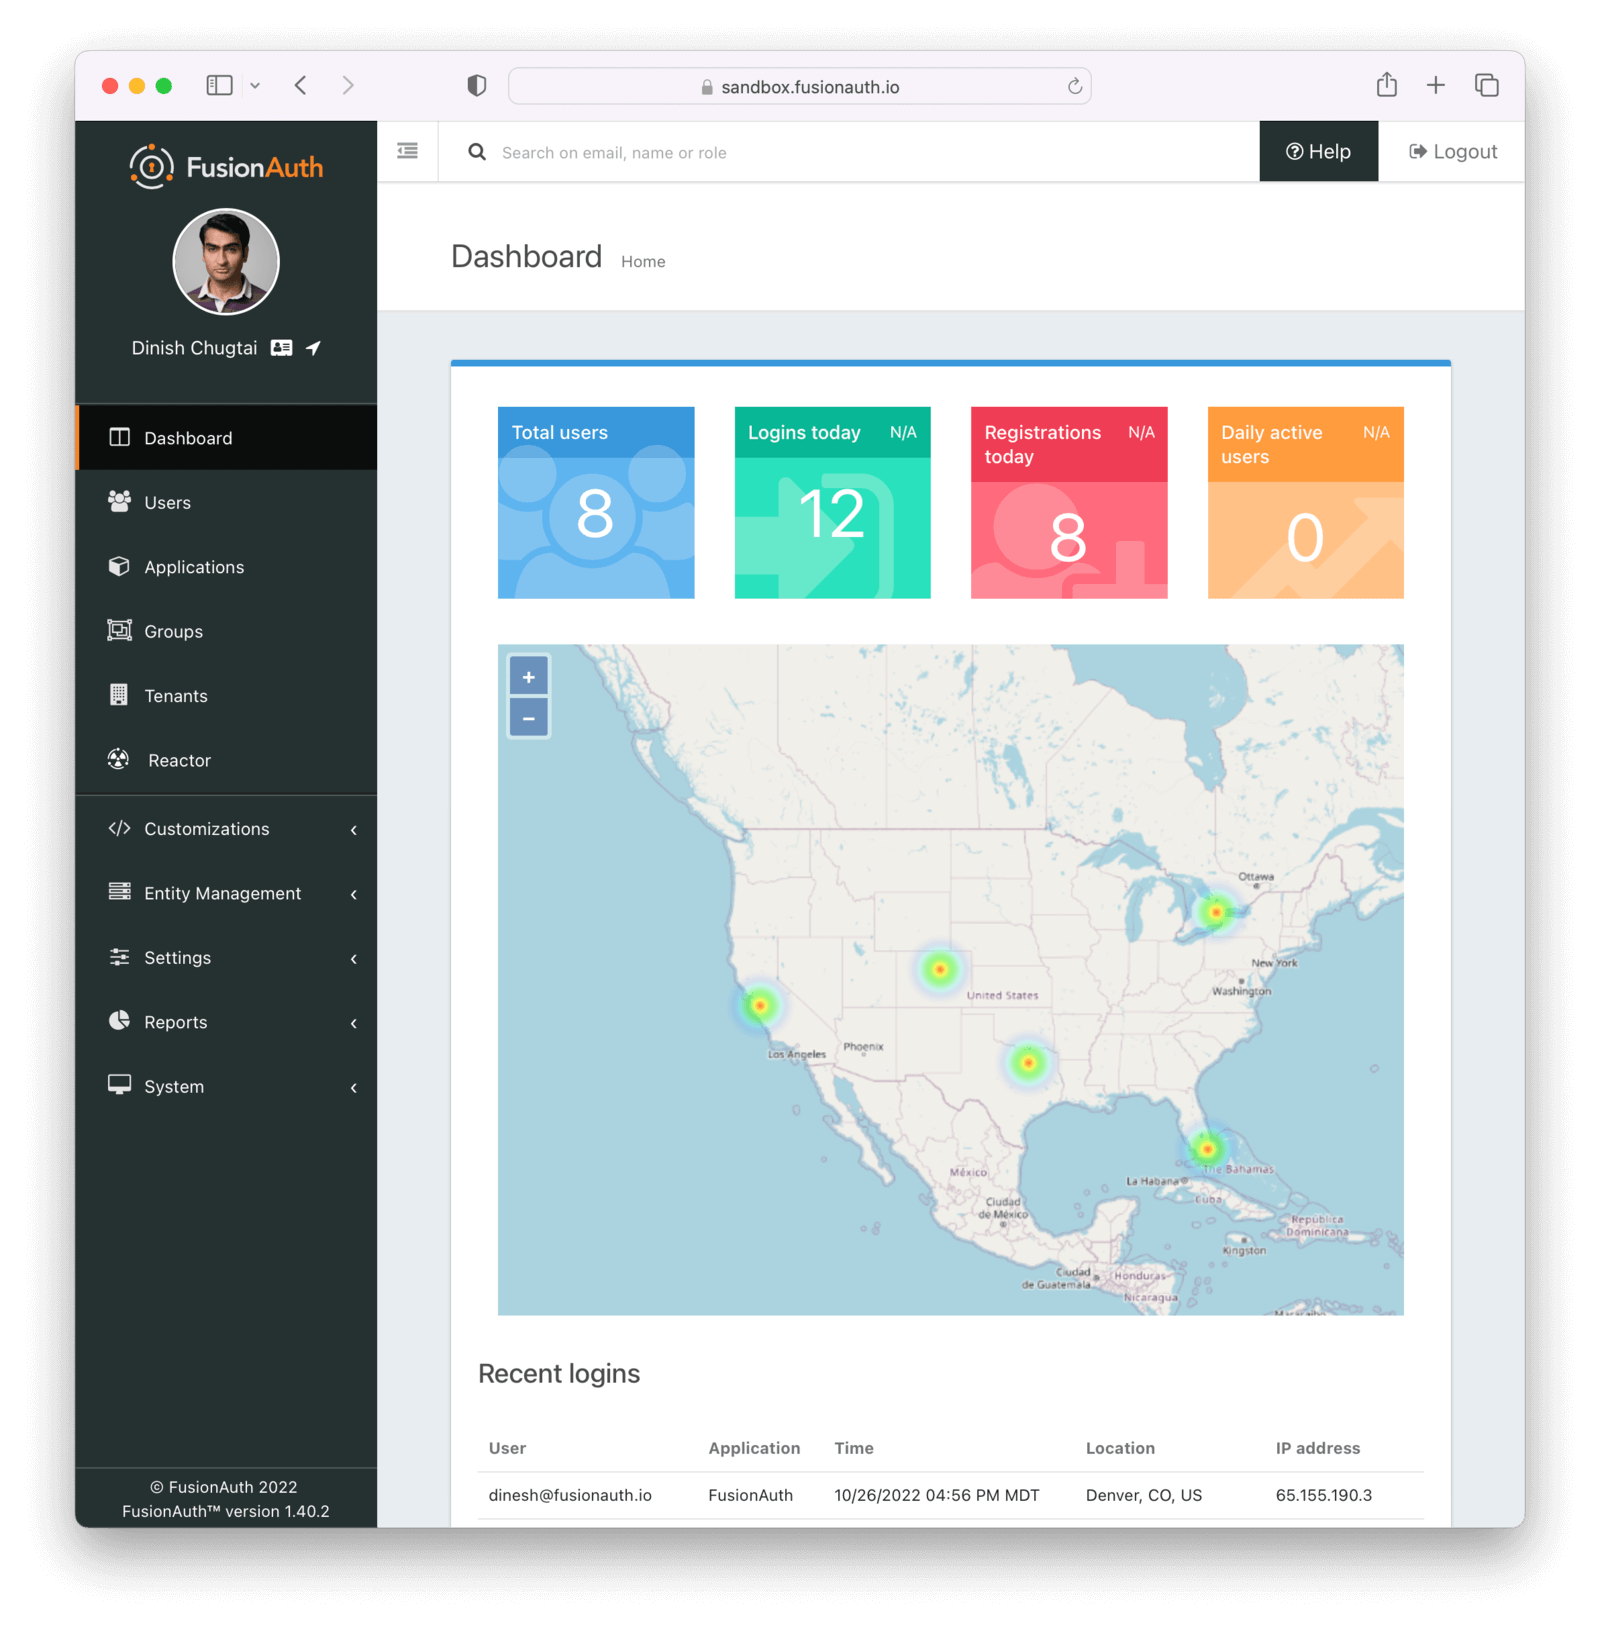 ## 2. Create an Application and Configure the OAuth settings
ipAccessControlListId property to the API key. Note that you will need to create the IP Access Control List in your Kickstart definition in order to use this feature.
### Using Variables
You may find yourself repeating yourself when you build your kickstart file, but nobody likes to type the same value over and over. Use variables to reduce repetition.
To use a variable, define the key and value in the `variables` section of the kickstart file and then access that value anywhere outside of the `variables` section using the `#{foo}` notation where `foo` is the name of the variable.
Here is the same example as above, but instead of hard coding the API key, a variable is created to hold the API key value. This example is not particularly interesting since the value has been moved from the `apiKeys` section to the `variables` section. Never worry! Using variables can come in handy as you'll see in the next few examples.
```json
{
"variables": {
"apiKey": "4737ea8520bd454caabb7cb3d36e14bc1832c0d3f70a4189b82598670f11b1bd"
},
"apiKeys": [
{
"key": "#{apiKey}",
"description": "My first API Key!"
}
]
}
```
### Using Environment Variables
It is reasonable to think you may not want to hard code a password or API key in the kickstart file which could get checked into version control. You can use environment variables which should make this a bit easier for you.
To use an environment variable prefix the name of the environment variable with `ENV.`.
Here is the same example as above, but instead of hard coding the API key, you are picking it up from an environment variable. Here Kickstart will resolve the value of the API key in the environment variable named `FUSIONAUTH_API_KEY`. This value will be set into the variable `apiKey` and then when the API key is constructed the value of the API key will be resolved to the `apiKey` variable value.
```json
{
"variables": {
"apiKey": "#{ENV.FUSIONAUTH_API_KEY}"
},
"apiKeys": [
{
"key": "#{apiKey}"
}
]
}
```
### Adding API Requests
Now comes the interesting part. Once you have defined at least one API key, you can define one to many API requests that will be executed in order using the primary API key. Each API request is represented as a JSON object.
You may call any API you like, but you are limited to the `POST`, `PUT` and `PATCH` HTTP methods. The following define the fields available for each API request.
The HTTP method.
The possible values are:
* `POST`
* `PUT`
* `PATCH`
The optional value of the `Content-Type` request header.
Currently this is only intended when using the `PATCH` HTTP request method for a value of `application/json-patch+json` or `application/merge-patch+json`.
The relative URL of the API endpoint, such as `/api/user/registration`.
The unique Tenant Id.
This is useful if you are using a globally scoped API key, have multiple tenants, and are creating an application or other tenant scoped object in one tenant. Otherwise this can be omitted.
The JSON object representing the body of the API call.
Here is an example of creating a FusionAuth admin user using the `requests` object array. This example is using the [Registration API](/docs/apis/registrations) to create the User and registration in a single request.
You'll notice there is a special variable that you did not define in the `variables` object. This is one of a number of [Environment Variables](#environment-variables) provided for your convenience.
```json
{
"variables": {
"apiKey": "#{ENV.FUSIONAUTH_API_KEY}",
"adminPassword": "#{ENV.FUSIONAUTH_ADMIN_PASSWORD}"
},
"apiKeys": [
{
"key": "#{apiKey}"
}
],
"requests": [
{
"method": "POST",
"url": "/api/user/registration",
"body": {
"user": {
"email": "monica@piedpiper.com",
"password": "#{adminPassword}",
"data": {
"Company": "PiedPiper"
}
},
"registration": {
"applicationId": "#{FUSIONAUTH_APPLICATION_ID}",
"roles": [
"admin"
]
}
}
}
]
}
```
#### Tenants
If you don't create a tenant using the Tenant API in your kickstart file then you're all set. If you do find yourself creating more than one tenant then you will need to specify the Tenant Id on the API requests.
There is a top level property in the request called `tenantId` and you simply set that value to indicate which Tenant you wish to use.
Create a new application in a second, new tenant. Because you need to know the `tenantId`, generate a new UUID using the `#{UUID()}` function call and assign that value to `secondTenantId`. Now, you can re-use this value to create the tenant and to make the Create Application API request.
This kickstart will create a second tenant named `Aviato` which will contain a single application named `My Cool Application`.
```json
{
"variables": {
"apiKey": "#{ENV.FUSIONAUTH_API_KEY}",
"adminPassword": "#{ENV.FUSIONAUTH_ADMIN_PASSWORD}",
"secondTenantId": "#{UUID()}"
},
"apiKeys": [
{
"key": "#{apiKey}"
}
],
"requests": [
{
"method": "POST",
"url": "/api/tenant/#{secondTenantId}",
"body": {
"tenant": {
"name": "Aviato"
}
}
},
{
"method": "POST",
"url": "/api/application",
"tenantId": "#{secondTenantId}",
"body": {
"application": {
"name": "My Cool Application"
}
}
}
]
}
```
#### Tenant-scoped API keys
An API key may also be configured to be restricted to a single tenant, as implied above. To do this, add the `tenantId` to the API key configuration.
In this example, modify the restricted API key example from above to further limit it for use with only one tenant.
```json
{
"variables": {
"secondTenantId": "#{UUID()}"
},
"apiKeys": [
{
"key": "4737ea8520bd454caabb7cb3d36e14bc1832c0d3f70a4189b82598670f11b1bd"
},
{
"key": "0ad00c5f140c43f8bc2a155dd0edf3b7d61f5dd4011843d8a28475a0d812c033",
"description": "Restricted API key - only for Retrieve User in Aviato",
"permissions": {
"endpoints": {
"/api/user": [
"GET"
]
}
},
"tenantId": "#{secondTenantId}"
}
],
"requests": [
{
"method": "POST",
"url": "/api/tenant/#{secondTenantId}",
"body": {
"tenant": {
"name": "Aviato"
}
}
}
]
}
```
## Advanced Concepts
### Referencing Defaults
There are some items in FusionAuth with default fixed Ids, such as the default theme or the FusionAuth application.
Here are the default items and their Ids:
The HTTP connection timeout, in milliseconds, when connecting to the API.
The HTTP read timeout, in milliseconds, when connecting to the API.
### Include Text Files
When making API requests to create an email template or request which may have lengthy values, it may be helpful to separate these values into separate files. The directories shown here are just examples, and you can use your own convention.
To include a text file in your kickstart definition, use the `@{fileName}` syntax where the `fileName` is a relative path from your kickstart file. For this type of include, Kickstart handles all line returns and properly JSON escapes them for use in a JSON request body.
For example, consider the following directory structure:
```
|- kickstart.json
|- emails/
| |- setup-password.html
| |- setup-password.txt
```
In this example you are creating an email template and reading in the values for the text and HTML values from files in a subdirectory named `emails`. Using external files for templates like this allows you to format your emails nicely. Kickstart will handle the necessary JSON escaping to complete the API request.
```json
{
"variables": {
"apiKey": "#{ENV.FUSIONAUTH_API_KEY}"
},
"apiKeys": [
{
"key": "#{apiKey}"
}
],
"requests": [
{
"method": "POST",
"url": "/api/email/template/0502df1e-4010-4b43-b571-d423fce978b2",
"body": {
"emailTemplate": {
"defaultFromName": "No Reply",
"defaultSubject": "Setup your password",
"defaultHtmlTemplate": "@{emails/setup-password.html}",
"defaultTextTemplate": "@{emails/setup-password.txt}",
"fromEmail": "no-replay@piedpiper.com",
"name": "Setup Password"
}
}
}
]
}
```
Newlines are preserved in included text files, whereas they are not in the kickstart file. If you are, for example, including a lambda function definition, it may lead to better readability if you include the body from a text file.
Unicode characters in a Kickstart file can be included directly, using Unicode code point notation, or an HTML escape sequence. Unicode code point notation must be escaped with three prepended backslashes. For example, the three ways to include the horizontal ellipses character, `…`, are:
* `…`
* `\\\\u2026`
* `…`
For more information, see the [open GitHub issue](https://github.com/FusionAuth/fusionauth-issues/issues/1947).
### Include JSON files
If you're making a lot of API requests, or simply want to manage each API request body separately it may be helpful to read in external JSON files. The directories shown here are just examples, and you can use your own convention.
To include a JSON file in your kickstart definition use the `&{fileName}` syntax where the `fileName` is a relative path from your kickstart file. If this type of include is used, Kickstart expects the file to be JSON and doesn't do anything with line returns.
For example, consider the following directory structure:
```
|- kickstart.json
|- emails/
| |- setup-password.html
| |- setup-password.txt
|- json/
| |- setup-password.json
```
Here are the contents of the `json/setup-password.json` file. In this example, the values for `defaultHtmlTemplate` and `defaultTextTemplate` are read from external files.
```json
{
"emailTemplate": {
"defaultFromName": "No Reply",
"defaultSubject": "Setup your password",
"defaultHtmlTemplate": "@{emails/setup-password.html}",
"defaultTextTemplate": "@{emails/setup-password.txt}",
"fromEmail": "no-replay@piedpiper.com",
"name": "Setup Password"
}
}
```
You will replicate the previous example but the entire JSON body of the request will move to `setup-password.json`.
```json
{
"variables": {
"apiKey": "#{ENV.FUSIONAUTH_API_KEY}"
},
"apiKeys": [
{
"key": "#{apiKey}"
}
],
"requests": [
{
"method": "POST",
"url": "/api/email/template/0502df1e-4010-4b43-b571-d423fce978b2",
"body": "&{json/setup-password.json}"
}
]
}
```
You may also include an entire request using this pattern, consider the following directory structure:
```
|- kickstart.json
|- emails/
| |- setup-password.html
| |- setup-password.txt
|- json/
| |- setup-password.json
|- requests/
| |- setup-password.json
```
Here are the contents of the `requests/setup-password.json` file.
```json
{
"method": "POST",
"url": "/api/email/template/0502df1e-4010-4b43-b571-d423fce978b2",
"body": {
"emailTemplate": {
"defaultFromName": "No Reply",
"defaultSubject": "Setup your password",
"defaultHtmlTemplate": "@{emails/setup-password.html}",
"defaultTextTemplate": "@{emails/setup-password.txt}",
"fromEmail": "no-replay@piedpiper.com",
"name": "Setup Password"
}
}
}
```
And the usage in the kickstart file:
```json
{
"variables": {
"apiKey": "#{ENV.FUSIONAUTH_API_KEY}"
},
"apiKeys": [
{
"key": "#{apiKey}"
}
],
"requests": [
"&{requests/setup-password.json}"
]
}
```
### Determining Kickstart Completion
Kickstart runs a set of API calls, just as if you were running them. You may want to know when Kickstart completes, especially if you are running in a CI/CD environment and want to wait until it is finished to begin your tests. To this end, please review the [kickstart success webhook](/docs/extend/events-and-webhooks/events/kickstart-success) documentation.
## Reference
### Variables
There is one special variable that when defined can be used to modify the Id of the default tenant.
* `defaultTenantId` - The Id of the default Tenant which is where the FusionAuth application resides. Set this if you'd like to control the Id.
### Environment Variables
The following environment variables are provided.
* `FUSIONAUTH_APPLICATION_ID` - The Id of the FusionAuth application.
* `FUSIONAUTH_TENANT_ID` - The Id of the default tenant. This is always the tenant which contains the FusionAuth application.
* `TENANT_MANAGER_ID` - The Id of the Tenant Manager application. 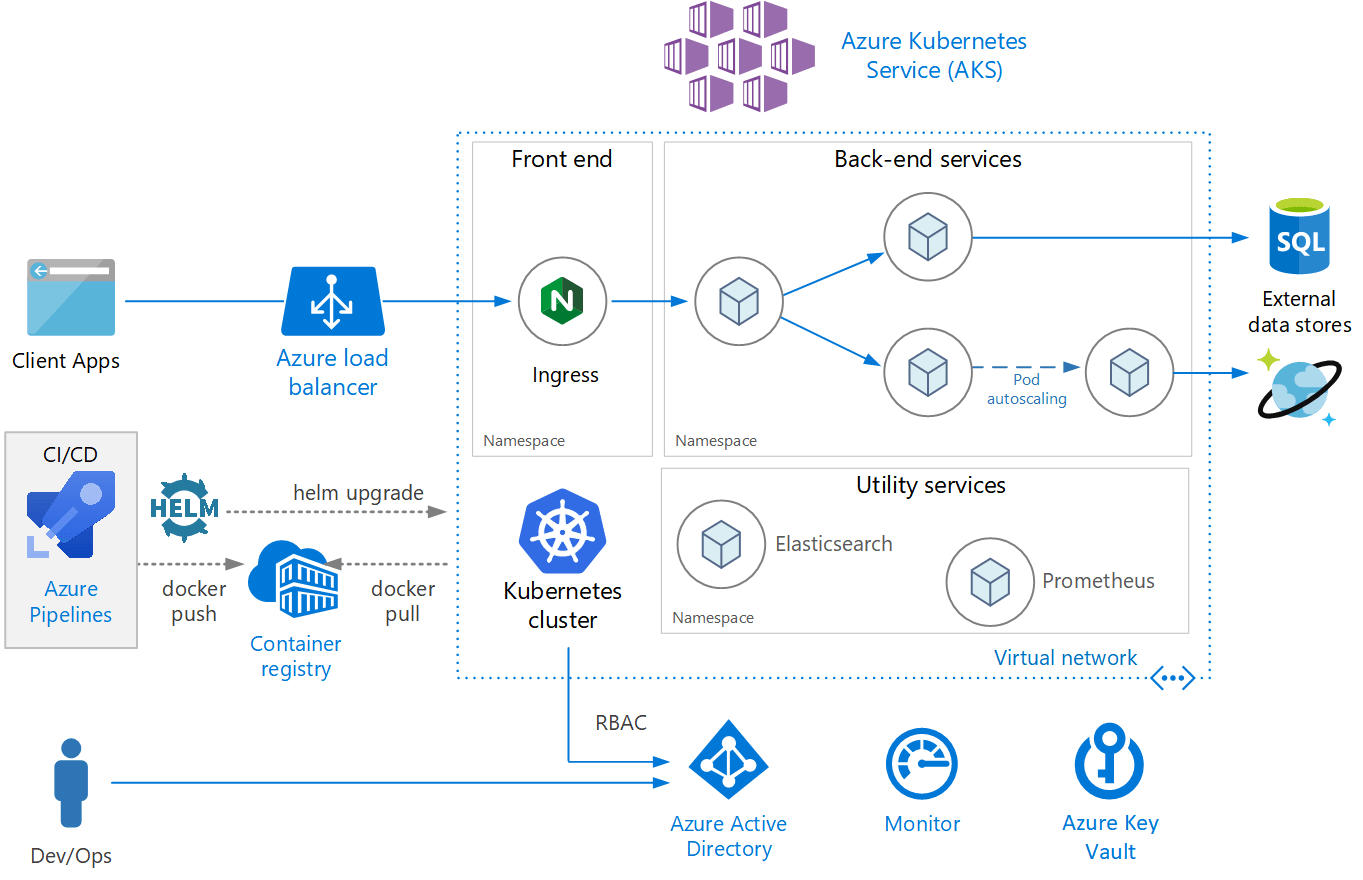 ## Create an AKS cluster
### Create a Resource Group
Before you create the cluster, you need to first create a [Resource Group](https://docs.microsoft.com/en-us/azure/azure-resource-manager/management/), a logical grouping of Azure resources. A resource group location is where resources will run by default when a region is not provided on creation.
```shell title="Create a new resource group"
az group create --name fusionauthResourceGroup --location westus
```
```json title="JSON output of the resource group creation command"
{
"id": "/subscriptions/2683a458-c361-4b5e-87d9-a4e5237d5b91/resourceGroups/fusionauthResourceGroup",
"location": "westus",
"managedBy": null,
"name": "fusionauthResourceGroup",
"properties": {
"provisioningState": "Succeeded"
},
"tags": null,
"type": "Microsoft.Resources/resourceGroups"
}
```
### Create the cluster
```shell title="Create a new AKS cluster"
az aks create \
--resource-group fusionauthResourceGroup \
--name fusionauthCluster \
--node-count 1 \
--enable-addons monitoring \
--generate-ssh-keys
```
More on these arguments:
* `resource-group` - The name of the resource group where the cluster will be created.
* `name` - The name of the cluster.
* `node-count` - The number of nodes in the replica set.
* `enable-addons` - The Kubernetes addons to enable.
* `generate-ssh-keys` - Generates SSH public and private key files in the ~/.ssh directory.
For more information on the [`create`](https://docs.microsoft.com/en-us/cli/azure/aks?view=azure-cli-latest#az_aks_create) command, see [`az aks create`](https://docs.microsoft.com/en-us/cli/azure/aks?view=azure-cli-latest#az_aks_create) documentation.
### Update Kubernetes Configuration
The following retrieves credentials for the newly created cluster and then configures your `~/.kube/config` file so that you can use `kubectl` to connect to this cluster.
```shell title="Get access credentials and update Kubeconfig"
az aks get-credentials \
--resource-group fusionauthResourceGroup \
--name fusionauthCluster
```
### Verify Cluster Information
Execute the [list](https://docs.microsoft.com/en-us/cli/azure/aks?view=azure-cli-latest#az_aks_list) command to see AKS clusters that have been configured.
```shell title="Get list of AKS clusters"
az aks list
```
You now have a fully functional provisioned AKS cluster. For good measure, view the nodes that have been created.
Use `kubectl` to make requests to the Kubernetes API Server.
```shell title="Get list of nodes running on the cluster"
kubectl get nodes -o wide
NAME STATUS ROLES AGE VERSION INTERNAL-IP EXTERNAL-IP OS-IMAGE KERNEL-VERSION CONTAINER-RUNTIME
aks-nodepool1-13281124-vmss000000 Ready agent 8m42s v1.20.9 10.240.0.4
 Ubuntu 18.04.6 LTS 5.4.0-1059-azure containerd://1.4.9+azure
```
Great! You have a node in a `READY` status. This means that the node is healthy and ready to accept pods.
## Create a Database
For this setup, you will create a PostgreSQL database. Such a database is required for FusionAuth. Replace `fusionauth-db-` with the desired database name.
```shell title="Create a PostgreSQL flexible server"
az postgres flexible-server create \
--resource-group fusionauthResourceGroup \
--name fusionauth-db- \
--location westus \
--admin-user postgres \
--admin-password changeMeToSomethingSecure \
--version 12 \
--public-access 0.0.0.0
```
More on these arguments:
* `resource-group` - The name of the resource group where the cluster will be created.
* `name` - The name of the database.
* `location` - The location.
* `admin-user` - The database admin user.
* `admin-password` - The database admin user password.
* `version` - The version of PostgreSQL to install.
* `public-access` - Allows public access in the firewall rules. The `0.0.0.0` parameter allows access to this database from any resource deployed in Azure.
For more information on the [create](https://docs.microsoft.com/en-us/cli/azure/postgres/flexible-server?view=azure-cli-latest#az_postgres_flexible_server_create) command, see [`az postgres flexible-server create`](https://docs.microsoft.com/en-us/cli/azure/postgres/flexible-server?view=azure-cli-latest#az_postgres_flexible_server_create) documentation.
Upon successful database creation, you will receive a JSON object that contains important information about your new database.
```json title="JSON output from a successful database creation"
{
"connectionString": "postgresql://postgres:@fusionauth-db-example.postgres.database.azure.com/postgres?sslmode=require",
"databaseName": "flexibleserverdb",
"firewallName": "AllowAllAzureServicesAndResourcesWithinAzureIps_2021-10-10_23-34-29",
"host": "fusionauth-db-example.postgres.database.azure.com",
"id": "/subscriptions/2683a458-c361-4b5e-87d9-a4e5237d5b91/resourceGroups/fusionauthResourceGroup/providers/Microsoft.DBforPostgreSQL/flexibleServers/fusionauth-db-example",
"location": "West US",
"password": "your-password",
"resourceGroup": "fusionauthResourceGroup",
"skuname": "Standard_D2s_v3",
"username": "postgres",
"version": "12"
}
```
Take note of the database username, password and hostname, as those will be needed to configure FusionAuth. If you need to retrieve this information later, you can use the following command to get a list:
```shell title="List available flexible servers"
az postgres flexible-server list
```
## Deploy Elasticsearch using Elastic Cloud
Azure offers its Elasticsearch Service through Elastic Cloud. This section will guide you through setting up your account and deploying an Elasticsearch cluster.
From the Azure Portal home screen, enter a search for "Elasticsearch" and click on the Elasticsearch (Elastic Cloud) service.
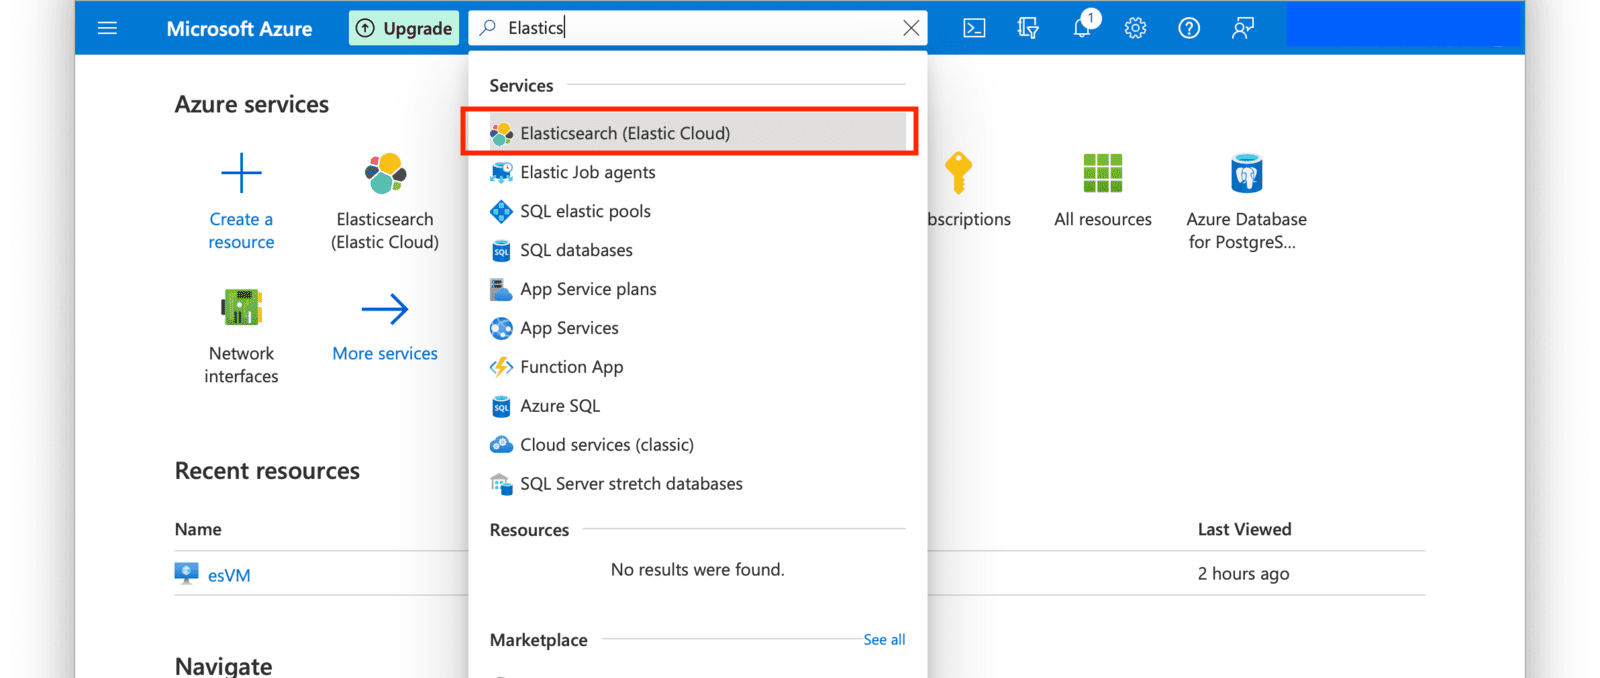 Click on the **Create Elasticsearch (Elastic Cloud)** button.
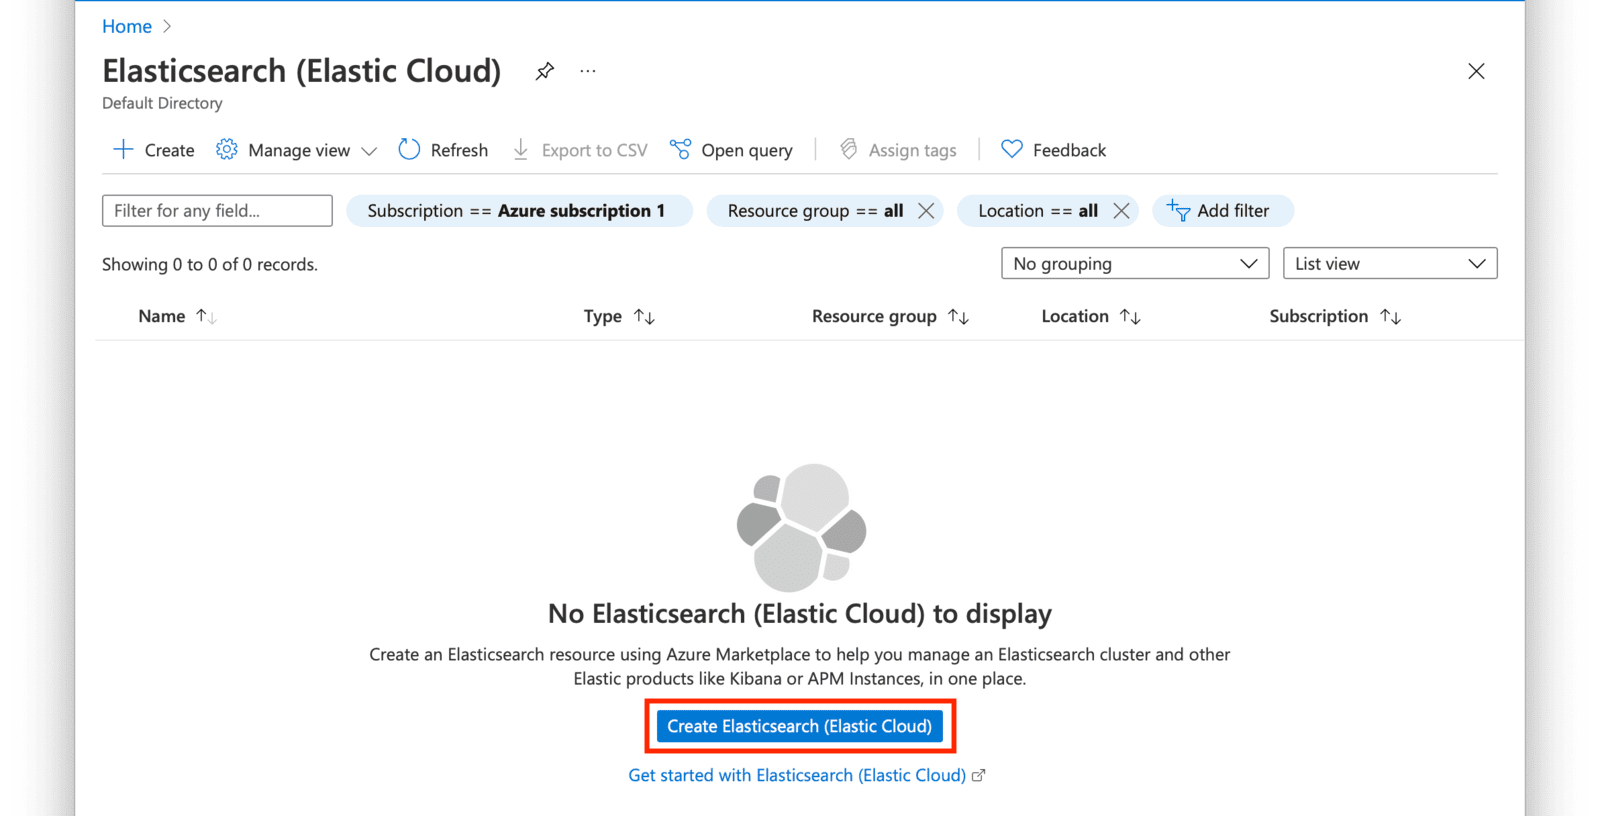 Create an Elastic Resource by selecting the resource group you created in the first section of this guide and a name for the resource. Click on **Review + Create** after providing the required fields.
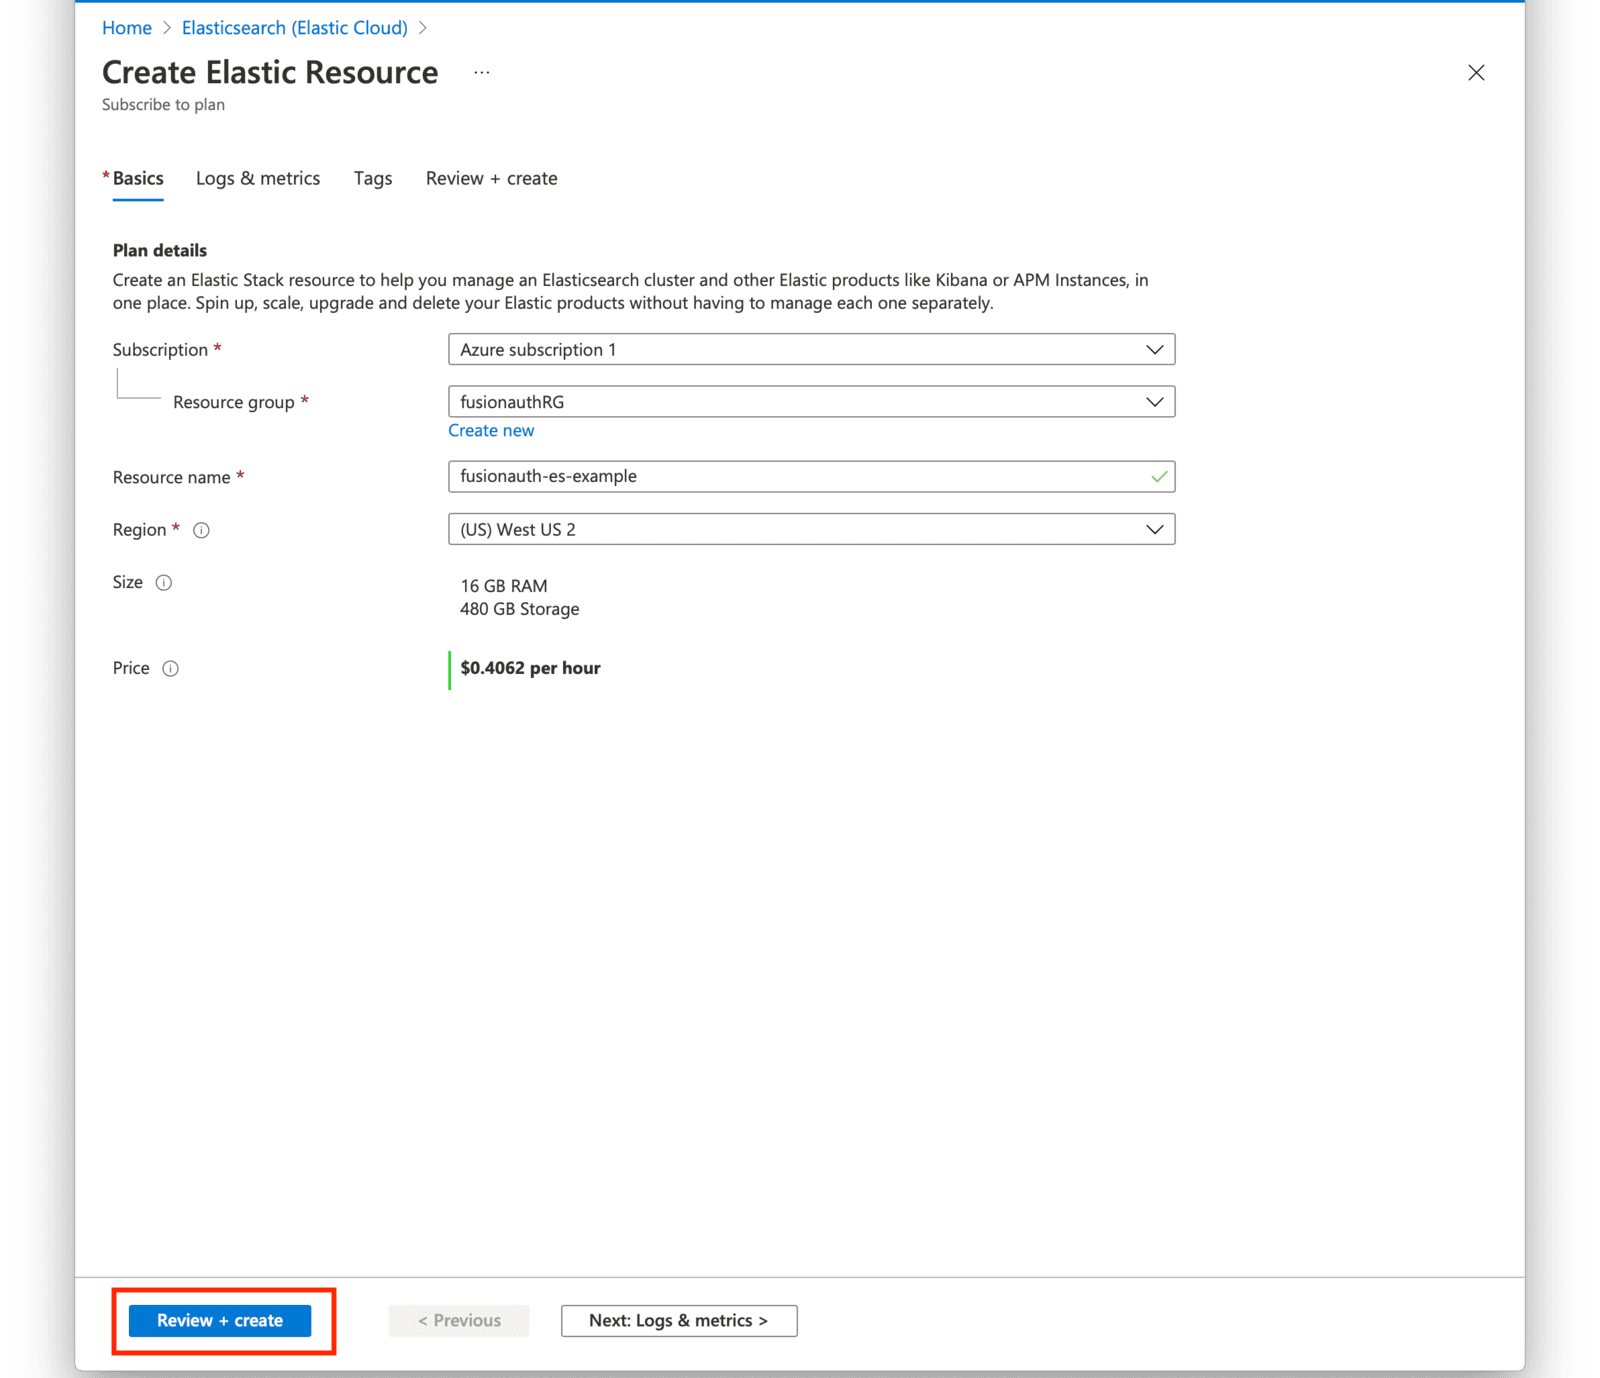 Review your selections and press the **Create** button when ready.
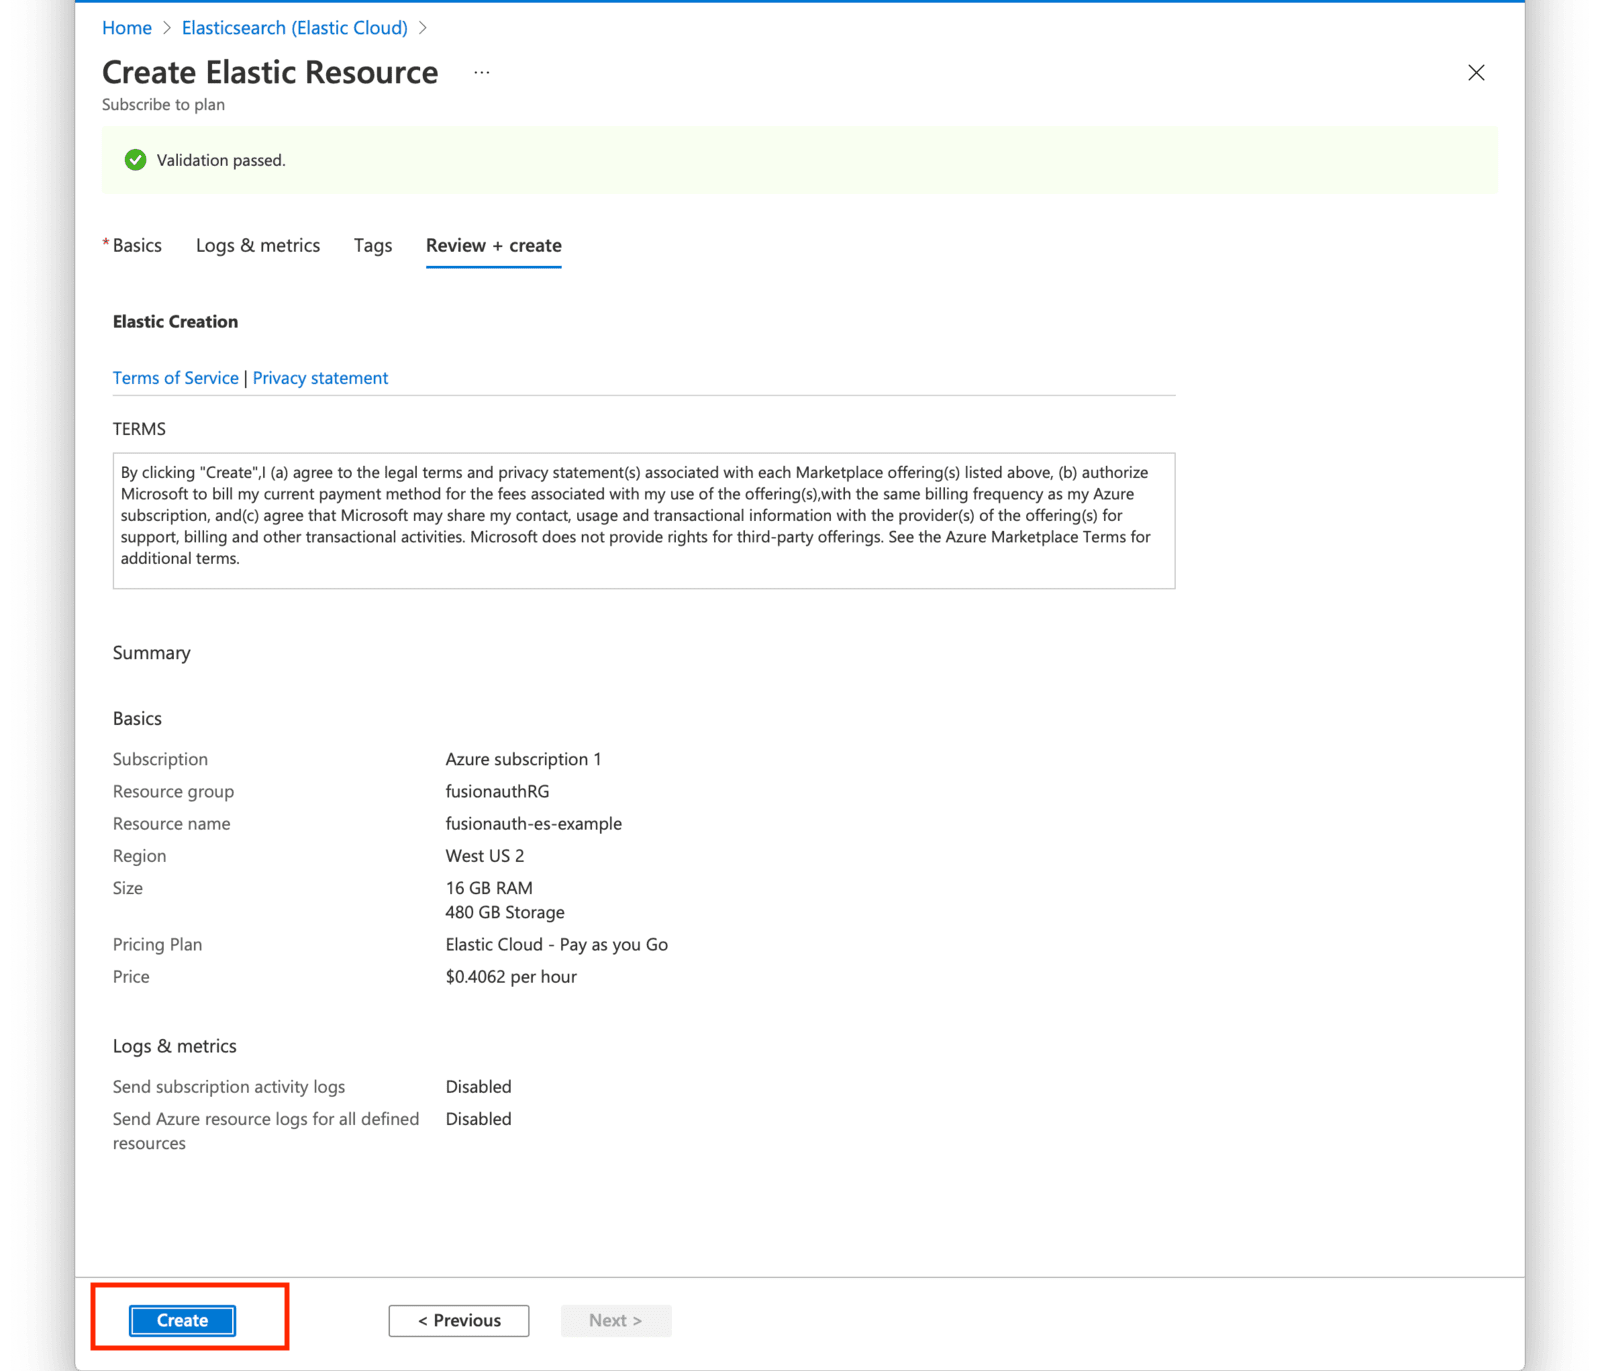 Your deployment will now be in-progress as indicated on the next screen. This may take a few minutes to complete.
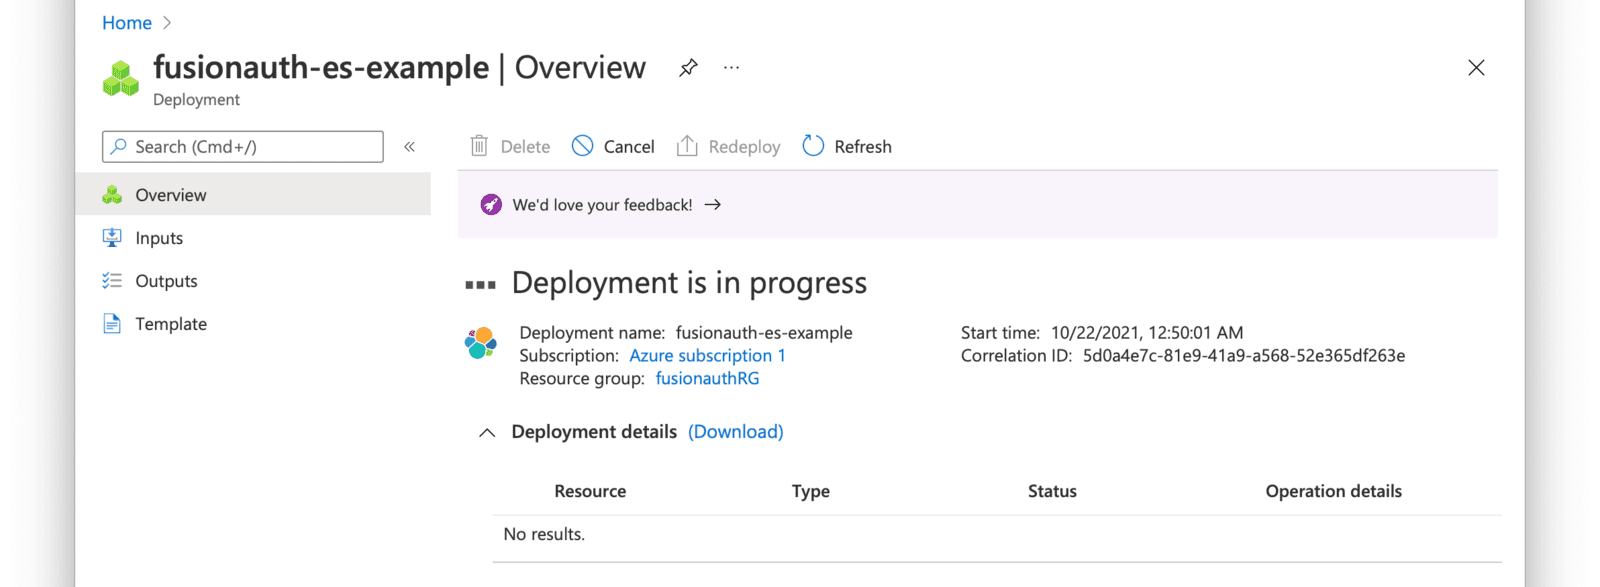 When the deployment is complete, click on **Go to resource group** and then click on the Elasticsearch resource that you just created.
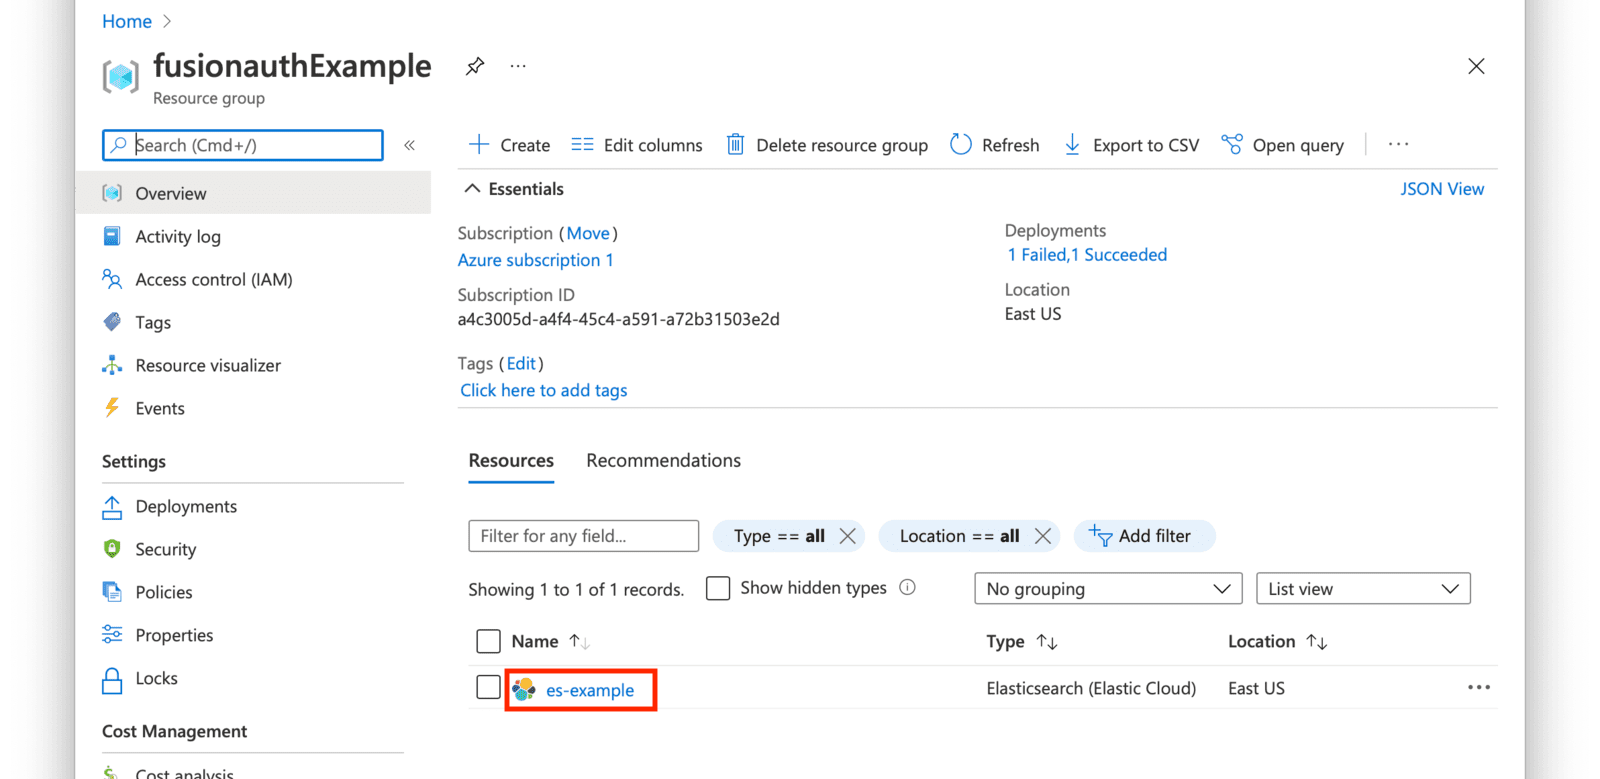 Click on the **Manage changes in Elastic Cloud** link.
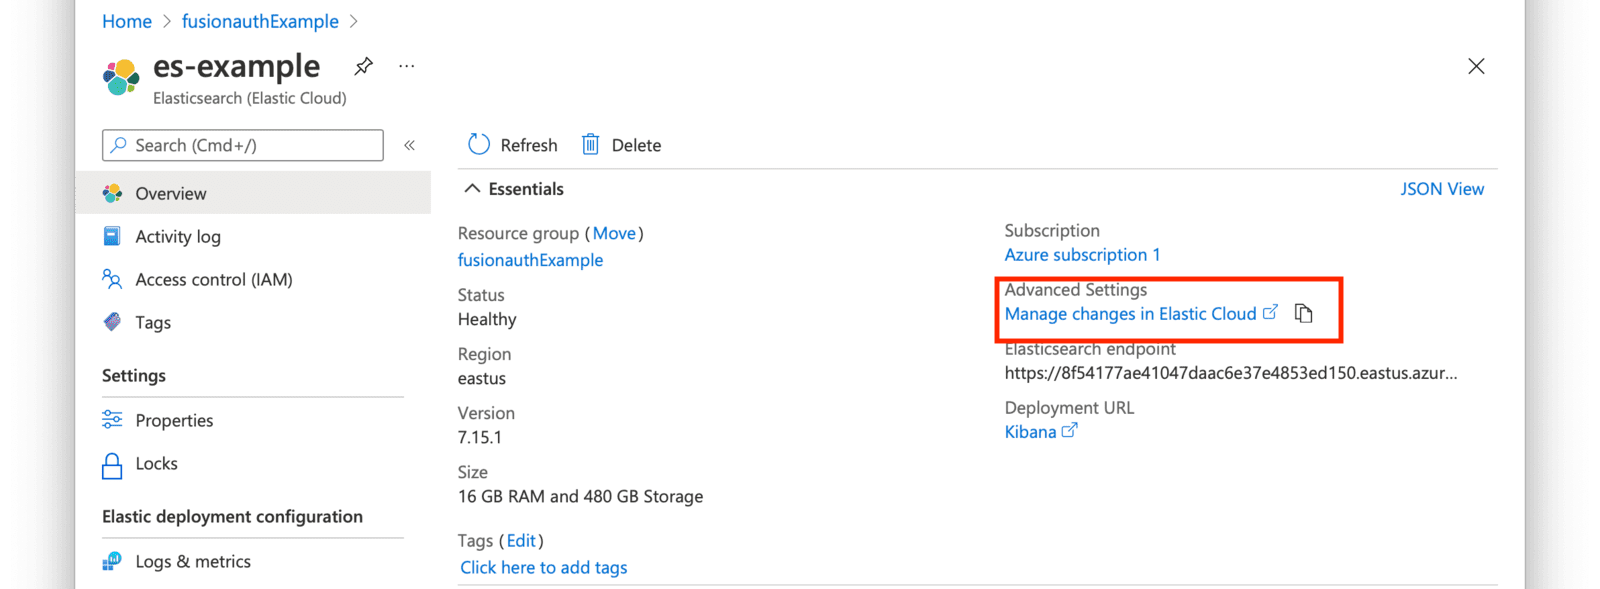 You will be directed to your Elastic Cloud dashboard and will see your new deployment listed.
Click on the name of your deployment to manage it. On the next page, you have access to all of the necessary endpoint information you will need to connect to your deployment.
Under
 pplications , click on the Copy endpoint link next to Elasticsearch to copy the URL to your clipboard. You will need to save this URL for use when [deploying FusionAuth](/docs/get-started/download-and-install) to your AKS cluster.
Next, click on the Security link seen on the left navigation panel.
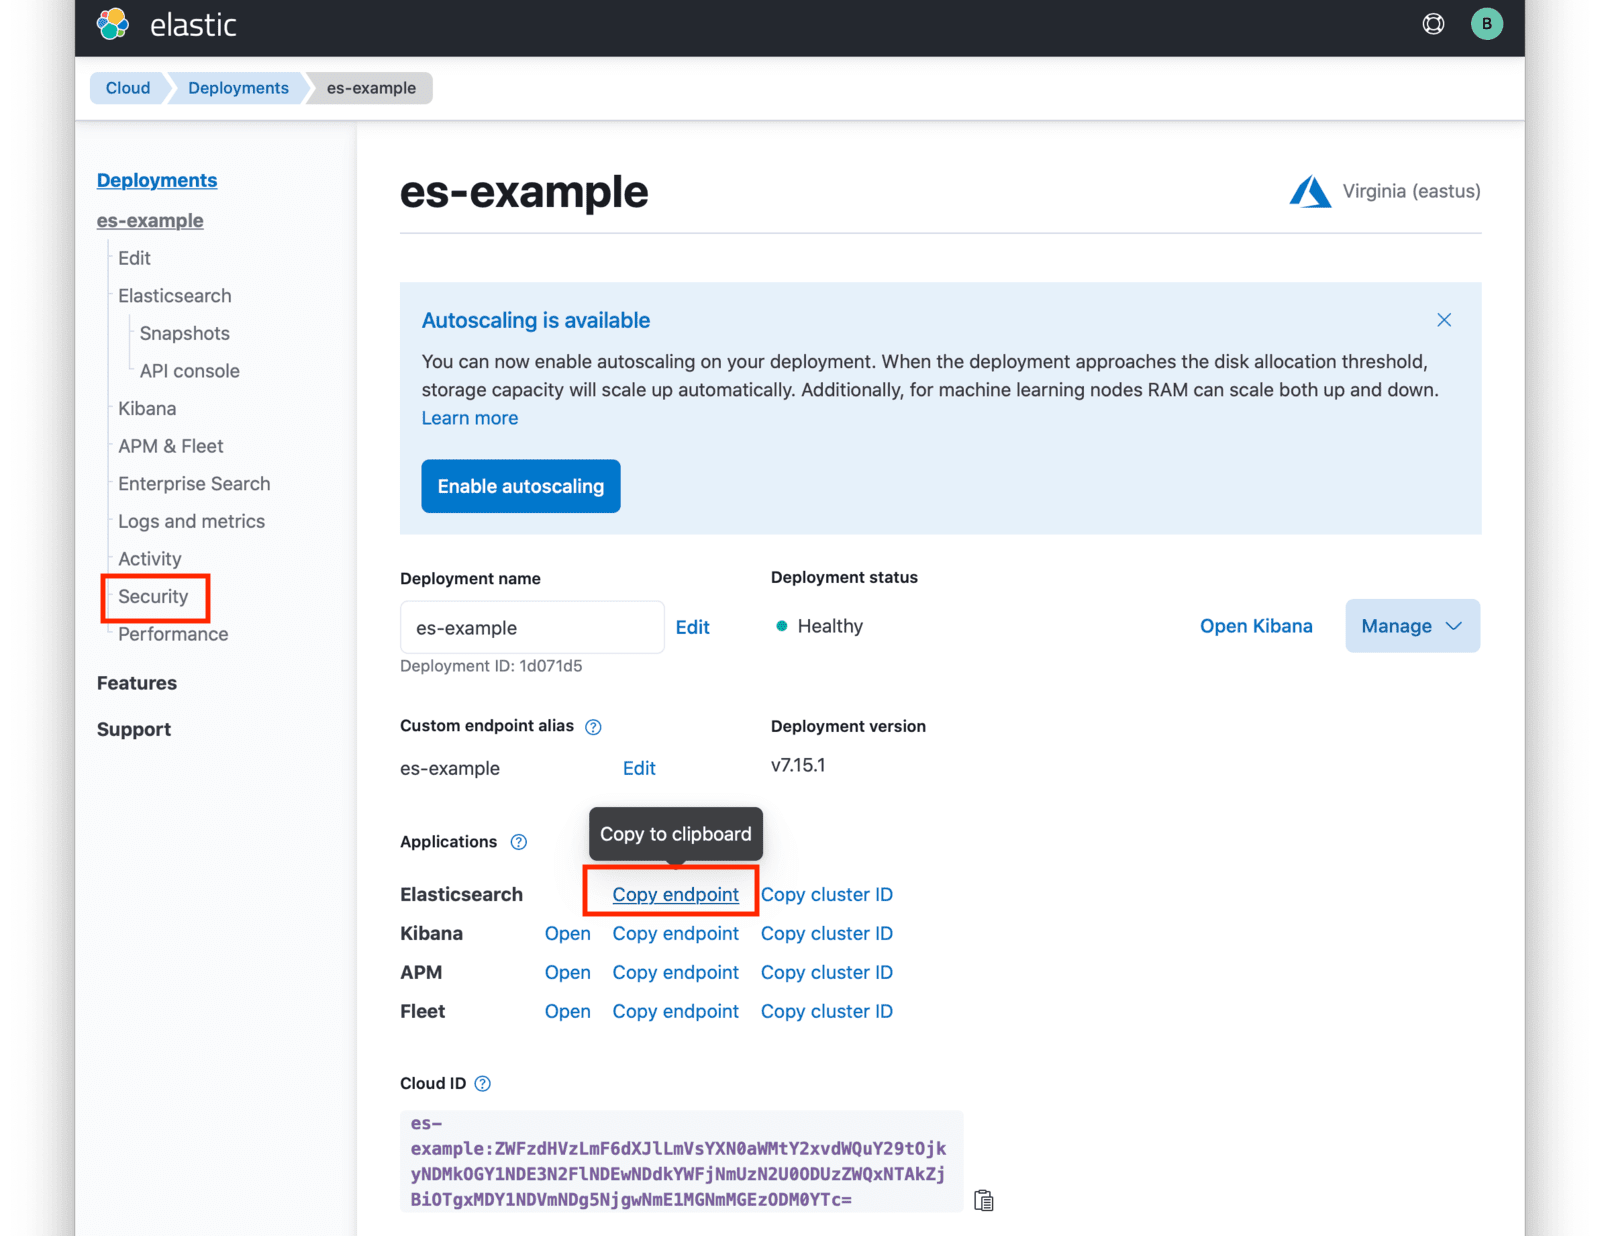 Click on the **Reset Password** button to set your administrative credentials for your cluster.
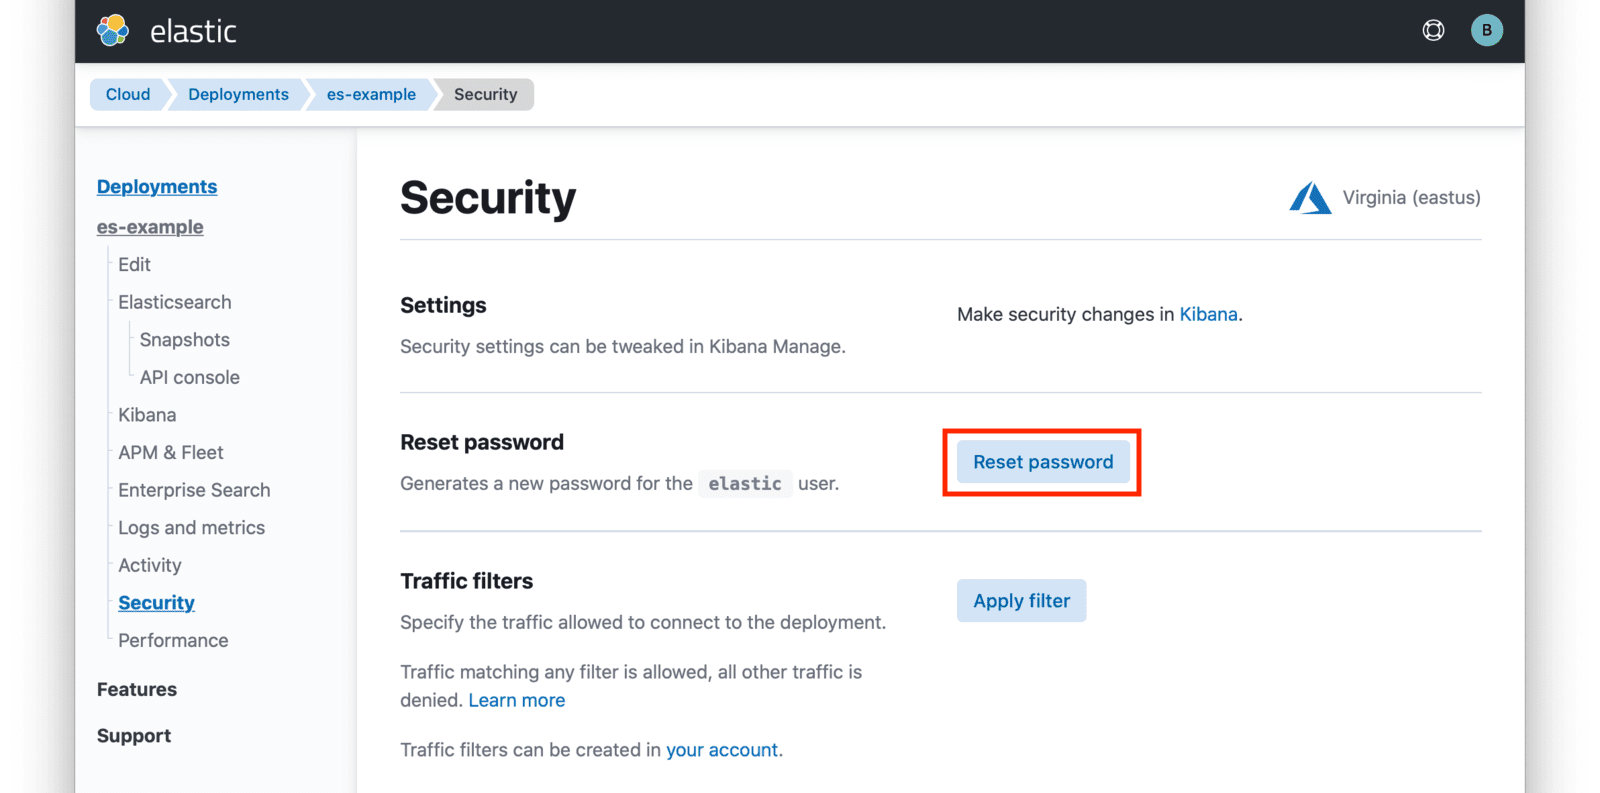 You now have your Elasticsearch cluster deployed and the required credentials to connect to it.
## Next Steps
You now are running all the necessary infrastructure to deploy a containerized application to AKS.
Next up, [Deploy FusionAuth in Kubernetes](/docs/get-started/download-and-install/kubernetes/fusionauth-deployment).
# Provision an Amazon Elastic Kubernetes Service (EKS) Kubernetes Cluster
import Kubectl from 'src/content/docs/get-started/download-and-install/kubernetes/_kubectl.mdx';
import Aside from 'src/components/Aside.astro';
import InlineField from 'src/components/InlineField.astro';
## Overview
This guide will show you how to quickly set up an EKS cluster in AWS. When completed, you will have a fully functional Kubernetes cluster ready for a FusionAuth deployment. The following method uses the default settings when provisioning the EKS cluster with the required resources and services.
## Required Tools
* `AWS CLI` - Amazon Command Line Interface. This allows users to interact with AWS resources and services from the command-line. For more information, see [Installing, updating, and uninstalling the AWS CLI](https://docs.aws.amazon.com/cli/latest/userguide/cli-chap-install.html). This will need to be installed and configured for a user with [IAM permissions to manage EKS](https://docs.aws.amazon.com/service-authorization/latest/reference/list_amazonelastickubernetesservice.html).
* `eksctl` - For this guide, you will use `eksctl`, a command line tool for managing EKS clusters. For installation information, see [The eksctl command line utility](https://docs.aws.amazon.com/eks/latest/userguide/eksctl.html).
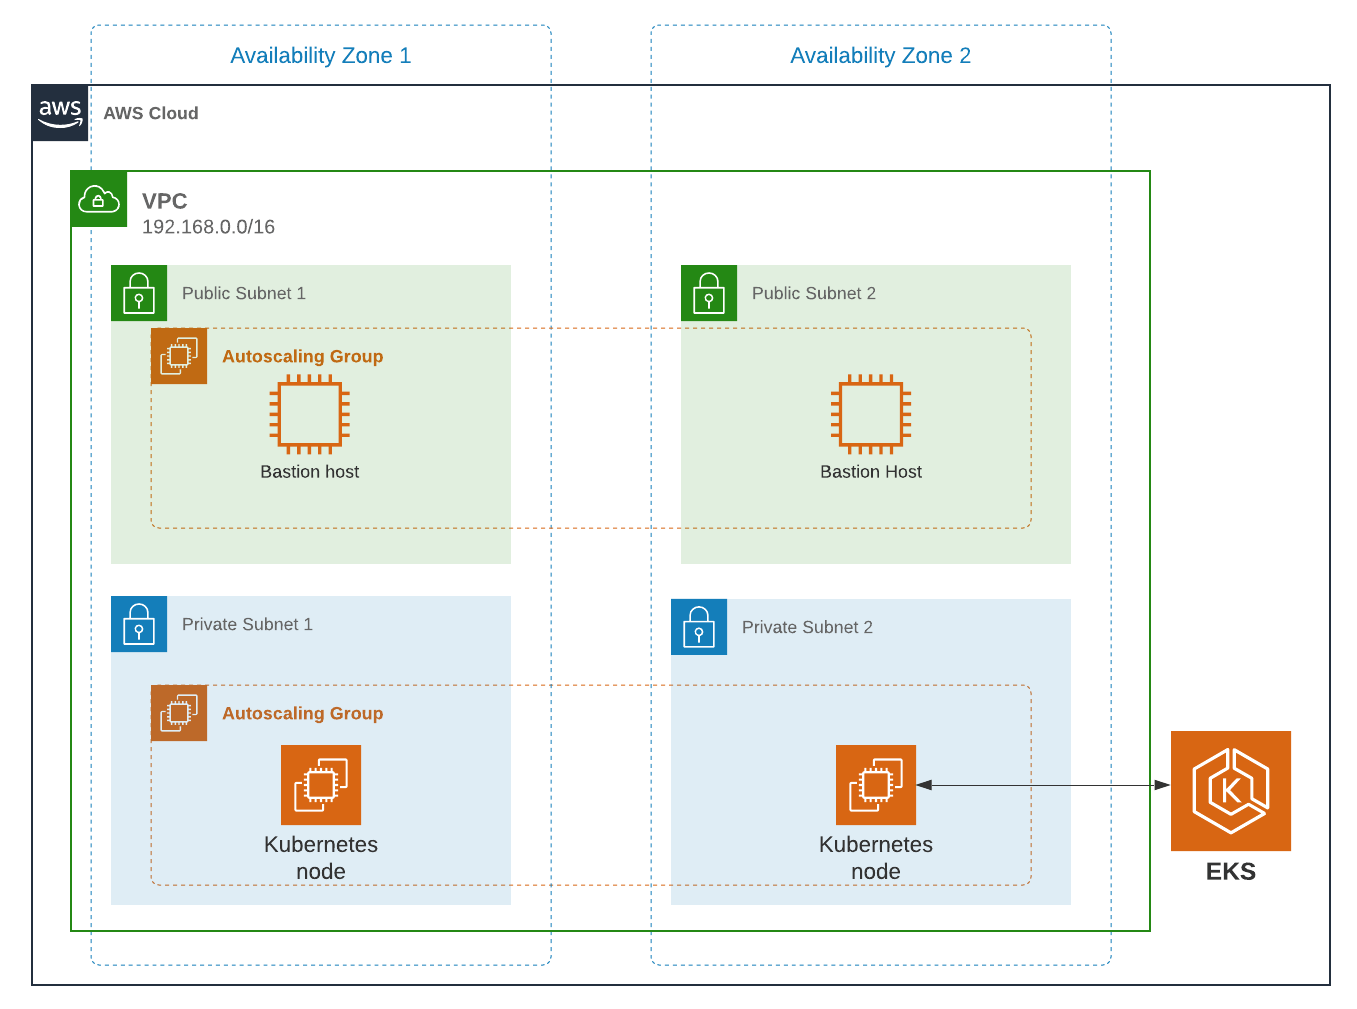 ## Create an EKS Cluster
Prior to creating the cluster, either create a new key pair or have an existing pair on hand. This is because providing a key when running the create command configures EKS to allow SSH access to the created compute nodes. If a key is not provided, this can not be changed later. Having SSH access allows for easier troubleshooting.
```shell title="Create key pair"
aws ec2 create-key-pair --region us-west-1 --key-name eksExampleKeyPair
```
If successful, information about your new key will be displayed. Store the private key for future use.
Now create a new EKS cluster.
```shell title="Create EKS cluster"
eksctl create cluster \
--name fusionauth-example \
--region us-west-1 \
--with-oidc \
--ssh-access \
--ssh-public-key eksExampleKeyPair
```
This command uses CloudFormation to provision all of the necessary resources that your EKS cluster needs. You should see output that looks something like this:
```plaintext title="CloudFormation output"
2021-10-05 14:18:03 [ℹ] eksctl version 0.66.0
2021-10-05 14:18:03 [ℹ] using region us-west-1
2021-10-05 14:18:03 [ℹ] setting availability zones to [us-west-1a us-west-1c us-west-1a]
2021-10-05 14:18:03 [ℹ] subnets for us-west-1a - public:192.168.0.0/19 private:192.168.96.0/19
2021-10-05 14:18:03 [ℹ] subnets for us-west-1c - public:192.168.32.0/19 private:192.168.128.0/19
2021-10-05 14:18:03 [ℹ] subnets for us-west-1a - public:192.168.64.0/19 private:192.168.160.0/19
2021-10-05 14:18:03 [ℹ] nodegroup "ng-3fa00736" will use "" [AmazonLinux2/1.20]
2021-10-05 14:18:03 [ℹ] using EC2 key pair %!q(*string=
## Create an EKS Cluster
Prior to creating the cluster, either create a new key pair or have an existing pair on hand. This is because providing a key when running the create command configures EKS to allow SSH access to the created compute nodes. If a key is not provided, this can not be changed later. Having SSH access allows for easier troubleshooting.
```shell title="Create key pair"
aws ec2 create-key-pair --region us-west-1 --key-name eksExampleKeyPair
```
If successful, information about your new key will be displayed. Store the private key for future use.
Now create a new EKS cluster.
```shell title="Create EKS cluster"
eksctl create cluster \
--name fusionauth-example \
--region us-west-1 \
--with-oidc \
--ssh-access \
--ssh-public-key eksExampleKeyPair
```
This command uses CloudFormation to provision all of the necessary resources that your EKS cluster needs. You should see output that looks something like this:
```plaintext title="CloudFormation output"
2021-10-05 14:18:03 [ℹ] eksctl version 0.66.0
2021-10-05 14:18:03 [ℹ] using region us-west-1
2021-10-05 14:18:03 [ℹ] setting availability zones to [us-west-1a us-west-1c us-west-1a]
2021-10-05 14:18:03 [ℹ] subnets for us-west-1a - public:192.168.0.0/19 private:192.168.96.0/19
2021-10-05 14:18:03 [ℹ] subnets for us-west-1c - public:192.168.32.0/19 private:192.168.128.0/19
2021-10-05 14:18:03 [ℹ] subnets for us-west-1a - public:192.168.64.0/19 private:192.168.160.0/19
2021-10-05 14:18:03 [ℹ] nodegroup "ng-3fa00736" will use "" [AmazonLinux2/1.20]
2021-10-05 14:18:03 [ℹ] using EC2 key pair %!q(*string=)
2021-10-05 14:18:03 [ℹ] using Kubernetes version 1.20
2021-10-05 14:18:03 [ℹ] creating EKS cluster "fusionauth-example" in "us-west-1" region with managed nodes
2021-10-05 14:18:03 [ℹ] will create 2 separate CloudFormation stacks for cluster itself and the initial managed nodegroup
2021-10-05 14:18:03 [ℹ] if you encounter any issues, check CloudFormation console or try 'eksctl utils describe-stacks --region=us-west-1 --cluster=fusionauth-example'
2021-10-05 14:18:03 [ℹ] CloudWatch logging will not be enabled for cluster "fusionauth-example" in "us-west-1"
2021-10-05 14:18:03 [ℹ] you can enable it with 'eksctl utils update-cluster-logging --enable-types={SPECIFY-YOUR-LOG-TYPES-HERE (e.g. all)} --region=us-west-1 --cluster=fusionauth-example'
2021-10-05 14:18:03 [ℹ] Kubernetes API endpoint access will use default of {publicAccess=true, privateAccess=false} for cluster "fusionauth-example" in "us-west-1"
2021-10-05 14:18:03 [ℹ] 2 sequential tasks: { create cluster control plane "fusionauth-example", 3 sequential sub-tasks: { 4 sequential sub-tasks: { wait for control plane to become ready, associate IAM OIDC provider, 2 sequential sub-tasks: { create IAM role for serviceaccount "kube-system/aws-node", create serviceaccount "kube-system/aws-node" }, restart daemonset "kube-system/aws-node" }, 1 task: { create addons }, create managed nodegroup "ng-3fa00736" } }
2021-10-05 14:18:03 [ℹ] building cluster stack "eksctl-fusionauth-example-cluster"
2021-10-05 14:18:04 [ℹ] deploying stack "eksctl-fusionauth-example-cluster"
2021-10-05 14:31:07 [ℹ] waiting for CloudFormation stack "eksctl-fusionauth-example-cluster"
2021-10-05 14:35:10 [ℹ] building iamserviceaccount stack "eksctl-fusionauth-example-addon-iamserviceaccount-kube-system-aws-node"
2021-10-05 14:35:11 [ℹ] deploying stack "eksctl-fusionauth-example-addon-iamserviceaccount-kube-system-aws-node"
2021-10-05 14:35:11 [ℹ] waiting for CloudFormation stack "eksctl-fusionauth-example-addon-iamserviceaccount-kube-system-aws-node"
2021-10-05 14:35:27 [ℹ] waiting for CloudFormation stack "eksctl-fusionauth-example-addon-iamserviceaccount-kube-system-aws-node"
2021-10-05 14:35:44 [ℹ] waiting for CloudFormation stack "eksctl-fusionauth-example-addon-iamserviceaccount-kube-system-aws-node"
2021-10-05 14:35:45 [ℹ] serviceaccount "kube-system/aws-node" already exists
2021-10-05 14:35:45 [ℹ] updated serviceaccount "kube-system/aws-node"
2021-10-05 14:35:45 [ℹ] daemonset "kube-system/aws-node" restarted
2021-10-05 14:37:46 [ℹ] building managed nodegroup stack "eksctl-fusionauth-example-nodegroup-ng-3fa00736"
2021-10-05 14:37:46 [ℹ] deploying stack "eksctl-fusionauth-example-nodegroup-ng-3fa00736"
2021-10-05 14:37:46 [ℹ] waiting for CloudFormation stack "eksctl-fusionauth-example-nodegroup-ng-3fa00736"
2021-10-05 14:41:48 [ℹ] waiting for the control plane availability...
2021-10-05 14:41:48 [✔] saved kubeconfig as "/Users/brettguy/.kube/config"
2021-10-05 14:41:48 [ℹ] no tasks
2021-10-05 14:41:48 [✔] all EKS cluster resources for "fusionauth-example" have been created
2021-10-05 14:41:48 [ℹ] nodegroup "ng-3fa00736" has 2 node(s)
2021-10-05 14:41:48 [ℹ] node "ip-192-168-45-153.us-west-1.compute.internal" is ready
2021-10-05 14:41:48 [ℹ] node "ip-192-168-91-228.us-west-1.compute.internal" is ready
2021-10-05 14:41:48 [ℹ] waiting for at least 2 node(s) to become ready in "ng-3fa00736"
2021-10-05 14:41:48 [ℹ] nodegroup "ng-3fa00736" has 2 node(s)
2021-10-05 14:41:48 [ℹ] node "ip-192-168-45-153.us-west-1.compute.internal" is ready
2021-10-05 14:41:48 [ℹ] node "ip-192-168-91-228.us-west-1.compute.internal" is ready
2021-10-05 14:43:50 [ℹ] kubectl command should work with "/Users/myuser/.kube/config", try 'kubectl get nodes'
2021-10-05 14:43:50 [✔] EKS cluster "fusionauth-example" in "us-west-1" region is ready
```
We now have a fully functional provisioned EKS cluster. You will need additional information, in particular the VPC Id, subnet Ids, and security group Id, all of which are used later in this guide. Use the CLI to describe our newly created cluster to retrieve this configuration data.
```shell title="Get cluster information"
aws eks describe-cluster --name fusionauth-example
```
```json title="Cluster information JSON output"
{
"cluster": {
"name": "fusionauth-example",
"arn": "arn:aws:eks:us-west-1::cluster/fusionauth-example",
"createdAt": "2021-10-05T14:19:21.612000-06:00",
"version": "1.20",
"endpoint": "https://EC8E2DC8514200E91A4748FA6EE525A4.yl4.us-west-1.eks.amazonaws.com",
"roleArn": "arn:aws:iam:::role/",
"resourcesVpcConfig": {
"subnetIds": [
"subnet-091347798a21eabe2",
"subnet-0cb7540073e8b30aa",
"subnet-052f8750345045581",
"subnet-040e32678cf7a85da"
],
"securityGroupIds": [
"sg-00d13e92c29ed1ecf"
],
"clusterSecurityGroupId": "sg-07cf61370371ba323",
"vpcId": "vpc-08da2a4800ea6e0e2",
"endpointPublicAccess": true,
"endpointPrivateAccess": false,
"publicAccessCidrs": [
"0.0.0.0/0"
]
},
"kubernetesNetworkConfig": {
"serviceIpv4Cidr": "10.100.0.0/16"
}
}
}
```
Note the VPC Id, subnet Ids, and security group Id.
Now review the Kubernetes nodes that have been created.
This is where `kubectl` comes in handy. Looking at the previous log, you will notice that one of the last things `eksctl` did was update the `~/.kube/config` file with the new cluster configuration. Go ahead and use `kubectl` to make requests to the Kubernetes API Server.
```shell title="Get EKS cluster nodes"
kubectl get nodes -o wide
NAME STATUS ROLES AGE VERSION INTERNAL-IP EXTERNAL-IP OS-IMAGE KERNEL-VERSION CONTAINER-RUNTIME
ip-192-168-45-153.us-west-1.compute.internal Ready 4m57s v1.20.7-eks-135321 192.168.45.153 50.18.29.248 Amazon Linux 2 5.4.149-73.259.amzn2.x86_64 docker://20.10.7
ip-192-168-91-228.us-west-1.compute.internal Ready 4m54s v1.20.7-eks-135321 192.168.91.228 3.101.73.65 Amazon Linux 2 5.4.149-73.259.amzn2.x86_64 docker://20.10.7
```
Great! We have two instances in a `READY` status.
### Create a Database
Create a Postgres RDS instance required for FusionAuth installation. For simplicity, this database will be created in the same VPC and configured with the same security groups applied to the private subnets. Finally, you will modify the inbound rules to the security group to allow traffic on port 5432. This will enable our worker nodes to communicate with the database successfully!
Since an RDS instance needs to be assigned to a database subnet group, you may either assign it to an existing group with subnets in the same VPC or create a new one.
Here, you create a new subnet group using the subnets assigned to your cluster in the cluster creation step.
```shell title="Create DB subnet group"
aws rds create-db-subnet-group \
--db-subnet-group-name fusionauth-example-db-group \
--db-subnet-group-description "FusionAuth example database subnet group" \
--subnet-ids "subnet-091347798a21eabe2" "subnet-0cb7540073e8b30aa" "subnet-052f8750345045581" "subnet-040e32678cf7a85da"
```
Now create the database. Set db-subnet-group and vpc-security-group-ids to the values for the subnet Id and the VPC Id from the above creation steps.
```shell title="Create Postgresql DB instance"
aws rds create-db-instance \
--db-instance-identifier fusionauth-eks-example \
--allocated-storage 20 \
--db-instance-class db.m6g.large \
--engine postgres \
--master-username postgres \
--master-user-password changeMeToSomethingMoreSecure \
--no-publicly-accessible \
--vpc-security-group-ids sg-08b95dbacc02ba628 \
--db-subnet-group fusionauth-example-db-group \
--availability-zone us-west-1c \
--port 5432
```
Add an inbound rule to the security group to allow nodes to access the database. Again, use the security group Id from above.
```shell title="Create inbound rule"
aws ec2 authorize-security-group-ingress \
--group-id sg-08b95dbacc02ba628 \
--protocol tcp \
--port 5432 \
--source-group sg-08b95dbacc02ba628
```
You are done! To confirm the database has been created, simply ask AWS using the db-instance-identifier used on the creation step.
```shell title="Get DB instance information"
aws rds describe-db-instances --db-instance-identifier fusionauth-eks-example
```
The resulting output should contain an `Endpoint` attribute. This value will be necessary when configuring your FusionAuth deployment.
```json title="DB instance JSON output"
{
"DBInstances": [
{
"DBInstanceIdentifier": "fusionauth-eks-example",
"DBInstanceClass": "db.m6g.large",
"Engine": "postgres",
"DBInstanceStatus": "available",
"MasterUsername": "postgres",
"Endpoint": {
"Address": "fusionauth-eks-example.sadkjl222.us-west-1.rds.amazonaws.com",
"Port": 5432
},
...
```
### Create an AWS Elasticsearch Domain
Define a policy that will enable EKS to talk to the Elasticsearch domain. Copy the following JSON, replacing the value for ACCOUNT_ID , to a local file and save it as `eks-policy.json`:
```json title="Policy JSON"
{
"Version": "2012-10-17",
"Statement": [
{
"Action": [
"es:*"
],
"Resource": "arn:aws:es:us-west-1::domain/fusionauth-es",
"Effect": "Allow"
}
]
}
```
Create the policy:
```shell title="Create access policy"
aws iam create-policy \
--policy-name fusionauth-es-policy \
--policy-document file://eks-policy.json
```
Attach the policy to the service role that assigned to your EKS cluster:
```shell title="Assign policy to EKS role"
aws iam attach-role-policy \ ✔
--policy-arn arn:aws:iam:::policy/fusionauth-es-policy \
--role-name
```
Create a domain access policy to be assigned to the new Elasticsearch cluster. Copy the following, replacing the value for ACCOUNT_ID , to a local file and save it as `access-policy.json`:
```json title="Create Elasticsearch domain access policy"
{
"Version": "2012-10-17",
"Statement": [
{
"Effect": "Allow",
"Principal": {
"AWS": "*"
},
"Action": "es:*",
"Resource": "arn:aws:es:us-west-1::domain/fusionauth-es/*"
}
]
}
```
Create a new cluster, updating the subnet Ids and security group Ids:
```shell title="Create the Elasticsearch cluster"
aws es create-elasticsearch-domain \
--domain-name fusionauth-es-2 \
--elasticsearch-version 7.10 \
--elasticsearch-cluster-config InstanceType=m5.large.elasticsearch,InstanceCount=1 \
--vpc-options SubnetIds=subnet-040e32678cf7a85da,SecurityGroupIds=sg-08b95dbacc02ba628 \
--ebs-options EBSEnabled=true,VolumeType=standard,VolumeSize=10 \
--access-policies file://access-policy.json
```
## Next Steps
You now are running all the necessary infrastructure to deploy a containerized application to EKS.
Next up, [Deploy FusionAuth in Kubernetes](/docs/get-started/download-and-install/kubernetes/fusionauth-deployment).
It is recommended that you consult [Getting started with Amazon EKS](https://docs.aws.amazon.com/eks/latest/userguide/getting-started.html) for more EKS documentation, including needed customization for your situation.
# Deploy FusionAuth to a Kubernetes Cluster
import Aside from 'src/components/Aside.astro';
import InlineField from 'src/components/InlineField.astro';
import TroubleshootingRuntimeModeMismatch from 'src/content/docs/get-started/download-and-install/_troubleshooting-runtime-modes-at-startup.mdx';
Kubernetes is an extensible and open-source container-orchestration system used for automating application deployments. Some of the most notable features it provides include self-healing, auto-scaling, and automated rollouts and rollbacks.
Since the Kubernetes container runtime supports [Docker](/docs/get-started/download-and-install/docker), FusionAuth [Docker](/docs/get-started/download-and-install/docker) containers can be deployed to any Kubernetes cluster.
The following guide demonstrates how to deploy FusionAuth containers using [kubectl](https://kubernetes.io/docs/tasks/tools/), the Kubernetes command-line tool that enables you to send commands to a cluster through the [API server](https://kubernetes.io/docs/reference/command-line-tools-reference/kube-apiserver/).
You'll need a cluster running to work through this guide.
## Requirements
* `kubectl` - Command line tool that interacts with the Kubernetes API server and is useful for managing Kubernetes clusters. Before proceeding, follow the [installation documentation that corresponds to your platform](https://kubernetes.io/docs/tasks/tools/).
This guide will be using version `1.22`.
* `helm` - Package manager used for installing and managing Kubernetes applications. In this guide, you will be using a Helm chart to install FusionAuth on our Kubernetes cluster. For more information, see [Installing Helm](https://helm.sh/docs/intro/install/).
This guide will be using version `3.6.4`.
* An available Kubernetes cluster. If you need to set up a cluster, we have provided the below installation guides for both local development environments and the major cloud providers. Each provides step-by-step instructions intended to get you up and running as fast as possible.
* [Local setup using minikube](/docs/get-started/download-and-install/kubernetes/minikube)
* [Amazon Elastic Kubernetes Service (EKS)](/docs/get-started/download-and-install/kubernetes/eks)
* [Google Kubernetes Engine (GKE)](/docs/get-started/download-and-install/kubernetes/gke)
* [Microsoft Azure Kubernetes Service (AKS)](/docs/get-started/download-and-install/kubernetes/aks)
## Adding the Helm Chart Repository
To get started, the first thing to do is add the FusionAuth Helm Chart repository. This can be done with the following.
```shell title="Add a chart repository"
helm repo add fusionauth https://fusionauth.github.io/charts
```
To view the list of repositories that you have added use the following command:
```plaintext title="List chart repositories"
helm repo list
```
```plaintext title="Output from listing chart repositories"
NAME URL
fusionauth https://fusionauth.github.io/charts
```
To search repositories:
```shell title="Search chart repositories"
helm search repo fusionauth
```
```shell title="Output from search"
NAME CHART VERSION APP VERSION DESCRIPTION
fusionauth/fusionauth 0.10.5 1.30.1 Helm chart for fusionauth
```
## Helm Chart Configuration
Before you install, configure the `values.yaml` file contents used by the Helm Chart. The majority of the values for this chart have defaults recommended by FusionAuth but you will want to review and modify the configuration to meet your specific requirements.
To update this file, first download it:
```shell title="Download chart values"
curl -o values.yaml https://raw.githubusercontent.com/FusionAuth/charts/main/chart/values.yaml
```
Open `values.yaml` with your favorite text editor and modify it. This guide covers configuration values which must be updated to deploy FusionAuth. You should review the entire configuration to understand all the possible options.
### Replicas
The replicaCount value indicates the number of instances of FusionAuth to run in a [ReplicaSet](https://kubernetes.io/docs/concepts/workloads/controllers/replicaset/).
Kubernetes will monitor the cluster to ensure that this number of instances of FusionAuth is running at all times.
By default, the replicaCount value is set to `1` which typically works well for development and testing environments, but you will likely want to adjust this based on your system and application requirements.
```yaml title="Replica count example configuration"
# replicaCount -- The number of fusionauth-app instances to run
replicaCount: 1
```
### Docker Image
The most current helm chart will always point to the latest version of FusionAuth.
For this guide, FusionAuth version `1.30.1` is used.
You can update this to any released version you'd like.
You can find the [list of FusionAuth releases here](https://hub.docker.com/r/fusionauth/fusionauth-app/tags).
```yaml title="Image configuration example"
image:
# image.repository -- The name of the docker repository for fusionauth-app
repository: fusionauth/fusionauth-app
# image.repository -- The docker tag to pull for fusionauth-app
tag: latest
```
### Extra Containers
You may want to inject a sidecar or ambassador container.
This is useful if you want to, for instance, proxy requests to FusionAuth to put it at a different path or limit the IP addresses which have access to the administrative user interface.
You can do this with the `extraContainers` value.
Containers defined here will be added to the FusionAuth pod.
```yaml title="Default extraContainers"
extraContainers: []
```
```yaml title="extraContainers with an nginx sidecar"
extraContainers:
- name: my-sidecar
image: nginx:latest
```
You can find [community contributed proxy configurations here](https://github.com/fusionauth/fusionauth-contrib).
### Database Configuration
Now, configure the database connection. Each of our FusionAuth pods will use this configuration when communicating with the database.
The following is an example of the `database` configuration section in `values.yaml`:
```yaml title="Database and search example configuration"
database:
# database.protocol -- Should either be postgresql or mysql. Protocol for jdbc connection to database
protocol: postgresql
# database.host -- Hostname or ip of the database instance
host: ""
# database.host -- Port of the database instance
port: 5432
# database.tls -- Configures whether or not to use tls when connecting to the database
tls: false
# database.tlsMode -- If tls is enabled, this configures the mode
tlsMode: require
# database.name -- Name of the fusionauth database
name: fusionauth
# To use an existing secret, set `existingSecret` to the name of the secret. We expect at most two keys: `password` is required. `rootpassword` is only required if `database.root.user` is set.
# database.existingSecret -- The name of an existing secret that contains the database passwords
existingSecret: ""
# database.user -- Database username for fusionauth to use in normal operation
user: ""
# database.password -- Database password for fusionauth to use in normal operation - not required if database.existingSecret is configured
password: ""
# These credentials are used for bootstrapping the database and creating it if needed. This can be useful for ephemeral clusters used for testing and dev.
root:
# database.root.user -- Database username for fusionauth to use during initial bootstrap - not required if you have manually bootstrapped your database
user: ""
# database.root.password -- Database password for fusionauth to use during initial bootstrap - not required if database.existingSecret is configured
password: ""
search:
# search.engine -- Defines backend for fusionauth search capabilities. Valid values for engine are 'elasticsearch' or 'database'.
engine: elasticsearch
# search.engine -- Protocol to use when connecting to elasticsearch. Ignored when search.engine is NOT elasticsearch
protocol: http
# search.host -- Hostname or ip to use when connecting to elasticsearch. Ignored when search.engine is NOT elasticsearch
host: ""
# search.port -- Port to use when connecting to elasticsearch. Ignored when search.engine is NOT elasticsearch
port: 9200
# search.user -- Username to use with basic auth when connecting to elasticsearch. Ignored when search.engine is NOT elasticsearch
user: ""
# search.password -- Password to use with basic auth when connecting to elasticsearch. Ignored when search.engine is NOT elasticsearch
password: ""
```
For this guide, the following attributes need to be retrieved from your database and Elasticsearch deployments and updated in your `values.yaml` configuration.
* `database.host`
* `database.root.user`
* `database.root.password`
The FusionAuth standard user will be created with the credentials provided here when you install the FusionAuth helm chart.
* `database.user`
* `database.password`
If search.engine is set to `elasticsearch`:
* `search.host`
Additionally, you may set these values if a username/password are needed to access Elasticsearch (these are not required for this tutorial):
* `search.user`
* `search.password`
If you don't want to provide the `database.root.user` and `database.root.password` to allow FusionAuth to set up the database itself, you can also follow the [advanced database installation guide](/docs/get-started/download-and-install/fusionauth-app#advanced-installation) which lets you set up the database out of band.
## Deploy FusionAuth To the Cluster
Now that `values.yaml` is updated, it is time to install the chart on the cluster. The `helm install` command is used to install a chart by name and can be applied using the syntax:
```shell title="Helm install format"
helm install [CHART NAME] [CHART] [flags]
```
Here you will install a chart including the `-f` flag to override the default values.
```shell title="Install the FusionAuth chart"
helm install my-release fusionauth/fusionauth -f values.yaml
```
If the previous command was successful, you should see output similar to the following:
```plaintext title="Example output"
NAME: my-release
LAST DEPLOYED: Sun Oct 10 19:23:41 2021
NAMESPACE: default
STATUS: deployed
REVISION: 1
NOTES:
1. Get the application URL by running these commands:
export SVC_NAME=$(kubectl get svc --namespace default -l "app.kubernetes.io/name=fusionauth,app.kubernetes.io/instance=my-release" -o jsonpath="{.items[0].metadata.name}")
echo "Visit http://127.0.0.1:9011 to use your application"
kubectl port-forward svc/$SVC_NAME 9011:9011
```
You can get the status of your deployment with `kubectl`.
```shell title="Get a list of deployments running on the cluster"
kubectl get deployments -o wide
```
```plaintext title="Output"
NAME READY UP-TO-DATE AVAILABLE AGE CONTAINERS IMAGES SELECTOR
my-release-fusionauth 1/1 1 1 4m16s fusionauth fusionauth/fusionauth-app:1.30.1 app.kubernetes.io/instance=my-release,app.kubernetes.io/name=fusionauth
```
As instructed by the success message output above, you can create a proxy enabling you to connect to the cluster from `localhost`:
```shell title="Setup port-forwarding proxy"
export SVC_NAME=$(kubectl get svc --namespace default -l "app.kubernetes.io/name=fusionauth,app.kubernetes.io/instance=my-release" -o jsonpath="{.items[0].metadata.name}")
echo "Visit http://127.0.0.1:9011 to use your application"
kubectl port-forward svc/$SVC_NAME 9011:9011
```
```plaintext title="Example output of kubectl proxying command"
Forwarding from 127.0.0.1:9011 -> 9011
```
Navigate to `http://localhost:9011` and you will land on the FusionAuth Setup Wizard. For a complete tutorial walking you through the initial FusionAuth configuration, see [Setup Wizard & First Login](/docs/get-started/download-and-install/setup-wizard/).
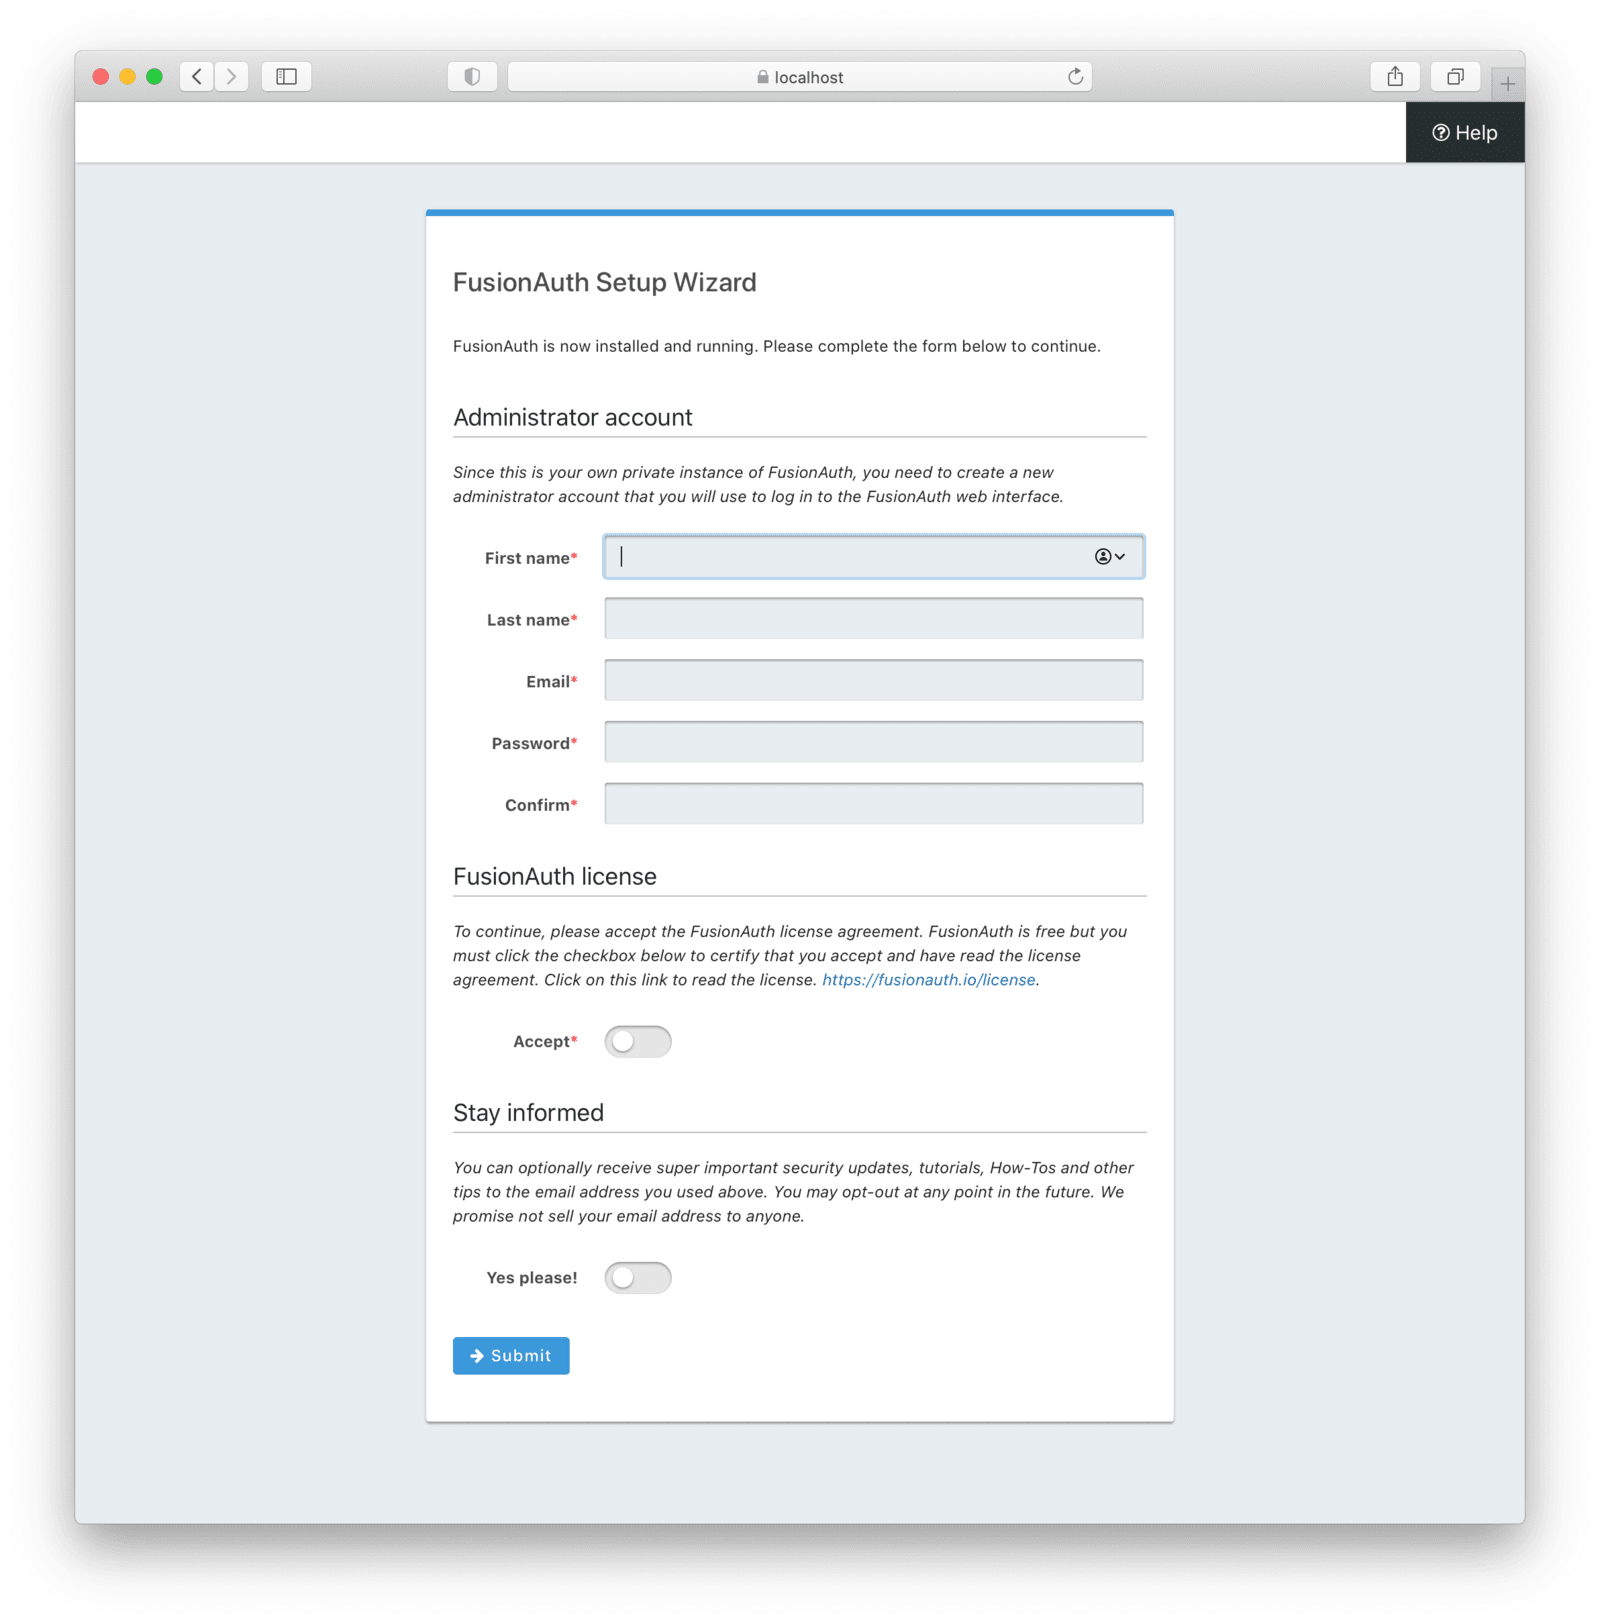 ## Create an Ingress
If you want to connect FusionAuth with an external network, the last thing you need to do is to configure the cluster to be able to receive external requests. You might do this if you were using FusionAuth to authenticate users connecting to applications from the internet. On the other hand, you might not do this if you were using FusionAuth solely within your kubernetes cluster.
To direct external traffic to your cluster, you will use an [Ingress](https://kubernetes.io/docs/concepts/services-networking/ingress/), a component that defines how external traffic should be handled, and an [Ingress Controller](https://kubernetes.io/docs/concepts/services-networking/ingress-controllers/) that implements those rules.
### Deploy an Ingress Resource
Create a file named `ingress.yaml` and copy and paste the following resource configuration:
```yaml title="Ingress resource configuration"
apiVersion: networking.k8s.io/v1
kind: Ingress
metadata:
name: my-release-fusionauth
labels:
app.kubernetes.io/name: fusionauth
app.kubernetes.io/instance: my-release-fusionauth
annotations:
kubernetes.io/ingress.class: nginx
spec:
rules:
- http:
paths:
- backend:
service:
name: my-release-fusionauth
port:
number: 9011
path: /
pathType: Prefix
```
The rules for this Ingress resource indicate that requests from the root path context, or `/`, should be directed to the `my-release-fusionauth` service.
Now apply this configuration on the cluster:
```shell title="Apply Ingress resource"
kubectl apply -f ./ingress.yaml
```
### Install an Ingress Controller
For this guide, you will use the NGINX Ingress controller. To install the Ingress controller, add the [nginx-ingress](https://artifacthub.io/packages/helm/ingress-nginx/ingress-nginx) repository and install the Helm chart by running the following commands:
```shell title="Add ingress-nginx chart repository"
helm repo add ingress-nginx https://kubernetes.github.io/ingress-nginx
```
```shell title="Install ingress-nginx chart"
helm install fa-loadbalancer ingress-nginx/ingress-nginx
```
When completed, get the active services running on the cluster:
```shell title="Get services information"
kubectl get services
```
```plaintext title="Services response output"
NAME TYPE CLUSTER-IP EXTERNAL-IP PORT(S) AGE
fusionauth-ingress-nginx-controller LoadBalancer 10.100.246.131 a4413292c6477456b8c1cde8f5260513-137482286.us-west-1.elb.amazonaws.com 80:30048/TCP,443:32484/TCP 37m
```
A new service will be available of type `LoadBalancer` and will contain an external IP or host name corresponding to a newly provisioned Elastic Load Balancer host name. External traffic will now be directed to the Kubernetes cluster via this ingress.
Congratulations! You now have a fully functional Kubernetes environment running FusionAuth.
## Troubleshooting
### Runtime Mode Mismatch
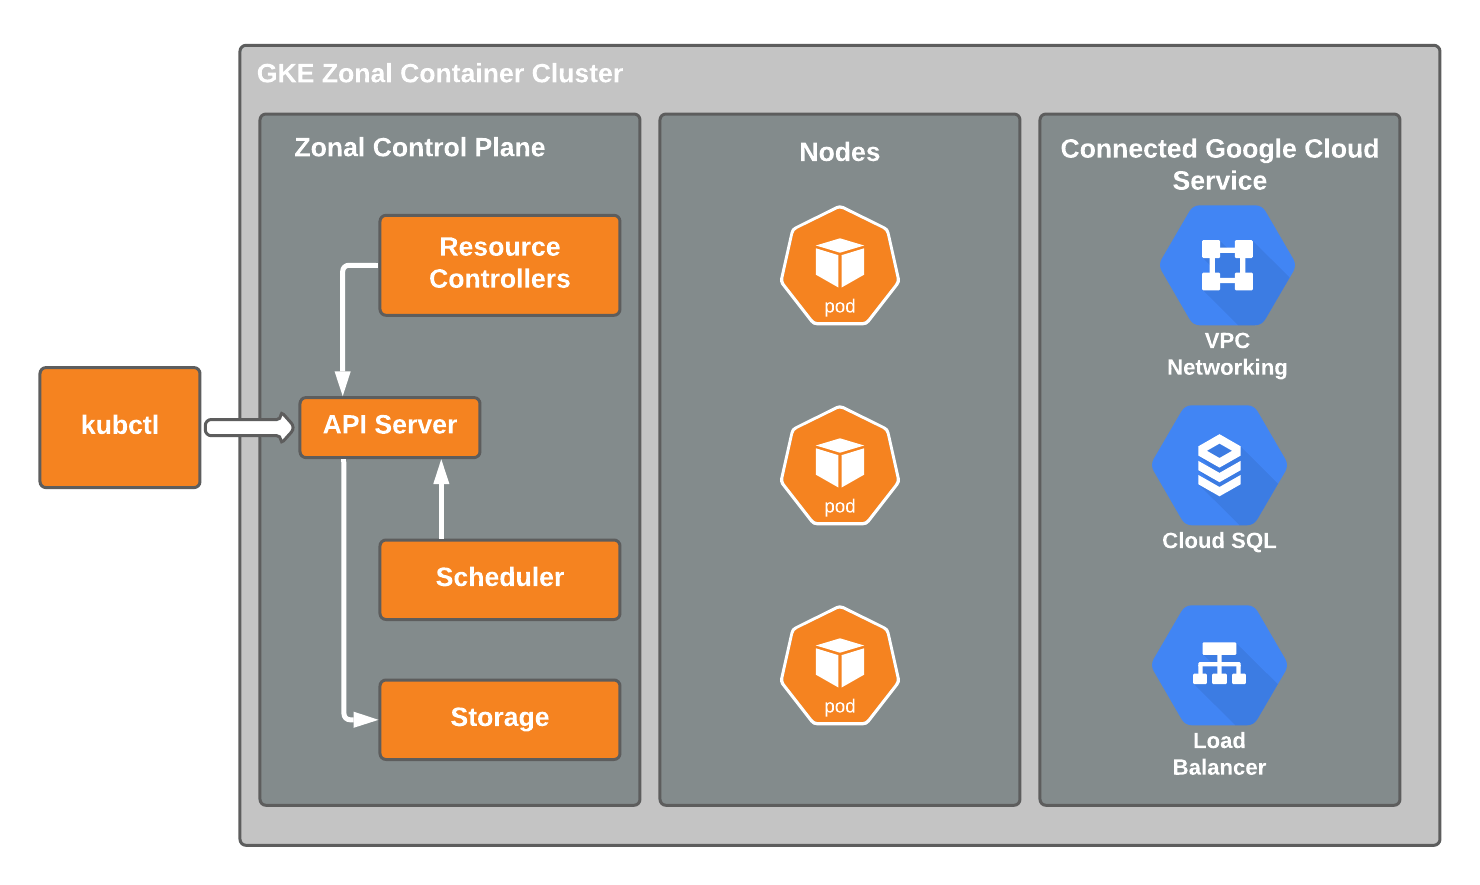 ## Project Setup
Having installed the [Cloud SDK](https://cloud.google.com/sdk/docs/install), authorize `gcloud` to access GCP using your Google credentials:
```shell title="Authorize gcloud"
gcloud auth login
```
Now create a new project used to organize all of your Google Cloud resources:
```shell title="Create a project"
gcloud projects create fusionauth-gke-example \
--name="FusionAuth GKE example"
```
You will want to set the newly created project as your default project. When you create resources and enable APIs, they will be assigned to your default project:
```shell title="Set the default project"
gcloud config set project fusionauth-gke-example
```
```plaintext title="Output of the default project selection command"
Create in progress for [https://cloudresourcemanager.googleapis.com/v1/projects/fusionauth-gke-example].
Waiting for [operations/cp.999999999156305912] to finish...done.
Enabling service [cloudapis.googleapis.com] on project [fusionauth-gke-example]...
```
### Enable Billing
In order to proceed, you will need to enable and link billing for your project. To do this:
1. Navigate to the [GCP Console](https://console.cloud.google.com/).
2. From the navigation menu, select
 Billing .
3. Verify that billing is enabled for your project. If it's not, follow the prompts to link a billing to your project.
### Enable Required APIs
Enable the [Kubernetes Engine API](https://cloud.google.com/kubernetes-engine/docs/reference/rest). This will allow you to make a service request to the API to create your GKE cluster:
```shell title="Enable Kubernetes Engine API"
gcloud services enable container.googleapis.com
```
You will need to enable the [Cloud SQL API](https://cloud.google.com/sql/docs/mysql/admin-api) in order to create a PostgreSQL database. Run the following command to do this:
```shell title="Enable Cloud SQL API"
gcloud services enable sqladmin.googleapis.com
```
In order for our GKE cluster to communicate with PostgreSQL and Elasticsearch on internal IP addresses, the [Service Networking API](https://cloud.google.com/service-infrastructure/docs/service-networking/getting-started) must be enabled:
```shell title="Enable Cloud SQL API"
gcloud services enable servicenetworking.googleapis.com \
--project=fusionauth-gke-example
```
### Configure the Network
Allocate an IP address range for private communication on your VPC:
```shell title="Create a private IP address range"
gcloud compute addresses create fusionauth-private-range \
--global \
--purpose=VPC_PEERING \
--addresses=192.168.0.0 \
--prefix-length=16 \
--description="Fusionauth private IP range for GKE and SQL" \
--network=default
```
In order for GKE to communicate with Cloud SQL and Elasticsearch over a private network you need to create a private connection from your VPC network to the underlying service producer network.
```shell title="Create a private connection"
gcloud services vpc-peerings connect \
--service=servicenetworking.googleapis.com \
--ranges=fusionauth-private-range \
--network=default \
--project=fusionauth-gke-example
```
## Create a GKE Cluster
With your project configured, billing enabled, and the Kubernetes Engine API enabled, you can proceed to create your GKE cluster.
To create a new cluster, execute the following.
```shell title="Create GKE cluster"
gcloud container clusters create fusionauth-cluster \
--num-nodes=1 \
--region=us-west1 \
--enable-ip-alias \
--cluster-version=1.30.8-gke.1051000 \
--cluster-ipv4-cidr=10.44.0.0/14 \
--services-ipv4-cidr=10.48.0.0/20 \
--labels=goog-partner-solution=isol_plb32_001kf000012eawziay_hgq452iixrlzpeddhfr5gp4uxglz5lvn
```
* `num-nodes` - The number of nodes to be created in each zone. In this example, you specify the region of which consists of three zones. Therefore you will have a total of `3` nodes.
* `region` - The region to create the cluster.
* `enable-ip-alias` - Indicates to create a [VPC-native cluster](https://cloud.google.com/kubernetes-engine/docs/concepts/alias-ips). This greatly simplifies network connectivity when communicating with the database by making pod IP addresses natively routable within the cluster's VPC network.
* `cluster-version` - The Kubernetes version to use. \[optional\]
* `cluster-ipv4-cidr` - Used to create the subnet's secondary IP address range for Pods. \[optional\]
* `service-ip-range` - Used to create the subnet's secondary IP address range for Services. \[optional\]
* `labels` - FusionAuth's identifier in the Google Cloud Marketplace program. This is a static value and you use the exact values shown here. \[optional\]
For more information on the [create](https://cloud.google.com/sdk/gcloud/reference/container/clusters/create) command, see [gcloud container clusters create](https://cloud.google.com/sdk/gcloud/reference/container/clusters/create) documentation.
### Update Kubernetes Configuration
If [the create operation](https://cloud.google.com/sdk/gcloud/reference/container/clusters/create) completed successfully, the last thing it will do is update your local `~/.kube` file. If that didn't happen for whatever reason, `gcloud` provides the following to update your configuration and set the newly created cluster as the active context. This will let you use `kubectl` to access your cluster.
```shell title="Get and update Kubeconfig"
gcloud container clusters get-credentials fusionauth-cluster
```
### Verify Cluster Configuration
Execute the [list](https://cloud.google.com/sdk/gcloud/reference/container/clusters/list) command to see GKE clusters that have been configured.
```shell title="Get cluster information"
gcloud container clusters list
```
```shell title="Cluster list results"
NAME LOCATION MASTER_VERSION MASTER_IP MACHINE_TYPE NODE_VERSION NUM_NODES STATUS
fusionauth-cluster us-west1 1.21.4-gke.2300 34.83.218.38 e2-medium 1.21.4-gke.2300 3 RUNNING
```
You now have a fully functional provisioned EKS cluster. For good measure, view the nodes that have been created.
Use `kubectl` to make requests to the Kubernetes API Server.
```shell title="Get list of nodes running on the cluster"
kubectl get nodes -o wide
```
```shell title="Get nodes results"
NAME STATUS ROLES AGE VERSION INTERNAL-IP EXTERNAL-IP OS-IMAGE KERNEL-VERSION CONTAINER-RUNTIME
gke-fusionauth-cluster-default-pool-2a2e7af5-nrrb Ready 66m v1.21.4-gke.2300 10.138.0.23 35.203.183.157 Container-Optimized OS from Google 5.4.120+ containerd://1.4.4
gke-fusionauth-cluster-default-pool-30c935b6-0mt4 Ready 66m v1.21.4-gke.2300 10.138.0.24 35.185.202.53 Container-Optimized OS from Google 5.4.120+ containerd://1.4.4
gke-fusionauth-cluster-default-pool-431a5f55-rf11 Ready 66m v1.21.4-gke.2300 10.138.0.22 34.145.99.163 Container-Optimized OS from Google 5.4.120+ containerd://1.4.4
```
Great! You have three nodes in a `READY` status. You can proceed to setting up a database.
## Create a Database
Create a SQL Cloud PostgreSQL instance required for FusionAuth installation.
```shell title="Create Cloud SQL for PostgreSQL instance"
gcloud beta sql instances create fusionauth-test-db \
--project=fusionauth-gke-example \
--database-version=POSTGRES_12 \
--tier=db-g1-small \
--region=us-west1 \
--network=default \
--no-assign-ip
```
* `project` - The Id of the shared VPC service.
* `database-version` - Database engine type and version. See FusionAuth supported databases [here](/docs/get-started/download-and-install/system-requirements#database).
* `tier` - Machine type for a shared-core instance.
* `region` - The region to create the cluster.
* `network` - Network in the current project that the instance will be part of.
* `no-assign-ip` - Disables assignment of a public IP address.
For more information on the [create](https://cloud.google.com/sdk/gcloud/reference/beta/sql/instances/create) command, see [gcloud beta SQL instances create](https://cloud.google.com/sdk/gcloud/reference/beta/sql/instances/create) documentation.
### Configure the Default User
Google cloud SQL requires that you execute the following to configure the `postgres` user.
```shell title="Set admin user password"
gcloud sql users set-password postgres \
--instance=fusionauth-test-db \
--password=changeMeToSomethingMoreSecure
```
### Verify Database Creation
```shell title="Get list of Cloud SQL instances in the current project"
gcloud sql instances list
```
```shell title="List Cloud SQL instances results"
NAME DATABASE_VERSION LOCATION TIER PRIMARY_ADDRESS PRIVATE_ADDRESS STATUS
fusionauth-test-db3 POSTGRES_12 us-west1-a db-g1-small - 10.50.144.5 RUNNABLE
```
## Configure Search Engine
There are two options available to configure search in FusionAuth. The first is a simple search through the database search engine and the second is the Elasticsearch engine. For more details on the differences, please see [Search And FusionAuth](/docs/lifecycle/manage-users/search/search).
### Database Search
The database search is the easiest to configure. To use this option, no additional configuration needs to occur at this point. However, after completing provisioning the Google Kubernetes Engine Cluster instructions, there are additional [steps required](/docs/get-started/download-and-install/kubernetes/gke#next-steps). One of those steps is setting configuration values in a `values.yaml` file. To use the database search engine, you will set the `engine` value under `search` in the `values.yaml` to `database`.
```yaml
search:
# search.engine -- Defines backend for fusionauth search capabilities. Valid values for engine are 'elasticsearch' or 'database'.
engine: database
```
### Deploy Elasticsearch using Elastic Cloud
To use the Elasticsearch engine, Google Cloud offers its Elasticsearch Service through Elastic Cloud. This section will guide you through setting up your account and deploying an Elasticsearch cluster.
From the navigation menu in the GCP console, click on [Elasticsearch Service](https://console.cloud.google.com/marketplace/product/endpoints/elasticsearch-service.gcpmarketplace.elastic.co) and then click the Enable button. Follow the instructions on the next screen to set up a new Elastic Cloud subscription.
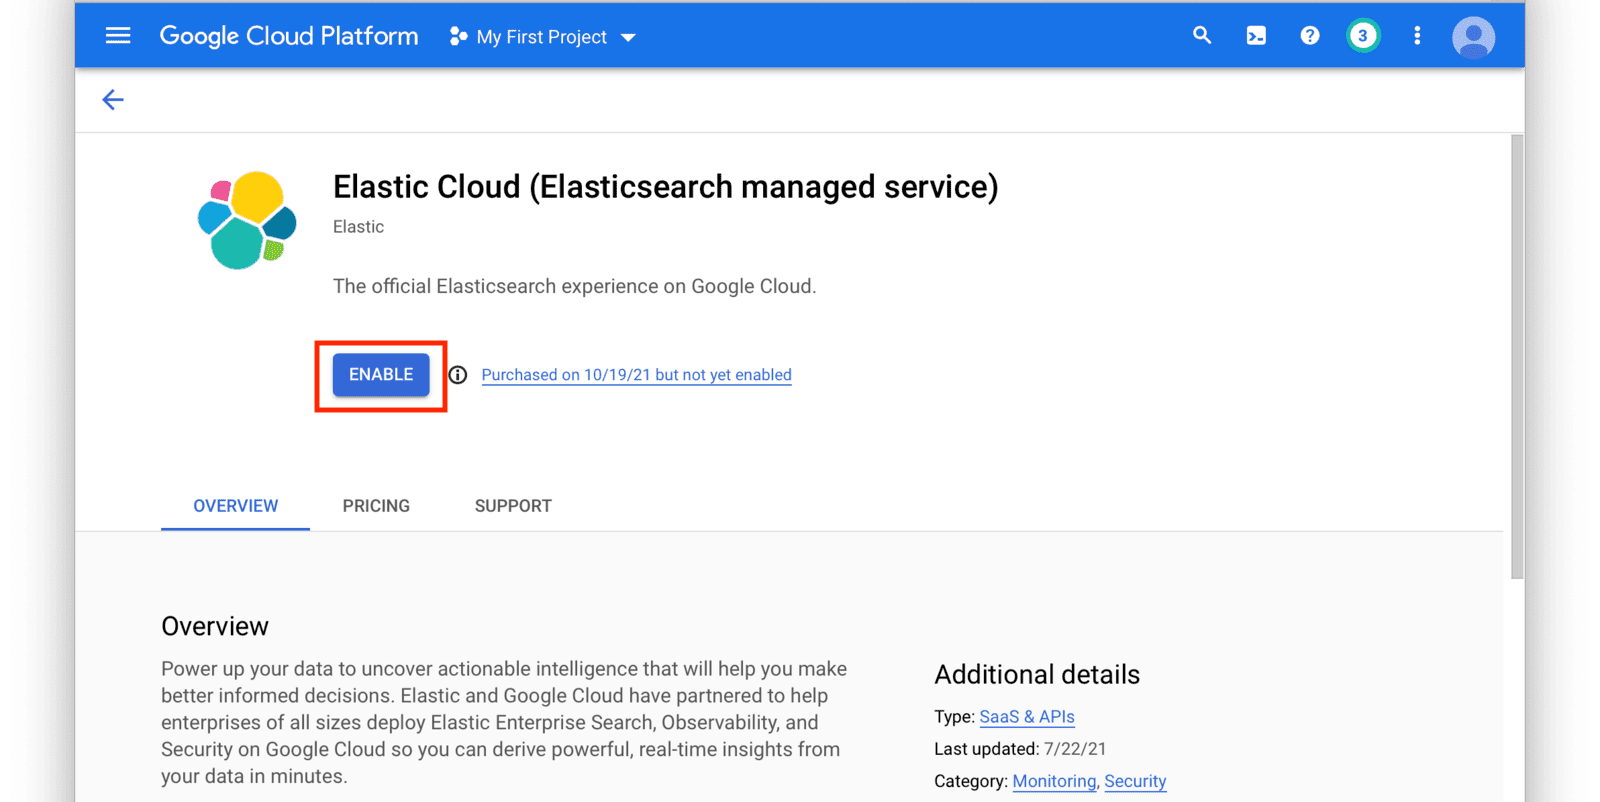 After you have set up a subscription you will land on the [GCP Elasticsearch Service Overview](https://console.cloud.google.com/apis/api/elasticsearch-service.gcpmarketplace.elastic.co/) page. From here, click on the
 Manage Via Elastic button near the top of the window.
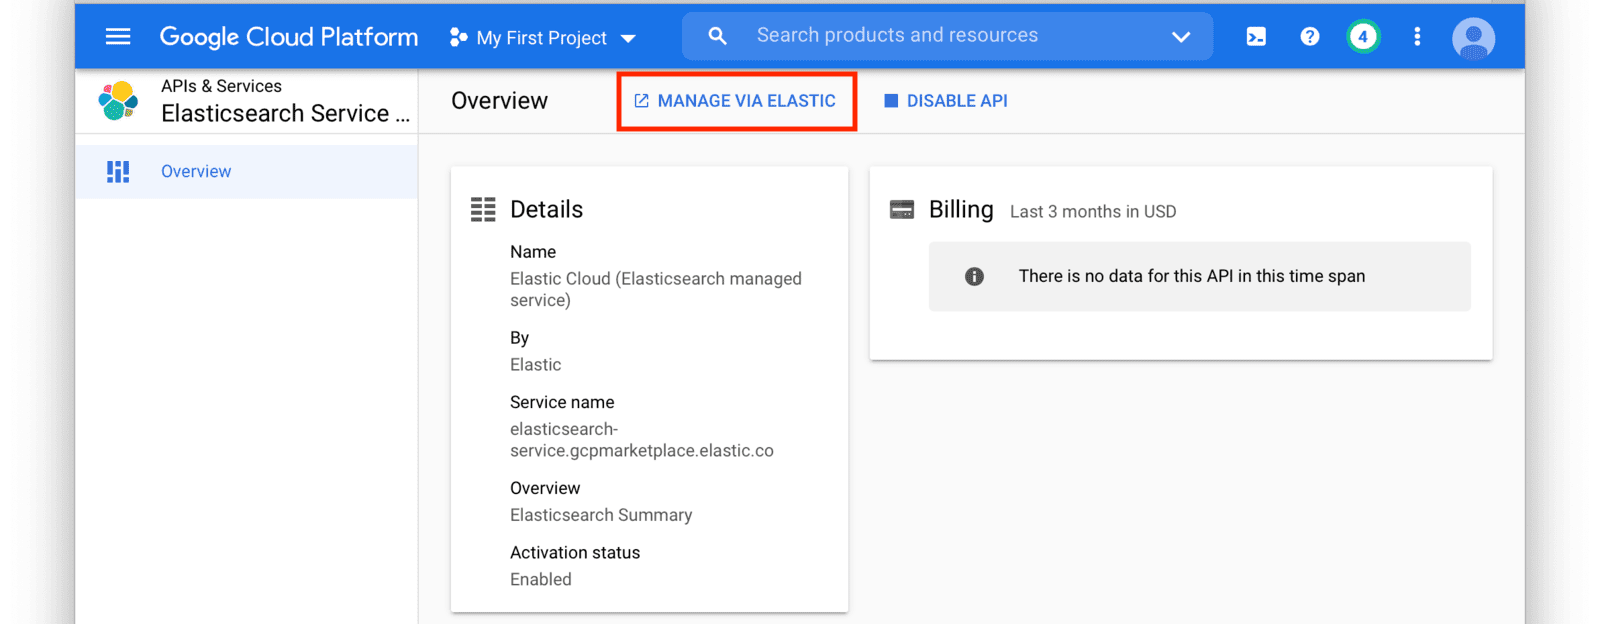 This will redirect you to the [Elastic Cloud](https://cloud.elastic.co/home) website. Login to [Elastic Cloud](https://cloud.elastic.co/home) using your Google account credentials.
After logging in, you will arrive at your Elastic Cloud dashboard. To begin creating a new Elasticsearch cluster, click on the
 Create deployment button.
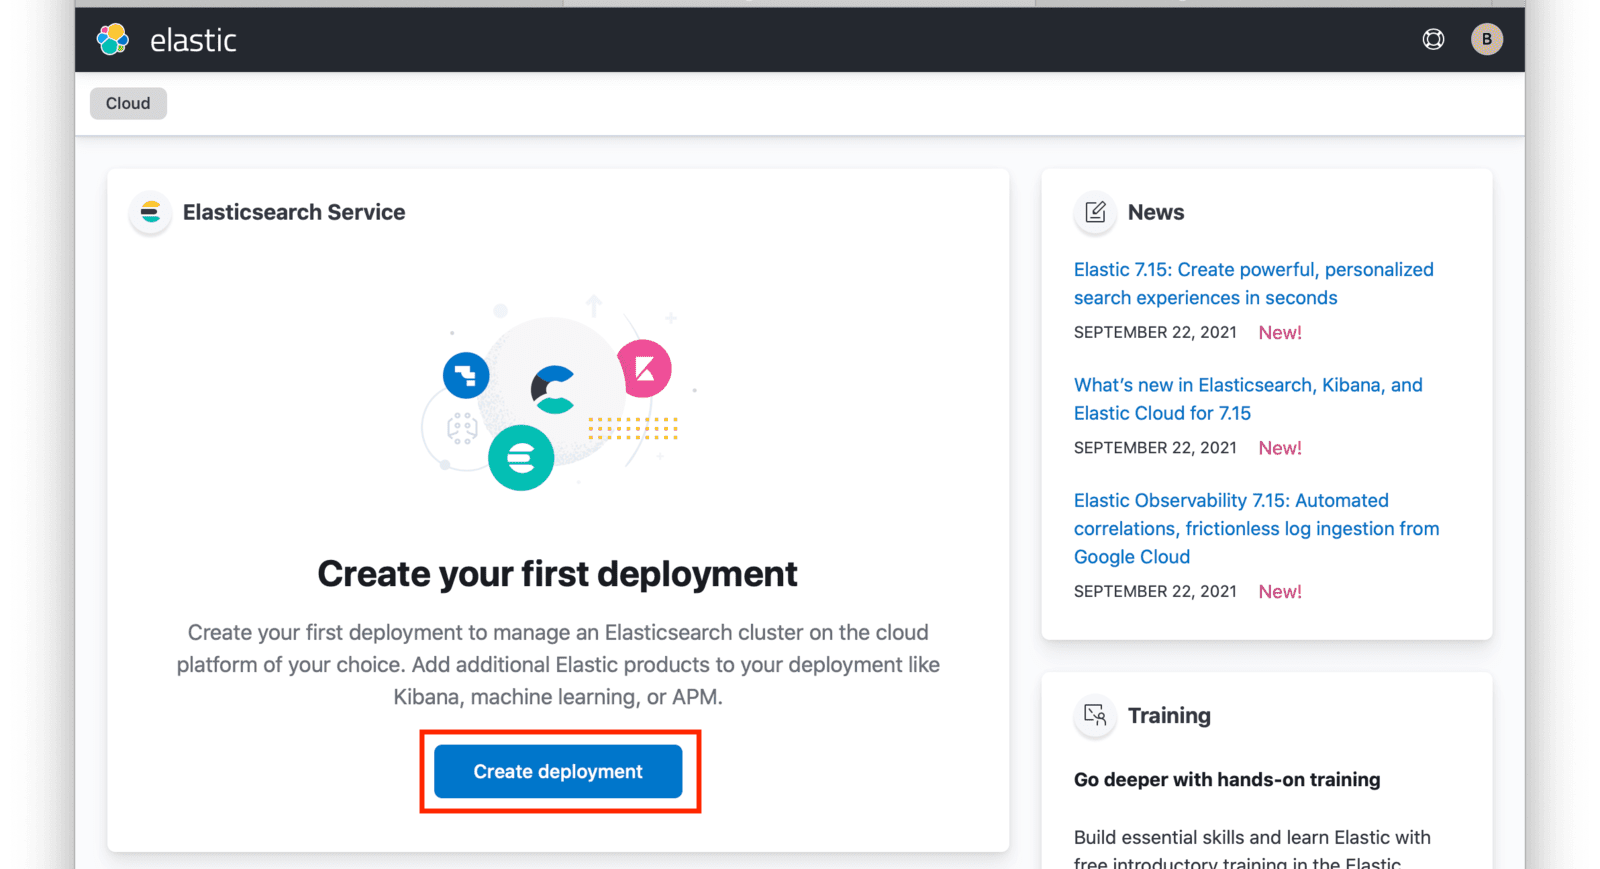 Input a name for your deployment and again click on
 Create deployment .
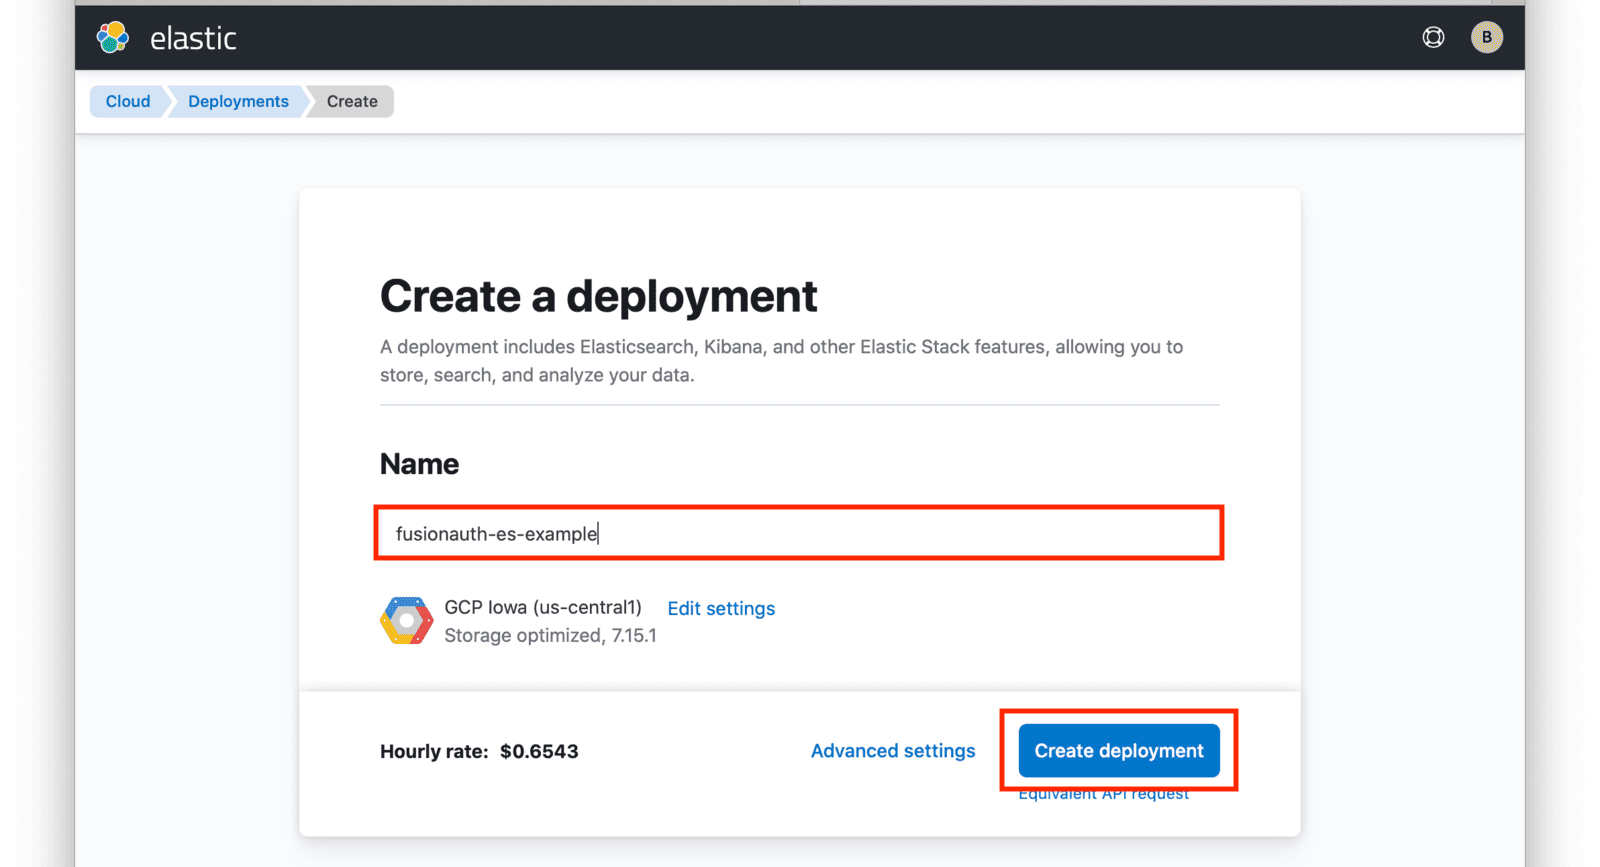 At this point, your deployment is now being created. You will be presented with deployment credentials on the next page. Download or save your credentials as instructed.
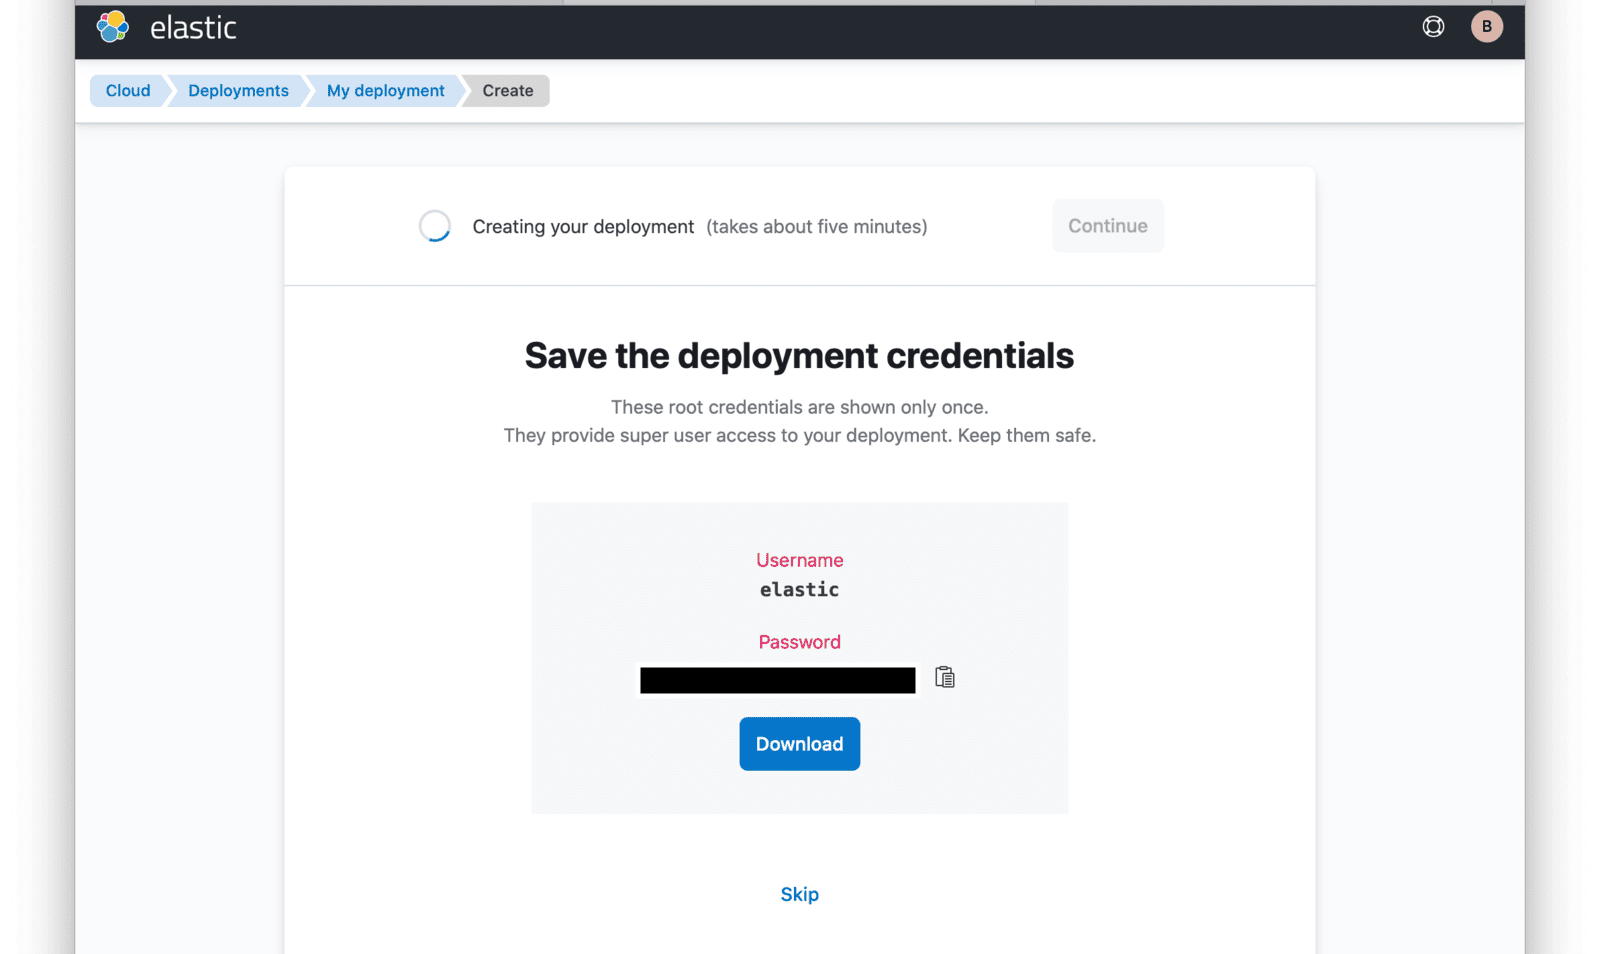 When your deployment creation process is complete, click on the
 Continue button. You will then be directed to your Elastic Cloud dashboard and will see your new deployment listed.
Click on the name of your deployment to manage it.
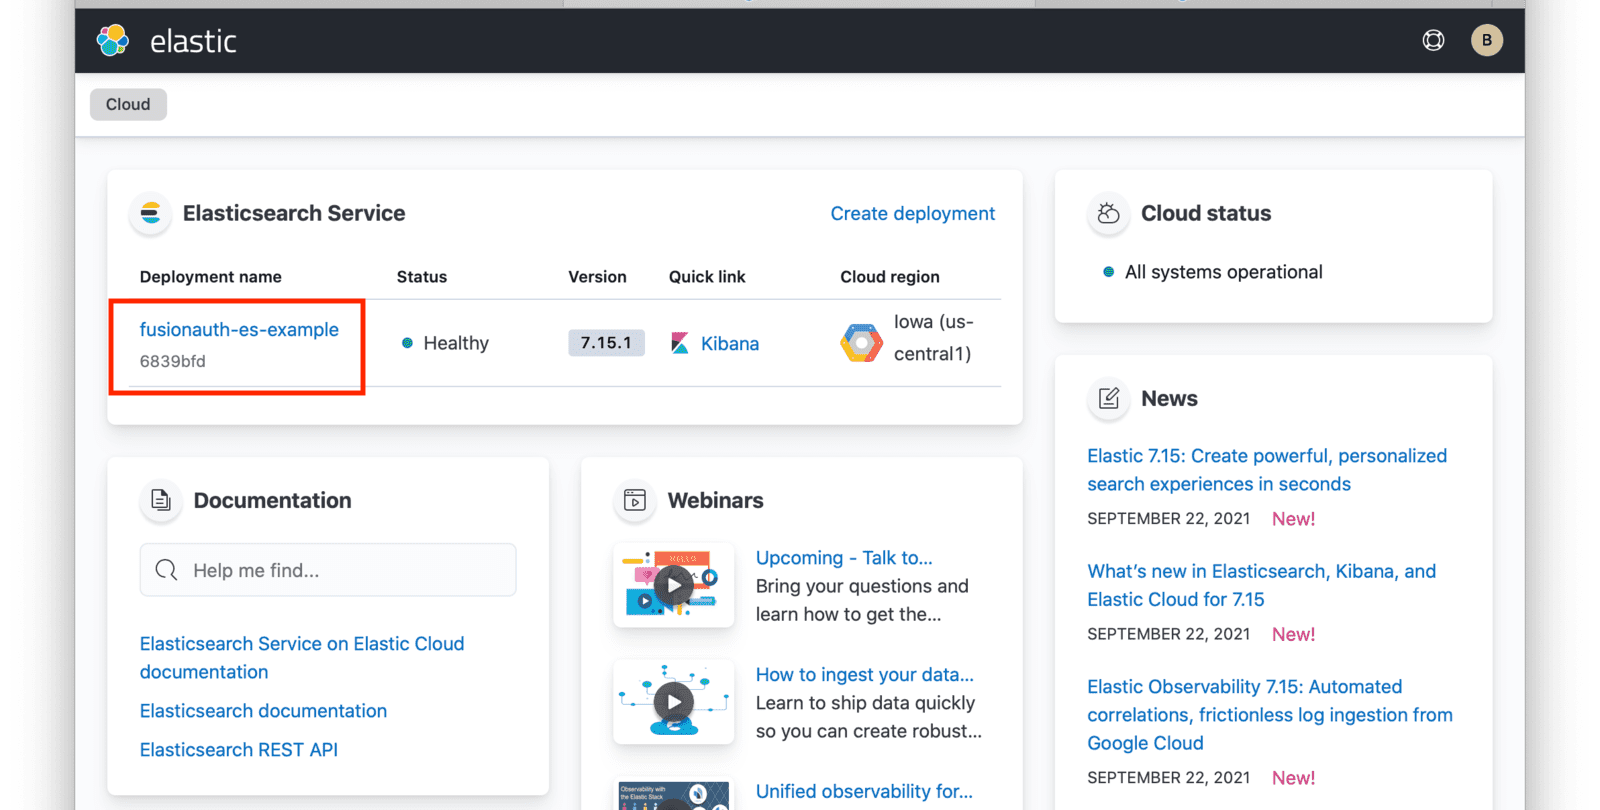 From this dashboard, you have access to all of the necessary endpoint information you will need to connect to your deployment.
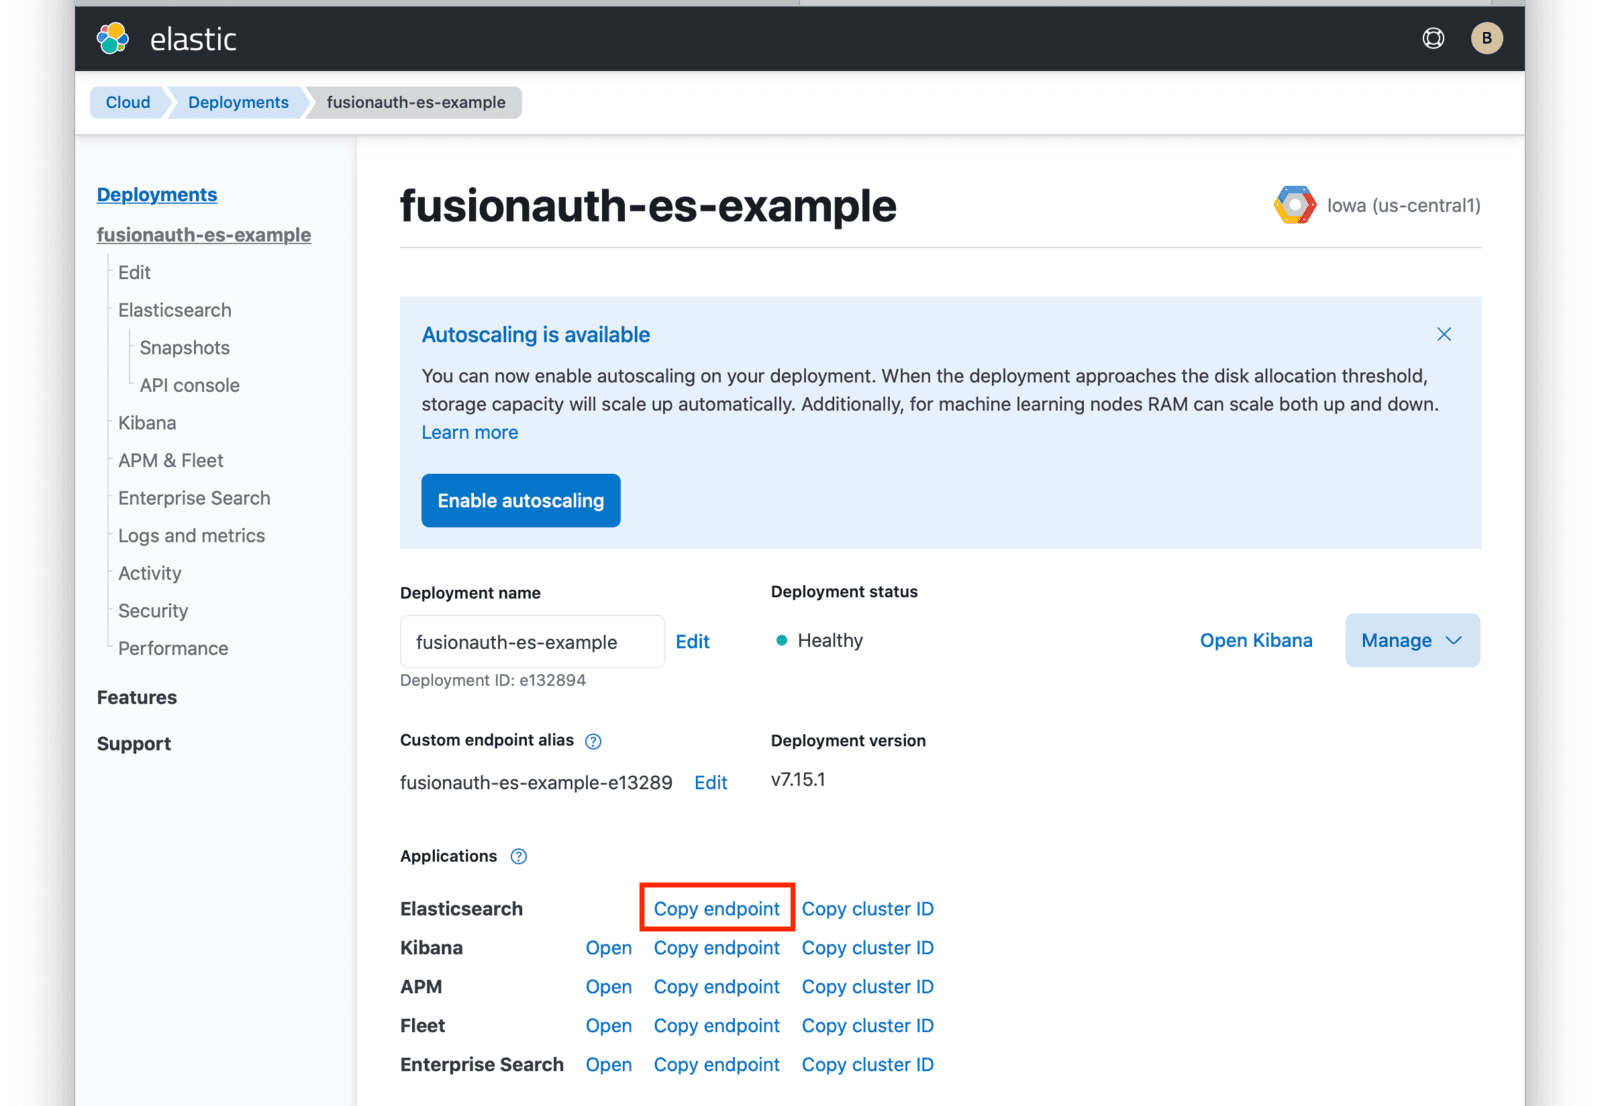 Under **Applications**, click on the
 Copy endpoint link next to Elasticsearch to copy the URL to your clipboard. You will need to save this URL for use when [deploying FusionAuth](/docs/get-started/download-and-install/kubernetes/fusionauth-deployment) to your GKE cluster.
## Next Steps
You now are running all the necessary infrastructure to deploy a containerized application to GKE.
Next up, [Deploy FusionAuth in Kubernetes](/docs/get-started/download-and-install/kubernetes/fusionauth-deployment).
# Using FusionAuth in Kubernetes
import Aside from 'src/components/Aside.astro';
import {RemoteCode} from '@fusionauth/astro-components';
The following set of guides are designed to help you get FusionAuth up and running in a Kubernetes cluster as quickly and easily as possible.
Step-by-step instructions are provided on how to setup all of the required infrastructure for your local development machine or favorite cloud provider.
* [minikube Setup](/docs/get-started/download-and-install/kubernetes/minikube)
* [Amazon Elastic Kubernetes Service (EKS)](/docs/get-started/download-and-install/kubernetes/eks)
* [Google Kubernetes Engine (GKE)](/docs/get-started/download-and-install/kubernetes/gke)
* [Microsoft Azure Kubernetes Service (AKS)](/docs/get-started/download-and-install/kubernetes/aks)
Each setup guide provides instructions on provisioning a Kubernetes cluster specific to the provider. Since FusionAuth requires a database, instructions on creating a managed PostgreSQL database are also included. For required version information, please review the [general FusionAuth System requirements](/docs/get-started/download-and-install/system-requirements).
If you already have your Kubernetes platform setup, the [Deploy FusionAuth to Kubernetes](/docs/get-started/download-and-install/kubernetes/fusionauth-deployment) guide demonstrates how to configure and deploy FusionAuth to your cluster.
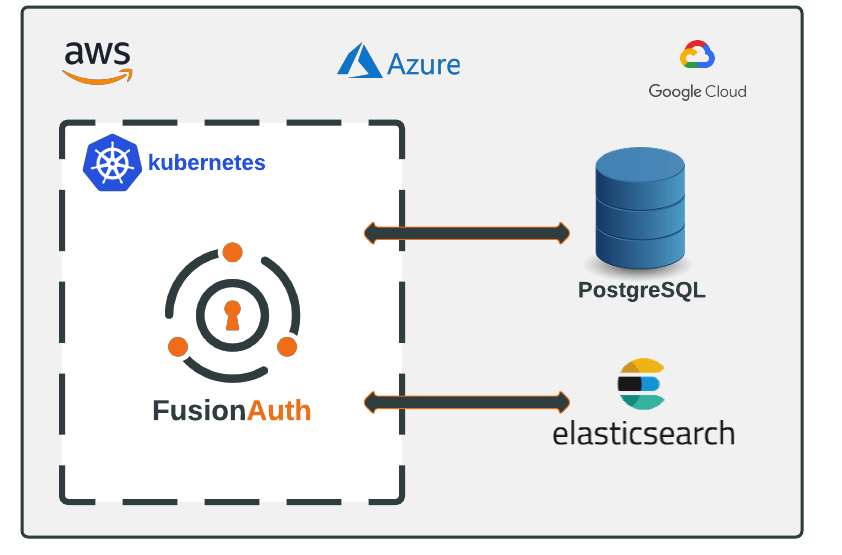 Instructions are also provided in each guide on how to setup Elasticsearch. Using Elasticsearch is optional and can be configured accordingly prior to deploying FusionAuth.
## Istio
Community provided [Istio configurations can be found here](https://github.com/FusionAuth/fusionauth-contrib/tree/main/kubernetes/istio).
Here's a sample, community contributed, Istio configuration file.
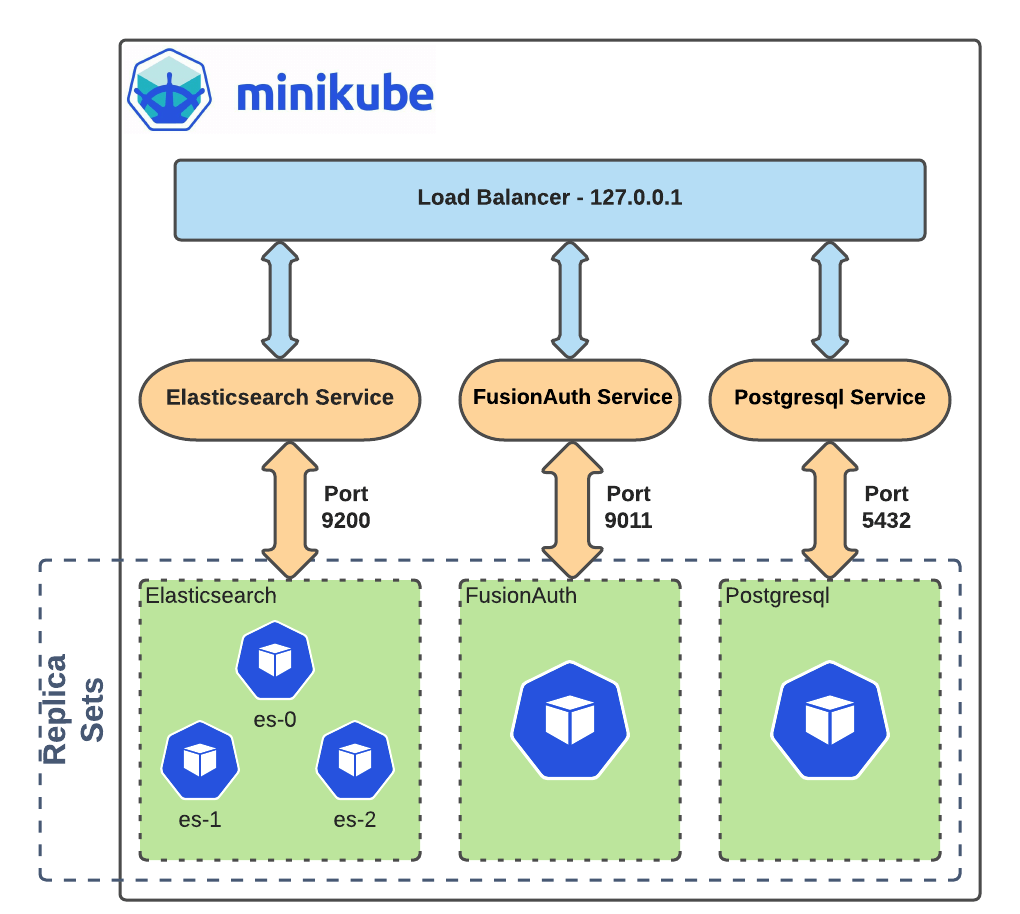 ## Requirements
Before you begin, you will need to have the following installed.
* [Docker Desktop](https://docs.docker.com/get-docker/) - The virtual machine environment you will use to run minikube.
* `helm` - Package manager used for installing and managing Kubernetes applications. In this guide, you will be using a Helm chart to install FusionAuth, a Postgresql database, and Elasticsearch cluster. For more information, see [Installing Helm](https://helm.sh/docs/intro/install/).
* `kubectl` - Command line tool that interacts with the Kubernetes API server and is useful for managing Kubernetes clusters. Before proceeding, follow the installation documentation that corresponds to your platform found [here](https://kubernetes.io/docs/tasks/tools/).
## Install minikube
Navigate to [minikube start](https://minikube.sigs.k8s.io/docs/start/) and complete step one by selecting the options that apply to your local machine.
For example, if you are running on `macOS` with `x86-64` architecture, Homebrew is a popular
 installer type :
```shell title="Install minikube"
brew install minikube
```
### Start minikube
Since you will be deploying multiple applications, you will want to start minikube using some additional resource considerations.
Start minikube by additionally specifying cpus and memory .
```shell title="Start minikube"
minikube start --cpus 4 --memory 5g
```
When the command finishes, it will configure `kubectl` to point to the minikube cluster. You can confirm this by checking the status:
```shell title="Get minikube status"
minikube status
minikube
type: Control Plane
host: Running
kubelet: Running
apiserver: Running
kubeconfig: Configured
```
Or by running the `kubectl` command to view pods running on the cluster. Use the `-A` or `--all-namespaces` to list all pods deployed to the cluster.
Since you have not deployed anything yet, only pods in the `kube-system` namespace will be returned:
```shell title="Get all pods deployed on the cluster"
kubectl get pods -A
NAMESPACE NAME READY STATUS RESTARTS AGE
kube-system coredns-78fcd69978-tr4jt 1/1 Running 0 9m38s
kube-system etcd-minikube 1/1 Running 0 9m53s
kube-system kube-apiserver-minikube 1/1 Running 0 9m51s
kube-system kube-controller-manager-minikube 1/1 Running 0 9m54s
kube-system kube-proxy-2h8b2 1/1 Running 0 9m38s
kube-system kube-scheduler-minikube 1/1 Running 0 9m51s
kube-system storage-provisioner 1/1 Running 1 (9m8s ago) 9m50s
```
## Deploy PostgreSQL
Start by adding the bitnami helm repository that contains the Postgresql chart:
```shell title="Add PostgreSQL chart repository"
helm repo add bitnami https://charts.bitnami.com/bitnami
```
To list all of the Helm repositories that you have added, execute this command:
```shell title="List chart repositories"
helm repo list
```
The resulting output will display the chart you just added and any other helm charts that you may have added previously.
```shell title="Output"
NAME URL
bitnami https://charts.bitnami.com/bitnami
```
Install the chart using the `helm` command. Set the postgresqlPassword value using the `set` flag for the `postgres` user. In this example, the release field is set to `pg-minikube`:
```shell title="Install the postgresql chart"
helm install pg-minikube --set auth.postgresPassword= bitnami/postgresql
```
Setting the password is optional. A password will be generated automatically if you do not set one.
When completed successfully, the output will contain some useful information about your deployment:
```plaintext title="Output of PostgreSQL creation command"
** Please be patient while the chart is being deployed **
PostgreSQL can be accessed via port 5432 on the following DNS names from within your cluster:
pg-minikube-postgresql.default.svc.cluster.local - Read/Write connection
To get the password for "postgres" run:
export POSTGRES_PASSWORD=$(kubectl get secret --namespace default pg-minikube-postgresql -o jsonpath="{.data.postgresql-password}" | base64 --decode)
To connect to your database run the following command:
kubectl run pg-minikube-postgresql-client --rm --tty -i --restart='Never' --namespace default --image docker.io/bitnami/postgresql:11.13.0-debian-10-r40 --env="PGPASSWORD=$POSTGRES_PASSWORD" --command -- psql --host pg-minikube-postgresql -U postgres -d postgres -p 5432
To connect to your database from outside the cluster execute the following commands:
kubectl port-forward --namespace default svc/pg-minikube-postgresql 5432:5432 &
PGPASSWORD="$POSTGRES_PASSWORD" psql --host 127.0.0.1 -U postgres -d postgres -p 5432
```
When you deploy FusionAuth, you will need to use the DNS name `pg-minikube-postgresql.default.svc.cluster.local` as seen above and the postgres user password generated or specified during the postgres helm chart installation.
```plaintext title="Export the Postgres password"
export POSTGRES_PASSWORD=$(kubectl get secret --namespace default pg-minikube-postgresql -o jsonpath="{.data.postgresql-password}" | base64 --decode)
```
If you did not set a password when installing `pg-minikube`, use the command below to display the value of the `POSTGRES_PASSWORD` environment variable.
```plaintext title="Display your password"
echo $POSTGRES_PASSWORD
```
You can also test your deployment by attempting to connect to the database.
```plaintext title="Connect to the database"
kubectl run pg-minikube-postgresql-client --rm --tty -i --restart='Never' --namespace default --image docker.io/bitnami/postgresql:11.13.0-debian-10-r40 --env="PGPASSWORD=$POSTGRES_PASSWORD" --command -- psql --host pg-minikube-postgresql -U postgres -d postgres -p 5432
```
You can also verify the `pg-minikube-postgresql` pod by again retrieving pods with `kubectl`. The following command requests pods in the `default` namespace with output (`-o`) containing additional information such as IP Address :
```shell title="Get pods in the default namespace"
kubectl get pods -n default -o wide
```
The resulting output will show `1/1` pg-minikube-postgresql pod in a `READY` state:
```shell title="Output"
NAME READY STATUS RESTARTS AGE IP NODE NOMINATED NODE READINESS GATES
pg-minikube-postgresql-0 1/1 Running 0 8m33s 172.17.0.3 minikube
```
443/TCP 82m
pg-minikube-postgresql ClusterIP 10.108.174.128 5432/TCP 27m
pg-minikube-postgresql-headless ClusterIP None 5432/TCP 27m
```
In addition to the `pg-minikube-postgresql` service, you will see another service with the name `kubernetes`. This service is responsible for directing traffic to the Kubernetes API server.
## Deploy Elasticsearch
Start by adding the [Elasticsearch Helm Chart](https://artifacthub.io/packages/helm/elastic/elasticsearch) repository by running this command:
```shell title="Add Elasticsearch chart repository"
helm repo add elastic https://helm.elastic.co
```
You will now have the two charts that you have added in this guide in addition to any other charts you have added if you have used Helm prior to this guide.
```shell title="List chart repositories"
helm repo list
NAME URL
bitnami https://charts.bitnami.com/bitnami
elastic https://helm.elastic.co
```
Before installing, you will need to download a copy of a recommended configuration for minikube virtual machines:
```shell title="Download example minikube configuration"
curl -O https://raw.githubusercontent.com/elastic/Helm-charts/master/elasticsearch/examples/minikube/values.yaml
```
The contents of this configuration uses a smaller JVM heap, smaller memory per pods requests, and smaller persistent volumes.
The `values.yaml` file you downloaded should look like this:
```yaml title="Configuration details"
# Permit co-located instances for solitary minikube virtual machines.
antiAffinity: "soft"
# Shrink default JVM heap.
esJavaOpts: "-Xmx128m -Xms128m"
# Allocate smaller chunks of memory per pod.
resources:
requests:
cpu: "100m"
memory: "512M"
limits:
cpu: "1000m"
memory: "512M"
# Request smaller persistent volumes.
volumeClaimTemplate:
accessModes: [ "ReadWriteOnce" ]
storageClassName: "standard"
resources:
requests:
storage: 100M
```
Now install the Elasticsearch chart using this `values.yaml` configuration by including the `-f` flag:
```shell title="Install elasticsearch chart"
helm install es-minikube elastic/elasticsearch -f values.yaml
```
Be aware, it may take a minute or two for the pods to reach a `READY` state.
Confirm your deployment by retrieving active pods in the cluster.
```shell title="Get pods"
kubectl get pods -n default -o wide
```
The resulting output will show three pods for each elasticsearch node:
```shell title="Output"
NAME READY STATUS RESTARTS AGE IP NODE NOMINATED NODE READINESS GATES
elasticsearch-master-0 1/1 Running 0 7m17s 172.17.0.5 minikube
elasticsearch-master-1 1/1 Running 0 7m17s 172.17.0.4 minikube
elasticsearch-master-2 1/1 Running 0 7m17s 172.17.0.6 minikube
pg-minikube-postgresql-0 1/1 Running 0 39m 172.17.0.3 minikube
```
Running the `kubectl` command to get service information again will show that the installed Elasticsearch chart exposes the `elasticsearch-master` [Service](https://kubernetes.io/docs/concepts/services-networking/service/) running at a dedicated IP address on port `9200`:
```shell title="Get services"
kubectl get services -n default
NAME TYPE CLUSTER-IP EXTERNAL-IP PORT(S) AGE
elasticsearch-master ClusterIP 10.107.78.6 9200/TCP,9300/TCP 3m38s
elasticsearch-master-headless ClusterIP None 9200/TCP,9300/TCP 3m38s
kubernetes ClusterIP 10.96.0.1 443/TCP 98m
pg-minikube-postgresql ClusterIP 10.100.117.198 5432/TCP 92m
pg-minikube-postgresql-headless ClusterIP None 5432/TCP 92m
```
### Kubernetes DNS
The default installation of minikube enables [`kube-dns`](https://github.com/kubernetes/kubernetes/tree/main/cluster/addons/dns), a [Service](https://kubernetes.io/docs/concepts/services-networking/service/) that automatically assigns DNS names to other services in the cluster.
When you [deploy PostgreSQL](#deploy-postgresql) and [deploy Elasticsearch](#deploy-elasticsearch), each service that was created was assigned the following DNS names respectively by `kube-dns`:
* `pg-minikube-postgresql.default.svc.cluster.local`
* `elasticsearch-master.default.svc.cluster.local`
You will use these values for the database and elasticsearch host values when deploying FusionAuth.
For more information on DNS see Kubernetes documentation for [DNS for Services and Pods](https://kubernetes.io/docs/concepts/services-networking/dns-pod-service/).
## Next Steps
You now are running all the necessary infrastructure to deploy a containerized application to minikube.
Next up, [Deploy FusionAuth in Kubernetes](/docs/get-started/download-and-install/kubernetes/fusionauth-deployment).
# AWS Marketplace
import PaidFeatures from 'src/content/docs/get-started/run-in-the-cloud/marketplaces/_paid-features.mdx';
## Overview
FusionAuth is available on the [AWS Marketplace](https://aws.amazon.com/marketplace/seller-profile?id=30ecc80d-f96e-4259-ae1c-fc3b994f90ea). This allows you to quickly get a FusionAuth instance up and running in FusionAuth Cloud using AWS billing and budgeting.

## Private Offers
You can also use [AWS Marketplace private offers](https://aws.amazon.com/marketplace/partners/private-offers) to purchase FusionAuth hosting and/or plans that are not available in the public AWS Marketplace listing.
[Contact our technical sales team](/contact) for more information about AWS Marketplace private offers.
## Paid Features
Settings -> Identity Providers or use the [Identity Providers](/docs/apis/identity-providers/) APIs.
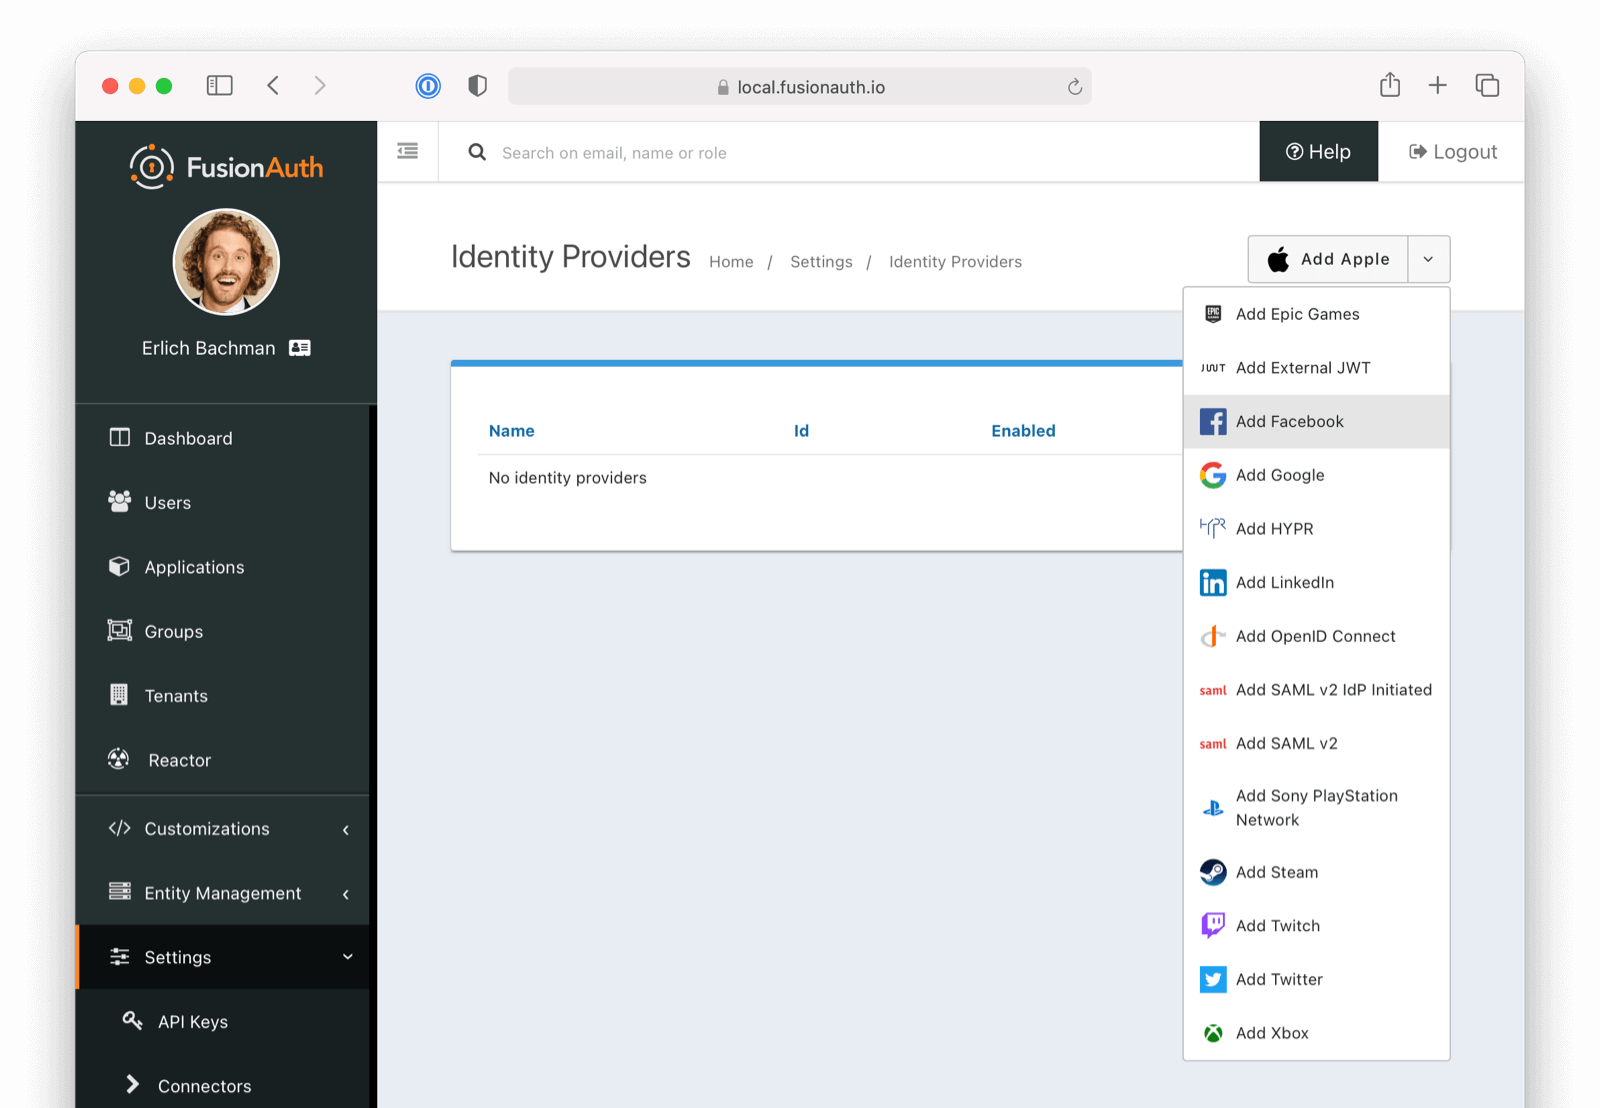
## Social Identity Providers
The following providers are available:
* [Apple](/docs/lifecycle/authenticate-users/identity-providers/social/apple)
* [Facebook](/docs/lifecycle/authenticate-users/identity-providers/social/facebook)
* [Epic Games](/docs/lifecycle/authenticate-users/identity-providers/gaming/epic-games) - requires a paid plan.
* [Google](/docs/lifecycle/authenticate-users/identity-providers/social/google)
* [HYPR](/docs/lifecycle/authenticate-users/identity-providers/enterprise/hypr)
* [LinkedIn](/docs/lifecycle/authenticate-users/identity-providers/social/linkedin)
* [Nintendo](/docs/lifecycle/authenticate-users/identity-providers/gaming/nintendo) - requires a paid plan.
* [Sony](/docs/lifecycle/authenticate-users/identity-providers/gaming/sony) - requires a paid plan.
* [Steam](/docs/lifecycle/authenticate-users/identity-providers/gaming/steam) - requires a paid plan.
* [Twitch](/docs/lifecycle/authenticate-users/identity-providers/gaming/twitch) - requires a paid plan.
* [Twitter](/docs/lifecycle/authenticate-users/identity-providers/social/twitter)
* [Xbox](/docs/lifecycle/authenticate-users/identity-providers/gaming/xbox) - requires a paid plan.
If you're looking for a provider that is not listed here, review the open features in [GitHub](https://github.com/FusionAuth/fusionauth-issues/issues) and either vote or comment on an existing feature, or open a new feature request if you do not find an existing feature open.
## Enterprise Identity Providers
The following providers are available:
* [External JWT](/docs/lifecycle/authenticate-users/identity-providers/external-jwt/)
* [OpenID Connect](/docs/lifecycle/authenticate-users/identity-providers/overview-oidc)
* [SAML v2](/docs/lifecycle/authenticate-users/identity-providers/overview-samlv2)
* [SAML v2 IdP Initiated](/docs/lifecycle/authenticate-users/identity-providers/enterprise/samlv2-idp-initiated) - requires a paid plan.
If you're looking for a provider that is not listed here, review the open features in [GitHub](https://github.com/FusionAuth/fusionauth-issues/issues) and either vote or comment on an existing feature, or open a new feature request if you do not find an existing feature open.
## Identity Provider Scope
A tenant-scoped identity provider is only usable in authentication workflows for the specified tenant. This can be useful to scope a particular identity provider configuration to users within a specific tenant.
An identity provider instance that is not scoped to a specific tenant is global and available to all tenants. All identity provider instances created prior to version 1.62.0 are global.
### Global Identity Providers and Tenant-scoped API Keys
A tenant-scoped API key can only alter objects scoped to its associated tenant. Because global identity providers span all tenants, you cannot use a tenant-scoped API key with a global identity provider via the [Identity Provider API](/docs/apis/identity-providers). You can, however, use a tenant-scoped API key to interact with things like identity provider links, as these are confined to a user within a tenant.
### Configure an Identity Provider as Tenant-scoped
Once created, you cannot modify the scope of an identity provider. Choose a scope during identity provider creation. When using the API, set `identityProvider.tenantId` to the desired tenant ID. In the admin app, select a specific tenant from the dropdown on the Add Identity Provider view.
### Configure an Identity Provider as Global
Omitting the `identityProvider.tenantId` parameter from the API request to create an identity provider or selecting `Global identity provider` from the dropdown on the Add Identity Provider view in the admin app will create a global identity provider.
## Identity Providers and Tenants
Identity providers can be configured to set a limit on the number of links that may be established on a per tenant basis.
In the following, we have enabled "Limit links per user" on the Default tenant and set a "Maximum link count" of `2`. With this configuration, a user will only be able to establish at most two links for this IdP specifically.
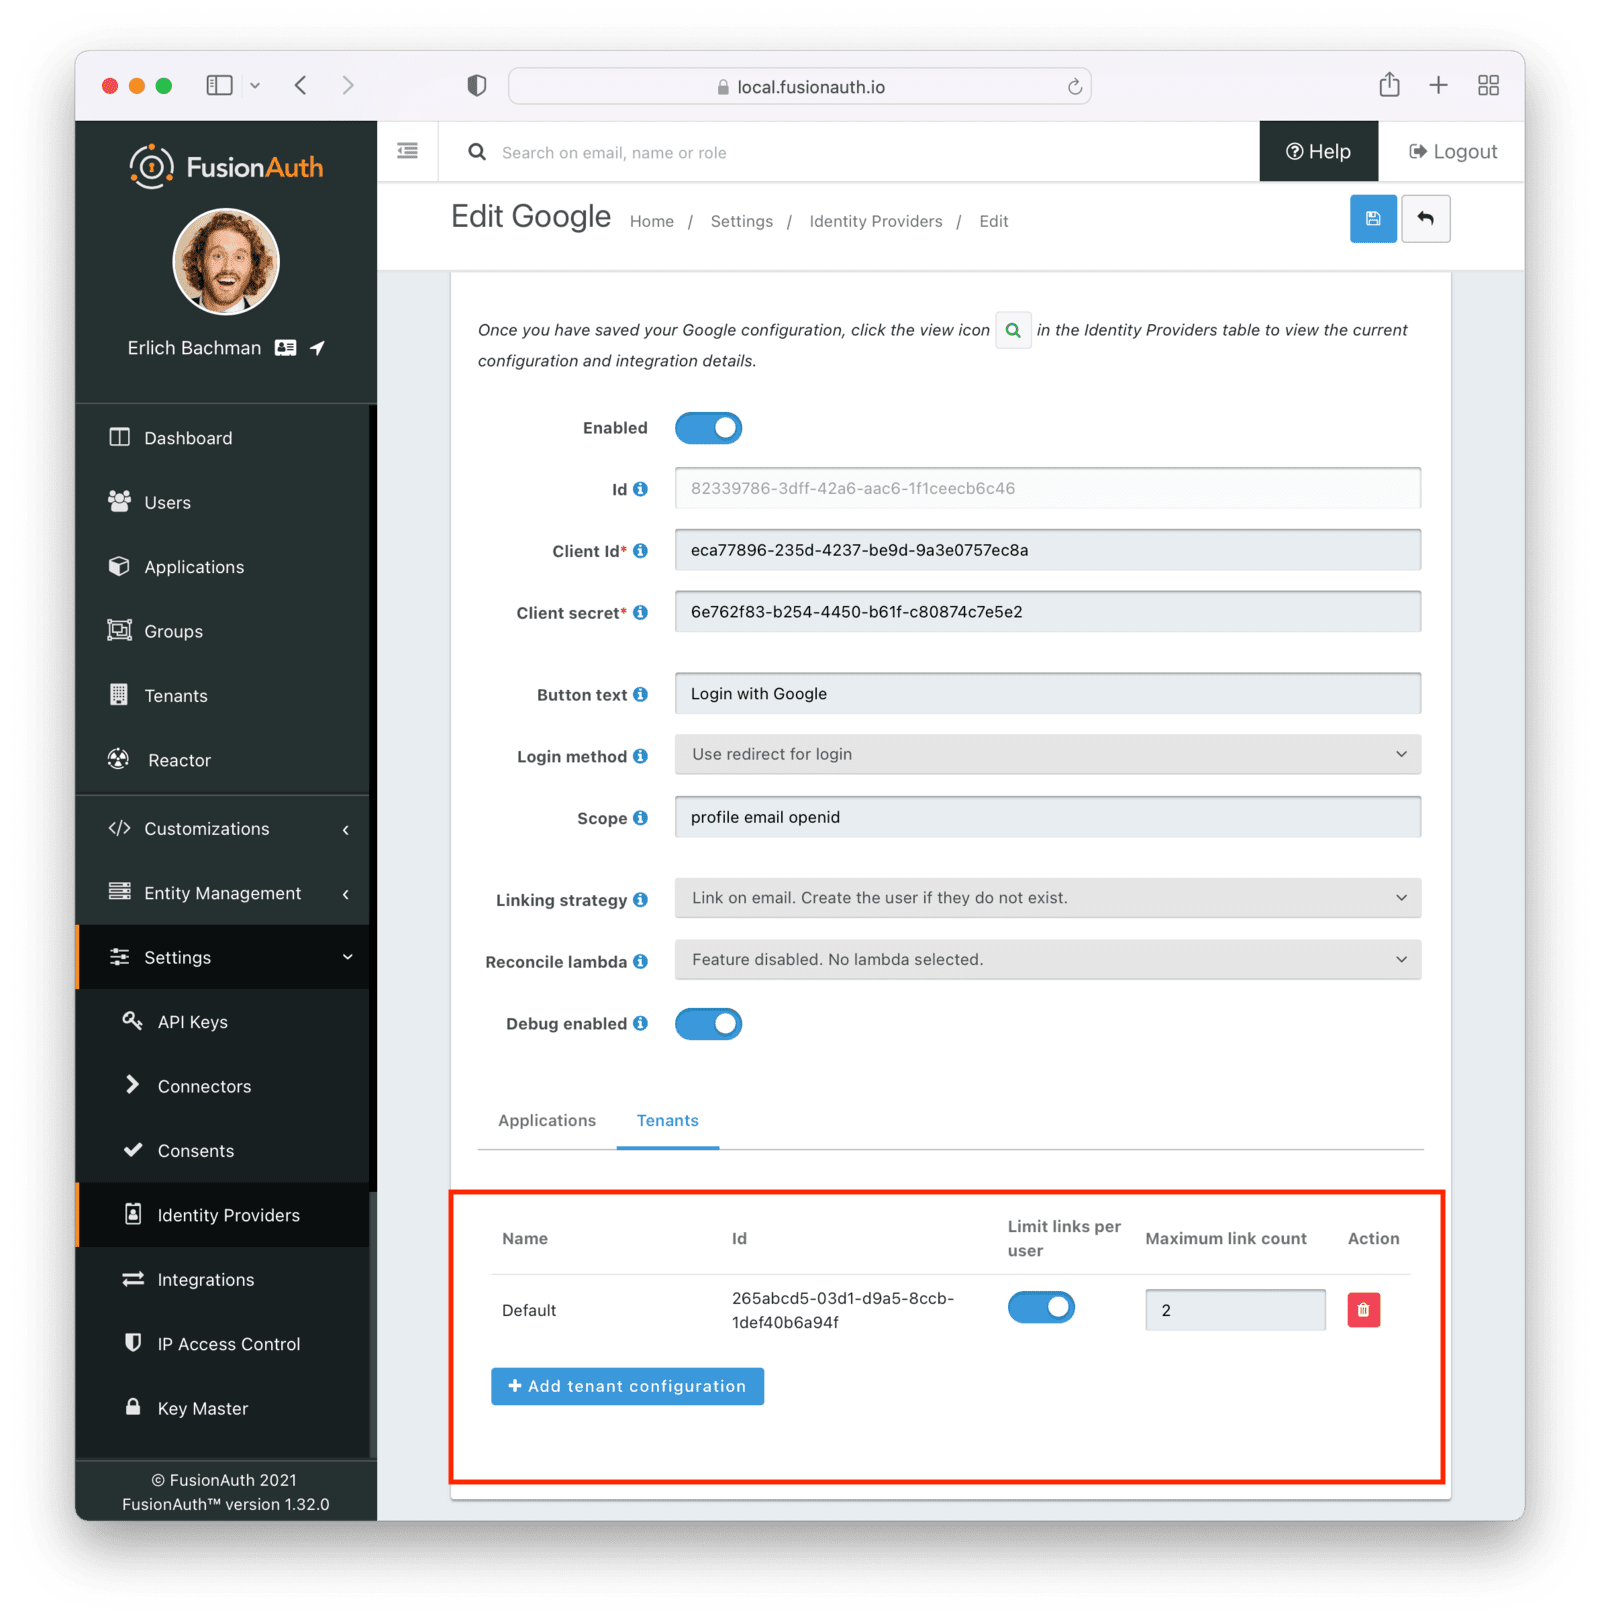
## Identity Providers and Applications
Identity providers can be enabled or disabled on a per application basis.
In the following screenshot you will see that we have enabled this login provider for the Pied Piper application and enabled "Create registration". Enabling "Create registration" means that a user does not need to be manually registered for the application prior to using this login provider.
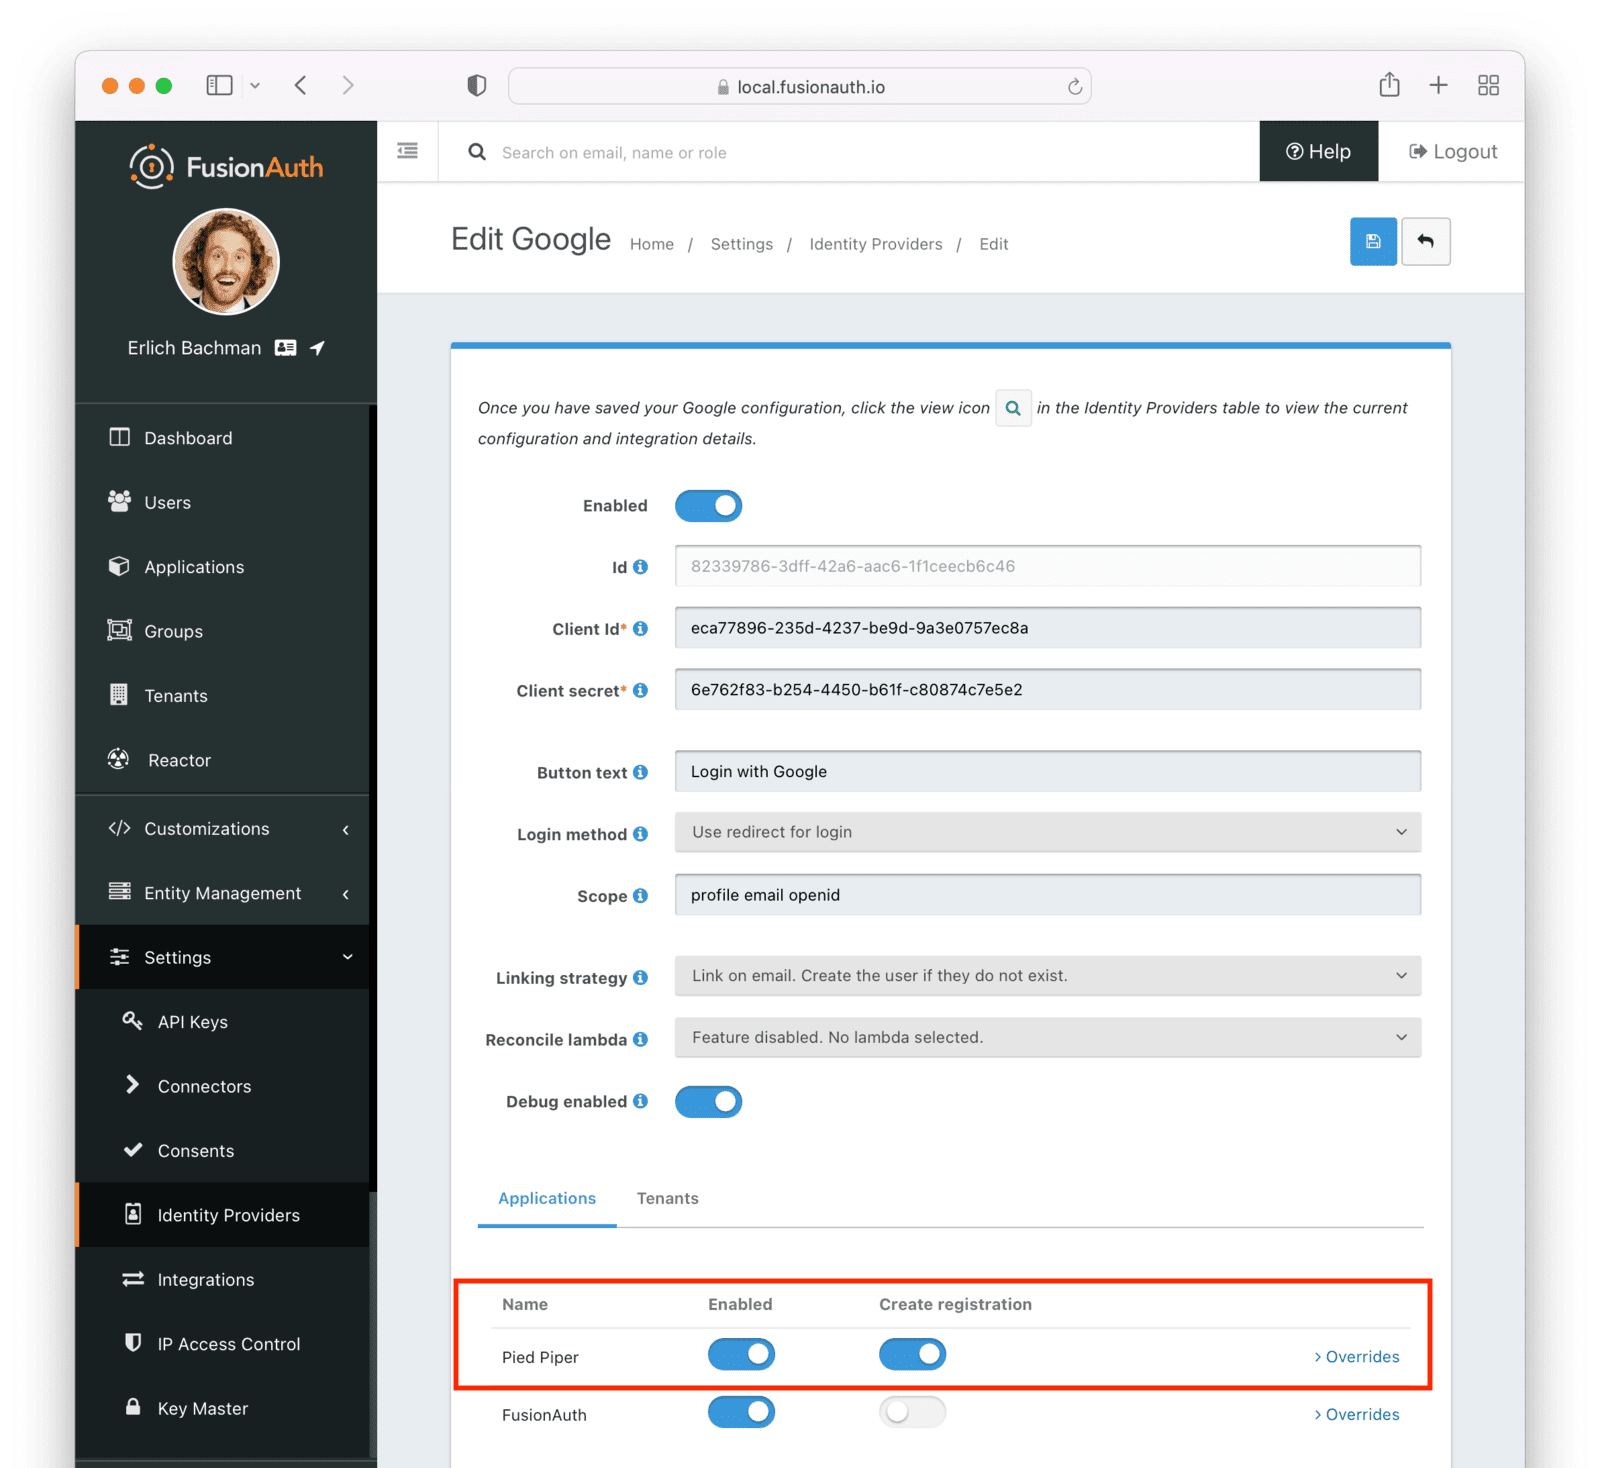
For example, when a new user attempts to log into Pied Piper using Google, if their user does not exist in FusionAuth it will be created dynamically, and if the Create registration toggle has been enabled, the user will also be registered for Pied Piper and assigned any default roles assigned by the application.
If you do not wish to automatically provision a user for this Application when logging in with Google, leave Create registration off and you will need to manually register a user for this application before they may complete login with Google and be authorized for the Pied Piper Application.
When you enable an identity provider you're indicating that this external provider is an additional SoR (Source of Record). When the user successfully logs into this provider such as Google, Google has told FusionAuth the user exists and their credentials are valid. In return FusionAuth accepts this source of record and creates link and/or user, depending on the linking strategy. Next we identify if the configuration allows us to automatically register (that is, provide authorization) for the requested application, based on the "Create registration" setting.
## Overrides
You can have different identity provider configurations for different applications. Suppose you had two different applications that were both using the Apple Identity Provider. But for one, you wanted to request the `email name` scope and for the other you wanted to request the `email` scope only. To make this work, create the Apple Identity provider with the scope `email name` and assign it to the first application. Then, for the second, override the Scope field with the `email` value.
You can override none, some or all of the available configuration values by expanding the Overrides element for the application's identity provider setting. You may also modify the identityProvider.applicationConfiguration values using the API.
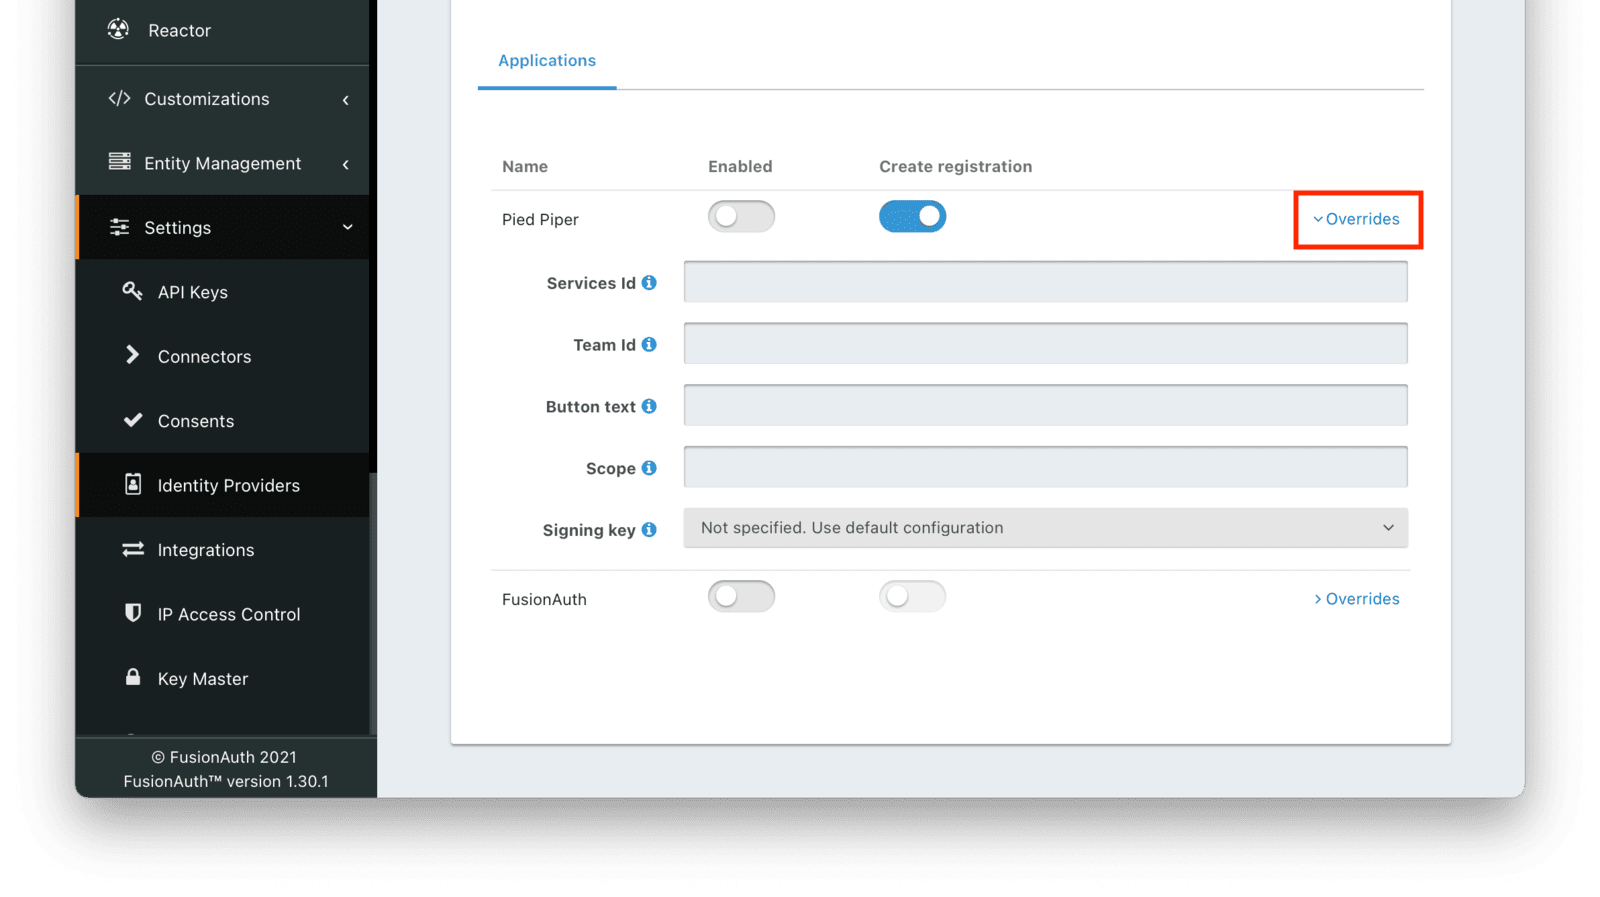
The External JWT Identity Provider type does not offer override settings since you can create more than one.
In some cases, you need to use two different Applications to achieve your desired configuration. For example, if you need two sets of attributes for an Identity Provider, but the attributes don't exist in the Overrides options. An example of such an attribute is Linking Strategy .
## Hints
Linking strategy and Create registration configurations are related to each other, but distinct.
The Linking strategy controls how a User is created in FusionAuth based on information returned from the remote identity provider. Create registration controls if the User created in FusionAuth is registered for a given Application.
## Linking Strategy Examples
Here are some walkthroughs of linking scenarios. A user, Richard, is trying to access an app, such as Pied Piper. Richard uses an Identity Provider to login. It doesn't matter if the Identity Provider is a social provider like Facebook or an enterprise provider like an OIDC or SAML compatible identity server, the behavior is the same.
The FusionAuth hosted login pages are being used. Similar behavior is available via the [Identity Provider API](/docs/apis/identity-providers/).
### Disabled
This is useful when you do not want to link automatically, and you wish to control all linking manually via the Link API. This provides you the greatest level of control of which users become linked from the identity provider to FusionAuth.
However, this strategy may not work if you do not have access to the `identityProviderUserId`, which is the immutable Id of the user in the upstream identity provider. See the [Link API](/docs/apis/identity-providers/links#link-a-user) for more.
### Pending Link
This is useful when the user has a different email or username in the remote identity provider than an existing FusionAuth identity. The user must know enough to link them. That is, they must remember the account they have in FusionAuth. This uses the linking strategy `Create a Pending Link`.
Richard is logging into Pied Piper. He has an account in FusionAuth with the email address `richard@piedpiper.com`. He also has an account at Hooli with the email address `richard@hooli.com`.
* Richard clicks on the 'Login With Hooli' button on the login screen.
* He logs in to Hooli with `richard@hooli.com`, his account at Hooli.
* He is redirected to FusionAuth.
* He is prompted to log in to FusionAuth with his Pied Piper email and password.
* He logs in with `richard@piedpiper.com`.
* The FusionAuth account with the email `richard@piedpiper.com` is linked to the Hooli `richard@hooli.com` account.
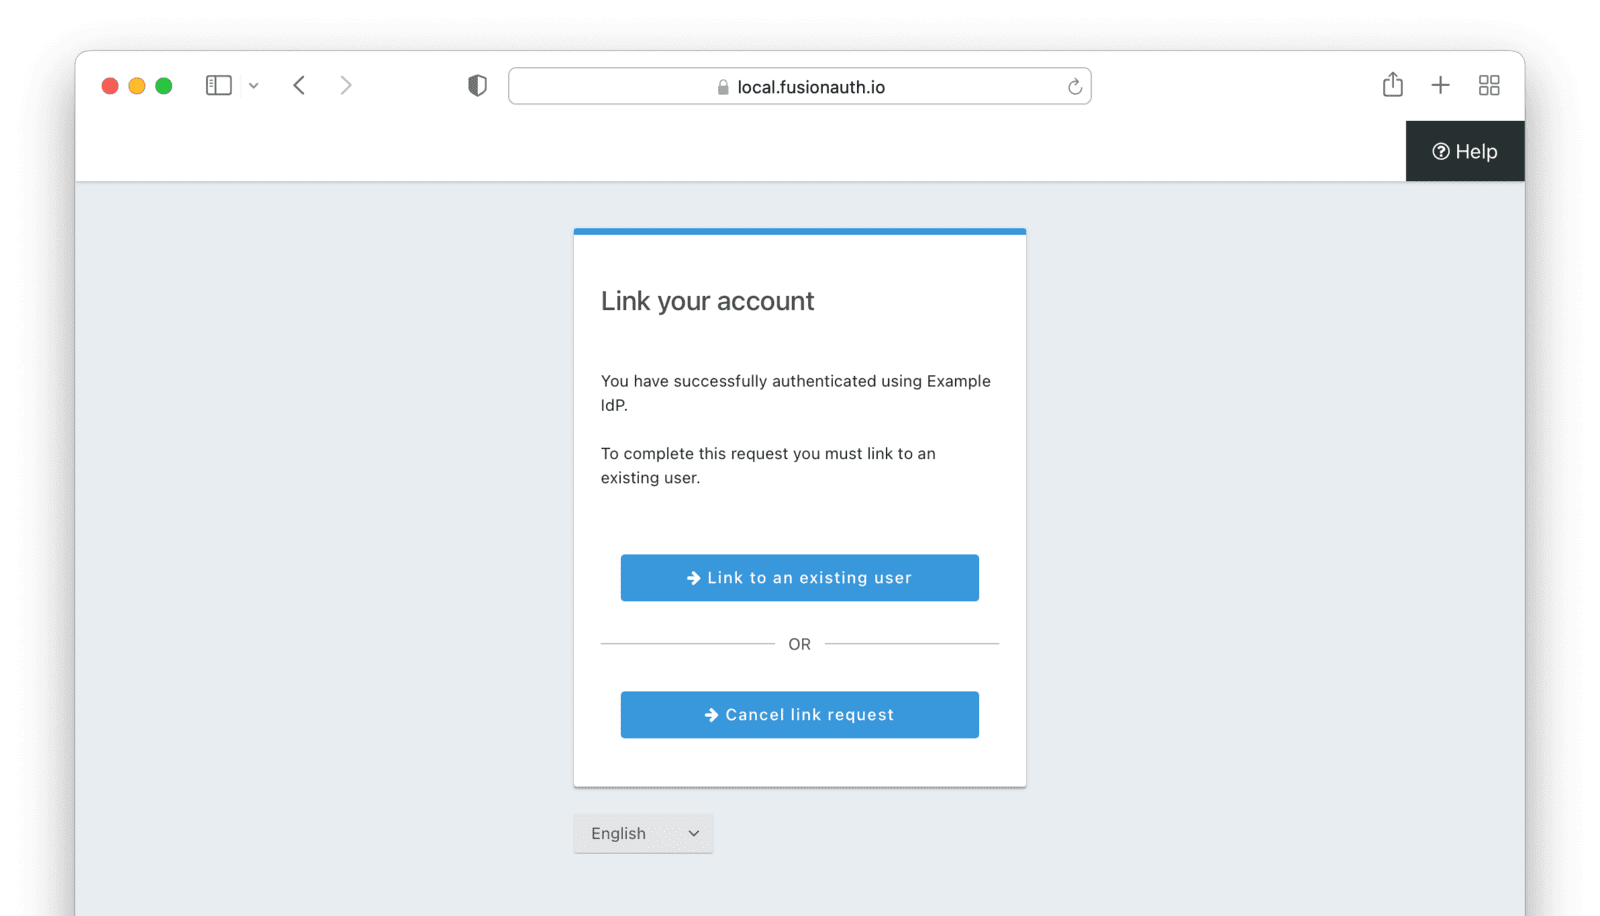
### Anonymous Link
This is a useful option if you don't want to create a full user account in FusionAuth. But see the [Anonymous Account Limitations](#anonymous-account-limitations) below. This uses the linking strategy `Anonymous Link`.
#### Anonymous Link, IdP Provides Email
Richard is logging into Pied Piper. He doesn't have an account in FusionAuth.
* Richard clicks on the 'Login With Hooli' button on the login screen.
* He logs in to Hooli with `richard@hooli.com`, his account at Hooli.
* He is redirected to FusionAuth.
* There is an account created in FusionAuth with no username or email address. It is not a full account.
* Richard can interact with Pied Piper (a JWT is issued, etc), but cannot use FusionAuth workflows like 'forgot password'.
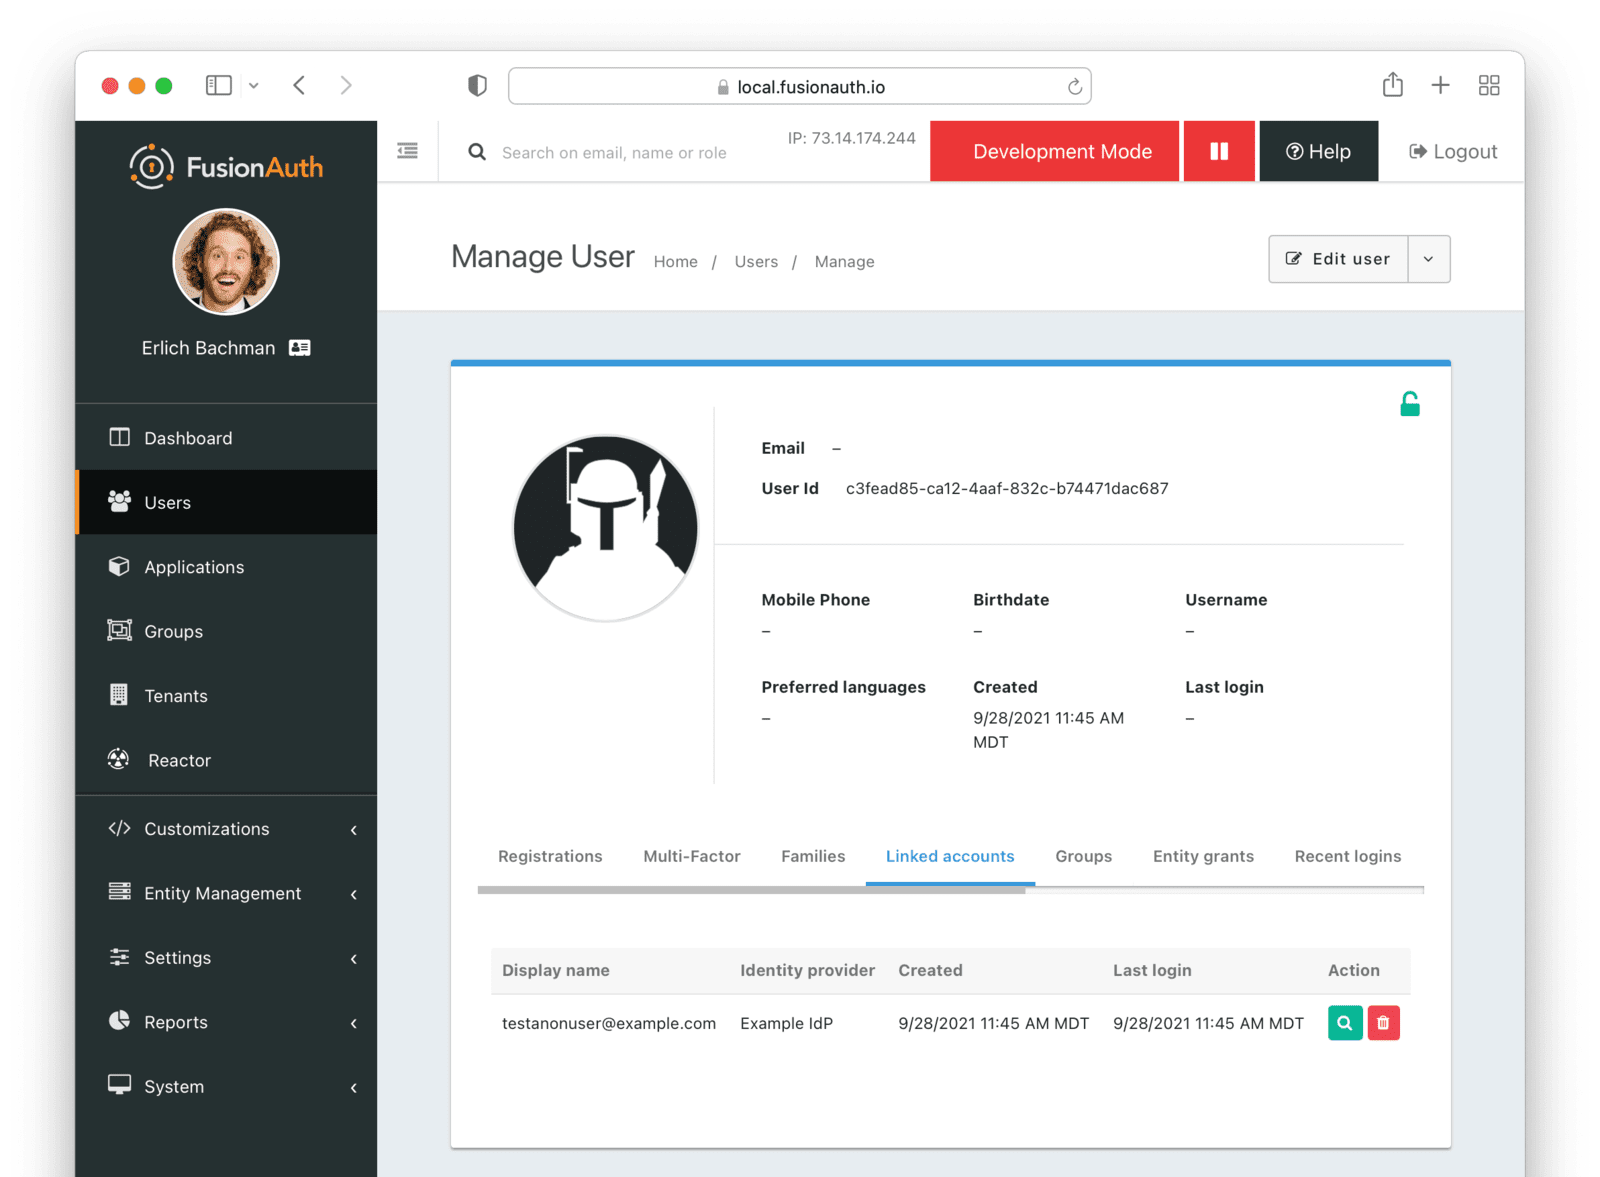
#### Anonymous Link, No Email Or Username Returned By The IdP
Richard is logging into Pied Piper. He doesn't have an account in FusionAuth. The identity provider is the Hooli XYZ server. This identity provider does not return a username or password in its response.
* Richard clicks on the 'Login With Hooli XYZ' button on the login screen.
* He logs in with `richard@hoolixyz.com`.
* He is redirected to FusionAuth.
* There is an account created in FusionAuth with no username or email address. It is not a full account.
* Richard can interact with Pied Piper (a JWT is issued, etc), but cannot use FusionAuth workflows like 'forgot password'.
#### Anonymous Account Limitations
Users with an anonymous account may log in to applications using their IdP provided credentials.
They won't have an email address, so can't use any of the email based FusionAuth workflows like 'forgot password'.
You also can't modify the user using any FusionAuth APIs. If you try to modify the user using these, you must provide a username or email.
### Link On Email
There are two strategies which link on an email address.
* `Link On Email. Create the user if they do not exist.` creates a user if no matching account exists in FusionAuth.
* `Link On Email. Do not create the user if they do not exist.` does not create a user if no matching account exists and treats such a login as an error. If a matching account exists, the login succeeds.
#### Link On Email, Matching Account Must Exist and Does
This uses the linking strategy `Link On Email. Do not create the user if they do not exist.`.
Here, Richard is logging into Pied Piper. He has an account in FusionAuth with the email address `richard@piedpiper.com`.
* Richard clicks on the 'Login With Hooli' button on the login screen.
* He logs in to Hooli with the `richard@piedpiper.com` account.
* He is redirected to FusionAuth and logs in successfully. Access is allowed.
* The FusionAuth account with the email `richard@piedpiper.com` is linked to the Hooli `richard@piedpiper.com` account.
#### Link On Email, Matching Account Must Exist But Doesn't
This uses the linking strategy `Link On Email. Do not create the user if they do not exist.`.
Richard is logging into Pied Piper. He doesn't have an account in FusionAuth.
* Richard clicks on the 'Login With Hooli' button on the login screen.
* He logs in to Hooli with the `richard@piedpiper.com` account.
* He is redirected to FusionAuth but sees an error. No access is allowed.
Here's an example of the error page:
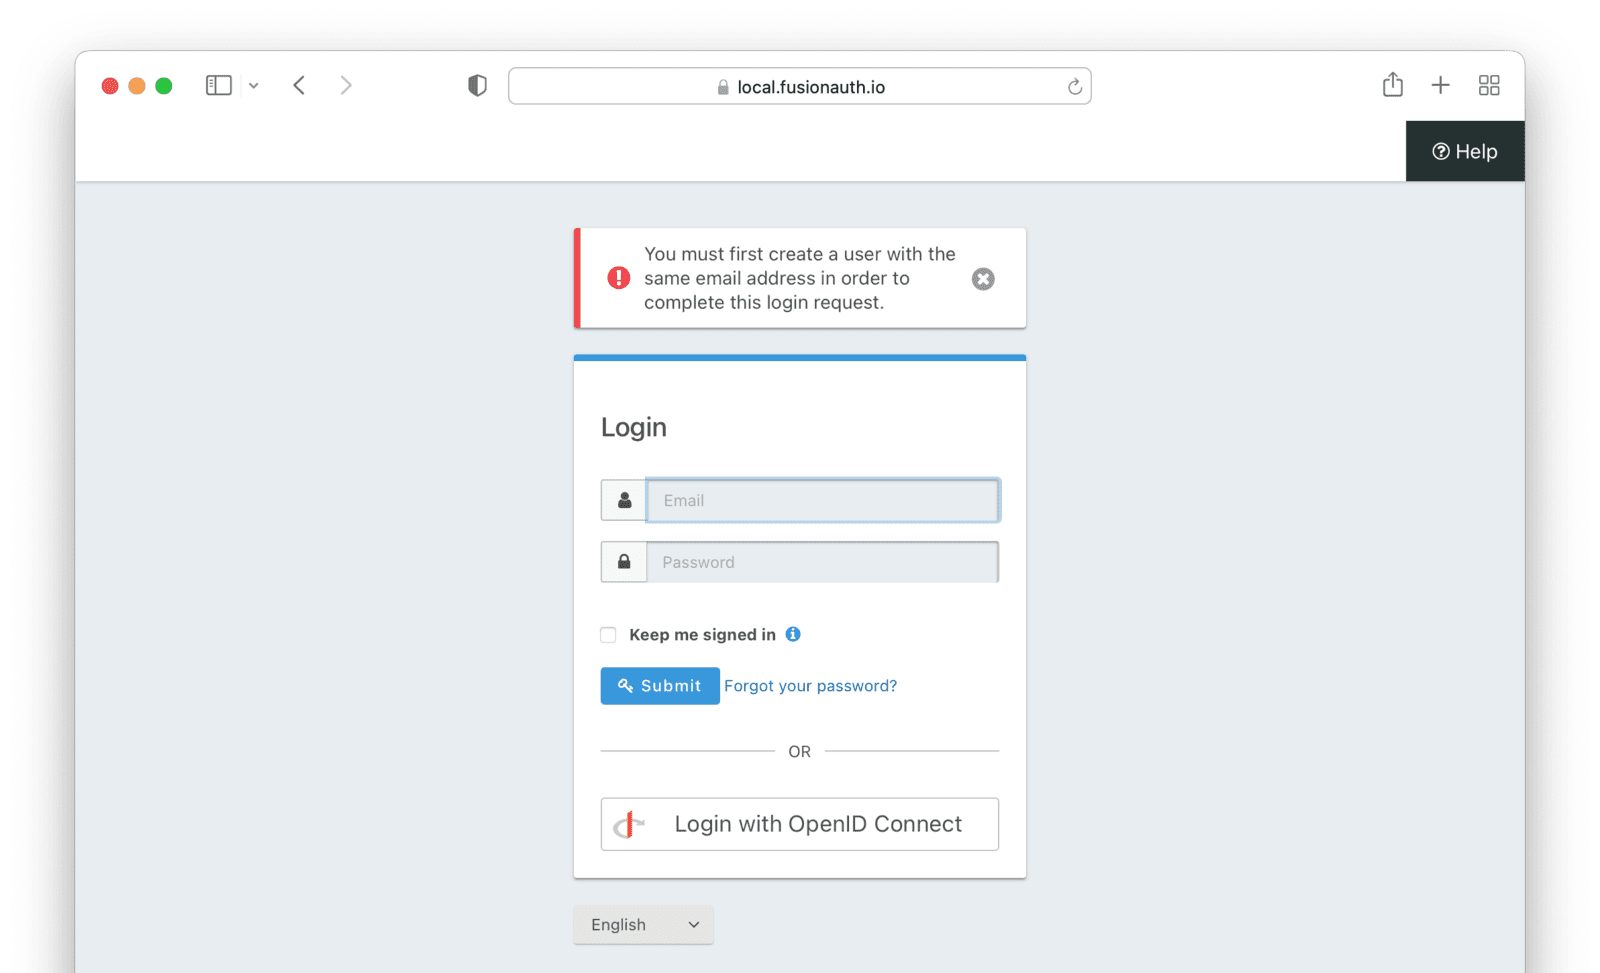
#### Link On Email, User Account Is Created If Needed
This uses the linking strategy `Link On Email. Create the user if they do not exist.`.
Richard is logging into Pied Piper. He doesn't have an account in FusionAuth.
* Richard clicks on the 'Login With Hooli' button on the login screen.
* He logs in to Hooli with the `richard@piedpiper.com` account.
* He is redirected to FusionAuth.
* A new account is created in FusionAuth with the email `richard@piedpiper.com`.
* The new FusionAuth account with the email `richard@piedpiper.com` is linked to the Hooli `richard@piedpiper.com` account.
### Link On Username
Similarly to linking on email, there are two options here.
* `Link On Username. Create the user if they do not exist.` creates a user if no matching account exists in FusionAuth.
* `Link On Username. Do not create the user if they do not exist.` does not create a user if no matching account exists and treats such a login as an error. If a matching account exists, the login succeeds.
#### Link On Username, Matching Account Must Exist And Does
This uses the linking strategy `Link On Username. Do not create the user if they do not exist.`.
Richard is logging into Pied Piper. He has an account in FusionAuth with the username `richard`.
* Richard clicks on the 'Login With Hooli' button on the login screen.
* He logs in to Hooli with the `richard` account.
* He is redirected to FusionAuth and logs in successfully. Access is allowed.
* The FusionAuth account with the username `richard` is linked to the Hooli `richard` account.
#### Link On Username, Matching Account Must Exist But Doesn't
This uses the linking strategy `Link On Username. Do not create the user if they do not exist.`.
Richard is logging into Pied Piper. He doesn't have an account in FusionAuth.
* Richard clicks on the 'Login With Hooli' button on the login screen.
* He logs in to Hooli with the `richard` account.
* He is redirected to FusionAuth but sees an error. No access is allowed.
#### Link On Username, User Account Is Created If Needed
This uses the linking strategy `Link On Username. Create the user if they do not exist.`.
Richard is logging into Pied Piper. He doesn't have an account in FusionAuth.
* Richard clicks on the 'Login With Hooli' button on the login screen.
* He logs in to Hooli with the `richard` account.
* He is redirected to FusionAuth.
* A new account is created in FusionAuth with the username `richard`.
* The new FusionAuth account with the username `richard` is linked to the Hooli `richard` account.
## OAuth Scope Parameter
If you would like to request OAuth scopes on the access token from FusionAuth, provide those in the `scope` parameter on the authorization request to FusionAuth.
In contrast, the `scope` parameter for the request to the identity provider is configured via the Scope value, if available.
## Limitations
Settings -> Identity Providers and click Add provider and select OpenID Connect from the dialog.
This will take you to the Add OpenID Connect screen, and you'll fill out the required fields. If you do not know the Client Id and Client secret for this provider, you will need to contact the owner of the OpenID Connect provider.
If your OpenID Connect provider has implemented a well-known configuration endpoint, FusionAuth will be able to discover the necessary endpoints when you provide the URL to the provider in the `Issuer` field. For example, if you enter `https://login.piedpiper.com` in the `Issuer` field, FusionAuth will attempt to make a request to `https://login.piedpiper.com/.well-known/openid-configuration` to retrieve additional configuration. Alternatively you may provide fully qualified URLs for each of the required endpoints, to do this, toggle off the `Discover endpoints` switch and you will be shown three required fields.
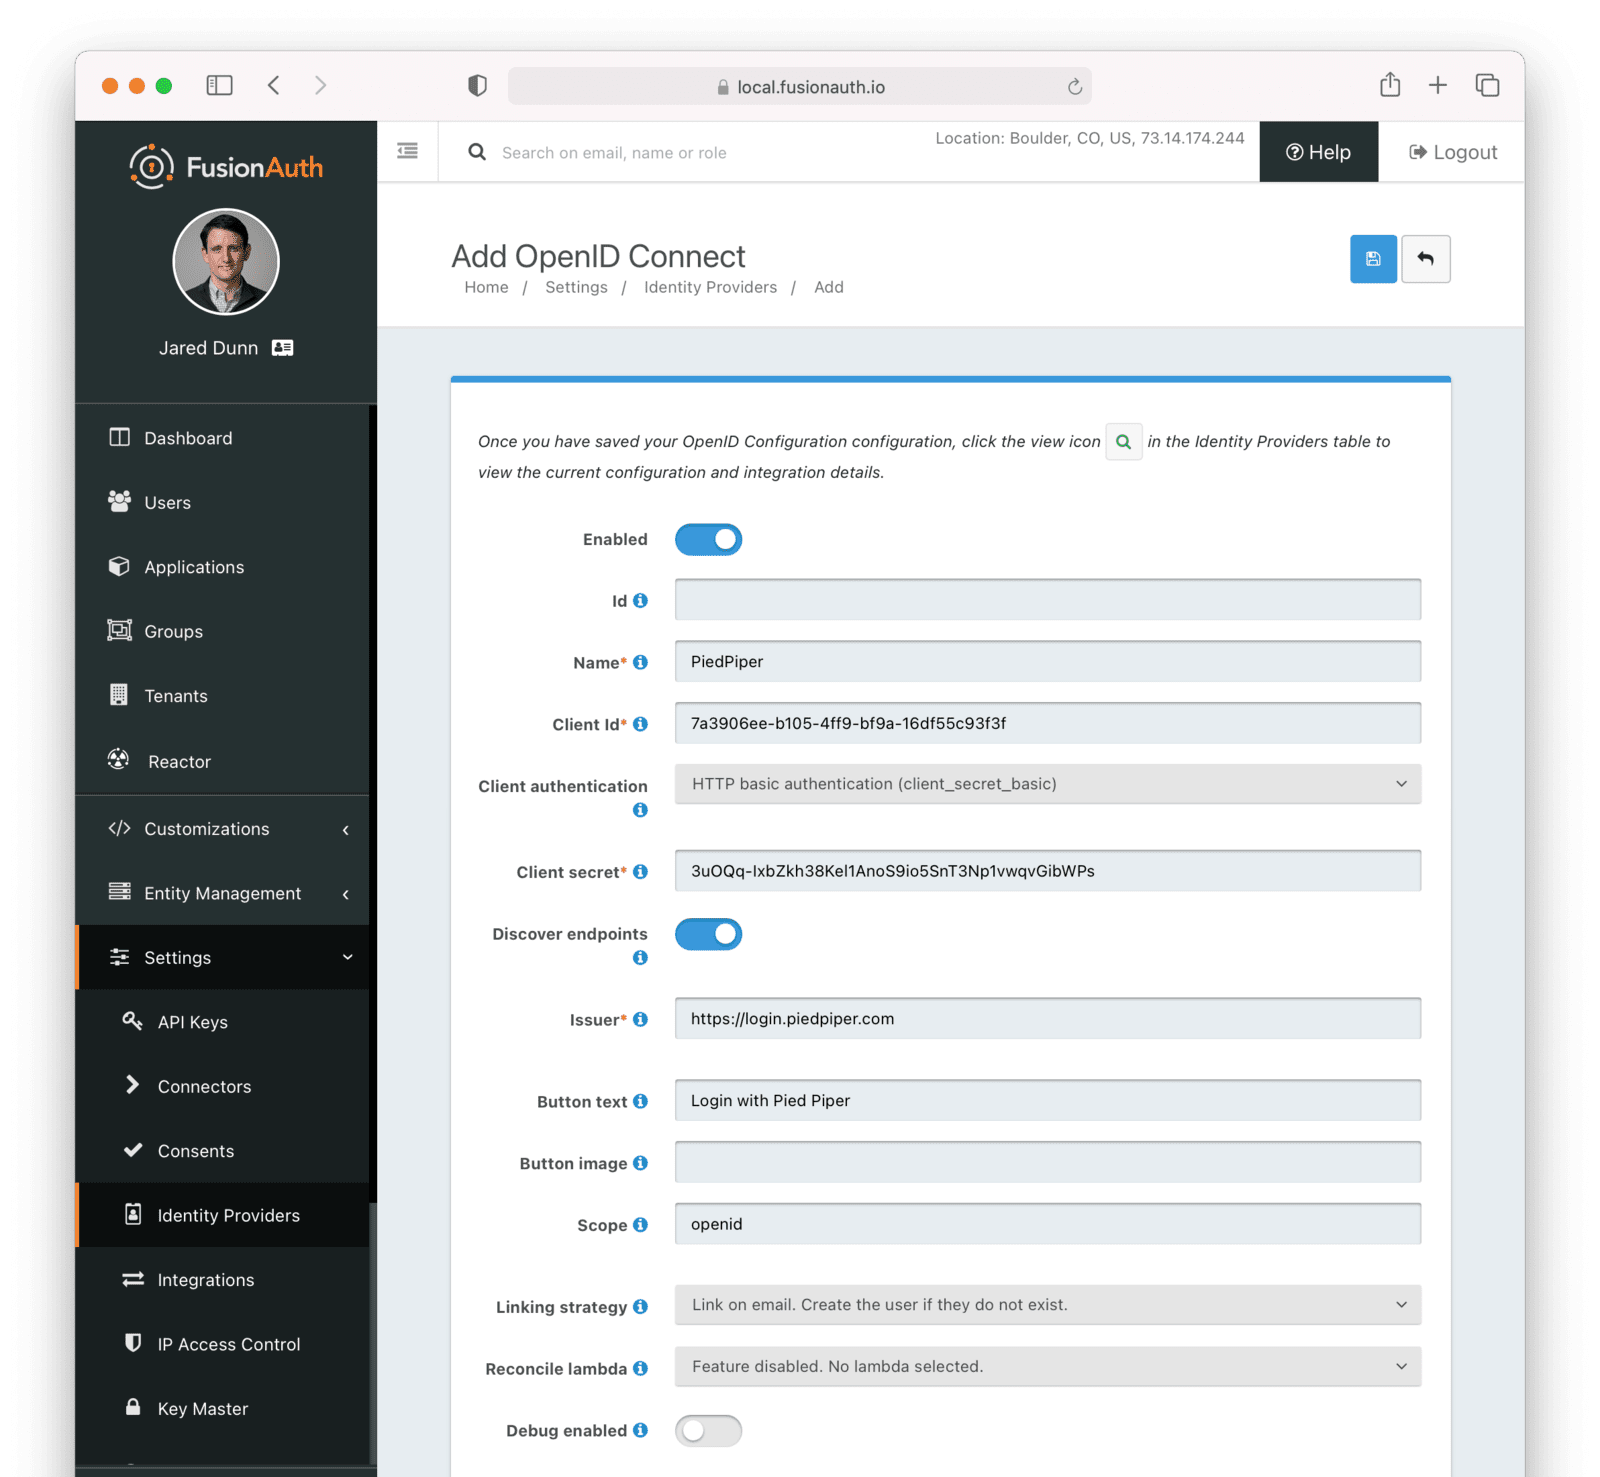
To enable this identity provider for an application, find your application name in the Applications configuration section at the bottom of this panel. You will always see the `FusionAuth` application, this application represents the FusionAuth user interface. If you wish to be able to log into FusionAuth with this provider you may enable this application.
In the following screenshot you will see that we have enabled this login provider for the `Pied Piper` application and enabled `Create registration`. Enabling create registration means that a user does not need to be manually registered for the application prior to using this login provider.
For example, when a new user attempts to log into `Pied Piper` using this identity provider, if their user does not exist in FusionAuth it will be created dynamically, and if the `Create registration` toggle has been enabled, the user will also be registered for `Pied Piper` and assigned any default roles assigned by the application.
If you do not wish to automatically provision a user for this Application when logging in with PiedPiper, leave `Create registration` off and you will need to manually register a user for this application before they may complete login with this provider.
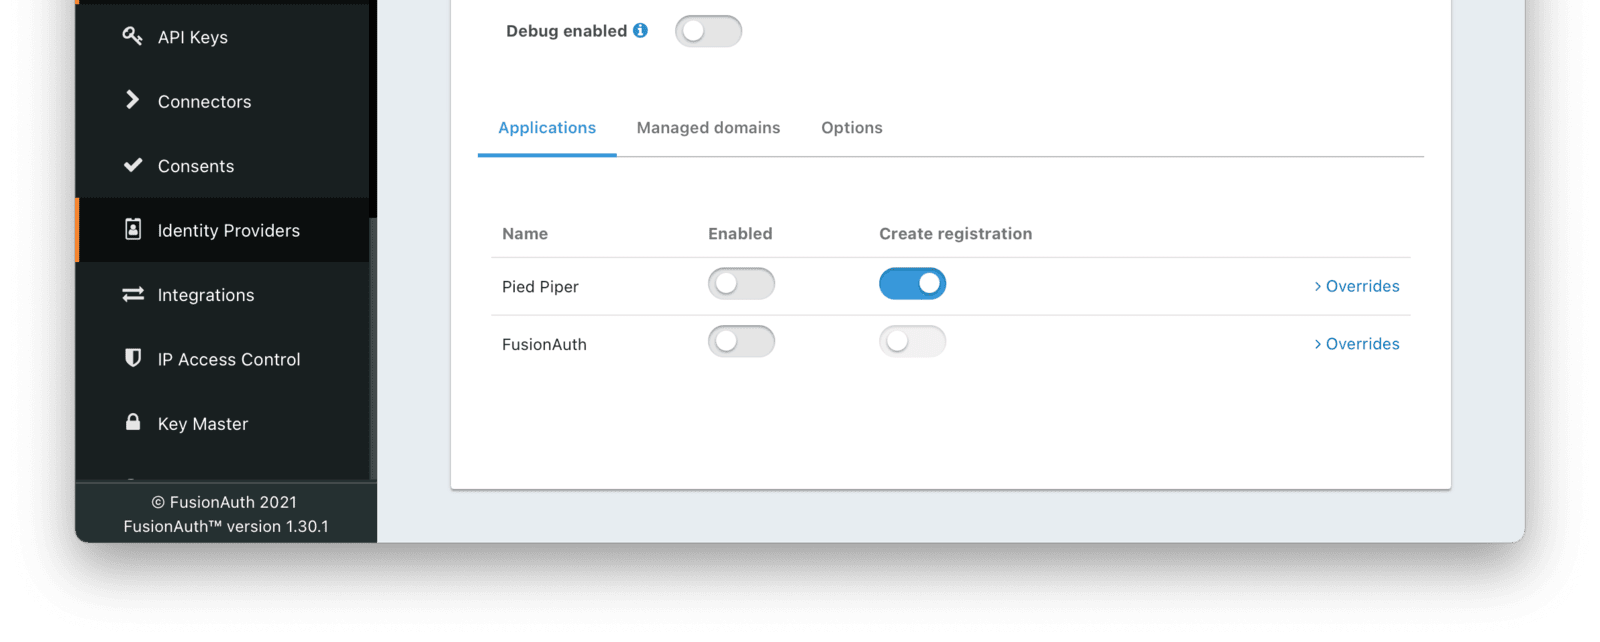
That's it, now the Login with PiedPiper button will show up on the login page.
### Form Fields
An optional UUID. When this value is omitted a unique Id will be generated automatically.
The tenant to which this identity provider belongs. This field only displays when the user selects a specific tenant on the previous page. When `Global identity provider` is selected on the previous page, this field does not display.
A unique name to identify the identity provider. This name is for display purposes only and it can be modified later if desired.
The client Id that will be used during the authentication workflow with this provider. This value will have been provided to you by the owner of the identity provider.
The client authentication method to use with the OpenID Connect identity provider.
See the [OIDC spec concerning Client Authentication](https://openid.net/specs/openid-connect-core-1_0.html#ClientAuthentication) for more information.
The client secret that will be used during the authentication workflow with this provider. This value will have been provided to you by the owner of the identity provider. This value is required when Client authentication method is not `HTTP basic authentication (client_secret_basic)` or `Request body (client_secret_post)`.
When enabled FusionAuth will attempt to discover the endpoint configuration using the Issuer URL.
For example, if `https://login.piedpiper.com` is specified as the issuer, the well-known OpenID Connect URL `https://piedpiper.com/.well-known/openid-configuration` will be queried to discover the well-known endpoints.
When disabled, you may manually enter the required endpoints. This option is helpful if your OpenID Connect provider does not implement the well-known discovery endpoint.
This is the public URL of the identity provider.
When Discover endpoints is enabled, this field is required.
The public URL of the OpenID Connect authorization endpoint.
When Discover endpoints is disabled, this field is required.
The public URL of the OpenID Connect token endpoint.
When Discover endpoints is disabled, this field is required.
The public URL of the OpenID Connect userinfo endpoint.
When Discover endpoints is disabled, this field will be required.
The text to be displayed in the button on the login form.
The image to be displayed in the button on the login form. When this value is omitted a default OpenID Connect icon will be displayed on the login button.
This optional field defines the scope you're requesting from the user during login. This is an optional field, but it may be required depending upon the OpenID Connect provider you're using.
The linking strategy for the OpenID Connect provider. [See Linking Strategies for more](/docs/lifecycle/authenticate-users/identity-providers/#linking-strategies).
When the Linking strategy is equal to `Link on email. Create the user if they do not exist.` or `Link on email. Do not create the user if they do not exist.` and the `email_verified` claim is present on the response from the OpenID Connect Identity Provider and the value is `false` a link will not be established and an error will be returned indicating a link cannot be established using an unverified email address.
A lambda maps custom claims returned from the OpenID Connect provider to the FusionAuth User or Registration.
To create or configure a lambda, navigate to Settings -> Lambdas . [See the lambda documentation for more](/docs/extend/code/lambdas/).
Enable debug to create event log entries during the user login process. This will assist you in debugging integration issues.
### Managed Domains
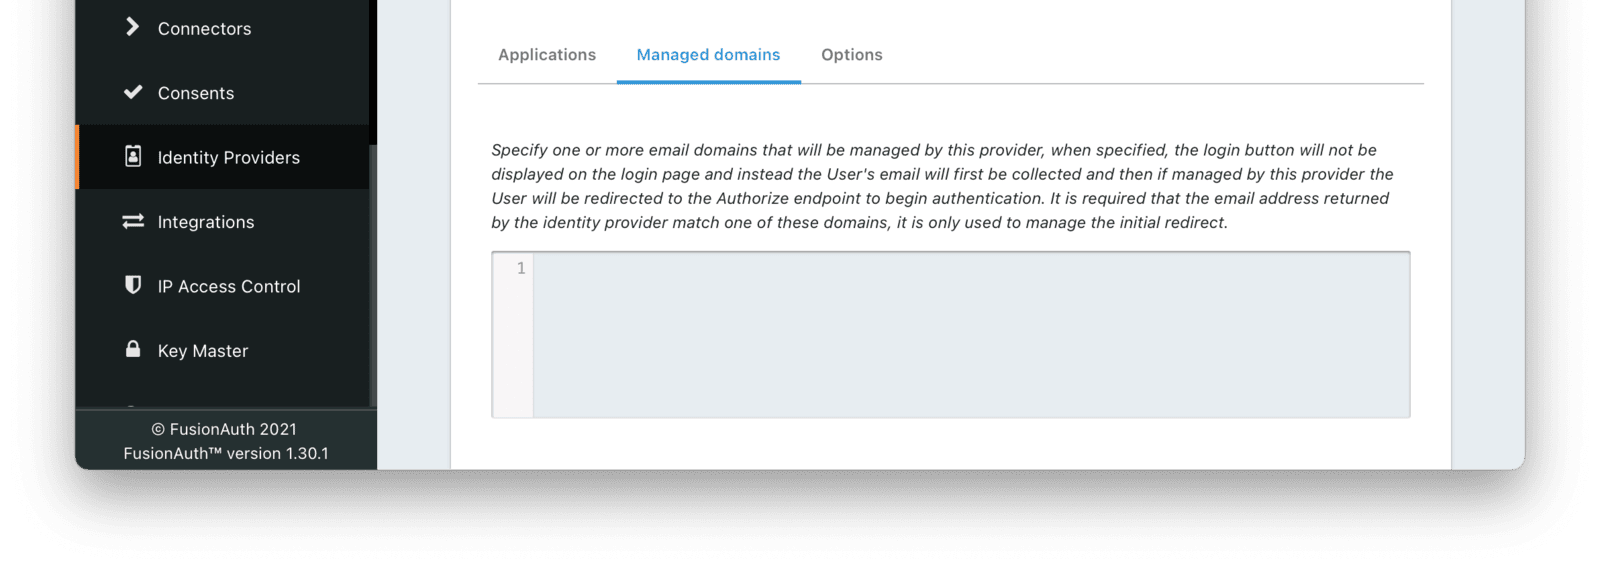
#### Form Fields
### Options
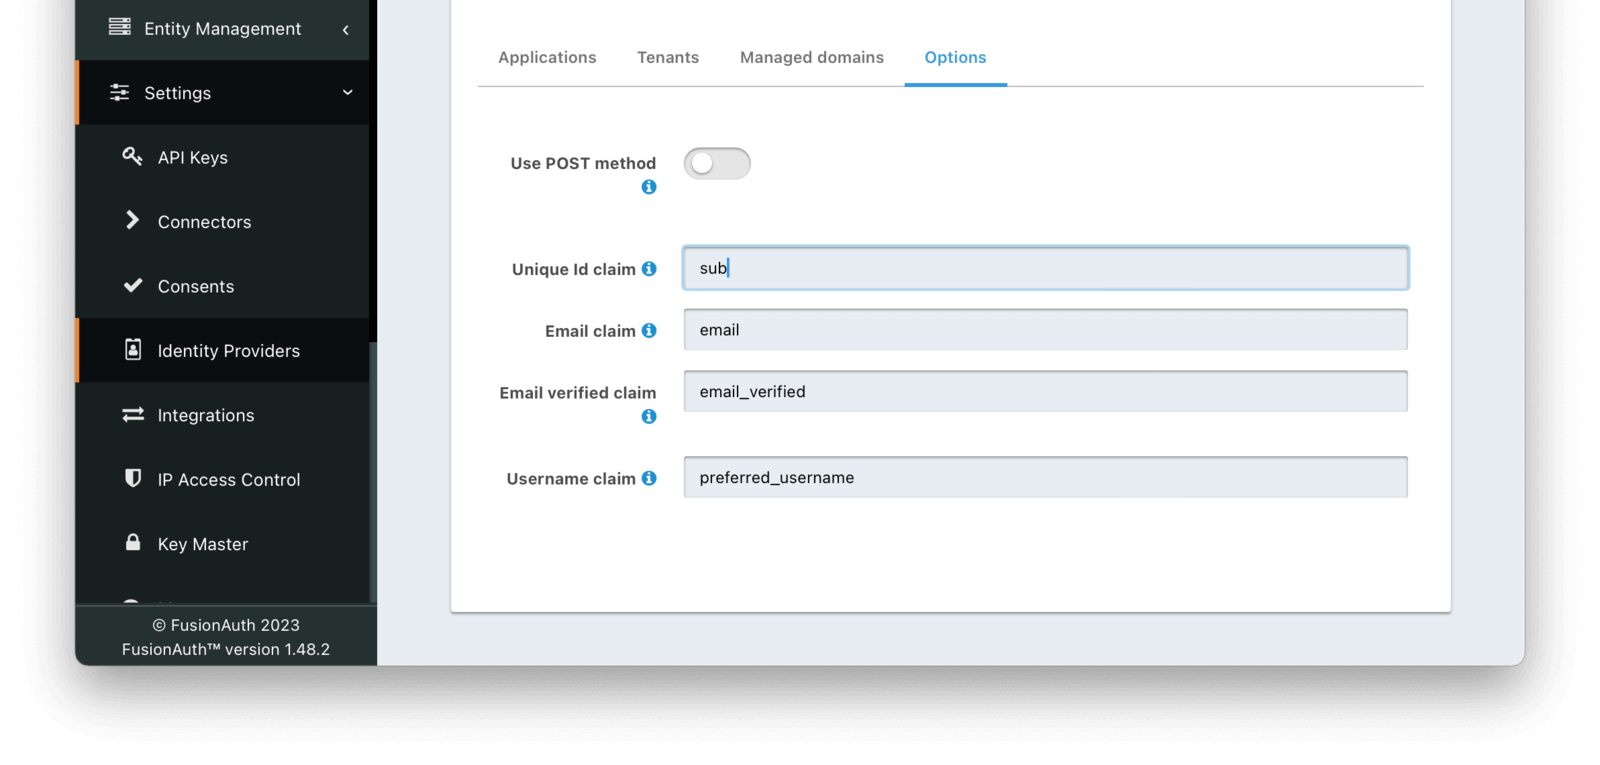
#### Form Fields
When enabled the authentication request will use the HTTP POST binding with the identity provider instead of the default Redirect binding which uses the HTTP GET method.
The name of the claim that contains the immutable unique Id of the user.
The name of the claim that will contain an email address.
The name of the claim that will contain the email verified claim.
When the linking strategy is configured to `Link on email. Create the user if they do not exist.` or `Link on email. Do not create the user if they do not exist.`, a link will be rejected if this claim is returned by the identity provider and the value is `false`.
The name of the claim that will contain the user's username.
## Redirect URLs
When configuring an OpenID Connect identity provider, you'll need to provide a redirect URL. This is the URL to which the identity provider will send a successful request. From there, FusionAuth will process the request, run the [configured lambda](/docs/extend/code/lambdas/openid-connect-response-reconcile), if any, and log the user into FusionAuth. From there, the redirect URL of the application will be sent the authorization code, to exchange for a token. There are, therefore, two redirect URLs in this scenario:
* The application redirect URL, which catches the Authorization Code from FusionAuth and exchanges it for a token. This is a custom route that you write, and so you control the URL. This redirect will be present in any application integrating with FusionAuth whether or not you are using the OpenID Connect identity provider. Learn more about the [Authorization Code grant](/docs/lifecycle/authenticate-users/oauth/#example-authorization-code-grant).
* The FusionAuth redirect URL, which handles the response from the OpenID Connect identity provider. This will always have the path `/oauth2/callback`. If your FusionAuth server is running at `login.pipedpiper.com`, the FusionAuth redirect URL will be `https://login.pipedpiper.com/oauth2/callback`.
Here is the request flow through an OpenID Connect login where the application is Pied Piper, the authorization server is FusionAuth, and the remote IdP is Azure Active Directory/Microsoft Entra ID.
Settings -> Identity Providers and click Add provider , and select `SAML v2` from the dialog.
This will take you to the `Add SAML v2` screen. Here you will need to fill out the required fields. If you do not know the IdP endpoint of your SAML v2 provider, you will need to contact the identity provider owner to get the URL.
Whether this SAMLv2 Identity Provider is enabled.
An optional UUID. When this value is omitted a unique Id will be generated automatically.
The tenant to which this identity provider belongs. This field only displays when the user selects a specific tenant on the previous page. When `Global identity provider` is selected on the previous page, this field does not display.
A unique name to identify the identity provider. This name is for display purposes only and it can be modified later if desired.
The URL of the SAML identity providers login page.
The NameID format to send to the SAML v2 identity provider in the AuthN request.
The public key or certificate that you must import into FusionAuth's KeyMaster. This is the public key provided to you by the identity provider.
The text to be displayed in the button on the login form. This value defaults to `Login with SAML` but it may be modified to your preference.
The image to be displayed in the button on the login form. When this value is omitted a default SAML icon will be displayed on the login button.
Allows IdP initiated login requests for this configuration. You must have a valid license to use this feature.
The EntityId (unique identifier) of the SAML v2 identity provider. Required when Enable IdP initiated login is enabled. This value should be provided to you.
The linking strategy for the SAMLv2 provider. [See Linking Strategies for more](/docs/lifecycle/authenticate-users/identity-providers/#linking-strategies).
A lambda maps custom claims returned from the SAML Response to the FusionAuth User or Registration.
To create or configure a lambda, navigate to Settings -> Lambdas . See the [lambda documentation](/docs/extend/code/lambdas/) for more information on using lambdas.
Some identity providers are not compliant with the SAML and XML signing specifications. This makes it challenging to get them working with FusionAuth.
If you are running into integration issues, toggle this setting on and FusionAuth will output debugging information into the Event Log during a SAML login. You can find the event log in System -> Event Log .
### Options
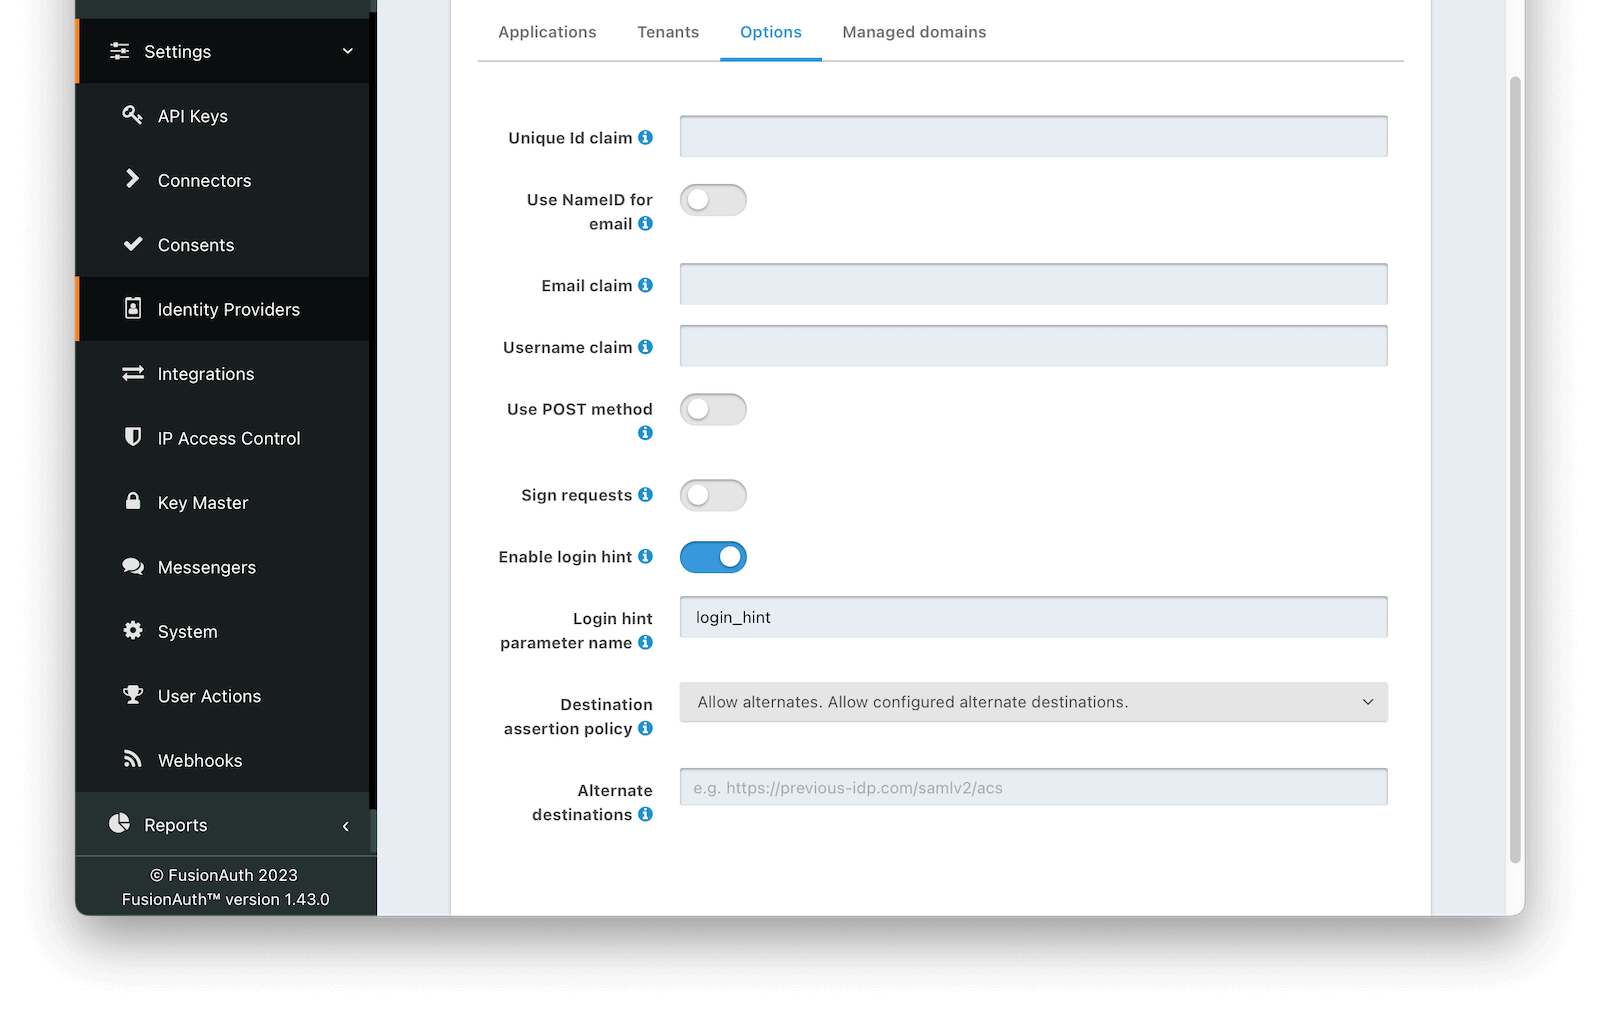
#### Form Fields
The name of the claim that is returned in the SAML response that contains the unique Id of the user.
If this is enabled, FusionAuth will assume that the `NameID` in the SAML response contains the email address of the user.
The name of the email claim returned in the SAML response.
When Use NameId for email is enabled this field will not be displayed and will not be required.
The name of the username claim returned in the SAML response.
When enabled the authentication request will use the HTTP POST binding with the identity provider instead of the default Redirect binding which uses the HTTP GET method.
When enabled authentication requests sent to the Identity Provider will be signed.
The key used to sign the SAML request. Required when Sign request is enabled. To create, manage, or import a key, navigate to Settings -> Key Master .
The XML signature canonicalization method used when digesting and signing the SAML request. Required when Use POST method and Sign request are enabled.
When enabled FusionAuth will provide the username or email address when available to the IdP as a login hint when HTTP redirect bindings are used to initiate the AuthN request.
The name of the parameter used to pass the username or email as login hint to the IDP when HTTP redirect bindings are used to initiate the AuthN request. Required when Enable login hint is enabled.
The policy to use when performing a destination assertion on the SAML login request.
The possible values are:
* `Enabled` - Verifies the Destination attribute in the SAML response is equal to the expected Destination which is the FusionAuth ACS (Assertion Consumer Service) URL. This is the default and the recommended setting.
* `Disabled` - Do not validate the Destination attribute. This is not recommended, please use with caution.
* `Allow alternates` - Verifies the Destination attribute is either the expected FusionAuth ACS, or one of the configured alternate values. This option is intended to assist with migrations from third-party IdPs and should be used with caution.
The array of URLs that FusionAuth will accept as SAML login destinations if the Destination Assertion Policy is `Allow alternates`.
When enabled FusionAuth requires encrypted assertions in SAML responses from the identity provider. SAML responses from the identity provider containing unencrypted assertions will be rejected by FusionAuth.
The key used to decrypt SAML responses. Required when Require encrypted assertions is enabled. To create, manage or import a key, navigate to Settings -> Key Master .
The selected Key must contain an RSA private key. The associated public key or certificate should be provided to the SAML Identity Provider to encrypt assertions.
### Managed domains
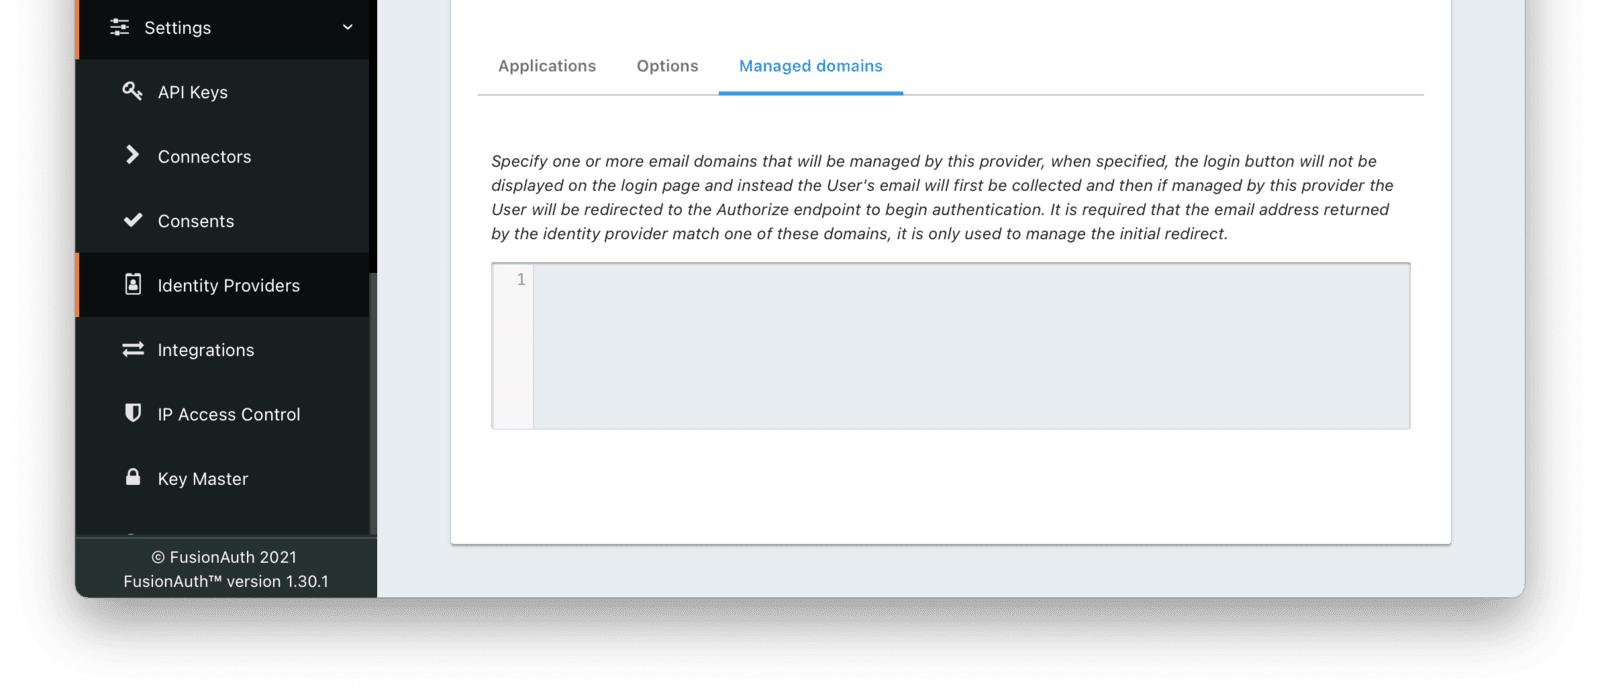
#### Form Fields
## Integration Details
After configuring the Identity Provider, FusionAuth will display values likely required by your SAML v2 Identity Provider to trust FusionAuth as a relying party. Do so by navigating to Settings -> Identity Providers , click the action menu next to your SAML provider, then select the View button.
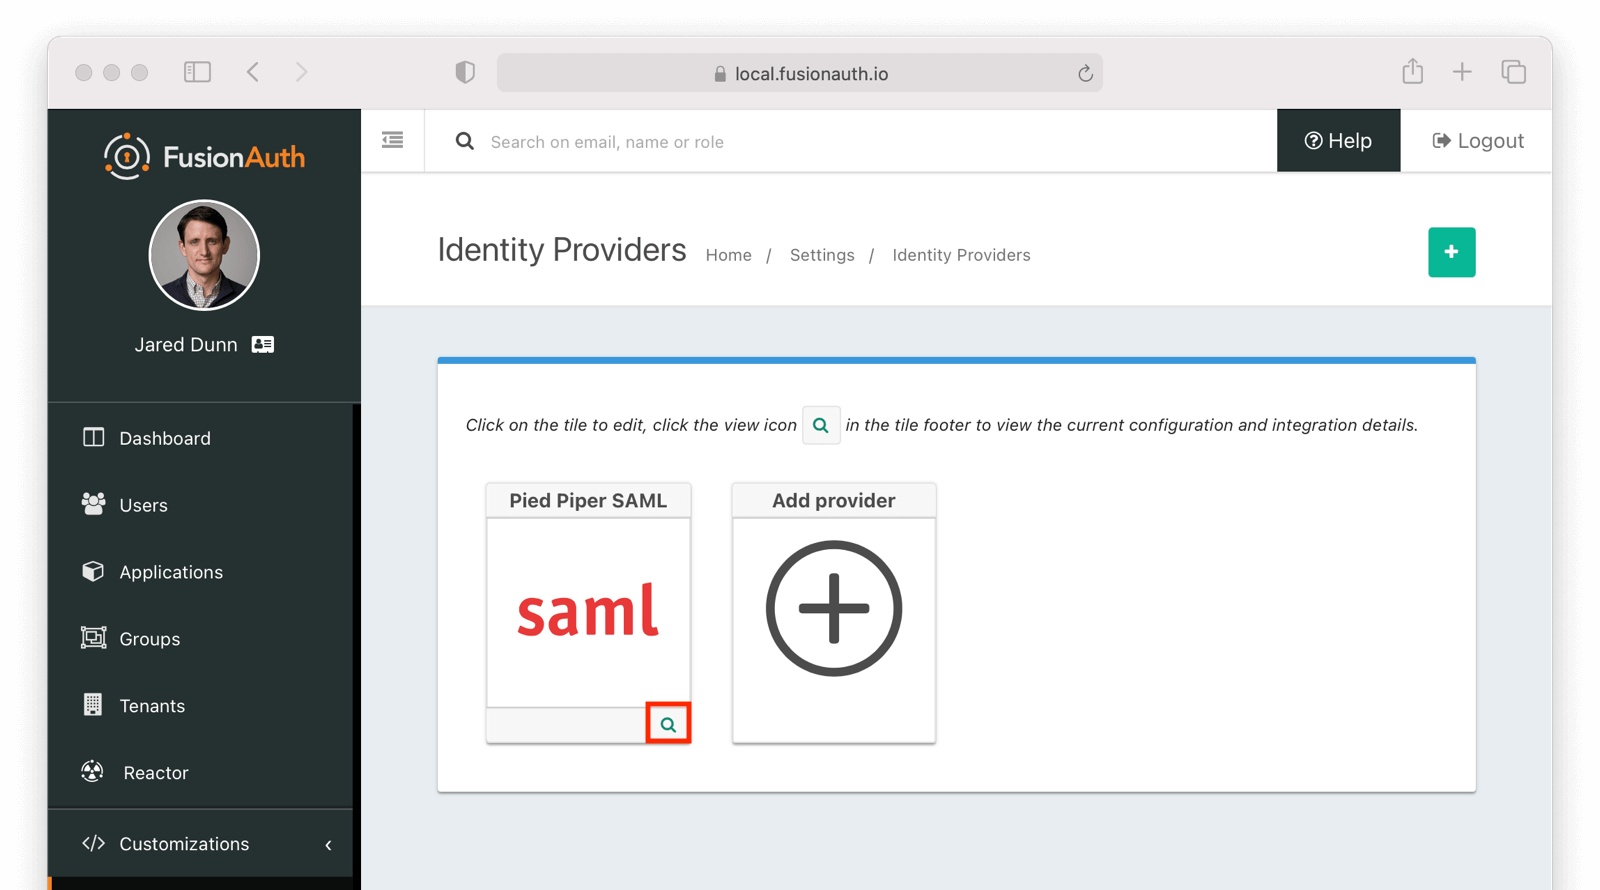
When viewing the details, scroll to the SAML v2 Integration details section. There you will find the necessary values to configure an integration with a SAMLv2 IdP.
### SAML v2 Integration Details
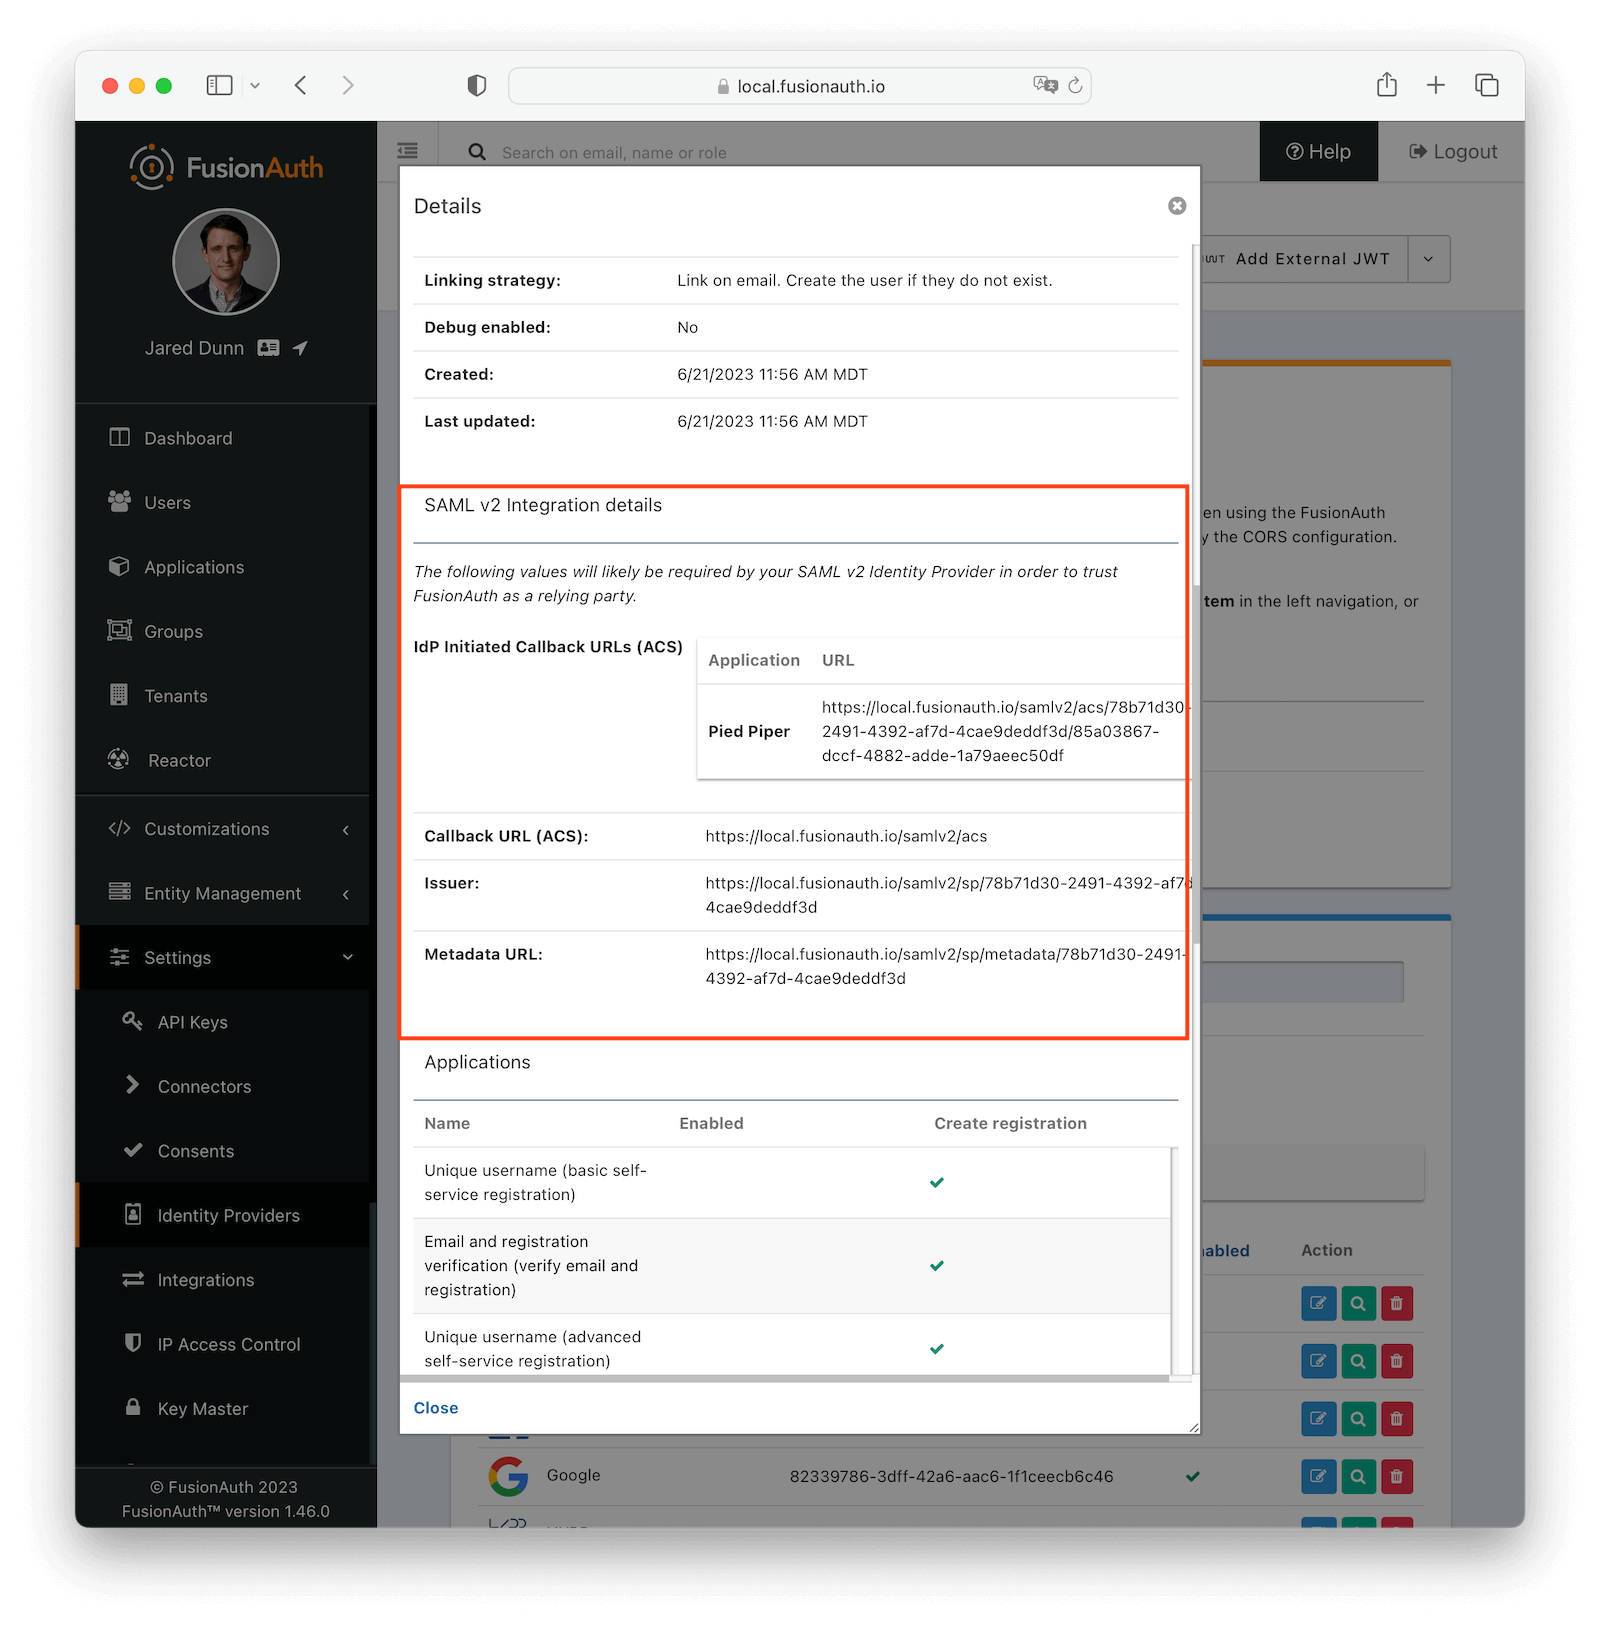
#### Fields
Settings -> System -> CORS and add the SAML IdP origin as an Allowed Origin the CORS configuration.
Once you complete your SAML v2 Identity Provider configuration, if your CORS configuration is not yet configured to allow the login request to complete you will be shown the following warning prompting you to complete the CORS configuration. See [CORS Filter reference](/docs/operate/secure/cors) for additional details on modifying the CORS configuration.
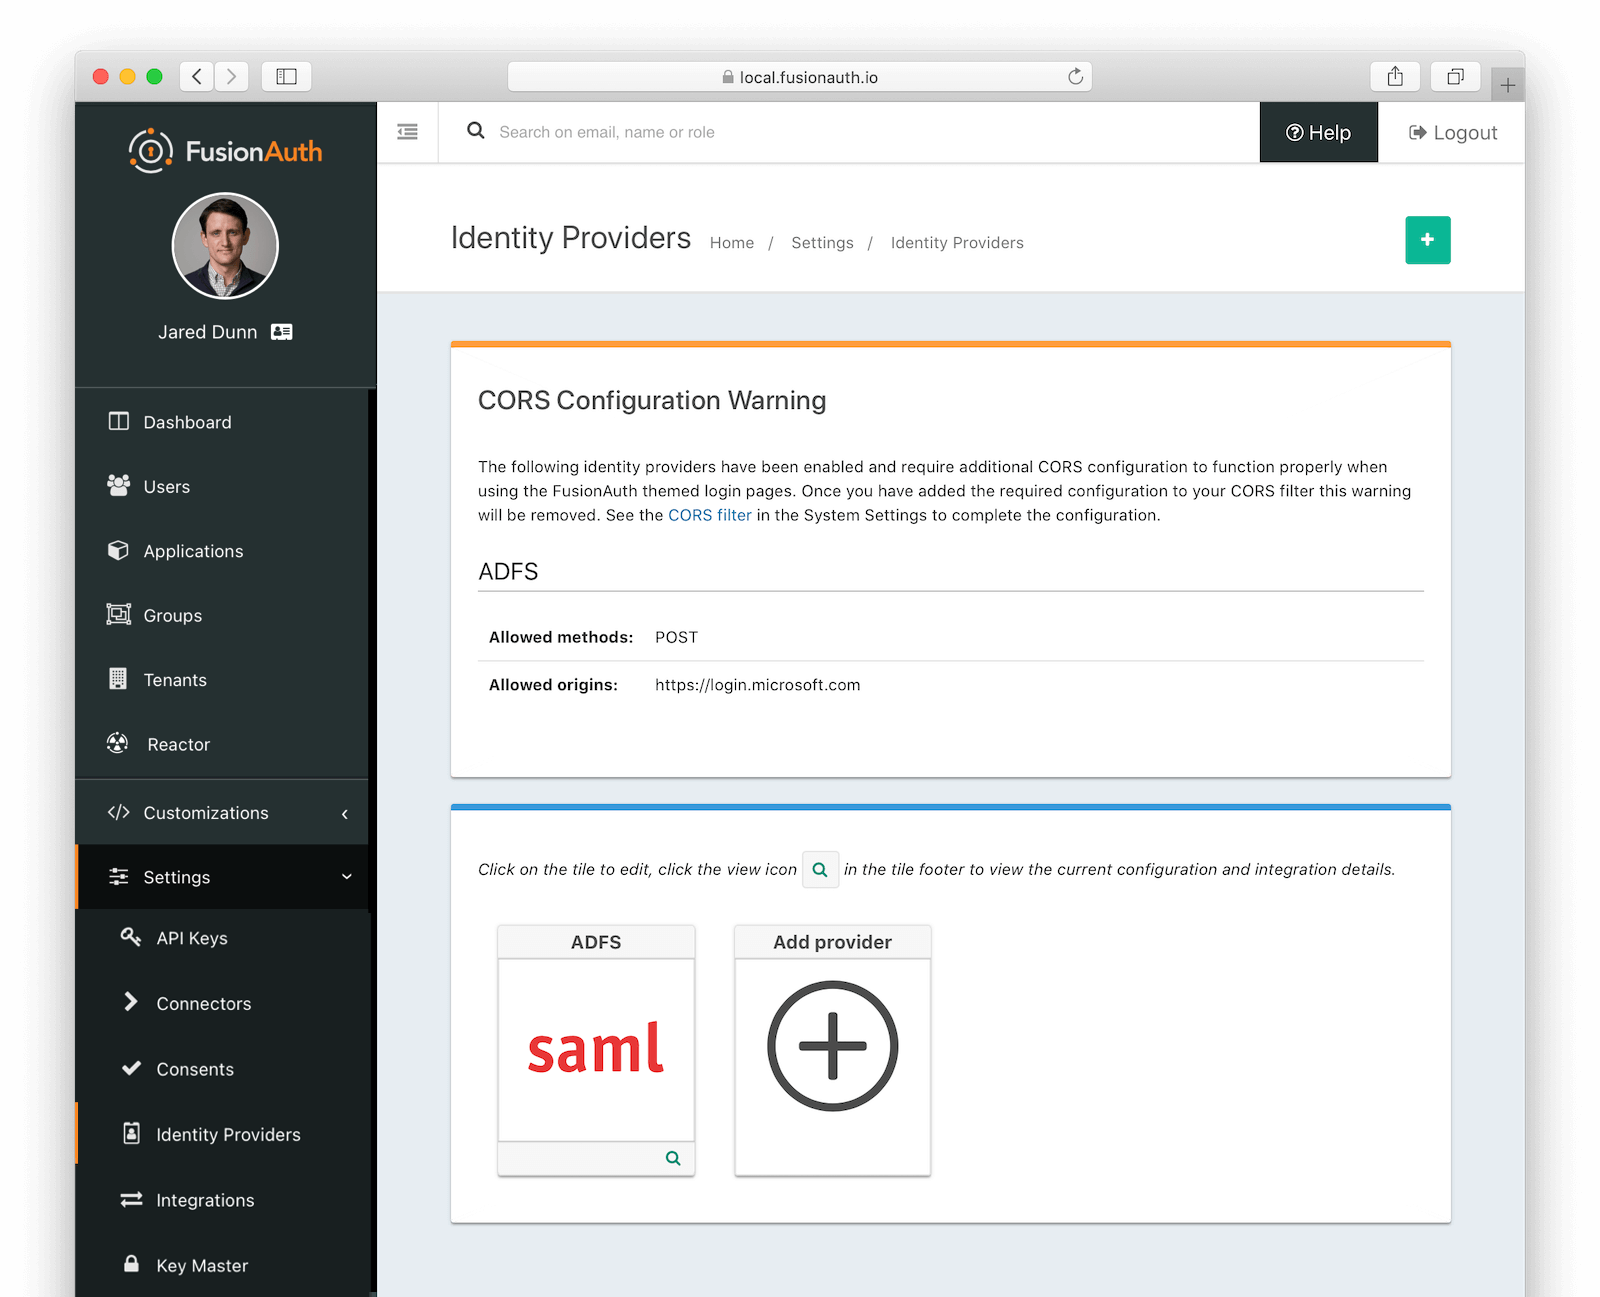
## Redirects
After a user has logged into their SAML IdP and then sent back to FusionAuth, they can be redirected to another URL. To do so, follow these steps:
* Determine the URL you want the user to arrive at after logging in. Suppose that URL is `https://example.com/welcome`.
* Make sure that `https://example.com/welcome` is added to the Authorized Redirect URLs field in the Application configuration.
* URL encode the URL. `https://example.com/welcome` becomes `https%3A%2F%2Fexample.com%2Fwelcome`.
* Append the URL encoded value to the ACS you are putting in the IdP. It might look something like this: `https://local.fusionauth.io/samlv2/acs?RelayState=https%3A%2F%2Fexample.com%2Fwelcome`.
If you do not provide a `RelayState` parameter, the user will be redirected to the first Authorized redirect URI found in the FusionAuth Application OAuth configuration.
See [SAML v2 Integration Details](/docs/lifecycle/authenticate-users/identity-providers/overview-samlv2#saml-v2-integration-details) for additional details.
### Redirects And Lambdas
While you can configure a lambda to be executed when a user logs in to FusionAuth using SAML, they cannot affect the end destination of a user. Instead, they allow you to examine a read-only SAML response and add, modify, or remove attributes from the user or registration objects.
## Troubleshooting
Debug option and then navigate to System -> Event Log .
Proceed through the SAML flow and review the Event log entries to see if there are any configuration issues.
## Limitations
Settings -> Tenants in FusionAuth and selecting the JWT tab, you will see the tenant JWT configuration settings.
The following is an example screenshot of the tenant JWT configuration.

### JSON Web Token Settings
Applications from the main menu, you can also configure the JWT parameters, including the signing algorithm, on a per application basis. If you don't select to enable Application specific JWT configuration, the tenant configuration will be used.
The following is an example screenshot of an Application specific JWT configuration.

### JSON Web Token Settings
Settings -> Applications -> Security Tab . Here you will find the Login API settings. Ensure that both Generate Refresh Tokens and Enable JWT refresh fields are enabled.
FusionAuth provides refresh tokens in the response from the [Login API](/docs/apis/login) provided that you supply these elements:
* `loginId` - the User's login Id
* `password` - the User's password or Authentication Token
* `applicationId` - the identifier for the Application the user is logging into
If all of these attributes are supplied to the [Login API](/docs/apis/login) then FusionAuth will produce a refresh token.
The refresh token will be returned in the JSON in the response body as well as in a cookie header. The refresh token will be in a parameter called `refreshToken` in the JSON response and the HTTP Only persistent cookie will be named `refresh_token`.
Here is an example of this `Set-Cookie` response header for a refresh token.
```plaintext title="Example HTTP Cookie Header"
Set-Cookie: refresh_token=eu1SsrjsiDf3h3LryUjxHIKTS0yyrbiPcsKF3HDp; Max-Age=2592000; Expires=Fri, 29-Sep-2017 15:20:24 GMT; Secure; HttpOnly
```
Here is an example of the JSON response body that contains the refresh token:
An optional request header that enables using an existing access token (JWT) to bootstrap the SSO session.
For more information and examples, see [Bootstrapping SSO](/docs/lifecycle/authenticate-users/single-sign-on#bootstrapping-sso).
#### Request Parameters
The unique client identifier.
The client Id is the Id of the FusionAuth Application in which you are attempting to authenticate.
The `code_challenge` parameter as described in the [Proof Key for Code Exchange by OAuth Public Clients (PKCE)](https://tools.ietf.org/html/rfc7636) specification.
When this parameter is provided during the Authorization request, a corresponding code_verifier parameter is required on the subsequent `POST` to the `/oauth2/token` endpoint.
The `code_challenge_method` parameter as described in the [Proof Key for Code Exchange by OAuth Public Clients (PKCE)](https://tools.ietf.org/html/rfc7636) specification.
The possible values are:
- `S256` - SHA-256
An optional unique Identity Provider Id that can allow you to bypass the FusionAuth login page.
Adding this request parameter will cause the FusionAuth login page to be skipped, and instead a `302` will be returned with a `Location` header of the IdP login URL. The end result is functionally equivalent to the end user clicking on the Login with Pied Piper button, or entering their email address when using the IdP configuration with managed domains.
The [locale](/docs/reference/data-types#locales) to be used to render the login page.
This is useful if you already know the user's preferred locale before redirecting the user to FusionAuth.
See the [Theme Localization](/docs/customize/look-and-feel/localization) documentation for more information.
An optional email address or top level domain that can allow you to bypass the FusionAuth login page when using managed domains.
If using managed domains, adding this request parameter will cause the FusionAuth login page to be skipped, and instead a `302` will be returned with a `Location` header of the IdP login URL. The end result is functionally equivalent to the end entering their email address when using the IdP configuration with managed domains.
If not using managed domains, providing an email address using this parameter prepopulates the email address in the login page.
An optional parameter that indicates the authenticated SSO session maximum age in seconds. This is called the Maximum Authentication Age in the OpenID specification.
A user with an SSO session older than the time specified by this parameter will be required to reauthenticate.
A value of `0` is equal to `prompt=login`.
Note that this parameter by itself does not guarantee that the user is reauthenticated. See [OIDC Prompt Security Considerations](/docs/lifecycle/authenticate-users/oauth/prompt#security-considerations) for implementation details.
A human readable description of the device used during login.
This metadata is used to describe the refresh token that may be generated for this login request.
The `nonce` parameter as described in the [OpenID Connect core](https://openid.net/specs/openid-connect-core-1_0.html) specification.
When this parameter is provided during the Authorization request, the value will be returned in the `id_token`.
An optional case sensitive space-delimited parameter for additional control of silent authentication, forced reauthentication, and consent prompts.
The possible values are:
- `none` - No user interface is displayed. An error is returned if the user is not already authenticated.
- `login` - The user will be prompted for authentication when there's an existing SSO session.
- `consent` - Always prompt for consent from the user.
Note that `prompt=login` doesn't guarantee that the user is reauthenticated. See [OIDC Prompt](/docs/lifecycle/authenticate-users/oauth/prompt#security-considerations) for implementation details, security considerations, limitations and example usage.
The URI to redirect to upon a successful request.
This URI must have been configured previously in the FusionAuth Application OAuth configuration.
See Applications in the FusionAuth User Guide for additional information on configuring the redirect URI.
Determines how the result parameters are to be returned to the caller.
When this parameter is not provided the default response mode will be used based upon the response_type field.
The default when the response_type is set to `code` is `query`, the default when the response_type is set to `token`, `token id_token` or `id_token` is `fragment`.
The possible values are:
* `form_post`
* `fragment`
* `query` - This response mode can only be used when the response_type is set to `code`.
In general, you only need to provide this parameter when you wish to use the `form_post` response mode.
The requested response type.
For the Authorization Code Grant, this value must be set to `code`.
If you are using OpenID Connect, the request must contain this parameter and at minimum it must contain `openid`.
This parameter may contain multiple space separated scopes.
For example, the value of `openid offline_access` provides two scopes on the request.
Example scopes which modify the behavior of the endpoint:
* `openid` - This scope is used to request an `id_token` be returned in the response
* `offline_access` - This scope is used to request a `refresh_token` be returned in the response
[Learn more about scopes, including custom scopes.](/docs/lifecycle/authenticate-users/oauth/scopes)
The optional state parameter. This is generally used as a Cross Site Request Forgery (CSRF) token or to provide deeplinking support.
Any value provided in this field will be returned on a successful redirect.
See [OpenID Connect core](https://openid.net/specs/openid-connect-core-1_0.html) specification for additional information on how this parameter may be utilized.
The unique Tenant Id used for applying the proper theme.
The end-user verification code.
This parameter is required on requests implementing the user-interaction of the Device Authorization Grant flow.
### Response
_Response Codes_
| Code | Description |
|------|------------------------------------------------------------------------------------------------------------------------------------------------------------------------------------------------------------------------------------------------|
| 200 | The request was successful. The user is not logged in, the response will contain an HTML form to collect login credentials. |
| 302 | The requested user is already logged in, the request will redirect to the location specified in the `redirect_uri` on the request. |
| 400 | The request was invalid and/or malformed. The response will contain a JSON message with the specific errors or errors on the redirect URI. The error responses are covered in the [OAuth Error section](#oautherror) of the API documentation. |
| 500 | There was a FusionAuth internal error. A stack trace is provided and logged in the FusionAuth log files. |
| 503 | The search index is not available or encountered an exception so the request cannot be completed. The response will contain a JSON body. |
The following is an example HTTP 302 redirect, line breaks added to improve readability.
```plaintext title="Example HTTP Redirect Response"
HTTP/1.1 302 Found
Location: https://piedpiper.com/callback?
code=pU2DHOWjSCVh6NJKi1ClhBYNKfuqbZVT
&locale=fr
&state=abc123
&userState=Authenticated
```
#### Redirect Parameters
An optional request header that enables using an existing access token (JWT) to bootstrap the SSO session.
See [Bootstrapping SSO](/docs/lifecycle/authenticate-users/single-sign-on#bootstrapping-sso) for additional information and examples.
#### Request Parameters
The unique client identifier.
The client Id is the Id of the FusionAuth Application in which you are attempting to authenticate.
An optional unique Identity Provider Id that can allow you to bypass the FusionAuth login page.
Adding this request parameter will cause the FusionAuth login page to be skipped, and instead a `302` will be returned with a `Location` header of the IdP login URL. The end result is functionally equivalent to the end user clicking on the Login with Pied Piper button, or entering their email address when using the IdP configuration with managed domains.
The [locale](/docs/reference/data-types#locales) to be used to render the login page.
This is useful if you already know the user's preferred locale before redirecting the user to FusionAuth.
See the [Theme Localization](/docs/customize/look-and-feel/localization) documentation for more information.
An optional email address or top level domain that can allow you to bypass the FusionAuth login page when using managed domains.
If using managed domains, adding this request parameter will cause the FusionAuth login page to be skipped, and instead a `302` will be returned with a `Location` header of the IdP login URL. The end result is functionally equivalent to the end entering their email address when using the IdP configuration with managed domains.
If not using managed domains, providing an email address using this parameter prepopulates the email address in the login page.
An optional parameter that indicates the authenticated SSO session maximum age in seconds. This is called the Maximum Authentication Age in the OpenID specification.
A user with an SSO session older than the time specified by this parameter will be required to reauthenticate.
A value of `0` is equal to `prompt=login`.
Note that this parameter by itself does not guarantee that the user is reauthenticated. See [OIDC Prompt Security Considerations](/docs/lifecycle/authenticate-users/oauth/prompt#security-considerations) for implementation details.
The `nonce` parameter as described in the [OpenID Connect core](https://openid.net/specs/openid-connect-core-1_0.html) specification.
When this parameter is provided during the Authorization request, the value will be returned in the `id_token` if requested by the `response_type` parameter.
An optional case sensitive space-delimited parameter for additional control of silent authentication, forced reauthentication, and consent prompts.
The possible values are:
- `none` - No user interface is displayed. An error is returned if the user is not already authenticated.
- `login` - The user will be prompted for authentication when there's an existing SSO session.
- `consent` - Always prompt for consent from the user.
Note that `prompt=login` doesn't guarantee that the user is reauthenticated. See [OIDC Prompt](/docs/lifecycle/authenticate-users/oauth/prompt#security-considerations) for implementation details, security considerations, limitations and example usage.
The URI to redirect to upon a successful request.
This URI must have been configured previously in the FusionAuth Application OAuth configuration.
See Applications in the FusionAuth User Guide for additional information on configuring the redirect URI.
Determines how the result parameters are to be returned to the caller.
When this parameter is not provided the default response mode will be used based upon the response_type field.
The default when the response_type is set to `code` is `query`, the default when the response_type is set to `token`, `token id_token` or `id_token` is `fragment`.
The possible values are:
* `form_post`
* `fragment`
* `query` - This response mode can only be used when the response_type is set to `code`.
In general, you only need to provide this parameter when you wish to use the `form_post` response mode.
The requested response type, this value determines which tokens will be returned in the redirect URL.
For the Implicit Grant, this value must be set to one of the following values:
* `token` - Return an `access_token`
* `token id_token` - Return both the `access_token` and the `id_token`
* `id_token` - Return an `id_token`
The `token` response type is not supported when using OpenID Connect.
This means that if you specify the `openid` scope the `token` response type is not allowed.
The `nonce` parameter as described in the [OpenID Connect core](https://openid.net/specs/openid-connect-core-1_0.html) specification.
When this parameter is provided during the Authorization request, the value will be returned in the `id_token` if requested by the `response_type` parameter.
If you are using OpenID Connect, the request must contain this parameter and at minimum it must contain `openid`.
These scopes modify the behavior of the endpoint:
* `openid` - This scope is used to request an `id_token` be returned in the response
The optional state parameter. This is generally used as a Cross Site Request Forgery (CSRF) token or to provide deeplinking support.
Any value provided in this field will be returned on a successful redirect.
See [OpenID Connect core](https://openid.net/specs/openid-connect-core-1_0.html) specification for additional information on how this parameter may be utilized.
The unique Tenant Id.
The end-user verification code.
This parameter is required on requests implementing the user-interaction of the Device Authorization Grant flow.
### Response
_Response Codes_
| Code | Description |
|------|-----------------------------------------------------------------------------------------------------------------------------------------------------------------------------------------------------------------------------------------------|
| 200 | The request was successful. The user is not logged in, the response will contain an HTML form to collect login credentials. |
| 302 | The requested user is already logged in, the request will redirect to the location specified in the `redirect_uri` on the request. |
| 400 | The request was invalid and/or malformed. The response will contain a JSON message with the specific errors or errors on the redirect URI. The error responses are covered in the [OAuth Error section](#oautherror) of the API documentation. |
| 500 | There was a FusionAuth internal error. A stack trace is provided and logged in the FusionAuth log files. |
| 503 | The search index is not available or encountered an exception so the request cannot be completed. The response will contain a JSON body. |
```plaintext title="Example HTTP Redirect Response"
HTTP/1.1 302 Found
Location: https://piedpiper.com/callback#
access_token=eyJhbGciOiJIUzI1NiIsInR5cCI6IkpXVCJ9.eyJleHAiOjE0ODUxNDA5ODQsImlhdCI6MTQ4NTEzNzM4NCwiaXNzIjoiYWNtZS5jb20iLCJzdWIiOiIyOWFjMGMxOC0wYjRhLTQyY2YtODJmYy0wM2Q1NzAzMThhMWQiLCJhcHBsaWNhdGlvbklkIjoiNzkxMDM3MzQtOTdhYi00ZDFhLWFmMzctZTAwNmQwNWQyOTUyIiwicm9sZXMiOltdfQ.Mp0Pcwsz5VECK11Kf2ZZNF_SMKu5CgBeLN9ZOP04kZo
&expires_in=3599
&id_token=eyJhbGciOiJIUzI1NiIsInR5cCI6IkpXVCJ9.eyJleHAiOjE0ODUxNDA5ODQsImlhdCI6MTQ4NTEzNzM4NCwiaXNzIjoiYWNtZS5jb20iLCJzdWIiOiIyOWFjMGMxOC0wYjRhLTQyY2YtODJmYy0wM2Q1NzAzMThhMWQiLCJhcHBsaWNhdGlvbklkIjoiNzkxMDM3MzQtOTdhYi00ZDFhLWFmMzctZTAwNmQwNWQyOTUyIiwicm9sZXMiOltdfQ.Mp0Pcwsz5VECK11Kf2ZZNF_SMKu5CgBeLN9ZOP04kZo
&locale=fr
&scope=openid
&state=abc123
&token_type=Bearer
&userState=Authenticated
```
#### Redirect Parameters
The OAuth access token as described by [RFC 6749 Section 1.4](https://tools.ietf.org/html/rfc6749#section-1.4).
This request parameter will be omitted if an access token was not requested in the response_type request parameter.
See the [OAuth Tokens](/docs/lifecycle/authenticate-users/oauth/tokens#access-token) documentation for more information.
The number of seconds the access token will remain active.
This request parameter will be omitted if an access token was not requested in the response_type request parameter.
The OpenID Id Token.
This token is represented as a JSON Web Token (JWT).
This request parameter will be omitted if an id token was not requested in the response_type request parameter.
See the [OAuth Tokens](/docs/lifecycle/authenticate-users/oauth/tokens#id-token) documentation for more information.
The [locale](/docs/reference/data-types#locales) that was used to render the login page, or a previously selected locale by the user during a previous session.
This may be useful to know in your own application so you can continue to localize the interface for the language the user selected while on the FusionAuth login page.
See the [Theme Localization](/docs/customize/look-and-feel/localization) documentation for more information.
The state that was provided on the Authorization request.
This parameter will be omitted if the state request parameter was not provided.
The token type.
The value will be `Bearer` if an access token was requested in the response_type request parameter, this request parameter will otherwise be omitted.
The FusionAuth user state.
The possible values are:
* `Authenticated` - The user is successfully authenticated for the requested application.
* `AuthenticatedNotRegistered` - The user is successfully authenticated, but not registered for the requested application.
* `AuthenticatedNotVerified` - The user is successfully authenticated, but the user's email address has not been verified.
* `AuthenticatedRegistrationNotVerified` - The user is successfully authenticated and registered, but the registration has not been verified for the requested application.
## Logout
This endpoint provides a mechanism to invalidate the user's session held by FusionAuth, this effectively logs the user out of the FusionAuth SSO. Calling this endpoint does not revoke refresh tokens or JWTs. You can revoke the former by using the [Revoke Refresh Tokens API](/docs/apis/jwt). To revoke JWTs, [implement a revocation strategy](/articles/tokens/revoking-jwts).
Since `1.10.0` The logout behavior follows that of the [OpenID Connect Front-Channel Logout](https://openid.net/specs/openid-connect-frontchannel-1_0.html) specification.
The Logout URL used for each application is determined using the following precedence:
1. The logoutURL of the Application if defined.
2. The logoutURL configured on the Tenant if defined.
3. `/`
You can learn more about logout in the [Logout And Session Management guide](/docs/lifecycle/authenticate-users/logout-session-management).
### Request
The unique client identifier.
The client Id is the Id of the FusionAuth Application in which you are requesting to logout, this value is used to identify the correct redirect URI.
Generally speaking this parameter is required, if you are using the id_token_hint , this parameter becomes redundant because the application can be identified based upon the `id_token`.
If you do not provide the id_token_hint and you also omit this parameter, the request will not fail, but the logout URL defined in the Tenant configuration will be utilized.
If the Tenant logout URL is not defined, the request will result in a redirect to the current base URL at the root path of `/`.
The `id_token_hint` parameter as described in the [OpenID Connect Session Management](https://openid.net/specs/openid-connect-session-1_0.html#RPLogout) specification.
This is the previously issued `id_token` passed to the logout endpoint as a hint about the End-User's current authenticated session with the Client.
This parameter is only used if `client_id` is not provided.
Note that prior to version `1.37.0` this parameter would only work if it was not expired. This was corrected in version `1.37.0` and as long as the token is signed by FusionAuth, even if expired, the token can be used to identify the user and application during the logout request.
The URI to redirect to upon a successful logout.
This URI must have been configured previously in the FusionAuth Application OAuth configuration as an Authorized Redirect URL .
See the [Core Concepts OAuth section](/docs/get-started/core-concepts/applications#oauth) for additional information on configuring redirect URIs.
If this parameter is omitted, the logout URL defined in the Application OAuth configuration will be utilized.
If an Application OAuth logout URL is not defined, the logout URL defined in the Tenant configuration will be utilized.
If the Tenant logout URL is not defined, the request will result in a redirect to the current base URL at the root path of `/`.
The `state` parameter as described in the [OpenID Connect Session Management](https://openid.net/specs/openid-connect-session-1_0.html#RPLogout) specification.
This is an opaque value used to maintain state between the logout request and the callback.
The unique Tenant Id used for applying the proper theme.
### Response
_Response Codes_
| Code | Description |
|------|----------------------------------------------------------------------------------------------------------------------------------------------------------------------------------------------------------------------------------------------------------------------------------------------------------------------------------------------------------------------------------------------------------------------------------------|
| 302 | The request was successful and the redirect location will be determined by using the configuration values in the following precedence:
* The `post_logout_redirect_uri` request parameter if present
* ThelogoutURL defined in the Application OAuth configuration
* ThelogoutURL defined in the Tenant OAuth configuration
* `/` {/* eslint-disable-line */} | | 400 | The request was invalid and/or malformed. The response will contain a JSON message with the specific errors. The error response JSON is covered in the [OAuth Error section](#oautherror) of the API documentation. | | 500 | There was a FusionAuth internal error. A stack trace is provided and logged in the FusionAuth log files. | | 503 | The search index is not available or encountered an exception so the request cannot be completed. The response will contain a JSON body. | ## Token This is an implementation of the Token endpoint as defined by the [IETF RFC 6749 Section 3.2](https://tools.ietf.org/html/rfc6749#section-3.2). ### Complete the Authorization Code Grant Request Authorization Code Grant : Exchange the Authorization Code for a Token If you will be using the Authorization Code grant, you will make a request to the Token endpoint to exchange the authorization code returned from the Authorize endpoint for an access token.
This value must be set to `application/x-www-form-urlencoded`.
#### Request Body
Ensure you are sending these parameters as form encoded data in the request body, do not send these parameters in a query string.
The unique client identifier.
The client Id is the Id of the FusionAuth Application in which you are attempting to authenticate.
This parameter is optional when the `Authorization` header is provided.
When the `Authorization` header is not provided, this parameter is then required.
Prior to version `1.3.1` this parameter was always required.
The client secret.
This parameter is optional when the `Authorization` header is provided.
Please see the [the Client Secret table](#client-secret) for more details.
The authorization code returned on the `/oauth2/authorize` response.
The `code_verifier` parameter as described in the [Proof Key for Code Exchange by OAuth Public Clients (PKCE)](https://tools.ietf.org/html/rfc7636) specification.
This parameter is required to complete this request when the code_challenge parameter was provided on the initial Authorize request.
The grant type to be used.
This value must be set to `authorization_code`
The URI to redirect to upon a successful request.
This URI must have been configured previously in the FusionAuth Application OAuth configuration.
See Applications in the FusionAuth User Guide for additional information on configuring the redirect URI.
```plaintext title="Example HTTP Request"
POST /oauth2/token HTTP/1.1
Host: piedpiper.fusionauth.io
Content-Type: application/x-www-form-urlencoded
Accept: */*
Content-Length: 436
client_id=3c219e58-ed0e-4b18-ad48-f4f92793ae32&code=+WYT3XemV4f81ghHi4V+RyNwvATDaD4FIj0BpfFC4Wzg&grant_type=authorization_code&redirect_uri=https%3A%2F%2Fwww.piedpiper.com%2Flogin
```
### Resource Owner Password Credentials Grant Request
Resource Owner Password Credentials Grant : Exchange User Credentials for a Token
If you will be using the Resource Owner Password Credential Grant, you will make a request to the Token endpoint to exchange the user's email and password for an access token.
This value must be set to `application/x-www-form-urlencoded`.
#### Request Body
Ensure you are sending these parameters as form encoded data in the request body, do not send these parameters in a query string.
The unique client identifier.
The client Id is the Id of the FusionAuth Application in which you are attempting to authenticate.
This parameter is optional when the `Authorization` header is provided.
When the `Authorization` header is not provided, this parameter is then required.
Prior to version `1.3.1` this parameter was always required.
The client secret.
This parameter is optional when the `Authorization` header is provided.
Please see the [the Client Secret table](#client-secret) for more details.
The grant type to be used.
This value must be set to `password`
A human readable description of the device used during login.
This metadata is used to describe the refresh token that may be generated for this login request.
For example:
> Erlich's iPhone
A human readable description of the device used during login.
This metadata is used to name the refresh token that may be generated for this login request.
For example:
> iOS Safari
The type of device represented by the `device` parameter. This metadata is used to describe the type of device represented by the refresh token that may be generated for this login request.
Prior to version 1.46.0, this value was restricted to the following types:
The login identifier of the user.
The login identifier can be either the `email` or the `username`.
The user's password.
The optional scope you are requesting during this grant.
This parameter may contain multiple space separated scopes.
For example, the value of `openid offline_access` provides two scopes on the request.
Available scopes:
* `openid` - This scope is used to request an `id_token` be returned in the response
* `offline_access` - This scope scope is used to request a `refresh_token` be returned in the response
The end-user verification code.
This parameter is required on requests implementing the user-interaction of the Device Authorization Grant flow.
```plaintext options="wrap" title="Example HTTP Request"
POST /oauth2/token HTTP/1.1
Host: piedpiper.fusionauth.io
Content-Type: application/x-www-form-urlencoded
Accept: */*
Content-Length: 436
client_id=3c219e58-ed0e-4b18-ad48-f4f92793ae32&grant_type=password&loginId=bishop%piedpiper.com&password=Setec+Astronomy
```
### Complete the Device Authorization Grant Request
This is the Device Access Token Request portion of the [Device Authorization Grant Specification](https://tools.ietf.org/html/rfc8628#section-3.4).
This value must be set to `application/x-www-form-urlencoded`.
#### Request Body
Ensure you are sending these parameters as form encoded data in the request body, do not send these parameters in a query string.
The unique client identifier.
The client Id is the Id of the FusionAuth Application in which you are attempting to authenticate.
This parameter is optional when the `Authorization` header is provided.
When the `Authorization` header is not provided, this parameter is then required.
The client secret.
This parameter is optional when the `Authorization` header is provided.
Please see the [the Client Secret table](#client-secret) for more details.
The grant type to be used.
This value must be set to `urn:ietf:params:oauth:grant-type:device_code`
```plaintext options="wrap" title="Example HTTP Request"
POST /oauth2/token HTTP/1.1
Host: piedpiper.fusionauth.io
Content-Type: application/x-www-form-urlencoded
Accept: */*
Content-Length: 166
client_id=3c219e58-ed0e-4b18-ad48-f4f92793ae32&device_code=GmRhmhcxhwAzkoEqiMEg_DnyEysNkuNhszIySk9eS&grant_type=urn%3Aietf%3Aparams%3Aoauth%3Agrant-type%3Adevice_code
```
### Response
The following response applies to the [Complete the Authorization Code Grant Request](#complete-the-authorization-code-grant-request), [Refresh Token Grant Request](#refresh-token-grant-request) and [Complete the Device Authorization Grant Request](#complete-the-device-authorization-grant-request) examples.
_Response Codes_
| Code | Description |
|------|---------------------------------------------------------------------------------------------------------------------------------------------------------------------------------------------------------------------|
| 200 | The request was successful. |
| 400 | The request was invalid and/or malformed. The response will contain a JSON message with the specific errors. The error response JSON is covered in the [OAuth Error section](#oautherror) of the API documentation. |
| 401 | The client could not be verified. Verify your `client_id` and `client_secret` are valid and authorized for this request. |
| 500 | There was a FusionAuth internal error. A stack trace is provided and logged in the FusionAuth log files. |
| 503 | The search index is not available or encountered an exception so the request cannot be completed. The response will contain a JSON body. |
#### Response Body
The OAuth access token as described by [RFC 6749 Section 1.4](https://tools.ietf.org/html/rfc6749#section-1.4).
See the [OAuth Tokens](/docs/lifecycle/authenticate-users/oauth/tokens#access-token) documentation for more information.
The time in seconds the token will expire from the time the response was generated.
The OpenID Id Token.
This token is represented as a JSON Web Token (JWT).
See the [OAuth Tokens](/docs/lifecycle/authenticate-users/oauth/tokens#id-token) documentation for more information.
This field will be returned in the response when `openid` scope was requested.
The refresh token as described by [RFC 6749 Section 1.5](https://tools.ietf.org/html/rfc6749#section-1.5)
This field will be returned in the response when `offline_access` scope was requested unless refresh tokens have been disabled for this application.
Whether a refresh token is allowed for an application can be controlled by the `oauthConfiguration.generateRefreshTokens` field in the [Application API](/docs/apis/applications) or the `Generate refresh tokens` toggle in the FusionAuth admin UI.
The unique Id of the refresh token. This Id can be used to retrieve or revoke a specific refresh token using the [Refresh Token API](/docs/apis/jwt).
This field will be returned when the `offline_access` scope was requested and refresh tokens are allowed for this application.
Whether a refresh token is allowed for an application can be controlled by the `oauthConfiguration.generateRefreshTokens` field in the [Application API](/docs/apis/applications) or the `Generate refresh tokens` toggle in the FusionAuth admin UI.
The space-separated list of scopes allowed by the user during the grant which generated this access token. This will only be present for Authorization Code and Password grants.
The token type as defined by [RFC 6749 Section 7.1](https://tools.ietf.org/html/rfc6749#section-7.1).
This value will always be `Bearer`.
The unique Id of the user that has been authenticated.
This user Id may be used to retrieve the entire user object using the /api/user API.
The previously issued encoded access token.
When provided on the request, this value will be relayed in the related JWT Refresh webhook event within the `original` field.
If both the cookie and request parameter are provided, the cookie will take precedence.
#### Request Headers
This value must be set to `application/x-www-form-urlencoded`.
#### Request Parameters
Ensure you are sending these parameters as form encoded data in the request body, do not send these parameters in a query string.
The previously issued encoded access token.
When provided on the request, this value will be relayed in the related JWT Refresh webhook event within the `original` field.
The unique client identifier.
The client Id is the Id of the FusionAuth Application in which you are attempting to authenticate.
This parameter is optional when the `Authorization` header is provided.
When the `Authorization` header is not provided, this parameter is then required.
Prior to version `1.3.1` this parameter was always required.
The client secret.
This parameter is optional when the `Authorization` header is provided.
Please see the [the Client Secret table](#client-secret) for more details.
The expiration time, in seconds, for the access and Id tokens (if the `openid` scope was included) that will be returned in the response.
When provided on the request, this value will override the default TTL, provided it is less than the default value. The default TTL is taken from application.jwtConfiguration.timeToLiveInSeconds if it is set there, otherwise it is taken from tenant.jwtConfiguration.timeToLiveInSeconds .
The grant type to be used.
This value must be set to `refresh_token`
The refresh token that you would like to use to exchange for an access token.
This parameter is optional and if omitted, the same scope requested during the authorization request will be used.
If provided, the scopes must be a space-delimited subset of those requested during the initial authorization request.
The refresh token maintains the set of scopes from the initial authorization request even if a subset of scopes is requested during a Refresh Token Grant.
Prior to version `1.50.0` the scopes must match those requested during the initial authorization request if provided.
The end-user verification code.
This code is required if using this endpoint to approve the Device Authorization.
```plaintext options="wrap" title="Example HTTP Request"
POST /oauth2/token HTTP/1.1
Host: piedpiper.fusionauth.io
Content-Type: application/x-www-form-urlencoded
Cookie: access_token=eyJhbGciOiJSUzI1NiIsInR5cCI6IkpXVCIsImtpZCI6IkFuYV91STRWbWxiMU5YVXZ0cV83SjZKZFNtTSJ9.eyJleHAiOjE1ODgzNTM0NjAsImlhdCI6MTU4ODM1MzQwMCwiaXNzIjoiZnVzaW9uYXV0aC5pbyIsInN1YiI6IjAwMDAwMDAwLTAwMDAtMDAwMS0wMDAwLTAwMDAwMDAwMDAwMCIsImF1dGhlbnRpY2F0aW9uVHlwZSI6IlBBU1NXT1JEIiwiZW1haWwiOiJ0ZXN0MEBmdXNpb25hdXRoLmlvIiwiZW1haWxfdmVyaWZpZWQiOnRydWUsInByZWZlcnJlZF91c2VybmFtZSI6InVzZXJuYW1lMCJ9.ZoIHTo3Pv0DpcELeX_wu-ZB_rd988jefZc2Ozu9_p59kttwqMm5PV8IDbgxJw9xcq9TFoNG8e_B6renoc11JC54UbiyeXBjF7EH01n9LDz-zTGqu9U72470Z4E7IPAHcyvJIBx4Mp9sgsEYAUm9Tb8ChudqNHhn6ZnXYI7Sew7CtGlu62f10wdBYGX0soYARHBv9CwhJC3-gsD2HLmqHAP_XhrpaYPNr5EAvmCHlM-JlTiEQ9bXwSc4gv-XbPQWamwy8Kcdb-g0EEAml_dC_b2CduwwYg0EoPQB3tQxzTUQzADi7K6q0CtQXv2_1VrRi6aQ4lt7v7t-Na39wGry_pA
Accept: */*
Content-Length: 436
client_id=3c219e58-ed0e-4b18-ad48-f4f92793ae32&grant_type=refresh_token&refresh_token=ze9fi6Y9sMSf3yWp3aaO2w7AMav2MFdiMIi2GObrAi-i3248oo0jTQ
```
### Response
_Response Codes_
| Code | Description |
|------|---------------------------------------------------------------------------------------------------------------------------------------------------------------------------------------------------------------------|
| 200 | The request was successful. |
| 400 | The request was invalid and/or malformed. The response will contain a JSON message with the specific errors. The error response JSON is covered in the [OAuth Error section](#oautherror) of the API documentation. |
| 401 | The client could not be verified. Verify your `client_id` and `client_secret` are valid and authorized for this request. |
| 500 | There was a FusionAuth internal error. A stack trace is provided and logged in the FusionAuth log files. |
| 503 | The search index is not available or encountered an exception so the request cannot be completed. The response will contain a JSON body. |
#### Response Body
The OAuth access token as described by [RFC 6749 Section 1.4](https://tools.ietf.org/html/rfc6749#section-1.4).
See the [OAuth Tokens](/docs/lifecycle/authenticate-users/oauth/tokens#access-token) documentation for more information.
The time in seconds the token will expire from the time the response was generated.
The OpenID Id Token.
This token is represented as a JSON Web Token (JWT).
See the [OAuth Tokens](/docs/lifecycle/authenticate-users/oauth/tokens#id-token) documentation for more information.
This field will be returned in the response when `openid` scope was requested during the initial authentication request when the refresh token was generated.
The token type as defined by [RFC 6749 Section 7.1](https://tools.ietf.org/html/rfc6749#section-7.1).
This value will always be `Bearer`.
The unique Id of the user that has been authenticated.
This user Id may be used to retrieve the entire user object using the /api/user API.
This value must be set to `application/x-www-form-urlencoded`.
#### Request Parameters
Ensure you are sending these parameters as form encoded data in the request body.
Do not send these parameters in a query string or as JSON.
The unique client identifier.
The client Id is the Id of the FusionAuth Entity in which you are attempting to authenticate.
This parameter is optional when the `Authorization` header is provided.
When the `Authorization` header is not provided, this parameter is required.
The client secret of the Entity.
This parameter is optional when the `Authorization` header is provided.
Please see the [the Client Secret table](#client-secret) for more details.
The grant type to be used.
This value must be set to `client_credentials`
This parameter is optional.
This is a space delimited set of the requested scopes for this grant request.
You will typically provide a scope specifying the target entity:
scope parameter:
```plaintext options="wrap" title="Example HTTP Request"
POST /oauth2/token HTTP/1.1
Host: piedpiper.fusionauth.io
Authorization: Basic MDkyZGJkZWQtMzBhZi00MTQ5LTljNjEtYjU3OGYyYzcyZjU5OitmY1hldDlJdTJrUWk2MXlXRDlUdTRSZVoxMTNQNnlFQWtyMzJ2NldLT1E9
Content-Type: application/x-www-form-urlencoded
Accept: */*
Content-Length: 436
grant_type=client_credentials
&scope=target-entity%3Ae13365f1-a270-493e-bd1b-3d239d753d53%3Aread
```
### Response
_Response Codes_
| Code | Description |
|------|---------------------------------------------------------------------------------------------------------------------------------------------------------------------------------------------------------------------|
| 200 | The request was successful. |
| 400 | The request was invalid and/or malformed. The response will contain a JSON message with the specific errors. The error response JSON is covered in the [OAuth Error section](#oautherror) of the API documentation. |
| 401 | The client could not be verified. Verify your `client_id` and `client_secret` are valid and authorized for this request. |
| 500 | There was a FusionAuth internal error. A stack trace is provided and logged in the FusionAuth log files. |
| 503 | The search index is not available or encountered an exception so the request cannot be completed. The response will contain a JSON body. |
#### Response Body
The OAuth access token as described by [RFC 6749 Section 1.4](https://tools.ietf.org/html/rfc6749#section-1.4).
See the [OAuth Tokens](/docs/lifecycle/authenticate-users/oauth/tokens#access-token) documentation for more information.
The time in seconds the token will expire from the time the response was generated.
The scope value from the request.
The token type.
The value will be `Bearer`.
This value must be set to `application/x-www-form-urlencoded`.
### Request Parameters
Ensure you are sending these parameters as form encoded data in the request body, do not send these parameters in a query string.
The unique client identifier.
The client Id is the Id of the FusionAuth Application in which you are attempting to authenticate.
This parameter may contain multiple scopes space separated.
For example, the value of `openid offline_access` provides two scopes on the request.
These scopes modify the behavior of the endpoint:
* `openid` - This scope is used to request an `id_token` be returned in the response
* `offline_access` - This scope is used to request a `refresh_token` be returned in the eventual [Token](#token) response.
* `idp-link` - This scope is used to begin a linking request from a game console.
Supported console links include Epic, Nintendo, Sony Playstation Network, Steam, and Xbox.
This scope format is as follows: `idp-link:{identityProviderId}:{token}`. When this scope is provided on the request, the token will be verified and when the device grant is complete, a link will be established between the FusionAuth user and the user represented by the provided token. If you need to send more than one token, separate each token using a colon character `:`. Here is an example format when more than one token is required: `idp-link:{identityProviderId}:{token1}:{token2}`.
```plaintext title="Example HTTP Request"
POST /oauth2/device_authorize HTTP/1.1
Host: piedpiper.fusionauth.io
Content-Type: application/x-www-form-urlencoded
Accept: */*
Content-Length: 436
client_id=3c219e58-ed0e-4b18-ad48-f4f92793ae32&scope=offline_access
```
### Response
_Response Codes_
| Code | Description |
|------|---------------------------------------------------------------------------------------------------------------------------------------------------------------------------------------------------------------------|
| 200 | The request was successful. |
| 400 | The request was invalid and/or malformed. The response will contain a JSON message with the specific errors. The error response JSON is covered in the [OAuth Error section](#oautherror) of the API documentation. |
| 500 | There was a FusionAuth internal error. A stack trace is provided and logged in the FusionAuth log files. |
#### Response Body
The device verification code.
The number of seconds the device_code and user_code tokens returned in the response will remain active.
The minimum amount of time in seconds that the client should wait between polling requests to the token endpoint.
The end-user verification code.
This value will generally be displayed on the device for the user to read and enter into an activation form.
The end-user verification URI on the authorization server.
This value will generally be displayed on the device to instruct the user where to navigate in order to find the form where they may enter the provided user_code .
A verification URI that includes the user_code .
This is the same value as returned in the verification_uri with the user_code appended as a request parameter.
This can be used to build a QR code or provide a clickable link that may pre-populate a form with the user_code .
user_code and return meta-data useful when building your own interactive workflow.
This endpoint is equivalent to the [Device Validate](#device-validate) endpoint, but it will return meta-data for the user_code in a JSON body.
This value must be set to `application/x-www-form-urlencoded`.
#### Request Parameters
Ensure you are sending these parameters as form encoded data in the request body, do not send these parameters in a query string.
The unique client identifier.
The client Id is the Id of the FusionAuth Application in which you are attempting to authenticate.
This parameter is optional when the `Authorization` header is provided.
When the `Authorization` header is not provided, this parameter is then required.
Prior to version `1.46.0` this parameter was always required.
The client secret.
This parameter is optional when the `Authorization` header is provided.
Please see the [the Client Secret table](#client-secret) for more details.
The end-user verification code.
This is the code that a user entered during the Device Authorization grant which you are requesting to be validated.
This value must be set to `application/x-www-form-urlencoded`.
#### Request Parameters
Ensure you are sending these parameters as form encoded data in the request body, do not send these parameters in a query string.
The end-user verification code.
This is the code that a user entered during the Device Authorization grant which you are requesting to be validated.
### Response
_Response Codes_
| Code | Description |
|------|---------------------------------------------------------------------------------------------------------------------------------------------------------------------------------------------------------------------|
| 200 | The request was successful. The response will contain a JSON body. |
| 400 | The request was invalid and/or malformed. The response will contain a JSON message with the specific errors. The error response JSON is covered in the [OAuth Error section](#oautherror) of the API documentation. |
| 401 | The provided client credentials are invalid, or the API key if provided is not valid. |
| 500 | There was a FusionAuth internal error. A stack trace is provided and logged in the FusionAuth log files. |
#### Response Body
The unique client identifier provided on the Device Authorize request.
The optional device description provided on the Device Authorize request.
The optional device name provided on the Device Authorize request.
The optional device type provided on the Device Authorize request.
The number of seconds the device_code and user_code tokens will remain active.
This is how long you have to complete the Device grant.
The human readable name of the user represented by the linking token provided in the `idp-link:` scope value optionally provided on the Device Authorize request.
The unique Identity Provider Id associated with the linking token provided in the `idp-link:` scope value optionally provided on the Device Authorize request.
The name of the Identity Provider associated with the linking token provided in the `idp-link:` scope value optionally provided on the Device Authorize request.
The type of the Identity Provider associated with the linking token provided in the `idp-link:` scope value optionally provided on the Device Authorize request.
The unique user Id of the user represented by the linking token provided in the `idp-link:` scope value optionally provided on the Device Authorize request.
This value is a unique Id that links a FusionAuth user to a user in a third-party identity provider.
The value that should be used for the scope parameter during the interactive portion of the Device Code Grant.
The value contains the same scopes as the [Device Authorize](#device-authorize) request with the following scopes excluded:
* `openid`
* `offline_access`
* `idp-link:` prefixed scopes
The unique Id of the Tenant.
The end-user verification code. This is the same value that was provided in the request body.
user_code from the user-interaction of the Device Authorization Grant.
If you build your own activation form you should validate the user provided code prior to beginning the Authorization grant.
If you choose to redirect to the FusionAuth provided form `/oauth2/device` then it is not necessary for you to validate the user_code .
The unique client identifier.
The client Id is the Id of the FusionAuth Application in which you are attempting to authenticate.
The end-user verification code.
This is the code that a user entered during the Device Authorization grant which you are requesting to be validated.
### Response
_Response Codes_
| Code | Description |
|------|---------------------------------------------------------------------------------------------------------------------------------------------------------------------------------------------------------------------|
| 200 | The request was successful. No response body will be returned on successful validation. |
| 400 | The request was invalid and/or malformed. The response will contain a JSON message with the specific errors. The error response JSON is covered in the [OAuth Error section](#oautherror) of the API documentation. |
| 500 | There was a FusionAuth internal error. A stack trace is provided and logged in the FusionAuth log files. |
### Device Approve
Approve a user_code returned from the [Device Authorize](#device-authorize). If you are using the FusionAuth themed page for `/oauth2/device` you do not need to use this because the grant will be automatically approved once the user has completed authentication and the OAuth2 Grant has completed.
If you are building your own integration to collect the `user_code` from the end user, and wish to approve the Device Grant after authenticating the user, use this API to approve the device code allowing the Device Grant to complete.
This value must be set to `application/x-www-form-urlencoded`.
#### Request Parameters
Ensure you are sending these parameters as form encoded data in the request body, do not send these parameters in a query string.
The unique client identifier.
The client Id is the Id of the FusionAuth Application in which you are attempting to authenticate.
This parameter is optional when the `Authorization` header is provided.
When the `Authorization` header is not provided, this parameter is then required.
Prior to version `1.3.1` this parameter was always required.
The client secret.
This parameter is optional when the `Authorization` header is provided.
Please see the [the Client Secret table](#client-secret) for more details.
The access token returned by this OAuth provider as the result of a successful authentication. This token must contain a `sub` claim which will be used to identify the FusionAuth User.
The end-user verification code.
### Response
_Response Codes_
| Code | Description |
|------|---------------------------------------------------------------------------------------------------------------------------------------------------------------------------------------------------------------------|
| 200 | The request was successful. The response will contain a JSON body. |
| 400 | The request was invalid and/or malformed. The response will contain a JSON message with the specific errors. The error response JSON is covered in the [OAuth Error section](#oautherror) of the API documentation. |
| 401 | The client could not be verified. Verify your `client_id` and `client_secret` are valid and authorized for this request. |
| 500 | There was a FusionAuth internal error. A stack trace is provided and logged in the FusionAuth log files. |
#### Response Body
The device grant status. This will always be `Approved`.
The optional device description provided on the Device Authorize request.
The optional device name provided on the Device Authorize request.
The optional device type provided on the Device Authorize request.
The human readable name of the user represented by the linking token provided in the `idp-link:` scope value optionally provided on the Device Authorize request.
The unique Identity Provider Id associated with the linking token provided in the `idp-link:` scope value optionally provided on the Device Authorize request.
The name of the Identity Provider associated with the linking token provided in the `idp-link:` scope value optionally provided on the Device Authorize request.
The type of the Identity Provider associated with the linking token provided in the `idp-link:` scope value optionally provided on the Device Authorize request.
The unique user Id of the user represented by the linking token provided in the `idp-link:` scope value optionally provided on the Device Authorize request.
This value is a unique Id that links a FusionAuth user to a user in a third-party identity provider.
The [instant](/docs/reference/data-types#instants) when the identity provider link was created.
The [instant](/docs/reference/data-types#instants) when the User logged in last using this identity provider.
The unique Id of the Tenant.
The unique Id of the User.
This value must be set to `application/x-www-form-urlencoded`.
#### Request Parameters
Ensure you are sending these parameters as form encoded data in the request body, do not send these parameters in a query string.
The unique client identifier.
The client Id is the Id of the FusionAuth Application in which you are attempting to authenticate.
This parameter is optional when the `Authorization` header is provided.
When the `Authorization` header is not provided, this parameter is then required.
Prior to version `1.46.0` this parameter was always required.
The client secret.
This parameter is optional when the `Authorization` header is provided.
Please see the [the Client Secret table](#client-secret) for more details.
The access token returned by this OAuth provider as the result of a successful authentication.
Starting in version `1.46.0` this endpoint will also accept a token generated by the Client Credentials Grant.
An optional hint to identify the token type.
When this value is omitted, the token can be an `access_token` or `id_token`. When this value is specified, it must match the token type.
In order to use a refresh token, this value must be set to `refresh_token`.
The possible values are:
- `access_token`
- `id_token`
- `refresh_token`
```plaintext options="wrap" title="Example HTTP Request"
POST /oauth2/introspect HTTP/1.1
Host: piedpiper.fusionauth.io
Content-Type: application/x-www-form-urlencoded
Accept: */*
Content-Length: 436
client_id=3c219e58-ed0e-4b18-ad48-f4f92793ae32&token=eyJhbGciOiJIUzI1NiIsInR5cCI6IkpXVCJ9.eyJleHAiOjE1MTM3MTM3NzIsImlhdCI6MTUxMzcxMDE3MiwiaXNzIjoiYWNtZS5jb20iLCJzdWIiOiI3MWMxZjE5Yy1kZTRlLTRiZDEtODc3My0zNThkYmIwNWYxNWEiLCJlbWFpbCI6ImRhbmllbEBpbnZlcnNvZnQuY29tIiwiYXBwbGljYXRpb 25JZCI6IjAwMDAwMDAwLTAwMDAtMDAwMC0wMDAwLTAwMDAwMDAwMDAwMSIsImF1dGhlbnRpY2F0aW9uVHlwZSI6IlBBU1NXT1JEIiwicm9sZXMiOltdfQ.KxfM37hlw-5mKXOP9bCm7O6qdQdleT4gJmudhFueiJA
```
### Response
_Response Codes_
| Code | Description |
|------|--------------------------------------------------------------------------------------------------------------------------------------------------------------------------------------------------------------------|
| 200 | The request was successful. |
| 400 | The request was invalid and/or malformed. The response will contain a JSON message with the specific errors. The error response JSON is covered in the [OAuth Error section](#oautherror) of the API documentation. |
| 401 | The token provided in the request was not issued for the `client_id` provided on the request. |
| 500 | There was a FusionAuth internal error. A stack trace is provided and logged in the FusionAuth log files. |
| 503 | The search index is not available or encountered an exception so the request cannot be completed. The response will contain a JSON body. |
#### Response Body
This is an example response body when the provided `access_token` was issued on behalf of a user using the Authorization Code Grant, Implicit Grant, Password Credentials Grant or Refresh Token Grant.
When this value is `true` the token is valid and additional claims will be provided in the response body.
When this value is `false` no claims will be provided in the response body.
The unique Id of the Application for which the user has been authenticated. This claim is only present if the user is registered for the application.
The `client_id` that was used to request the access token.
The time of the initial authentication request, expressed as [unix time](/docs/reference/data-types#unix-time). The value will not change even if the token is re-issued using a Refresh Token.
The method used to authenticate the user that resulted in the generated JWT.
The possible values are:
* `APPLE` - The user was authenticated using Apple.
The email address of the user.
The verification status of the email . This value is `true` when the email is verified.
The expiration instant of the access token, expressed as [unix time](/docs/reference/data-types#unix-time).
The instant the access token was issued, expressed as [unix time](/docs/reference/data-types#unix-time).
The issuer of the access token.
The unique identifier of the access token.
The phone number of the user if available. user.phoneNumber or user.mobilePhone will be used in this order of precedence.
The verification status of the phone_number . This value is `true` when the phone number is verified.
The username of the user whose claims are represented by this JWT.
The roles assigned to the user in the authenticated Application.
The scope of the access token. This will only be present if scope was requested during authentication.
The subject of the token. The value is the unique Id of the FusionAuth user.
The unique Id of the user's tenant.
When this value is `true` the token is valid and additional claims will be provided in the response body.
When this value is `false` no claims will be provided in the response body.
The intended audience of this access token. This value may be a string or an array of string values representing one to many intended entities.
The expiration instant of the access token, expressed as [unix time](/docs/reference/data-types#unix-time).
The instant the access token was issued, expressed as [unix time](/docs/reference/data-types#unix-time).
The issuer of the access token.
The unique identifier of the access token.
The optional permissions requested for this access token. If no permissions were requested, this token represents all permissions allowed by the grant.
The subject of the token. The value is the unique Id of the FusionAuth user.
The unique Id of the user's tenant.
The access token issued by FusionAuth as a result of completing one of the supported authorization grants.
Example header:
```
Authorization: Bearer [access_token]
```
### Response
_Response Codes_
| Code | Description |
|------|--------------------------------------------------------------------------------------------------------------------------------------------------------------------------------------------------------------------|
| 200 | The request was successful. The response will contain a JSON body. |
| 400 | The request was invalid and/or malformed. The response will contain a JSON message with the specific errors. The error response JSON is covered in the [OAuth Error section](#oautherror) of the API documentation. |
| 401 | The `Authorization` header containing the access token is missing or malformed. |
| 500 | There was a FusionAuth internal error. A stack trace is provided and logged in the FusionAuth log files. |
| 503 | The search index is not available or encountered an exception so the request cannot be completed. The response will contain a JSON body. |
#### Response Body
The tenant identifier.
The tenant identifier.
If provided then a specific issuer will be returned, when this property is not provided the default tenant Id will be used.
### Response
The response for this request should always return a `200` with a JSON body.
error and error_reason is documented below.
#### Error Parameters
The OAuth error response type.
In most cases these values are defined or suggested by an RFC or other specification.
The possible values are:
* `access_denied`
* `authorization_pending`
* `change_password_required`
* `consent_required`
* `expired_token`
* `interaction_required`
* `invalid_client`
* `invalid_grant`
* `invalid_request`
* `invalid_scope`
* `invalid_token`
* `login_required`
* `not_licensed`
* `server_error`
* `two_factor_required`
* `unauthorized_client`
* `unsupported_grant_type`
* `unsupported_response_type`
* `unsupported_token_type`
The human-readable OAuth error description.
This description should describe the error condition and it may contain a parameter value that caused the error.
The OAuth error reason.
These reason codes are defined by FusionAuth to provide you a specific reason code so that you may identify the specific reason the request failed.
The defined error codes as defined by OAuth2 or OpenID Connect only provide general indications such as an invalid request that may be caused by more than one parameter.
Each of the values returned in this field will represent a specific error.
The possible values are:
* `access_token_expired`
* `access_token_failed_processing`
* `access_token_invalid`
* `access_token_malformed`
* `access_token_required`
* `access_token_unavailable_for_processing`
* `auth_code_not_found`
* `authentication_required`
* `change_password_administrative`
* `change_password_breached`
* `change_password_expired`
* `change_password_validation`
* `client_authentication_missing`
* `client_id_mismatch`
* `consent_canceled`
* `consent_required`
* `email_verification_required`
* `grant_type_disabled`
* `invalid_additional_client_id`
* `invalid_client_authentication`
* `invalid_client_authentication_scheme`
* `invalid_client_id`
* `invalid_device_code`
* `invalid_entity_permission_scope`
* `invalid_expires_in`
* `invalid_grant_type`
* `invalid_id_token_hint`
* `invalid_origin`
* `invalid_origin_opaque`
* `invalid_pkce_code_challenge`
* `invalid_pkce_code_challenge_method`
* `invalid_pkce_code_verifier`
* `invalid_post_logout_redirect_uri`
* `invalid_prompt`
* `invalid_redirect_uri`
* `invalid_response_mode`
* `invalid_response_type`
* `invalid_target_entity_scope`
* `invalid_tenant_id`
* `invalid_user_code`
* `invalid_user_credentials`
* `invalid_user_id`
* `login_prevented`
* `missing_client_id`
* `missing_client_secret`
* `missing_code`
* `missing_code_challenge`
* `missing_code_verifier`
* `missing_device_code`
* `missing_grant_type`
* `missing_redirect_uri`
* `missing_refresh_token`
* `missing_required_scope`
* `missing_response_type`
* `missing_tenant_id`
* `missing_token`
* `missing_user_code`
* `missing_user_id`
* `missing_verification_uri`
* `multi_factor_challenge_required`
* `not_licensed`
* `phone_verification_required`
* `refresh_token_not_found`
* `refresh_token_type_not_supported`
* `registration_missing_requirement`
* `registration_required`
* `registration_verification_required`
* `unknown`
* `unknown_scope`
* `user_code_expired`
* `user_expired`
* `user_locked`
* `user_not_found`
The state that was provided on the Authorization request.
This parameter is only returned during an HTTP redirect if it was provided on the initial request.
## Client Secret
This table describes when the client_secret is required.
In each of the endpoint's documentation, it describes when and how to use the `client_secret` in the request body or the Authorization header using HTTP Basic Auth.
Even when the client secret is not required, if it is provided it will be validated.
Previous to version `1.28.0`, whether the client secret was required was controlled by the oauthConfiguration.requireClientAuthentication value of the application object.
In that case, a value of `true` is equivalent to a clientAuthenticationPolicy of `Required` and a value of `false` is equivalent to a clientAuthenticationPolicy of `NotRequired`.
For versions `1.28.0` or later, use oauthConfiguration.clientAuthenticationPolicy to configure this functionality.
_When Is the Client Secret Required_
| Grant | clientAuthenticationPolicy value | PKCE Used | Client Secret Required |
|----------------------------|----------------------------------|-----------|---------------------------|
| Authorization Code Grant | `Required` | - | Yes |
| Authorization Code Grant | `NotRequired` | - | No |
| Authorization Code Grant | `NotRequiredWhenUsingPKCE` | Yes | No |
| Authorization Code Grant | `NotRequiredWhenUsingPKCE` | No | Yes |
| Implicit Grant | N/A | - | - |
| Password Credentials Grant | `Required` | - | Yes |
| Password Credentials Grant | `NotRequired` | - | No |
| Refresh Token Grant | `Required` | - | Yes |
| Refresh Token Grant | `NotRequired` | - | No |
# Modes
import Aside from 'src/components/Aside.astro';
import Breadcrumb from 'src/components/Breadcrumb.astro';
import InlineField from 'src/components/InlineField.astro';
import InlineUIElement from 'src/components/InlineUIElement.astro';
## Overview
OAuth modes are ways that the OAuth and OIDC specifications are used. There are eight OAuth modes in common use today.
## The Modes
The OAuth modes are:
1. Local login and registration
2. Third-party login and registration _(federated identity)_
3. First-party login and registration _(reverse federated identity)_
4. Enterprise login and registration _(federated identity with a twist)_
5. Third-party service authorization
6. First-party service authorization
7. Machine-to-machine authentication and authorization
8. Device login and registration
There are multiple modes considered federated identity workflows. The reason to avoid the singular concept of "federated identity" is that each case is slightly different. Plus, the term federated identity is often overloaded and misunderstood.
To help clarify terms, the term "login" is used instead. However, this is generally the same as "federated identity" in that the user's identity is stored in an OAuth server and the authentication/authorization is delegated to that server.
Modes are orthogonal to the grant types specified in [RFC 6749](https://tools.ietf.org/html/rfc6749). Instead, they depend on who owns which piece of the system (the client, the resource server, the authorization server).
You can use the authorization code grant, client credentials grant, or other grant with any of the modes.
## Which OAuth Mode Is Right For You?
The list above has eight different ways you can use OAuth. Didn't you just want to add login to your application? How did things get so complex?
That's the power and the danger of OAuth. It is so flexible that people new to it can be overwhelmed. Here is a set of questions for you to ask yourself. The answers will help you choose.
* Are you looking to outsource your authentication and authorization to a safe, secure and standards-friendly auth system? Check out [Local Login and Registration](#local-login-and-registration).
* Trying to avoid storing any credentials because you don't want to handle passwords or other sensitive data? [Third-party Login and Registration](#third-party-login-and-registration) is what you want.
* Are you selling to Enterprise customers? [Enterprise Login and Registration](#enterprise-login-and-registration) will be of interest.
* Are you building service to service communication with no user interaction? Check out [Machine-to-machine Authorization](#machine-to-machine-authorization).
* Are you trying to let a user log in from a separate device without a friendly typing interface? If this is the case, check out [Device Login and Registration](#device-login-and-registration).
* Are you building a platform and want to allow other developers to ask for permissions to make calls to APIs or services on your platform? Review [First-party Login and Registration](#first-party-login-and-registration) and [First-party Service Authorization](#first-party-service-authorization).
* Do you have a user store already integrated and instead need to access a third party service on your users' behalf? Read up on [Third-party Service Authorization](#third-party-service-authorization).
## Local Login and Registration
The **Local login and registration** mode is when you are using an OAuth workflow to register or log users into your application. In this mode, you own both the OAuth server and the application. You might not have written the OAuth server (if you are using a product such as FusionAuth), but you control it.
In fact, this mode usually feels like the user is signing up or logging directly into your application via **native forms** and there is no delegation at all.
What do we mean by native forms? Most developers have at one time written their own login and registration forms directly into an application. They create a table called `users` and it stores everyone's `username` and `password`. Then they write the registration and the login forms (HTML or some other UI). The registration form collects the `username` and `password` and checks if the user exists in the database. If they don't, the application inserts the new user into the database. The login form collects the `username` and `password` and checks if the account exists in the database and logs the user in if it does. This type of implementation is what we call native forms.
The only difference between native forms and the **Local login and registration** OAuth mode is that with the latter you delegate the login and registration process to an OAuth server rather than writing everything by hand.
Additionally, since you control the OAuth server and your application, it would be odd to ask the user to "authorize" your application. Therefore, this mode does not include the permission grant screens that often are mentioned in OAuth tutorials. Never fear; we'll cover these in the next few sections.
So, how does this work in practice? Let's take a look at the steps for a fictitious web application called "The World's Greatest ToDo List" or "TWGTL" (pronounced "Twig-Til"):
1. A user visits TWGTL and wants to sign up and manage their ToDos.
2. They click the Sign Up button on the homepage.
3. This button takes them over to the OAuth server. In fact, it takes them directly to the registration form that is included as part of the OAuth workflow (this typically happens with the Authorization Code grant, if you are familiar with OAuth terminology).
4. They fill out the registration form and click Submit .
5. The OAuth server ensures this is a new user and creates their account.
6. The OAuth server redirects the browser back to TWGTL, which logs the user in.
7. The user uses TWGTL and adds their current ToDos.
8. The user stops using TWGTL; they head off and do some ToDos.
9. Later, the user comes back to TWGTL and needs to sign in to check off some ToDos. They click the My Account link at the top of the page.
10. This takes the user to the OAuth server's login page.
11. The user types in their username and password.
12. The OAuth server confirms their identity.
13. The OAuth server redirects the browser back to TWGTL, which logs the user in.
14. The user interacts with the TWGTL application, checking off those ToDos.
The user feels like they are registering and logging into TWGTL directly, but in fact, TWGTL is delegating this functionality to the OAuth server. The user is none-the-wiser so this is why we call this mode *Local login and registration*.
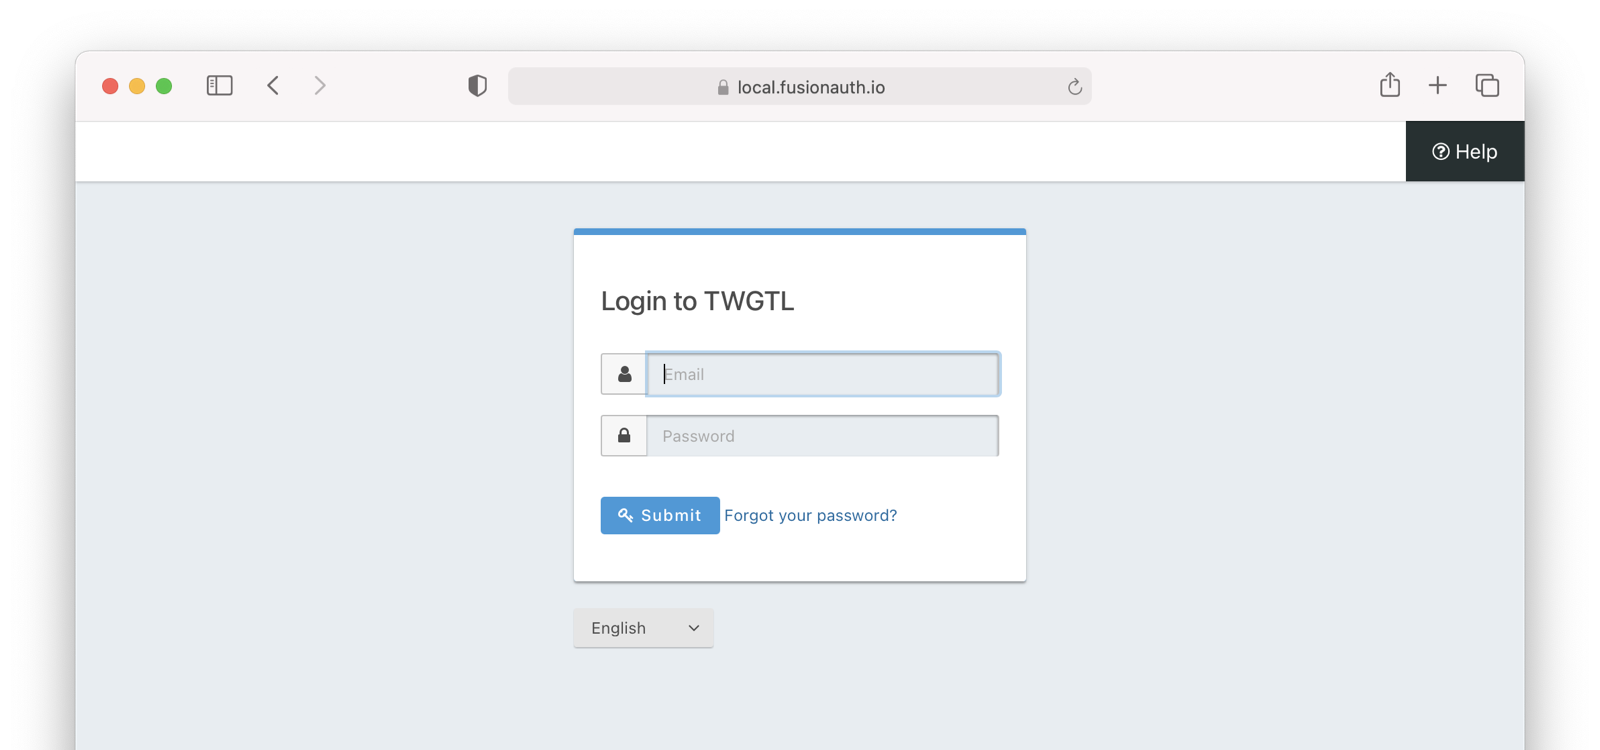 This mode allows you to control the entire login experience, yet still have it abstracted from all of your applications.
## Third-party Login and Registration
The **Third-party login and registration** mode is typically implemented with the classic
 Login with ... buttons you see in many applications. These buttons let users sign up or log in to your application by logging into one of their other accounts (i.e. Facebook or Google). Here, your application sends the user over to Facebook or Google to log in.
Let's use Facebook as an example OAuth provider. In most cases, your application will need to use one or more APIs from the OAuth provider in order to retrieve information about the user or do things on behalf of the user (for example sending a message on behalf of the user). In order to use those APIs, the user has to grant your application permissions. To accomplish this, the third-party service usually shows the user a screen that asks for certain permissions. These are called "scopes" in the OAuth specifications. We'll refer to these screens as the "permission grant screen" throughout the rest of the document.
For example, Facebook will present a screen asking the user to share their email address with your application. Once the user grants these permissions, your application can call the Facebook APIs using an access token.
Here's an example of the Facebook permission grant screen, where Zapier would like to access a user's email address:
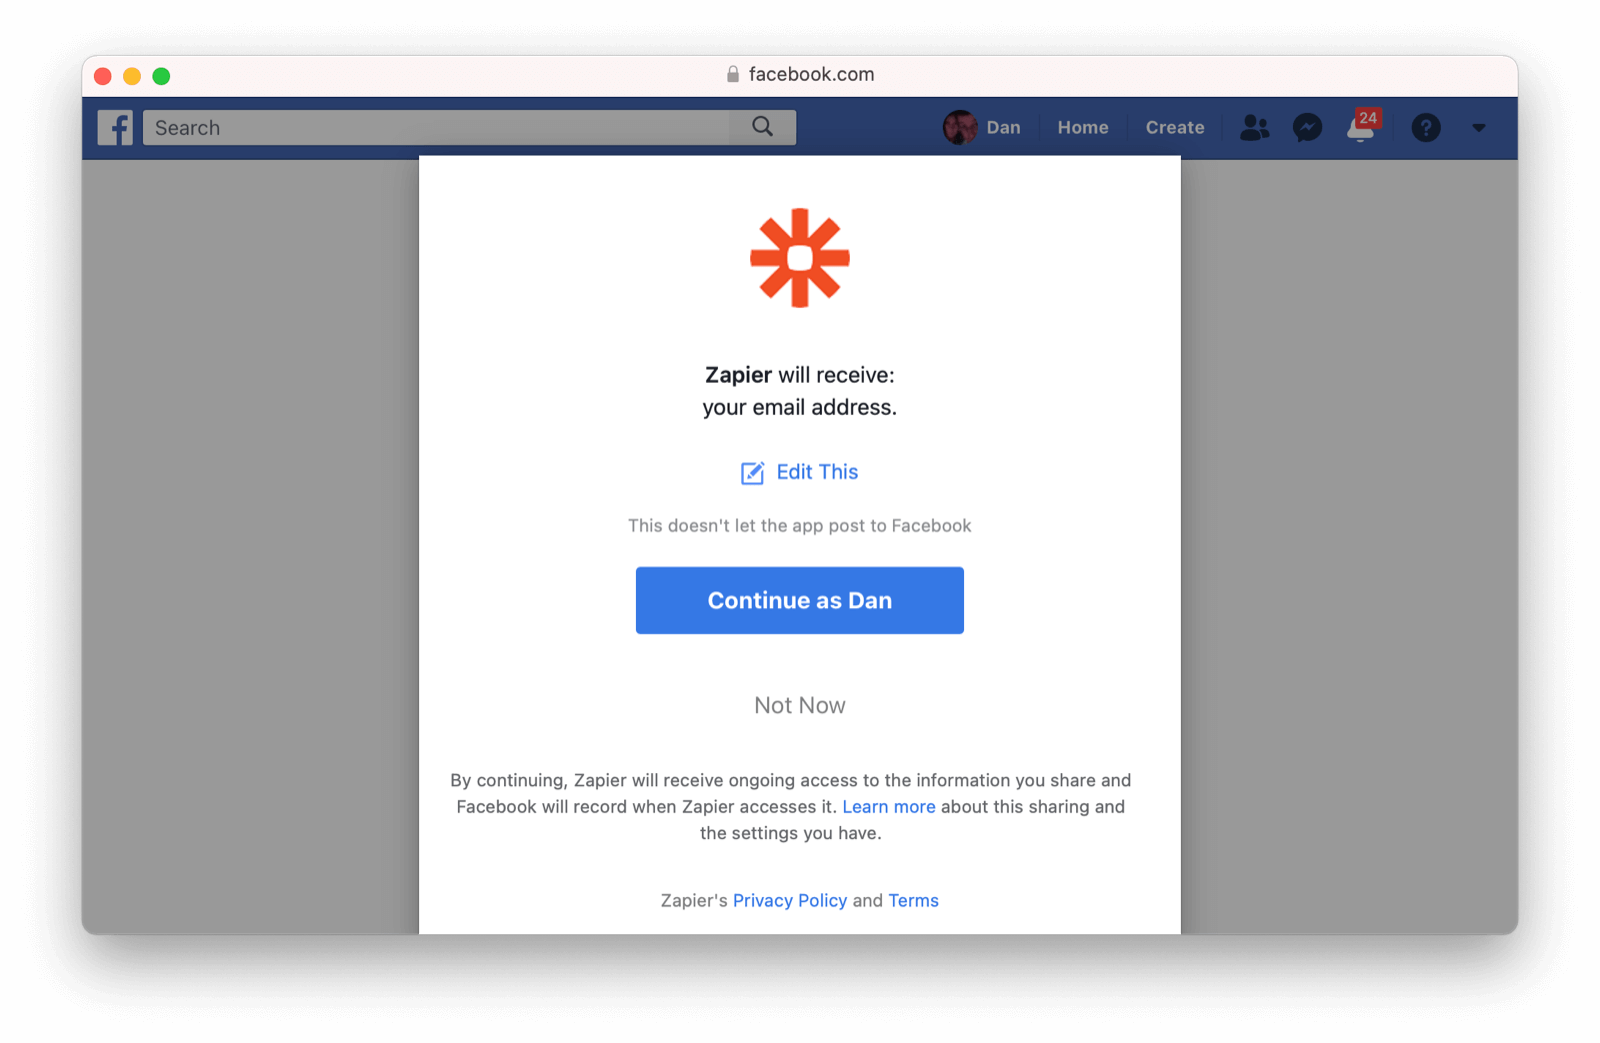 After the user has logged into the third-party OAuth server and granted your application permissions, they are redirected back to your application and logged into it.
This mode is different from the previous mode because the user logged in but also granted your application permissions to the service (Facebook). This is one reason so many applications leverage "Login with Facebook" or other social integrations. It not only logs the user in, but also gives them access to call the Facebook APIs on the user's behalf.
Social logins are the most common examples of this mode, but there are plenty of other third-party OAuth servers beyond social networks (GitHub or Discord for example).
This mode is a good example of federated identity. Here, the user's identity (username and password) is stored in the third-party system. They are using that system to register or log in to your application.
How does this work in practice? Let's take a look at the steps for our TWGTL application if we want to use Facebook to register and log users in:
1. A user visits TWGTL and wants to sign up and manage their ToDos.
2. They click the
 Sign Up button on the homepage.
3. On the login and registration screen, the user clicks the Login with Facebook button.
4. This button takes them over to Facebook's OAuth server.
5. They log in to Facebook (if they aren't already logged in).
6. Facebook presents the user with the permission grant screen based on the permissions TWGTL needs. This is done using OAuth scopes.
7. Facebook redirects the browser back to TWGTL, which logs the user in. TWGTL also calls Facebook APIs to retrieve the user's information.
8. The user begins using TWGTL and adds their current ToDos.
9. The user stops using TWGTL; they head off and do some ToDos.
10. Later, the user comes back to TWGTL and needs to log in to check off some of their ToDos. They click the My Account link at the top of the page.
11. This takes the user to the TWGTL login screen that contains the Login with Facebook button.
12. Clicking this takes the user back to Facebook and they repeat the same process as above.
You might be wondering if the **Third-party login and registration** mode can work with the **Local login and registration** mode. Absolutely! This is what I like to call **Nested federated identity**. Basically, your application delegates its registration and login forms to an OAuth server like FusionAuth.
Your application also allows users to sign in with Facebook by enabling that feature of the OAuth server (FusionAuth calls this the [Facebook Identity Provider](/docs/lifecycle/authenticate-users/identity-providers/social/facebook). It's a little more complex, but the flow looks something like this:
1. A user visits TWGTL and wants to sign up and manage their ToDos.
2. They click the Sign Up button on the homepage.
3. This button takes them over to the OAuth server's login page.
4. On this page, there is a button to "Login with Facebook" and the user clicks that.
5. This button takes them over to Facebook's OAuth server.
6. They log in to Facebook.
7. Facebook presents the user with the permission grant screen.
8. The user authorizes the requested permissions.
9. Facebook redirects the browser back to TWGTL's OAuth server, which reconciles out the user's account.
10. TWGTL's OAuth server redirects the user back to the TWGTL application.
11. The user is logged into TWGTL.
The nice part about this workflow is that TWGTL doesn't have to worry about integrating with Facebook (or any other provider) or reconciling the user's account. That's handled by the OAuth server. It's also possible to delegate to additional OAuth servers, easily adding "Login with Google" or "Login with Apple".
## First-party Login and Registration
The **First-party login and registration** mode is the inverse of the **Third-party login and registration** mode. Basically, if you happen to be an organization like Facebook in the examples above and your customer is playing the role of TWGTL, you are providing the OAuth server to your customer.
One benefit of using OAuth for this is that you are also providing a way for them to call your APIs on behalf of your users.
This type of setup is not just reserved for the massive social networks like Facebook and Google. More and more companies are offering this functionality to their customers and partners, therefore becoming platforms.
## Enterprise Login and Registration
The **Enterprise login and registration** mode is when your application allows users to sign up or log in with an enterprise identity provider such as a corporate Active Directory. This mode is very similar to the **Third-party login and registration** mode, but with a few critical differences.
First, it rarely requires the user to grant permissions to your application using a granting screen. Typically, a user does not have the option to grant or restrict permissions for your application, since such permissions are managed by IT in an enterprise directory or, less commonly, within your application.
Second, this mode does not apply to all users of an application. In most cases, this mode is only available to the subset of users who exist in the enterprise directory. The rest of your users will either log in directly to your application using **Local login and registration** or through the **Third-party login and registration** mode. In some cases, the user's email address determines the authentication source.
You might have noticed some login forms only ask for your email on the first step like this:
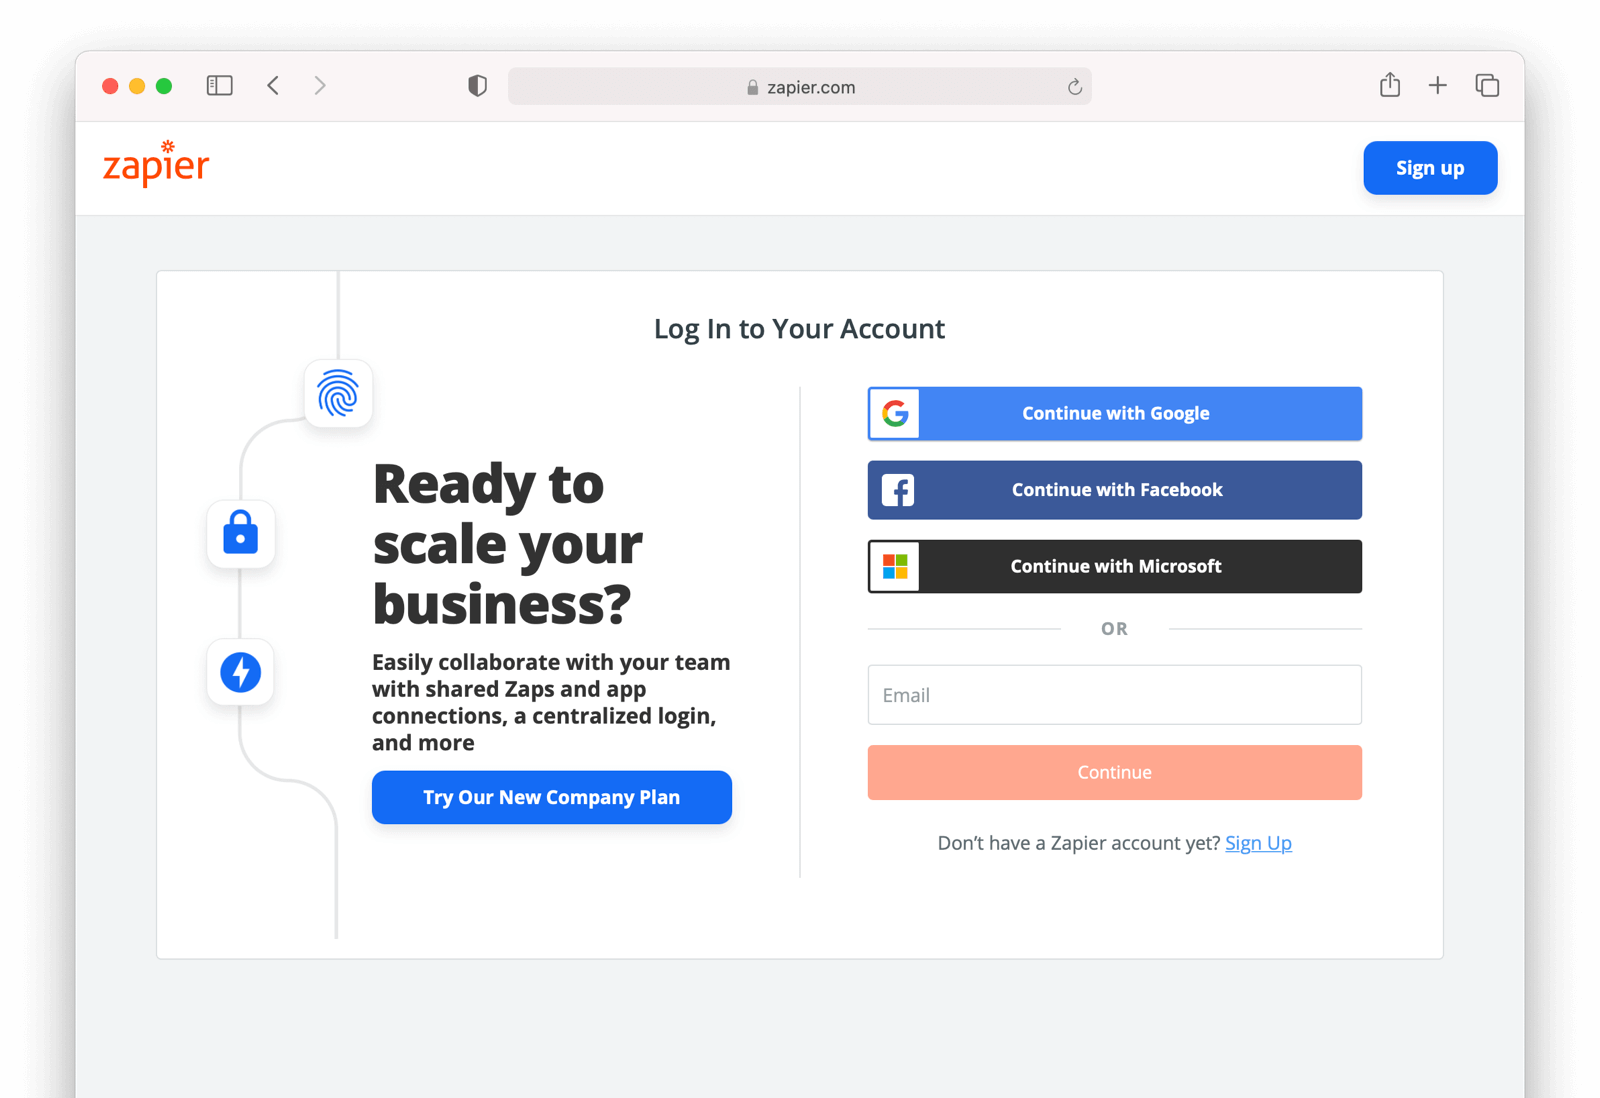 Knowing a user's email domain allows the OAuth server to determine where to send the user to log in or if they should log in locally. If you work at Example Company, proud purveyors of TWGTL, providing `richard@example.com` to the login screen allows the OAuth server to know you are an employee and should be authenticated against a corporate authentication source. If instead you enter `dinesh@gmail.com`, you won't be authenticated against that directory.
Outside of these differences, this mode behaves much the same as the **Third-party login and registration** mode.
This is the final mode where users can register and log in to your application. The remaining modes are used entirely for authorization, usually to application programming interfaces (APIs). We'll cover these modes next.
## Third-party Service Authorization
The third-party service authorization mode is quite different from the **Third-party login and registration** mode; don't be deceived by the similar names. Here, the user is already logged into your application. The login could have been through a native form (as discussed above) or using the **Local login and registration** mode, the **Third-party login and registration** mode, or the **Enterprise login and registration** mode. Since the user is already logged in, all they are doing is granting access for your application to call third-party's APIs on their behalf.
For example, let's say a user has an account with TWGTL, but each time they complete a ToDo, they want to let their followers on WUPHF know. WUPHF is a fictional up and coming social network. To accomplish this, TWGTL provides an integration that will automatically send a WUPHF when the user completes a ToDo. The integration uses the WUPHF APIs and calling those requires an access token. In order to get an access token, the TWGTL application needs to log the user into WUPHF via OAuth.
To hook all of this up, TWGTL needs to add a button to the user's profile page that says "Connect your WUPHF account". Notice it doesn't say "Login with WUPHF" since the user is already logged in; the user's identity for TWGTL is not delegated to WUPHF. Once the user clicks this button, they will be taken to WUPHF's OAuth server to log in and grant the necessary permissions for TWGTL to WUPHF for them.
Since WUPHF doesn't actually exist, here's an example screenshot from Buffer, a service which posts to your social media accounts such as Twitter.
 When you connect a Twitter account to Buffer, you'll see a screen like this:
 The workflow for this mode looks like:
1. A user visits TWGTL and logs into their account.
2. They click the
 My Profile link.
3. On their account page, they click the Connect your WUPHF account button.
4. This button takes them over to WUPHF's OAuth server.
5. They log in to WUPHF.
6. WUPHF presents the user with the "permission grant screen" and asks if TWGTL can WUPHF on their behalf.
7. The user grants TWGTL this permission.
8. WUPHF redirects the browser back to TWGTL where it calls WUPHF's OAuth server to get an access token.
9. TWGTL stores the access token in its database and can now call WUPHF APIs on behalf of the user. Success!
## First-party Service Authorization
The **First-party service authorization** mode is the inverse of the **Third-party service authorization** mode. When another application wishes to call your APIs on behalf of one of your users, you are in this mode. Here, your application is the "third-party service" discussed above. Your application asks the user if they want to grant the other application specific permissions. Basically, if you are building a platform and want developers to be able to call your APIs on behalf of their users, you'll need to support this OAuth mode.
With this mode, your OAuth server might display a "permission grant screen" to the user asking if they want to grant the third-party application permissions to your APIs. This isn't strictly necessary and depends on your requirements, but if it is, you want custom scopes.
Custom scopes are now supported in FusionAuth; you can find more information within [OAuth Scopes](/docs/lifecycle/authenticate-users/oauth/scopes).
## Machine-to-machine Authorization
The **Machine-to-machine authorization** OAuth mode is different from the previous modes we've covered. This mode does not involve users at all. Rather, it allows an application to interact with another application. Normally, this is backend services communicating with each other via APIs.
Here, one backend needs to be granted access to the other. We'll call the first backend the source and the second backend the target.
To accomplish this, the source authenticates with the OAuth server. The OAuth server confirms the identity of the source and then returns a token that the source will use to call the target. This token can also include permissions that are used by the target to authorize the call the source is making.
Using our TWGTL example, let's say that TWGTL has two microservices: one to manage ToDos and another to send WUPHFs. The ToDo microservice needs to call the WUPHF microservice. The WUPHF microservice needs to ensure that any caller is allowed to use its APIs before it WUPHFs.
 The workflow for this mode looks like:
1. The ToDo microservice authenticates with the OAuth server.
2. The OAuth server returns a token to the ToDo microservice.
3. The ToDo microservice calls an API in the WUPHF microservice and includes the token in the request.
4. The WUPHF microservice verifies the token by calling the OAuth server (or verifying the token itself if the token is a JWT).
5. If the token is valid, the WUPHF microservice performs the operation.
## Device Login and Registration
The **Device login and registration** mode is used to log in to (or register) a user's account on a device that doesn't have a rich input device like a keyboard. In this case, a user connects the device to their account, usually to ensure their account is active and the device is allowed to use it.
A good example of this mode is setting up a streaming app on an Apple TV, smart TV, or other device such as a Roku. In order to ensure you have a subscription to the streaming service, the app needs to verify the user's identity and connect to their account. The app on the Apple TV device displays a code and a URL and asks the user to visit the URL. The workflow for this mode is as follows:
1. The user opens the app on the Apple TV.
2. The app displays a code and a URL.
3. The user types in the URL displayed by the Apple TV on their phone or computer.
4. The user is taken to the OAuth server and asked for the code.
5. The user submits this form and is taken to the login page.
6. The user logs into the OAuth server.
7. The user is taken to a "Finished" screen.
8. A few seconds later, the device is connected to the user's account.
This mode often takes a bit of time to complete because the app on the Apple TV is polling the OAuth server.
## Conclusion
Modes are reflective of the flexibility of OAuth. Picking the right mode, or set of modes, can help you pick the correct identity architecture for the problem you are solving.
# Overview
import APIBlock from 'src/components/api/APIBlock.astro';
import APIField from 'src/components/api/APIField.astro';
import ApplicationOAuthSettings from 'src/content/docs/_shared/_application-oauth-settings.mdx';
import InlineField from 'src/components/InlineField.astro';
import PremiumPlanBlurb from 'src/content/docs/_shared/_premium-plan-blurb.astro';
import Aside from 'src/components/Aside.astro';
import ClientCredentialsPermissionsExplanation from 'src/content/docs/lifecycle/authenticate-users/oauth/_client_credentials_permissions_explanation.mdx';
import JSON from 'src/components/JSON.astro';
import ClientCredentialsScopesOmitted from 'src/content/docs/lifecycle/authenticate-users/oauth/_client_credentials_scopes_omitted.mdx';
import ClientCredentialsScopesSingleEntity from 'src/content/docs/lifecycle/authenticate-users/oauth/_client_credentials_scopes_single_entity.mdx';
import ClientCredentialsScopesMultipleEntities from 'src/content/docs/lifecycle/authenticate-users/oauth/_client_credentials_scopes_multiple_entities.mdx';
import { YouTube } from '@astro-community/astro-embed-youtube';
## Overview
FusionAuth supports the following grant types as defined by the OAuth 2.0 framework in [RFC 6749](https://tools.ietf.org/html/rfc6749), [RFC 8628](https://tools.ietf.org/html/rfc8628), and [OpenID Connect Core](https://openid.net/specs/openid-connect-core-1_0.html).
* Authorization Code Grant
* Implicit Grant
* Password Grant (also referred to as the Resource Owner Credentials Grant)
* Refresh Token Grant
* Client Credentials Grant
* Device Authorization Grant
To begin using the FusionAuth login system, start by configuring your Application for OAuth2.
To begin using the Client Credentials grant, start by configuring Entities.
It is recommended to utilize the Authorization Code Grant unless you have a technical requirement that makes a different grant a better choice. The following outline some example login flows.
* [Example Authorization Code Grant](/docs/lifecycle/authenticate-users/oauth/#example-authorization-code-grant)
* [Example Implicit Grant](/docs/lifecycle/authenticate-users/oauth/#example-implicit-grant)
* [Example Password Grant](/docs/lifecycle/authenticate-users/oauth/#example-resource-owner-password-credentials-grant)
* [Example Refresh Token Grant](/docs/lifecycle/authenticate-users/oauth/#example-refresh-token-grant)
* [Example Client Credentials Grant](/docs/lifecycle/authenticate-users/oauth/#example-client-credentials-grant)
* [Example Device Authorization Grant](/docs/lifecycle/authenticate-users/oauth/#example-device-authorization-grant)
You can also learn about [OAuth Modes](/docs/lifecycle/authenticate-users/oauth/modes), which are different methods of using OAuth that are higher level than the individual grants.
## Configure Application OAuth Settings
Navigate to the Application configuration from the main menu, **Applications**.
If you have already created a FusionAuth Application for the purpose of your application, you do not need to create another, however you will still need to complete the OAuth configuration. If an application has not yet been created, click *Add* and name your application accordingly and fill out the OAuth configuration.
In this example you will see we have created a new Application named `Pied Piper` and have filled out the fields in the OAuth Configuration tab. A FusionAuth application represents an authenticated resource that you will be using with FusionAuth.
Additional OAuth controls can be managed through [Tenant Configuration](/docs/get-started/core-concepts/tenants#tenant-configuration).
{/* TBD take screencap of this */}
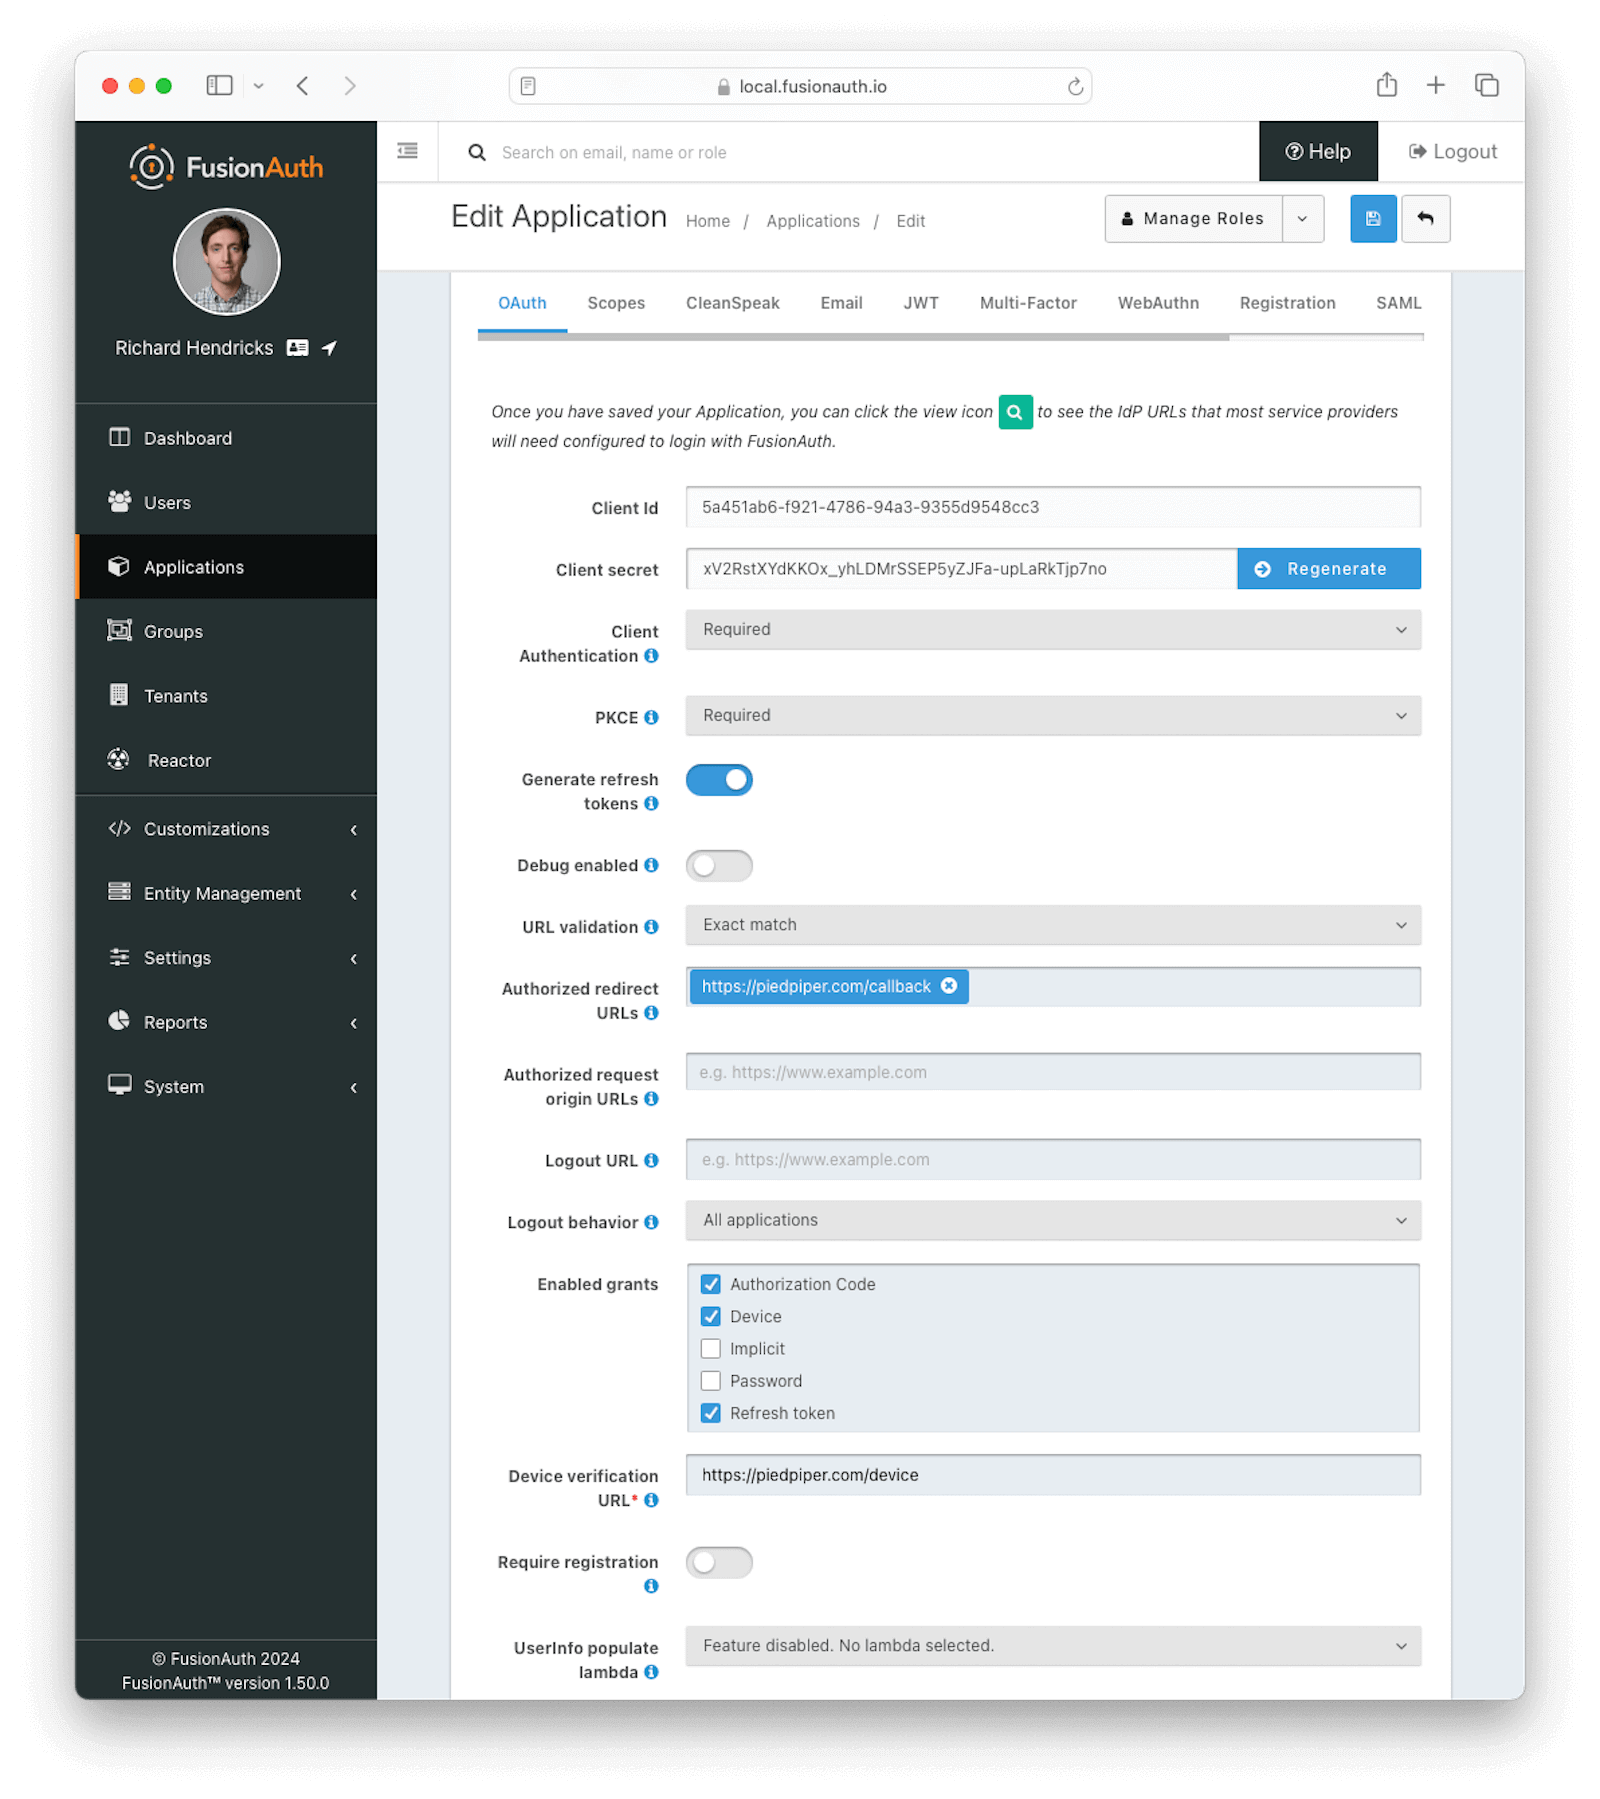 ### OAuth Form Fields
scope request parameter. See [Scopes](/docs/lifecycle/authenticate-users/oauth/scopes) for more information on configuring the application's OAuth scope policies, managing custom OAuth scopes, and prompting for user consent to granting scopes to third-party applications.
## Configure Entities
Client Id and Client Secret if desired.
Below is the creation screen for an Entity:
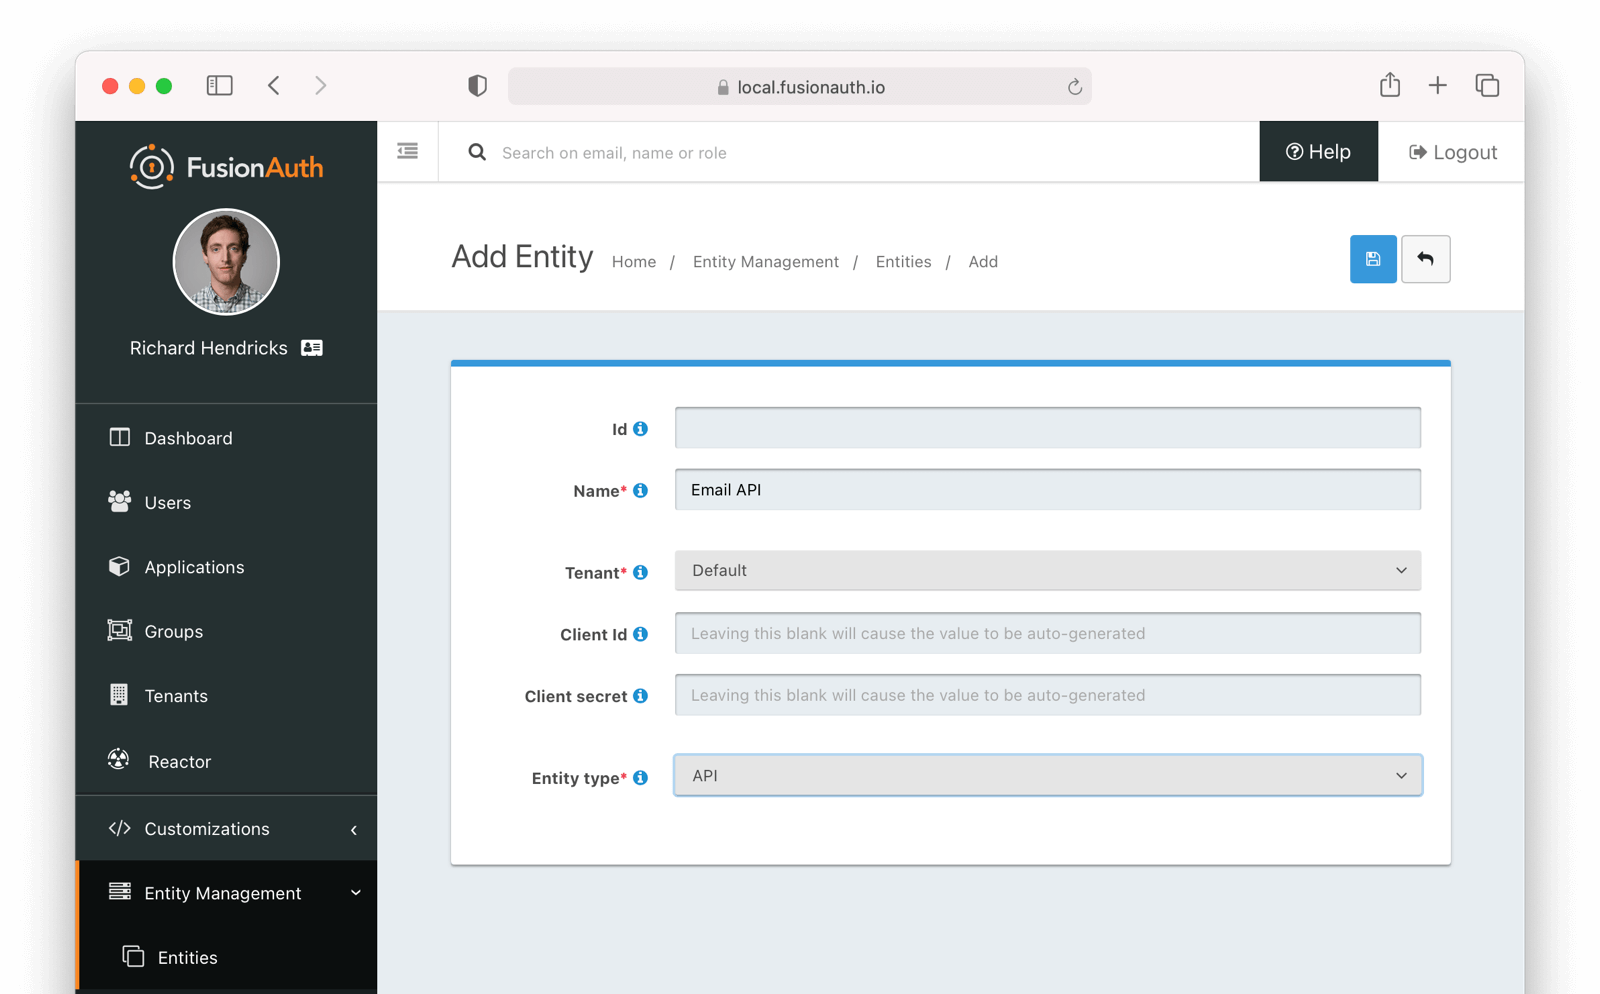 Below is the management screen for an Entity where you'd add or remove Grants:
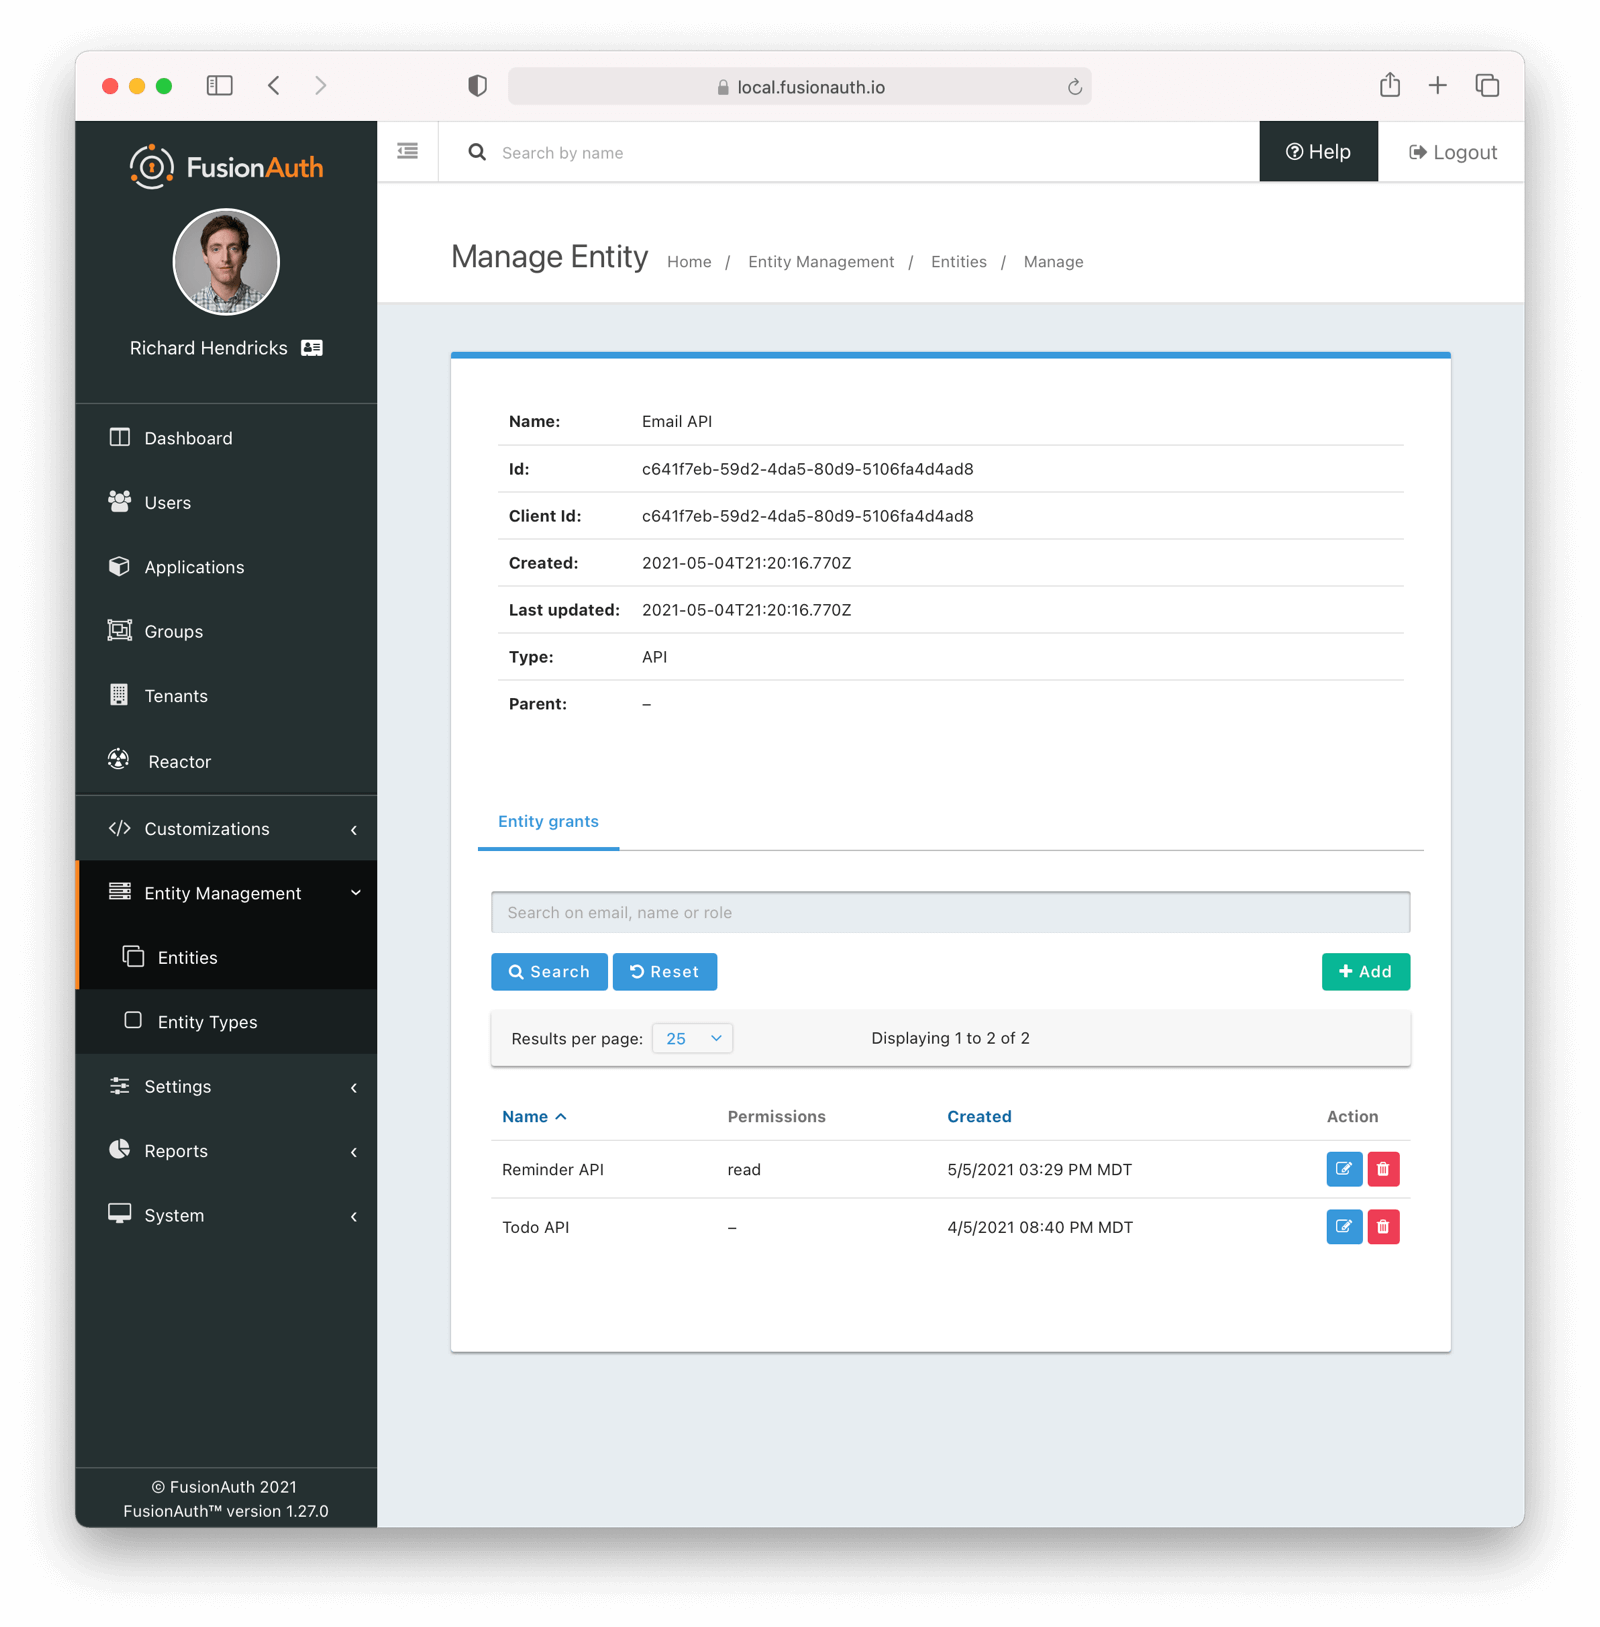 Here's an example of adding a Grant to an Entity via the API:
```shell title="Example Grant Request"
API_KEY=...
TARGET_ENTITY_ID=e13365f1-a270-493e-bd1b-3d239d753d53
RECIPIENT_ENTITY_ID=2934f41f-d277-4a32-b0d5-16e47dad9721
curl \
-XPOST \
-H "content-type: application/json" \
-H "Authorization: $API_KEY" \
'https://local.fusionauth.io/api/entity/'$TARGET_ENTITY_ID'/grant' -d'
{
"grant": {
"recipientEntityId": "'$RECIPIENT_ENTITY_ID'",
"permissions" : ["read","write"]
}
}
'
```
Next, learn how to perform a [Client Credentials Grant](/docs/lifecycle/authenticate-users/oauth/#example-client-credentials-grant).
## Example Authorization Code Grant
### Point your application to the authorize endpoint
Now that your FusionAuth application has been configured to use the OAuth provider, you may now point the login for your application to the FusionAuth authorize endpoint which will now handle user authentication.
For the purposes of this example, I will make the assumption that FusionAuth App is running locally at `http://localhost:9011`, the `client_id` will be found on the OAuth tab in the application configuration, the `redirect_uri` will be where you wish FusionAuth to redirect the browser when the authorization step has completed. This value will need to be predefined in the authorized redirect URLs in the OAuth configuration. The `response_type` will always be `code` for this grant type. The `tenantId` will be the unique Id of the tenant this request is scoped for, the tenant's configured theme will be applied.
Review the [Authorization](/docs/lifecycle/authenticate-users/oauth/endpoints#authorize) endpoint documentation for more detail.
```
http://localhost:9011/oauth2/authorize?client_id=06494b74-a796-4723-af44-1bdb96b48875&redirect_uri=https://www.piedpiper.com/login&response_type=code&tenantId=78dda1c8-14d4-4c98-be75-0ccef244297d
```
### Consume the authorization code returned from the authorize request
When the authorize request completes successfully it will respond with a status code of `302` to the location provided by the redirect_uri parameter. The request will contain a code parameter which can be exchanged for an access token. The access token contains the user Id of the authenticated user which can then be used to retrieve the entire user object.
Review the [Token](/docs/lifecycle/authenticate-users/oauth/endpoints#token) endpoint documentation for more detail. The following is an example redirect URI containing the authorization code.
```
https://www.piedpiper.com/login?code=+WYT3XemV4f81ghHi4V+RyNwvATDaD4FIj0BpfFC4Wzg=&userState=Authenticated
```
### Exchange the authorization code for an access token
The last step to complete the authentication process and retrieve the user's Id is to exchange the returned authorization code for an
access token. The JSON response will contain the user Id of the authenticated user.
If the authorization code grant is being implemented in a Single Page App (SPA), the token request should be made by the application server in order to keep the client secret secure from introspection of the client code.
Line breaks have been added for readability.
```plaintext title="Example HTTP Request"
POST /oauth2/token HTTP/1.1
Host: piedpiper.fusionauth.io
Content-Type: application/x-www-form-urlencoded
Accept: */*
Content-Length: 436
client_id=3c219e58-ed0e-4b18-ad48-f4f92793ae32
&code=+WYT3XemV4f81ghHi4V+RyNwvATDaD4FIj0BpfFC4Wzg
&grant_type=authorization_code
&redirect_uri=https%3A%2F%2Fwww.piedpiper.com%2Flogin
```
```json title="Example HTTP Response"
{
"access_token" : "eyJhbGciOiJIUzI1NiIsInR5cCI6IkpXVCJ9.eyJleHAiOjE0ODUxNDA5ODQsImlhdCI6MTQ4NTEzNzM4NCwiaXNzIjoiYWNtZS5jb20iLCJzdWIiOiIyOWFjMGMxOC0wYjRhLTQyY2YtODJmYy0wM2Q1NzAzMThhMWQiLCJhcHBsaWNhdGlvbklkIjoiNzkxMDM3MzQtOTdhYi00ZDFhLWFmMzctZTAwNmQwNWQyOTUyIiwicm9sZXMiOltdfQ.Mp0Pcwsz5VECK11Kf2ZZNF_SMKu5CgBeLN9ZOP04kZo",
"expires_in" : 3600,
"token_type" : "Bearer",
"userId" : "3b6d2f70-4821-4694-ac89-60333c9c4165"
}
```
### Verify Authorization
If you only need to validate registration and User roles, this can be done by inspecting the JWT payload as returned in the `access_token`
property of the response body.
If you require the entire User object to validate authorization, you may need to retrieve the entire User. The User may be
retrieved in one of several ways. If you have an API key you can retrieve the User by Id or email, these two values are returned in the JWT
payload. The email address is returned in the `email` identity claim, and the User's Id is returned in the `sub` identity claim. You may
also retrieve the User without an API key by utilizing the JWT as returned in the `access_token` property in the response body.
See the [Retrieve a User](/docs/apis/users#retrieve-a-user) API for examples.
You may also choose to use the [Introspect](/docs/lifecycle/authenticate-users/oauth/endpoints#introspect) or [Userinfo](/docs/lifecycle/authenticate-users/oauth/endpoints#userinfo) endpoints to validate the access token returned from the Token endpoint and to provide you decoded claims as a JSON object.
Now that you have the user, or retrieved the roles from the JWT, you may review their roles and registration to ensure they have adequate
authority for the intended action, and if the user is not yet registered for the requested application, you can either fail their login,
or complete a registration workflow. Once you have determined a user can be logged into your application, you'll need to log them into
your application. For a web based application, this generally will include creating an HTTP session and storing the user in the newly created session.
### Log Out
To log the user out, a typical workflow would include first logging out of your application, if that is successful, you would then log the
user out of FusionAuth. This is accomplished by making a `GET` request to the `/oauth2/logout` endpoint. The logout request will complete
with a `302` redirect to the configured logout URL.
Line breaks have been added for readability.
```plaintext title="Example HTTP Response"
GET /oauth2/logout?
client_id=06494b74-a796-4723-af44-1bdb96b48875
&tenantId=78dda1c8-14d4-4c98-be75-0ccef244297d HTTP/1.1
Host: piedpiper.fusionauth.io
```
```plaintext title="Example HTTP Request"
HTTP/1.1 302 Found
Location: https://www.piedpiper.com
```
## Example Implicit Grant
The Implicit Grant is similar to the Authorization grant, instead of exchanging a code for an access token, the token is provided in response to the initial authorization request.
### Make the authorization request to the authorization server
Make a `GET` request to the Authorize endpoint with the `client_id` and `redirect_uri`. The `response_type` will always be `token`. Below is an example HTTP request.
Line breaks have been added for readability.
```plaintext title="Example HTTP Request"
GET /oauth2/authorize?
client_id=3c219e58-ed0e-4b18-ad48-f4f92793ae32
&response_type=token
&redirect_uri=https%3A%2F%2Fwww.piedpiper.com%2Fcallback
Host: piedpiper.fusionauth.io
```
Upon successful authentication, a redirect to the configured
 redirect_uri will be made with an access_token as one of the redirect parameters. The following is an example HTTP 302 redirect, with line breaks added to improve readability. The redirect from an Implicit Grant will contain parameters after the fragment delimiter, `#`.
```plaintext title="HTTP Redirect Response"
HTTP/1.1 302 Found
Location: https://piedpiper.com/callback#
access_token=eyJhbGciOiJIUzI1NiIsInR5cCI6IkpXVCJ9.eyJleHAiOjE0ODUxNDA5ODQsImlhdCI6MTQ4NTEzNzM4NCwiaXNzIjoiYWNtZS5jb20iLCJzdWIiOiIyOWFjMGMxOC0wYjRhLTQyY2YtODJmYy0wM2Q1NzAzMThhMWQiLCJhcHBsaWNhdGlvbklkIjoiNzkxMDM3MzQtOTdhYi00ZDFhLWFmMzctZTAwNmQwNWQyOTUyIiwicm9sZXMiOltdfQ.Mp0Pcwsz5VECK11Kf2ZZNF_SMKu5CgBeLN9ZOP04kZo
&expires_in=3599
&locale=fr
&token_type=Bearer
&userState=Authenticated
```
## Example Resource Owner Password Credentials Grant
The Resource Owner Password Credentials Grant, also referred to as the Password Grant allows you to obtain an access token by directly providing the user credentials to the Token endpoint. This grant may also be used to receive a refresh token by specifying the `offline_access` scope.
### Exchange the user credentials for an access token
Once you have collected the user's email and password you will make a `POST` request to the Token endpoint. Below is an example HTTP request where the user's email is `richard@piedpiper.com` and password is `disrupt`. The `grant_type` will always be `password`.
Line breaks have been added for readability.
```plaintext title="Example HTTP Request"
POST /oauth2/token HTTP/1.1
Host: piedpiper.fusionauth.io
Content-Type: application/x-www-form-urlencoded
Accept: */*
Content-Length: 436
client_id=3c219e58-ed0e-4b18-ad48-f4f92793ae32
&grant_type=password
&username=richard%40piedpiper.com
&password=disrupt
&scope=offline_access
```
```json title="Example HTTP Response"
{
"access_token" : "eyJhbGciOiJIUzI1NiIsInR5cCI6IkpXVCJ9.eyJleHAiOjE0ODUxNDA5ODQsImlhdCI6MTQ4NTEzNzM4NCwiaXNzIjoiYWNtZS5jb20iLCJzdWIiOiIyOWFjMGMxOC0wYjRhLTQyY2YtODJmYy0wM2Q1NzAzMThhMWQiLCJhcHBsaWNhdGlvbklkIjoiNzkxMDM3MzQtOTdhYi00ZDFhLWFmMzctZTAwNmQwNWQyOTUyIiwicm9sZXMiOltdfQ.Mp0Pcwsz5VECK11Kf2ZZNF_SMKu5CgBeLN9ZOP04kZo",
"expires_in" : 3600,
"refresh_token": "Nu00yJrGw0qlBJNUz2S6LJ3KZFN7uw6Dj4C2mnzF4I6wkM5xingxuw",
"token_type" : "Bearer",
"userId" : "3b6d2f70-4821-4694-ac89-60333c9c4165"
}
```
## Example Refresh Token Grant
An access token is designed to have a short time-to-live (TTL). A related refresh token with a longer TTL can be used for generating new access tokens and extending a user's session. The application's OAuth settings must be configured with "Generate refresh tokens" enabled, and "Refresh Token" as an "Enabled grant".
### Exchange a refresh token for an access token
With a refresh token obtained from a previous call to the /Authorize endpoint, a new access token may be generated with a `POST` request to the Token endpoint. Below is an example HTTP request, the `grant_type` will always be `refresh_token`.
Line breaks have been added for readability.
```plaintext title="Example HTTP Request"
POST /oauth2/token HTTP/1.1
Host: piedpiper.fusionauth.io
Content-Type: application/x-www-form-urlencoded
Accept: */*
Content-Length: 436
client_id=3c219e58-ed0e-4b18-ad48-f4f92793ae32
&grant_type=refresh_token
&refresh_token=Nu00yJrGw0qlBJNUz2S6LJ3KZFN7uw6Dj4C2mnzF4I6wkM5xingxuw
```
```json title="Example HTTP Response"
{
"access_token": "eyJhbGciOiJIUzI1NiIsInR5cCI6IkpXVCIsImtpZCI6ImVjZWUzMTYyZjAifQ.eyJhdWQiOiI4YmY4YWIwYy1iMWNlLTQ0NjUtYmQzNy1jMTU1MThjYWU2YmQiLCJleHAiOjE1NzA0ODQwNTcsImlhdCI6MTU3MDQ4MDQ1NywiaXNzIjoiYWNtZS5jb20iLCJzdWIiOiJhZjRiMzk2Yy01MGM4LTQwNzQtOTA5YS0zYzgwNjU0OTEzMzUiLCJhdXRoZW50aWNhdGlvblR5cGUiOiJSRUZSRVNIX1RPS0VOIiwiZW1haWwiOiJqb2huQGRvZS5pbyIsImVtYWlsX3ZlcmlmaWVkIjp0cnVlLCJwcmVmZXJyZWRfdXNlcm5hbWUiOiJqb2hubnkxMjMiLCJyb2xlcyI6WyJjb21tdW5pdHlfaGVscGVyIiwidXNlciJdLCJhcHBsaWNhdGlvbklkIjoiOGJmOGFiMGMtYjFjZS00NDY1LWJkMzctYzE1NTE4Y2FlNmJkIn0.laSlkKQMOwZmfI_3NT3-1F_VdpLL-ceCQZ2fRL1lvF4",
"expires_in": 3600,
"scope": "offline_access",
"token_type": "Bearer",
"userId": "3b6d2f70-4821-4694-ac89-60333c9c4165"
}
```
## Example Client Credentials Grant
scope parameter. This parameter can have multiple values, space separated. Each value has this format:
```
target-entity:entity_id:permission
```
where `entity_id` is a required entity UUID and `permission` is an optional, comma separated list of permissions.
You will typically provide a scope specifying a target entity:
scope parameter:
scope will be checked against previously granted permissions. If all requested permissions have been found, the grant succeeds and an `access_token` is returned.
If you do not pass scope , you will still get an `access_token` if the request is authorized. The token will omit the following claims:
* `aud`
* `permissions`
redirect_uri per the typical Authorization Grant flow.
The Device Authorization Grant will be considered approved when the Authorization Grant code has been exchanged for a token.
Default values are provided for the durations that the device code and user code remain valid, as well as the user code generator settings.
These values may be adjusted through the ["Advanced" tab of Tenant Configuration](/docs/get-started/core-concepts/tenants#advanced).
### Initiate the Device Authorization Grant flow
In order to initiate the Device Authorization Grant flow, make a request from the device to the [Device Authorize endpoint](/docs/lifecycle/authenticate-users/oauth/endpoints#device), which is also discoverable via the [OpenID Configuration](/docs/lifecycle/authenticate-users/oauth/endpoints#openid-configuration).
{/* If I have this paragraph be part of the other one, I think the # in the links causes the scope text to be misinterpreted */}
This request may be made with the optional scope field in order to request OAuth scopes on tokens from the eventual [`/oauth2/token` endpoint](/docs/lifecycle/authenticate-users/oauth/endpoints#complete-the-device-authorization-grant-request) return. A refresh token can be requested by including `offline_access` in the scope request parameter.
The scope value here will be used for the interactive portion of the workflow when the [user_code is passed to FusionAuth](/docs/lifecycle/authenticate-users/oauth#pass-user_code-to-fusionauth). See [Scopes](/docs/lifecycle/authenticate-users/oauth/scopes) for more information on configuring the application's OAuth scope policies, managing custom OAuth scopes, and prompting for user consent to granting scopes to third-party applications.
This request will return a JSON response with values necessary to fulfill the remainder of the grant flow.
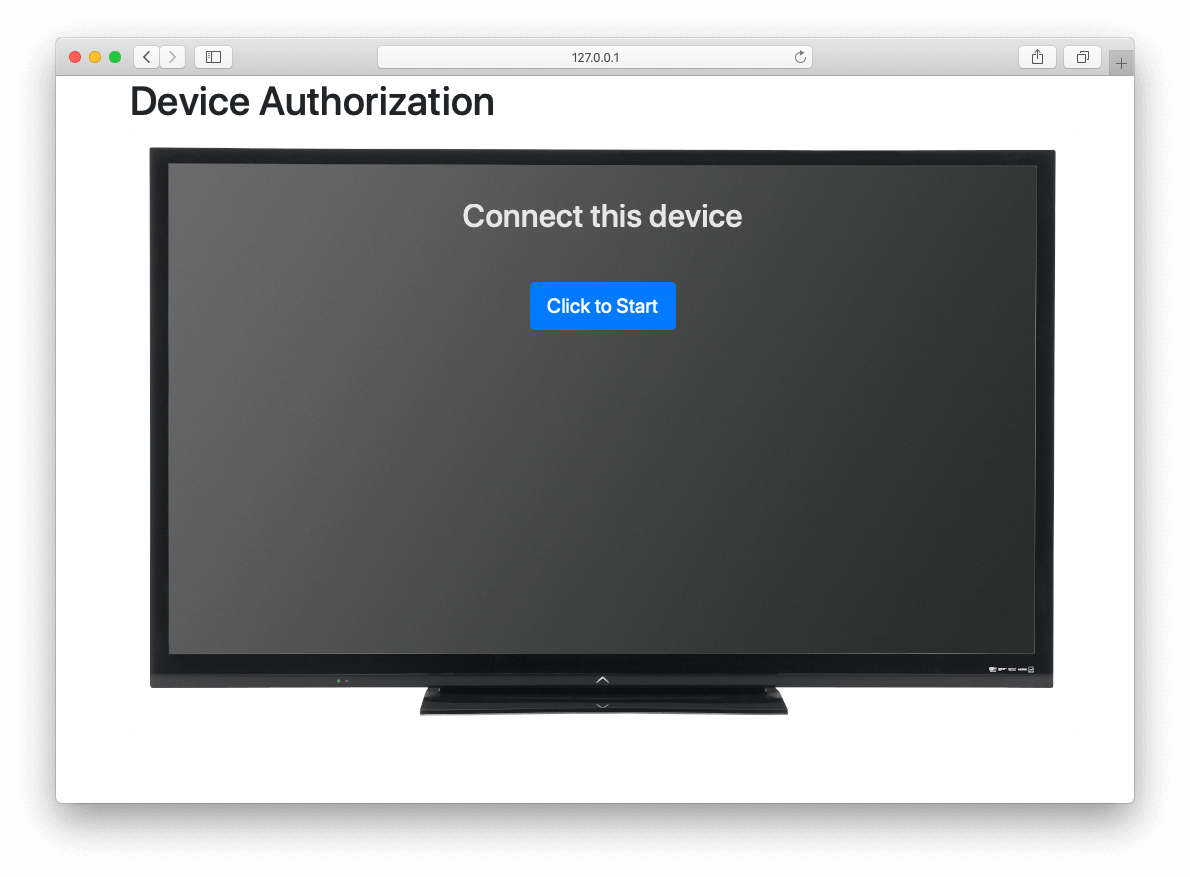 Line breaks have been added for readability.
```plaintext title="Example HTTP Request"
POST /oauth2/device_authorize HTTP/1.1
Host: piedpiper.fusionauth.io
Content-Type: application/x-www-form-urlencoded
Accept: */*
Content-Length: 67
client_id=3c219e58-ed0e-4b18-ad48-f4f92793ae32
&scope=offline_access
```
```json title="Example JSON Response"
{
"device_code": "e6f_lF1rG_yroI0DxeQB5OrLDKU18lrDhFXeQqIKAjg",
"expires_in": 600,
"interval": 5,
"user_code": "SFYNPV",
"verification_uri": "http://localhost:9011/oauth2/device",
"verification_uri_complete": "http://localhost:9011/oauth2/device?user_code=SFYNPV"
}
```
### Poll Token endpoint
Upon receiving a response from the Device Authorize endpoint the device may begin polling the [Token endpoint](/docs/lifecycle/authenticate-users/oauth/endpoints#complete-the-device-authorization-grant-request) with the
 device_code at the requested interval in seconds returned in the response.
Requests to the [Token endpoint](/docs/lifecycle/authenticate-users/oauth/endpoints#complete-the-device-authorization-grant-request) will return an error stating that authorization is pending, until the end-user approves the request, at which point an access token will be returned.
Line breaks have been added for readability.
```plaintext options="wrap" title="Example HTTP Request"
POST /oauth2/token HTTP/1.1
Host: piedpiper.fusionauth.io
Content-Type: application/x-www-form-urlencoded
Accept: */*
Content-Length: 166
client_id=3c219e58-ed0e-4b18-ad48-f4f92793ae32
&device_code=e6f_lF1rG_yroI0DxeQB5OrLDKU18lrDhFXeQqIKAjg
&grant_type=urn%3Aietf%3Aparams%3Aoauth%3Agrant-type%3Adevice_code
```
```json title="Example pending JSON Error Response"
{
"error": "authorization_pending",
"error_description": "The authorization request is still pending"
}
```
```json title="Example expired JSON Error Response"
{
"error": "expired_token",
"error_description": "The device_code has expired, and the device authorization session has concluded."
}
```
```json title="Example invalid JSON Error Response"
{
"error": "invalid_request",
"error_reason": "invalid_device_code",
"error_description": "The request has an invalid parameter: device_code"
}
```
### User-interaction
Upon receiving a response from the Device Authorize endpoint the device may display to the end-user the user_code and a prompt to navigate to the verification_uri .
The verification_uri_complete is provided as a convenience so that the device may display a QR code used to navigate the end-user to the user-interaction page with a pre-populated user_code in the form.
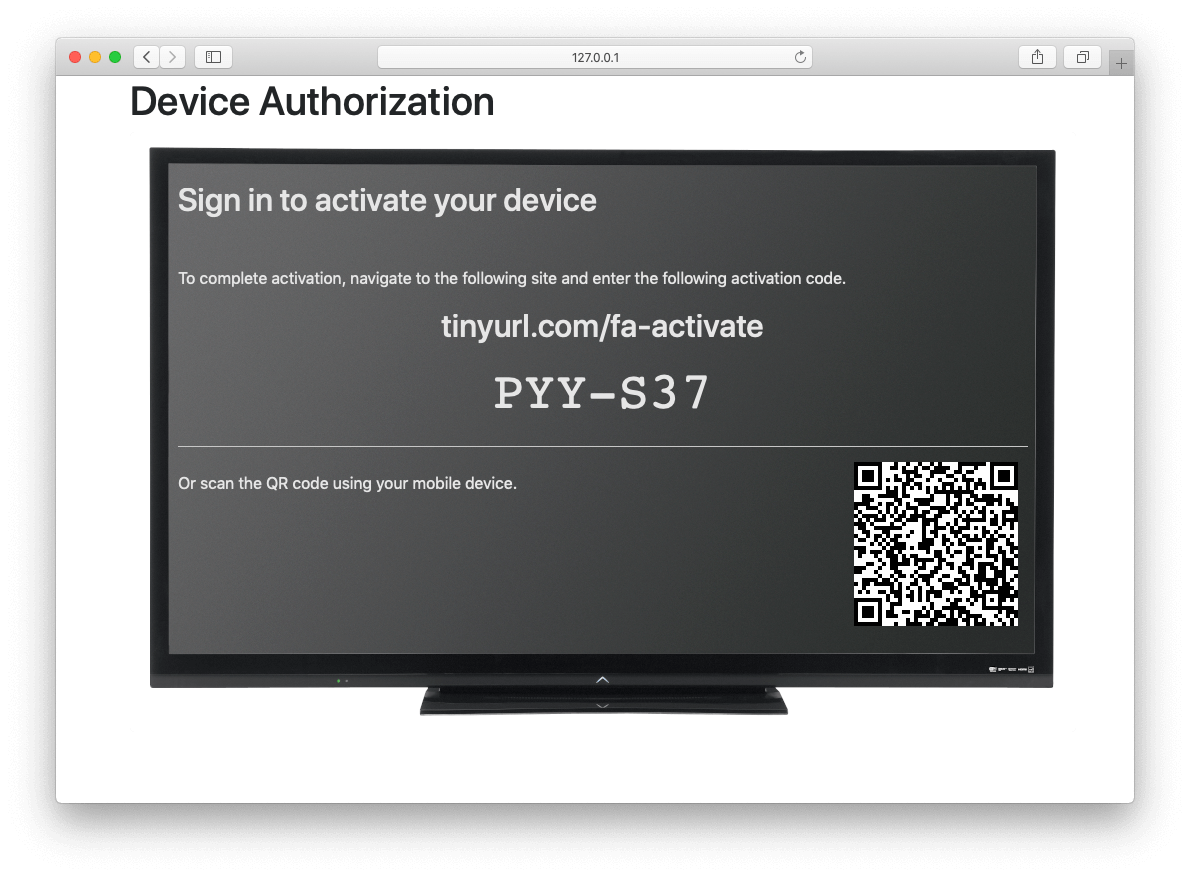 The user should then navigate to the displayed URL, and enter the activation code.
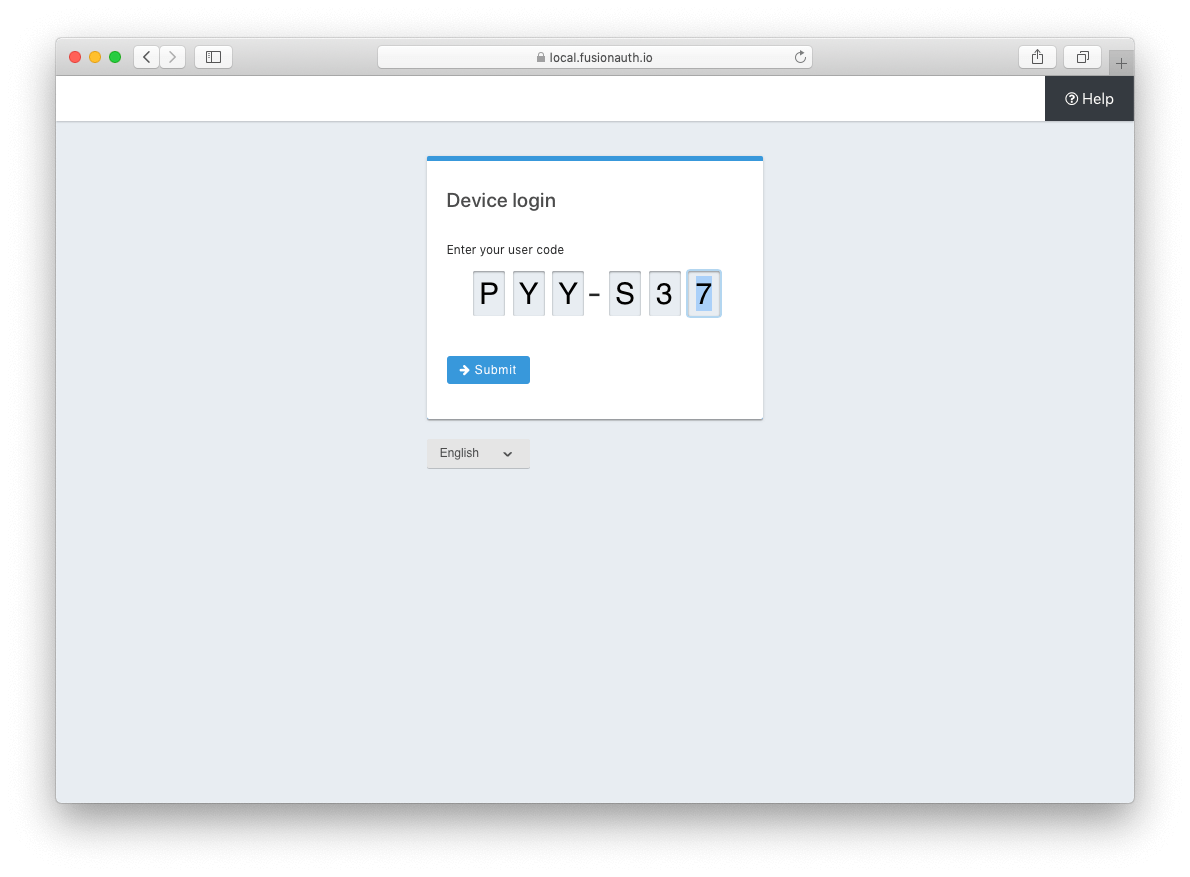 ### Pass `user_code` to FusionAuth
Once the `user_code` has been received from the end-user, it may be validated by making a request to the [Device Validate endpoint](/docs/lifecycle/authenticate-users/oauth/endpoints#device-validate).
This endpoint will return a `200` response code without a JSON body on successful validation.
Upon validating the end-user provided `user_code` the typical Authorization Grant, Implicit Grant, or Password Grant flows may be followed for authentication.
The OAuth endpoints that facilitate these typical OAuth flows take a `user_code` parameter to facilitate the Device Authorization Grant approval.
See the [Authorize endpoint](/docs/lifecycle/authenticate-users/oauth/endpoints#authorize) and [Token endpoint](/docs/lifecycle/authenticate-users/oauth/endpoints#token) documentation for more information.
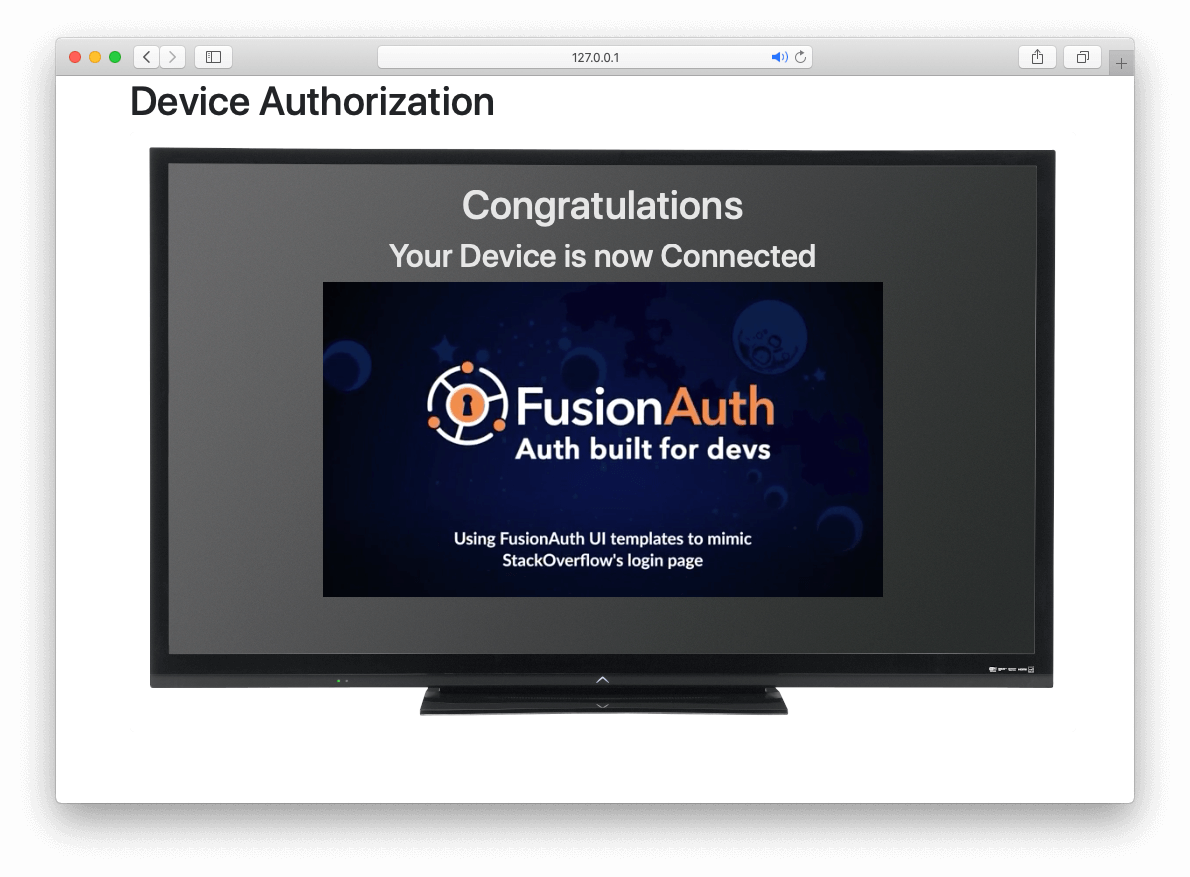 ### Receive `access_token`
Once the user has provided a valid `user_code` and successfully authenticated, the request from the device to the [Token endpoint](/docs/lifecycle/authenticate-users/oauth/endpoints#complete-the-device-authorization-grant-request) will return successfully with an access token.
Line breaks have been added for readability.
```plaintext options="wrap" title="Example HTTP Request"
POST /oauth2/token HTTP/1.1
Host: piedpiper.fusionauth.io
Content-Type: application/x-www-form-urlencoded
Accept: */*
Content-Length: 166
client_id=3c219e58-ed0e-4b18-ad48-f4f92793ae32
&device_code=e6f_lF1rG_yroI0DxeQB5OrLDKU18lrDhFXeQqIKAjg
&grant_type=urn%3Aietf%3Aparams%3Aoauth%3Agrant-type%3Adevice_code
```
```json title="Example JSON Response"
{
"access_token" : "eyJhbGciOiJIUzI1NiIsInR5cCI6IkpXVCJ9.eyJleHAiOjE0ODUxNDA5ODQsImlhdCI6MTQ4NTEzNzM4NCwiaXNzIjoiYWNtZS5jb20iLCJzdWIiOiIyOWFjMGMxOC0wYjRhLTQyY2YtODJmYy0wM2Q1NzAzMThhMWQiLCJhcHBsaWNhdGlvbklkIjoiNzkxMDM3MzQtOTdhYi00ZDFhLWFmMzctZTAwNmQwNWQyOTUyIiwicm9sZXMiOltdfQ.Mp0Pcwsz5VECK11Kf2ZZNF_SMKu5CgBeLN9ZOP04kZo",
"expires_in" : 3600,
"id_token" : "eyJhbGciOiJIUzI1NiIsInR5cCI6IkpXVCJ9.eyJleHAiOjE0ODUxNDA5ODQsImlhdCI6MTQ4NTEzNzM4NCwiaXNzIjoiYWNtZS5jb20iLCJzdWIiOiIyOWFjMGMxOC0wYjRhLTQyY2YtODJmYy0wM2Q1NzAzMThhMWQiLCJhcHBsaWNhdGlvbklkIjoiNzkxMDM3MzQtOTdhYi00ZDFhLWFmMzctZTAwNmQwNWQyOTUyIiwicm9sZXMiOltdfQ.Mp0Pcwsz5VECK11Kf2ZZNF_SMKu5CgBeLN9ZOP04kZo",
"refresh_token": "ze9fi6Y9sMSf3yWp3aaO2w7AMav2MFdiMIi2GObrAi-i3248oo0jTQ",
"token_type" : "Bearer",
"userId" : "3b6d2f70-4821-4694-ac89-60333c9c4165"
}
```
# OIDC Prompt
import Aside from 'src/components/Aside.astro';
## Overview
The OpenID Connect prompt parameter provides additional flexibility to control the login workflow.
### Supported values
- `none` - No user interface is displayed. An error is returned if the user is not already authenticated.
- `login` - The user will be prompted for authentication when there's an existing SSO session.
- `consent` - Always prompt for consent from the user.
### Example use cases
The following examples use a single consent value. A request may contain more than one consent value unless one of the values is `none`. For example, adding `prompt=login none` to the request will result in a validation error.
#### Silent authentication
This is usually used when an application would like obtain a new authorization code grant without any user interaction. The application will receive an error user interaction is required. The application can then decide how and when to ask the user to authenticate.
Add `prompt=none` to the request.
For an authorization code grant response that contains `code`, complete the code exchange to finish a silent authentication. If the response contains `error` then the user will require some sort of interaction to complete authentication. See [Error handling](#error-handling) below for some examples.
#### Require reauthentication
Require the user to authenticate even if they have an active SSO session.
Add `prompt=login` to the request.
#### Require reauthentication for a session older than 120 seconds
Authenticate a user if the session was created less than `120` seconds ago, otherwise require the user to authenticate again.
Add `max_age=120` to the request.
#### Force consent
Force prompting the user for consent for the requested scopes even if the scopes were previously accepted or rejected.
Add `prompt=consent` to the request.
Note that FusionAuth must be configured to prompt for consent for this prompt to have an effect. For example, adding `consent` to the prompt parameter will have no effect if the application isn't configured as a third party application, or you have configured the consent mode to always prompt or never prompt.
To explain this behavior further, review the following table to explain the expected prompt behavior in the following configurations.
The following table shows the expected behavior for different consent configurations:
| Relationship | Consent mode | prompt= | Display prompt to user |
|--------------|-------------------|---------|-------------------------|
| First party | - | - | Never |
| First party | - | consent | Never |
| Third party | Always prompt | - | Always |
| Third party | Always prompt | consent | Always |
| Third party | Never prompt | - | Never |
| Third party | Never prompt | consent | Never |
| Third party | Remember decision | - | Once, remember decision |
| Third party | Remember decision | consent | Always |
The table shows that the only time adding `prompt=consent` changes display of the consent prompt to the end user is when the application is configured as third party, and the consent mode is set to Remember decision.
#### Error handling
An error will be returned when the request containing a supported prompt value cannot be completed.
For example, if you request `prompt=none` and the user isn't authenticated, an error is returned to the authorized redirect.
The `error` will be a more general indication of the the issue such as `login_required` or `consent_required`. The `error_reason` is an error code specific to the reason the error occurred. The `error_description` is a human-readable version of the `error_reason`.
For example, when you request `prompt=none` and the user doesn't have an active SSO session, the redirect contains the following `error`, `error_reason` and `error_description`:
- `error=login_required`
- `error_reason=authentication_required`
- `error_description=The user is required to complete authentication.`
Another example is when the user is required to provide consent even when there's an active SSO session (`prompt=consent`). The returned error contains:
- `error=consent_required`
- `error_reason=consent_required`
- `error_description=The user is required to consent to one or more scopes in order to complete authentication.`
See [OAuth2 Error Redirect parameters](/docs/lifecycle/authenticate-users/oauth/endpoints#redirect-parameters-2) for additional information.
### Identity providers
The `prompt` parameter wil be forwarded when the identity provider is of type OpenID Connect. When the identity provider is of type SAML v2 and the `prompt` parameter contains `login`, the `ForceAuthn=true` attribute will be added to the SAML Authn request.
For all other identity provider types, the `prompt` parameter will not be forwarded.
When `max_age` is specified and the value is `0` or the FusionAuth SSO session age is greater than the specified value, this parameter will be converted to `prompt=login` and the above rules will then be applied to an OpenID Connect or SAML v2 identity provider. The `max_age` parameter is never forwarded.
### Security considerations
Use `prompt=login` or `max_age` with the correct expectations. Don't rely on these parameters for either a security guarantee or that the user is reauthenticated. This is because request parameters can be removed easily.
For example, if a user with an existing SSO session removes the `prompt=login` parameter, an authorization code is generated and redirected back to the authorized redirect.
The prompt parameter is a suggestion to the identity provider, but by itself provides no guarantee to the relying party (RP) that the request was honored, and the user has been reauthenticated.
To use `prompt=login` to ensure the user authenticated recently, you must also inspect and validate the `auth_time` claim in the appropriate token, either the `id_token` or `access_token`.
The `auth_time` claim represents the time of the actual user authentication and is expressed as [unix time](/docs/reference/data-types#unix-time).
Using this value, you can assert when the last user authenticate event occurred and as a result know that `prompt=login` was honored by the identity provider and was not removed by a malicious user.
For example, when using `login=prompt` or `max_age`, after completing the authorization code grant auth code exchange compare the `auth_time` to the current token. The new token must have a more recent `auth_time` claim and the value must be within your expected time frame.
If `auth_time` is the same as your current access token, or isn't recent enough, reject the token and end the users session. Alternatively, don't allow the user to perform the requested task that initiated the login request.
### Limitations and constraints
Before using this parameter make sure you understand the following limitations and constraints.
#### Unsupported values
The `select_account` parameter is currently unsupported. Using this value in `prompt` is ignored.
##### Identity providers
In versions prior to 1.6.1, the `prompt` parameter was never forwarded to a third party identity provider.
#### Edge cases
When using the `idp_hint` request parameter and including `prompt=login`, FusionAuth redirects to the identity provider resolved by request parameter.
The `idp_hint` indicates that this user must be authenticated by a third party and often the caller does not want the user to see the FusionAuth login page. In this context, it's not useful to show the user the FusionAuth login page as FusionAuth is unable to authenticate the user. It is possible this is not the desired behavior for all customers.
If this behavior happens, remove the `prompt=login` from the request. Using a `login_hint` request parameter with managed domains results in the same behavior.
# OAuth Scopes
import AdvancedPlanBlurb from 'src/content/docs/_shared/_advanced-plan-blurb.astro';
import ApplicationScopesSettings from 'src/content/docs/_shared/_application-scopes-settings.mdx';
import Aside from 'src/components/Aside.astro';
import Breadcrumb from 'src/components/Breadcrumb.astro';
import InlineField from 'src/components/InlineField.astro';
import InlineUIElement from 'src/components/InlineUIElement.astro';
import OAuthScopeMessageLookup from 'src/content/docs/_shared/_oauth-scope-message-lookup.mdx';
## Overview
OAuth scopes provide you with another dimension for applying access controls to applications. Scopes are requested by OAuth clients (applications) during authorization and optionally consented to by the user providing the authorization. The consented scopes make their way into the access token granted to the client and can be checked when the client uses the access token to access protected resources.
In FusionAuth, applications can be designated as first-party or third-party. First-party applications are often synonymous with the authorization server from the user's perspective and don't require consent for requested scopes. Third-party applications, by contrast, require consent by an authorizing user for the scopes they request.
This page details these features and explains how you can use them to customize FusionAuth's behavior.
## Application Configuration
The
 Scopes tab allows you to configure the application's OAuth scope handling policies.
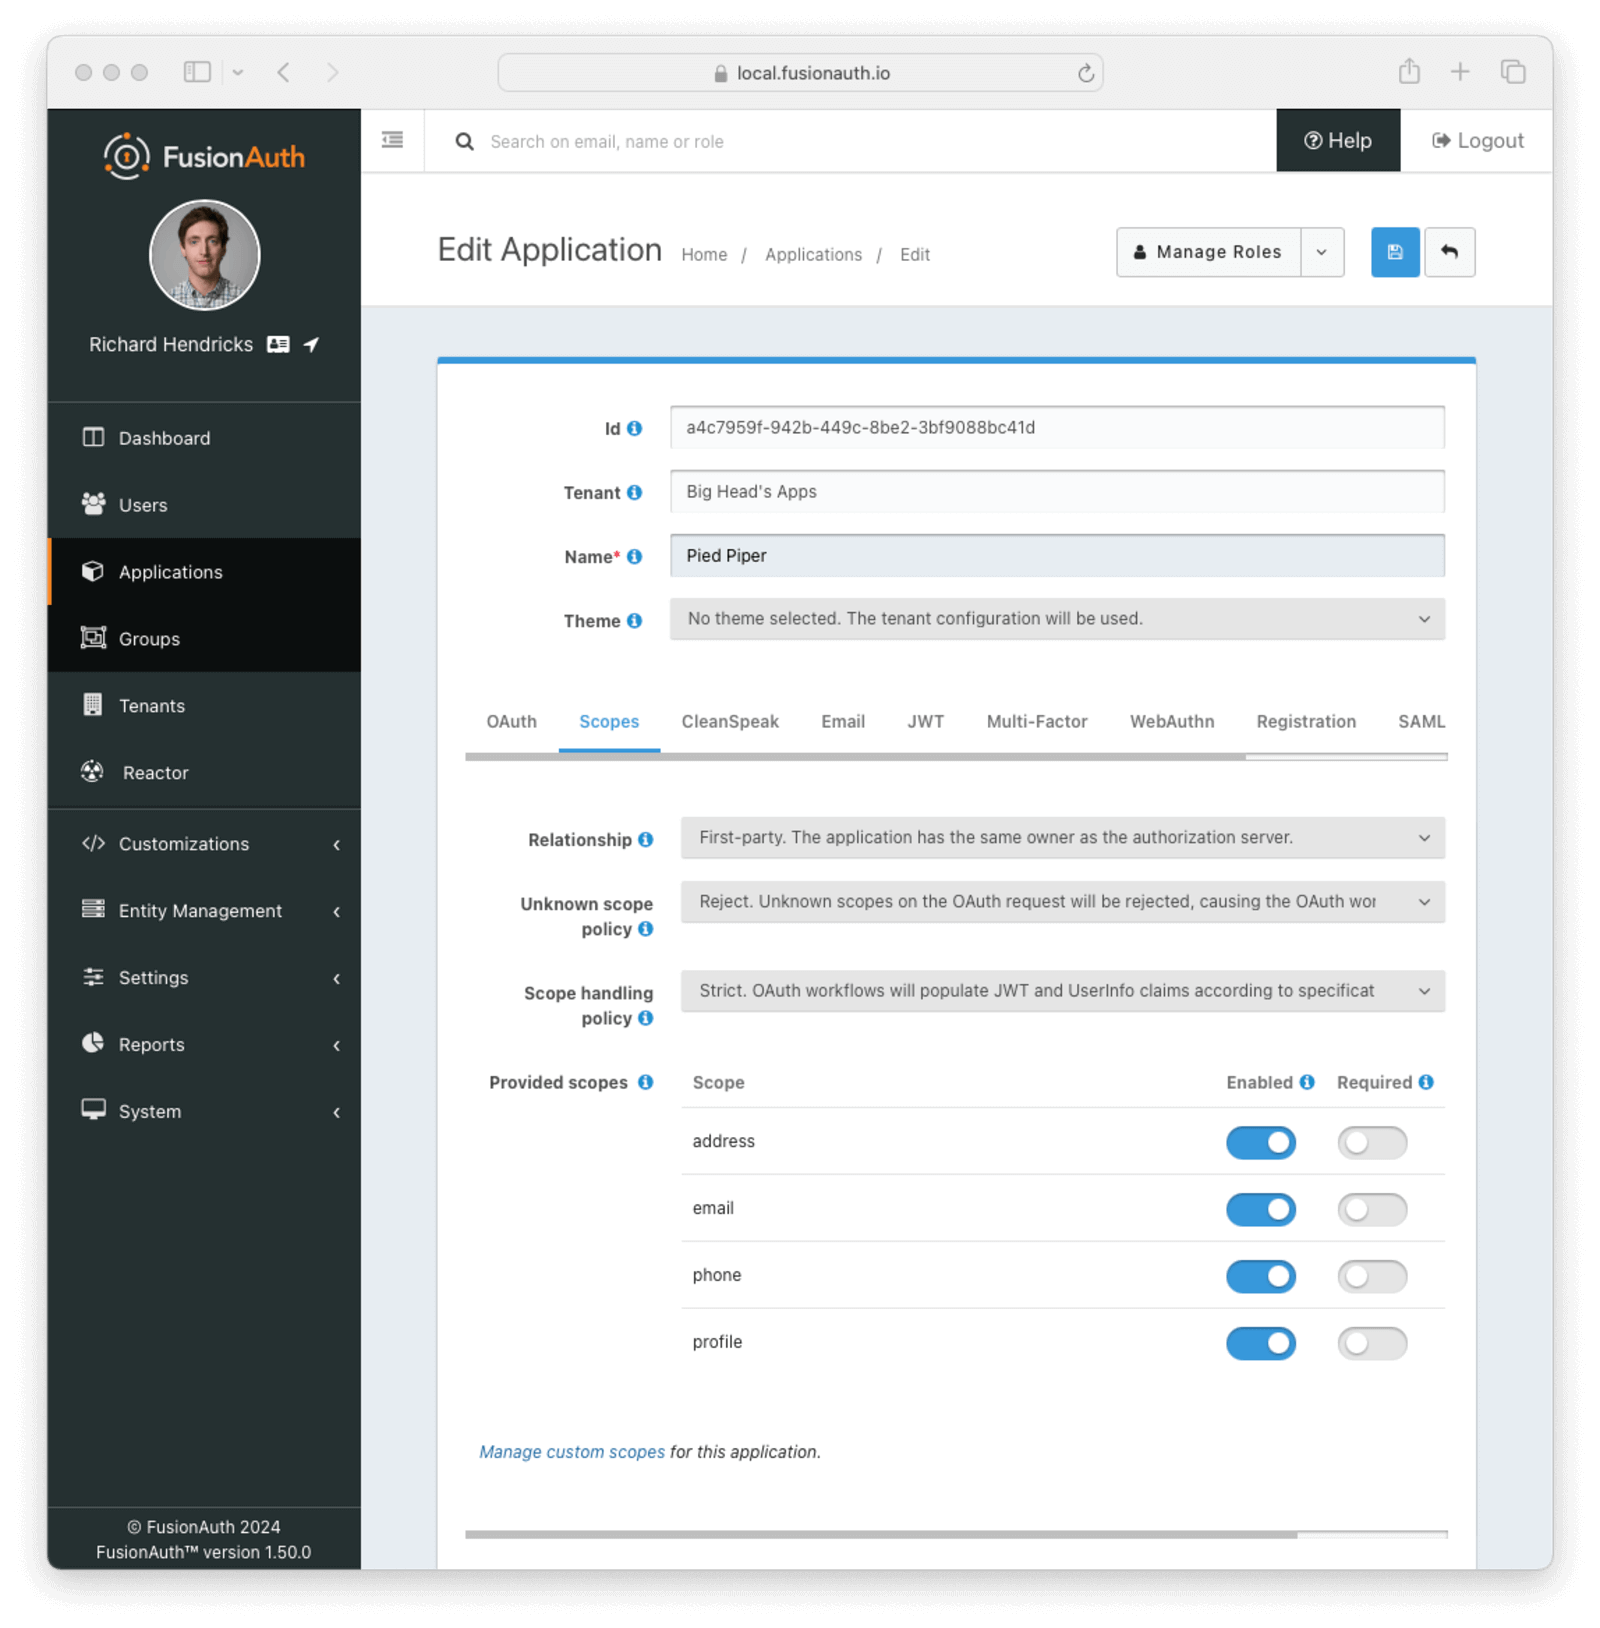 ### Form Fields
Scope handling policy controls behavior when populating access tokens, Id tokens, and the UserInfo response.
The `Compatibility` option is meant to maintain backwards compatibility with versions of FusionAuth before `1.50.0` or when the integration does not support the requirements of `Strict` mode.
The `Strict` option follows specification recommendations by populating access tokens, Id tokens, and the UserInfo response based on the requested and consented scopes. It also restricts the tokens the [UserInfo](/docs/lifecycle/authenticate-users/oauth/endpoints#userinfo) endpoint will accept. New applications default to the `Strict` policy.
The [JWT populate](/docs/extend/code/lambdas/jwt-populate) and [UserInfo populate](/docs/extend/code/lambdas/userinfo-populate) lambdas can be used to override the claims in both configurations.
The following table describes the differences between the two options in more detail.
| | Compatibility | Strict |
| ---- | ---- | ---- |
| Access token claims | The token contains the `email`, `email_verified`, and `preferred_username` claims for the user when that information is available. | The token contains no identifying information about the user other than the `sub` claim, which contains their unique user Id. |
| Id token claims | The token contains the `email`, `email_verified`, and `preferred_username` claims for the user when that information is available. | The claims on the token are based on the `scope` parameter from the OAuth workflow. See below for details on the claims included for each scope. |
| UserInfo request | The endpoint will accept either an access token or Id token on the request. No particular `scope` claim is required on the token. | The endpoint only accepts access tokens on the request. The provided token must contain `openid` in the space-delimited `scope` claim in order to be accepted. |
| UserInfo response | The response starts with claims from the provided token, removes some that are not relevant to the UserInfo response, and then augments the response based on information available for that user. | The claims on the response are based on the `scope` claim of the provided token. See below for details on the claims included for each scope. |
The `Strict` policy uses the requested and consented OAuth scopes to determine which claims to add to the Id token and UserInfo response. The `address`, `email`, `profile`, and `phone` scopes are [provided by FusionAuth](#provided-scopes) and are used to populate claims according to available user data and [Section 5.4 of the OpenID Connect specification](https://openid.net/specs/openid-connect-core-1_0.html#ScopeClaims).
* `address` - FusionAuth does not include physical addresses in its user data model. A lambda could be used to populate the `address` claim based on custom user data.
* `email` - Populates the `email` and `email_verified` claims.
* `phone` - Populates the `phone_number` claim based on the user's user.phoneNumber or user.mobilePhone value in this order of precedence. If user.phoneNumber is available, the `phone_number_verified` claim will also be included.
* `profile` - Populates various profile-related data. The following describes how each claim maps to FusionAuth user data.
| Claim | User field |
| ---- | ---- |
| `given_name` | `firstName` |
| `middle_name` | `middleName` |
| `family_name` | `lastName` |
| `name` | `fullName` |
| `preferred_username` | `username` |
| `birthdate` | `birthDate` |
| `picture` | `imageUrl` |
| `locale` | The first value of `preferredLanguages` |
| `zoneinfo` | `timezone` |
## Provided Scopes
FusionAuth provides the following scopes defined by the [OpenID Connect](https://openid.net/specs/openid-connect-core-1_0.html) specification.
* `address`
* `email`
* `phone`
* `profile`
These scope names cannot be used to define [custom scopes](/docs/get-started/core-concepts/scopes).
Each of the scopes can be individually `Enabled` or `Required`.
Provided scopes that have been disabled are considered unknown and will be handled according to the application's Unknown scope policy .
The user must grant consent to all `Required` provided scopes during the OAuth [consent prompt](#consent-prompt) in order to successfully complete the OAuth workflow.
### Reserved Scopes
FusionAuth reserves the `openid` and `offline_access` scopes.
These scope names cannot be used to define [custom scopes](/docs/get-started/core-concepts/scopes), and their configuration cannot be changed.
The `openid` scope is used to request identity information according to the [OpenID Connect](https://openid.net/specs/openid-connect-core-1_0.html) specification.
The `offline_access` scope is used to request a refresh token on the authorization response.
Its behavior is controlled by the Generate refresh tokens and Enabled grants configurations on the application [OAuth tab](/docs/get-started/core-concepts/applications#oauth).
### Reserved Prefixes
FusionAuth reserves the prefixes `idp-link:`, `source-entity:`, and `target-entity:`.
Scope names starting with these prefixes cannot be used when defining [custom scopes](/docs/get-started/core-concepts/scopes).
## Consent Mode
Relationship has been configured as `Third-party` (which requires a paid plan) has the option to prompt users to consent to the requested OAuth scopes in order to complete the OAuth workflow.
The [consent prompt](#consent-prompt) is a mechanism for users to limit the information shared with third-party applications.
For example, a third-party application may _require_ the `email` scope in order to access the user's email address and create their account but _optionally_ request the `phone` scope in order to send notifications via SMS.
Applications can also define [custom scopes](/docs/get-started/core-concepts/scopes) to be requested by third-parties for more fine-grained access control to APIs or limiting ability to perform certain actions on behalf of the user.
The Consent mode controls when users will be prompted to grant consent to the requested scopes.
* `Always prompt` - Always prompt the user for consent.
* `Remember decision` - Remember previous consents; only prompt if the choice expires or if the requested or required scopes have changed. The duration of this persisted choice is controlled by the tenant's Remember OAuth scope consent choice configuration.
* `Never prompt` - The user will be never be prompted to consent to requested OAuth scopes. Permission will be granted implicitly as if this were a `First-party` application. This configuration is meant for testing purposes only and should not be used in production.
The `Remember decision` option requires some additional context. The duration that a user's decision is persisted can be controlled on the tenant's [Advanced](/docs/get-started/core-concepts/tenants#advanced) tab using the Remember scope consent choice configuration.
After a user has made a consent decision for an application configured with the `Remember decision` option, the user will only be prompted again when any of the following is true:
* Their persisted choice has expired based on the tenant's configured duration.
* A scope is requested that is not included in their persisted choices.
* A previously declined optional scope is requested, but it is now required.
If a user has an existing persisted consent choice and is prompted for consent, their decision on the requested scopes will be merged with their existing persisted choices. Only scopes on the current request will be updated in the persisted choice. Scopes that exist in the user's persisted choice that were not on the request that triggered the prompt will not have their choice updated.
For example:
1. An application has defined custom scopes `a`, `b`, and `c` as optional
2. A user has previously made consent decisions on these three scopes, and their choice to consent to `a` but decline `b` and `c` has been persisted
3. Later, scopes `b` and `c` are updated to be required and a new optional scope `d` is defined
4. The user completes another OAuth workflow with scopes `c` and `d` on the request, which triggers a consent prompt because:
1. `c` was previously declined but is now required
2. The user has not made a decision on scope `d`
5. The user chooses to consent to `c` and decline `d`
6. The persisted choice is updated to move `c` from declined scopes to approved scopes, and `d` is added to the list of declined scopes
7. `a` is still persisted as an approved scope
8. `b` is still listed as a declined scope even though it is now required because the user did not make a new decision for `b`
9. If `b` is included in a future OAuth request, the user would be prompted for consent
## Consent Prompt
Users are prompted for consent using the OAuth consent prompt [themed](/docs/customize/look-and-feel/) page.
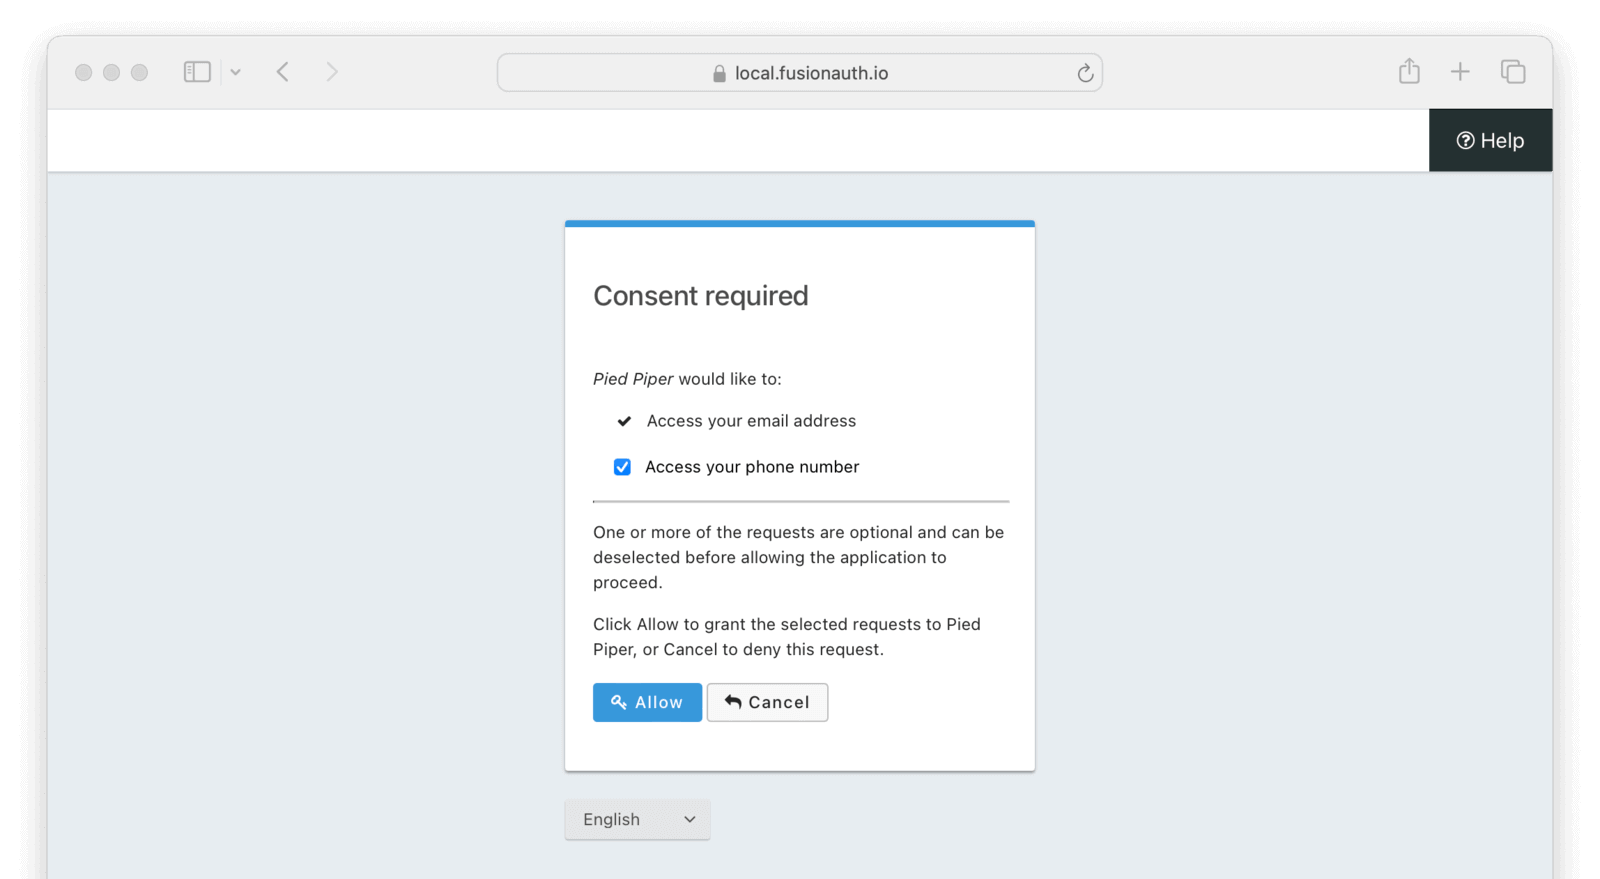 The page informs the user of the requested OAuth scopes. Required scopes are listed first with a checkmark icon and cannot be de-selected. Optional scopes use a checkbox form element to allow the user to decline consent to the corresponding scope.
Clicking the
 Allow button will complete the OAuth workflow and grant consent to the selected scopes. The consented scopes will be added to the `scope` claim on the resulting tokens. Clicking the Cancel button will terminate the OAuth workflow and send the user to the `redirect_uri` with an [OAuth error](/docs/lifecycle/authenticate-users/oauth/endpoints#oautherror).
The `OAuth2 consent` template can be customized like any other [themed](/docs/customize/look-and-feel/) page and also features an expanded message lookup policy in order to allow customizing scope consent messages and details without requiring a separate theme for each verbiage change.
### Consent Messages Lookup
The list of grant types in chronological order.
For example, if the token was the result of an `authorization_code` grant, the value will be `[authorization_code]`.
If the token was generated using a refresh token using the `refresh_token` grant, the value will be `[authorization_code, refresh_token]` if the initial grant used to obtain the refresh token was the `authorization_code` grant.
As of version `1.60.0`, this claim is no longer returned in the header. This claim has moved to the JWT body.
The unique key identifier that represents the key used to build the signature.
The type of token, this value is always `JWT`.
## Access Token
The access token is an opaque token per the OAuth2 specification. In the FusionAuth implementation the access token is a JSON Web Token (JWT).
### Access Token Claims
The audience(s) of this token. This value is equal to the target Entity's unique Id in FusionAuth. This registered claim is defined by [RFC 7519 Section 4.1.3](https://tools.ietf.org/html/rfc7519#section-4.1.3).
Note that prior to version `1.60.0`, this claim was a string when a single entity was defined in the scope using `target-entity:` and an array when more than one entity was defined in the scope. To simplify integrations, this claim is now always returned as an array.
The expiration instant of the JWT expressed as [unix time](/docs/reference/data-types#unix-time). This registered claim is defined by [RFC 7519 Section 4.1.4](https://tools.ietf.org/html/rfc7519#section-4.1.4).
The list of grant types in chronological order.
For example, if the token was the result of an `authorization_code` grant, the value will be `[authorization_code]`.
If the token was generated using a refresh token using the `refresh_token` grant, the value will be `[authorization_code, refresh_token]` if the initial grant used to obtain the refresh token was the `authorization_code` grant.
The instant that the JWT was issued expressed as [unix time](/docs/reference/data-types#unix-time). This registered claim is defined by [RFC 7519 Section 4.1.6](https://tools.ietf.org/html/rfc7519#section-4.1.6).
The issuer of the JWT. For FusionAuth, this is always the value defined in the tenant JWT configuration. This registered claim is defined by
[RFC 7519 Section 4.1.1](https://tools.ietf.org/html/rfc7519#section-4.1.1).
The unique identifier for this JWT. This registered claim is defined by
[RFC 7519 Section 4.1.7](https://tools.ietf.org/html/rfc7519#section-4.1.7).
The permission granted to the recipient Entity by the target Entity. This claim is only present if permissions are associated with the grant and any requested permissions are found in the grant.
The scope of the Access token. This meaning of this field is specified by
[RFC 6749 Section 3.3](https://datatracker.ietf.org/doc/html/rfc6749#section-3.3) and referenced in Client Credentials Grant [RFC 6749 Section 4.4](https://datatracker.ietf.org/doc/html/rfc6749#section-4.4)
Valid scopes are described in the [client credentials scopes section](/docs/lifecycle/authenticate-users/oauth/#client-credentials-scopes).
The subject of the token. The value is the unique Id of the recipient Entity. This registered claim is defined by [RFC 7519 Section 4.1.2](https://tools.ietf.org/html/rfc7519#section-4.1.2).
The unique Id of the user's tenant.
The token type. This value will always be `at` indicating this is an `access token`.
The intended use for this token. This claim will only be present when an access token has been created for use by the FusionAuth SCIM server. When the claim is present the value will be `scim_server`.
## Id Token
The Id Token is part of the OpenID Connect specification. The Id Token is a JSON Web Token (JWT) per the OpenID Connect specification. The Id Token is similar to the access token in the FusionAuth implementation. The Id Token may contain additional claims not present in the Access Token.
The Id Token may be returned as part of an Authentication request when the `openid` scope is requested.
### Id Token Claims
The unique Id of the Application for which the user has been authenticated. This claim is only present if the user is registered for the application.
As of version `1.24.0`, this claim is no longer returned by default. The `id_token` should not be utilized for authorization, so this claim was removed to make it less likely for a holder of this token to incorrectly utilize this token. If you have a need for this claim, it can be added back using a JWT populate lambda.
The Access Token hash value. As defined by the [3.1.3.6 of the OpenID Connect Core specification](https://openid.net/specs/openid-connect-core-1_0.html#CodeIDToken) this value is a base64 encoded hash of the access token.
The audience the JWT is intended for. This registered claim is defined by [RFC 7519 Section 4.1.3](https://tools.ietf.org/html/rfc7519#section-4.1.3).
This claim will be equal to the `client_id`.
The method used to authenticate the user that resulted in the generated JWT. The possible values are:
The time of the initial authentication request expressed as [unix time](/docs/reference/data-types#unix-time). The value will not change even if the token is re-issued using a Refresh Token.
The birthDate of the user if available.
Format will be in `YYYY-MM-DD` as defined by the OpenID Connect core specification.
When the `Scope handling policy` is `Strict`, this field is only populated when the scope claim contains the `profile` scope.
The Authorization Code hash value. As defined by the [3.3.2.11 of the OpenID Connect Core specification](https://openid.net/specs/openid-connect-core-1_0.html#HybridIDToken) this value is an encoded hash of the authorization code, the algorithm used to generate this hash depends upon the algorithm used to generate the `id_token` signature.
The email address of the user whose claims are represented by this JWT.
In version `1.50.0` and later, when the `Scope handling policy` is `Strict`, this field is only populated when the scope claim contains the `email` scope.
The verification status of the email . This value is `true` when the email is verified.
In version `1.50.0` and later, when the `Scope handling policy` is `Strict`, this field is only populated when the scope claim contains the `email` scope.
The expiration instant of the JWT, expressed as [unix time](/docs/reference/data-types#unix-time). This registered claim is defined by
[RFC 7519 Section 4.1.4](https://tools.ietf.org/html/rfc7519#section-4.1.4).
The last name of the user if available.
When the `Scope handling policy` is `Strict`, this field is only populated when the scope claim contains the `profile` scope.
The first name of the user if available.
When the `Scope handling policy` is `Strict`, this field is only populated when the scope claim contains the `profile` scope.
The list of grant types in chronological order.
For example, if the token was the result of an `authorization_code` grant, the value will be `[authorization_code]`.
If the token was generated using a refresh token using the `refresh_token` grant, the value will be `[authorization_code, refresh_token]` if the initial grant used to obtain the refresh token was the `authorization_code` grant.
The instant that the JWT was issued, expressed [unix time](/docs/reference/data-types#unix-time). This registered claim is defined by
[RFC 7519 Section 4.1.6](https://tools.ietf.org/html/rfc7519#section-4.1.6).
The issuer of the JWT. For FusionAuth, this is always the value defined in the tenant JWT configuration. This registered claim is defined by
[RFC 7519 Section 4.1.1](https://tools.ietf.org/html/rfc7519#section-4.1.1).
The unique identifier for this JWT. This registered claim is defined by
[RFC 7519 Section 4.1.7](https://tools.ietf.org/html/rfc7519#section-4.1.7).
The middle name of the user if available.
When the `Scope handling policy` is `Strict`, this field is only populated when the scope claim contains the `profile` scope.
The full name of the user if available.
When the `Scope handling policy` is `Strict`, this field is only populated when the scope claim contains the `profile` scope.
The phone number of the user if available. (user.phoneNumber or user.mobilePhone will be used in this order of precedence).
This field is only populated when the `Scope handling policy` is `Strict`, and the scope claim contains the `phone` scope.
The verification status of the phone_number . This value is `true` when the phone number is verified.
This claim is based only on the user.phoneNumber verification status.
This field is only populated when the `Scope handling policy` is `Strict`, and the scope claim contains the `phone` scope.
A URL to a picture of the user if available.
When the `Scope handling policy` is `Strict`, this field is only populated when the scope claim contains the `profile` scope.
The username of the user whose claims are represented by this JWT.
In version `1.50.0` and later, when the `Scope handling policy` is `Strict`, this field is only populated when the scope claim contains the `profile` scope.
The roles assigned to the user in the authenticated Application. This claim is only present if the user is registered for the application.
As of version `1.24.0`, this claim is no longer returned by default. The `id_token` should not be utilized for authorization, so this claim was removed to make it less likely for a holder of this token to incorrectly utilize this token. If you have a need for this claim, it can be added back using a JWT populate lambda.
The scope of the Id Token. This meaning of this field is specified by
[RFC 6749 Section 3.3](https://datatracker.ietf.org/doc/html/rfc6749#section-3.3).
Contains the validated and consented OAuth scopes from the initial authentication request. See [Scopes](/docs/lifecycle/authenticate-users/oauth/scopes) for more detail on scope consent.
The SSO session Id. This claim will only be present when this token is produced using an interactive grant during a single-signon request such as the Authorization Code grant or the Implicit grant.
The subject of the token. The value is the unique Id of the FusionAuth user. This registered claim is defined by [RFC 7519 Section 4.1.2](https://tools.ietf.org/html/rfc7519#section-4.1.2).
The unique Id of the user's tenant.
The token type. This value will always be `idt` indicating this is an `id_token`.
### Sample Id Token
Here's a sample Id token.
Settings -> Applications -> OAuth . This setting will cause a Refresh Token to be returned when the `offline_access` scope is requested. You will also want to ensure the `Refresh Token` grant is enabled which allows the use of the Refresh Token to be exchanged for a new Access Token.
### Sample Refresh Token
Here's a sample refresh token.
URL validation setting must be configured to `Allow wildcards` under Applications -> Edit Application -> OAuth .
See the [Application API](/docs/apis/applications) or [Application OAuth Configuration](/docs/get-started/core-concepts/applications#oauth) for details.
## Allowed Wildcard Positions
In order to maintain security while allowing the flexibility of wildcards, FusionAuth limits the position and number of wildcards that are allowed in the configured authorized redirect and origin URLs. The asterisk character, `*`, is the wildcard character.
### Domain
The domain of a configured URL allows 0 or 1 wildcards in the domain portion of the URL. Wildcards are not allowed if the host is specified by an IP address. If the domain contains a wildcard, it must meet all of the following requirements:
* The domain must contain at least three segments.
* The wildcard may only appear in the host portion of the domain (left-most subdomain).
* The wildcard can be a full or partial replacement of the host.
The following table provides some examples of valid and invalid wildcard patterns.
_Domain Wildcards_
| Example | Valid | Reason |
|-----------------------------|-------------------------------------------------------|---------------------------------------------|
| `https://*.example.com` | | |
| `https://blah*.example.com` | | |
| `https://*.com` | | The domain only contains two segments |
| `https://auth.*.com` | | The wildcard does not appear in the host |
| `https://*mid*.example.com` | | The domain contains multiple wildcards |
| `https://*.168.1.1` | | Wildcards are not allowed with IP addresses |
### Port
The port number can be specified as a wildcard. There is no partial wildcard support for the port number.
_Port Wildcards_
| Example | Valid | Reason |
|--------------------------|-------------------------------------------------------|-------------------------------------------------------|
| `https://example.com:*` | | |
| `https://example.com:4*` | | Partial wildcards are not allowed for the port number |
### Path Segments
Wildcards are allowed in path segments with the following restrictions:
* There can be no more than one wildcard _per path segment_.
* The wildcard can be a full or partial replacement of the path segment.
The following table provides some examples of valid and invalid wildcard patterns in the path.
_Path Wildcards_
| Example | Valid | Reason |
|-------------------------------------------|-------------------------------------------------------|----------------------------------------------|
| `https://example.com/path/*/resource` | | |
| `https://example.com/p*/to/resource` | | |
| `https://example.com/*/par*tial/*` | | |
| `https://example.com/path/*mid*/resource` | | The path segment contains multiple wildcards |
### Query String Values
Wildcards are allowed in query string values with the following restrictions:
* Partial wildcards are not allowed for query string values.
Wildcards are _not_ allowed in query string names. The following table provides some examples of valid and invalid wildcard patterns in the query string.
_Query String Wildcards_
| Example | Valid | Reason |
|--------------------------------------------|-------------------------------------------------------|---------------------------------------------------------------------|
| `https://example.com?foo=*` | | |
| `https://example.com?foo=*&bar=*&baz=blah` | | |
| `https://example.com?foo=par*tial` | | Partial wildcard replacement is not allowed for query string values |
| `https://example.com?*=blah` | | Wildcards are not allowed in query string names |
## Wildcard Replacement Patterns
The position where wildcards are allowed in configured values is just one half of the puzzle. Wildcards in each portion of the URL have different rules for the replacement values. Please note that allowed replacement values may not produce a valid URL. This section provides details on the allowed replacements for wildcards in each portion of the URL. Each wildcard in the configured value must match one or more characters. Matches against empty strings will fail.
### Domain
Replacements for wildcards in the domain portion of the URL must not contain `.`, `:`, `/`, or `?` characters. The following table lists examples of valid and invalid replacements for valid wildcard patterns.
_Domain wildcard replacement_
| Pattern | Value | Valid | Reason |
|-----------------------------|-------------------------------------|-------------------------------------------------------|-----------------------------------------------------------|
| `https://*.example.com` | `https://login.example.com` | | |
| `https://auth*.example.com` | `https://auth2.example.com` | | |
| `https://auth*.example.com` | `https://auth.example.com ` | | The value does not contain a character to replace the `*` |
| `https://*.example.com` | `https://auth.customer.example.com` | | The replacement contains a `.` character |
### Port
Replacement values for wildcards in the port portion of the URL must consist of one or more decimal digits.
_Port wildcard replacement_
| Pattern | Value | Valid | Reason |
|-------------------------|----------------------------|-------------------------------------------------------|--------------------------------------------------------|
| `https://example.com:*` | `https://example.com:2012` | | |
| `https://example.com:` | `https://example.com:80b` | | The replacement value contains a non-numeric character |
### Path Segments
Replacement values for wildcards in a path segment of the URL must not contain `/` or `?` characters.
_Path segment wildcard replacement_
| Pattern | Value | Valid | Reason |
|---------------------------------------|-----------------------------------------------|-------------------------------------------------------|---------------------------------------------------------------------------------|
| `https://example.com/path/*/resource` | `https://example.com/path/to/resource` | | |
| `https://example.com/p*/to/resource` | `https://example.com/path/to/resource` | | |
| `https://example.com/*/par*tial/*` | `https://example.com/path/partotial/resource` | | |
| `https://example.com/path/*/resource` | `https://example.com/path/to/the/resource` | | The replacement value contains a `/` |
| `https://example.com/path/*` | `https://example.com/path/resource?foo=bar` | | The replacement value contains a `?` |
| `https://example.com/*/par*tial/*` | `https://example.com/path/partial/resource` | | The segment `partial` does not contain a replacement character for the wildcard |
### Query String Values
Replacement values for query string values must not contain the `&` character.
_Query string value wildcard replacement_
| Pattern | Value | Valid | Reason |
|-----------------------------|----------------------------------------|-------------------------------------------------------|----------------------------------------------------------------|
| `https://example.com?foo=*` | `https://example.com?foo=bar` | | |
| `https://example.com?foo=*` | `https://example.com?foo=bar&baz=blah` | | The replacement value contains an `&` character |
| `https://example.com?foo=*` | `https://example.com?baz=blah&foo=bar` | | The replacement value contains an extra query string parameter |
# Passwordless Login Overview
import { YouTube } from '@astro-community/astro-embed-youtube';
Tenants -> Phone . If you are testing this flow out locally, you may want to use [mailcatcher](https://mailcatcher.me/) or a simple HTTP server as a mock messenger for SMS cases.
* Ensure your templates are set up correctly. You can use the default templates, but you may want to customize them. More on that in the [Customizing Magic Link Authentication](#customizing-magic-link-authentication) section.
* Create an application
* Turn on "Passwordless Login" under the "Security" tab of the application configuration:
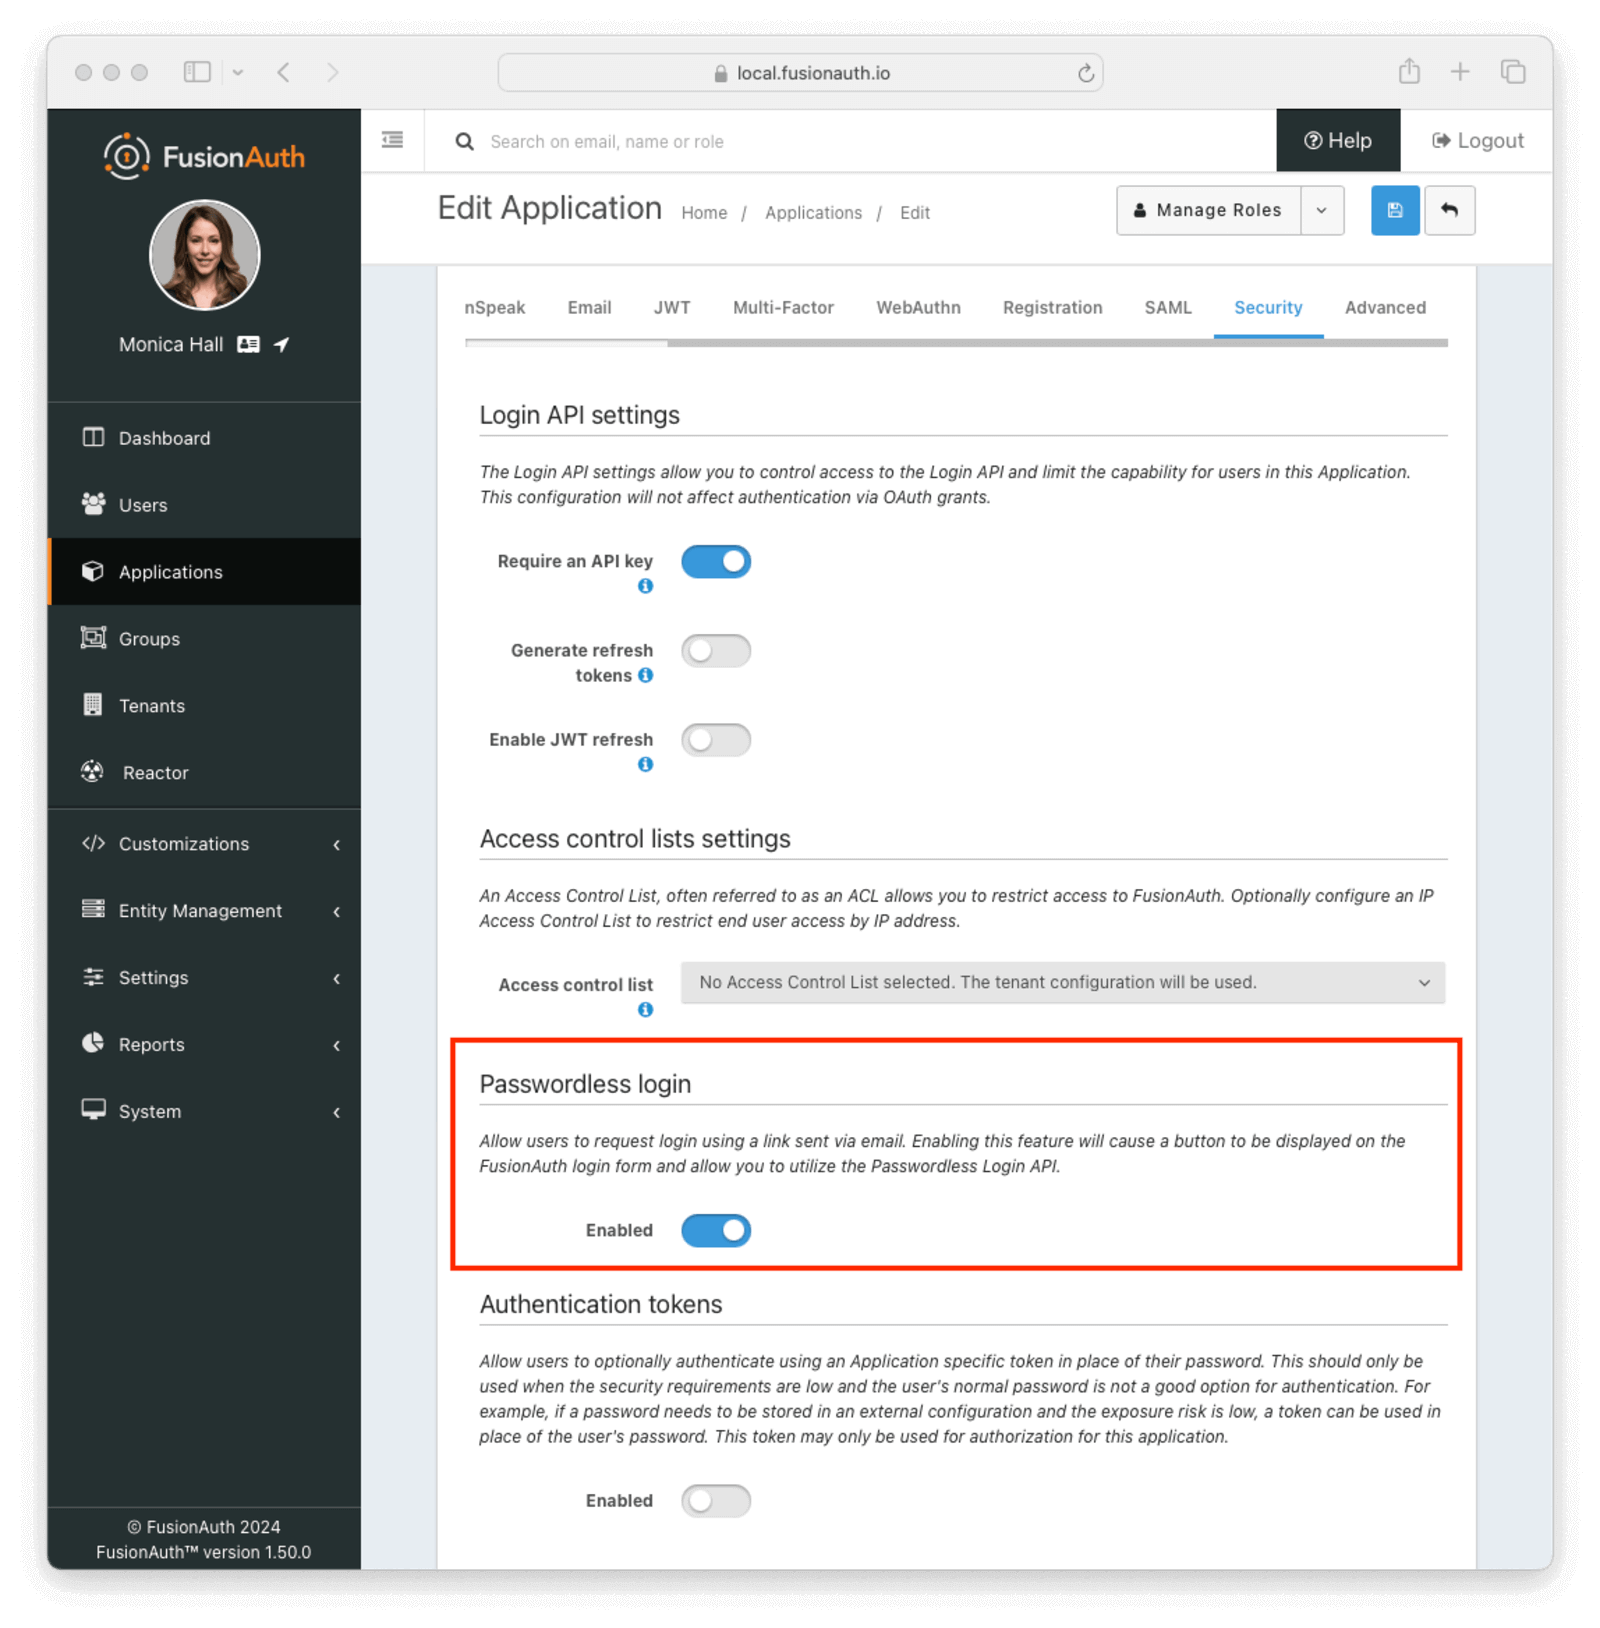 * Add a user and register them with your application. Make sure you register a valid email address or phone number
Since, by default, magic links authentication requires email or SMS delivery, ensure FusionAuth is correctly configured to send email or SMS messages.
## Using the FusionAuth Hosted Login Pages
Choose the FusionAuth hosted login pages approach if you want to use the [Authorization Code grant](/docs/lifecycle/authenticate-users/oauth/#example-authorization-code-grant). Enabling magic links adds an option for a user to receive a one-time code. Because this is the Authorization Code grant, any library or framework that supports this OAuth grant will work.
To use this option:
1. Go to your application configuration page in the administration UI
2. Configure the OAuth redirect URL as you would with any application where users authenticate password ([more on OAuth config here](/docs/lifecycle/authenticate-users/oauth/)). Make sure the Authorization Code grant is an enabled grant
3. Turn on "Passwordless Login" under the "Security" tab of the application configuration:
 Now you're done with configuration.
To test out how your users would experience this:
1. Go to your application login page and click the
 Login with a magic link button
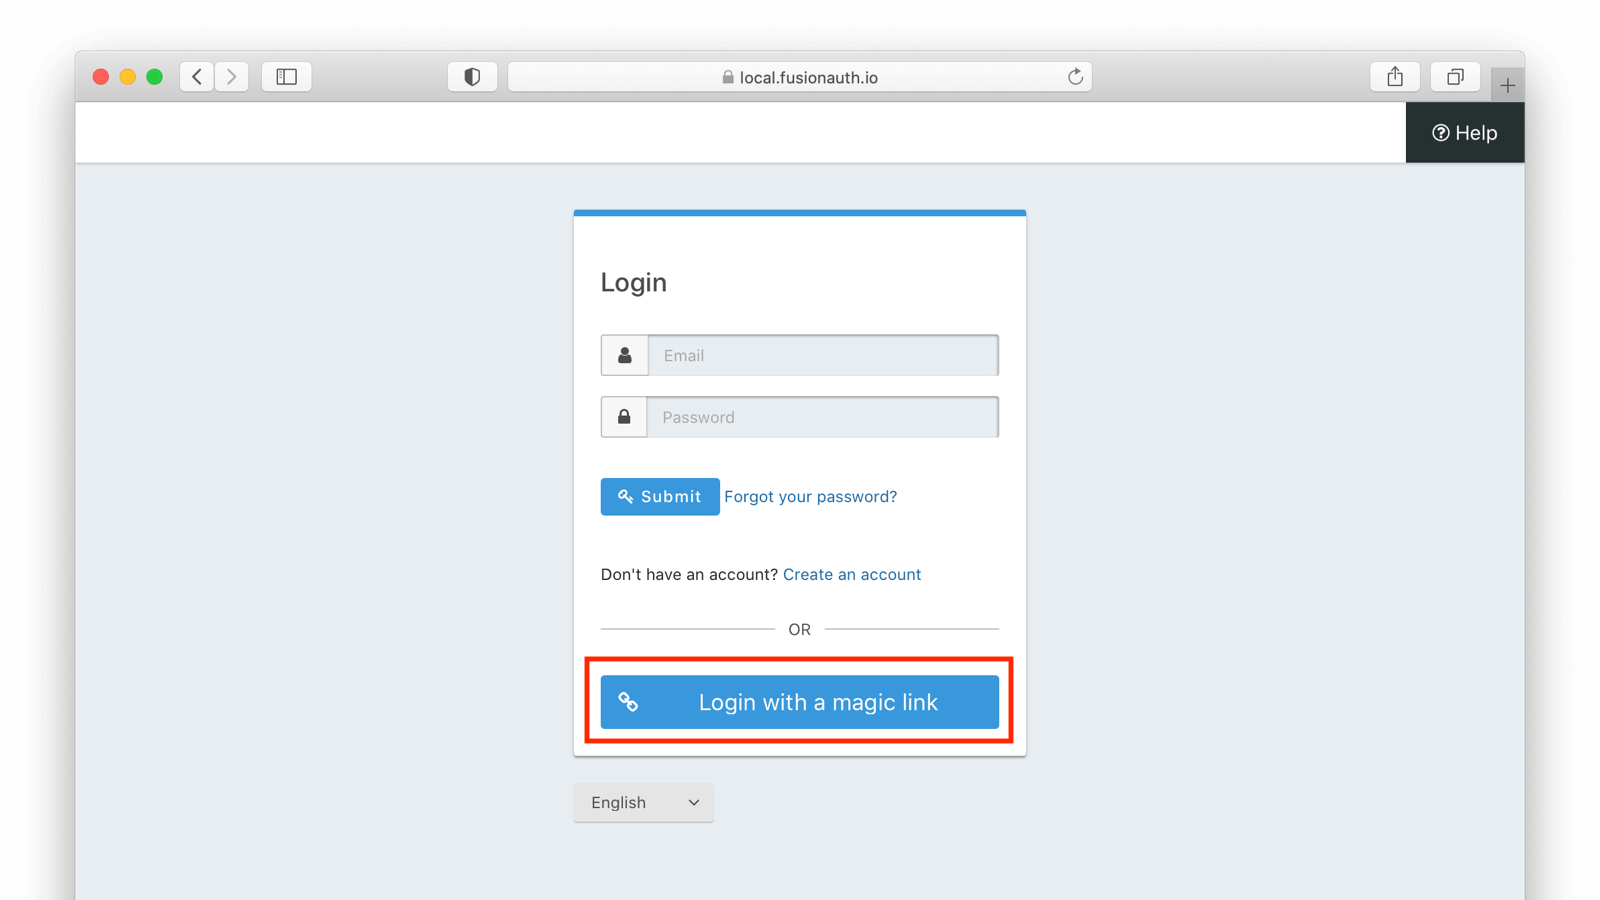 2. Enter the user's email or phone number
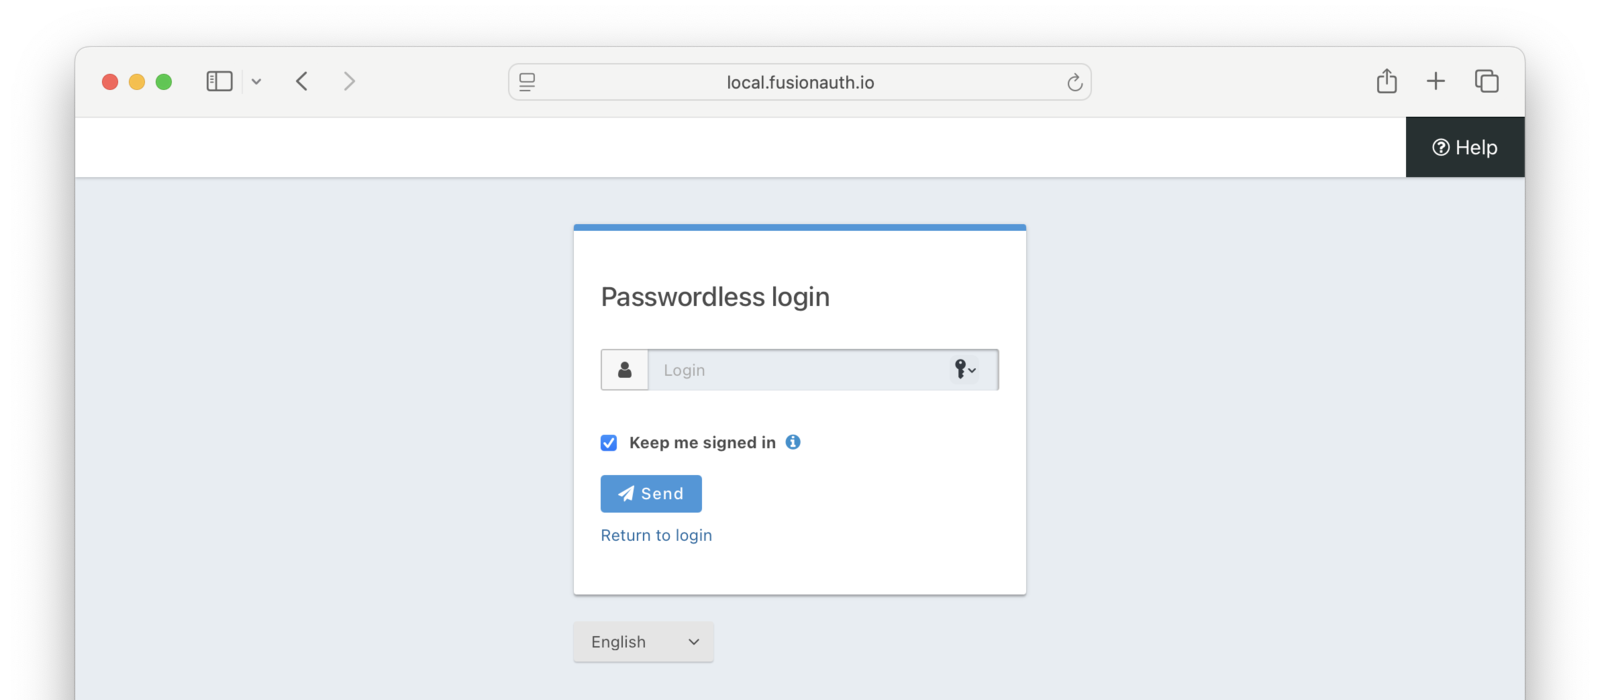 3. Go to the user's email or SMS inbox.
4. User input:
- For email, click on the link.
- For SMS, enter the one-time code from the SMS message into the form.
As soon as the magic link is clicked or the one-time code from the SMS is entered, the user has begun an Authorization Code grant. You can [consume the authorization code](/docs/lifecycle/authenticate-users/oauth/#example-authorization-code-grant) using a library or your own code. Whatever you would normally do if someone signed in with a password, you can now do here. This means that you'll be provided with the same refresh tokens, user data, or JWTs that would be delivered if the user had signed in with a password.
To customize the look of the login pages, use [themes](/docs/customize/look-and-feel/). While editing the theme, you could remove the username/password form. This would force everyone to use magic links authentication.
Since changing a theme modifies it across all applications in a tenant, this might also affect the FusionAuth admin application (if the new application is in the default tenant) and other applications in the same tenant. If you want to hide the username/password form on an application by application basis, you can use separate tenants or add logic to your theme to hide parts of the HTML based on the `client_id`, or you can use application specific themes. The latter are a feature requiring a paid license.
### Limitations
There are a few limitations when using the FusionAuth hosted login pages:
* This approach will only send the magic code via email or SMS
* This approach also requires you to enable the Authorization Code or Implicit grant
## Using the API Directly
While using the FusionAuth hosted login pages works for many, you may need more control or flexibility. You can use the passwordless API to authenticate a user with a one-time code. The [API reference docs](/docs/apis/passwordless) cover each of the API calls, but this guide will walk you through an implementation.
There are a couple of reasons you might choose this method of integration.
* You can customize every part of the user login experience
* You can send the code using a different method such as a Slack direct message
When using this option, you must set up an [API key](/docs/apis/authentication) with the appropriate permissions. The minimum level of privilege required is the `POST` permission to the `/api/passwordless/start` endpoint.
### Calling the API
There are four parts to build your own magic link flow.
1. You start the magic link login via an API call to FusionAuth
2. Deliver the code to the user
3. The user enters the code
4. You complete the magic link login via an API call
#### Starting the login
You start a magic link login by calling the [`/api/passwordless/start`](/docs/apis/passwordless#start-passwordless-login) endpoint.
```shell title="Start Magic Link Login API call"
API_KEY=...
REQUEST_PAYLOAD='{...}'
curl -H "Content-type: application/json" -H "Authorization: $API_KEY" https://local.fusionauth.io/api/passwordless/start -d "$REQUEST_PAYLOAD"
```
Here's an example request payload:
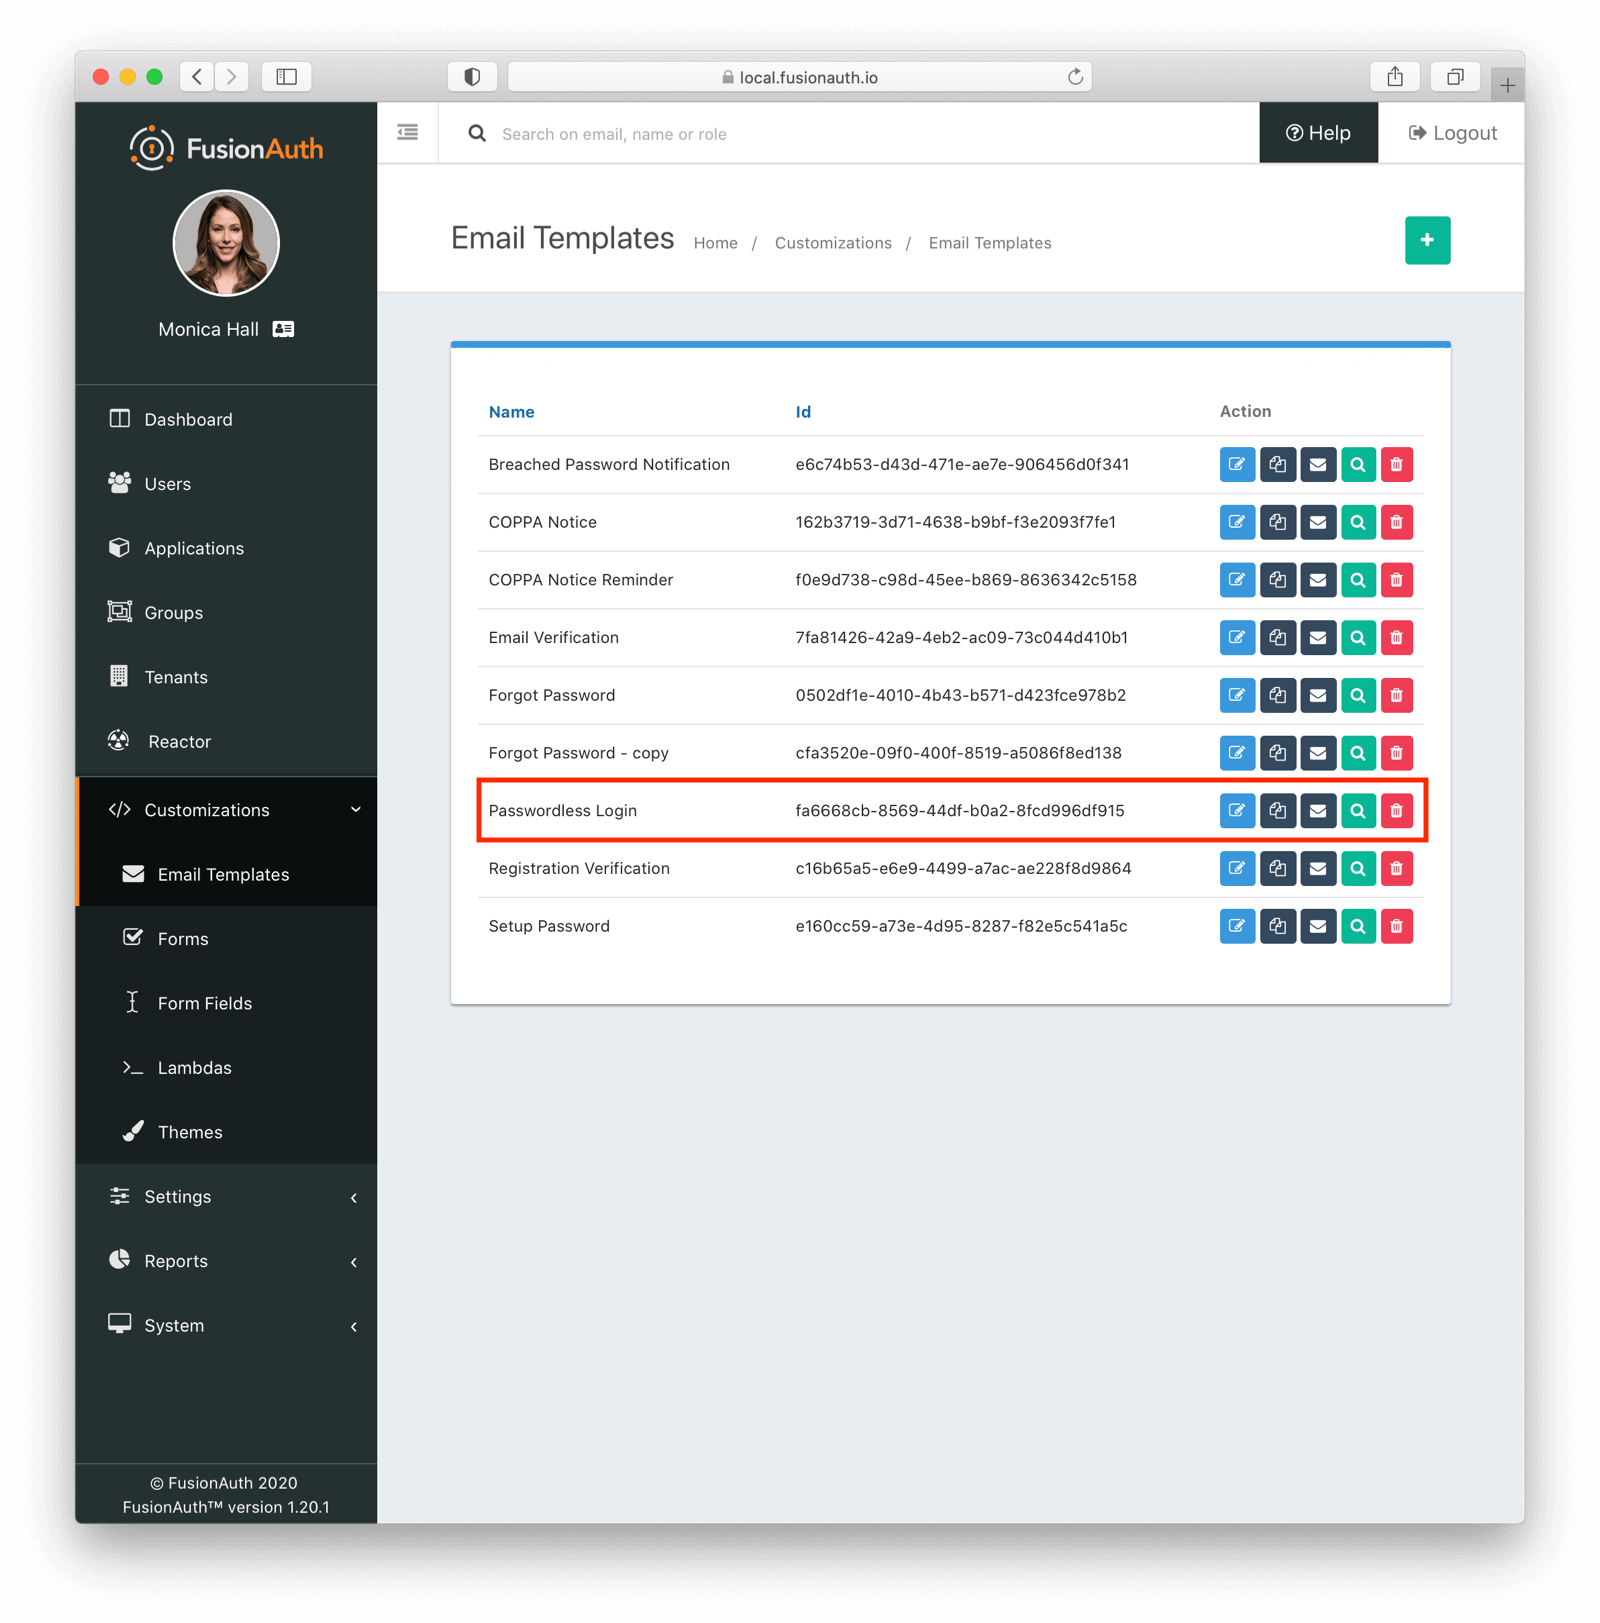 Then modify it with your branding and messaging.
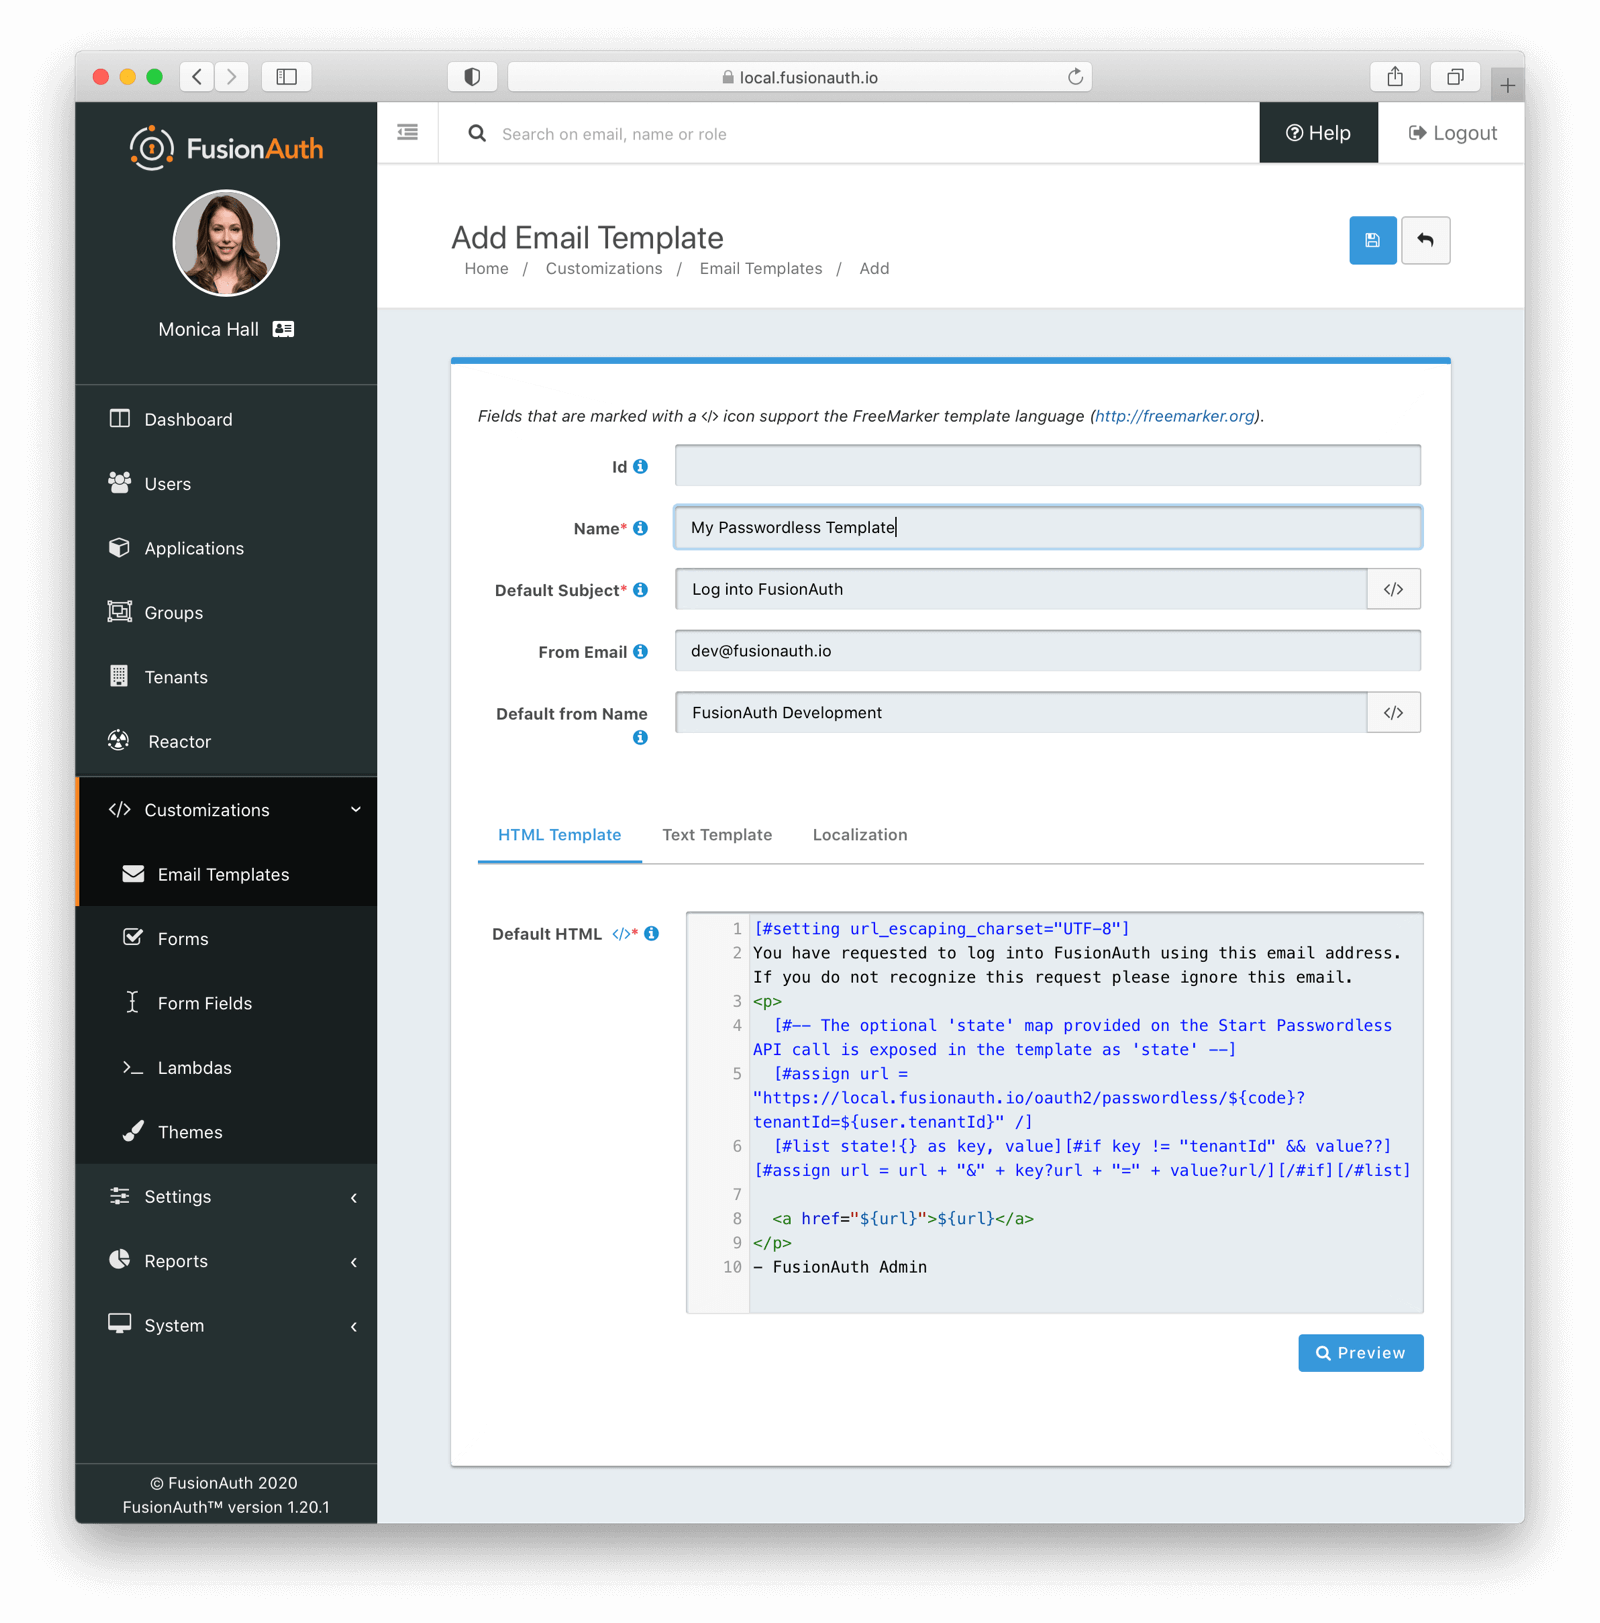 Configure the tenant identities template settings to use your email template.
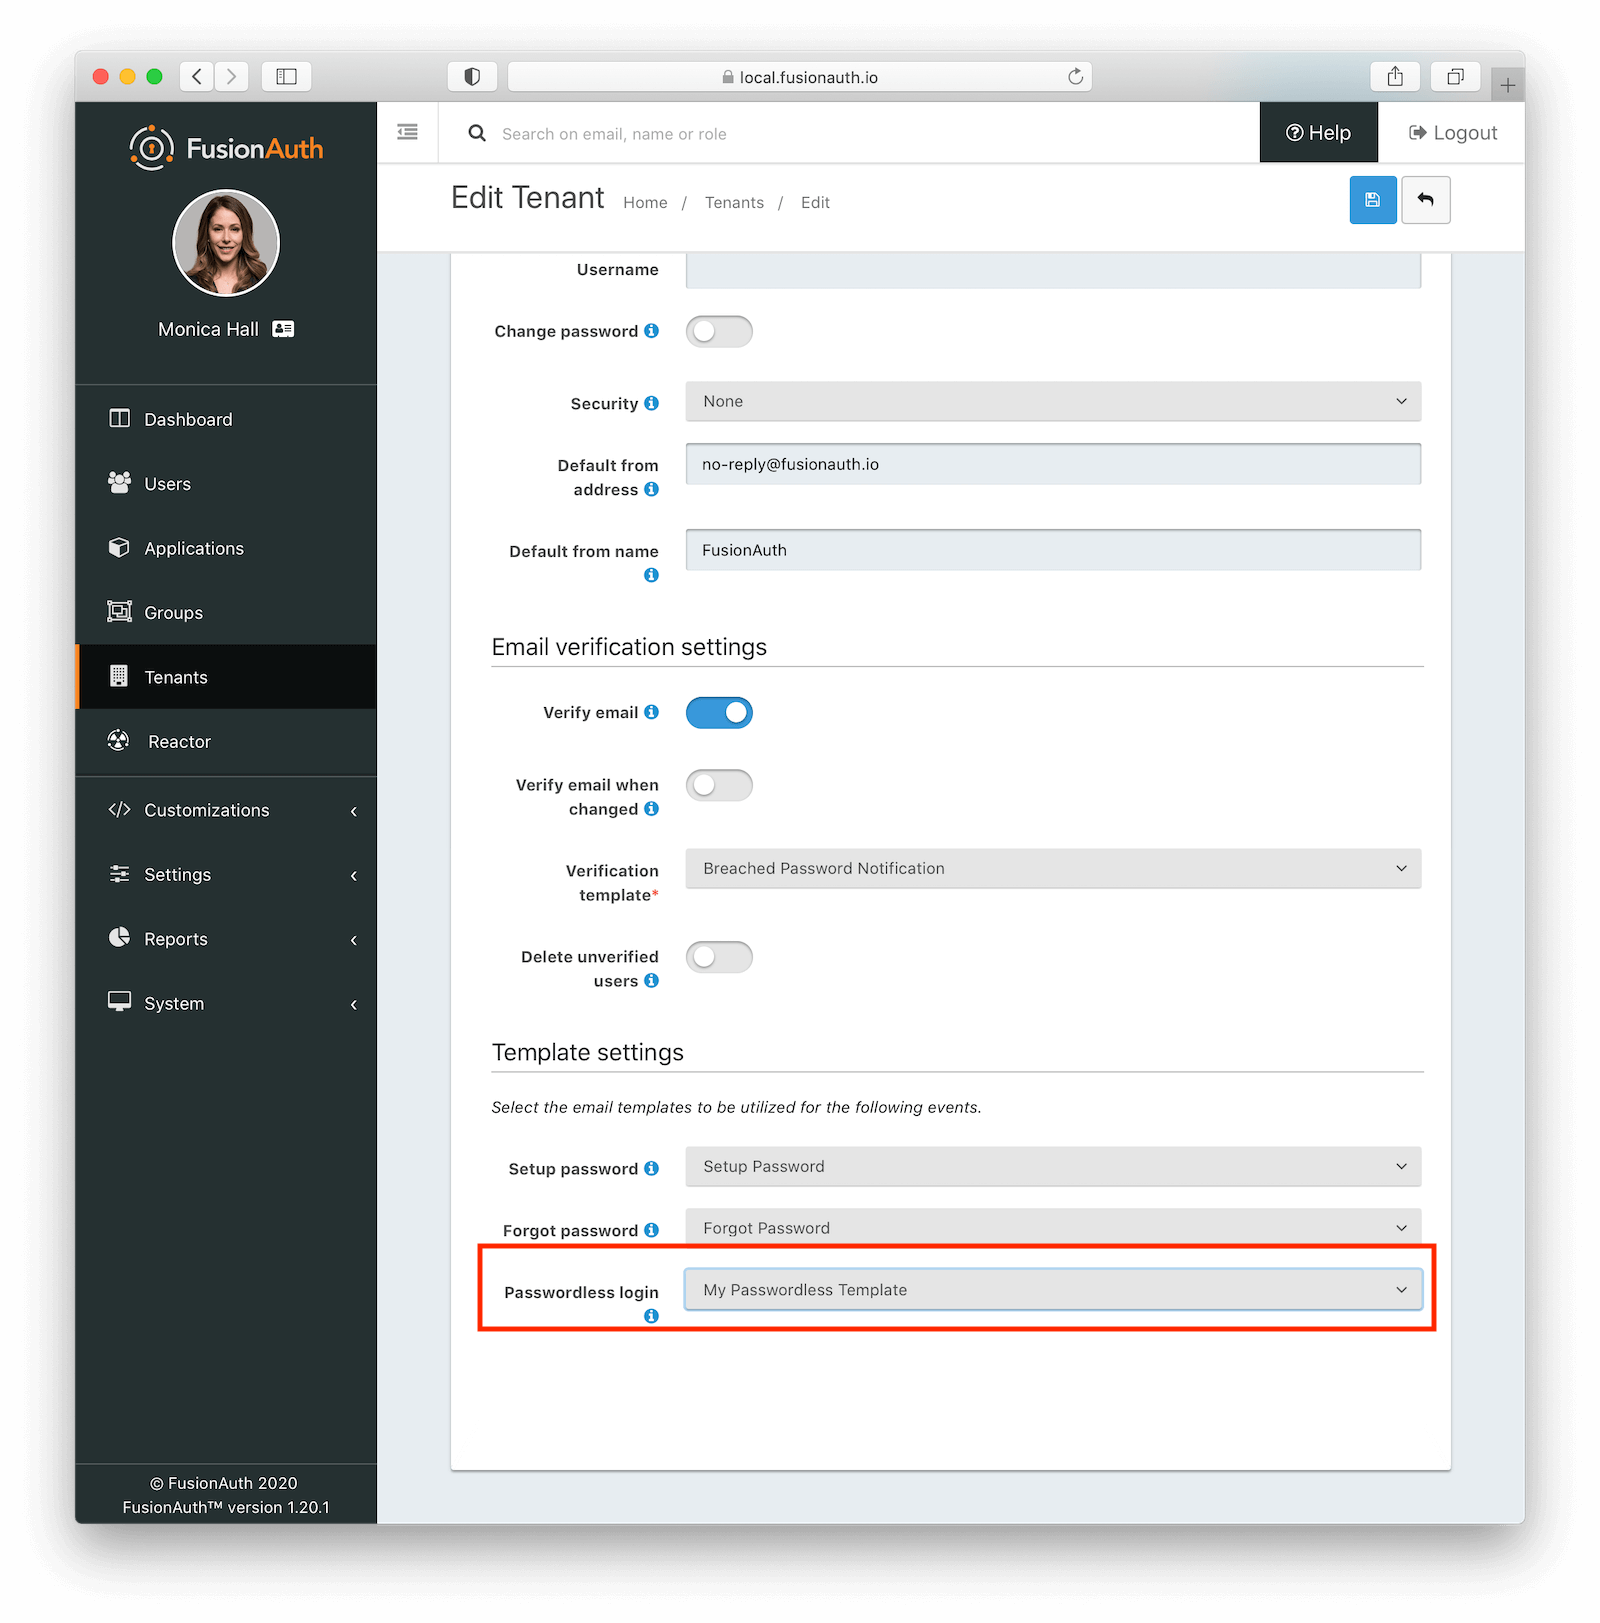 When customizing, you can use any Apache FreeMarker built-ins within the template and in the subject. Make sure you modify both the HTML and text templates. Here are the default email templates:
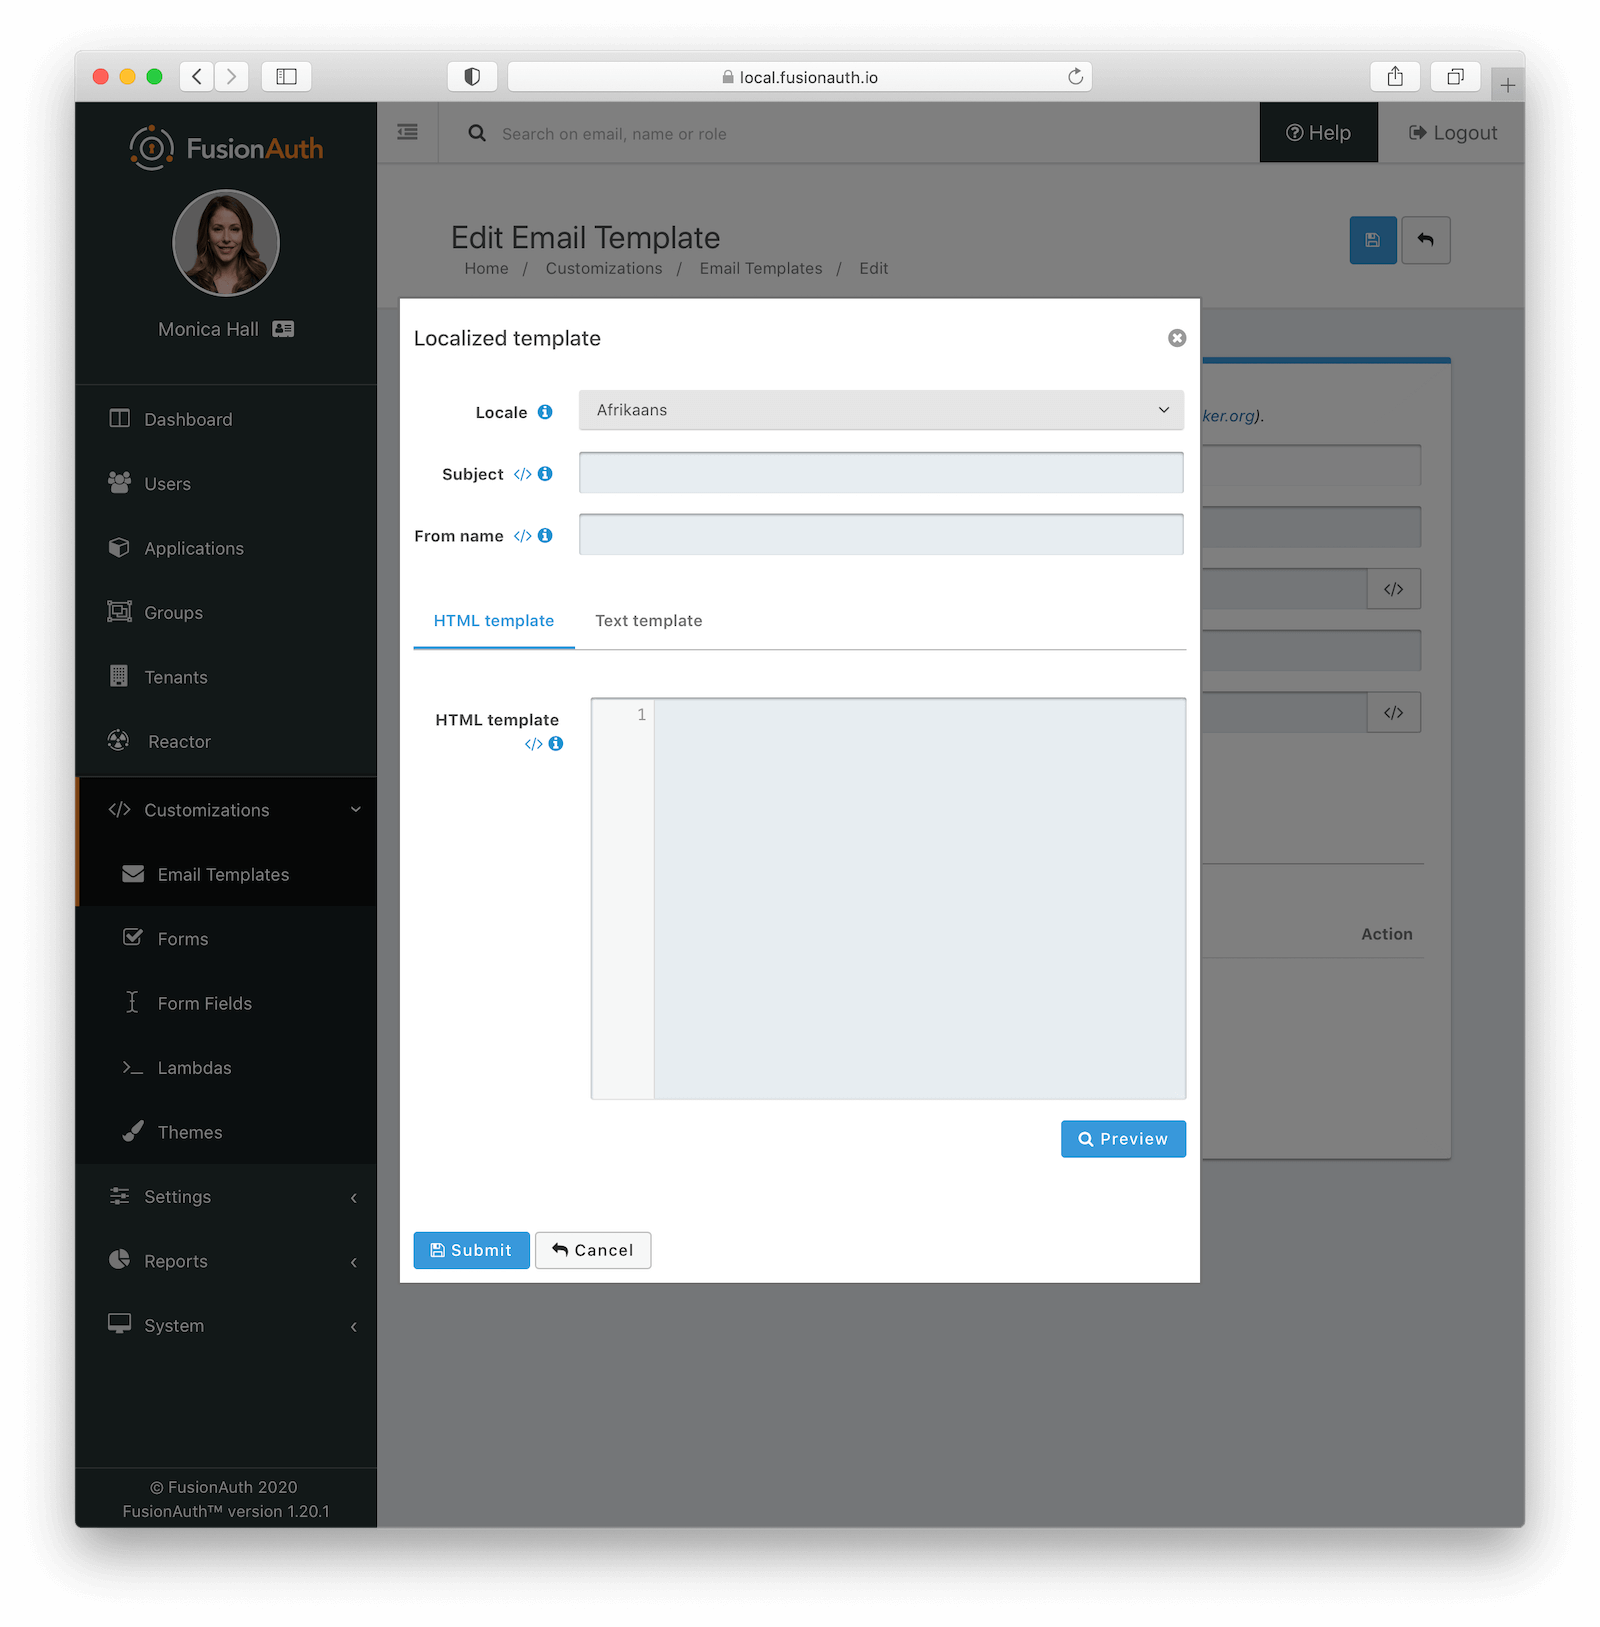 Here is more information about [email and message templates](/docs/customize/email-and-messages/).
#### Customizing the Subject
Here's an example of how to customize the subject with FreeMarker. The subject below shows how to customize the subject with the time the link expires.
```plaintext title=Customizing the subject
[#setting time_zone = (user.timezone)!"US/Denver"]
[#setting time_format = "h:mm a"]
Expires at: ${((.now?date?long + timeToLive * 1000)?number_to_time)?string}
```
#### Message Template Customization
The message template is used for SMS delivery. It is similar to the email template, but does not have an HTML version. You can customize it in the same way as the email template, but you will only have a text version. Additionally, you can use the `oneTimeCode` variable to include the one-time code in the message.
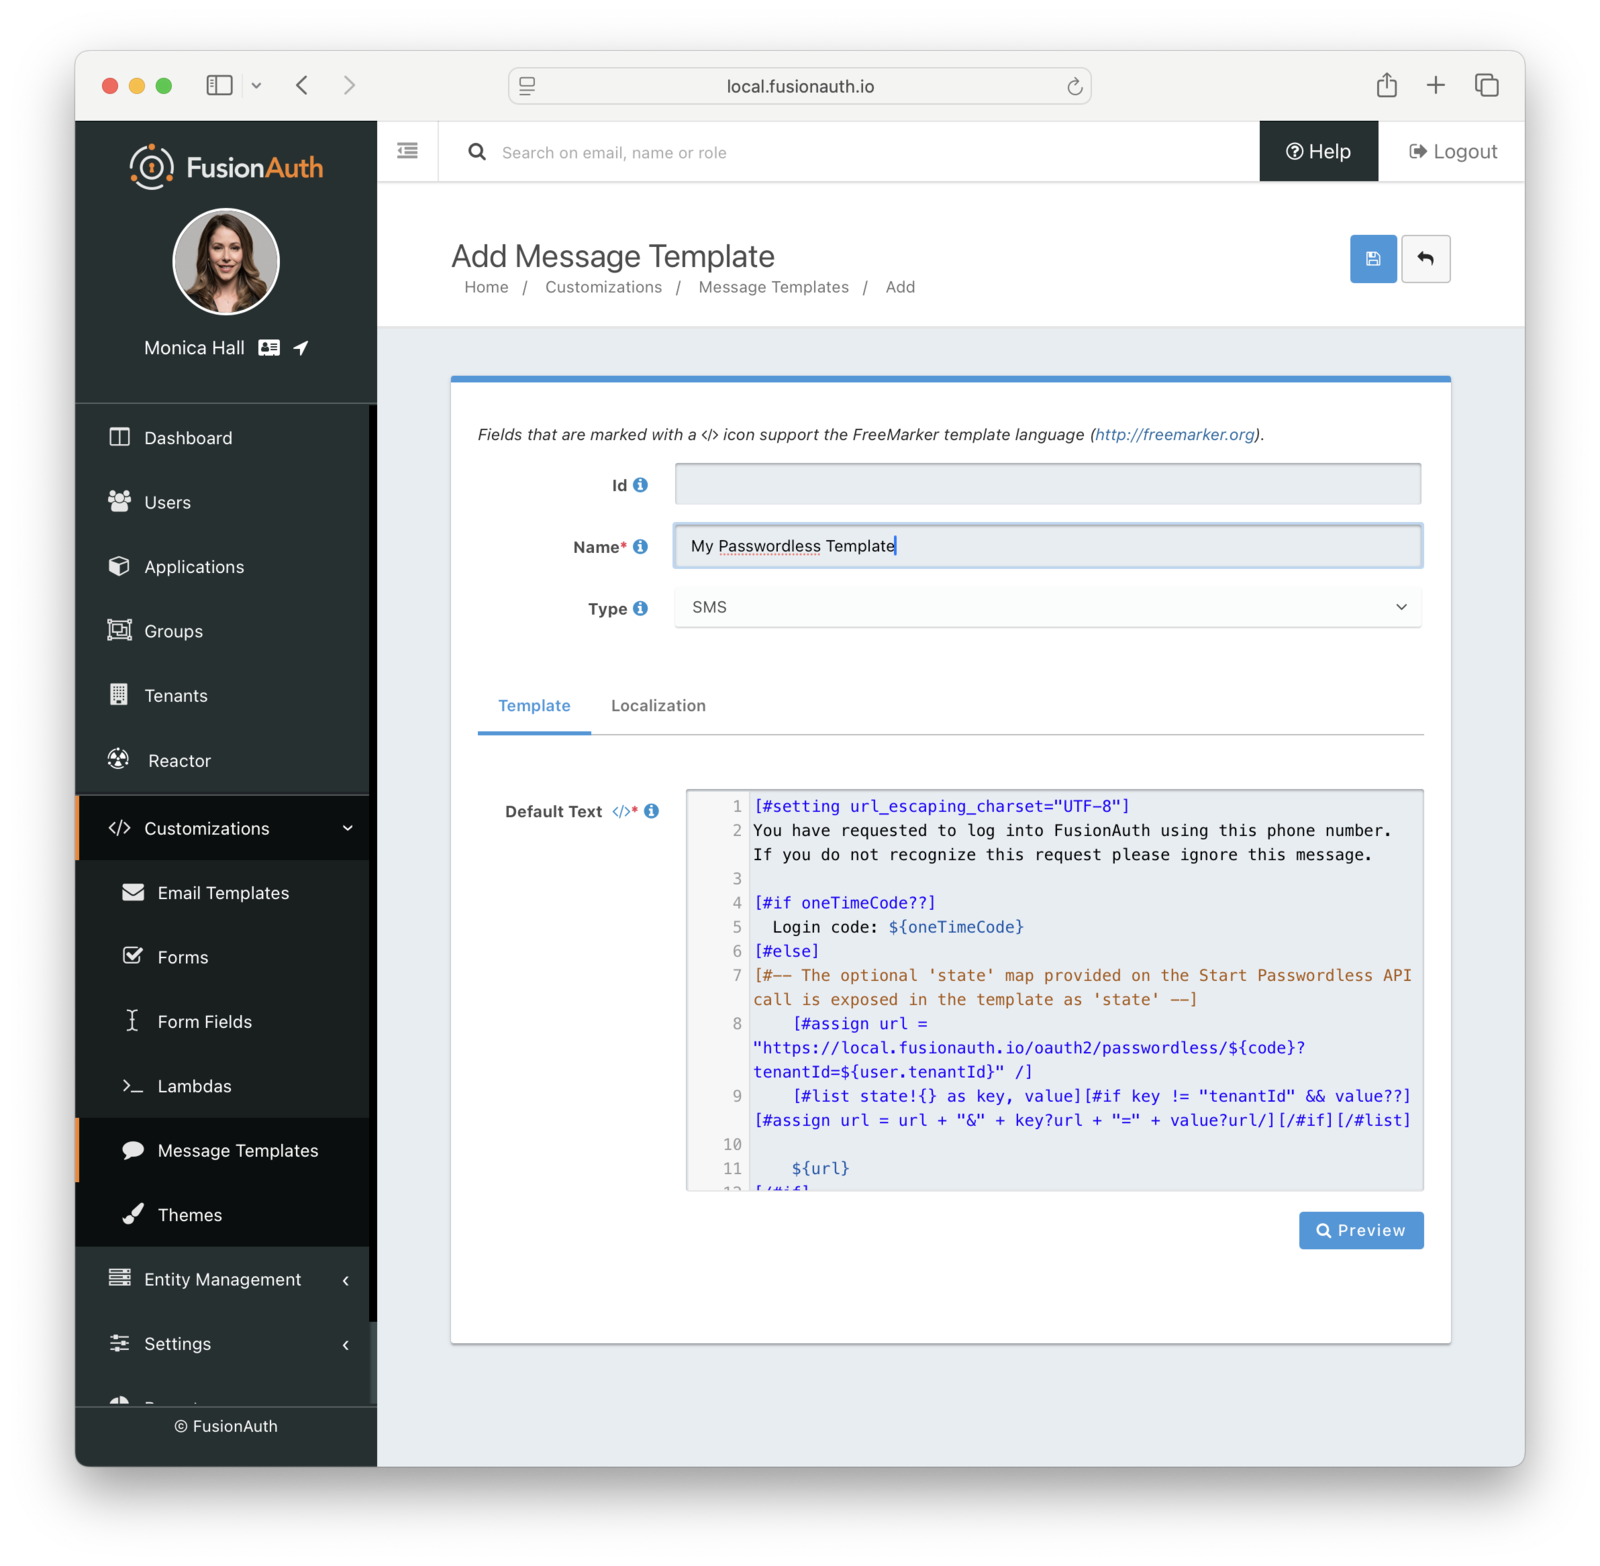 Here is the default message template:
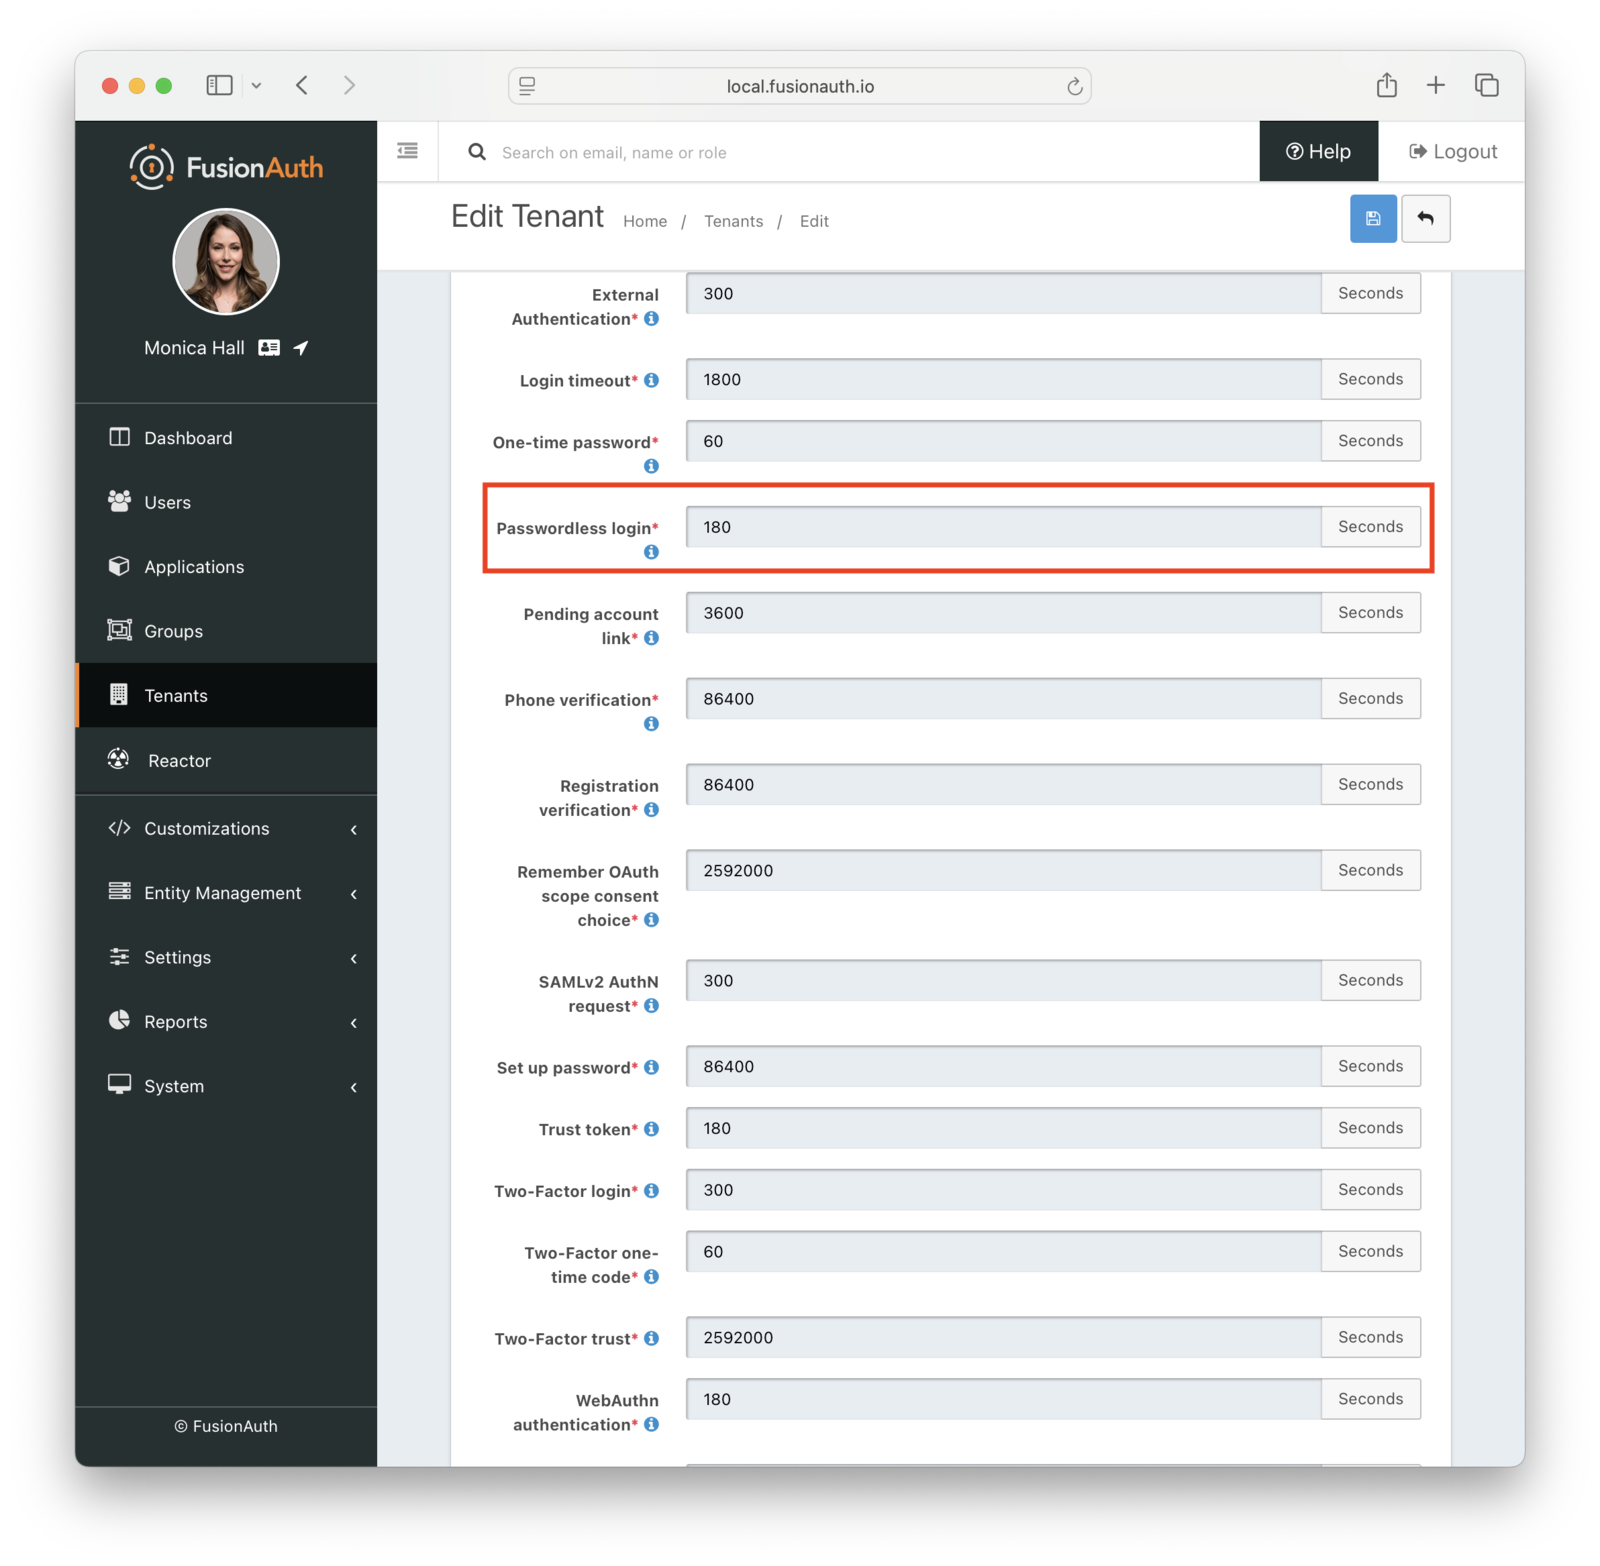 You can also change the types of the generated code and one-time code. For example, you may want your code to be only alphanumeric characters and one-time code to be numeric digits.
You may change your code length or generation strategy for security or user experience reasons. You may have requirements that specify a certain code length. If you deliver the code by text message, having a user enter a six digit alphanumeric code sent to them by SMS is a lot easier than a 64 byte string.
You have the following options for the code generation strategy:
* alphabetic characters
* alphanumeric characters
* bytes
* digits
Consult the [tenant API documentation](/docs/apis/tenants) for the length limits, which vary based on the strategy.
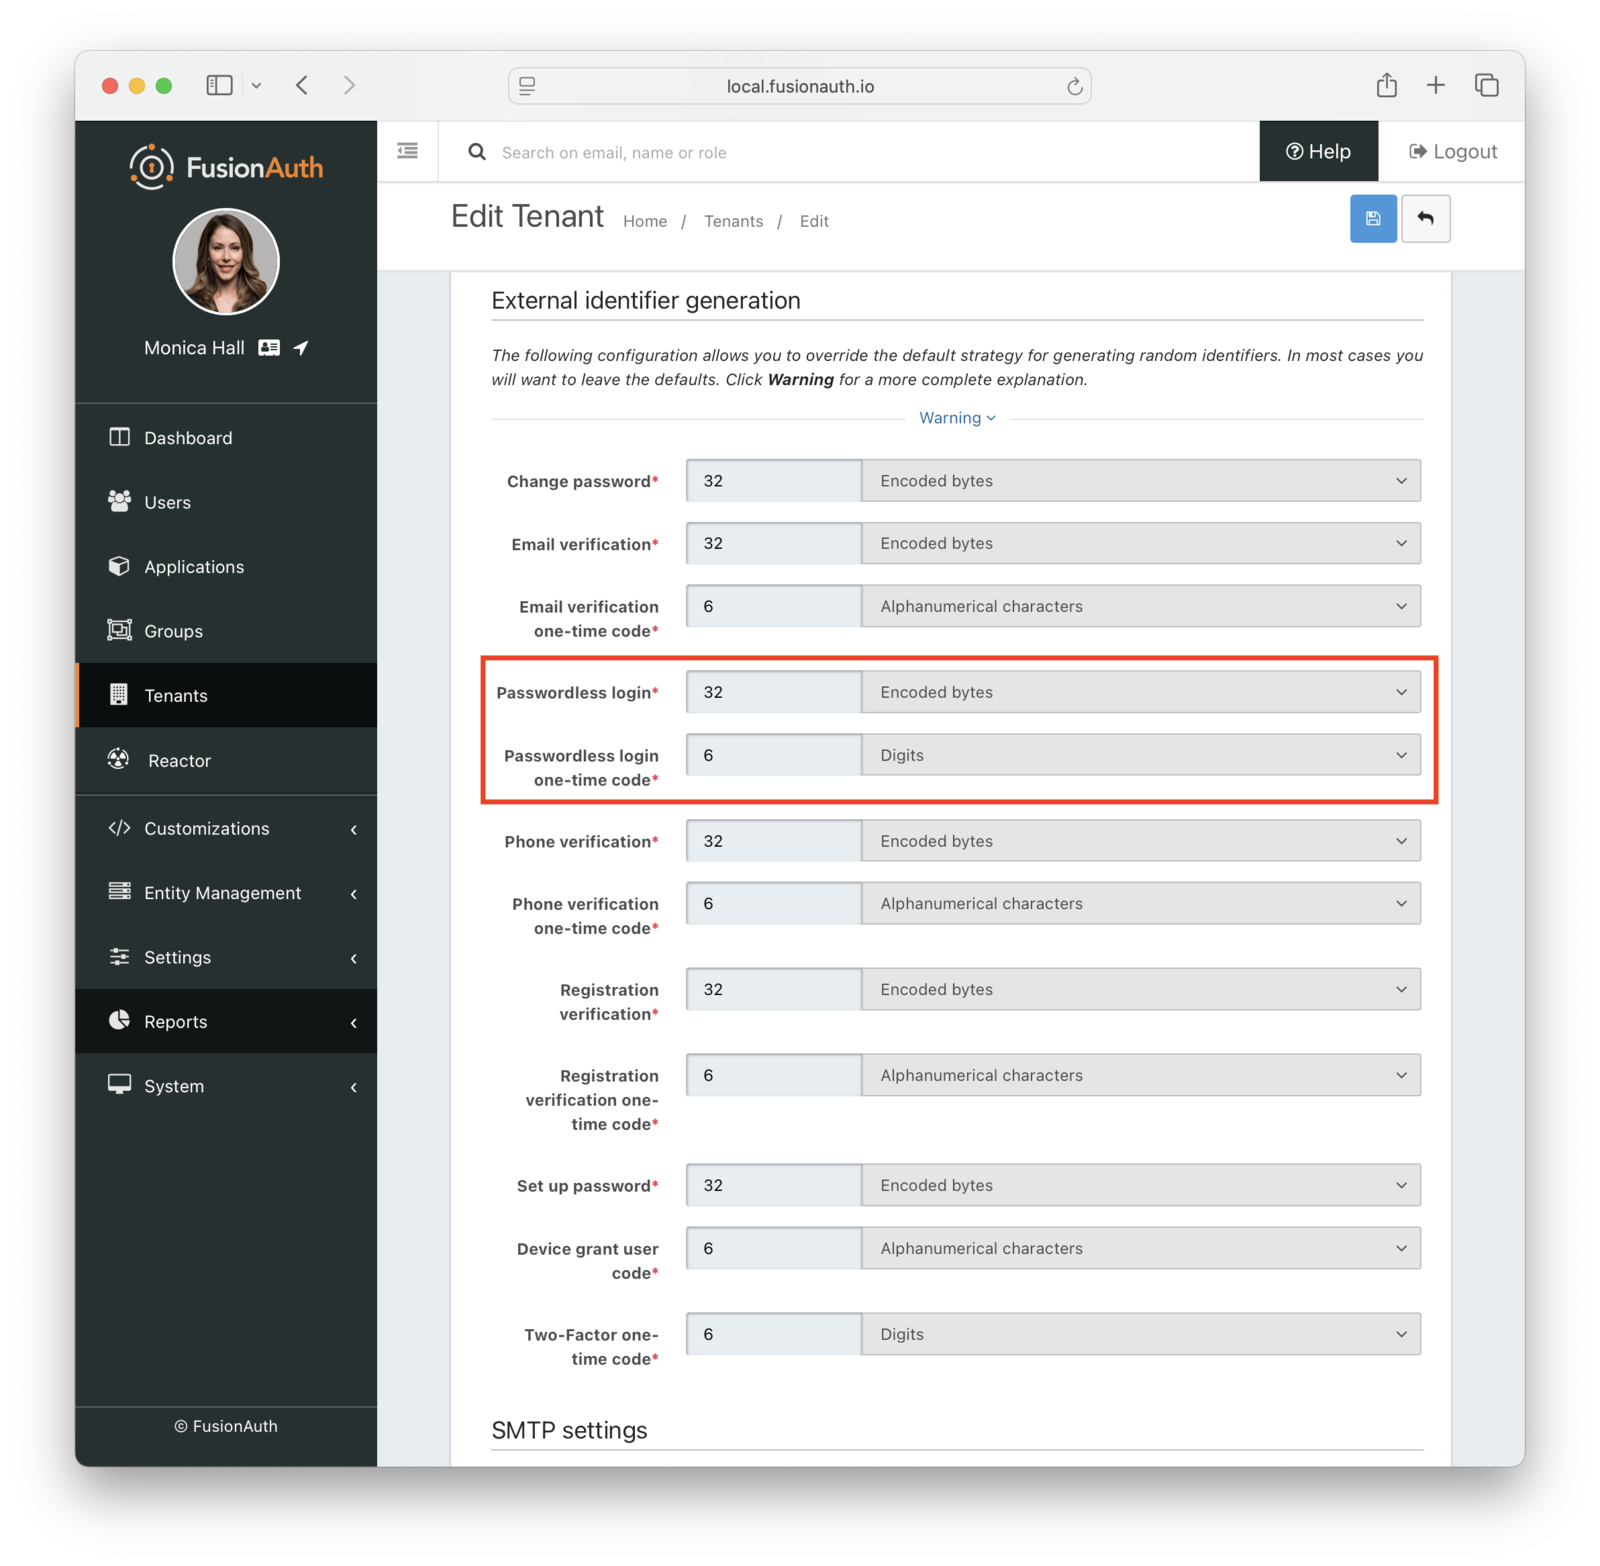 ## Security
With magic link authentication, if the user's email account or phone number is hijacked, their account on your system is compromised. However, many organizations have security policies and protections around email accounts. It is often easier to protect and regularly change one email account password than to change all of a user's passwords. Email accounts are also more likely to have two-factor authentication enabled.
One way to increase the security of your magic link authentications is to decrease the lifetime of the code. This will help if the email or SMS message is compromised or accidentally forwarded.
There are no limits on how many passwordless requests can be made for a user, but only the most recent code is valid. Using any of the others, even if they have not yet expired, will display an `Invalid login credentials` message to the user.
If someone tries to log in with an email or phone number that is not present in the FusionAuth user database, they'll see the same notification as they would if the email or phone number existed. No email or SMS message will be sent.
If you use the passwordless API, follow the principle of least privilege, and limit calls to which the API key has access. If you are using the API key only for magic link passwordless login, don't give this key any other permissions.
### What About Users' Passwords
When FusionAuth is your user datastore, you can optionally choose to disable passwords at the tenant level to make the passwordless login process easier. See the [Password enabled](/docs/get-started/core-concepts/tenants#password) tenant setting.
## Troubleshooting
### Magic Link Button Not Appearing on Login Page
If the "Login with a magic link" button does not appear on your login page, check the following:
* Ensure that the application has "Passwordless Login" enabled under the "Security" tab.
* Ensure that the application and/or tenant has a valid email or phone template configured for Passwordless Login.
* Ensure that SMS and/or email is configured in the tenant settings.
### Email
If you are experiencing troubles with email deliverability, review [the email troubleshooting documentation](/docs/operate/troubleshooting/troubleshooting#troubleshooting-email).
### Invalid Links
In some cases, email clients will visit links in an email before the user does. In particular, this is known to happen with Outlook "safe links". If the client does this when the email contains a passwordless one time code, that code may be invalid when the user clicks on it, as it has already been "used" by the client.
One option is to consult with your email client administrator. It may be possible to add the application's URL to an allow list.
In version 1.27, FusionAuth changed the link processing behavior to remedy this for some situations. Given the wide variety of email client behavior, it may still be present in other scenarios.
If your users' passwordless codes are being expired by an email client, please [file a GitHub issue](https://github.com/FusionAuth/fusionauth-issues/issues).
# Authentication With WebAuthn & Passkeys
import LicensedPlanBlurb from 'src/content/docs/_shared/_licensed-plan-blurb.mdx';
import Aside from 'src/components/Aside.astro';
import Breadcrumb from 'src/components/Breadcrumb.astro';
import InlineField from 'src/components/InlineField.astro';
import InlineUIElement from 'src/components/InlineUIElement.astro';
import JSON from 'src/components/JSON.astro';
import {RemoteCode} from '@fusionauth/astro-components';
import {YouTube} from '@astro-community/astro-embed-youtube';
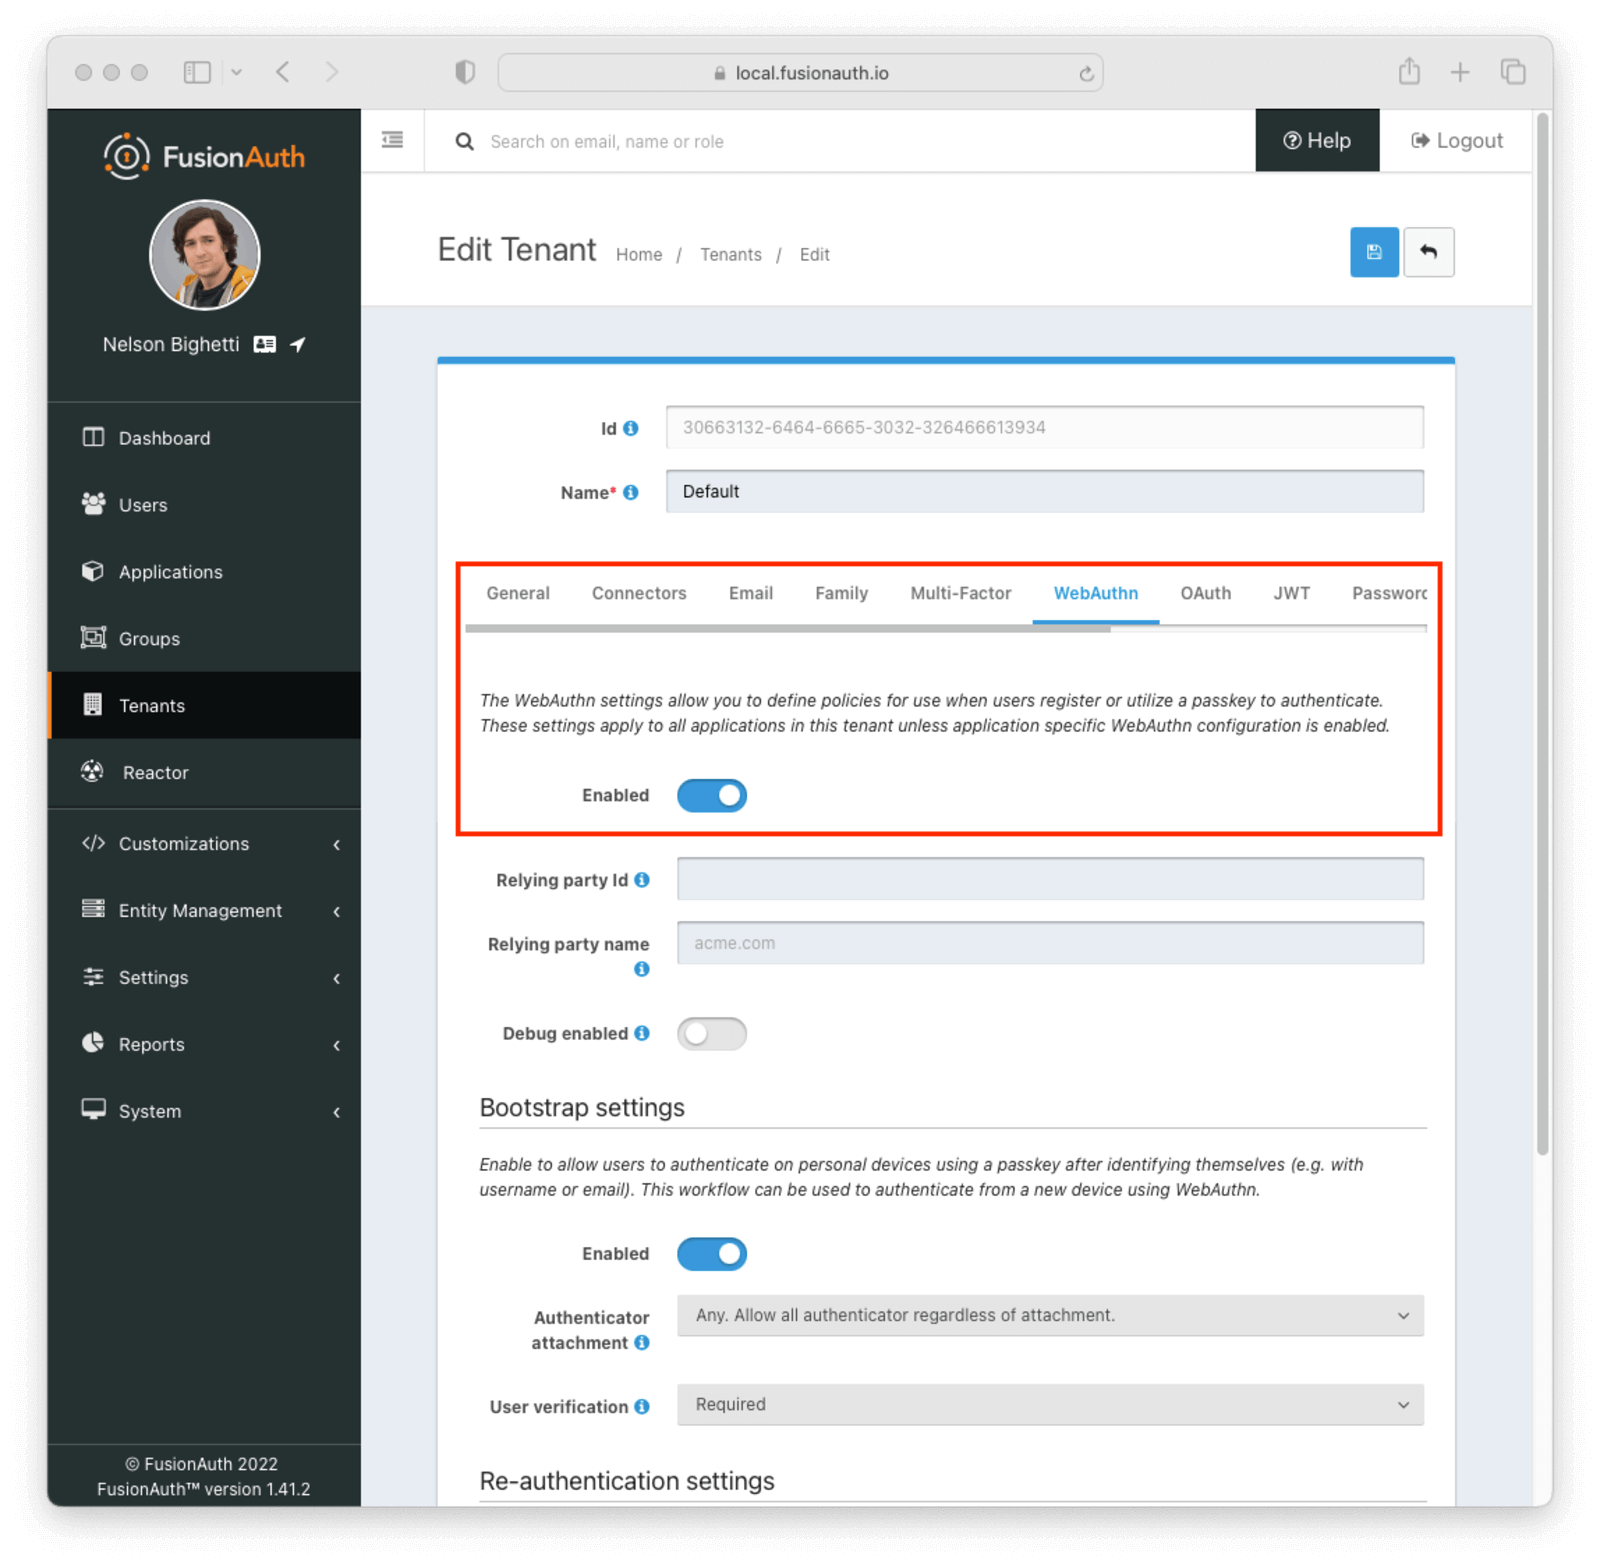 * Enable one or more WebAuthn workflows on the tenant configuration:
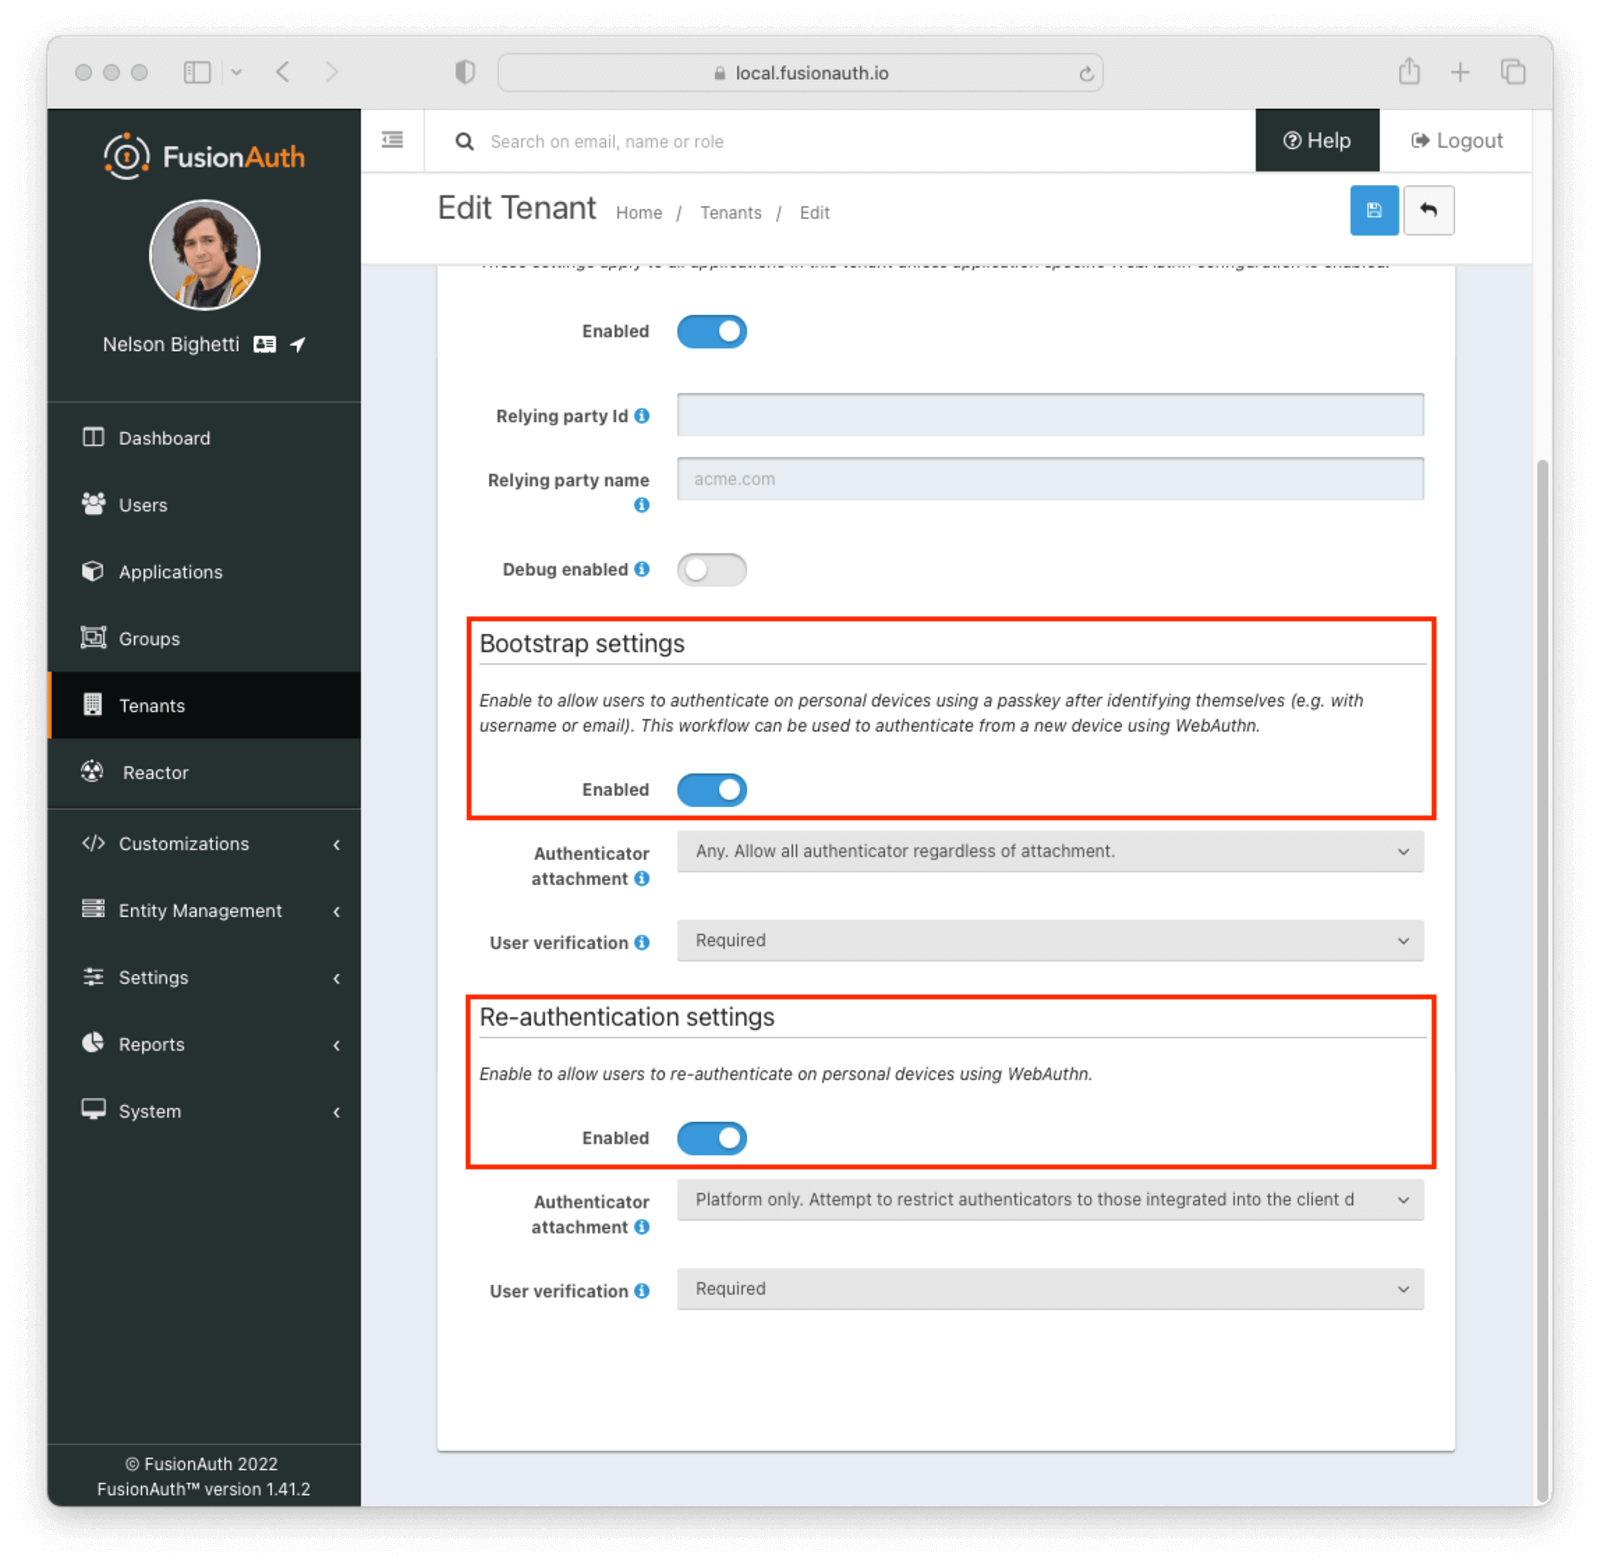 * Add a user and register them with an application belonging to the tenant
The [WebAuthn Admin Guide](/docs/lifecycle/authenticate-users/passwordless/webauthn) has more information on the tenant configuration options and overriding workflow availability per application.
## Using the FusionAuth Hosted Login Pages
Using the FusionAuth hosted login pages will handle the client-side portion of WebAuthn ceremonies for you. This includes necessary data conversions between the FusionAuth APIs and the [WebAuthn JavaScript API](https://developer.mozilla.org/en-US/docs/Web/API/Web_Authentication_API) as well as the WebAuthn API call itself. There is no additional configuration required for this approach.
FusionAuth supports two WebAuthn workflows: re-authentication and bootstrap authentication.
### Re-authentication
The re-authentication workflow is used to provide a streamlined user experience for repeated logins from the same device. FusionAuth will automatically prompt users to opt in to this workflow when it detects a compatible device. The next time the user is prompted to sign in, they will be redirected to a WebAuthn re-authentication page that lists available passkeys. The user can sign in by clicking a passkey in the list and completing the WebAuthn authentication ceremony.
#### Registration
After a successful login, users will automatically be redirected to prompt them to register or select a WebAuthn passkey for re-authentication if:
1. The re-authentication workflow is enabled
2. FusionAuth detects a device suitable for re-authentication using the [isUserVerifyingPlatformAuthenticatorAvailable()](https://developer.mozilla.org/en-US/docs/Web/API/PublicKeyCredential/isUserVerifyingPlatformAuthenticatorAvailable) JavaScript method
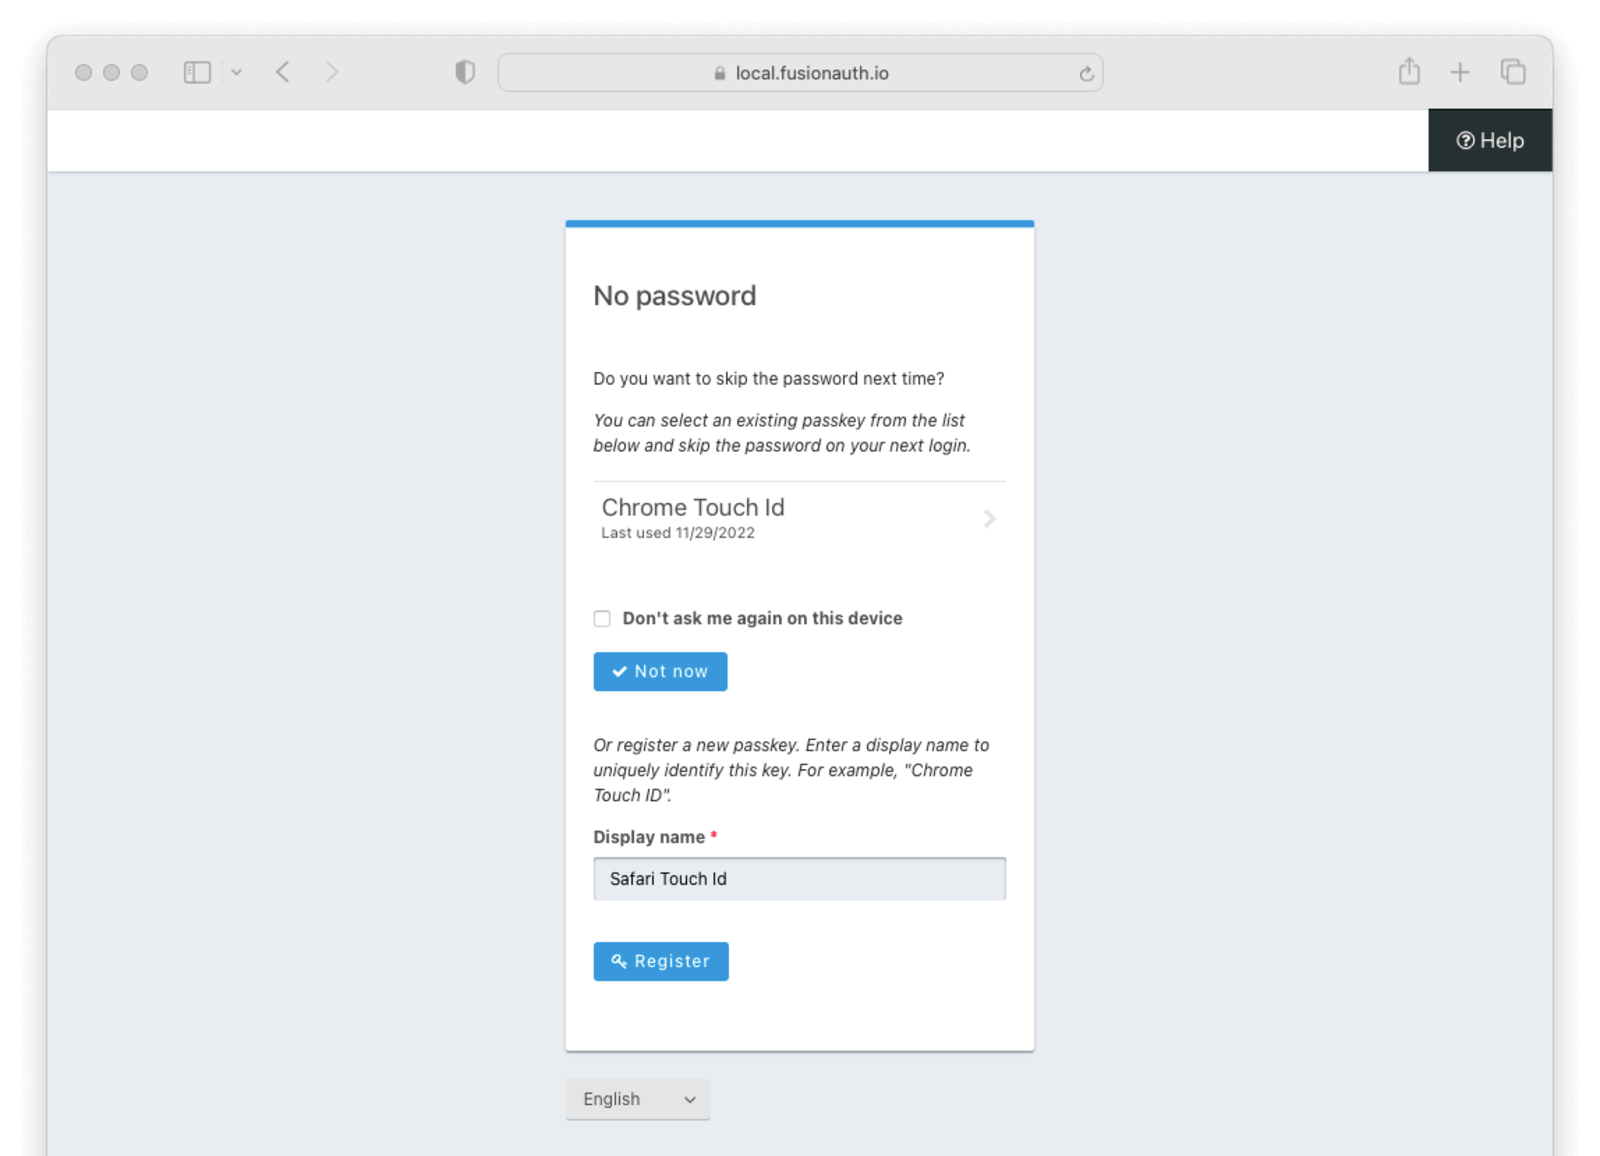 The re-authentication prompt page lists a user's WebAuthn passkeys that meet the attachment and user verification requirements for the tenant configuration. It also has a section to register a new passkey for re-authentication.
There are a few important notes about this page:
* The listed passkeys may have been registered with an authenticator that is not currently available (e.g. a removable security key)
* The listed passkeys may have been registered in another browser. Typically passkeys registered with a platform authenticator in one browser will not work in a different browser
* If the user tries to register a new passkey using the same authenticator as another of their passkeys, the registration ceremony will fail
The user is also presented with the option to skip selecting a re-authentication passkey. Choosing the "Don't ask me again on this device" and then clicking the
 Not now button will skip the prompt to sign in with a passkey in the future.
The user can select a passkey from the list to complete a WebAuthn authentication ceremony and mark that passkey for re-authentication. Otherwise, they can enter a display name and complete a WebAuthn registration ceremony to generate a new passkey that will be marked for re-authentication. In either case, FusionAuth will redirect to the WebAuthn re-authentication page the next time a login page would be presented.
#### Authentication
When a user visits the hosted login pages and begins an authentication, FusionAuth will check to see if the user has previously set up a passkey for this device. If this can be determined, the user will be redirected to the WebAuthn re-authentication page.
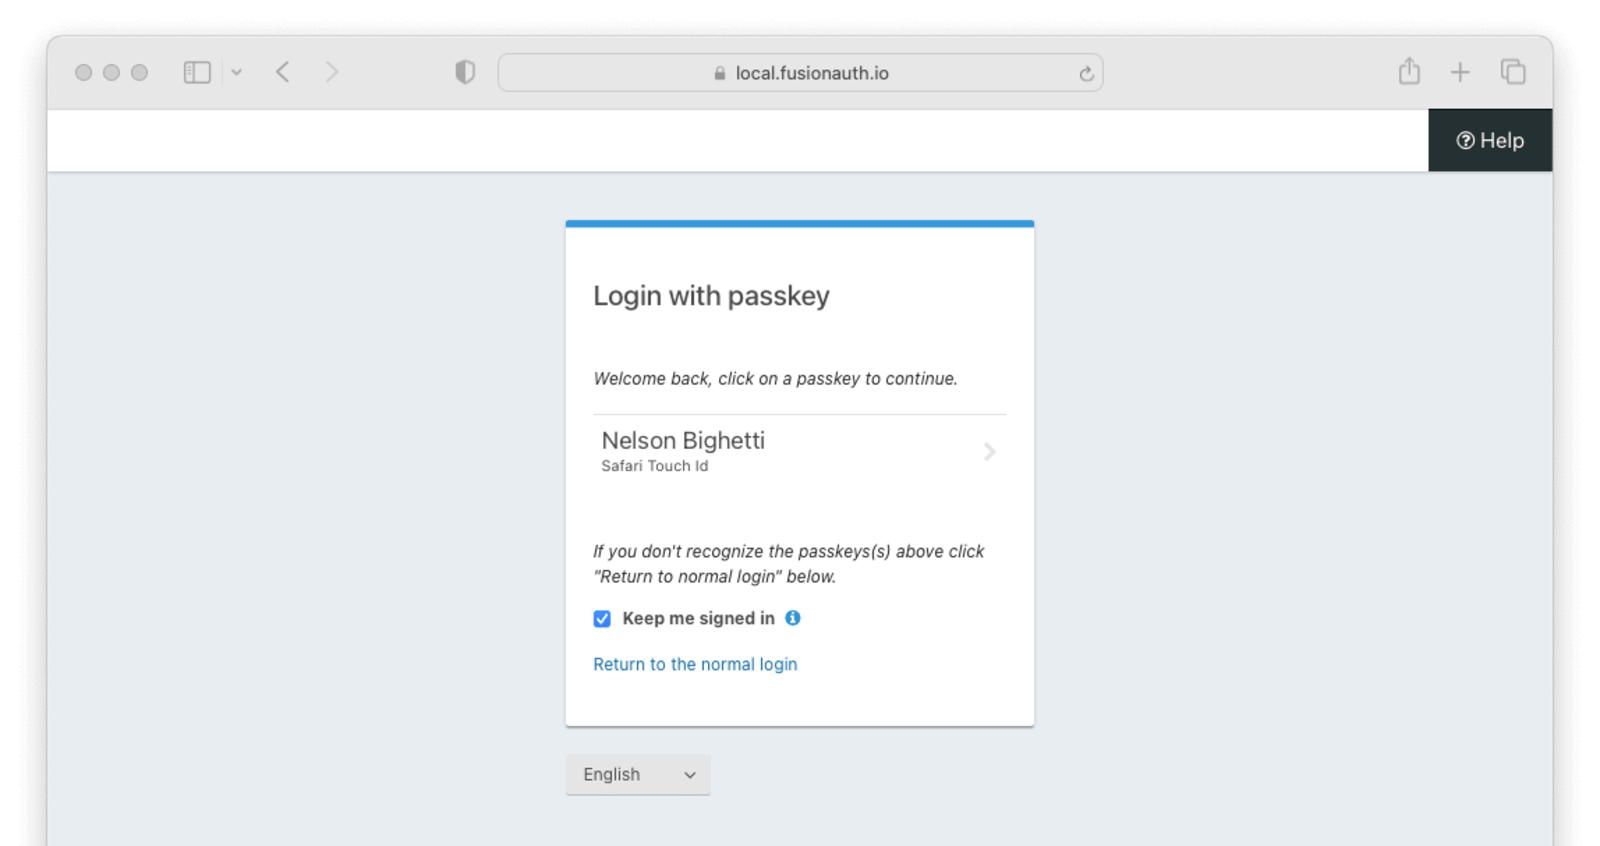 WebAuthn passkeys determined to be present will be listed. A user can select which passkey and, by extension, account they would like to use for re-authentication. Clicking a passkey on the list will start the WebAuthn authentication ceremony. Only the selected passkey will be eligible to complete the re-authentication. Once the WebAuthn authentication ceremony has been completed successfully, the user will be authenticated.
The user also has the option to return to the normal login page by clicking the
 Return to the normal login link.
These pages can be modified by the themes just as any other hosted login page.
### Bootstrap Authentication
The bootstrap workflow requires that the user "bootstrap" the WebAuthn authentication ceremony by providing identifying information such as a username or email address. You could think of this as a "manual" WebAuthn login as opposed to the re-authentication workflow where users are automatically prompted. Users can use any of their passkeys whose authenticator meets the attachment and user verification requirements to complete this authentication process.
#### Registration
If the re-authentication workflow is disabled for the tenant, users need another way to register passkeys for WebAuthn bootstrap authentication because they won't be prompted to add a passkey during authentication. Users can register and manage their own passkeys through [Self Service Account Management](/docs/lifecycle/manage-users/account-management/).
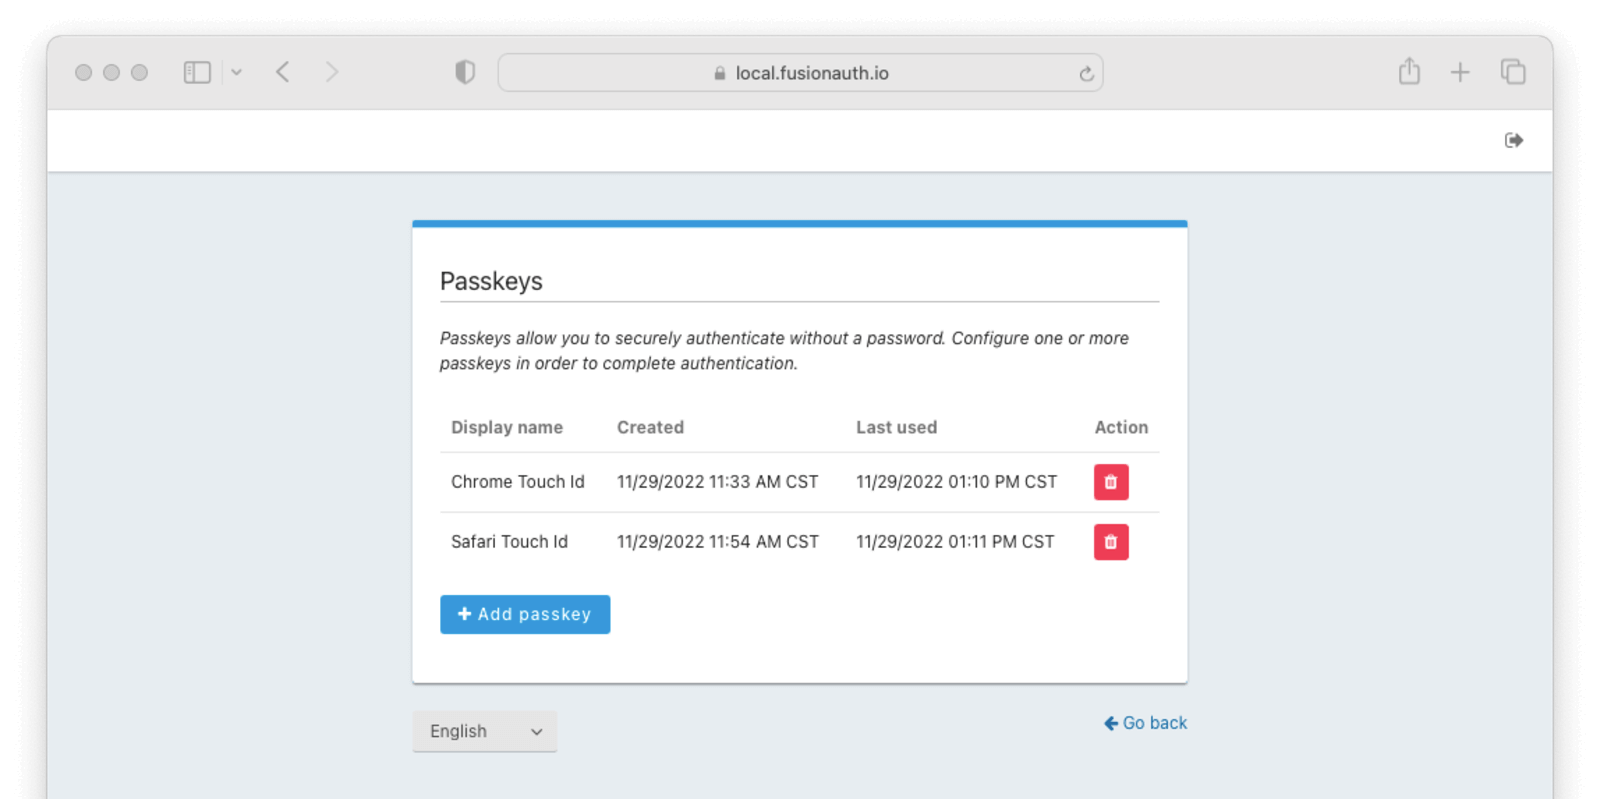 Users can see a list of passkeys along with a button to delete each one. Below the list of registered passkeys is a button to add a new passkey. Passkey registration on this page will use authenticator attachment and user verification requirements designed to cover the broadest set of use cases. Depending on the tenant configuration, passkeys registered here may not be usable with all enabled WebAuthn workflows. For instance, if passkey ABC is cross-platform, but the tenant is only configured to accept platform authenticators, passkey ABC won't work even though it shows up in this list.
#### Authentication
If the bootstrap workflow is enabled, users will see a button to authenticate with "Fingerprint, device or key" on the initial FusionAuth login page.
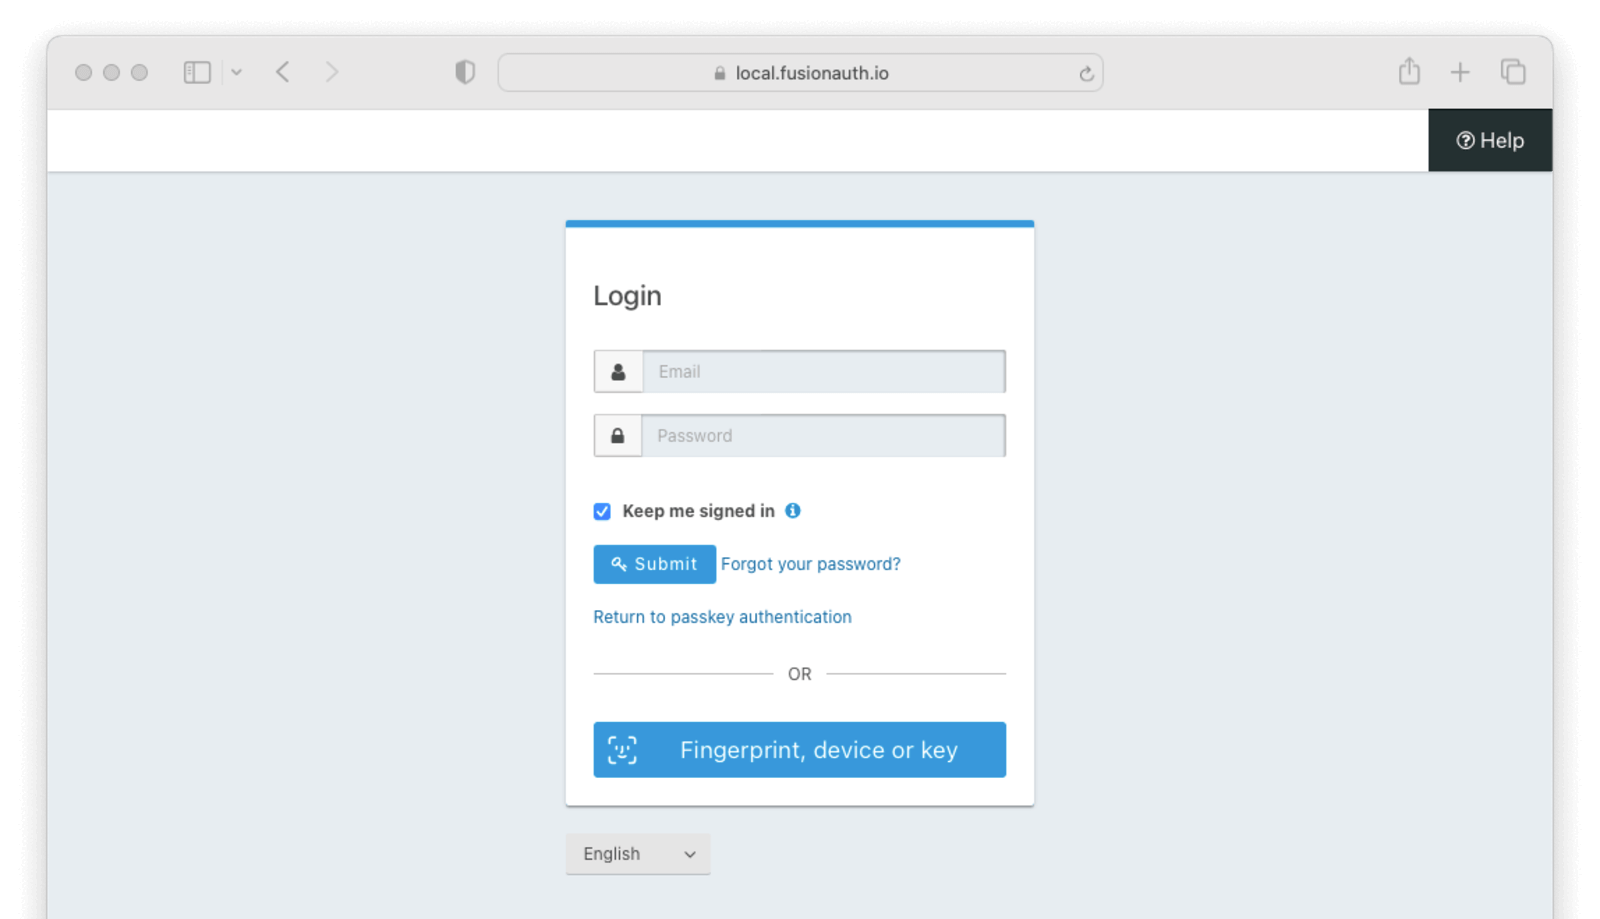 When a re-authentication passkey has been registered in this browser, users will see a link just above the alternative login methods sections with the text "Return to passkey authentication." This link will take the user back to the re-authentication page.
Clicking the
 Fingerprint, device or key button will take the user to the WebAuthn bootstrap login page.
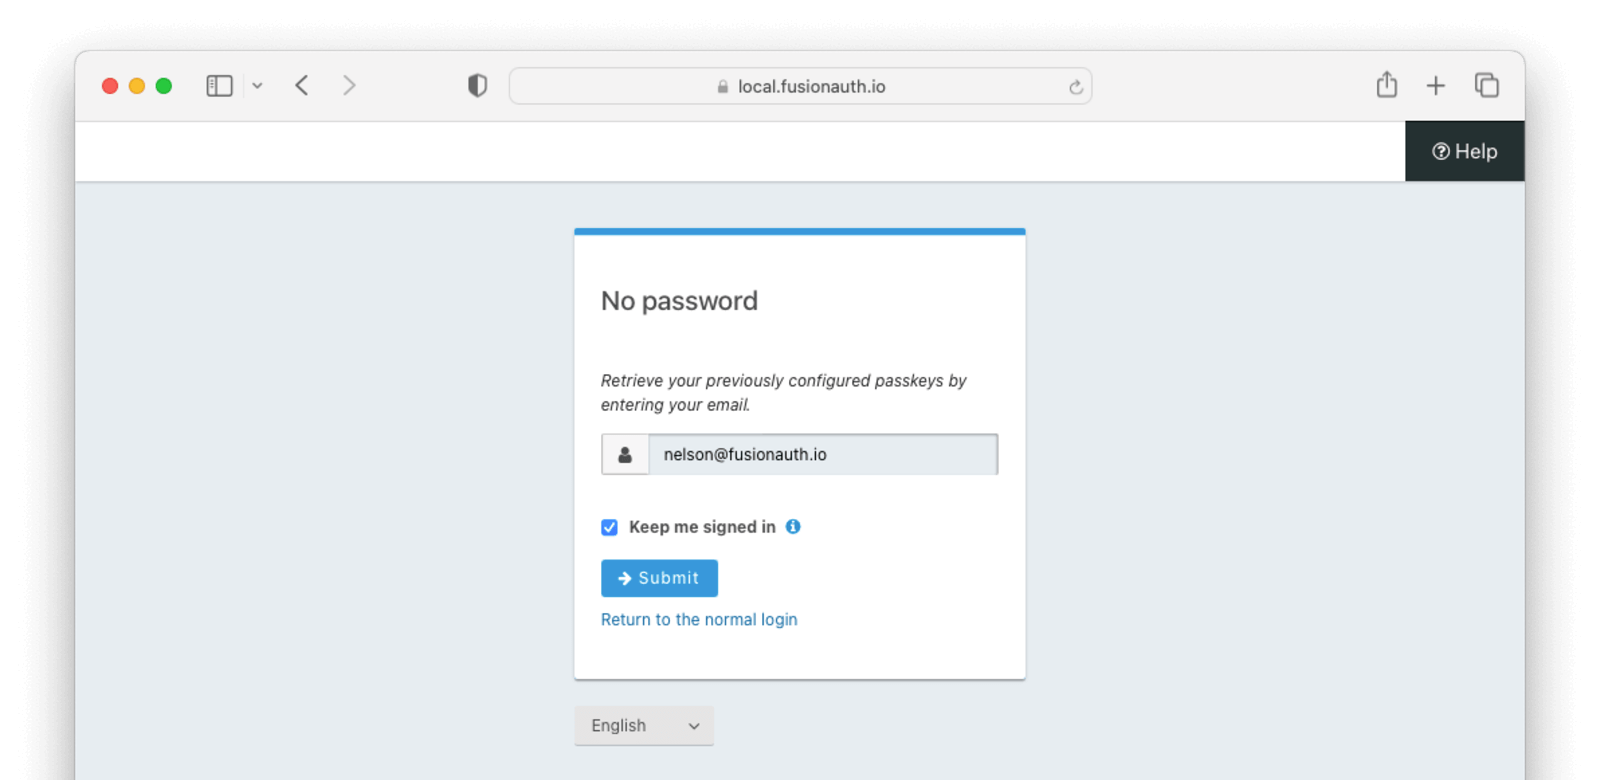 The user must identify themselves with their username, email address, or phone number, then click the
 Submit button to begin the WebAuthn authentication ceremony. They can use any of their registered passkeys whose authenticator meets the configured attachment and user verification requirements for the bootstrap workflow.
Once the WebAuthn authentication ceremony has been completed successfully, the user will be authenticated.
These pages can be modified by the themes just as any other hosted login page.
## Using the API Directly
While using the FusionAuth's hosted login pages works for many, you may need more control. You can use the WebAuthn API to register new passkeys and authenticate a user with a passkey. The [WebAuthn API reference docs](/docs/apis/webauthn) cover each of the API calls, but this guide will walk you through an implementation.
There are a couple of reasons you might choose this method of integration.
* You can customize every part of the user login experience
* You can use a different method to track re-authentication passkey availability
When using this option, you must set up an [API key](/docs/apis/authentication) with the appropriate permissions. The minimum level of privilege required is the `POST` permission to the `/api/webauthn/start` and `/api/webauthn/register/start` endpoints.
The WebAuthn registration and authentication ceremonies both have a similar set of steps.
1. Start the WebAuthn ceremony via an API call to FusionAuth
2. Transform the API response containing the options for the ceremony
3. Invoke the [WebAuthn JavaScript API](https://developer.mozilla.org/en-US/docs/Web/API/Web_Authentication_API) in the browser using the transformed options
4. Transform the authenticator response to prevent issues during network transport
5. Include the transformed response in an API call to FusionAuth to complete the ceremony
The registration and authentication ceremonies are covered in their own sections below.
### Registration
Use the WebAuthn registration ceremony to create a new passkey for a user.
#### Starting the Registration
You start a WebAuthn registration by calling the [`/api/webauthn/register/start`](/docs/apis/webauthn#start-a-webauthn-passkey-registration) endpoint.
```shell title="Start WebAuthn Registration API call"
API_KEY=...
REQUEST_PAYLOAD='{...}'
curl -H "Content-type: application/json" -H "Authorization: $API_KEY" https://local.fusionauth.io/api/webauthn/register/start -d $REQUEST_PAYLOAD
```
Here's an example request payload:
options.challenge
* options.excludeCredentials\[x].id
* options.user.id
See the [`/api/webauthn/register/start`](/docs/apis/webauthn#start-a-webauthn-passkey-registration) response body section for more details.
You can use the following JavaScript function to perform the conversion:
options field on the [`/api/webauthn/register/start`](/docs/apis/webauthn#start-a-webauthn-passkey-registration) API response, and `creationOptions` is the object that is passed to the WebAuthn JavaScript API's `navigator.credentials.create()` function.
```javascript title="Transform API response for WebAuthn JavaScript API"
const creationOptions = {
// publicKey indicates this is for WebAuthn
publicKey: {
...options,
challenge: base64URLToBuffer(options.challenge),
excludeCredentials: options.excludeCredentials?.map(c => {
return {
...c,
id: base64URLToBuffer(c.id)
}
}) ?? [],
user: {
...options.user,
id: base64URLToBuffer(options.user.id)
}
}
};
```
#### Invoke the WebAuthn JavaScript API
Invoke [navigator.credentials.create()](https://developer.mozilla.org/en-US/docs/Web/API/CredentialsContainer/create) on the WebAuthn JavaScript API, passing the transformed FusionAuth API response (`creationOptions` in the snippet above) as a parameter.
The function returns a [Promise](https://developer.mozilla.org/en-US/docs/Web/JavaScript/Reference/Global_Objects/Promise) that resolves with a [PublicKeyCredential](https://developer.mozilla.org/en-US/docs/Web/API/PublicKeyCredential). Reference MDN documentation or the WebAuthn [specification](https://www.w3.org/TR/webauthn-2/) for details.
#### Transform the Authenticator Response
Certain fields on the [PublicKeyCredential](https://developer.mozilla.org/en-US/docs/Web/API/PublicKeyCredential) response from the [navigator.credentials.create()](https://developer.mozilla.org/en-US/docs/Web/API/CredentialsContainer/create) WebAuthn JavaScript API call need to be transformed from [ArrayBuffer](https://developer.mozilla.org/en-US/docs/Web/JavaScript/Reference/Global_Objects/ArrayBuffer)s to base64url-encoded strings for transport over the network.
The following response fields need to be converted from ``ArrayBuffer``s to base64url-encoded strings if they are present where credential refers to the `PublicKeyCredential` returned by the `navigator.credentials.create()` call:
* credential.response.attestationObject
* credential.response.clientDataJSON
See the [`/api/webauthn/register/complete`](/docs/apis/webauthn#complete-a-webauthn-passkey-registration) request body section for more details.
You can use the following JavaScript function to perform the conversion:
response field to extract information on transports supported by the authenticator and any requested client extension results. The response field contains an [AuthenticatorAttestationResponse](https://developer.mozilla.org/en-US/docs/Web/API/AuthenticatorAttestationResponse) object after a successful call to `navigator.credentials.create()`. The following is an ES6 JavaScript snippet to convert the `PublicKeyCredential` to a suitable format for the FusionAuth [`/api/webauthn/register/complete`](/docs/apis/webauthn#complete-a-webauthn-passkey-registration) API call. In the following example, `credential` is the `PublicKeyCredential` object returned by the WebAuthn JavaScript API's `navigator.credentials.create()` function, and `transformedCredential` is the object that will be included in the [credential](/docs/apis/webauthn#complete-a-webauthn-passkey-registration) on the FusionAuth [`/api/webauthn/register/complete`](/docs/apis/webauthn#complete-a-webauthn-passkey-registration) API request.
```javascript title="Transform WebAuthn JavaScript API response for FusionAuth API request"
const transformedCredential = {
id: credential.id,
response: {
attestationObject: bufferToBase64URL(credential.response.attestationObject),
clientDataJSON: bufferToBase64URL(credential.response.clientDataJSON)
},
type: credential.type,
clientExtensionResults: credential.getClientExtensionResults(),
transports: typeof credential.response.getTransports === 'undefined' ? [] : credential.response.getTransports()
};
```
#### Completing the Registration
You complete a WebAuthn registration by calling the [`/api/webauthn/register/complete`](/docs/apis/webauthn#complete-a-webauthn-passkey-registration) endpoint.
```shell title="Complete WebAuthn Registration API call"
REQUEST_PAYLOAD='{...}'
curl -H "Content-type: application/json" https://local.fusionauth.io/api/webauthn/register/complete -d $REQUEST_PAYLOAD
```
Here's an example request payload where credential is the `transformedCredential` from the snippet above:
options.challenge
* options.allowCredentials\[x].id
See the [`/api/webauthn/start`](/docs/apis/webauthn#start-a-webauthn-passkey-assertion-or-authentication) response body section for more details.
You can use the following JavaScript function to perform the conversion:
options field on the [`/api/webauthn/start`](/docs/apis/webauthn#start-a-webauthn-passkey-assertion-or-authentication) API response, and `requestOptions` is the object that is passed to the WebAuthn JavaScript API's `navigator.credentials.get()` function.
```javascript title="Transform API response for WebAuthn JavaScript API"
const requestOptions = {
// publicKey indicates this is for WebAuthn
publicKey: {
...options,
challenge: base64URLToBuffer(options.challenge),
allowCredentials: options.allowCredentials.map(c => {
return {
...c,
id: base64URLToBuffer(c.id)
}
})
}
};
```
#### Invoke the WebAuthn JavaScript API
Invoke [navigator.credentials.get()](https://developer.mozilla.org/en-US/docs/Web/API/CredentialsContainer/get) on the WebAuthn JavaScript API, passing the transformed FusionAuth API response (`requestOptions` in the snippet above) as a parameter.
The function returns a [Promise](https://developer.mozilla.org/en-US/docs/Web/JavaScript/Reference/Global_Objects/Promise) that resolves with a [PublicKeyCredential](https://developer.mozilla.org/en-US/docs/Web/API/PublicKeyCredential). Reference MDN documentation or the WebAuthn [specification](https://www.w3.org/TR/webauthn-2/) for details.
#### Transform the Authenticator Response
Certain fields on the [PublicKeyCredential](https://developer.mozilla.org/en-US/docs/Web/API/PublicKeyCredential) response from the [navigator.credentials.get()](https://developer.mozilla.org/en-US/docs/Web/API/CredentialsContainer/get) WebAuthn JavaScript API call need to be transformed from [ArrayBuffer](https://developer.mozilla.org/en-US/docs/Web/JavaScript/Reference/Global_Objects/ArrayBuffer)s to base64url-encoded strings for transport over the network.
The following response fields need to be converted from ``ArrayBuffer``s to base64url-encoded strings if they are present where credential refers to the `PublicKeyCredential` returned by the `navigator.credentials.get()` call:
* credential.response.authenticatorData
* credential.response.clientDataJSON
* credential.response.signature
* credential.response.userHandle
See the [`/api/webauthn/login`](/docs/apis/webauthn#complete-a-webauthn-passkey-authentication) or [`/api/webauthn/assert`](/docs/apis/webauthn#complete-a-webauthn-passkey-assertion) request body sections for more details.
You can use the following JavaScript function to perform the conversion:
response field contains an [AuthenticatorAssertionResponse](https://developer.mozilla.org/en-US/docs/Web/API/AuthenticatorAssertionResponse) object after a successful call to `navigator.credentials.get()`. The following is an ES6 JavaScript snippet to convert the `PublicKeyCredential` to a suitable format for the FusionAuth [`/api/webauthn/login`](/docs/apis/webauthn#complete-a-webauthn-passkey-authentication) or [`/api/webauthn/assert`](/docs/apis/webauthn#complete-a-webauthn-passkey-assertion) API call. In the following example, `credential` is the `PublicKeyCredential` object returned by the WebAuthn JavaScript API's `navigator.credentials.get()` function, and `transformedCredential` is the object that will be included in the [credential](/docs/apis/webauthn#complete-a-webauthn-passkey-assertion) field on the FusionAuth API request.
```javascript title="Transform WebAuthn JavaScript API response for FusionAuth API request"
let userHandle = undefined;
if (credential.response.userHandle) {
userHandle = bufferToBase64URL(credential.response.userHandle);
}
const transformedCredential = {
id: credential.id,
response: {
authenticatorData: bufferToBase64URL(credential.response.authenticatorData),
clientDataJSON: bufferToBase64URL(credential.response.clientDataJSON),
signature: bufferToBase64URL(credential.response.signature),
userHandle
},
type: credential.type,
clientExtensionResults: credential.getClientExtensionResults()
};
```
#### Completing the Authentication
You complete a WebAuthn authentication by calling the [`/api/webauthn/login`](/docs/apis/webauthn#complete-a-webauthn-passkey-authentication) endpoint.
```shell title="Complete WebAuthn Authentication API call"
REQUEST_PAYLOAD='{...}'
curl -H "Content-type: application/json" https://local.fusionauth.io/api/webauthn/login -d $REQUEST_PAYLOAD
```
Here's an example request payload where credential is the `transformedCredential` from the snippet above:
credential is the `transformedCredential` from the snippet above:
Advanced -> External identifier durations :
 You may want to adjust the lifetime of these challenges to change how long a user has to complete a ceremony once it has been started. If an attempt is made to complete the ceremony after the challenge expires, it will fail. These values are also used as the timeout for the corresponding [WebAuthn JavaScript API](https://developer.mozilla.org/en-US/docs/Web/API/Web_Authentication_API) calls by returning the value in milliseconds as part of the [`/api/webauthn/register/start`](/docs/apis/webauthn#start-a-webauthn-passkey-registration) and [`/api/webauthn/start`](/docs/apis/webauthn#start-a-webauthn-passkey-assertion-or-authentication) API responses. The WebAuthn JavaScript APIs treat the timeout value as a hint. The browser may allow the user more time to complete the ceremony (e.g. if the timeout is deemed too short), but FusionAuth will still expire the challenge, preventing the ceremony from being completed. The
 WebAuthn authentication value is used for both authentication and assertion.
## Troubleshooting
Due to the server- and client-side components of each of the WebAuthn ceremonies and compatibility depending on both the browser and operating system, troubleshooting issues can be difficult. These tips may help you when issues come up.
### Browser Compatibility
WebAuthn is now supported across a variety of web browsers, but if you experience issues, it's worth checking whether your browser is [compatible](https://caniuse.com/webauthn). Be sure to check the notes section for limitations based on specific authenticators or operating systems and evaluate whether you may be experiencing one of those limitations.
### Secure Context
WebAuthn can only be used in [secure contexts](https://w3c.github.io/webappsec-secure-contexts/#secure-contexts). Briefly, this means that the browser must have a valid TLS connection for the current page. If WebAuthn is called from an `iframe`, then both the `iframe` and the embedding page must be secured.
### Relying Party Id
A WebAuthn passkey is scoped to a specific relying party Id at the time it is created. Passkeys cannot be used with a different relying party Id than they were registered, and there are restrictions on allowed relying party Ids during a WebAuthn ceremony based on the browser request origin's effective domain.
If the relying party Id for a tenant is changed because of a configuration change or a domain change, passkeys registered prior to the change will no longer work. See the [Relying Party Id](/docs/lifecycle/authenticate-users/passwordless/webauthn#relying-party-id) section in the WebAuthn Admin Guide for more detail on constraints and configuration options.
### WebAuthn JavaScript Binary Format
As mentioned earlier in this guide, certain request and response fields on FusionAuth's [WebAuthn APIs](/docs/apis/webauthn) must be encoded as base64url strings for transport over the network, but the WebAuthn JavaScript API uses JavaScript's `ArrayBuffer` type for these values. See the transform sections in this guide for more information on which fields must be converted.
# Configure WebAuthn
import LicensedPlanBlurb from 'src/content/docs/_shared/_licensed-plan-blurb.mdx';
import Aside from 'src/components/Aside.astro';
import LicensedPlanBlurbApi from 'src/content/docs/_shared/_licensed-plan-blurb-api.mdx';
import APIBlock from 'src/components/api/APIBlock.astro';
import APIField from 'src/components/api/APIField.astro';
import Breadcrumb from 'src/components/Breadcrumb.astro';
import InlineField from 'src/components/InlineField.astro';
import EnterprisePlanBlurbApi from 'src/content/docs/_shared/_enterprise-plan-blurb-api.astro';
 The settings in this first section are applied to all applications in the tenant.
This toggle must be enabled to use WebAuthn on this tenant.
The Relying Party Id controls the scope of WebAuthn passkeys (i.e. which sites a WebAuthn passkey can be used to authenticate). More on this [below](#relying-party-id).
The Relying Party name is a human-readable name that may be displayed by the browser or operating system during a WebAuthn ceremony. The value should be something that your users will recognize such as the name of your company or service. If the field is left blank, FusionAuth will default the value to Issuer from the General tab during WebAuthn ceremonies.
Enable this toggle to create event logs with detailed information on WebAuthn failures. This can be useful for troubleshooting WebAuthn integration issues.
### Relying Party Id
The Relying Party Id controls which sites a given passkey can be used on. A passkey can only be used with the same Relying Party Id it was registered with. There are constraints on valid values based on the website where the WebAuthn ceremonies are performed. Leaving this field blank, which causes the [WebAuthn JavaScript API](https://developer.mozilla.org/en-US/docs/Web/API/Web_Authentication_API) to use the browser request origin's effective domain, should work for most use cases, but overriding the value can provide additional flexibility.
Next, we'll cover the constraints imposed on this value by the browser and then how and why you may want to override the value.
#### Constraints
As part of its security requirements, the WebAuthn specification requires that the Relying Party Id for a given ceremony is either:
* The browser request origin's [effective domain](https://html.spec.whatwg.org/multipage/browsers.html#concept-origin-effective-domain)
* A [registrable domain suffix](https://html.spec.whatwg.org/multipage/browsers.html#is-a-registrable-domain-suffix-of-or-is-equal-to) of the browser request origin's effective domain
It's easier to explain with an example. If your login page is at `https://auth.piedpiper.com/oauth2/authorize`, then the effective domain is `auth.piedpiper.com`. The following are valid Relying Party Ids:
* `auth.piedpiper.com` - matches the effective domain
* `piedpiper.com` - a registrable suffix of the effective domain
But the following values are _not_ valid:
* `m.auth.piedpiper.com` - a subdomain of the effective domain
* `com` - this is a suffix of the effective domain but not registrable
Remember, if you are using a proxy or other means to serve up authentication pages for multiple domains, the domain the user sees in the browser is what matters, not the true hostname of the server.
#### Override
Continuing with the example from the previous section, let's say your login page is at `auth.piedpiper.com`. If Relying party Id is left blank, the [WebAuthn JavaScript API](https://developer.mozilla.org/en-US/docs/Web/API/Web_Authentication_API) will default to using `auth.piedpiper.com`, the browser request origin's effective domain, to scope passkeys. This means that passkeys will be registered with a Relying Party Id of `auth.piedpiper.com`, and those passkeys can only be used when the Relying Party Id is `auth.piedpiper.com` during the authentication ceremony.
The primary use case for overriding the Relying Party Id is to allow users access to their passkeys across multiple subdomains. Let's expand this scenario and assume you've got login pages on a few domains:
* `auth.piedpiper.com` - the login domain for desktop/laptop users
* `m.auth.piedpiper.com` - the login domain for mobile browser users
* `login.piedpiper.com` - a legacy domain that is still in use for some portion of users
If you leave the Relying party Id blank, passkeys will be scoped to these exact domains. This means that a user who registers a passkey on their MacBook at `auth.piedpiper.com`, which is then synced to their other Apple devices via iCloud, would not be able to use that same passkey on their iPhone at `m.auth.piedpiper.com`. It also means that a user who registers a passkey on the legacy `login.piedpiper.com` would not be able to use that passkey on `auth.piedpiper.com` once they have been migrated to the new login domain.
There are a couple of options to override the Relying Party Id to improve the flexibility and usefulness of WebAuthn. Here are the override options available assuming all three login domains use the same FusionAuth instance and keeping in mind the constraints from the previous section:
* `auth.piedpiper.com` - this value would allow users to share the same passkey between `auth.piedpiper.com` and `m.auth.piedpiper.com`, but it would prevent users from registering or using passkeys on the `login.piedpiper.com` legacy domain
* `piedpiper.com` - this value functions the same as using `auth.piedpiper.com` with the added benefit that users would be allowed to register and use passkeys on `login.piedpiper.com` _and_ continue using those same passkeys once they are migrated to the new `auth.piedpiper.com` domain
### Workflow settings
 Each WebAuthn workflow has the same set of configuration options.
Enabling this toggle will enable the associated workflow for all applications belonging to this tenant. The availability of a workflow can be overridden at the application level using the [Application Configuration](#application-configuration).
This setting controls which authenticator attachments are allowed for registration ceremonies when using the associated workflow. See the section [below](#authenticator-attachment) for recommendations on configuring this option.
This setting controls whether user verification is required for registration and authentication ceremonies when using the associated workflow. See the section [below](#user-verification) for recommendations on configuring this option.
#### Authenticator attachment
There are two [authenticator attachment modalities](https://www.w3.org/TR/webauthn-2/#authenticator-attachment-modality) in WebAuthn.
* `platform` - the authenticator is integrated with the client device
* `cross-platform` - the authenticator is removable from the client device and can be used with other client devices
The workflow settings allow limiting the associated workflow to one attachment only or allowing either. The value is used to limit eligible authenticators to those that are best suited for the workflow. The authenticator attachment preference only impacts the WebAuthn registration ceremony. These are the recommended values for available WebAuthn workflows:
* Bootstrap - ``Any``. The bootstrap workflow can be used to authenticate on any supported device. The `Any` option allows signing in with WebAuthn across the broadest set of devices.
* Re-authentication - ``Platform only``. In order to ensure that the authenticator is available for repeated logins on the same device, it is best to limit authenticator selection to those integrated with the client device.
 In order to override which workflows are enabled for the application, regardless of the tenant configuration, first enable the main toggle. Enabling the toggle in one of the subsections will enable that workflow for the application. Likewise, disabling the toggle in one of the subsections will disable that workflow for the application.
# SAML v2
import APIBlock from 'src/components/api/APIBlock.astro';
import APIField from 'src/components/api/APIField.astro';
import Aside from 'src/components/Aside.astro';
import Breadcrumb from 'src/components/Breadcrumb.astro';
import InlineField from 'src/components/InlineField.astro';
import SamlIdpLimitations from 'src/content/docs/get-started/core-concepts/_saml-idp-limitations.mdx';
import SamlIdpNote from 'src/content/docs/lifecycle/authenticate-users/integrations/saml/_saml-idp-note.mdx';
import SamlSpLimitations from 'src/content/docs/_shared/_saml-sp-limitations.mdx';
## Overview
SAML is an XML based authentication protocol developed and released in 2005. While OpenID Connect is the newest single sign-on solution, many backends and applications still rely solely on SAML. FusionAuth provides both a SAML identity provider interface as well as a SAML service provider interface. If you are unfamiliar with these SAML terms, they are defined as follows:
* Identity provider - the entity that is performing the authentication of a user. Essentially, this is the thing that is providing the login page. Also known as an IdP.
* Service provider - the entity that needs a user to login with an identity provider in order to provide some service. Essentially, this is the app the user wants to use. Also known as an SP.
As a concrete example, you might have an app called `Payroll Zen` that manages your company's payroll. This app requires that employees who have access to use it log in using the credentials stored in your company's Active Directory. `Payroll Zen` is therefore the service provider and Active Directory is the identity provider.
Applications -> Your application -> SAML to configure this functionality. In the screenshot below, you can see that we are configuring SAML for the Pied Piper application:
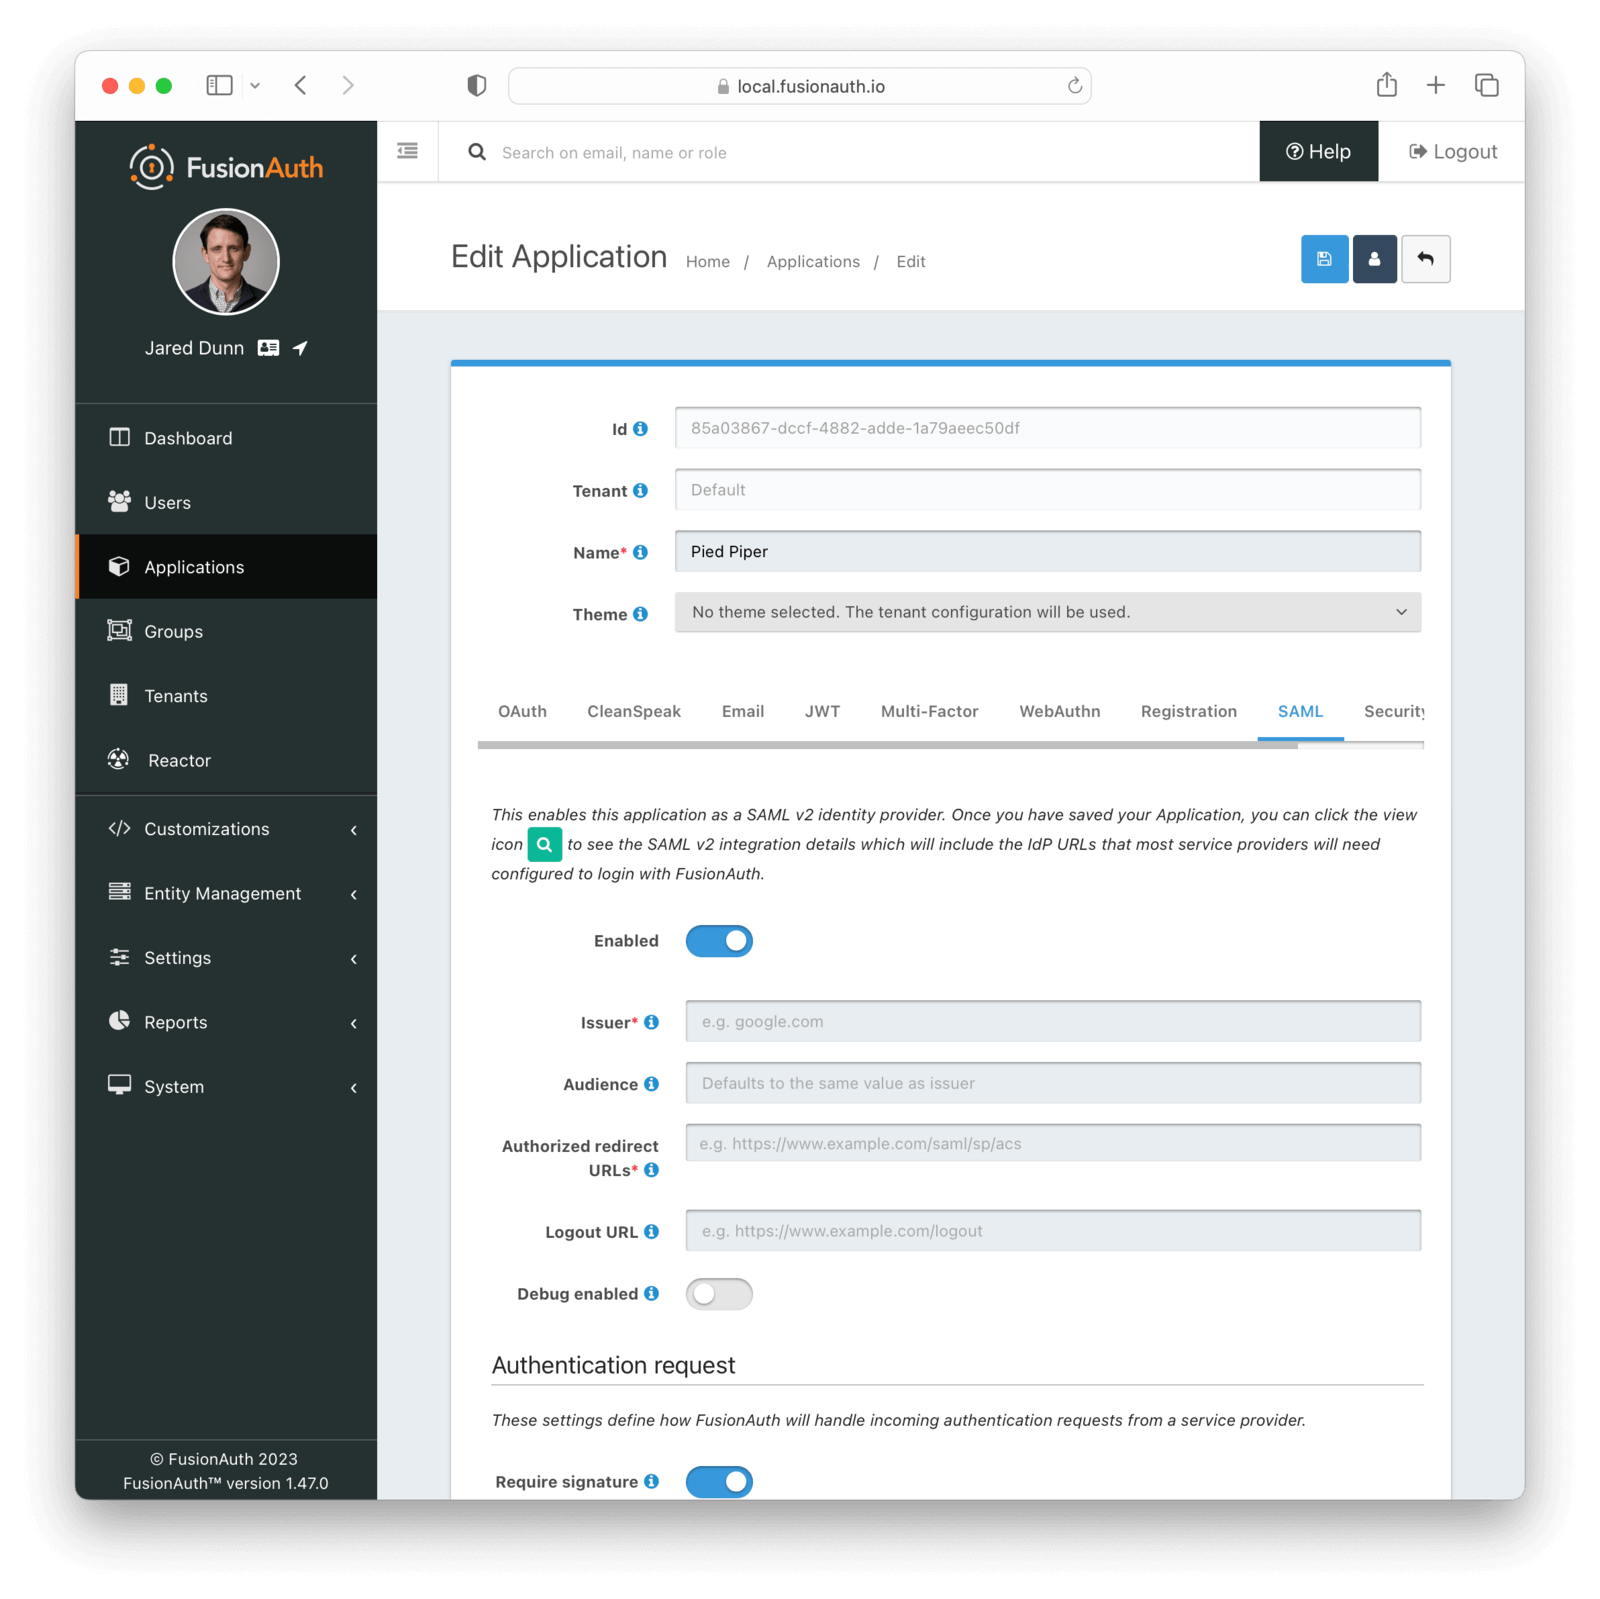
### Form Fields
This is the issuer string that the service provider will send in the SAML request to FusionAuth. FusionAuth uses this issuer value to look up this FusionAuth application in order to start the SAML login process.
The issuer string is used by service providers (e.g. Google, Zendesk, etc.) to identify themselves to FusionAuth's SAML identity provider. Often you cannot set this to a custom value in the service provider and need to read their documentation or test the integration and use the error messages to determine the correct value.
Some service providers, such as Zendesk, require a different audience in the SAML response than the Issuer set above. If you are configuring a service provider that requires a different audience, enter the audience name, otherwise leave it blank.
If this isn't specified, FusionAuth will set the audience to the same value as the Issuer .
One or more URLs that FusionAuth may redirect to after the user has successfully logged in.
This is also known as the Assertion Consumer Service URL or ACS.
The URL used to perform the `302` redirect as the response from the `/samlv2/logout` endpoint. If this value is omitted, the tenant configured logout URL will be used. See the Logout URL under the Tenant -> Your Tenant -> OAuth tab.
Usually this is the starting location of the application.
Many service providers are not compliant with the SAML and XML signing specifications. This makes it challenging to get them working with FusionAuth.
If you are running into integration issues, toggle this setting on and FusionAuth will output debugging information into the Event Log during a SAML login. You can find the event log in System -> Event Log .
### Authentication Request
Settings in this section configure SAML request handling.
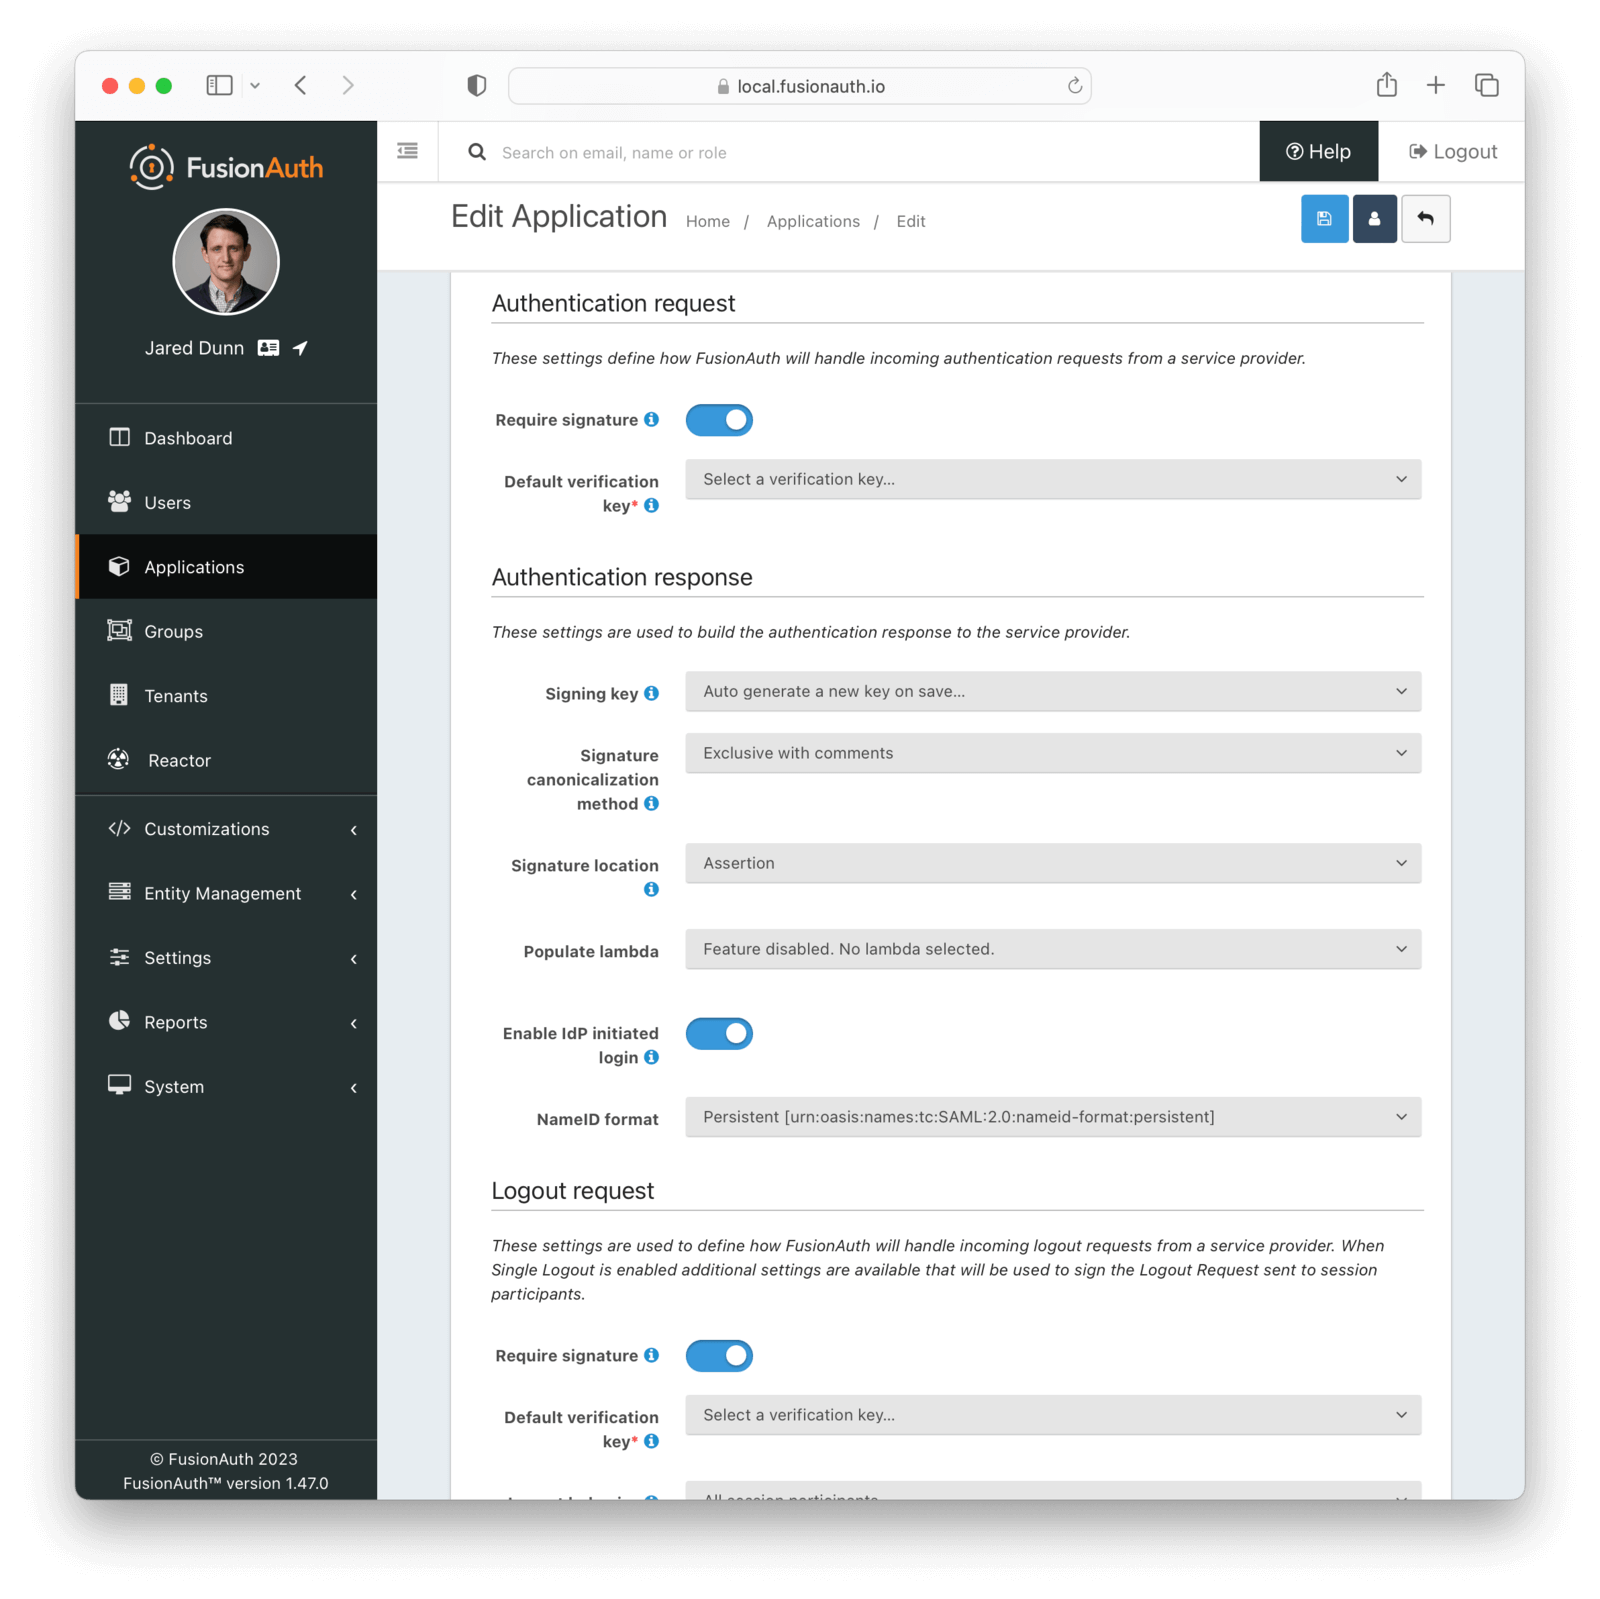
#### Form Fields
Enable to require the SAML v2 Service Provider to sign the SAML v2 authentication request. When this is enabled, if a signature is omitted the request will be rejected.
The default key used to verify the signature if the public key cannot be determined by the KeyInfo element when using POST bindings, or the key used to verify the signature when using HTTP Redirect bindings.
If a Require signature is not enabled, this field is optional.
When enabled, FusionAuth will accept a username or email address as a login hint on a custom HTTP request parameter.
The name of the login hint parameter provided by the service provider on an AuthnRequest. If this parameter is present, its value will be used to pre-populate the username field on the FusionAuth login form.
For example, suppose Enable login hint is enabled and Login hint parameter name has the value `login_name`. When FusionAuth is set up as an IdP, the SP can send a request which includes the parameter `login_name=richard@example.com`, and FusionAuth will pre-populate richard@example.com into the login form the end user sees.
Note that this setting names an HTTP query parameter, not an element in the SAML AuthnRequest XML.
### Authentication Response
Settings in this section configure how FusionAuth processes the SAML response.
#### Form Fields
In order to properly sign the SAML responses, FusionAuth requires a key pair from Key Master. You can either select an existing key here or select the first option to have FusionAuth generate a key pair to use. If no choice is selected, a new key will be automatically created and assigned.
To add, manage or import your key, navigate to Settings -> Key Master .
This sets the XML signature canonicalization method that FusionAuth will use when signing the SAML response. This method is also used when FusionAuth creates a message digest in the SAML response.
This option is usually the first thing to change if a service provider is rejecting the SAML response from FusionAuth. Many service providers are not compliant with the full XML signature specification and require a fixed canonicalization method. Your best bet is to try all four values until a login succeeds.
Some service providers may require the signature in a specific location. When `Assertion` is selected the signature element will be a child of the assertion. When `Response` is selected the signature will be placed at the top level of the response.
This specifies a lambda that FusionAuth will invoke prior to sending the SAML response to the service provider. This allows you to write a lambda to populate additional information into the SAML response. In most cases, your lambda will add an `Attribute`, or more than one,
to the response.
The complete documentation for this lambda can be found on the [SAML v2 response populate lambda documentation page](/docs/extend/code/lambdas/samlv2-response-populate).
When enabled, FusionAuth will be able to initiate a login request to a SAML v2 Service Provider.
Once enabled, open the View dialog or this application to view the integration URI. You will find this value in the view dialog in the SAML v2 Integration details, and the value will be named Initiate login URL: .
The NameId format to send in the AuthN response to the SAML v2 Service Provider. There are two valid values:
* Persistent - The `urn:oasis:names:tc:SAML:2.0:nameid-format:persistent` NameID format will be used.
* Email - The `urn:oasis:names:tc:SAML:1.1:nameid-format:emailAddress` NameID format will be used.
### Logout Request
Settings in this section configure SAML Logout handling. They define how FusionAuth will handle incoming logout requests from a service provider. When Single Logout is enabled, additional settings are available that will be used sign the Logout Request sent to session participants.
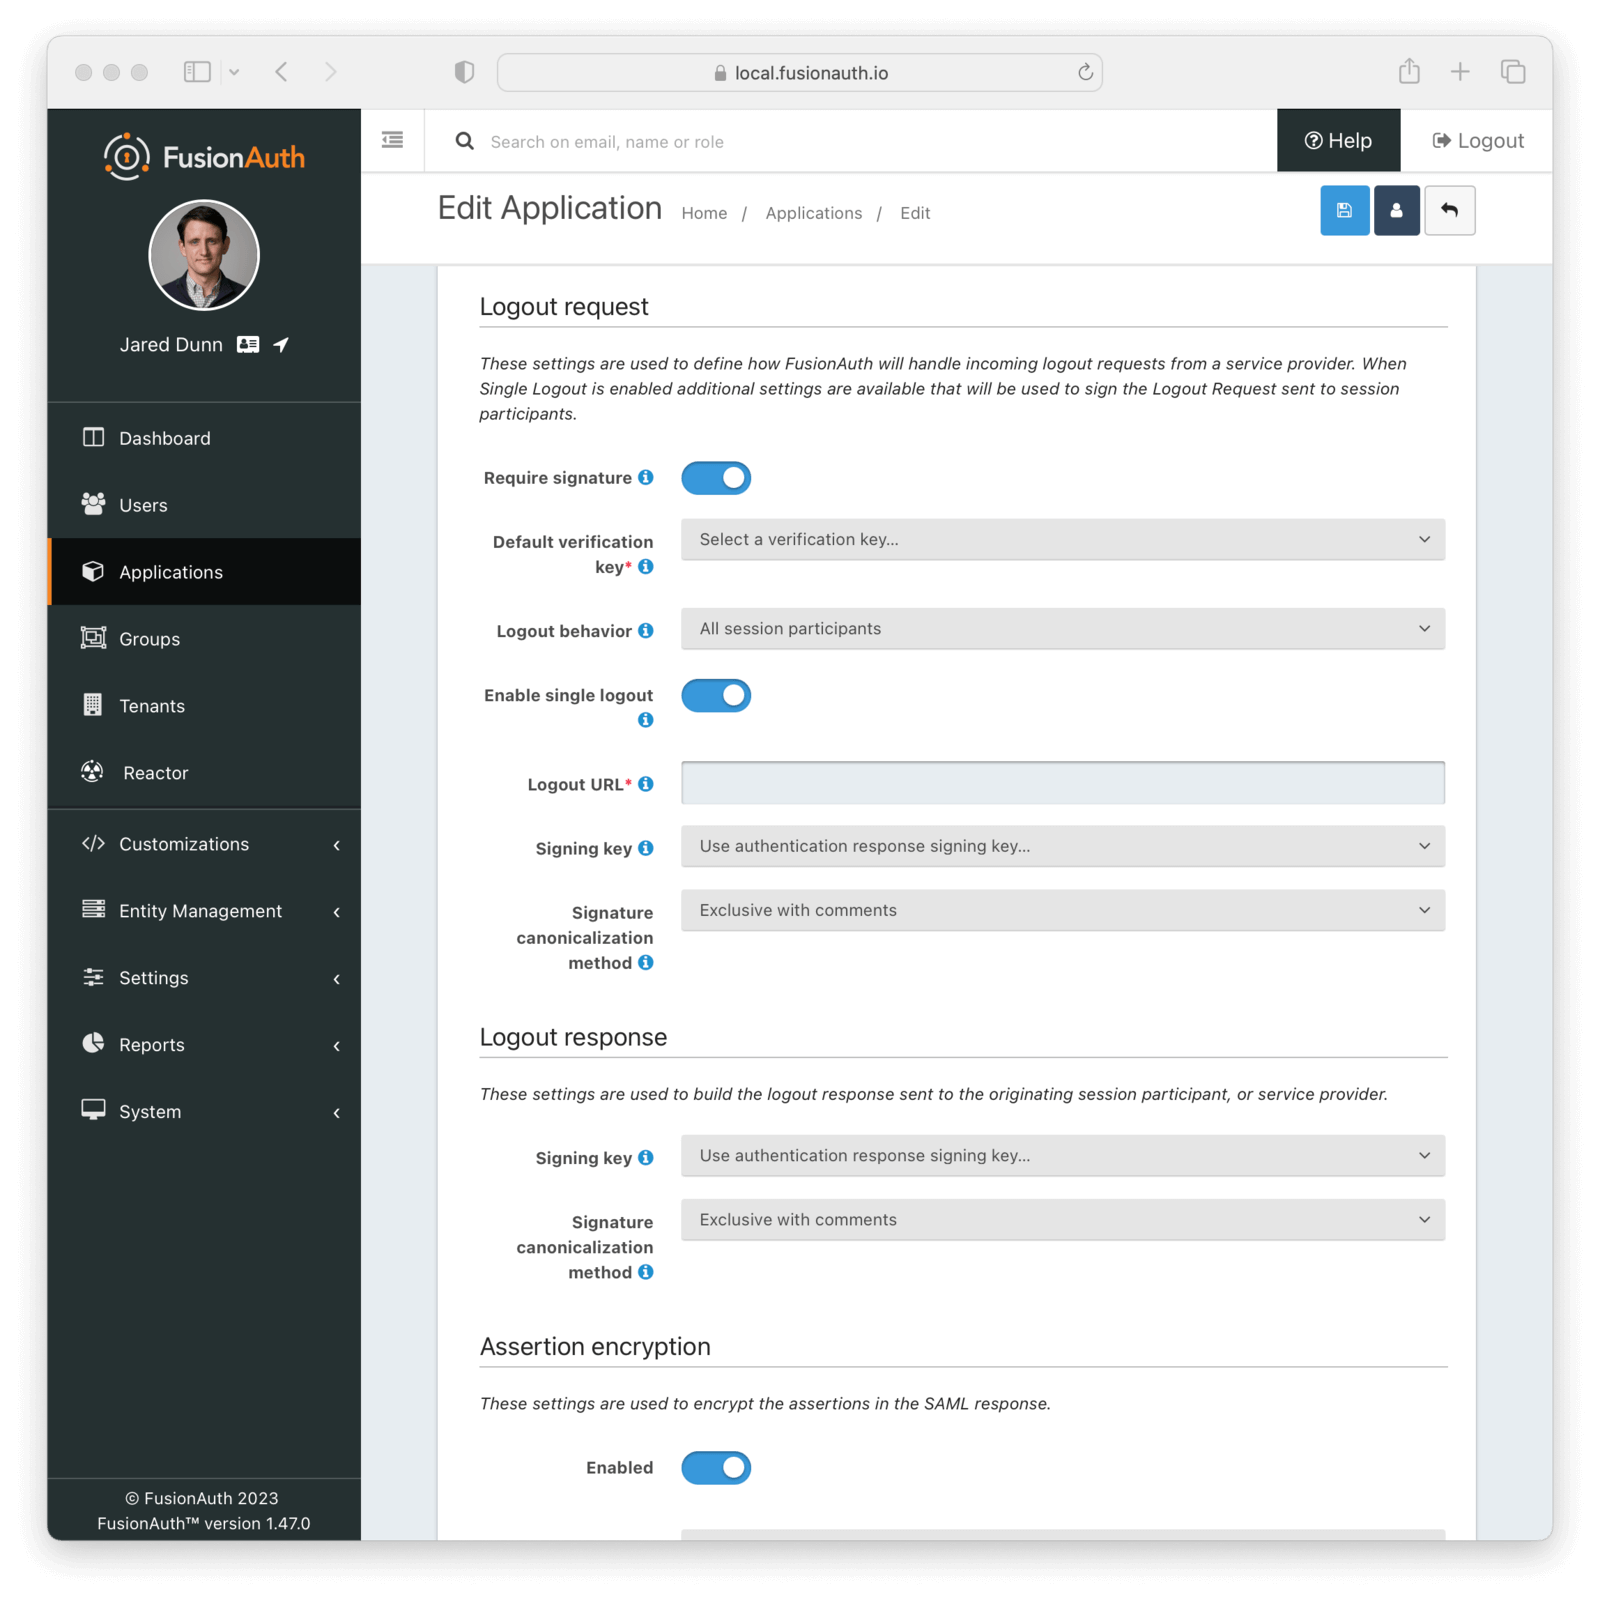
#### Form Fields
Enable to require the SAML v2 Service Provider to sign the SAML v2 Logout request. When this is enabled, if a signature is omitted the request will be rejected.
The default key used to verify the signature if the public key cannot be determined by the KeyInfo element when using POST bindings, or the key used to verify the signature when using HTTP Redirect bindings.
If a Require signature is not enabled, this field is optional.
When set to `All session participants`, each session participant that has Enable single logout set to true will be sent a Logout Request.
When set to `Only Originator`, no other session participants will be notified when a logout request is sent for this application.
This configuration is functionally equivalent to the Logout Behavior found in the OAuth2 configuration.
Enable Single Logout behavior. When enabled, this application will receive LogoutRequests from any other application in this tenant receives one.
The URL which you want to receive the LogoutRequest from FusionAuth.
If Enable single logout is not enabled, this field is optional.
In order to properly sign the SAML Single Logout responses, FusionAuth requires a key pair from Key Master. You can either select an existing key here or select the first option to have FusionAuth use the authentication response signing key.
To add, manage or import your key, navigate to Settings -> Key Master .
This sets the XML signature canonicalization method that FusionAuth will use when signing the SAML Single Logout response.
This option is usually the first thing to change if a service provider is rejecting the SAML Single Logout response from FusionAuth. Many service providers are not compliant with the full XML signature specification and require a fixed canonicalization method. Your best bet is to try all four values until a logout succeeds.
### Logout Response
Settings in this section configure how FusionAuth processes the SAML Logout response.
#### Form Fields
In order to properly sign the SAML Logout responses, FusionAuth requires a key pair from Key Master. You can either select an existing key here or select the first option to have FusionAuth use the authentication response signing key.
To add, manage or import your key, navigate to Settings -> Key Master .
This sets the XML signature canonicalization method that FusionAuth will use when signing the SAML Logout response.
This option is usually the first thing to change if a service provider is rejecting the SAML Logout response from FusionAuth. Many service providers are not compliant with the full XML signature specification and require a fixed canonicalization method. Your best bet is to try all four values until a logout succeeds.
### Assertion Encryption
Settings in this section configure how FusionAuth encrypts the SAML Assertion response.
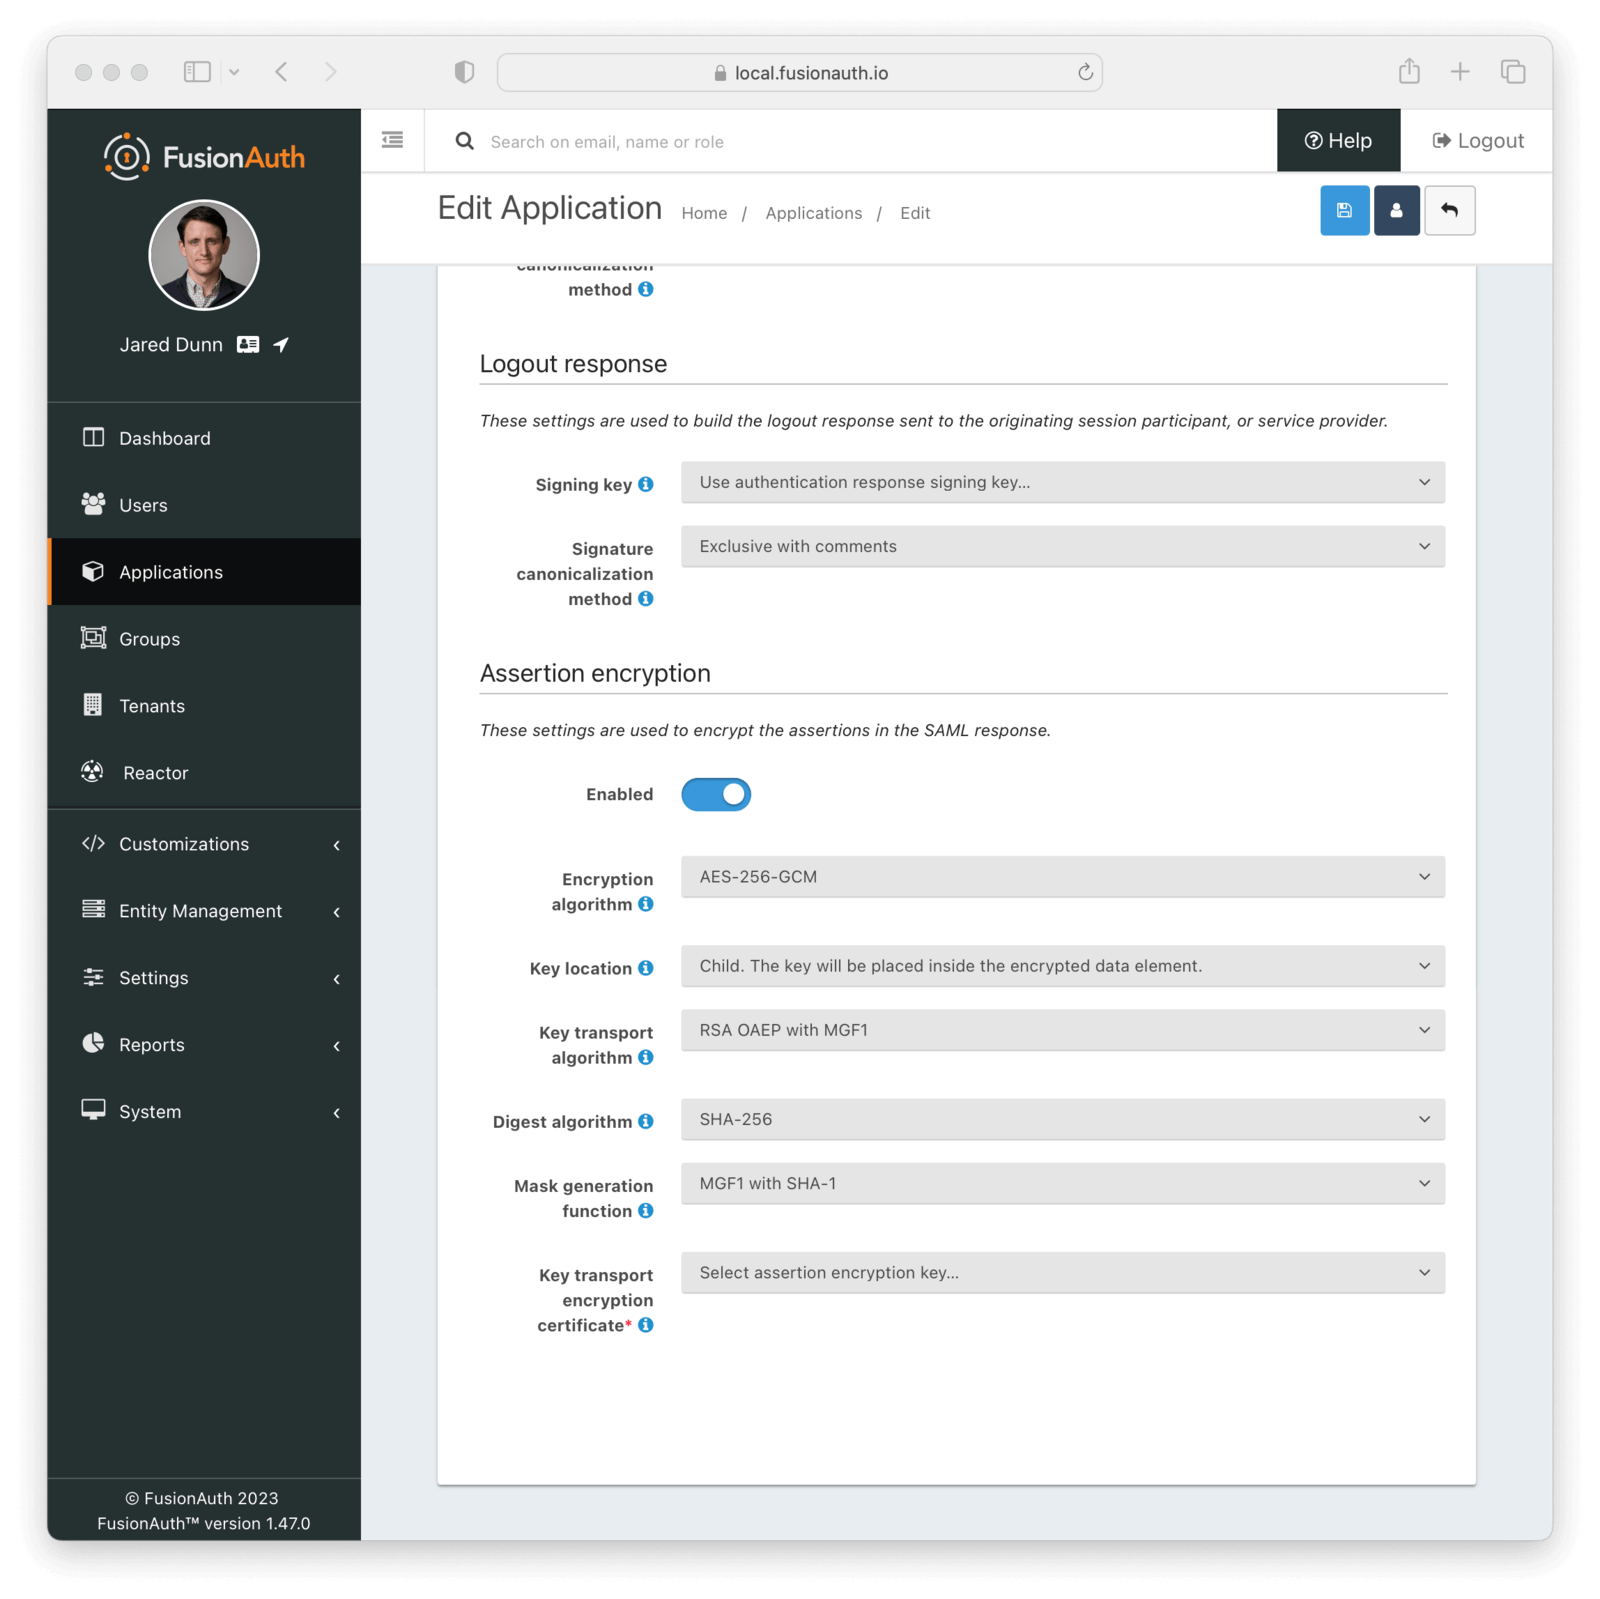
#### Form Fields
When enabled, assertions in SAML responses will be encrypted.
The symmetric key encryption algorithm used to encrypt the SAML assertion.
The location that the encrypted symmetric key information will be placed in the SAML response in relation to the `EncryptedData` element containing the encrypted assertion value.
The encryption algorithm used to encrypt the symmetric key for transport in the SAML response.
The message digest algorithm to use when encrypting the symmetric key for transport.
The mask generation function and hash function to use for the Optimal Asymmetric Encryption Padding when encrypting a symmetric key for transport. This configuration is only available when Key transport algorithm is set to `RSA OAEP with MGF1`.
The RSA certificate from Key Master that will be used to encrypt the SAML assertion encryption symmetric key for transport.
This field is required when SAML assertion encryption is enabled.
### Endpoints
Once you have configured the SAML identity provider for an application, you will need to copy and paste a number of URLs to the service provider or send the metadata XML file to the service provider. The URLs for all of these items can be found by clicking on the view icon from the application list page.
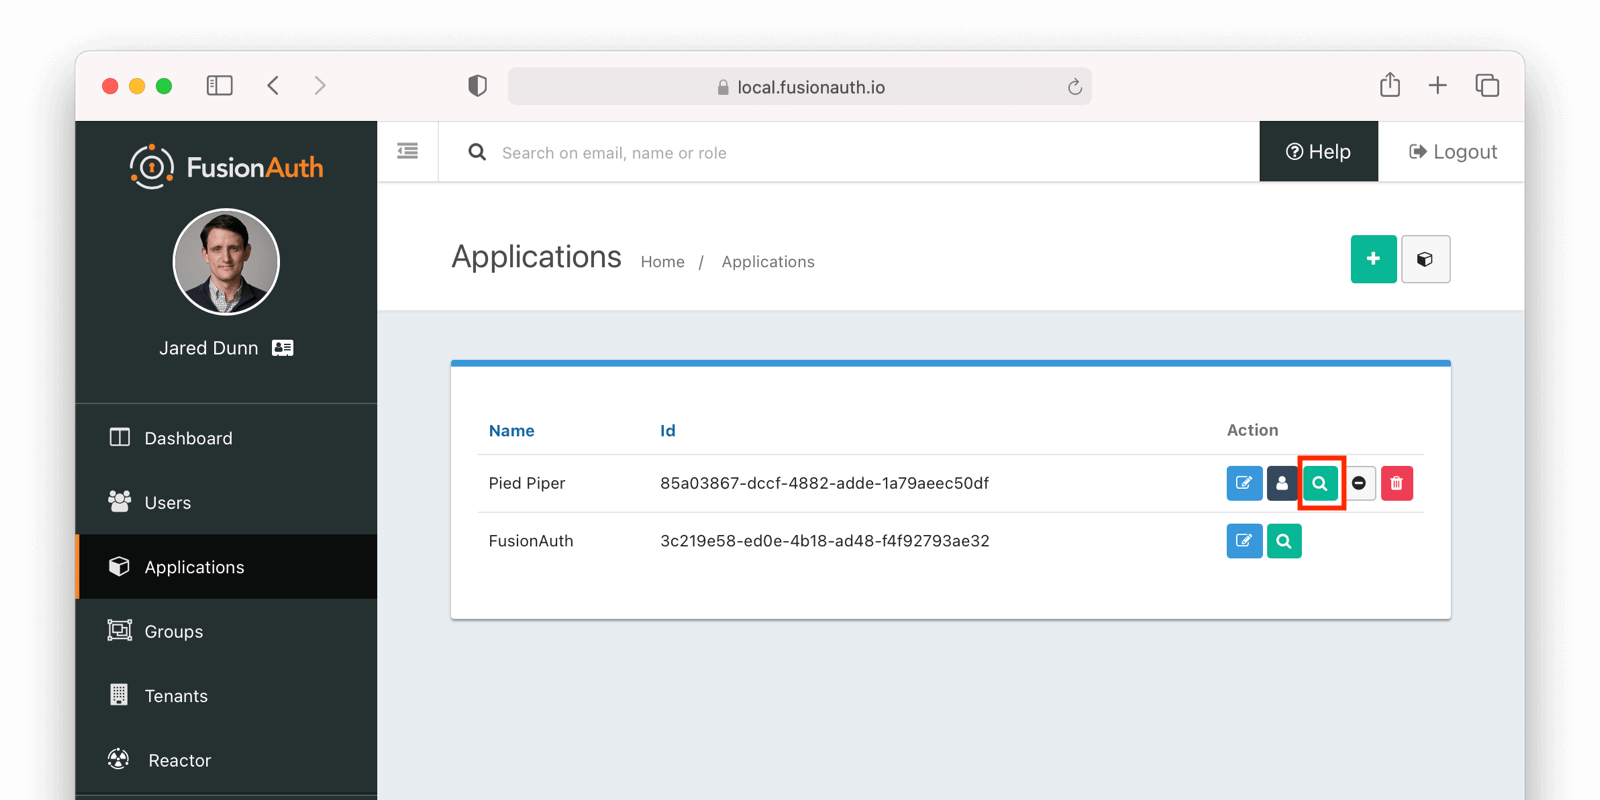
Once you click the view icon, the dialog will pop up. Under the heading **SAML v2 Integration details**, you will see all of the SAML endpoint URLs that the service provider will need. These include the login URL, logout URL and metadata URL. If the service provider needs a metadata XML file, you can copy and paste the metadata URL from this dialog into a new browser tab and then save the contents of that webpage into a new file named `metadata.xml`. Some browsers will force the name of the file to be `metadata.xhtml` and you will have to rename it before sending it to the service provider.
Here is what the view dialog looks like and the SAML information you will need:
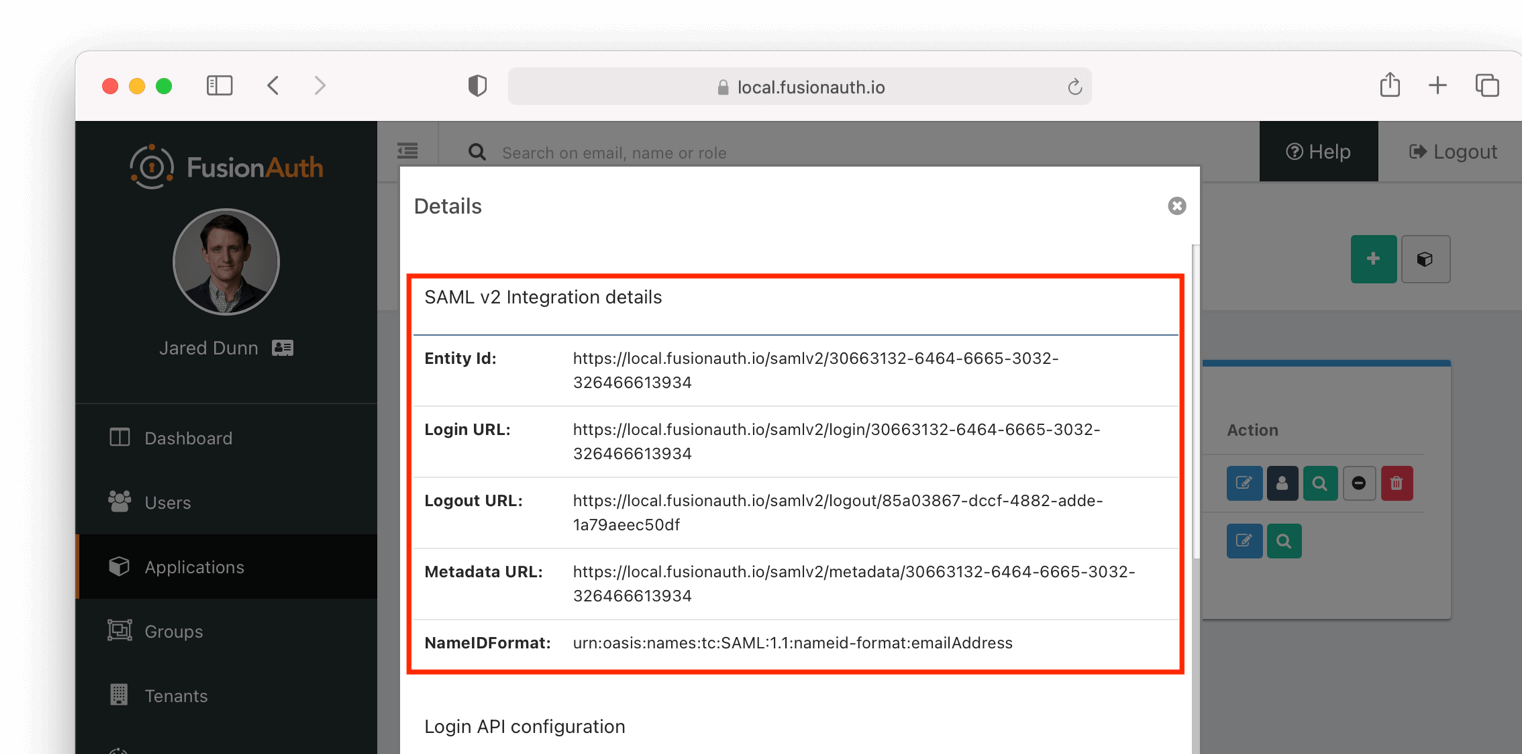
## SAML v2 IdP Initiated RelayState
Since version `1.55.1`, FusionAuth supports an opaque value in the `RelayState` parameter on a request to begin an IdP-initiated SAML v2 login workflow. An opaque `RelayState` value will be passed unmodified to the SAML v2 Service Provider on the request to the Assertion Consumer Service (ACS) URL. The `RelayState` parameter and ACS URL resolution function as follows:
- If the `RelayState` value matches a configured Authorized redirect URLs value, that value is used as the ACS URL for the current workflow. The `RelayState` parameter will not be included on the request to the ACS URL.
- If the `RelayState` value does not match a configured Authorized redirect URLs value, the `RelayState` parameter will be treated as an opaque value and included unmodified on the request to the ACS URL. ACS URL resolution continues as follows:
- If a `redirect_uri` parameter was provided on the IdP-initiated login request, it _must_ match a configured Authorized redirect URLs value, or the request will result in an error. Otherwise, the matched value will be used as the ACS URL for the workflow.
- If no `redirect_uri` parameter was provided on the request, the first configured Authorized redirect URLs value will be used as the ACS URL for the workflow.
In FusionAuth versions _before_ `1.55.1` the `RelayState` parameter is only used for ACS URL resolution. If provided on the request, it must match a configured Authorized redirect URLs value, or the request will result in an error. No `RelayState` value is passed to the ACS URL.
## Attributes
FusionAuth provides a number of attributes as part of its SAML response. These attributes include standard ones from specifications and others that are more industry de facto standards because many service providers require them. Here's the list of the attributes FusionAuth returns and the property of the user object they are pulled from:
* `id` pulled from `user.id`
* `http://schemas.xmlsoap.org/ws/2005/05/identity/claims/dateofbirth` pulled from `user.birthDate`
* `birth_date` pulled from `user.birthDate`
* `date_of_birth` pulled from `user.birthDate`
* `http://schemas.xmlsoap.org/ws/2005/05/identity/claims/emailaddress` pulled from `user.email`
* `email` pulled from `user.email`
* `http://schemas.xmlsoap.org/ws/2005/05/identity/claims/givenname` pulled from `user.firstName`
* `first_name` pulled from `user.firstName`
* `http://schemas.xmlsoap.org/ws/2005/05/identity/claims/name` pulled from `user.fullName`
* `name` pulled from `user.fullName`
* `full_name` pulled from `user.fullName`
* `http://schemas.xmlsoap.org/ws/2005/05/identity/claims/surname` pulled from `user.lastName`
* `last_name` pulled from `user.lastName`
* `http://schemas.xmlsoap.org/ws/2005/05/identity/claims/mobilephone` pulled from `user.mobilePhone`
* `mobile_phone` pulled from `user.mobilePhone`
Of course, you can modify, delete, or add any attributes you want by configuring a [SAML v2 response populate lambda](/docs/extend/code/lambdas/samlv2-response-populate) for the application.
## Limitations
### IdP Limitations
Tenants -> Edit Tenant -> WebAuthn . In order for the user to use the registered passkey, at least one WebAuthn workflow must be enabled for the tenant.
### Enable WebAuthn on Tenant (Admin Facing)
WebAuthn is disabled by default at the tenant level. It can be toggled on and off as needed.
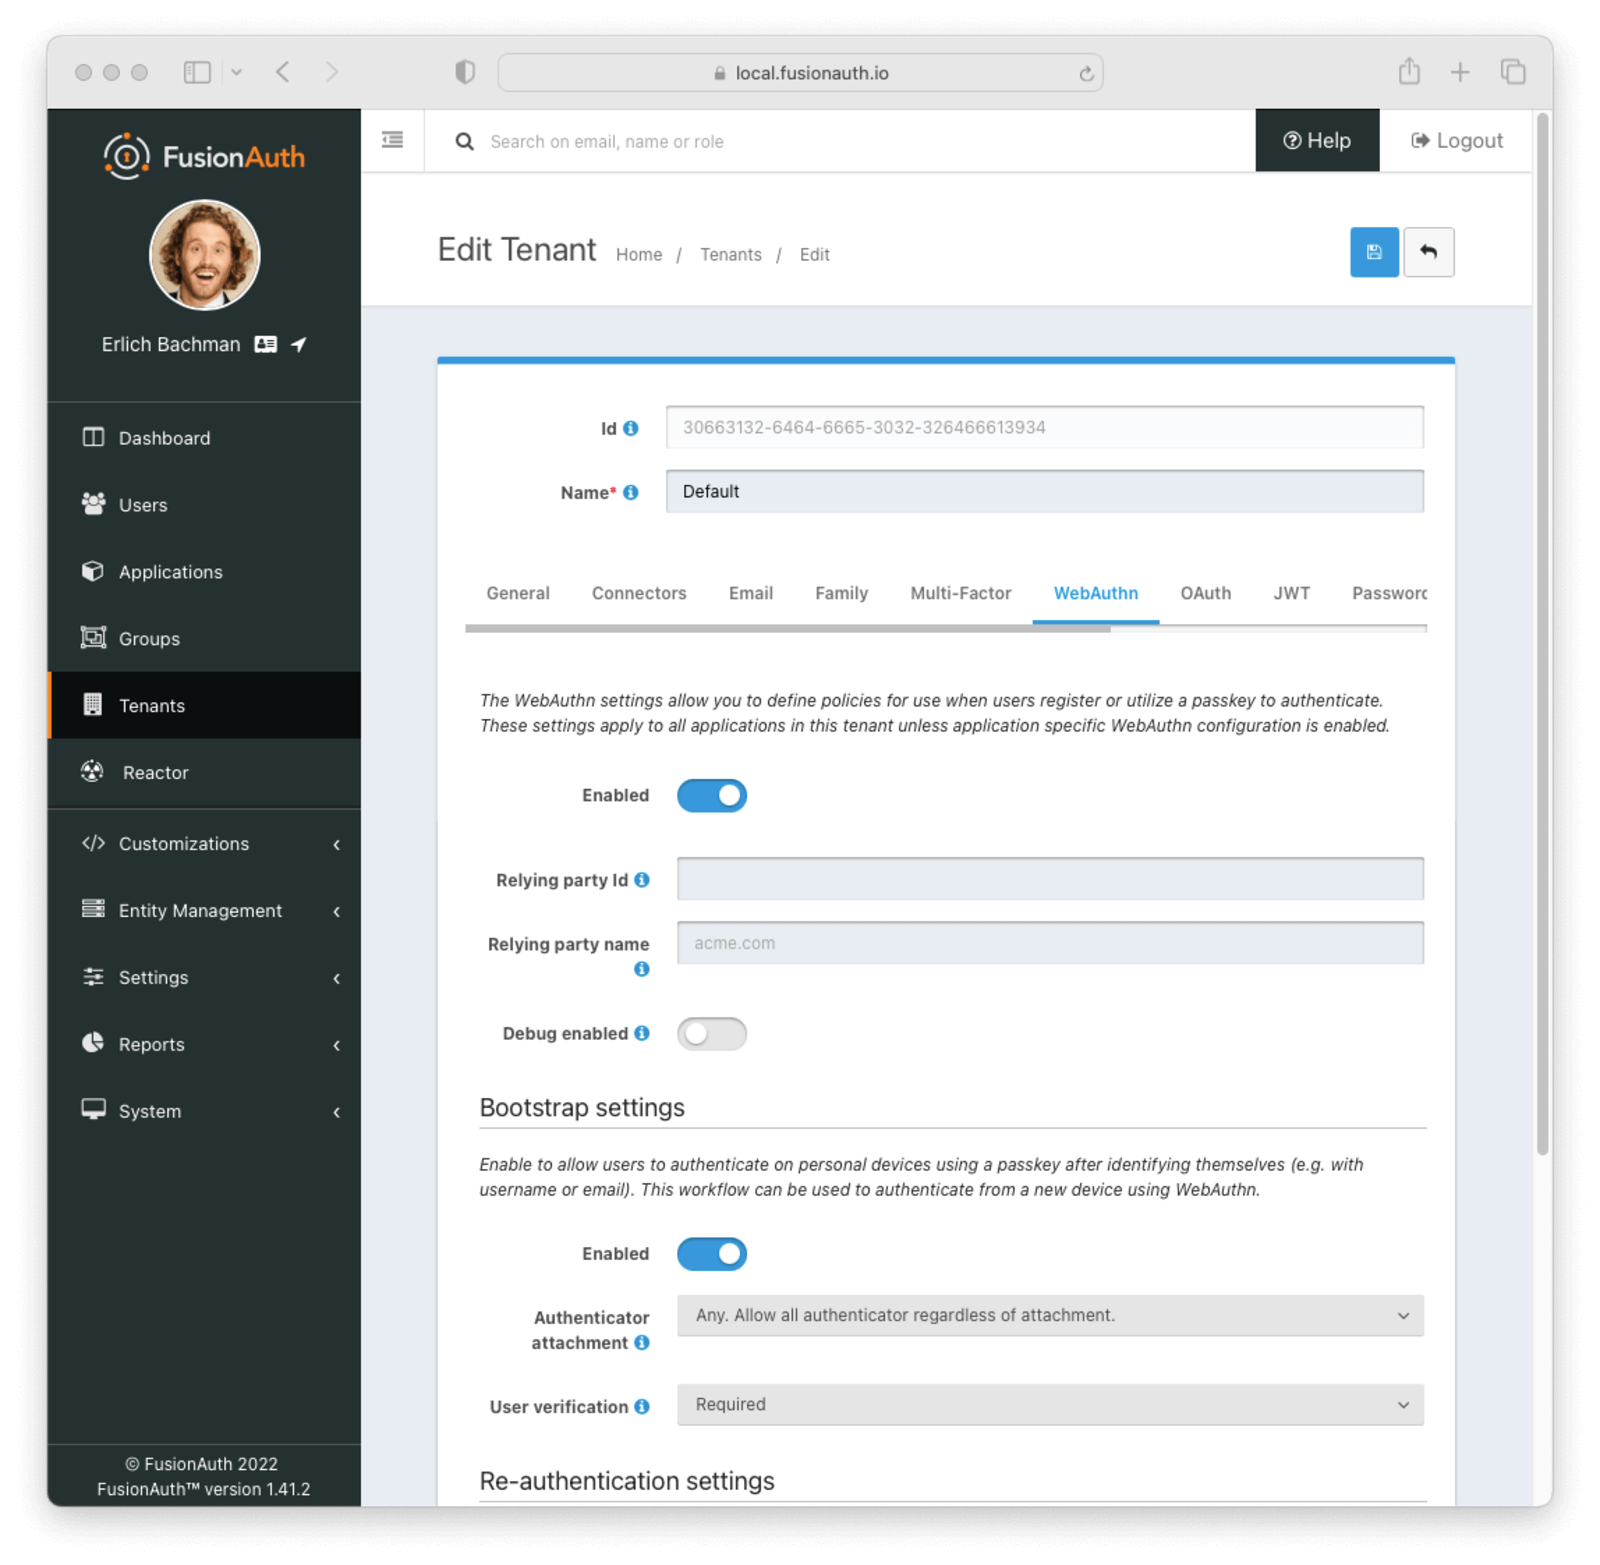 In order for a user to use a passkey, one or more WebAuthn workflows must be enabled at the tenant or application level. See the [WebAuthn Admin Guide](/docs/lifecycle/authenticate-users/passwordless/webauthn) for more details on configuration.
### Add a Passkey from Account Management (User Facing)
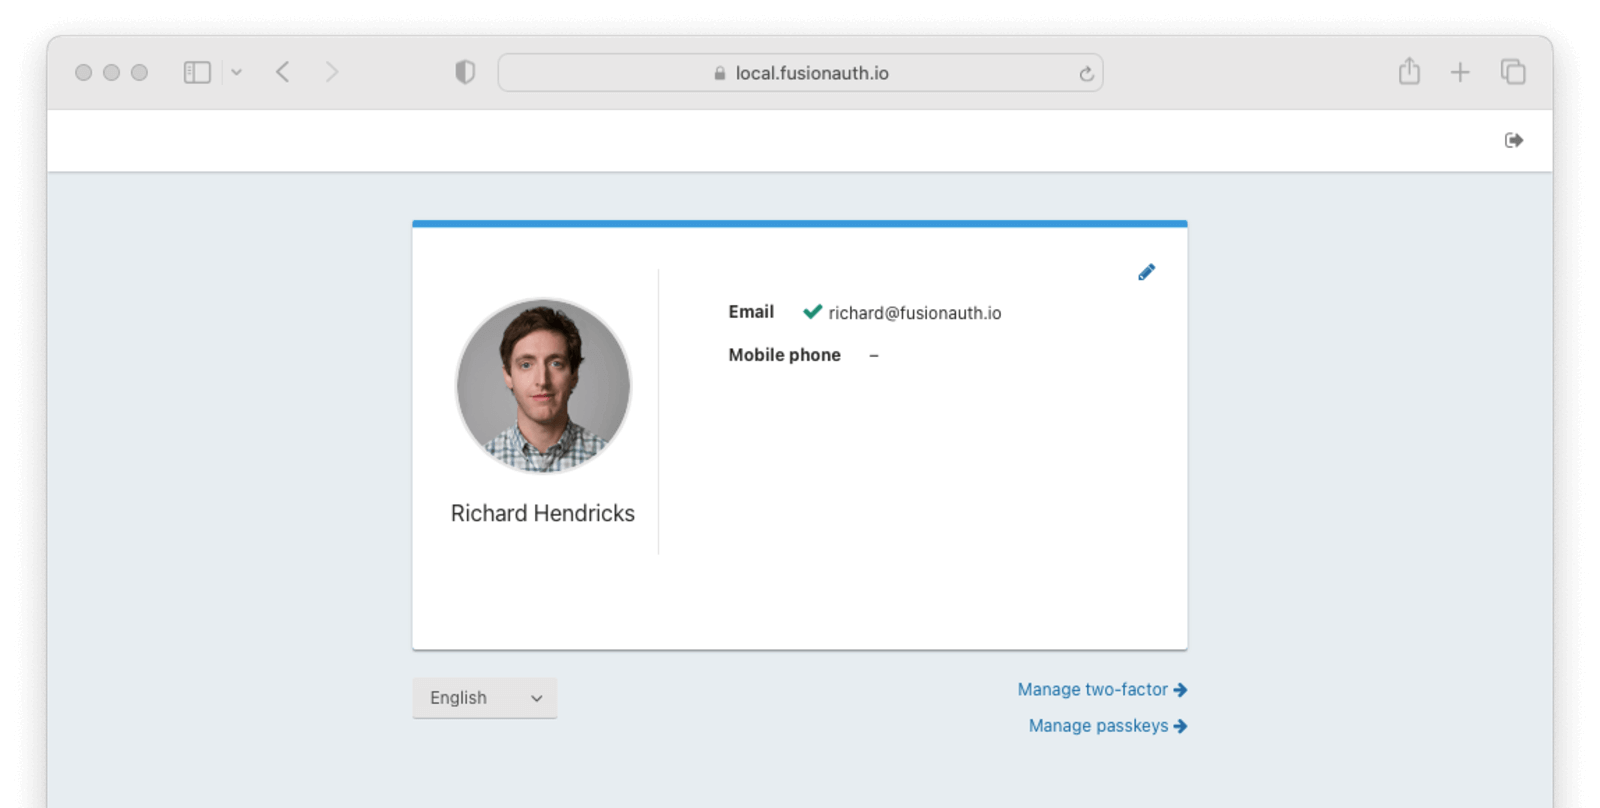 1. Navigate back to your
 account page
2. Click Manage passkeys
3. Click Add passkey
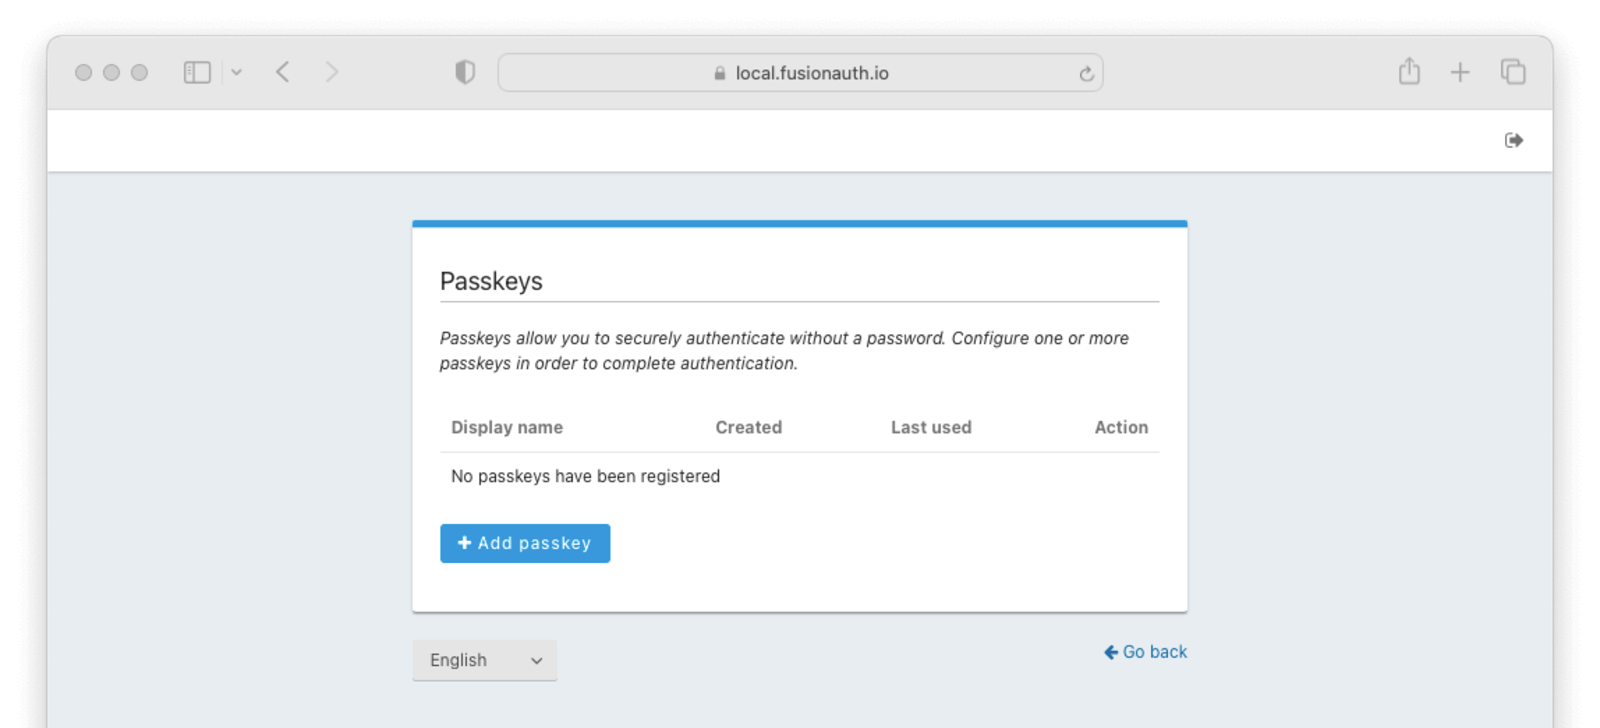
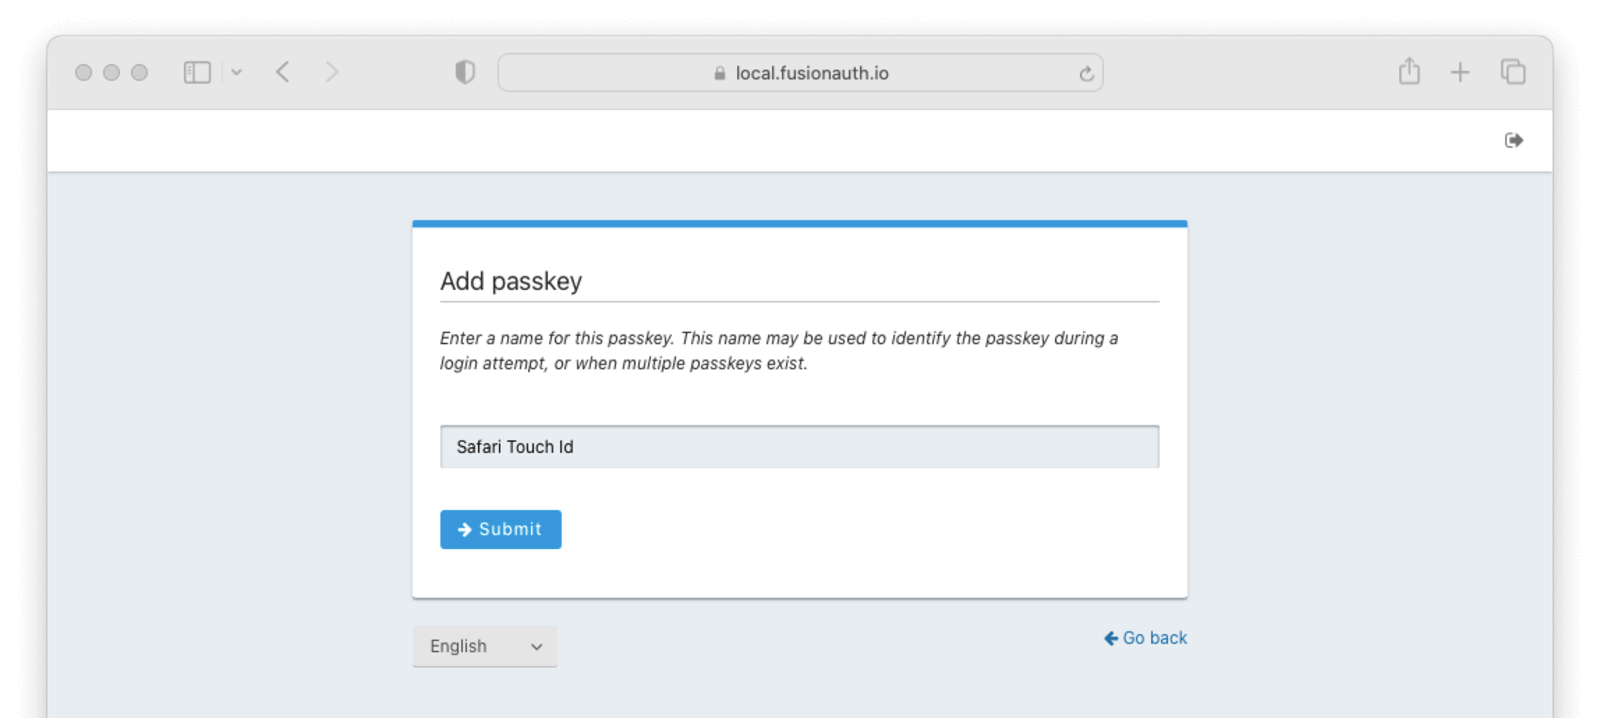 Next,
1. Enter a display name for the new passkey. You should choose something that helps you remember the authenticator and browser it was registered.
2. Click the
 Submit button.
3. Complete the WebAuthn registration with your authenticator of choice.
### See It in Action (User Facing)
You can use a registered passkey to complete enabled WebAuthn workflows. This example uses the bootstrap authentication workflow by clicking the Fingerprint, device or key button on the login screen.
 1. Click the
 Fingerprint, device or key button to go to the WebAuthn bootstrap login page.
2. Enter your username or email address.
3. Click the Submit button.
4. Complete the WebAuthn authentication with the registered passkey.

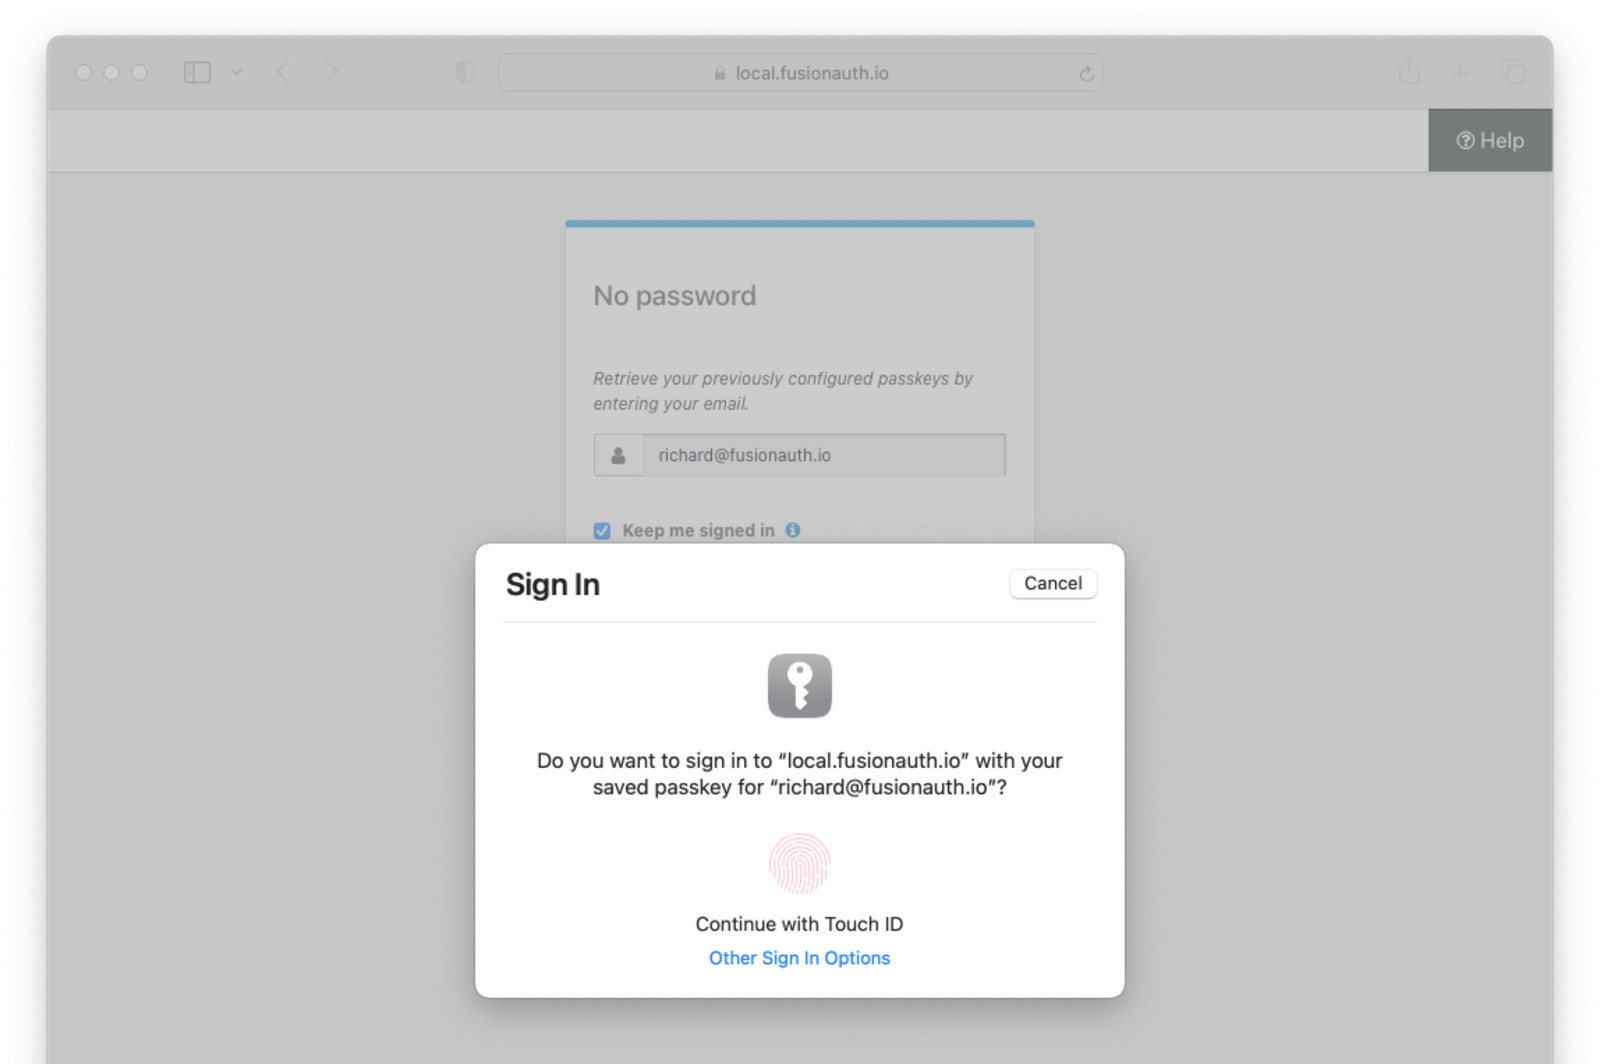 # Bootstrapping Login For Self-Service Account Management
import PremiumPlanBlurb from 'src/content/docs/_shared/_premium-plan-blurb.astro';
import Aside from 'src/components/Aside.astro';
HTTP/1.1
Authorization: Bearer
```
# Customizing Self Service Account Management
import Aside from 'src/components/Aside.astro';
import Breadcrumb from 'src/components/Breadcrumb.astro';
import Icon from 'src/components/icon/Icon.astro';
import InlineUIElement from 'src/components/InlineUIElement.astro';
import PremiumPlanBlurb from 'src/content/docs/_shared/_premium-plan-blurb.astro';
User Self Service Form .
To change a form:
1. Navigate to Forms
2. Click the Default User Self Service provided by FusionAuth .
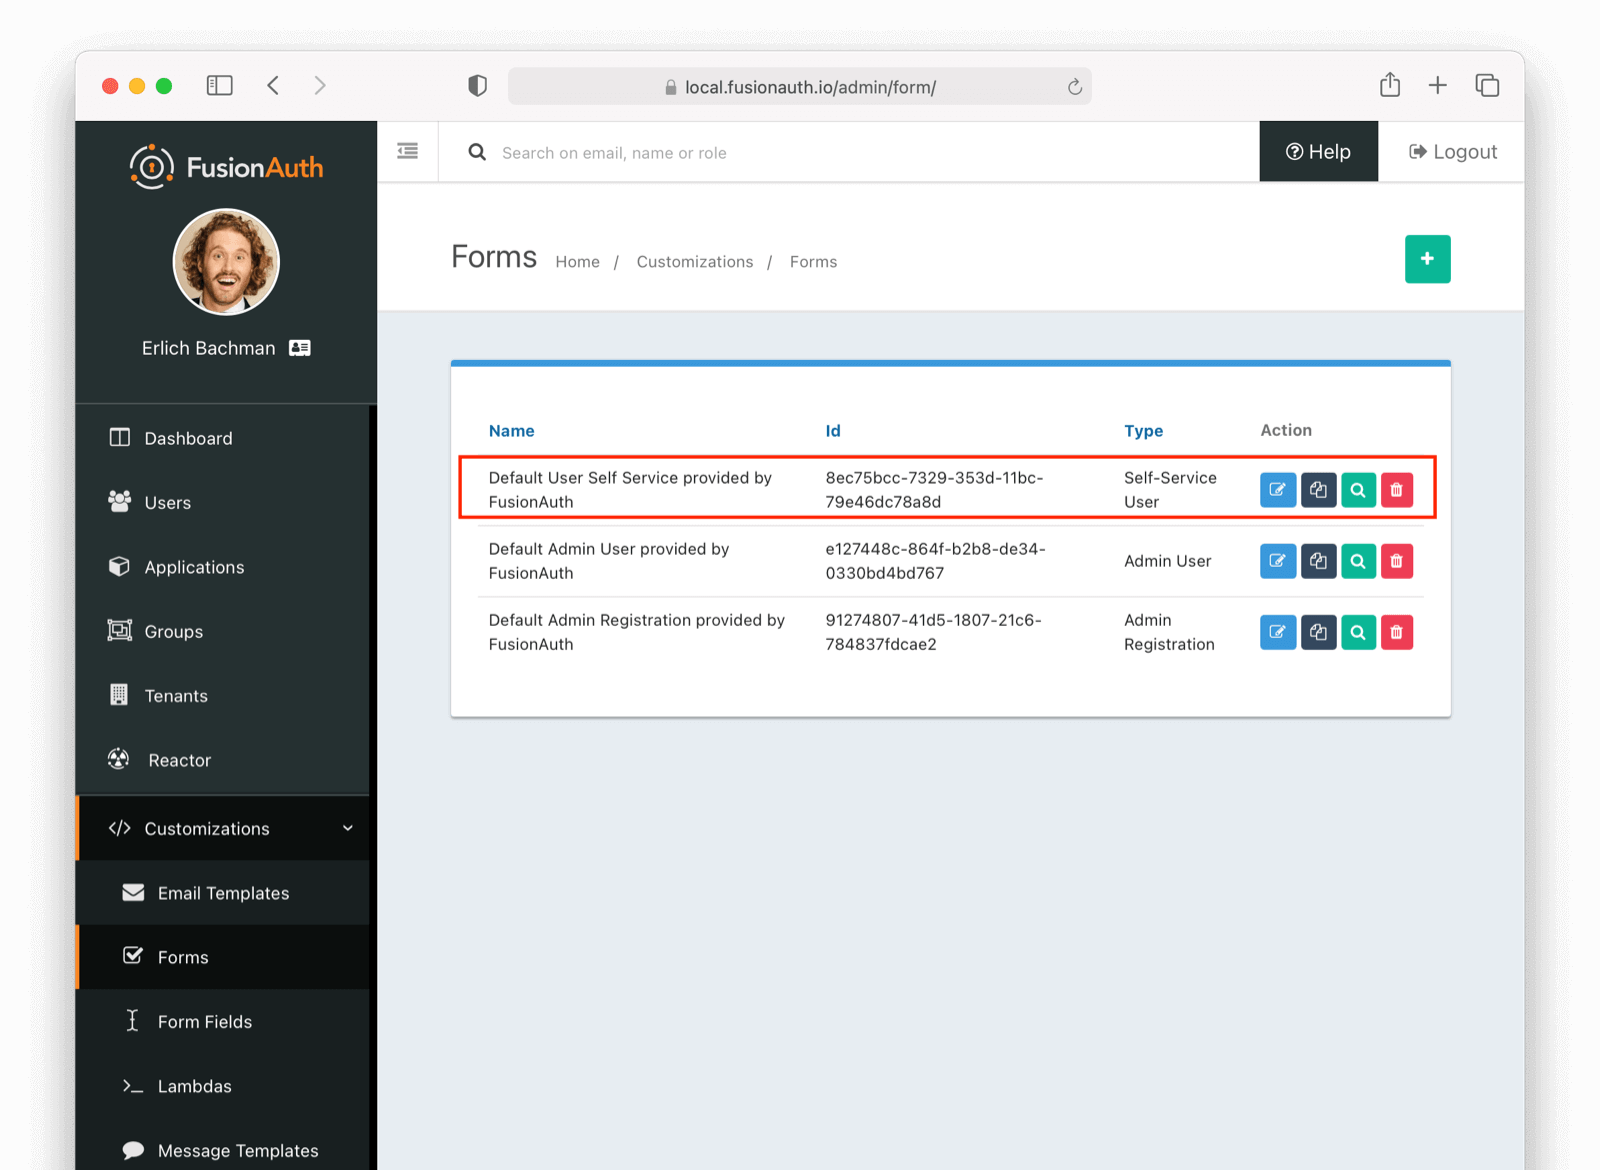 #### Edit Form (Admin Facing)
In this example, we are going to add a `birthDate` field on our account management self service form.
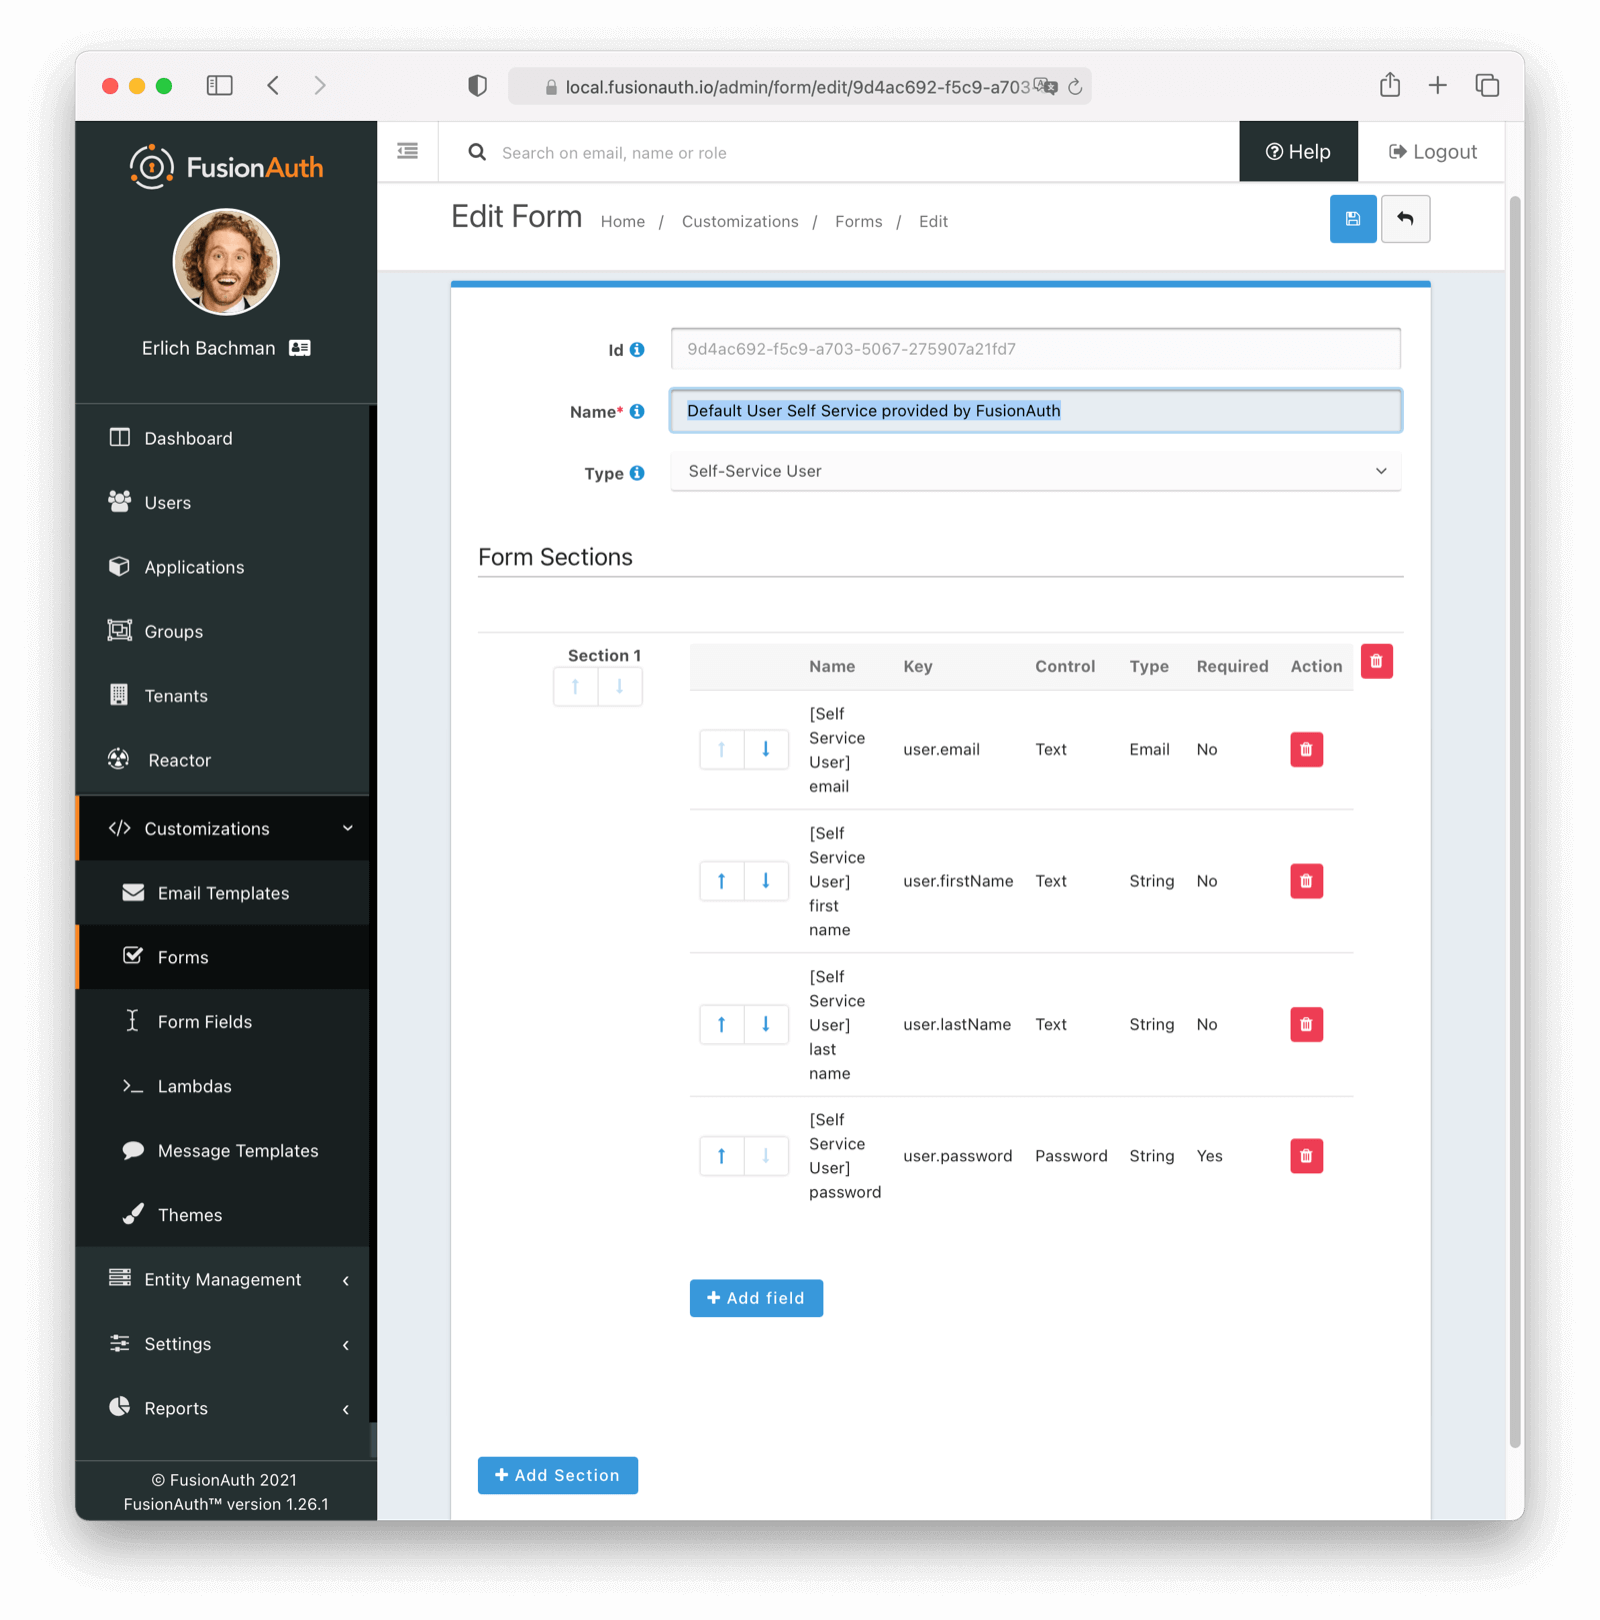 Remember, you can move each field around with up and down arrows
#### Adding a birthDate (Admin Facing)
To add a `birthDate`, click
 Add field
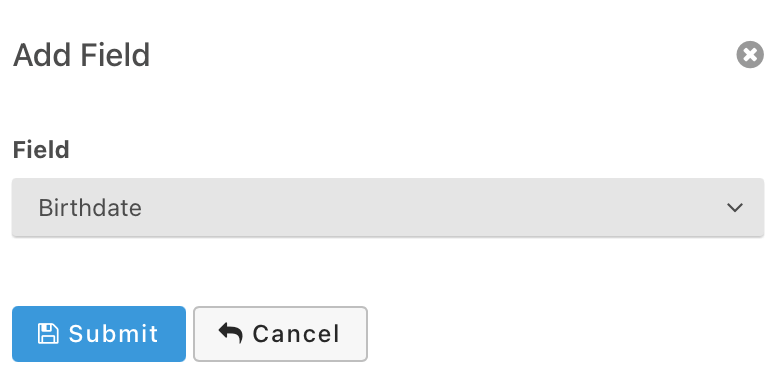 Select `Birthdate` and click submit. Now we have a custom form available on our self-service account management page. Please note we are using a built-in field, but FusionAuth lets you define any number of custom fields. More information can be found in our [Advanced Registration Forms](/docs/lifecycle/register-users/advanced-registration-forms) page.
### See It in Action - Forms (User Facing)
Take the following steps to see the changes:
- Navigate to your account management page.
- Login as a user of this application.
- Click on the edit icon in the top right.
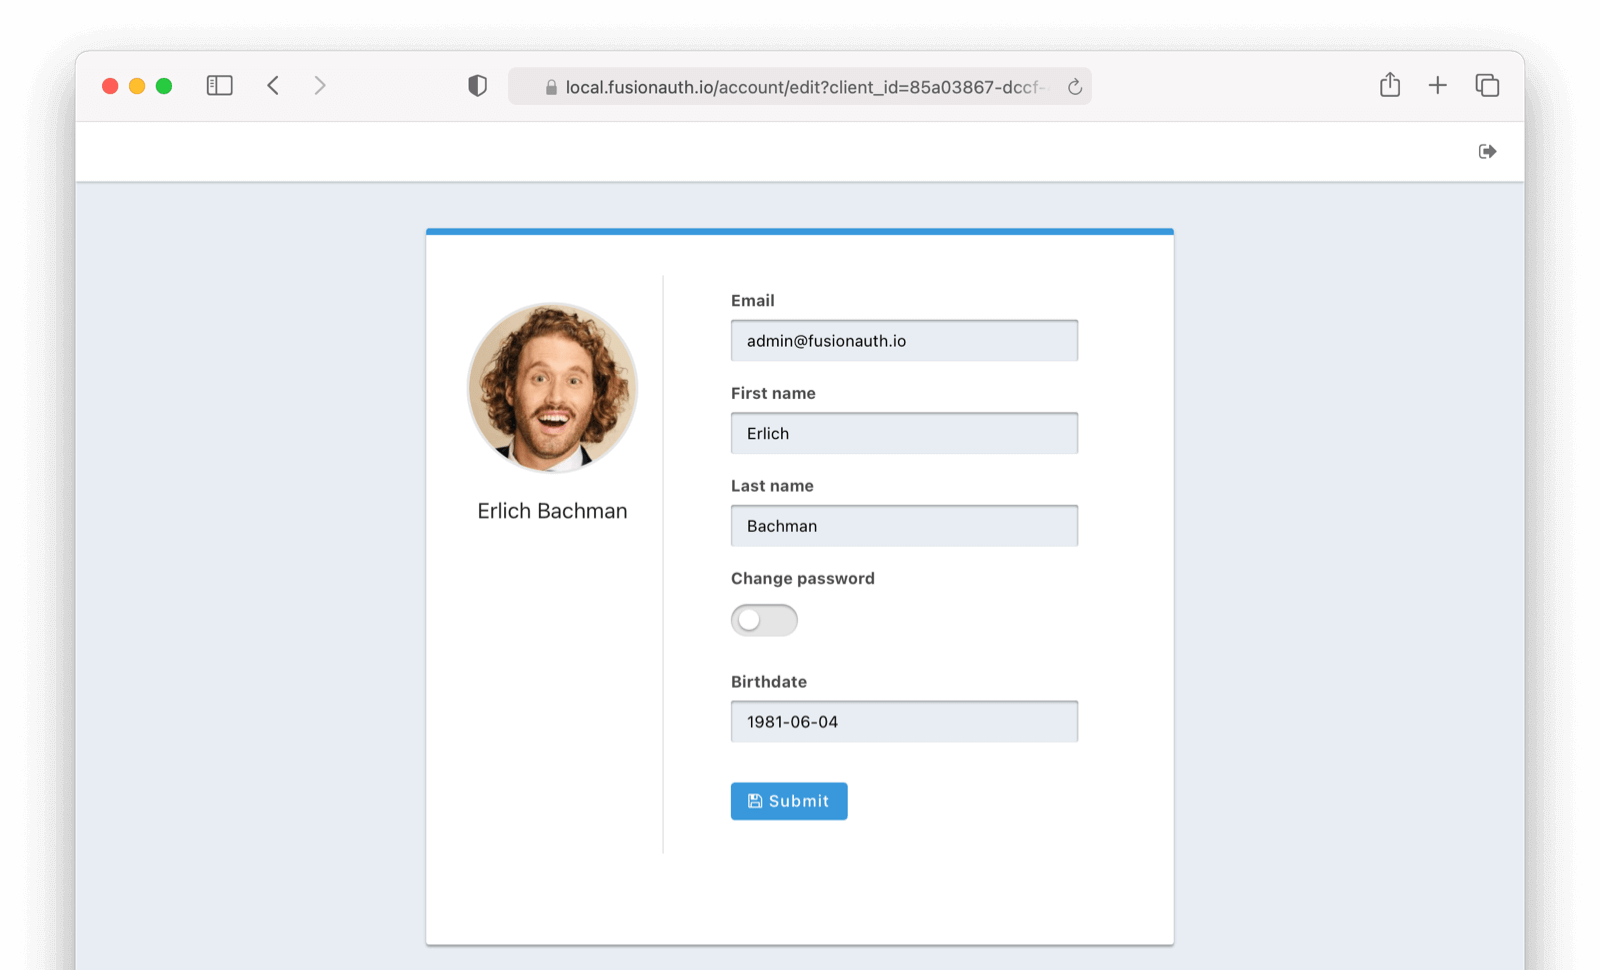
Themes -> Duplicate . You can also start from scratch if you'd like.
2. Click on the 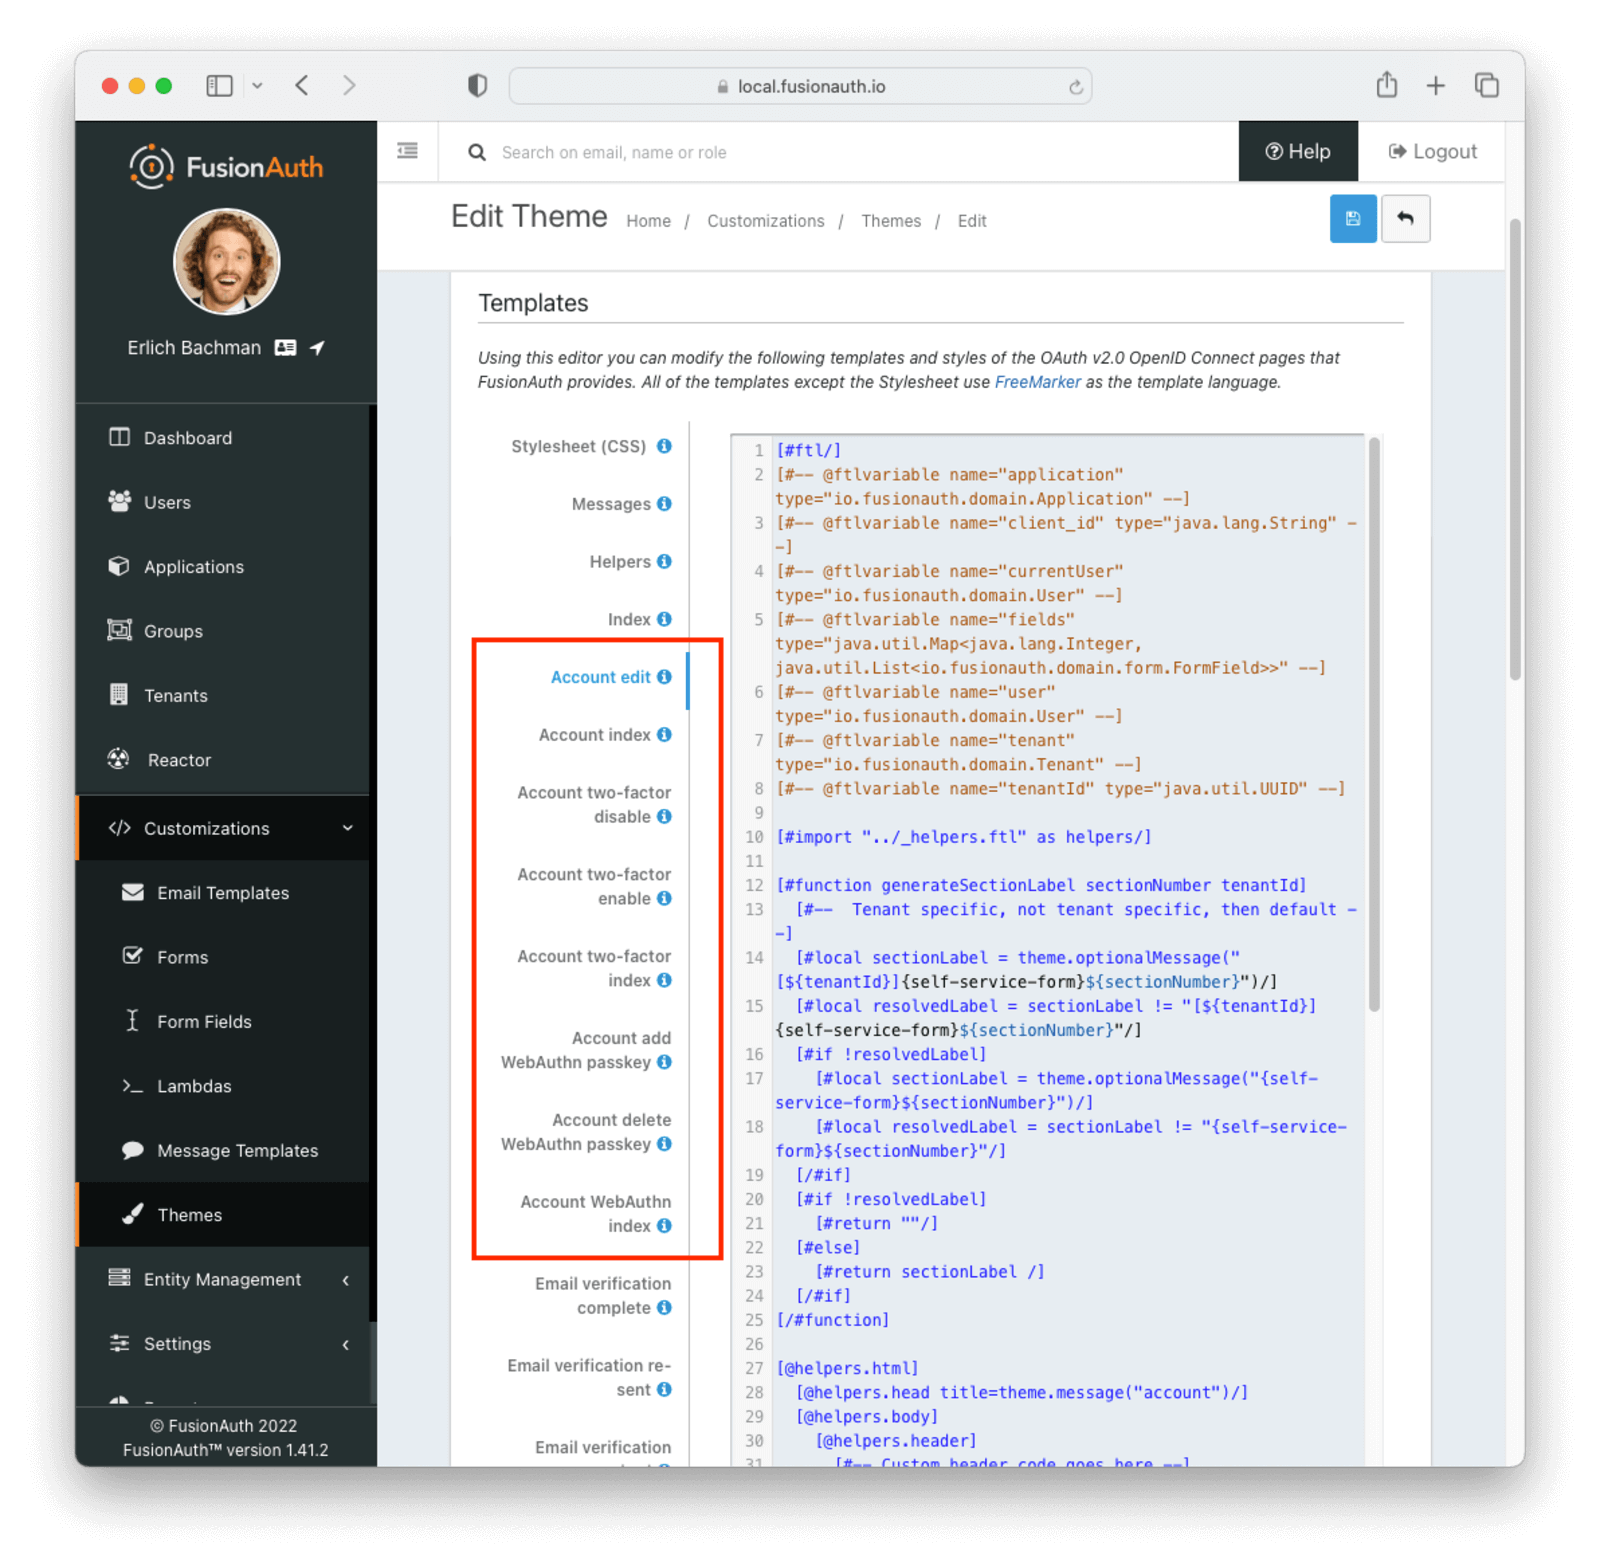 ### Update the Account Two Factor Index Template (Admin Facing)
Let's update the Account Management index page with a `birthDate` field.
Click on the
 Account index FreeMarker template. For this example, I have added simple text to the template. Obviously in a real-world scenario your changes may be more complex.
Changes include
```html
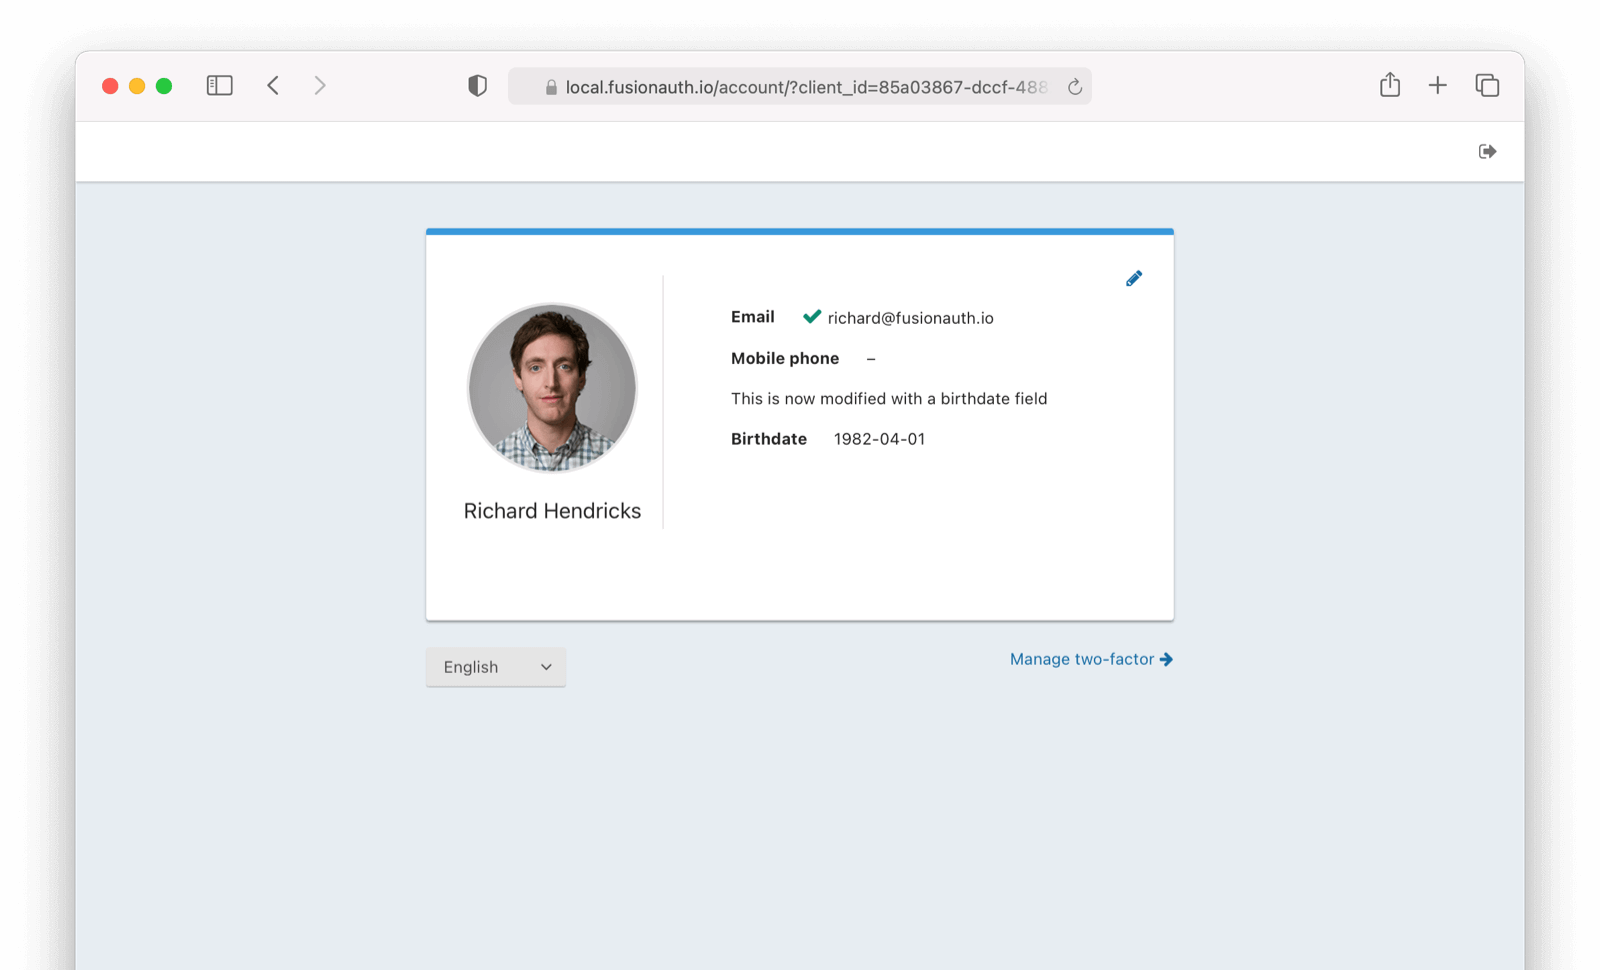
Applications and click on the Manage Two Factor
On this screen you can add Two Factor methods.
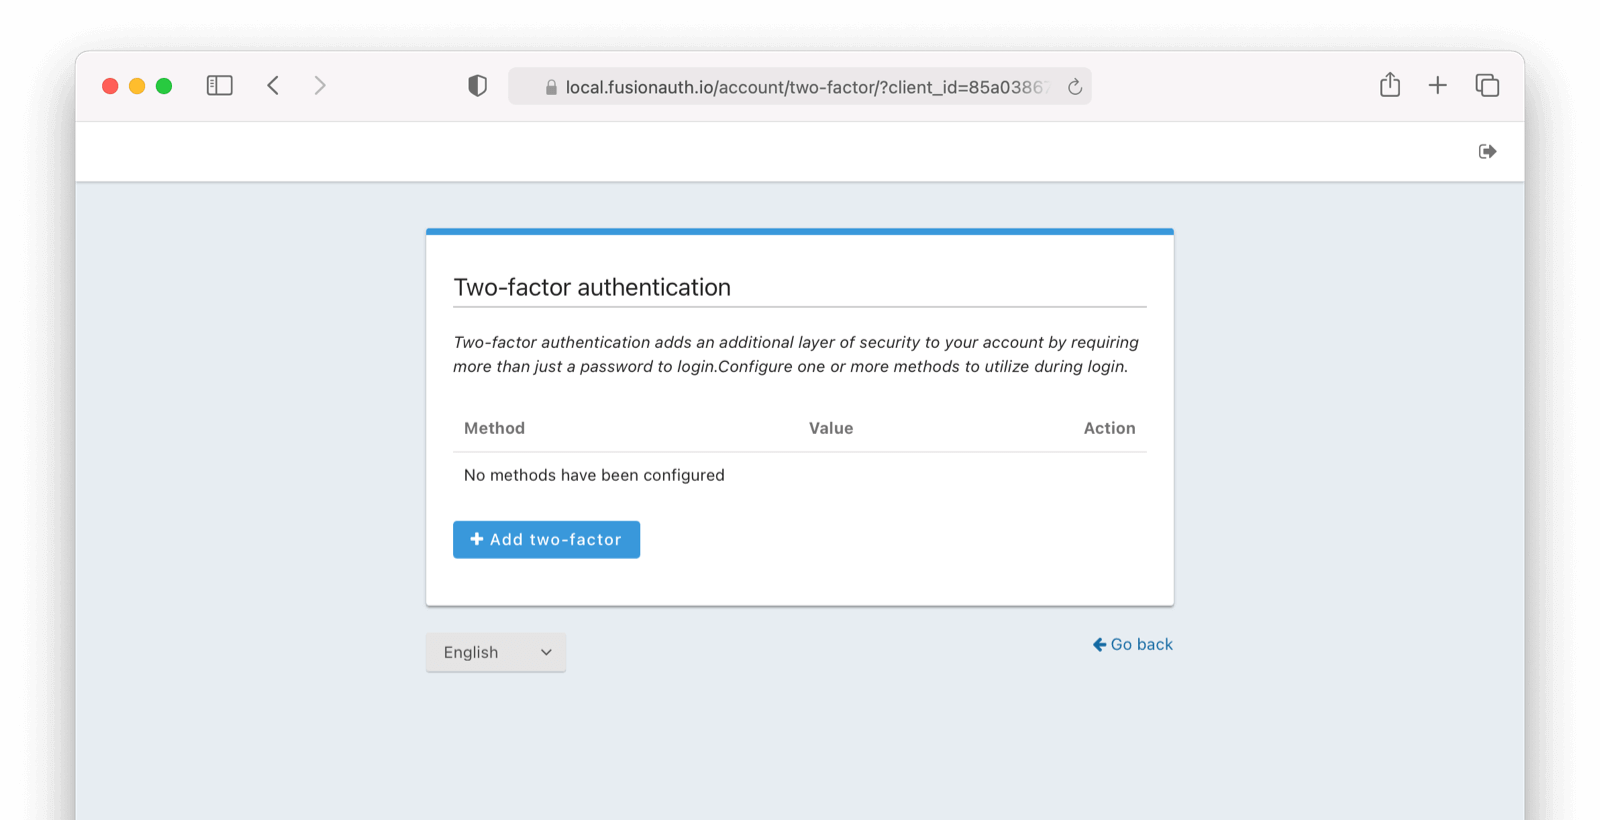
FusionAuth supports the following types of MFA:
- Authenticator
- SMS
- Email
If you are not seeing this screen, you may need additional configuration.
Please see [troubleshooting](/docs/lifecycle/manage-users/account-management/troubleshooting) steps.
You can click on the links below for more about setting up each MFA method.
- [Add Two Factor Method - Authenticator](/docs/lifecycle/manage-users/account-management/two-factor-authenticator)
- [Add Two Factor Method - Email](/docs/lifecycle/manage-users/account-management/two-factor-email)
- [Add Two Factor Method - SMS](/docs/lifecycle/manage-users/account-management/two-factor-sms)
### Recovery Codes
Please note that once an authenticator is enabled, users will be displayed recovery codes similar to what is shown below.
Please encourage your users to save these in a secure location, as they can be used to recover an account, should one of their second factors fail to be available. For example, if an email or sms service is "down" and users still want to use your application, or if a user loses their phone, a recovery code allows access.
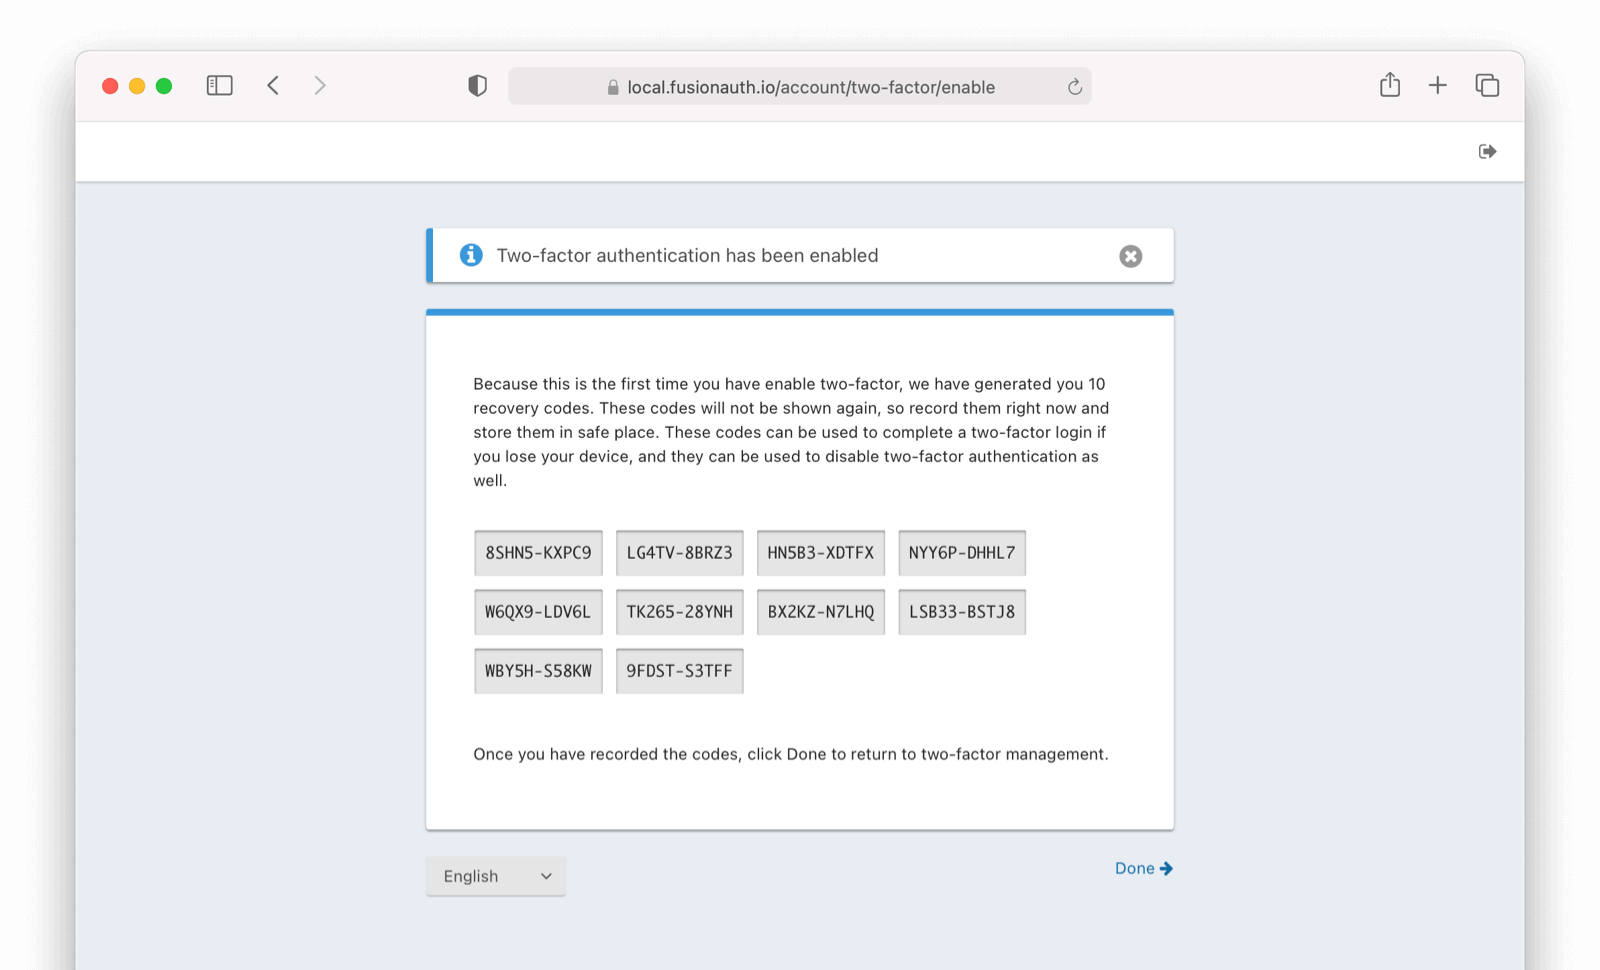
## Logout
Tenants -> Edit Tenant -> Multi-Factor . The authenticator method is also referred to as Google Authenticator or Time-Based One-Time Password (TOTP).
### Enable MFA method on Tenant (Admin Facing)
The authenticator factor is enabled by default at the tenant level. It can be toggled on and off as needed.
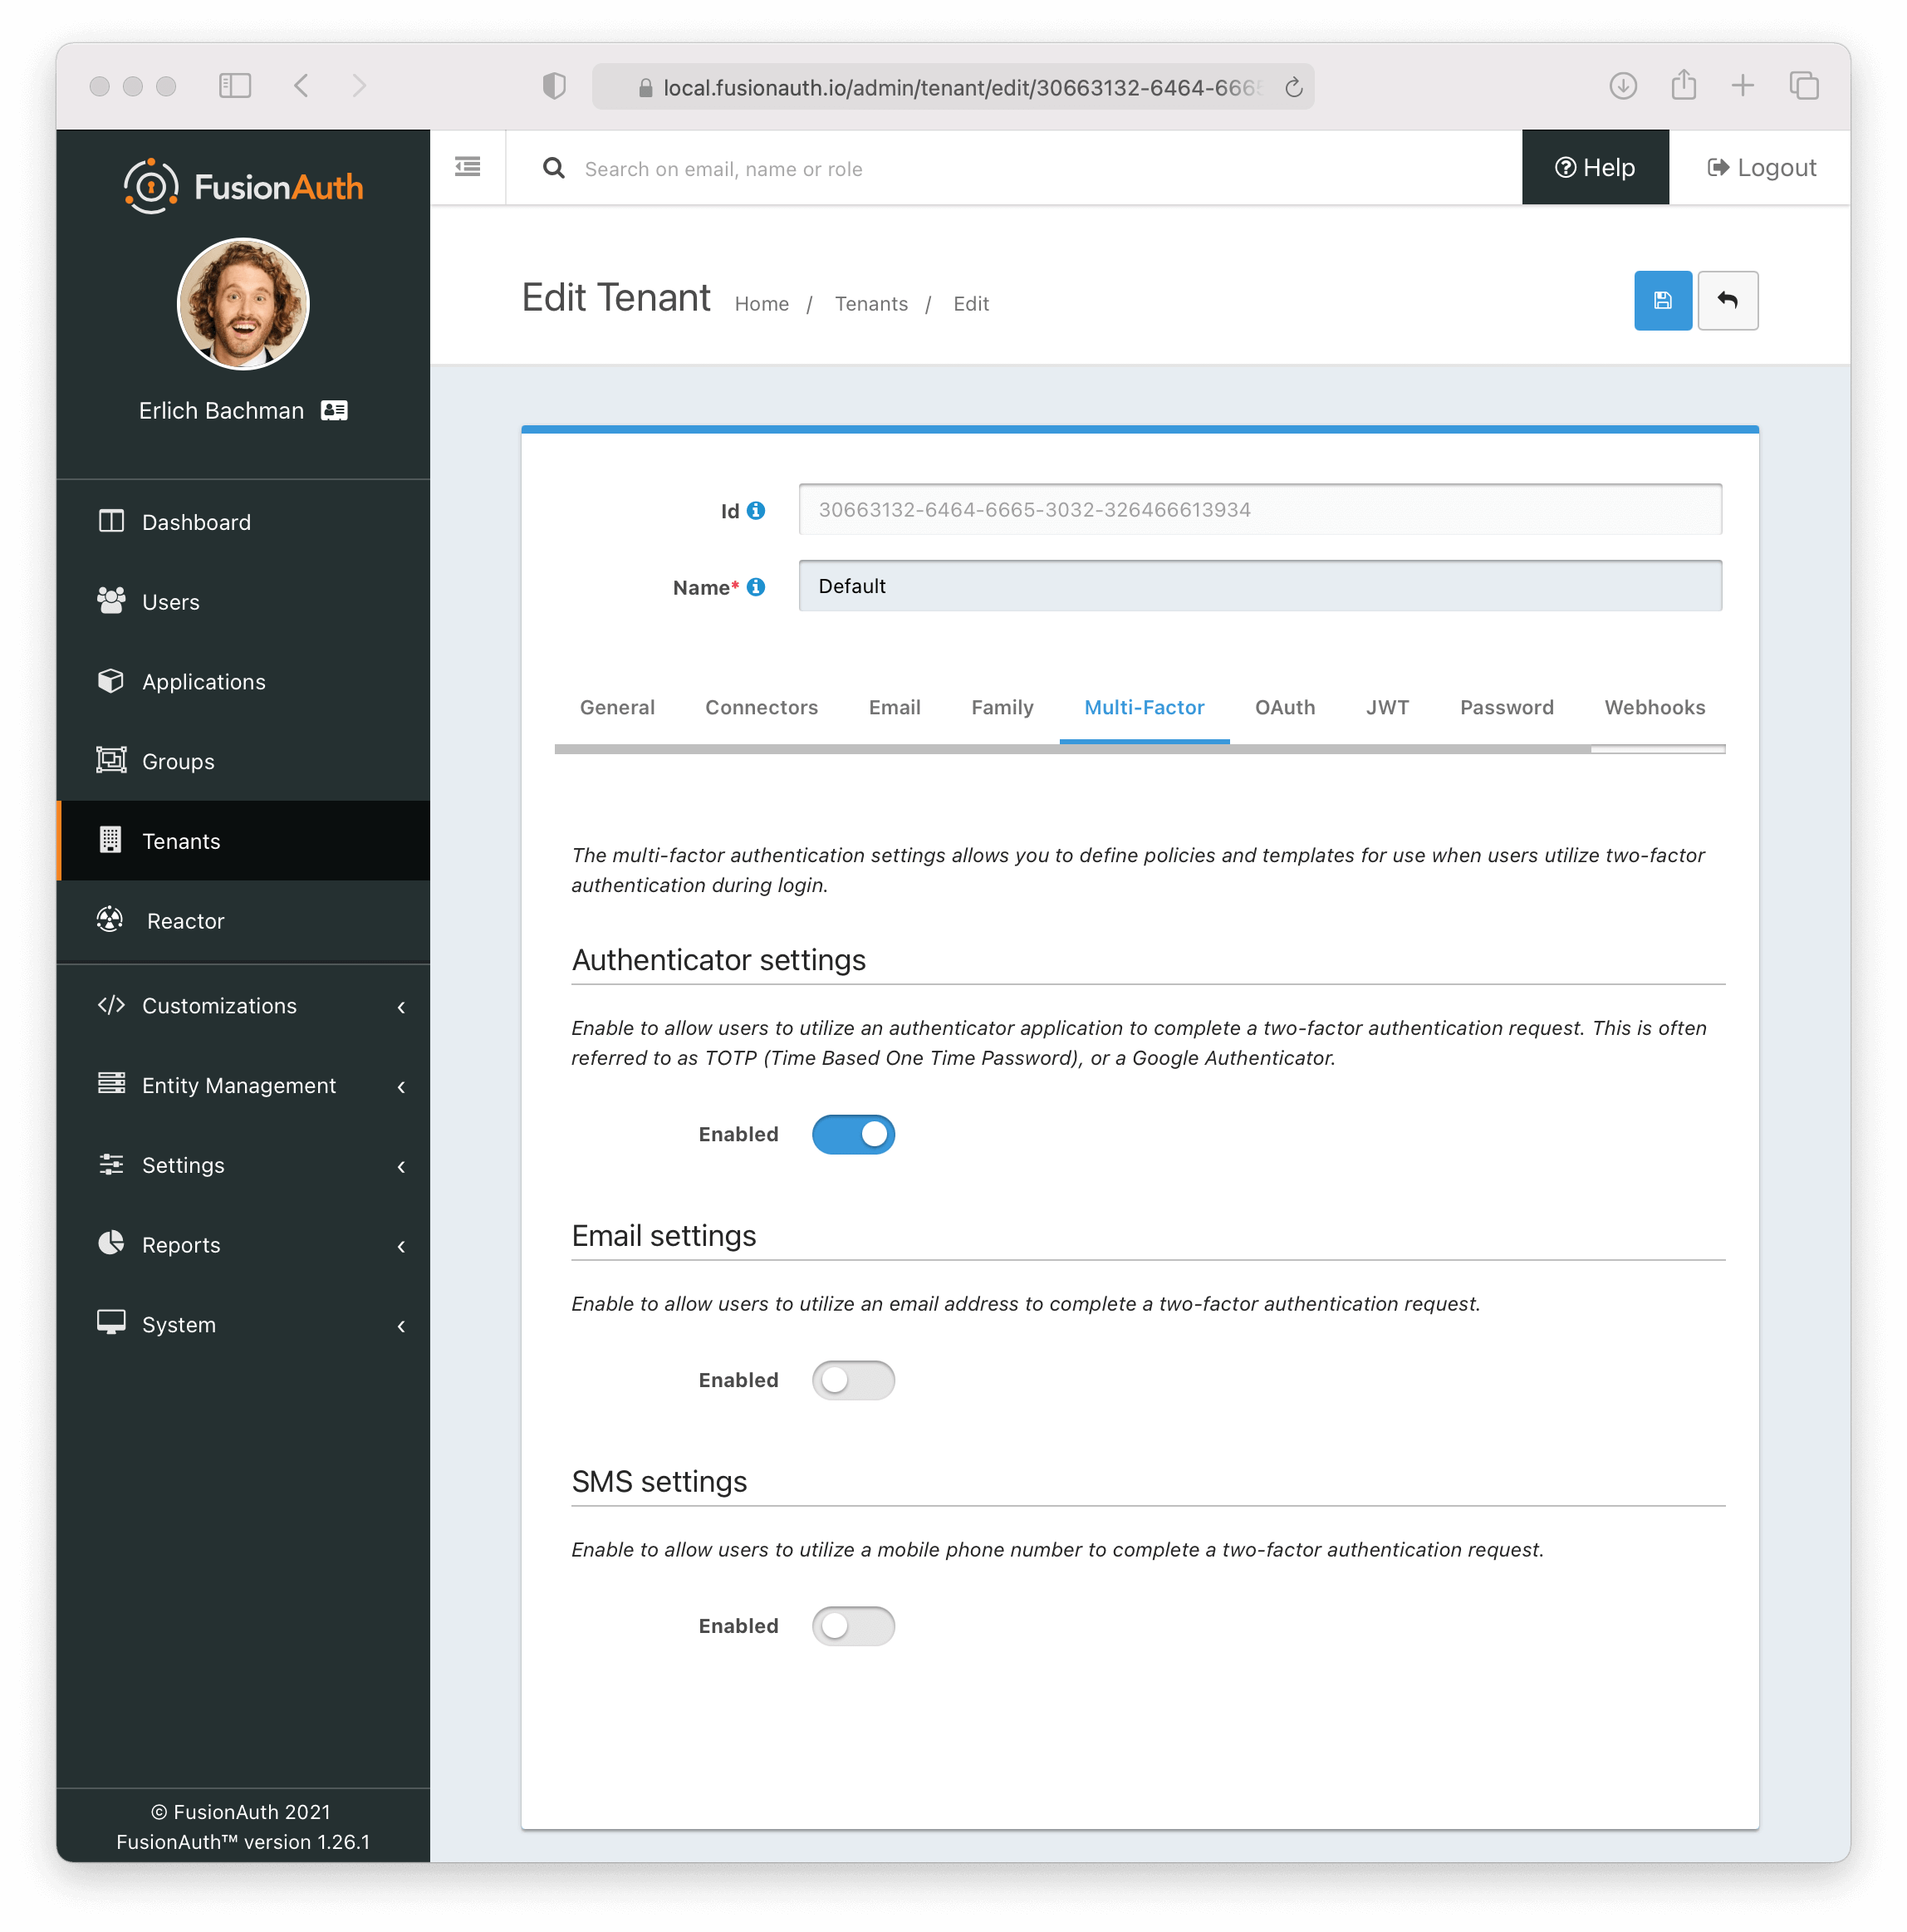 ### Enable Authenticator Factor from Account Management (User Facing)
 1. Navigate back to your account page.
2. Click
 Manage two-factor
3. Click Add two-factor
4. There will be an option for an `Authenticator app`.
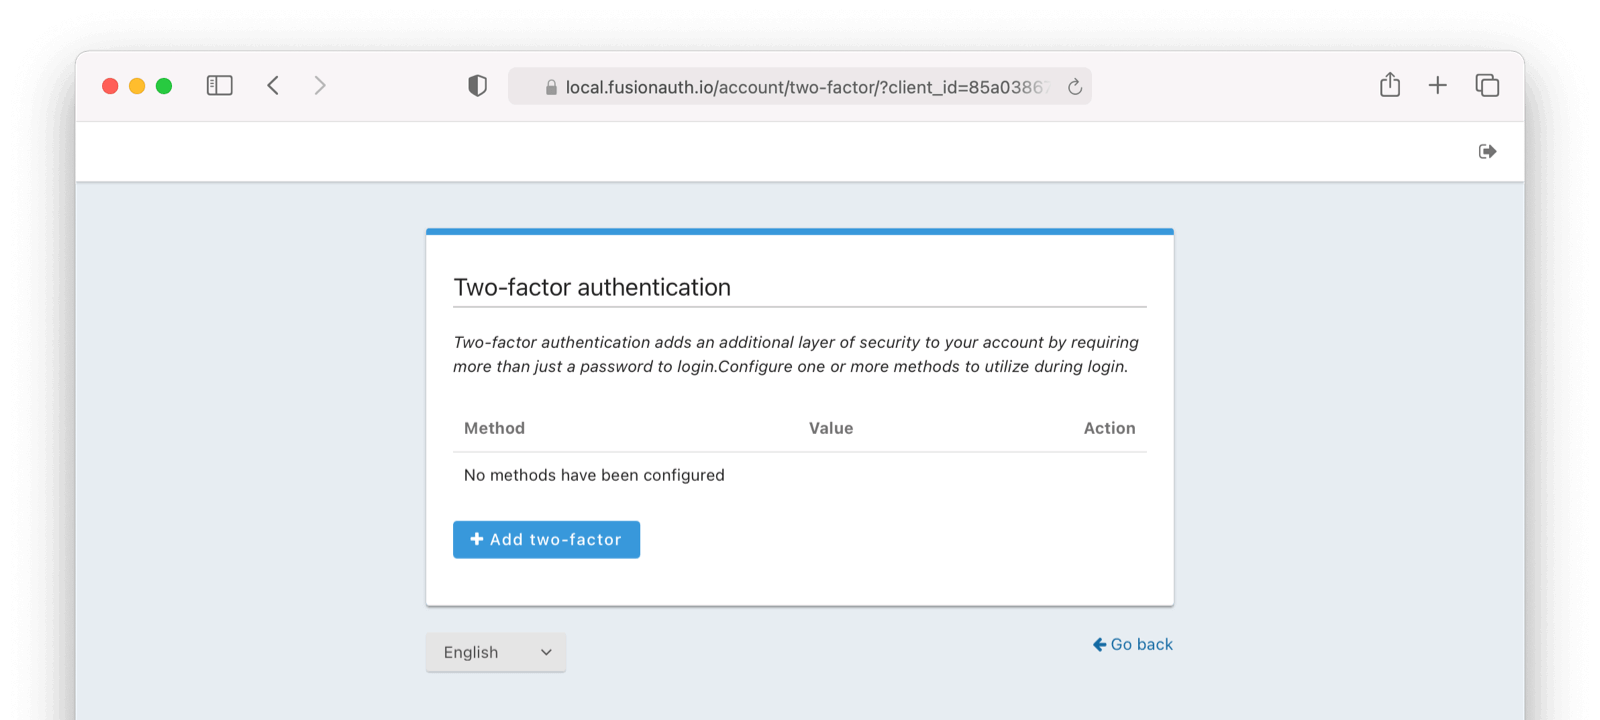
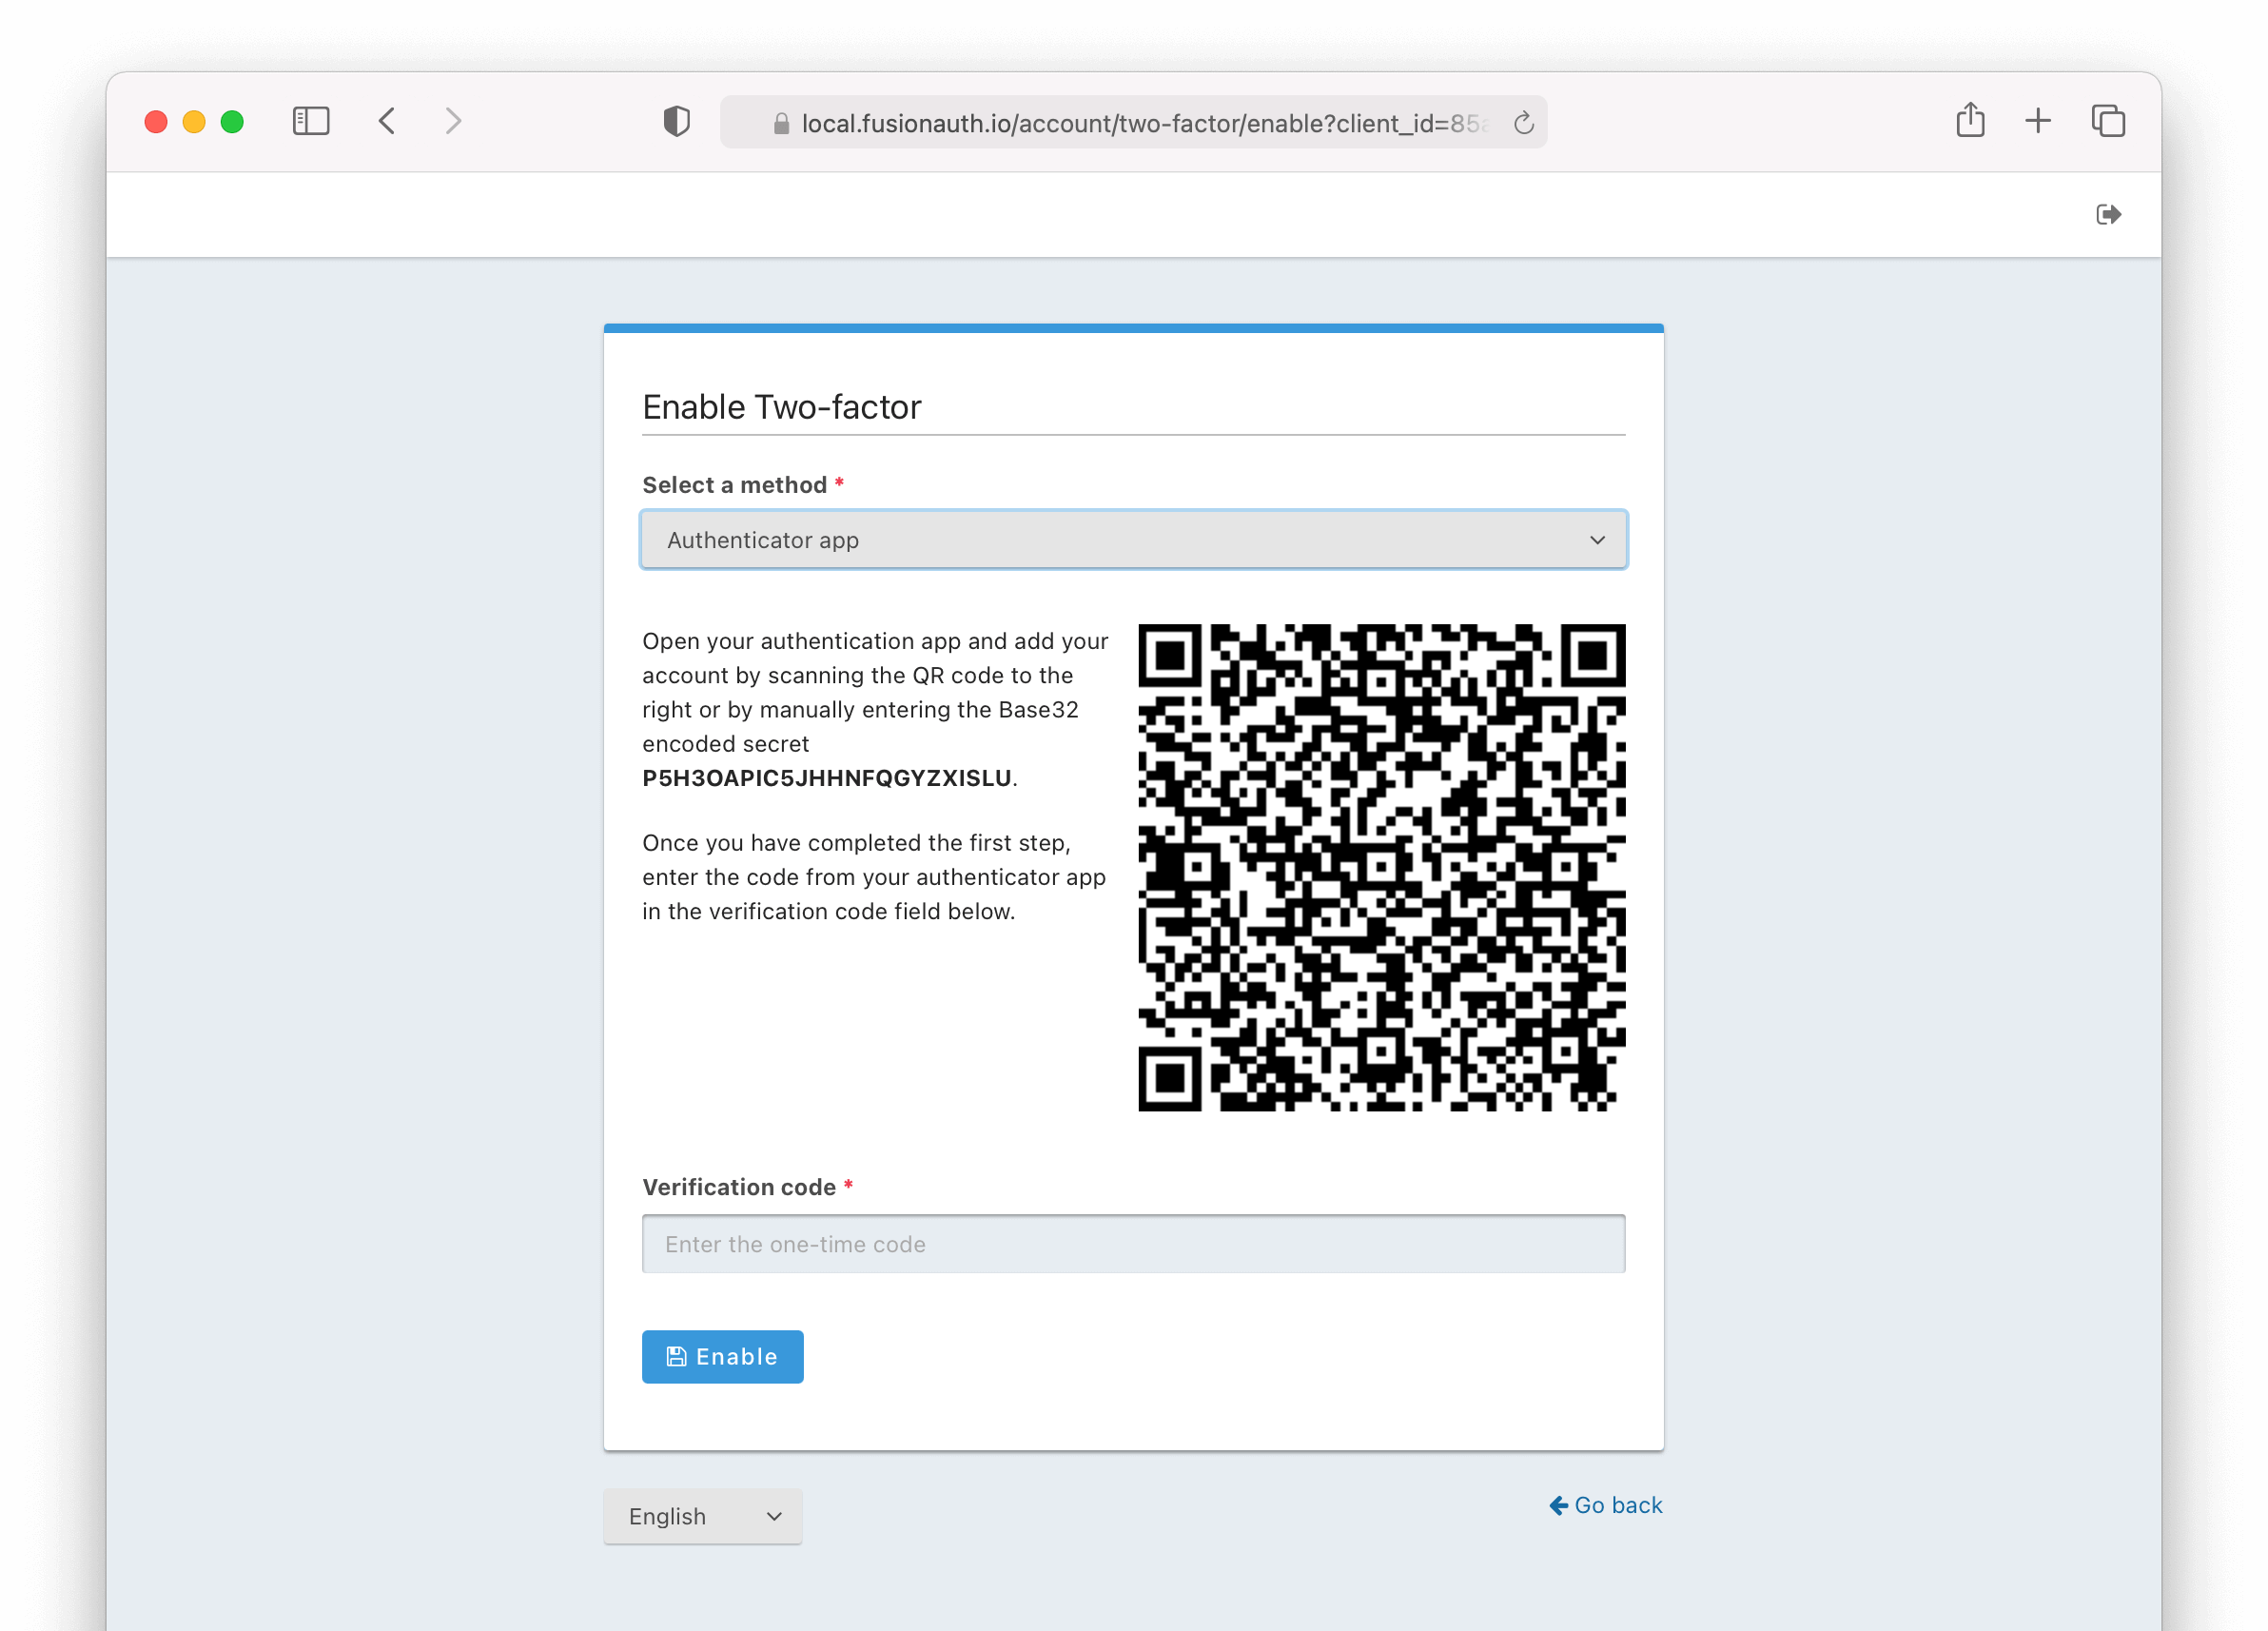 Next,
1. Scan the QR code with your favorite authenticator application such as Google Authenticator or Authy.
2. Enter the code given.
3. Click the
 Enable button.
### Recovery Codes (User Facing)
Now you will be presented with recovery codes. Save these in a safe space.

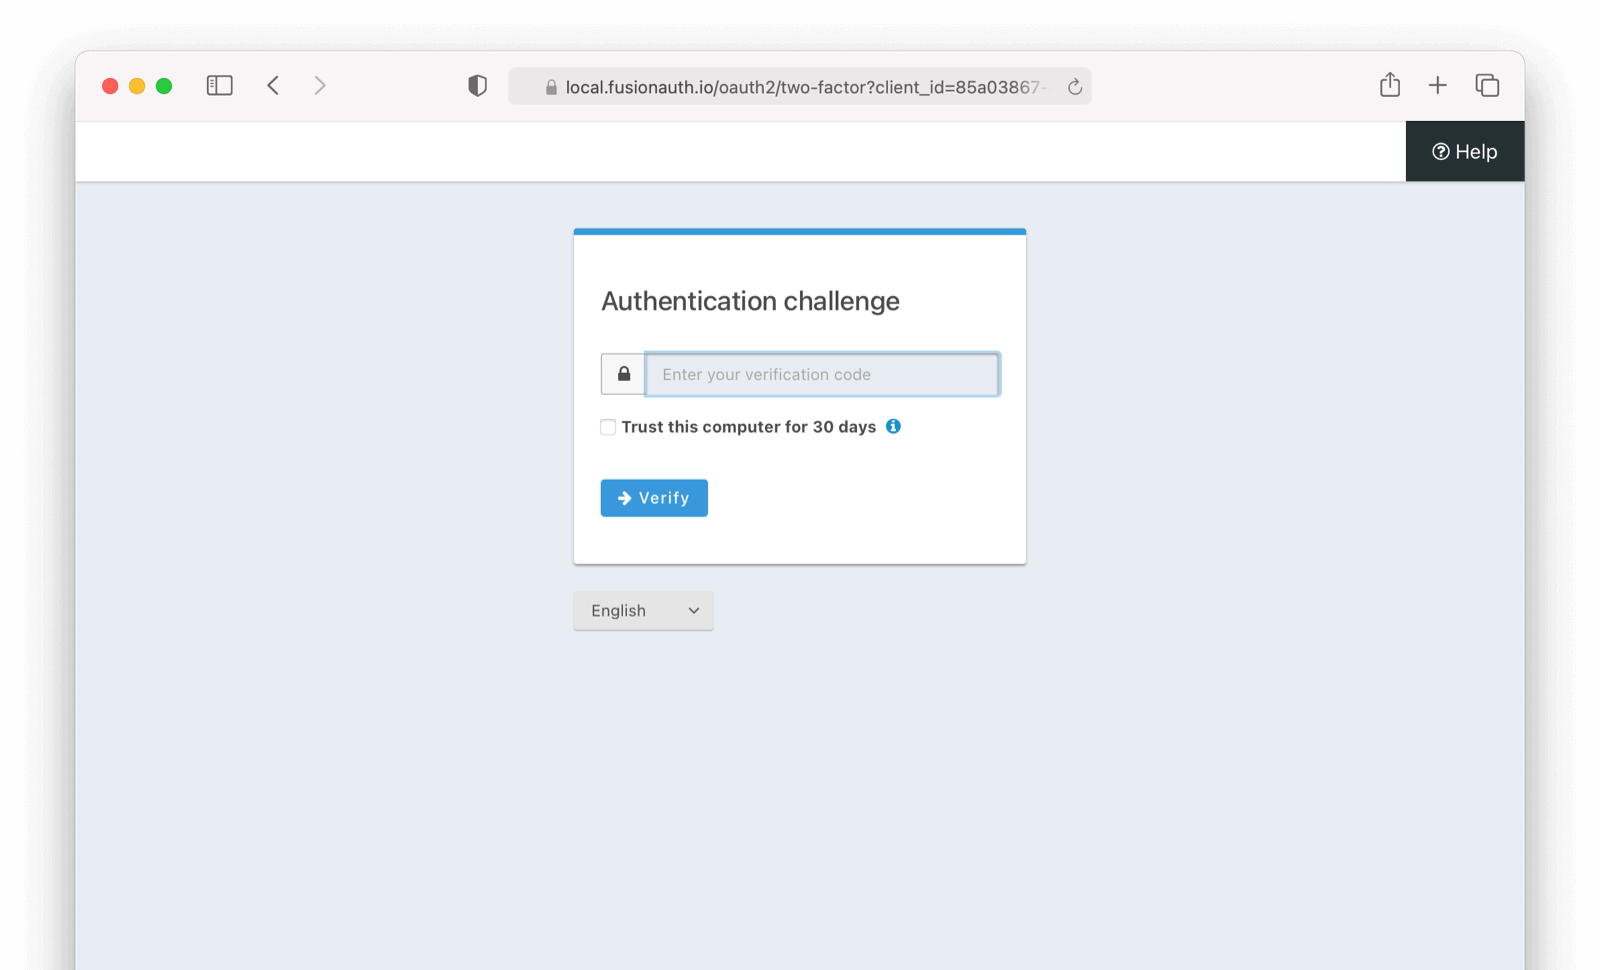 # Add SMS as a second factor
import Aside from 'src/components/Aside.astro';
import Breadcrumb from 'src/components/Breadcrumb.astro';
import Icon from 'src/components/icon/Icon.astro';
import PremiumPlanBlurb from 'src/content/docs/_shared/_premium-plan-blurb.astro';
import InlineField from 'src/components/InlineField.astro';
import InlineUIElement from 'src/components/InlineUIElement.astro';
Tenants -> Edit Tenant -> Multi-Factor .
### Enable MFA method on Tenant (Admin Facing)
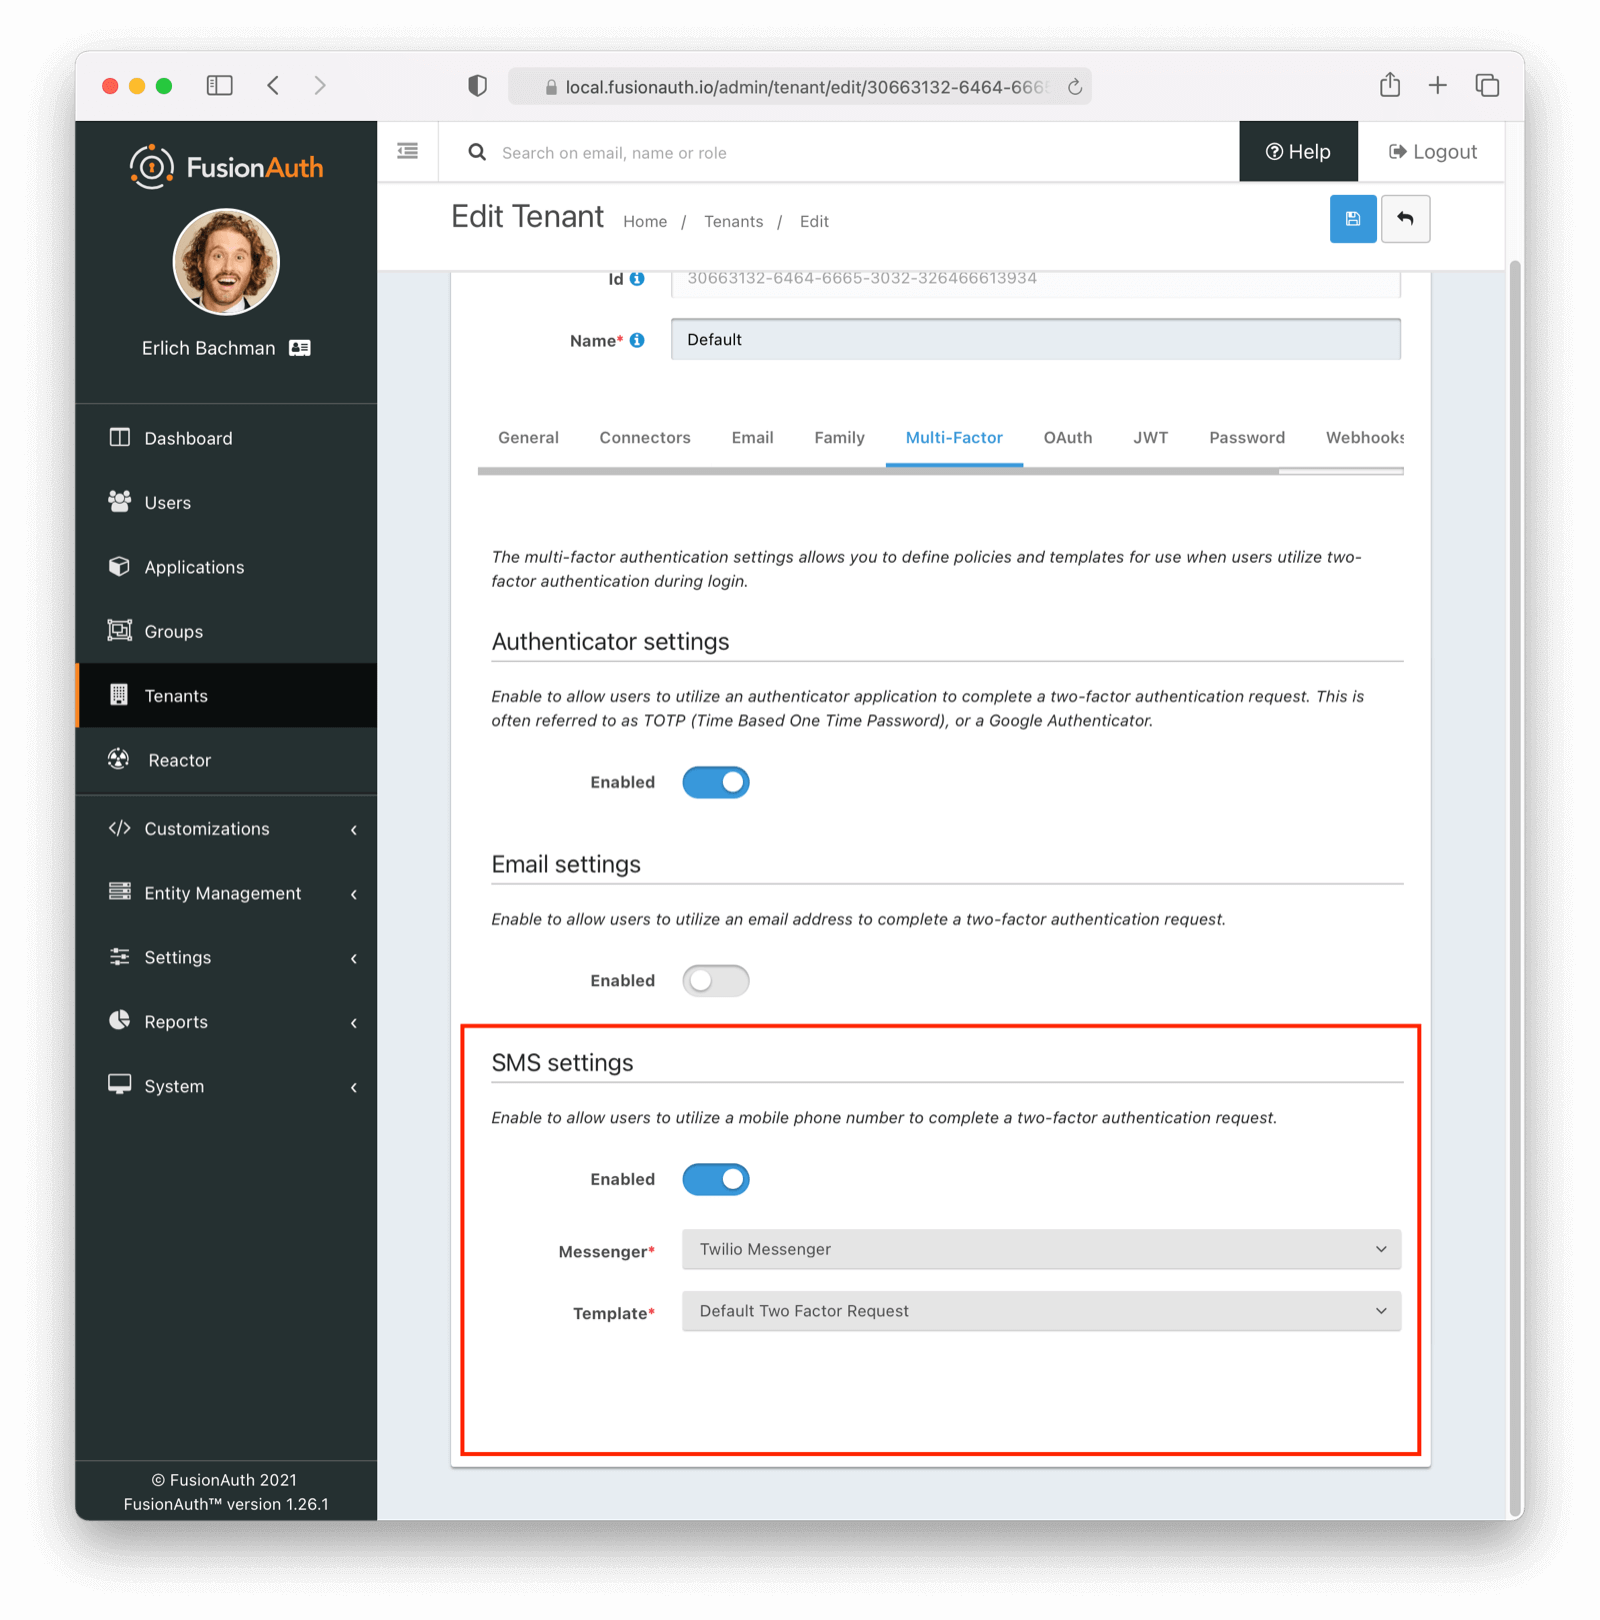 You can enable the SMS factor on the tenant level by following these steps:
- Toggle this Two Factor method by clicking `enabled`
- Select a `messenger` (previously created, see [documentation](/docs/customize/email-and-messages/))
- Select a `template` (FusionAuth ships with a default to be customized if needed)
### Enable SMS Factor from Account Management (User Facing)
 1. Navigate back to your account page.
2. Click
 Manage two-factor
3. Click Add two-factor
4. There will be an option for SMS.

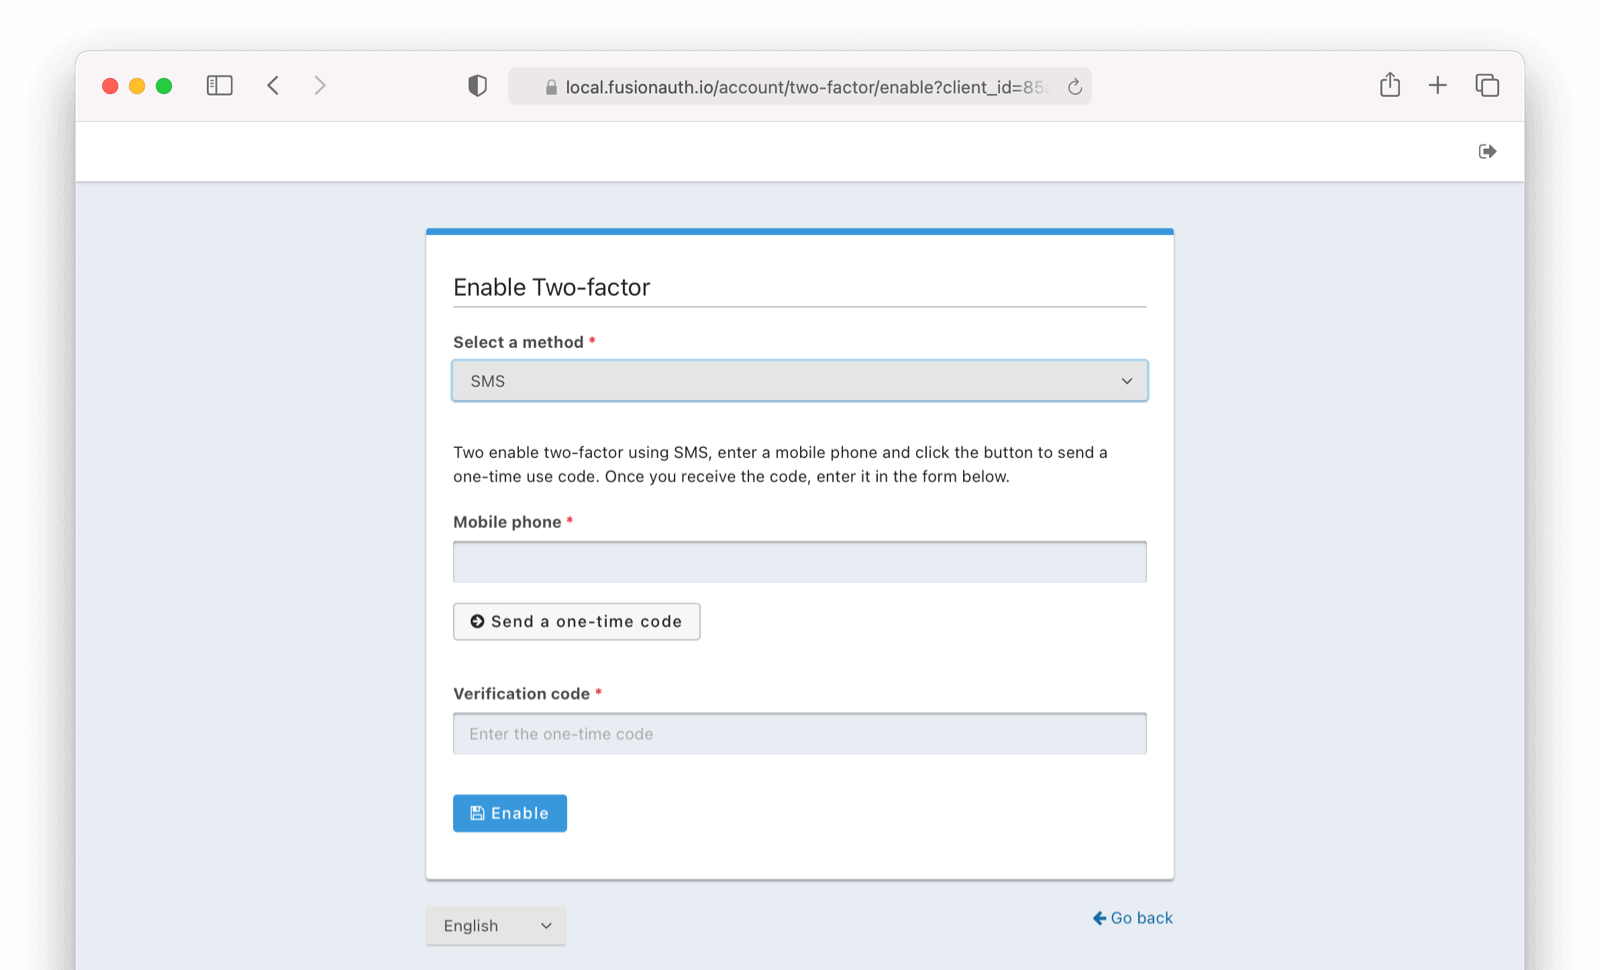 Next,
1. Enter your phone number.
2. Click on `Send a one-time-code`.
3. Enter the `Verification Code`
4. Click
 Enable .
### Recovery Codes (User Facing)
Now you will be presented with recovery codes. Save these in a safe space.

 # Add Email as a second factor
import Aside from 'src/components/Aside.astro';
import Breadcrumb from 'src/components/Breadcrumb.astro';
import Icon from 'src/components/icon/Icon.astro';
import PremiumPlanBlurb from 'src/content/docs/_shared/_premium-plan-blurb.astro';
import InlineField from 'src/components/InlineField.astro';
import InlineUIElement from 'src/components/InlineUIElement.astro';
Tenants -> Edit Tenant -> Multi-Factor .
### Enable MFA method on Tenant (Admin Facing)
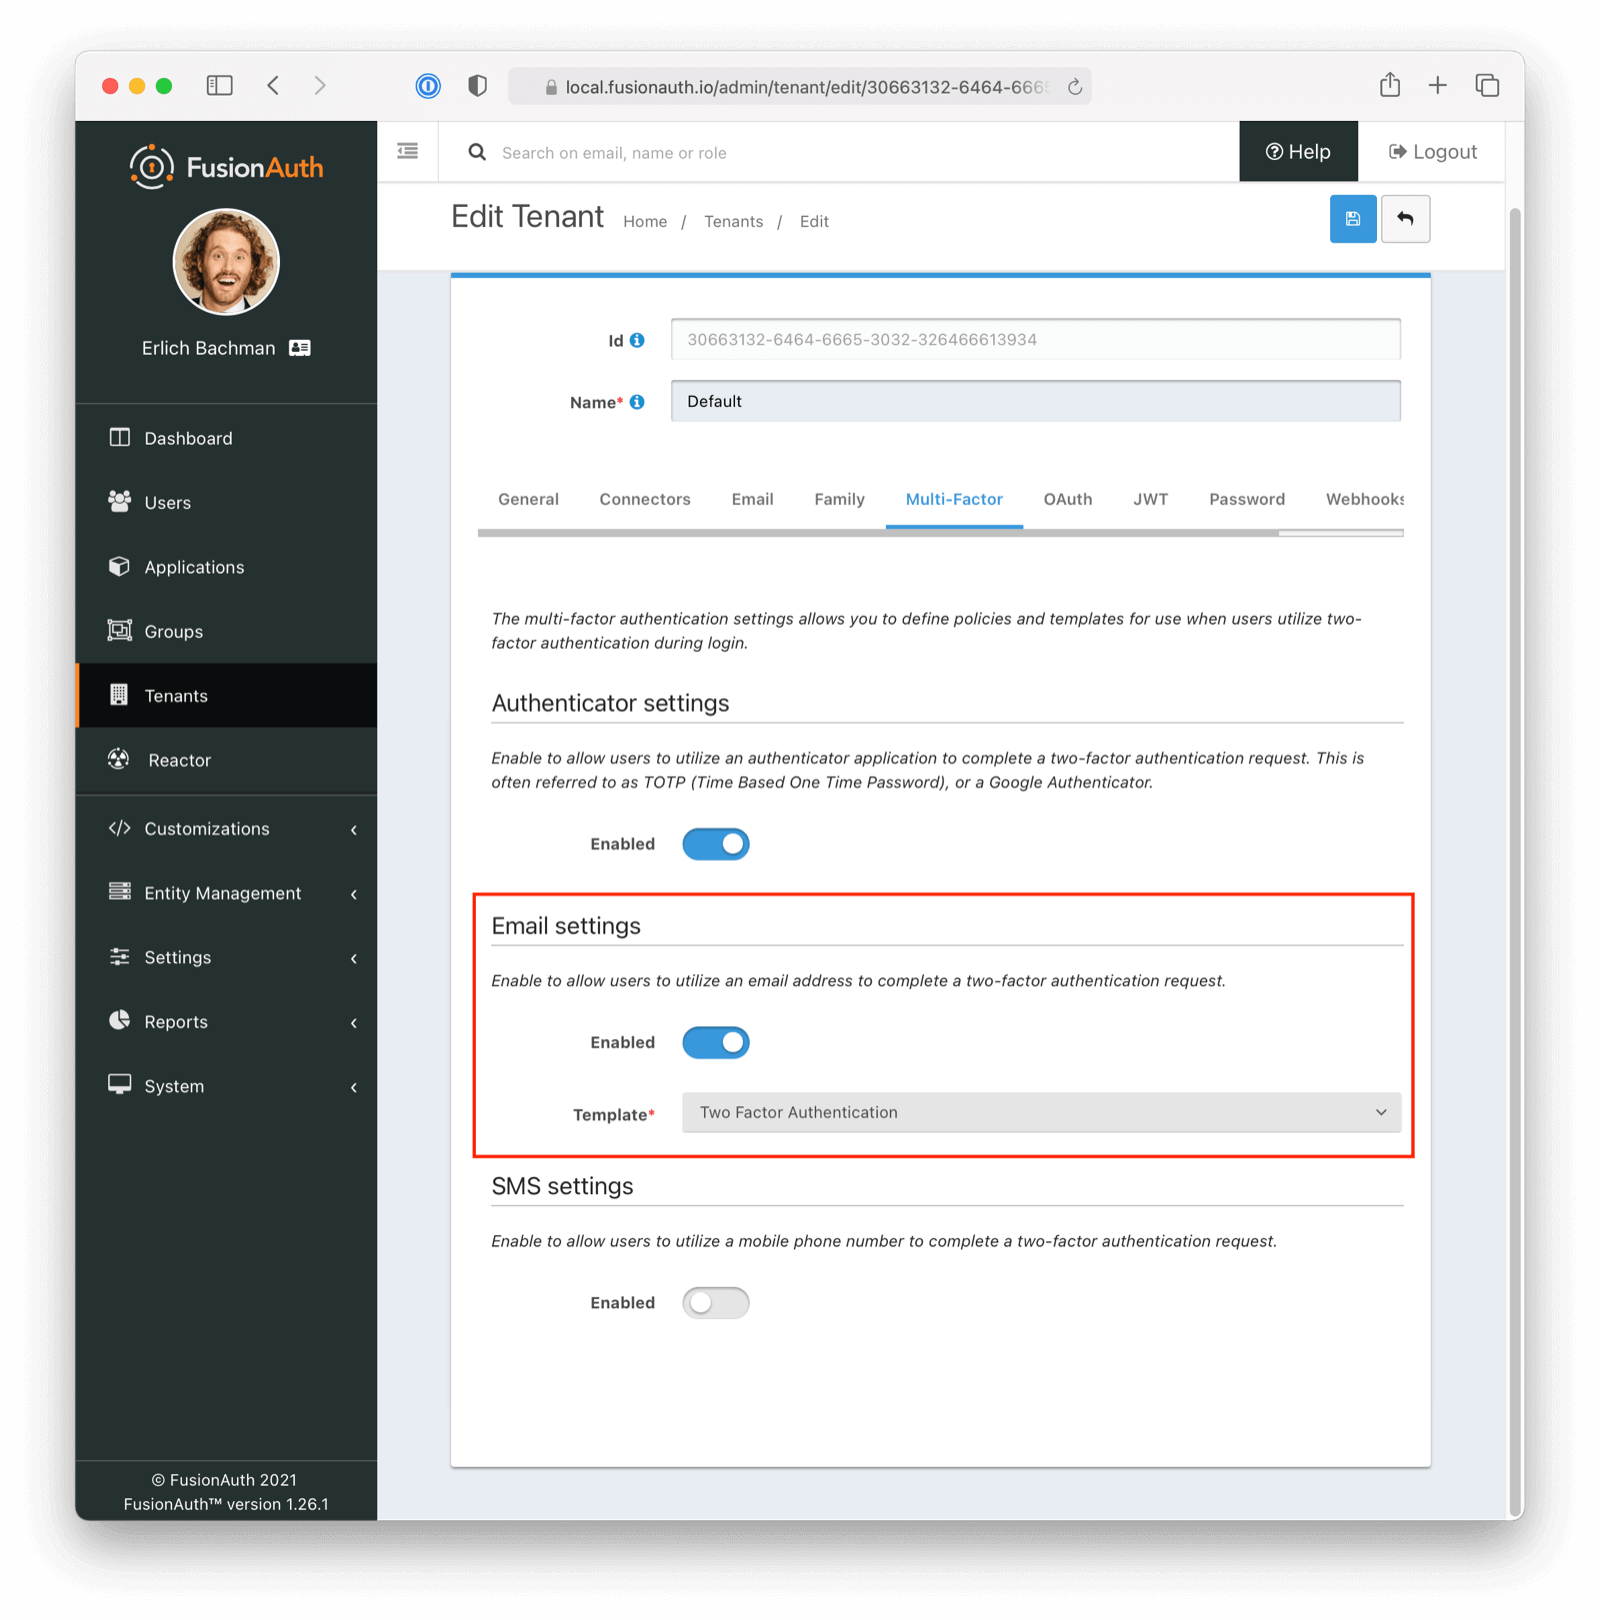 You can enable SMS MFA on the tenant level by following these steps:
- Toggle this MFA method by clicking `enabled`
- Select a two factor authentication template (FusionAuth ships with a default to be customized if needed)
### Enable Email Factor from Account Management (User Facing)
 1. Navigate back to your account page.
2. Click
 Manage two-factor
3. Click Add two-factor
4. There will be an option for Email.

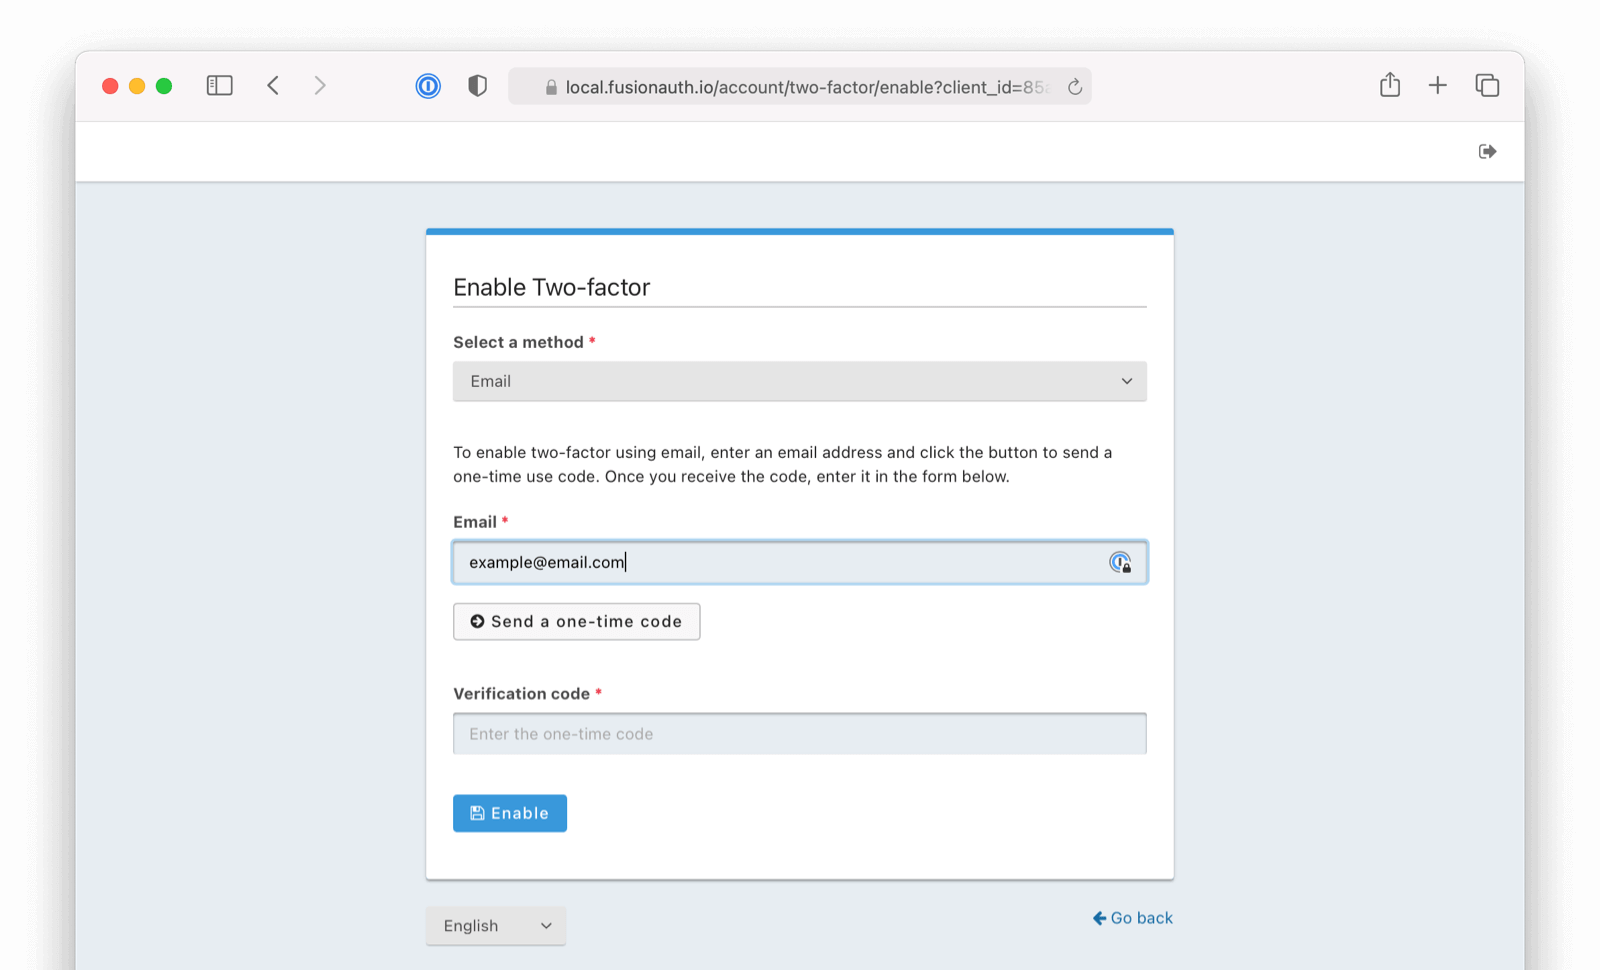 Next,
1. Enter your email address.
2. Click on `Send a one-time-code`
3. Enter the `Verification Code`
4. Click
 Enable .
### Recovery Codes (User Facing)
Now you will be presented with recovery codes. Save these in a safe space.

 # Update User Profiles and Passwords
import Aside from 'src/components/Aside.astro';
import Breadcrumb from 'src/components/Breadcrumb.astro';
import Icon from 'src/components/icon/Icon.astro';
import InlineField from 'src/components/InlineField.astro';
import InlineUIElement from 'src/components/InlineUIElement.astro';
import PremiumPlanBlurb from 'src/content/docs/_shared/_premium-plan-blurb.astro';
`Change password` and you will be presented with a password entry and confirmation field.
If a current password is required, you'll need to enter your existing password.
Enter a new password, password confirmation, and finally click Submit .
System -> About . As you can see below, this system is configured to use the database search engine.
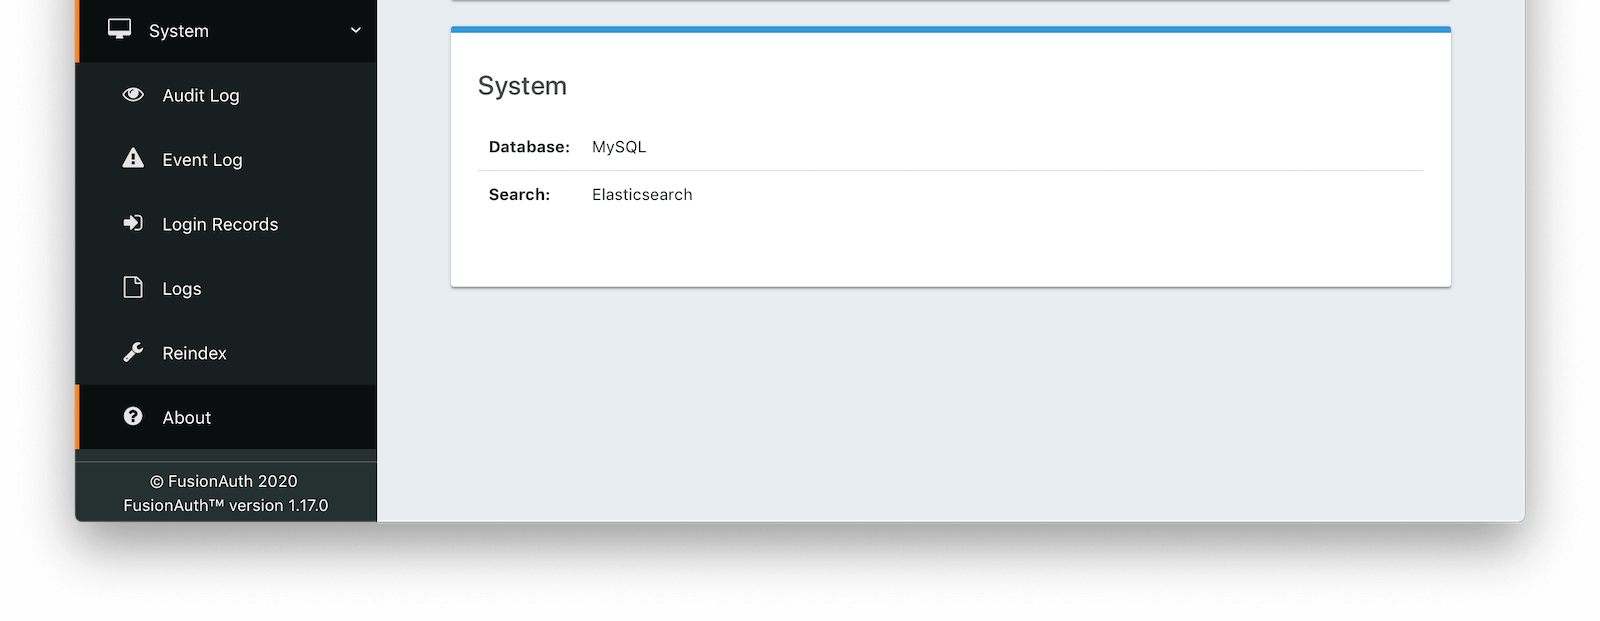 ## Using the Database Search Engine
This configuration is lightweight, simplifies installation and system complexity, but comes with the trade offs of limited search capabilities and performance implications.
The database search engine is appropriate for systems that are not dependent on the FusionAuth APIs, are not expected to have a large number of search results, or are running in an embedded environment.
If you don't need advanced searching capabilities, you may be able to use the database search engine for large installations. This is not a use case FusionAuth tests, so ensure you provision your database with enough resources and benchmark your typical use cases.
### Limitations
You may add a `*` character to wildcard match any character, including none. So `*piedpiper` will match `piedpiper` and `thepiedpiper`. You may put the wildcard at any location in a search string.
All search terms are converted to lowercase and compared with lowercase values. In other words, all database searches are case-insensitive.
Regular expressions, ranges, and other complicated queries can not be used.
## Using the Elasticsearch Search Engine
Leveraging Elasticsearch enables advanced search capabilities on more numerous and granular data. It also provides a performance improvement.
The Elasticsearch search engine is appropriate for systems that are dependent on the FusionAuth APIs (such as [user search](/docs/apis/users#search-for-users)), are expected to have a large number of results, or require more granularity in search than is provided by the standard database search engine.
### Reindexing Elasticsearch
nextResults token to page past the 10,000 results limitation when using the Elasticsearch engine.
See the [Extended Pagination](#extended-pagination) section for more details.
### Extended Pagination
Starting in version 1.48.0 of FusionAuth every search using the Elasticsearch engine will return a nextResults token in the response. You may use this token on subsequent calls to continue paging forward in the result set and go past the 10,000 results limit with Elasticsearch. Every search request made using a nextResults token will return a page of results and another nextResults token that can be used to retrieve the next page. These calls can be made indefinitely until the number of returned results is 0.
Internally FusionAuth uses this token to make a `search_after` parameter on the request to Elasticsearch. See [the Elasticsearch documentation](https://www.elastic.co/guide/en/elasticsearch/reference/7.17/paginate-search-results.html) for more information.
For more detail on extended pagination see the [Searching Users With Elasticsearch](/docs/lifecycle/manage-users/search/user-search-with-elasticsearch) guide.
# Switching Search Engines
import Breadcrumb from 'src/components/Breadcrumb.astro';
import DataFieldDataTypeChanges from 'src/content/docs/_shared/_data-field-data-type-changes.mdx';
As of version 1.16.0, FusionAuth has the concept of a search engine type. There are two valid values:
* `database`
* `elasticsearch` (for Elasticsearch or OpenSearch)
They have different [strengths and limitations](/docs/get-started/core-concepts/users#user-search). This tutorial walks you through the process of changing your FusionAuth search engine. Reasons for doing so vary. You may be simplifying your deployment strategy with the database search engine. Or perhaps you need the advanced searching options of Elasticsearch after your application has grown. Either way, it's an easy switch.
## Prerequisites
This tutorial assumes you are running version 1.16.0 or greater.
If you aren't, head on over to the [installation guide](/docs/get-started/download-and-install) or the [upgrade guide](/docs/operate/deploy/upgrade).
Because there are a variety of ways to run FusionAuth, this guide won't document how to start or stop your FusionAuth instance. Please consult the installation specific documentation for instructions on how to start or stop it.
## Overview
To switch the search engine, you need to do the following:
* Stop FusionAuth
* Modify the FusionAuth configuration
* Start FusionAuth
* Reindex (if switching from the database search engine to Elasticsearch)
FusionAuth can be configured in a number of ways, outlined in the [Configuration Reference](/docs/reference/configuration), including environment variables and the `fusionauth.properties` file. This tutorial modifies the `fusionauth.properties` file, but adapting the instructions to your configuration method should be straight forward.
## From Elasticsearch to Database
The first step is to stop FusionAuth.
Locate your FusionAuth configuration file named `fusionauth.properties`. This is usually located at `/usr/local/fusionauth/config/fusionauth.properties` unless you installed via Fast Path, in which case it is located in your service root.
Add or update the `fusionauth-app.search-engine-type` key to have the value `database`.
```
fusionauth-app.search-engine-type=database
```
Optionally, comment out or remove any properties prefixed with `fusionauth-search.` as well as the `fusionauth-app.search-servers` property. If not removed, these will be ignored.
Restart the FusionAuth application.
### Verify the change
Log into the FusionAuth admin UI. Navigate to System -> About and look at the `System` panel. This will show the new value for your search engine: `Database`.
You can also navigate to Users and search for a user by email address or first name to confirm that you can search.
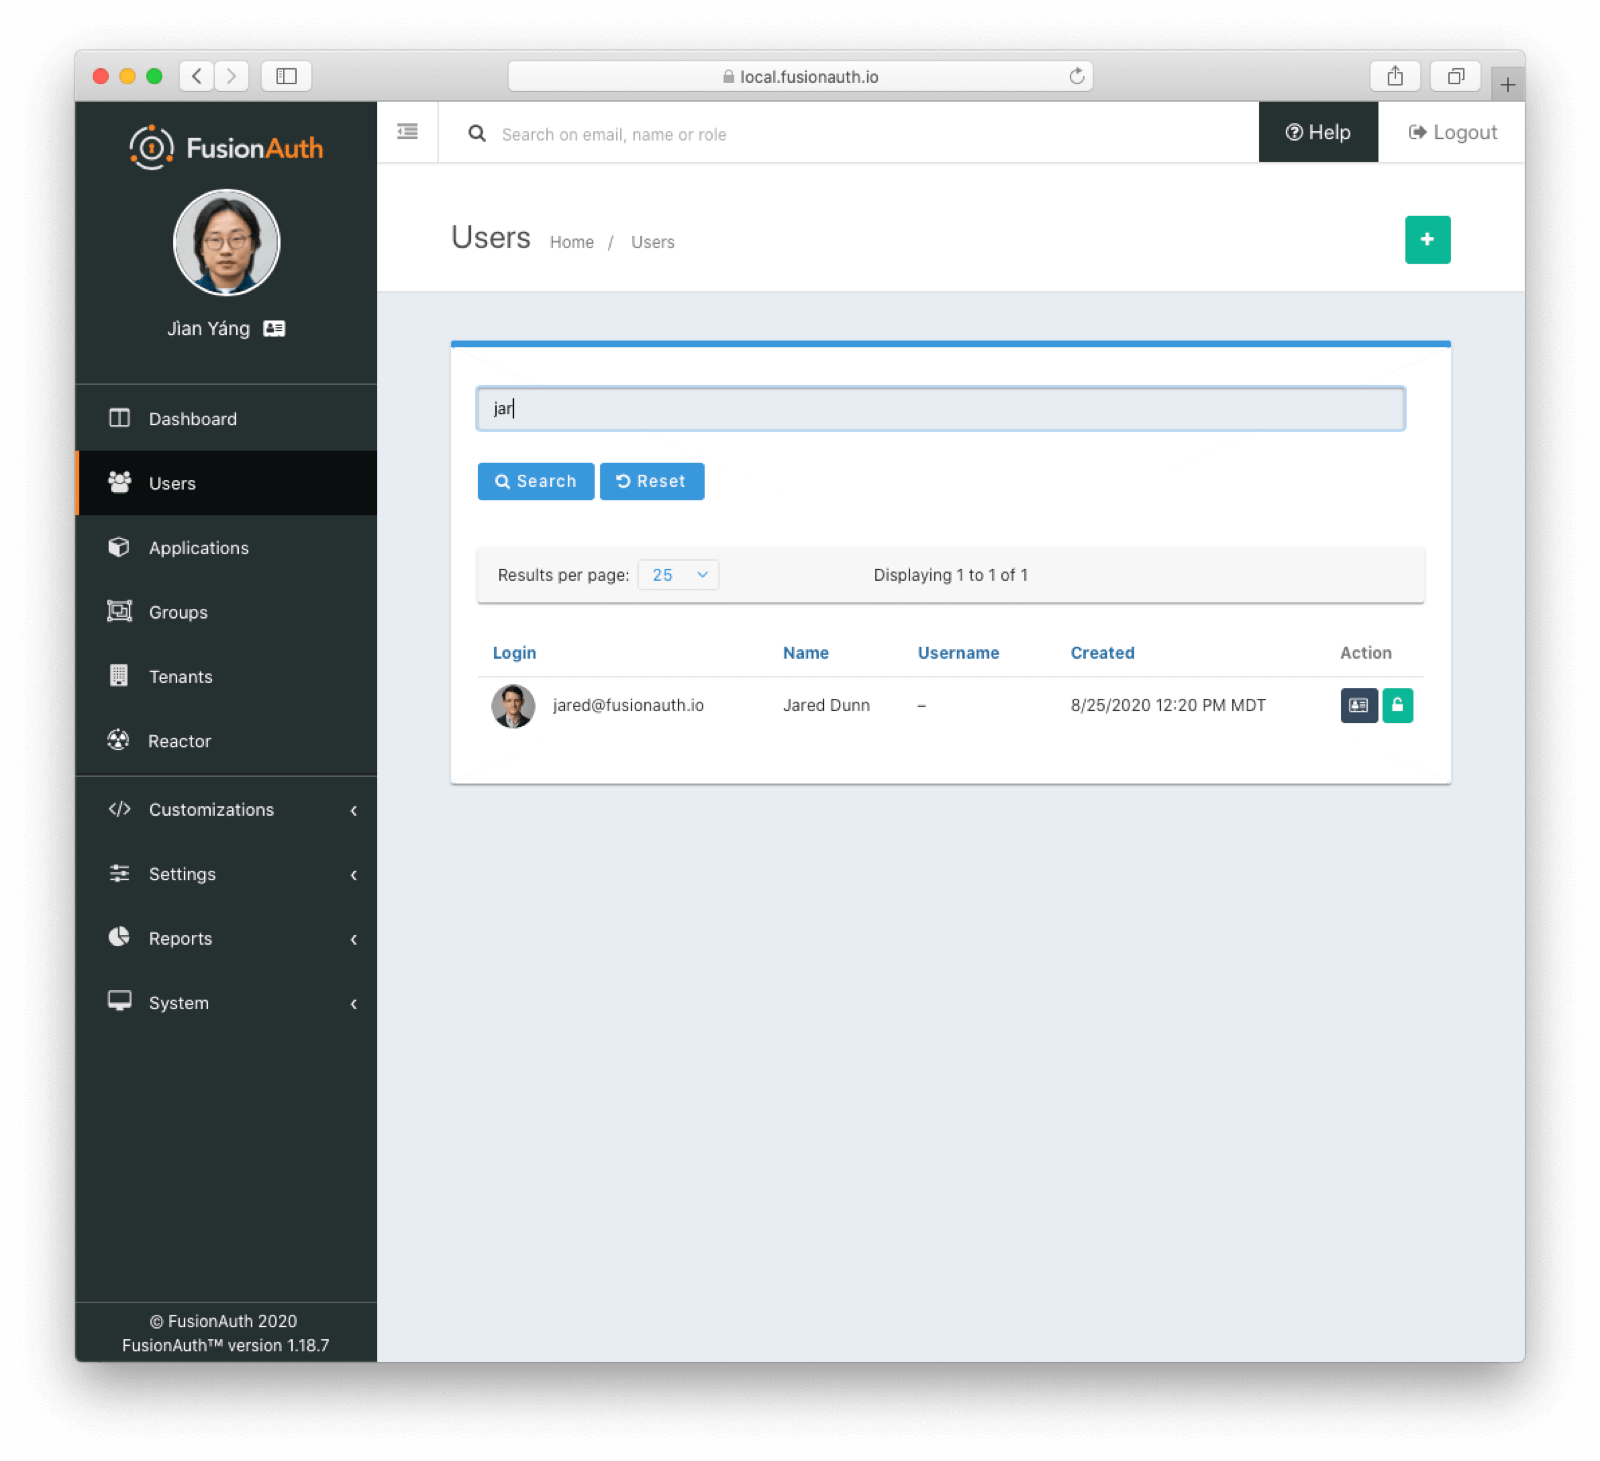 ## From Database to Elasticsearch
If you already have FusionAuth running, but need to install the search service, [here are instructions to do so](/docs/get-started/download-and-install/fusionauth-search).
Once you have Elasticsearch running, the next step is to stop FusionAuth.
Locate your FusionAuth configuration file named `fusionauth.properties`. This is usually located at `/usr/local/fusionauth/config/fusionauth.properties` unless you installed via Fast Path, in which case it is located in your service root.
Uncomment or add the `fusionauth-app.search-servers` property. Set it to point to your Elasticsearch servers. For example:
```
fusionauth-app.search-servers=http://localhost:9021
```
In addition, add or update the `fusionauth-app.search-engine-type` property to have the value `elasticsearch`.
```
fusionauth-app.search-engine-type=elasticsearch
```
Finally, add or uncomment and update any properties prefixed by `fusionauth-search` needed for your installation. These are all documented in the [Configuration Reference](/docs/reference/configuration).
Restart the FusionAuth application.
### Verify the change and reindex
Log in to the FusionAuth admin UI. Navigate to
 System -> About and look at the `System` panel. This will show the new value for your search engine: `Elasticsearch`.
You'll also want to reindex by navigating to System -> Reindex . This will initialize the search index and synchronize it with your database. Reindexing may take some time, depending on the number of users you have and the amount of custom data to be indexed.
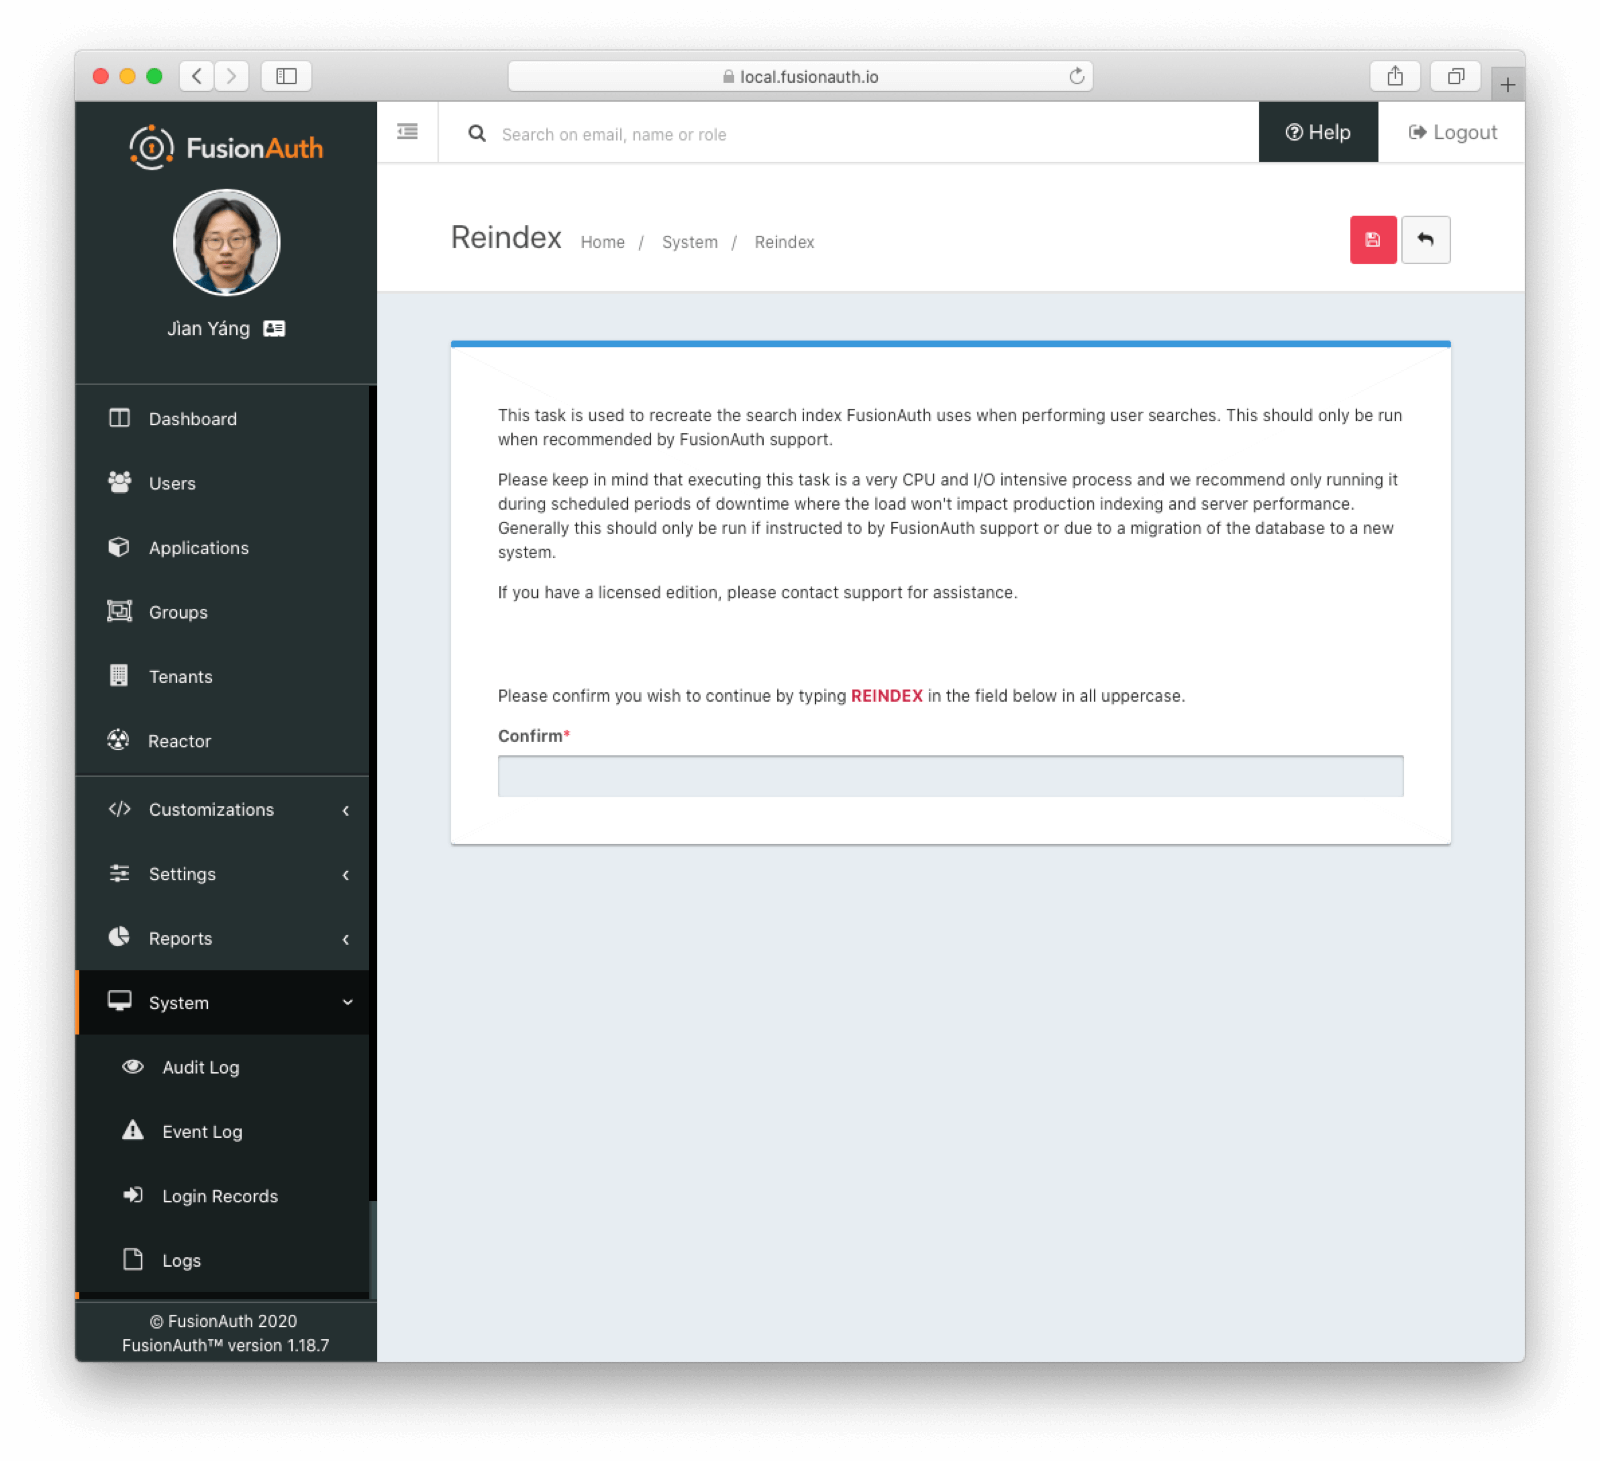 Navigate to
 Users and search for a user by email address, first name or other attribute to confirm that the search engine is working. You'll also notice that the advanced search form elements are also present.
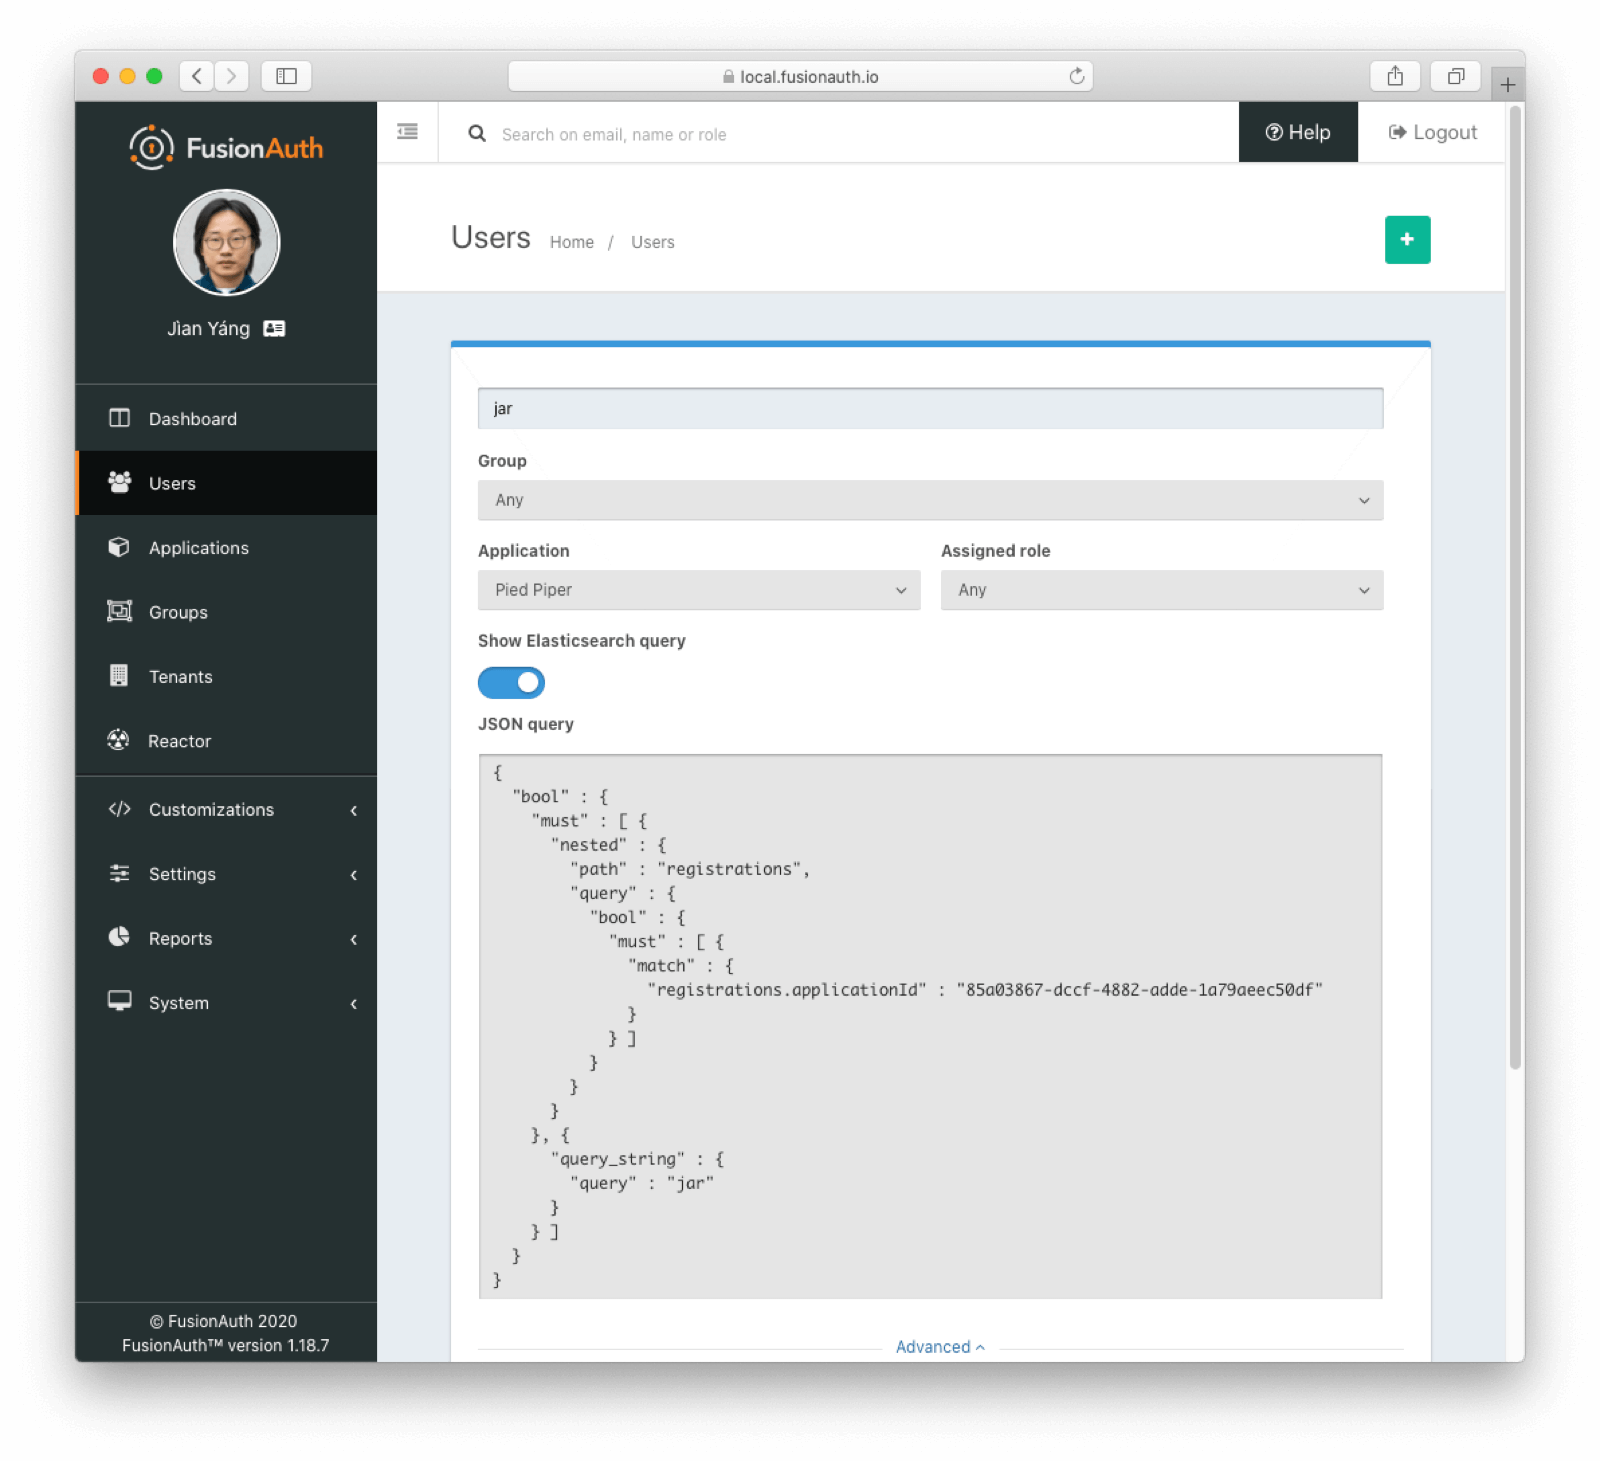 ## Limitations
System -> About and scroll to the System section and you will see the configured search engine, as well as the version of Elasticsearch, if available. Below, it is `Elasticsearch 7.17.0`.
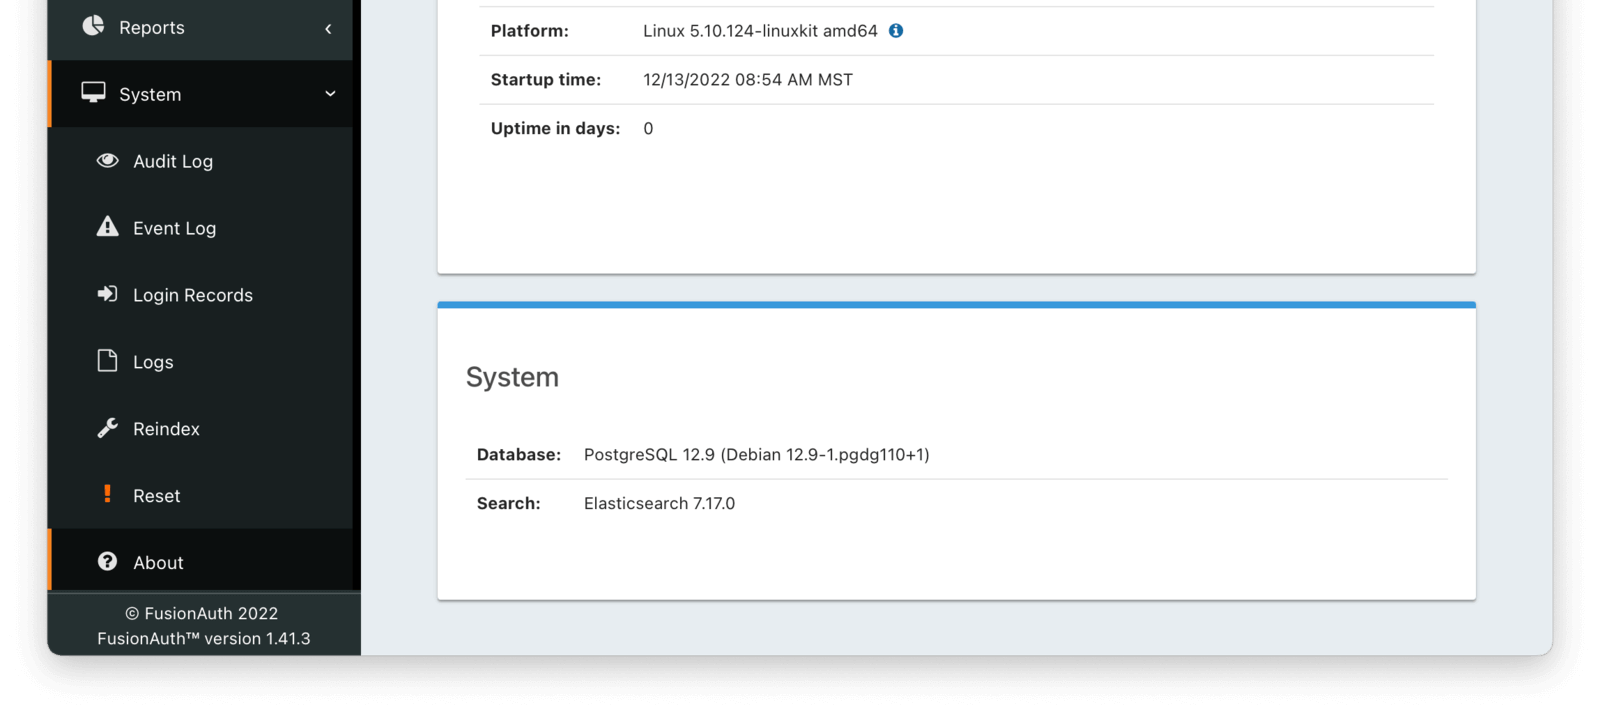 If you are using the database search engine, you'll want to [consult the database search engine documentation](/docs/get-started/core-concepts/users#database-search-engine) for more information.
* Learn more about [each type of search engine](/docs/lifecycle/manage-users/search/search).
* Learn more about [switching search engines](/docs/lifecycle/manage-users/search/switch-search-engines).
## An Introduction To The Elasticsearch Search Engine
With any search, you can make either a `POST` or a `GET` request. The functionality is exactly the same, but a `POST` request can be larger. On the other hand, a `GET` request is easily shared. Pick what works for you. However, this document uses `POST` requests.
### Four Types of Searches
There are three parameters for a search, and they are mutually exclusive.
*Search Type Summary*
| Parameter | Uses Elasticsearch | Best For |
|---------------|--------------------|----------------------------------------------------------------------------------------------------------------------------------------------------------------------------------------------------------------------------------------------------------------------------------------------------------------|
| `ids` | No | When you know the exact Ids of users you are trying to retrieve. You may have stored the id off in some other datastore, or be responding to a webhook. |
| `queryString` | Yes | When you are searching on one field or want to search across multiple fields for strings. |
| `query` | Yes | Useful to leverage the full power of Elasticsearch queries and need to look across different fields, including nested values, and/or use compound or complex search parameters such as ranges. |
| `nextResults` | Yes | Allows you to continue paging forward in the results set after an initial `query` or `queryString` query. Useful for paging past the 10,000 results limit in Elasticsearch. See [Limitations](/docs/get-started/core-concepts/limitations#user-searches) for more information. Available since version 1.48.0. |
#### Ids Searches
`ids` searches are useful when you know exactly which users you want to retrieve. This is the only search which is guaranteed to only query the database, never Elasticsearch.
#### QueryString Searches
The `queryString` search is a case-insensitive match. Whitespace is allowed in the search, but must be URL escaped; for example, using `%20` for a space character. Elasticsearch compatible regular expressions may be used, so you may search by prefix or suffix using the `*` wildcard. You may also search particular fields by prefixing the query with a field name, such as `email:`.
There is some pre-processing done on the `queryString` before it is passed to Elasticsearch. If the `queryString` parameter has a `:` it will be passed as-is. Otherwise, if it has no spaces and contains a `@` it is assumed to be an email address and will be passed with a prefix: `email:`. Otherwise, if it has no spaces it will have the wildcard `*` prepended and appended.
Users and find the desired user
2. Select Manage from the Action menu
3. Open the Registrations tab and click Add a registration
4. Select the Tenant Manager application
5. To enable user administration, select the admin role. Users without this role have read-only access
### Browsing to the Tenant Manager App
The Tenant Manager app is hosted on your FusionAuth instance at
`/tenant-manager/TENANT_ID`
where `TENANT_ID` is the Id of a user's tenant. Open Tenants to see a list of tenants along with their Ids.
The Tenant Manager app participates in Single Sign-on (SSO), just as any other application. For a seamless experience, you can link to the app from another application, such as your own Software-as-a-Service (SaaS) app.
## Managing Users
### The Users View
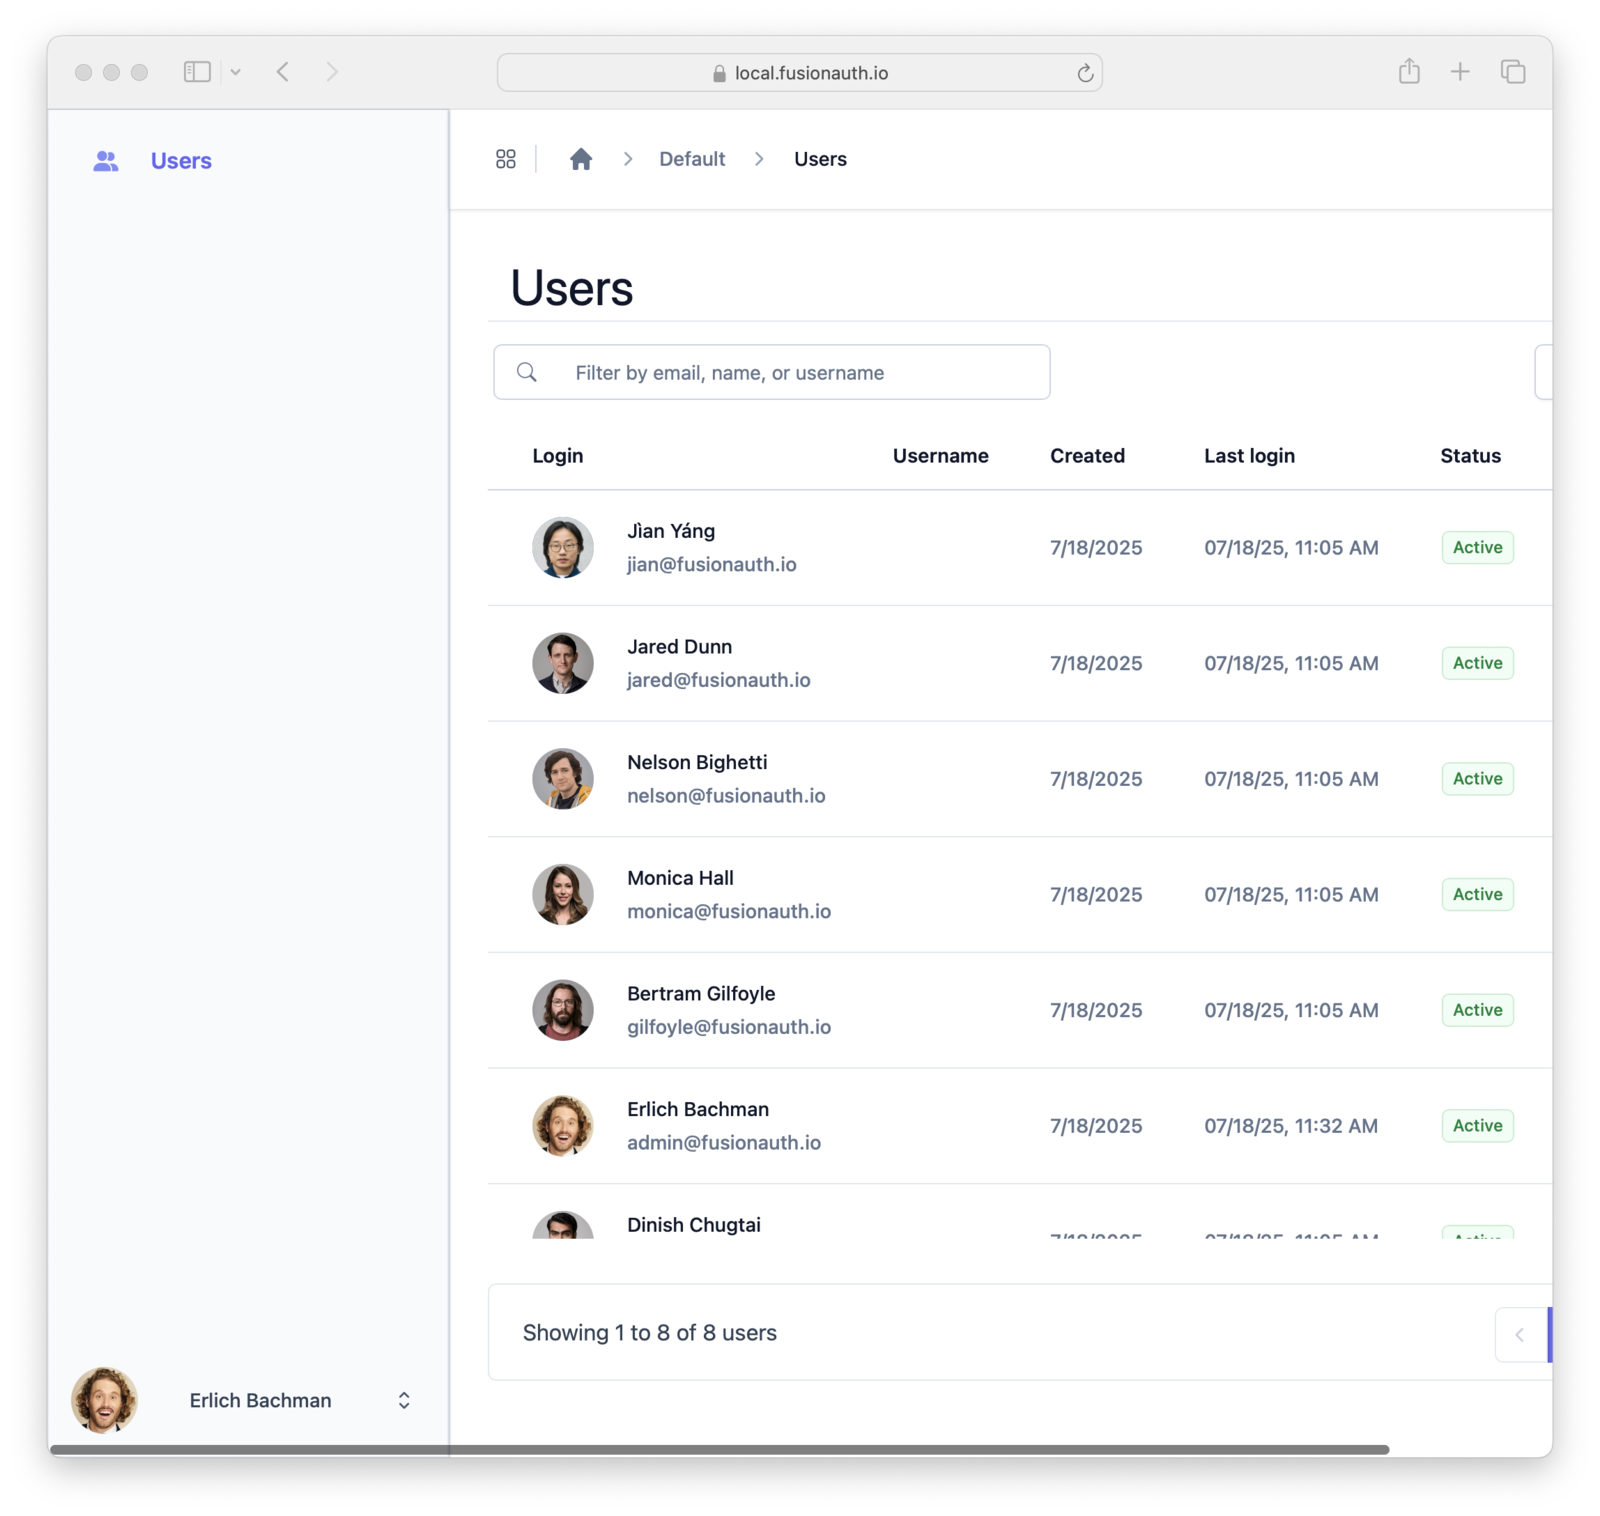
The Users view displays a list of users from the same tenant as the logged-in user. The view is paginated, showing 25 users at one time. Navigation buttons enable moving between pages of users.
Configure the data columns shown in the Users view using the Columns button. The chosen setting persists across sessions in the same browser.
### Creating Users
To create a user, navigate to the Users view and click Create Enter the new user account details on the New User view that opens.
The `Basic information` section contains a form for setting user properties. To customize the properties in the Basic information section:
* Open the FusionAuth Admin application
* Open Customizations > Forms from the left-hand navigation
* Create a new `Admin User` form
* Open Tenants from the left-hand navigation
* Edit your tenant
* Select your new form in the General > Admin user form setting
Both the FusionAuth admin app and the Tenant Manager app will use your new form for editing users in this tenant.
### Editing Users
To edit a user, open the Users view and click on the desired user. This opens the edit view with the user's information, avatar, and other account information.
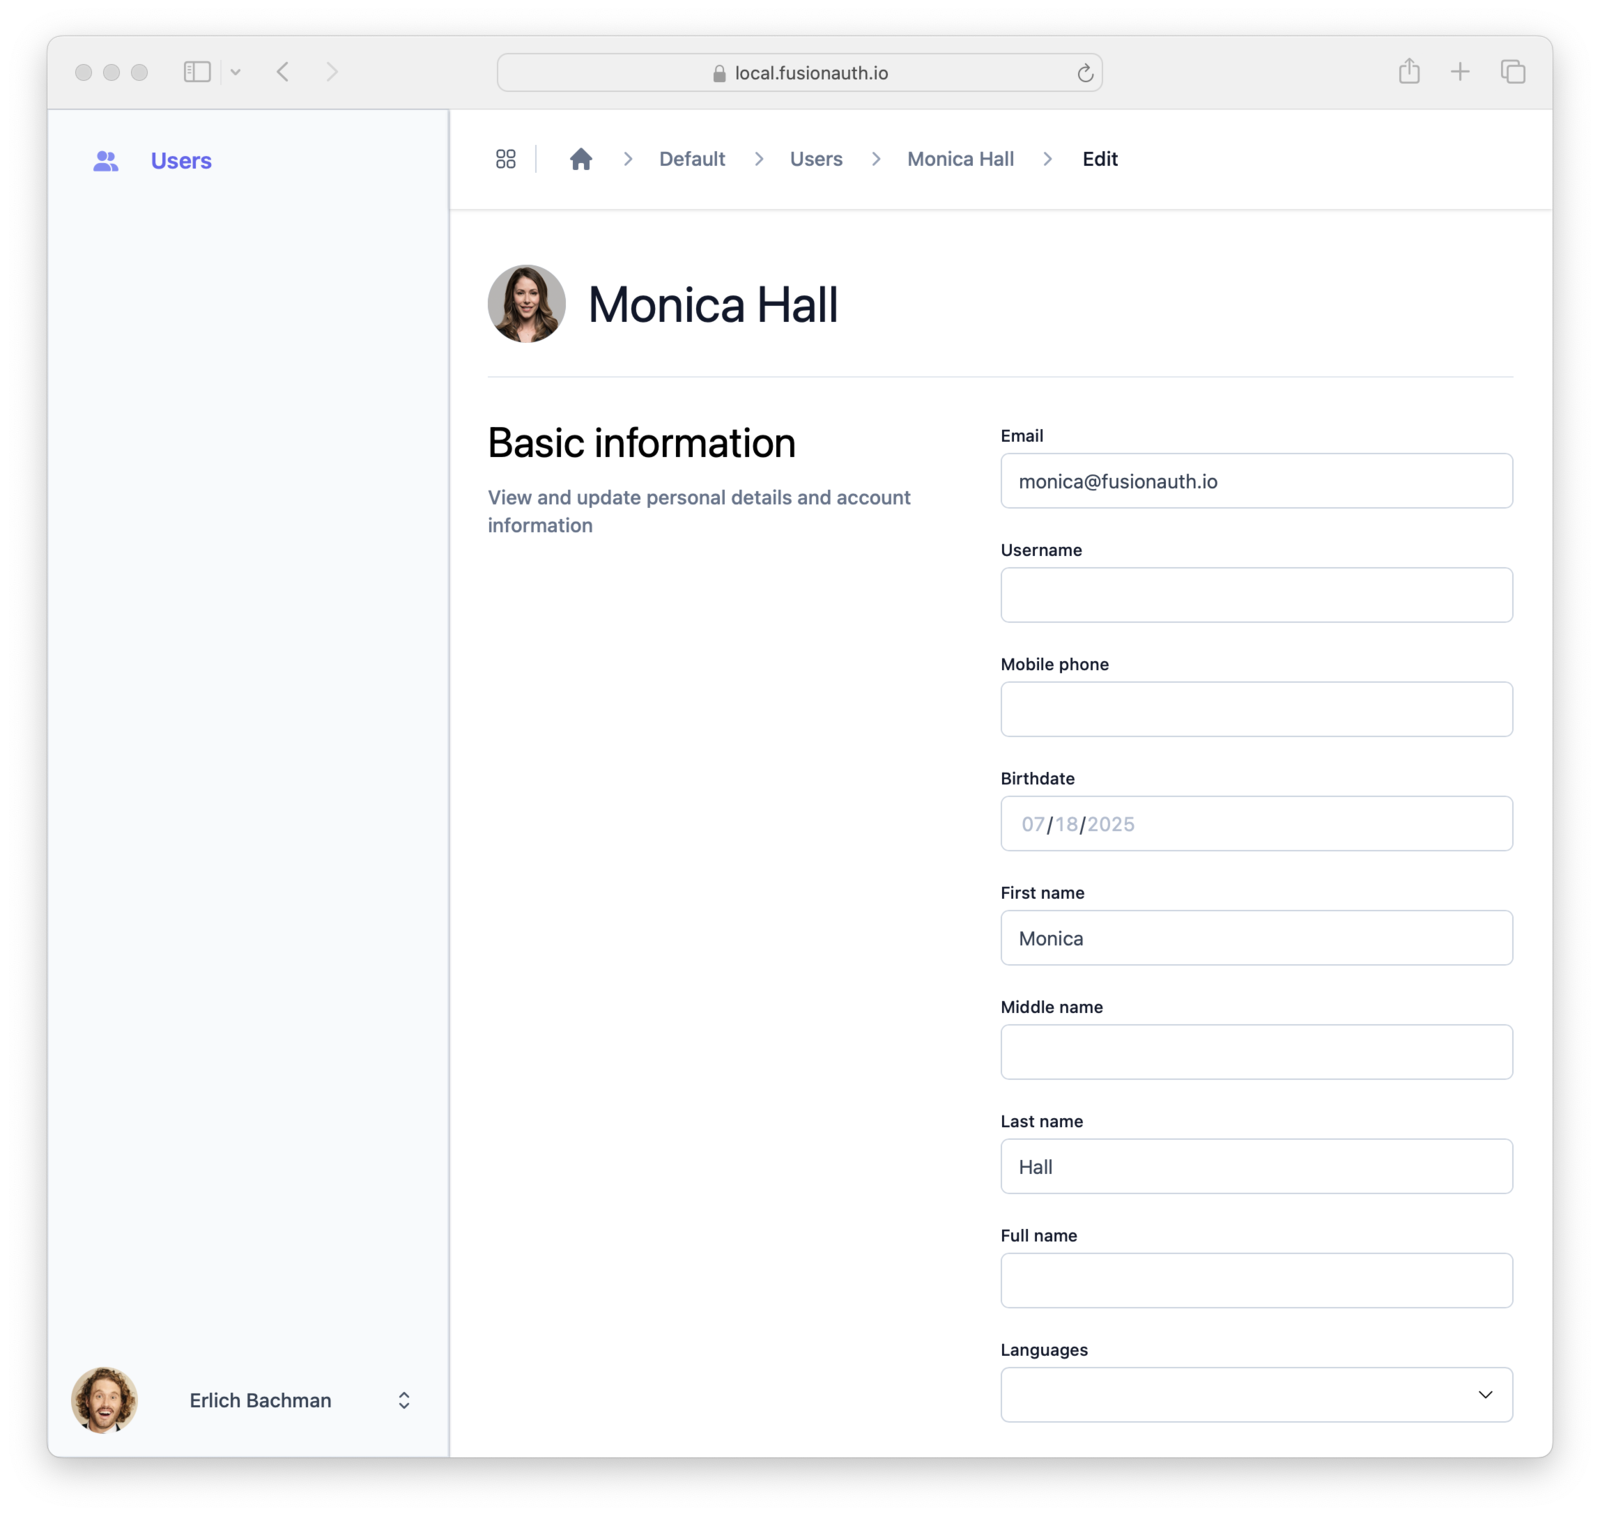
The fields shown are determined by the the Admin Registration form that is configured in the FusionAuth Admin application. For the steps to edit that form, see Creating Users.
To change a user's password use one of password management user actions. See [Additional Actions](#additional-actions) for more detail.
#### Locking and Unlocking a User
To lock or unlock the current user, click Lock user or Unlock user . A locked user is unable to log in to any application.
#### Additional Actions
The down-arrow next to Lock User opens a menu of additional actions.
* **Change password on next login:** The user is prompted for a new password on their next login
* **Send password change email:** Sends an email that contains a password reset link to the address in user.email or user.data.email. You can use this when a user forgets their password.
* **Delete user:** This will irreversibly delete the user's account, and should be done with caution. Locking a user's account is often a better, non-destructive option.
## Roles and Permissions
The default access to Tenant Manager is read-only unless a user is assigned the `admin` role. Read-only access enables only searching and viewing accounts.
The `admin` role grants a user full permissions in the Tenant Manager app.
Assign a role to a user by managing their Tenant Manager app registration. See [Granting Users Access to Tenant Manager](#granting-users-access-to-tenant-manager) for more information. The following table summarizes the permissions for the roles:
| Action | Standard user | Admin user |
| -- | :--: | :--: |
| List users | Yes | Yes |
| Create user | No | Yes |
| Edit user | No | Yes |
| Delete user | No | Yes |
| Lock / unlock user | No | Yes |
| Force password change on next login| No | Yes |
| Send password change email | No | Yes |
| Delete user| No | Yes |
## Customization
You can customize the fields used in the Create User and Edit User views by using a custom form. By doing this you can specify exactly the information about a user that a Tenant Manager user can edit. See [Creating Users](#creating-users) for more information.
You can also provide names for custom fields in a theme. See [Theme Localization](/docs/customize/look-and-feel/localization) for more information on editing and localizing default messages.
You cannot visually theme the Tenant Manager app at this time.
# Gate Users Until They Verify Their Email
import PremiumPlanBlurb from 'src/content/docs/_shared/_premium-plan-blurb.astro';
import Aside from 'src/components/Aside.astro';
import Breadcrumb from 'src/components/Breadcrumb.astro';
import InlineField from 'src/components/InlineField.astro';
import InlineUIElement from 'src/components/InlineUIElement.astro';
import JSON from 'src/components/JSON.astro';
import CommonQuestionsGating from 'src/content/docs/lifecycle/manage-users/verification/_common-questions-gating.mdx';
import TroubleshootingGating from 'src/content/docs/lifecycle/manage-users/verification/_troubleshooting-gating.mdx';
## Overview
As of version 1.27.0, FusionAuth can be configured to gate users' accounts until their email has been verified. While users can successfully start the login process, they will be blocked from completing it until they have verified possession of the email address they registered with.
To enable email verification gating, do the following:
* Configure the tenant with your email server
* Configure the tenant to enable email gating
* Optionally customize the email verification template
* Enable self-service registration
* Configure your application with a redirect URL
Let's step through each of these, but first, there are some required prerequisites.
## Prerequisites
Tenants -> Your Tenant and then select the Email tab. Scroll to the SMTP settings section. Configure this with your SMTP server information. If you are testing locally, you can use a mock email server like [mailcatcher](https://mailcatcher.me/).
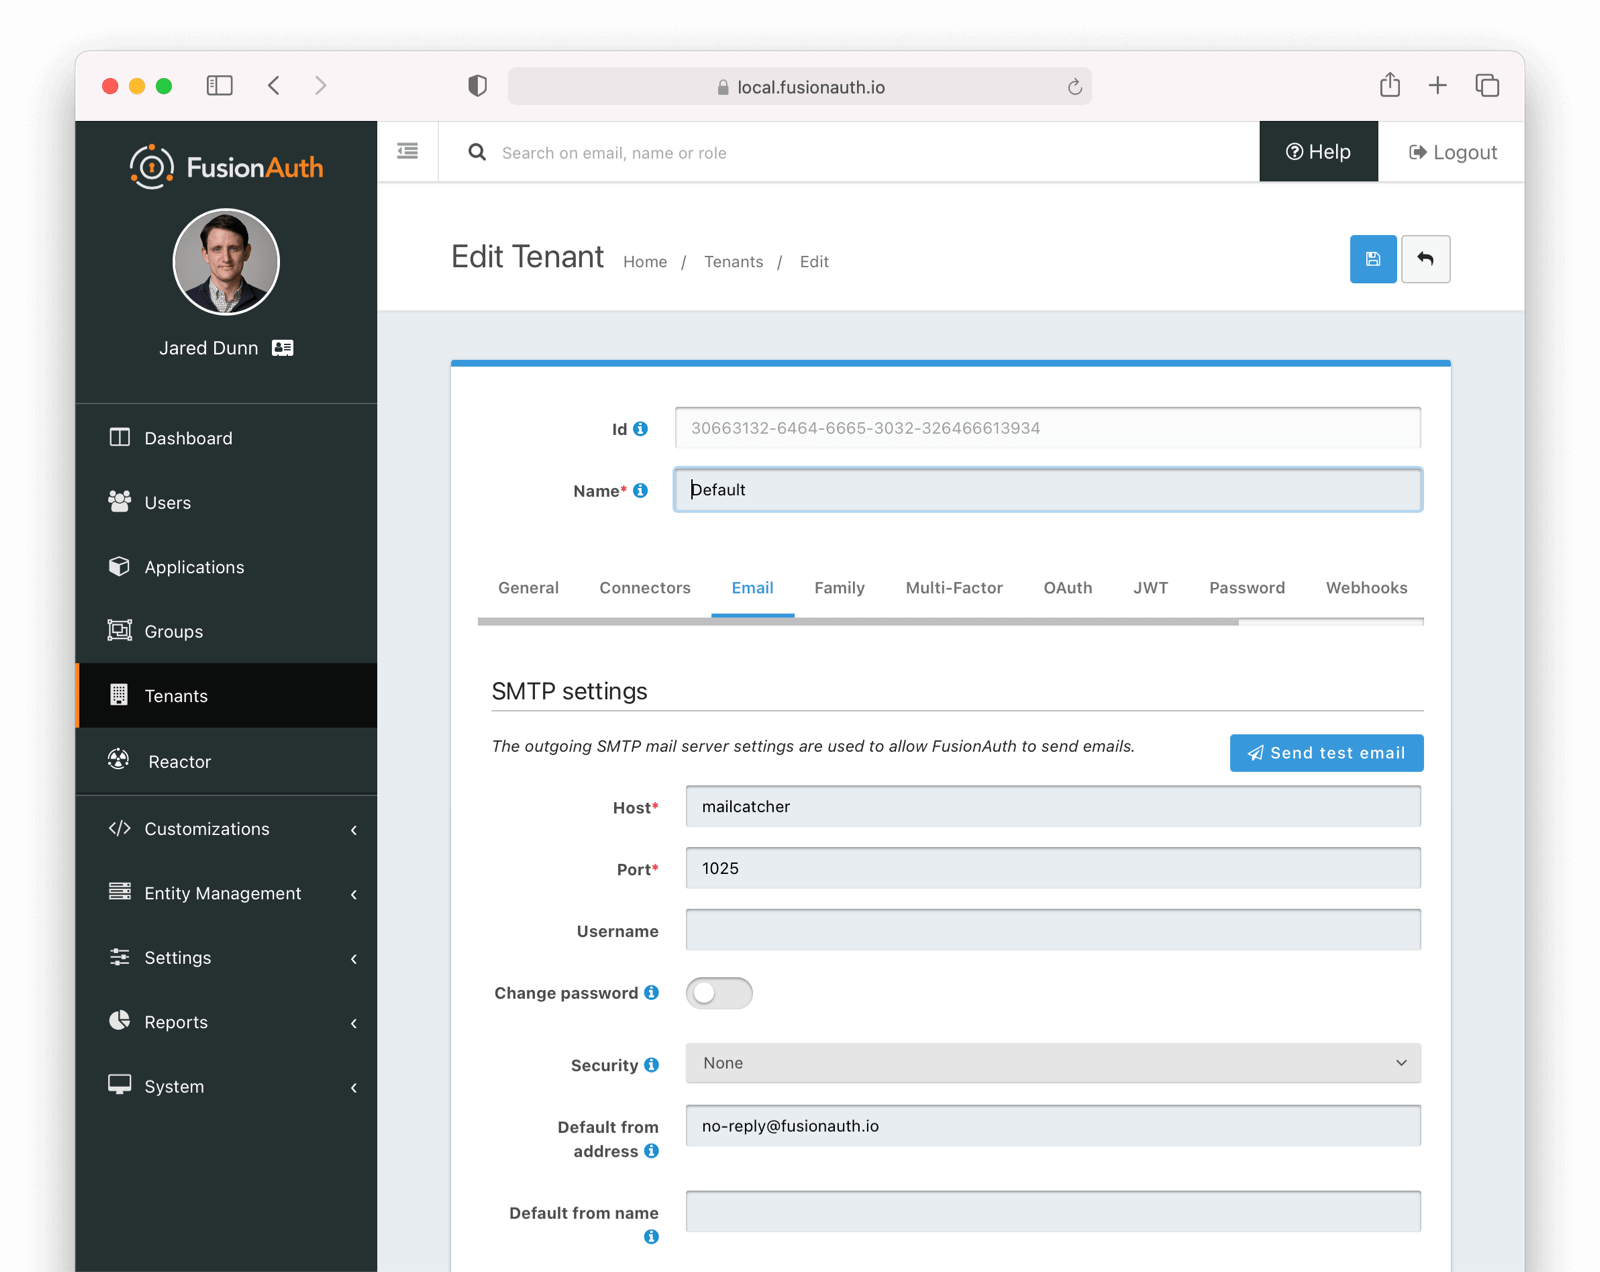 Ensure a test email is delivered. If you have any issues, follow the steps in the [email troubleshooting documentation](/docs/operate/troubleshooting/troubleshooting#troubleshooting-email).
Save the configuration.
## Enable Email Verification Gating
Navigate to
 Tenants -> Your Tenant and then select the Identities tab. Scroll to the Identity verification settings section.
* Under email, enable Verify identity .
* Choose your email template. The default template is `Email verification`, and that will work fine for this tutorial.
* Update the Verification strategy . This can be either `ClickableLink` or `FormField`. The former sends an email with a link to verify the user's address. The latter emails a code which the user will provide to FusionAuth. For this tutorial, use `ClickableLink`.
* Ensure that the Unverified behavior value is `Gated`.
After these steps, you should end up with a configuration screen that looks like this:
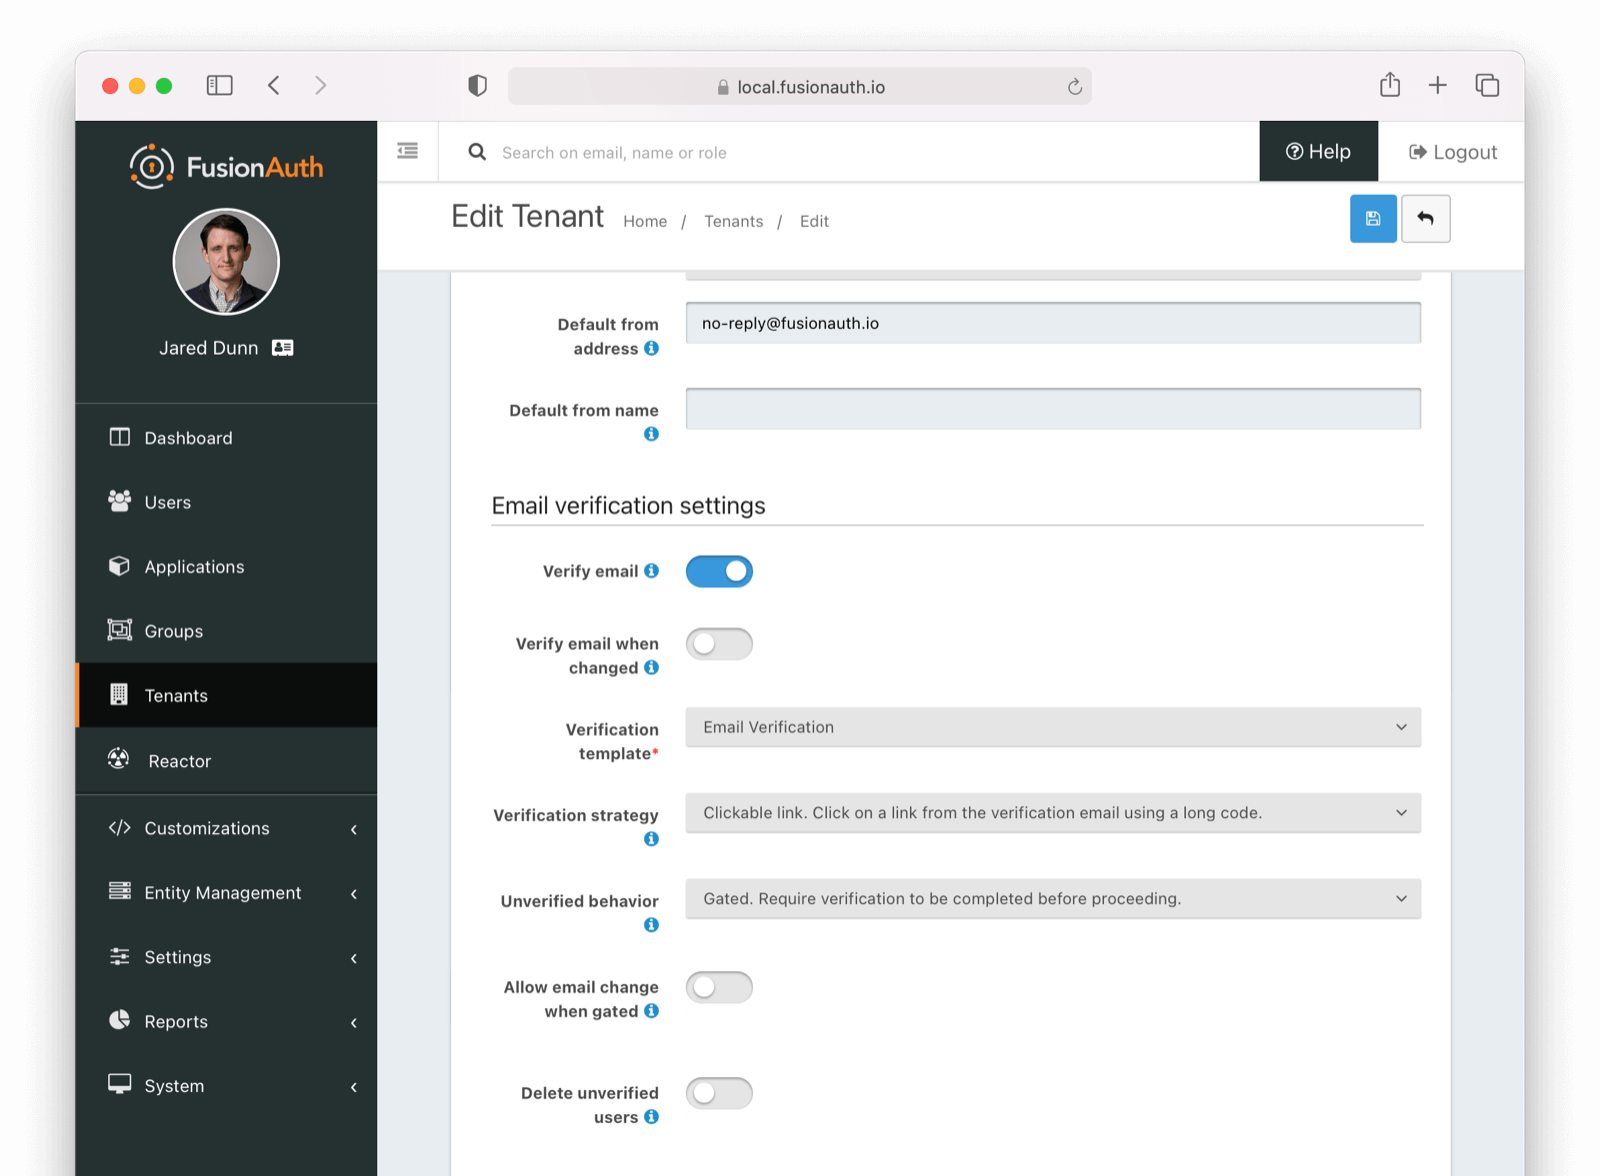 Make sure you save the configuration.
## Customize the Email Verification Template
Navigate to
 Customizations -> Email Templates . Edit the `Email Verification` template by clicking on the blue Edit button.
Modify the HTML and text templates as desired and then save them. You can also localize the messages.
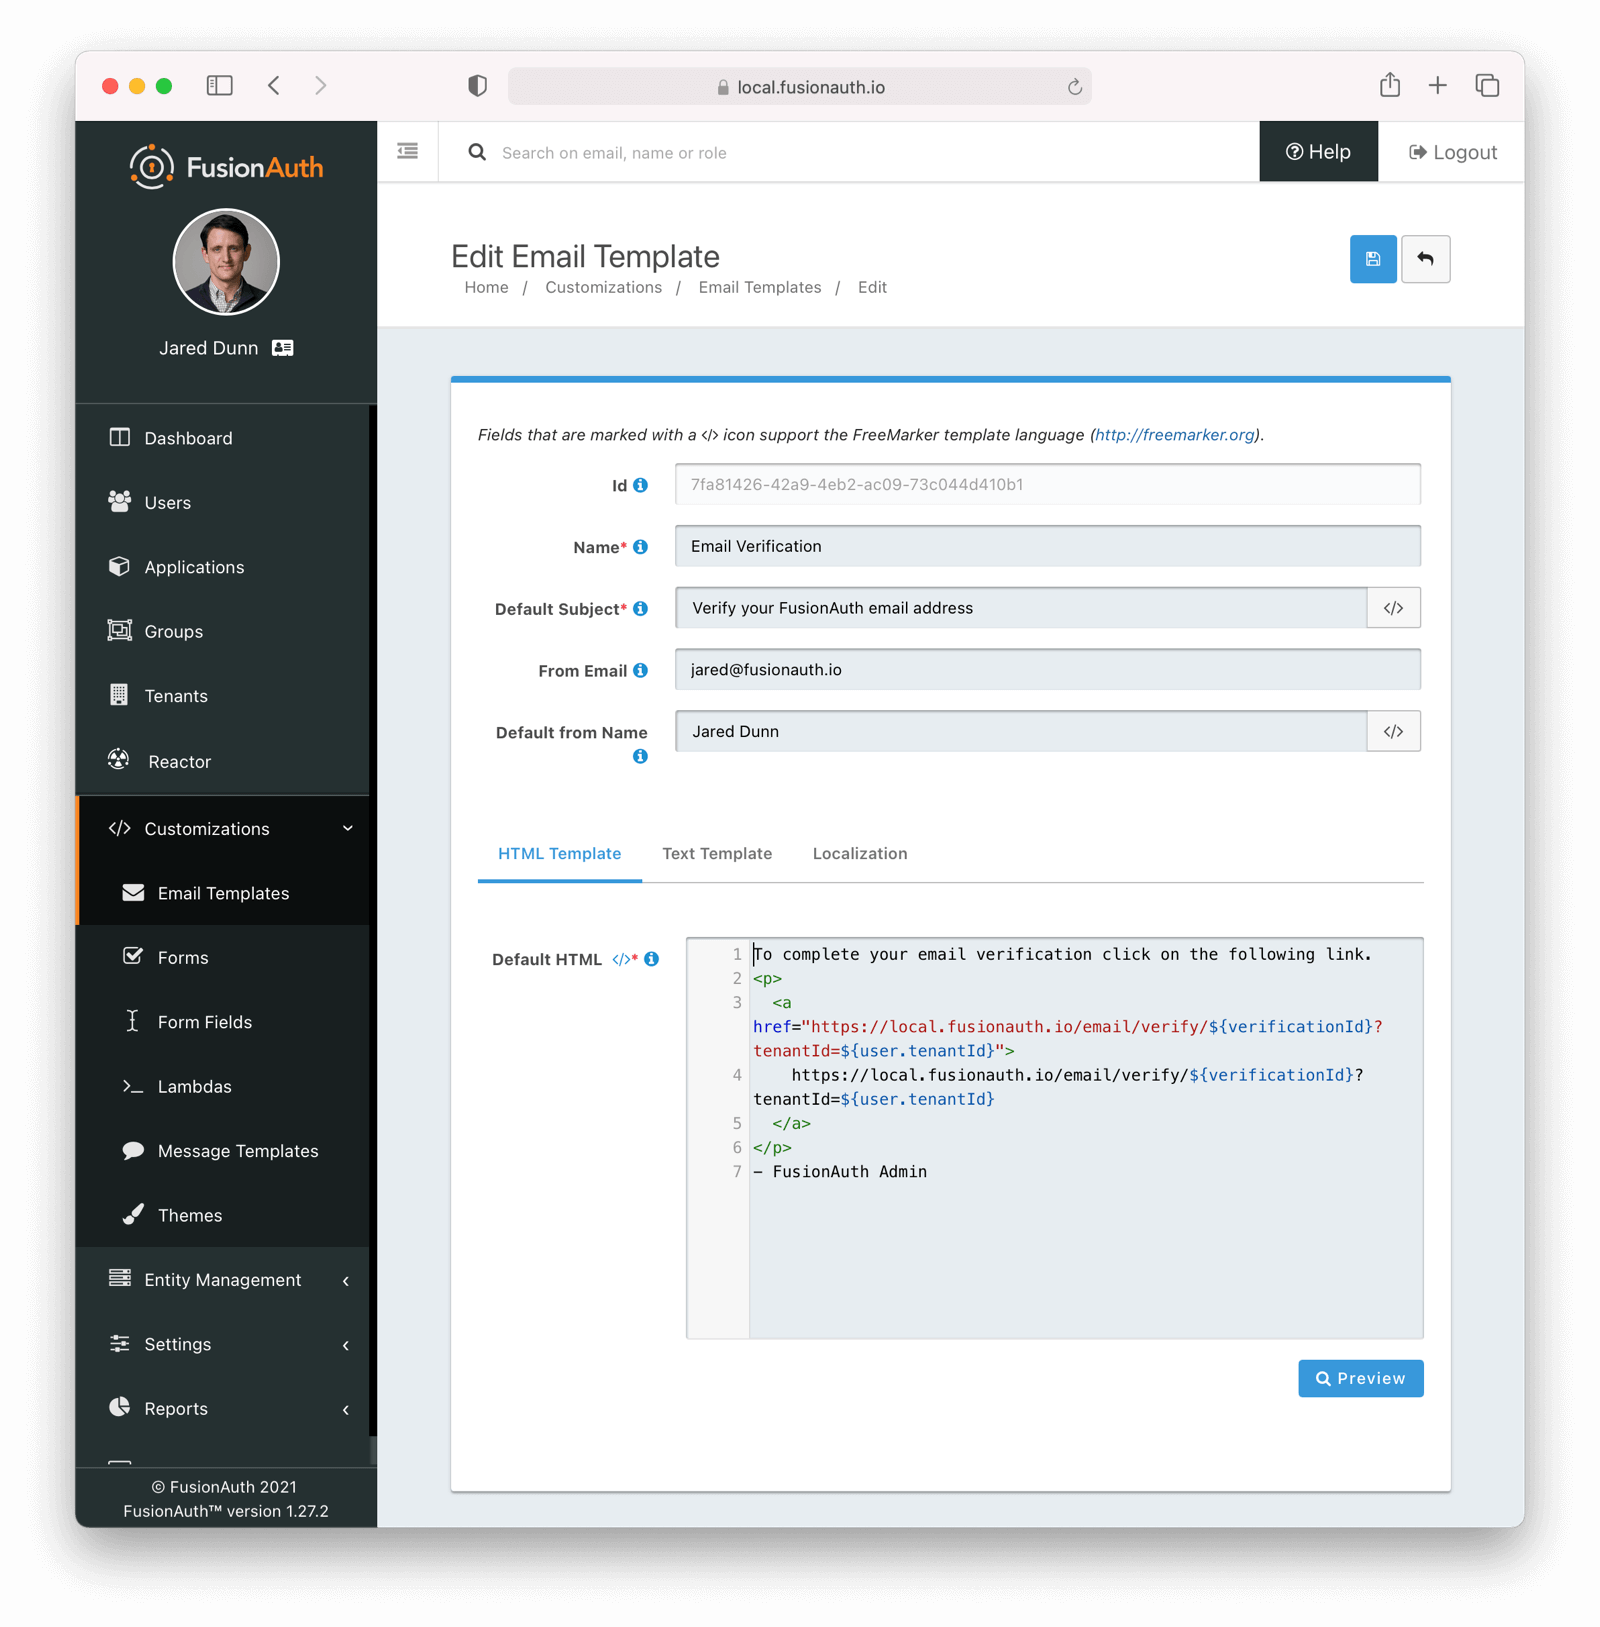 ## Configure the Application
Navigate to
 Applications . Edit your application by clicking on the blue Edit button.
Enable self service registration by selecting the Registration tab, and then scrolling to the Self service registration section.
Enable self service registration and configure the displayed and required fields as desired.
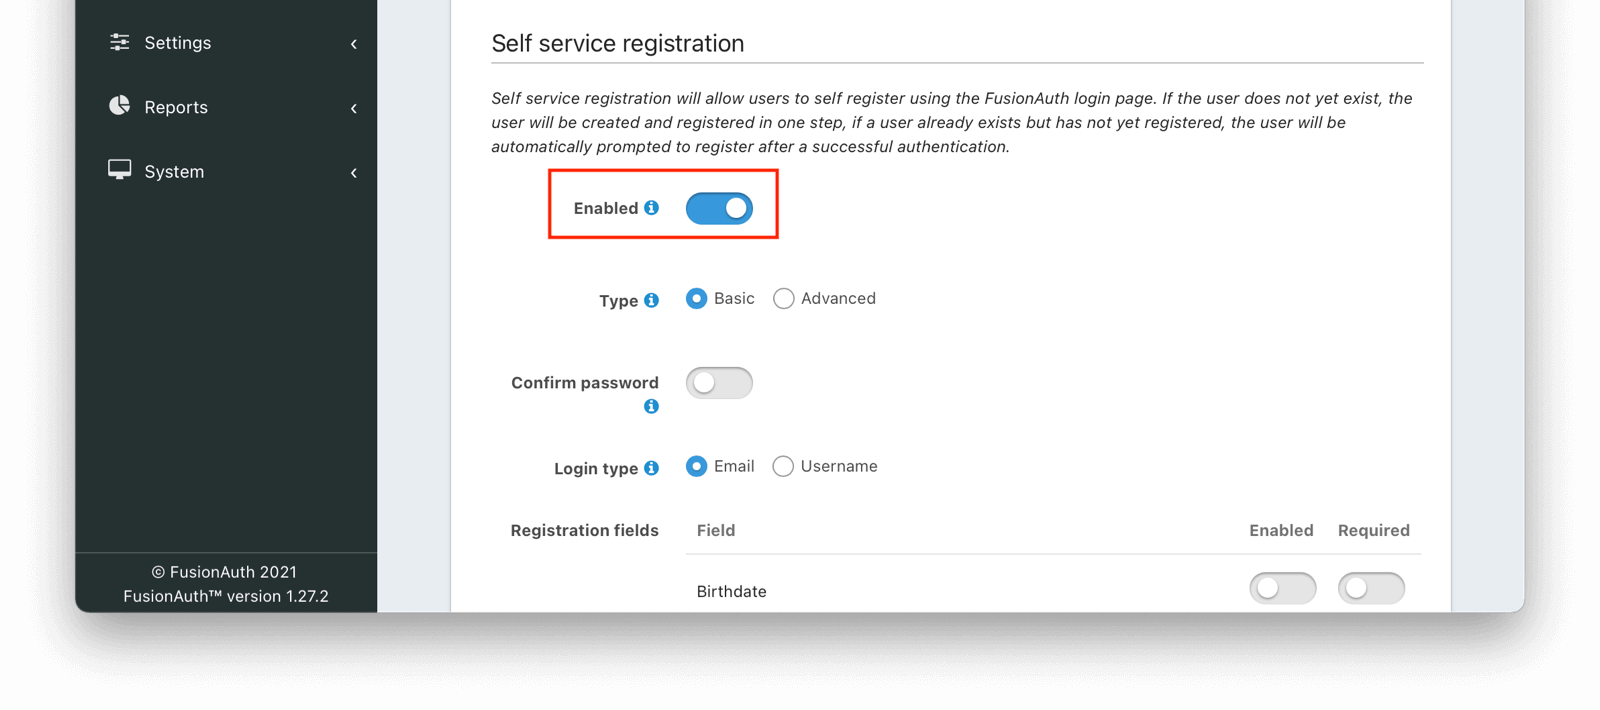 Next, navigate to the
 OAuth tab. Enable the `Authorization Code` grant.
In addition, ensure you have entered a valid URL in the Authorized redirect URLs field. (The value of this redirect URL doesn't really matter for this tutorial. But for production use, ensure the code at that endpoint can exchange an authorization code for a token.)
Save the application configuration. You'll be returned to the list of applications.
Click on the green View button of your application to see the details of your application.
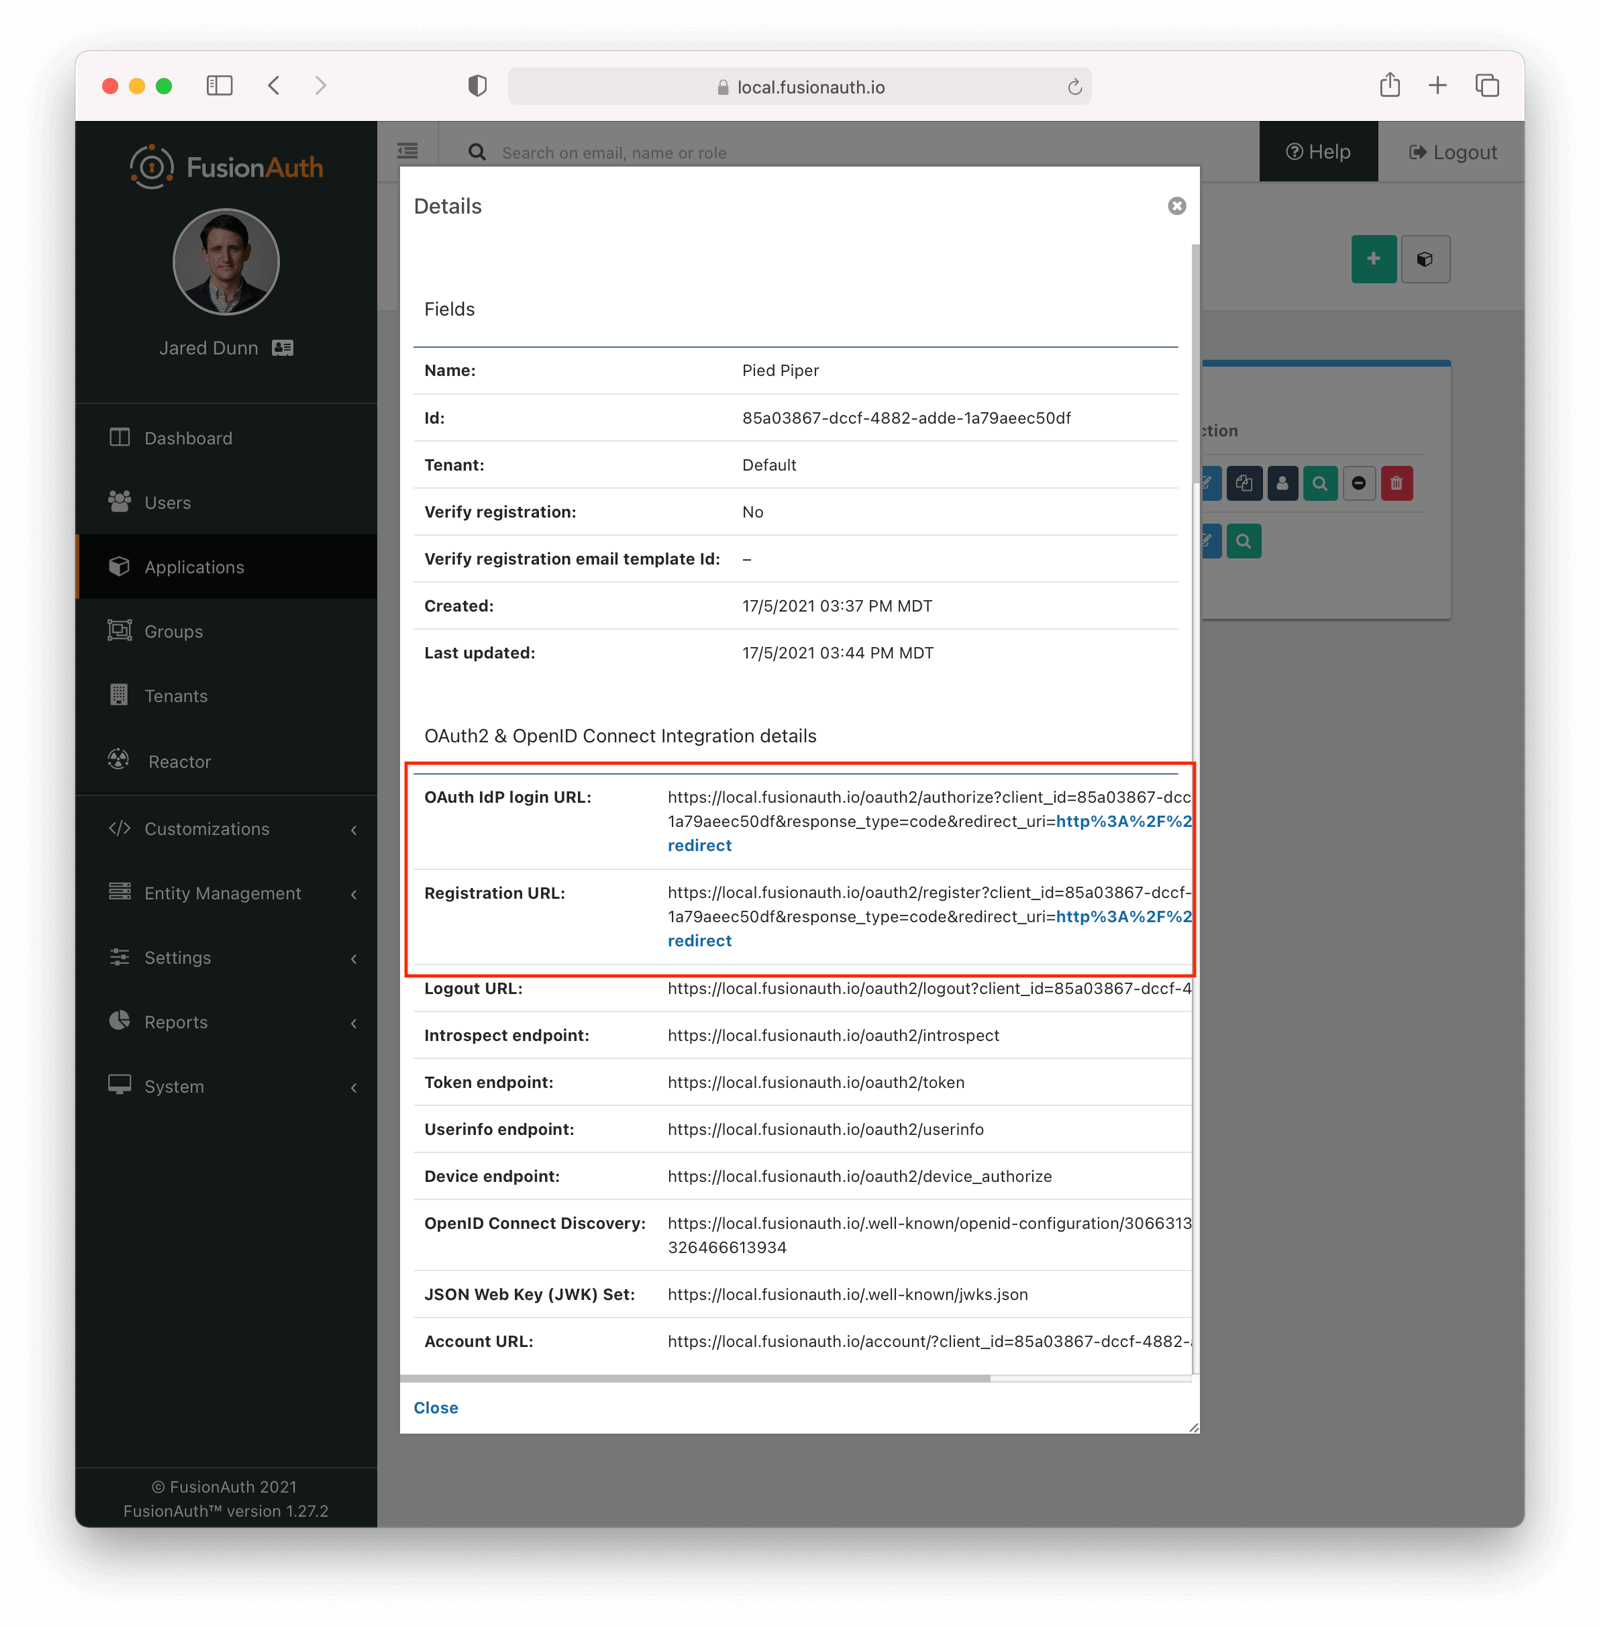 Look for the
 Registration URL . It'll be something like `https://local.fusionauth.io/oauth2/register?client_id=85a03867-dccf-4882-adde-1a79aeec50df&response_type=code&redirect_uri=http%3A%2F%2Flocalhost%3A3000%2Foauth-redirect`. Copy that value as you'll use it below.
At the same time, find the OAuth IdP login URL , and copy that as well.
## Test It Out
Now, test out the functionality. Register a new account. Make sure to use a different browser or incognito mode so that the admin account you logged in with while configuring FusionAuth doesn't interfere with new user registration.
Visit the registration URL copied above. You'll be prompted to register. Fill out the form with a valid email address. After registration is complete, you'll receive an email prompting you to verify the email address.
Here is the email in the mailcatcher user interface:
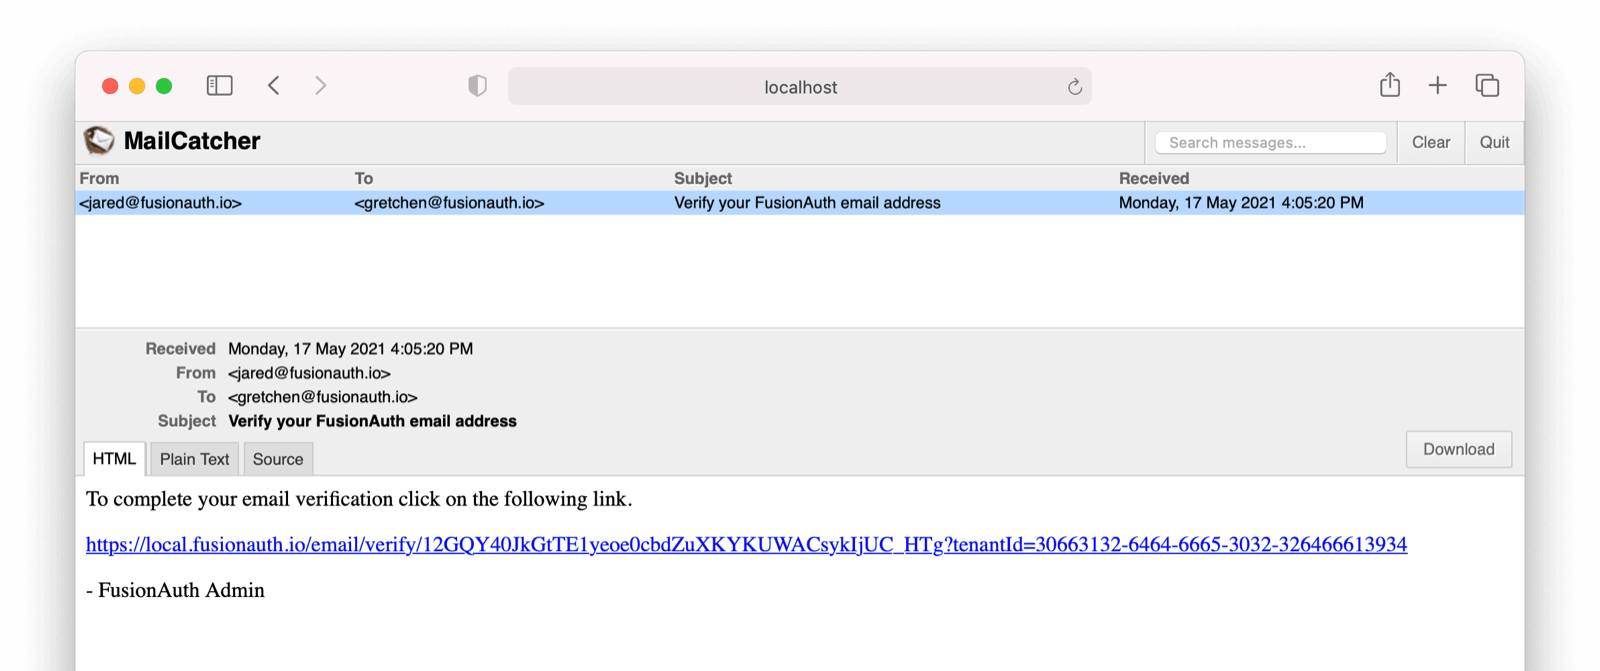 This user account will be gated and unable to completely log in if you have registered but not yet verified the email address. In your browser where you registered, you'll see a page similar to below:
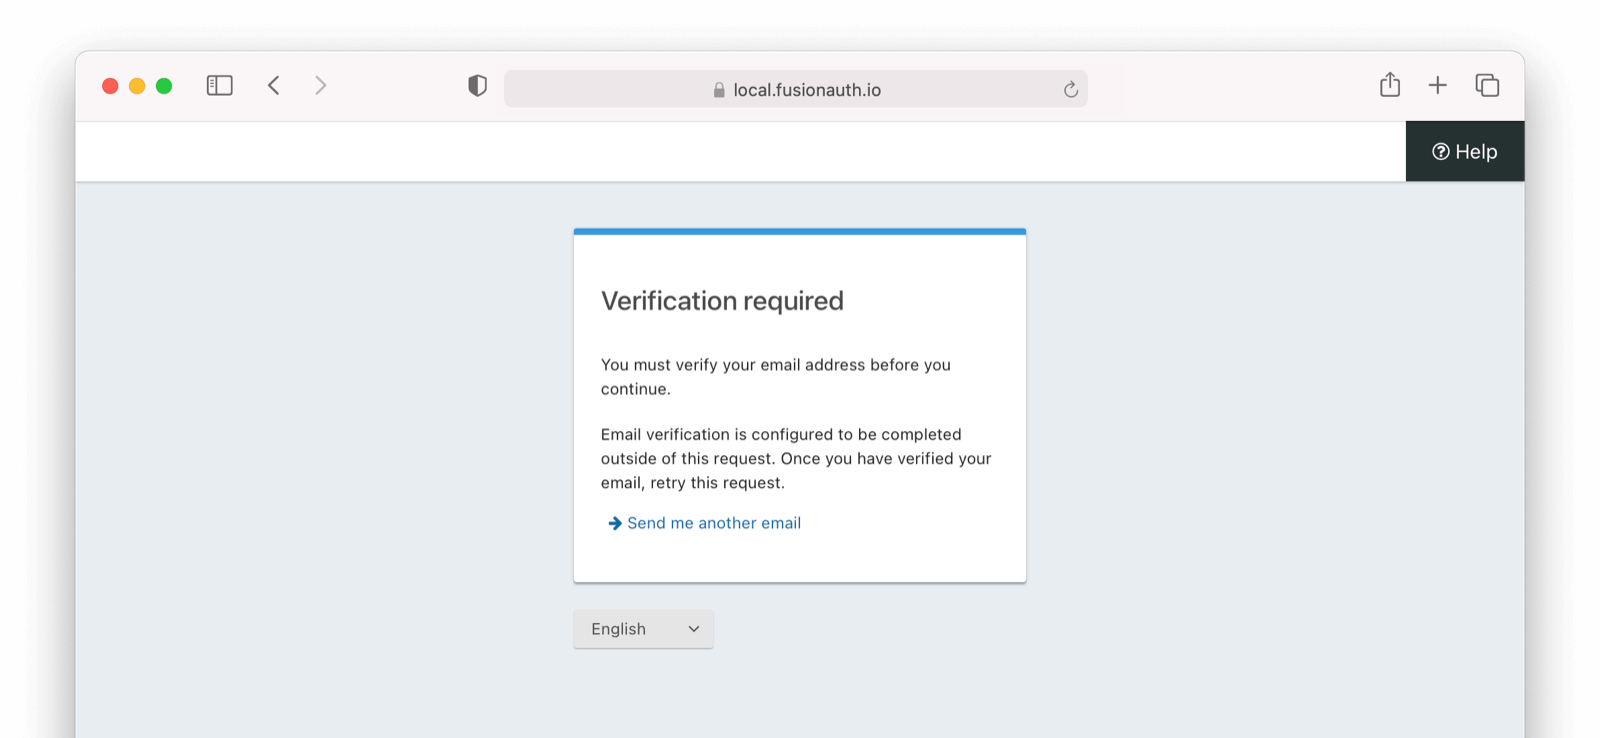 To test the gating, open a different browser (not a window, but an entirely different browser) and visit the login URL copied above. Enter the email and password for the user you just registered.
You'll be sent to the same email verification gate page.
No matter which API or hosted login page you use, no JWT will be issued until the user has been verified. The user will continue to see the verification prompt when they log in until then.
If an API is being used to authenticate the user, the API will return a status code indicating email verification has not yet occurred. Please see the [Login API](/docs/apis/login) for more details.
If you view the user in the administrative user interface, you'll see a question mark next to their email address. This indicates that their email has not yet been verified.
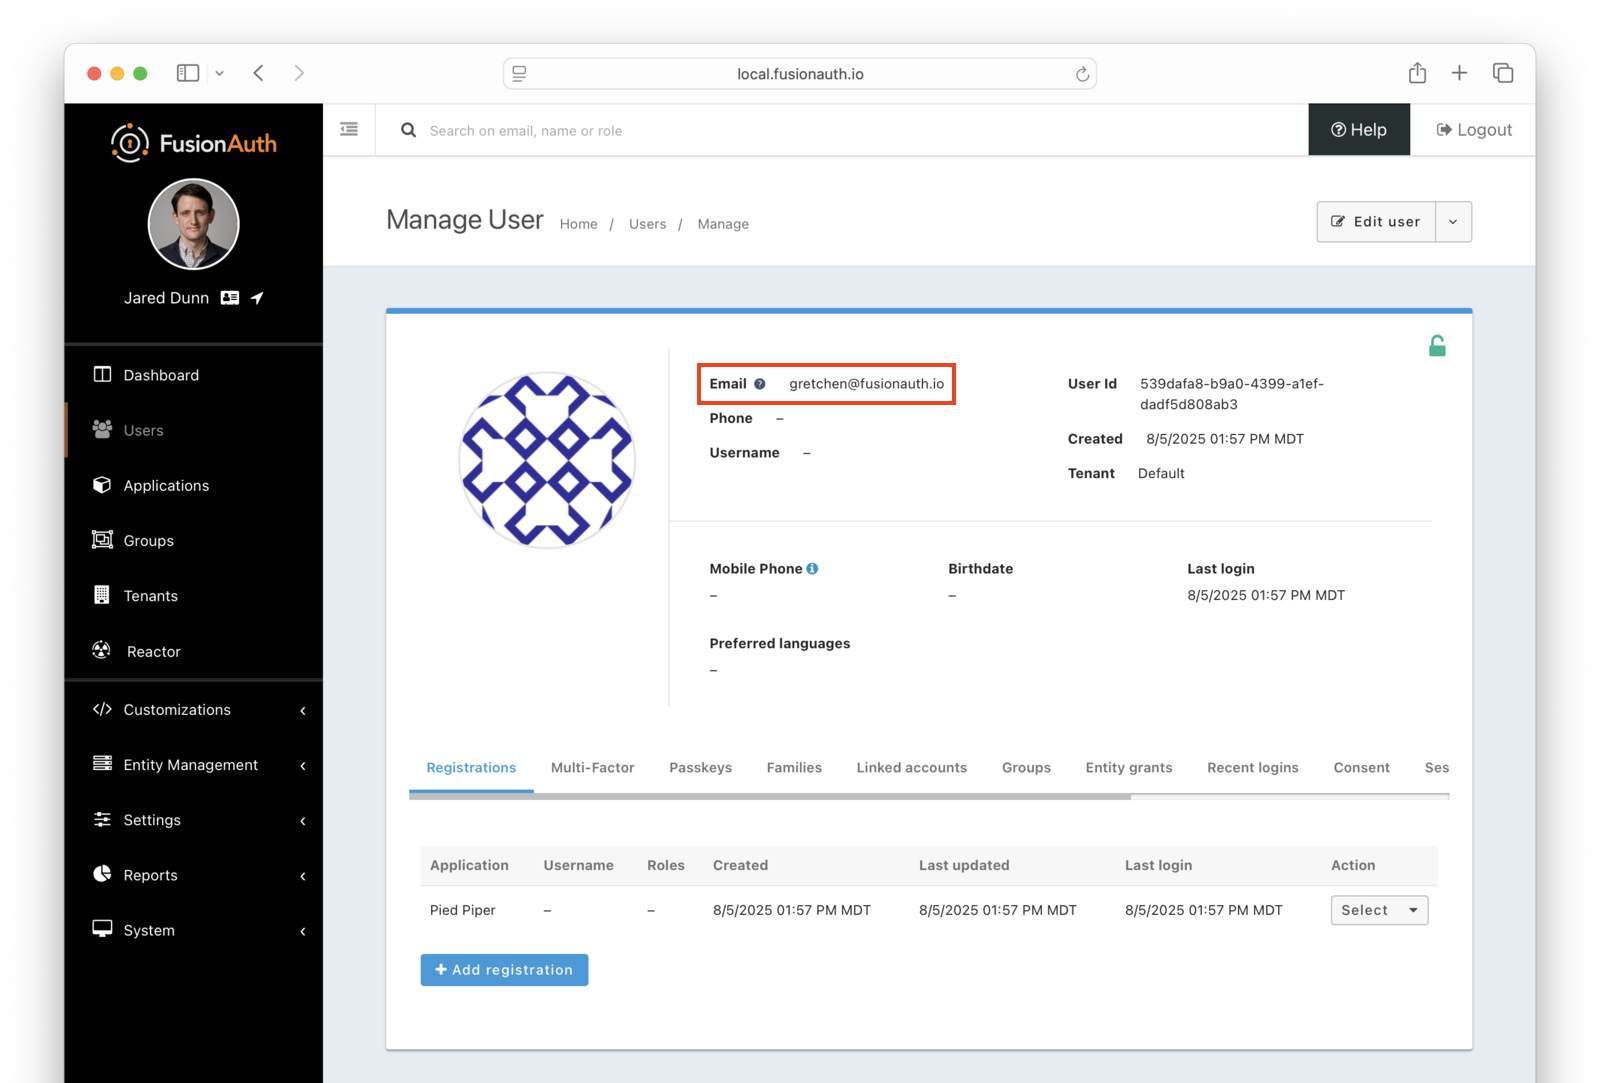 Once you have verified the email address by clicking on the link, you can now log in and will be sent to the configured redirect URL.
## The User Object
The user object changes before, during, and after the email verification occurs. Let's look at the JSON.
If a user is created and email verification is disabled, the verified attribute of the identity object will be `false` with a reason of `Disabled`.
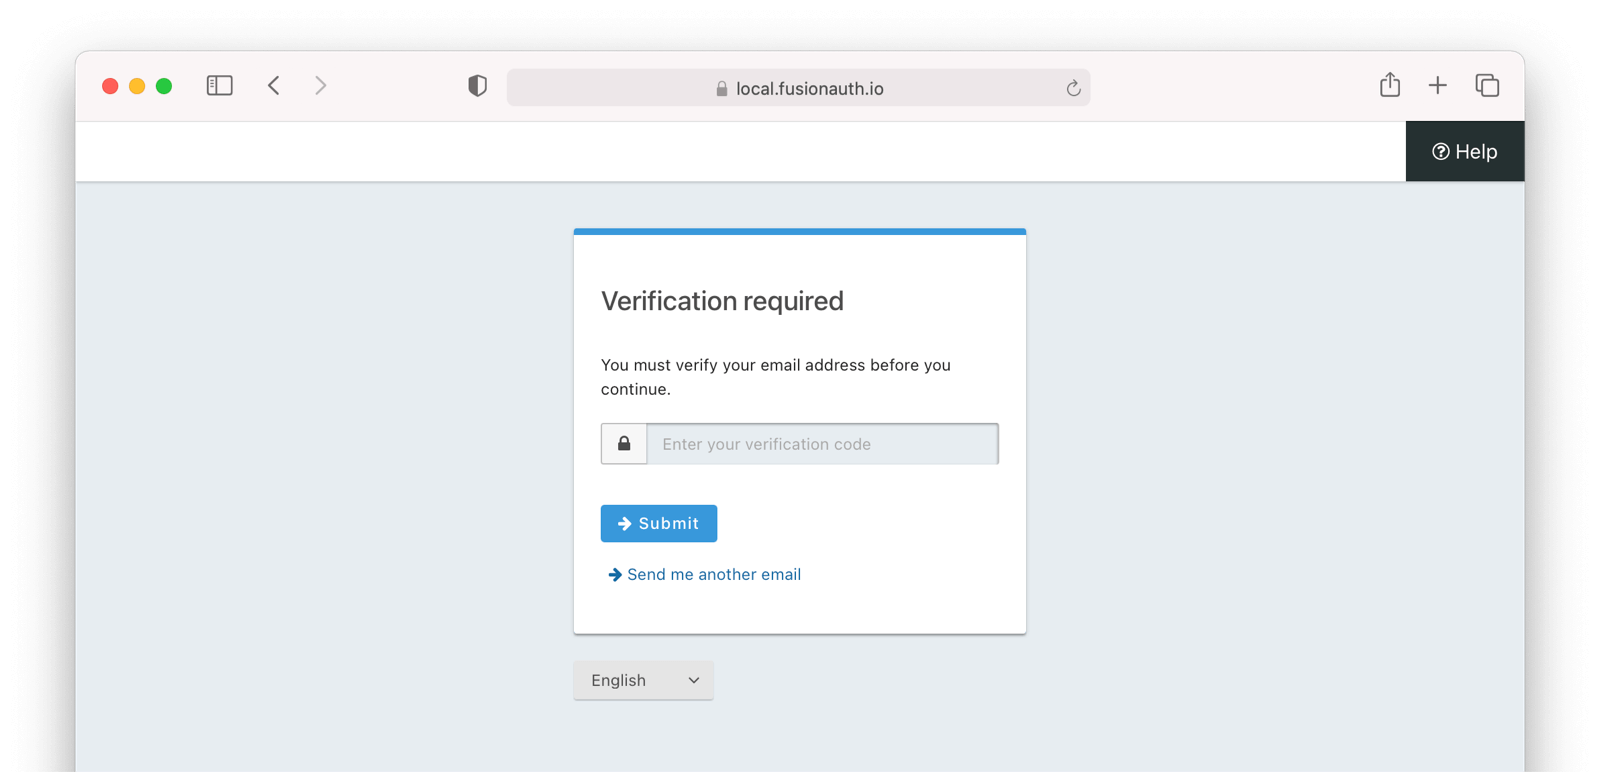 # Gate Users Until They Verify Their Phone Number
import PremiumPlanBlurb from 'src/content/docs/_shared/_premium-plan-blurb.astro';
import Aside from 'src/components/Aside.astro';
import Breadcrumb from 'src/components/Breadcrumb.astro';
import InlineField from 'src/components/InlineField.astro';
import InlineUIElement from 'src/components/InlineUIElement.astro';
import JSON from 'src/components/JSON.astro';
import CommonQuestionsGating from 'src/content/docs/lifecycle/manage-users/verification/_common-questions-gating.mdx';
## Overview
As of version 1.59.0, FusionAuth can be configured to gate users' accounts until their phone numbers have been verified. While users can successfully start the login process, they will be blocked from completing it until they have verified possession of the phone number they registered with.
To enable phone verification gating, do the following:
* Configure a messenger
* Configure the tenant with your messenger
* Configure the tenant to enable phone gating
* Optionally customize the verification message template
* Enable self-service registration
* Configure your application with a redirect URL
Let's step through each of these, but first, there are some required prerequisites.
## Prerequisites
Settings -> Messengers and then click Add Twilio messenger and enter your Twilio account information.
## Configure the Tenant with the Messenger
Navigate to Tenants -> Your Tenant and then select the Identities tab. Scroll to the Messenger settings section. Configure this with the messenger you just created.
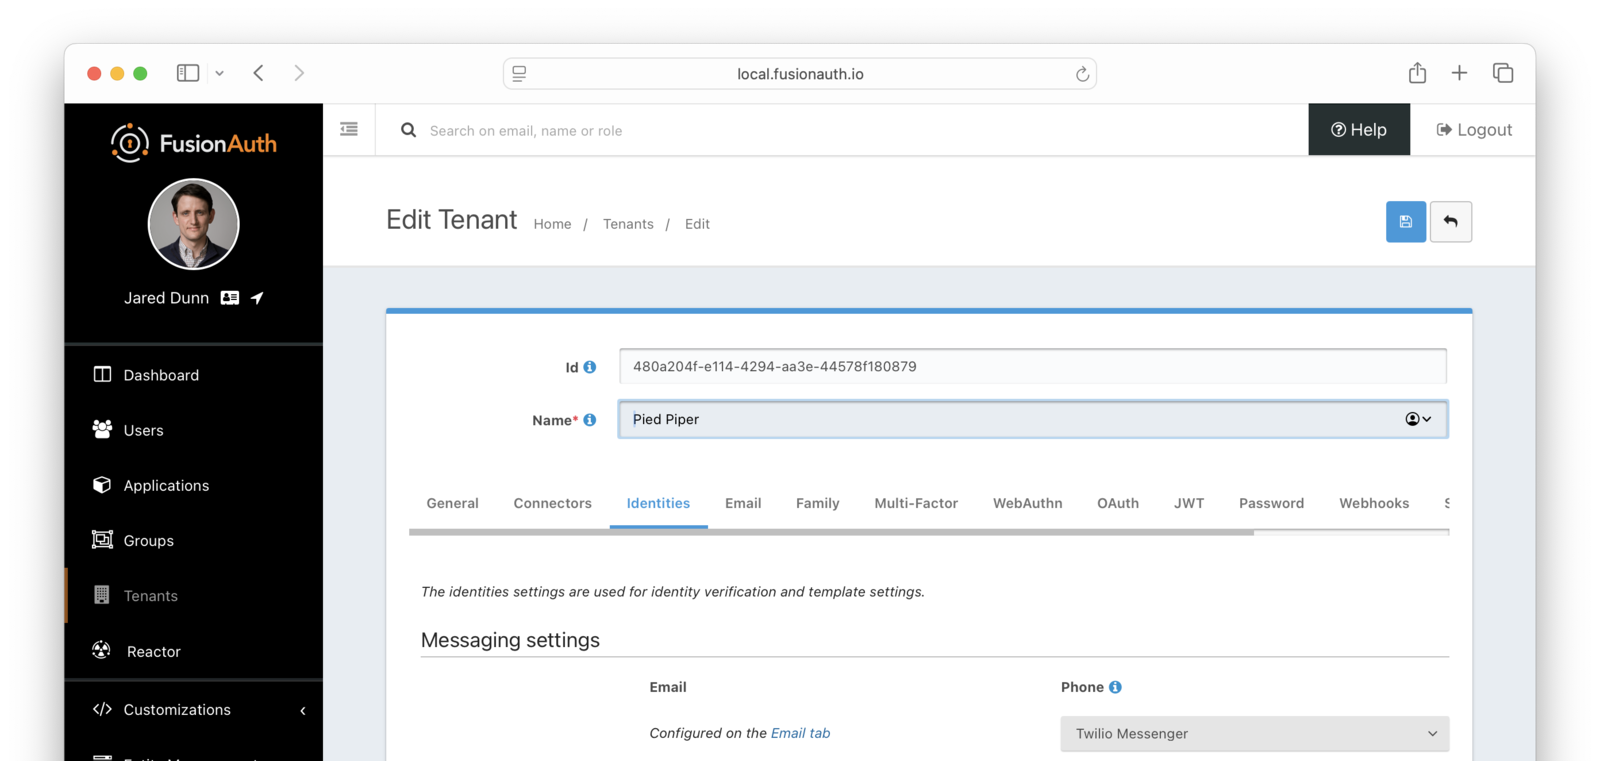 ## Enable Phone Verification Gating
* Under Phone, enable
 Verify identity
* Choose your message template. The default template is `Phone Verification`, and that will work fine for this tutorial
* Verification strategy . For this tutorial, keep the default value of `FormField`. For future reference, this can be either:
* `ClickableLink` - sends an SMS message with a link to verify the user's phone number
* `FormField` - sends a code which the user will provide to FusionAuth
* Ensure that the Unverified behavior value is `Gated`
After these steps, you should end up with a configuration screen that looks like this:
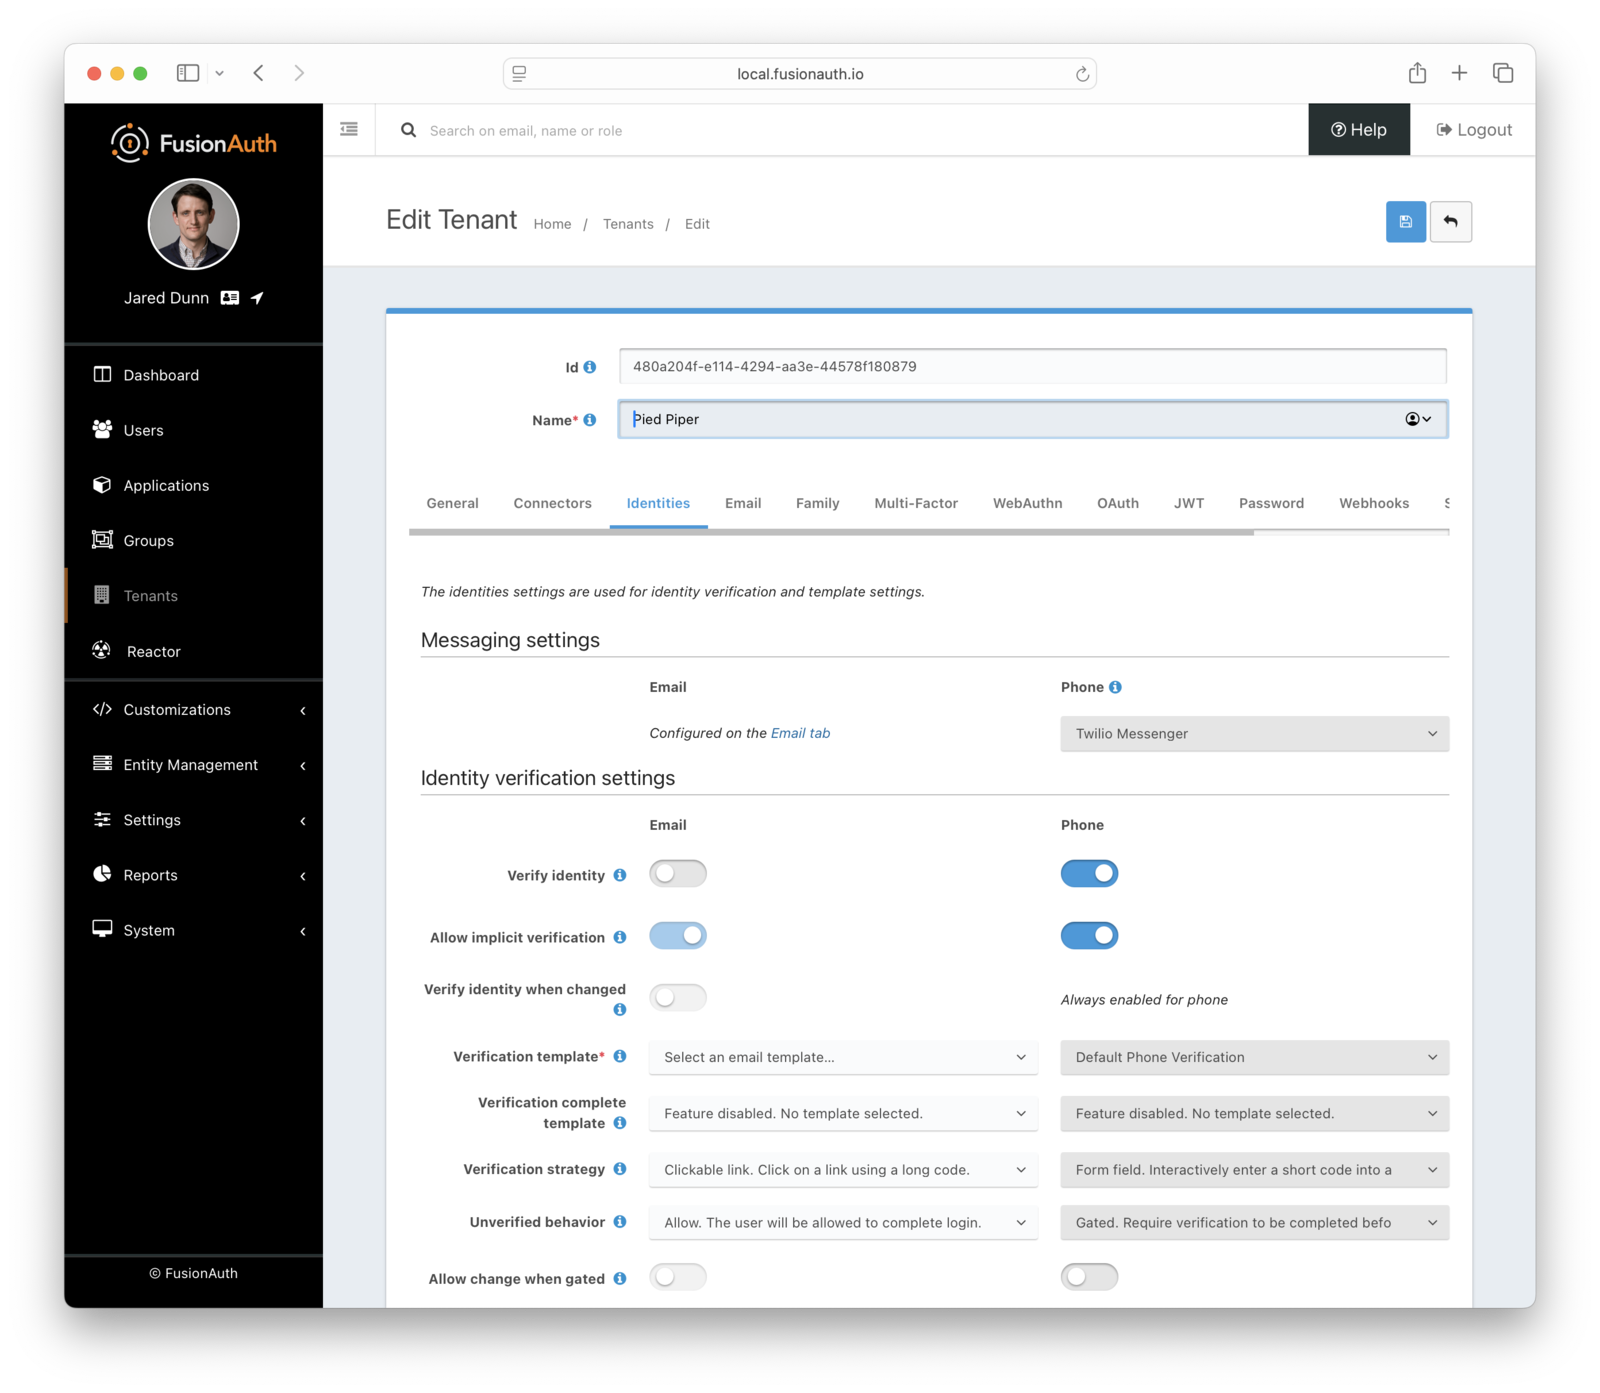 Make sure you save the configuration.
## Customize the Phone Verification Template
Navigate to
 Customizations -> Message Templates . Edit the `Phone Verification` template by selecting the Edit item from the action menu.
Modify the text template as desired and then save. You can also create localized versions of the message template under the `Localization` tab.
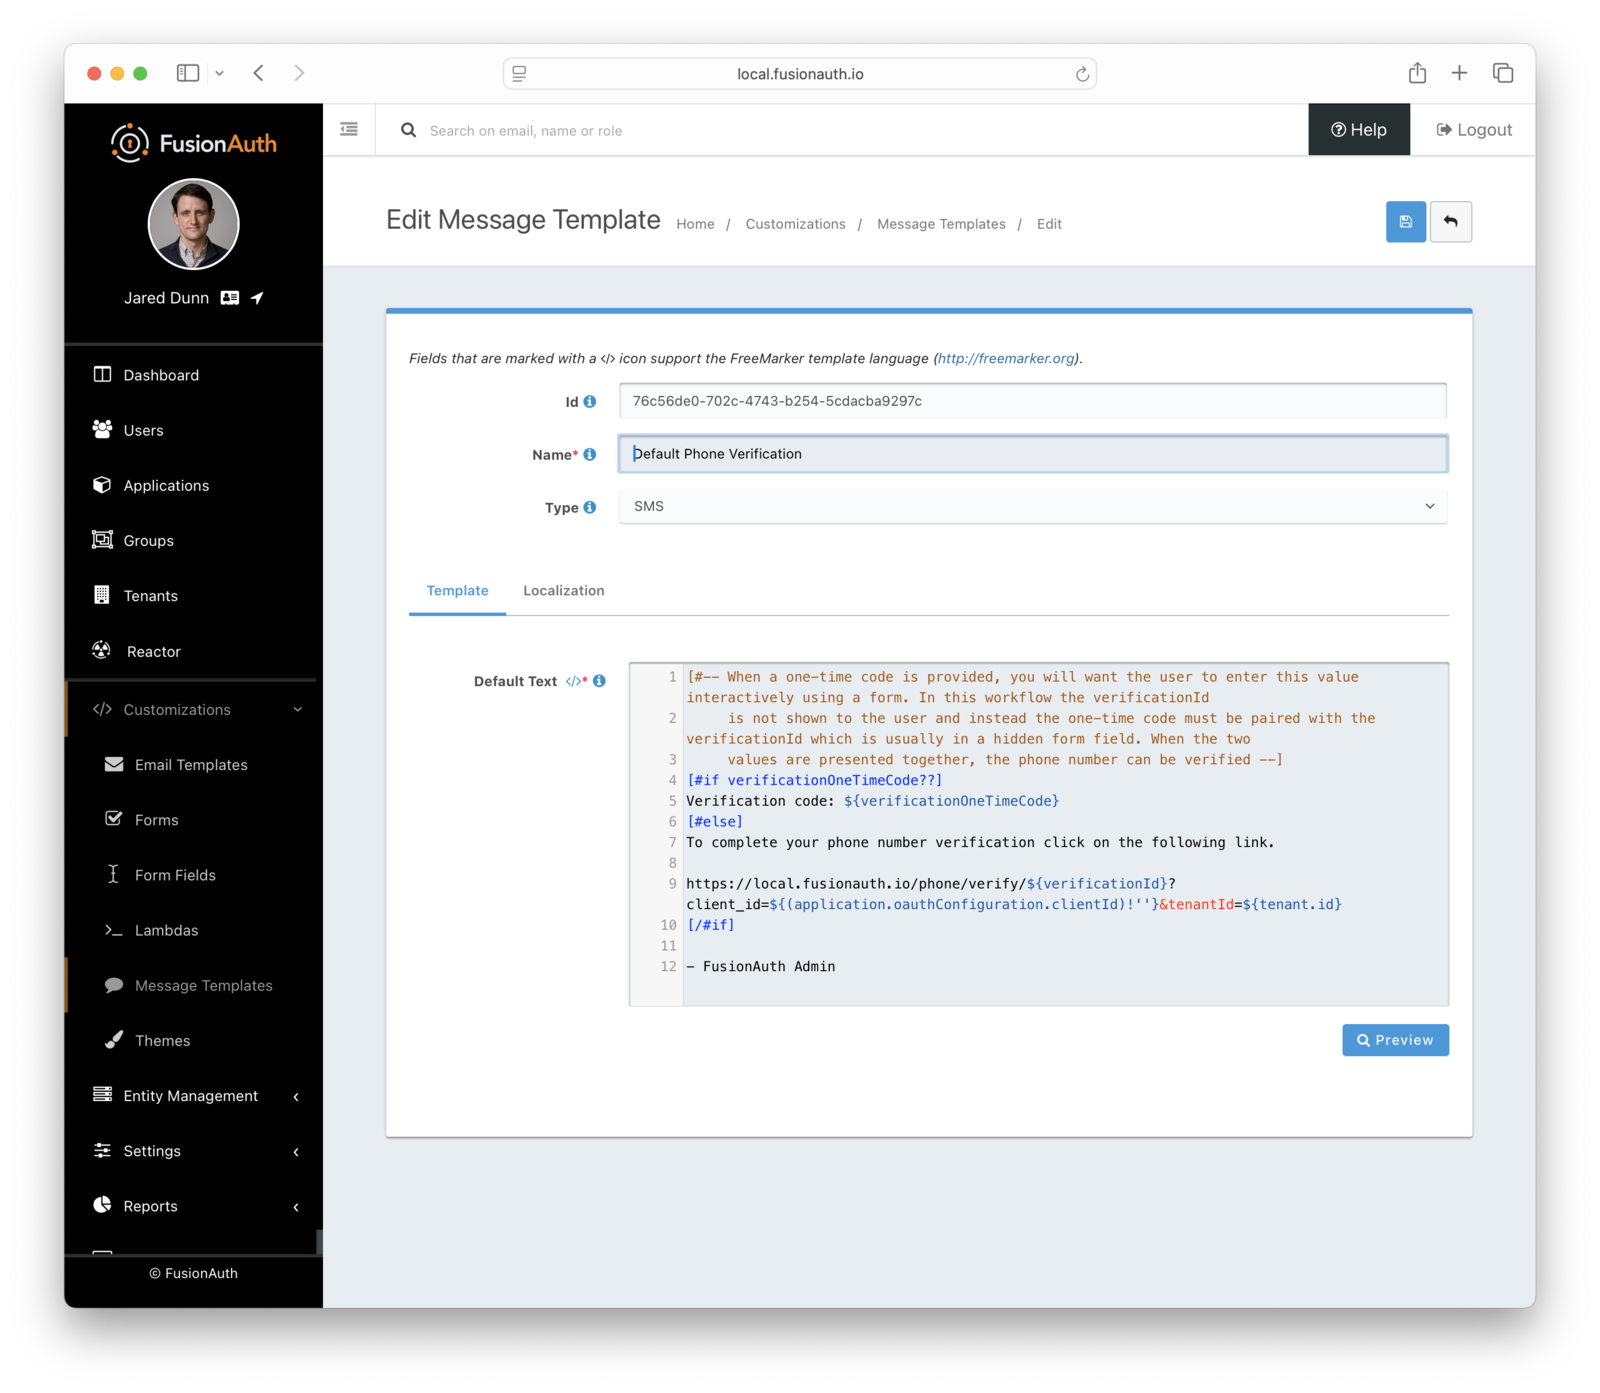 ## Configure the Application
Navigate to
 Applications . Edit your application by clicking on the blue Edit button.
Enable self service registration by selecting the Registration tab, and then scrolling to the Self service registration section.
Enable self service registration and configure the displayed and required fields as desired (in particular, choose `Phone` for the `Login type`).
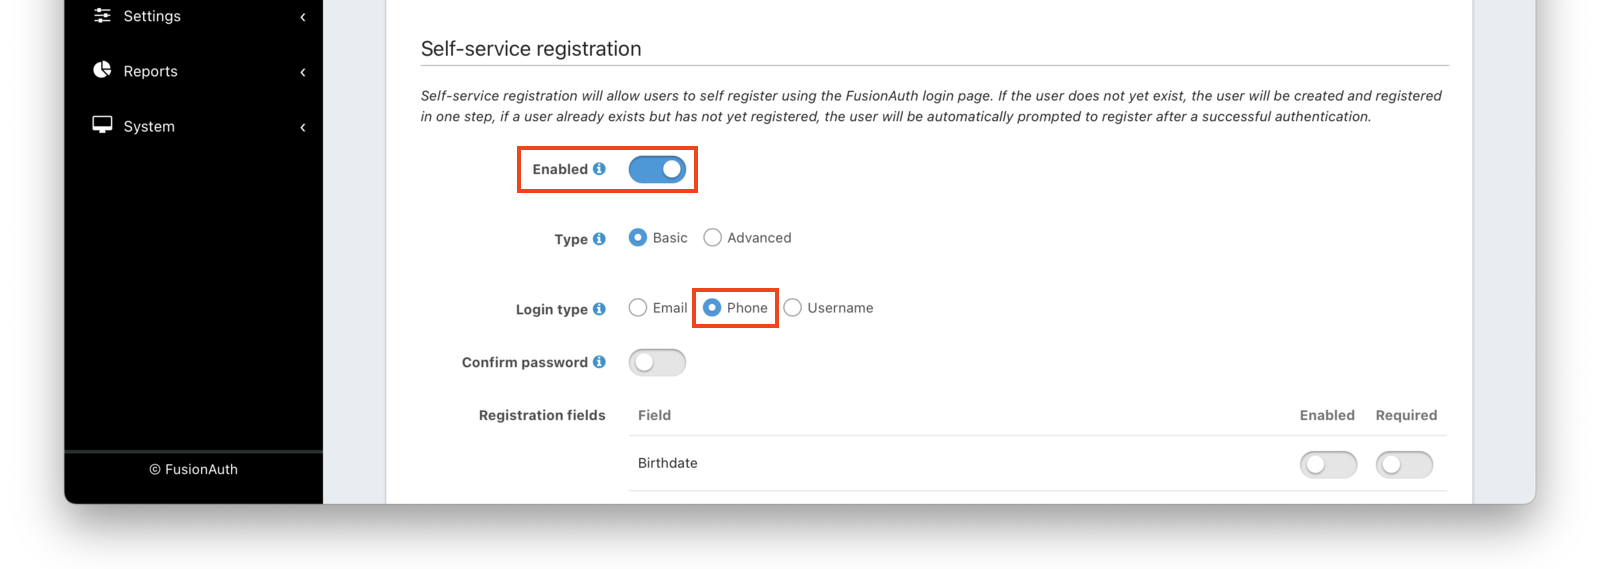 Next, navigate to the
 OAuth tab. Enable the `Authorization Code` grant.
In addition, ensure you have entered a valid URL in the Authorized redirect URLs field. (The value of this redirect URL doesn't really matter for this tutorial. But for production use, ensure the code at that endpoint can exchange an authorization code for a token.)
Save the application configuration. You'll be returned to the list of applications.
Click on the green View button of your application to see the details of your application.
 Look for the
 Registration URL . It'll be something like `https://local.fusionauth.io/oauth2/register?client_id=85a03867-dccf-4882-adde-1a79aeec50df&response_type=code&redirect_uri=http%3A%2F%2Flocalhost%3A3000%2Foauth-redirect`. Copy that value as you'll use it below.
At the same time, find the OAuth IdP login URL , and copy that as well.
## Test It Out
Now, test out the functionality. Register a new account. Make sure to use a different browser or incognito mode so that the admin account you logged in with while configuring FusionAuth doesn't interfere with new user registration.
Visit the registration URL copied above. You'll be prompted to register. Fill out the form with a valid phone number. After registration is complete, you'll receive a message prompting you to verify the phone number.
This user account will be gated and unable to completely log in if you have registered but not yet verified the phone number. In your browser where you registered, you'll see a form similar to below:
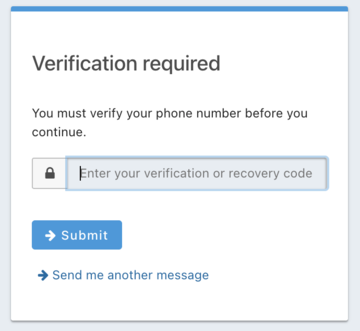 To test the gating, open a different browser (not a window, but an entirely different browser) and visit the login URL copied above. Enter the phone number and password for the user you just registered.
You'll be sent to the same phone verification gate page.
No matter which API or hosted login page you use, no JWT will be issued until the user has been verified. The user will continue to see the verification prompt when they log in until then.
If an API is being used to authenticate the user, the API will return a status code indicating phone verification has not yet occurred. Please see the [Login API](/docs/apis/login) for more details.
If you view the user in the administrative user interface, you'll see a question mark next to their phone number. This indicates that their phone number has not yet been verified.
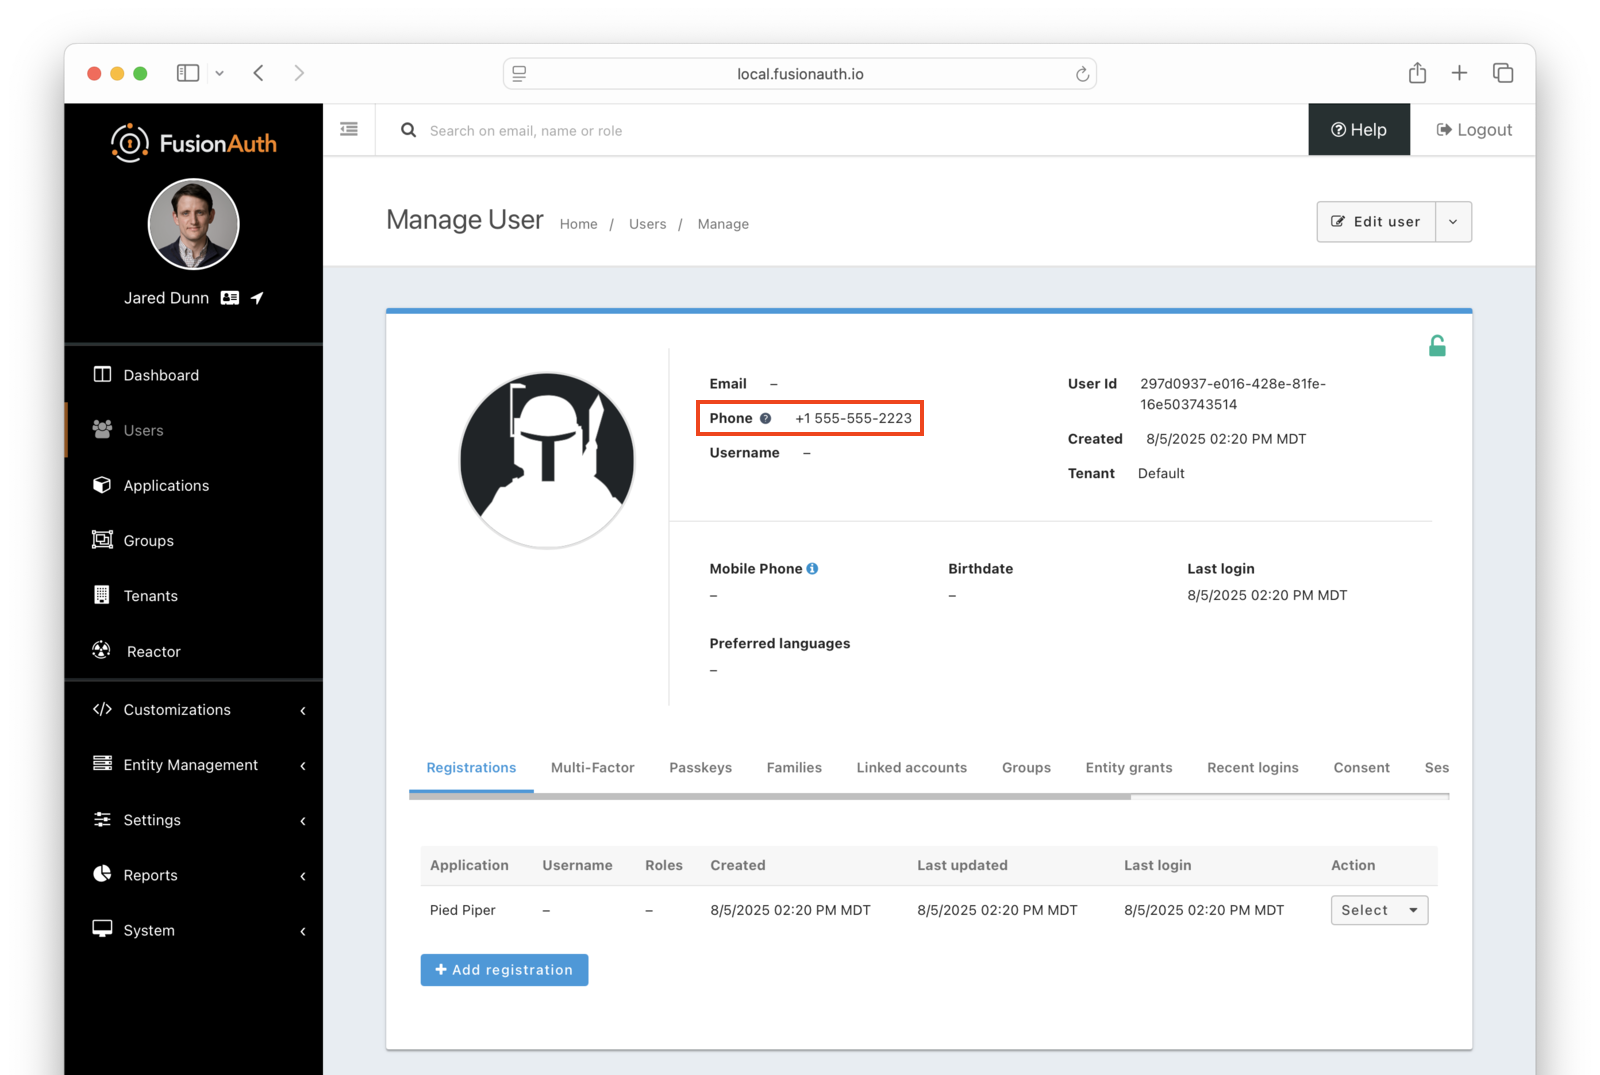 Once you have verified the phone number by entering the code from the message, you can now log in and will be sent to the configured redirect URL.
## The User Object
The user object changes before, during, and after the phone verification occurs. Let's look at the JSON.
If a user is created and phone verification is disabled, the verified attribute of the identity object will be `false` with a reason of `Disabled`.
Tenants -> Advanced Tab -> External identifier durations ), with particular attention paid to `Phone Verification` duration.
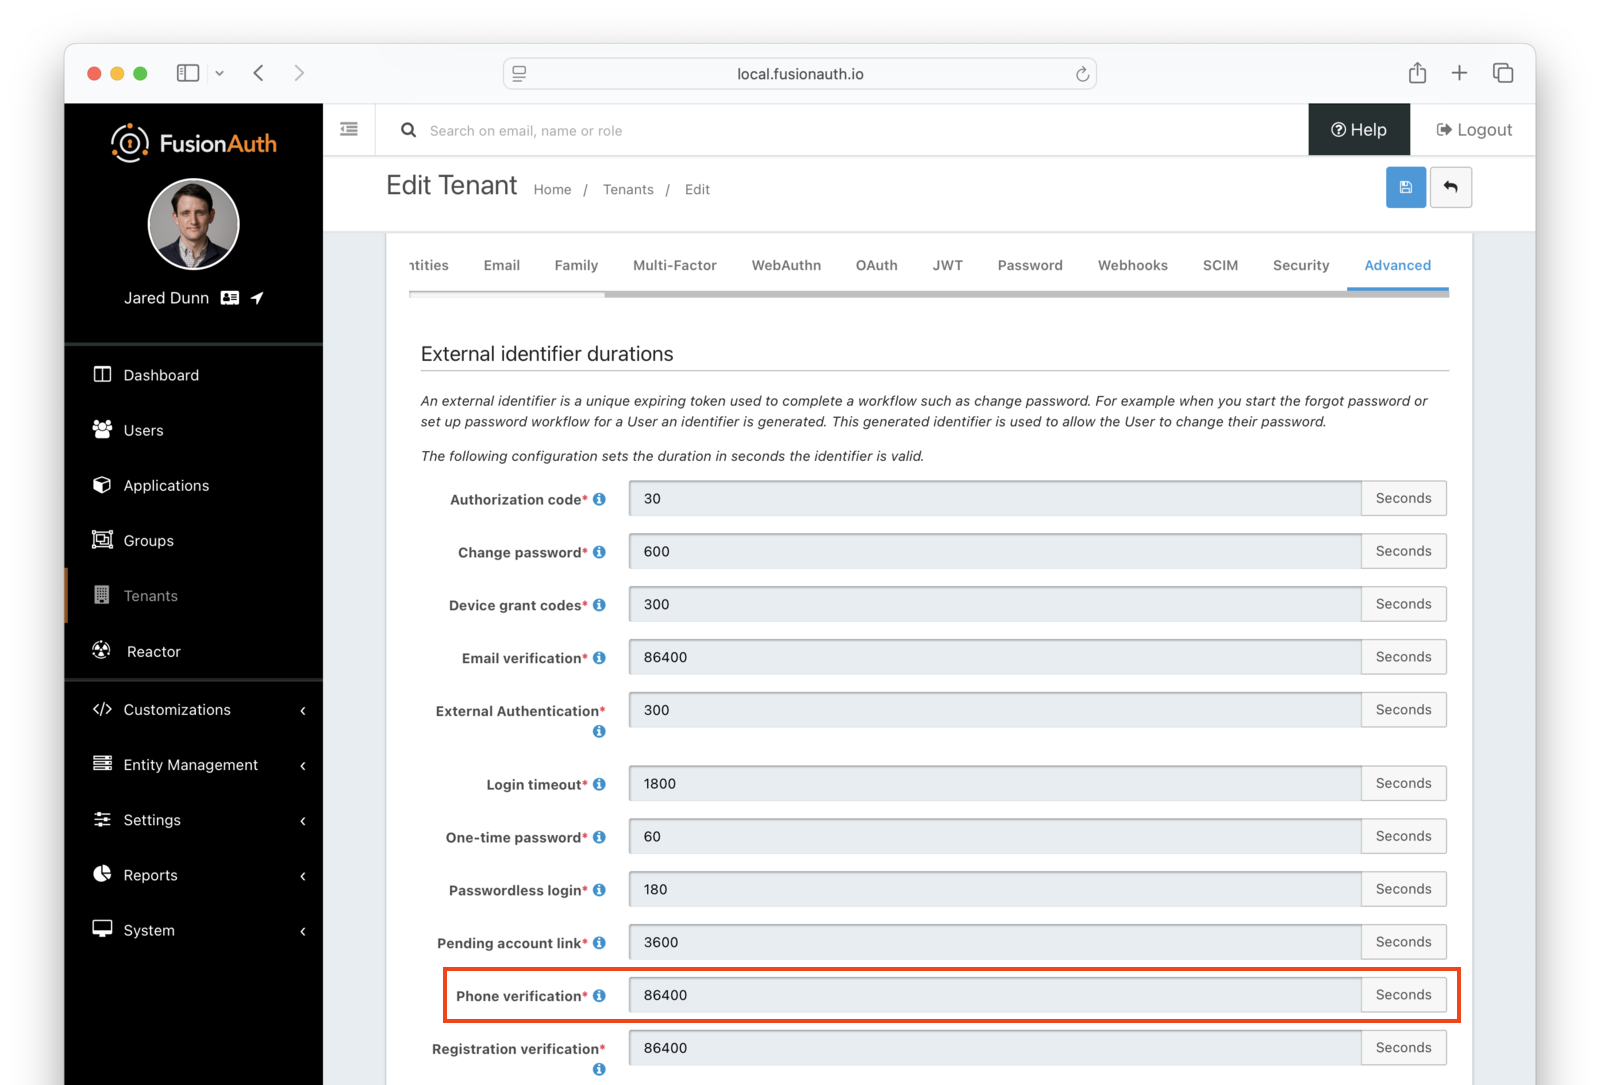 ## Next Steps
Now that you've successfully set up gated phone verification, take the next steps to integrate this functionality into your application:
* Discover how to [modify your theme](/docs/customize/look-and-feel/) to make the phone verification gate pages look like your application.
* Learn more about [message templates](/docs/customize/email-and-messages/) and how to customize them.
# Registration-based Email Verification
import Aside from 'src/components/Aside.astro';
import Breadcrumb from 'src/components/Breadcrumb.astro';
import DeprecatedSince from 'src/components/api/DeprecatedSince.astro';
import InlineField from 'src/components/InlineField.astro';
import InlineUIElement from 'src/components/InlineUIElement.astro';
## Overview
FusionAuth provides an email verification flow out of the box. It is an email sent to the user with a link that contains a verification code. When the user clicks on the link, the verification code is checked against the database. If the code is correct, the user's email is marked as verified.
This feature requires that you have an email server available with SMTP support. You can use your own hosted SMTP server, or a third-party SMTP provider such as Amazon SES or SendGrid.
* [Configure the Tenant Email Server](#configure-the-tenant-email-server)
* [Configuring Registration Verification Settings](#configuring-registration-verification-settings)
* [View a User's Verification Status](#view-a-users-verification-status)
## Configure the Tenant Email Server
To send emails, you will need to configure SMTP email server credentials for your tenant. Log in to the FusionAuth administrative user interface.
Navigate to
 Tenants -> Your Tenant and then select the Email tab. Scroll to the SMTP settings section. Configure this with your SMTP server information. If you are testing locally, you can use a mock email server like [MailCatcher](https://mailcatcher.me/).
 Ensure a test email is delivered. If you have any issues, follow the steps in the [email troubleshooting documentation](/docs/operate/troubleshooting/troubleshooting#troubleshooting-email).
You can learn more about the various settings in [the Tenant documentation as well](/docs/get-started/core-concepts/tenants#email).
Save the configuration.
## Configuring Registration Verification Settings
You can configure additional settings around registration verification in the application you set up for registrations. Navigate to
 Applications -> Your Application and then select the Registration tab. Scroll up to the Registration Verification Settings section, just above the Registration Fields section.
Here you can specify if a registration verification email should be sent to the user. Toggling the Verify registrations switch on will reveal some further options.
You can choose the email template to send for registration verification. Choose the "Email Verification" template.
For the Verification Strategy option, you can choose to send a link in the verification email to the user, or to send a short code that they can type into the registration form to verify their account.
If you choose to send a short code, you must also set the "Unverified behavior" option to "Gated". Note that the "Gated" behavior option, and thus the short code option, is only available with a valid license key. Please visit [our pricing page](/pricing) to review paid plan options and buy a license.
Your verification settings should now look like this:
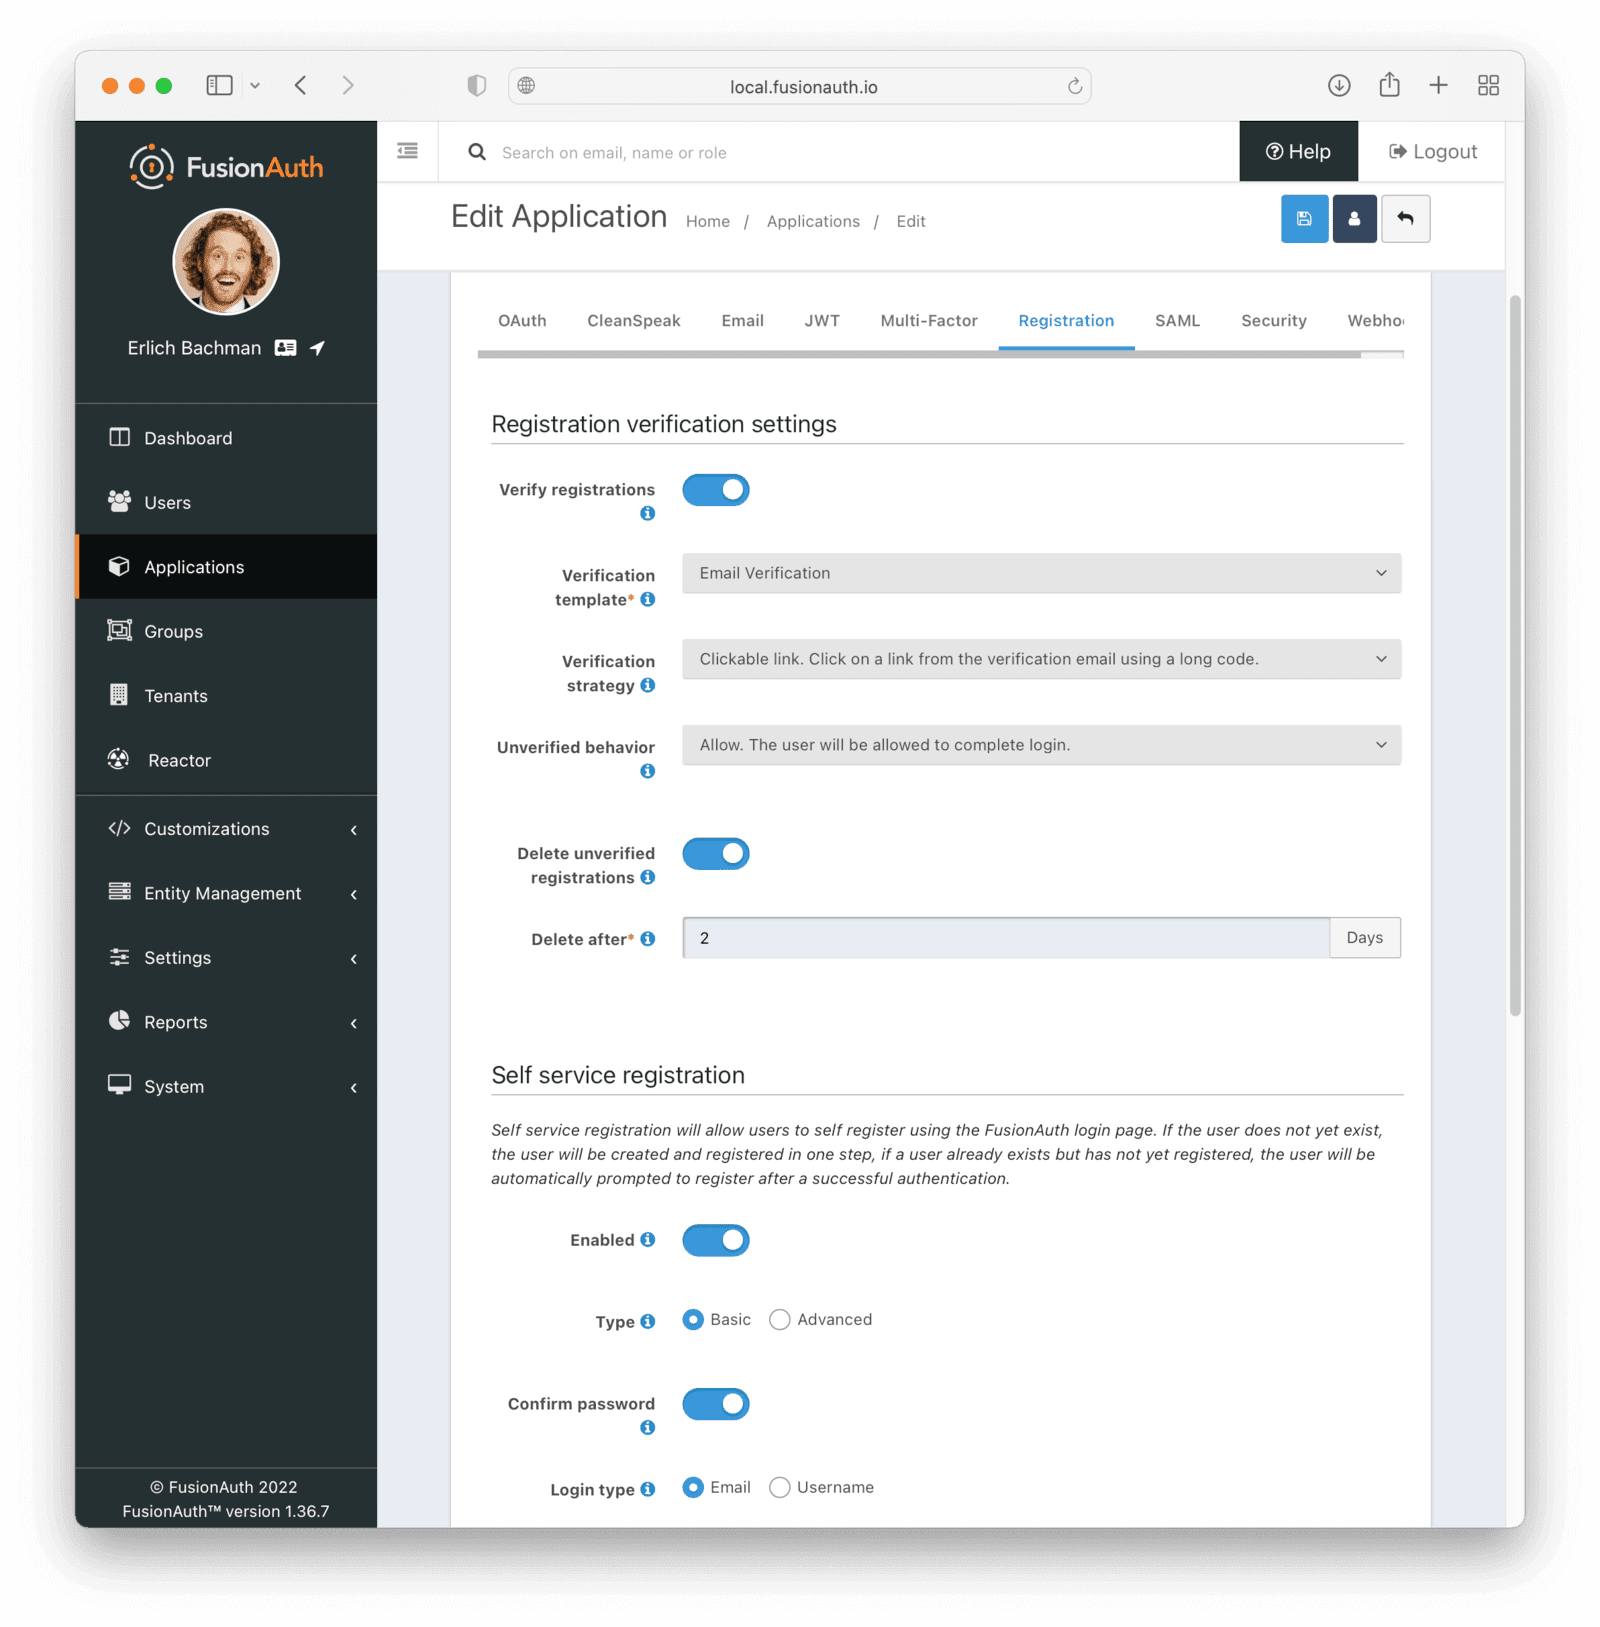 Save all changes to the application.
## View a User's Verification Status
Navigate to the
 Users page. Click the Manage User button to the right of a list entry to view the user's details. A green checkmark will show next to the user's email address if it has been verified.
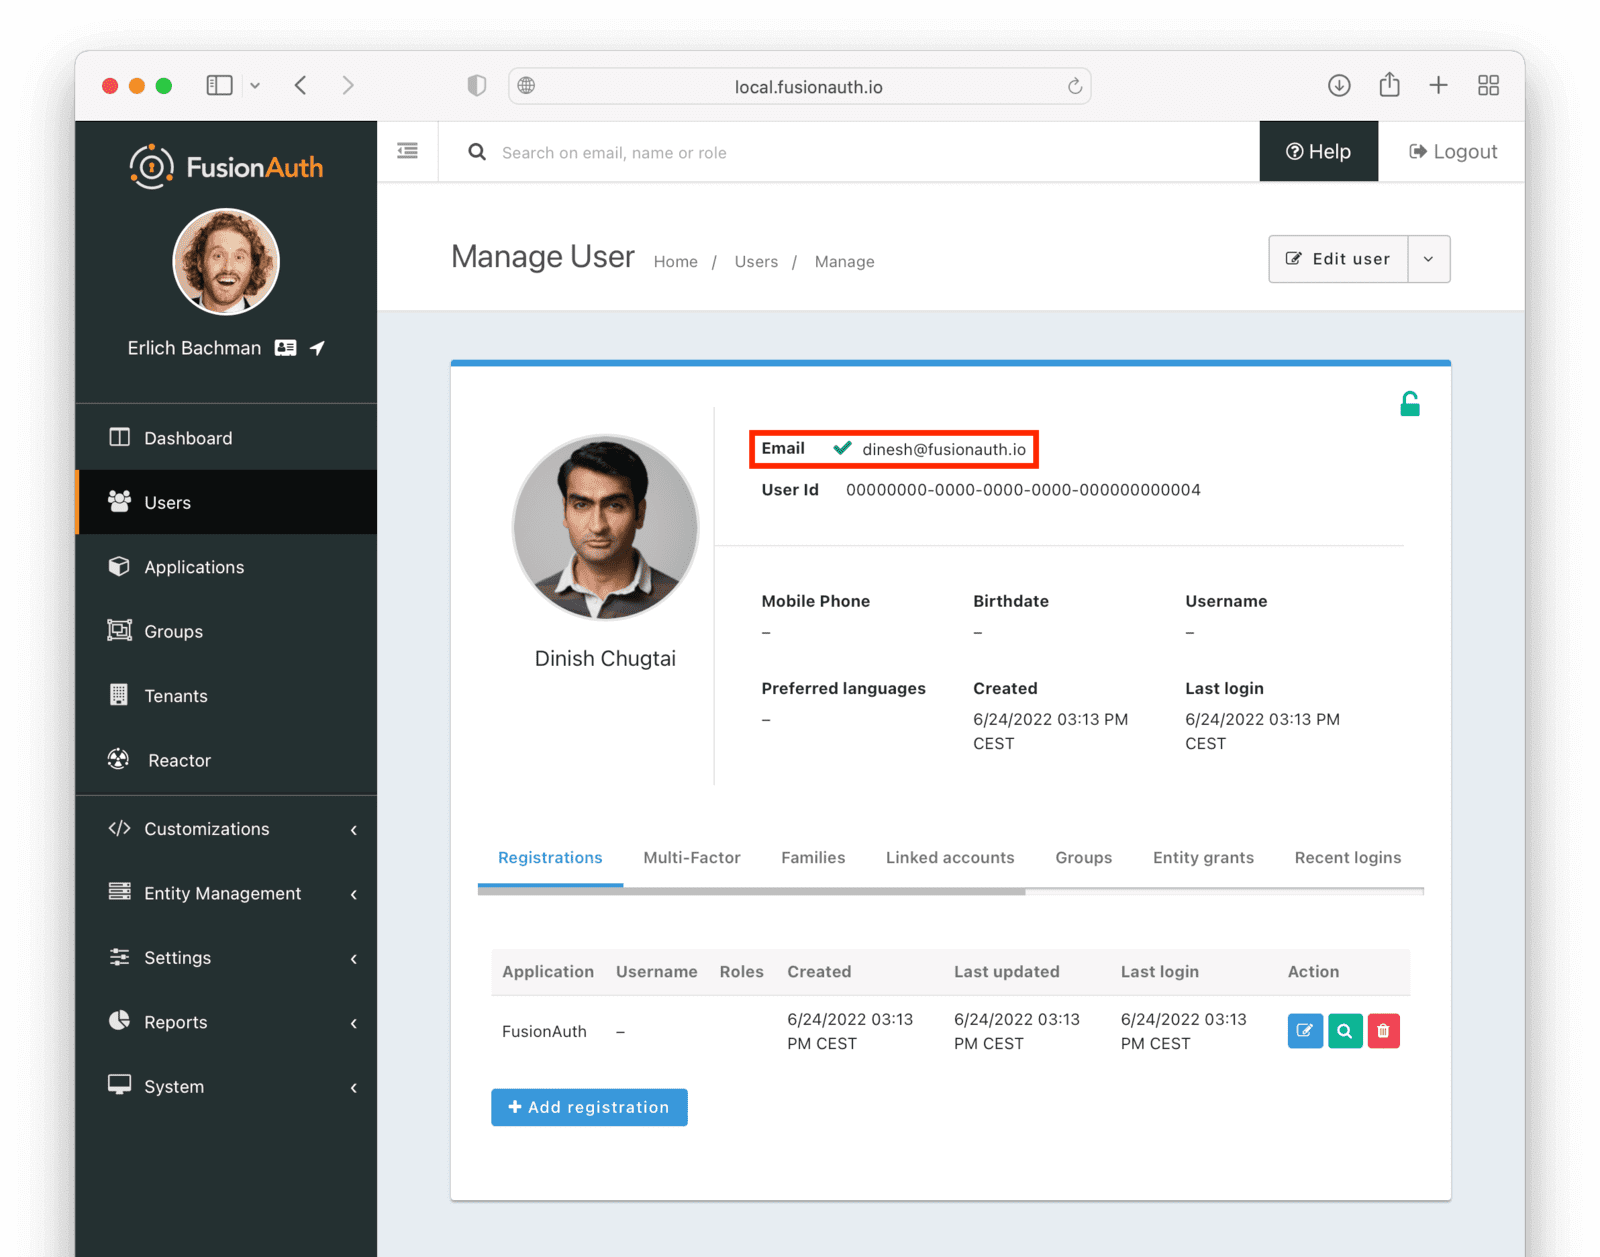 # Gate Users Application Registration
import Aside from 'src/components/Aside.astro';
import Breadcrumb from 'src/components/Breadcrumb.astro';
import PremiumPlanBlurb from 'src/content/docs/_shared/_premium-plan-blurb.astro';
import InlineField from 'src/components/InlineField.astro';
import InlineUIElement from 'src/components/InlineUIElement.astro';
import JSON from 'src/components/JSON.astro';
import CommonQuestionsGating from 'src/content/docs/lifecycle/manage-users/verification/_common-questions-gating.mdx';
import TroubleshootingGating from 'src/content/docs/lifecycle/manage-users/verification/_troubleshooting-gating.mdx';
## Overview
As of version 1.27.0, FusionAuth can be configured to gate users' accounts until they verify by clicking a link allowing them into an application. While users successfully authenticate, they won't be able to proceed further until they have verified their registration via email.
### Why Do I Need This?
Most folks will find email verification gating sufficient for their business needs (see adjacent tutorial [here](/docs/lifecycle/manage-users/verification/gate-accounts-until-user-email-verified)). In this email verification workflow, we are simply checking that a user's email is real and fully owned by the user.
In registration verification, the use case is slightly different. A `jared@piedpiper.com` user might have access to `Not-Hotdog` and `PiperChat`. These applications are both part of the same parent company, PiedPiper. However, PiedPiper requires separate registration verification to allow access to both `Not-Hotdog` and `PiperChat` through the same email account. This registration verification is a concrete, separate step that the user must engage in by clicking a link or entering a code (sent via email).
Without this verification step, users may find it alarming their logins (`jared@piedpiper.com`) work for both `Not-Hotdog` and `PiperChat` (without their express consent, especially if they did not know about the parent company relationship). Furthermore, this user, `jared@piedpiper`, by completing verification, is proving they own the email address used to register for both applications.
 ## Prerequisites
Tenants -> Your Tenant and then select the Email tab. Scroll to the SMTP settings section. Configure this with your SMTP server information. If you are testing locally, you can use a mock email server like [mailcatcher](https://mailcatcher.me/).
 Ensure a test email is delivered. If you have any issues, follow the steps in the [email troubleshooting documentation](/docs/operate/troubleshooting/troubleshooting#troubleshooting-email).
Save the configuration.
## Enable Registration Verification Gating
Navigate to
 Applications -> Your Application and then select the Registration tab. Scroll to the Registration verification settings section.
* Enable Verify registrations .
* Choose your email template. The default template is `Registration verification`, and that will work fine for this tutorial.
* Update the Verification strategy . This can be either `ClickableLink` or `FormField`. The former sends an email with a link to verify the user's address and intent to register for your application. The latter emails a code which the user will provide to FusionAuth. For this tutorial, use `ClickableLink`.
* Ensure that the Unverified behavior value is `Gated`.
After these steps, you should end up with a configuration screen that looks like this:
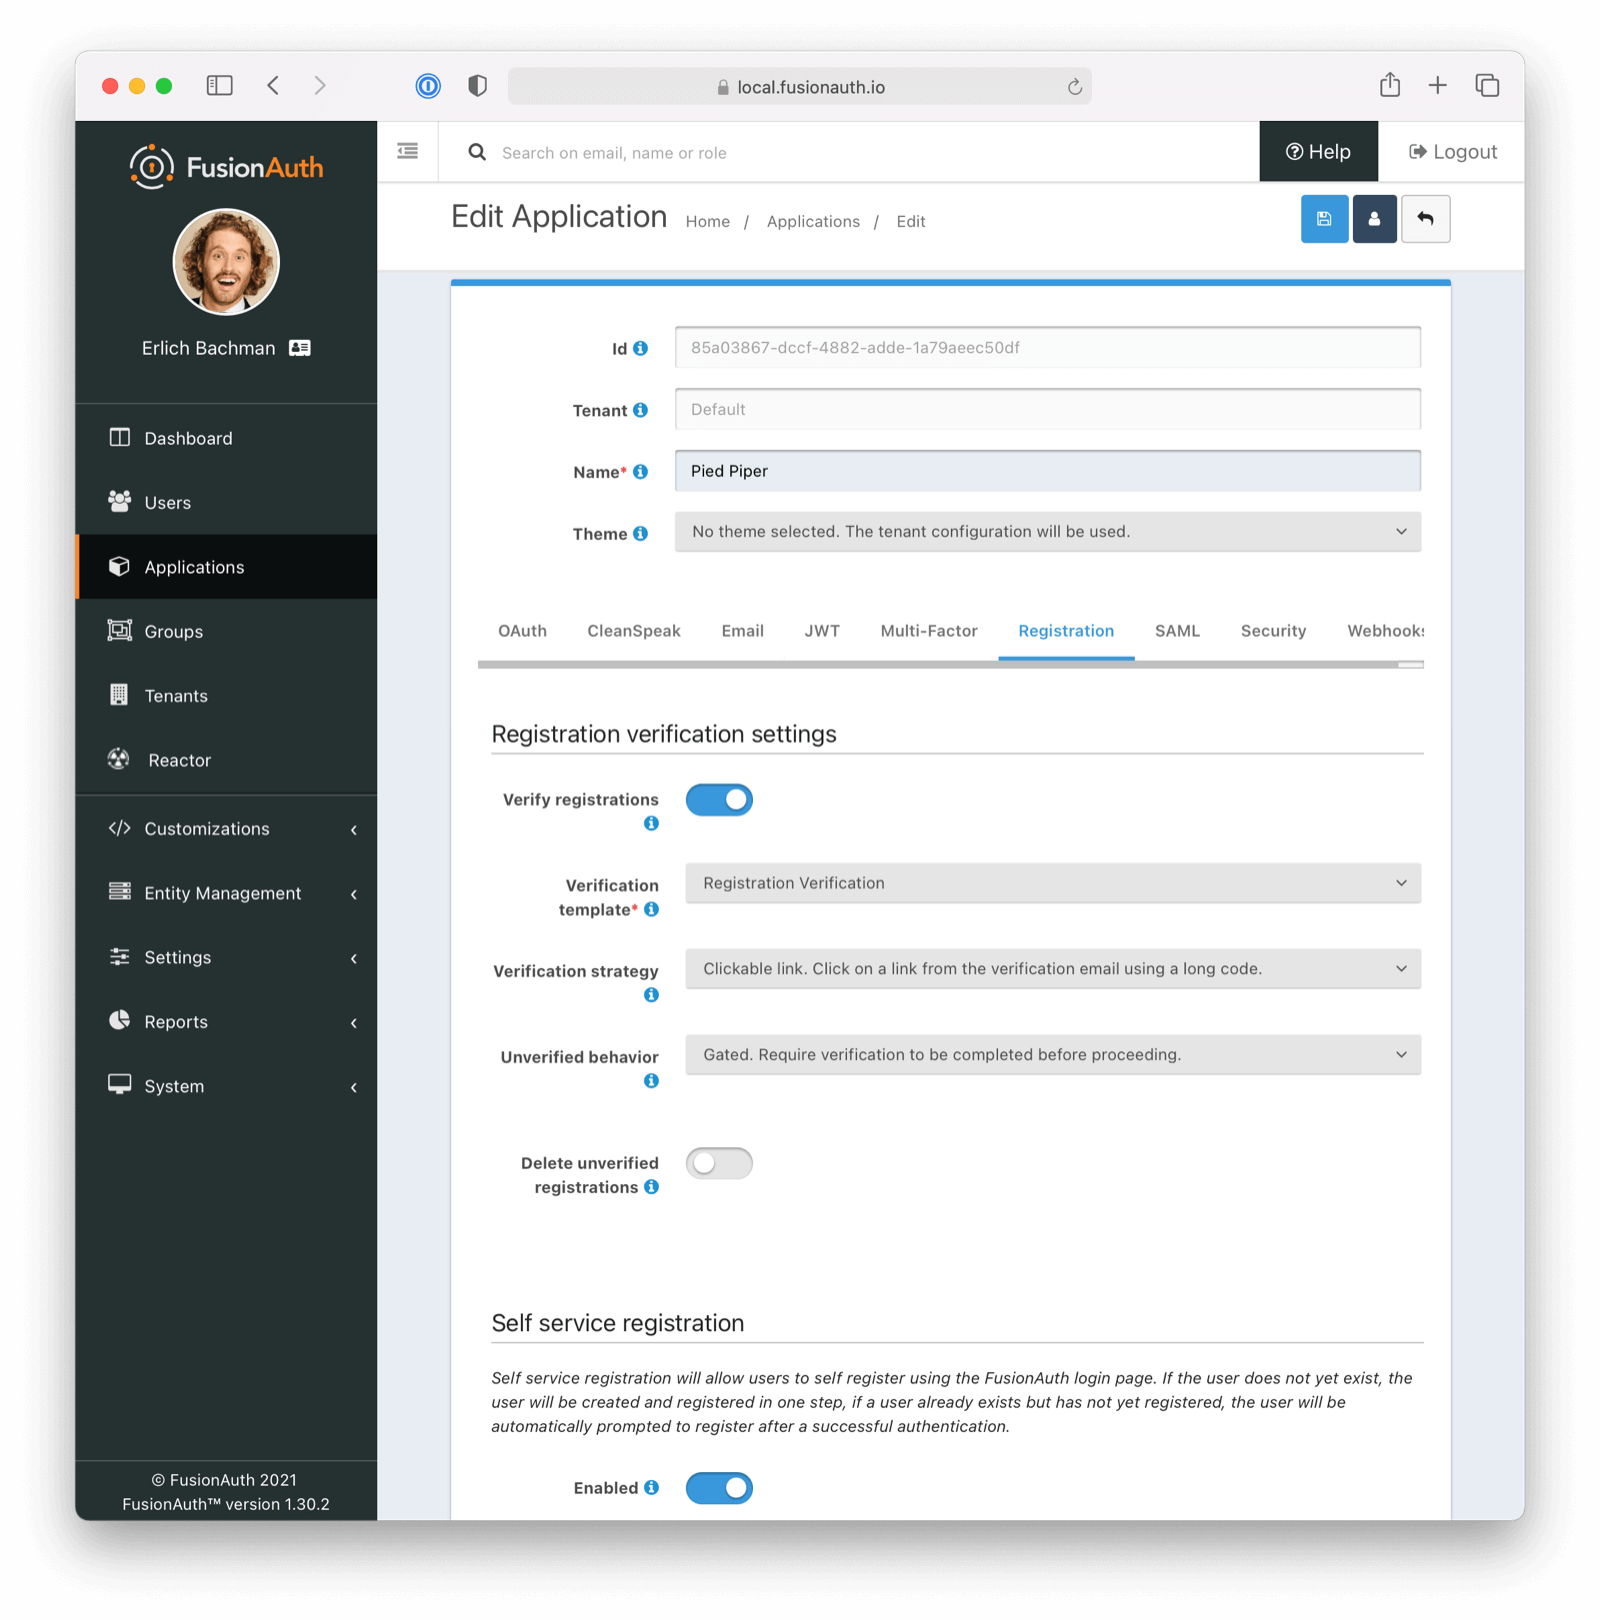 Lastly, enable self service registration and configure the displayed and required fields as desired.
 Make sure you save the configuration.
Next, navigate to the
 OAuth tab. Enable the `Authorization Code` grant.
In addition, ensure you have entered a valid URL in the Authorized redirect URLs field. (The value of this redirect URL doesn't matter for this tutorial. But for production use, ensure the code at that endpoint can exchange an authorization code for a token.)
Save the application configuration. You'll be returned to the list of applications.
Click on the green View button of your application to see the details of your application.
 Look for the
 Registration URL . It'll be something like `https://local.fusionauth.io/oauth2/register?client_id=85a03867-dccf-4882-adde-1a79aeec50df&response_type=code&redirect_uri=http%3A%2F%2Flocalhost%3A3000%2Foauth-redirect`. Copy that value as you'll use it below.
At the same time, find the OAuth IdP login URL , and copy that as well.
## Customize the Registration Verification Template
Navigate to Customizations -> Email Templates . Edit the `Registration Verification` template by clicking on the blue Edit button.
Modify the HTML and text templates as desired and then save them. You can also localize the messages.
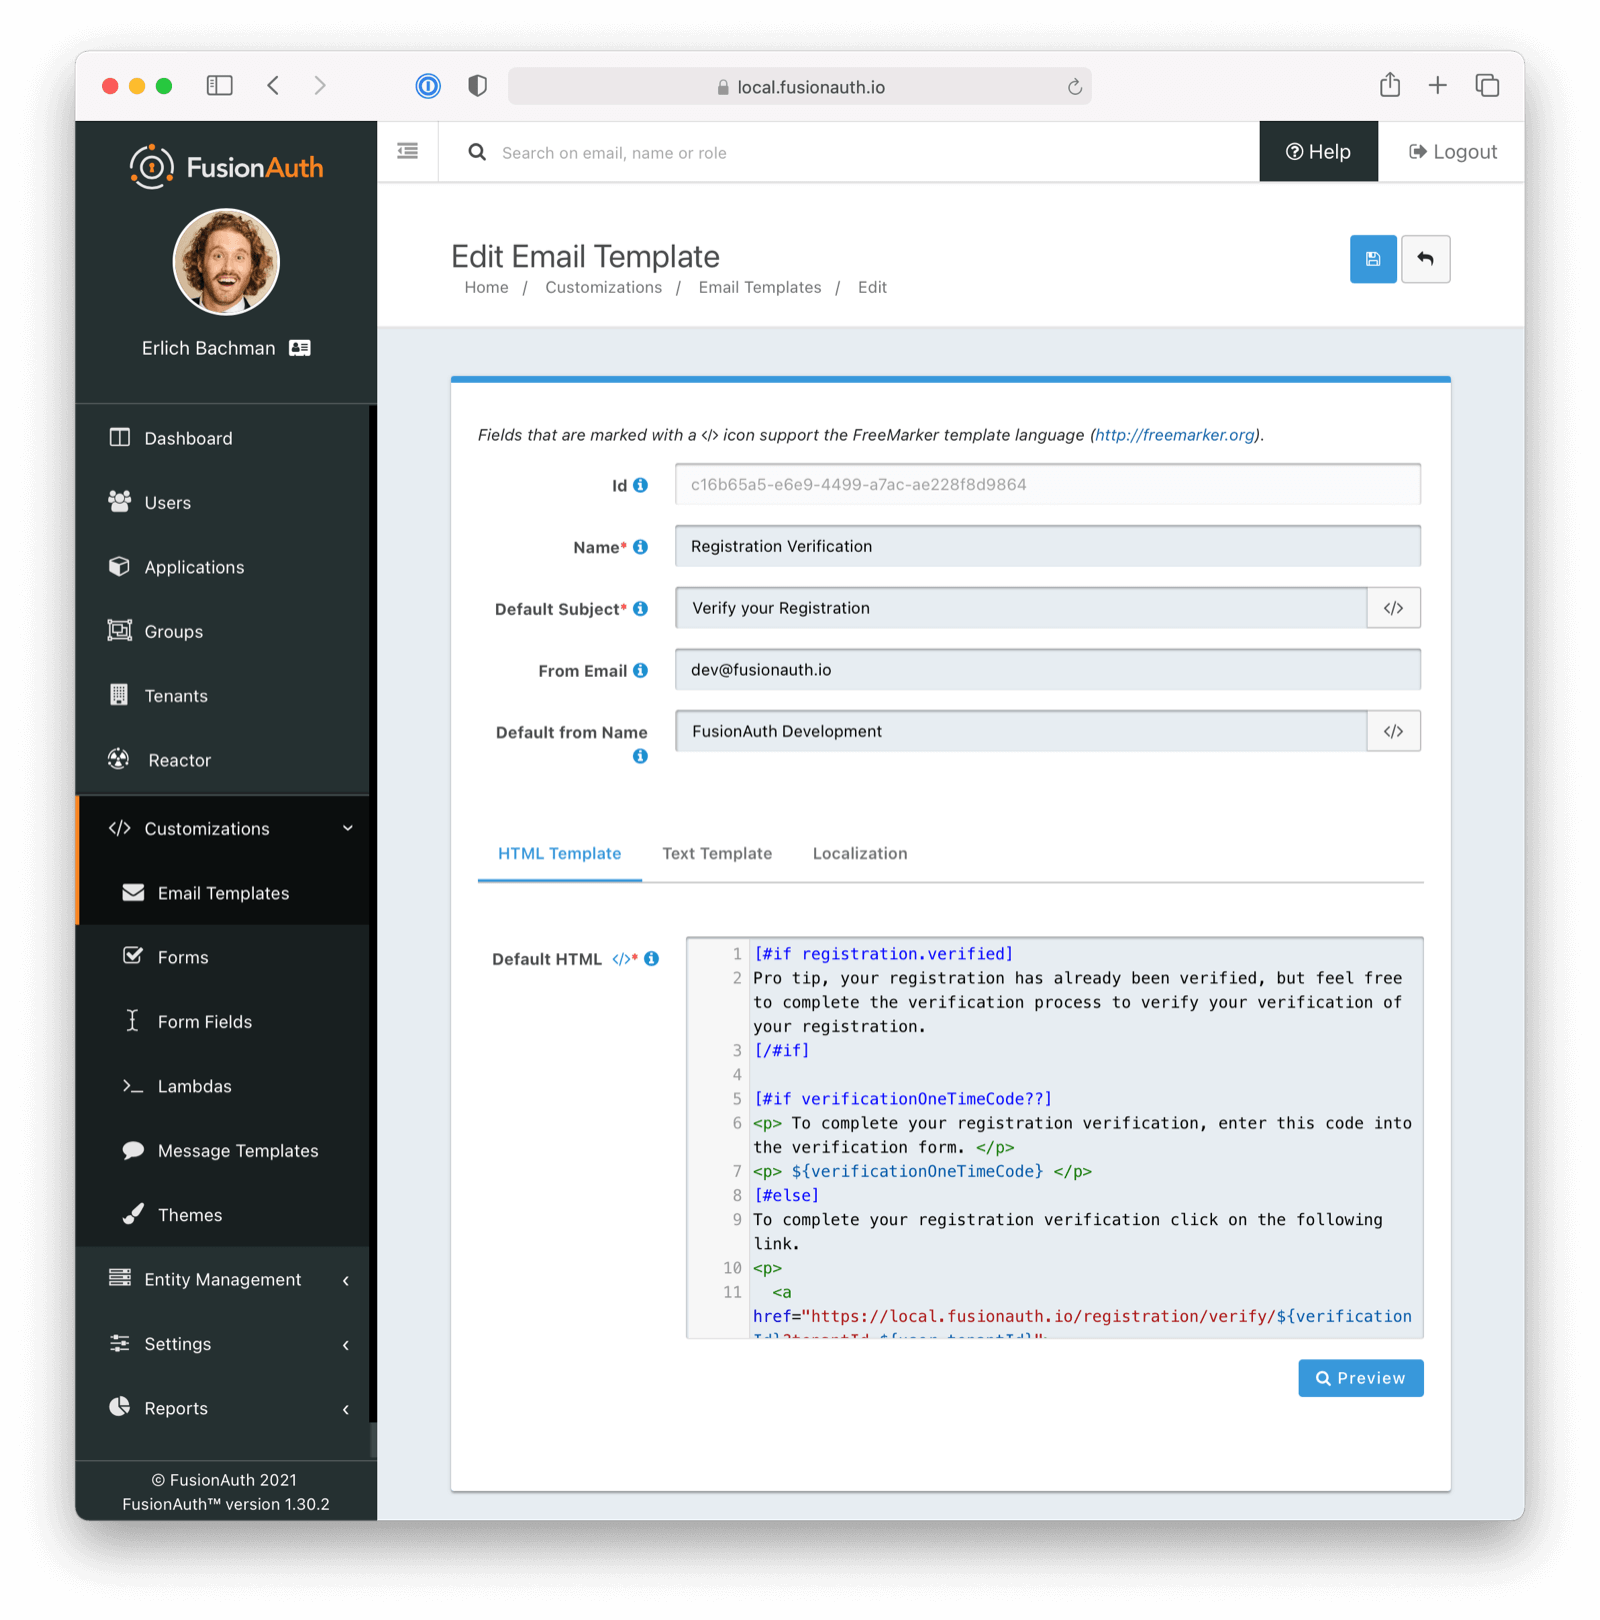 ## Test It Out
Now, test out the functionality. Register a new account. Make sure to use a different browser or incognito mode so that the admin account you logged in with while configuring FusionAuth doesn't interfere with new user registration.
Visit the registration URL copied above. You'll be prompted to register. Fill out the form with a valid email address. After registration is complete, you'll receive an email prompting you to verify the registration.
Here is the email in the mailcatcher user interface:
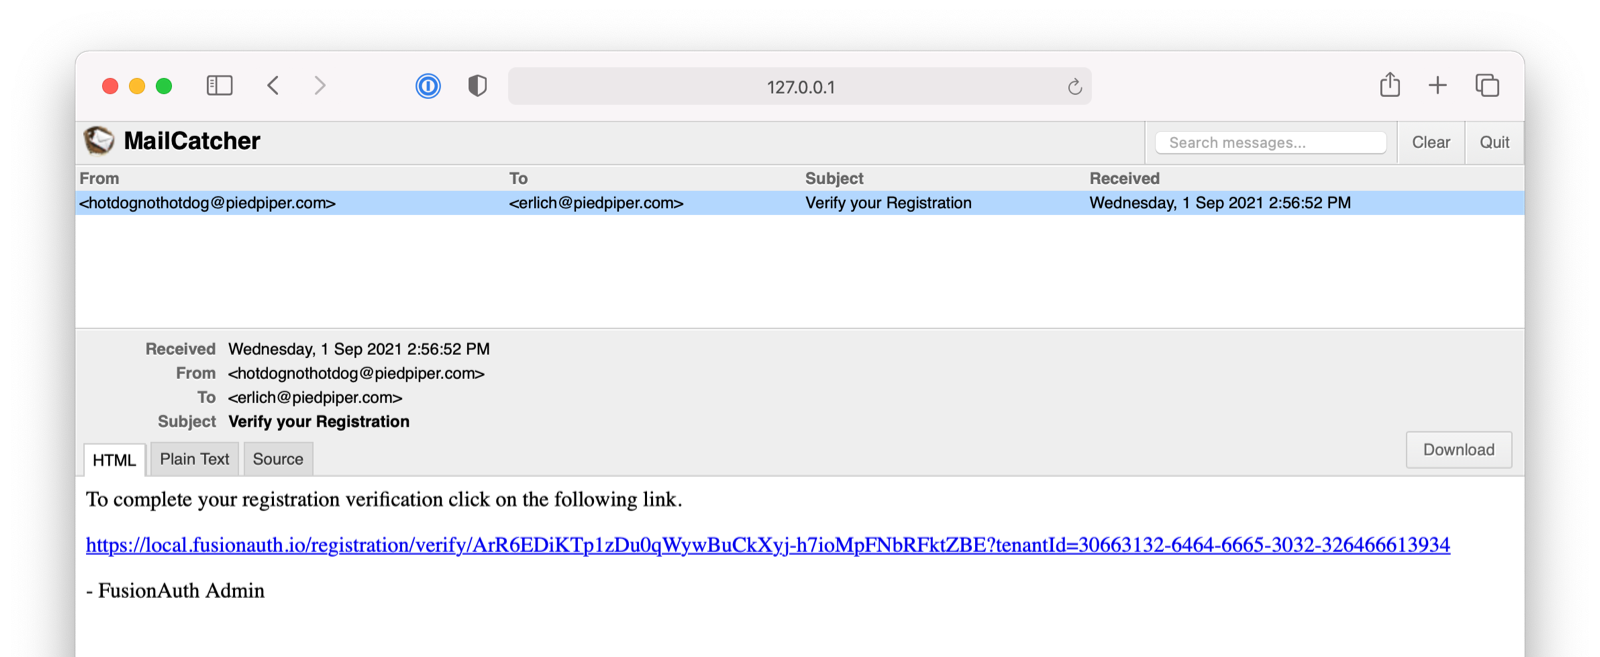 This user account will be gated and unable to completely log in if you have not verified the registration through email. In your browser where you registered, you'll see a page similar to below:
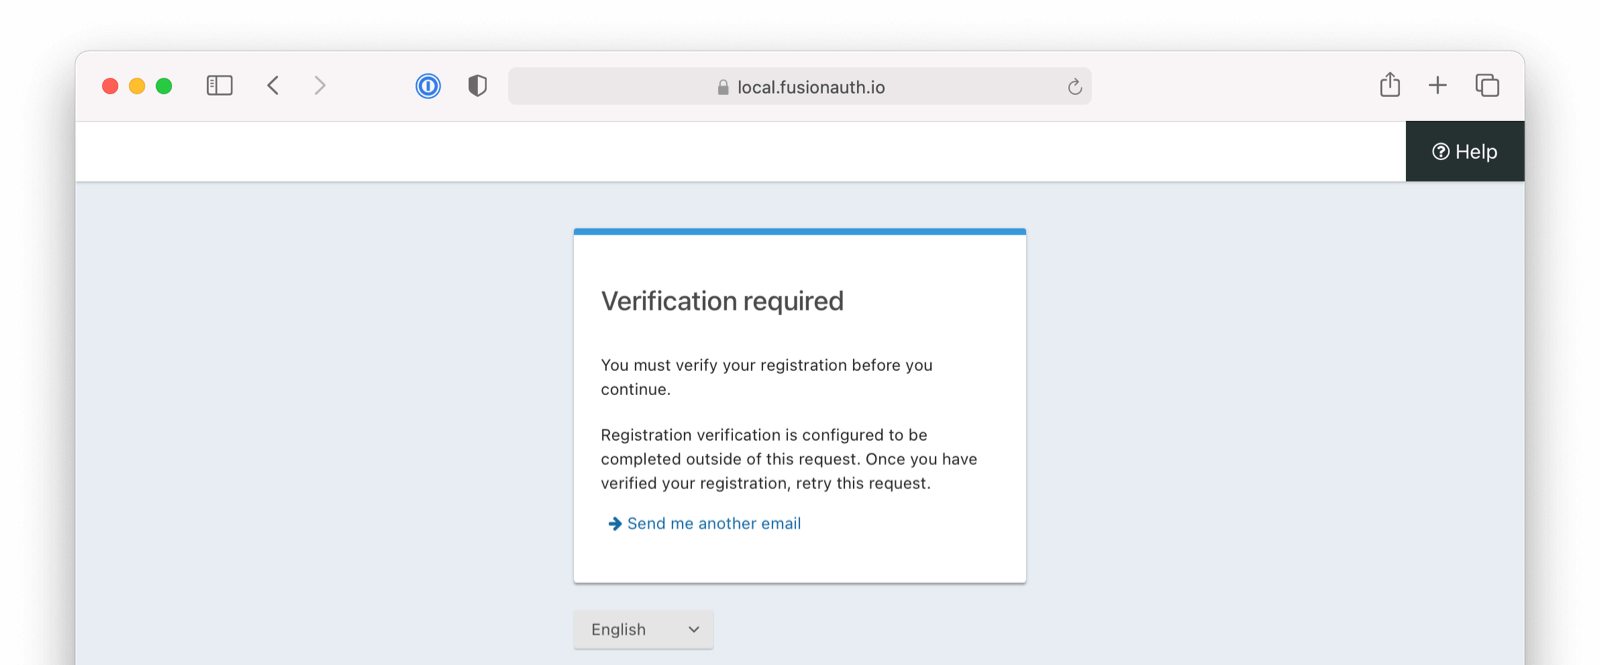 To test the gating, open a different browser (not a window, but an entirely different browser) and visit the login URL copied above. Enter the email and password for the user you just registered.
You'll be sent to the same registration verification gate page.
No matter which API or hosted login page you use, no JWT will be issued until the user registration has been verified. The user will continue to see the verification prompt when they log in until then.
If an API is being used to authenticate the user, the API will return a status code indicating registration verification has not yet occurred. Please see the [Login API](/docs/apis/login) for more details.
If you view the user in the administrative user interface and click on the
 source tab you should see the following attributes on the user.
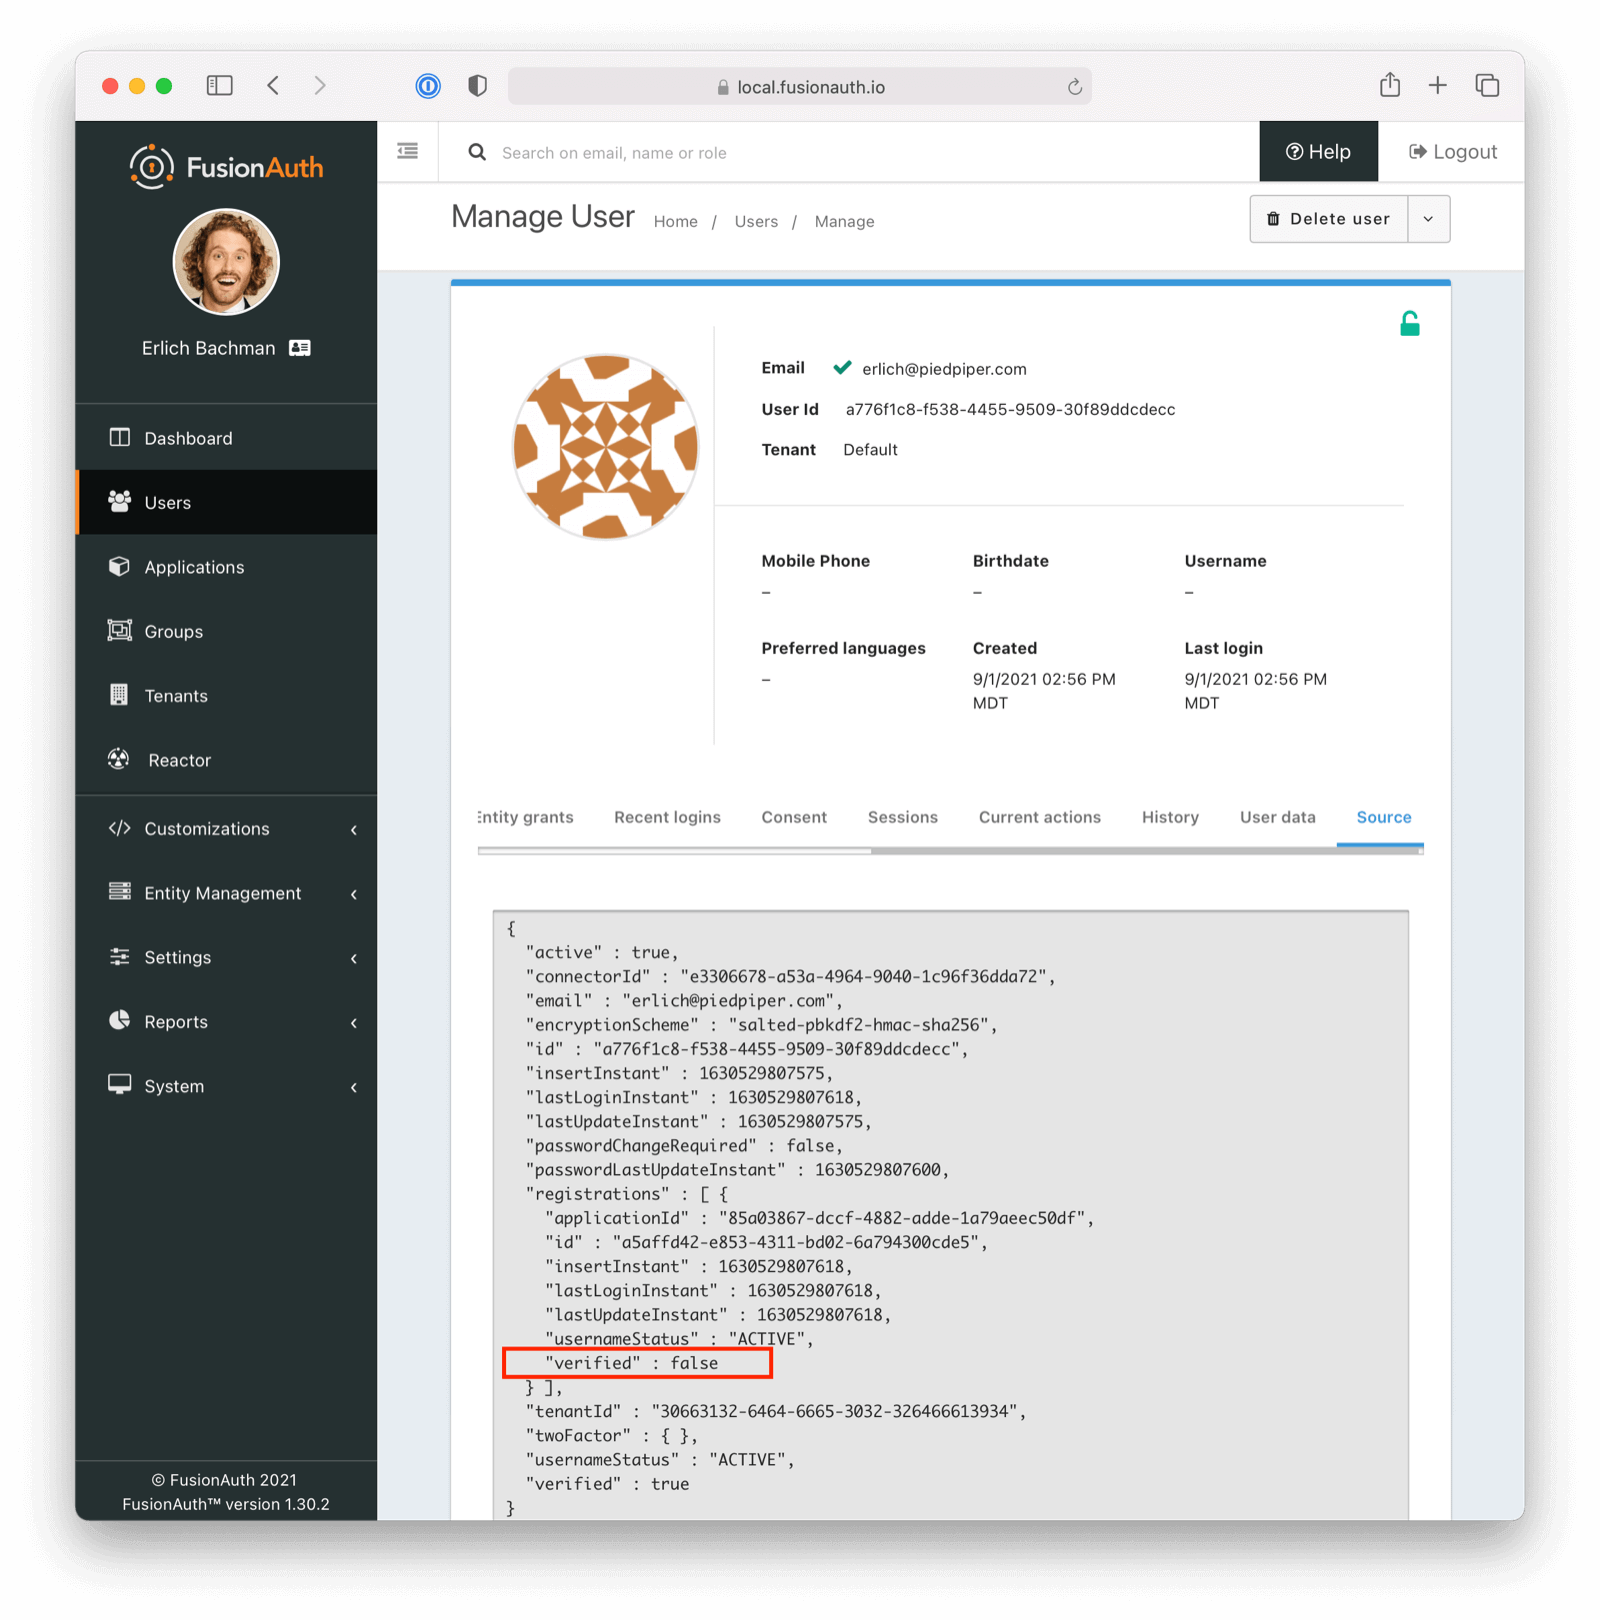 Once you have verified the email address by clicking on the link, you can now log in and will be sent to the configured redirect URL.
## The User Object
The user object changes before, during, and after the registration verification occurs. Let's look at the JSON.
If a user is created and registration verification is disabled, the verified attribute of the registration object will be true. This is because FusionAuth treats all users as having verified registration (via email) when registration verification is disabled.
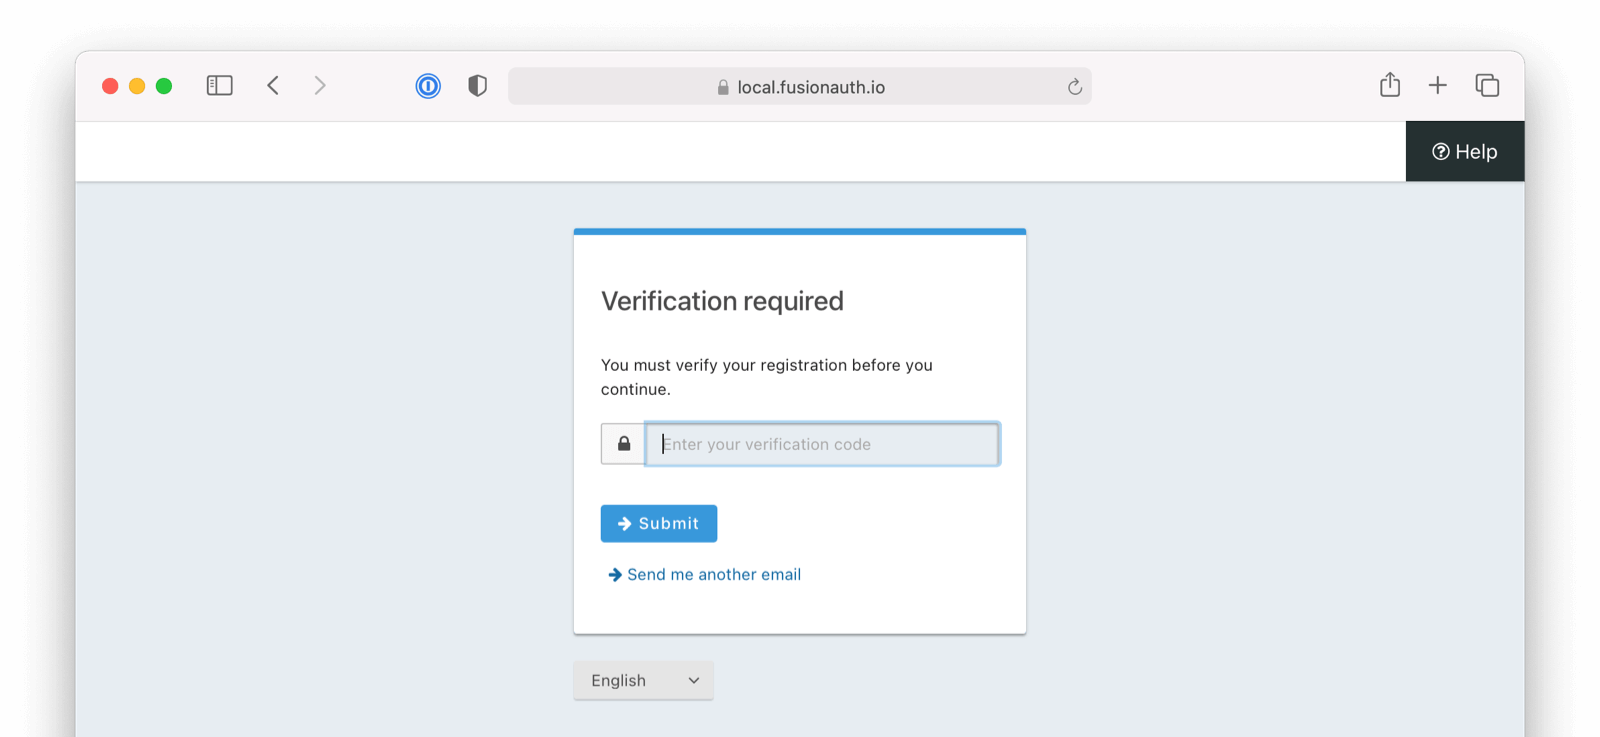 # Migrate From Passport
import AdditionalSupport from 'src/content/docs/lifecycle/migrate-users/provider-specific/_additional-support.mdx';
import Aside from 'src/components/Aside.astro';
import Breadcrumb from 'src/components/Breadcrumb.astro';
import CreateApiKeySocial from 'src/content/docs/lifecycle/migrate-users/provider-specific/_create-api-key-social.mdx';
import CreateTestApplication from 'src/content/docs/lifecycle/migrate-users/provider-specific/_create-test-application.mdx';
import CreateTestTenant from 'src/content/docs/lifecycle/migrate-users/provider-specific/_create-test-tenant.mdx';
import FinalDestination from 'src/content/docs/lifecycle/migrate-users/provider-specific/_final-destination.mdx';
import Identifiers from 'src/content/docs/lifecycle/migrate-users/provider-specific/_identifiers.mdx';
import InlineField from 'src/components/InlineField.astro';
import SetUpFusionauth from 'src/content/docs/lifecycle/migrate-users/provider-specific/_set-up-fusionauth.mdx';
import SocialLoginMigration from 'src/content/docs/lifecycle/migrate-users/provider-specific/_social-login-migration.mdx';
import SocialLoginNote from 'src/content/docs/lifecycle/migrate-users/provider-specific/_social-login-note.mdx';
import VerifyImport from 'src/content/docs/lifecycle/migrate-users/provider-specific/_verify-import.mdx';
import WhatNext from 'src/content/docs/lifecycle/migrate-users/provider-specific/_what-next.mdx';
import PasswordHashSection from 'src/content/docs/lifecycle/migrate-users/provider-specific/_password-hashes-section.mdx';
import {RemoteCode} from '@fusionauth/astro-components';
import InlineUIElement from 'src/components/InlineUIElement.astro';
import PremiumPlanBlurb from 'src/content/docs/_shared/_premium-plan-blurb.astro';
import SlowMigrationTimeline from 'src/content/docs/lifecycle/migrate-users/provider-specific/_slow-migration-timeline.mdx';
import SetUpUserRoles from 'src/content/docs/lifecycle/migrate-users/provider-specific/_set-up-user-roles.mdx';
export const migration_source_name = 'passport';
export const migration_source_dir = 'passportjs';
export const migration_source_social_name = 'Passport.js ';
export const script_supports_social_logins = true;
export const add_tenant_image_role = 'bottom-cropped';
export const social_integration_method = 'various strategy packages such as passport-google-oauth20, passport-github2, and passport-facebook';
export const migration_sources_tools = 'Node.js/Passport.js applications';
export const hashing_algorithm = 'bcrypt';
## Overview
This document will help you migrate from {frontmatter.technology} authentication to FusionAuth.
This guide assumes you have installed FusionAuth. If you have not, please [view our installation guides](/docs/get-started/download-and-install) and install FusionAuth before you begin. For more general migration information, please view the [FusionAuth migration guide](/docs/lifecycle/migrate-users/genericmigration).
The screenshots, scripts, and code snippets in this guide are from this [example Express application](https://github.com/fusionauth/fusionauth-example-migrating-node), but the migration steps apply to other Node.js applications.
The example project uses {frontmatter.technology} to implement authentication using two common strategies:
* `passport-local`: Username-and-password authentication using credentials stored in the application's database.
* `passport-google-oauth20`: OAuth social login using Google.
Each approach requires different user data to be migrated. {frontmatter.technology} itself doesn't manage user data; it only handles authentication. Your application defines the user model, database schema, and data storage approach.
The export script and migration strategies here are tailored to each authentication method, preserving user passwords (where applicable), account states, and social login connections so users can continue logging in with their current credentials.
## Prerequisites
To follow this tutorial, you need:
- [Node.js 22 or higher](https://nodejs.org/en/download) to run the migration script.
- [FusionAuth](/docs/get-started/download-and-install). The easiest way to run FusionAuth locally is to use [Docker](https://docs.docker.com/get-docker/) with the configuration file provided later in this tutorial.
- [ngrok](https://ngrok.com/) (optional) to expose your local Express application for testing purposes.
## Planning Considerations
### Slow Migration Or Bulk Migration
To preserve your users' passwords, you need to perform a slow migration. Users log in to FusionAuth with their existing credentials, and FusionAuth transparently migrates their data. Slow migrations in FusionAuth use [Connectors](/docs/lifecycle/migrate-users/connectors), a paid feature.
If, on the other hand, resetting user passwords is acceptable, a [Bulk Migration](#bulk-migration) can work for you. Review that section for more details on the required steps. You may also perform a bulk migration after a slow migration has run for a while. Active users can be transparently migrated, and infrequent users may not mind resetting their passwords.
You can learn more about the types of [migrations that FusionAuth supports here](/docs/lifecycle/migrate-users/#migration-types).
### Obtaining User Data
To migrate users from a Node.js application, you'll need to export user data from your database. Since {frontmatter.technology} doesn't manage user data directly, the export process depends on your database and user schema.
#### `passport-local`
Applications using `passport-local` store user credentials in their database. Common user data includes:
* `email` or `username`: The primary user identifier.
* `password`: The hashed password, usually bcrypt.
* `emailVerified` or `confirmed`: Email verification status.
* `firstName`, `lastName`, `displayName`: User profile information.
* `loginAttempts`, `blocked`, `lastLogin`: Security and access control fields.
This data can be exported directly from the database and preserved in FusionAuth during migration.
#### OAuth Strategies
Applications using OAuth strategies store minimal local user data since authentication happens through external providers. Exporting data from an application using OAuth focuses on:
* Profile fields such as `email`, `name`, `username`, and `avatar`.
* Provider connection data like the provider Id (`googleId`, `githubId`, or `facebookId`).
FusionAuth uses the provider Id to link migrated user accounts to the correct external identity provider.
### Mapping User Attributes
The attributes of the [User object in FusionAuth are well documented](/docs/apis/users).
If there is an attribute in your {frontmatter.technology} user that cannot be directly mapped to a FusionAuth attribute, you can place it in the `user.data` field. This field can store arbitrary JSON values and will be indexed and searchable.
### Social Logins
Settings -> Identity Providers . In the dropdown, choose Add Google , and then enter your Google Client Id and Client secret (find these values in your Google Cloud console). Save the identity provider.
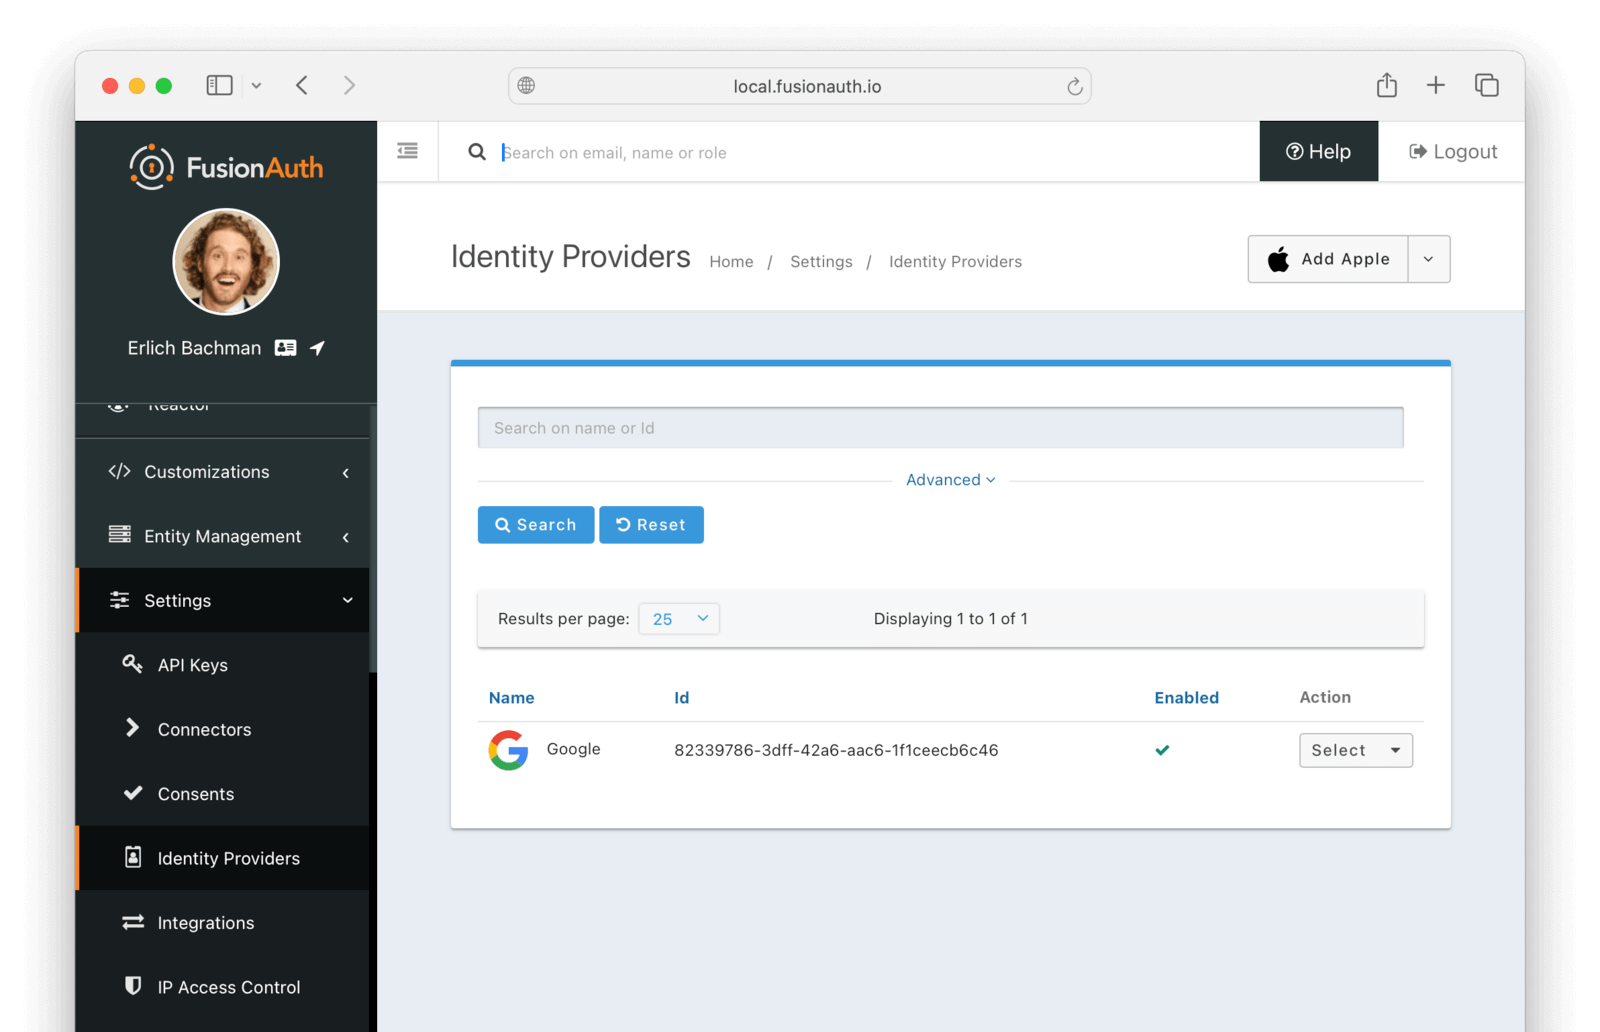
## Bulk Migration
### Get The Scripts
FusionAuth provides a JavaScript import script under a permissive open-source license.
```shell title="Getting the import scripts"
git clone https://github.com/fusionauth/fusionauth-import-scripts
```
Navigate to the `passportjs` directory.
```shell title="Navigating to the import scripts directory"
cd fusionauth-import-scripts/passportjs
```
### Install Needed Packages
Add the required packages to your Node.js project with the following command.
```shell title="Installing required packages"
npm install sqlite3 stream-json uuid @fusionauth/typescript-client
```
### Use The Script
Make sure the `users.json` and `faUsers.json` files are in the same directory as the scripts.
Use the following command to run the script to bulk import users into FusionAuth.
```shell title="Importing users"
node scripts/6_importUsersBulk.mjs
```
Use the following command to run the script to link users with social logins.
```shell title="Importing social logins"
node scripts/7_importSocialUsers.mjs
```
#### Enhancing The Script
You may also want to migrate additional data. Currently, the following attributes are migrated:
* `email`
* `username`
* `fullName` (when available)
* `verified`
* `active`
* `password`
* `registrations`
* `data`: Custom metadata including source system and original user Id
If you have additional user attributes to migrate, review and modify the script's user mapping logic.
You may also want to assign Roles or associate users with Groups by creating the appropriate JSON data structures in the import call. These are documented in the [Import User API docs](/docs/apis/users#import-users).
### Verify The Import
Reactor in the sidebar of the admin UI.
Now configure a FusionAuth Connector to point to an intermediary web service between FusionAuth and your application. The web service will expose an API endpoint that FusionAuth can call to retrieve user details for migration.
Before proceeding, note that if you're running FusionAuth in Docker and your application locally, you'll need to ensure FusionAuth can reach the application. There are two ways to do this:
* **Use ngrok:** Use a tool like [ngrok](https://ngrok.com/) to expose your local application.
* **Use your host machine's IP address:** Run the Express application on `0.0.0.0` and find your host machine's IP address:
```bash
ifconfig | grep "inet " | grep -v 127.0.0.1 | awk '{print $2}' | head -1
```
Then construct the connector URL as `http://:PORT/fusionauth/connector`.
In your [FusionAuth admin UI](http://localhost:9011), browse to Settings -> Connectors .
Click the dropdown button on the top right and select Add Generic connector .
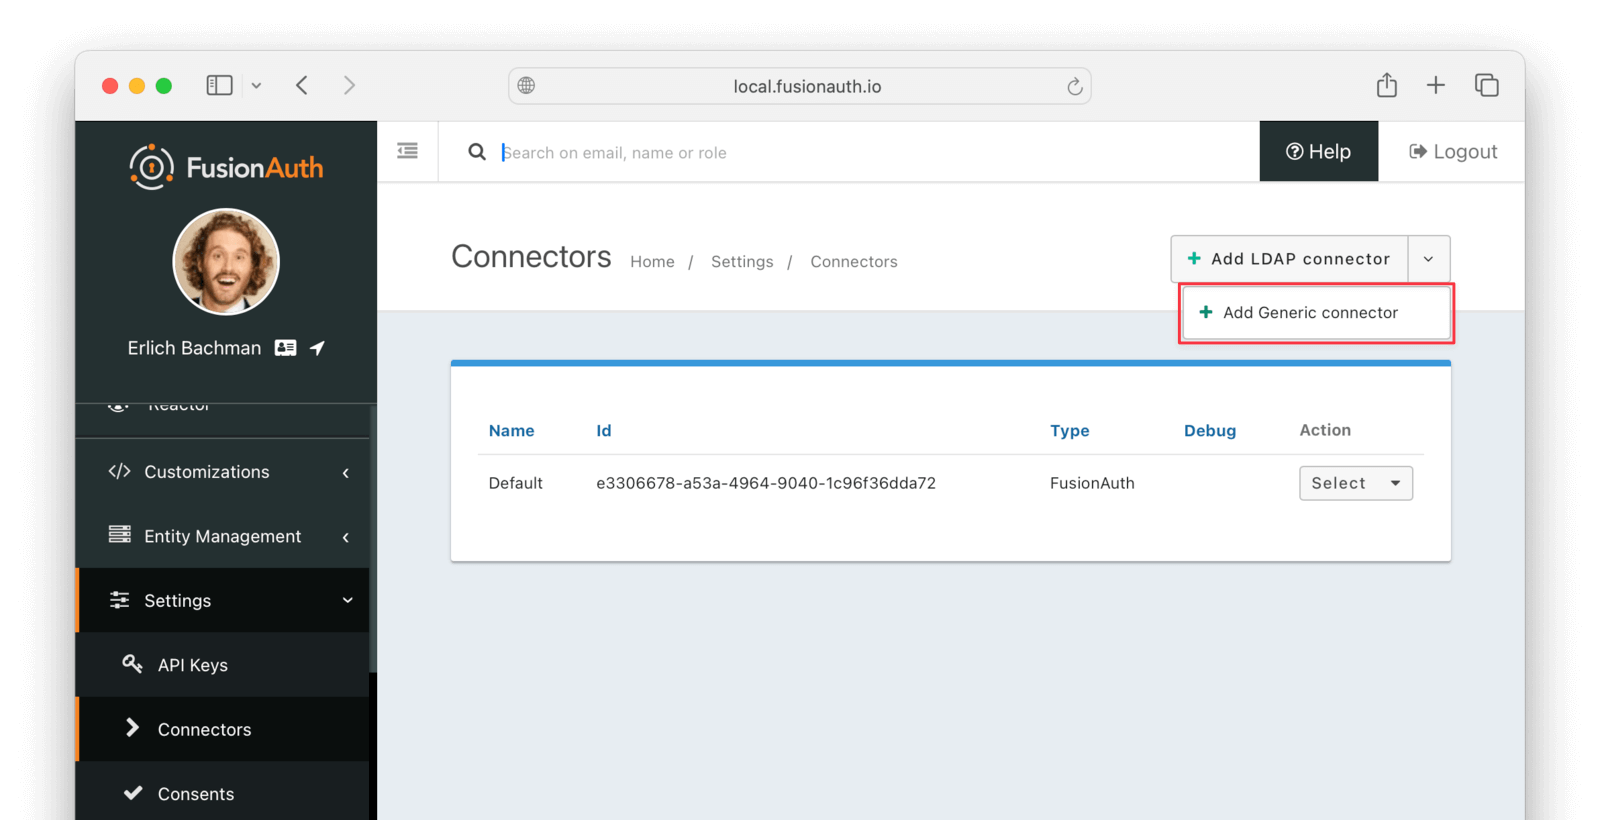
Enter the field values as follows:
* Set Name to `My App Connector` or anything you like.
* Set Authentication URL to the URL provided by ngrok or `http://:PORT/fusionauth/connector`. Replace `IP_ADDRESS_OR_DOMAIN` with the IP address or domain name of your host machine, and `PORT` with the port number of your Express application.
* Increase timeout values (for example, to `5000`) to accommodate network latency when the API requests are being made.
* Enable Debug enabled .
* Save the connector.

Now browse to Tenants and do the following:
* Select Edit on the default tenant.
* Navigate to the Connectors tab.
* Click Add policy .
* Select `My App Connector`.
* Leave Domains with the value `*` to apply this Connector to every user.
* Enable Migrate user so that FusionAuth will no longer use {frontmatter.technology} for subsequent logins of the same user.
* Click Submit .
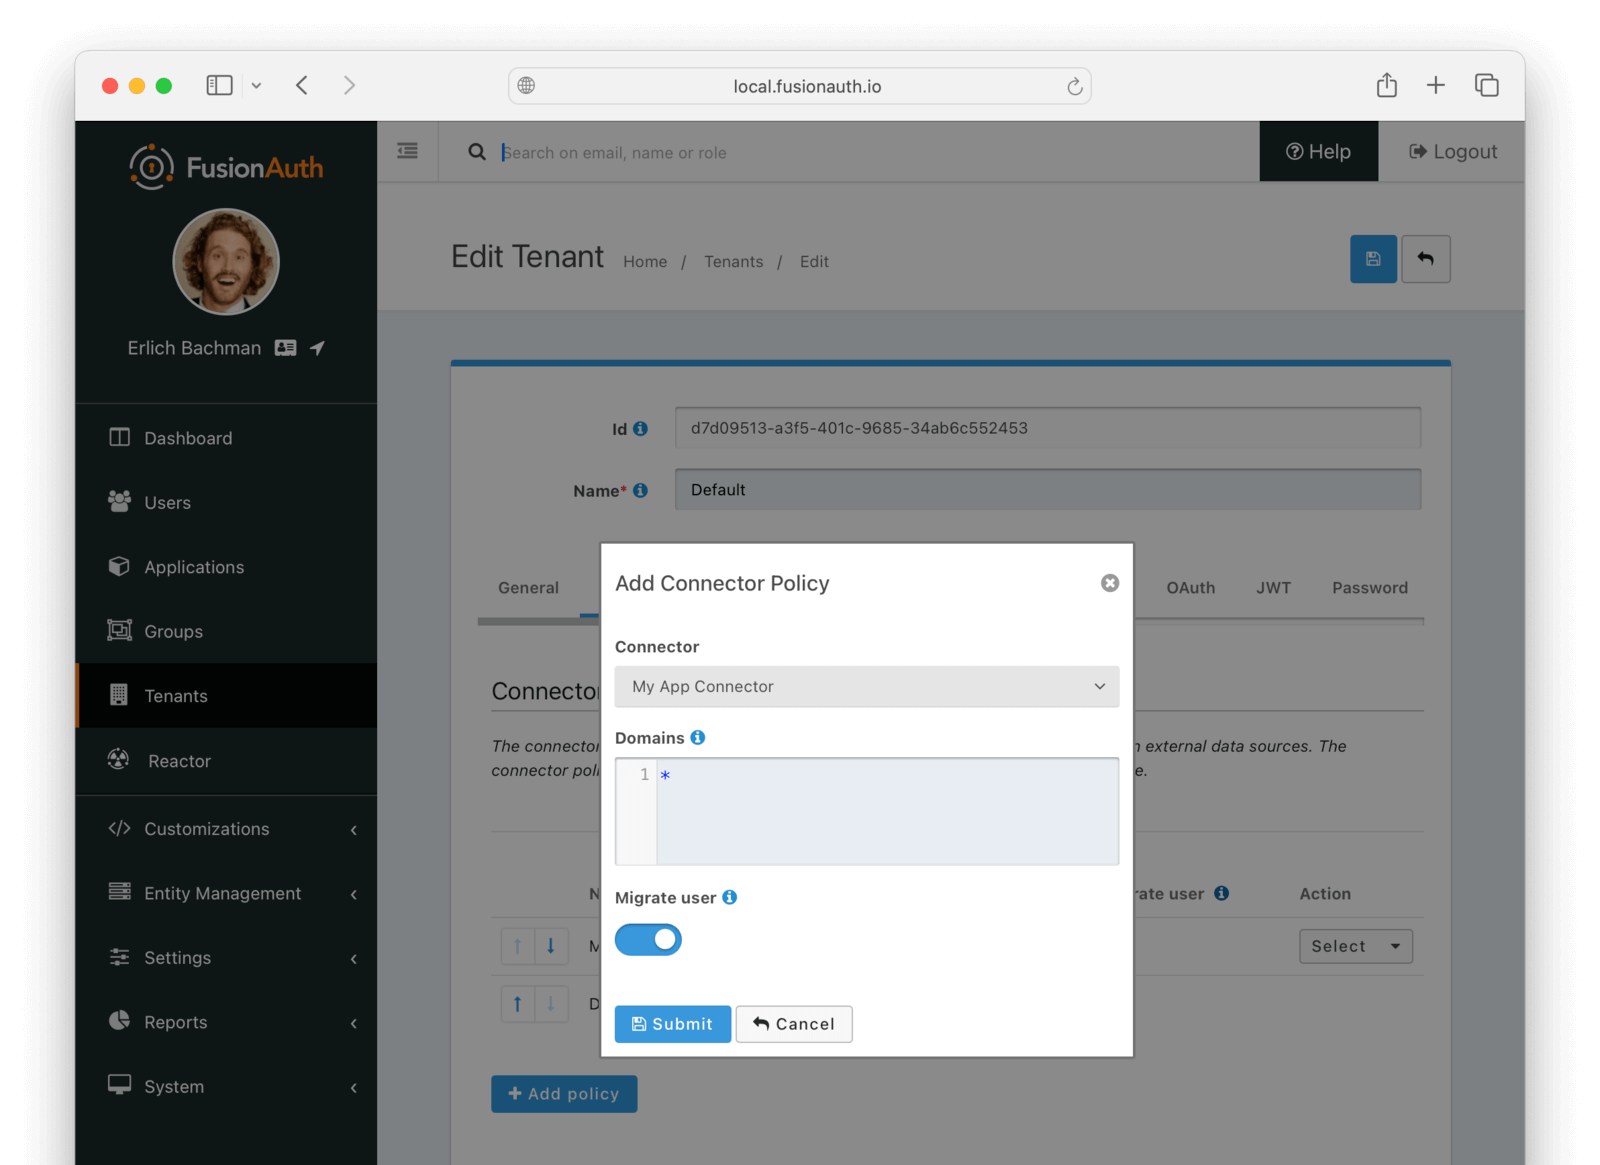
Move the `My App Connector` policy to the top of the list, using the arrow buttons if necessary.
With this configuration, all users are checked against this Connector the first time they are seen. If they log in, they'll be migrated to the FusionAuth user database.
After configuration, the Connector entry form should look similar to this:
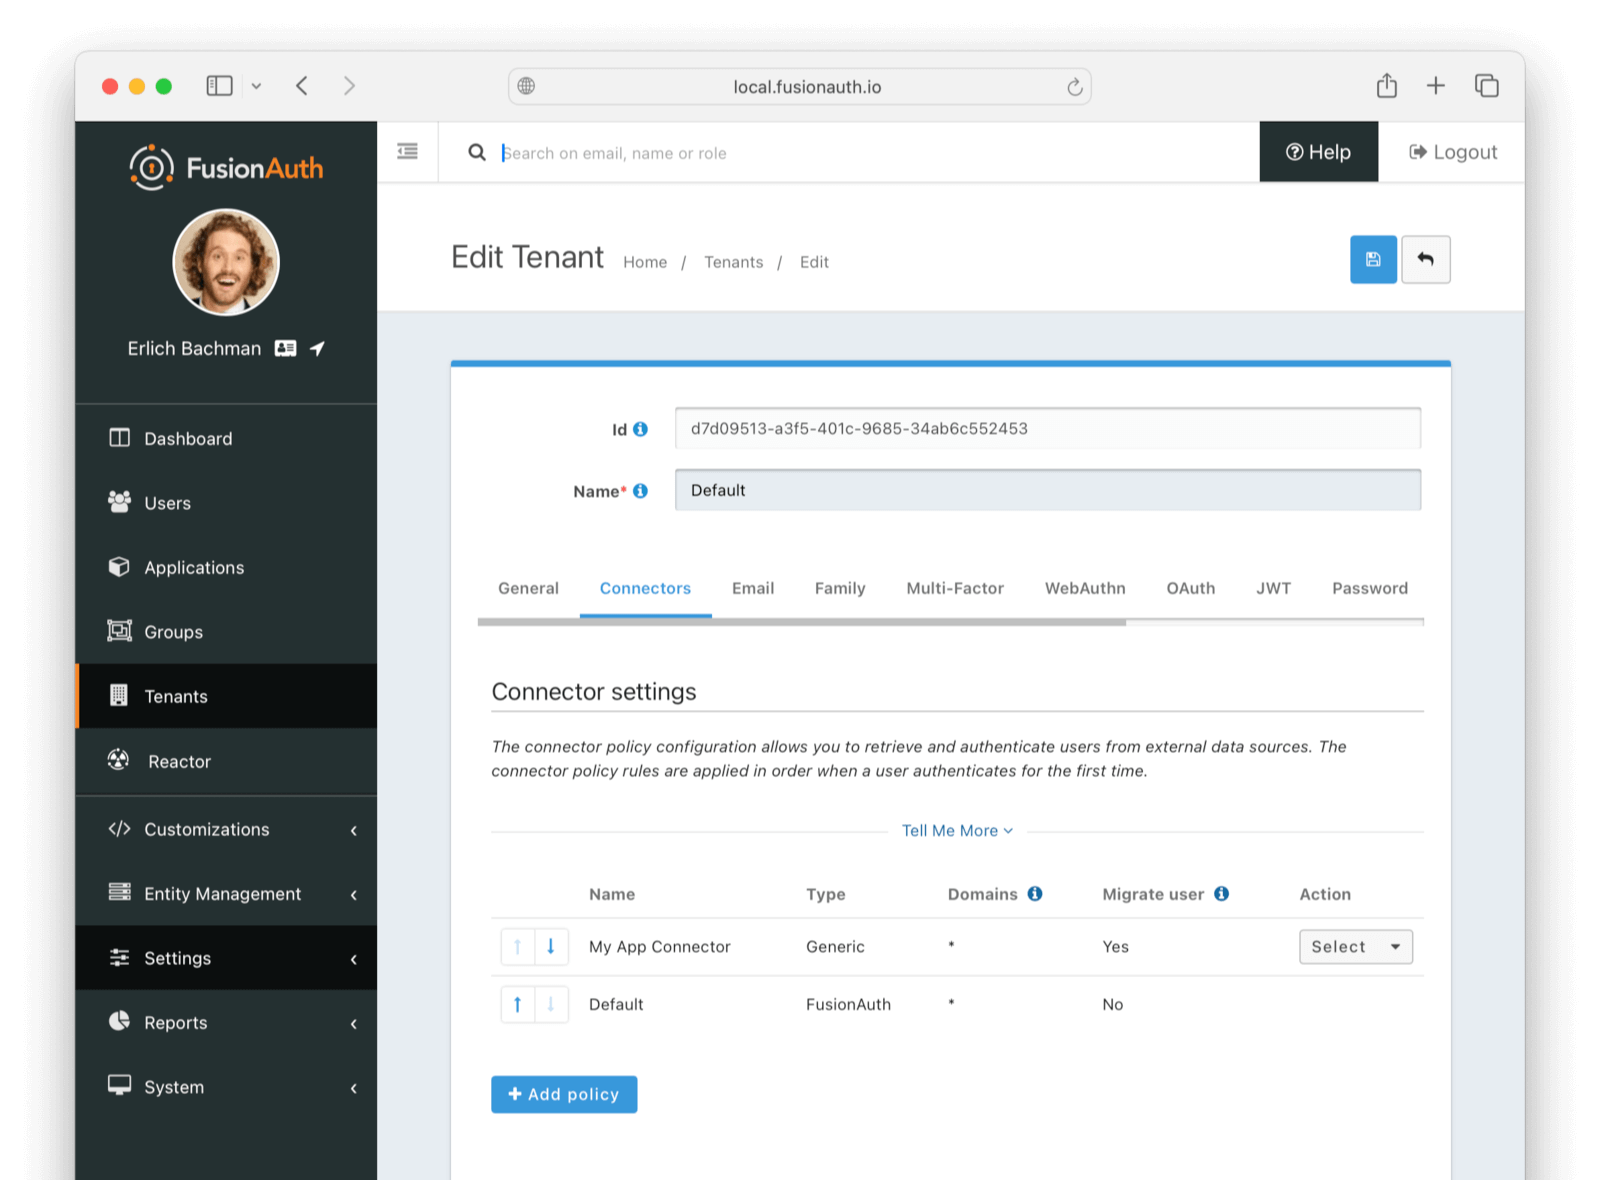
Save the changes by clicking the save icon at the top right.
### Add An Authentication Intermediary Endpoint
The next step is to write an API endpoint that will accept the user's login Id and password and return the user details to be saved to FusionAuth on successful login.
The Connector makes a POST request to the URL you specify, and expects a JSON object containing a user in return.
An example controller is in `passportjs/connectorSnippet.mjs`.
### Log In With A Test User
In the FusionAuth admin interface, browse to Applications . Click the Select dropdown next to the "Example App" application, then select View . Copy the OAuth IdP login URL and open it in an incognito window in your browser (if you don't use an incognito window, you need to log out of the FusionAuth admin session to prevent the active session from interfering with the test). This URL is a login page for the "Example App", so that you can test the web service and Connector.
For this tutorial, the login URL should be `http://localhost:9011/oauth2/authorize?client\_id=e9fdb985-9173-4e01-9d73-ac2d60d1dc8e\&response\_type=code\&redirect\_uri=http%3A%2F%2Flocalhost%3A8080%2Foauth-redirect`.
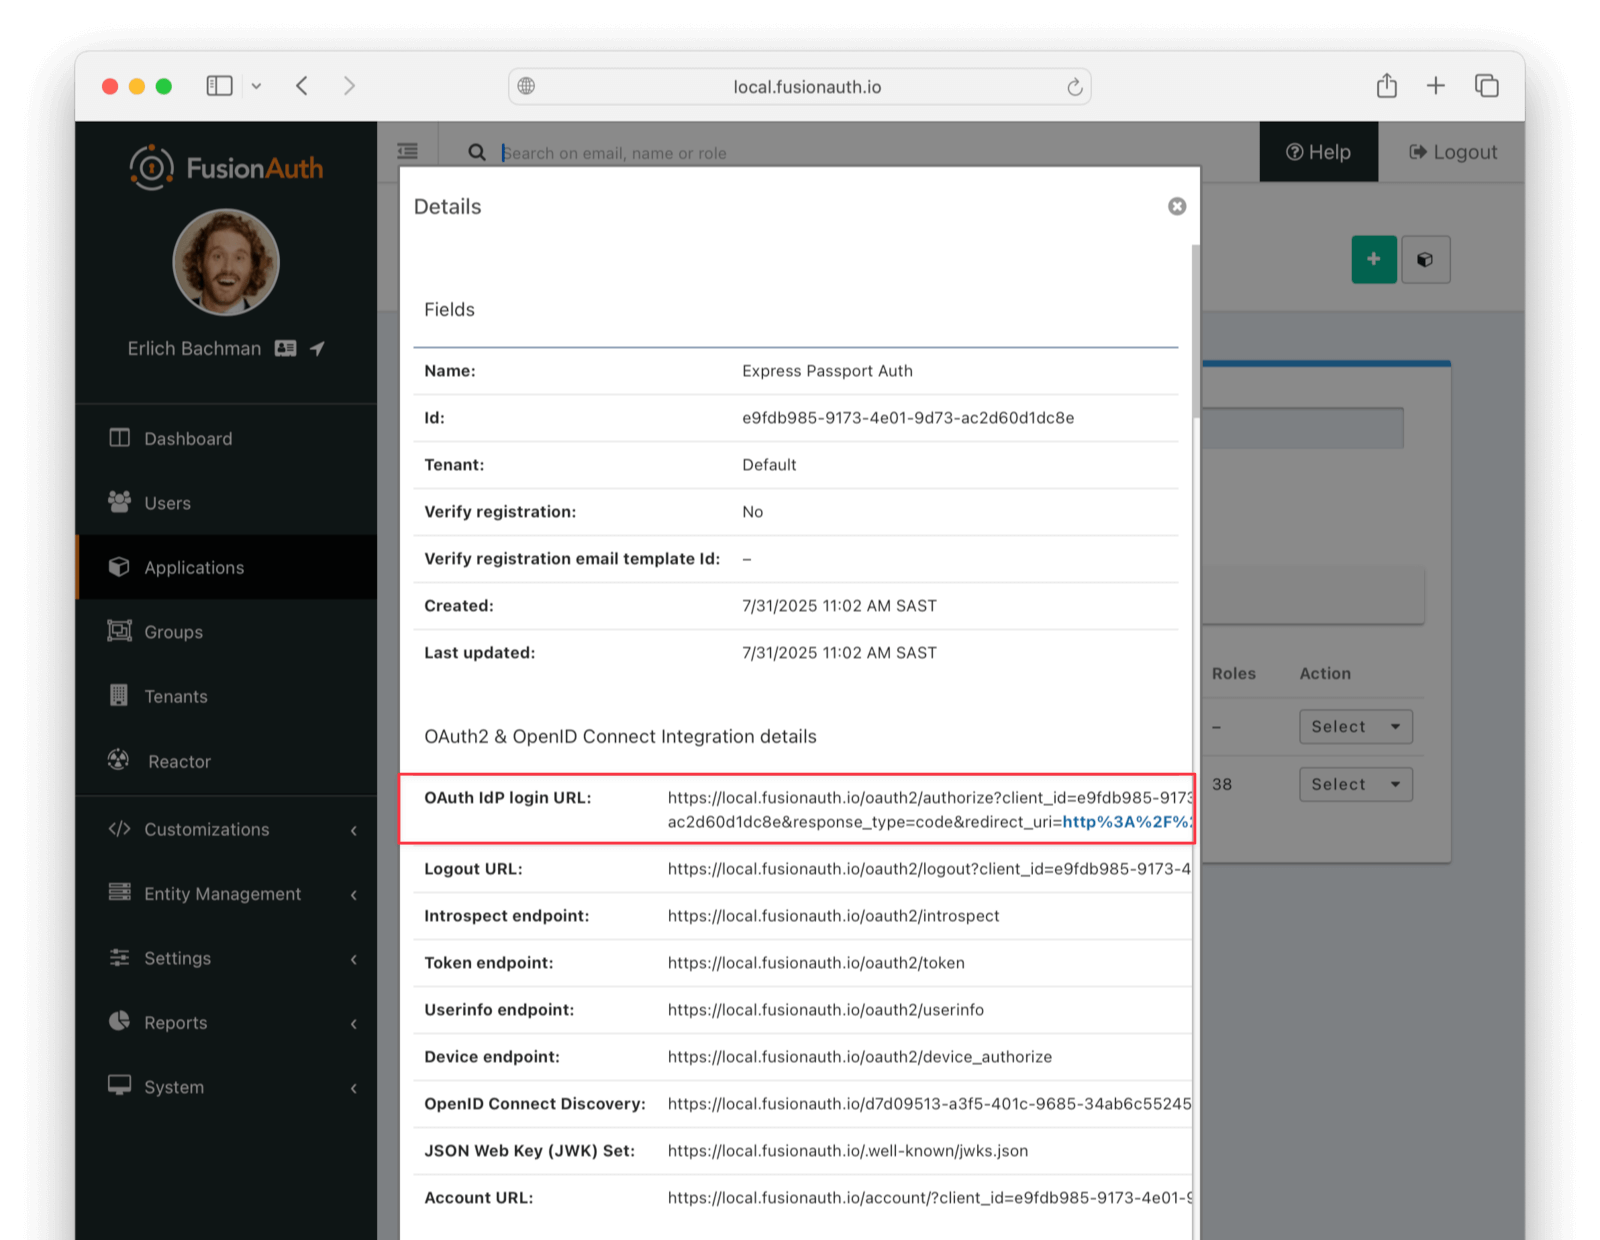
Log in with the username and password for a sample user as defined in the `models/user.js` file of the example application, for example, `sarah.johnson@techcorp.com` and `SecurePass2024!`. Your Connector service should show `request received` and the login request succeeding in the terminal.
If you log out and log in again with the same user, you'll notice that `request received` will not show in the web service console. This is because FusionAuth is now using its own authentication service, as the original user password has been hashed and saved in the FusionAuth database.
The user has been successfully migrated, and {frontmatter.technology} authentication system is no longer needed.
#### Debug The Connector Service
If you encounter errors in this process, try the following:
* View the System Event Logs in the bottom left of the FusionAuth web interface.
* Adjust the timeout values of the Connector to higher values to accommodate network latency between API calls.
### Estimate The Slow Migration Timeline
When using a slow migration, you can estimate how many accounts will be migrated in a given period.
Reactor on the sidebar of the admin UI.
Now configure a FusionAuth Connector to point to an intermediary web service between FusionAuth and your {frontmatter.technology} application. The web service will expose an API endpoint that FusionAuth can call to retrieve user details for migration.
Before proceeding, note that if you're running FusionAuth in Docker and your {frontmatter.technology} application locally, you'll need to ensure FusionAuth can reach your {frontmatter.technology} application. There are two ways to do this:
- **Use ngrok:** Use a tool like [ngrok](https://ngrok.com/) to expose your local {frontmatter.technology} application. Be sure to add your ngrok URL to the `config.hosts` whitelist in `config/environments/.rb` to allow external connections.
- **Use your host machine's IP address:** Run the {frontmatter.technology} application on `0.0.0.0` and find your host machine's IP address:
```bash
ifconfig | grep "inet " | grep -v 127.0.0.1 | awk '{print $2}' | head -1
```
Then construct the connector URL as `http://:PORT/fusionauth/connector`.
In the [FusionAuth admin UI](http://localhost:9011), browse to Settings -> Connectors .
Click the dropdown button on the top right and select Add Generic connector .

Enter the field values below.
- Set Name to `My App Connector` or anything you like.
- Set Authentication URL to the URL provided by ngrok or `http://:PORT/fusionauth/connector`. Replace `IP_ADDRESS_OR_DOMAIN` with the IP address or domain name of your host machine, and `PORT` with the port number of your {frontmatter.technology} application.
- Increase timeout values (for example, to `5000`) to accommodate network latency when the API requests are being made.
- Enable Debug enabled .

Now browse to Tenants and do the following:
- Select Edit on the default tenant.
- Navigate to the Connectors tab.
- Click Add policy .
- Select `My App Connector`.
- Leave Domains with the value `*` to apply this Connector to every user.
- Enable Migrate user so that FusionAuth will no longer use your {frontmatter.technology} backend for subsequent logins of the same user.
- Click Submit .

Move the `My App Connector` policy to the top of the list, using the arrow buttons if necessary.
With this configuration, all users are checked against this Connector the first time they are seen. If they log in, they'll be migrated to the FusionAuth user database.
After configuration, the Connector entry form should look similar to this:

Save the changes by clicking the save icon at the top right.
### Add An Authentication Intermediary Endpoint
The next step is to write an API endpoint that will accept the user's login Id and password, and return the user details to be saved to FusionAuth if the login is successful.
The Connector makes a POST request to the URL you specify, and expects a JSON object containing a user in return.
Take a look at the example controllers for [Devise](https://github.com/fusionauth/fusionauth-example-migrating-rails/raw/refs/heads/main/ruby-users-devise/app/controllers/fusion_auth_connector_controller.rb) or [{frontmatter.technology} built-in authentication](https://github.com/fusionauth/fusionauth-example-migrating-rails/raw/refs/heads/main/ruby-users-rails-auth/app/controllers/fusion_auth_connector_controller.rb).
The example {frontmatter.technology} applications show working implementations of this connector for different {frontmatter.technology} authentication systems.
The controller will authenticate the user with their login Id and password, then return the user details to be imported into FusionAuth if authentication succeeds.
### Log In With A Test User
In the FusionAuth admin interface, browse to Applications . Click the Select dropdown next to the "Start Here" application, then select View . Copy the OAuth IdP login URL and open it in an incognito window in your browser (if you don't use an incognito window, you need to log out of the FusionAuth admin session to prevent the active session from interfering with the test). This URL is a login page for the "Start Here" application, so that you can test the web service and Connector.
For this tutorial, the login URL should be `http://localhost:9011/oauth2/authorize?client_id=e9fdb985-9173-4e01-9d73-ac2d60d1dc8e&response_type=code&redirect_uri=http%3A%2F%2Flocalhost%3A8080%2Foauth-redirect`.

Log in with the username and password for a known user as defined in the `db/seeds.rb` seed scripts of the sample applications:
- Username `jennifer.adams@techstart.com` and password `StartupLife2024!` for the Devise example.
- Username `sarah.johnson@techcorp.com` and password `SecurePass123!` for the {frontmatter.technology} built-in authentication example.
You should see the successful login request logged by the connector service in the terminal.
If you log out and log in again with the same user, you'll notice that the connector will no longer log the login request. This is because FusionAuth is now using its own authentication service, as the original user password has been hashed and saved in the FusionAuth database.
The user has been successfully migrated, and the {frontmatter.technology}-based authentication system is no longer needed.
#### Debug The Connector Service
If you encounter errors in this process, try the following:
- View the System Event Logs in the bottom left of the FusionAuth web interface.
- Add `puts` statements to the `fusionauth_connector_controller.rb` file to see where any errors are occurring.
- Adjust the timeout values of the Connector to higher values to accommodate network latency between API calls.
### Estimate The Slow Migration Timeline
When using a slow migration, you can estimate how many accounts will be migrated in a given period.
An optional UUID. When this value is omitted a unique Id will be generated automatically.
A unique name to identify the Connector. This name is for display purposes only and it can be modified later if desired.
The fully qualified URL of the API endpoint. The connector will send an HTTP POST request to this URL to authenticate the user. The format returned will be identical to the [Login API](/docs/apis/login). See the [response section](/docs/lifecycle/migrate-users/connectors/generic-connector#response) for status codes accepted by FusionAuth from your connector.
The connect timeout in milliseconds, used when making the POST request.
The read timeout in milliseconds, used when making the POST request.
Enable debug to create an event log to assist you in debugging integration errors.
### Security
The security settings may be used to require authentication in order to make the POST request to the authentication endpoint.

#### Form Fields
The username to be used for HTTP Basic Authentication.
The password to be used for HTTP Basic Authentication.
The SSL certificate to be used when connecting to the POST endpoint.
If you need to add a certificate for use with this connector, navigate to Settings -> Key Master and import a certificate. The certificate will then be shown as an option in this form control.
### Headers
You can configure arbitrary headers to be added to the HTTP POST request when making a request to the configured authentication endpoint.

#### Form Fields
The name of the header to add to the HTTP request when authenticating.
The header value to add to the HTTP request when authenticating.
## Using the Generic Connector
To use a Generic Connector:
* Build a Generic Connector API endpoint in your application to expose your user data.
* Configure the Connector in Settings -> Connectors , including securing the endpoint.
* Add the Connector Policy in Tenants -> Your Tenant -> Connectors to configure to which domains the connector applies.
### Request
The request to your API endpoint will be delivered as JSON:
Connect timeout and the Read timeout fields.
For Connect timeout , if the timeout expires before the connection can be established, the login fails.
For Read timeout , if the timeout expires before there is data available to be read, the login fails.
The default values for these timeouts are typically adequate, but you may want to tune them if there is resource contention on your server.
However, neither timeout prevents the HTTP request from taking as long as it needs to in order to respond once the API endpoint has begun to write bytes to the output stream.
If a Connector is not correctly terminating the HTTP response or taking an excessive time to process the login request, then this can cause issues under load.
You can avoid issues by having your API endpoint write login data and completely close the connection as quickly as possible.
You can load test your Connector using [FusionAuth's load testing framework](/docs/operate/monitor/monitor#load-testing) or any other HTTP based load testing framework.
Additionally, ensure the API endpoint is sized correctly and not starved of resources.
You should return the appropriate status code and data as quickly as possible.
Using the correct status code for each response ensures that FusionAuth handles the response appropriately.
### Add Database Indices
If you are querying a database to determine whether a user can authenticate, use database tooling such as `explain plan` and make sure that appropriate indices have been added.
### Disable Logging
Turning on the Connector's Debug Enabled field during development is useful for troubleshooting.
However, once you deploy a Connector to production, enable debugging only when troubleshooting.
Debugging writes to the System -> Event Log and this causes additional load on the database.
### Perform Optional Actions Out Of Band
Your connector may need to do certain other tasks after a successful login occurs. This could include calling APIs or sending messages. If these actions don't affect the result of the authentication, have these take place after a response has been sent to FusionAuth.
One way to accomplish this is to use a queue to store relevant data, which can then be read later by a different process.
### Load Test
You can load test your connector using a staging environment and the [Login API](/docs/apis/login). Configure the tenant to use your connector, create users in your system, and use a load testing tool to make repeated login requests of FusionAuth through your connector.
[Here's more about load testing FusionAuth](/docs/operate/monitor/monitor#load-testing).
# Connectors Overview
import Aside from 'src/components/Aside.astro';
import Breadcrumb from 'src/components/Breadcrumb.astro';
import ConnectorDiagram from 'src/diagrams/docs/lifecycle/migrate-users/connectors/_connector-diagram.astro';
import PremiumPlanBlurb from 'src/content/docs/_shared/_premium-plan-blurb.astro';
import { YouTube } from '@astro-community/astro-embed-youtube';
Settings -> Connectors or use the [Connectors](/docs/apis/connectors/) APIs.
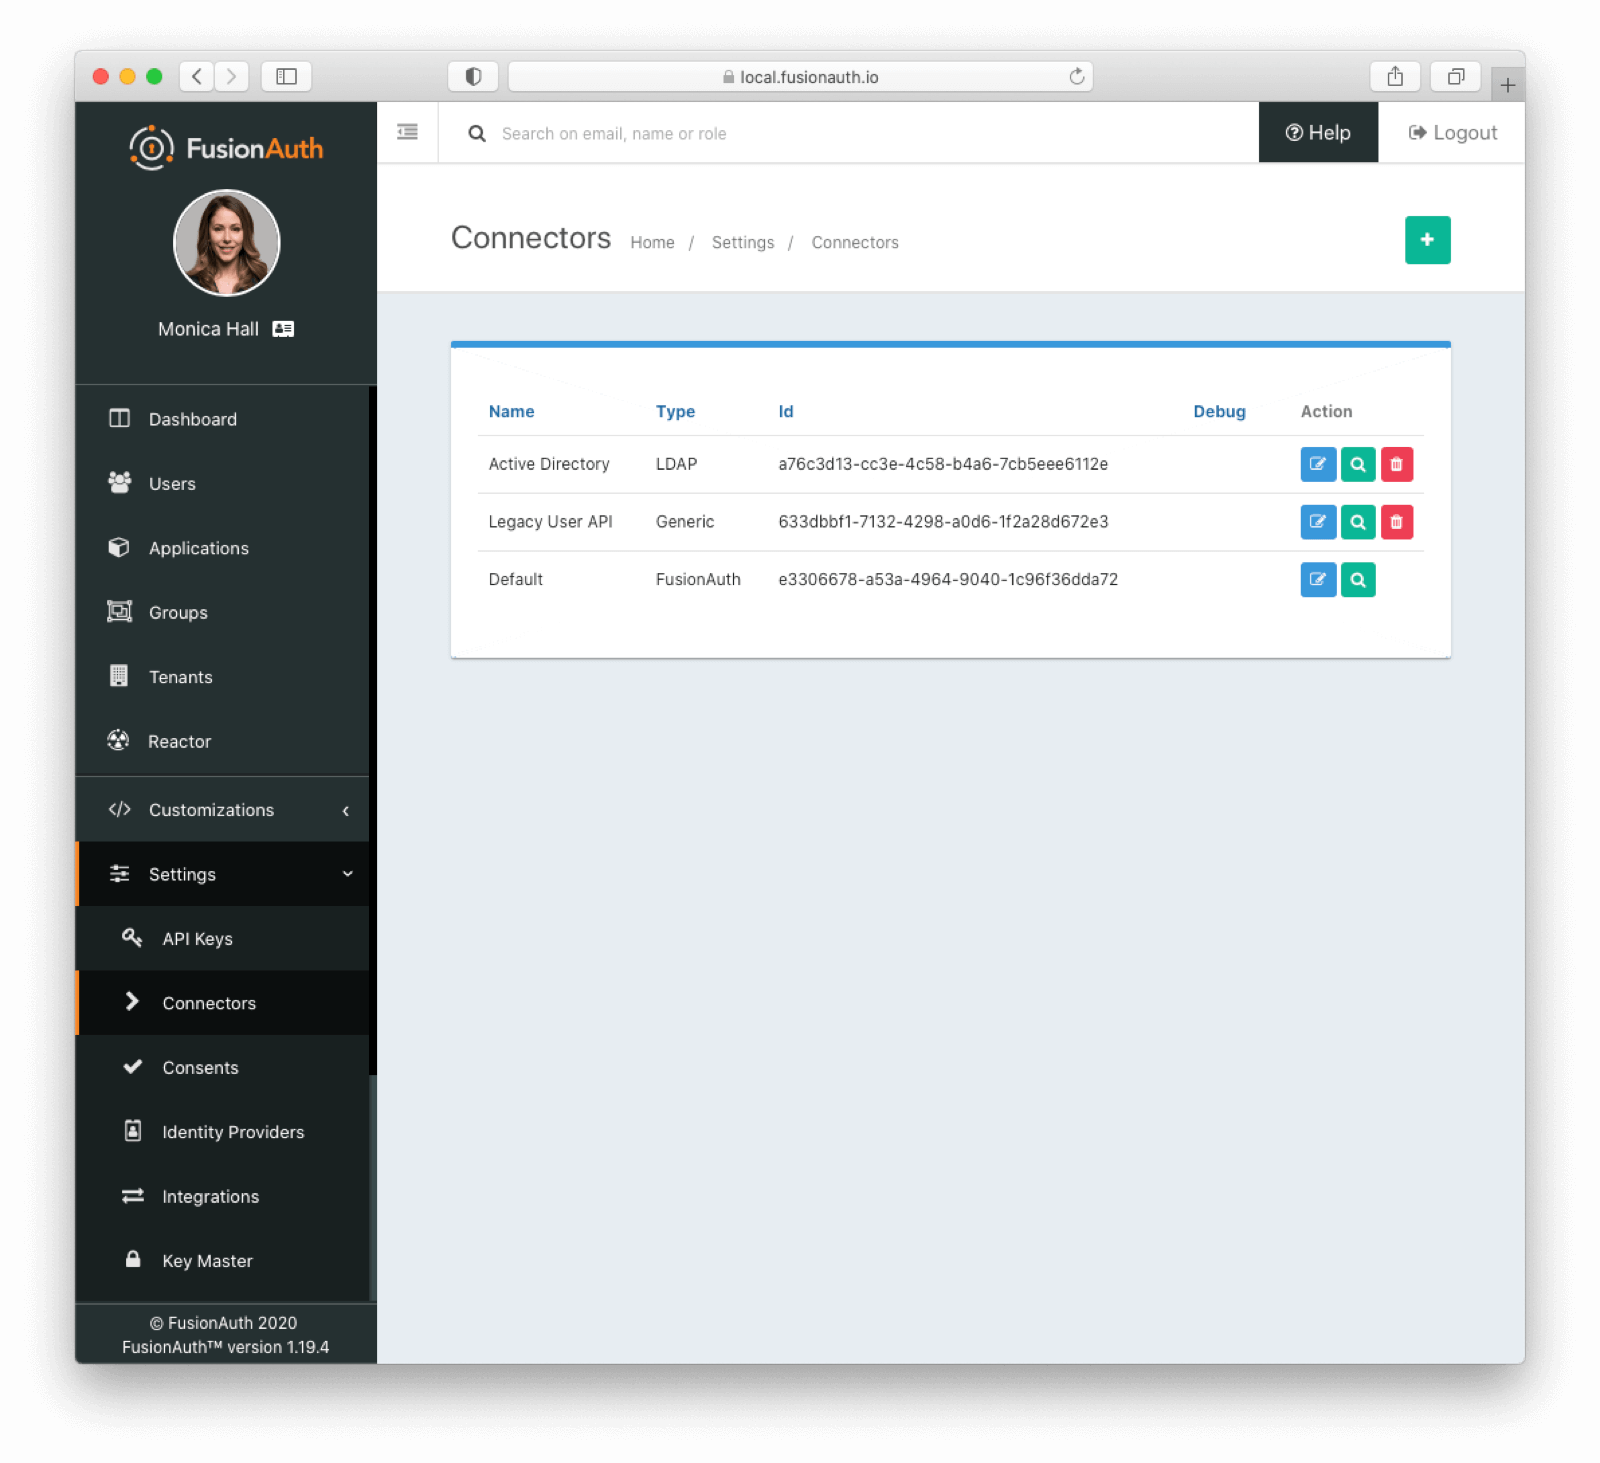 ## Data Flow
If you are using a Connector, then to your end user and application, it is exactly the same as if FusionAuth is authenticating directly against the FusionAuth user datastore. Connector usage is transparent.
Below is a diagram of the data flow for an Authorization Code grant when a Connector is configured.
 The order of operations matters for Connectors. The Connector policy rules are applied in order when a user authenticates for the first time.
In the above system, first time users who have an email address with a domain `example.com` will be authenticated against the Active Directory Connector. If they are not found, they'll be authenticated against the Legacy User API Connector. If they are not found in that system, the user will be authenticated against the FusionAuth Connector.
Users who have an email address with any other domain will be authenticated against the Legacy User API Connector the first time they log in. If they are not found in that system, the user will be authenticated against the FusionAuth Connector.
On authentication the Connector creates the user object and stores it into FusionAuth. Once a user is authenticated against a Connector, they will always be authenticated against that same data source. If a Connector is deleted, users will be authenticated against the Connectors in the order defined by the current policy.
### Domains
A domain may be either be the string `*` in which case the Connector policy applies to all users, or one or more valid email domains such as `example.com` or `piedpiper.com`. If more than one domain is entered, they must be separated by newlines.
## Connectors Vs Identity Providers
Connectors share many features with [Identity Providers](/docs/lifecycle/authenticate-users/identity-providers/). Both can connect FusionAuth to an external system of record for user identity.
How can you decide between them? While they each have strengths, these questions may be helpful in choosing:
* Are you looking to migrate users into FusionAuth? A Connector is a better option.
* Does your external system support a standard such as OIDC or SAML? An Identity Provider is what you want.
* Are you looking to connect to a system which only supports LDAP? A Connector is the better fit.
* Will the external system remain the system of record for the users? An Identity Provider is typically a better choice.
* Does your existing identity store expose no standard way to share identity data? A Connector is the better option.
# LDAP Connector
import APIBlock from 'src/components/api/APIBlock.astro';
import APIField from 'src/components/api/APIField.astro';
import Breadcrumb from 'src/components/Breadcrumb.astro';
import InlineField from 'src/components/InlineField.astro';
import SystemOfRecordCaveat from 'src/content/docs/lifecycle/migrate-users/connectors/_system-of-record-caveat.mdx';
import { YouTube } from '@astro-community/astro-embed-youtube';
## Overview
LDAP Connectors allow you to authenticate users against or migrate them from an LDAP server accessible to FusionAuth.
## Configuration
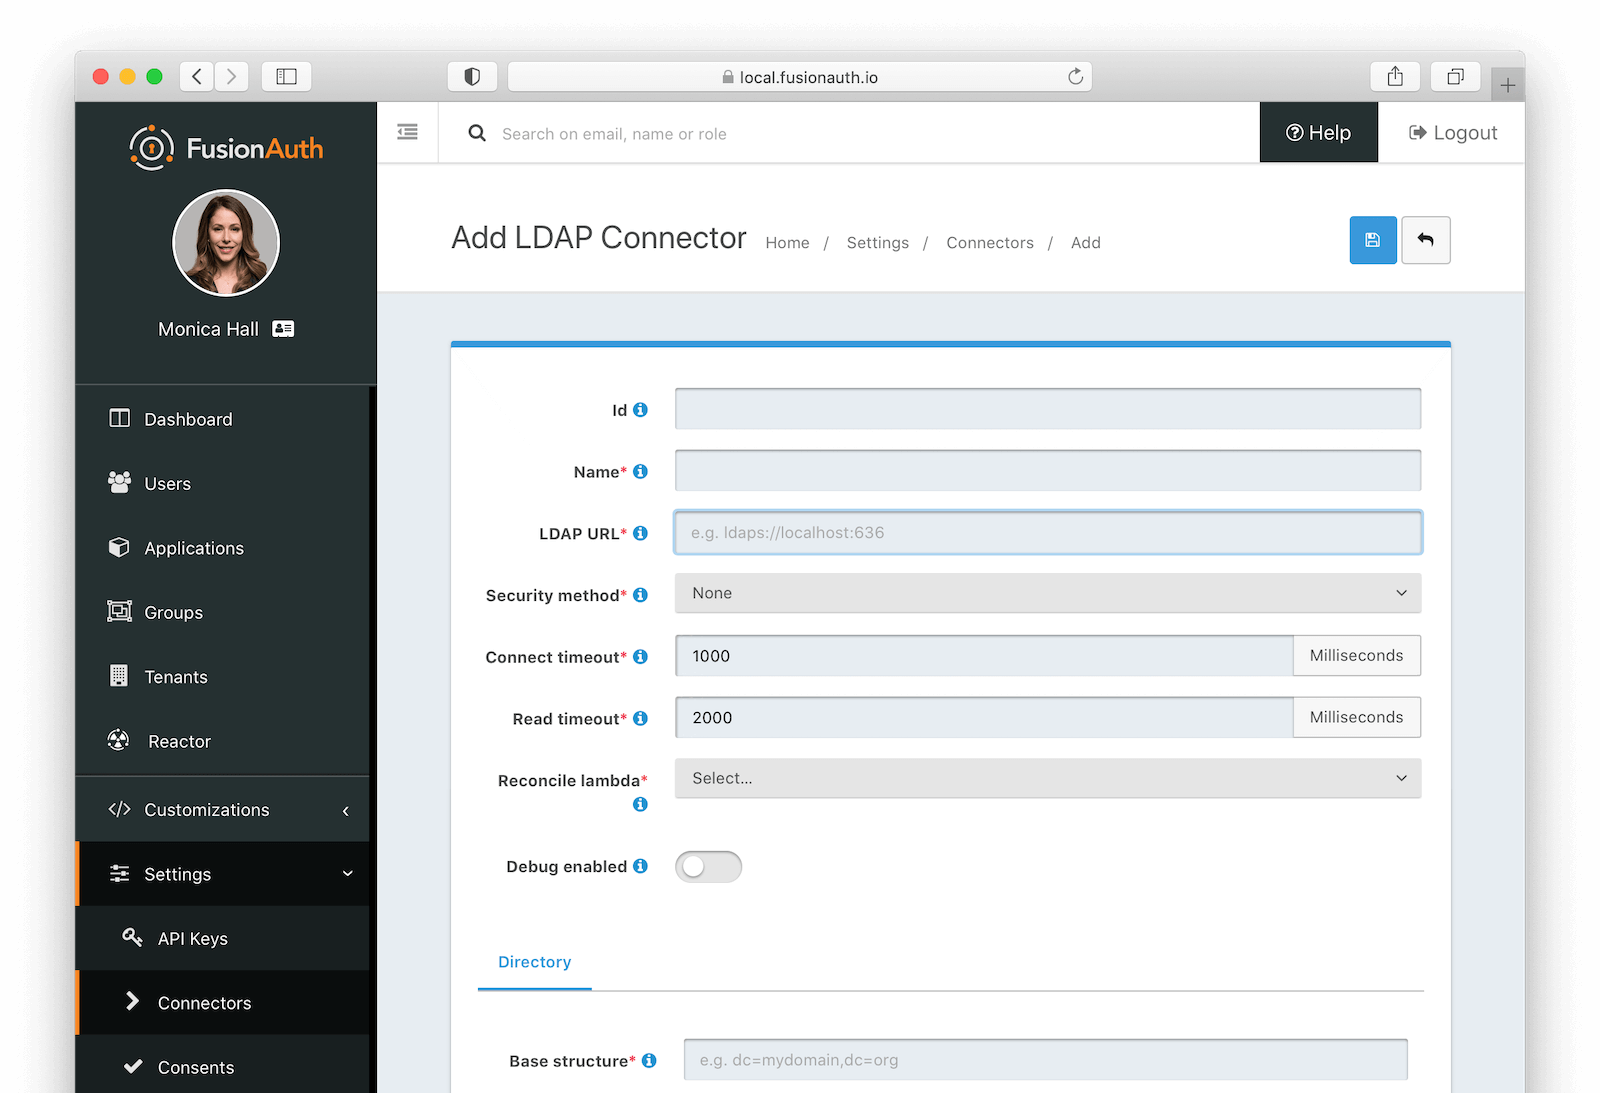 ### Form Fields
An optional UUID. When this value is omitted a unique Id will be generated automatically.
A unique name to identify the Connector. This name is for display purposes only and it can be modified later if desired.
The URL used to connect to the LDAP service.
The desired security method used to connect to LDAP. The default value of `None` is unencrypted which is not recommended unless you use an alternative method of securing your connection, such as a VPN.
The connect timeout in milliseconds used when making the request to LDAP.
The read timeout in milliseconds used when making the request to LDAP.
The lambda used to reconcile the user from LDAP to FusionAuth.
Navigate to Customizations -> Lambdas to create this lambda.
Enable debug to create an event log to assist you in debugging integration errors.
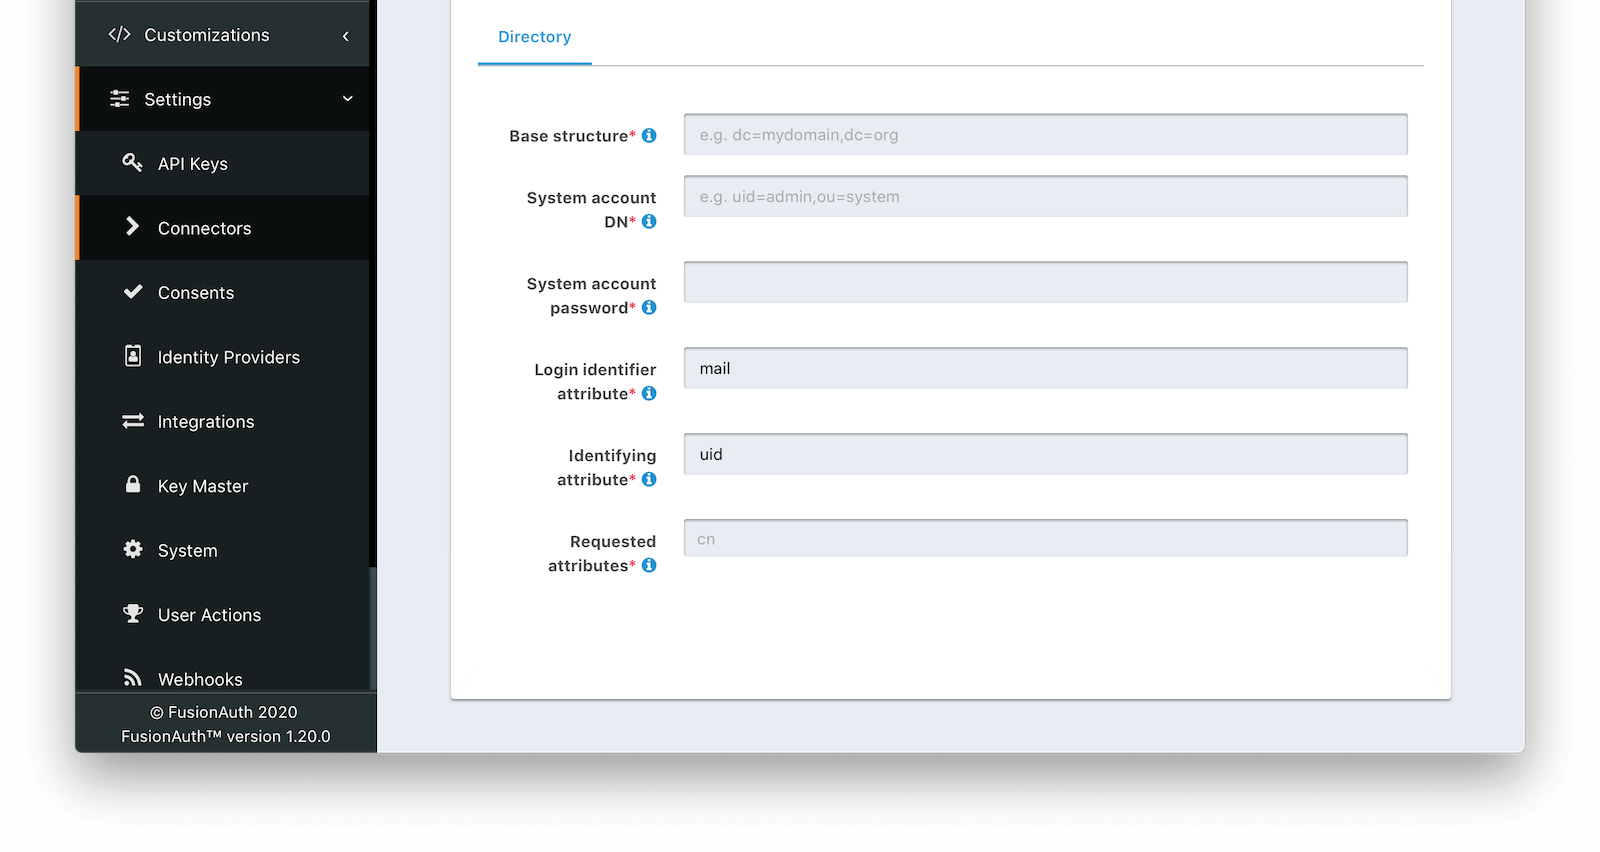 ### Directory
The base structure is the directory to use in order to search for users.
For example, to search the entire directory, you’d use a base structure of `DC=piedpiper,DC=com`. If you want to search against only engineering, add the organization: `OU=engineering,DC=piedpiper,DC=com`.
The distinguished name of an entry which has read access to the directory.
For example: `CN=ReadOnlyFusionAuthUser,OU=engineering,DC=piedpiper,DC=com`.
The password of the System Account DN .
The value that the user would enter for their username on a login screen.
For example: `uid` or `userPrincipalName`
The entry attribute name which is the first component of the distinguished name of entries in the directory.
For example: `cn`
The list of requested directory attributes to be returned. These will be passed to the lambda to be converted into FusionAuth user attributes. These must be added one at a time.
For example: `cn` `givenName` `sn` `userPrincipalName` `mail`
## Using the LDAP Connector
Once you have completed configuration of the LDAP connector, you will need to instruct a tenant to use this connector.
* Ensure your LDAP server is accessible to the FusionAuth instance. This may entail setting up a VPN, locating FusionAuth in the correct network, or configuring a firewall to allow access.
* Determine which LDAP user FusionAuth will connect as.
* Create an [LDAP reconcile Lambda](/docs/extend/code/lambdas/ldap-connector-reconcile) to map the directory attributes to FusionAuth user attributes.
* Configure the Connector in Settings -> Connectors . At a minimum, configure
** The LDAP URL and connection security
** The previously created lambda
** LDAP directory settings
* Add the Connector Policy in Tenants -> Your Tenant -> Connectors to configure to which domains the connector applies.
### Using the LDAP Connector as the System of Record
Requested attributes
* use the [reconcile lambda](/docs/extend/code/lambdas/ldap-connector-reconcile) to set the user's attributes appropriately
FusionAuth does not support pushing user profile data into LDAP. Data always flows through a Connector into FusionAuth.
If you use the Connector as a source of authentication, the source of truth remains the LDAP server. If you migrate your users (by toggling on Migrate user on the Tenant Connector policy), FusionAuth becomes the source of truth after the first login of each user. You can review the `connectorId` associated with the User object to confirm which Connector is authoritative for a user.
## Connecting to Active Directory
User data stored in Microsoft Active Directory is accessible via LDAP. If you'd like to federate and allow some of your users to authenticate against Active Directory, use the LDAP Connector.
Here's a video walking through such a configuration of FusionAuth and Microsoft Active Directory:
Extensions and searching for it.
After you find the extension, install it:
The next step is to run the extension.
### Run the Extension
Next, run the extension. The first time you run it, you'll be asked to grant needed permissions. Then, choose the export tab.
This will bring up a screen with information such as what fields you want to export, which connections to pull users from, and the export file format.
For this guide, export user information as JSON. Choose the default user database. Finally, if you have special fields to include, configure their export as needed. Then begin the export.
Depending on how many users you have in your database, it may take a while for this to complete.
### Download the File
After the export finishes, download the file provided. At the end of the process, you'll end up with a JSON file like this:
```json title="Sample Auth0 user data export download"
{"user_id":"auth0|60425da93519d90068f82966","email":"test@example.com","name":"test@example.com","nickname":"test","created_at":"2021-03-05T16:34:49.518Z","updated_at":"2021-03-05T16:34:49.518Z","email_verified":false}
{"user_id":"auth0|60425dc43519d90068f82973","email":"test2@example.com","name":"test2@example.com","nickname":"test2","created_at":"2021-03-05T16:35:16.786Z","updated_at":"2021-03-05T16:35:16.786Z","email_verified":false}
```
This is half of the data you'll need to migrate your users. The other half is the password hashes.
## Exporting Password Hashes
Because password hashes are considered sensitive information, Auth0 does not export them as part of the general export process. You must file a support ticket to get the hashes and other password related information.
Get Support , and then open a ticket by scrolling to the bottom of the support page.
Select the issue and details of your request. Choose `I have a question regarding my Auth0 account` and then pick the `I would like to obtain an export of my password hashes` option.
You'll receive an automated message after this ticket is submitted. View progress on the ticket screen.
After your request is processed, you'll download a JSON file containing password hashes, related information and user ids. It will look like this:
```json title="Sample Auth0 password hash export download"
{"_id":{"$oid":"60425dc43519d90068f82973"},"email_verified":false,"email":"test2@example.com","passwordHash":"$2b$10$Z6hUTEEeoJXN5/AmSm/4.eZ75RYgFVriQM9LPhNEC7kbAbS/VAaJ2","password_set_date":{"$date":"2021-03-05T16:35:16.775Z"},"tenant":"dev-rwsbs6ym","connection":"Username-Password-Authentication","_tmp_is_unique":true}
{"_id":{"$oid":"60425da93519d90068f82966"},"email_verified":false,"email":"test@example.com","passwordHash":"$2b$10$CSZ2JarG4XYbGa.JkfpqnO2wrlbfp5eb5LScHSGo9XGeZ.a.Ic54S","password_set_date":{"$date":"2021-03-05T16:34:49.502Z"},"tenant":"dev-rwsbs6ym","connection":"Username-Password-Authentication","_tmp_is_unique":true}
```
Now that you have both the user data and the password hashes, you can import your users.
## Importing Users
Next up, import the user data. Here are the steps we need to take.
1. Set Up FusionAuth
2. Get the Script
3. Install Needed Gems
4. Use the Script
5. Verify the Import
6. The Final Destination of Imported Users
### Set Up FusionAuth
method field of the Two-Factor API [lists the MFA methods supported by FusionAuth](/docs/apis/two-factor#request-body).
FusionAuth also supports recovery codes.
You can determine which type of MFA is used by each user by retrieving [their data using the management API](https://auth0.com/docs/api/management/v2#!/Users/get_users_by_id).
If a user uses email or SMS verification, you can port the data over to FusionAuth using [the user update API](/docs/lifecycle/authenticate-users/multi-factor-authentication#directly-enabling-mfa-for-a-user) or by adding the twoFactor fields to your import JSON.
The former will [trigger an MAU increment](/docs/get-started/core-concepts/users#what-makes-a-user-active), while the latter will not.
While you can't generate a fixed set of recovery codes, once MFA has been enabled for a user, you can [retrieve the recovery codes](/docs/apis/two-factor#retrieve-recovery-codes).
If your user uses TOTP for MFA, where they provide a one time code provided by an application like Google Authenticator, you'll probably need to re-enroll them. As of Oct 2022, [Auth0 "probably" doesn't support export of TOTP secrets](https://community.auth0.com/t/can-mfa-secrets-be-exported/91656). However, we suggest confirming this by opening a support ticket with Auth0.
If your users use a different method unsupported by FusionAuth, then you should map the Auth0 method to a FusionAuth method.
* WebAuthn: [Authentication With WebAuthN & Passkeys](/docs/lifecycle/authenticate-users/passwordless/webauthn-passkeys).
* Push Notifications: It is possible a [Generic Messenger](/docs/customize/email-and-messages/generic-messenger) would work, but this would require some investigation and custom coding.
* Voice: A [Generic Messenger](/docs/customize/email-and-messages/generic-messenger) integrated with a solution like [Twilio Voice](https://www.twilio.com/docs/voice) should work.
* Cisco Duo: A [Generic Messenger](/docs/customize/email-and-messages/generic-messenger) integrated with a solution like [Twilio Voice](https://www.twilio.com/docs/voice) could work.
## What to Do Next
Create Client Secret section. Record both the Client Secret, and the Application (client) ID as above.
Next, you'll need to set up an Azure Function to receive the login requests from FusionAuth and return the user's profile. The Function will pass the credentials on to Azure AD B2C and, when the authentication succeeds, retrieve the user's profile from Microsoft Graph, then return a FusionAuth friendly JSON object.
#### Configuring the Azure Function
The Azure Function receives the login request from FusionAuth, attempts to log the user in via ROPC, and then returns a FusionAuth user object on success. The Function will call the [Users](https://docs.microsoft.com/en-us/graph/api/user-get?view=graph-rest-1.0&tabs=http) API after successful authentication to get additional user attributes, which will then be transformed into a FusionAuth compatible format.
When setting this up, modify the example Function code provided in this guide. Here's the entire sample Azure Function, tested with the node 14 runtime:
Get Function URL button on the top bar of the Function overview page. The URL should look something like this: `https://fusionAuth.azurewebsites.net/api/RopcProxy?code=s0ndU863xdbXsFO4dLZAJQXLzyTU789iaUJ43uLAtIkXm_AzFuFWP1zg==`.
Test the login process with the lambda. You can use curl and an account whose username and password you know to do so.
```shell title="Testing the API and Azure Function with Curl"
curl -X POST \
'https://fusionAuth.azurewebsites.net/api/RopcProxy?code=s0ndU863xdbXsFO4dLZAJQXLzyTU789iaUJ43uLAtIkXm_AzFuFWP1zg==' -H 'Content-type: application/json' -d '{
"loginId": "test@example.com",
"password": "password"
}'
```
If the user is authenticated, you should receive a response similar, though differing based on how you modified the Function code, to this:
```json title="Successful Results of Testing the API and Azure Function"
{
"user": {
"id": "702eebc9-ef84-489f-b7d3-6f67388ffdd3",
"active": true,
"firstName": "Erlich",
"fullName": "Erlich Bachman",
"lastName": "Bachman",
"username": "702eebc9-ef84-489f-b7d3-6f67388ffdd3@fusiontut.onmicrosoft.com",
"email": "erlich.bachman@piedpiper.com",
"verified": true,
"insertInstant": 1661188751,
"data": {
"azure": {
"identities": [
{
"signInType": "emailAddress",
"issuer": "fusiontut.onmicrosoft.com",
"issuerAssignedId": "erlich.bachman@piedpiper.com"
},
{
"signInType": "userPrincipalName",
"issuer": "fusiontut.onmicrosoft.com",
"issuerAssignedId": "702eebc9-ef84-489f-b7d3-6f67388ffdd3@fusiontut.onmicrosoft.com"
}
]
}
}
}
}
```
If the authorization header or account credentials are incorrect, a 404 HTTP status code is returned, along with a message in the body. You can view the status code by running `curl` with the `-v` switch.
### Set Up the Connector
Now you need to set up a Connector to use the Azure AD B2C API you created. You should set up a different Connector for each Azure AD B2C Tenant.
Log back into the FusionAuth administrative user interface if needed.
Settings -> Connectors and add a new Generic Connector.
Configure the Connector:
* Add a name like `Azure AD B2C migration`.
* Set the Authentication URL to the value of the Function URL endpoint created above.
* You don't need to set any headers, as Azure Functions have a code in the querystring.
At the end, you should have a screen like this:
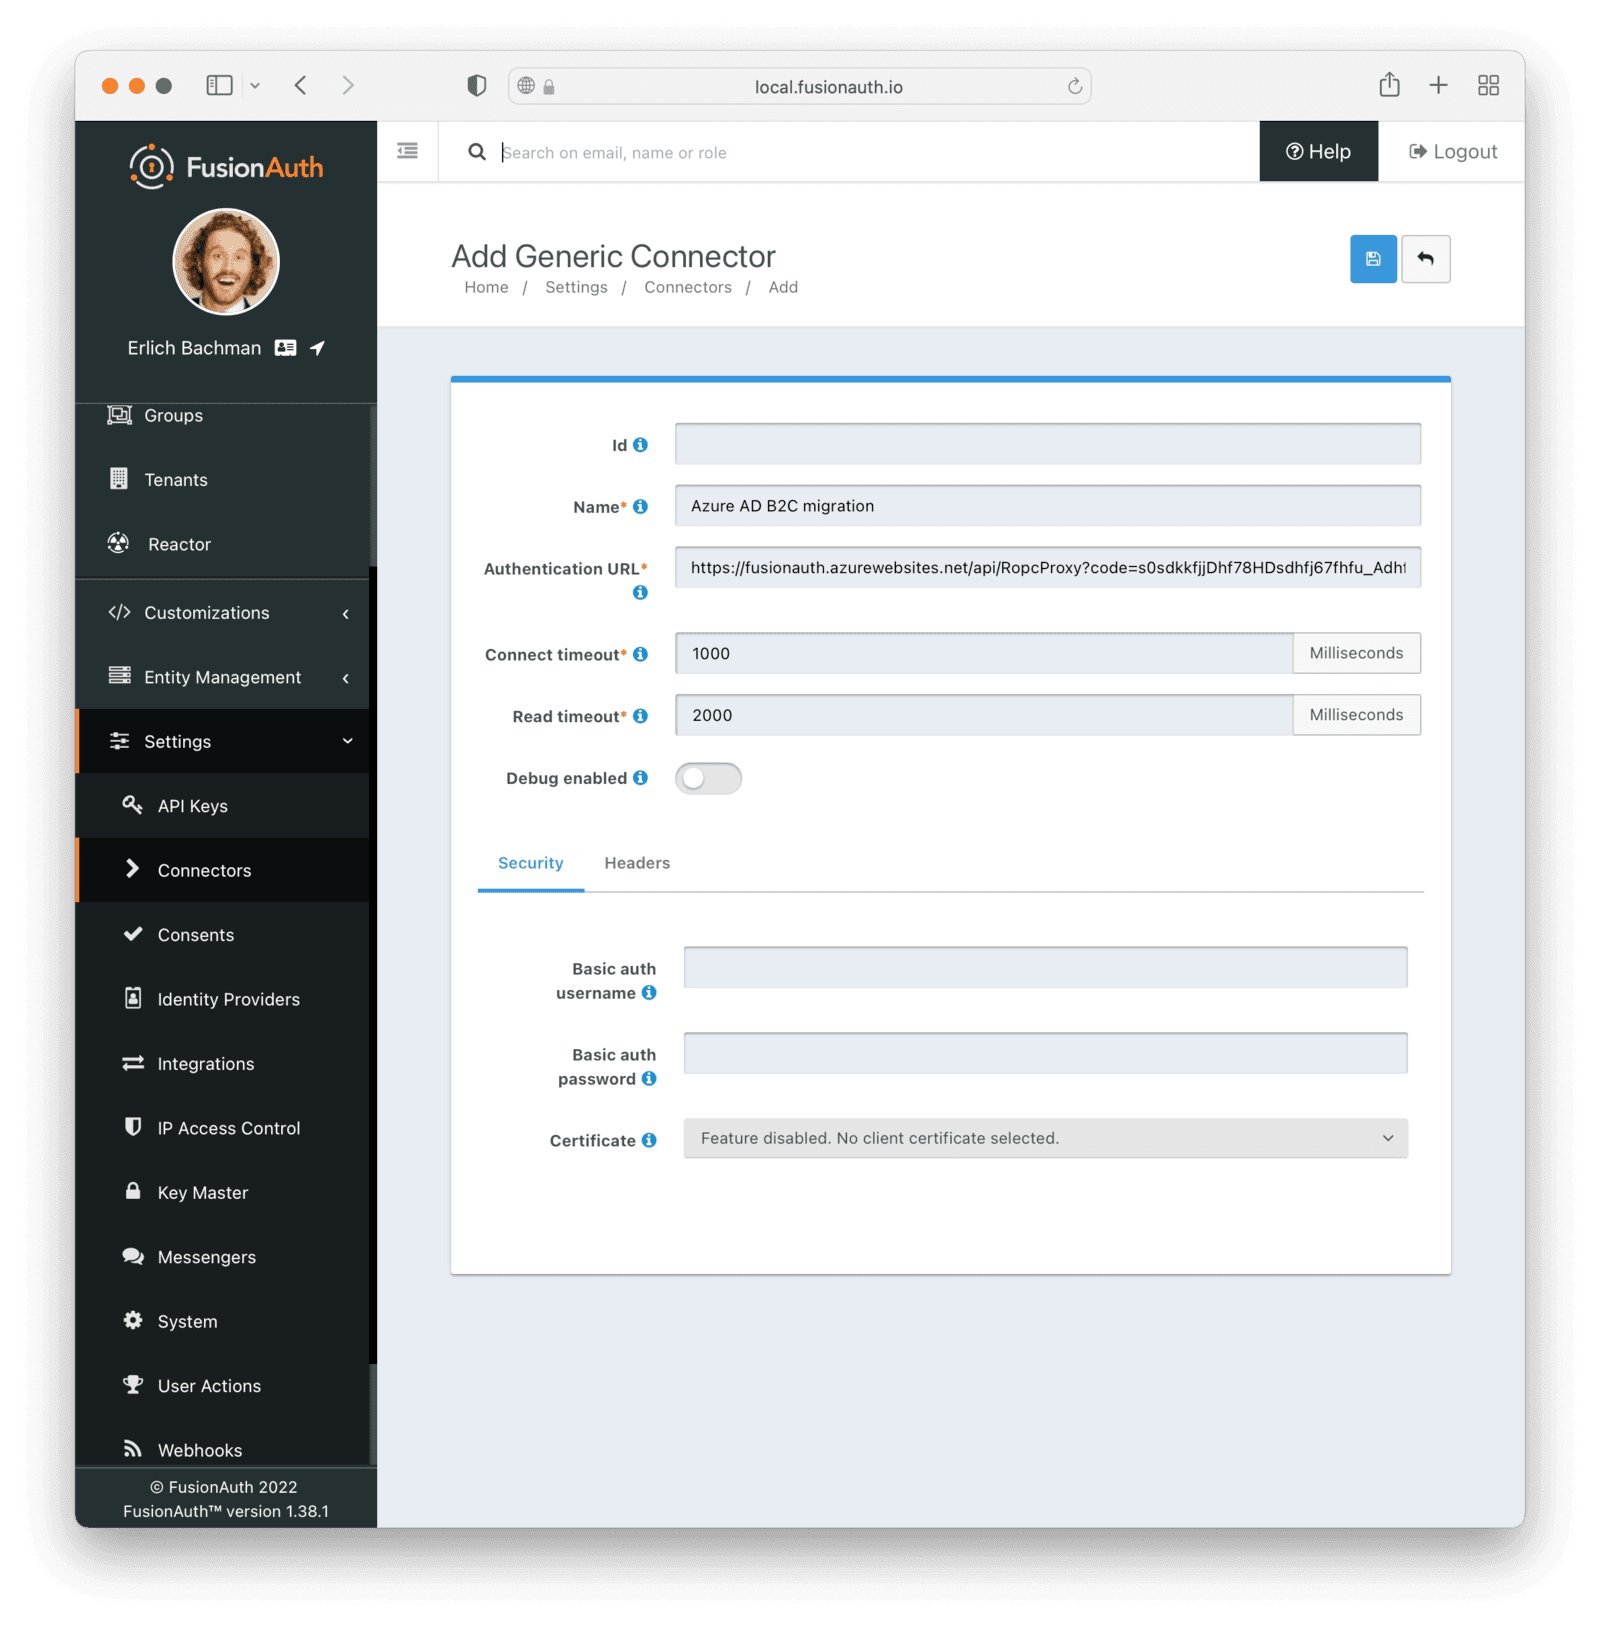
Save the Connector. Next, configure your tenant to use this Connector.
#### Configuring the Tenant
Navigate to your tenant settings: Tenants -> Azure import tenant -> Connectors .
Click the Add policy button to set up a new Connector policy.
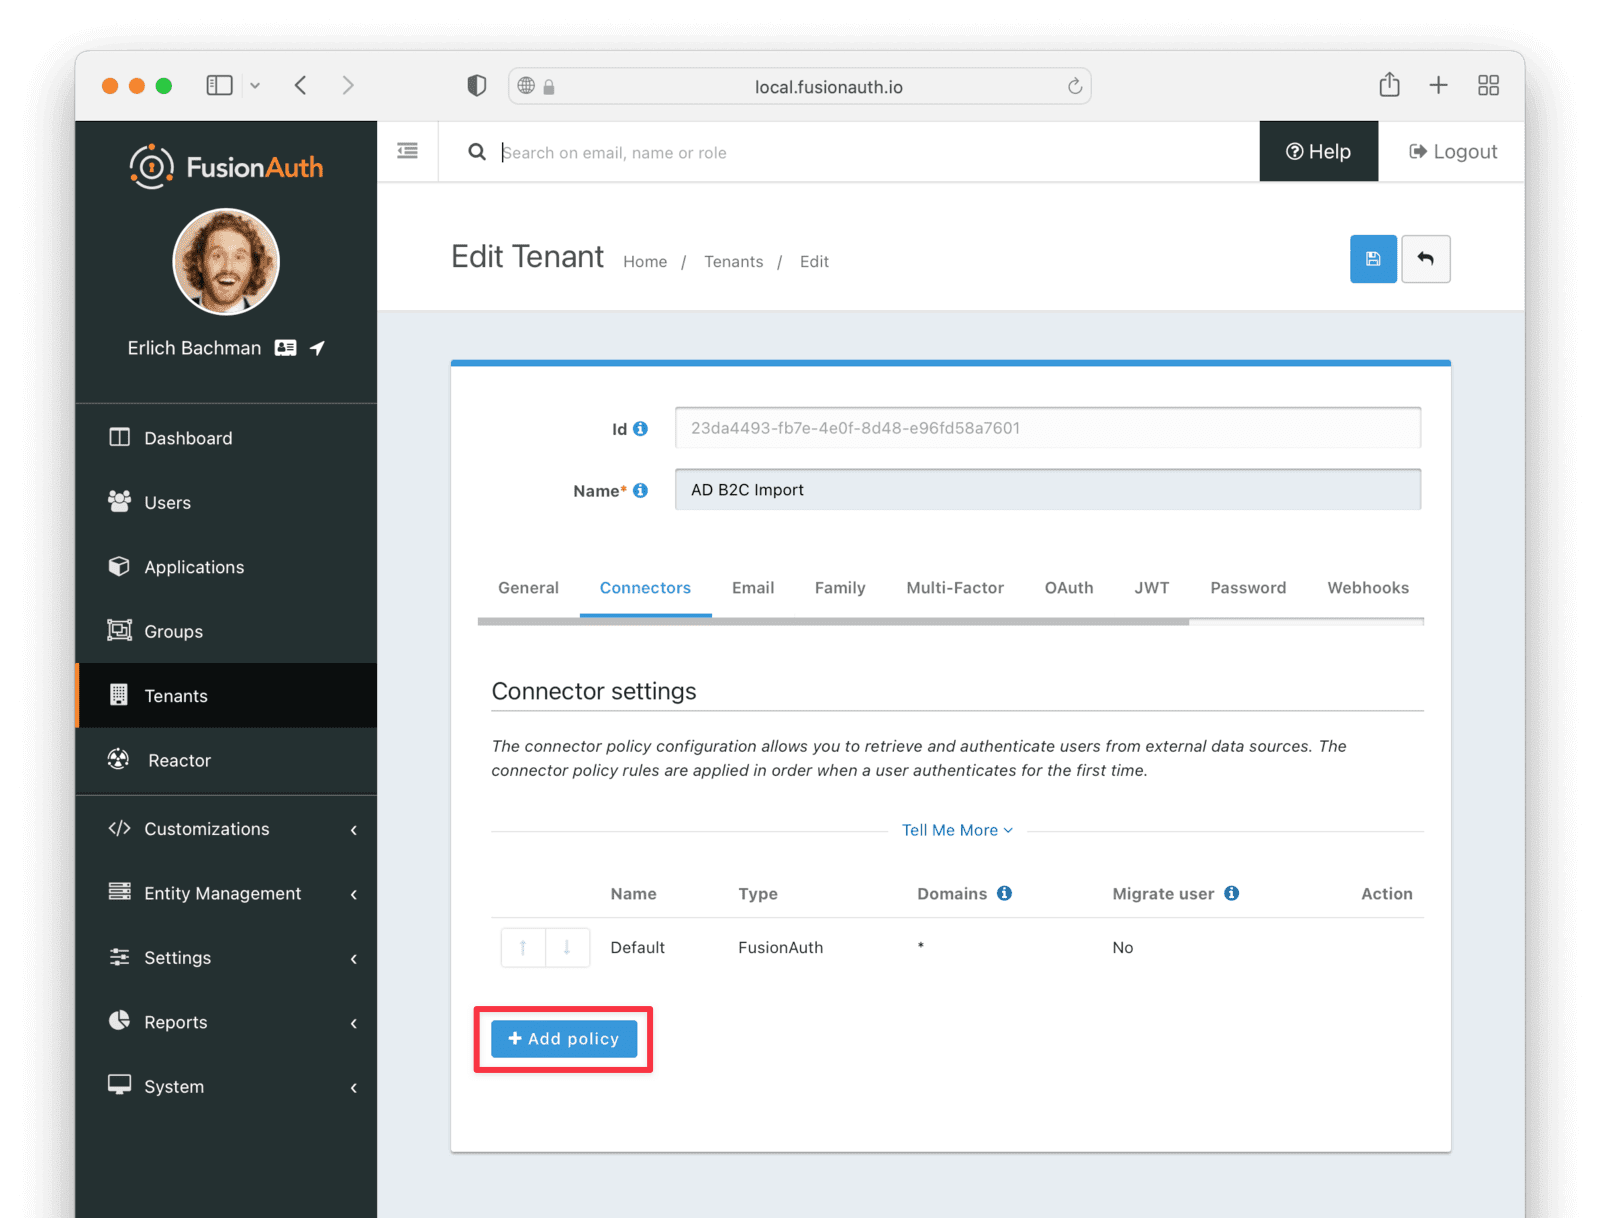
Set the Connector field value to the name of the Connector created previously. Make sure that the Migrate user field is enabled. You can leave the Domains field with the value of `*`, which will apply this Connector to every user.
After configuration, the Policy entry form should look similar to this:

Save it.
Next, ensure this Connector Policy is in the correct order by using the arrows in the administrative user interface to put it at the top. With this configuration, all users are checked against this Connector the first time they are seen. If they log in, they'll be migrated to the FusionAuth user database.
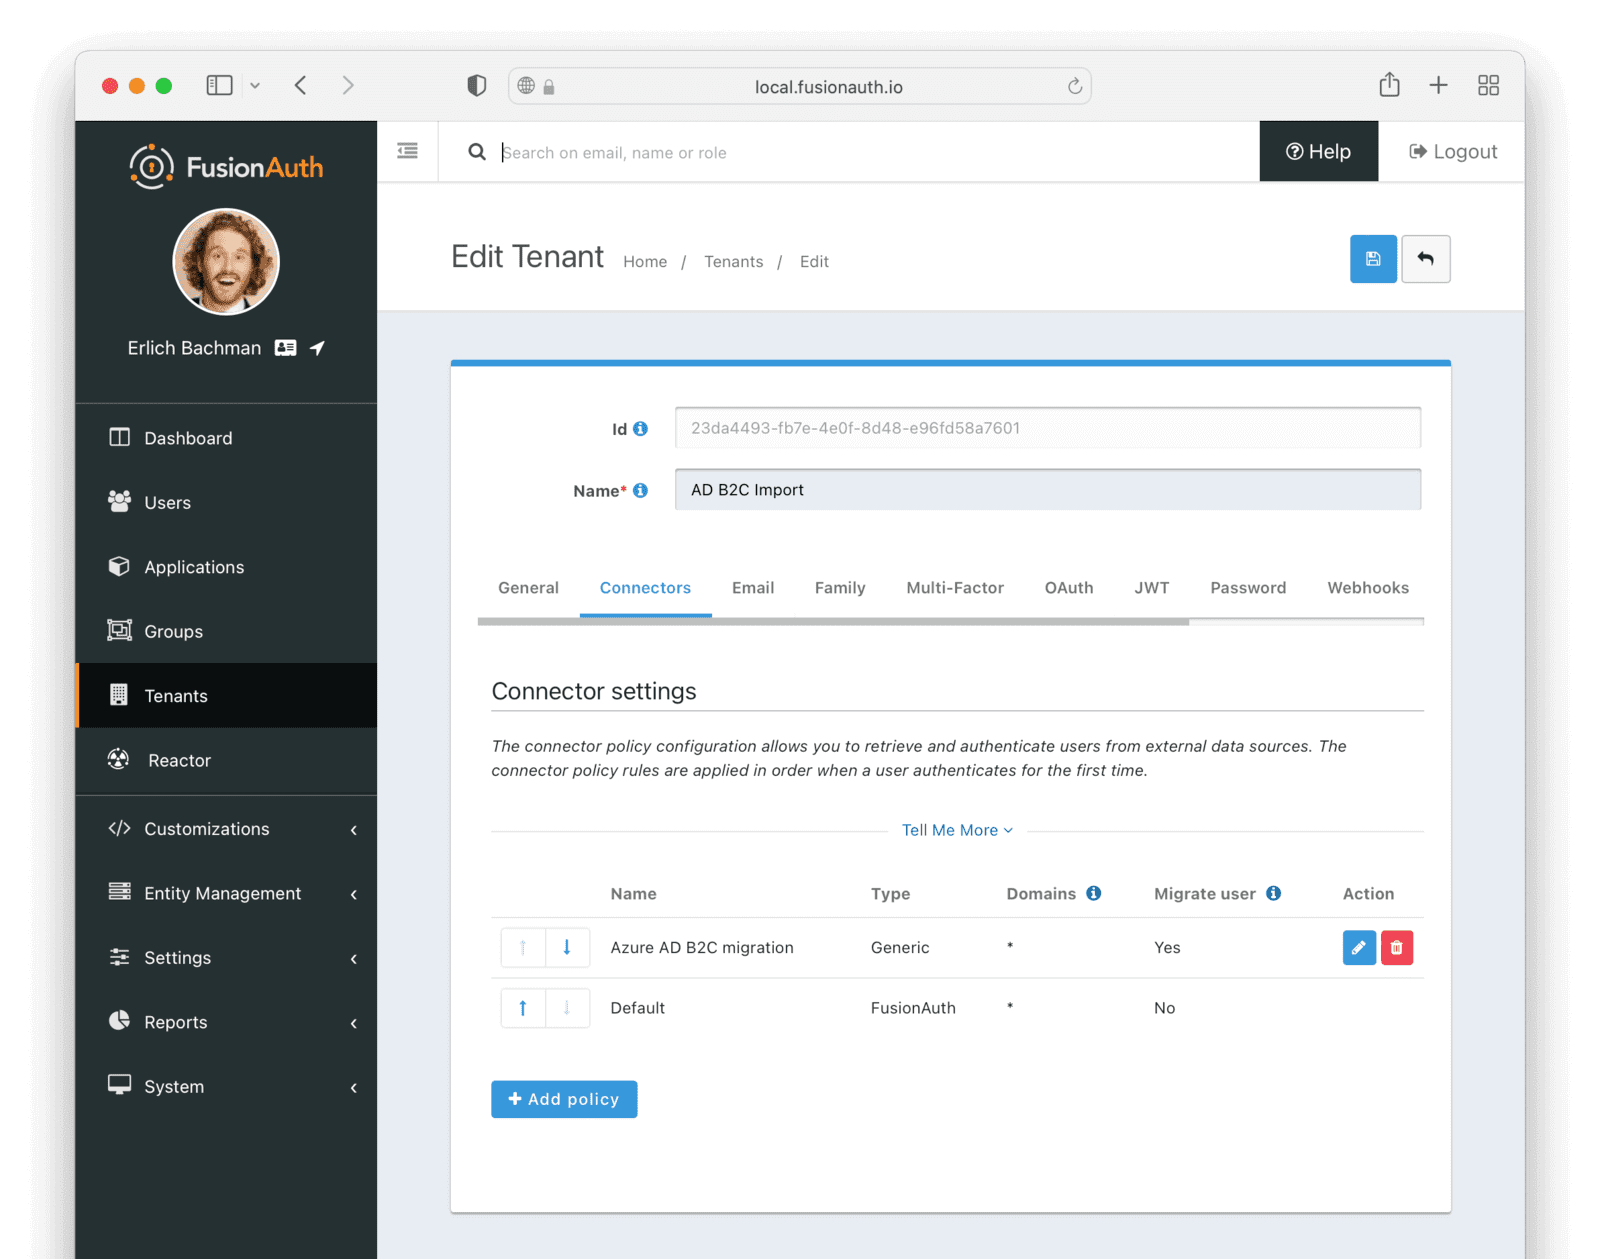
### Log In With a Test User
To test that users will be migrated, log in as a test user via the FusionAuth interface.
When you set up the test application, you recorded the OAuth IdP login URL .
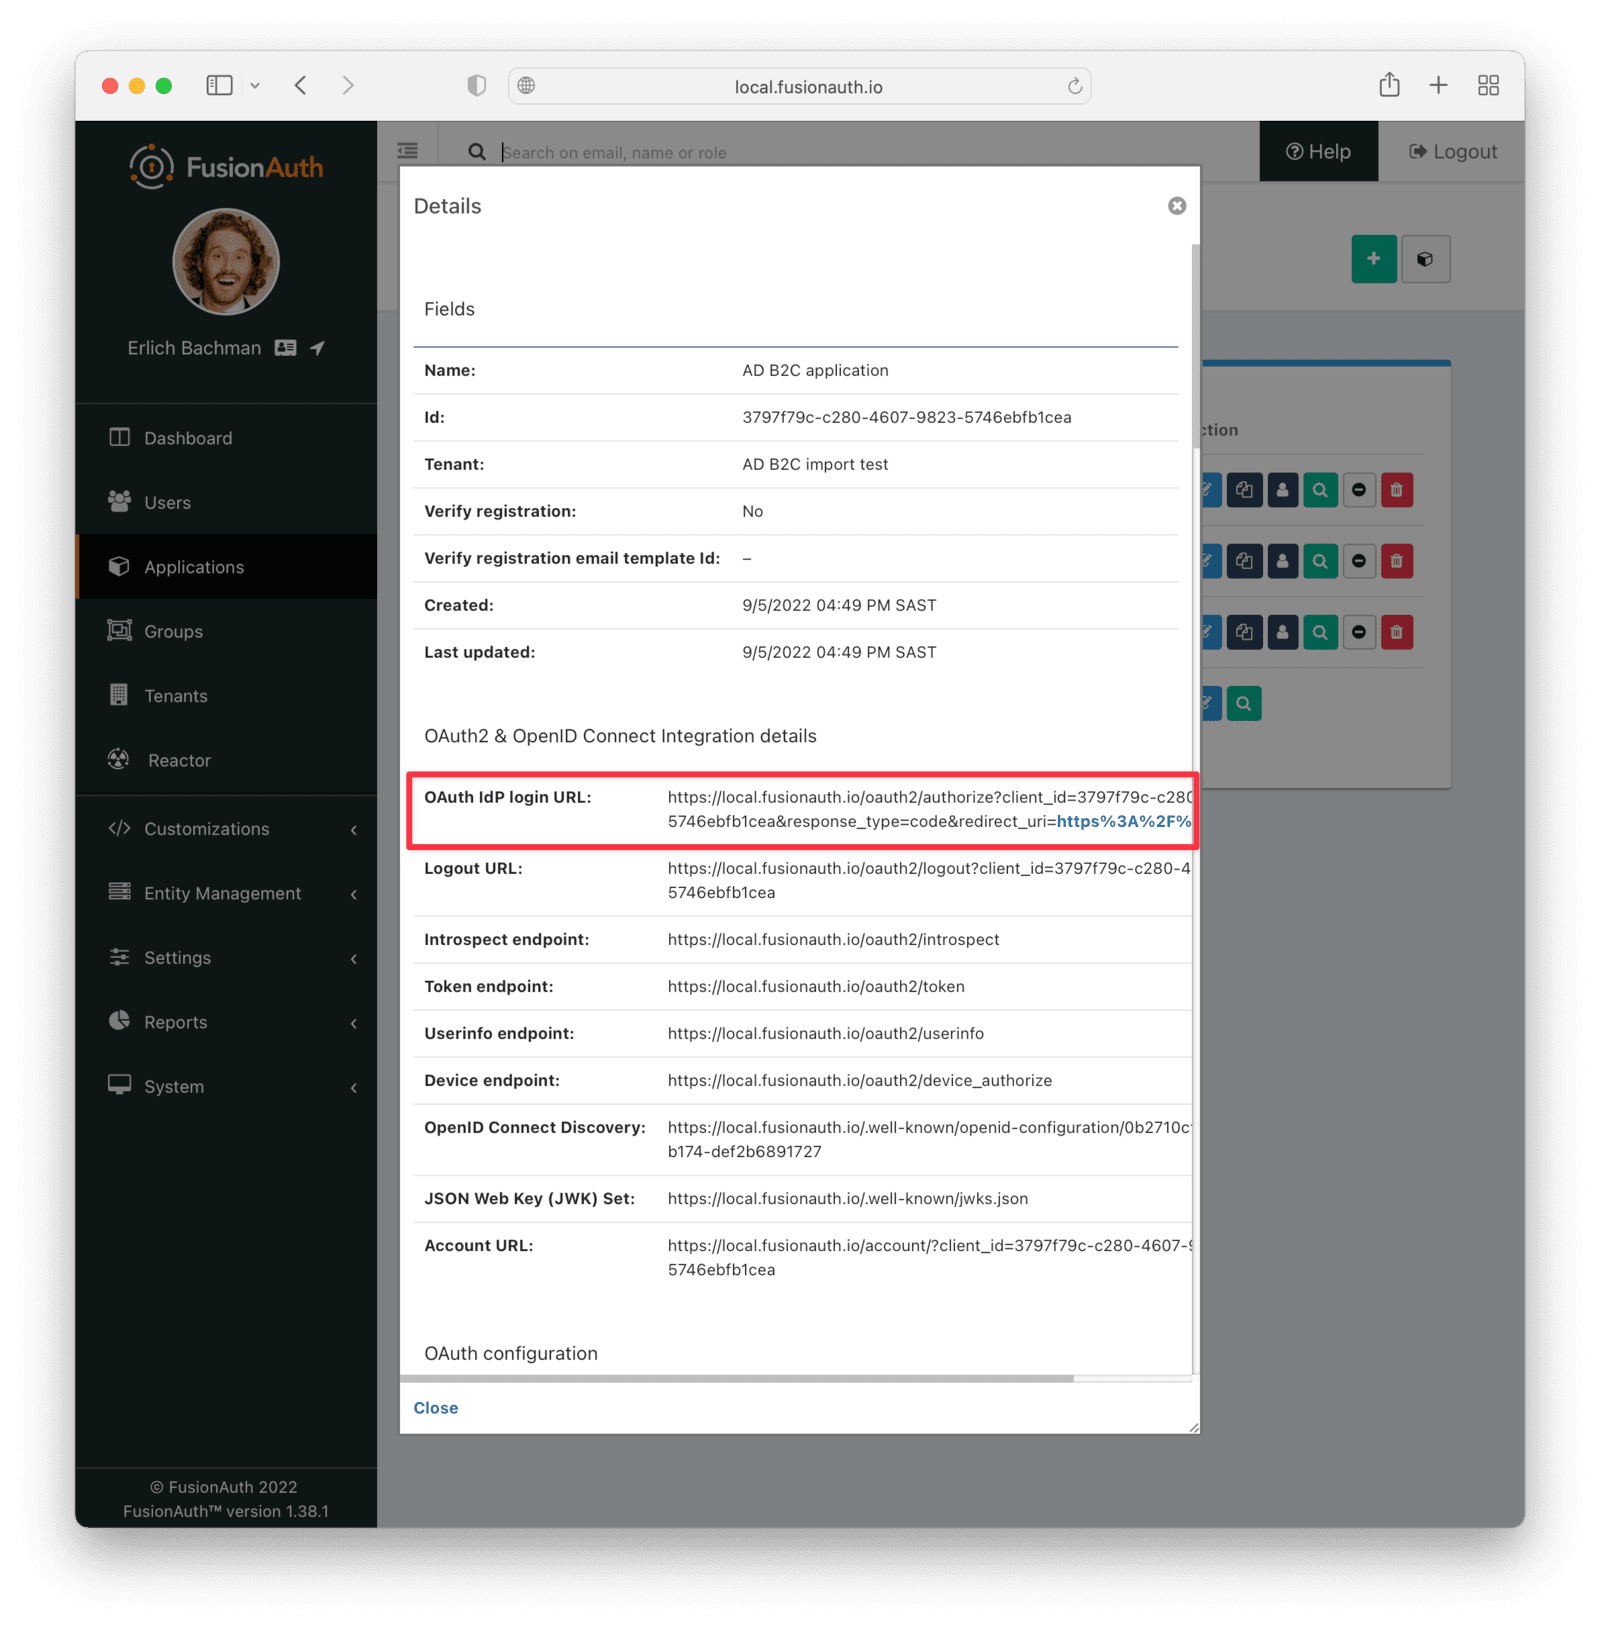
Copy this URL and open it in a new incognito browser window. (If you don't use an incognito window, the admin user session will interfere with the test.) You should see the login screen:
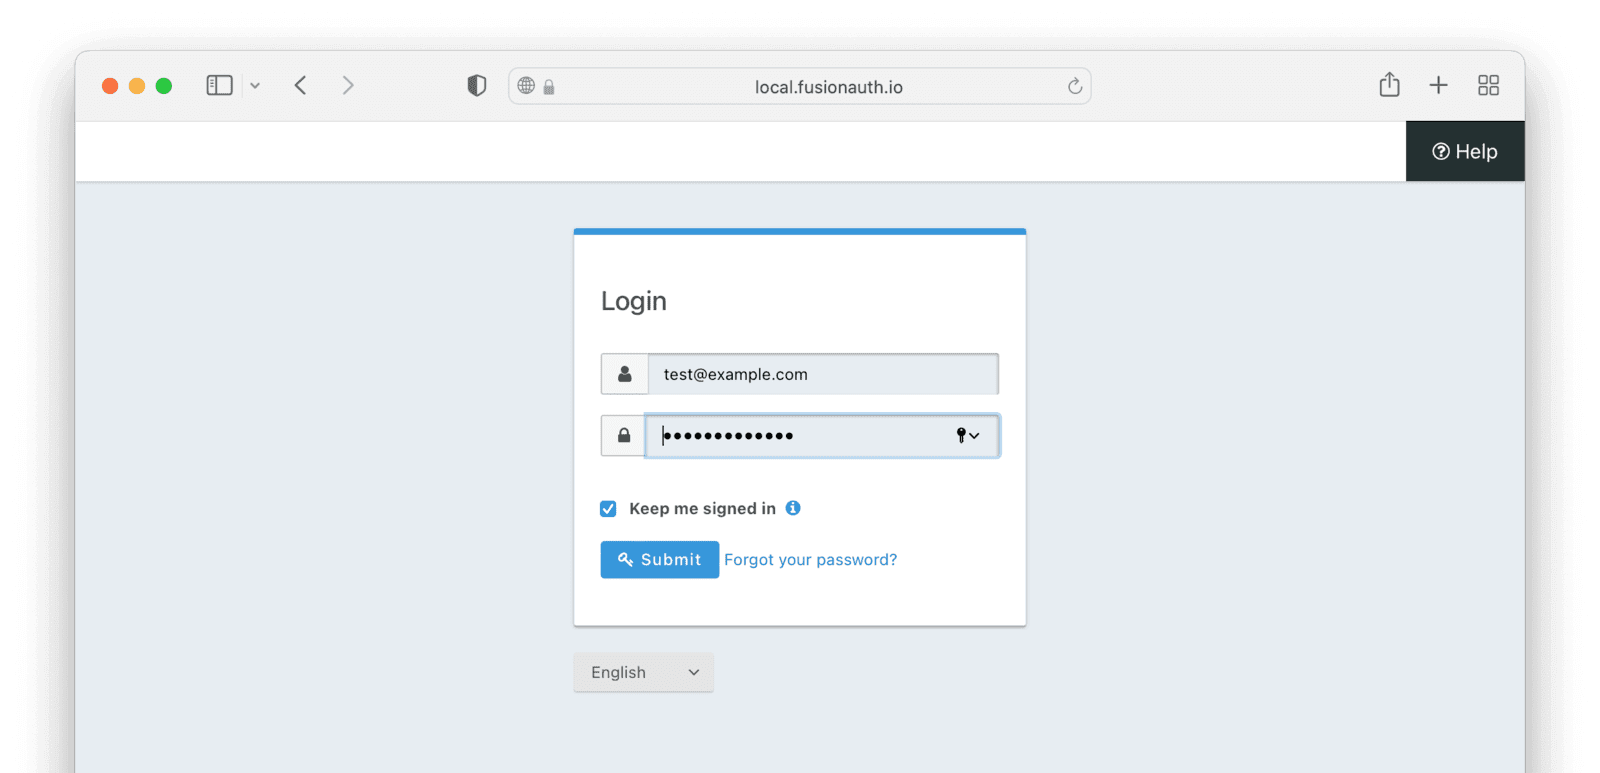
Enter credentials for a Azure AD B2C user account; it can be the same one you used to test the API with curl and log in. The user will be transparently migrated over to FusionAuth.
If the user was not migrated or the login was unsuccessful, you can troubleshoot. In the administrative user interface, enable the Debug enabled field in the Connector configuration by navigating to Settings -> Connectors and editing the Generic Connector you added.
After enabling enhanced debug messages, try to log in again with the test user. In the administrative user interface, navigate to System -> Event Log and look for useful messages.
Let's check that the import succeeded in another way: by viewing the user in the administrative user interface.
### Verify the Migration
Tenants and choose the red trash can icon corresponding to the tenant to be deleted.
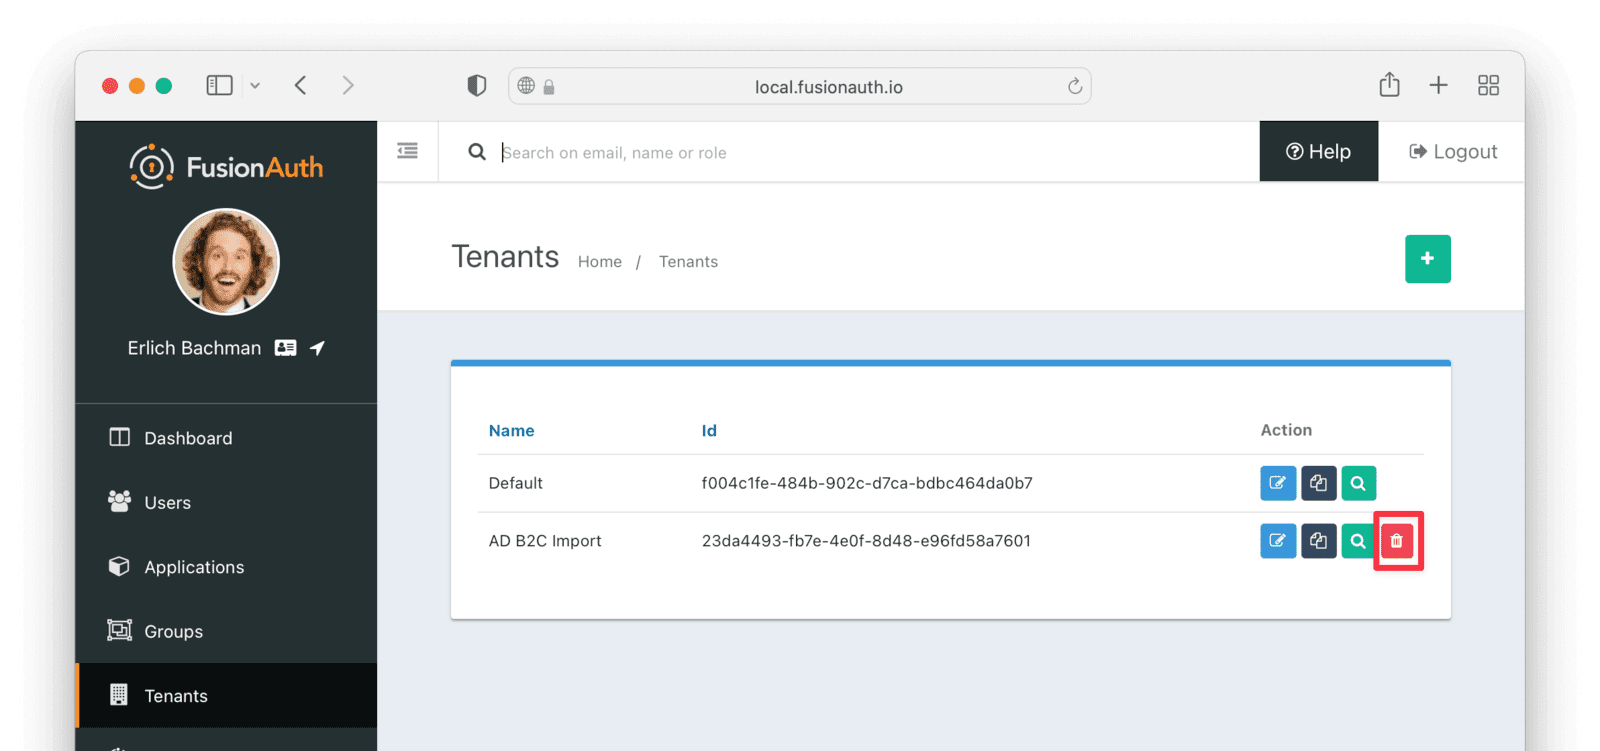
Confirm your desire to delete the tenant. Depending on how many users exist in that tenant, this may take some time. If it is easier, you may also delete migrated users one at a time using the administrative user interface.
### Migrate Everything Else
Settings -> API Keys in the administrative user interface.
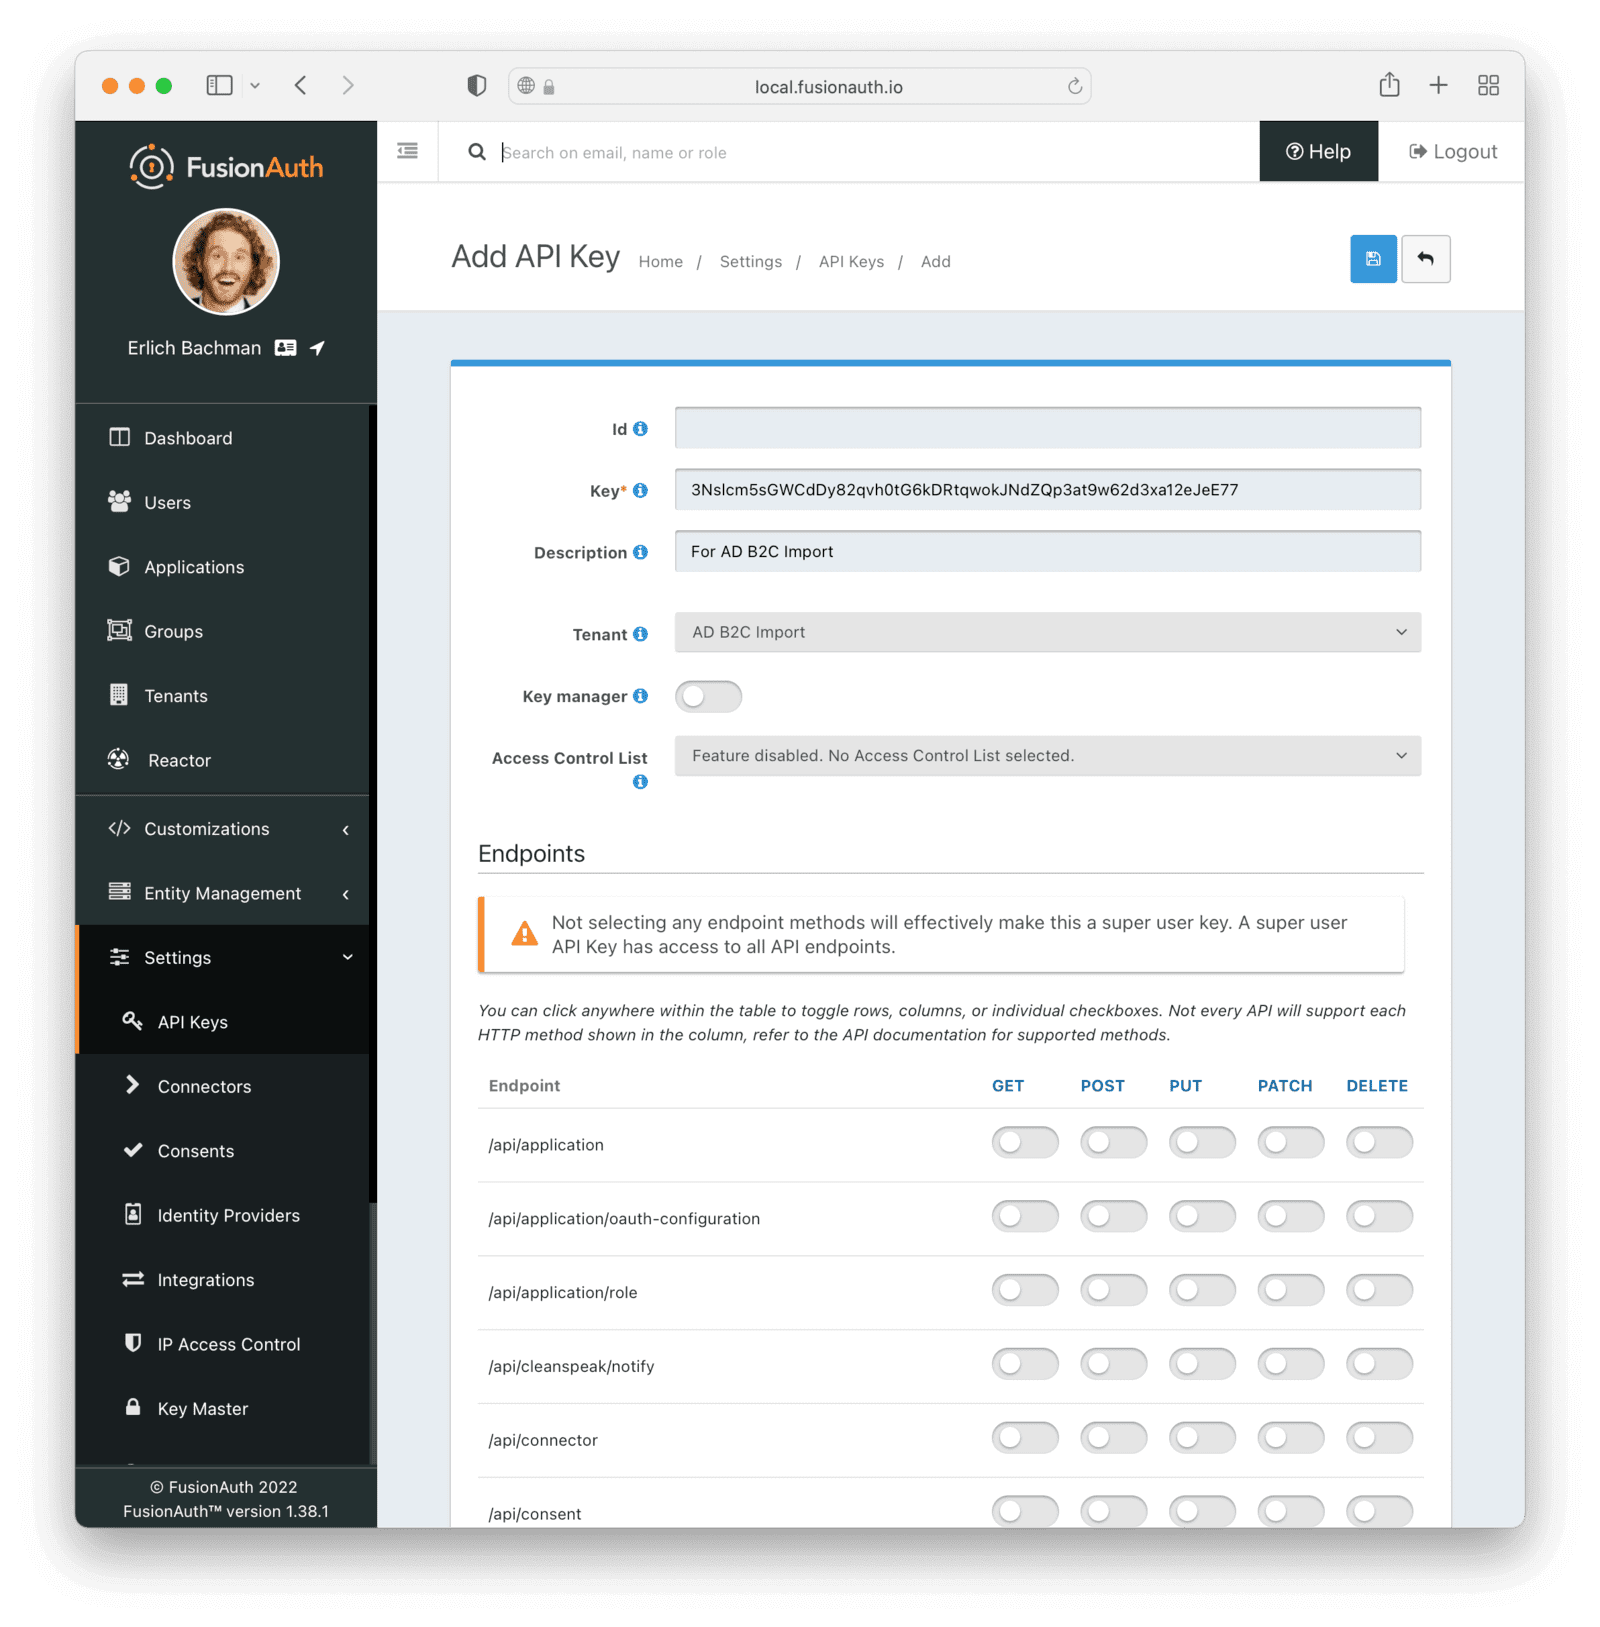
This key needs to have the permission to run a bulk import of users. In the spirit of the principle of least privilege, give it the permission to `POST` to the `/api/user/import` endpoint. Also, give the key permissions to `POST` to the API endpoint `/api/user/forgot-password`. Record the API key string, as you'll use it below.
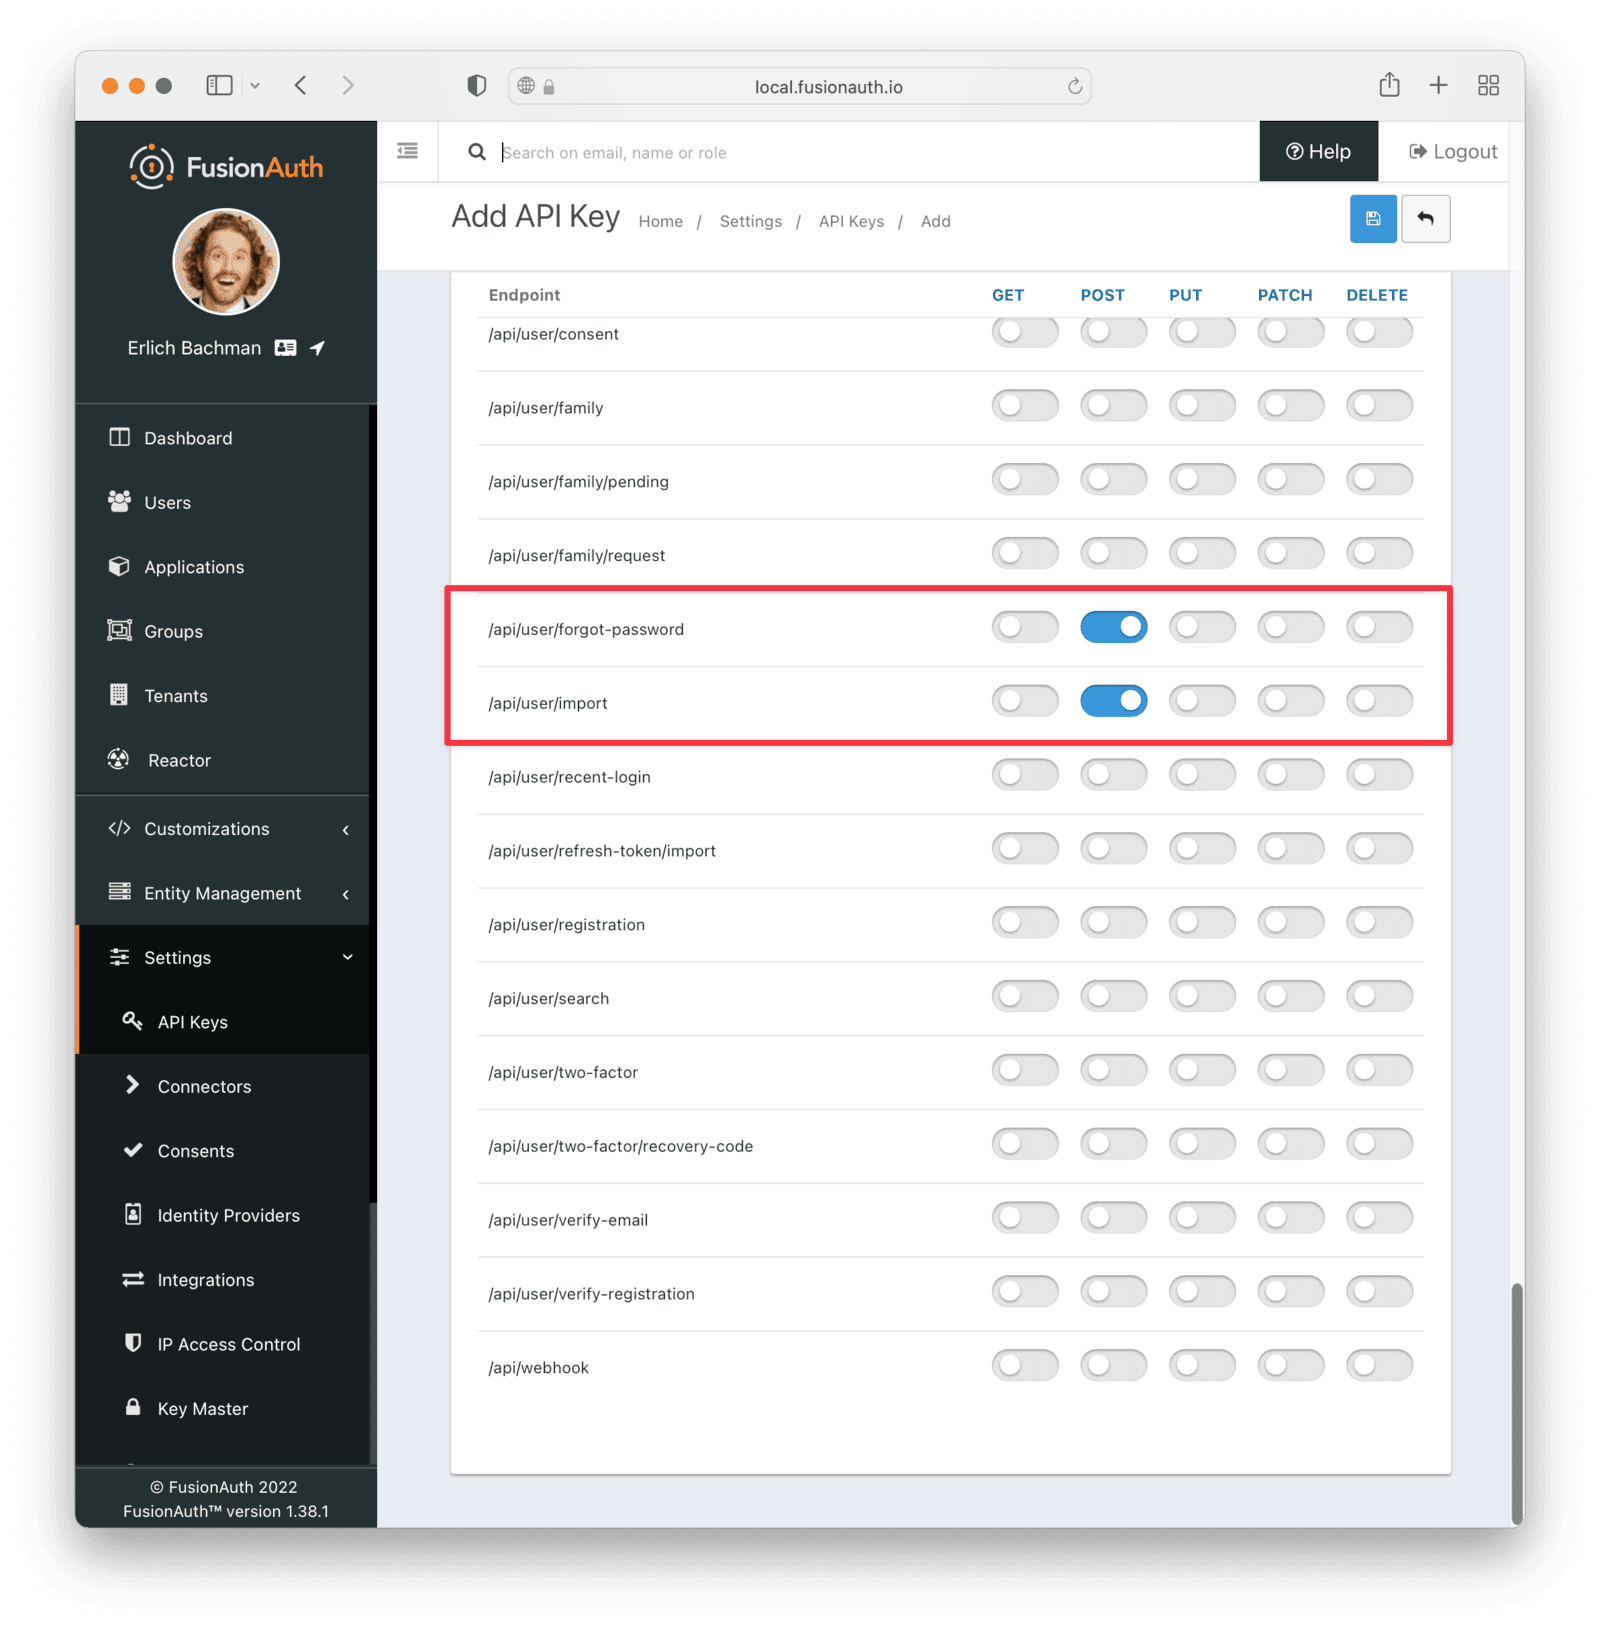
### Export User Data From Azure AD B2C
You need to export whatever data you can from Azure AD B2C before you can import it to FusionAuth.
To export the data via the Graph API, you need to authenticate with the API, and then call the [List method](https://docs.microsoft.com/en-us/graph/api/user-list?view=graph-rest-1.0&tabs=http) to return the data.
To authenticate with Azure AD B2C, you first need to register an application with Azure AD B2C, which will give you an app ID and secret. Follow [this guide](https://docs.microsoft.com/en-us/azure/active-directory-b2c/microsoft-graph-get-started?tabs=app-reg-ga) to create an application.
We've created a node console tool to authenticate with the Graph API and export the users. You can clone or fork it from [the GitHub repository](https://github.com/FusionAuth/fusionauth-example-azure-ad-bulk-export). Then update the `.env` file with your Azure AD B2C tenant and app ID and secret.
```bash title="Bulk Export tool environment variables to set"
CLIENT_ID // The client id,
TENANT_ID // The the tenant id eg. guide.onmicrosoft.com
CLIENT_SECRET // The client secret
```
Now you can run the tool, which will connect and export all the tenant users to a JSON file called `users.json`. It should look similar to this:
```json title="list-users results"
{
"@odata.context": "https://graph.microsoft.com/beta/$metadata#users",
"value":
[
{
"id": "862caa6a-86a6-4f3c-a0c0-8fc5d817fc56",
"deletedDateTime": null,
"accountEnabled": true,
"ageGroup": null,
"businessPhones":
[],
"city": null,
"createdDateTime": "2022-08-05T21:40:48Z",
"creationType": "LocalAccount",
"companyName": null,
"consentProvidedForMinor": null,
"country": "South Africa",
"department": null,
"displayName": "Erlich Bachman",
"employeeId": null,
"employeeHireDate": null,
"employeeLeaveDateTime": null,
"employeeType": null,
"faxNumber": null,
"givenName": "Erlich",
"imAddresses":
[],
"infoCatalogs":
[],
"isManagementRestricted": null,
"isResourceAccount": null,
"jobTitle": null,
"legalAgeGroupClassification": null,
"mail": null,
"mailNickname": "862caa6a-86a6-4f3c-a0c0-8fc5d817fc56",
"mobilePhone": null,
"onPremisesDistinguishedName": null,
"officeLocation": null,
"onPremisesDomainName": null,
"onPremisesImmutableId": null,
"onPremisesLastSyncDateTime": null,
"onPremisesSecurityIdentifier": null,
"onPremisesSamAccountName": null,
"onPremisesSyncEnabled": null,
"onPremisesUserPrincipalName": null,
"otherMails":
[],
"passwordPolicies": "DisablePasswordExpiration",
"postalCode": "2109",
"preferredDataLocation": null,
"preferredLanguage": null,
"proxyAddresses":
[],
"refreshTokensValidFromDateTime": "2022-08-05T21:40:46Z",
"securityIdentifier": "S-1-12-1-1680648810-1329366694-3314532512-1258035160",
"showInAddressList": null,
"signInSessionsValidFromDateTime": "2022-08-05T21:40:46Z",
"state": null,
"streetAddress": null,
"surname": "Bachman",
"usageLocation": null,
"userPrincipalName": "862caa6a-86a6-4f3c-a0c0-8fc5d817fc56@fusiontut.onmicrosoft.com",
"externalUserConvertedOn": null,
"externalUserState": null,
"externalUserStateChangeDateTime": null,
"userType": "Member",
"employeeOrgData": null,
"passwordProfile": null,
"assignedLicenses":
[],
"assignedPlans":
[],
"authorizationInfo":
{
"certificateUserIds":
[]
},
"deviceKeys":
[],
"identities":
[
{
"signInType": "emailAddress",
"issuer": "fusiontut.onmicrosoft.com",
"issuerAssignedId": "erlich_bachman@fusiontut.onmicrosoft.com"
},
{
"signInType": "userPrincipalName",
"issuer": "fusiontut.onmicrosoft.com",
"issuerAssignedId": "862caa6a-86a6-4f3c-a0c0-8fc5d817fc56@fusiontut.onmicrosoft.com"
}
],
"onPremisesExtensionAttributes":
{
"extensionAttribute1": null,
"extensionAttribute2": null,
"extensionAttribute3": null,
"extensionAttribute4": null,
"extensionAttribute5": null,
"extensionAttribute6": null,
"extensionAttribute7": null,
"extensionAttribute8": null,
"extensionAttribute9": null,
"extensionAttribute10": null,
"extensionAttribute11": null,
"extensionAttribute12": null,
"extensionAttribute13": null,
"extensionAttribute14": null,
"extensionAttribute15": null
},
"onPremisesProvisioningErrors":
[],
"provisionedPlans":
[]
}
]
}
```
You are now ready to transform your data, and import it to FusionAuth. We've created a Ruby script to help you do this.
### Get the Script
 If that plugin doesn't show up, please review the [plugin troubleshooting steps](/docs/extend/code/password-hashes/writing-a-plugin#troubleshooting).
### Get the Script
* [Lambda Triggers](https://docs.aws.amazon.com/cognito/latest/developerguide/cognito-user-identity-pools-working-with-aws-lambda-triggers.html) are ways for you to customize authentication or authorization workflows with AWS Lambdas. FusionAuth has a similar concept called [Lambdas](/docs/extend/code/lambdas/). FusionAuth also has [webhooks](/docs/extend/events-and-webhooks/) fired at certain points in the user lifecycle; in certain configurations, they can also stop a particular authentication flow.
* Cognito is deeply integrated with [AWS IAM](https://aws.amazon.com/iam/), in particular with respect to roles and permissions. FusionAuth has [roles](/docs/get-started/core-concepts/roles) that are configured on an application by application basis and made available in a token after a successful authentication. FusionAuth can also issue tokens which can be used with [AWS IAM OIDC federation](https://docs.aws.amazon.com/IAM/latest/UserGuide/id_roles_providers_oidc.html).
* Cognito has the concept of a [Hosted UI](https://docs.aws.amazon.com/cognito/latest/developerguide/cognito-user-pools-app-integration.html) where users can log in or register. FusionAuth has [hosted login pages](/docs/get-started/core-concepts/integration-points#hosted-login-pages) which offer a superset of the functionality of Cognito's Hosted UI. They are [customized via themes](/docs/customize/look-and-feel/).
* In Cognito, users log into [app clients](https://docs.aws.amazon.com/cognito/latest/developerguide/cognito-user-pools-app-idp-settings.html) if using the Hosted UI. In FusionAuth, [Applications](/docs/get-started/core-concepts/applications) are a similar construct, but users are associated with them through [Registrations](/docs/get-started/core-concepts/registrations). You can migrate both your Client Id and Client Secret from Cognito to FusionAuth.
* Cognito sends emails on your behalf, such as forgot password notifications. FusionAuth can do so too; [the templates are customizable](/docs/customize/email-and-messages/).
* Cognito offers the Client Credentials grant. FusionAuth offers a constrained version of this using [Entity Management](/docs/get-started/core-concepts/entity-management); this is available in all paid plans.
* Refresh tokens allow JWTs to be refreshed without a user logging in. These can be migrated from Cognito using the [Import Refresh Tokens API](/docs/apis/users#import-refresh-tokens).
* Cognito allows for custom attributes, but they must be configured at User Pool creation. In FusionAuth, as mentioned above, custom user attributes are stored on the `user.data` field and are dynamic, searchable and unlimited in size. Any valid JSON value may be stored in this field.
* Cognito supports MFA. FusionAuth also [supports MFA](/docs/lifecycle/authenticate-users/multi-factor-authentication), which may be enabled for a tenant and configured for a user at any time.
#### Identifiers
#### Differences
In addition to the different names for common functionality outlined above in [Other Entities](#other-entities), there are some fundamental differences between FusionAuth and Cognito. If your application relies on Cognito specific functionality, please review this section carefully.
* Cognito has [quotas](https://docs.aws.amazon.com/cognito/latest/developerguide/limits.html) that apply to logins and operations. FusionAuth has no quotas. Instead, you are limited by the resources provided to a FusionAuth instance, such as memory, CPU and database capacity.
* Cognito has [the ability to retrieve AWS credentials](https://docs.aws.amazon.com/cognito/latest/developerguide/getting-credentials.html) when a user logs in. FusionAuth has no inherent ability to do so. If this is required, you could use FusionAuth as a [Cognito OIDC External Identity Provider](https://docs.aws.amazon.com/cognito/latest/developerguide/open-id.html) and have Cognito provision the AWS credentials.
* FusionAuth has no analog to [Cognito Sync](https://docs.aws.amazon.com/cognito/latest/developerguide/cognito-sync.html). If you need this feature, use a specialized syncing library. Users report that FusionAuth works fine with [AWS AppSync](https://aws.amazon.com/appsync/).
* Cognito does not support Cross-Region Replication, which syncs data across multiple geographic regions for higher availability. In contract, [FusionAuth supports this](/docs/get-started/run-in-the-cloud/disaster-recovery).
Once you've planned the migration of other entities, the next step is to set up FusionAuth to connect to Cognito to import users during login.
## Importing Users
Because you are implementing a slow migration, it will take place over time. But you can set up a test environment to confirm it will work before deploying to production. Here are the steps we need to take.
1. Set Up FusionAuth
2. Set Up AWS
3. Set Up the Connector
4. Log In as a Test User
5. Verify the Import
6. Migrate Everything Else
### Set Up FusionAuth
Create app client screen. Configure the new app client:
* Select `Other` for the App type . Give it a name, such as `FusionAuth migration`.
* Ensure the Client secret field is set to not generate a secret.
* For the Authentication flows field, select `ALLOW_USER_PASSWORD_AUTH` to enable username/password based authentication. This is the form of authentication FusionAuth will use to migrate over your users.
* You must enter a value in the Allowed callback URLs field, but this won't be used. Use a value like `https://example.com`.
* Make sure the client can read whatever attributes should be migrated; include the username or email address at a minimum.
Everything else can be left with default values.
At the end, you'll end up with an app client configuration looking similar to this:
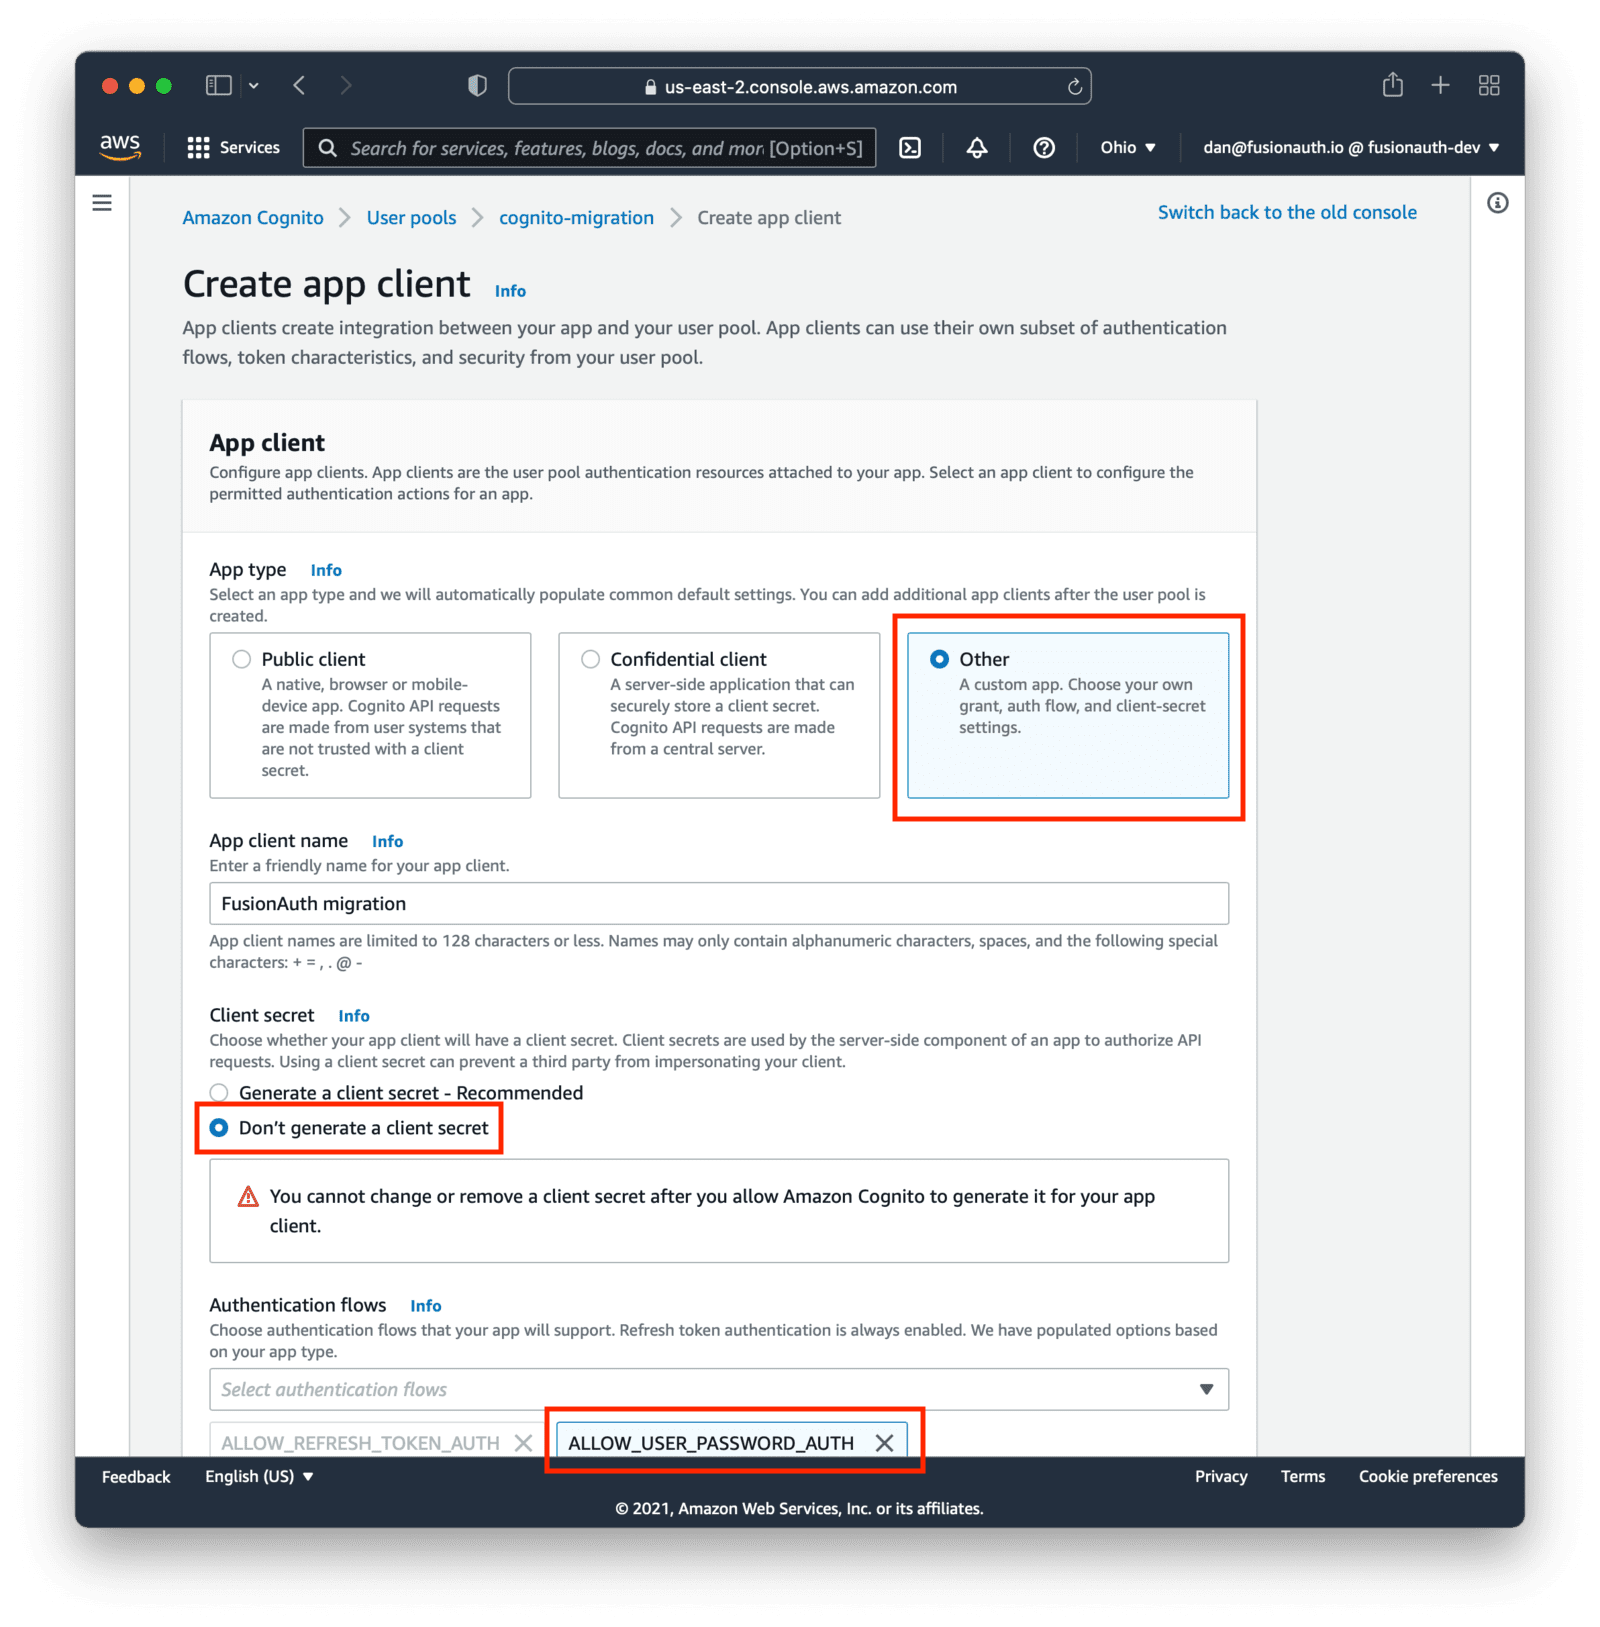
Save the new configuration. On the list of app clients, you'll see your new one.
Record the client Id. This will be a value like `5pmi4ct0o4n6ulqj7vlnkm6nhh`. Also, note the AWS region your User Pool is in, such as `us-east-2`.
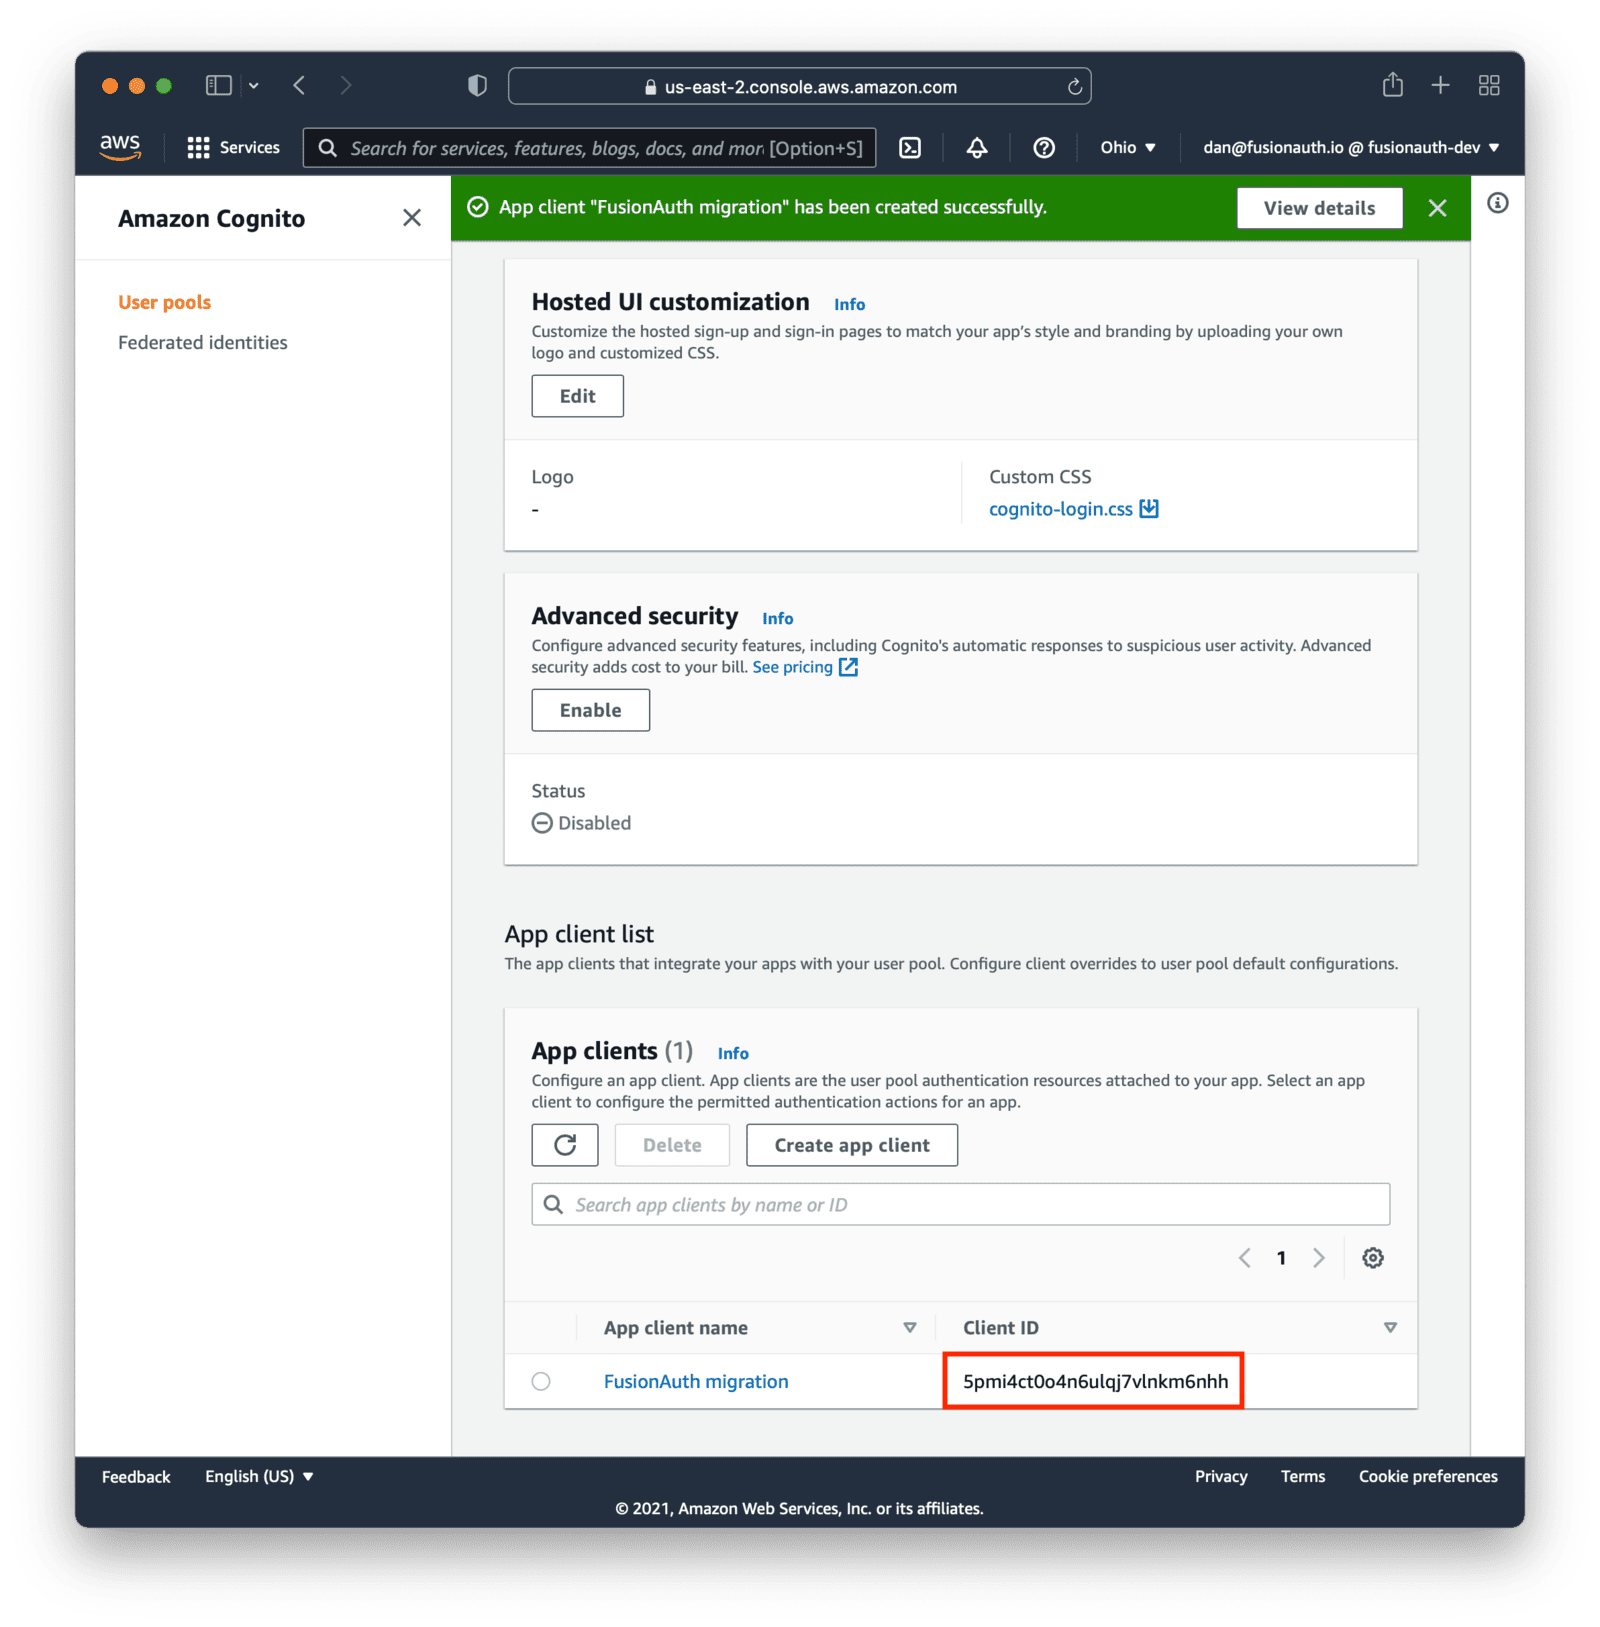
Next, you'll need to set up an Lambda with an API Gateway to receive the login requests from FusionAuth. The lambda will pass the credentials on to Cognito and, when the authentication succeeds, return a FusionAuth friendly JSON object.
#### Configuring the AWS Lambda
The AWS lambda receives the login request from FusionAuth, attempts to log the user in via Cognito, and then returns a FusionAuth user object on success. The lambda will call the [GetUser](https://docs.aws.amazon.com/cognito-user-identity-pools/latest/APIReference/API_GetUser.html) API after successful authentication to get additional user attributes, which will then be transformed into a FusionAuth compatible format.
When setting this up, modify the example lambda code provided in this guide. Here's the entire sample AWS lambda, tested with the node 14 runtime:
' \
https://j2xbdwi6hf.execute-api.us-east-2.amazonaws.com/prod/ -H 'Content-type: application/json' -d '{
"loginId": "test@example.com",
"password": "password"
}'
```
If the user is authenticated, you should receive a response similar, though differing based on how you modified the lambda code, to this:
```json title="Successful Results of Testing the API and AWS Lambda"
{
"user": {
"data": {
"migratedDate": "2021-11-19T21:50:19.048Z",
"migratedFrom": "cognito",
"website": "http://example.com"
},
"username": "06744664-df6e-48cc-9421-3d56a9732172",
"email": "test@example.com",
"id": "06744664-df6e-48cc-9421-3d56a9732172",
"firstName": "Test",
"lastName": "Testerson",
"active": true,
"tenantId": "30663132-6464-6665-3032-326466613934",
"registrations": [{
"applicationId": "85a03867-dccf-4882-adde-1a79aeec50df"
}]
}
}
```
If the authorization header or account credentials are incorrect, an empty body and an HTTP status code are returned. You can view the status code by running `curl` with the `-vv` switch.
### Set Up the Connector
Now you need to set up a Connector to use the AWS API you created. You should set up a different Connector for each Cognito User pool.
Log back into the FusionAuth administrative user interface if needed.
Settings -> Connectors and add a new Generic Connector.
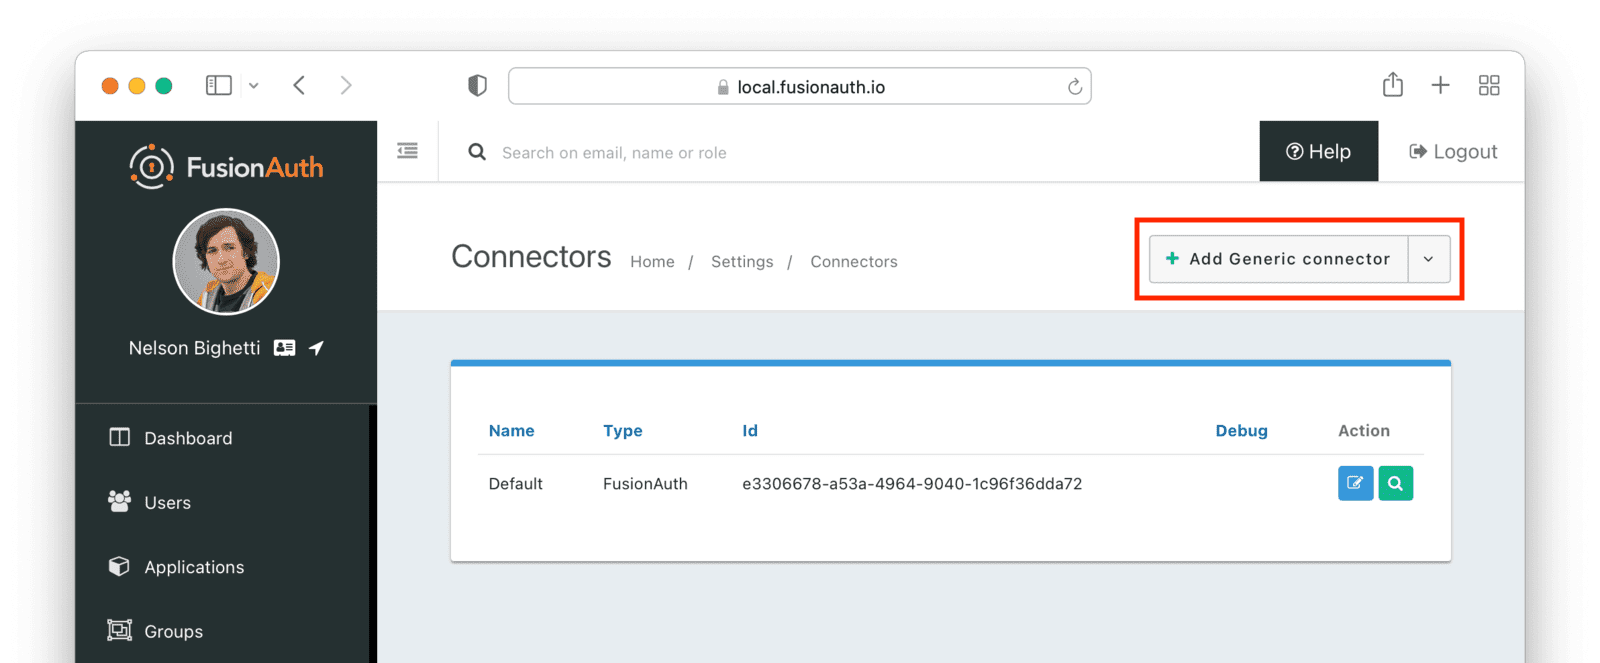
Configure the Connector:
* Add a name like `Cognito migration`.
* Set the Authentication URL to the value of the API gateway endpoint created above.
* Navigate to the Headers tab. Add the custom header value the AWS Lambda requires. Unless you modified the code, the header name is `Authorization`.
At the end, you should have a screen like this:

Save the Connector. Next, configure your tenant to use this Connector.
#### Configuring the Tenant
Navigate to your tenant settings: Tenants -> Cognito import tenant -> Connectors .
Click the Add policy button to set up a new Connector policy.

Set the Connector field value to the name of the Connector created previously. Make sure that the Migrate user field is enabled. You can leave the Domains field with the value of `*`, which will apply this Connector to every user.
After configuration, the Policy entry form should look similar to this:

Save it.
Next, ensure this Connector Policy is in the correct order by using the arrows in the administrative user interface to put it at the top. With this configuration, all users are checked against this Connector the first time they are seen. If they log in, they'll be migrated to the FusionAuth user database.

### Log In With a Test User
To test that users will be migrated, log in as a test user via the FusionAuth interface.
When you set up the test application, you recorded the OAuth IdP login URL .

Copy this URL and open it in a new incognito browser window. (If you don't use an incognito window, the admin user session will interfere with the test.) You should see the login screen:

Enter credentials for a Cognito user account; it can be the same one you used to test the API with curl and log in. The user will be transparently migrated over to FusionAuth.
If the user was not migrated or the login was unsuccessful, you can troubleshoot. In the administrative user interface, enable the Debug enabled field in the Connector configuration by navigating to Settings -> Connectors and editing the Generic Connector you added.
After enabling enhanced debug messages, try to log in again with the test user. In the administrative user interface, navigate to System -> Event Log and look for useful messages.
Let's check that the import succeeded in another way: by viewing the user in the administrative user interface.
### Verify the Migration
Tenants and choose the red trash can icon corresponding to the tenant to be deleted.

Confirm your desire to delete the tenant. Depending on how many users exist in that tenant, this may take some time. If it is easier, you may also delete migrated users one at a time using the administrative user interface.
### Migrate Everything Else
Settings -> API Keys in the administrative user interface.

This key needs to have the permission to run a bulk import of users. In the spirit of the principle of least privilege, give it the permission to `POST` to the `/api/user/import` endpoint. Also, give the key permissions to `POST` to the API endpoint `/api/user/change-password`. Record the API key string, as you'll use it below.

### Export User Data From Cognito
You need to export whatever data you can from Cognito before you can import it to FusionAuth.
Log in to the AWS console to find your User Pool Id. It will look something like `us-east-2_ud90QwSeF`. Then, get a list of all your users with the `list-users` command:
```shell title="Listing users in a pool"
aws cognito-idp list-users --user-pool-id us-east-2_ud90QwSeF
```
```json title="list-users results"
{
"Users": [
{
"Username": "05f1780a-17d4-4bba-befb-07c074a89d7b",
"Attributes": [
{
"Name": "sub",
"Value": "05f1780a-17d4-4bba-befb-07c074a89d7b"
},
{
"Name": "website",
"Value": "http://example.com"
},
{
"Name": "email_verified",
"Value": "true"
},
{
"Name": "given_name",
"Value": "testverified"
},
{
"Name": "middle_name",
"Value": "T"
},
{
"Name": "family_name",
"Value": "Testerson"
},
{
"Name": "email",
"Value": "testverified@example.com"
}
],
"UserCreateDate": "2021-11-16T17:27:47.442000-07:00",
"UserLastModifiedDate": "2021-11-16T17:30:05.292000-07:00",
"Enabled": true,
"UserStatus": "CONFIRMED"
},
{
"Username": "06744664-df6e-48cc-9421-3d56a9732172",
"Attributes": [
{
"Name": "sub",
"Value": "06744664-df6e-48cc-9421-3d56a9732172"
},
{
"Name": "website",
"Value": "http://example.com"
},
{
"Name": "given_name",
"Value": "Test"
},
{
"Name": "middle_name",
"Value": "T"
},
{
"Name": "family_name",
"Value": "Testerson"
},
{
"Name": "email",
"Value": "test@example.com"
}
],
"UserCreateDate": "2021-11-15T15:51:01.512000-07:00",
"UserLastModifiedDate": "2021-11-15T15:53:06.566000-07:00",
"Enabled": true,
"UserStatus": "CONFIRMED"
}
]
}
```
If you have more than a few users, you may need to paginate the results. If this is the case, you'll receive a `NextToken` value in the JSON output:
```json title="NextToken sample value"
{
"Users": [ ... ],
"NextToken": "eyJQYWdpbmF0aW9uVG9rZW4iOiBudWxsLCAiYm90b190cnVuY2F0ZV9hbW91bnQiOiAxfQ=="
}
```
Use that value in your next call `list-users` request:
```shell title="Listing users in a pool using pagination"
aws cognito-idp list-users --user-pool-id us-east-2_ud90QwSeF --starting-token eyJQYWdpbmF0aW9uVG9rZW4iOiBudWxsLCAiYm90b190cnVuY2F0ZV9hbW91bnQiOiAxfQ==
```
You'll need to do this until you have all your user data.
You are now ready to transform your data. Use a tool like `jq` or any other programming language to transform the JSON from the Cognito format to the FusionAuth format. In addition to fields you are directly translating, such as from `family_name` to `lastName`, make sure you:
* Ensure every user has a valid email address so they can reset their password.
* Create any registrations for users for existing FusionAuth Applications.
* Configure the users to be part of the test tenant by setting their `tenantId`.
* Set a `user.data` field indicating these users are from a bulk import. That is, set `user.data.importSource` to `"cognito"`.
* Set the password to a random string, such as a UUID. Set the encryption and salt methods to any valid value, because the password will be reset in the last stage of the bulk migration.
* Optionally use the `sub` claim from Cognito as your user Id.
* Ensure that the email address is unique across all users imported to the same tenant.
Here's an example of JSON suitable for import:
user.data (such as user.data.originalId ) with the value of the Duende IdentityServer identifier. Because everything under user.data is indexed and available via search, you'll be able to find your users using either a new FusionAuth UUID Id or the original Duende IdentityServer identifier.
### Login UI
Duende IdentityServer does not prescribe a particular login UI. Login pages are highly variable across Duende IdentityServer implementations.
FusionAuth's login experience follows two paths. You can choose to build your own login pages or use FusionAuth's hosted login pages. [Read more about these choices](/docs/get-started/core-concepts/integration-points#login-options).
## Exporting Users
Duende IdentityServer provides a package to integrate with [ASP.NET Identity](https://docs.duendesoftware.com/identityserver/v6/aspnet_identity/), which determines the format user information is stored in.
We recommend exporting your user information in JSON format so that you can import the data into FusionAuth using the FusionAuth API. Alternatively, you can create a custom tool to read your user attributes from the Duende IdentityServer database and directly call the [FusionAuth API to create users](/docs/apis/users).
### Create a User File
We've created a sample C# export program to export users from a Duende IdentityServer database to a JSON file. This program assumes you are using [ASP.NET Identity](https://learn.microsoft.com/en-us/aspnet/core/security/authentication/identity?view=aspnetcore-7.0&tabs=visual-studio). You can find the folder with the source code for the export program [here](https://github.com/fusionauth/fusionauth-import-scripts/tree/identityserver/duende/identity-server-export).
Clone the repo and open the solution in Visual Studio Code.
Update the connectionString variable in the `Program.cs` file with your database connection information.
The export program assumes that user data is stored in the standard ASP.NET Identity tables, namely `AspNetUsers` and `AspNetUserLogins`. If you are using a different table or have extended the ASP.NET Identity tables, you will need to update the program to select from the correct tables. You can do this by modifying the `SqlCommand` in the `Program.cs` file. You can also modify the mapping of the user information to the `User` export objects in the `Program.cs` file.
The program also assumes that you have used ASP.NET Identity to create the users' password hashes. ASP.NET Identity stores the salt, hash, and iteration in a single Base64-encoded string. There are two versions of hashing used, as you can see in the [ASP.NET Identity source code](https://github.com/dotnet/aspnetcore/blob/v6.0.14/src/Identity/Extensions.Core/src/PasswordHasher.cs).
* V2 - PBKDF2 with HMAC-SHA1, 128-bit salt, 256-bit subkey, 1000 iterations. The format of the Base64-encoded hash string is `{ 0x00, salt, subkey }`. The first byte is a version marker, `0x00` representing V2. The next 128 bits are the salt, and the remaining 256 bits are the subkey or salted password hash. The iteration count is hardcoded to 1000.
* V3 - PBKDF2 with HMAC-SHA256, 128-bit salt, 256-bit subkey, 10000 iterations. The format of the Base64-encoded hash string is a little more complicated: `{ 0x01, prf (UInt32), iter count (UInt32), salt length (UInt32), salt, subkey }`. The first byte is a version marker, `0x01` representing V3.
The export program will detect which version of hashing is used and parse out the salt, hash, iterations, and algorithm. The exported `users.json` file has a property named encryptionScheme . For V2, the encryptionScheme value will be set to `example-asp-identity-v2`. For V3, the algorithm will be set to `salted-pbkdf2-hmac-sha256`.
The ASP.NET Identity V3 hashing algorithm is [directly supported by FusionAuth](/docs/reference/password-hashes#salted-pbkdf2-hmac-sha-256).
The ASP.NET Identity V2 hashing algorithm is not directly supported by FusionAuth. If you have V2 hashes, you will need to install a custom hashing plugin in FusionAuth. This is covered in detail in the [Add the ASP.NET Identity V2 Hashing Plugin](#add-the-aspnet-identity-v2-hashing-plugin) section further on in this guide.
If you have not used ASP.NET Identity or if you have created your own password hashing algorithm, you will need to update the export program to use this hashing algorithm and create a custom hashing plugin for FusionAuth if necessary. FusionAuth supports [these hashing algorithms](/docs/reference/password-hashes) out of the box, so you can check if your algorithm is already supported.
Once you have customized the export program to your Duende IdentityServer implementation, run it. It will output a `users.json` file in the same directory as the running program, usually the `bin/Debug/net6.0` folder.
Once the export is complete, you should have a JSON file called `users.json` containing user objects that look something like this:
```json
{
"users": [
{
"active": true,
"birthDate": null,
"insertInstance": 1680463413000,
"data": {
"migrated": true,
"favoriteColors": "red"
},
"email": "richard@example.com",
"expiry": null,
"firstName": "",
"fullName": "",
"id": "004eba25-8f8a-4571-ac02-d4d618fa0e28",
"lastLoginInstant": 0,
"lastName": "",
"middleName": "",
"mobilePhone": "",
"password": "kYvylojznO+rLOZm+Y0r3q52aFrtIwJucApZY8HF/wk=",
"salt": "dFilBnTpkMaB5NnPGEaBTg==",
"factor": 10000,
"encryptionScheme": "salted-pbkdf2-hmac-sha256",
"passwordChangeRequired": false,
"passwordLastUpdateInstant": 0,
"preferredLanguages": [
"en"
],
"identityProviders": {},
"timezone": null,
"twoFactorEnabled": false,
"username": "alice",
"verified": true
}
]
}
```
Check the output for any errors and to make sure the data looks correct. If you have any issues, you can modify the export program to output more information about the users being exported.
Also check if there are any encryptionScheme values that are set to `example-asp-identity-v2`. If there are, you will need to create a custom hashing plugin for FusionAuth. This is covered in detail in the [Add the ASP.NET Identity V2 Hashing Plugin](#add-the-aspnet-identity-v2-hashing-plugin) section further on in this guide.
## Importing Users
Next, import the user data. Here are the steps we need to take.
1. Set Up FusionAuth.
2. Get the Script.
3. Install Needed Gems.
4. Use the Script.
5. Verify the Import.
6. The Final Destination of Imported Users.
### Set Up FusionAuth
Tenants -> Your Tenant , then the Password tab. Under the Cryptographic hash settings section, you should see the new hash scheme available in the Scheme dropdown. Only check that the plugin is listed, don't select it or any new user will be created with that hash scheme. Rather than selecting the plugin here, it is specified per user in the `users.json` file.
If the plugin doesn't show up, please review the [plugin troubleshooting steps](/docs/extend/code/password-hashes/writing-a-plugin#troubleshooting).
### Get the Script
 Note that tenants are called accounts in the {frontmatter.technology} web portal. FusionAuth also uses tenants to group users.
Permissions work slightly differently in the two systems. FusionAuth and {frontmatter.technology} both group permissions into roles, and assign roles to users. A user then has all the permissions associated with that user's roles.
However, {frontmatter.technology} also supports assigning permissions directly to a user using features. FusionAuth does not support this. If you have used {frontmatter.technology} features, you will need to map features to FusionAuth Roles in your migration script. Below is a {frontmatter.technology} illustration of the platform's permissions structure (which {frontmatter.technology} calls entitlements).
 ## Bulk Migration
Be aware that the steps outlined for bulk migrating users from Frontegg will not export password hashes, and users will need to change their passwords using the forgot password flow on FusionAuth.
### Exporting User Data From Frontegg
In this section, you create two sample {frontmatter.technology} users in the web portal and export them with the API.
If you have existing users, you can use them to follow this migration tutorial. If not, add users as described below.
- Log in to your account at https://portal.frontegg.com.
- Add an environment, like `Development`.
- Navigate to
 Environments -> Development -> Env settings and note your Client ID , API Key , and Login URL .
 - In the environment's
 Backoffice -> Accounts , create a new account (tenant) called `a`.
- In Backoffice -> Users , create two new users called `a` and `b` assigned to account `a`. Assign roles for the users. The default roles available are "Admin" and "Read Only". For the user email addresses, you can use most web email addresses with an alias. For instance, if you use Gmail and your address is `myemail@gmail.com`, you can give the two new users the email aliases `myemail+a@gmail.com` and `myemail+b@gmail.com`. Emails sent to the users will come to your inbox.
- For each user, open the hamburger menu on the right and click Edit user & Metadata . Give them some JSON metadata (like `{"country": "france"}`) and save.
- When you receive the welcome emails for these users, verify them by clicking the link.
You're now done working with the {frontmatter.technology} web portal and have sample user data to test a migration.
### Export The Users With The API
FusionAuth provides export and import scripts under a permissive open-source license. To get the scripts, clone the Git repository.
```sh
git clone https://github.com/FusionAuth/fusionauth-import-scripts
```
The `frontegg` directory contains all the scripts you need for this tutorial, and `frontegg/exampleData` has the output of the scripts.
Navigate to the `frontegg/src` directory.
```sh
cd fusionauth-import-scripts/frontegg/src
```
Install the required npm dependencies by running the following command.
```sh
npm install
```
Export your users from {frontmatter.technology} by running the command below. Use the Frontegg client Id and API key you noted in the previous section.
```sh
node 1_exportUsers.mjs yourclientid yourapikey
```
This command will create a `users.json` file in the current `frontegg/src` directory. The `users.json` file should contain user data similar to the data in `exampleData/1_fronteggExport/users.json`.
The `1_exportUsers.mjs` script makes two calls to the {frontmatter.technology} API:
- `httpClient.get('identity/resources/users/v3')` gets all your users and some basic data on each.
- `httpClient.get('identity/resources/vendor-only/users/v1/' + user.id)` gets comprehensive data for each user, including roles, but not features.
### Create Roles For Your Users
If you look at `exampleData/1_fronteggExport/users.json`, you'll see the users have two roles, `ReadOnly` and `Admin`, in the keys.
```json
"tenants": [
{
"tenantId": "1d378739-a1ac-4a79-9d2f-e7eb53e6dcd7",
"roles": [
{
"id": "f4c43bb0-d9ae-4837-8a97-8688abcd8404",
"vendorId": "0d0c5e4b-6c5c-4a85-96fc-7c17b31ee36a",
"tenantId": null,
"key": "ReadOnly",
"name": "Read Only",
```
You need to add these role names in your FusionAuth Application. Users will be linked to an application through a registration object, which includes the role. If the users in your exported data have different role names to the ones in the example data, change them in the script `frontegg/src/2_addRoles.mjs`. The role UUIDs are random in this script — you can use any Ids you like, including the ones matching the UUIDs of your roles in {frontmatter.technology}.
To use this script, you need an instance of FusionAuth running. Start a local instance of FusionAuth running in Docker by running the commands below in a new terminal.
```sh
cd fusionauth-import-scripts/frontegg/fusionAuthDockerFiles
docker compose up
```
FusionAuth will now be running and accessible at `http://localhost:9011`. You can log in to the [FusionAuth admin UI](http://localhost:9011/admin) with `admin@example.com` and `password`. The container is called `fa`.
This configuration makes use of a bootstrapping feature of FusionAuth called [Kickstart](/docs/get-started/download-and-install/development/kickstart), defined in `fusionauth-import-scripts/frontegg/fusionAuthDockerFiles/kickstart/kickstart.json`. When FusionAuth comes up for the first time, it will look at the `kickstart.json` file and configure FusionAuth to the specified state. In summary, the defined Kickstart sets up an API Key, an admin user to log in with, and a Test application in FusionAuth.
In another terminal, navigate to the `frontegg/src/` directory. Now you can run the role creation script below.
```sh
node 2_addRoles.mjs
```
Now in the [FusionAuth admin interface](http://localhost:9011/admin), if you browse to Applications -> Test and click the Manage Roles button, you can see the roles have been added for your sample Application.
 ### Prepare Users For Import To FusionAuth
The next script, `3_convertFeUserToFaUser.mjs`, is the most important. It maps the fields of `users.json` to FusionAuth fields. You may wish to alter this script to change which fields are ignored, or where they are mapped.
The script uses `stream-json`, a JSON library that can incrementally read massive files with millions of users. It opens the `users.json` file for reading in the line `new Chain([fs.createReadStream(inputFilename), parser(), new StreamArray(),]);`. For more information, read https://github.com/uhop/stream-json. The `processUsers()` function calls `getFaUserFromUser()` to map the {frontmatter.technology} user to FusionAuth, and then saves the user to an `faUsers.json` file.
The `getFaUserFromUser()` function does a few things:
- Maps as many matching fields from {frontmatter.technology} to FusionAuth as possible.
- Creates a random UUID in plain text for the user password. This will require users to create a new password when logging in to your application after migration.
- Stores all {frontmatter.technology} user details that don't map to FusionAuth in the JSON `data` field. This is where the {frontmatter.technology} `metadata` field is saved to.
- Adds FusionAuth User Registrations (the link between a FusionAuth User and an Application) to users. You will need to change these Ids to match those of your application when doing a real migration. This section is marked with `TODO`.
Carefully read this function and make sure that the user information you need is imported correctly. If any information is not needed, you can comment out the related lines.
If you are uncertain about what a user attribute in FusionAuth does, read more in the [user guide](/docs/apis/users), as linked in the [general migration guide](/docs/lifecycle/migrate-users) recommended earlier.
In a terminal in the `fusionauth-import-scripts/frontegg/src` directory, run the script with the following command.
```sh
node 3_convertFeUserToFaUser.mjs
```
The script will output users ready to import to FusionAuth to the `faUsers.json` file.
### Save The User Details To FusionAuth
Now you'll run the Node.js import script to import the users into FusionAuth.
In a terminal in the `fusionauth-import-scripts/frontegg/src` directory, run the command below.
```sh
node 4_import.mjs
```
This script uses the FusionAuth SDK for Node.js `@fusionauth/typescript-client`. It's used only for a single operation, `fa.importUsers(importRequest)`. For more information, read the [FusionAuth Typescript Client Library](/docs/sdks/typescript) documentation.
The script imports users individually. If this is too slow when running the production migration, wrap the `importUsers()` FusionAuth SDK call in a loop that bundles users in batches of 1000.
### Verify The Import
Log in to the [FusionAuth admin UI](http://localhost:9011/admin) with `admin@example.com` and password `password`. Review the user entries for the test application to ensure the data was correctly imported.
 Manage users by clicking on the
 Manage button (black button) to the right of the user in the list of users. Review the details of the imported user’s profile. In the Source tab, you can see all the user details as a JSON object.
## Slow Migration
This step of the tutorial is optional. In this section, you'll learn how to create a Connector for FusionAuth to import your users' passwords individually as each user logs in.
Go to builder on the sidebar in Frontegg dashboard.
 - Disable all sign-in types on the left, except for
 Email sign on with Password , which you enable.
- Enable Allow signup .
- Use the Review to Publish button at the top right to review and publish this change.
 Confirm the changes when asked and then publish the changes to your environment.
Get the signup URL for your environment:
- Log in to your account at https://portal.frontegg.com.
- Go to the environment, like
 Development .
- Go to Environments -> Development -> Env settings and note down the Login URL .
 Now visit the signup URL by appending `/account/sign-up` to the login URL to get a URL such as `https://app-xyhd7853hsngq.frontegg.com/oauth/account/sign-up`.
Create a new user with an alias like `myemail+test@gmail.com` and password `password`.
Export the new user by running the `frontegg/src/1_exportUsers.mjs` script.
```sh
node 1_exportUsers.mjs yourclientid yourapikey
```
If not already created, create roles in FusionAuth by running the `frontegg/src/2_addRoles.mjs` script.
```sh
node 2_addRoles.mjs
```
In the `frontegg/src/3_convertFeUserToFaUser.mjs` script, comment out the following code lines that assign a random password and require a password change.
```javascript
faUser.password = uuidv4();
faUser.passwordChangeRequired = true;
faUser.passwordChangeReason = "Administrative";
```
Map the users in the exported `users.json` file to FusionAuth-compatible objects by running the `3_convertFeUserToFaUser.mjs` script.
```sh
node 3_convertFeUserToFaUser.mjs
```
### Configure A Connector Between FusionAuth And {frontmatter.technology}
Settings -> Connectors .
Click the dropdown button on the top right and select Add Generic connector .
 Enter the field values below.
-
 Name: `FronteggConnector`
- Authentication URL: `http://host.docker.internal:6252`. If you are running FusionAuth directly on your machine and not in Docker you can use `http://localhost:6252`.
- Adjust the timeout values to higher values to cater for network latency when the API requests are being made
- Enable Debug enabled

Tenants and do the following.
- Click Edit on the default tenant.
- Click the Connectors tab.
- Click Add policy .
- Select `FronteggConnector`.
- Leave Domains with the value `*` to apply this Connector to every user.
- Enable Migrate user so that FusionAuth will no longer use {frontmatter.technology} for subsequent logins of the same user.
- Click Submit .
 Move the `FronteggConnector` policy to the top of the list. Use the arrow buttons to move the policy if necessary. With this configuration, all users are checked against this Connector the first time they are seen. If they log in, they’ll be migrated to the FusionAuth user database.
After configuration, the Connector entry form should look similar to this:
 Save the changes by clicking the save icon at the top right.
### Build An Authentication Intermediary Web Service
The next step is to write the small service available on port 6252 that forwards the user's login Id and password to {frontmatter.technology} and returns the user details that will be saved to FusionAuth if the login is successful.
The Connector makes a POST request to the URL you specify, and expects a JSON object back containing a `user`.
An example web service is in `frontegg/src/5_connectorService.mjs`.
This file has an Express HTTP POST handler that gets the login Id and password from the request and forwards them to {frontmatter.technology} by calling the following function.
```js
await isLoginValid(email, request.body.password);
```
A 404 is returned if the credentials are not valid.
If the credentials are valid, the user's details stored in the `faUsers.json` file are returned. Unfortunately, the {frontmatter.technology} API method `https://docs.frontegg.com/reference/vendoronlyusers_verifyuserpassword` you call in the service does not return a user Id. The search for the user Id is done in the following function.
```js
await getUserDetailsFromFile(email);
```
Run this web service now using the command below.
```sh
node 5_connectorService.mjs yourfronteggclientid yourfronteggapikey
```
### Log In With A Test User
In the FusionAuth admin interface, browse to
 Applications and click the magnifying glass next to the Test application. Copy the value of the OAuth IdP login URL and open it in an incognito window in your browser (if you don't use an incognito window, you need to log out of the FusionAuth admin session to prevent the active session from interfering with the test). This URL is a login page for the Test application so that you can test the web service and Connector.
 Log in with the username and password you entered earlier, such as `myemail+test@gmail.com` and `password`. Your web service should show `Request received` on the console and the login request succeeding.
If you log out and log in again with the same user, you'll notice that `Request received` will not show in the web service console. This is because FusionAuth is now using its own authentication service as the original user password has been hashed and saved in the FusionAuth database.
The user has been successfully migrated, and {frontmatter.technology} is no longer needed for them.
#### Debug The Connector Service
If you encounter errors in this process, try the following:
- View the
 System Event Logs in the bottom left of the FusionAuth web interface.
- Add `console.log` lines to the `5_connectorService.mjs` file to see where any errors are occurring.
- Adjust the timeout values of the Connector to higher values to cater for network latency between API calls.
### Estimate The Slow Migration Timeline
When using a slow migration, you can estimate how many accounts will be migrated in a given period.
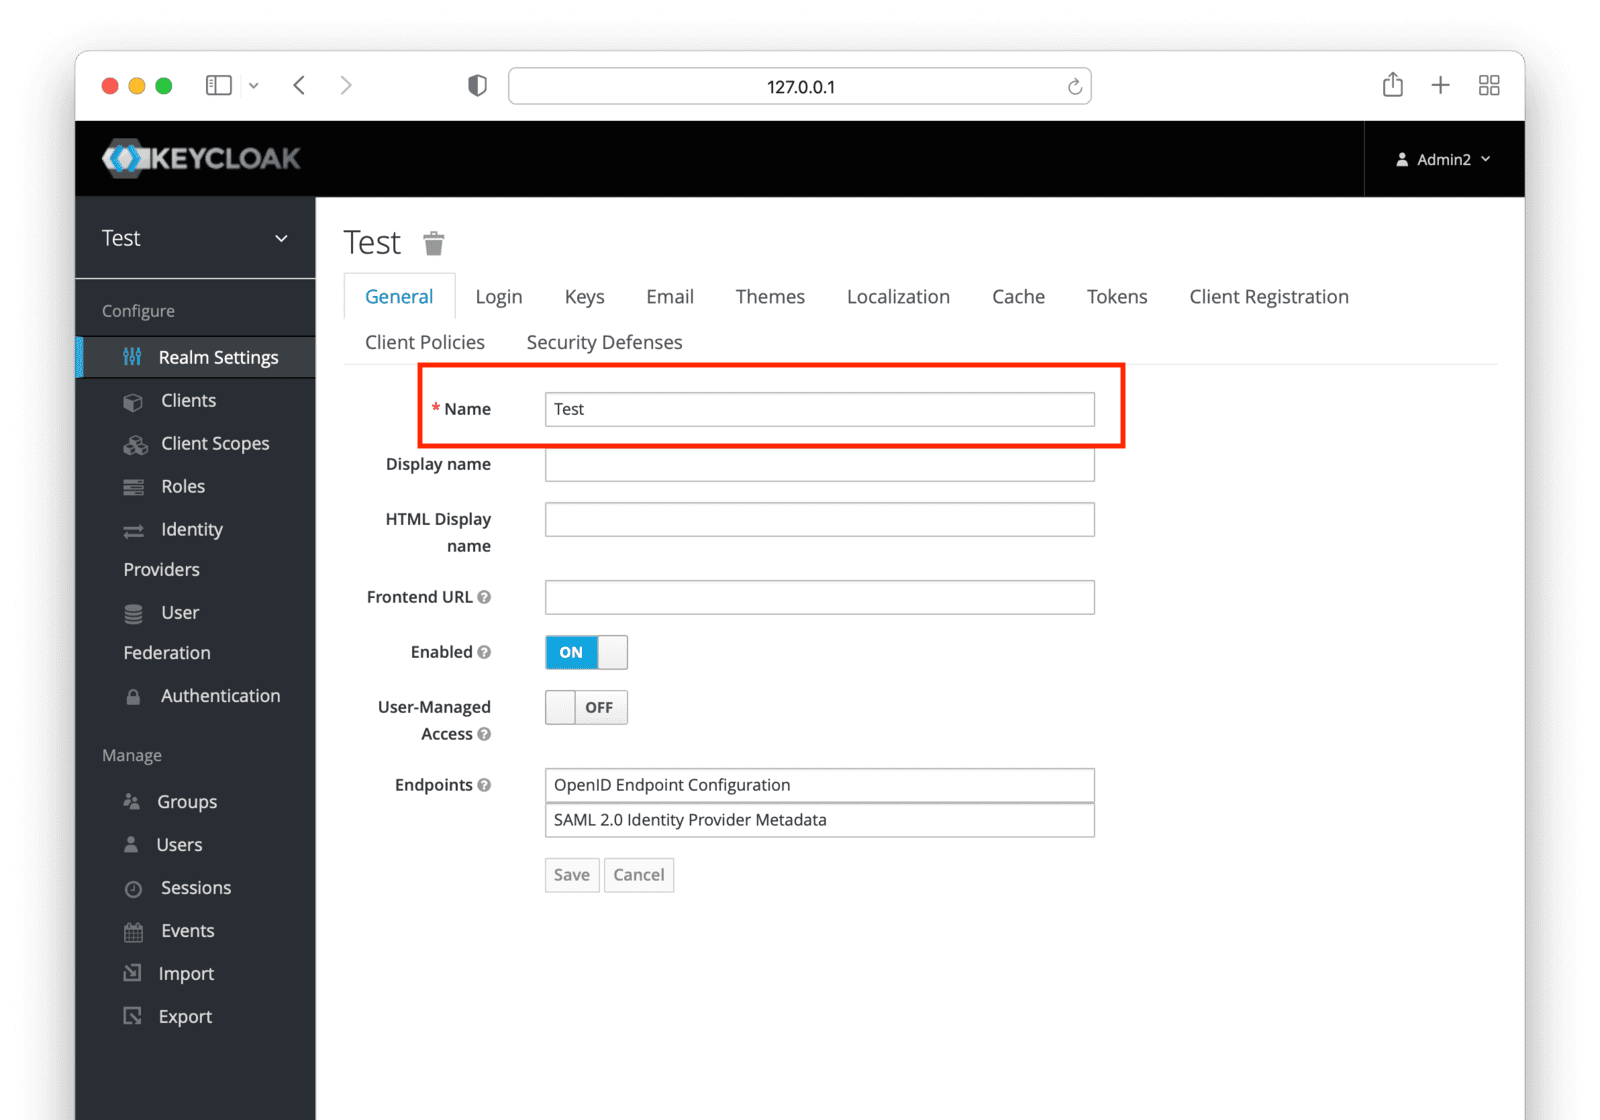 Make note of each realm name containing users you want to migrate. You may migrate one, many or all realms depending on your requirements and larger migration plan.
### Mapping User Attributes
encryptionScheme for this plugin is `salted-pbkdf2-hmac-sha256-512`. This plugin ships with versions of FusionAuth 1.34 and above. It is called the `Salted PBKDF2 with SHA-256 with 512-bit derived key` plugin.
If you have a version of FusionAuth below 1.34, the code is [available for download](https://github.com/FusionAuth/fusionauth-contrib/blob/main/Password%20Hashing%20Plugins/src/main/java/com/mycompany/fusionauth/plugins/ExamplePBDKF2HMACSHA256KeyLength512PasswordHasher.java). If you use this, follow the [plugin installation steps](/docs/extend/code/password-hashes/writing-a-plugin#install-the-plugin).
If you have configured Keycloak to use a different hashing algorithm, you will need to [write and install a plugin](/docs/extend/code/password-hashes/writing-a-plugin) using that algorithm. You'll also need to update the `map_hashing_algorithm` method in the `import.rb` script.
#### Create A Test Tenant
Overview -> Services and click the + button. Click + Add next to PingOne Authorize service to add the service.
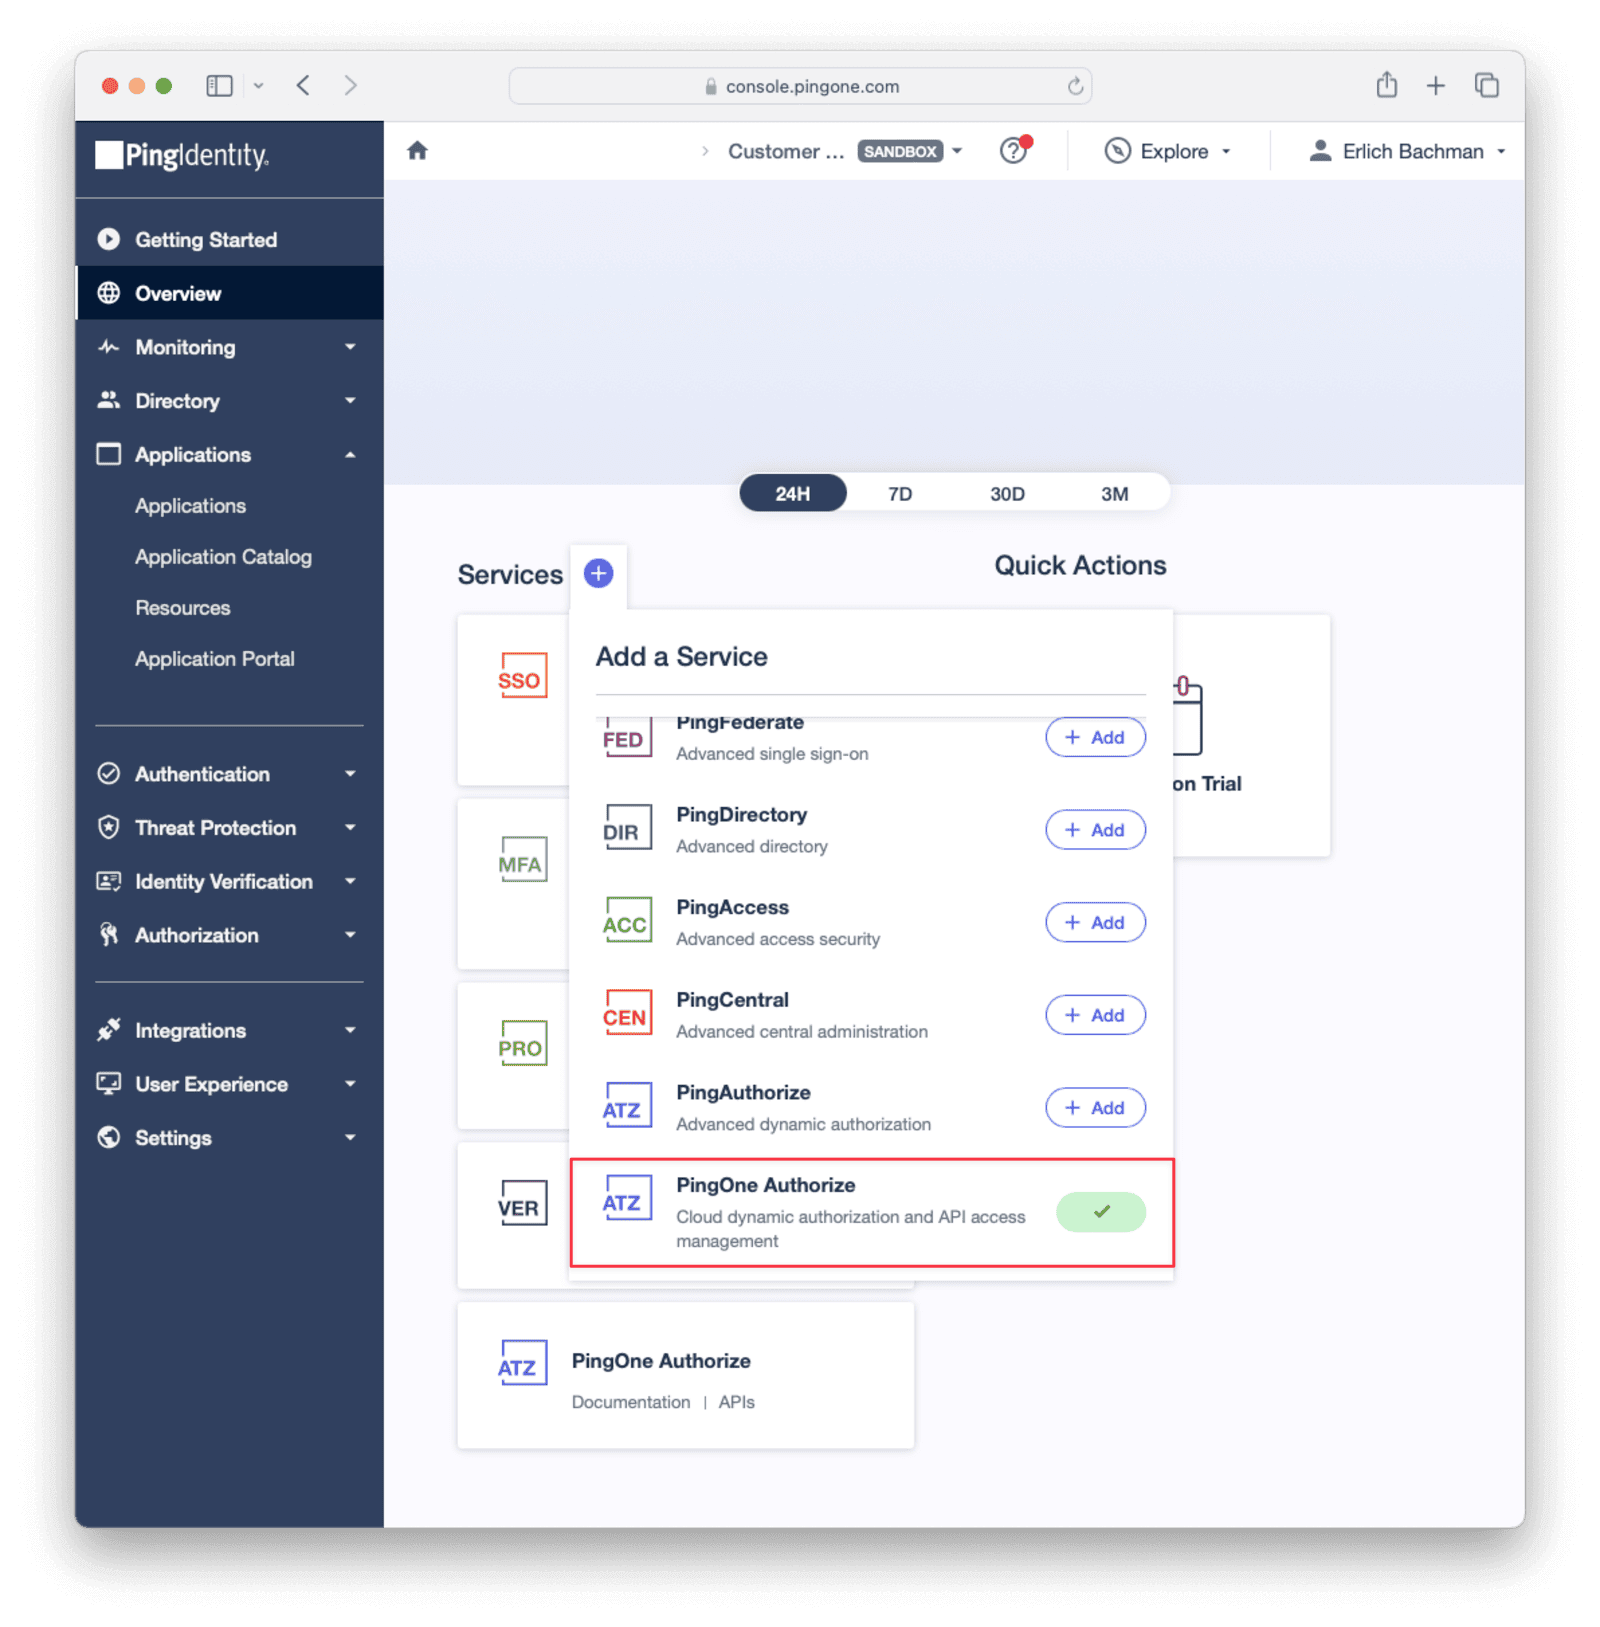
#### Add A Worker Application For The PingOne Authorize Service
After setting up the PingOne Authorize service in your environment, add a worker application to enable dynamic authorization of API actions for the service. Under Applications -> Applications click the + button to create a new application. Set the Application Name and select the "Worker" application type. Save the application.
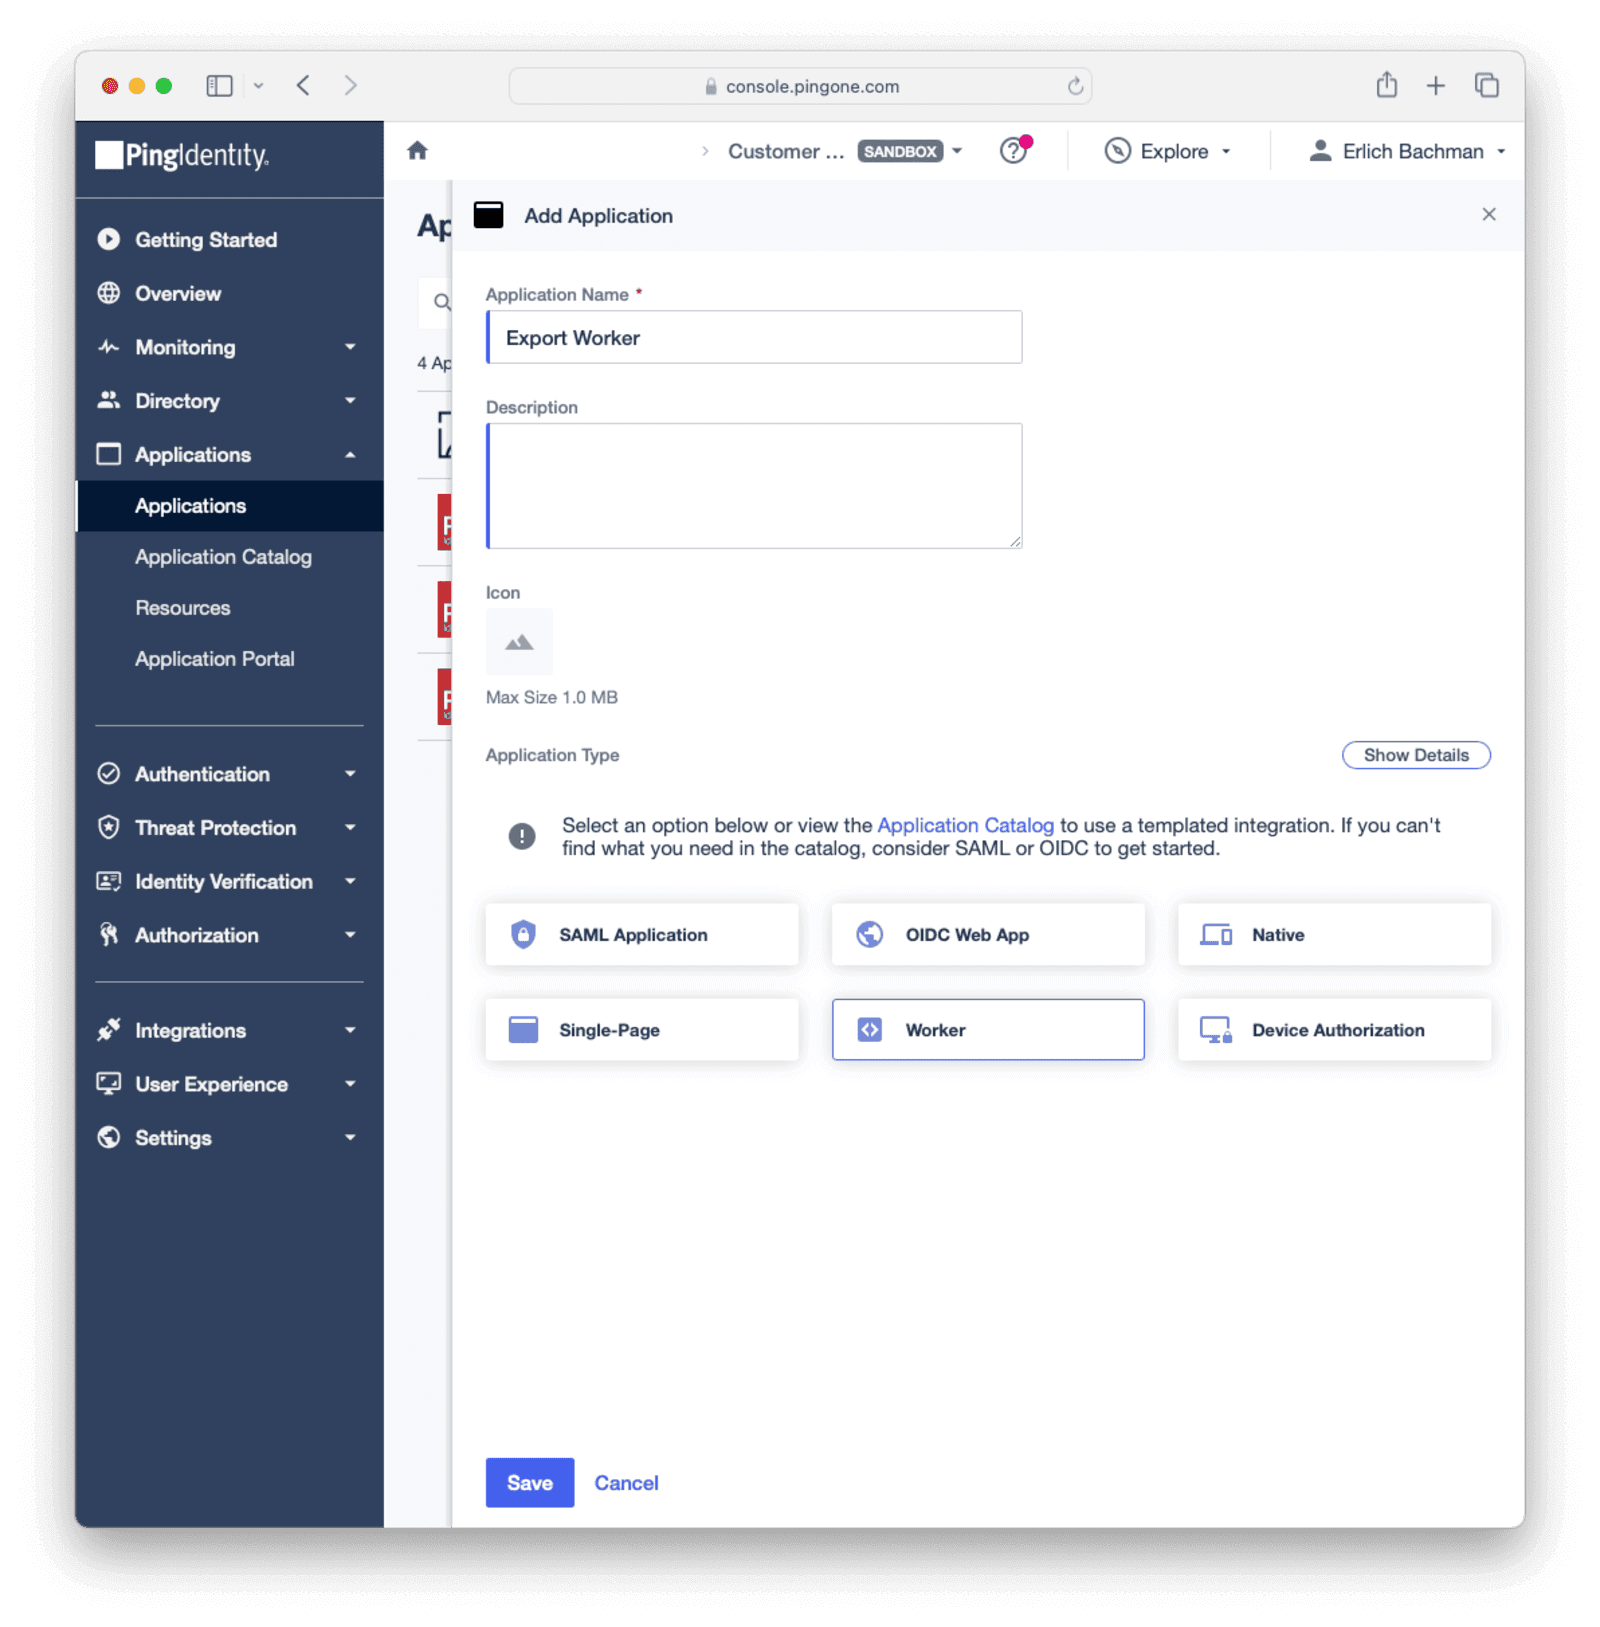
After saving, enable the application by clicking the toggle button (top right) next to the application name. Give the worker application sufficient permissions to access your user data by assigning the necessary roles, for example, the "Identity Data Admin" role for your environment.
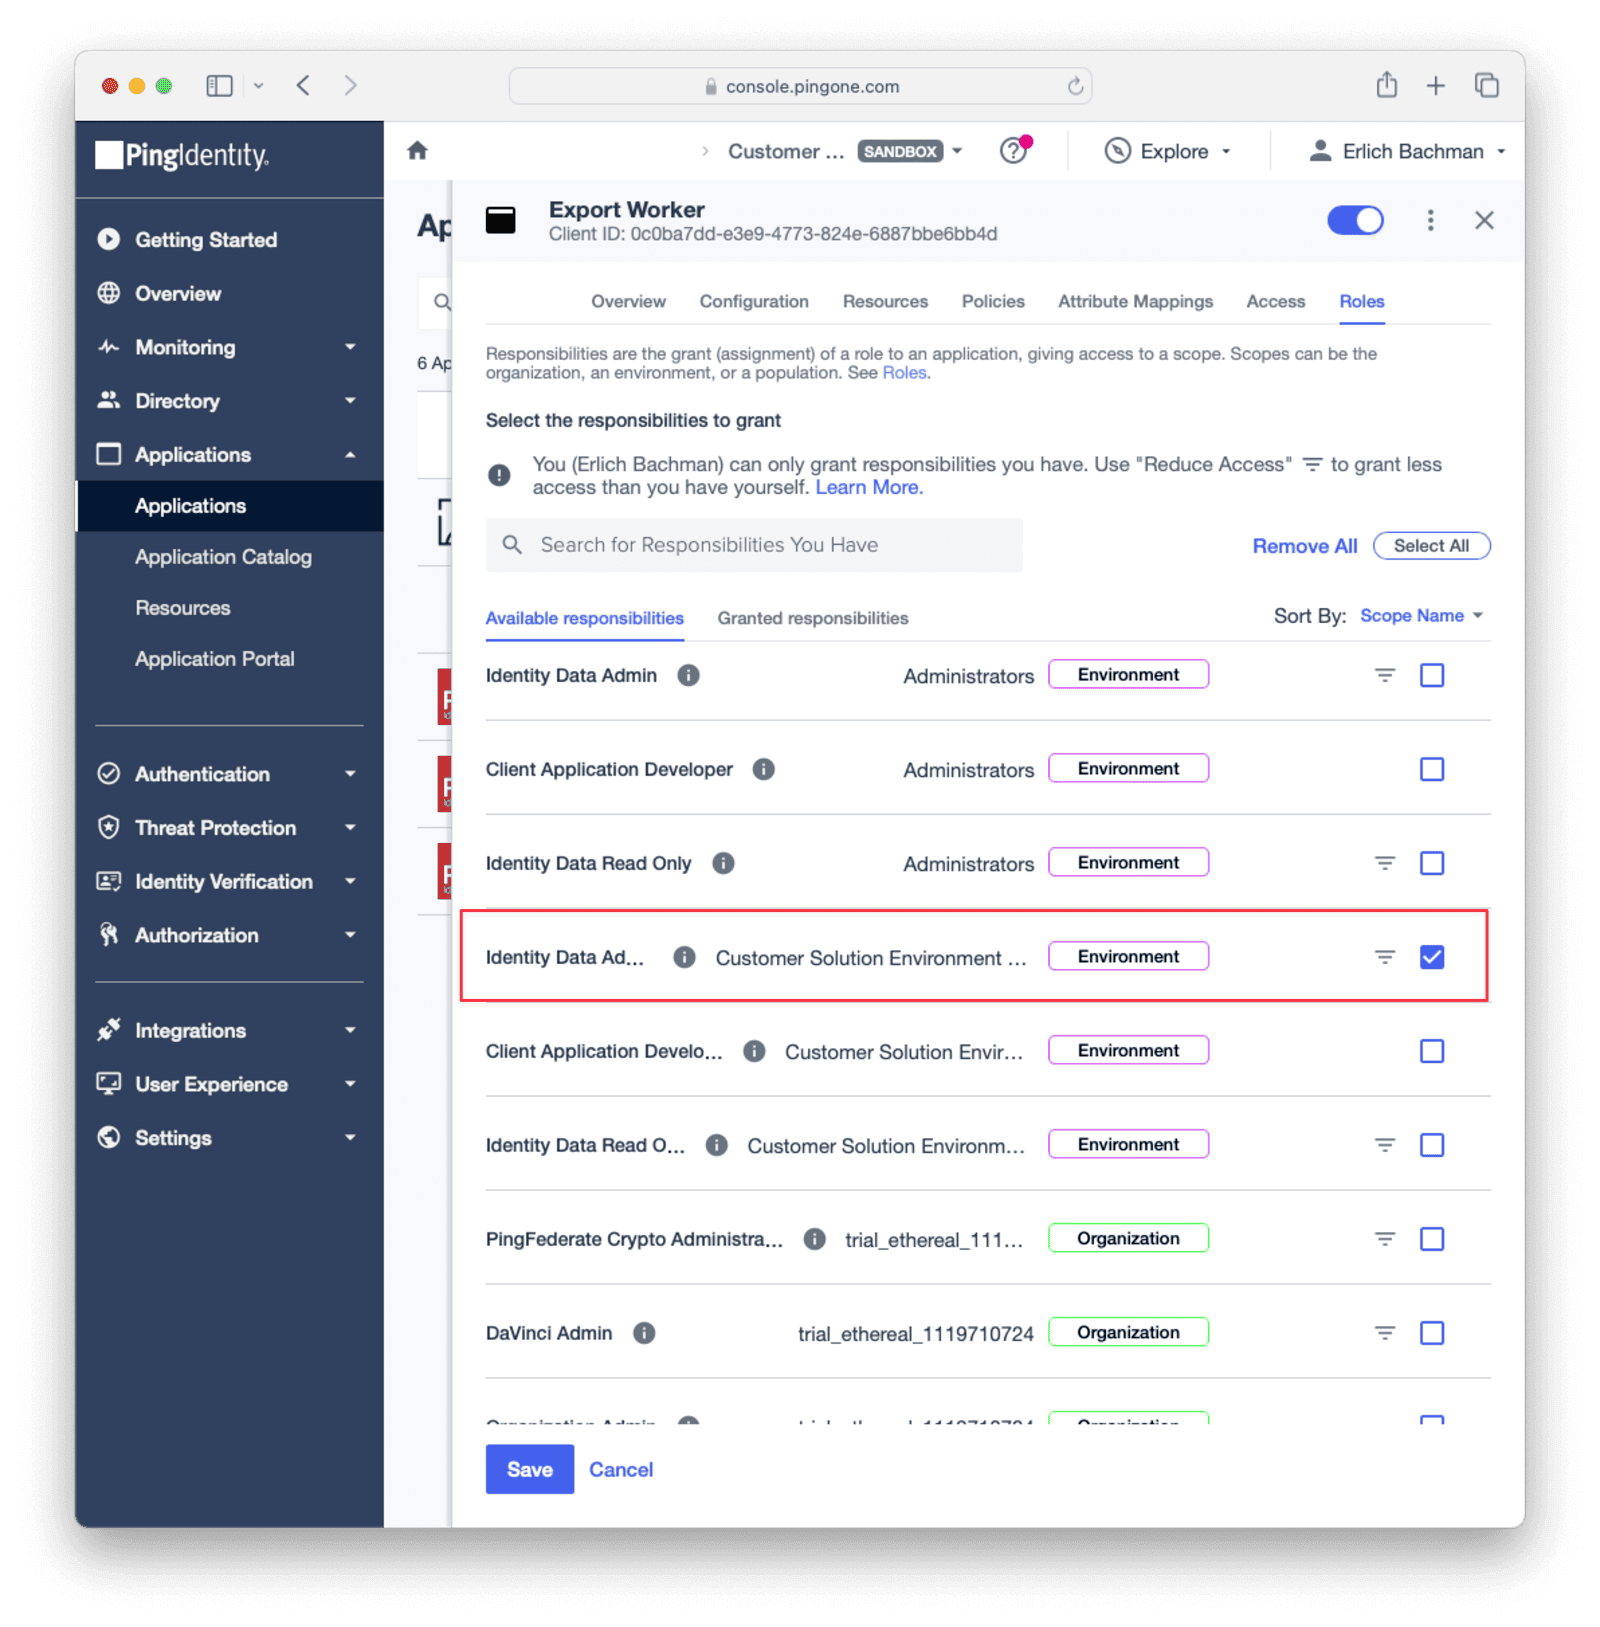
Generate an access token in the Configuration tab by clicking the Get Access Token and take note of it to use in the Flask application you will create shortly.
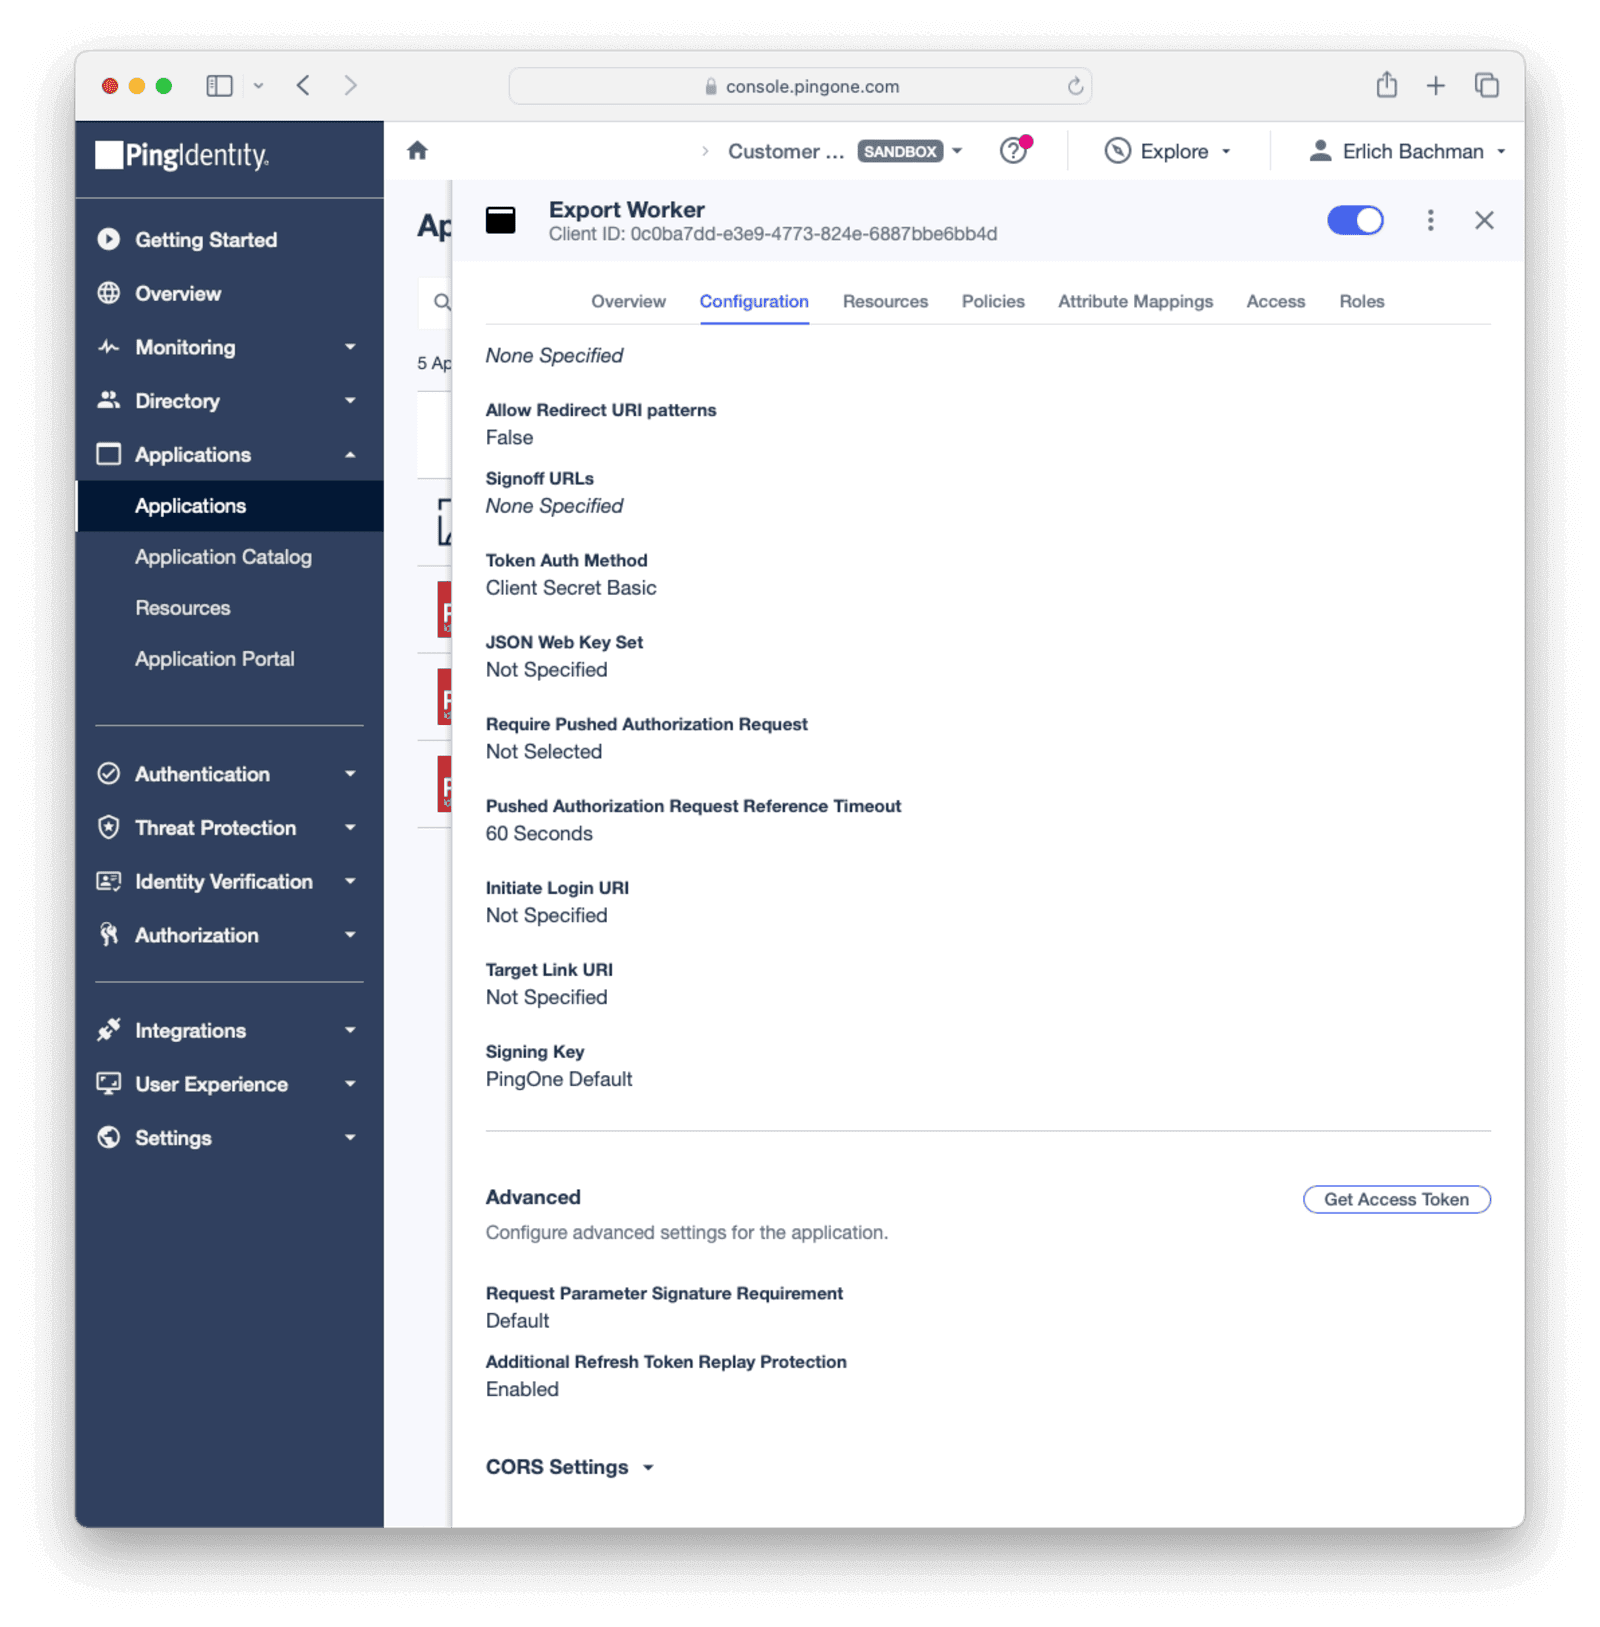
On the Overview tab of the application take note of the Environment ID .
#### Add An OIDC Application In Your Ping Environment
Create an [OIDC application](https://docs.pingidentity.com/r/en-us/pingfederate-pingone-mfa-ik/pingfederate_pingone_mfa_ik_creating_a_web_or_native_application_in_pingone) in your Ping Environment to call from the Flask app. Under Applications -> Applications click the + button to create a new application. Set the Application Name and select the "OIDC Web App" application type. Save the application. After saving, enable the application by clicking the toggle button (top right) next to the application name.
On the Configuration tab click the pencil edit button to edit the configuration details of the application.
- Select "Code" as the Response Type .
- Select "Authorization Code" as the Grant Type .
- Set `https://www.google.com` for the Redirect URIs
- Take note of the Client Id of the application to use in the Flask app and save the configuration.
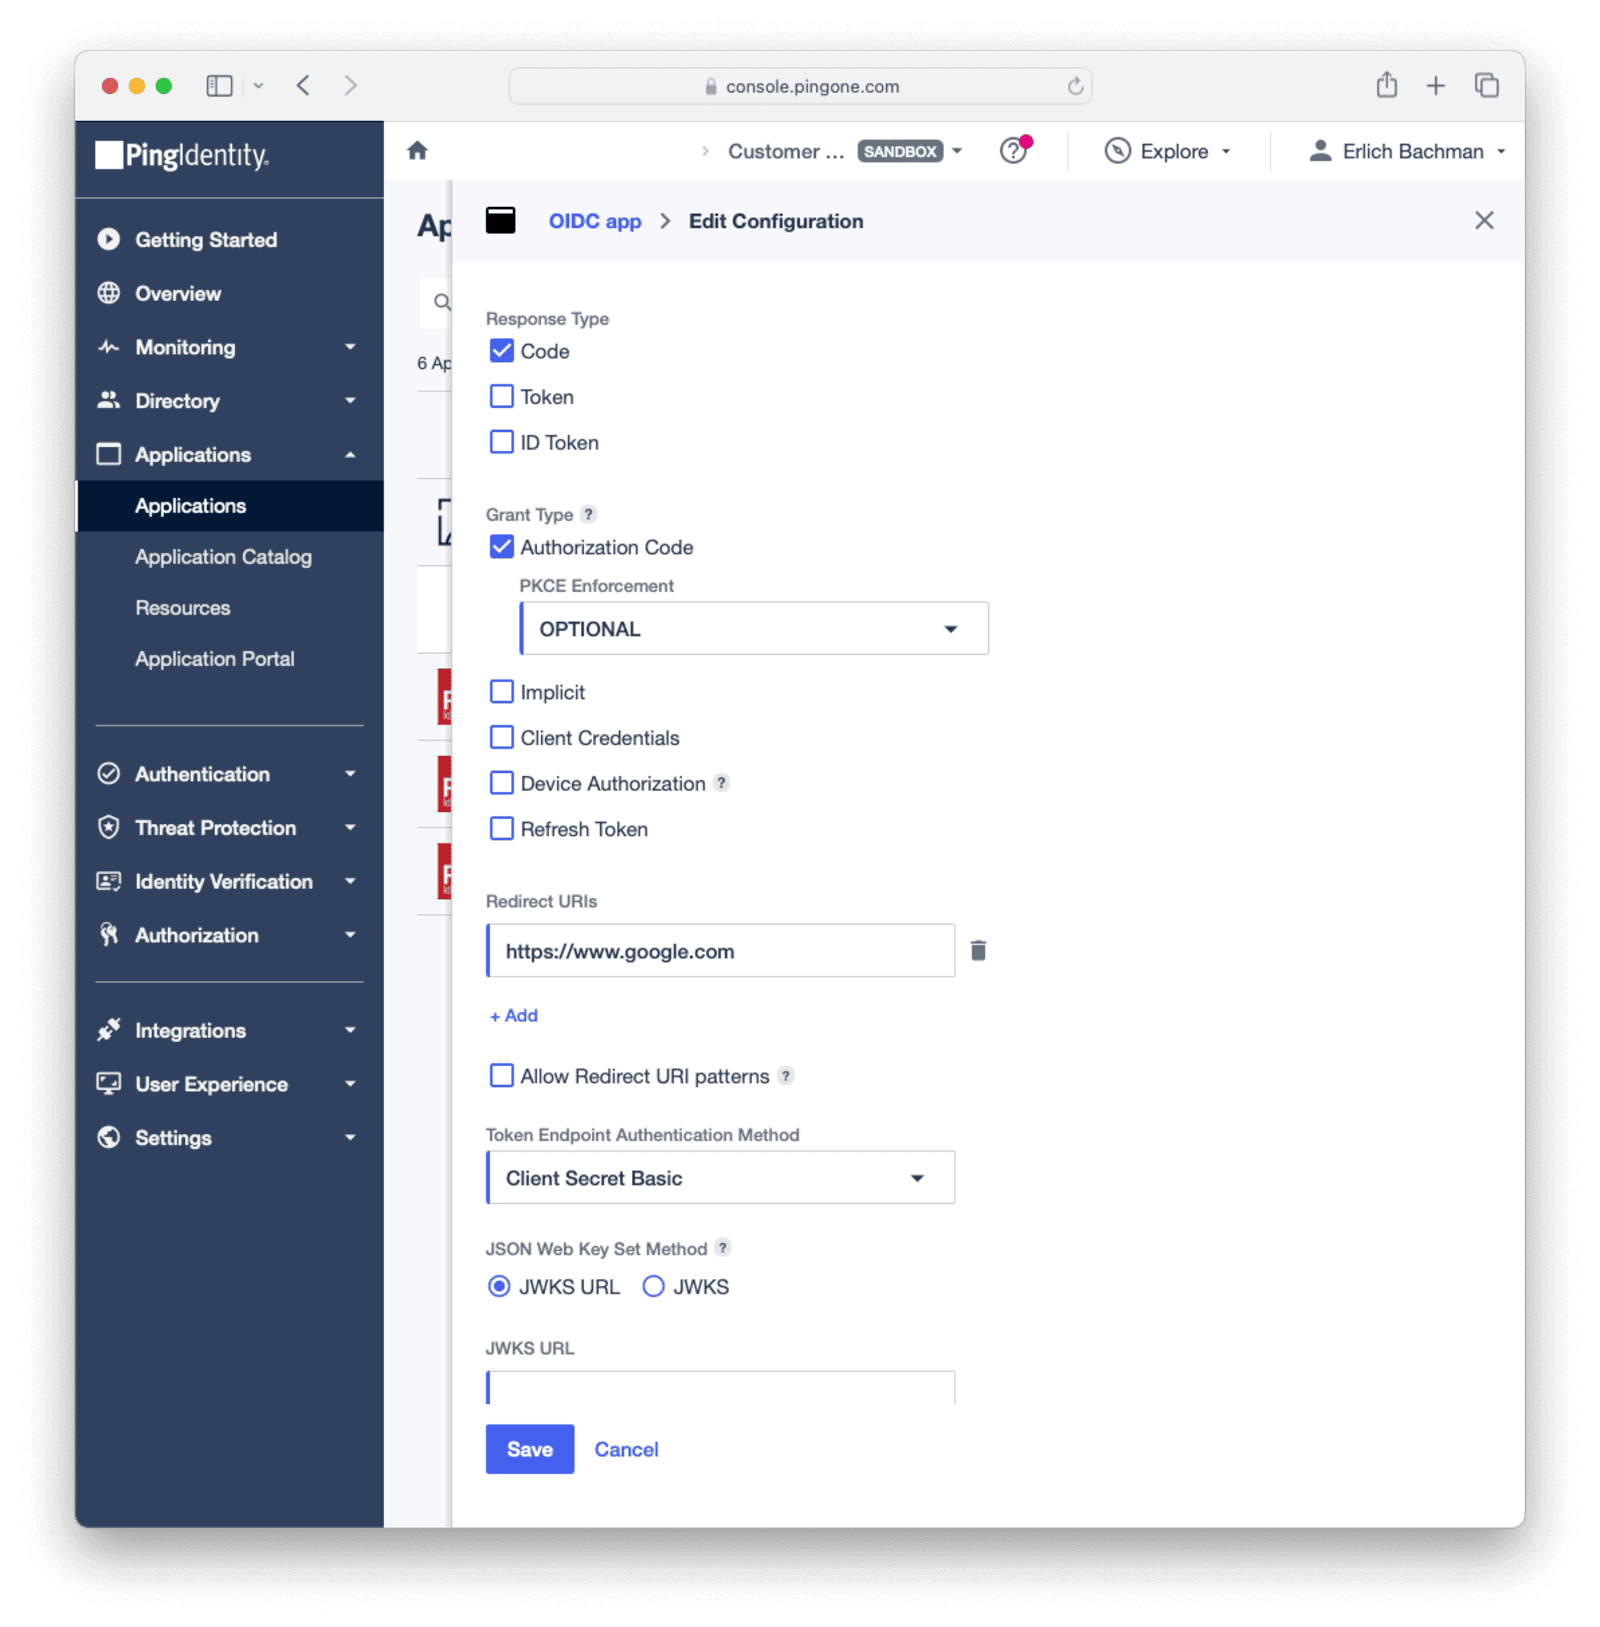
### Set Up Authentication Logic
Create a directory to set up the Flask application.
```sh
mkdir authenticator_app && cd authenticator_app
```
Set up a virtual environment in the `authenticator_app` directory by running the following command.
```sh
python -m venv venv
```
Activate the virtual environment with the command.
```sh
source venv/bin/activate
```
Install requirements for the Flask application in the virtual environment with the following command.
```sh
pip install requests flask
```
Create a `pingIdentityAuth.py` file and add the Flask authenticator code below to it. Modify the example function code provided as needed and remember to update the domains (for example, `apiPath`) to match the region where the Ping Identity data is hosted.
The following fields need to be populated from your environment:
* `envID`: The Id of the environment the user data will be exported from.
* `appId`: The Client Id of the OIDC application.
* `access_token`: The access token you generated when you created the worker application in Ping Identity.
Settings -> Connectors , click the dropdown button, and select Add Generic connector button on the top right.
import Breadcrumb from 'src/components/Breadcrumb.astro';

Configure the Connector:
* Give the Connector a name like `PingIdentityConnector`.
* Set the Authentication URL to the value of the URL endpoint created above, for example, https://random-ngrok-string.ngrok-free.app/api/RopcProxy?code=s0ndU863xdbXsFO4dLZAJQXLzyTU789iaUJ43uLAtIkXm_AzFuFWP1zg==.
* Don't set any headers, as you might need a code passed into your functions in the query string.
* Adjust the timeout values to higher values to cater for network latency when the API requests are being made.
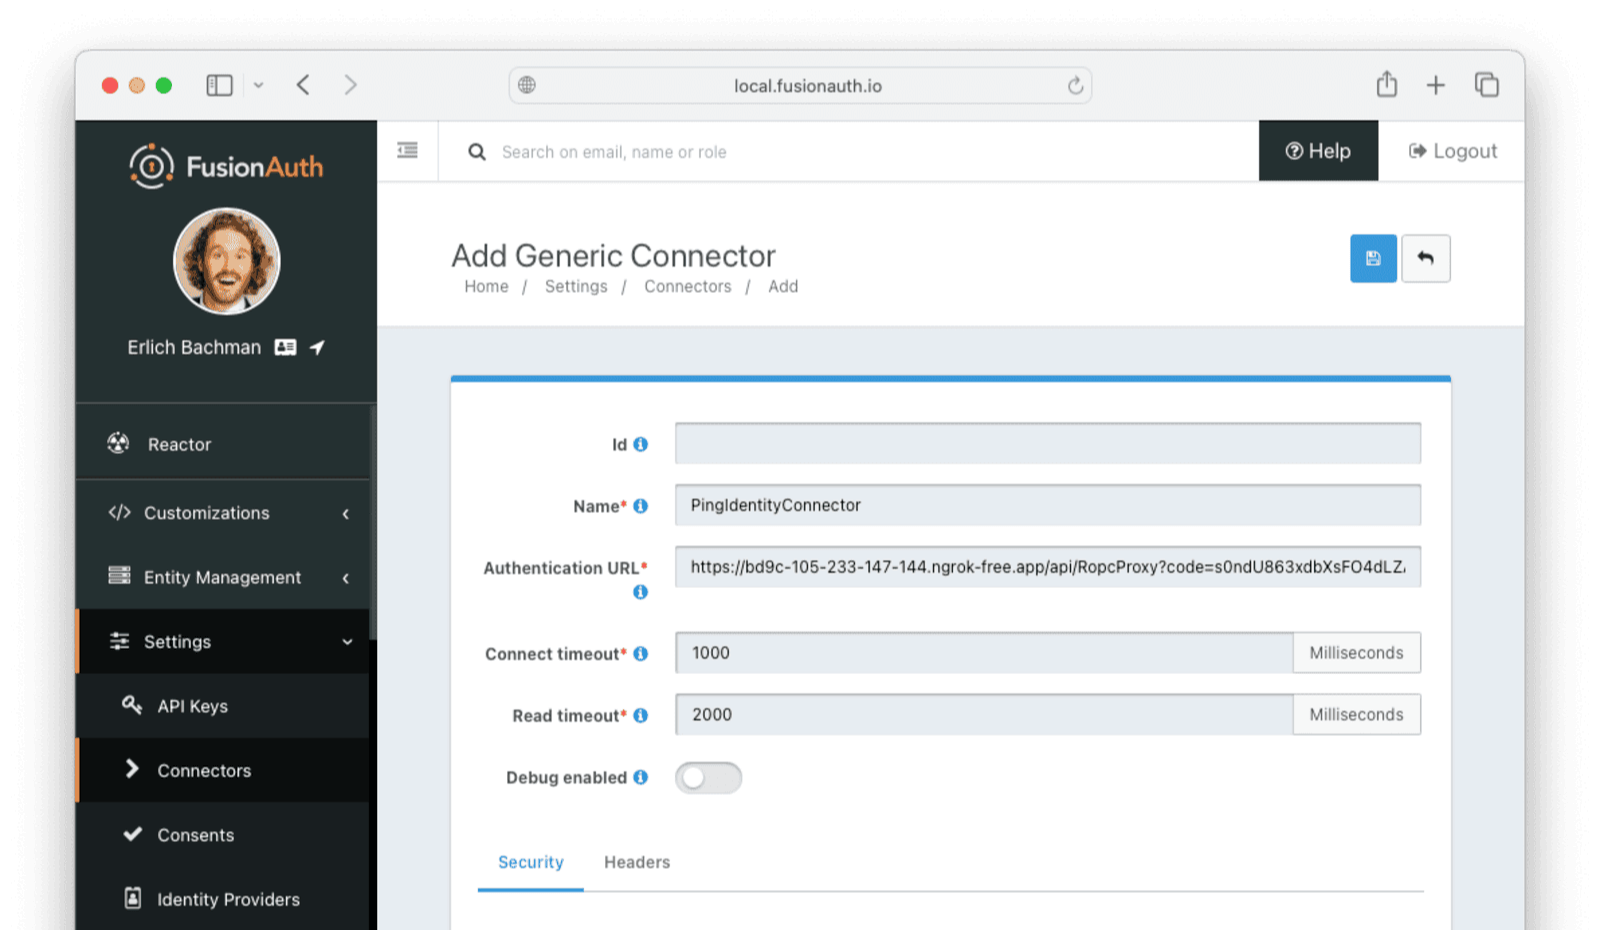
Save the Connector.
Note that if you have problems with the Connector, you can enable Debug enabled to have errors or warnings logged in the FusionAuth system event log.
#### Configure The Tenant
Now you'll configure the tenant to use the Connector.
Navigate to Tenants -> Ping Identity import tenant -> Edit -> Connectors .
Click the Add policy button to set up a new Connector policy.

Set the Connector field value to the name of the Connector you created. Make sure that the Migrate user field is enabled. You can leave the Domains field with the value of `*`, which will apply this Connector to every user. Submit the policy.
Ensure the new Connector Policy is at the top of the list of policies. Use the arrow buttons to move the policy if necessary. With this configuration, all users are checked against this Connector the first time they are seen. If they log in, they'll be migrated to the FusionAuth user database.
After configuration, the Connector entry form should look similar to this:
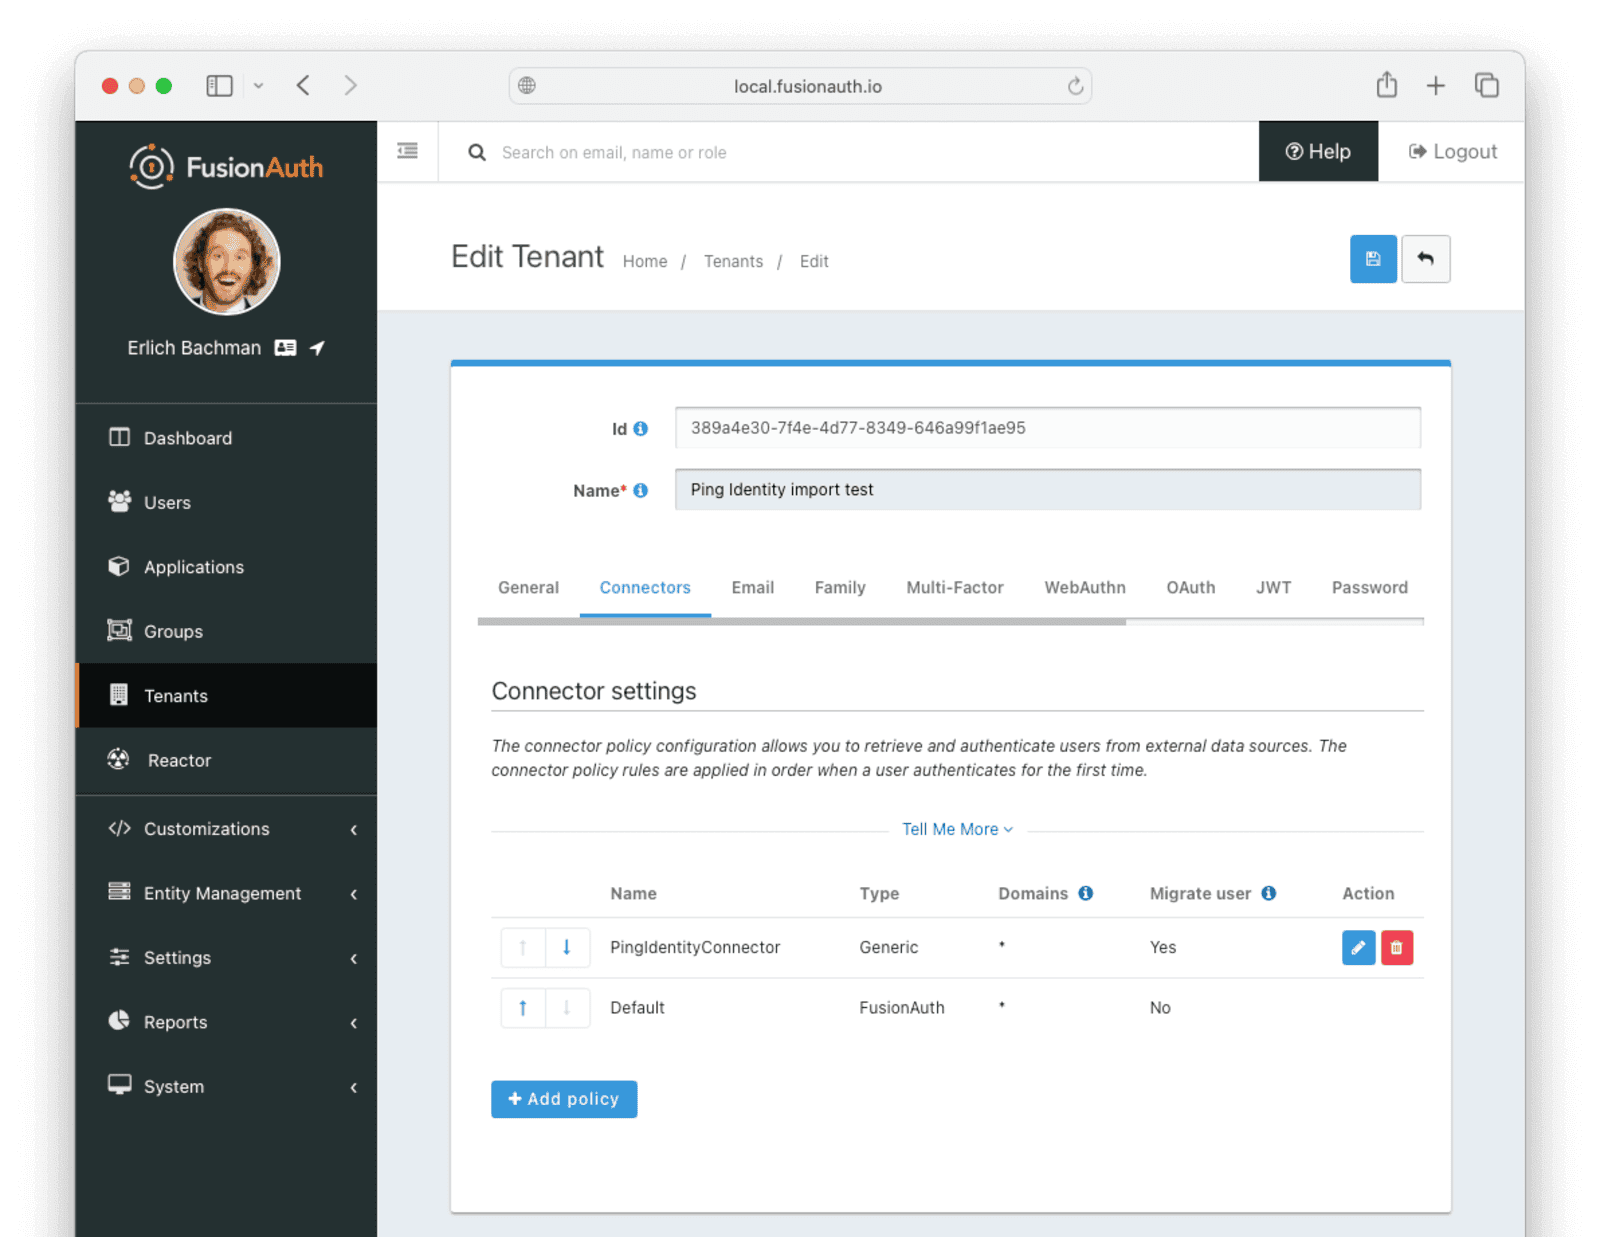
Save the changes.
### Log In As A Test User
To test that users will be migrated, log in as a test user via the FusionAuth interface with a valid user from your Ping Identity instance.
You'll need the OAuth IdP login URL you recorded when you set up the test application.

Copy this URL and open it in a new incognito browser window (if you don't use an incognito window, the admin user session will interfere with the test). You should see the login screen:

Enter credentials for a Ping Identity user account; you can use the same account you used to test the API with curl and log in. The user will be transparently migrated over to FusionAuth.
If the user was not migrated or the login was unsuccessful, enable Debug enabled in the Connector configuration to troubleshoot. Navigate to Settings -> Connectors and edit the Connector.
Try to log in again with the test user, then return to the FusionAuth UI and navigate to System -> Event Log to see if it contains any useful information.
### Verify The Import
You can also check that the import succeeded by viewing the user in the administrative user interface.
Once you have successfully migrated a user from Ping Identity to FusionAuth, any further profile or password changes to the user will occur against the FusionAuth database.
### Clean Up Your Test Environment
When you have completed testing the migration, you can deploy the same configuration changes to production.
Depending on your architecture, you can choose to migrate users into the default tenant or a new tenant of the production instance. Whichever you choose, configure the Connector policy of the destination tenant.
If you aren't keeping users in the test tenant, delete it. This is also useful if you want to start over because you need to tweak a setting such as the default application registration. In either case, delete the test tenant you created.
Deleting a tenant will remove all the users and other configuration for the tenant, giving you a fresh start. To delete a tenant, navigate to Tenants and choose the red trash can icon corresponding to the tenant to be deleted.

Confirm that you want to delete the tenant. Depending on how many users exist in a tenant, deleting a tenant may take some time. If it is easier, you may also delete migrated users one at a time using the administrative user interface.
### Migrate Everything Else
## Exporting Users
To export users from Stytch, you need to request the user password hashes from Stytch via email, get all user details via the API, and then combine the user details with the hashes.
### Create Stytch Users
You probably already have a Stytch account with users you want to export to FusionAuth. Even so, it is a good idea to create a separate test project in Stytch with only a few users. You can use the test project to run an end-to-end migration between Stytch and FusionAuth quickly, without having to handle millions of real users and the privacy risks of handling their data when encountering errors.
Create a new Stytch project:
- Create a Stytch account or sign in to your existing account at https://stytch.com/dashboard.
- Locate the project button next to the workspace button in the header at the top left and use the project button to create a new project you'll use for test users.
- Under Configuration on the sidebar, select API Keys .
- Note the project Id and secret.
Create three example users:
- Download this tutorial's scripts repository from https://github.com/fusionauth/fusionauth-import-scripts and unzip it, or if you have Git, run the code below.
```sh
git clone https://github.com/fusionauth/fusionauth-import-scripts.git
```
- In the file `fusionauth-import-scripts/stytch/js/1_makeStytchUsers.mjs`, change the project Id and secret to match your project.
- In a terminal, run the code below to create three new users in Stytch using the Stytch JavaScript API.
```sh
cd fusionauth-import-scripts/stytch/js
npm update
node 1_makeStytchUsers.mjs
```
- In the Stytch web dashboard, check that the users now exist.
- If any errors occur and you need to delete the users, uncomment the lines with `client.users.delete`, set the user Ids from the dashboard, and rerun the script.
### Request User Passwords From Stytch
You cannot download your users' password hashes from Stytch using their API. To get the password hashes, email `support@stytch.com` from the email address you used to sign up with Stytch and ask for your users' hashes to be sent to you.
Stytch will encrypt the hashes with your public key. Attach this key in a `.pem` file to the email you send Stytch.
To create a private and public key pair, use the commands below in a terminal.
```sh
openssl genpkey -algorithm RSA -out private_key.pem &&
openssl rsa -pubout -in private_key.pem -out public_key.pem
```
Email Stytch only `public_key.pem`. Keep `private_key.pem` secret and secure.
An example of what these keys look like is in the directory `fusionauth-import-scripts/stytch/exampleData/1_emailRequest`. You can use the keys to request test users from Stytch but do **not** use these keys for real users, as they are publicly available on GitHub.
### Decrypt The Reply
Stytch will reply with two files: An encrypted password hash file (`stytch-project-test-36510638-652a-4d3d-9a94-f0a7106582fc-hashes-2021-01-11.enc`) and the key to decrypt it (`key.bin.enc`).
Decrypt the password file with the commands below.
```sh
openssl pkeyutl -decrypt -inkey private_key.pem -in key.bin.enc -out key.bin &&
openssl enc -d -aes-256-cbc -in stytch-project-test-36510638-652a-4d3d-9a94-f0a7106582fc-hashes-2021-01-11.enc -out stytch_password_hashes.csv -pass file:./key.bin
```
Now you have all your user hashes in the file `stytch_password_hashes.csv`. Below is the `exampleData/3_responseDecryption/stytch_password_hashes.csv` file content for three users.
Users and edit one of the imported users.
- In the Source tab, you can see all the user details.
#### Debug With The FusionAuth Database
If you have errors logging in, use the FusionAuth database directly to see if your users were imported, and check their hashes manually.
You can use any PostgreSQL browser. [DBeaver](https://dbeaver.io/download) is free, cross-platform, and open source. The connection details are in `fusionauth-import-scripts/stytch/fusionAuthDockerFiles/docker-compose.yml` and `.env`.
In DBeaver or your database IDE, create a new PostgreSQL connection with the following details:
- URL: `jdbc:postgresql://localhost:6432/fusionauth`
- Host: `localhost`
- Port: `6432`
- Database: `fusionauth`
- Username: `fusionauth`
- Password: `hkaLBM3RVnyYeYeqE3WI1w2e4Avpy0Wd5O3s3`
Log in to the database and browse to `Databases/fusionauth/Schemas/public/Tables/identities` and `users`. These two tables will show you the login credentials and user personal information.
## What to Do Next
 The user data to be exported will be selected from the `auth` table. If you have other tables that contain user-specific fields (for example, usernames), you can edit the script above to cater to that.
The JSON output produced by the script should look something like this:
```json
[
{
"instance_id": "00000000-0000-0000-0000-000000000000",
"encrypted_password": "",
"created_at": 1684248249840.815,
"provider": "facebook",
"email": "erlich@example.com",
"user_id": "facebook|99af46c2-b9e9-4471-81fd-35bdf12957aa",
"salt": "",
"password": "hasprovider",
"email_verified": true
},
{
"instance_id": "00000000-0000-0000-0000-000000000000",
"encrypted_password": "$2a$10$VnxRmsfGTooc.Yy7Ez7L7.bkdHaSzseGwHkjvxZUGaGo5k4XIfDYe",
"created_at": 1684096920263.688,
"provider": "email",
"email": "richard@example.com",
"user_id": "auth0|b60d3ece-2c59-43d0-acf1-632fdefb6a54",
"factor": "10",
"salt": "VnxRmsfGTooc.Yy7Ez7L7.",
"password": "bkdHaSzseGwHkjvxZUGaGo5k4XIfDYe",
"encryptionScheme": "bcrypt",
"email_verified": true
},
{
"instance_id": "00000000-0000-0000-0000-000000000000",
"encrypted_password": "",
"created_at": 1684269308911.086,
"provider": "google",
"email": "bertram@example.com",
"user_id": "google|1a5347be-4bab-4113-aaf5-51d358fd4165",
"salt": "",
"password": "hasprovider",
"email_verified": true
},
{
"instance_id": "00000000-0000-0000-0000-000000000000",
"encrypted_password": "$2a$10$X06hVD7/522iK698AxX1u.NINSImp/Md75dY/yz5sYjpmGF/5aeM6",
"created_at": 1684052197215.207,
"provider": "email",
"email": "jared@example.com",
"user_id": "auth0|90d5cfea-e41e-44ea-a3bd-e16d112622f8",
"factor": "10",
"salt": "X06hVD7/522iK698AxX1u.",
"password": "NINSImp/Md75dY/yz5sYjpmGF/5aeM6",
"encryptionScheme": "bcrypt",
"email_verified": true
}
]
```
## Importing Users
Next up, import the user data. Here are the steps you need to take.
1. Set Up FusionAuth
2. Get the Script
3. Install Needed Gems
4. Use the Script
5. Verify the Import
6. The Final Destination of Imported Users
### Set Up FusionAuth
Home -> Azure AD -> Enterprise Applications -> Provisioning -> Update credentials
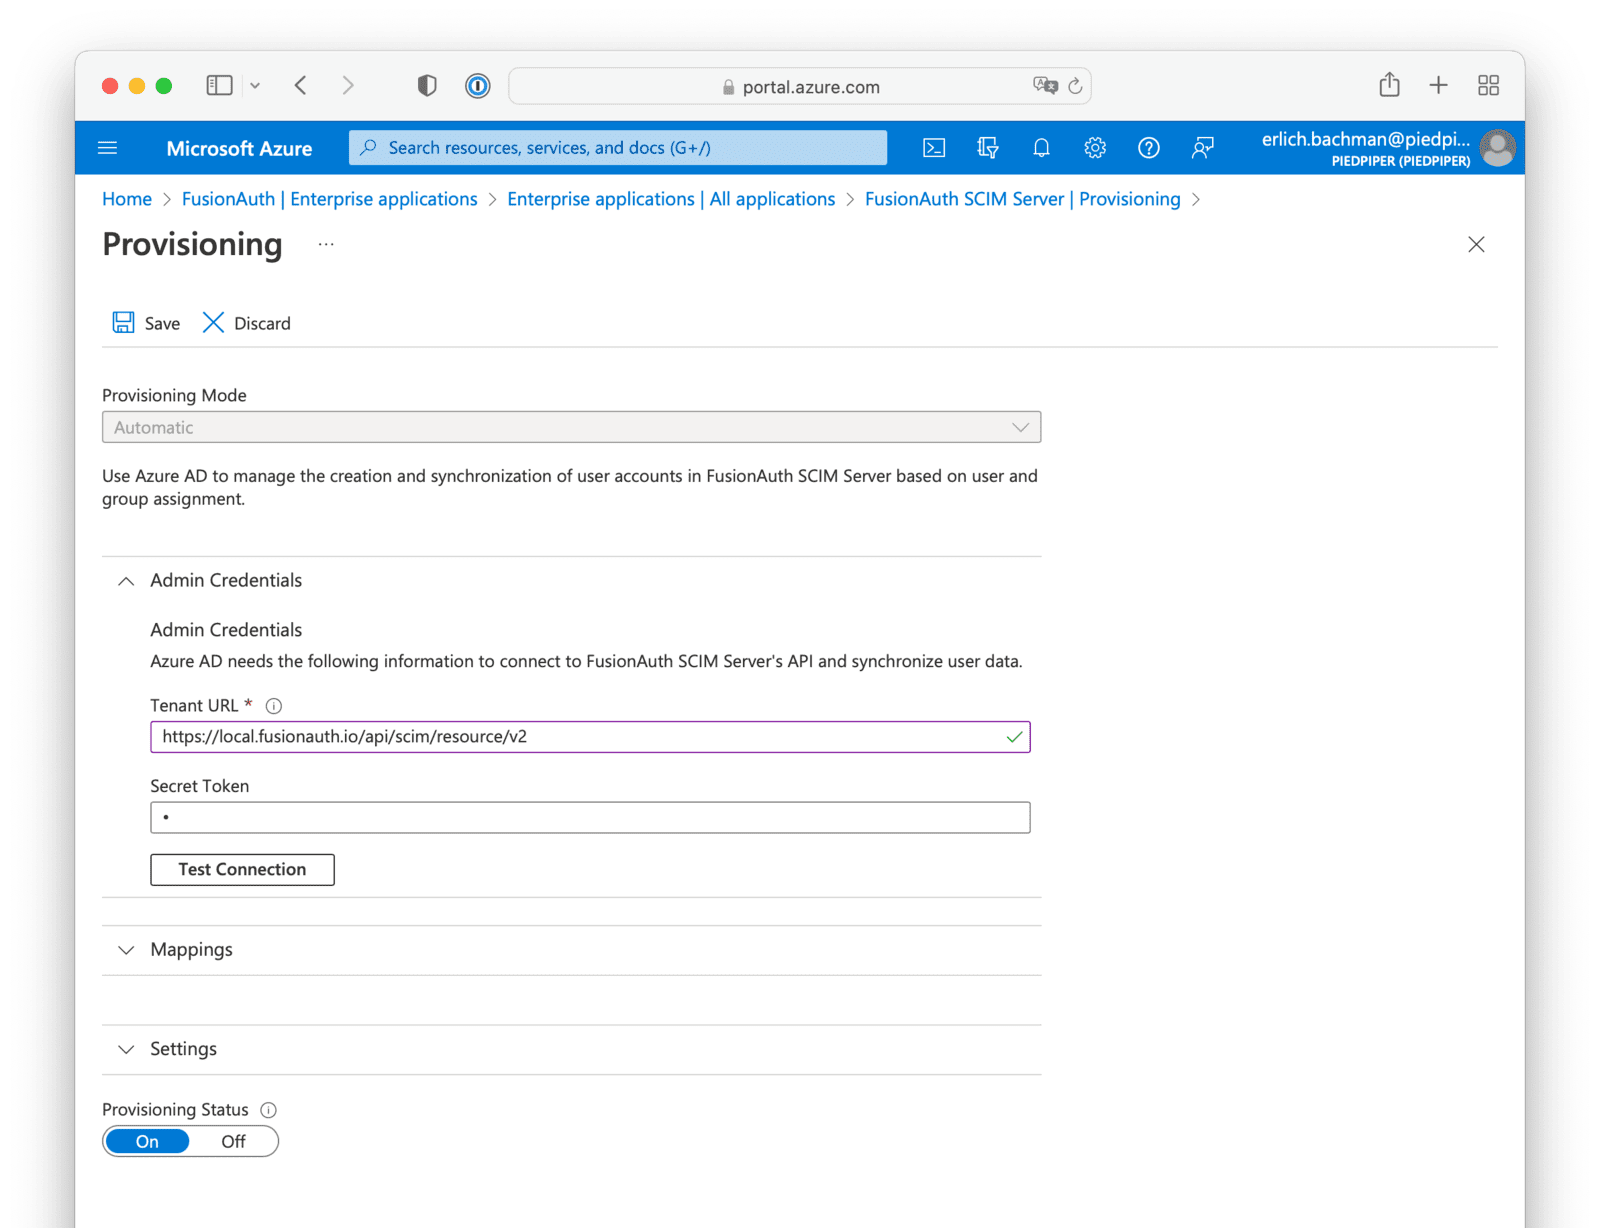
Set this value equal to the FusionAuth SCIM tenant URL found in the Tenant view dialog.
For example, if the base URL for FusionAuth is `https://piedpiper.com`, your SCIM URL will be `https://piedpiper.com/api/scim/resource/v2`
This value will be set using the access token generated using the client credentials grant for the SCIM client entity and the SCIM server entity. [Learn more about getting the access token.](/docs/lifecycle/migrate-users/scim/scim#scim-client-authentication)
# Migrate From WordPress
import AdditionalSupport from 'src/content/docs/lifecycle/migrate-users/provider-specific/_additional-support.mdx';
import Aside from '/src/components/Aside.astro';
import Breadcrumb from 'src/components/Breadcrumb.astro';
import Identifiers from 'src/content/docs/lifecycle/migrate-users/provider-specific/_identifiers.mdx';
import InlineField from 'src/components/InlineField.astro';
import InlineUIElement from 'src/components/InlineUIElement.astro';
import MappingUserAttributes from 'src/content/docs/lifecycle/migrate-users/provider-specific/_mapping-user-attributes.mdx';
import OtherEntitiesIntro from 'src/content/docs/lifecycle/migrate-users/provider-specific/_other-entities-intro.mdx';
import SocialLoginMigration from 'src/content/docs/lifecycle/migrate-users/provider-specific/_social-login-migration.mdx';
import SocialLoginNote from 'src/content/docs/lifecycle/migrate-users/provider-specific/_social-login-note.mdx';
import WhatNext from 'src/content/docs/lifecycle/migrate-users/provider-specific/_what-next.mdx';
import {RemoteCode} from '@fusionauth/astro-components';
export const migration_source_name = 'WordPress';
export const migration_source_dir = 'wordpress';
export const script_supports_social_logins = false;
## Overview
This document will help you migrate users from {frontmatter.technology} to FusionAuth.
This guide is a low-level, technical tutorial focusing on transferring password hashes, calling APIs, and preparing data when migrating users from {frontmatter.technology}. To understand how to plan a migration at a higher level, please read the [FusionAuth migration guide](/docs/lifecycle/migrate-users).
## Prerequisites
If you want to import user passwords in addition to user personal details, you need a basic understanding of how password hashing and salts work. FusionAuth has a [hashing article](/articles/security/math-of-password-hashing-algorithms-entropy) that is a good starting point.
To follow this tutorial, you need:
- [Node.js](https://nodejs.org/en) to run the migration scripts, and npm.
- [FusionAuth](/download). The easiest way to run it locally is to use [Docker](https://docs.docker.com/get-docker/) with the configuration file provided later in this tutorial.
## Planning Considerations
### Obtaining User Data
{frontmatter.technology} stores all users in a MySQL database. You will need access to the database to run a SQL extraction script.
### Mapping User Attributes
Settings -> General -> Membership . Enable Anyone can register and click Save Changes .
Log out at the top right of the page. Browse to http://localhost/wp-login.php.
Register a new user. Enter a username and email `richard@example.com`.
### Explore The Users In The Database
Browse the database in any database IDE that can connect to MariaDB. [DBeaver](https://dbeaver.io/download) is a free, cross-platform IDE you can use.
Create a new MariaDB connection to `localhost`, port `3306`, database `wp`, username `wp`, with no password needed. Open the connection and expand the database tables.
WordPress has two tables related to users: `wp_users` and `wp_usermeta`.
#### The `wp_users` Table
In `wp_users`, you will have data similar to the example below. This table holds identifiers and a password hash for each user.
```
ID |user_login|user_pass |user_nicename|user_email |user_url |user_registered |user_activation_key |user_status|display_name|
---|----------|----------------------------------|-------------|----------------------|----------------|------------------------|----------------------------------------------|-----------|------------
1 |user |$P$BVrdsW/NUuXDi0Od0uUdk2SnJHHmQ01|user |user@example.com| http://127.0.0.1 |2024-02-21 07:09:20.000 | | 0|user |
2 |richard |$P$B/kCzTMDV7ccClaRShJPz8suWQdKc5/|richard |richard@example.com | |2024-02-21 10:52:53.000 |1708512773:\$P$BYELgLl.oz9lv.YRNp7ppBA1GxzOEY0| 0|a |
```
Unfortunately, neither the [WordPress Codex](https://codex.wordpress.org/Database_Description) nor the [WordPress Developer Handbook](https://developer.wordpress.org) gives definitions of the database fields and their meanings. To be certain of their purpose, you would need to read the WordPress source code, but the column definitions below seem obvious enough to trust.
- ID: A unique identifier for each user. It is an auto-incremented integer and serves as the primary key for the table.
- user_login: The user's username used for logging in to WordPress.
- user_pass: The hashed password for the user.
- user_nicename: A URL-friendly version of the user's username. It is used in the author slug URL.
- user_email: The user's email address. It is unique for each user and used for account management and notifications.
- user_url: The URL of the user's website. This field is optional and can be left blank.
- user_registered: The date and time when the user registered on the WordPress site. It is stored in the 'YYYY-MM-DD HH:MM:SS' format.
- user_activation_key: Used for storing a hash that is used to activate the user's account or for password reset purposes.
- user_status: This field is deprecated and not used by core WordPress functions. It was originally intended for user status but is now typically left at its default value of 0.
- display_name: The publicly displayed name of the user. This name is shown on the site in places like author posts or comments.
#### The `wp_usermeta` Table
The `wp_usermeta` table holds all information about a user besides what is kept in the `wp_users` table. WordPress plugins can add their own data, too. Below is the data you should have in `wp_usermeta`.
umeta_id|user_id|meta_key |meta_value
--------|-------|-------------------------------------|---------------------------------------------------------------------------------------------------------------------------------------------------------------------------------------------------------------------------------------------------------------
1| 1|nickname |user
2| 1|first_name |UserName
3| 1|last_name |LastName
4| 1|description |
5| 1|rich_editing |true
6| 1|syntax_highlighting |true
7| 1|comment_shortcuts |false
8| 1|admin_color |fresh
9| 1|use_ssl |0
10| 1|show_admin_bar_front |true
11| 1|locale |
12| 1|wp_capabilities |`a:1:{s:13:"administrator";b:1;}`
13| 1|wp_user_level |10
14| 1|dismissed_wp_pointers |
15| 1|show_welcome_panel |1
16| 1|session_tokens |`a:1:{s:64:"ed6949d03244303edfd56de57f46b77a7300c2c62406ccde3b717b700c4fce4a";a:4:{s:10:"expiration";i:1708684580;s:2:"ip";s:10:"172.25.0.1";s:2:"ua";s:101:"Mozilla/5.0 (X11; Linux x86_64) AppleWebKit/537.36 (KHTML, like Gecko) Chrome/121.0.0.0 Safari/537.`
17| 1|wp_dashboard_quick_press_last_post_id|4
18| 1|community-events-location |`a:1:{s:2:"ip";s:10:"172.25.0.0";}`
19| 2|nickname |richard
20| 2|first_name |
21| 2|last_name |
22| 2|description |
23| 2|rich_editing |true
24| 2|syntax_highlighting |true
25| 2|comment_shortcuts |false
26| 2|admin_color |fresh
27| 2|use_ssl |0
28| 2|show_admin_bar_front |true
29| 2|locale |
30| 2|wp_capabilities |`a:1:{s:10:"subscriber";b:1;}`
31| 2|wp_user_level |0
32| 2|default_password_nag |1
The column definitions for the table are:
- umeta_id: A unique identifier for each meta entry. It is an auto-incremented integer and serves as the primary key for the table.
- user_id: The Id of the user the meta entry belongs to. It links to the Id column in the `wp_users` table.
- meta_key: The name of the metadata field. WordPress uses this field to store various pieces of user-related information, such as administrative capabilities (`wp_capabilities`), user roles (`wp_user_level`), and custom user meta added by themes or plugins.
- meta_value: The value of the metadata field. The information here can vary widely depending on the meta_key. This field can store serialized arrays or strings, depending on the type of data being stored.
The `wp_usermeta` table uses an entity-attribute-value (EAV) model. Instead of having one column for each type of field to store for a user, new fields are added using key-value combinations.
Some things to note when deciding which fields you want to import to FusionAuth:
- Blank fields, like description, can be ignored.
- Fields that are specific to WordPress, like rich_editing , can be ignored.
- Some fields are PHP objects serialized into strings, like `wp_capabilities` with value `a:1:{s:13:"administrator";b:1;}`. This reads as: An array of one element containing a string of 13 elements and a boolean of value true. You will need to deserialize these when importing them.
- Legacy fields, like `wp_user_level`, can be ignored.
Here are some of the `meta_key` types you might find:
- wp_capabilities: Stores the roles assigned to a user in a serialized array. This determines what the user can and cannot do in WordPress.
- wp_user_level: A legacy way to define user roles and capabilities, primarily kept for backward compatibility. It represents the user's role as a numeric level.
- rich_editing: Indicates whether the user prefers to use the visual rich editor when writing. The value is either "true" or "false".
- syntax_highlighting: Indicates whether the user prefers to have syntax highlighting enabled in the code editor. The value is either "true" or "false".
- comment_shortcuts: Indicates whether the user wishes to use keyboard shortcuts for comment moderation. The value is either "true" or "false".
- admin_color: The color scheme the user has chosen for the admin dashboard.
- use_ssl: Whether the user prefers to use SSL when logging into the admin area. The value is either "0" (do not force SSL) or "1" (force SSL).
- show_admin_bar_front: Determines whether the WordPress admin bar should be displayed to the user when viewing the site. The value is either "true" or "false".
- locale: The user's preferred language locale for the admin dashboard.
- wp_dashboard_quick_press_last_post_id: The Id of the last post created using the "Quick Draft" dashboard widget.
- dismissed_wp_pointers: Tracks the admin pointers dismissed by the user to avoid showing them again.
- session_tokens: Stores the user's session tokens for maintaining login sessions across different devices.
- wp_user-settings and wp_user-settings-time: Store user-specific settings for the admin area, such as the true or false status of checkboxes and the timestamp of the last settings update, respectively.
### Export The Users In SQL
FusionAuth provides export and import scripts under a permissive open-source license. To get the scripts, clone the Git repository.
```sh
git clone https://github.com/FusionAuth/fusionauth-import-scripts
```
The `wordpress` directory contains all the scripts you need for this tutorial, and `wordpress/exampleData` has the output of the scripts.
Navigate to the `wordpress/src` directory.
```sh
cd fusionauth-import-scripts/wordpress/src
```
Install the required npm dependencies by running the following command.
```sh
npm install
```
Run the SQL script `1_exportWordpressUsers.sql` in the `fusionauth-import-scripts/wordpress/src` directory against your WordPress database to export all the user data as JSON. View the output as text in DBeaver and save the `json_result` column to a file called `users.txt`.
The script exports the `wp_users` table as JSON with all `wp_usermeta` fields related to each user as an array called `meta`.
Your `users.txt` file should now have user data similar to the one in `fusionauth-import-scripts/exampleData/1_wordpressExport/users.txt`. Each row is JSON, but the file as a whole is not JSON. Each row must end with a comma and the file contents must be wrapped in brackets.
Copy your `users.txt` file into `fusionauth-import-scripts/wordpress/src` and run the code below.
```sh
node 2_convertTextToJson.mjs
```
Your output should be valid JSON and look like the file `fusionauth-import-scripts/exampleData/1_wordpressExport/users.json`.
## Import Users
Now that the user details have been extracted from {frontmatter.technology}, you need to add a password hashing plugin to FusionAuth that supports the phpass hashing algorithm used in {frontmatter.technology}, map the {frontmatter.technology} fields to FusionAuth fields, and then import the users using a script.
### Use A WordPress Password Hash Plugin For FusionAuth
The {frontmatter.hashTechnology} hashing algorithm is not [natively supported by FusionAuth](/docs/reference/password-hashes). However, FusionAuth allows [custom plugins](/docs/extend/code/password-hashes/custom-password-hashing). There is a {frontmatter.hashTechnology} plugin accompanying this article [in this GitHub repository](https://github.com/FusionAuth/fusionauth-contrib/tree/main/Password%20Hashing%20Plugins).
Download and unzip the repository, or use Git in a terminal with the command below.
```sh
git clone https://github.com/fusionauth/fusionauth-contrib.git
```
Open the file `fusionauth-contrib/Password Hashing Plugins/src/main/java/com/mycompany/fusionauth/plugins/ExampleWordPressPhpassPasswordEncryptor.java`. The content of the file is shown below.
Applications -> WordpressTestImportApp and click the Manage Roles button, you can see the roles have been added for your sample Application. This Application was created using a bootstrapping feature of FusionAuth called [Kickstart](/docs/get-started/download-and-install/development/kickstart), defined in `fusionauth-import-scripts/wordpress/fusionAuthDockerFiles/kickstart/kickstart.json`. When FusionAuth comes up for the first time, it will look at the `kickstart.json` file and configure FusionAuth to the specified state.
### Prepare Users For Import To FusionAuth
The next script, `4_convertWpUserToFaUser.mjs`, is the most important. It maps the fields of `users.json` to FusionAuth fields. You may wish to alter this script to change which fields are ignored, or where they are mapped.
The script uses `stream-json`, a JSON library that can incrementally read massive files with millions of users. It opens the `users.json` file for reading in the line `new Chain([fs.createReadStream(inputFilename), parser(), new StreamArray(),]);`. For more information, read https://github.com/uhop/stream-json. The `processUsers()` function calls `getFaUserFromUser()` to map the {frontmatter.technology} user to FusionAuth, and then saves them to an `faUsers.json` file.
The `getFaUserFromUser()` function does a few things:
- Maps as many matching fields from {frontmatter.technology} to FusionAuth as possible.
- Stores all {frontmatter.technology} user details that don't map to FusionAuth in the `data` field. If there are details you want to include or exclude, alter the `dataToIgnore` list at the top of the file.
- Ignores empty fields and arrays.
- Uses the name we registered for the hashing algorithm in the Java plugin in `faUser.encryptionScheme = 'example-wordpress-phpass';`.
- Adds Registrations (a Role link between a User and an Application) for users. You will need to change these Ids to match those of your application when doing a real migration.
There are a few helper functions at the bottom of the file to extract keys and values from the {frontmatter.technology} `wp_usermeta` object and deserialize them from PHP. These are used when working with `wp_capabilities`.
Carefully read this function and make sure that the user information you need is imported correctly. If any information is not needed, you can comment out the related lines.
If you are uncertain about what a user attribute in FusionAuth does, read more in the [user guide](/docs/apis/users), as linked in the [general migration guide](/docs/lifecycle/migrate-users) recommended earlier.
In a terminal in the `fusionauth-import-scripts/wordpress/src` directory, run the script with the following command.
```sh
node 4_convertWpUserToFaUser.mjs
```
### Use The Script
Now you have the users file `faUsers.json` and the {frontmatter.hashTechnology} plugin is installed. To import the users into FusionAuth, you need to run the Node.js import script.
In a terminal in the `fusionauth-import-scripts/wordpress/src` directory, run the command below.
```sh
node 5_import.mjs
```
This script uses the FusionAuth SDK for Node.js `@fusionauth/typescript-client`. It's used only for a single operation, `fa.importUsers(importRequest)`. For more information, read the [FusionAuth Typescript Client Library](/docs/sdks/typescript) documentation.
Finally, this script imports users individually. If this is too slow when running the production migration, wrap the `importUsers()` FusionAuth SDK call in a loop that bundles users in batches of 1000.
### Verify The Import
If the migration script ran successfully, you should be able to log in to the `WordpressTestImportApp` application with one of the imported users. In the [FusionAuth admin UI](http://localhost:9011/admin), navigate to Applications -> WordpressTestImportApp . Click the View button (green magnifying glass) next to the application and note the OAuth IdP login URL .
 Copy this URL and open it in a new incognito browser window. (If you don’t use an incognito window, the admin user session will interfere with the test.) You should see the login screen. Enter username `user@example.com` and password `bitnami`. Login should work.
Next, log in to the [FusionAuth admin UI](http://localhost:9011/admin) with `admin@example.com` and password `password`. Review the user entries to ensure the data was correctly imported.
 You can manage a user by clicking on the
 Manage button (black button) to the right of the user in the list of users to review the details of the imported user’s profile. In the Source tab, you can see all the user details as a JSON object.
#### Debug With The FusionAuth Database
If you have errors logging in, you can use the FusionAuth database directly to see if your users were imported, and check their hashes manually.
You can use any PostgreSQL browser. DBeaver will work. The connection details are in `fusionauth-import-scripts/wordpress/fusionAuthDockerFiles/docker-compose.yml` and `.env`.
In your database IDE, create a new PostgreSQL connection with the following details:
- URL: `jdbc:postgresql://localhost:5432/fusionauth`
- Host: `localhost`
- Port: `5432`
- Database: `fusionauth`
- Username: `fusionauth`
- Password: `hkaLBM3RVnyYeYeqE3WI1w2e4Avpy0Wd5O3s3`
Log in to the database and browse to `Databases/fusionauth/Schemas/public/Tables`. Tables `identities` and `users` will show you the login credentials and user personal information.
## What To Do Next
{frontmatter.hashTechnology} uses a relatively old and weak hashing algorithm, though not terrible. You might want to rehash your users' passwords on their next login with a stronger algorithm. To enable this setting, follow these [instructions](/docs/extend/code/password-hashes/custom-password-hashing#rehashing-user-passwords).
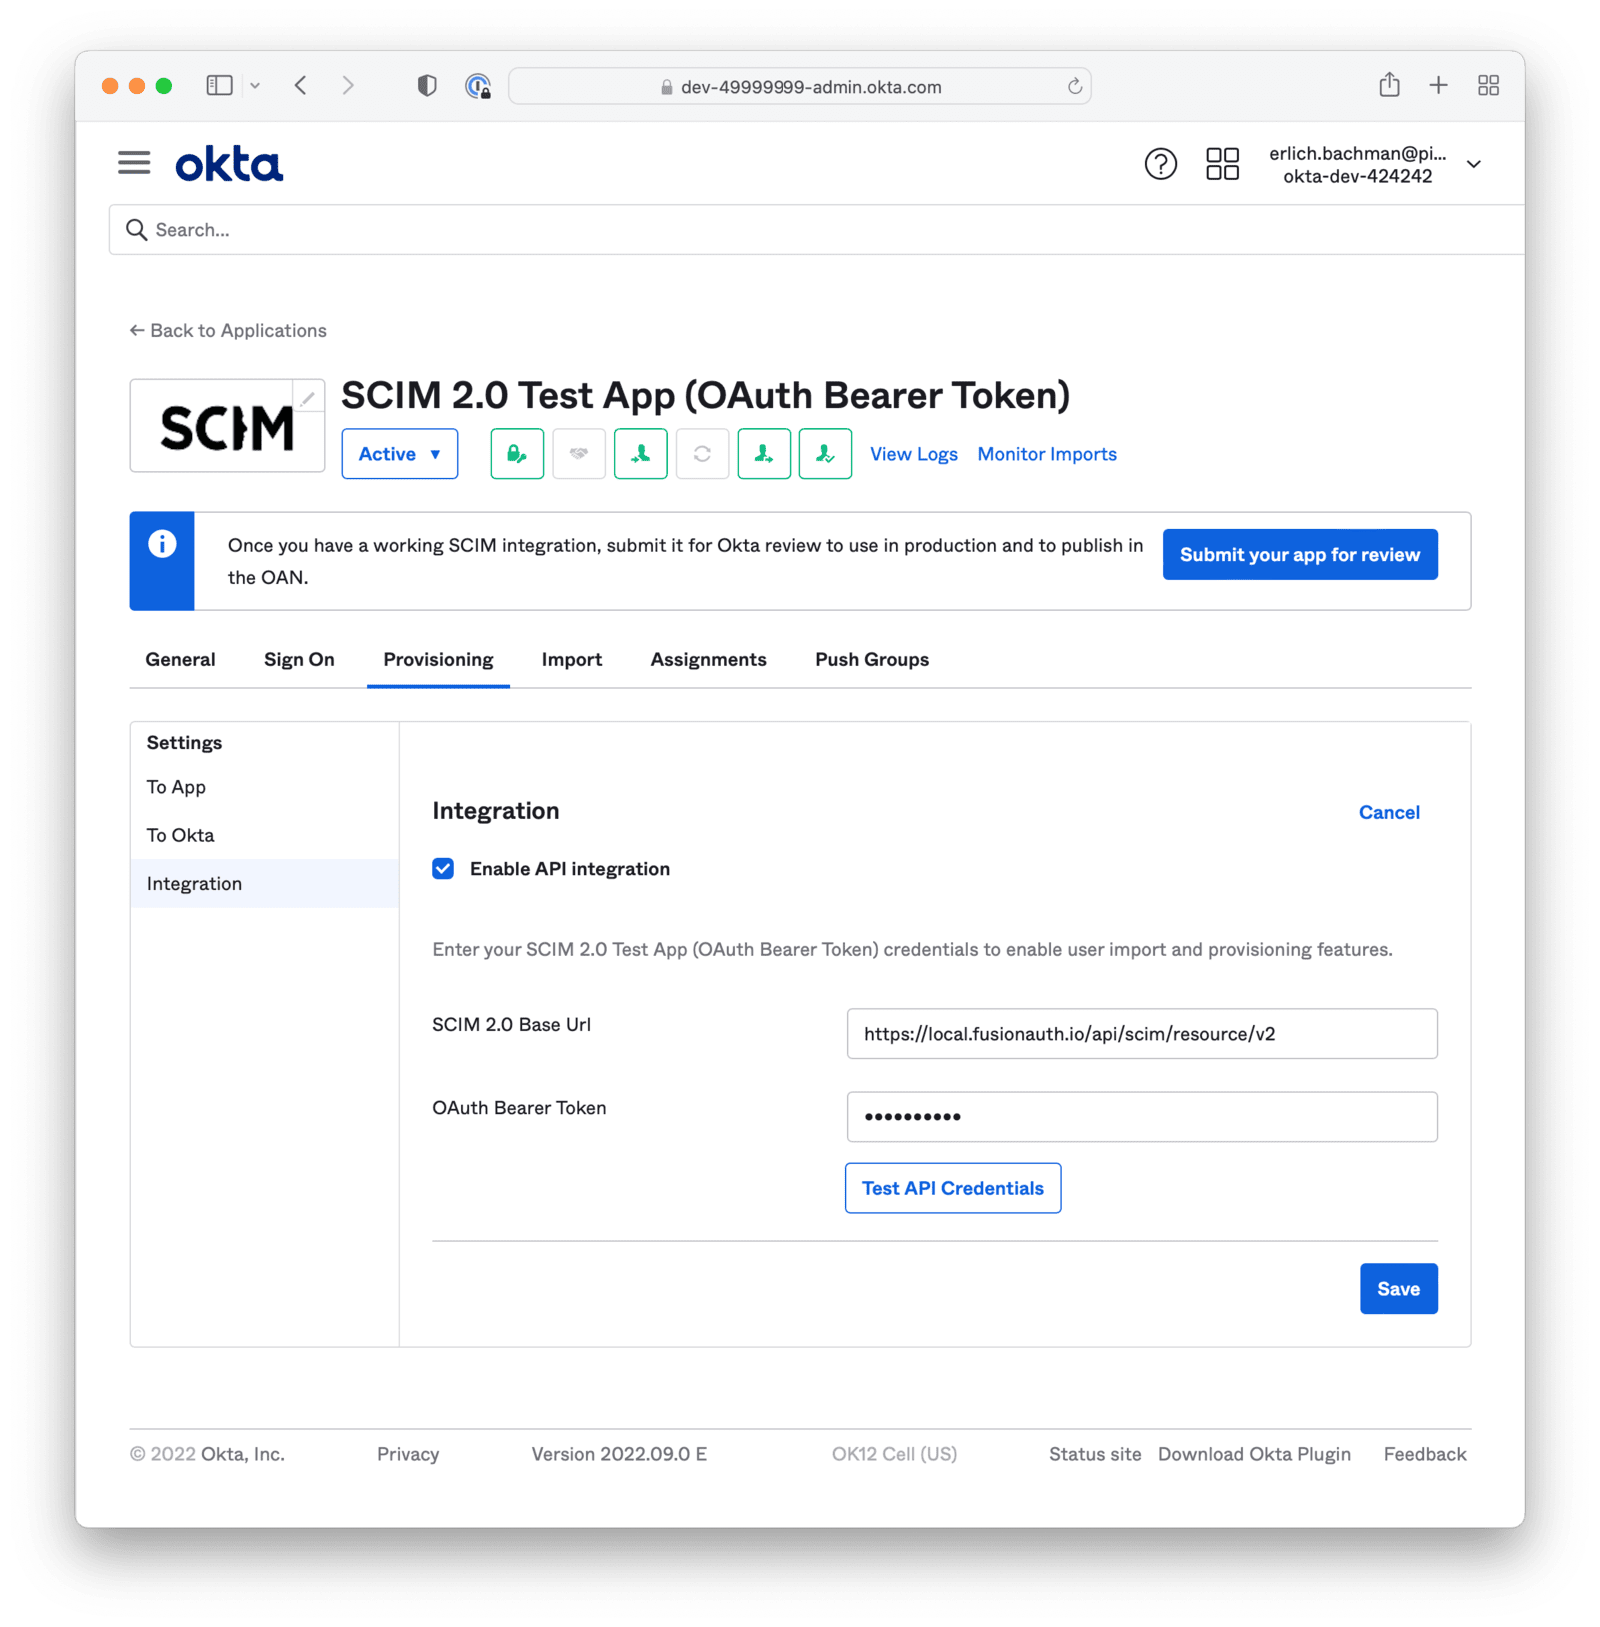
Check this box to enable the following two fields.
Set this value equal to the FusionAuth SCIM tenant URL found in the Tenant view dialog.
For example, if the base URL for FusionAuth is `https://piedpiper.com`, your SCIM URL will be `https://piedpiper.com/api/scim/resource/v2`
This value will be set using the access token generated using the client credentials grant for the SCIM client entity and the SCIM server entity. [Learn more about getting the access token.](/docs/lifecycle/migrate-users/scim/scim#scim-client-authentication)
# SCIM Overview
import EnterprisePlanBlurb from 'src/content/docs/_shared/_enterprise-plan-blurb.astro';
import Aside from 'src/components/Aside.astro';
import JSON from 'src/components/JSON.astro';
import ScimLimits from 'src/content/docs/_shared/_scim-limits.mdx';
import ScimServerPermissions from 'src/content/docs/_shared/_scim-server-permissions.md'
Entity Management -> Entity Types . Select the Add SCIM Server option.
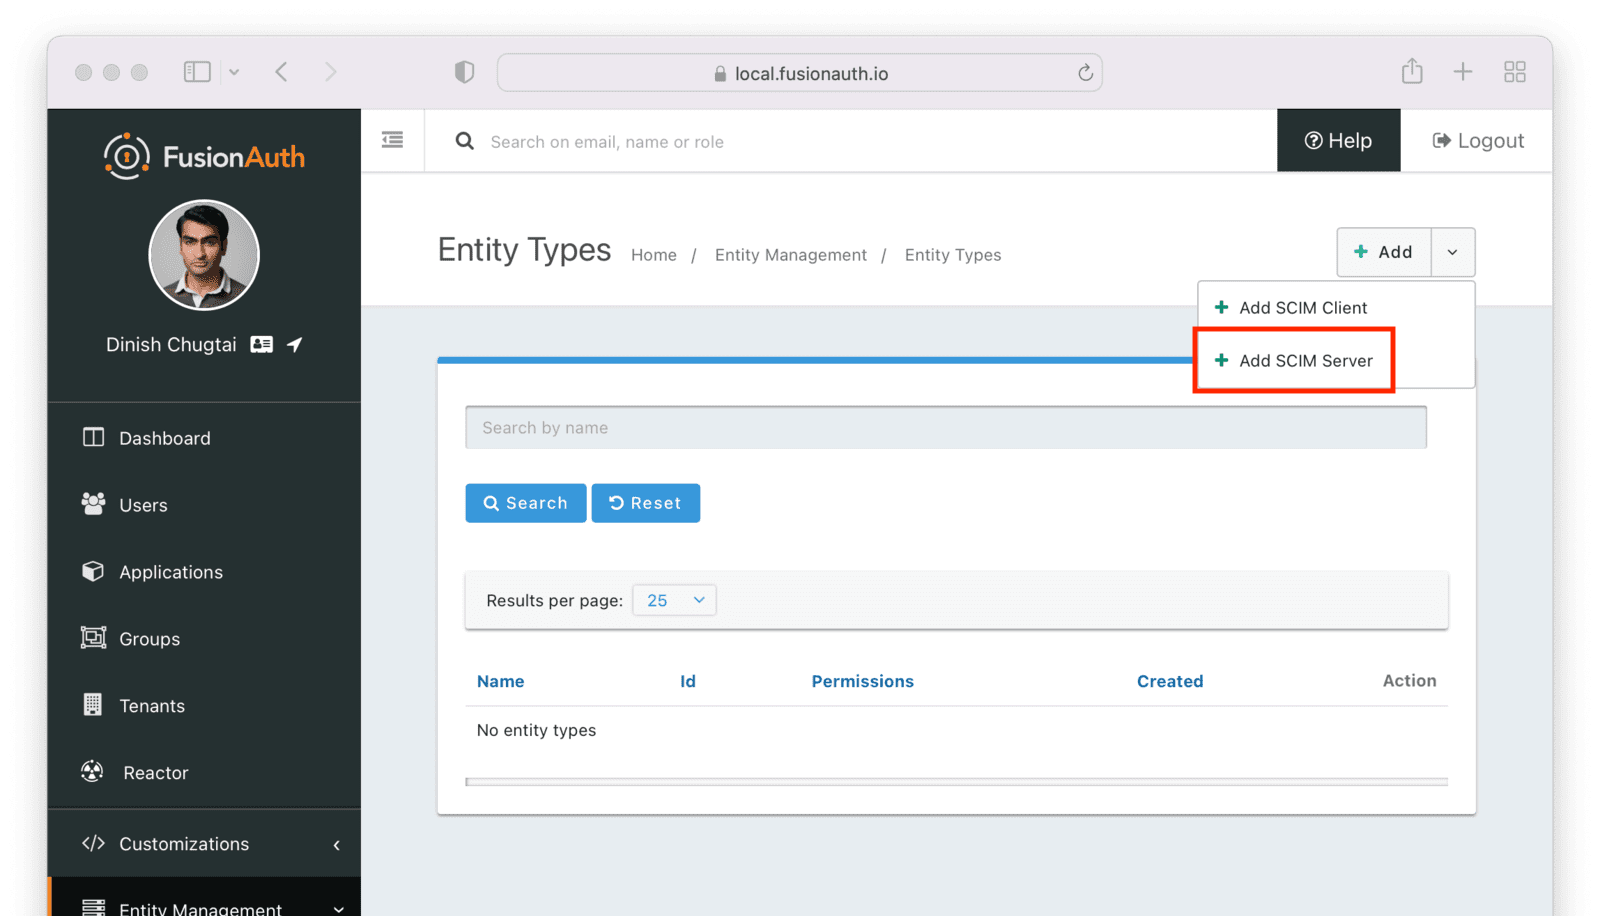 This entity will, by default, have the following permissions:
* `scim:enterprise:user:create`
* `scim:enterprise:user:delete`
* `scim:enterprise:user:read`
* `scim:enterprise:user:update`
* `scim:group:create`
* `scim:group:delete`
* `scim:group:read`
* `scim:group:update`
* `scim:resource-types:read`
* `scim:schemas:read`
* `scim:service-provider-config:read`
* `scim:user:create`
* `scim:user:delete`
* `scim:user:read`
* `scim:user:update`
Remove permissions if you never want your SCIM server to support an operation. For example, remove `scim:user:delete` to disable user deletion by any clients accessing this SCIM server. Set the name of the entity type to an appropriate value, such as `SCIM Server`.
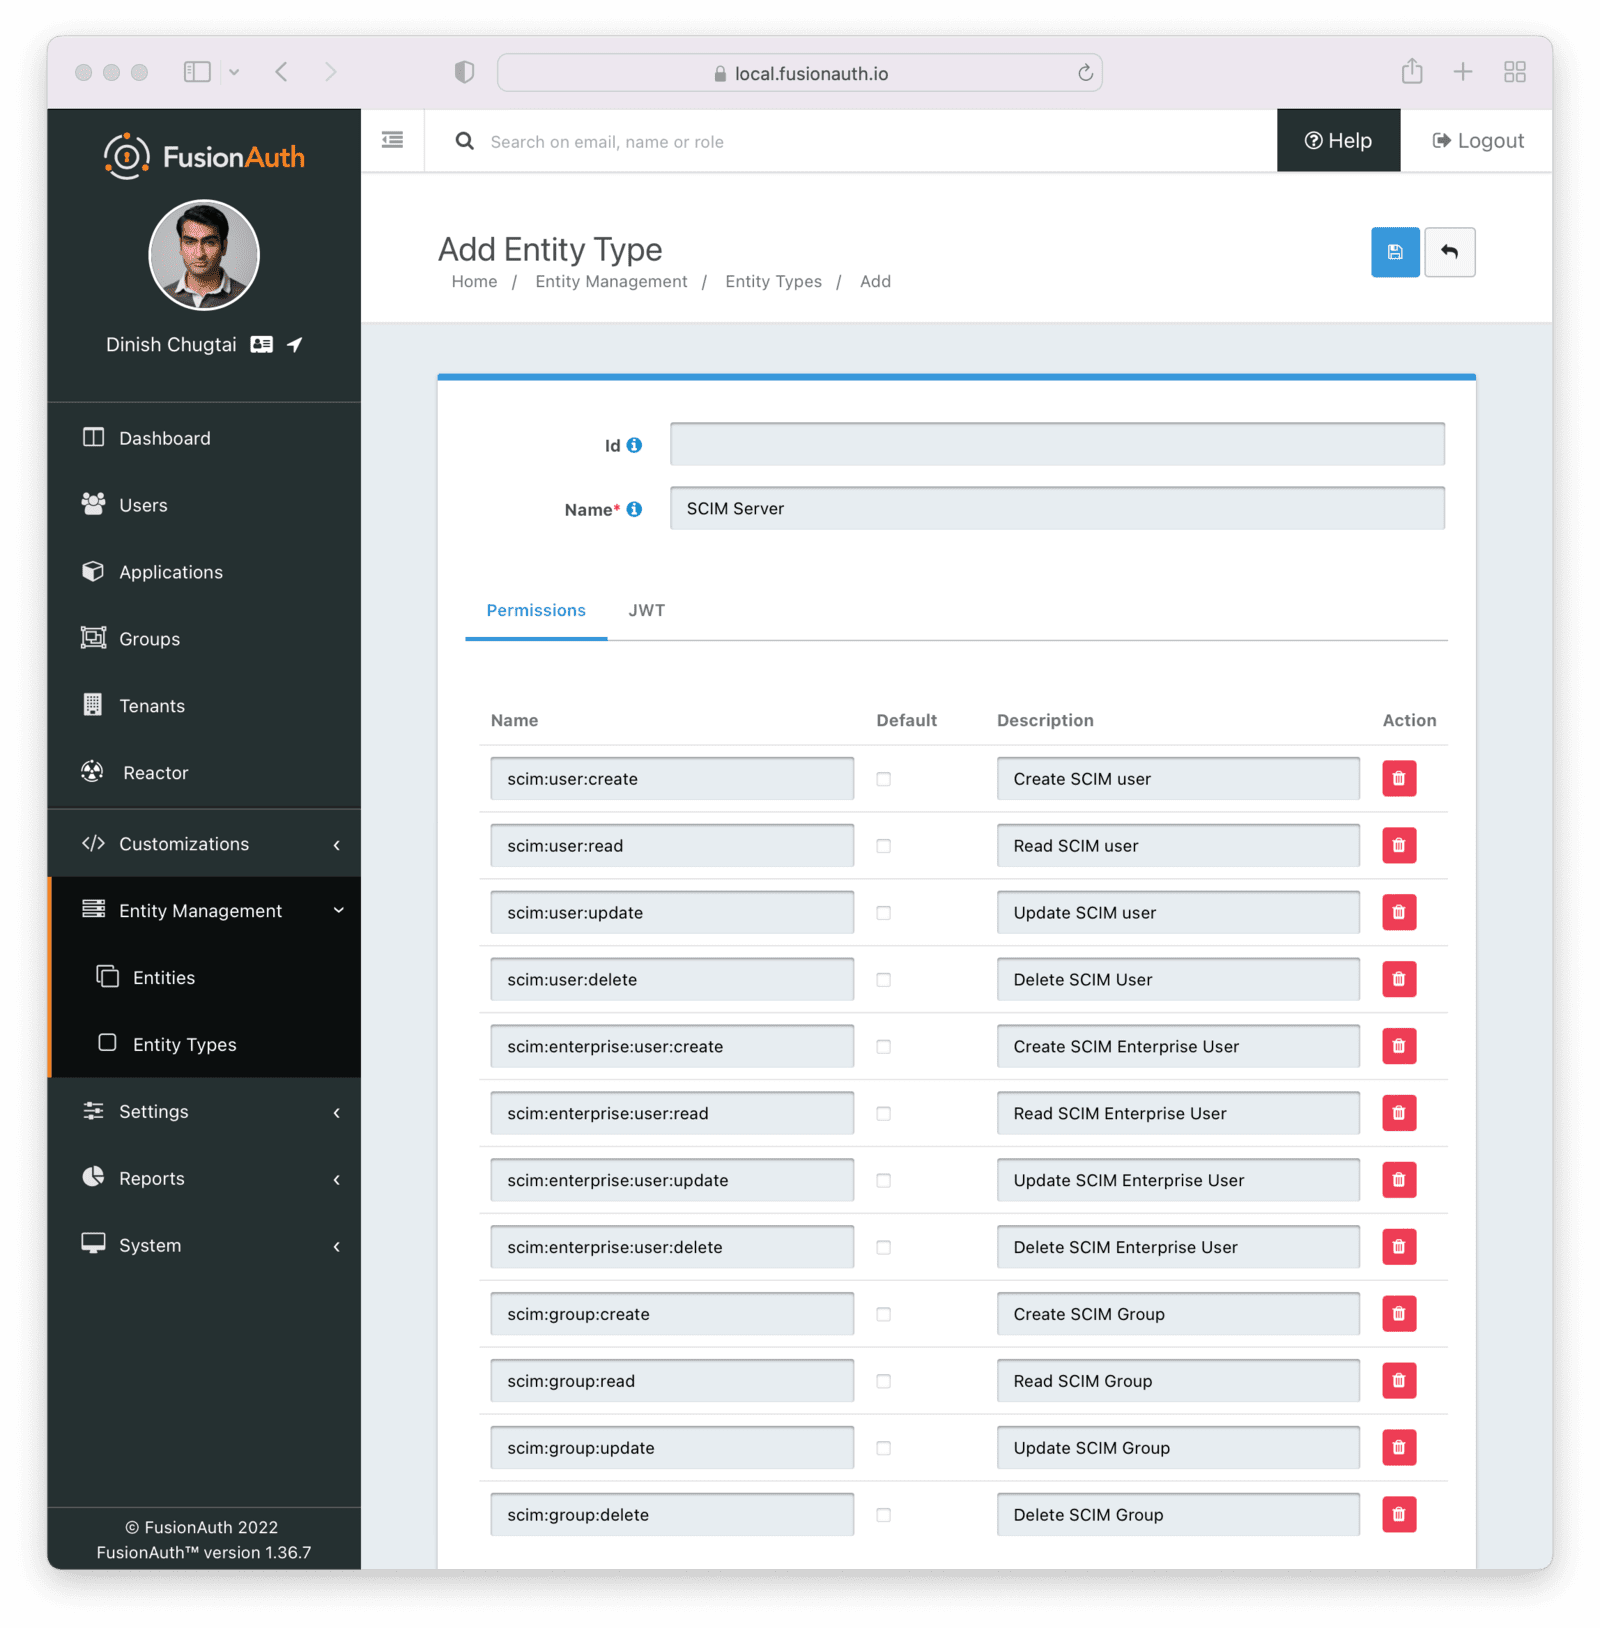 #### Add the Client Entity Type
Next, create a SCIM client entity type. Unlike the server, this entity type doesn't have any permissions. Instead, this is the type representing SCIM client applications. Such applications provide user and group data to the SCIM server to be provisioned.
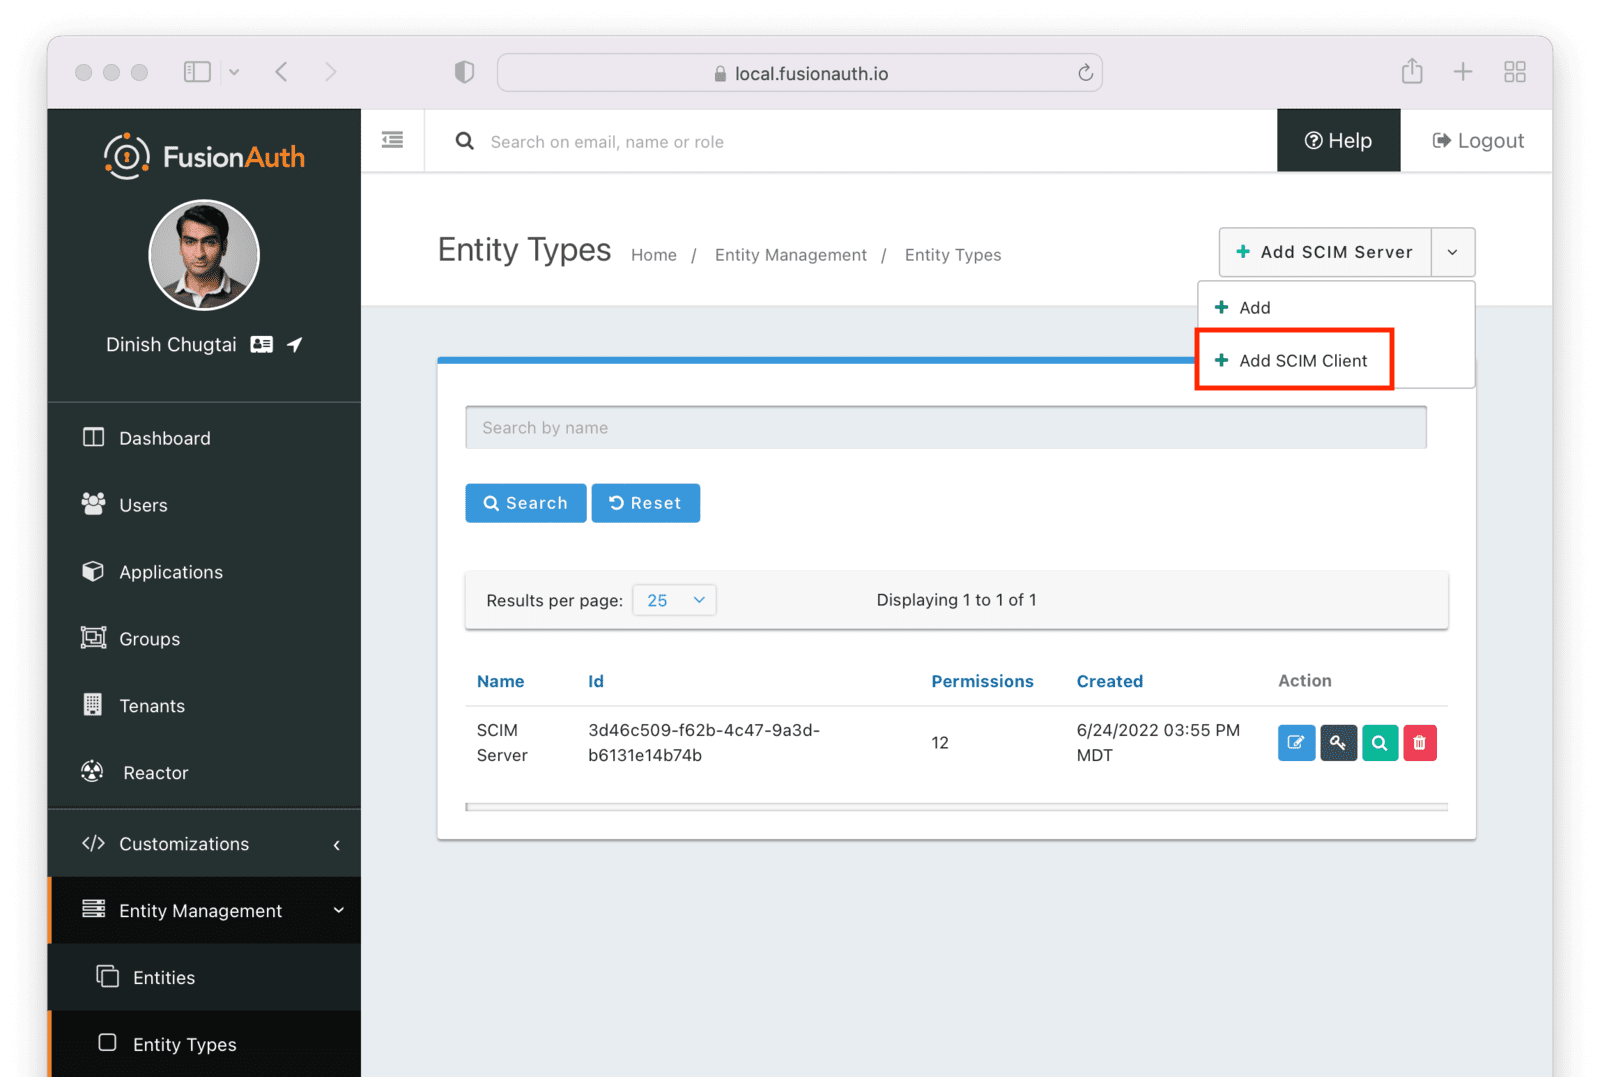 Give this entity type an appropriate name such as `SCIM Client`.
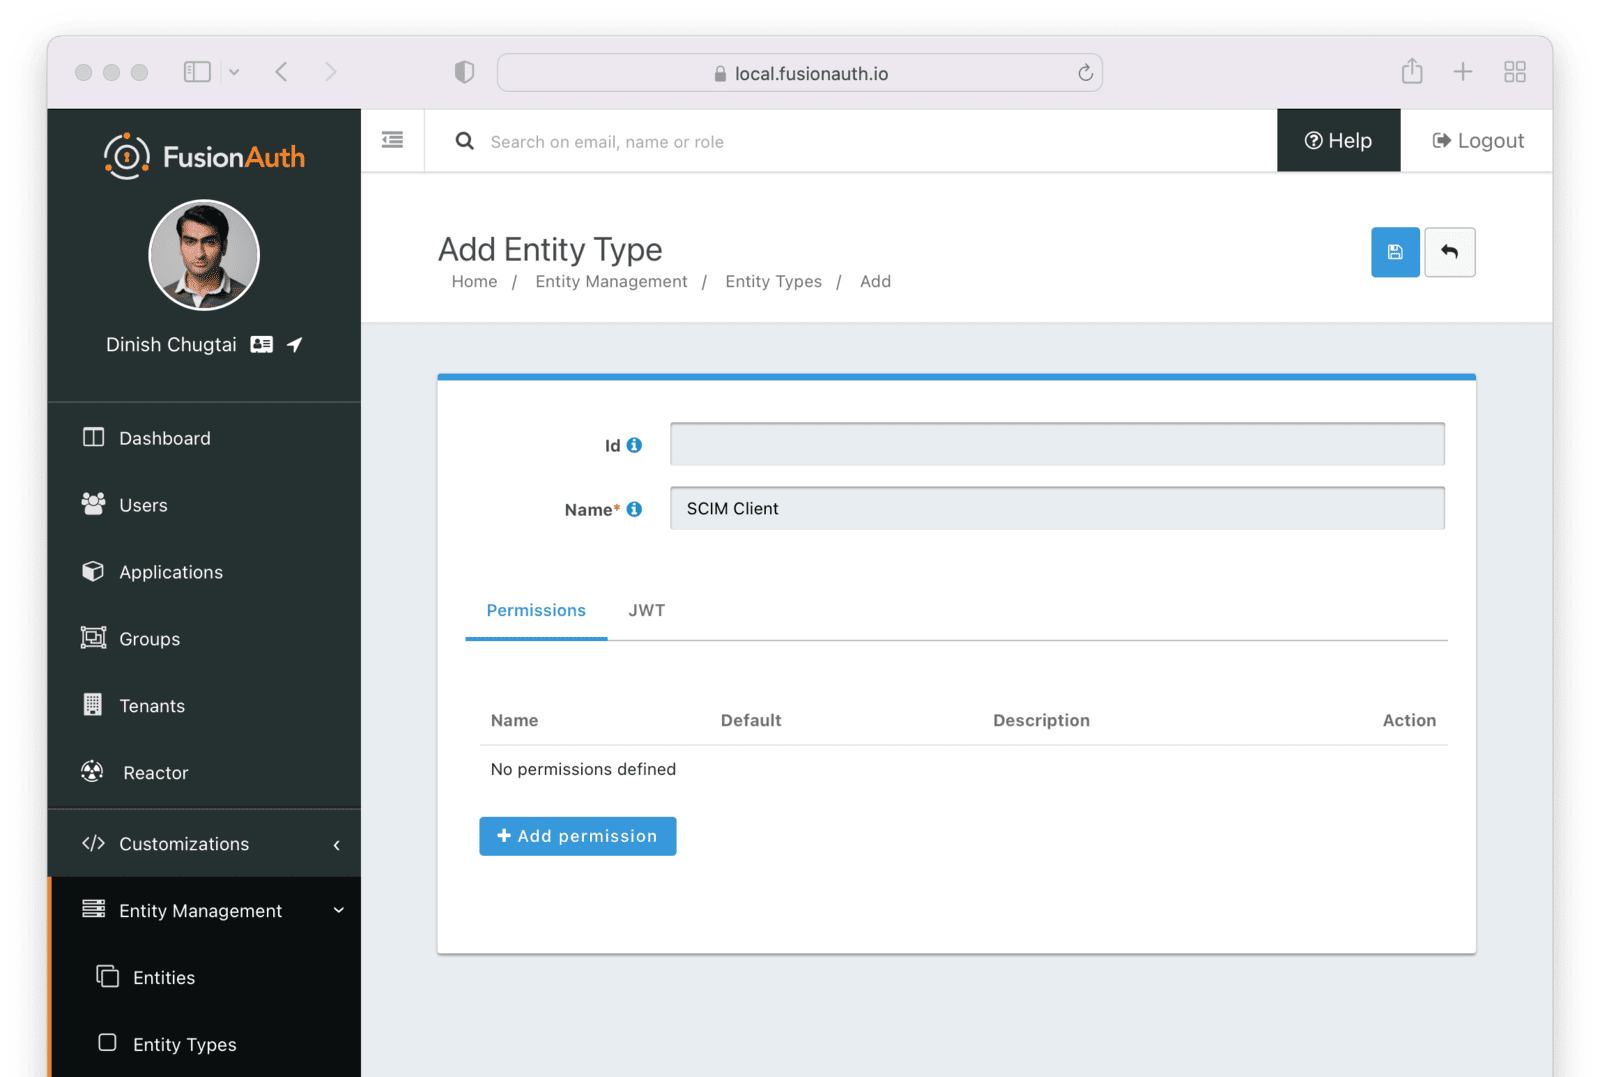 After you have set up or verified the existence of these two types of entities, the next step is to set up the individual entities, representing the actual SCIM server or client applications.
### Entities
You need to set up at least two entities: an instance of the SCIM server and the SCIM client. Then, you must grant permissions on the SCIM server to the SCIM client.
You may have as many SCIM clients and servers as you would like, but typically you will have at most one SCIM server per tenant. For each SCIM interaction, only one server can be specified.
To add the entities, navigate to
 Entity Management -> Entities and create a new entity using the + button.
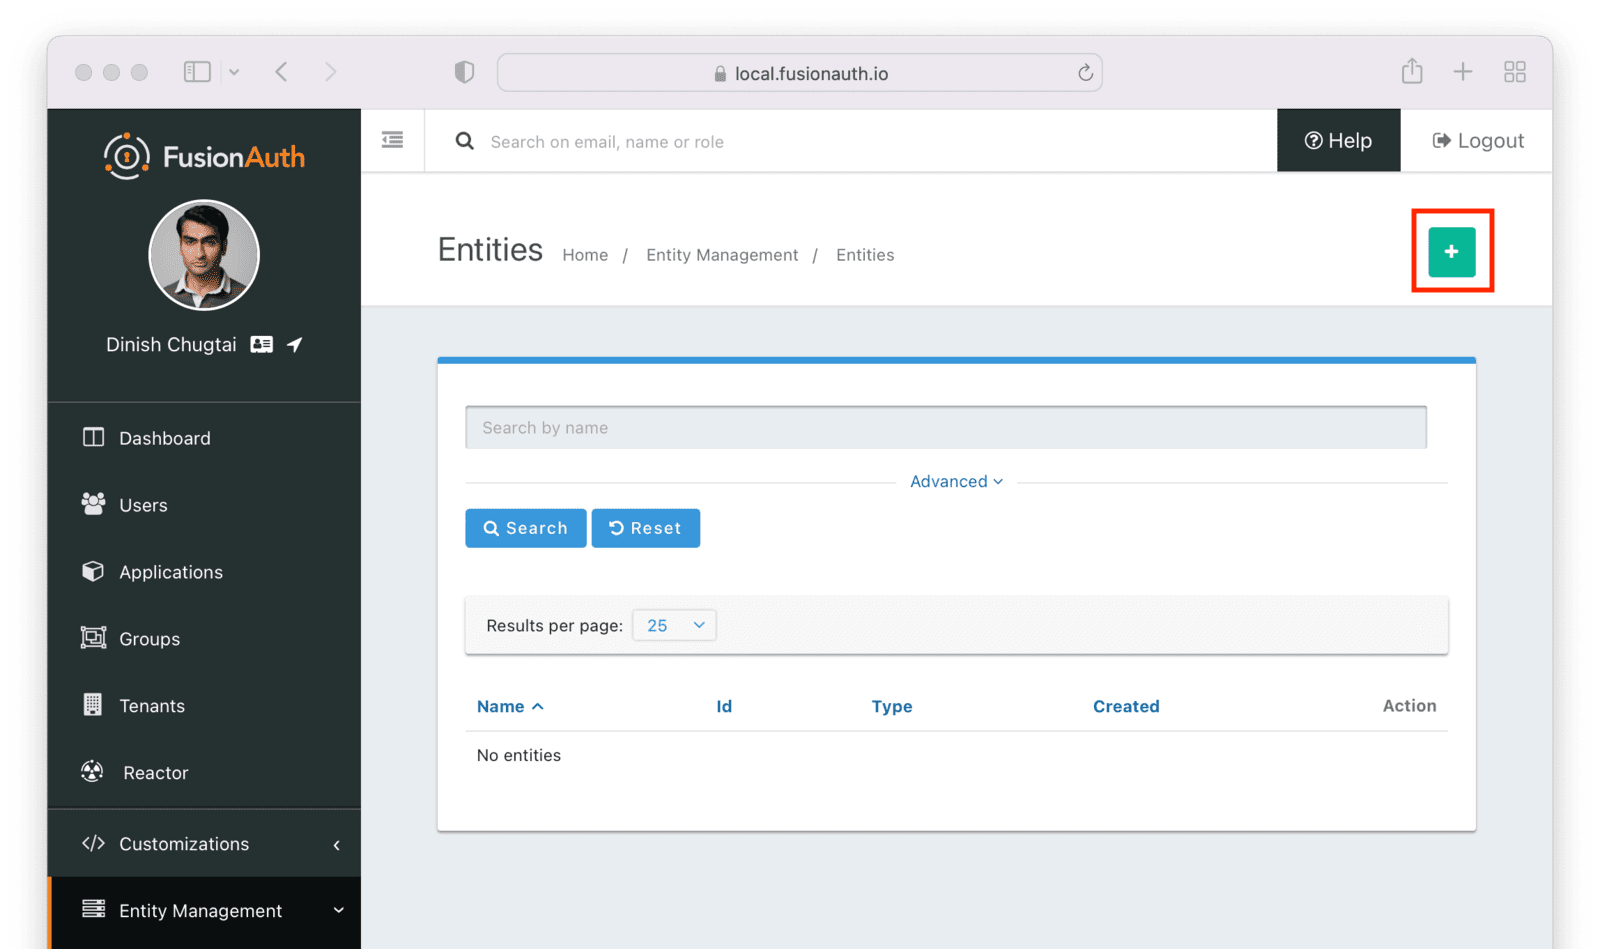 Make sure the new SCIM server entity has the
 Entity type of the SCIM server entity type outlined above. Give it a name as well.
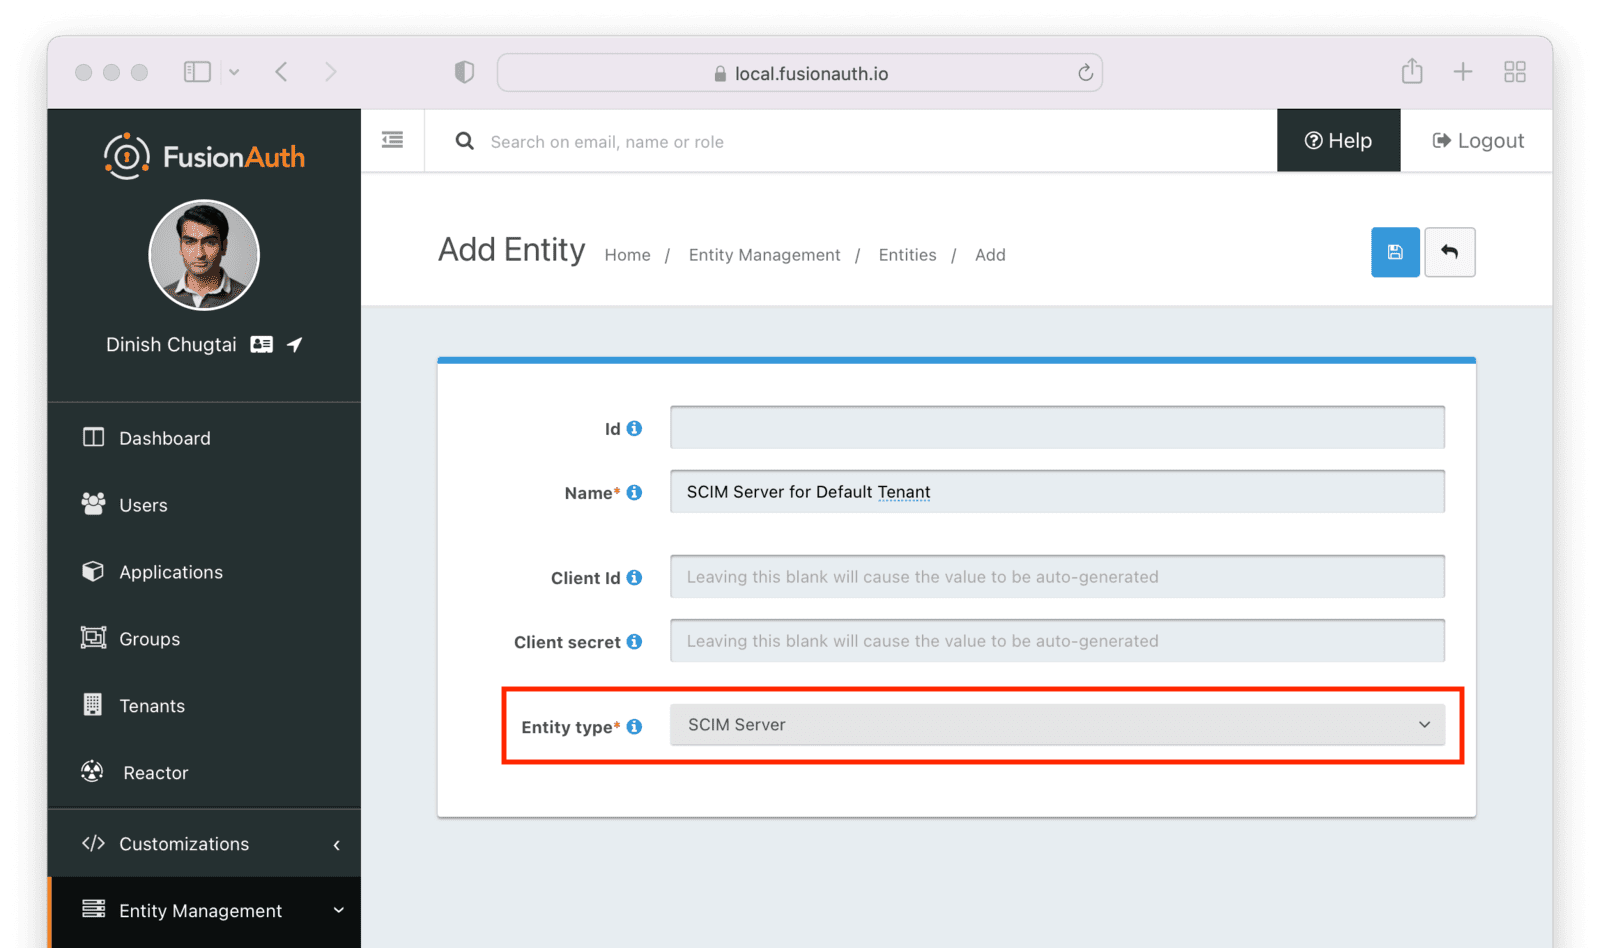 After you save the entity, you'll be presented with a list of existing entities. The next step is to add another entity for the SCIM client application.
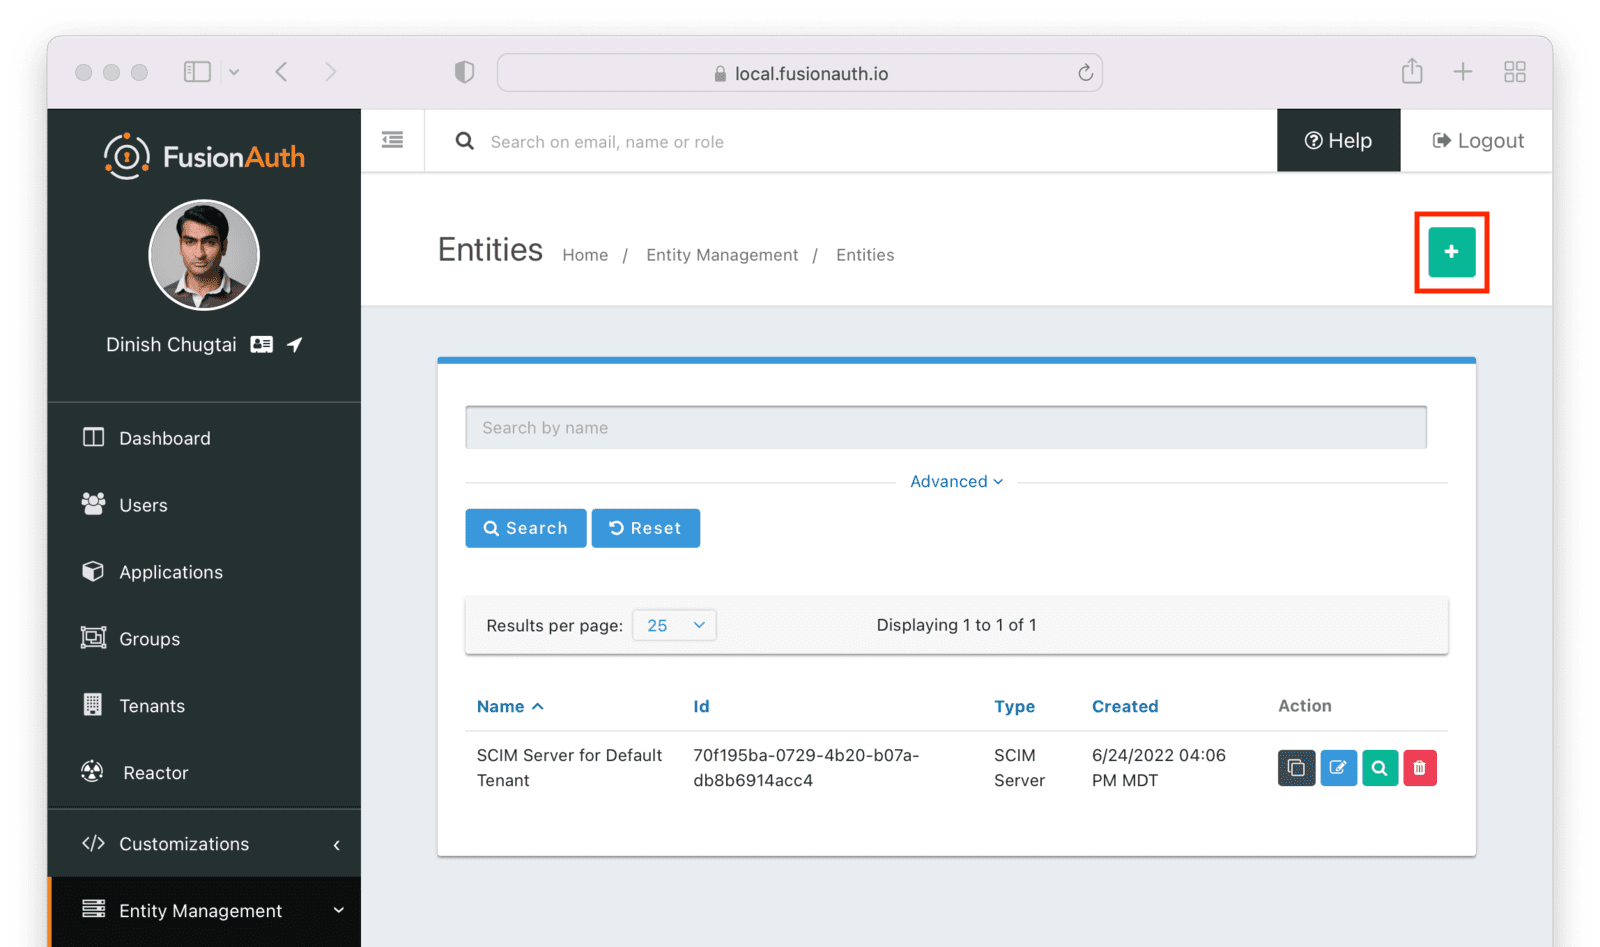 Similarly to the SCIM server entity you just created, make sure this entity has the
 Entity type of the SCIM client entity type outlined above. Since you may have more than one SCIM client, a descriptive name for this entity is especially important.
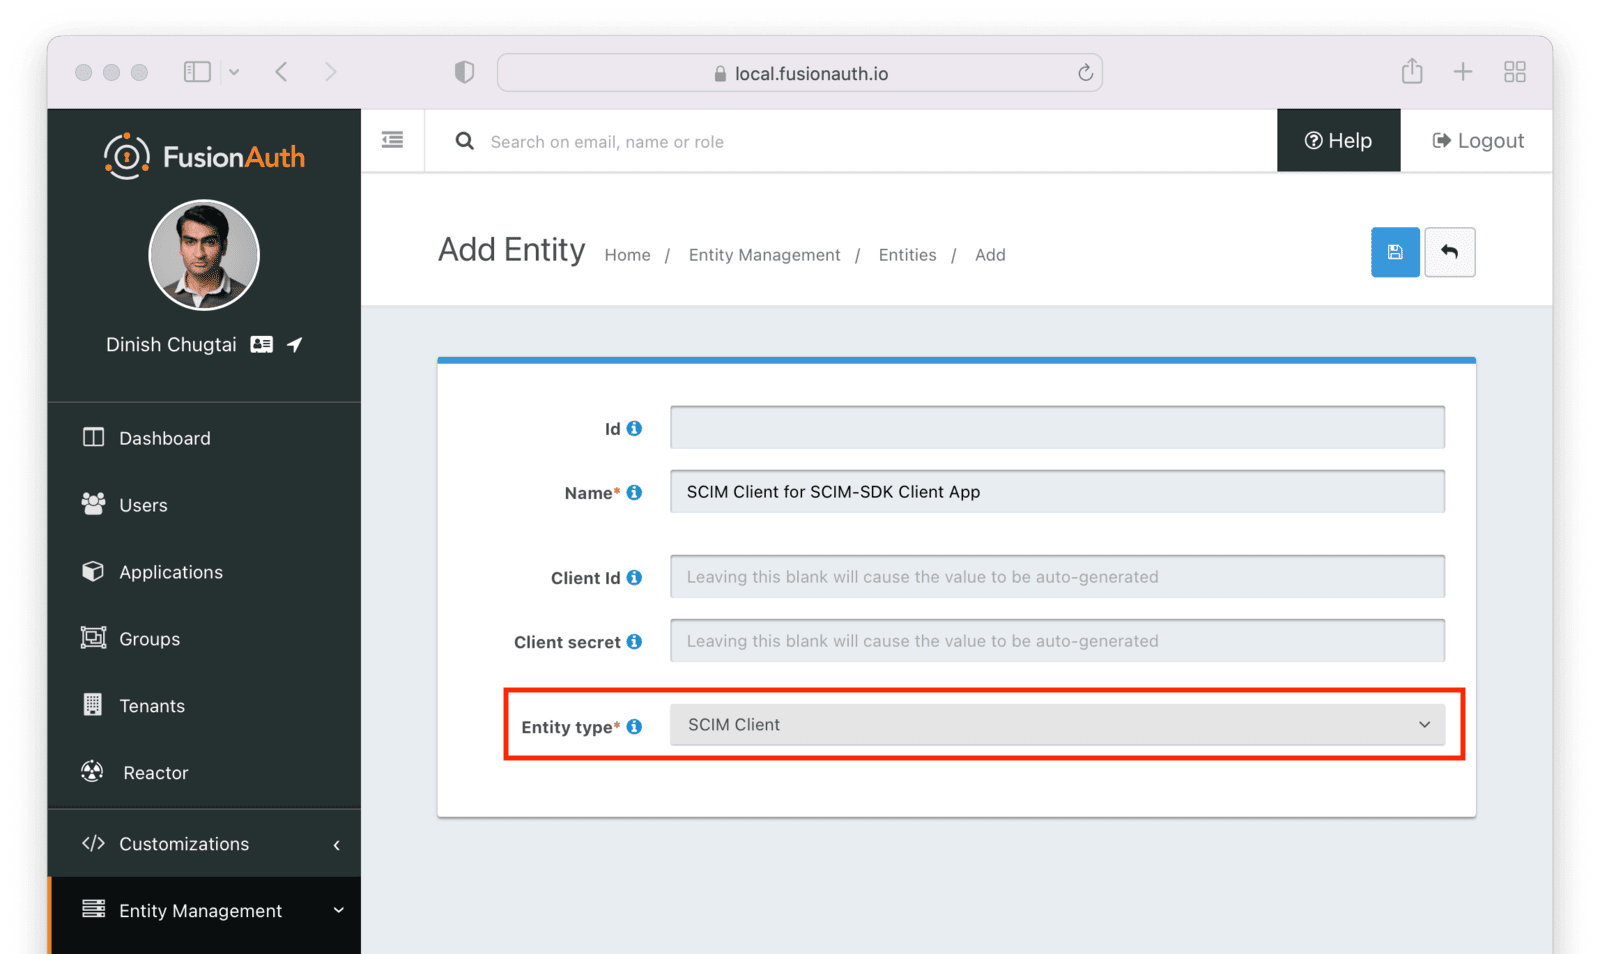 Next, manage the client entity to grant the correct permissions to the server entity. Do so by clicking the black button on the entity listing page next to the client entity.
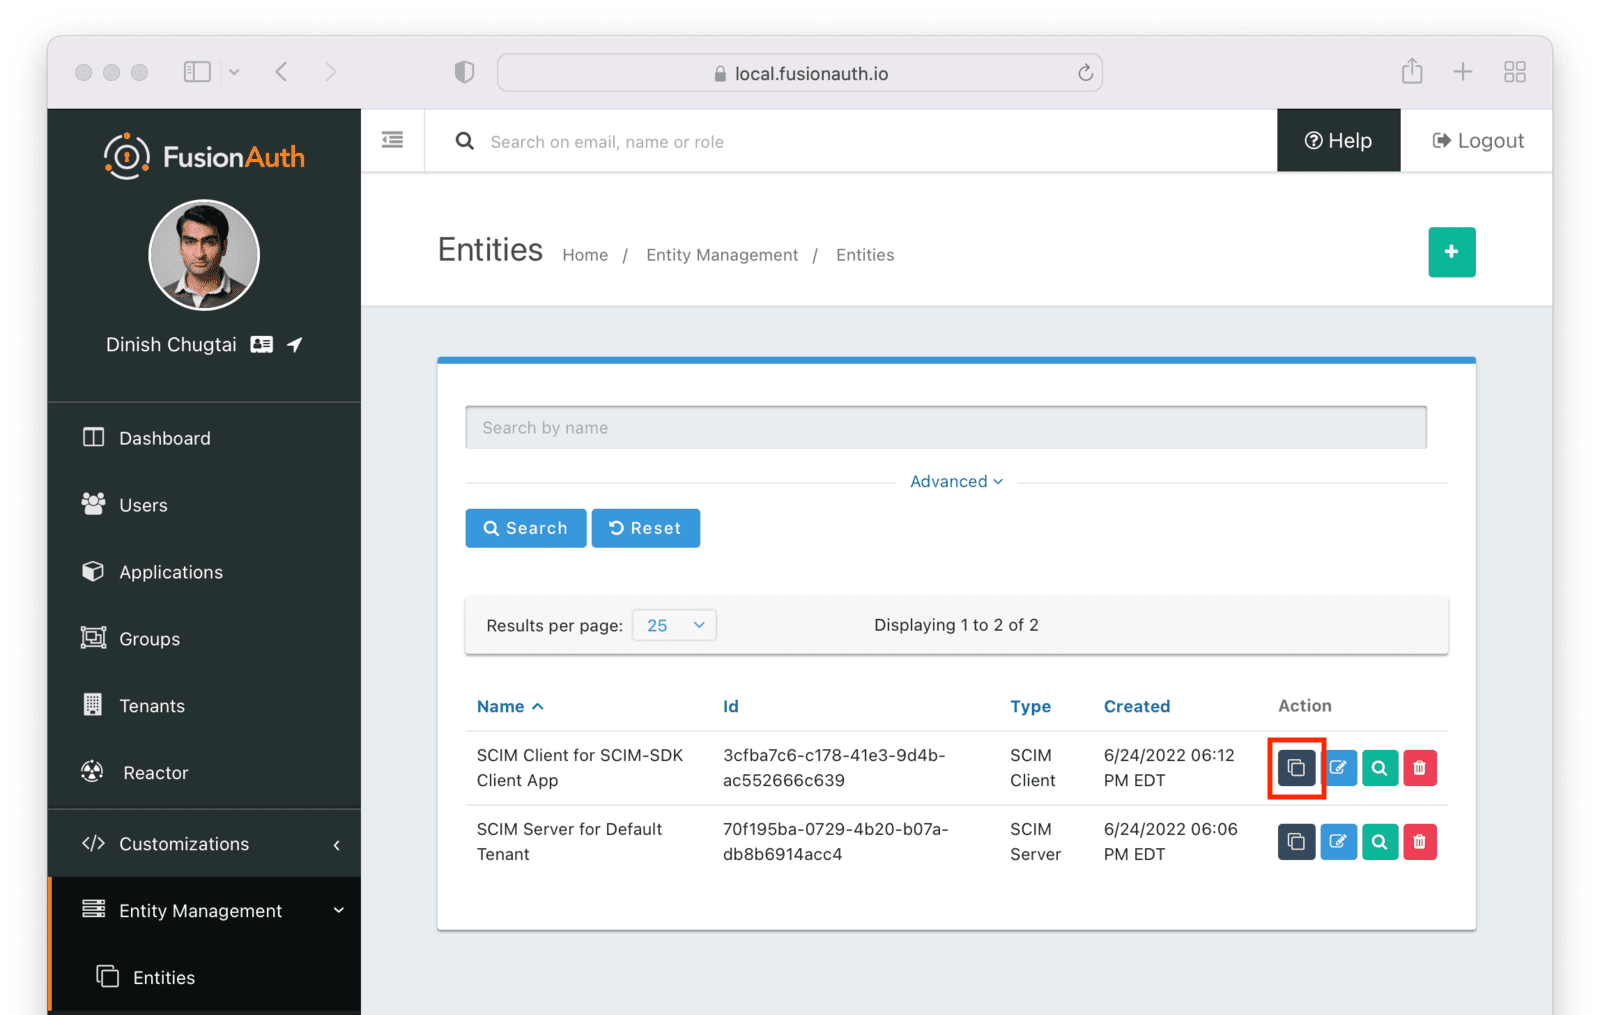 Click the
 Add button to begin the grant adding process.
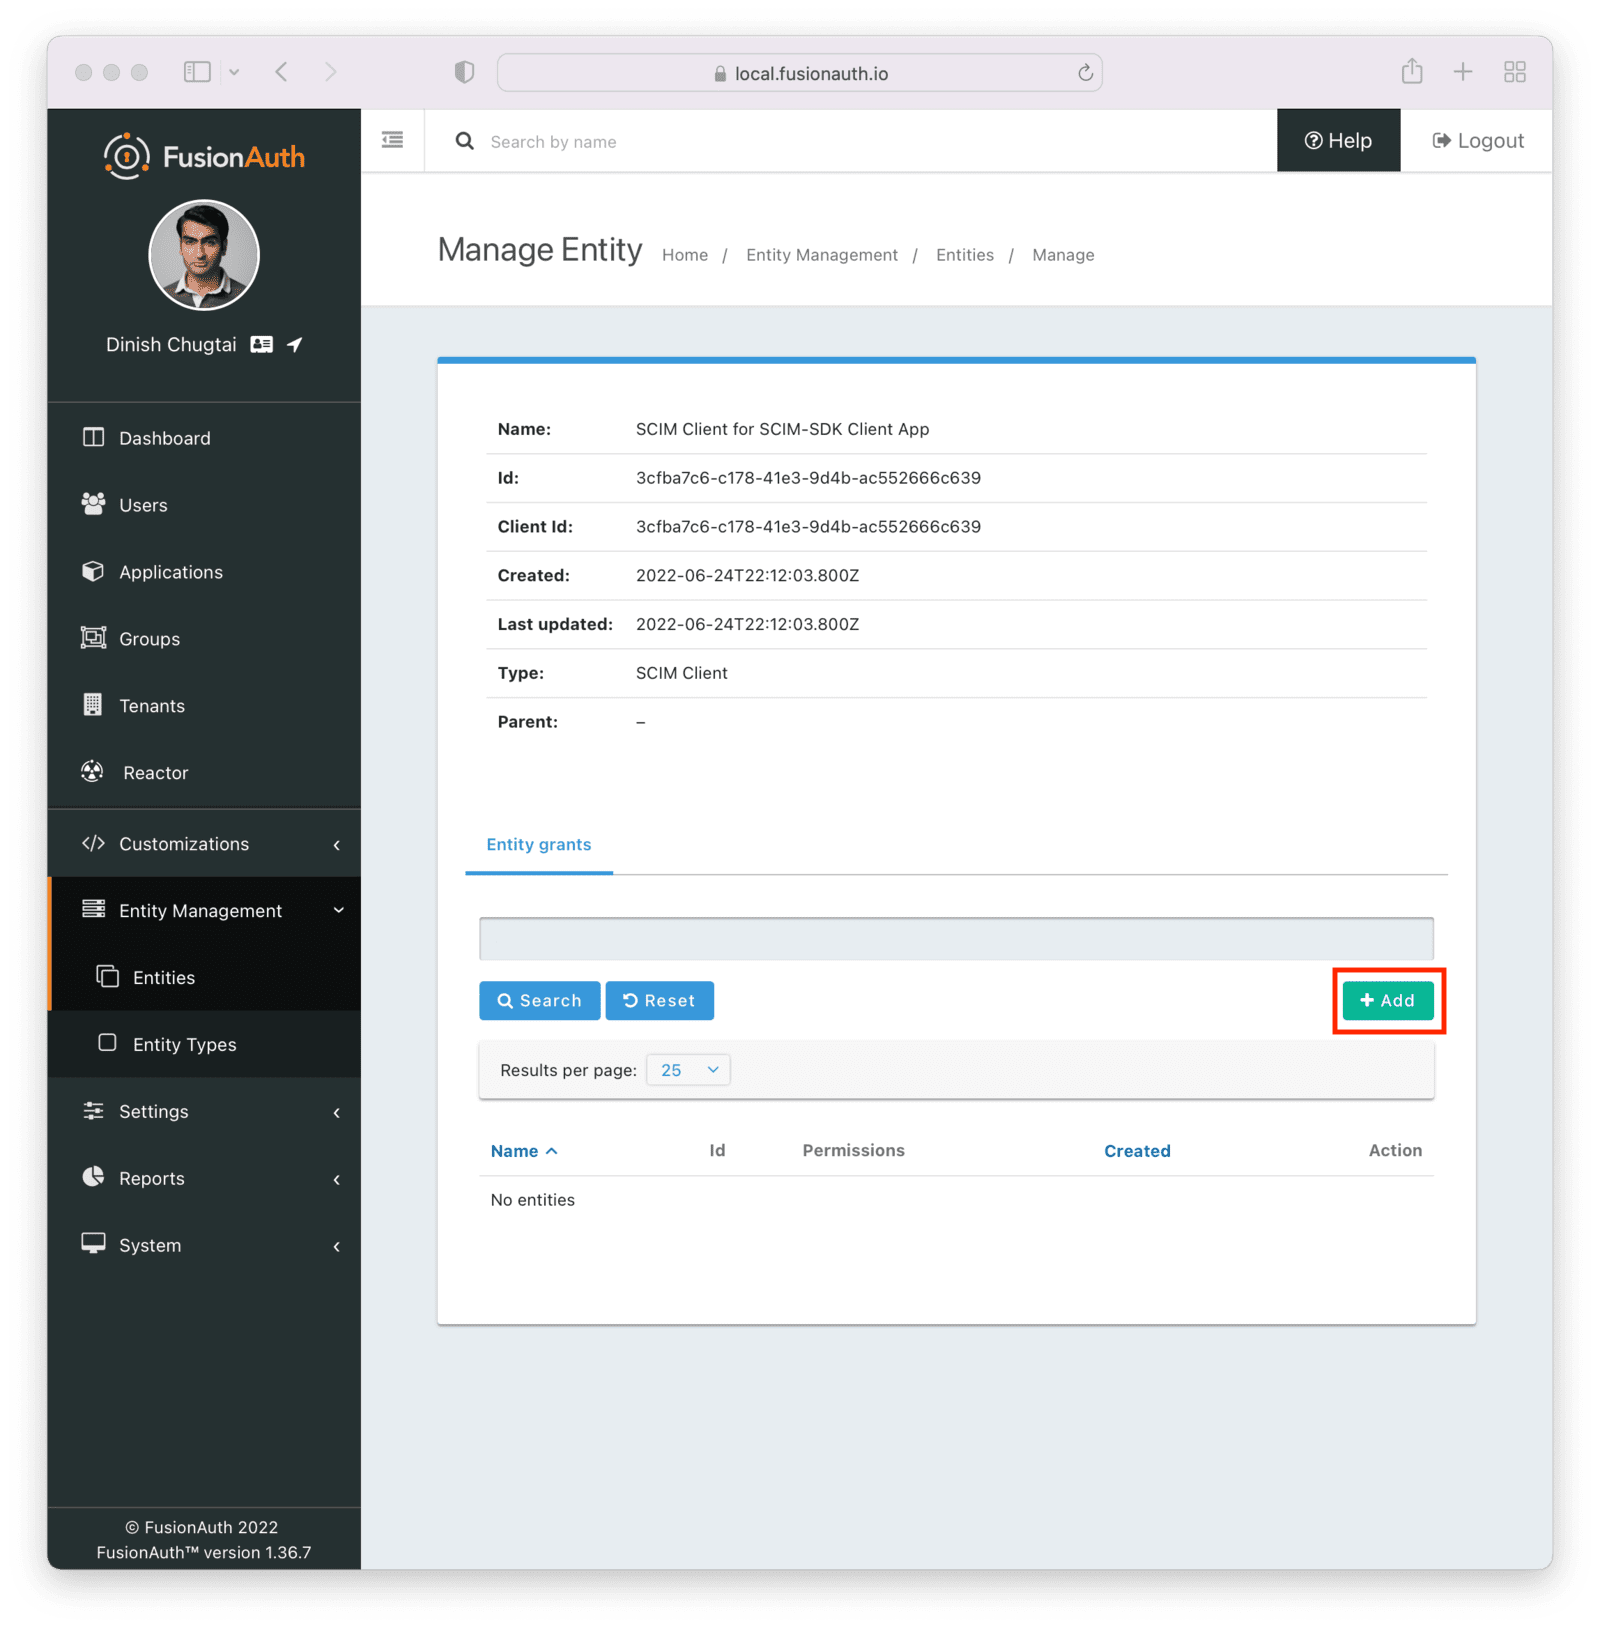 Search for the SCIM server by entering the name of the entity you created above in the search box. Select the correct entity.
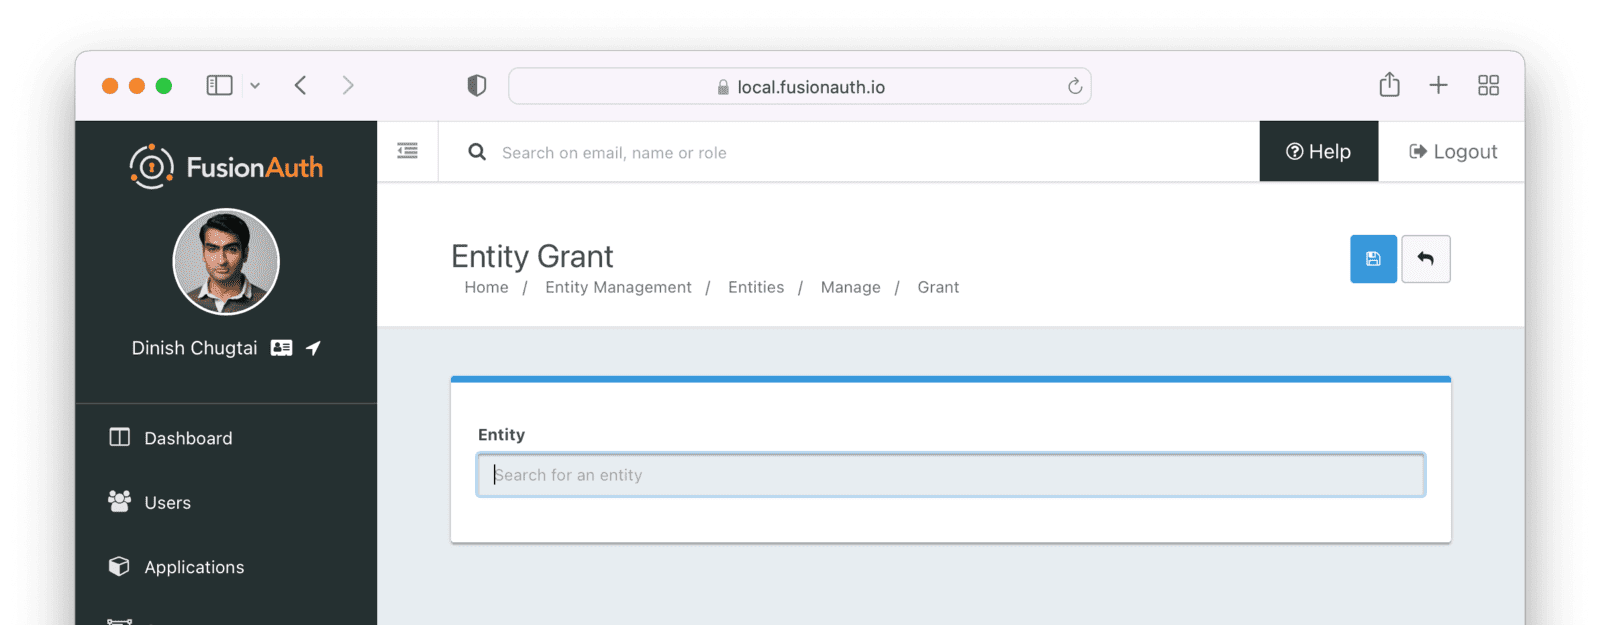 Next, add permissions. You may grant one or more SCIM permissions to the client application. These permissions will be included in the authentication process to obtain the appropriate level of access.
The SCIM server entity will be in the
 Name field. Select permissions you'd like this client to have. Below, the ability to read and create users is granted. This client may neither delete nor update users.
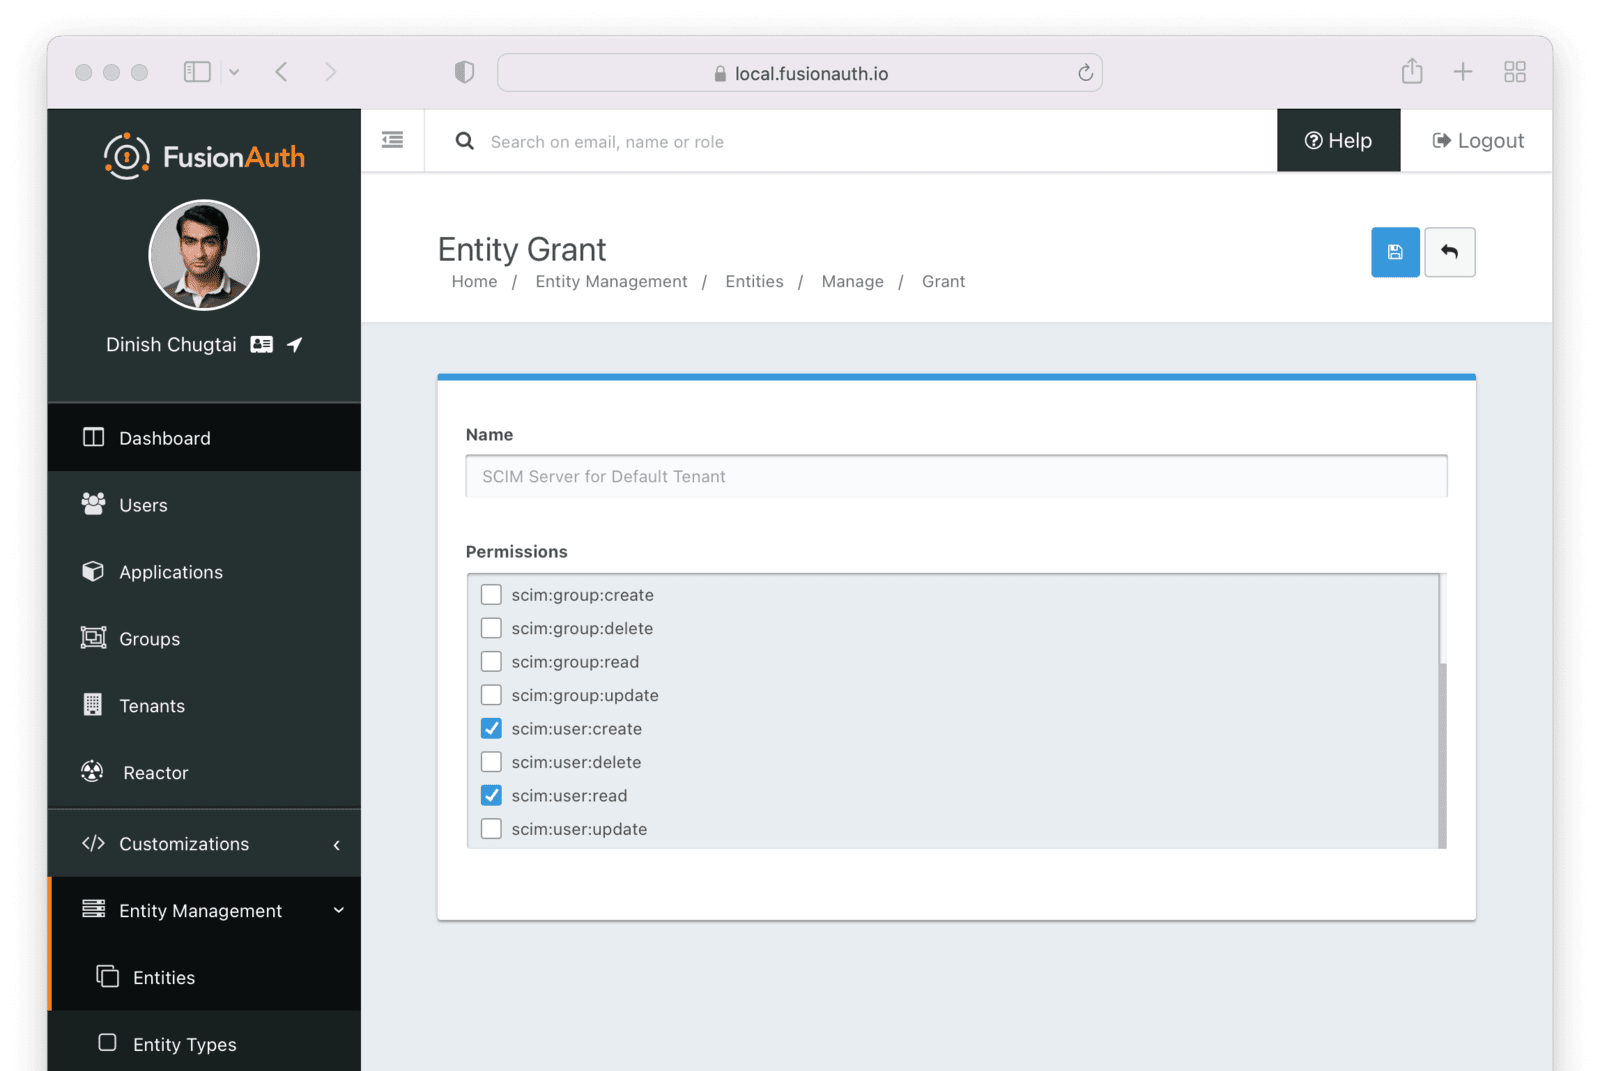 Finally, you need to record the client Id of the SCIM server and the client Id and secret of the SCIM client. These will be used by the SCIM client Java application, which uses the SCIM-SDK project and is examined below, to provision users.
You can see the Ids by looking in the list view.
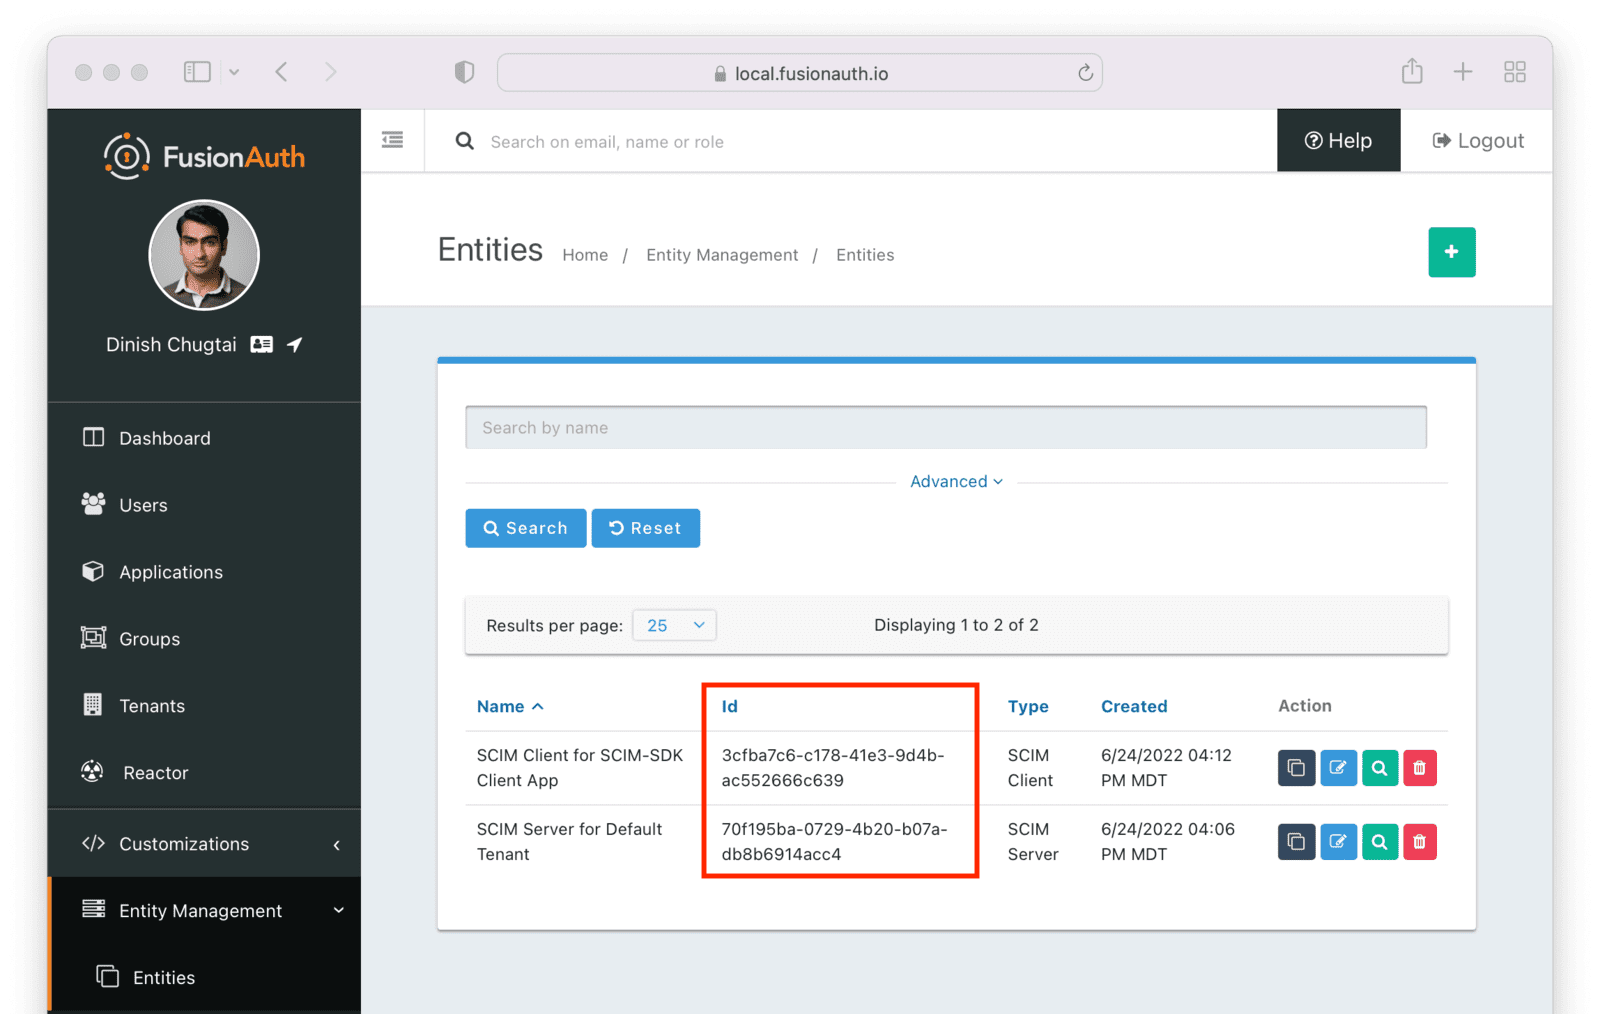 To find the client secret for the SCIM client entity, view the details screen. You can navigate to the details screen by clicking on the
 View button (the magnifying glass) from the entity list page.
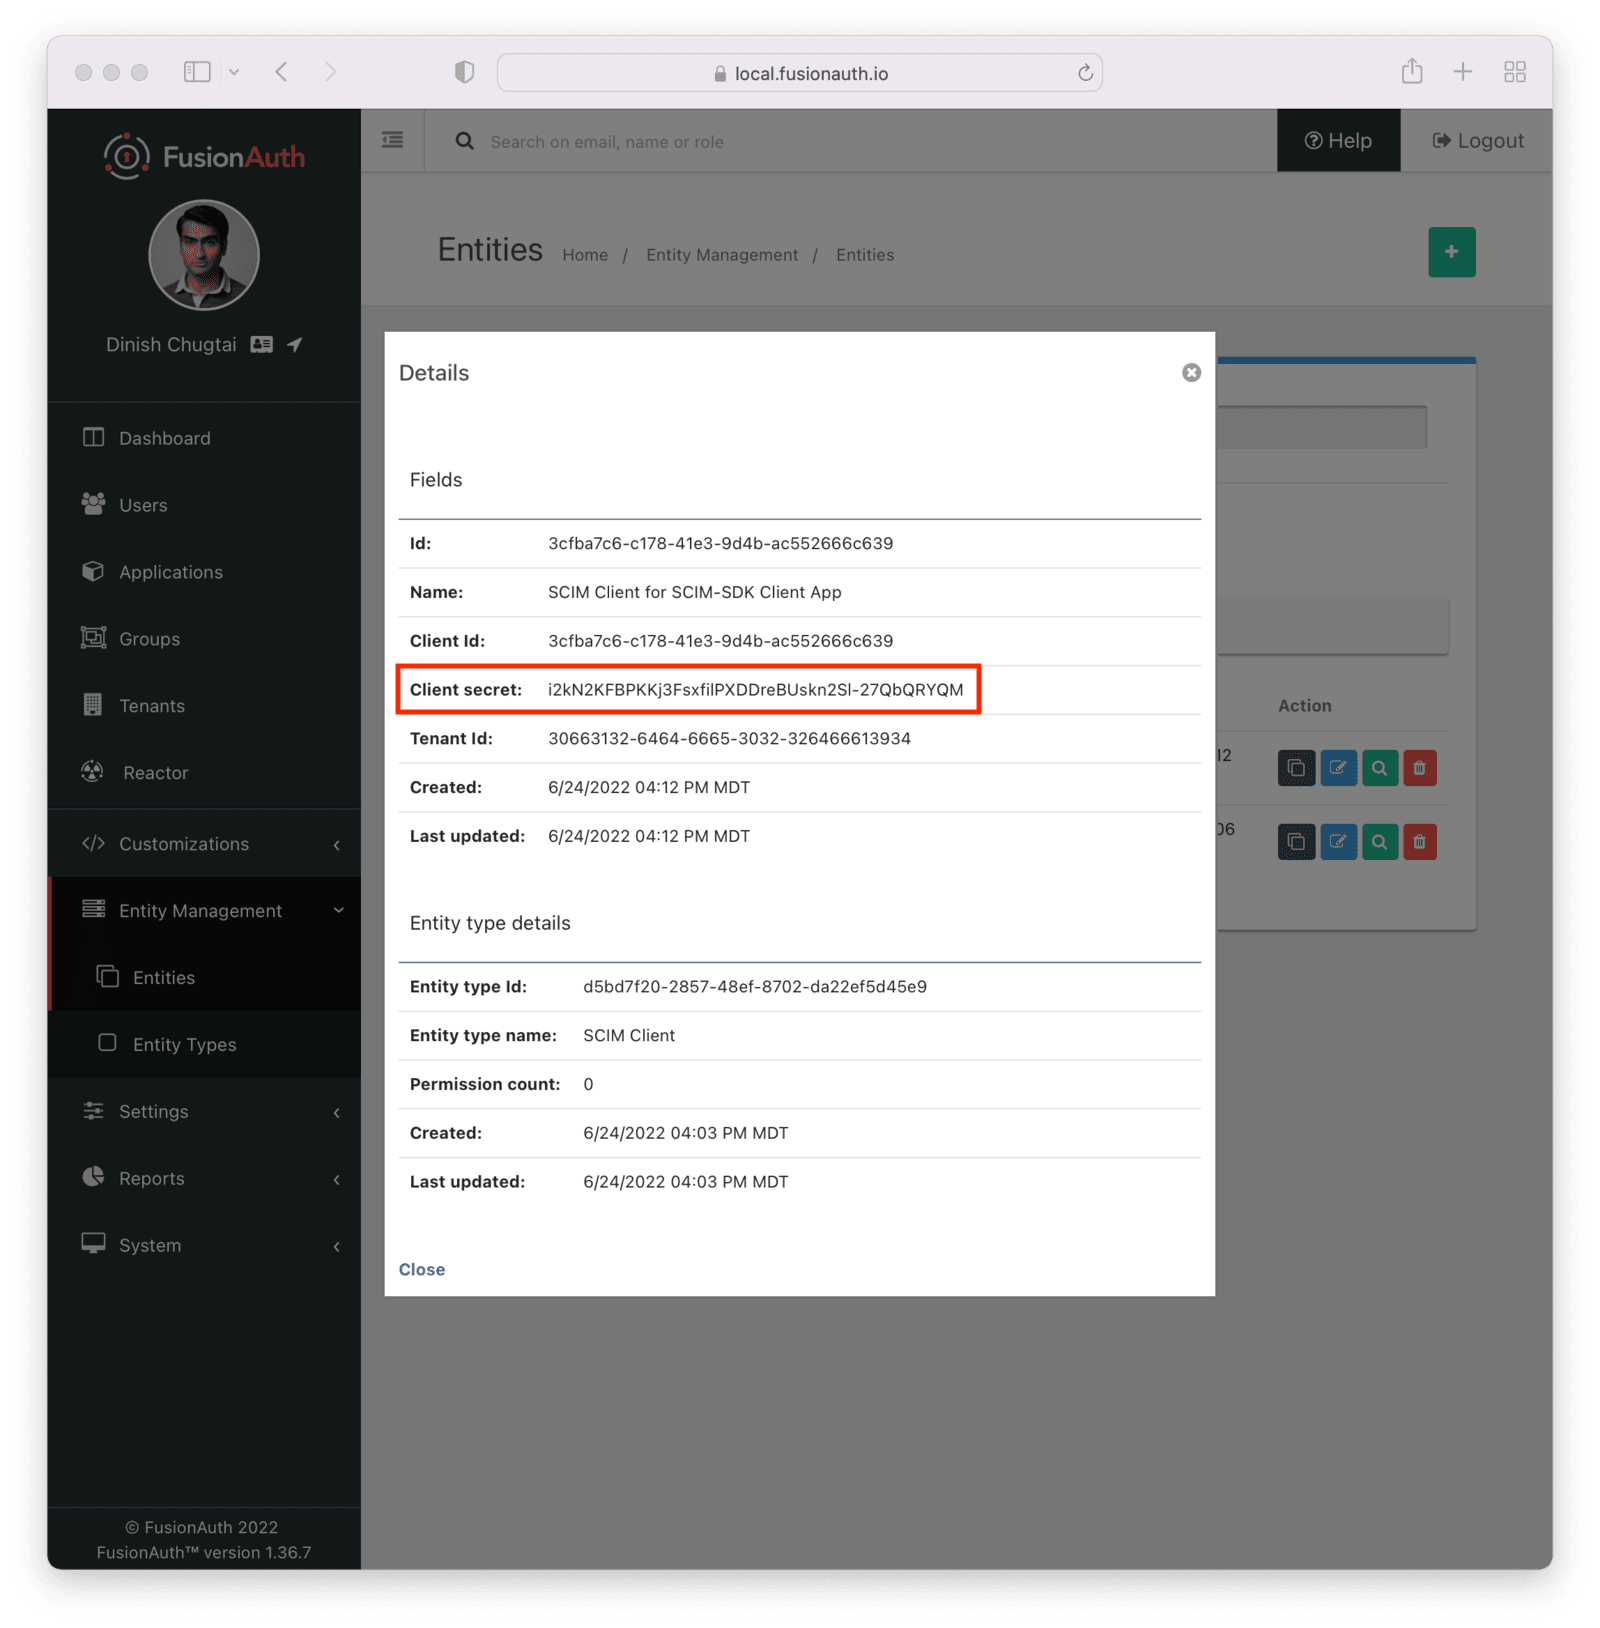 ### Request and Response Lambdas
Next, we need to review the lambdas. Navigate to
 Customizations -> Lambdas . You should see four lambdas prefixed with "SCIM".
There are two sets of default lambdas, one for users and one for groups. Each set of lambdas has one lambda for incoming requests and one for outgoing responses. You can use the same lambda for both User and EnterpriseUser resources, or you can use different ones.
Lambdas can transform requests and responses, register users for applications, make HTTP requests to external APIs, and contain other business logic. [Learn more about the different lambdas](/docs/extend/code/lambdas/), including their arguments.
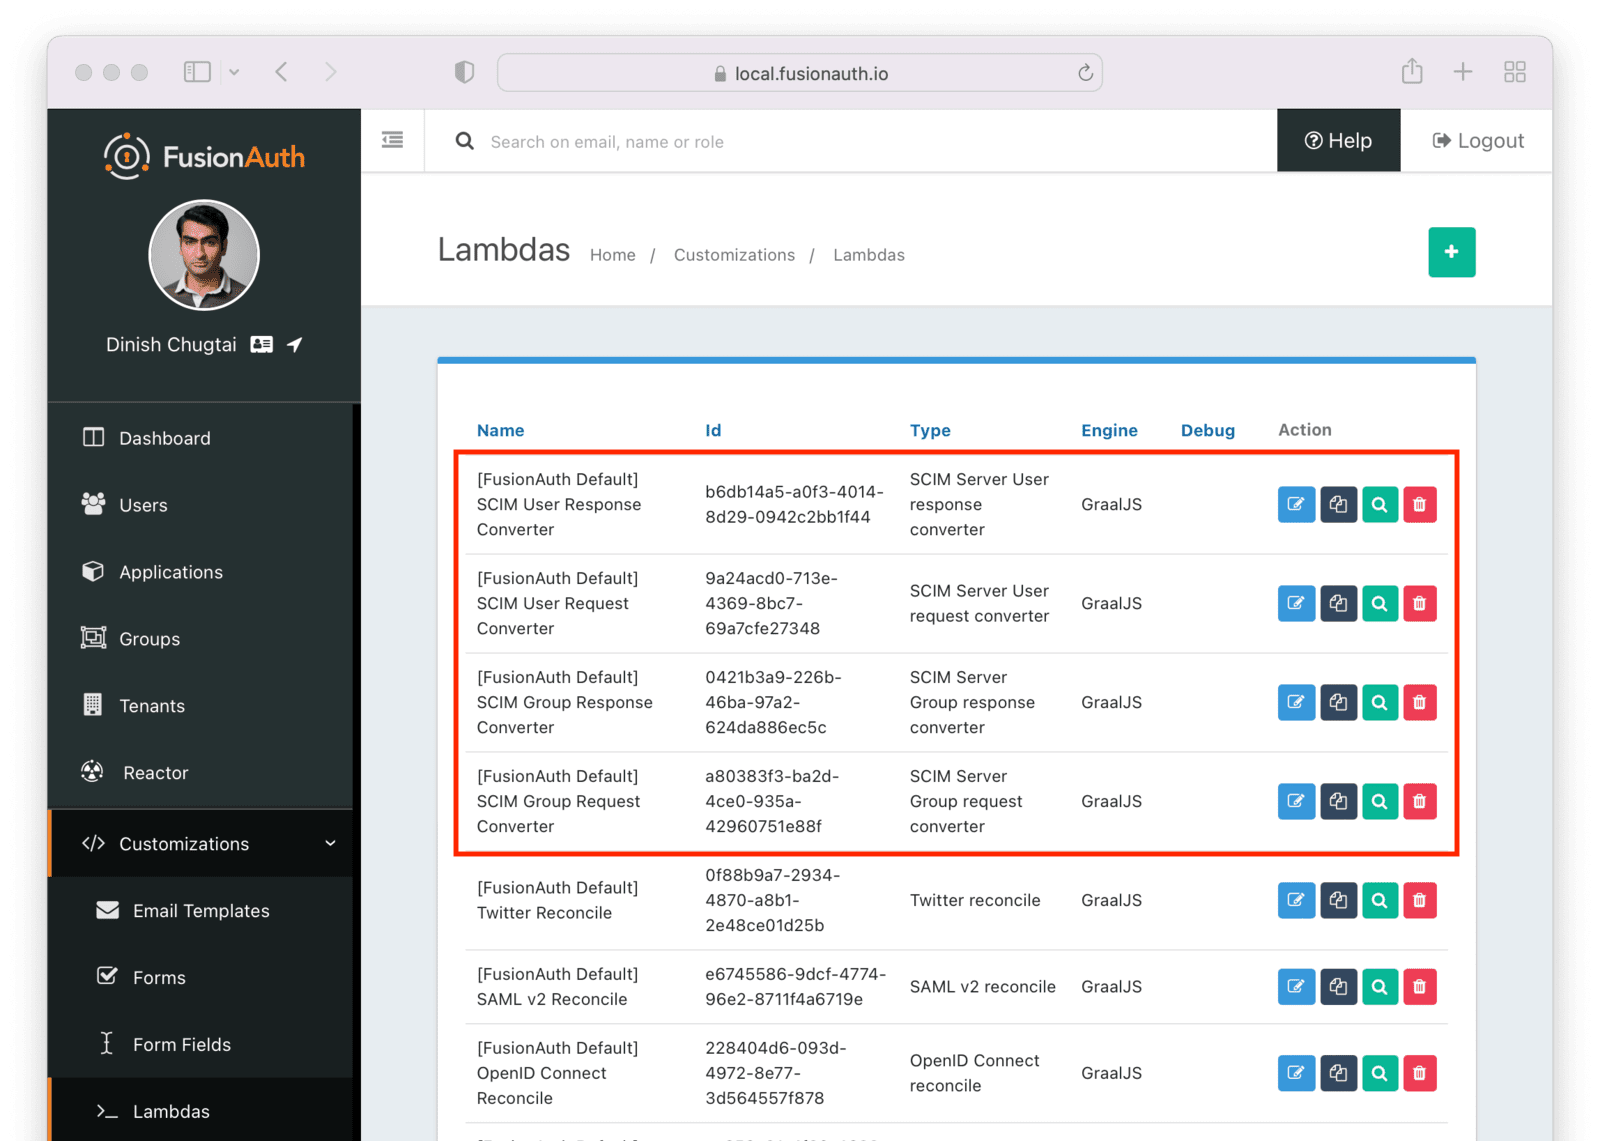 You may edit and modify lambdas as needed, but for the purposes of this document, the default lambdas work fine.
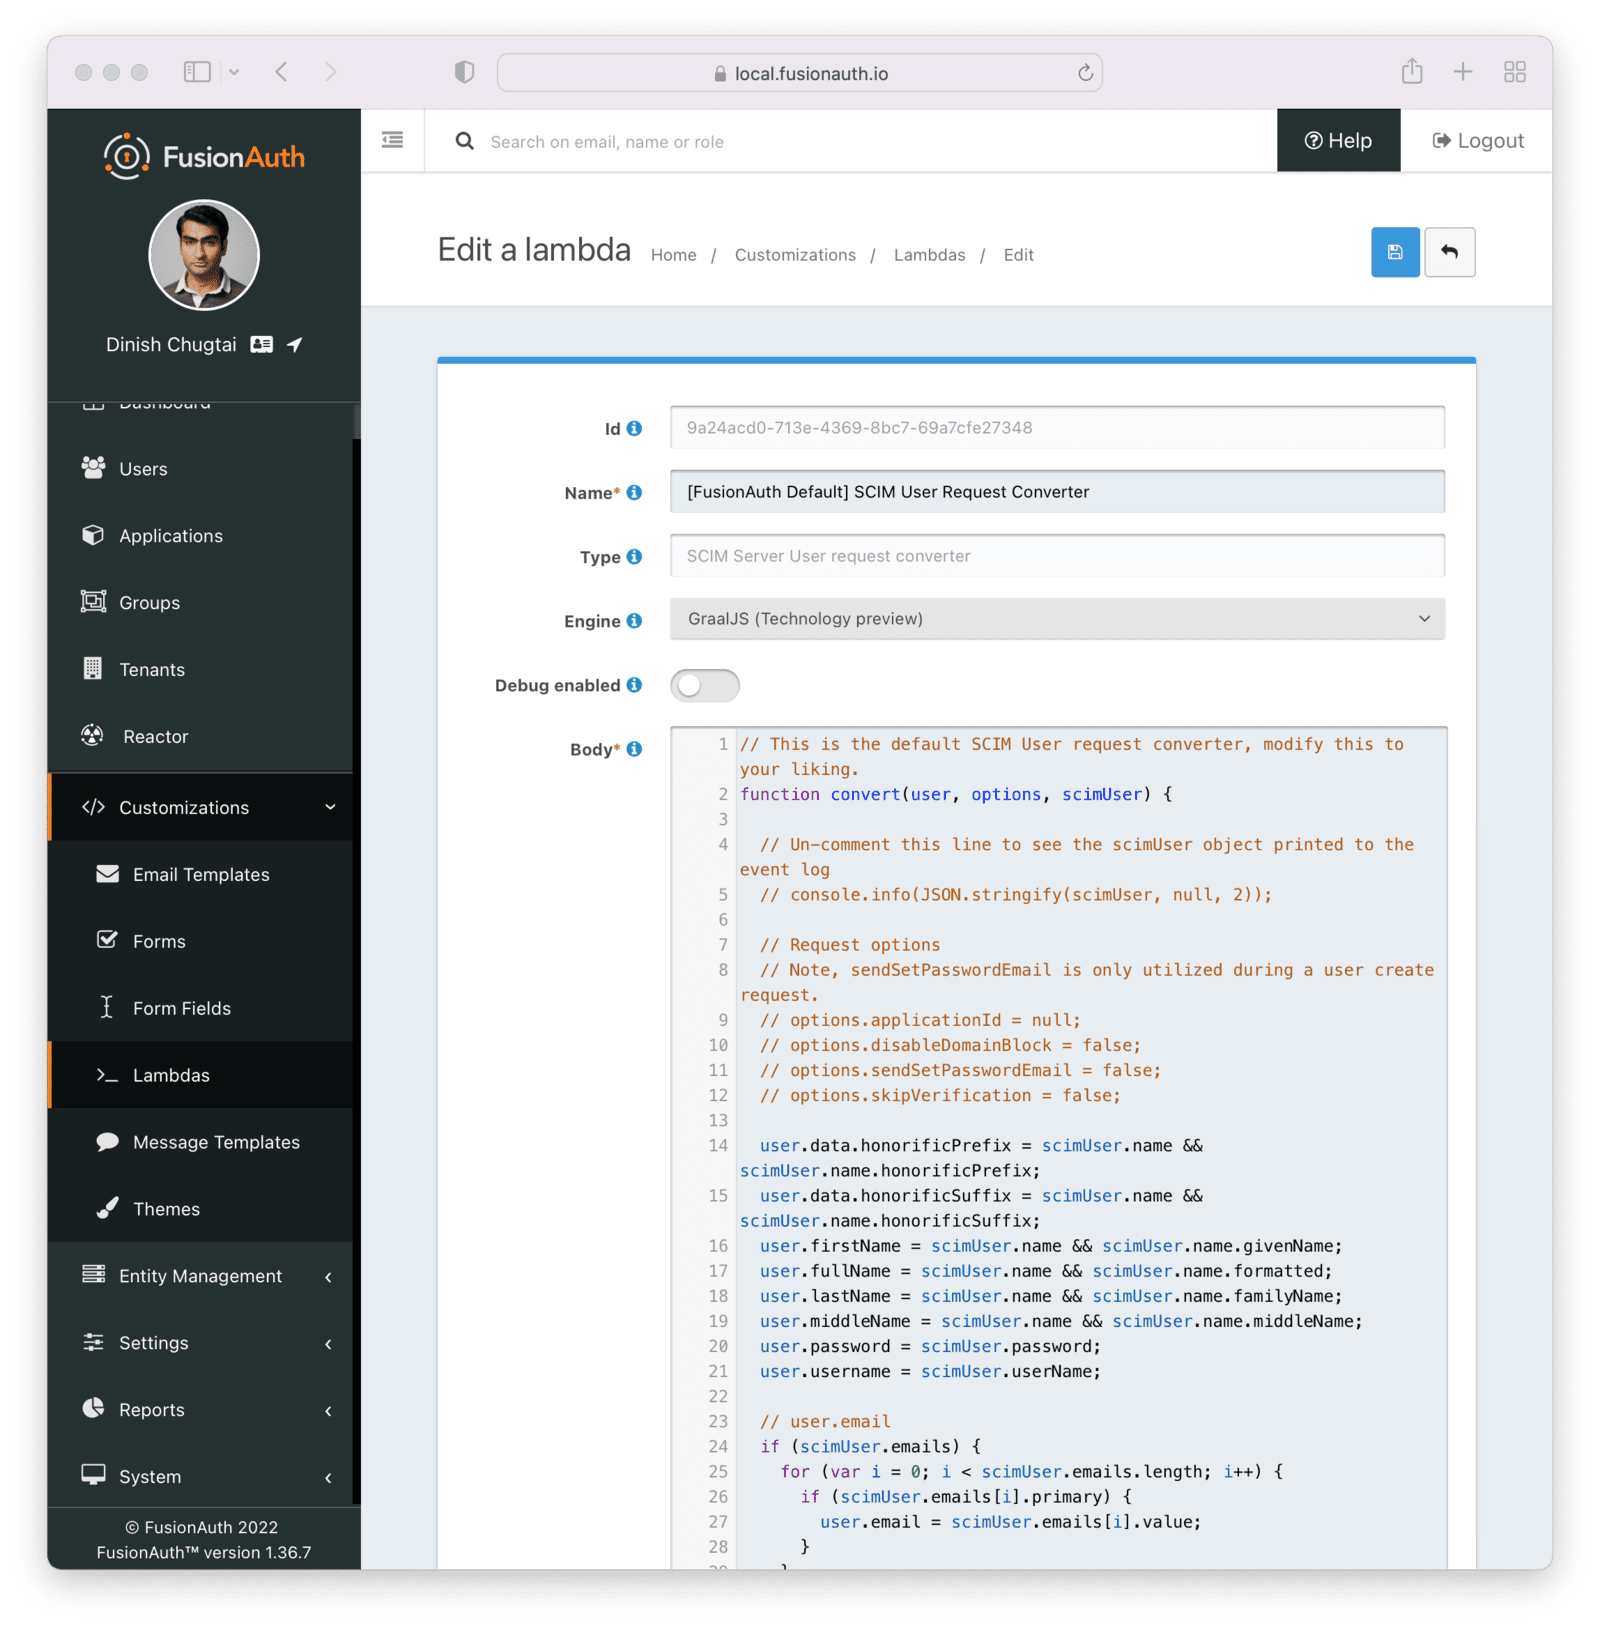 After you have verified the lambdas will work for your needs, enable and configure SCIM in the tenant settings.
### Tenant Configuration
Prior to this, you have configured everything required to enable SCIM for a FusionAuth tenant.
To do so, navigate to
 Tenants -> Default Tenant . Edit the tenant and then navigate to the SCIM tab. Once you've checked the Enabled field, you'll see all the SCIM settings.
Configure the following details:
* The Client entity type should be the client entity type you previously created: `SCIM Client`.
* The Server entity type should be the client entity type you previously created: `SCIM Server`.
* The User request lambda should be the default lambda of the correct type.
* The User response lambda should be the default lambda of the correct type.
* The Enterprise User request lambda should be the default lambda of the correct type.
* The Enterprise User response lambda should be the default lambda of the correct type.
* The Group request lambda should be the default lambda of the correct type.
* The Group response lambda should be the default lambda of the correct type.
You can leave the Schemas field blank; a default schema will be provided.
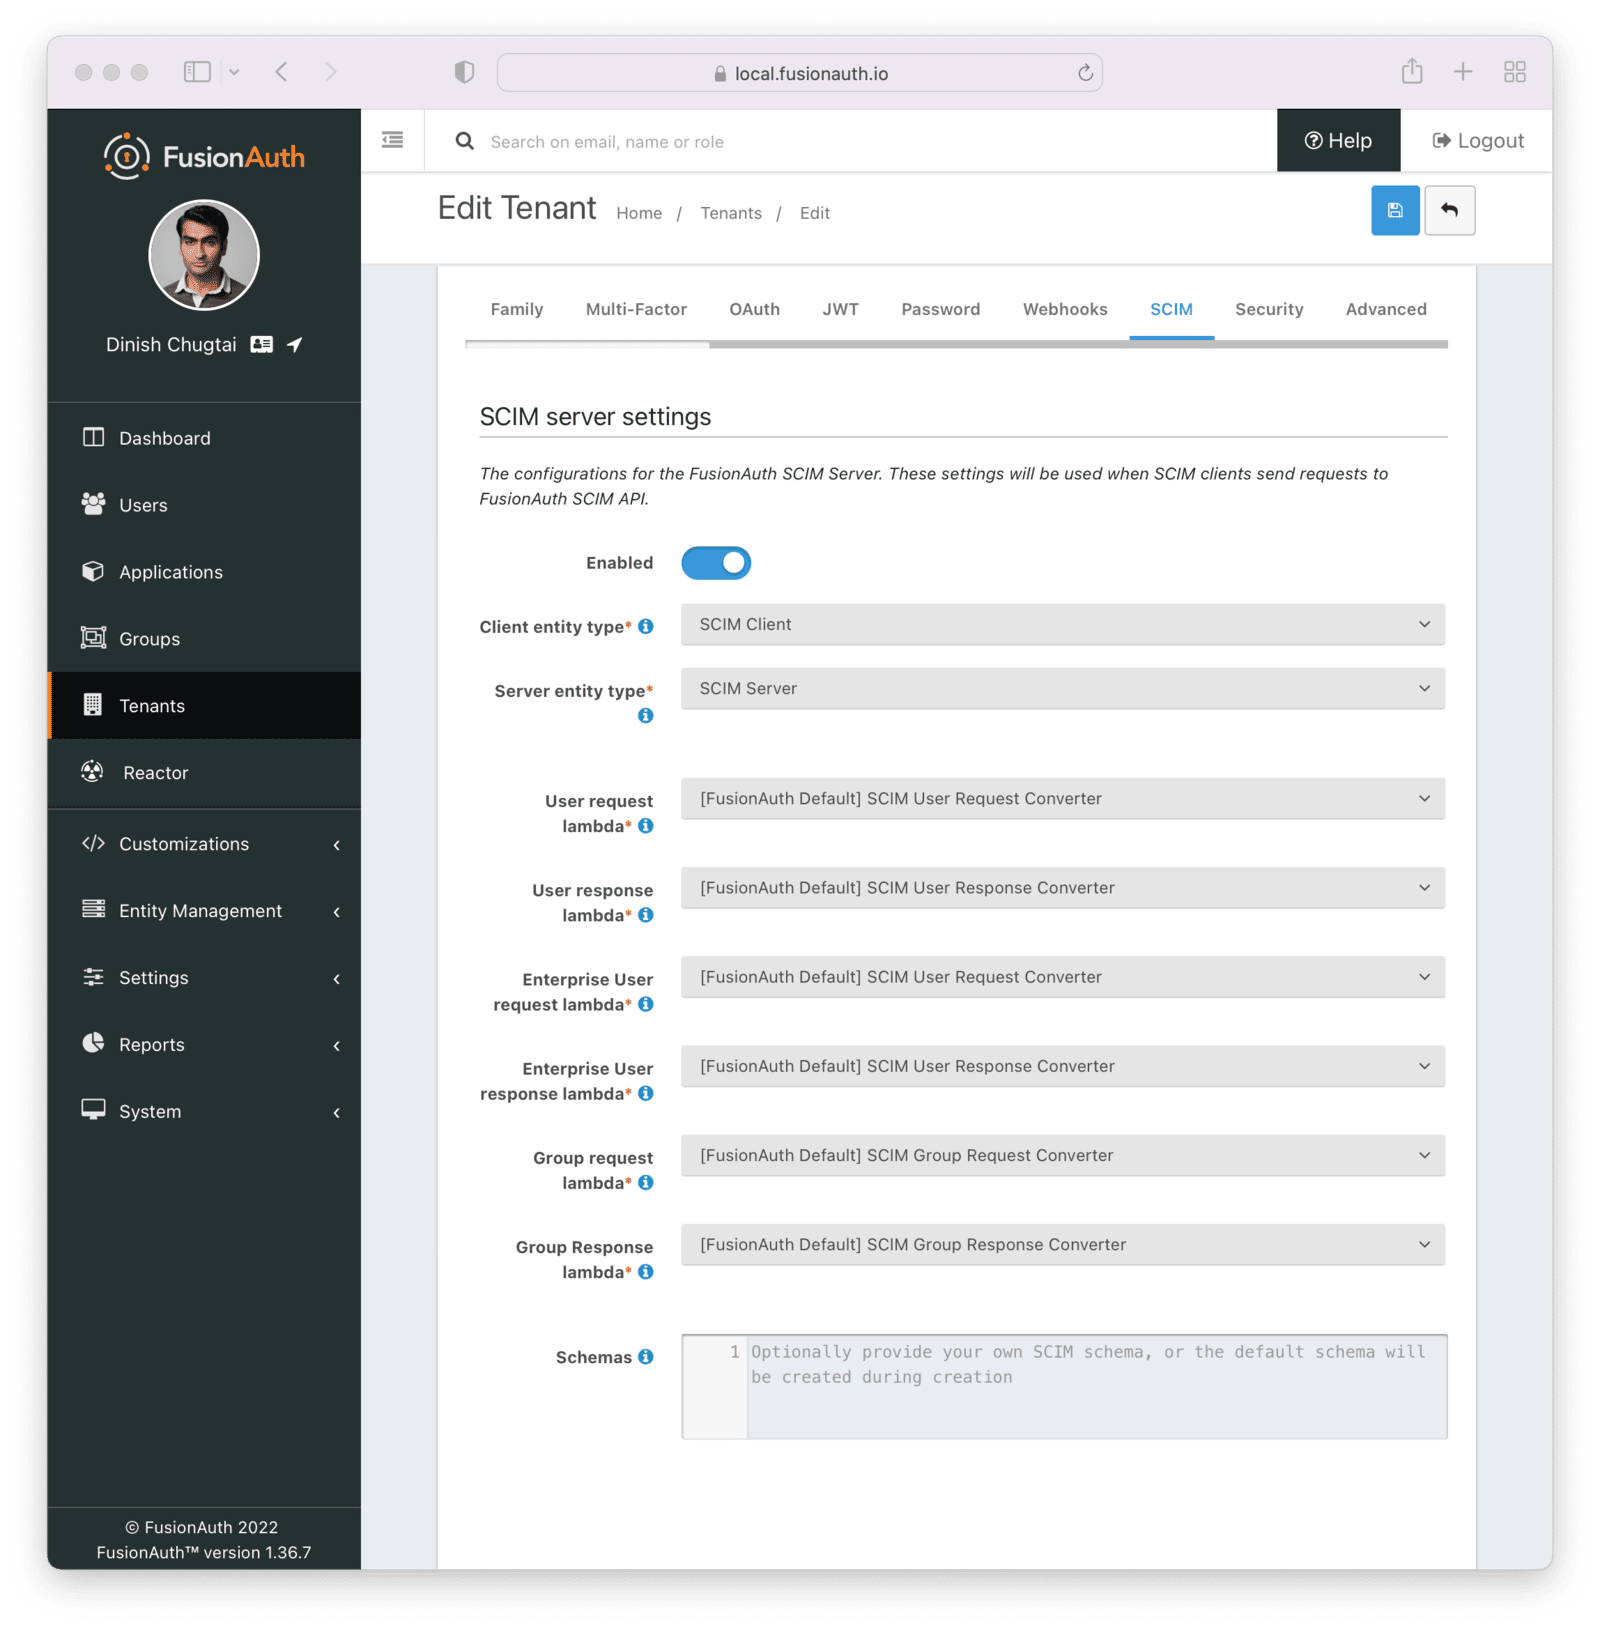 Each of these settings is documented in detail elsewhere. [Review detailed documentation about the Tenant SCIM settings](/docs/get-started/core-concepts/tenants#scim).
## The SCIM Client Application
Next, create a command line SCIM client Java application. This application will use the open source [SCIM-SDK Java library](https://github.com/Captain-P-Goldfish/SCIM-SDK) to interact with the FusionAuth SCIM server.
Clients are the source of user information, so this client will be able to create, list and retrieve a user in FusionAuth.
The [entire source code is available](https://github.com/FusionAuth/fusionauth-example-scim-integration). Below you'll download, configure and run it.
Before you configure the application, clone the repository and compile it:
```shell title="Compiling the example SCIM client application"
git clone https://github.com/FusionAuth/fusionauth-example-scim-integration && \
cd fusionauth-example-scim-integration && \
mvn compile
```
### Configure the Application
You'll need to modify the application by editing the `src/main/java/io/fusionauth/example/scim/ScimExample.java` file using the text editor or IDE of your choice.
Search for the text: `change these`. You'll see something similar to the below code.
Entity Management -> Entities and copy the Id from the list of entities.
* Update `CLIENT_ID` with the Id of the entity with the type `SCIM Client` created above. This represents this Java program. If you didn't record this, navigate to Entity Management -> Entities and copy the Id from the list of entities.
 You may also optionally update `EXISTING_USER_ID` with the Id of any user in your FusionAuth system. Find one by navigating to
 Users and viewing the details of a user. If you don't update this constant, you won't be able to retrieve a user.
Optionally update `CREATED_USER_LOGIN_ID` with a unique username. This will be the username of the created user. If you don't modify this value, the default username will be used.
The other constants may be left unchanged, unless you want to experiment with changing permissions or setting a different password for created users.
### Run the Application
The application can be run in three modes:
* `get` which retrieves a single user
* `list` which lists up to five users
* `create`, which adds a new user
Let's create a new user and then check to see that the user was added.
To run the program, to recompile it to ensure the changes above are picked up.
```shell title="Recompiling the sample application"
mvn compile
```
Then, run it. You need to provide two arguments to the application. The first is the client secret for the SCIM client entity. This value, along with the client Id, will be used to authenticate the SCIM client before the SCIM APIs are called. If you didn't record this, navigate to Entity Management -> Entities , view the details of the SCIM Client entity, and copy the secret.
Then, run the command below, with the value of `YOUR_CLIENT_SECRET` updated to the real value, such as `i2kN2KFBPKKj3FsxfilPXDDreBUskn2Sl-27QbQRYQM`.
```shell title="Running the sample application"
mvn exec:java -Dexec.mainClass="io.fusionauth.example.scim.ScimExample" \
-Dexec.args="YOUR_CLIENT_SECRET create"
```
You'll see the output of the sample application, which should look something like this.
```shell title="Output of sample application"
[INFO] Scanning for projects...
[INFO]
[INFO] ---------------< io.fusionauth.example:scim-integration >---------------
[INFO] Building scim-integration 0.0.1
[INFO] --------------------------------[ jar ]---------------------------------
[INFO]
[INFO] --- exec-maven-plugin:3.0.0:java (default-cli) @ scim-integration ---
{"schemas":["urn:ietf:params:scim:schemas:core:2.0:User"],"active":true,"id":"fccf49ab-f34e-4736-9dfc-50a68b4a86f3","meta":{"created":"2022-07-05T13:42:02.963Z","lastModified":"2022-07-05T13:42:02.963Z","location":"https://local.fusionauth.io/api/scim/resource/v2/Users/fccf49ab-f34e-4736-9dfc-50a68b4a86f3","resourceType":"User"},"userName":"test@example.com"}
[INFO] ------------------------------------------------------------------------
[INFO] BUILD SUCCESS
[INFO] ------------------------------------------------------------------------
[INFO] Total time: 1.259 s
[INFO] Finished at: 2022-07-05T09:42:03-04:00
[INFO] ------------------------------------------------------------------------
```
If you navigate to Users in the administrative user interface, you will see the new user has been added.
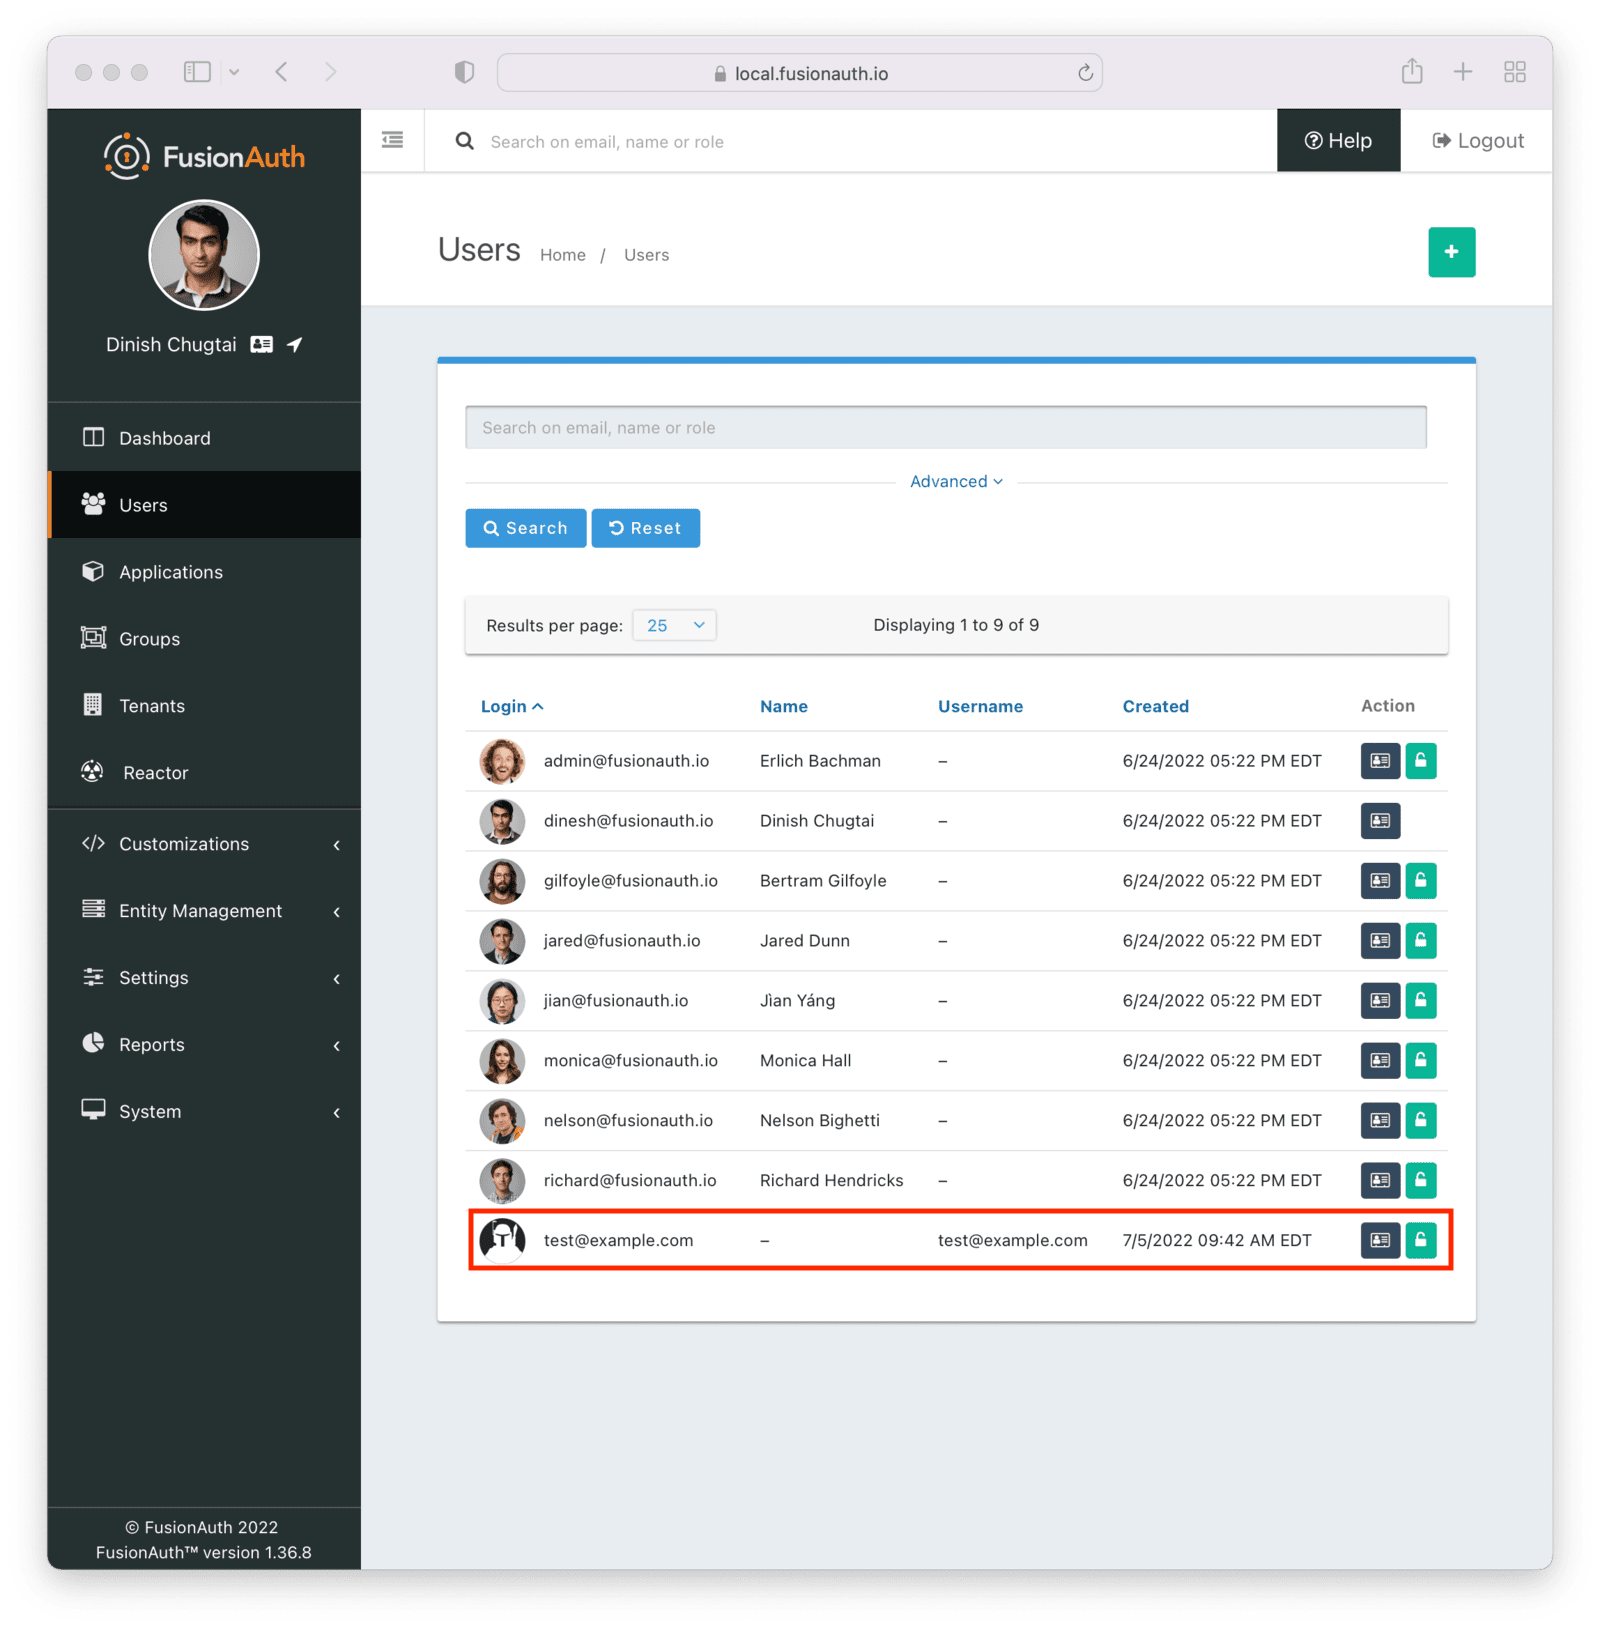 ### Examine the Application
Let's look at two parts of the example application: the SCIM client authentication and the method that creates the user.
To authenticate a SCIM client in FusionAuth, the [client credentials grant](/docs/lifecycle/authenticate-users/oauth/#example-client-credentials-grant) is performed, including requesting any needed SCIM permissions. The resulting access token is then used as a bearer token in the SCIM API request, by including it in the `Authorization` header. The token generation happens in the `getCredentials` method.
Login with ADFS button in your FusionAuth login flow.
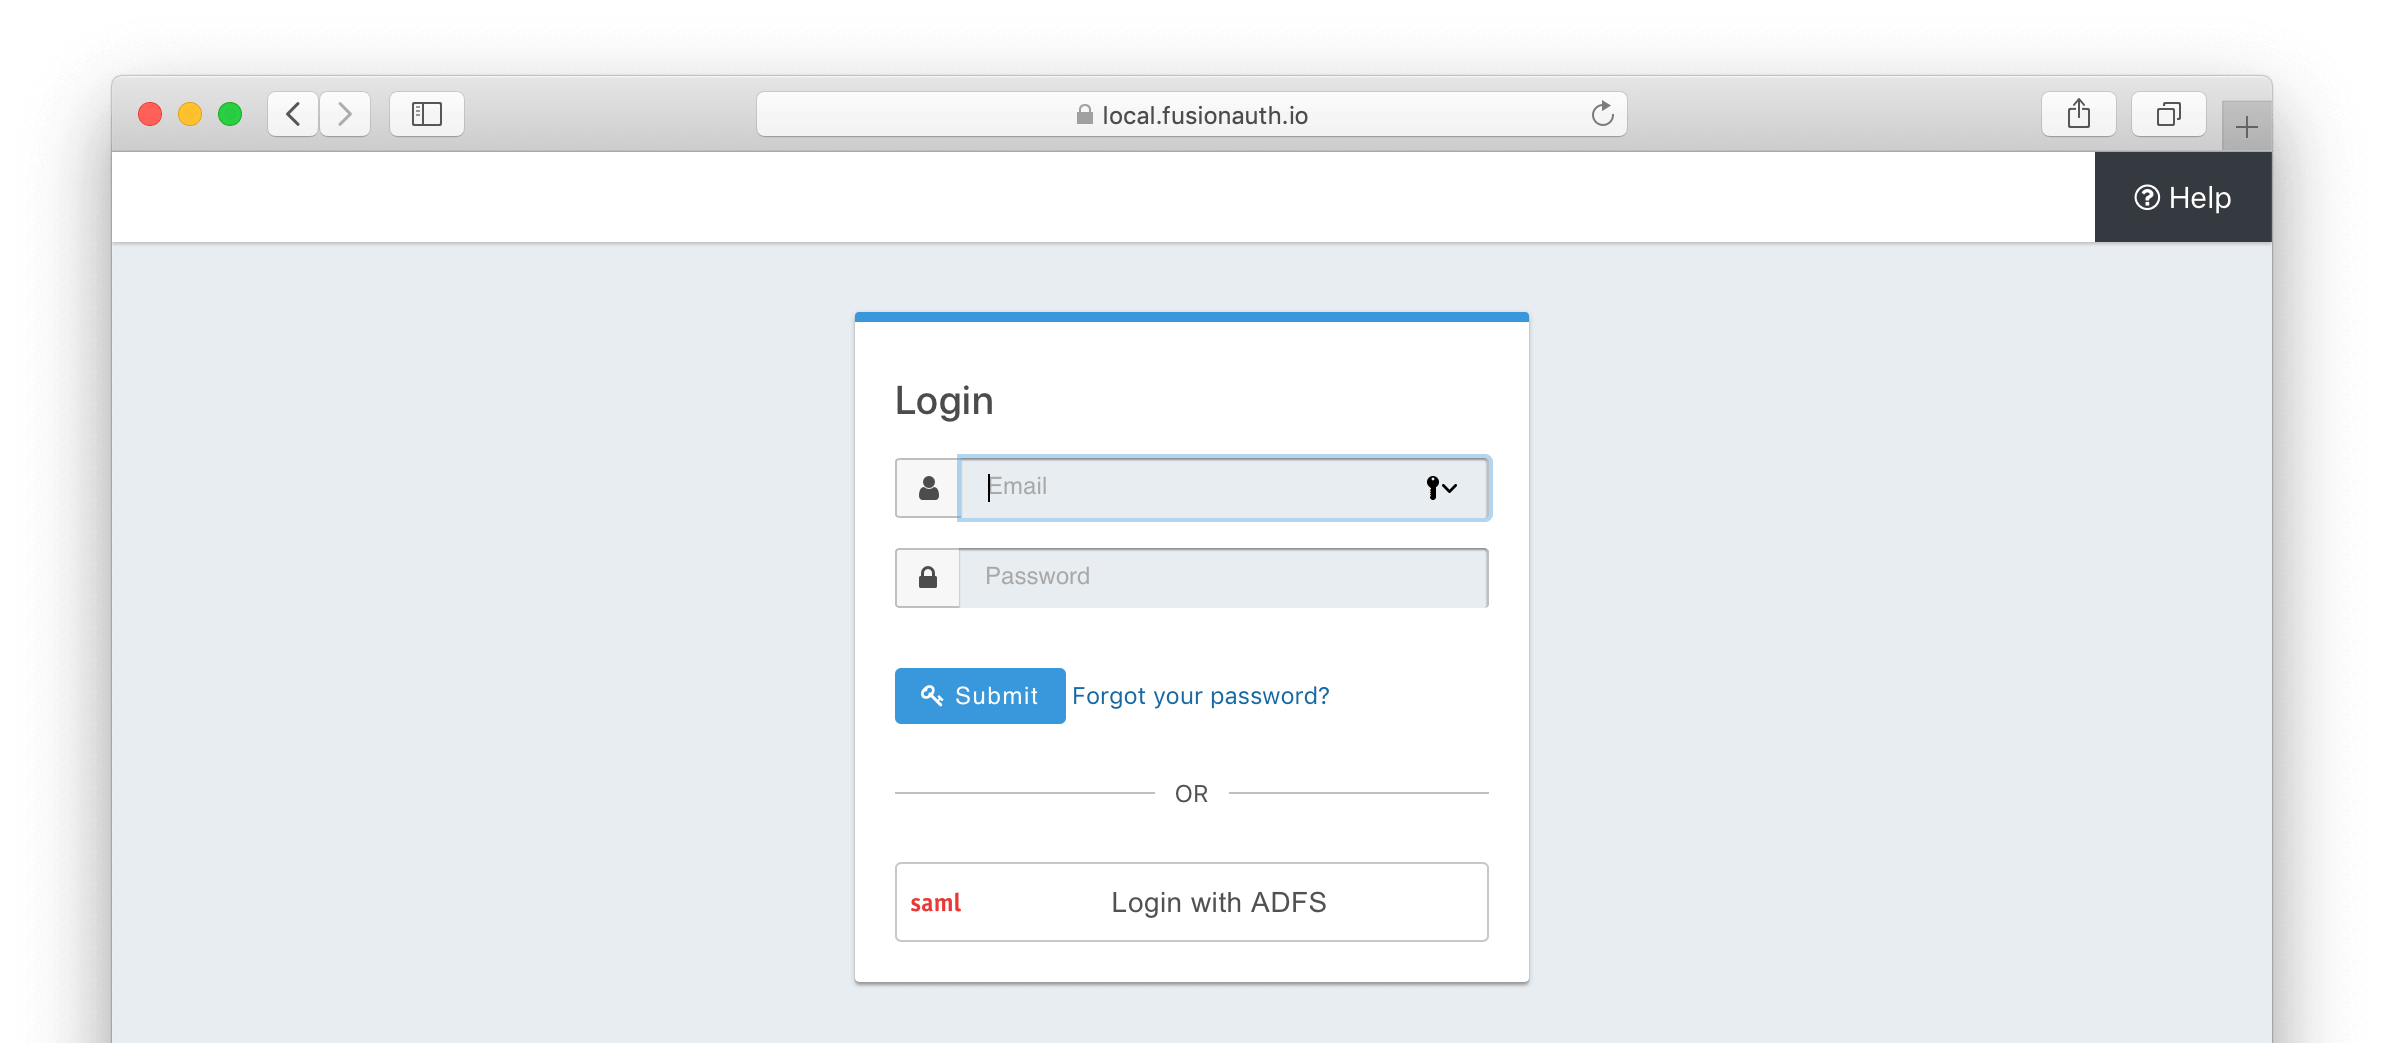 ## Import ADFS Certificate into FusionAuth
First, import the certificate used by ADFS for signing into FusionAuth. This certificate can be obtained from your ADFS administrator and can also be retrieved from the ADFS metadata endpoint `
## Import ADFS Certificate into FusionAuth
First, import the certificate used by ADFS for signing into FusionAuth. This certificate can be obtained from your ADFS administrator and can also be retrieved from the ADFS metadata endpoint `/FederationMetadata/2007-06/FederationMetadata.xml` (look for the `` tag within ``). Microsoft relays this certificate as a base64-encoded string.
Using Keymaster in the FusionAuth admin panel, the certificate can be imported as a base64-encoded string. Leave the Key identifier property blank, as this will be autogenerated from thumbprint the existing certificate.
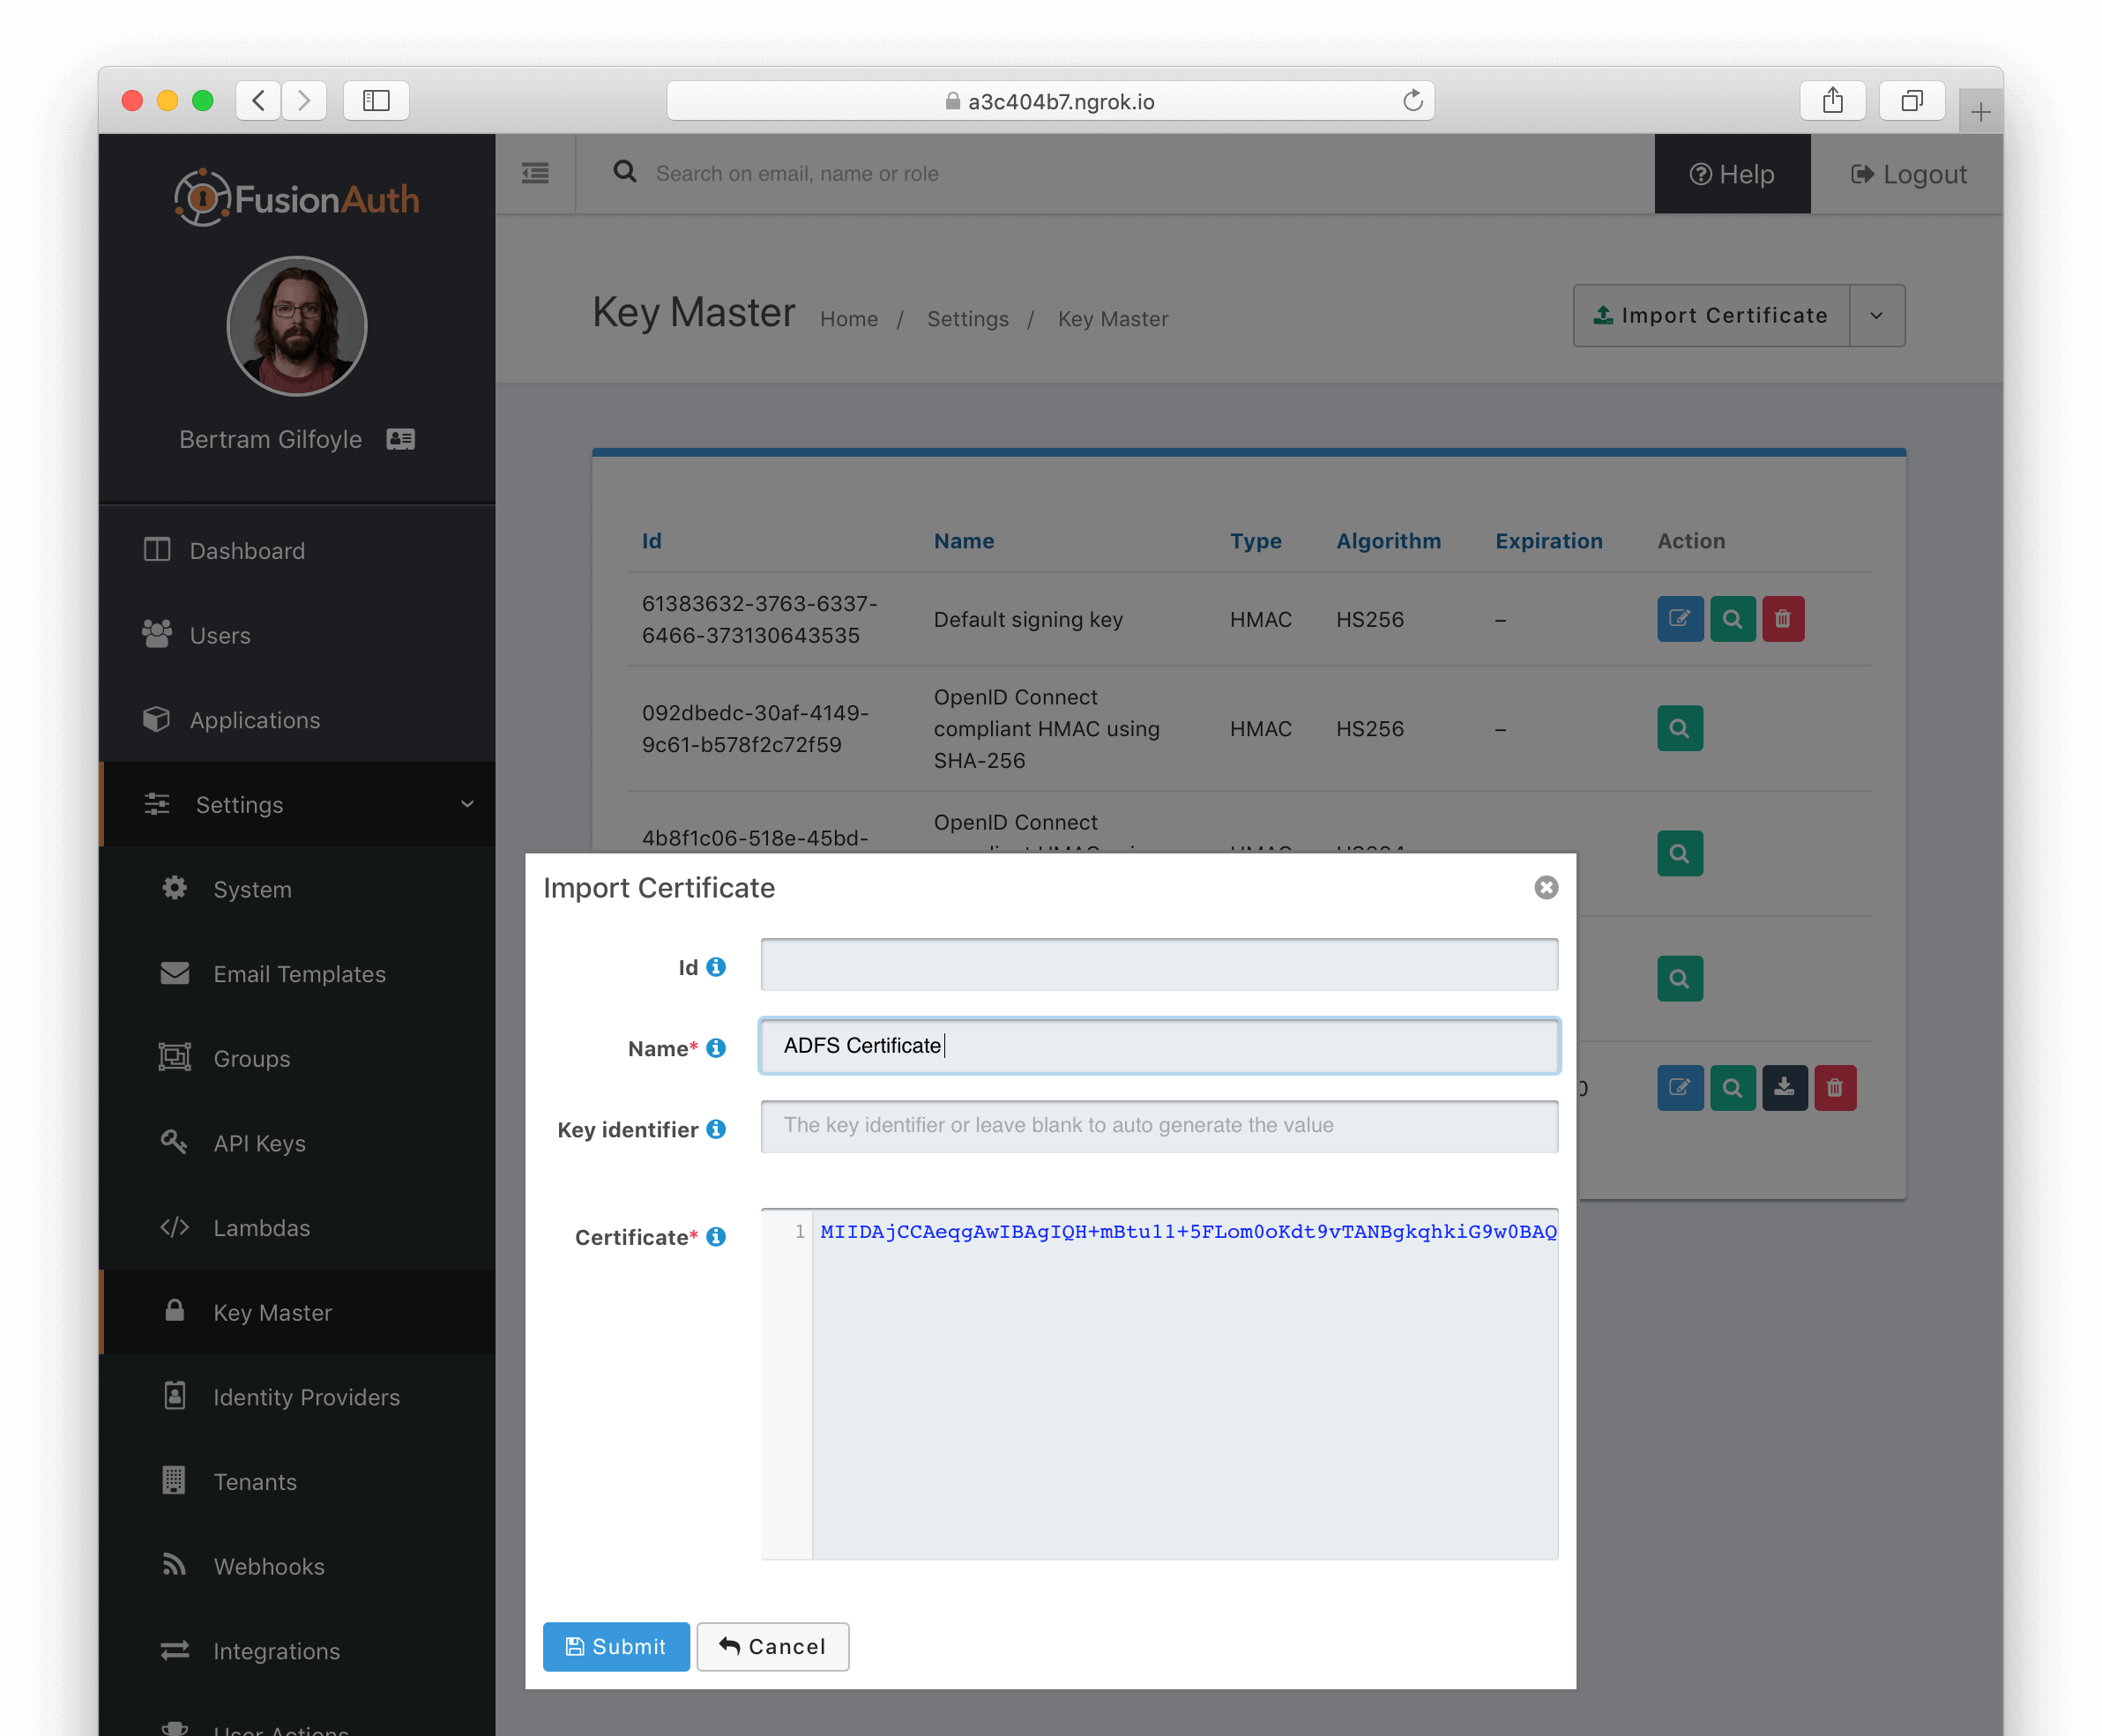 ## Create a SAML v2 Identity Provider
To create an Identity Provider follow the steps documented in the [SAML v2 Overview](/docs/lifecycle/authenticate-users/identity-providers/) with the following specifics for configuring ADFS.
The IdP endpoint of ADFS is noted in the ADFS management console under
 AD FS -> Service -> Endpoints . By default the URL is ```/adfs/ls```.
Enable the Debug toggle to receive debug logs in the FusionAuth Event Log.
Enable the Use NameId for email toggle.
Set the Verification key to the ADFS certificate you imported in the previous step.
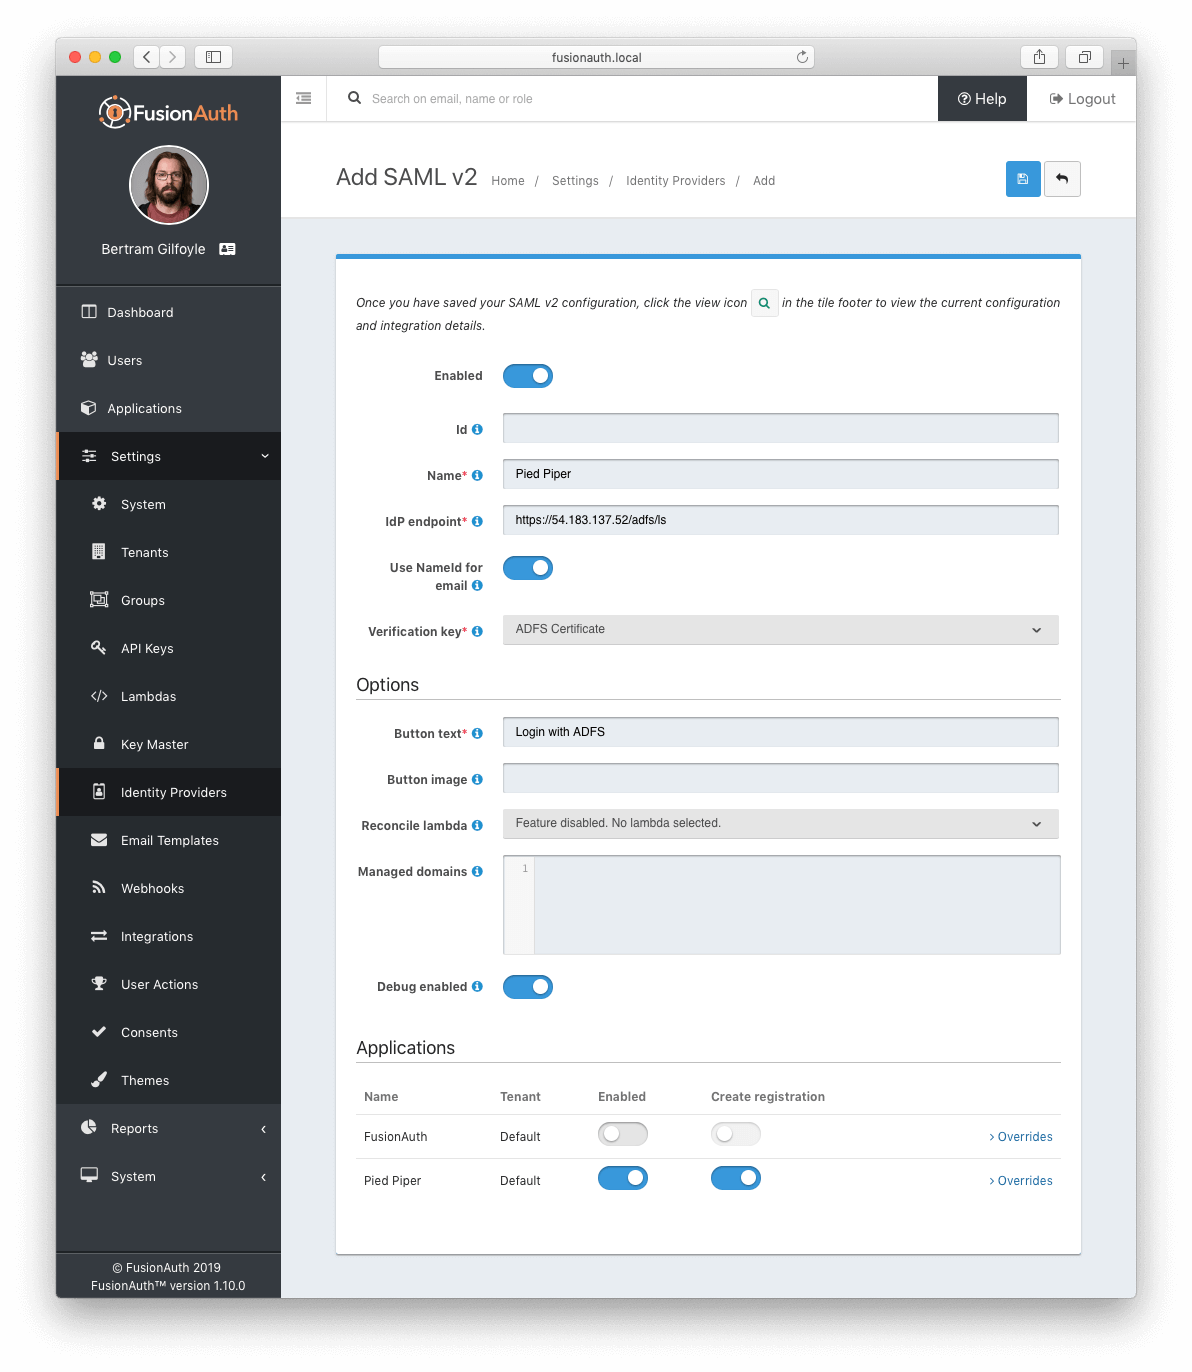 ## Add Relying Party Trust
### Note the FusionAuth Issuer
View the integration details of the newly created SAML v2 Identity provider by clicking the
 Issuer field to be used in the following step.
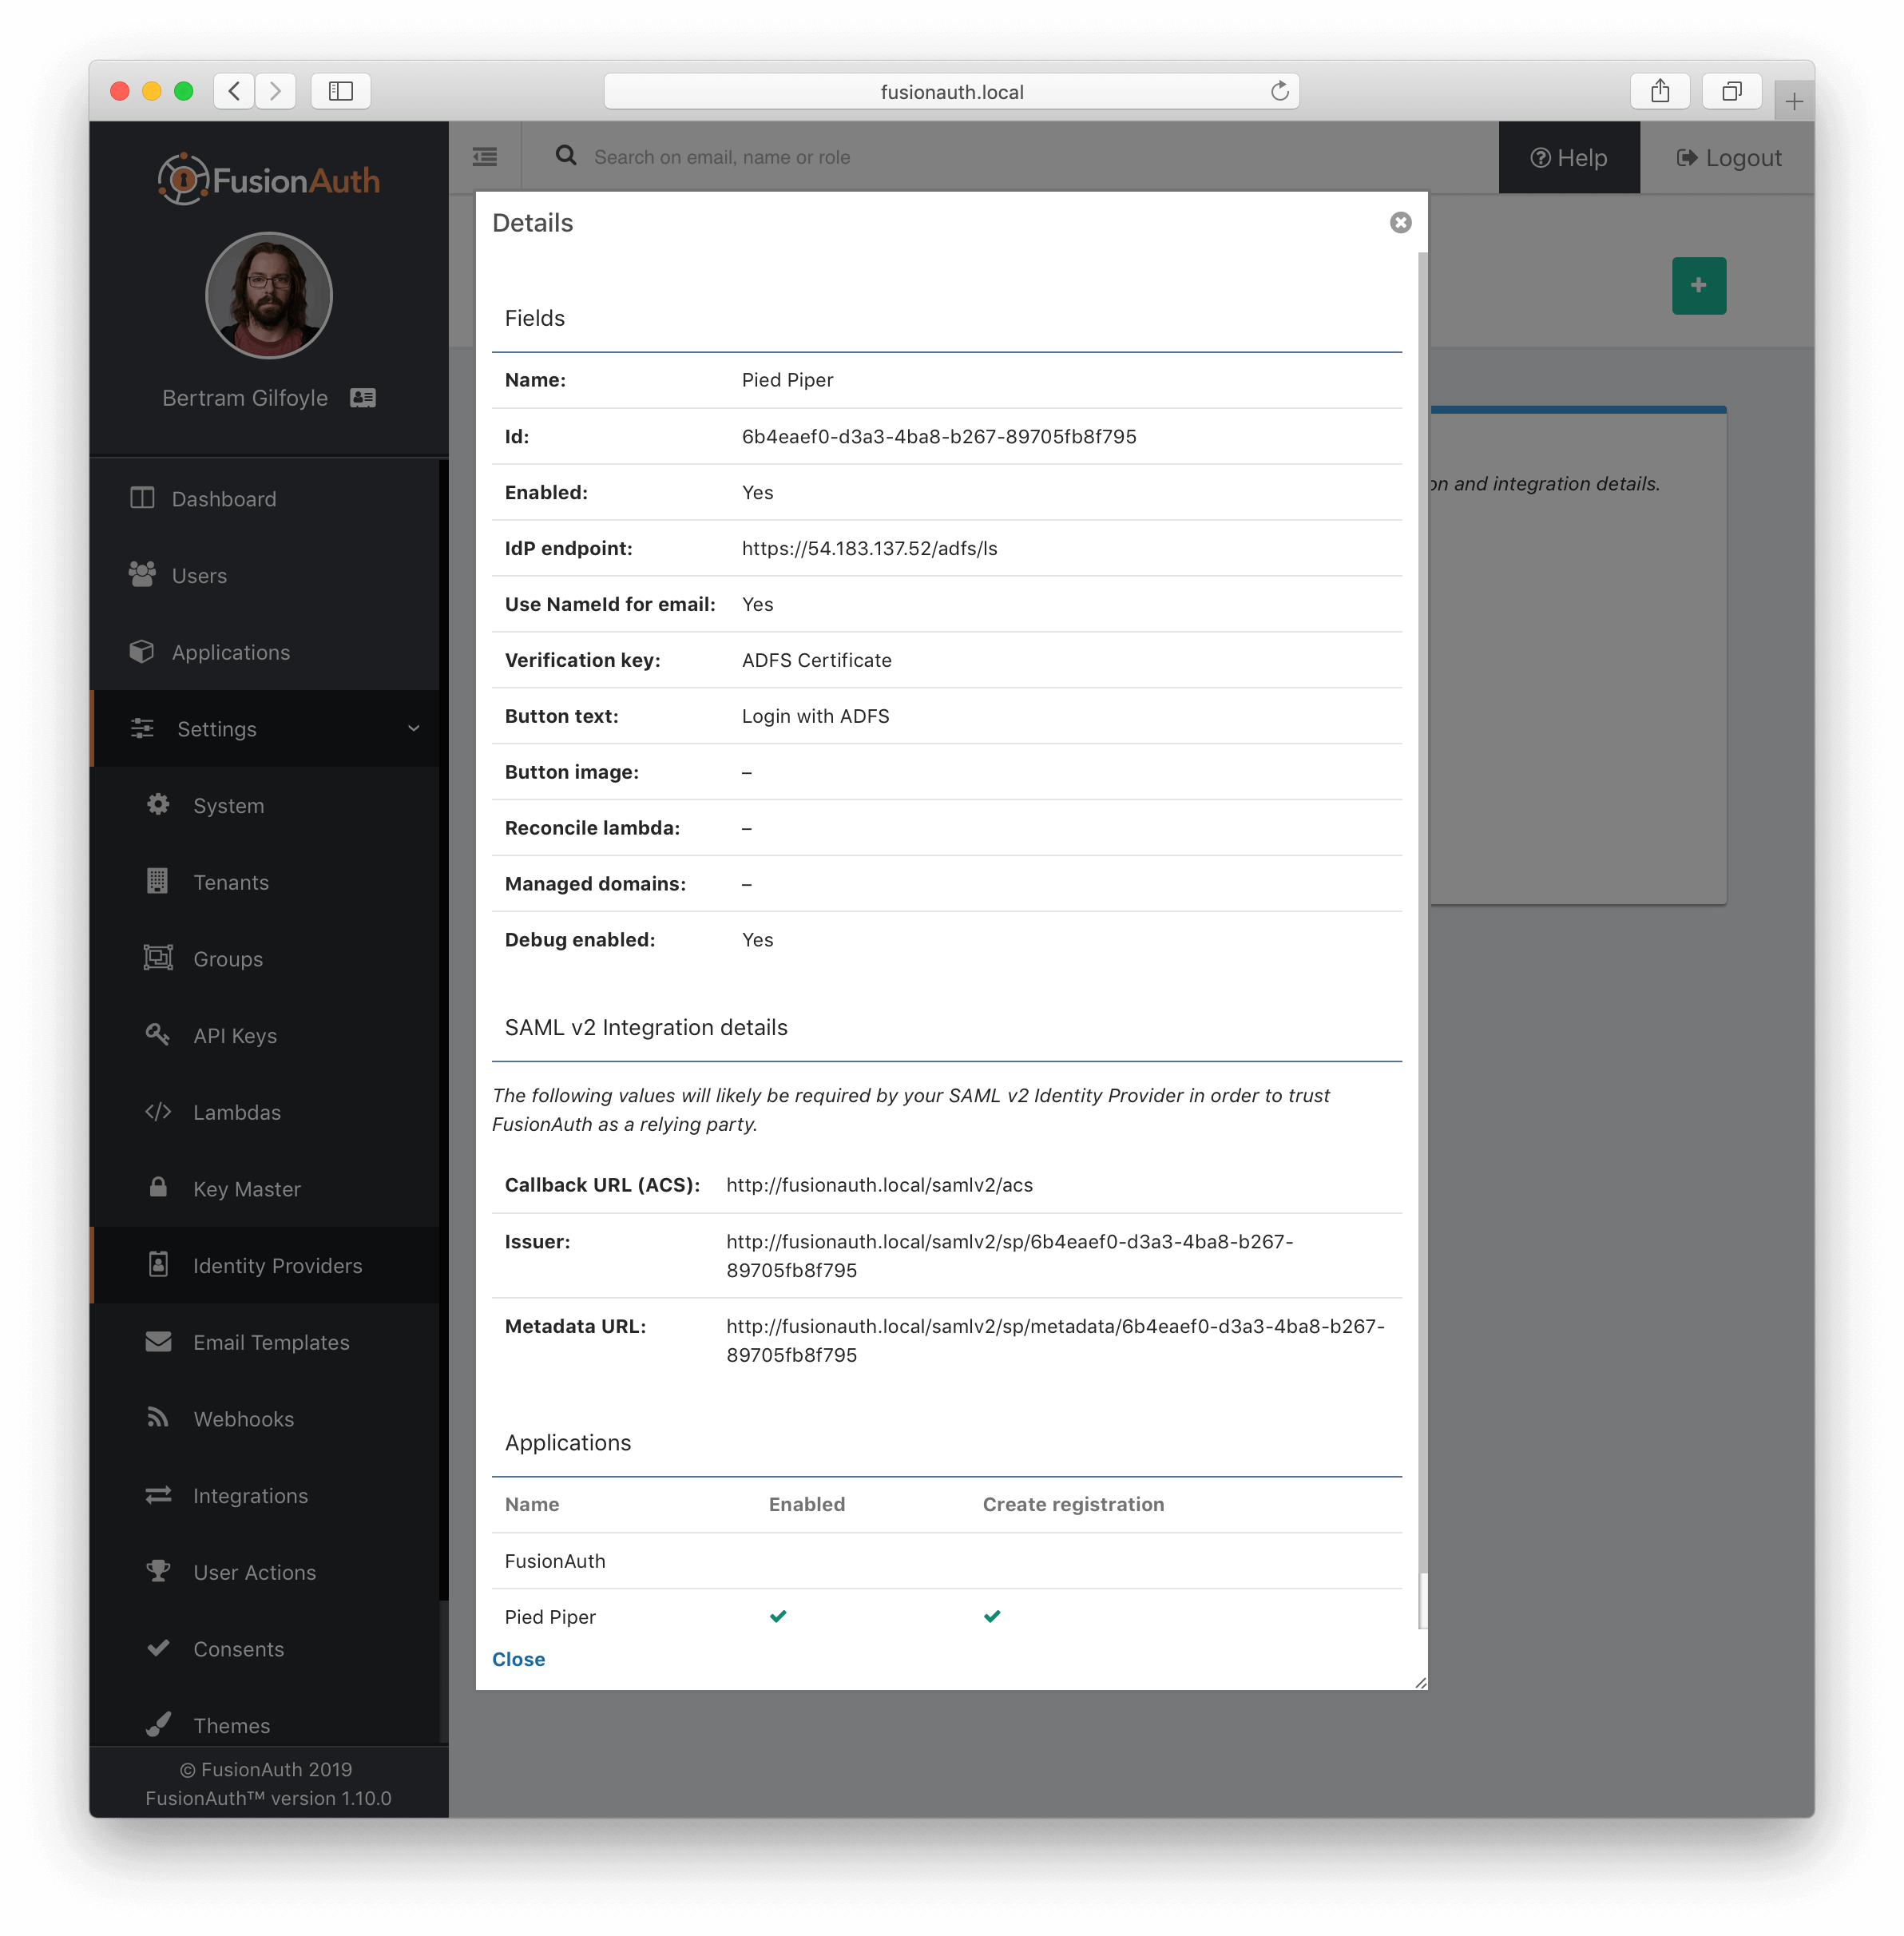 ### Create a Relying Party Trust
[//]: # (TODO Update screenshot, the view dialog now has complete integration details and we can discuss the endpoints documented)
[//]: # ( - Should we scale the screen shots? Or if we keep what is here - it is using a CSS shadow and needs some additional top and bottom margins)
[//]: # ( so it doesn't overrun the text with the shadow.)
[//]: # (TODO - AD screenshots should show a real address (not Ngrok) and Screenshots of FA should be using https://local.fusionauth.io)
[//]: # ( - AD screenshots should perhaps be re-captured to be a bit cleaner and consistent sizing?)
In the ADFS management console under
 AD FS -> Trust Relationships -> Relying Party Trusts -> Add Relying Party Trust... to start the Add Relying Party Trust Wizard .
In the second dialog of the wizard, input the value previously obtained Issuer value into the `Federation metadata address (host name of URL)` field.
For all of the remaining steps in the wizard you can accept the defaults and click Next > .
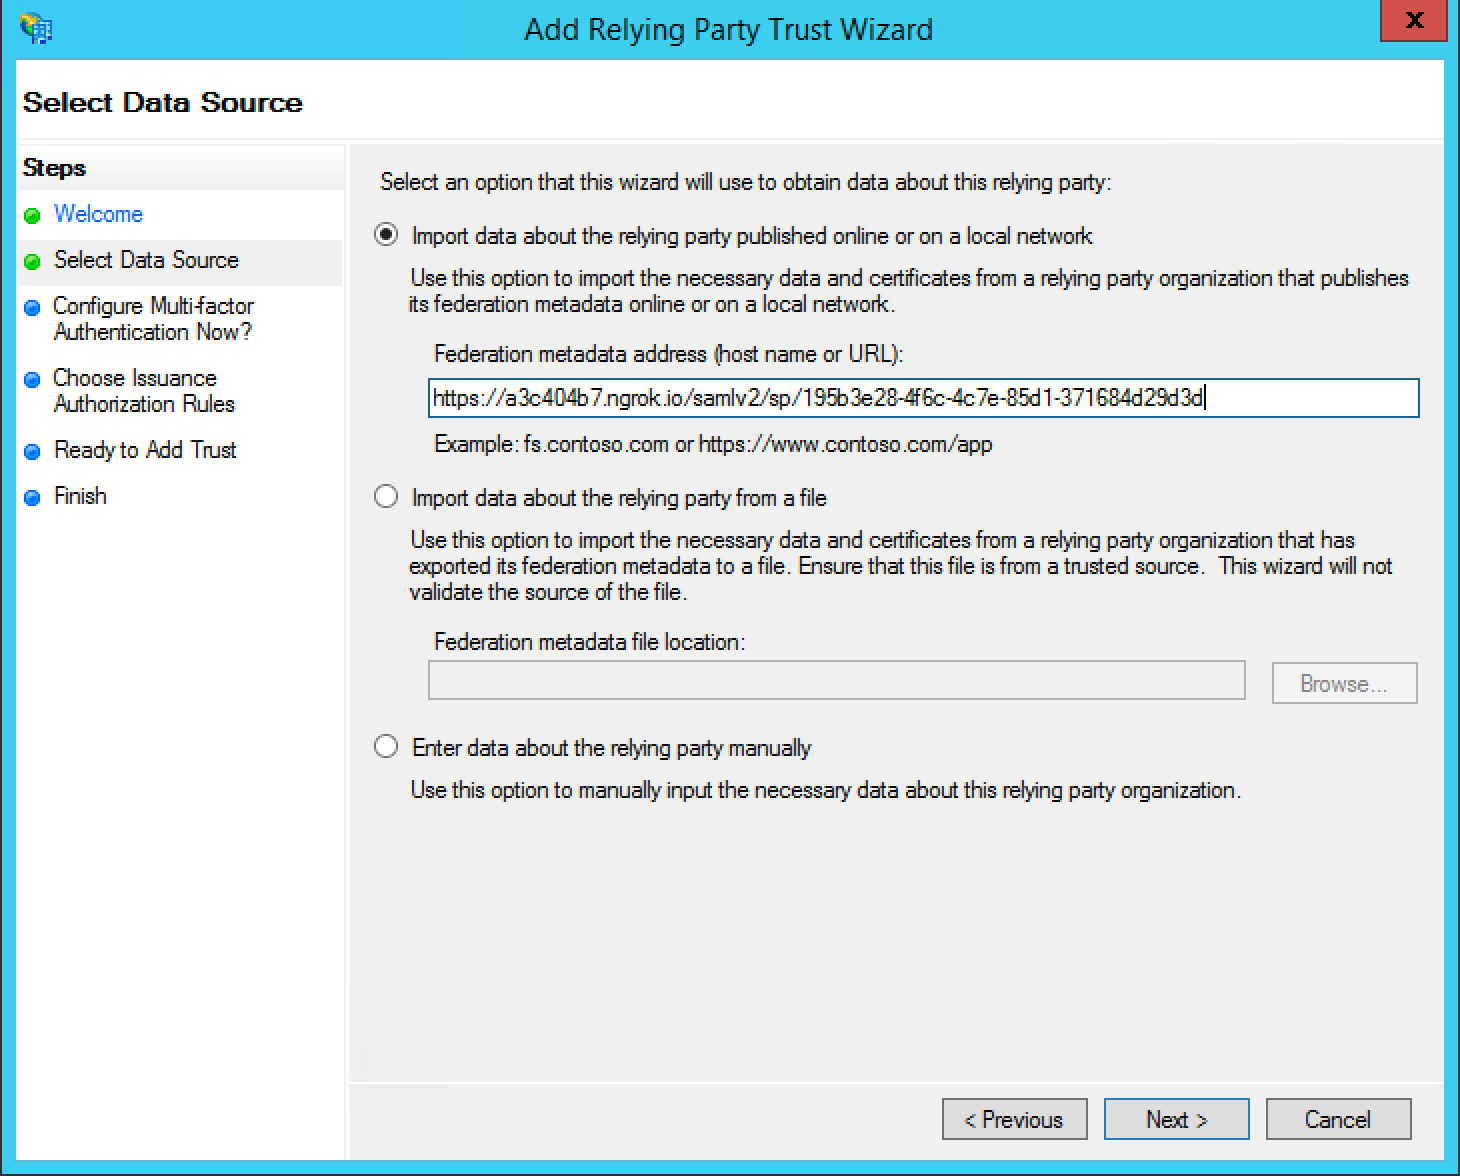 ## Add Claim Rules
In the ADFS management navigate
 AD FS -> Trust Relationships -> Relying Party Trusts -> trust created in the previous step -> Edit Claim Rules... to create a new claim rule for your newly created relying party trust.
First add a claim rule to map the LDAP E-Mail Addresses attribute to an `E-Mail` attribute. Add a new claim rule with the Claim Rule Template field set to "Send LDAP Attributes as Claims" and click Next > .
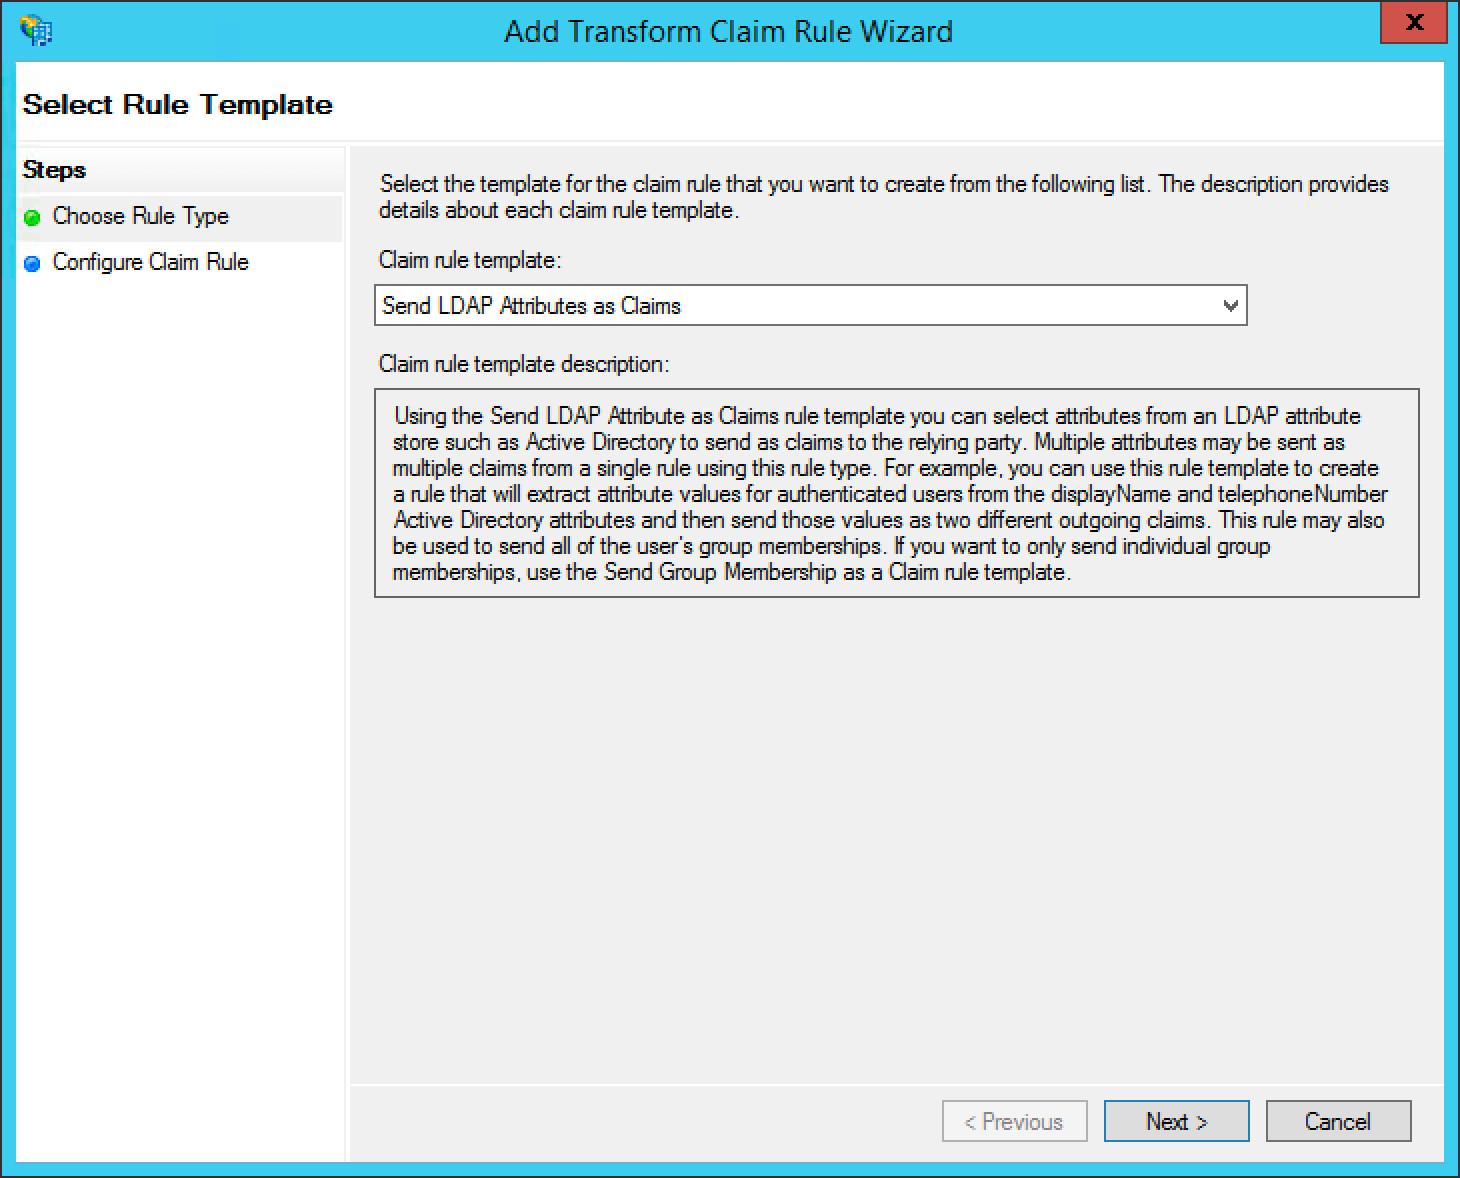 Add a name for the claim rule in the `Claim rule name` field.
Set the `Attribute Store` field to "Active Directory", the `LDAP Attribute` field to "E-Mail Addresses" and the
 Outgoing Claim Type attribute to "E-Mail Address", then click Finish .
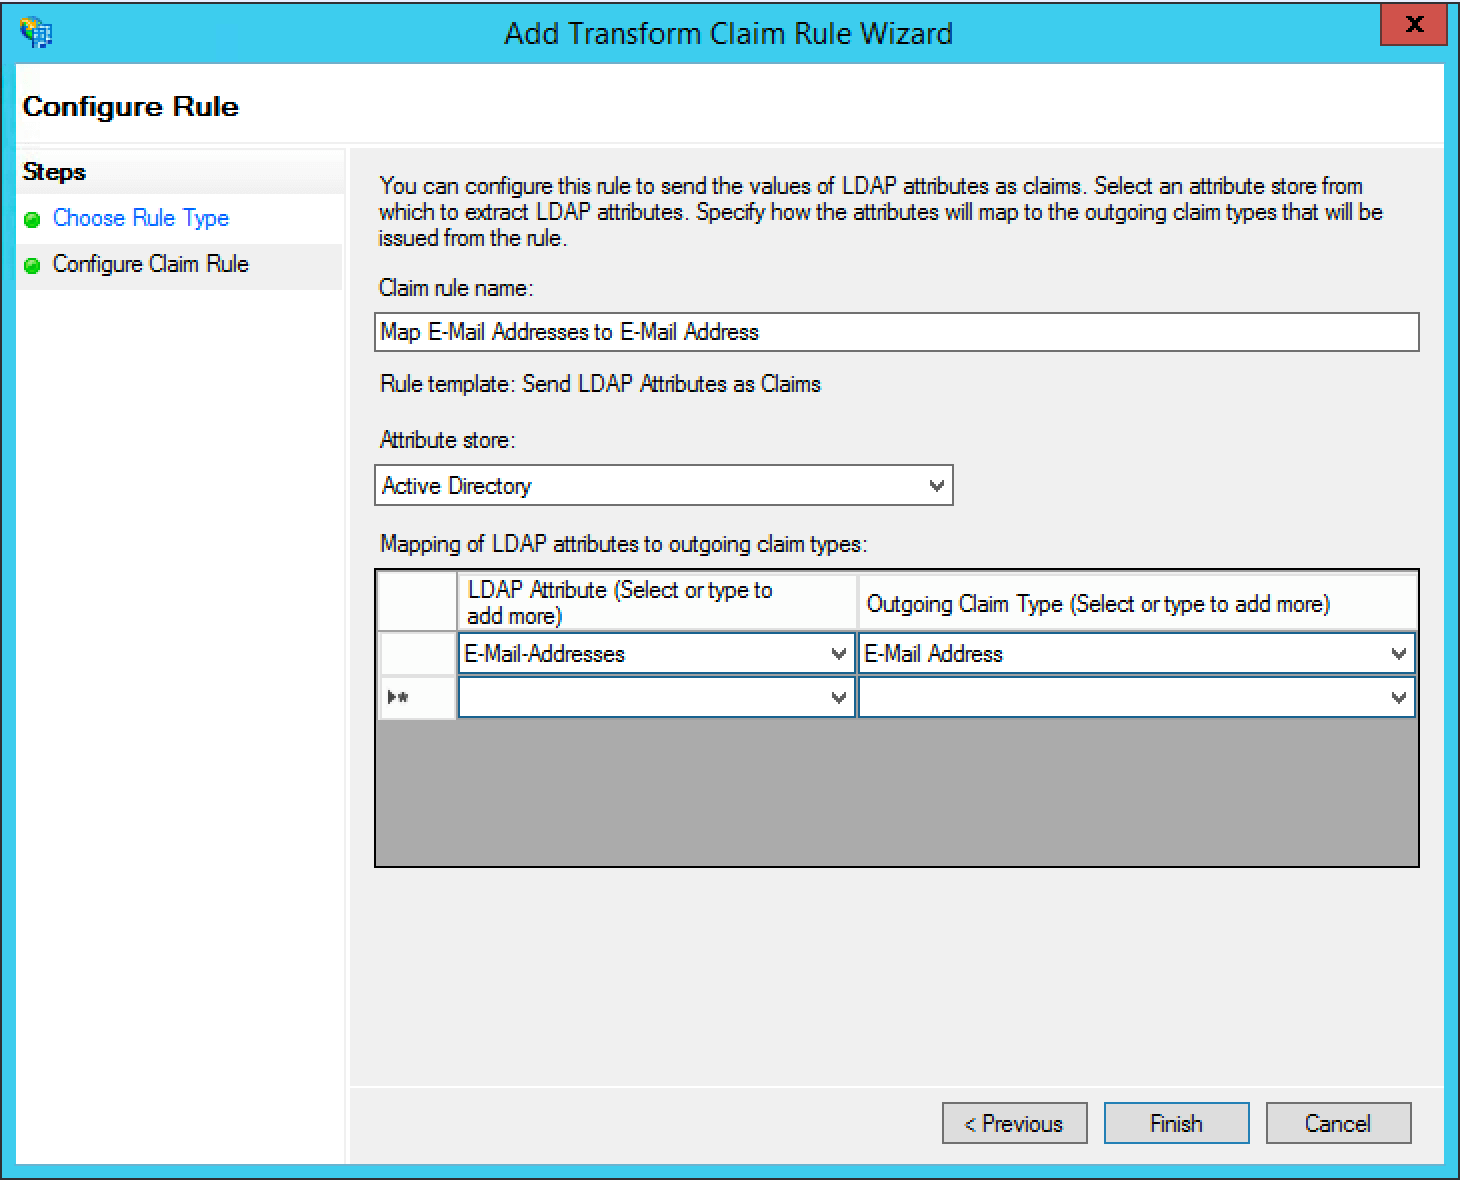 Next add a claim rule to map the `E-Mail Address` attribute to a `Name ID` attribute. Add a new claim rule with the
 Claim Rule Template field set to "Transform an Incoming Claim" and click Next > .
 Add a name for the claim rule in the
 Claim rule name field.
Set the Incoming claim type field to "E-Mail Address", the Outgoing claim type field to "Name ID", the Outgoing name ID format field to "Email", select the Pass through all valid claims radio button, and click Finish .
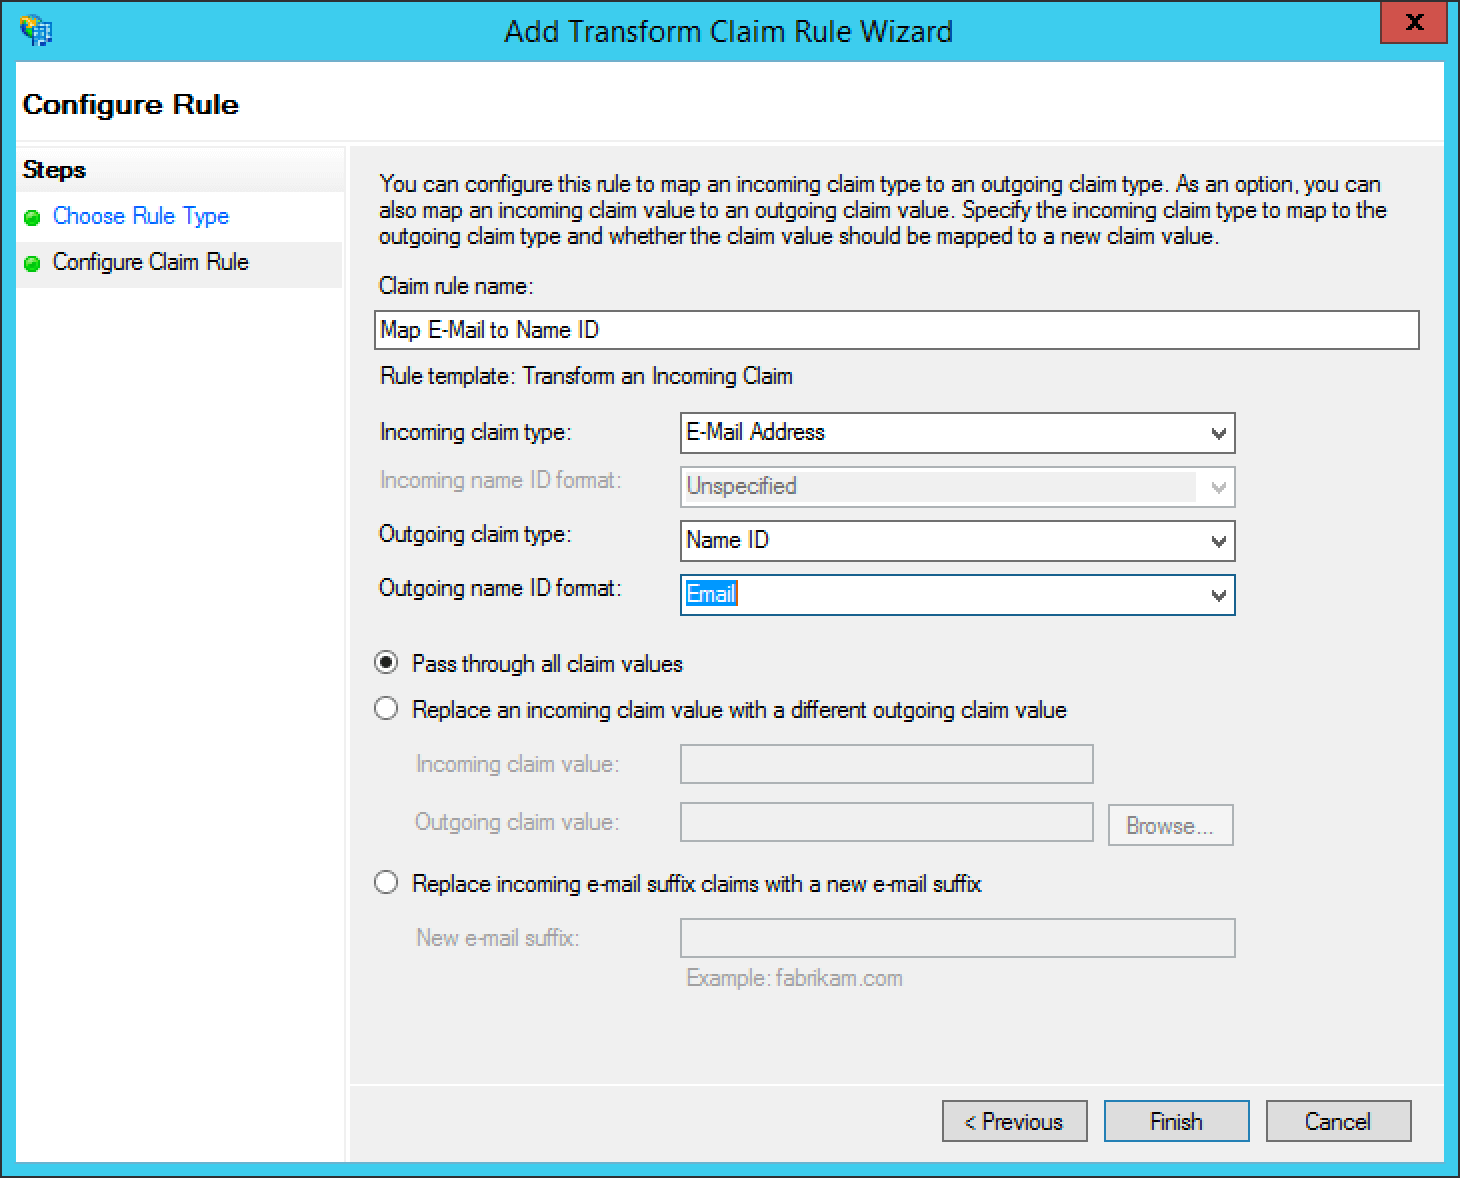 The finalized claim rules should look similar to the following screenshot.
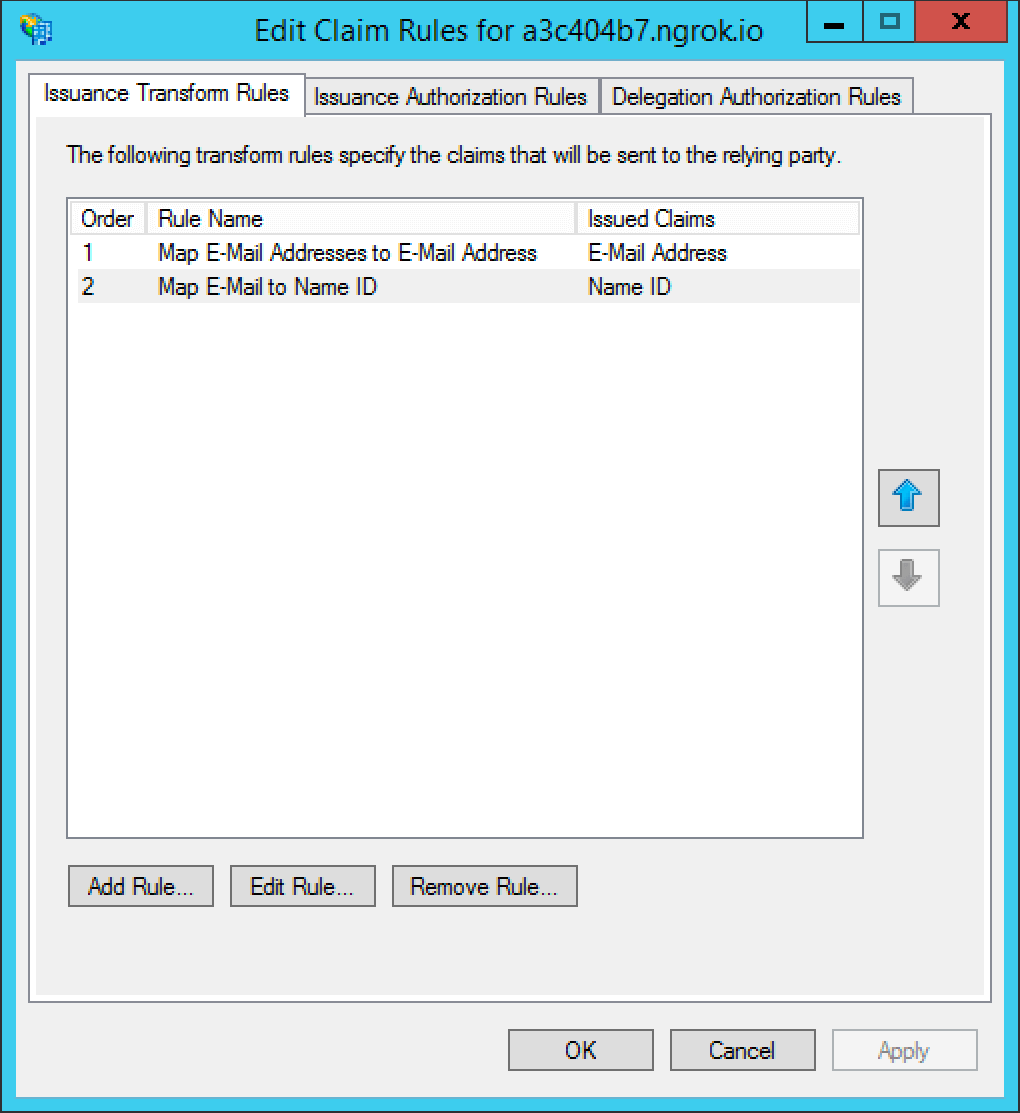 That's it, you can now use the
 Login with ADFS button on the login page to login using ADFS as an identity provider.
# OpenID Connect with Azure AD
import Aside from 'src/components/Aside.astro';
import AzureAside from 'src/content/docs/_shared/_azure-ad-entra-id.mdx';
import Breadcrumb from 'src/components/Breadcrumb.astro';
import IdentityProviderOverviewDiagram from 'src/content/docs/_shared/_identity-provider-overview-diagram.astro';
import IdpFormFields from 'src/content/docs/_shared/_idp-form-fields.astro';
import InlineField from 'src/components/InlineField.astro';
import InlineUIElement from 'src/components/InlineUIElement.astro';
## Configure OpenID Connect with Azure Active Directory/Microsoft Entra ID
Once you have completed this configuration you may enable an OpenID Connect Login with Azure AD button for one or more FusionAuth Applications. See [Microsoft Entra ID - Register An App Quickstart Guide](https://learn.microsoft.com/en-us/entra/identity-platform/quickstart-register-app) as an additional reference.
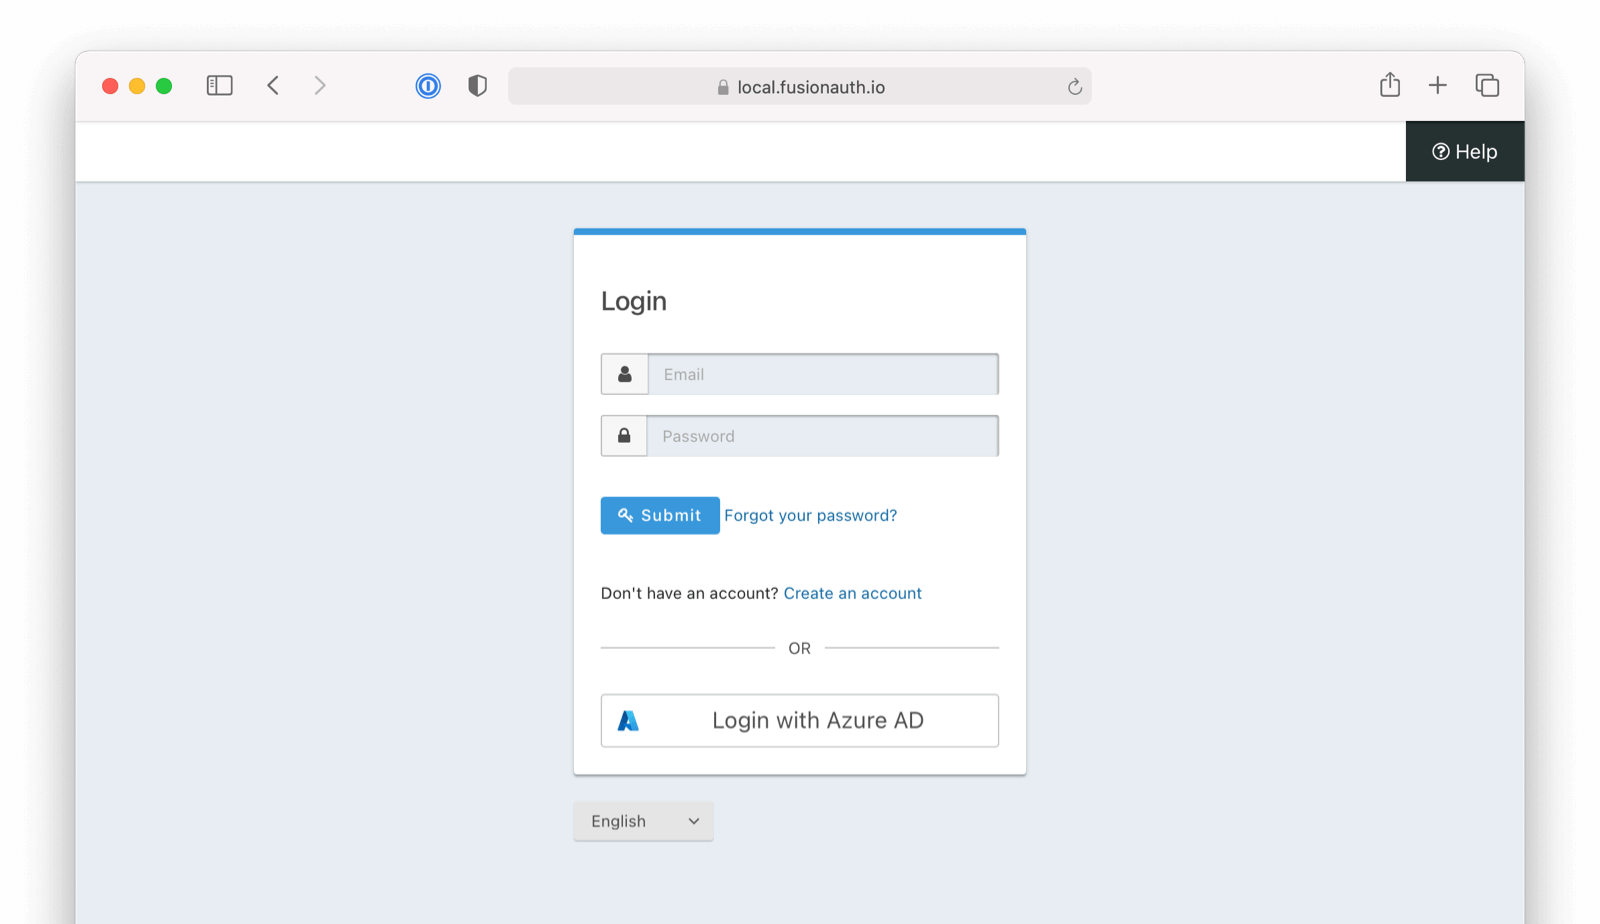
Azure Active Directory -> App Registrations -> New Registration to create a new Azure Active Directory Application.
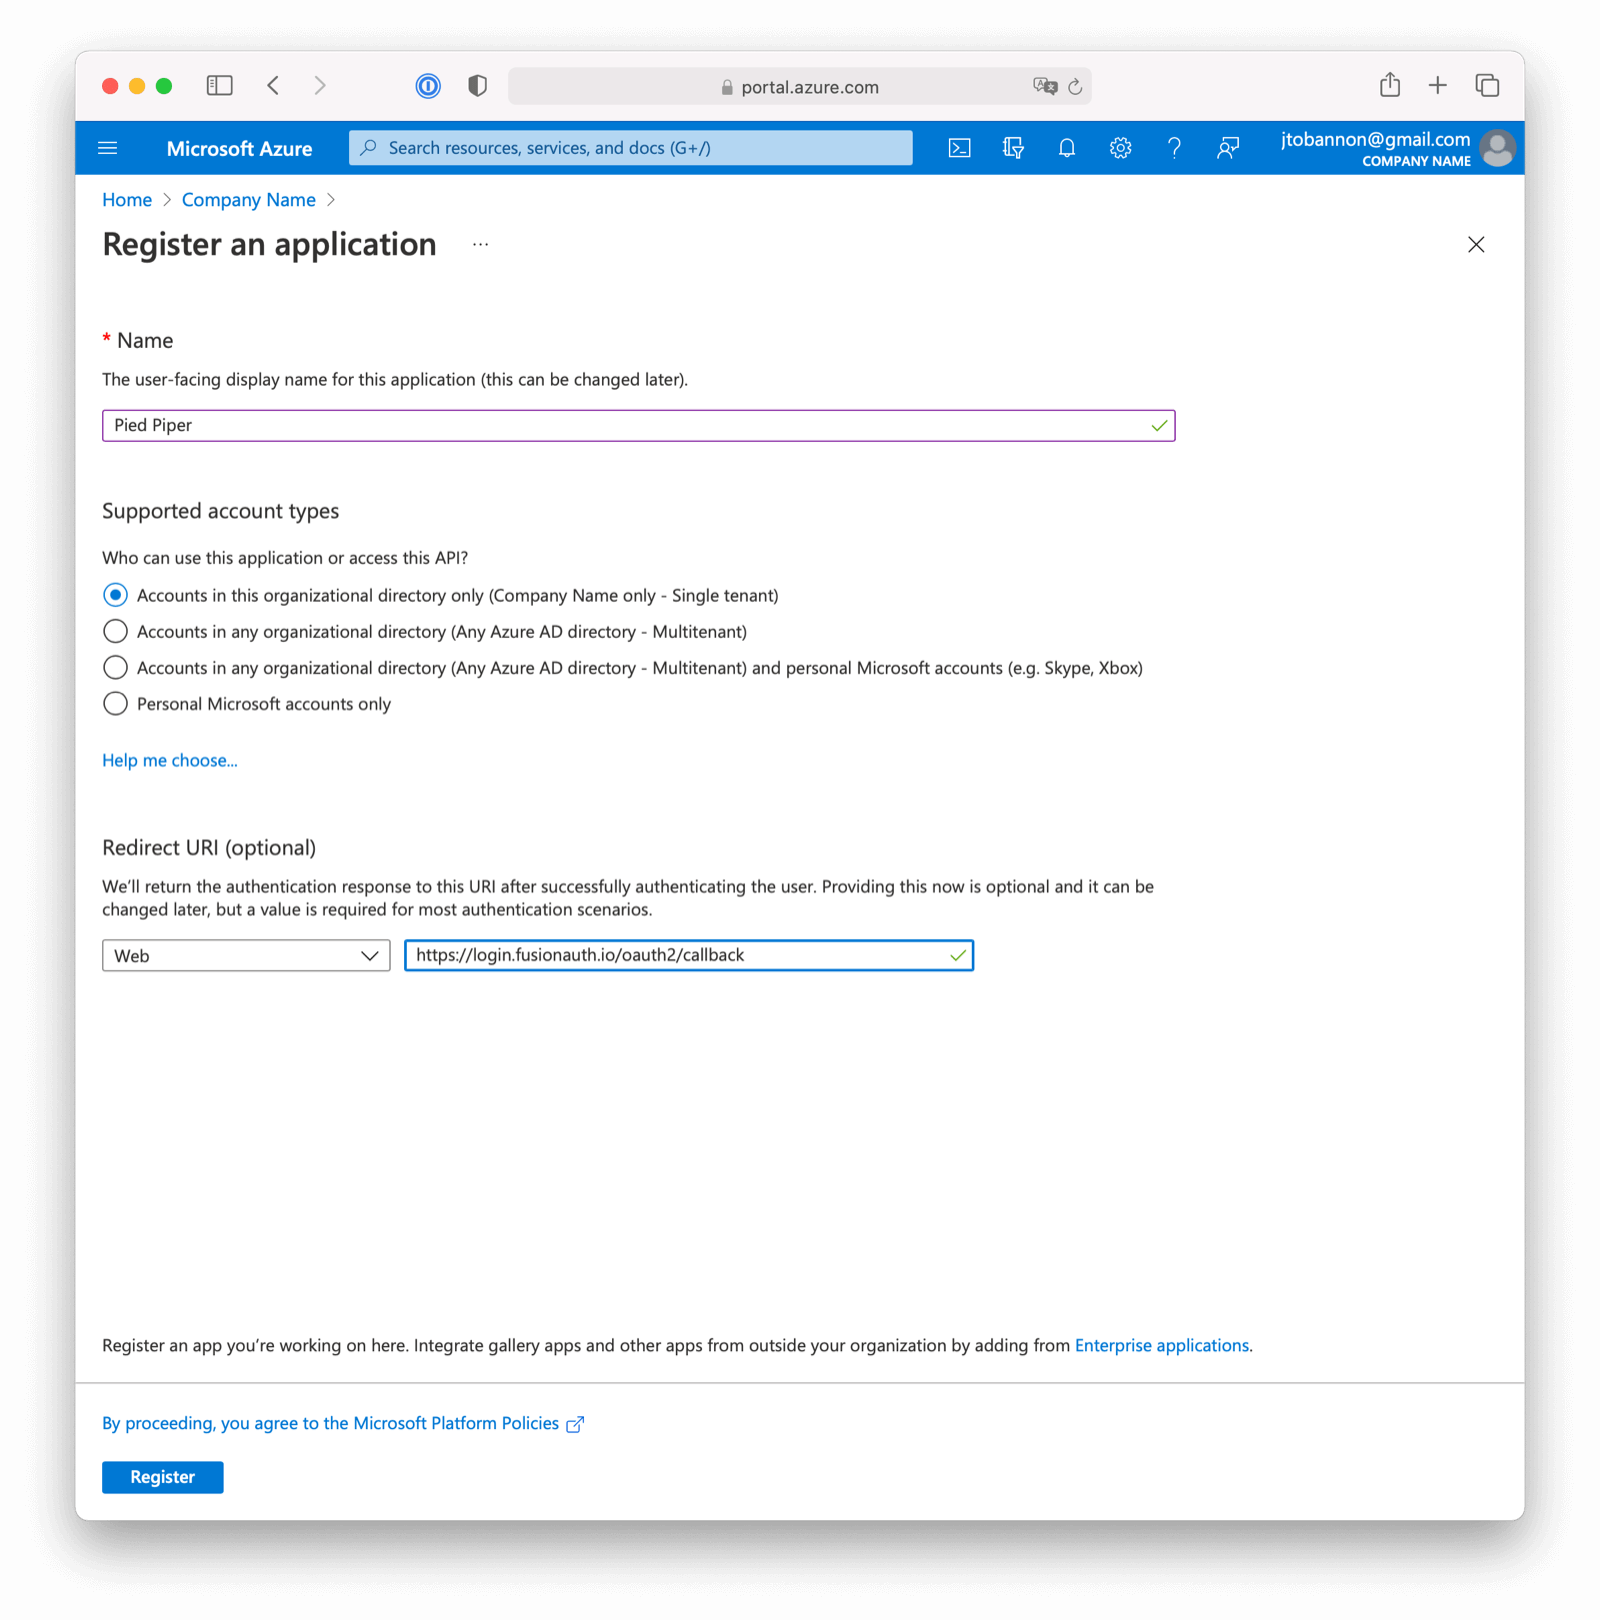 Here we have configured our application `Redirect URI`. If FusionAuth is running at `https://login.fusionauth.io`, this value should be `https://login.fusionauth.io/oauth2/callback`.
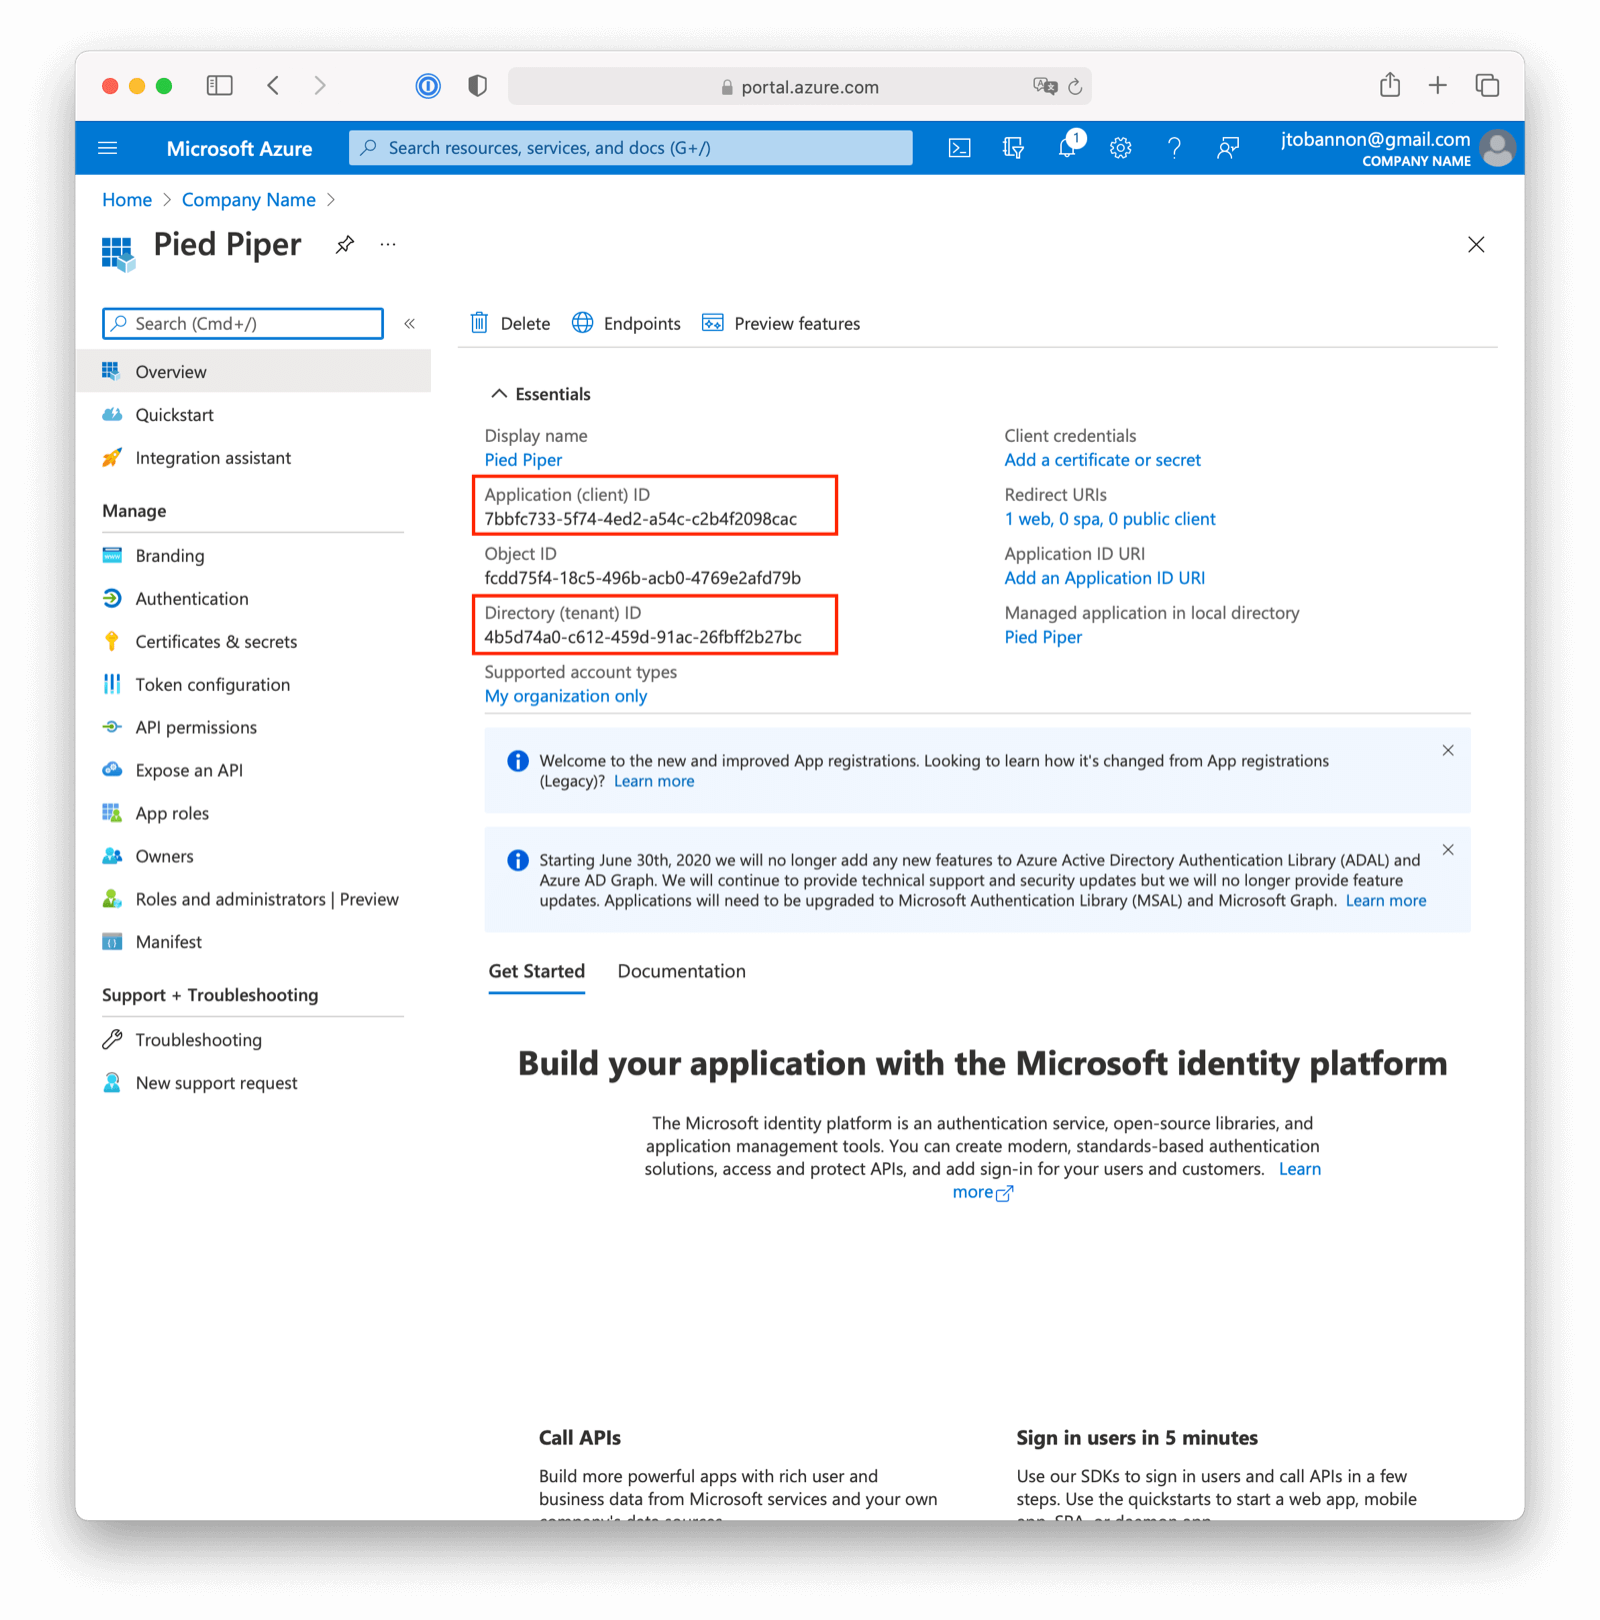 Once the application has been created, note the `Application (client) ID` and the `Directory (tenant) ID`. These will be used respectively as the
 Client Id value and to construct the Issuer value in your FusionAuth OpenID Connect Identity Provider configuration.
### Create a New Azure Active Directory Application Secret
Navigate to Azure Active Directory -> App Registrations -> Your Application -> Certificates & secrets -> New client secret to create a new Azure Active Directory Application Client Secret.
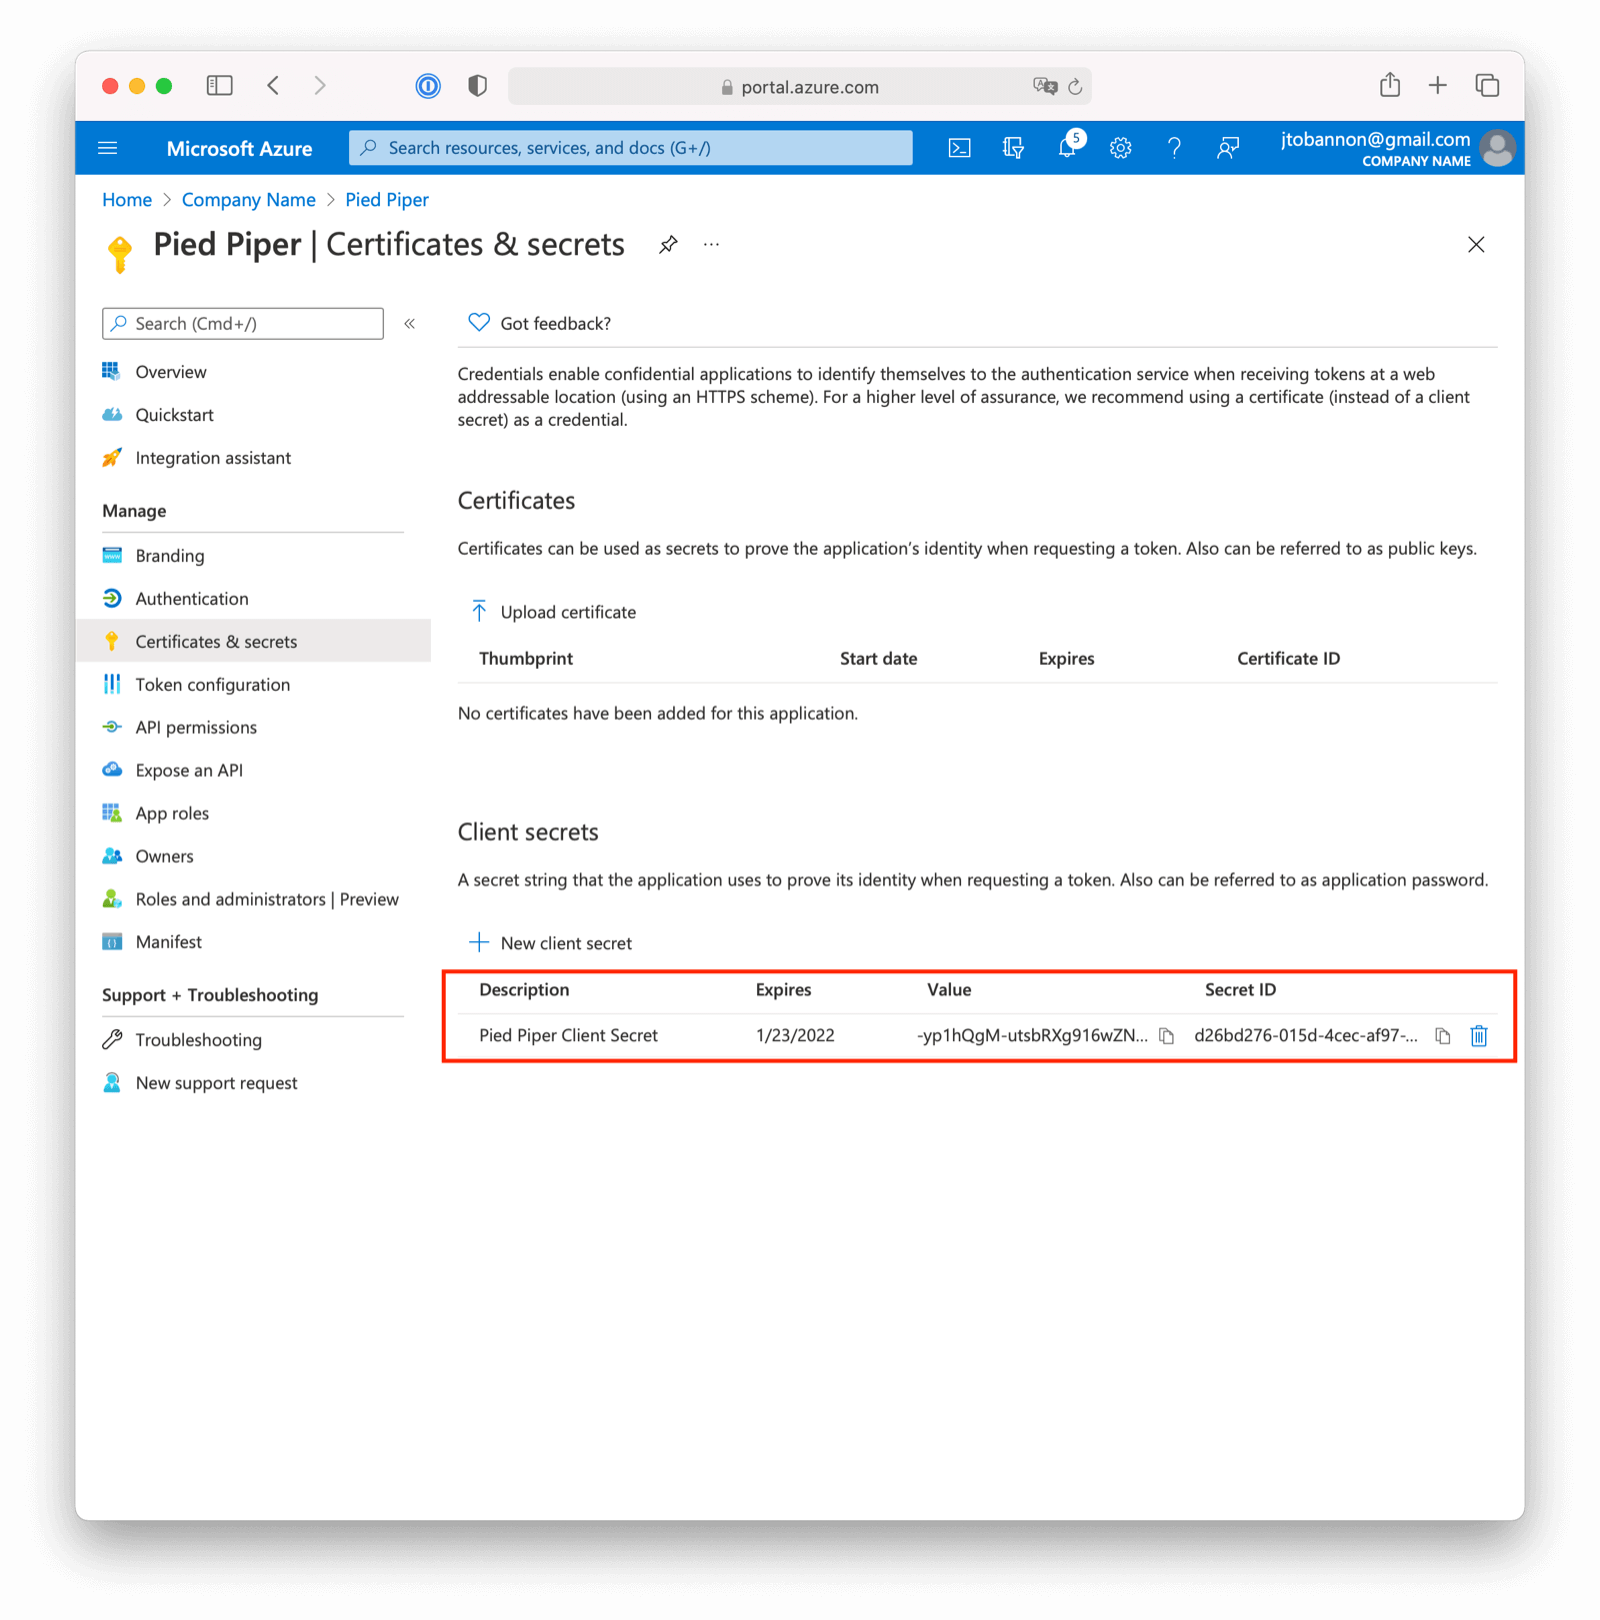 Note the `VALUE` of the created client secret. This will be used as the
 Client secret value in your FusionAuth OpenID Connect Identity Provider configuration.
### Configure a New FusionAuth OpenID Connect Identity Provider
To create an Azure AD Identity Provider return to FusionAuth and navigate to Settings -> Identity Providers and click Add provider and select OpenID Connect from the dialog.
This will take you to the `Add OpenID Connect` panel, and you'll fill out the required fields.
You will need to set the Client authentication method to `HTTP Basic authentication (client_secret_basic)`.
Client Id and Client secret values reference the previously noted Azure AD Application's `Application (client) ID`, client secret `VALUE`. The Redirect URL is read only and generated for you based upon the URL of FusionAuth, this value should match the one you configured in your Azure application.
Azure AD has implemented a well-known configuration endpoint, so FusionAuth will be able to discover the necessary endpoints using a discovery document by entering the Microsoft Authority URL in the Issuer field. To see the Issuer field, you may need to toggle Discover endpoints .
The Microsoft URL may differ across national clouds, so you will need to review the Microsoft documentation to ensure you have the correct URL for your region. For the Microsoft global Azure AD service, the URLs are as follows, where `{tenantId}` is the `Directory (tenant) ID` previously noted while creating our Azure AD Application.
- Azure AD v1 `https://login.microsoftonline.com/{tenantId}`
- Azure AD v2 `https://login.microsoftonline.com/{tenantId}/v2.0`
You may set a Reconcile lambda to map attributes from the JWT provided by Azure AD to the FusionAuth user or registration. This is optional. [Learn more about lambdas](/docs/extend/code/lambdas/openid-connect-response-reconcile). You may also modify the Button text or Button logo if desired.
You will need to specify `openid` as a Scope .
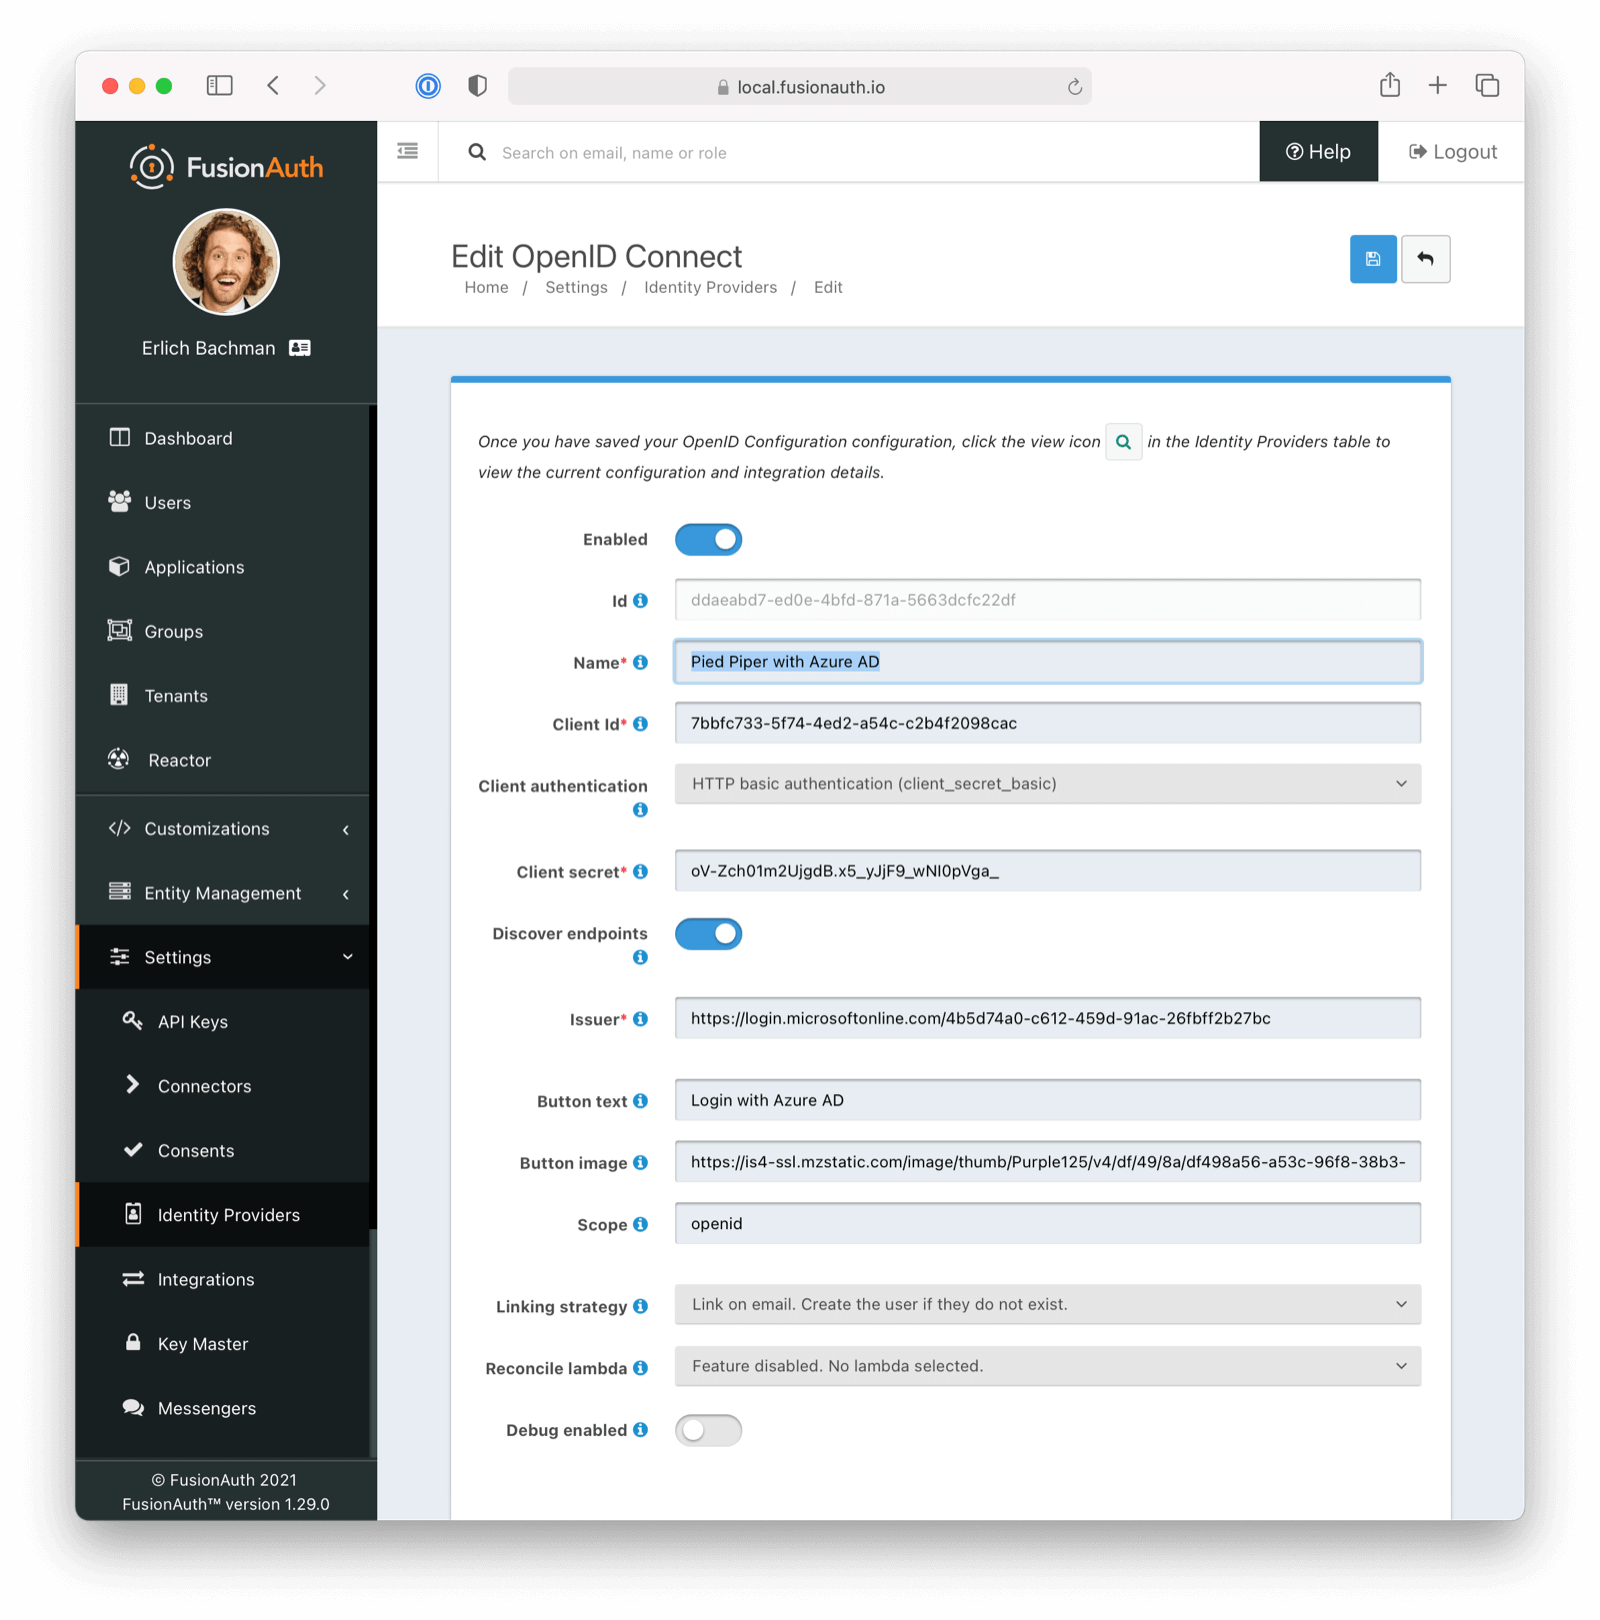 Scroll down and make sure you enable this Identity Provider for your application. In the following screenshot you will see that we have enabled this login provider for the `Pied Piper` application and enabled `Create registration`.
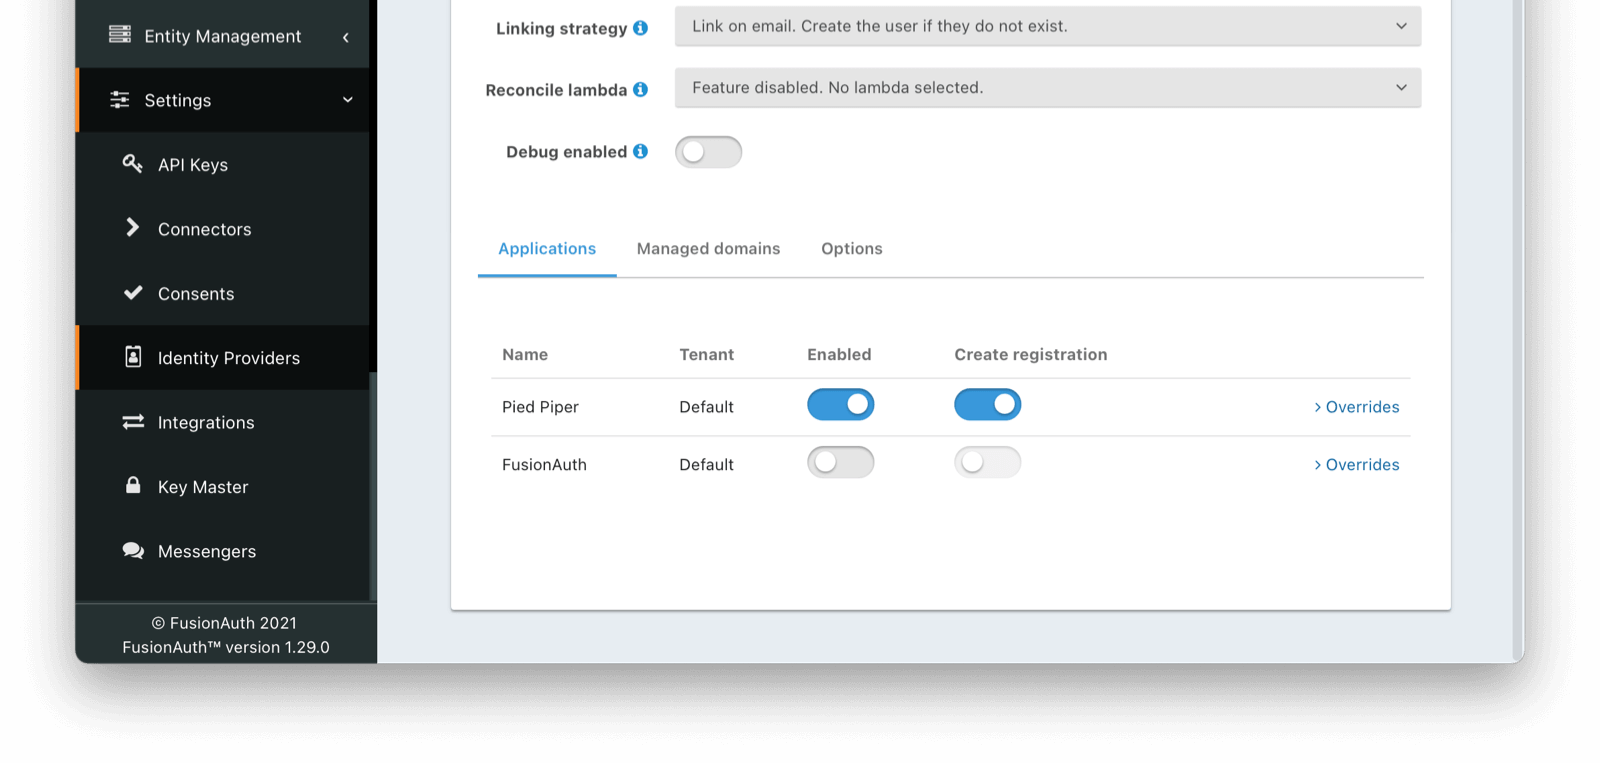 That's it, now the
 Login with Azure AD button will show up on the login page of our `Pied Piper` application.
Login with Azure AD button on your FusionAuth login page and connect via SAML to Azure AD users/applications.
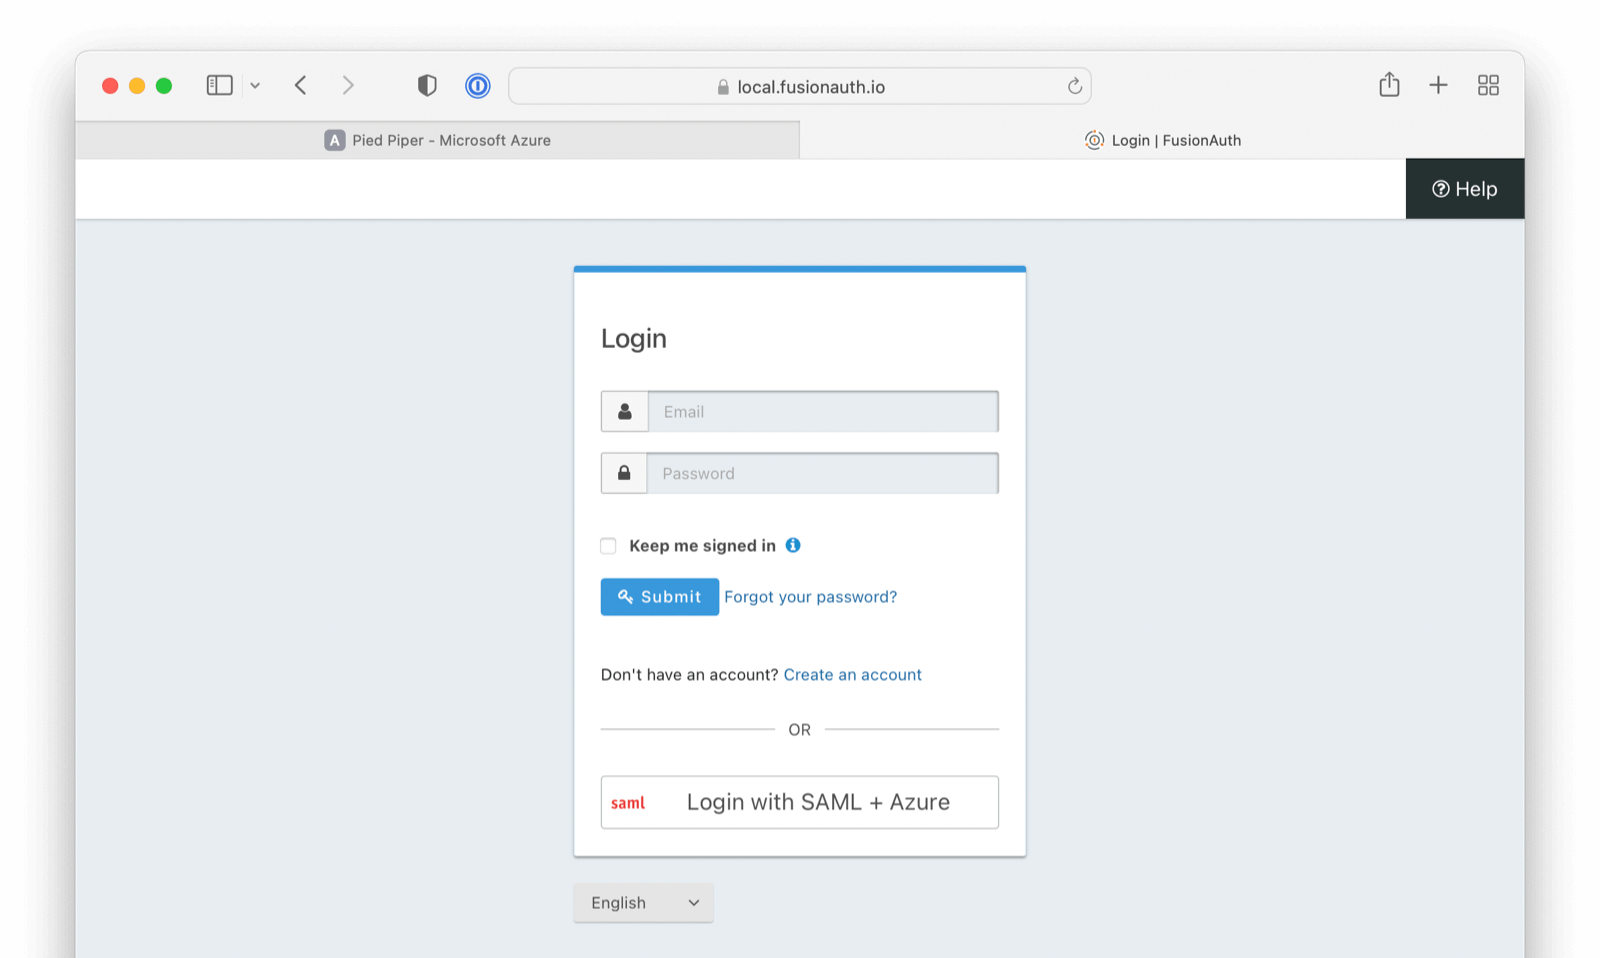
Enterprise Applications .
2. At the top of the screen click on New application
3. Click on Create your own application
4. Name the application
5. Select the third option - `Integrate any other application you don't find in the gallery (Non-gallery)`.
6. Click Create
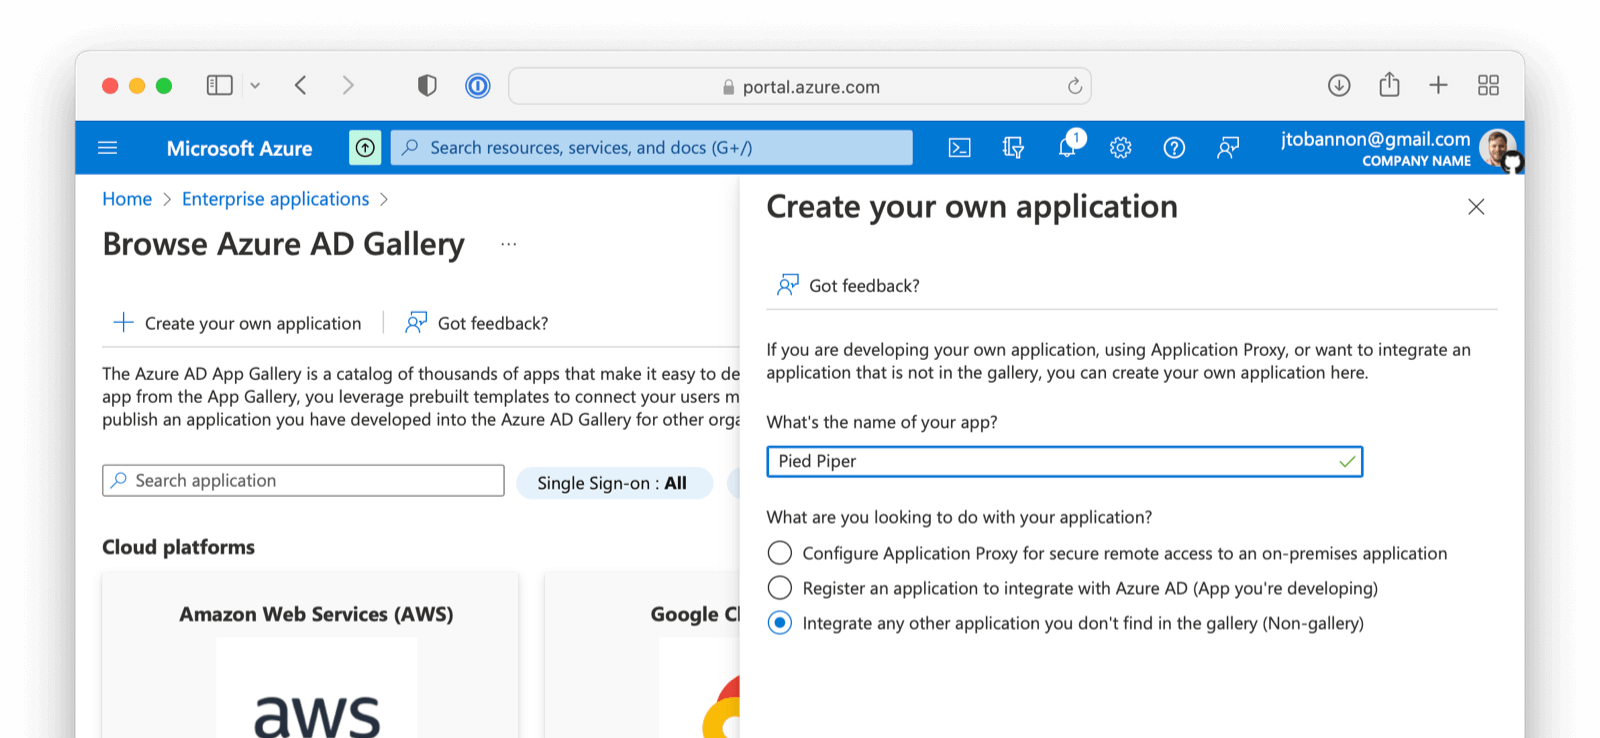 ## Configure Your Azure Application
From your application home screen, click on
 Single sign-on . Select the SAML option.
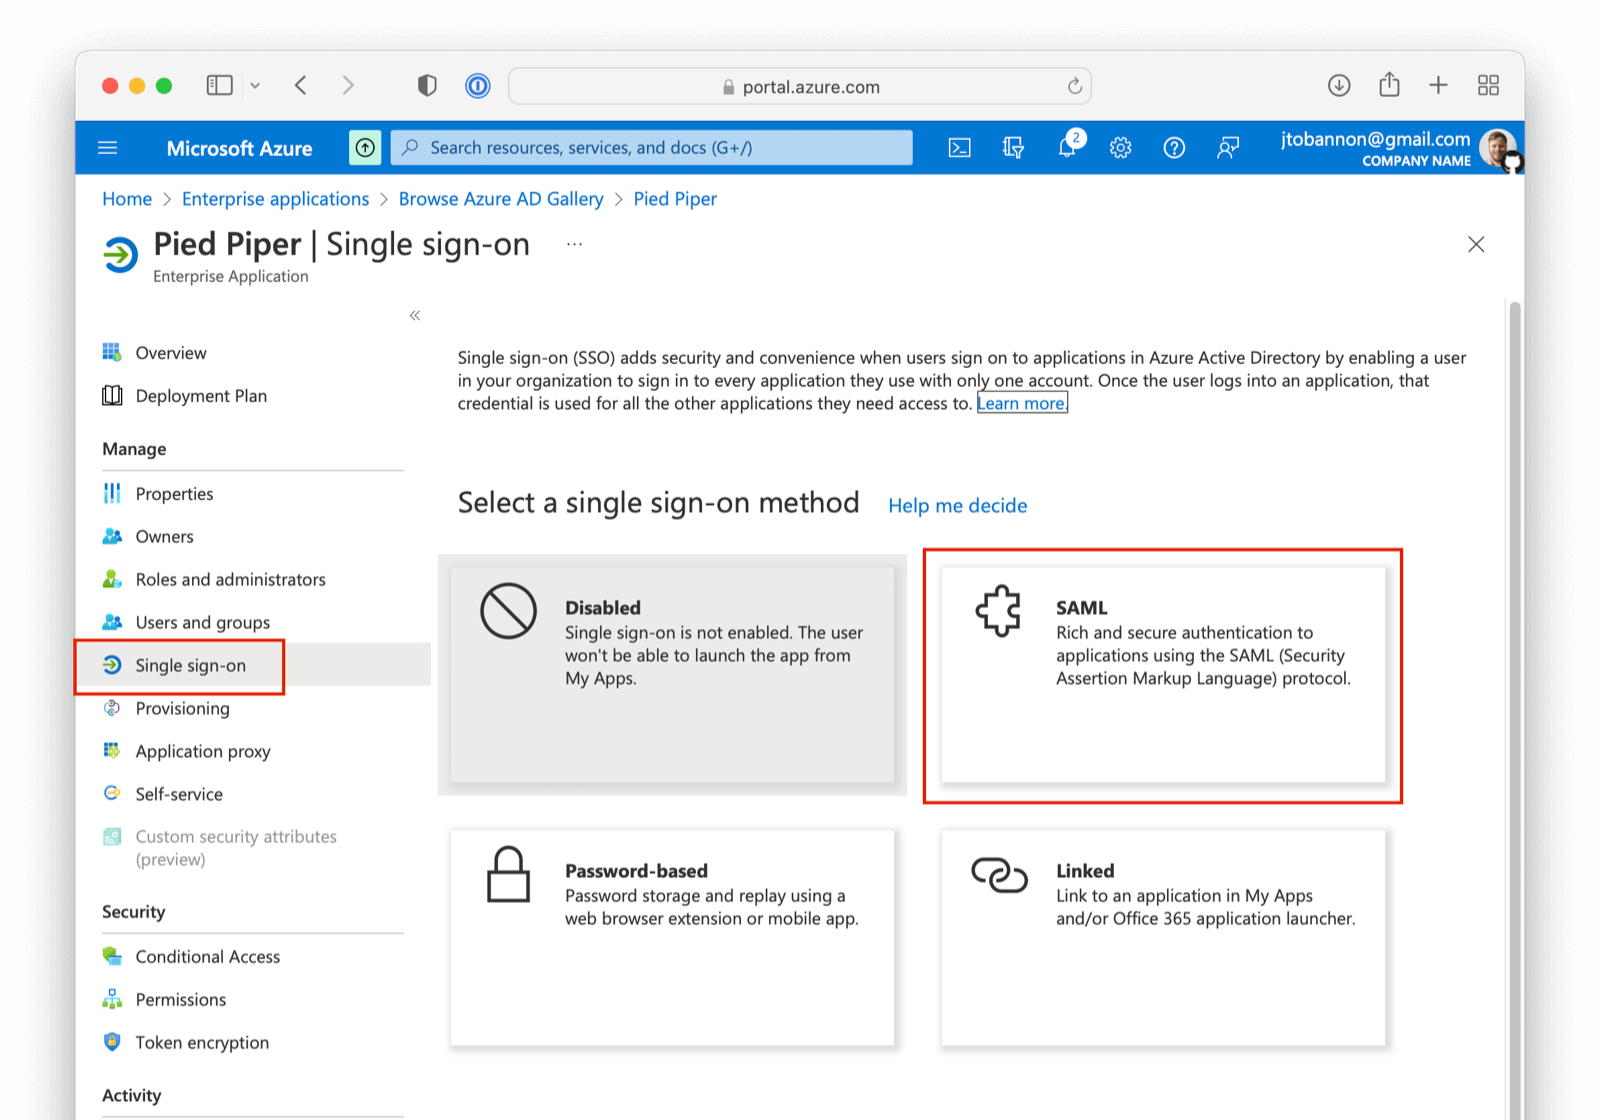 There are five steps to configure Azure AD. However, there is a bit of a procedural dilemma. Before you can move forward, you need an Entity ID (in this case, this will be obtained from our FusionAuth IdP once created) so that Azure AD can generate a X.509 certificate. However, before you can create an IdP in FusionAuth to get the Entity ID, you need an X.509 certificate. The below steps will solve this problem by:
1. Creating a "placeholder" X.509 certificate and importing this into Key Master.
2. Making a SAML IdP in FusionAuth (Entity Id) with a placeholder certificate selected.
3. Updating your Azure AD Enterprise application with values from your newly created IdP, thereby getting a valid X.509 certificate.
4. Revisiting your SAML IdP in FusionAuth and updating with the correct X.509 certificate from the above step.
5. Completing your integration.
If you already have a valid X.509 certificate, you can complete step two above using this valid certificate and skip a few of the steps below.
With that discussed, let us begin!
## Import a "placeholder" X.509 Certificate
The first step is to import a "placeholder" certificate into Key Master.
```
-----BEGIN CERTIFICATE-----
MIIC1DCCAj2gAwIBAgIBADANBgkqhkiG9w0BAQ0FADCBhjELMAkGA1UEBhMCdXMx
DzANBgNVBAgMBkRlbnZlcjETMBEGA1UECgwKRnVzaW9uQXV0aDEWMBQGA1UEAwwN
RnVzaW9uQXV0aC5pbzETMBEGA1UECwwKRnVzaW9uQXV0aDEkMCIGCSqGSIb3DQEJ
ARYVcmljaGFyZEBwaWVkcGlwZXIuY29tMB4XDTIyMDcxNjA1MDc1N1oXDTIzMDcx
NjA1MDc1N1owgYYxCzAJBgNVBAYTAnVzMQ8wDQYDVQQIDAZEZW52ZXIxEzARBgNV
BAoMCkZ1c2lvbkF1dGgxFjAUBgNVBAMMDUZ1c2lvbkF1dGguaW8xEzARBgNVBAsM
CkZ1c2lvbkF1dGgxJDAiBgkqhkiG9w0BCQEWFXJpY2hhcmRAcGllZHBpcGVyLmNv
bTCBnzANBgkqhkiG9w0BAQEFAAOBjQAwgYkCgYEA2FmZJHJFVEM9JwFd6Za87T0Z
MtIL5djSFC/TBVqhCx15eauNGAV/RoulESA6qsI4LNrbJ8uEYDQa9UXAZCc9yRMa
e/+E5XAApV4K06duo+vKon5L21YZ7HxzjUfL3bhLqKvpFWCQkNrH0rxgPCGwzh7N
T24sFcKwaVvBdknm9i8CAwEAAaNQME4wHQYDVR0OBBYEFLdhYvqAwTBCEQsSZdKj
UVR57CwDMB8GA1UdIwQYMBaAFLdhYvqAwTBCEQsSZdKjUVR57CwDMAwGA1UdEwQF
MAMBAf8wDQYJKoZIhvcNAQENBQADgYEAIpQags/uHj0dyFcCtRcPeVEDUqBPZaGO
M9kbFiGATlMNX4OiDvMUKs7Ag9109o0iLWPvLBQrMDn87fSy6+MUXZRS4asjzJCp
5aVWSevI85H6xS8WXxFr21etaqfiE88Lw86gK5O4iKtMBtCnWA5iUc2EJ0citQ0G
Pk8ybmMP1r8=
-----END CERTIFICATE-----
```
Using the above "placeholder" certificate, navigate to
 Settings -> Key Master and click Import Certificate .
 After you configure Azure AD, you'll get another X.509 certificate which will be the one actually used during a SAML login.
## Create a SAML v2 Identity Provider
In the FusionAuth administrative user interface, navigate to
 Settings -> Identity Providers -> Add .
The identity provider you will be adding is a `SAML V2` identity provider.
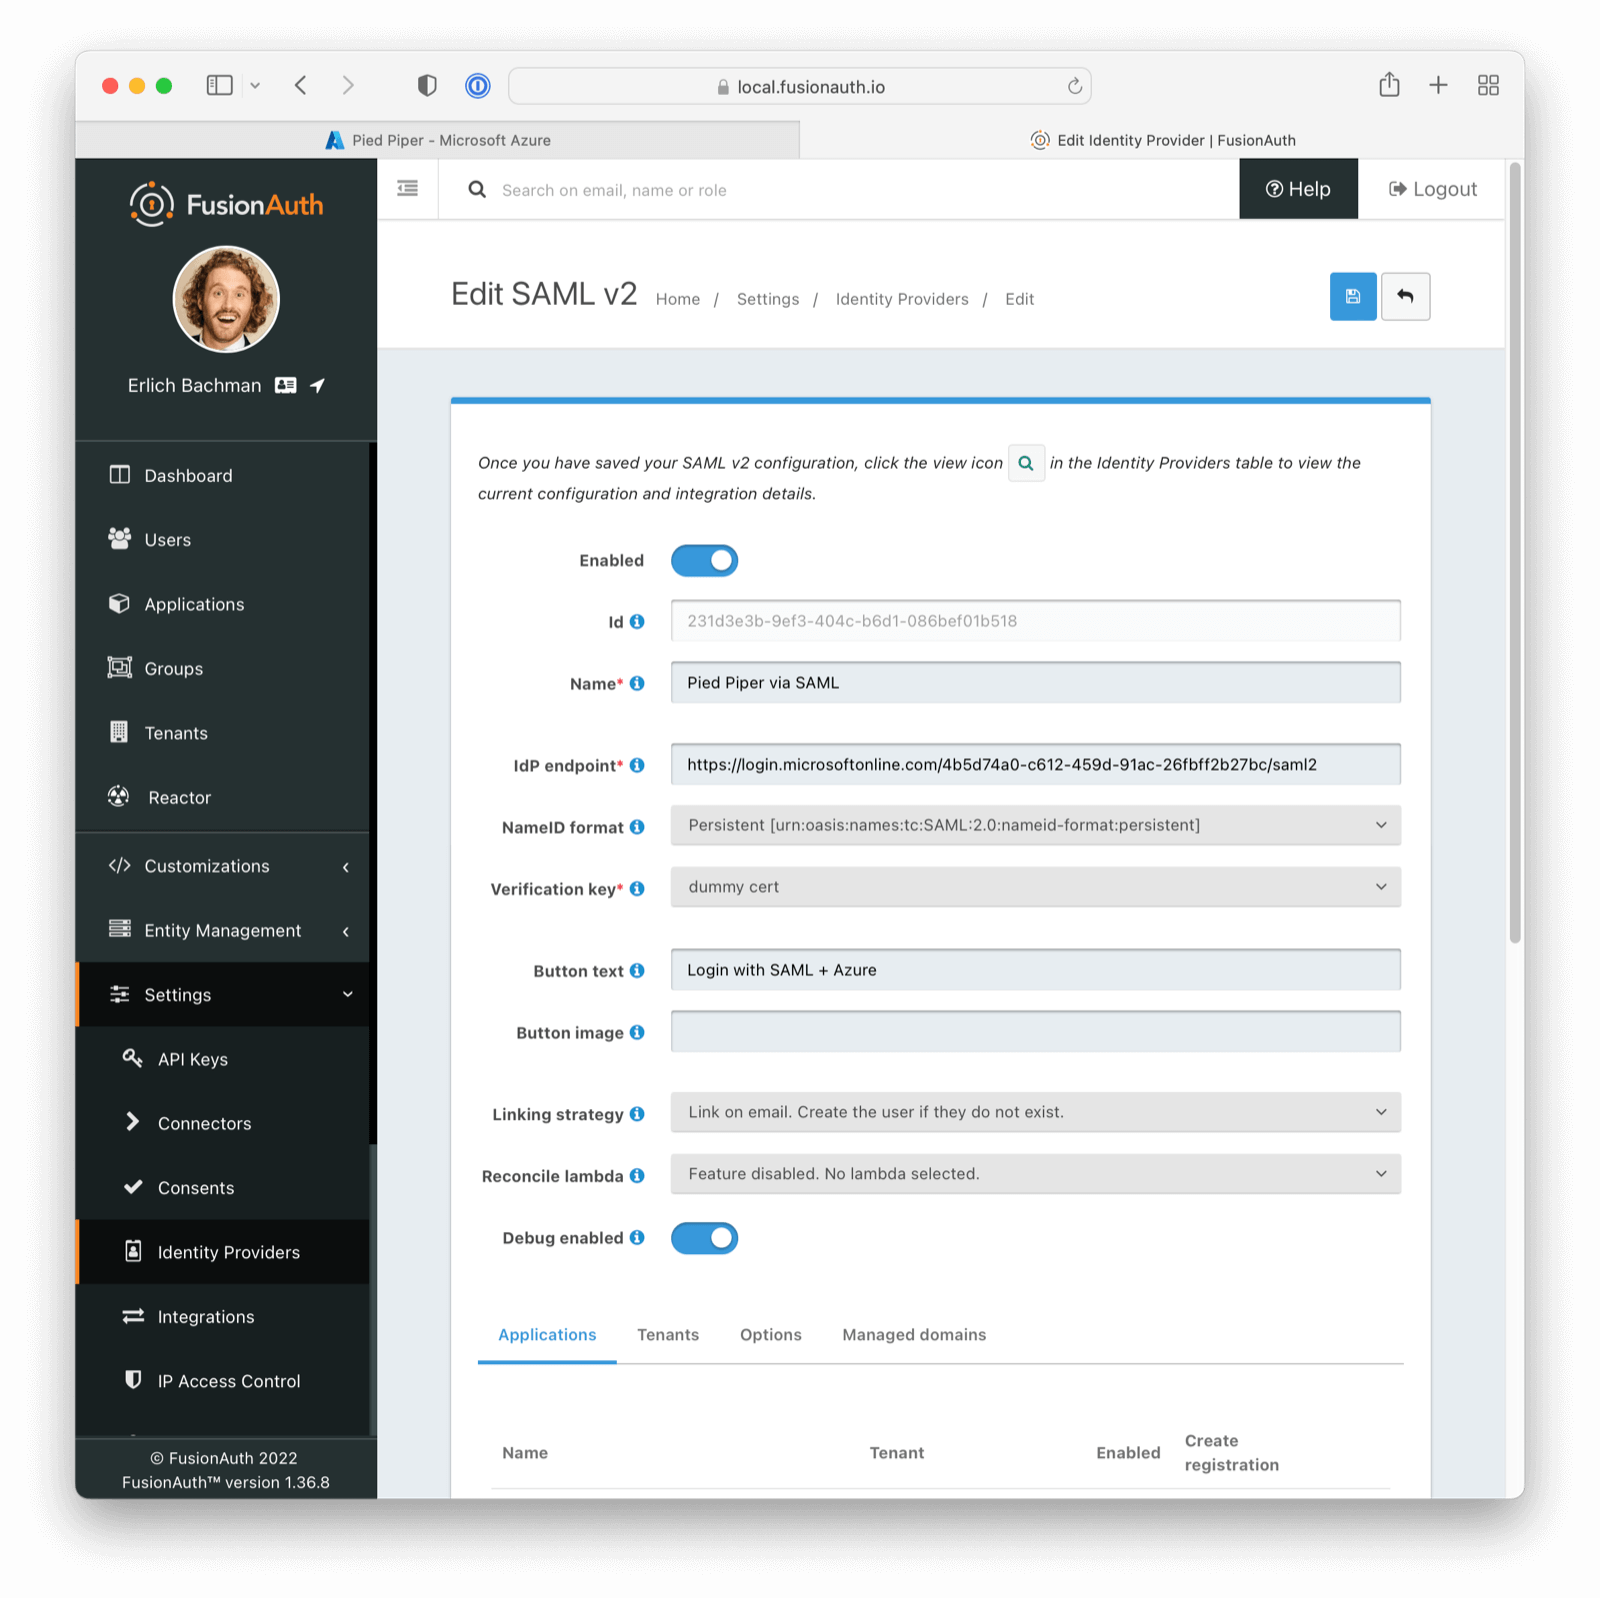 The following fields will need to be completed.
-
 Name . This is user-defined, so pick something that describes this connection such as "Pied Piper Azure AD".
- IdP endpoint . This value can be obtained from your Azure AD Application as demonstrated below. You will want to copy the `Login URL` value from Azure AD into this field.
 -
- Verification key . For this value, use the placeholder certificate imported above. You will change this later.
Be sure to check `Debug Enabled`. This will ensure debug information is written to the Event Log, which you can see by navigating to System -> Event Log .
Remember to disable this option when running in production.
Lastly, navigate to the Applications tab in your SAML V2 Idp.
Enable this IdP for the appropriate Application.
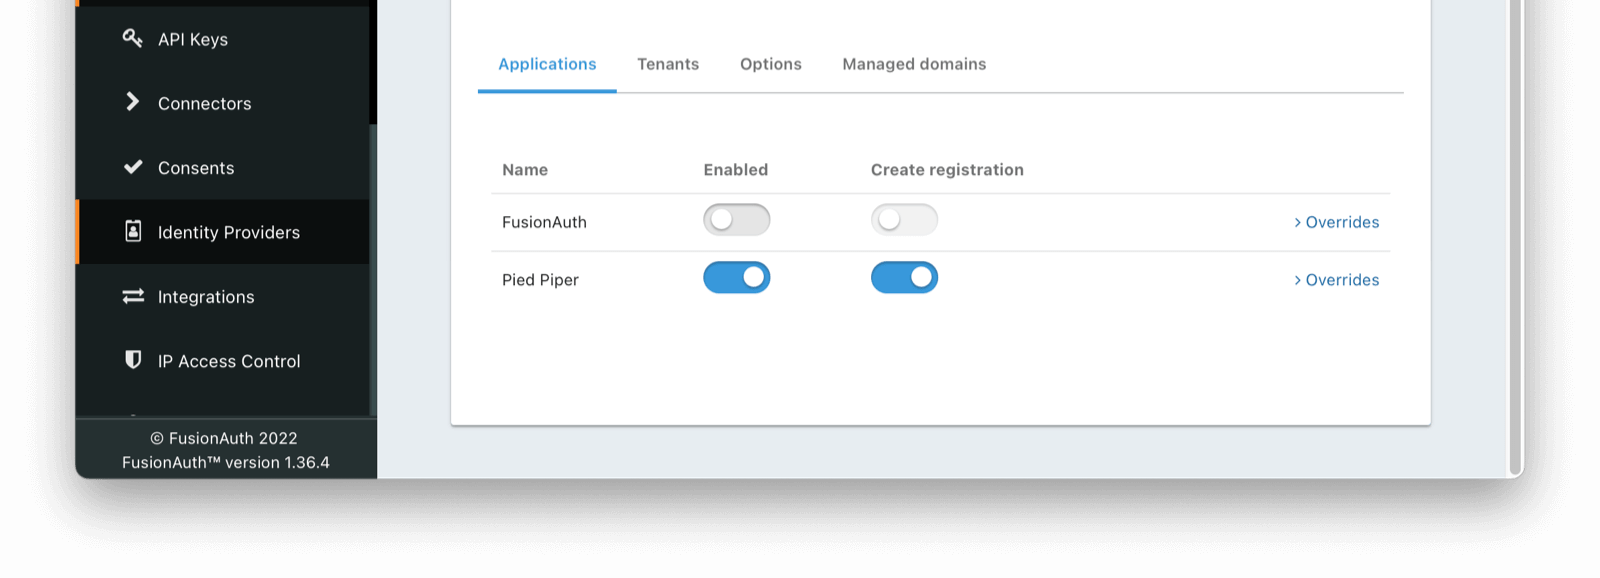 Once saved, you may receive a CORS warning. Be sure to follow the onscreen instructions and this [documentation](/docs/lifecycle/authenticate-users/identity-providers/overview-samlv2#cors-configuration).
### Linking Options
If you are [linking to a user on email](/docs/lifecycle/authenticate-users/identity-providers/#linking-strategies), please configure the SAML IdP to find the email claim. This can be done by navigating to
Settings -> Identity Providers -> Your SAML IdP -> Edit
and then click on the Options tab. The mapping can be referenced in the Email Claim field as below
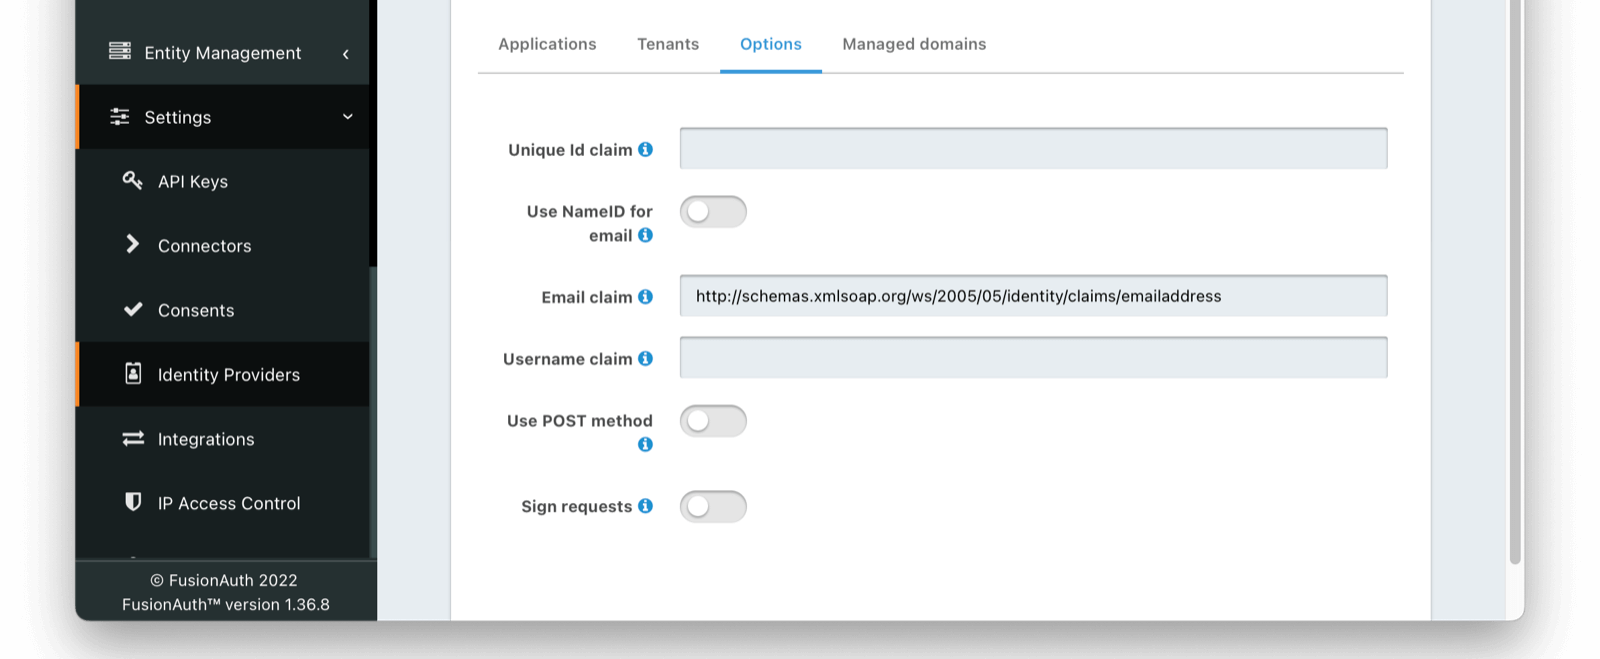 If you are using an existing Azure AD Application this email claim location may vary. Below is a demonstration of the email claim found in a default Azure AD Application.
```
http://schemas.xmlsoap.org/ws/2005/05/identity/claims/emailaddress
```
This claim can be found in the event log of a SAML auth handshake. In the case of a default Azure AD application, the email claim is nested.
```
{/* ... */}
*your*email*
{/* ... */}
```
## Finish Setup of Azure AD Application
With the FusionAuth Identity Provider set up, the next step is to input the newly created values into your Azure AD Application.
Navigate to your Azure AD application. Under step one, click on the pencil to edit.
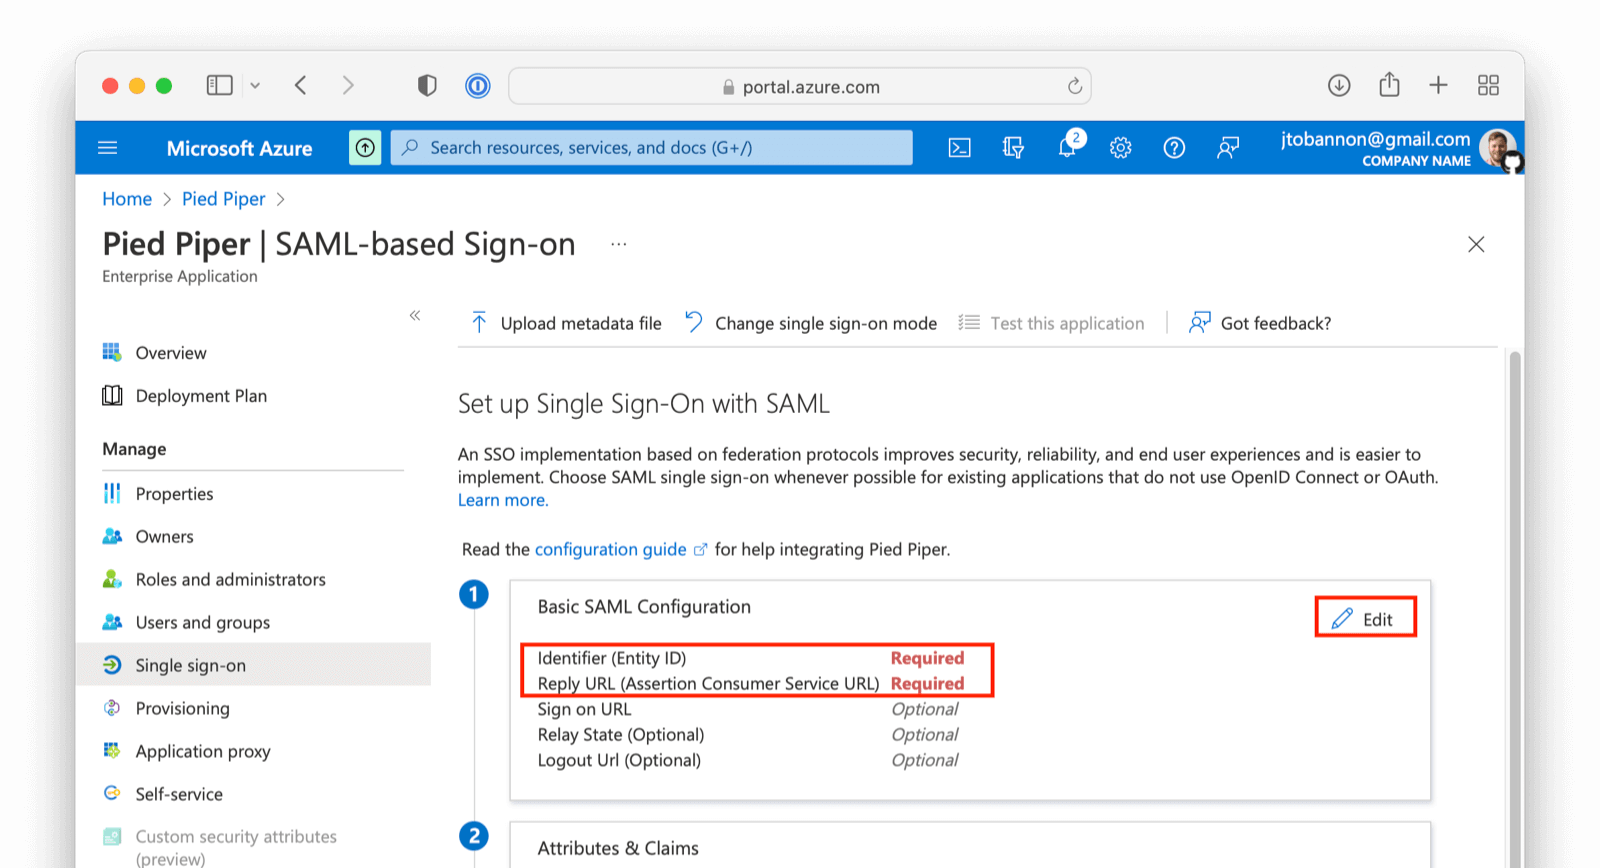 On this screen add the
 Entity ID and Reply URL . The Entity ID can be obtained by going to Setting -> Identity Providers and clicking on the magnifying glass in the row of your Identity Provider. This value is synonymous with the Issuer value in FusionAuth. Input the Entity and ACS value from FusionAuth into Azure AD.
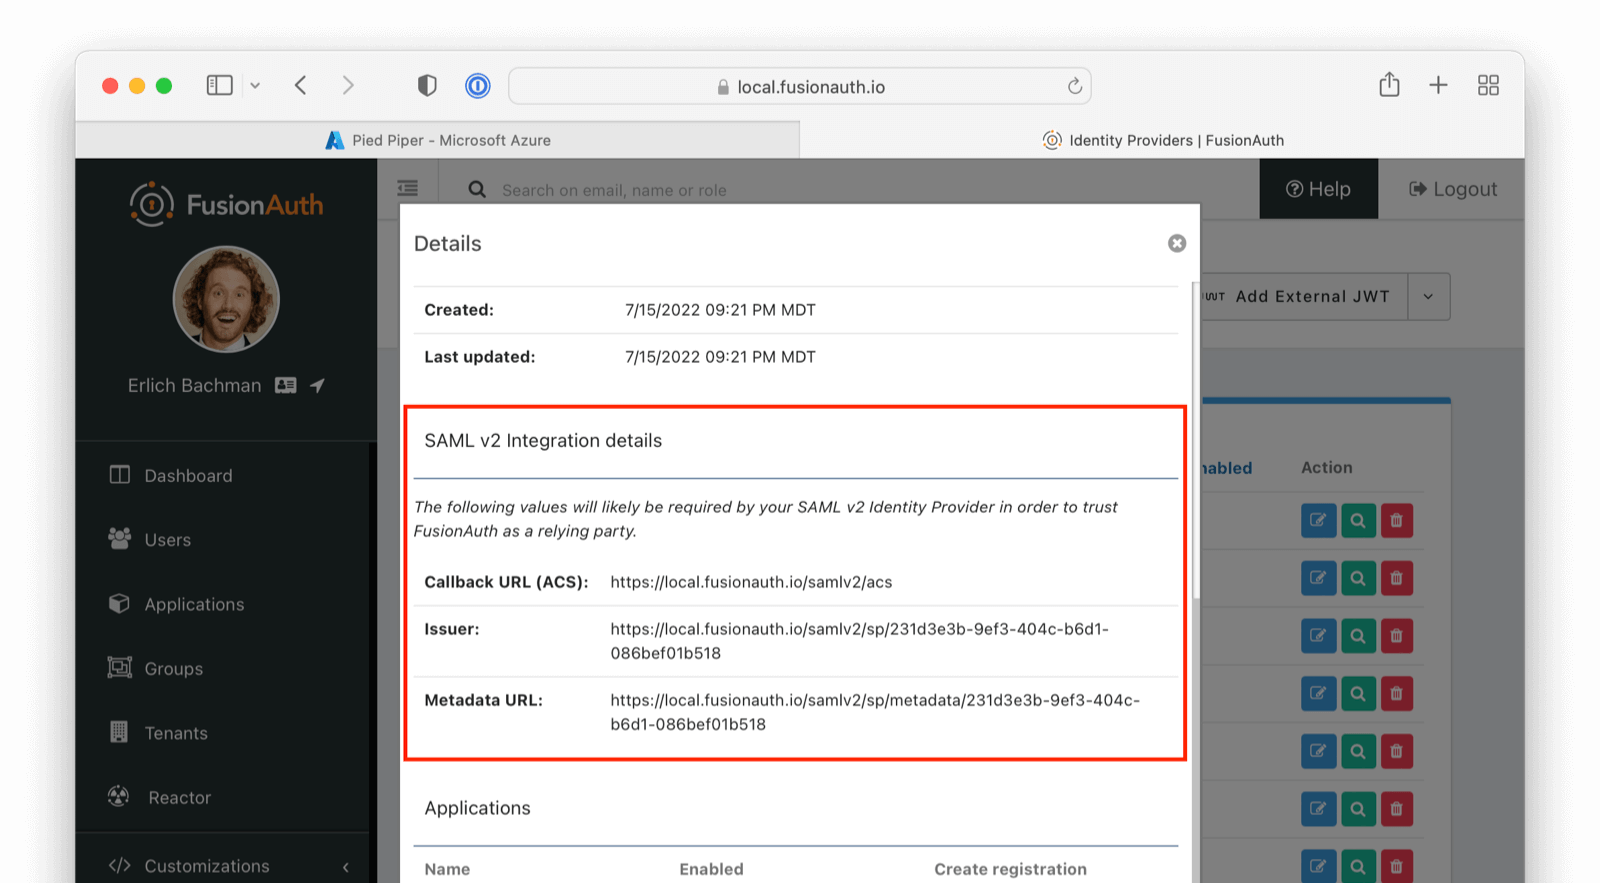 ## Download and Import X.509 Certificate
Previously, you created and used a "placeholder" X.509 certificate. At this point, you can change this. From the overview of your SAML application in Azure AD, under step three, you should find a Certificate (Base64) to download.
 Next, import this certificate into Key Master (
Settings -> Key Master -> Import Certificate ). Leave the Key identifier property blank, as this will be autogenerated from the thumbprint in the existing certificate.
Update the certificate used on your IdP configuration (Settings -> Identity Providers -> your SAML IdP -> Verification Key ) with this new X.509 certificate. You can also remove the "placeholder" certificate from Key Master once complete.
## Configure the FusionAuth Application Redirect URL
You also need to configure where you will redirect users once they are complete with their Azure AD login.
Navigate to Applications -> Your Application -> OAuth . Update the Authorized redirect URLs field as appropriate.
Ensure the Authorization Code grant is enabled.
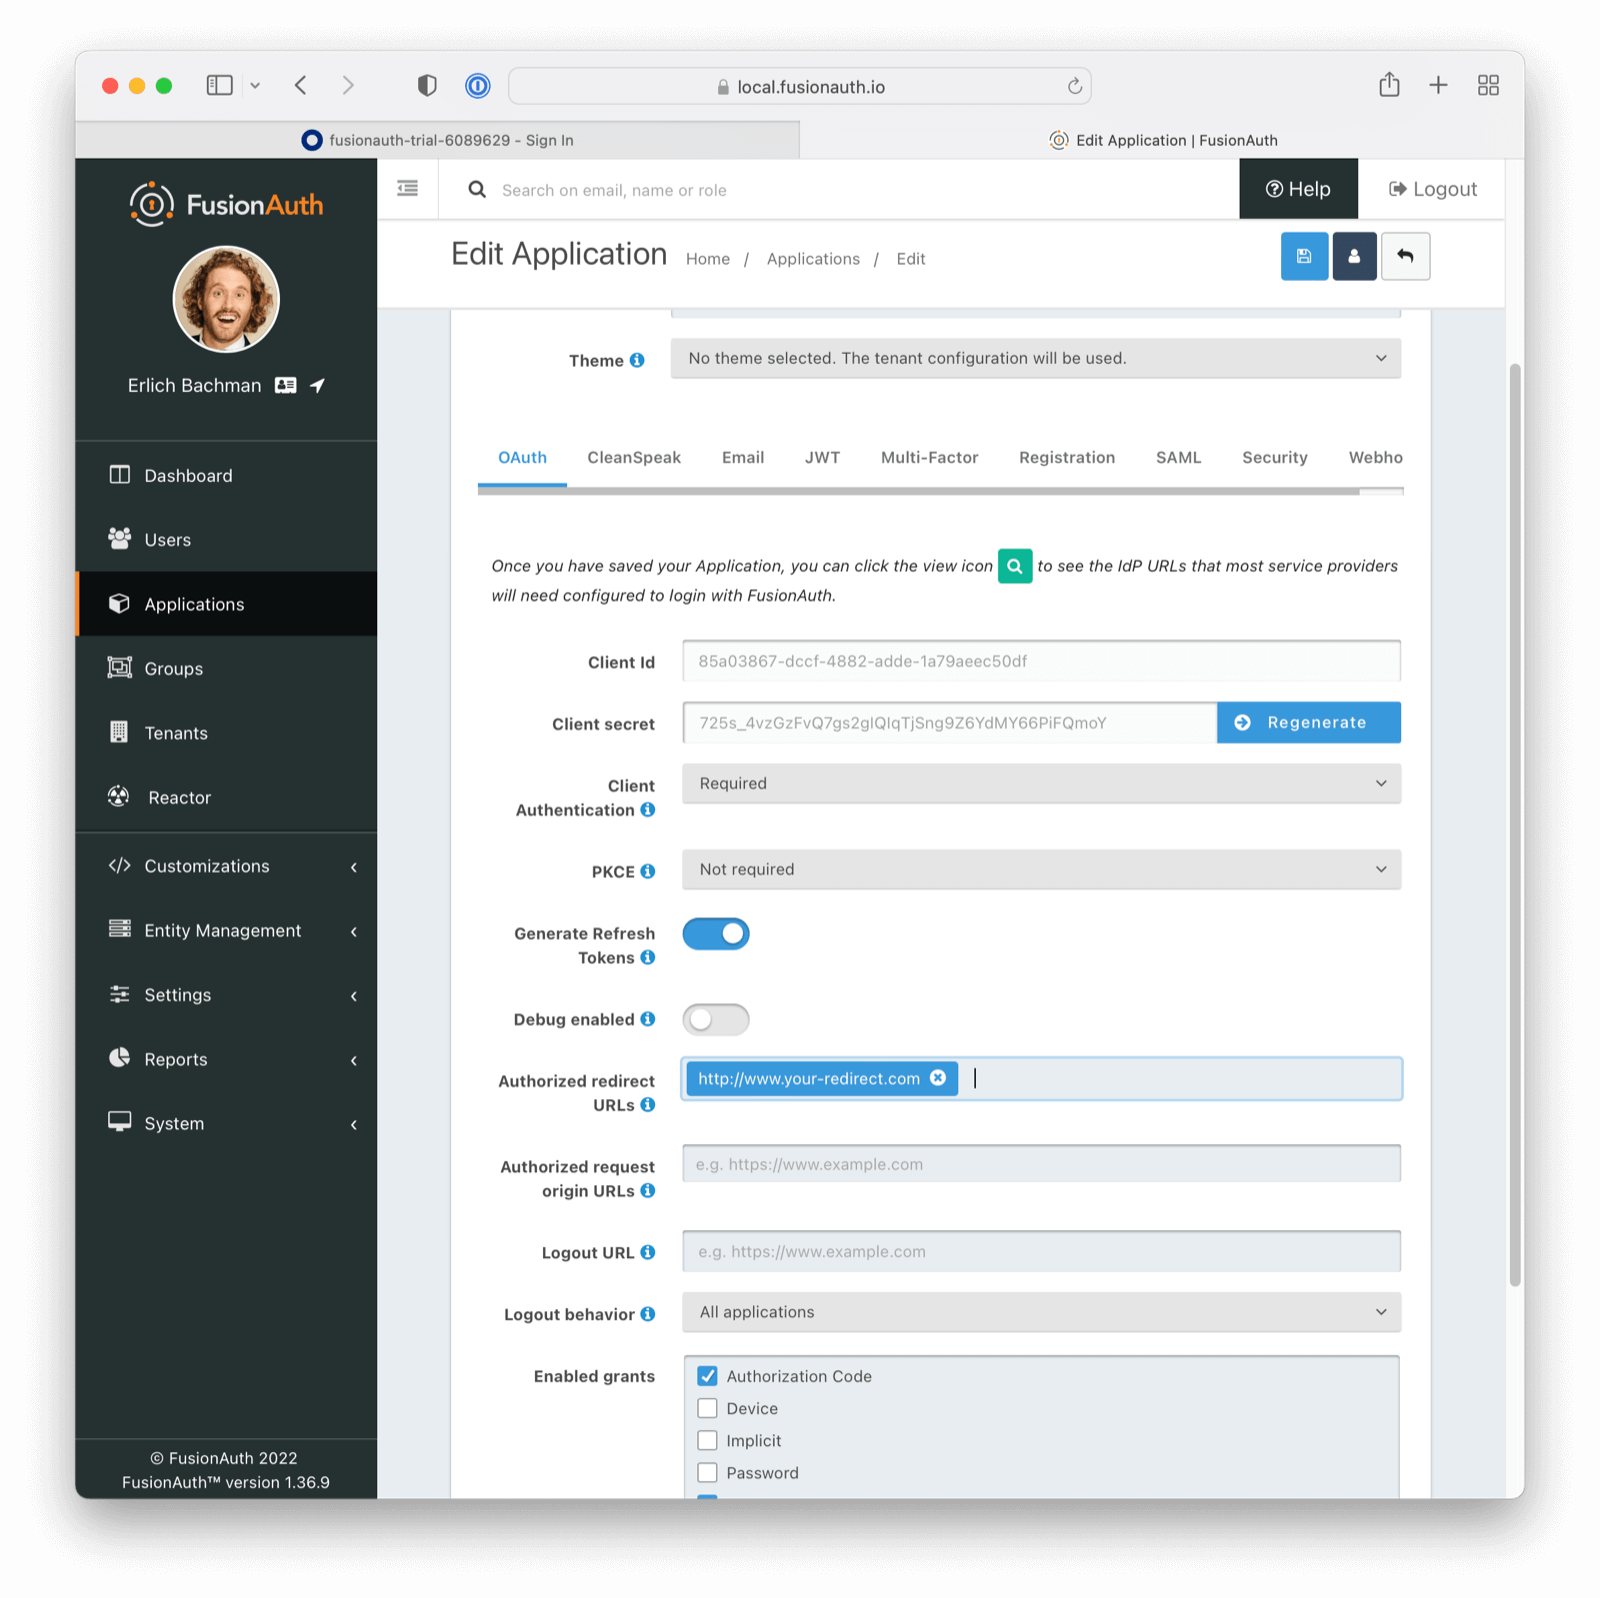 ## Assign Users
Before you can complete your integration, assign Azure AD users to your Azure AD application. Add a user by navigating to
 Users and groups and clicking on the Add user/group button. Follow the instructions to select and add a user.
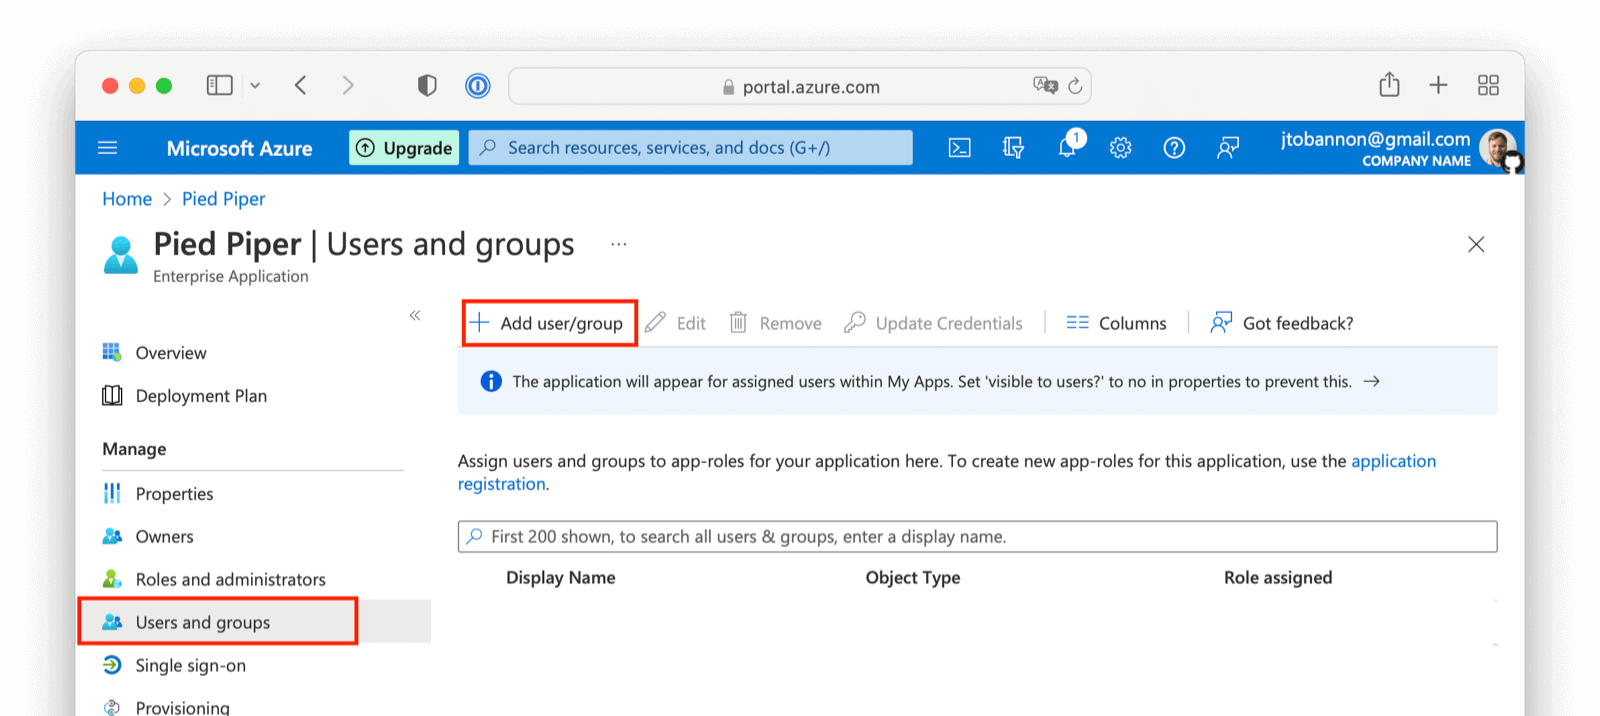 ## Complete the Login
At this point, what remains is to attempt a login. To test quickly, log into the FusionAuth administrative user interface. Navigate to
 Applications -> Your Application and choose the View option, then scroll to the OAuth2 & OpenID Connect Integration details section and look for the Login URL. Copy this.
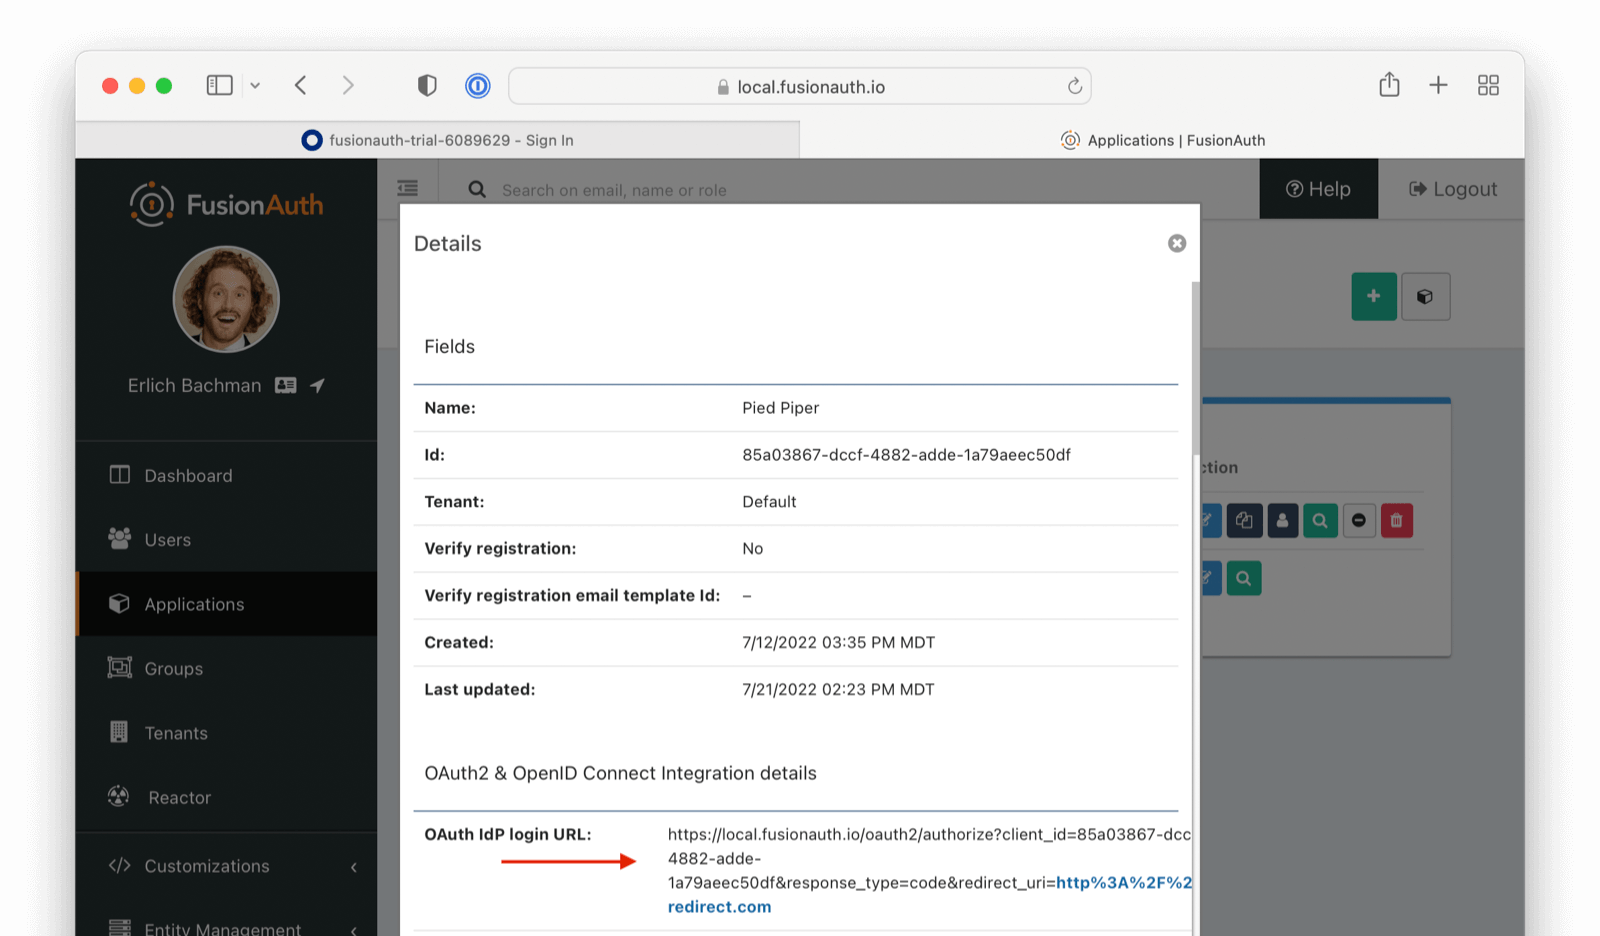 Open a new tab, paste in the login URL, and you should see your new SAML Azure AD IdP login button.
 Click on that button, log in with one of the Azure AD users you configured above, and you should arrive back at your redirect URL.
If your integration fails, remember to review the Event Logs (`System > Event Log`)
# OpenID Connect with Cognito
import Aside from 'src/components/Aside.astro';
import Breadcrumb from 'src/components/Breadcrumb.astro';
import IdentityProviderOverviewDiagram from 'src/content/docs/_shared/_identity-provider-overview-diagram.astro';
import InlineField from 'src/components/InlineField.astro';
import InlineUIElement from 'src/components/InlineUIElement.astro';
import LinkOnEmailNote from 'src/content/docs/lifecycle/authenticate-users/identity-providers/social/_link-on-email-note.mdx';
## Configure OpenID Connect with Cognito
Login with Cognito button for one or more FusionAuth Applications.
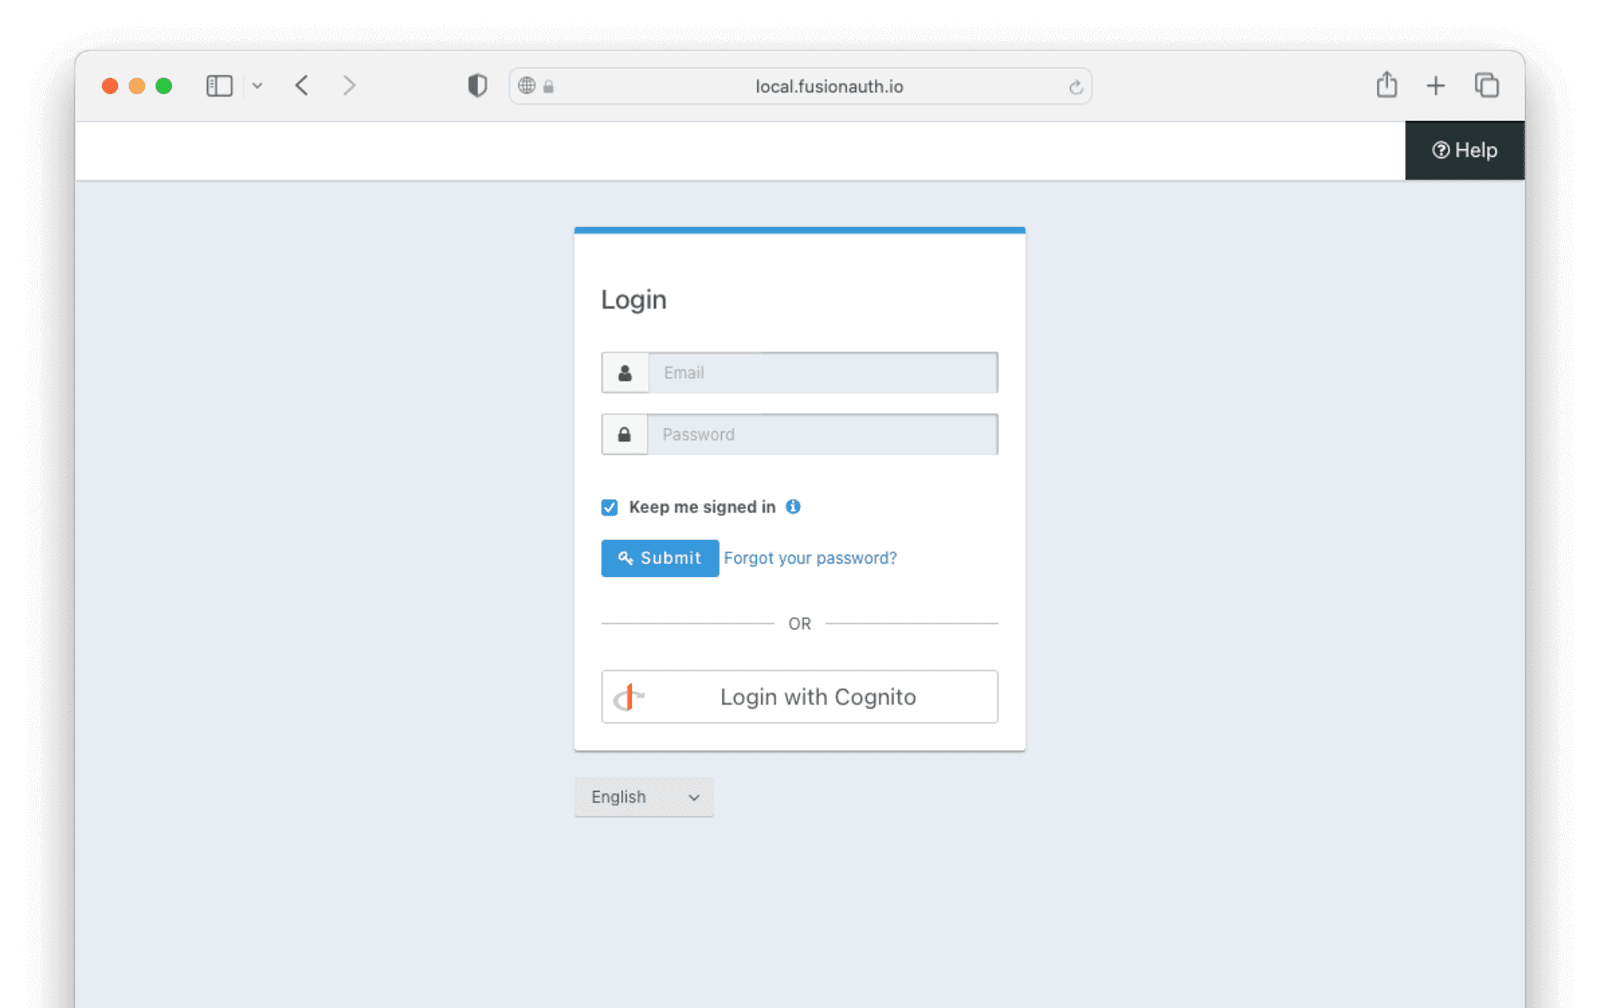
Create a user pool .
- Select the pool sign-in options for Step 1. In this example, we'll use email.
- Review the configurations for Step 2 up to Step 4 to make sure they conform to your needs.
- Give the pool a name in Step 5.
- Make sure the checkbox to use hosted authentication pages is checked.
- Choose a domain for the user pool.
### Creating a User Pool App Client With a New Pool
To enable FusionAuth to access the user pool, we need to set up an app client on Cognito. See [Cognito: Configuring a user pool app client](https://docs.aws.amazon.com/cognito/latest/developerguide/user-pool-settings-client-apps.html) for additional reference.
To create the client, in your new user pool, under Initial app client on Step 5, set the app type to `confidential`.
- Give the client a name. We’ve used `FusionClient`.
- Set the Callback URL to `/oauth2/callback` under Allowed callback URLs ; for example `https://auth.piedpiper.com/oauth2/callback`.
- Under "Authentication flows" in the Advanced app client settings make sure the `ALLOW_USER_PASSWORD_AUTH` auth flow is selected.
- Check the box for your app name under Identity Providers .
- Select Authorization code grant under OAuth 2.0 grant types .
- Under OpenID Connect scopes select `OpenID`.
- Review the attribute read and write permissions and then click Next to review the user pool configuration details.
- Scroll down and click Create user pool .
- Once the user pool is created, click on the user pool's name and scroll to the App clients and analytics section.
- Open the created app client and record both the `Client ID` and `Client Secret`, which can be revealed by toggling the Show client secret button.
The user pool and app client are now created.
## Adding an App Client To an Existing Pool
The existing pool must have a Hosted UI domain available and the hosted authentication pages enabled.
Navigate to the App integration tab and go to the App client list section. Select `Create app client`.
- Select the `Confidential Client` type.
- Give the client a name. We’ve used `FusionClient`.
- Under Authentication flows in the Advanced app client settings make sure the `ALLOW_USER_PASSWORD_AUTH` auth flow is selected.
- In the Hosted UI settings section, set the Callback URL to `/oauth2/callback` under Allowed callback URLs ; for example `https://auth.piedpiper.com/oauth2/callback`.
- Select `Authorization code grant` under OAuth 2.0 grant types .
- Under OpenID Connect scopes select `OpenID`. You may select others.
- Review the attribute read and write permissions and then click Create app client .
Next, you can open the created app client and record both the `Client ID` and `Client Secret`, which can be revealed by toggling the Show client secret button.
## Adding a Test User
The next step in either case is adding a test user.
- Open the user pool and under the Users tab, click Create user .
- Create a user, filling out all the form fields. Make sure to record the email address and the password.
- Click the Create user button.
## Configure a New FusionAuth OpenID Connect Identity Provider
Although FusionAuth doesn't include an Cognito identity provider, the OpenID Connect identity provider works as Cognito supports the standard OpenID Connect protocols.
Navigate to your FusionAuth instance. Select Settings from the sidebar and then Identity Providers .
Select "Add OpenID Connect" from the "Add" dropdown at the top right of the page.
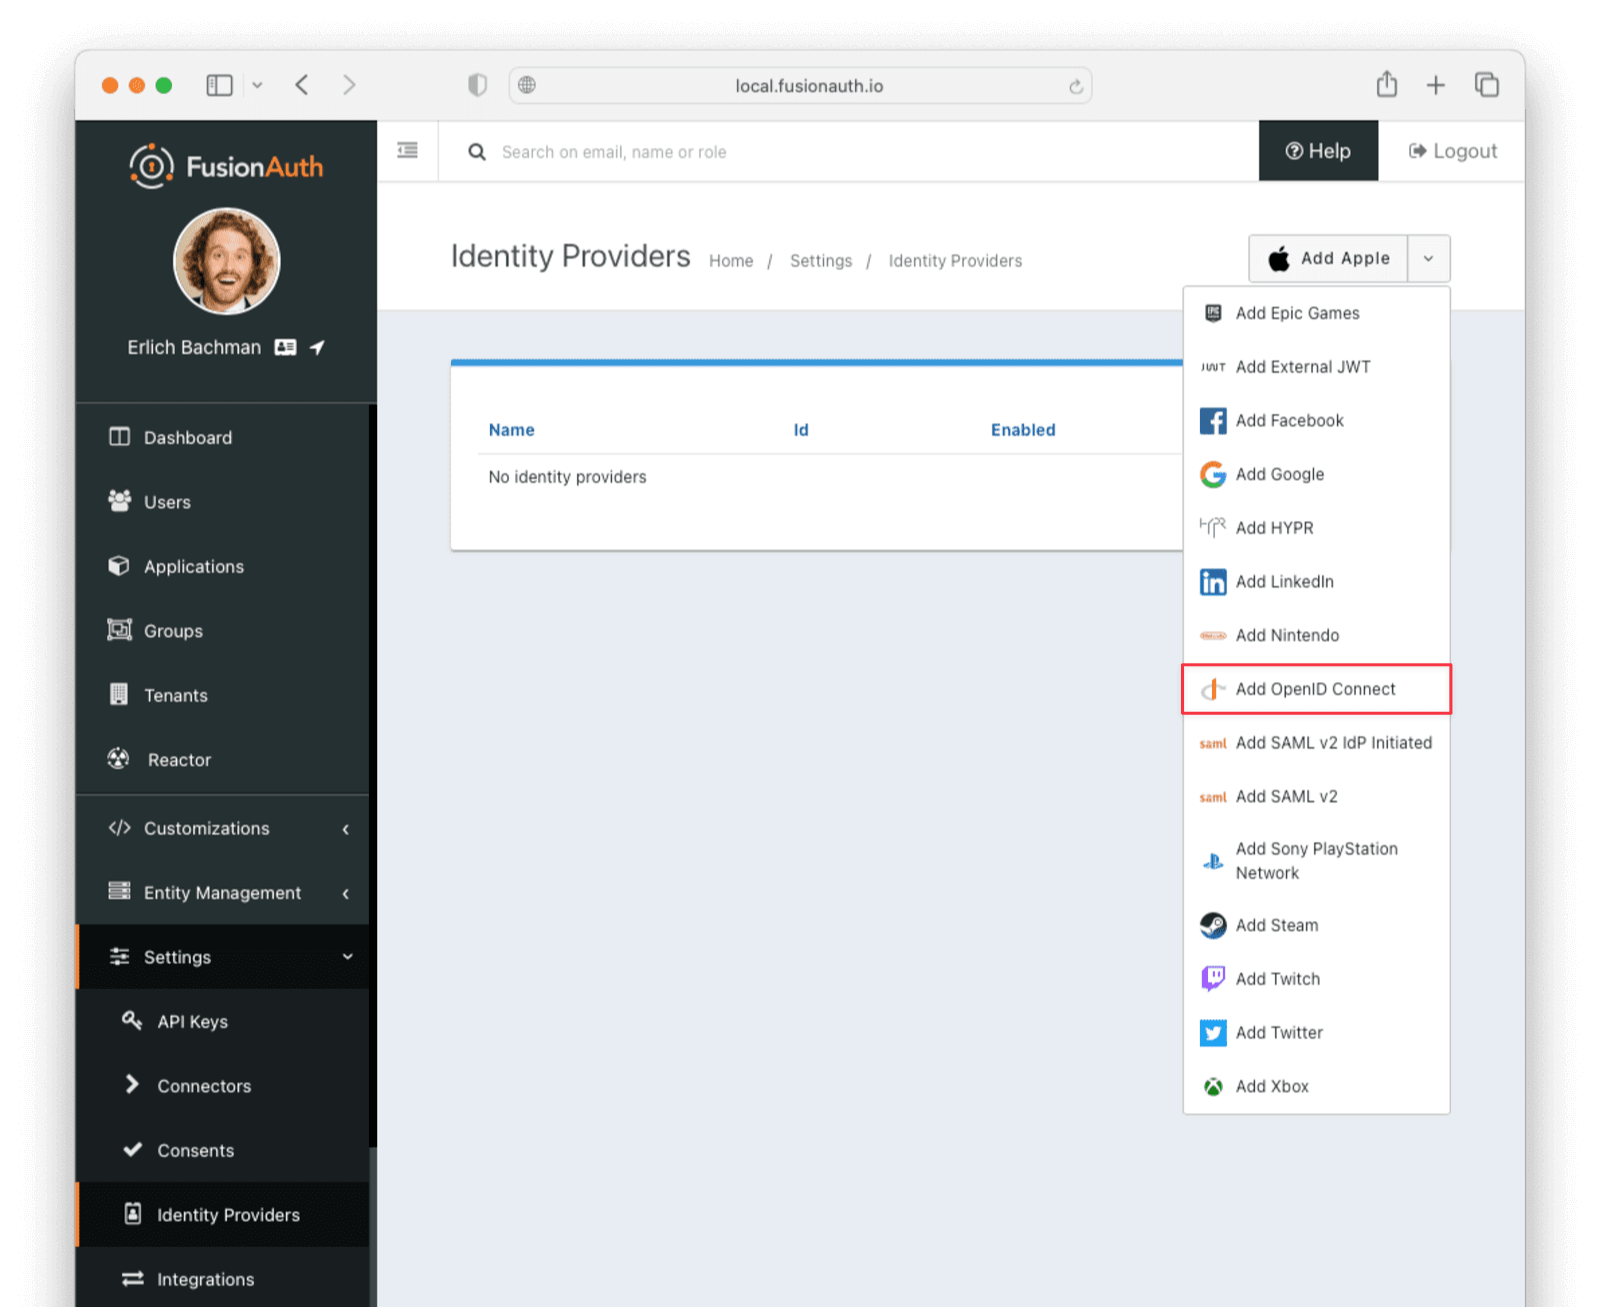 - Provide a
 Name , like `Cognito`.
- Set Client Id to the `App Client Id` recorded when creating the app client on Cognito.
- Select `HTTP Basic Authentication` for the Client Authentication field.
- Set the Client secret to the app client secret recorded when creating the app client on Cognito.
- Enable Discover endpoints
- Use the following as the Issuer URL:
```sh title="The Issuer URL"
https://cognito-idp..amazonaws.com//
```
Replace `` with the AWS region code, such as `us-east-2`, in which you created your Cognito user pool. This can be found by selecting the region indicator at the top right of the menu bar and recording the region code displayed alongside the region location.
Replace `Button Text to `Login with Cognito`. You can also add a URL to a Cognito icon for the button icon if you wish.
Scope field to `openid`. Choose a Linking Strategy of `Link on email. Create the user if they do not exist`. This will create the user if they don't exist. You may also choose a different linking strategy; see [Linking Strategies for more options](/docs/lifecycle/authenticate-users/identity-providers/#linking-strategies).
Choose `No Lambda` for the Reconcile Lambda field. If you want to examine or modify the response of the Cognito authentication event and modify the user based on that, you can [create a lambda](/docs/extend/code/lambdas/) and assign it here.
Then, choose the applications for which you would like the Cognito sign-in to be available and enable them. You can also create a FusionAuth registration for each application on successful authentication.
Once you are done, you should have a configuration similar to this:
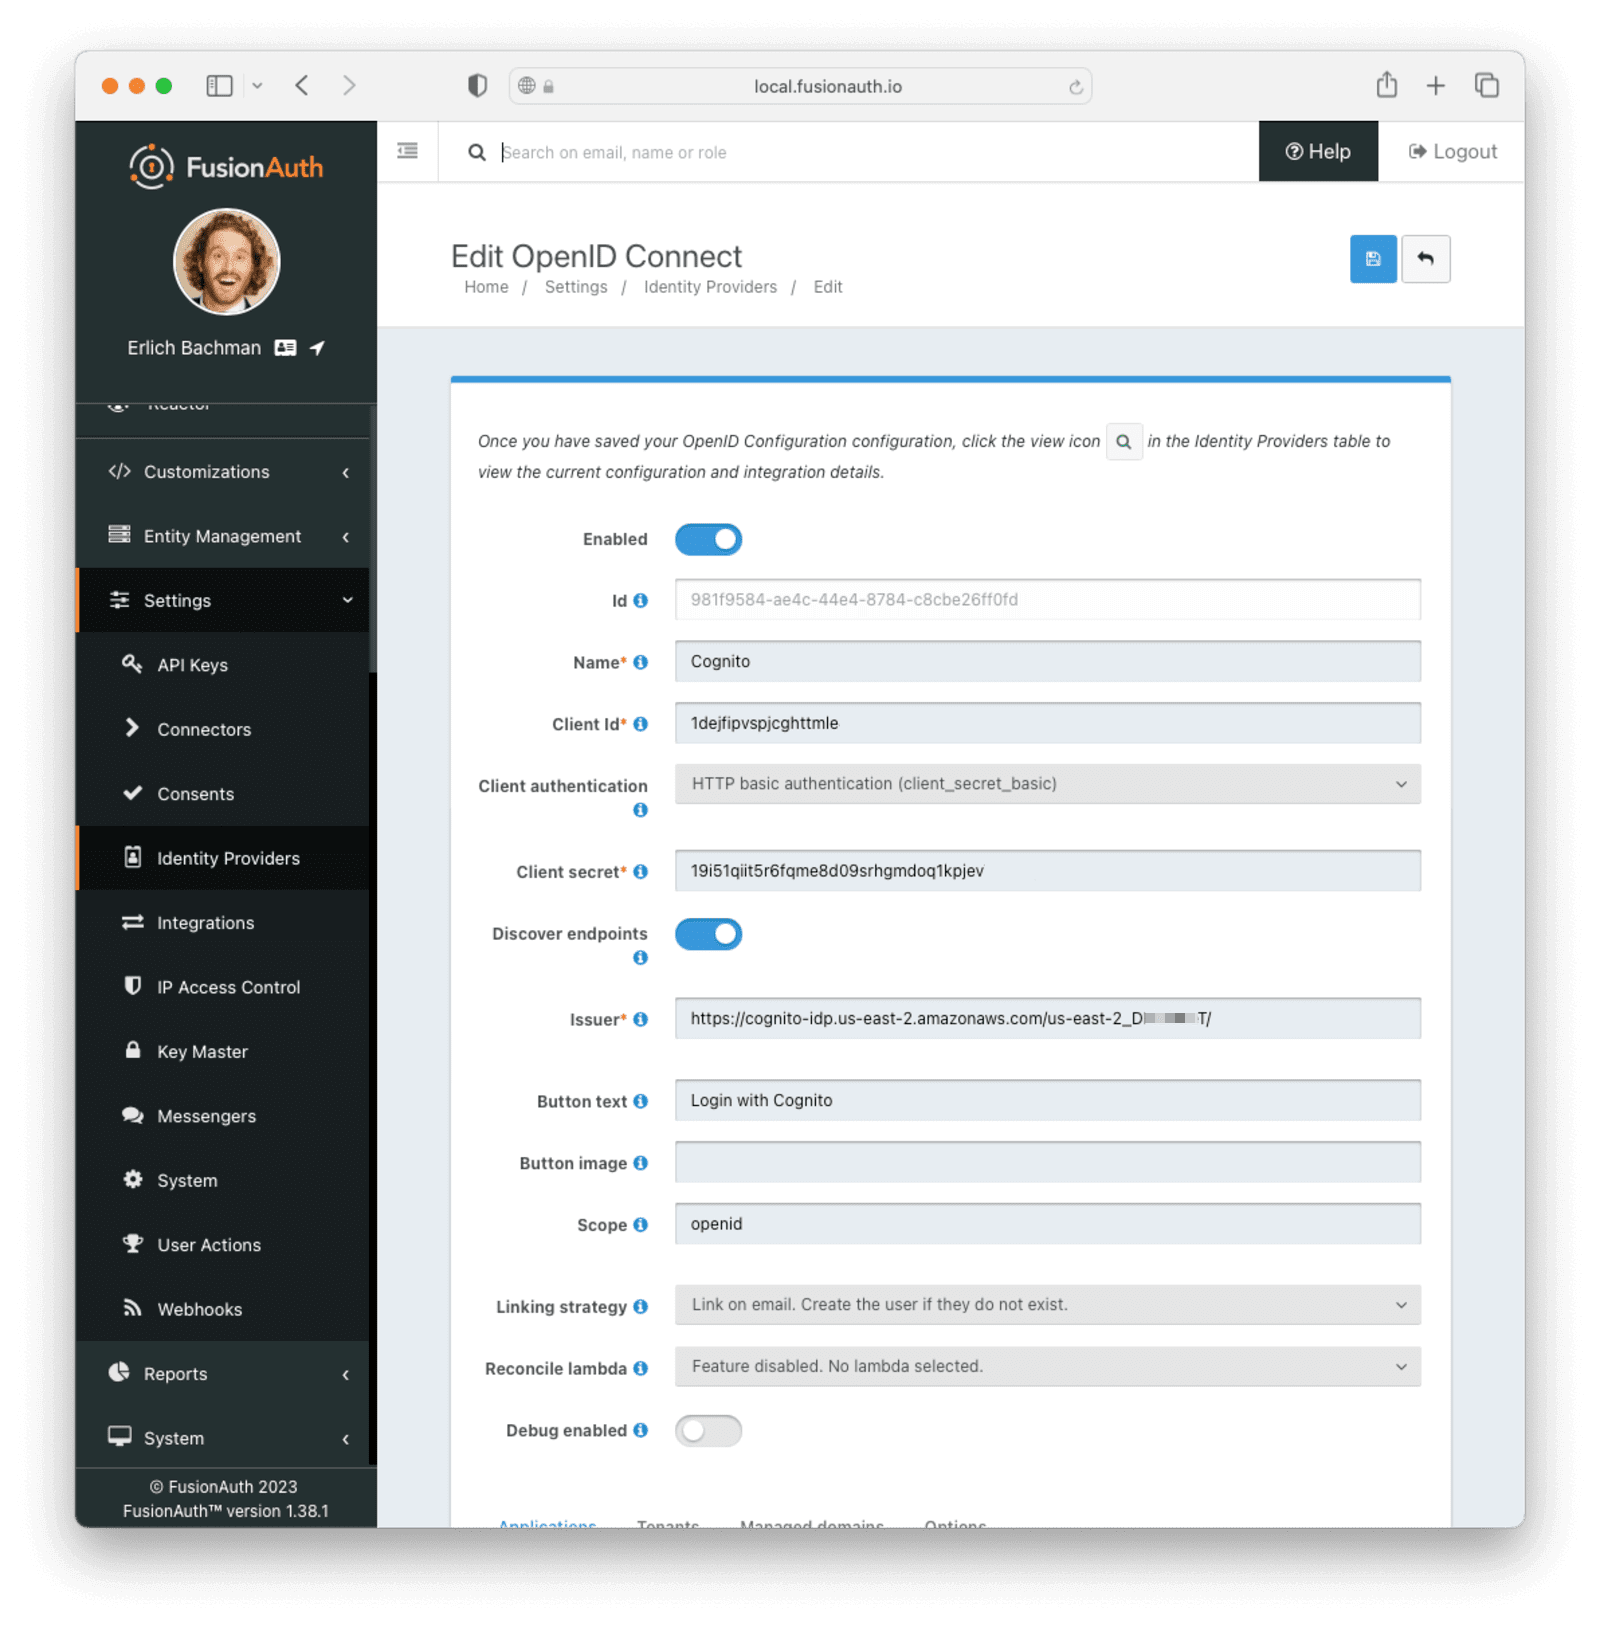 ## Testing the Login
To test, navigate to the applications page in FusionAuth. Click on the
 View icon (magnifying glass) next to the application you enabled Cognito login on and copy the `OAuth IdP login URL` address. Navigate to this address. You should see a `Login with Cognito` option on your app's sign-in page:
 Click the
 Login with Cognito button. Test logging in with the username and password for the test user added when creating the user pool on Cognito.
If it is all set up correctly, you should be redirected back to your app, successfully logged in. The user will be added to FusionAuth, and you can examine the Linked accounts section of the user details screen to see that the Cognito OIDC link was created.
# HYPR
import APIBlock from 'src/components/api/APIBlock.astro';
import APIField from 'src/components/api/APIField.astro';
import Aside from 'src/components/Aside.astro';
import Breadcrumb from 'src/components/Breadcrumb.astro';
import InlineField from 'src/components/InlineField.astro';
import InlineUIElement from 'src/components/InlineUIElement.astro';
import { YouTube } from '@astro-community/astro-embed-youtube';
## Overview
 ## Explorer
 For security purposes, the
 - `Administrative` - An administrator has required this user to change their password.
- `Breached` - The password has been found to have belonged to a breached dataset and must be changed, per the Reactor configuration.
- `Expired` - The password has expired, per the expiration setting in the tenant configuration.
- `Validation` - The password fails the validation rules configured in the tenant password settings.
Prior to version `1.27.0`, this status code was not returned, and you will see a `200` instead. {/* eslint-disable-line */} | | 400 | The request was invalid and/or malformed. The response will contain an [Errors](/docs/apis/errors) JSON Object with the specific errors. | | 404 | The `twoFactorId` was invalid or expired. You will need to authenticate again using the [Login](#authenticate-a-user) API. The response will be empty. | | 409 | The user is currently in an action that has prevented login. The response will contain the actions that prevented login.
loginId used here. If you supplied a username or email address loginId, the message will be sent via email. If you supplied a phone number loginId then the message will be delivered via an SMS messenger.
} />
As of version `1.51.1` this status code will no longer be returned based upon the connectivity health check. In practice you only need to monitor for `452` to ensure FusionAuth is able to connect to the database. {/* eslint-disable-line */} | | 460 | FusionAuth is using Elasticsearch and the search service is reporting an unhealthy cluster status. In a cluster with 2+ nodes, this means the cluster status is being reported as `yellow` or `red`. In a single-node Elasticsearch configuration this means the cluster status is `red.`
As of version `1.51.1` this status code will no longer be returned based upon the Elasticsearch health check. If you are using an external Elasticsearch or OpenSearch service, you will want to monitor that separately from FusionAuth. {/* eslint-disable-line */} | | 500 | FusionAuth is not functioning properly. This could indicate that the database connectivity failed or one or more services within FusionAuth failed. Consult the FusionAuth [Troubleshooting](/docs/operate/troubleshooting/troubleshooting) to learn more about the failure or contact FusionAuth support for assistance. | ## Retrieve System Health The Health API is used to monitor the health of the FusionAuth service. This endpoint is specifically intended for use by a load balancer to understand when FusionAUth is available, live and ready for requests. Prefer this endpoint to the Status API when using it for a load balancer or a Kubernetes readiness check. This API does not require an API key. ### Request
 Enable email by clicking on the *Enabled* toggle, and save your settings once you have completed your configuration.
To avoid disrupting your application's current DNS records, you may want to point FusionAuth SMTP fields to a temporary subdomain. For example, if your application is hosted at `myapp.com`, you can create `testemail.myapp.com`, and point the SMTP service and FusionAuth there while testing.
Strict SMTP providers require you to have a trustworthy-looking domain and website before they activate your account.
There is a troubleshooting section below this one if you encounter errors while trying to send a test email.
The SMTP providers are presented in alphabetical order below.
### AWS SES
- Create an account at https://aws.amazon.com.
- In your account dashboard, search for SES and start the account setup wizard by clicking
  For example, below is the email body of the Email Verification template as it is shipped with FusionAuth.
 At a minimum, you will need to update this URL to a publicly accessible URL that can reach FusionAuth.
If you will be handling Email Verification yourself, you will need to update this URL to be that of your own. You will notice the one replacement variable in this template named `${verificationId}`. See the Replacement Variables section below for additional detail, but these variables will be replaced when the template is rendered.
### Base Information
 # Generic Messenger
import APIBlock from 'src/components/api/APIBlock.astro';
import APIField from 'src/components/api/APIField.astro';
import Aside from 'src/components/Aside.astro';
import Breadcrumb from 'src/components/Breadcrumb.astro';
import InlineField from 'src/components/InlineField.astro';
import InlineUIElement from 'src/components/InlineUIElement.astro';
import JSON from 'src/components/JSON.astro';
import SecuringHttpRequests from 'src/content/docs/_shared/_securing_http_requests.mdx';
## Set Up a Generic Messenger
Currently, built-in messengers are only provided to send messages via Twilio or email. If you need to connect to a messaging provider other than Twilio, whether you want to send SMS messages or use a different transport layer such as push notifications, you can use the Generic messenger configuration.
The generic messenger allows for a simple JSON REST API integration which allows you to receive a message from FusionAuth to an arbitrary URL. The Generic Message Receiver at this URL may then make an API call to any third party messaging provider.
To create a new generic messenger, navigate to
  Complete the following fields:
#### Form Fields
 #### Form Fields
 #### Form Fields
 You also can test your generic messenger configuration. By hitting `Test generic configuration` FusionAuth will fire a JSON message to the messenger to ensure everything is set up correctly.
## Writing the Generic Message Receiver
You need to write a server side component, a receiver, which will be deployed at a URL to consume the message sent from FusionAuth. At that point, it can proxy the request to any third party messaging service. In other words, a FusionAuth Generic Messenger is a thin coordination layer between FusionAuth and other messaging services. An application with the proper permissions, code and configuration to relay a message must exist at the configured URL. This receiver component may be written in any language that can consume a JSON message.
The request to your endpoint will be delivered as JSON.
When your application receives this message from FusionAuth, it should take whatever steps necessary to send the message, such as:
* call into a SDK provided by the third party
* make an API request to a vendor provided endpoint
* call multiple internal APIs
* anything else that may be required
### Request
 ### Base Information
 # Messengers
import Aside from 'src/components/Aside.astro';
import Breadcrumb from 'src/components/Breadcrumb.astro';
## Messengers
Messengers are used to send messages from within FusionAuth to other systems.
### Message Transports
In version `1.26.0`, each messenger type is assigned a read-only transport value of `sms`. This tells FusionAuth which configurations the messenger may be assigned to. For example, when configuring `SMS settings` in [multi-factor configuration](/docs/lifecycle/authenticate-users/multi-factor-authentication#tenant-set-up) on a Tenant, we can safely assign only messengers designated with the corresponding transport value.
## Set Up a Messenger
In FusionAuth, you can set up three types of messengers:
- [Set Up a Generic Messenger](/docs/customize/email-and-messages/generic-messenger)
- [Set Up a Twilio Messenger](/docs/customize/email-and-messages/twilio-messenger)
To configure a messenger, navigate to
  Complete the following fields:
#### Form Fields
 You also can test your Twilio messenger configuration. By hitting `Send test message` FusionAuth will fire a test SMS message to your Twilio messenger to ensure everything is set up correctly.
# Advanced Theme Editor
import InlineField from 'src/components/InlineField.astro';
import APIBlock from 'src/components/api/APIBlock.astro';
import APIField from 'src/components/api/APIField.astro';
import MessagesExample from 'src/content/docs/customize/look-and-feel/_messages-example.mdx';
import ThemeEnvironments from 'src/content/docs/operate/deploy/_theme-environment-management.mdx';
import ThemeTroubleshooting from 'src/content/docs/customize/look-and-feel/_theme-troubleshooting.mdx';
import ThemeUpgrade from 'src/content/docs/customize/look-and-feel/_theme-upgrade.mdx';
import Templates from 'src/content/docs/_shared/_theme_templates.astro';
import Aside from 'src/components/Aside.astro';
import Breadcrumb from 'src/components/Breadcrumb.astro';
## Overview
FusionAuth's Advanced Theme Editor allow you to control every aspect of the look and feel of your hosted login pages.
The other option, in version 1.51.0 and later, is to use the [Simple Theme Editor](/docs/customize/look-and-feel/simple-theme-editor) to quickly and easily style FusionAuth with no code.
### Difference From Simple Themes
The Simple Theme Editor allows you to select from a set of pre-built themes and customize them with a few simple options. This is a great way to get started with customizing FusionAuth without needing to write any code.
The Advanced Theme Editor allows editing page templates directly. This allows you to take full control over all of the hosted pages by creating an advanced theme and editing the HTML, CSS, and messages. This is a powerful way to create a fully custom experience, but it can be complex and time-consuming.
## Create a Theme
FusionAuth provides the ability to create and manage themes in the UI as well as a [Themes API](/docs/apis/themes). Any user of the FusionAuth role of `admin` or `theme_manager` may view, edit, update, and delete Themes.
All of the FusionAuth login templates are written in [FreeMarker](https://freemarker.apache.org). FreeMarker provides a very rich template language that will allow you to customize the pages and helpers to suit your needs. You can also define new macros and functions to assist you further.
Below is an example screenshot of the Add Theme panel with each template described below.
 ### Form Fields
 This will open a new tab. Click on any of the pages you've modified in the left hand navigation, for example
  Next, assign it to the application. Navigate to
  Now, any user accessing a page that belongs to an application will use that theme.
 ## Additional Information
For application specific theming to work, FusionAuth must know which application is being accessed. This is typically done with the `client_id` parameter, which ties a request to a FusionAuth application. If the `client_id` cannot be determined, FusionAuth will fall back to the tenant theme. Make sure to include `client_id` on any external links you create.
Application specific theming, as with all theming, isn't very useful if you are not using the FusionAuth hosted login pages.
Currently, there is no concept of child themes to ease management if you have a large number of themes. There's an [open feature request](https://github.com/FusionAuth/fusionauth-issues/issues/1869) for this functionality.
# Client-side Password Rule Validation
import {RemoteCode} from '@fusionauth/astro-components';
import RemoteContent from '/src/components/RemoteContent.astro';
FusionAuth checks password rules in server-side validation, but you can also check them in your client. This page shows one method of doing so in JavaScript.
{/*
This page is primarily pulled from a GH subdirectory, ensuring that the code can be ran and updated easily. The README is also in that repo to make sure it stays in sync with the code.
When you change the remote files, there may be a 5 minute or so lag after your push before the changes are available at the `raw` URL, so don't be surprised if your changes don't immediately appear.
*/}
## Client-side Password Validation Example

 ### Gmork Tech
https://dagger.gmork.tech/
 ### Oryx Software
 # Themes Helper Macros
import InlineField from 'src/components/InlineField.astro';
import APIBlock from 'src/components/api/APIBlock.astro';
import APIField from 'src/components/api/APIField.astro';
import Aside from 'src/components/Aside.astro';
import RecaptchaValues from 'src/content/docs/_shared/_recaptcha-values.mdx';
## Overview
FusionAuth has a template that contains a number of macros used in all of the page templates. This template is located at `../_helpers.ftl` and it contains a number of FreeMarker macros. The rest of the pages use these macros to generate various pieces of the HTML. The macros contained in `_helpers.ftl` are:
## Section Helpers
* `html`
* Renders the `` element
* `head`
* Renders the `` element and everything inside it including the `
# Themes Helper Macros
import InlineField from 'src/components/InlineField.astro';
import APIBlock from 'src/components/api/APIBlock.astro';
import APIField from 'src/components/api/APIField.astro';
import Aside from 'src/components/Aside.astro';
import RecaptchaValues from 'src/content/docs/_shared/_recaptcha-values.mdx';
## Overview
FusionAuth has a template that contains a number of macros used in all of the page templates. This template is located at `../_helpers.ftl` and it contains a number of FreeMarker macros. The rest of the pages use these macros to generate various pieces of the HTML. The macros contained in `_helpers.ftl` are:
## Section Helpers
* `html`
* Renders the `` element
* `head`
* Renders the `` element and everything inside it including the `The application
This is a protected application.
``` Then, start a python web server. ```shell title="Start the web server" python3 -m http.server ``` You should be able to visit `http://localhost:8080` and see something like this. ## Set Up FusionAuth
Navigate to your FusionAuth instance.
First, you need to make sure the issuer setting is correct. Navigate to
  Click the
  Now, open up a new tab. Next, you are going to set up ngrok Cloud Edge.
## Set Up ngrok Cloud Edge
Log into an account with ngrok Cloud Edge enabled. Navigate to [the ngrok dashboard](https://dashboard.ngrok.com/cloud-edge/edges) and then to
  Click
Click  It'll look something like this.
```shell title="Command to start the ngrok tunnel"
ngrok tunnel --region us --label edge=edghts_2HhKN3ozOCbPO6eDYlXnUgUyiEn http://localhost:80
```
Copy and paste it, and then modify that to point to your web server. If you are following this document, you need to point it to port 8000.
```shell title="Command to start the ngrok tunnel to the python protected app"
ngrok tunnel --region us --label edge=edghts_2HhKN3ozOCbPO6eDYlXnUgUyiEn http://localhost:8000
```
Then paste the command into the same text file.
Next, navigate to the
  Click on
  Next, copy the value in the
  Save the updated configuration.
## Test It Out
Now it is time to test the integration. Open up another terminal and start up the ngrok tunnel.
```shell title="Start the ngrok tunnel to the protected app"
ngrok tunnel --region us --label edge=edghts_2HhKN3ozOCbPO6eDYlXnUgUyiEn http://localhost:8000
```
Open an incognito browser window to ensure that you aren't logged into FusionAuth.
Visit the endpoint you copied above: `https://pe07g5cn.ngrok.io`.
You will be prompted to log into FusionAuth.
 If you login, you'll see the protected application. You won't be able to access it without doing so.
## Next Steps
There's a lot more you can do with ngrok Cloud Edge.
You can configure the ngrok Cloud Edge OIDC module to force users to reauthenticate, expire after a certain amount of inactivity and more.
You can also combine the OIDC module with other security limitations, such as IP restrictions. You can also configure ngrok to proxy different paths to different applications and add or remove headers.
Finally, you can tweak your FusionAuth settings to ensure that the user is registered for the ngrok Cloud Edge application or fire off webhooks when the user logs in.
# Docker Install For the 5-Minute Guide
import DockerComposeFiles from 'src/content/docs/get-started/download-and-install/_docker-compose-files.mdx';
import FiveMinuteRequirements from 'src/content/docs/extend/examples/5-minute-intro/_5-minute-requirements.mdx';
import FiveMinuteSetupWizard from 'src/content/docs/extend/examples/5-minute-intro/_5-minute-setup-wizard.mdx';
import FiveMinuteApplicationSetup from 'src/content/docs/extend/examples/5-minute-intro/_5-minute-application-setup.mdx';
import FiveMinuteRegisterUser from 'src/content/docs/extend/examples/5-minute-intro/_5-minute-register-user.mdx';
import FiveMinuteConfigureNodeApplication from 'src/content/docs/extend/examples/5-minute-intro/_5-minute-configure-node-application.mdx';
import FiveMinuteStoreUserObject from 'src/content/docs/extend/examples/5-minute-intro/_5-minute-store-user-object.mdx';
import FiveMinuteTestApplication from 'src/content/docs/extend/examples/5-minute-intro/_5-minute-test-application.mdx';
import FiveMinuteLogout from 'src/content/docs/extend/examples/5-minute-intro/_5-minute-logout.mdx';
import FiveMinuteSummingUp from 'src/content/docs/extend/examples/5-minute-intro/_5-minute-summing-up.mdx';
import { YouTube } from '@astro-community/astro-embed-youtube';
You've chosen to install FusionAuth via Docker and Docker Compose.
This is the best option if you have Docker installed locally or you plan to run FusionAuth in a Docker compatible environment such as Kubernetes and want to learn more about how FusionAuth runs in Docker.
If you've arrived here directly, start with the [5-Minute Setup Guide Overview](/docs/extend/examples/5-minute-intro).
Below is a brief video showing how to set up FusionAuth in less than 5 minutes.
 Here you need to provide the super user credentials for the database along with the database hostname, if it isn't running locally. You can also select either MySQL or PostgreSQL and change the database port if needed. For this example, you will be using PostgreSQL on the standard port with a super username of `postgres` and a password of `password`. You can also change the username and password that will be created as the primary database account that FusionAuth will access. This is the `fusionauth` user above, but can be set to any username and password you desire.
The reason that FusionAuth uses a separate username and password to connect to the database during normal operation is that if the configuration is compromised and an attacker learns the database username and password, they will only have access to the FusionAuth database. This is helpful if you are using a single database server for multiple applications and databases. This is known as the principle of least privilege and FusionAuth generally follows this principle.
Once you click the
  Clicking the
  ## 3. Complete the Setup Wizard
 After doing so you'll arrive at the sandbox dashboard.
 ## 2. Create an Application and Configure the OAuth settings
 ## Create an AKS cluster
### Create a Resource Group
Before you create the cluster, you need to first create a [Resource Group](https://docs.microsoft.com/en-us/azure/azure-resource-manager/management/), a logical grouping of Azure resources. A resource group location is where resources will run by default when a region is not provided on creation.
```shell title="Create a new resource group"
az group create --name fusionauthResourceGroup --location westus
```
```json title="JSON output of the resource group creation command"
{
"id": "/subscriptions/2683a458-c361-4b5e-87d9-a4e5237d5b91/resourceGroups/fusionauthResourceGroup",
"location": "westus",
"managedBy": null,
"name": "fusionauthResourceGroup",
"properties": {
"provisioningState": "Succeeded"
},
"tags": null,
"type": "Microsoft.Resources/resourceGroups"
}
```
### Create the cluster
```shell title="Create a new AKS cluster"
az aks create \
--resource-group fusionauthResourceGroup \
--name fusionauthCluster \
--node-count 1 \
--enable-addons monitoring \
--generate-ssh-keys
```
More on these arguments:
* `resource-group` - The name of the resource group where the cluster will be created.
* `name` - The name of the cluster.
* `node-count` - The number of nodes in the replica set.
* `enable-addons` - The Kubernetes addons to enable.
* `generate-ssh-keys` - Generates SSH public and private key files in the ~/.ssh directory.
For more information on the [`create`](https://docs.microsoft.com/en-us/cli/azure/aks?view=azure-cli-latest#az_aks_create) command, see [`az aks create`](https://docs.microsoft.com/en-us/cli/azure/aks?view=azure-cli-latest#az_aks_create) documentation.
### Update Kubernetes Configuration
The following retrieves credentials for the newly created cluster and then configures your `~/.kube/config` file so that you can use `kubectl` to connect to this cluster.
```shell title="Get access credentials and update Kubeconfig"
az aks get-credentials \
--resource-group fusionauthResourceGroup \
--name fusionauthCluster
```
### Verify Cluster Information
Execute the [list](https://docs.microsoft.com/en-us/cli/azure/aks?view=azure-cli-latest#az_aks_list) command to see AKS clusters that have been configured.
```shell title="Get list of AKS clusters"
az aks list
```
You now have a fully functional provisioned AKS cluster. For good measure, view the nodes that have been created.
Use `kubectl` to make requests to the Kubernetes API Server.
```shell title="Get list of nodes running on the cluster"
kubectl get nodes -o wide
NAME STATUS ROLES AGE VERSION INTERNAL-IP EXTERNAL-IP OS-IMAGE KERNEL-VERSION CONTAINER-RUNTIME
aks-nodepool1-13281124-vmss000000 Ready agent 8m42s v1.20.9 10.240.0.4
  Click on the **Create Elasticsearch (Elastic Cloud)** button.
 Create an Elastic Resource by selecting the resource group you created in the first section of this guide and a name for the resource. Click on **Review + Create** after providing the required fields.
 Review your selections and press the **Create** button when ready.
 Your deployment will now be in-progress as indicated on the next screen. This may take a few minutes to complete.
 When the deployment is complete, click on **Go to resource group** and then click on the Elasticsearch resource that you just created.
 Click on the **Manage changes in Elastic Cloud** link.
 You will be directed to your Elastic Cloud dashboard and will see your new deployment listed.
Click on the name of your deployment to manage it. On the next page, you have access to all of the necessary endpoint information you will need to connect to your deployment.
Under
  Click on the **Reset Password** button to set your administrative credentials for your cluster.
 You now have your Elasticsearch cluster deployed and the required credentials to connect to it.
## Next Steps
You now are running all the necessary infrastructure to deploy a containerized application to AKS.
Next up, [Deploy FusionAuth in Kubernetes](/docs/get-started/download-and-install/kubernetes/fusionauth-deployment).
# Provision an Amazon Elastic Kubernetes Service (EKS) Kubernetes Cluster
import Kubectl from 'src/content/docs/get-started/download-and-install/kubernetes/_kubectl.mdx';
import Aside from 'src/components/Aside.astro';
import InlineField from 'src/components/InlineField.astro';
## Overview
This guide will show you how to quickly set up an EKS cluster in AWS. When completed, you will have a fully functional Kubernetes cluster ready for a FusionAuth deployment. The following method uses the default settings when provisioning the EKS cluster with the required resources and services.
## Required Tools
* `AWS CLI` - Amazon Command Line Interface. This allows users to interact with AWS resources and services from the command-line. For more information, see [Installing, updating, and uninstalling the AWS CLI](https://docs.aws.amazon.com/cli/latest/userguide/cli-chap-install.html). This will need to be installed and configured for a user with [IAM permissions to manage EKS](https://docs.aws.amazon.com/service-authorization/latest/reference/list_amazonelastickubernetesservice.html).
* `eksctl` - For this guide, you will use `eksctl`, a command line tool for managing EKS clusters. For installation information, see [The eksctl command line utility](https://docs.aws.amazon.com/eks/latest/userguide/eksctl.html).
 ## Create an EKS Cluster
Prior to creating the cluster, either create a new key pair or have an existing pair on hand. This is because providing a key when running the create command configures EKS to allow SSH access to the created compute nodes. If a key is not provided, this can not be changed later. Having SSH access allows for easier troubleshooting.
```shell title="Create key pair"
aws ec2 create-key-pair --region us-west-1 --key-name eksExampleKeyPair
```
If successful, information about your new key will be displayed. Store the private key for future use.
Now create a new EKS cluster.
```shell title="Create EKS cluster"
eksctl create cluster \
--name fusionauth-example \
--region us-west-1 \
--with-oidc \
--ssh-access \
--ssh-public-key eksExampleKeyPair
```
This command uses CloudFormation to provision all of the necessary resources that your EKS cluster needs. You should see output that looks something like this:
```plaintext title="CloudFormation output"
2021-10-05 14:18:03 [ℹ] eksctl version 0.66.0
2021-10-05 14:18:03 [ℹ] using region us-west-1
2021-10-05 14:18:03 [ℹ] setting availability zones to [us-west-1a us-west-1c us-west-1a]
2021-10-05 14:18:03 [ℹ] subnets for us-west-1a - public:192.168.0.0/19 private:192.168.96.0/19
2021-10-05 14:18:03 [ℹ] subnets for us-west-1c - public:192.168.32.0/19 private:192.168.128.0/19
2021-10-05 14:18:03 [ℹ] subnets for us-west-1a - public:192.168.64.0/19 private:192.168.160.0/19
2021-10-05 14:18:03 [ℹ] nodegroup "ng-3fa00736" will use "" [AmazonLinux2/1.20]
2021-10-05 14:18:03 [ℹ] using EC2 key pair %!q(*string=
 ## Create an Ingress
If you want to connect FusionAuth with an external network, the last thing you need to do is to configure the cluster to be able to receive external requests. You might do this if you were using FusionAuth to authenticate users connecting to applications from the internet. On the other hand, you might not do this if you were using FusionAuth solely within your kubernetes cluster.
To direct external traffic to your cluster, you will use an [Ingress](https://kubernetes.io/docs/concepts/services-networking/ingress/), a component that defines how external traffic should be handled, and an [Ingress Controller](https://kubernetes.io/docs/concepts/services-networking/ingress-controllers/) that implements those rules.
### Deploy an Ingress Resource
Create a file named `ingress.yaml` and copy and paste the following resource configuration:
```yaml title="Ingress resource configuration"
apiVersion: networking.k8s.io/v1
kind: Ingress
metadata:
name: my-release-fusionauth
labels:
app.kubernetes.io/name: fusionauth
app.kubernetes.io/instance: my-release-fusionauth
annotations:
kubernetes.io/ingress.class: nginx
spec:
rules:
- http:
paths:
- backend:
service:
name: my-release-fusionauth
port:
number: 9011
path: /
pathType: Prefix
```
The rules for this Ingress resource indicate that requests from the root path context, or `/`, should be directed to the `my-release-fusionauth` service.
Now apply this configuration on the cluster:
```shell title="Apply Ingress resource"
kubectl apply -f ./ingress.yaml
```
### Install an Ingress Controller
For this guide, you will use the NGINX Ingress controller. To install the Ingress controller, add the [nginx-ingress](https://artifacthub.io/packages/helm/ingress-nginx/ingress-nginx) repository and install the Helm chart by running the following commands:
```shell title="Add ingress-nginx chart repository"
helm repo add ingress-nginx https://kubernetes.github.io/ingress-nginx
```
```shell title="Install ingress-nginx chart"
helm install fa-loadbalancer ingress-nginx/ingress-nginx
```
When completed, get the active services running on the cluster:
```shell title="Get services information"
kubectl get services
```
```plaintext title="Services response output"
NAME TYPE CLUSTER-IP EXTERNAL-IP PORT(S) AGE
fusionauth-ingress-nginx-controller LoadBalancer 10.100.246.131 a4413292c6477456b8c1cde8f5260513-137482286.us-west-1.elb.amazonaws.com 80:30048/TCP,443:32484/TCP 37m
```
A new service will be available of type `LoadBalancer` and will contain an external IP or host name corresponding to a newly provisioned Elastic Load Balancer host name. External traffic will now be directed to the Kubernetes cluster via this ingress.
Congratulations! You now have a fully functional Kubernetes environment running FusionAuth.
## Troubleshooting
### Runtime Mode Mismatch
 ## Project Setup
Having installed the [Cloud SDK](https://cloud.google.com/sdk/docs/install), authorize `gcloud` to access GCP using your Google credentials:
```shell title="Authorize gcloud"
gcloud auth login
```
Now create a new project used to organize all of your Google Cloud resources:
```shell title="Create a project"
gcloud projects create fusionauth-gke-example \
--name="FusionAuth GKE example"
```
You will want to set the newly created project as your default project. When you create resources and enable APIs, they will be assigned to your default project:
```shell title="Set the default project"
gcloud config set project fusionauth-gke-example
```
```plaintext title="Output of the default project selection command"
Create in progress for [https://cloudresourcemanager.googleapis.com/v1/projects/fusionauth-gke-example].
Waiting for [operations/cp.999999999156305912] to finish...done.
Enabling service [cloudapis.googleapis.com] on project [fusionauth-gke-example]...
```
### Enable Billing
In order to proceed, you will need to enable and link billing for your project. To do this:
1. Navigate to the [GCP Console](https://console.cloud.google.com/).
2. From the navigation menu, select
  After you have set up a subscription you will land on the [GCP Elasticsearch Service Overview](https://console.cloud.google.com/apis/api/elasticsearch-service.gcpmarketplace.elastic.co/) page. From here, click on the
  This will redirect you to the [Elastic Cloud](https://cloud.elastic.co/home) website. Login to [Elastic Cloud](https://cloud.elastic.co/home) using your Google account credentials.
After logging in, you will arrive at your Elastic Cloud dashboard. To begin creating a new Elasticsearch cluster, click on the
  Input a name for your deployment and again click on
  At this point, your deployment is now being created. You will be presented with deployment credentials on the next page. Download or save your credentials as instructed.
 When your deployment creation process is complete, click on the
  From this dashboard, you have access to all of the necessary endpoint information you will need to connect to your deployment.
 Under **Applications**, click on the
  Instructions are also provided in each guide on how to setup Elasticsearch. Using Elasticsearch is optional and can be configured accordingly prior to deploying FusionAuth.
## Istio
Community provided [Istio configurations can be found here](https://github.com/FusionAuth/fusionauth-contrib/tree/main/kubernetes/istio).
Here's a sample, community contributed, Istio configuration file.
 ## Requirements
Before you begin, you will need to have the following installed.
* [Docker Desktop](https://docs.docker.com/get-docker/) - The virtual machine environment you will use to run minikube.
* `helm` - Package manager used for installing and managing Kubernetes applications. In this guide, you will be using a Helm chart to install FusionAuth, a Postgresql database, and Elasticsearch cluster. For more information, see [Installing Helm](https://helm.sh/docs/intro/install/).
* `kubectl` - Command line tool that interacts with the Kubernetes API server and is useful for managing Kubernetes clusters. Before proceeding, follow the installation documentation that corresponds to your platform found [here](https://kubernetes.io/docs/tasks/tools/).
## Install minikube
Navigate to [minikube start](https://minikube.sigs.k8s.io/docs/start/) and complete step one by selecting the options that apply to your local machine.
For example, if you are running on `macOS` with `x86-64` architecture, Homebrew is a popular
 * The `post_logout_redirect_uri` request parameter if present
* The
* The
* `/` {/* eslint-disable-line */} | | 400 | The request was invalid and/or malformed. The response will contain a JSON message with the specific errors. The error response JSON is covered in the [OAuth Error section](#oautherror) of the API documentation. | | 500 | There was a FusionAuth internal error. A stack trace is provided and logged in the FusionAuth log files. | | 503 | The search index is not available or encountered an exception so the request cannot be completed. The response will contain a JSON body. | ## Token This is an implementation of the Token endpoint as defined by the [IETF RFC 6749 Section 3.2](https://tools.ietf.org/html/rfc6749#section-3.2). ### Complete the Authorization Code Grant Request Authorization Code Grant : Exchange the Authorization Code for a Token If you will be using the Authorization Code grant, you will make a request to the Token endpoint to exchange the authorization code returned from the Authorize endpoint for an access token.
 This mode allows you to control the entire login experience, yet still have it abstracted from all of your applications.
## Third-party Login and Registration
The **Third-party login and registration** mode is typically implemented with the classic
  After the user has logged into the third-party OAuth server and granted your application permissions, they are redirected back to your application and logged into it.
This mode is different from the previous mode because the user logged in but also granted your application permissions to the service (Facebook). This is one reason so many applications leverage "Login with Facebook" or other social integrations. It not only logs the user in, but also gives them access to call the Facebook APIs on the user's behalf.
Social logins are the most common examples of this mode, but there are plenty of other third-party OAuth servers beyond social networks (GitHub or Discord for example).
This mode is a good example of federated identity. Here, the user's identity (username and password) is stored in the third-party system. They are using that system to register or log in to your application.
How does this work in practice? Let's take a look at the steps for our TWGTL application if we want to use Facebook to register and log users in:
1. A user visits TWGTL and wants to sign up and manage their ToDos.
2. They click the
  Knowing a user's email domain allows the OAuth server to determine where to send the user to log in or if they should log in locally. If you work at Example Company, proud purveyors of TWGTL, providing `richard@example.com` to the login screen allows the OAuth server to know you are an employee and should be authenticated against a corporate authentication source. If instead you enter `dinesh@gmail.com`, you won't be authenticated against that directory.
Outside of these differences, this mode behaves much the same as the **Third-party login and registration** mode.
This is the final mode where users can register and log in to your application. The remaining modes are used entirely for authorization, usually to application programming interfaces (APIs). We'll cover these modes next.
## Third-party Service Authorization
The third-party service authorization mode is quite different from the **Third-party login and registration** mode; don't be deceived by the similar names. Here, the user is already logged into your application. The login could have been through a native form (as discussed above) or using the **Local login and registration** mode, the **Third-party login and registration** mode, or the **Enterprise login and registration** mode. Since the user is already logged in, all they are doing is granting access for your application to call third-party's APIs on their behalf.
For example, let's say a user has an account with TWGTL, but each time they complete a ToDo, they want to let their followers on WUPHF know. WUPHF is a fictional up and coming social network. To accomplish this, TWGTL provides an integration that will automatically send a WUPHF when the user completes a ToDo. The integration uses the WUPHF APIs and calling those requires an access token. In order to get an access token, the TWGTL application needs to log the user into WUPHF via OAuth.
To hook all of this up, TWGTL needs to add a button to the user's profile page that says "Connect your WUPHF account". Notice it doesn't say "Login with WUPHF" since the user is already logged in; the user's identity for TWGTL is not delegated to WUPHF. Once the user clicks this button, they will be taken to WUPHF's OAuth server to log in and grant the necessary permissions for TWGTL to WUPHF for them.
Since WUPHF doesn't actually exist, here's an example screenshot from Buffer, a service which posts to your social media accounts such as Twitter.
 When you connect a Twitter account to Buffer, you'll see a screen like this:
 The workflow for this mode looks like:
1. A user visits TWGTL and logs into their account.
2. They click the
  The workflow for this mode looks like:
1. The ToDo microservice authenticates with the OAuth server.
2. The OAuth server returns a token to the ToDo microservice.
3. The ToDo microservice calls an API in the WUPHF microservice and includes the token in the request.
4. The WUPHF microservice verifies the token by calling the OAuth server (or verifying the token itself if the token is a JWT).
5. If the token is valid, the WUPHF microservice performs the operation.
## Device Login and Registration
The **Device login and registration** mode is used to log in to (or register) a user's account on a device that doesn't have a rich input device like a keyboard. In this case, a user connects the device to their account, usually to ensure their account is active and the device is allowed to use it.
A good example of this mode is setting up a streaming app on an Apple TV, smart TV, or other device such as a Roku. In order to ensure you have a subscription to the streaming service, the app needs to verify the user's identity and connect to their account. The app on the Apple TV device displays a code and a URL and asks the user to visit the URL. The workflow for this mode is as follows:
1. The user opens the app on the Apple TV.
2. The app displays a code and a URL.
3. The user types in the URL displayed by the Apple TV on their phone or computer.
4. The user is taken to the OAuth server and asked for the code.
5. The user submits this form and is taken to the login page.
6. The user logs into the OAuth server.
7. The user is taken to a "Finished" screen.
8. A few seconds later, the device is connected to the user's account.
This mode often takes a bit of time to complete because the app on the Apple TV is polling the OAuth server.
## Conclusion
Modes are reflective of the flexibility of OAuth. Picking the right mode, or set of modes, can help you pick the correct identity architecture for the problem you are solving.
# Overview
import APIBlock from 'src/components/api/APIBlock.astro';
import APIField from 'src/components/api/APIField.astro';
import ApplicationOAuthSettings from 'src/content/docs/_shared/_application-oauth-settings.mdx';
import InlineField from 'src/components/InlineField.astro';
import PremiumPlanBlurb from 'src/content/docs/_shared/_premium-plan-blurb.astro';
import Aside from 'src/components/Aside.astro';
import ClientCredentialsPermissionsExplanation from 'src/content/docs/lifecycle/authenticate-users/oauth/_client_credentials_permissions_explanation.mdx';
import JSON from 'src/components/JSON.astro';
import ClientCredentialsScopesOmitted from 'src/content/docs/lifecycle/authenticate-users/oauth/_client_credentials_scopes_omitted.mdx';
import ClientCredentialsScopesSingleEntity from 'src/content/docs/lifecycle/authenticate-users/oauth/_client_credentials_scopes_single_entity.mdx';
import ClientCredentialsScopesMultipleEntities from 'src/content/docs/lifecycle/authenticate-users/oauth/_client_credentials_scopes_multiple_entities.mdx';
import { YouTube } from '@astro-community/astro-embed-youtube';
## Overview
FusionAuth supports the following grant types as defined by the OAuth 2.0 framework in [RFC 6749](https://tools.ietf.org/html/rfc6749), [RFC 8628](https://tools.ietf.org/html/rfc8628), and [OpenID Connect Core](https://openid.net/specs/openid-connect-core-1_0.html).
* Authorization Code Grant
* Implicit Grant
* Password Grant (also referred to as the Resource Owner Credentials Grant)
* Refresh Token Grant
* Client Credentials Grant
* Device Authorization Grant
To begin using the FusionAuth login system, start by configuring your Application for OAuth2.
To begin using the Client Credentials grant, start by configuring Entities.
It is recommended to utilize the Authorization Code Grant unless you have a technical requirement that makes a different grant a better choice. The following outline some example login flows.
* [Example Authorization Code Grant](/docs/lifecycle/authenticate-users/oauth/#example-authorization-code-grant)
* [Example Implicit Grant](/docs/lifecycle/authenticate-users/oauth/#example-implicit-grant)
* [Example Password Grant](/docs/lifecycle/authenticate-users/oauth/#example-resource-owner-password-credentials-grant)
* [Example Refresh Token Grant](/docs/lifecycle/authenticate-users/oauth/#example-refresh-token-grant)
* [Example Client Credentials Grant](/docs/lifecycle/authenticate-users/oauth/#example-client-credentials-grant)
* [Example Device Authorization Grant](/docs/lifecycle/authenticate-users/oauth/#example-device-authorization-grant)
You can also learn about [OAuth Modes](/docs/lifecycle/authenticate-users/oauth/modes), which are different methods of using OAuth that are higher level than the individual grants.
## Configure Application OAuth Settings
Navigate to the Application configuration from the main menu, **Applications**.
If you have already created a FusionAuth Application for the purpose of your application, you do not need to create another, however you will still need to complete the OAuth configuration. If an application has not yet been created, click *Add* and name your application accordingly and fill out the OAuth configuration.
In this example you will see we have created a new Application named `Pied Piper` and have filled out the fields in the OAuth Configuration tab. A FusionAuth application represents an authenticated resource that you will be using with FusionAuth.
Additional OAuth controls can be managed through [Tenant Configuration](/docs/get-started/core-concepts/tenants#tenant-configuration).
{/* TBD take screencap of this */}
 ### OAuth Form Fields
 Below is the management screen for an Entity where you'd add or remove Grants:
 Here's an example of adding a Grant to an Entity via the API:
```shell title="Example Grant Request"
API_KEY=...
TARGET_ENTITY_ID=e13365f1-a270-493e-bd1b-3d239d753d53
RECIPIENT_ENTITY_ID=2934f41f-d277-4a32-b0d5-16e47dad9721
curl \
-XPOST \
-H "content-type: application/json" \
-H "Authorization: $API_KEY" \
'https://local.fusionauth.io/api/entity/'$TARGET_ENTITY_ID'/grant' -d'
{
"grant": {
"recipientEntityId": "'$RECIPIENT_ENTITY_ID'",
"permissions" : ["read","write"]
}
}
'
```
Next, learn how to perform a [Client Credentials Grant](/docs/lifecycle/authenticate-users/oauth/#example-client-credentials-grant).
## Example Authorization Code Grant
### Point your application to the authorize endpoint
Now that your FusionAuth application has been configured to use the OAuth provider, you may now point the login for your application to the FusionAuth authorize endpoint which will now handle user authentication.
For the purposes of this example, I will make the assumption that FusionAuth App is running locally at `http://localhost:9011`, the `client_id` will be found on the OAuth tab in the application configuration, the `redirect_uri` will be where you wish FusionAuth to redirect the browser when the authorization step has completed. This value will need to be predefined in the authorized redirect URLs in the OAuth configuration. The `response_type` will always be `code` for this grant type. The `tenantId` will be the unique Id of the tenant this request is scoped for, the tenant's configured theme will be applied.
Review the [Authorization](/docs/lifecycle/authenticate-users/oauth/endpoints#authorize) endpoint documentation for more detail.
```
http://localhost:9011/oauth2/authorize?client_id=06494b74-a796-4723-af44-1bdb96b48875&redirect_uri=https://www.piedpiper.com/login&response_type=code&tenantId=78dda1c8-14d4-4c98-be75-0ccef244297d
```
### Consume the authorization code returned from the authorize request
When the authorize request completes successfully it will respond with a status code of `302` to the location provided by the redirect_uri parameter. The request will contain a code parameter which can be exchanged for an access token. The access token contains the user Id of the authenticated user which can then be used to retrieve the entire user object.
Review the [Token](/docs/lifecycle/authenticate-users/oauth/endpoints#token) endpoint documentation for more detail. The following is an example redirect URI containing the authorization code.
```
https://www.piedpiper.com/login?code=+WYT3XemV4f81ghHi4V+RyNwvATDaD4FIj0BpfFC4Wzg=&userState=Authenticated
```
### Exchange the authorization code for an access token
The last step to complete the authentication process and retrieve the user's Id is to exchange the returned authorization code for an
access token. The JSON response will contain the user Id of the authenticated user.
If the authorization code grant is being implemented in a Single Page App (SPA), the token request should be made by the application server in order to keep the client secret secure from introspection of the client code.
Line breaks have been added for readability.
```plaintext title="Example HTTP Request"
POST /oauth2/token HTTP/1.1
Host: piedpiper.fusionauth.io
Content-Type: application/x-www-form-urlencoded
Accept: */*
Content-Length: 436
client_id=3c219e58-ed0e-4b18-ad48-f4f92793ae32
&code=+WYT3XemV4f81ghHi4V+RyNwvATDaD4FIj0BpfFC4Wzg
&grant_type=authorization_code
&redirect_uri=https%3A%2F%2Fwww.piedpiper.com%2Flogin
```
```json title="Example HTTP Response"
{
"access_token" : "eyJhbGciOiJIUzI1NiIsInR5cCI6IkpXVCJ9.eyJleHAiOjE0ODUxNDA5ODQsImlhdCI6MTQ4NTEzNzM4NCwiaXNzIjoiYWNtZS5jb20iLCJzdWIiOiIyOWFjMGMxOC0wYjRhLTQyY2YtODJmYy0wM2Q1NzAzMThhMWQiLCJhcHBsaWNhdGlvbklkIjoiNzkxMDM3MzQtOTdhYi00ZDFhLWFmMzctZTAwNmQwNWQyOTUyIiwicm9sZXMiOltdfQ.Mp0Pcwsz5VECK11Kf2ZZNF_SMKu5CgBeLN9ZOP04kZo",
"expires_in" : 3600,
"token_type" : "Bearer",
"userId" : "3b6d2f70-4821-4694-ac89-60333c9c4165"
}
```
### Verify Authorization
If you only need to validate registration and User roles, this can be done by inspecting the JWT payload as returned in the `access_token`
property of the response body.
If you require the entire User object to validate authorization, you may need to retrieve the entire User. The User may be
retrieved in one of several ways. If you have an API key you can retrieve the User by Id or email, these two values are returned in the JWT
payload. The email address is returned in the `email` identity claim, and the User's Id is returned in the `sub` identity claim. You may
also retrieve the User without an API key by utilizing the JWT as returned in the `access_token` property in the response body.
See the [Retrieve a User](/docs/apis/users#retrieve-a-user) API for examples.
You may also choose to use the [Introspect](/docs/lifecycle/authenticate-users/oauth/endpoints#introspect) or [Userinfo](/docs/lifecycle/authenticate-users/oauth/endpoints#userinfo) endpoints to validate the access token returned from the Token endpoint and to provide you decoded claims as a JSON object.
Now that you have the user, or retrieved the roles from the JWT, you may review their roles and registration to ensure they have adequate
authority for the intended action, and if the user is not yet registered for the requested application, you can either fail their login,
or complete a registration workflow. Once you have determined a user can be logged into your application, you'll need to log them into
your application. For a web based application, this generally will include creating an HTTP session and storing the user in the newly created session.
### Log Out
To log the user out, a typical workflow would include first logging out of your application, if that is successful, you would then log the
user out of FusionAuth. This is accomplished by making a `GET` request to the `/oauth2/logout` endpoint. The logout request will complete
with a `302` redirect to the configured logout URL.
Line breaks have been added for readability.
```plaintext title="Example HTTP Response"
GET /oauth2/logout?
client_id=06494b74-a796-4723-af44-1bdb96b48875
&tenantId=78dda1c8-14d4-4c98-be75-0ccef244297d HTTP/1.1
Host: piedpiper.fusionauth.io
```
```plaintext title="Example HTTP Request"
HTTP/1.1 302 Found
Location: https://www.piedpiper.com
```
## Example Implicit Grant
The Implicit Grant is similar to the Authorization grant, instead of exchanging a code for an access token, the token is provided in response to the initial authorization request.
### Make the authorization request to the authorization server
Make a `GET` request to the Authorize endpoint with the `client_id` and `redirect_uri`. The `response_type` will always be `token`. Below is an example HTTP request.
Line breaks have been added for readability.
```plaintext title="Example HTTP Request"
GET /oauth2/authorize?
client_id=3c219e58-ed0e-4b18-ad48-f4f92793ae32
&response_type=token
&redirect_uri=https%3A%2F%2Fwww.piedpiper.com%2Fcallback
Host: piedpiper.fusionauth.io
```
Upon successful authentication, a redirect to the configured
  Line breaks have been added for readability.
```plaintext title="Example HTTP Request"
POST /oauth2/device_authorize HTTP/1.1
Host: piedpiper.fusionauth.io
Content-Type: application/x-www-form-urlencoded
Accept: */*
Content-Length: 67
client_id=3c219e58-ed0e-4b18-ad48-f4f92793ae32
&scope=offline_access
```
```json title="Example JSON Response"
{
"device_code": "e6f_lF1rG_yroI0DxeQB5OrLDKU18lrDhFXeQqIKAjg",
"expires_in": 600,
"interval": 5,
"user_code": "SFYNPV",
"verification_uri": "http://localhost:9011/oauth2/device",
"verification_uri_complete": "http://localhost:9011/oauth2/device?user_code=SFYNPV"
}
```
### Poll Token endpoint
Upon receiving a response from the Device Authorize endpoint the device may begin polling the [Token endpoint](/docs/lifecycle/authenticate-users/oauth/endpoints#complete-the-device-authorization-grant-request) with the
  The user should then navigate to the displayed URL, and enter the activation code.
 ### Pass `user_code` to FusionAuth
Once the `user_code` has been received from the end-user, it may be validated by making a request to the [Device Validate endpoint](/docs/lifecycle/authenticate-users/oauth/endpoints#device-validate).
This endpoint will return a `200` response code without a JSON body on successful validation.
Upon validating the end-user provided `user_code` the typical Authorization Grant, Implicit Grant, or Password Grant flows may be followed for authentication.
The OAuth endpoints that facilitate these typical OAuth flows take a `user_code` parameter to facilitate the Device Authorization Grant approval.
See the [Authorize endpoint](/docs/lifecycle/authenticate-users/oauth/endpoints#authorize) and [Token endpoint](/docs/lifecycle/authenticate-users/oauth/endpoints#token) documentation for more information.
 ### Receive `access_token`
Once the user has provided a valid `user_code` and successfully authenticated, the request from the device to the [Token endpoint](/docs/lifecycle/authenticate-users/oauth/endpoints#complete-the-device-authorization-grant-request) will return successfully with an access token.
Line breaks have been added for readability.
```plaintext options="wrap" title="Example HTTP Request"
POST /oauth2/token HTTP/1.1
Host: piedpiper.fusionauth.io
Content-Type: application/x-www-form-urlencoded
Accept: */*
Content-Length: 166
client_id=3c219e58-ed0e-4b18-ad48-f4f92793ae32
&device_code=e6f_lF1rG_yroI0DxeQB5OrLDKU18lrDhFXeQqIKAjg
&grant_type=urn%3Aietf%3Aparams%3Aoauth%3Agrant-type%3Adevice_code
```
```json title="Example JSON Response"
{
"access_token" : "eyJhbGciOiJIUzI1NiIsInR5cCI6IkpXVCJ9.eyJleHAiOjE0ODUxNDA5ODQsImlhdCI6MTQ4NTEzNzM4NCwiaXNzIjoiYWNtZS5jb20iLCJzdWIiOiIyOWFjMGMxOC0wYjRhLTQyY2YtODJmYy0wM2Q1NzAzMThhMWQiLCJhcHBsaWNhdGlvbklkIjoiNzkxMDM3MzQtOTdhYi00ZDFhLWFmMzctZTAwNmQwNWQyOTUyIiwicm9sZXMiOltdfQ.Mp0Pcwsz5VECK11Kf2ZZNF_SMKu5CgBeLN9ZOP04kZo",
"expires_in" : 3600,
"id_token" : "eyJhbGciOiJIUzI1NiIsInR5cCI6IkpXVCJ9.eyJleHAiOjE0ODUxNDA5ODQsImlhdCI6MTQ4NTEzNzM4NCwiaXNzIjoiYWNtZS5jb20iLCJzdWIiOiIyOWFjMGMxOC0wYjRhLTQyY2YtODJmYy0wM2Q1NzAzMThhMWQiLCJhcHBsaWNhdGlvbklkIjoiNzkxMDM3MzQtOTdhYi00ZDFhLWFmMzctZTAwNmQwNWQyOTUyIiwicm9sZXMiOltdfQ.Mp0Pcwsz5VECK11Kf2ZZNF_SMKu5CgBeLN9ZOP04kZo",
"refresh_token": "ze9fi6Y9sMSf3yWp3aaO2w7AMav2MFdiMIi2GObrAi-i3248oo0jTQ",
"token_type" : "Bearer",
"userId" : "3b6d2f70-4821-4694-ac89-60333c9c4165"
}
```
# OIDC Prompt
import Aside from 'src/components/Aside.astro';
## Overview
The OpenID Connect prompt parameter provides additional flexibility to control the login workflow.
### Supported values
- `none` - No user interface is displayed. An error is returned if the user is not already authenticated.
- `login` - The user will be prompted for authentication when there's an existing SSO session.
- `consent` - Always prompt for consent from the user.
### Example use cases
The following examples use a single consent value. A request may contain more than one consent value unless one of the values is `none`. For example, adding `prompt=login none` to the request will result in a validation error.
#### Silent authentication
This is usually used when an application would like obtain a new authorization code grant without any user interaction. The application will receive an error user interaction is required. The application can then decide how and when to ask the user to authenticate.
Add `prompt=none` to the request.
For an authorization code grant response that contains `code`, complete the code exchange to finish a silent authentication. If the response contains `error` then the user will require some sort of interaction to complete authentication. See [Error handling](#error-handling) below for some examples.
#### Require reauthentication
Require the user to authenticate even if they have an active SSO session.
Add `prompt=login` to the request.
#### Require reauthentication for a session older than 120 seconds
Authenticate a user if the session was created less than `120` seconds ago, otherwise require the user to authenticate again.
Add `max_age=120` to the request.
#### Force consent
Force prompting the user for consent for the requested scopes even if the scopes were previously accepted or rejected.
Add `prompt=consent` to the request.
Note that FusionAuth must be configured to prompt for consent for this prompt to have an effect. For example, adding `consent` to the prompt parameter will have no effect if the application isn't configured as a third party application, or you have configured the consent mode to always prompt or never prompt.
To explain this behavior further, review the following table to explain the expected prompt behavior in the following configurations.
The following table shows the expected behavior for different consent configurations:
| Relationship | Consent mode | prompt= | Display prompt to user |
|--------------|-------------------|---------|-------------------------|
| First party | - | - | Never |
| First party | - | consent | Never |
| Third party | Always prompt | - | Always |
| Third party | Always prompt | consent | Always |
| Third party | Never prompt | - | Never |
| Third party | Never prompt | consent | Never |
| Third party | Remember decision | - | Once, remember decision |
| Third party | Remember decision | consent | Always |
The table shows that the only time adding `prompt=consent` changes display of the consent prompt to the end user is when the application is configured as third party, and the consent mode is set to Remember decision.
#### Error handling
An error will be returned when the request containing a supported prompt value cannot be completed.
For example, if you request `prompt=none` and the user isn't authenticated, an error is returned to the authorized redirect.
The `error` will be a more general indication of the the issue such as `login_required` or `consent_required`. The `error_reason` is an error code specific to the reason the error occurred. The `error_description` is a human-readable version of the `error_reason`.
For example, when you request `prompt=none` and the user doesn't have an active SSO session, the redirect contains the following `error`, `error_reason` and `error_description`:
- `error=login_required`
- `error_reason=authentication_required`
- `error_description=The user is required to complete authentication.`
Another example is when the user is required to provide consent even when there's an active SSO session (`prompt=consent`). The returned error contains:
- `error=consent_required`
- `error_reason=consent_required`
- `error_description=The user is required to consent to one or more scopes in order to complete authentication.`
See [OAuth2 Error Redirect parameters](/docs/lifecycle/authenticate-users/oauth/endpoints#redirect-parameters-2) for additional information.
### Identity providers
The `prompt` parameter wil be forwarded when the identity provider is of type OpenID Connect. When the identity provider is of type SAML v2 and the `prompt` parameter contains `login`, the `ForceAuthn=true` attribute will be added to the SAML Authn request.
For all other identity provider types, the `prompt` parameter will not be forwarded.
When `max_age` is specified and the value is `0` or the FusionAuth SSO session age is greater than the specified value, this parameter will be converted to `prompt=login` and the above rules will then be applied to an OpenID Connect or SAML v2 identity provider. The `max_age` parameter is never forwarded.
### Security considerations
Use `prompt=login` or `max_age` with the correct expectations. Don't rely on these parameters for either a security guarantee or that the user is reauthenticated. This is because request parameters can be removed easily.
For example, if a user with an existing SSO session removes the `prompt=login` parameter, an authorization code is generated and redirected back to the authorized redirect.
The prompt parameter is a suggestion to the identity provider, but by itself provides no guarantee to the relying party (RP) that the request was honored, and the user has been reauthenticated.
To use `prompt=login` to ensure the user authenticated recently, you must also inspect and validate the `auth_time` claim in the appropriate token, either the `id_token` or `access_token`.
The `auth_time` claim represents the time of the actual user authentication and is expressed as [unix time](/docs/reference/data-types#unix-time).
Using this value, you can assert when the last user authenticate event occurred and as a result know that `prompt=login` was honored by the identity provider and was not removed by a malicious user.
For example, when using `login=prompt` or `max_age`, after completing the authorization code grant auth code exchange compare the `auth_time` to the current token. The new token must have a more recent `auth_time` claim and the value must be within your expected time frame.
If `auth_time` is the same as your current access token, or isn't recent enough, reject the token and end the users session. Alternatively, don't allow the user to perform the requested task that initiated the login request.
### Limitations and constraints
Before using this parameter make sure you understand the following limitations and constraints.
#### Unsupported values
The `select_account` parameter is currently unsupported. Using this value in `prompt` is ignored.
##### Identity providers
In versions prior to 1.6.1, the `prompt` parameter was never forwarded to a third party identity provider.
#### Edge cases
When using the `idp_hint` request parameter and including `prompt=login`, FusionAuth redirects to the identity provider resolved by request parameter.
The `idp_hint` indicates that this user must be authenticated by a third party and often the caller does not want the user to see the FusionAuth login page. In this context, it's not useful to show the user the FusionAuth login page as FusionAuth is unable to authenticate the user. It is possible this is not the desired behavior for all customers.
If this behavior happens, remove the `prompt=login` from the request. Using a `login_hint` request parameter with managed domains results in the same behavior.
# OAuth Scopes
import AdvancedPlanBlurb from 'src/content/docs/_shared/_advanced-plan-blurb.astro';
import ApplicationScopesSettings from 'src/content/docs/_shared/_application-scopes-settings.mdx';
import Aside from 'src/components/Aside.astro';
import Breadcrumb from 'src/components/Breadcrumb.astro';
import InlineField from 'src/components/InlineField.astro';
import InlineUIElement from 'src/components/InlineUIElement.astro';
import OAuthScopeMessageLookup from 'src/content/docs/_shared/_oauth-scope-message-lookup.mdx';
## Overview
OAuth scopes provide you with another dimension for applying access controls to applications. Scopes are requested by OAuth clients (applications) during authorization and optionally consented to by the user providing the authorization. The consented scopes make their way into the access token granted to the client and can be checked when the client uses the access token to access protected resources.
In FusionAuth, applications can be designated as first-party or third-party. First-party applications are often synonymous with the authorization server from the user's perspective and don't require consent for requested scopes. Third-party applications, by contrast, require consent by an authorizing user for the scopes they request.
This page details these features and explains how you can use them to customize FusionAuth's behavior.
## Application Configuration
The
  ### Form Fields
 The page informs the user of the requested OAuth scopes. Required scopes are listed first with a checkmark icon and cannot be de-selected. Optional scopes use a checkbox form element to allow the user to decline consent to the corresponding scope.
Clicking the
  * Add a user and register them with your application. Make sure you register a valid email address or phone number
Since, by default, magic links authentication requires email or SMS delivery, ensure FusionAuth is correctly configured to send email or SMS messages.
## Using the FusionAuth Hosted Login Pages
Choose the FusionAuth hosted login pages approach if you want to use the [Authorization Code grant](/docs/lifecycle/authenticate-users/oauth/#example-authorization-code-grant). Enabling magic links adds an option for a user to receive a one-time code. Because this is the Authorization Code grant, any library or framework that supports this OAuth grant will work.
To use this option:
1. Go to your application configuration page in the administration UI
2. Configure the OAuth redirect URL as you would with any application where users authenticate password ([more on OAuth config here](/docs/lifecycle/authenticate-users/oauth/)). Make sure the Authorization Code grant is an enabled grant
3. Turn on "Passwordless Login" under the "Security" tab of the application configuration:
 Now you're done with configuration.
To test out how your users would experience this:
1. Go to your application login page and click the
  2. Enter the user's email or phone number
 3. Go to the user's email or SMS inbox.
4. User input:
- For email, click on the link.
- For SMS, enter the one-time code from the SMS message into the form.
As soon as the magic link is clicked or the one-time code from the SMS is entered, the user has begun an Authorization Code grant. You can [consume the authorization code](/docs/lifecycle/authenticate-users/oauth/#example-authorization-code-grant) using a library or your own code. Whatever you would normally do if someone signed in with a password, you can now do here. This means that you'll be provided with the same refresh tokens, user data, or JWTs that would be delivered if the user had signed in with a password.
To customize the look of the login pages, use [themes](/docs/customize/look-and-feel/). While editing the theme, you could remove the username/password form. This would force everyone to use magic links authentication.
Since changing a theme modifies it across all applications in a tenant, this might also affect the FusionAuth admin application (if the new application is in the default tenant) and other applications in the same tenant. If you want to hide the username/password form on an application by application basis, you can use separate tenants or add logic to your theme to hide parts of the HTML based on the `client_id`, or you can use application specific themes. The latter are a feature requiring a paid license.
### Limitations
There are a few limitations when using the FusionAuth hosted login pages:
* This approach will only send the magic code via email or SMS
* This approach also requires you to enable the Authorization Code or Implicit grant
## Using the API Directly
While using the FusionAuth hosted login pages works for many, you may need more control or flexibility. You can use the passwordless API to authenticate a user with a one-time code. The [API reference docs](/docs/apis/passwordless) cover each of the API calls, but this guide will walk you through an implementation.
There are a couple of reasons you might choose this method of integration.
* You can customize every part of the user login experience
* You can send the code using a different method such as a Slack direct message
When using this option, you must set up an [API key](/docs/apis/authentication) with the appropriate permissions. The minimum level of privilege required is the `POST` permission to the `/api/passwordless/start` endpoint.
### Calling the API
There are four parts to build your own magic link flow.
1. You start the magic link login via an API call to FusionAuth
2. Deliver the code to the user
3. The user enters the code
4. You complete the magic link login via an API call
#### Starting the login
You start a magic link login by calling the [`/api/passwordless/start`](/docs/apis/passwordless#start-passwordless-login) endpoint.
```shell title="Start Magic Link Login API call"
API_KEY=...
REQUEST_PAYLOAD='{...}'
curl -H "Content-type: application/json" -H "Authorization: $API_KEY" https://local.fusionauth.io/api/passwordless/start -d "$REQUEST_PAYLOAD"
```
Here's an example request payload:
 Then modify it with your branding and messaging.
 Configure the tenant identities template settings to use your email template.
 When customizing, you can use any Apache FreeMarker built-ins within the template and in the subject. Make sure you modify both the HTML and text templates. Here are the default email templates:
 Here is more information about [email and message templates](/docs/customize/email-and-messages/).
#### Customizing the Subject
Here's an example of how to customize the subject with FreeMarker. The subject below shows how to customize the subject with the time the link expires.
```plaintext title=Customizing the subject
[#setting time_zone = (user.timezone)!"US/Denver"]
[#setting time_format = "h:mm a"]
Expires at: ${((.now?date?long + timeToLive * 1000)?number_to_time)?string}
```
#### Message Template Customization
The message template is used for SMS delivery. It is similar to the email template, but does not have an HTML version. You can customize it in the same way as the email template, but you will only have a text version. Additionally, you can use the `oneTimeCode` variable to include the one-time code in the message.
 Here is the default message template:
 You can also change the types of the generated code and one-time code. For example, you may want your code to be only alphanumeric characters and one-time code to be numeric digits.
You may change your code length or generation strategy for security or user experience reasons. You may have requirements that specify a certain code length. If you deliver the code by text message, having a user enter a six digit alphanumeric code sent to them by SMS is a lot easier than a 64 byte string.
You have the following options for the code generation strategy:
* alphabetic characters
* alphanumeric characters
* bytes
* digits
Consult the [tenant API documentation](/docs/apis/tenants) for the length limits, which vary based on the strategy.
 ## Security
With magic link authentication, if the user's email account or phone number is hijacked, their account on your system is compromised. However, many organizations have security policies and protections around email accounts. It is often easier to protect and regularly change one email account password than to change all of a user's passwords. Email accounts are also more likely to have two-factor authentication enabled.
One way to increase the security of your magic link authentications is to decrease the lifetime of the code. This will help if the email or SMS message is compromised or accidentally forwarded.
There are no limits on how many passwordless requests can be made for a user, but only the most recent code is valid. Using any of the others, even if they have not yet expired, will display an `Invalid login credentials` message to the user.
If someone tries to log in with an email or phone number that is not present in the FusionAuth user database, they'll see the same notification as they would if the email or phone number existed. No email or SMS message will be sent.
If you use the passwordless API, follow the principle of least privilege, and limit calls to which the API key has access. If you are using the API key only for magic link passwordless login, don't give this key any other permissions.
### What About Users' Passwords
When FusionAuth is your user datastore, you can optionally choose to disable passwords at the tenant level to make the passwordless login process easier. See the [Password enabled](/docs/get-started/core-concepts/tenants#password) tenant setting.
## Troubleshooting
### Magic Link Button Not Appearing on Login Page
If the "Login with a magic link" button does not appear on your login page, check the following:
* Ensure that the application has "Passwordless Login" enabled under the "Security" tab.
* Ensure that the application and/or tenant has a valid email or phone template configured for Passwordless Login.
* Ensure that SMS and/or email is configured in the tenant settings.
### Email
If you are experiencing troubles with email deliverability, review [the email troubleshooting documentation](/docs/operate/troubleshooting/troubleshooting#troubleshooting-email).
### Invalid Links
In some cases, email clients will visit links in an email before the user does. In particular, this is known to happen with Outlook "safe links". If the client does this when the email contains a passwordless one time code, that code may be invalid when the user clicks on it, as it has already been "used" by the client.
One option is to consult with your email client administrator. It may be possible to add the application's URL to an allow list.
In version 1.27, FusionAuth changed the link processing behavior to remedy this for some situations. Given the wide variety of email client behavior, it may still be present in other scenarios.
If your users' passwordless codes are being expired by an email client, please [file a GitHub issue](https://github.com/FusionAuth/fusionauth-issues/issues).
# Authentication With WebAuthn & Passkeys
import LicensedPlanBlurb from 'src/content/docs/_shared/_licensed-plan-blurb.mdx';
import Aside from 'src/components/Aside.astro';
import Breadcrumb from 'src/components/Breadcrumb.astro';
import InlineField from 'src/components/InlineField.astro';
import InlineUIElement from 'src/components/InlineUIElement.astro';
import JSON from 'src/components/JSON.astro';
import {RemoteCode} from '@fusionauth/astro-components';
import {YouTube} from '@astro-community/astro-embed-youtube';
 * Enable one or more WebAuthn workflows on the tenant configuration:
 * Add a user and register them with an application belonging to the tenant
The [WebAuthn Admin Guide](/docs/lifecycle/authenticate-users/passwordless/webauthn) has more information on the tenant configuration options and overriding workflow availability per application.
## Using the FusionAuth Hosted Login Pages
Using the FusionAuth hosted login pages will handle the client-side portion of WebAuthn ceremonies for you. This includes necessary data conversions between the FusionAuth APIs and the [WebAuthn JavaScript API](https://developer.mozilla.org/en-US/docs/Web/API/Web_Authentication_API) as well as the WebAuthn API call itself. There is no additional configuration required for this approach.
FusionAuth supports two WebAuthn workflows: re-authentication and bootstrap authentication.
### Re-authentication
The re-authentication workflow is used to provide a streamlined user experience for repeated logins from the same device. FusionAuth will automatically prompt users to opt in to this workflow when it detects a compatible device. The next time the user is prompted to sign in, they will be redirected to a WebAuthn re-authentication page that lists available passkeys. The user can sign in by clicking a passkey in the list and completing the WebAuthn authentication ceremony.
#### Registration
After a successful login, users will automatically be redirected to prompt them to register or select a WebAuthn passkey for re-authentication if:
1. The re-authentication workflow is enabled
2. FusionAuth detects a device suitable for re-authentication using the [isUserVerifyingPlatformAuthenticatorAvailable()](https://developer.mozilla.org/en-US/docs/Web/API/PublicKeyCredential/isUserVerifyingPlatformAuthenticatorAvailable) JavaScript method
 The re-authentication prompt page lists a user's WebAuthn passkeys that meet the attachment and user verification requirements for the tenant configuration. It also has a section to register a new passkey for re-authentication.
There are a few important notes about this page:
* The listed passkeys may have been registered with an authenticator that is not currently available (e.g. a removable security key)
* The listed passkeys may have been registered in another browser. Typically passkeys registered with a platform authenticator in one browser will not work in a different browser
* If the user tries to register a new passkey using the same authenticator as another of their passkeys, the registration ceremony will fail
The user is also presented with the option to skip selecting a re-authentication passkey. Choosing the "Don't ask me again on this device" and then clicking the
  WebAuthn passkeys determined to be present will be listed. A user can select which passkey and, by extension, account they would like to use for re-authentication. Clicking a passkey on the list will start the WebAuthn authentication ceremony. Only the selected passkey will be eligible to complete the re-authentication. Once the WebAuthn authentication ceremony has been completed successfully, the user will be authenticated.
The user also has the option to return to the normal login page by clicking the
  Users can see a list of passkeys along with a button to delete each one. Below the list of registered passkeys is a button to add a new passkey. Passkey registration on this page will use authenticator attachment and user verification requirements designed to cover the broadest set of use cases. Depending on the tenant configuration, passkeys registered here may not be usable with all enabled WebAuthn workflows. For instance, if passkey ABC is cross-platform, but the tenant is only configured to accept platform authenticators, passkey ABC won't work even though it shows up in this list.
#### Authentication
If the bootstrap workflow is enabled, users will see a button to authenticate with "Fingerprint, device or key" on the initial FusionAuth login page.
 When a re-authentication passkey has been registered in this browser, users will see a link just above the alternative login methods sections with the text "Return to passkey authentication." This link will take the user back to the re-authentication page.
Clicking the
  The user must identify themselves with their username, email address, or phone number, then click the
  You may want to adjust the lifetime of these challenges to change how long a user has to complete a ceremony once it has been started. If an attempt is made to complete the ceremony after the challenge expires, it will fail. These values are also used as the timeout for the corresponding [WebAuthn JavaScript API](https://developer.mozilla.org/en-US/docs/Web/API/Web_Authentication_API) calls by returning the value in milliseconds as part of the [`/api/webauthn/register/start`](/docs/apis/webauthn#start-a-webauthn-passkey-registration) and [`/api/webauthn/start`](/docs/apis/webauthn#start-a-webauthn-passkey-assertion-or-authentication) API responses. The WebAuthn JavaScript APIs treat the timeout value as a hint. The browser may allow the user more time to complete the ceremony (e.g. if the timeout is deemed too short), but FusionAuth will still expire the challenge, preventing the ceremony from being completed. The
  The settings in this first section are applied to all applications in the tenant.
 Each WebAuthn workflow has the same set of configuration options.
 In order to override which workflows are enabled for the application, regardless of the tenant configuration, first enable the main toggle. Enabling the toggle in one of the subsections will enable that workflow for the application. Likewise, disabling the toggle in one of the subsections will disable that workflow for the application.
# SAML v2
import APIBlock from 'src/components/api/APIBlock.astro';
import APIField from 'src/components/api/APIField.astro';
import Aside from 'src/components/Aside.astro';
import Breadcrumb from 'src/components/Breadcrumb.astro';
import InlineField from 'src/components/InlineField.astro';
import SamlIdpLimitations from 'src/content/docs/get-started/core-concepts/_saml-idp-limitations.mdx';
import SamlIdpNote from 'src/content/docs/lifecycle/authenticate-users/integrations/saml/_saml-idp-note.mdx';
import SamlSpLimitations from 'src/content/docs/_shared/_saml-sp-limitations.mdx';
## Overview
SAML is an XML based authentication protocol developed and released in 2005. While OpenID Connect is the newest single sign-on solution, many backends and applications still rely solely on SAML. FusionAuth provides both a SAML identity provider interface as well as a SAML service provider interface. If you are unfamiliar with these SAML terms, they are defined as follows:
* Identity provider - the entity that is performing the authentication of a user. Essentially, this is the thing that is providing the login page. Also known as an IdP.
* Service provider - the entity that needs a user to login with an identity provider in order to provide some service. Essentially, this is the app the user wants to use. Also known as an SP.
As a concrete example, you might have an app called `Payroll Zen` that manages your company's payroll. This app requires that employees who have access to use it log in using the credentials stored in your company's Active Directory. `Payroll Zen` is therefore the service provider and Active Directory is the identity provider.
 In order for a user to use a passkey, one or more WebAuthn workflows must be enabled at the tenant or application level. See the [WebAuthn Admin Guide](/docs/lifecycle/authenticate-users/passwordless/webauthn) for more details on configuration.
### Add a Passkey from Account Management (User Facing)
 1. Navigate back to your
 Next,
1. Enter a display name for the new passkey. You should choose something that helps you remember the authenticator and browser it was registered.
2. Click the
  1. Click the
 # Bootstrapping Login For Self-Service Account Management
import PremiumPlanBlurb from 'src/content/docs/_shared/_premium-plan-blurb.astro';
import Aside from 'src/components/Aside.astro';
 #### Edit Form (Admin Facing)
In this example, we are going to add a `birthDate` field on our account management self service form.
 Remember, you can move each field around with up and down arrows
#### Adding a birthDate (Admin Facing)
To add a `birthDate`, click
  Select `Birthdate` and click submit. Now we have a custom form available on our self-service account management page. Please note we are using a built-in field, but FusionAuth lets you define any number of custom fields. More information can be found in our [Advanced Registration Forms](/docs/lifecycle/register-users/advanced-registration-forms) page.
### See It in Action - Forms (User Facing)
Take the following steps to see the changes:
- Navigate to your account management page.
- Login as a user of this application.
- Click on the edit icon in the top right.

 ### Update the Account Two Factor Index Template (Admin Facing)
Let's update the Account Management index page with a `birthDate` field.
Click on the
 This is now modified with a birthdate field
- ${theme.message("user.birthDate")}
- ${helpers.display(user, "birthDate")}

 ### Enable Authenticator Factor from Account Management (User Facing)
 1. Navigate back to your account page.
2. Click
 Next,
1. Scan the QR code with your favorite authenticator application such as Google Authenticator or Authy.
2. Enter the code given.
3. Click the
 # Add SMS as a second factor
import Aside from 'src/components/Aside.astro';
import Breadcrumb from 'src/components/Breadcrumb.astro';
import Icon from 'src/components/icon/Icon.astro';
import PremiumPlanBlurb from 'src/content/docs/_shared/_premium-plan-blurb.astro';
import InlineField from 'src/components/InlineField.astro';
import InlineUIElement from 'src/components/InlineUIElement.astro';
 You can enable the SMS factor on the tenant level by following these steps:
- Toggle this Two Factor method by clicking `enabled`
- Select a `messenger` (previously created, see [documentation](/docs/customize/email-and-messages/))
- Select a `template` (FusionAuth ships with a default to be customized if needed)
### Enable SMS Factor from Account Management (User Facing)
 1. Navigate back to your account page.
2. Click
 Next,
1. Enter your phone number.
2. Click on `Send a one-time-code`.
3. Enter the `Verification Code`
4. Click
 # Add Email as a second factor
import Aside from 'src/components/Aside.astro';
import Breadcrumb from 'src/components/Breadcrumb.astro';
import Icon from 'src/components/icon/Icon.astro';
import PremiumPlanBlurb from 'src/content/docs/_shared/_premium-plan-blurb.astro';
import InlineField from 'src/components/InlineField.astro';
import InlineUIElement from 'src/components/InlineUIElement.astro';
 You can enable SMS MFA on the tenant level by following these steps:
- Toggle this MFA method by clicking `enabled`
- Select a two factor authentication template (FusionAuth ships with a default to be customized if needed)
### Enable Email Factor from Account Management (User Facing)
 1. Navigate back to your account page.
2. Click
 Next,
1. Enter your email address.
2. Click on `Send a one-time-code`
3. Enter the `Verification Code`
4. Click
 # Update User Profiles and Passwords
import Aside from 'src/components/Aside.astro';
import Breadcrumb from 'src/components/Breadcrumb.astro';
import Icon from 'src/components/icon/Icon.astro';
import InlineField from 'src/components/InlineField.astro';
import InlineUIElement from 'src/components/InlineUIElement.astro';
import PremiumPlanBlurb from 'src/content/docs/_shared/_premium-plan-blurb.astro';
 ## Using the Database Search Engine
This configuration is lightweight, simplifies installation and system complexity, but comes with the trade offs of limited search capabilities and performance implications.
The database search engine is appropriate for systems that are not dependent on the FusionAuth APIs, are not expected to have a large number of search results, or are running in an embedded environment.
If you don't need advanced searching capabilities, you may be able to use the database search engine for large installations. This is not a use case FusionAuth tests, so ensure you provision your database with enough resources and benchmark your typical use cases.
### Limitations
You may add a `*` character to wildcard match any character, including none. So `*piedpiper` will match `piedpiper` and `thepiedpiper`. You may put the wildcard at any location in a search string.
All search terms are converted to lowercase and compared with lowercase values. In other words, all database searches are case-insensitive.
Regular expressions, ranges, and other complicated queries can not be used.
## Using the Elasticsearch Search Engine
Leveraging Elasticsearch enables advanced search capabilities on more numerous and granular data. It also provides a performance improvement.
The Elasticsearch search engine is appropriate for systems that are dependent on the FusionAuth APIs (such as [user search](/docs/apis/users#search-for-users)), are expected to have a large number of results, or require more granularity in search than is provided by the standard database search engine.
### Reindexing Elasticsearch
 ## From Database to Elasticsearch
If you already have FusionAuth running, but need to install the search service, [here are instructions to do so](/docs/get-started/download-and-install/fusionauth-search).
Once you have Elasticsearch running, the next step is to stop FusionAuth.
Locate your FusionAuth configuration file named `fusionauth.properties`. This is usually located at `/usr/local/fusionauth/config/fusionauth.properties` unless you installed via Fast Path, in which case it is located in your service root.
Uncomment or add the `fusionauth-app.search-servers` property. Set it to point to your Elasticsearch servers. For example:
```
fusionauth-app.search-servers=http://localhost:9021
```
In addition, add or update the `fusionauth-app.search-engine-type` property to have the value `elasticsearch`.
```
fusionauth-app.search-engine-type=elasticsearch
```
Finally, add or uncomment and update any properties prefixed by `fusionauth-search` needed for your installation. These are all documented in the [Configuration Reference](/docs/reference/configuration).
Restart the FusionAuth application.
### Verify the change and reindex
Log in to the FusionAuth admin UI. Navigate to
  Navigate to
  ## Limitations
 If you are using the database search engine, you'll want to [consult the database search engine documentation](/docs/get-started/core-concepts/users#database-search-engine) for more information.
* Learn more about [each type of search engine](/docs/lifecycle/manage-users/search/search).
* Learn more about [switching search engines](/docs/lifecycle/manage-users/search/switch-search-engines).
## An Introduction To The Elasticsearch Search Engine
With any search, you can make either a `POST` or a `GET` request. The functionality is exactly the same, but a `POST` request can be larger. On the other hand, a `GET` request is easily shared. Pick what works for you. However, this document uses `POST` requests.
### Four Types of Searches
There are three parameters for a search, and they are mutually exclusive.
*Search Type Summary*
| Parameter | Uses Elasticsearch | Best For |
|---------------|--------------------|----------------------------------------------------------------------------------------------------------------------------------------------------------------------------------------------------------------------------------------------------------------------------------------------------------------|
| `ids` | No | When you know the exact Ids of users you are trying to retrieve. You may have stored the id off in some other datastore, or be responding to a webhook. |
| `queryString` | Yes | When you are searching on one field or want to search across multiple fields for strings. |
| `query` | Yes | Useful to leverage the full power of Elasticsearch queries and need to look across different fields, including nested values, and/or use compound or complex search parameters such as ranges. |
| `nextResults` | Yes | Allows you to continue paging forward in the results set after an initial `query` or `queryString` query. Useful for paging past the 10,000 results limit in Elasticsearch. See [Limitations](/docs/get-started/core-concepts/limitations#user-searches) for more information. Available since version 1.48.0. |
#### Ids Searches
`ids` searches are useful when you know exactly which users you want to retrieve. This is the only search which is guaranteed to only query the database, never Elasticsearch.
#### QueryString Searches
The `queryString` search is a case-insensitive match. Whitespace is allowed in the search, but must be URL escaped; for example, using `%20` for a space character. Elasticsearch compatible regular expressions may be used, so you may search by prefix or suffix using the `*` wildcard. You may also search particular fields by prefixing the query with a field name, such as `email:`.
There is some pre-processing done on the `queryString` before it is passed to Elasticsearch. If the `queryString` parameter has a `:` it will be passed as-is. Otherwise, if it has no spaces and contains a `@` it is assumed to be an email address and will be passed with a prefix: `email:`. Otherwise, if it has no spaces it will have the wildcard `*` prepended and appended.
 Ensure a test email is delivered. If you have any issues, follow the steps in the [email troubleshooting documentation](/docs/operate/troubleshooting/troubleshooting#troubleshooting-email).
Save the configuration.
## Enable Email Verification Gating
Navigate to
  Make sure you save the configuration.
## Customize the Email Verification Template
Navigate to
  ## Configure the Application
Navigate to
  Next, navigate to the
  Look for the
  This user account will be gated and unable to completely log in if you have registered but not yet verified the email address. In your browser where you registered, you'll see a page similar to below:
 To test the gating, open a different browser (not a window, but an entirely different browser) and visit the login URL copied above. Enter the email and password for the user you just registered.
You'll be sent to the same email verification gate page.
No matter which API or hosted login page you use, no JWT will be issued until the user has been verified. The user will continue to see the verification prompt when they log in until then.
If an API is being used to authenticate the user, the API will return a status code indicating email verification has not yet occurred. Please see the [Login API](/docs/apis/login) for more details.
If you view the user in the administrative user interface, you'll see a question mark next to their email address. This indicates that their email has not yet been verified.
 Once you have verified the email address by clicking on the link, you can now log in and will be sent to the configured redirect URL.
## The User Object
The user object changes before, during, and after the email verification occurs. Let's look at the JSON.
If a user is created and email verification is disabled, the verified attribute of the identity object will be `false` with a reason of `Disabled`.
 # Gate Users Until They Verify Their Phone Number
import PremiumPlanBlurb from 'src/content/docs/_shared/_premium-plan-blurb.astro';
import Aside from 'src/components/Aside.astro';
import Breadcrumb from 'src/components/Breadcrumb.astro';
import InlineField from 'src/components/InlineField.astro';
import InlineUIElement from 'src/components/InlineUIElement.astro';
import JSON from 'src/components/JSON.astro';
import CommonQuestionsGating from 'src/content/docs/lifecycle/manage-users/verification/_common-questions-gating.mdx';
## Overview
As of version 1.59.0, FusionAuth can be configured to gate users' accounts until their phone numbers have been verified. While users can successfully start the login process, they will be blocked from completing it until they have verified possession of the phone number they registered with.
To enable phone verification gating, do the following:
* Configure a messenger
* Configure the tenant with your messenger
* Configure the tenant to enable phone gating
* Optionally customize the verification message template
* Enable self-service registration
* Configure your application with a redirect URL
Let's step through each of these, but first, there are some required prerequisites.
## Prerequisites
 ## Enable Phone Verification Gating
* Under Phone, enable
  Make sure you save the configuration.
## Customize the Phone Verification Template
Navigate to
  ## Configure the Application
Navigate to
  Next, navigate to the
  Look for the
  To test the gating, open a different browser (not a window, but an entirely different browser) and visit the login URL copied above. Enter the phone number and password for the user you just registered.
You'll be sent to the same phone verification gate page.
No matter which API or hosted login page you use, no JWT will be issued until the user has been verified. The user will continue to see the verification prompt when they log in until then.
If an API is being used to authenticate the user, the API will return a status code indicating phone verification has not yet occurred. Please see the [Login API](/docs/apis/login) for more details.
If you view the user in the administrative user interface, you'll see a question mark next to their phone number. This indicates that their phone number has not yet been verified.
 Once you have verified the phone number by entering the code from the message, you can now log in and will be sent to the configured redirect URL.
## The User Object
The user object changes before, during, and after the phone verification occurs. Let's look at the JSON.
If a user is created and phone verification is disabled, the verified attribute of the identity object will be `false` with a reason of `Disabled`.
 ## Next Steps
Now that you've successfully set up gated phone verification, take the next steps to integrate this functionality into your application:
* Discover how to [modify your theme](/docs/customize/look-and-feel/) to make the phone verification gate pages look like your application.
* Learn more about [message templates](/docs/customize/email-and-messages/) and how to customize them.
# Registration-based Email Verification
import Aside from 'src/components/Aside.astro';
import Breadcrumb from 'src/components/Breadcrumb.astro';
import DeprecatedSince from 'src/components/api/DeprecatedSince.astro';
import InlineField from 'src/components/InlineField.astro';
import InlineUIElement from 'src/components/InlineUIElement.astro';
## Overview
FusionAuth provides an email verification flow out of the box. It is an email sent to the user with a link that contains a verification code. When the user clicks on the link, the verification code is checked against the database. If the code is correct, the user's email is marked as verified.
This feature requires that you have an email server available with SMTP support. You can use your own hosted SMTP server, or a third-party SMTP provider such as Amazon SES or SendGrid.
* [Configure the Tenant Email Server](#configure-the-tenant-email-server)
* [Configuring Registration Verification Settings](#configuring-registration-verification-settings)
* [View a User's Verification Status](#view-a-users-verification-status)
## Configure the Tenant Email Server
To send emails, you will need to configure SMTP email server credentials for your tenant. Log in to the FusionAuth administrative user interface.
Navigate to
  Ensure a test email is delivered. If you have any issues, follow the steps in the [email troubleshooting documentation](/docs/operate/troubleshooting/troubleshooting#troubleshooting-email).
You can learn more about the various settings in [the Tenant documentation as well](/docs/get-started/core-concepts/tenants#email).
Save the configuration.
## Configuring Registration Verification Settings
You can configure additional settings around registration verification in the application you set up for registrations. Navigate to
  Save all changes to the application.
## View a User's Verification Status
Navigate to the
  # Gate Users Application Registration
import Aside from 'src/components/Aside.astro';
import Breadcrumb from 'src/components/Breadcrumb.astro';
import PremiumPlanBlurb from 'src/content/docs/_shared/_premium-plan-blurb.astro';
import InlineField from 'src/components/InlineField.astro';
import InlineUIElement from 'src/components/InlineUIElement.astro';
import JSON from 'src/components/JSON.astro';
import CommonQuestionsGating from 'src/content/docs/lifecycle/manage-users/verification/_common-questions-gating.mdx';
import TroubleshootingGating from 'src/content/docs/lifecycle/manage-users/verification/_troubleshooting-gating.mdx';
## Overview
As of version 1.27.0, FusionAuth can be configured to gate users' accounts until they verify by clicking a link allowing them into an application. While users successfully authenticate, they won't be able to proceed further until they have verified their registration via email.
### Why Do I Need This?
Most folks will find email verification gating sufficient for their business needs (see adjacent tutorial [here](/docs/lifecycle/manage-users/verification/gate-accounts-until-user-email-verified)). In this email verification workflow, we are simply checking that a user's email is real and fully owned by the user.
In registration verification, the use case is slightly different. A `jared@piedpiper.com` user might have access to `Not-Hotdog` and `PiperChat`. These applications are both part of the same parent company, PiedPiper. However, PiedPiper requires separate registration verification to allow access to both `Not-Hotdog` and `PiperChat` through the same email account. This registration verification is a concrete, separate step that the user must engage in by clicking a link or entering a code (sent via email).
Without this verification step, users may find it alarming their logins (`jared@piedpiper.com`) work for both `Not-Hotdog` and `PiperChat` (without their express consent, especially if they did not know about the parent company relationship). Furthermore, this user, `jared@piedpiper`, by completing verification, is proving they own the email address used to register for both applications.
 ## Prerequisites
 Ensure a test email is delivered. If you have any issues, follow the steps in the [email troubleshooting documentation](/docs/operate/troubleshooting/troubleshooting#troubleshooting-email).
Save the configuration.
## Enable Registration Verification Gating
Navigate to
  Lastly, enable self service registration and configure the displayed and required fields as desired.
 Make sure you save the configuration.
Next, navigate to the
  Look for the
  ## Test It Out
Now, test out the functionality. Register a new account. Make sure to use a different browser or incognito mode so that the admin account you logged in with while configuring FusionAuth doesn't interfere with new user registration.
Visit the registration URL copied above. You'll be prompted to register. Fill out the form with a valid email address. After registration is complete, you'll receive an email prompting you to verify the registration.
Here is the email in the mailcatcher user interface:
 This user account will be gated and unable to completely log in if you have not verified the registration through email. In your browser where you registered, you'll see a page similar to below:
 To test the gating, open a different browser (not a window, but an entirely different browser) and visit the login URL copied above. Enter the email and password for the user you just registered.
You'll be sent to the same registration verification gate page.
No matter which API or hosted login page you use, no JWT will be issued until the user registration has been verified. The user will continue to see the verification prompt when they log in until then.
If an API is being used to authenticate the user, the API will return a status code indicating registration verification has not yet occurred. Please see the [Login API](/docs/apis/login) for more details.
If you view the user in the administrative user interface and click on the
  Once you have verified the email address by clicking on the link, you can now log in and will be sent to the configured redirect URL.
## The User Object
The user object changes before, during, and after the registration verification occurs. Let's look at the JSON.
If a user is created and registration verification is disabled, the verified attribute of the registration object will be true. This is because FusionAuth treats all users as having verified registration (via email) when registration verification is disabled.
 # Migrate From Passport
import AdditionalSupport from 'src/content/docs/lifecycle/migrate-users/provider-specific/_additional-support.mdx';
import Aside from 'src/components/Aside.astro';
import Breadcrumb from 'src/components/Breadcrumb.astro';
import CreateApiKeySocial from 'src/content/docs/lifecycle/migrate-users/provider-specific/_create-api-key-social.mdx';
import CreateTestApplication from 'src/content/docs/lifecycle/migrate-users/provider-specific/_create-test-application.mdx';
import CreateTestTenant from 'src/content/docs/lifecycle/migrate-users/provider-specific/_create-test-tenant.mdx';
import FinalDestination from 'src/content/docs/lifecycle/migrate-users/provider-specific/_final-destination.mdx';
import Identifiers from 'src/content/docs/lifecycle/migrate-users/provider-specific/_identifiers.mdx';
import InlineField from 'src/components/InlineField.astro';
import SetUpFusionauth from 'src/content/docs/lifecycle/migrate-users/provider-specific/_set-up-fusionauth.mdx';
import SocialLoginMigration from 'src/content/docs/lifecycle/migrate-users/provider-specific/_social-login-migration.mdx';
import SocialLoginNote from 'src/content/docs/lifecycle/migrate-users/provider-specific/_social-login-note.mdx';
import VerifyImport from 'src/content/docs/lifecycle/migrate-users/provider-specific/_verify-import.mdx';
import WhatNext from 'src/content/docs/lifecycle/migrate-users/provider-specific/_what-next.mdx';
import PasswordHashSection from 'src/content/docs/lifecycle/migrate-users/provider-specific/_password-hashes-section.mdx';
import {RemoteCode} from '@fusionauth/astro-components';
import InlineUIElement from 'src/components/InlineUIElement.astro';
import PremiumPlanBlurb from 'src/content/docs/_shared/_premium-plan-blurb.astro';
import SlowMigrationTimeline from 'src/content/docs/lifecycle/migrate-users/provider-specific/_slow-migration-timeline.mdx';
import SetUpUserRoles from 'src/content/docs/lifecycle/migrate-users/provider-specific/_set-up-user-roles.mdx';
export const migration_source_name = 'passport';
export const migration_source_dir = 'passportjs';
export const migration_source_social_name = 'Passport.js ';
export const script_supports_social_logins = true;
export const add_tenant_image_role = 'bottom-cropped';
export const social_integration_method = 'various strategy packages such as passport-google-oauth20, passport-github2, and passport-facebook';
export const migration_sources_tools = 'Node.js/Passport.js applications';
export const hashing_algorithm = 'bcrypt';
## Overview
This document will help you migrate from {frontmatter.technology} authentication to FusionAuth.
This guide assumes you have installed FusionAuth. If you have not, please [view our installation guides](/docs/get-started/download-and-install) and install FusionAuth before you begin. For more general migration information, please view the [FusionAuth migration guide](/docs/lifecycle/migrate-users/genericmigration).
The screenshots, scripts, and code snippets in this guide are from this [example Express application](https://github.com/fusionauth/fusionauth-example-migrating-node), but the migration steps apply to other Node.js applications.
The example project uses {frontmatter.technology} to implement authentication using two common strategies:
* `passport-local`: Username-and-password authentication using credentials stored in the application's database.
* `passport-google-oauth20`: OAuth social login using Google.
Each approach requires different user data to be migrated. {frontmatter.technology} itself doesn't manage user data; it only handles authentication. Your application defines the user model, database schema, and data storage approach.
The export script and migration strategies here are tailored to each authentication method, preserving user passwords (where applicable), account states, and social login connections so users can continue logging in with their current credentials.
## Prerequisites
To follow this tutorial, you need:
- [Node.js 22 or higher](https://nodejs.org/en/download) to run the migration script.
- [FusionAuth](/docs/get-started/download-and-install). The easiest way to run FusionAuth locally is to use [Docker](https://docs.docker.com/get-docker/) with the configuration file provided later in this tutorial.
- [ngrok](https://ngrok.com/) (optional) to expose your local Express application for testing purposes.
## Planning Considerations
### Slow Migration Or Bulk Migration
To preserve your users' passwords, you need to perform a slow migration. Users log in to FusionAuth with their existing credentials, and FusionAuth transparently migrates their data. Slow migrations in FusionAuth use [Connectors](/docs/lifecycle/migrate-users/connectors), a paid feature.
If, on the other hand, resetting user passwords is acceptable, a [Bulk Migration](#bulk-migration) can work for you. Review that section for more details on the required steps. You may also perform a bulk migration after a slow migration has run for a while. Active users can be transparently migrated, and infrequent users may not mind resetting their passwords.
You can learn more about the types of [migrations that FusionAuth supports here](/docs/lifecycle/migrate-users/#migration-types).
### Obtaining User Data
To migrate users from a Node.js application, you'll need to export user data from your database. Since {frontmatter.technology} doesn't manage user data directly, the export process depends on your database and user schema.
#### `passport-local`
Applications using `passport-local` store user credentials in their database. Common user data includes:
* `email` or `username`: The primary user identifier.
* `password`: The hashed password, usually bcrypt.
* `emailVerified` or `confirmed`: Email verification status.
* `firstName`, `lastName`, `displayName`: User profile information.
* `loginAttempts`, `blocked`, `lastLogin`: Security and access control fields.
This data can be exported directly from the database and preserved in FusionAuth during migration.
#### OAuth Strategies
Applications using OAuth strategies store minimal local user data since authentication happens through external providers. Exporting data from an application using OAuth focuses on:
* Profile fields such as `email`, `name`, `username`, and `avatar`.
* Provider connection data like the provider Id (`googleId`, `githubId`, or `facebookId`).
FusionAuth uses the provider Id to link migrated user accounts to the correct external identity provider.
### Mapping User Attributes
The attributes of the [User object in FusionAuth are well documented](/docs/apis/users).
If there is an attribute in your {frontmatter.technology} user that cannot be directly mapped to a FusionAuth attribute, you can place it in the `user.data` field. This field can store arbitrary JSON values and will be indexed and searchable.
### Social Logins
 ## Data Flow
If you are using a Connector, then to your end user and application, it is exactly the same as if FusionAuth is authenticating directly against the FusionAuth user datastore. Connector usage is transparent.
Below is a diagram of the data flow for an Authorization Code grant when a Connector is configured.
 The order of operations matters for Connectors. The Connector policy rules are applied in order when a user authenticates for the first time.
In the above system, first time users who have an email address with a domain `example.com` will be authenticated against the Active Directory Connector. If they are not found, they'll be authenticated against the Legacy User API Connector. If they are not found in that system, the user will be authenticated against the FusionAuth Connector.
Users who have an email address with any other domain will be authenticated against the Legacy User API Connector the first time they log in. If they are not found in that system, the user will be authenticated against the FusionAuth Connector.
On authentication the Connector creates the user object and stores it into FusionAuth. Once a user is authenticated against a Connector, they will always be authenticated against that same data source. If a Connector is deleted, users will be authenticated against the Connectors in the order defined by the current policy.
### Domains
A domain may be either be the string `*` in which case the Connector policy applies to all users, or one or more valid email domains such as `example.com` or `piedpiper.com`. If more than one domain is entered, they must be separated by newlines.
## Connectors Vs Identity Providers
Connectors share many features with [Identity Providers](/docs/lifecycle/authenticate-users/identity-providers/). Both can connect FusionAuth to an external system of record for user identity.
How can you decide between them? While they each have strengths, these questions may be helpful in choosing:
* Are you looking to migrate users into FusionAuth? A Connector is a better option.
* Does your external system support a standard such as OIDC or SAML? An Identity Provider is what you want.
* Are you looking to connect to a system which only supports LDAP? A Connector is the better fit.
* Will the external system remain the system of record for the users? An Identity Provider is typically a better choice.
* Does your existing identity store expose no standard way to share identity data? A Connector is the better option.
# LDAP Connector
import APIBlock from 'src/components/api/APIBlock.astro';
import APIField from 'src/components/api/APIField.astro';
import Breadcrumb from 'src/components/Breadcrumb.astro';
import InlineField from 'src/components/InlineField.astro';
import SystemOfRecordCaveat from 'src/content/docs/lifecycle/migrate-users/connectors/_system-of-record-caveat.mdx';
import { YouTube } from '@astro-community/astro-embed-youtube';
## Overview
LDAP Connectors allow you to authenticate users against or migrate them from an LDAP server accessible to FusionAuth.
## Configuration
 ### Form Fields
 ### Directory
 If that plugin doesn't show up, please review the [plugin troubleshooting steps](/docs/extend/code/password-hashes/writing-a-plugin#troubleshooting).
### Get the Script
 Note that tenants are called accounts in the {frontmatter.technology} web portal. FusionAuth also uses tenants to group users.
Permissions work slightly differently in the two systems. FusionAuth and {frontmatter.technology} both group permissions into roles, and assign roles to users. A user then has all the permissions associated with that user's roles.
However, {frontmatter.technology} also supports assigning permissions directly to a user using features. FusionAuth does not support this. If you have used {frontmatter.technology} features, you will need to map features to FusionAuth Roles in your migration script. Below is a {frontmatter.technology} illustration of the platform's permissions structure (which {frontmatter.technology} calls entitlements).
 ## Bulk Migration
Be aware that the steps outlined for bulk migrating users from Frontegg will not export password hashes, and users will need to change their passwords using the forgot password flow on FusionAuth.
### Exporting User Data From Frontegg
In this section, you create two sample {frontmatter.technology} users in the web portal and export them with the API.
If you have existing users, you can use them to follow this migration tutorial. If not, add users as described below.
- Log in to your account at https://portal.frontegg.com.
- Add an environment, like `Development`.
- Navigate to
  - In the environment's
  ### Prepare Users For Import To FusionAuth
The next script, `3_convertFeUserToFaUser.mjs`, is the most important. It maps the fields of `users.json` to FusionAuth fields. You may wish to alter this script to change which fields are ignored, or where they are mapped.
The script uses `stream-json`, a JSON library that can incrementally read massive files with millions of users. It opens the `users.json` file for reading in the line `new Chain([fs.createReadStream(inputFilename), parser(), new StreamArray(),]);`. For more information, read https://github.com/uhop/stream-json. The `processUsers()` function calls `getFaUserFromUser()` to map the {frontmatter.technology} user to FusionAuth, and then saves the user to an `faUsers.json` file.
The `getFaUserFromUser()` function does a few things:
- Maps as many matching fields from {frontmatter.technology} to FusionAuth as possible.
- Creates a random UUID in plain text for the user password. This will require users to create a new password when logging in to your application after migration.
- Stores all {frontmatter.technology} user details that don't map to FusionAuth in the JSON `data` field. This is where the {frontmatter.technology} `metadata` field is saved to.
- Adds FusionAuth User Registrations (the link between a FusionAuth User and an Application) to users. You will need to change these Ids to match those of your application when doing a real migration. This section is marked with `TODO`.
Carefully read this function and make sure that the user information you need is imported correctly. If any information is not needed, you can comment out the related lines.
If you are uncertain about what a user attribute in FusionAuth does, read more in the [user guide](/docs/apis/users), as linked in the [general migration guide](/docs/lifecycle/migrate-users) recommended earlier.
In a terminal in the `fusionauth-import-scripts/frontegg/src` directory, run the script with the following command.
```sh
node 3_convertFeUserToFaUser.mjs
```
The script will output users ready to import to FusionAuth to the `faUsers.json` file.
### Save The User Details To FusionAuth
Now you'll run the Node.js import script to import the users into FusionAuth.
In a terminal in the `fusionauth-import-scripts/frontegg/src` directory, run the command below.
```sh
node 4_import.mjs
```
This script uses the FusionAuth SDK for Node.js `@fusionauth/typescript-client`. It's used only for a single operation, `fa.importUsers(importRequest)`. For more information, read the [FusionAuth Typescript Client Library](/docs/sdks/typescript) documentation.
The script imports users individually. If this is too slow when running the production migration, wrap the `importUsers()` FusionAuth SDK call in a loop that bundles users in batches of 1000.
### Verify The Import
Log in to the [FusionAuth admin UI](http://localhost:9011/admin) with `admin@example.com` and password `password`. Review the user entries for the test application to ensure the data was correctly imported.
 Manage users by clicking on the
  - Disable all sign-in types on the left, except for
  Confirm the changes when asked and then publish the changes to your environment.
Get the signup URL for your environment:
- Log in to your account at https://portal.frontegg.com.
- Go to the environment, like
  Now visit the signup URL by appending `/account/sign-up` to the login URL to get a URL such as `https://app-xyhd7853hsngq.frontegg.com/oauth/account/sign-up`.
Create a new user with an alias like `myemail+test@gmail.com` and password `password`.
Export the new user by running the `frontegg/src/1_exportUsers.mjs` script.
```sh
node 1_exportUsers.mjs yourclientid yourapikey
```
If not already created, create roles in FusionAuth by running the `frontegg/src/2_addRoles.mjs` script.
```sh
node 2_addRoles.mjs
```
In the `frontegg/src/3_convertFeUserToFaUser.mjs` script, comment out the following code lines that assign a random password and require a password change.
```javascript
faUser.password = uuidv4();
faUser.passwordChangeRequired = true;
faUser.passwordChangeReason = "Administrative";
```
Map the users in the exported `users.json` file to FusionAuth-compatible objects by running the `3_convertFeUserToFaUser.mjs` script.
```sh
node 3_convertFeUserToFaUser.mjs
```
### Configure A Connector Between FusionAuth And {frontmatter.technology}
 Enter the field values below.
-
 Move the `FronteggConnector` policy to the top of the list. Use the arrow buttons to move the policy if necessary. With this configuration, all users are checked against this Connector the first time they are seen. If they log in, they’ll be migrated to the FusionAuth user database.
After configuration, the Connector entry form should look similar to this:
 Save the changes by clicking the save icon at the top right.
### Build An Authentication Intermediary Web Service
The next step is to write the small service available on port 6252 that forwards the user's login Id and password to {frontmatter.technology} and returns the user details that will be saved to FusionAuth if the login is successful.
The Connector makes a POST request to the URL you specify, and expects a JSON object back containing a `user`.
An example web service is in `frontegg/src/5_connectorService.mjs`.
This file has an Express HTTP POST handler that gets the login Id and password from the request and forwards them to {frontmatter.technology} by calling the following function.
```js
await isLoginValid(email, request.body.password);
```
A 404 is returned if the credentials are not valid.
If the credentials are valid, the user's details stored in the `faUsers.json` file are returned. Unfortunately, the {frontmatter.technology} API method `https://docs.frontegg.com/reference/vendoronlyusers_verifyuserpassword` you call in the service does not return a user Id. The search for the user Id is done in the following function.
```js
await getUserDetailsFromFile(email);
```
Run this web service now using the command below.
```sh
node 5_connectorService.mjs yourfronteggclientid yourfronteggapikey
```
### Log In With A Test User
In the FusionAuth admin interface, browse to
  Log in with the username and password you entered earlier, such as `myemail+test@gmail.com` and `password`. Your web service should show `Request received` on the console and the login request succeeding.
If you log out and log in again with the same user, you'll notice that `Request received` will not show in the web service console. This is because FusionAuth is now using its own authentication service as the original user password has been hashed and saved in the FusionAuth database.
The user has been successfully migrated, and {frontmatter.technology} is no longer needed for them.
#### Debug The Connector Service
If you encounter errors in this process, try the following:
- View the
  Make note of each realm name containing users you want to migrate. You may migrate one, many or all realms depending on your requirements and larger migration plan.
### Mapping User Attributes
 The user data to be exported will be selected from the `auth` table. If you have other tables that contain user-specific fields (for example, usernames), you can edit the script above to cater to that.
The JSON output produced by the script should look something like this:
```json
[
{
"instance_id": "00000000-0000-0000-0000-000000000000",
"encrypted_password": "",
"created_at": 1684248249840.815,
"provider": "facebook",
"email": "erlich@example.com",
"user_id": "facebook|99af46c2-b9e9-4471-81fd-35bdf12957aa",
"salt": "",
"password": "hasprovider",
"email_verified": true
},
{
"instance_id": "00000000-0000-0000-0000-000000000000",
"encrypted_password": "$2a$10$VnxRmsfGTooc.Yy7Ez7L7.bkdHaSzseGwHkjvxZUGaGo5k4XIfDYe",
"created_at": 1684096920263.688,
"provider": "email",
"email": "richard@example.com",
"user_id": "auth0|b60d3ece-2c59-43d0-acf1-632fdefb6a54",
"factor": "10",
"salt": "VnxRmsfGTooc.Yy7Ez7L7.",
"password": "bkdHaSzseGwHkjvxZUGaGo5k4XIfDYe",
"encryptionScheme": "bcrypt",
"email_verified": true
},
{
"instance_id": "00000000-0000-0000-0000-000000000000",
"encrypted_password": "",
"created_at": 1684269308911.086,
"provider": "google",
"email": "bertram@example.com",
"user_id": "google|1a5347be-4bab-4113-aaf5-51d358fd4165",
"salt": "",
"password": "hasprovider",
"email_verified": true
},
{
"instance_id": "00000000-0000-0000-0000-000000000000",
"encrypted_password": "$2a$10$X06hVD7/522iK698AxX1u.NINSImp/Md75dY/yz5sYjpmGF/5aeM6",
"created_at": 1684052197215.207,
"provider": "email",
"email": "jared@example.com",
"user_id": "auth0|90d5cfea-e41e-44ea-a3bd-e16d112622f8",
"factor": "10",
"salt": "X06hVD7/522iK698AxX1u.",
"password": "NINSImp/Md75dY/yz5sYjpmGF/5aeM6",
"encryptionScheme": "bcrypt",
"email_verified": true
}
]
```
## Importing Users
Next up, import the user data. Here are the steps you need to take.
1. Set Up FusionAuth
2. Get the Script
3. Install Needed Gems
4. Use the Script
5. Verify the Import
6. The Final Destination of Imported Users
### Set Up FusionAuth

 Copy this URL and open it in a new incognito browser window. (If you don’t use an incognito window, the admin user session will interfere with the test.) You should see the login screen. Enter username `user@example.com` and password `bitnami`. Login should work.
Next, log in to the [FusionAuth admin UI](http://localhost:9011/admin) with `admin@example.com` and password `password`. Review the user entries to ensure the data was correctly imported.
 You can manage a user by clicking on the
 This entity will, by default, have the following permissions:
* `scim:enterprise:user:create`
* `scim:enterprise:user:delete`
* `scim:enterprise:user:read`
* `scim:enterprise:user:update`
* `scim:group:create`
* `scim:group:delete`
* `scim:group:read`
* `scim:group:update`
* `scim:resource-types:read`
* `scim:schemas:read`
* `scim:service-provider-config:read`
* `scim:user:create`
* `scim:user:delete`
* `scim:user:read`
* `scim:user:update`
Remove permissions if you never want your SCIM server to support an operation. For example, remove `scim:user:delete` to disable user deletion by any clients accessing this SCIM server. Set the name of the entity type to an appropriate value, such as `SCIM Server`.
 #### Add the Client Entity Type
Next, create a SCIM client entity type. Unlike the server, this entity type doesn't have any permissions. Instead, this is the type representing SCIM client applications. Such applications provide user and group data to the SCIM server to be provisioned.
 Give this entity type an appropriate name such as `SCIM Client`.
 After you have set up or verified the existence of these two types of entities, the next step is to set up the individual entities, representing the actual SCIM server or client applications.
### Entities
You need to set up at least two entities: an instance of the SCIM server and the SCIM client. Then, you must grant permissions on the SCIM server to the SCIM client.
You may have as many SCIM clients and servers as you would like, but typically you will have at most one SCIM server per tenant. For each SCIM interaction, only one server can be specified.
To add the entities, navigate to
  Make sure the new SCIM server entity has the
  After you save the entity, you'll be presented with a list of existing entities. The next step is to add another entity for the SCIM client application.
 Similarly to the SCIM server entity you just created, make sure this entity has the
  Next, manage the client entity to grant the correct permissions to the server entity. Do so by clicking the black button on the entity listing page next to the client entity.
 Click the
  Search for the SCIM server by entering the name of the entity you created above in the search box. Select the correct entity.
 Next, add permissions. You may grant one or more SCIM permissions to the client application. These permissions will be included in the authentication process to obtain the appropriate level of access.
The SCIM server entity will be in the
  Finally, you need to record the client Id of the SCIM server and the client Id and secret of the SCIM client. These will be used by the SCIM client Java application, which uses the SCIM-SDK project and is examined below, to provision users.
You can see the Ids by looking in the list view.
 To find the client secret for the SCIM client entity, view the details screen. You can navigate to the details screen by clicking on the
  ### Request and Response Lambdas
Next, we need to review the lambdas. Navigate to
  You may edit and modify lambdas as needed, but for the purposes of this document, the default lambdas work fine.
 After you have verified the lambdas will work for your needs, enable and configure SCIM in the tenant settings.
### Tenant Configuration
Prior to this, you have configured everything required to enable SCIM for a FusionAuth tenant.
To do so, navigate to
  Each of these settings is documented in detail elsewhere. [Review detailed documentation about the Tenant SCIM settings](/docs/get-started/core-concepts/tenants#scim).
## The SCIM Client Application
Next, create a command line SCIM client Java application. This application will use the open source [SCIM-SDK Java library](https://github.com/Captain-P-Goldfish/SCIM-SDK) to interact with the FusionAuth SCIM server.
Clients are the source of user information, so this client will be able to create, list and retrieve a user in FusionAuth.
The [entire source code is available](https://github.com/FusionAuth/fusionauth-example-scim-integration). Below you'll download, configure and run it.
Before you configure the application, clone the repository and compile it:
```shell title="Compiling the example SCIM client application"
git clone https://github.com/FusionAuth/fusionauth-example-scim-integration && \
cd fusionauth-example-scim-integration && \
mvn compile
```
### Configure the Application
You'll need to modify the application by editing the `src/main/java/io/fusionauth/example/scim/ScimExample.java` file using the text editor or IDE of your choice.
Search for the text: `change these`. You'll see something similar to the below code.
 You may also optionally update `EXISTING_USER_ID` with the Id of any user in your FusionAuth system. Find one by navigating to
  ### Examine the Application
Let's look at two parts of the example application: the SCIM client authentication and the method that creates the user.
To authenticate a SCIM client in FusionAuth, the [client credentials grant](/docs/lifecycle/authenticate-users/oauth/#example-client-credentials-grant) is performed, including requesting any needed SCIM permissions. The resulting access token is then used as a bearer token in the SCIM API request, by including it in the `Authorization` header. The token generation happens in the `getCredentials` method.
 ## Import ADFS Certificate into FusionAuth
First, import the certificate used by ADFS for signing into FusionAuth. This certificate can be obtained from your ADFS administrator and can also be retrieved from the ADFS metadata endpoint `
 ## Create a SAML v2 Identity Provider
To create an Identity Provider follow the steps documented in the [SAML v2 Overview](/docs/lifecycle/authenticate-users/identity-providers/) with the following specifics for configuring ADFS.
The IdP endpoint of ADFS is noted in the ADFS management console under
  ## Add Relying Party Trust
### Note the FusionAuth Issuer
View the integration details of the newly created SAML v2 Identity provider by clicking the
  ### Create a Relying Party Trust
[//]: # (TODO Update screenshot, the view dialog now has complete integration details and we can discuss the endpoints documented)
[//]: # ( - Should we scale the screen shots? Or if we keep what is here - it is using a CSS shadow and needs some additional top and bottom margins)
[//]: # ( so it doesn't overrun the text with the shadow.)
[//]: # (TODO - AD screenshots should show a real address (not Ngrok) and Screenshots of FA should be using https://local.fusionauth.io)
[//]: # ( - AD screenshots should perhaps be re-captured to be a bit cleaner and consistent sizing?)
In the ADFS management console under
  ## Add Claim Rules
In the ADFS management navigate
  Add a name for the claim rule in the `Claim rule name` field.
Set the `Attribute Store` field to "Active Directory", the `LDAP Attribute` field to "E-Mail Addresses" and the
  Next add a claim rule to map the `E-Mail Address` attribute to a `Name ID` attribute. Add a new claim rule with the
  Add a name for the claim rule in the
  The finalized claim rules should look similar to the following screenshot.
 That's it, you can now use the
 Here we have configured our application `Redirect URI`. If FusionAuth is running at `https://login.fusionauth.io`, this value should be `https://login.fusionauth.io/oauth2/callback`.
 Once the application has been created, note the `Application (client) ID` and the `Directory (tenant) ID`. These will be used respectively as the
  Note the `VALUE` of the created client secret. This will be used as the
  Scroll down and make sure you enable this Identity Provider for your application. In the following screenshot you will see that we have enabled this login provider for the `Pied Piper` application and enabled `Create registration`.
 That's it, now the
 ## Configure Your Azure Application
From your application home screen, click on
  There are five steps to configure Azure AD. However, there is a bit of a procedural dilemma. Before you can move forward, you need an Entity ID (in this case, this will be obtained from our FusionAuth IdP once created) so that Azure AD can generate a X.509 certificate. However, before you can create an IdP in FusionAuth to get the Entity ID, you need an X.509 certificate. The below steps will solve this problem by:
1. Creating a "placeholder" X.509 certificate and importing this into Key Master.
2. Making a SAML IdP in FusionAuth (Entity Id) with a placeholder certificate selected.
3. Updating your Azure AD Enterprise application with values from your newly created IdP, thereby getting a valid X.509 certificate.
4. Revisiting your SAML IdP in FusionAuth and updating with the correct X.509 certificate from the above step.
5. Completing your integration.
If you already have a valid X.509 certificate, you can complete step two above using this valid certificate and skip a few of the steps below.
With that discussed, let us begin!
## Import a "placeholder" X.509 Certificate
The first step is to import a "placeholder" certificate into Key Master.
```
-----BEGIN CERTIFICATE-----
MIIC1DCCAj2gAwIBAgIBADANBgkqhkiG9w0BAQ0FADCBhjELMAkGA1UEBhMCdXMx
DzANBgNVBAgMBkRlbnZlcjETMBEGA1UECgwKRnVzaW9uQXV0aDEWMBQGA1UEAwwN
RnVzaW9uQXV0aC5pbzETMBEGA1UECwwKRnVzaW9uQXV0aDEkMCIGCSqGSIb3DQEJ
ARYVcmljaGFyZEBwaWVkcGlwZXIuY29tMB4XDTIyMDcxNjA1MDc1N1oXDTIzMDcx
NjA1MDc1N1owgYYxCzAJBgNVBAYTAnVzMQ8wDQYDVQQIDAZEZW52ZXIxEzARBgNV
BAoMCkZ1c2lvbkF1dGgxFjAUBgNVBAMMDUZ1c2lvbkF1dGguaW8xEzARBgNVBAsM
CkZ1c2lvbkF1dGgxJDAiBgkqhkiG9w0BCQEWFXJpY2hhcmRAcGllZHBpcGVyLmNv
bTCBnzANBgkqhkiG9w0BAQEFAAOBjQAwgYkCgYEA2FmZJHJFVEM9JwFd6Za87T0Z
MtIL5djSFC/TBVqhCx15eauNGAV/RoulESA6qsI4LNrbJ8uEYDQa9UXAZCc9yRMa
e/+E5XAApV4K06duo+vKon5L21YZ7HxzjUfL3bhLqKvpFWCQkNrH0rxgPCGwzh7N
T24sFcKwaVvBdknm9i8CAwEAAaNQME4wHQYDVR0OBBYEFLdhYvqAwTBCEQsSZdKj
UVR57CwDMB8GA1UdIwQYMBaAFLdhYvqAwTBCEQsSZdKjUVR57CwDMAwGA1UdEwQF
MAMBAf8wDQYJKoZIhvcNAQENBQADgYEAIpQags/uHj0dyFcCtRcPeVEDUqBPZaGO
M9kbFiGATlMNX4OiDvMUKs7Ag9109o0iLWPvLBQrMDn87fSy6+MUXZRS4asjzJCp
5aVWSevI85H6xS8WXxFr21etaqfiE88Lw86gK5O4iKtMBtCnWA5iUc2EJ0citQ0G
Pk8ybmMP1r8=
-----END CERTIFICATE-----
```
Using the above "placeholder" certificate, navigate to
  After you configure Azure AD, you'll get another X.509 certificate which will be the one actually used during a SAML login.
## Create a SAML v2 Identity Provider
In the FusionAuth administrative user interface, navigate to
  The following fields will need to be completed.
-
  -
-  Once saved, you may receive a CORS warning. Be sure to follow the onscreen instructions and this [documentation](/docs/lifecycle/authenticate-users/identity-providers/overview-samlv2#cors-configuration).
### Linking Options
If you are [linking to a user on email](/docs/lifecycle/authenticate-users/identity-providers/#linking-strategies), please configure the SAML IdP to find the email claim. This can be done by navigating to
 If you are using an existing Azure AD Application this email claim location may vary. Below is a demonstration of the email claim found in a default Azure AD Application.
```
http://schemas.xmlsoap.org/ws/2005/05/identity/claims/emailaddress
```
This claim can be found in the event log of a SAML auth handshake. In the case of a default Azure AD application, the email claim is nested.
```
 On this screen add the
  ## Download and Import X.509 Certificate
Previously, you created and used a "placeholder" X.509 certificate. At this point, you can change this. From the overview of your SAML application in Azure AD, under step three, you should find a Certificate (Base64) to download.
 Next, import this certificate into Key Master (
 ## Assign Users
Before you can complete your integration, assign Azure AD users to your Azure AD application. Add a user by navigating to
  ## Complete the Login
At this point, what remains is to attempt a login. To test quickly, log into the FusionAuth administrative user interface. Navigate to
  Open a new tab, paste in the login URL, and you should see your new SAML Azure AD IdP login button.
 Click on that button, log in with one of the Azure AD users you configured above, and you should arrive back at your redirect URL.
If your integration fails, remember to review the Event Logs (`System > Event Log`)
# OpenID Connect with Cognito
import Aside from 'src/components/Aside.astro';
import Breadcrumb from 'src/components/Breadcrumb.astro';
import IdentityProviderOverviewDiagram from 'src/content/docs/_shared/_identity-provider-overview-diagram.astro';
import InlineField from 'src/components/InlineField.astro';
import InlineUIElement from 'src/components/InlineUIElement.astro';
import LinkOnEmailNote from 'src/content/docs/lifecycle/authenticate-users/identity-providers/social/_link-on-email-note.mdx';
## Configure OpenID Connect with Cognito

 - Provide a
  ## Testing the Login
To test, navigate to the applications page in FusionAuth. Click on the
  Click the