Spring Boot With Thymeleaf
In this quickstart, you are going to build an application with Spring Boot and integrate it with FusionAuth. You’ll be building it for ChangeBank, a global leader in converting dollars into coins. It’ll have areas reserved for users who have logged in as well as public facing sections. It uses Spring Boot web and Thymeleaf, and sets up an OAuth authorization code grant flow, allowing users to log in to the application.
The Docker Compose file and source code for a complete application are available at https://github.com/FusionAuth/fusionauth-quickstart-java-springboot-web.
Prerequisites#
- Java: Java can be installed via a variety of methods. This app was built using Java 17. You can change which version to use by editing the project's
pom.xmlfile. The code in this example should be compatible down to Java 8, though minor differences may occur. - Docker: The quickest way to stand up FusionAuth. Ensure you also have docker compose installed.
- (Alternatively, you can install FusionAuth manually).
The example repository already has a Spring Boot application set up that includes a Maven wrapper. You can find out more by viewing:
- Spring Initializr: The Spring Boot template generator webpage.
- Maven Wrapper: A self-contained version of the Maven build tool which will download the application dependencies and compile the source code.
General Architecture#
Here's a typical application login flow before FusionAuth:
sequenceDiagram
    participant User
    participant App as Application

    User ->> App : View Homepage
    User ->> App : Click Login Link
    App ->> User : Show Login Form
    User ->> App : Fill Out and Submit Login Form
    App ->> App : Authenticates User
    App ->> User : Display User's Account or Other Info
Request flow during login before FusionAuth
And here's the same application login flow after introducing FusionAuth:
sequenceDiagram
    participant User
    participant App as Application
    participant FusionAuth

    User ->> App : View Homepage
    User ->> App : Click Login Link (to FusionAuth)
    User ->> FusionAuth : View Login Form
    FusionAuth ->> User : Show Login Form
    User ->> FusionAuth : Fill Out and Submit Login Form
    FusionAuth ->> FusionAuth : Authenticates User
    FusionAuth ->> User: Go to Redirect URI
    User ->> App: Request the Redirect URI
    App ->> FusionAuth : Is User Authenticated?
    FusionAuth ->> App : User is Authenticated
    App ->> User : Display User's Account or Other Info
Request flow during login after FusionAuth
In general, you are introducing FusionAuth in order to normalize and consolidate user data. This helps make sure it is consistent and up-to-date as well as offloading your login security and functionality to FusionAuth.
Getting Started#
Start with getting FusionAuth up and running and creating a Spring Boot application with Thymeleaf.
Clone The Code#
First, grab the code from the repository and change into that directory.
git clone https://github.com/FusionAuth/fusionauth-quickstart-java-springboot-web.git
cd fusionauth-quickstart-java-springboot-web
Run FusionAuth Via Docker#
You'll find a Docker Compose file (docker-compose.yml) and an environment variables configuration file (.env) in the root directory of the repo.
Assuming you have Docker installed, you can stand up FusionAuth on your machine with the following.
docker compose up -dHere you are using a bootstrapping feature of FusionAuth called Kickstart. When FusionAuth comes up for the first time, it will look at the kickstart/kickstart.json file and configure FusionAuth to your specified state.
If you ever want to reset the FusionAuth application, you need to delete the volumes created by Docker Compose by executing docker compose down -v, then re-run docker compose up -d.
FusionAuth will be initially configured with these settings:
- Your client Id is
e9fdb985-9173-4e01-9d73-ac2d60d1dc8e. - Your client secret is
super-secret-secret-that-should-be-regenerated-for-production. - Your example username is
richard@example.comand the password ispassword. - Your admin username is
admin@example.comand the password ispassword. - The base URL of FusionAuth is
http://localhost:9011/.
You can log in to the FusionAuth admin UI and look around if you want to, but with Docker and Kickstart, everything will already be configured correctly.
If you want to see where the FusionAuth values came from, they can be found in the FusionAuth app. The tenant Id is found on the Tenants page. To see the Client Id and Client Secret, go to the Applications page and click the View icon under the actions for the ChangeBank application. You'll find the Client Id and Client Secret values in the OAuth configuration section.
The .env file contains passwords. In a real application, always add this file to your .gitignore file and never commit secrets to version control.
The .env and kickstart.json files contain passwords. In a real application, always add these files to your .gitignore file and never commit secrets to version control.
Create A Basic Spring Boot Application#
Next, you'll set up a basic Spring Boot project with a single app. While this guide builds a new Spring Boot project, you can use the same method to integrate your existing project with FusionAuth.
If you simply want to run the application, there is a completed version in the complete-application directory. You can use the following commands to get it up and running if you do not want to create your own.
cd complete-application
./mvnw package
./mvnw spring-boot:run
Then view the application at the following URL http://localhost:8080.
Get The Template#
Go to the Spring Initializr site at https://start.spring.io/ and download your own starter package. Choose the following options.
- Project -
Mavern - Language -
Java - Spring Boot Version -
2.7.16 - Project Metadata
- Group -
io.fusionauth.quickstart - Artifact -
springweb - Package Name -
io.fusionauth.quickstart.springweb - Packaging -
Jar - Java Version -
17
- Group -
This project has the following three dependencies which you will need to add by clicking the Add Dependencies button and searching for each dependency, when creating the package on the Initializr site.
- OAuth2 Client
- Thymeleaf
- Spring Web
If you choose different options, the configuration and code may be different. After entering the configuration settings above and adding the dependencies you can click the Generate button to download your starter package.
You can unzip the package in any directory of your choice. This guide assumes you are in your-application directory.
your-application root project directorymv ~/Downloads/springweb.zip .
unzip springweb.zip
mv springweb/* .
mv springweb/.* .
rm springweb.zip
rmdir springwebThe commands above will unzip your downloaded starter package and copy the package files into your current working directory. Remember to replace ~/Downloads/ in the command above with the actual path to your downloads folder.
Install Dependencies And Build The Application#
From the your-application directory, run the following to execute the Maven build tool to download dependencies and build your application.
./mvnw package./mvnw with .\mvnw.cmd.Authentication#
In this section, you’ll build the integration with FusionAuth, which will allow users to log in to your application.
Project Settings#
Open the src/main/resources/application.properties file and add the following configuration settings.
spring.thymeleaf.cache=false
spring.thymeleaf.enabled=true
spring.thymeleaf.prefix=classpath:/templates/
spring.thymeleaf.suffix=.html

spring.application.name=FusionAuth Spring Example

spring.security.oauth2.client.registration.fusionauth-client.client-id=e9fdb985-9173-4e01-9d73-ac2d60d1dc8e
spring.security.oauth2.client.registration.fusionauth-client.client-secret=super-secret-secret-that-should-be-regenerated-for-production
spring.security.oauth2.client.registration.fusionauth-client.scope=email,openid,profile
spring.security.oauth2.client.registration.fusionauth-client.redirect-uri=http://localhost:8080/login/oauth2/code/fusionauth
spring.security.oauth2.client.registration.fusionauth-client.client-name=fusionauth
spring.security.oauth2.client.registration.fusionauth-client.provider=fusionauth
spring.security.oauth2.client.registration.fusionauth-client.client-authentication-method=basic
spring.security.oauth2.client.registration.fusionauth-client.authorization-grant-type=authorization_code

spring.security.oauth2.client.provider.fusionauth.authorization-uri=http://localhost:9011/oauth2/authorize
spring.security.oauth2.client.provider.fusionauth.token-uri=http://localhost:9011/oauth2/token
spring.security.oauth2.client.provider.fusionauth.user-info-uri=http://localhost:9011/oauth2/userinfo?schema=openid
spring.security.oauth2.client.provider.fusionauth.user-name-attribute=name
spring.security.oauth2.client.provider.fusionauth.user-info-authentication-method=header
spring.security.oauth2.client.provider.fusionauth.jwk-set-uri=http://localhost:9011/.well-known/jwks.json
The properties with the spring.thymeleaf prefix enable Thymeleaf for server-side template rendering and define the location and suffix of the template files.
The spring.application.name property defines the app name, which will show in your application view.
The properties with the spring.security.oauth2.client.registration prefix configure the settings for the OAuth2 Client. The client-id, client-secret, redirect-uri, and authorization-grant-type values all need to match what is configured in FusionAuth. Because you used the Kickstart method, these settings should be correct, but if they are not, you can log in to FusionAuth admin UI and check the OAuth Settings for your application.
The properties with the spring.security.oauth2.provider prefix tell Spring where the important endpoints for FusionAuth are.
Add Controllers#
In your starter package, the main class which is the entry point of the application is SpringwebApplication.java in src/main/java/io/fusionauth/quickstart/springweb.
package io.fusionauth.quickstart.springweb;

import org.springframework.boot.SpringApplication;
import org.springframework.boot.autoconfigure.SpringBootApplication;

@SpringBootApplication
public class SpringwebApplication {
	public static void main(String[] args) {
		SpringApplication.run(SpringwebApplication.class, args);
	}
}
Create a file named HomeController.java in the src/main/java/io/fusionauth/quickstart/springweb directory. To do so you can run the command below from your-application directory.
touch src/main/java/io/fusionauth/quickstart/springweb/HomeController.javaThen copy the following code for the HomeController Java class into the file.
package io.fusionauth.quickstart.springweb;

import org.springframework.beans.factory.annotation.Value;
import org.springframework.stereotype.Controller;
import org.springframework.ui.Model;
import org.springframework.web.bind.annotation.RequestMapping;

@Controller
public class HomeController {

    @Value("${spring.application.name}")
    String appName;

    @RequestMapping("/")
    public String homePage(Model model) {
        model.addAttribute("appName", appName);
        return "home";
    }
}
This controller serves the page for unauthenticated users on the index / route and shows the application name, which is injected from the spring.application.name property in the application.properties file. The home return string tells Spring to render the home.html template which you will create later.
Create another file in the src/main/java/io/fusionauth/quickstart/springweb directory. This time, name it AccountController.java.
touch src/main/java/io/fusionauth/quickstart/springweb/AccountController.javaPaste the following code into the AccountController.java file.
package io.fusionauth.quickstart.springweb;

import org.springframework.security.core.annotation.AuthenticationPrincipal;
import org.springframework.security.oauth2.core.oidc.user.OidcUser;
import org.springframework.stereotype.Controller;
import org.springframework.ui.Model;
import org.springframework.web.bind.annotation.RequestMapping;

@Controller
public class AccountController {

    @RequestMapping("/account")
    public String userPage(Model model, @AuthenticationPrincipal OidcUser principal) {
        if (principal != null) {
            model.addAttribute("profile", principal.getClaims());
        }
        return "account";
    }
}
This controller serves the page for authenticated users on the /account route and adds the claims from the OidcUser returned from FusionAuth to the view model on the profile attribute. The account return string tells Spring to render the account.html template which you will create later.
Next, create a file named MakeChangeController.java in the src/main/java/io/fusionauth/quickstart/springweb directory.
touch src/main/java/io/fusionauth/quickstart/springweb/MakeChangeController.javaThen, copy the following code into the newly created file.
package io.fusionauth.quickstart.springweb;

import io.fusionauth.quickstart.springweb.model.Change;
import org.slf4j.Logger;
import org.slf4j.LoggerFactory;
import org.springframework.security.core.annotation.AuthenticationPrincipal;
import org.springframework.security.oauth2.core.oidc.user.OidcUser;
import org.springframework.stereotype.Controller;
import org.springframework.ui.Model;
import org.springframework.web.bind.annotation.GetMapping;
import org.springframework.web.bind.annotation.ModelAttribute;
import org.springframework.web.bind.annotation.PostMapping;

import java.math.BigDecimal;
import java.math.RoundingMode;

@Controller
public class MakeChangeController {
    private static final Logger logger = LoggerFactory.getLogger(MakeChangeController.class);

    @GetMapping("/make-change")
    public String get(Model model, @AuthenticationPrincipal OidcUser principal) {
        model.addAttribute("change", new Change());
        model.addAttribute("profile", principal.getClaims());
        return "make-change";
    }

    @PostMapping("/make-change")
    public String post(@ModelAttribute Change change, Model model, @AuthenticationPrincipal OidcUser principal) {
        model.addAttribute("profile", principal.getClaims());
        change.setError(null);
        try {
            if (change.getTotal() != null) {
                BigDecimal totalValue = new BigDecimal(change.getTotal());
                change.setNickels(totalValue
                        .divide(new BigDecimal("0.05"), RoundingMode.HALF_DOWN)
                        .intValue());
                change.setPennies(totalValue
                        .subtract(new BigDecimal("0.05")
                                .multiply(new BigDecimal(change.getNickels())))
                        .multiply(new BigDecimal(100))
                        .intValue());
            }
        } catch (Exception e) {
            logger.error(e.getMessage());
            change.setError("Please enter a dollar amount.");
        }

        return "make-change";
    }
}
This controller serves both GET and POST requests on the /make-change route. Both methods add the claims to the profile attribute like AccountController.java does. GetMapping adds a new model object of Change to the view model. PostMapping takes the Change object as a parameter and uses the total to calculate how many nickels and pennies to return. If total is not a valid dollar (BigDecimal) value, it adds an error to the Change model object. The return string make-change tells Spring to render the make-change.html template which you will create later.
Add The Model Object#
Now you'll create the model object referenced in the controllers. In the directory src/main/java/io/fusionauth/quickstart/springweb, create a new directory called model.
mkdir src/main/java/io/fusionauth/quickstart/springweb/modelIn the model directory, and create a new file named Change.java.
touch src/main/java/io/fusionauth/quickstart/springweb/model/Change.javaNow, populate it with the follow code for the Change Java class.
package io.fusionauth.quickstart.springweb.model;

public class Change {
    private String error;
    private String total = "0";
    private Integer nickels = 0;
    private Integer pennies = 0;

    public String getError() {
        return error;
    }

    public void setError(String error) {
        this.error = error;
    }

    public String getTotal() {
        return total;
    }

    public void setTotal(String total) {
        this.total = total;
    }

    public Integer getNickels() {
        return nickels;
    }

    public void setNickels(Integer nickels) {
        this.nickels = nickels;
    }

    public Integer getPennies() {
        return pennies;
    }

    public void setPennies(Integer pennies) {
        this.pennies = pennies;
    }

    public String getMessage() {
        return String.format("We can make change for $%s with %s nickels and %s pennies!", getTotal(), getNickels(), getPennies());
    }
}
This model has four fields.
error: The error string if the input was invalid.total: The total amount to divide into pennies and nickels.nickels: The number of nickels returned from themake changeoperation.pennies: The number of pennies returned from themake changeoperation.
The model also has a getMessage method, which formats a message string to render on the template.
Add View Templates#
Now you can add three views for Thymeleaf to render on the routes you defined:
Home: The welcome page an unauthenticated user will see when they visit your application.Account: A protected view the user will see after they log in.Make Change: A protected view to demonstrate making an authenticated form post to the backend.
Create the template files in src/main/resources/templates.
Create the home.html template file.
touch src/main/resources/templates/home.htmlThen paste the following code into it.
<html xmlns:th="http://www.w3.org/1999/xhtml" lang="en">
<head>
    <title>Home Page</title>
    <link rel="stylesheet" type="text/css" th:href="@{/css/styles.css}"/>
</head>
<body>
    <div id="page-container">
        <div id="page-header">
            <div id="logo-header">
                <img th:src="@{/images/example_bank_logo.svg}"/>
                <a class="button-lg" href="/account">Login</a>
            </div>

            <div id="menu-bar" class="menu-bar">
                <a class="menu-link">About</a>
                <a class="menu-link">Services</a>
                <a class="menu-link">Products</a>
                <a class="menu-link" style="text-decoration-line: underline;">Home</a>
            </div>
        </div>

        <div style="flex: 1;">
            <div class="column-container">
                <div class="content-container">
                    <div style="margin-bottom: 100px;">
                        <h1>Welcome to Changebank</h1>
                        <p>To get started, <a href="/account">log in or create a new account</a>.</p>
                    </div>
                </div>
                <div style="flex: 0;">
                    <img th:src="@{/images/money.jpg}" style="max-width: 800px;"/>
                </div>
            </div>
        </div>
    </div>
</body>
</html>
This template links to /account for login. Spring will automatically know that the user is not logged in and redirect them to FusionAuth based on what was defined in application.properties.
Create the account.html template file in the src/main/resources/templates directory.
touch src/main/resources/templates/account.htmlThen paste the following code into it.
<html xmlns:th="http://www.w3.org/1999/xhtml" lang="en">
<head>
    <title>User Profile</title>
    <link rel="stylesheet" type="text/css" th:href="@{/css/styles.css}"/>
</head>
<body>
    <div id="page-container">
        <div id="page-header">
            <div id="logo-header">
                <img src="https://fusionauth.io/cdn/samplethemes/changebank/changebank.svg"/>
                <div class="h-row">
                    <p class="header-email" th:text="${profile.email}"></p>
                    <a class="button-lg" href="/logout">Logout</a>
                </div>
            </div>

            <div id="menu-bar" class="menu-bar">
                <a class="menu-link inactive" href="/make-change">Make Change</a>
                <a class="menu-link" href="/account">Account</a>
            </div>
        </div>

        <div style="flex: 1;">
            <div class="column-container">
                <div class="app-container">
                    <h3>Your balance</h3>
                    <div class="balance">$0.00</div>
                </div>
            </div>
        </div>
    </div>
</body>
</html>
This page has an a href link to /logout that Spring will use to redirect the user to FusionAuth for logout. It also references the ${profile.email} claim that was set in the account controller.
Create the make-change.html template file in the src/main/resources/templates directory.
touch src/main/resources/templates/make-change.htmlThen paste the following code into it.
<html xmlns:th="http://www.w3.org/1999/xhtml" lang="en">
<head>
    <meta charset="utf-8"/>
    <title>FusionAuth OpenID and PKCE example</title>
    <link rel="stylesheet" type="text/css" th:href="@{/css/styles.css}"/>
</head>
<body>
    <div id="page-container">
        <div id="page-header">
            <div id="logo-header">
                <img th:src="@{/images/example_bank_logo.svg}"/>
                <div class="h-row">
                    <p class="header-email" th:text="${profile.email}"></p>
                    <a class="button-lg" href="/logout">Logout</a>
                </div>
            </div>

            <div id="menu-bar" class="menu-bar">
                <a class="menu-link" href="/make-change">Make Change</a>
                <a class="menu-link inactive" href="/account">Account</a>
            </div>
        </div>

        <div style="flex: 1;">
            <div class="column-container">
                <div class="app-container change-container">
                    <h3>We Make Change</h3>

                    <div th:if="${change.error != null}" class="error-message" th:text="${change.error}"></div>
                    <div th:unless="${change.error != null}" class="change-message" th:text="${change.message}">
                    </div>

                    <form method="post" action="#" th:action="@{/make-change}" th:object="${change}">
                        <div class="h-row">
                            <div class="change-label">Amount in USD: $</div>
                            <input class="change-input" name="amount" value="0.00" th:field="*{total}"/>
                            <input class="change-submit" type="submit" value="Make Change"/>
                        </div>
                    </form>
                </div>
            </div>
        </div>
    </div>
</body>
</html>
In addition to the references made above, this template adds a form that binds the ${change} object as the model, submits the *{total} as input by the user, and displays the message or error depending on what is defined in the Change object.
Configure Spring Web And Spring Security#
Add a new directory called config under src/main/java/io/fusionauth/quickstart/springweb using the following command.
mkdir src/main/java/io/fusionauth/quickstart/springweb/configAdd a SecurityConfiguration.java file to the src/main/java/io/fusionauth/quickstart/springweb/config directory using the following command.
touch src/main/java/io/fusionauth/quickstart/springweb/config/SecurityConfiguration.javaThen paste the following code into it.
package io.fusionauth.quickstart.springweb.config;

import org.springframework.context.annotation.Bean;
import org.springframework.context.annotation.Configuration;
import org.springframework.security.config.annotation.web.builders.HttpSecurity;
import org.springframework.security.oauth2.client.registration.ClientRegistrationRepository;
import org.springframework.security.oauth2.client.web.DefaultOAuth2AuthorizationRequestResolver;
import org.springframework.security.oauth2.client.web.OAuth2AuthorizationRequestCustomizers;
import org.springframework.security.oauth2.client.web.OAuth2AuthorizationRequestRedirectFilter;
import org.springframework.security.web.SecurityFilterChain;

@Configuration
public class SecurityConfiguration {

    @Bean
    public SecurityFilterChain filterChain(HttpSecurity http, ClientRegistrationRepository repo)
            throws Exception {

        String base_uri = OAuth2AuthorizationRequestRedirectFilter.DEFAULT_AUTHORIZATION_REQUEST_BASE_URI;
        DefaultOAuth2AuthorizationRequestResolver resolver = new DefaultOAuth2AuthorizationRequestResolver(repo, base_uri);

        resolver.setAuthorizationRequestCustomizer(OAuth2AuthorizationRequestCustomizers.withPkce());

        http
                .authorizeRequests(a -> a
                        .antMatchers("/", "/images/**", "/css/**")
                            .permitAll()
                        .anyRequest()
                            .authenticated())
                .oauth2Login(login -> login.authorizationEndpoint().authorizationRequestResolver(resolver));

        http.logout(logout -> logout
                .logoutSuccessUrl("http://localhost:9011/oauth2/logout?client_id=e9fdb985-9173-4e01-9d73-ac2d60d1dc8e"));

        return http.build();
    }
}
This class uses the @Configuration annotation to provide additional configuration, in this case, a SecurityFilterChain that tells Spring to:
- Require authentication for all requests except to
/(home.html),/images, and/css(implicitly referring to the directories undersrc/main/resources/static). - Redirect the user on logout to FusionAuth to complete the logout.
Also add a WebConfig.java, to the src/main/java/io/fusionauth/quickstart/springweb/config directory.
touch src/main/java/io/fusionauth/quickstart/springweb/config/WebConfig.javaThen paste the following code into it.
package io.fusionauth.quickstart.springweb.config;

import org.springframework.context.annotation.Configuration;
import org.springframework.web.servlet.config.annotation.EnableWebMvc;
import org.springframework.web.servlet.config.annotation.ResourceHandlerRegistry;
import org.springframework.web.servlet.config.annotation.WebMvcConfigurerAdapter;

@Configuration
@EnableWebMvc
public class WebConfig extends WebMvcConfigurerAdapter {

    @Override
    public void addResourceHandlers(ResourceHandlerRegistry registry) {
        registry.addResourceHandler(
                        "/images/**",
                        "/css/**")
                .addResourceLocations(
                        "classpath:/static/images/",
                        "classpath:/static/css/");
    }

}
This configuration class enables Web MVC and sets up resource handlers for the static assets.
Customization#
The template files you added to the templates directory reference a stylesheet and images. Create a css and images directory under src/main/resources/static/ to place the stylesheet and images.
mkdir src/main/resources/static/css
mkdir src/main/resources/static/images
Add a styles.css file to the src/main/resources/static/css directory using the command below.
curl -o src/main/resources/static/css/styles.css 'https://raw.githubusercontent.com/FusionAuth/fusionauth-quickstart-java-springboot-web/main/complete-application/src/main/resources/static/css/styles.css'You can update the stylesheet as you see fit, but be sure to update the templates if you make changes.
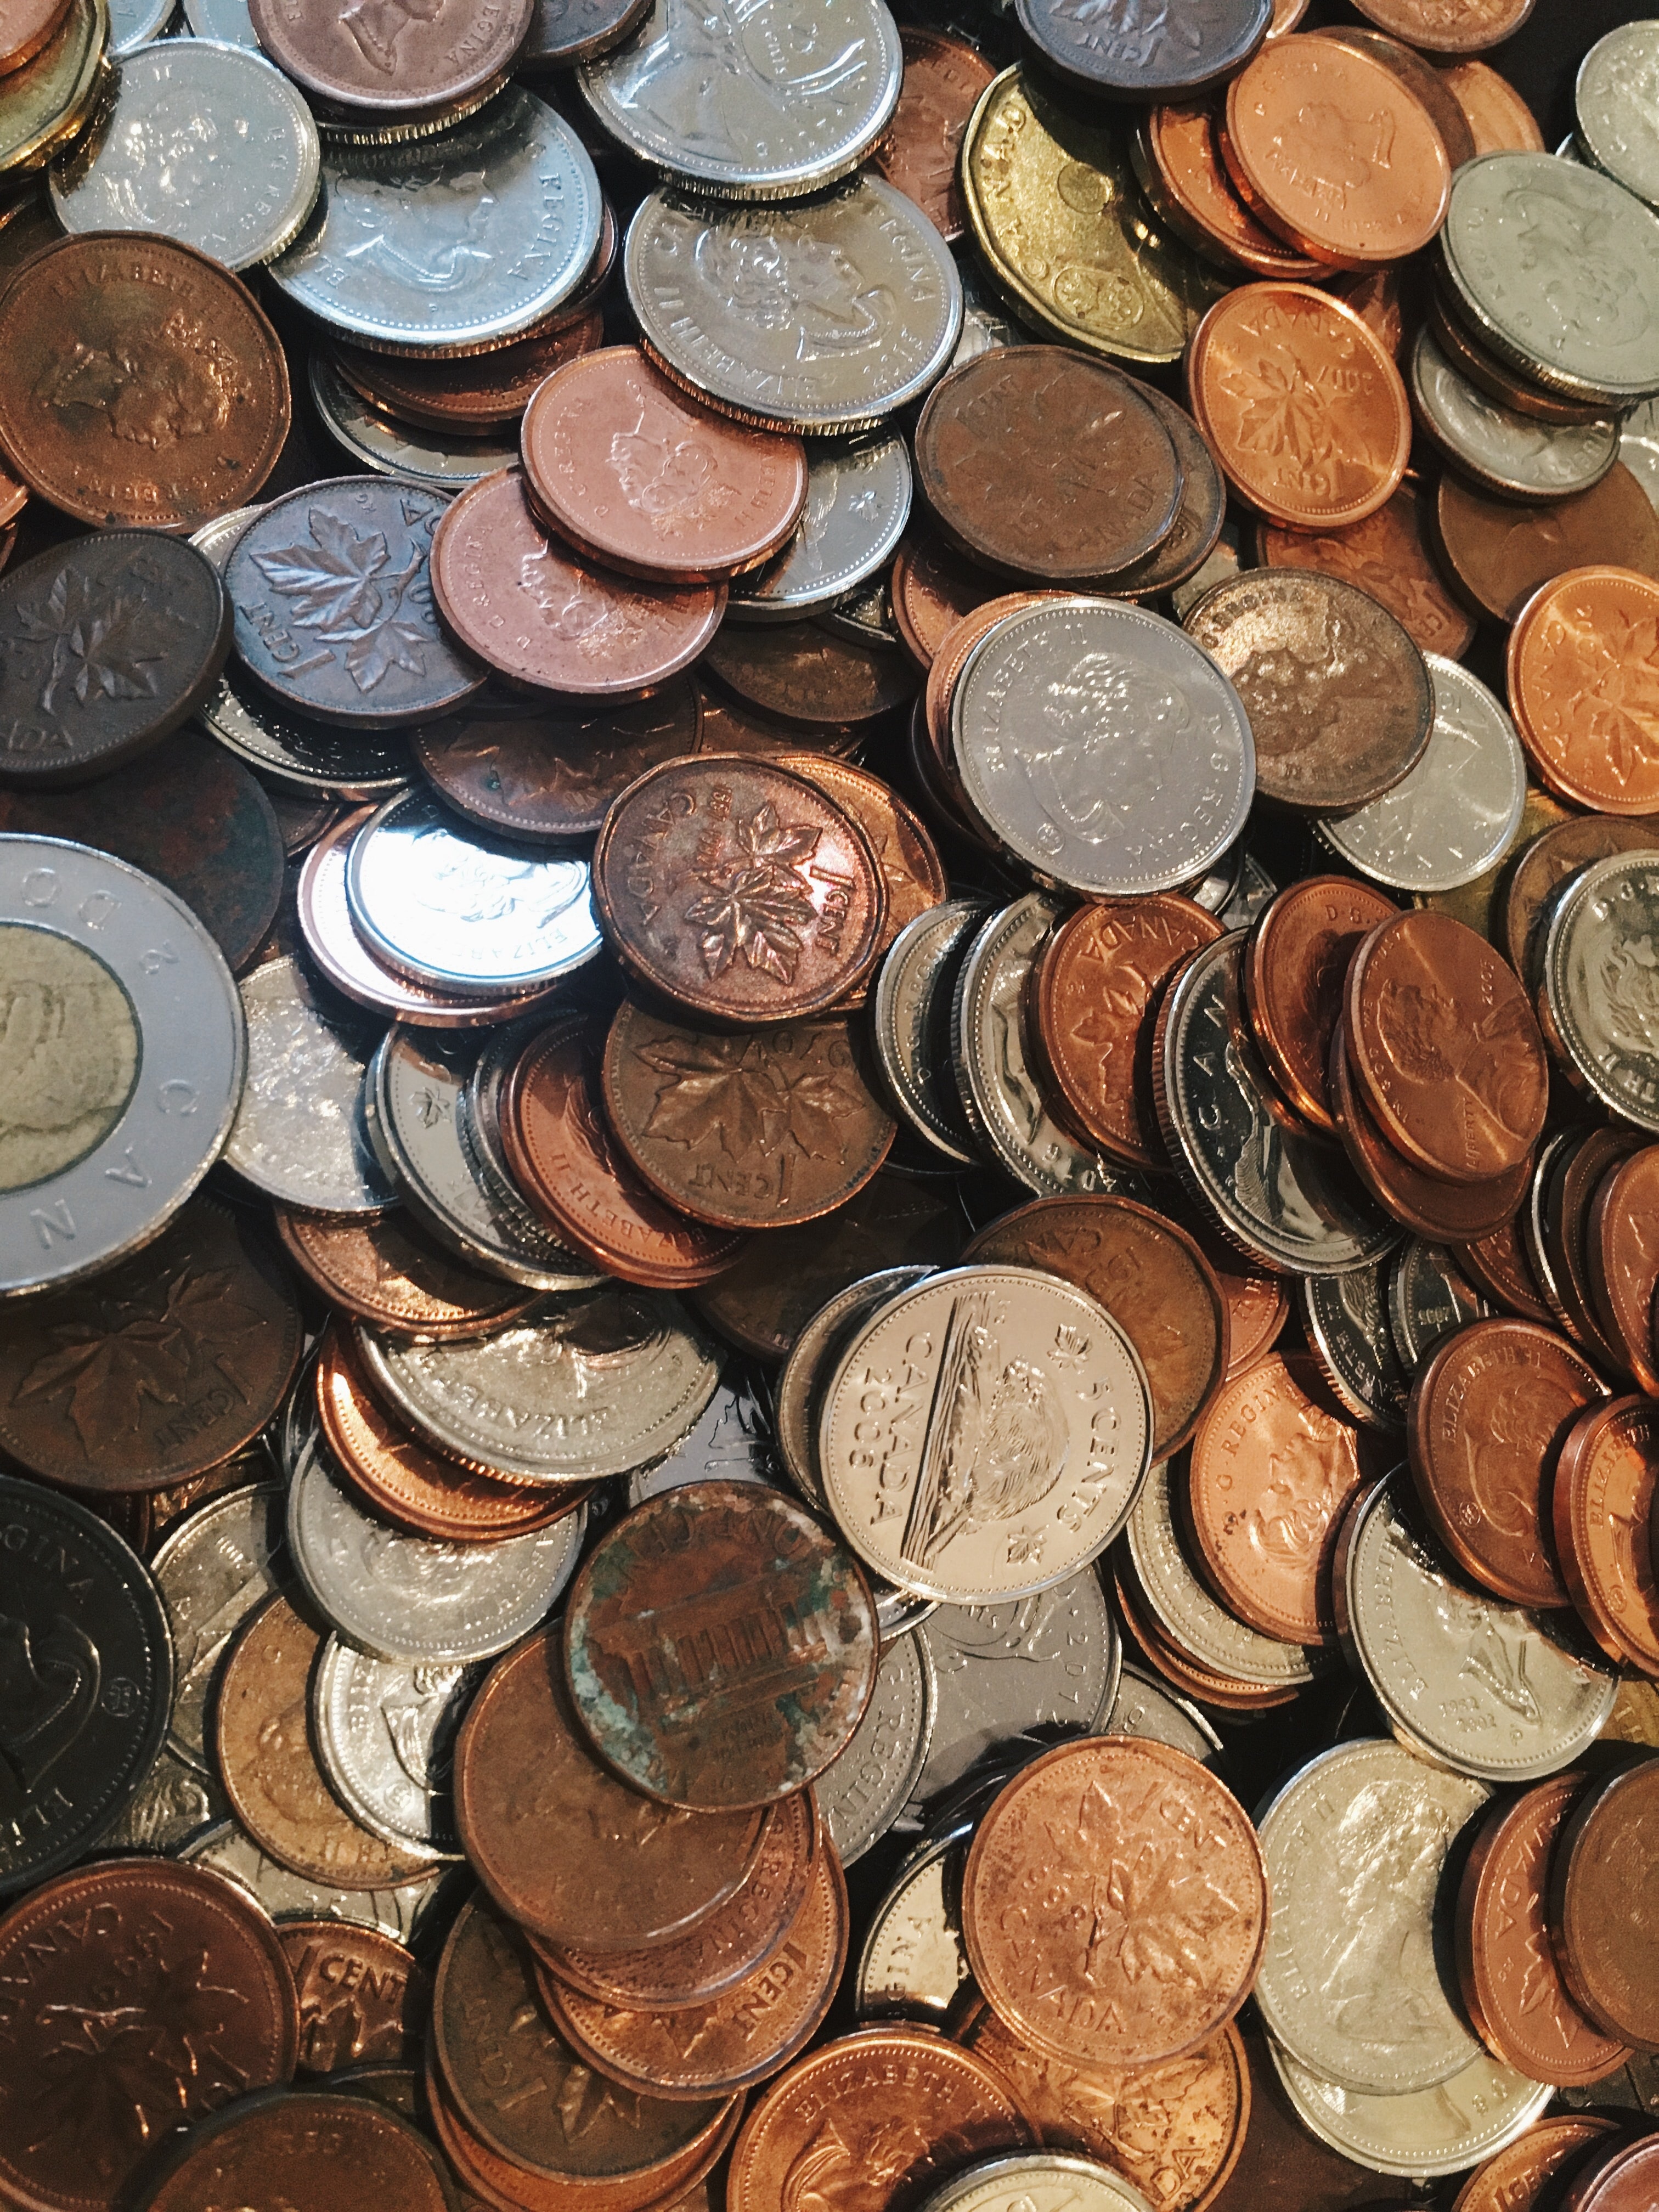
Download the bank logo image as example_bank_logo.svg and the money image as money.jpg into the src/main/resources/static/images directory using the commands below.
curl -o src/main/resources/static/images/example_bank_logo.svg 'https://raw.githubusercontent.com/FusionAuth/fusionauth-quickstart-java-springboot-web/main/complete-application/src/main/resources/static/images/example_bank_logo.svg'
curl -o src/main/resources/static/images/money.jpg 'https://raw.githubusercontent.com/FusionAuth/fusionauth-quickstart-java-springboot-web/main/complete-application/src/main/resources/static/images/money.jpg'
Run The Application#
From the root your-application directory, run the application using the following command.
./mvnw spring-boot:runYou can now open the application at http://localhost:8080.
Log in using richard@example.com and password.
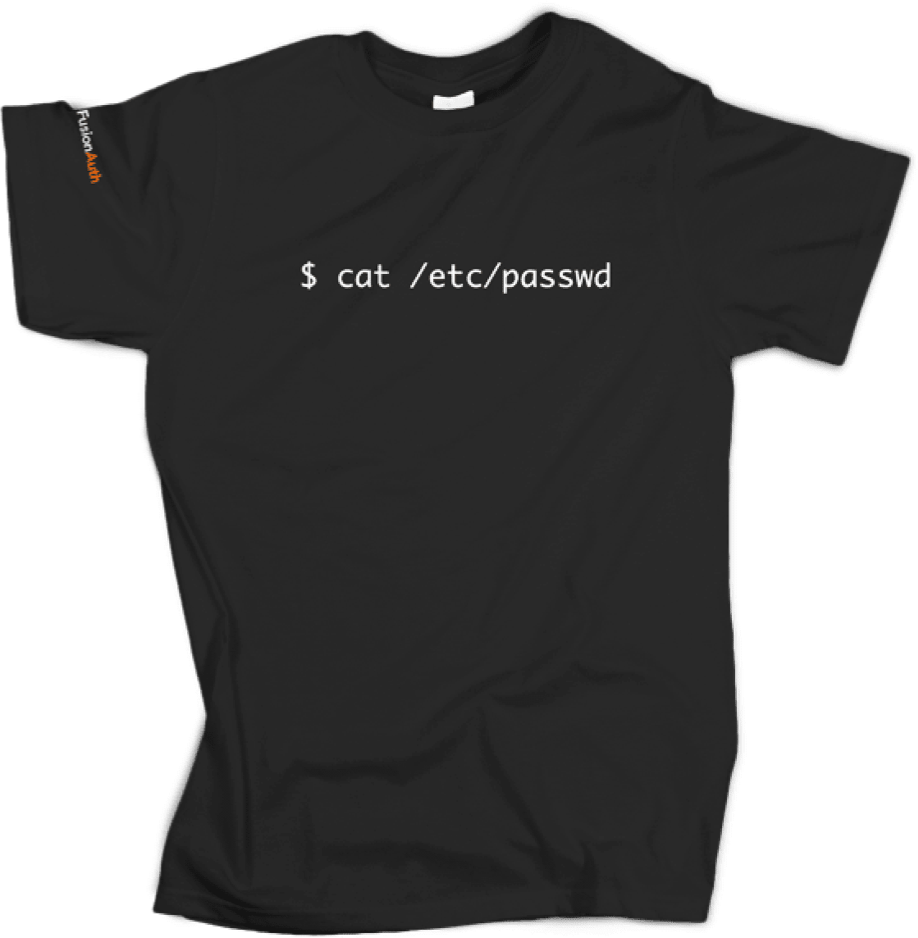
Made it this far? Want a free t-shirt? We got ya.
Thank you for spending some time getting familiar with FusionAuth.
*Offer only valid in the United States and Canada, while supplies last.
Next Steps#
This quickstart is a great way to get a proof of concept up and running quickly, but to run your application in production, there are some things you're going to want to do.
FusionAuth Customization
FusionAuth gives you the ability to customize just about everything to do with the user's experience and the integration of your application. This includes:
- Hosted pages such as login, registration, email verification, and many more.
- Email templates.
- User data and custom claims in access token JWTs.
Security
- You may want to customize the token expiration times and policies in FusionAuth.
- Choose password rules and a hashing algorithm that meet your security needs.
Tenant and Application Management
- Model your application topology using Applications, Roles, Groups, Entities, and more.
- Set up MFA, Social login, or SAML integrations.
- Integrate with external systems using Webhooks, SCIM, and Lambdas.
Troubleshooting#
- I get "This site can’t be reached localhost refused to connect" when I click the login button.
Ensure FusionAuth is running in the Docker container. You should be able to log in as the admin user, admin@example.com with a password of password at http://localhost:9011/admin.
- I get an error page when I click on the login button with the message
"error_reason" : "invalid_client_id".
Ensure the value for spring.security.oauth2.client.registration.fusionauth-client.client-id in the file src/main/resources/application.properties matches client the Id configured in FusionAuth for the "Example App" Application at http://localhost:9011/admin/application/.
- I get an error "package org.springframework.x.y.z does not exist".
Ensure you have added the required dependencies OAuth2 Client, Thymeleaf, and Spring Web when configuring your starter package on the Spring Initializr site. Click the Add Dependencies button and search for each dependency.
- The
templatesandstaticdirectories are missing in the starter package.
Ensure you have added the required dependencies Thymeleaf and Spring Web when configuring your starter package on the Spring Initializr site. Click the Add Dependencies button and search for each dependency.
- It still doesn't work.
You can always pull down a complete running application and compare what's different.
git clone https://github.com/FusionAuth/fusionauth-quickstart-java-springboot-web.git
cd fusionauth-quickstart-java-springboot-web
docker compose up -d
cd complete-application
./mvnw package
./mvnw spring-boot:run