


Reduce the overhead associated with customer authentication and authorization when creating a .NET web application using FusionAuth templates.
Introduction
Templates for nothin’ and your security for free.
Literally. The FusionAuth Templates for Microsoft .NET are free to use and so is the self-hosted Community Plan of FusionAuth.
As a Developer Relations Engineer at FusionAuth, my goal is to help developers develop faster. That’s why I’m so excited about the release of our new .NET templates. They’re available through the Visual Studio Marketplace and as a NuGet package, making it easy for developers to get started with FusionAuth and build secure applications quickly and easily.
Getting Started
Download The Templates
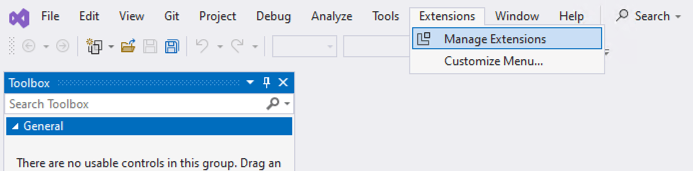
Let’s start by installing the FusionAuth templates using Visual Studio. For those who develop .NET applications outside of Visual Studio, don’t worry I’ll cover that too. Inside Visual Studio, select Extensions from the menu bar and then select Manage Extensions.
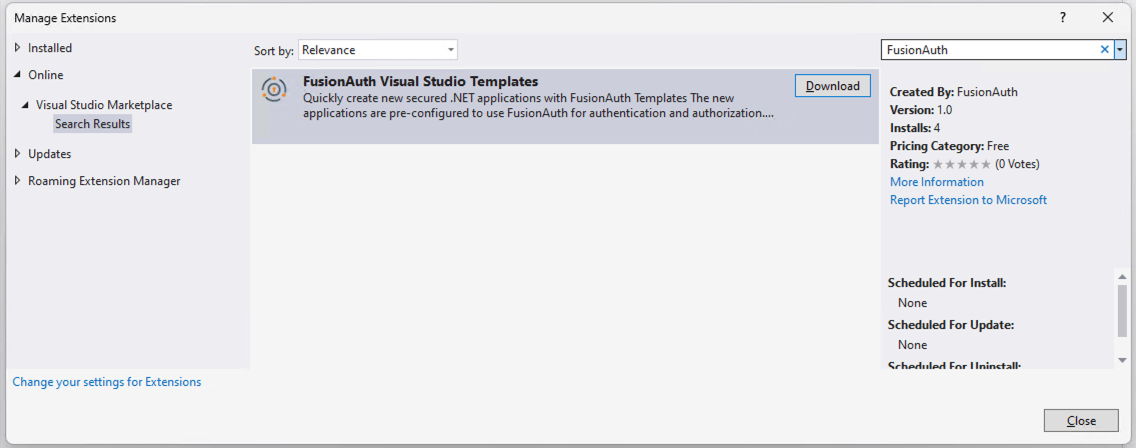
Enter FusionAuth in the search bar. Then, select Download when you find the templates. You will need to restart Visual Studio after the templates are downloaded and installed.
For those of you who develop outside of Visual Studio, you can simply issue the following command from the terminal or command line.
dotnet new install FusionAuth.Templates::1.0.0
That’s all there is to obtaining the templates.
FusionAuth Server
Of course, to effectively use these templates you will need an instance of FusionAuth to bang against. If you already have an instance set up, you likely know the settings you will need. If you do not have an instance to point to, don’t fear. You can download an instance and have it up and running in no time assuming you have Docker installed. Simply clone the fusionauth-example-client-libraries info, and spin up the Docker instance using the following command.
mkdir fusionauth-templates-example
cd fusionauth-templates-example
git clone https://github.com/FusionAuth/fusionauth-example-client-libraries.git
cd fusionauth-example-client-libraries
docker compose up -d
If things go according to plan, you should now have a fully functioning instance of FusionAuth that has been pre-configured to work with the templates. That means that an application with users has been set up in FusionAuth and you are ready to start developing your application.
If things do not go according to plan, you can find more details in the Readme.md file in the repository. You could also check out one of our quickstarts, such as .NET Web for more details on how to get the FusionAuth server up and running.
Setup the Project
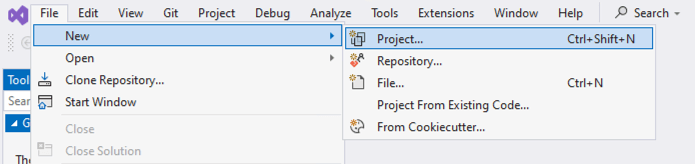
If Visual Studio is not your thing, don’t fret. I’ll have something for you in a bit. For now, you will head back to Visual Studio. Open it up and select New Project.
You should now see the FusionAuth templates as an option to start your project. If you do not see them listed, simply search for FusionAuth in the Search for templates search bar.
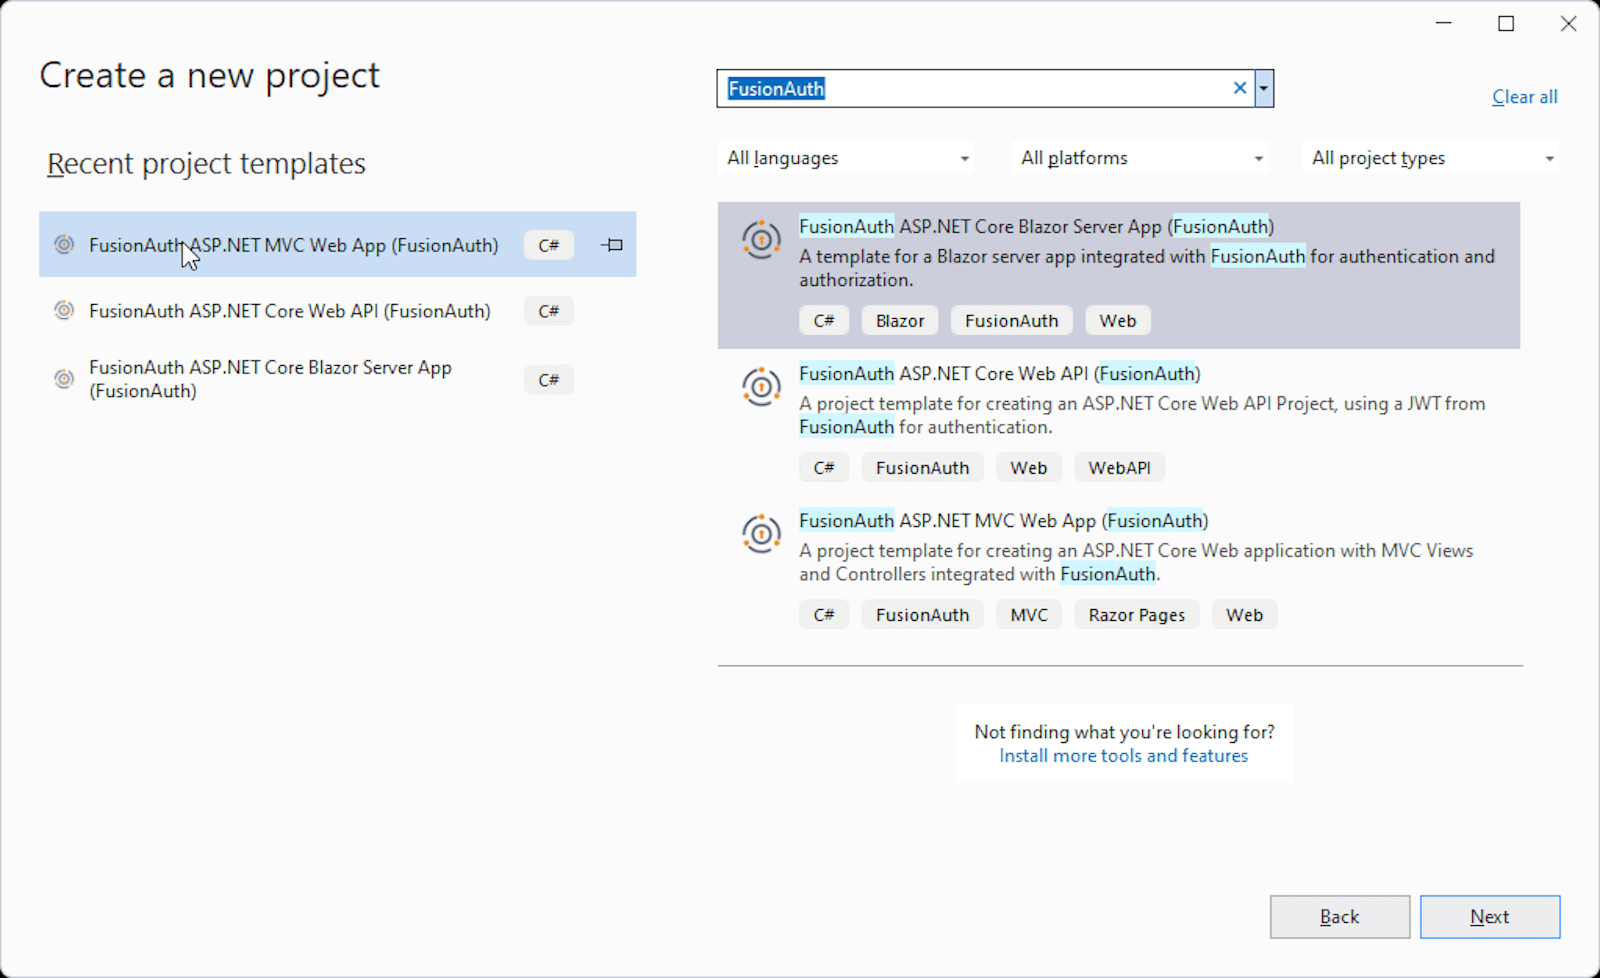
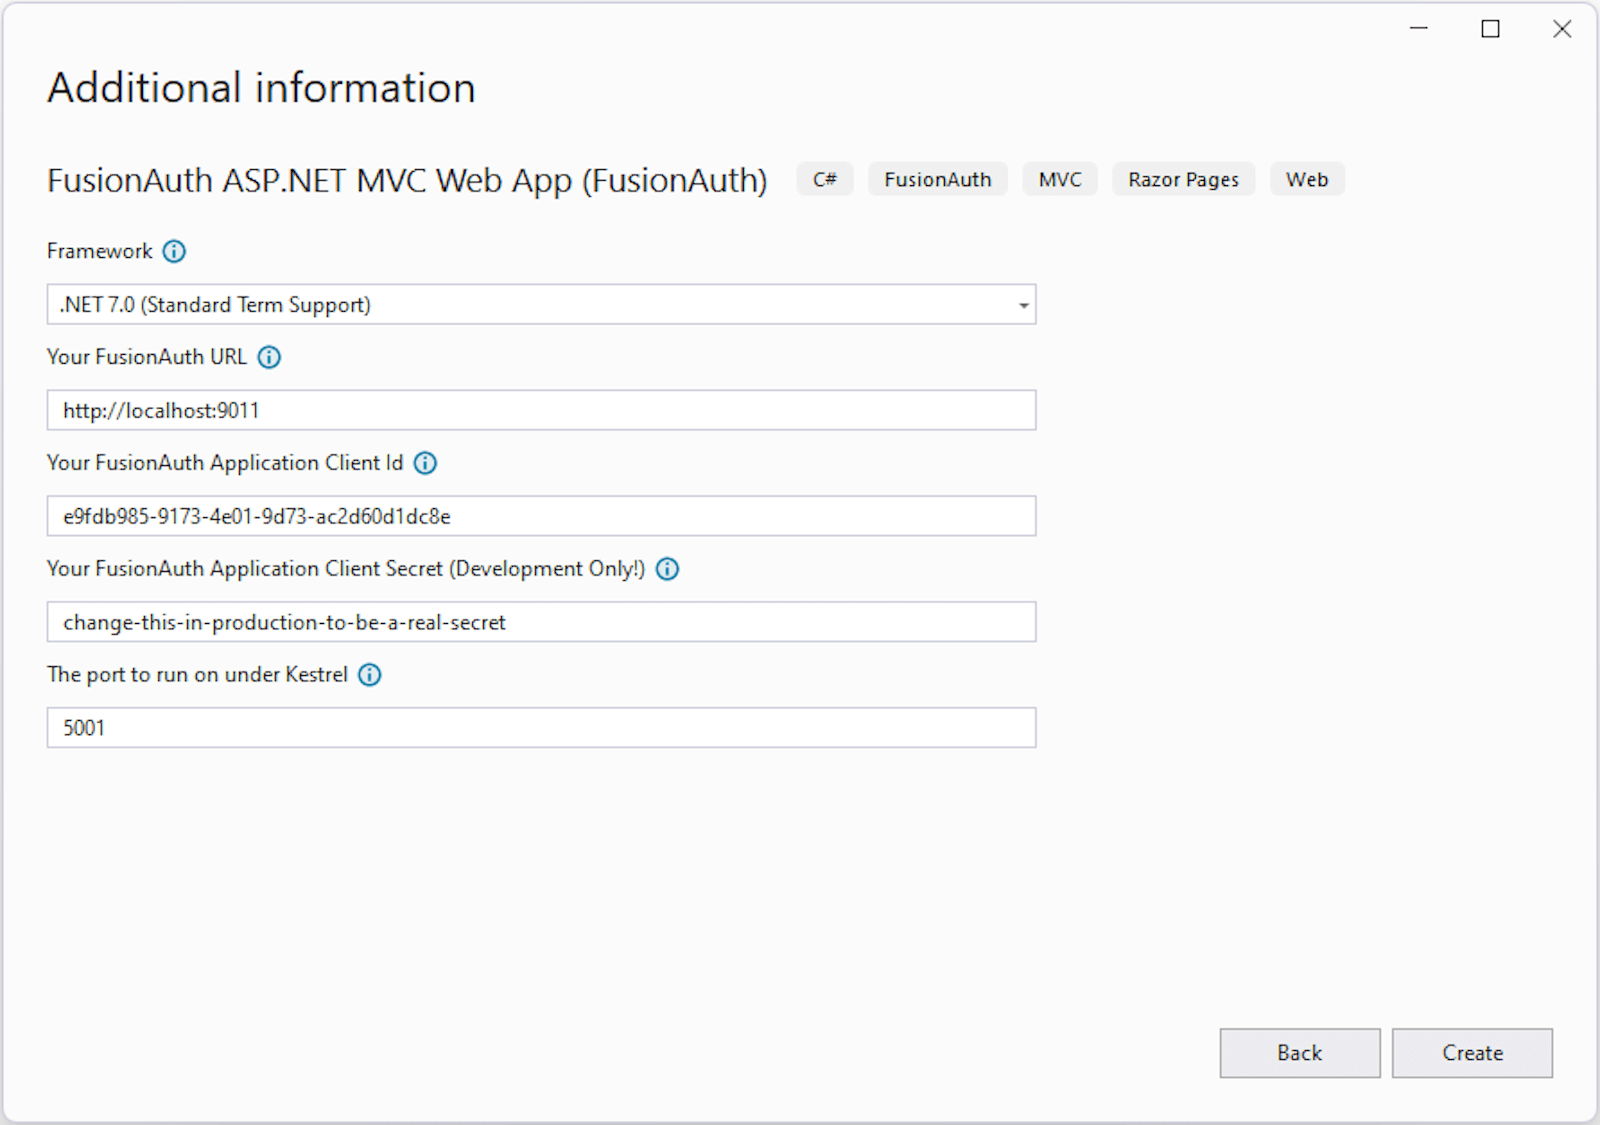
For this blog, we will select the FusionAuth ASP.NET MVC Web App. You will be prompted to enter the name of your project. Once you do that and select Next, you will be presented with a window that will allow you to enter the information for your FusionAuth server. If you set up the server using the docker image described above, you will not need to change anything except the FusionAuth Application Client Secret. You can update the input with the correct secret by entering change-this-in-production-to-be-a-real-secret. If you have another FusionAuth server, you will need to update the inputs with the appropriate information.
If you are not using Visual Studio and you installed the templates using the NuGet package, you can issue the following command from the Command Prompt in Windows (or Terminal window on a Mac) in an empty directory and it will create the project for you.
mkdir fusionauth-template-example
cd fusionauth-template-example
dotnet new fusionauthmvcwebapp --client-secret "change-this-in-production-to-be-a-real-secret" --name "MyFusionAuthTestApplication"
It Is Just That Simple
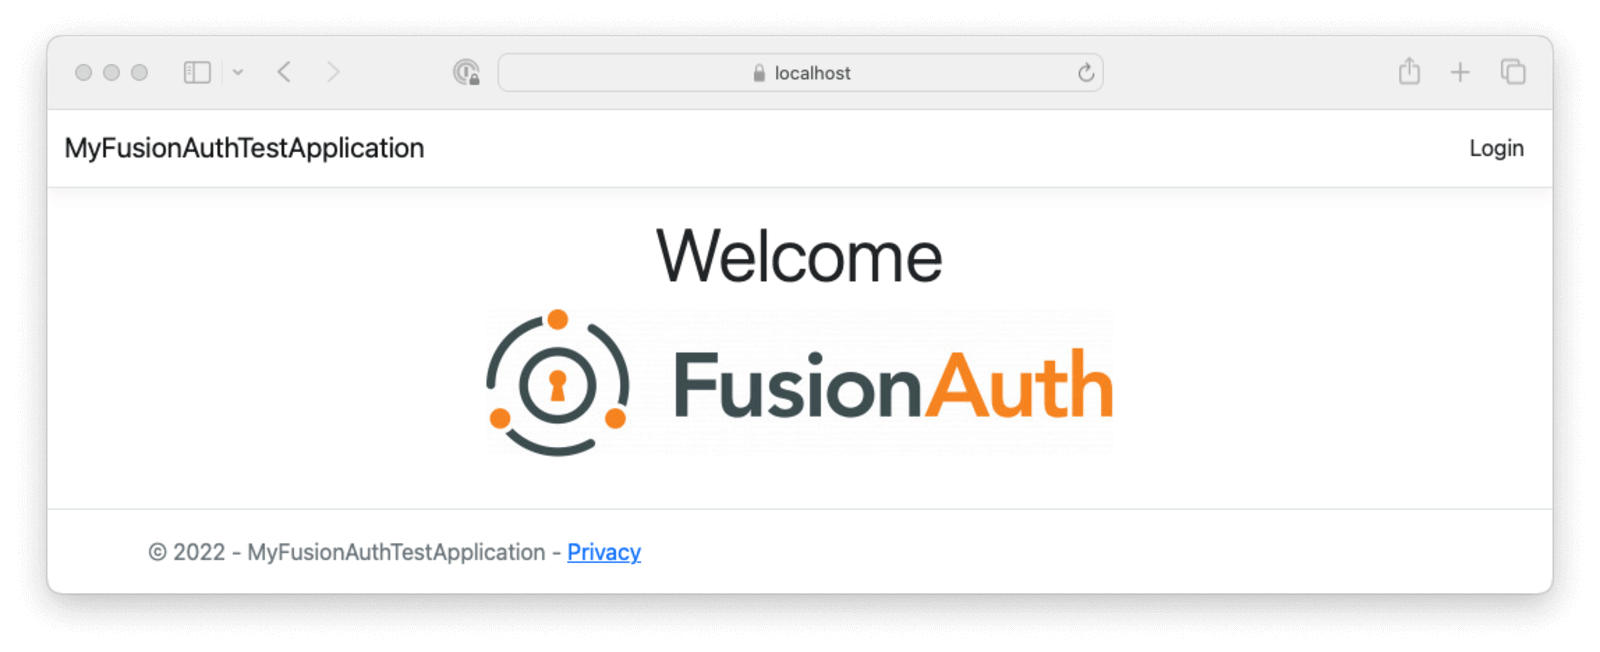
It is just that simple. You now have a fully functioning and secured application. All you need to do is hit the green Start button in Visual Studio.
Again, if you are not using Visual Studio all you need to do is issue the following command from the same directory the .csproj file is in.
cd MyFusionAuthTestApplication
dotnet run
You can open a browser and go to https://localhost:5001. Log in using the username admin@example.com and the password password.
Alright, Show Me The Code Already
Okay, for some, you have seen all you need to see to start using the new Visual Studio FusionAuth .NET Templates. Please enjoy and feel free to head to the Conclusion section.
For those of you who like to peek under the hood, I have reserved this section for you. Let’s dig in.
First things first. Let’s take a look at where the values are stored from the inputs you were prompted for when creating the project. Take a look at the appsettings.json. There you will find the Issuer and ClientId that you entered.
"FusionAuth": {
  "Issuer": "http://localhost:9011",
  "ClientId": "e9fdb985-9173-4e01-9d73-ac2d60d1dc8e"
}
In the appsettings.Development.json, you will find the ClientSecret and the Kestrel Url that will determine which port the application will run on in development.
"FusionAuth": {
  "ClientSecret": "change-this-in-production-to-be-a-real-secret"
},
"Kestrel": {
  "Endpoints": {
    "Https": {
      "Url": "https://localhost:5001"
    }
  }
}
The client secret is only stored in the appsettings.Development.json file for convenient use with the templates. For production environments, you will want to store this in an environmental variable or some other secure manner.
It is also important to know that a reference to the Microsoft.AspNetCore.Authentication.OpenIdConnect NuGet package has been added to the project.
From here, it is a fairly standard implementation of a MVC application.
There is a shared layout view Views\Shared\_Layout.cshtml which will give you a menu bar across the top and then the body of the page below.
This is also where the logic to display the Login link or the Profile and Logout links in the menu bar is stored.
<div class="navbar-collapse collapse d-sm-inline-flex justify-content-between">
  @if (User.Identity.IsAuthenticated)
  {
    <ul class="navbar-nav flex-grow-1">
      <li class="nav-item">
        <a class="nav-link text-dark" asp-area="" asp-controller="Home" asp-action="Index">Home</a>
      </li>
      <li class="nav-item">
         <a class="nav-link text-dark" asp-area="" asp-controller="Home" asp-action="Privacy">Privacy</a>
      </li>
    </ul>

    <ul class="navbar-nav ms-auto">
      <li class="nav-item">
        <a class="nav-link text-dark"
           asp-controller="Account"
           asp-action="Profile">Profile</a>
      </li>
      <li class="nav-item">
        <a class="nav-link text-dark" asp-area=""
           asp-controller="Account"
           asp-action="Logout">Logout</a>
      </li>
     </ul>
  } else {
    <ul class="navbar-nav ms-auto">
      <li class="nav-item">
        <a class="nav-link text-dark"
           asp-area=""
           asp-controller="Account"
           asp-action="Login">Login</a>
      </li>
    </ul>
  }
 </div>
If the user is not logged in and clicks the Login link, they will be taken to the AccountController triggering the Login function. This function will take the values in the settings and issue the login dialog for the user.
public async Task Login(string returnUrl = "/")
  {
    var authenticationProperties = new AuthenticationProperties();
    authenticationProperties.RedirectUri = returnUrl;

    await HttpContext.ChallengeAsync("FusionAuth", authenticationProperties);
  }
After the user is authenticated, it redirects them to the homepage again. This time they will be authenticated and will be presented with the Profile and Logout links.
The Logout link will again take the user to the AccountController and perform the logout logic.
public async Task Logout()
{
  var authenticationProperties = new AuthenticationProperties();
  authenticationProperties.RedirectUri = Url.Action("Index", "Home");

  await HttpContext.SignOutAsync("FusionAuth", authenticationProperties);
  await HttpContext.SignOutAsync(CookieAuthenticationDefaults.AuthenticationScheme);
}
The Profile link will take to user to the AccountController and attempt to return the Profile view. Notice the Authorize attribute above the function name. This attribute lets the application know not to issue this view unless the user is authenticated.
[Authorize]
public IActionResult Profile()
{
  return View(User);
}
For this template, the Profile simply returns some claims. However, in your application, this is where your secured application would start.
Conclusion
Authentication and Authorization are a critical part of any application. You could create that all from scratch, but it often does not make sense to do so. When you decide to use FusionAuth, you could also create that integration from scratch as demonstrated in many of FusionAuth’s Quickstarts. However, you don’t need to. The point of the templates is to reduce the amount of time and overhead spent plumbing the application so you can concentrate on creating the parts of it that separate you from your competition. I hope the next time you sit down to write your latest and greatest .NET application you choose to utilize the power of the FusionAuth .NET Templates.
Next steps
If you enjoyed this article, I suggest you download the FusionAuth .NET Templates and create your project with them. Please check out some of the other links and resources about FusionAuth and the .NET Templates.