


FusionAuth and Xkit came together for this blog post to share how you can use our services to boost your engineering team’s productivity. If you’re working on growing your SaaS business, you know just how much your engineers have on their plates. At both FusionAuth and Xkit, we believe that outsourcing what you can — like authentication and integration infrastructure — lets your team focus on the products and services that drive your business.
We’ve written this post to lay out how you can use our services together to simplify your auth and build native integrations into your app faster. No more telling your customers that the integrations they’ve been asking for are “on the roadmap”. Follow the steps below and you can ship them in no time.
What is Xkit
Xkit is a SaaS platform which makes integrating third party systems a snap. Suppose you are writing a recipe management application and are going to sell it for big money to all the cooks of the world. After some market research, you realize that you want to integrate with other services. Your users are clamoring for the ability to export the steps of a recipe to a Trello board for sharing and Dropbox for backups. These are all services with APIs.
End users can give your application access to their accounts with these services, but that takes some coding. There’s also a fair bit of hoop jumping: setting up API keys and OAuth consent screens, among other things.
This is the problem which Xkit solves. Xkit has built connections to many services; here’s a current list. Once configured, your application can connect a user’s account with an external service to your application. I (Dan) was able to connect Trello and my app in about an hour. The user experience of connecting the external application is smooth and far better than something I could whip up in a day, let alone an hour.
Xkit and FusionAuth integration
Install FusionAuth
FusionAuth offers a number of different methods you can use to install the service. Once you’ve installed it, there’s a Setup Wizard to walk you through the next steps. You’ll need to create your application in the FusionAuth interface and then add a few elements to your application code base to fully implement the FusionAuth login flow. A full, detailed setup guide is also available. Feel free to create additional users via the FusionAuth administrative user interface.
Once FusionAuth is installed and configured, you have a full featured user management system, ready to go. APIs to control everything, multi factor authentication, consent management, SAML, OIDC, and more, hosted wherever you want. There’s also FusionAuth Cloud, a managed services offering, if you don’t want to host FusionAuth yourself.
Install Xkit
After you’re set up with FusionAuth you’ll want to head over and create your Xkit account. Upon sign-up, Xkit will also prompt you with some basic information needed to set up the environment. Fill out those details and you’re good to go there.
To set up Xkit in your code base, you’ll need to add the script tag for xkit.js on your front-end:
<script src="https://<your-slug>.xkit.co/xkit.js"></script>In addition, your users need a place to actually sign in to their apps, such as Dropbox for your cooking recipe sharers. The easiest way to do this is to direct users to the hosted integration catalog Xkit has set up for you:
<a href="https://<your-slug>.xkit.co">Integration Catalog</a>Alternatively, if you need more customization, you can embed Xkit’s catalog on your site and customize its styling to fit your look and feel (details here). If you still need more flexibility, you can use the SDK.
Connect FusionAuth with Xkit
Now that you have both FusionAuth and Xkit set up, you’ll need to connect the two. We do this by collecting some information from your FusionAuth dashboard and inputting it into Xkit.
Specifically, you’ll need to generate an RSA key and then add your “iss” claim, “aud” claim and JWKS URL into your Xkit account. This setup is fully documented.
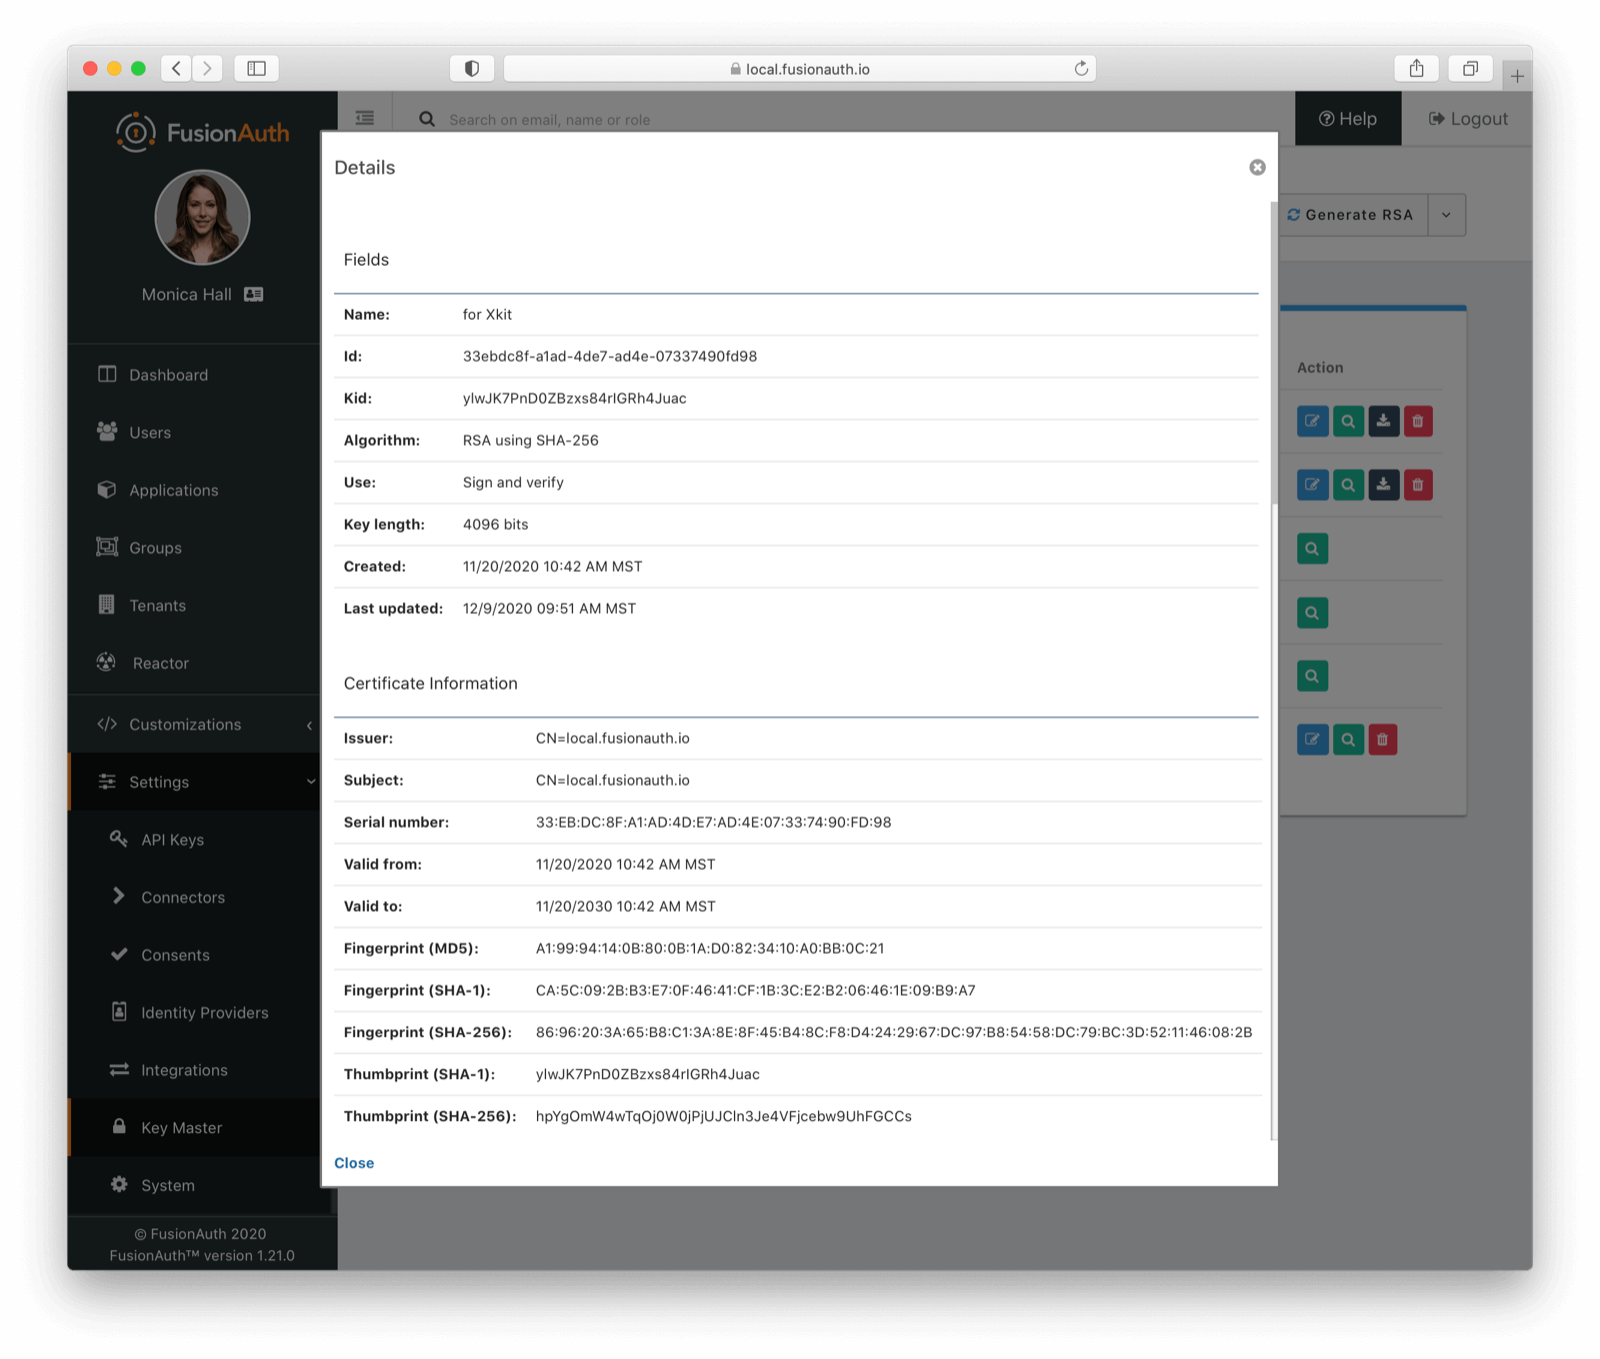
Once you’ve done that and clicked save, FusionAuth and Xkit will be connected. Huzzah!
You can now have your users log in using FusionAuth’s Login API. You’ll get a JWT from FusionAuth on successful user authentication. This JWT can then be sent to Xkit to authenticate the user in Xkit, and therefore grant them access to integrations you’ve configured.
In your code base you can log your user into Xkit simply by using your FusionAuth ID token:
//...
xkit.ready(() => {
  xkit.login('eyJhbGciOi...')
})
//...
This easy JWT-based connection saves you the trouble of dealing with API keys and provisioning users for Xkit; you can instead maintain them in FusionAuth. You can also use FusionAuth for all your other applications, providing one view of all your users.
The security minded among you will notice that this JWT is available in the DOM, and therefore exposed to cross site scripting attacks, should any malicious JavaScript be executed on the same page. To minimize the risks, lock the permissions associated with this JWT down and don’t allow its use as a bearer token for any other more sensitive APIs or services.
Add an integration
Now to actually set up your first integration! Say you want your users to be able to connect their Trello accounts with your app. To do this, you’ll first need to get an Trello API key.
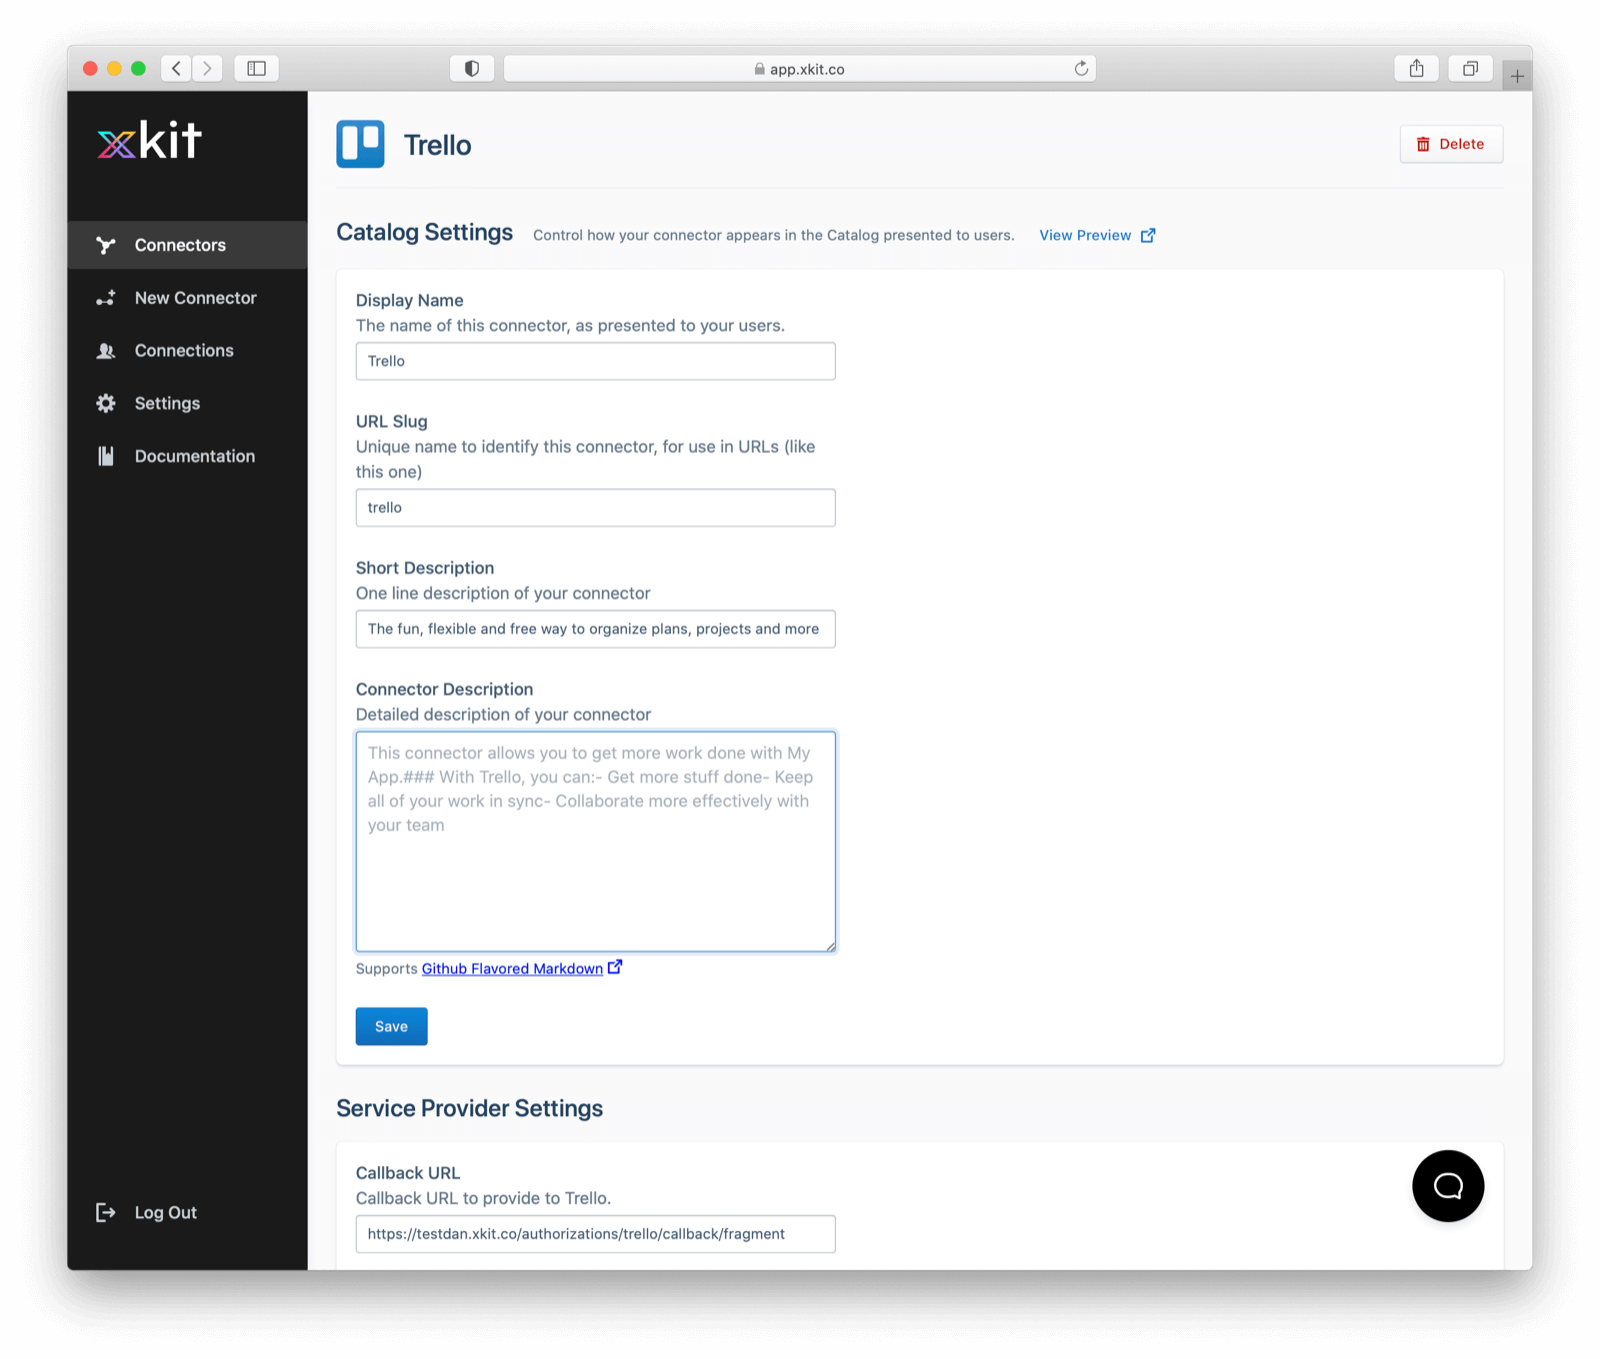
Next you’ll need to add Trello as a connector in your Xkit platform and provide Xkit with the API key. After filling out a bit more information in the Xkit Trello connector page to set the permissions you require and what your users see when they’re connecting the app, you’ll click save.
You’re now ready to retrieve access tokens! You simply make one API call to retrieve a user’s fresh access token:
const trelloToken = await xkit.getConnectionToken("trello")If the token isn’t available, you should send the user to the appropriate place in your integration catalog to connect it.
//...
if (!trelloToken) {
  window.location.href = xkit.connectorUrl("trello")
}
//...
Behind the scenes here, Xkit handles all the complicated parts of managing the access tokens — dealing with each SaaS app’s protocol differences, token expirations, refresh tokens, protection against CSRF attacks, token encryption and more — so that it’s as simple as one API call for you. This setup also makes it easy to retrieve the token anywhere in your stack, be it in Cloud Functions, on the front-end, from your web server, etc. You can then use the token to make calls to the Trello API.
To add integrations to other apps, you follow essentially the same steps and retrieve the token with the same API call. Specific guides for different apps can be found here.
We’re always looking for feedback and suggestions so let us know your thoughts! Thanks for reading.
This post can also be found on the Xkit blog.