FusionAuth Account Portal
Overview
The account portal is where you can manage your account data, deployments and licenses. The portal is distinct from your FusionAuth instance, which is where your user data lives. While an instance can be self-hosted or hosted in FusionAuth Cloud, the account portal is an internet accessible web application.
You can self-host FusionAuth Community Edition for your user datastore without ever setting up an account with the FusionAuth portal.
If you use FusionAuth Cloud or have a paid edition with advanced features, you need a FusionAuth portal account.
The Account Portal
You can control all aspects by logging into the account portal.
Your account portal contains the following areas:
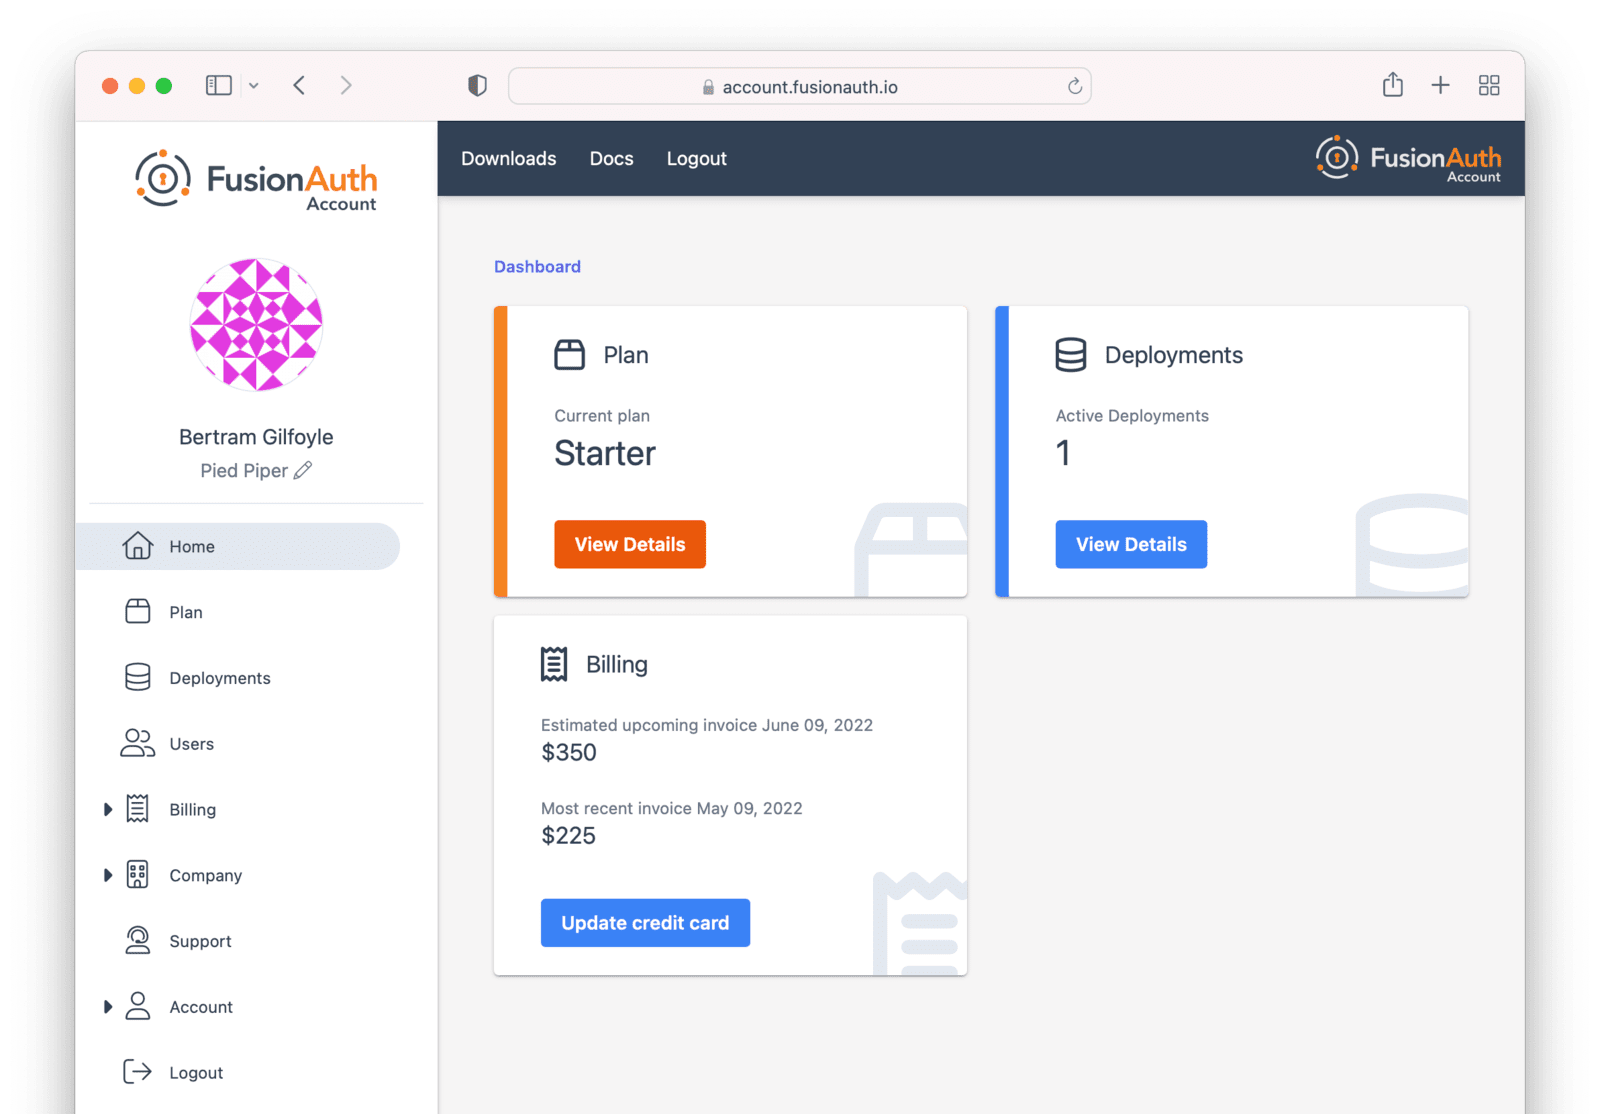
- Home - displays the dashboard, giving you an overview of everything in your account.
- Plan - select or modify the account’s FusionAuth plan (also known as an edition). More details on the plan differences here. This is also where you will find your license keys when you are not using the Community edition.
- Deployments - configure and manage FusionAuth Cloud deployments. Learn more about deployments.
- Users - add and remove users from the account portal. Any user added may have one of many roles.
- Billing - add or update your billing information.
- Company - add or update your company information.
- Support - learn more about support options or open a support ticket. Learn more about technical support.
- Account - manage your user account, including adding MFA or changing your password.
- Logout - logs you out of the application.
Adding a user to your company will allow them to manage FusionAuth deployments and take other account portal actions.
Doing so will not provision the user an account on the FusionAuth instance in the deployment.
You must do that separately.
Setting Up Your Account
You can register for a free portal user account. Register by going to the account portal.
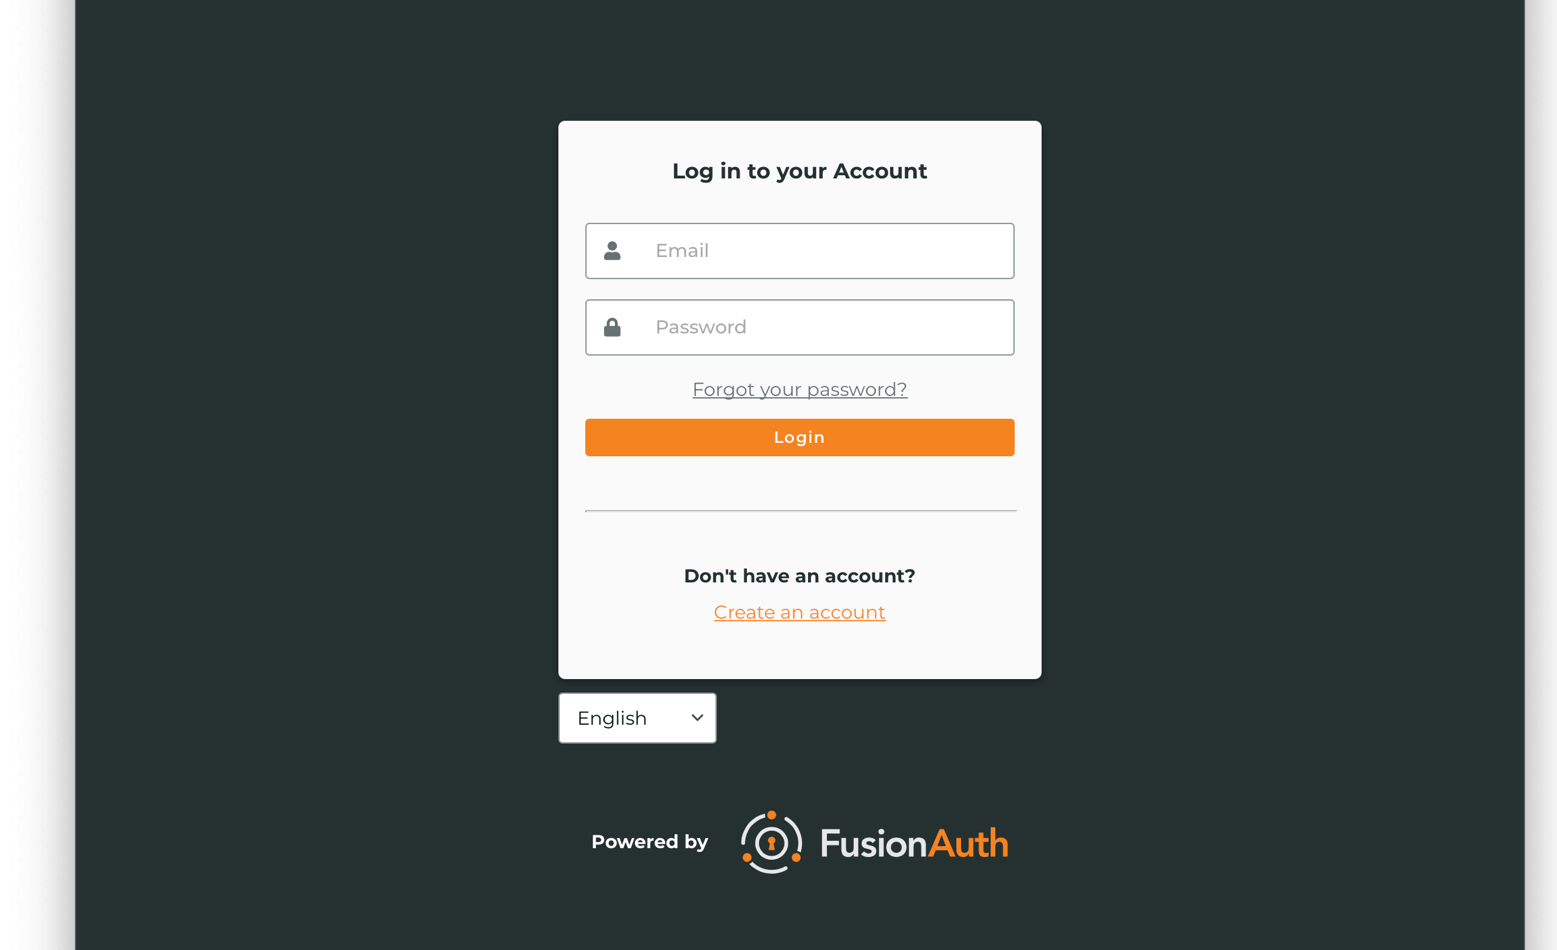
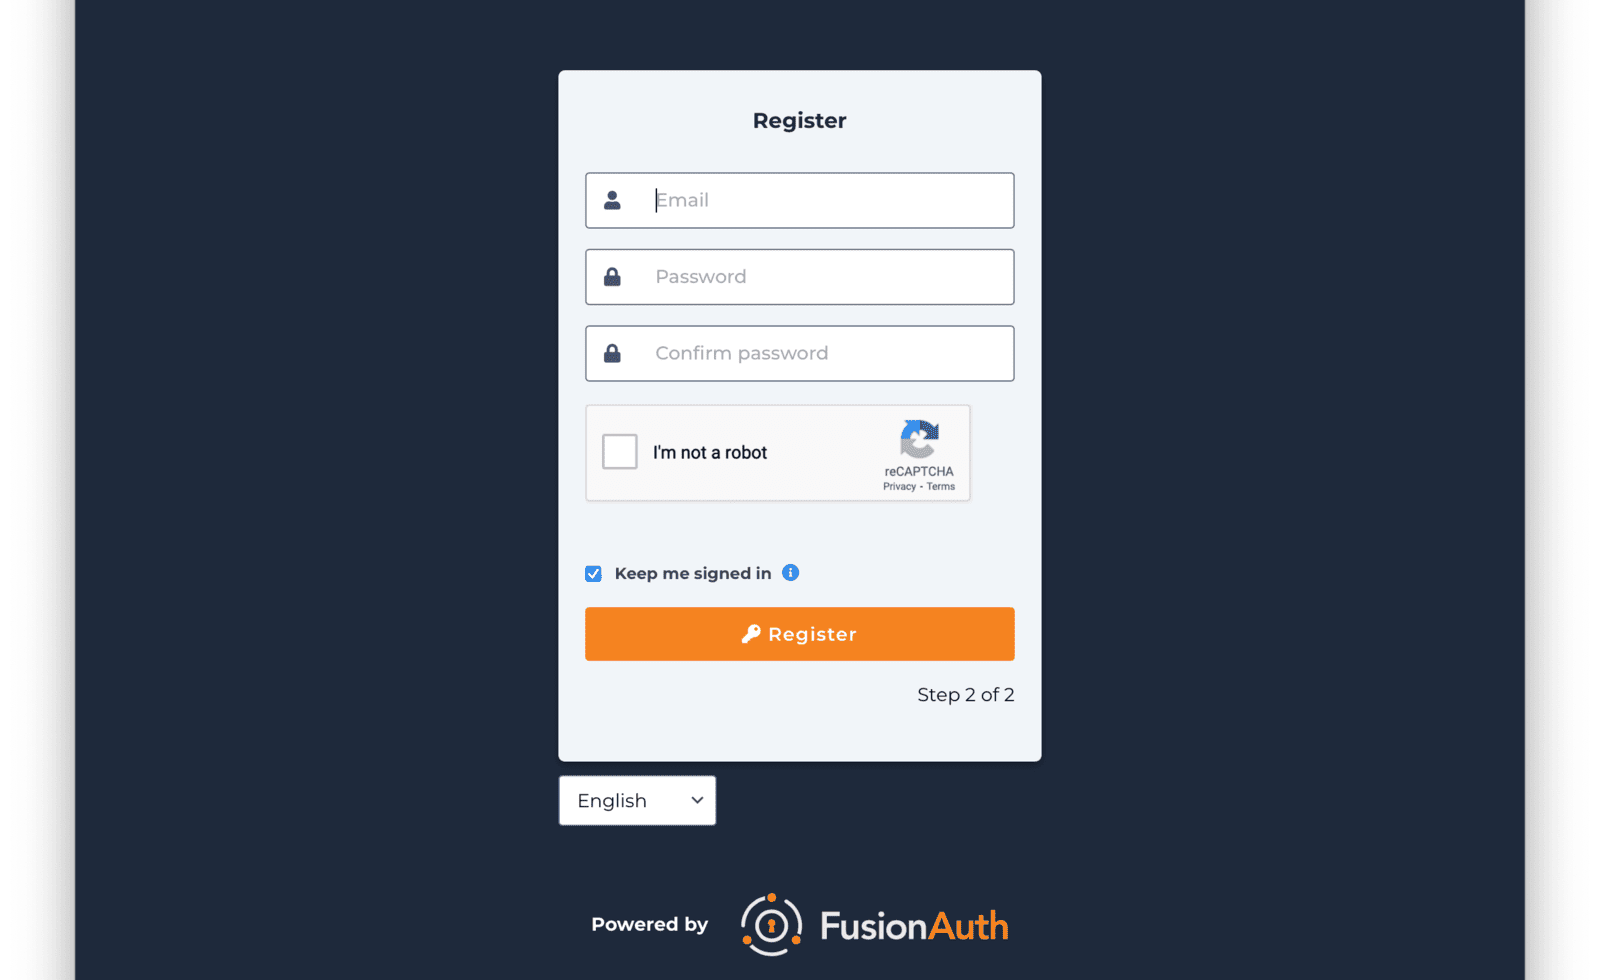
If you do not have an account, follow the “Create an account” link. On the registration form, first you’ll be prompted for a name and company.

On the next screen, you’ll be prompted for email, password and other required information.
After you register, you’ll be taken to the Home tab.
You can choose a plan, price out a deployment, or add your billing information. You'll need to provide that before you can create a deployment or get a paid license. However, you can fully price everything before entering billing information.
You can navigate away from the Home tab and explore other areas of the account portal. For example, you can add other users, update your information, or change your company name.
If you’d prefer to be invoiced rather than provide credit card details, contact us.
Portal Areas
Here’s an outline of each of the portal areas. Depending on your user privileges, not all functionality may be available to you.
Home
The Home tab is a dashboard where you can view information about your FusionAuth account.
Plan
The Plan tab is where you can modify your plan. You can also find your license keys on this tab. Some plans include advanced features. Some plans include support.
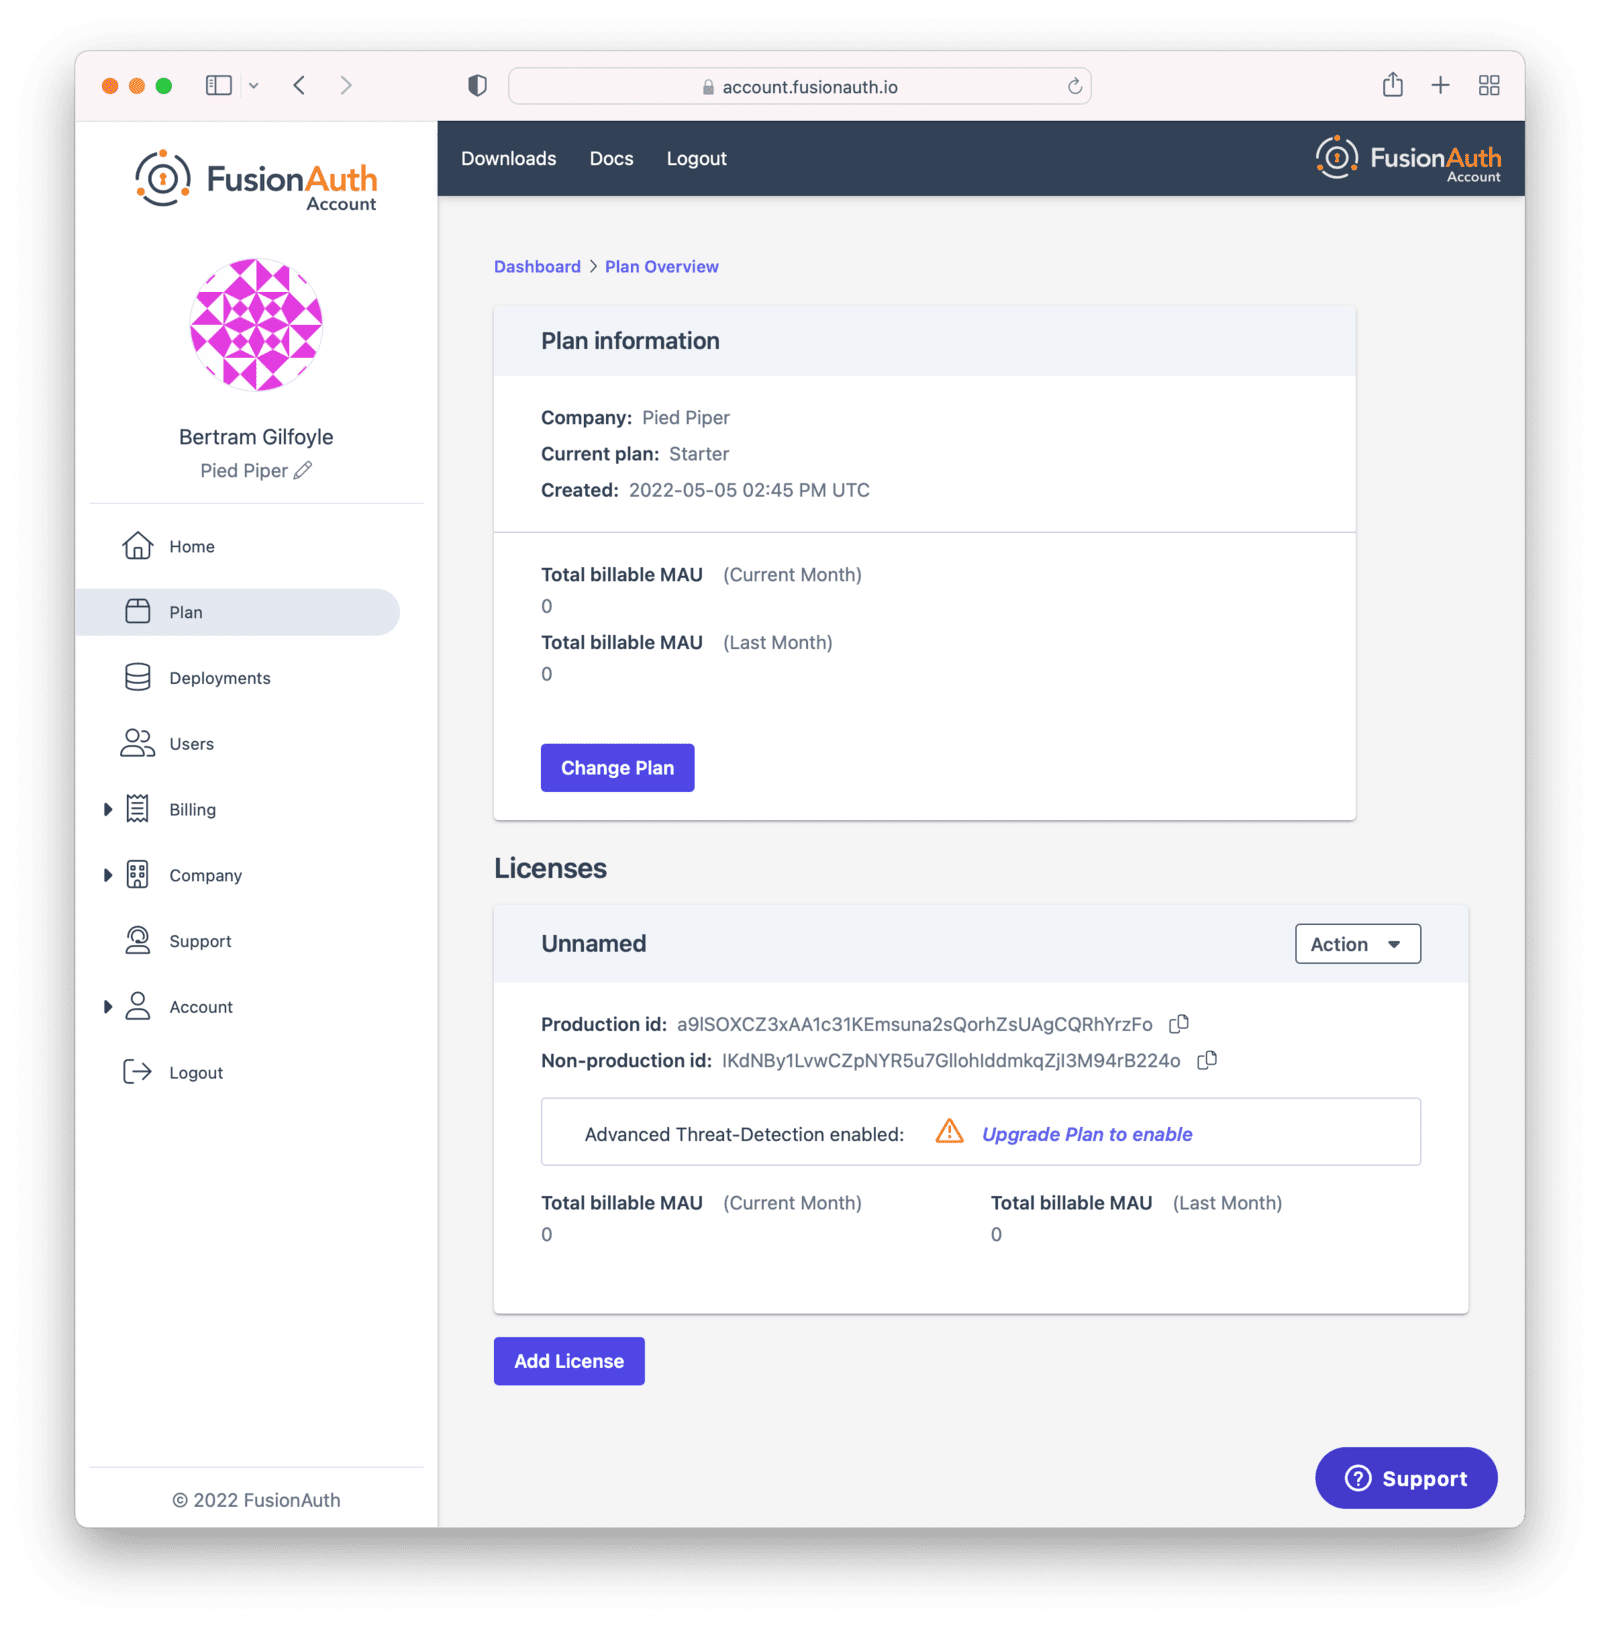
If you no longer want to pay for a plan, change it to the Community plan here by clicking on the Change Plan button.
Learn more about plans and licensing.
Deployments
The Deployments tab is where you can create deployments in FusionAuth Cloud. These are managed instances of FusionAuth, where the FusionAuth team manages the operational concerns of your FusionAuth instance.

Learn more about deployments.
Users
You can add, modify and remove users from your FusionAuth account. Users added this way can log in to account.fusionauth.io and access information about your FusionAuth deployments, plan, licenses and more.
Adding a user to your company will allow them to manage FusionAuth deployments and take other account portal actions.
Doing so will not provision the user an account on the FusionAuth instance in the deployment.
You must do that separately.
You can see users who have access to your account. Users must have an email address.
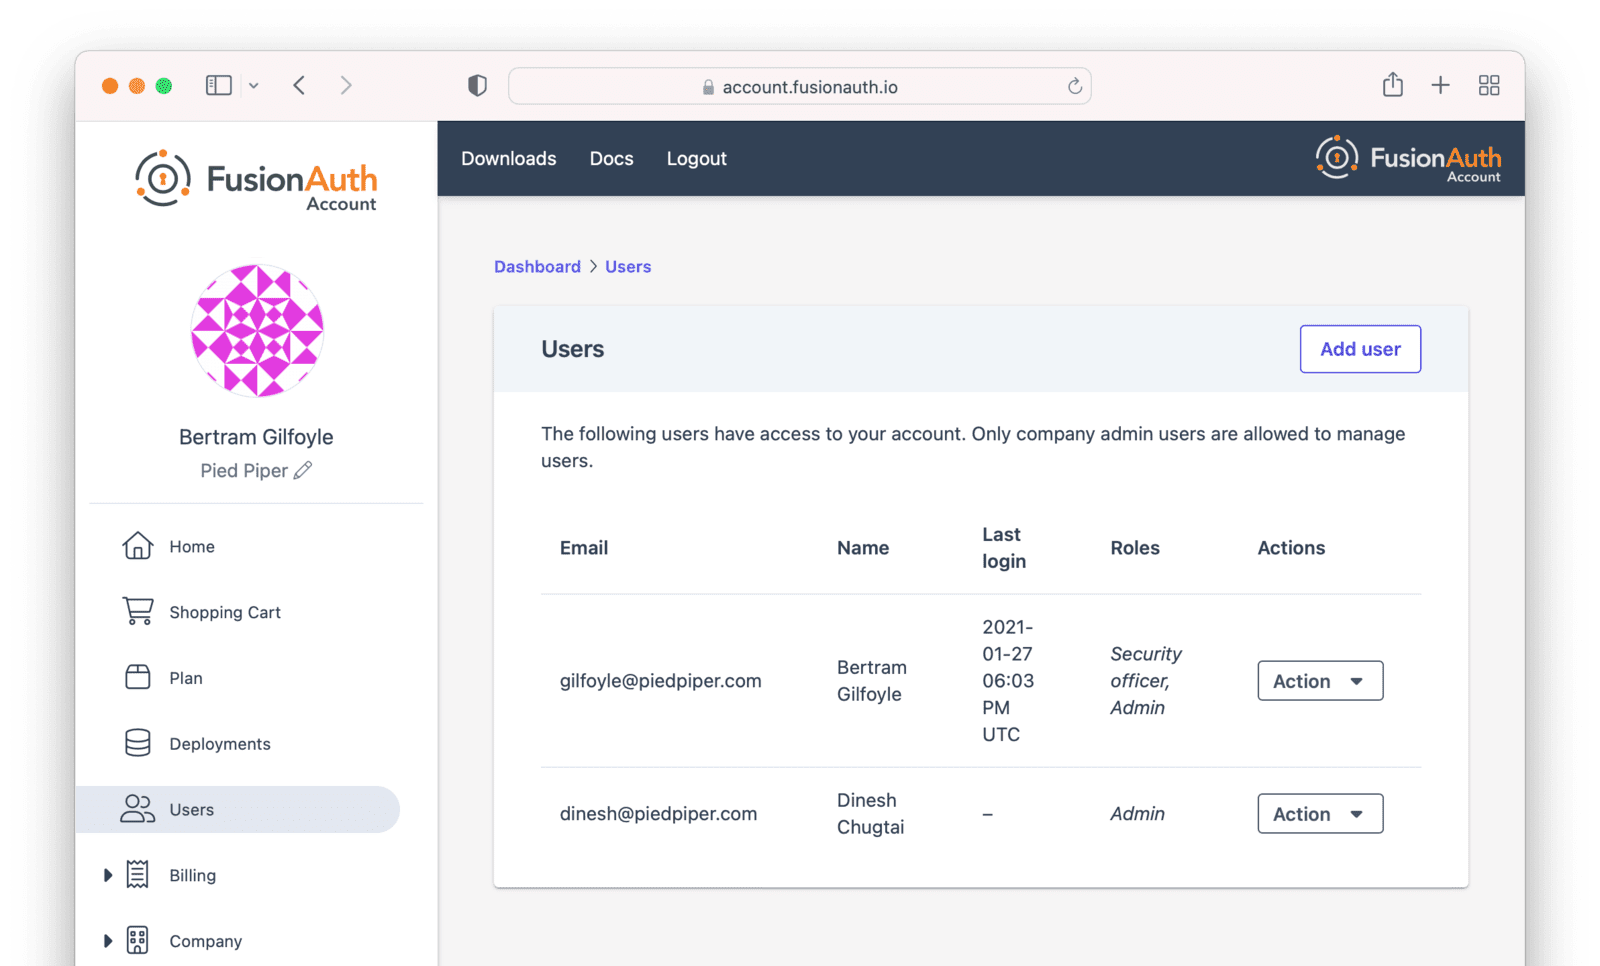
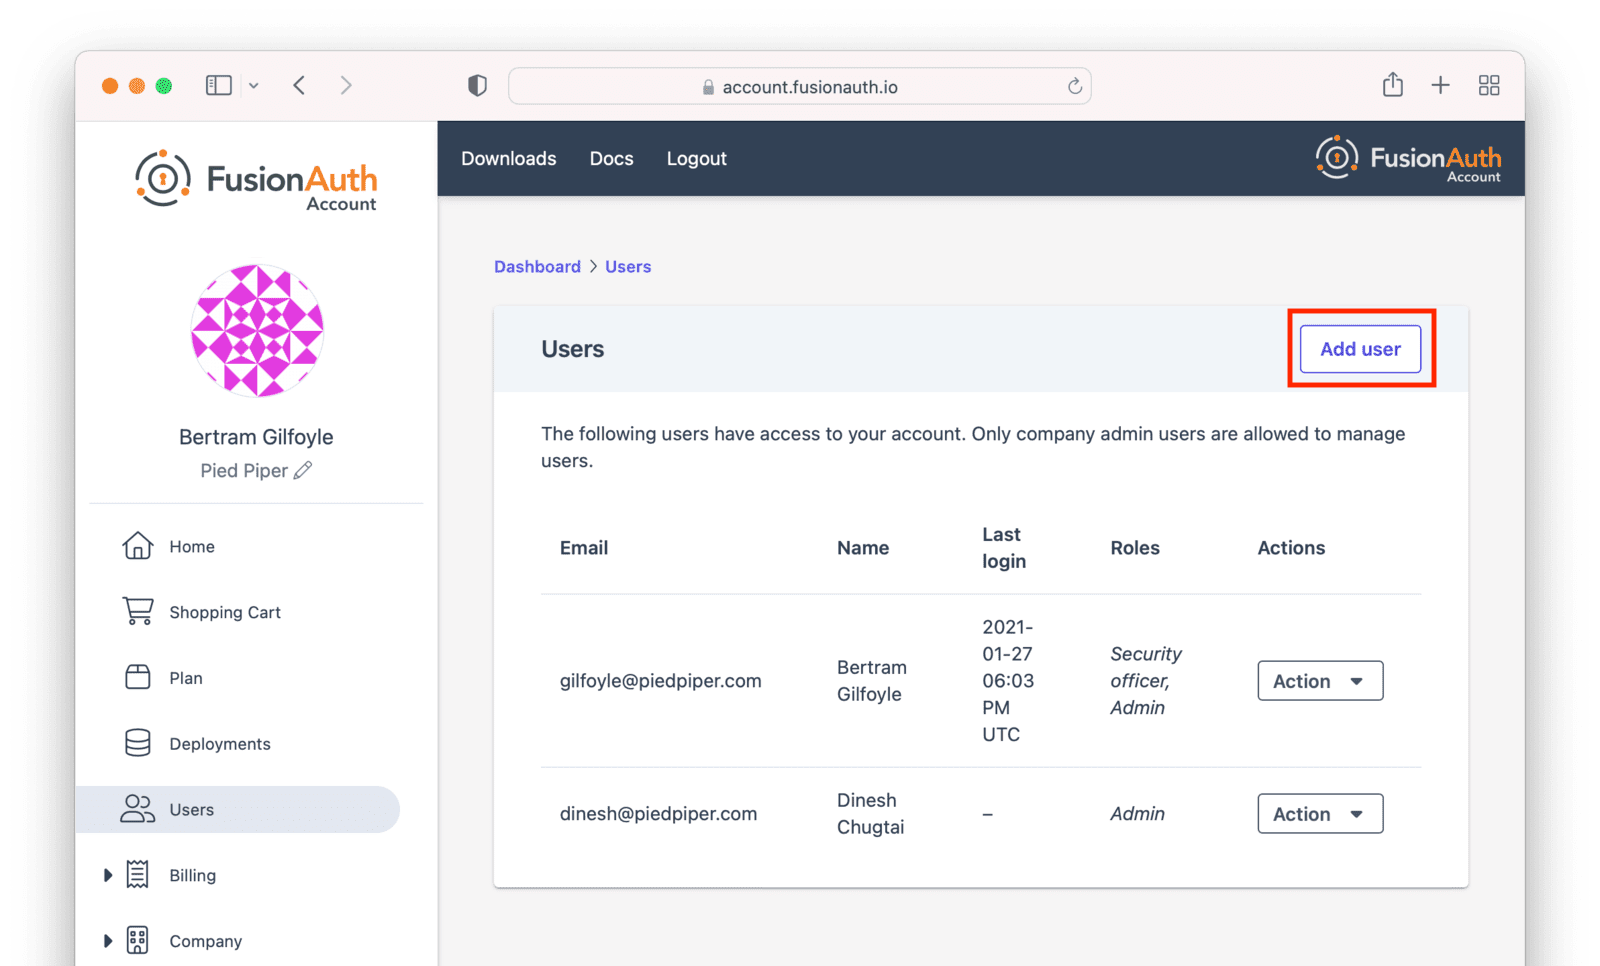
Add users to your account. You can have unlimited users in your FusionAuth account portal. If you have more than one FusionAuth account, users can belong to multiple accounts.
As well as adding a new user, you can also modify an existing user. You can change their name, email address and roles.
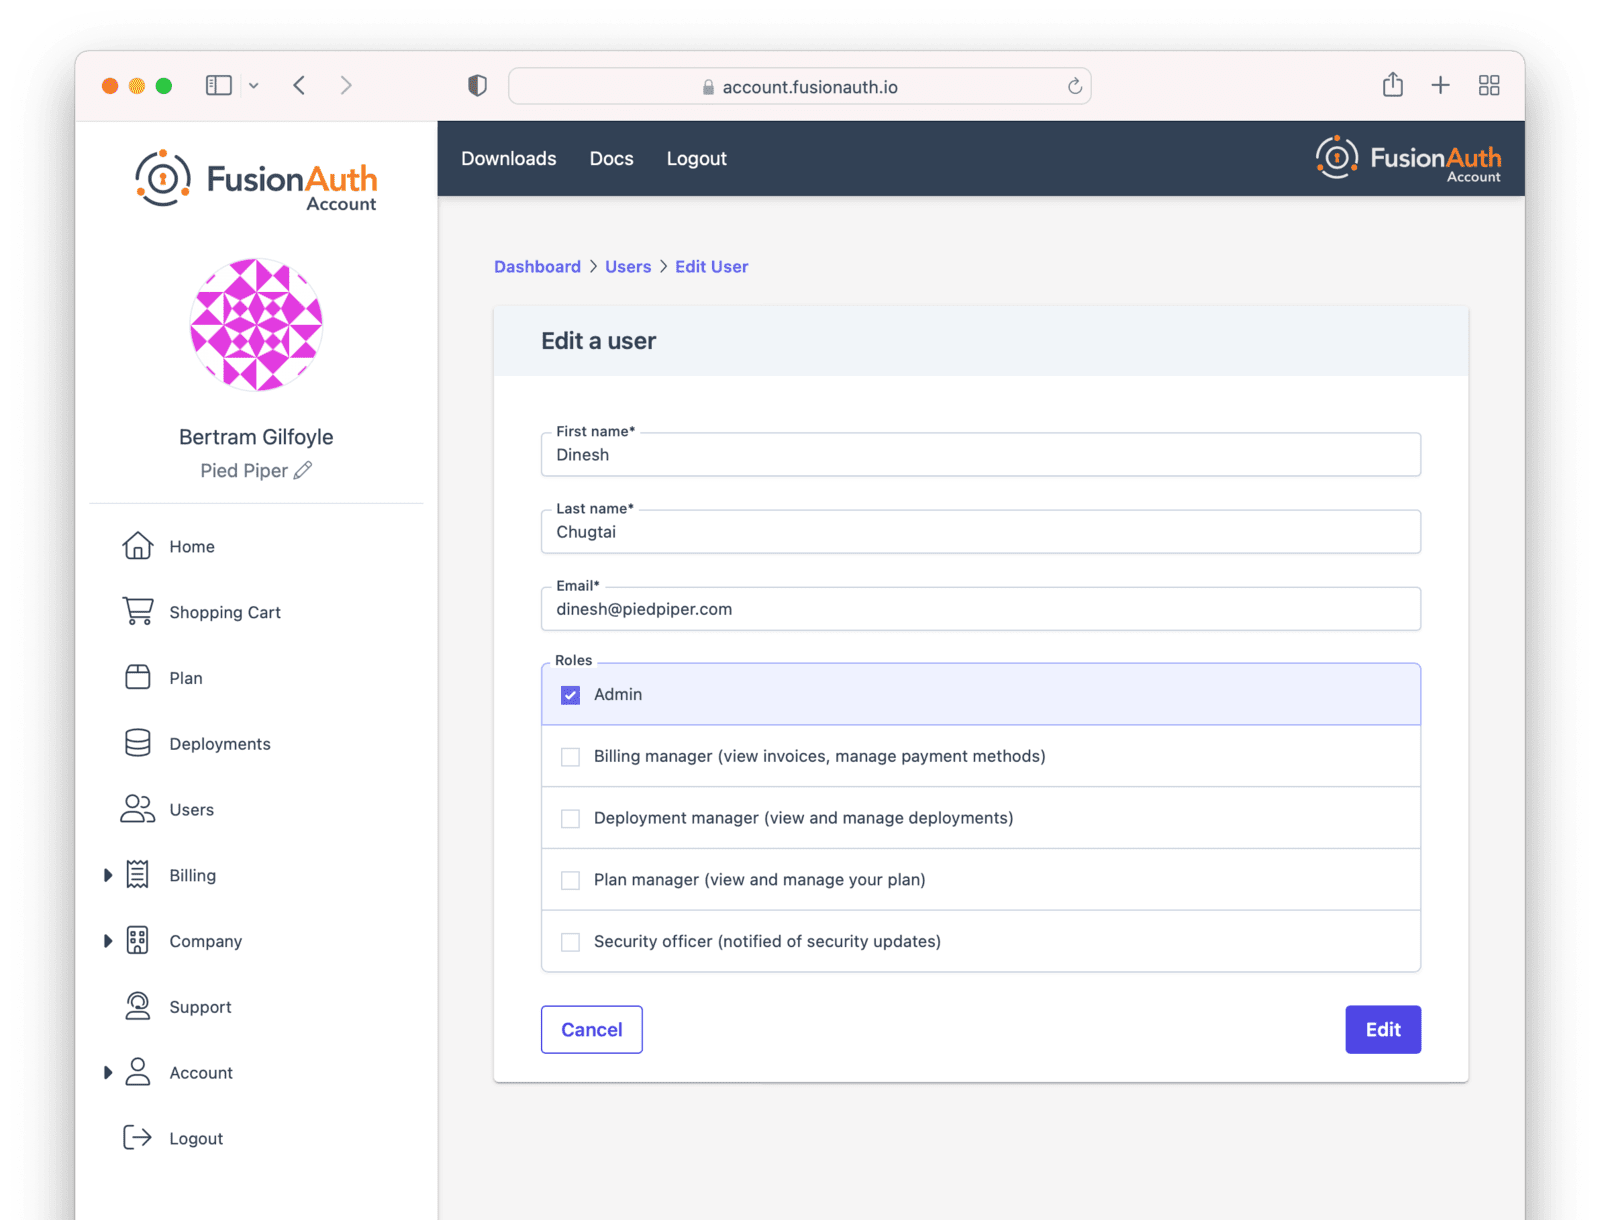
Users can have zero or more roles. Each role controls access to functionality within the portal.
- Billing manager: view invoices, manage payment methods
- Deployment manager: view and manage deployments
- Plan manager: view and manage your plan
- Admin: access to all functionality of the roles above
- Security officer: will be notified of any security updates
If supported by your company’s plan, support tickets can be opened by any user.
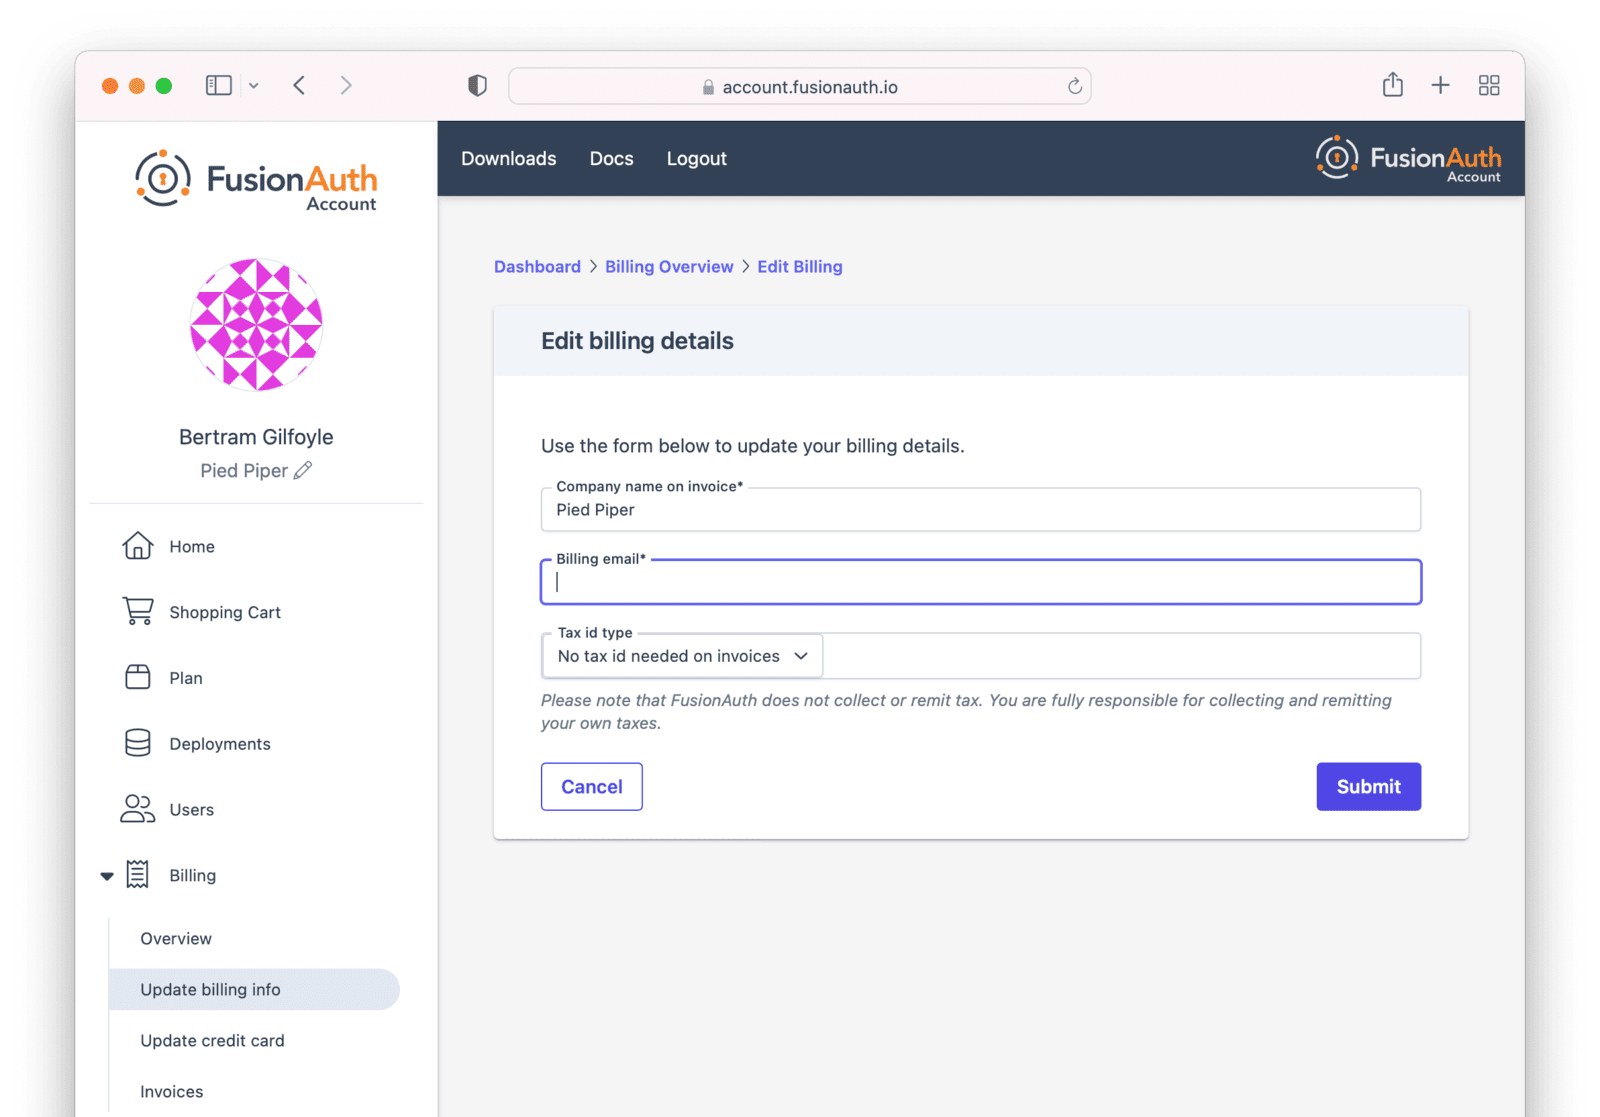
Billing
The Billing tab is where you can update your billing information and view invoices. This tab is only useful if you are using a credit card to pay for your FusionAuth plan or deployments.
On this tab, view and modify aspects of your billing. There’s an overview of your billing status.

You can update your payment methods with a different credit card. FusionAuth stores no credit card data internally; it all is stored in an external third party provider.
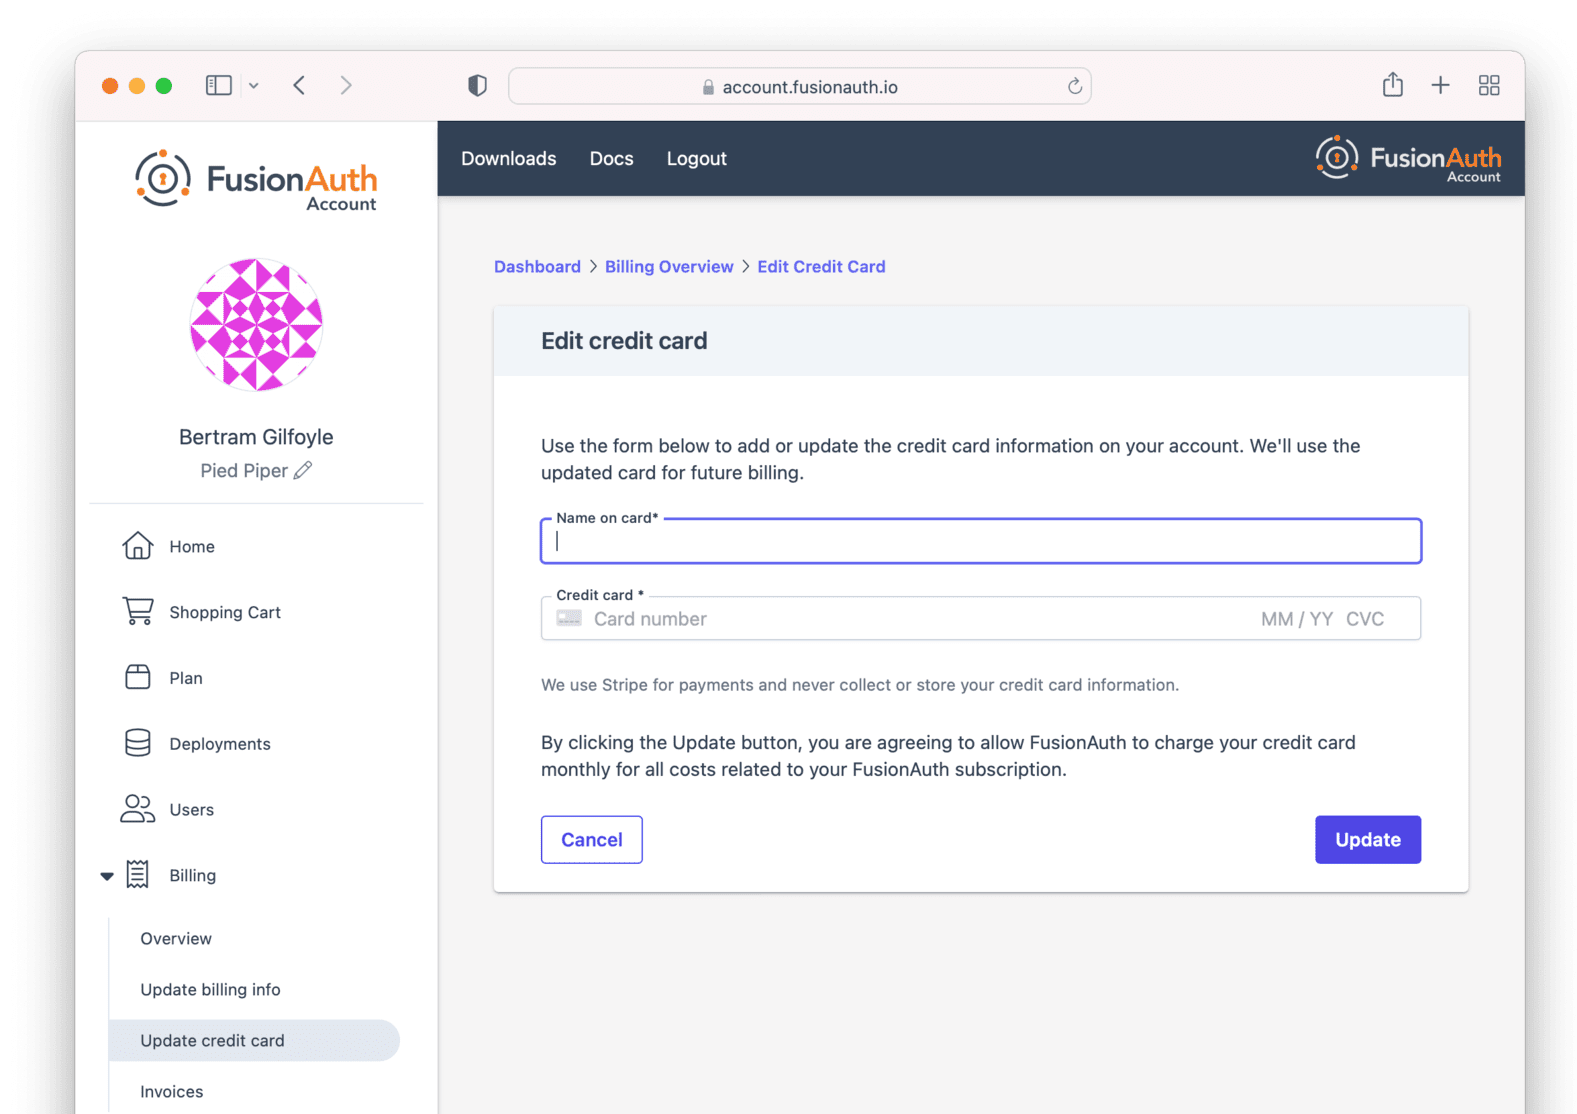
You can update current payment settings, including:
- the name on the invoice
- the tax identifier on the invoice
- the email address to which invoices are sent
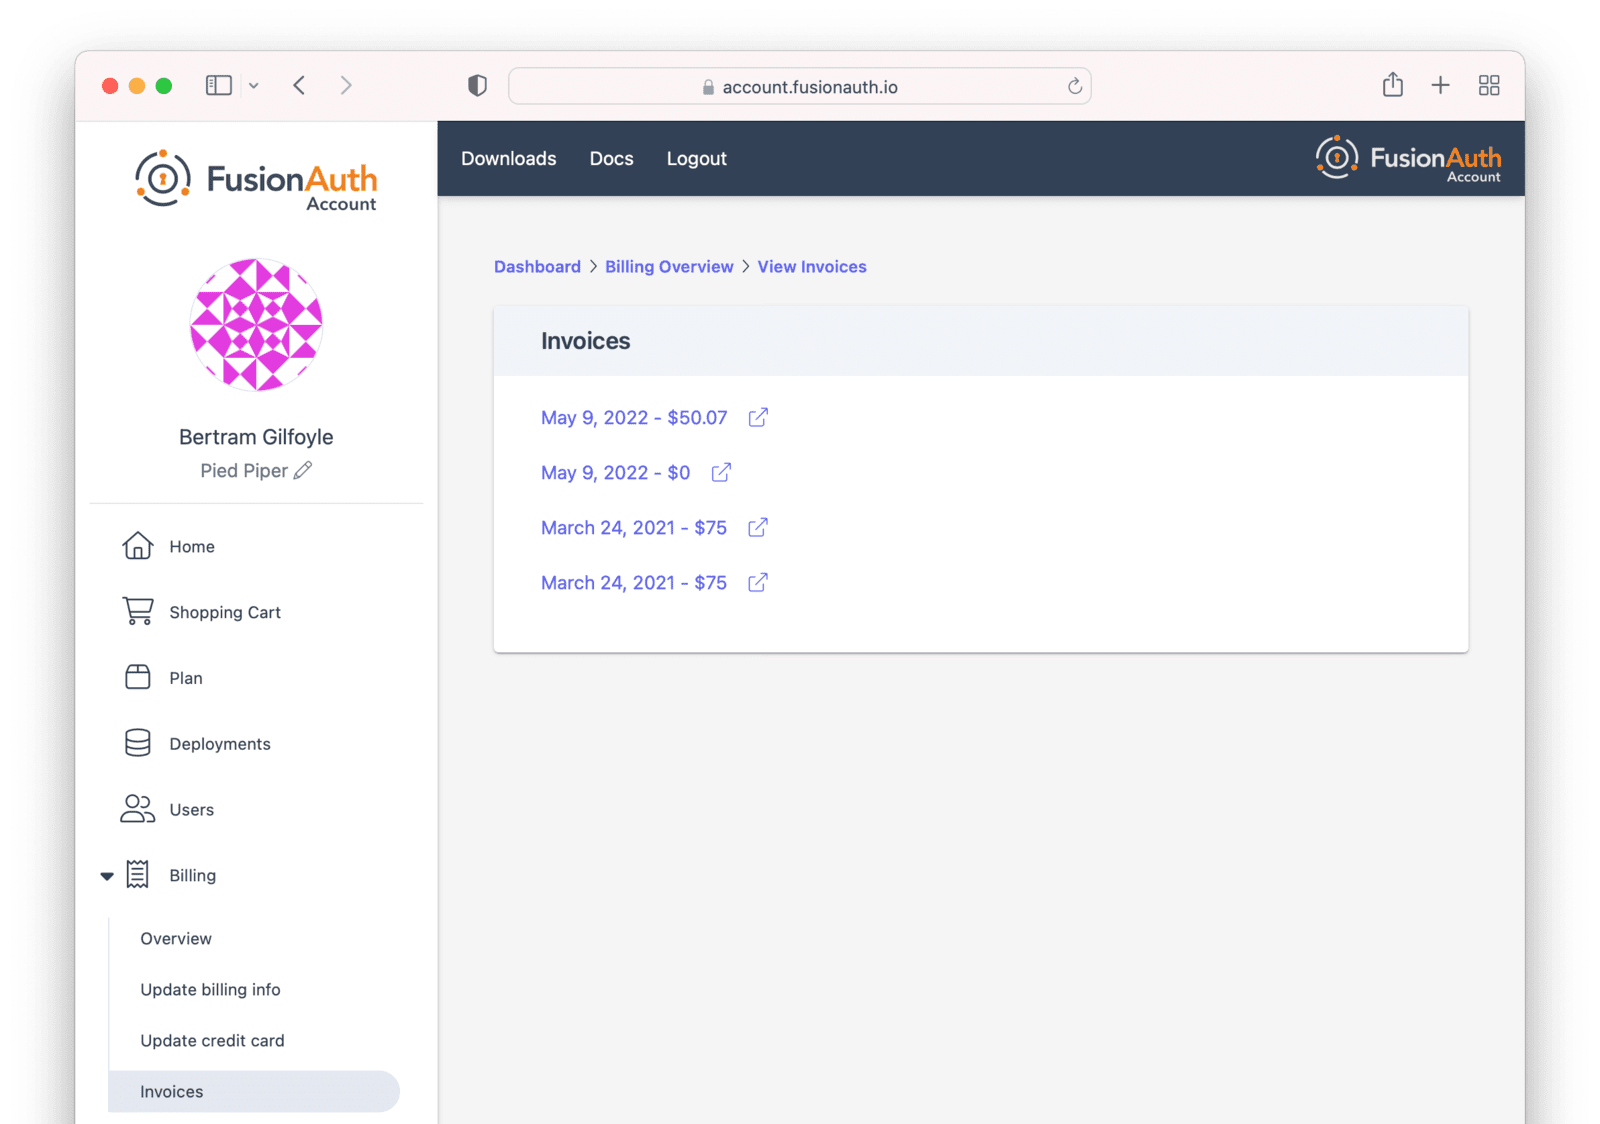
You can view past invoices. This can be useful when accounting is curious about a past bill. No more filing a support ticket to see the invoice from six months ago!
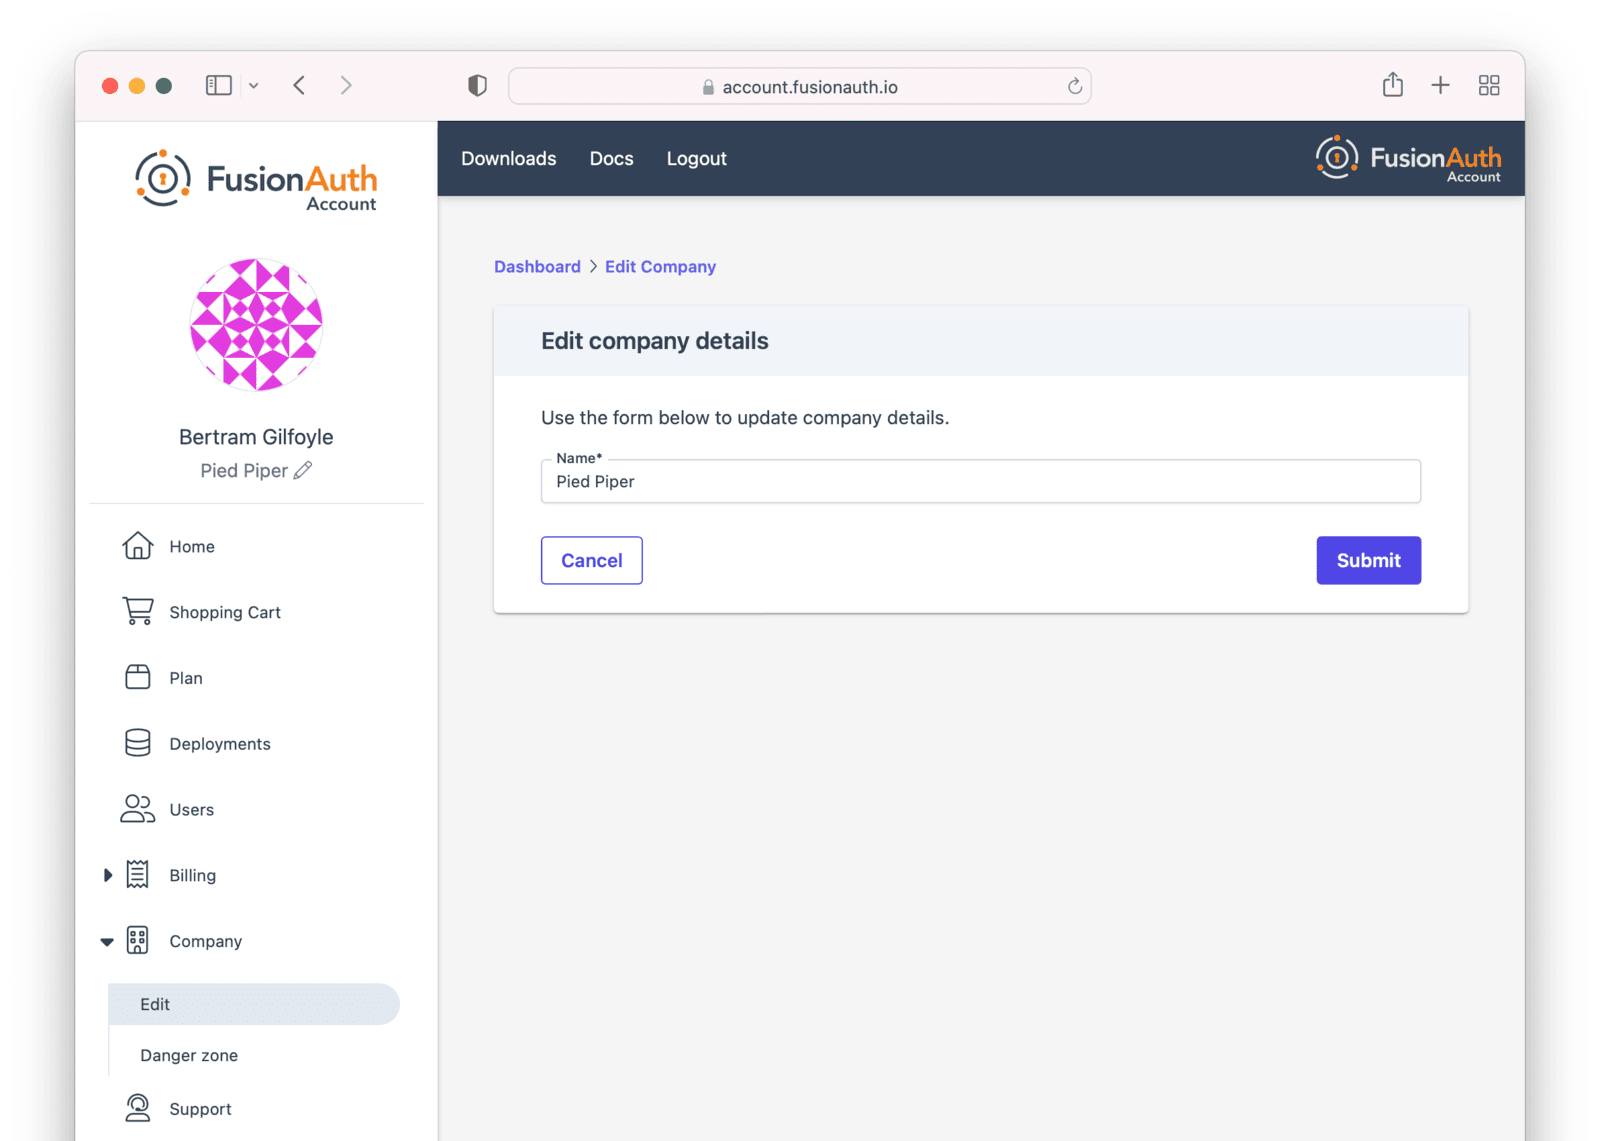
Company
To update your company details, navigate to the Company tab.
You can change your company name.
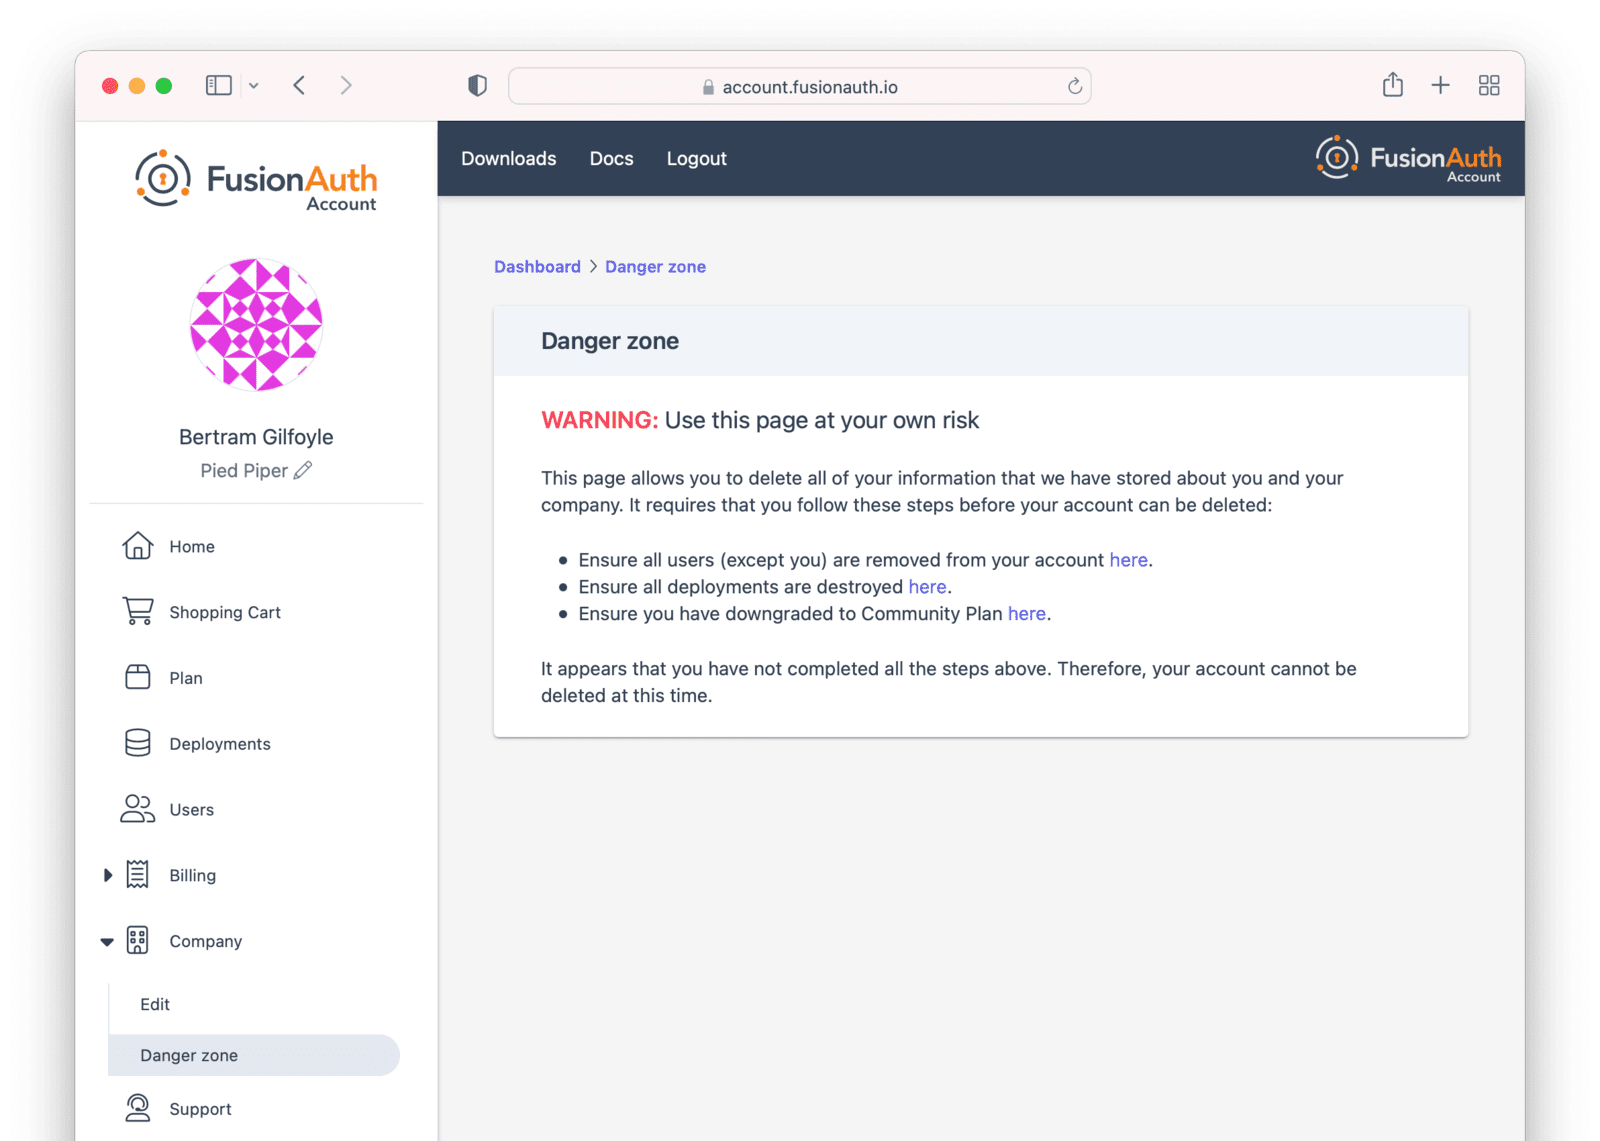
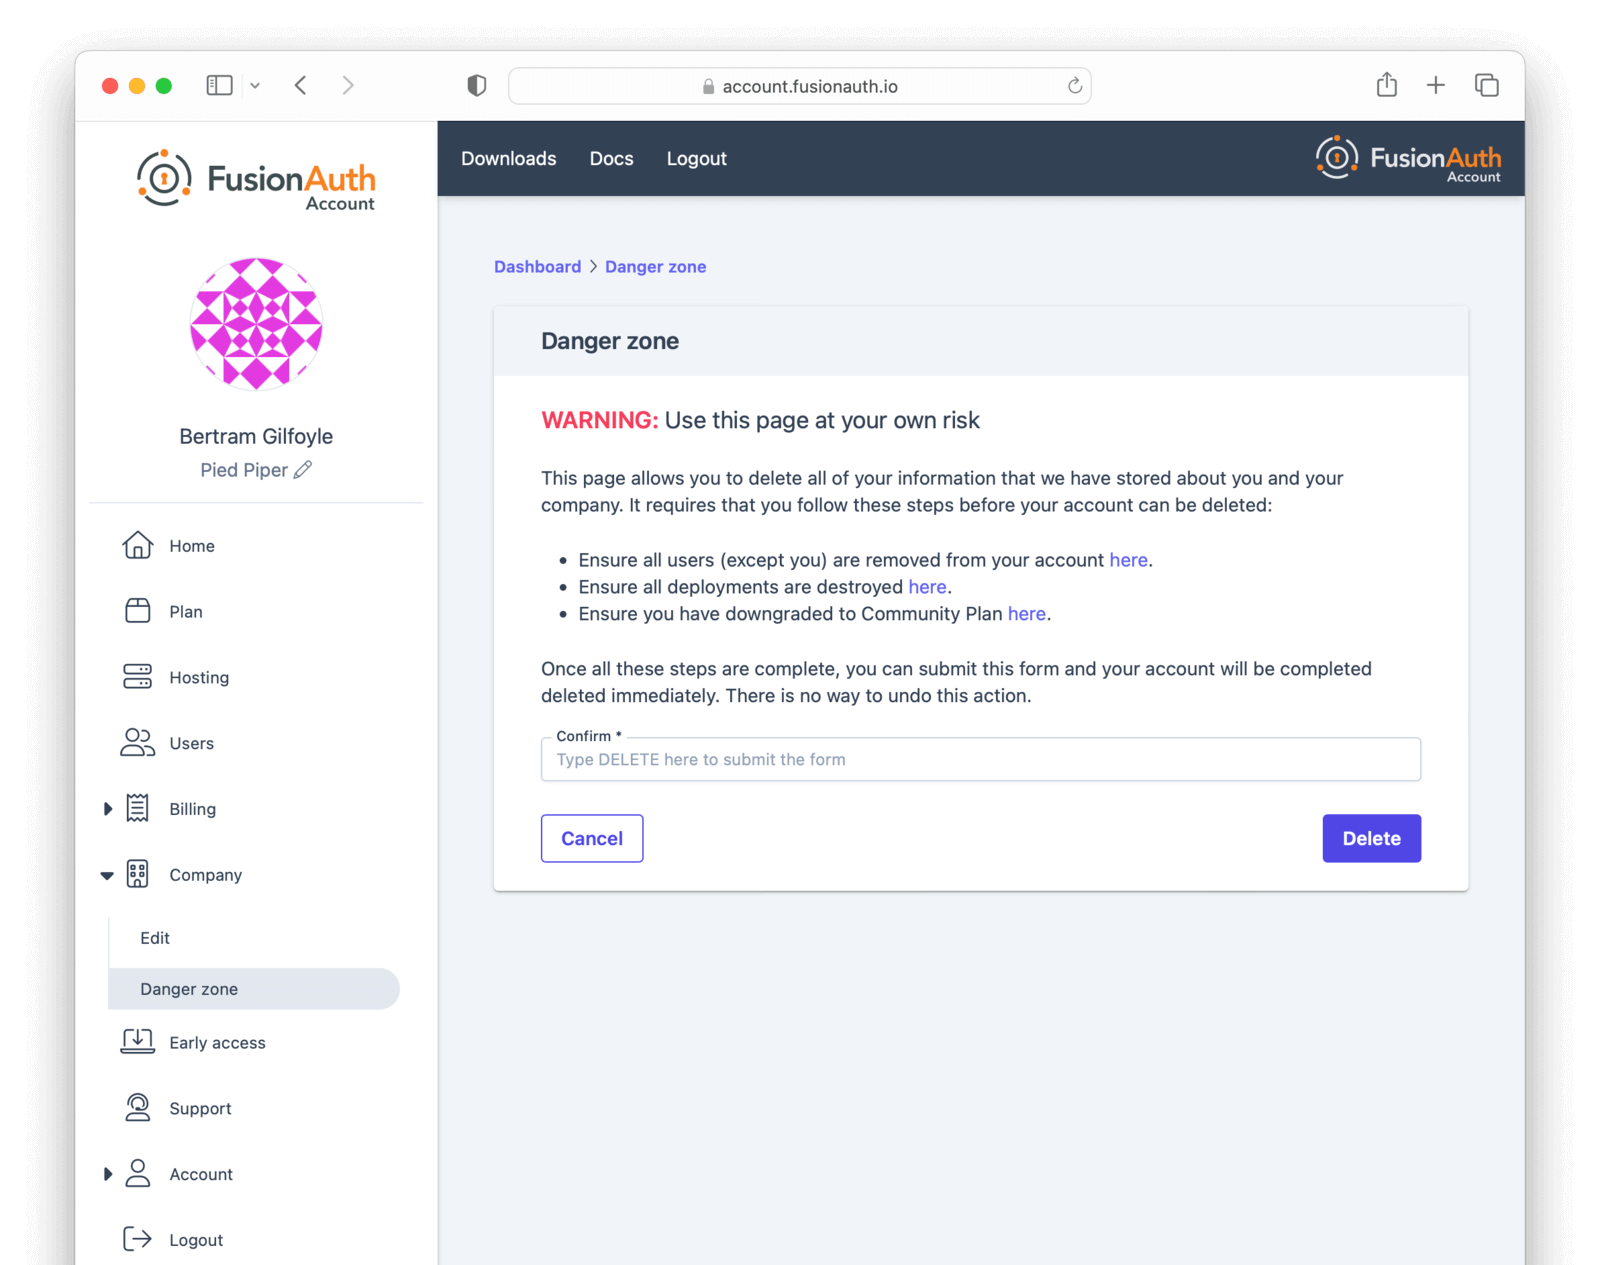
You can remove all your company details by navigating to the Company -> Danger zone section. Follow the instructions there, including removing all your deployments, and you’ll be able to remove all data about you and your company.
Support
To review your support options, navigate to the Support tab or click on the Support button at the bottom of the page. The message displayed in the support tab will vary based on your purchased plan and deployments.
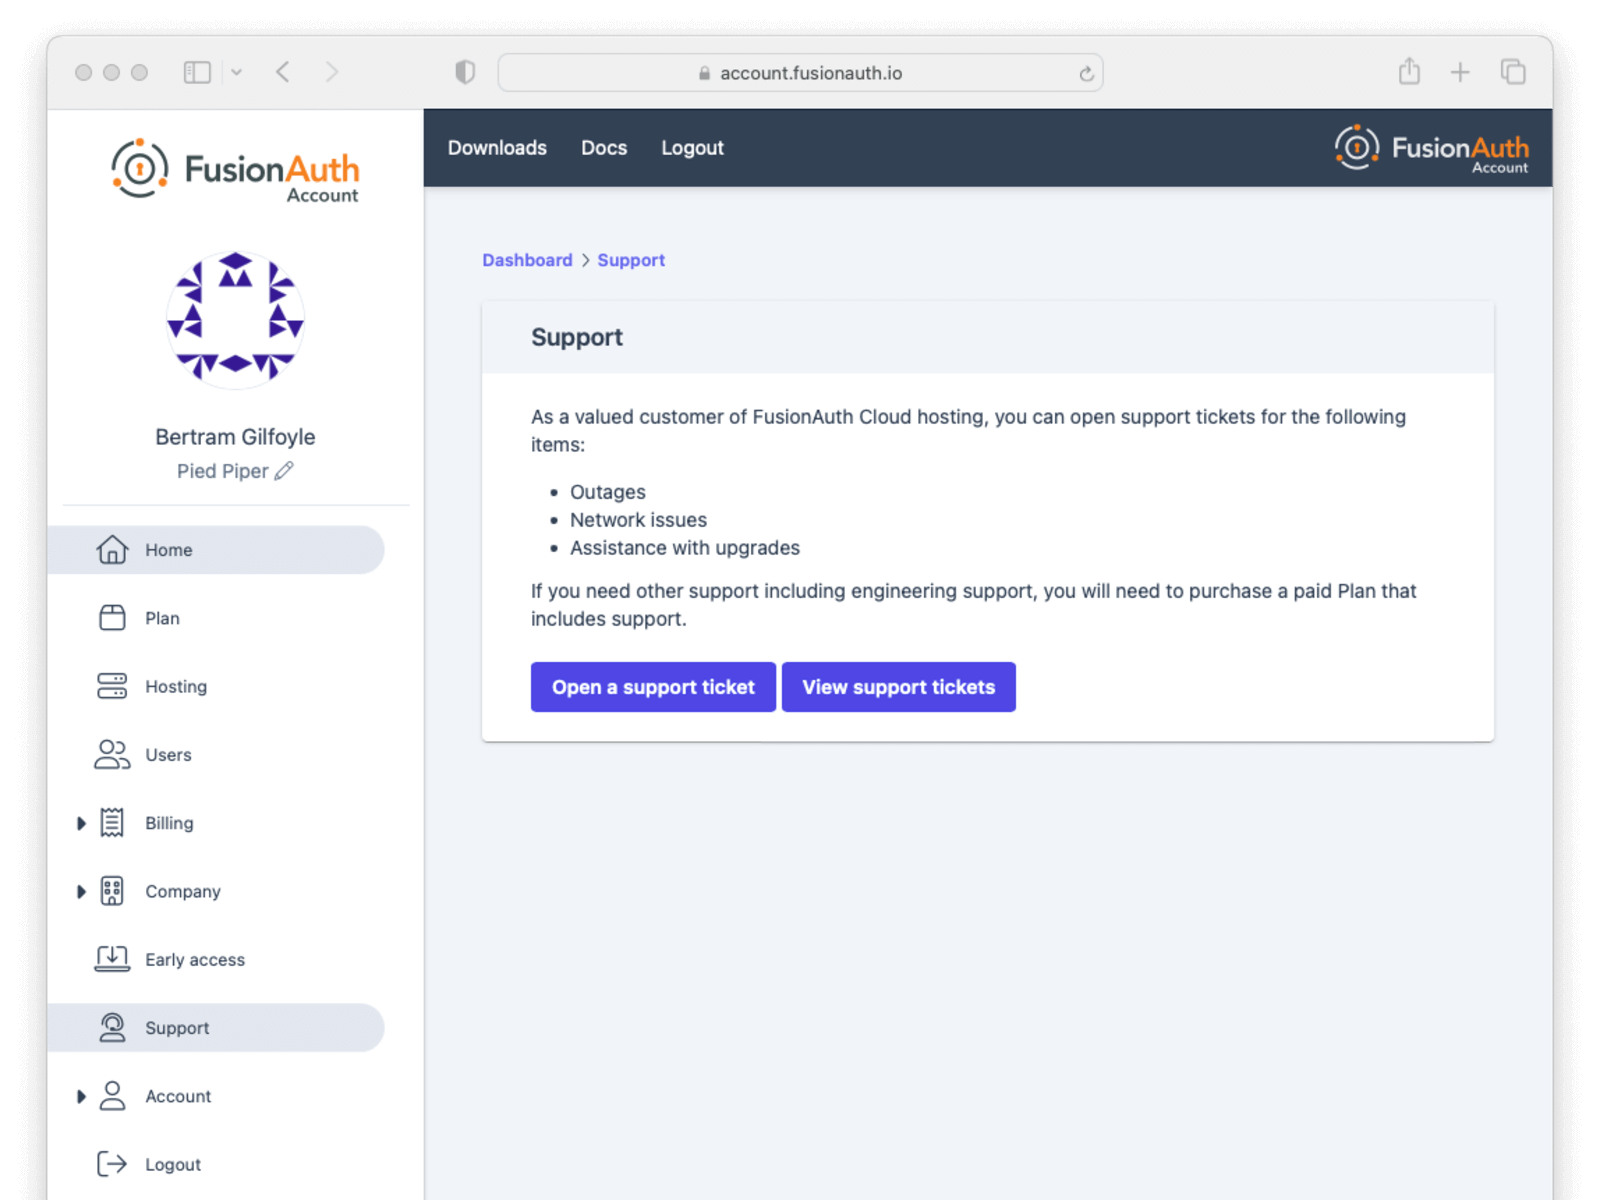
If supported by your company’s plan, support tickets can be opened by any user.
Learn more about technical support options.
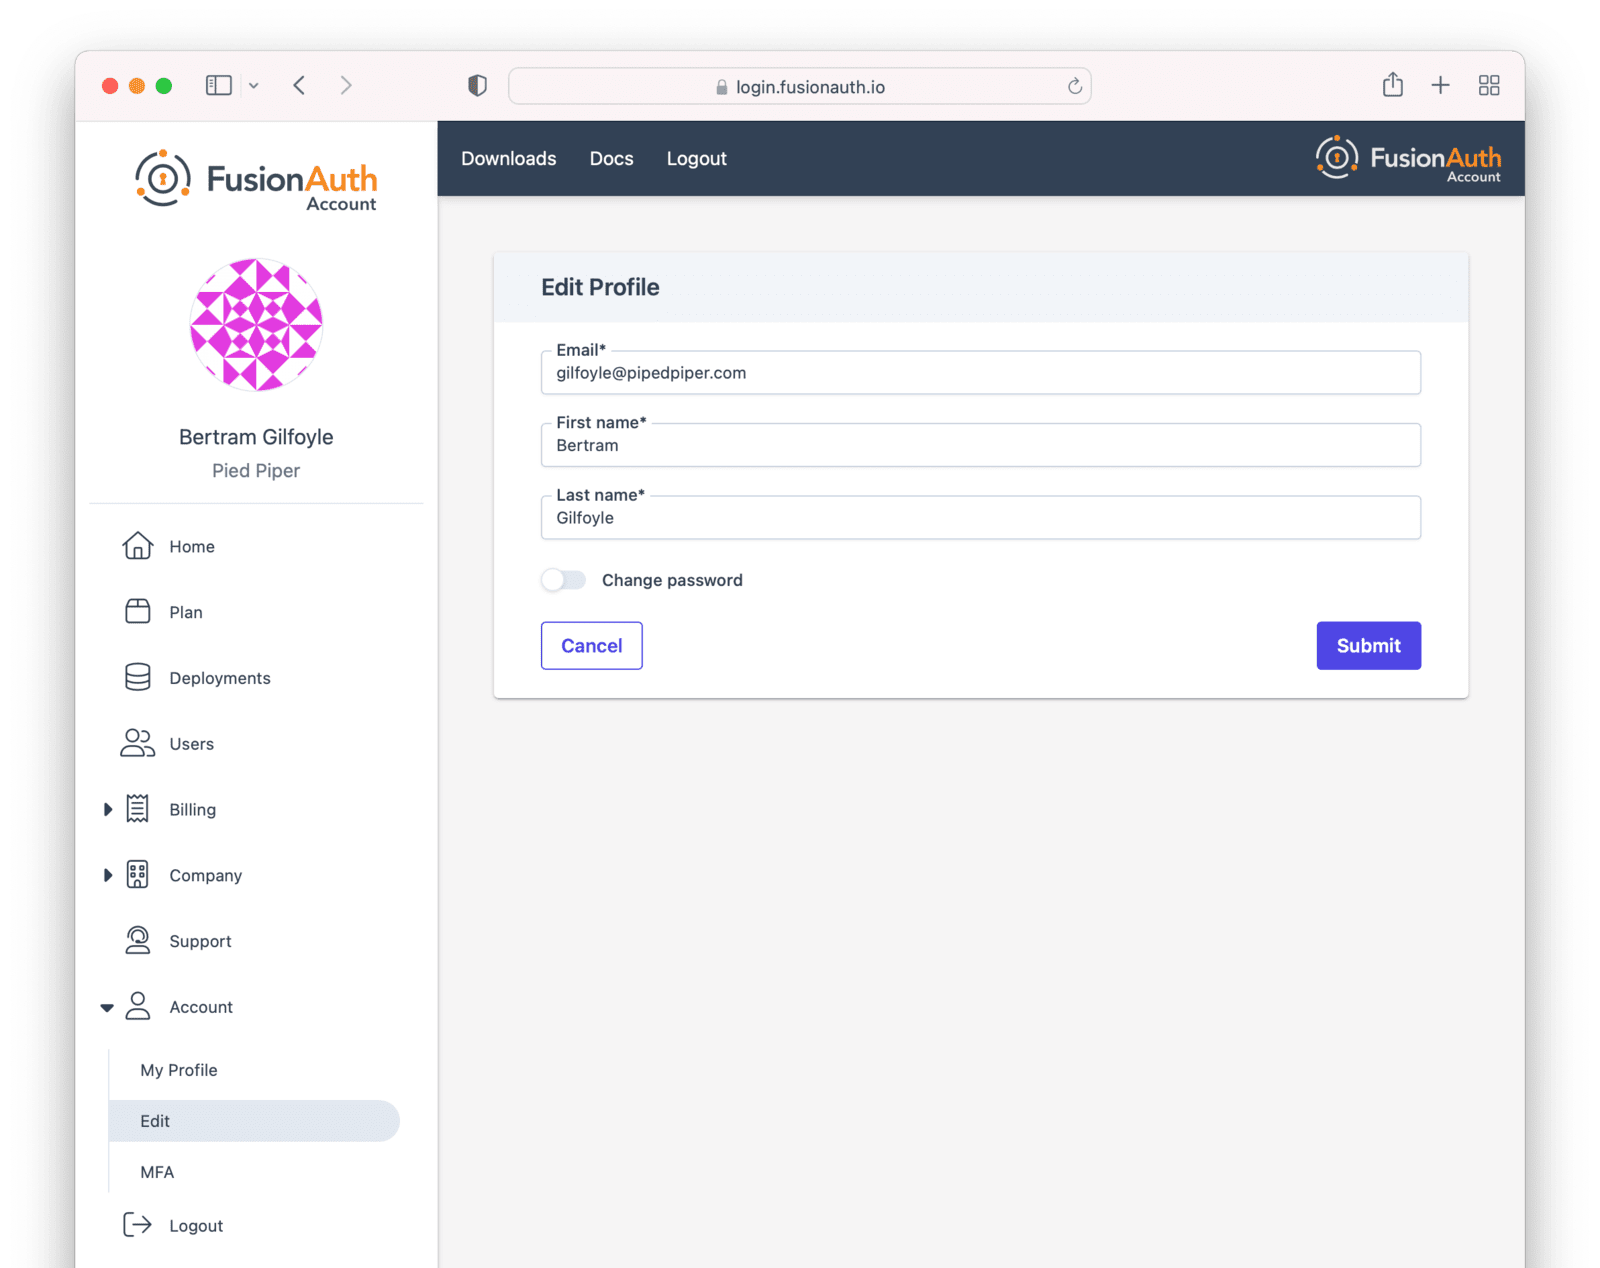
Account
To update your user account details, navigate to the Account tab.
You can edit your user details, including your name, password, and email address.
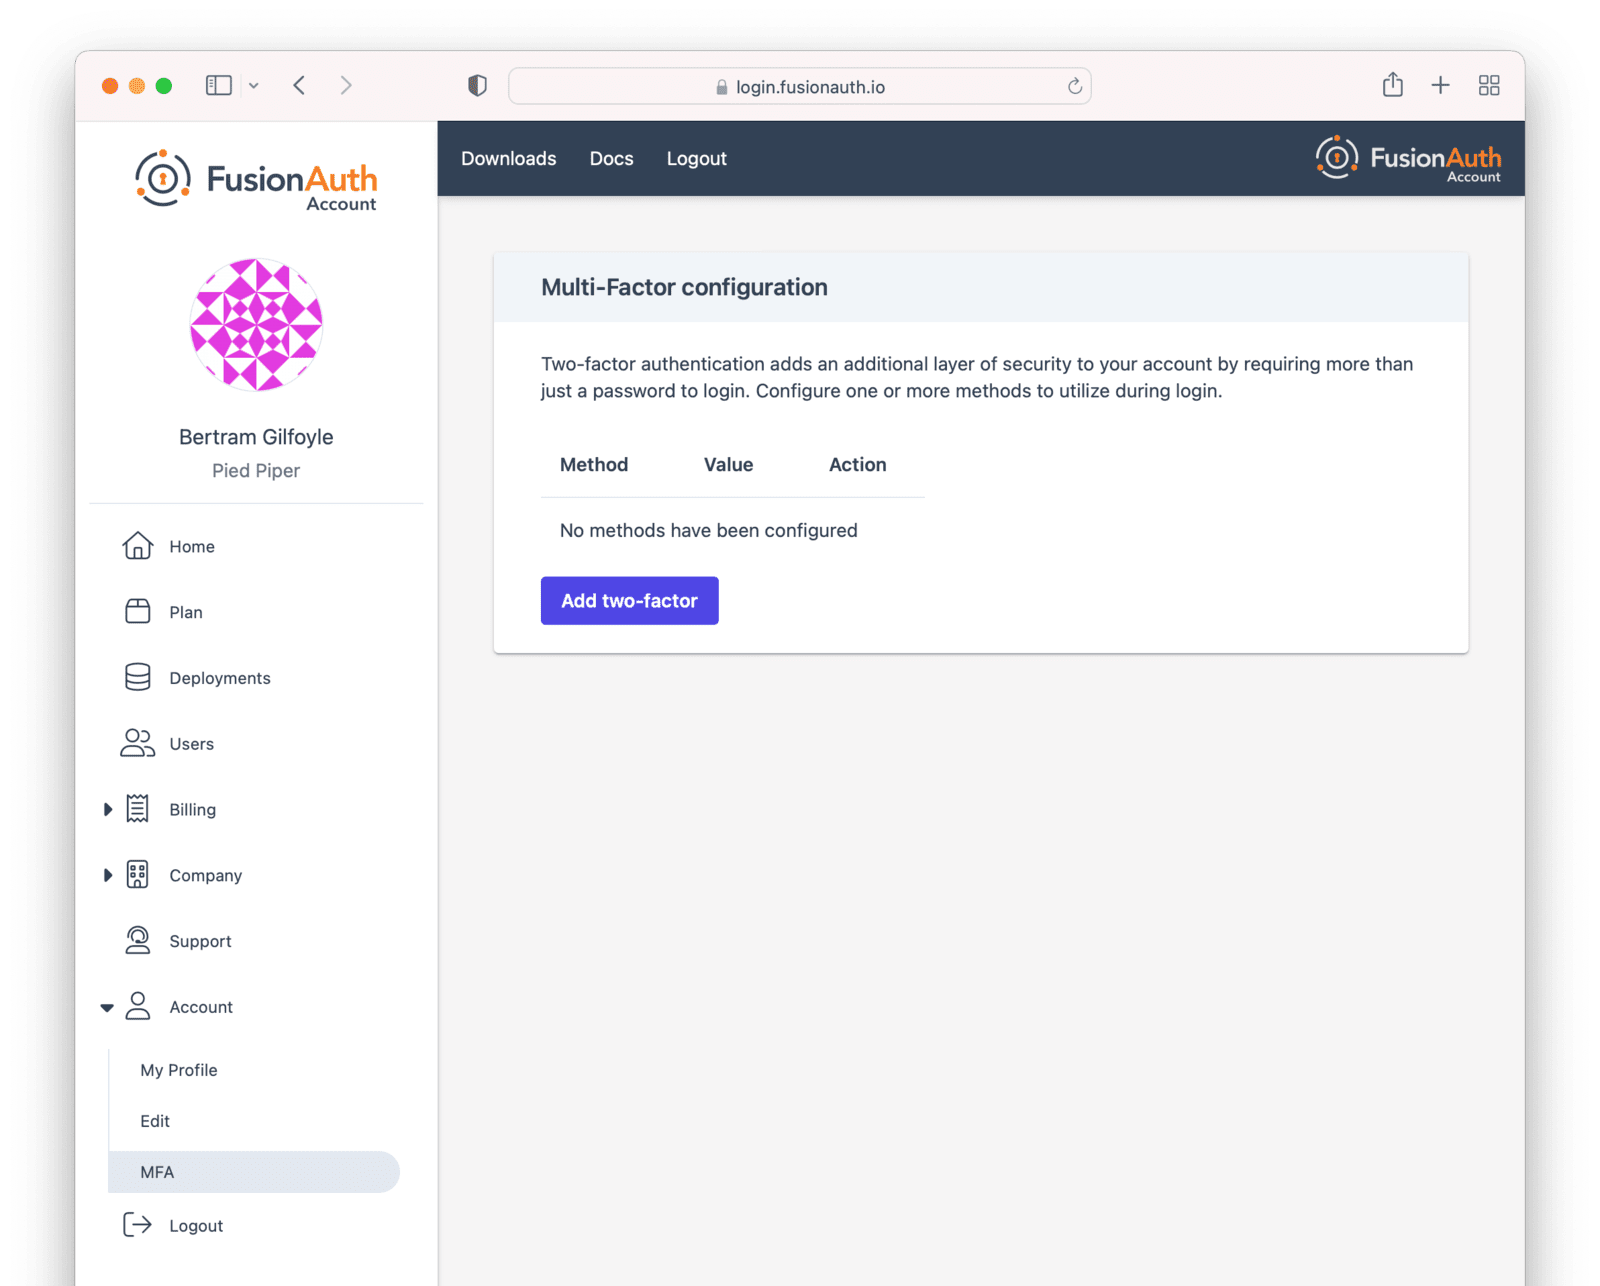
You can also set up MFA for your account. Currently only TOTP MFA is allowed for the account portal
Deleting Your Account
To delete your account, take the following steps, in this order:
- Log into your account.
- Delete all deployments.
- Switch your account to the community plan.
- Delete your company.
FusionAuth requires that customers delete their own deployments using the account portal.
FusionAuth is not able to cancel accounts with deployments that could potentially contain critical user data.
To remove your deployments, please log into your account and navigate to your deployments. Once you see your deployment, you can click the Action button and select Delete. After a deployment is destroyed, you won’t be charged going forward for this instance going forward. Any previous usage outside of a free trial will be billed.
Then, switch your plan type to the community plan. After the current billing cycle is done, you won’t be charged; plans are billed monthly.
After deleting your deployments and changing your plan, your account will not be charged after the current billing cycle, unless you start up another instance or change your plan to something else. It is inactive and can be deleted if you desire.
It is perfectly acceptable to leave your account in this condition, especially in the case where you may be doing future work with FusionAuth. However, if data practices or company policies mandate, you may also remove your account from FusionAuth Cloud. Removing a company and its data is not reversible. To delete the company, navigate to Company -> Danger Zone and follow the instructions there.
If you cannot delete the company following these instructions, you may have an account which requires FusionAuth team assistance. This occurs if your FusionAuth plan is invoiced, for example.
In this case, please contact your account team for further instructions. A support ticket may also be required to remove your company.