Using SAMLTEST.ID as the IdP with FusionAuth SAML v2
-
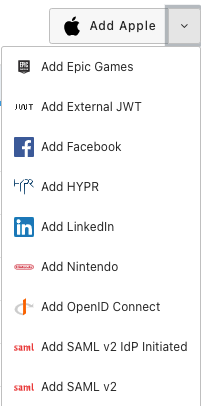
In your instance of FusionAuth navigate to "Settings" > "Identity Providers" and click to add the "SAML v2" identity provider.

In the setup screen for the SAML v2 IdP set the "IdP endpoint" to https://samltest.id/idp/profile/Redirect/SSO
Set the "NameID format" to emailAddress

You will also want to check under the "Options" tab and toggle "Use NameID for email" to on.
Save this configuration.
Then in FusionAuth, go to "Settings" > "Key Master" and click to "Import Certificate".
Use the certificate under SAMLtest’s IdP from https://samltest.id/download/
Save the certificate in FusionAuth.
Then go back to the your SAML v2 IdP settings and add the recently saved certificate to the "Verification key".

Be sure to enable this IdP for your test application.
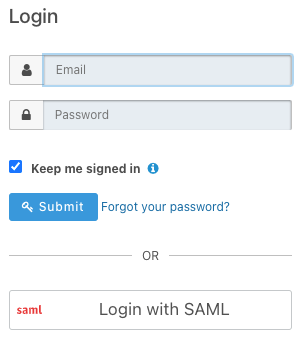
You should then see the "Login with SAML" button available for when on the FusionAuth hosted login page.

Before you can finish testing the login you''ll need to click the green magnifying glass for your SAML v2 IdP and copy the Metadata URL under SAML v2 Integration details.
Then visit https://samltest.id/upload.php and add the metadata url so SAMLTEST.ID can trust requests from FusionAuth.
Now you can click to "Login with SAML" and you should be redirected to the SAMLTEST.ID login page assuming you have set everything correctly.

Finish logging in by using any set of credentials provided on that page.
You should then be redirected back to your application and a corresponding user successfully created in FusionAuth.
If you would like to map attributes from the SAML response to the User object in FusionAuth you will need to use a SAML reconcile lambda.
https://fusionauth.io/docs/v1/tech/lambdas/samlv2-response-reconcile
There are also other examples for testing the SAMLv2 IdP funcitionality provided by FusionAuth.
Be sure to visit our documentation for more details.
https://fusionauth.io/docs/v1/tech/identity-providers/samlv2/