


Single sign-on (SSO) is a session and user authentication technique that permits a user to use one set of login credentials to authenticate with multiple apps. SSO works by establishing trust between a service provider, usually your application, and an identity provider, like FusionAuth.
The trust is established through an out-of-band exchange of cryptographic credentials, such as a client secret or public key infrastructure (PKI) certificate. Once trust has been established between the service provider and the identity provider, SSO authentication can occur when a user wants to authenticate with the service provider. This will typically involve the service provider sending a token to the identity provider containing details about the user seeking authentication. The identity provider can then check if the user is already authenticated and ask them to authenticate if they are not. Once this is done, the identity provider can send a token back to the service provider, signifying that the user has been granted access.
SSO helps reduce password fatigue by requiring users to only remember one password and username for all the applications managed through the SSO feature. This also reduces the number of support tickets created for your IT team when a user inevitably forgets their password. In addition, SSO minimizes the number of times you have to key-in security credentials, limiting exposure to security issues like keystroke probing and exposure. Security is also enhanced by SSO because you can implement additional functionality such as MFA or anomalous behavior detection at the identity provider without adding any complexity to your application.
In this tutorial, you'll learn how to design and implement SSO using Next.js, a popular React-based framework for JavaScript and FusionAuth as the OIDC provider. Any other OIDC compatible authentication server should work as well.
Implementing SSO in a Next.js web app#
As previously stated, in this tutorial, you'll be shown how to implement SSO in a Next.js web app. The Next.js demo application is integrated with FusionAuth, an authentication and authorization platform, and NextAuth.js, a complete open-source authentication solution, in this article.
Before you begin, you'll need the following:
- A Linux machine. The step-by-step instructions in this article are based on a CentOS Linux machine. If you want to work on a different OS, check out this setup guide for more information.
- Docker Engine and Docker Compose.
- Node.js.
- Experience with Next.js framework and application development.
- The Git client tool (optional).
Installing FusionAuth#
If you already have a FusionAuth Cloud instance, you can use that, but for the sake of simplicity, this tutorial will assume you are using a locally hosted instance. There are detailed setup guides in the documentation, but the short version is that once you have Docker and Docker Compose set up and installed correctly, you can run the following command in a new directory to download and execute the necessary files.
curl -o docker-compose.yml https://raw.githubusercontent.com/FusionAuth/fusionauth-containers/main/docker/fusionauth/docker-compose.yml
curl -o .env https://raw.githubusercontent.com/FusionAuth/fusionauth-containers/main/docker/fusionauth/.env
docker compose up
Starting FusionAuth#
Once the FusionAuth service is started, open a browser and access http://localhost:9011/, where you'll be taken to the "FusionAuth Setup Wizard", as seen in the image below.

Fill in the admin user account details, read and accept the License Agreement. When you are ready, click Submit .
After submitting, you'll be taken to a login screen where you need to fill in the credentials you specified during the setup wizard and sign in to the FusionAuth administrative user interface. Later, you'll use the same admin account for testing the SSO of the application.
Configure FusionAuth#
Now you need to configure FusionAuth by creating an application and registering the user.
This setup allows users in FusionAuth to sign in to the Next.js application automatically once they are authenticated by FusionAuth.
Set up the application#
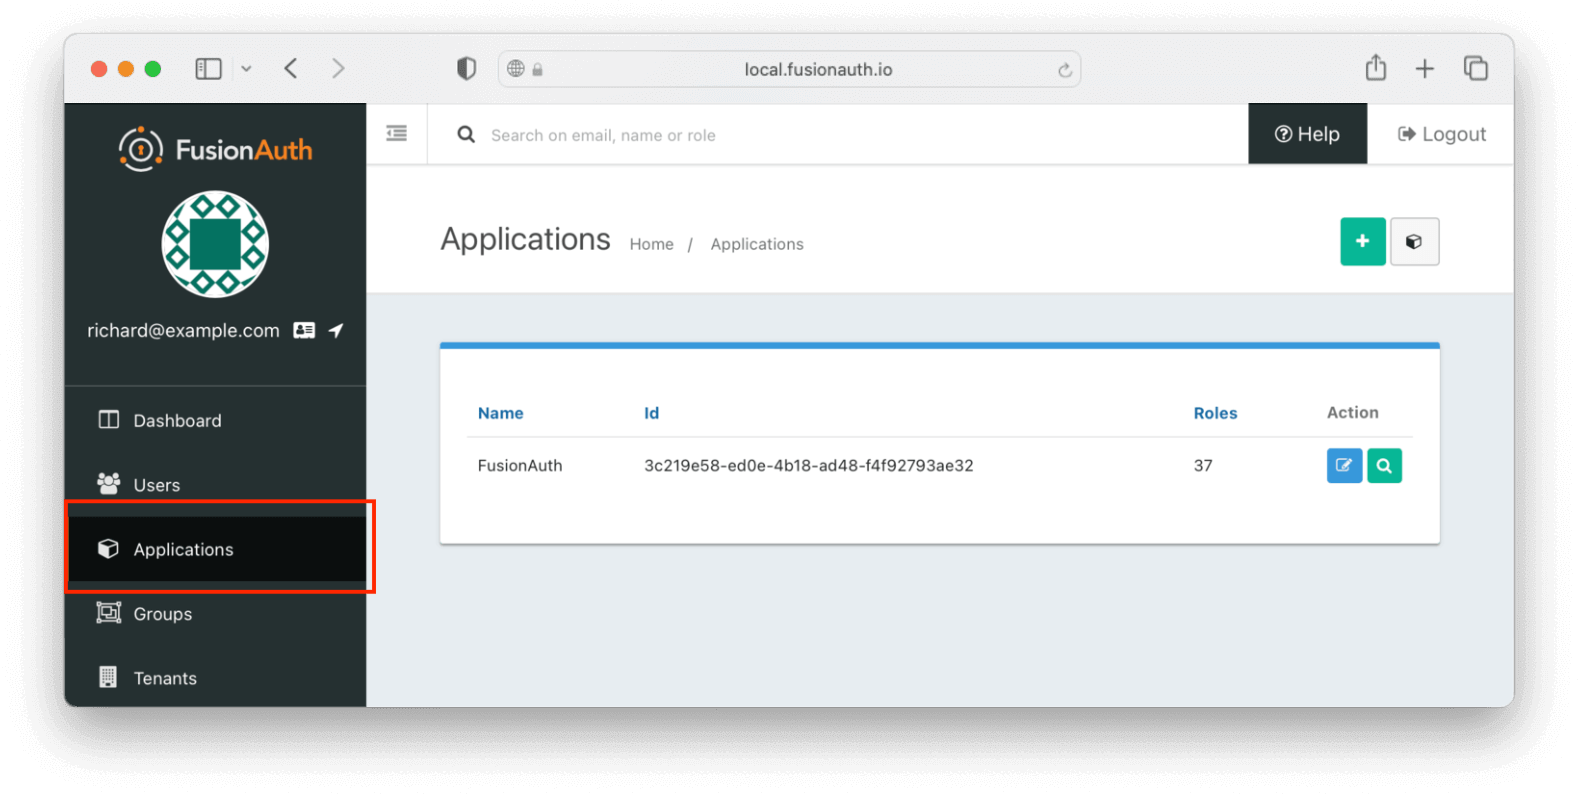
To set up the application, navigate to the FusionAuth admin UI and select Applications on the left-hand navigation bar:
Then click on the + button on the top right of the Applications page and fill in the Name field with a name of your choosing (here, it's "your_application"):
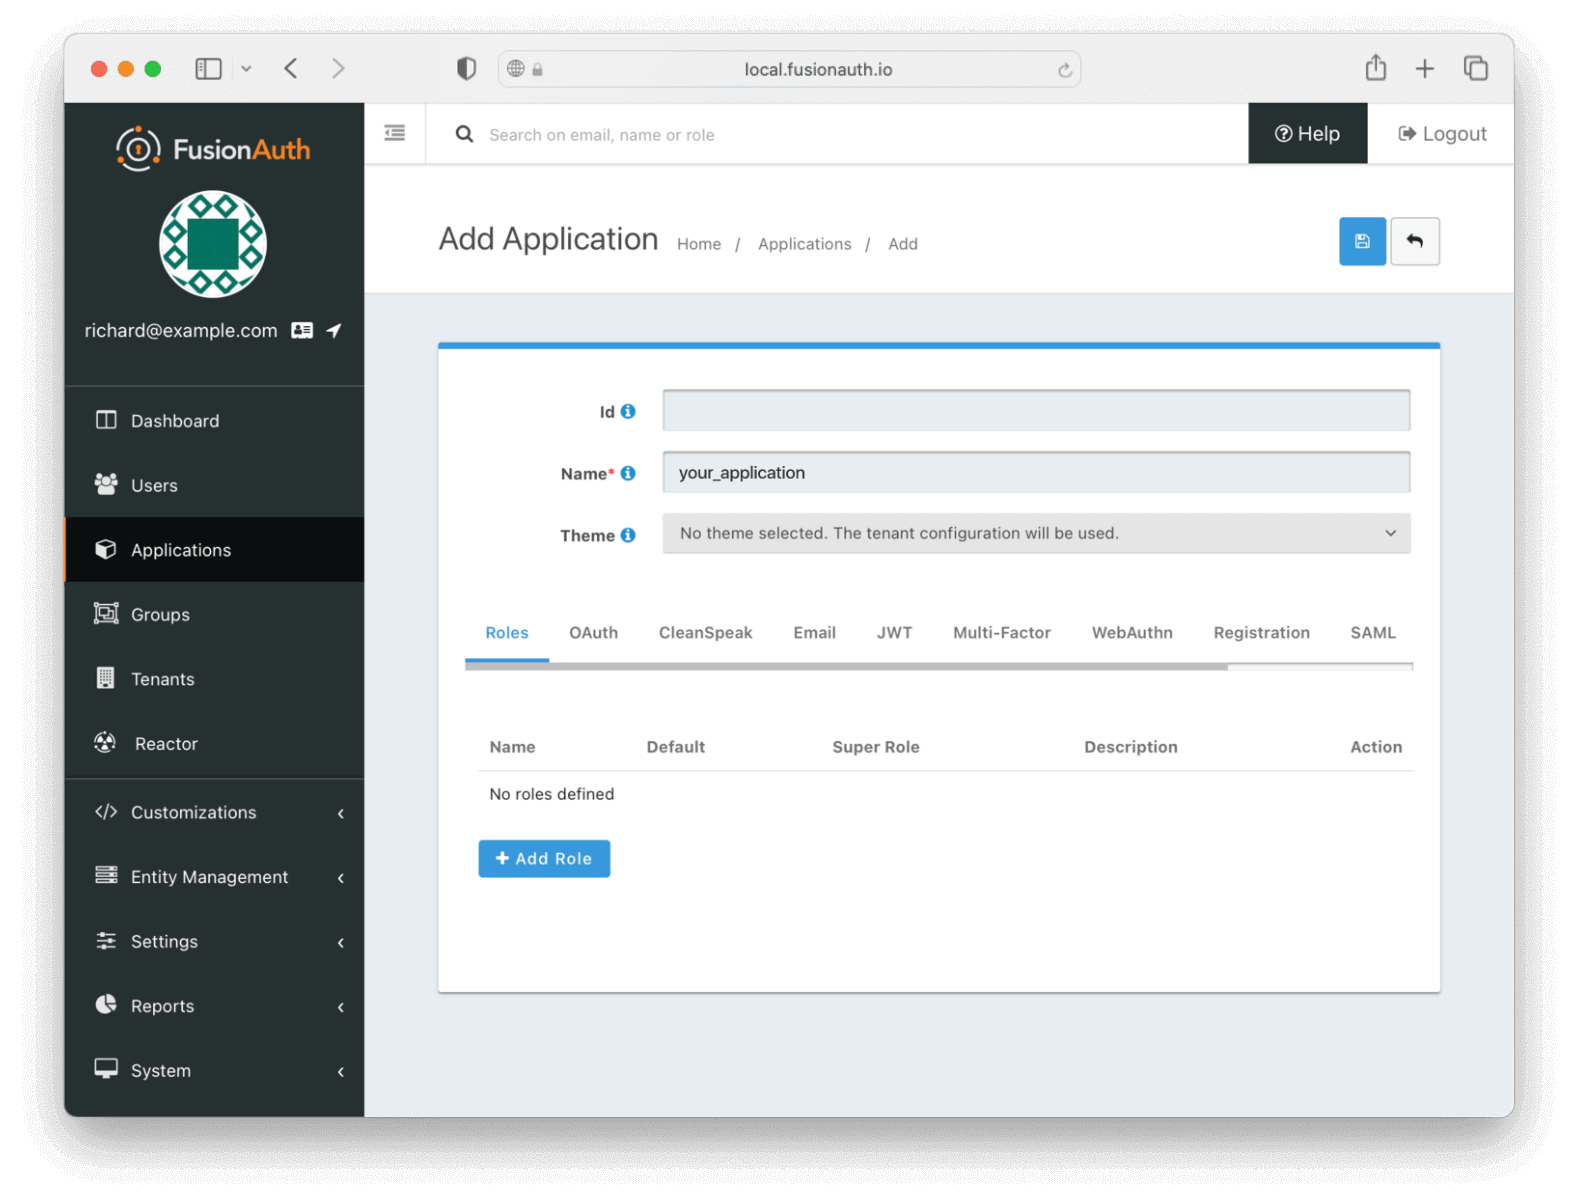
You can leave all the other fields empty because FusionAuth will choose a default value for those fields. Go ahead and save the application in order for the Client Id details to be generated.
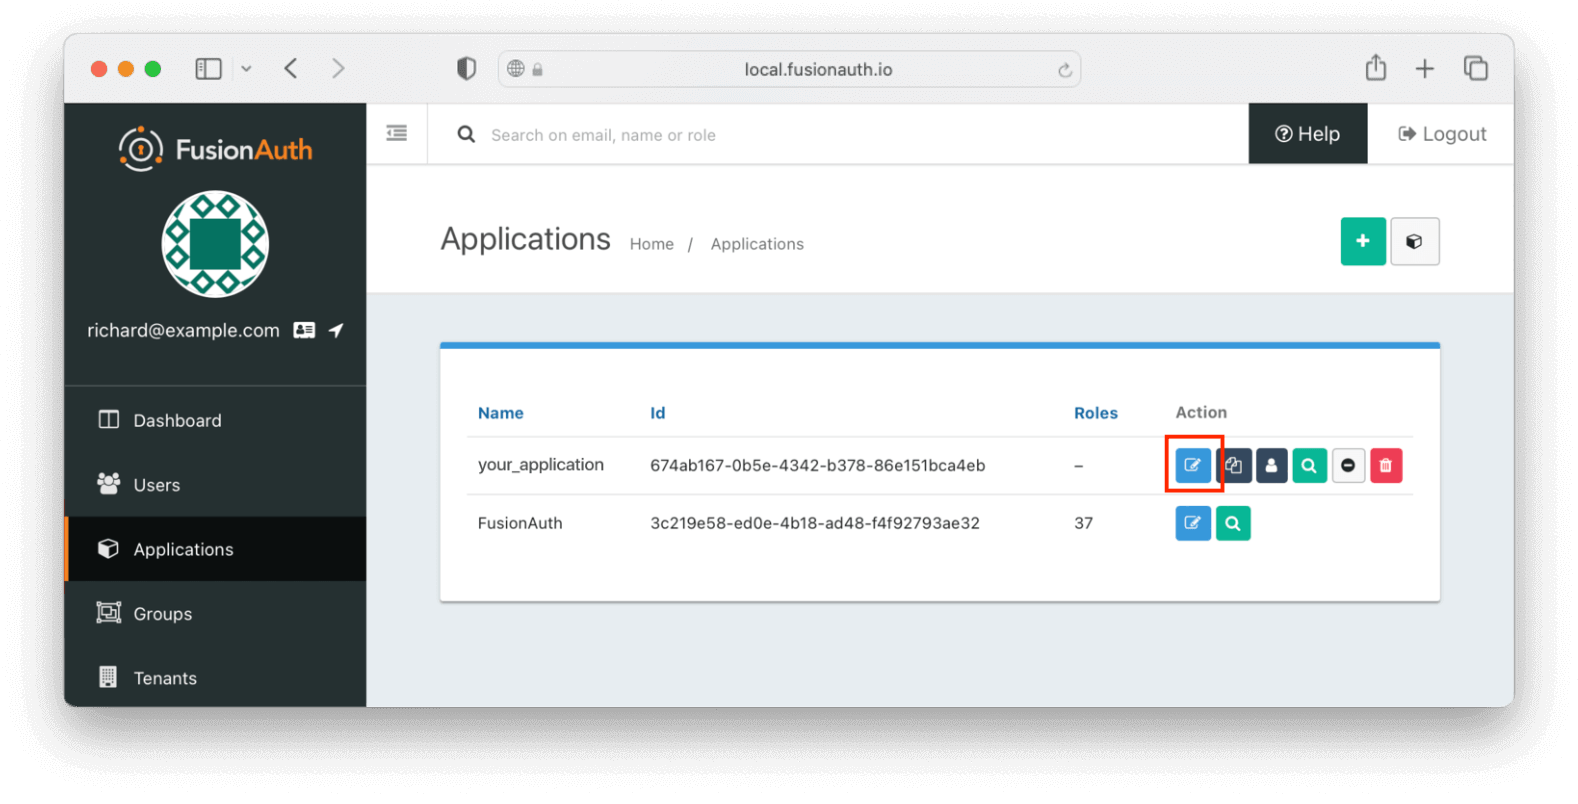
Access the Application page again and click on the "Edit Applications" icon (a little edit/notepad icon):
On the Edit Application page, click on the OAuth tab at the top. You'll need to get some information from this page.

- Record the generated Client Id and the Client Secret in a text file or to the clipboard. You'll use these below.
- Add the value
http://localhost:3000/api/auth/callback/fusionauthto the Authorized redirect URLs field. This will be used by FusionAuth to redirect the user to your application page once the user is successfully authenticated. - Scroll down and check the Require registration checkbox. This ensures that users who haven't been registered for this application in FusionAuth aren't able to access it when using the hosted login pages.
After filling in the details, click the Save icon.
Register the user#
Next, register the user for the application. Navigate to the Users tab and find your user. Click on the black "Manage User" button under the "Action" heading in the list. You'll end up at the details page:
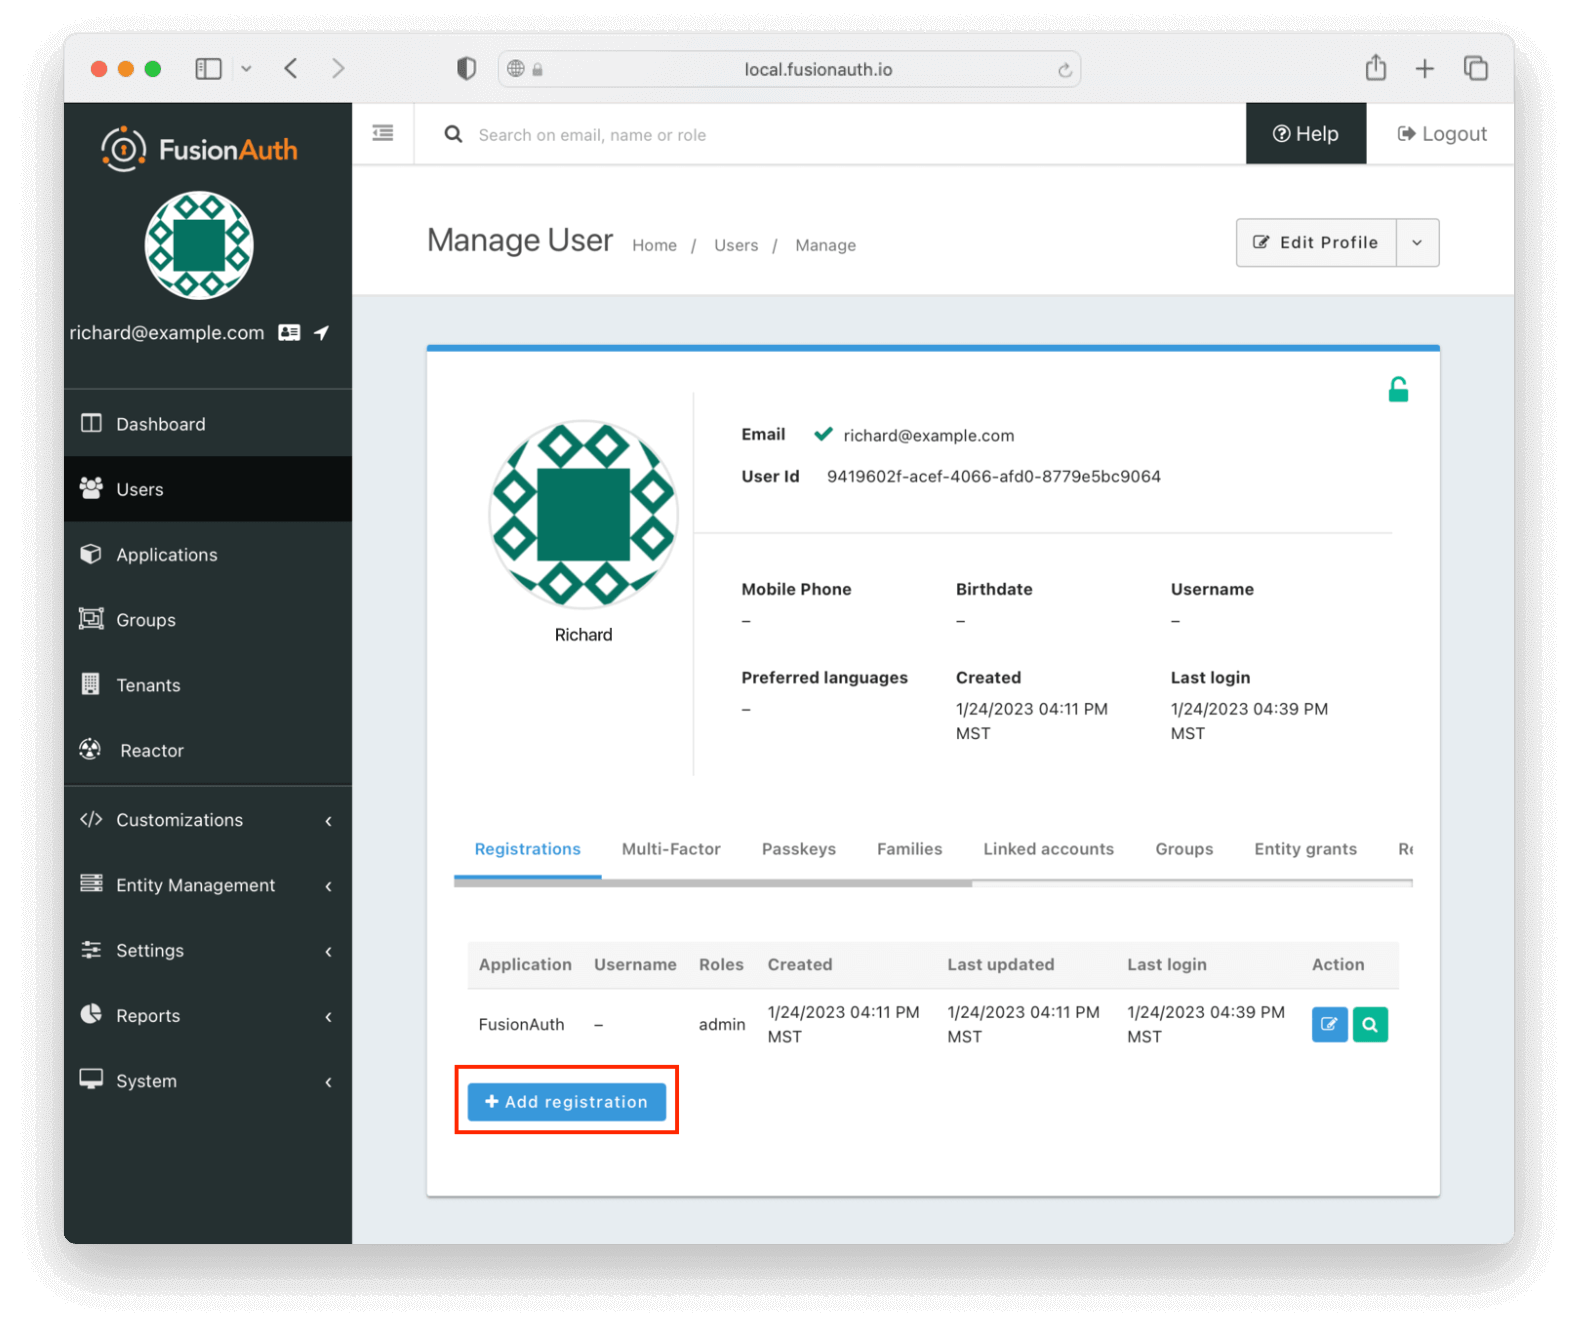
Click Add registration to register the user in your_application.
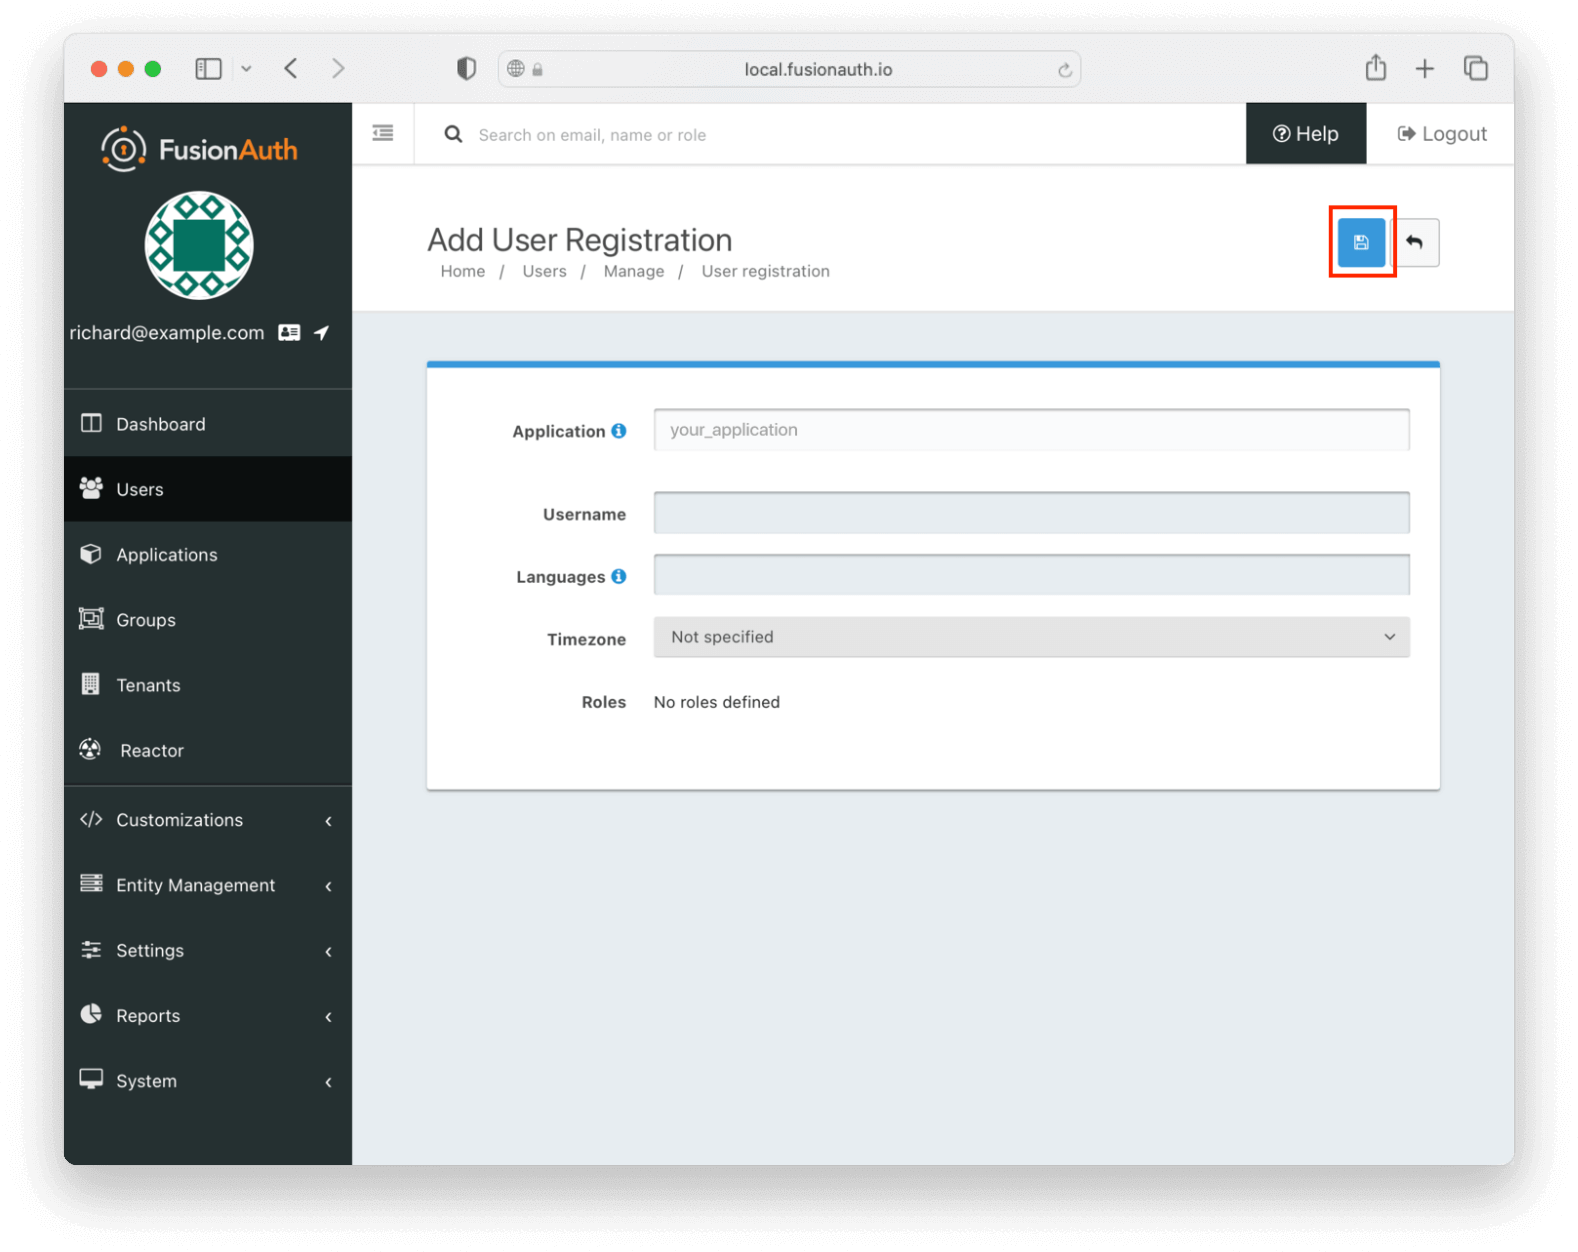
If users of this application have unique configuration details, such as a username, timezone, or languages, which are different from the user's defaults, you could configure them here.
However, for this tutorial, you can click the blue Save button and accept the default values.
Kickstart#
Instead of manually setting up FusionAuth using the admin UI as you did above, you can use Kickstart. This tool allows you to get going quickly if you have a fresh installation of FusionAuth. Learn more about how to use Kickstart.
Here's an example Kickstart file which sets up FusionAuth for this tutorial.
Create the Next.js application#
You have two options here. You can either clone a working example, or build the app from scratch.
Clone the demo repository#
If you want to run an already working application, you can clone the demo project from this GitHub repository using the following command.
git clone git@github.com:FusionAuth/fusionauth-example-nextjs-single-sign-on.gitSince you've cloned a working rep, you don't need to follow the next section. If you'd like to understand more about what was done in the demo application, feel free to read them.
Either way, continue configuring the Environment variables to proceed with this tutorial.
Create your own Next.js application#
If you want to create your own application instead of using our demo project, you can create a new Next.js application by running the command below.
npx create-next-app name-of-your-applicationIf it is your first time creating a Next.js application, you'll be prompted to install the
create-next-apppackage. Just typeyto accept it.
The create-next-app wizard will ask you a few questions on how to set up your application. Answer them like shown.
✔ Would you like to use TypeScript with this project? … No
✔ Would you like to use ESLint with this project? … Yes
✔ Would you like to use `src/` directory with this project? … Yes
? Would you like to use experimental `app/` directory with this project? … No
✔ What import alias would you like configured? … @/*
Enter the directory for the application you created and start up the application by running these commands.
cd name-of-your-application
npm run dev
Browse to localhost:3000. If the installation went successful, you should see the default welcome page from Next.js.
Now that you have the application running, let's implement the authentication process by using NextAuth.js, a complete open-source solution.
Installing NextAuth.js#
First, install NextAuth.js.
npm install next-authNow, you need to create a file named exactly like [...nextauth].js in src/pages/api/auth.
First, make the directory:
mkdir src/pages/api/authThen create a file named [...nextauth].js in that directory.
Next, you'll configure the built-in support for FusionAuth. Doing so ensures every request to the /api/auth/* path is handled by NextAuth.js.
import NextAuth from "next-auth"
import FusionAuthProvider from "next-auth/providers/fusionauth"

export const authOptions = {
    providers: [
        FusionAuthProvider({
            issuer: process.env.FUSIONAUTH_ISSUER,
            clientId: process.env.FUSIONAUTH_CLIENT_ID,
            clientSecret: process.env.FUSIONAUTH_CLIENT_SECRET,
            wellKnown: `${process.env.FUSIONAUTH_URL}/.well-known/openid-configuration/${process.env.FUSIONAUTH_TENANT_ID}`,
            tenantId: process.env.FUSIONAUTH_TENANT_ID, // Only required if you're using multi-tenancy
        }),
    ],
}

export default NextAuth(authOptions)
Exposing session state#
To allow components to check whether the current user is logged in, change src/pages/_app.js to have your application rendered inside a <SessionProvider> context, like shown below.
import '@/styles/globals.css'
import { SessionProvider } from "next-auth/react"

export default function App({
    Component,
    pageProps: {session, ...pageProps},
}) {
    return (
        <SessionProvider session={session}>
            <Component {...pageProps} />
        </SessionProvider>
    );
}
This will make the useSession() React Hook accessible to your entire application.
Now, create a component that will either render a "Log in" or Log out button, depending on the session state, in a src/components/login-button.jsx file.
import { useSession, signIn, signOut } from "next-auth/react"

export default function Component() {
    const { data: session } = useSession()
    if (session) {
        return (
            <>
                Status: Logged in as {session.user.email} <br />
                <button onClick={() => signOut()}>Log out</button>
            </>
        )
    }
    return (
        <>
            Status: Not logged in <br />
            <button onClick={() => signIn()}>Log in</button>
        </>
    )
}
Then, you change your home component located at src/pages/index.js to include the <LoginButton /> component inside <main>.
import Head from 'next/head'
import LoginButton from '@/components/login-button'

export default function Home() {
  return (
    <>
      <Head>
        <title>Next.js + FusionAuth</title>
        <meta name="description" content="Sample app to demonstrate implementing authentication in a Next.js application with FusionAuth" />
        <meta name="viewport" content="width=device-width, initial-scale=1" />
        <link rel="icon" href="/favicon.ico" />
      </Head>
      <main>
        <LoginButton />
      </main>
    </>
  )
}
Environment variables#
If you cloned the demo repository, you can copy .env.local.dist to .env.local and change the values there. If not, create a .env.local file and fill in the details from your FusionAuth application.
# example: my-website.com
FUSIONAUTH_ISSUER=http://localhost:9011
FUSIONAUTH_CLIENT_ID=e9fdb985-9173-4e01-9d73-ac2d60d1dc8e
FUSIONAUTH_CLIENT_SECRET=super-secret-secret-that-should-be-regenerated-for-production
# Leave blank if you only have the default tenant
FUSIONAUTH_TENANT_ID=
# example: http://localhost:9011
FUSIONAUTH_URL=http://localhost:9011
# you can run `openssl rand -base64 32`
NEXTAUTH_SECRET=random_value_please_changeTesting#
Start the HTTP server by running the following command.
npm run devBrowse to localhost:3000.
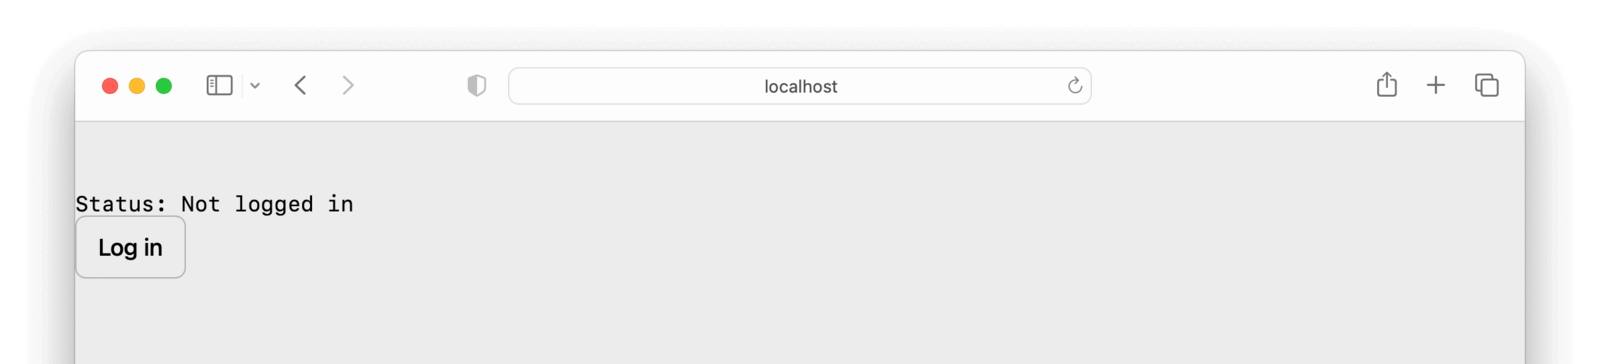
Click the Log in button to be taken to a page with a Sign in with FusionAuth button.
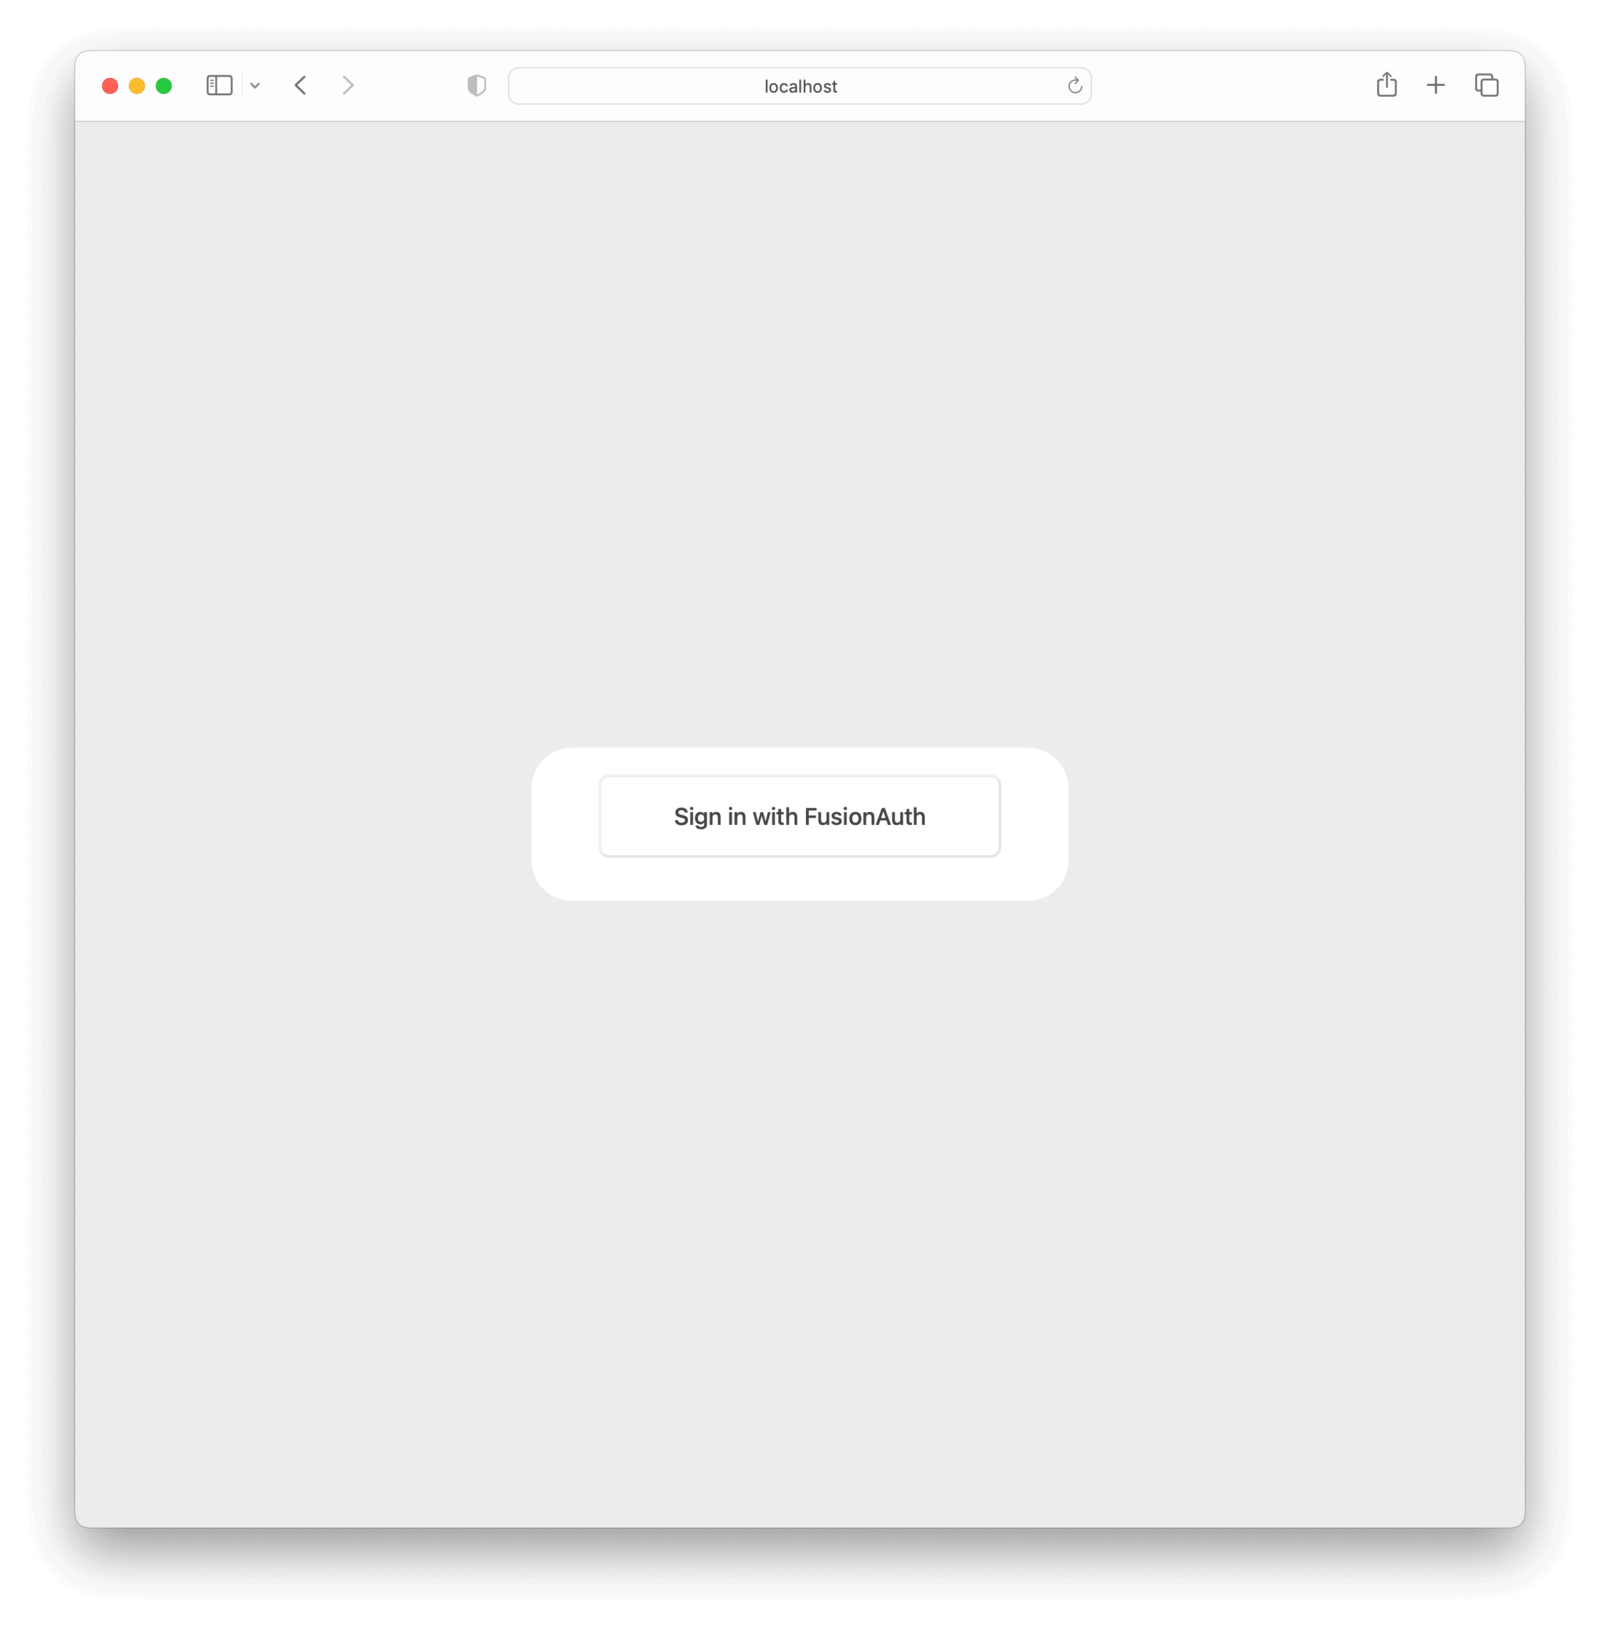
After clicking it, you should be redirected to your FusionAuth login screen.
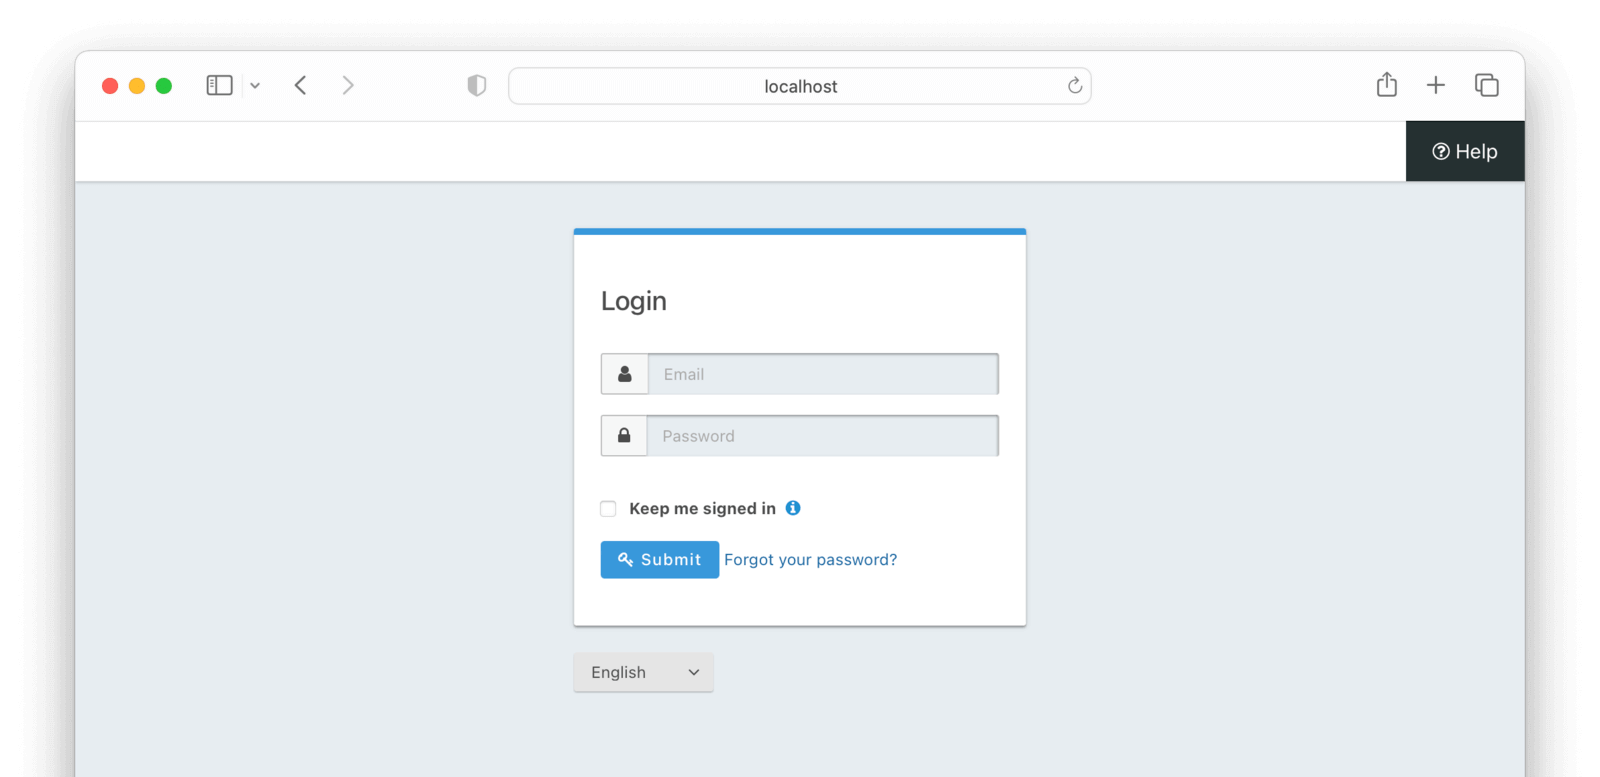
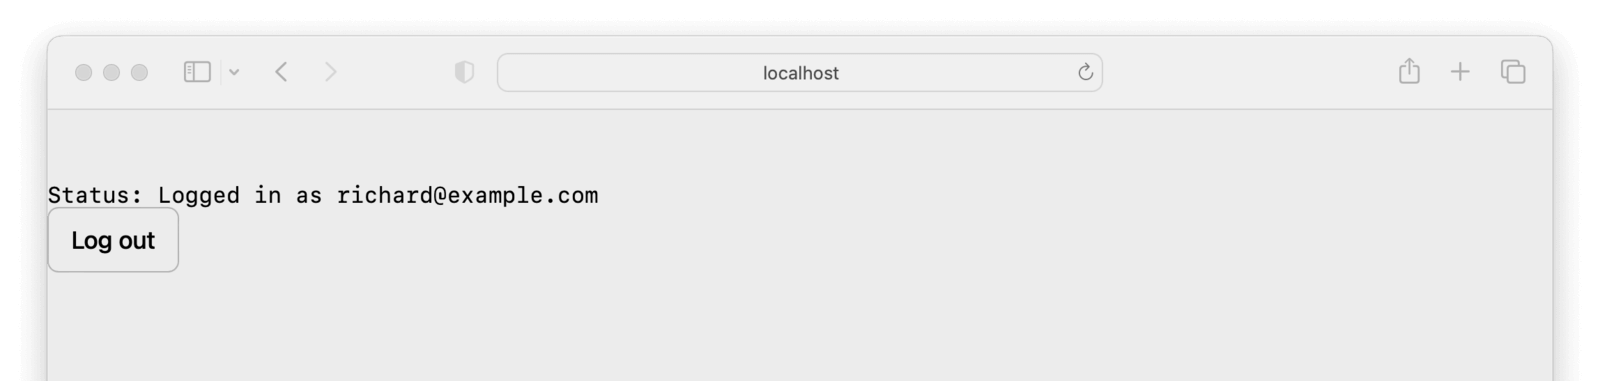
Enter the correct credentials created when you set up FusionAuth and submit the form. You'll arrive back at your Next.js application home screen, with your email address displayed and a the Log out button.
Next steps#
What's next?
You could:
- Make FusionAuth look like your nextjs application using themes.
- Learn more about OAuth.
- Build out a real nextjs application with a protected page.
Happy coding!


