This guide explains how to install the FusionAuth App from a package on your own server running Linux, macOS, or Windows.
Before you can run FusionAuth, you must also install a database.
By default, FusionAuth uses the database as the User search engine. To access advanced search functions, install a search engine.
Start FusionAuth App#
Next, you need to start FusionAuth App and use of the following options to set up the database:
- Enter Maintenance Mode where you can visually configure and create the database
- Use silent mode and allow FusionAuth to automatically configure and create the database
Use the instructions below to start FusionAuth. FusionAuth App depends on the Search Engine, the Search Engine must be started first.
Maintenance Mode makes installation simple. If it is not possible for you to use maintenance mode, you can edit the FusionAuth configuration files and leverage silent mode or install the database schema via the command-line using the Advanced Installation instructions below.
If you do not plan to use silent mode or Maintenance Mode to configure FusionAuth, do not start FusionAuth at this point. Instead, skip the to Advanced Installation section and then return to this section after you have configured FusionAuth and the database via the command-line.
Runtime Modes#
The runtime mode may be configured to trigger or suppress environment specific runtime behavior.
See the fusionauth.runtime-mode property and the FUSIONAUTH_RUNTIME_MODE environment variable definitions in the Configuration documentation for reference.
The available runtime modes are:
developmentproduction
All FusionAuth nodes in a multi-node cluster must use the same runtime mode.
Changing runtime mode of an existing deployment requires stopping all running nodes before starting new nodes with a different runtime mode. Plan for brief downtime during this process.
Development#
When in development runtime mode, FusionAuth will enter an interactive Maintenance Mode when installing and upgrading FusionAuth to aid in the configuration of the database and Elasticsearch, and apply necessary database migrations.
Production#
Production runtime mode should be configured when deploying FusionAuth to a production environment.
When in production runtime mode, maintenance mode will never run. Maintenance mode is not intended for multi-node deployments and will not reliably coordinate database migrations among the nodes, which can result in a corrupted database schema. Additionally, disabling maintenance mode prevents end-users from navigating to the interactive maintenance mode page rather than the login page at runtime.
In production runtime mode, database migrations will need to be applied out of band using our documented manual method, or using some other external mechanism. See the Upgrade FusionAuth documentation for reference.
In order to enable the production runtime mode, all database and (optional) Elasticsearch configuration properties must be configured properly, see the Configuration Reference. The configured database and Elasticsearch will be expected to be running and ready to accept connections.
Maintenance Mode#
Maintenance mode is only accessible in the development runtime mode. See Runtime Modes above for details.
You will access FusionAuth App's Maintenance Mode setup via the browser. If you installed FusionAuth App on your local machine, you'll
access this interface by opening http://localhost:9011 in your browser. If FusionAuth is running on a remote server, change the server
name in the URL to match your server's name.
Database Configuration#
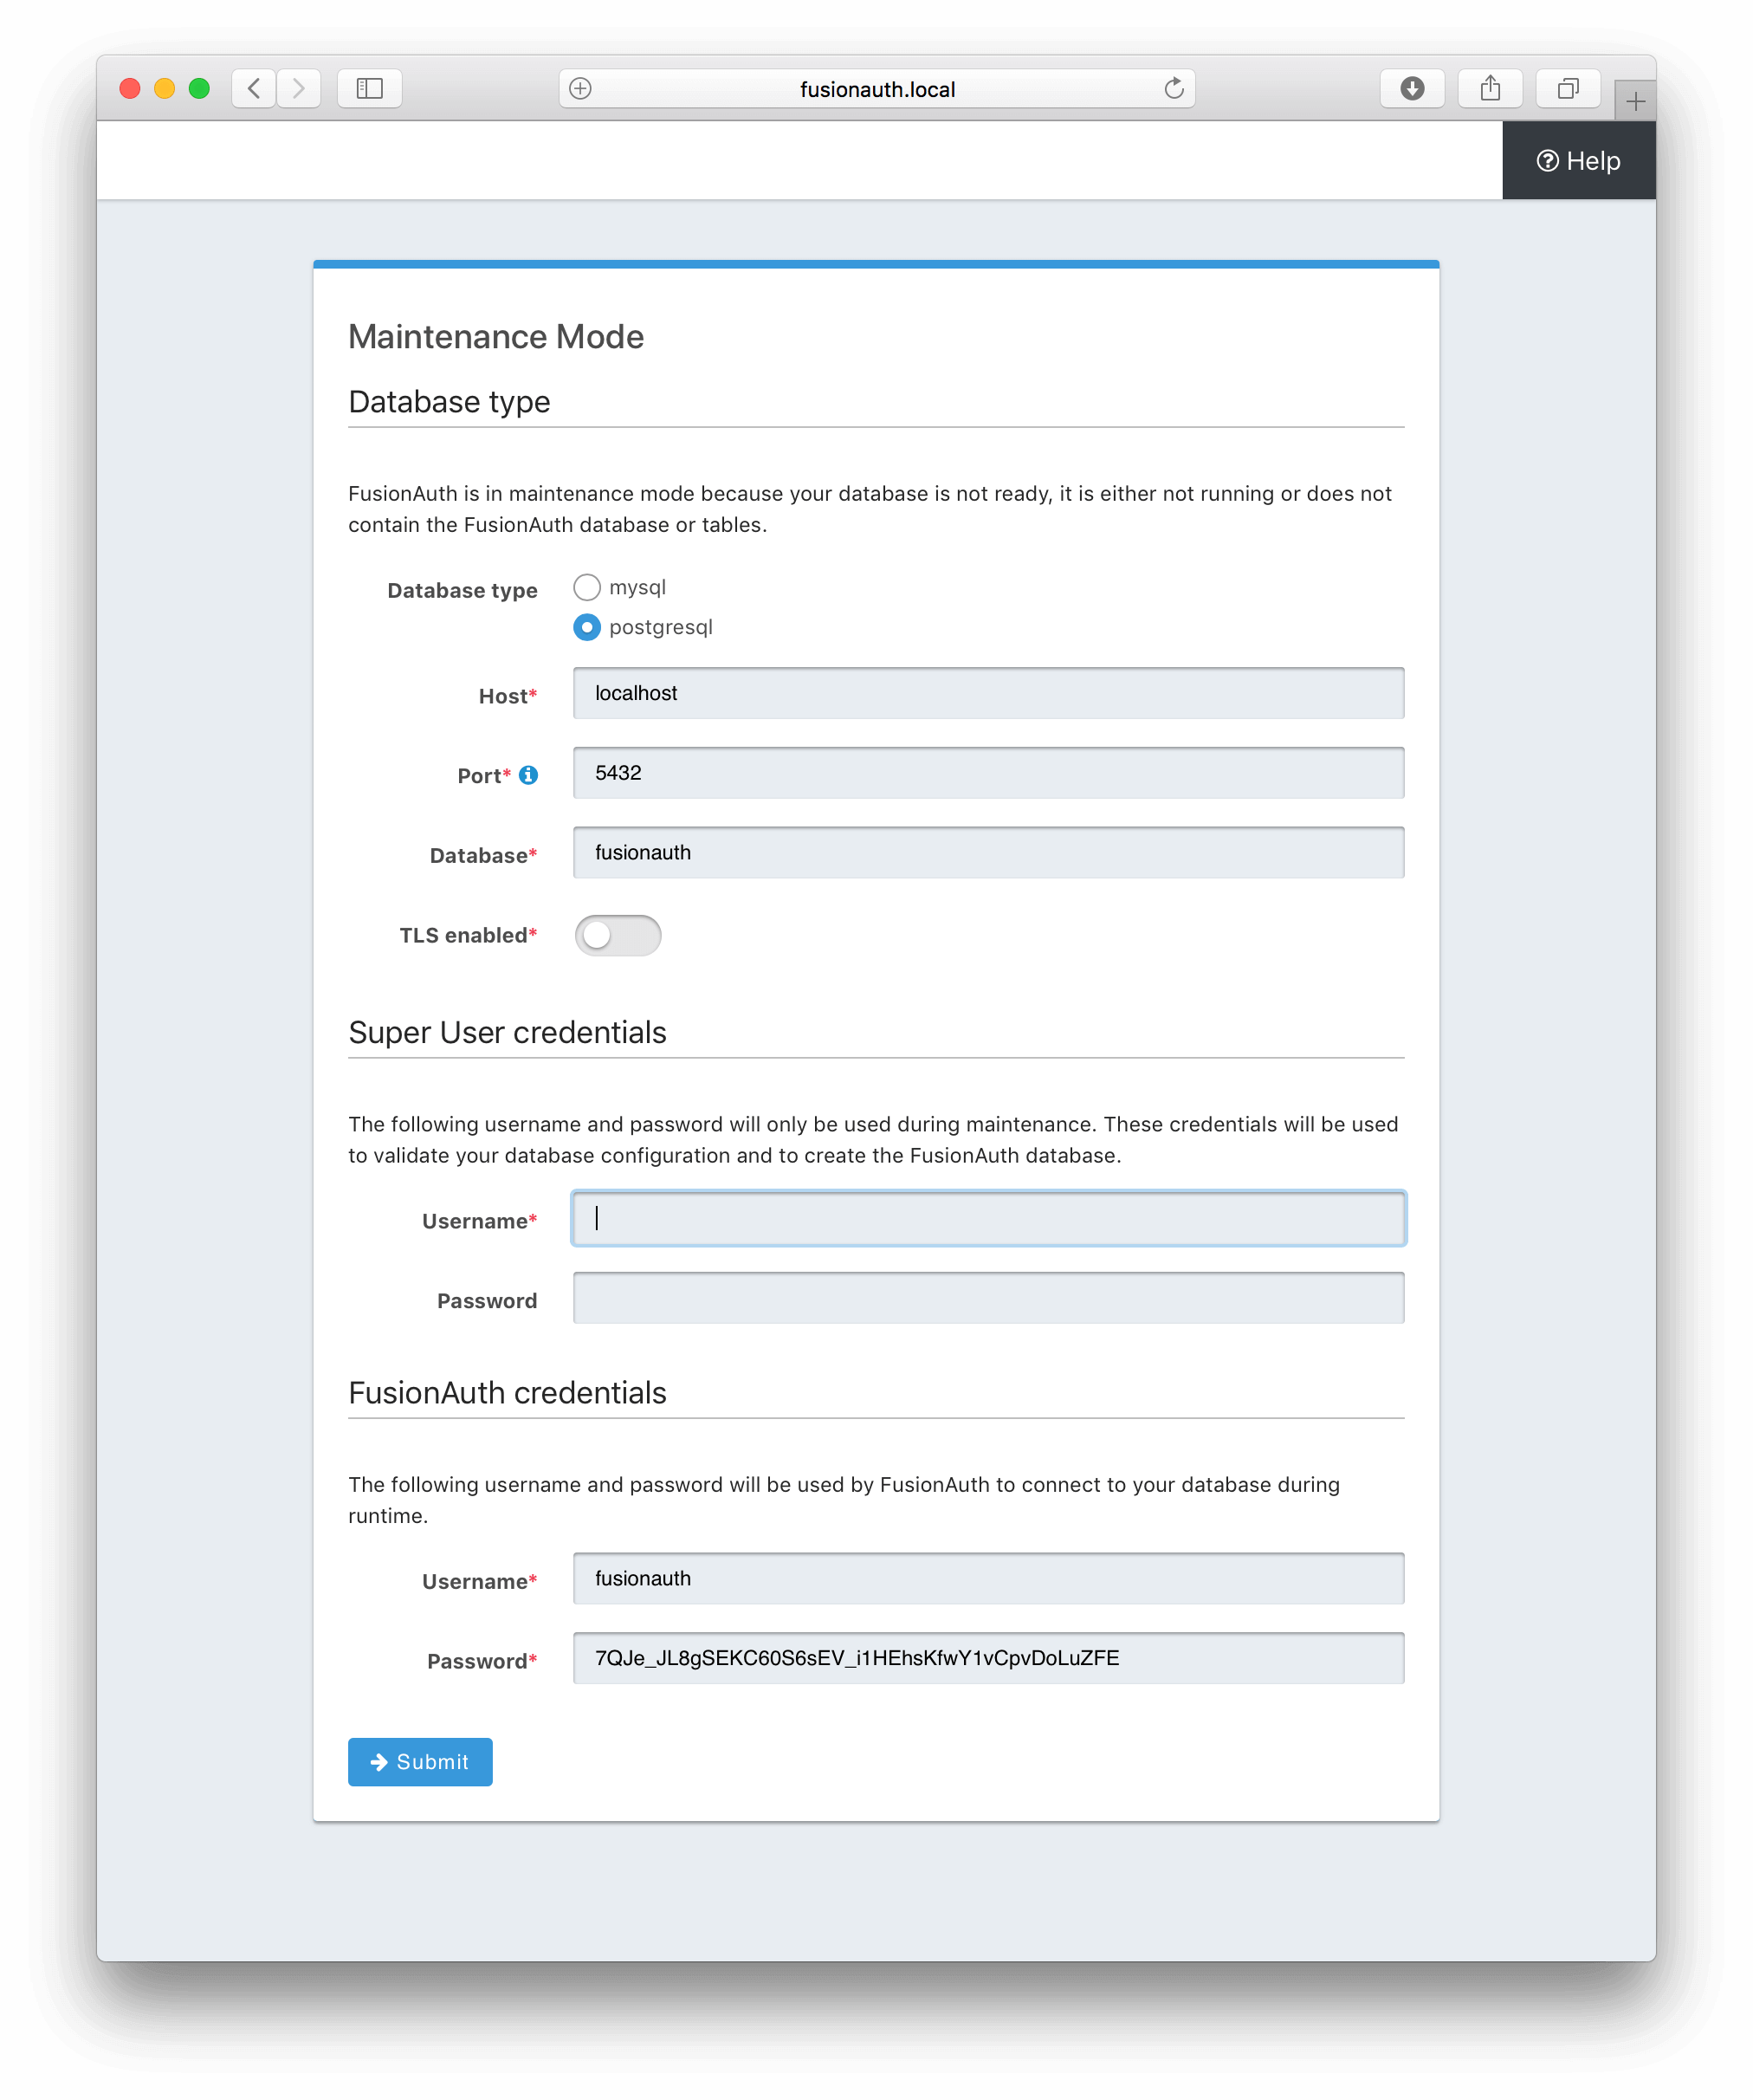
The first step will be to configure the database connection to allow FusionAuth to configure the database.
To complete this step you will need to confirm the database type, host, port and name. The connection type defaults to MySQL with the default
MySQL port of 3306. If you are connecting to a PostgreSQL database the default port is 5432, your configuration may be different.
In the Super User credentials section you will need to supply FusionAuth with a username and password to the database so that it may create a new database and configure the FusionAuth schema. The provided credentials must have adequate authority to complete successfully. These credentials are not persisted and only utilized to complete maintenance mode.
Troubleshooting MySQL root user issues
If you are using MySQL, your server might not be configured to allow the root user to login except from the hostname localhost. Depending on how your system is
configured, FusionAuth might use a different IP or hostname such as 127.0.0.1 or myapp.com. Therefore, you need to ensure that your MySQL server is configured to allow the root user
to connect from your specific location. To do this, you can create a separate root user with the hostname you are targeting, in the example we are using 127.0.0.1. Here are the
SQL statements for this method:
Create new user method with all permissions to all databases and tables
# replace password with a secure password, or omit the `IDENTIFIED BY` clause to create user without a password
CREATE USER 'root'@'127.0.0.1' IDENTIFIED BY password;
GRANT ALL PRIVILEGES ON *.* TO 'root'@'127.0.0.1' WITH GRANT OPTION;
FLUSH PRIVILEGES;
The final section labeled FusionAuth credentials will be used to define a new database user to own the FusionAuth schema and connect to the database
when FusionAuth starts up. A default username and password have been generated for you, feel free to utilize these values or modify them to suit your
InfoSec requirements. These credentials will be created and used by FusionAuth to connect to the database at runtime. These credentials will be saved
to the fusionauth.properties configuration file.
Click the submit button once you have completed this form and if the provided credentials and database connection information was correct you will be taken to the next step of the maintenance process or FusionAuth will continue starting up if the configuration is complete.
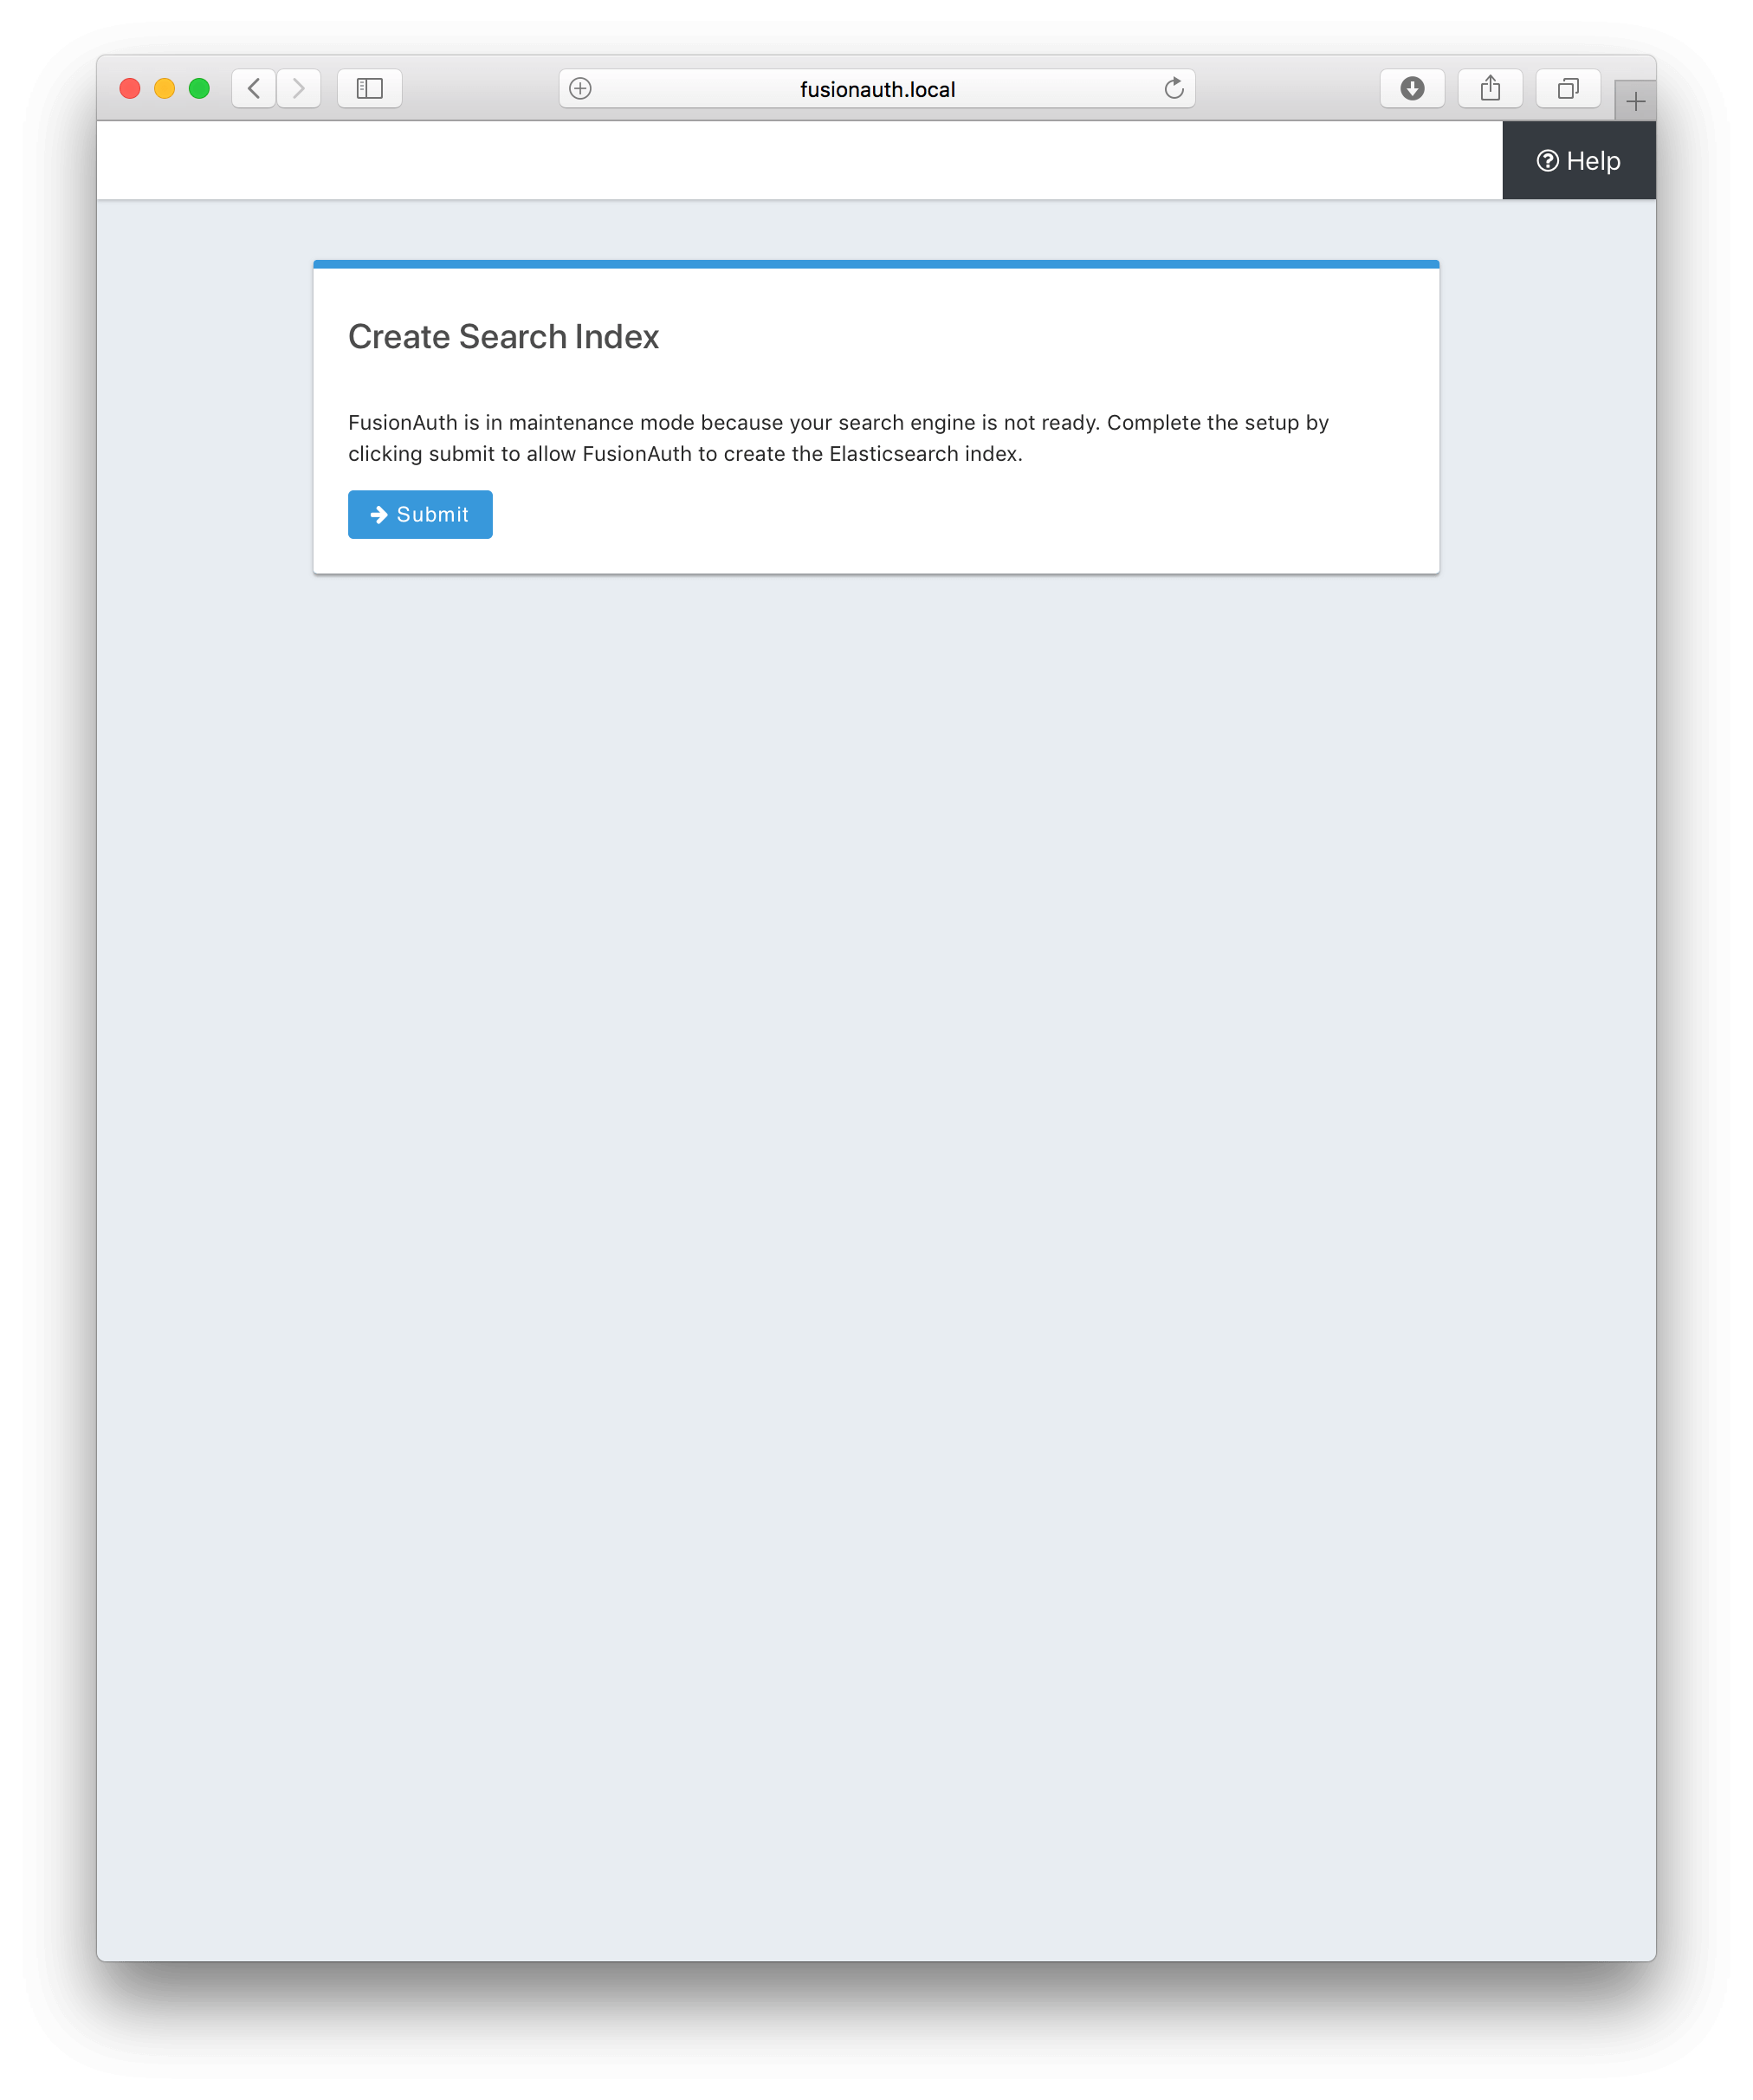
Search Configuration#
If this is your first time starting up FusionAuth we will need to validate your connection to the search engine service and create a search index for use by FusionAuth.
No configuration is required, but you will need to complete this step by clicking on the Submit button to continue. Once this step is complete you will complete the initial configuration using the Setup Wizard.
Advanced Installation#
These instructions will assist you in editing the FusionAuth configuration file and installing the database schema via the command-line. If you used Maintenance Mode to configure FusionAuth App, you can skip this section.
To manually configure the database schema, you will need to downloaded the corresponding zip file for the version of FusionAuth you'll be installing. Navigate to the Direct Download page and find the file named fusionauth-database-schema-<version>.zip. That zip archive will contain the necessary SQL files to complete this section.
When you extract the contents of the zip archive you will find mysql.sql and postgresql.sql. Typically, these files are used when building a database from the ground up (in other words, creating the schema, in the next section) and are always provided with each release of FusionAuth. For existing databases, migrations can be run and are included in the migrations folder. Not all versions of FusionAuth require a database migration. FusionAuth versions with migrations are highlighted in the release notes.
fusionauth-database-schema/
├── migrations
│   ├── mysql
│   │   ├── 1.1.0.sql
           //...
│   │   ├── 1.33.0.sql
│   └── postgresql
│       ├── 1.1.0.sql
           //...
│       ├── 1.33.0.sql
├── mysql.sql
├── passport-to-fusionauth (less common to reference)
│   ├── mysql.sql
│   └── postgresql.sql
└── postgresql.sql
Database Schema#
Security
By default, unless you configure the database connection using Maintenance Mode, FusionAuth is configured to connect to the database named fusionauth
on localhost with the user name fusionauth and the password fusionauth. For development and testing, you can use these defaults; however, we recommend a more secure password for production systems.
In the following examples, <root_user> is the name of the root user for your database. The <root_user> must be either the root user or
a user that has privileges to create databases. For MySQL, this is generally a user named root, on PostgreSQL, this is generally a user named postgres, your configuration may vary. Run the following SQL commands to configure the database for use by FusionAuth. Additionally, <ordinary_user> and <ordinary_password> are non-superuser accounts that are used to connect to the FusionAuth database.
MySQL
# Create the fusionauth database, replace <root_user> a valid superuser.
mysql --default-character-set=utf8 -u<root_user> -e "CREATE DATABASE fusionauth CHARACTER SET = 'utf8mb4' COLLATE = 'utf8mb4_bin';"

# Create the non-superuser account in the database, replace <root_user> a valid superuser, <ordinary_user> a valid non-superuser and <ordinary_password> with a secure password.
mysql --default-character-set=utf8mb4 -u<root_user> -e "CREATE USER <ordinary_user> IDENTIFIED BY '<ordinary_password>'"

# Grant ordinary user all authority to fusionauth database, replace <root_user> a valid superuser and <ordinary_user> with your user from above.
mysql --default-character-set=utf8mb4 -u<root_user> -e "GRANT ALL ON fusionauth.* TO '<ordinary_user>'@'%'" fusionauth

# Create FusionAuth schema, run this command from the directory where you have extracted the FusionAuth Database Schema zip, replace <ordinary_user> and <ordinary_password> with the values from above.
mysql --default-character-set=utf8mb4 -u<ordinary_user> -p<ordinary_password> fusionauth < mysql.sql
PostgreSQL
# Create the fusionauth database, replace <root_user> a valid superuser.
psql -U<root_user> -c "CREATE DATABASE fusionauth ENCODING 'UTF-8' LC_CTYPE 'en_US.UTF-8' LC_COLLATE 'en_US.UTF-8' TEMPLATE template0"

# Note, if installing on Windows, the Encoding values are different, replace the previous command with this version.
psql -U<root_user> -c "CREATE DATABASE fusionauth ENCODING 'UTF-8' LC_CTYPE 'English_United States' LC_COLLATE 'English_United States' TEMPLATE template0;"

# Create the non-superuser account in the database, replace <root_user> a valid superuser, <ordinary_user> a valid non-superuser and <ordinary_password> with a secure password.
psql -U<root_user> -c "CREATE ROLE <ordinary_user> WITH LOGIN PASSWORD '<ordinary_password>';"

# Grant ordinary user all authority to fusionauth database, replace <root_user> a valid superuser and <ordinary_user> with your user from above.
psql -U<root_user> -c "GRANT ALL PRIVILEGES ON DATABASE fusionauth TO <ordinary_user>; ALTER DATABASE fusionauth OWNER TO <ordinary_user>;"

# Create FusionAuth schema, run this command from the directory where you have extracted the FusionAuth Database Schema zip, replace <ordinary_user> with
the value from above.
psql -U<ordinary_user> fusionauth < postgresql.sqlConfiguration#
Before starting FusionAuth for the first time, you'll need to add your database connection in the configuration. The name of this
file is fusionauth.properties.
The configuration file may be found in the following directory, assuming you installed in the default locations. If you have installed in an alternate location, the path to this file will be different.
Windows::
\fusionauth\config
macOS or Linux::
/usr/local/fusionauth/config
For more information about the other configuration options found in this file, see the Configuration Reference section.
Find the default database JDBC URL, username and password values, verify this information is correct. The default JDBC URL is configured for MySQL,
if you're using PostgreSQL you'll need to update the URL. See the database.url property documentation in Configuration Reference for more information.
If you are using MySQL, your database.url property must have a parameter at the end like this: ?serverTimezone=UTC. The ? character is the
same as a standard URL parameter, so if you have additional parameters, you should only have a single ? and parameters should be separated by &.
Database Configuration
database.url=jdbc:mysql://localhost:3306/fusionauth?serverTimezone=UTC
database.username=fusionauth
database.password=fusionauth
FusionAuth should now be configured, the database should be created and everything should be ready to run. You can start FusionAuth using the instructions in the Start FusionAuth App section above.
Troubleshooting#
If you receive a message similar to this one in your system log:
ERROR io.fusionauth.api.service.system.NodeService - Node [c98263dc-7f12-4879-93c1-f1a634912a51] cannot be added. The runtime mode is [Development] and this node in [Production] mode.This means that your nodes are in different runtime modes. This will not work and may cause undetermined behavior. All nodes of a FusionAuth cluster must be running in the same mode, either Production or Development.
To resolve this issue, take the following steps:
- Stop all existing nodes, whether they are running as containers or processes.
- Review configuration to confirm that all nodes are configured with the same runtime mode.
- Restart the nodes.
FAQs#
Q: What is runtime mode and how does it affect upgrades?
A: FusionAuth runtime mode can be either production or development. When in the development runtime mode, Maintenance Mode will interactively assist you to configure the database and connect to Elasticsearch, if configured. Once you move FusionAuth into production, it is recommended that you modify the runtime mode to production. When in production runtime mode, Maintenance Mode will no longer be available to you, which means you can be certain that your end users will not find themselves on the database upgrade panel during an upgrade. When in production mode, you will either need to leverage Silent Mode to automatically apply database migrations or you will need to apply the database migrations yourself (either by hand or via a script of some sort). For more on runtime modes, see the FusionAuth Installation Guide.
Q: What is Maintenance Mode?
A: Maintenance Mode is a special admin interface for FusionAuth installations in development environments. Maintenance Mode helps you to interactively upgrade FusionAuth or set up database connections. You can switch to Maintenance Mode by switching to the development runtime mode and setting Silent Mode to false. Note that Maintenance Mode should never be used in production.
Q: What is Silent Mode?
A: Silent Mode is a feature of FusionAuth that automatically applies database migrations. This is useful for automated deployments. Silent Mode can be enabled in the development runtime mode and, as of version 1.19.0, in the production runtime mode too. Silent Mode will attempt to perform database migrations on startup. If the database migrations fail, FusionAuth will display an error message on the login page. You should always test your database migrations in a non-production or staging environment before deploying to production.