Machine To Machine Communication
Overview#
Manage authentication and permissions for software programs using the client credentials grant and access tokens. More secure than static API keys, with fine grained permissions and service identity built in. You can self-host FusionAuth and embed it into your Kubernetes cluster, on-prem data center or other environment.
FusionAuth can scale to hundreds of millions of entities (APIs, devices, etc) and you can manage the entire solution via SDKs in your favorite language.
Problem#
You have software programs, devices or APIs which need to authenticate and access data or functionality. You want to manage this in a central location. Each of these entities have specific permissions that may change over time.
Solution#
With the machine to machine (m2m) use case, model everything inside FusionAuth using Entity Management. Each entity (the aforementioned software programs, devices or APIs) is granted permissions against any other entity. Permissions against an entity can also be granted to a user.
To test if permissions are granted, use the Client Credentials grant to get an access token, which can be presented to APIs to access data or functionality.
Prerequisites#
You have at least two pieces of software that need to securely communicate with each other without any humans in the loop. This could include APIs, AI agents, or devices.
You have a paid license installed on your FusionAuth instance. The functionality in this use case requires the Starter plan or higher. Learn more about pricing.
Example Scenario#
Machine to machine communication is very flexible, and can include communication between any software entities. If this example doesn't fit your use case, consider other example scenarios.
Suppose you have a hardware business selling internet enabled clock radios. The radio ships with the ability to tell time and tune into FM stations, but you want recurring revenue as well, so you offer two upsells, a news API and weather API. A user can subscribe and provide their zip code. Then, in the groggy morning hours, they can press a button on their clock radio for either news or weather. Basic subscriptions get weather, and premium plans get both news and weather.
You need to tie each device to a plan paid for by the user. Since users might change from not having a plan to a basic plan, or from basic to premium you also need to allow the device permissions to change over time.
You can do this by representing each clock radio with a software "twin". Then, you can modify the twin and change the APIs that the hardware device can call. This is also known as creating a digital twin. '
Why Not Use API Keys#
Before talking implementation, you might be wondering about API keys and why they could not be used to manage the device access to the weather and news APIs. The access token generated by the Client Credentials grant is essentially an API key, proving the clock radio's identity and level of access. Why not simply give a static API key to each clock radio and call it good?
By using an access token for machine to machine communication, you see the following benefits:
- the access token is time bound and expires; if someone steals it, access is limited
- the process is standards based
- the client Id and secret are centrally managed and monitored
- the access tokens can be validated without contacting FusionAuth
- granular permissions and other data can be placed in the token
Actors/Components#
- a weather API which returns weather
- a news API which returns news
- devices: clock radios
- code running on the devices
- FusionAuth
Implementation Steps#
This is a five step implementation process to enable m2m communication. Steps to take:
- set up entity types
- create digital twins for each clock radio
- have the clock radio request the API
- have the API respond
- modify the digital twin as needed
The next time the radio makes a request, the access token will only be granted for the appropriate permissions.
Setting Up Entity Types#
Entity types define permissions and token lifetime. To set up the entity types and permissions, create an APIType Entity Type with two possible permissions, news and weather. If you needed more permissions later, you could add them to the APIType Entity Type.
You'll also need the ClockRadioType Entity Type. This doesn't need any permissions, since nothing is granted permissions against this type of entity.

Configure the lifetime of the JWT issued in the Client Credentials grant. Select an asymmetric signing keypair as well, so that the access token can be verified without contacting FusionAuth.
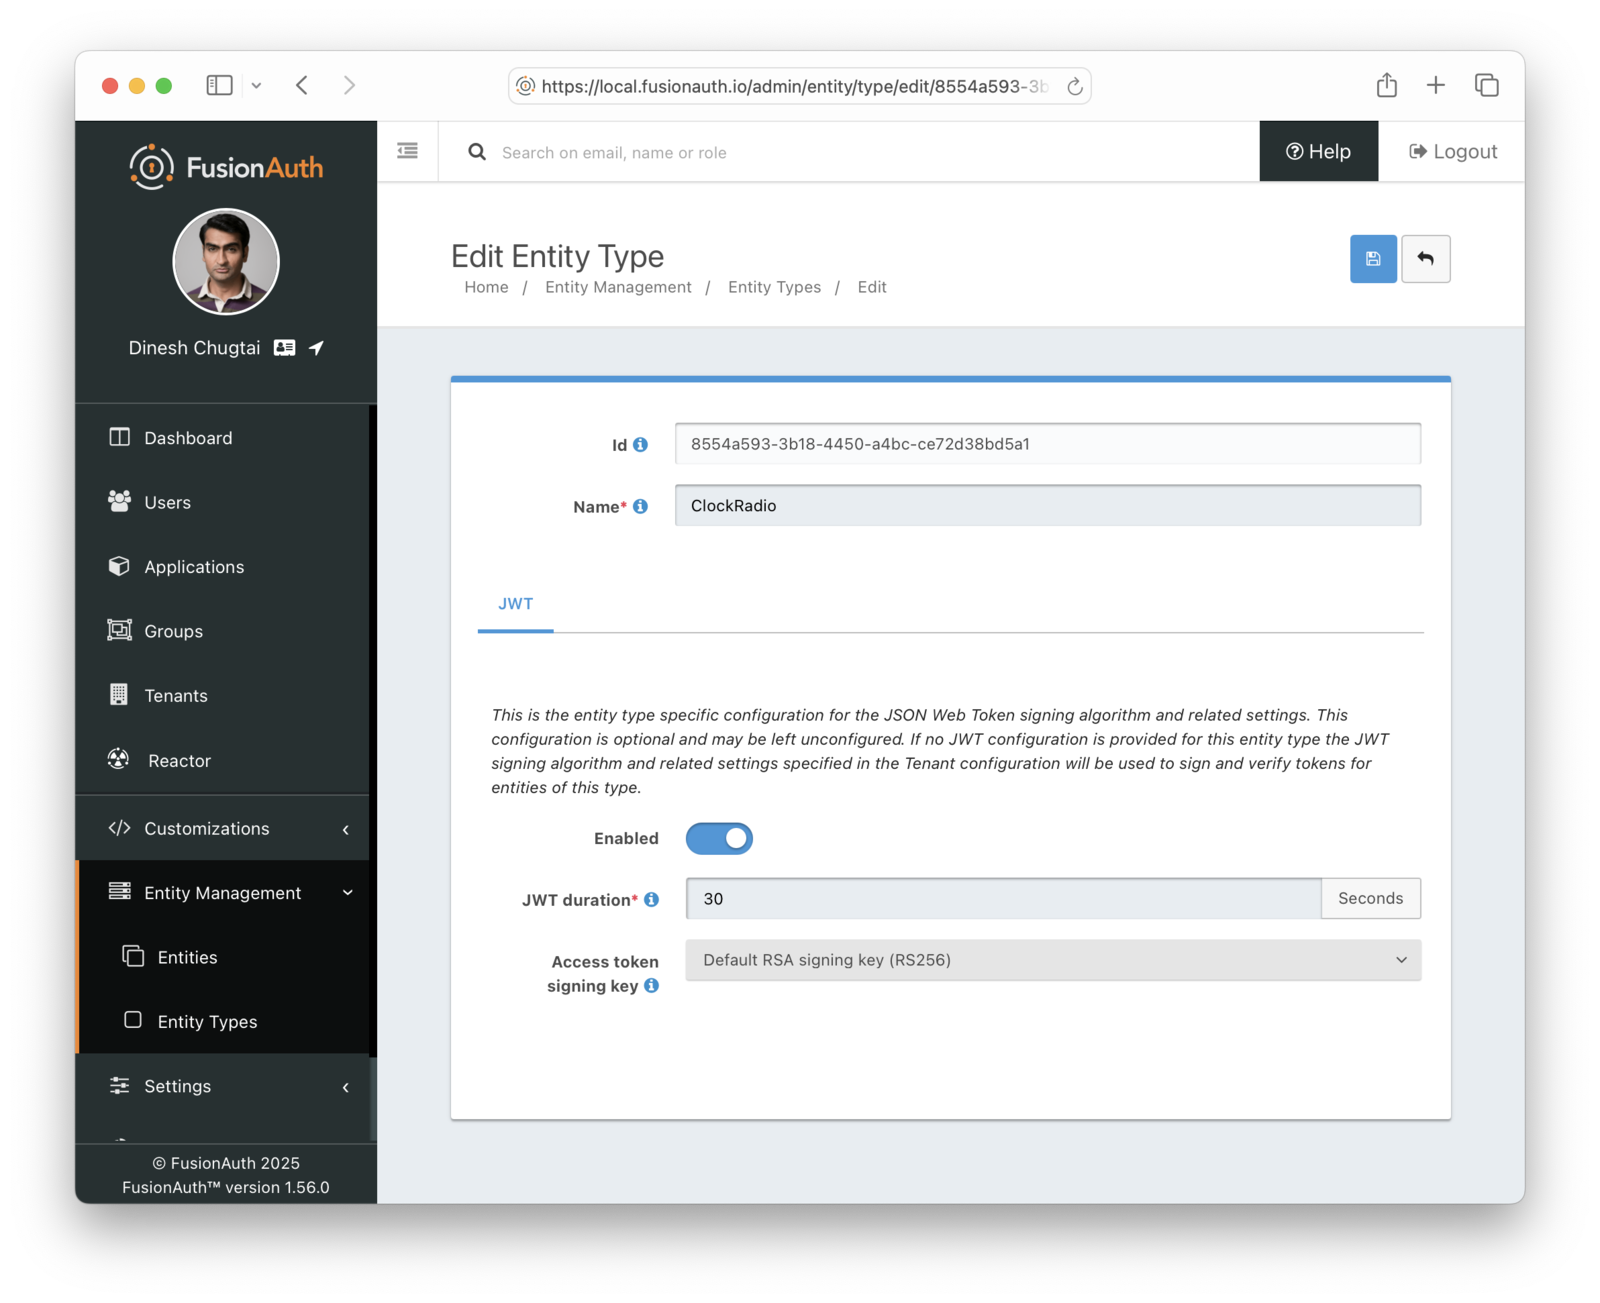
Finally, set up one API Entity, which has the APIType entity type. Access to this API will be granted in the next step.
Creating The Digital Twin#
For each clock radio, create an Entity in FusionAuth which will function as a digital twin. This is something that you should write code for, using one of the SDKs, because you need to do this for every device. You'll need to create an API key to automate this.
Here's example code to create the entity and then grant the news permission:
Create the entity and grant the permission
import {FusionAuthClient} from '@fusionauth/typescript-client';
import 'dotenv/config'

const FUSIONAUTH_API_KEY = process.env.FUSIONAUTH_API_KEY;
const BASE_URL = process.env.BASE_URL;
const ENTITY_TYPE_ID = process.env.ENTITY_TYPE_ID;
const TARGET_ENTITY_ID = process.env.TARGET_ENTITY_ID;
const PERMISSION = 'news';

const client = new FusionAuthClient(FUSIONAUTH_API_KEY, BASE_URL);

async function createEntity() {
  try {
    const EXAMPLEUUID = 'EXAMPLEUUID';
    const response = await client.createEntity(null, {
      entity: {
        name: 'ClockRadioForUser ' + EXAMPLEUUID,
        data: { plan: 'basic', user_id: EXAMPLEUUID },
        type: {
          id: ENTITY_TYPE_ID
        }
      }
    });

    console.log('Entity created:', response.response);
    return response.response.entity.id;
  } catch (error) {
    console.error('Error creating entity:', error);
  }
}


async function grantPermission(entityId) {
  try {
    const req = {
      grant: {
        permissions: [PERMISSION],
        recipientEntityId: entityId
      }
    }
    const response = await client.upsertEntityGrant(TARGET_ENTITY_ID, req);

    console.log('Permission granted:', response);
  } catch (error) {
    console.error('Error granting permission:', JSON.stringify(error));
  }
}

(async () => {
  const entityId = await createEntity();
  if (entityId) {
    await grantPermission(entityId);
  }
})();
Finally, distribute the client Id and secret to each clock radio so that it can request an access token. If you want to do this in reverse order, and set up the device with a known client Id and secret and then set up the entity, you can do that as well, as long as the client Id is a UUID.
Making The API Request#
When the radio is ready to make the API request, it must obtain an access token. Then it will make a call against the appropriate API endpoint, passing along the token and other data needed for the request. The API can validate the token and return the data. Here's a diagram outlining this flow.
A clock radio making an API request.
You obtain the access token using the Client Credentials grant. If needed, modify the body of the access token by using a Client Credentials JWT Populate lambda. Here's an example of the grant request made by a clock radio.
Request the access token
function buildScope(targetEntityId, permissionString) {
  return 'target-entity:'+targetEntityId+':'+permissionString;
}

async function requestAccessTokenSuccess() {
  let access_token = null;
  try {
    const response = await client.clientCredentialsGrant(RECIPIENT_ENTITY_ID,
                                                         RECIPIENT_ENTITY_SECRET,
                                                         buildScope(TARGET_ENTITY_ID,PERMISSION));
    access_token = response.response.access_token;
  } catch (error) {
    console.error('Error getting access token:', JSON.stringify(error));
  }
  return access_token;
}
Present the access token to the API along with your request. This is typically done using the Authorization header, but can be customized based on what the API expects.
Make the API request with the access token in the Authorization header
async function fetchNews(access_token) {
  try {
    const response = await fetch(API_BASE_URL + '/api/news', {
      method: 'GET',
      headers: {
        'Authorization': 'Bearer ' + access_token,
        'Content-Type': 'application/json'
      }
    });

    if (!response.ok) {
      throw new Error(`HTTP error! Status: ${response.status}`);
    }

    const data = await response.json();
    console.log(data);
  } catch (error) {
    console.error('Error fetching news:', error);
  }
}
Building The API Response#
The API validates the access token, using a library to check the signature and the other claims. Here's an example helper middleware validating an access token in an Express API, which reads the token either from a cookie or from the Authorization header.
Validating the access token in the API
require('dotenv/config');
const jose = require('jose');

const jwksClient = jose.createRemoteJWKSet(
  new URL(`${process.env.BASE_URL}/.well-known/jwks.json`)
);

const verifyJWT = async (req, res, next) => {
  const authHeader = req.headers.authorization;
  const tokenFromHeader = authHeader ? authHeader.split(' ')[1] : null;
  const access_token = req.cookies['app.at'] || tokenFromHeader;
  if (!access_token) {
    res.status(401);
    res.send({ error: 'Missing token cookie and Authorization header' });
  } else {
    try {
      // console.log(access_token);
      const result = await jose.jwtVerify(access_token, jwksClient, {
        issuer: process.env.BASE_URL,
        audience: process.env.API_ENTITY_ID,
      });

      req.verifiedToken = access_token;
      next();
    } catch (e) {
      if (e instanceof jose.errors.JOSEError) {
        res.status(401);
        res.send({ error: e.message, code: e.code });
      } else {
        console.dir(`Internal server error: ${e}`);
        res.status(500);
        res.send({ error: JSON.stringify(e) });
      }
    }
  }
};

module.exports = verifyJWT;
This code checks the following parts of the access token:
- signature
- expiration time
- issuer claim
- audience claim
You must further check the permissions from the validated token using code like this helper method:
Validating the access token in the API
const jose = require('jose');

function hasPermission(apiEntityId, expectedPermission) {
  return (req, res, next) => {
    const decodedToken = jose.decodeJwt(req.verifiedToken);
    if (checkPermission(decodedToken, apiEntityId, expectedPermission)) {
      return next();
    }
    res.status(403);
    res.send({ error: `You do not have permissions to do this.` });
  }
}

function checkPermission(json, uuid, permission) {
  if (!json.permissions || typeof json.permissions !== 'object') {
    return false;
  }

  return json.permissions[uuid]?.includes(permission) || false;
}

module.exports = hasPermission;
You can do this in the API route:
Validating the access token in the API
var express = require('express');
var router = express.Router();
const hasPermission = require('../services/hasPermission');

require('dotenv/config');
const API_ENTITY_ID = process.env.API_ENTITY_ID;

router.get('/', function (req, res, next) {
  res.render('index', { title: 'Express' });
});

router.get('/api/news', hasPermission(API_ENTITY_ID,'news'), function (req, res, next) {
  res.json({ news: [ { title: "news item", description: "news description" }]});
});

router.get('/api/weather', hasPermission(API_ENTITY_ID,'weather'), function (req, res, next) {
  res.json({ weather: { description: "weather description", high: 30, low: 10 }});
});

module.exports = router;
Implementation of the actual APIs is incomplete in this example application.
Our QuickStarts show how to validate the access token in an API in other languages.
Validate the access token directly, rather than using introspection. Introspection by an API of the access token obtained via a Client Credentials grant doesn't work as you might expect. More details in this GitHub issue.
Changing The User's Plan#
When the user changes their plan, you can update the entity's permissions. Here's sample code to update the plan and permissions.
import {FusionAuthClient} from '@fusionauth/typescript-client';
import 'dotenv/config'

const FUSIONAUTH_API_KEY = process.env.FUSIONAUTH_API_KEY;
const BASE_URL = process.env.BASE_URL;
const RECIPIENT_ENTITY_ID = process.env.RECIPIENT_ENTITY_ID;
const TARGET_ENTITY_ID = process.env.TARGET_ENTITY_ID;
const PERMISSIONS = ['news','weather'];

const client = new FusionAuthClient(FUSIONAUTH_API_KEY, BASE_URL);

async function grantPermission(entityId) {
  try {
    const req = {
      grant: {
        permissions: PERMISSIONS,
        recipientEntityId: entityId
      }
    }
    const response = await client.upsertEntityGrant(TARGET_ENTITY_ID, req);

    console.log('Permission granted:', response);
  } catch (error) {
    console.error('Error granting permission:', JSON.stringify(error));
  }
}

async function updateEntity(entityId) {
  try {
    const response = await client.patchEntity(entityId, {
      entity: {
        data: { plan: 'premium' }
      }
    });
    console.log('Entity updated:', response);
  } catch (error) {
    console.error('Error updating entity:', JSON.stringify(error));
  }
}

(async () => {
  await updateEntity(RECIPIENT_ENTITY_ID);
  await grantPermission(RECIPIENT_ENTITY_ID);
})();
The next time an API request is made, updated permissions will be included in the access token.
Expected Outcome#
Your devices now have a digital twin that can be used to securely manage device authentication and authorization against APIs and services.
You can change the permissions and capabilities of these devices over time.
Edge Cases#
The admin UI for managing entities can be cumbersome. Use the admin UI to explore functionality but prefer the SDKs or direct API access to manage entities in production.
No "on behalf of" semantics are currently supported, where machines communicate in sequence. Read more on the GitHub issue.
You can rotate client secrets, but you cannot change the device's entity Id. To modify that value, create a new entity.
Entity Ids are always UUIDs.
Limits On The Data Field#
FusionAuth provides data fields on many types of objects:
- Applications
- Tenants
- Groups
- Users
- Registrations
- Consents
If you are using the Elasticsearch search engine, the user.data, registration.data, and entity.data fields are indexed by Elasticsearch.
For example, you could create a field contained in user.data called migrated and store a boolean value. If you later set that field to an object value for any user, you won't be able to search for that user. Other users added after this user will be found, however, as long as they have the correct boolean value for user.data.migrated (or no value).
Elasticsearch requires fields to have the same data type across all indexed objects. In the example above, once Elasticsearch "knows" that user.data.migrated is a boolean, it expects this field, if present, to be a boolean for all users.
Therefore, you should not change the data type of fields stored in these fields across entities. This must be enforced by any software that updates these fields. There's an open GitHub issue to allow FusionAuth to enforce the Elasticsearch schema.
Other object data fields may in the future be indexed by Elasticsearch. Therefore, it is recommended to maintain a consistent schema for all data contained in data fields.
This limitation applies only to installations using the Elasticsearch search engine. However, if you start with the database search engine and eventually need to switch to the Elasticsearch search engine because the database search engine no longer meets your needs, if you have not enforced consistency in the data field types, you will not be able to do so.
Dates that are stored in the data field must be valid. Dates such as "0000-00-00" will fail to parse, for example. Some databases will return that value for invalid timestamps. When setting data values, invalid dates should be set to null to keep the schema valid.
If you do not enforce the schema, objects will be mysteriously hidden from searches. It can also result in a MapperParsingException.
Other Example Scenarios#
Whenever software talks to other software without a human in the mix, that's machine to machine communication. Examples include:
- APIs calling other APIs in a microservices based application
- a cron job making calls against a protected service every night at 11pm
- CI/CD pipelines where you are making calls against remote services to, for example, push a container image
- external tooling built by developers integrating with your platform; the client Id and secret can be managed in a developer portal
Additional Documentation#
- An example Client Credentials grant
- Examples of how to validate the access token in an API
- Entity management
- Customize the access token body with a lambda
- Videos on using the Client Credentials grant for API authentication
- Securing your API blog post
- Types of Kubernetes authentication
- Example machine to machine application