Deploy with Kubernetes
Kubernetes is an extensible and open-source container-orchestration system used for automating application deployments. Some of the most notable features it provides include self-healing, auto-scaling, and automated rollouts and rollbacks.
Since the Kubernetes container runtime supports Docker, FusionAuth Docker containers can be deployed to any Kubernetes cluster.
The following guide demonstrates how to deploy FusionAuth containers using kubectl, the Kubernetes command-line tool that enables you to send commands to a cluster through the API server. You'll need a cluster running to work through this guide.
Requirements#
kubectl- Command line tool that interacts with the Kubernetes API server and is useful for managing Kubernetes clusters. Before proceeding, follow the installation documentation that corresponds to your platform. This guide will be using version1.22.helm- Package manager used for installing and managing Kubernetes applications. In this guide, you will be using a Helm chart to install FusionAuth on our Kubernetes cluster. For more information, see Installing Helm. This guide will be using version3.6.4.- An available Kubernetes cluster. If you need to set up a cluster, we have provided the below installation guides for both local development environments and the major cloud providers. Each provides step-by-step instructions intended to get you up and running as fast as possible.
Adding the Helm Chart Repository#
To get started, the first thing to do is add the FusionAuth Helm Chart repository. This can be done with the following.
Add a chart repository
helm repo add fusionauth https://fusionauth.github.io/chartsTo view the list of repositories that you have added use the following command:
List chart repositories
helm repo listOutput from listing chart repositories
NAME      	URL
fusionauth	https://fusionauth.github.io/charts
To search repositories:
Search chart repositories
helm search repo fusionauthOutput from search
NAME                 	CHART VERSION	APP VERSION	DESCRIPTION
fusionauth/fusionauth	0.10.5       	1.30.1     	Helm chart for fusionauth
Helm Chart Configuration#
Before you install, configure the values.yaml file contents used by the Helm Chart. The majority of the values for this chart have defaults recommended by FusionAuth but you will want to review and modify the configuration to meet your specific requirements.
To update this file, first download it:
Download chart values
curl -o values.yaml https://raw.githubusercontent.com/FusionAuth/charts/main/chart/values.yamlOpen values.yaml with your favorite text editor and modify it. This guide covers configuration values which must be updated to deploy FusionAuth. You should review the entire configuration to understand all the possible options.
Replicas#
The replicaCount value indicates the number of instances of FusionAuth to run in a ReplicaSet. Kubernetes will monitor the cluster to ensure that this number of instances of FusionAuth is running at all times.
By default, the replicaCount value is set to 1 which typically works well for development and testing environments, but you will likely want to adjust this based on your system and application requirements.
Replica count example configuration
# replicaCount -- The number of fusionauth-app instances to run
replicaCount: 1
Docker Image#
The most current helm chart will always point to the latest version of FusionAuth.
For this guide, FusionAuth version 1.30.1 is used.
You can update this to any released version you'd like.
You can find the list of FusionAuth releases here.
Image configuration example
image:
  # image.repository -- The name of the docker repository for fusionauth-app
  repository: fusionauth/fusionauth-app
  # image.repository -- The docker tag to pull for fusionauth-app
  tag: latest
Extra Containers#
You may want to inject a sidecar or ambassador container.
This is useful if you want to, for instance, proxy requests to FusionAuth to put it at a different path or limit the IP addresses which have access to the administrative user interface.
You can do this with the extraContainers value.
Containers defined here will be added to the FusionAuth pod.
Default extraContainers
extraContainers: []extraContainers with an nginx sidecar
extraContainers:
  - name: my-sidecar
    image: nginx:latest
You can find community contributed proxy configurations here.
Database Configuration#
Now, configure the database connection. Each of our FusionAuth pods will use this configuration when communicating with the database.
The following is an example of the database configuration section in values.yaml:
Database and search example configuration
database:
  # database.protocol -- Should either be postgresql or mysql. Protocol for jdbc connection to database
  protocol: postgresql
  # database.host -- Hostname or ip of the database instance
  host: ""
  # database.host -- Port of the database instance
  port: 5432
  # database.tls -- Configures whether or not to use tls when connecting to the database
  tls: false
  # database.tlsMode -- If tls is enabled, this configures the mode
  tlsMode: require
  # database.name -- Name of the fusionauth database
  name: fusionauth

  # To use an existing secret, set `existingSecret` to the name of the secret. We expect at most two keys: `password` is required. `rootpassword` is only required if `database.root.user` is set.
  # database.existingSecret -- The name of an existing secret that contains the database passwords
  existingSecret: ""
  # database.user -- Database username for fusionauth to use in normal operation
  user: ""
  # database.password -- Database password for fusionauth to use in normal operation - not required if database.existingSecret is configured
  password: ""
  # These credentials are used for bootstrapping the database and creating it if needed. This can be useful for ephemeral clusters used for testing and dev.
  root:
    # database.root.user -- Database username for fusionauth to use during initial bootstrap - not required if you have manually bootstrapped your database
    user: ""
    # database.root.password -- Database password for fusionauth to use during initial bootstrap - not required if database.existingSecret is configured
    password: ""

search:
  # search.engine -- Defines backend for fusionauth search capabilities. Valid values for engine are 'elasticsearch' or 'database'.
  engine: elasticsearch
  # search.engine -- Protocol to use when connecting to elasticsearch. Ignored when search.engine is NOT elasticsearch
  protocol: http
  # search.host -- Hostname or ip to use when connecting to elasticsearch. Ignored when search.engine is NOT elasticsearch
  host: ""
  # search.port -- Port to use when connecting to elasticsearch. Ignored when search.engine is NOT elasticsearch
  port: 9200
  # search.user -- Username to use with basic auth when connecting to elasticsearch. Ignored when search.engine is NOT elasticsearch
  user: ""
  # search.password -- Password to use with basic auth when connecting to elasticsearch. Ignored when search.engine is NOT elasticsearch
  password: ""
For this guide, the following attributes need to be retrieved from your database and Elasticsearch deployments and updated in your values.yaml configuration.
FusionAuth requires an external database and, optionally an external Elasticsearch cluster. Setting these up is outside of the scope of this document.
Consult the setup guides for instructions for AWS, GCP, and more.
database.hostdatabase.root.userdatabase.root.password
The FusionAuth standard user will be created with the credentials provided here when you install the FusionAuth helm chart.
database.userdatabase.password
If search.engine is set to elasticsearch:
search.host
Additionally, you may set these values if a username/password are needed to access Elasticsearch (these are not required for this tutorial):
search.usersearch.password
If you don't want to provide the database.root.user and database.root.password to allow FusionAuth to set up the database itself, you can also follow the advanced database installation guide which lets you set up the database out of band.
Deploy FusionAuth To the Cluster#
Now that values.yaml is updated, it is time to install the chart on the cluster. The helm install command is used to install a chart by name and can be applied using the syntax:
Helm install format
helm install [CHART NAME] [CHART] [flags]Here you will install a chart including the -f flag to override the default values.
Install the FusionAuth chart
helm install my-release fusionauth/fusionauth -f values.yamlYou can apply override values by modifying the values.yaml configuration that you pass when installing a chart or by using the --set flag on the command line.
Using --set can be useful when developing scripts or command line tools. Either method is acceptable.
If the previous command was successful, you should see output similar to the following:
Example output
NAME: my-release
LAST DEPLOYED: Sun Oct 10 19:23:41 2021
NAMESPACE: default
STATUS: deployed
REVISION: 1
NOTES:
1. Get the application URL by running these commands:
  export SVC_NAME=$(kubectl get svc --namespace default -l "app.kubernetes.io/name=fusionauth,app.kubernetes.io/instance=my-release" -o jsonpath="{.items[0].metadata.name}")
  echo "Visit http://127.0.0.1:9011 to use your application"
  kubectl port-forward svc/$SVC_NAME 9011:9011
You can get the status of your deployment with kubectl.
Get a list of deployments running on the cluster
kubectl get deployments -o wideOutput
NAME                    READY   UP-TO-DATE   AVAILABLE   AGE     CONTAINERS   IMAGES                             SELECTOR
my-release-fusionauth   1/1     1            1           4m16s   fusionauth   fusionauth/fusionauth-app:1.30.1   app.kubernetes.io/instance=my-release,app.kubernetes.io/name=fusionauth
As instructed by the success message output above, you can create a proxy enabling you to connect to the cluster from localhost:
Setup port-forwarding proxy
export SVC_NAME=$(kubectl get svc --namespace default -l "app.kubernetes.io/name=fusionauth,app.kubernetes.io/instance=my-release" -o jsonpath="{.items[0].metadata.name}")
  echo "Visit http://127.0.0.1:9011 to use your application"
  kubectl port-forward svc/$SVC_NAME 9011:9011
Example output of kubectl proxying command
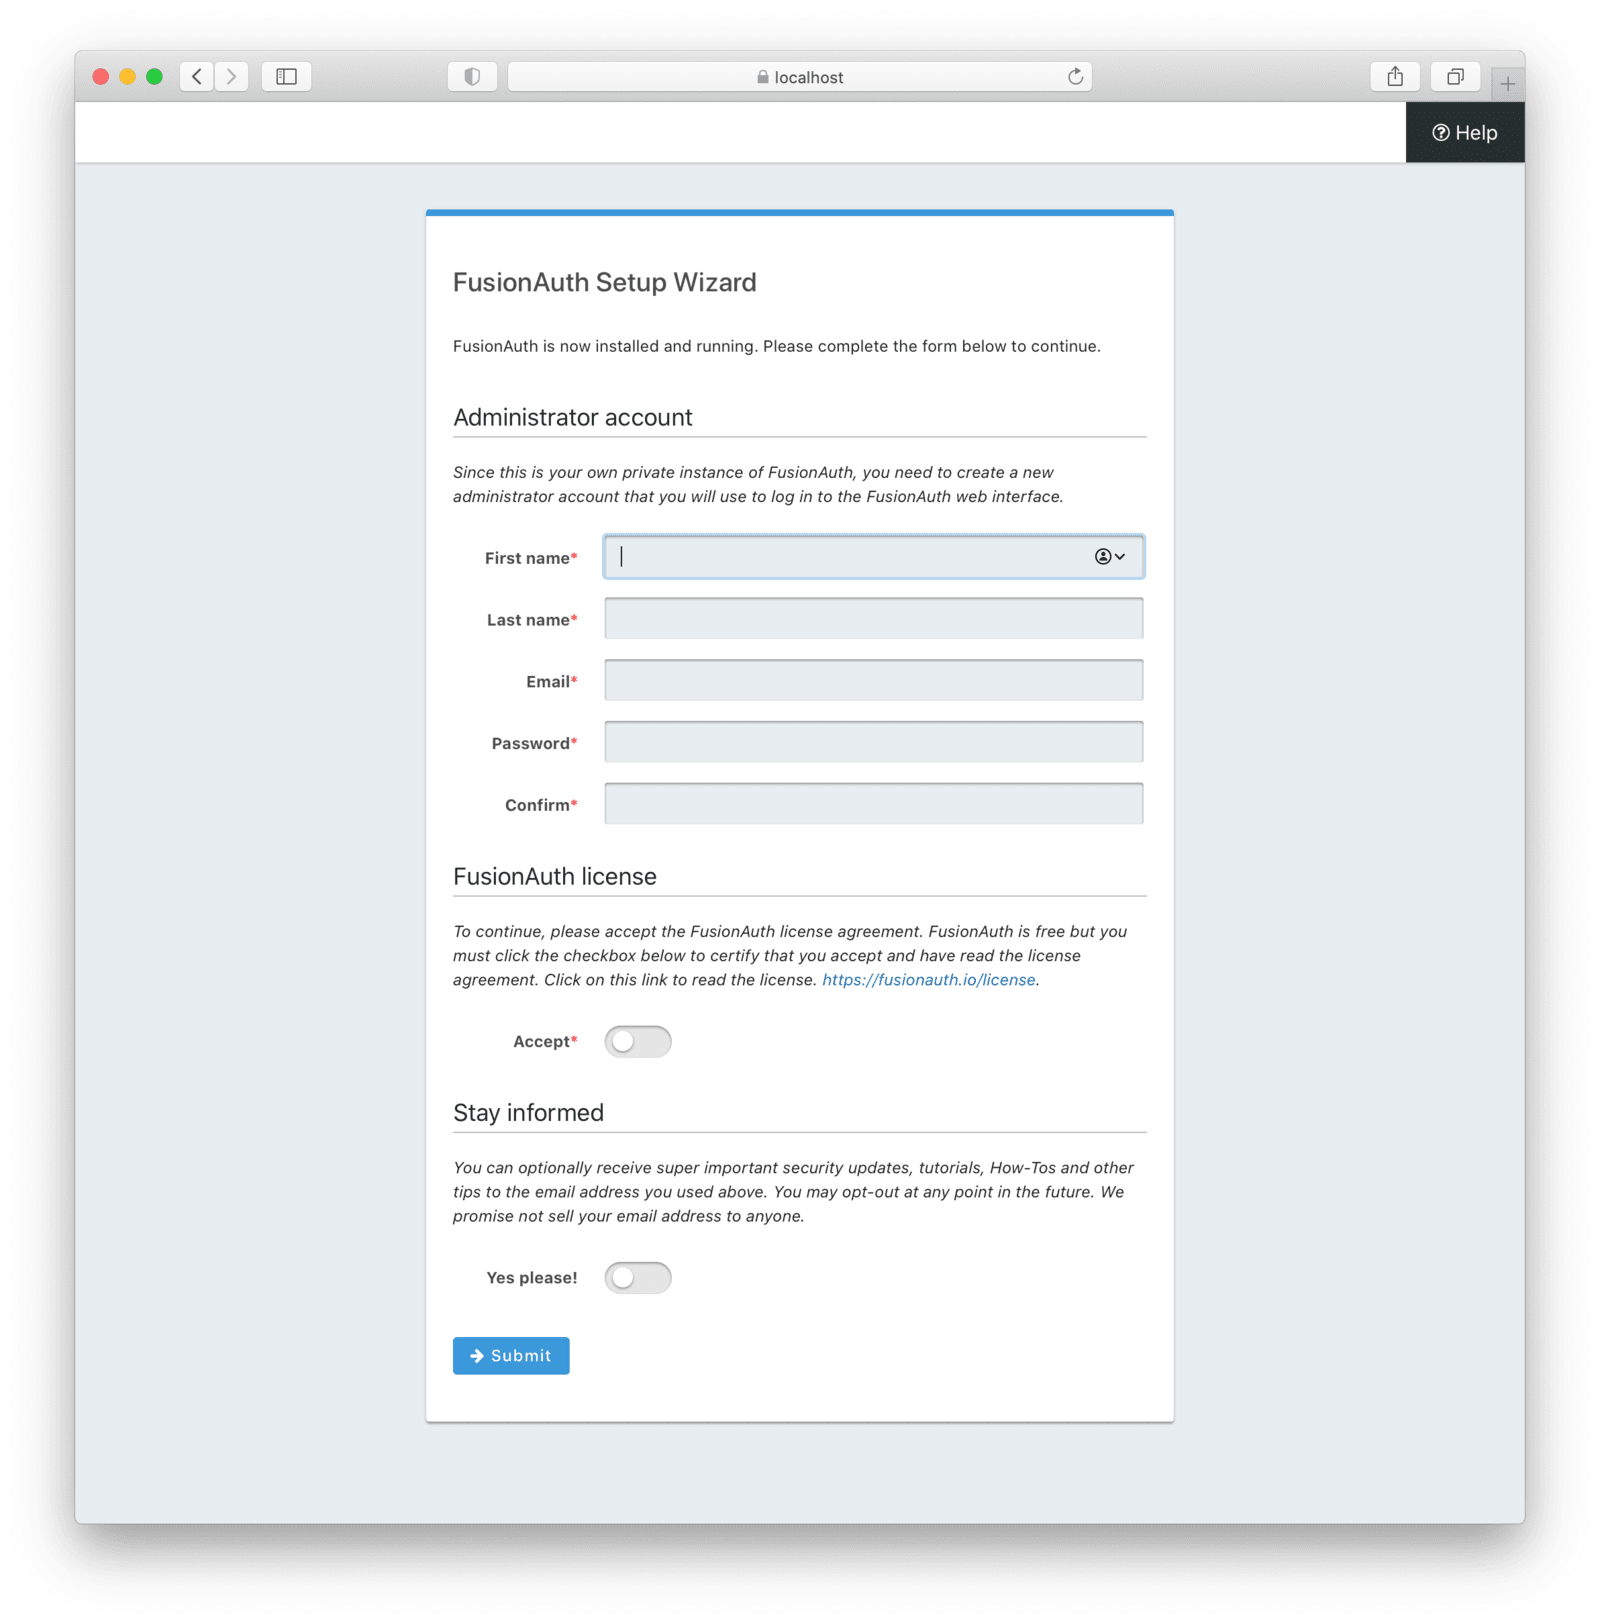
Forwarding from 127.0.0.1:9011 -> 9011Navigate to http://localhost:9011 and you will land on the FusionAuth Setup Wizard. For a complete tutorial walking you through the initial FusionAuth configuration, see Setup Wizard & First Login.
Create an Ingress#
If you want to connect FusionAuth with an external network, the last thing you need to do is to configure the cluster to be able to receive external requests. You might do this if you were using FusionAuth to authenticate users connecting to applications from the internet. On the other hand, you might not do this if you were using FusionAuth solely within your kubernetes cluster.
To direct external traffic to your cluster, you will use an Ingress, a component that defines how external traffic should be handled, and an Ingress Controller that implements those rules.
Deploy an Ingress Resource#
Create a file named ingress.yaml and copy and paste the following resource configuration:
Ingress resource configuration
apiVersion: networking.k8s.io/v1
kind: Ingress
metadata:
  name: my-release-fusionauth
  labels:
    app.kubernetes.io/name: fusionauth
    app.kubernetes.io/instance: my-release-fusionauth
  annotations:
    kubernetes.io/ingress.class: nginx
spec:
  rules:
  - http:
      paths:
      - backend:
          service:
            name: my-release-fusionauth
            port:
              number: 9011
        path: /
        pathType: Prefix
The rules for this Ingress resource indicate that requests from the root path context, or /, should be directed to the my-release-fusionauth service.
Now apply this configuration on the cluster:
Apply Ingress resource
kubectl apply -f ./ingress.yamlInstall an Ingress Controller#
For this guide, you will use the NGINX Ingress controller. To install the Ingress controller, add the nginx-ingress repository and install the Helm chart by running the following commands:
Add ingress-nginx chart repository
helm repo add ingress-nginx https://kubernetes.github.io/ingress-nginxInstall ingress-nginx chart
helm install fa-loadbalancer ingress-nginx/ingress-nginxWhen completed, get the active services running on the cluster:
Get services information
kubectl get servicesServices response output
NAME                                            TYPE           CLUSTER-IP       EXTERNAL-IP                                                                  PORT(S)                      AGE
fusionauth-ingress-nginx-controller             LoadBalancer   10.100.246.131   a4413292c6477456b8c1cde8f5260513-137482286.us-west-1.elb.amazonaws.com       80:30048/TCP,443:32484/TCP   37m
A new service will be available of type LoadBalancer and will contain an external IP or host name corresponding to a newly provisioned Elastic Load Balancer host name. External traffic will now be directed to the Kubernetes cluster via this ingress.
If you have completed this tutorial using minikube, you can access the ingress by creating a network route to your cluster by executing the command minikube tunnel. For documentation on this, see Using minikube tunnel.
Congratulations! You now have a fully functional Kubernetes environment running FusionAuth.
Troubleshooting#
Runtime Mode Mismatch#
If you receive a message similar to this one in your system log:
ERROR io.fusionauth.api.service.system.NodeService - Node [c98263dc-7f12-4879-93c1-f1a634912a51] cannot be added. The runtime mode is [Development] and this node in [Production] mode.This means that your nodes are in different runtime modes. This will not work and may cause undetermined behavior. All nodes of a FusionAuth cluster must be running in the same mode, either Production or Development.
To resolve this issue, take the following steps:
- Stop all existing nodes, whether they are running as containers or processes.
- Review configuration to confirm that all nodes are configured with the same runtime mode.
- Restart the nodes.
Next Steps#
To learn more about Kubernetes, here are a few recommended links to help you administer your cluster.