Two Factor with Google Authenticator
Overview
The functionality described herein is deprecated as of 1.26.0. For version 1.26.0 and greater, please reference here.
This tutorial will walk through enabling and authenticating a User using the Google Authenticator. The Google Authenticator application is just one possible option, you may also use any similar 2 Step verification application that implements the Time-Based One-Time Password Algorithm as specified by RFC 6238. Understand that any time the Google Authenticator is referenced you may assume any other application providing the same function is allowed.
The following is a suggested workflow to enable Two Factor authentication for use with a 2 Step verification application such as Google Authenticator, your implementation may vary.
Generate a shared secret
A shared secret may be generated using the Generate a Two Factor Secret API. Using this API is not required, you may optionally build your own secret, the API is provided for convenience.
The following is an example response from the Generate a Two Factor Secret API.
{
  "secret" : "8MJJfCY4ERBtotvenSc3",
  "secretBase32Encoded" : "HBGUUSTGINMTIRKSIJ2G65DWMVXFGYZT"
}
Share the secret and collect a verification code
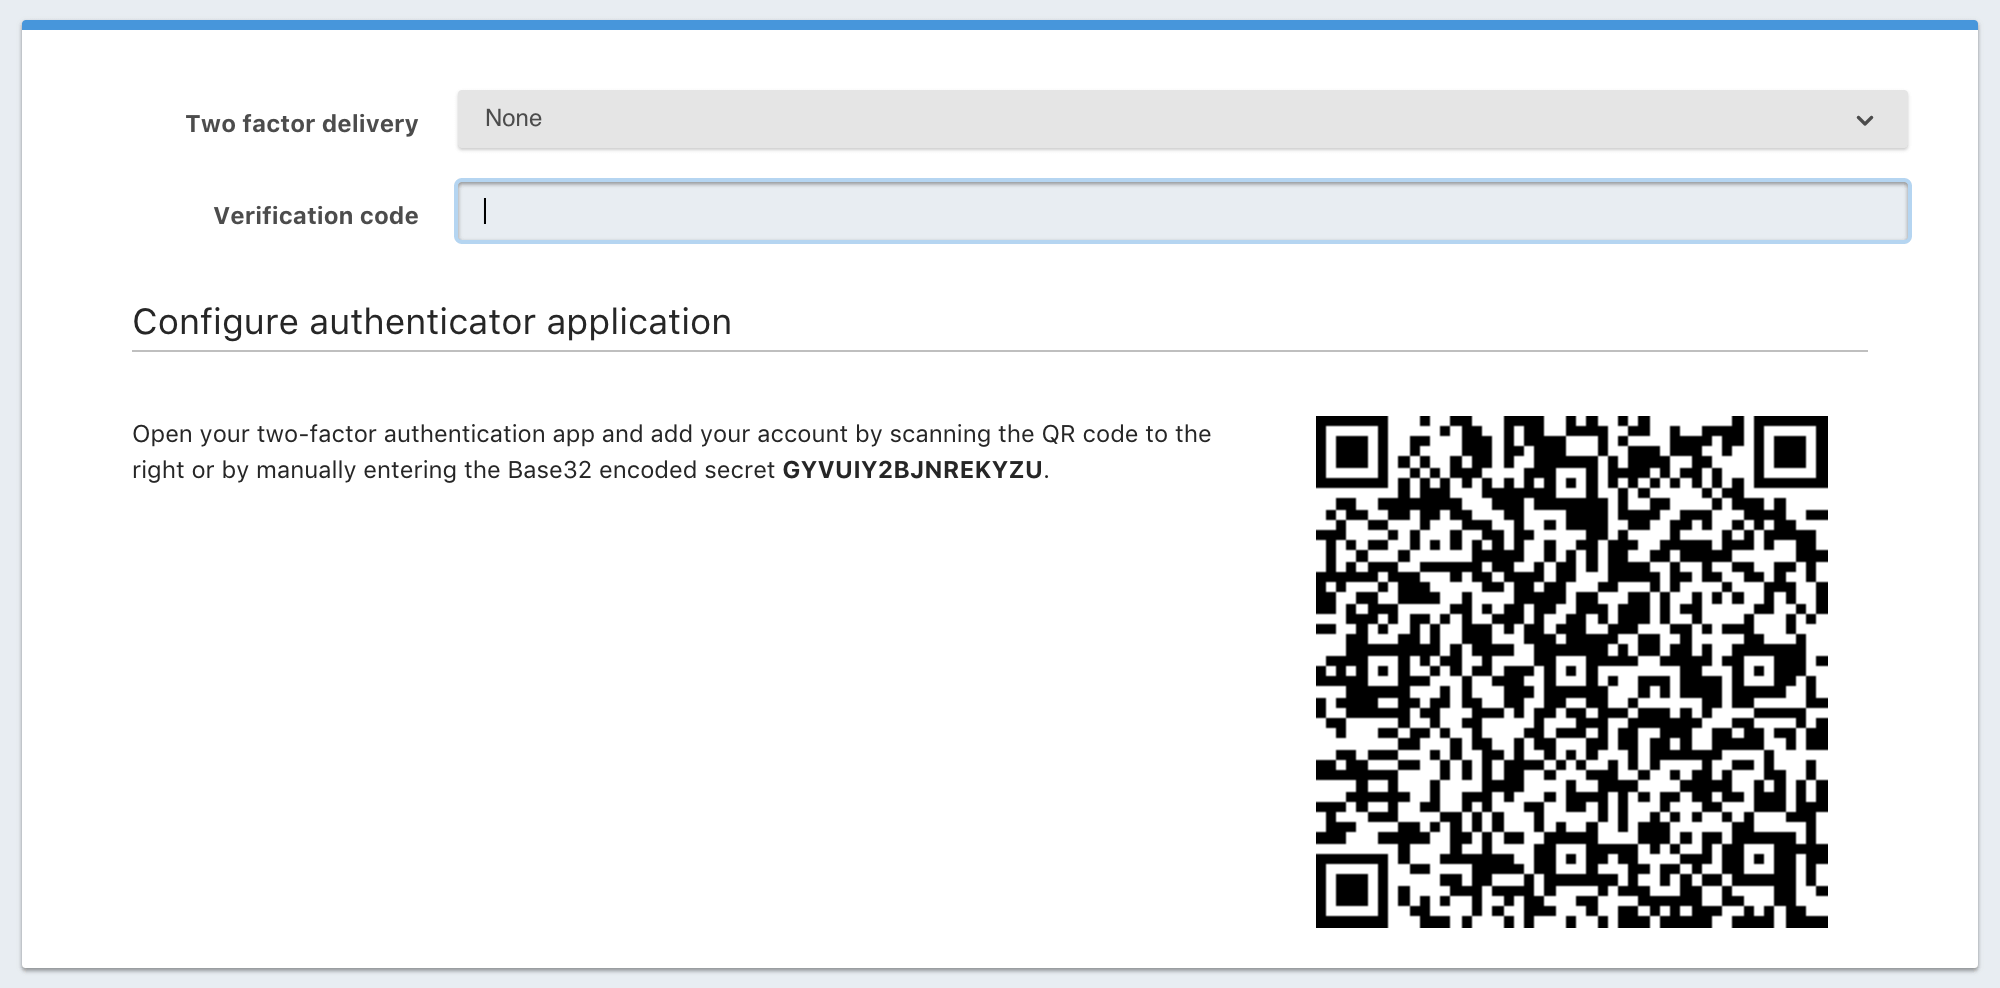
A common method for sharing the secret with the User is to display a QR code using the Base32 encoded secret. The QR code is then scanned by the Google Authenticator application which stores the secret. Once the User has stored the secret they provide a verification code as input.
The following is an example form you may build to allow the User to configure this type of authentication.

Enable Two Factor Authentication
The secret and code are then provided on this request to enable Two Factor for the User
In this example we’ll use the Enable Two Factor API. This API will validate that the provided
code is valid using the provided secret. The secret provided on this API request is not the Base32 encoded version of the secret.
This example demonstrates enabling Two Factor for a User with the specified Id.
{
  "code": "423187",
  "secret": "8MJJfCY4ERBtotvenSc3",
  "delivery": "None"
}
Authentication
Once a User has enabled Two Factor authentication, a 242 status code will be returned from the Login API with a response body that will
include a Two Factor Id.
The following is an example response from the Login API when a 242 response code is returned.
{
  "twoFactorId": "YkQY5Gsyo4RlfmDciBGRmvfj3RmatUqrbjoIZ19fmw4"
}
Two Factor Authentication
To complete authentication you will need present the User with an additional form to collect a verification code. The User will enter a verification code generated by the Google Authenticator application.
Using the Two Factor Id provided by the Login API response along with the verification code we can then complete authentication by making a request to the Complete Two Factor Authentication API.
{
  "applicationId": "10000000-0000-0002-0000-000000000001",
  "code": "915187",
  "ipAddress": "192.168.1.42",
  "twoFactorId": "YkQY5Gsyo4RlfmDciBGRmvfj3RmatUqrbjoIZ19fmw4"
}
