Tailwind CSS
Overview
Tailwind CSS is a utility-first CSS framework for rapidly building custom user interfaces. If you are already using Tailwind CSS in your application, you can integrate it into FusionAuth.
Prerequisites
- Node.js 18 or later
Setting up FusionAuth
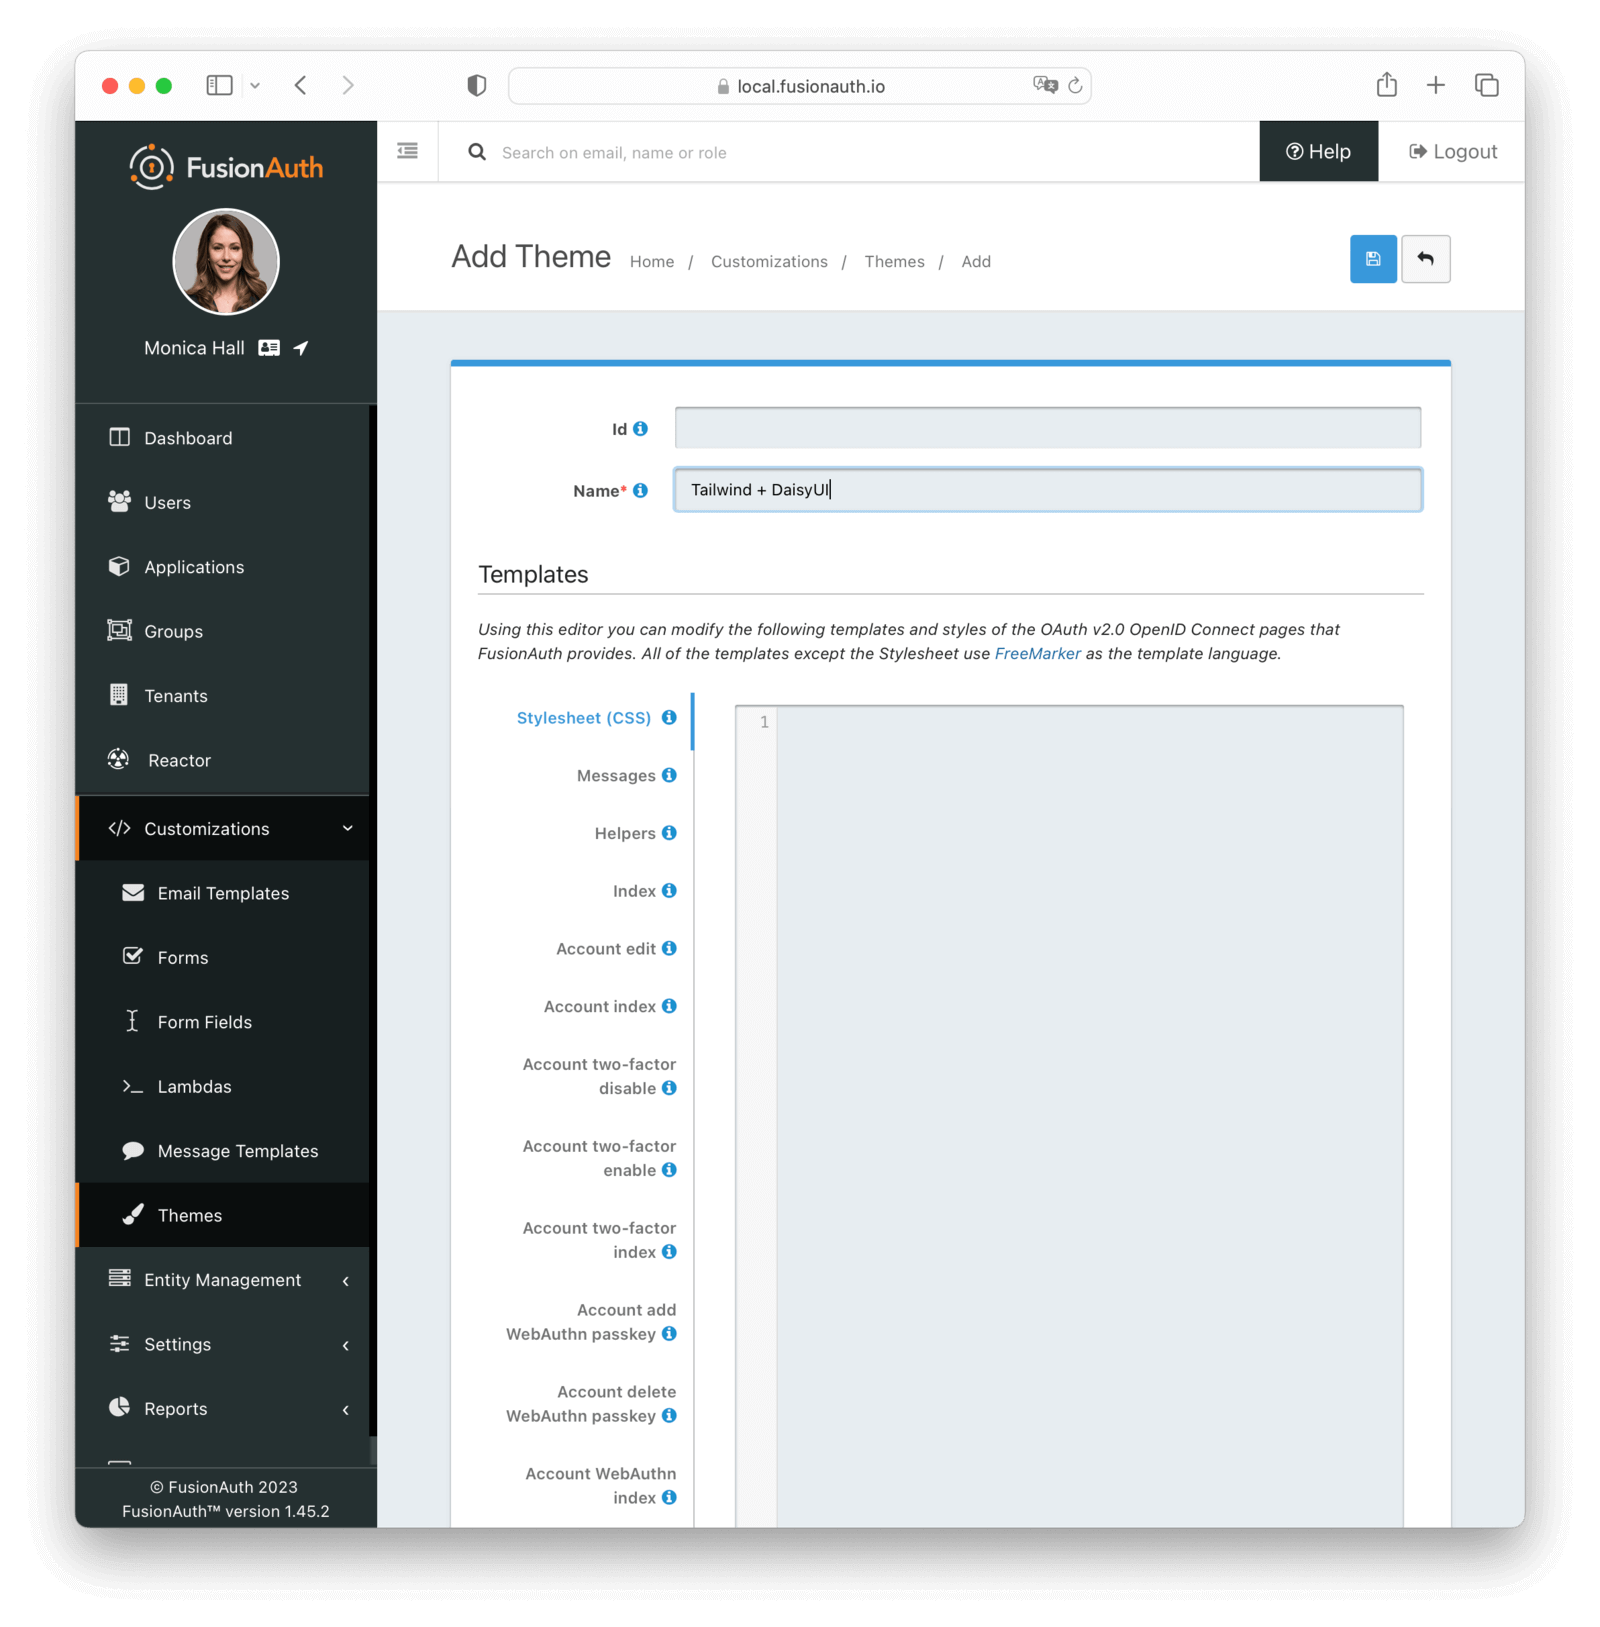
Create a new theme by navigating to Customization -> Themes and then click the Add button. Enter a Name for the theme and click the Save button.

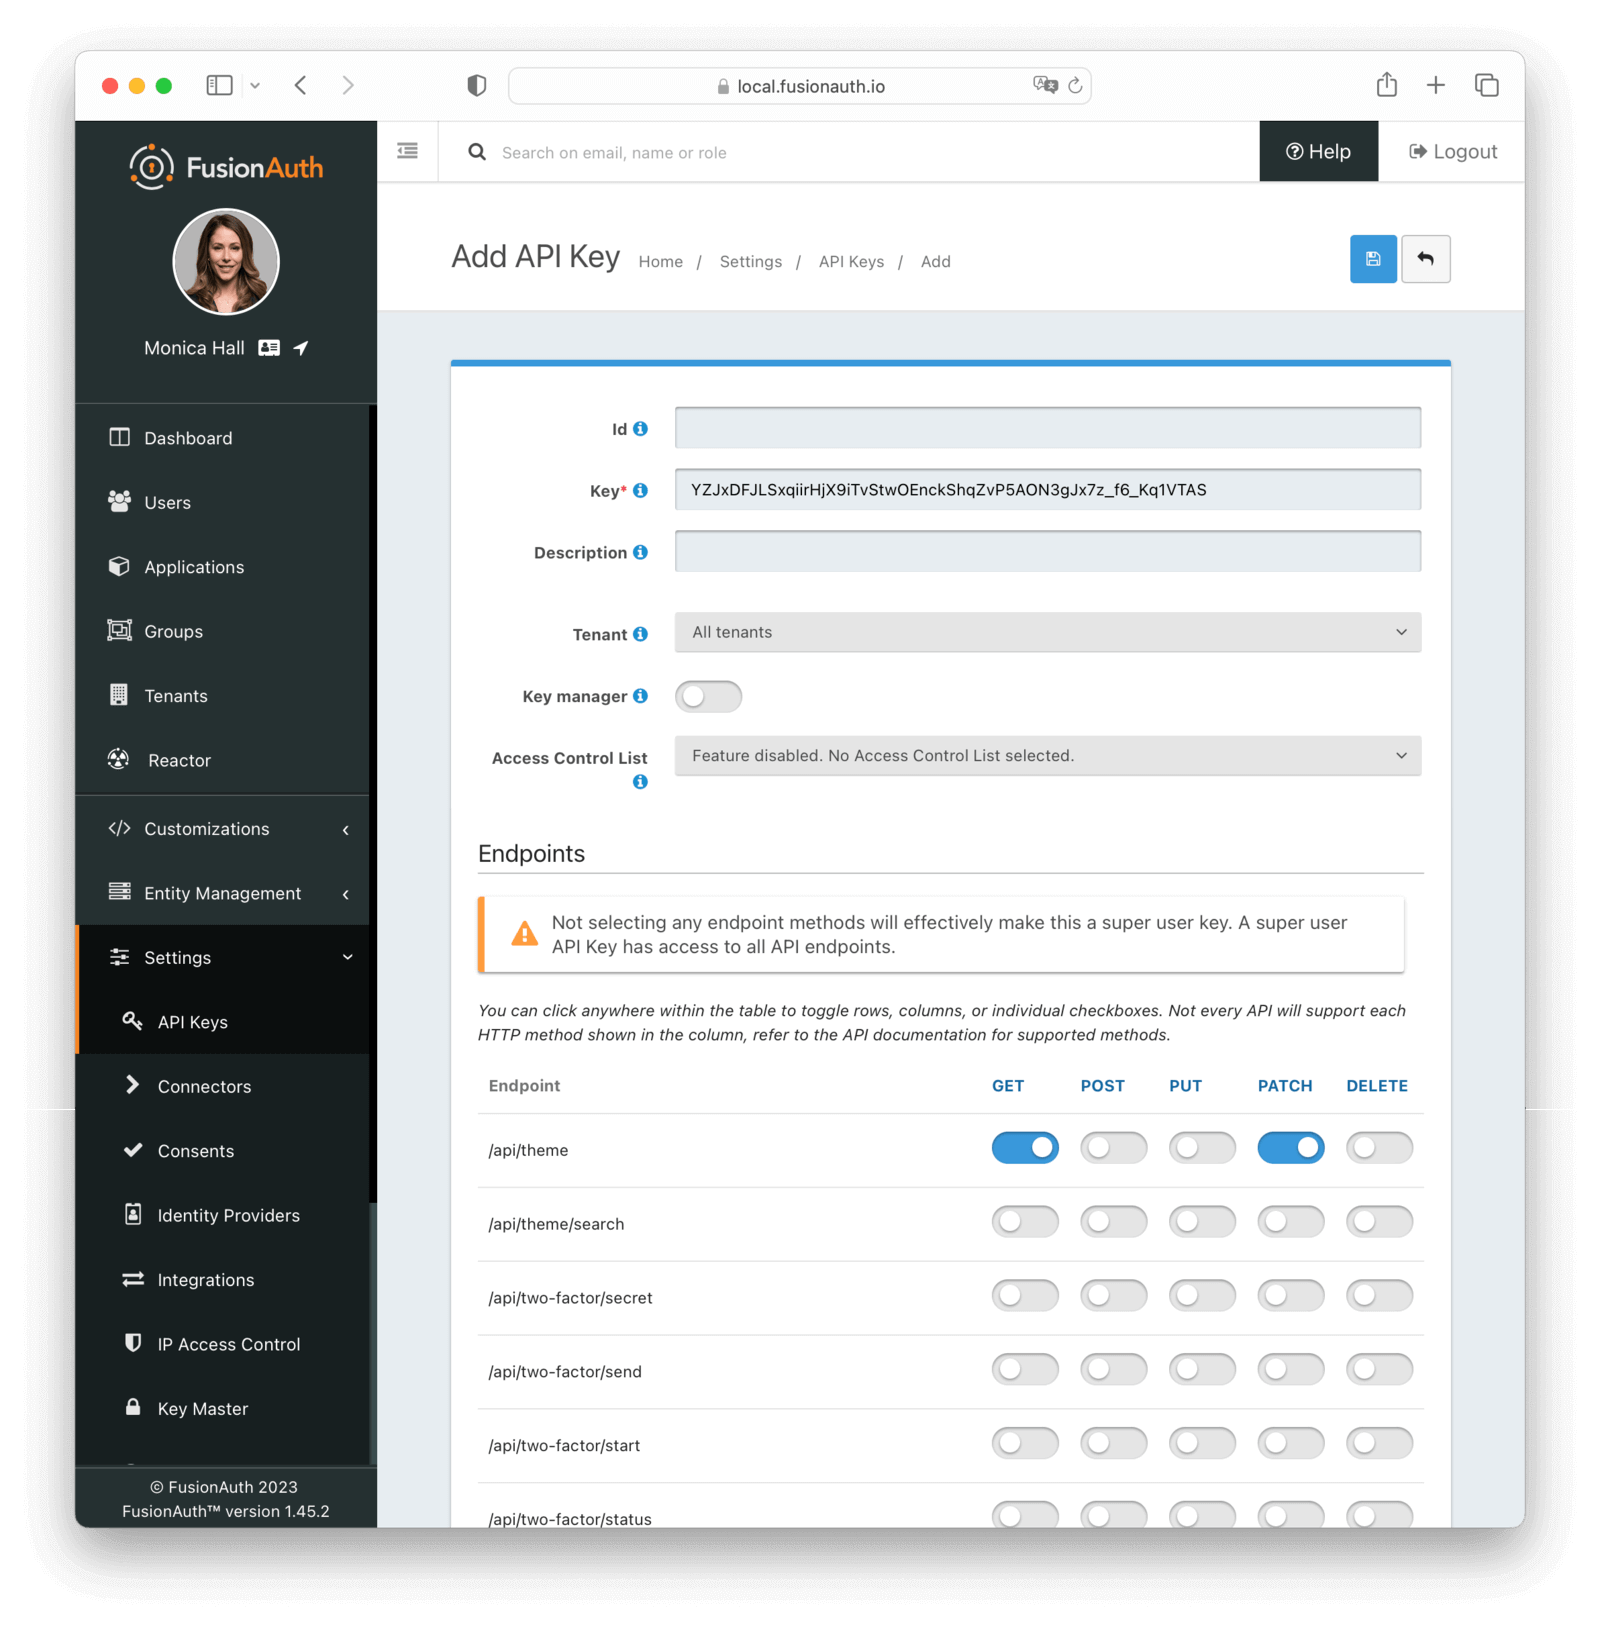
Create a new API key with permissions to modify the theme. You can do this by going to Settings -> API Keys . Then click the Add button and select GET and PATCH permissions for /api/theme/.

Installation
To get started, we need to create a new node project with the FusionAuth CLI and Tailwind CSS installed:
mkdir fusionauth-tailwind
cd fusionauth-tailwind
npm init -y
npm install @fusionauth/cli tailwindcss@3
npx tailwindcss init
This will install the dependencies and create the tailwind.config.js file in the project root. You can customize the configuration as needed.
Change the tailwind.config.js to handle the FreeMarker template files in the tpl directory:
/** @type {import('tailwindcss').Config} */
module.exports = {
  content: ['./tpl/*.ftl'],
  theme: {
    extend: {}
  },
  plugins: []
}
Create a new stylesheet input.css in the root directory:
@tailwind base;
@tailwind components;
@tailwind utilities;
This stylesheet will be used to import the Tailwind CSS base, components, and utilities. Additionally, you can add custom classes to this stylesheet as well.
We can now download the theme from FusionAuth:
npx fusionauth theme:download <themeId> -k <apiKey> -h http://localhost:9011Replace <themeId> and <apiKey> with the Id of the theme and API key you created in FusionAuth respectively.
Currently, the theme is using the fusionauth-style.css hosted in the FusionAuth instance. This could conflict with our Tailwind CSS file. To fix this, we need to remove the following line from the tpl/helpers.ftl file. It should be around line number 85:
<link rel="stylesheet" href="/css/fusionauth-style.css?version=${version}"/>Finally, we add two new scripts to the package.json file:
"scripts": {
  "watch:tailwind": "tailwindcss -i ./input.css -o ./tpl/stylesheet.css --watch",
  "watch:theme": "fusionauth theme:watch <themeId> -k <apiKey> -h http://localhost:9011"
},
At this point, we have prepared the project to build the Tailwind CSS file and upload the theme to FusionAuth. To apply the changes in the helper.ftl file, run the following command:
npx fusionauth theme:upload <themeId> -k <apiKey> -h http://localhost:9011Usage
There are now two scripts that can be used to build the Tailwind CSS file and upload the theme to FusionAuth:
npm run watch:theme— watches the template directory for changes and upload the theme to FusionAuthnpm run watch:tailwind— watches the template directory for changes and rebuild the Tailwind CSS file
If you start both scripts in separate terminal windows, you can edit the template files, which rebuild the Tailwind CSS file, and automatically upload the theme to FusionAuth.
Now if we use a Tailwind CSS class in a template, it will be included in the CSS file:
<div class="bg-gray-200">
  <h1 class="text-2xl">Hello World</h1>
</div>
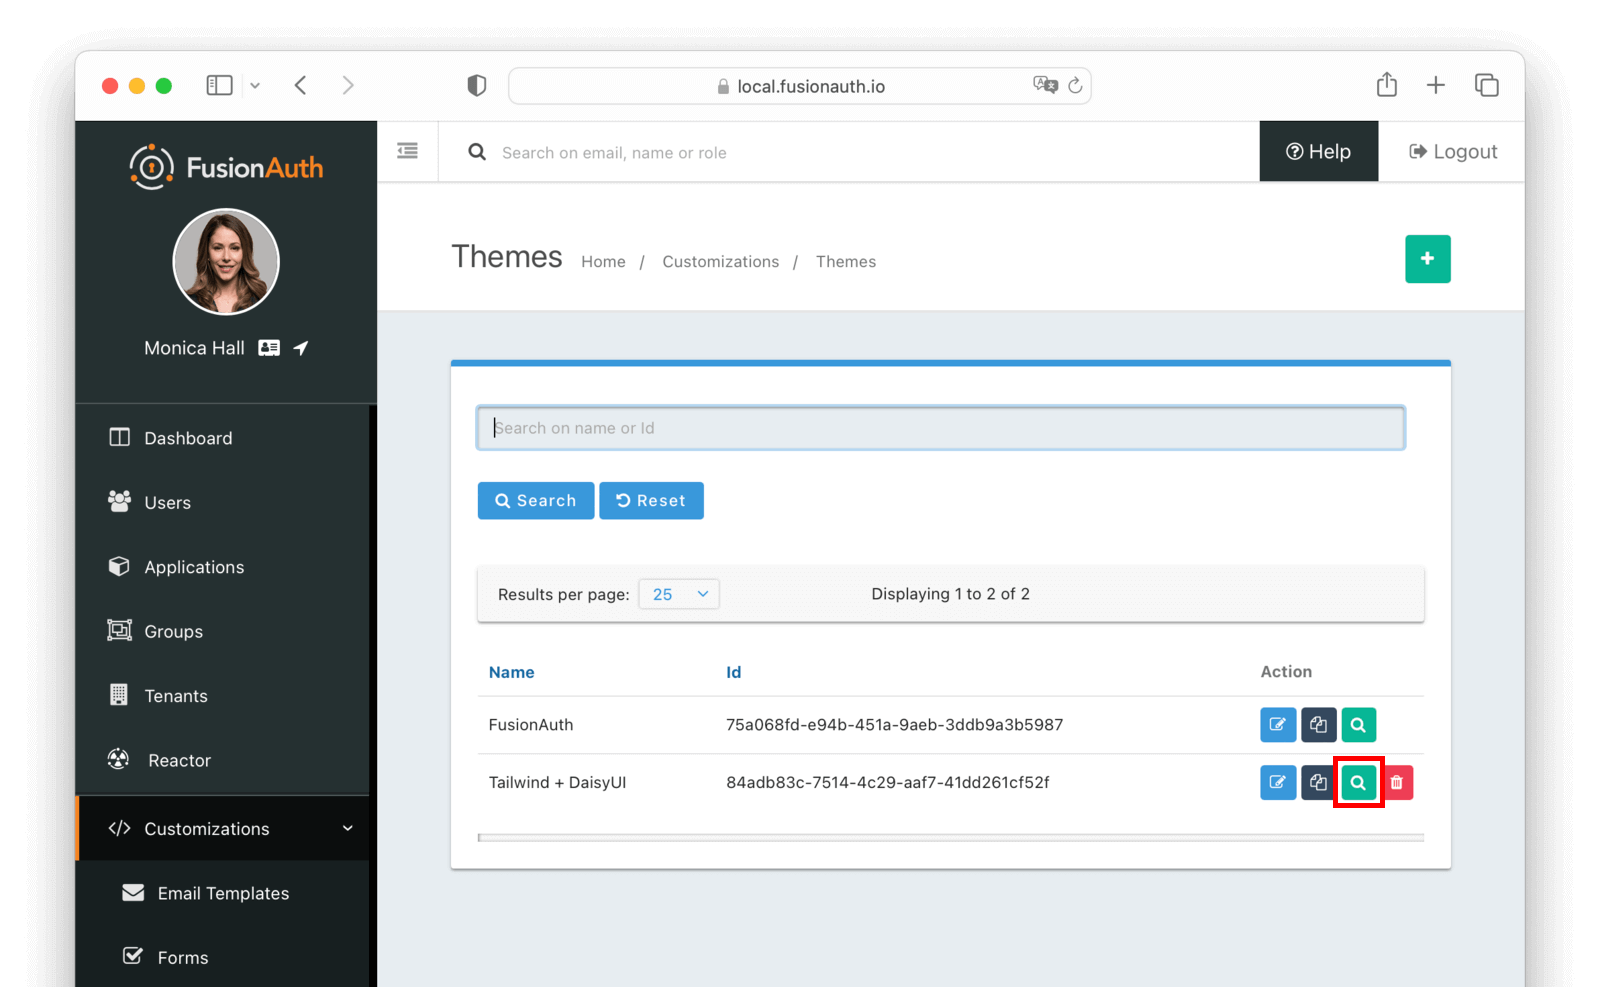
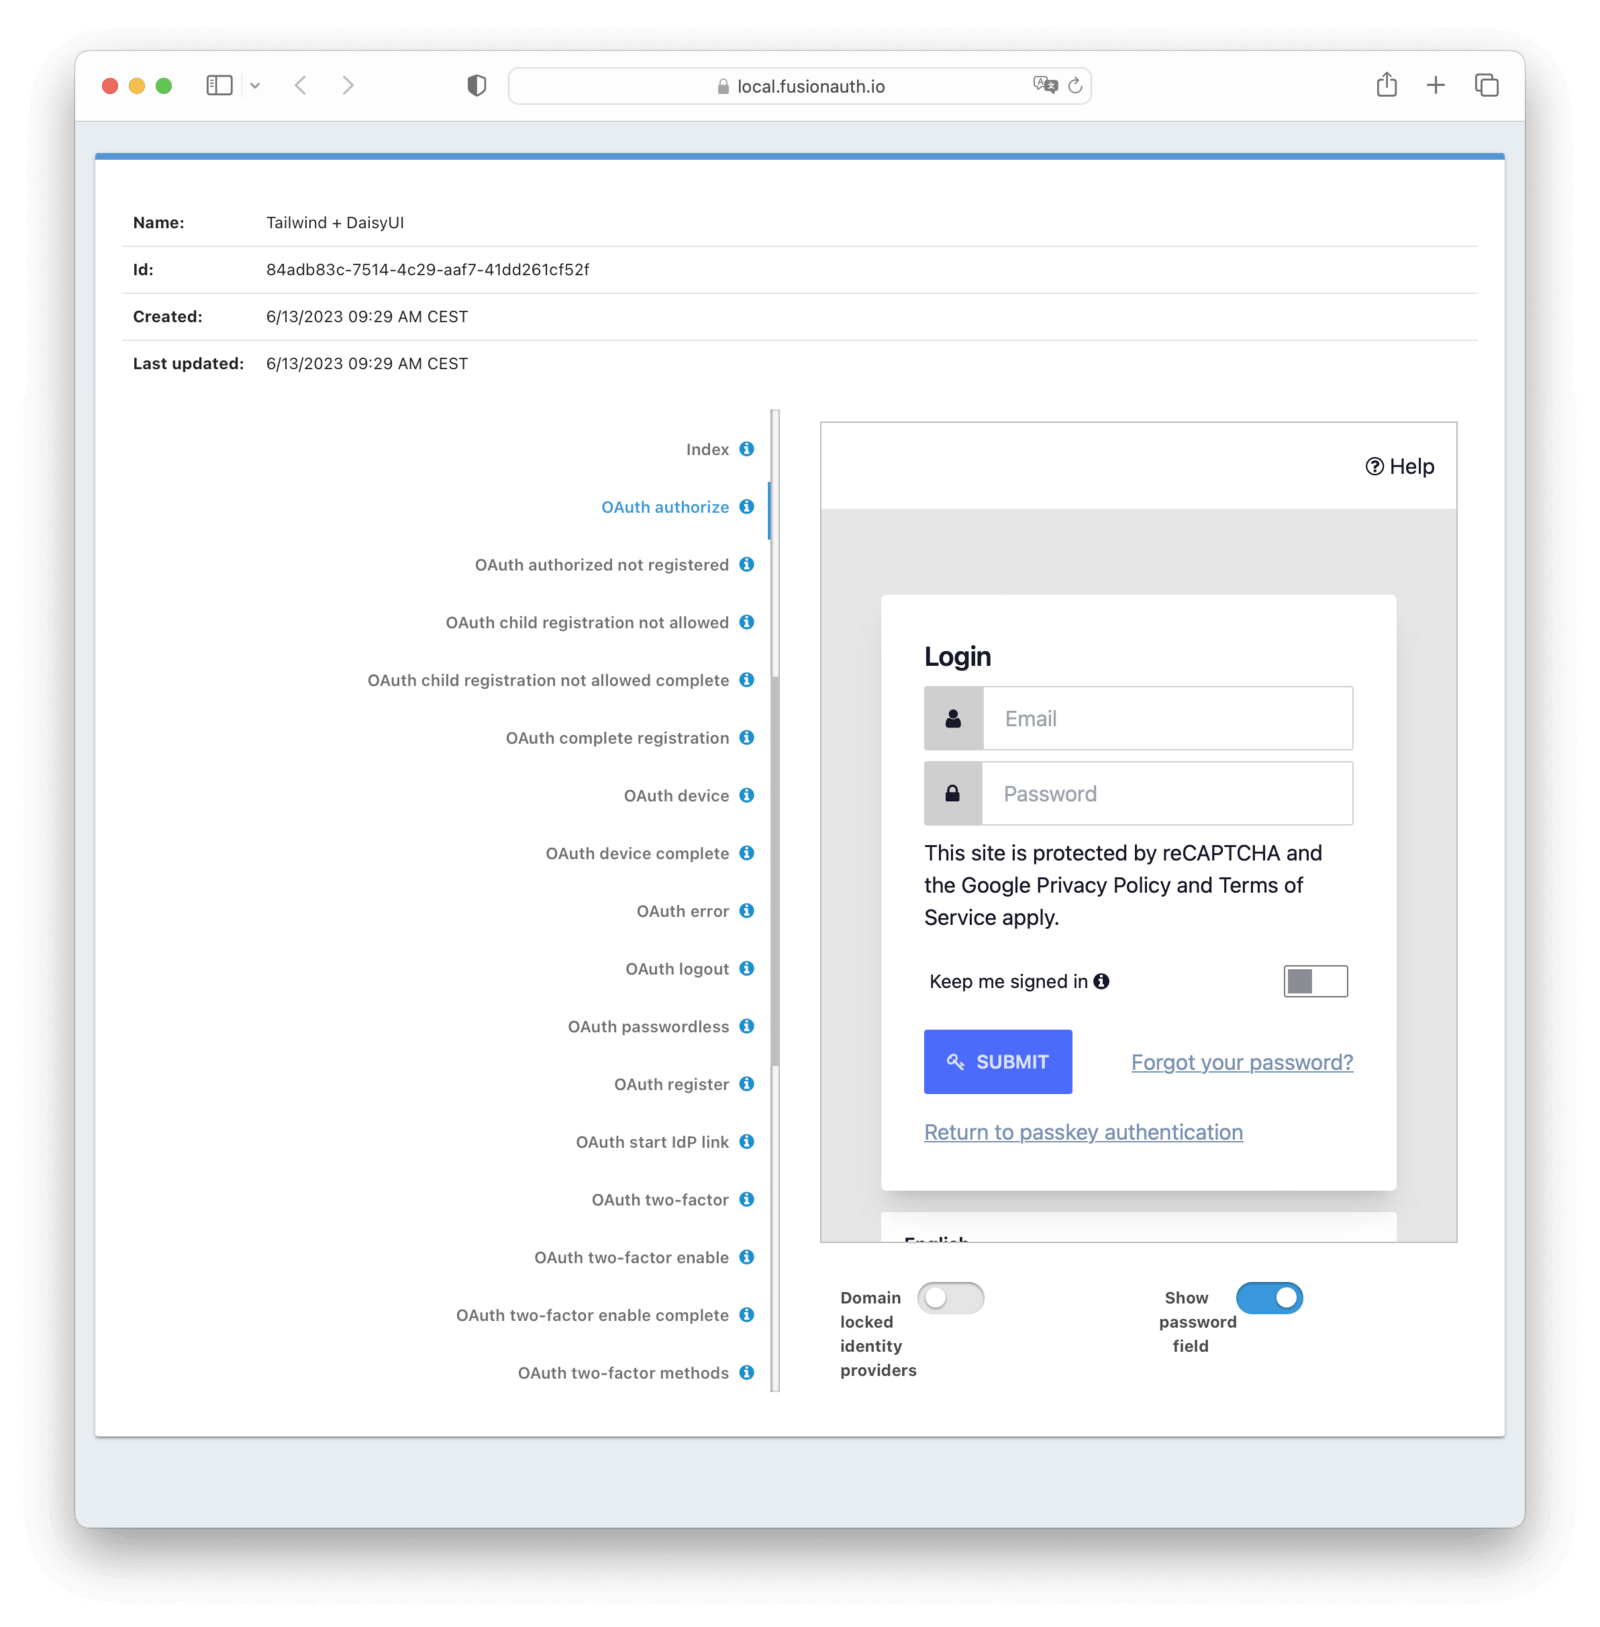
To preview the changes, open FusionAuth, navigate to Customization -> Themes . Choose your theme, then click Preview.


Integrate DaisyUI
There are many Tailwind CSS UI component libraries available. In this example, we are going to use DaisyUI.
DaisyUI is a Tailwind CSS plugin that provides a set of pre-built components and utilities to build beautiful and responsive websites. It supports color theming, light and dark mode, and RTL.
To integrate DaisyUI, install the plugin:
npm install daisyuiThen add the plugin to the tailwind.config.js:
module.exports = {
  content: ['./tpl/*.ftl'],
  theme: {
    extend: {}
  },
  plugins: [
    require('daisyui')
  ]
}
Now you can use the DaisyUI components in the FreeMarker template files:
<div class="bg-gray-200">
  <h1 class="text-2xl">Hello World</h1>
  <div class="p-4">
    <button class="btn btn-primary">Primary</button>
  </div>
</div>
For an example integration, see FusionAuth + Tailwind + DaisyUI Repository on GitHub.
The example repository has light and dark mode setup, and includes updated templates for the following pages:
- Log in
- Log out
- Registration
- Forgot password
In this repository, you could change the color scheme simply by updating the tailwind.config.js file:
/** @type {import('tailwindcss').Config} */
module.exports = {
  content: ['./tpl/*.ftl'],
  theme: {
    extend: {
        keyframes: {
            progressBar: {
                "0%": {
                    width: "0%"
                },
                "100%": {
                    width: "100%"
                }
            }
        },
        animation: {
            progressBar: "progressBar 10s ease-in 1"
        }
    }
  },
  plugins: [require("daisyui")],

  daisyui: {
      themes: [
          'corporate',
          {
            business: {
                ...require("daisyui/src/colors/themes")["[data-theme=business]"],
                'primary': '#c891f2'
            }
          }
      ],
      darkTheme: 'business'
  }
}
Or you can even create your own theme with the DaisyUI Theme Generator
Conclusion
This guide has shown you how to integrate Tailwind CSS into FusionAuth using the FusionAuth CLI. Additionally, we have shown how to integrate DaisyUI to build beautiful and responsive FusionAuth pages.

