Themes And Kickstart
Overview
FusionAuth Kickstart™ enables you to spin up a reproducible FusionAuth environment using a template file. This guide will walk you through the process of using Kickstart to set up a FusionAuth instance with a custom theme.
We’ll apply a dark theme in place of the default application theme presented in the 5-minute Docker installation guide. We recommend following the 5-minute Docker installation guide before using this guide to automate the set-up process and apply a custom theme using Kickstart.
Prerequisites
You’ll need to have Node.js and Docker installed to follow this guide and the 5-minute guide. More information can be found here.
Getting Started
Once you’ve completed the steps in the 5-minute guide, we can take a look at the state of the FusionAuth instance you created.
Navigate to Applications and edit the application you created. Go to the OAuth tab to examine the settings that you configured.
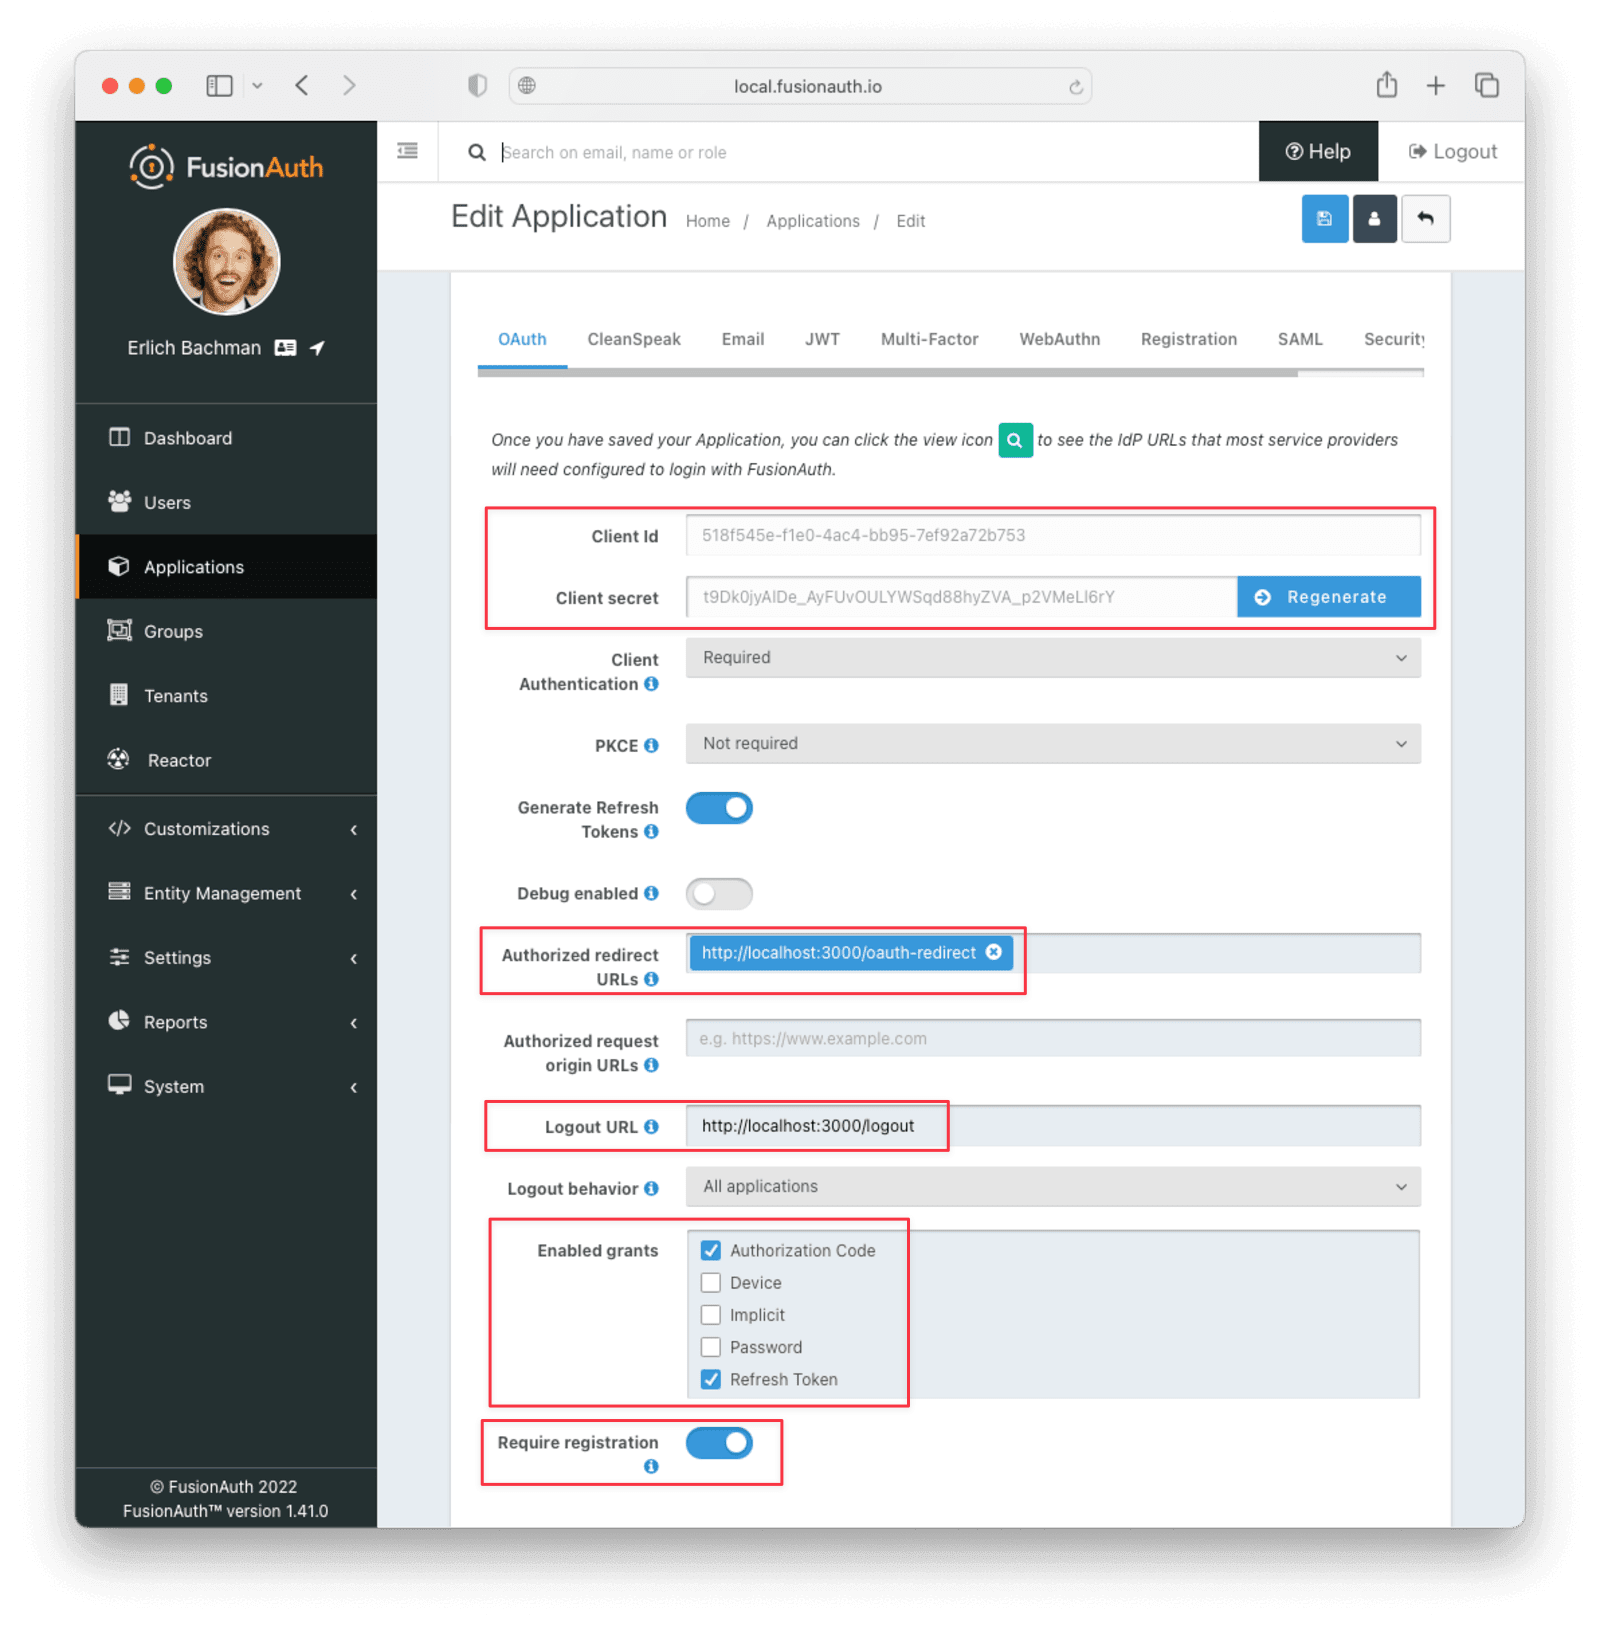
In the 5-minute guide, the Authorized redirect URLs , Logout URL , Enabled grants , and Require registration fields were manually entered. We will use Kickstart to automate all of these settings. We will also apply predefined Client Id and Client secret values to make launching the application easier.
Now, navigate to Users -> Manage for the user that you set up in the 5-minute guide.
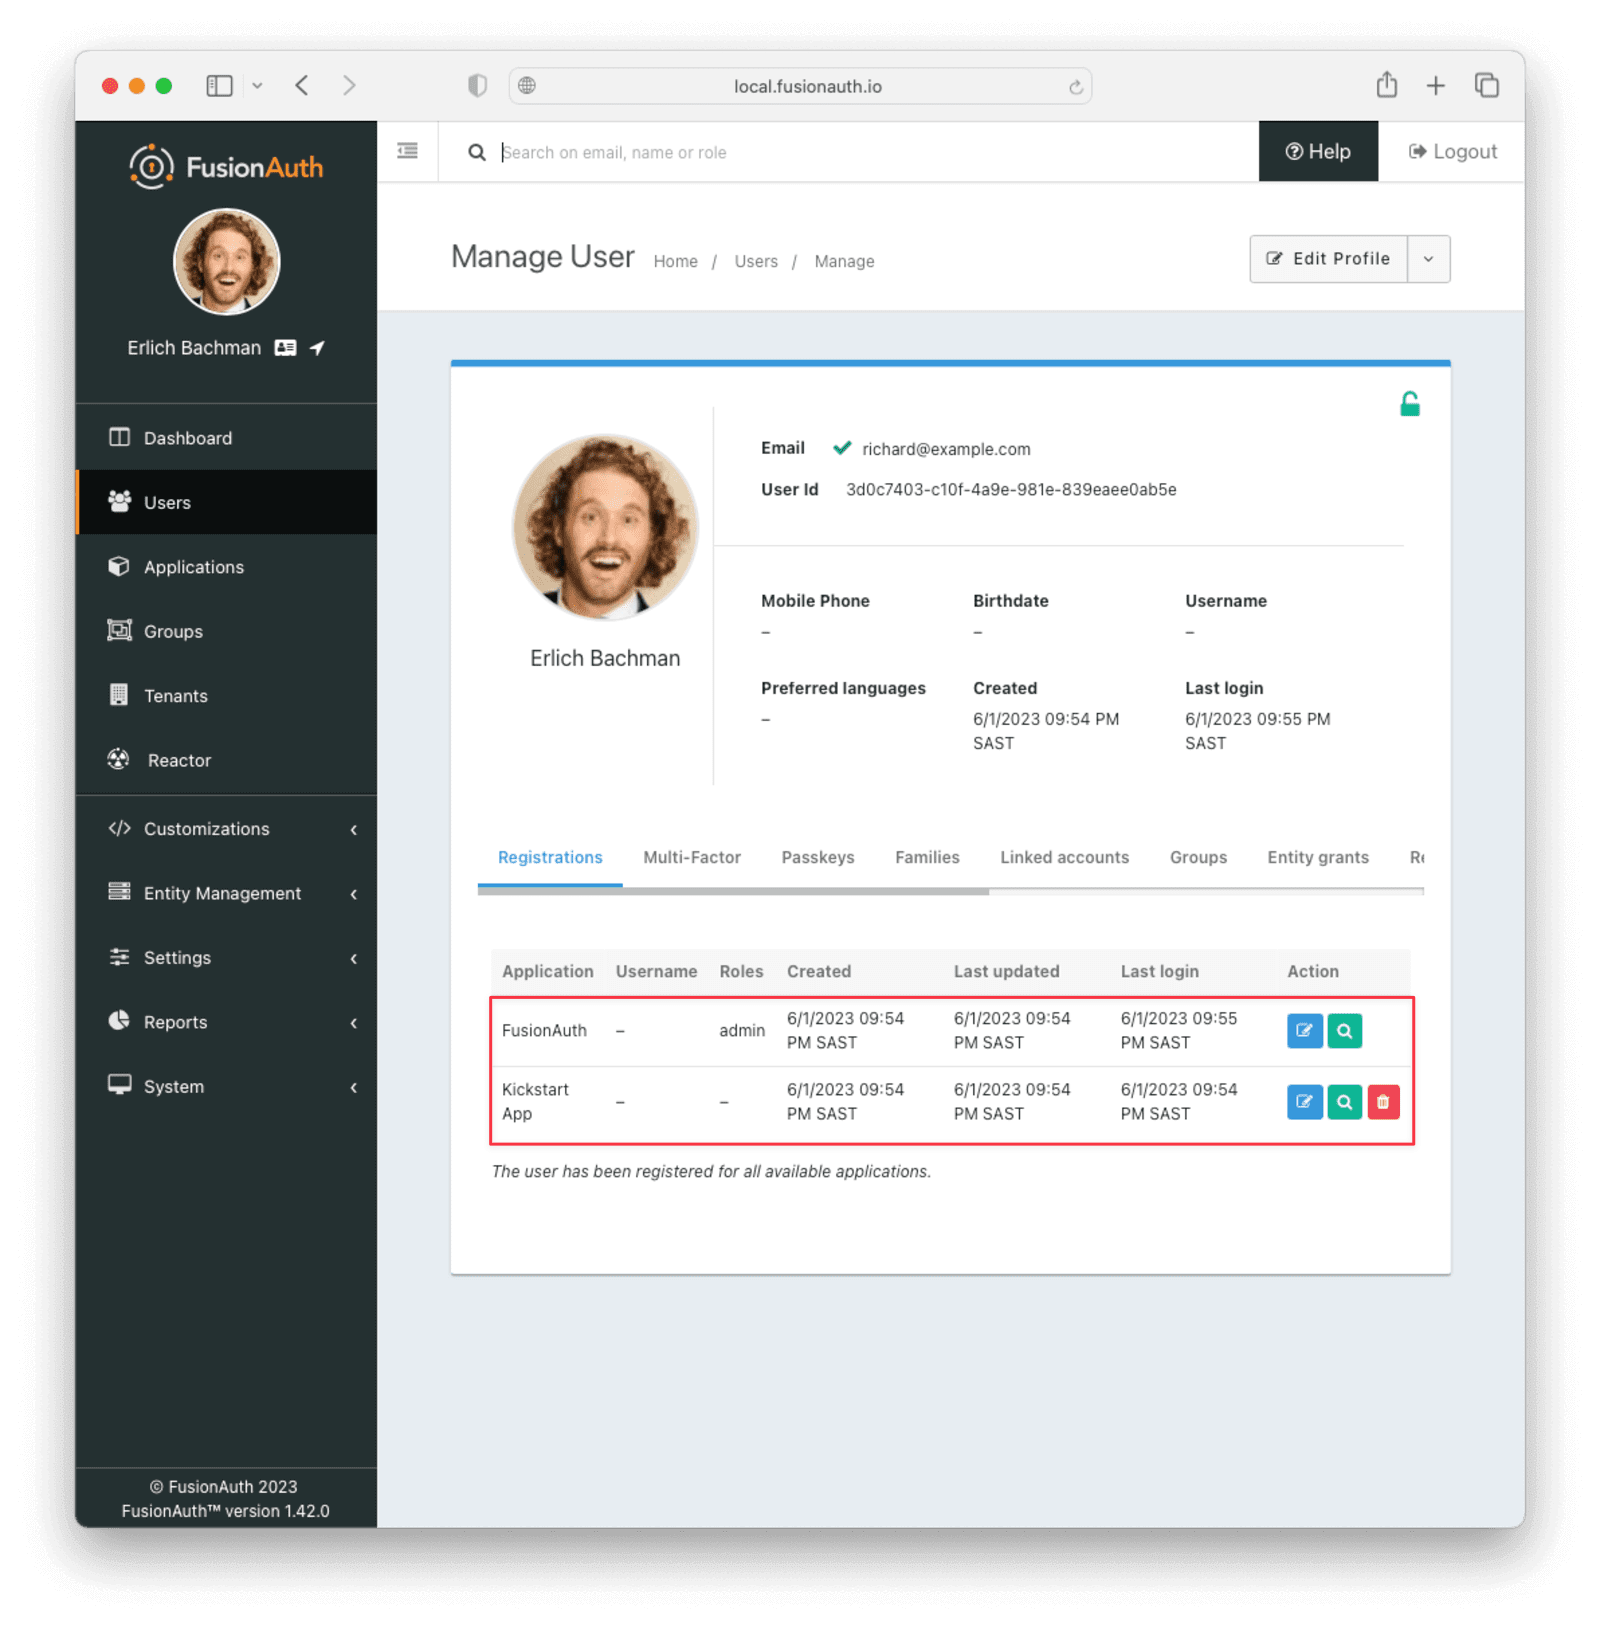
In the 5-minute guide, you created both the user and the FusionAuth registration by manually filling out the registration form. You then added a registration for the user to the application you created. We are going to automate these steps.
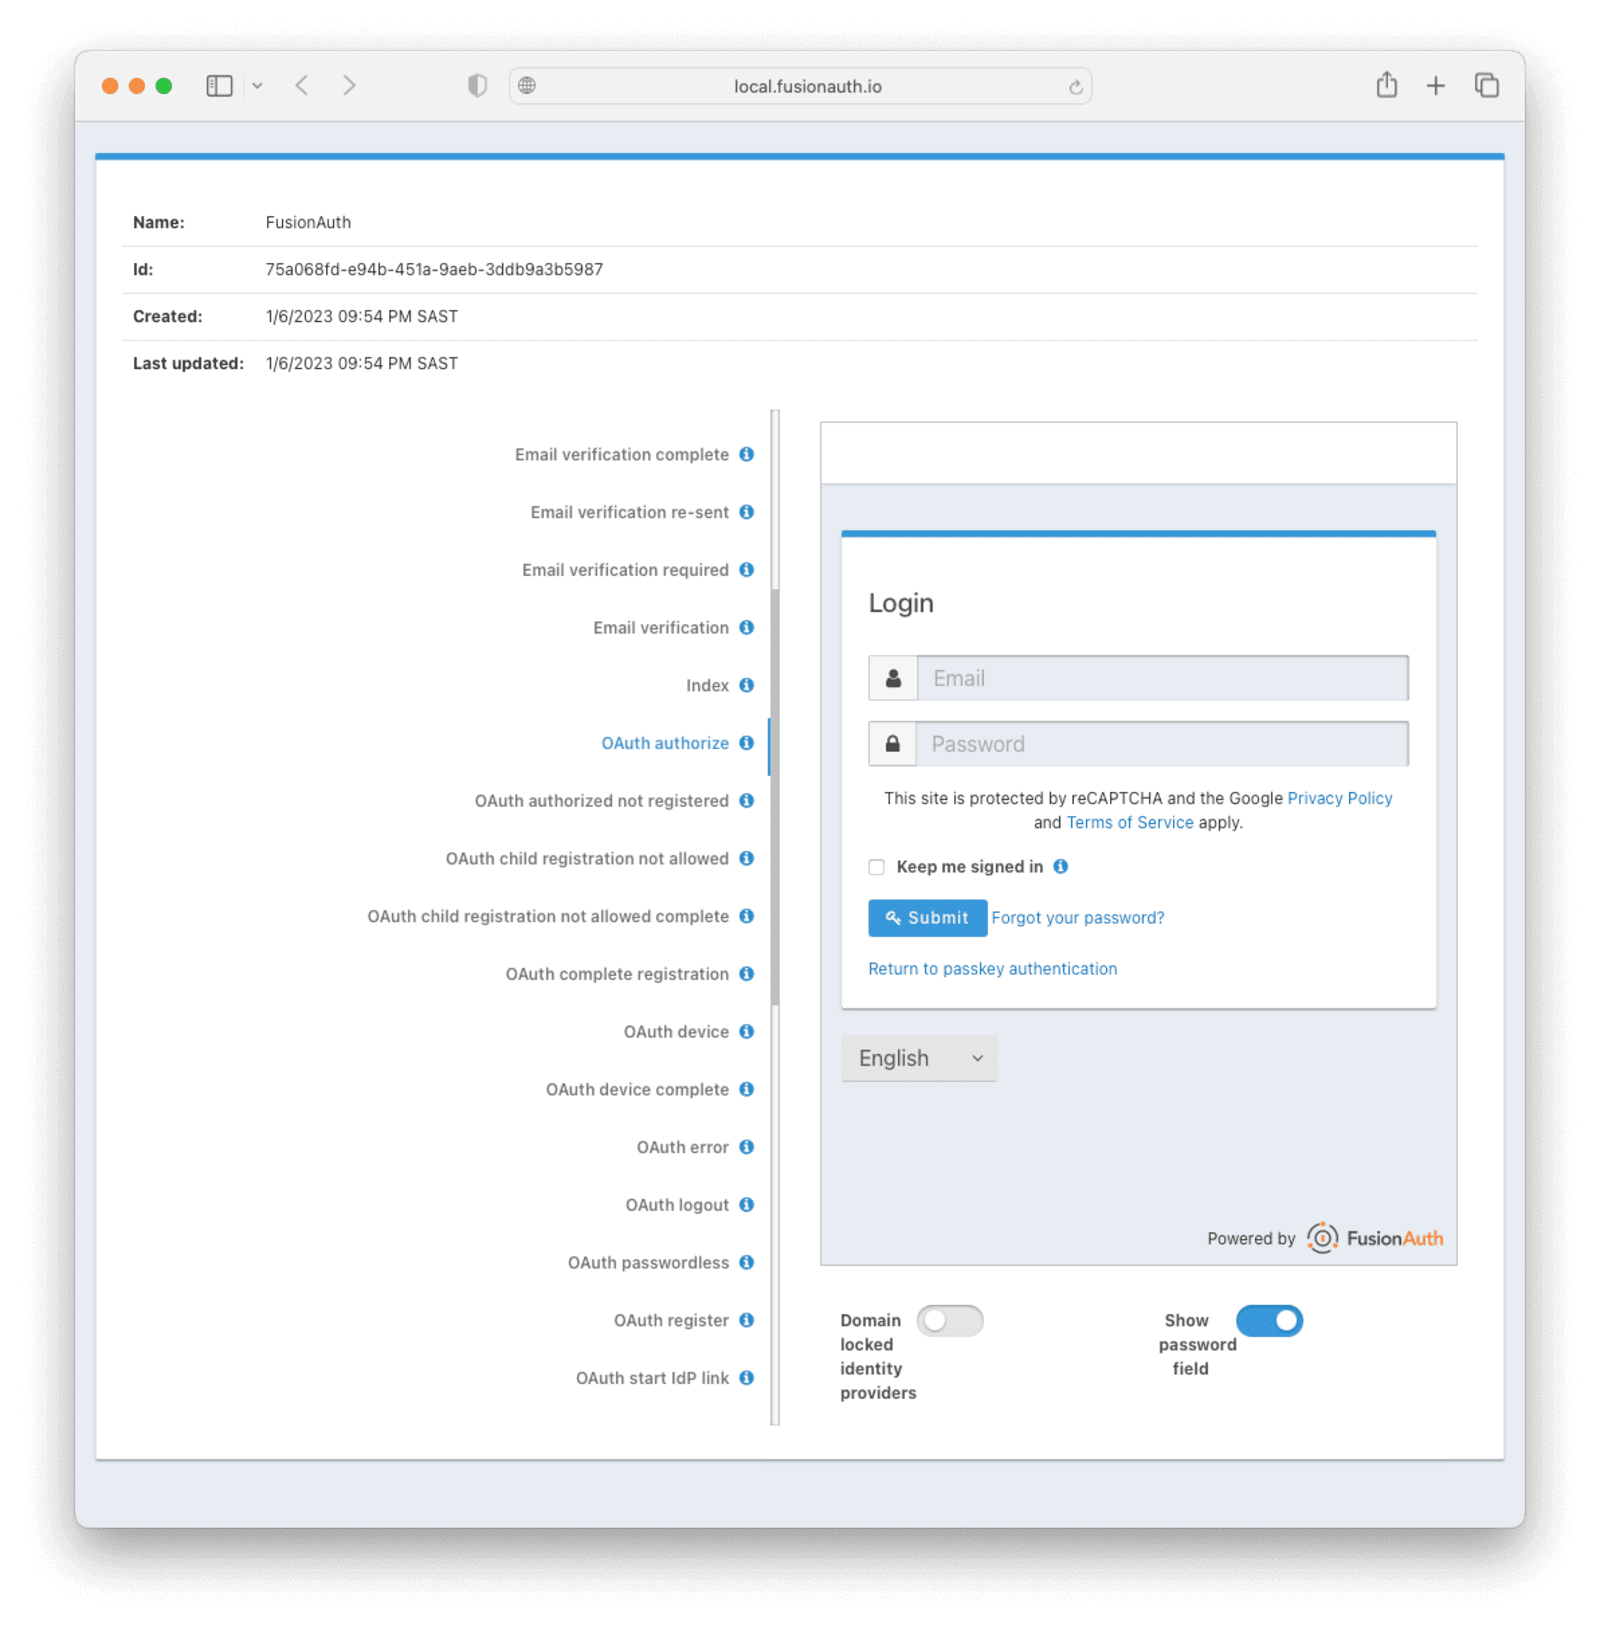
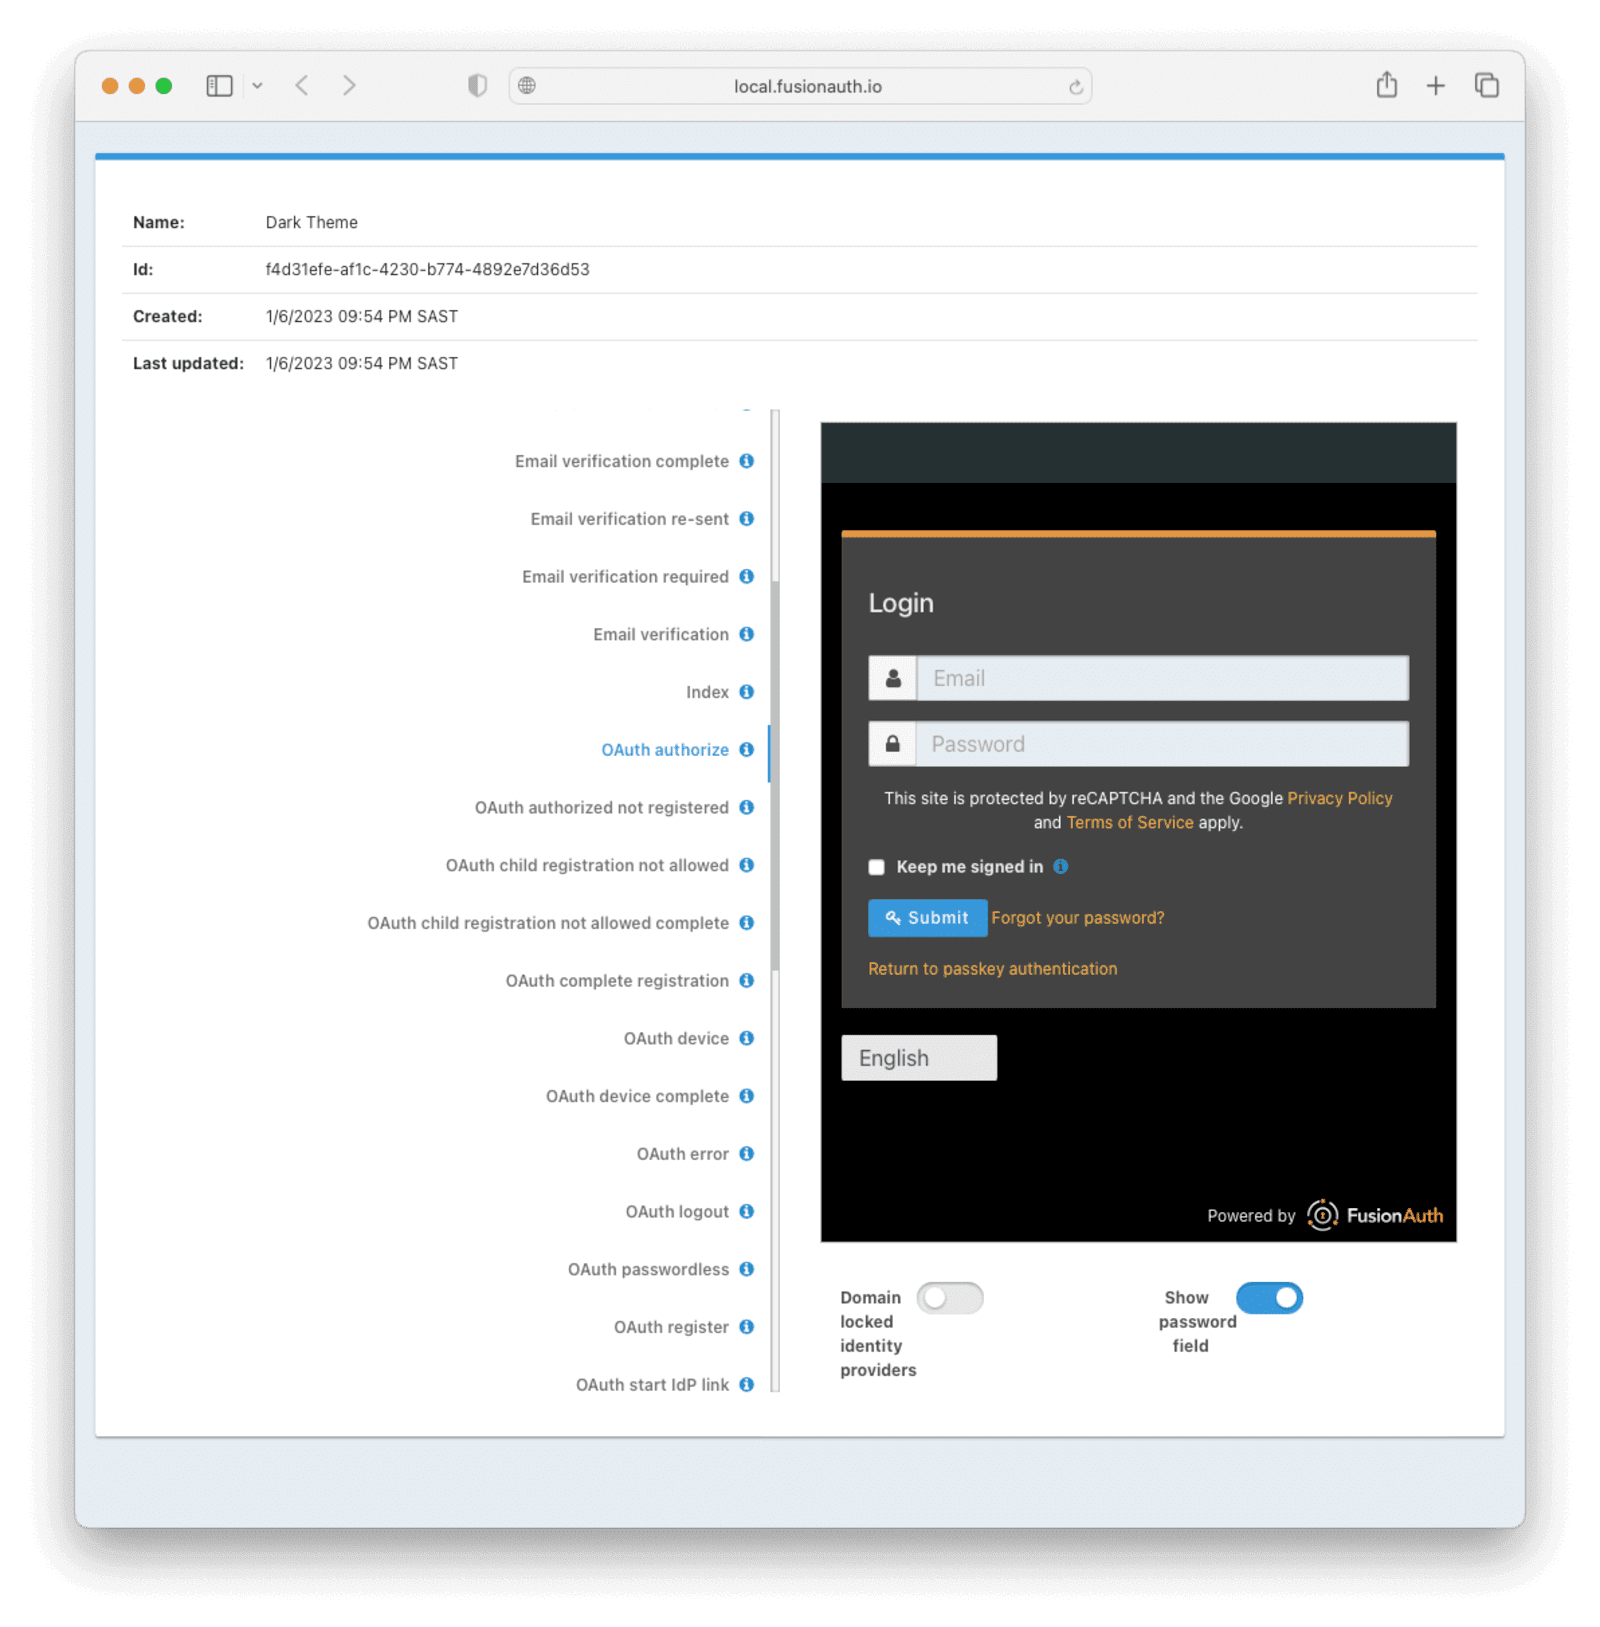
Finally, navigate to Customizations -> Themes and preview the FusionAuth theme. The application you created in the 5-minute guide uses the OAuth authorize and OAuth logout pages.
The OAuth authorize template looks like this:
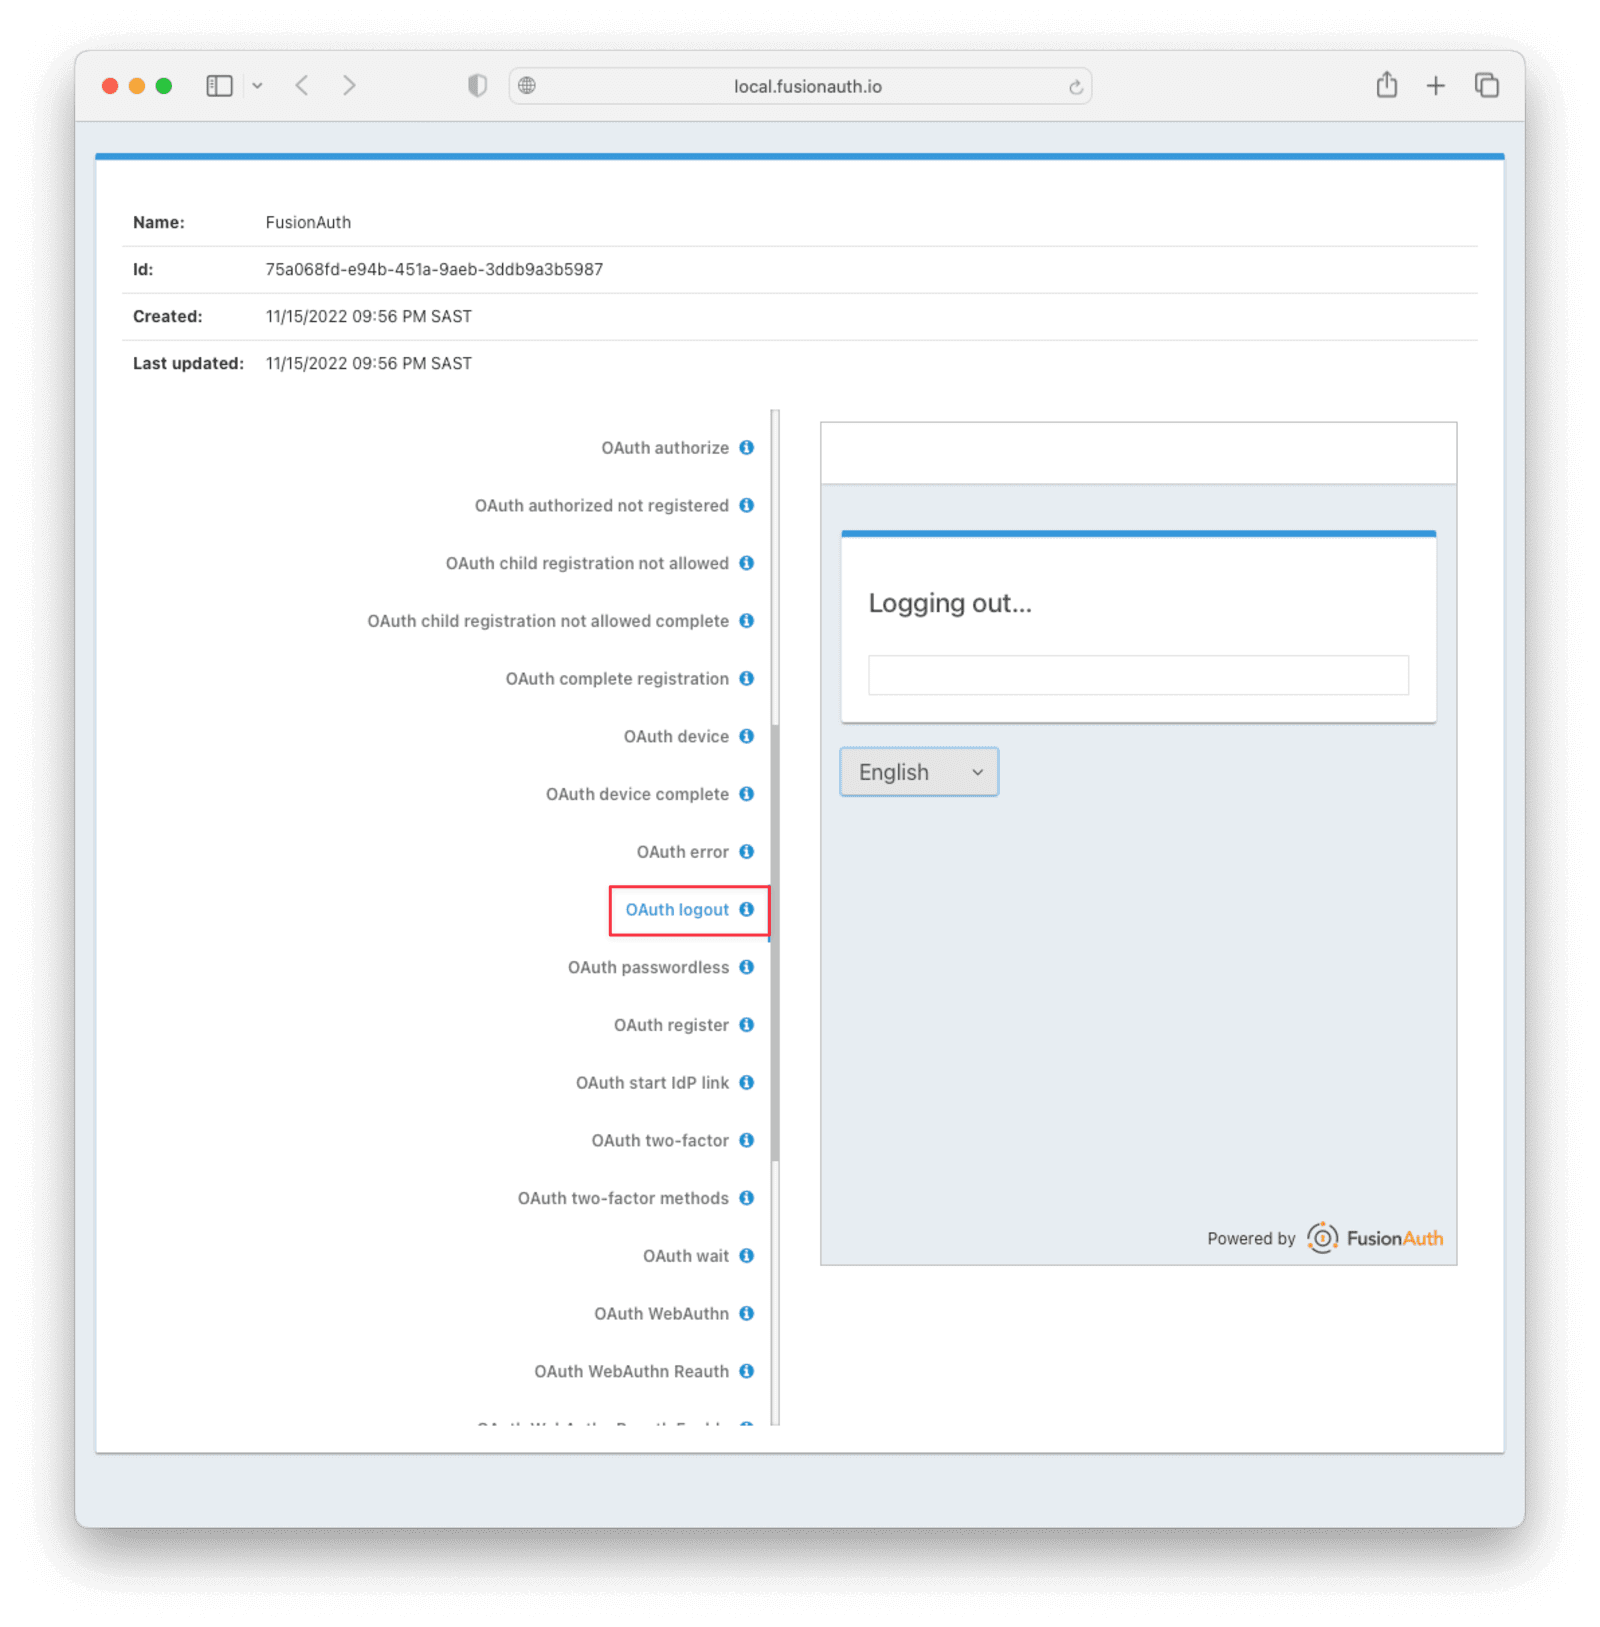
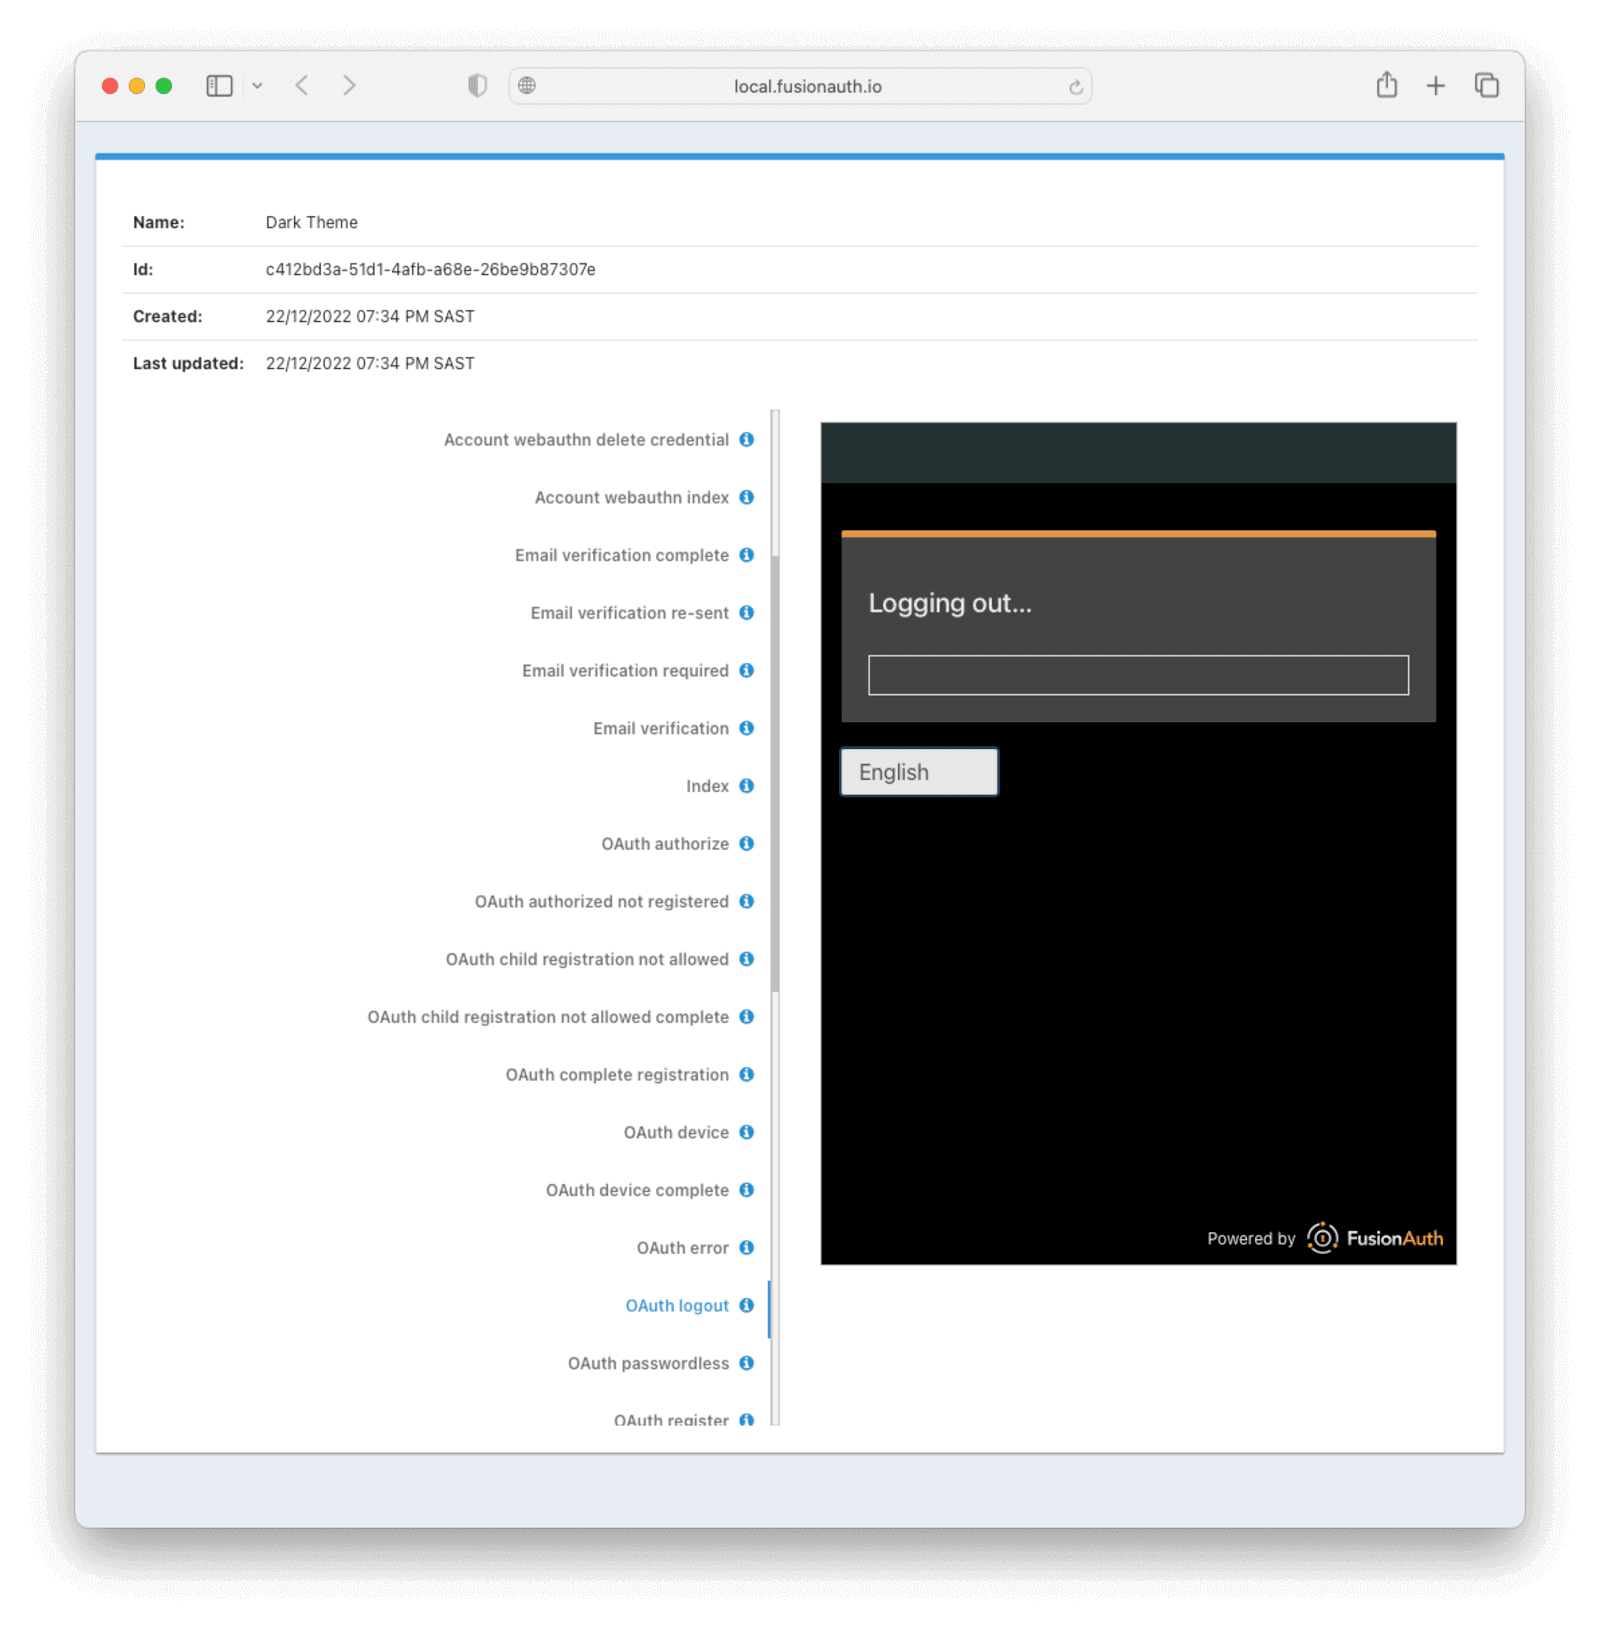
The OAuth logout template looks like this:
We are going to create a dark theme so these templates that will look like this:
Creating the Files
To customize our theme, we’ll need to create two files:
- A CSS file, which we’ll use to define the dark theme.
- A
kickstart.jsonfile that will enable the automatic configuration of settings.
The requests we add to the kickstart.json file will each need a separate JSON file.
If you’d like to skip ahead to the Running Kickstart section, you can download the completed files here.
The darkTheme.css File
The most straightforward way to add a consistent style to your theme is to define a stylesheet using CSS. You can interactively experiment with CSS in your browser to get your application looking the way you want it to.
Let’s define one CSS rule together. First, preview the FusionAuth theme and open up the web inspector by right-clicking and selecting “Inspect”. Click the Select element button and click the area of the page you would like to style, for example, the div element with the class .panel.
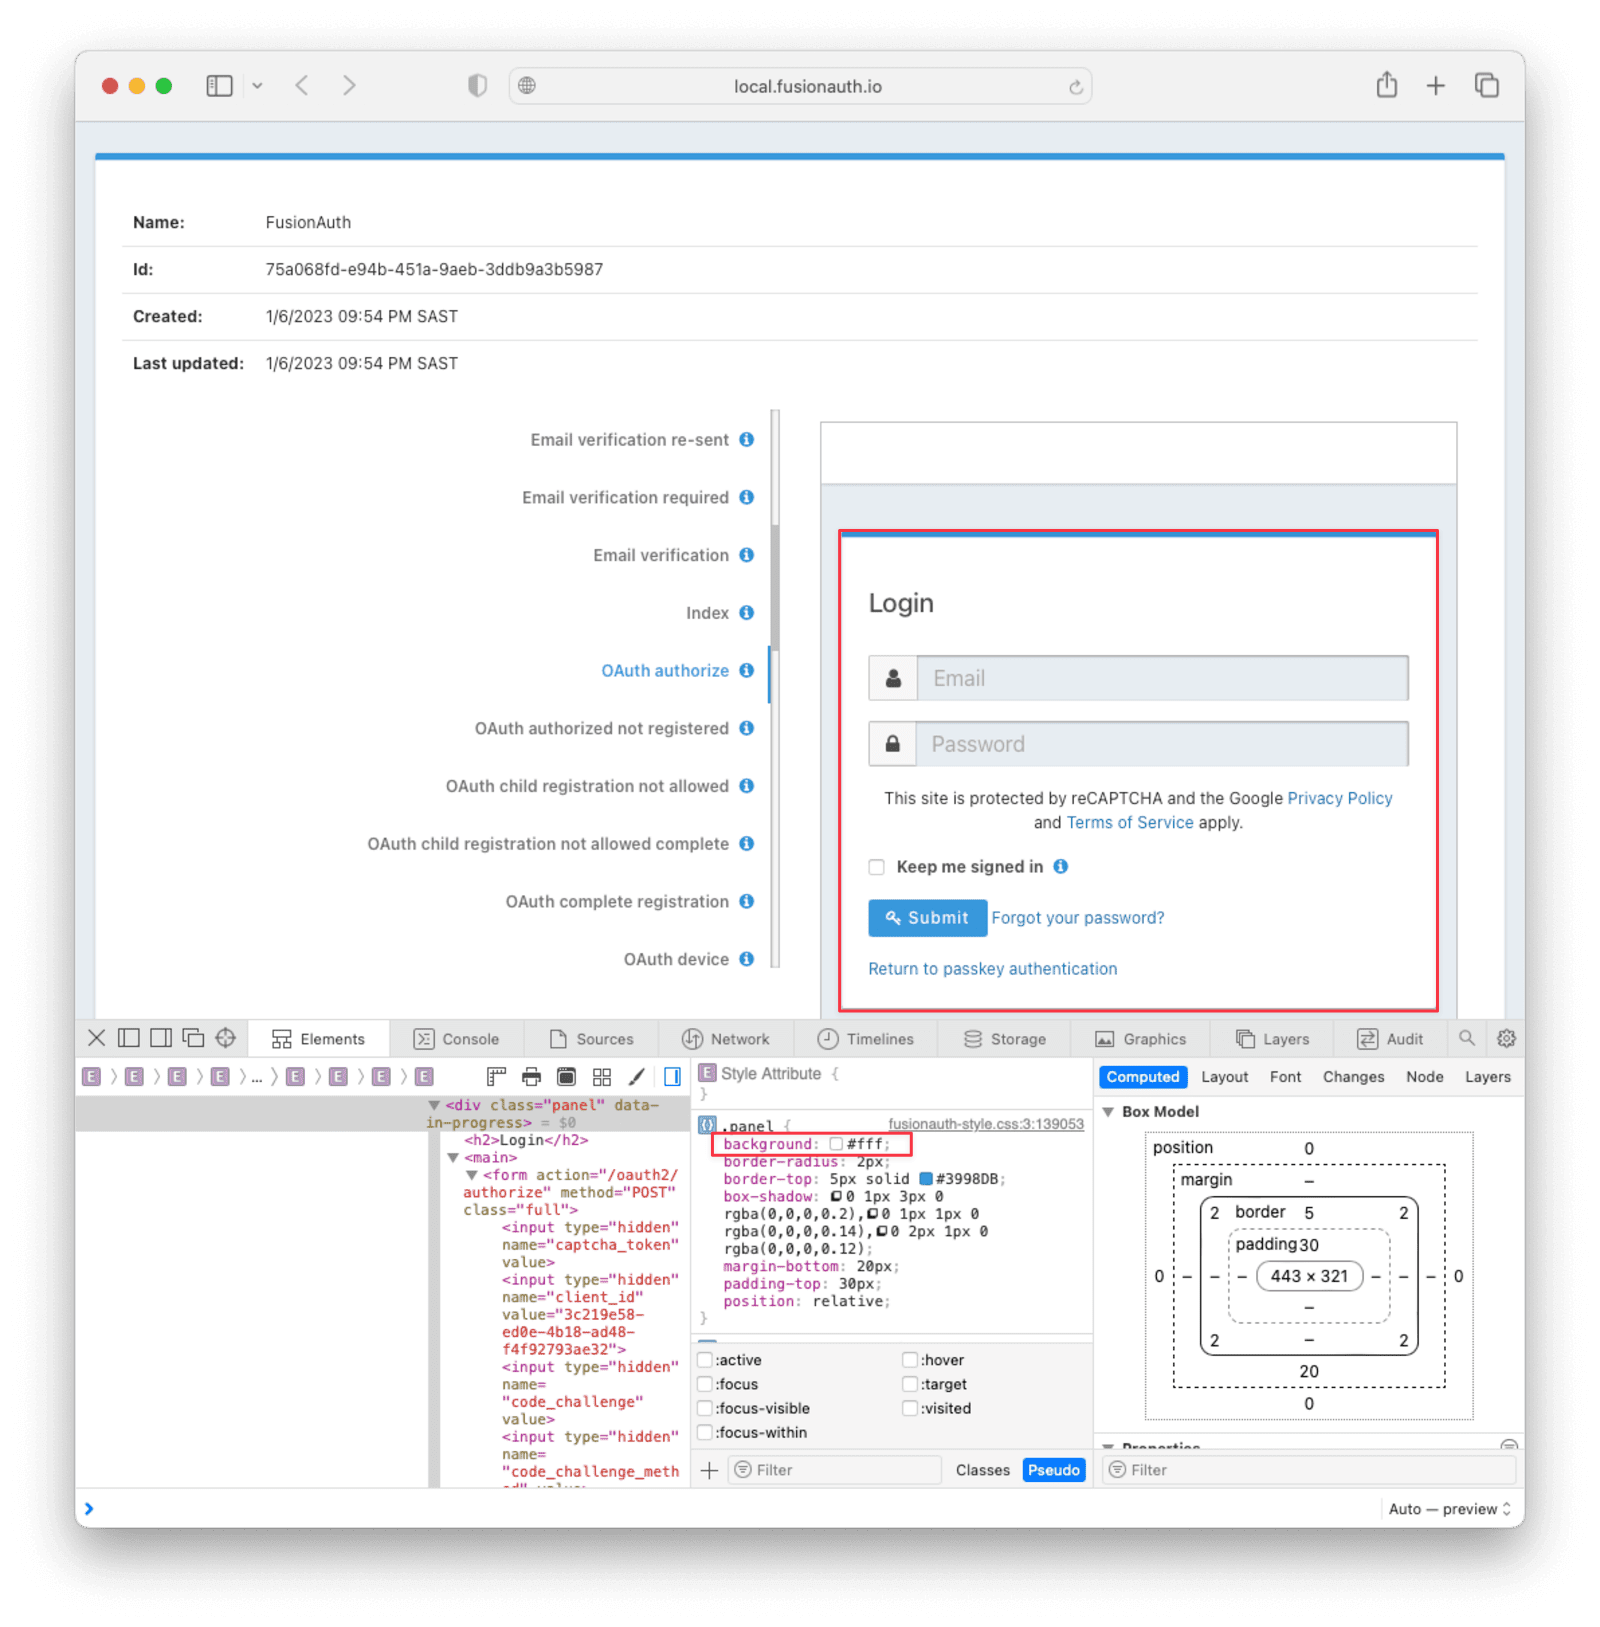
This element has a background property with a value of #fff, or pure white.
Let’s change the background from white to black. With the element selected, click the plus + icon and type background: black.
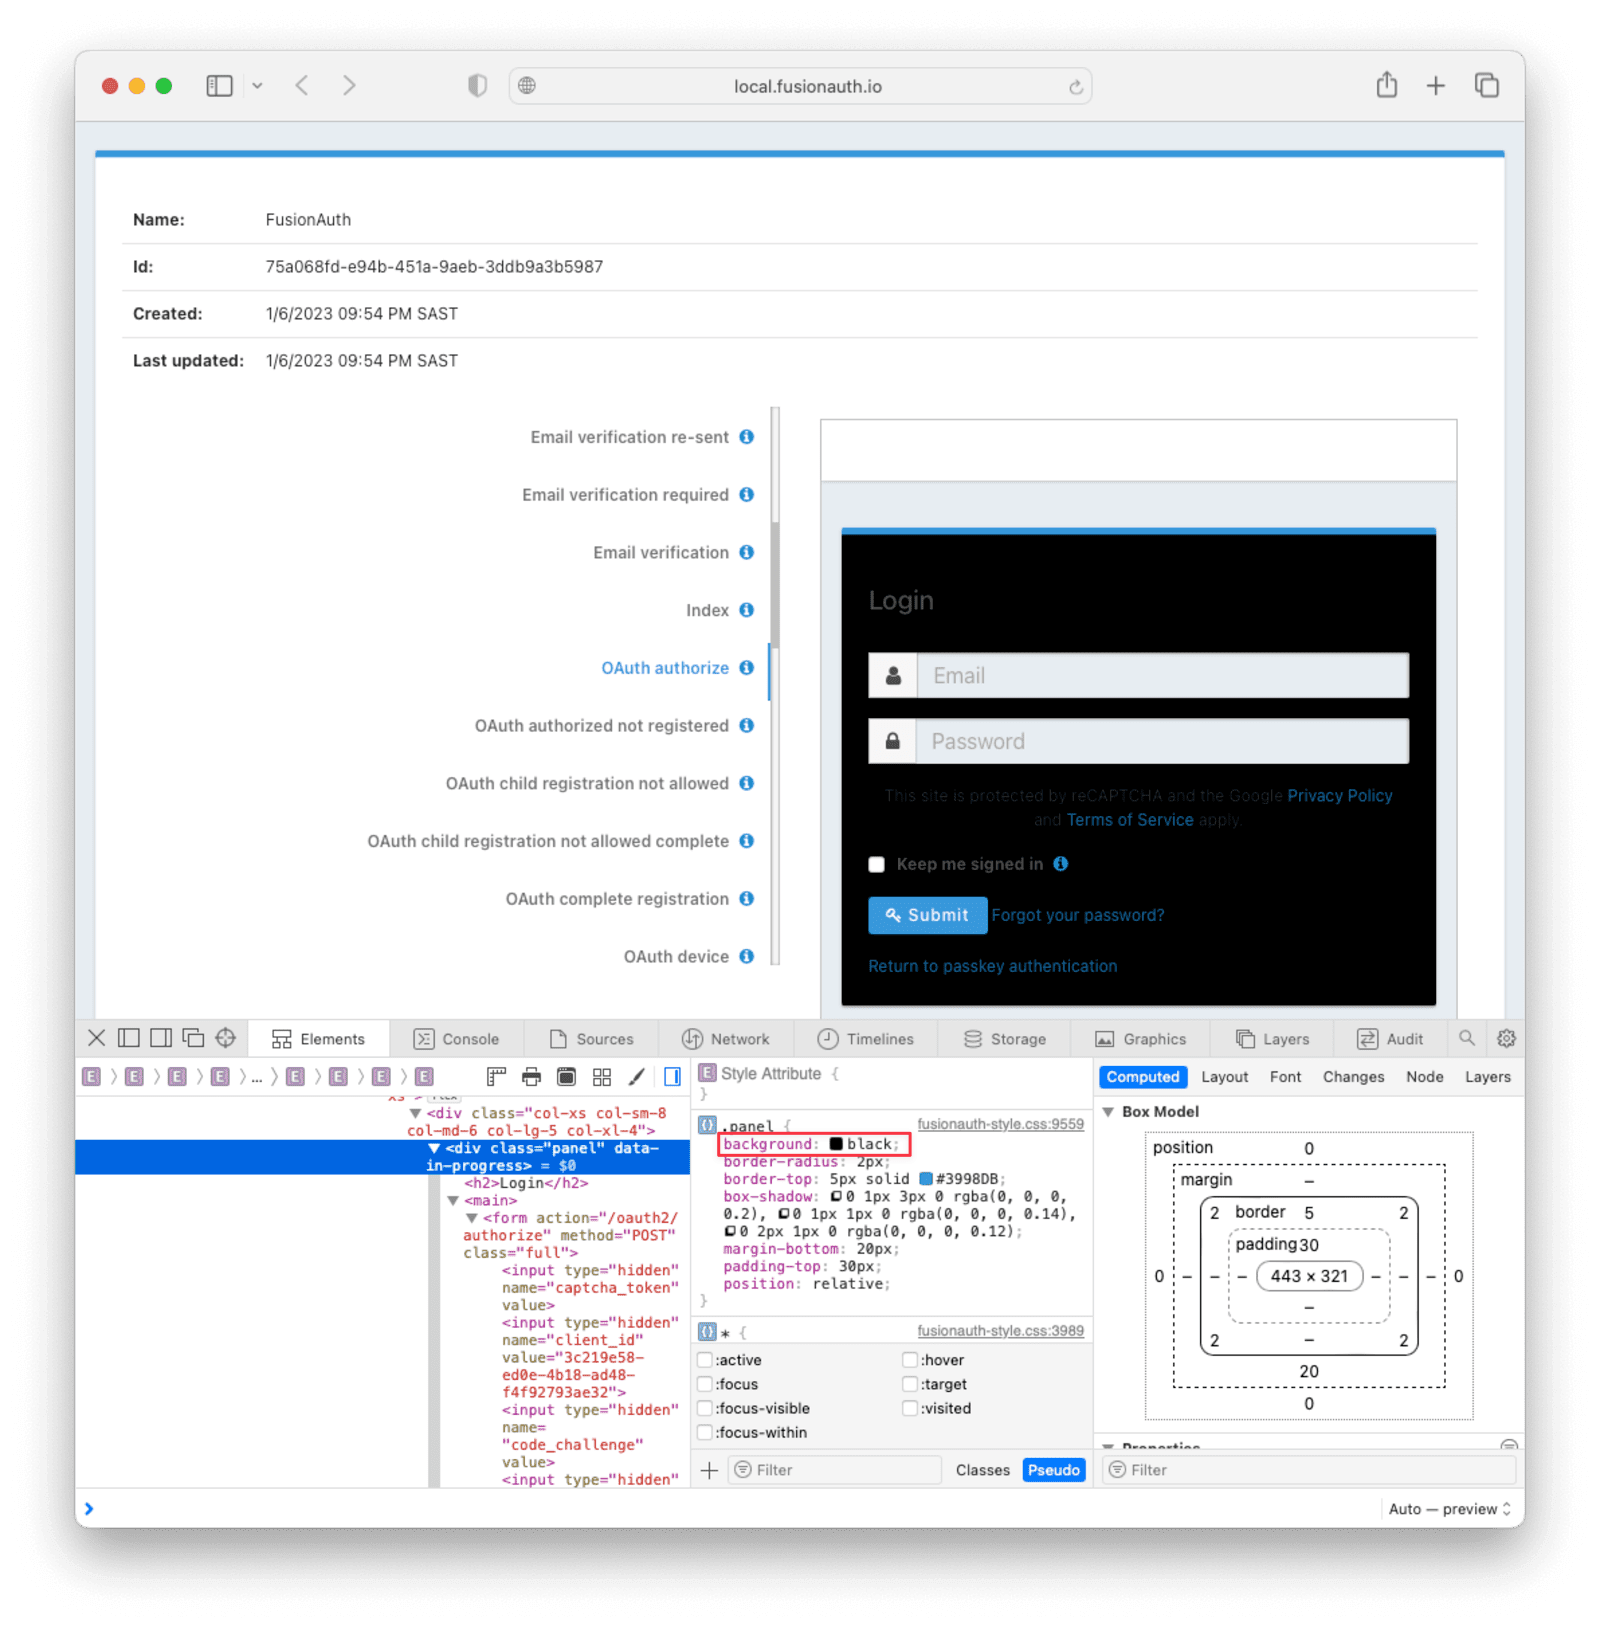
We’ve just defined our first css rule. Copy the text that you generated, including the part that the browser made for you when you clicked the plus + icon, into a text editor and save it as darkTheme.css, like this:
.panel {
  background: black
}
You can keep using this process to add rules to your darkTheme.css file until you’ve got a fully defined style that you’re happy with. Feel free to use this file for this tutorial.
Once you have your darkTheme.css file, create a folder called kickstart and move your darkTheme.css file into it.
The kickstart.json File
The kickstart.json file allows us to automatically configure everything we need for our application from the moment we first launch it.
Create a file called kickstart.json in the kickstart folder and copy the following text into it:
{
  "variables":{
    "apiKey" : "#{UUID()}",
    "themeID" : "#{UUID()}",
    "applicationID" : "404e516b-06b8-49da-9c68-c1cd1928c81d",
    "clientSecret" : "RBLhJrfRsa0-YxVPrn_aZfzIGccWyncdvHvDNTy-Hrs",
    "defaultTenantId": "da025934-3ba7-4a13-83f0-aab68c9919b8",
    "userID" : "#{UUID()}"
  },
  "apiKeys": [
    {
      "key": "#{apiKey}"
    }
  ],
  "requests":[
    "&{json/createTheme.json}",
    "&{json/updateTheme.json}",
    "&{json/createApplication.json}",
    "&{json/createUser.json}",
    "&{json/registerUser.json}",
    "&{json/setDefaultTheme.json}"
  ]
}
There are three sections in this code: "variables", "apiKeys", and "requests".
The "variables" section defines identifiers for the key components of our FusionAuth instance. In this section, "apiKey", "themeId", and "userId" are randomly generated UUIDs. We’ll use the arbitrary values in "applicationId", "clientSecret" and "defaultTenantId" later on.
The "apiKeys" section defines the key through which our requests will be executed. At least one "apiKey" is required for every kickstart.json file.
The "requests" section defines the API requests that perform our API calls. Each request is stored in a JSON file, which we need to define separately. You can also have them inline, but when you are working with a lot of changes, it is easier to have each change in a separate file.
Let’s define these files now.
The API Request JSON Files
Create a subdirectory in the kickstart folder called json. In the json folder, add a file called createTheme.json containing the following code:
{
  "method" : "POST",
  "url" : "api/theme/#{themeID}",
  "body" : {
    "sourceThemeId" : "75a068fd-e94b-451a-9aeb-3ddb9a3b5987",
    "theme" : {
      "name" : "Dark Theme"
    }
  }
}
This request creates the dark theme. It uses the "sourceThemeId" attribute to copy everything from the default FusionAuth theme, the Id of which is always 75a068fd-e94b-451a-9aeb-3ddb9a3b5987. It also assigns the UUID initialized and contained in the #{themeID} variable as this theme’s Id by setting it as the resource Id in the path of the URL.
Create a file called updateTheme.json and add the following to it:
{
  "method" : "PATCH",
  "url" : "api/theme/#{themeID}",
  "body" : {
    "theme" : {
      "stylesheet" : "@{darkTheme.css}"
    }
  }
}
This request applies our darkTheme.css stylesheet to the theme we created.
Create a file called setDefaultTheme.json and copy the following into it:
{
  "method": "PATCH",
  "url": "/api/tenant/#{defaultTenantId}",
  "body": {
    "tenant": {
      "themeId": "#{themeID}"
    }
  }
}
This request sets the dark theme as the theme for the default tenant.
Create a file called createApplication.json and copy the following into it:
{
  "method" : "POST",
  "url" : "/api/application/#{applicationID}",
  "body" : {
    "application":{
      "name" : "Kickstart App",
      "oauthConfiguration" : {
        "authorizedRedirectURLs" : [
          "http://localhost:3000/oauth-redirect"
        ],
        "clientId" : "#{applicationID}",
        "clientSecret" : "#{clientSecret}",
        "logoutURL": "http://localhost:3000/logout",
        "enabledGrants": [
          "authorization_code",
          "refresh_token"
        ],
        "requireRegistration" : "true"
      }
    }
  }
}
This request creates the application and configures its OAuth settings as they appear in the 5-minute guide.
Create a file called createUser.json containing the following:
{
  "method": "POST",
  "url": "/api/user/registration/#{userID}",
  "body": {
    "user": {
      "email": "richard@example.com",
      "password": "password"
    },
    "registration": {
      "applicationId": "#{FUSIONAUTH_APPLICATION_ID}",
      "roles": [
        "admin"
      ]
    }
  }
}
This request creates a user and registers the user to the default FusionAuth application. This is necessary to login to the admin panel.
Finally, create a file called registerUser.json containing the following:
{
  "method": "POST",
  "url": "/api/user/registration/#{userID}",
  "body": {
    "registration": {
      "applicationId": "#{applicationID}"
    }
  }
}
This request adds a registration for the user that we just created to our custom application. This requires a separate request because our initial request used its "registration" field for the default application.
With these files, our kickstart folder is complete and ready to use. The entire folder can be downloaded here.
Modifying the Files from the 5-Minute Guide
Next we’ll import and modify the files from the 5-minute guide that let us launch and run our FusionAuth instance.
First, download the Docker files.
curl -o docker-compose.yml https://raw.githubusercontent.com/FusionAuth/fusionauth-containers/main/docker/fusionauth/docker-compose.yml
curl -o .env https://raw.githubusercontent.com/FusionAuth/fusionauth-containers/main/docker/fusionauth/.env
To enable Kickstart to run from this docker-compose.yml file, we must make some modifications. They are described in detail at this link and copied here for your convenience:
-
In the
volumes:section of the FusionAuth service, add- ./kickstart:/usr/local/fusionauth/kickstart. -
Modify
.envand add the Kickstart configuration variable:FUSIONAUTH_APP_KICKSTART_FILE=/usr/local/fusionauth/kickstart/kickstart.json. This path should be what the Docker container expects, not the path on the host. -
Configure
docker-compose.ymlto pass the environment variable set by.envto the container. Do this by addingFUSIONAUTH_APP_KICKSTART_FILE: ${FUSIONAUTH_APP_KICKSTART_FILE}to theenvironmentsection of the FusionAuth service.
Now download the 5-minute guide files.
git clone https://github.com/FusionAuth/fusionauth-example-5-minute-guide \
&& cd fusionauth-example-5-minute-guide
This folder contains a file called .env.sample:
CLIENT_ID=CHANGEME
CLIENT_SECRET=CHANGEME
BASE_URL=http://localhost:9011
Change the CLIENT_ID and CLIENT_SECRET so that they match the applicationId and clientSecret variables from your kickstart.json file. Then save the file as .env
CLIENT_ID=404e516b-06b8-49da-9c68-c1cd1928c81d
CLIENT_SECRET=RBLhJrfRsa0-YxVPrn_aZfzIGccWyncdvHvDNTy-Hrs
BASE_URL=http://localhost:9011
Running Kickstart
Once you have completed the steps above, you should have a folder that is structured as follows. We call this folder Kickstart_Theme, but you can call it whatever you like.
+ Kickstart_Theme
|
+-- docker-compose.yml
|
+-- fusionauth-example-5-minute-guide
|
+--+ kickstart
   |
   +-- kickstart.json
   |
   +-- darkTheme.css
   |
   +--+ json
      |
      +-- createTheme.json
      |
      +-- updateTheme.json
      |
      +-- createUser.json
      |
      +-- registerUser.json
      |
      +-- createApplication.json
      |
      +-- setDefaultTheme.json
To launch the FusionAuth instance, navigate to the Kickstart_Theme folder and run the docker compose command.
docker compose upOnce the execution has finished, the newly created FusionAuth instance will be accessible at http://localhost:9011.
Login to the FusionAuth instance. The username and password are configured in kickstart/json/createUser.json. You can set them to be anything you like, but for this tutorial, they are defined as follows:
"email": "richard@example.com",
"password": "password"
Enter these credentials into the login screen to be taken to the admin dashboard.
You can look at Applications , Users , and Customizations -> Themes to verify that all of the settings have been configured correctly.
Running the Application
Now that everything is set up and our theme has been applied, we can run the application. Navigate to the fusionauth-example-5-minute-guide directory and use npm to start the application.
npm install
npm start
Open an incognito window and visit http://localhost:3000.
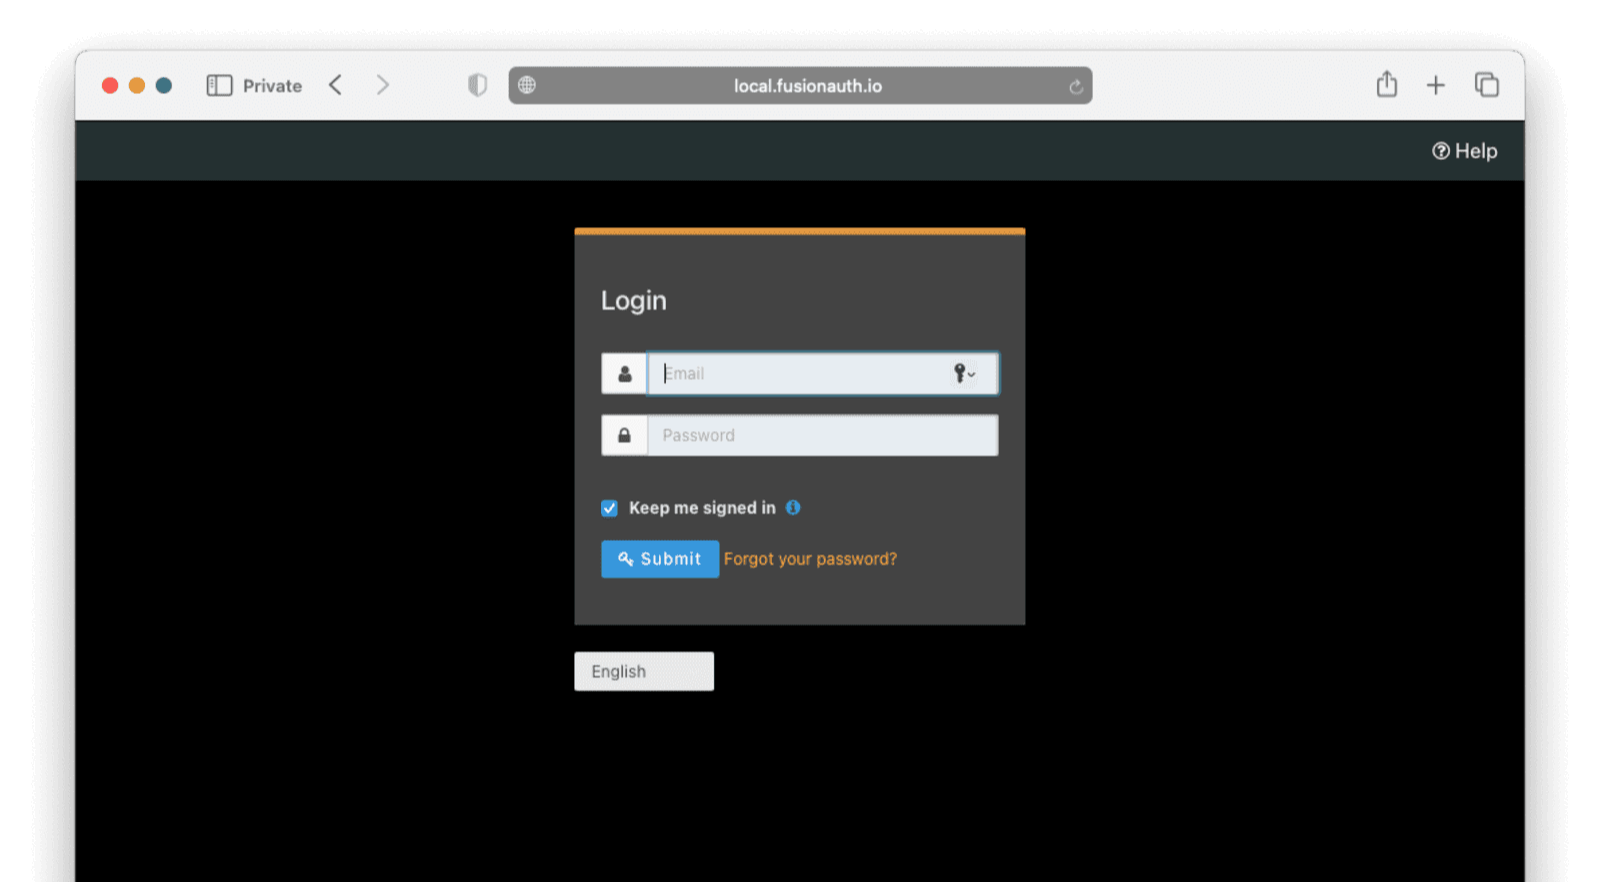
You will be taken to the same landing page that you saw in the 5-minute guide. However, when you click Login this time, you will see your custom theme applied to the OAuth authorize page.
Enter the same credentials you used to login to the admin panel and click Logout to see the OAuth logout page.
Modifying the Default Messages
Let’s take it one step further and assume we want to change the content of some of the messages on the OAuth pages. For example, consider the “Forgot your password?” message, which shows up on the OAuth authorize page.
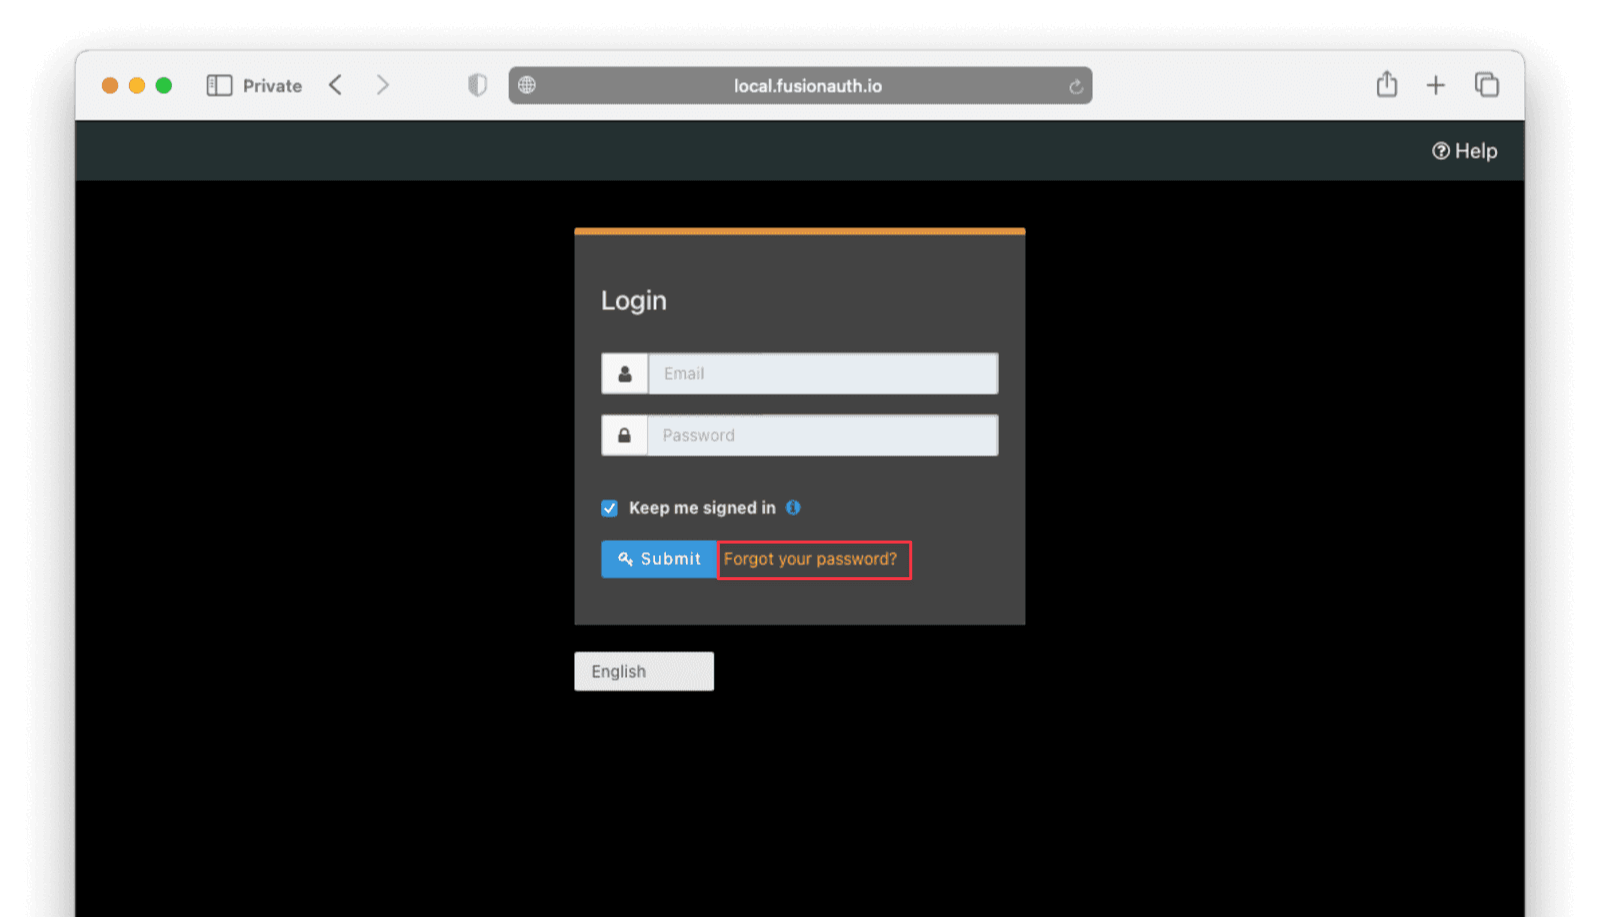
Let’s say we want to change this to say “Forgot your password? Click here.” We can do this by adding a defaultMessages property to json/updateTheme.json.
The defaultMessages string requires at least all of the messages defined in the FusionAuth default shipped messages file to be present, as it updates all messages as a single unit. The easiest way to accomplish this is to create a new file called defaultMessages.txt in your kickstart folder and copy-paste these messages into it.
The messages can be accessed by editing your custom theme, navigating to the Messages page, and clicking the Edit button.
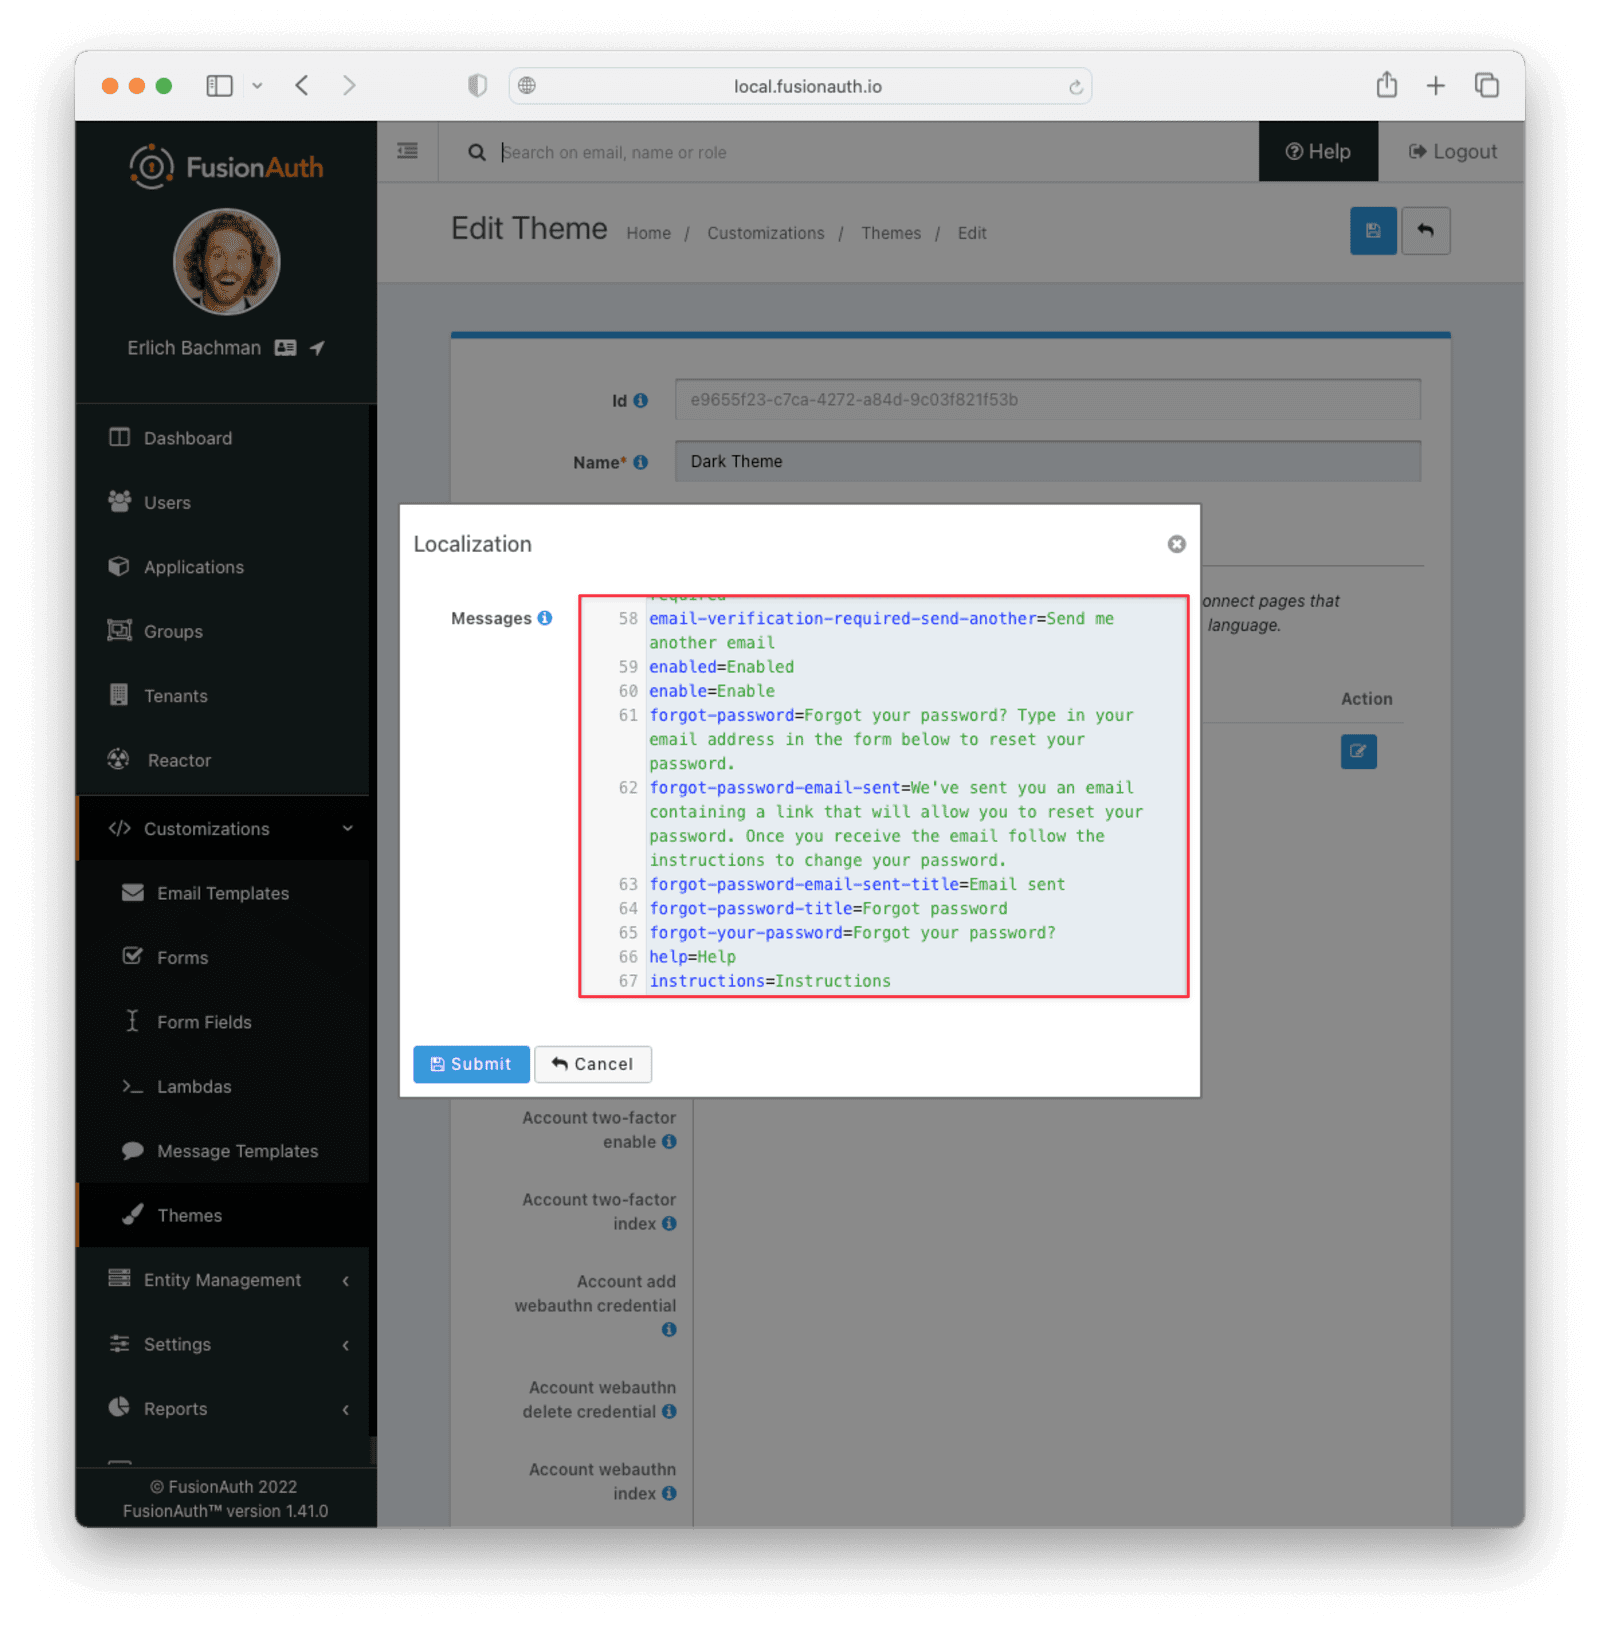
Copy the entire contents of that box into your defaultMessages.txt file, find the forgot-your-password message (line 65), and modify it to “Forgot your password? Click here.”
{
  "method" : "PATCH",
  "url" : "api/theme/#{themeID}",
  "body" : {
    "theme" : {
      "stylesheet" : "@{darkTheme.css}",
      "defaultMessages" : "@{defaultMessages.txt}"
    }
  }
}Kickstart will not run if it sees any users, API keys, or applications in the FusionAuth database. This is to prevent data loss. If you can login to the FusionAuth administrative user interface, Kickstart will not run.
Once you have modified updateTheme.json, you will need to clear the volumes created when you launched the FusionAuth instance to allow the Kickstart to rerun. You can do this by executing the following command (This will totally destroy all data stored in the instance):
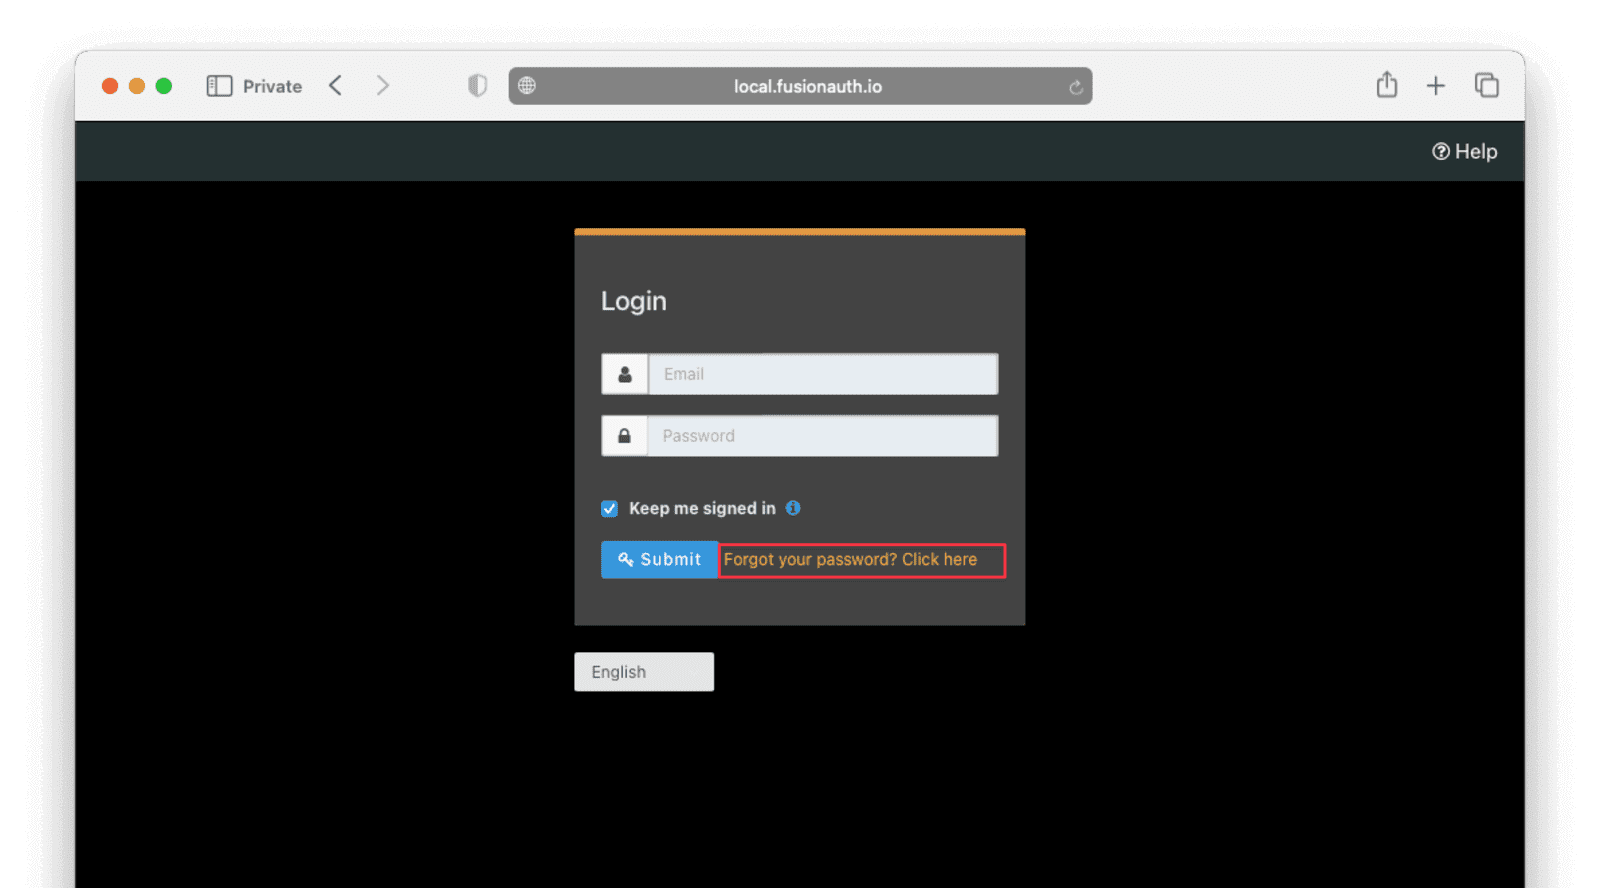
docker compose down -vWhen you relaunch the instance using the docker compose up command, the result will be as below with the updated message:
Conclusion
This guide has shown you how to use Kickstart to launch a reproducible FusionAuth instance with a custom theme. The complete set of files for this project can be found here in the directory called theme-css-only.
Some suggestions for further reading are as follows: