Events & Webhooks
Events and Webhooks are a core architecture feature of FusionAuth. This feature provides a publish-subscribe pattern to developers and integrators of FusionAuth. In this architecture pattern, the Webhook is the subscriber and FusionAuth is the publisher.
This system is designed to provide feedback to your system when events occur within FusionAuth. Events are sent via an HTTP POST request with a JSON request body. The request will be sent with the a Content-Type header of application/json. This is the same style of API that the FusionAuth App uses to handle API requests from your application.
Here's a brief video covering some aspects of webhooks:
See the corresponding Webhook APIs if you'd prefer to programatically configure FusionAuth Webhooks.
Here are the topics in this section:
- Writing a Webhook - Covers how to write a Webhook that will process events from FusionAuth.
- Securing a Webhook - Covers how to ensure your webhooks are secured properly.
- Signing a Webhook - Covers how to sign webhook events
- Events - Covers all of the event types that FusionAuth sends to Webhooks
Continue reading below to see how the events and webhooks are configured using the FusionAuth user interface.
Tenant Settings#
To prepare to consume FusionAuth events you'll first need to enable the event and select a transaction level that is compatible with your requirements in the tenant.
You do not need to configure the tenant settings for any system level webhook events, such as the Audit Log Create event.
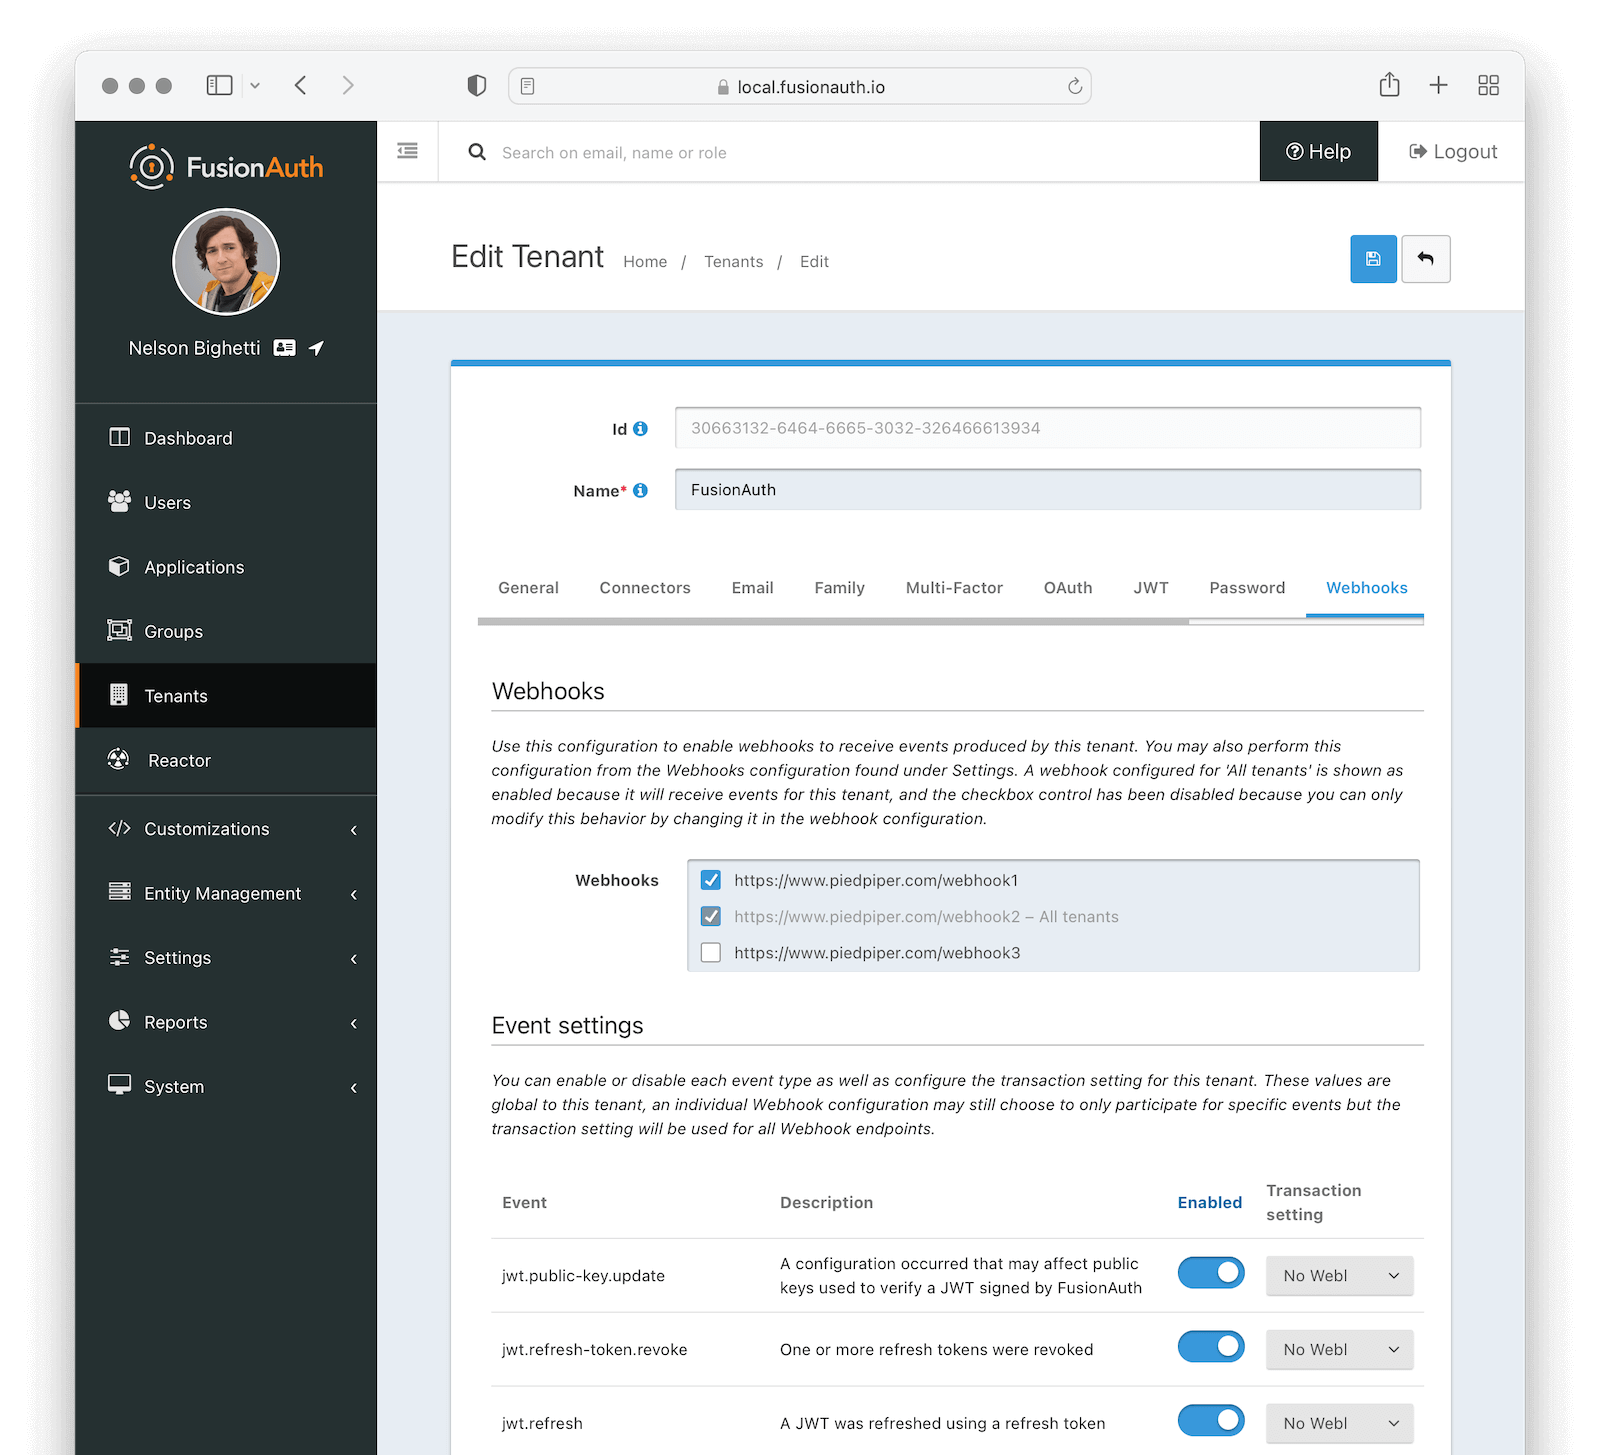
To do so, navigate to Tenants -> Webhooks to enable events and optionally modify the default transaction level for each event type.
Webhooks#
WebhooksEnable the webhooks you wish to receive events from this tenant. All webhooks will be shown, but if the webhook is a global webhook then you will not be able to unselect it here. That must be done in the Webhook Settings
Event Settings#
EventThe event type, this value will be present in the JSON request to identify the message.
DescriptionThe description of the event.
EnabledWhen enabled this event can be sent by one or more webhook. You will also need to enable the event for a specific webhook to receive the event.
This toggle allows you to optionally disable an event for all webhooks all at once.
Transaction settingThe transaction setting for this event. This setting will apply to all webhooks consuming this event type.
No Webhooks are required to succeed: The event will succeed regardless of the webhook response status code. Use this setting when it is not important for a webhook to succeed or provide confirmation that the event has been received and processed successfully.
Any single Webhook must succeed:
The event will succeed as long as one or more of the webhooks respond with a status code between 200 and 299 (inclusive).
A simple majority of Webhooks must succeed:
The event will succeed if at least half of the webhooks respond with a status code between 200 and 299 (inclusive). This means 50% or more of the webhooks must respond successfully.
A two-thirds majority of Webhooks must succeed:
The event will succeed if a super majority of the webhooks respond with a status code between 200 and 299 (inclusive). A super majority is two-thirds (66.7%) or more of the configured webhooks.
All of the Webhooks must succeed:
The event will succeed if every configured webhook responds with a status code between 200 and 299 (inclusive). Use this setting when it is critical for every configured webhook to receive and process the event before considering it complete.
Transaction Failures#
As mentioned above, if you configure your transaction settings to require one or more webhooks to succeed, success occurs if the requisite number of webhooks returns a status code between 200 and 299.
If they do not, however, the webhook transaction fails. When this occurs, any API calls you are making will receive a response with the status code 504.
The response will be a JSON object with more details:
Example Error Response JSON
{
  "generalErrors": [
     {
	"code": "[WebhookTransactionException]",
	"message": "One or more webhooks returned an invalid response or were unreachable. Based on your transaction configuration, your action cannot be completed."
      }
   ]
}
Add Webhook#
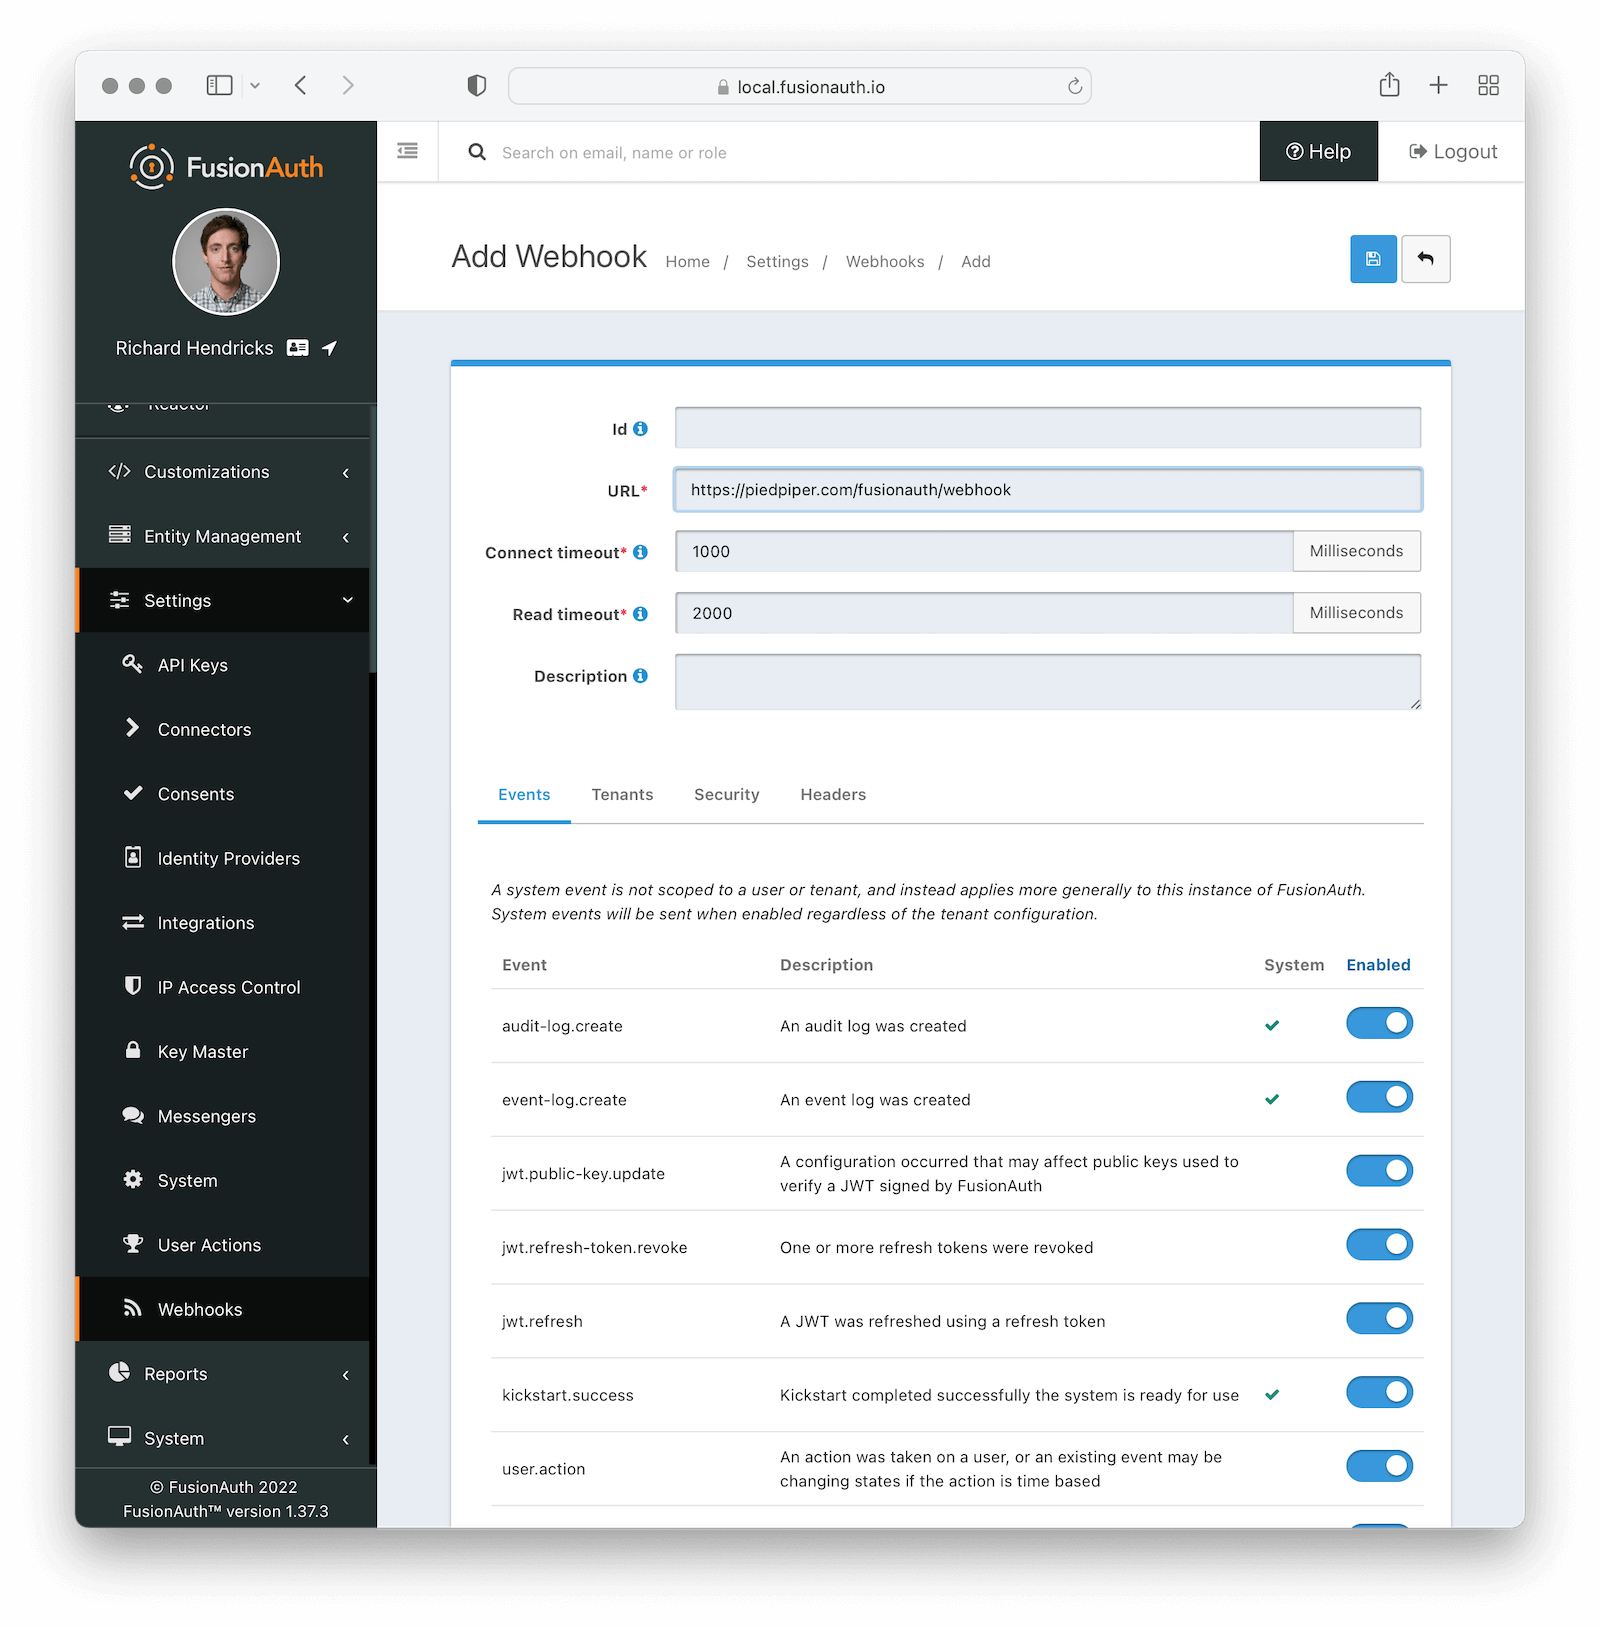
After you have enabled the events that you will be using, create a webhook definition to indicate where FusionAuth should send the JSON events. Navigate to Settings -> Webhooks to create a new webhook.
See the example screenshot below, at a minimum you will need to provide the URL the endpoint that will accept the FusionAuth JSON events. You can see in this screenshot that even though an event may be enabled globally you can still select which events will be sent to this webhook.
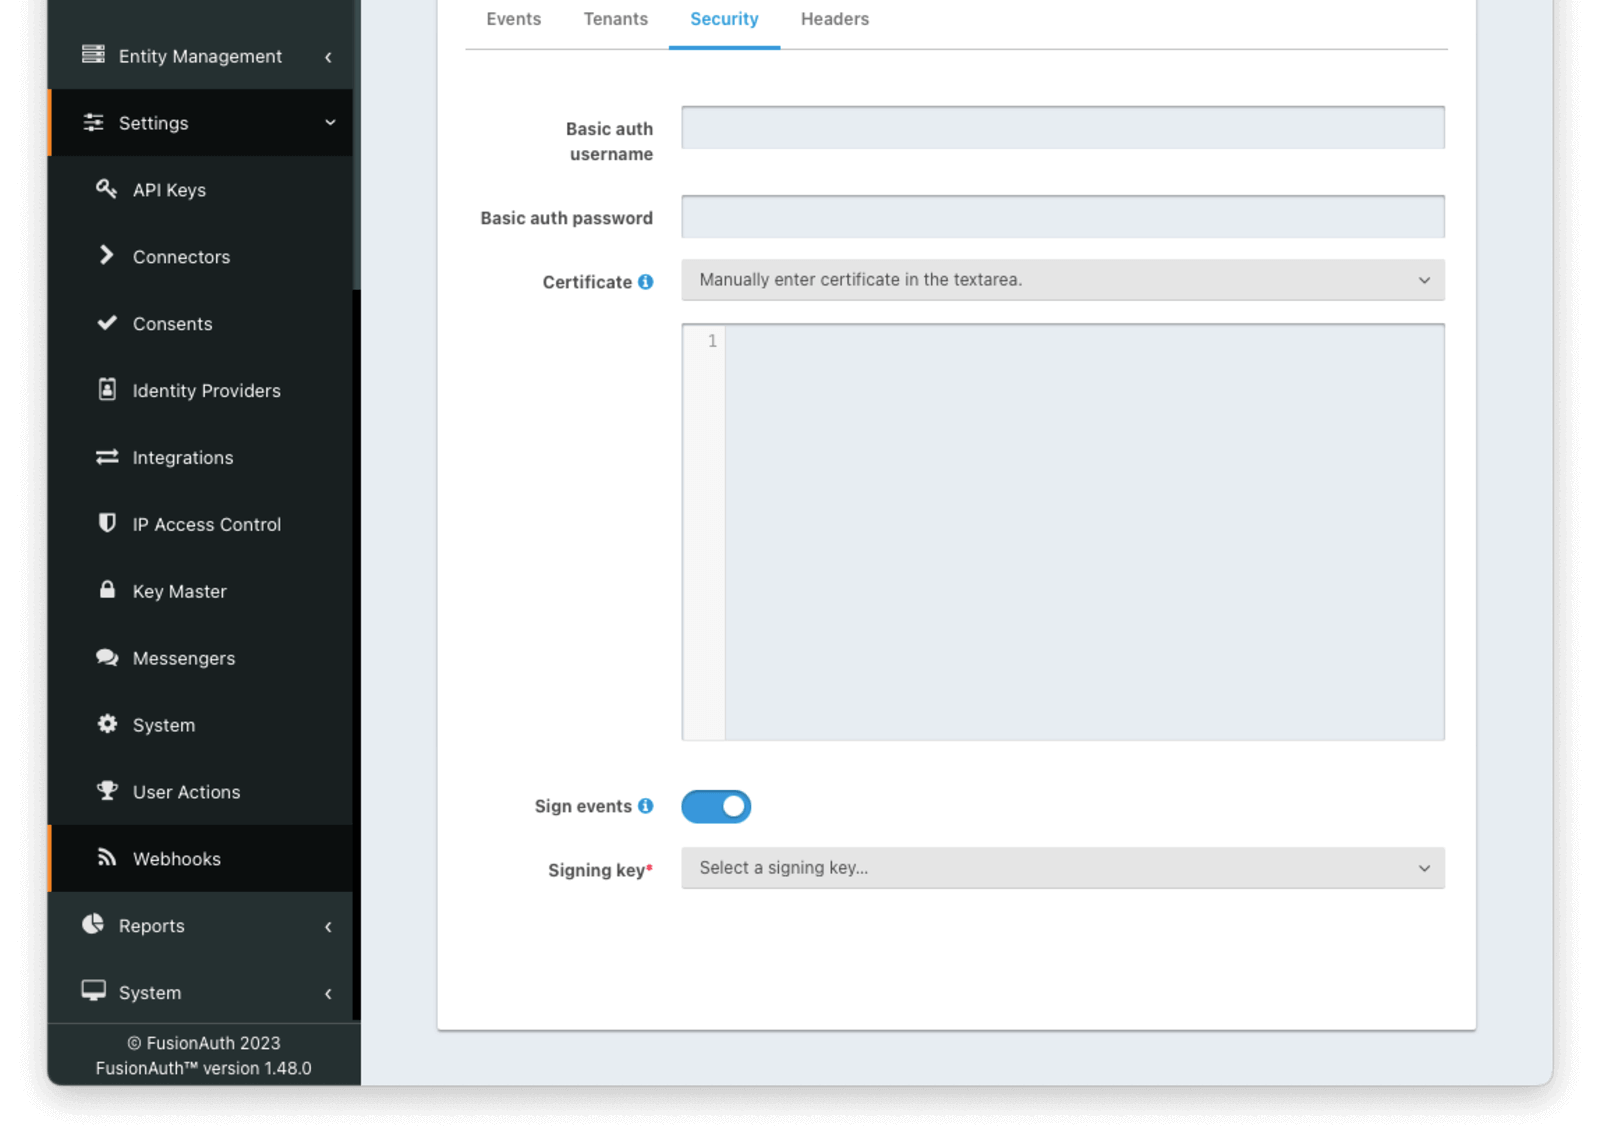
If you need to configure an Authorization header or other credentials to allow FusionAuth to make a request to your webhook, you may do so in the Security tab.
Form Fields#
IdoptionalAn optional UUID. When this value is omitted a unique Id will be generated automatically.
URLrequiredThe endpoint that FusionAuth will used to send JSON events.
Connect timeoutrequiredThe HTTP connect timeout in milliseconds used when connecting to the provided URL.
Read timeoutrequiredThe HTTP read timeout in milliseconds used when connecting to the provided URL.
DescriptionoptionalAn optional description of this webhook.
Events#
Form Fields#
EventThe event type that will be provided in the JSON event.
DescriptionThe description of the event.
SystemA check indicates this event is a system event and is not scoped to a tenant.
EnabledThis toggle indicates if the event is enabled and may be sent to configured webhooks. This toggle affects all webhooks, a specific webhook may still be configured to ignore this event.
Security#
The security settings may be used to require authentication in order to submit an event to the webhook.
Form Fields#
Basic auth usernameoptionalThe username to be used for HTTP Basic Authentication.
Basic auth passwordoptionalThe password to be used for HTTP Basic Authentication.
CertificateoptionalThe Key containing an SSL certificate to be used when connecting to the webhook.
If you need to add a certificate for use with this webhook, navigate to Settings -> Key Master and import a certificate. The certificate will then be shown as an option in this form control.
You can also select the Manually enter certificate in the textarea. option to manually specify the SSL certificate in PEM format on the webhook configuration.
When a Key is selected or a certificate is provided, an in memory keystore will be generated in order to complete the https connection to the webhook.
Tenants#
Available since 1.37.0
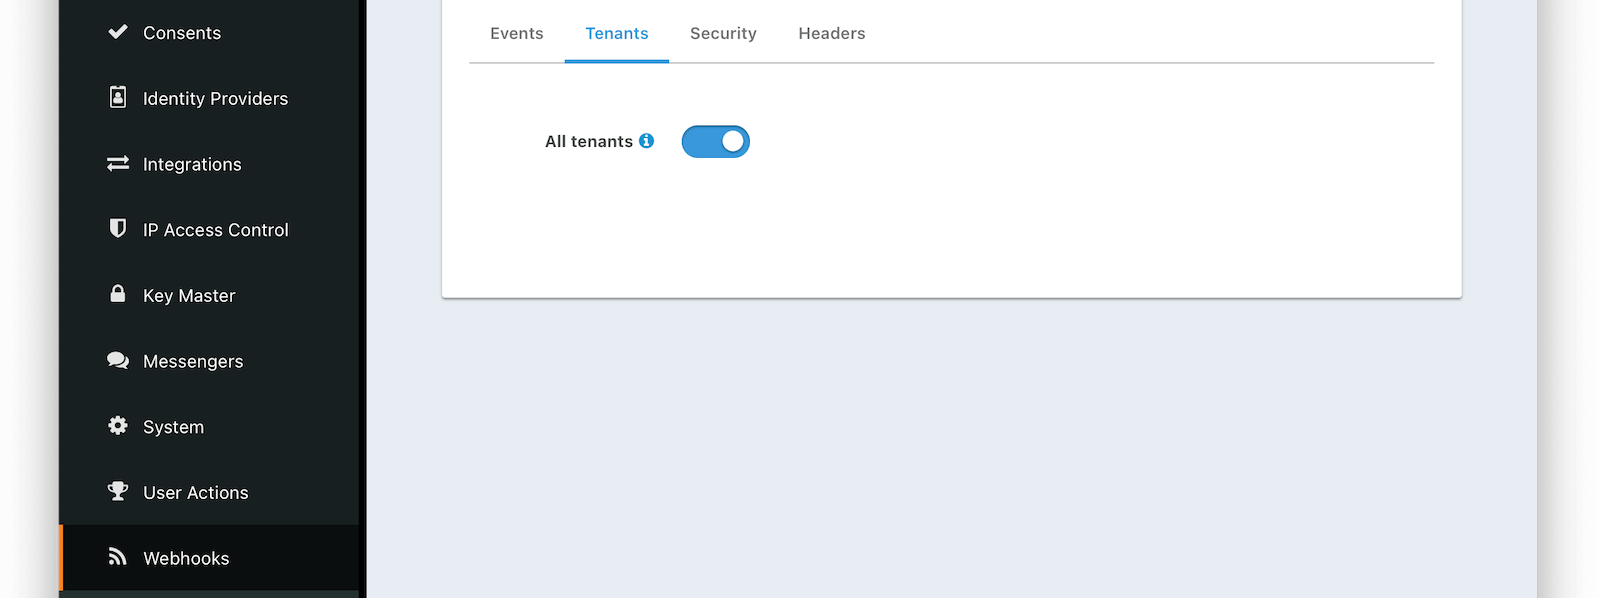
Here's the configuration when a webhook will be sent for all tenants.
Here's the configuration when a webhook should be sent for certain tenants.
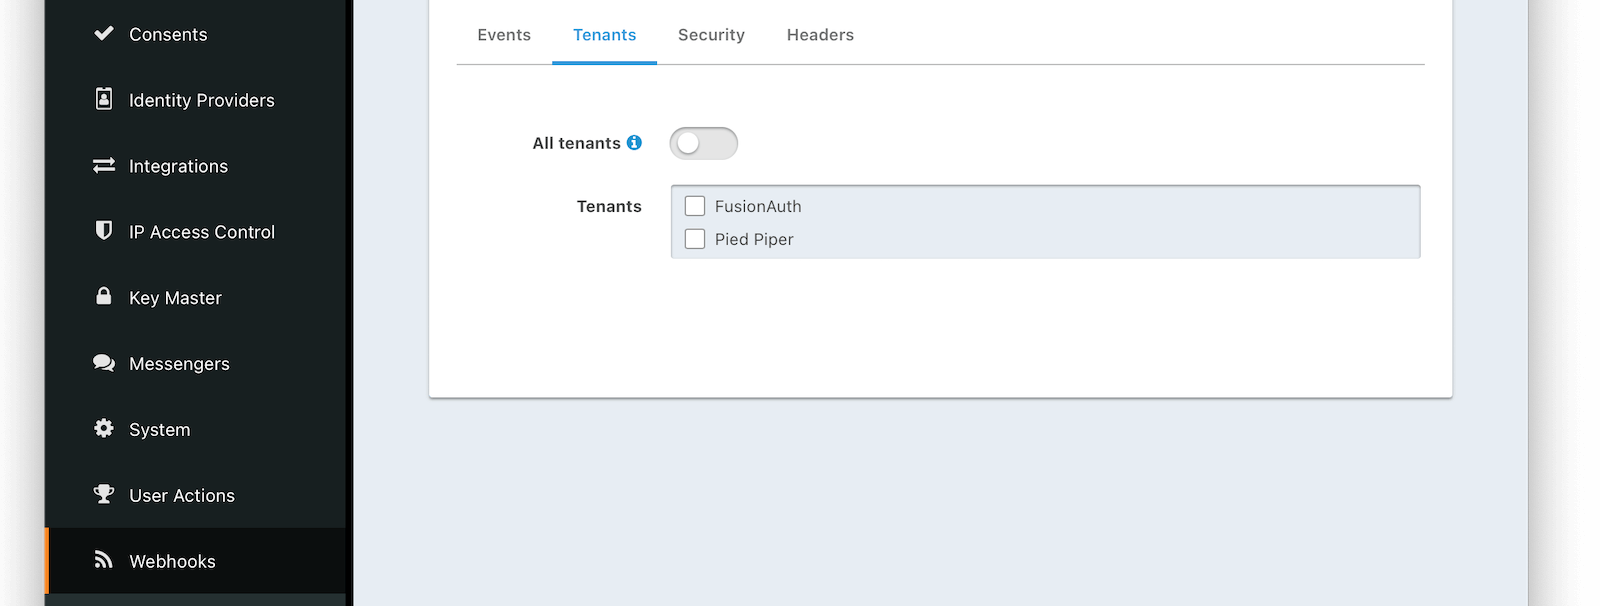
Form Fields#
Send webhook events for all tenantsWhen this toggle is enabled, events for all tenants will be sent to this webhook.
TenantsWhen the Send webhook events for all tenants setting is disabled, this field will be exposed. Select the tenants for which you would like to receive events.
Most events are scoped to a tenant. Selecting one more more tenants will cause FusionAuth to send events only for those tenants.
The exceptions to this are the following system events which are not tenant specific:
audit-log.createevent-log.createkickstart.success
These events are configured at the system level and cannot be scoped to a certain tenant.
When an audit log is created with a tenantId, the audit-log.create event is delivered as a tenant-scoped event.
Headers#
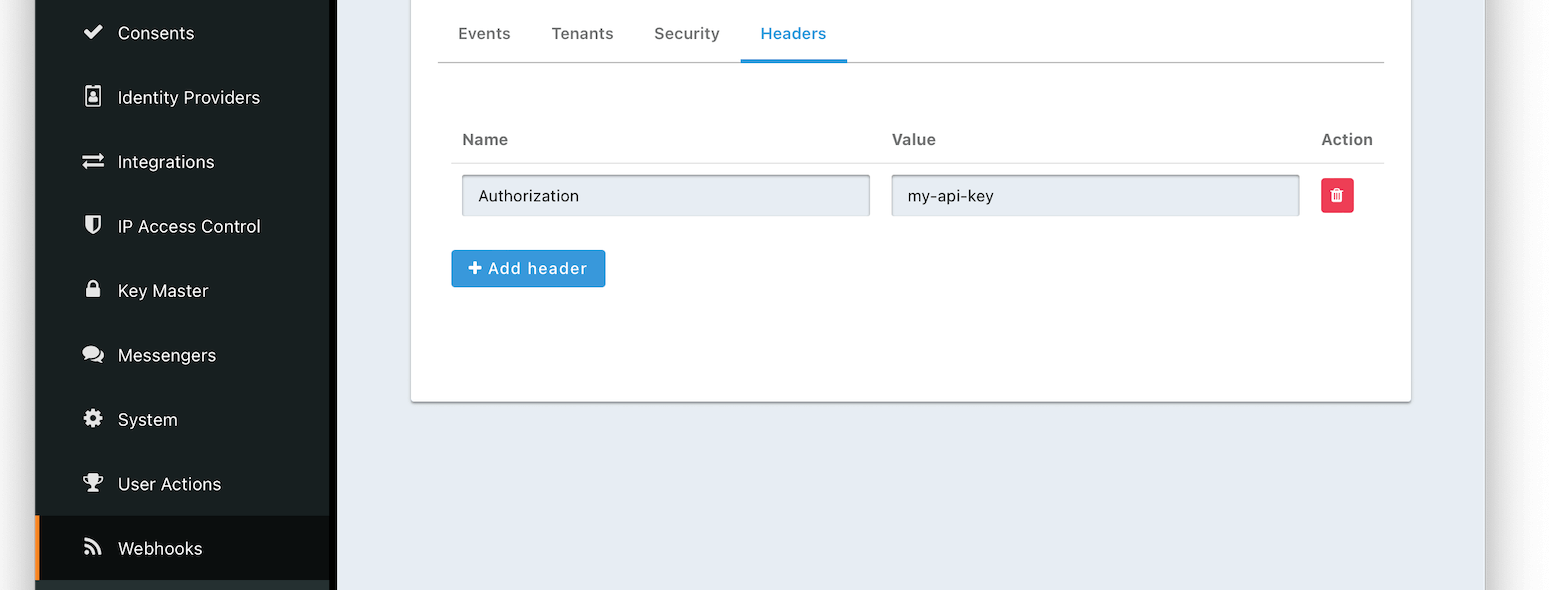
Form Fields#
NameThe name of the header to add to the HTTP request when sending the event to the webhook
ValueThe header value to add to the HTTP request when sending the event to the webhook
Applications#
This documentation is for versions earlier than 1.37.0. Application scoped events are not supported on versions later than 1.37.0. If you are on a version earlier than 1.37.0 and you want to get events for certain applications, the preferred method is to send events for a tenant. Filter on the applicationId when consuming the event and discard events from any applications not of interest.
Please don't use application scoped webhook functionality.
Prior to version 1.37.0 these events could be application scoped:
jwt.public-key.updatejwt.refresh-token.revokeuser.action
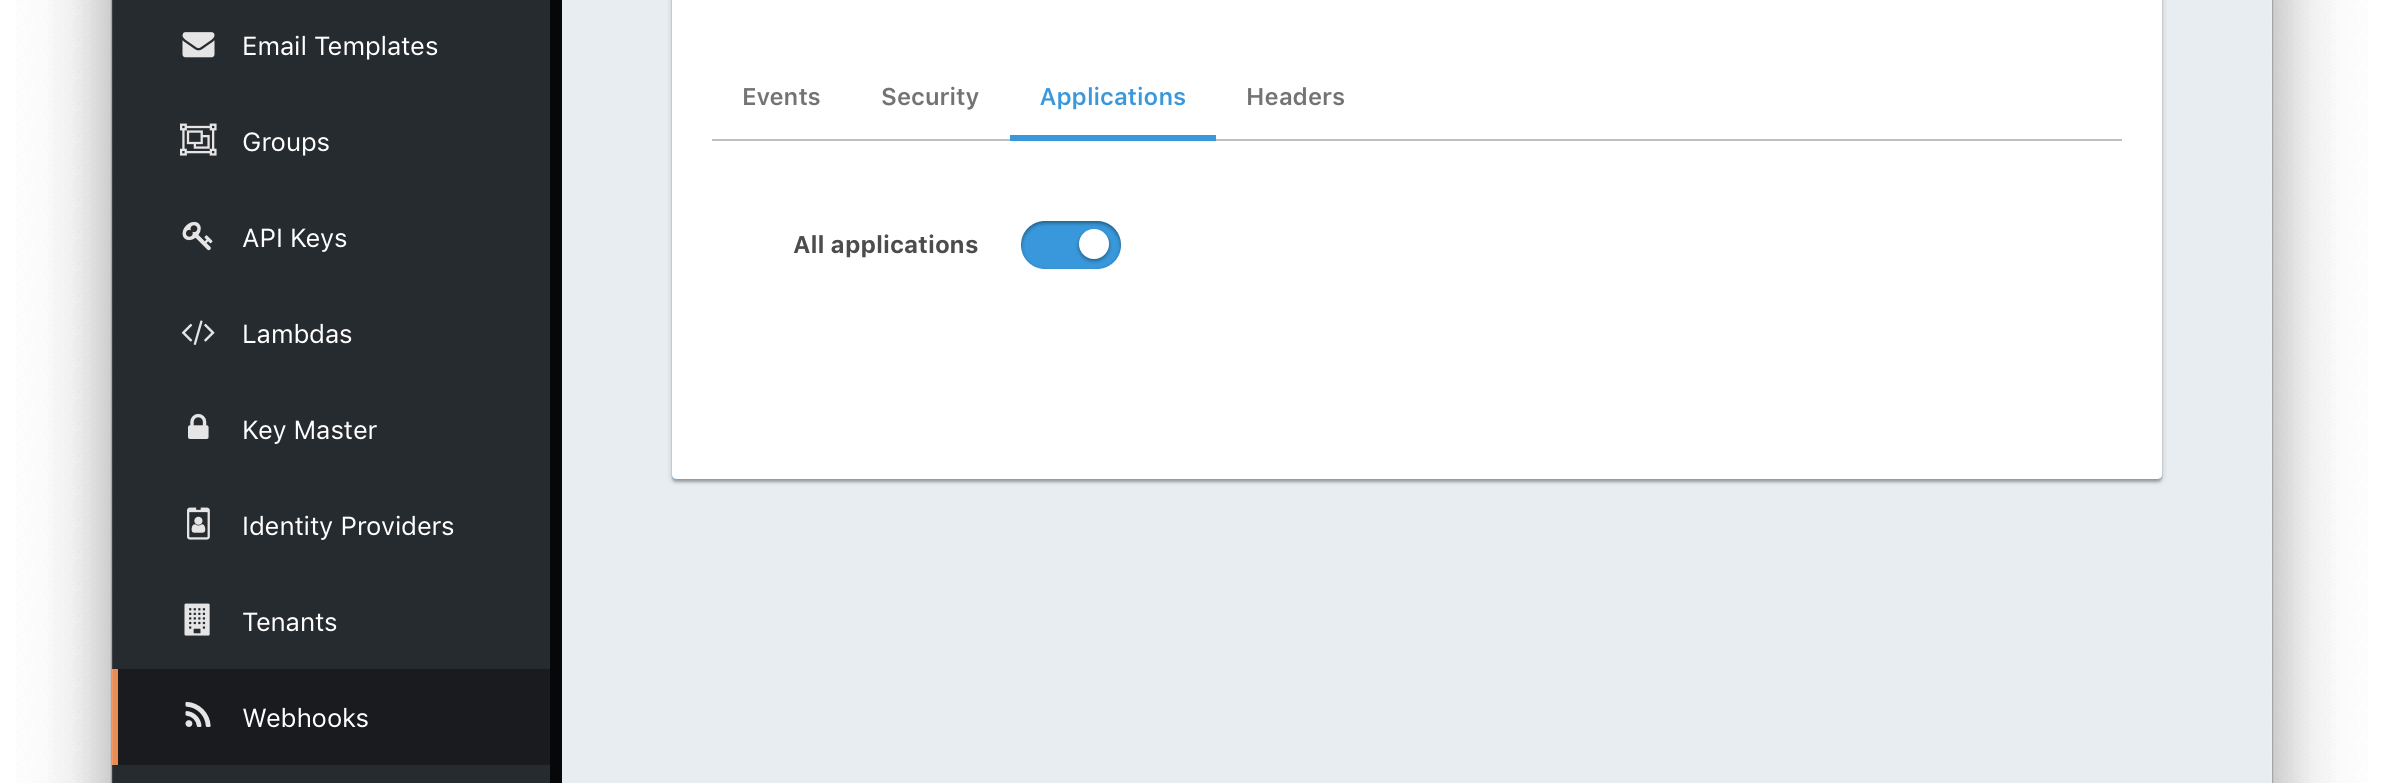
Form Fields#
All applicationsDEPRECATEDWhen this toggle is enabled, all events will be sent to this webhook.
Removed in version 1.37.0In version 1.37.0 and beyond, webhooks are scoped to tenants.
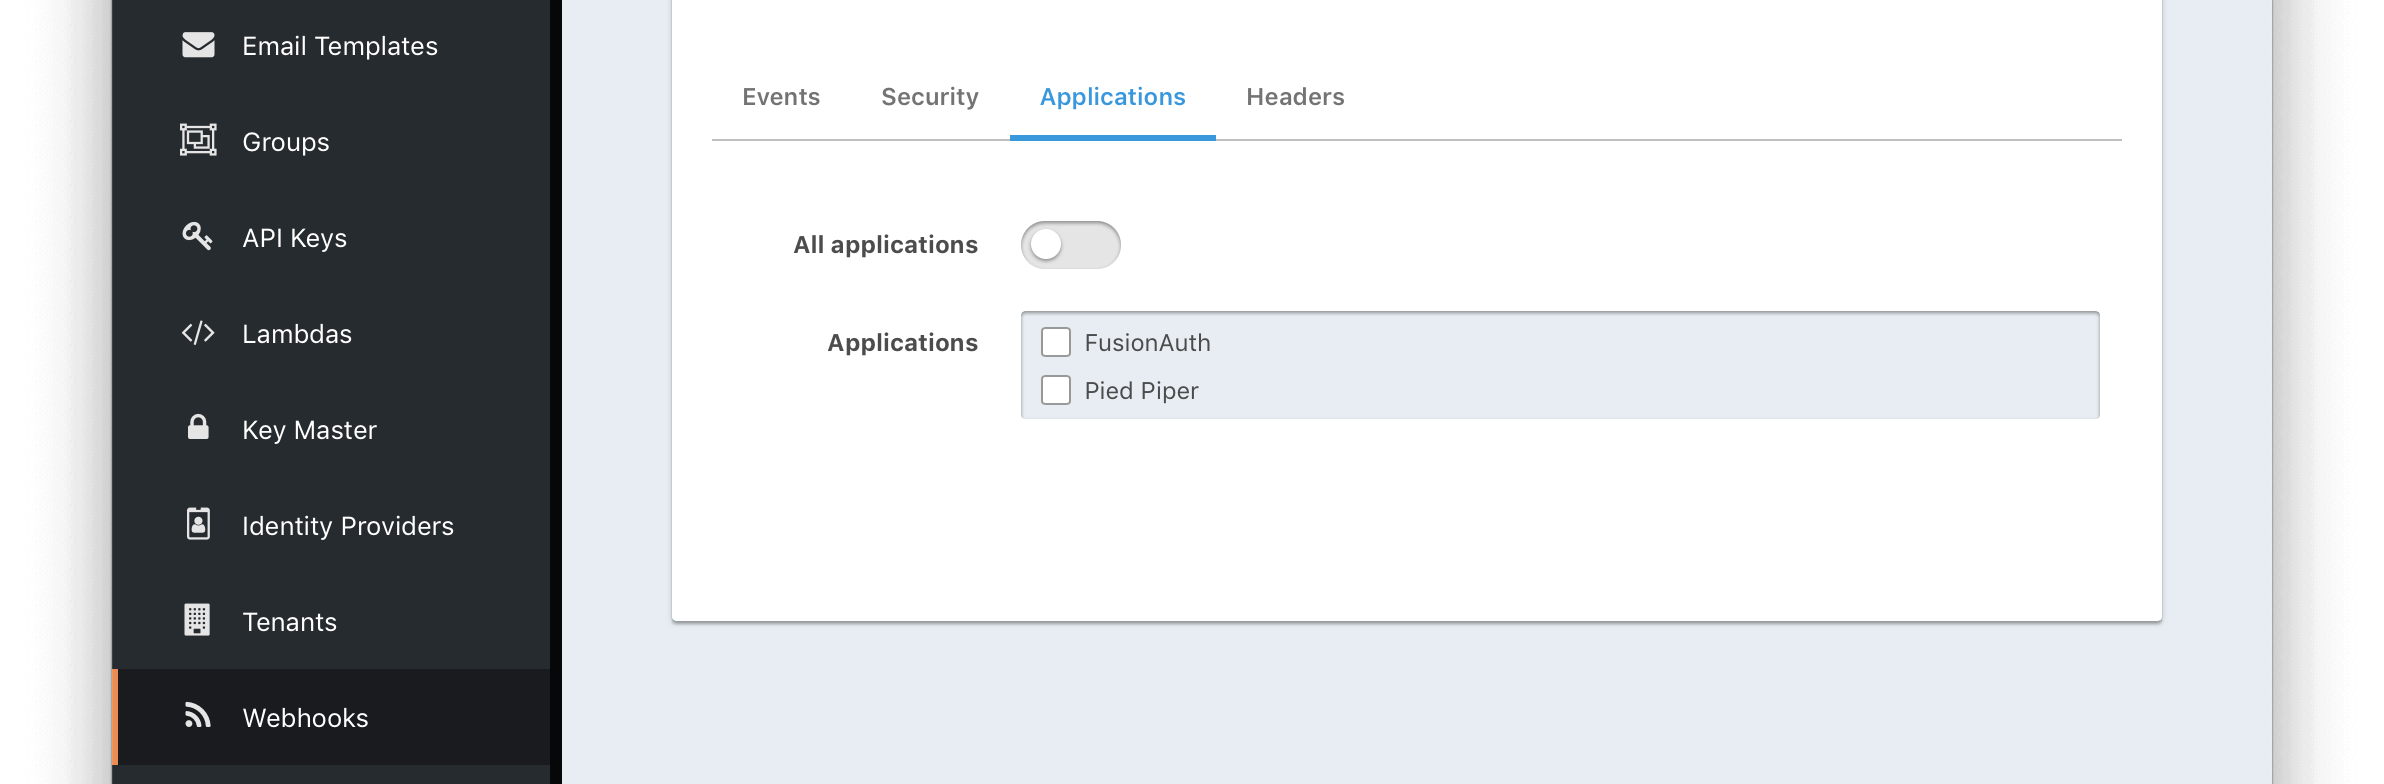
ApplicationsDEPRECATEDWhen the All applications is disabled, this field will be exposed. Select the application for which you would like to receive events.
Not all events are considered application specific and selecting an application will limit you to only receiving application events. The following events are considered Application events:
jwt.public-key.updatejwt.refresh-token.revokeuser.action
In most cases you will want to use the All applications configuration.
Removed in version 1.37.0In version 1.37.0 and beyond, webhooks are global or are scoped to tenants.
Test a Webhook#
Once you have a webhook up and running and configured to receive JSON events from FusionAuth you may wish to test it by sending different events. FusionAuth has built in a test capability to allow you to construct any event and send it to your webhook.
Navigate to Settings -> Webhooks and select the purple icon for the webhook you wish to test. Select the event type to test, optionally modify the JSON to test a specific scenario and then use the send button in the top right to send the event to the webhook.
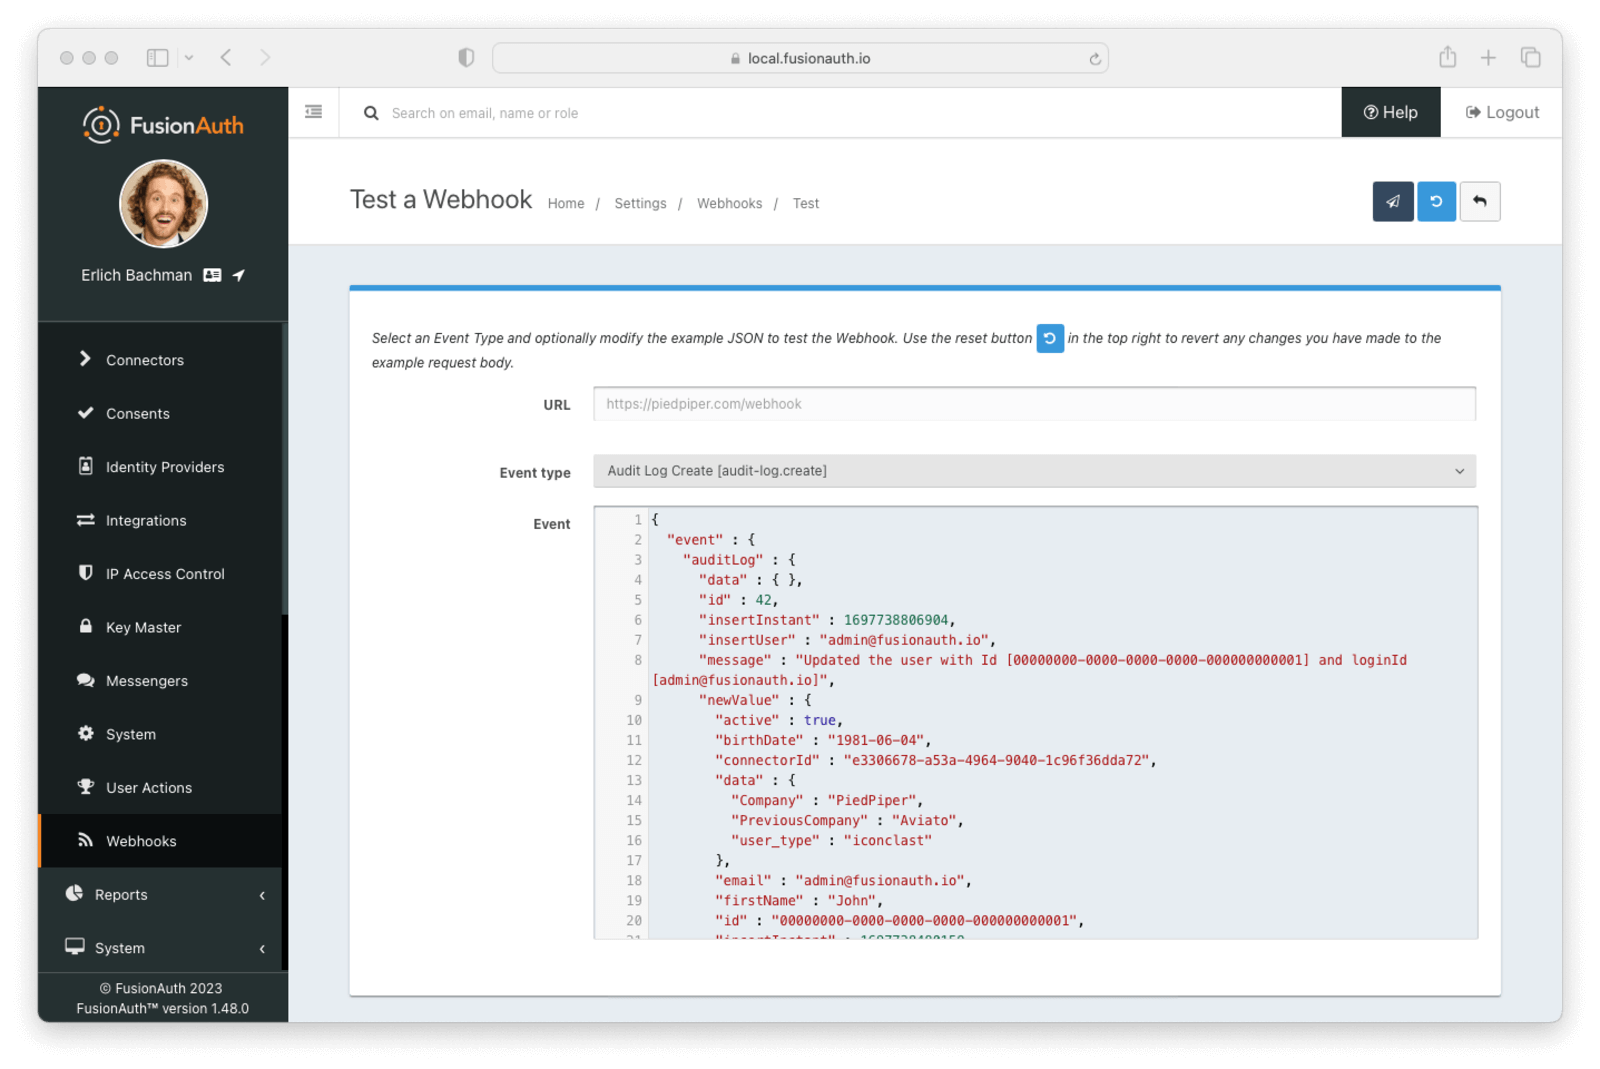
Modifications to event JSON will be preserved across tests. If you want to reset the JSON for a given event, select that event and click the Reset button.
Form Fields#
URLThe URL of the webhook you are testing. If you wish to test a different webhook return to the webhook menu and select the test action on another webhook.
Event typeThe selected event type to send to the webhook.
EventThe JSON event to send to the webhook. This is a generated example and it may be modified before sending to replicate a specific scenario.
FAQs#
Q: I have successfully tested my Webhook, but why am I not receiving specific live events?
A: In order to receive events to your webhook endpoint, ensure the following items are configured:
- Set up the Tenant events. Navigate to Tenants -> Webhooks and enable the specific events.
- Set up Webhook tenants. Navigate to Settings -> Webhooks -> Tenants and ensure the Webhook is configured either for All tenants or your desired tenant or tenants.
- Set up the Webhook events. Navigate to Settings -> Webhooks -> Events and ensure the specific events are enabled for the Webhook.
Unless all three of these configurations are correct, you won't receive events to your configured endpoint.