Multi-Application Dashboard
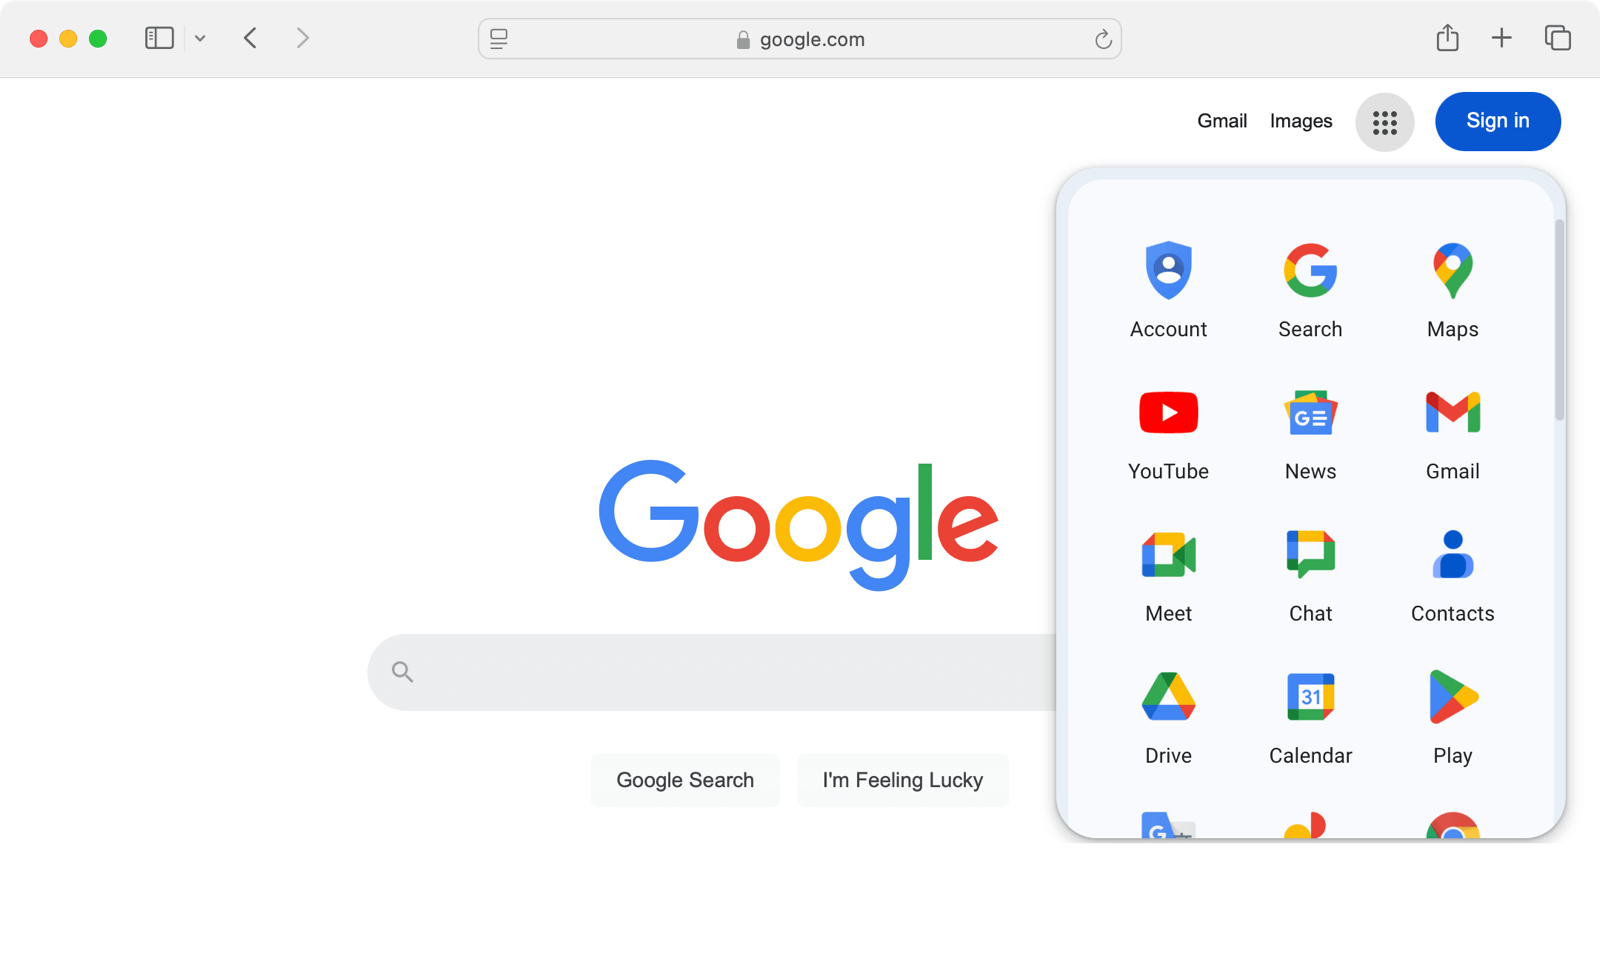
If you're using FusionAuth to manage many applications, you might want to provide your users with a central list of applications, so they know what's available. For example, Google does this for its apps.
In this guide, you'll learn to make a similar page — a dashboard linking to all the applications in a FusionAuth tenant.
In the language of authentication, FusionAuth is an identity provider (IdP) and your applications and websites are the service providers (SPs). One way to authenticate a user from a central dashboard is to use an IdP-initiated login. In other words, the dashboard will log the user in, and then redirect them to the selected app. In short, a service provider application will receive a login that it didn't initiate itself. This has security implications.
This guide will demonstrate a simpler and safer way to authenticate users from a central dashboard by making each application link in the dashboard point to the application's login page. From that point onward, authentication follows the standard OAuth Authorization Code grant.
The next section of this guide will show you how to make a dashboard for two existing FusionAuth applications in the same tenant. All this requires is customizing the theme for the index landing page of the FusionAuth site. The guide will first show you how to install FusionAuth and make two simple web applications. If you already have a FusionAuth installation with existing applications, you can skip ahead to the section that creates the dashboard.
If you want to follow along with the full guide, you will need Docker installed.
Download The Example Repository And Run FusionAuth#
Use git clone to clone the repository at https://github.com/fusionauth/fusionauth-example-multiapp-dashboard, or download and unzip it.
Open a terminal in the directory containing the repository files.
Run the command below to start FusionAuth.
docker compose up
If you have completed any FusionAuth tutorials before, you might need to first delete any existing FusionAuth containers with the same name and the database volumes. Run the command below to do that.
docker ps rm fa faDb; docker compose down -v
Leave FusionAuth running.
In a new terminal, run the commands below to start a web server for the Changebank app, which uses FusionAuth for authentication.
cd bankApp
docker compose up
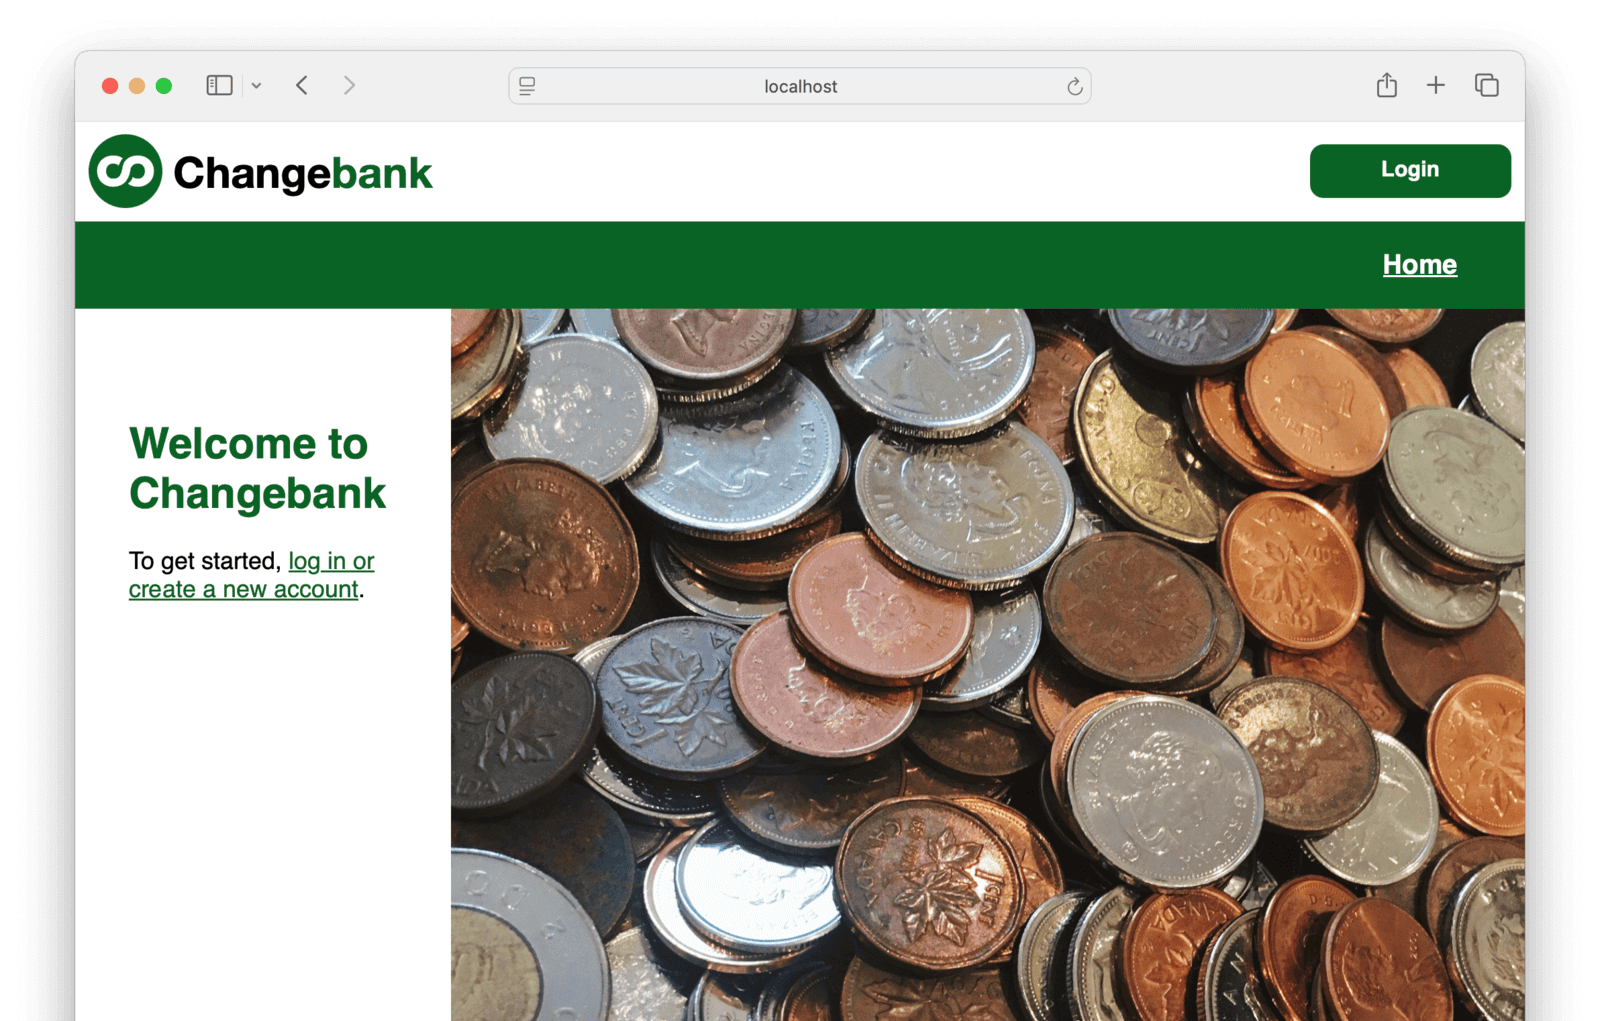
The Changebank app is now running at http://localhost:3000.
In a third terminal, run the commands below to start a web server for a second app that uses FusionAuth for authentication.
cd insuranceApp
docker compose up
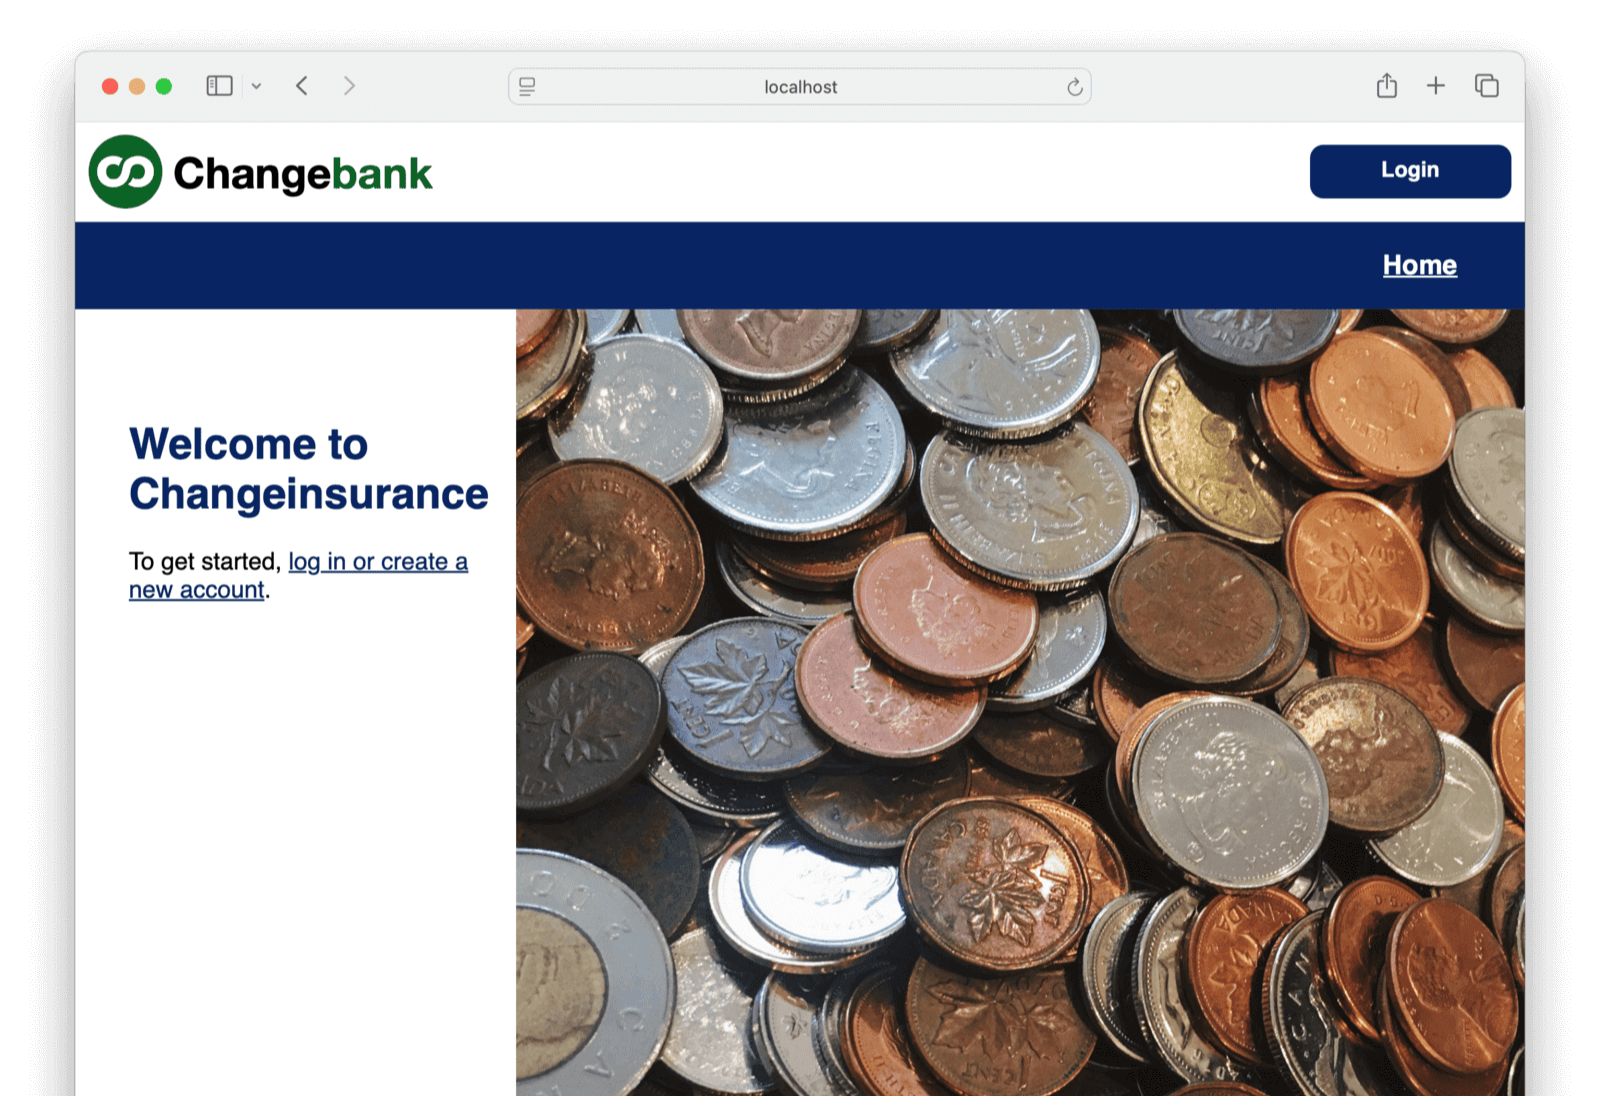
The app is called Changeinsurance, and is now running at http://localhost:3001.
Before making the dashboard, check that you can log in to all three applications. Either use an incognito browser window or don't enable Keep me signed in when logging in, otherwise, you won't see the login form in the rest of this guide:
- Browse to FusionAuth at http://localhost:9011/admin and log in with
admin@example.comandpassword.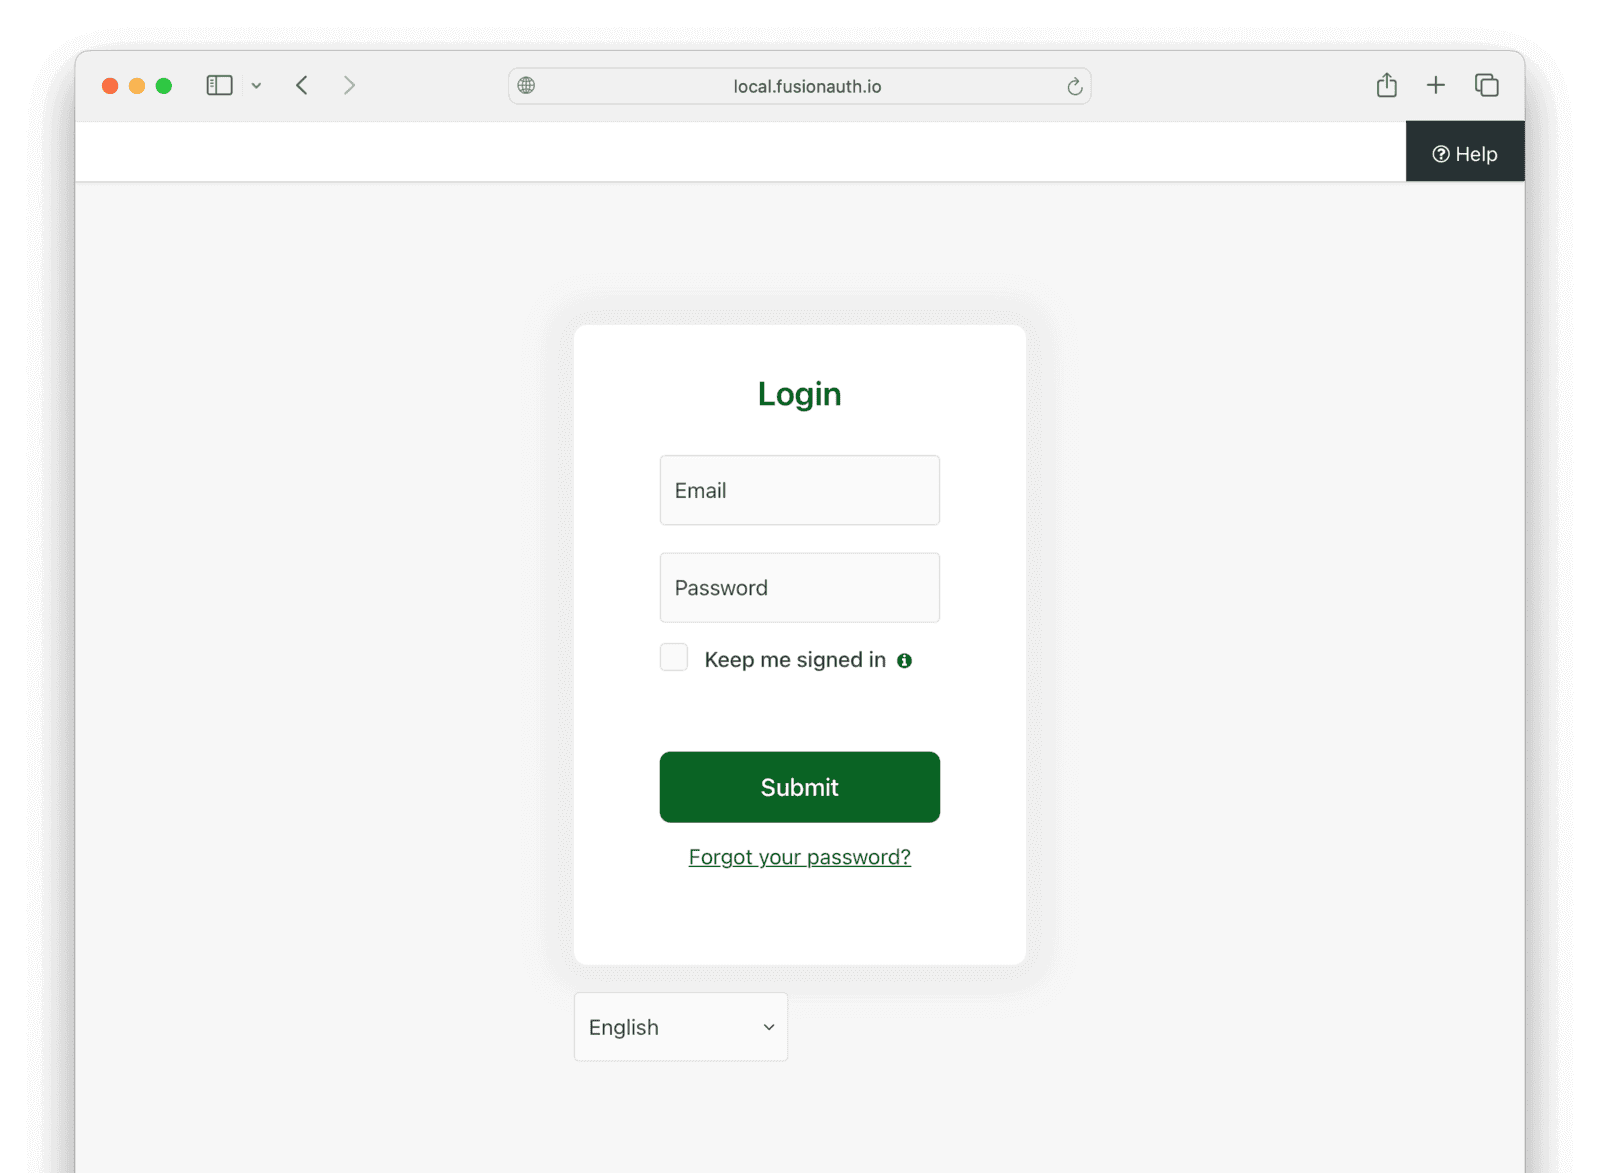
- Browse to Changebank at http://localhost:3000 and log in with the same username and password.
- Browse to Changeinsurance at http://localhost:3001 and log in with the same username and password.
If you enabled Keep me signed in , logging out of an application won't necessarily log you out of FusionAuth. It will only delete the session of the application. Next time you try to log in, FusionAuth will see the FusionAuth authentication cookie in your browser and automatically log you in.
Make A Dashboard#
Now that you have applications up and running, let's build the dashboard.
Look at the current FusionAuth landing page at http://localhost:9011.
In this section, you will change the FusionAuth landing page to display links to the two banking app web servers you started in the previous section.
Log in to your FusionAuth web interface and browse to Customizations -> Themes .
Notice there are three themes in the list. The first two are the default FusionAuth themes. The last one, Bank theme , was added by Kickstart when you started FusionAuth up. Read about Kickstart here.
- Click the edit button in the Bank theme row's action column.
- Select the Index page (fourth item in the list on the left).
- Paste the code below into the text box.
[#ftl/]
[#-- @ftlvariable name="tenant" type="io.fusionauth.domain.Tenant" --]
[#-- @ftlvariable name="tenantId" type="java.util.UUID" --]
[#-- @ftlvariable name="theme" type="io.fusionauth.domain.Theme" --]
[#import "_helpers.ftl" as helpers/]

[@helpers.html]
[@helpers.head title="FusionAuth"/]
[@helpers.body]
  [@helpers.header]
    [#-- Custom header code goes here --]
  [/@helpers.header]

   [#if theme.type != "simple"]
      [@helpers.main title="" rowClass="row center-xs" colClass="col-xs-12 col-sm-12 col-md-10 col-lg-10 col-xl-9"]
          <div class="p-3 pb-5">
            <div style="width: 180px;">
              <img src="/images/logo-gray.svg">
            </div>
            <br />
            <a href="http://localhost:3000/account" style="background: linear-gradient(to bottom right, palegreen, forestgreen);
              color: white;
              padding: 10px;
              margin: 20px;
              border-radius: 5px;
              text-align: center;
              width: 160px;
              display: inline-block;
              text-decoration: none;">
              Changebank
            </a>
            <a href="http://localhost:3001/account" style="background: linear-gradient(to bottom right, skyblue, navy);
              color: white;
              padding: 10px;
              margin: 20px;
              border-radius: 5px;
              text-align: center;
              width: 160px;
              display: inline-block;
              text-decoration: none;">
              Changeinsurance
            </a>
          </div>
      [/@helpers.main]
    [/#if]

  [@helpers.footer]
    [#-- Custom footer code goes here --]
  [/@helpers.footer]
[/@helpers.body]
[/@helpers.html]- Click the save button at the top right.
Besides a little CSS for styling, the code above only adds links for the two applications. The links don't point to the login page of the target application. Instead, they point to the logged-in main page. If the user isn't logged in to FusionAuth, they will be automatically redirected to the app's login page. If they are already logged in, they will be taken straight to the app. This saves the user time while still protecting the application content.
To see the new landing page, browse to http://localhost:9011.
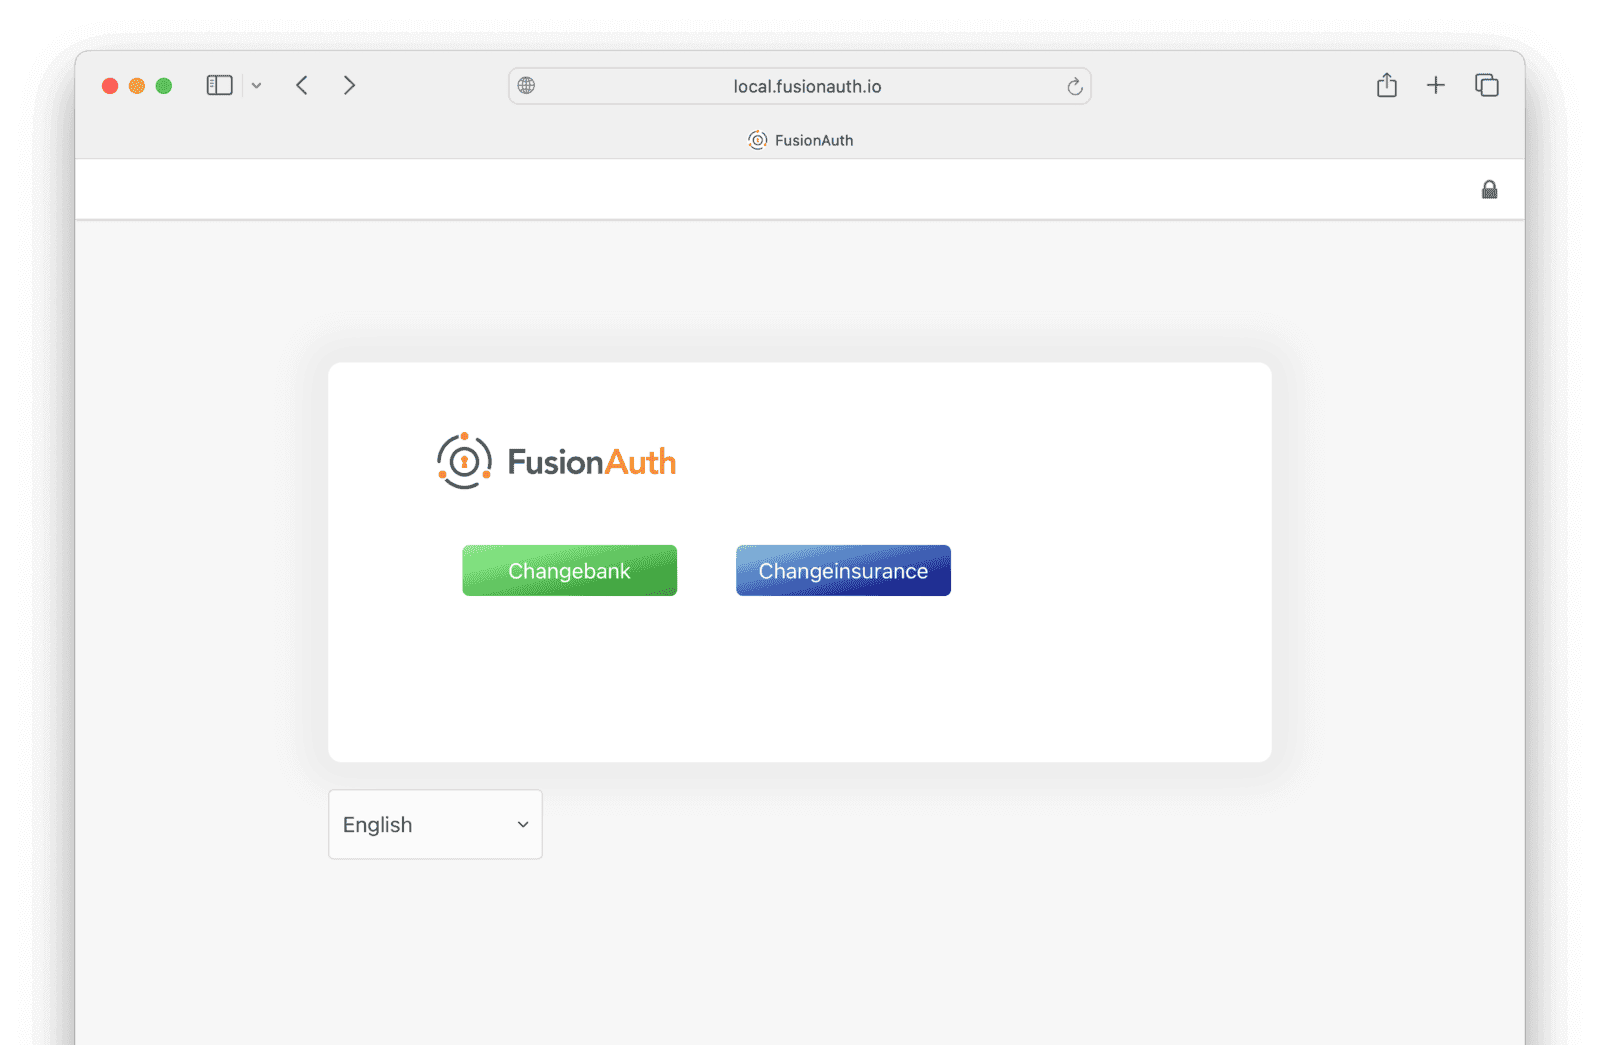
You can extend this to any number of applications, just like Google does.
Partial Access#
You can require application registration for users before access is allowed. Do so by first disabling the self-service registration setting under the Registration tab and enabling the Require registration setting in the OAuth tab of the application.
When this is configured, a user who is not registered to the Changebank or Changeinsurance application will not be able to access it, even though they can click on the link. They simply won't be logged in.
Clean Up#
To stop the running containers run the command below.
docker compose down -v
Next Steps#
To make a dashboard for your FusionAuth instance, all you need to do is make links in a custom theme for the FusionAuth landing page similar to the ones shown above. FusionAuth themes use a template language called FTL. Read more about it here.