OIDC & CockroachDB
CockroachDB is a distributed SQL database designed for speed and scale. It offers a self-hosted deployment model, where you run the clusters in your own environment, and two SaaS options: dedicated and serverless. We'll use the dedicated version to set up Single Sign-On, allowing users to log in to your CockroachDB Console interface using their FusionAuth credentials.
Prerequisites#
This document assumes you have a running instance of FusionAuth and a working CockroachDB application. You will also need admin accounts for both to configure them correctly.
Configure FusionAuth#
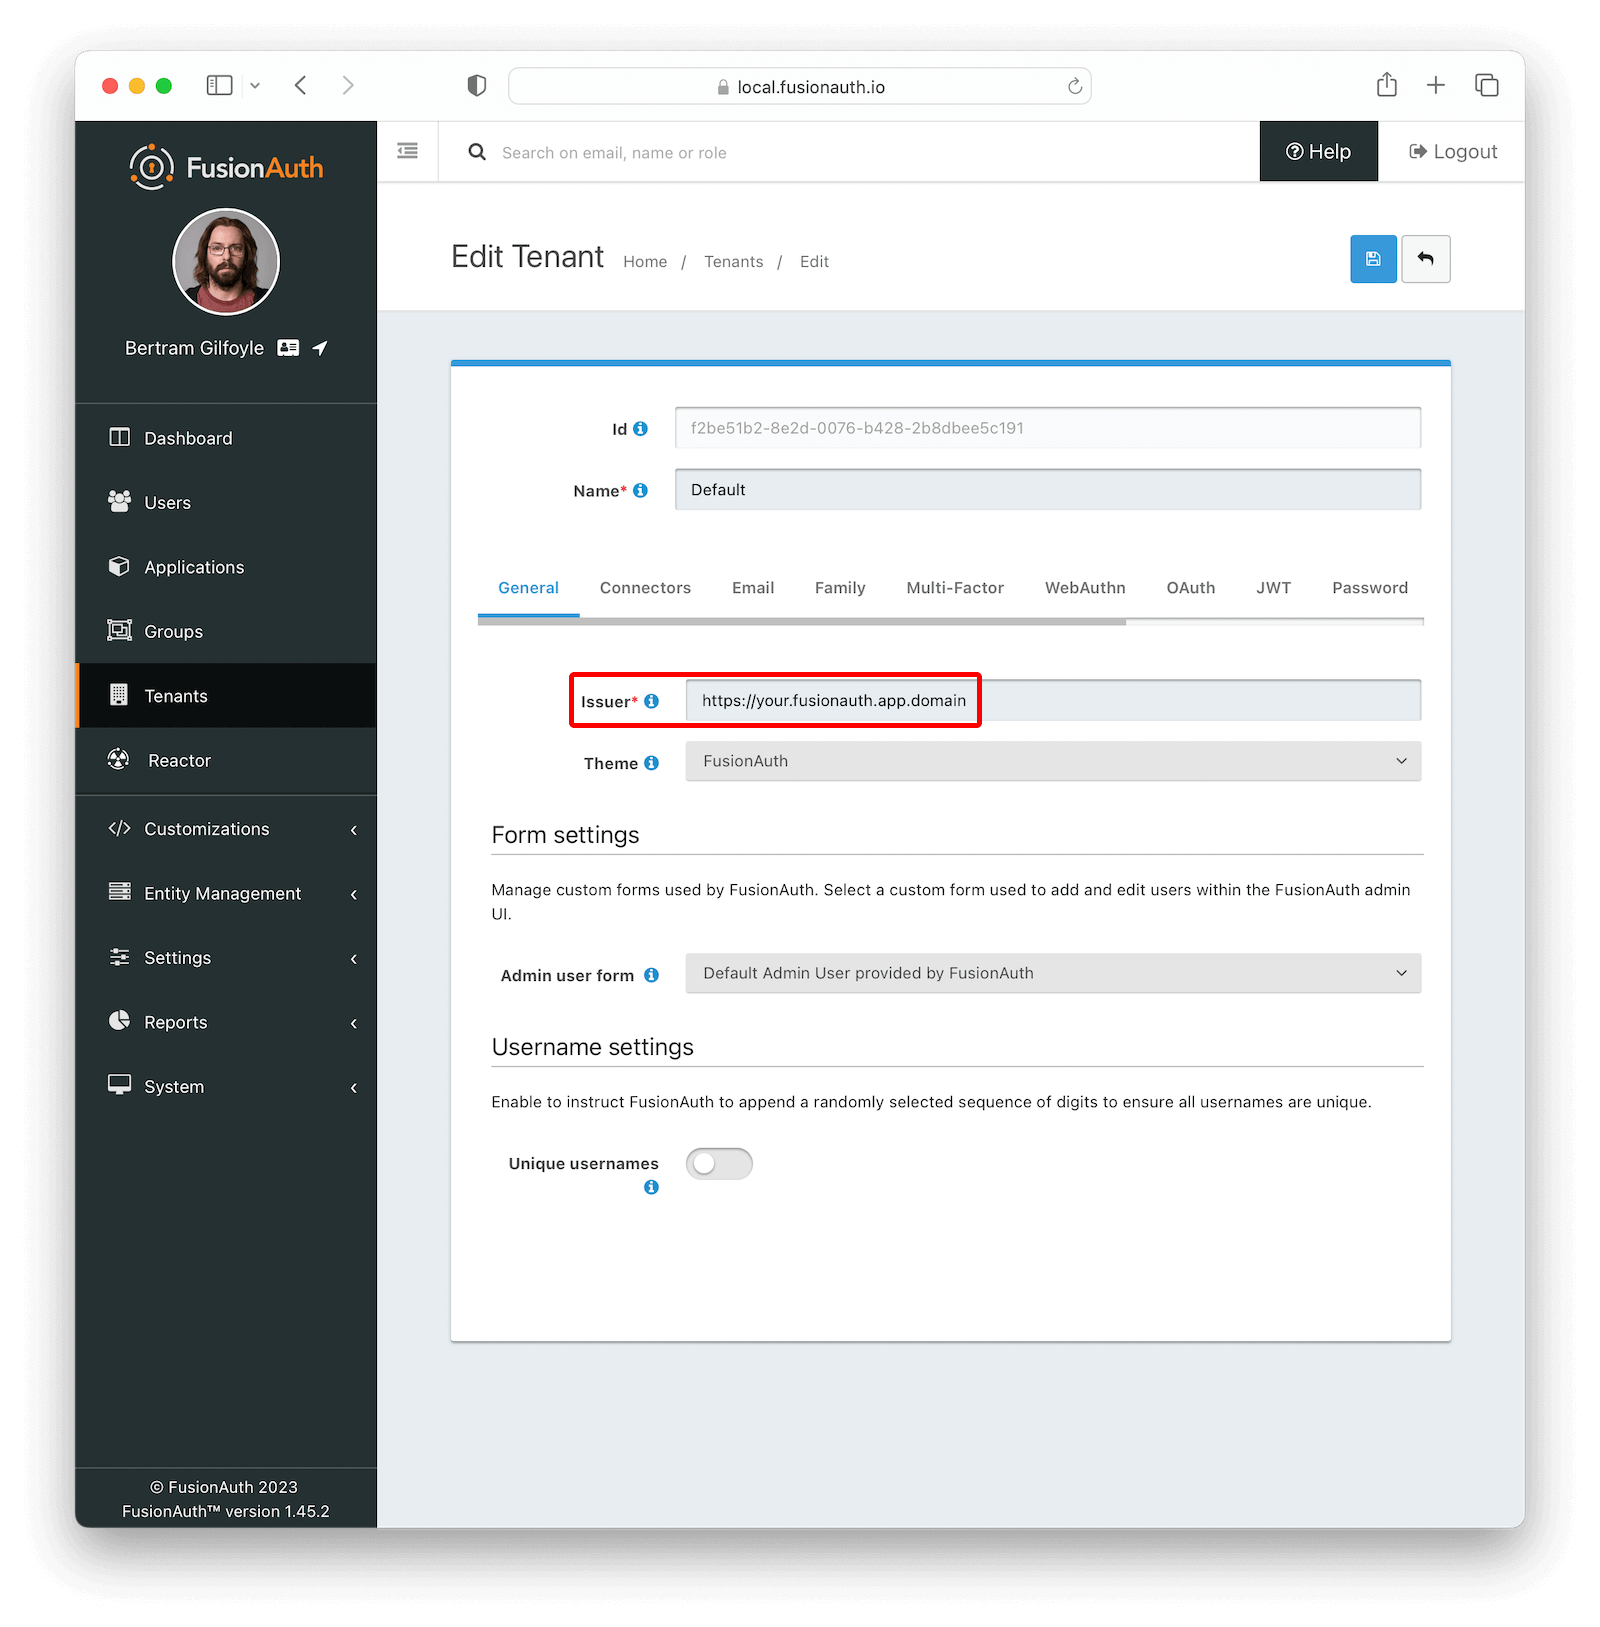
First, you have to change the issuer of your tenant. Navigate to Tenants -> Your Tenant and set the Issuer to the full URL of your FusionAuth instance including the protocol (e.g. https://your.fusionauth.app.domain) and with no trailing slashes. Click the blue floppy disk icon to save your changes.
Now, navigate to Applications and create a new application. Fill out the Name field (e.g. CockroachDB), then click the OAuth tab. Make sure that the Enabled grants checkboxes have the Authorization Code and Refresh Token grants enabled. Now, click the JWT tab, toggle the Enabled field and set both Access Token signing key and Id Token signing key to Auto generate a new key on save..., like shown in the image below.
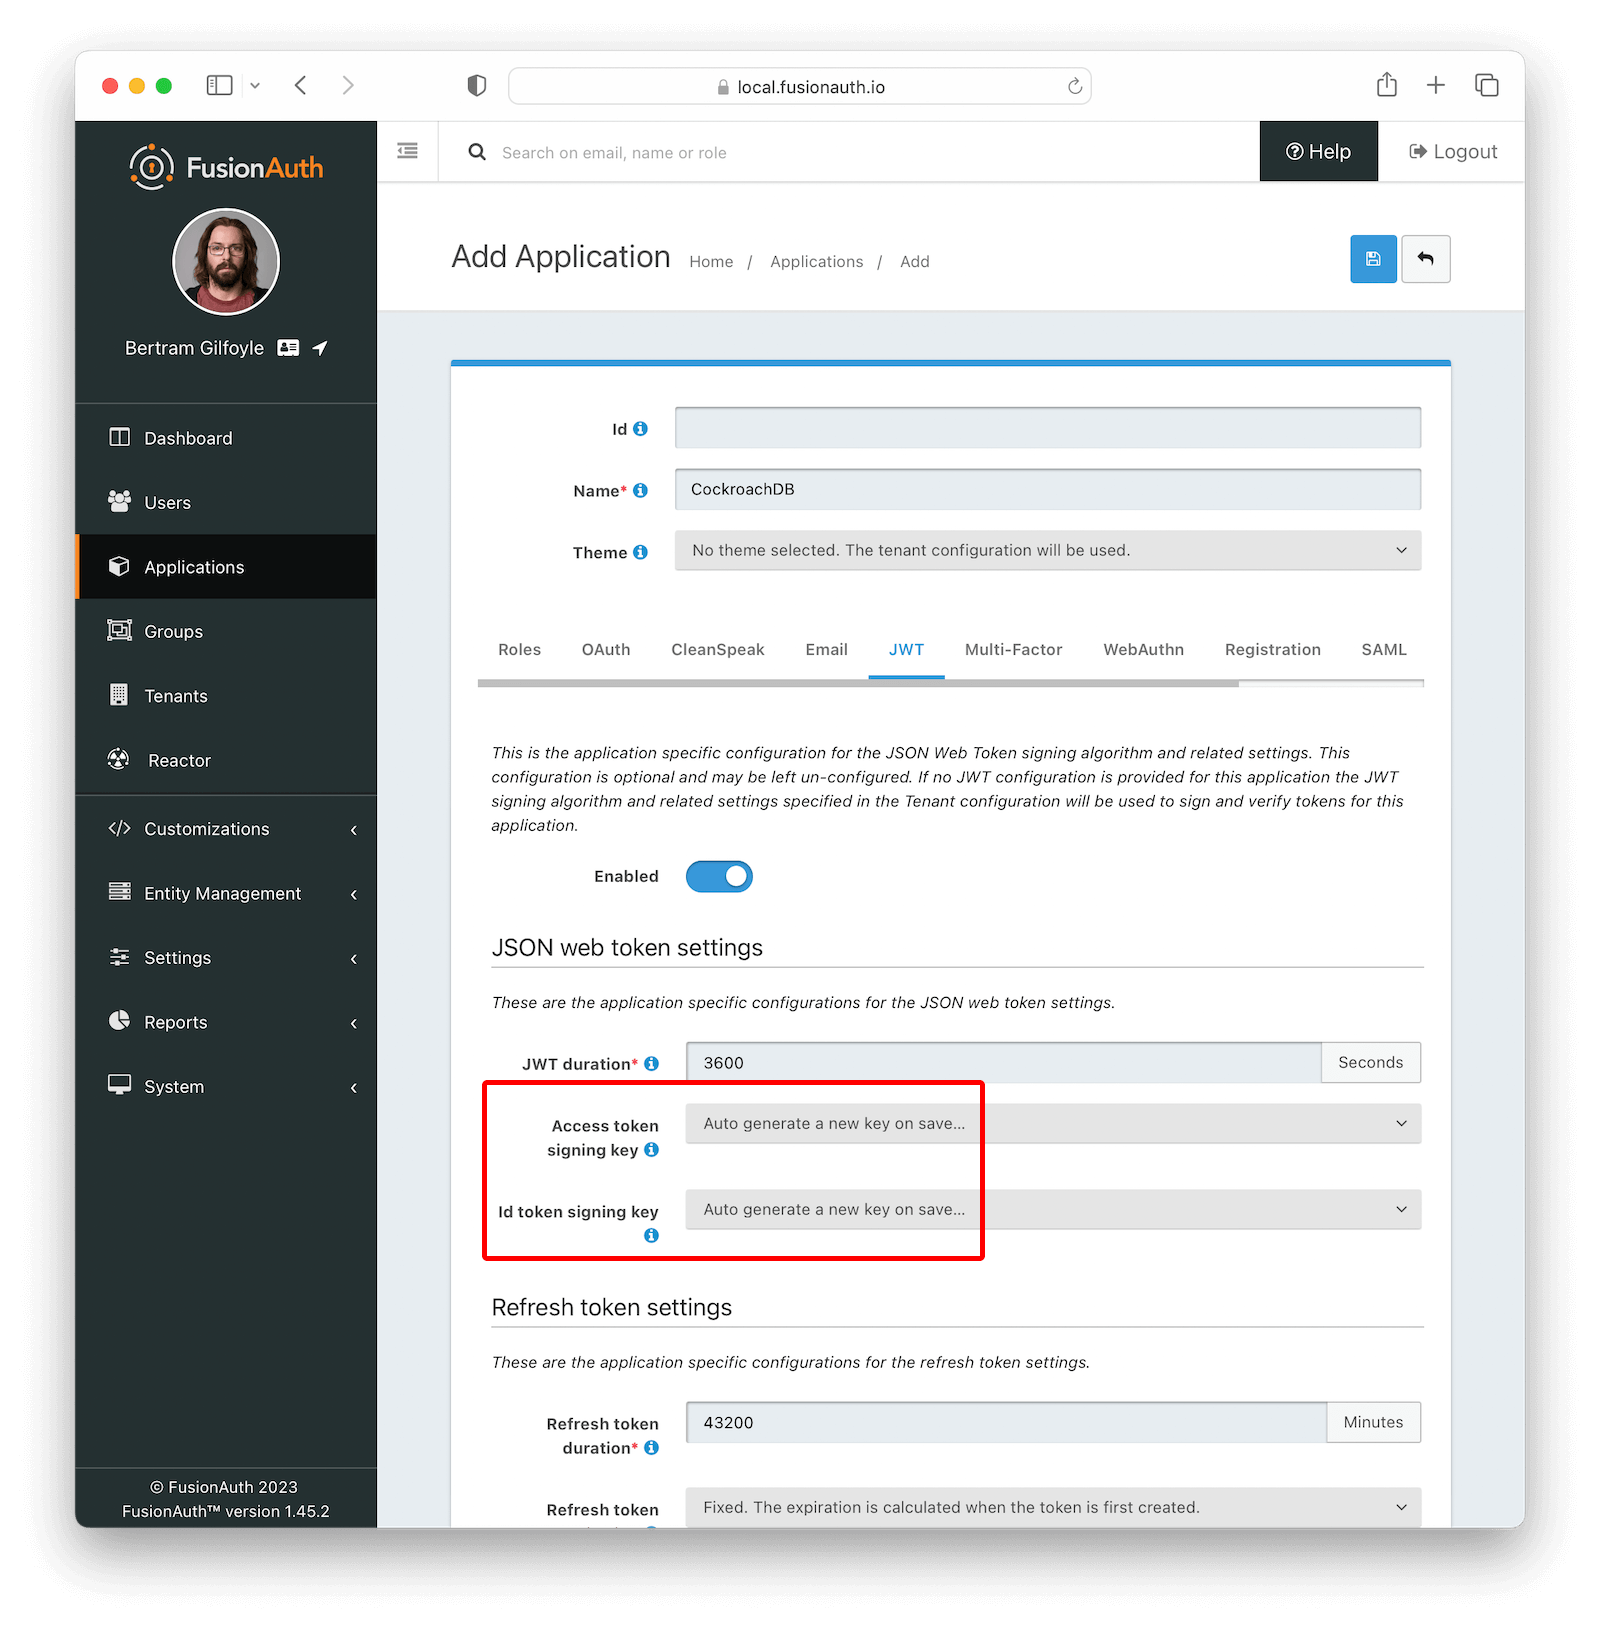
Click the Save button.
After being redirected to the Applications page, click on the button next to your application to view its details. In the modal that opens, scroll down a bit until you reach the OAuth configuration section. Write down both Client Id and the Client Secret values, as you'll need them soon.
Set Up CockroachDB#
The steps below are performed in a CockroachDB Cloud instance. On Self-Hosted clusters, instructions are different. Refer to this article.
Log in to your Cockroach DB console using an administrator account and navigate to Organization -> Authentication .
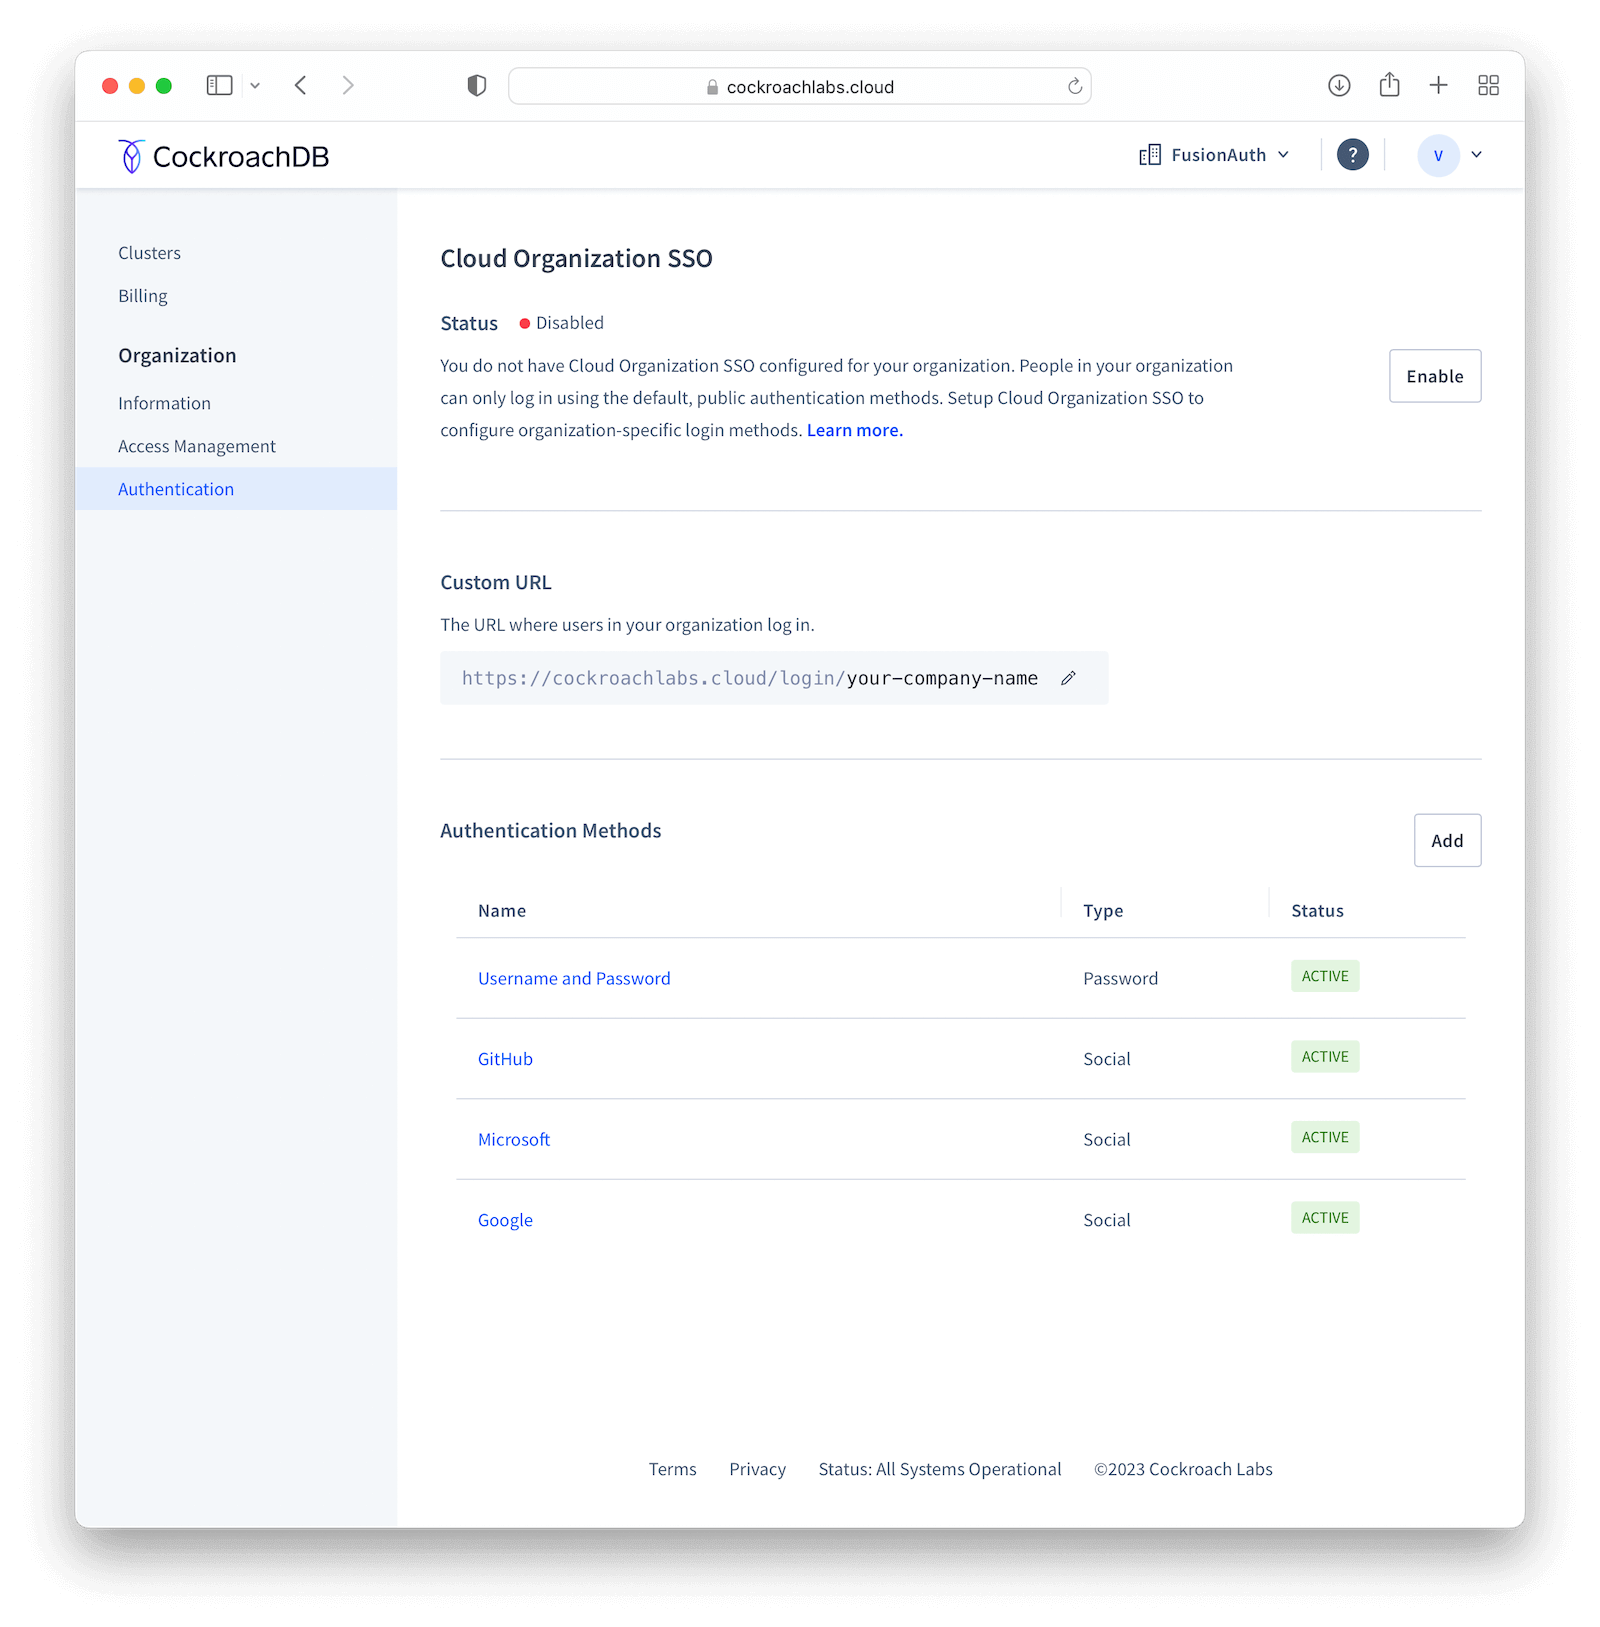
Click Enable to activate SSO providers in your organization. You will be prompted to provide a Custom URL for your instance, where all users will be required to use when logging in (this will be prefixed by https://cockroachlabs.cloud/login/). Define the URL and click Next. You should now toggle the Confirm box to acknowledge that this operation cannot be reverted and finally click Enable to save.
After doing so, you'll be taken back to the Authentication page. Click Add in Authentication Methods to create a new provider, set Configuration to OIDC and give it a meaningful name, like "FusionAuth", which will be displayed to your users when they browse to the login page. Click Submit to go to the details page.
In the method details page, click Edit and fill in Issuer URL , Client ID and Client Secret fields with the values you copied when creating the application in your FusionAuth instance.
By default, someone will only be able to log in to your CockroachDB application if you have already created a user there with the same email address from your FusionAuth instance. However, you can enable CockroachDB to automatically create a user there with a Developer role if they don't exist by clicking Additional Settings and setting the Auto-provision Accounts switch to "Enabled". You can also define which email domains will be accepted by filling Allowed Email Domains .
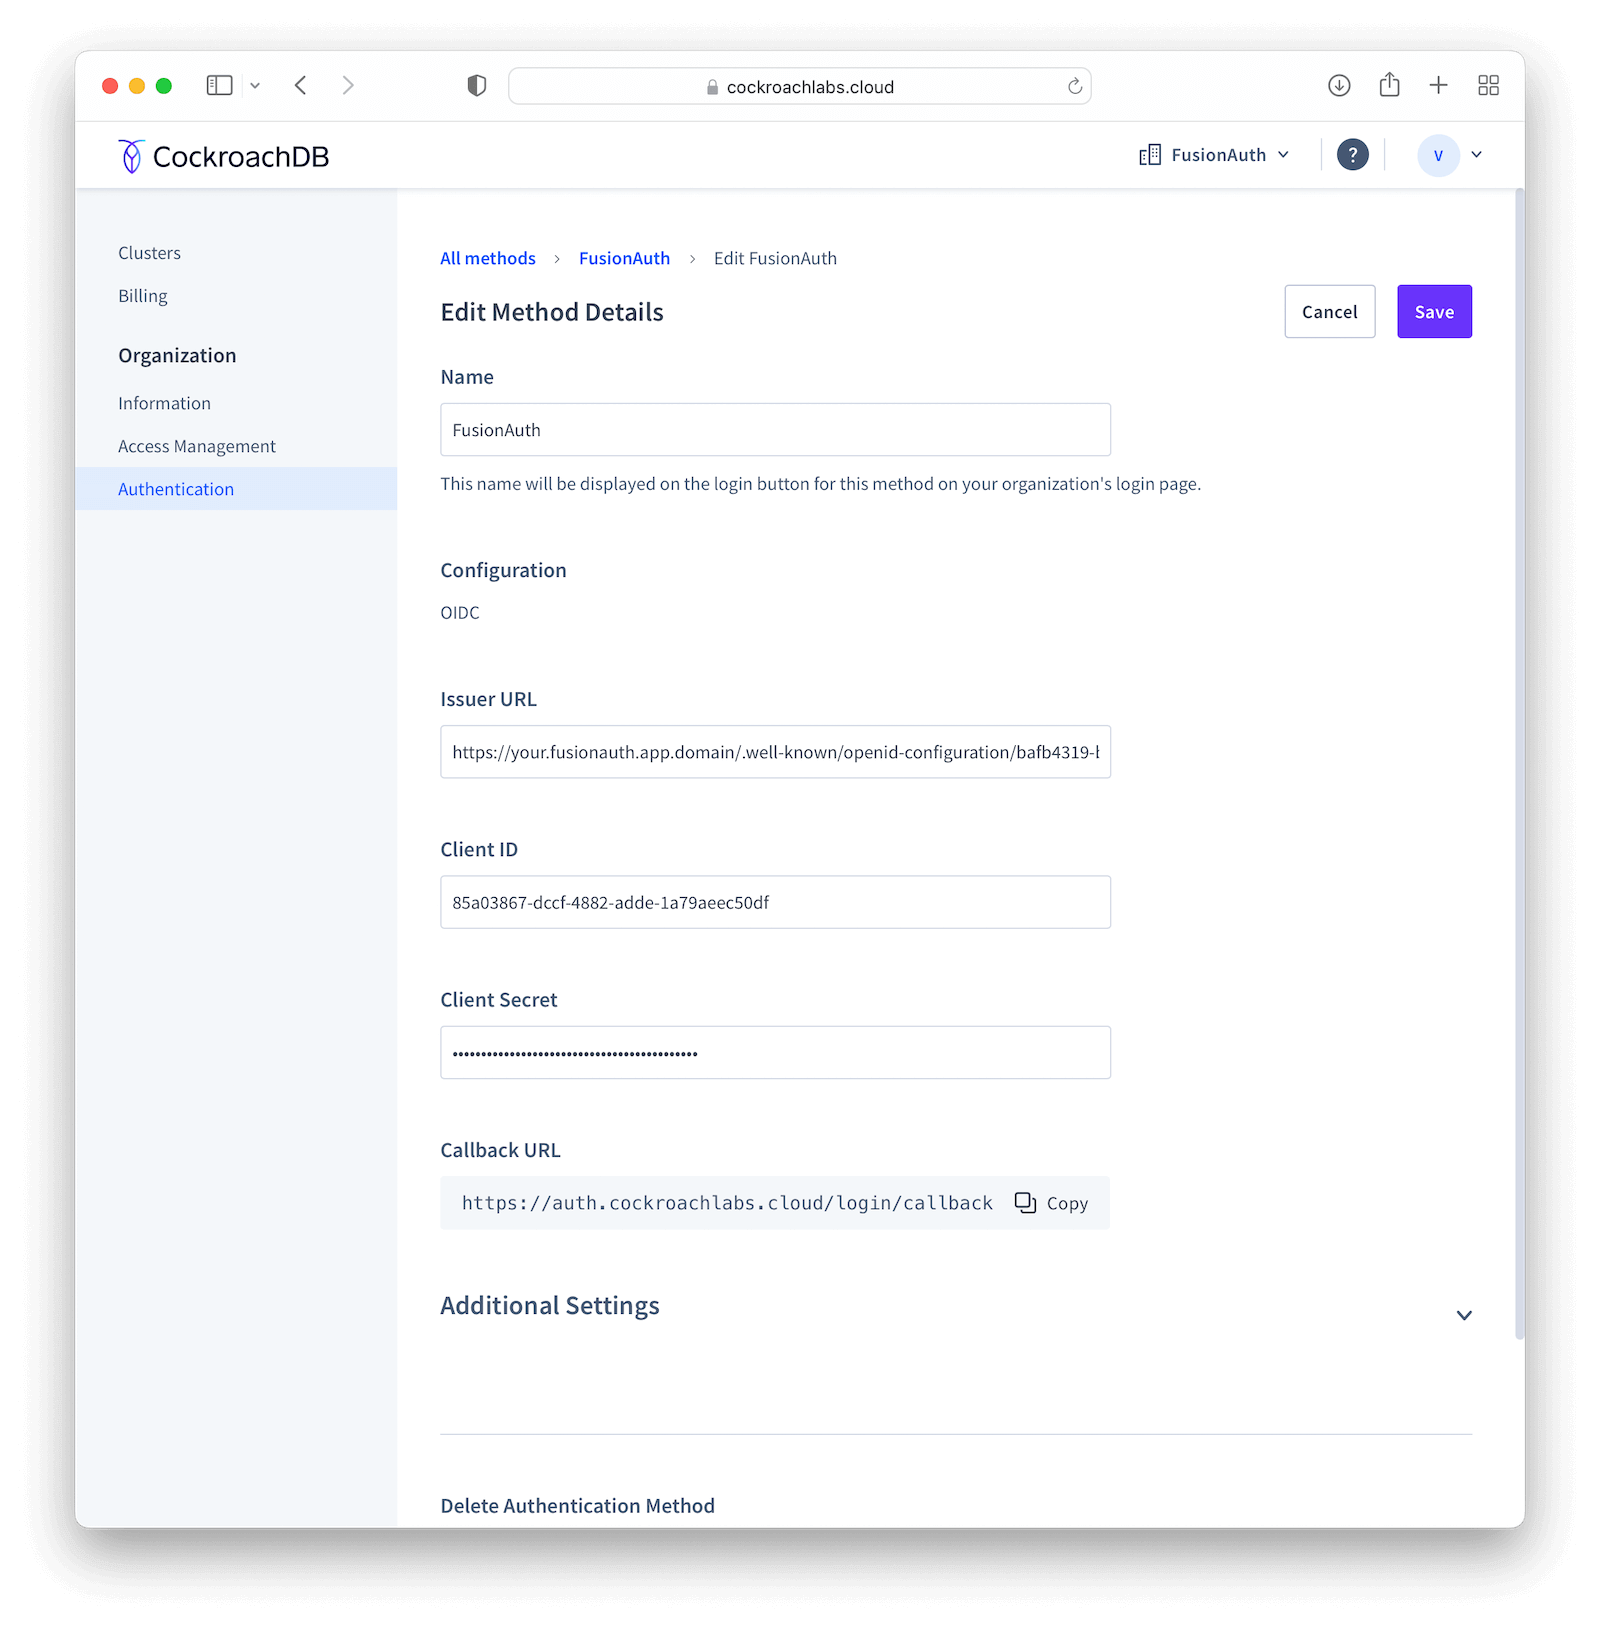
Submit your changes by clicking Save in the top right corner of the screen, which will redirect you back to the method details page, where you need to copy the Callback URL . Go back to your FusionAuth instance and select Applications . Click the blue pencil icon to edit your application and paste that URL in Authorized redirect URLs and save your application.
Go back to CockroachDB and click the Test button in Test Connection to actually try out the whole process. If it succeeds, you can enable the integration by toggling the Status switch.
Log in#
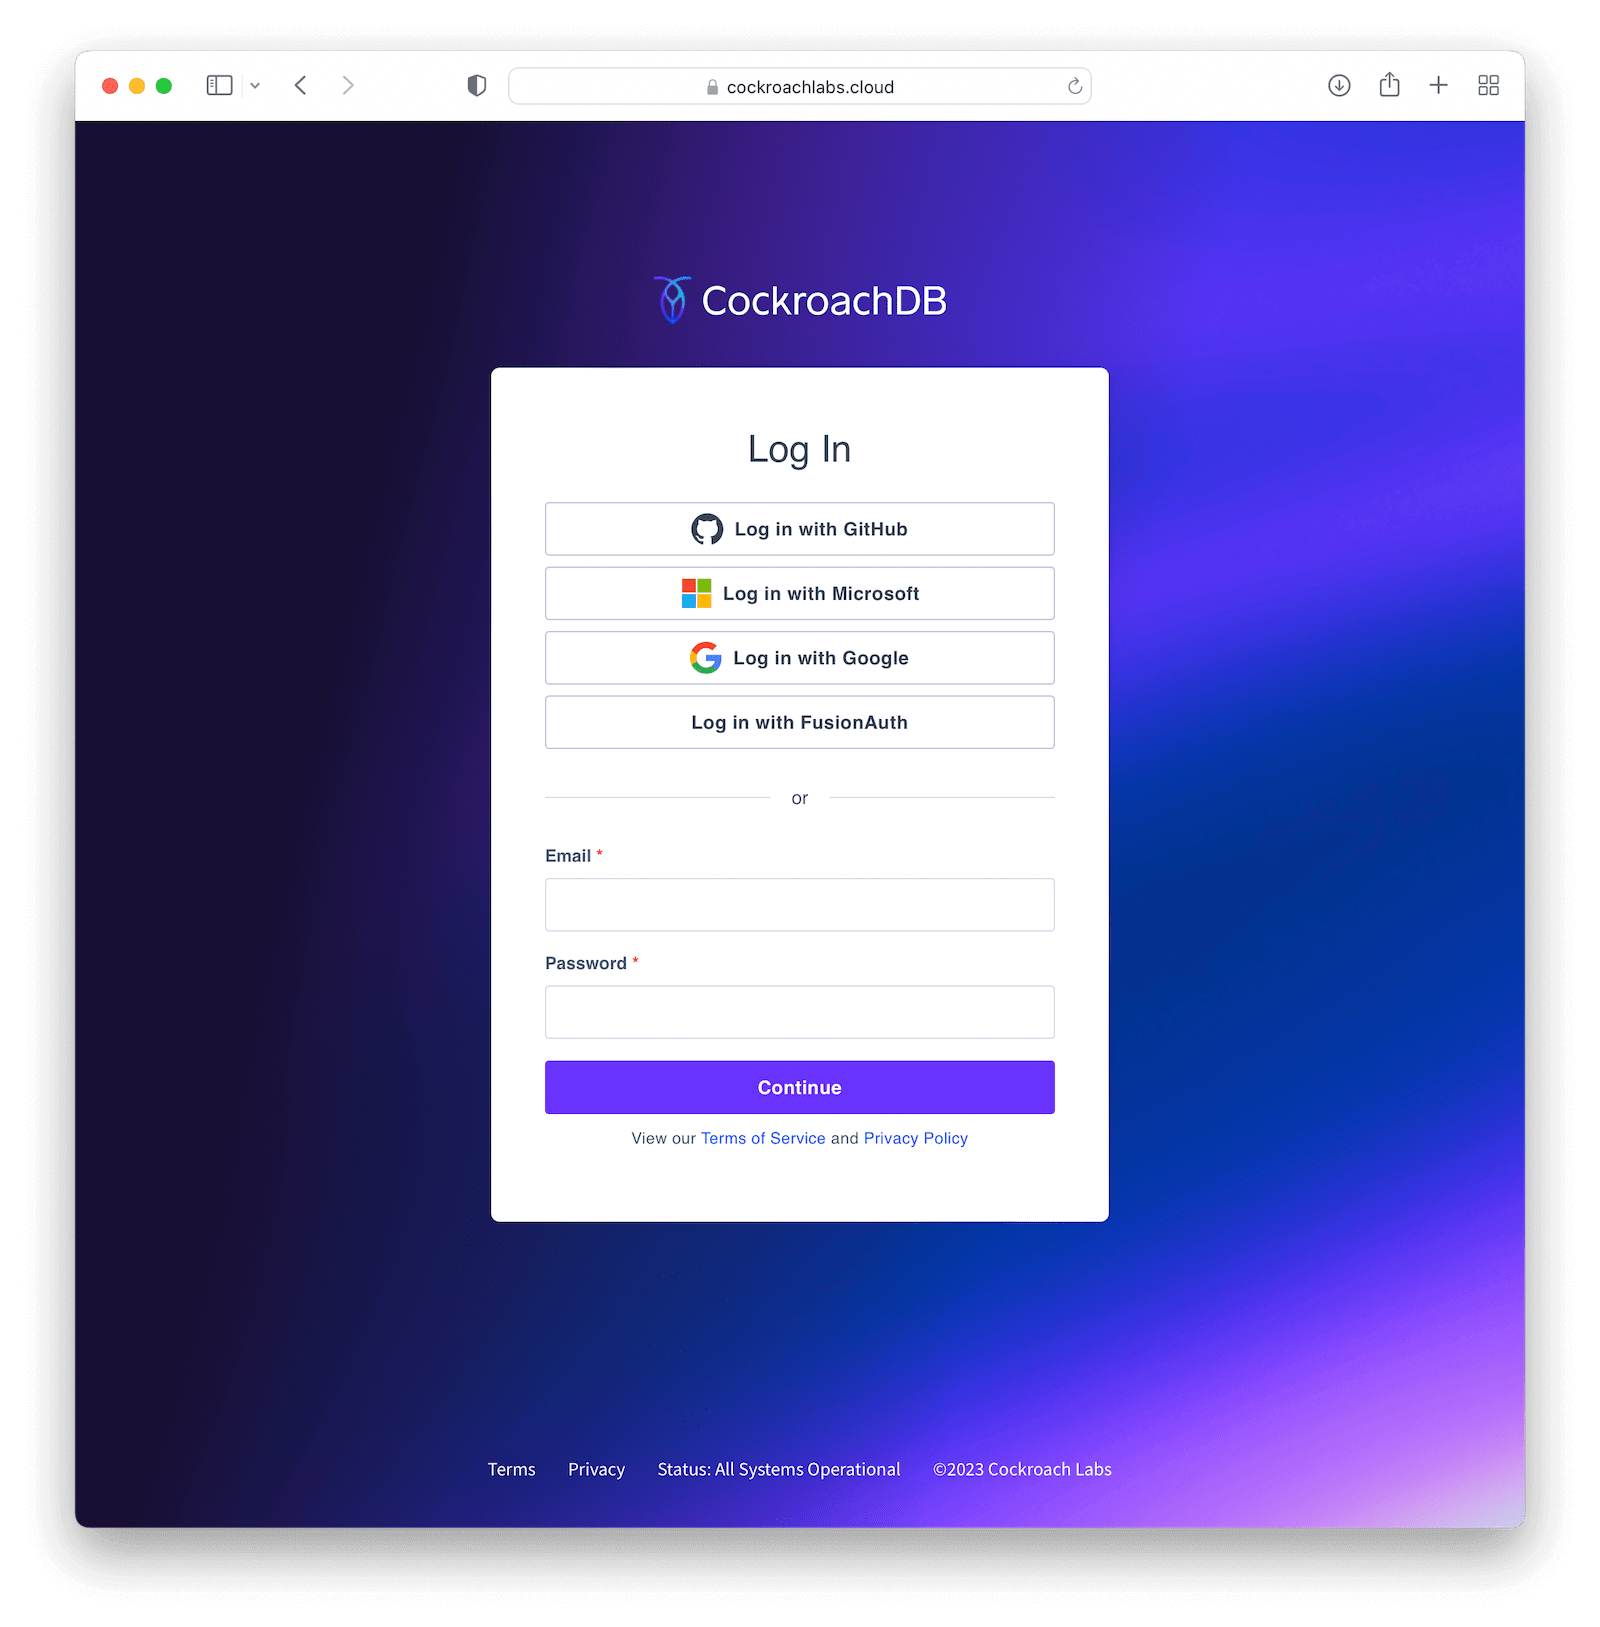
To test everything, open a different browser (or an incognito tab) and go to that custom URL you've configured earlier (something like https://cockroachlabs.cloud/login/your-url-here). You'll now see a Log in with FusionAuth (or whatever the name you chose) button. Click it and you will be prompted to log in to your FusionAuth instance. After completing the process, you should be redirected back to your CockroachDB DB Console already logged in.
Troubleshooting#
- Watch out when defining the issuer for your tenant and make sure you have included both the protocol (most commonly
https://) and no trailing slashes. - Ensure that the signing keys for your FusionAuth application are using asymmetric encryption (RS256) by navigating to Settings -> Key Master , locating the two keys named
Access token signing key generated for application CockroachDBandId token signing key generated for application CockroachDB. Both of them should have Type asRSA. - If you have trouble configuring your CockroachDB instance, please refer to their Single Sign-On support docs for either Cloud and Self-Hosted clusters.