Switching Search Engines
As of version 1.16.0, FusionAuth has the concept of a search engine type. There are two valid values:
databaseelasticsearch(for Elasticsearch or OpenSearch)
They have different strengths and limitations. This tutorial walks you through the process of changing your FusionAuth search engine. Reasons for doing so vary. You may be simplifying your deployment strategy with the database search engine. Or perhaps you need the advanced searching options of Elasticsearch after your application has grown. Either way, it’s an easy switch.
Prerequisites
This tutorial assumes you are running version 1.16.0 or greater.
If you aren’t, head on over to the installation guide or the upgrade guide.
Because there are a variety of ways to run FusionAuth, this guide won’t document how to start or stop your FusionAuth instance. Please consult the installation specific documentation for instructions on how to start or stop it.
Overview
To switch the search engine, you need to do the following:
- Stop FusionAuth
- Modify the FusionAuth configuration
- Start FusionAuth
- Reindex (if switching from the database search engine to Elasticsearch)
FusionAuth can be configured in a number of ways, outlined in the Configuration Reference, including environment variables and the fusionauth.properties file. This tutorial modifies the fusionauth.properties file, but adapting the instructions to your configuration method should be straight forward.
From Elasticsearch to Database
The first step is to stop FusionAuth.
Locate your FusionAuth configuration file named fusionauth.properties. This is usually located at /usr/local/fusionauth/config/fusionauth.properties unless you installed via Fast Path, in which case it is located in your service root.
Add or update the fusionauth-app.search-engine-type key to have the value database.
fusionauth-app.search-engine-type=databaseOptionally, comment out or remove any properties prefixed with fusionauth-search. as well as the fusionauth-app.search-servers property. If not removed, these will be ignored.
Restart the FusionAuth application.
Verify the change
Log into the FusionAuth admin UI. Navigate to System -> About and look at the System panel. This will show the new value for your search engine: Database.
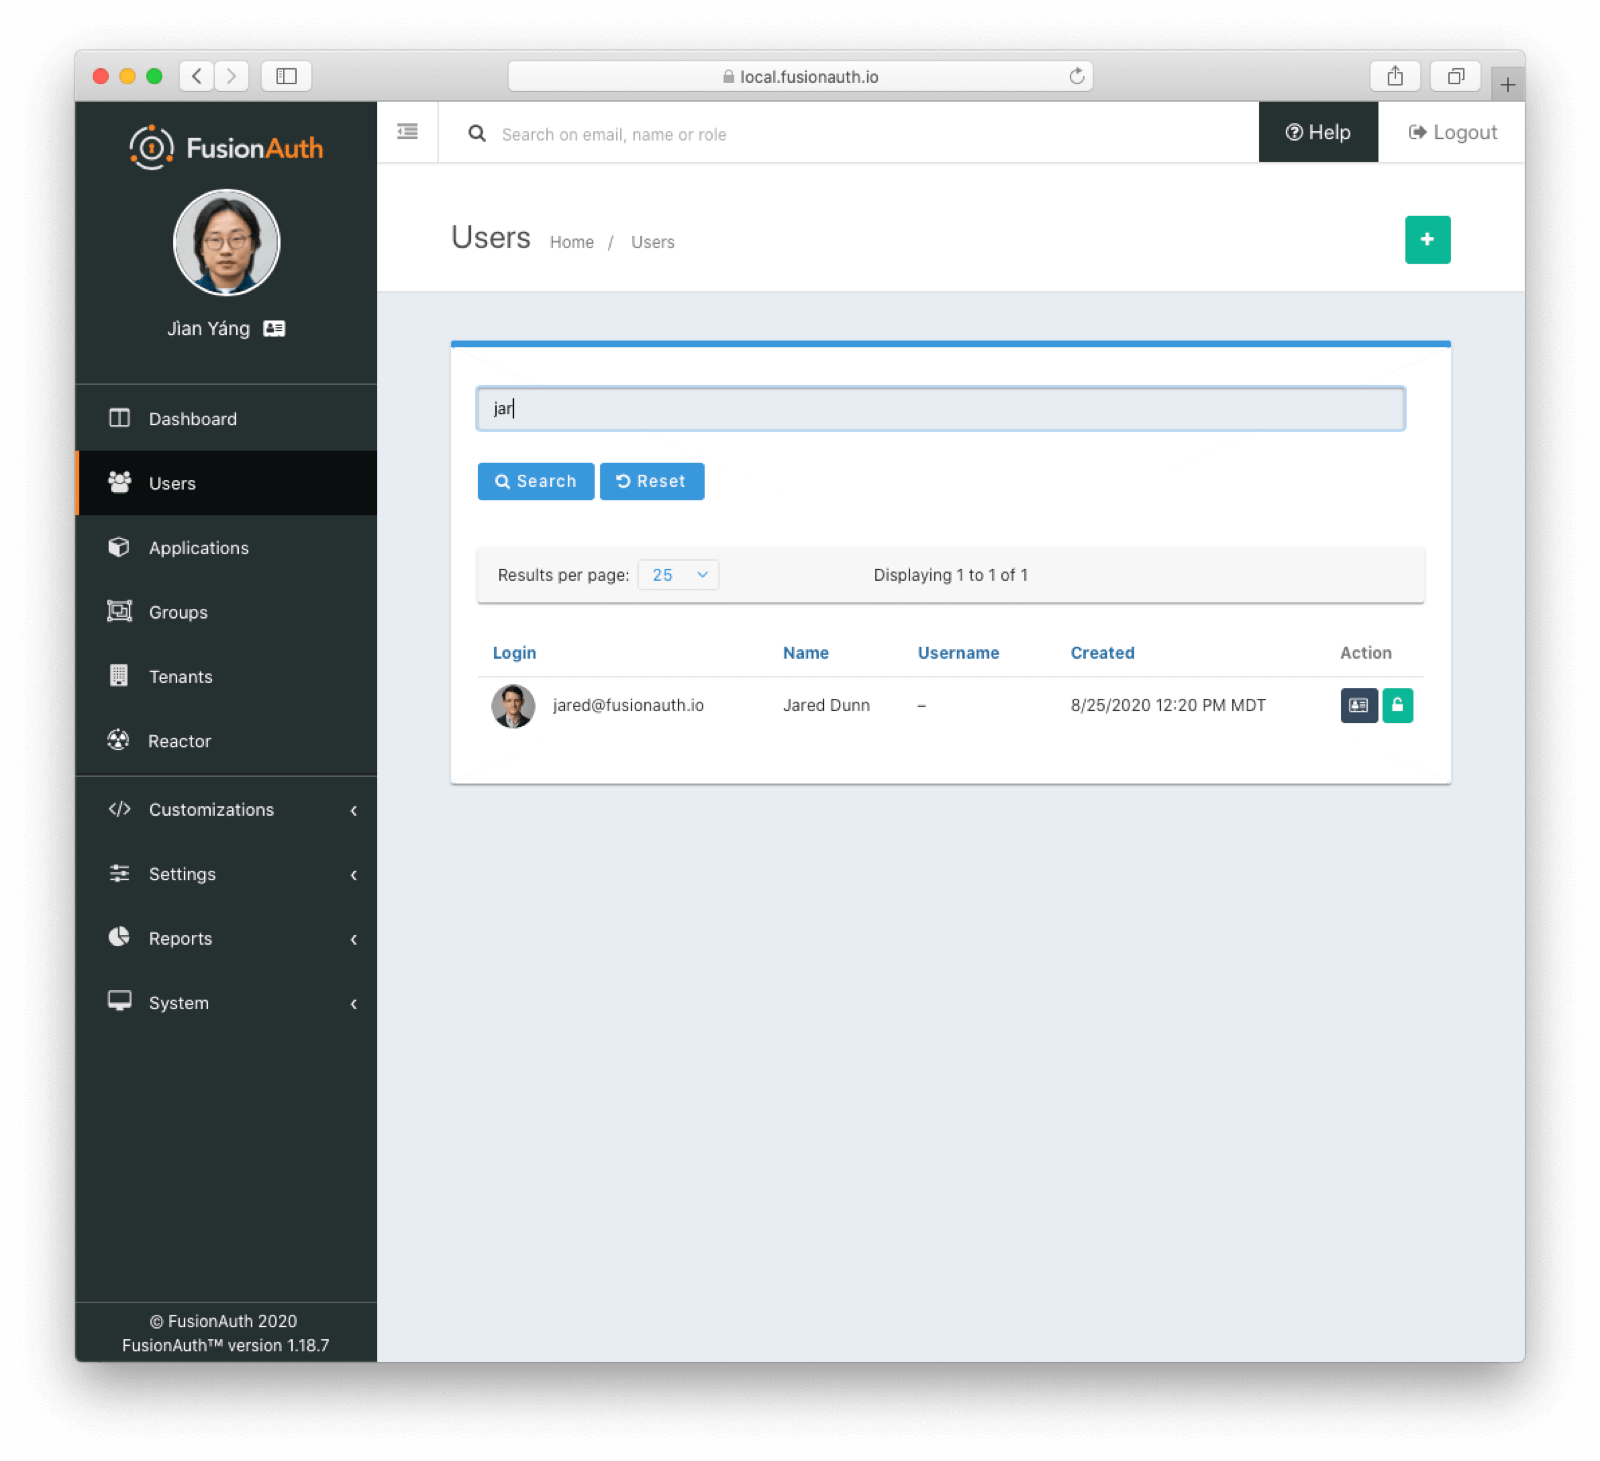
You can also navigate to Users and search for a user by email address or first name to confirm that you can search.

From Database to Elasticsearch
If you already have FusionAuth running, but need to install the search service, here are instructions to do so.
Once you have Elasticsearch running, the next step is to stop FusionAuth.
Locate your FusionAuth configuration file named fusionauth.properties. This is usually located at /usr/local/fusionauth/config/fusionauth.properties unless you installed via Fast Path, in which case it is located in your service root.
Uncomment or add the fusionauth-app.search-servers property. Set it to point to your Elasticsearch servers. For example:
fusionauth-app.search-servers=http://localhost:9021In addition, add or update the fusionauth-app.search-engine-type property to have the value elasticsearch.
fusionauth-app.search-engine-type=elasticsearchFinally, add or uncomment and update any properties prefixed by fusionauth-search needed for your installation. These are all documented in the Configuration Reference.
Restart the FusionAuth application.
Verify the change and reindex
Log in to the FusionAuth admin UI. Navigate to System -> About and look at the System panel. This will show the new value for your search engine: Elasticsearch.
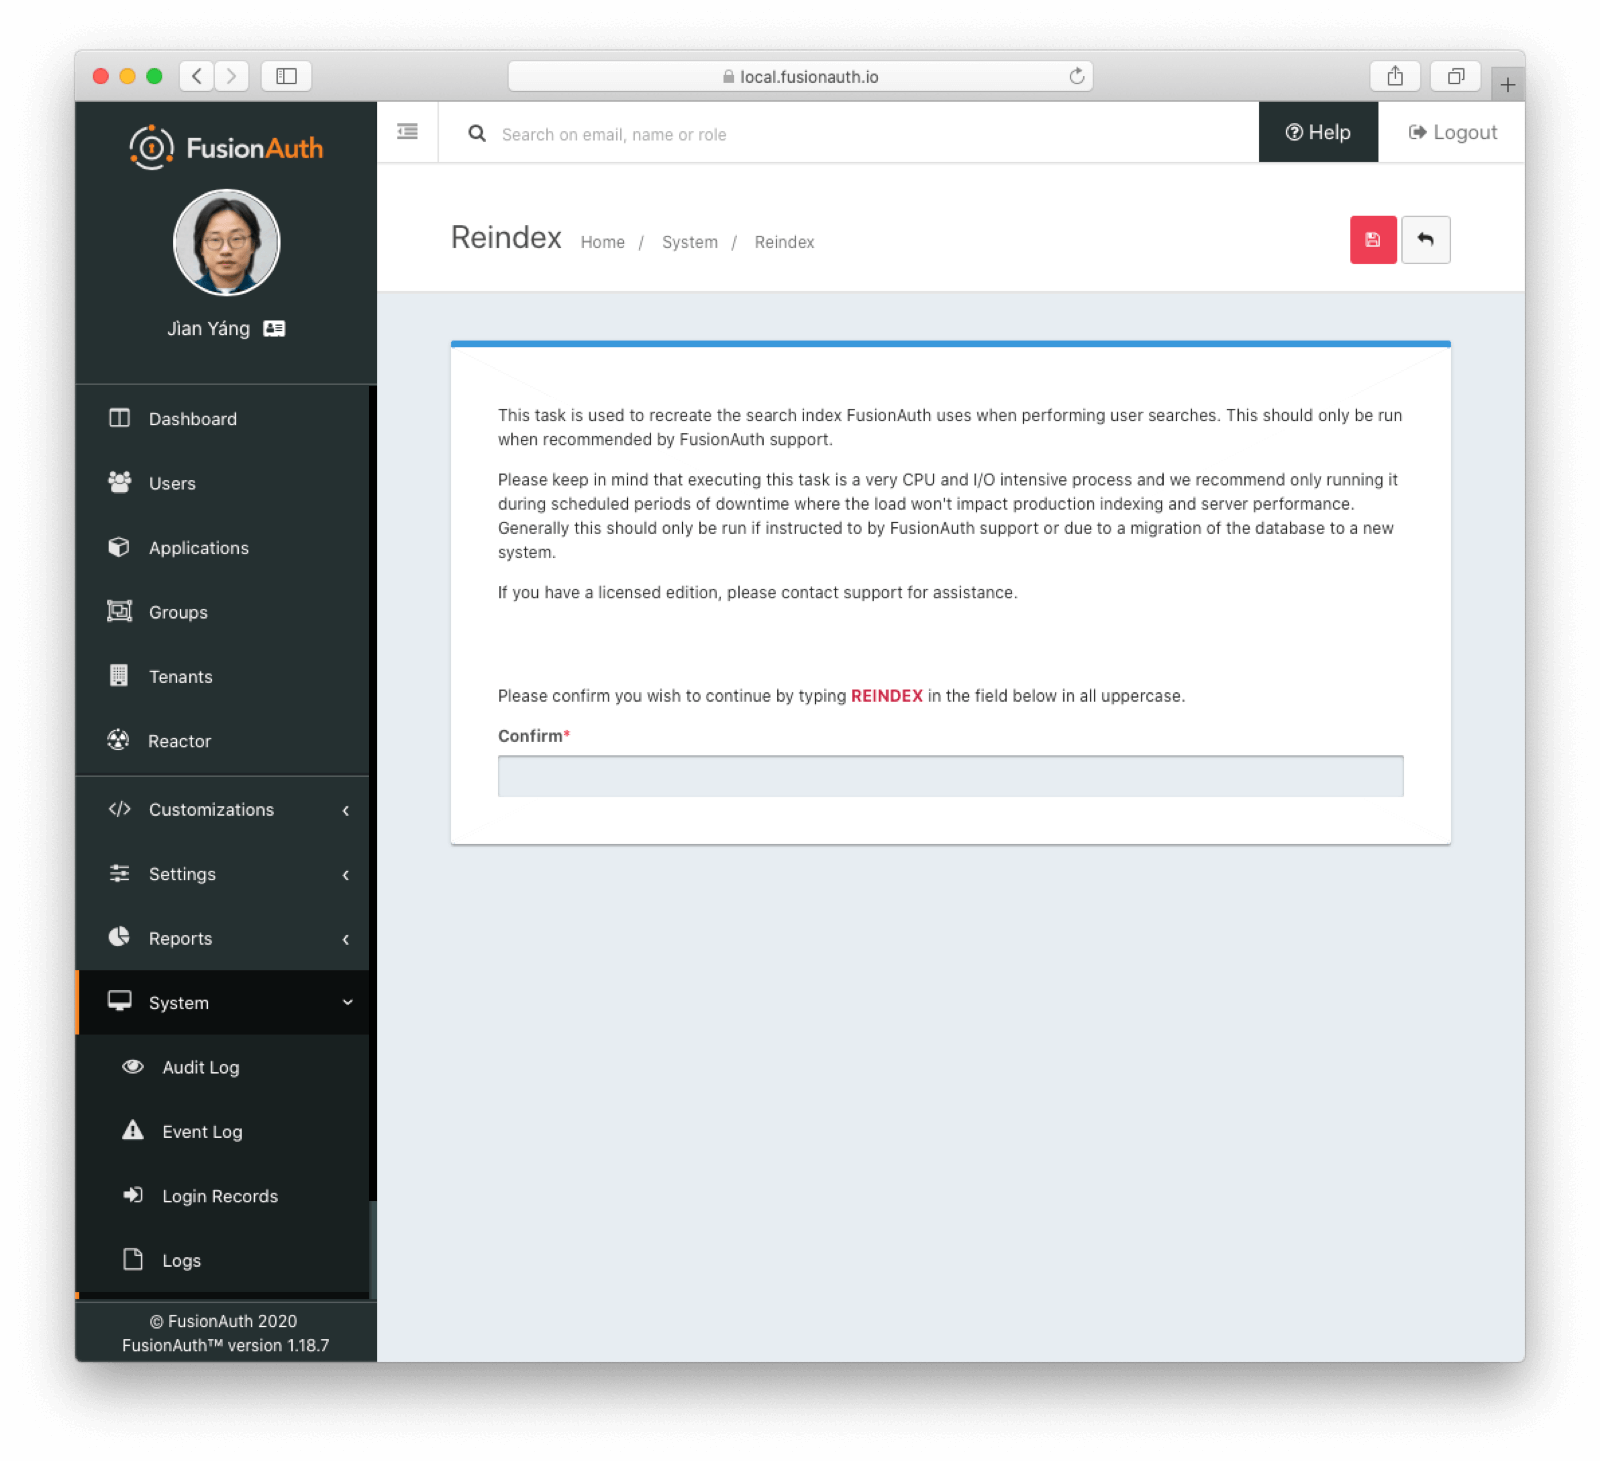
You’ll also want to reindex by navigating to System -> Reindex . This will initialize the search index and synchronize it with your database. Reindexing may take some time, depending on the number of users you have and the amount of custom data to be indexed.

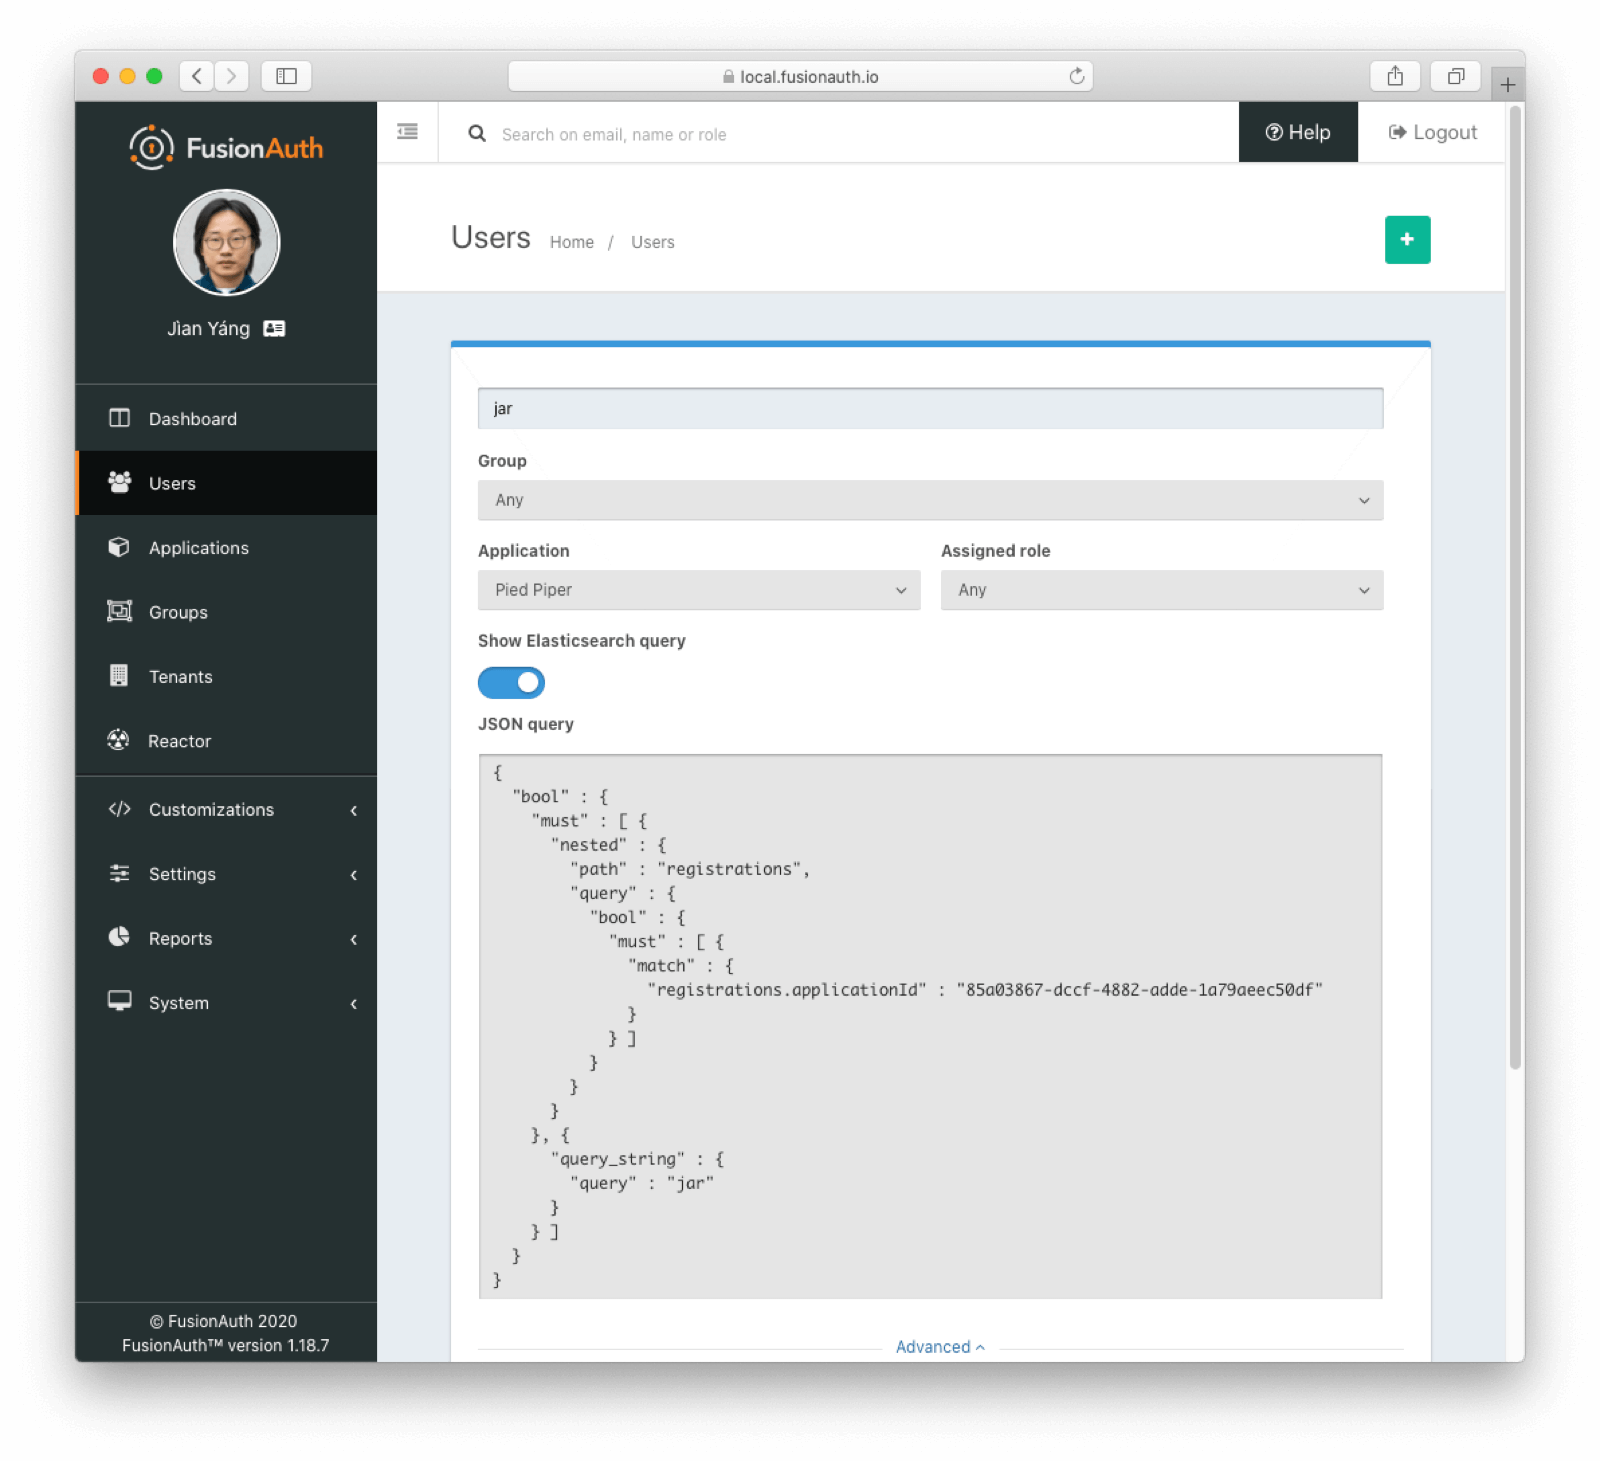
Navigate to Users and search for a user by email address, first name or other attribute to confirm that the search engine is working. You’ll also notice that the advanced search form elements are also present.

Limitations
FusionAuth provides data fields on many types of objects:
- Applications
- Tenants
- Groups
- Users
- Registrations
- Consents
If you are using the Elasticsearch search engine, the user.data , registration.data , and entity.data fields are indexed by Elasticsearch.
For example, you could create a field contained in user.data called migrated and store a boolean value. If you later set that field to an object value for any user, you won’t be able to search for that user. Other users added after this user will be found, however, as long as they have the correct boolean value for user.data.migrated (or no value).
Elasticsearch requires fields to have the same data type across all indexed objects. In the example above, once Elasticsearch “knows” that user.data.migrated is a boolean, it expects this field, if present, to be a boolean for all users.
Therefore, you should not change the data type of fields stored in these fields across entities. This must be enforced by any software that updates these fields. There’s an open GitHub issue to allow FusionAuth to enforce the Elasticsearch schema.
Other object data fields may in the future be indexed by Elasticsearch. Therefore, it is recommended to maintain a consistent schema for all data contained in data fields.
This limitation applies only to installations using the Elasticsearch search engine. However, if you start with the database search engine and eventually need to switch to the Elasticsearch search engine because the database search engine no longer meets your needs, if you have not enforced consistency in the data field types, you will not be able to do so.
Dates that are stored in the data field must be valid. Dates such as “0000-00-00” will fail to parse, for example. Some databases will return that value for invalid timestamps. When setting data values, invalid dates should be set to null to keep the schema valid.
If you do not enforce the schema, objects will be mysteriously hidden from searches. It can also result in a MapperParsingException.

