Add WebAuthn Passkey

This feature is available to licensed FusionAuth instances as of version 1.52.0. A free license is available in the Plan tab for any user who registers in the account portal.
Available since 1.41.0
Add a WebAuthn Passkey
WebAuthn is disabled by default on a tenant. To toggle navigate to Tenants -> Edit Tenant -> WebAuthn . In order for the user to use the registered passkey, at least one WebAuthn workflow must be enabled for the tenant.
Enable WebAuthn on Tenant (Admin Facing)
WebAuthn is disabled by default at the tenant level. It can be toggled on and off as needed.
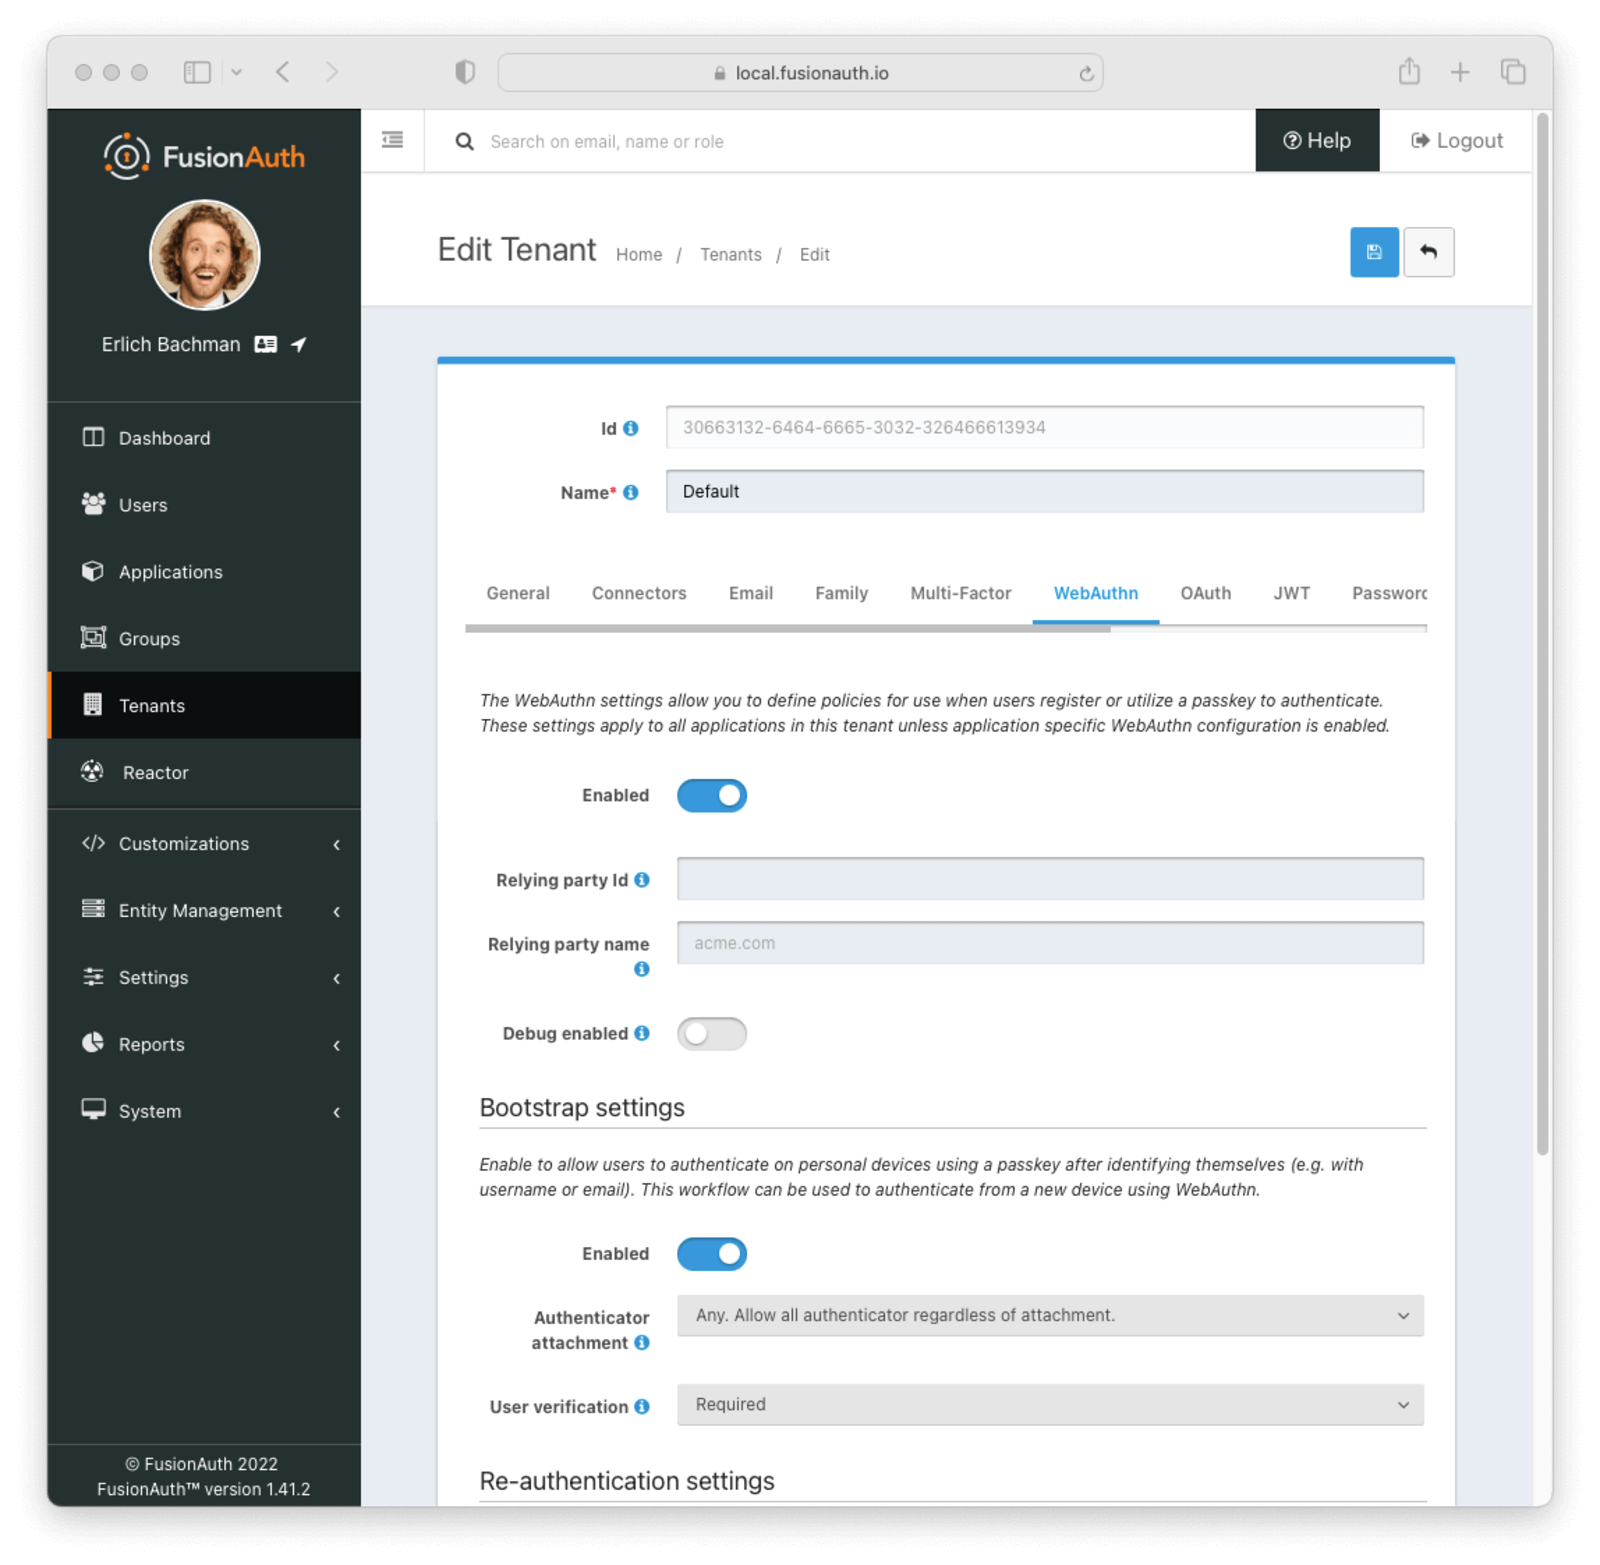
In order for a user to use a passkey, one or more WebAuthn workflows must be enabled at the tenant or application level. See the WebAuthn Admin Guide for more details on configuration.
Add a Passkey from Account Management (User Facing)
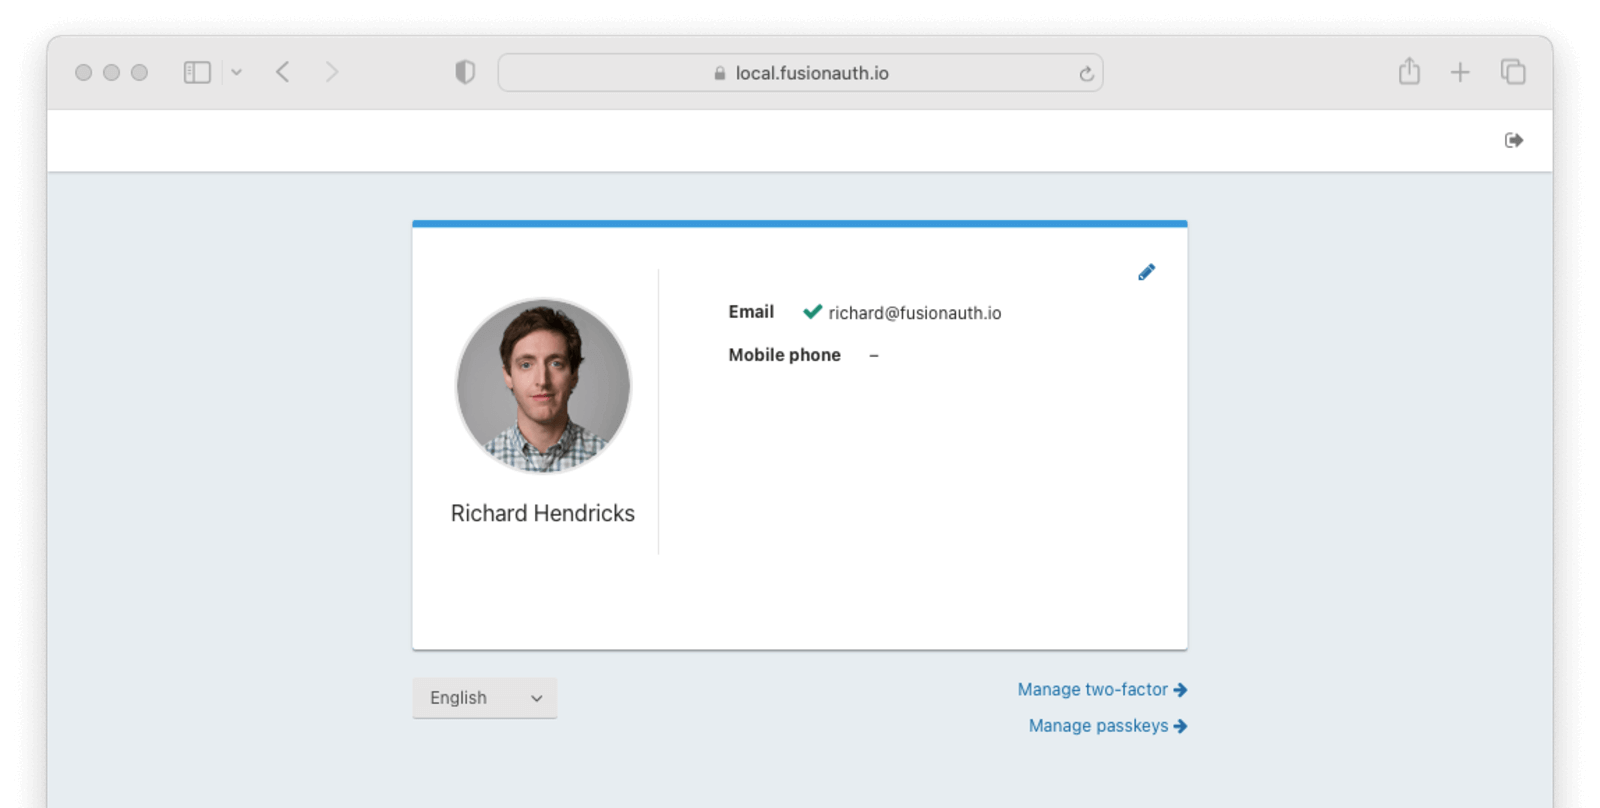
- Navigate back to your account page
- Click Manage passkeys
- Click Add passkey
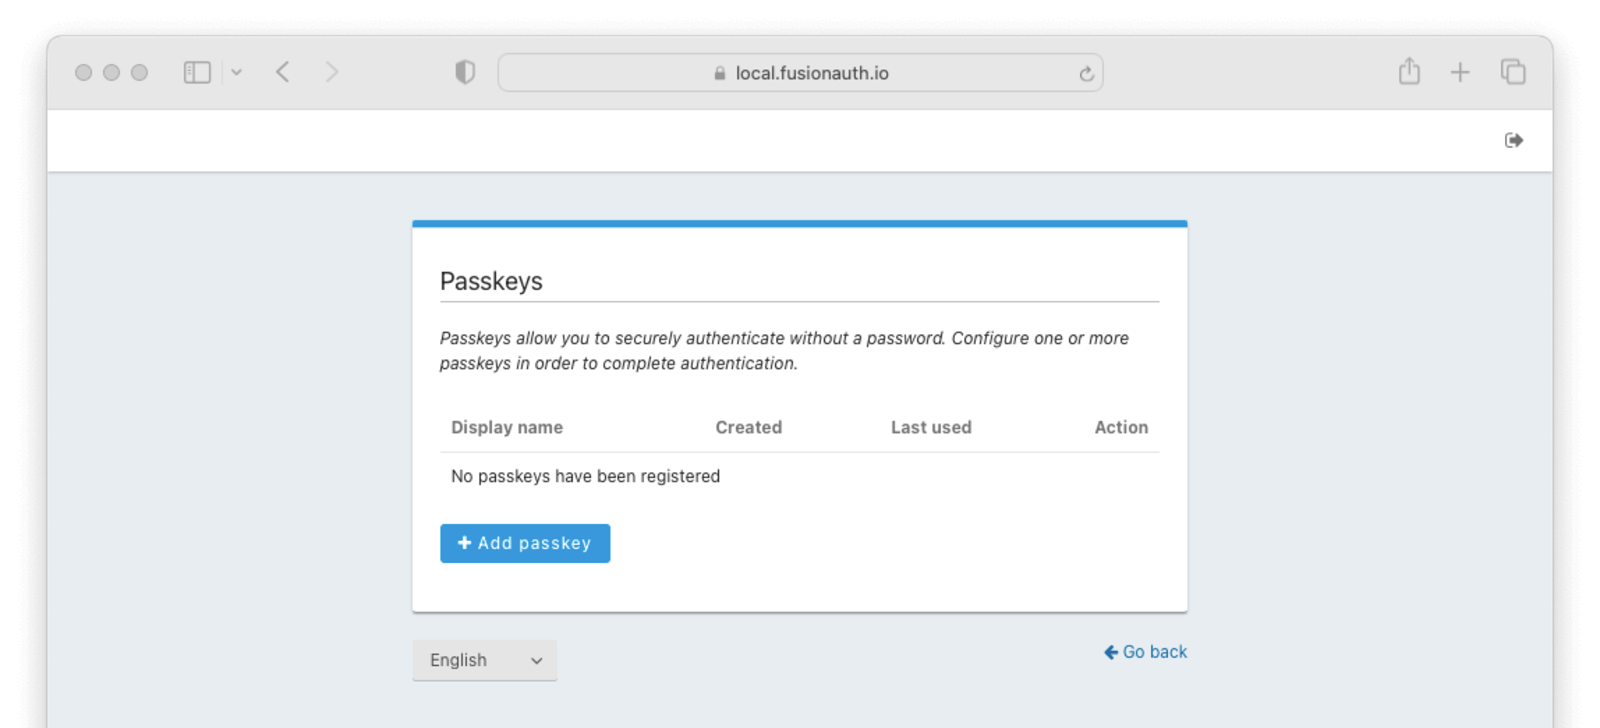
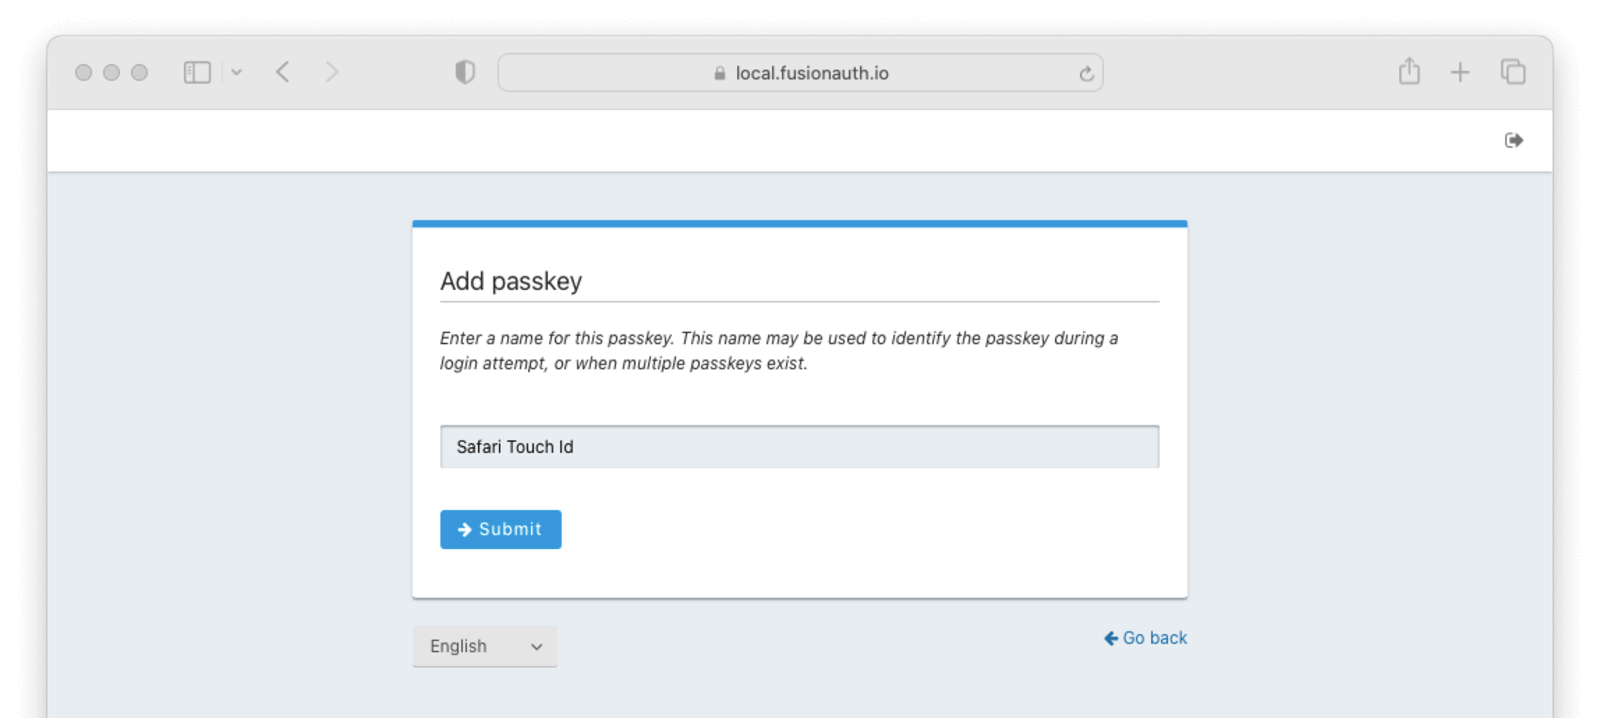
Next,
- Enter a display name for the new passkey. You should choose something that helps you remember the authenticator and browser it was registered.
- Click the Submit button.
- Complete the WebAuthn registration with your authenticator of choice.
See It in Action (User Facing)
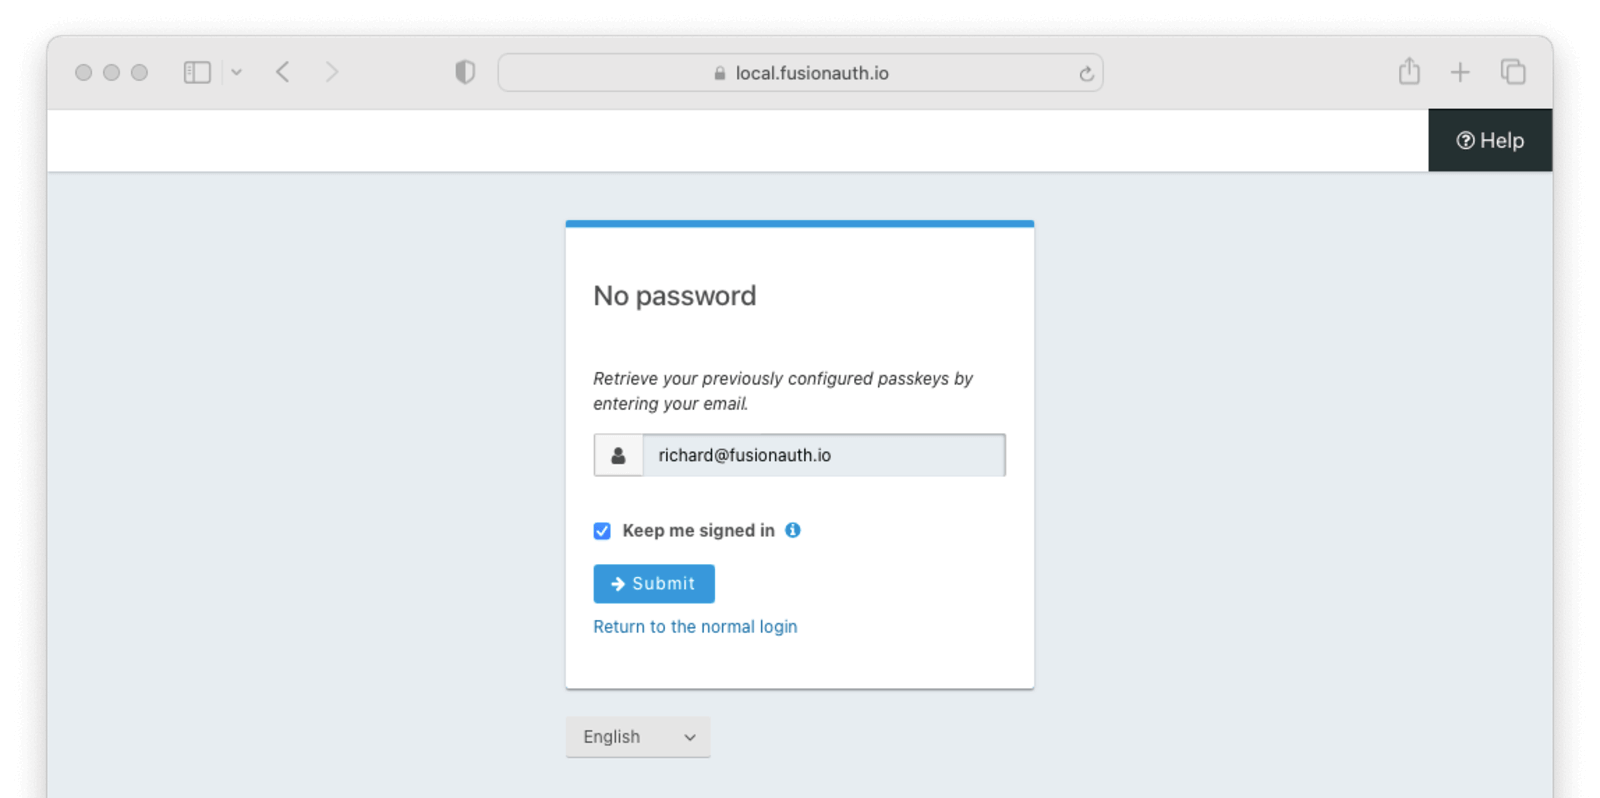
You can use a registered passkey to complete enabled WebAuthn workflows. This example uses the bootstrap authentication workflow by clicking the Fingerprint, device or key button on the login screen.
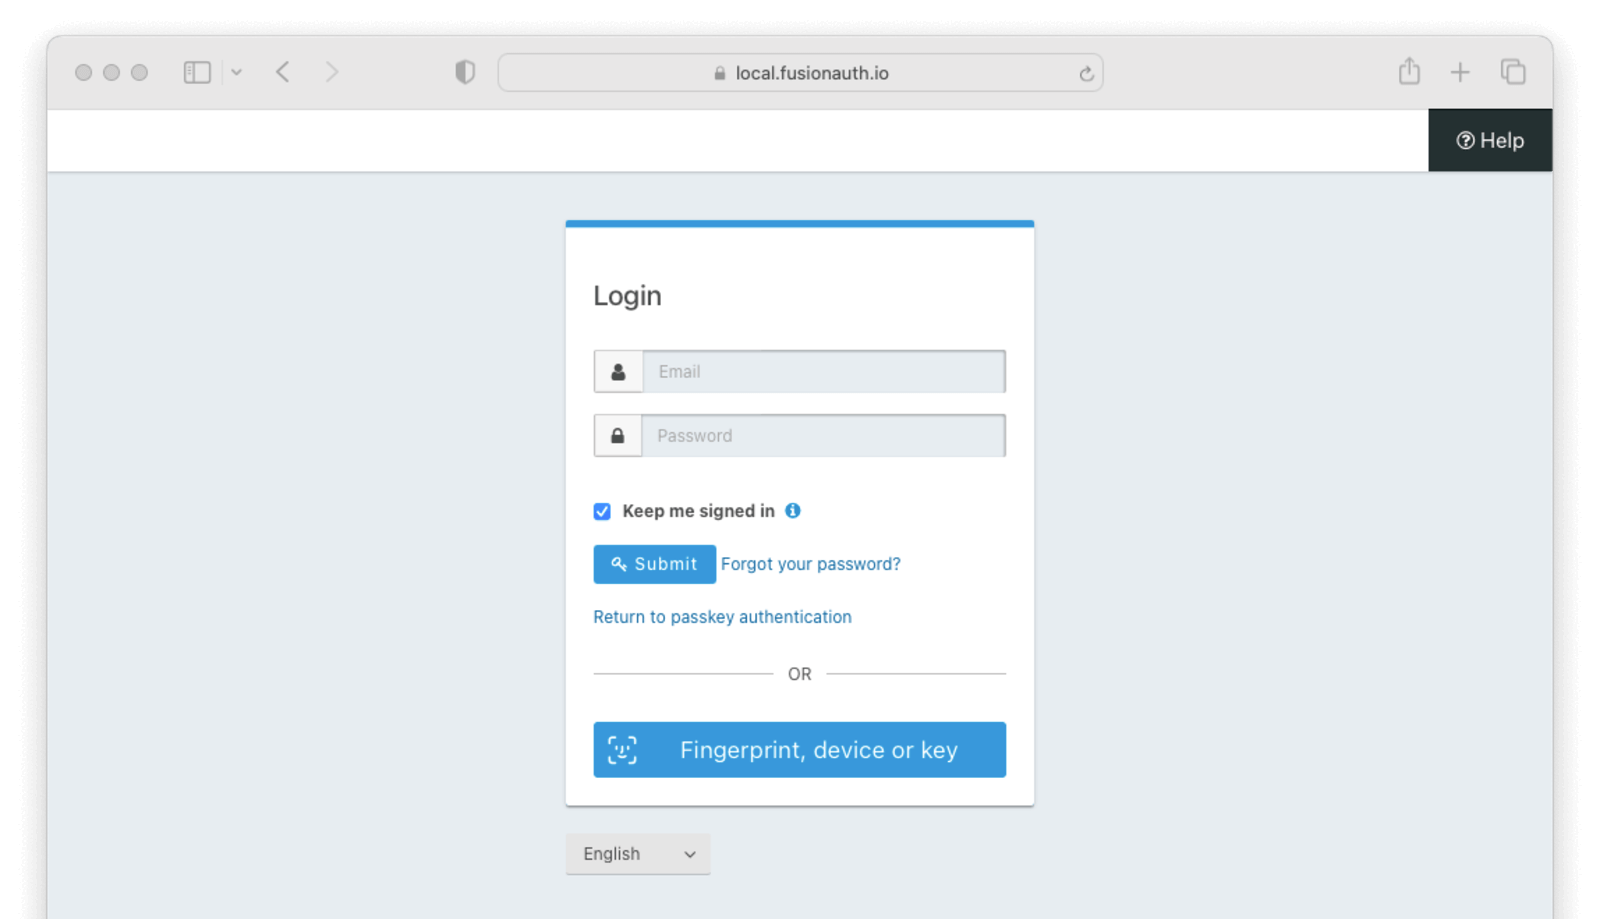
- Click the Fingerprint, device or key button to go to the WebAuthn bootstrap login page.
- Enter your username or email address.
- Click the Submit button.
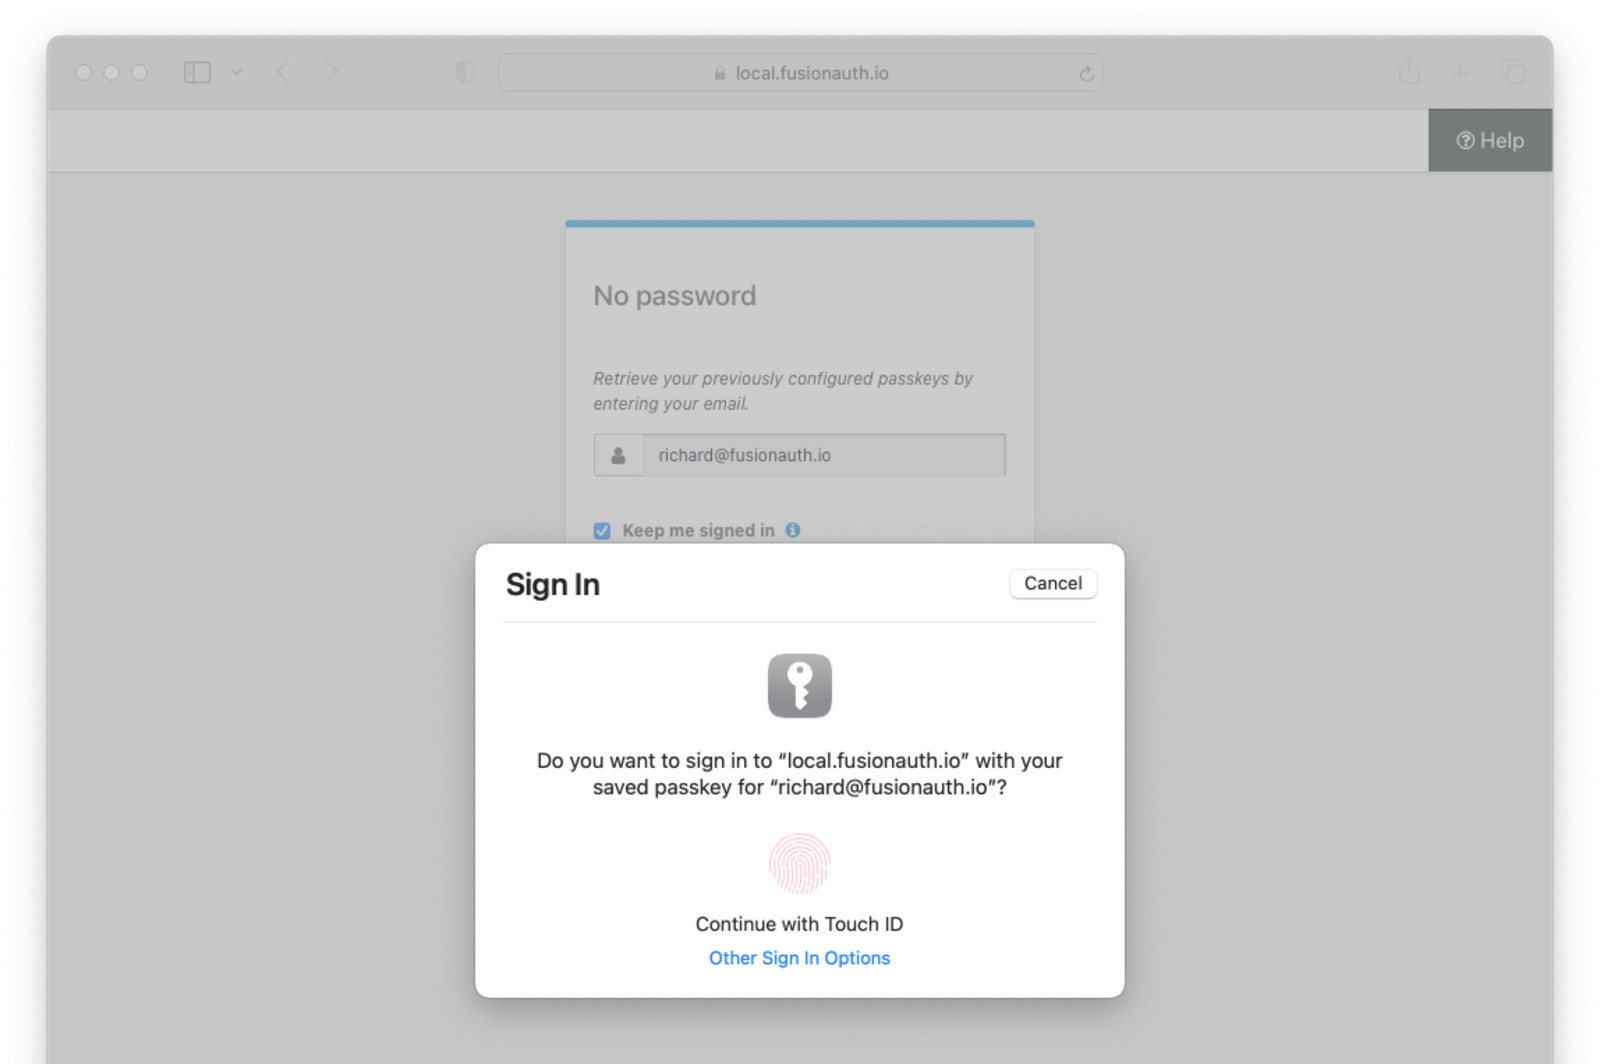
- Complete the WebAuthn authentication with the registered passkey.
