Registration-based Email Verification
The registration verification feature will be removed in a future version of FusionAuth.
FusionAuth provides an email verification flow out of the box. It is an email sent to the user with a link that contains a verification code. When the user clicks on the link, the verification code is checked against the database. If the code is correct, the user's email is marked as verified.
This feature requires that you have an email server available with SMTP support. You can use your own hosted SMTP server, or a third-party SMTP provider such as Amazon SES or SendGrid.
This document covers setting up verification of users' email based on the application they are registering for. Often you are running multiple applications and some require email verification and others do not.
If you want every user in a tenant to verify their email address or phone number, you can configure this behavior at the tenant level rather than the application level.
Many of the principles are the same, but different templates can be used.
- Configure the Tenant Email Server
- Configuring Registration Verification Settings
- View a User's Verification Status
Configure the Tenant Email Server#
To send emails, you will need to configure SMTP email server credentials for your tenant. Log in to the FusionAuth administrative user interface.
Navigate to Tenants -> Your Tenant and then select the Email tab. Scroll to the SMTP settings section. Configure this with your SMTP server information. If you are testing locally, you can use a mock email server like MailCatcher.
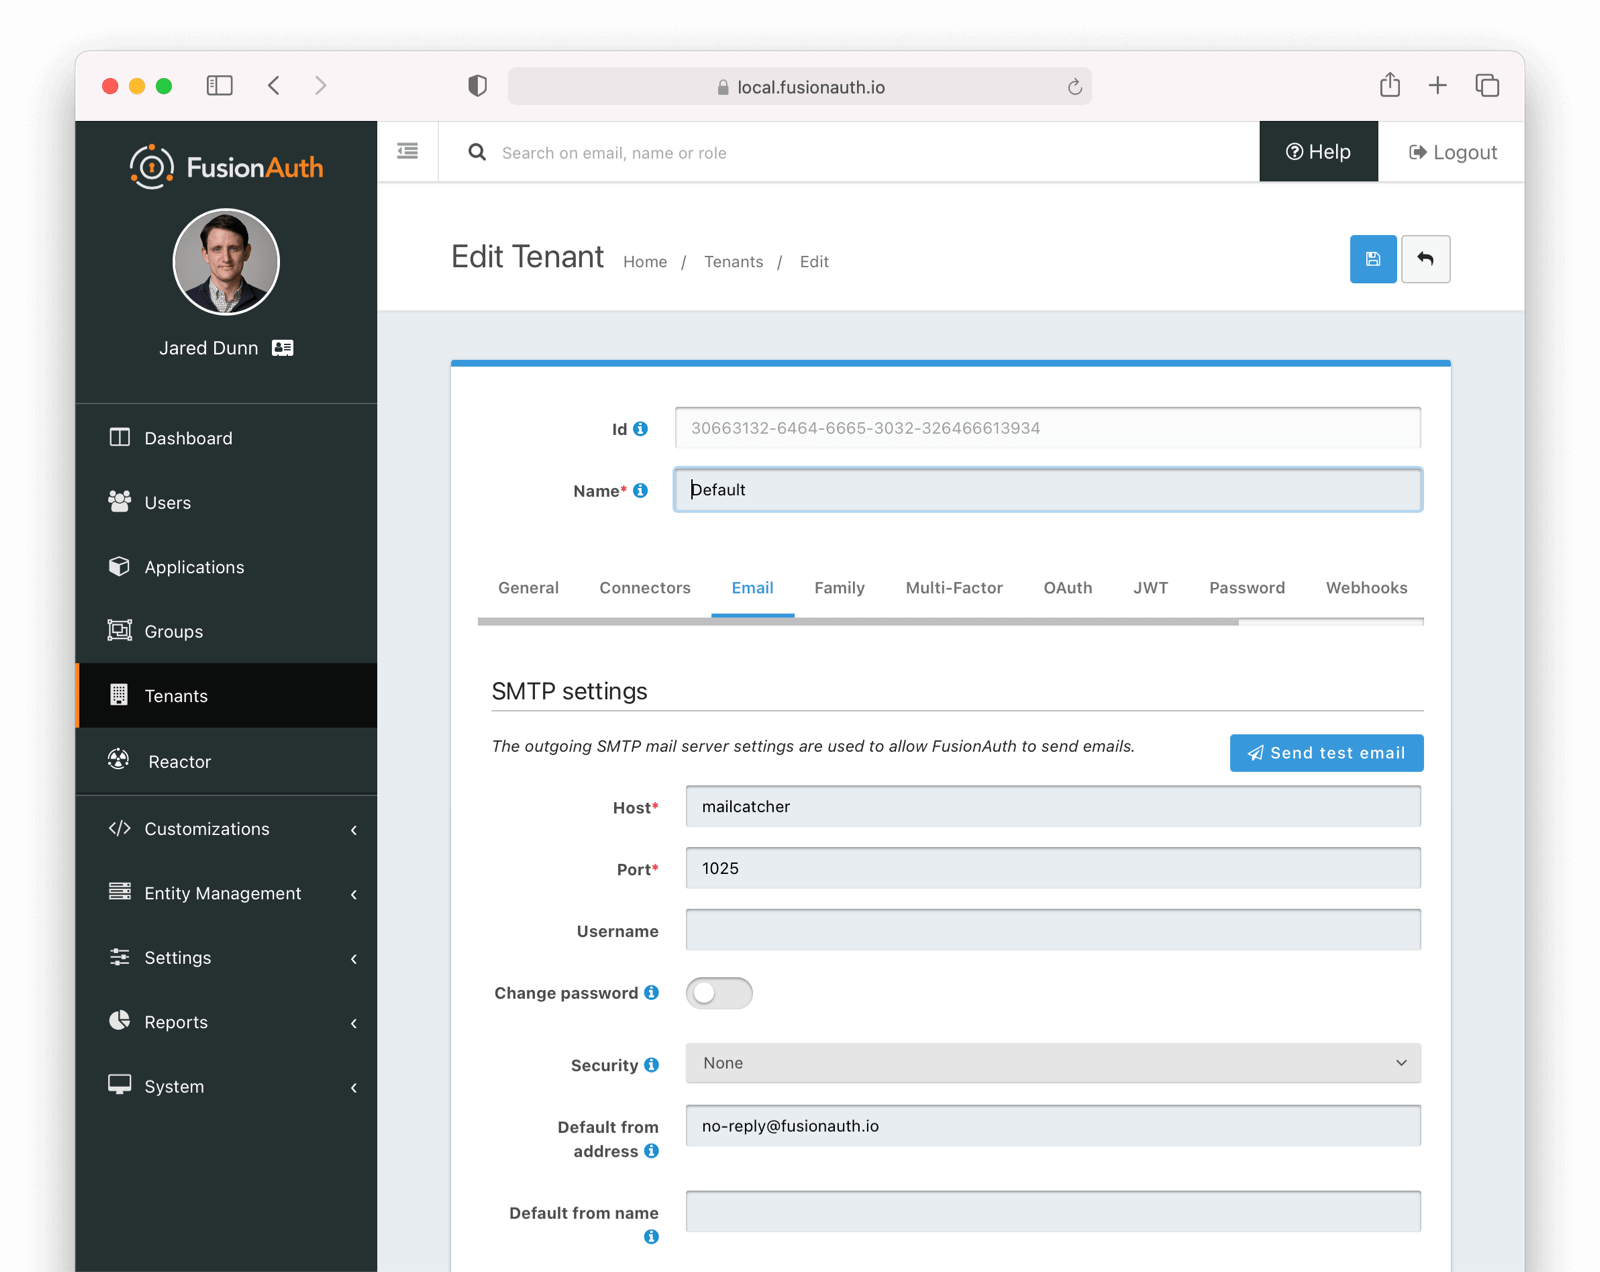
Ensure a test email is delivered. If you have any issues, follow the steps in the email troubleshooting documentation.
You can learn more about the various settings in the Tenant documentation as well.
Save the configuration.
Configuring Registration Verification Settings#
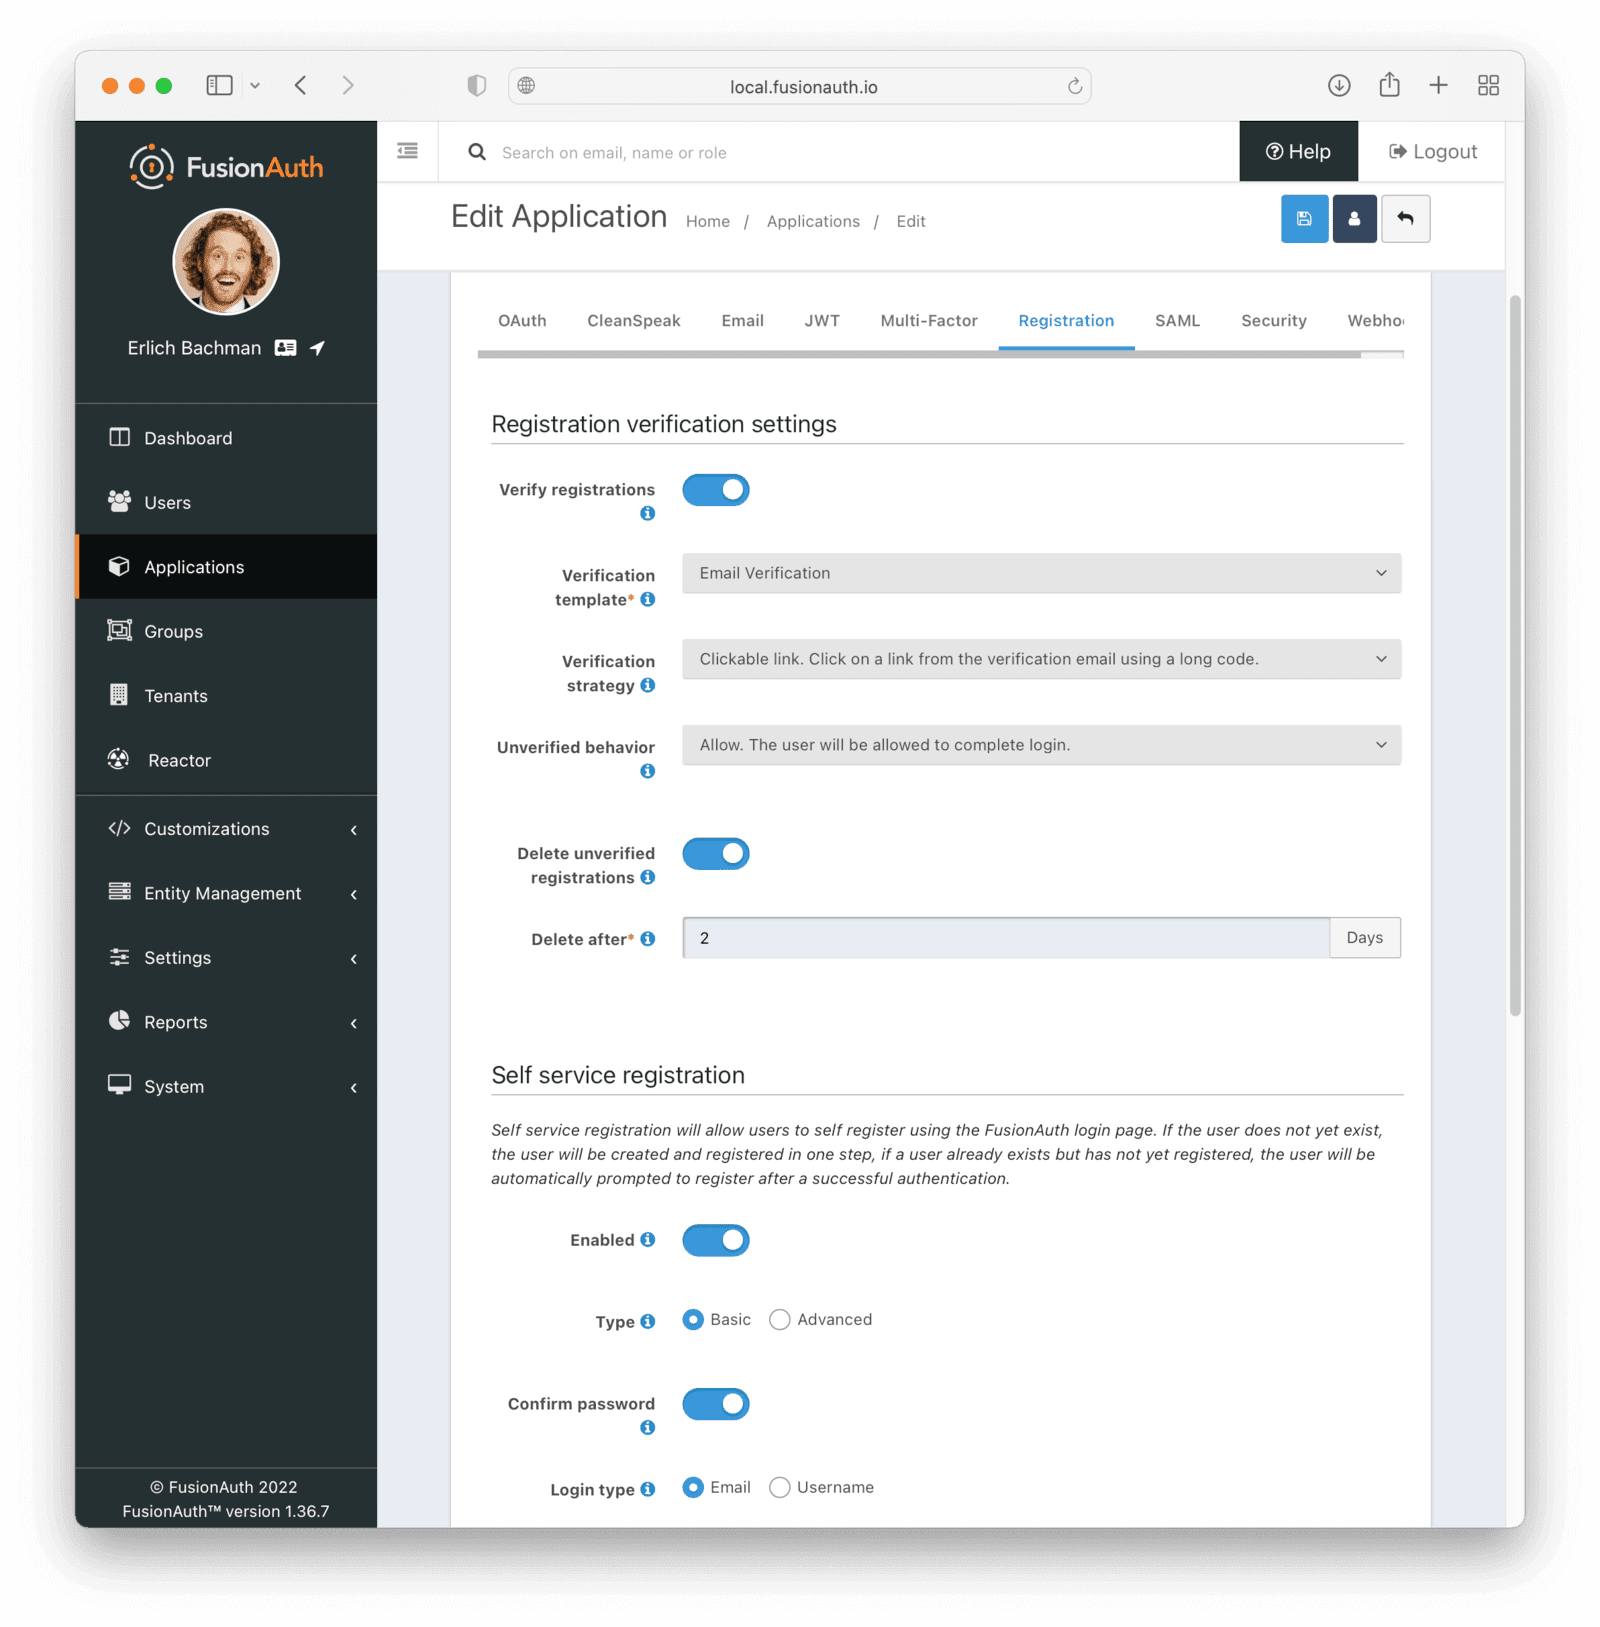
You can configure additional settings around registration verification in the application you set up for registrations. Navigate to Applications -> Your Application and then select the Registration tab. Scroll up to the Registration Verification Settings section, just above the Registration Fields section.
Here you can specify if a registration verification email should be sent to the user. Toggling the Verify registrations switch on will reveal some further options.
You can choose the email template to send for registration verification. Choose the Email Verification template.
For the Verification Strategy option, you can choose to send a link in the verification email to the user, or to send a short code that they can type into the registration form to verify their account.
If you choose to send a short code, you must also set the Unverified behavior option to Gated. Note that the Gated behavior option, and thus the short code option, is only available with a valid license key. Please visit our pricing page to review paid plan options and buy a license.
Your verification settings should now look like this:
Save all changes to the application.
View a User's Verification Status#
Navigate to the Users page. Click the Manage User button to the right of a list entry to view the user's details. A green checkmark will show next to the user's email address if it has been verified.
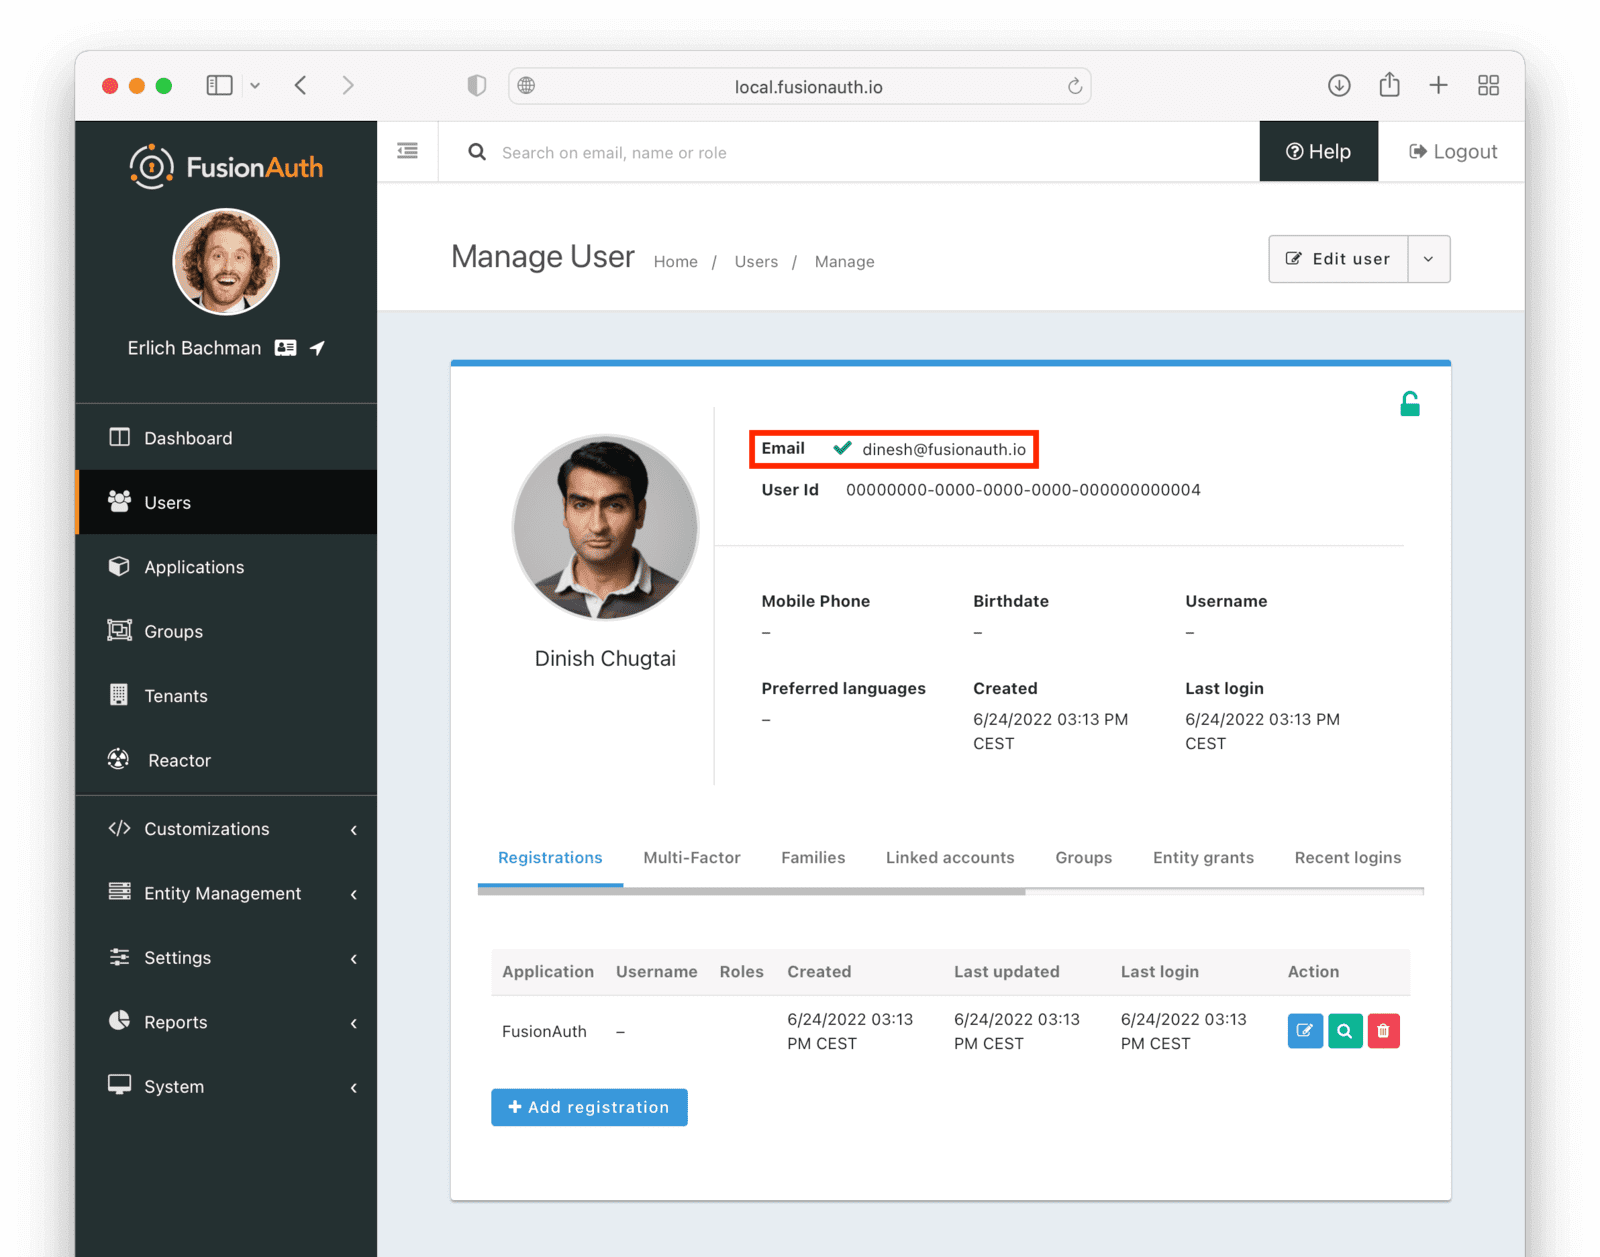
This shows the the verification status of the user at the tenant level, not the registration level.