Okta SCIM Client
This is a basic example to get started configuring Okta as a SCIM client and establish a connection between FusionAuth and Okta for provisioning purposes.
For complete documentation, please refer to the Okta provisioning documentation.
To configure the integration, in your Okta Dashboard, find your Application configured for provisioning and click on the Provisioning tab of the Application configuration.
Select Integration from the left Settings navigation menu, and find the required configuration fields.
This screenshot is an example only. The preferred integration is to use client credentials so that you do not need to create a long lived token.
If at all possible you should be directly integrating the client credentials grant. Using a long lived token becomes an API key that you cannot revoke.
If your SCIM client authentication only allows for a token and does not directly support the client credentials grant, we would recommend that you programatically generate and rotate the access token by using an API to ensure that you are not creating very long lived access tokens for a SCIM client.
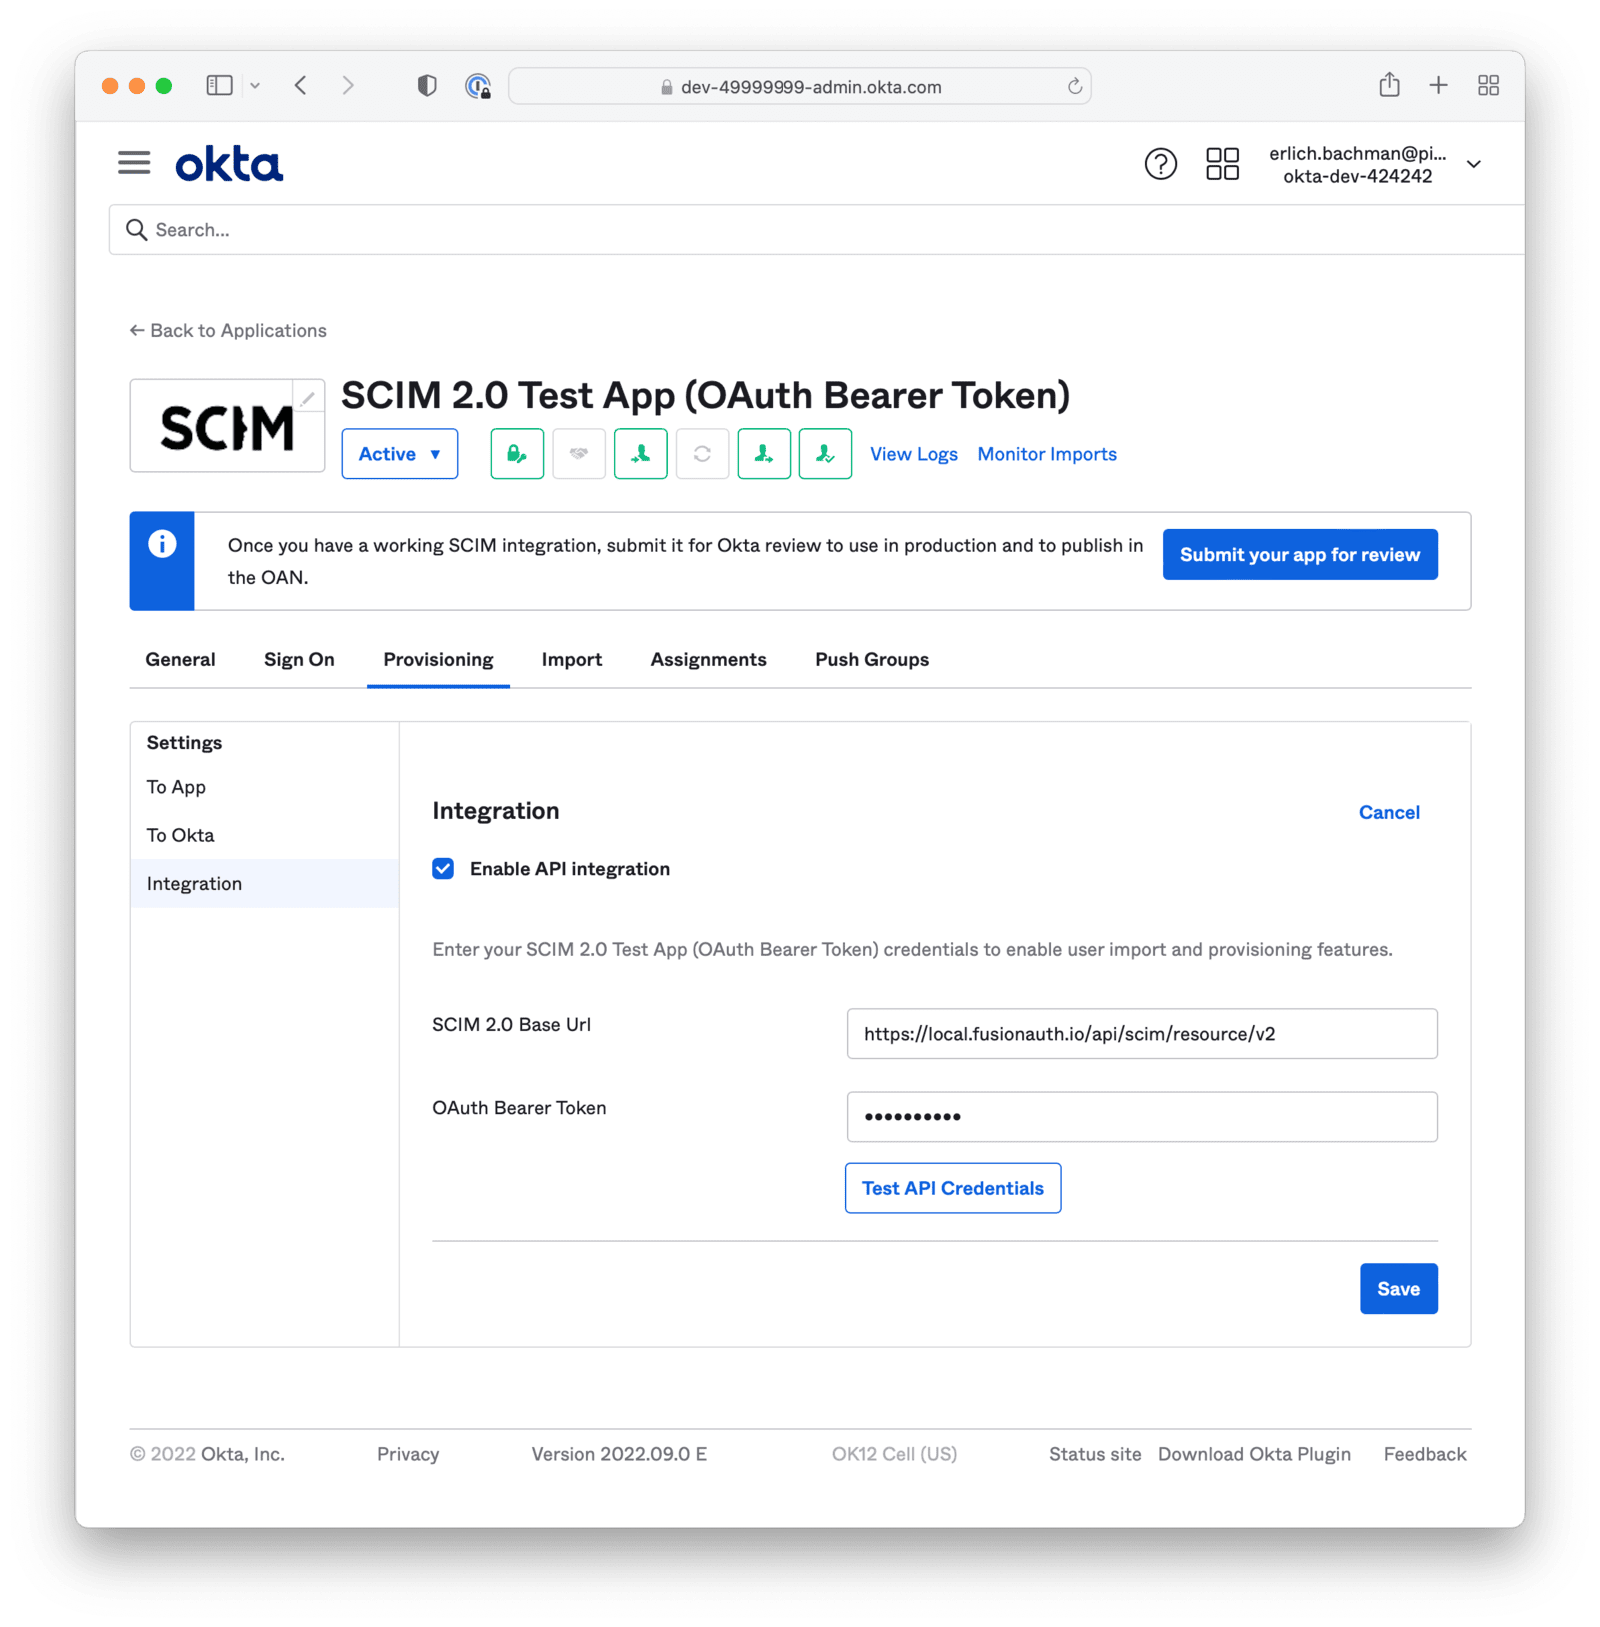
Enable API integrationCheck this box to enable the following two fields.
SCIM 2.0 Base UrlSet this value equal to the FusionAuth SCIM tenant URL found in the Tenant view dialog.
For example, if the base URL for FusionAuth is https://piedpiper.com, your SCIM URL will be https://piedpiper.com/api/scim/resource/v2
OAuth Bearer TokenThis value will be set using the access token generated using the client credentials grant for the SCIM client entity and the SCIM server entity. Learn more about getting the access token.