First Time Setup
On this page
These configuration steps are common to almost all FusionAuth installations. Take these steps to avoid being inadvertently locked out of your FusionAuth server.
Access FusionAuth App#
You will need to access FusionAuth in your web browser. If you have installed FusionAuth on your own system, you will need to know the IP address or hostname of the system where it has been installed, often http://localhost:9011.
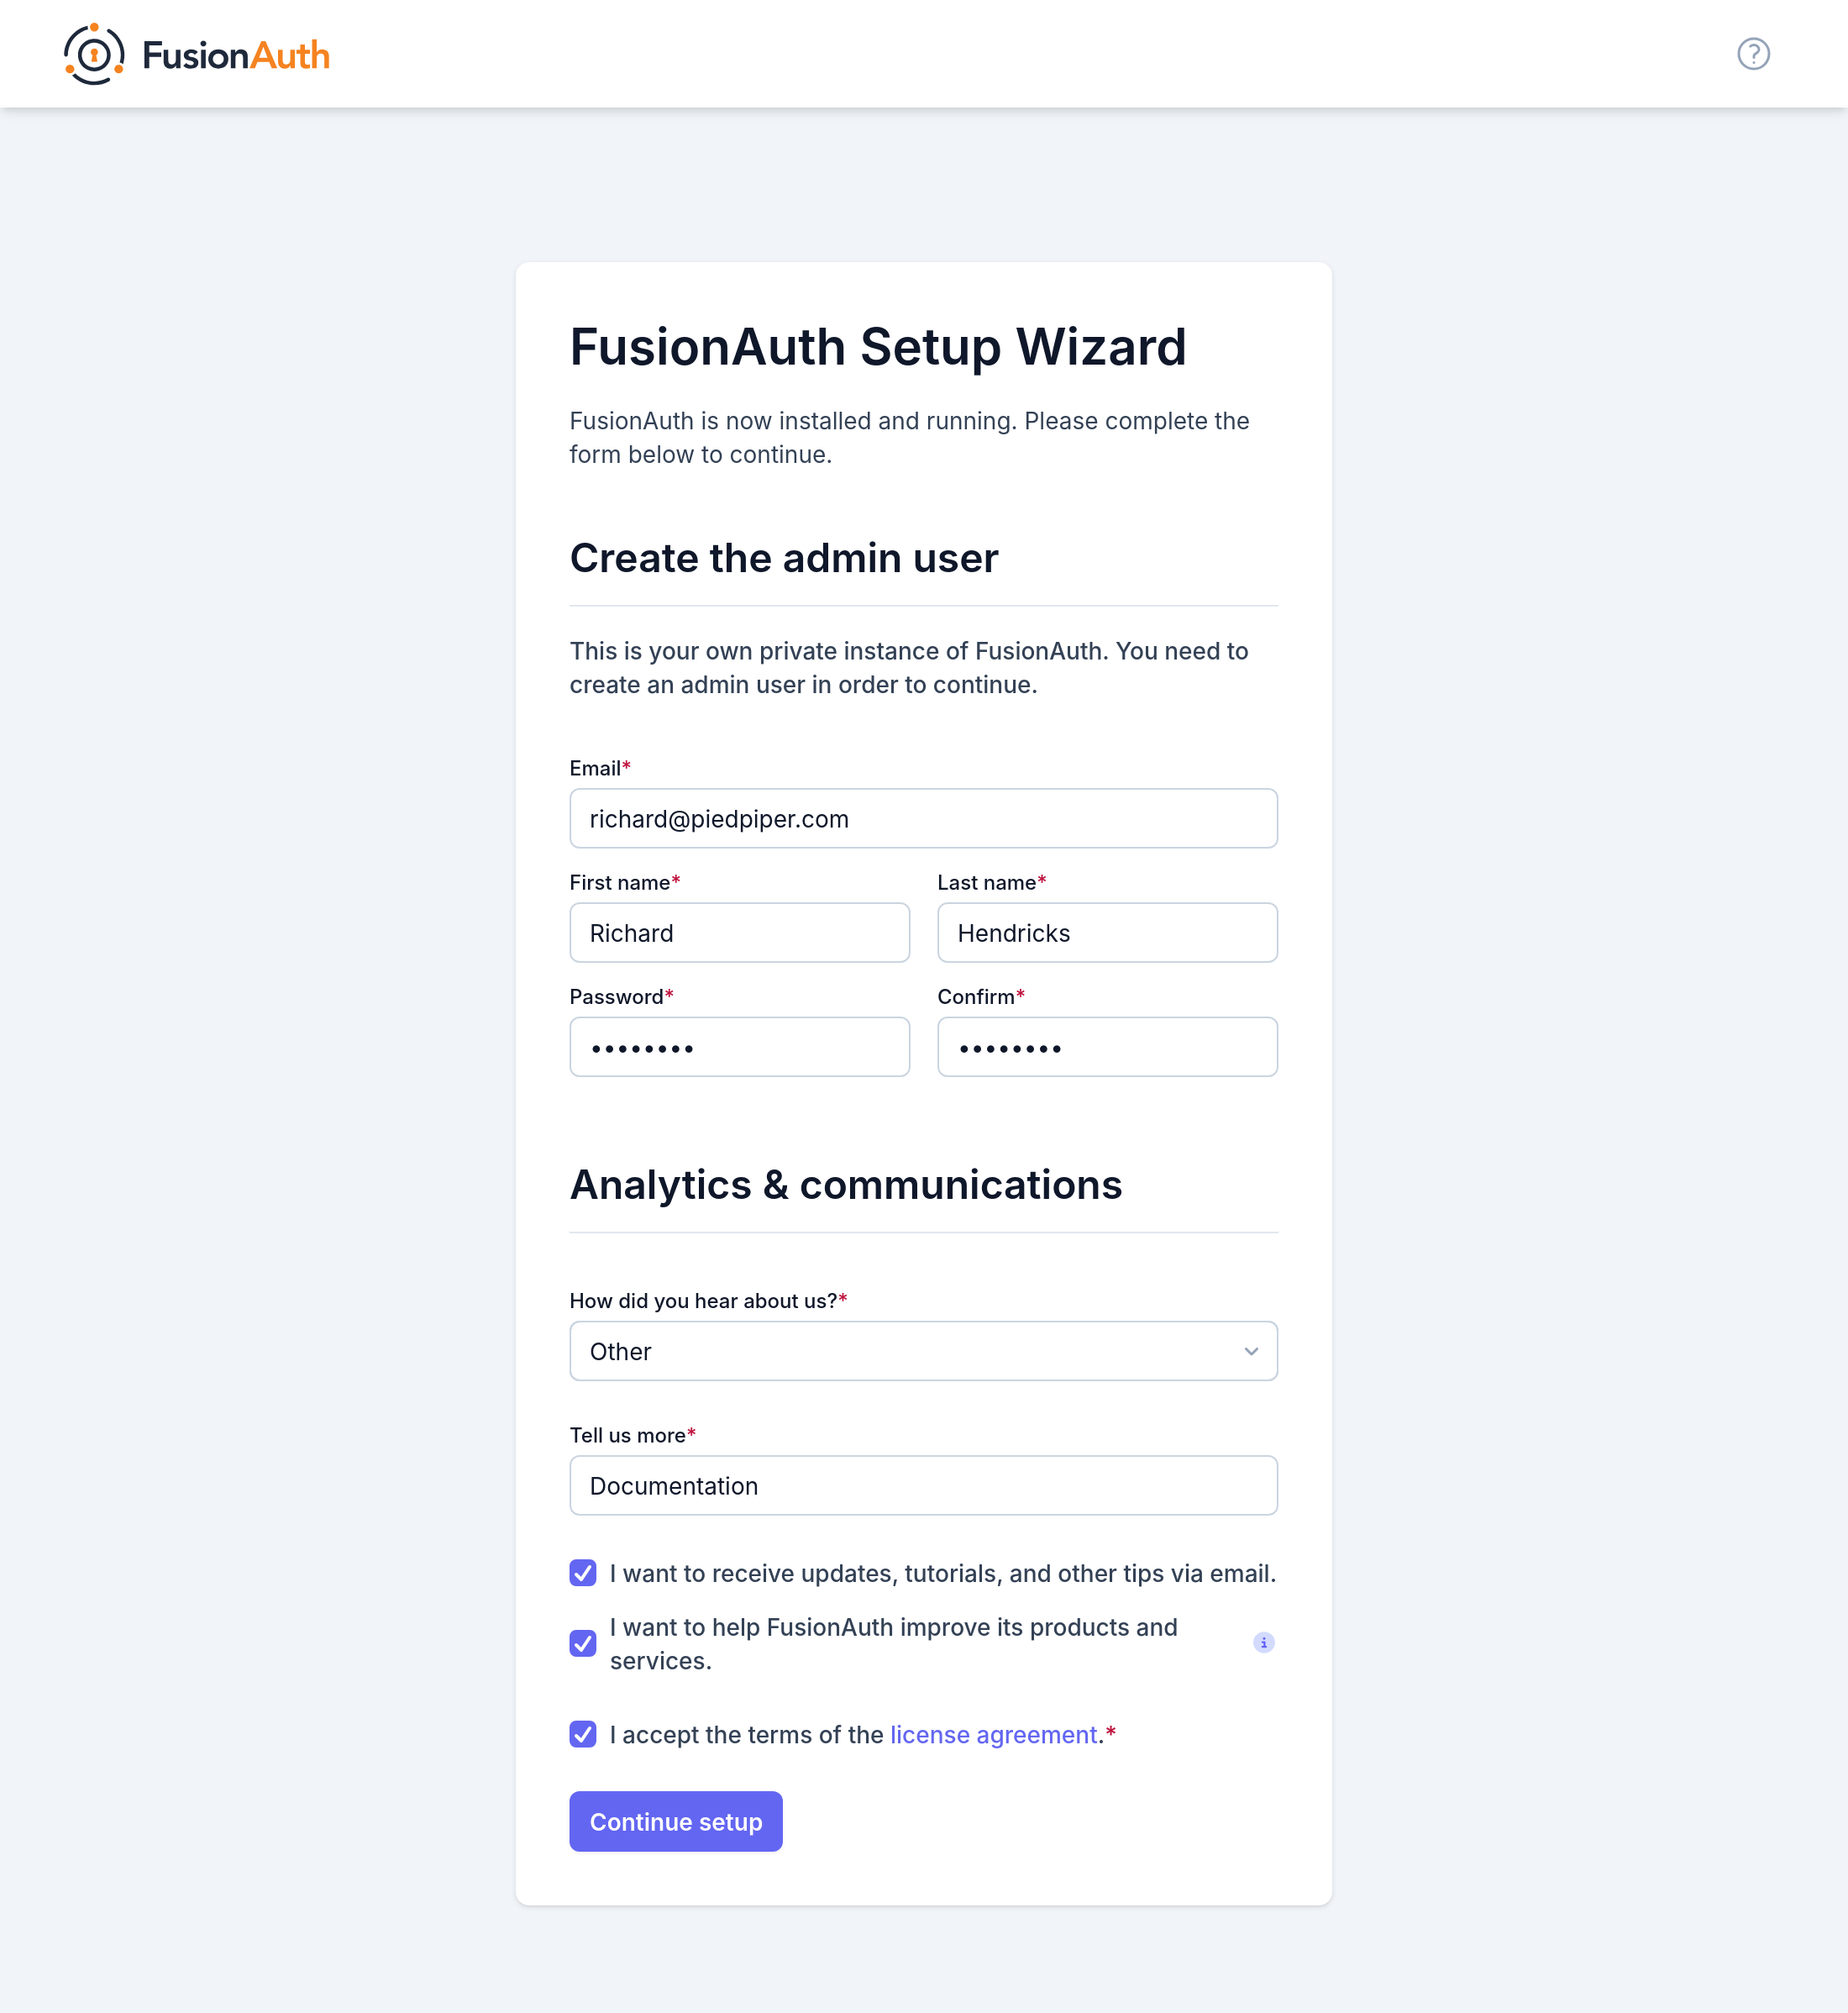
Once you have a web browser open to FusionAuth you will be presented with a setup wizard that will walk you through getting FusionAuth configured and ready to begin calling the API and managing users. If you instead are being prompted by the FusionAuth Maintenance Mode, please complete that setup first and then return to this step. See the Maintenance Mode section in the FusionAuth App Installation Guide.
Once the setup wizard is complete you will be logged into FusionAuth using the created Administrator account.
Complete the Setup Wizard#
Configure An Email Server#
Email is used for many purposes in FusionAuth, including to verify user email addresses and for passwordless authentication. However, one of the most important functions is to allow for forgotten passwords.
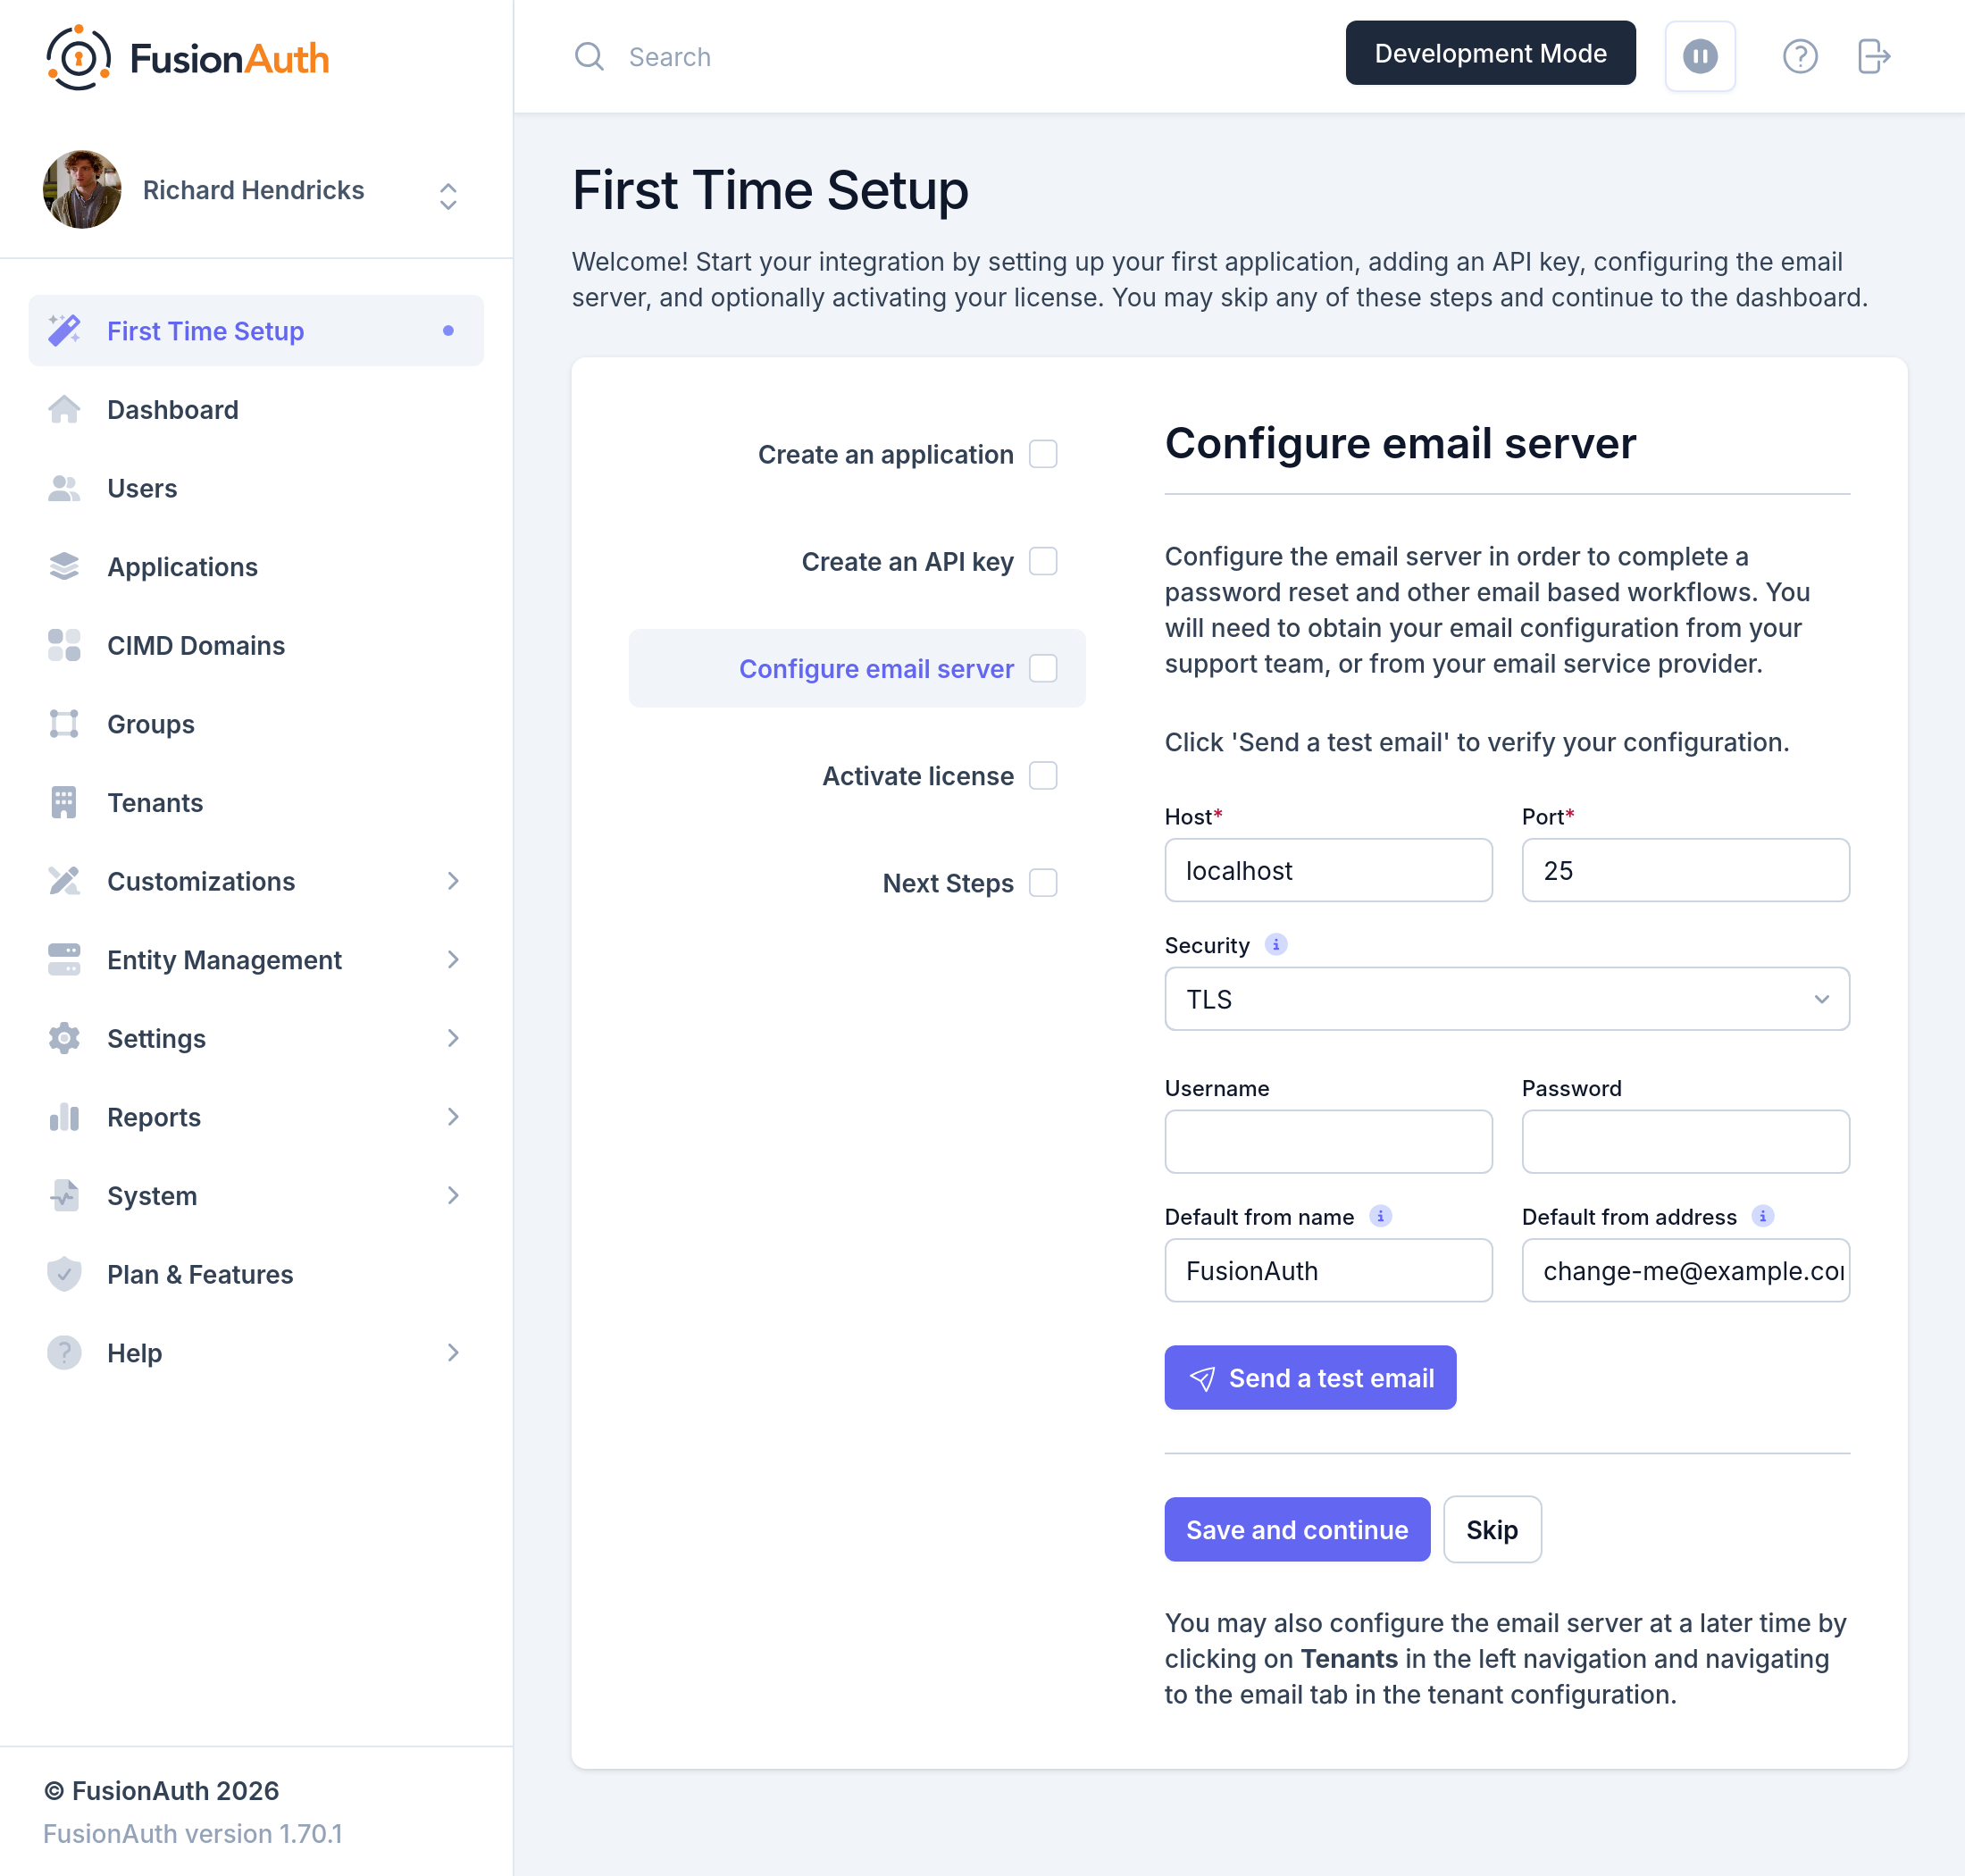
Full instructions on how to configure your email server settings.
If you lose your password, you can reset it using the Forgot Password link on the login screen.
Add a Second Admin User#
Create a second user with the admin role. This user can provide access should your initially created admin user lose access for any reason.
- Log in to the Admin UI.
- Navigate to Users .
- Add a user with a known, valid email address and secure password within your organization.
- Register that user with the FusionAuth application and the
adminrole.
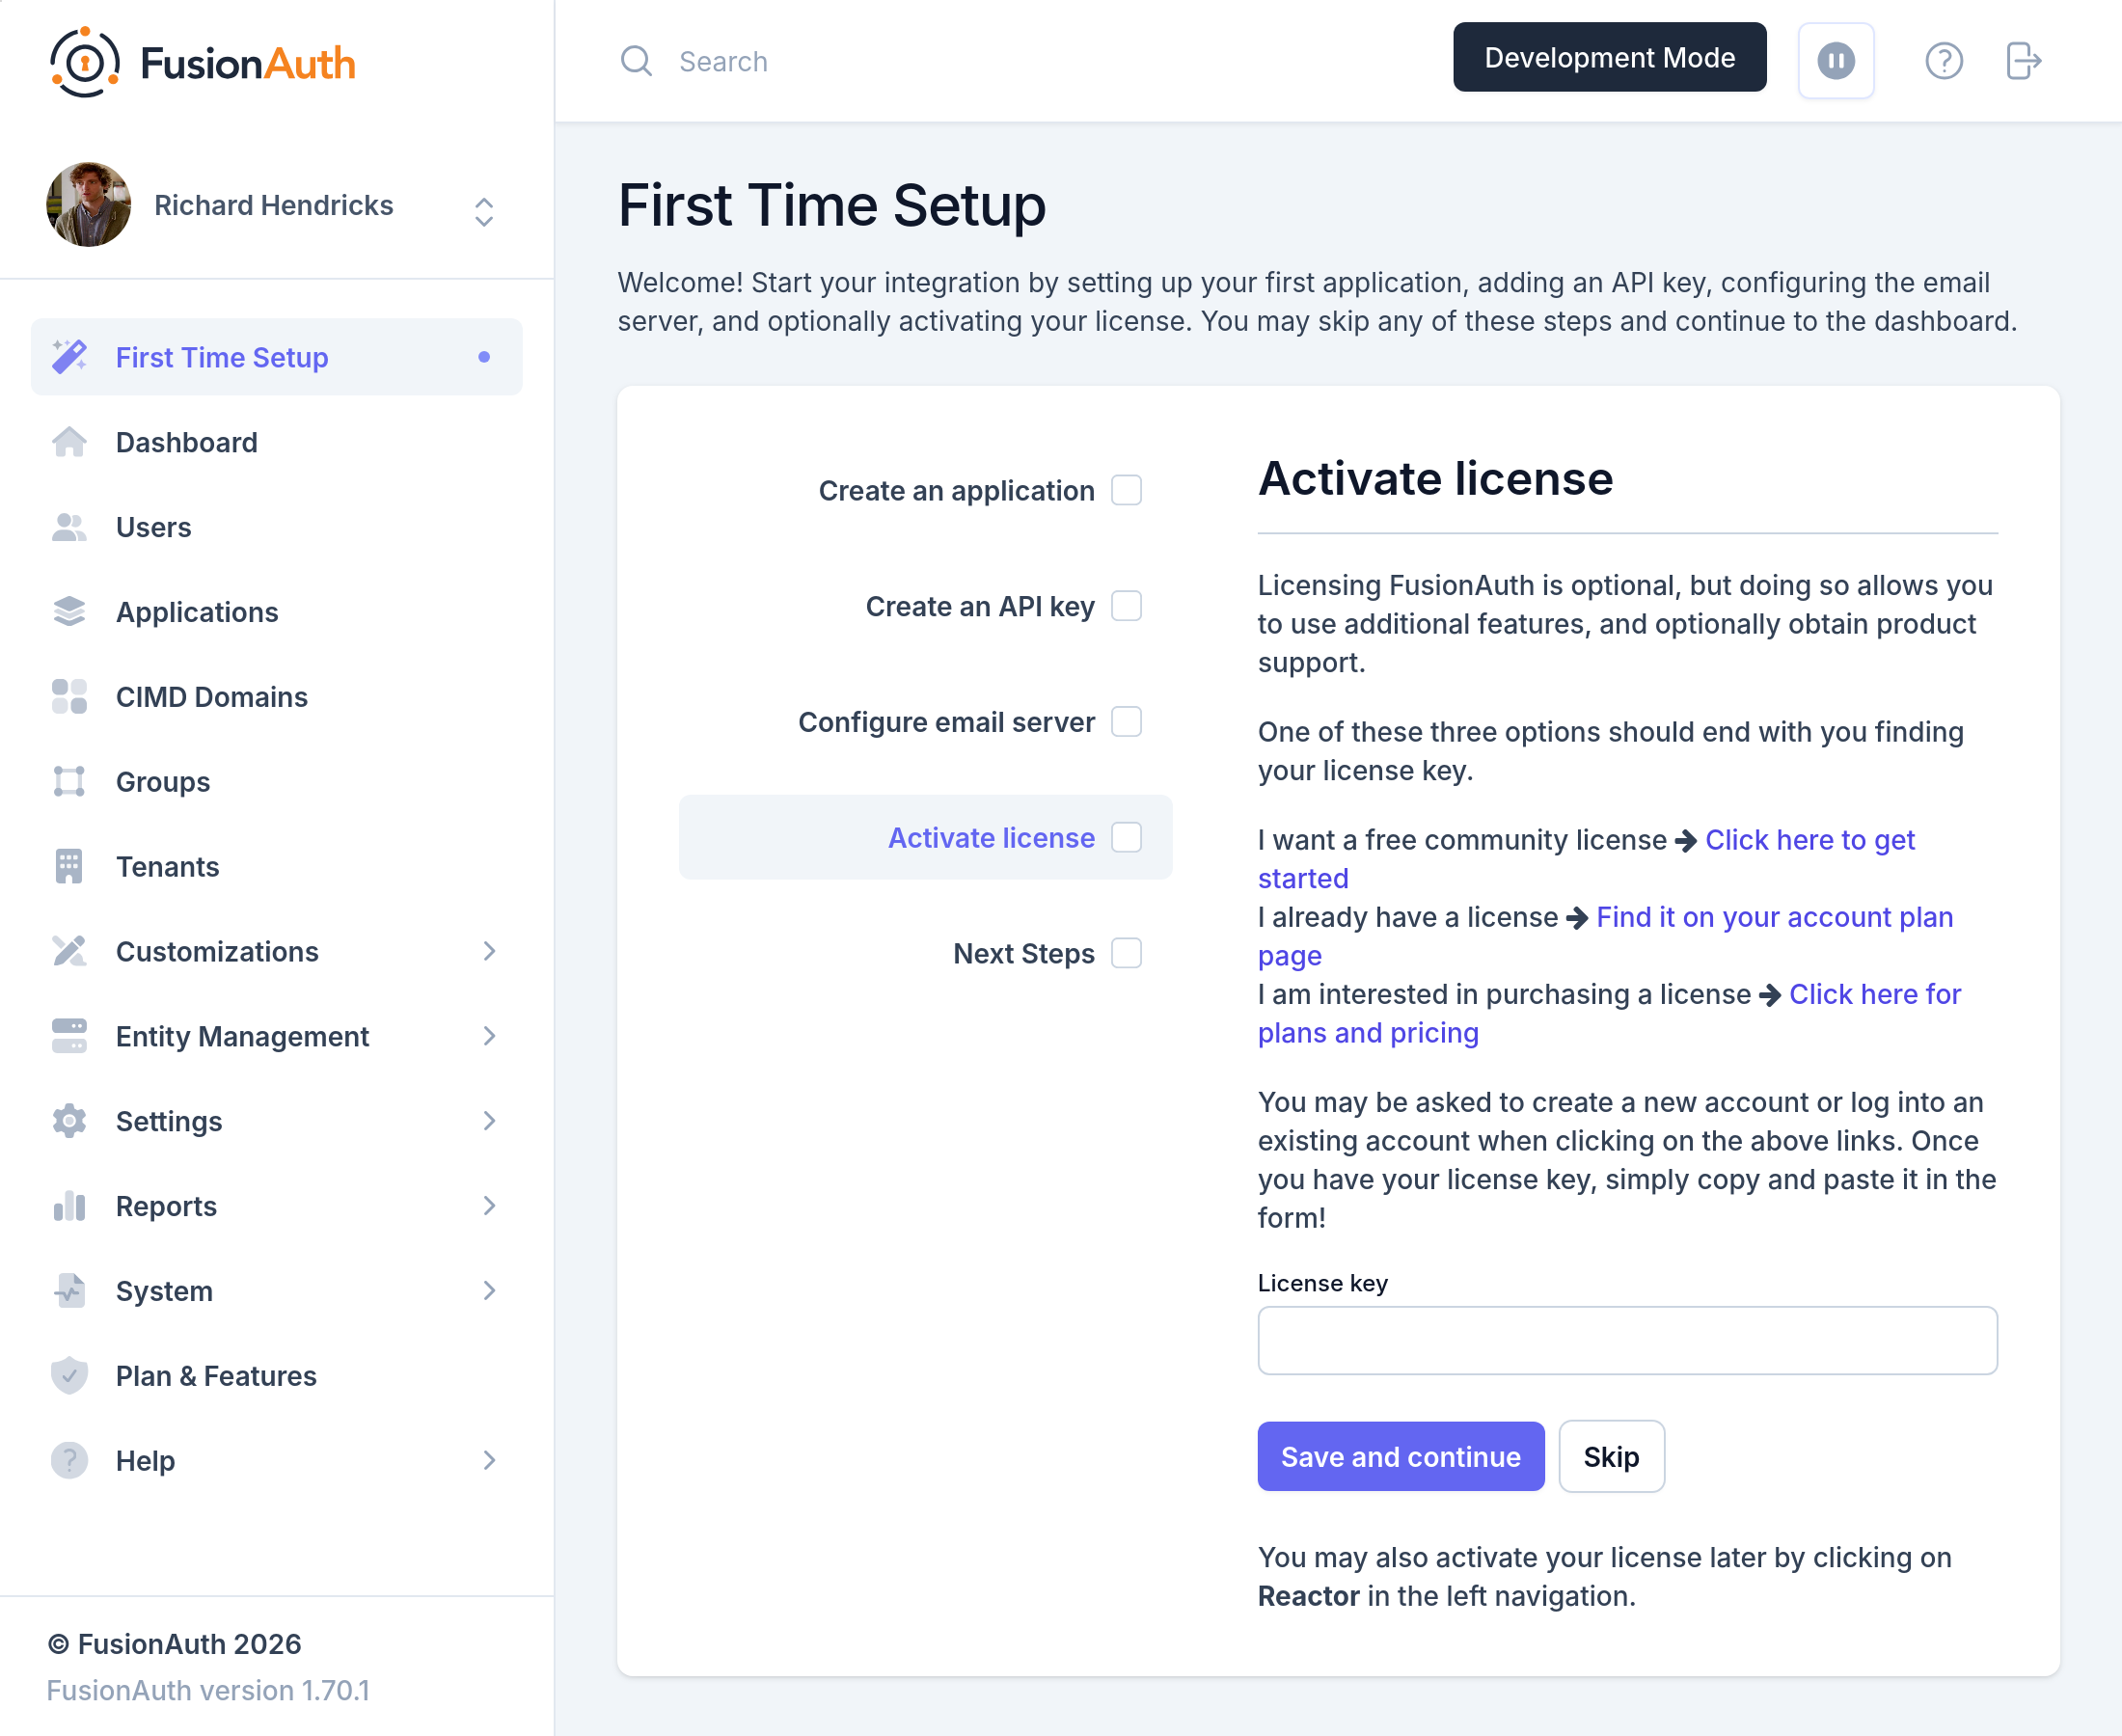
Activate License Key#
Activating the license key will allow access to all of the paid features inside FusionAuth. The key is found in your account portal and is activated in the Reactor tab.
Production keys must be used for any FusionAuth instance that customers will be logging into, that is how we track MAUs.
Non-production keys may be used for any other instances such as your developers' laptops, QA, or UAT.
- Log in to the Admin UI.
- Navigate to Plan and copy the appropriate key.
- Access the FusionAuth instance and navigate to the Reactor .
- Paste that key into the License Key field and Activate it.
Full instructions on how to activate your license.
Set Up an API Key#
Create an API key you can use to manage FusionAuth in an emergency. If you lose access to the Admin UI, you can use this API key to retain access to your FusionAuth instance by adding a new admin user.
- Log in to the Admin UI.
- Navigate to Settings -> API Keys .
- Add an API Key with no limitations. This will make it a super user key with no limitations.
- Note the key value, and store it someplace safe.
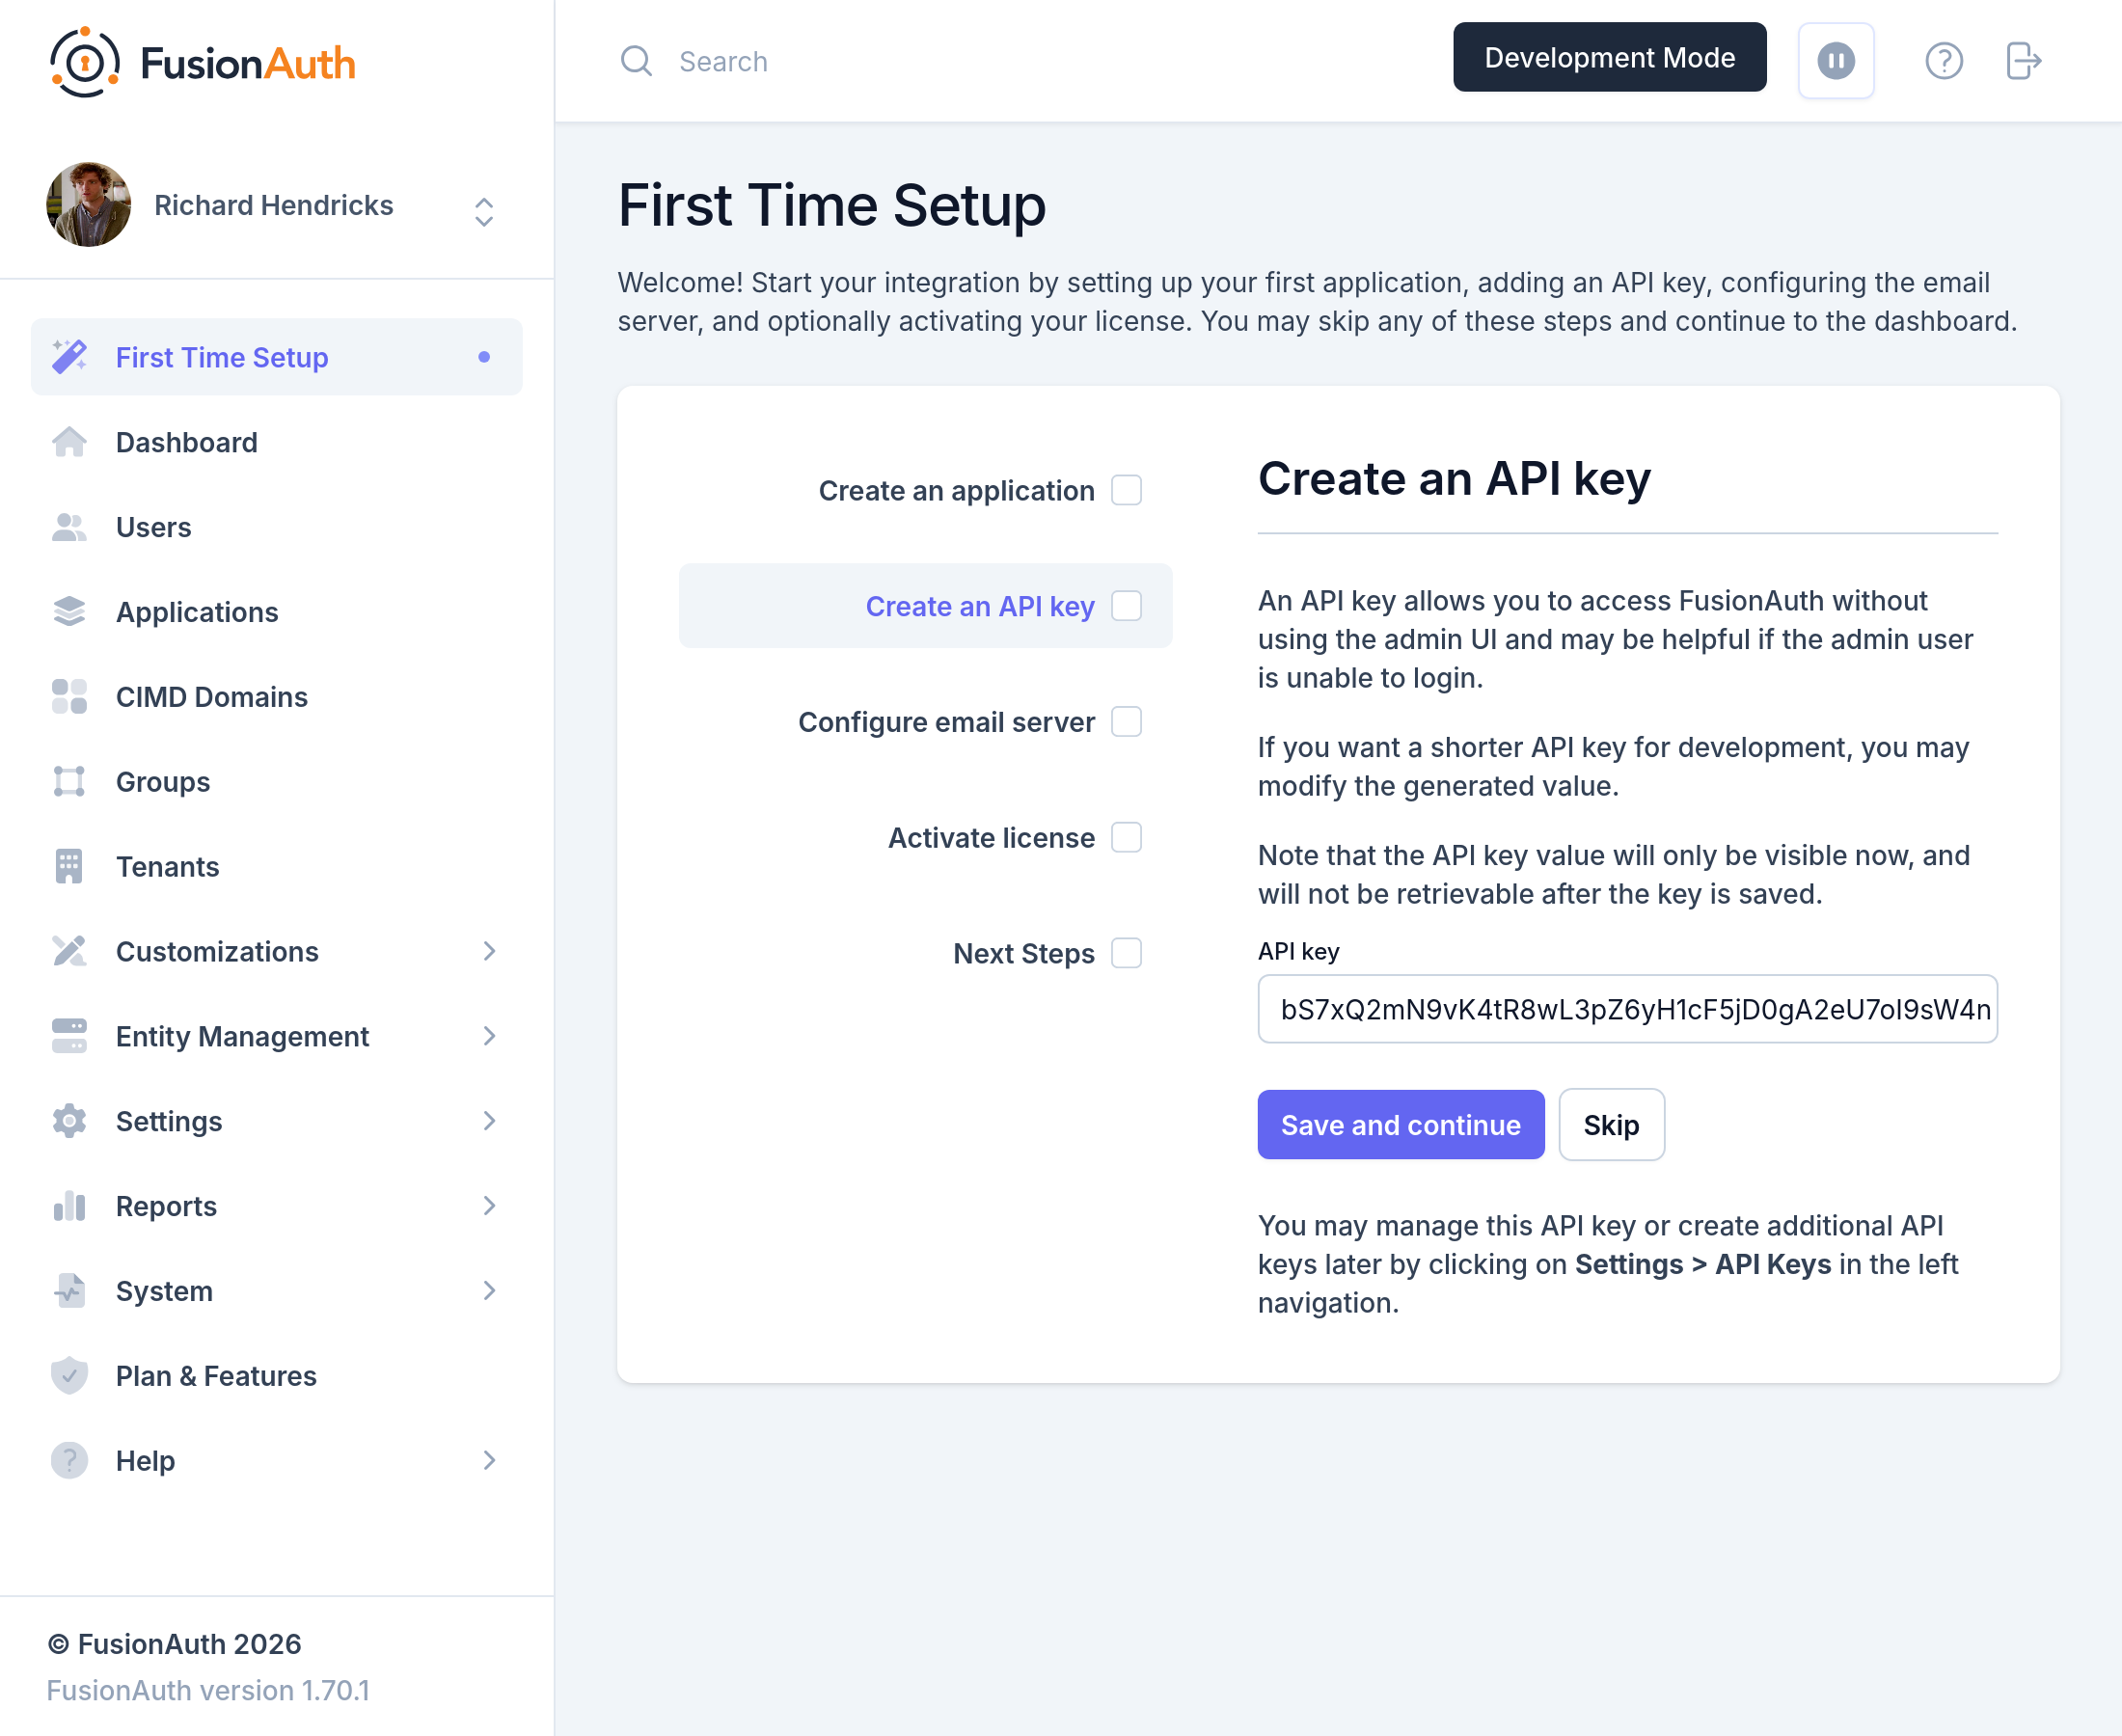
A key with no limitations can call every API. On a production instance, keep this key in a secrets vault and use it only in an emergency. For day-to-day use, create keys with only the endpoints they need, as described in Restrict API Keys.
Create an Application#
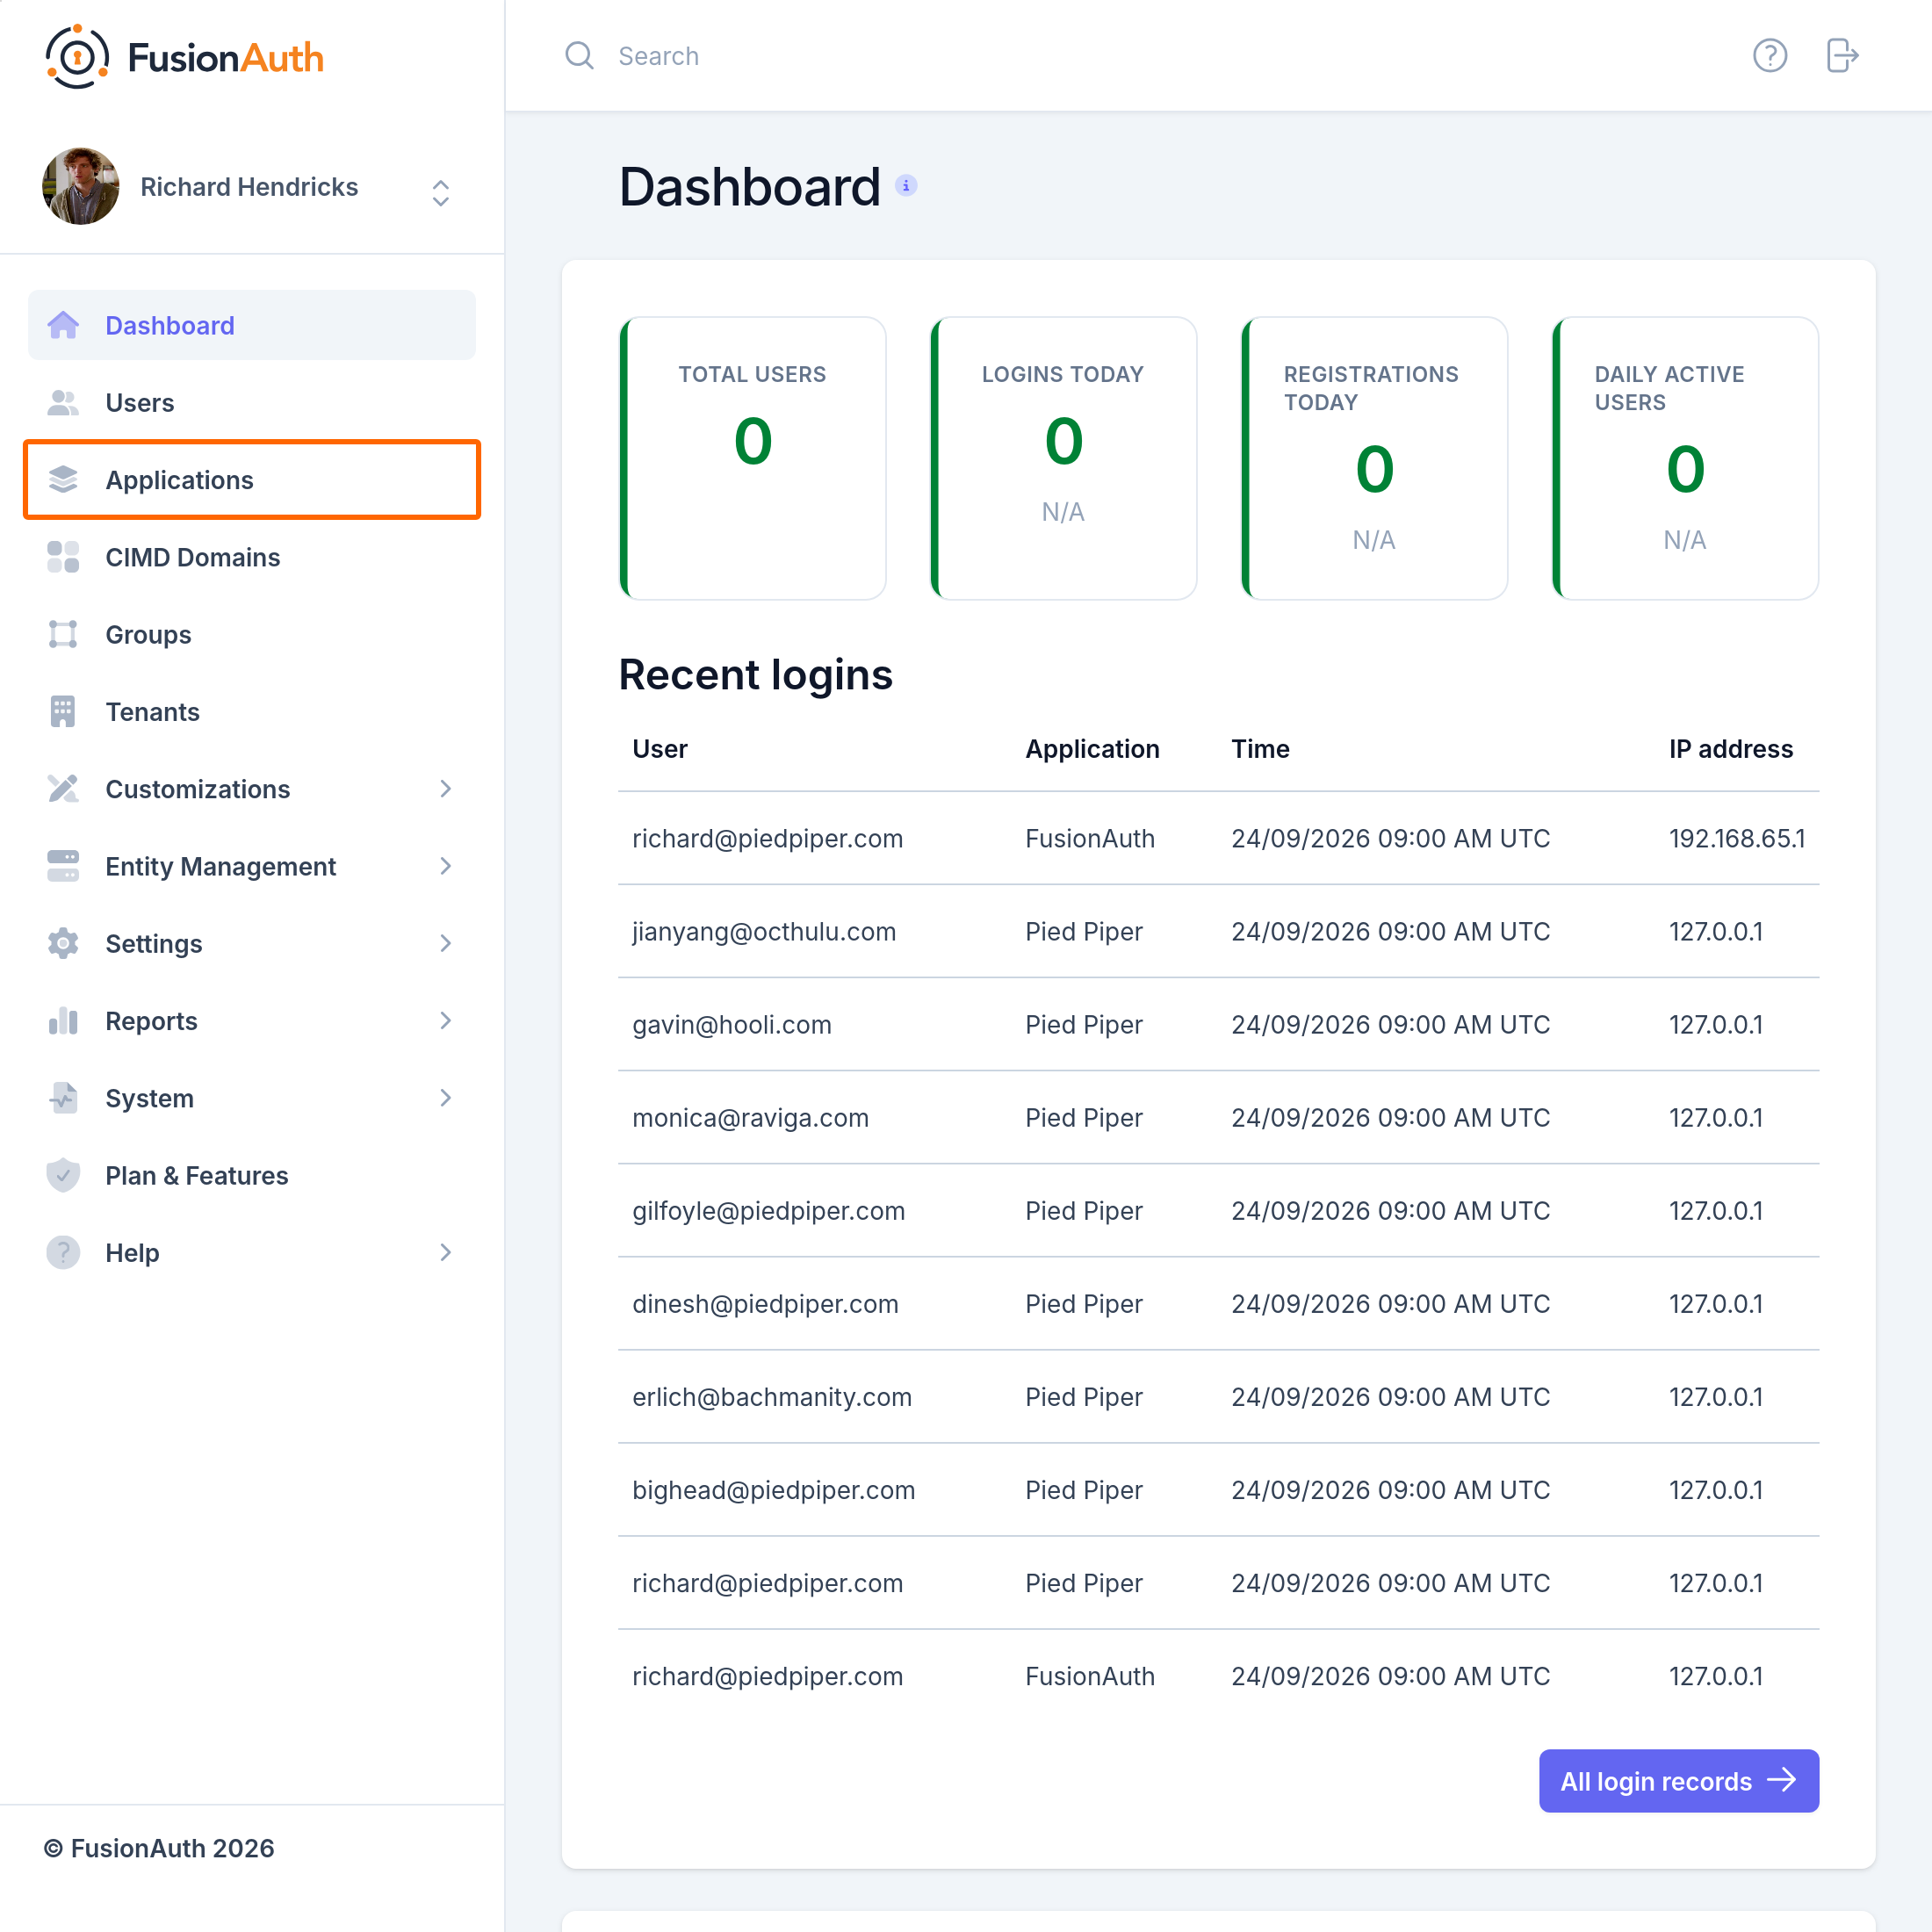
An application represents an app that users log into, such as the app you're building. Create one application for each app that uses FusionAuth for login.
-
Click Applications in the navigation menu.
-
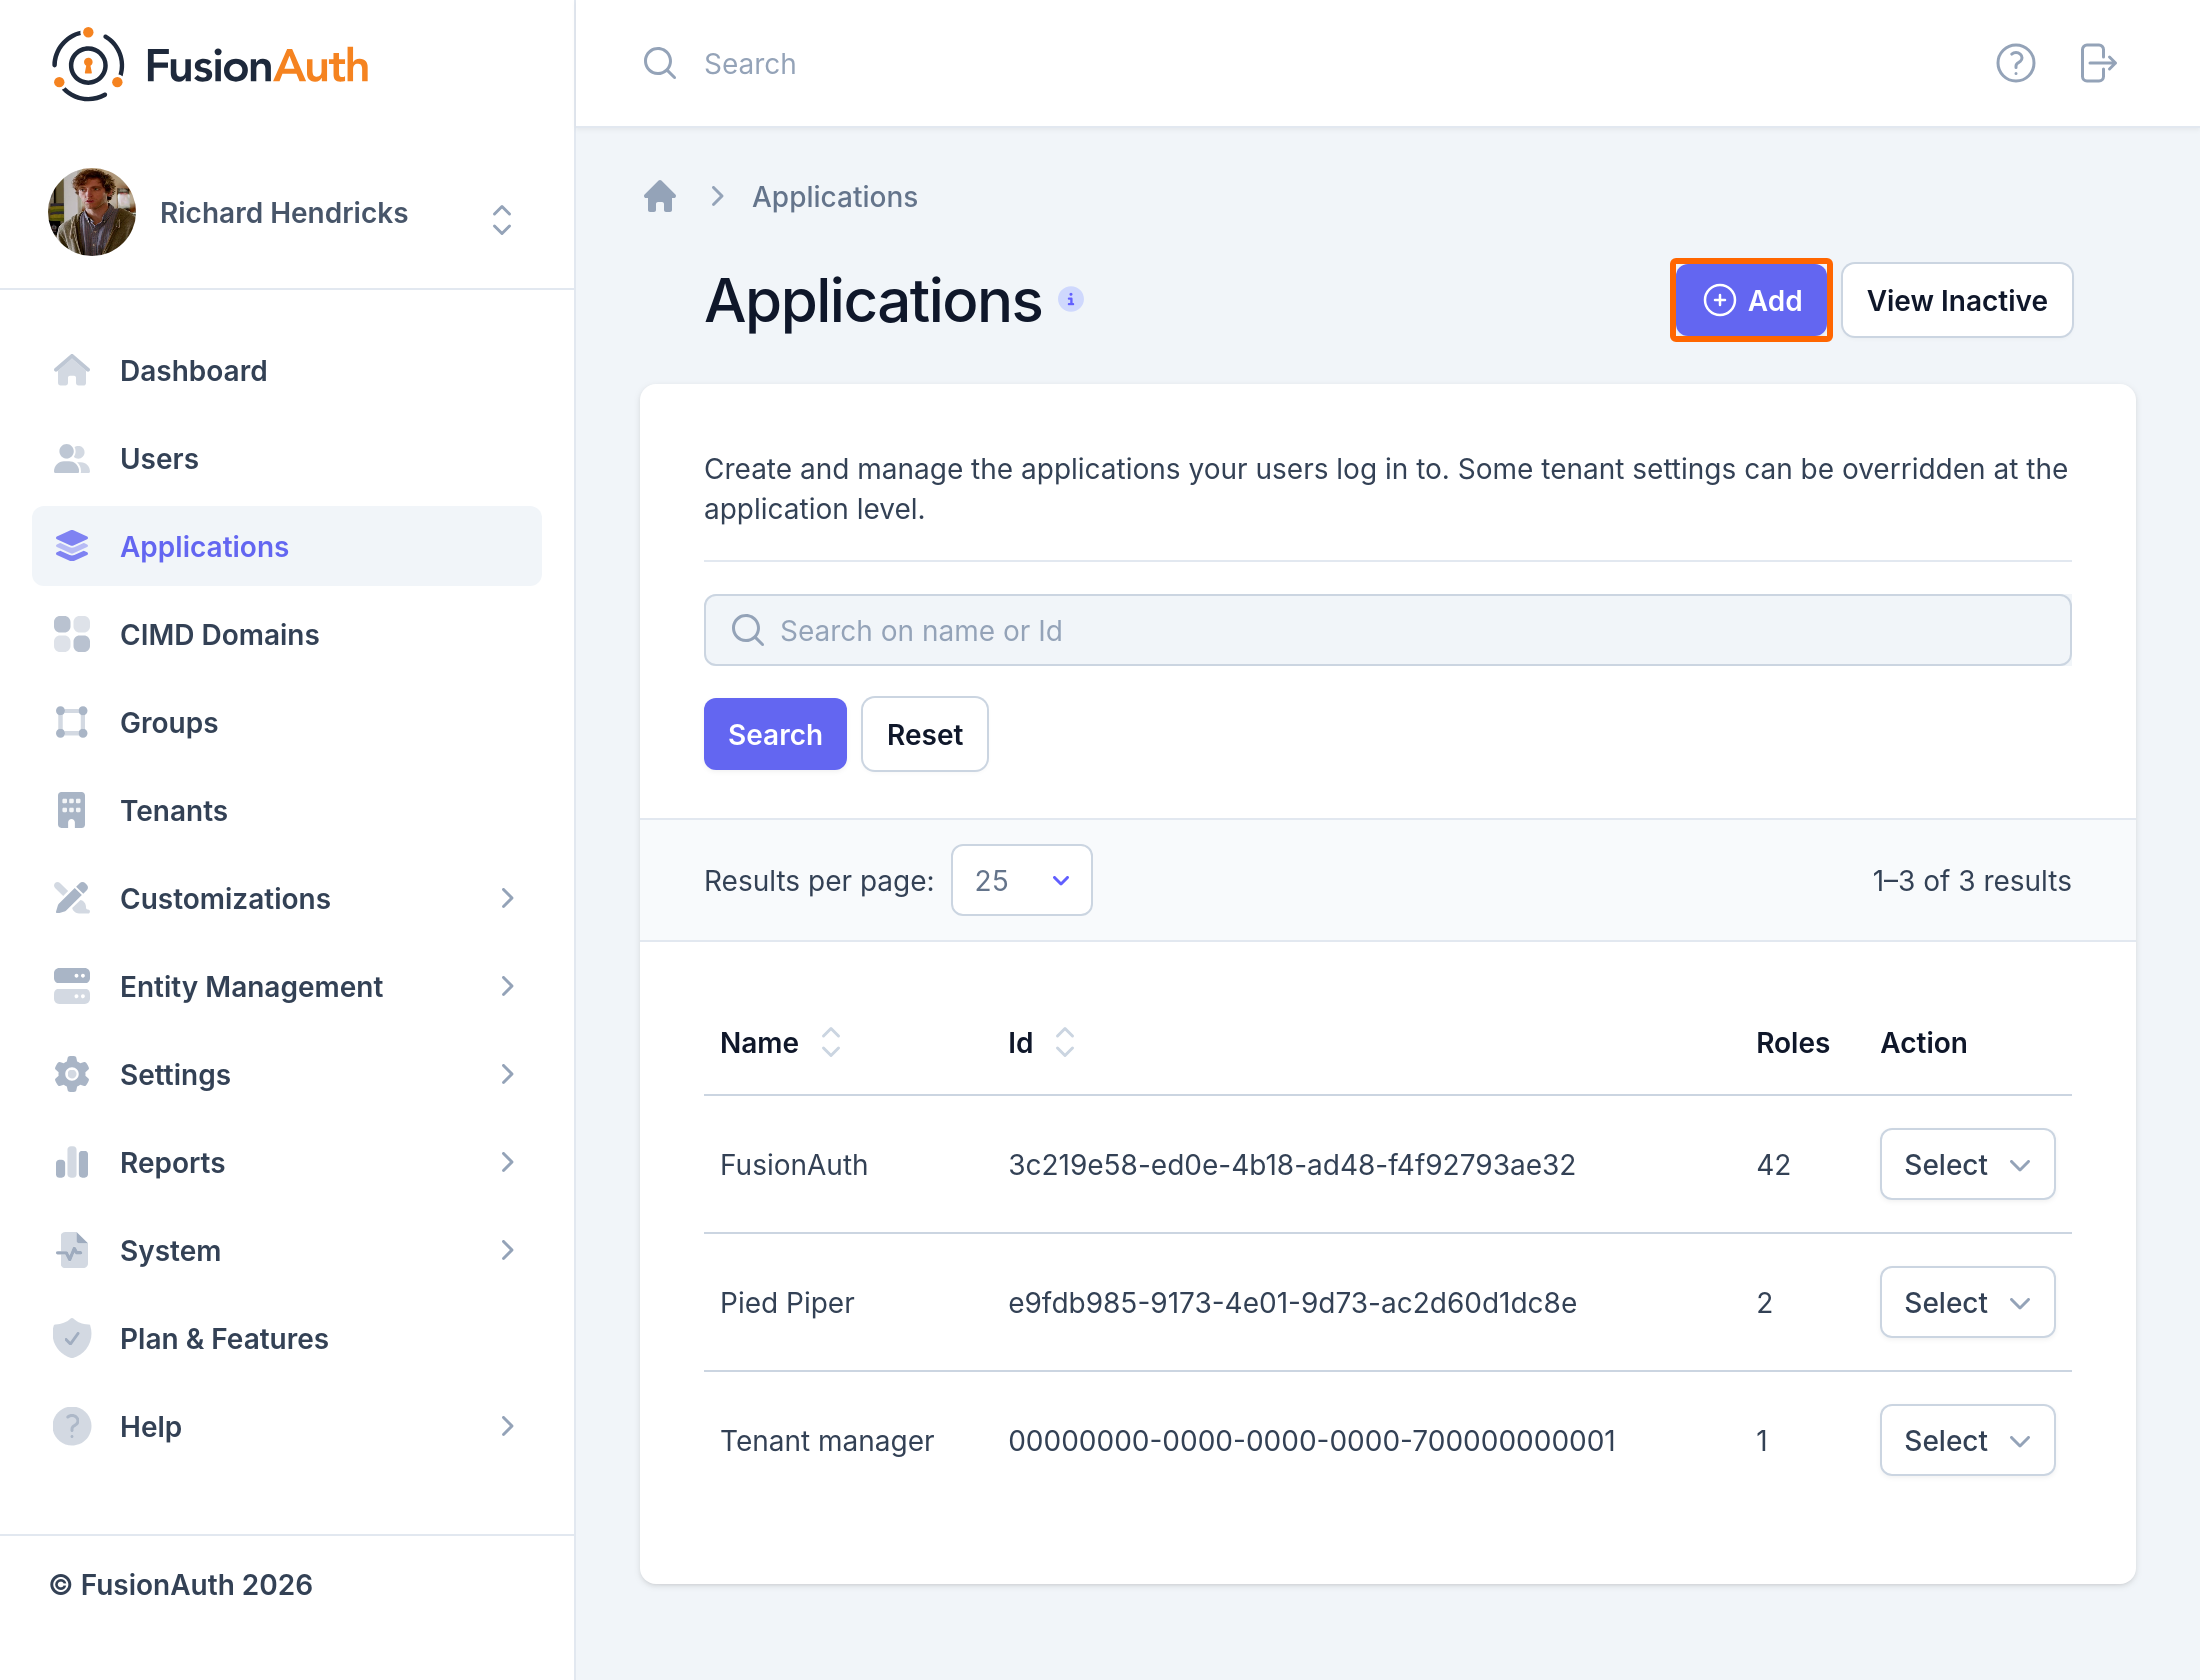
Click the Add button at the top of the page.
-
Enter a Name for the application. FusionAuth only uses the name for display.
-
Click the OAuth tab and set the following fields. The example values assume an app that runs at
http://localhost:3000.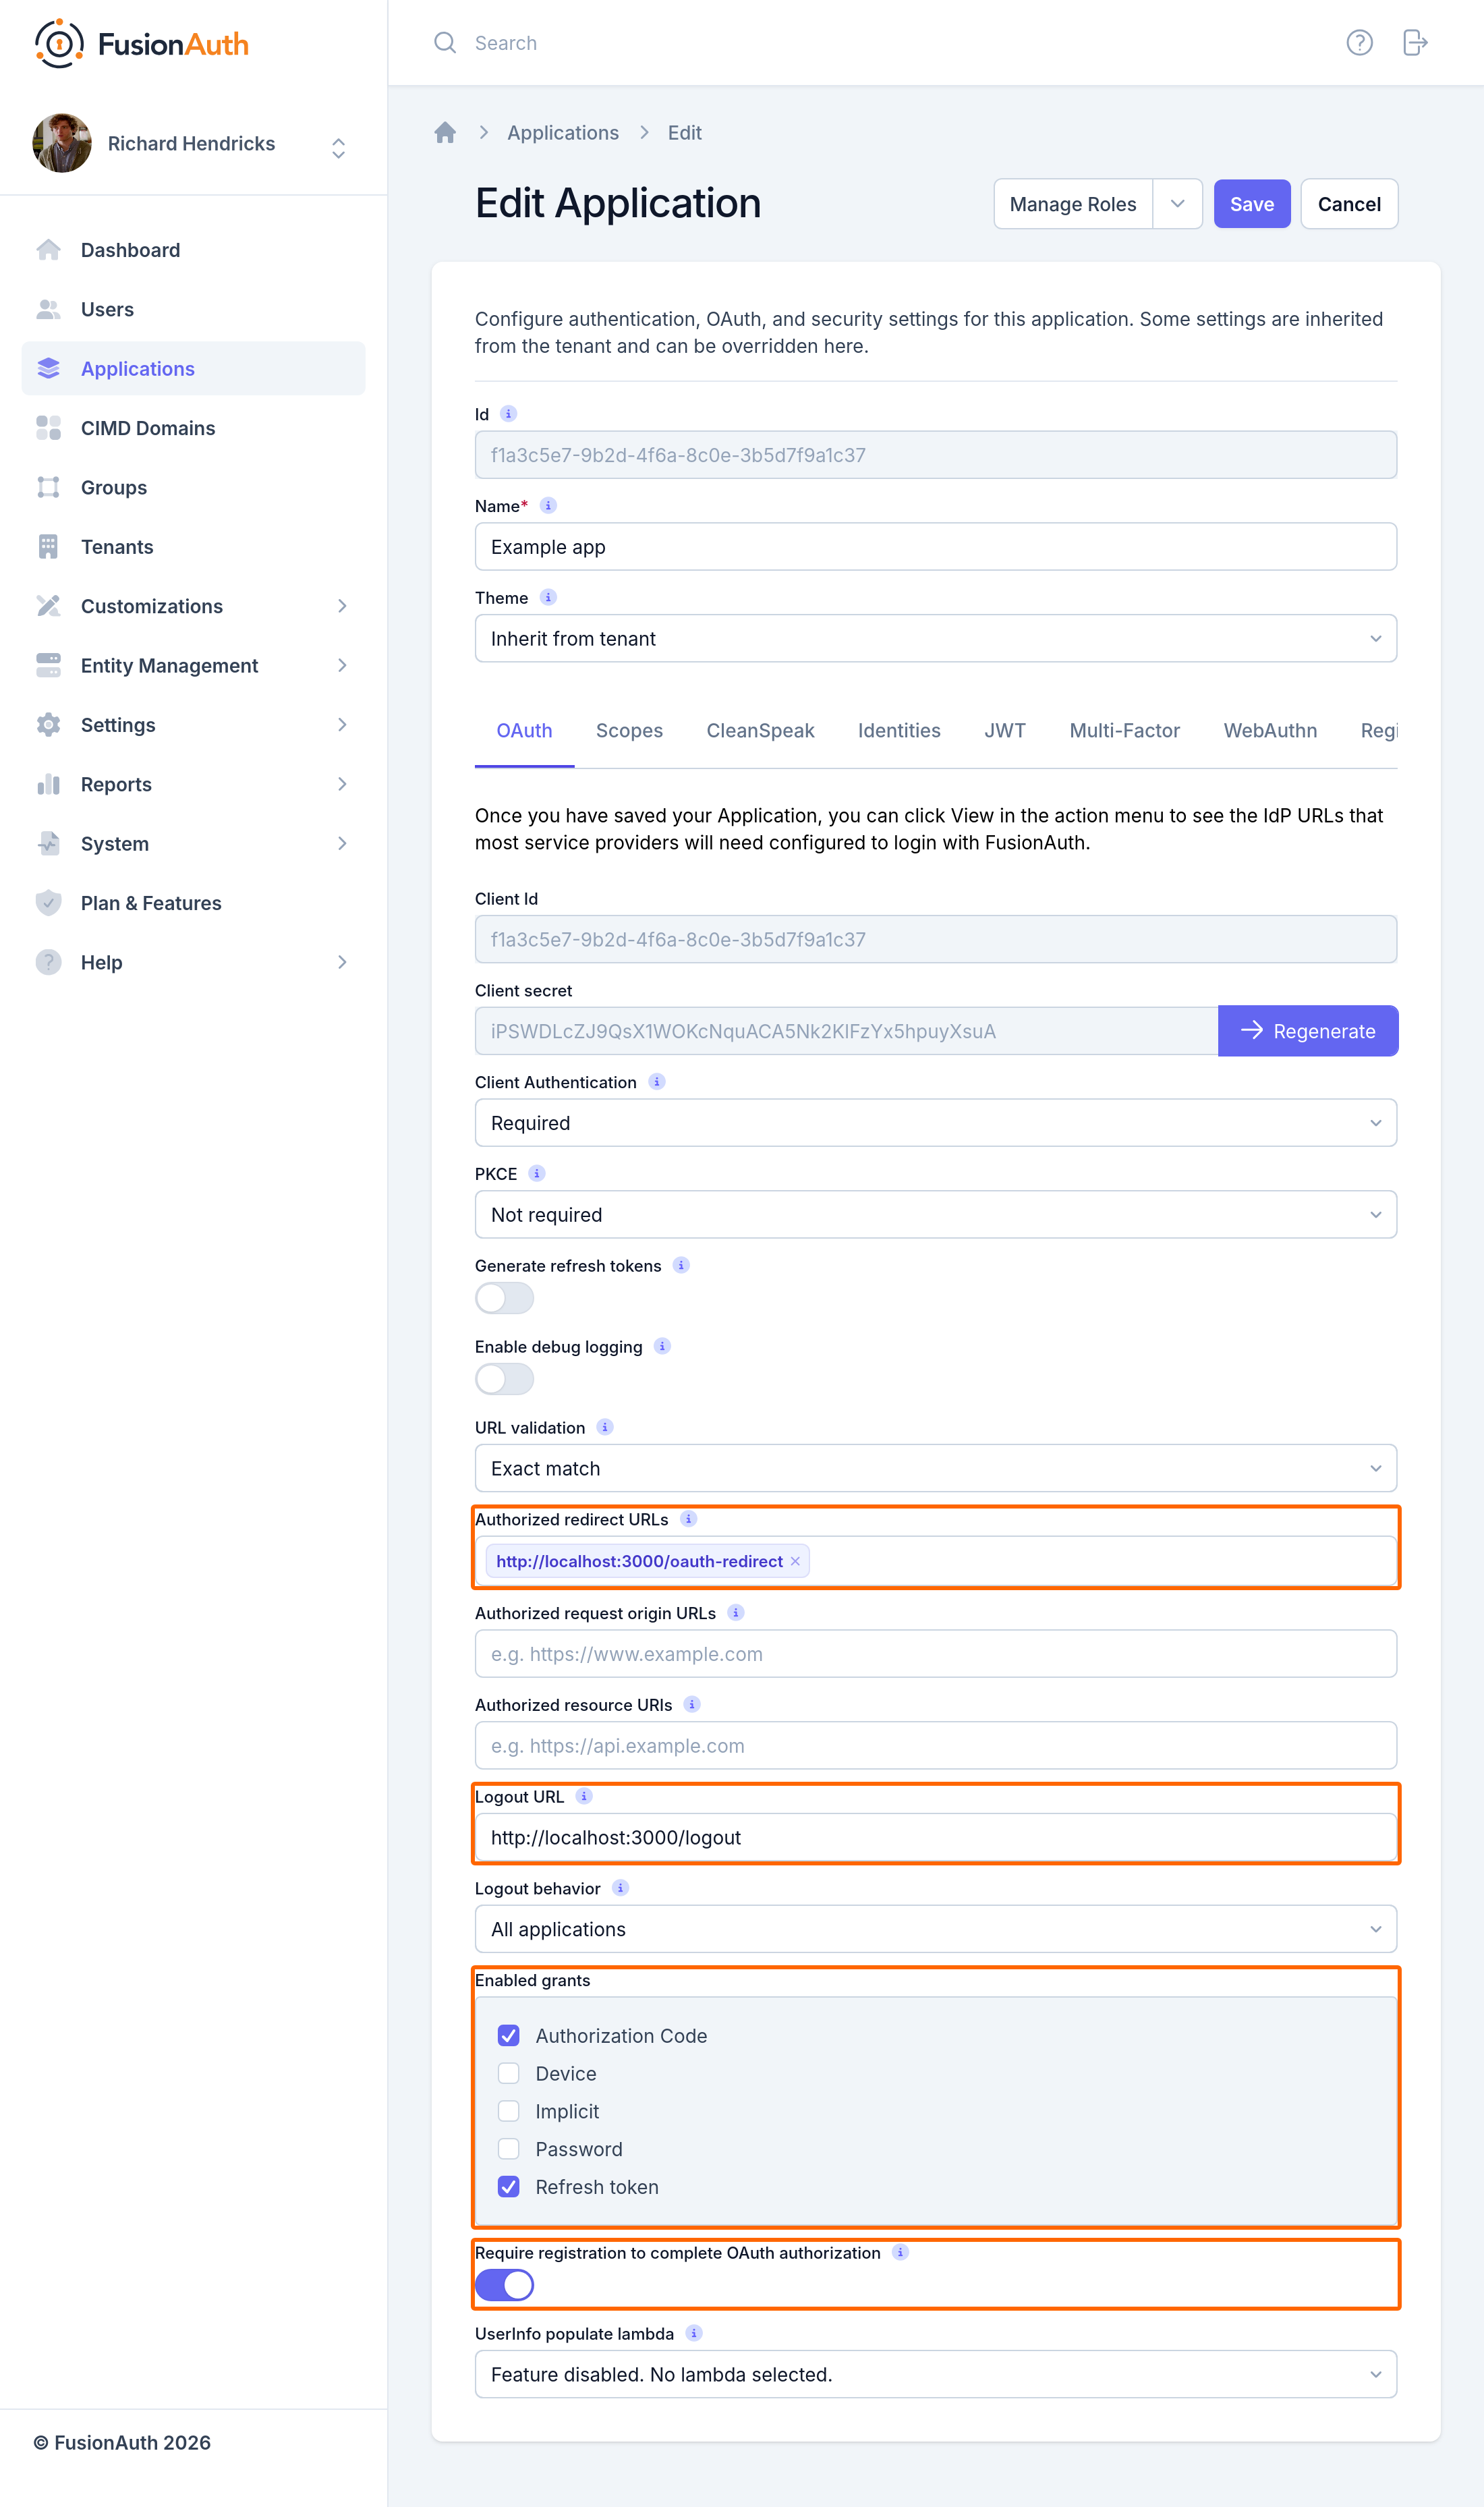
- Authorized redirect URLs: the route in your app that completes the login, such as
http://localhost:3000/oauth-redirect. After you type or paste a value, click the popup that appears, or FusionAuth doesn't save the value. - Logout URL: where FusionAuth sends the browser after logout, such as
http://localhost:3000/logout. - Enabled grants: select Authorization Code.
- Require registration: enable, so only users registered to the application can log in.
- Authorized redirect URLs: the route in your app that completes the login, such as
-
Click the Save button at the top of the page.
-
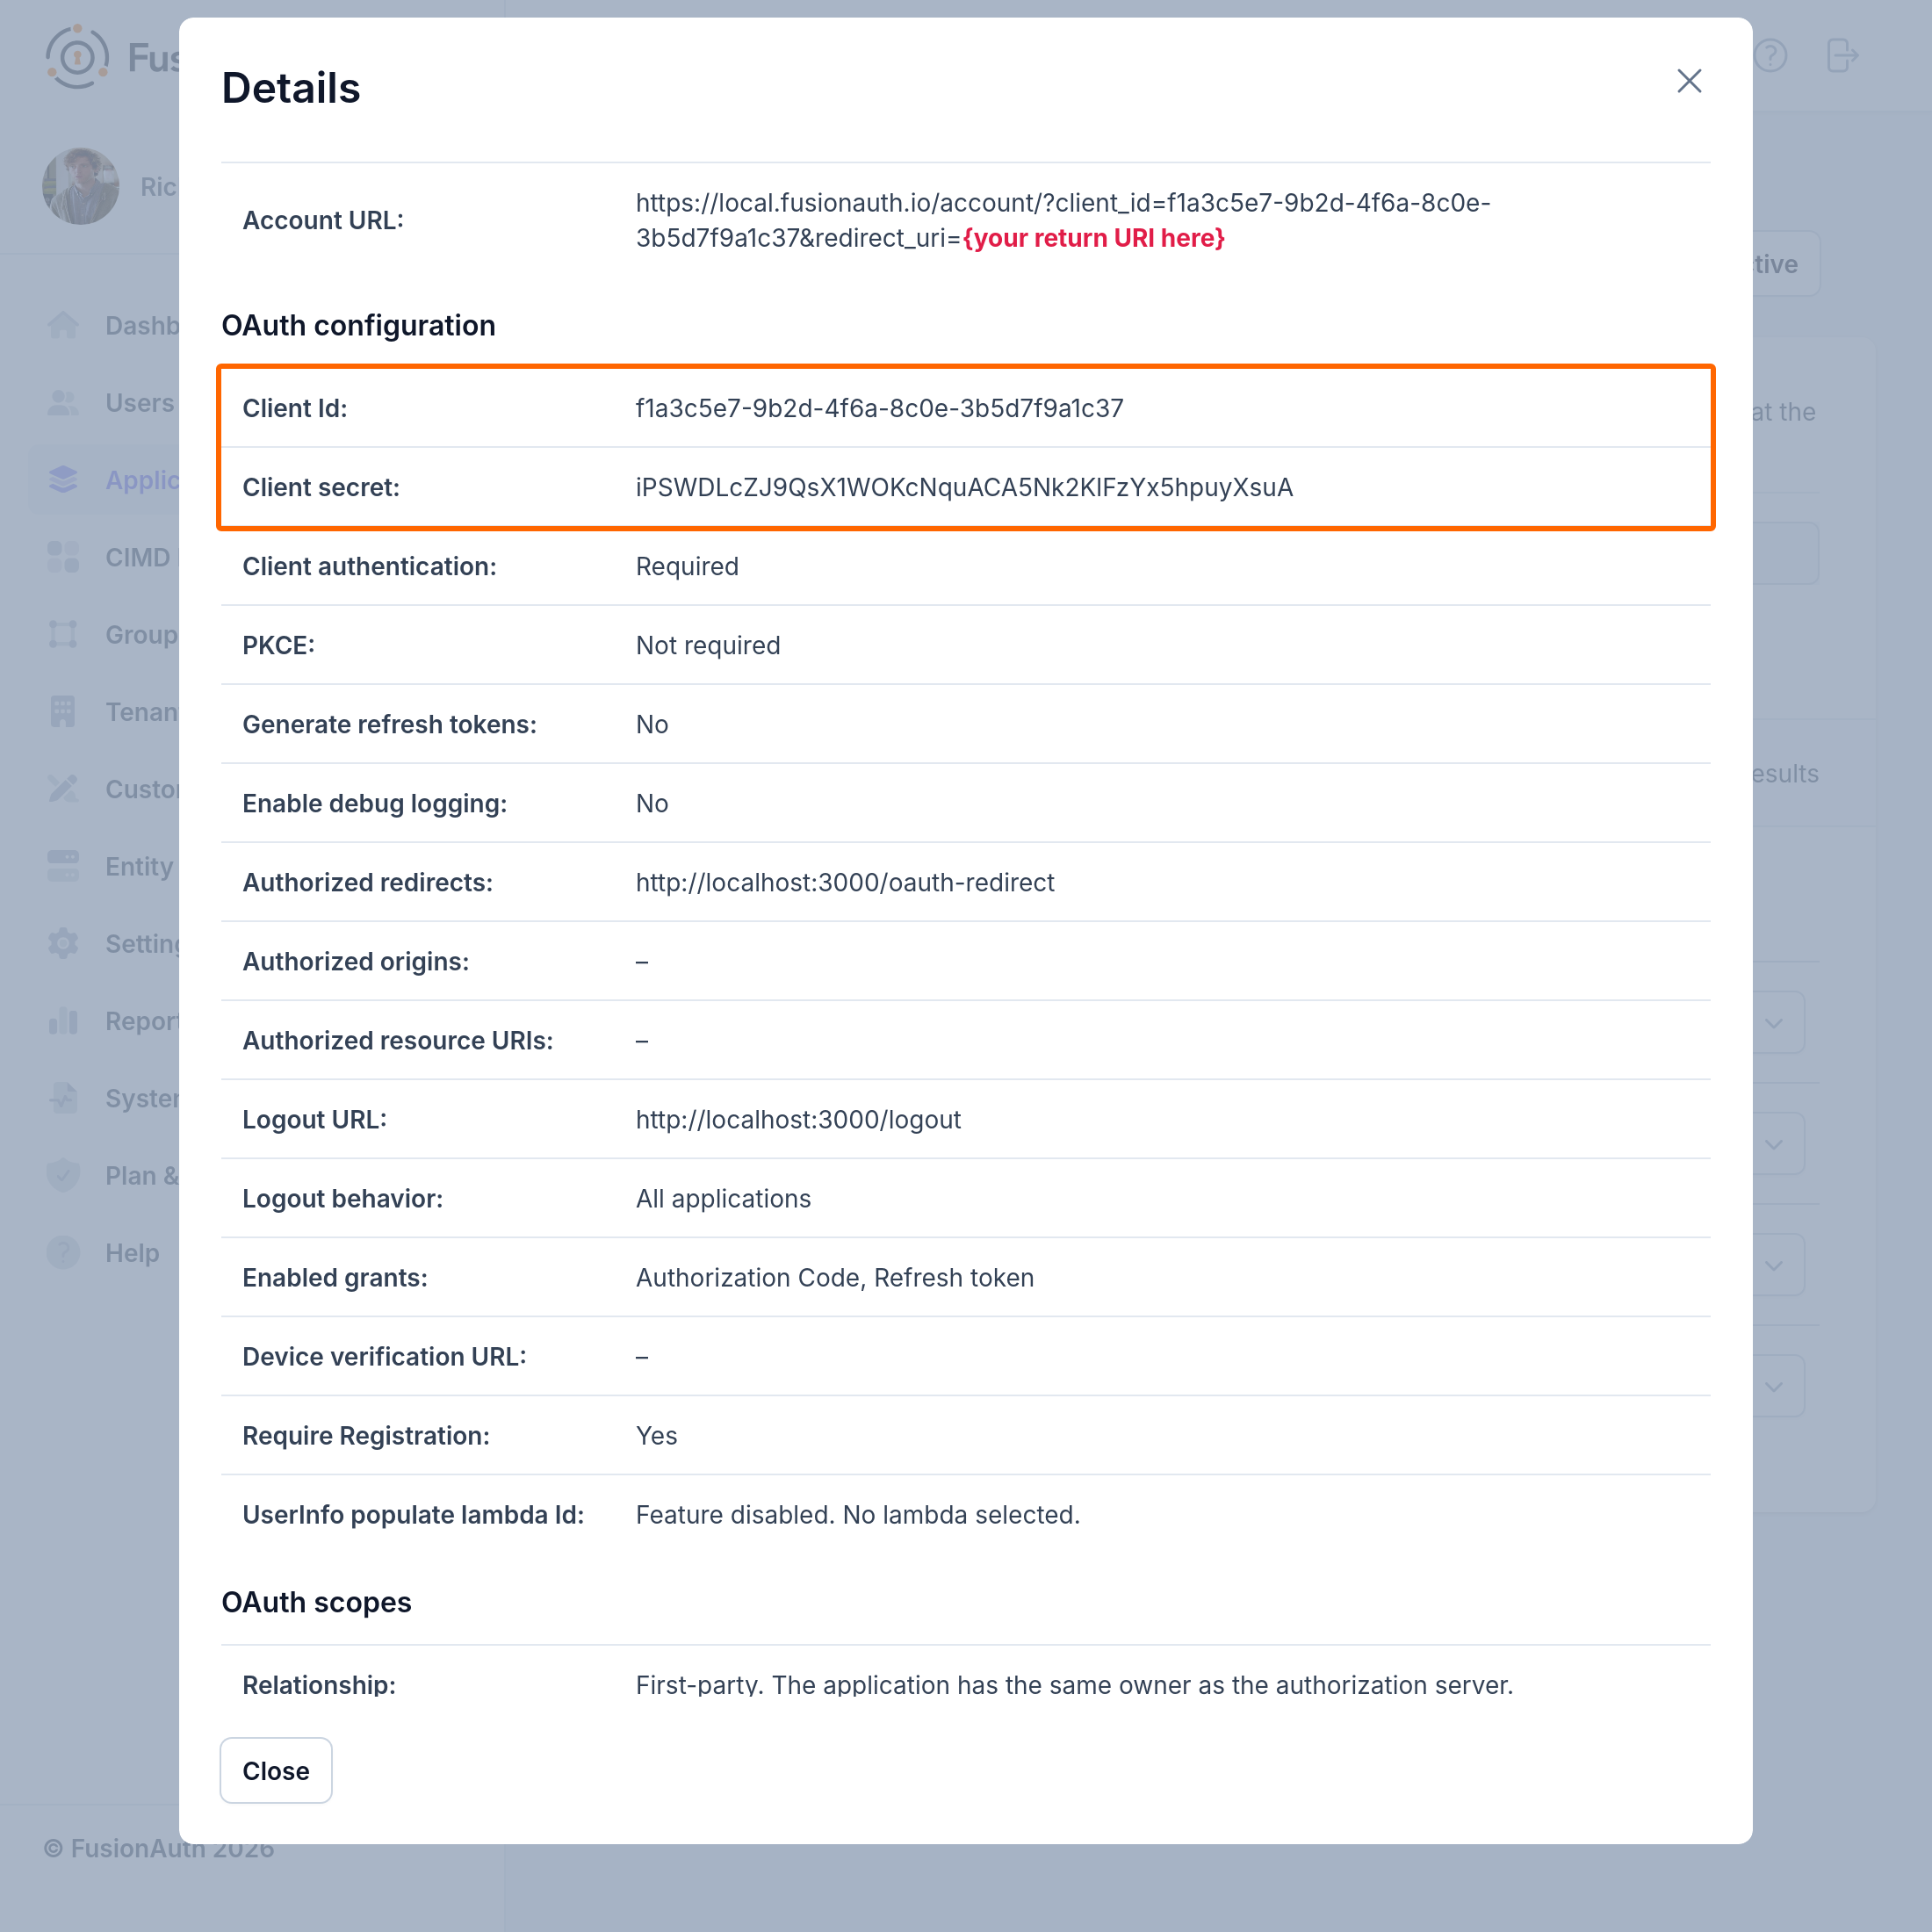
Next to the application name, click Select and then View. In the OAuth Configuration section, copy the Client Id and Client Secret. Your app needs both values.
For every application setting, see Applications.
Register a User#
A registration connects a user to an application. With Require registration enabled, a user can only log into the application after you add a registration. To try a login, register the admin user you created in the Setup Wizard.
-
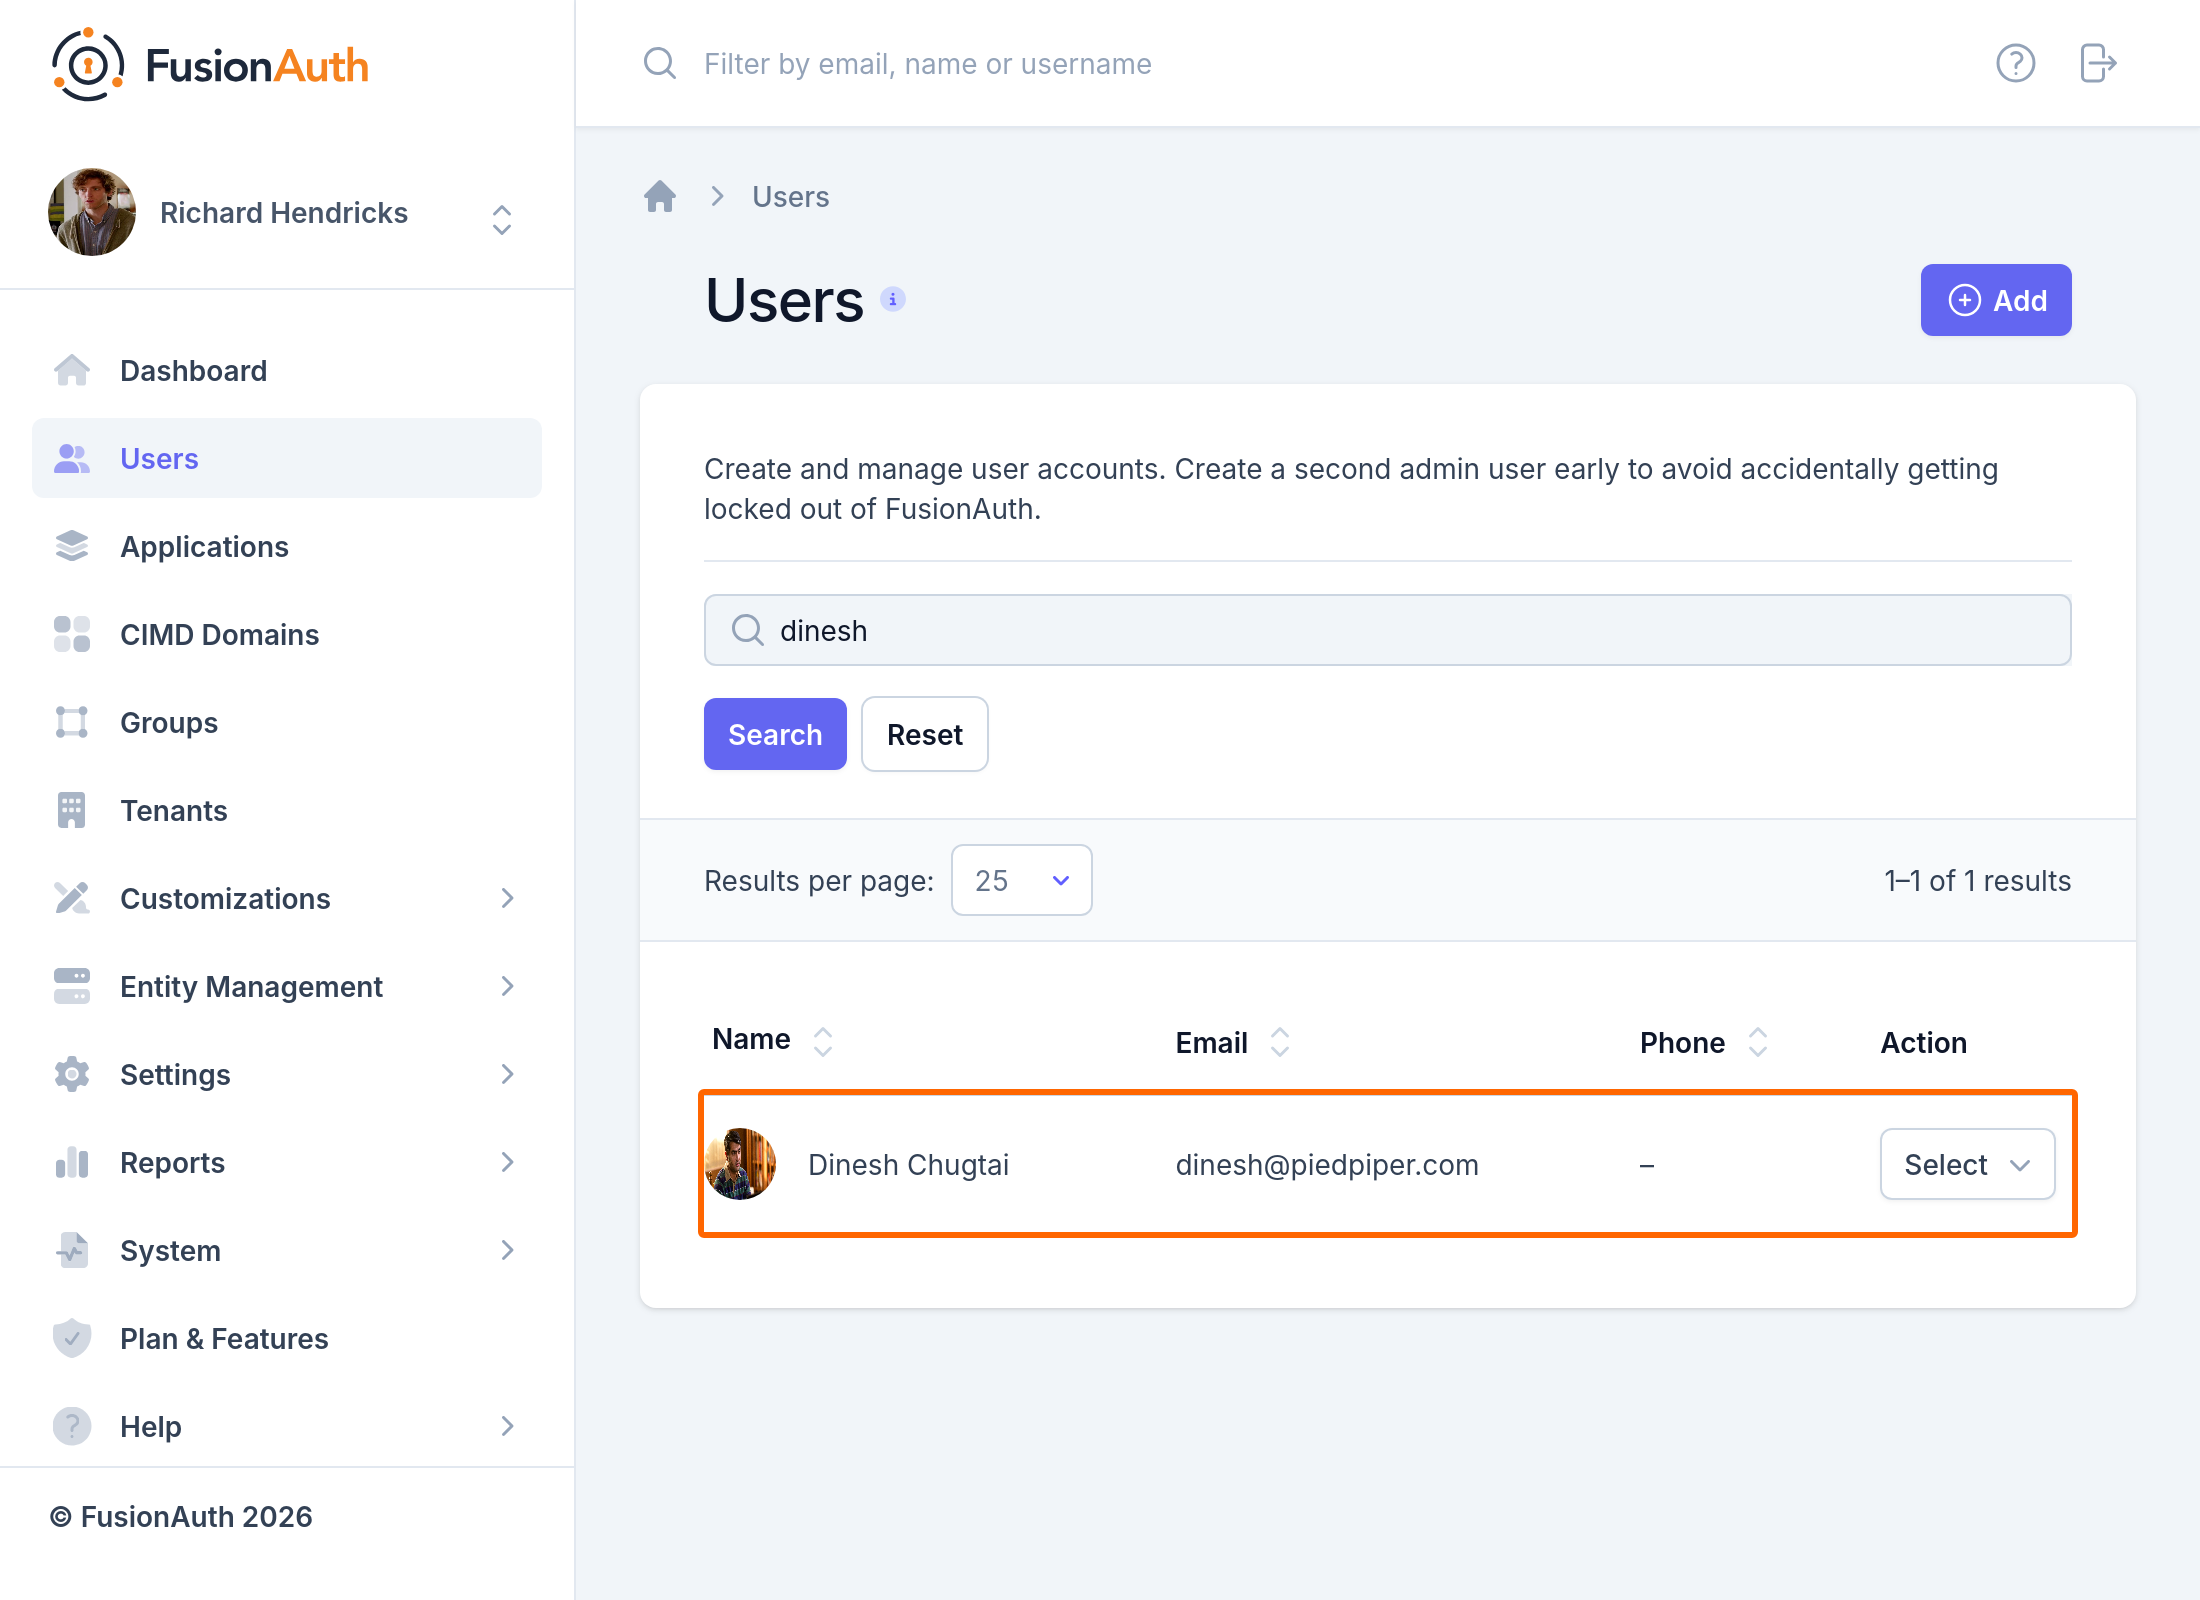
Click Users in the navigation menu, then click the Manage button next to the user.
-
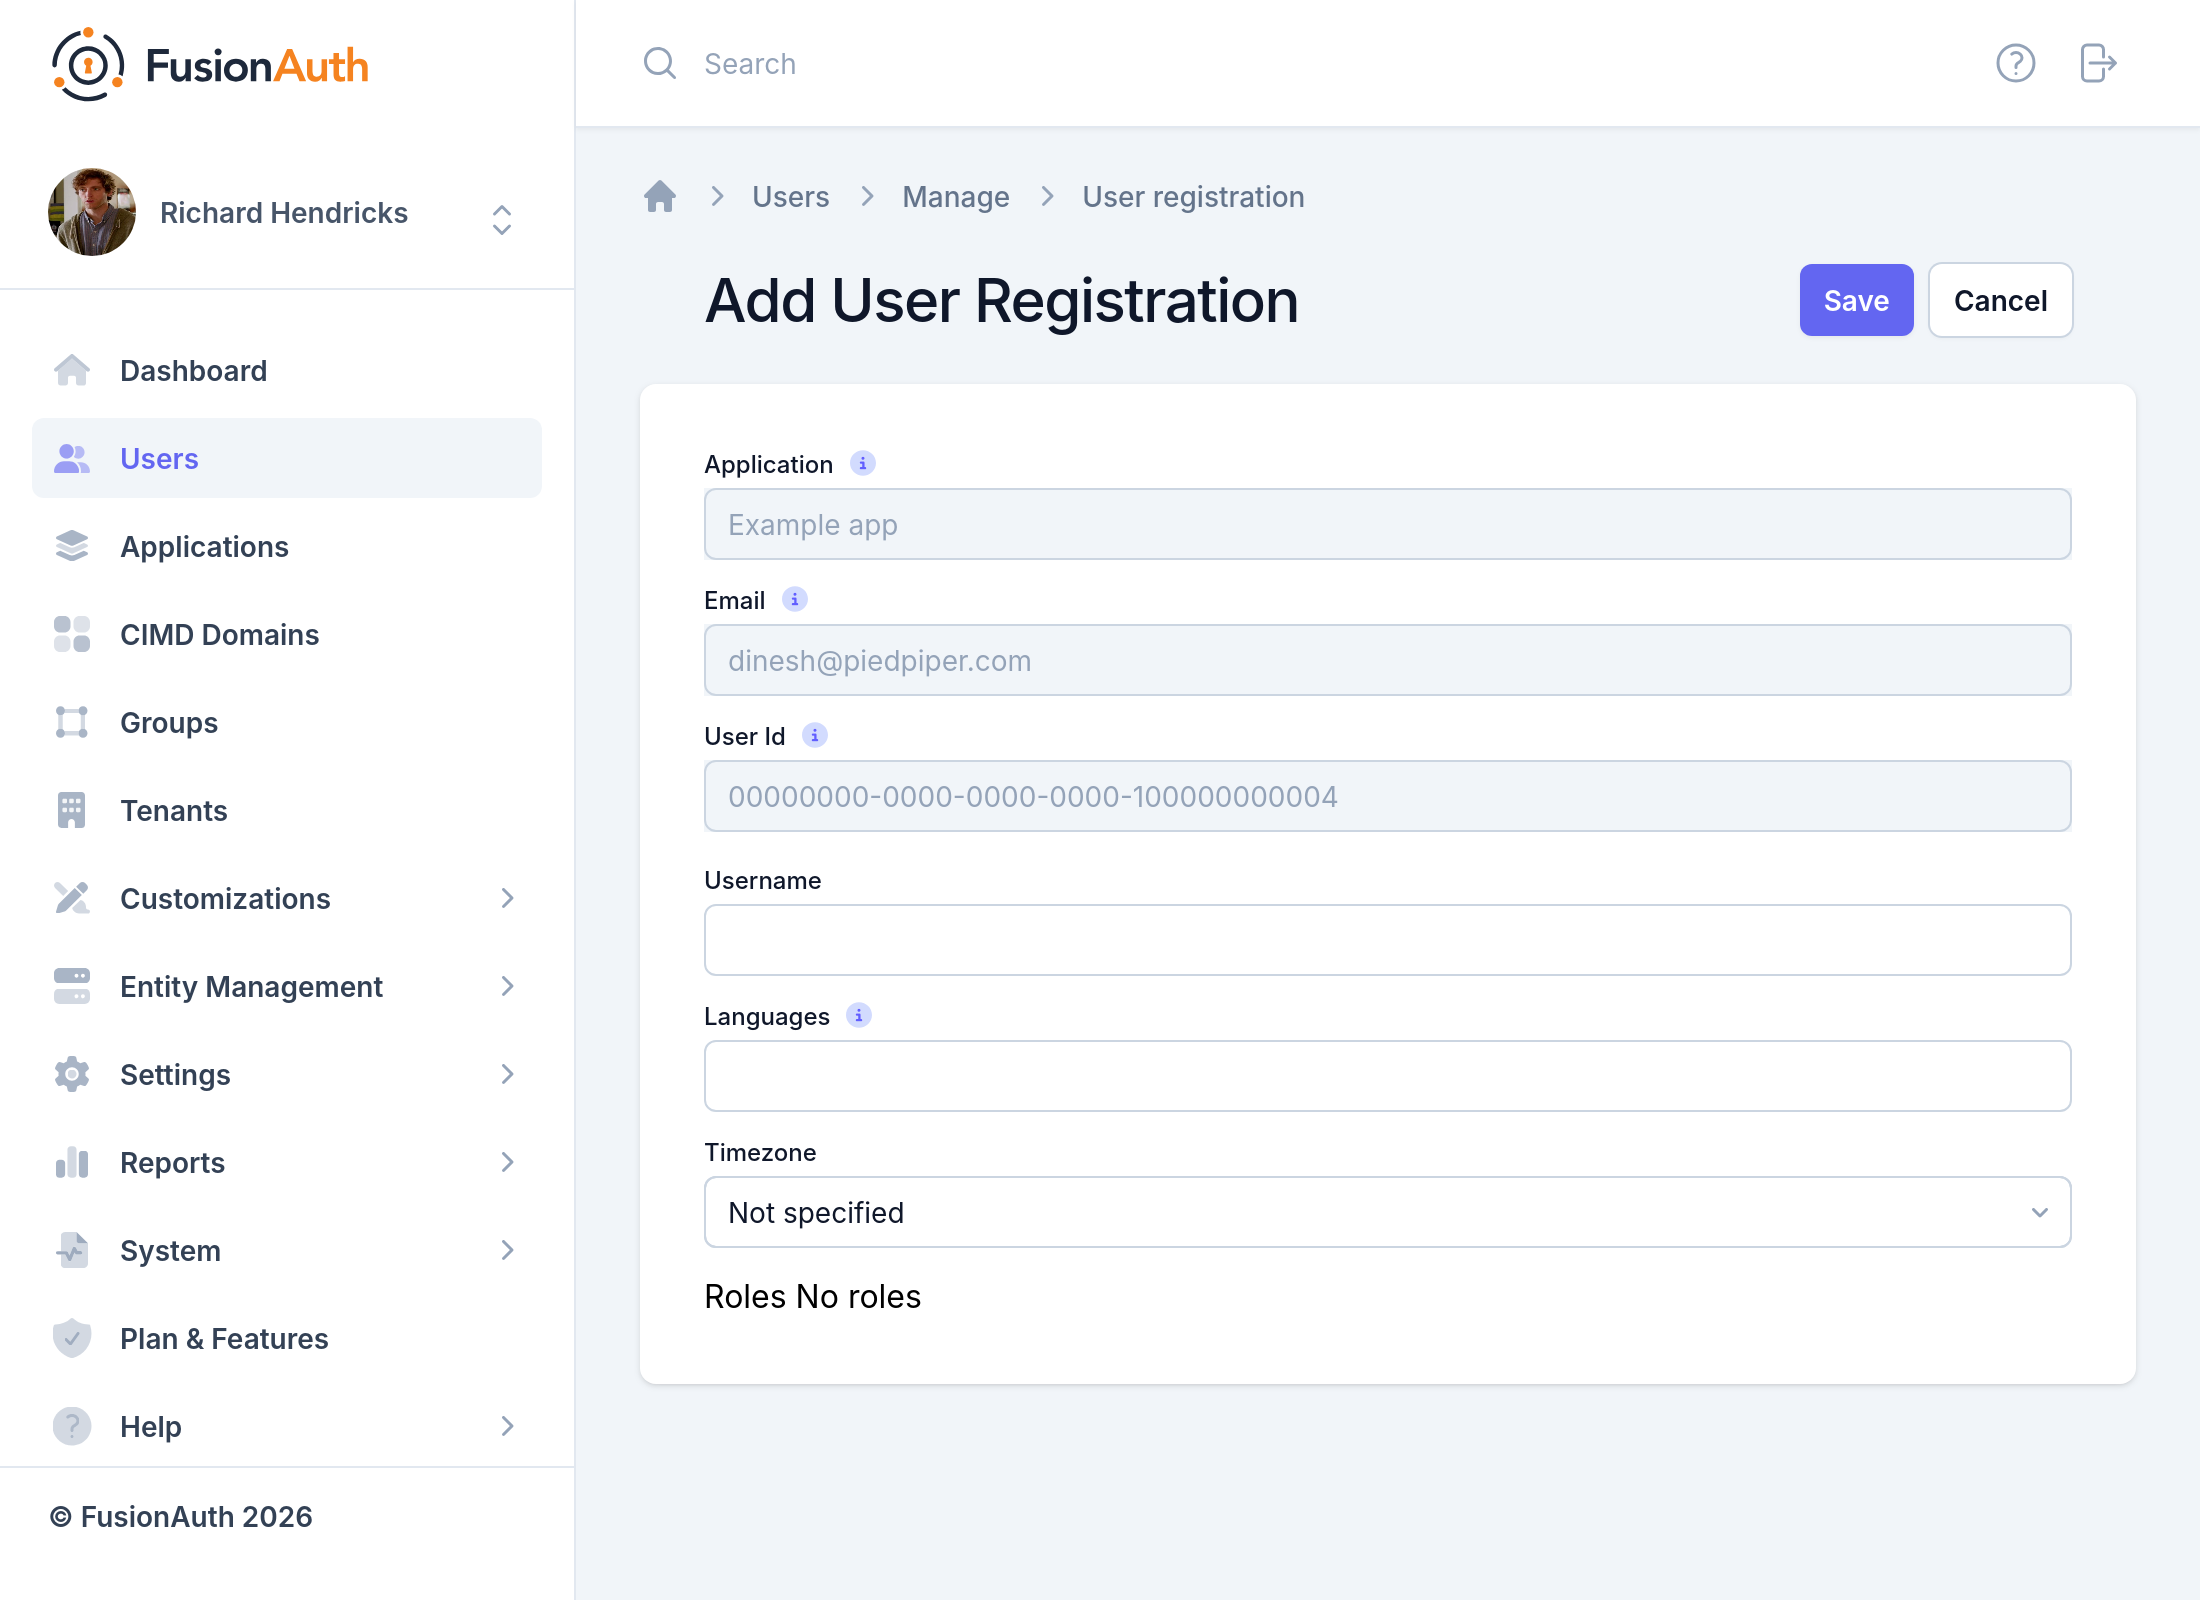
Click Add Registration . If you have more than one application, select the application you created.
-
Click the Save button at the top of the page.
You don't need to register every user by hand. With self-service registration, FusionAuth adds a registration when a user signs up.
Prepare for Production#
Before customers log in to this instance, see Harden a Production Instance. It covers the settings to change from their development-friendly defaults, such as restricting the API Key you created above.
Next Steps#
Related
Find the guide for your next task after you install FusionAuth and complete first time setup.
Learn what FusionAuth is and how to get started using it.
Explore step-by-step QuickStart guides from FusionAuth to seamlessly integrate authentication into your application.