Add WebAuthn Passkey
On this page
This feature requires at least a Licensed Community plan as of version 1.52.0.
1.41.0
WebAuthn is disabled by default on a tenant. To toggle navigate to Tenants -> Edit Tenant -> WebAuthn . In order for the user to use the registered passkey, at least one WebAuthn workflow must be enabled for the tenant.
Enable WebAuthn on Tenant (Admin Facing)#
WebAuthn is disabled by default at the tenant level. It can be toggled on and off as needed.
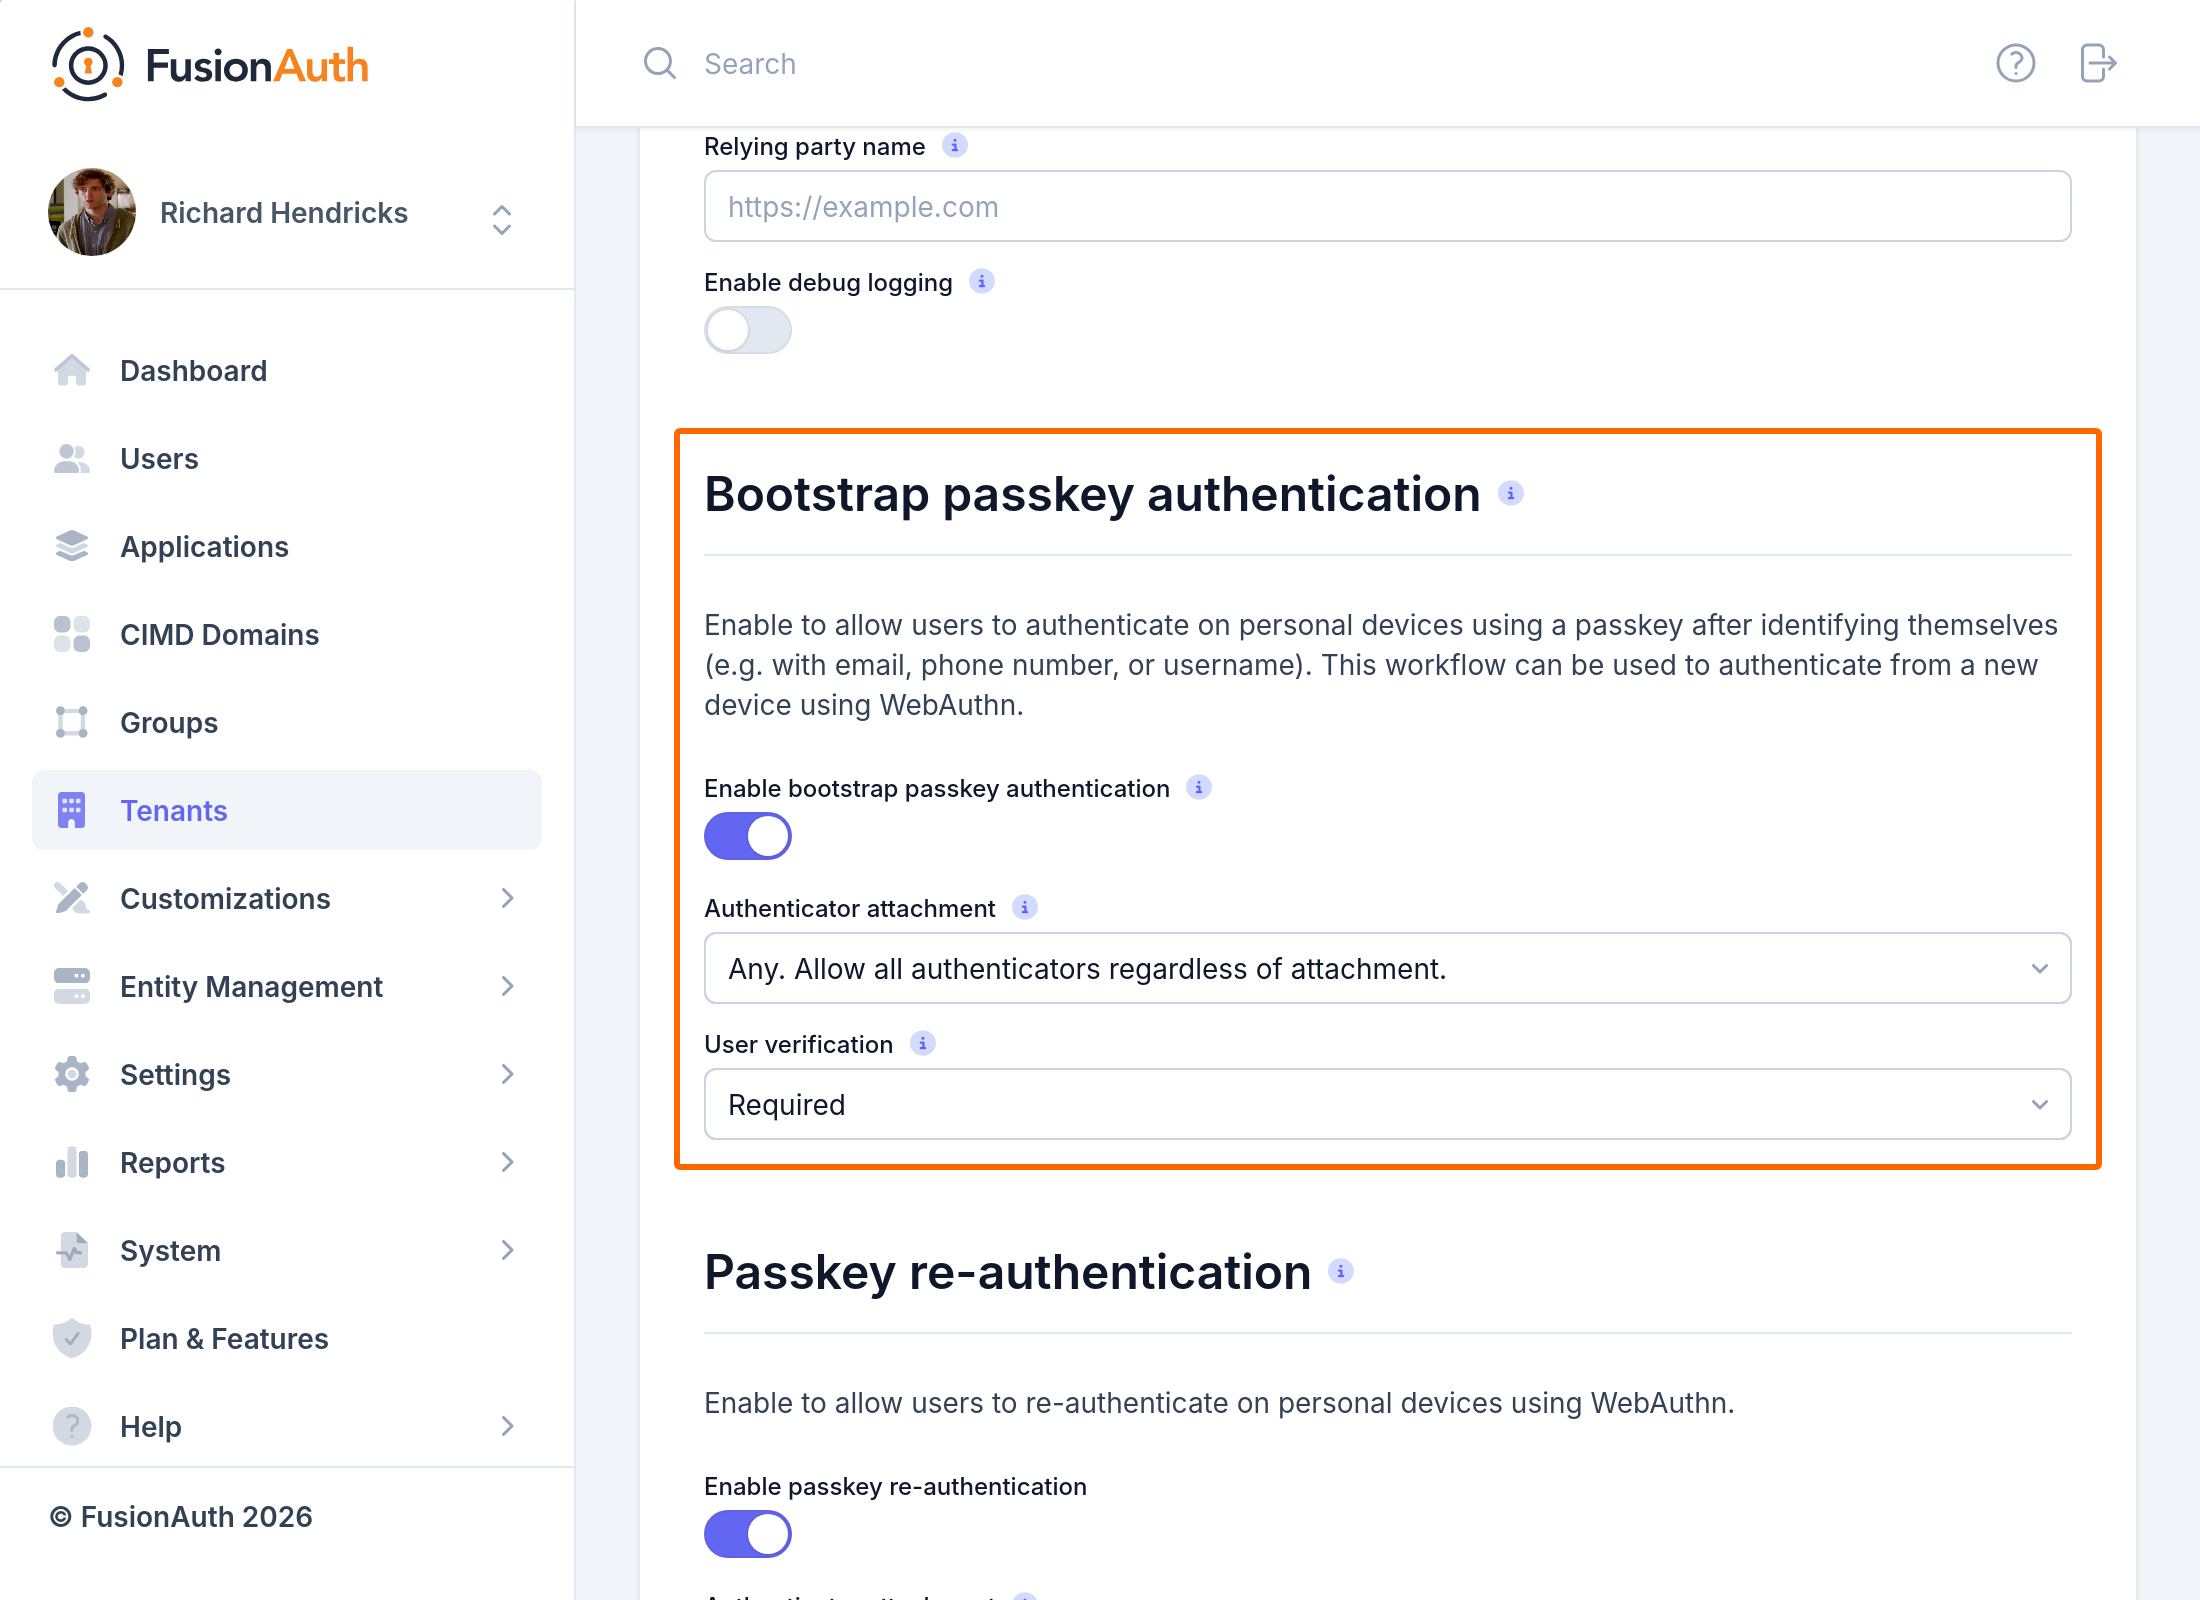
In order for a user to use a passkey, one or more WebAuthn workflows must be enabled at the tenant or application level. See the WebAuthn Admin Guide for more details on configuration.
Add a Passkey from Account Management (User Facing)#
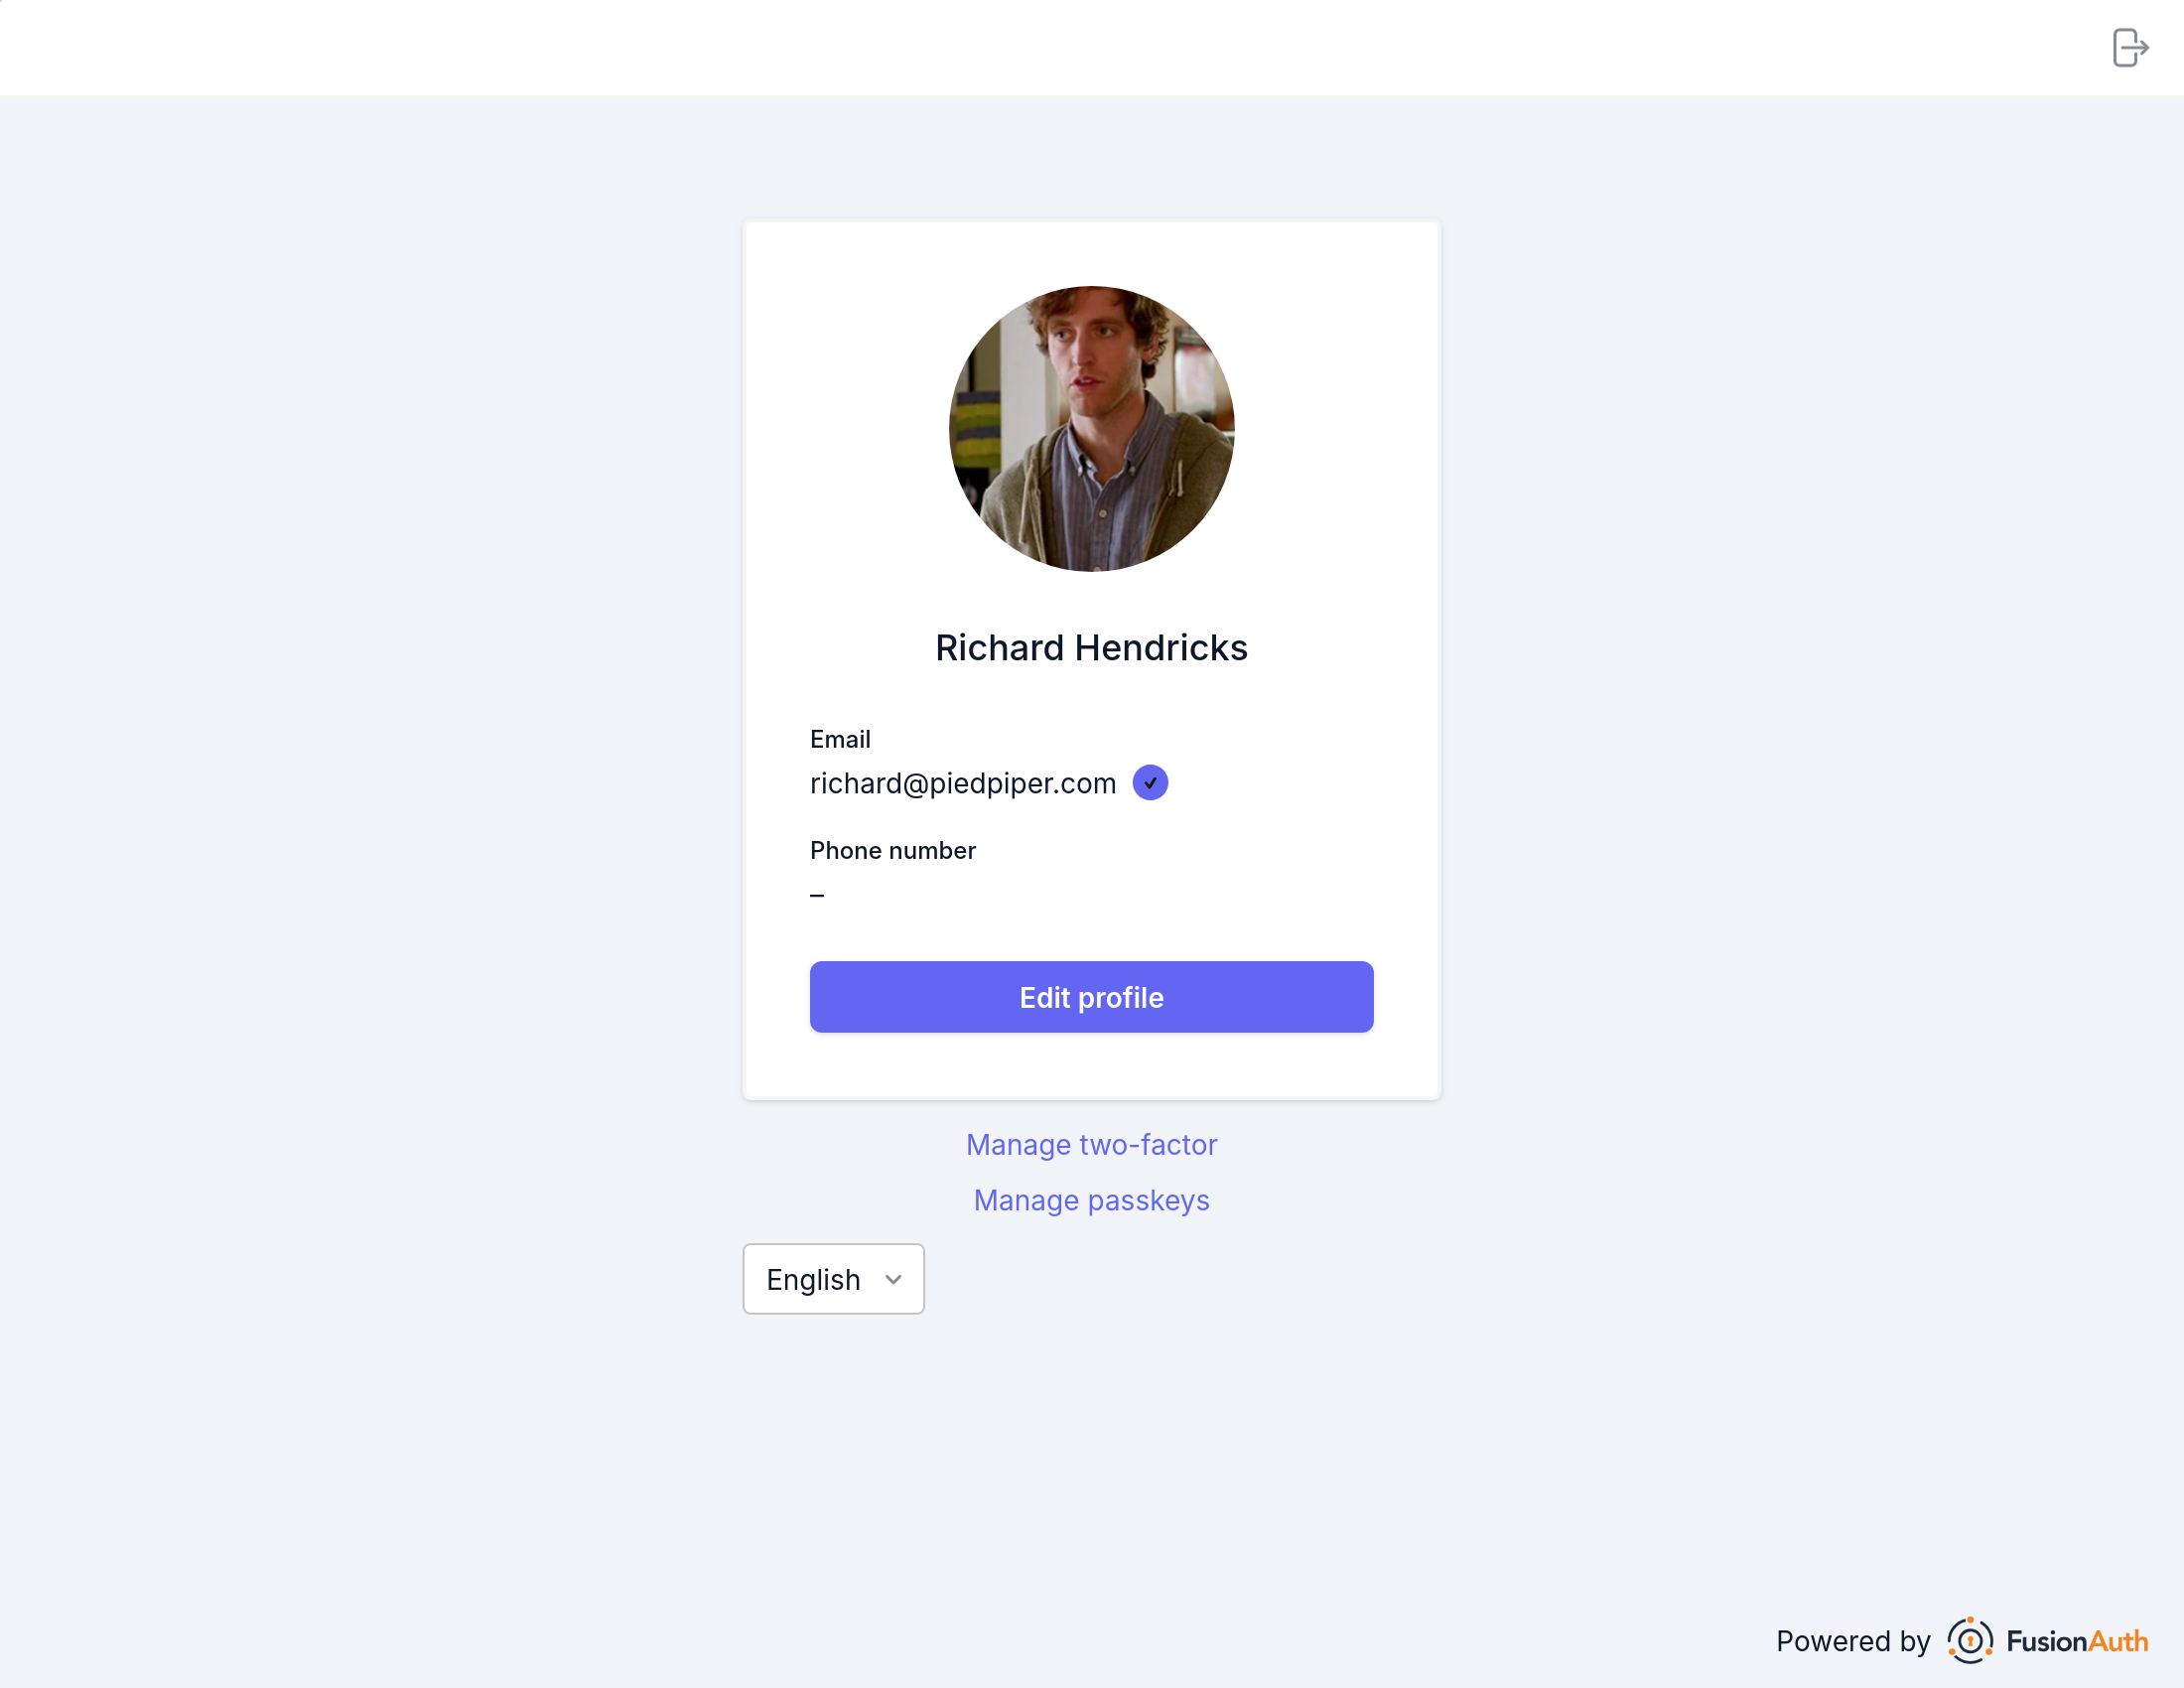
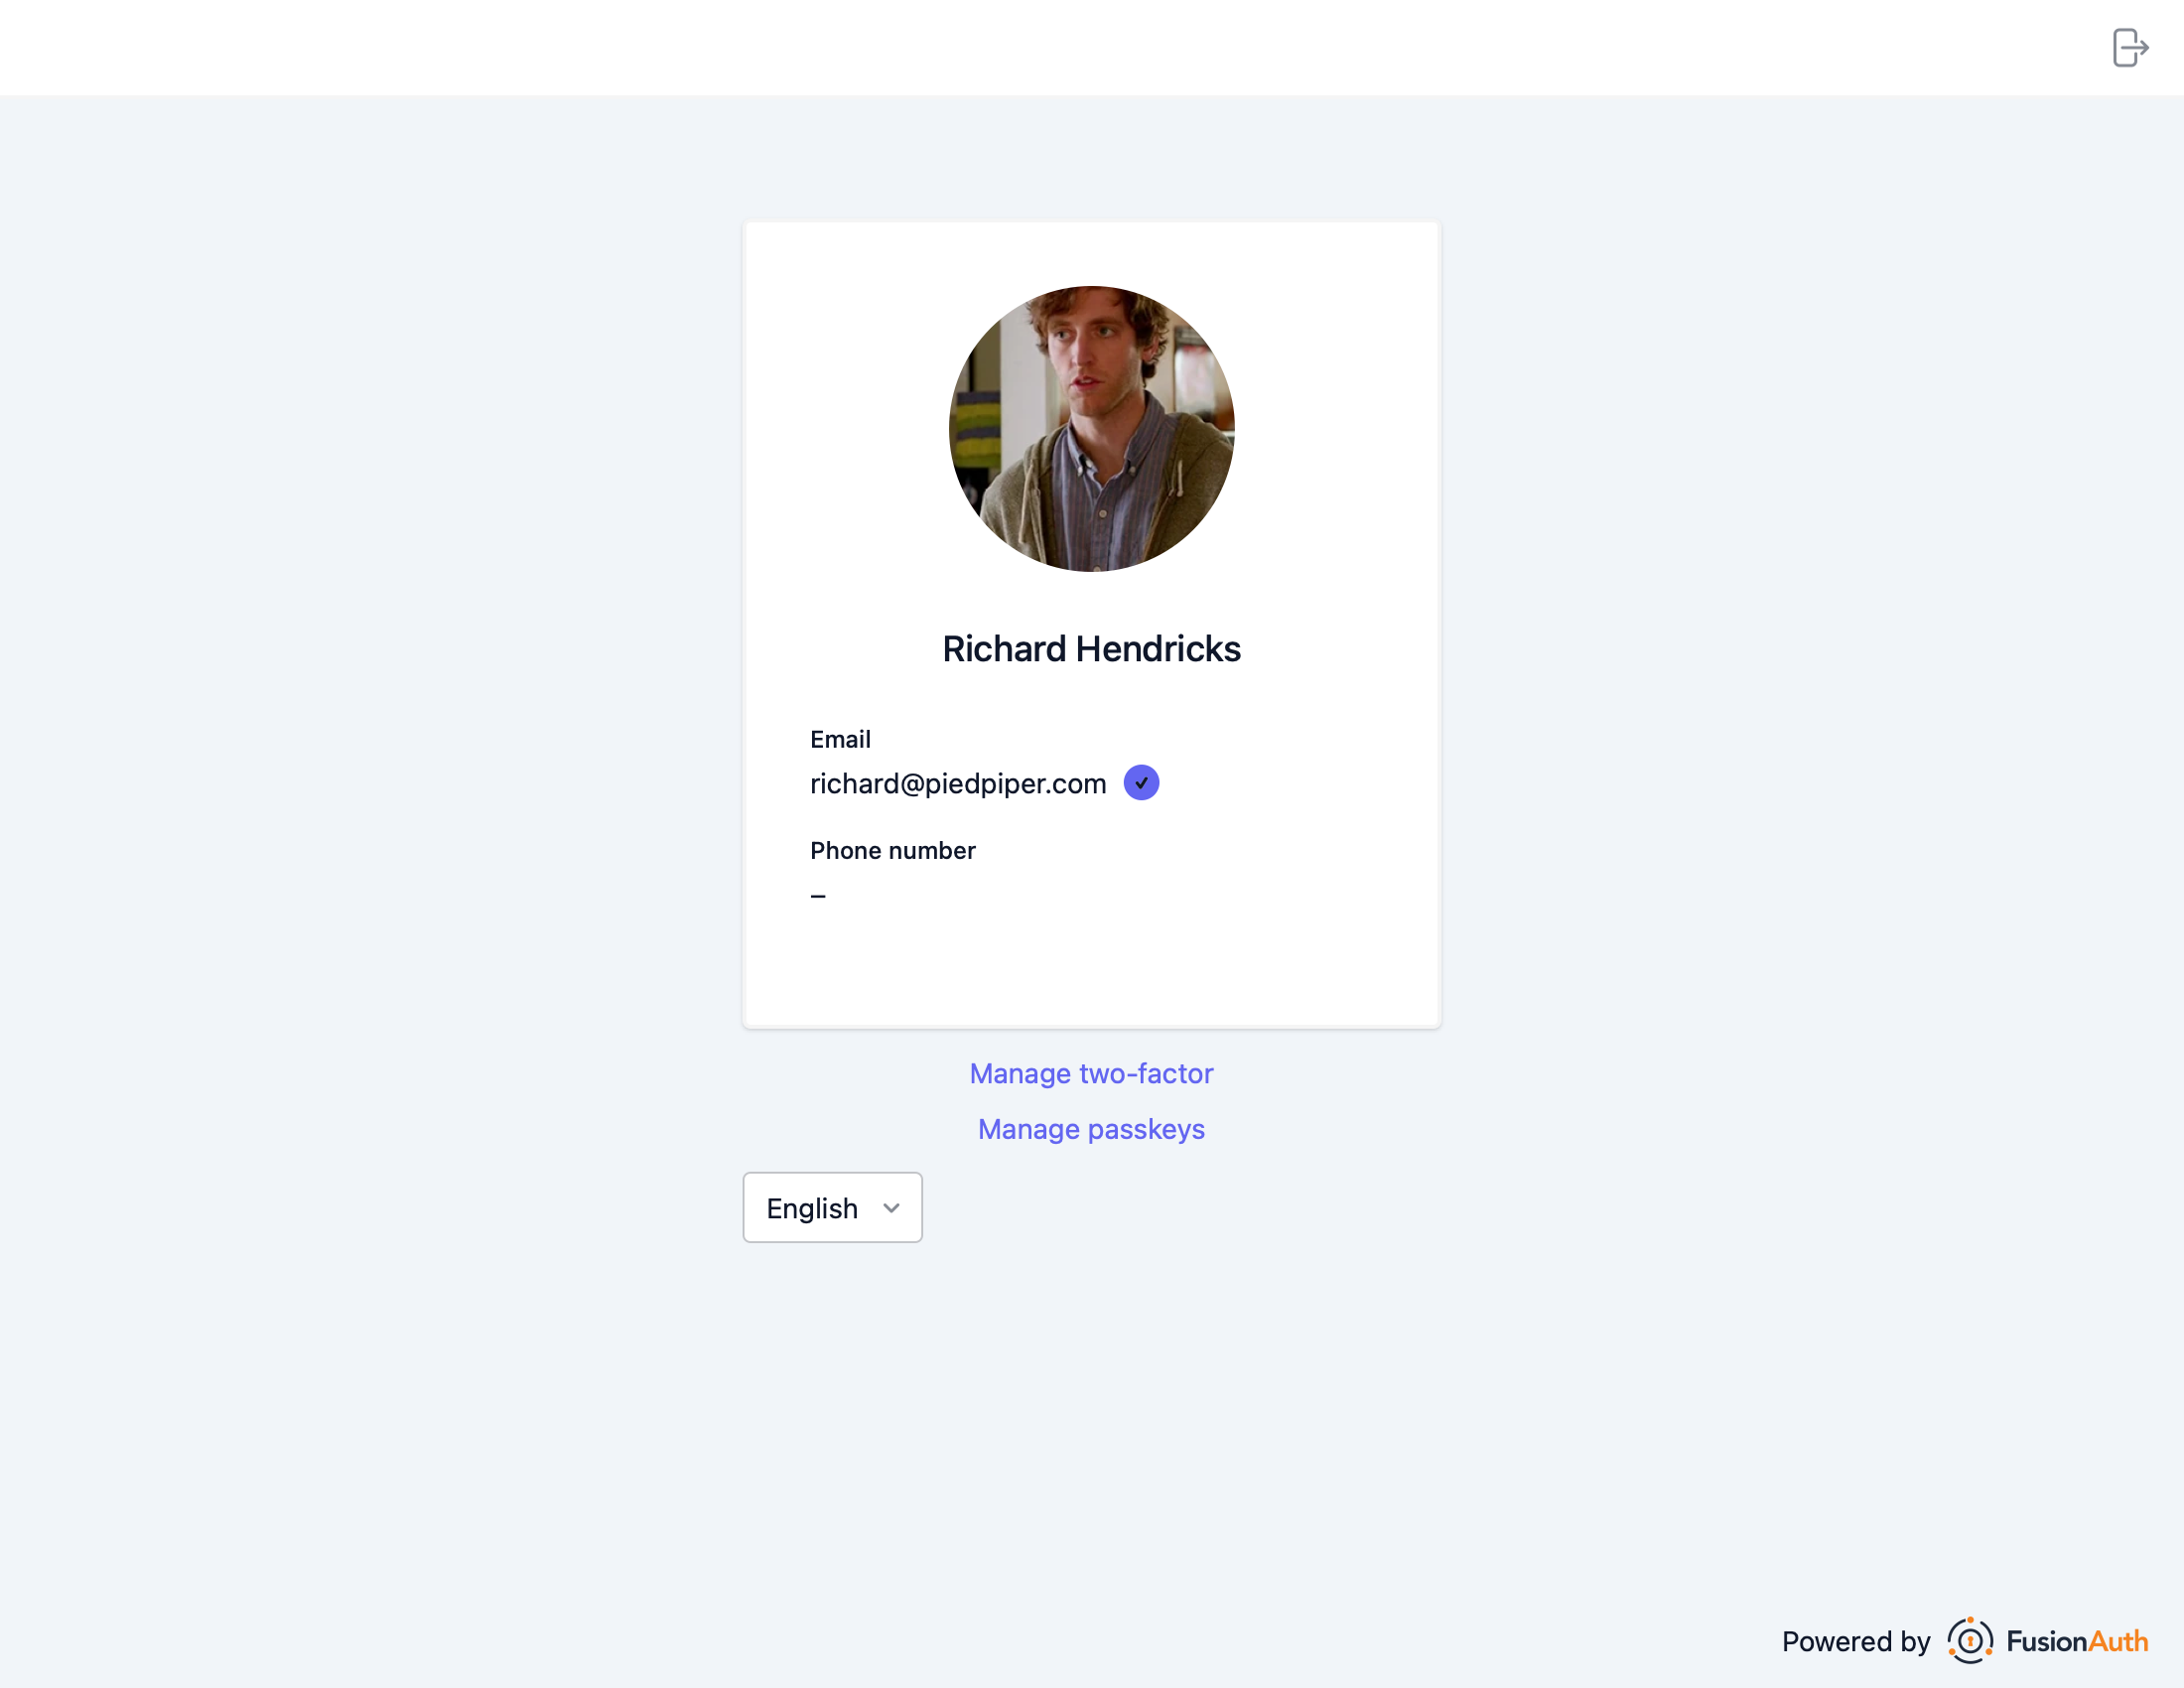
- Navigate back to your account page
- Click Manage passkeys
- Click Add passkey
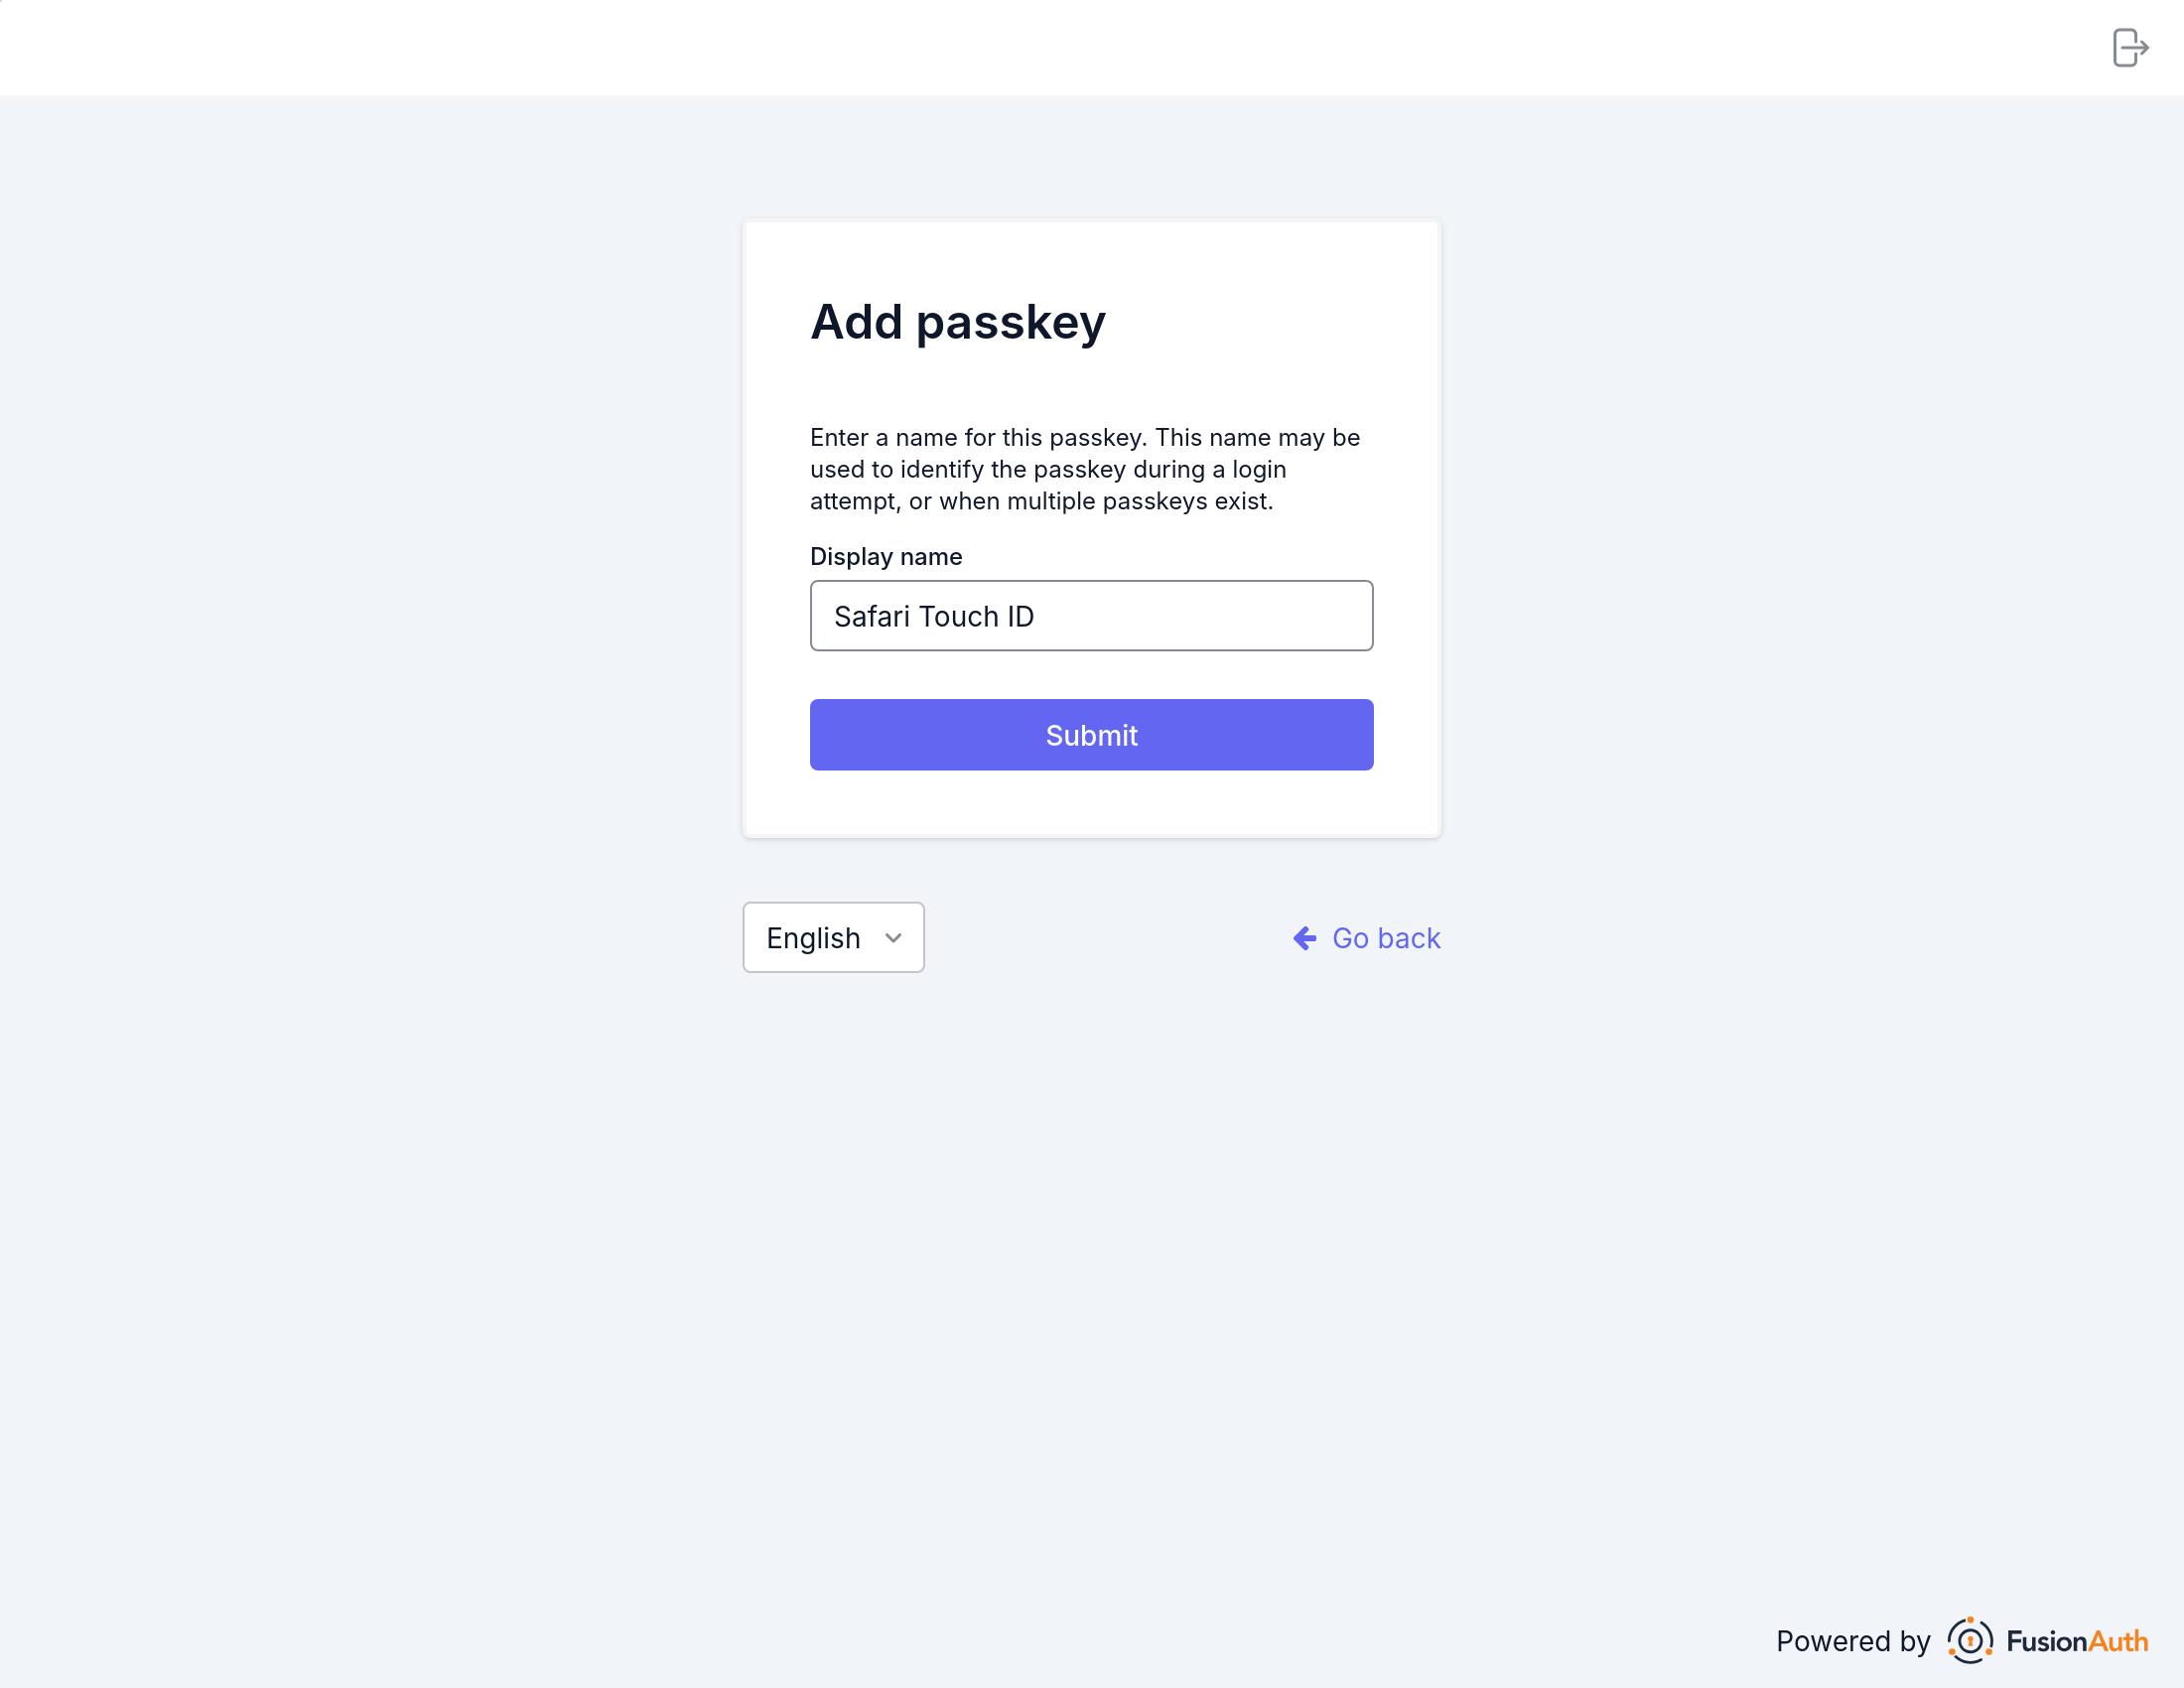
Next,
- Enter a display name for the new passkey. You should choose something that helps you remember the authenticator and browser it was registered.
- Click the Submit button.
- Complete the WebAuthn registration with your authenticator of choice.
See It in Action (User Facing)#
You can use a registered passkey to complete enabled WebAuthn workflows. This example uses the bootstrap authentication workflow by clicking the Fingerprint, device or key button on the login screen.
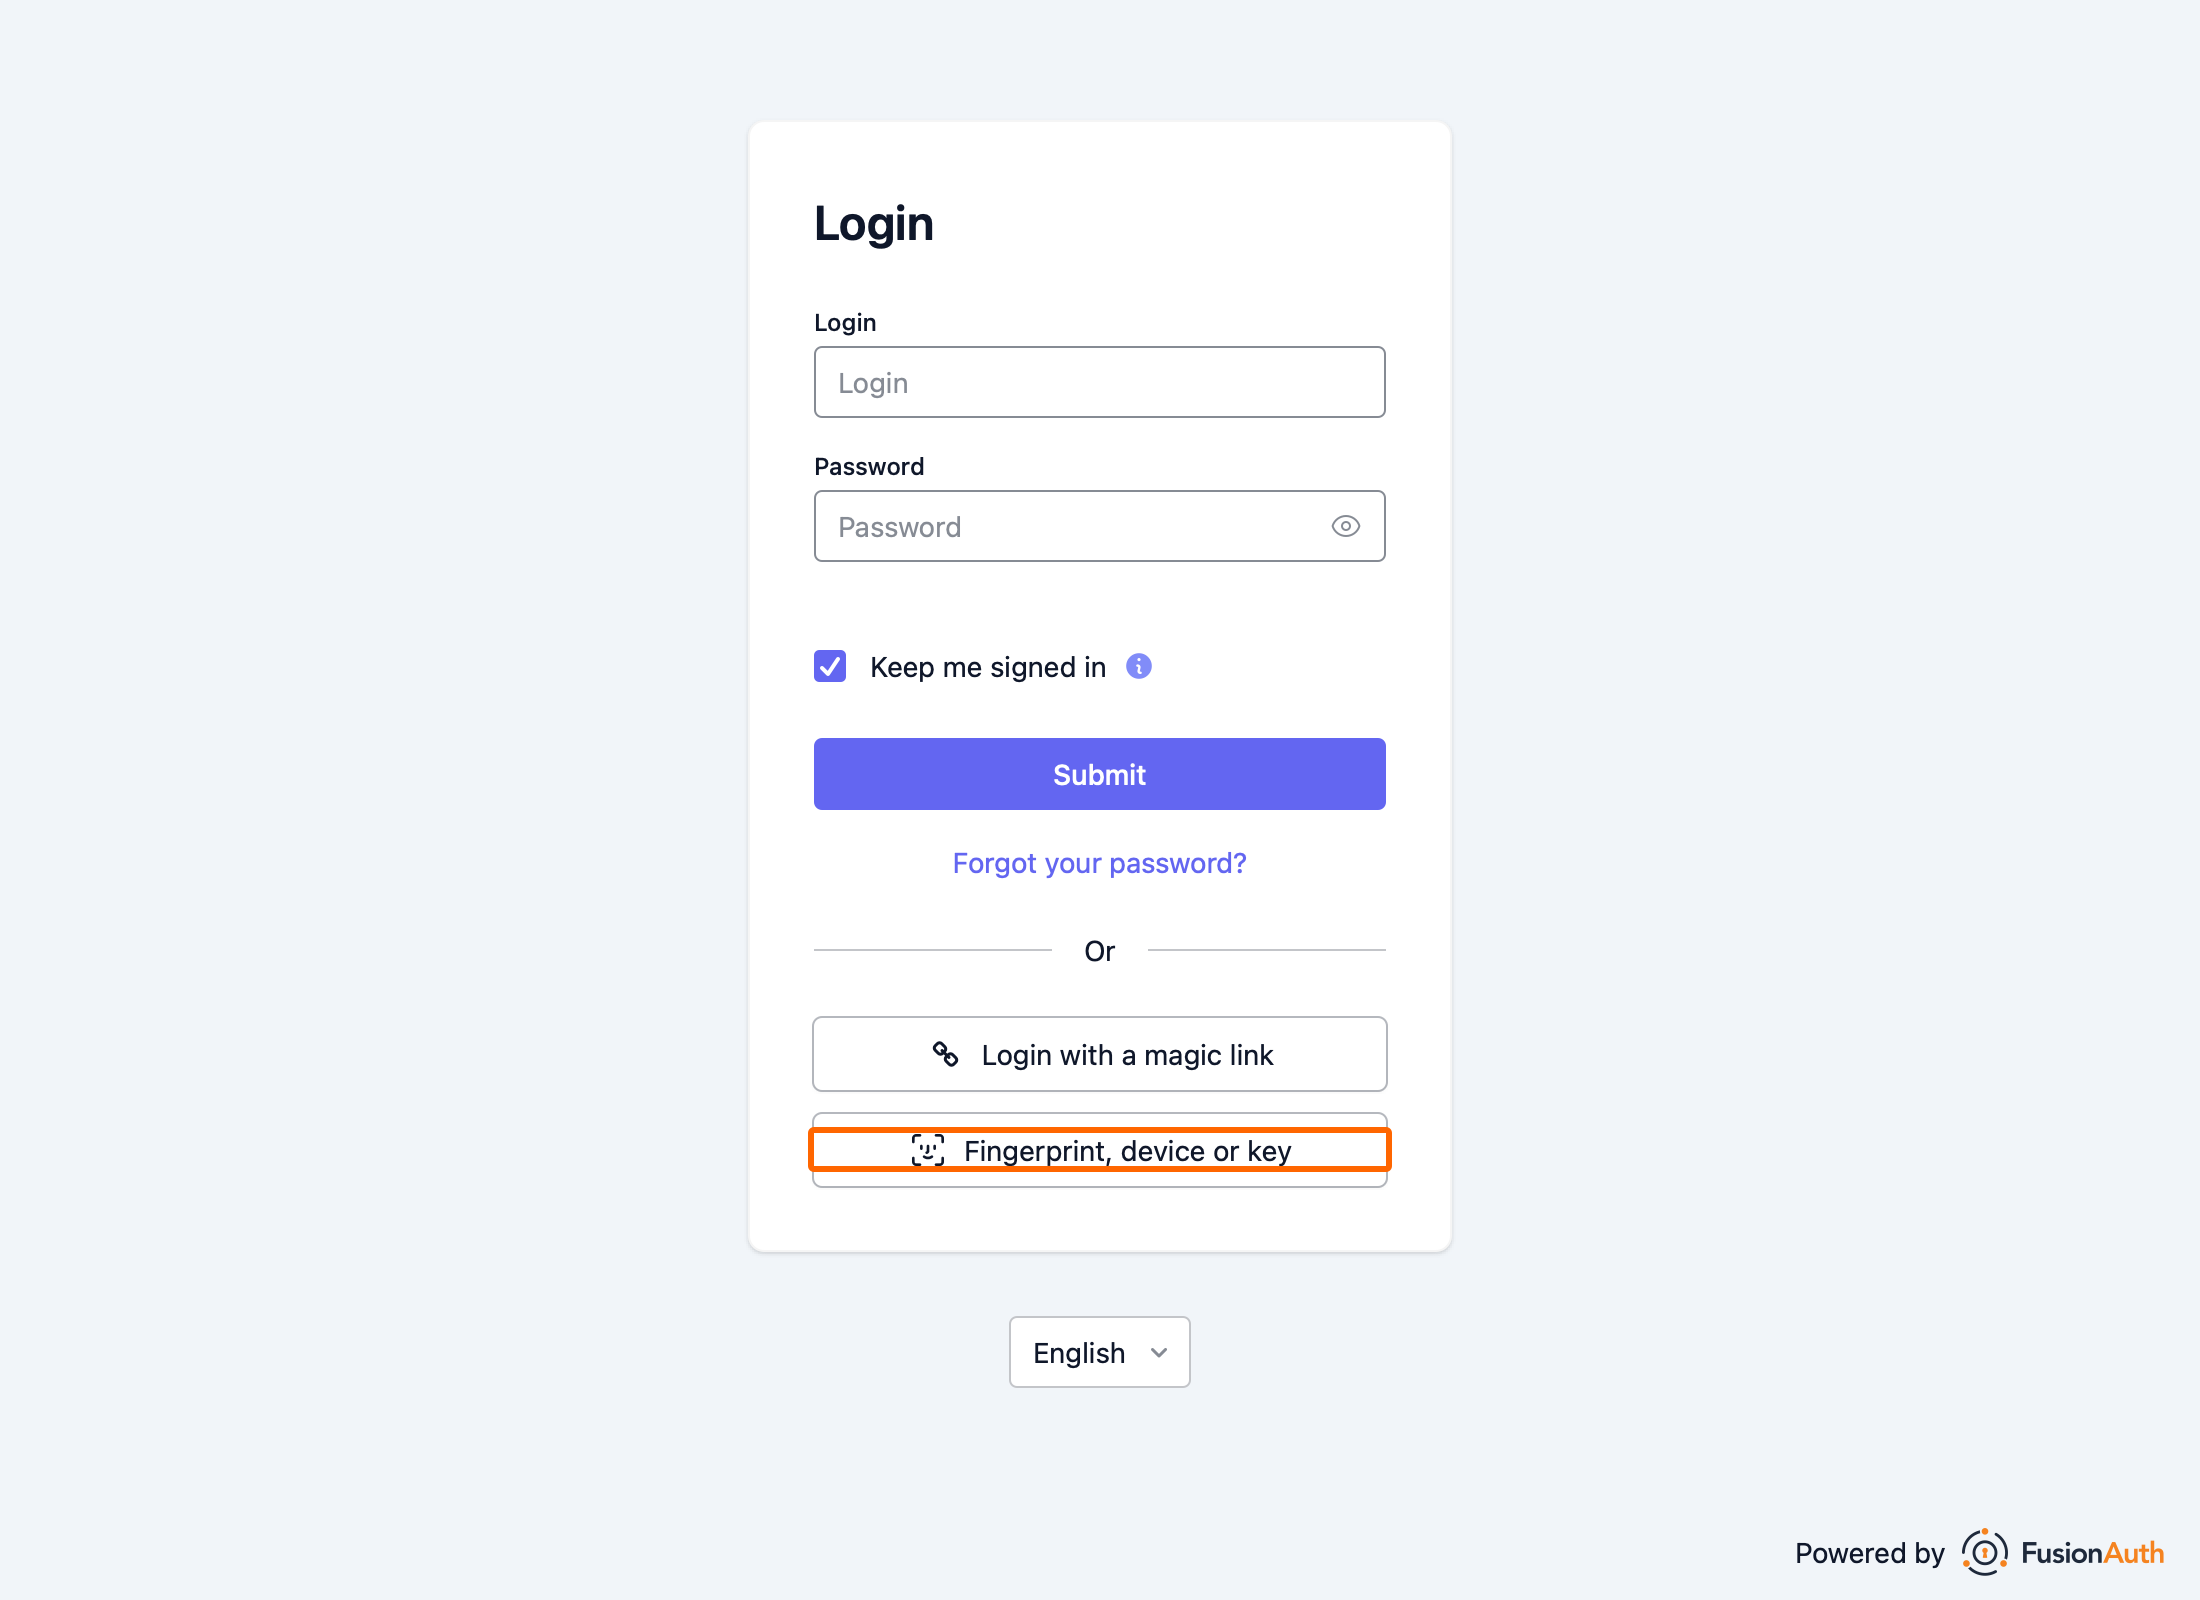
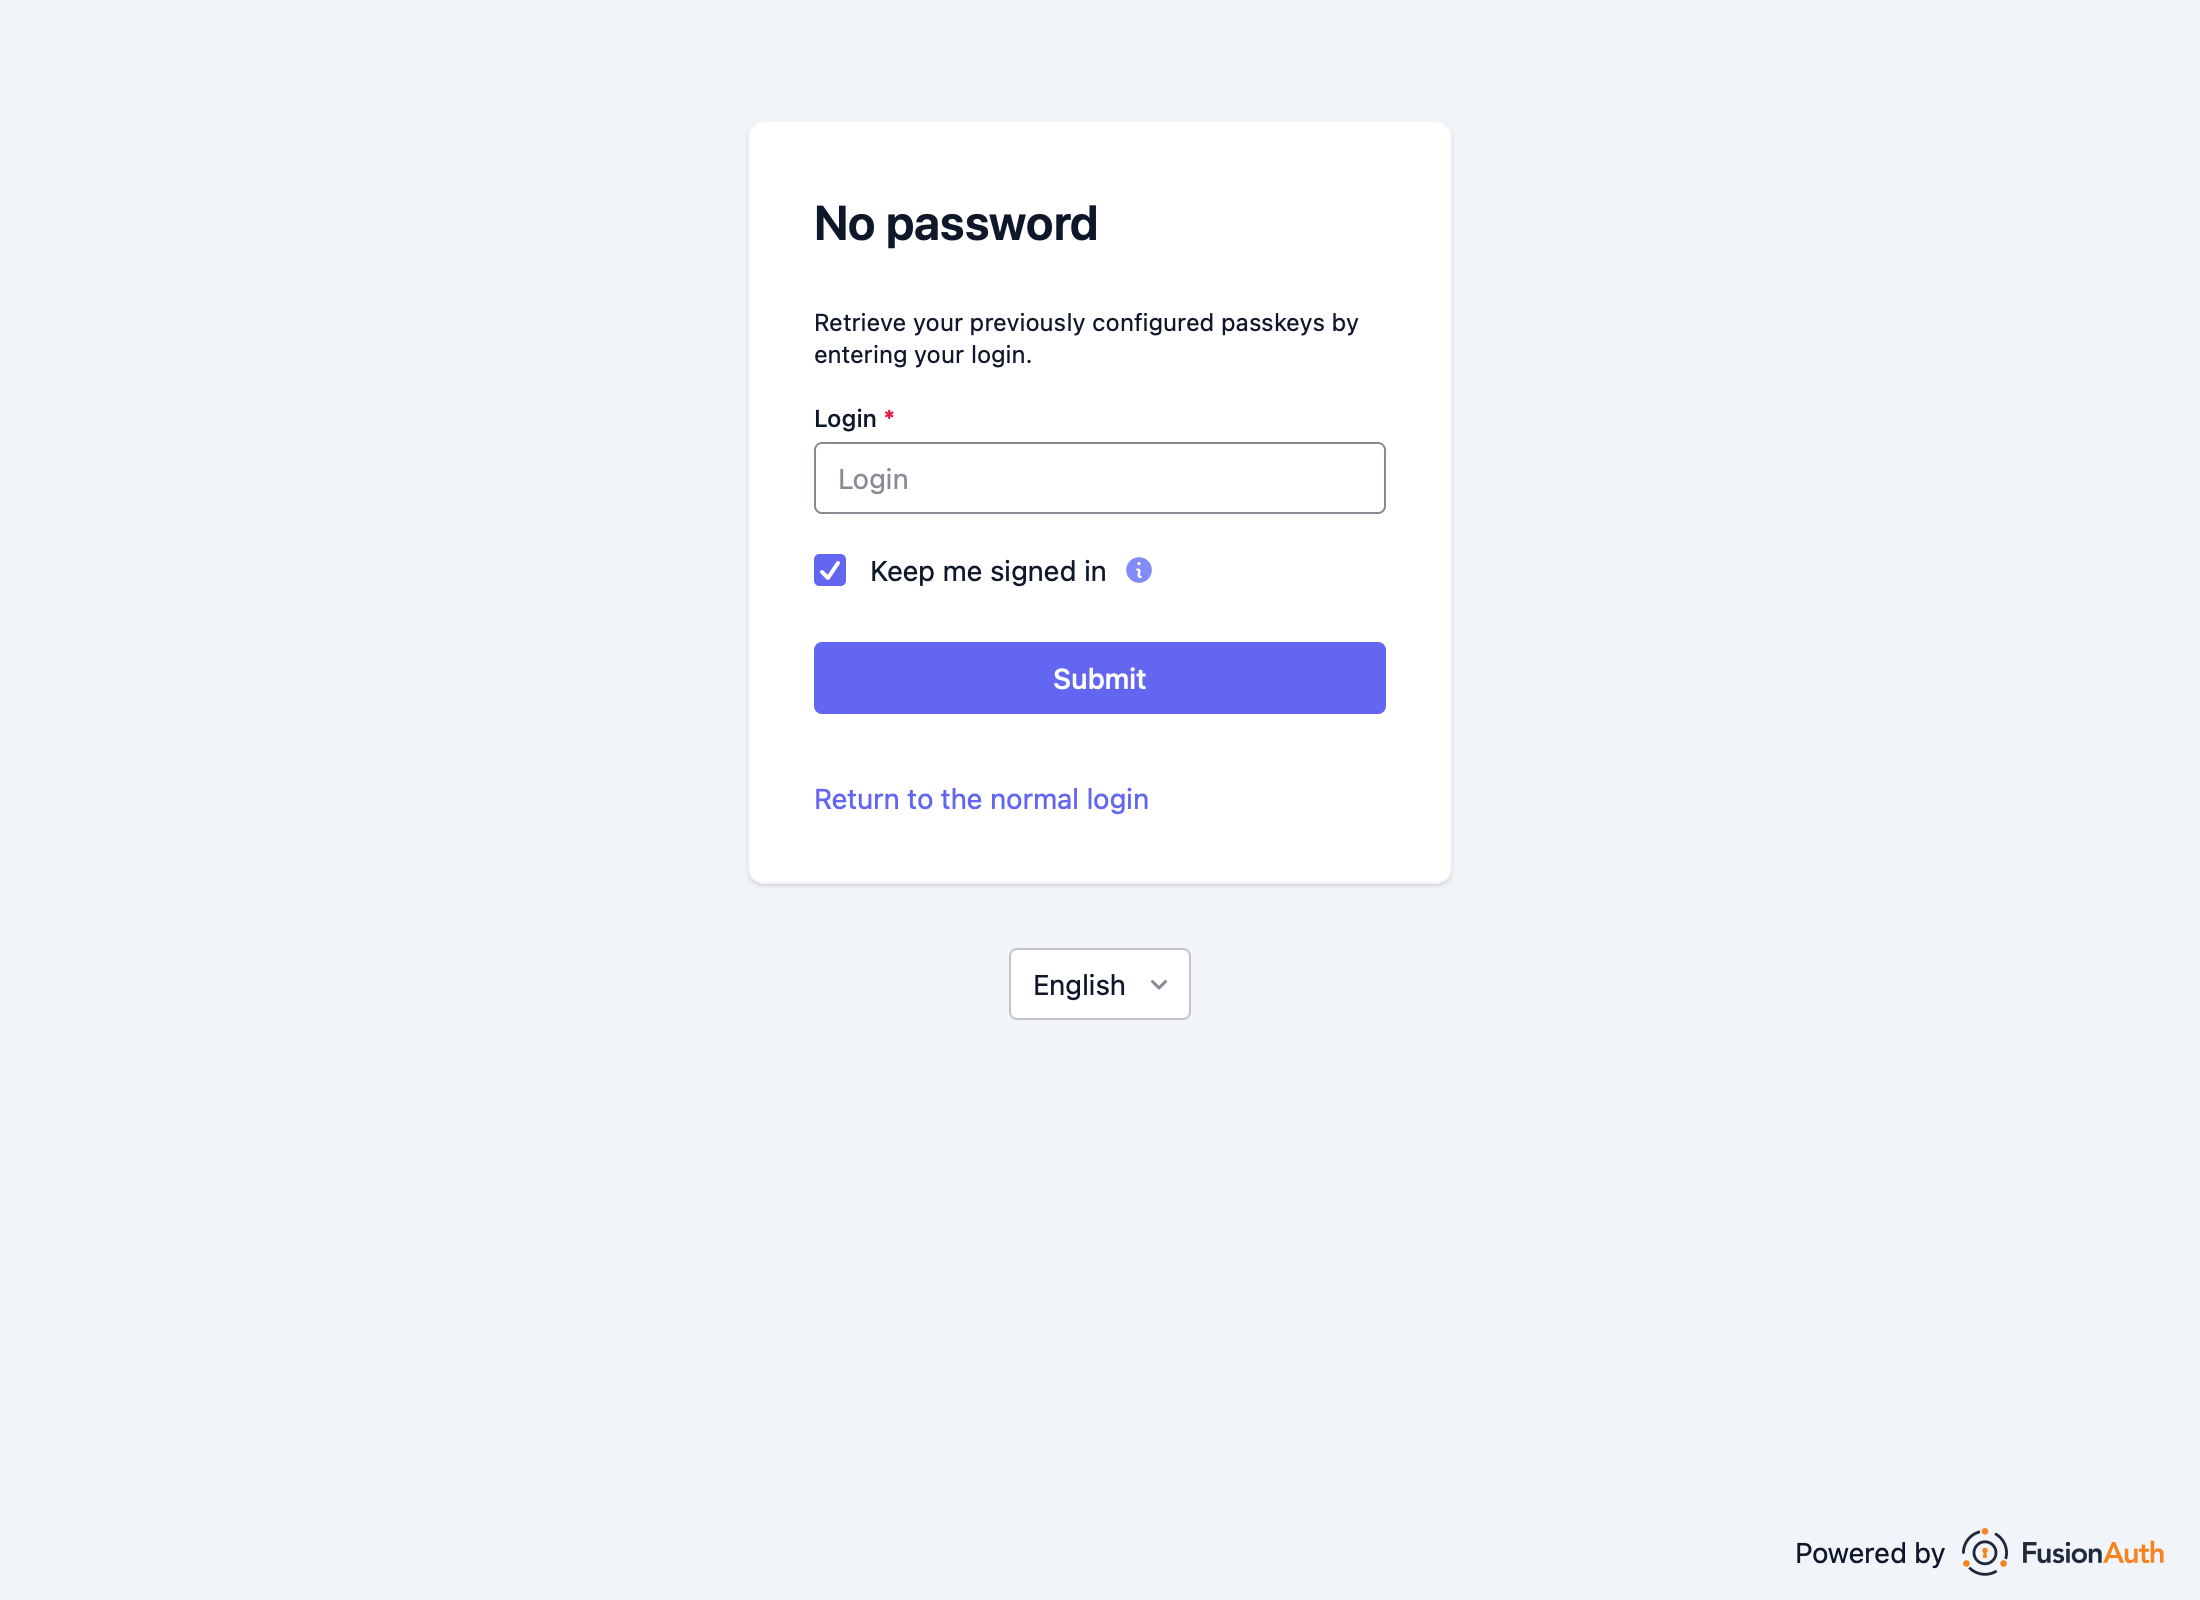
- Click the Fingerprint, device or key button to go to the WebAuthn bootstrap login page.
- Enter your username or email address.
- Click the Submit button.
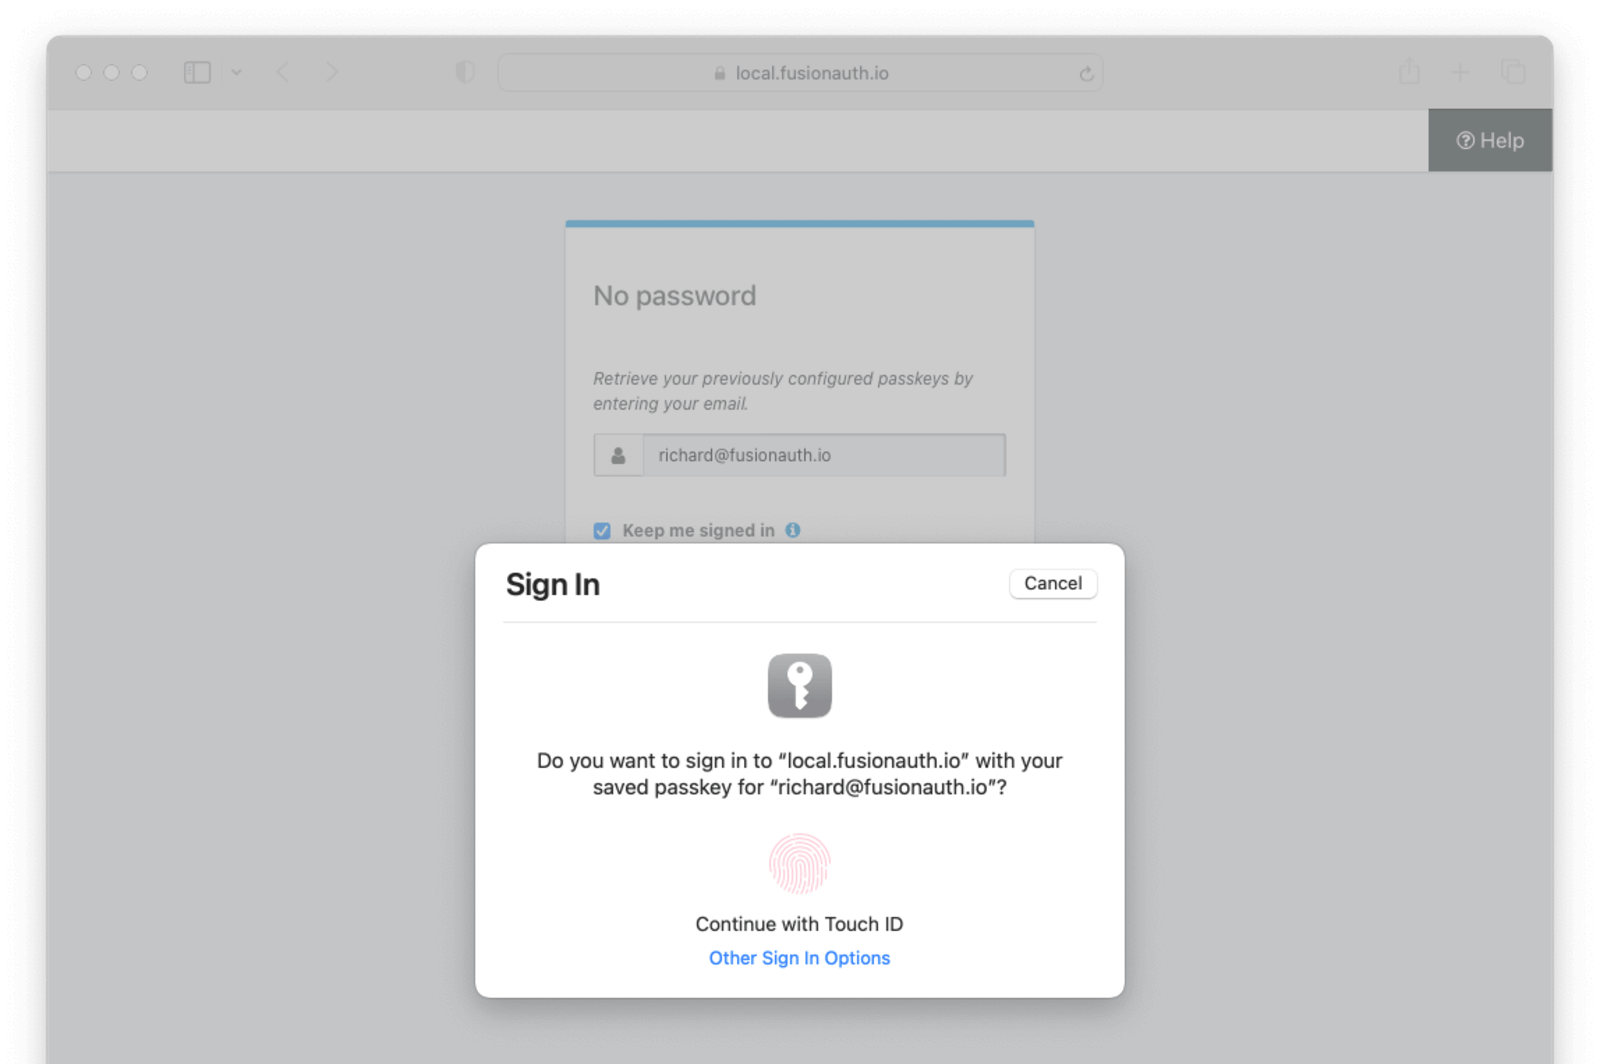
- Complete the WebAuthn authentication with the registered passkey.
Related
API documentation for the FusionAuth Complete a WebAuthn Passkey Registration API.
API documentation for the FusionAuth Start a WebAuthn Passkey Registration API.
How to allow users to access self-service account management from external applications.
How to customize both the data collected and the look and feel of Self Service Account Management.