Add Phone as a second factor
On this page
This feature requires at least a Starter plan.
1.26.0
Phone two-factor is not enabled by default. Configure your tenant by navigating to Tenants -> Edit Tenant -> Multi-Factor .
Enable MFA method on Tenant (Admin Facing)#
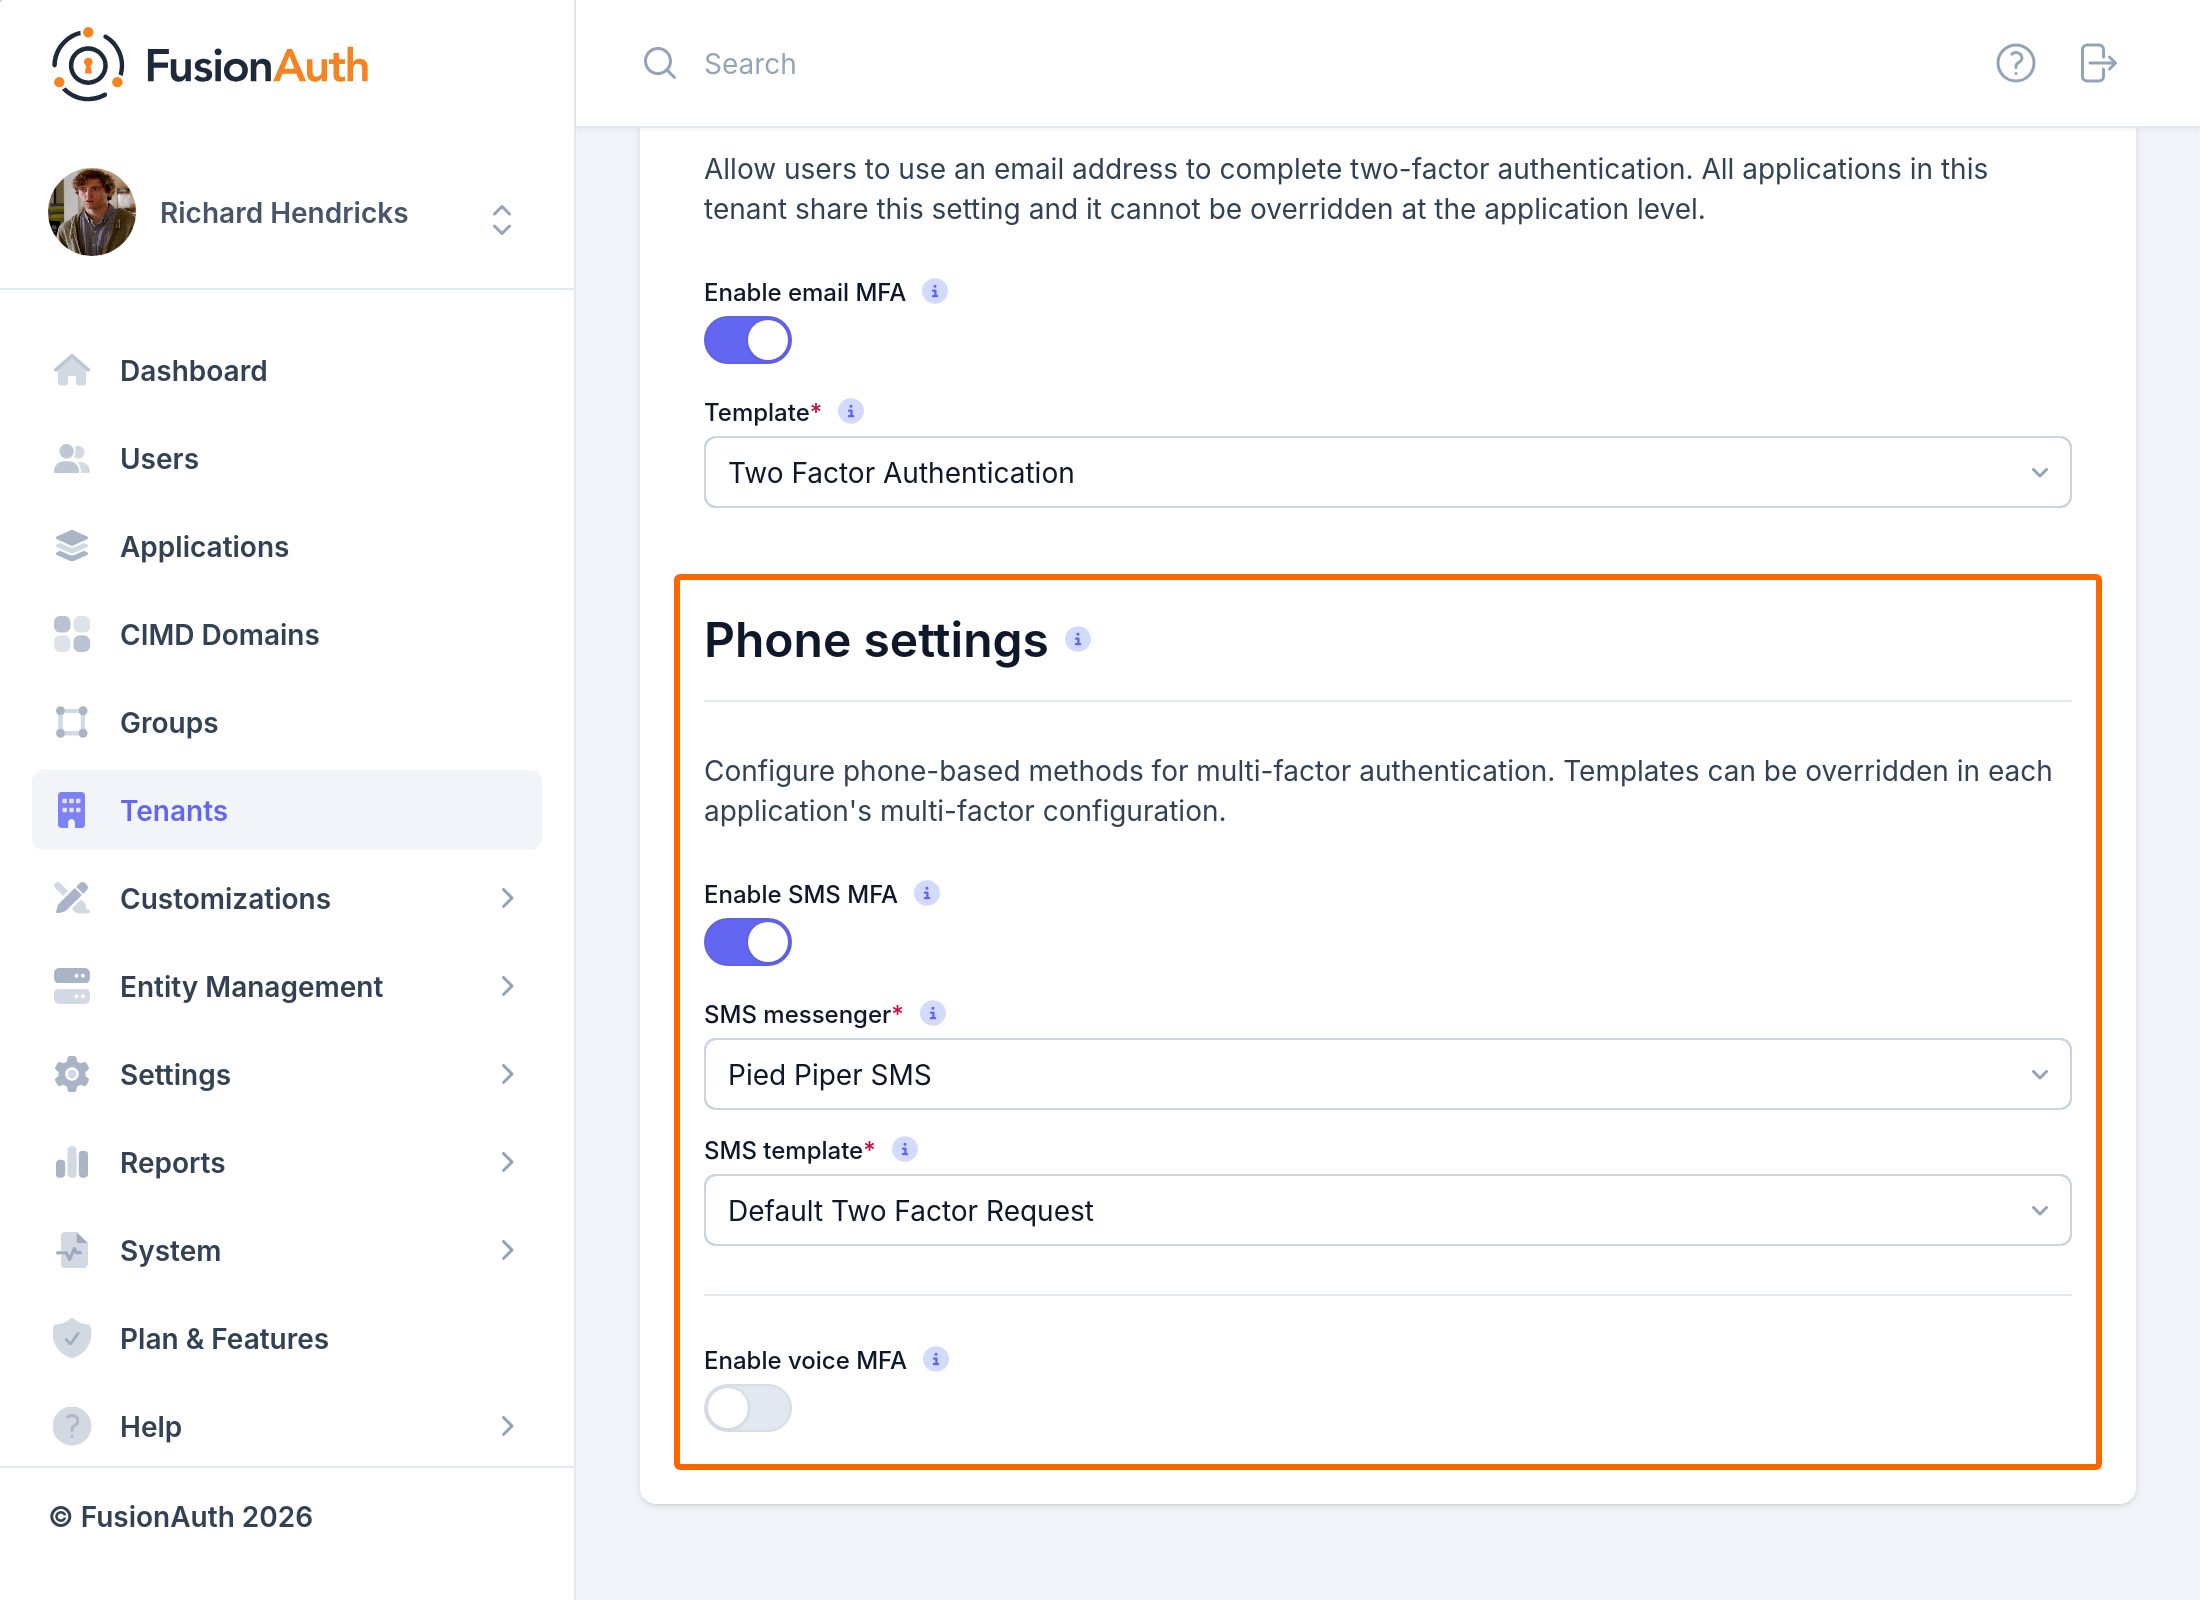
You can enable the phone factor on the tenant level by following these steps:
- Set SMS and/or Voice to enabled
- For each enabled message type, select a
messenger(previously created, see documentation) - For each enabled message type, select a
template(FusionAuth ships with a default to be customized if needed)
Enable Phone Factor from Account Management (User Facing)#
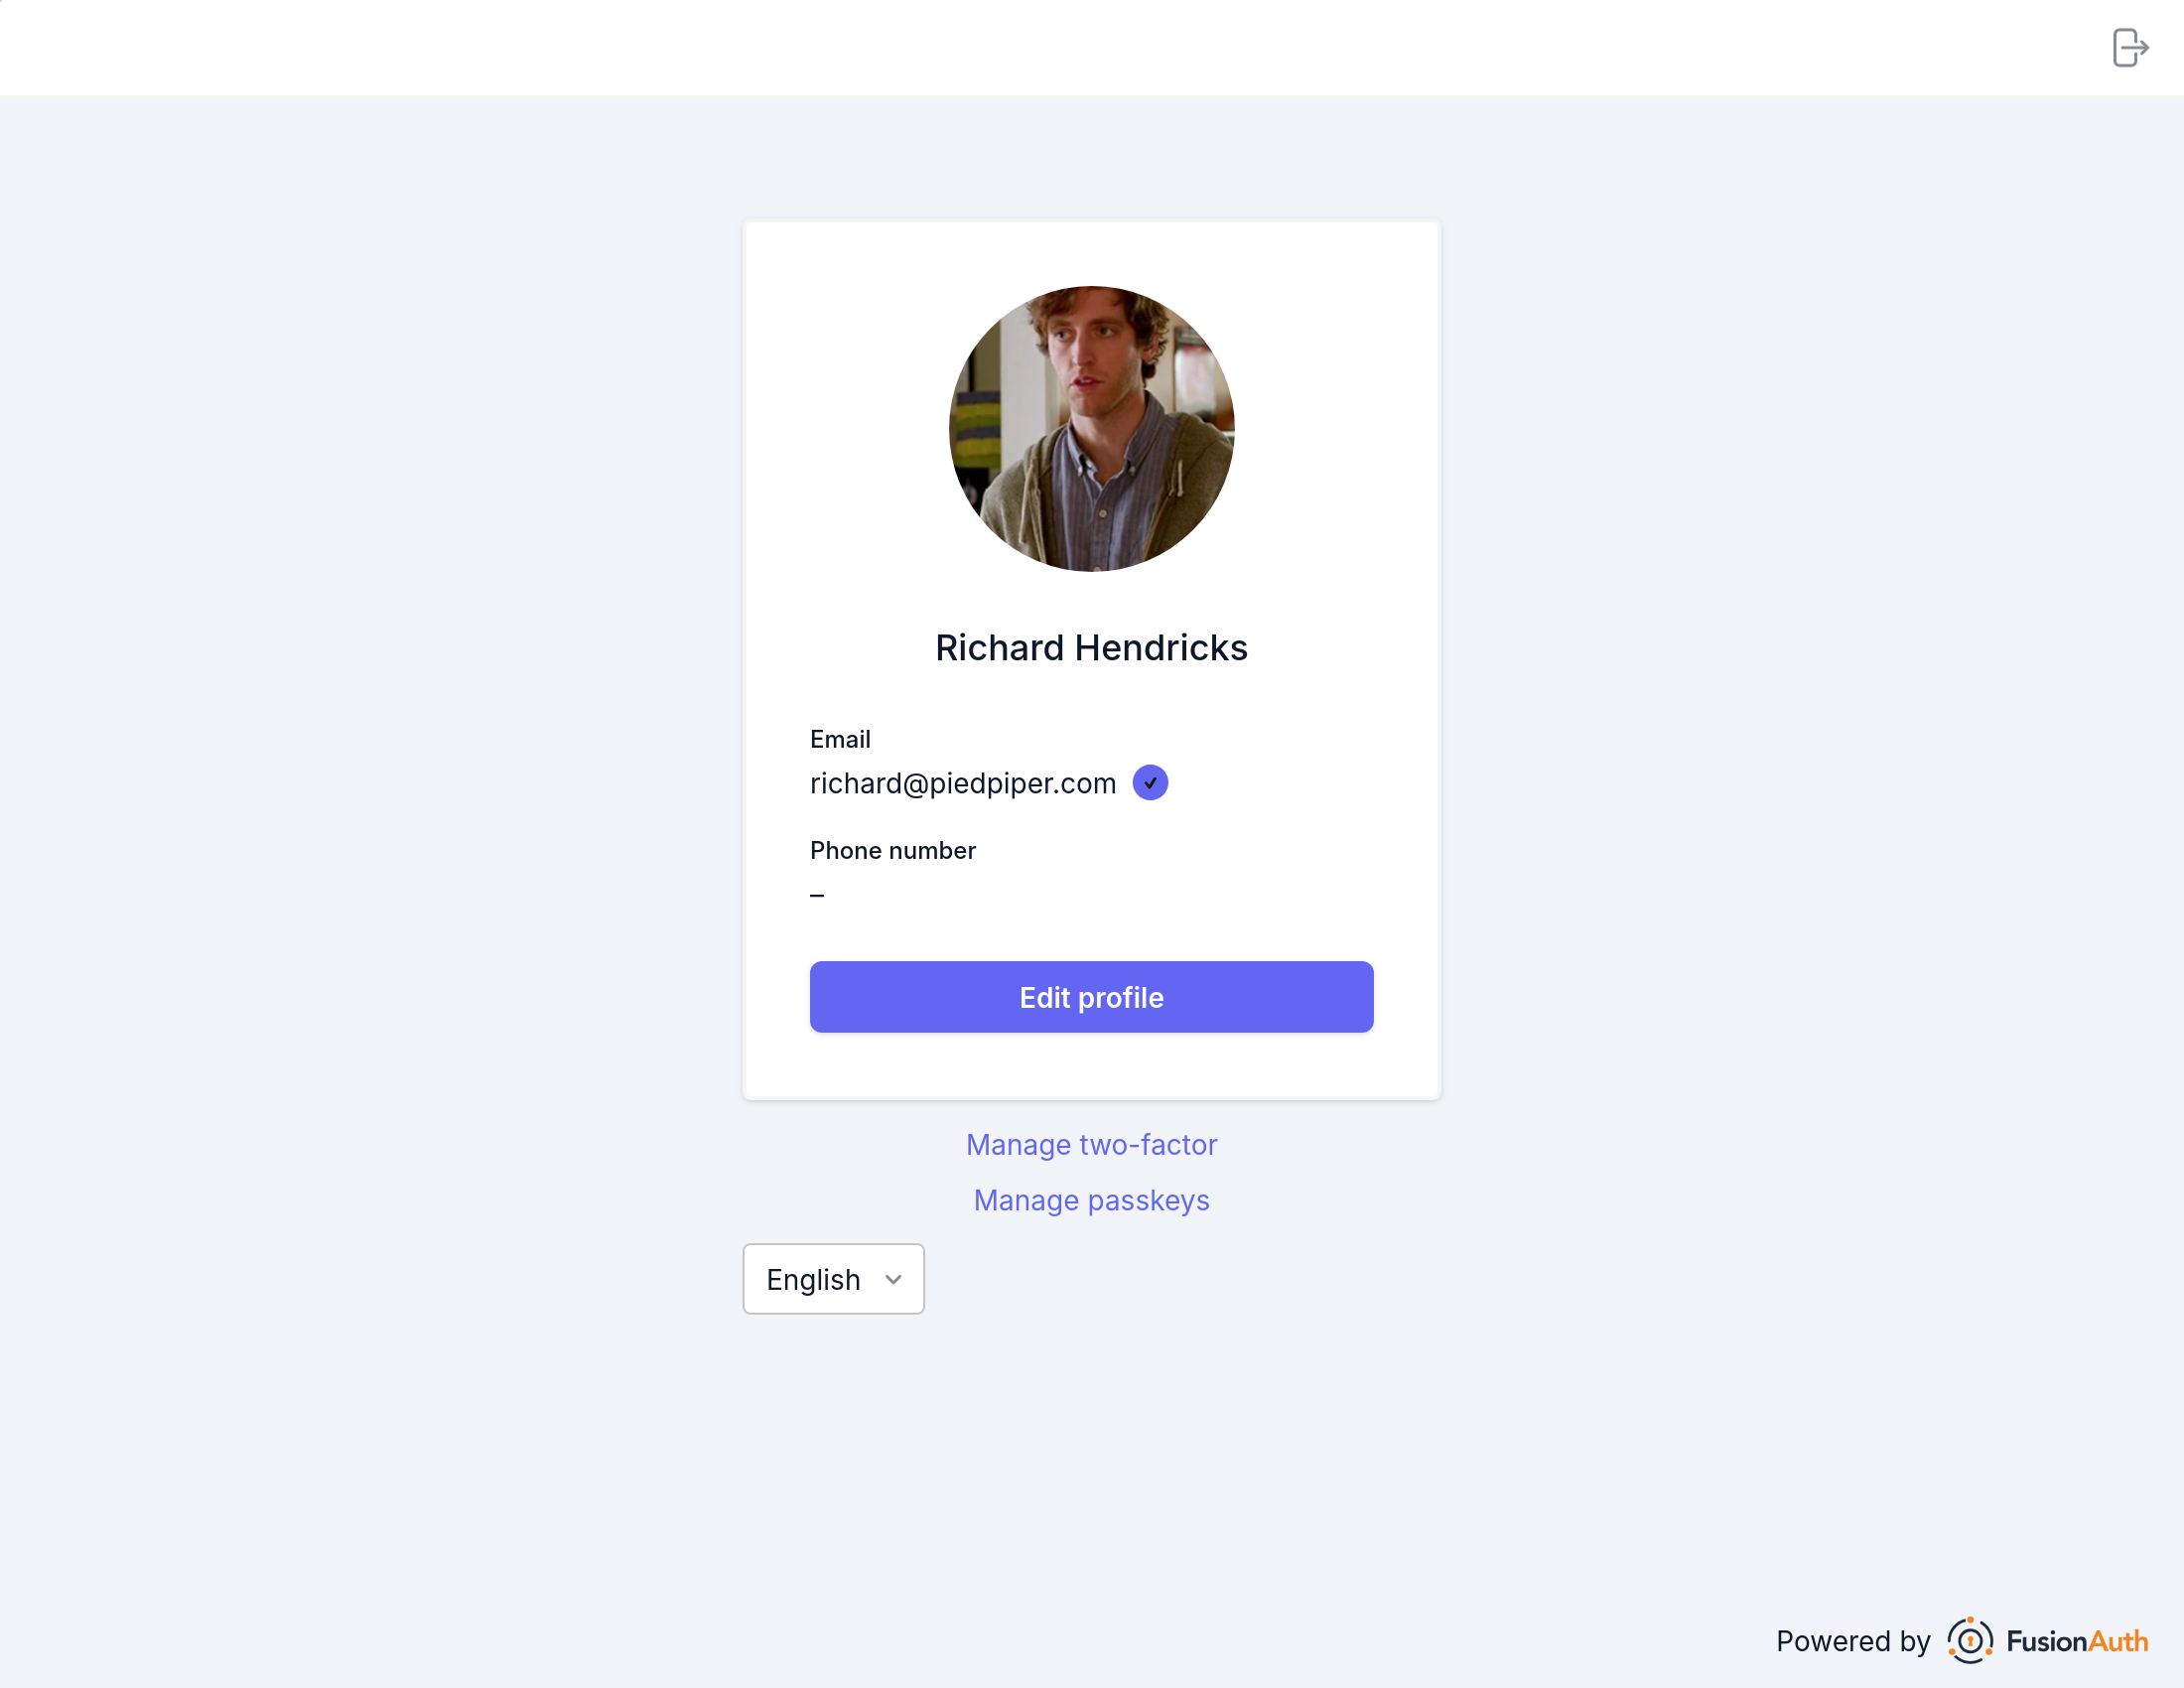
- Navigate back to your account page.
- Click Manage two-factor
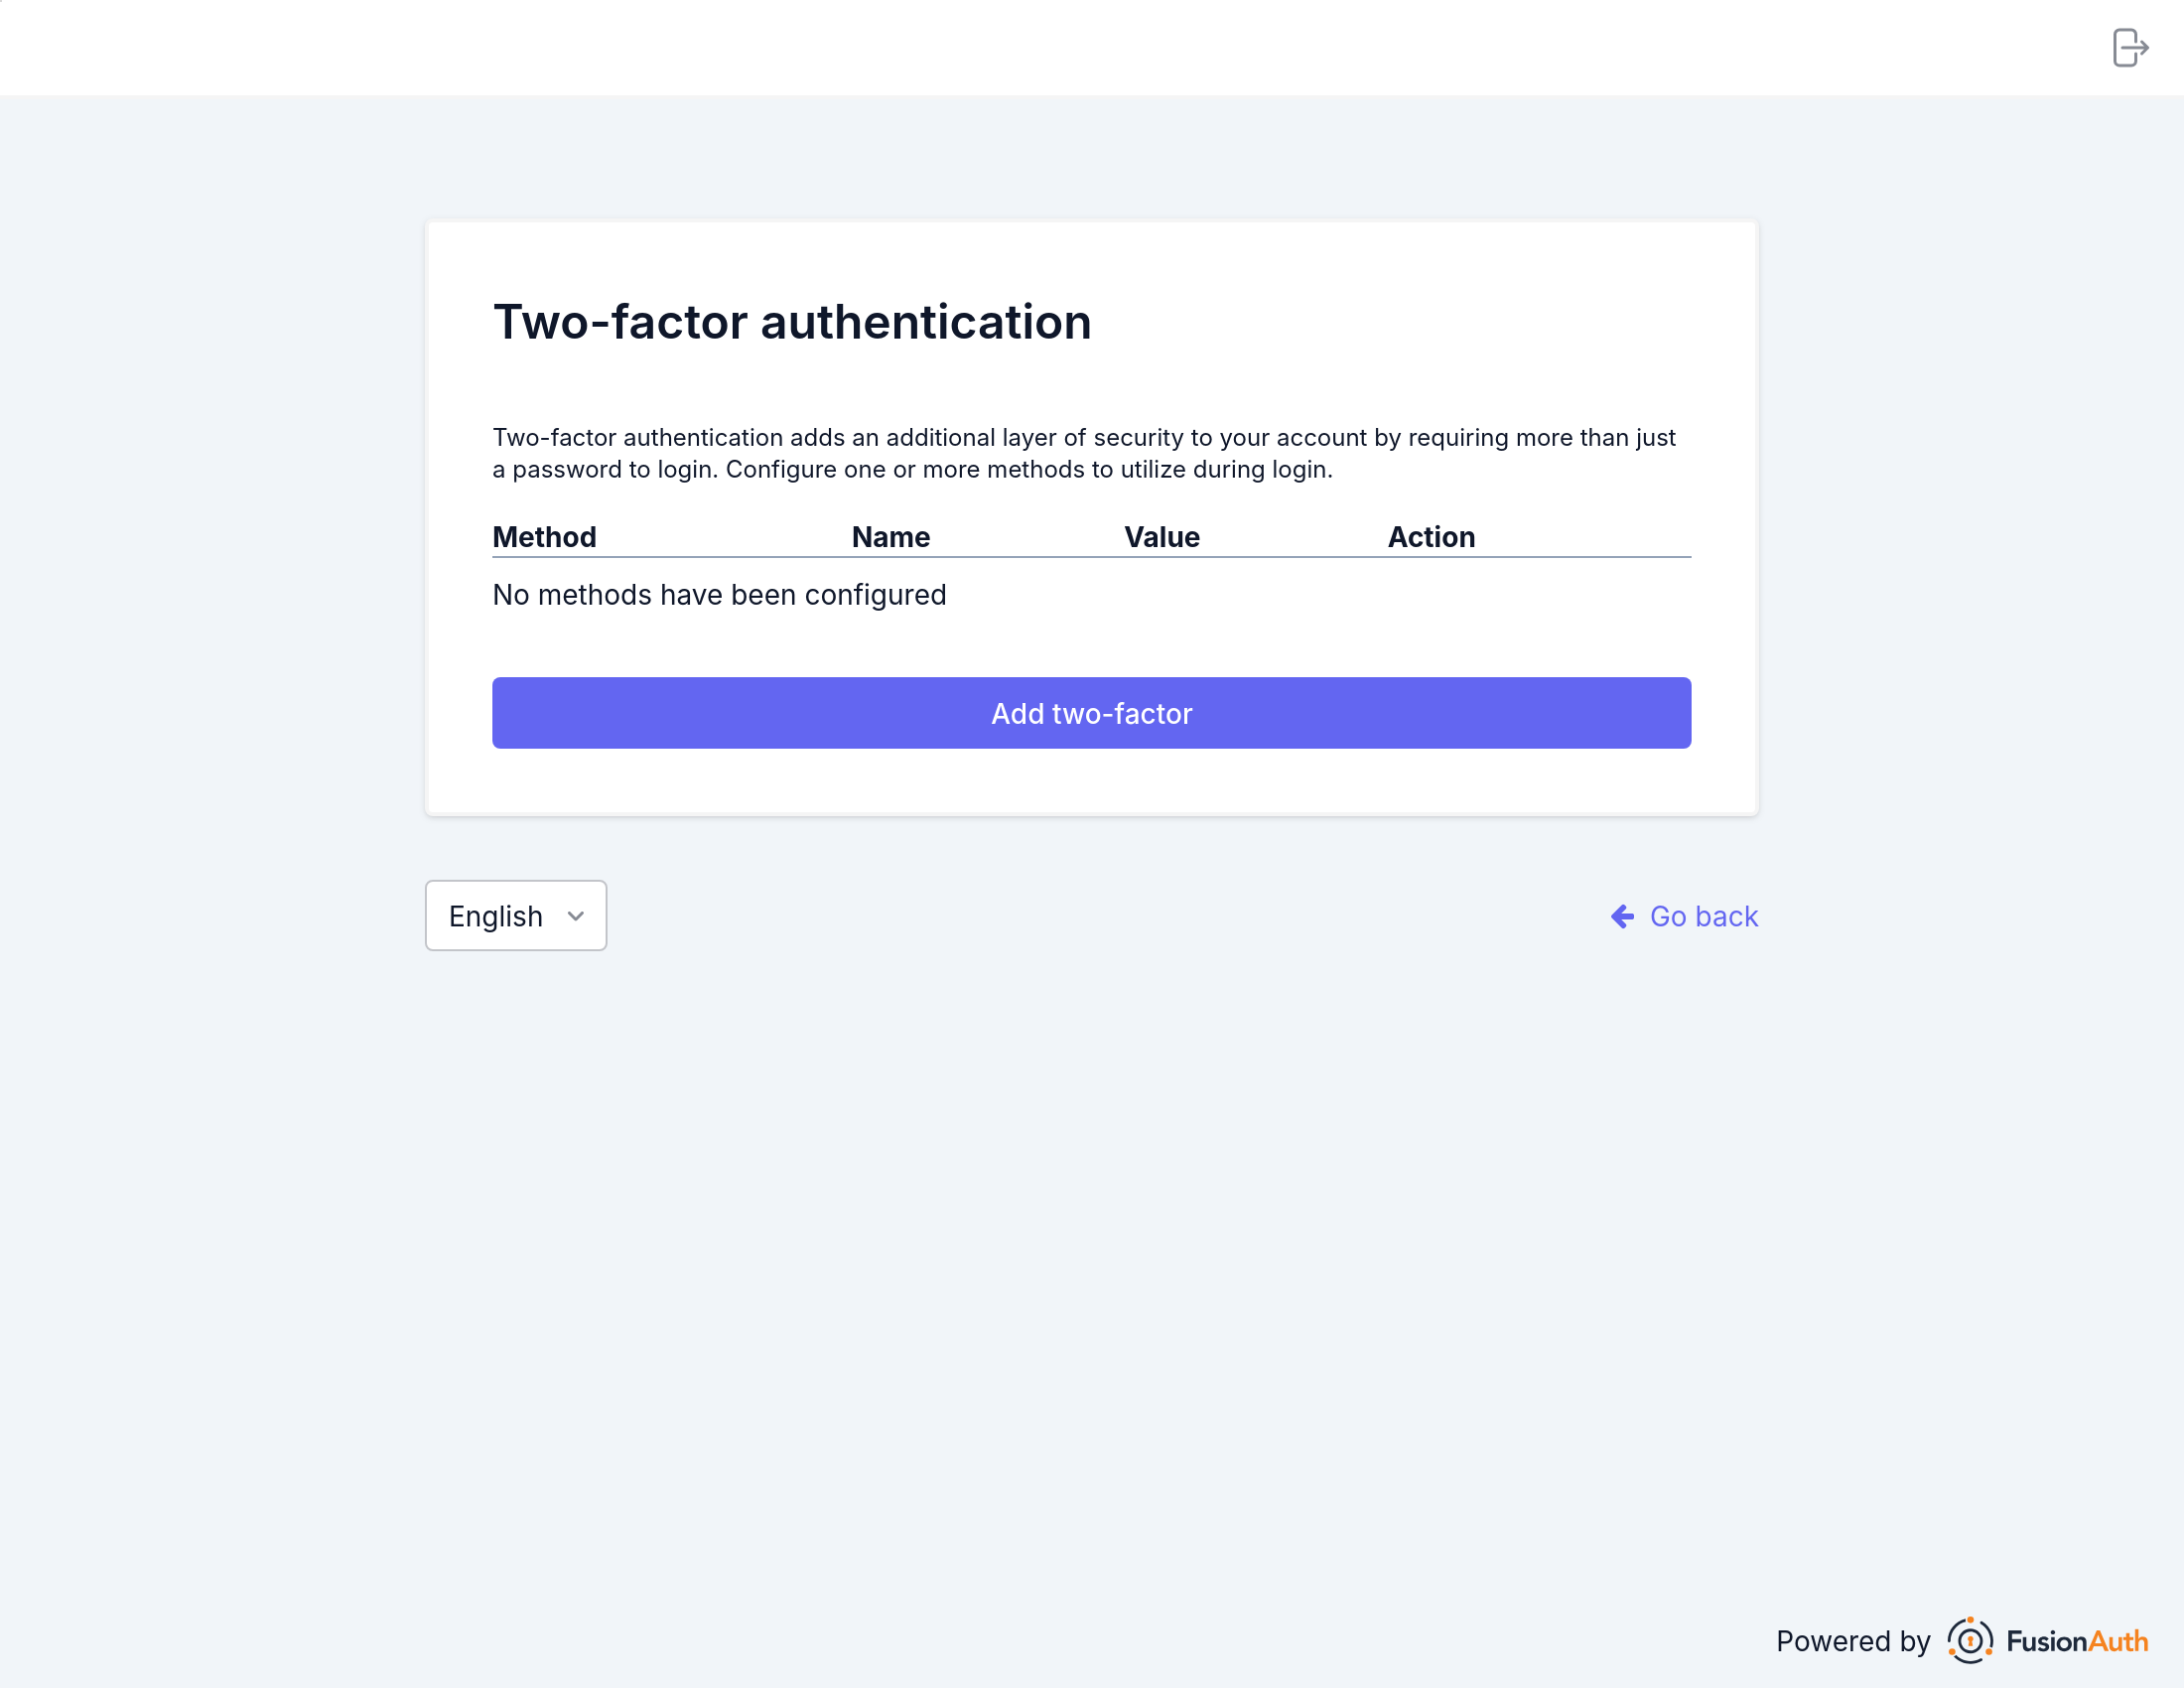
- Click Add two-factor
- There will be an option for Phone.
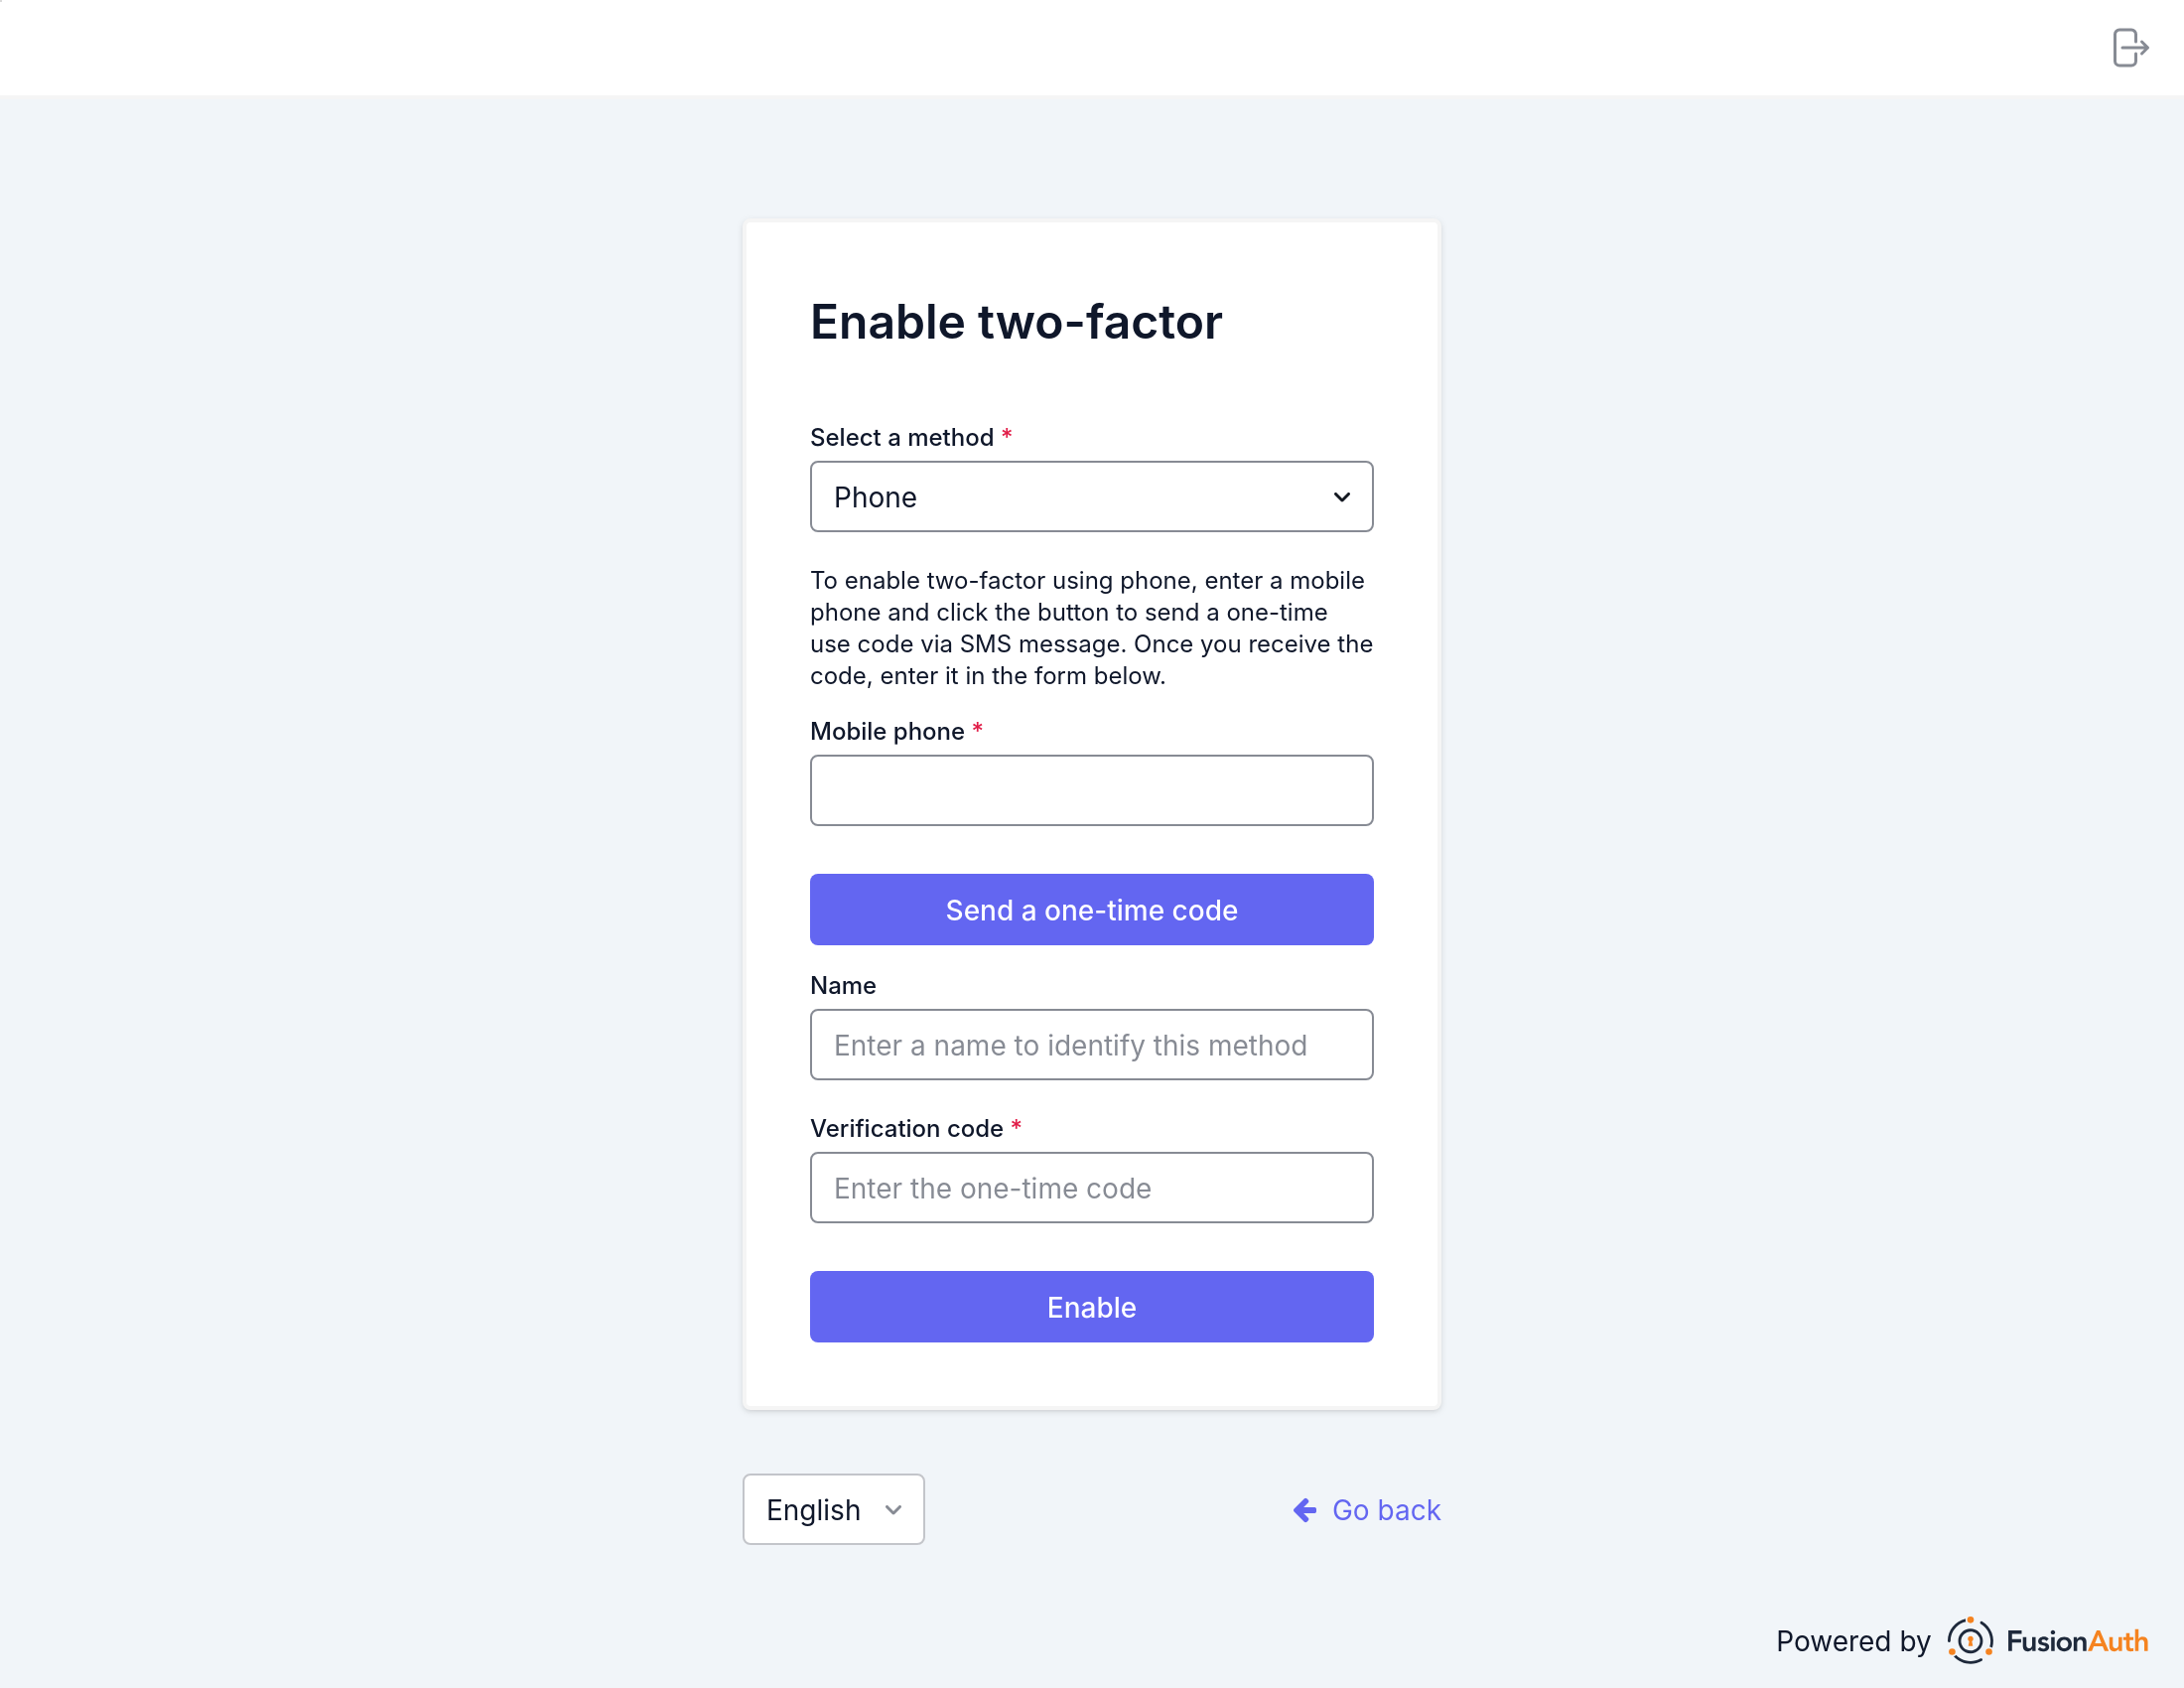
Next,
- Enter your phone number.
- If SMS and Voice are both enabled, select which type of message to send.
- Click on
Send a one-time-code. - (Optional) Enter a name for this method (for example,
Work phone). - Enter the provided code.
- Click Enable .
Recovery Codes (User Facing)#
Now you will be presented with recovery codes. Save these in a safe space.
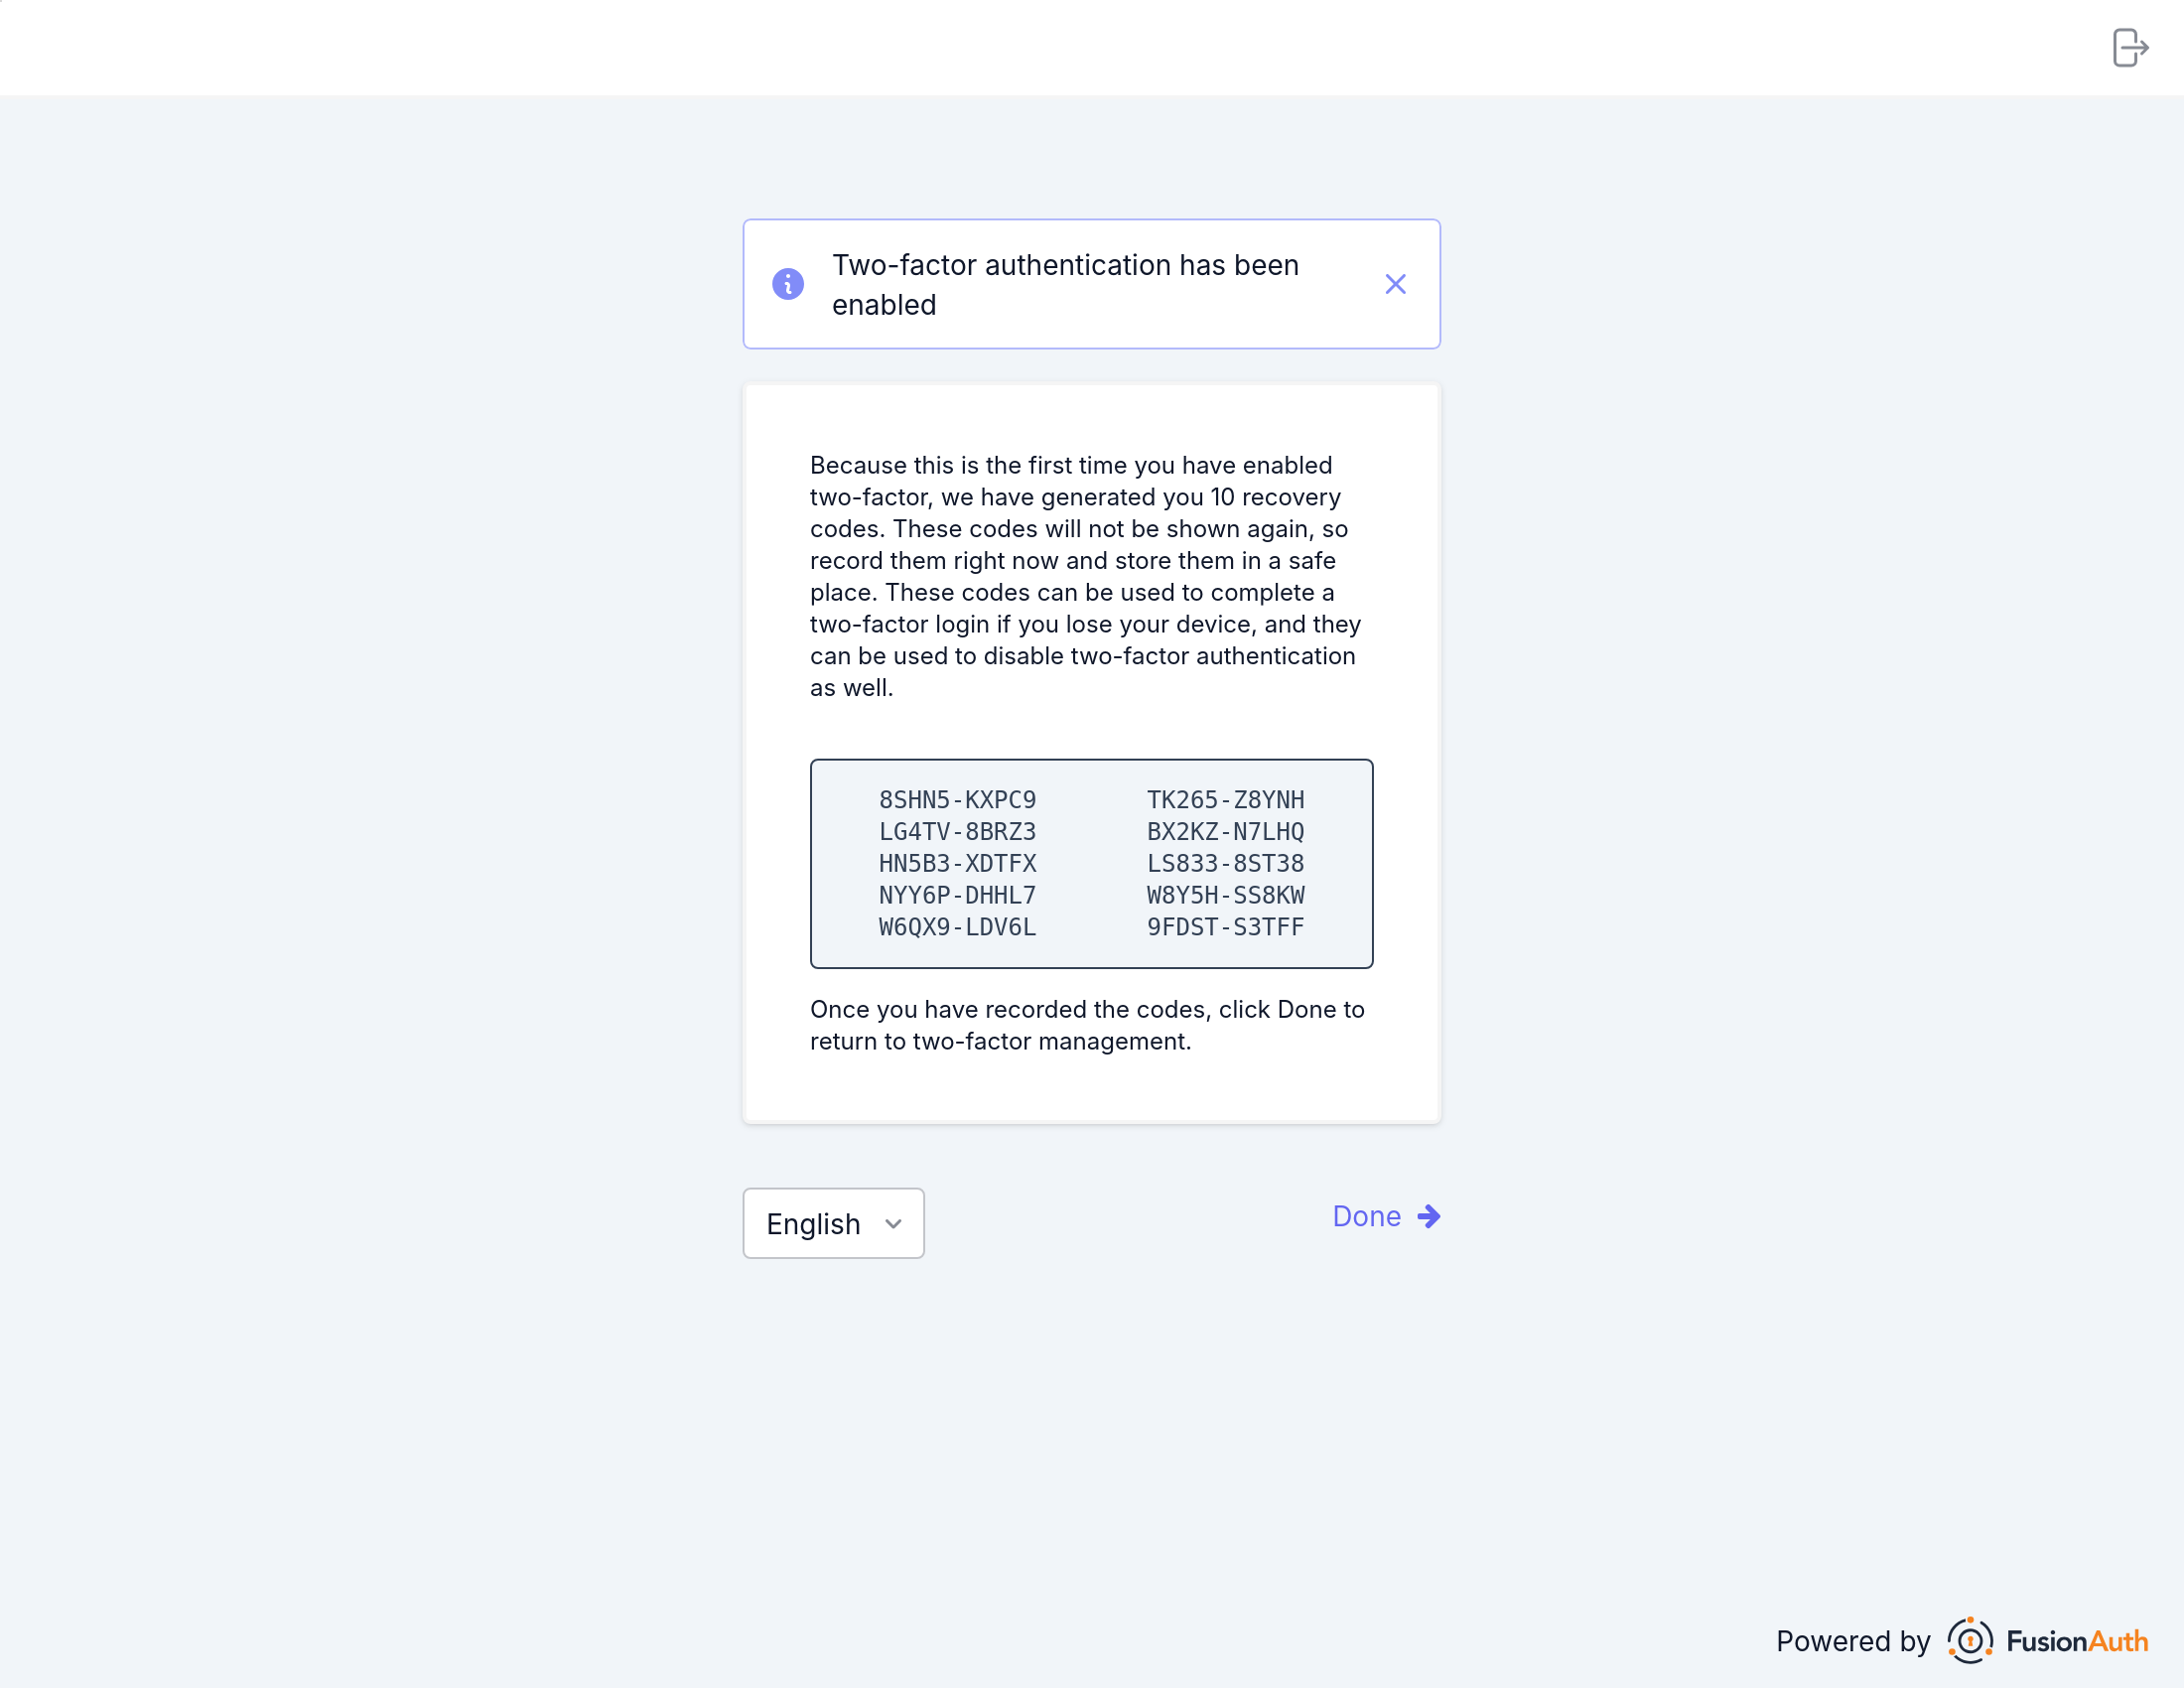
Success!
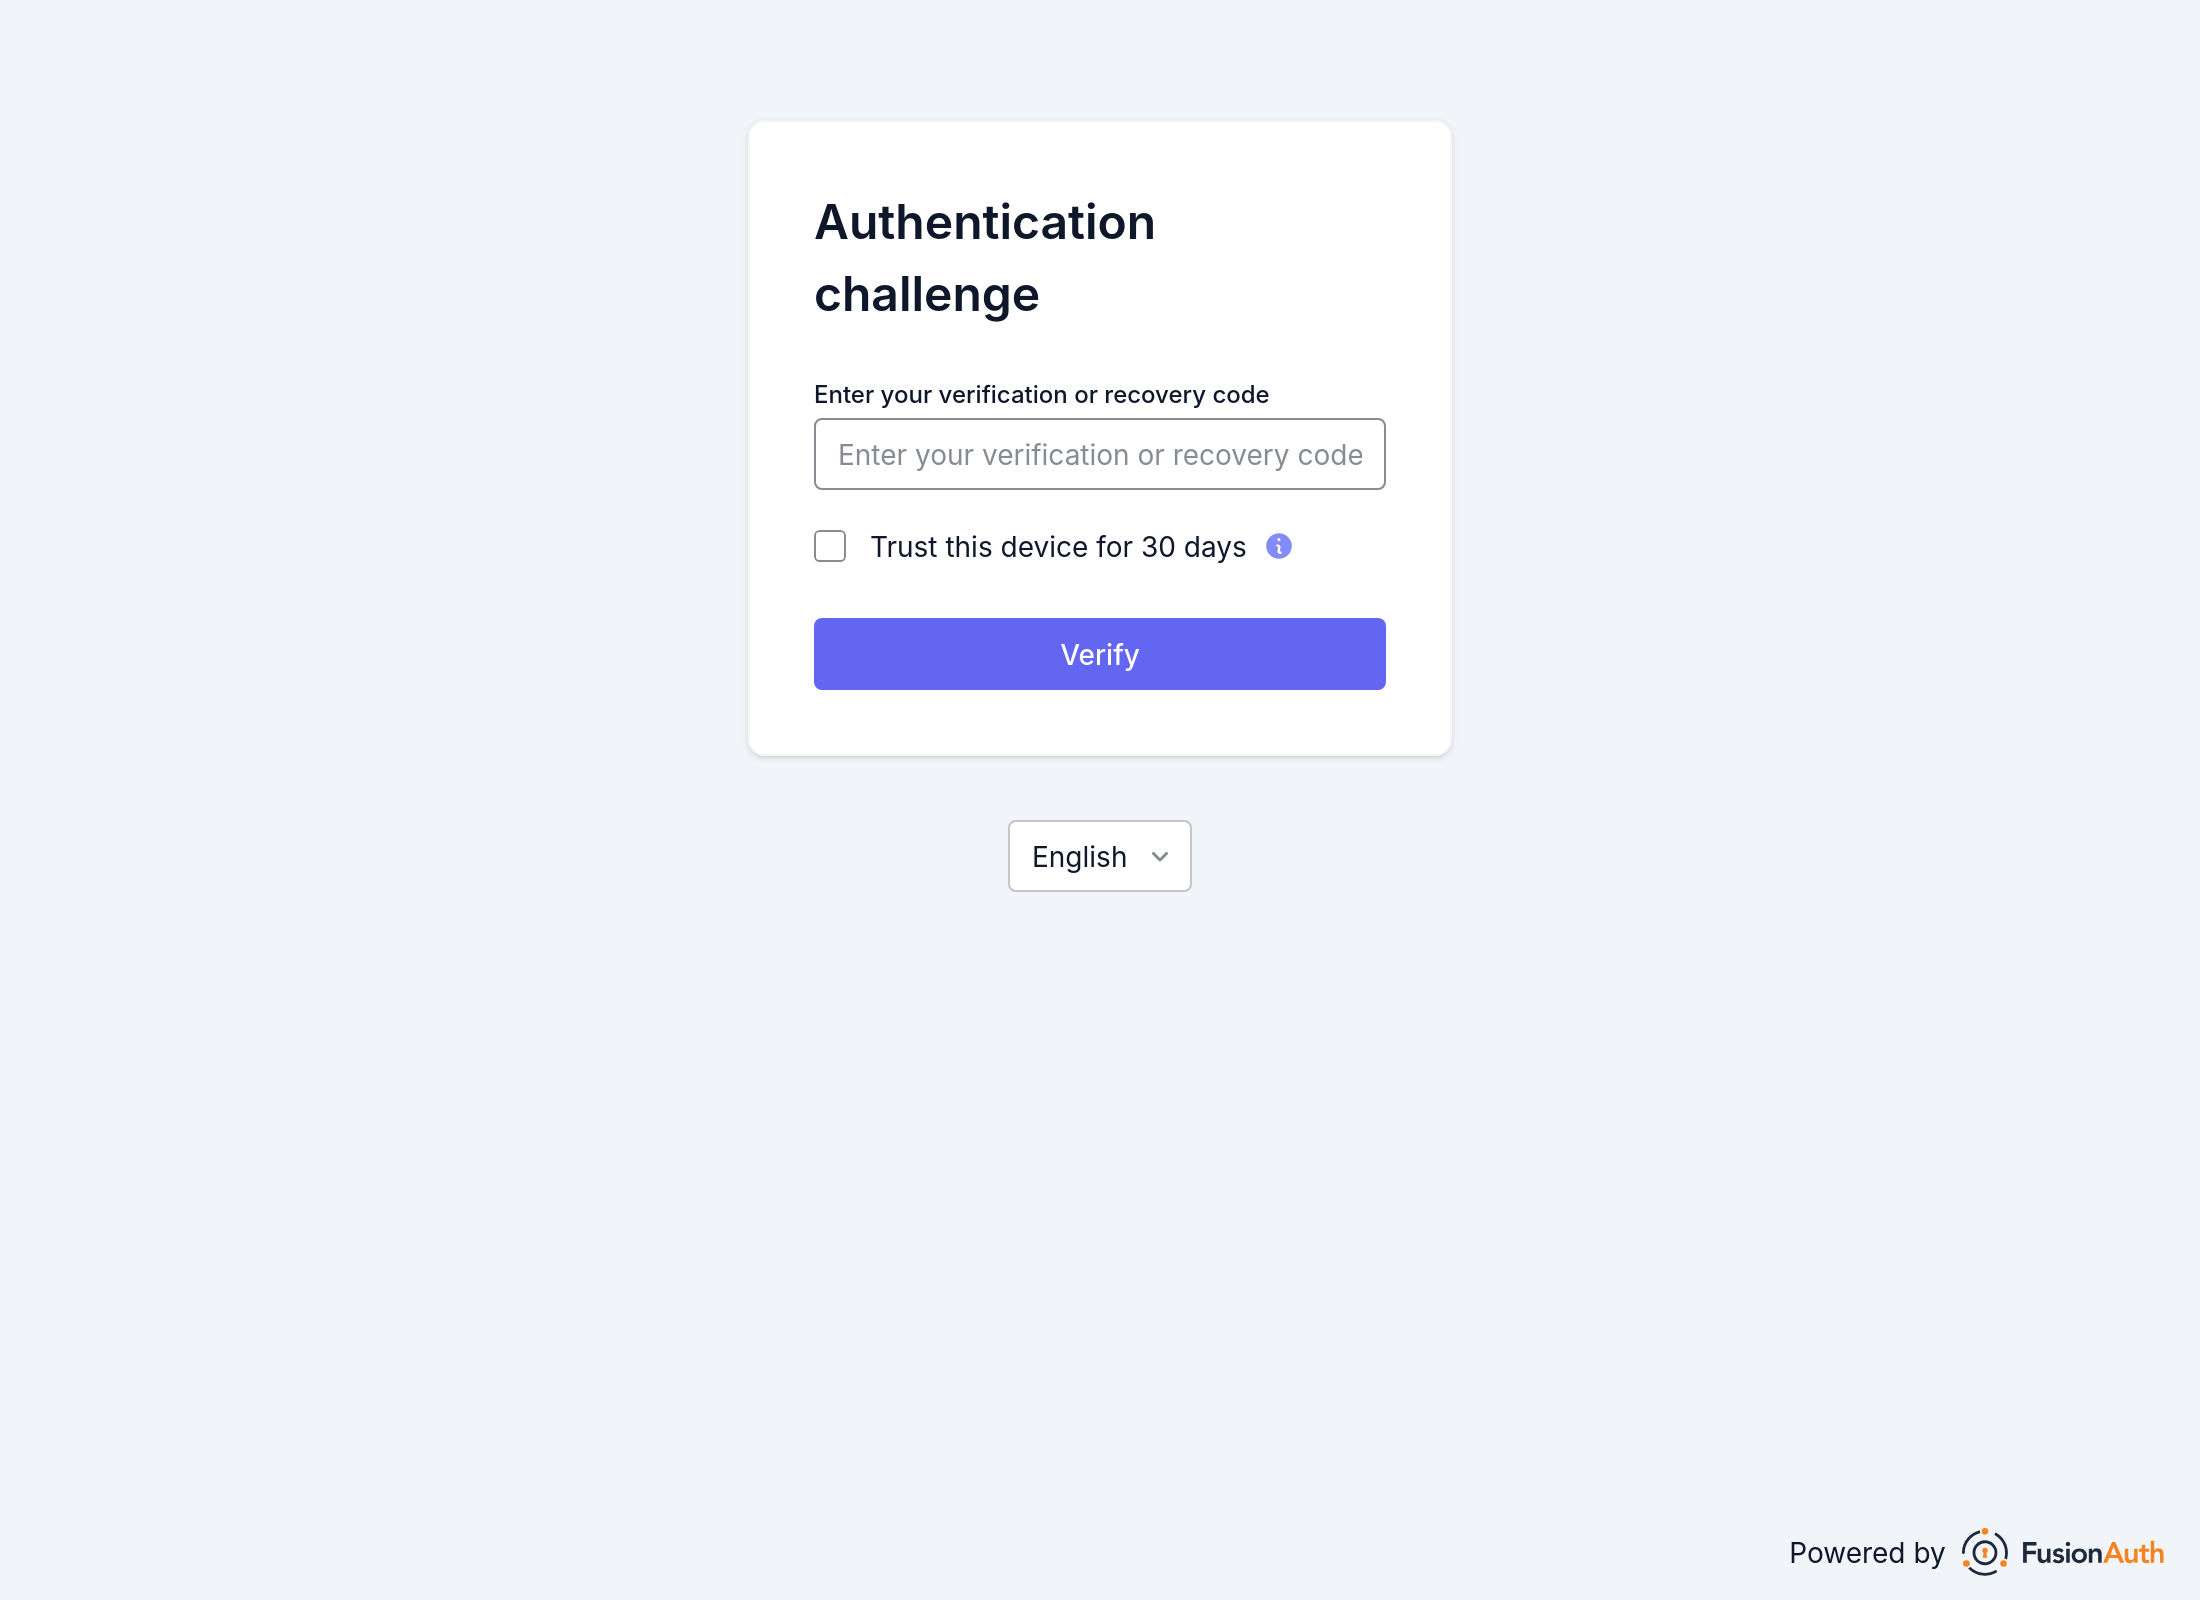
Upon the next login, you will be prompted for a code sent by phone in addition to your password. If the tenant has both SMS and Voice message types enabled you will be asked to choose which type to receive, otherwise the message will be sent automatically.
See It in Action (User Facing)#
With phone MFA enabled, if you log out and log back in you will be presented with the following screen in addition to the typical login screen.
Related
API documentation for the FusionAuth Disable Multi-Factor API.
API documentation for the FusionAuth Enable Multi-Factor API.
API documentation for the FusionAuth Generate a Secret API.
API documentation for the FusionAuth Generate Recovery Codes API.