Account
The account portal is where you can manage your account data, deployments and licenses. The portal is distinct from your FusionAuth instance, which is where your user data lives. While an instance can be self-hosted or hosted in FusionAuth Cloud, the account portal is an internet accessible web application.
You can self-host FusionAuth running the Community plan for your user datastore without ever setting up an account with the FusionAuth portal.
If you use FusionAuth Cloud or have a licensed plan with advanced features, you need a FusionAuth portal account.
You can control all aspects of FusionAuth Cloud deployments by logging into the account portal.
Portal Areas#
You can control all aspects by logging into the account portal.
Your account portal contains the following areas:
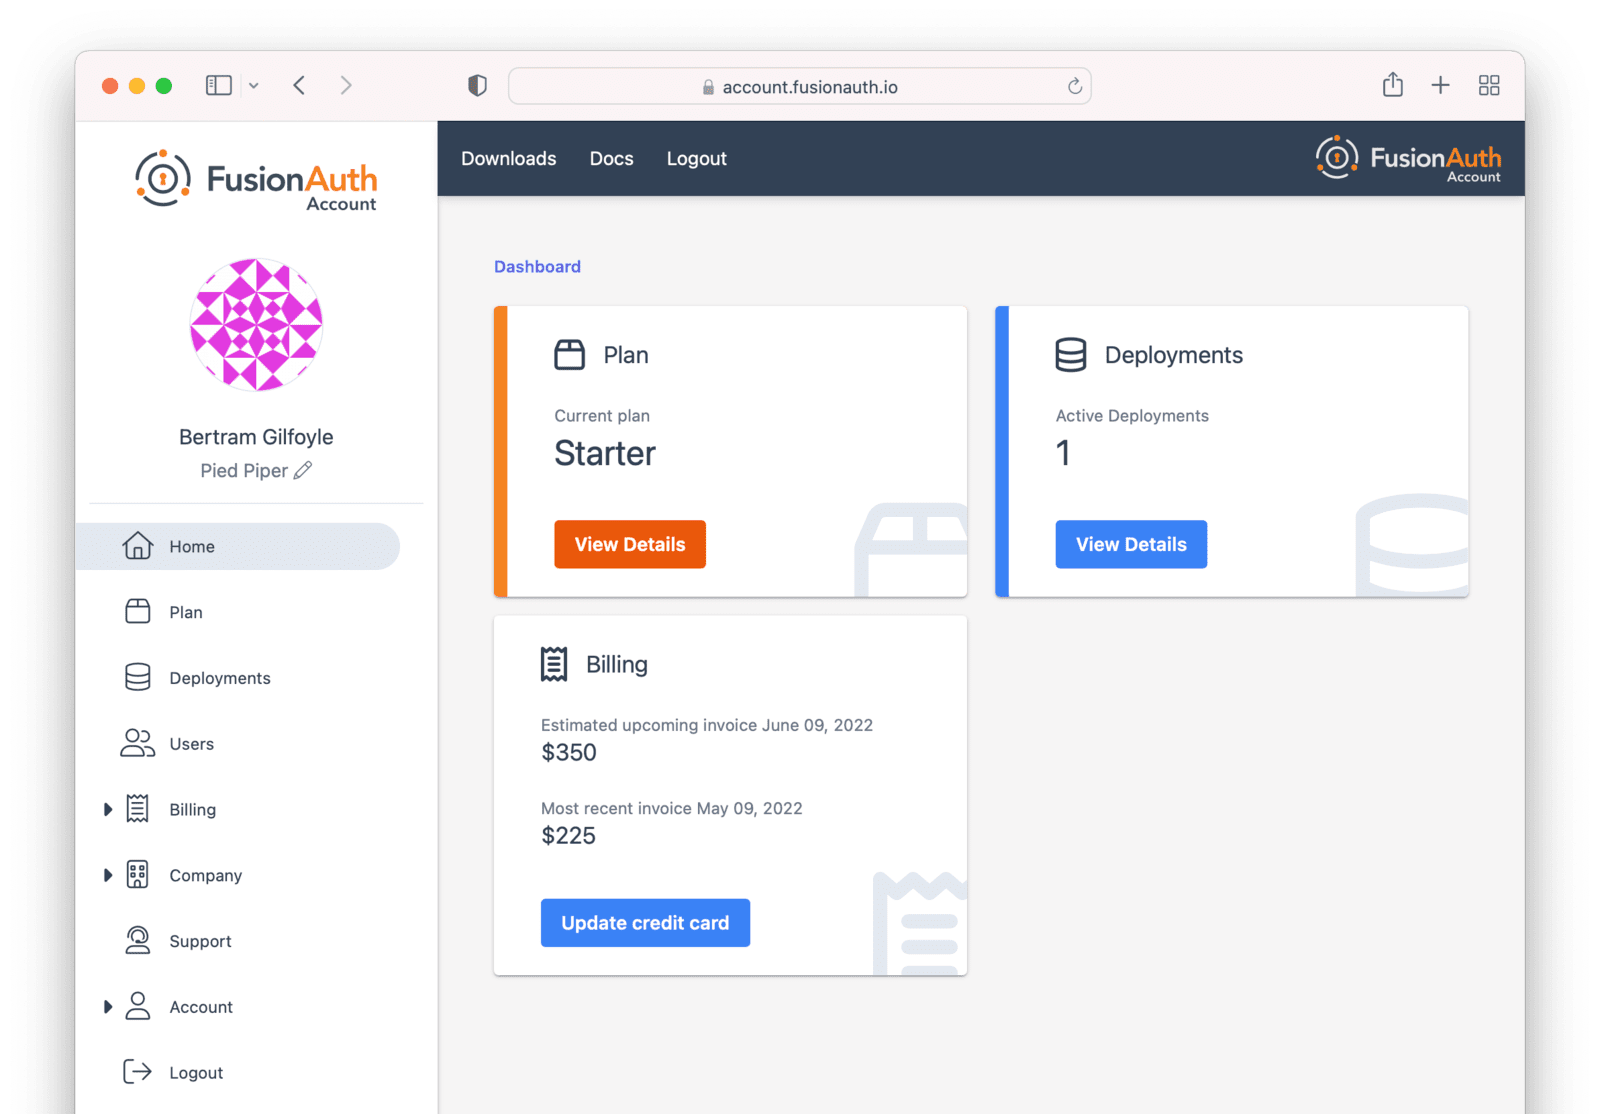
- Home - displays the dashboard, giving you an overview of everything in your account.
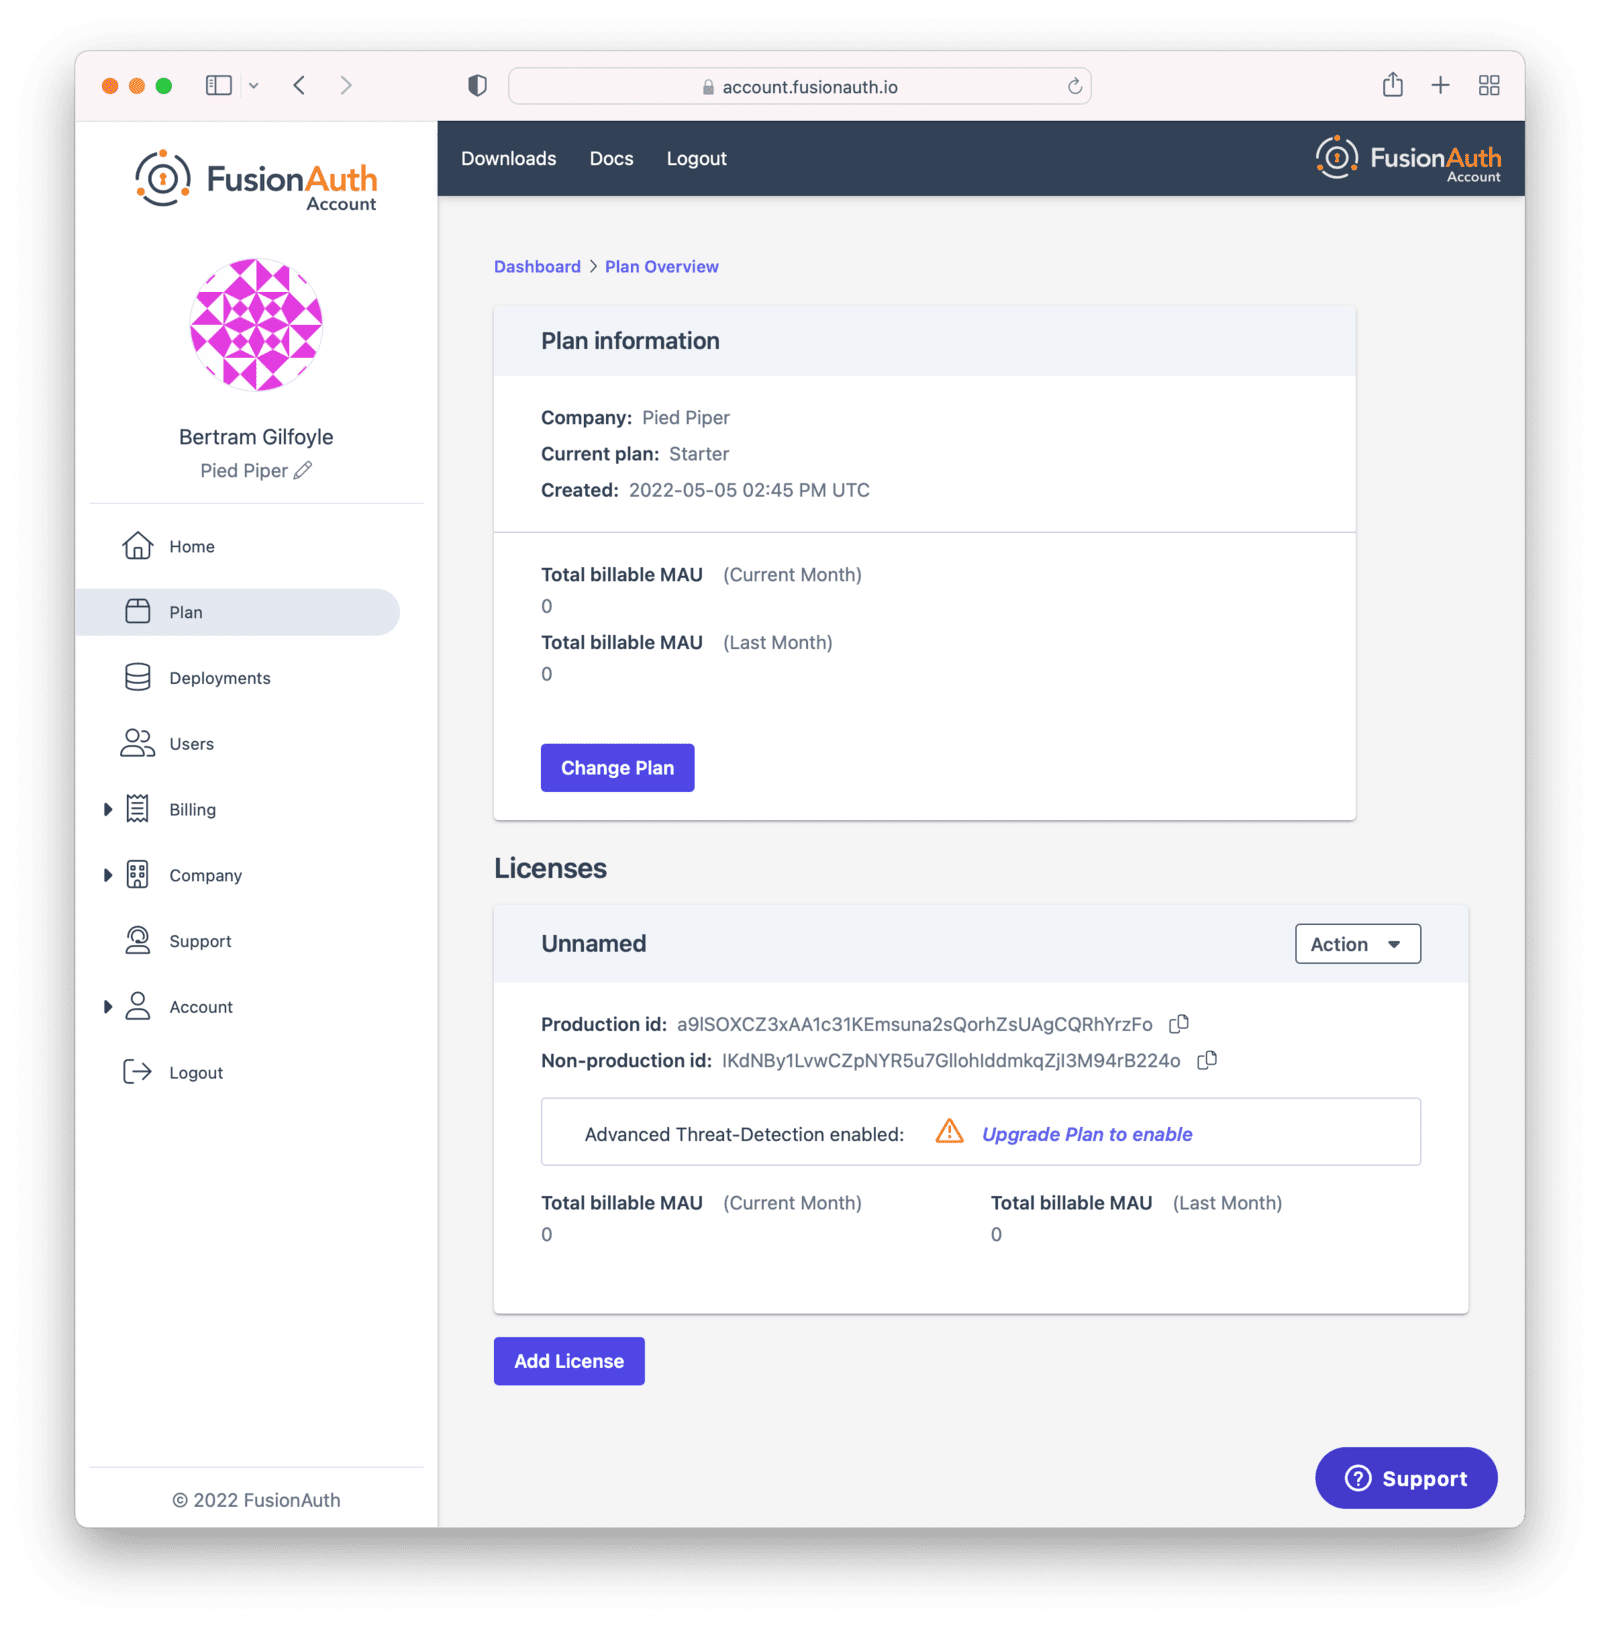
- Plan - select or modify the account's FusionAuth plan (also known as an edition). More details on the plan differences here. This is also where you will find your license keys when you are not using the Community plan.
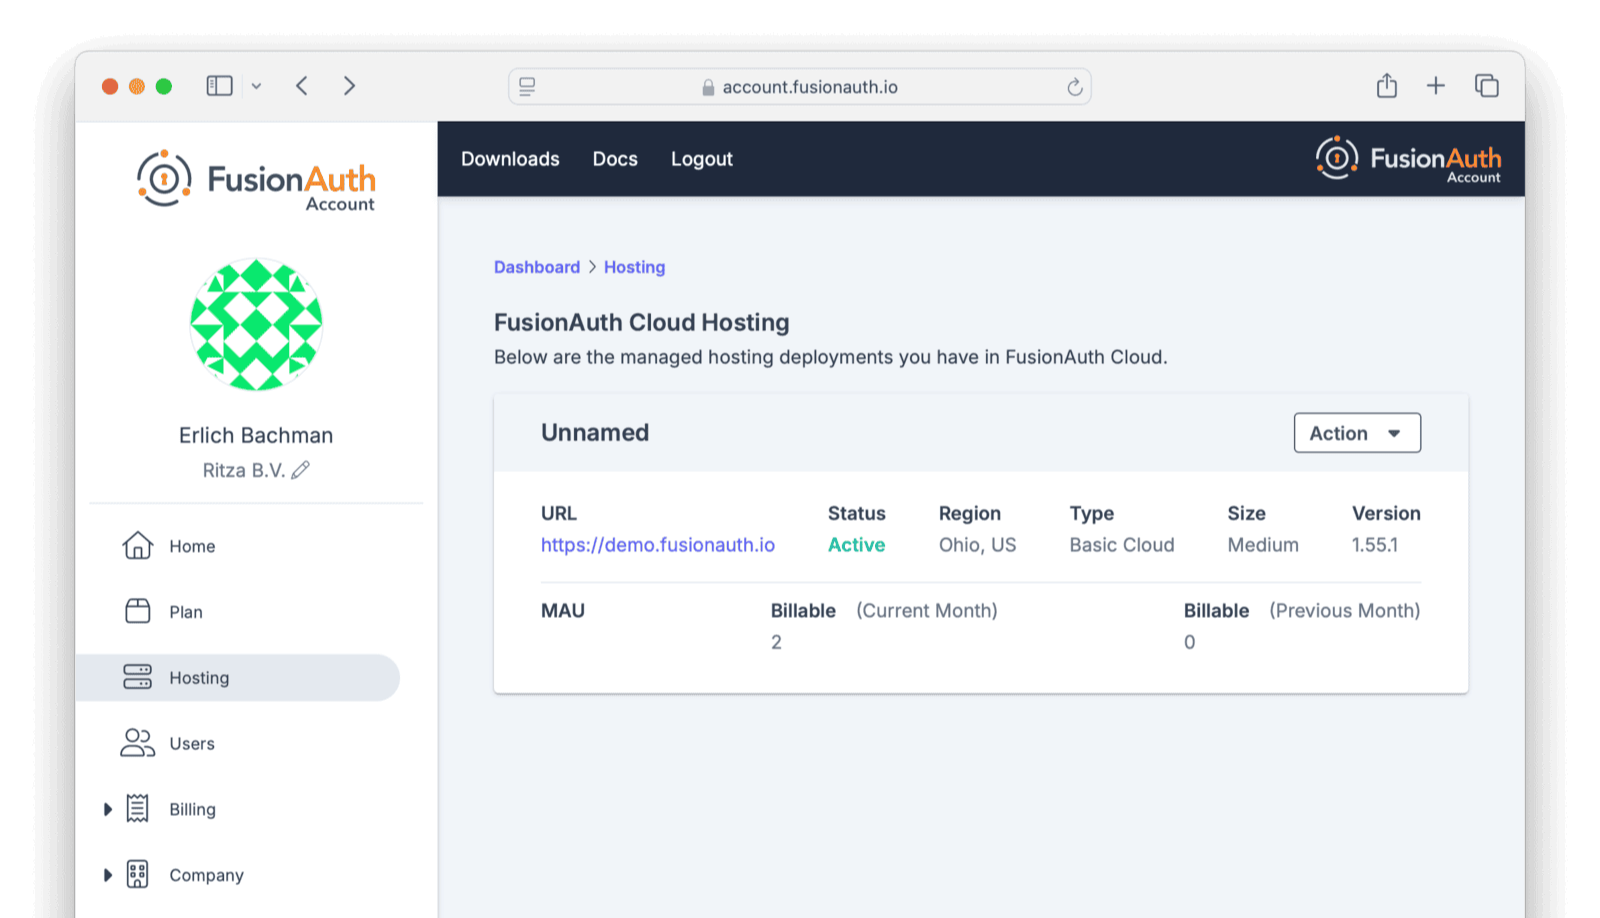
- Hosting - configure and manage FusionAuth Cloud deployments.
- Users - add and remove users from the account portal. Any user added may have one of many roles.
- Billing - add or update your billing information.
- Company - add or update your company information.
- Early access - access pre-release FusionAuth builds.
- Support - learn more about support options or open a support ticket. Learn more about technical support.
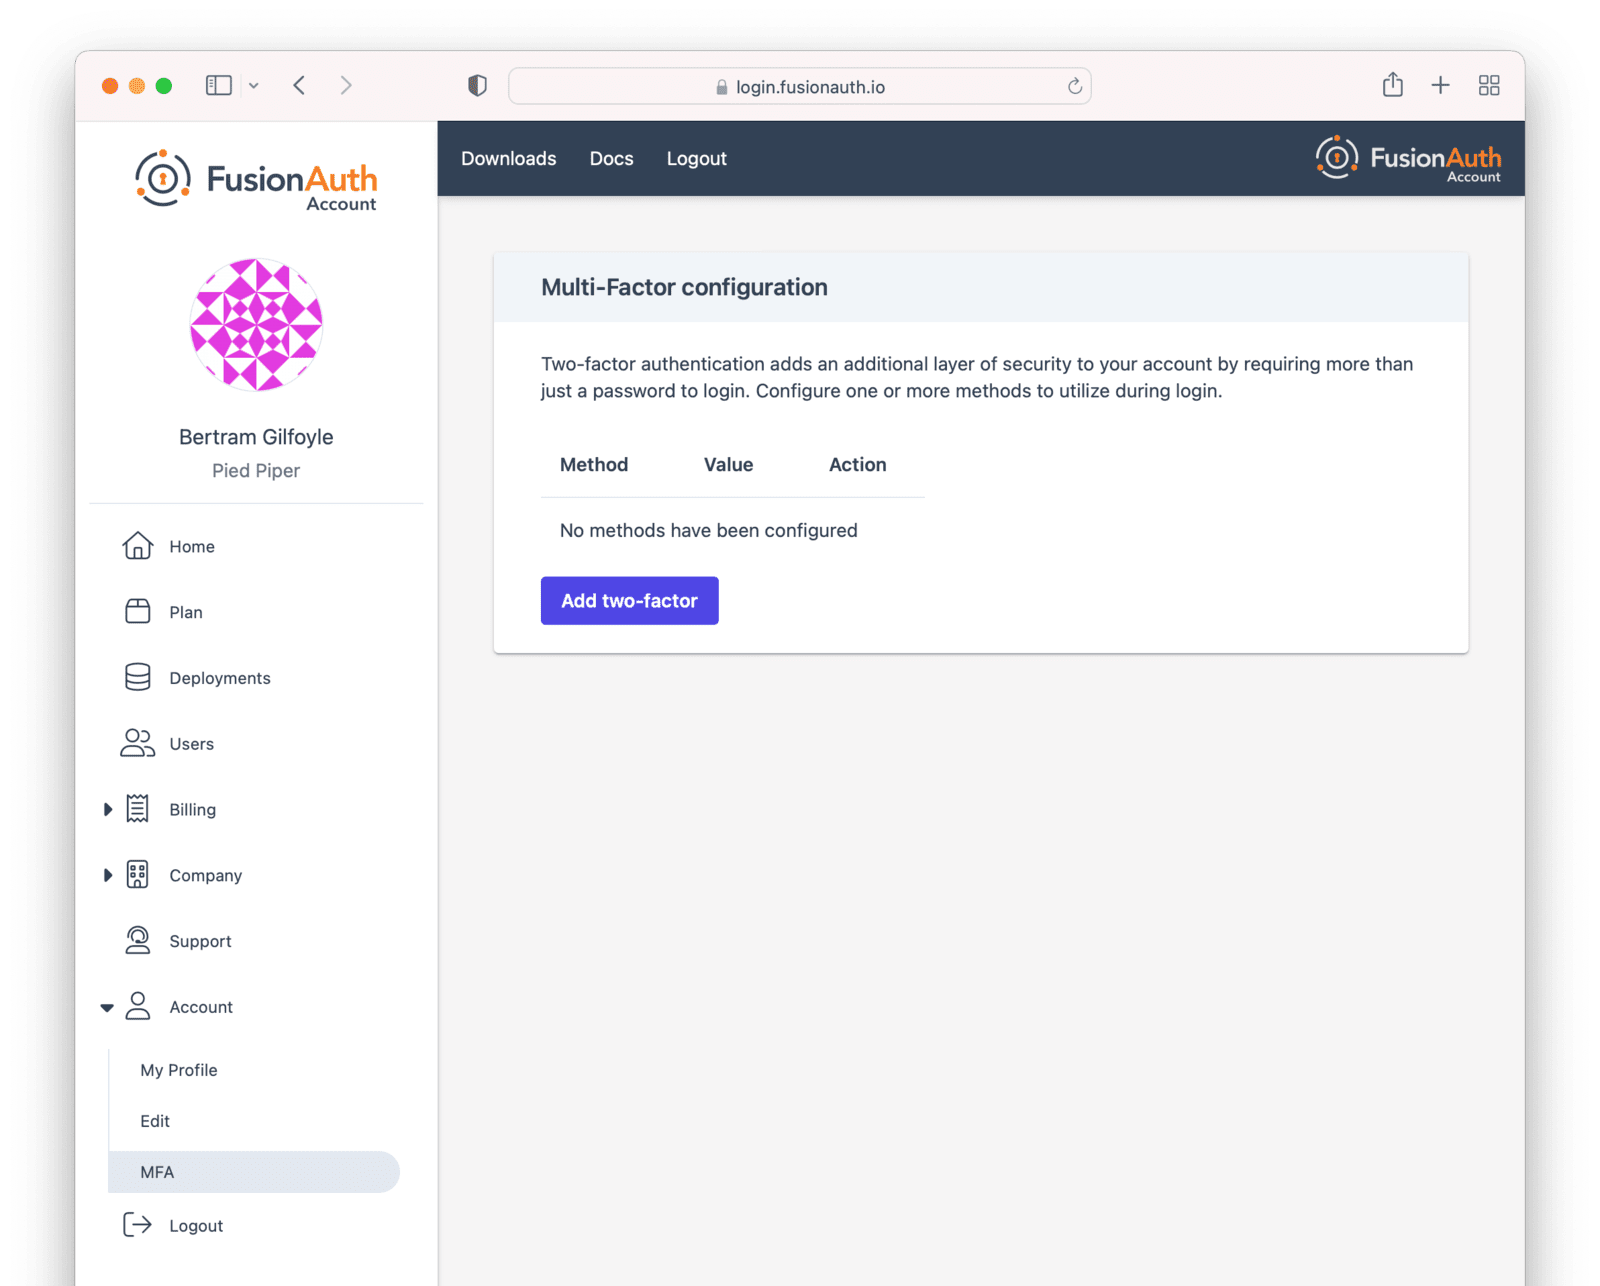
- Account - manage your user account, including adding MFA or changing your password.
- Logout - logs you out of the application.
Adding a user to your company will allow them to manage FusionAuth deployments and take other account portal actions.
Doing so will not provision the user an account on the FusionAuth instance in the deployment.
You must do that separately.
Home#
The Home tab is a dashboard where you can view information about your FusionAuth account.
Plan#
The Plan tab is where you can modify your plan. You can also find your license keys on this tab. Some plans include advanced features. Some plans include support.
Learn more about plans and licensing.
Hosting#
The Deployments tab is where you can create deployments in FusionAuth Cloud. These are managed instances of FusionAuth, where the FusionAuth team manages the operational concerns of your FusionAuth instance.
For more information about hosting, see deployments.
Manage Deployments#
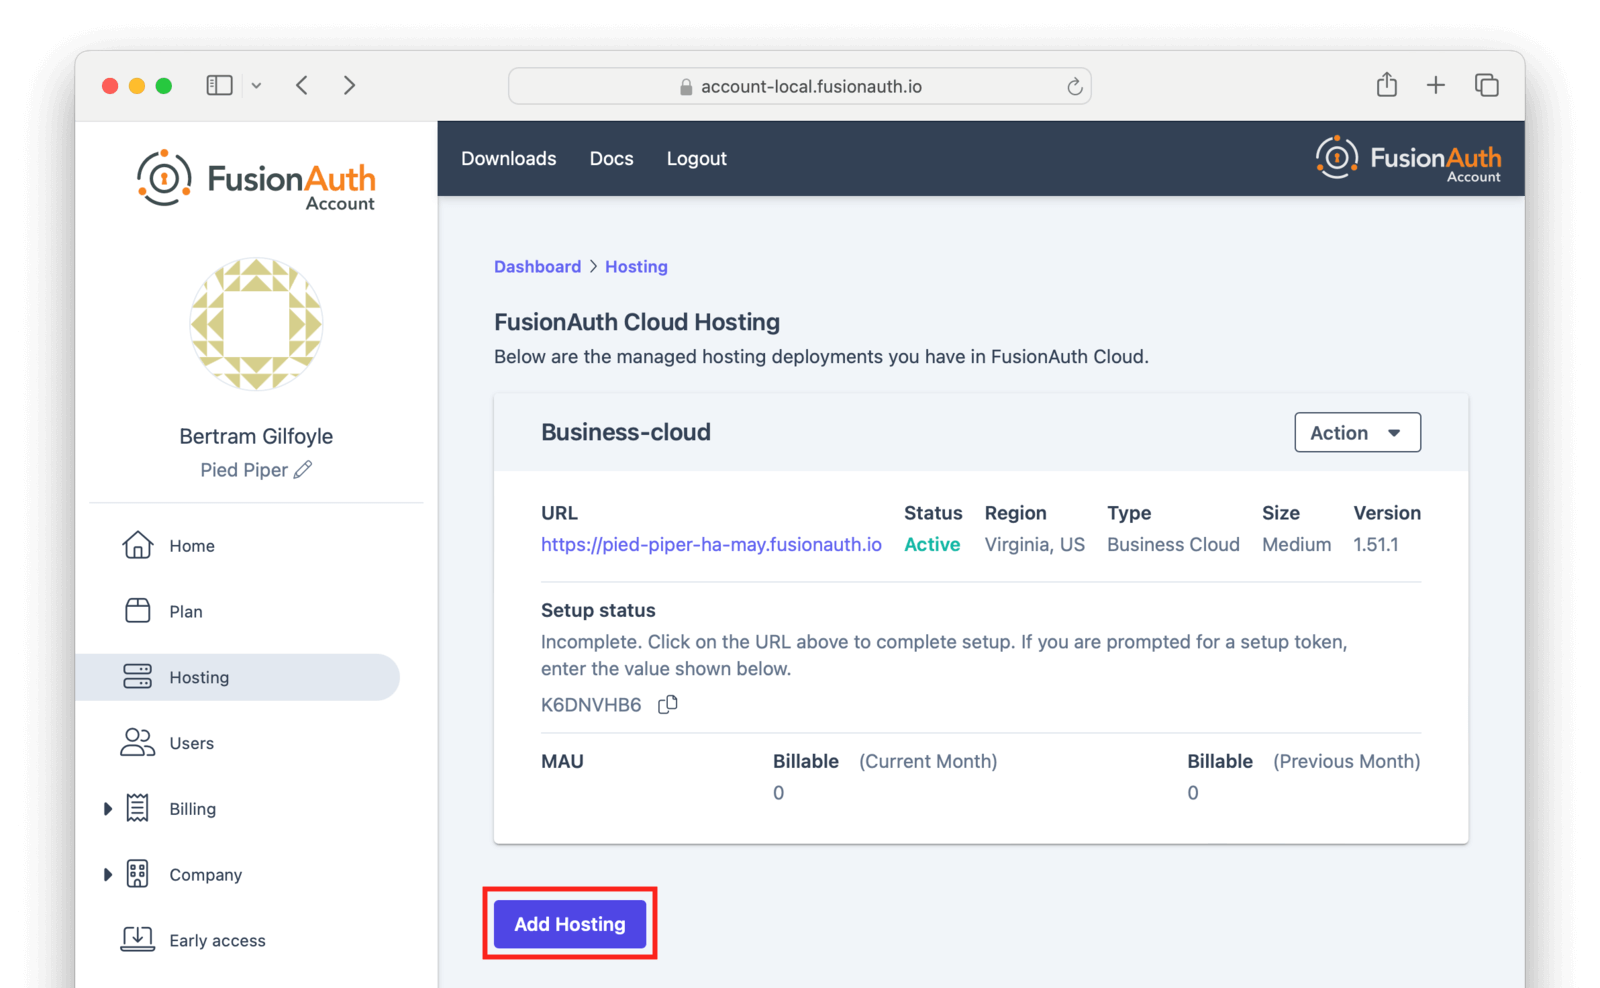
At any time you can log in to the account portal, navigate to Hosting and manage your deployments.
To add another deployment, click Add Hosting . You'll go through the same provisioning workflow as above, and end up with another FusionAuth Cloud deployment.
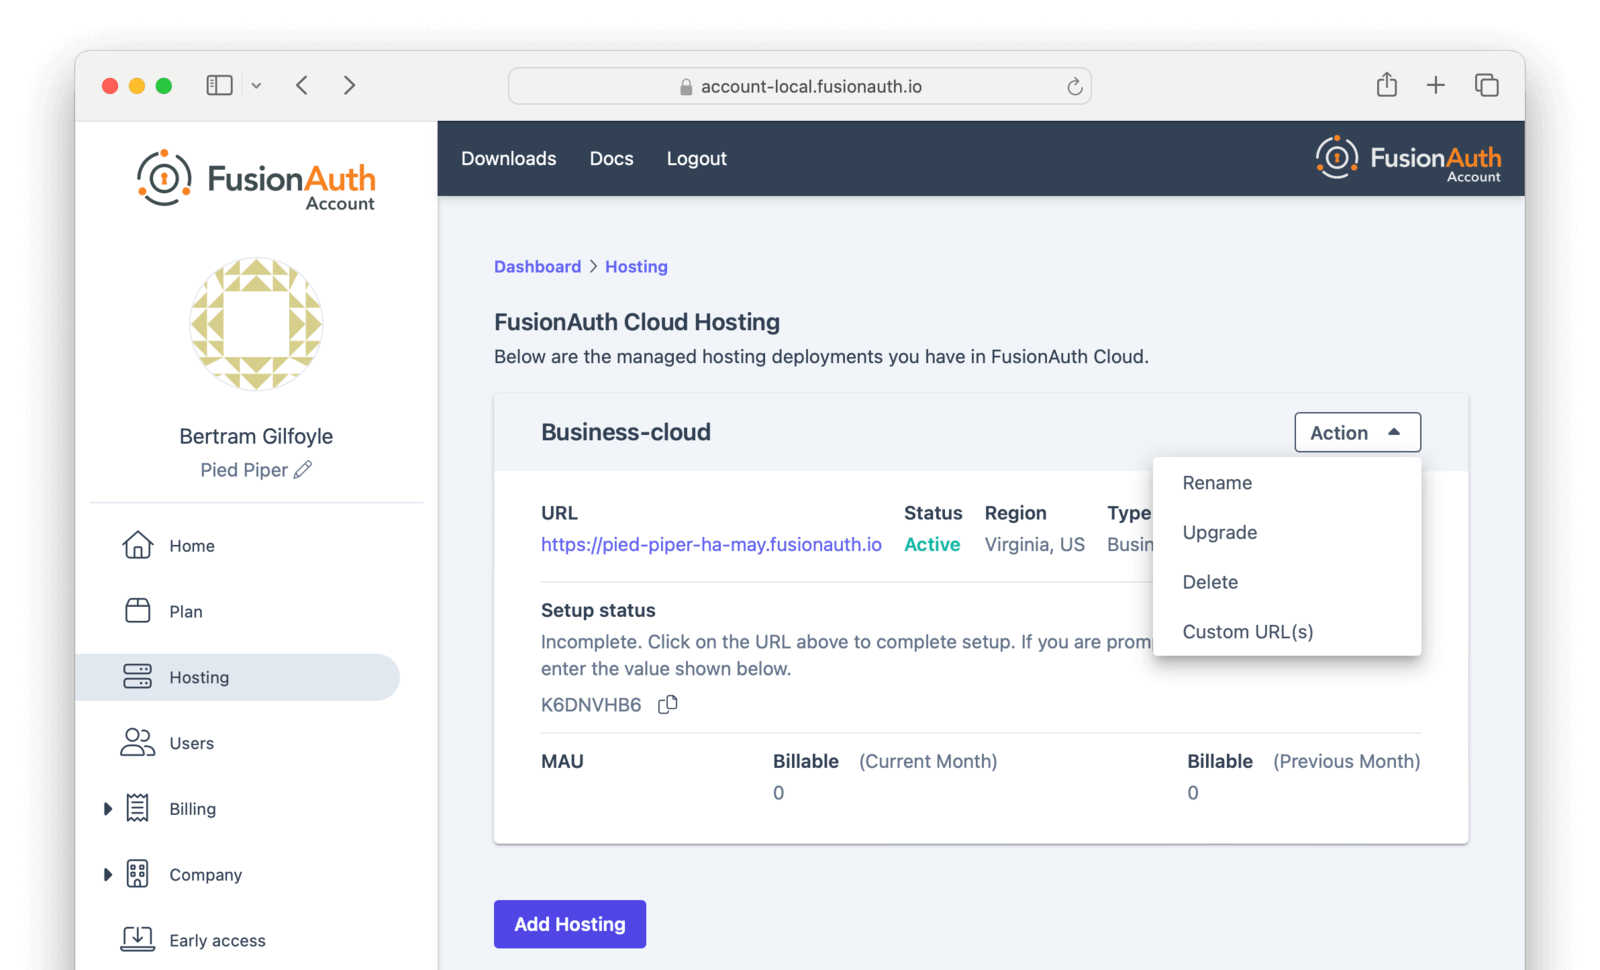
You can also upgrade or destroy each deployment. To begin either process, select the menu under Action :
Users#
You can add, modify and remove users from your FusionAuth account.
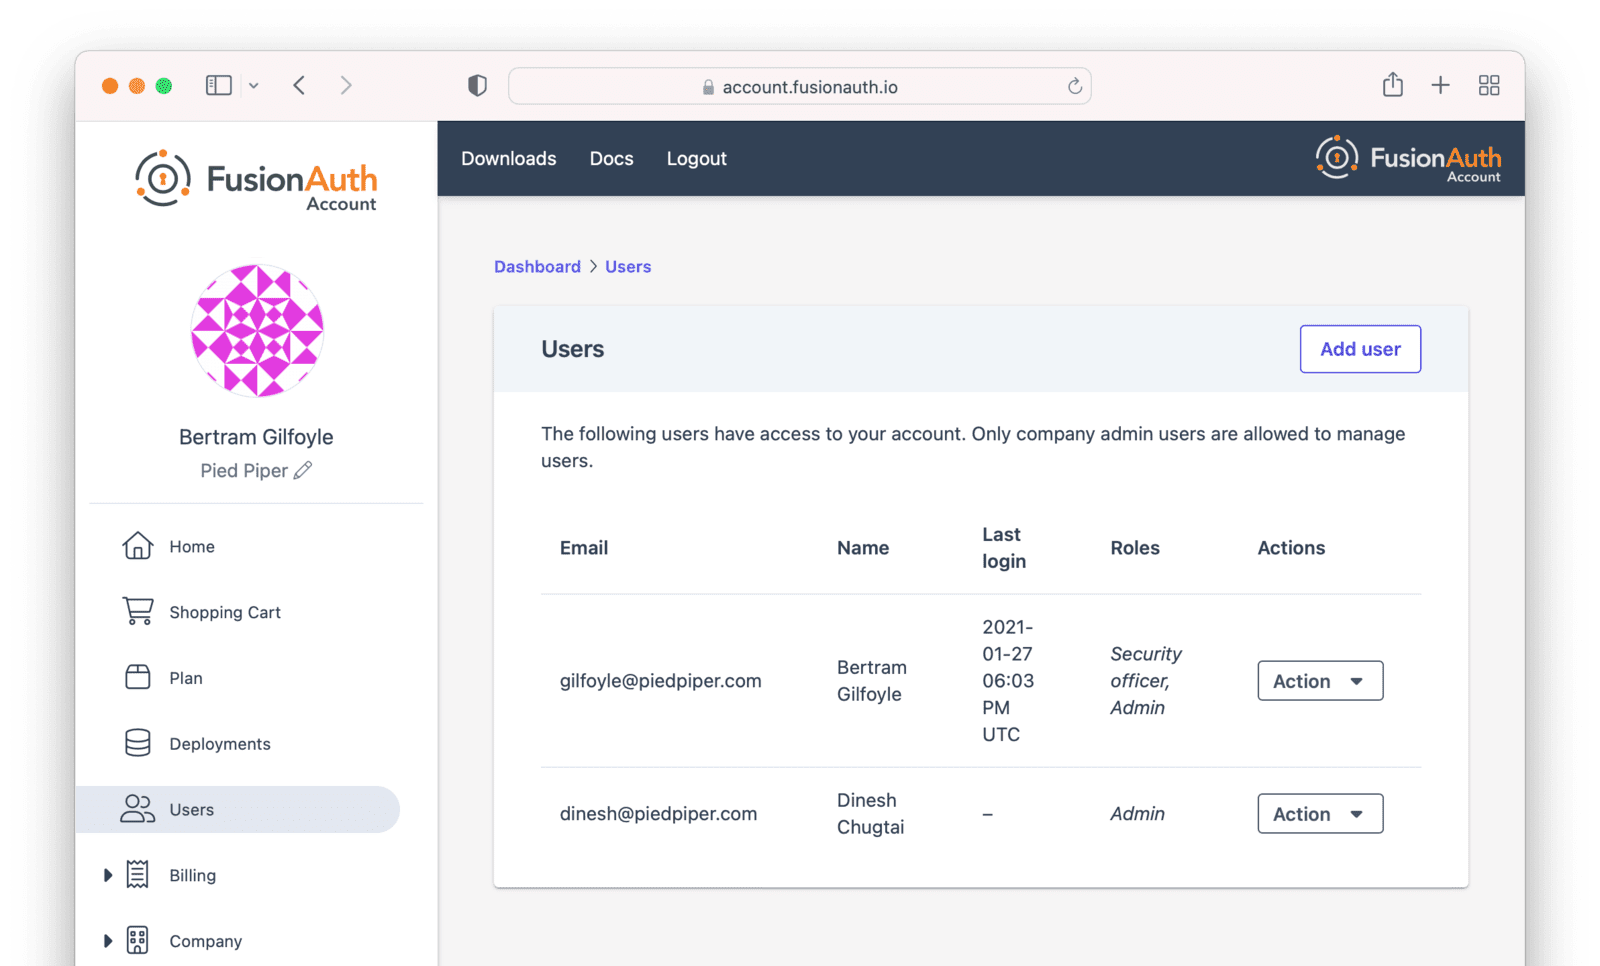
Users added this way can log in to https://account.fusionauth.io and access information about your FusionAuth deployments, plan, licenses and more.
You can see users who have access to your account. Users must have an email address.
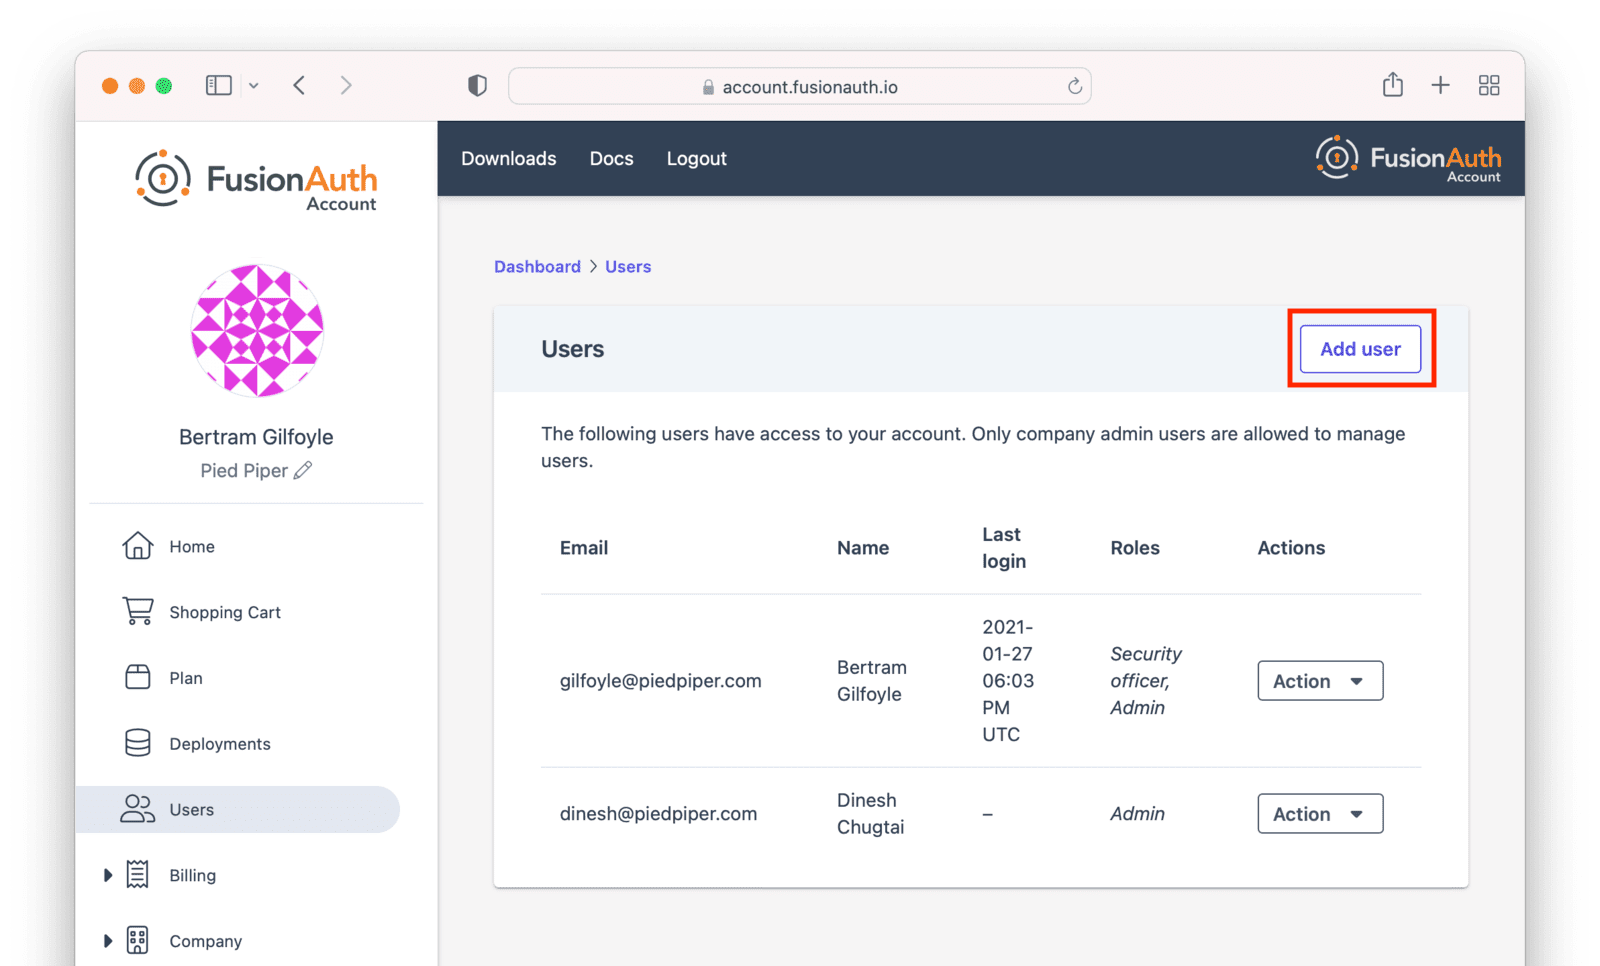
You can also add users to your account. You can have unlimited users in your FusionAuth account portal. If you have more than one FusionAuth account, users can belong to multiple accounts.
You can also modify an existing user's roles.
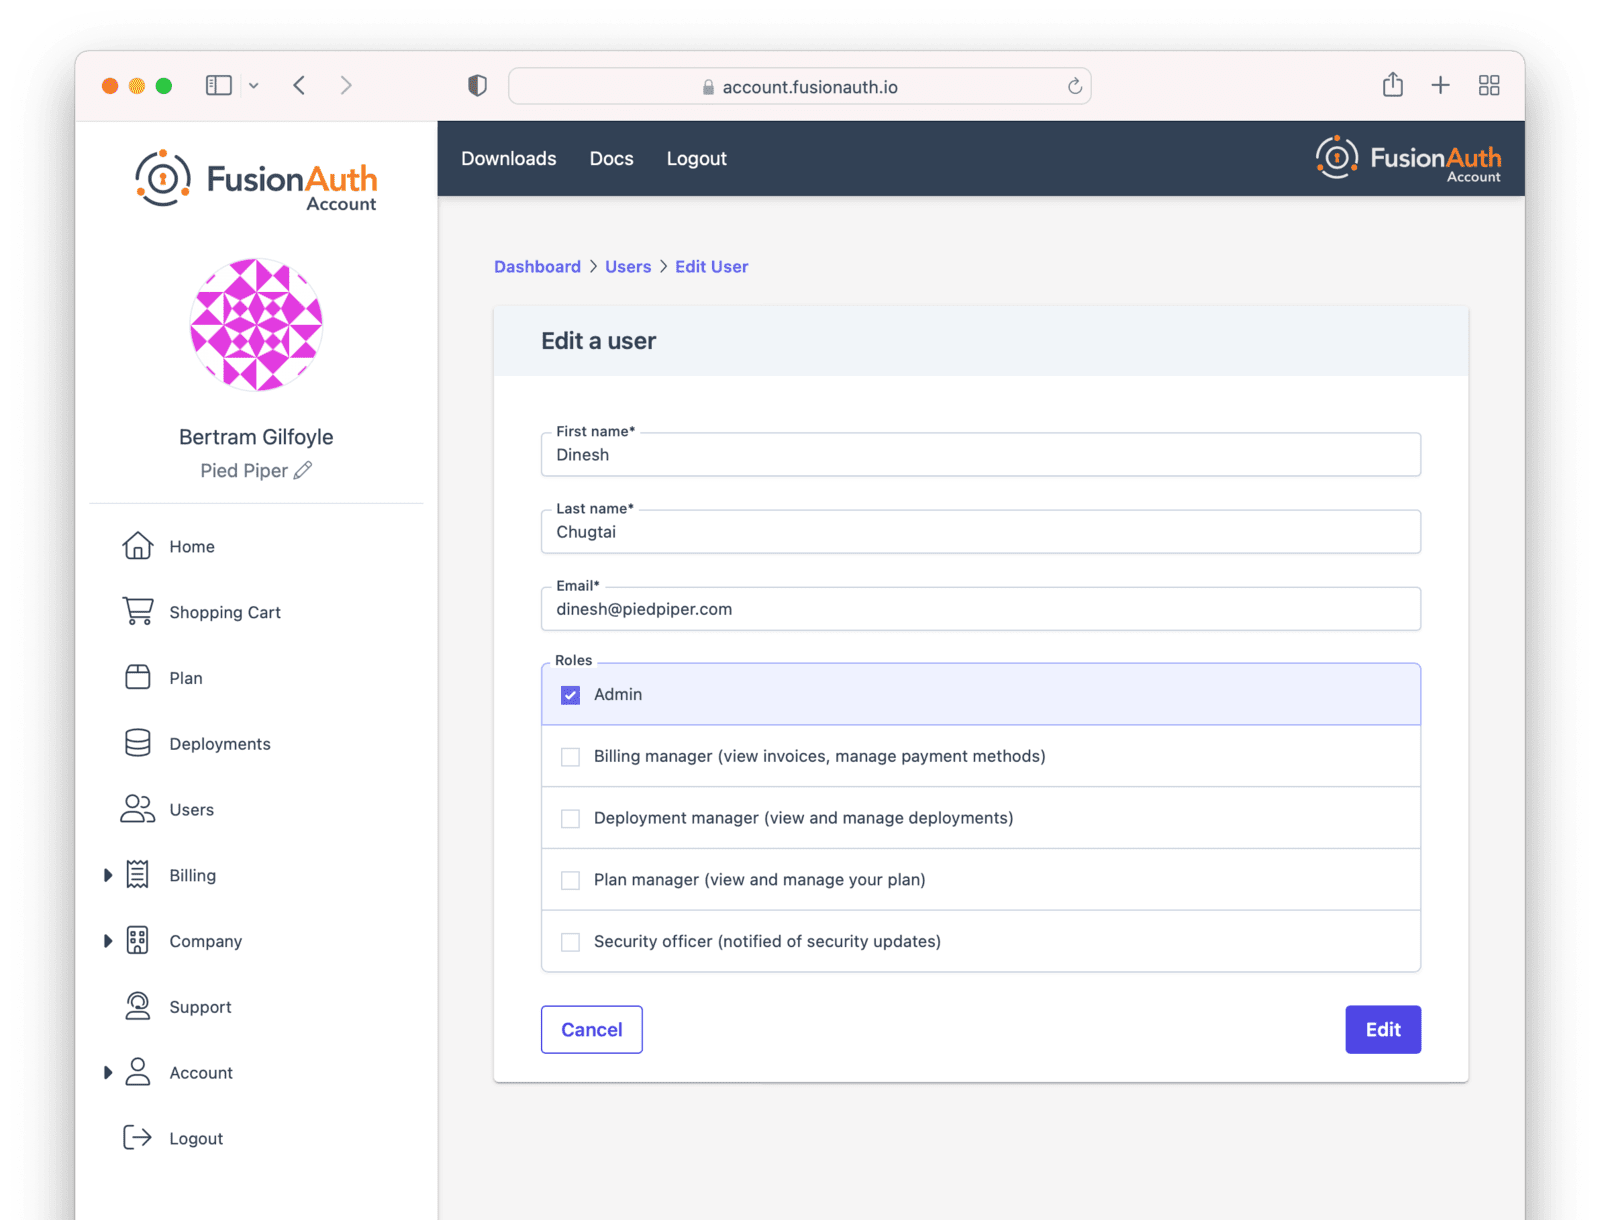
Users can have zero or more roles. Each role controls access to functionality within the portal.
- Admin: access to all functionality of the roles
- Billing manager: view invoices, manage payment methods
- Deployment manager: view and manage deployments
- Plan manager: view and manage your plan
- Security officer: will be notified of any security updates
Billing#
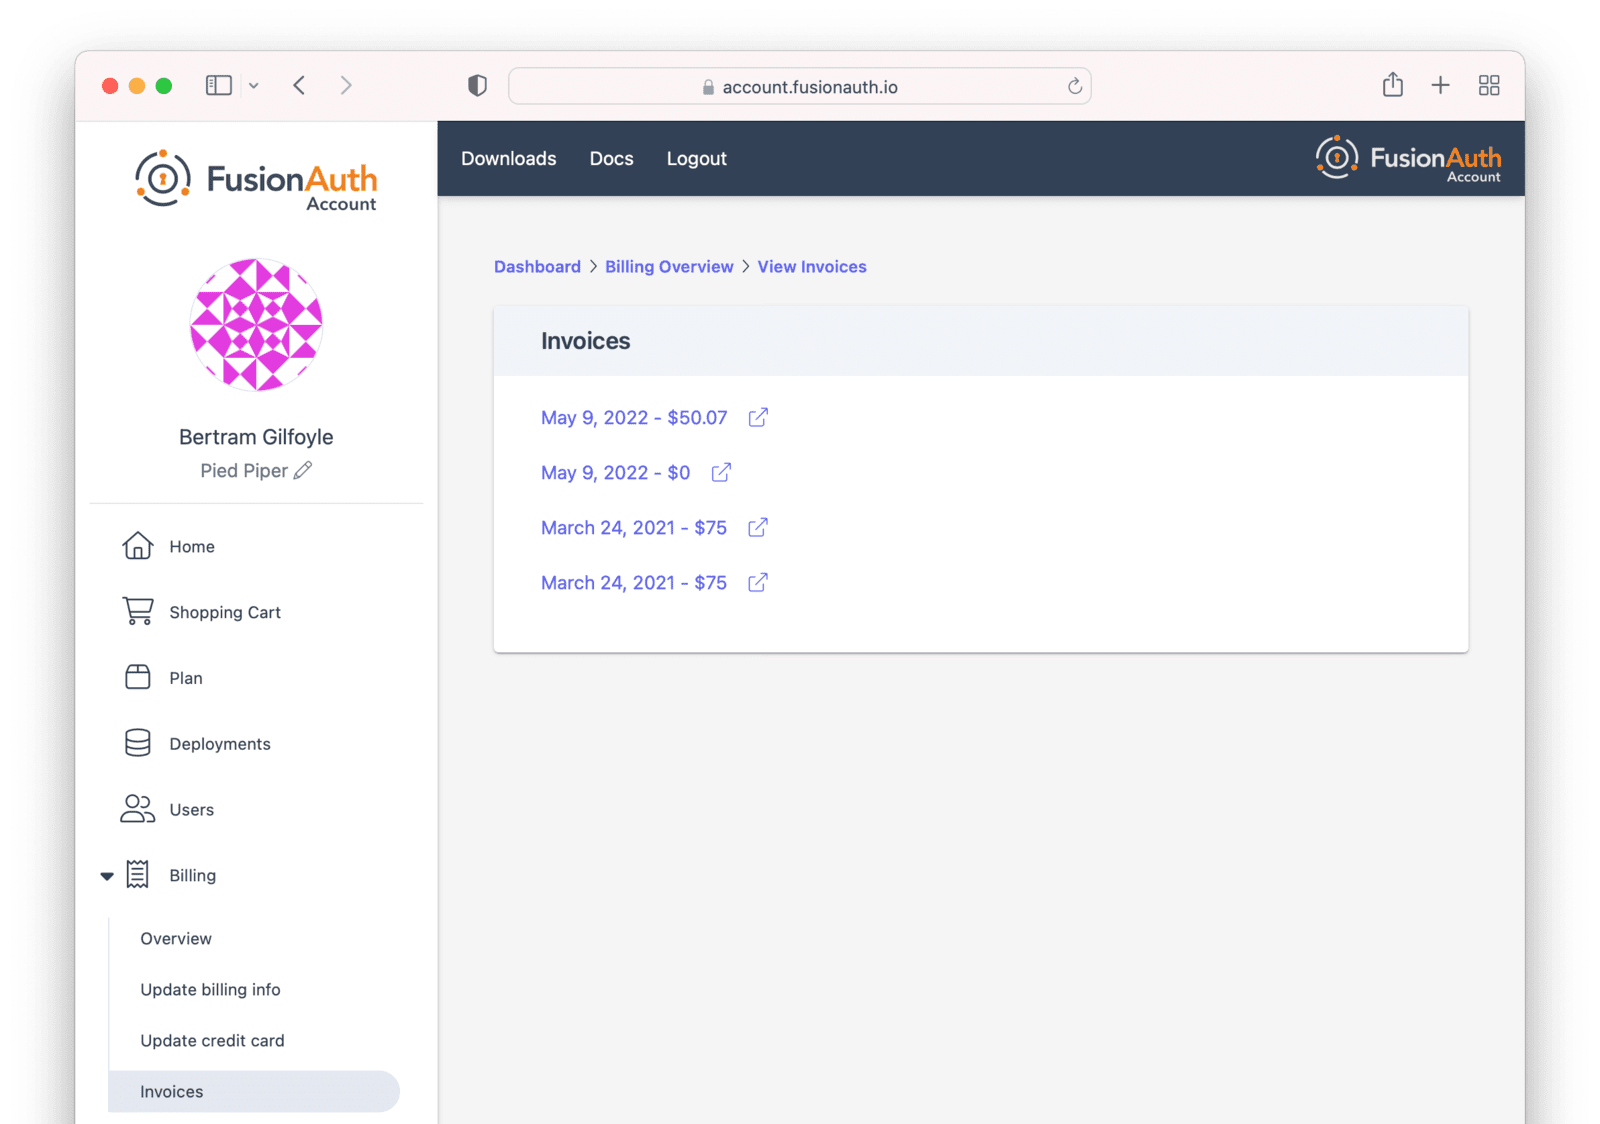
The Billing tab is where you can update your billing information and view invoices. This tab is only useful if you are using a credit card to pay for your FusionAuth plan or deployments.
On this tab, view and modify aspects of your billing. There's an overview of your billing status.
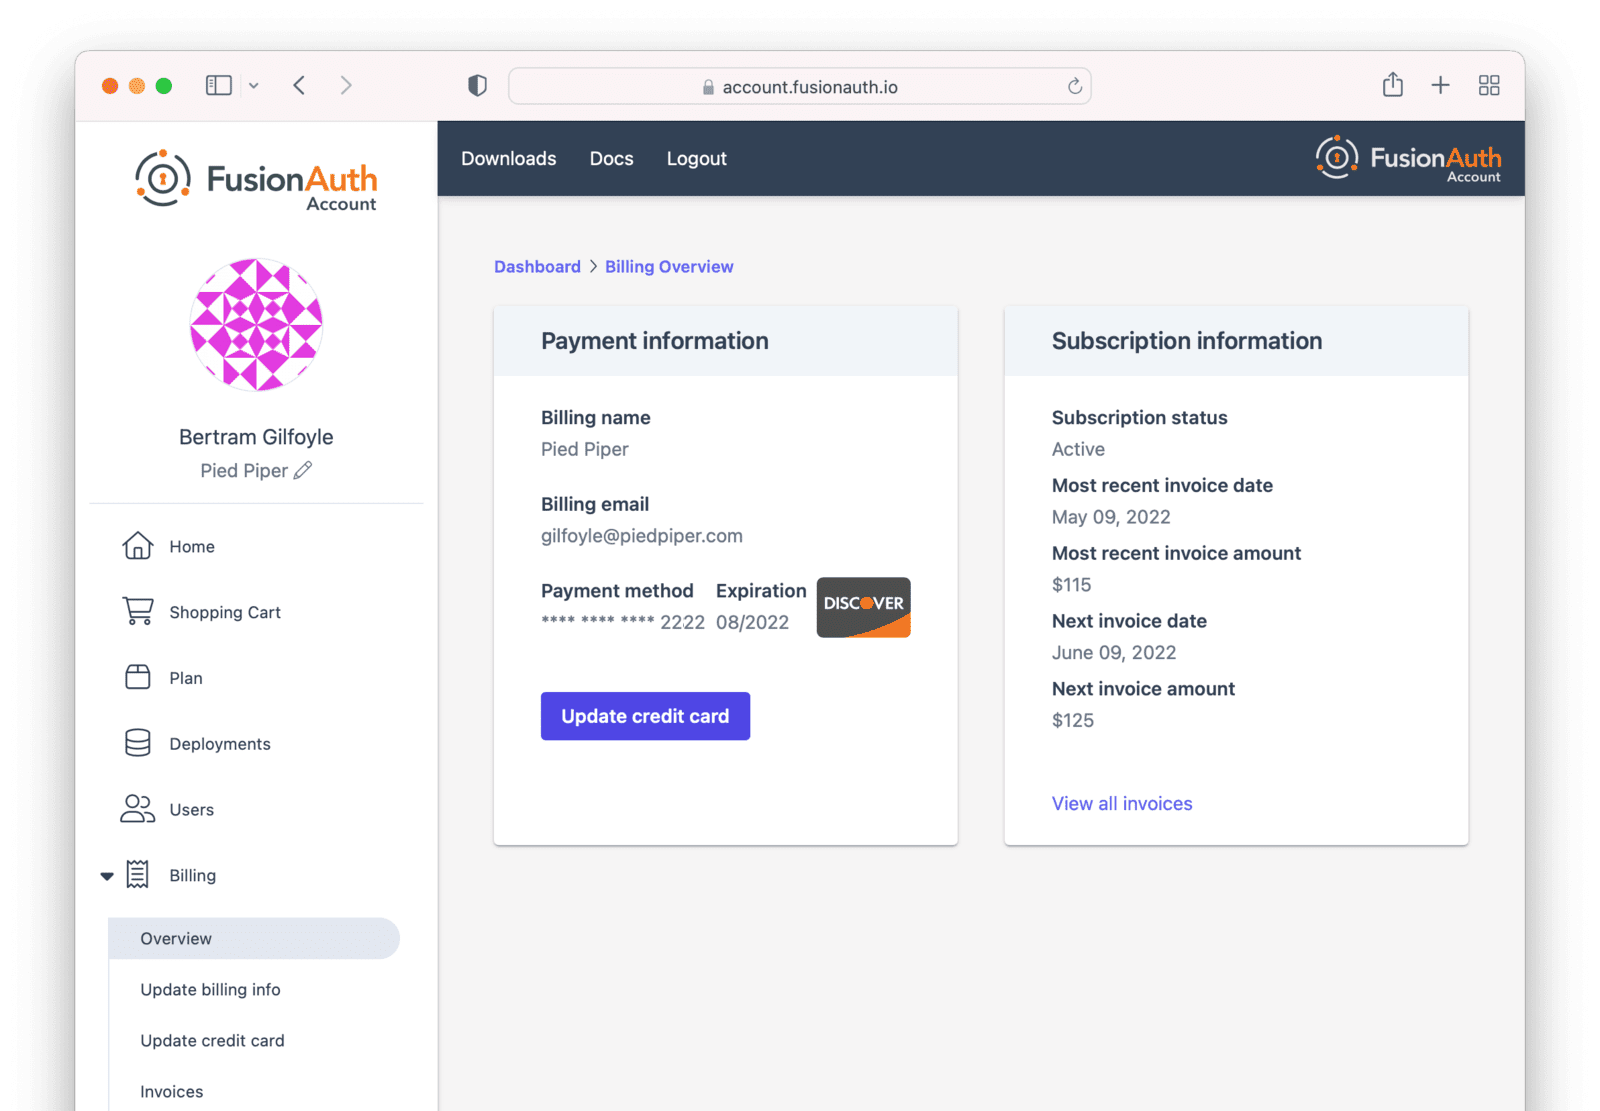
You can update your payment methods with a different credit card. FusionAuth stores no credit card data internally; it all is stored in an external third party provider.
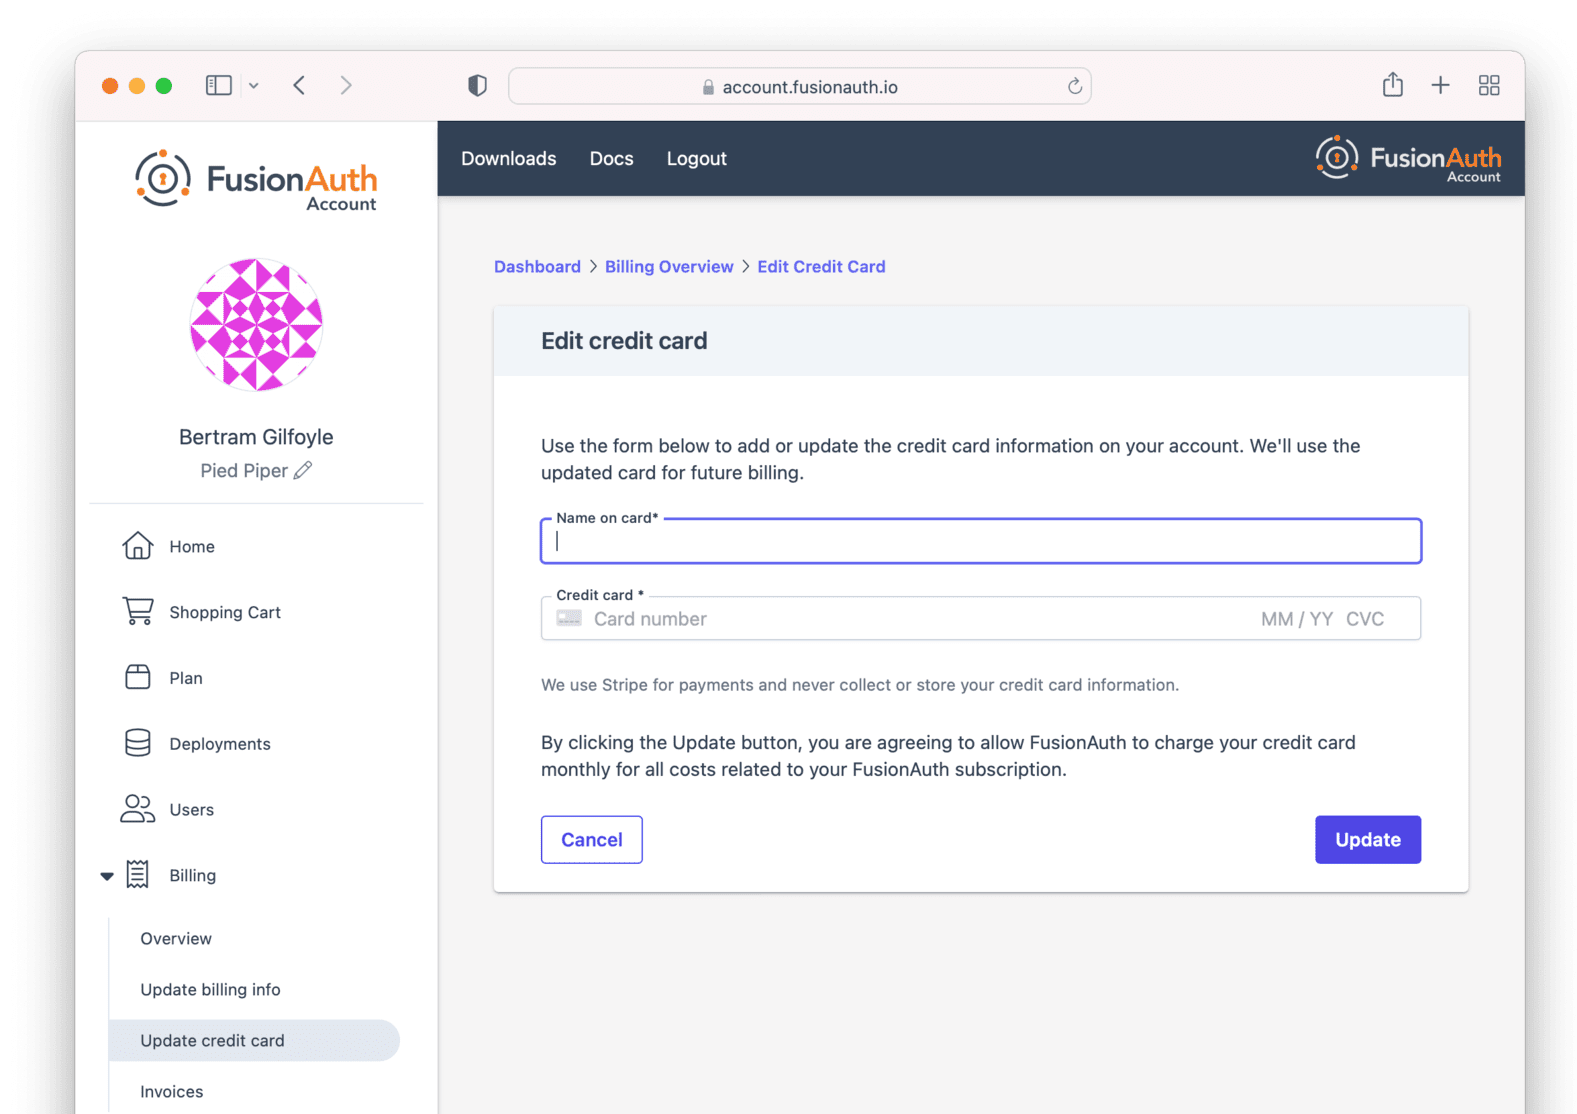
You can update current payment settings, including:
- The name on the invoice
- The tax identifier on the invoice
- The email address to which invoices are sent
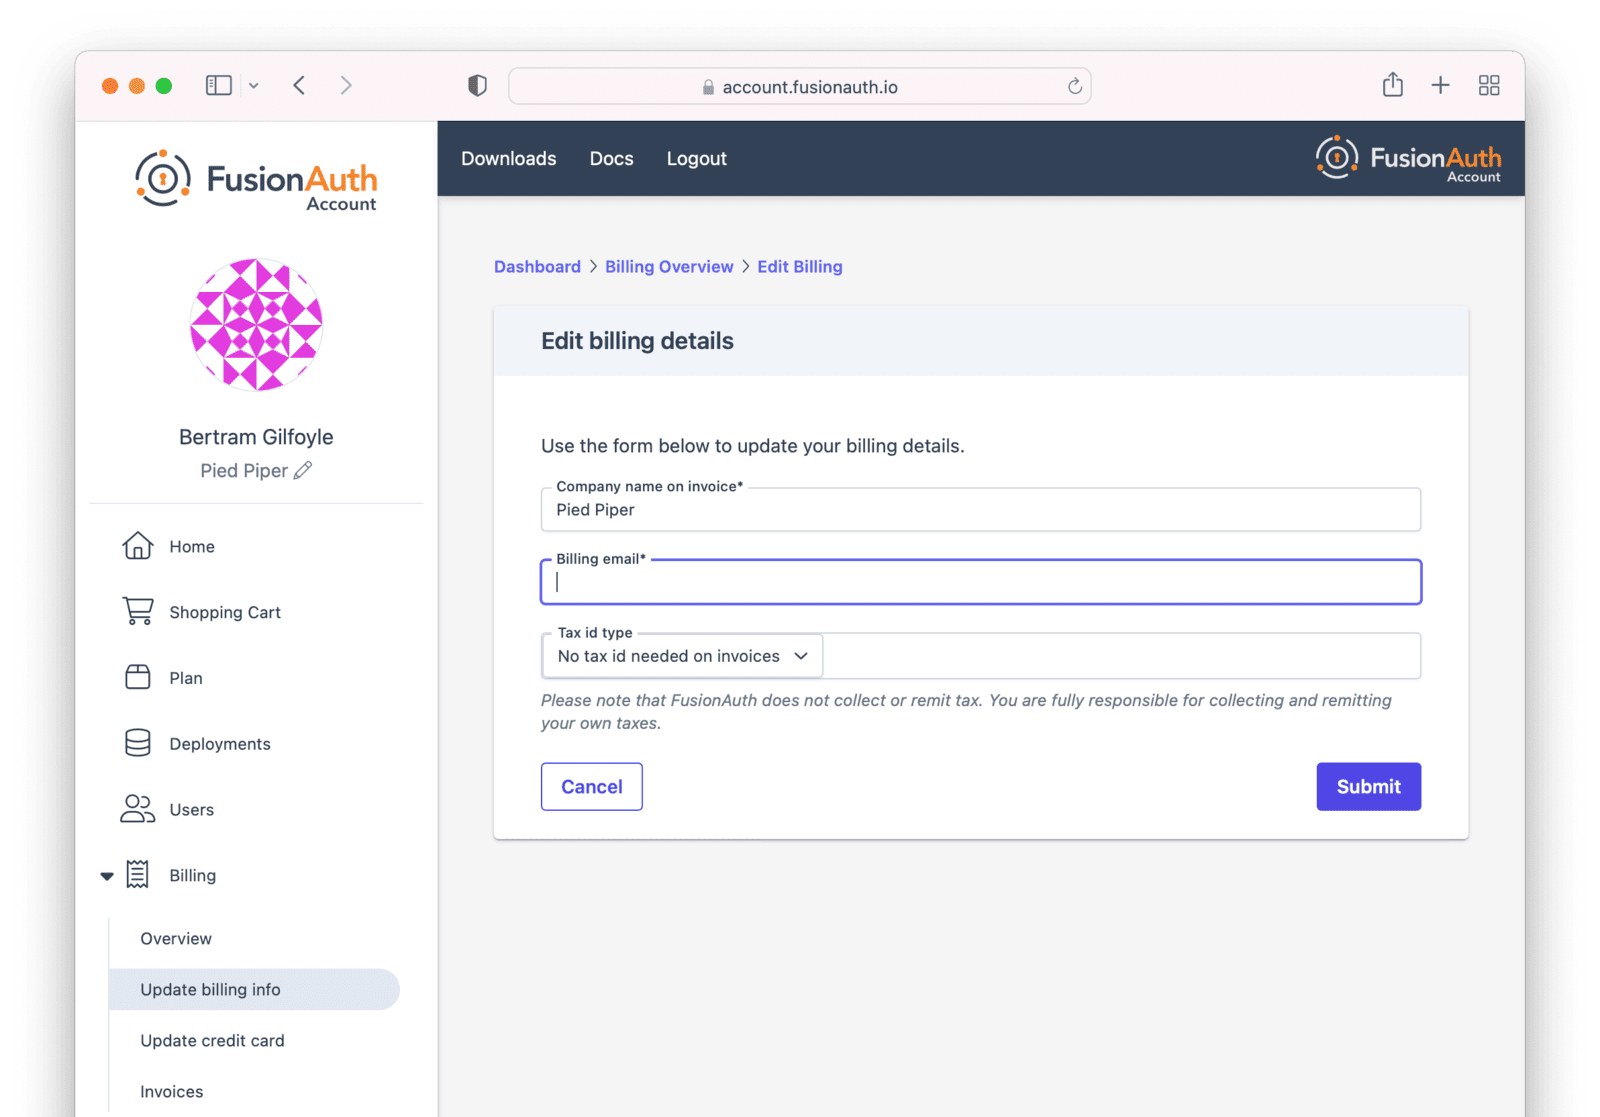
You can view past invoices. This can be useful when accounting is curious about a past bill. No more filing a support ticket to see the invoice from six months ago!
Company#
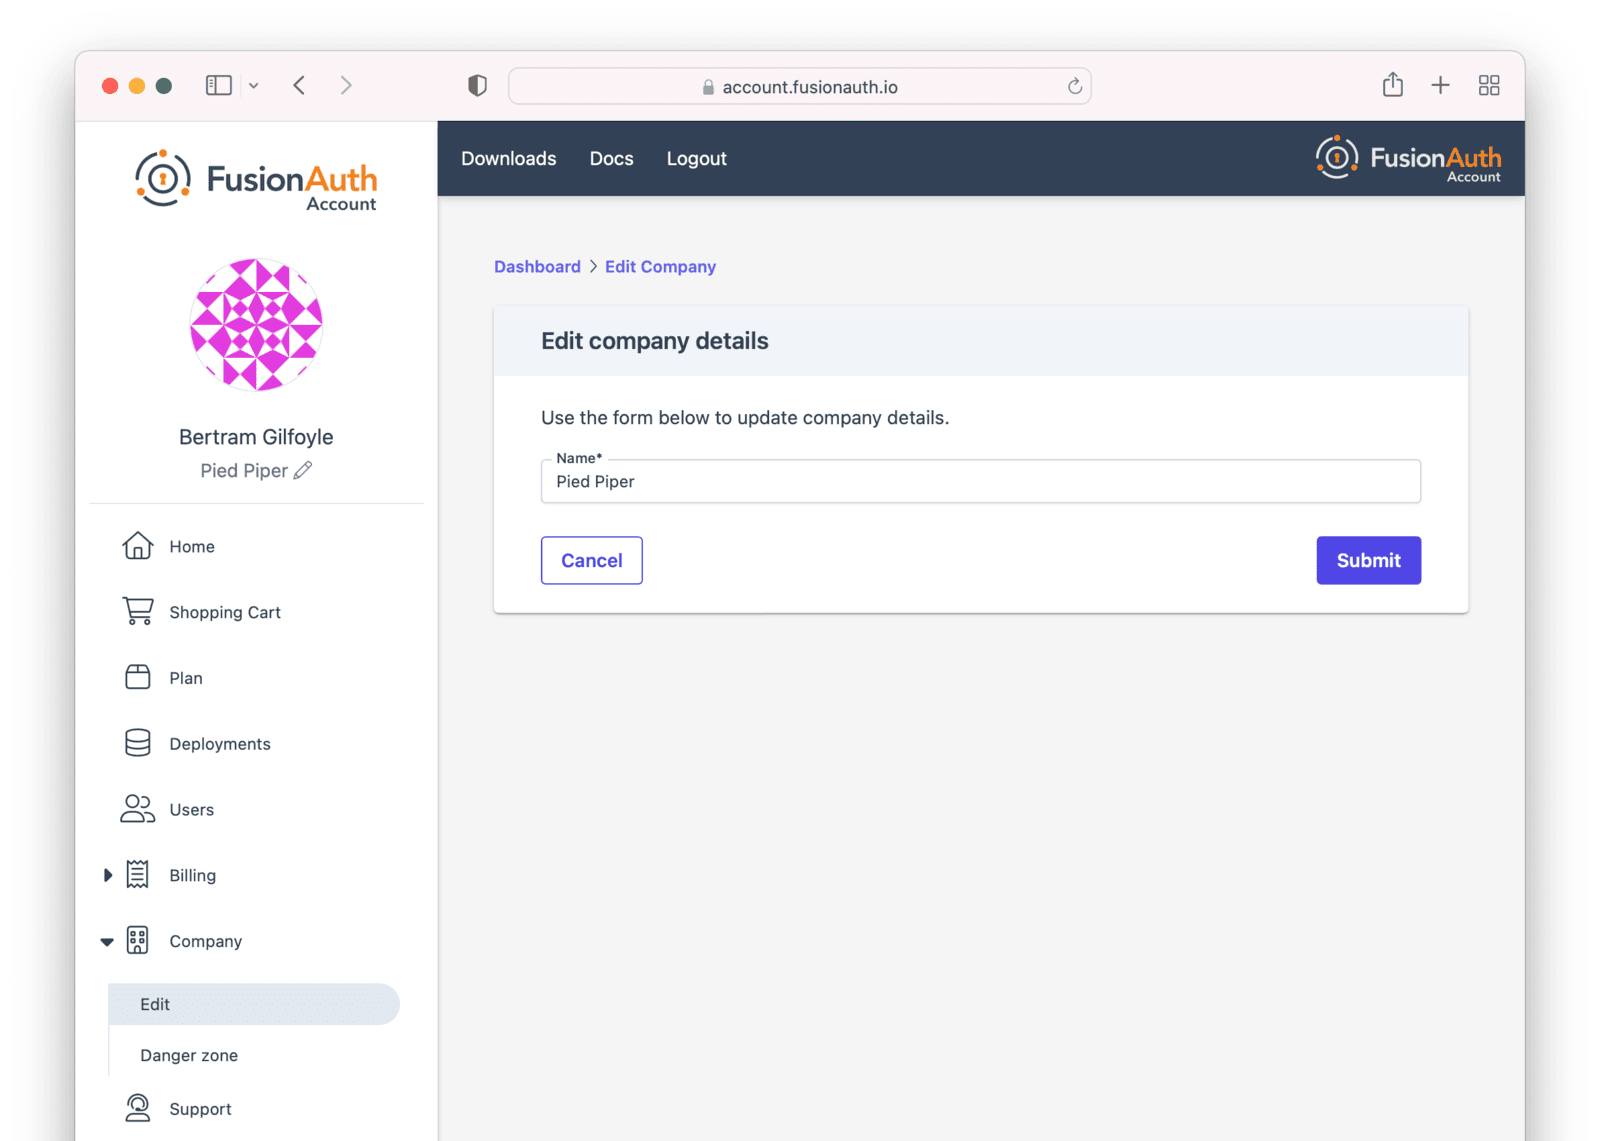
To update your company details, navigate to the Company tab.
You can change your company name.
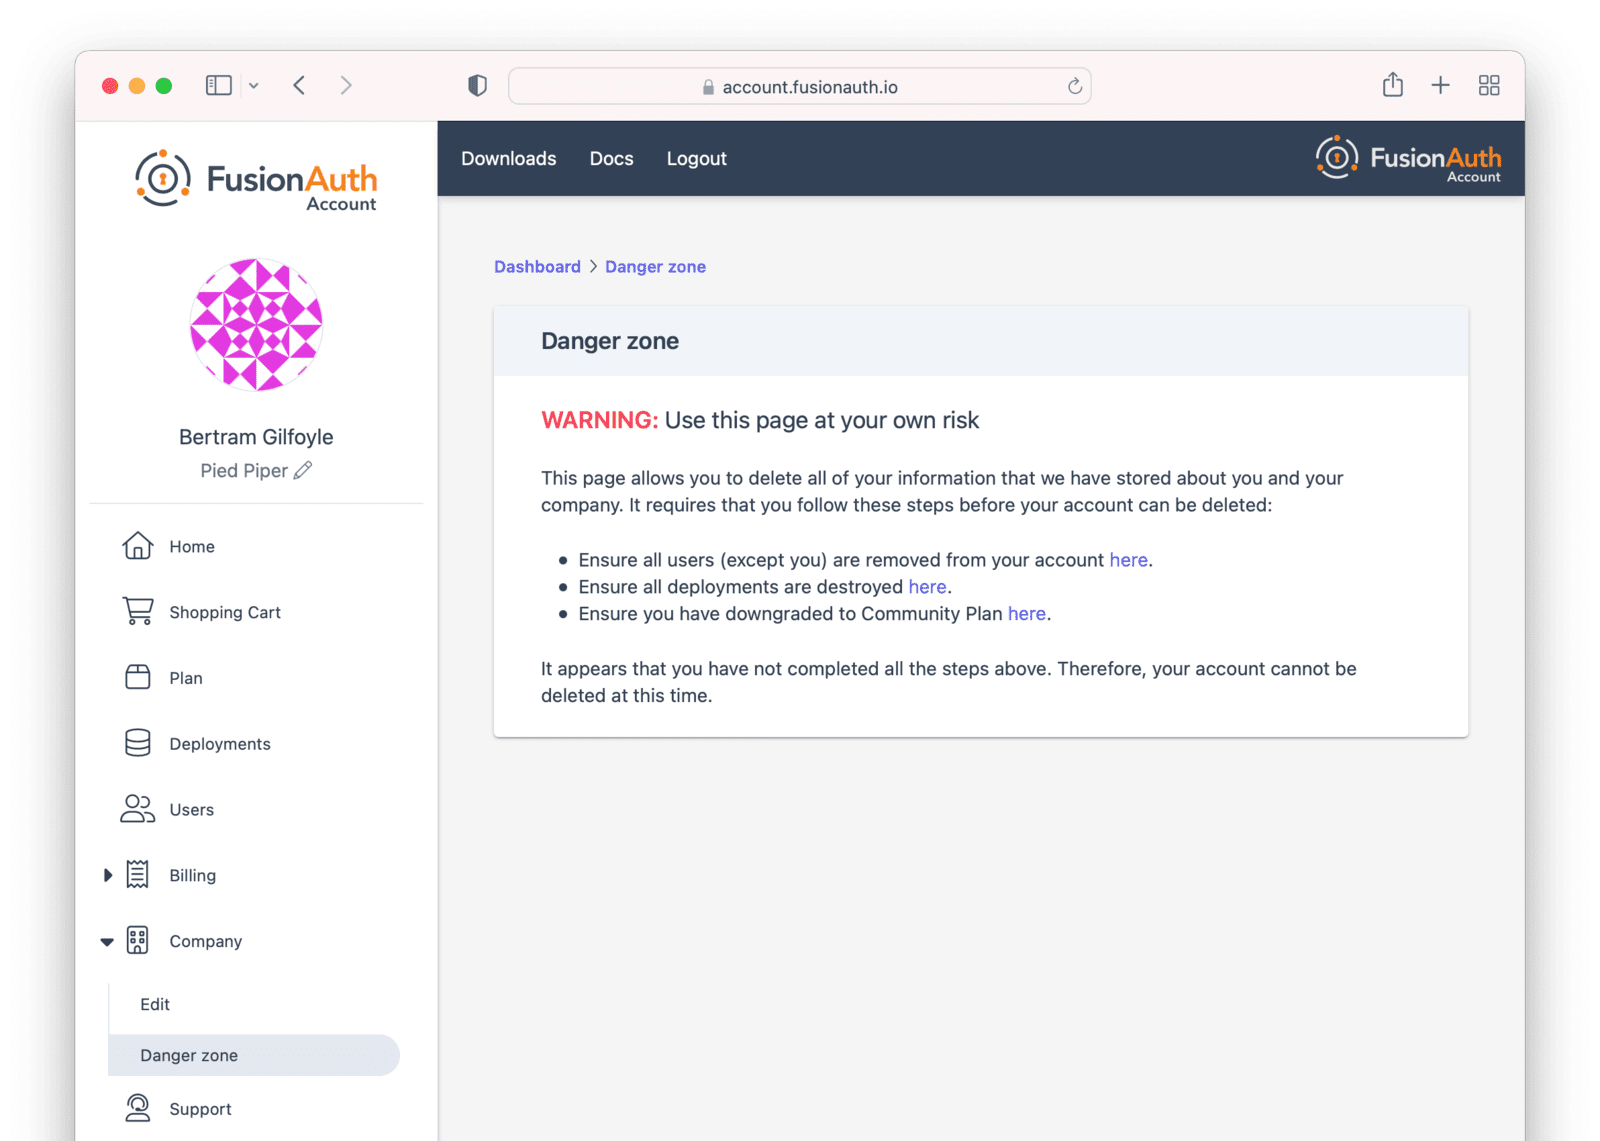
You can remove all your company details by navigating to the Company -> Danger zone section. Follow the instructions there, including removing all your deployments, and you'll be able to remove all data about you and your company.
Support#
To review your support options, navigate to the Support tab or click on the Support button at the bottom of the page. The message displayed in the support tab will vary based on your purchased plan and deployments.
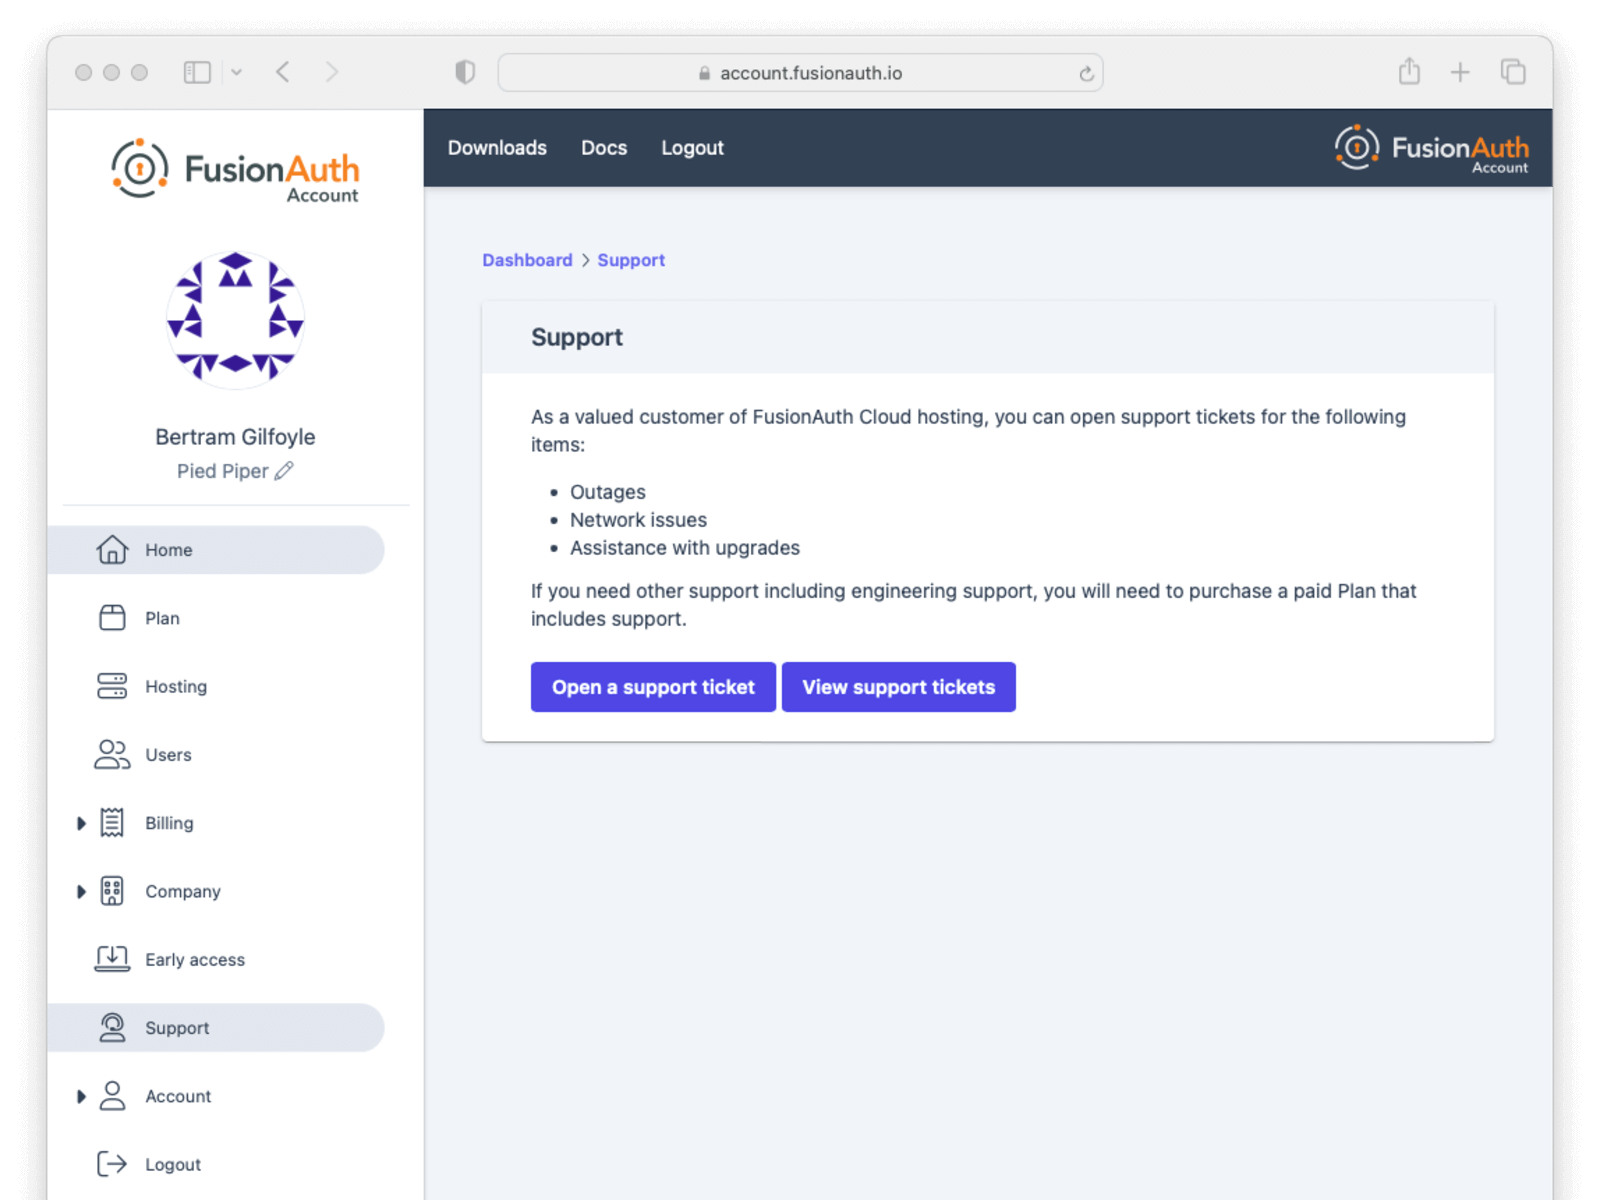
Learn more about technical support options.
Account#
To update your user account details, navigate to the Account tab.
You can edit your user details, including your name, password, and email address.
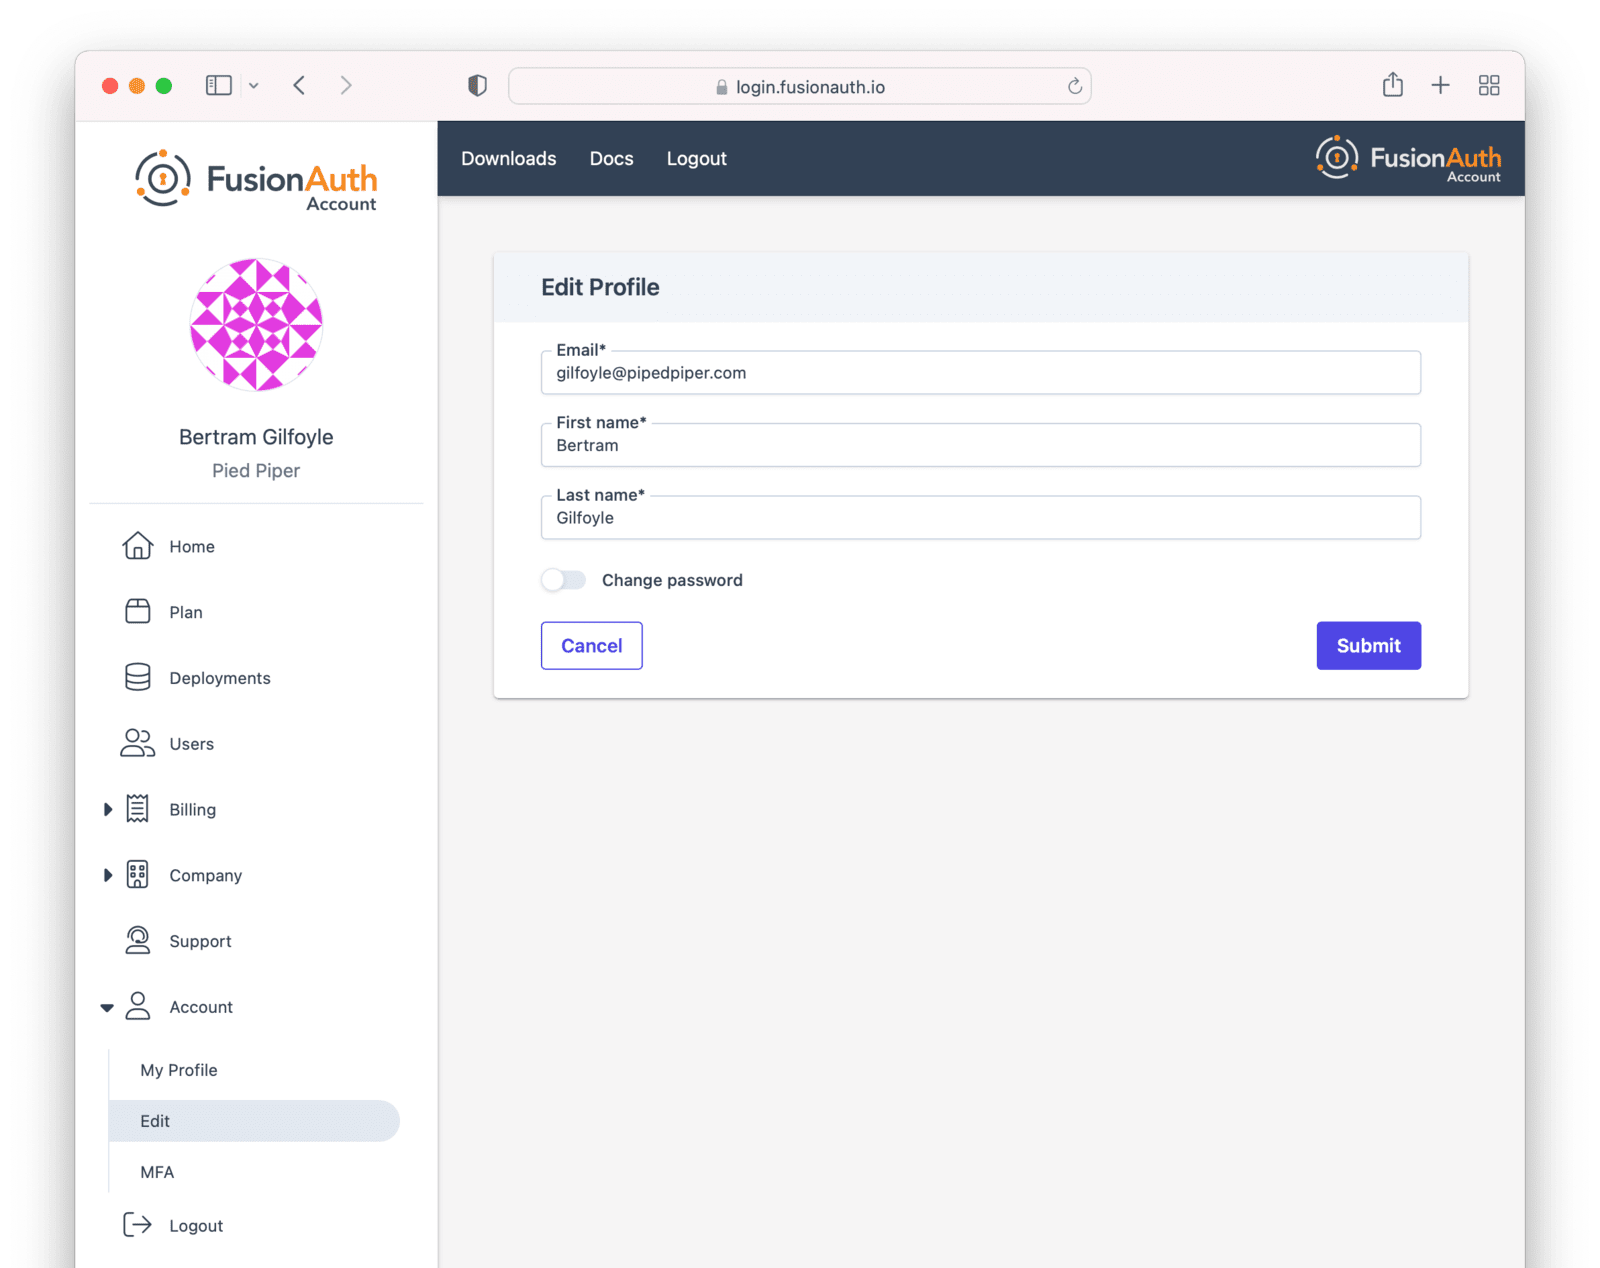
You can also set up MFA for your account. Currently only TOTP MFA is allowed for the account portal